I’m taking a break from my huge #trashure haul makeover fun to show you something I’ve been working on. When I see something that not only inspires me, but also is a way to upcycle, I can’t resist seeing it come to fruition. Like many of you, I want my family, including our beloved pets, to be healthy. I’m sharing how I created a DIY cat grass (aka. wheatgrass) planter to enjoy all year long using these hydroponic vases. Hang with me now…
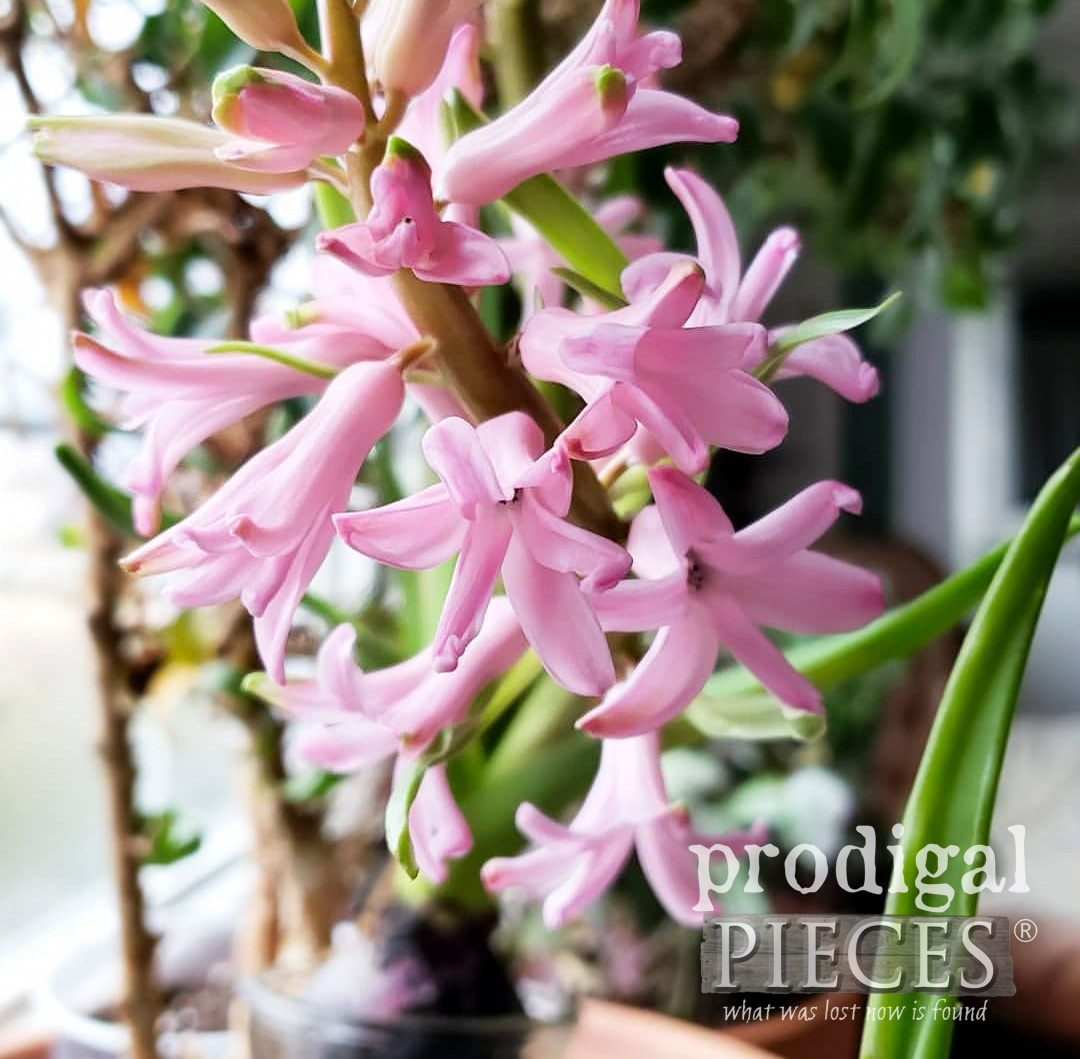
If you’re like me, winter can be a loooong time to wait to see beautiful blooms. Cabin fever really starts to get to get to me around late February to early March. Thankfully, there are ways to stave off my insanity by forcing bulbs. With a little know-how you can watch nature perform its wonders before your very eyes before spring has sprung.
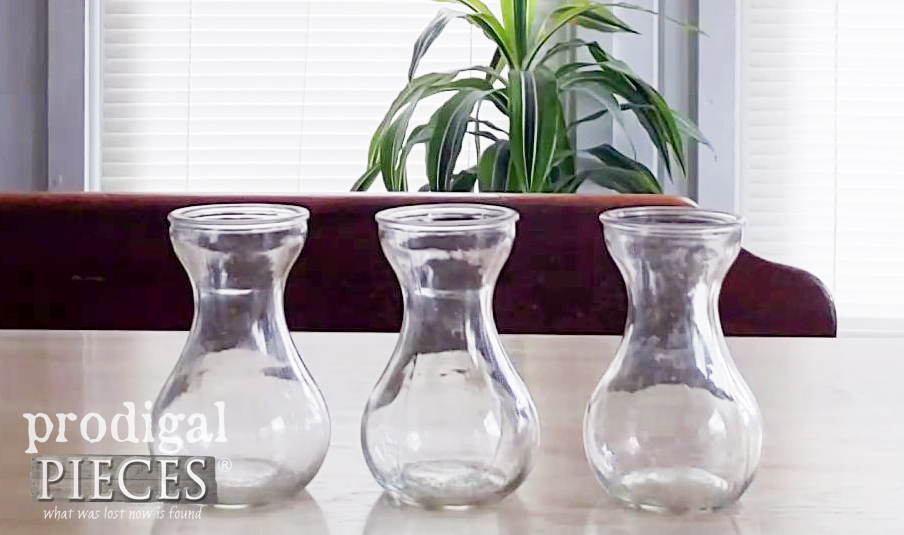
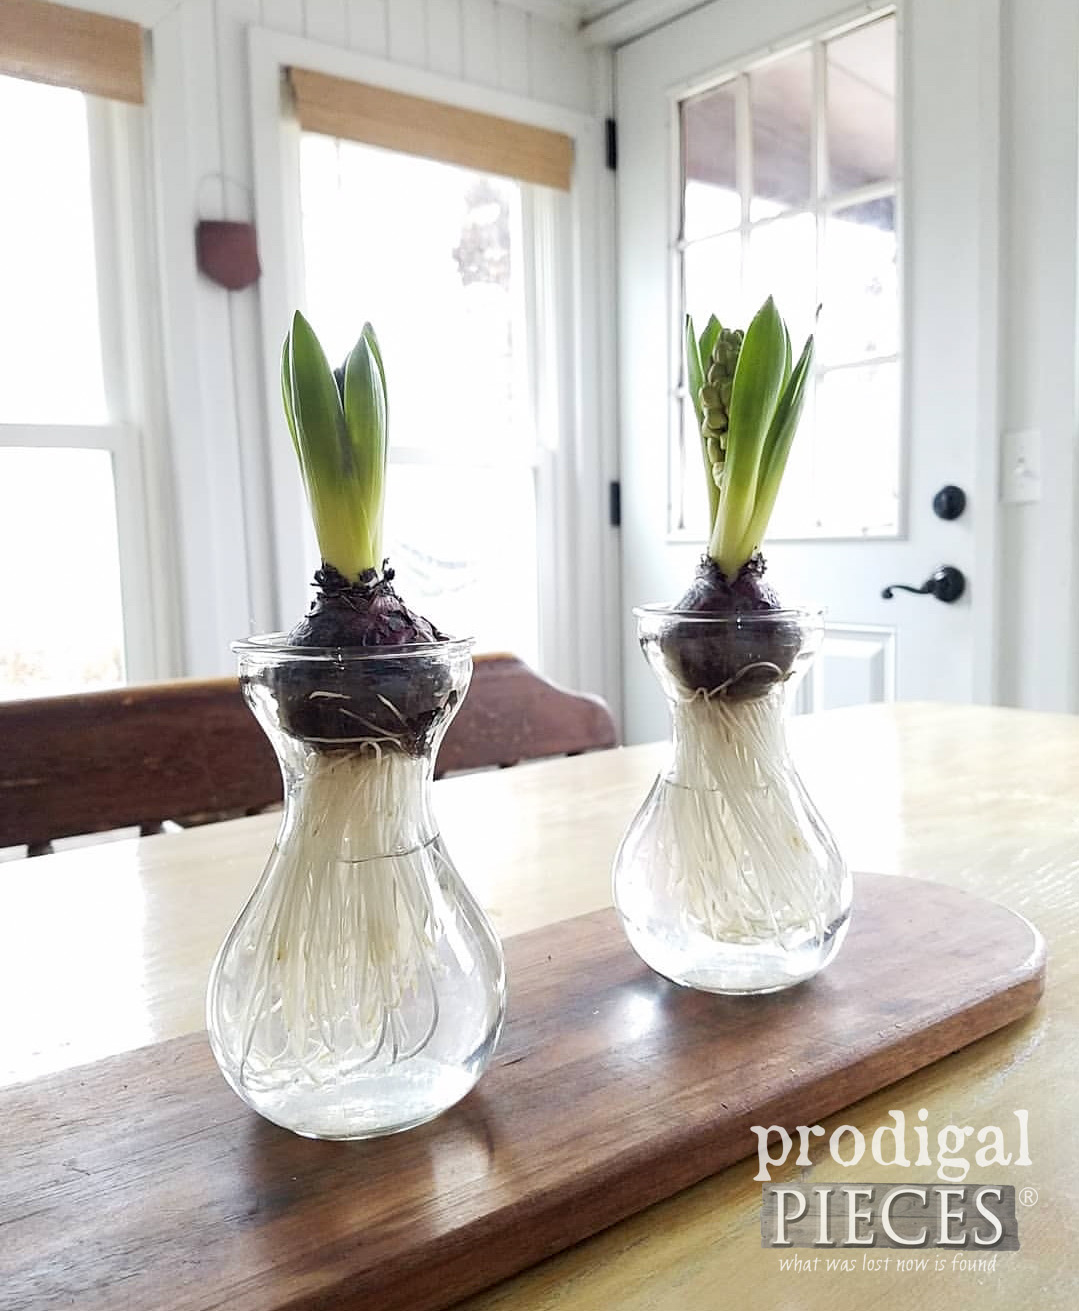
For instance, you may see these style vases set out at grocery stores, etc. They truly bring a smile to my face as I purchase a couple. Here are a pair of hyacinths making their way.
I purchase these vase sets most every year and then end up with beautiful glass vases that can be reused over and over. However, I know many people don’t like to force bulbs themselves and prefer to buy them ready to go like these ones. Not only does that problem lead to either the glass being tossed into the trash, but also maybe tucked away in a basement for who knows how long, or maybe even sent to the recycle bin or thrift store.
DIY TIME
I’m here to show you what I did with the set I had in my stash.
My mind’s eye saw potential for a fun family project that would even involve our pets. If you didn’t know this already, both cats and dogs need grass to aid in digestion. Being that they inherently take in fur, the grass helps them to either cough it up or works as a laxative to digest it. TMI? oh well.
As a result, many folks have complained to me about their indoor pets attacking their plants. Well, they may just be hunkering for the micro-nutrients they need. This cat grass tutorial is one to help you keep your pets healthy, but also you. Yep, you got it. Cat grass can also be known as wheat grass (barley, oat, or rye). Not only can you use this cat grass tutorial to be up on pet health, but also grow it for your own benefit. Here are some examples of human benefits:
- lowers blood pressure
- increases red blood-cell count
- cleanses the blood, organs, and gastrointestinal tract of debris
- helps with psoriasis
- powerful detoxifier
- regulates glucose levels
- fights tumors
- lessens the effects of radiation*
*information found HERE
WHAT’S NEXT?
With all that being said, are you now wondering why you don’t have some in your home? No worries. We’ve all been there. While this cat grass is super easy to grow in most any container (even without soil), I thought it fun to make use of cast-off materials for planters. That’s where my hydroponic vases come into play.
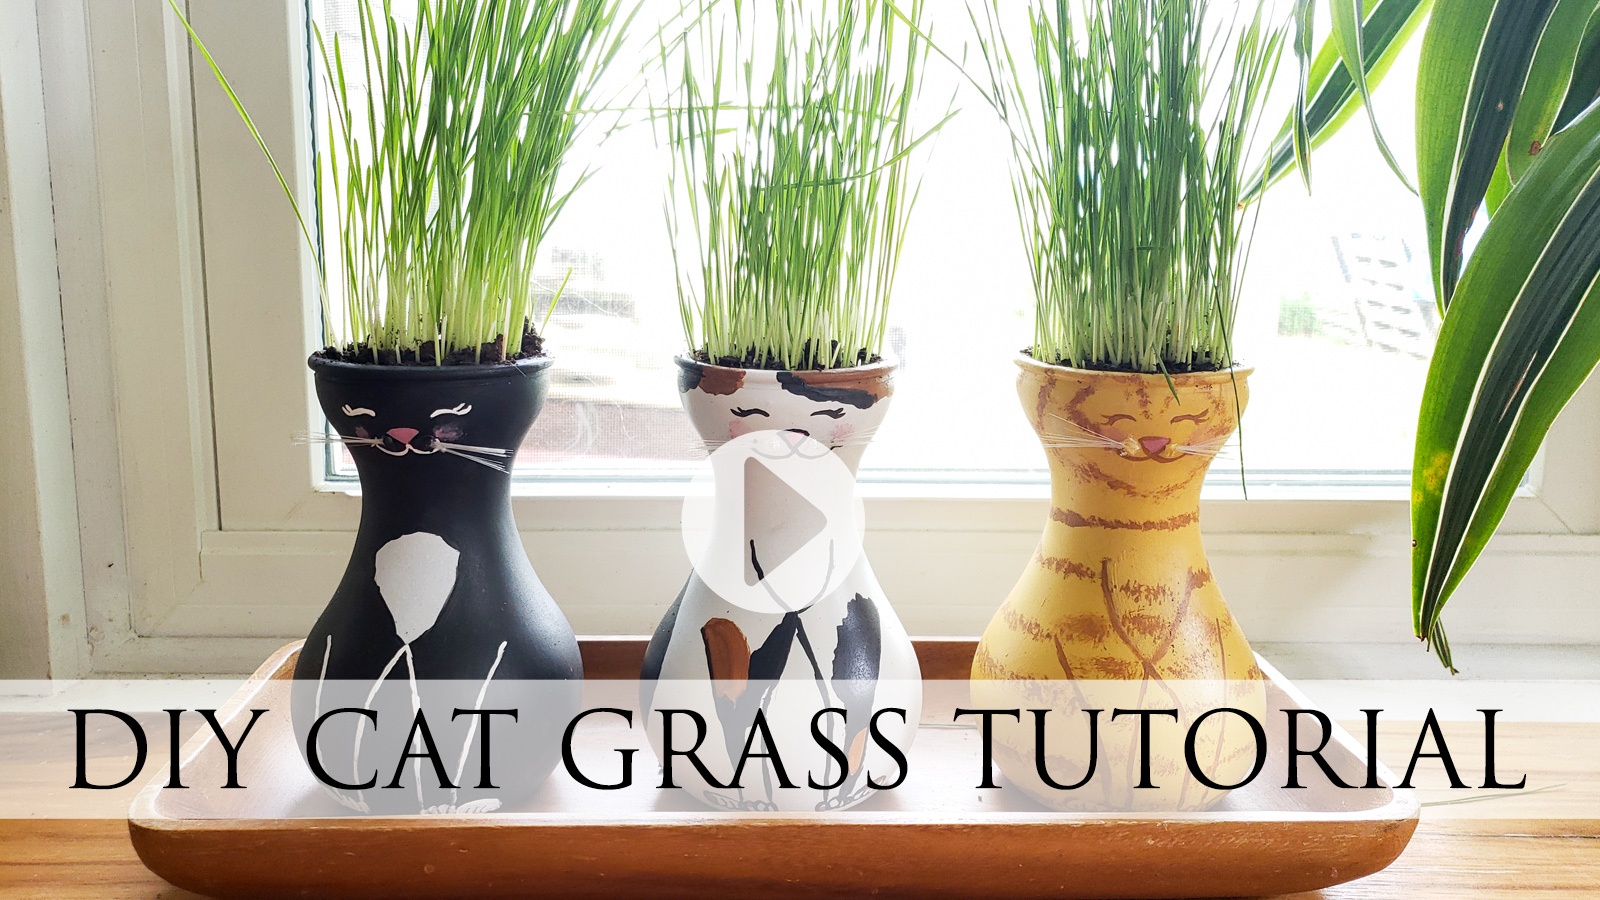
Their unique shape led me to see a caricature of a cat that would be perfect for my furry friends. Furthermore, I’ve created a full video tutorial for you below, but will also outline the steps here.
TERMS OF USE: when you create these cat grass vases you agree to the following: it cannot be shared or distributed for monetary gain in any way, it may not be modified in any way, and you may not claim the work as your own.
Here’s what you need to get started creating:
- hydroponic vases
- organic potting soil (not standard potting soil – it is toxic)
- wheatgrass seed (or barley, oat, rye, etc.)
- spray bottle
- small gravel or stones
- scrap burlap
- rubbing alcohol
- flat white spray paint
- acrylic paint
- artist’s brushes
- spray poly
- small spray shelter (optional, but so fun)
- turn table (optional, but also fun)
Step 1
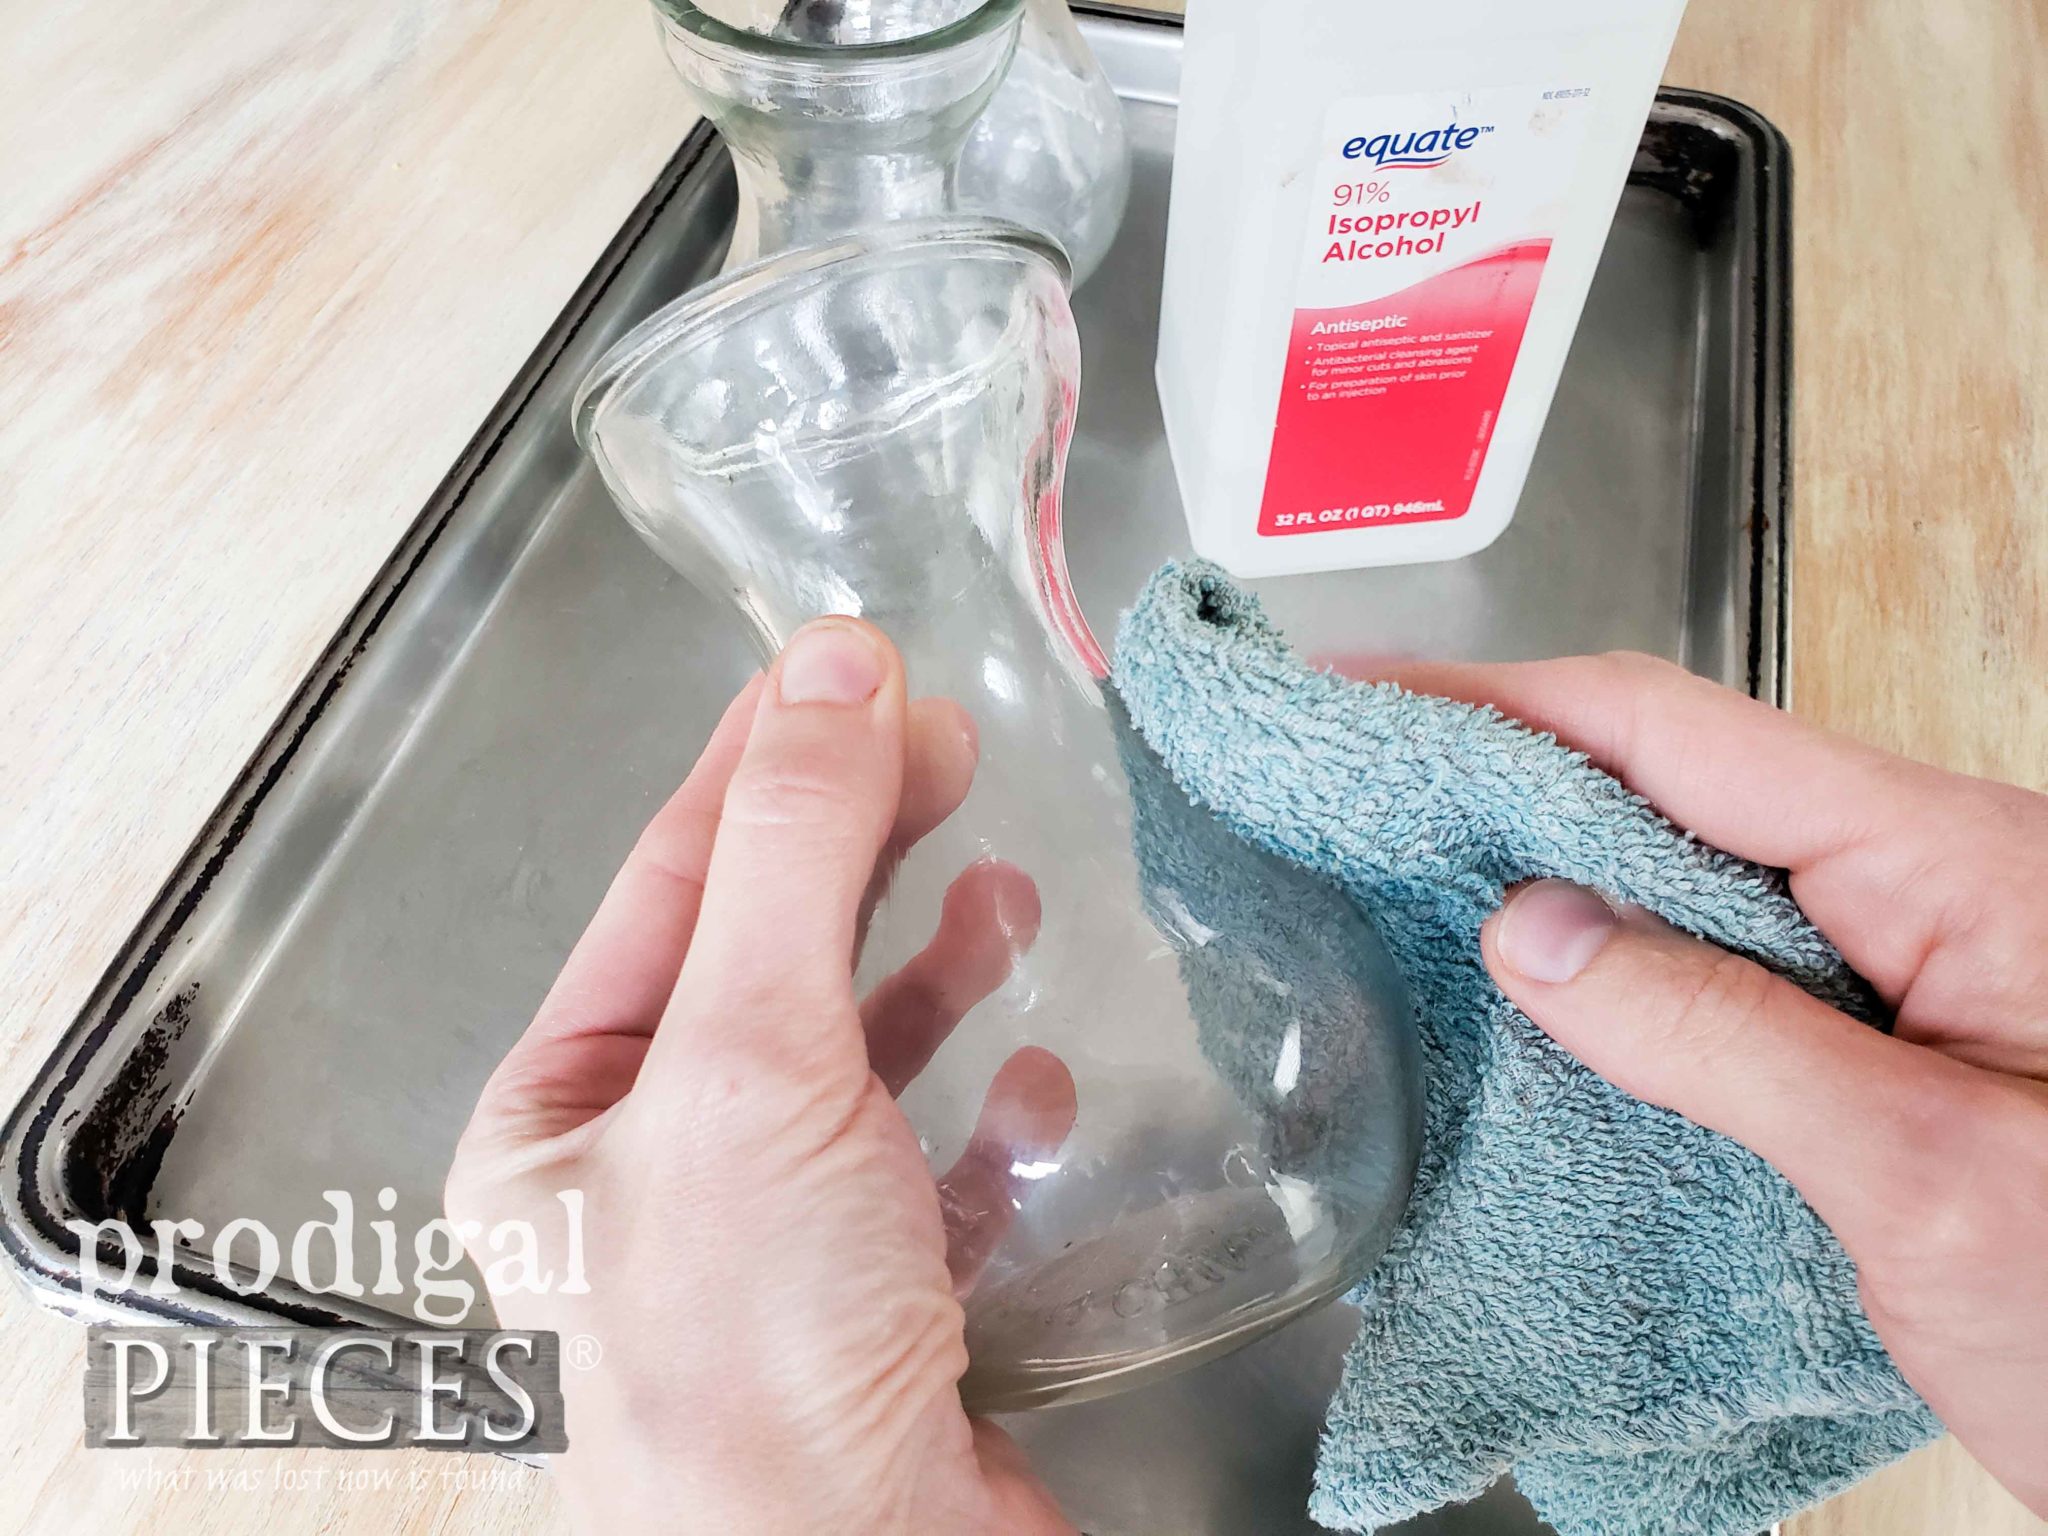
First, prepare you glass for painting if you choose to go the whimsy route. Wash the vases in hot soapy water, rinse, and air dry. Then, once dry, use rubbing alcohol to get any remaining residue off. You can see how I’ve painted thrifted glass for home decor in this post.
Step 2
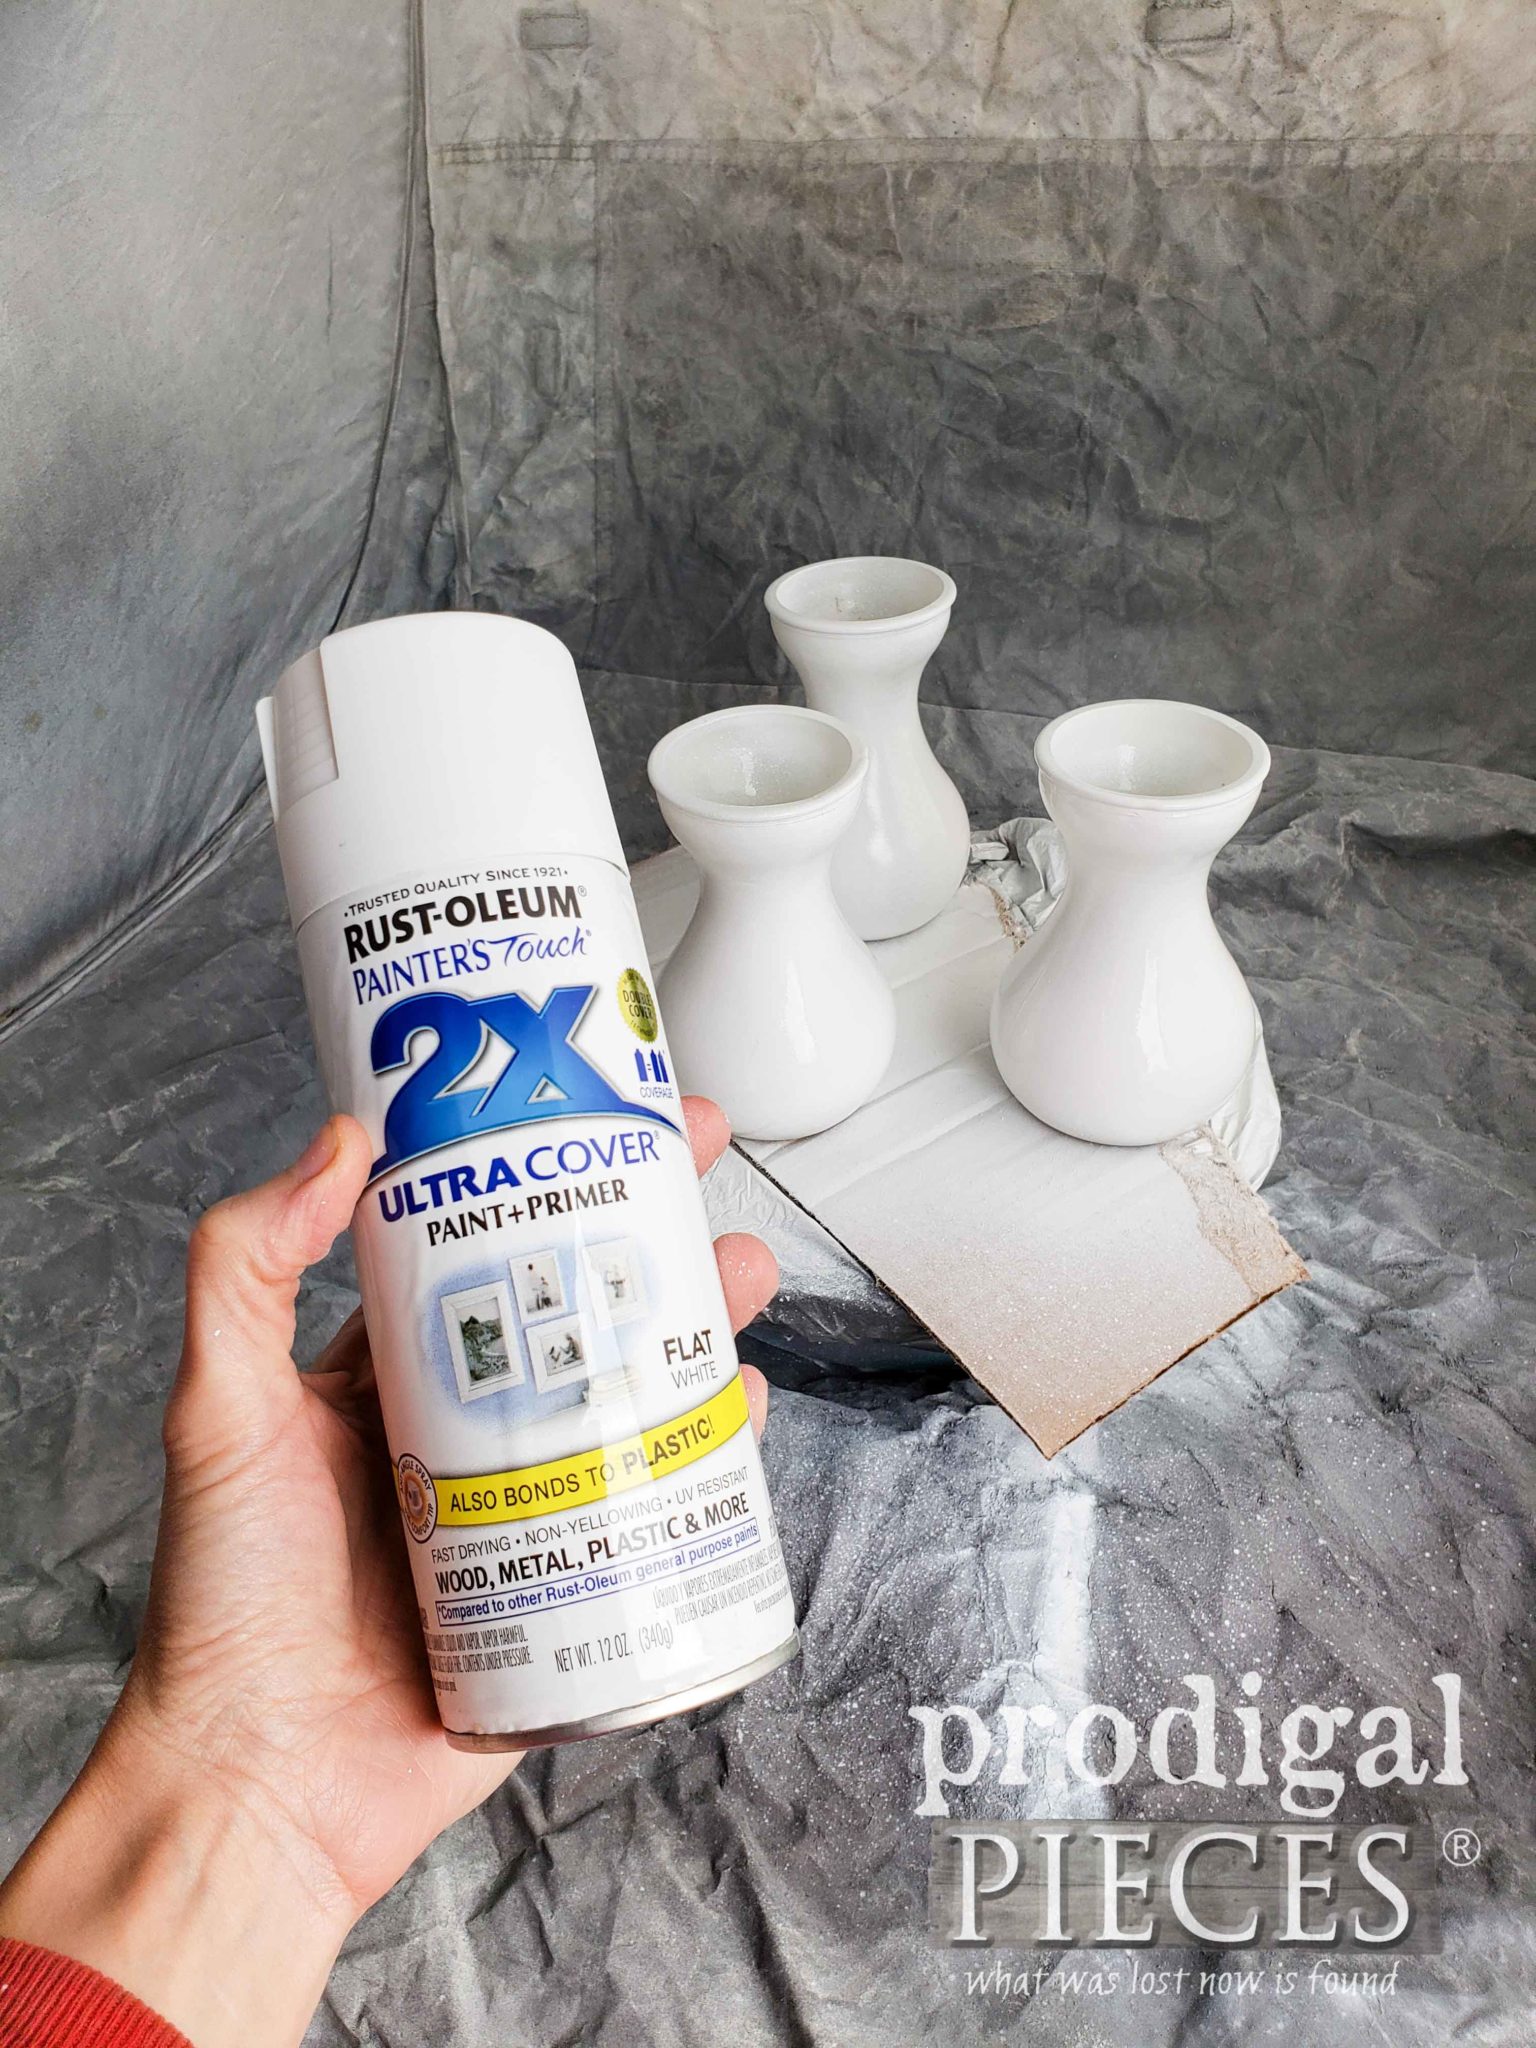
Next, we’re going to give our glass a base coat of flat white paint. You can use any color you want, but I wanted a neutral surface on which I could layer more paint. Our goal is to only paint the exterior of the glass, not the interior. We want our jars to not harbor toxic substances like paint where our food source will be grown.
I use my spray shelter and turn table to apply two coats of paint, letting cure in between.
Step 3
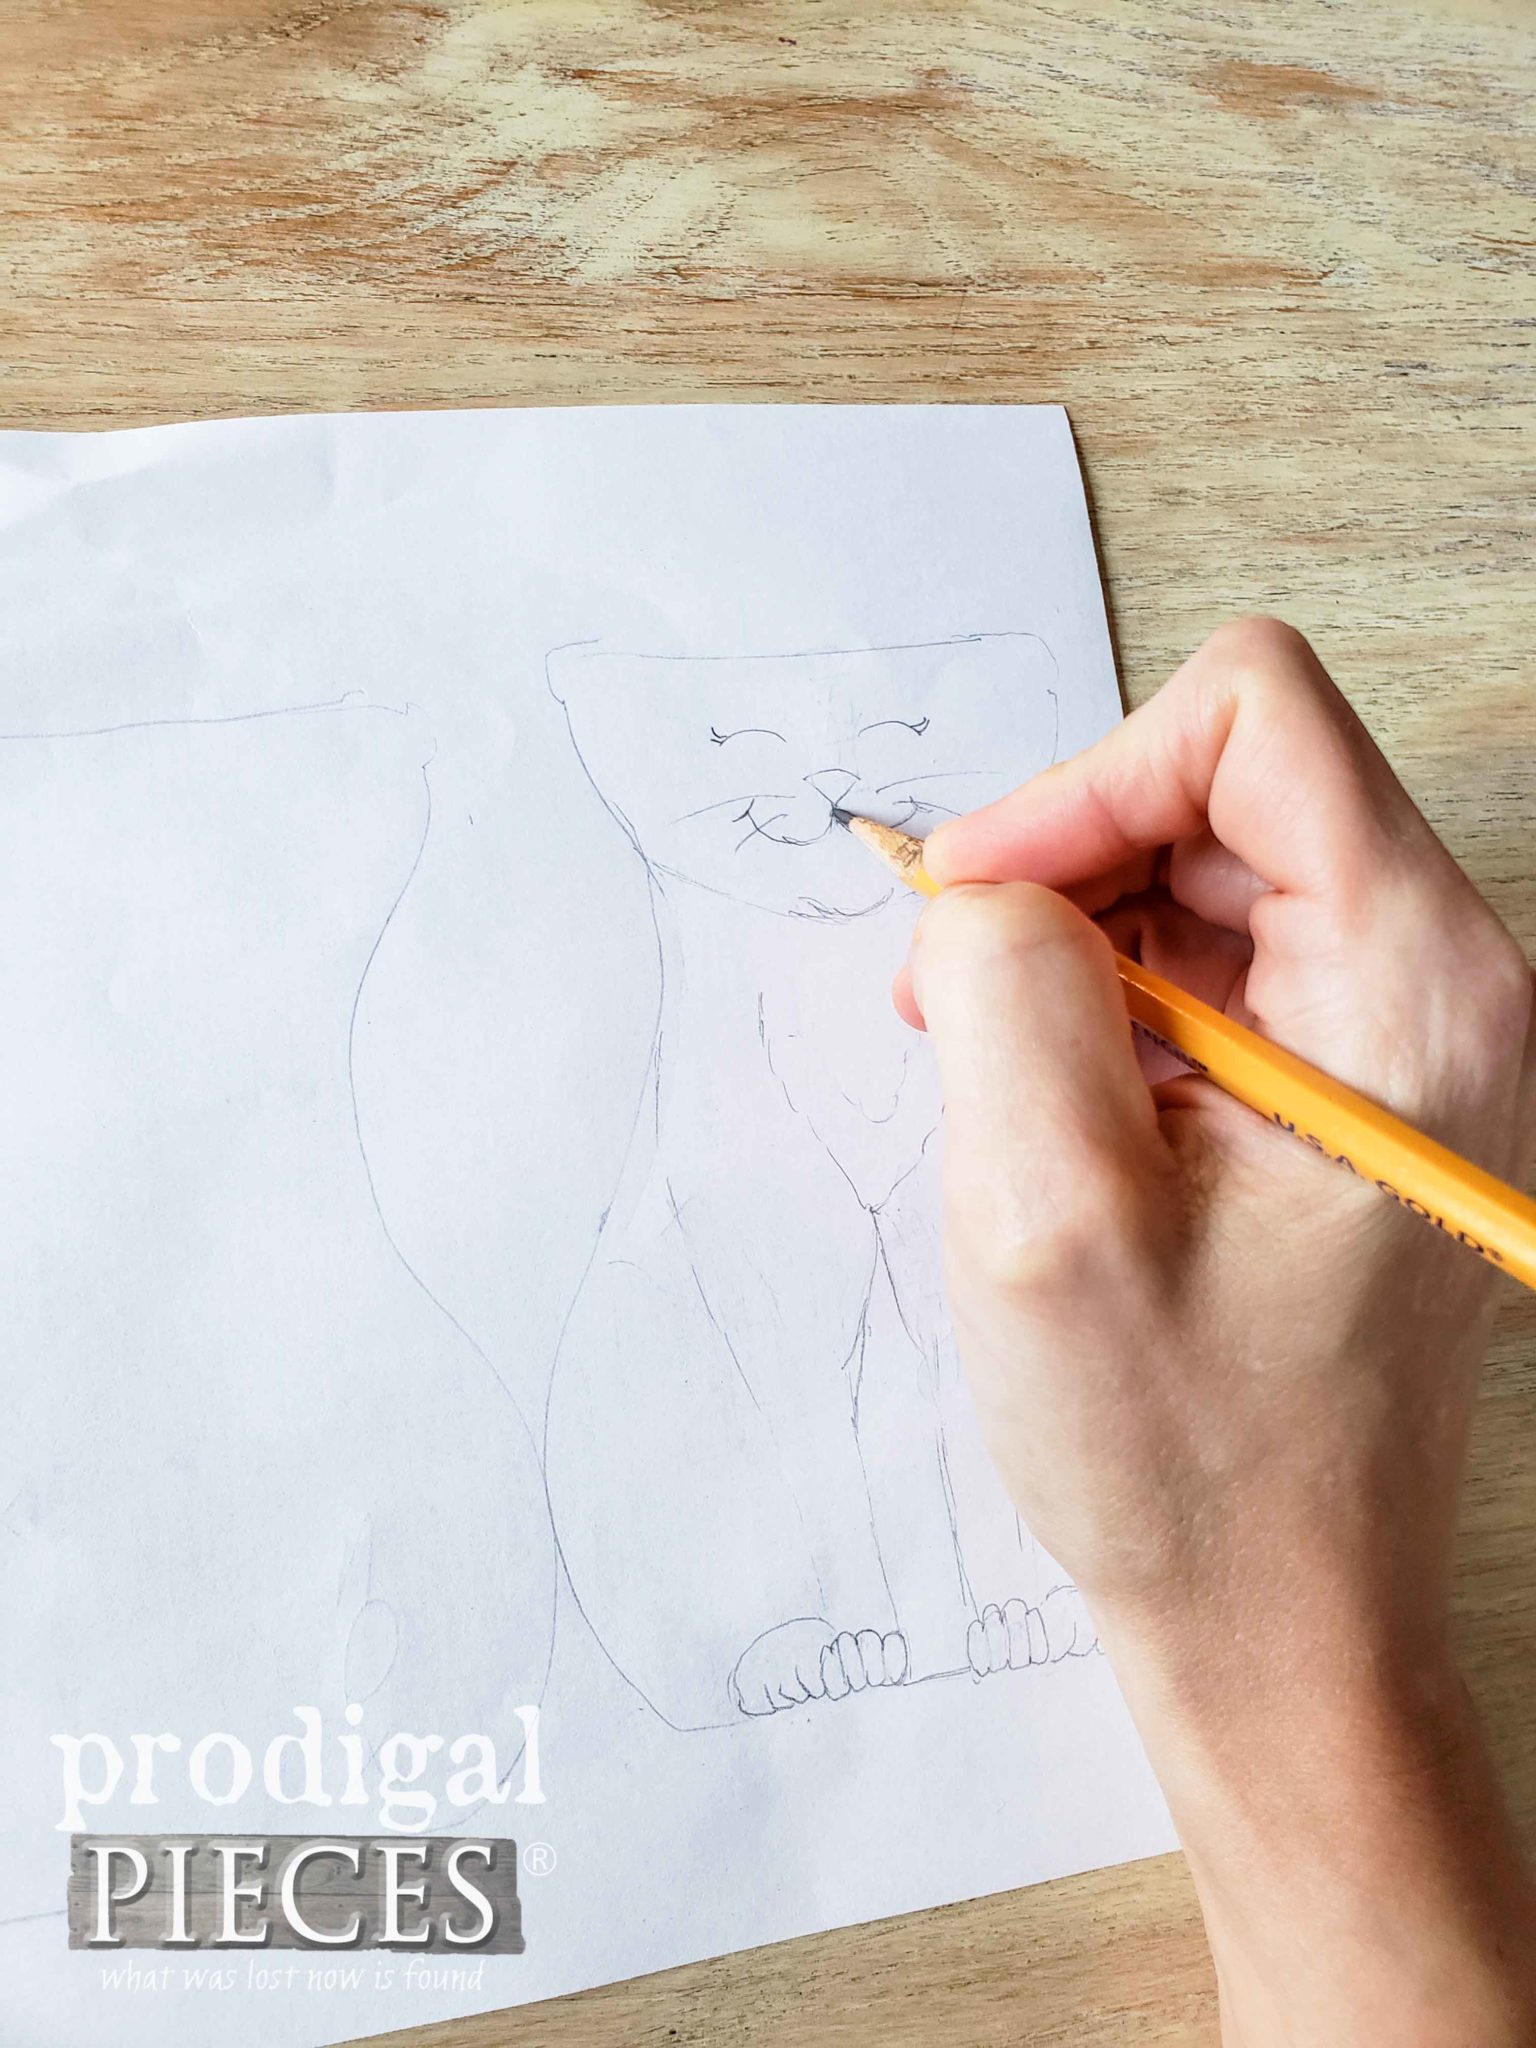
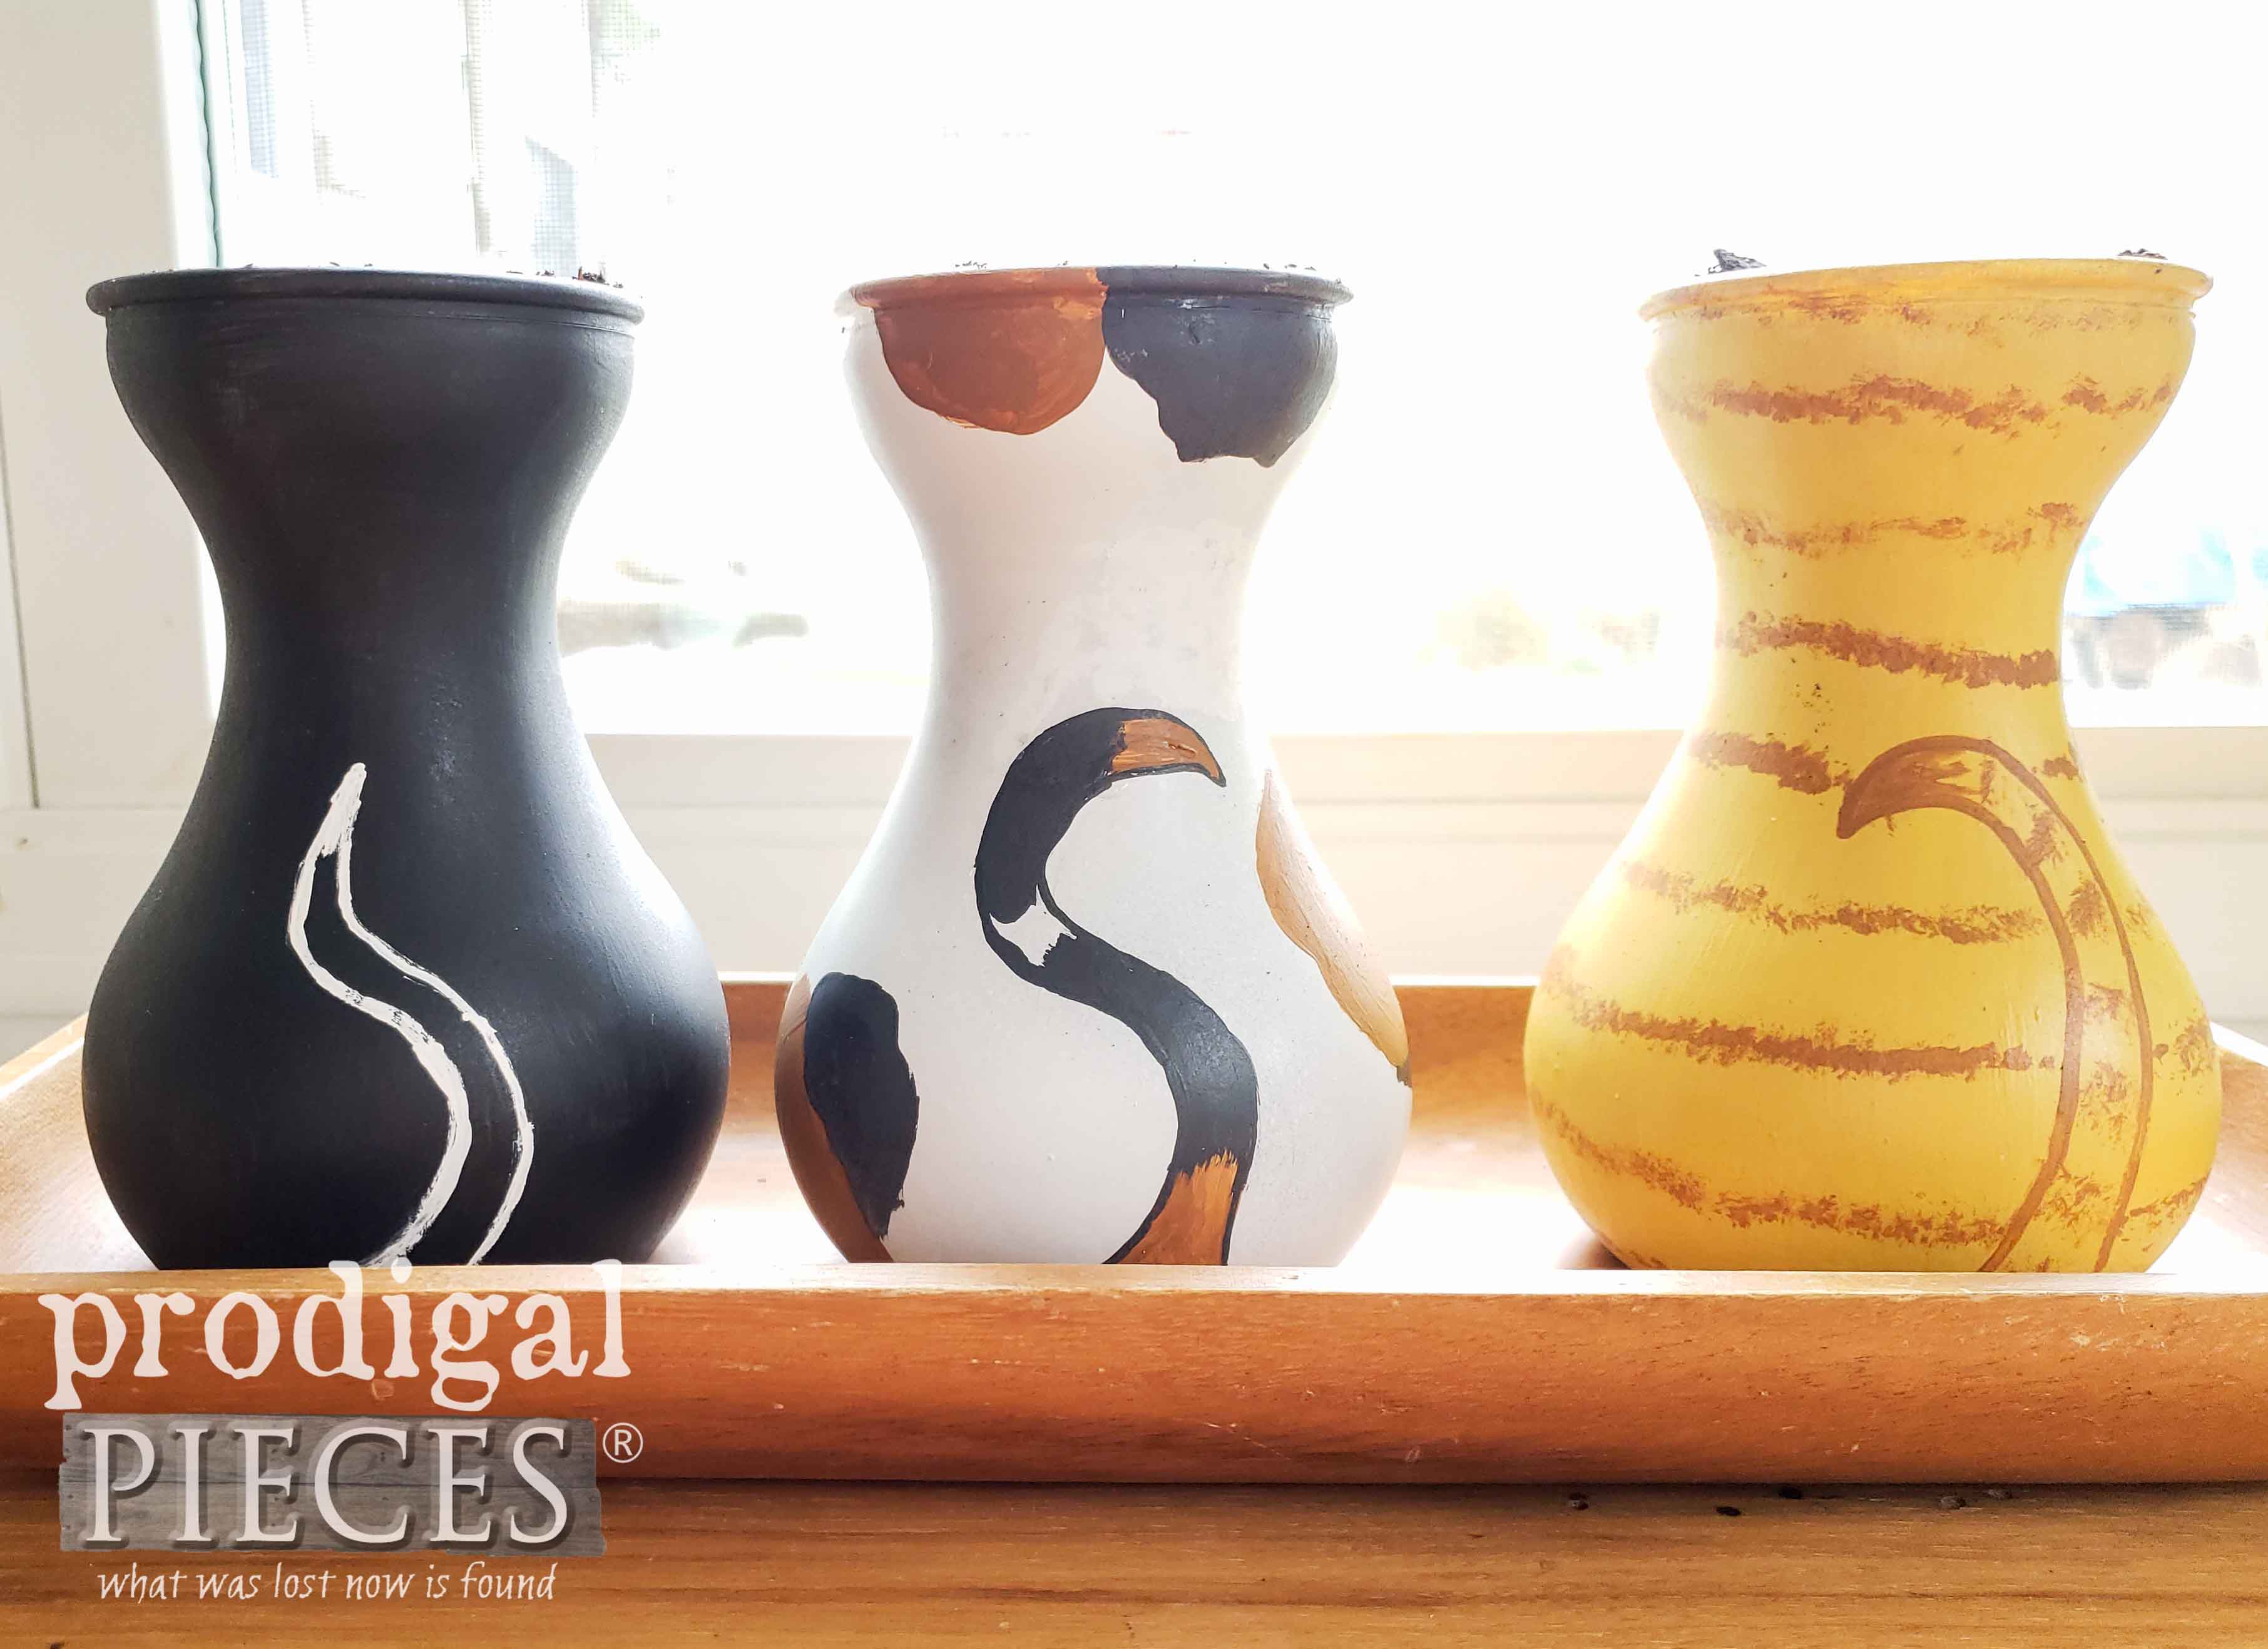
Now are vases are ready for whatever whimsy our heart desires. For whatever reason, I saw cats when I looked at the vases. In order for me to play around with design, I trace my vases onto paper and sketched my layout.
Then, once I got a feel for what I was after, I transferred the design to my vases.
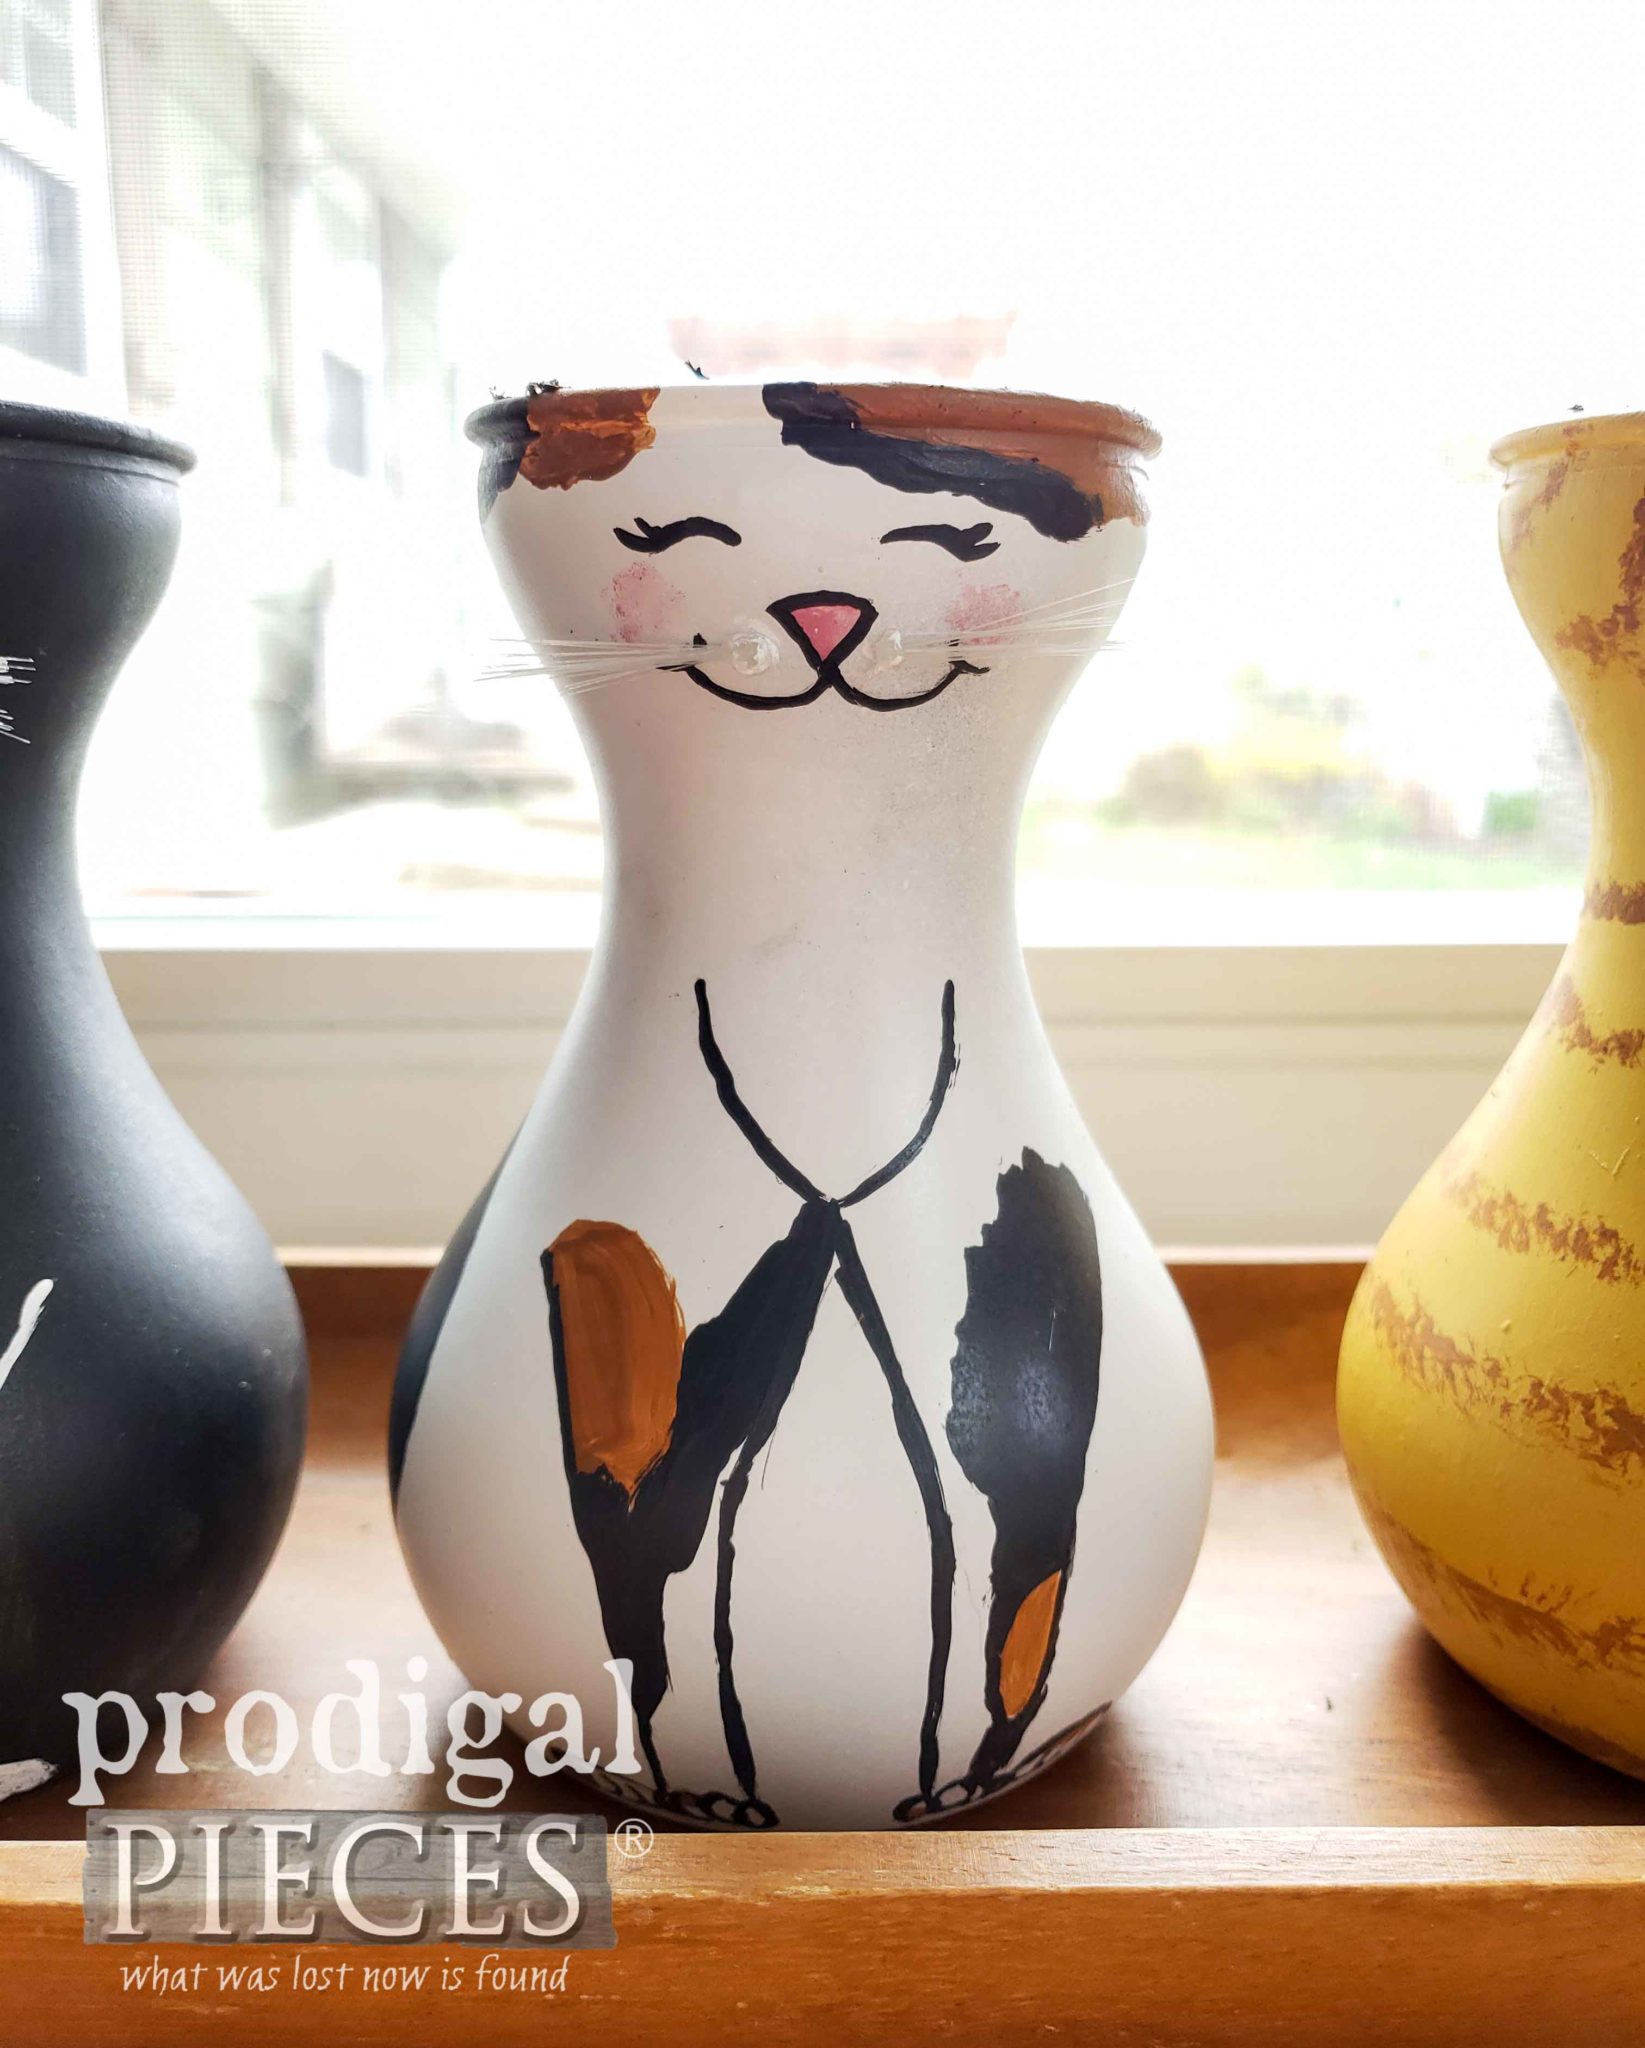
Artist brushes and basic latex or acrylic paint is all you need to add your design. Once finished, apply one or two coats of a spray poly to seal it all in. For added fun I took one of my older paint brushes and cut a few bristles off to make whiskers. Next, I dab a bit of hot glue on the ends, let cool, and then used more hot glue to attach. You’ll see the finished result below.
Step 4
Before adding our soil to the glass jars, I like to put a circle of burlap in the bottom. The reason for that is because I will be dropping in stone for drainage and I don’t want there to be any damage to the glass. However, the burlap will biodegrade over time, so it’s perfectly safe to use.
After you’ve put in your burlap, you can add a layer of the gravel rock to the bottom. See video for detailed steps.
Time to add the soil. Yay! It’s super important that you use a potting soil that is organic, meant for food. Do not use your conventional potting soil as that has toxins that we don’t want to consume or feed our pets. You can see below I use a funnel to help me get the soil in the jars.
Fill with soil until about ¾” space is left at the top.
Step 5
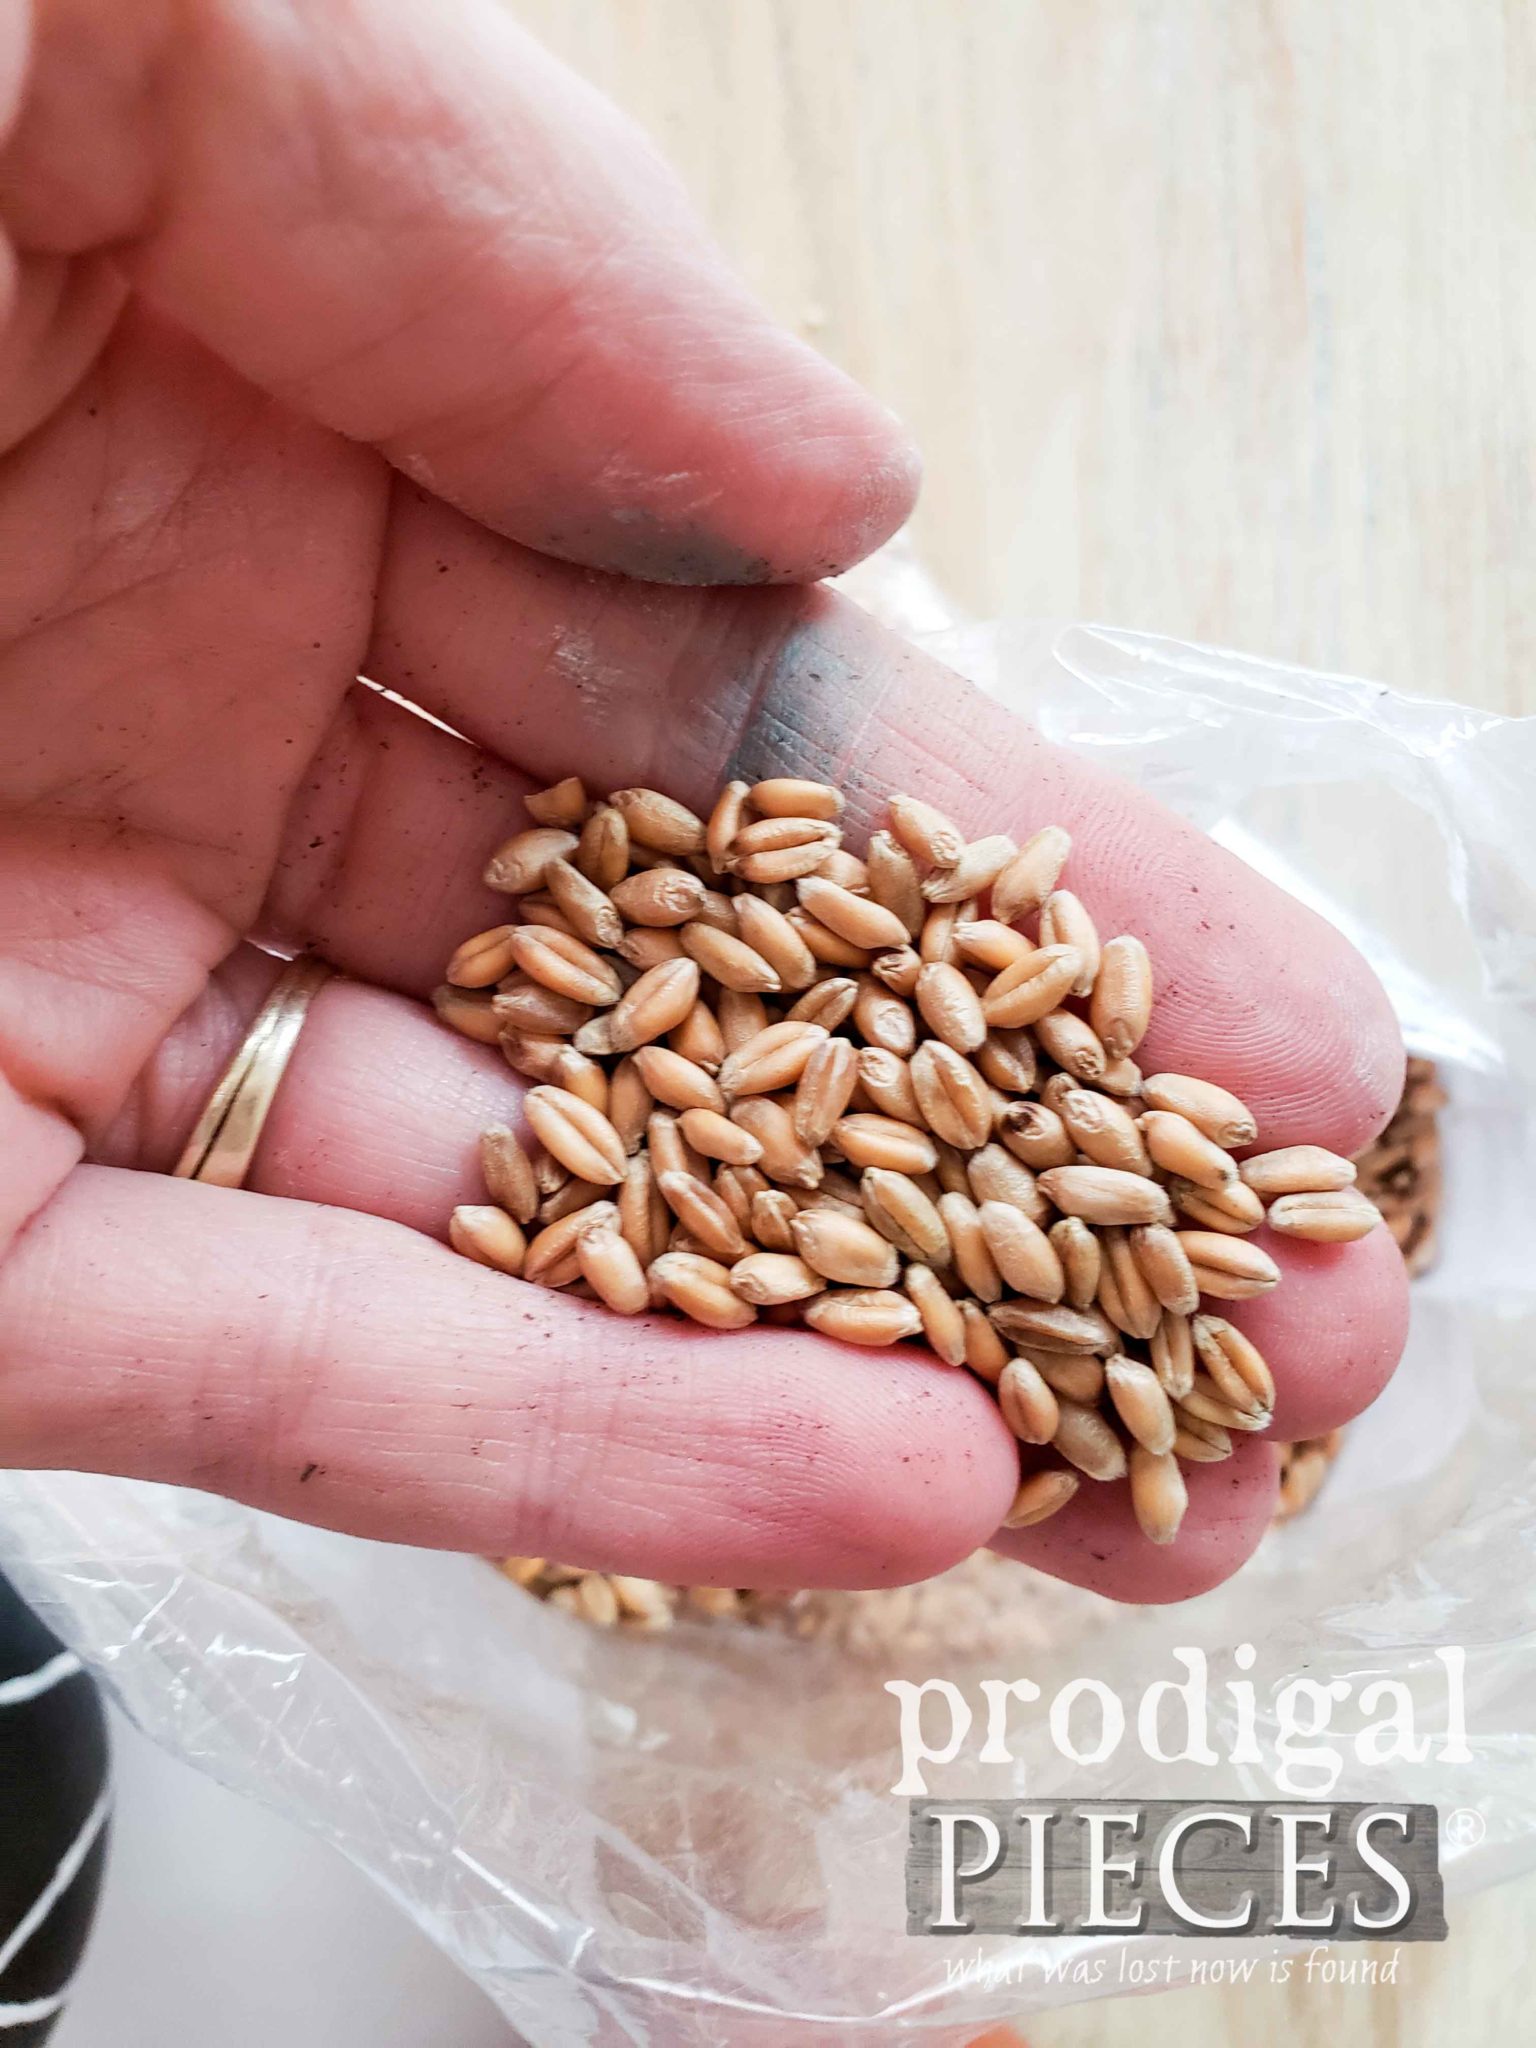
Now we can add our seed. I chose to use this wheatgrass. For those of you that may have a gluten intolerance, there’s no worries about eating the grass. There is only gluten in the grain head. You could also use barley, oats, or rye as well.
Afterward, sprinkle enough on top to cover and be sorta thick. In addition, you can follow manufacturer instructions on growing as well.
Then, fill the top in with remaining soil until lightly level with the top of the jar.
Step 6
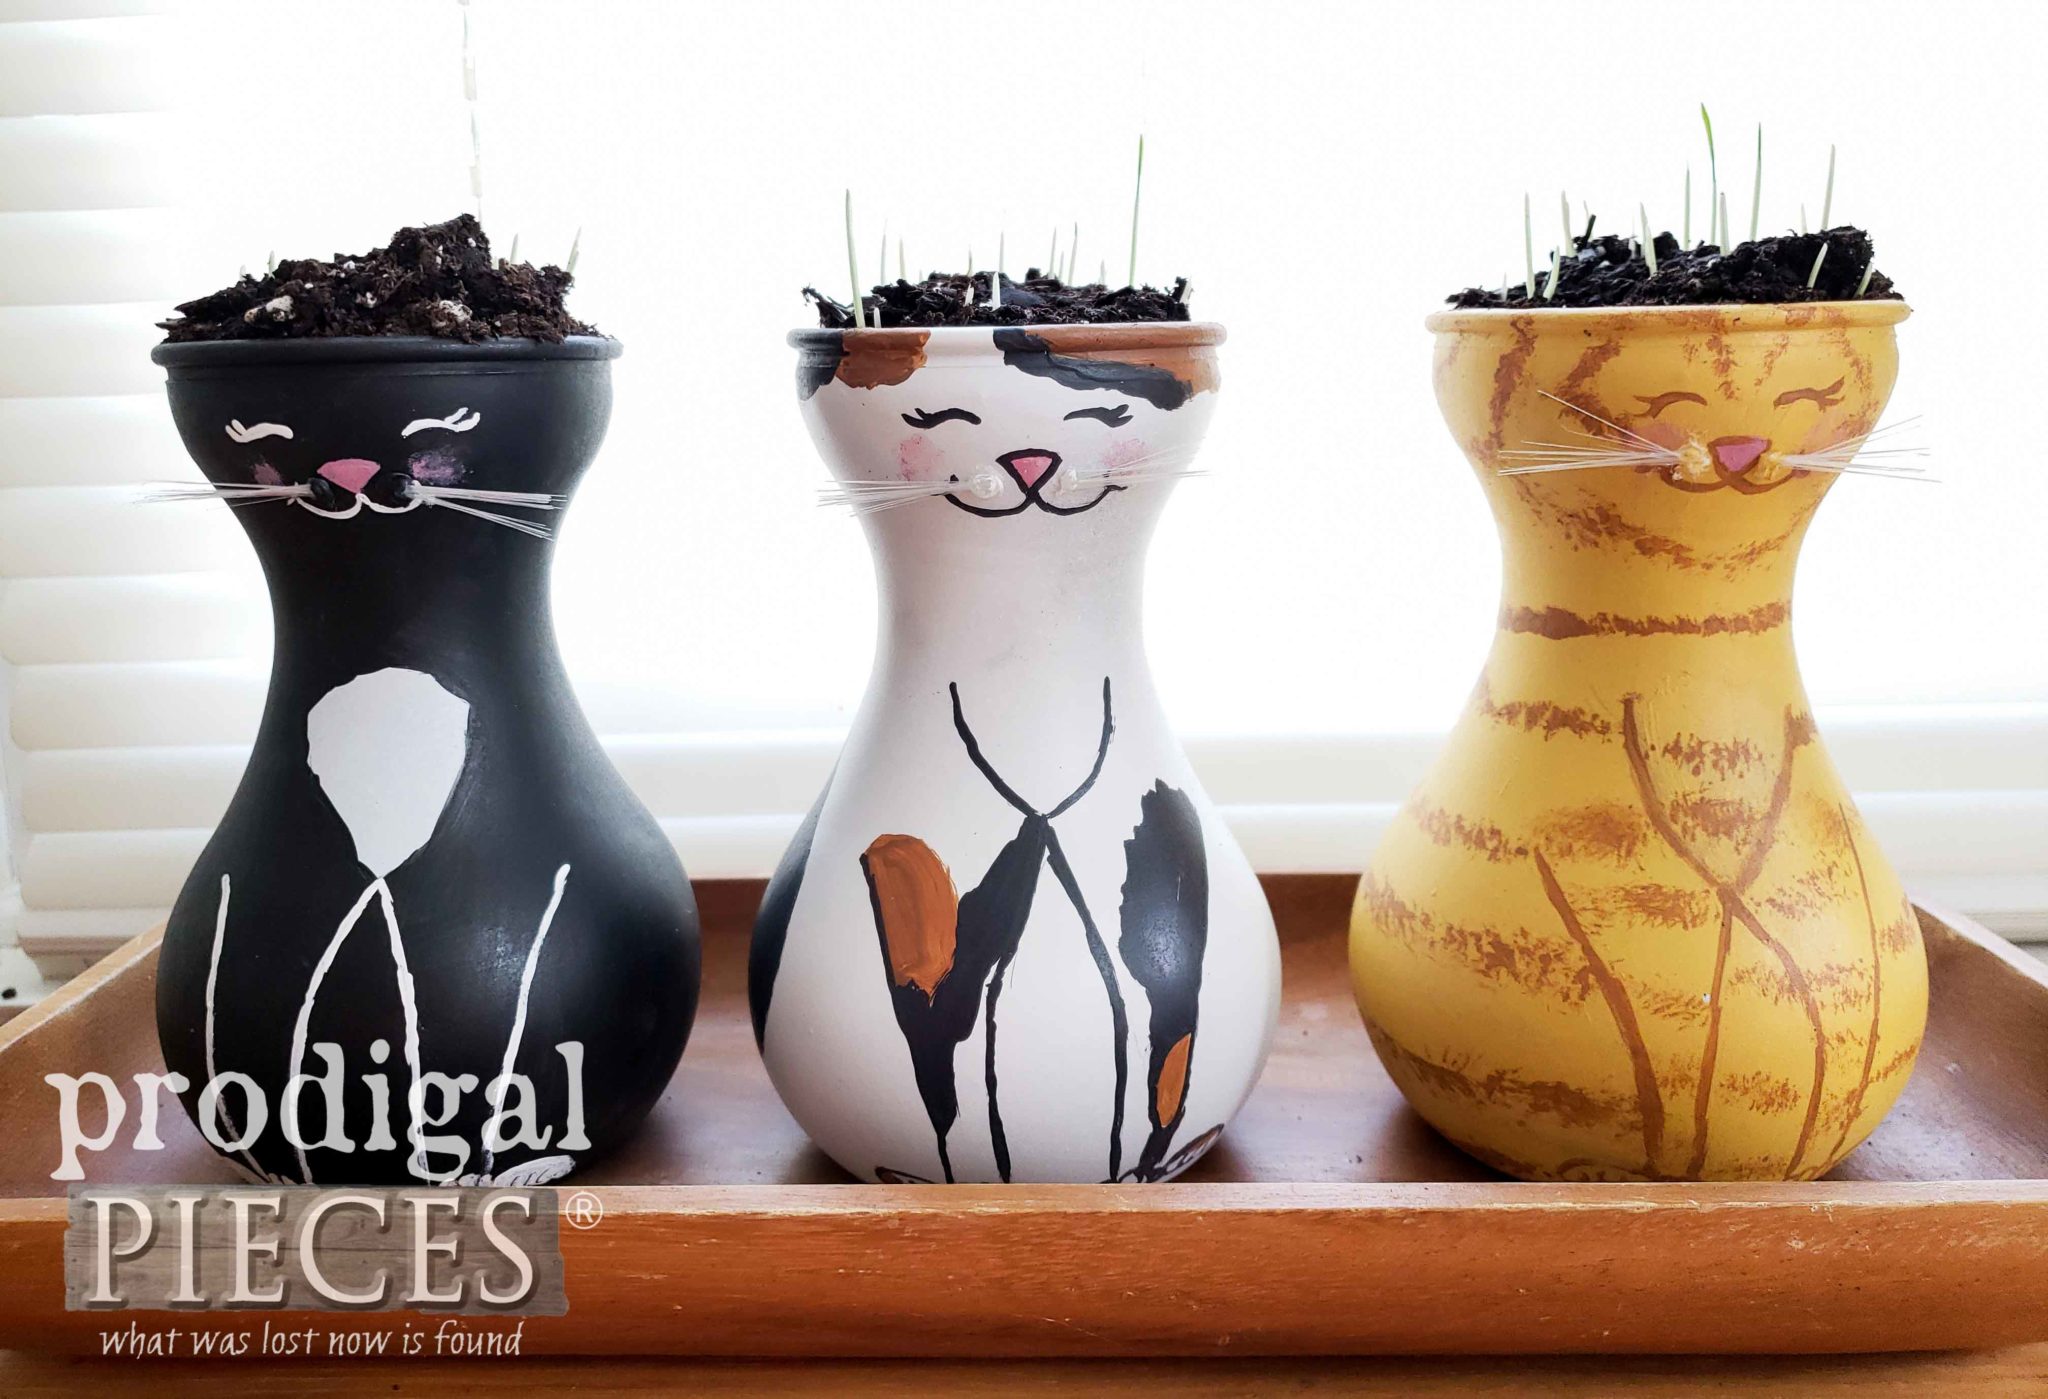
With that in mind, when looking for a spot for your DIY cat grass, begin with an indirect sun spot. The window I have mine in allows indirect sunshine for our needs.
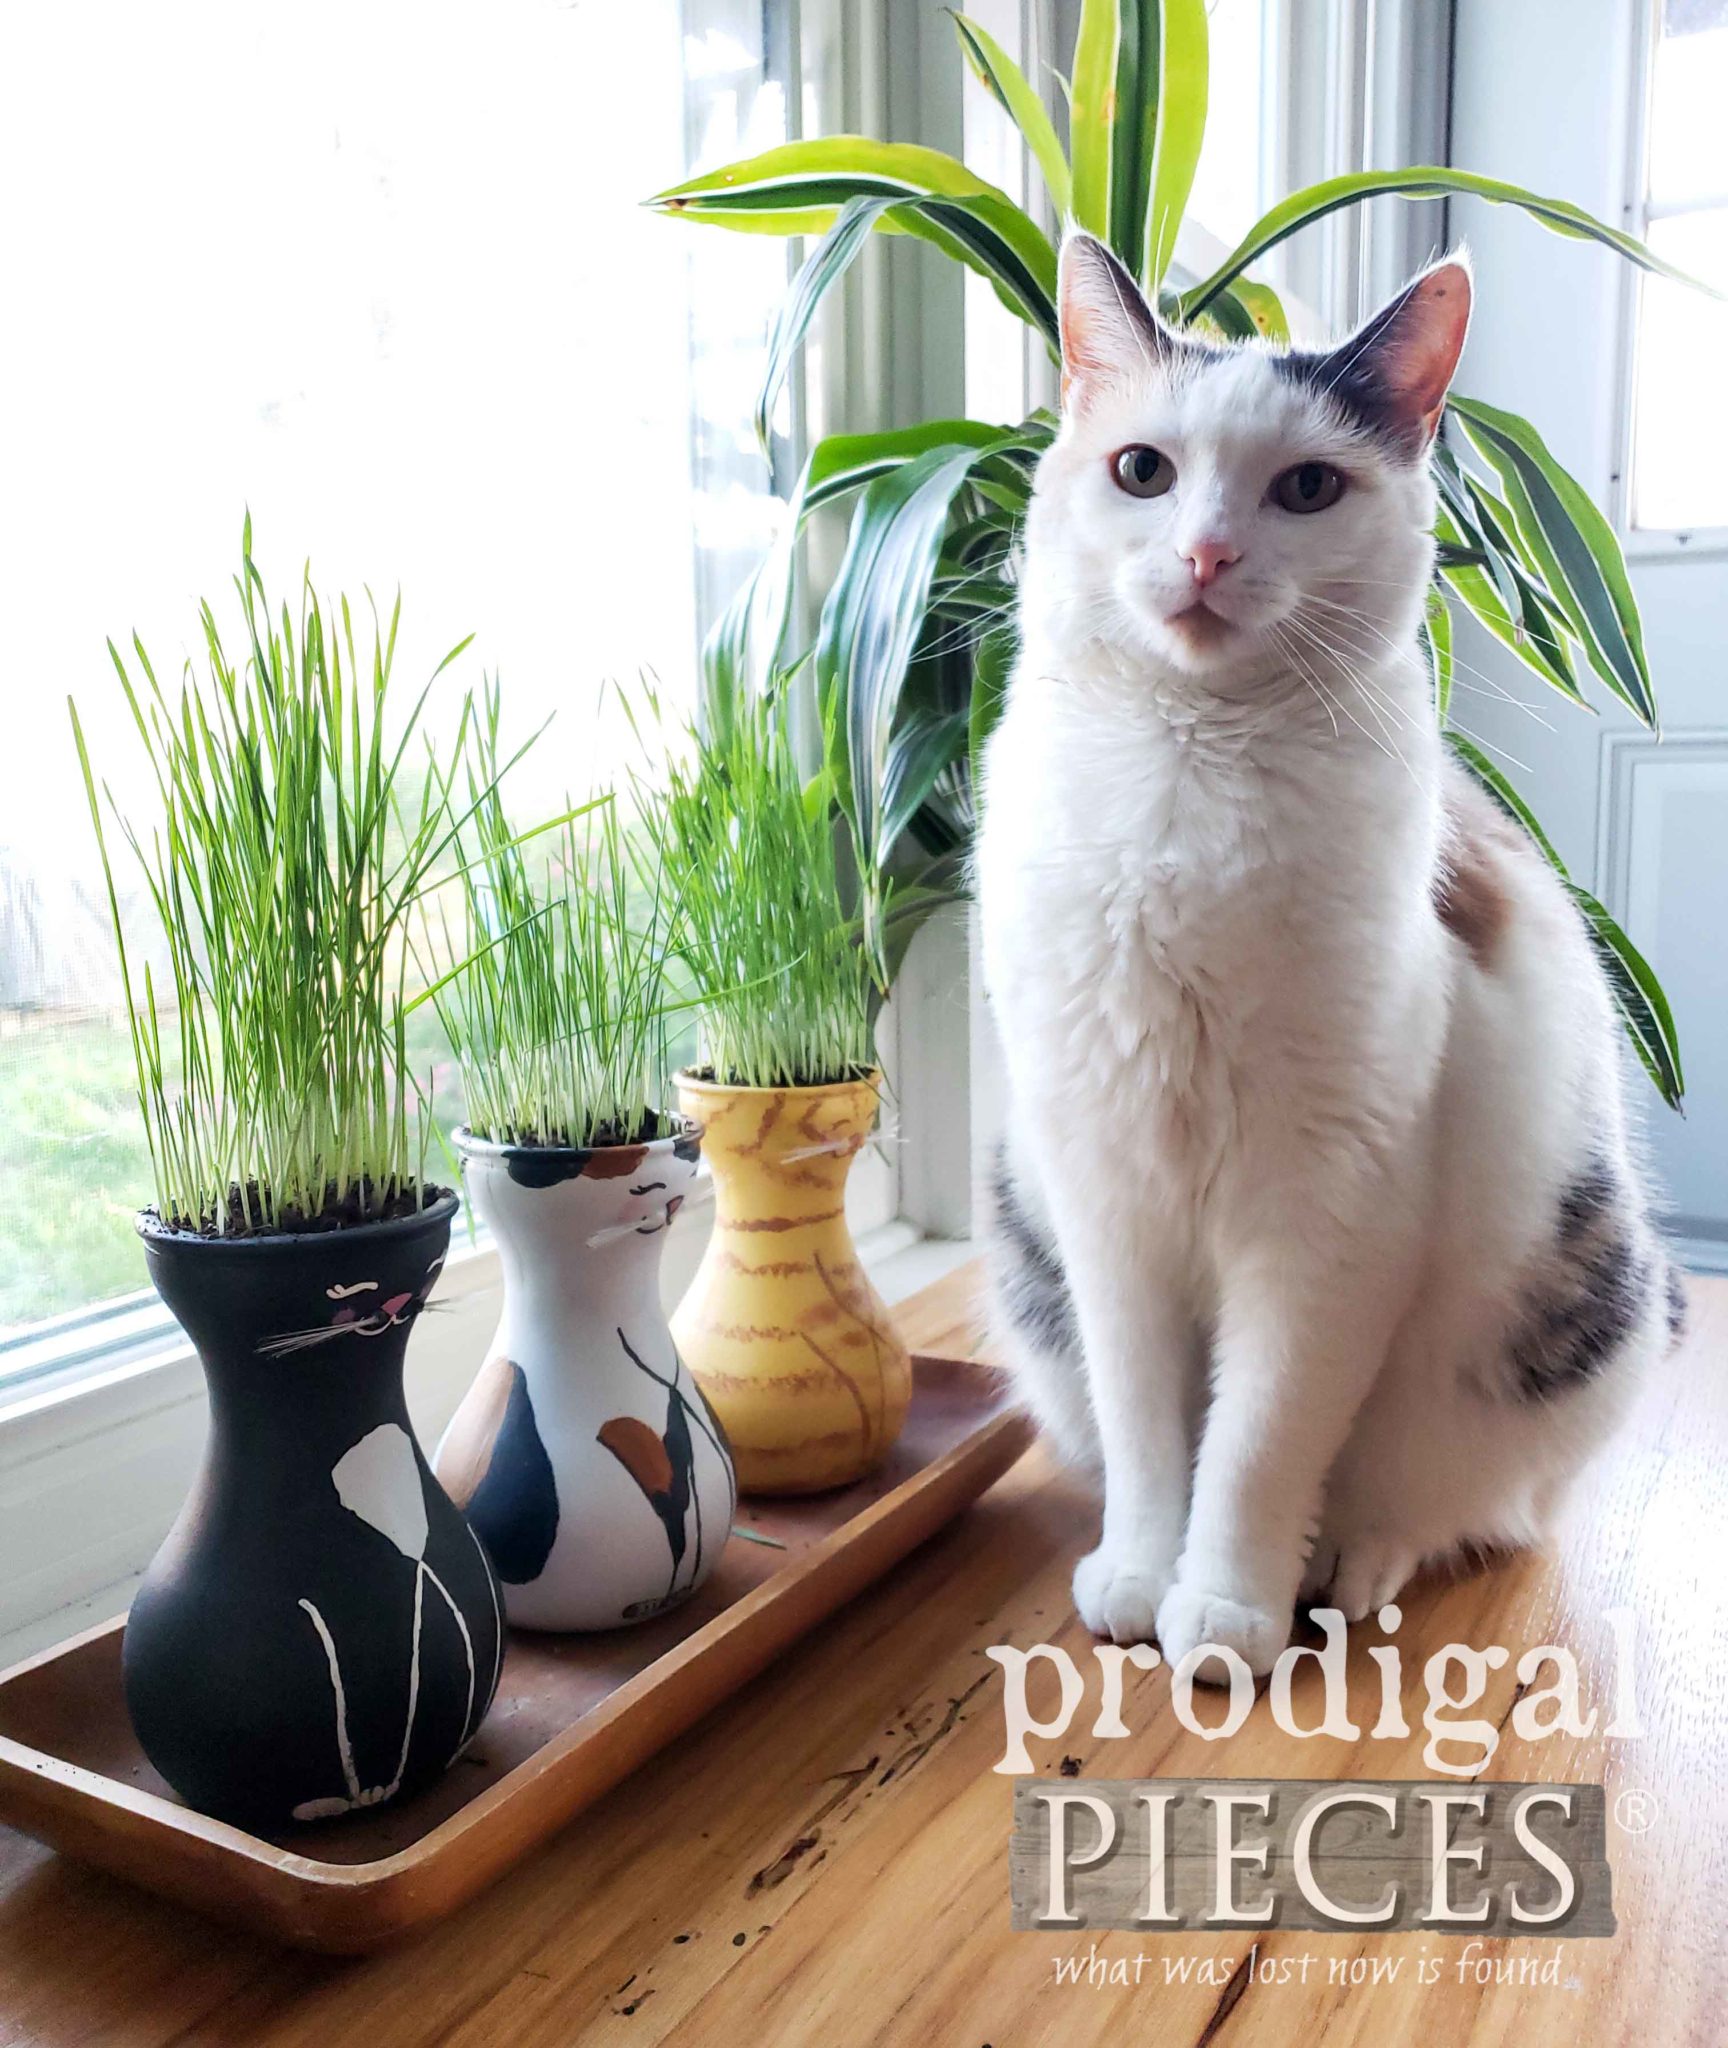
Aren’t they super cute?!? I suppose you can tell I had fun. Of course, one had to be in the likeness of our cat, Lily. Can you guess which one it is?
LOOK AT ‘EM GROW
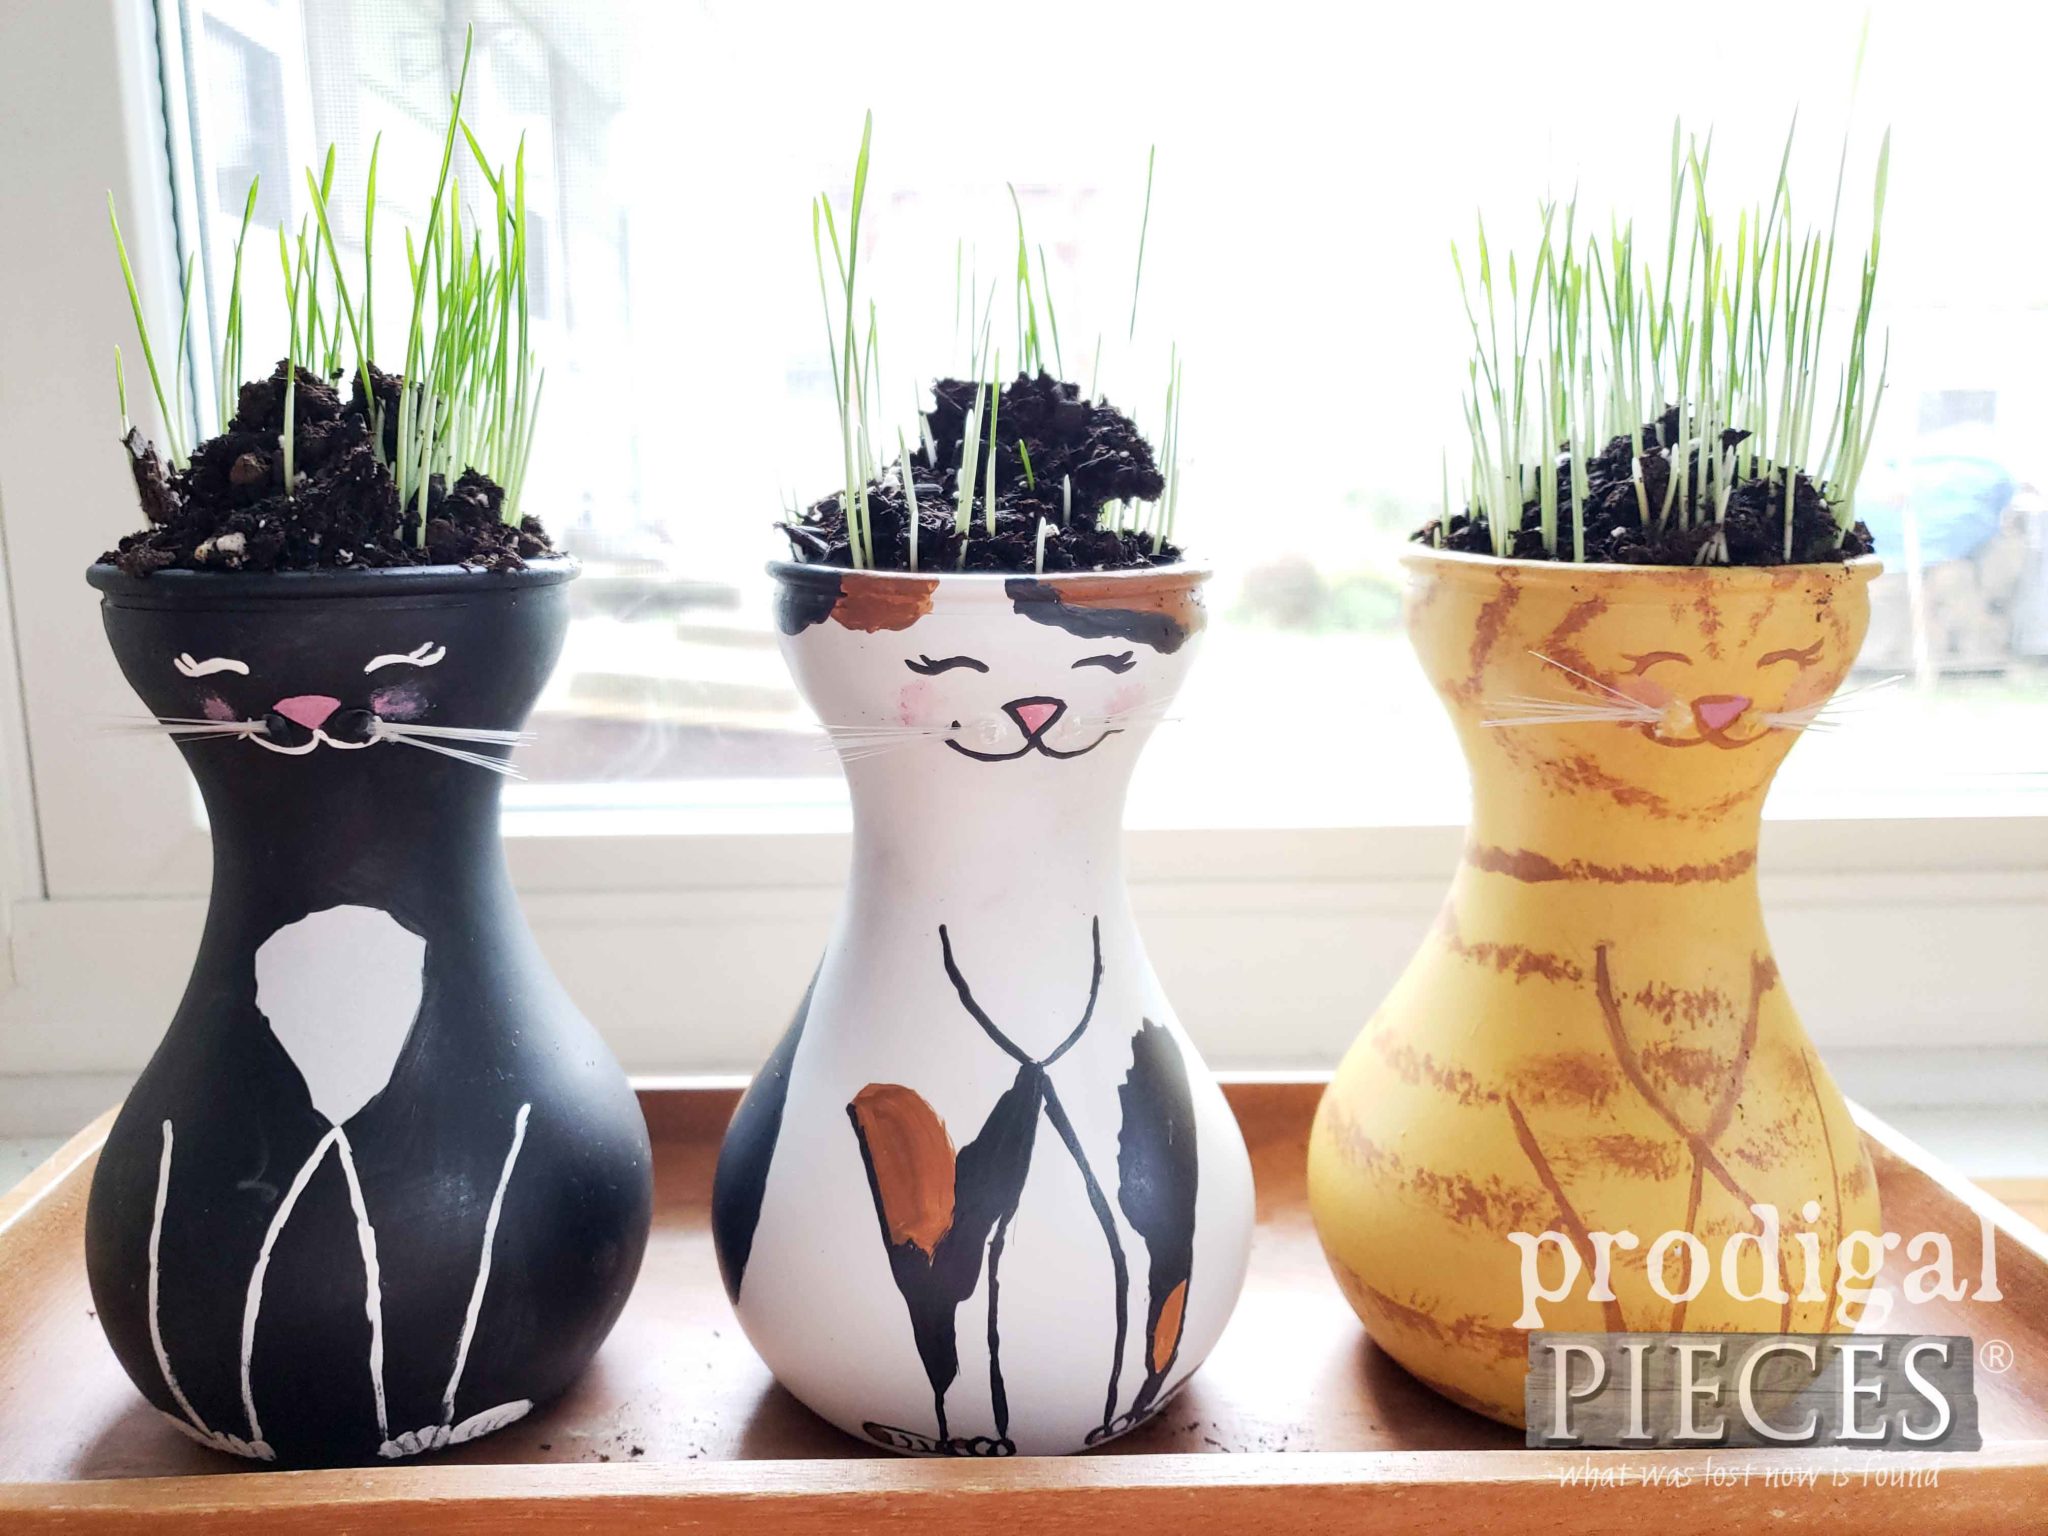
When it’s time to water, use a spray bottle to lightly mist them twice a day until shoots appear. Then, cut back to watering once a day. The DIY cat grass will take off in a matter of days. Kinda like a rocket! Here they are after 5 days…
Later, here they are after seven days of growth. So fast!
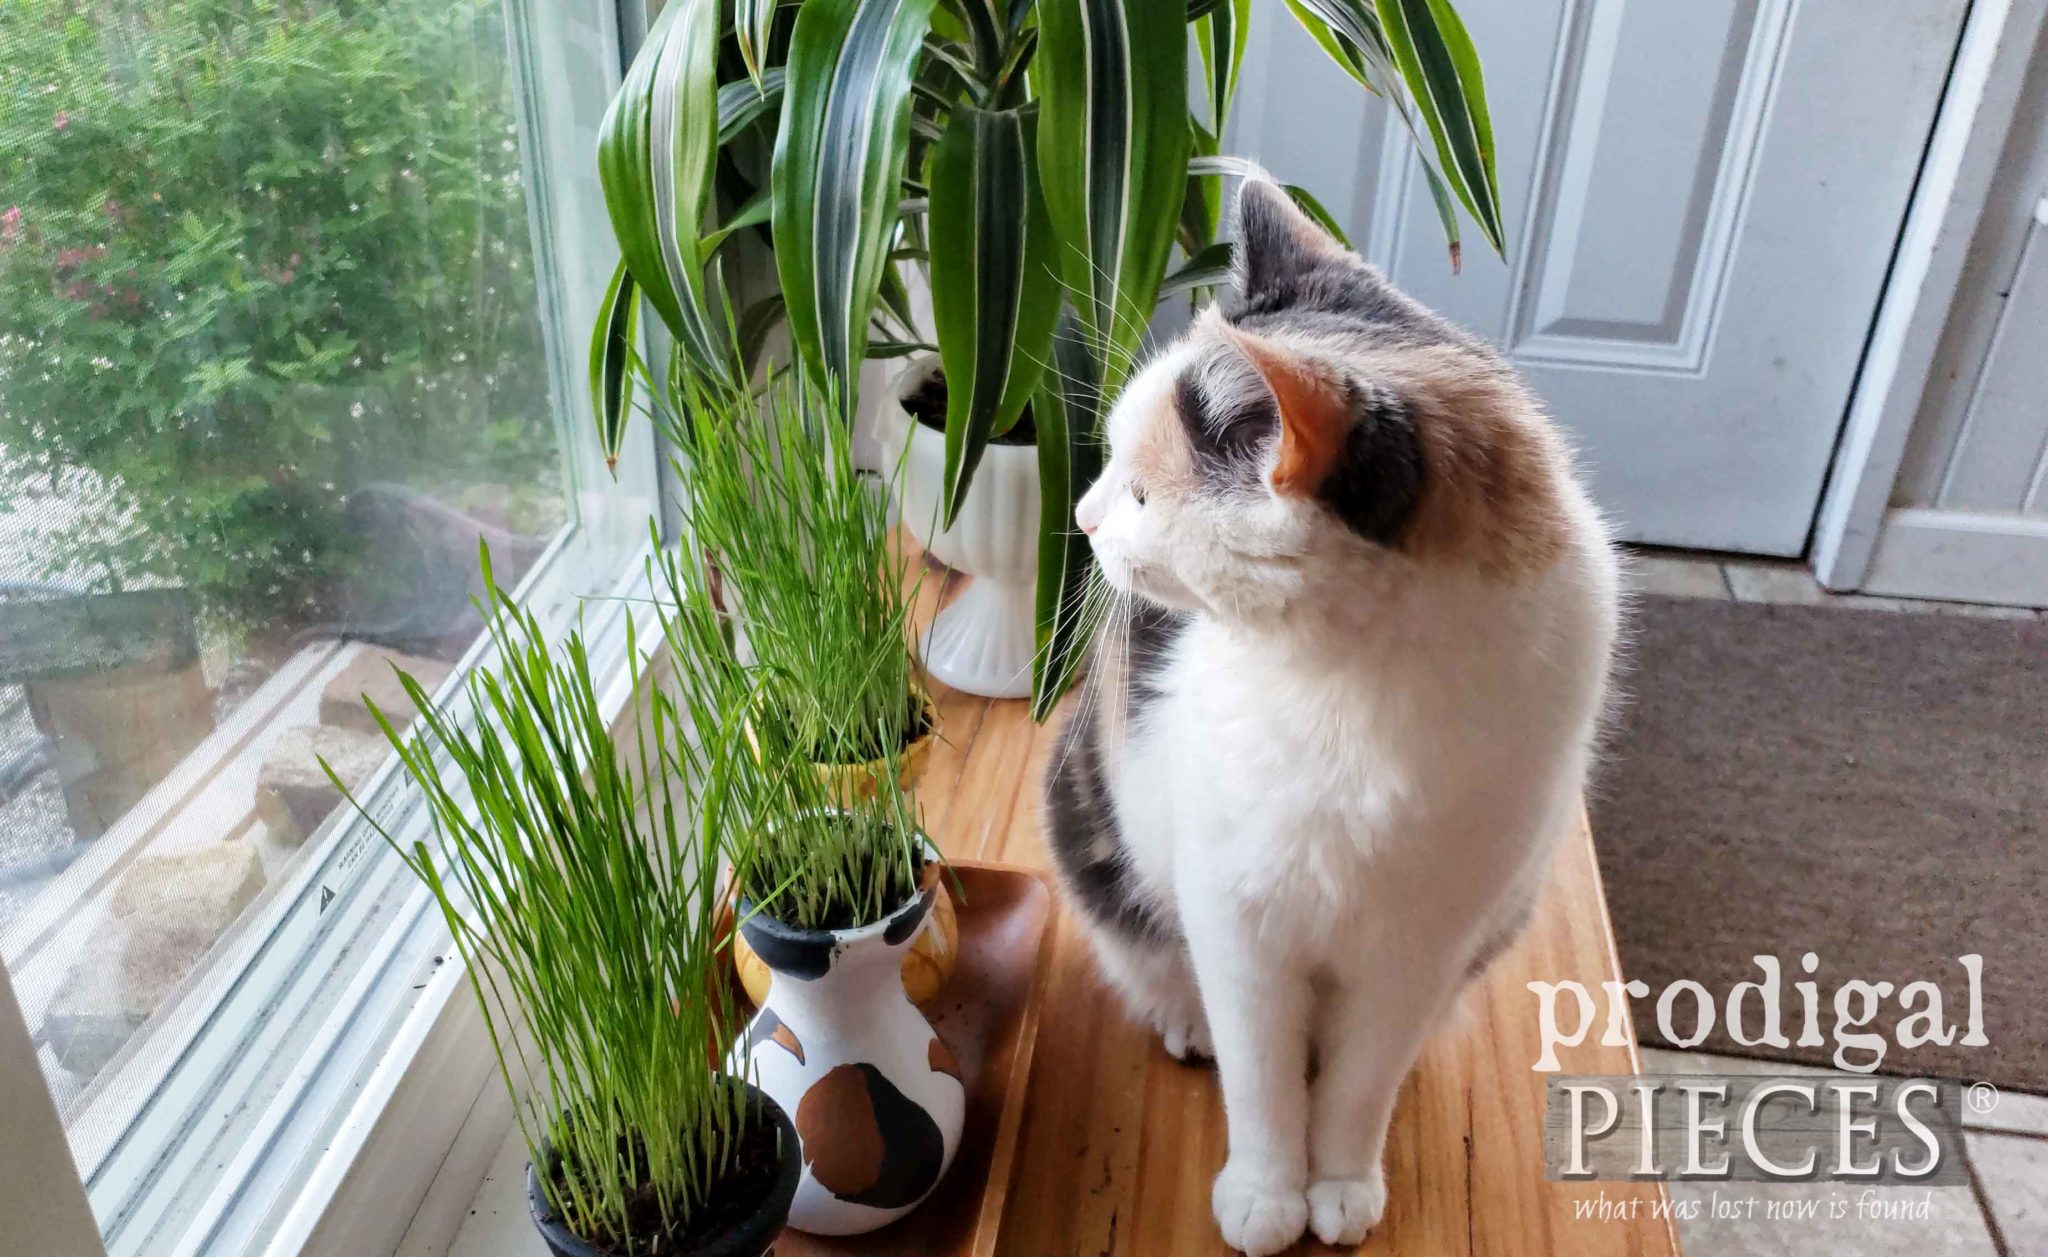
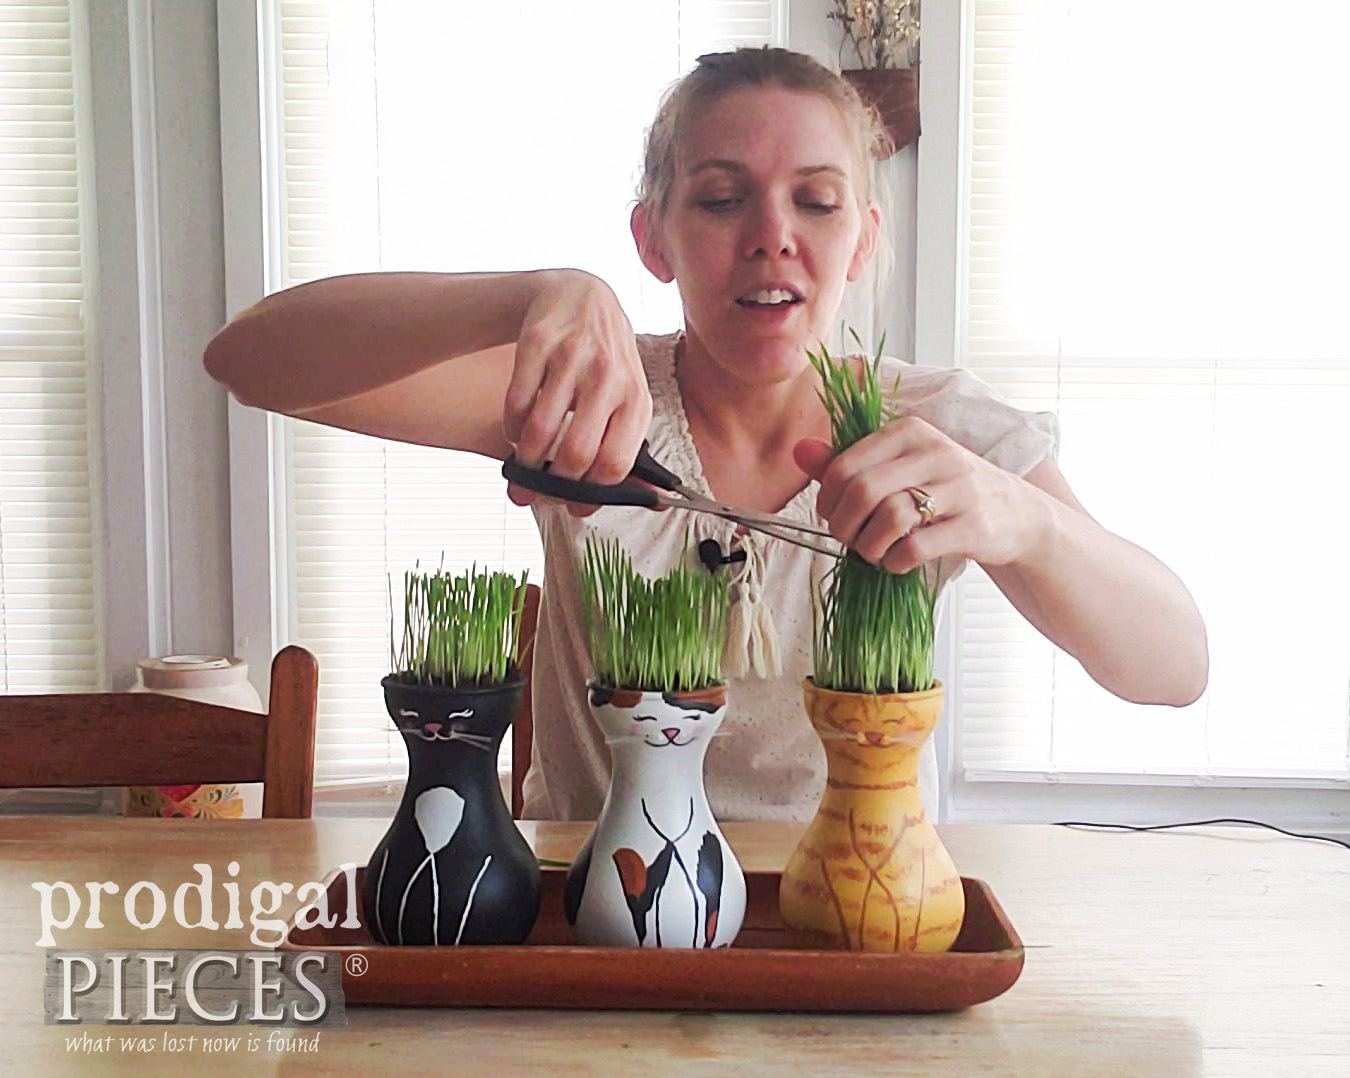
Last, after 10 days of rapid growth, they are ready to be harvested. Imagine if our hair grew that fast. eep!
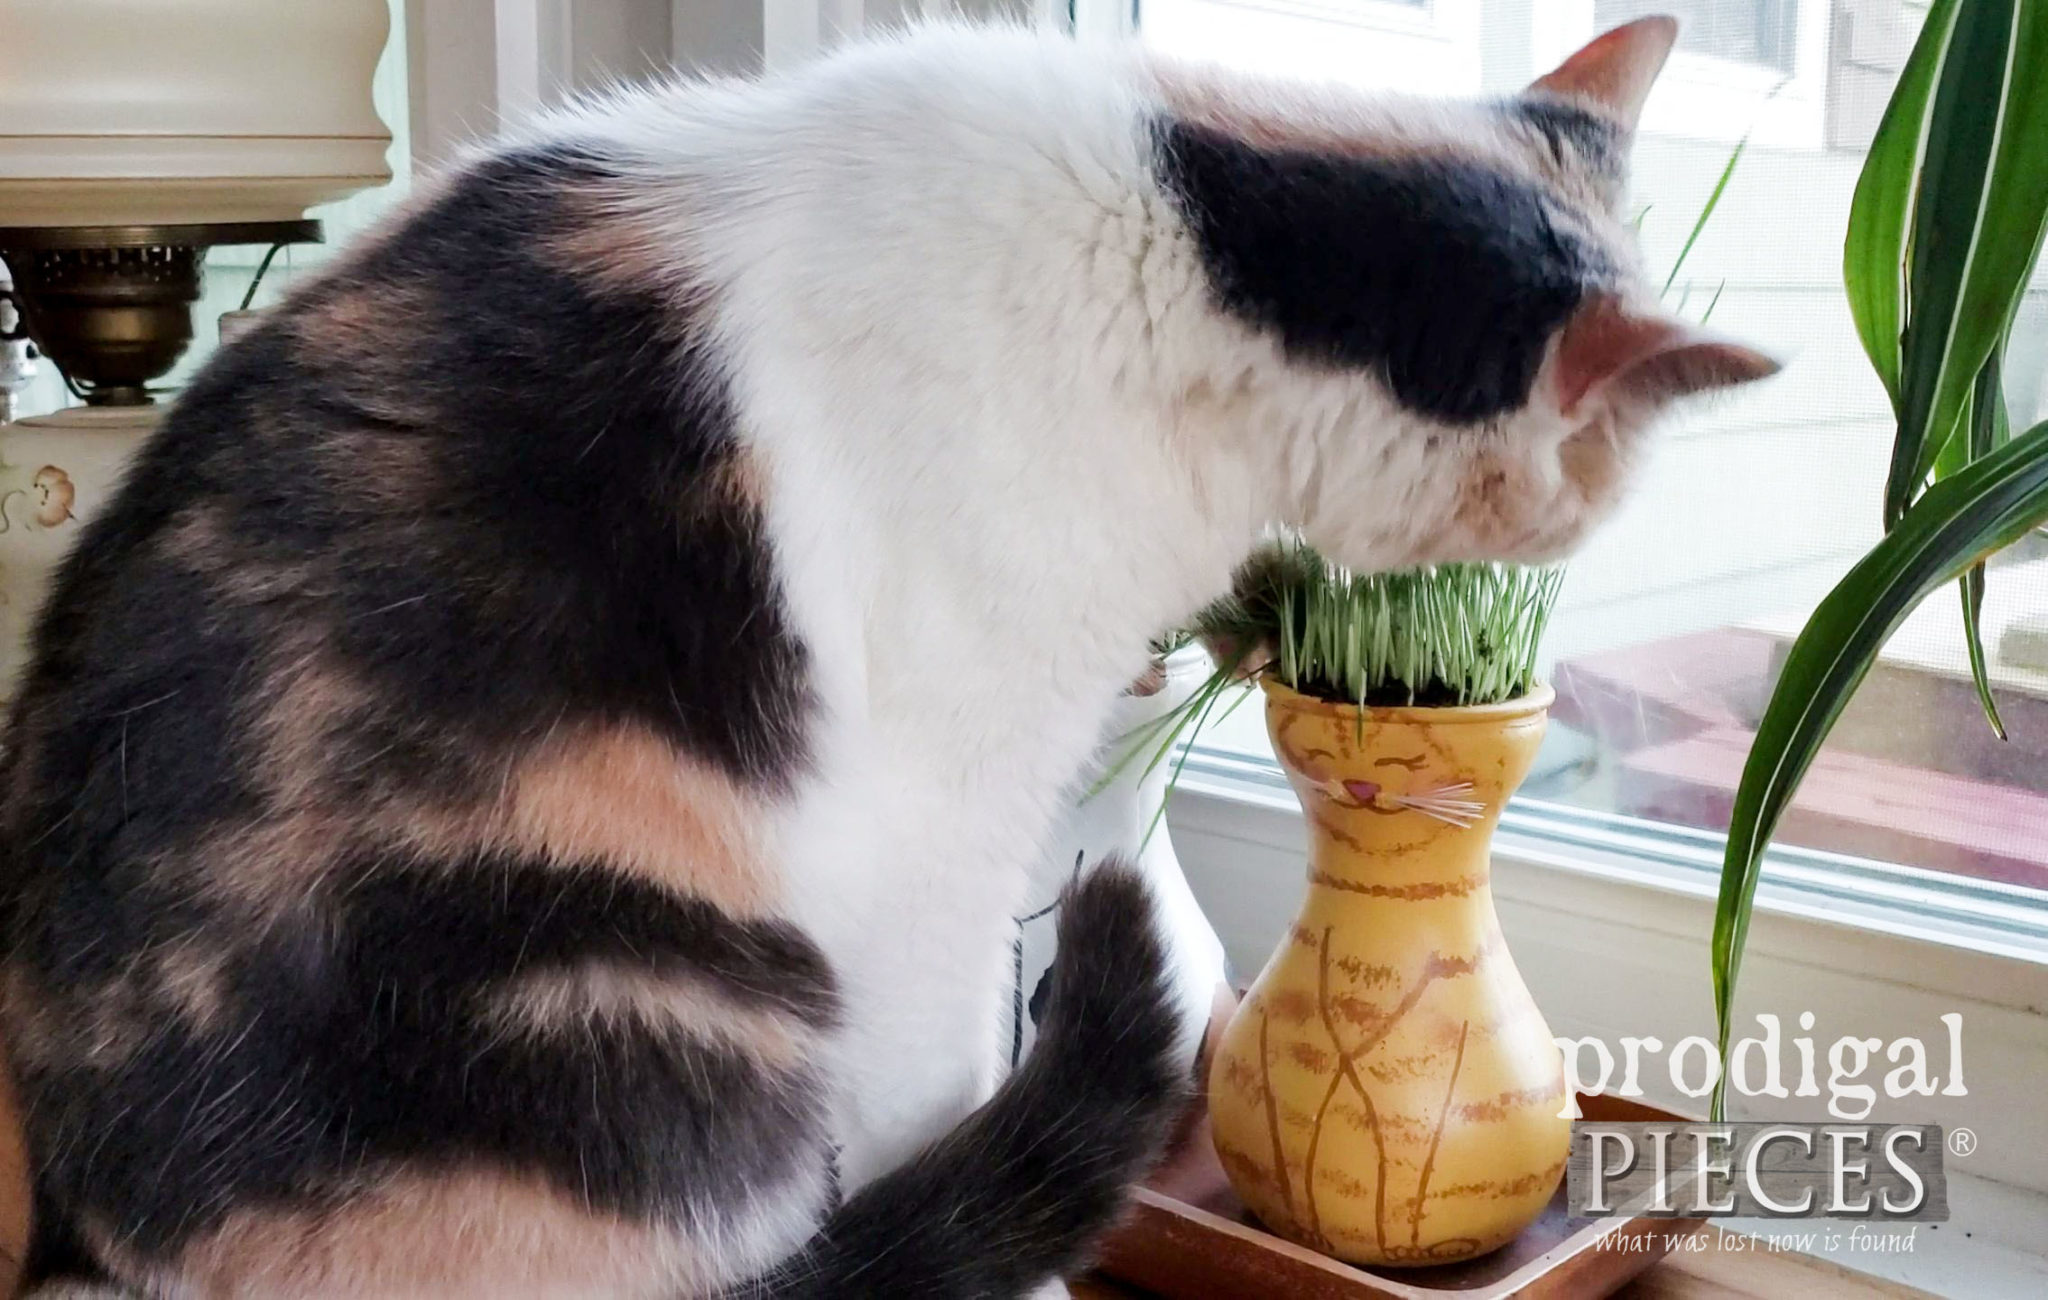
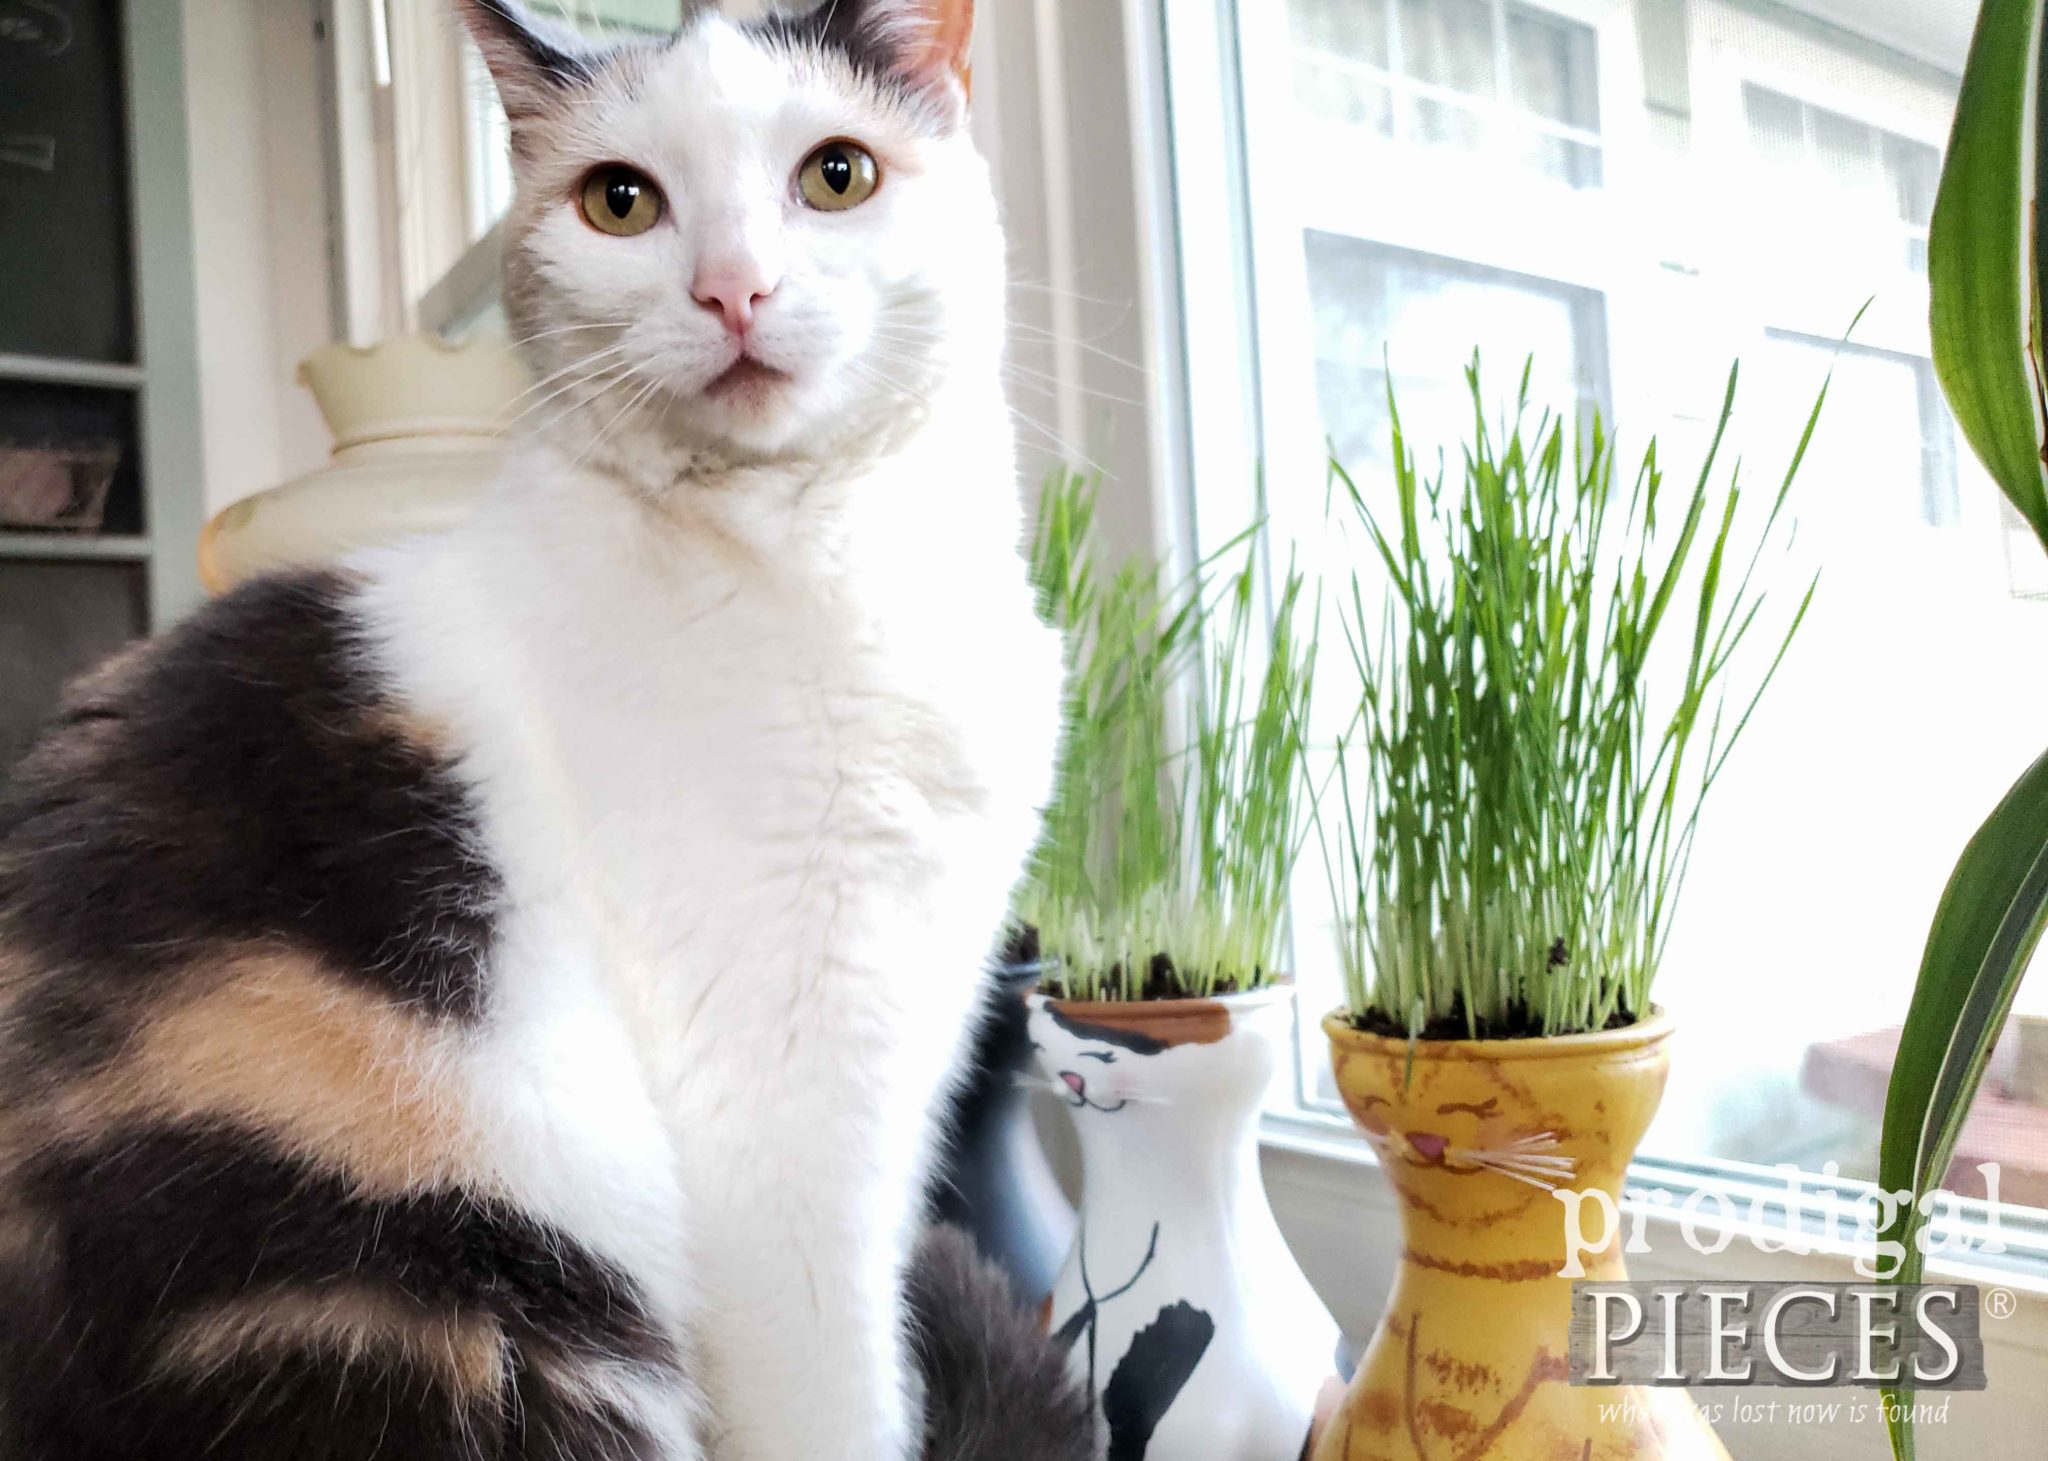
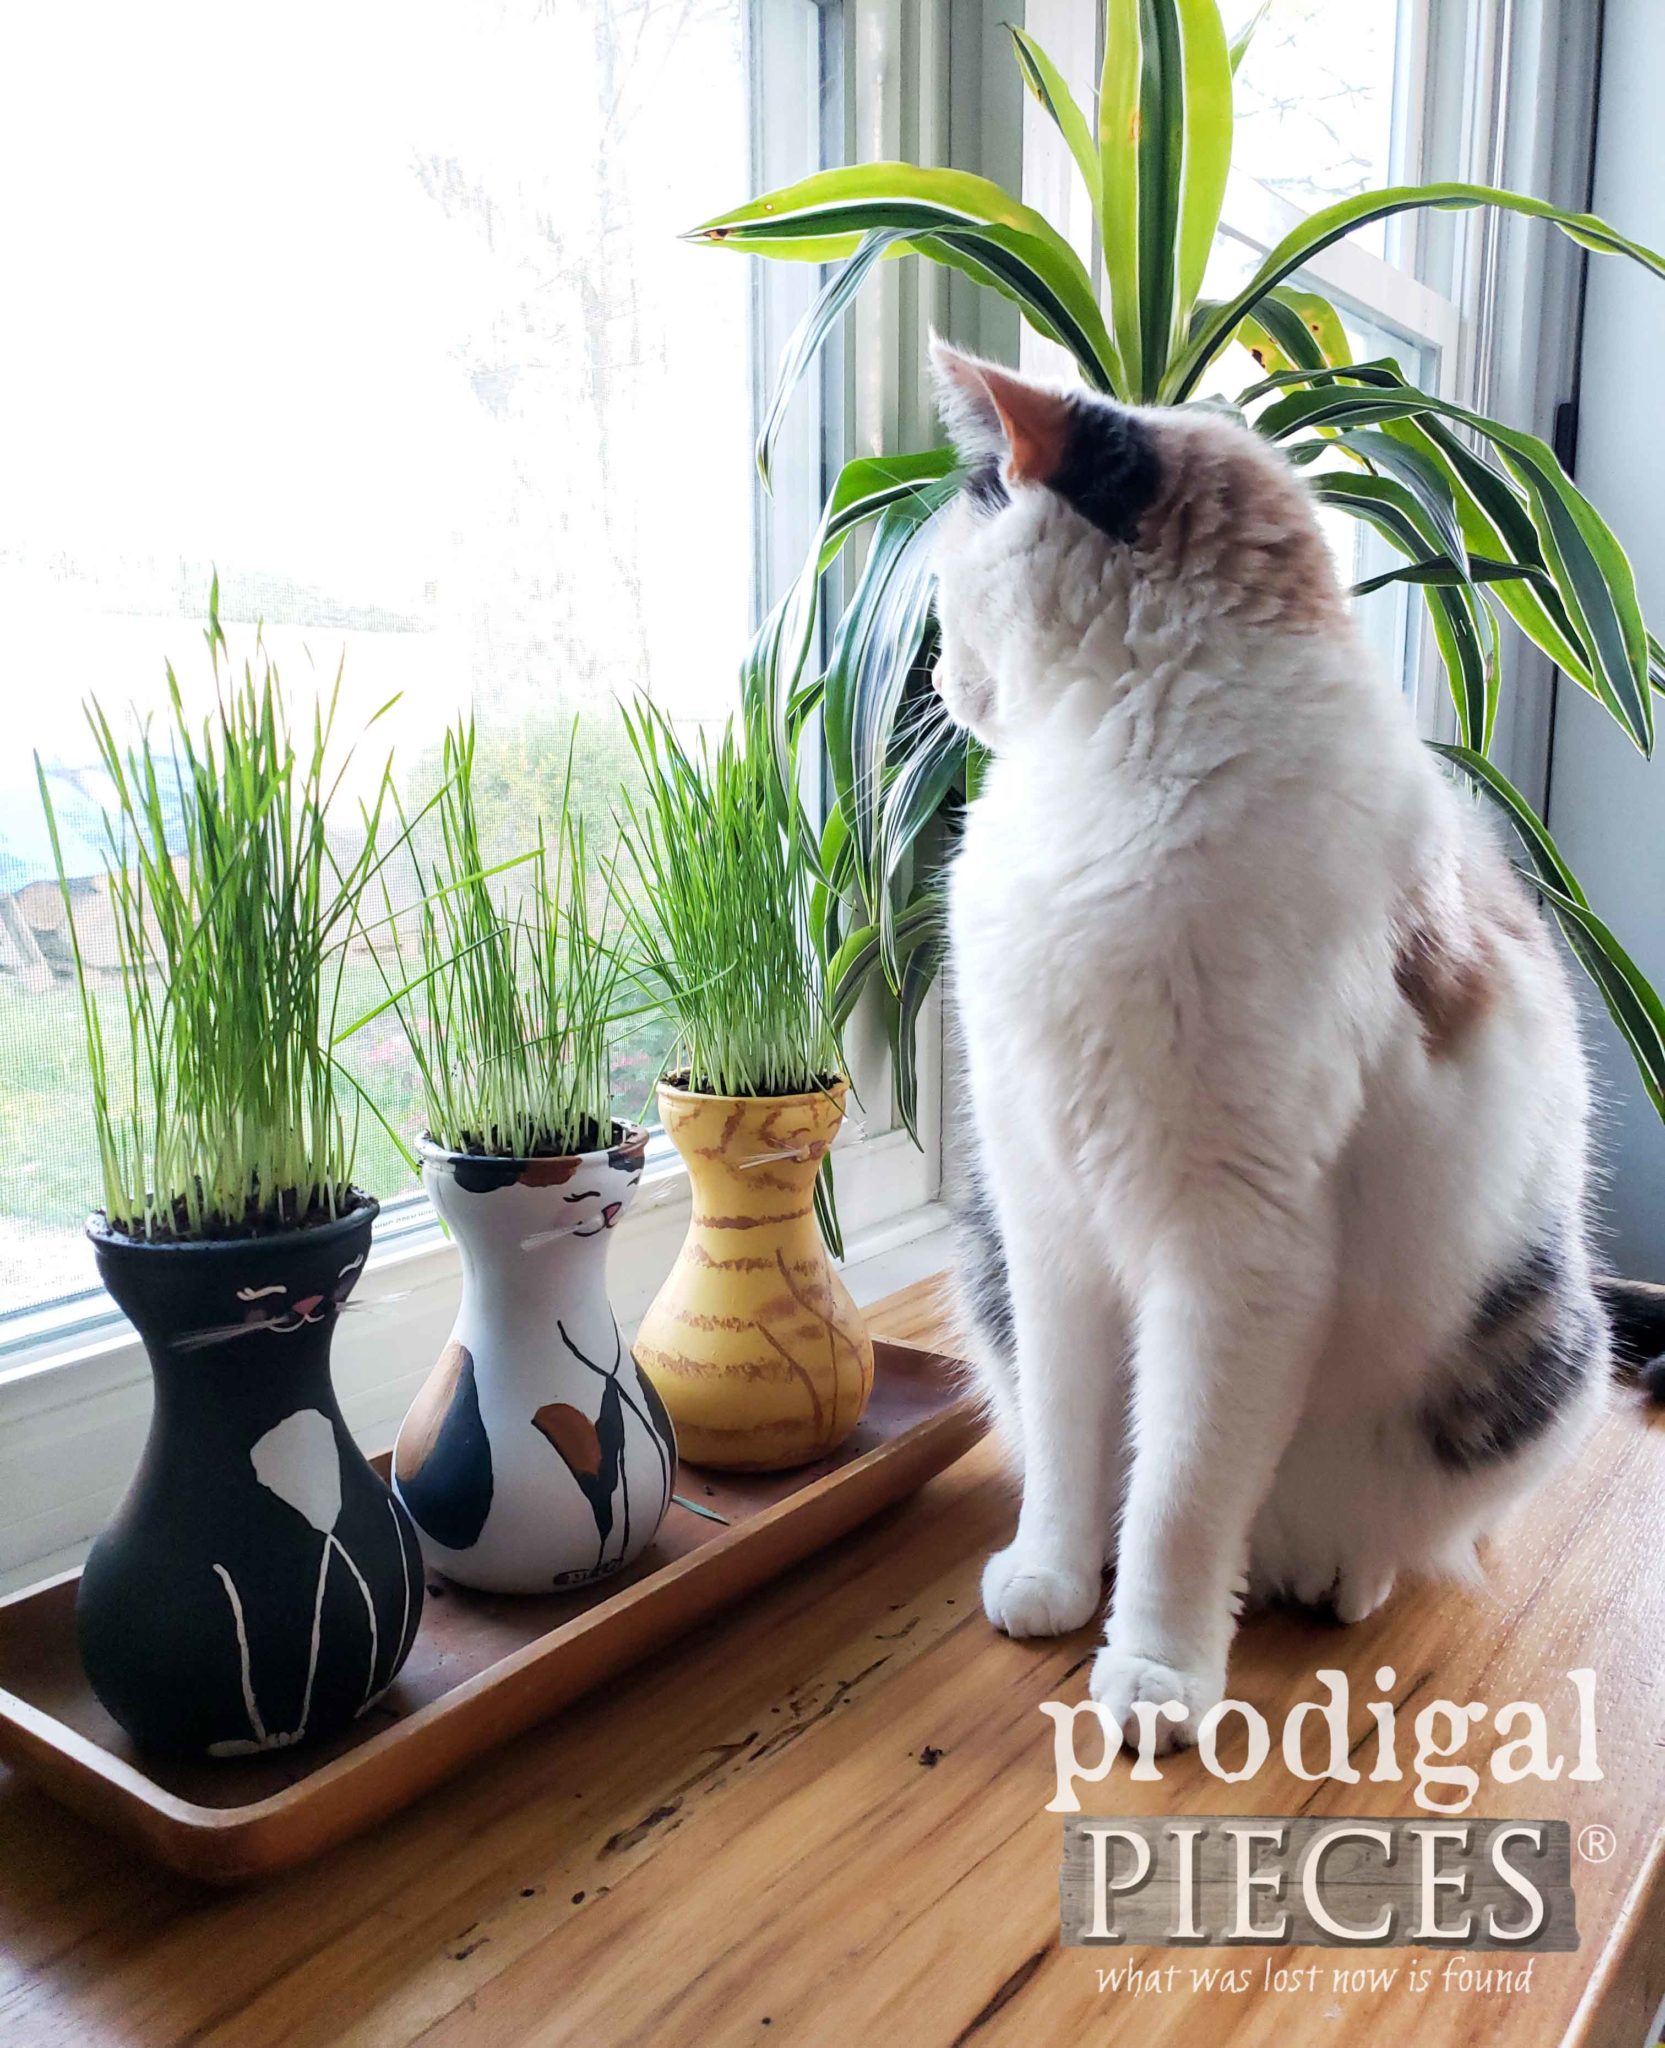
Here’s Lily checking out her new snack buffet…tee hee hee.
She looked at me like, “Is this for me? THANK YOU!” Not only that, but she also loves this spot to grab a bite. Similarly, Lily will especially love this during the winter when outdoor grass is sparse. Bonus: she loves to hide and watch the birds and neighbor cats sneak in our yard too. Silly Lily.
HAPPY CAT
Finally, when the grass reaches about 8″ or so, you can trim off 6″ to use for your own recipes. In addition, if you can’t make use of it in one week’s time, just trim and toss in your compost or yard. In addition, it will help fertilize too.
For example, here’s a link to recipes using wheat grass for snacks and supplements.
Also, I hope you had fun seeing this DIY cat grass tutorial and are inspired to create your own. If not for you, then as a gift too. Additionally, I encourage you to pin and share to inspire others. DIY is fun!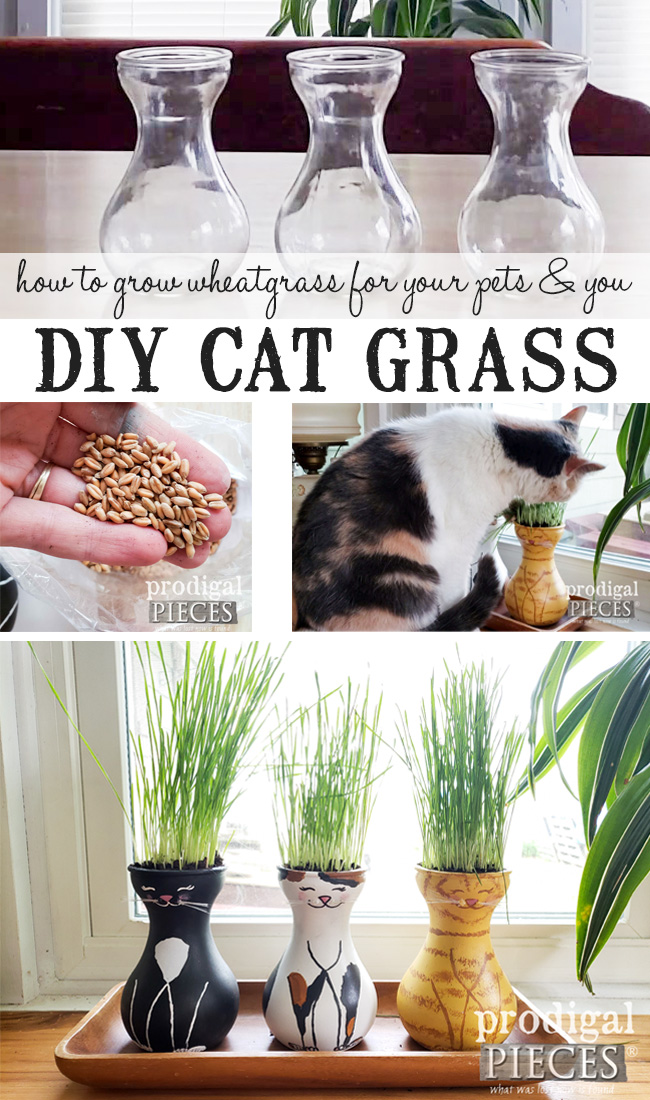
Up next, I get back to my #trashure makeover haul with that set of chairs as my focus. See their new look HERE.
Likewise, before you go, be sure to sign up for my newsletter. Until next time!







Oh Larissa!!! I just LOVED this!!!!! You can imagine!!!!! I wish I could draw a kitty cat as good as you!!! I am definitely going to be trying this!!! X0X0
Happy dance! You’re so fun, Tracey. I’m tickled with the outcome of these for many reasons. I hope you have fun with it too!
These are beyond cute! You have such a fun imagination and talent!
Thank you. Can you tell I had fun?!
Well that was fun! to watch the evolution. and it brought a smile when I saw the final makeover. Lucky Lily
Hooray! Thank you, Joanne. 😀
Your cat vases are hilarious!? So cute! Who would have thought…?!?!? Your painting skills… I am always in awe. What a happy cat!
I grew a few plates of wheat grass every February-ish for years, just for the family to see some green grass. No other grass has ever gotten so much petting, haha! The last 3 years though, instead of grass, we mostly grow mold, ICK! I don’t know what that means, and I’m kind of scared to find out! ?
I love your project! Your kids must think they have the coolest mom…
tee hee! I’m so glad they made you giggle. My family and I are smitten with them! 😀
Well aren’t these just the cutest Larissa! Your Lilly is such a pretty girl, she looks so soft too! It is obvious she loves her grass snacks!!
She’s a sweetheart, but a diva too. ahahaha. Gotta love cats! I’m delighted you enjoyed my tutorial too. Thanks!
Very playful, I like the different kitty’s you chose to paint! My lack of skills couldn’t get this done so I feel like I’d probably just do flat colors. Being allergic to cats and never having them around, I guess I didn’t know they eat grass. It makes sense- our dogs do it all the time. Have a great weekend Larissa!
Thanks! Yes, my dog loves couch grass and eats it quite happily from time to time.