I am so excited to write this post today because I’m always excited Reduce, Reuse, REFASHION day. My goal is to inspire you to whip out that dusty sewing machine, needle and thread, or just plain enjoy watching us create too (for those not sewing minded). Today, I’m showcasing a DIY child’s apron that can be adapted to kids from 1 to 99.
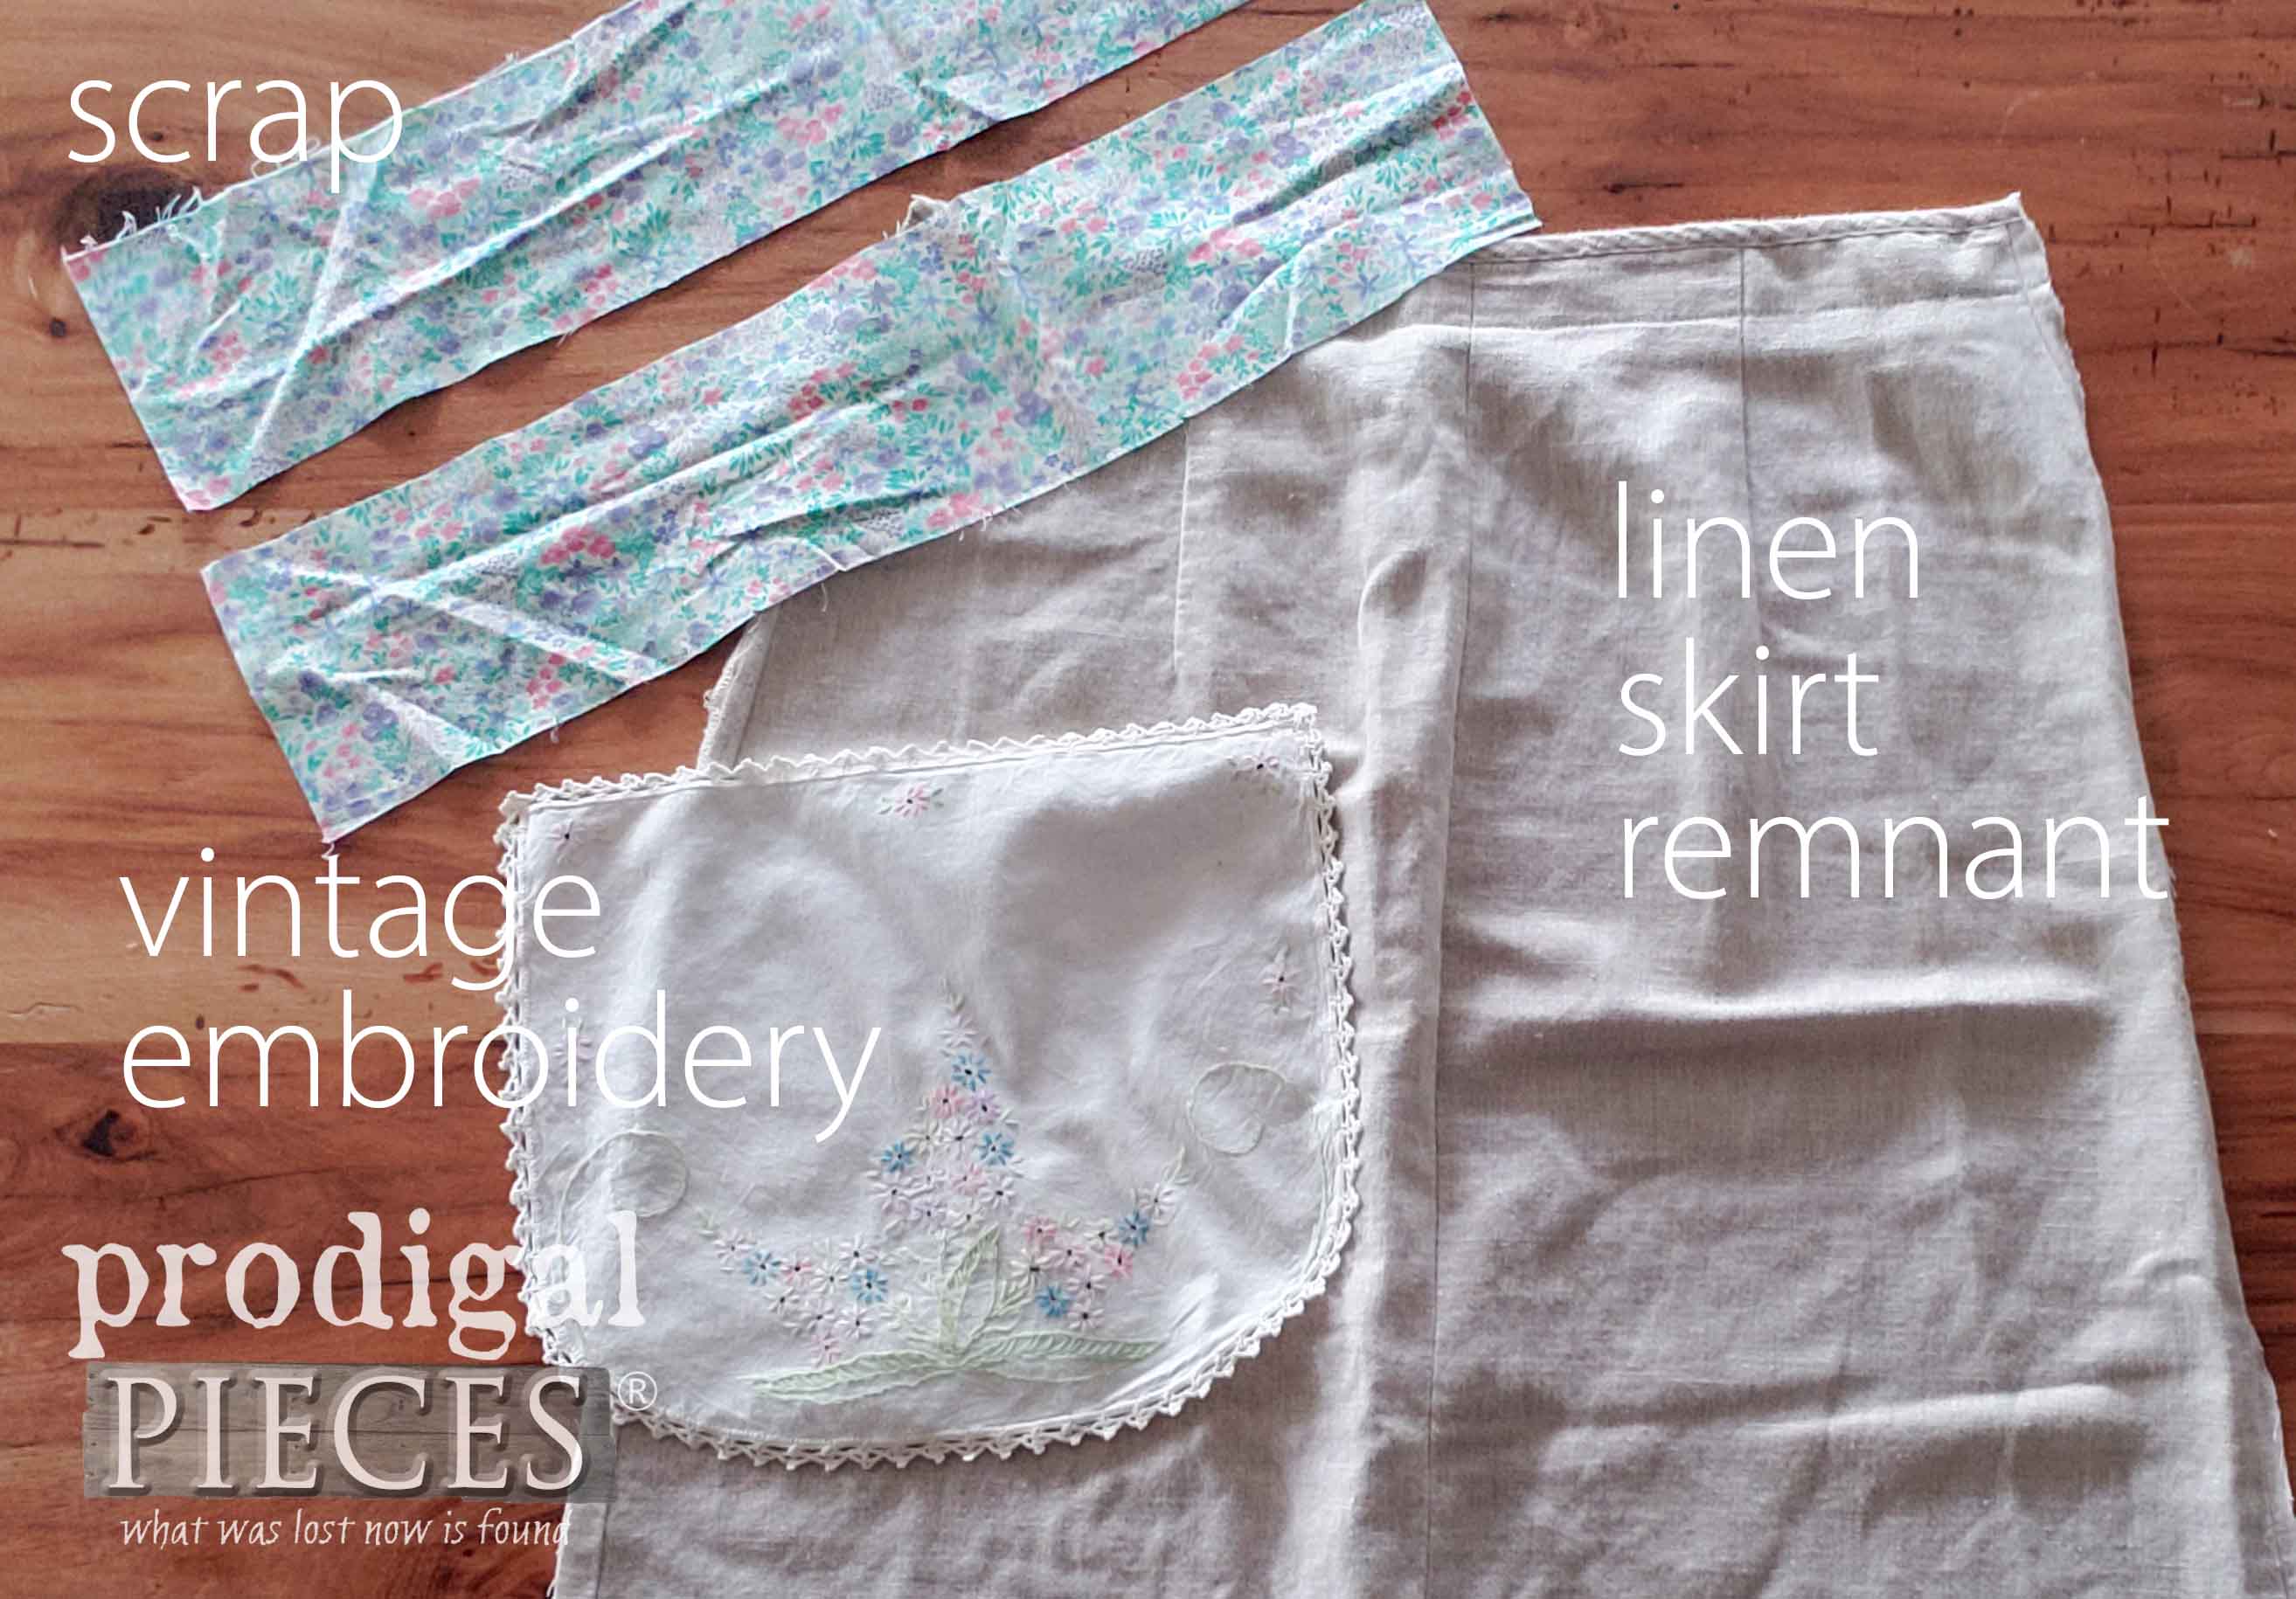
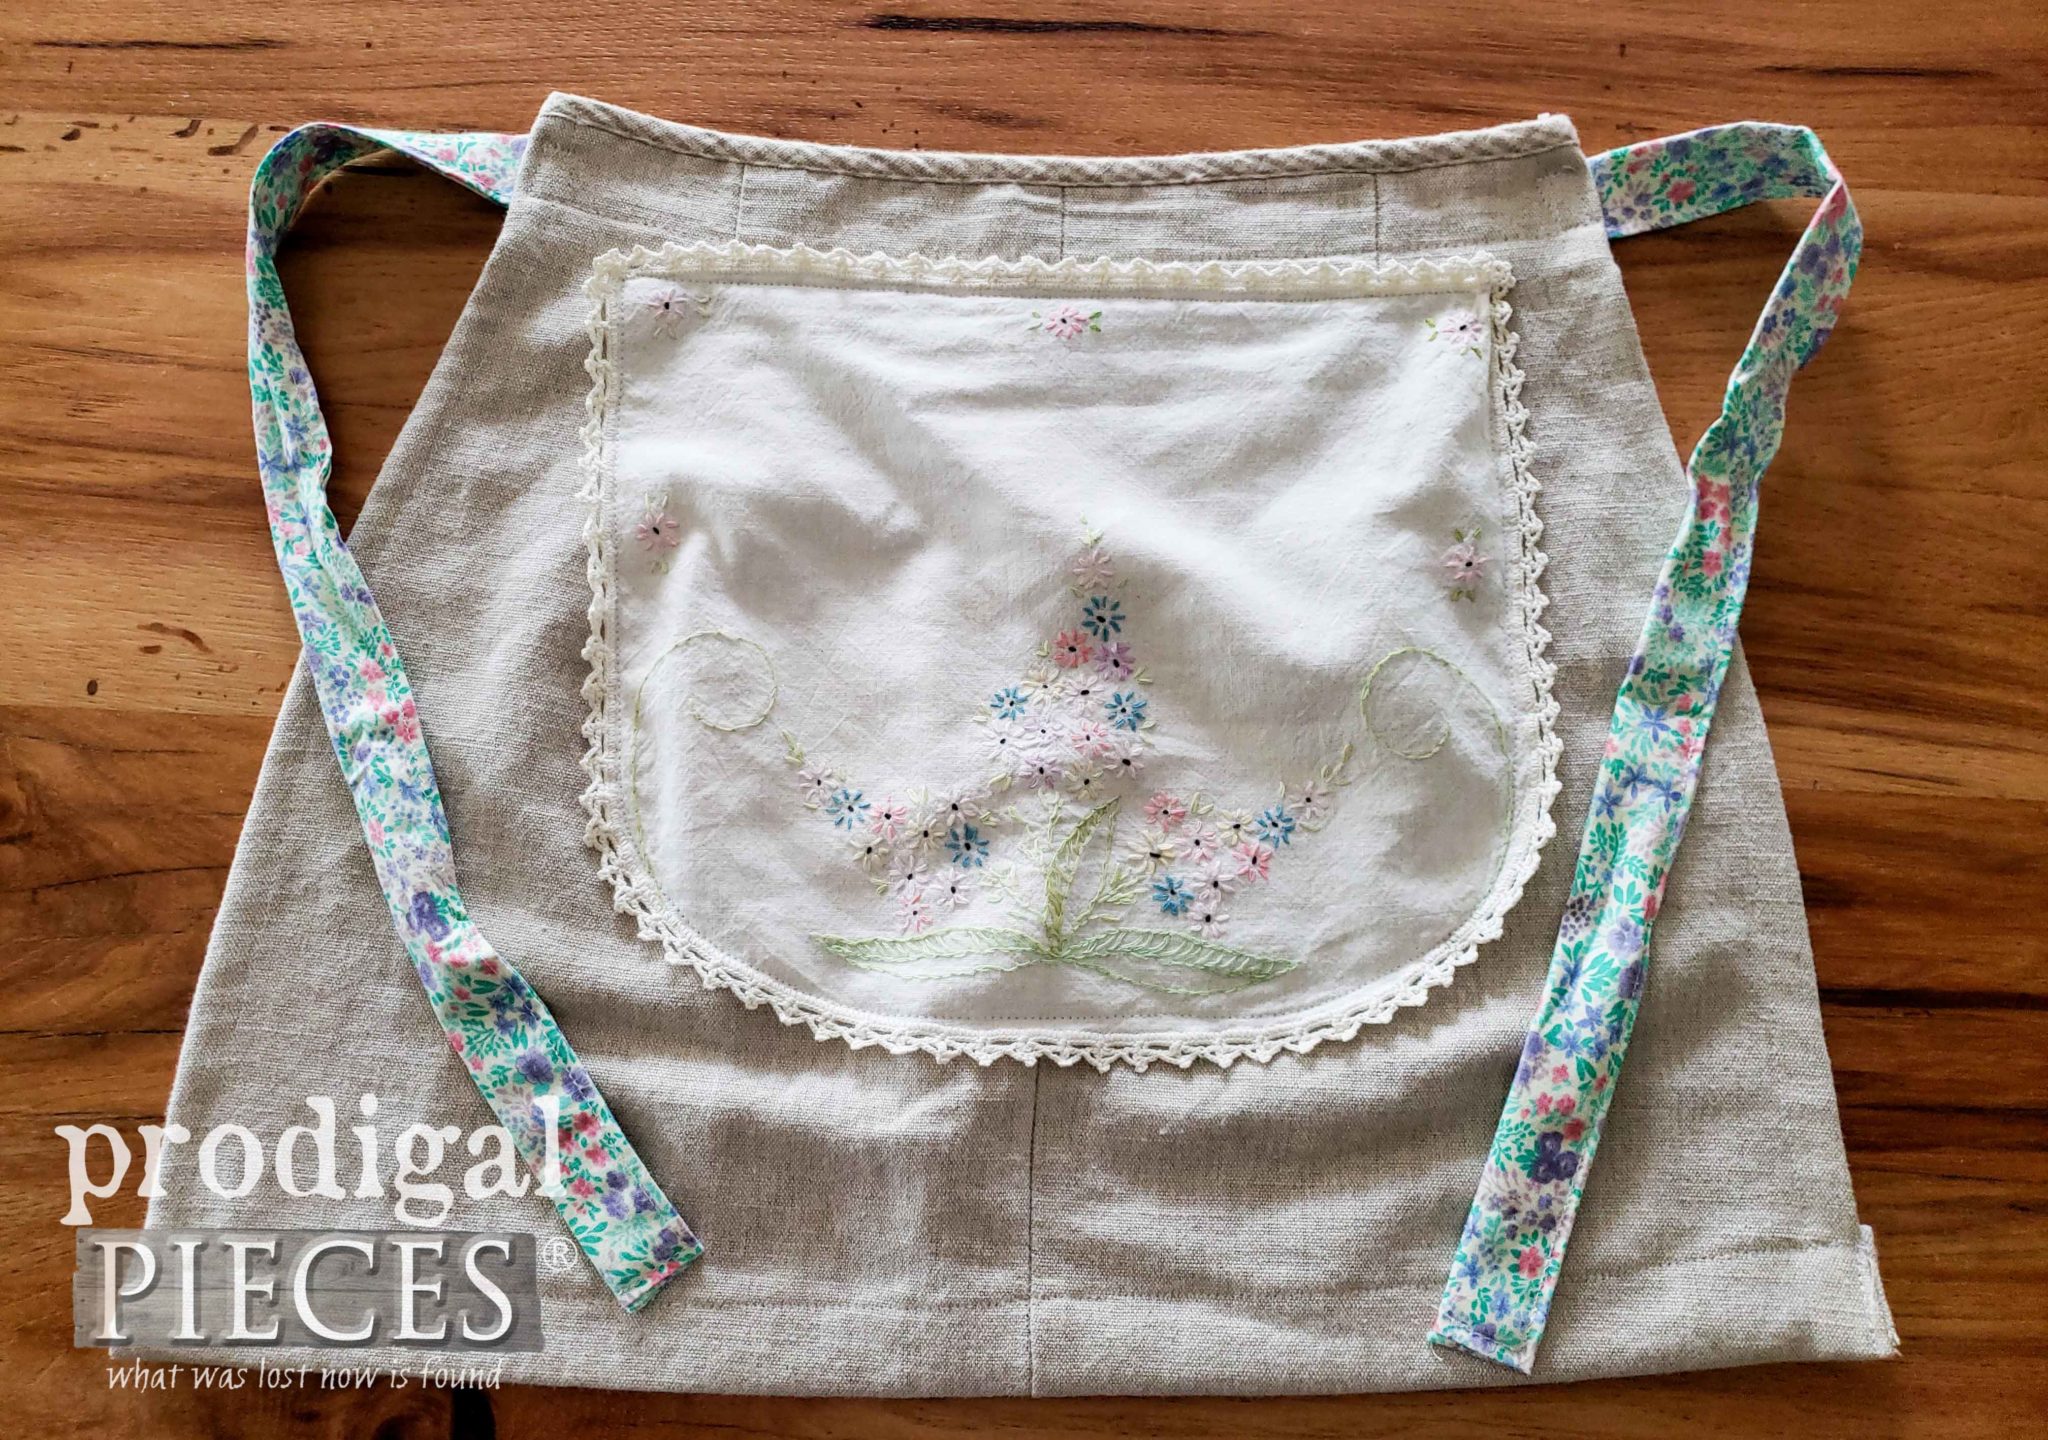
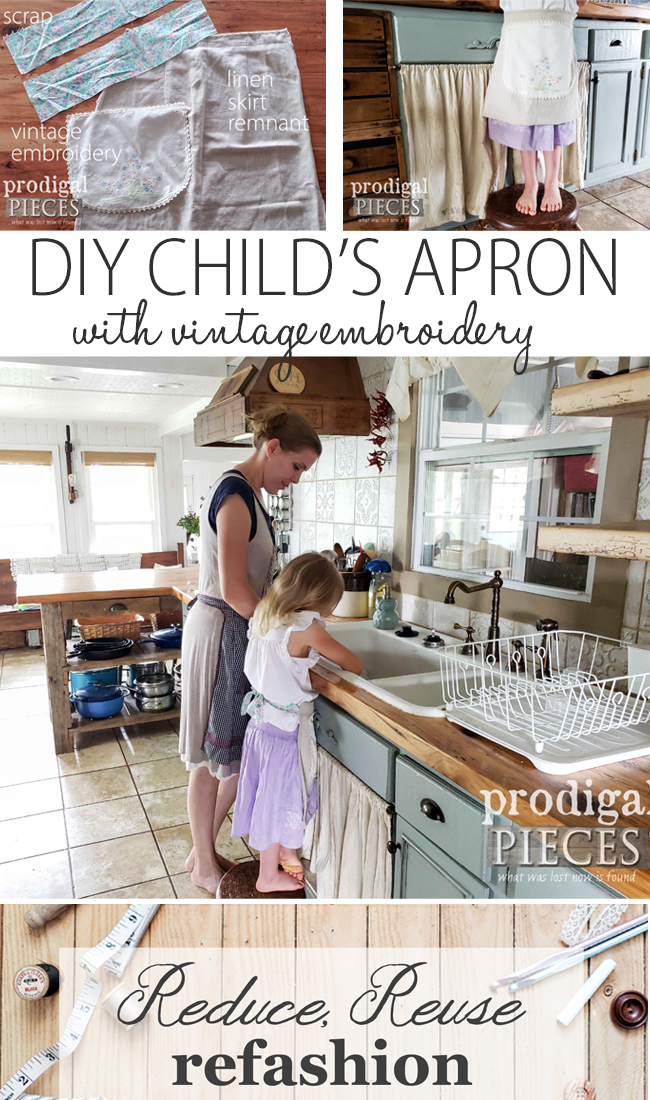
You will see their projects down below in a bit. For now check out what I dug out of my linen stash. What you see above is some scrap fabric, a remnant of my linen skirt from my DIY insulated lunch bag post seen HERE, and vintage embroidery.
Does anyone have an addiction to vintage embroidery like I do? eep! I even adore embroidering things for myself. Every once in awhile I need a stitch fix of some sort, be it sewing, crochet, handwork, etc. It’s a soothing craft and allows me to think, be still, and create.
SEWING TIME
The DIY child’s apron I’m creating today is requested by my littlest girl. With 3 older sisters and a mama who get to wear fun aprons, she is always feeling left out. I have a vintage collection that I enjoy, but also making my own is fun too. I even offer a linen demi chef apron in my shop as well.
For those of you who prefer a video tutorial, I have that available for your viewing pleasure below. However, I’m also sharing the full tutorial in this post so you can print it out if need be.
Let’s get started! Here’s what you’ll need:
- sewing machine (you can hand-stitch too, if you prefer)
- fabric measuring tape
- sewing scissors
- clothing iron
- measurements of child (or adult as this is a versatile pattern)
- fabric (or bias tape or ribbon) for apron ties
- fabric for apron
- vintage embroidery – optional, but oh so fun
Step 1
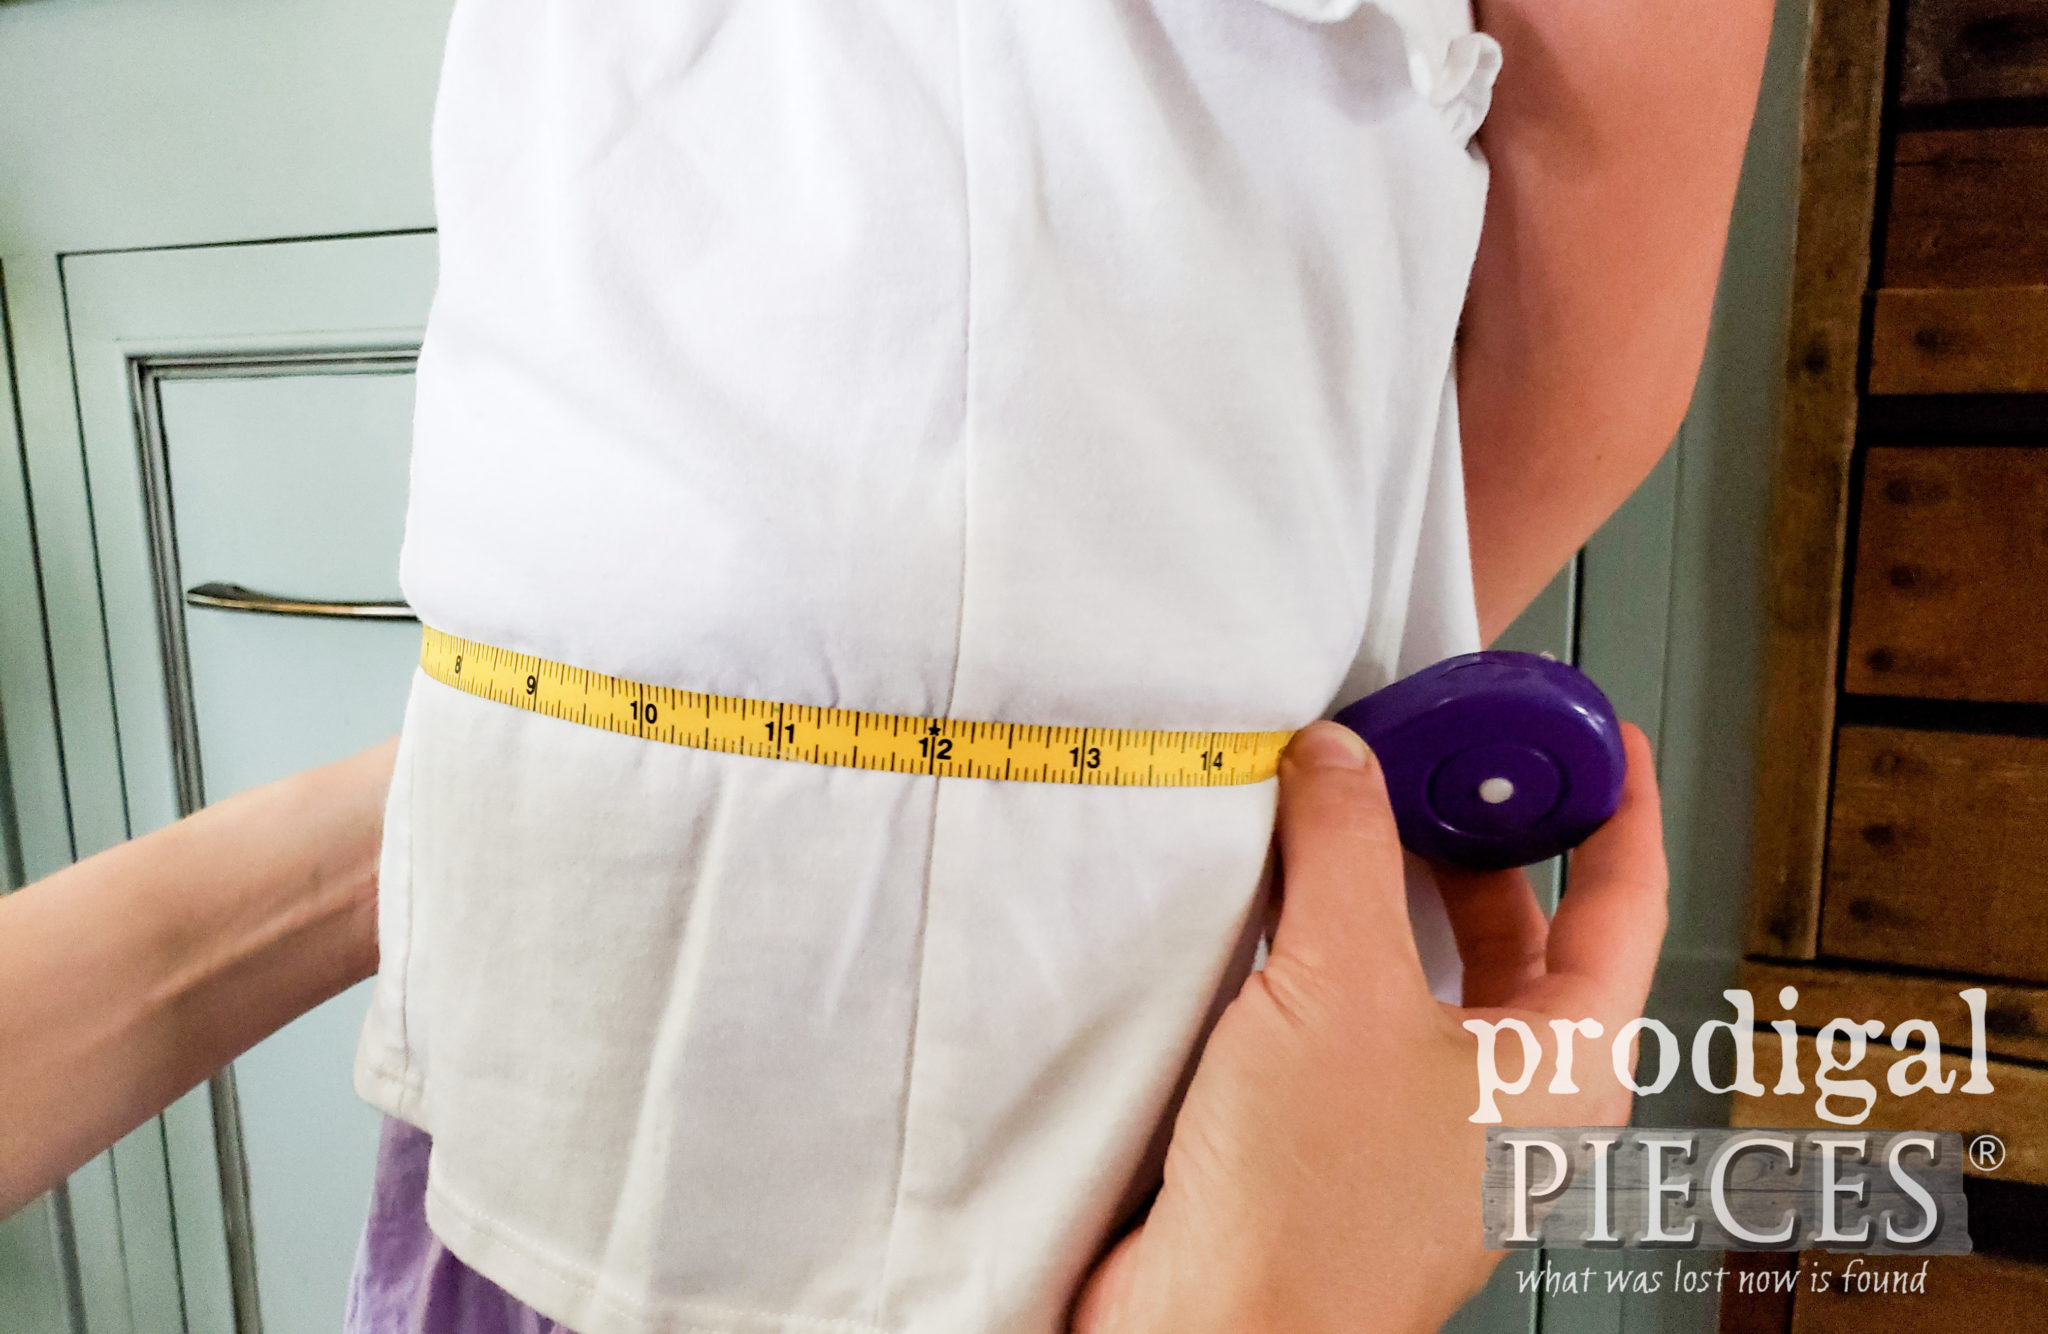
In order to get this to fit your child appropriately, you;’ll need to measure them roughly from hip to hip. We’re aiming for just behind the hip bone for nice coverage. For instance, my girl measured 15″. Then, I add an inch to each side to make it a total of 16″. This allows for turning the edges in a half inch twice.
It just so happened that the skirt remnant is the exact width I needed. All I had to do was finish the edges and hem. You could totally use a skirt off a child’s dress or similar with the same result.
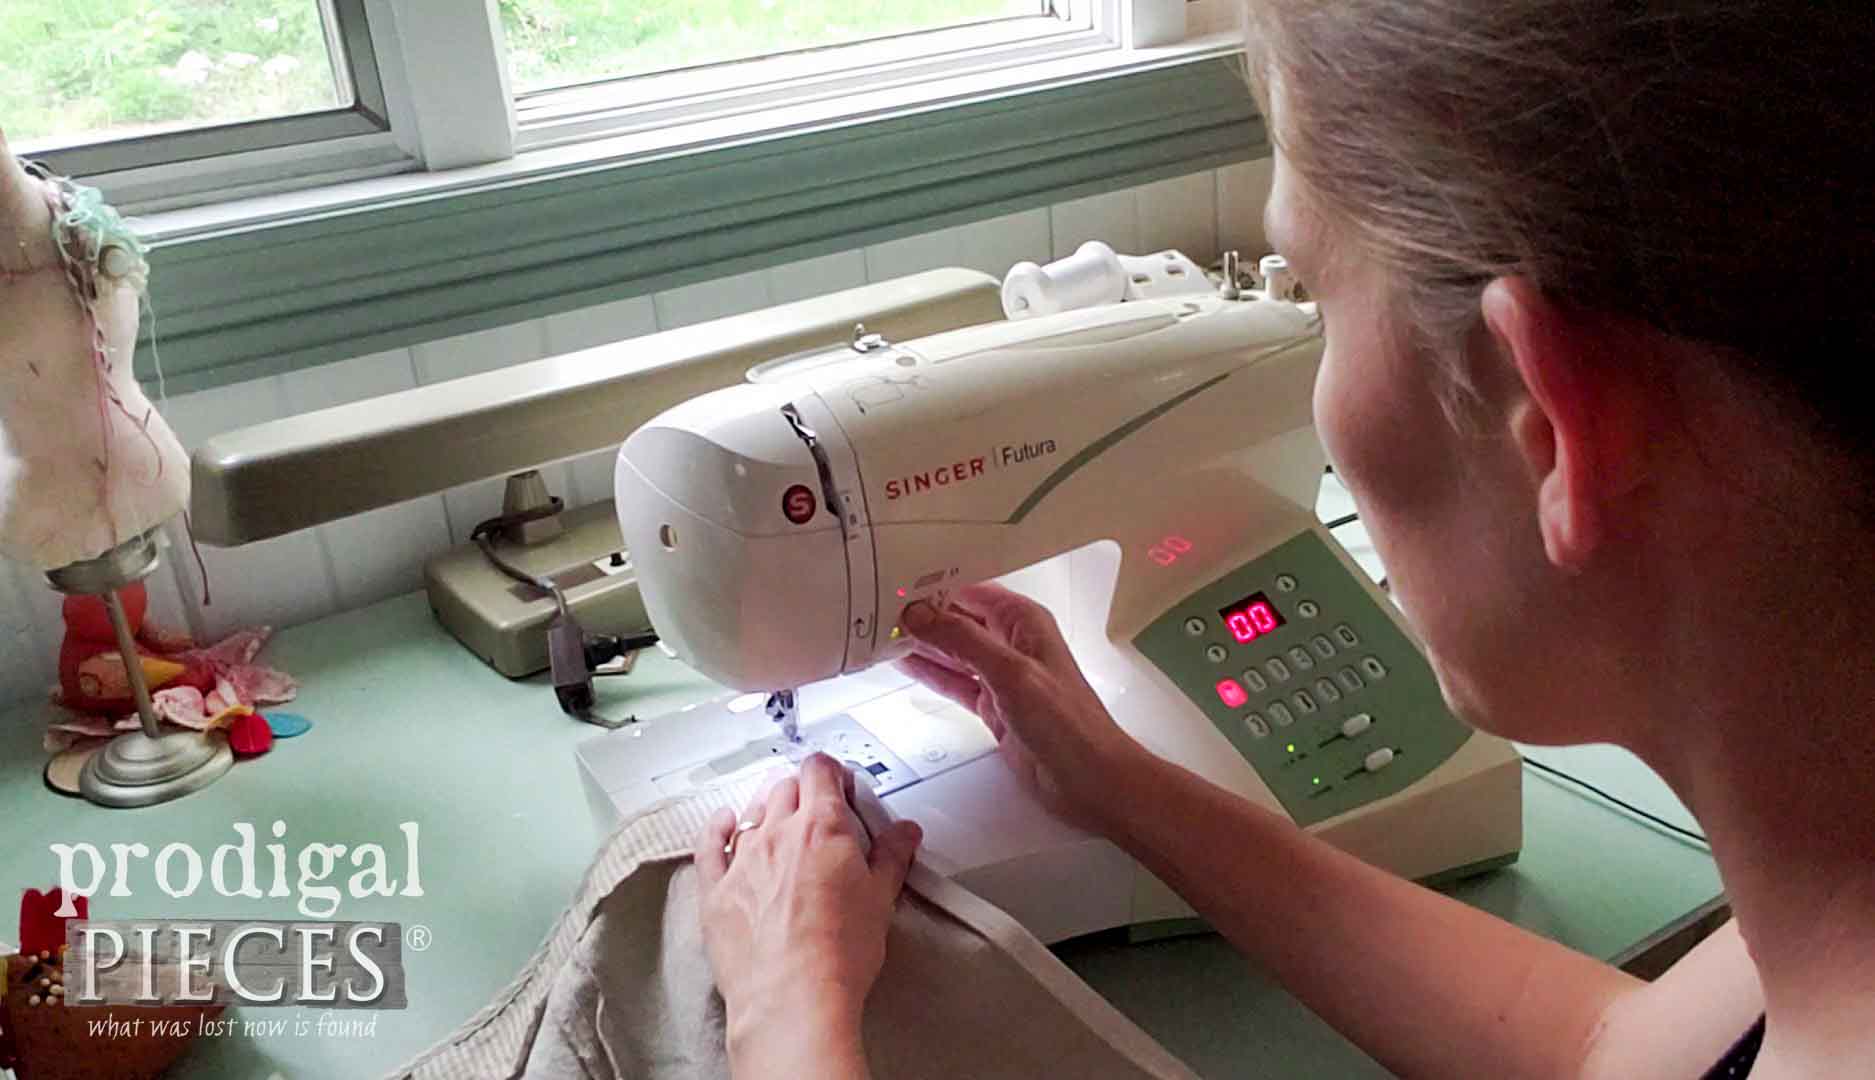
The length I chose for her was right above her knee at 14″. Again, I added 2″ to the bottom, so I could hem it by folding in twice. The video shows this best. Sew your seams using a basic straight stitch and you’re done.
*note: You could also add a few inches to the width of your fabric to create a gathered apron. Then, cut a length of bias tape long enough to encase the top and make ties. Also, another option is to make a ruffled edge. Cut a 4″ strip of fabric that is double the perimeter of the sides and bottom of the apron. Fold the short sides in ½” and press. Next, fold the long sides of the fabric in ½” and press. Then, fold entire strip in half and press. Sew along the open edges, and then gather with a running stitch. Last, attach the ruffle to apron edges and you’re done.
Step 2
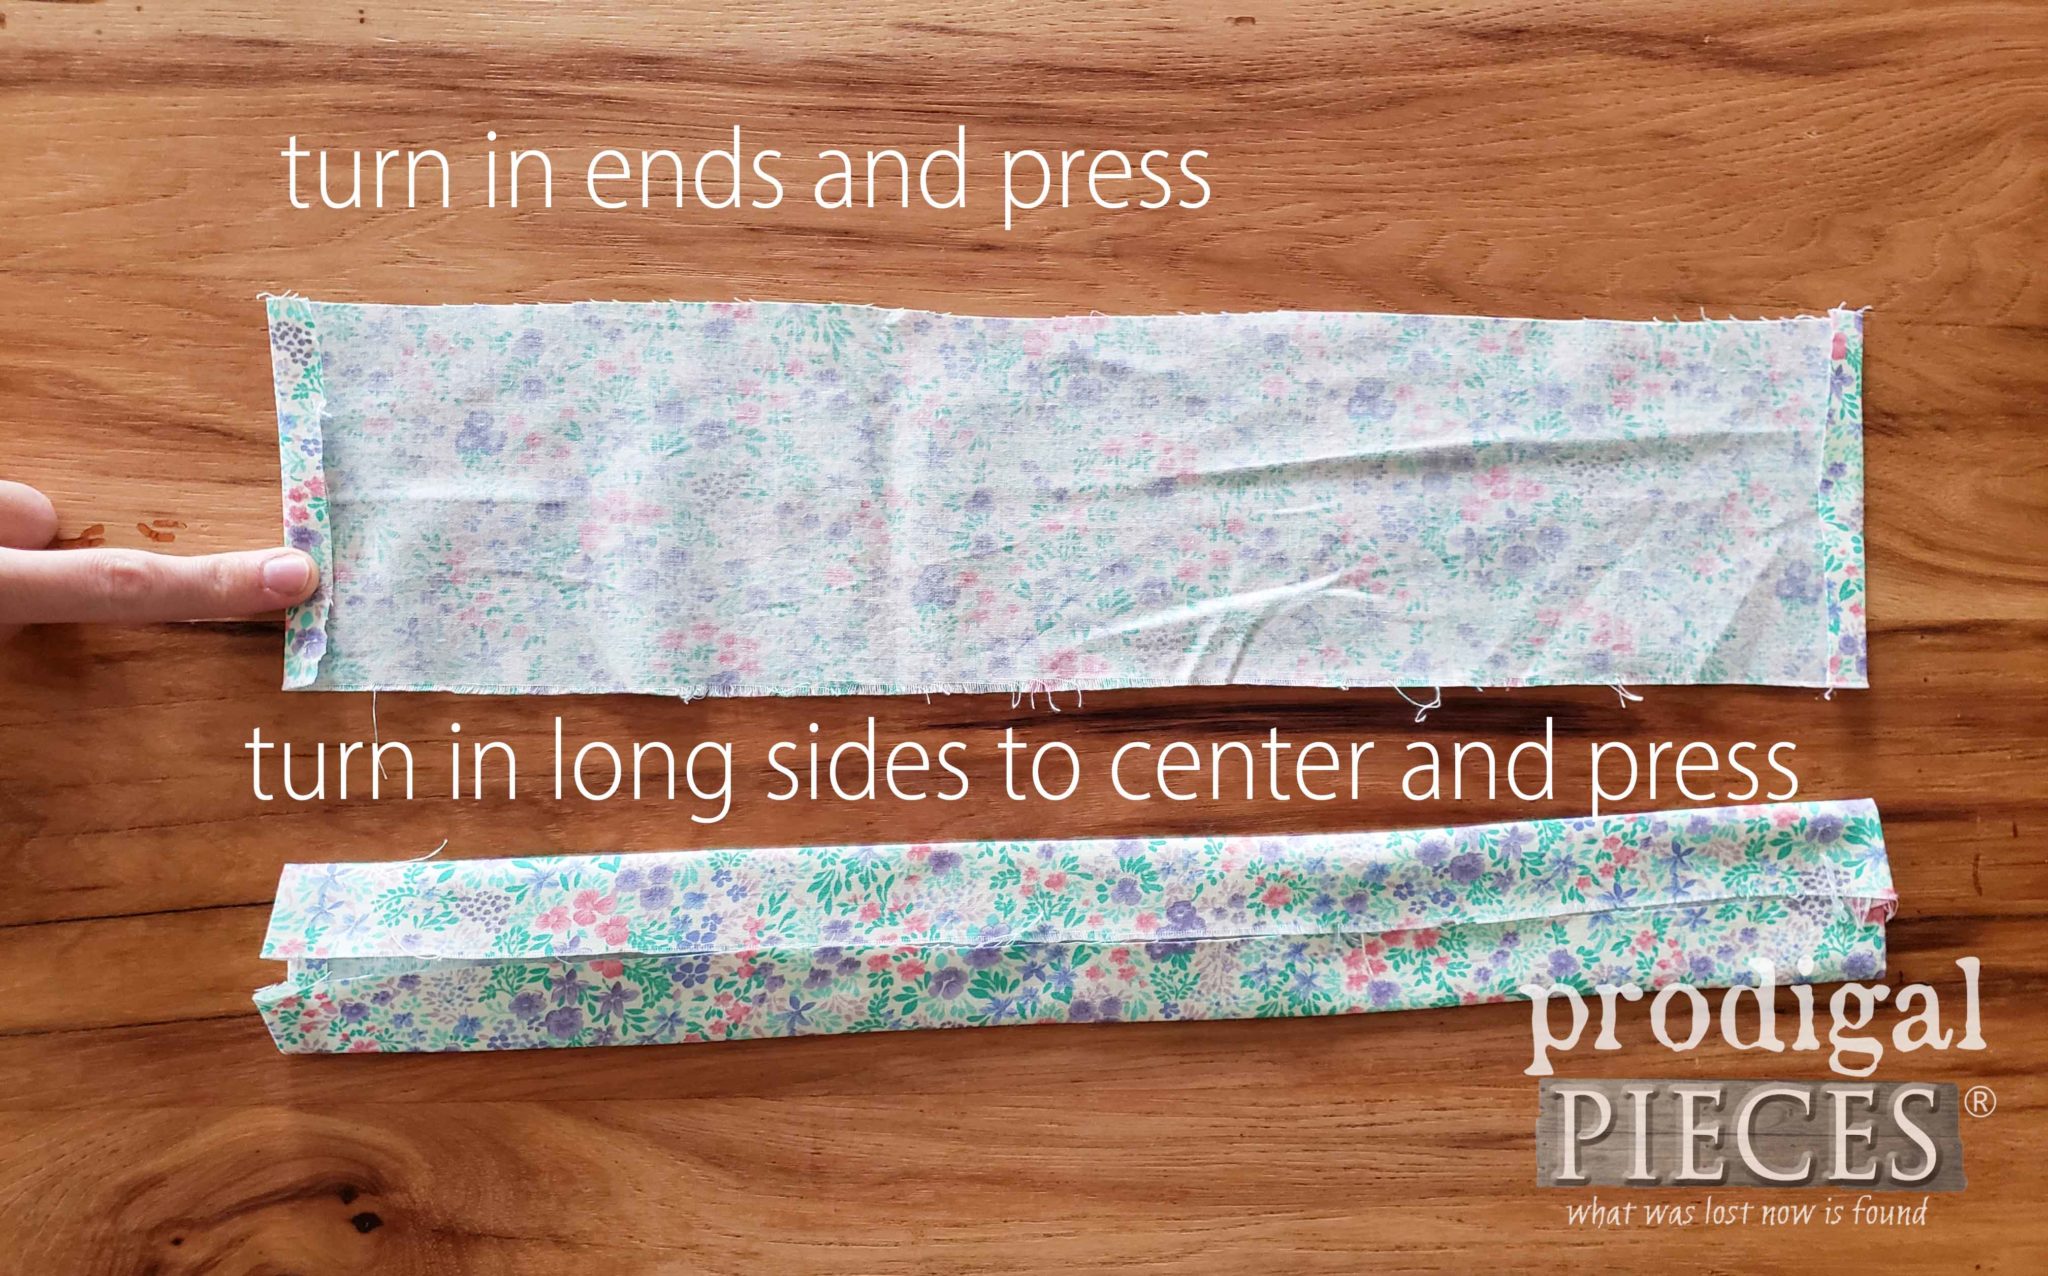
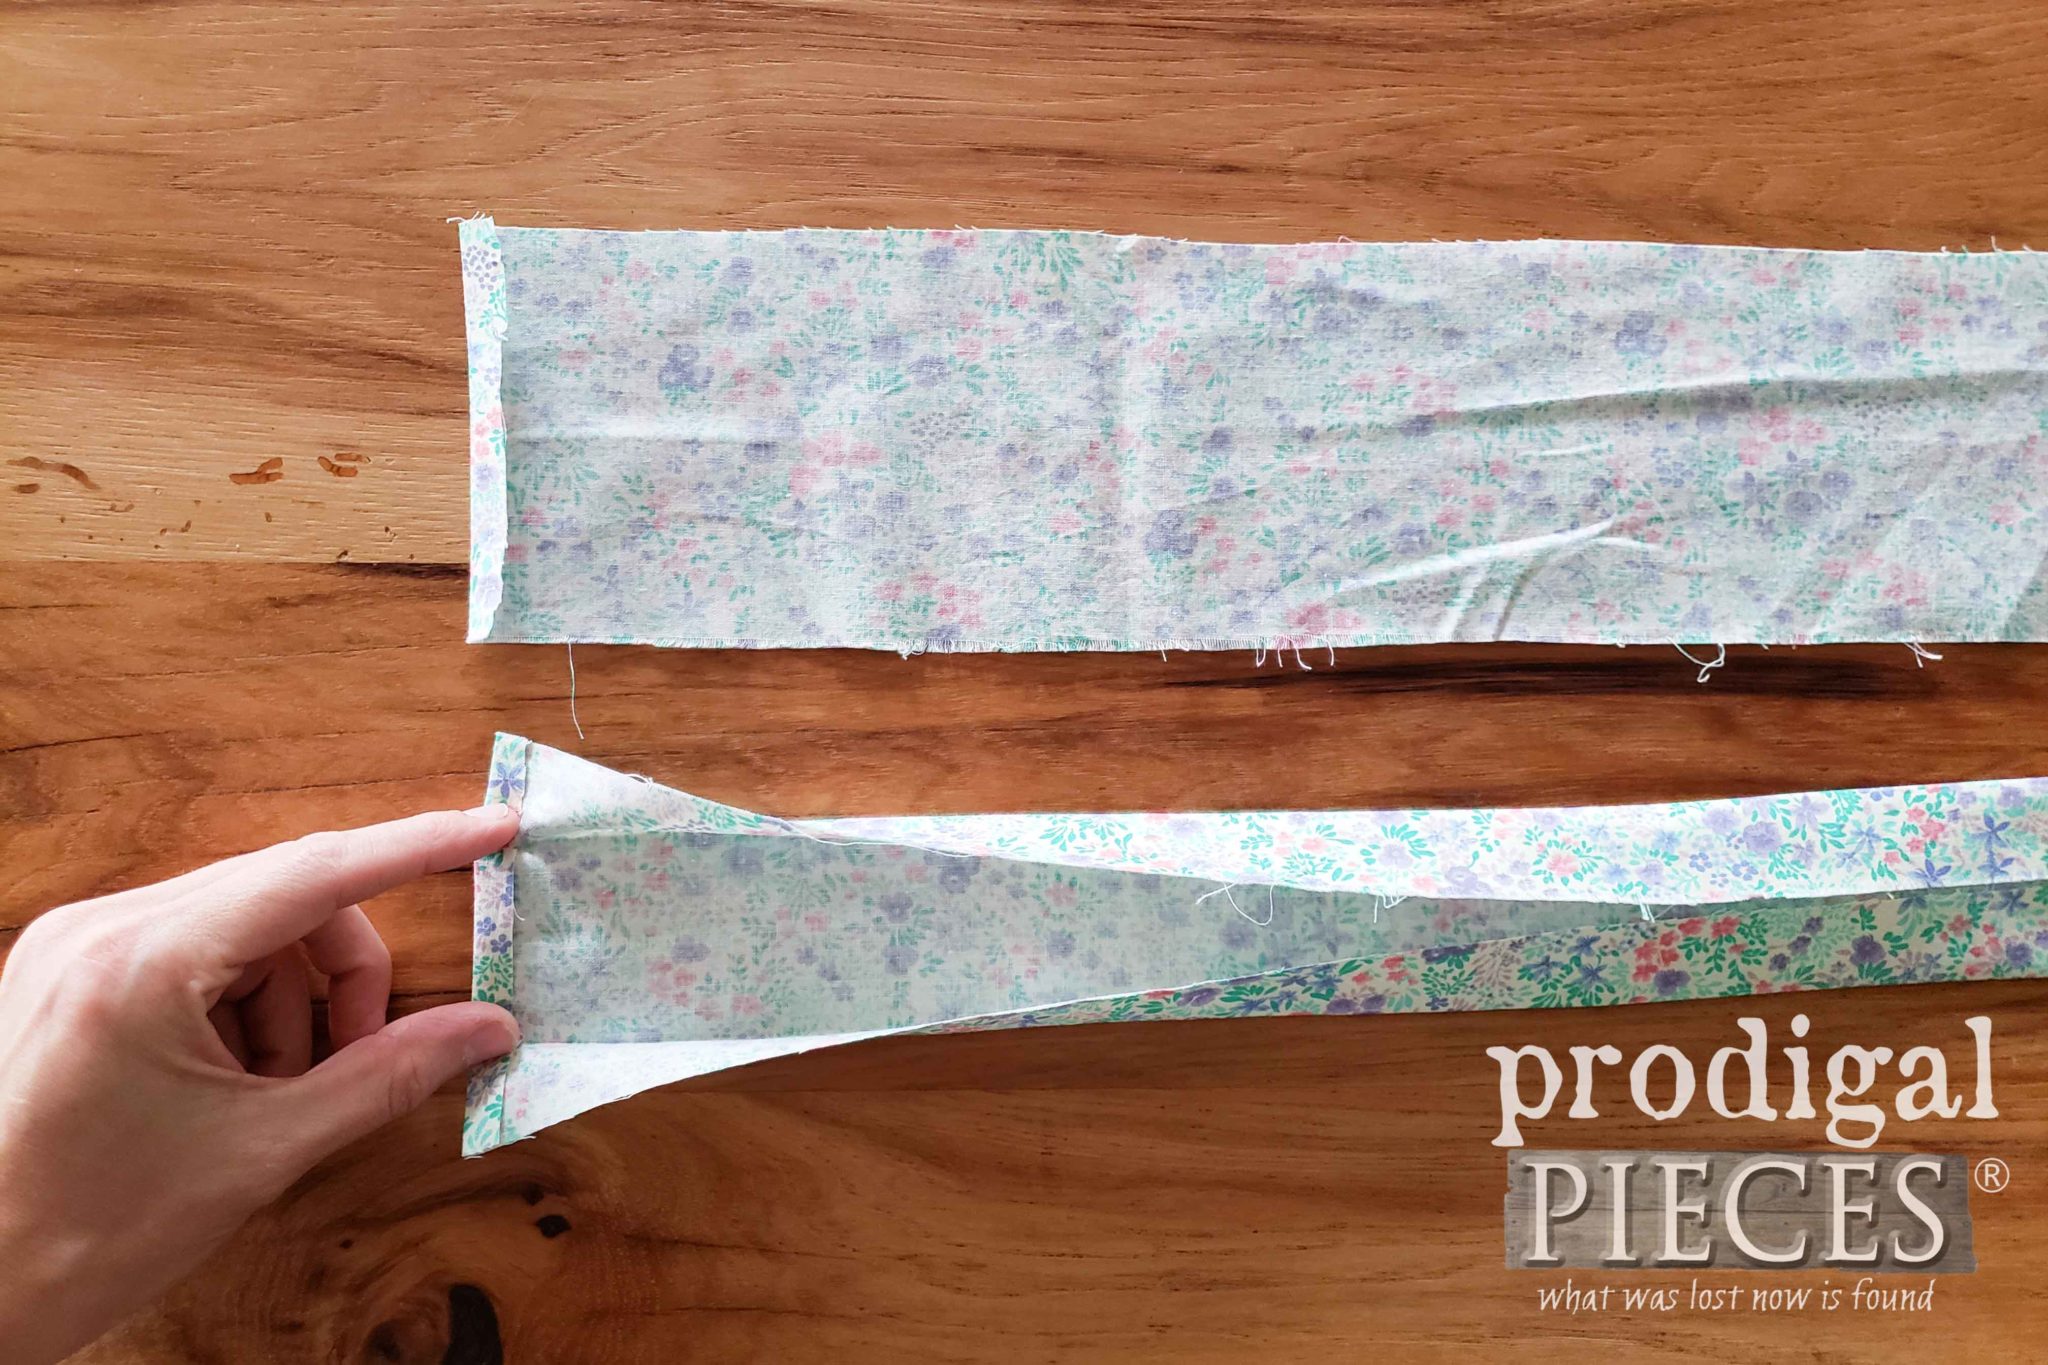
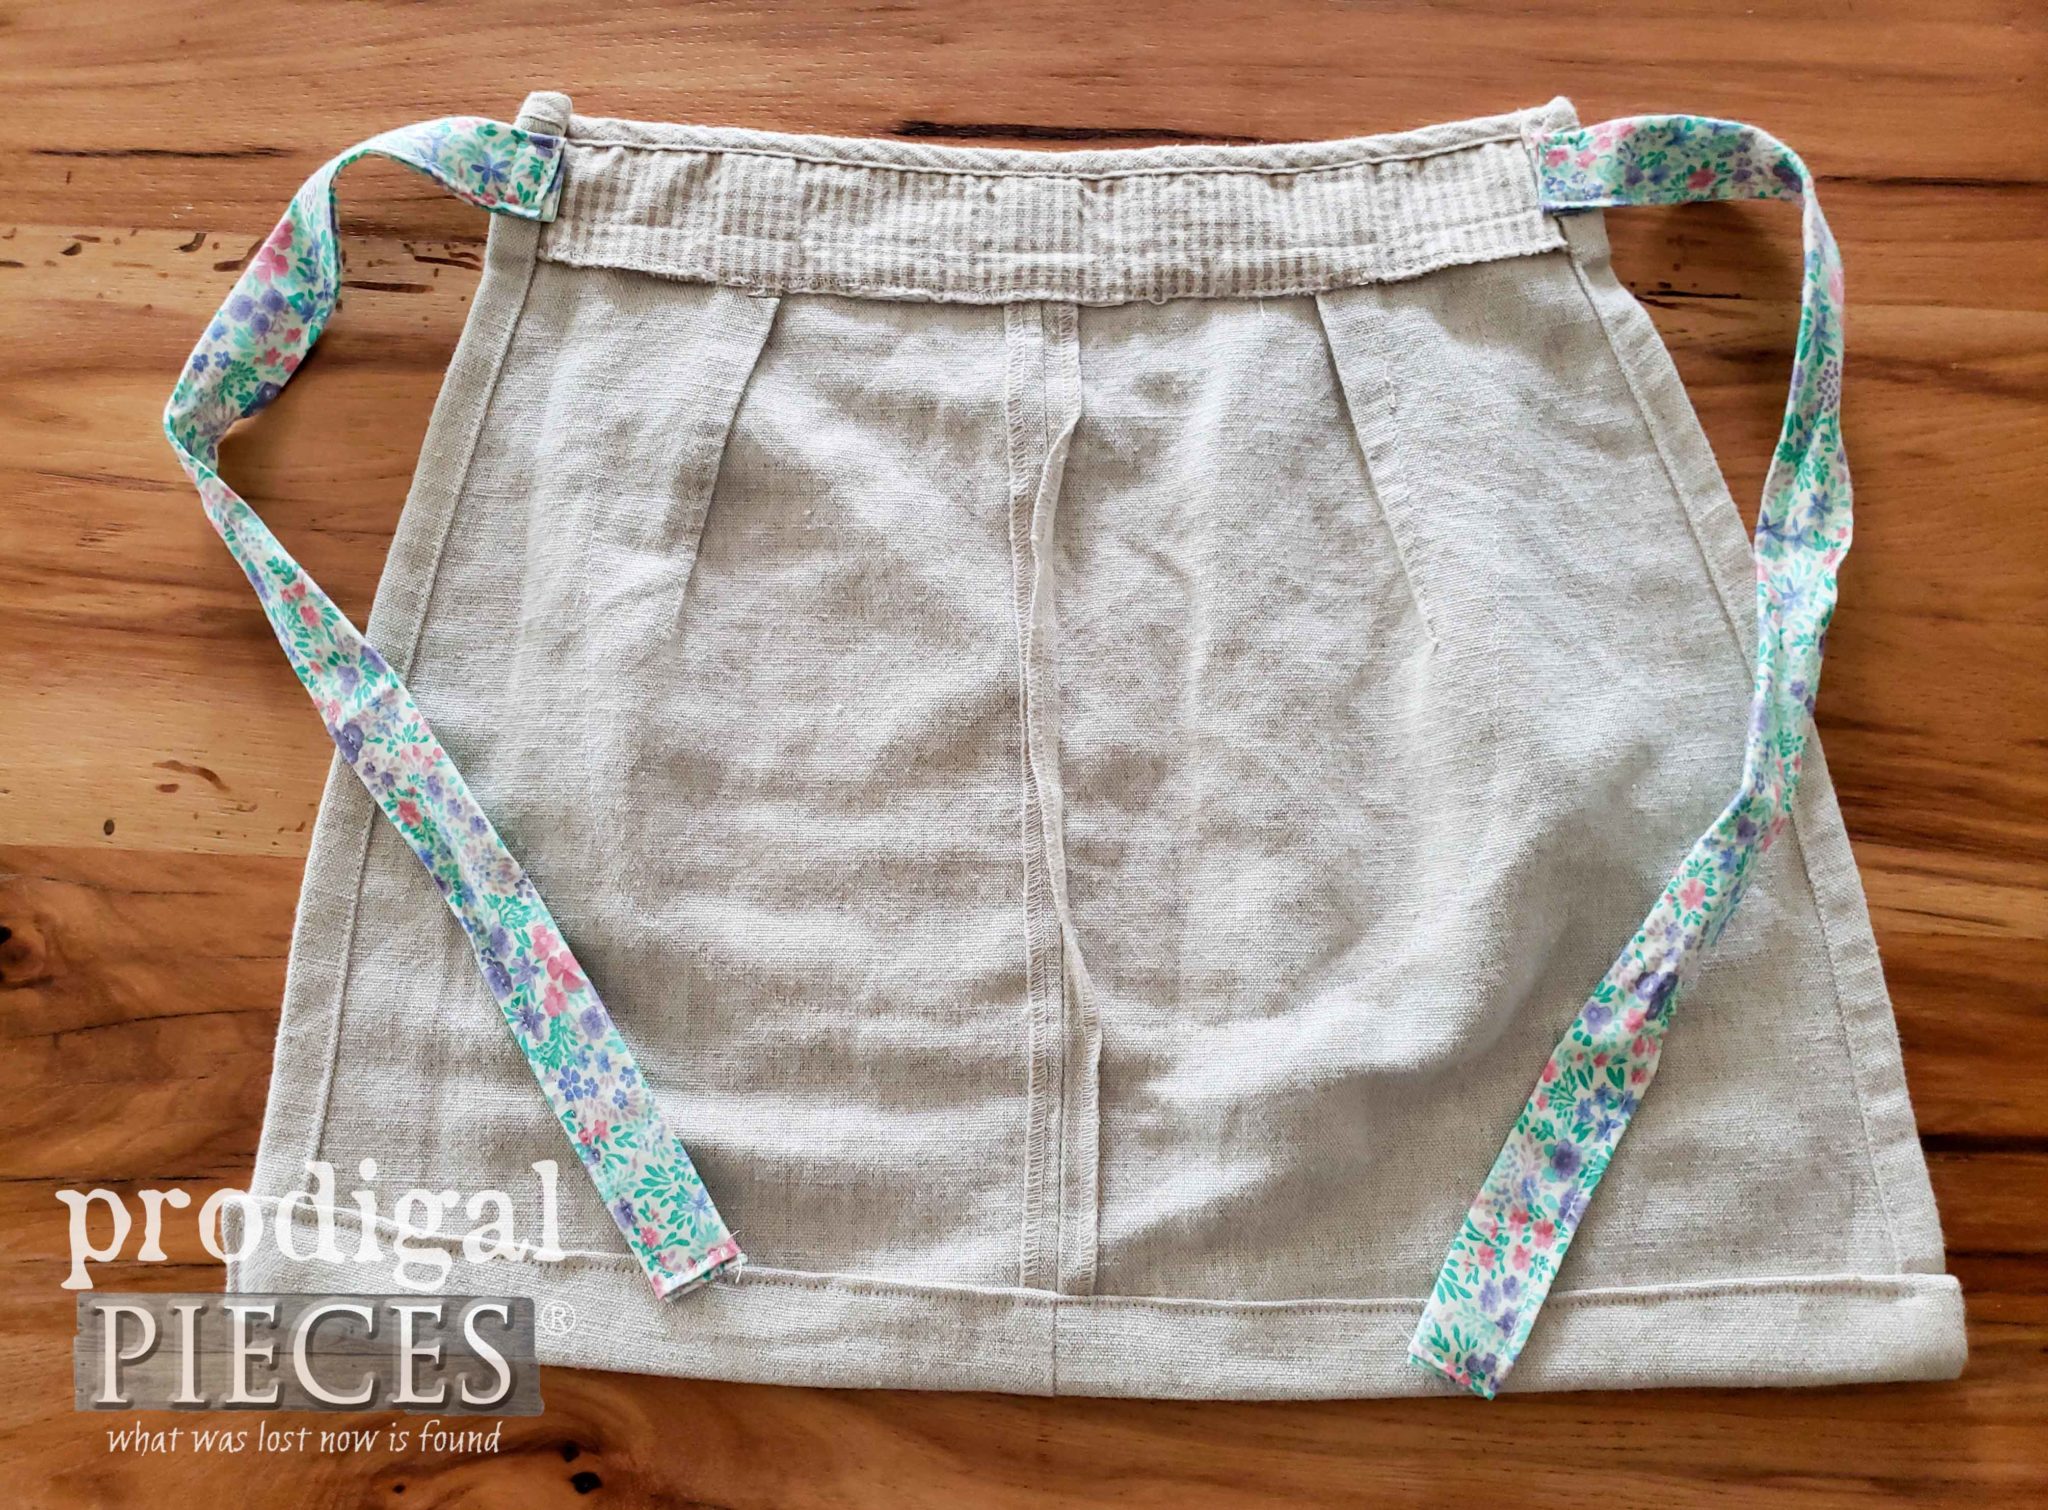
Next, cut two lengths of fabric 4″ wide and long enough to make ties. I went with a 16″ length, plus an inch for seam allowance – a total of 17″. Turn in the short ends ½” and press as shown. Then, turn in the long sides to the center and press.
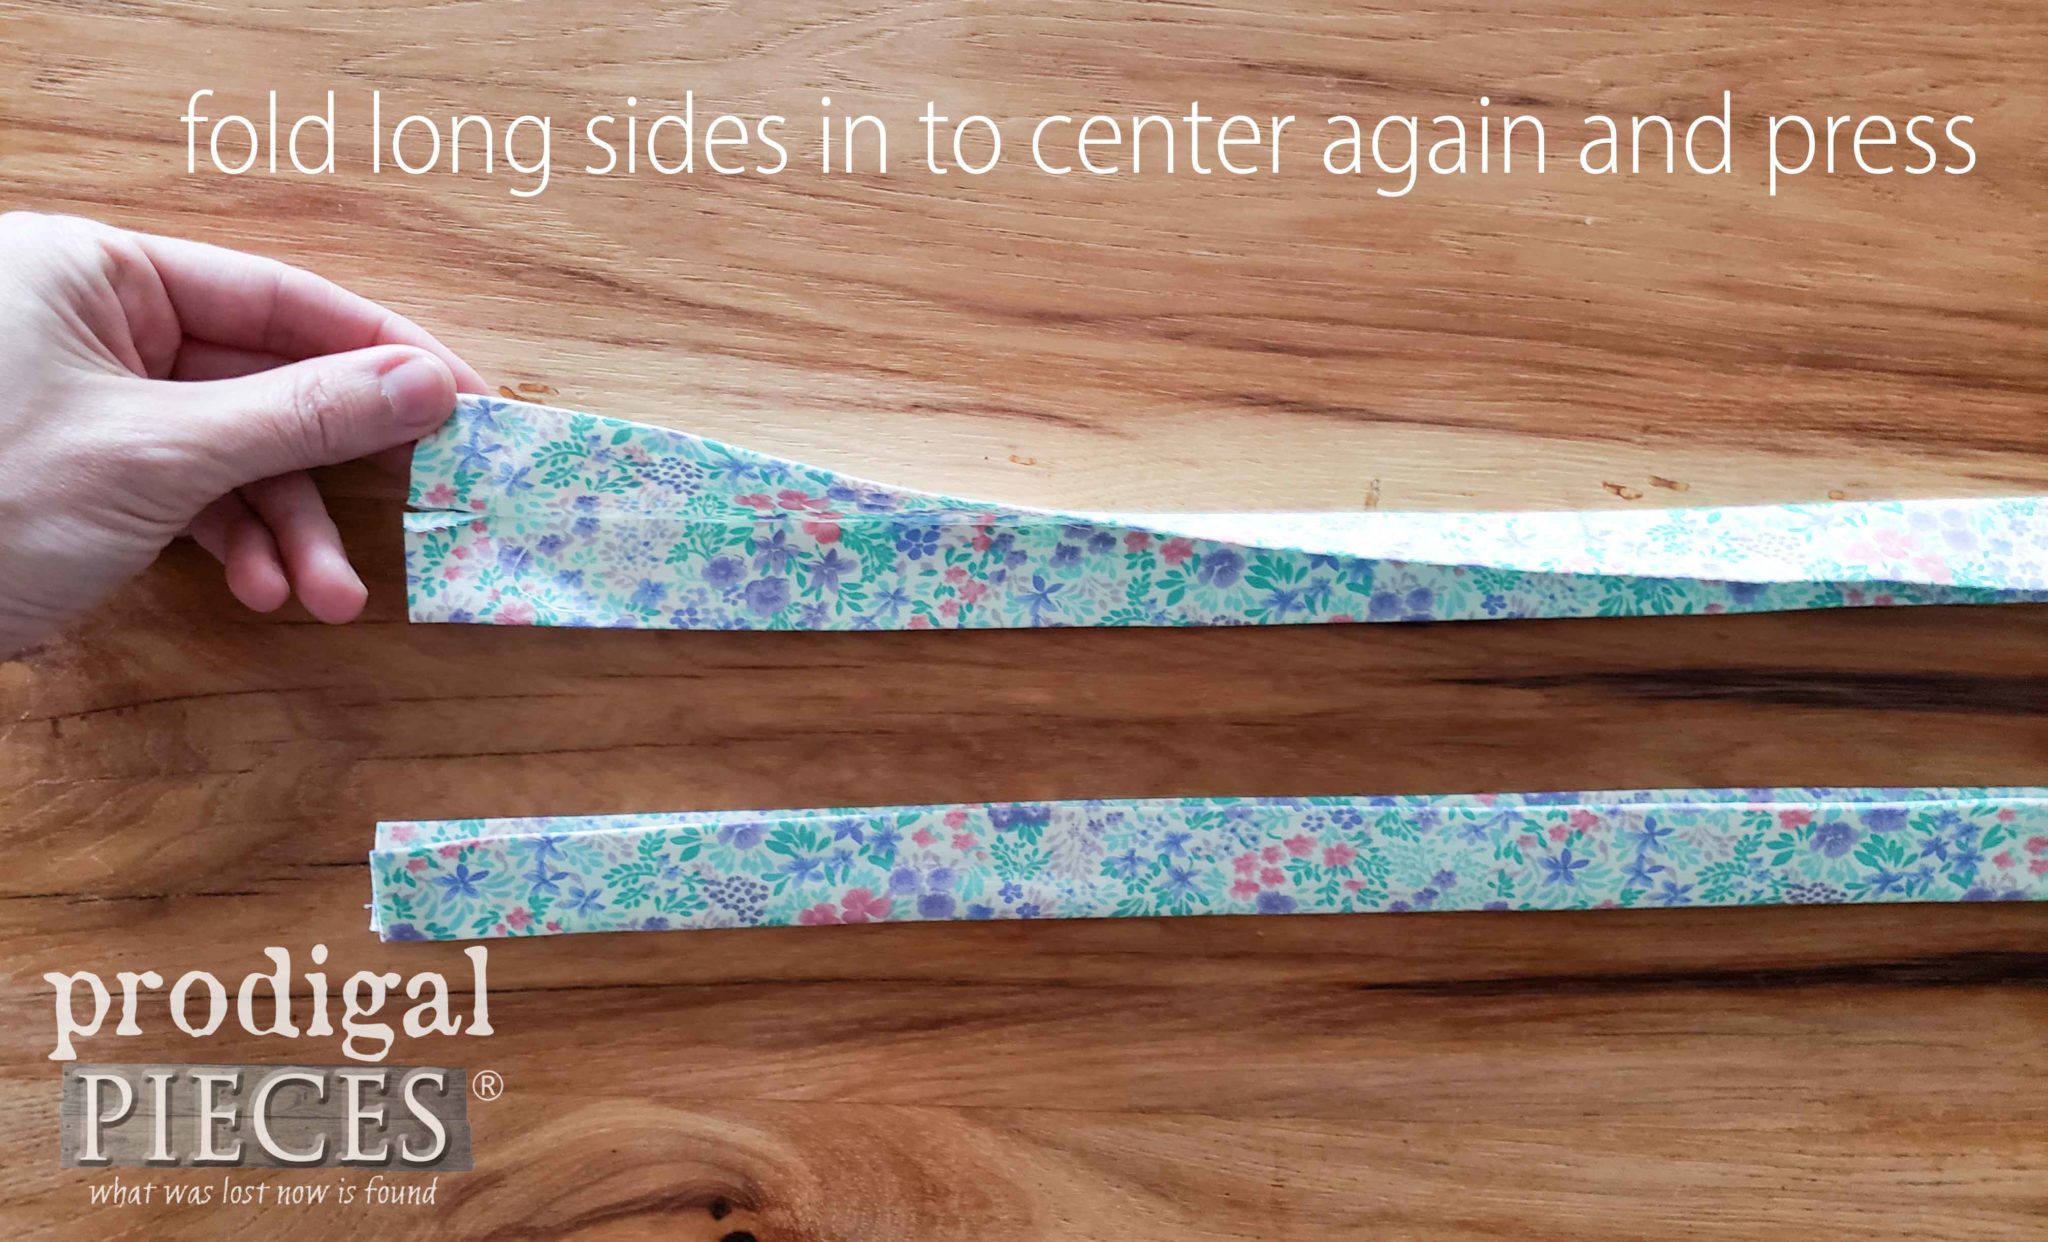
Last, turn in the long sides once more to center and press again.
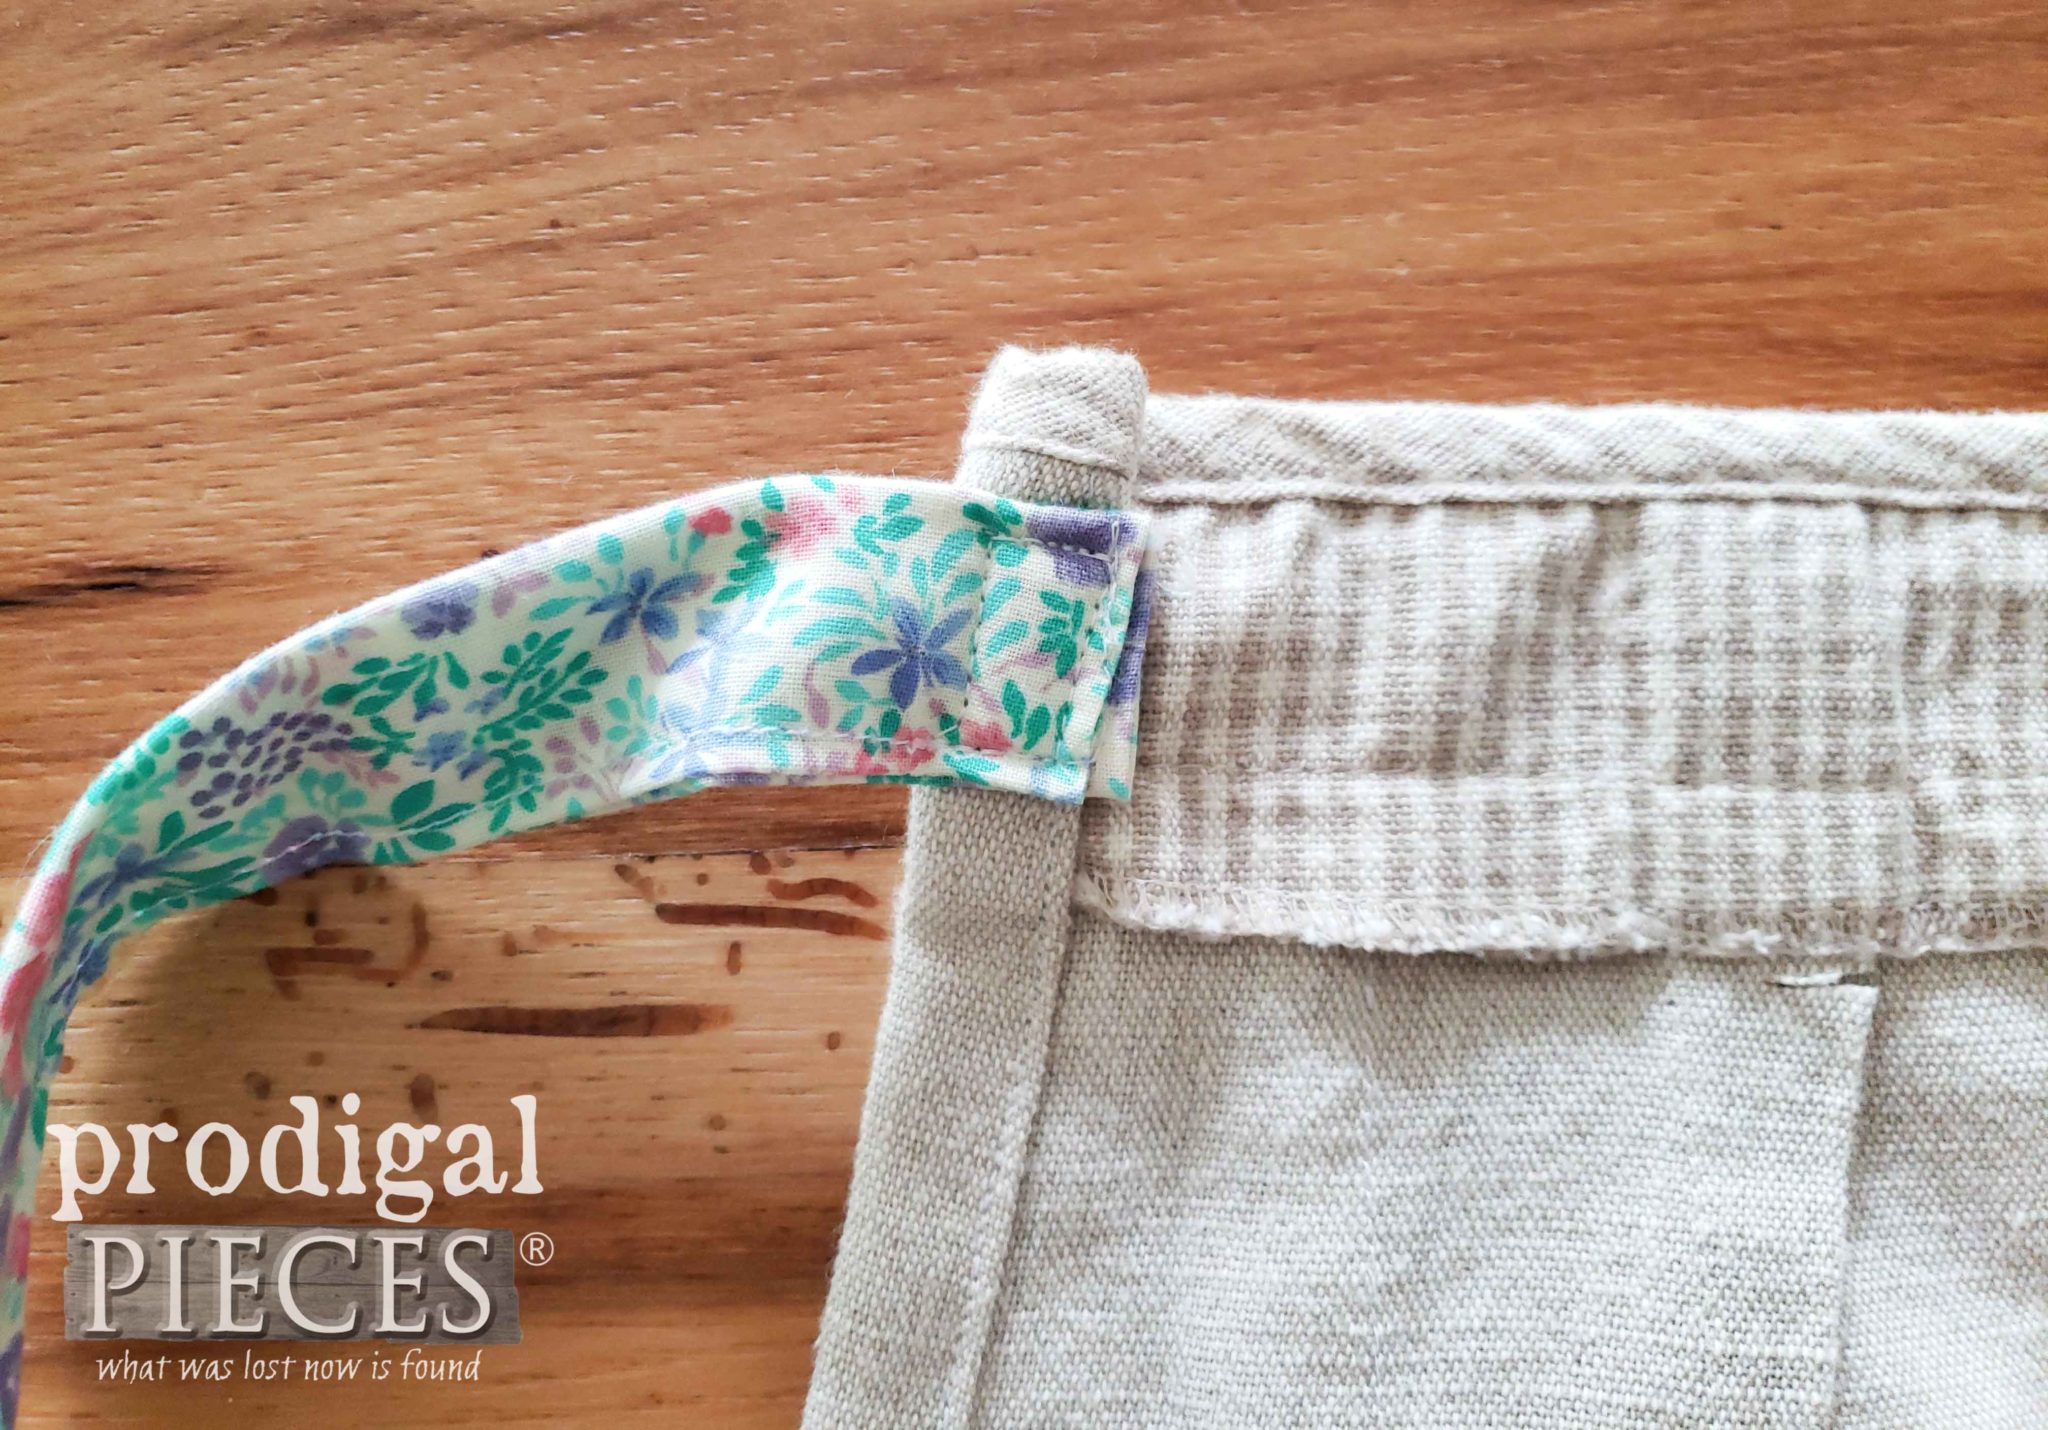
Now you will stitch down the short end, along the long side, and up the other short end to make your strap. Attach to your apron sides at the top edge with a box stitch (basically sewing a box pattern for reinforced attachment)
Step 3
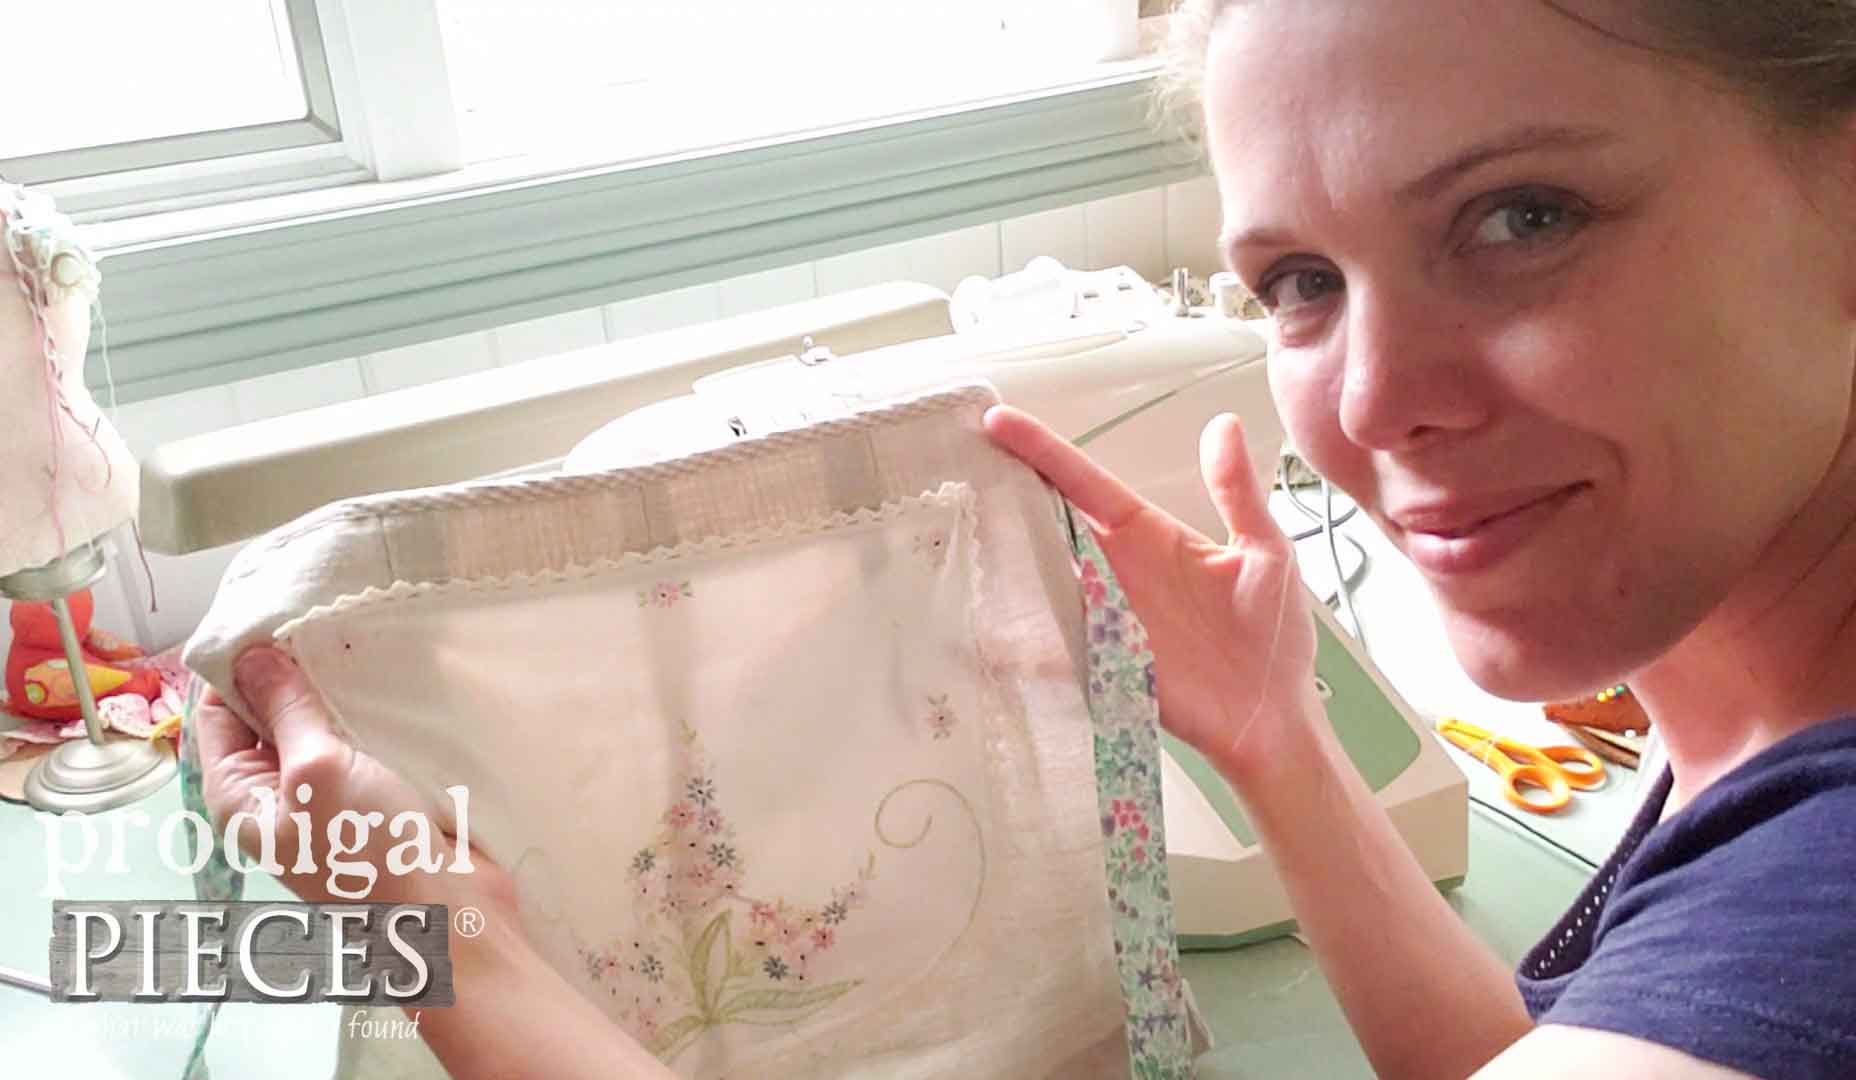
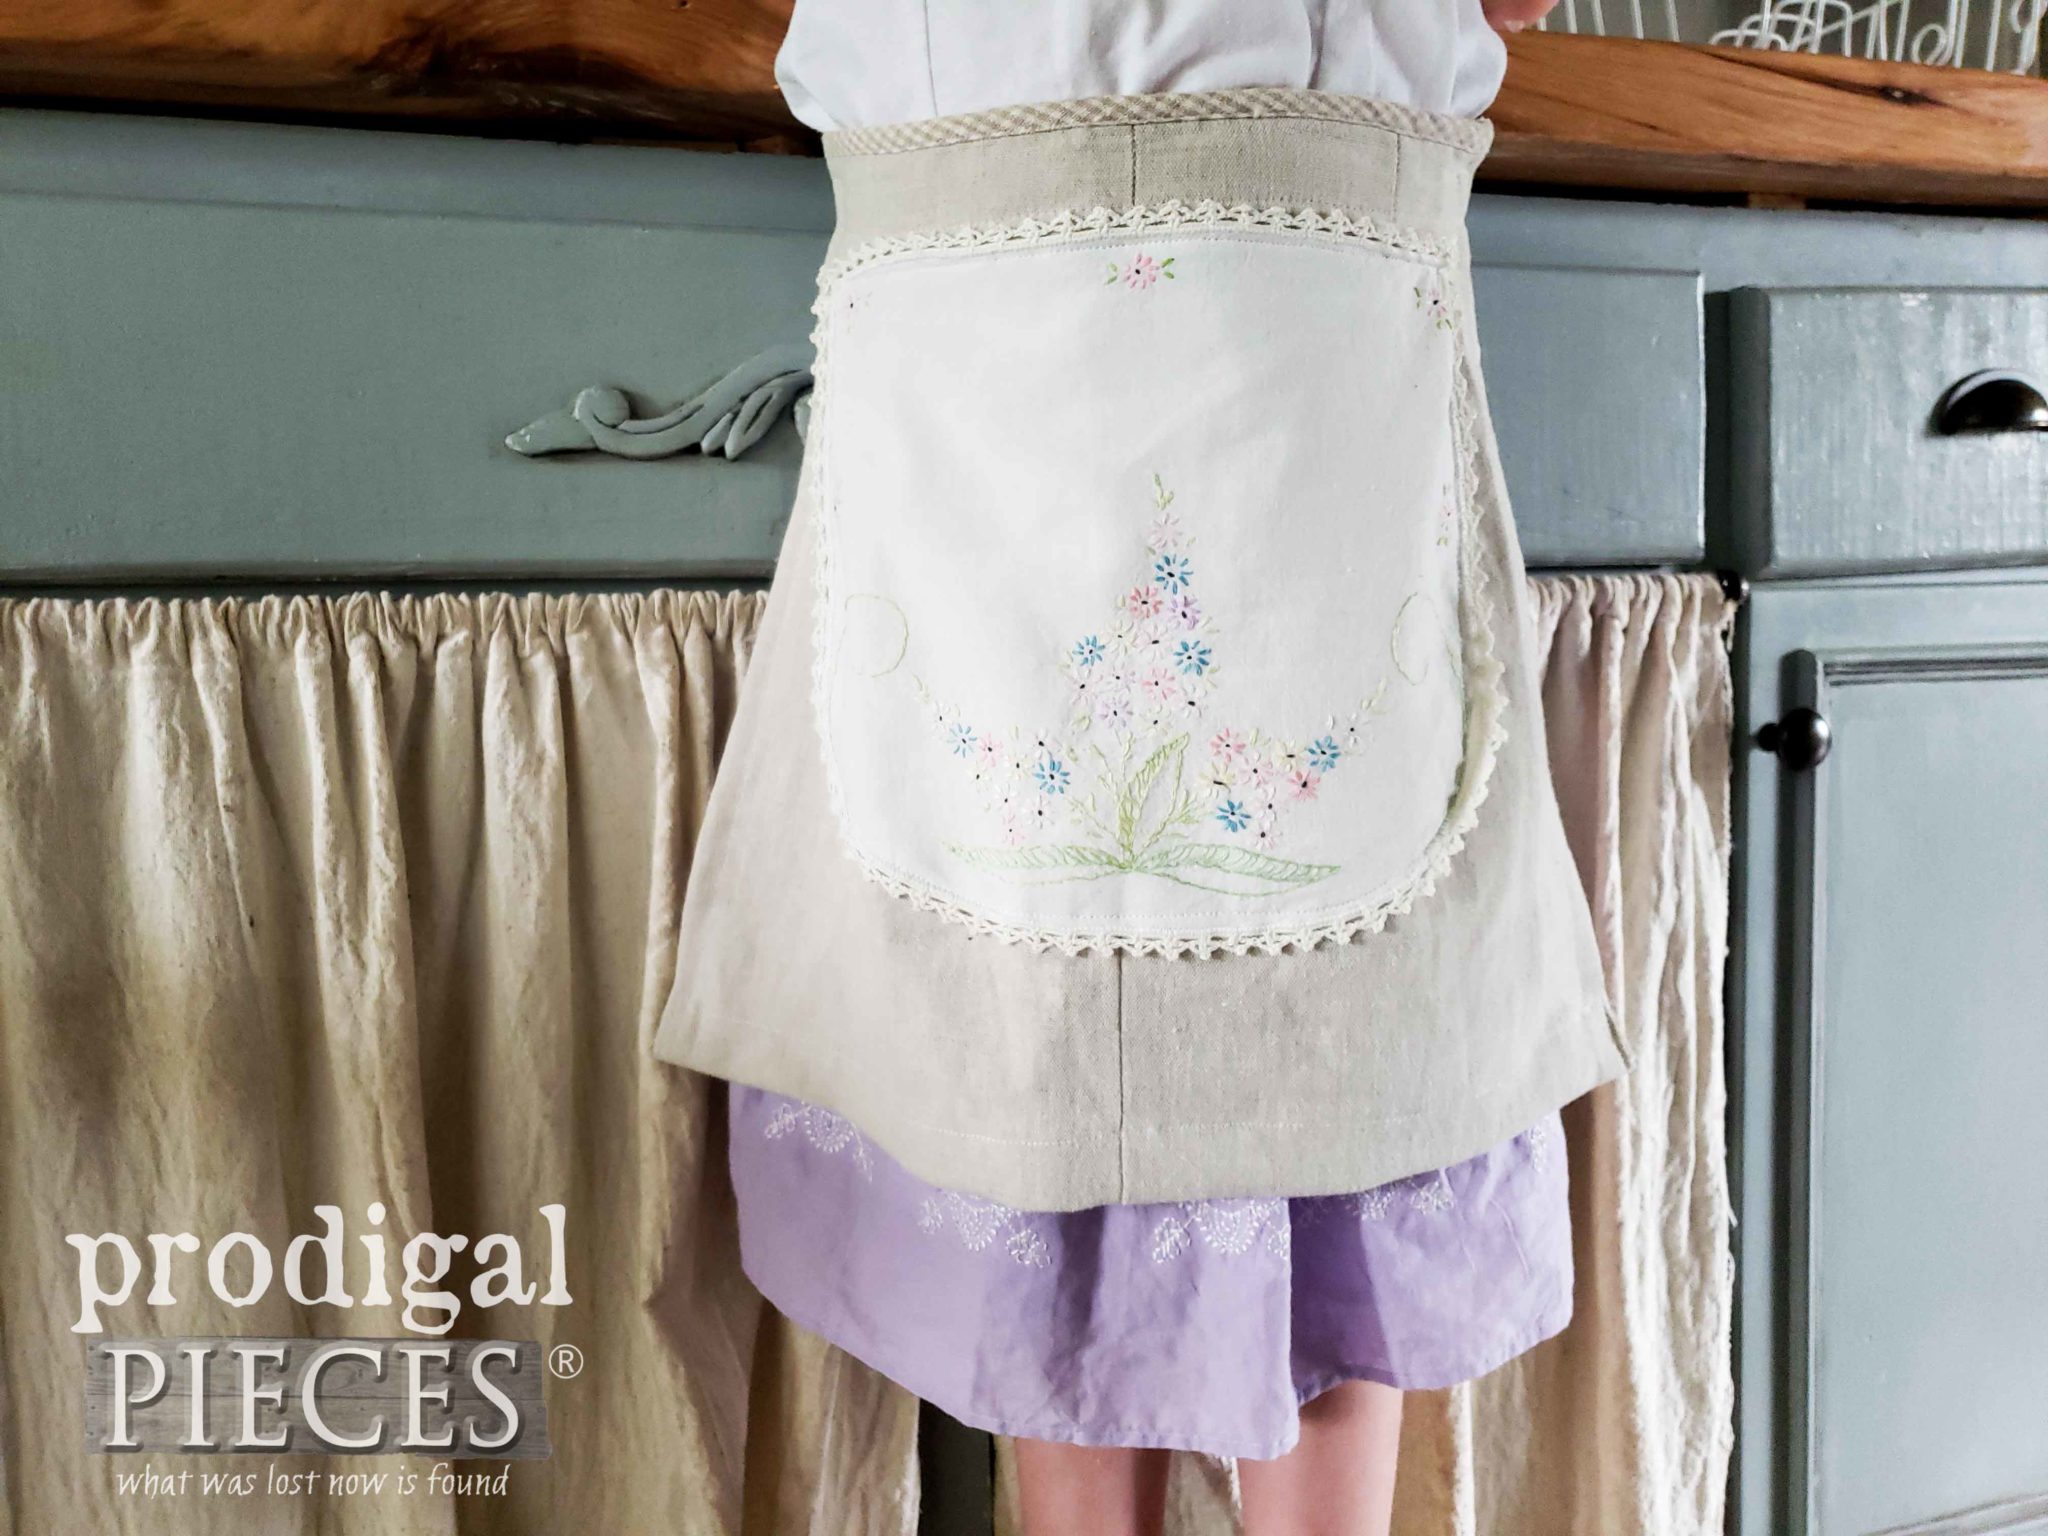
Our final step is to add some fun! At this point you could add pockets, appliques, trims, etc. I was after showcasing the vintage embroidery I showcased earlier. All I needed to do was center it on my linen apron and attach with a basic stitch. That’s it!
My daughter requested a pocket, but there just wasn’t room for both on this design. Plus, I wanted to keep it super simple for this tutorial. Instead, I promised her oodles of pockets in her next larger sized apron.
ALL DONE
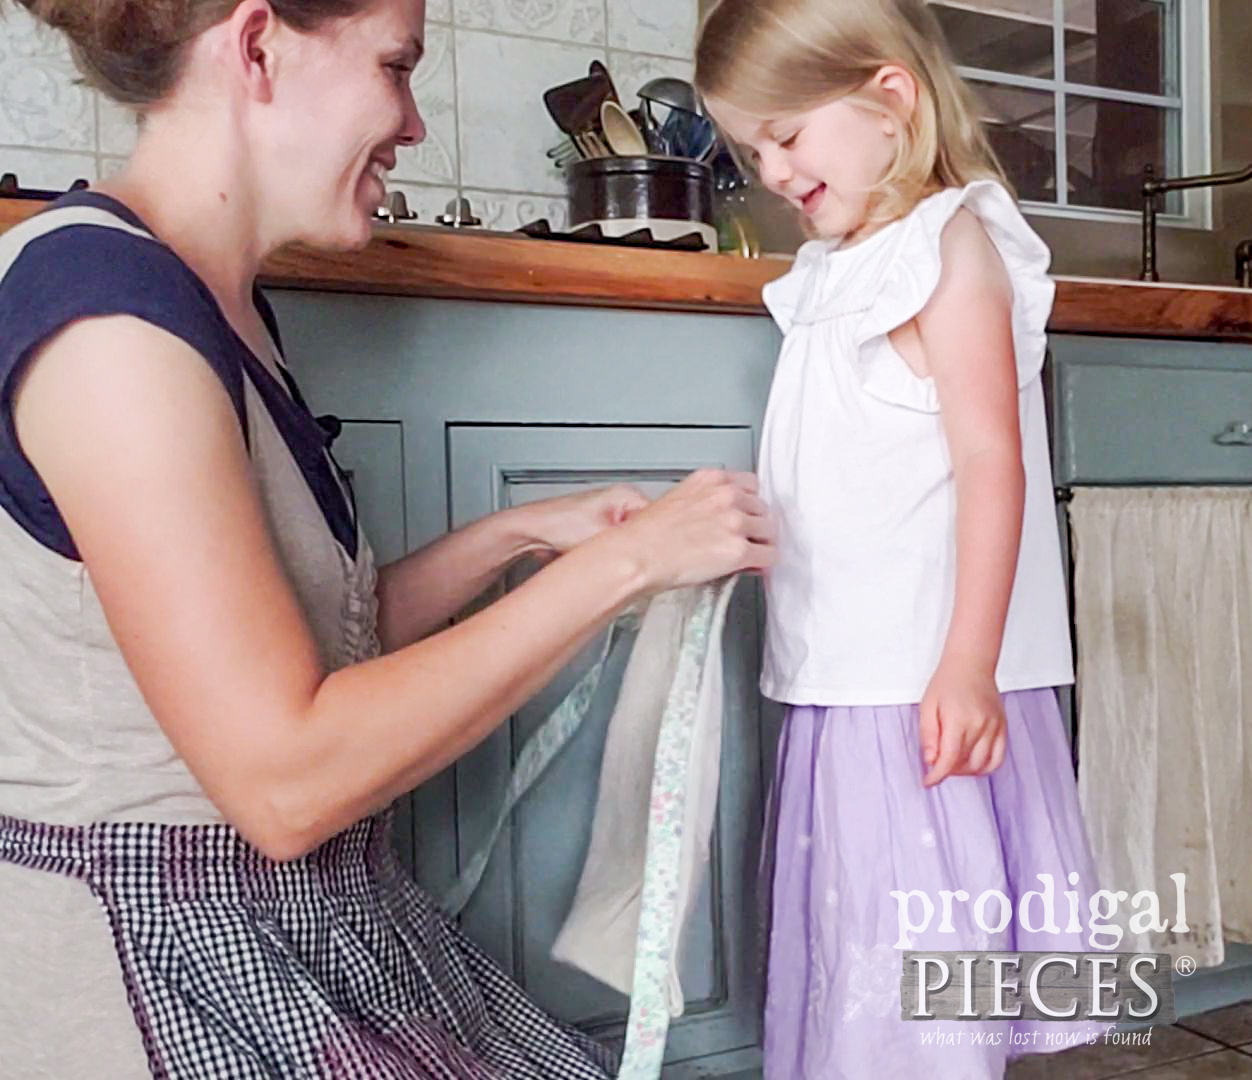
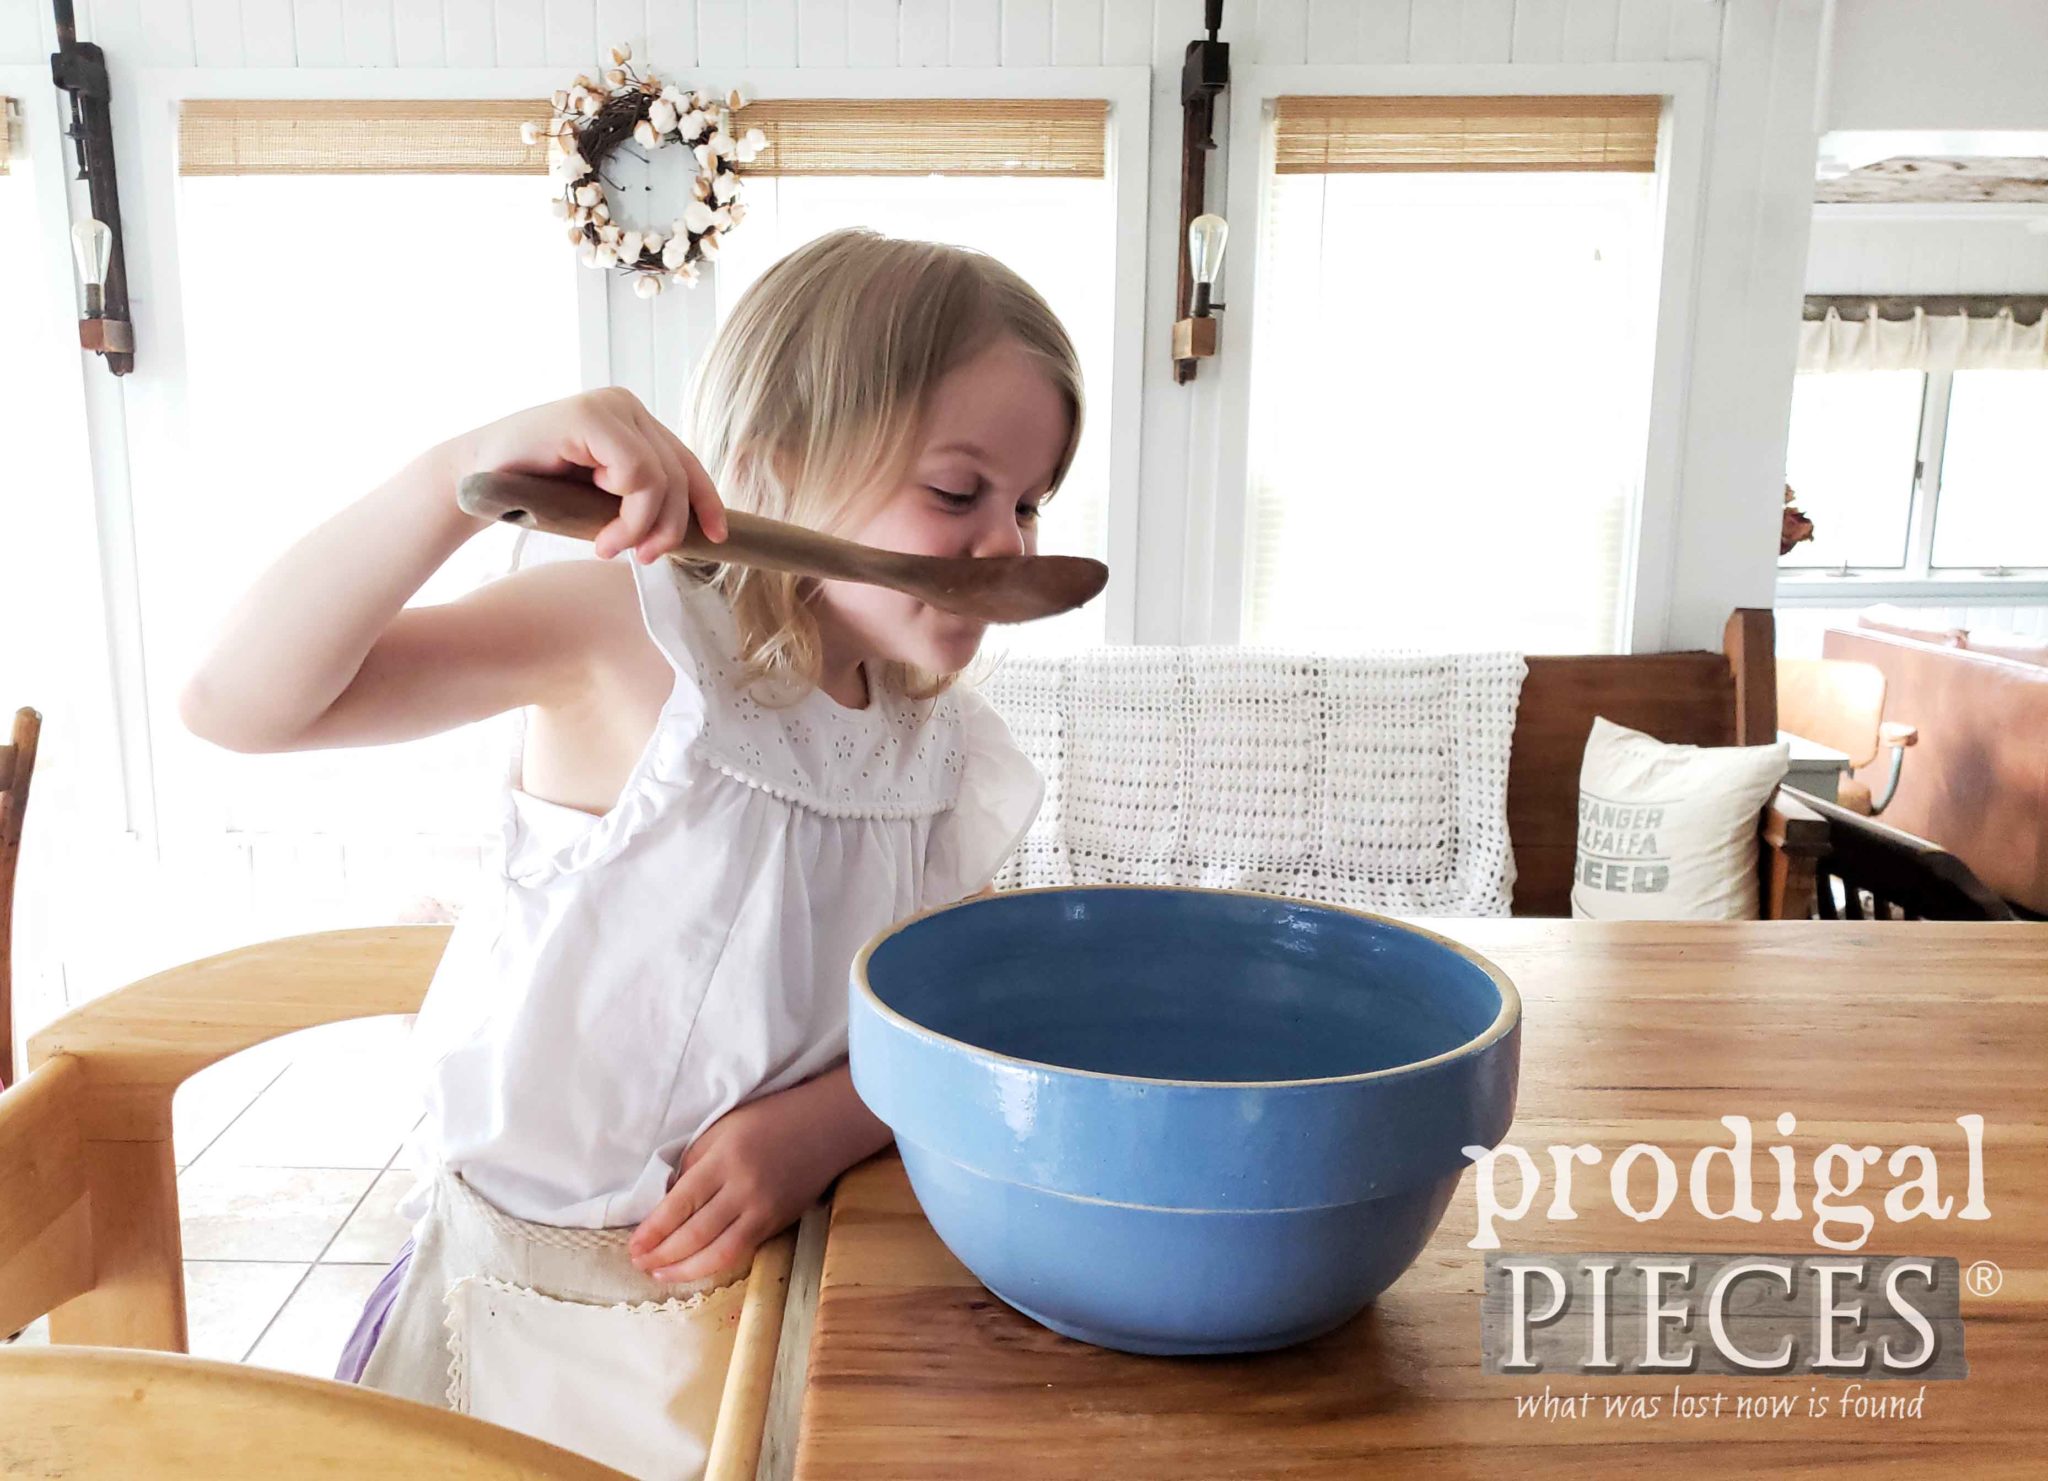
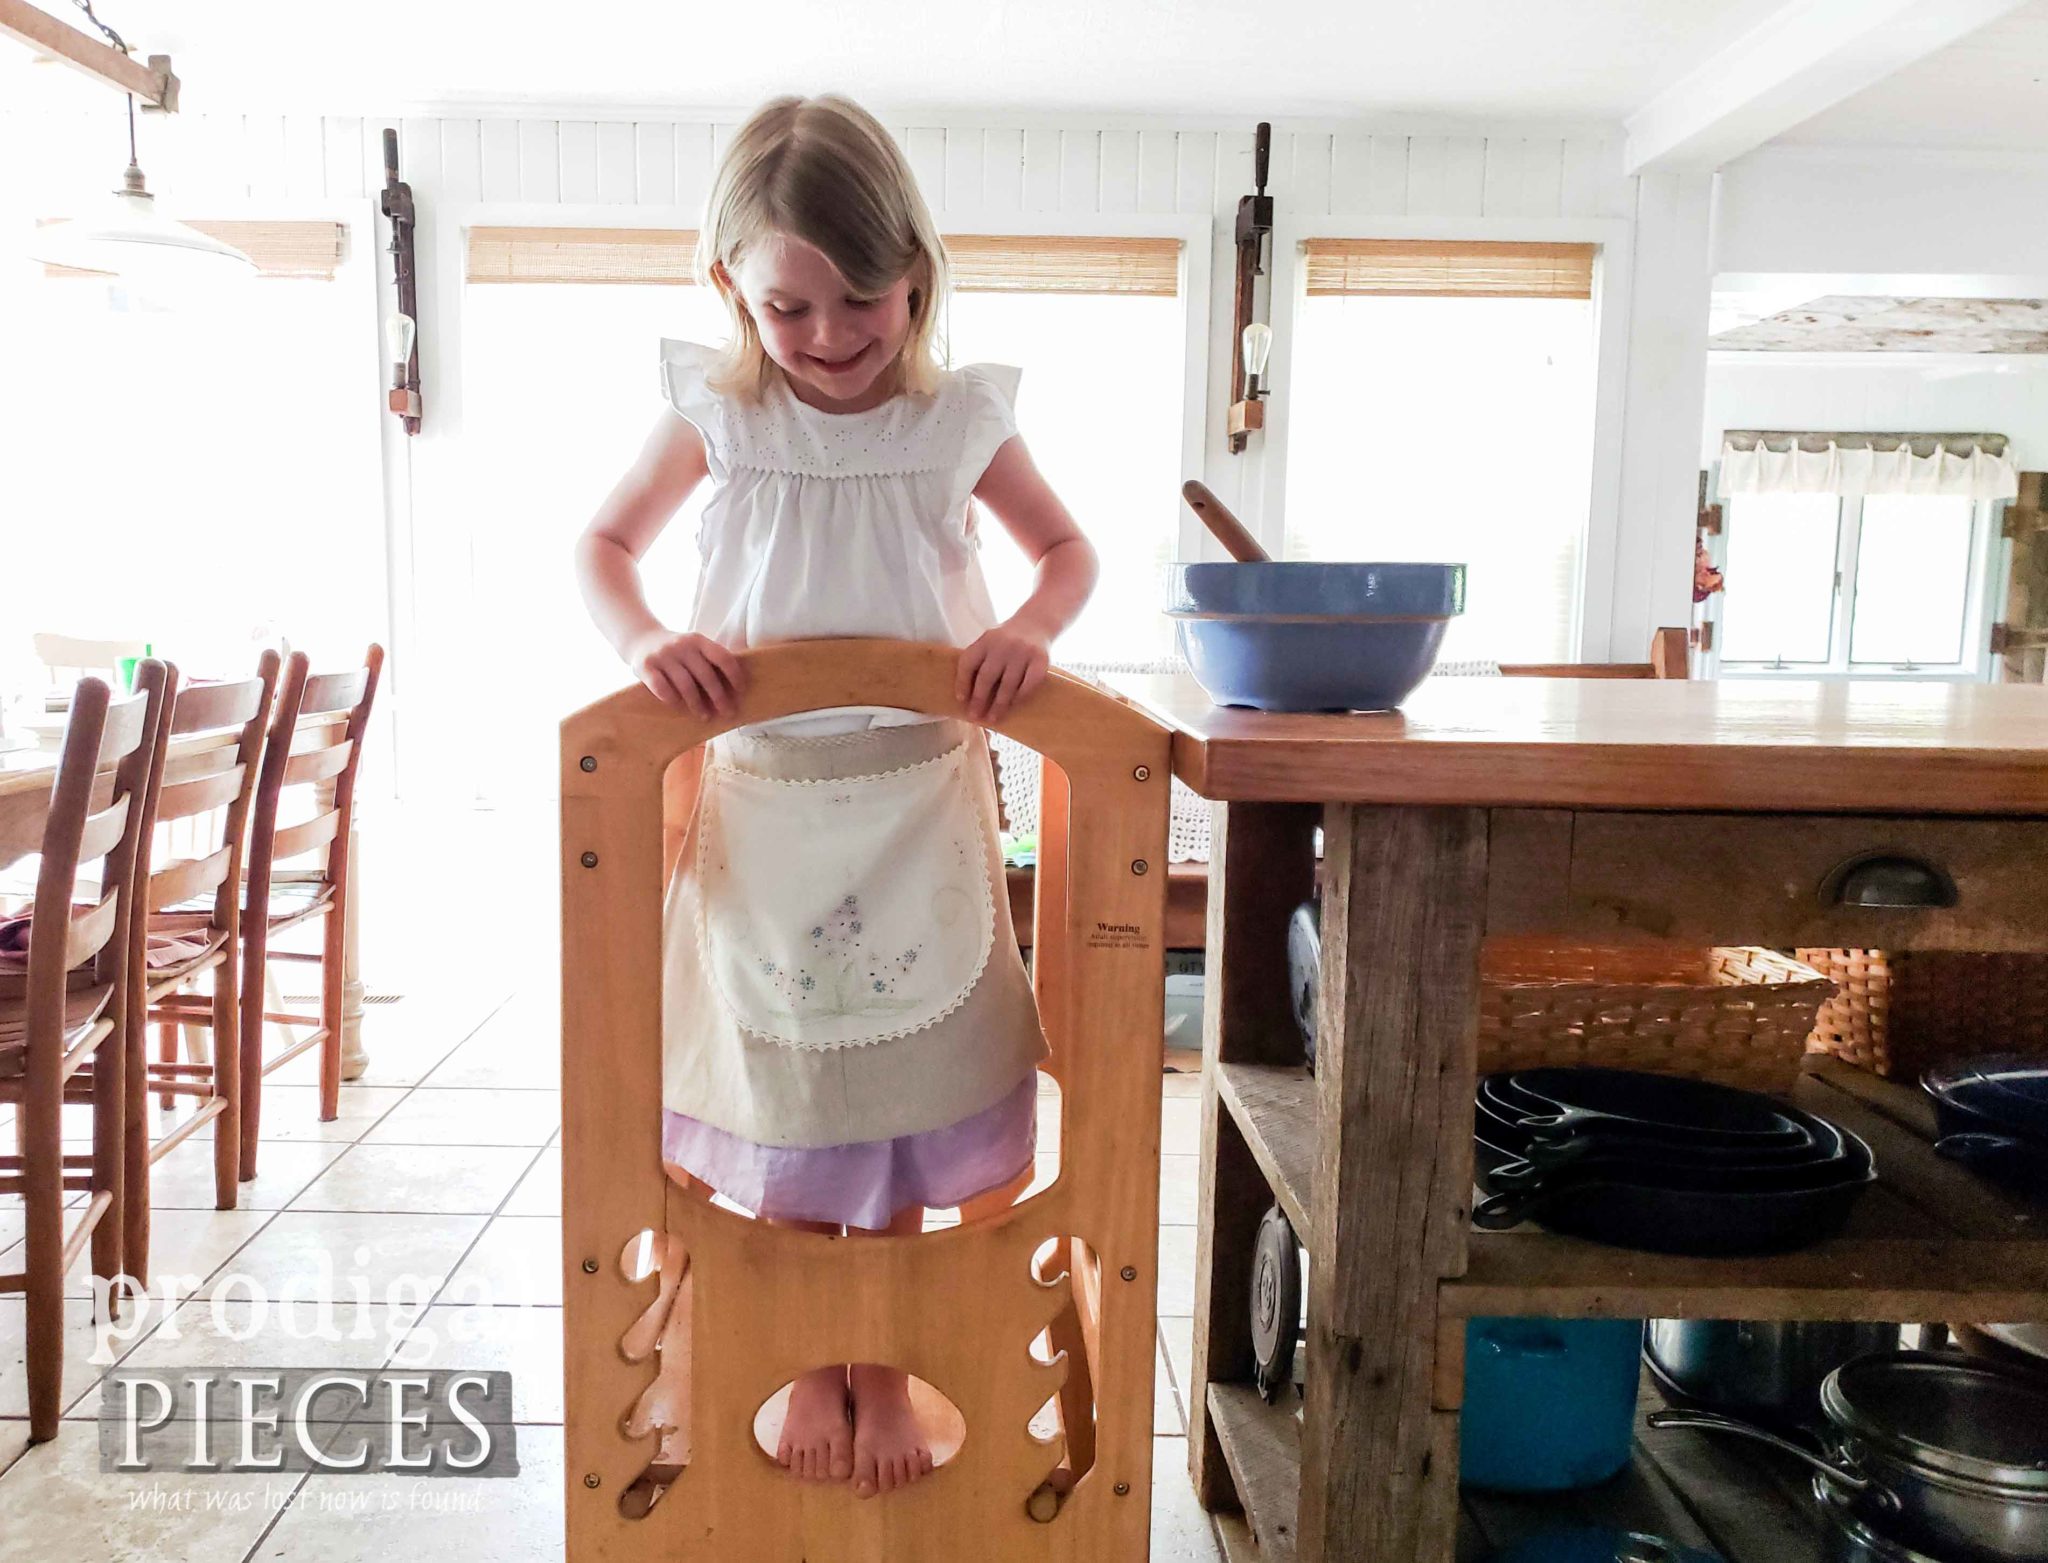
To say she was excited was an understatement. I just loved seeing her face light up when she saw it was little and just her size.
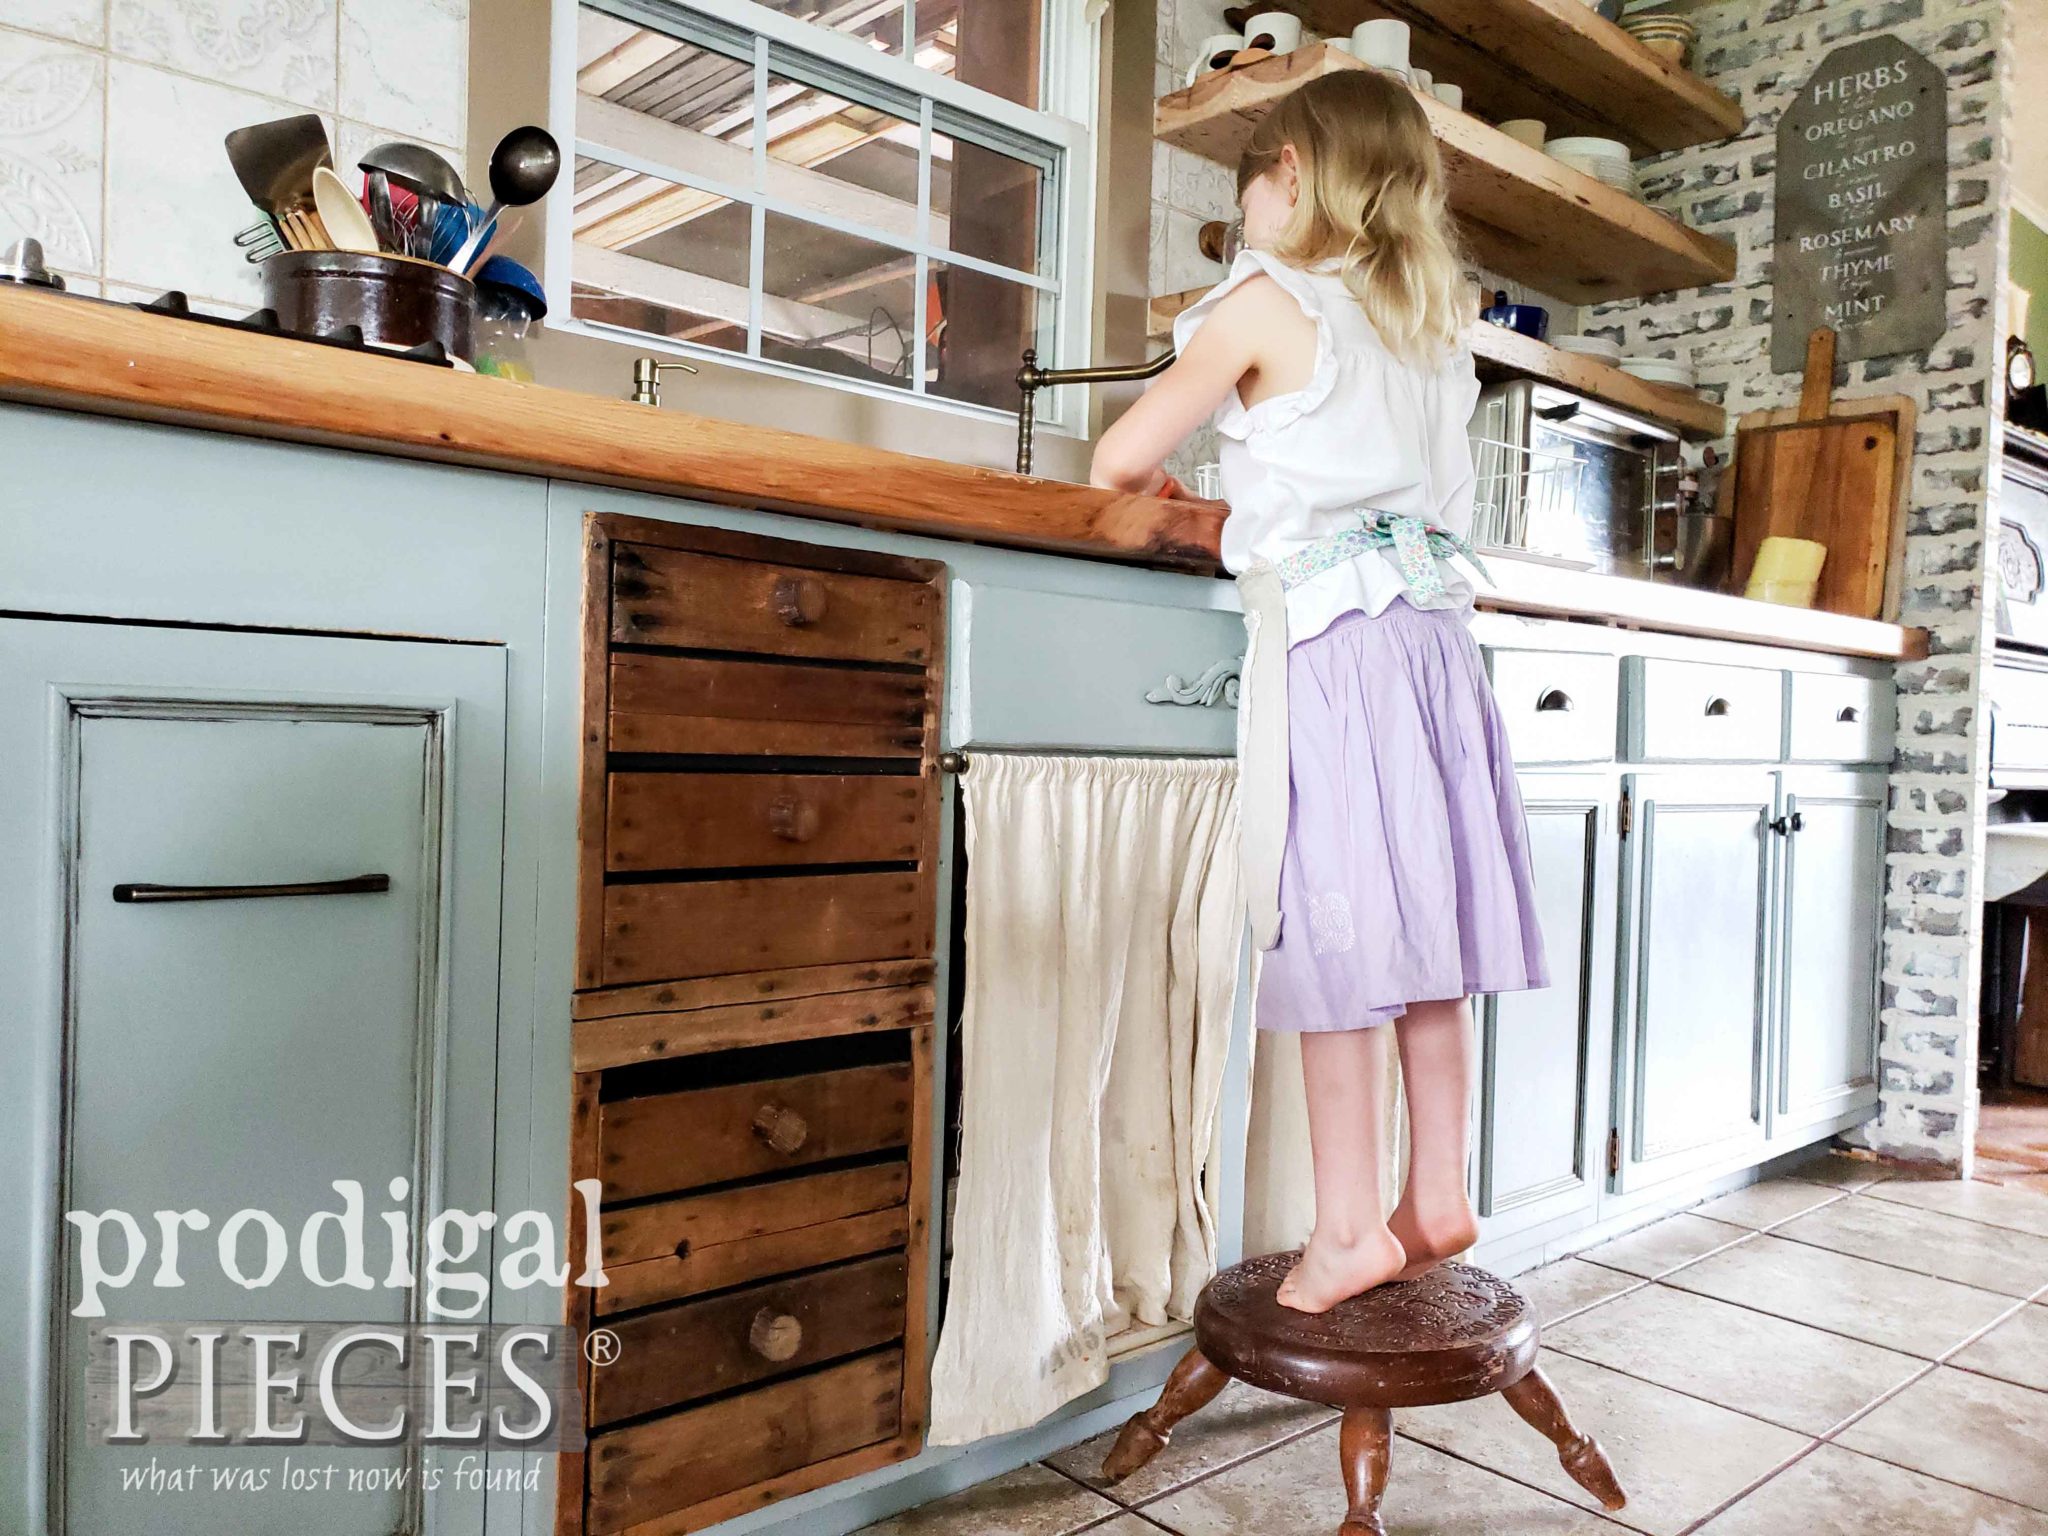
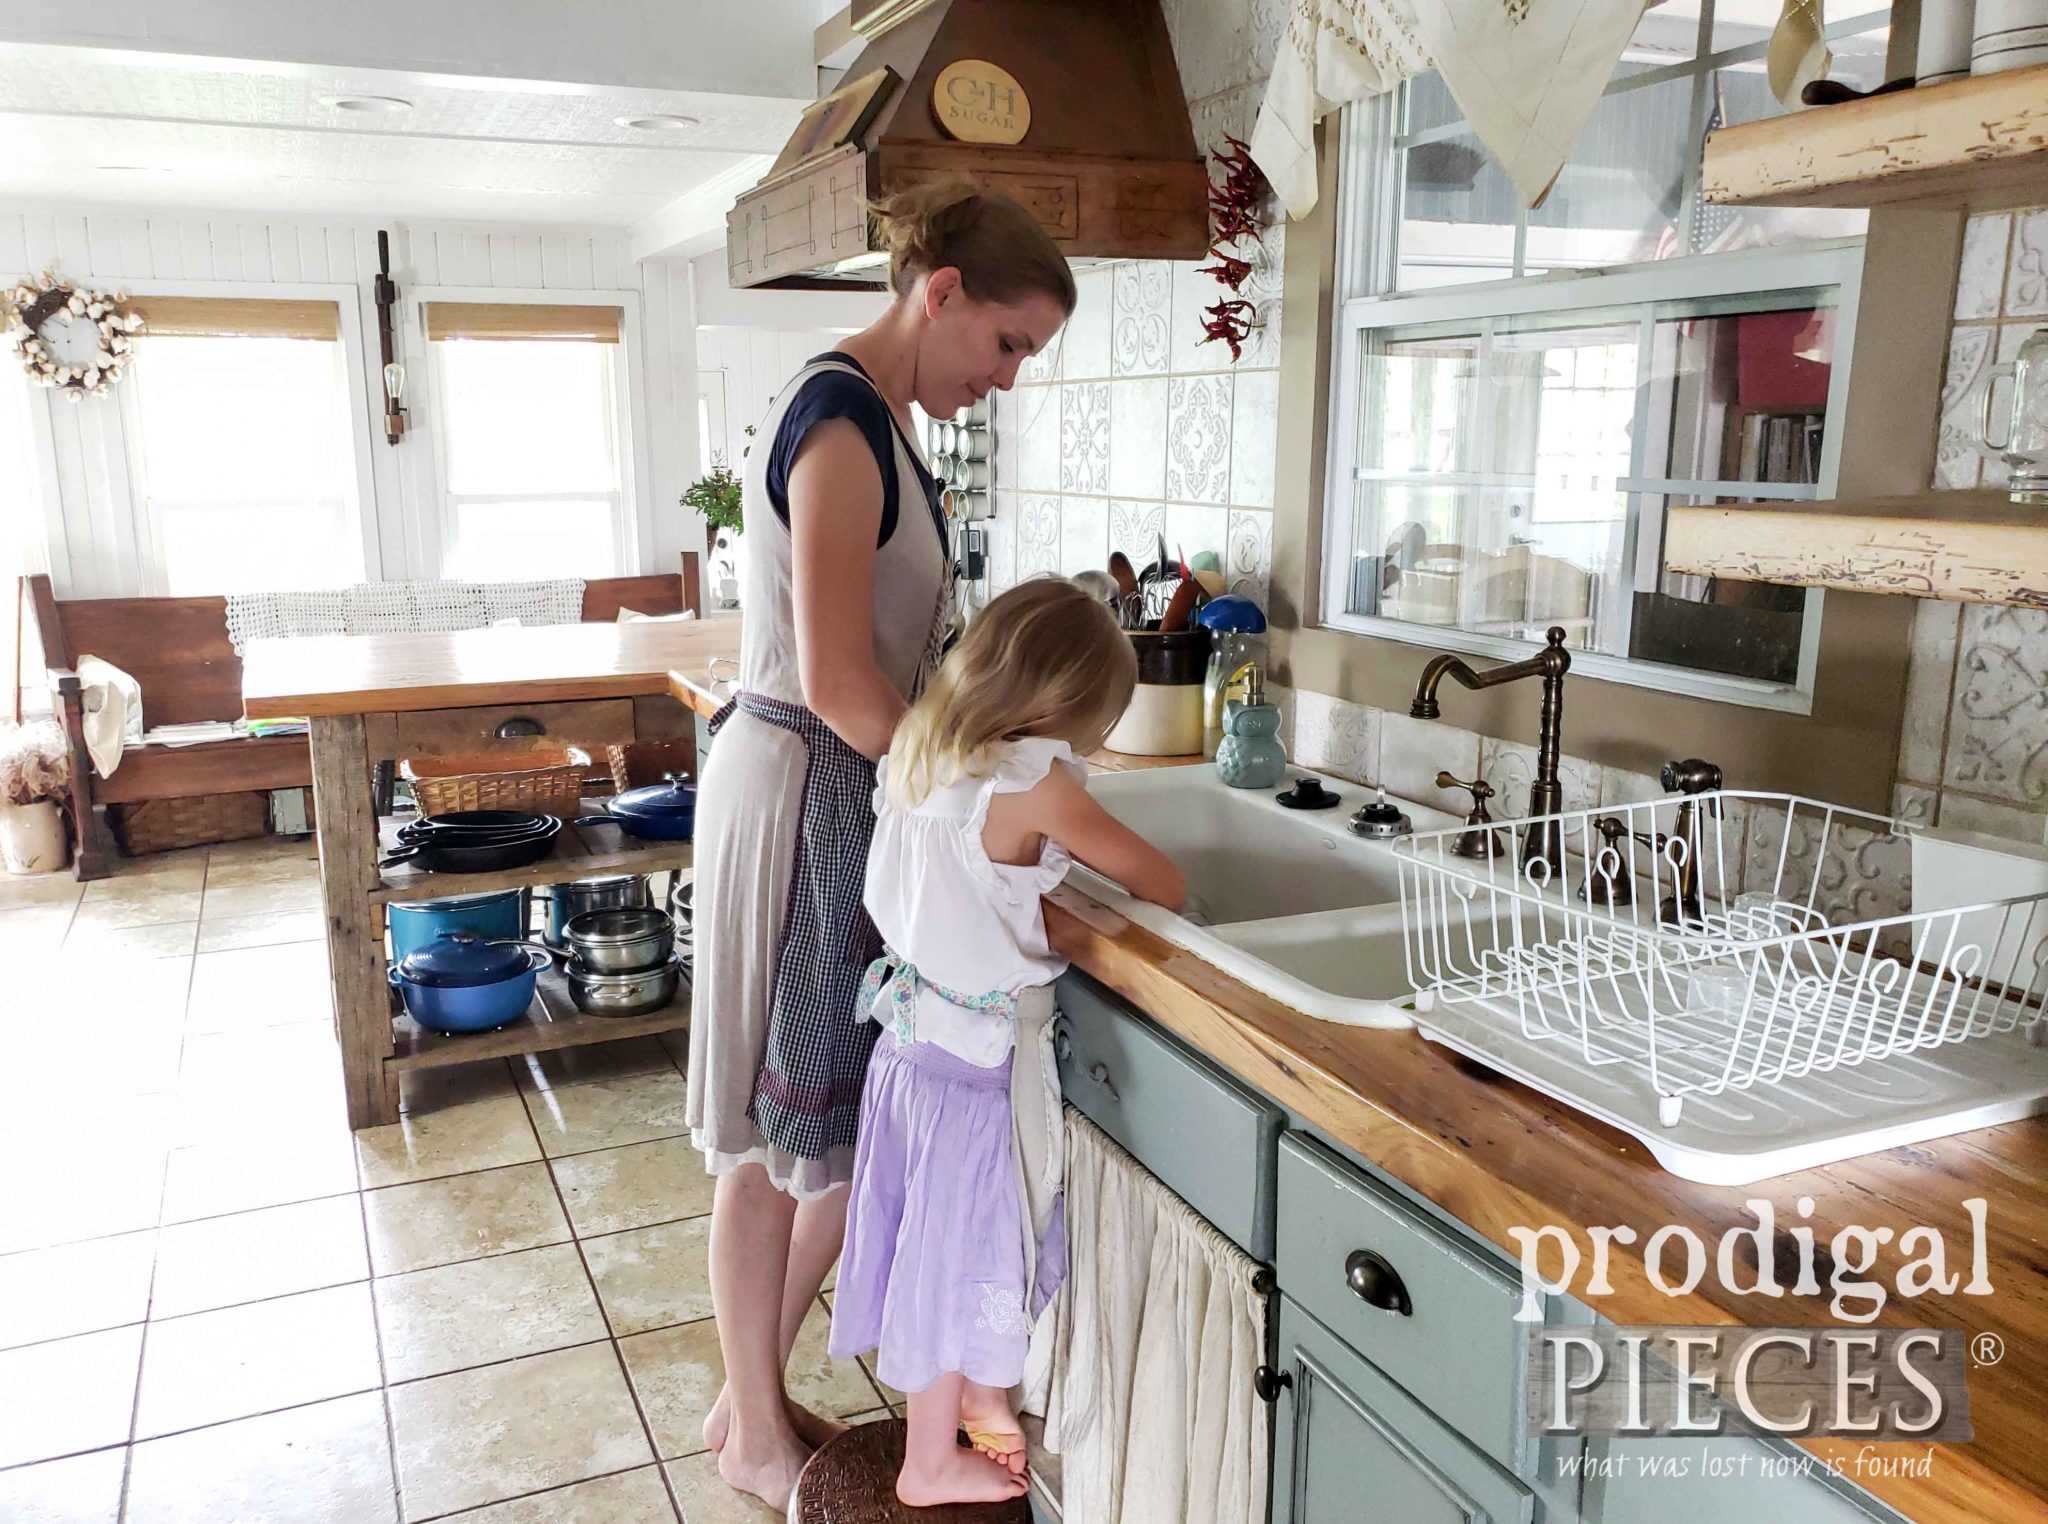
One of her favorite things to do right now is the dishes. She just gets lost in the bubbles, singing, and play acting…it melts my heart.
When she fills the dish drainer with her cleaning efforts, I get a huge smile from her. And, of course, I shower her with oodles of hugs.
What pure joy it is to have my kids with me on a daily basis. With the blessing of homeschooling and being able to work at home, I couldn’t be a happier mama.
It’s crazy how fast time flies. We purchased this Learning Tower when my oldest was younger than her. Sniff… Now he’s grown into such a wonderful young man. I know it won’t be long before my gang of 6 will be all grown up. I’m always asking for a pause button.
We hope you found inspiration in our DIY child’s apron tutorial and are eager to refashion something of your own.
Do pin and share this fun sewing project to inspire others too. Making your house your home is truly a rewarding adventure.
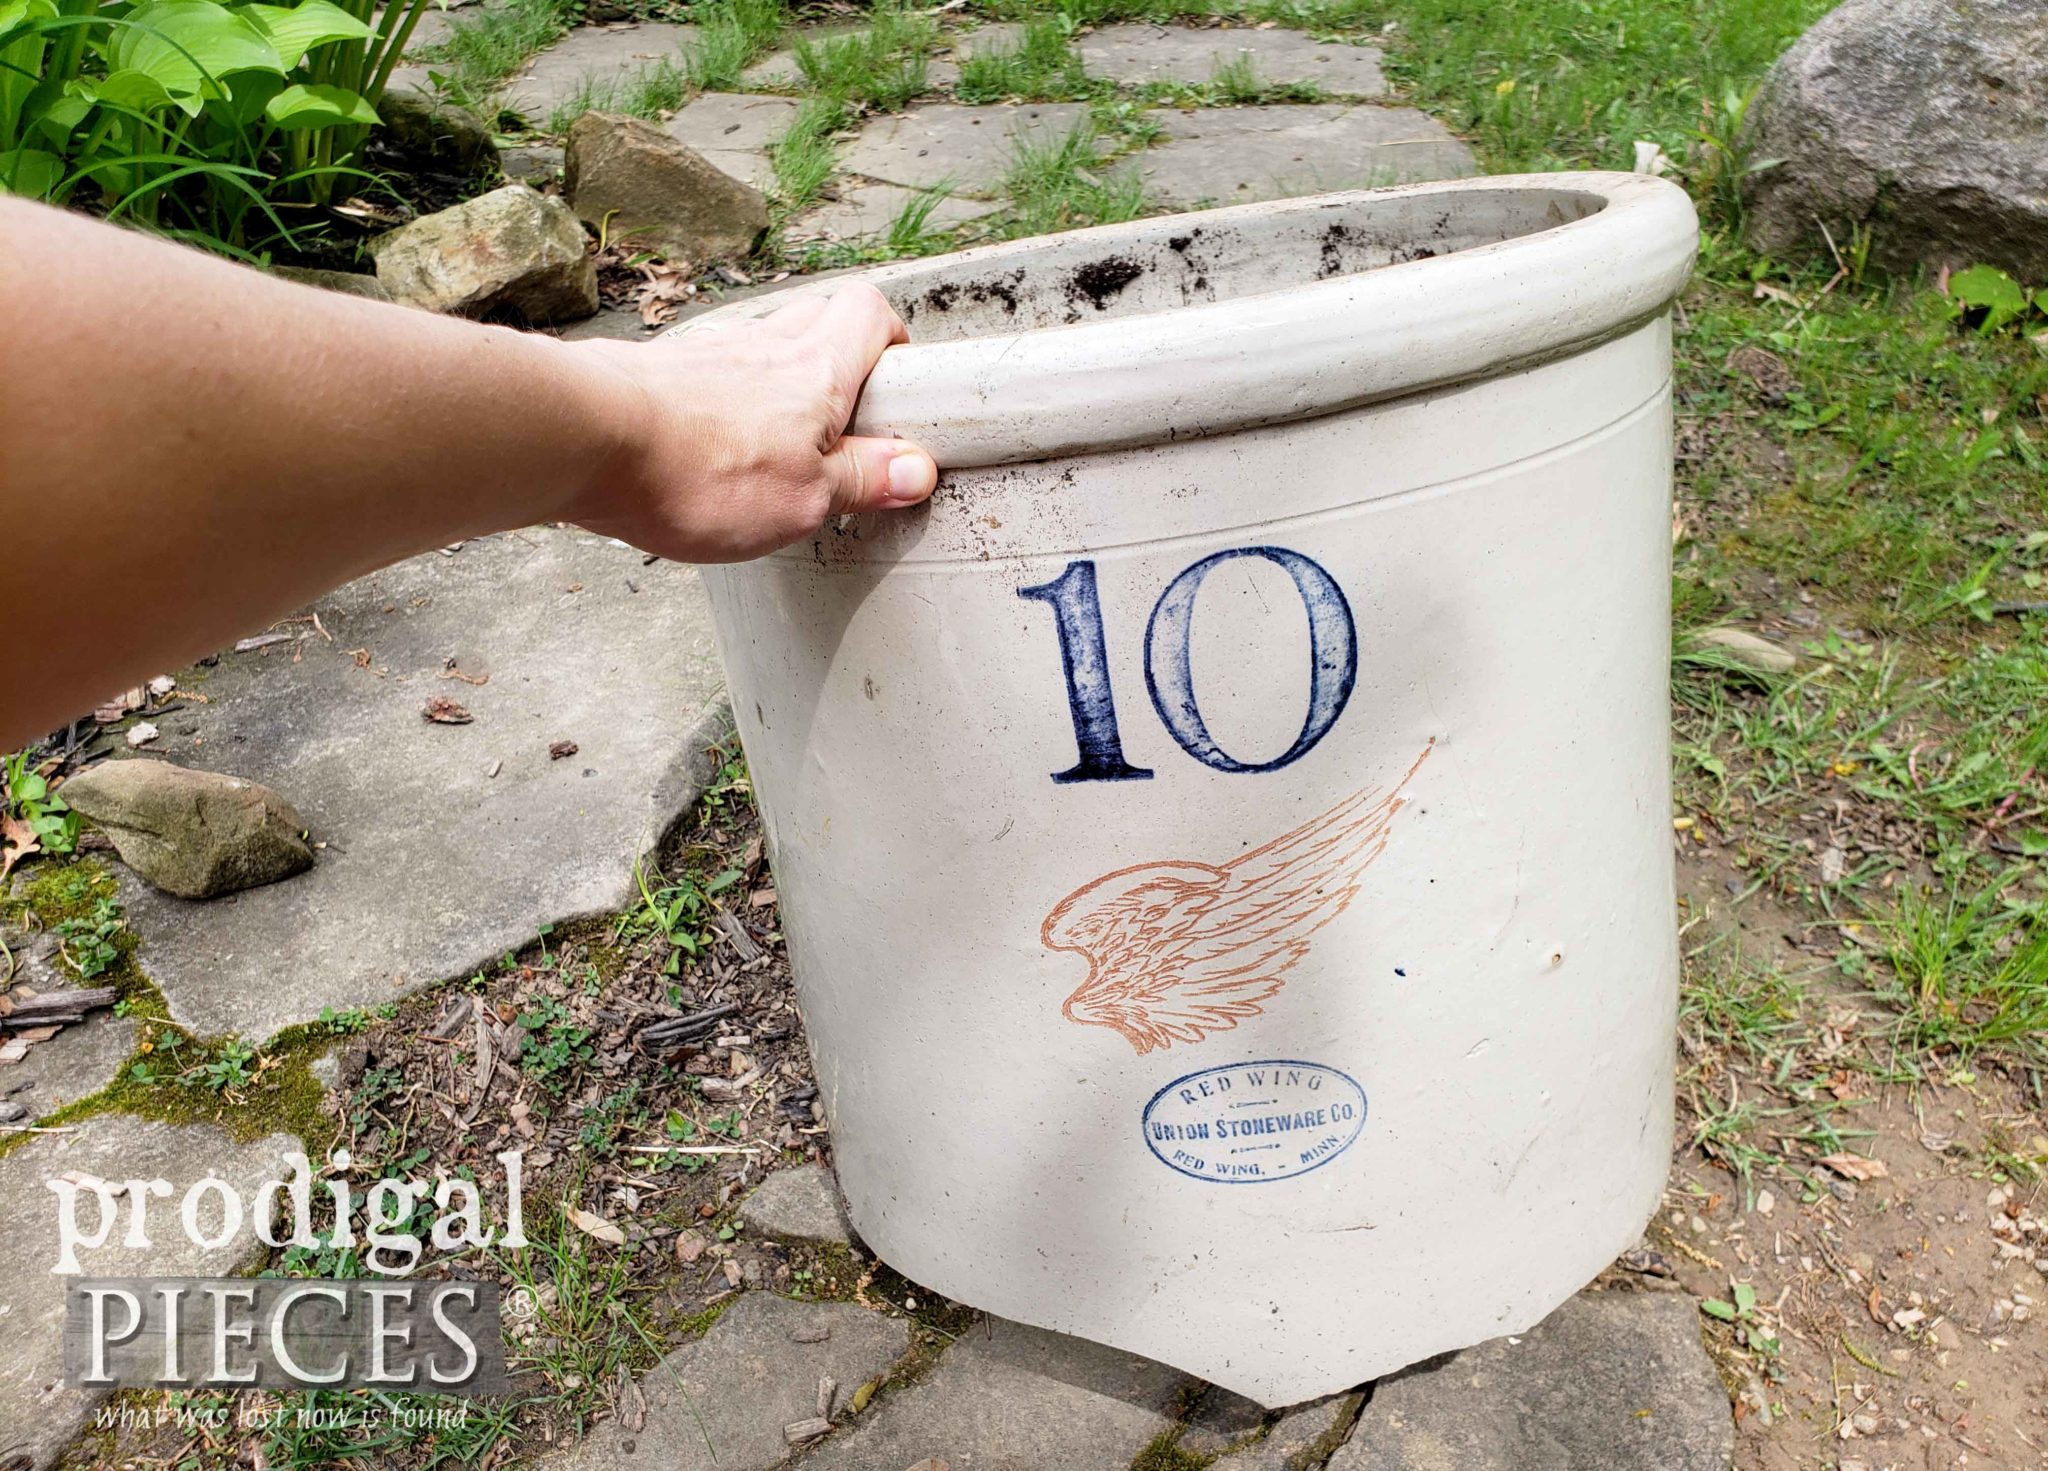
Up next, I’ll be sharing what I do when my antique crocks get broken (or I find a broken one at a barn sale. Come join my DIY fun HERE.
Before you go, be sure to sign up for my newsletter. Until next time!


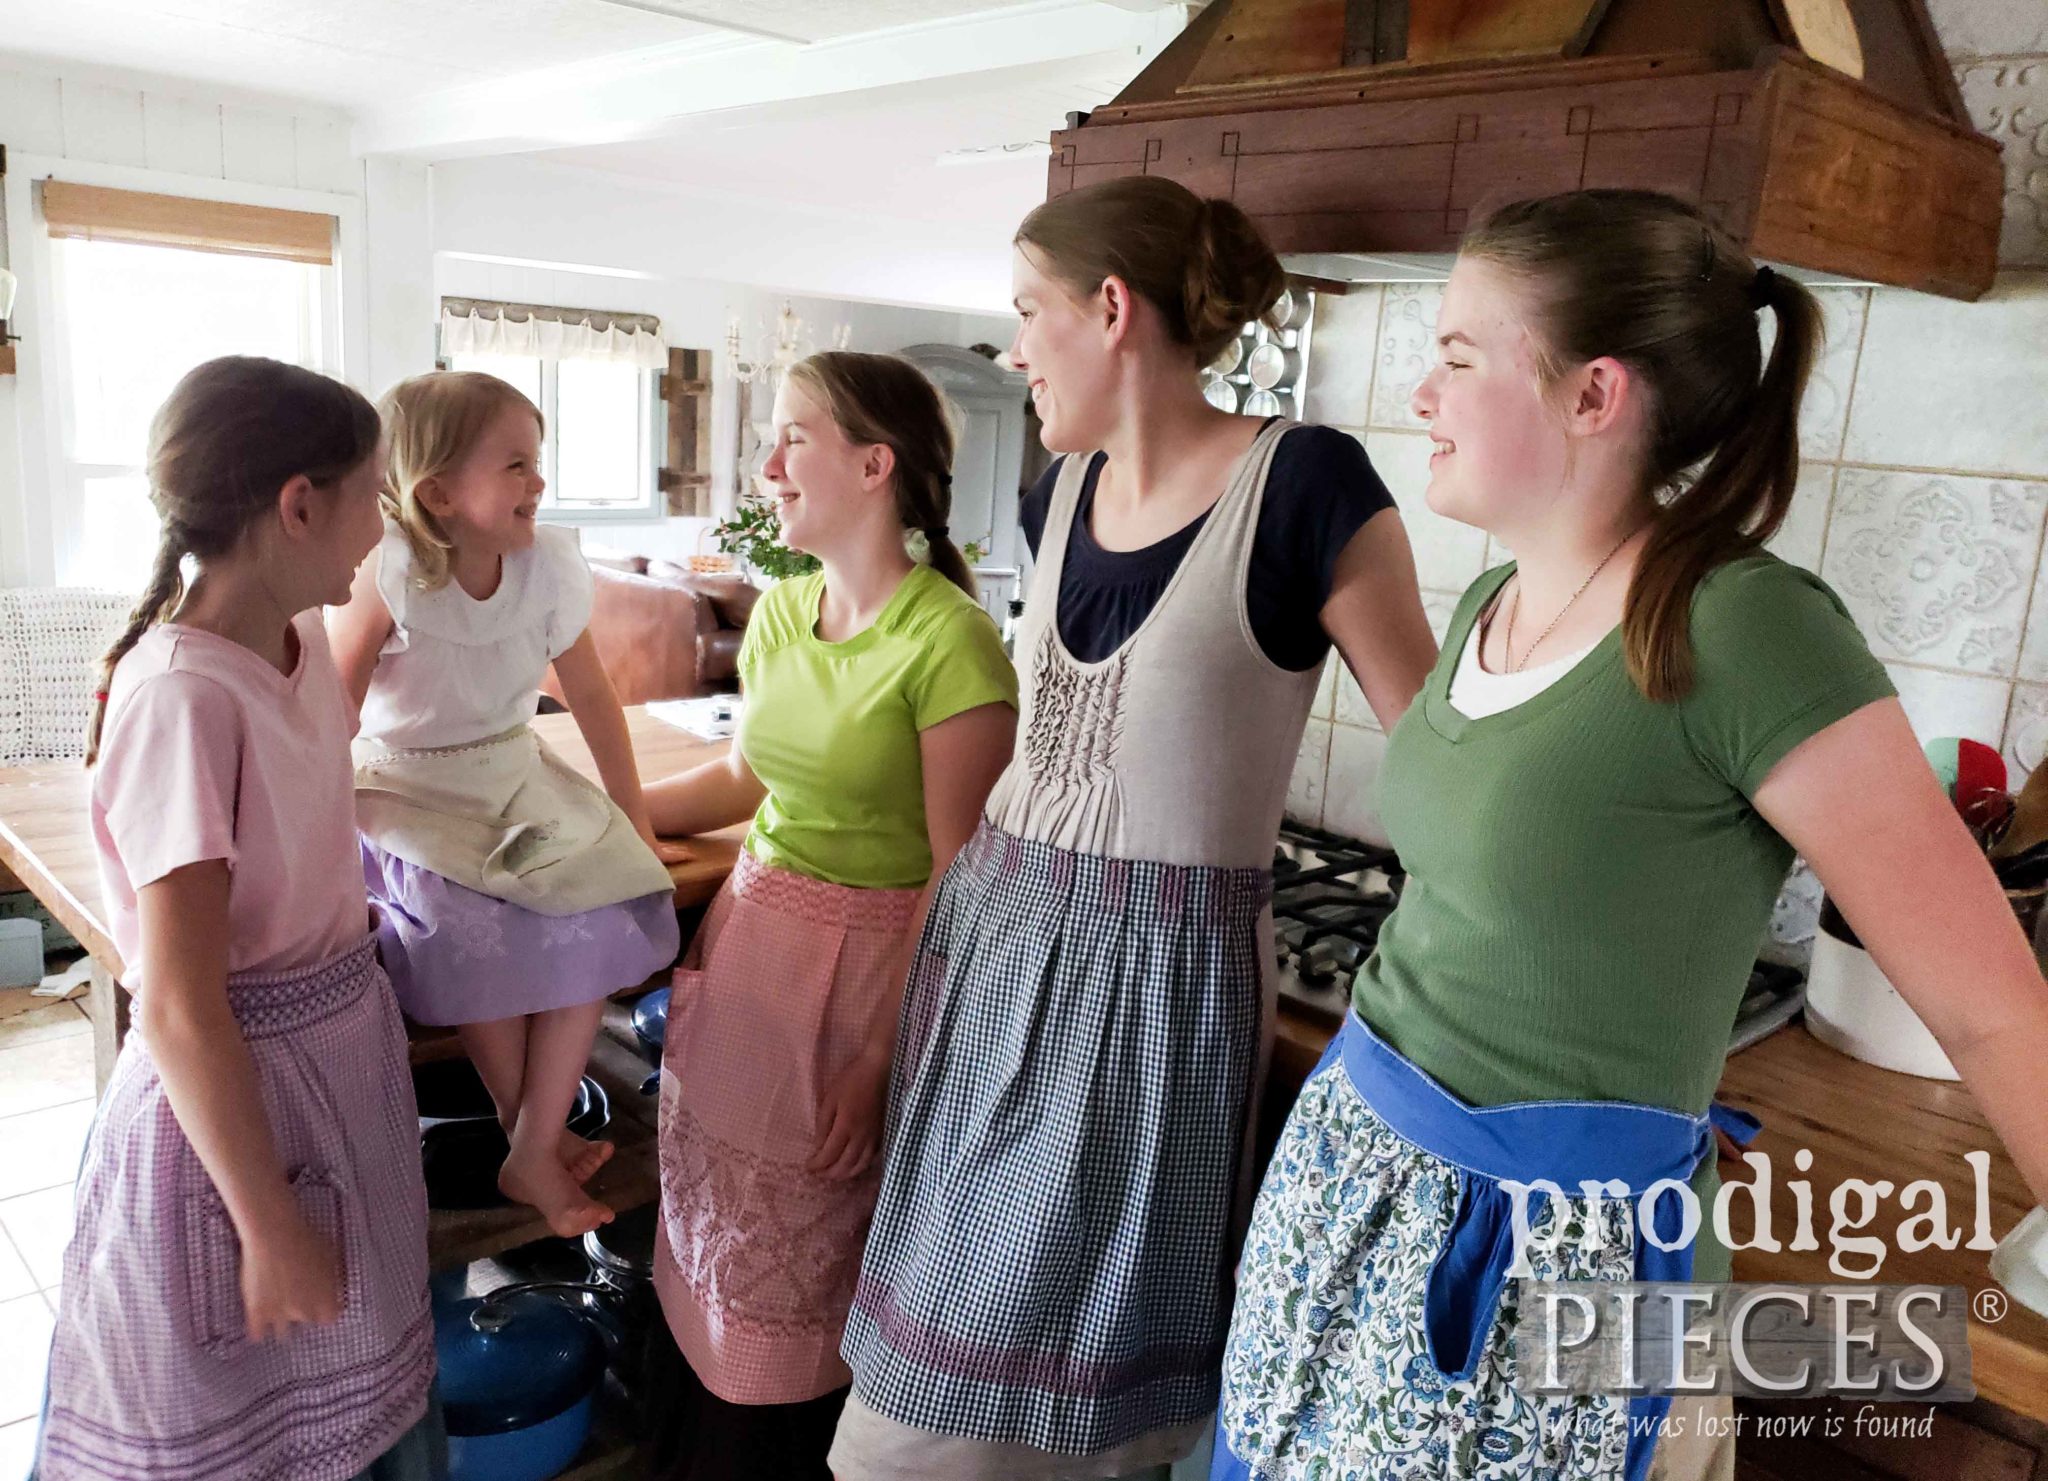


I love to reuse old fabrics and clothes. It´s the best you can do for the environment. I am from the fashion industry and I know how our clothes are produced. Since years I am only wearing second hand and handmade. Now I sew a lot for my daughter. KR from Germany,
Kali
That is just wonderful. Yes, too much waste in general.
Larissa how special and cute this turned out. A memory she’ll have forever. Hold on to the apron as a memory for her when she grows.
I can see how excited she was in the photos. Great momma
Enjoy your day
Cindy
Thank you, Cindy. Yes, it will be a keepsake for her. I love those kinds of gifts that keep on giving.
Aw this is sweet sweet sweet!!! Thank you for putting this together for us to all share our ideas!
Thanks so much, Chloe. It’s a treat to work with you all.
Aw, she looks so excited to have her own special apron made with love by Mama! Grinning from ear to ear reading this post.
She was like…finally! haha. I just love her sweet self and am so enamored by all my gang. Thanks, Marie.
Endearing post! All of it…the project, the story, the pictures and the love flowing from within it. Thank you for putting this refashion group together. I feel that I made some new friends today!
How wonderful to hear, Paula. I truly am excited to begin this adventure. Thank you for joining us in our DIY fun! 😀
Larissa, just a wonderful post, thank you so much. I also toured the others that you have listed and they were all really good. I look forward to the next time you post with them. I am so shocked and grateful that there are real people in the world that value these talents and hold dear embroidery, sewing, reusing, renovating and so much more. Thank You
Your words are a treat to hear. We just love what we do and thoroughly enjoy sharing. Thank you so much, Mary!
Hi Larissa, I love aprons, especially old, vintage aprons, so your post was right up my alley! I really like how you used some scrap fabric and then the embroidered piece, it is so pretty! What great photos at the end of you and your girls, wow they are growing up so fast!!!
I’ve said it before, Kaycee, but you truly are a kindred spirit. I used to be able to find aprons all the time at thrift stores and such, but now they are rare. It’s time to savor my finds. Hugs to you!
Boy, that scrap fabric couldn’t be any better for a match to the handkerchief. So sweet, Larissa!
I was so stoked to find it. I had another idea, and this was better suited. Yay! Thanks for stopping by, Sarah.
Larissa, the keepsake apron is adorable and a genuine treasure for your little girl…something you can help her save to be passed on down to the next generation. Awesom!. But my favorite part? The beautiful picture of all your girls!!!! Talk about genuine treasures!!!❤️❤️❤️
They truly are my best blessings ever – all my kids. Thank you for the smile, Marti.