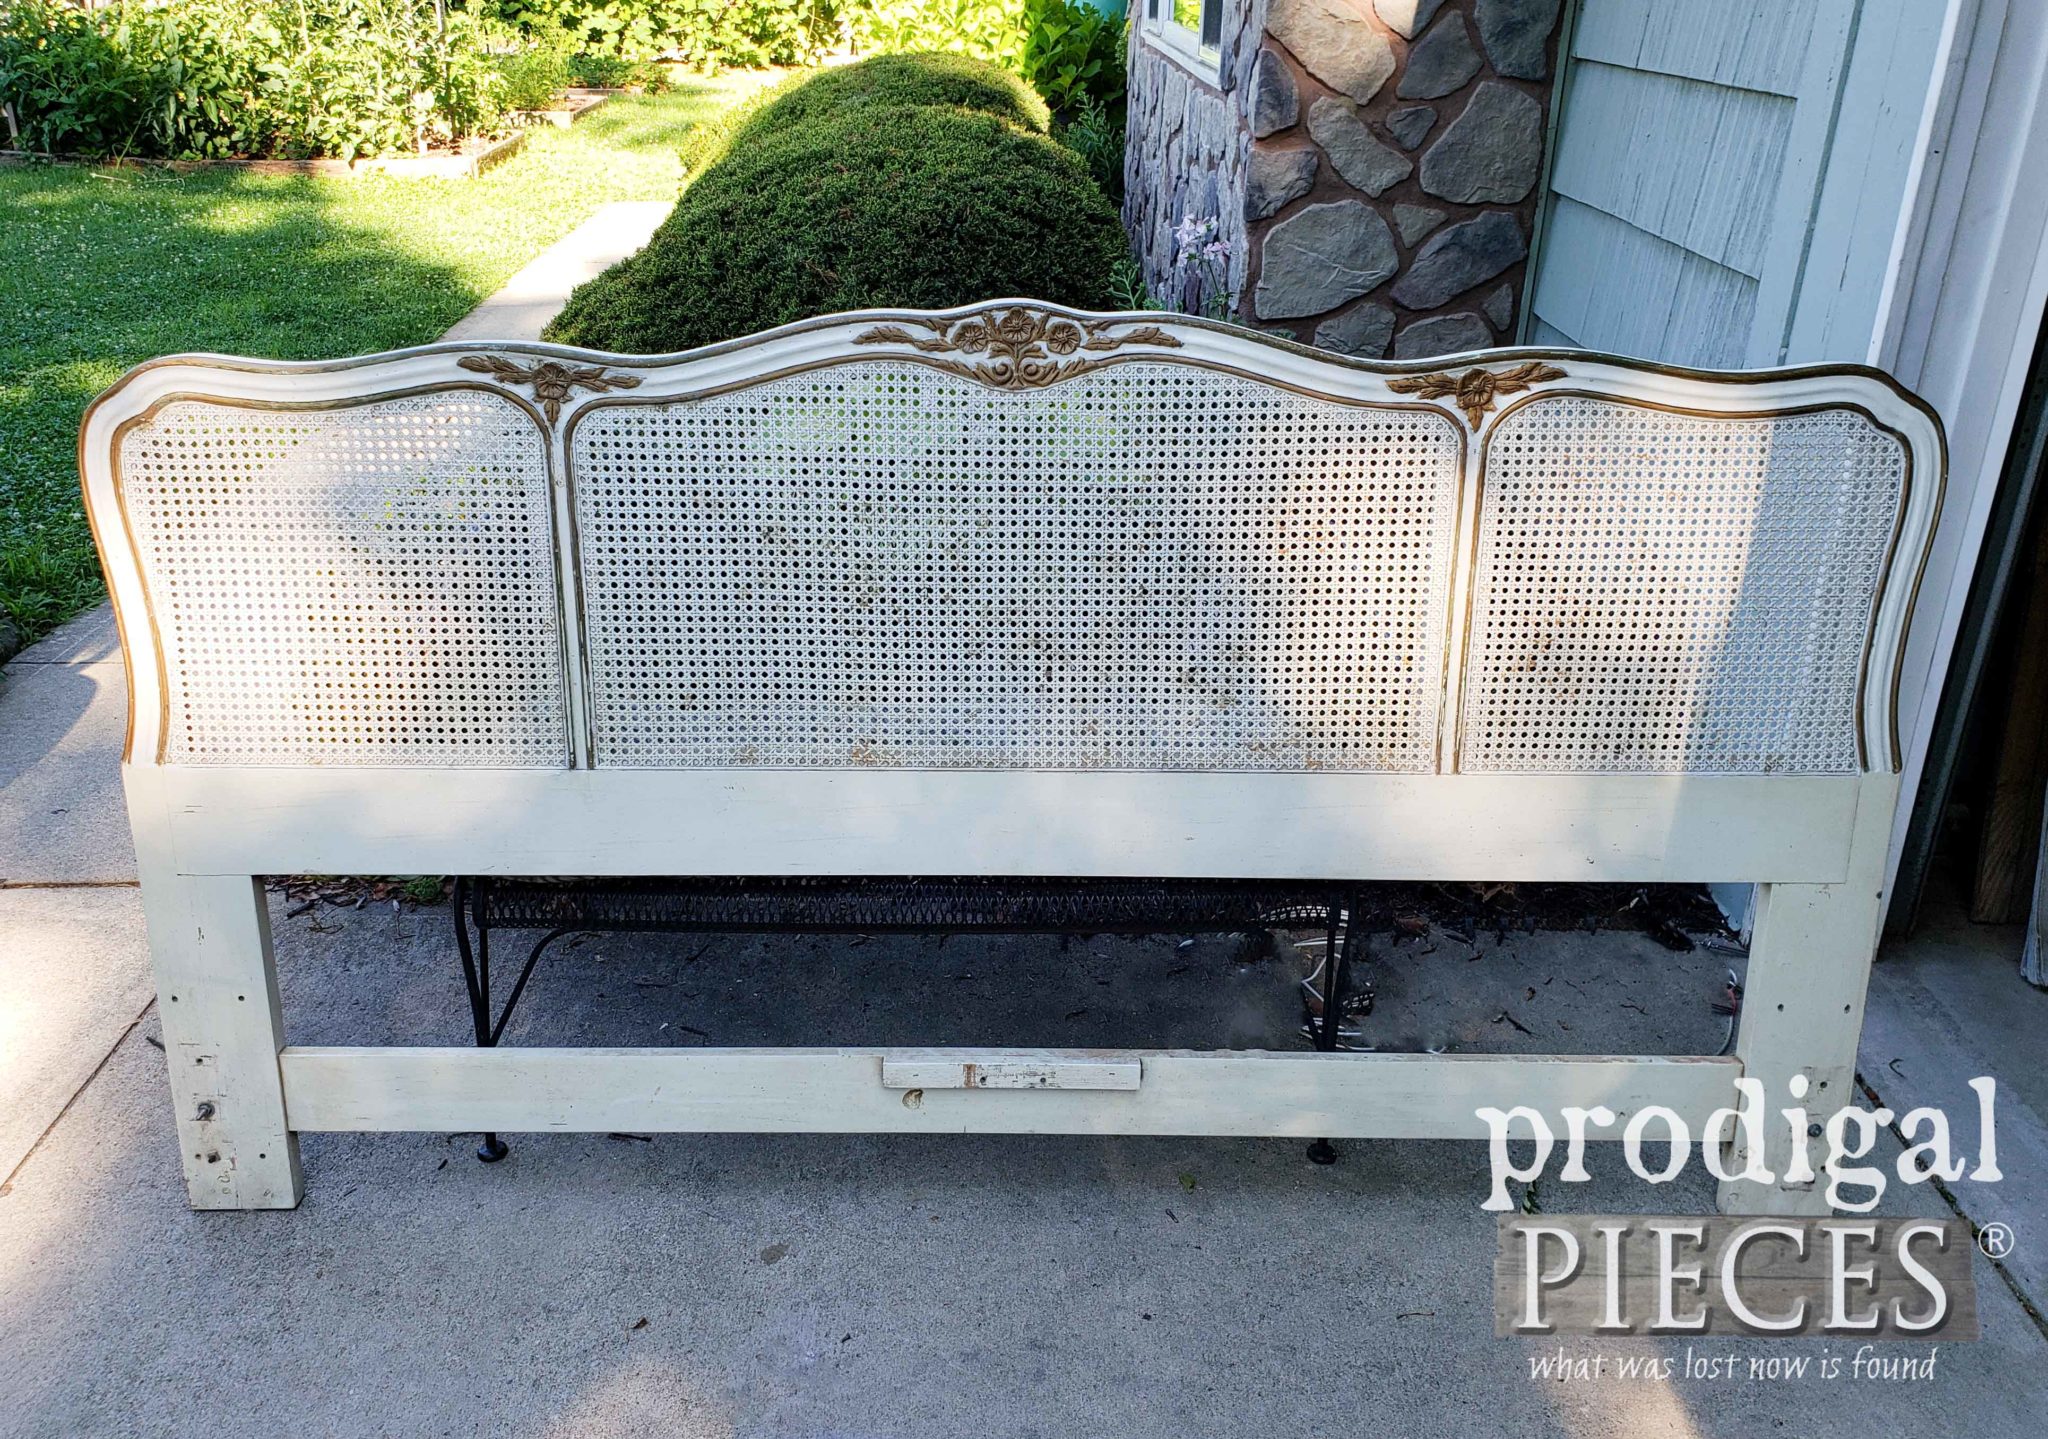
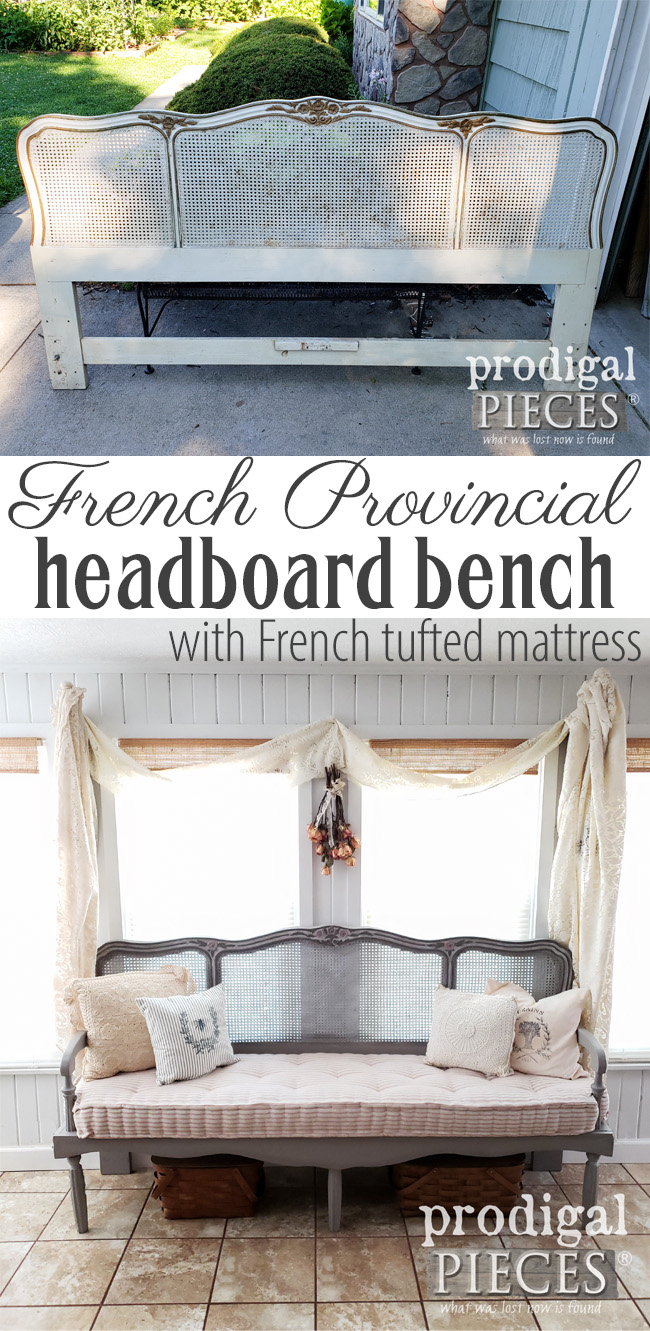
Sometimes there are projects that you envision in your head the minute you spy something. Maybe that doesn’t always happen, but when it does it is fantastically fun to get it done. That’s what happened to me when I spied this beauty below. Did I need a headboard…no. Did I need another project…not really. But…did I want to take this vintage gem and create a French Provincial headboard bench…YES!
A local lady posted this on Craigslist, and I couldn’t resist the opportunity to check it out. The caning alone is what caught my attention, but I’ve always had a heart for French Provincial style. You can see why in my past makeovers in these posts.
This isn’t my first time I’ve built a headboard bench, but the last one was from a bookcase headboard and had a totally different spin on it. There are dozens of headboard benches out there, so why would I want to take this one on? Well, because not many have this design to them, and I love taking on a new challenge.
FIRST STEPS
Okay, so making the bench is pretty simple and straightforward – you’re adding a frame to the front of the headboard. I’m not going to reinvent the wheel and make a tutorial but will share a few tips that I learned along the way. First, having the right tools is key.
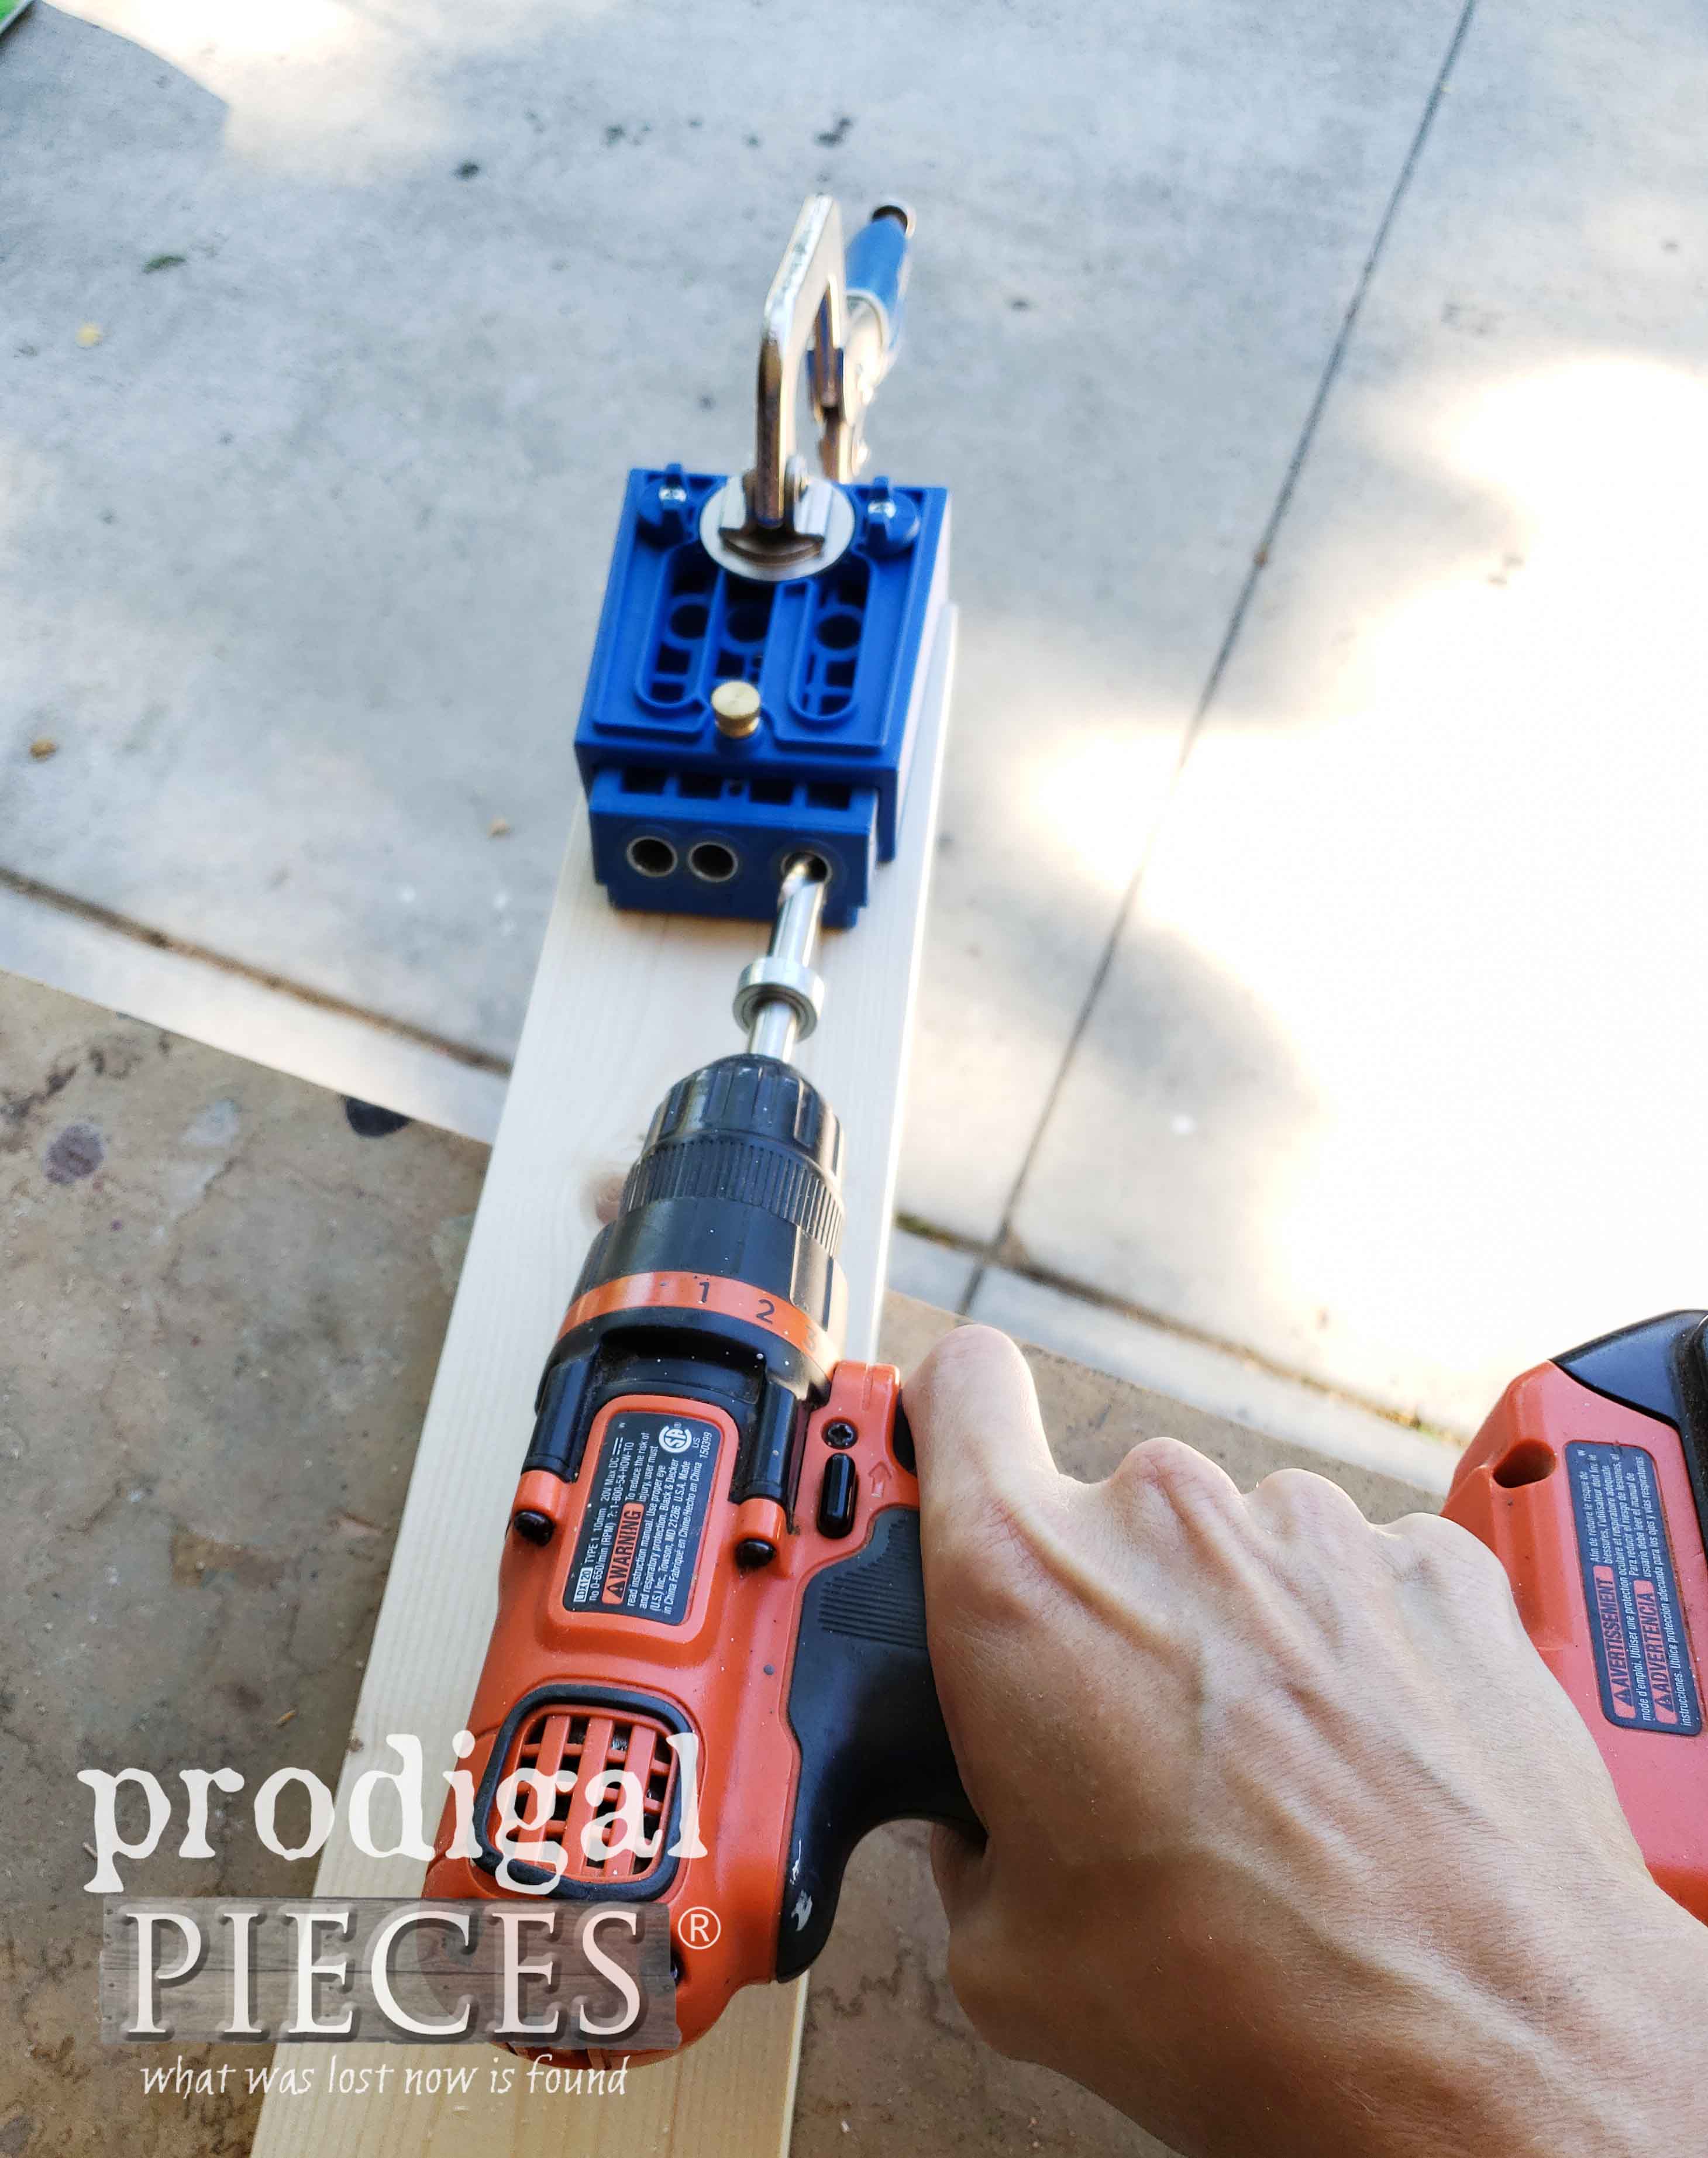
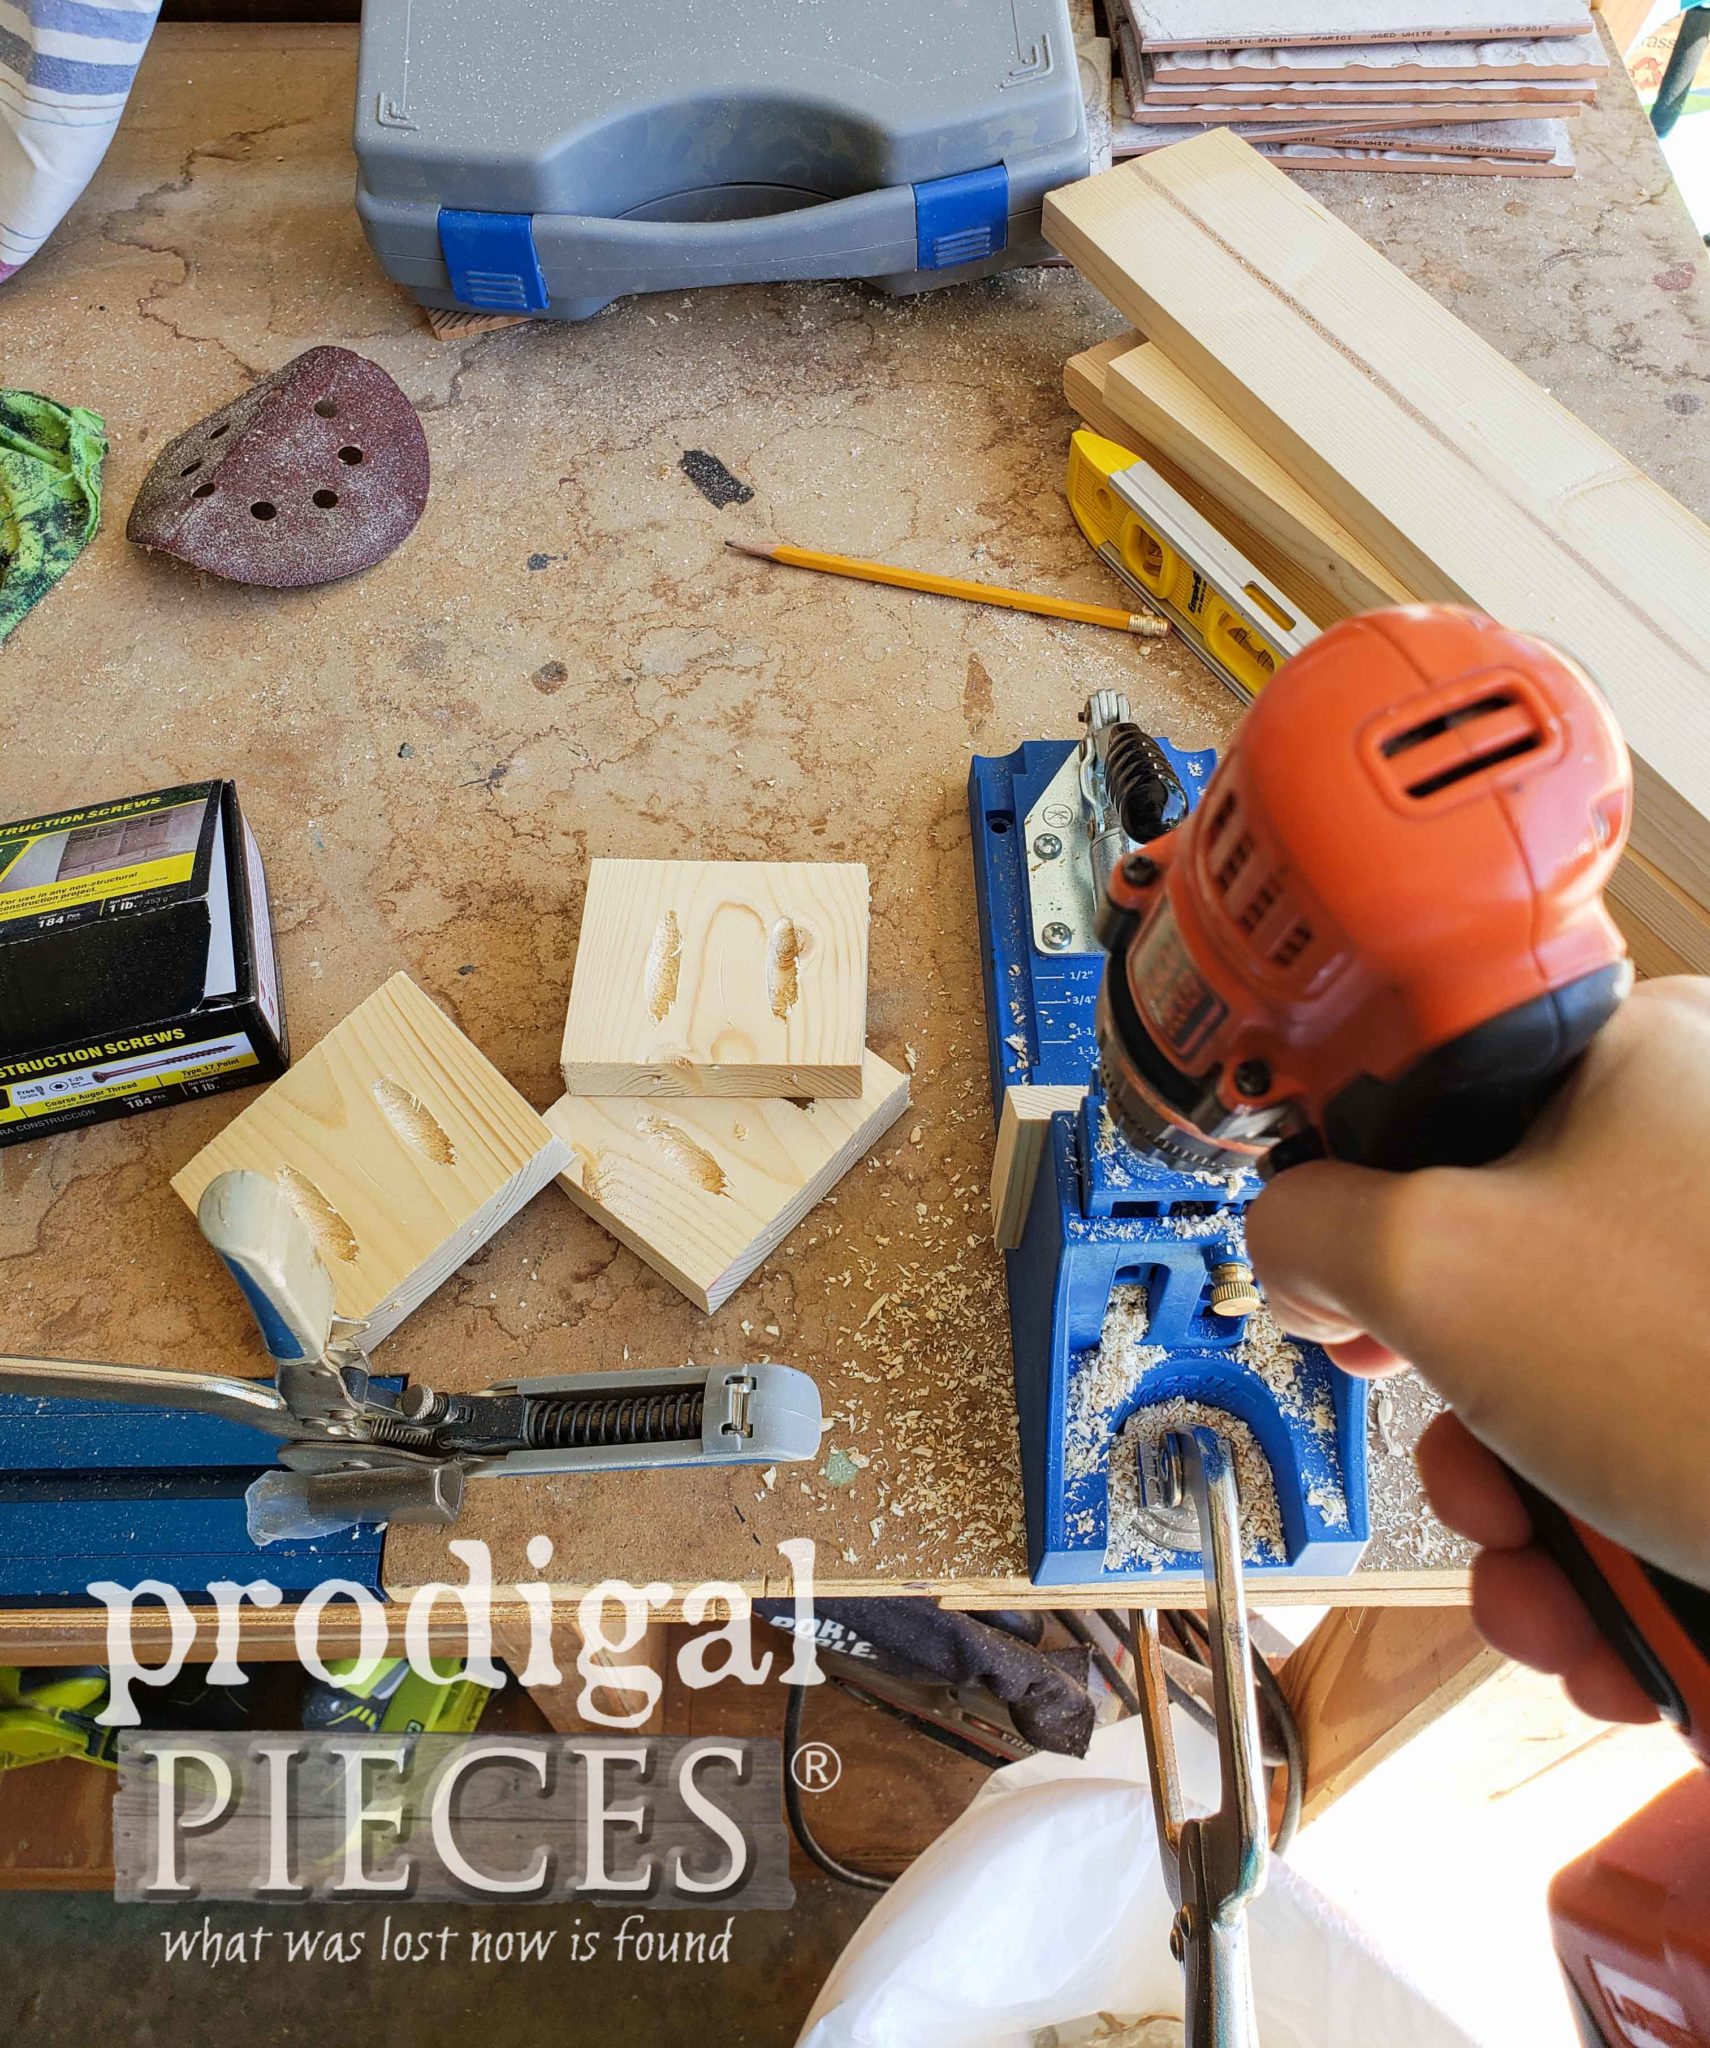
To make a solid frame, my must-have is my pocket-hole jig I can create joints in any form on any size material that will be strong and tight. I love it! You can see all the ways I use it in my past projects.
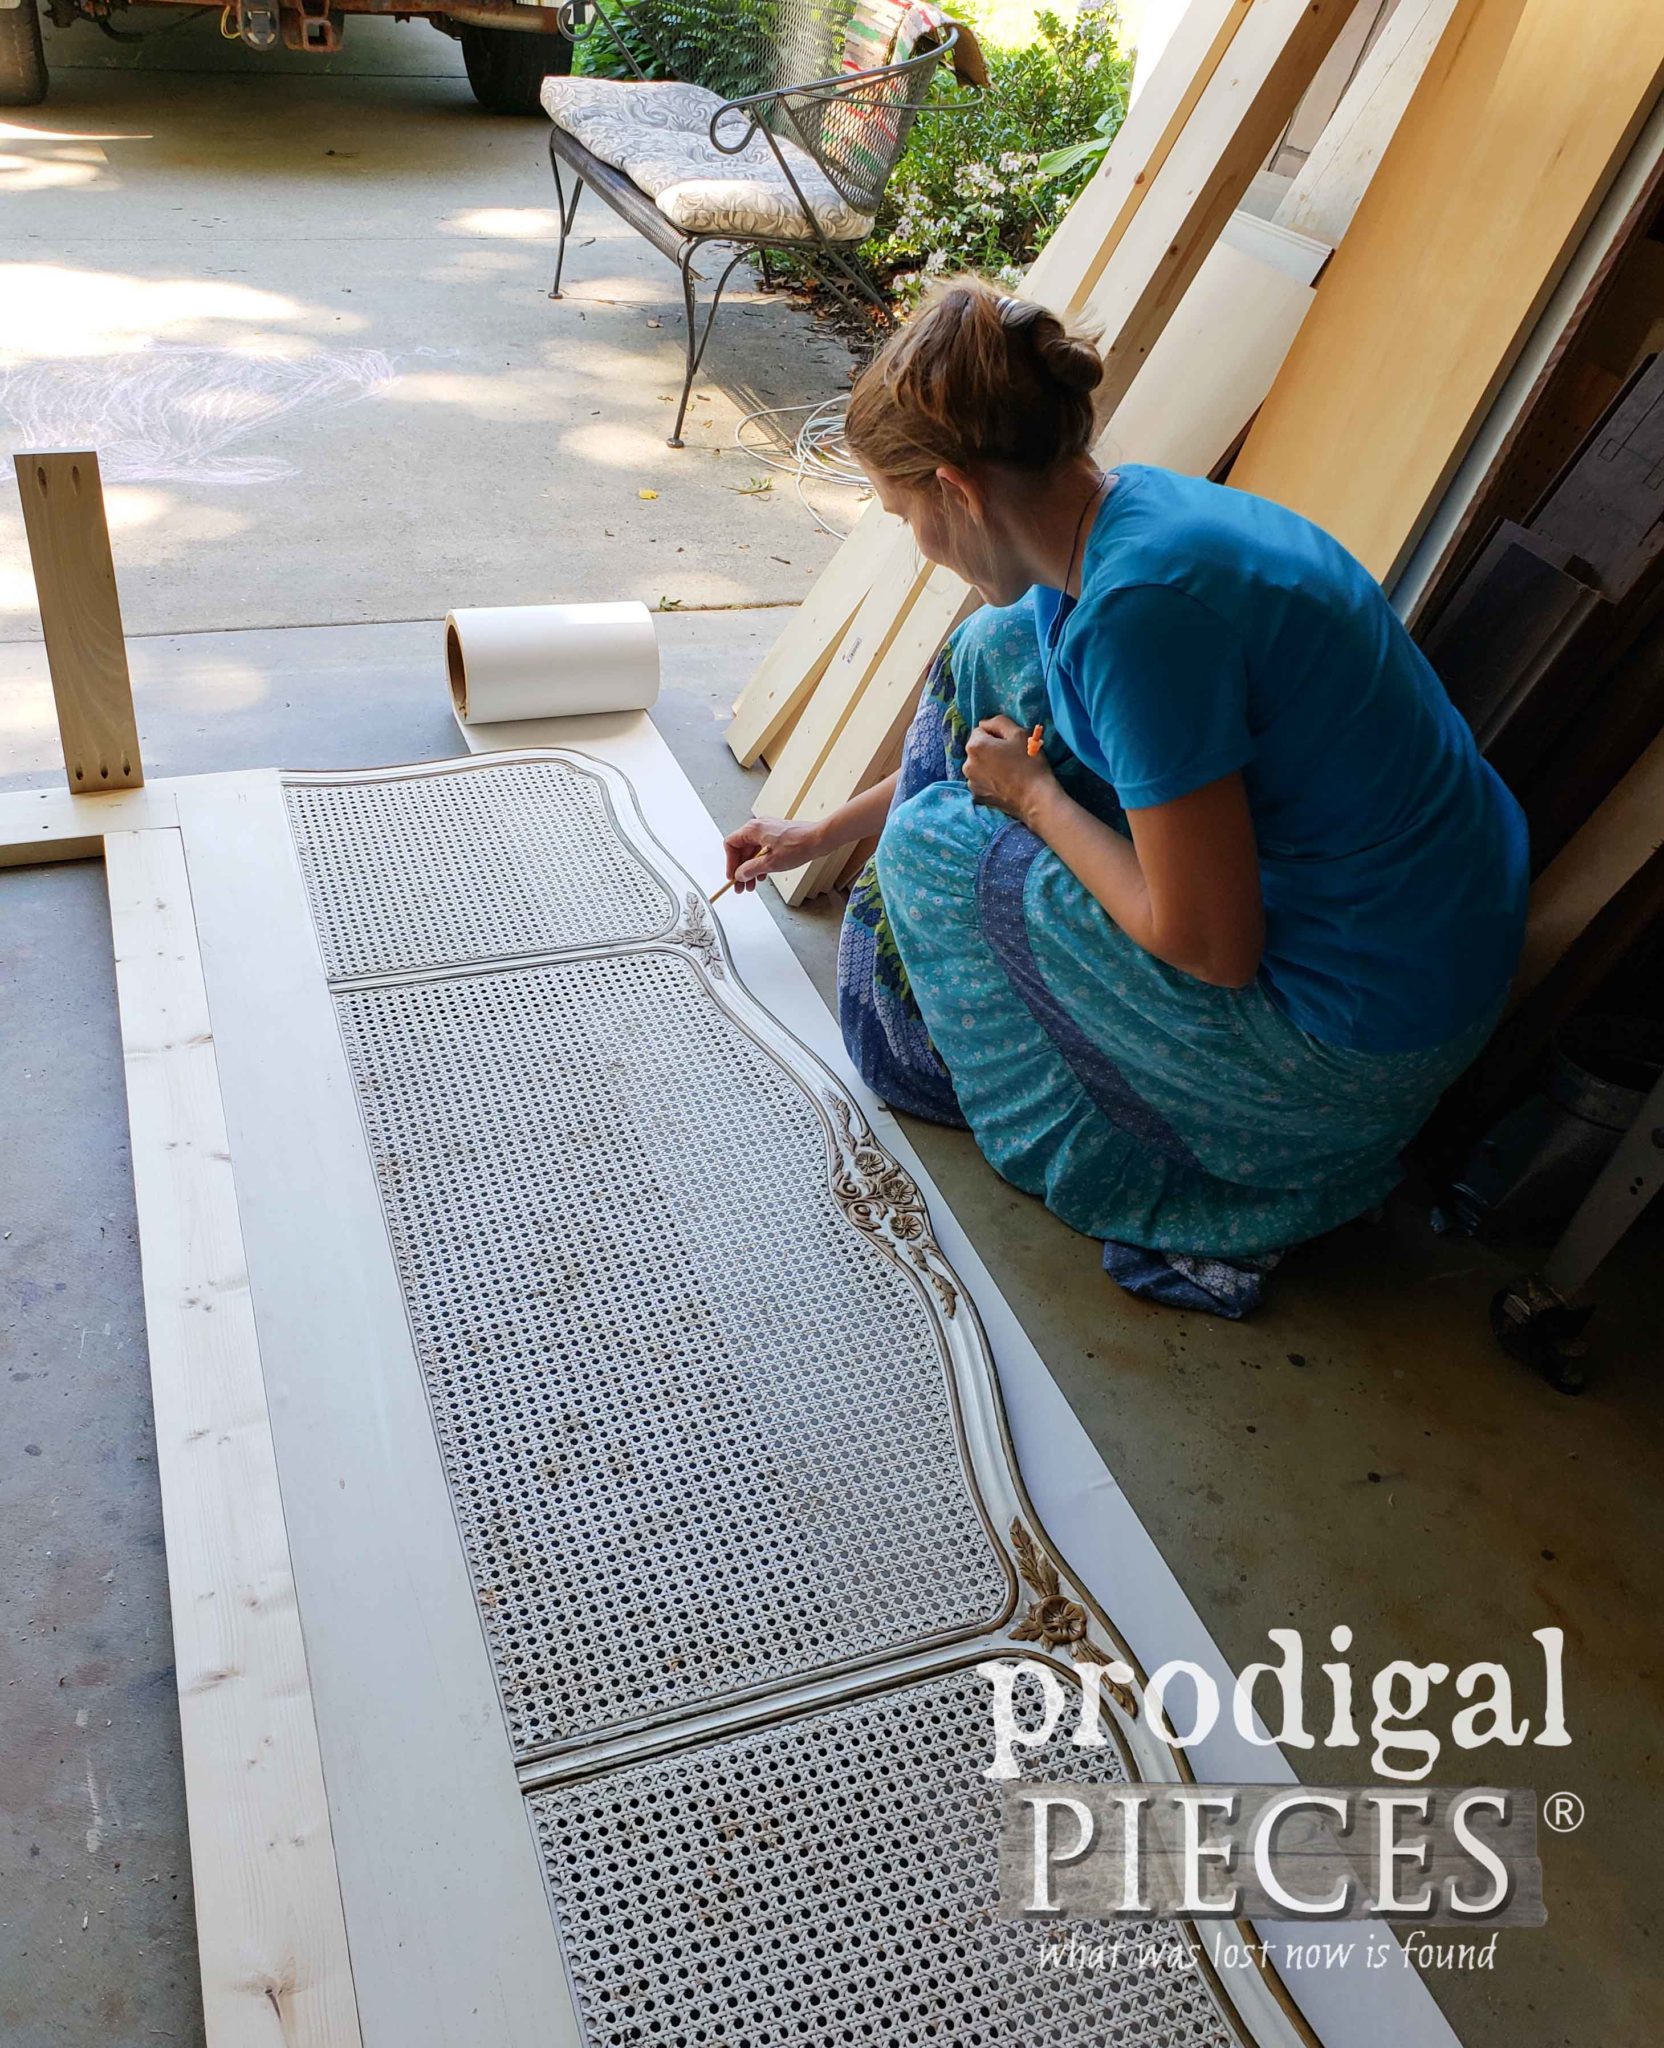
I could have just stuck a plain board across the front as the bench skirt, but I wanted to make this look custom. My goal was to recreate the lines of the headboard, so I lay it on its back and traced it onto paper.
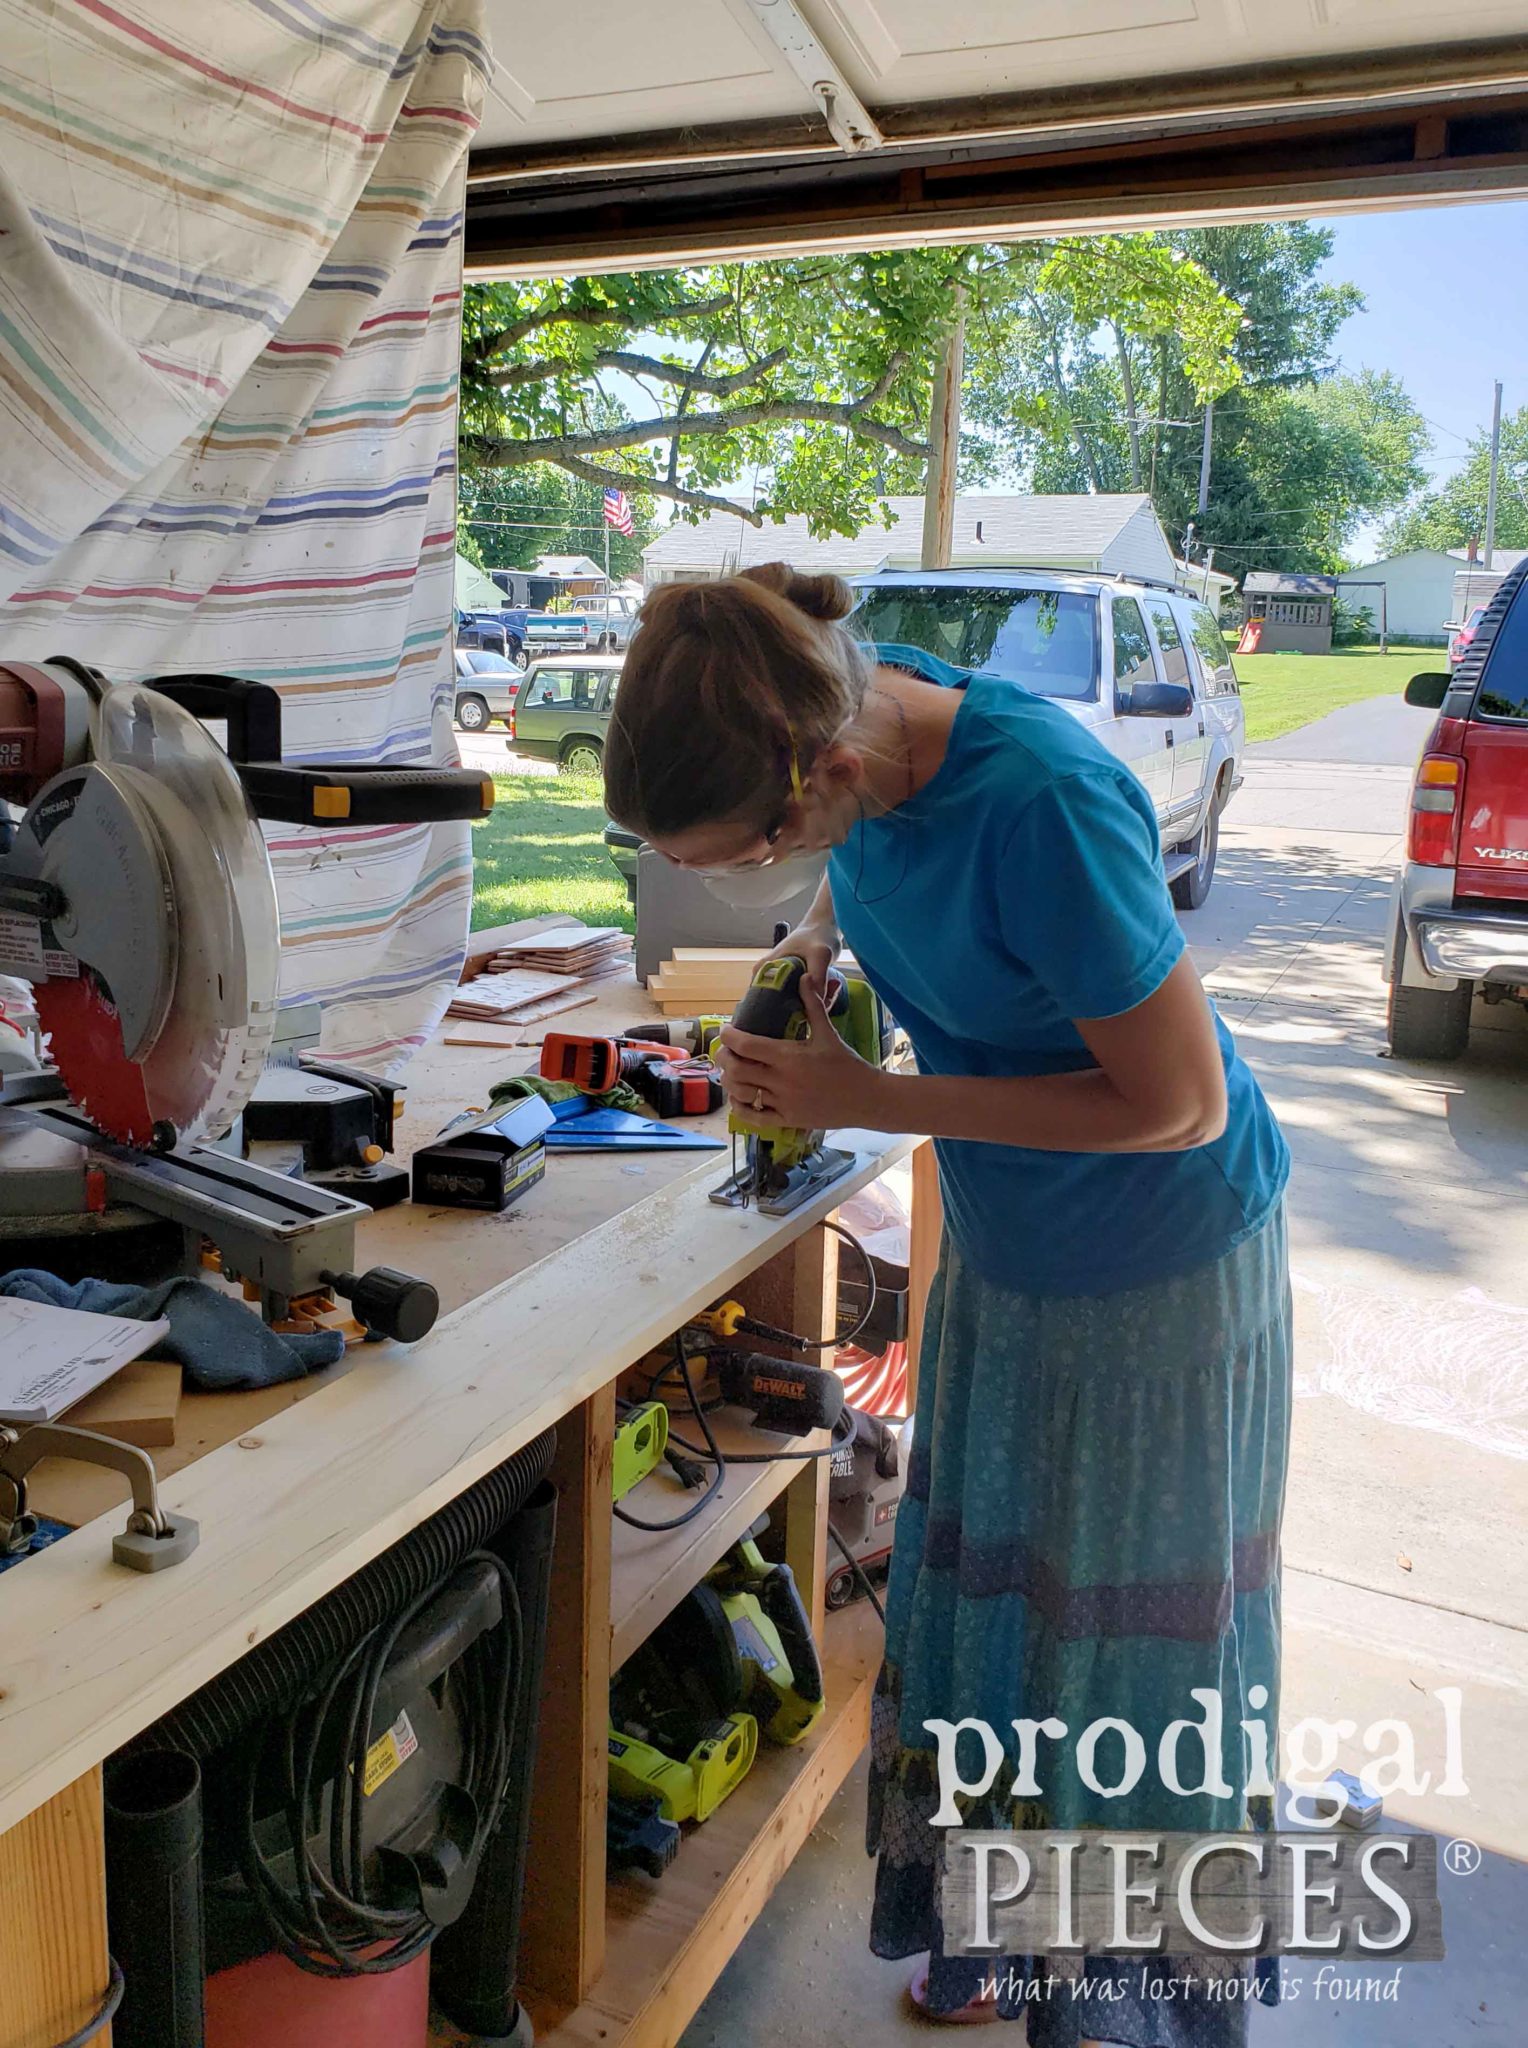
Once I had it traced and cut out, I transferred my tracing to a 1″ x 6″ board and cut it out with my jigsaw. My workbench with Kreg Klamp Trak System< makes this a breeze.
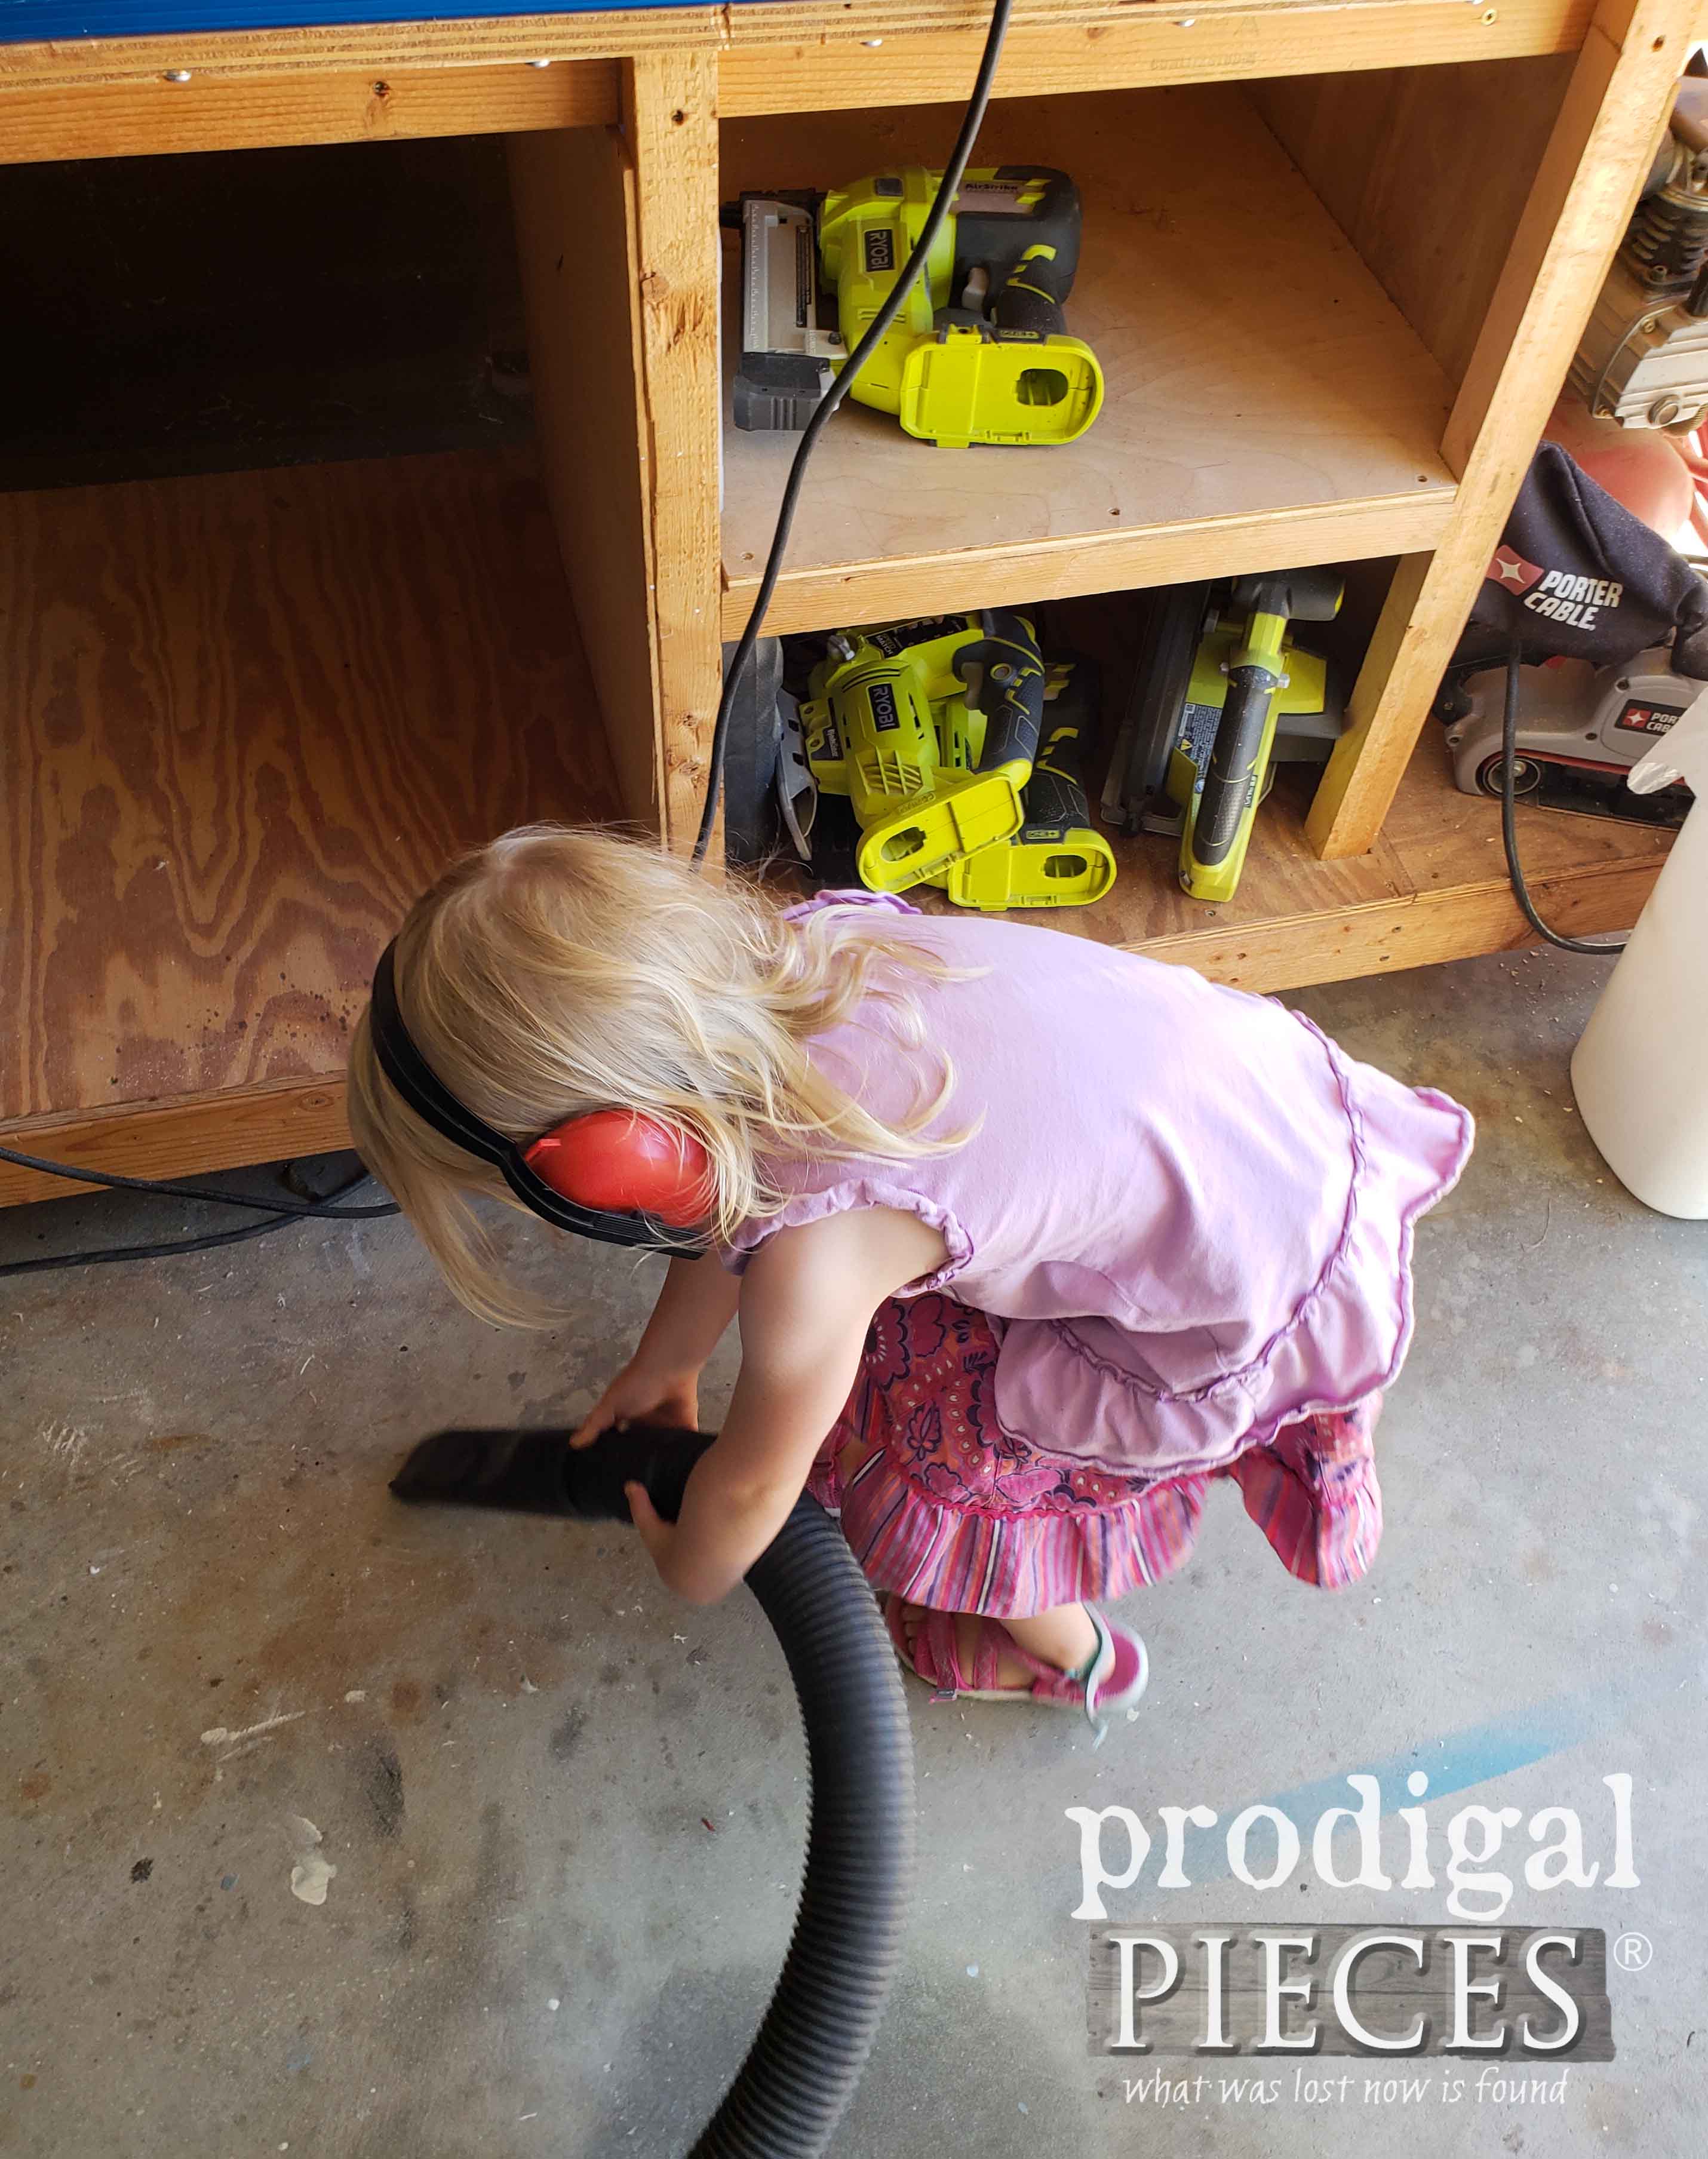
No worries about a mess, my clean-up crew was eager and waiting to suck up any debris the minute it hit my shop floor. haha. I love it!
MORE FUN
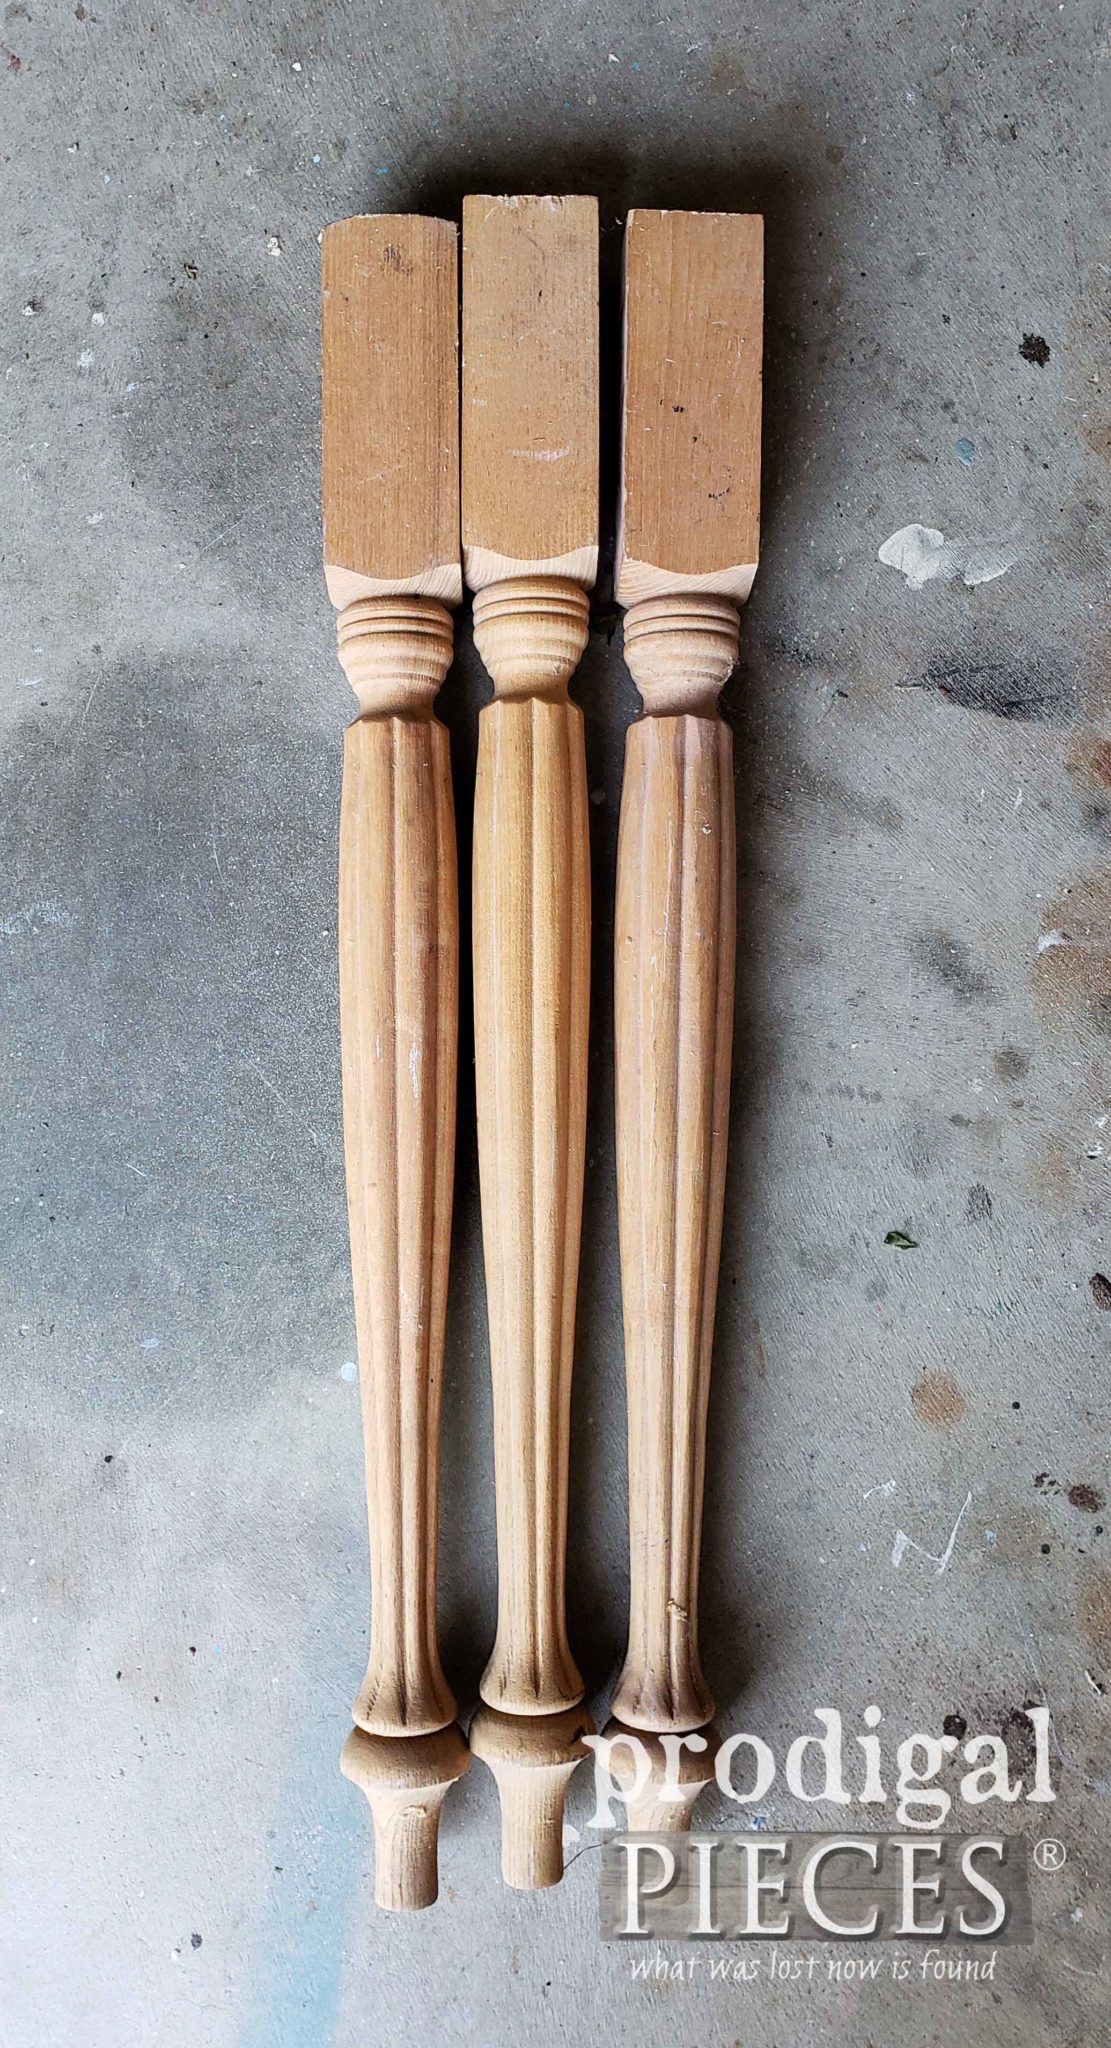
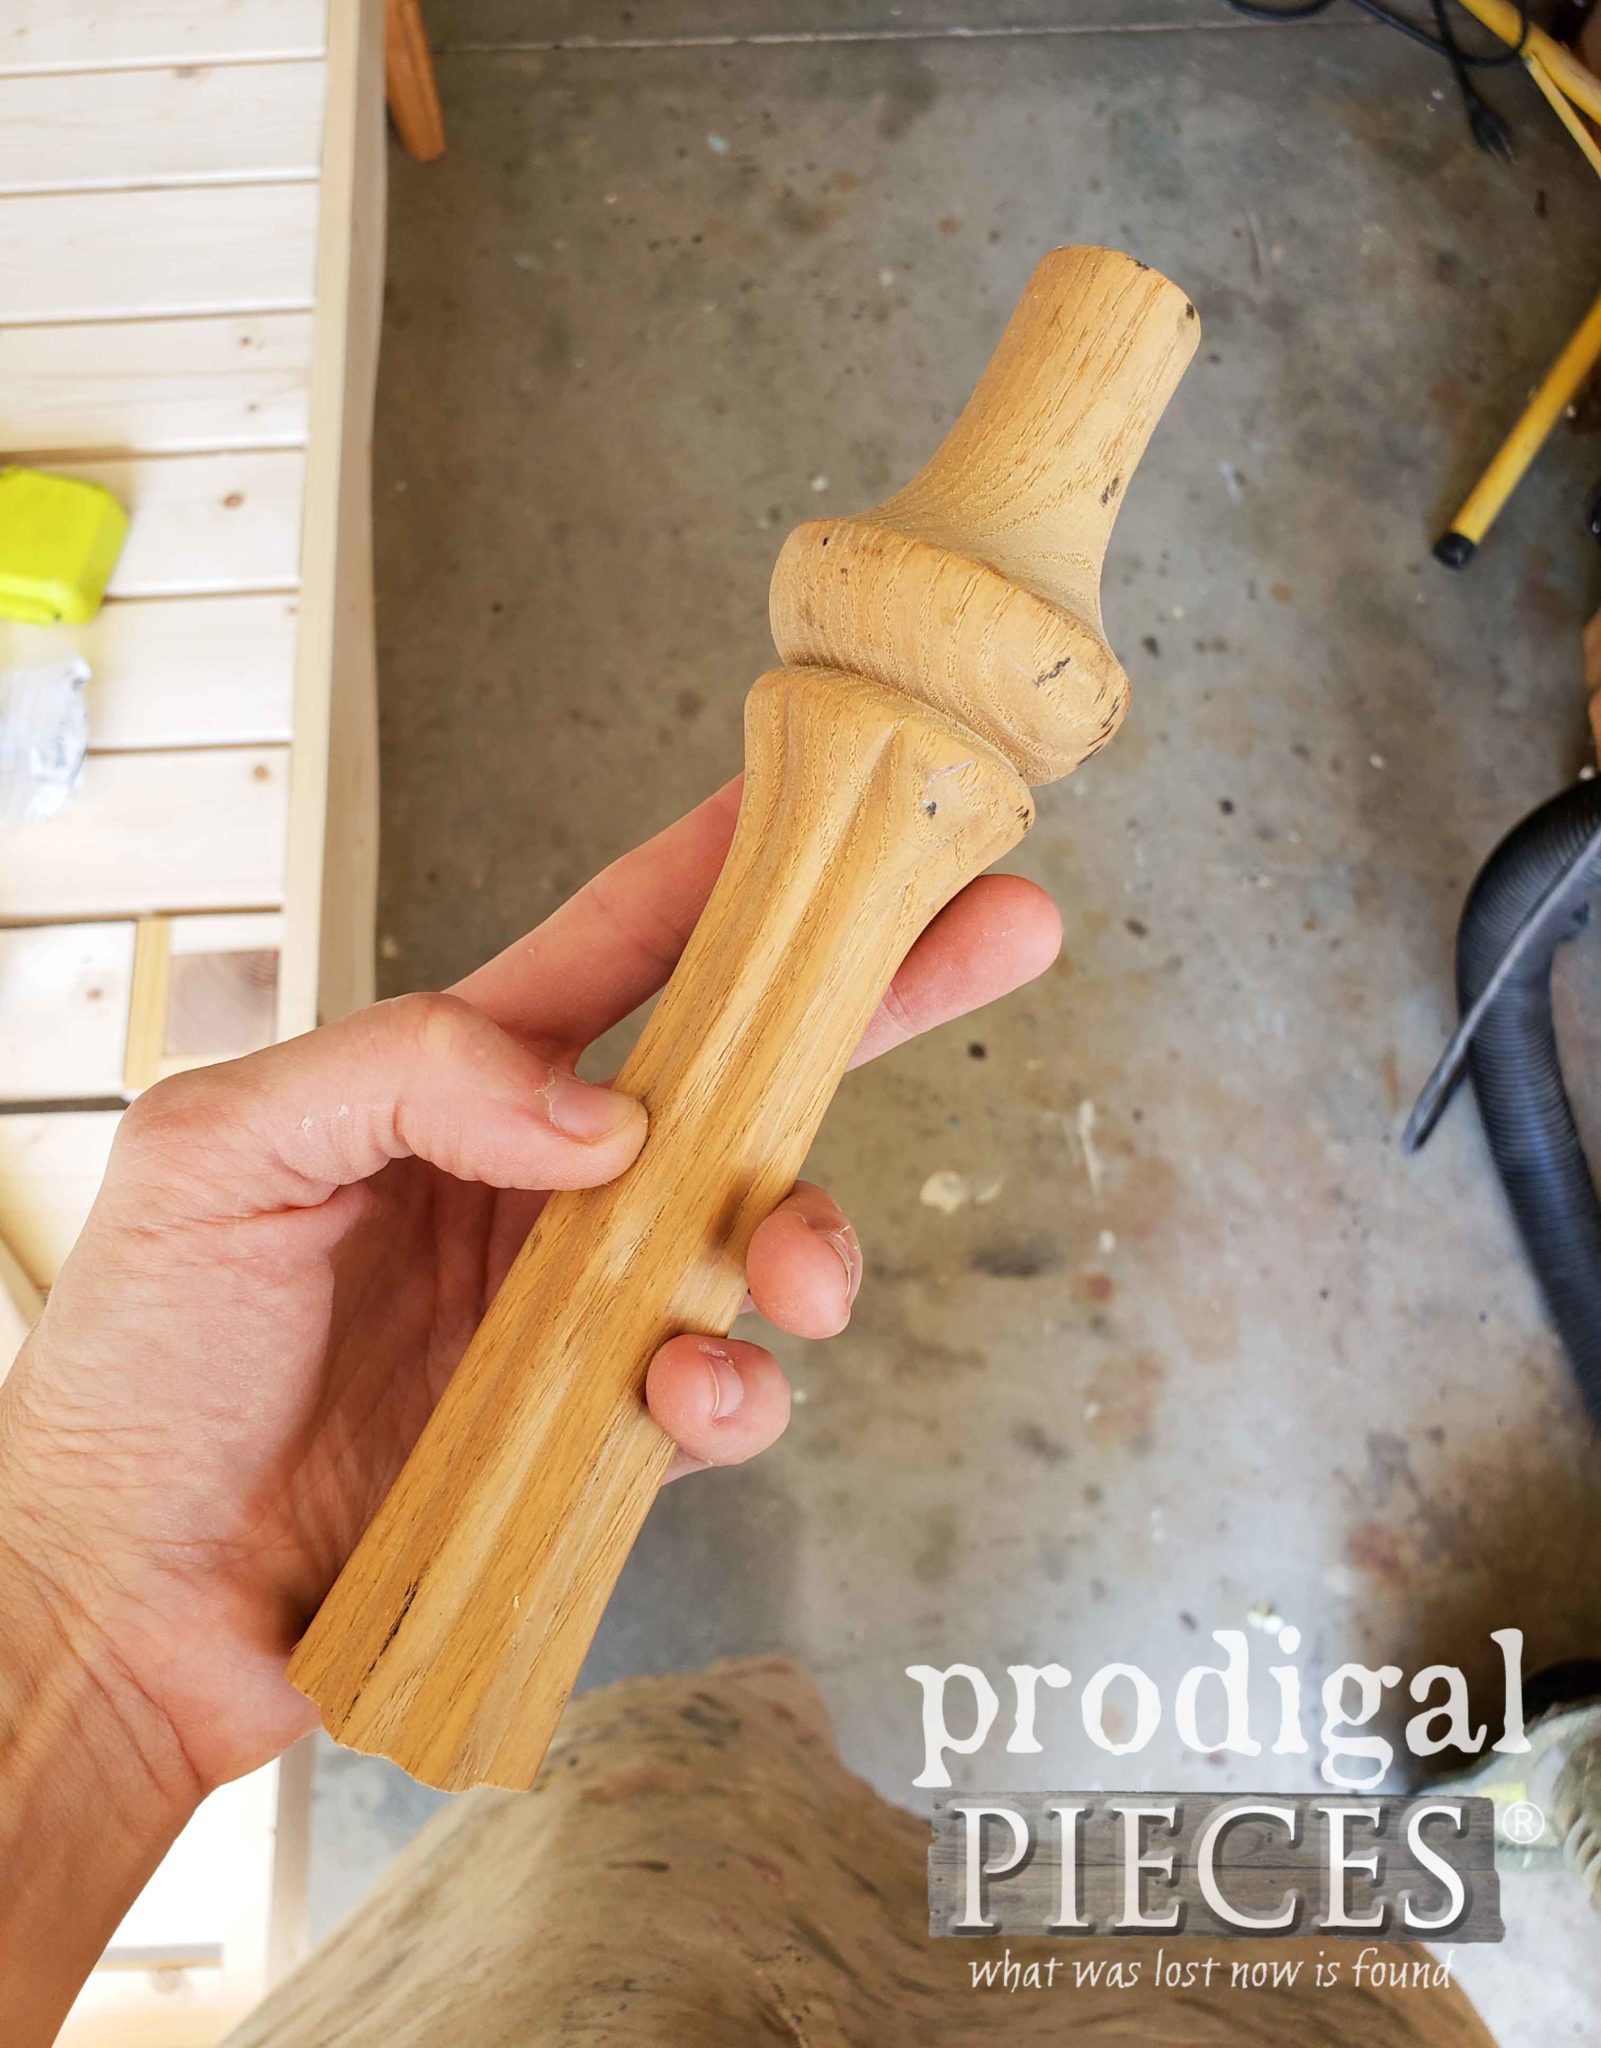
In another adventure, a few months ago I was doing my normal thrift store checks and found these set of 3 beautiful unfinished table legs. They weren’t price marked, but I grabbed them anyway.
When I went to check out the guy said, “You do realize there are only 3 here, right?” I shook my head yes and told him I had plans for them. He replied, “There is a set of four over there too.” I had seen them, but they were heavily painted and nowhere near as pretty as these. I asked him how much for the triplets, and he answered, “How does a buck sound?” In Ohio language that’s $1. Which also translates to…SCORE!
side note: In case you’ve ever wondered where the term “buck” is came from, it’s because the Native Americans and settlers would trade buck skins for goods. That was their cash.
BUILDING TIME
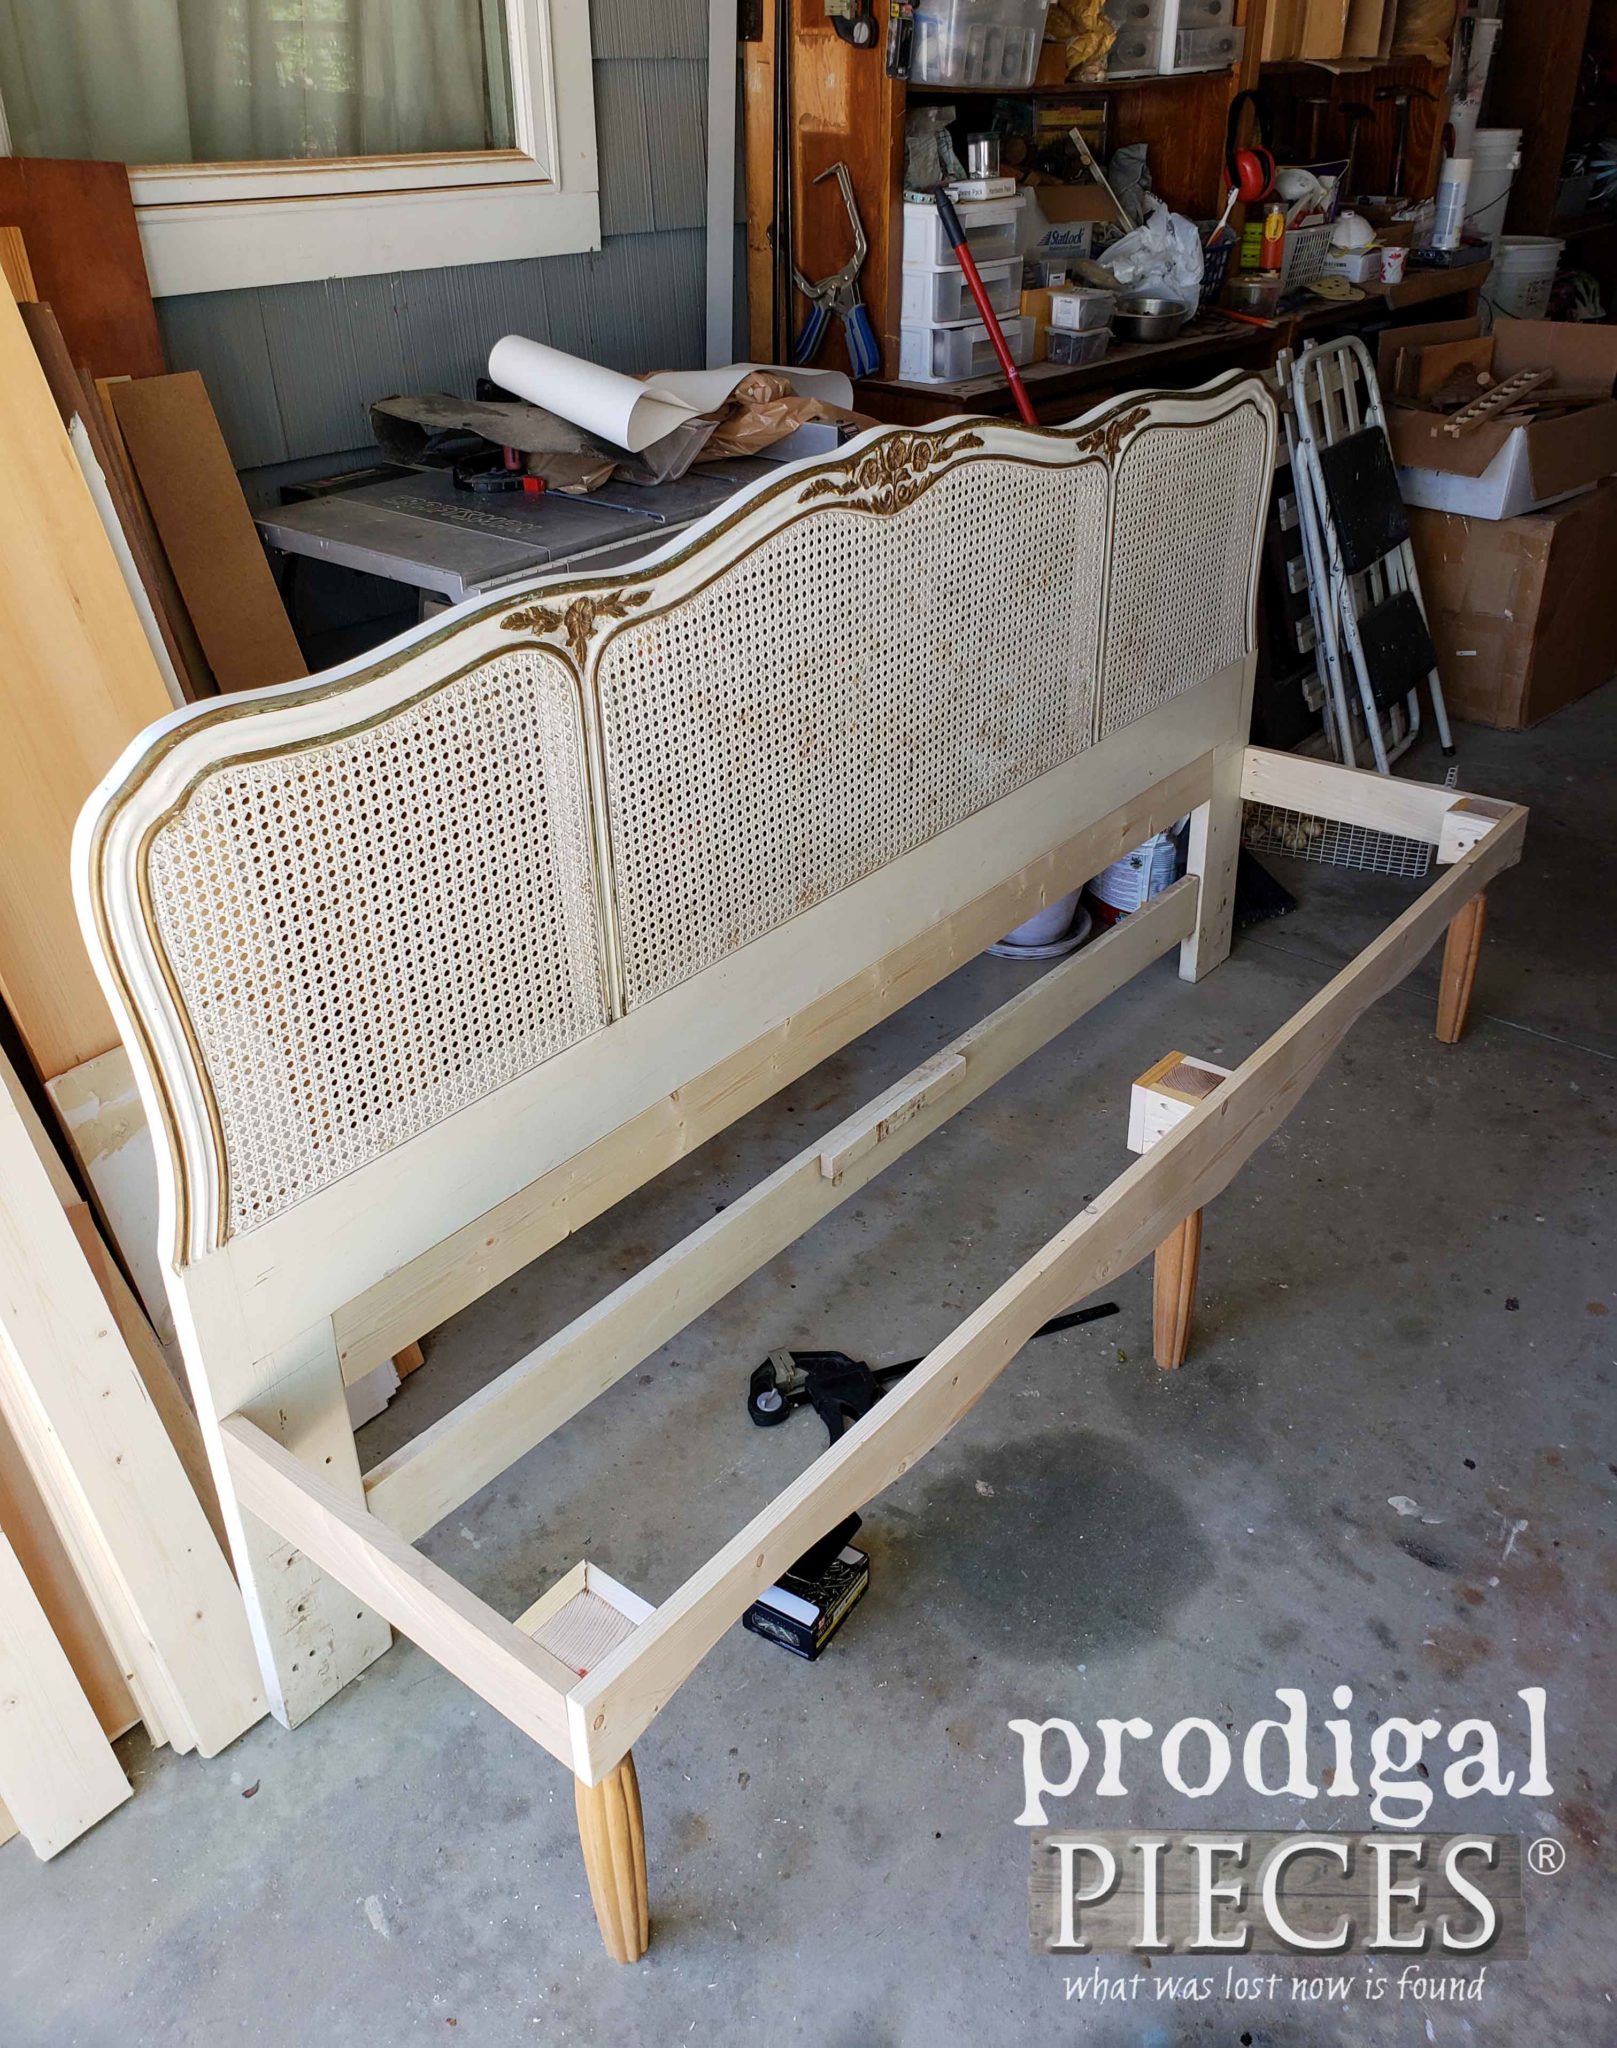
Initially, while originally I had planned to build a half-circle table with the legs, I found they came in handy for what I wanted to build with this headboard. Since it is a king size bed, I needed to have more than two feet supporting my front frame. I buzzed them into pieces with my miter saw and here is what I had assembled thus far.
I’ve added a 1″x 4″ spreader at the back, two side supports, three legs, and a front skirt. Next, I added slats to span from front to back, just like I did on my recent workbench built from reclaimed bed drawers.
BUILDING
Oh, and no worries as I had plans for the rest of those table legs. Likewise, stick around to see where they end up. tee hee.
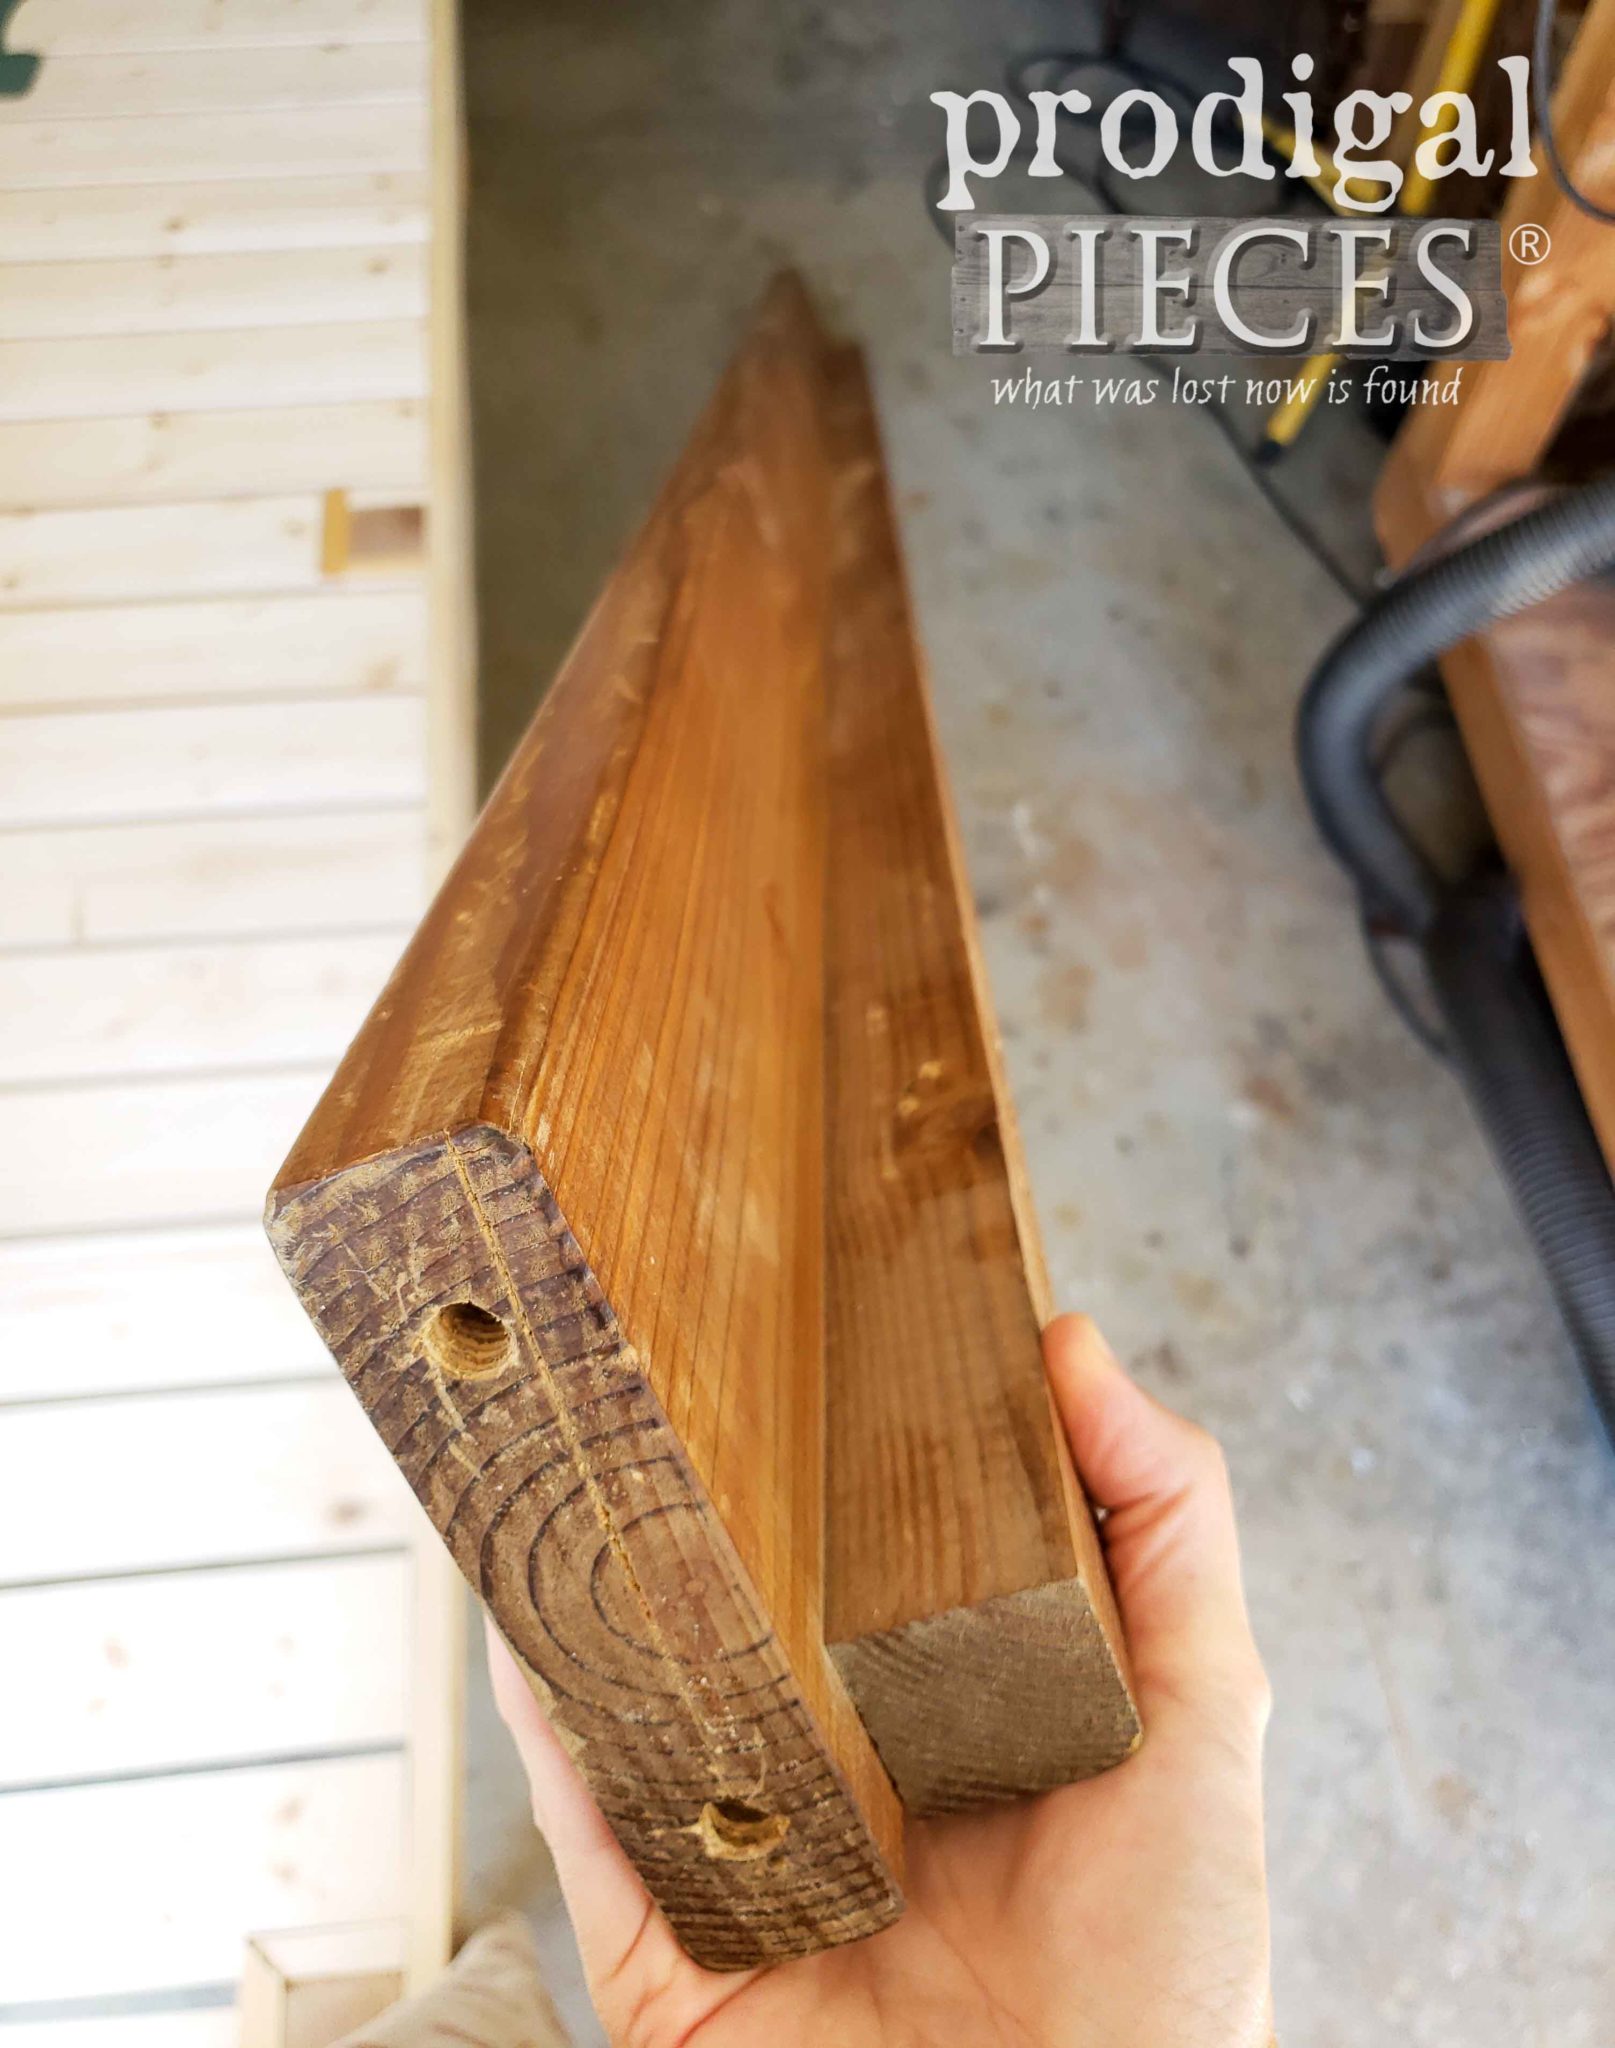
Next up on the French Provincial headboard bench was to add some arms. I could have stopped with it the way it was. However, I wanted some class added to this beauty. I pulled this bed rail from my stash of curbside hauls and knew it was the right thickness and depth for what I needed.
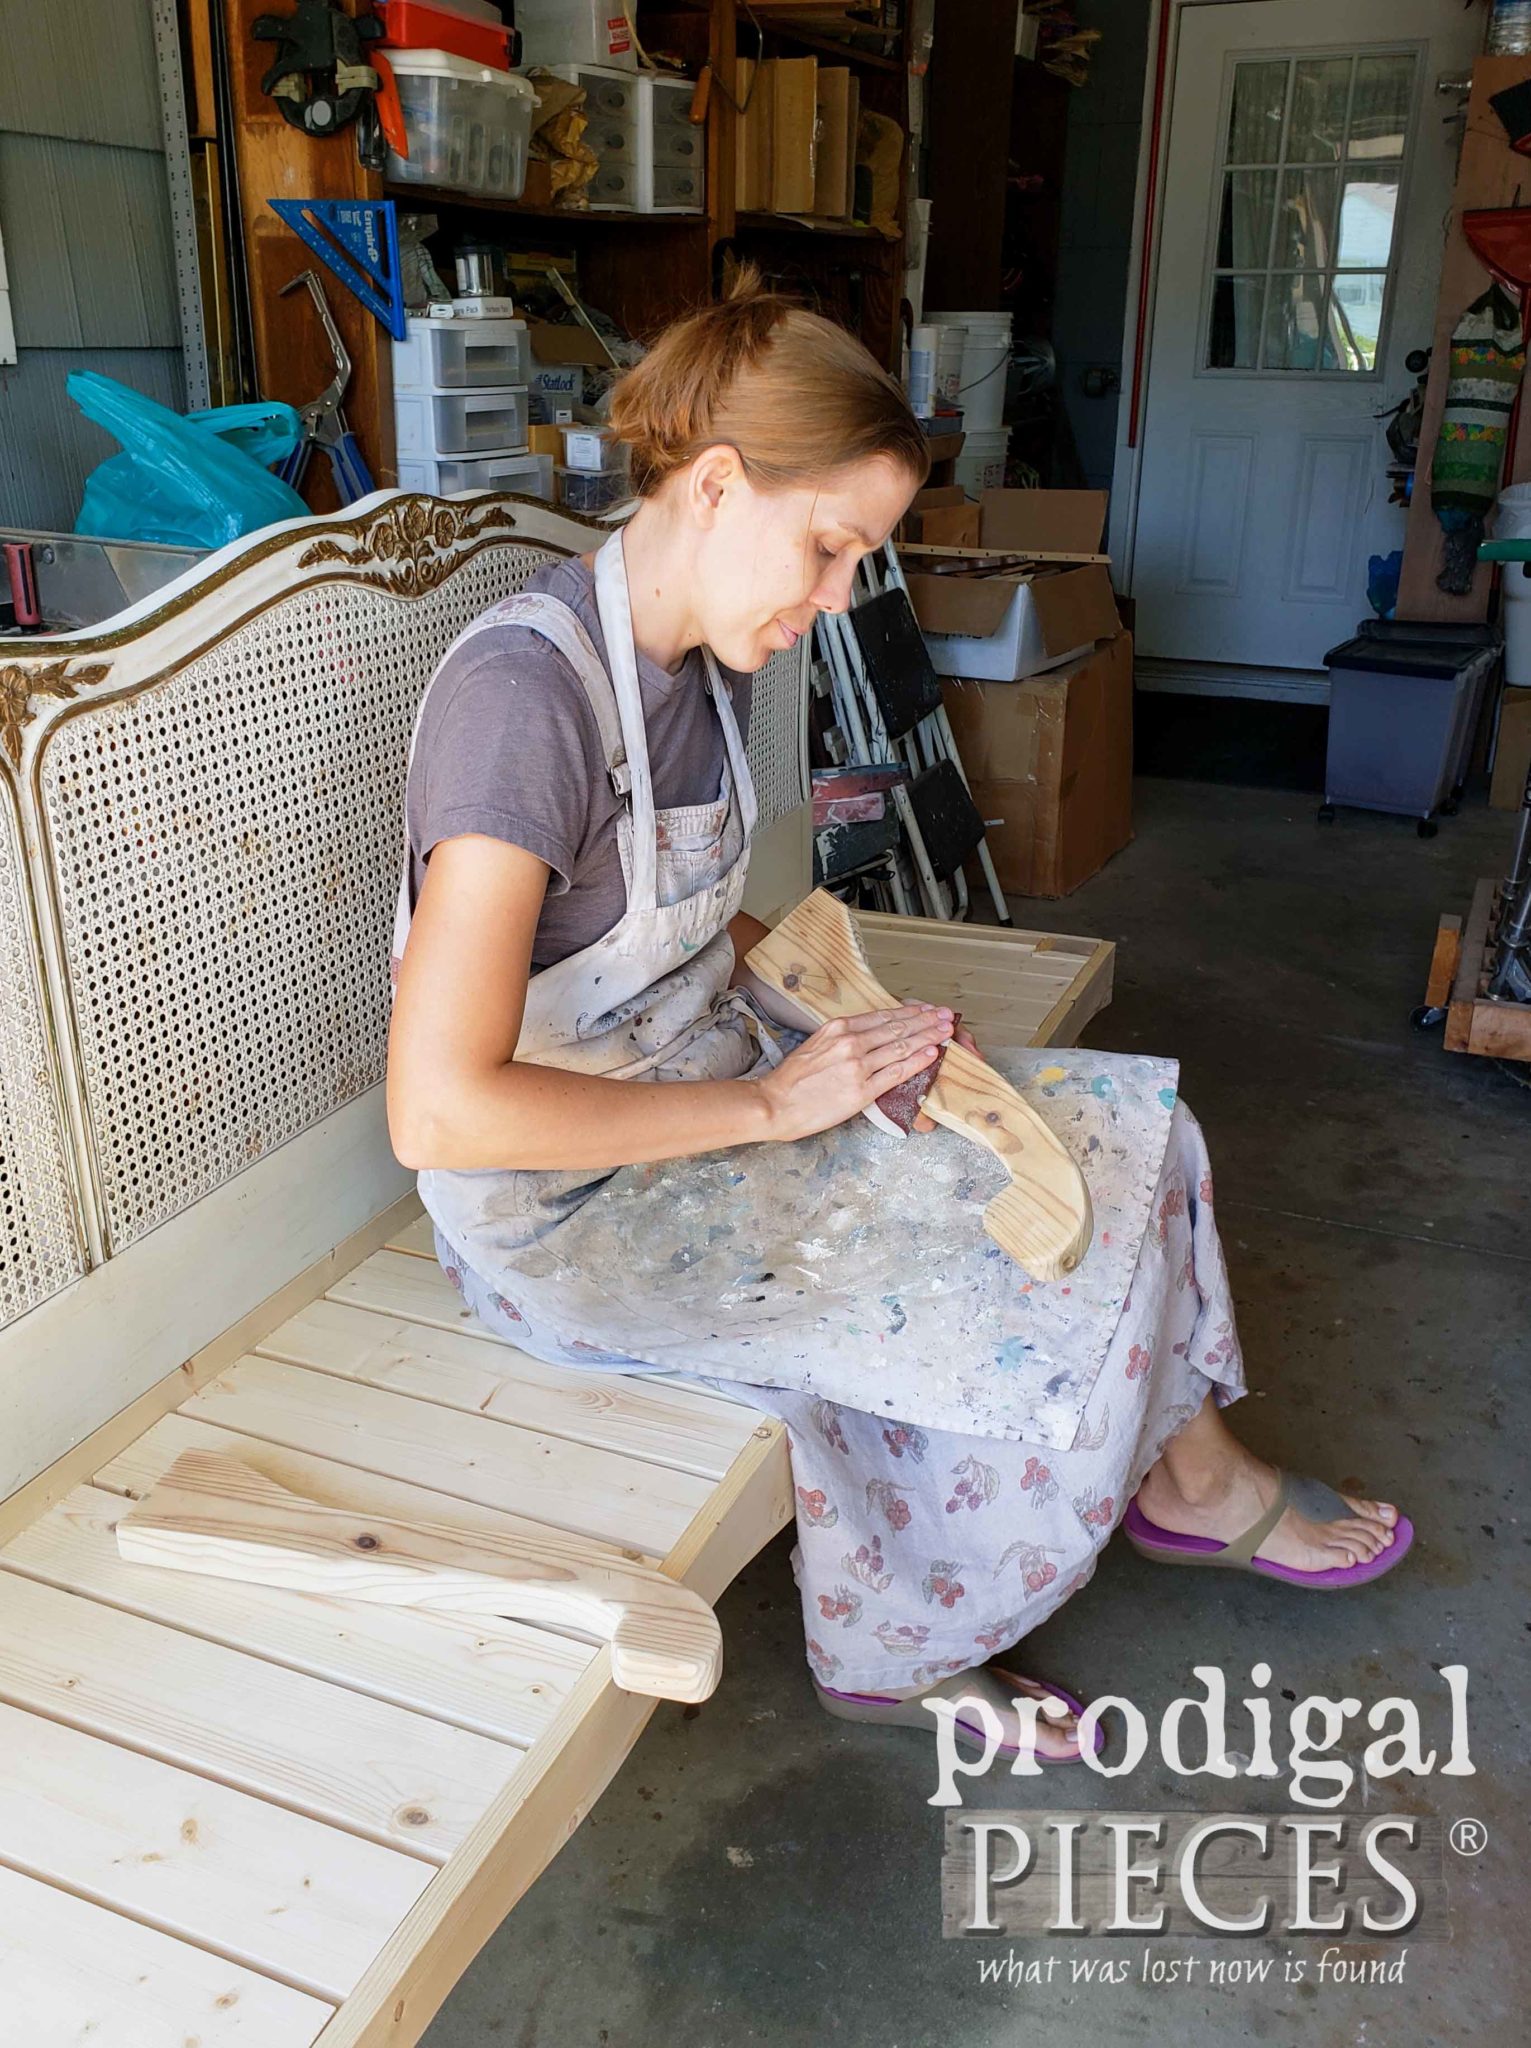
To make the design, I traced what I wanted on paper and then transferred it to my wood. Using my jigsaw again, I cut it out and sanded it down with my sander and finished with hand-sanding.
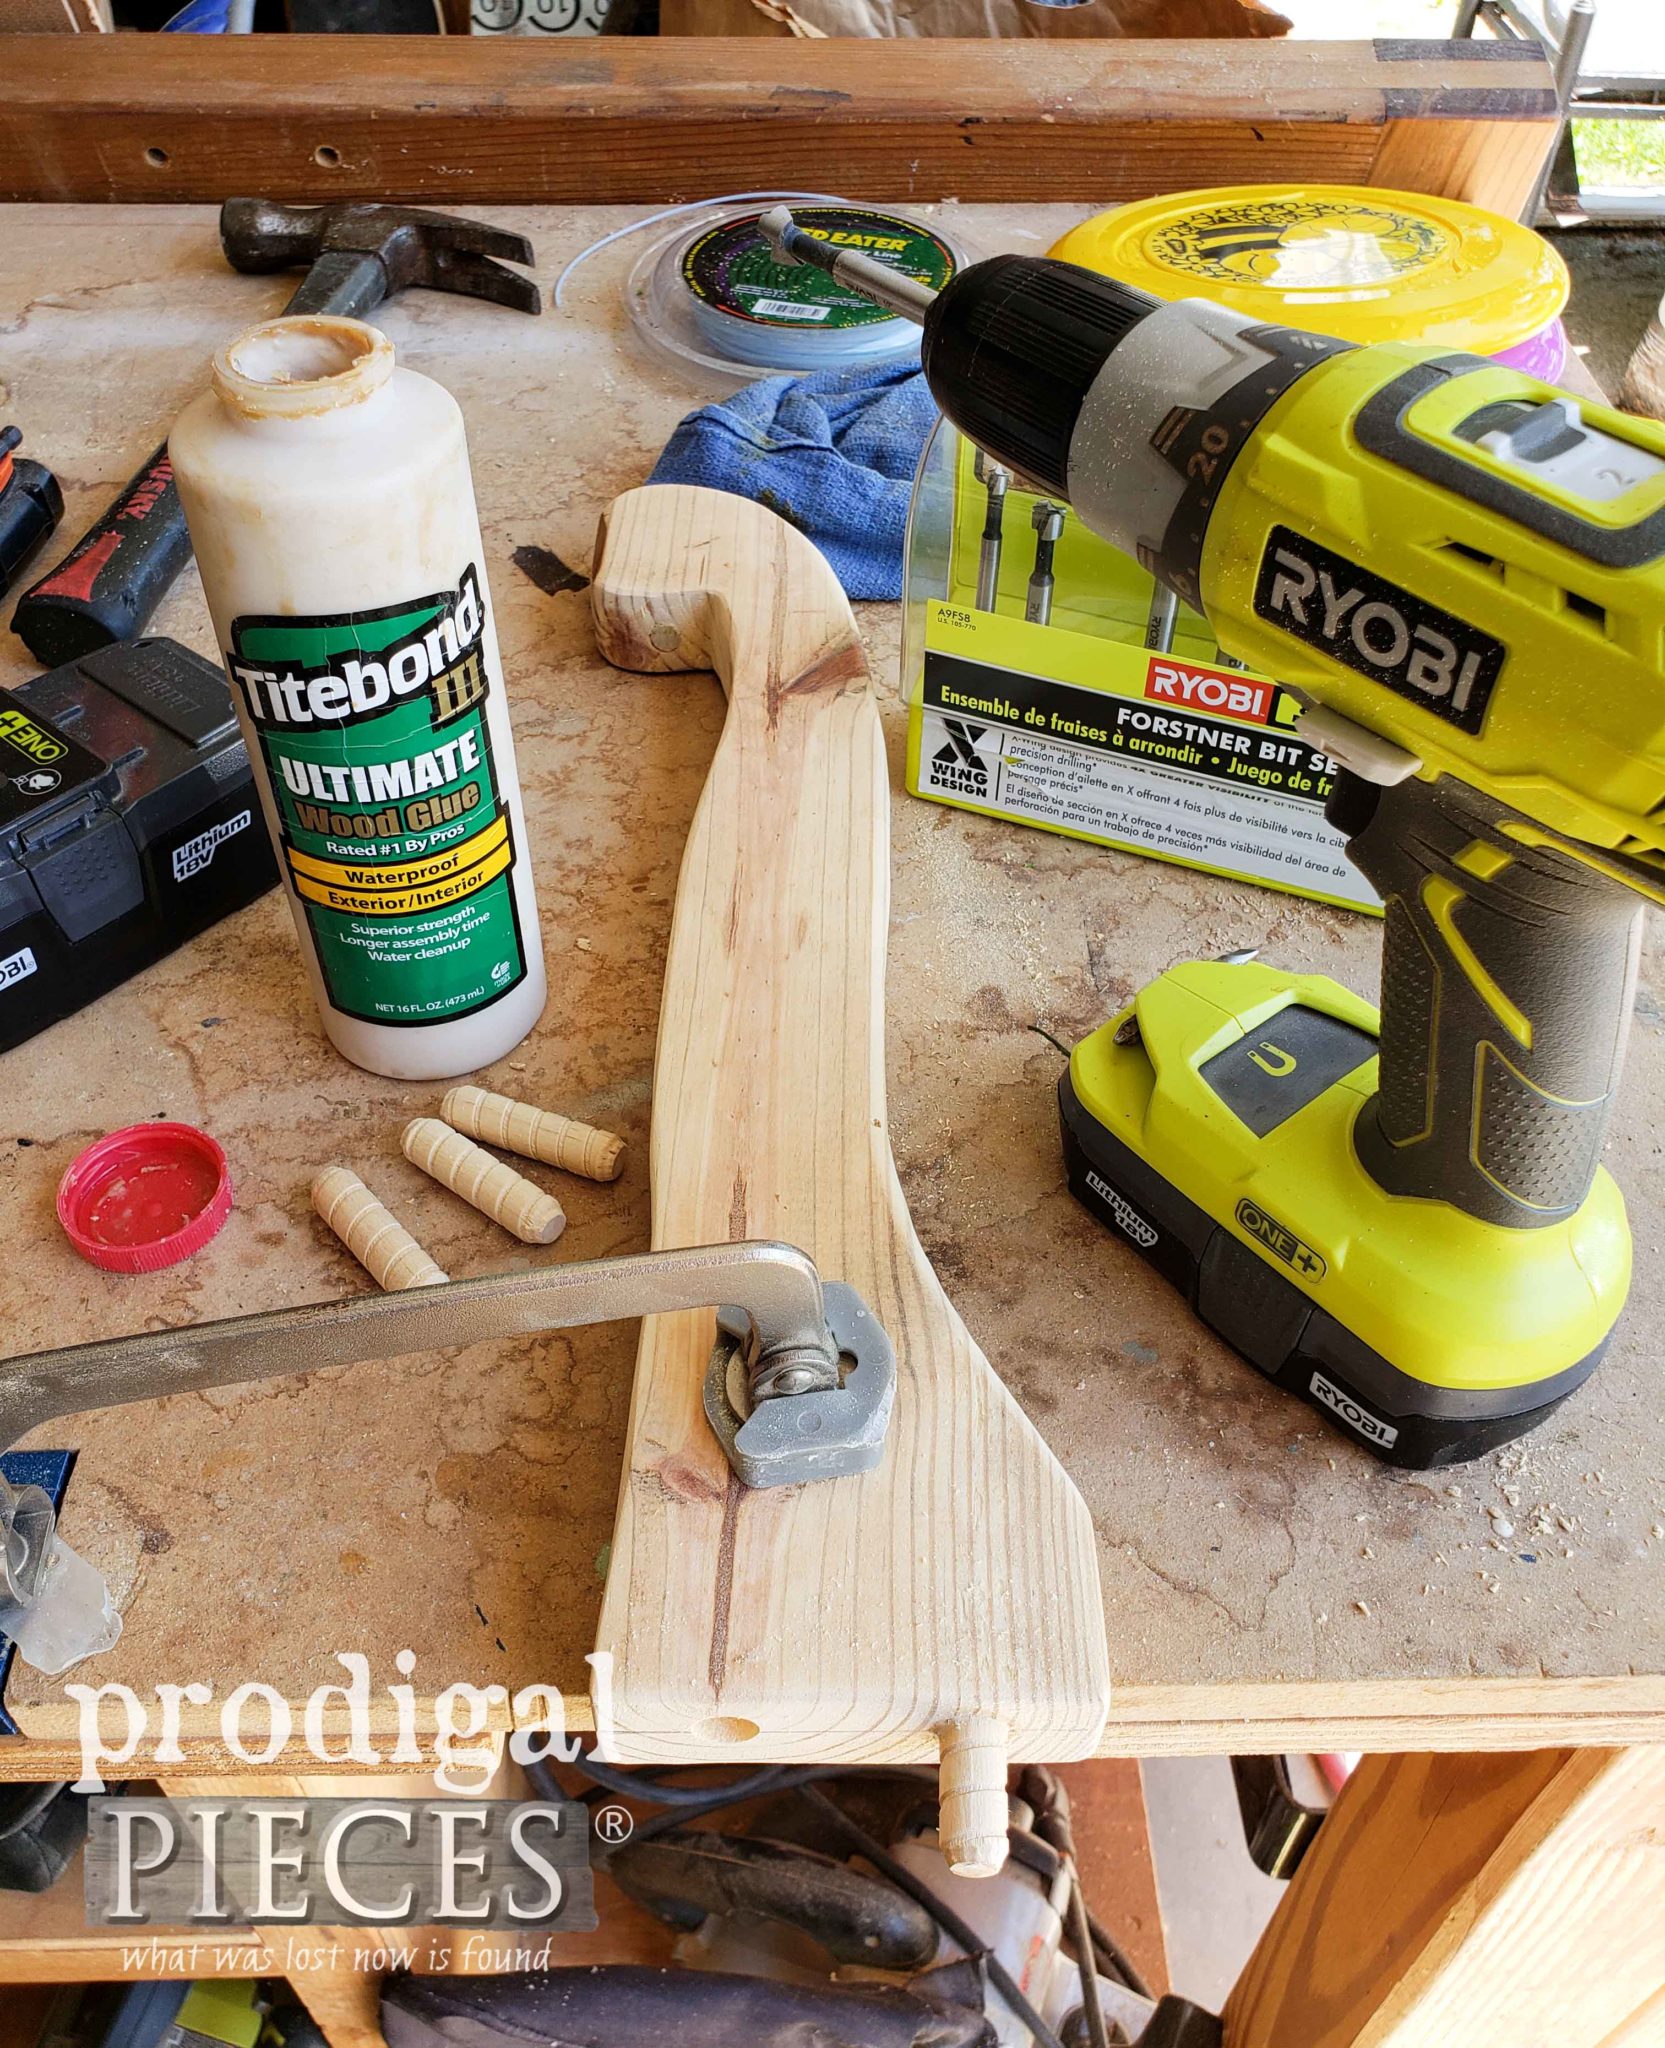
Having repaired and torn apart many furniture pieces, I knew how to assemble the rest of the bench with spiral pegs and joints. I used my Klamp Trak along with my drill and forstner bits to make the holes straight and clean. Last, I assembled with wood glue and clamps and let cure. By the way, if you ever wanted to see what’s in my tool arsenal, you can check it out.
BRING ON PAINT
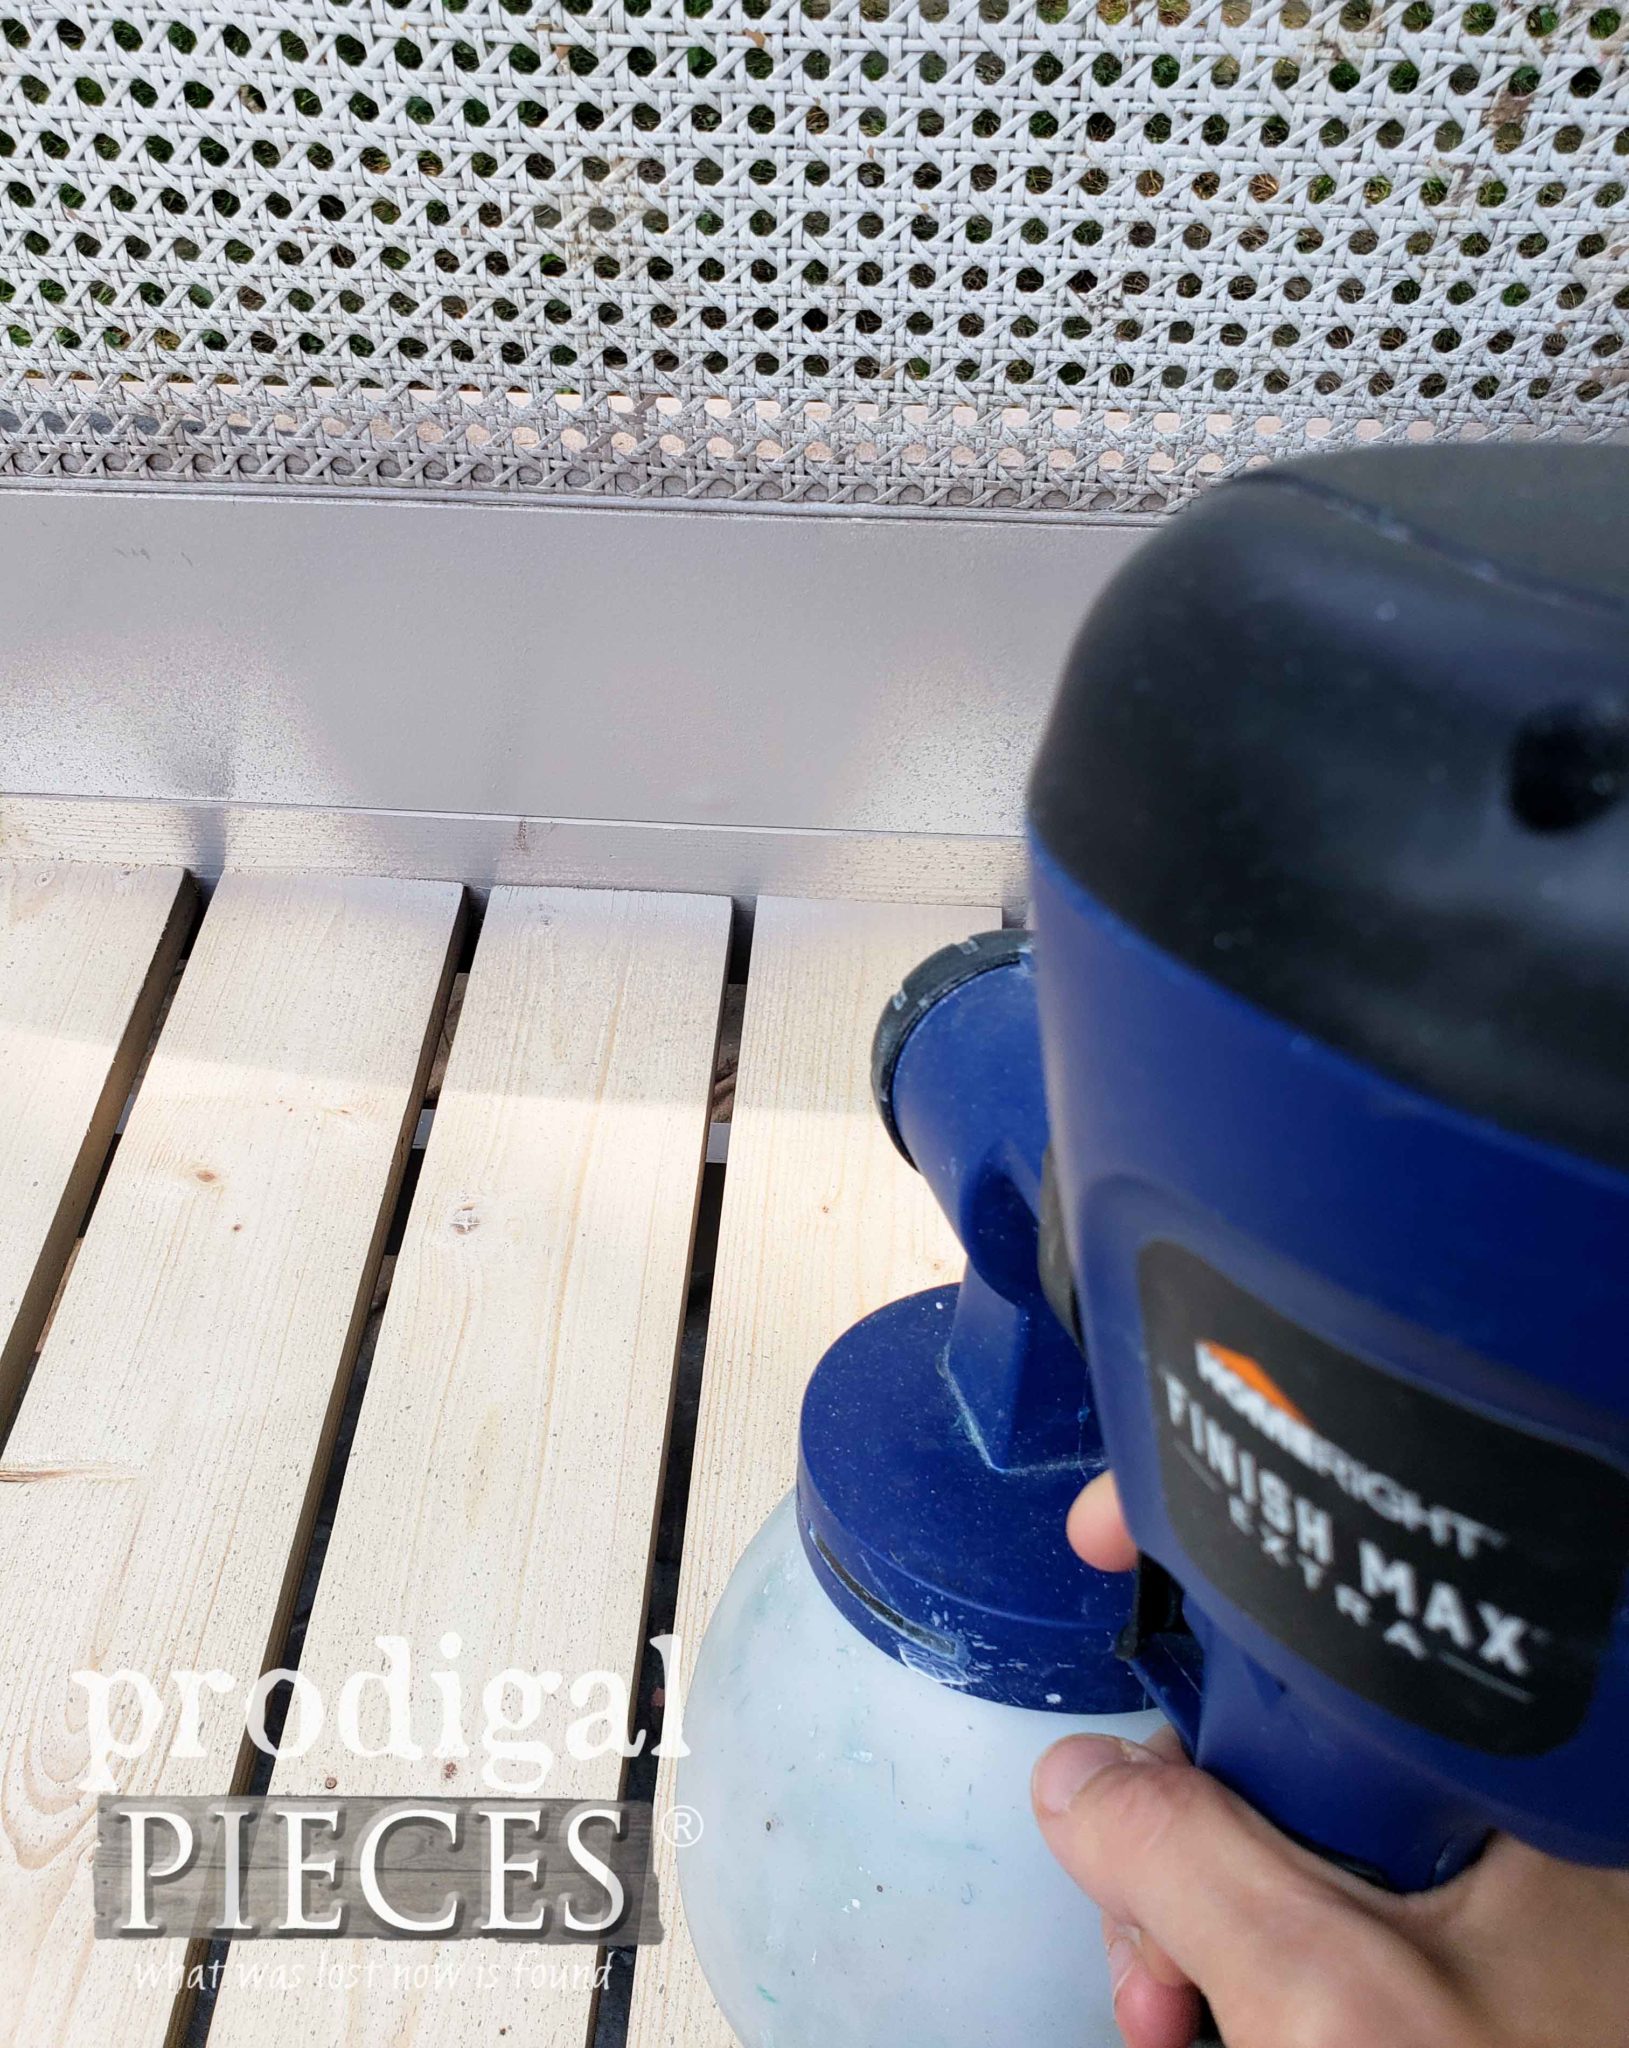
Time for some paint fun! Obviously, to add cohesiveness to my bench I wanted to paint. There was no way I was going to break out a brush for this, especially with that caning. Instead, I decid to spray.
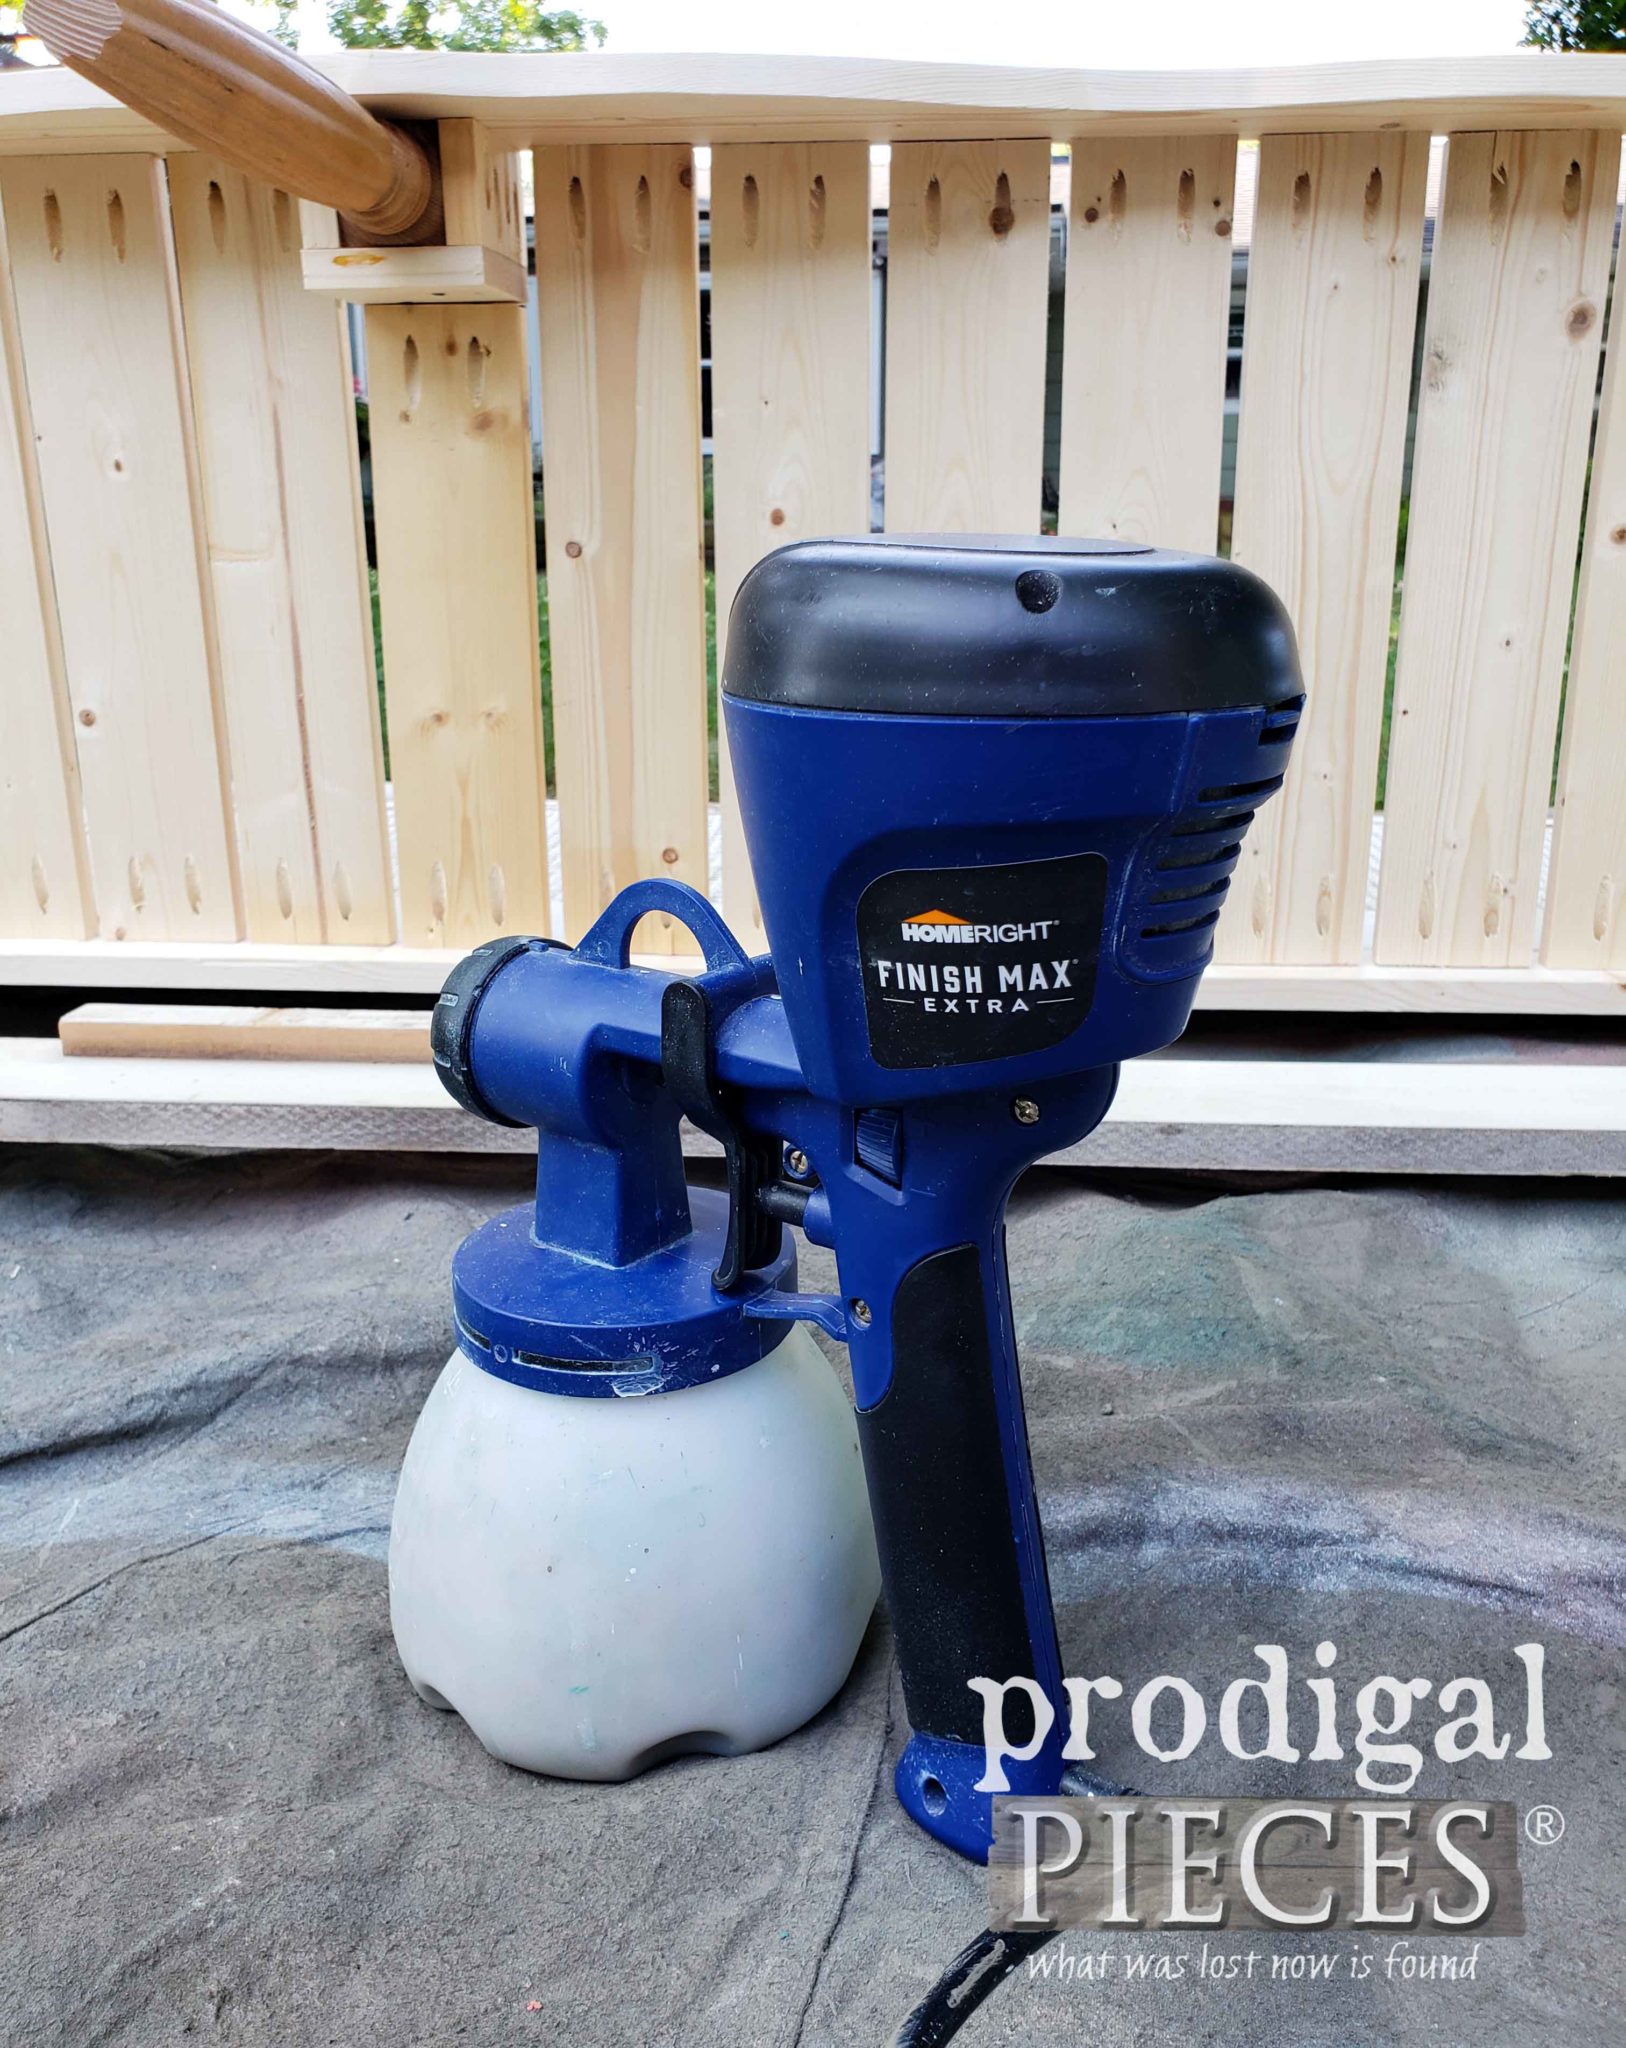
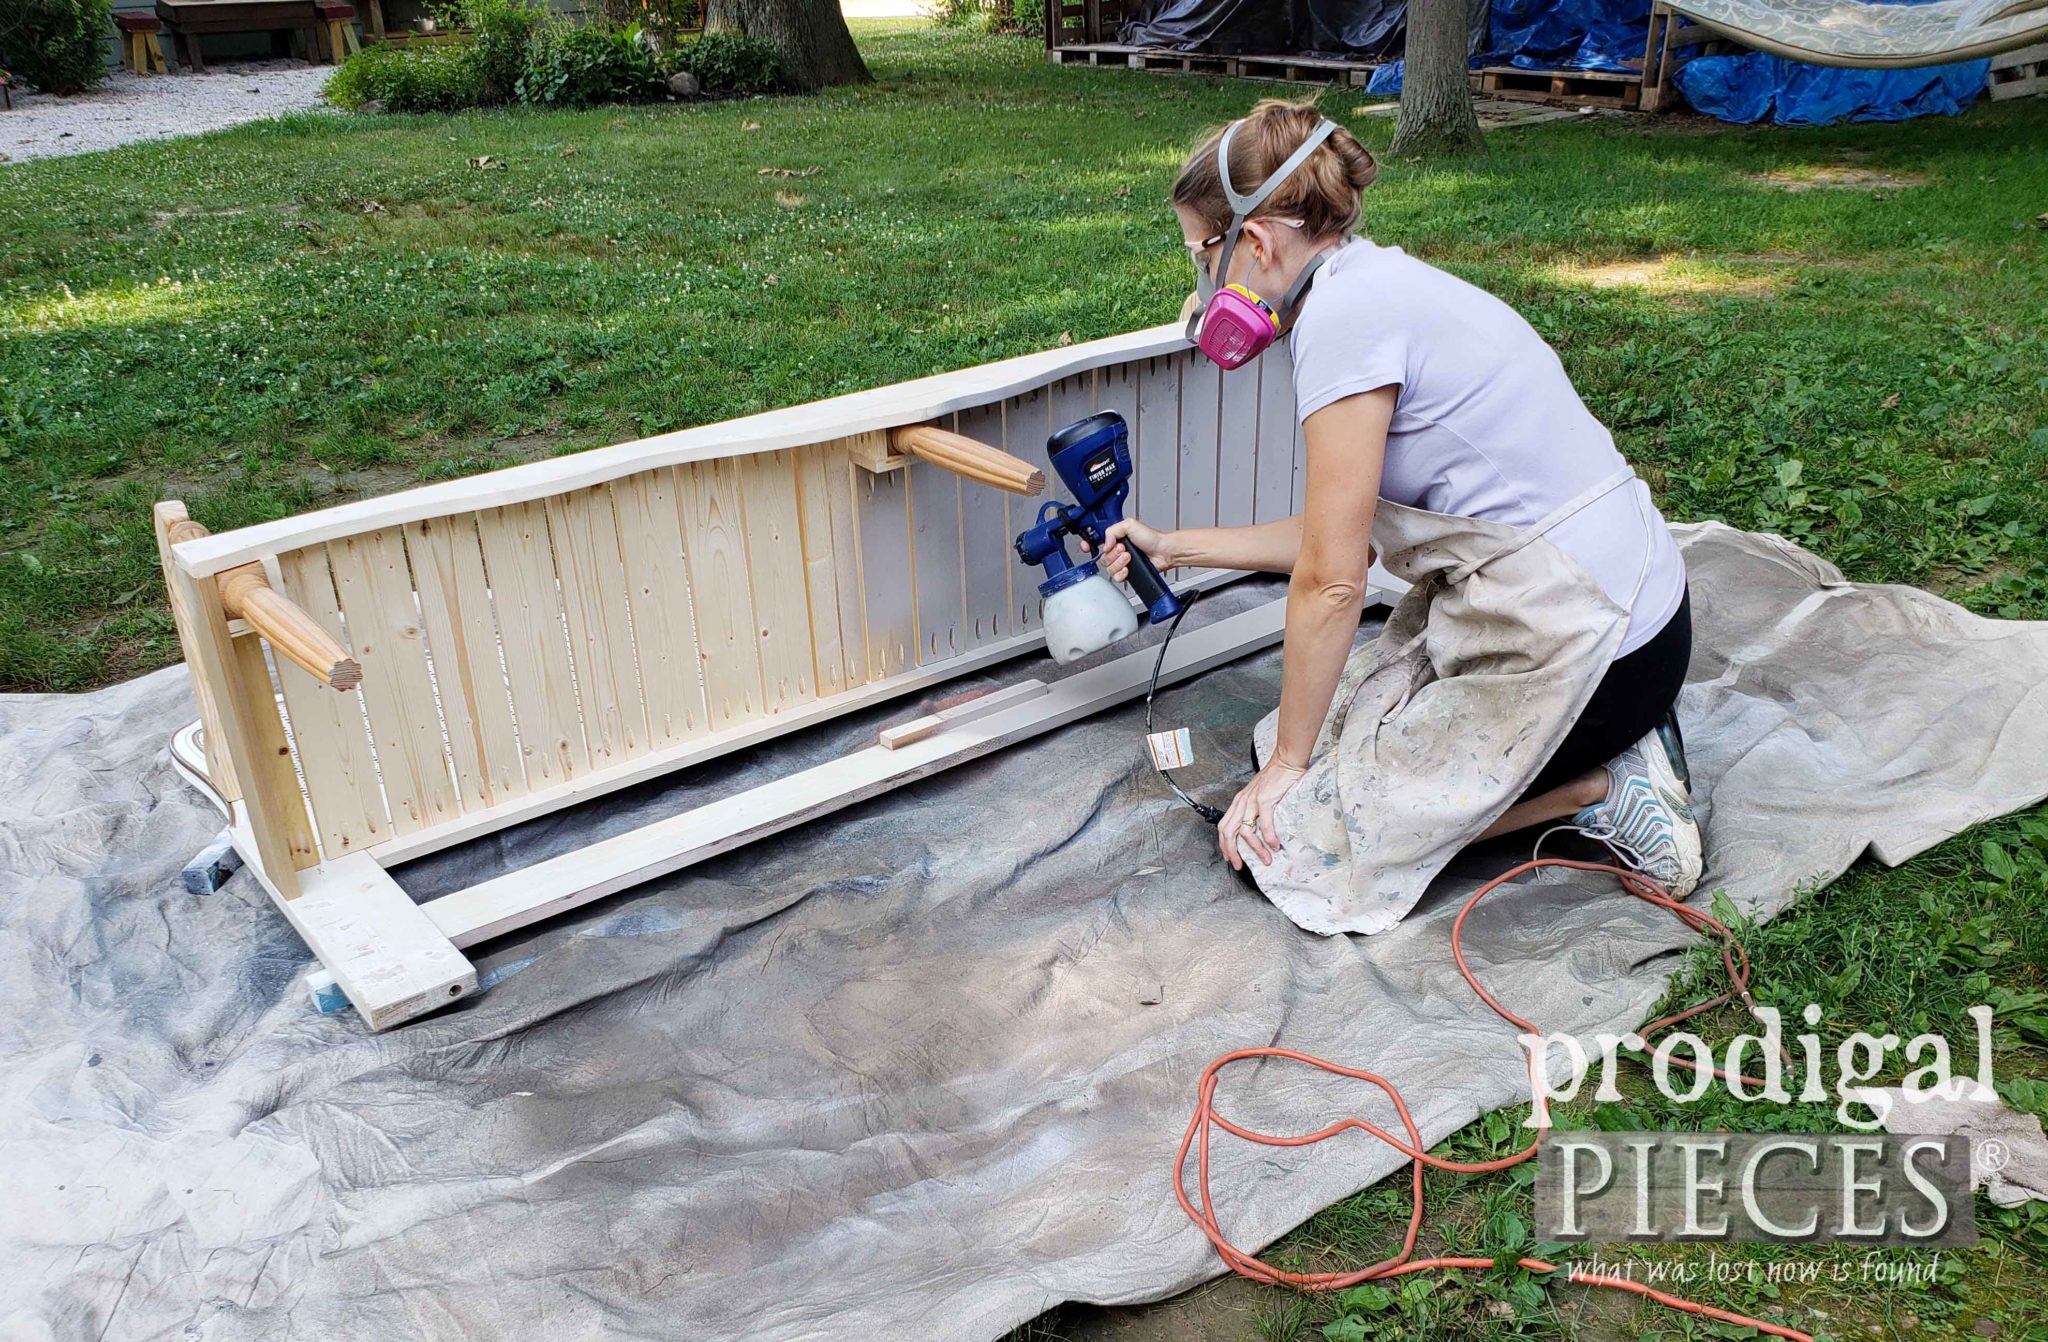
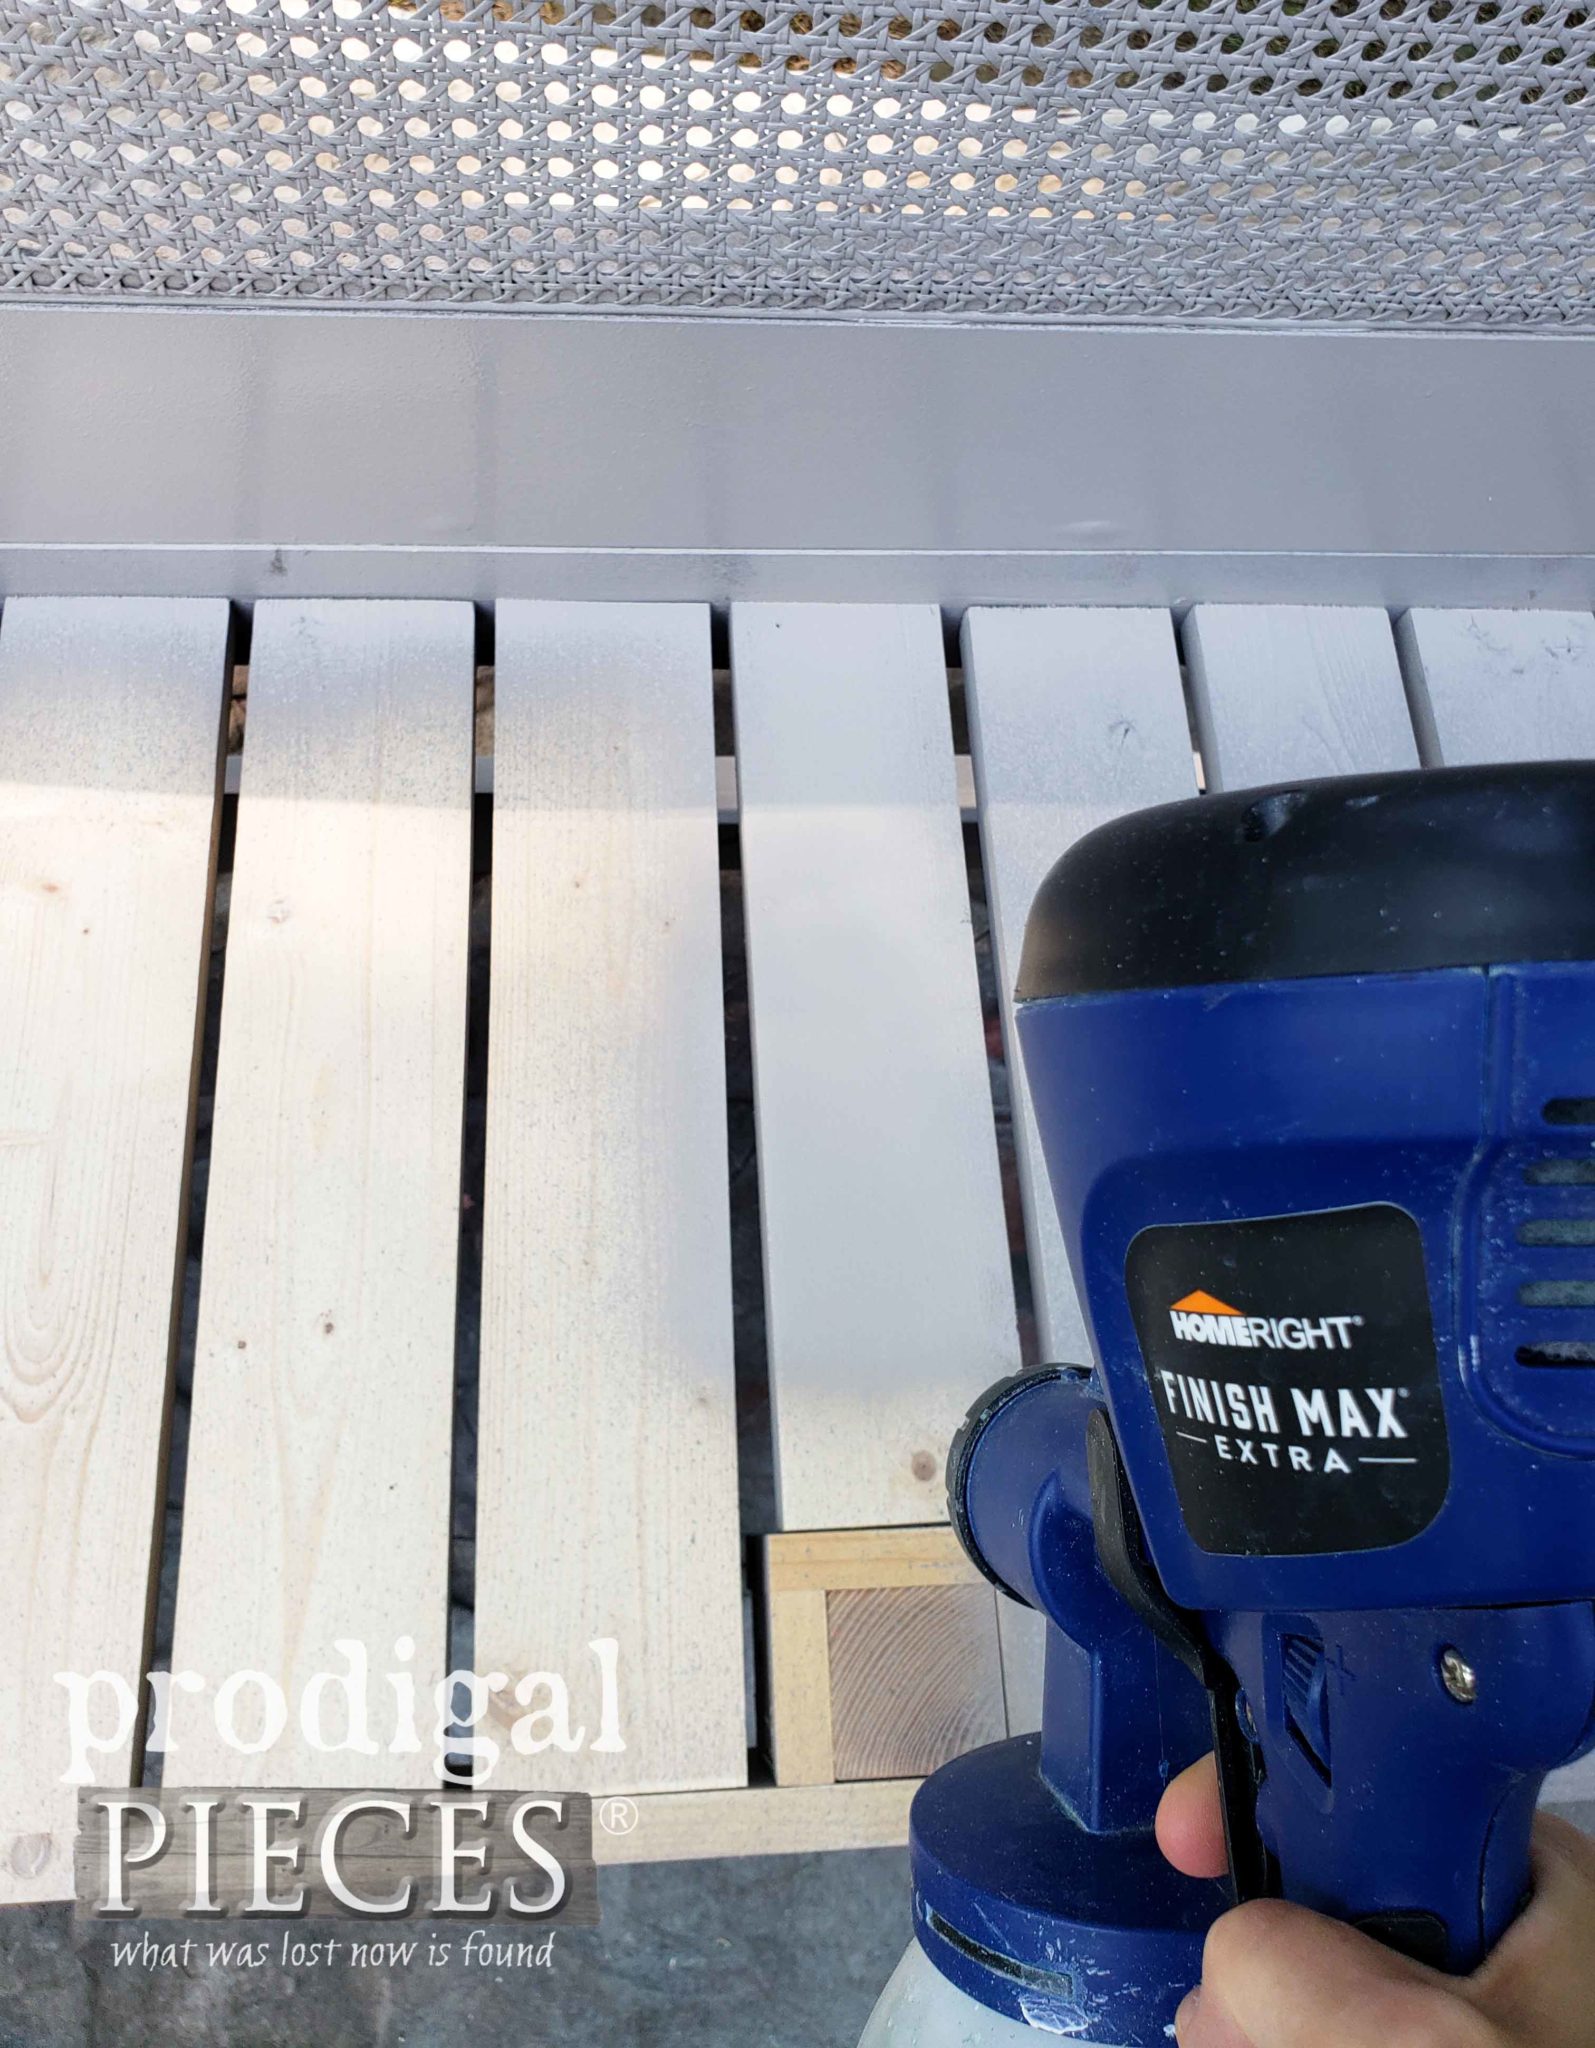
I began by placing the bench on its back to hit the underside first. My sprayer is set up with the blue tip and black nozzle for a fine finish. I’m also using an eggshell latex paint by Glidden in an Elephant Gray color. Kinda fitting, isn’t it? This thing is BIG like an elephant!
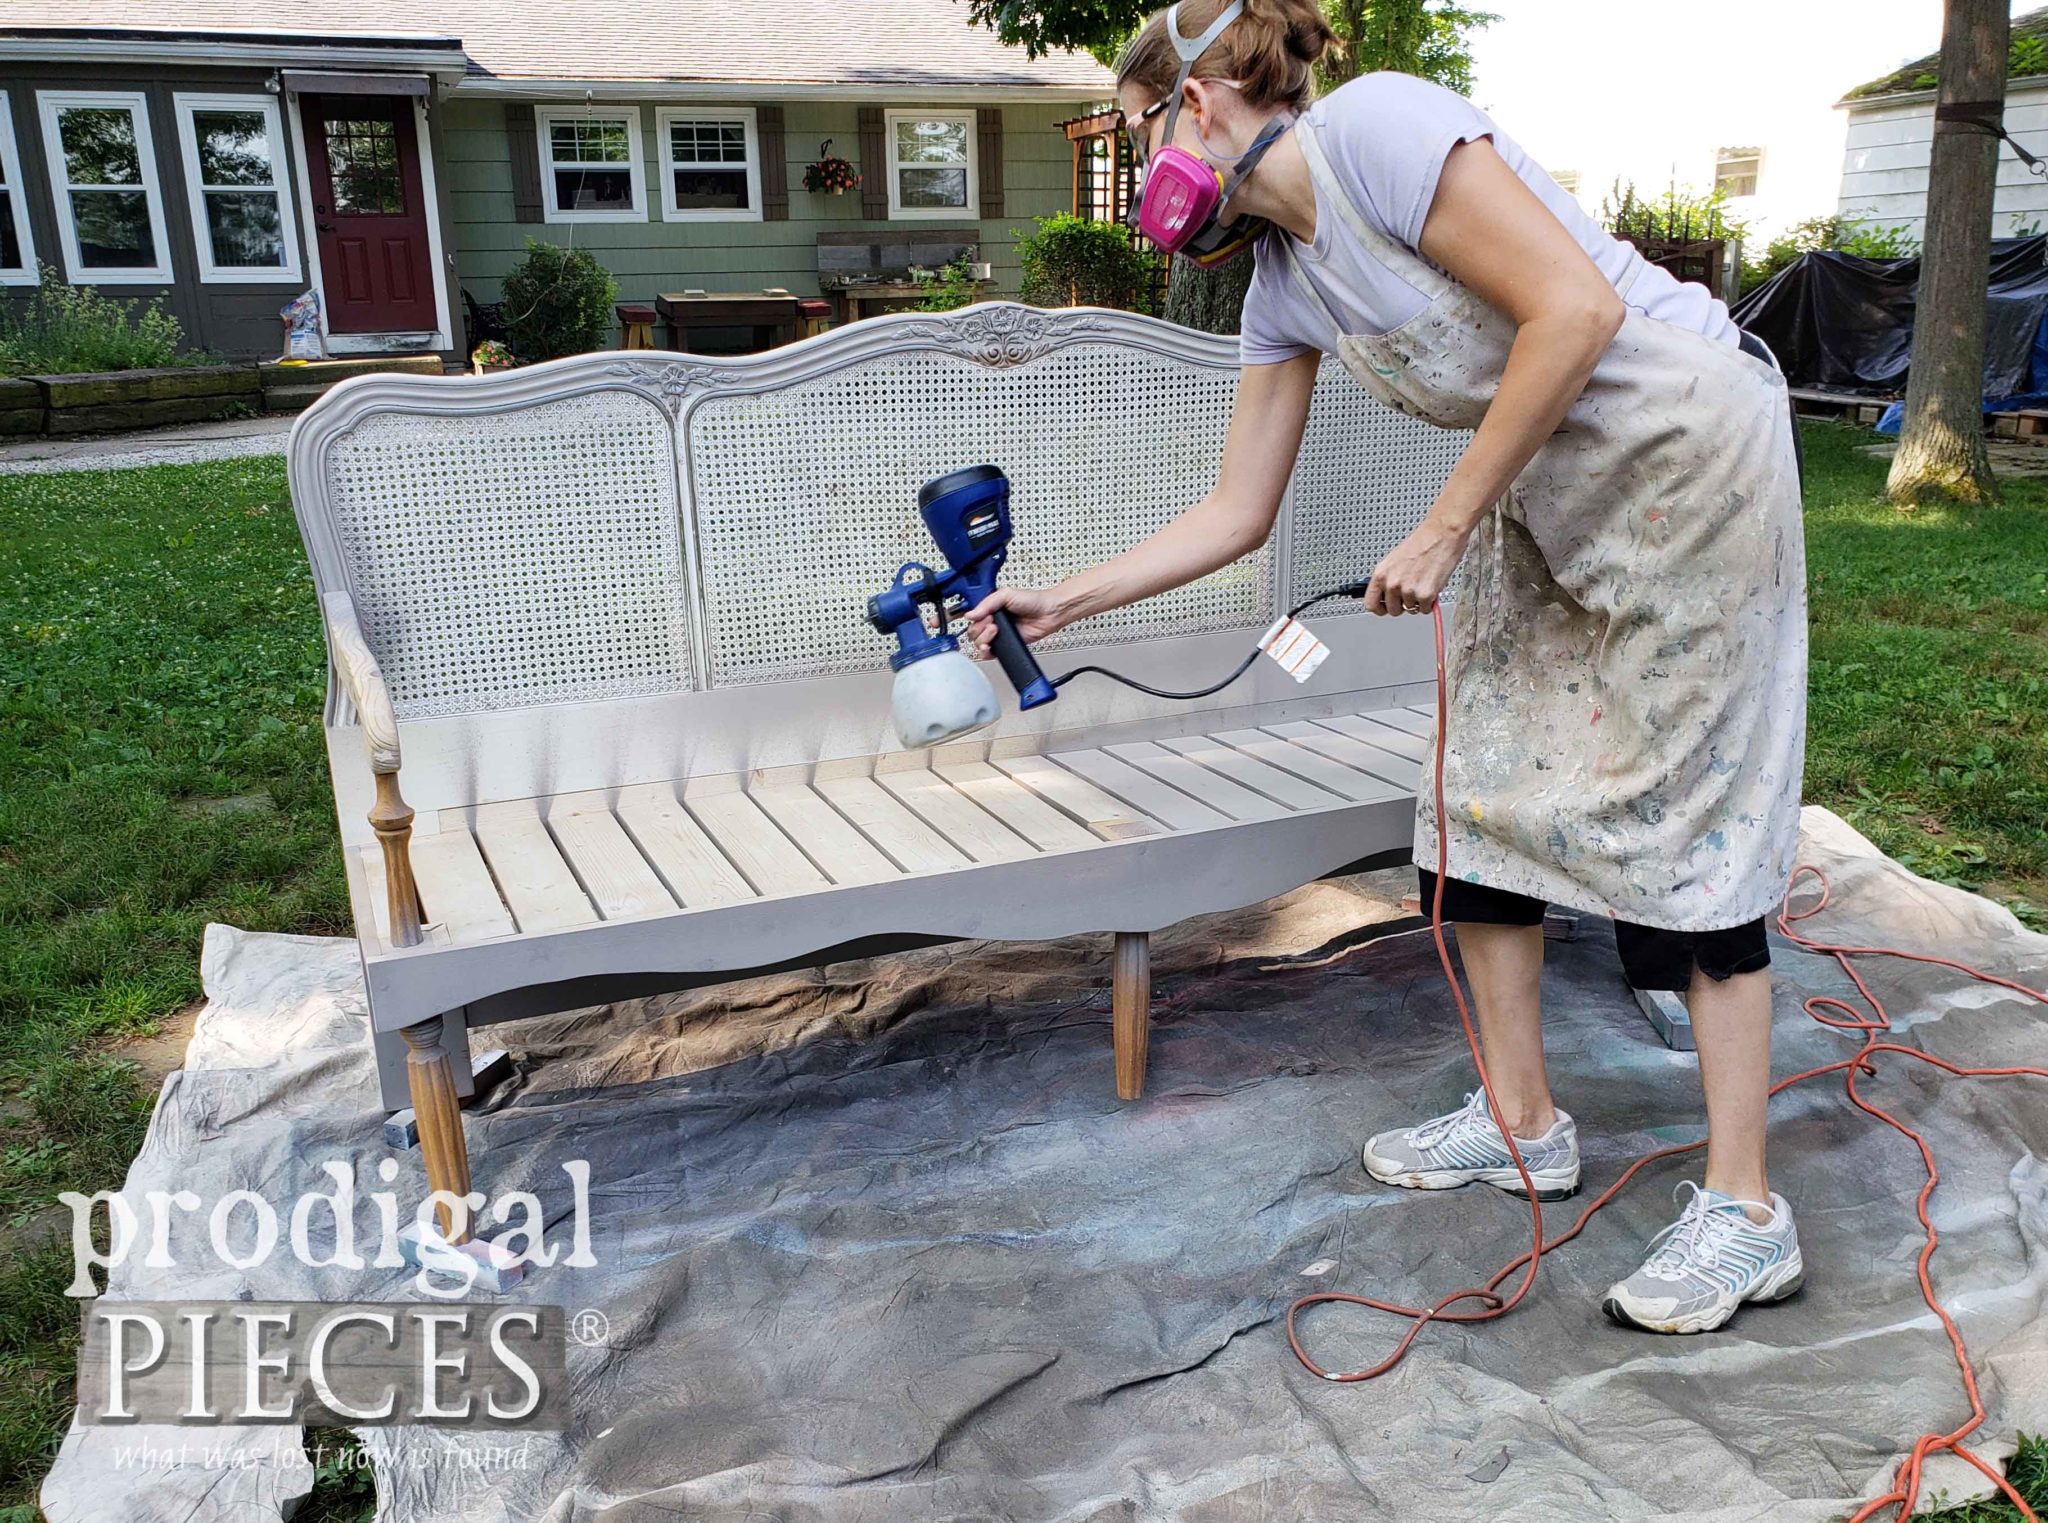
Then, after the bottom is sprayed, I flipped the bench up and coated the rest. In total I did three coats of paint.
One of the beauties of this sprayer is that you can adjust the spray to horizontal or vertical positions. Plus, it can spray even when facing downward. Here it is in the horizontal position for my long pieces and caning…
…and in the vertical position for my upright pieces. My dad had come over while I was spraying and commented, “That sure does a great job. Looks fantastic.” I agree – it’s an awesome tool! You can see it how I’ve used in many past projects as well as the how-to in my video below.
While my first coat is curing, I tried my hand at sewing a French tufted mattress. Yeah…I’m crazy like that. I plan to make one for our built-in window seat, so I needed some practice. I’ve done similar things before, just not on this scale.
SEW MUCH FUN
Off to the fabric store I head to get my supplies and have at it. Again, I’m not going to reinvent the wheel as there are many tutorials out there on how to make one of these. I would say I referenced this one the most. It’s fairly simple, just time-consuming.
I found this beautiful striped fabric.
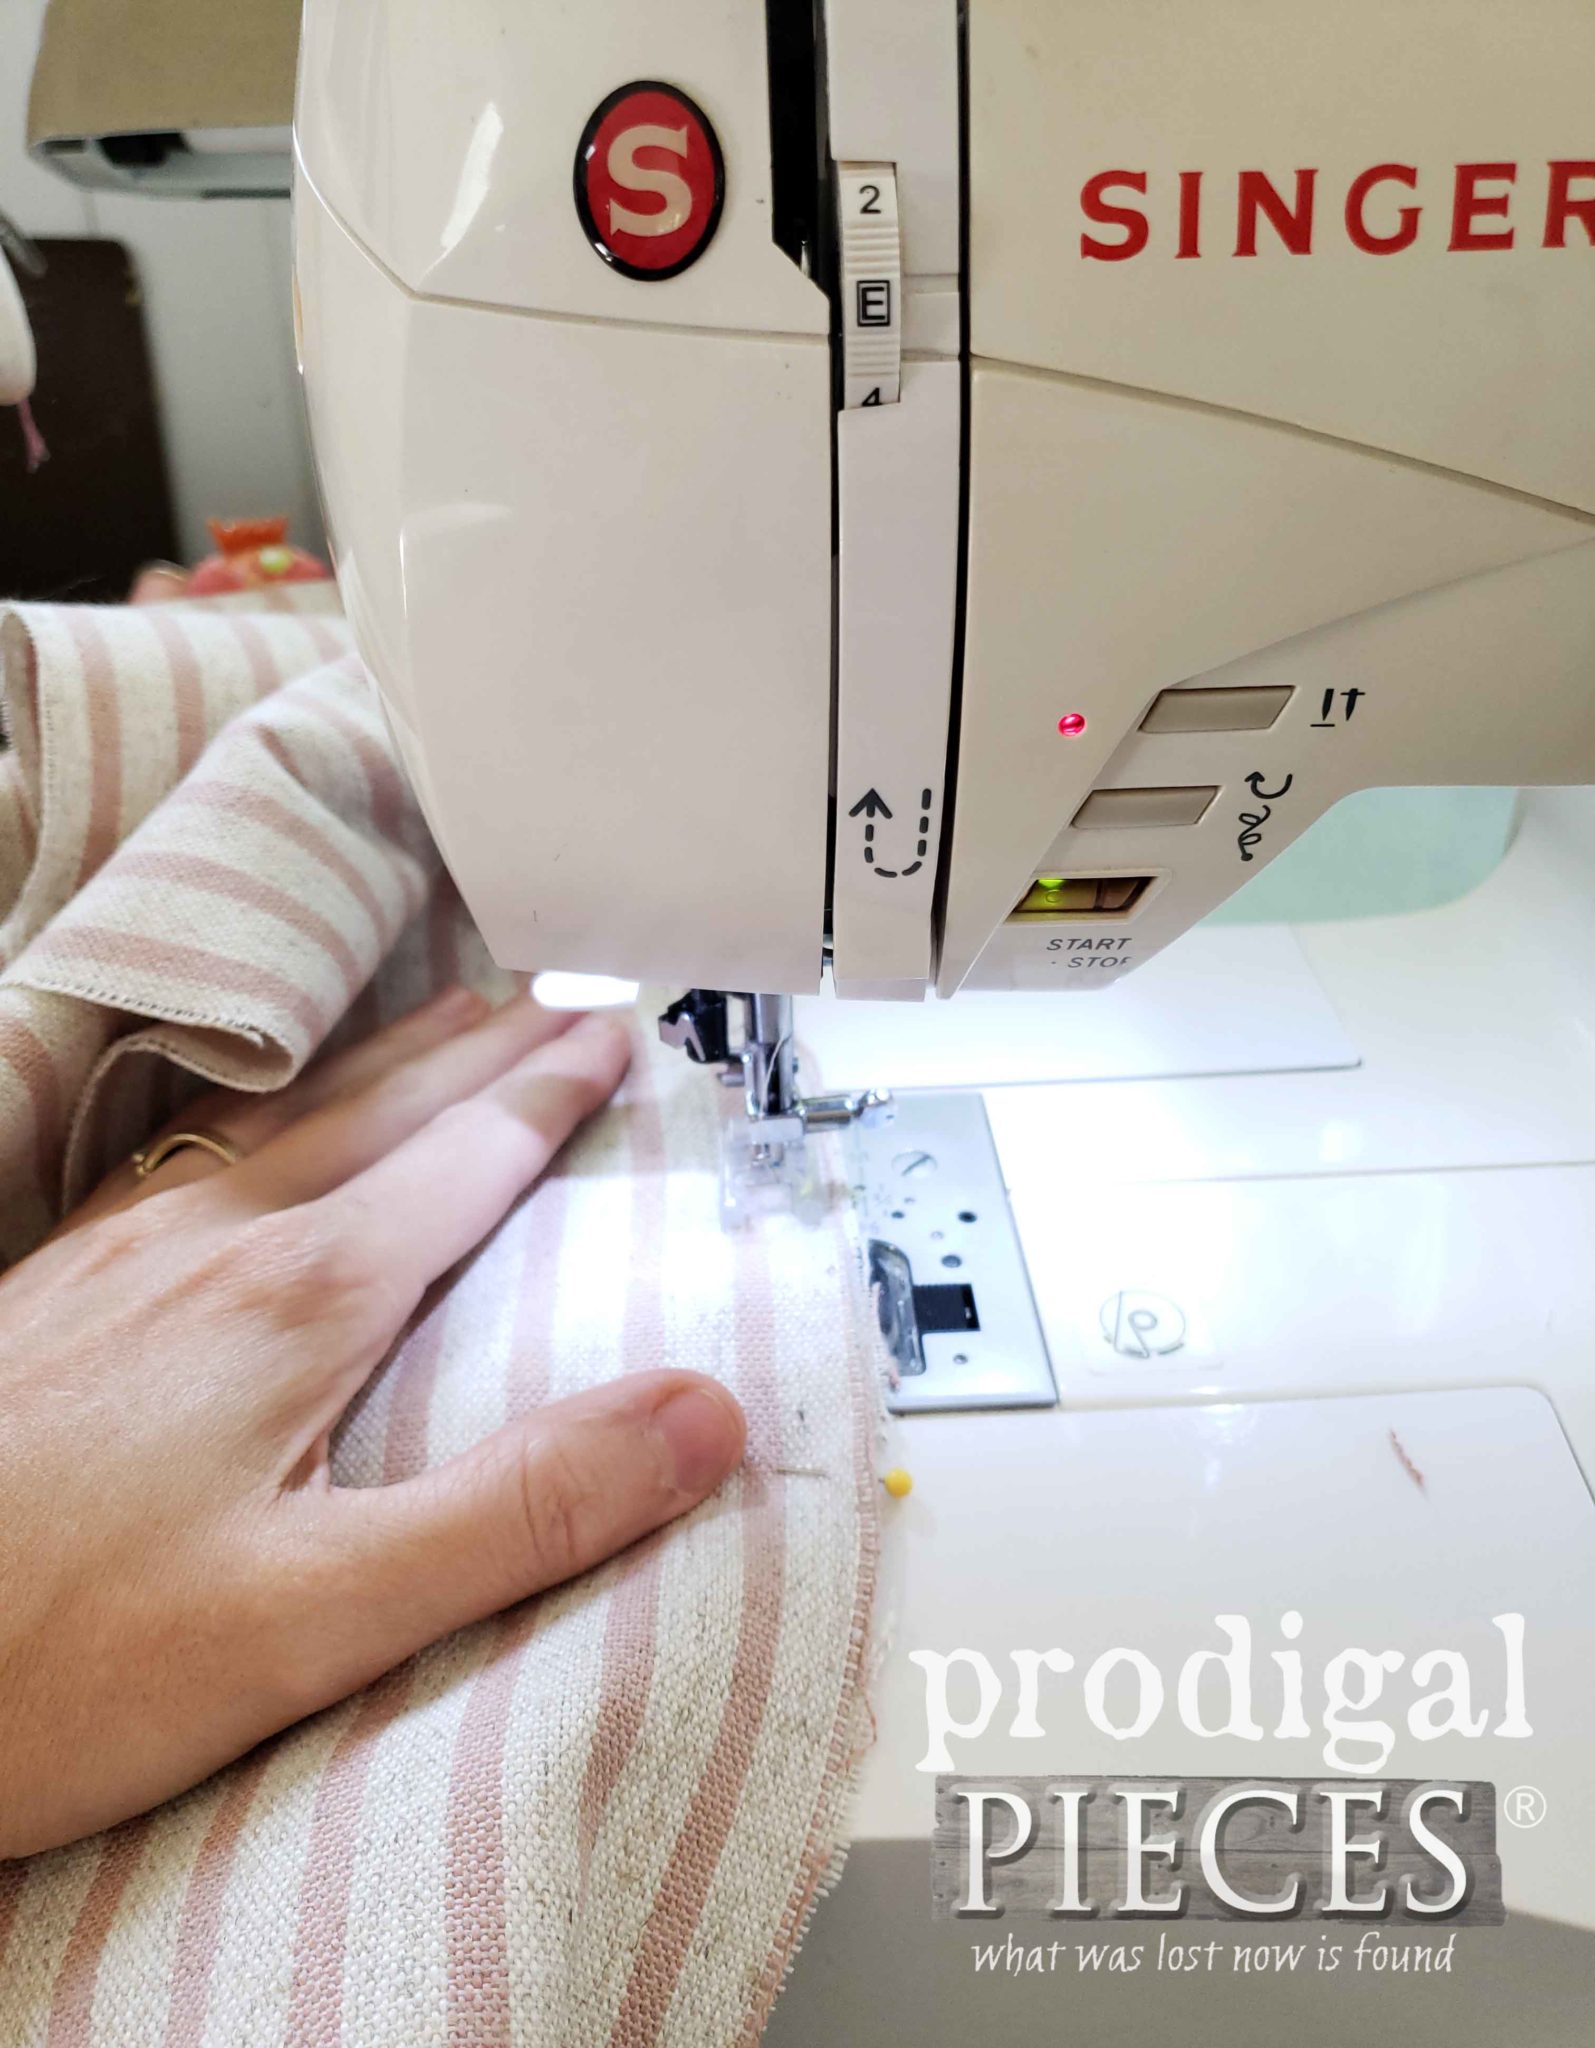
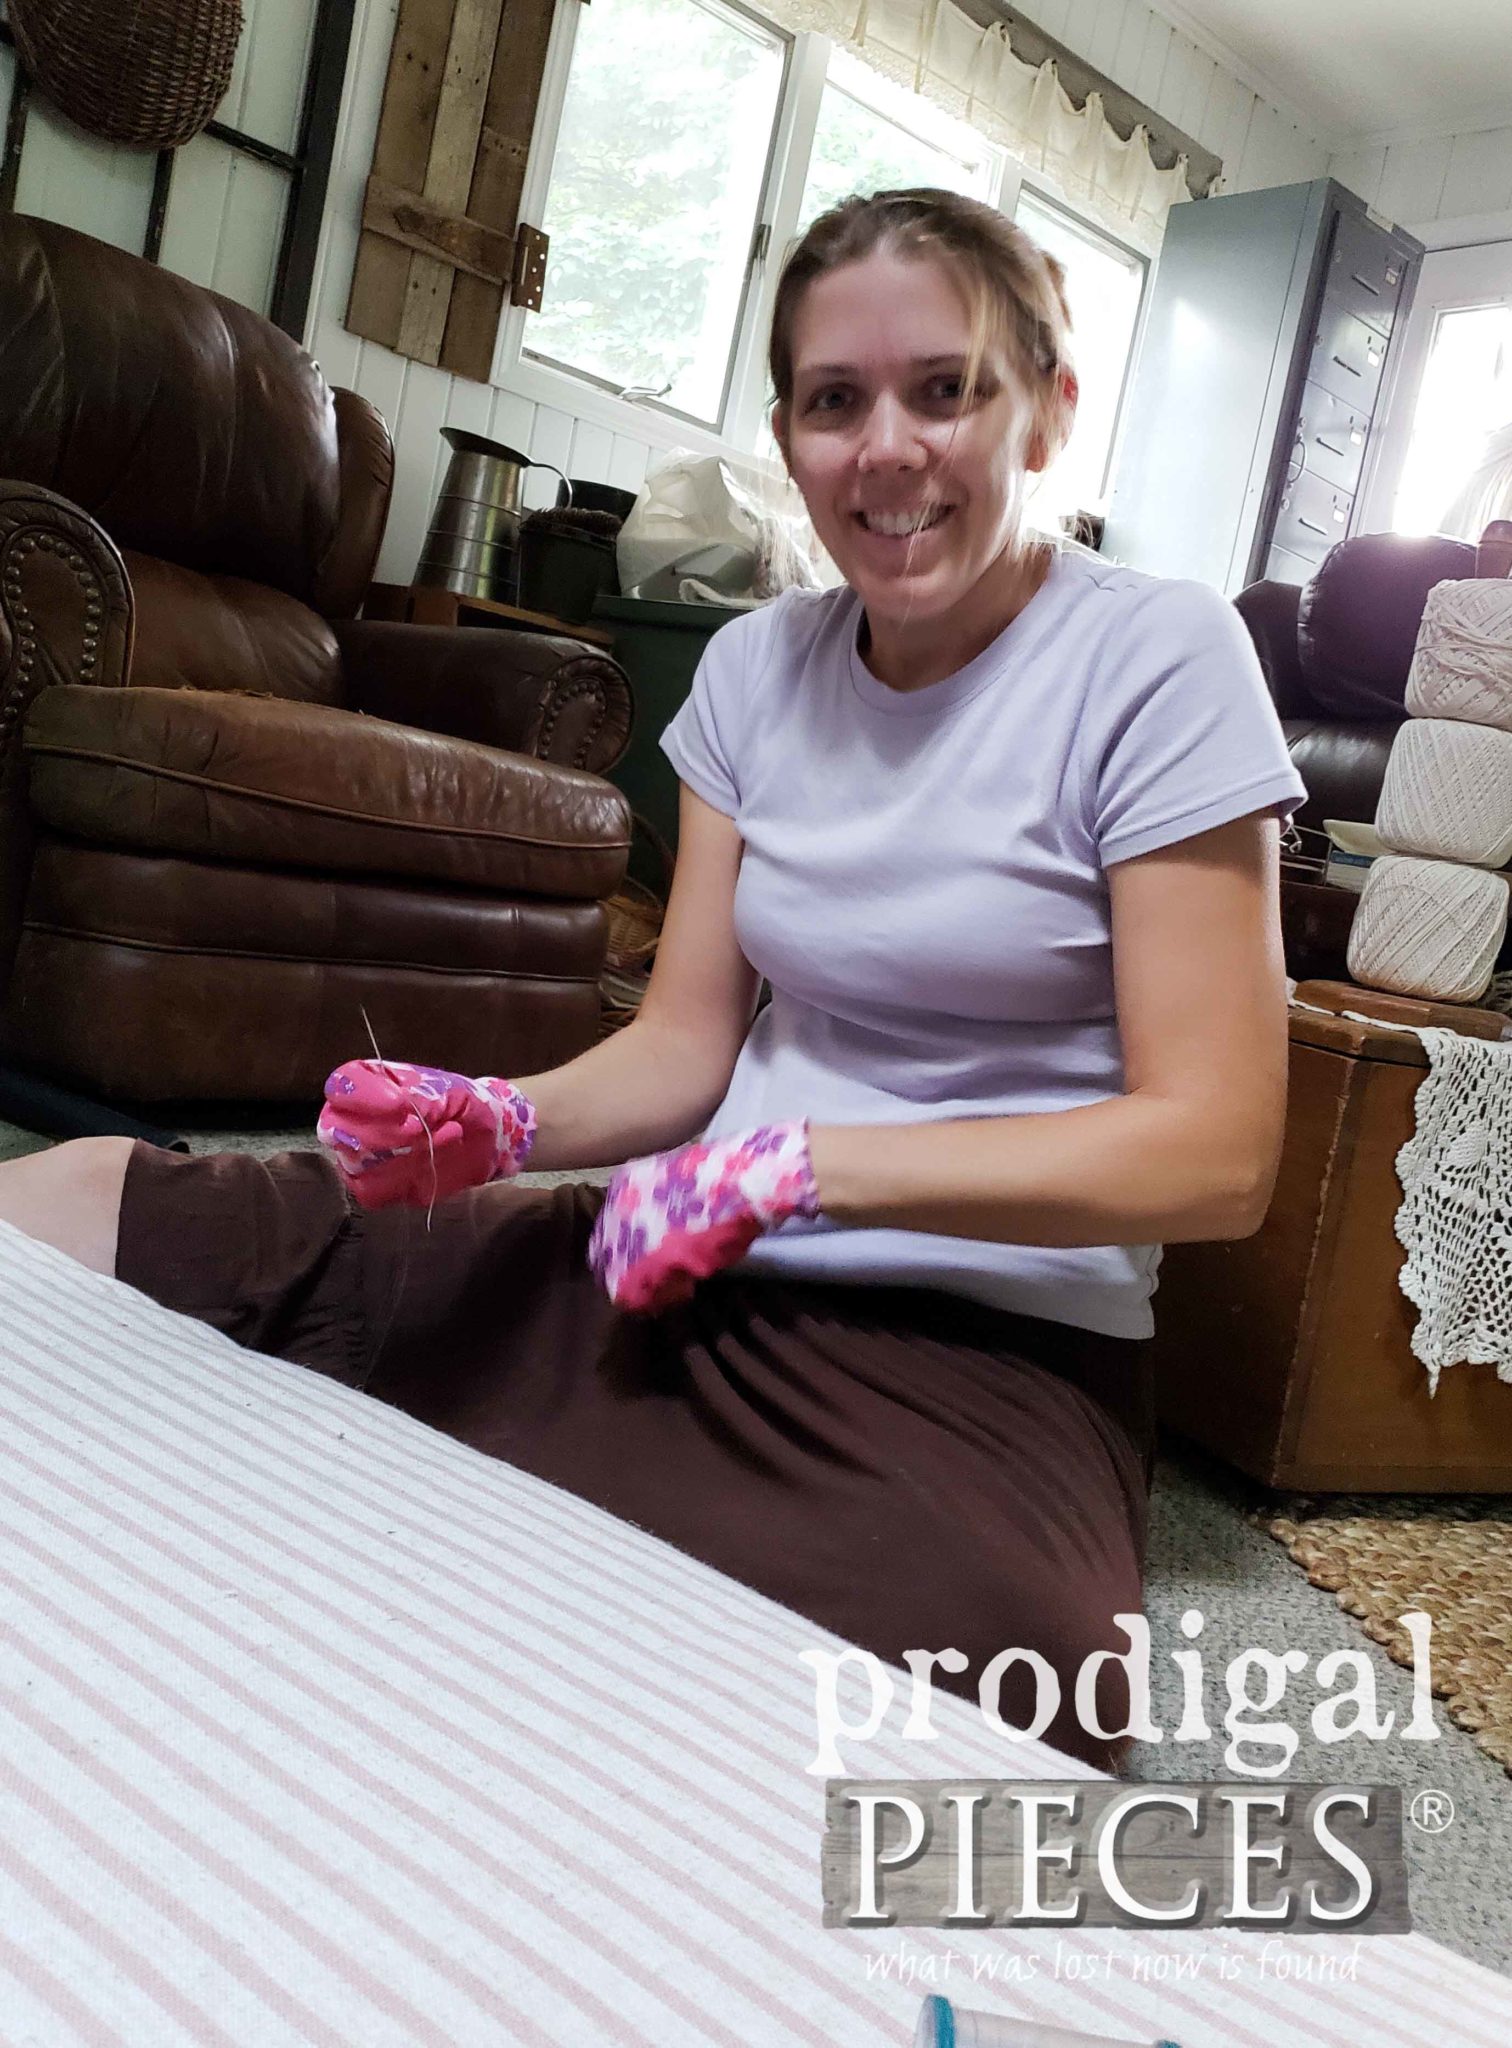
Everything was sewn and it was time to not only hand-stitch the cushion closed but add the side stitches and the tufting. Again, my littlest is in tow handing me pins and whatnot. She decided while perched on the cushion that I needed a picture of me sewing. I agree.
If you’ve ever done any heavy sewing like this, you know gloves are a must or your hands will pay dearly. And of course I had to add my own personal touch to the mattress.
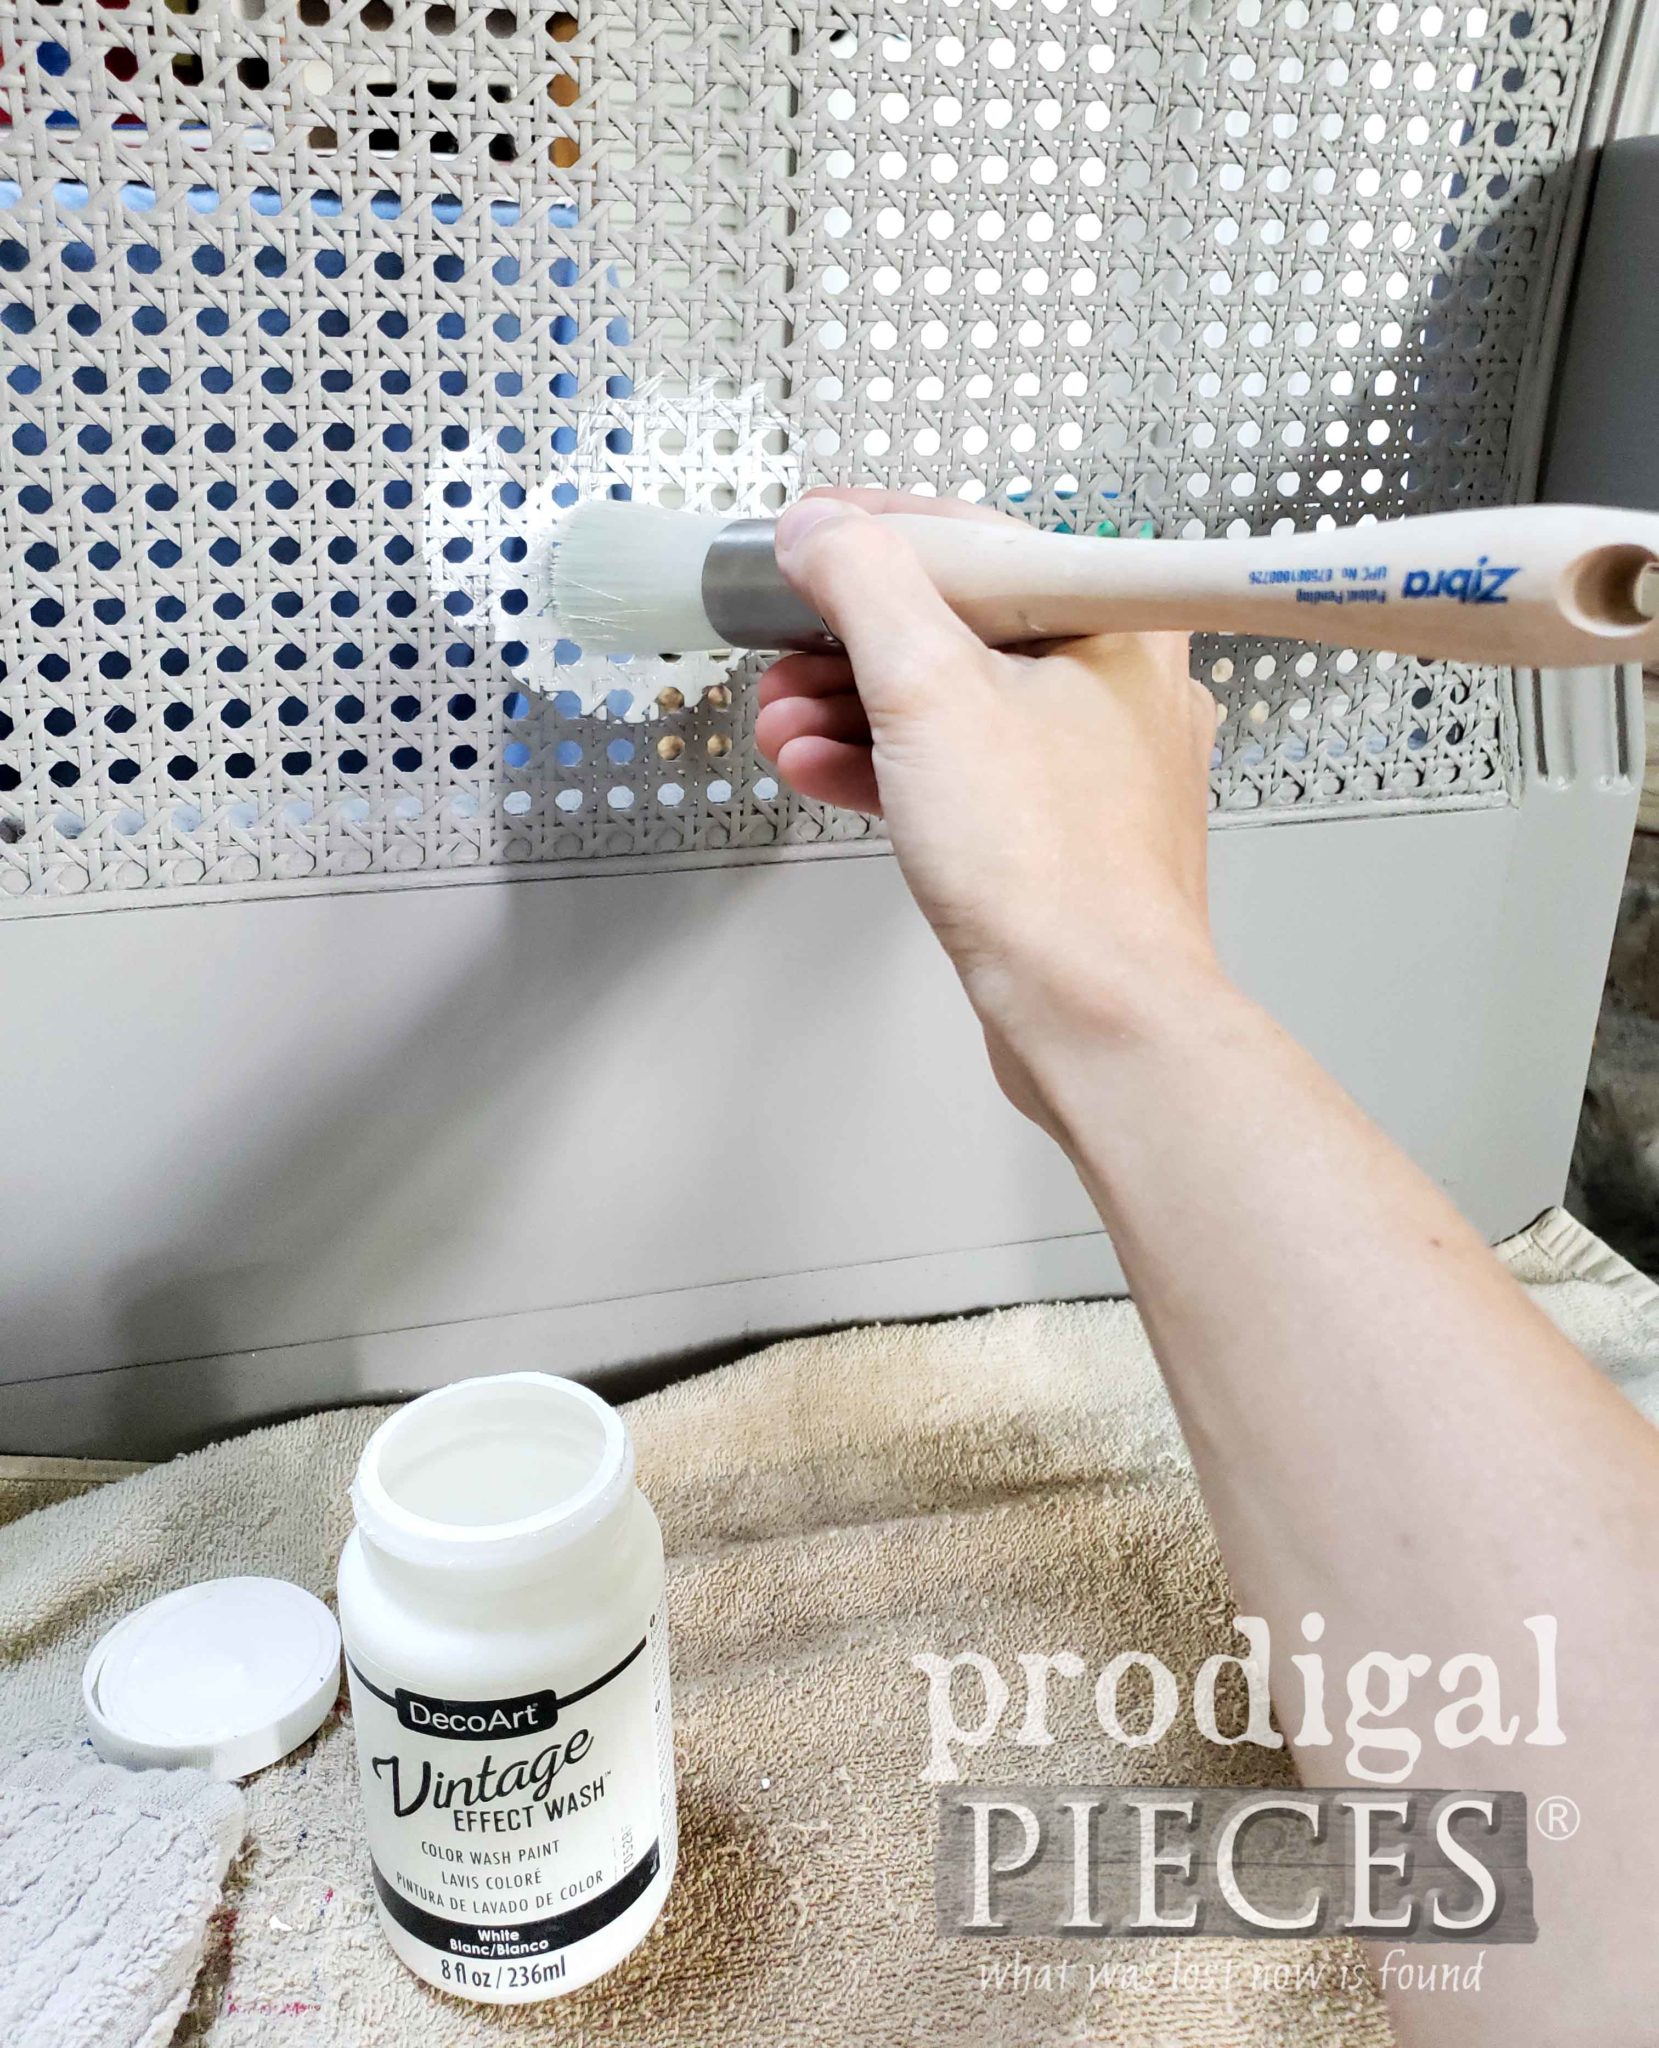
The mattress is complete, and I just need to add a few finishing touches to the bench. Next, I added depth and dimension by highlighting and glazing a few spots. First, I used this a white glazing and my brush to go over the caning.
Once that cured, I used my gray wax and a second brush to shade in the caning on the outer edges and hit the carved accents as well.
THE REVEAL
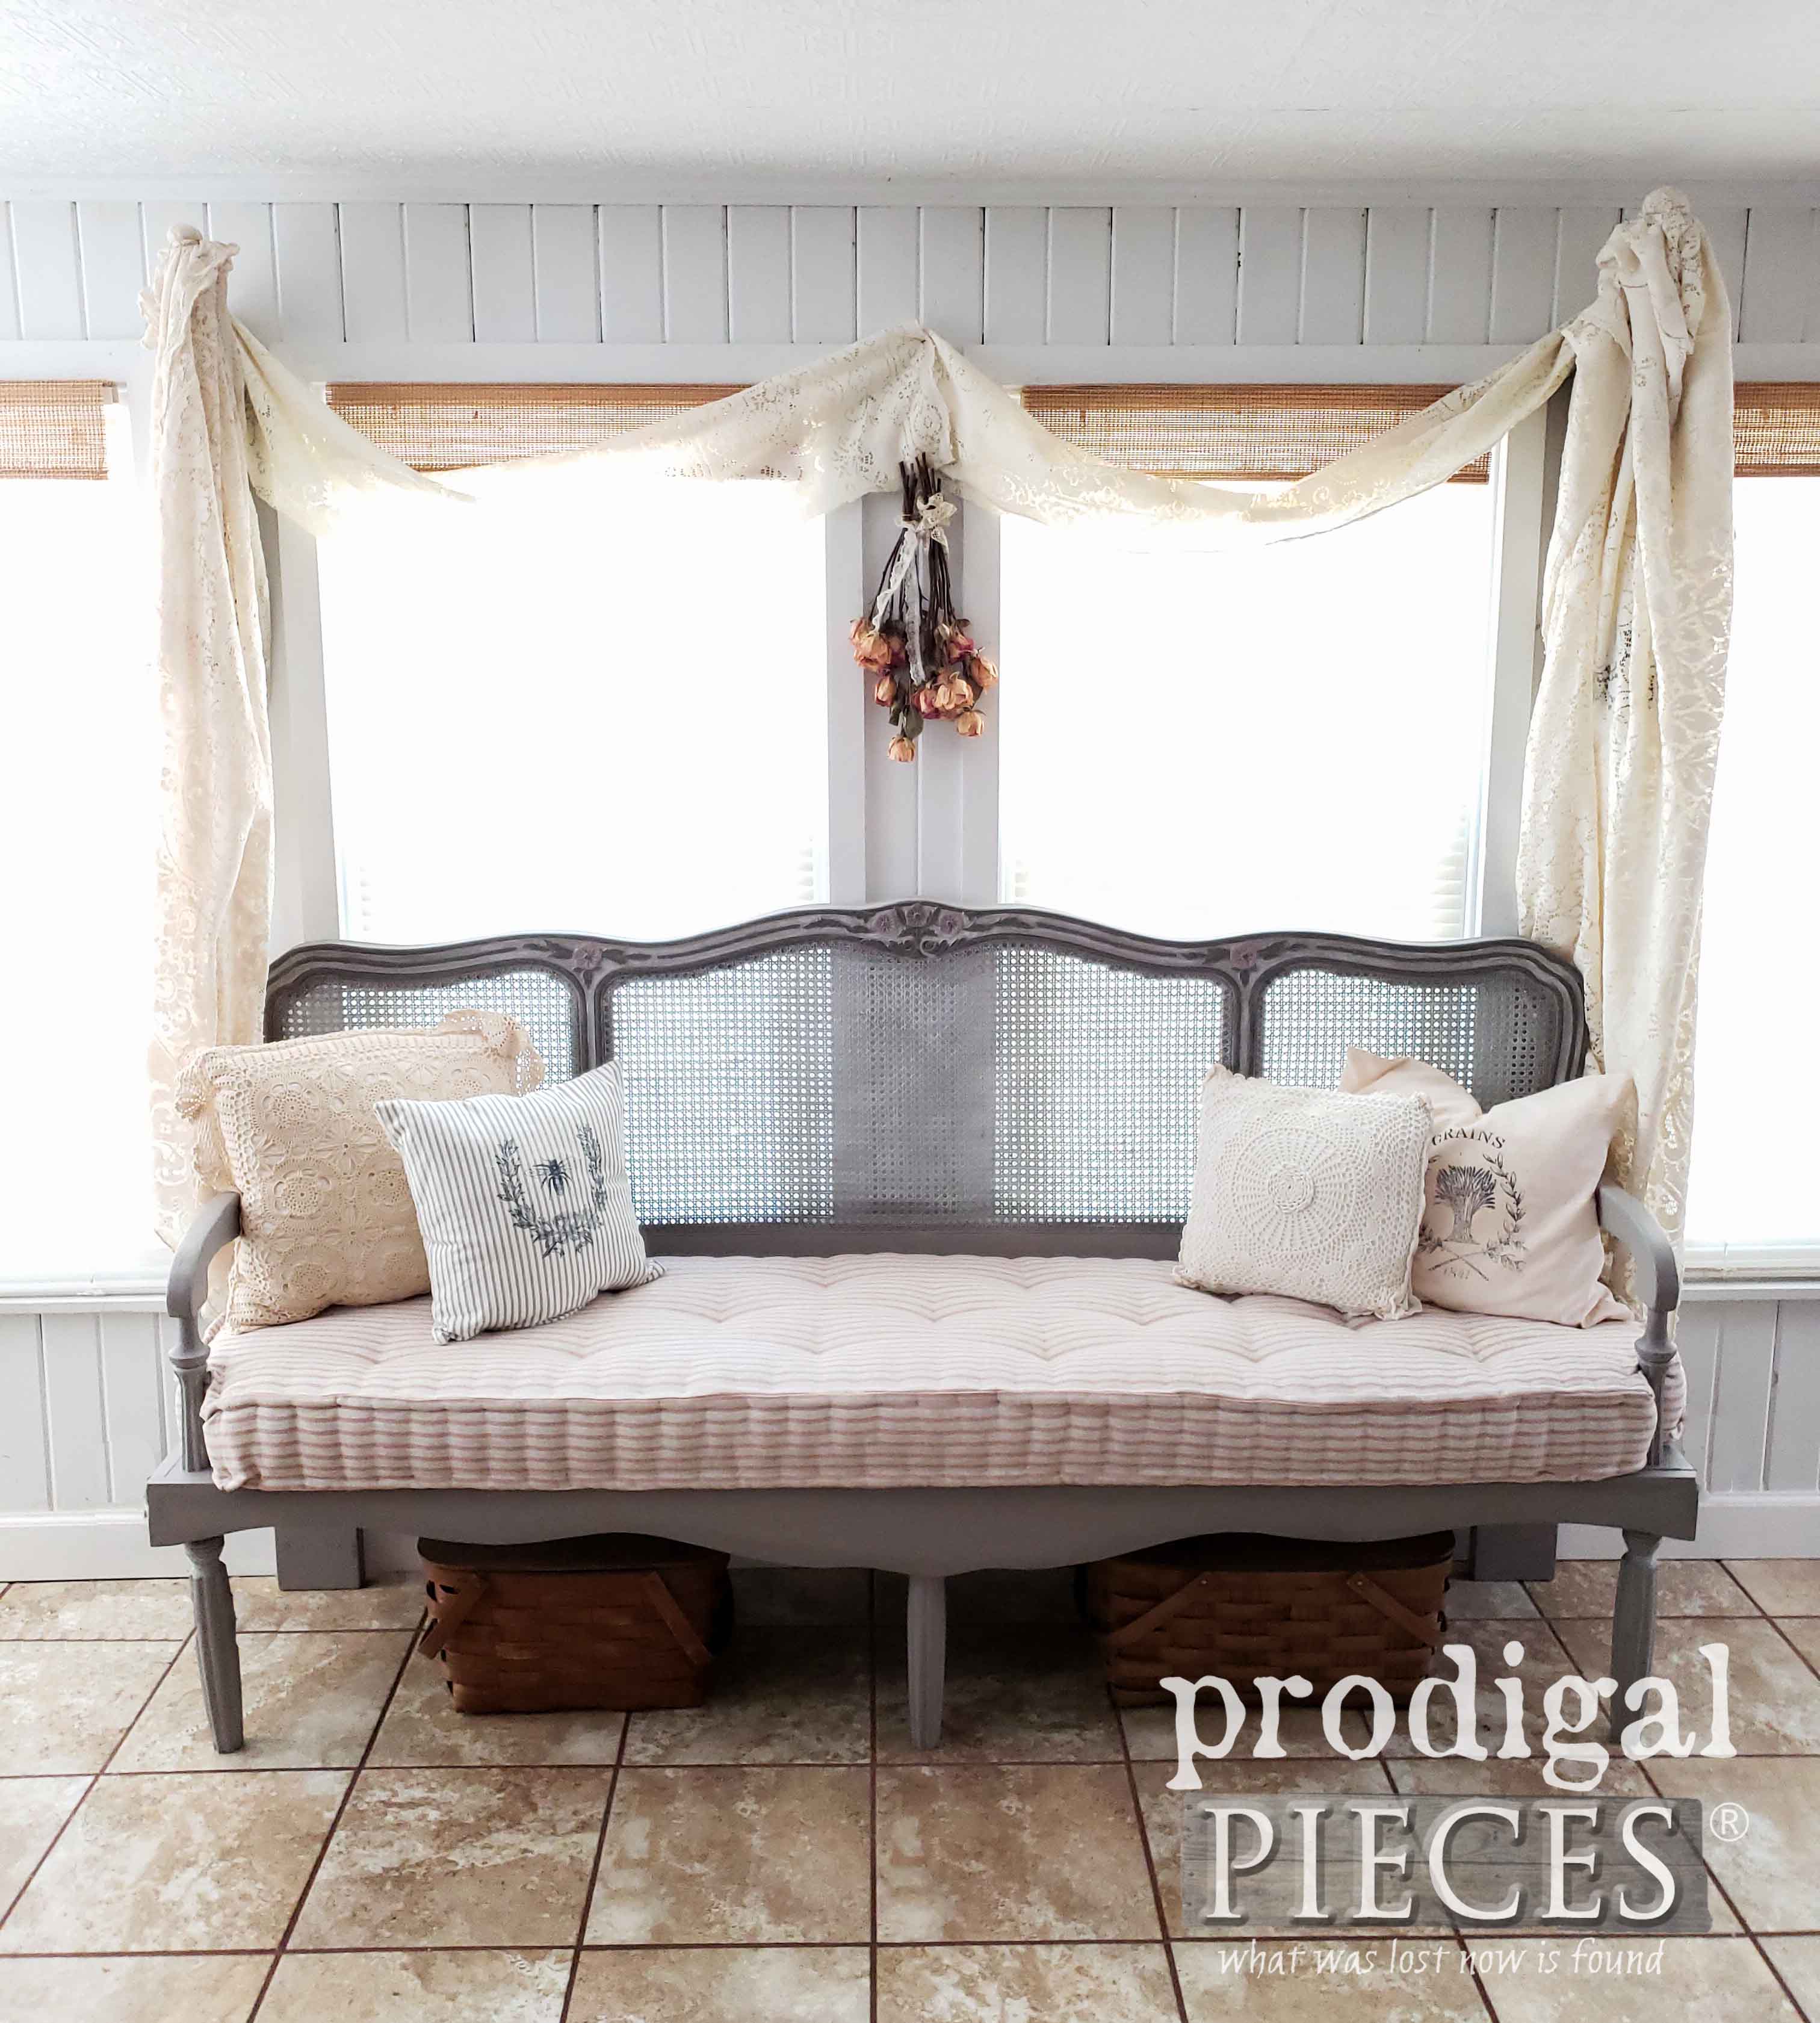
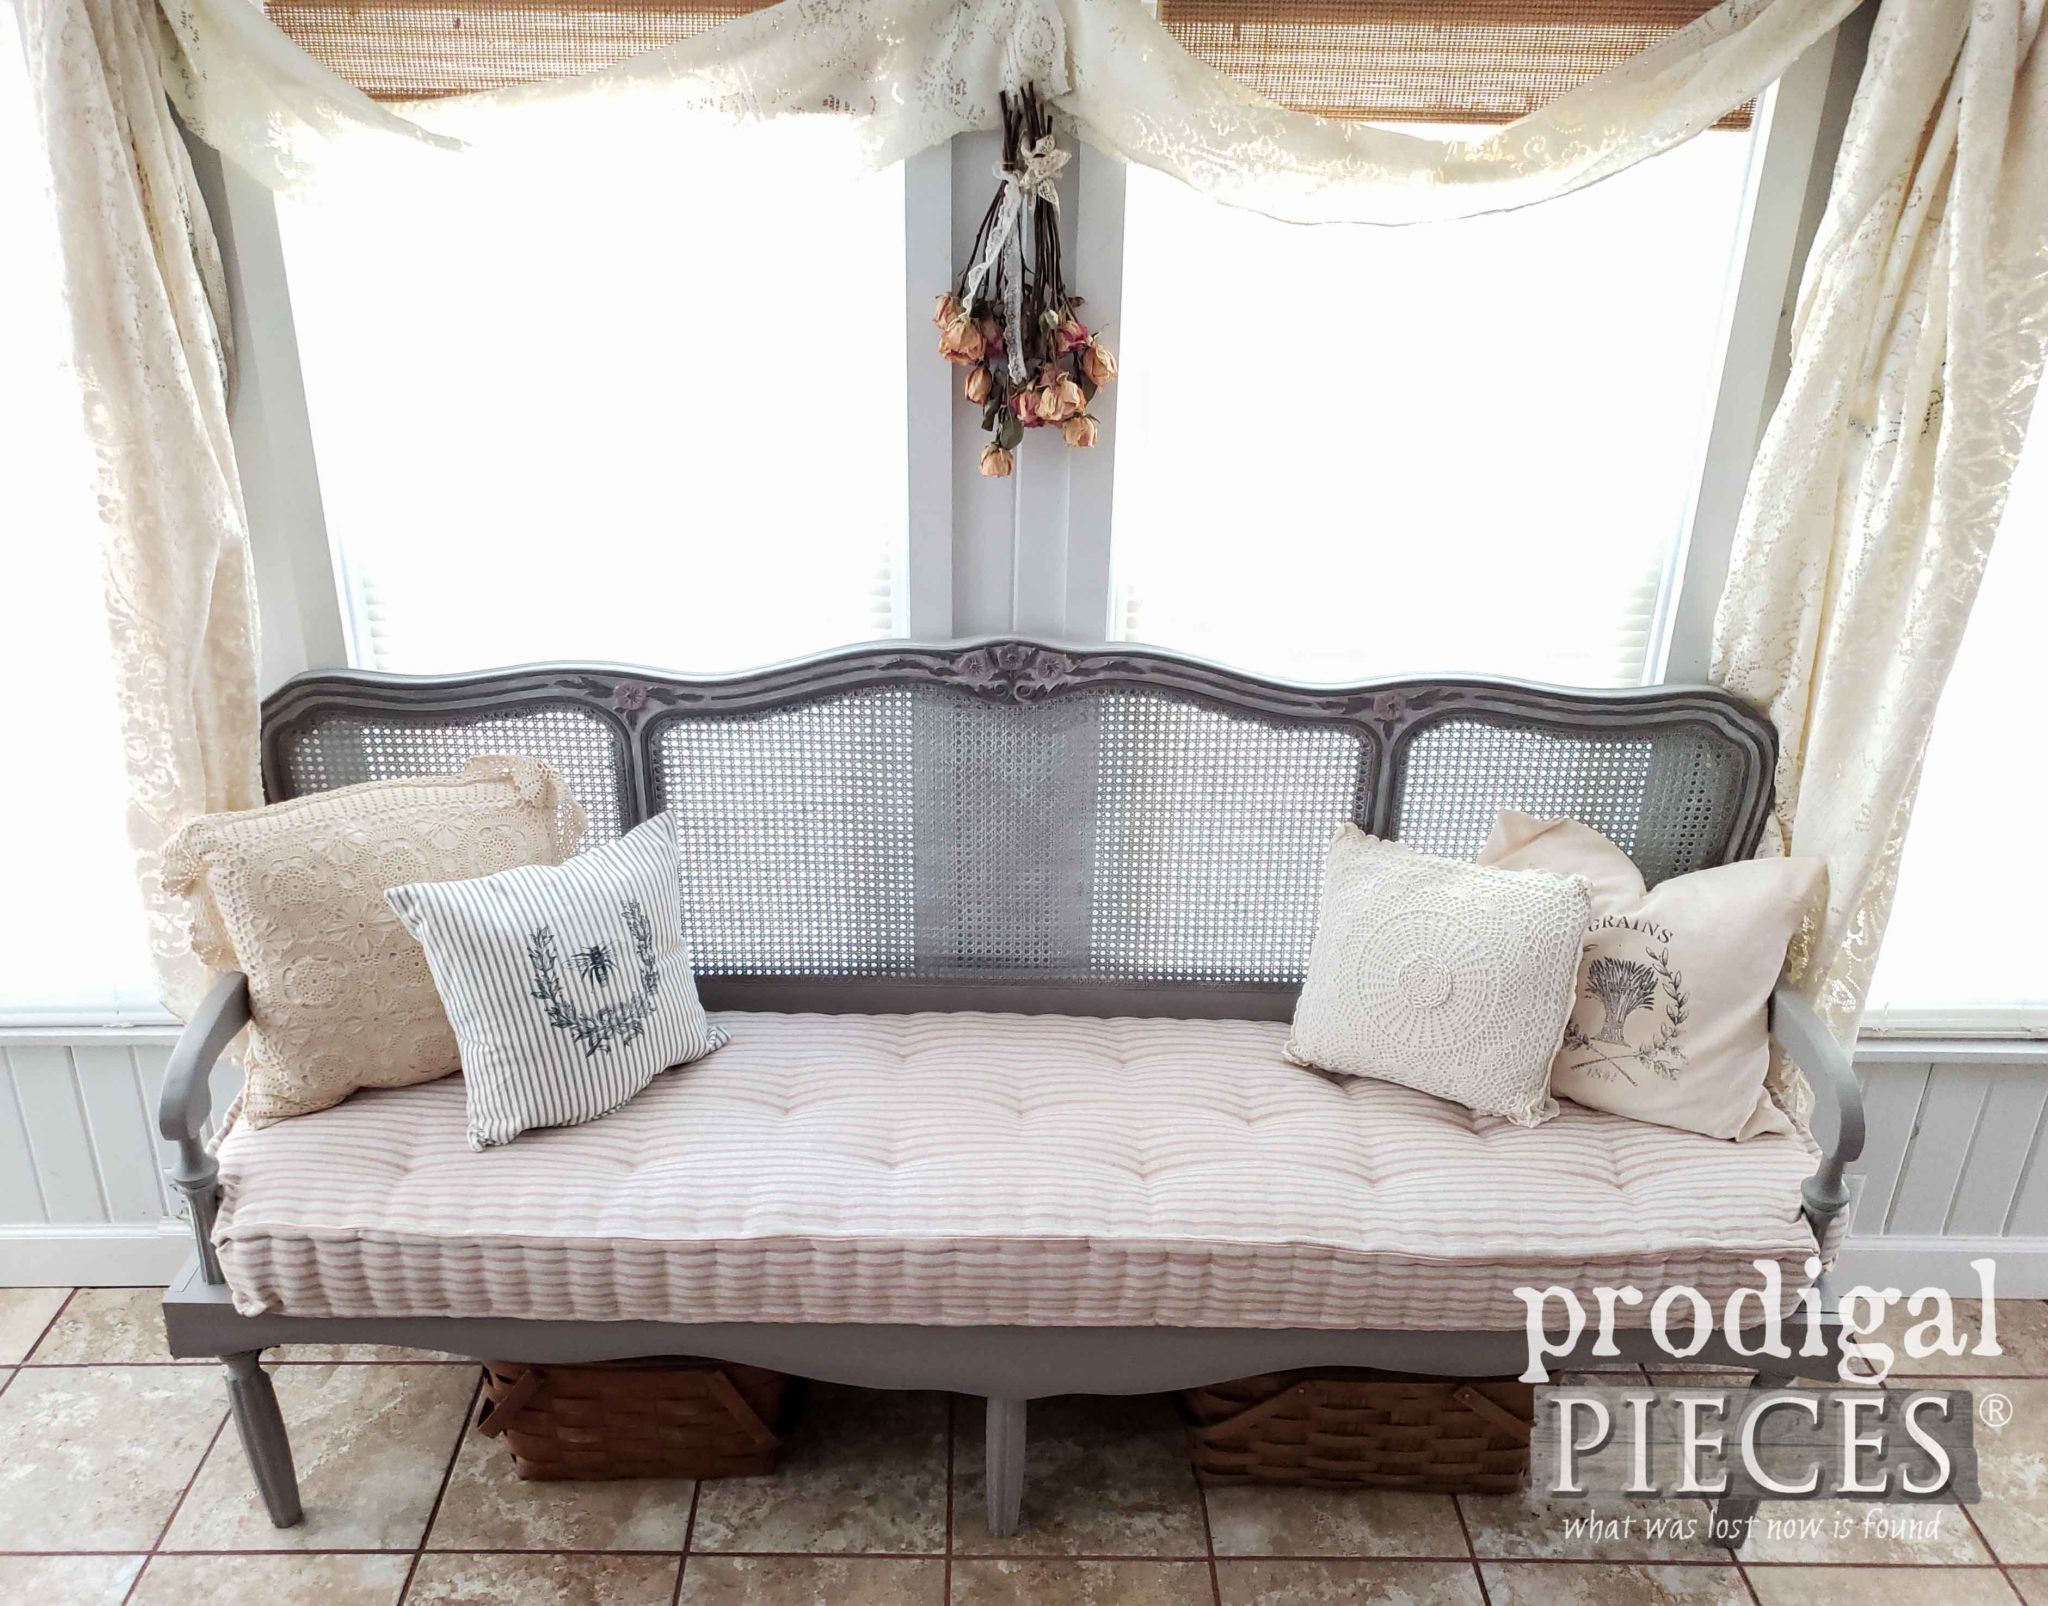
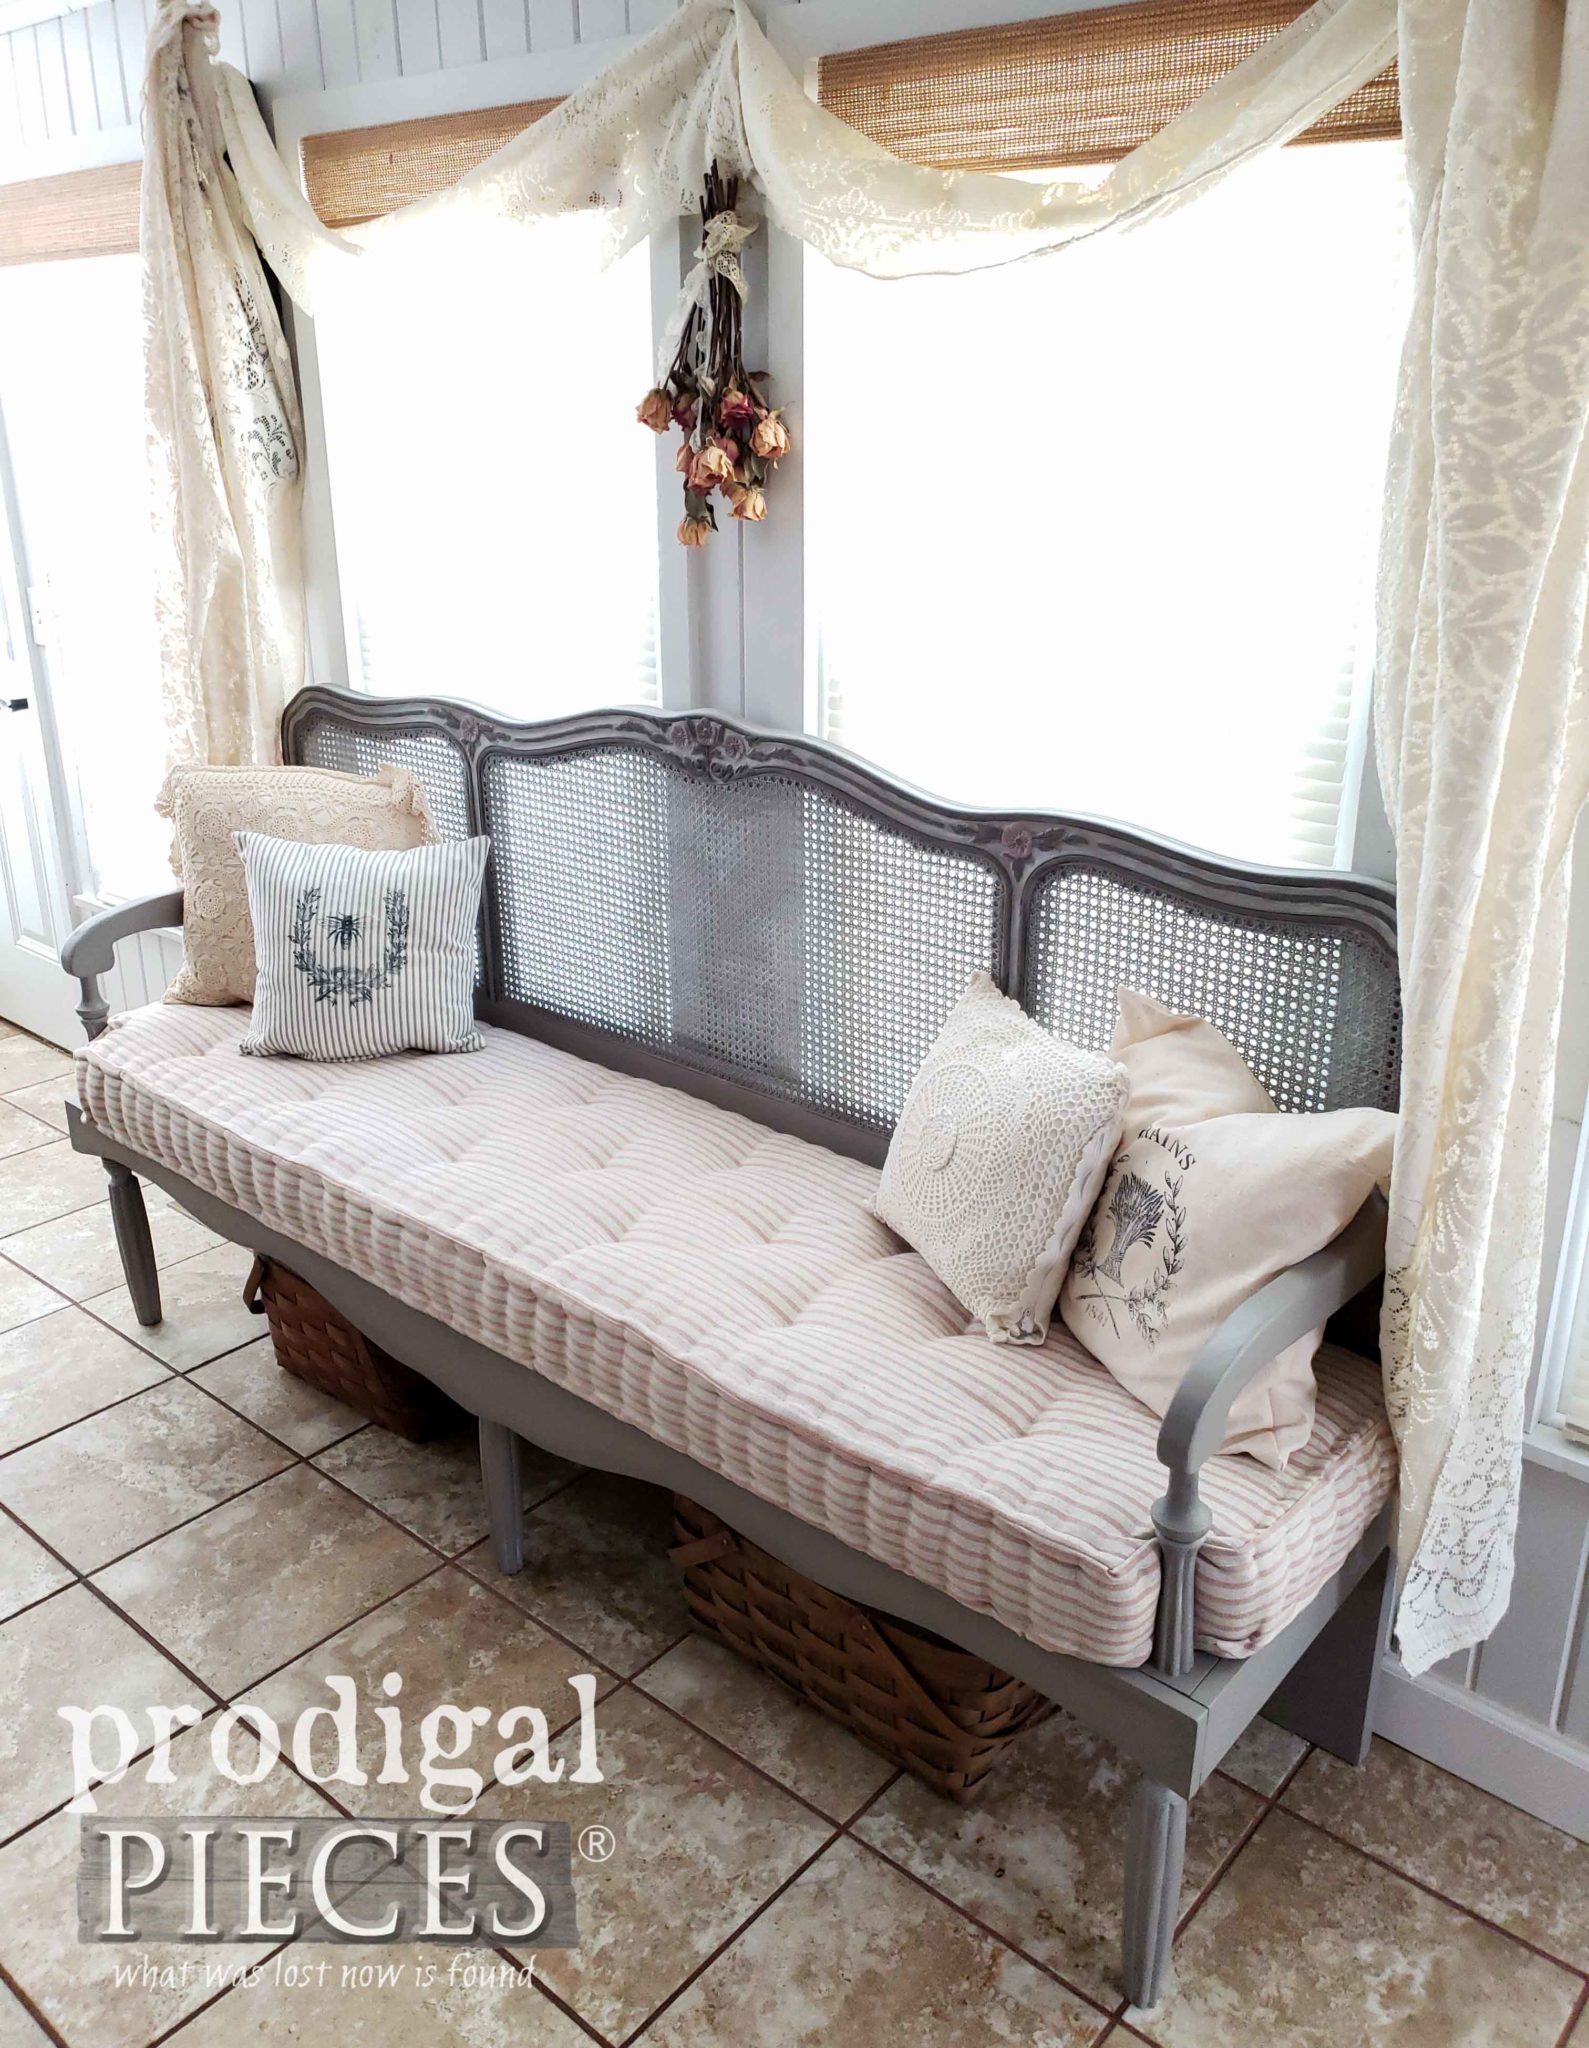
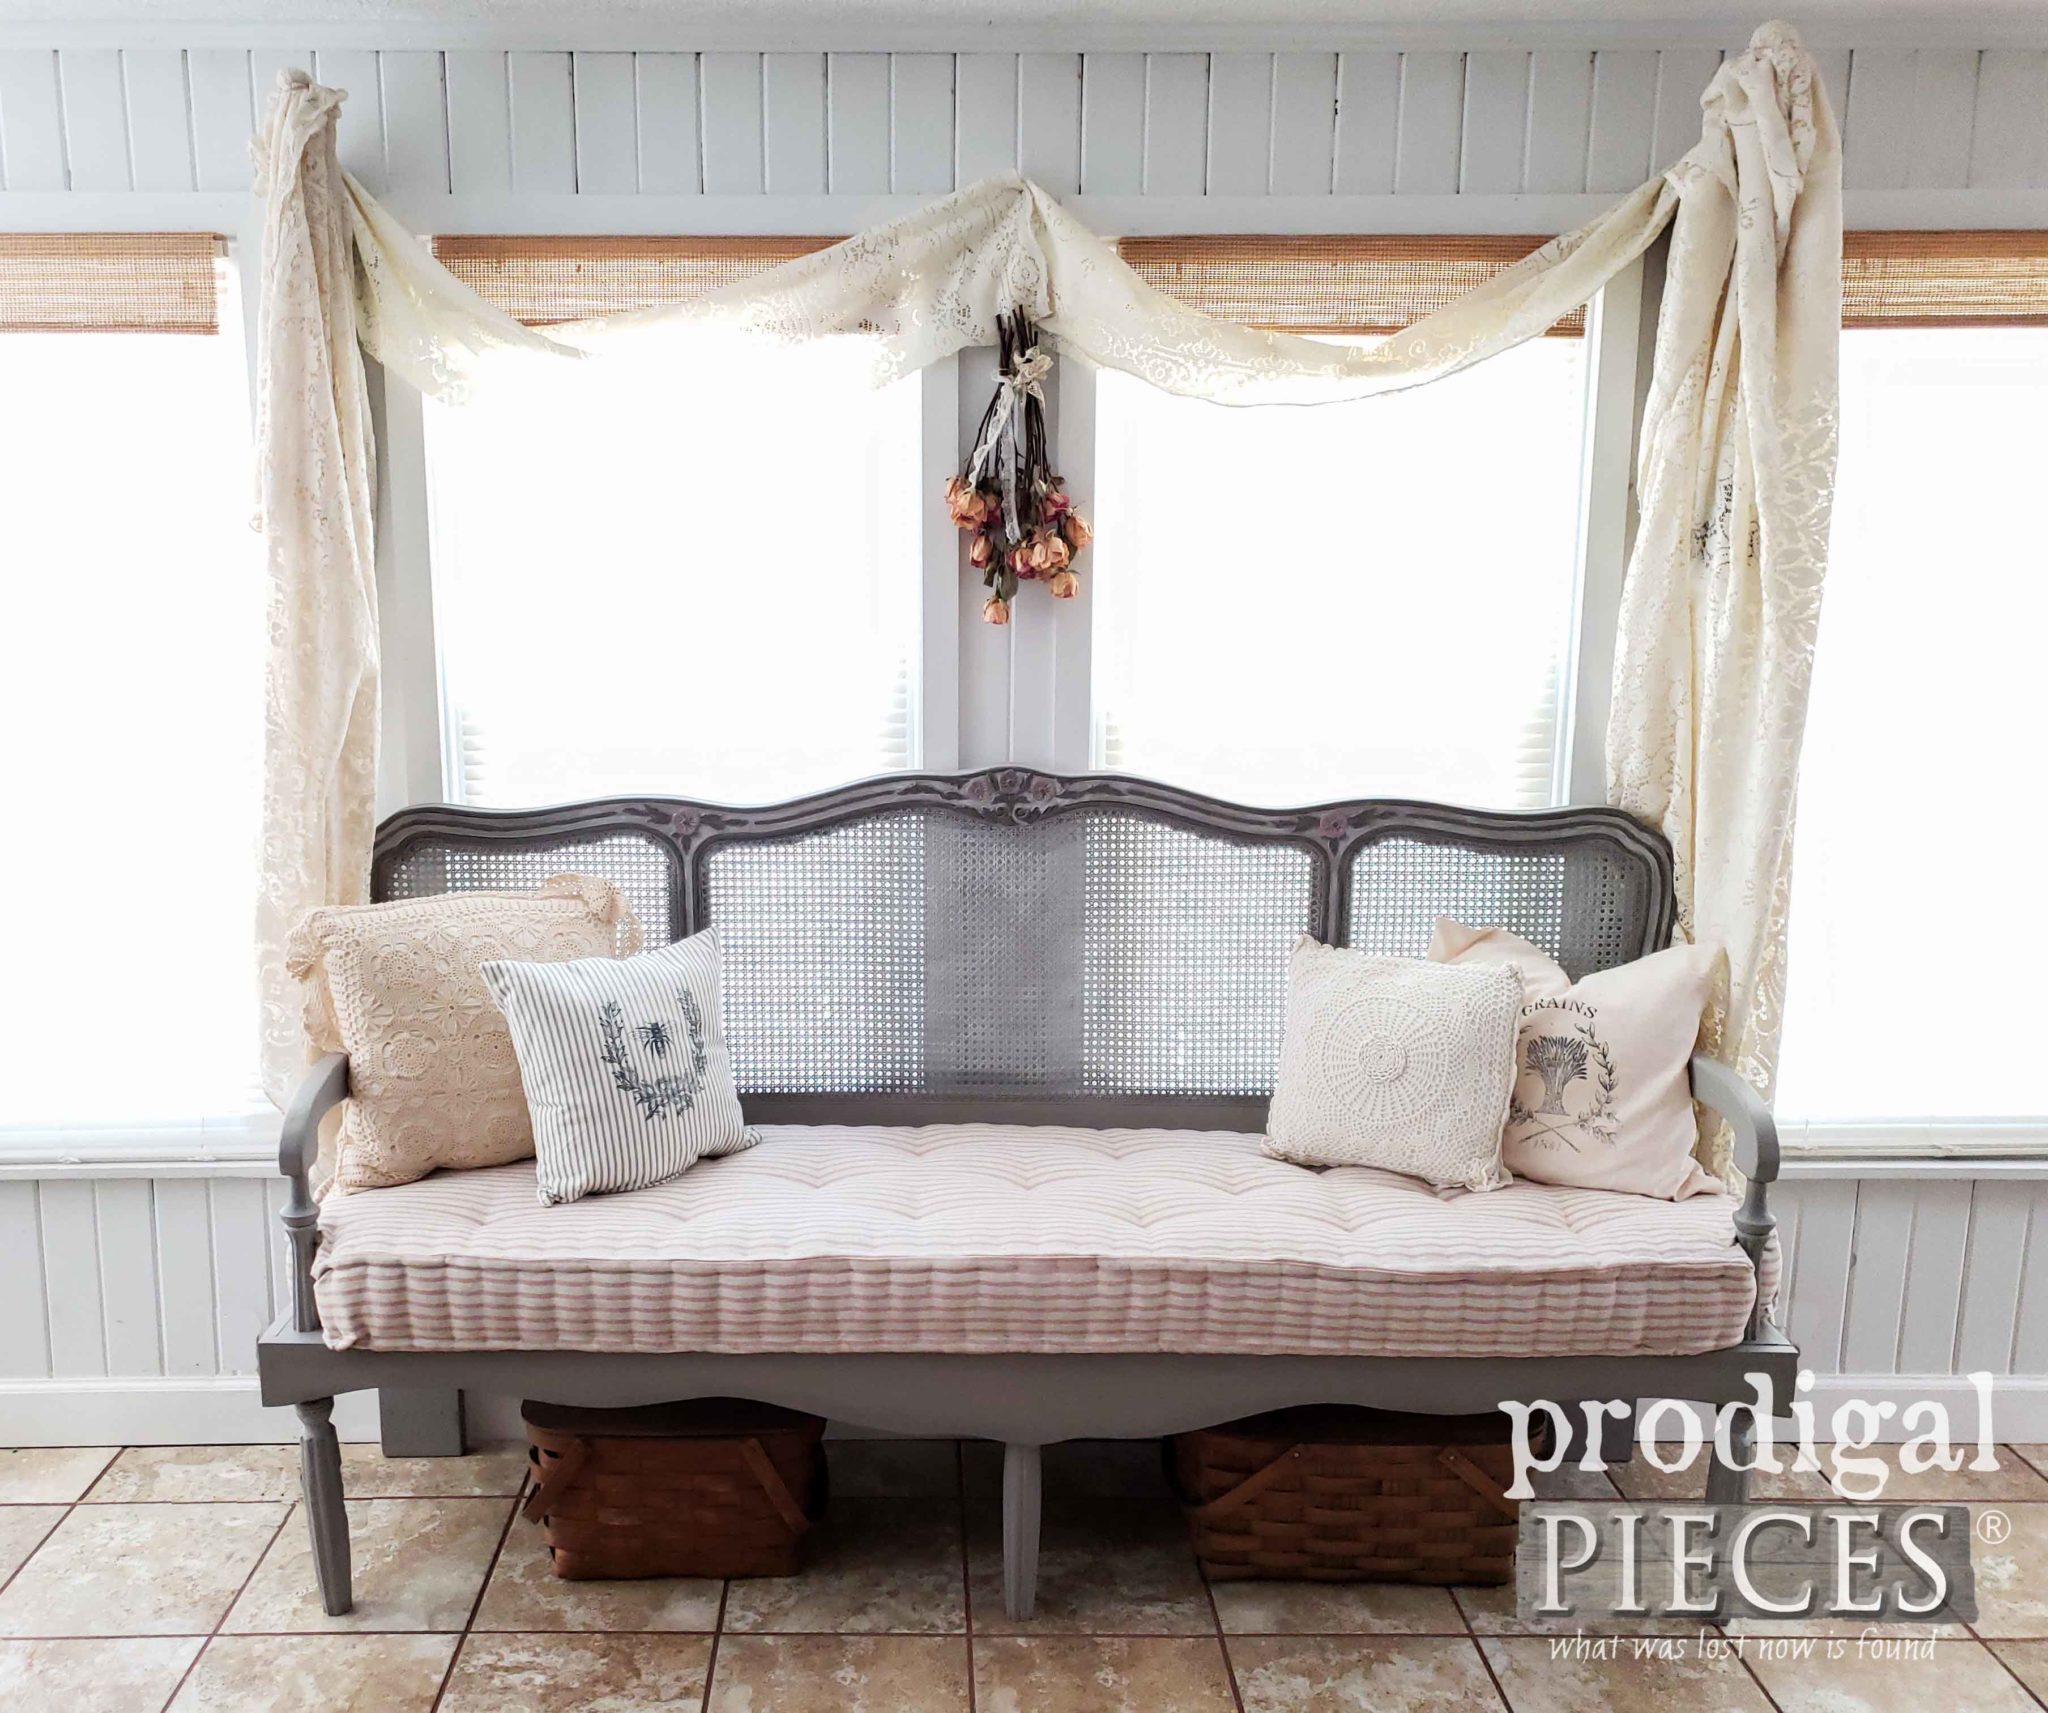
Ready to see my French Provincial headboard bench complete? Let’s take a peek…
How exciting to see my vision come to life after many days of work. It came out as I had hoped, maybe even better because I hadn’t done this before.
CUSHY GOODNESS
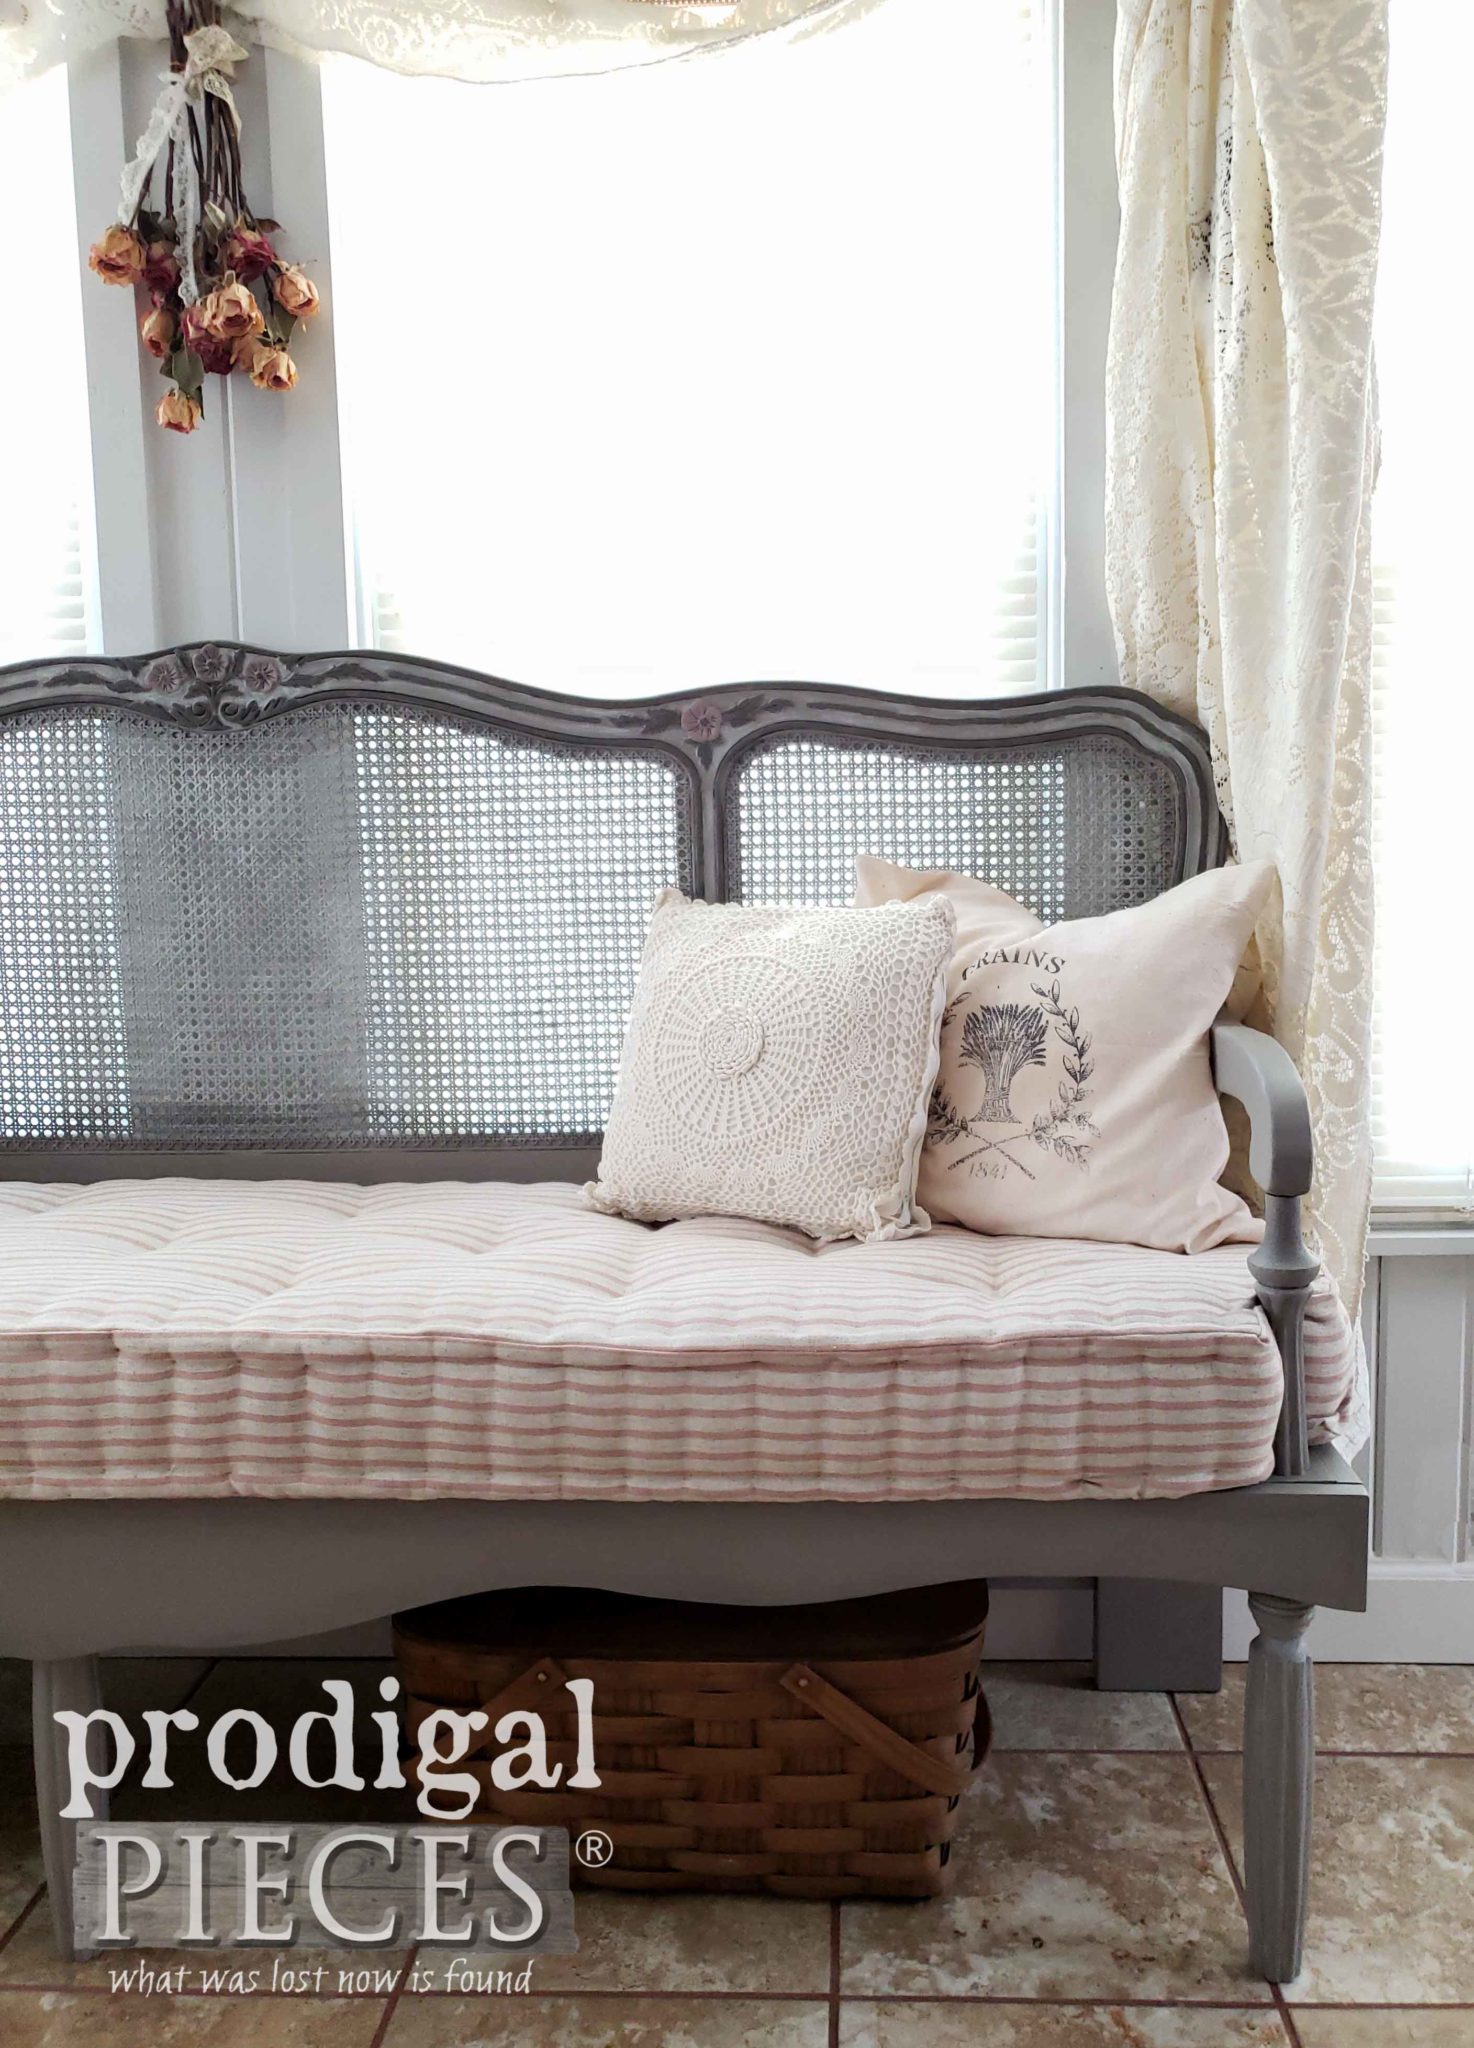
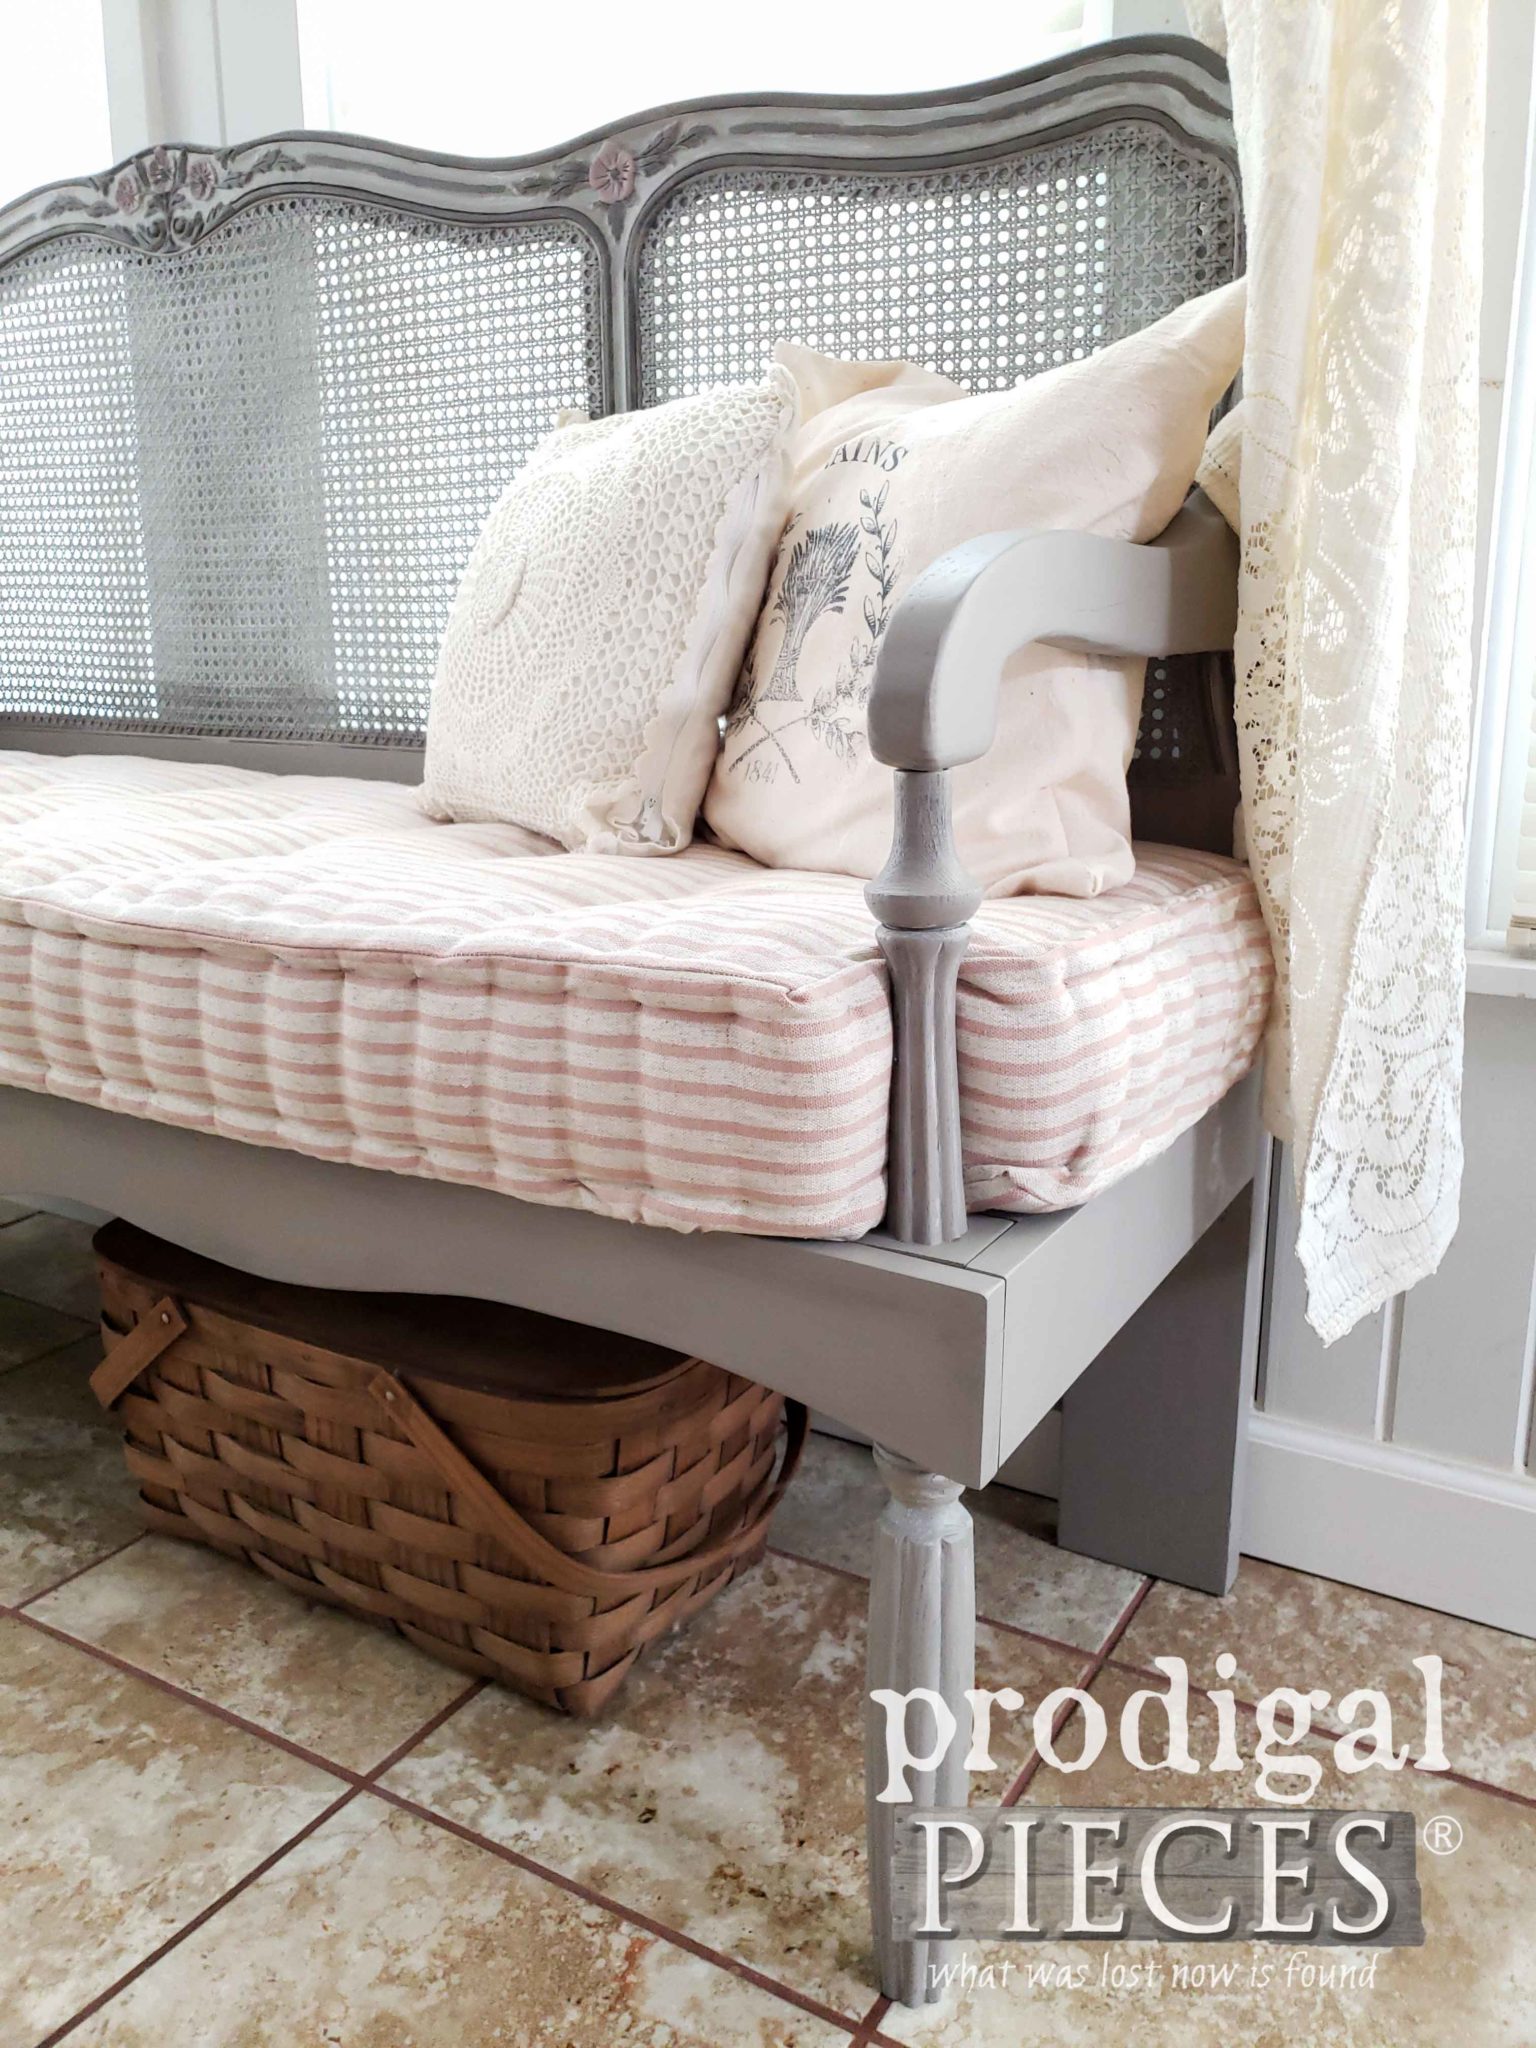
And how about that cushion? woot! Not too shabby, I say. I wanted to create the corners around those arms to hold the mattress in place. Notice how I used the rest of the legs I chopped. I told ya I would use them! tee hee.
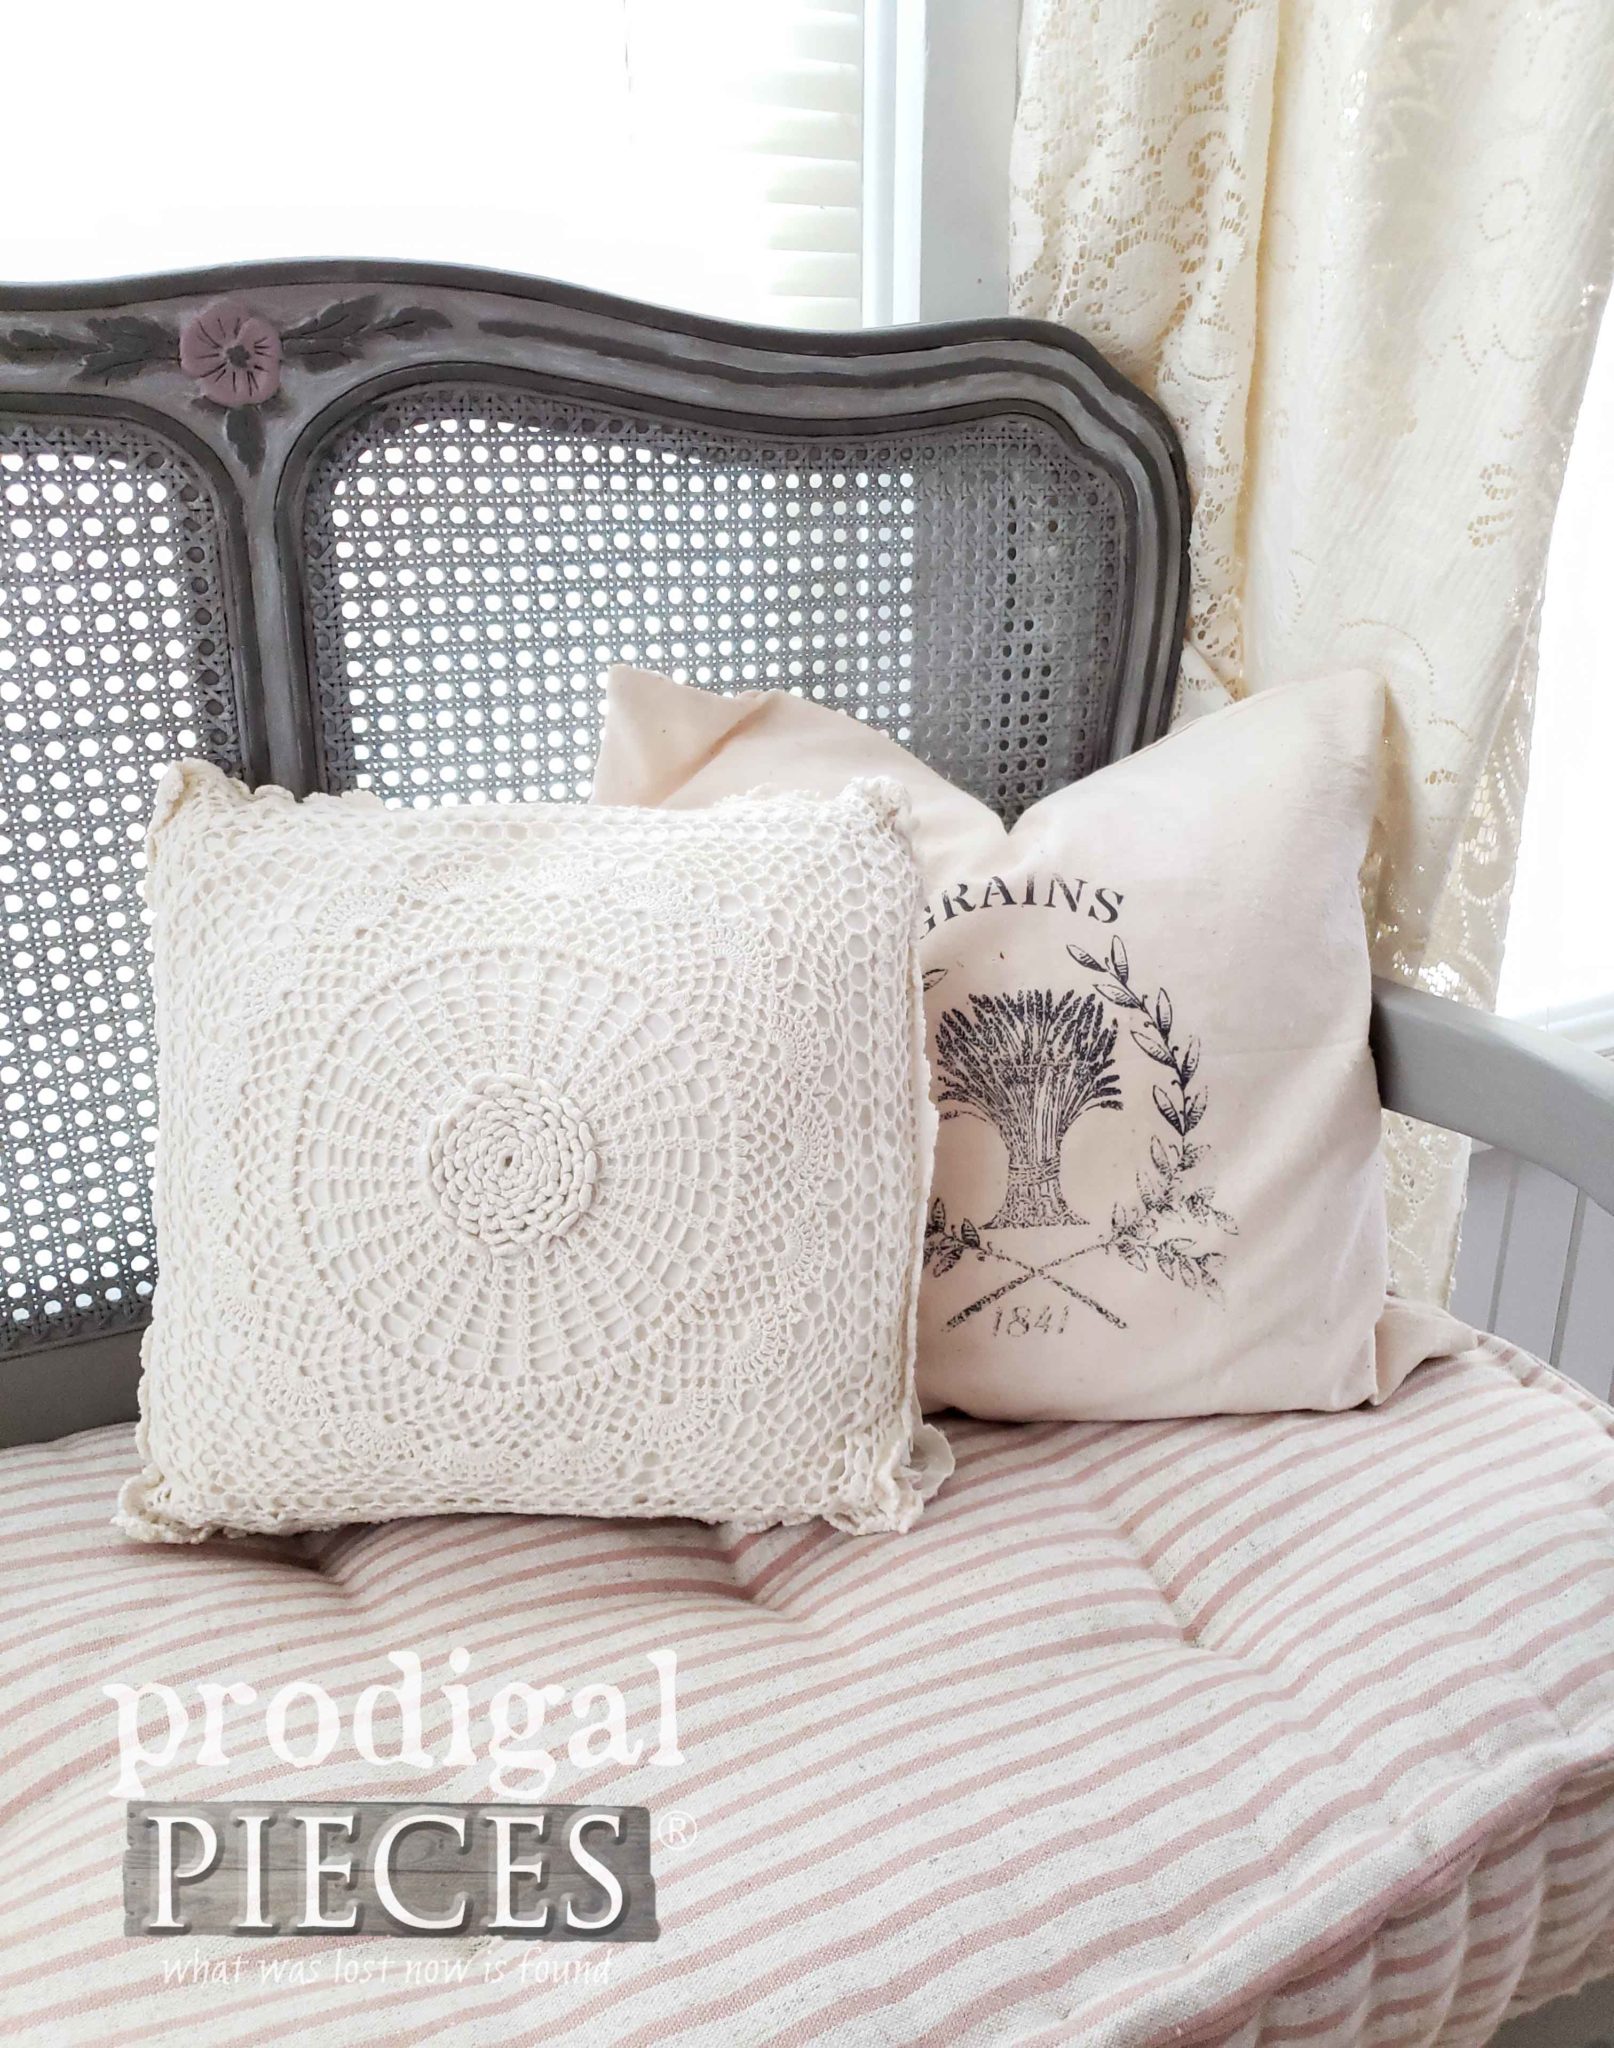
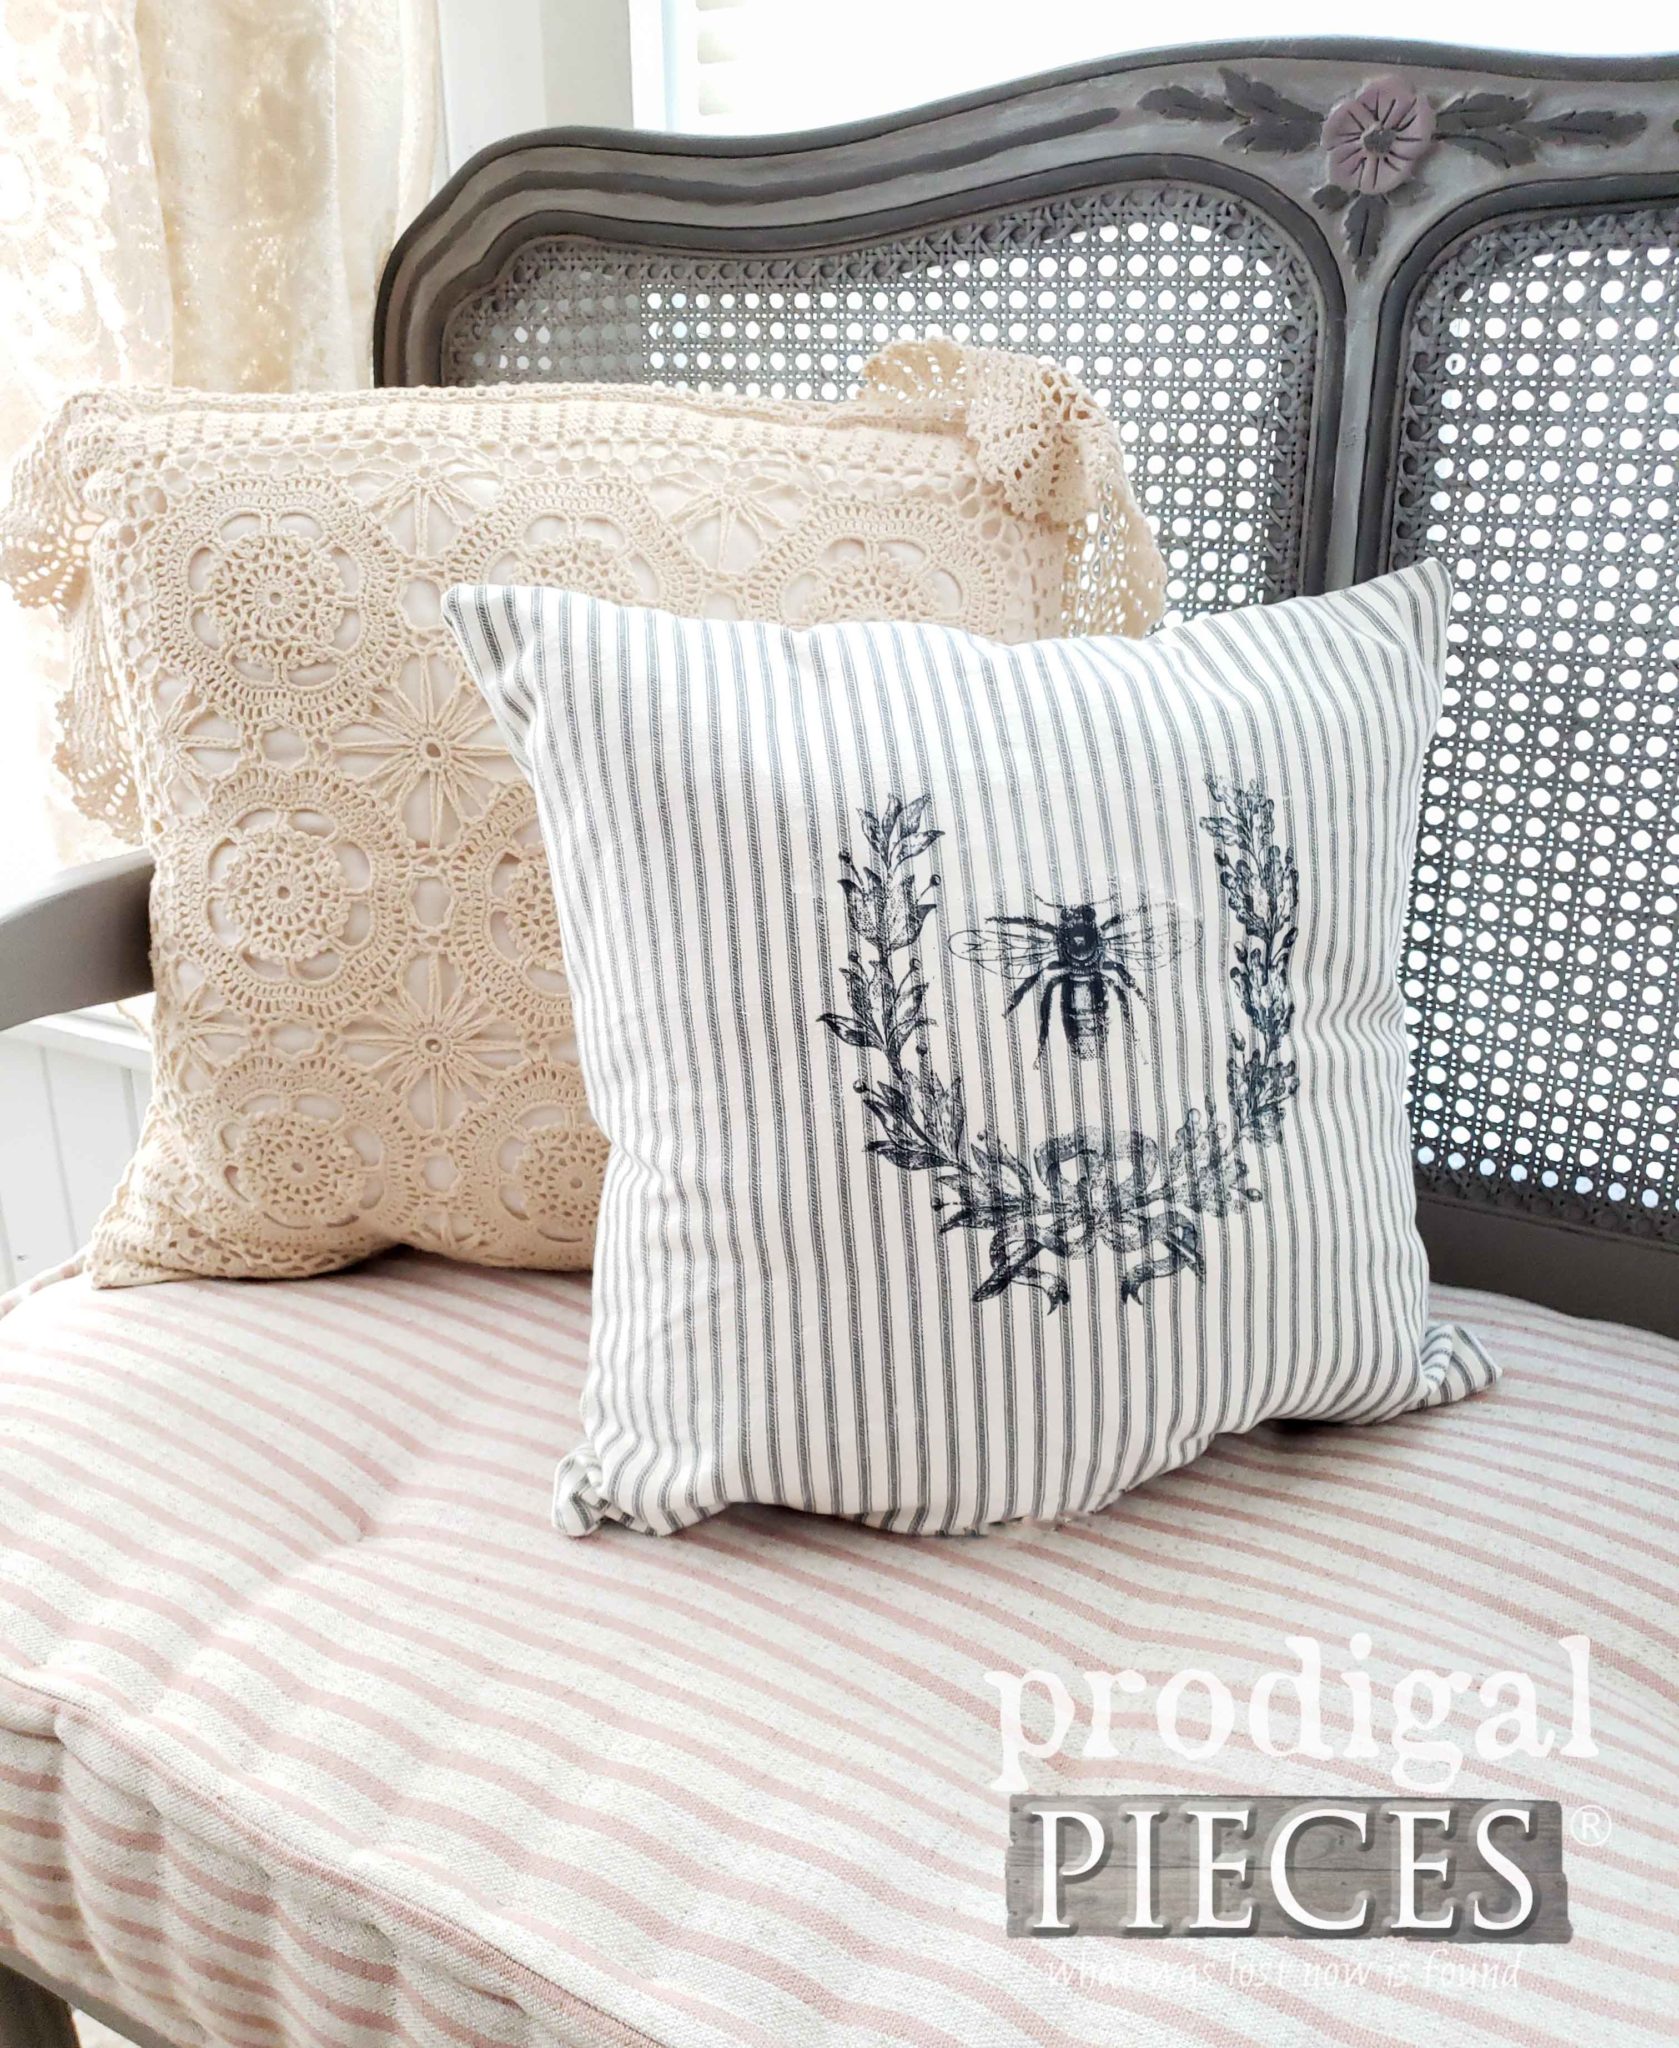
Call me crazy, but I even decided to whip up a few pillows to place on my bench. Which pillow is your favorite? The vintage feed sack grain pillow or the ticking with the laurel wreath and bee?
I adore them both and they helped make my French Provincial headboard bench more fun, don’t you think?
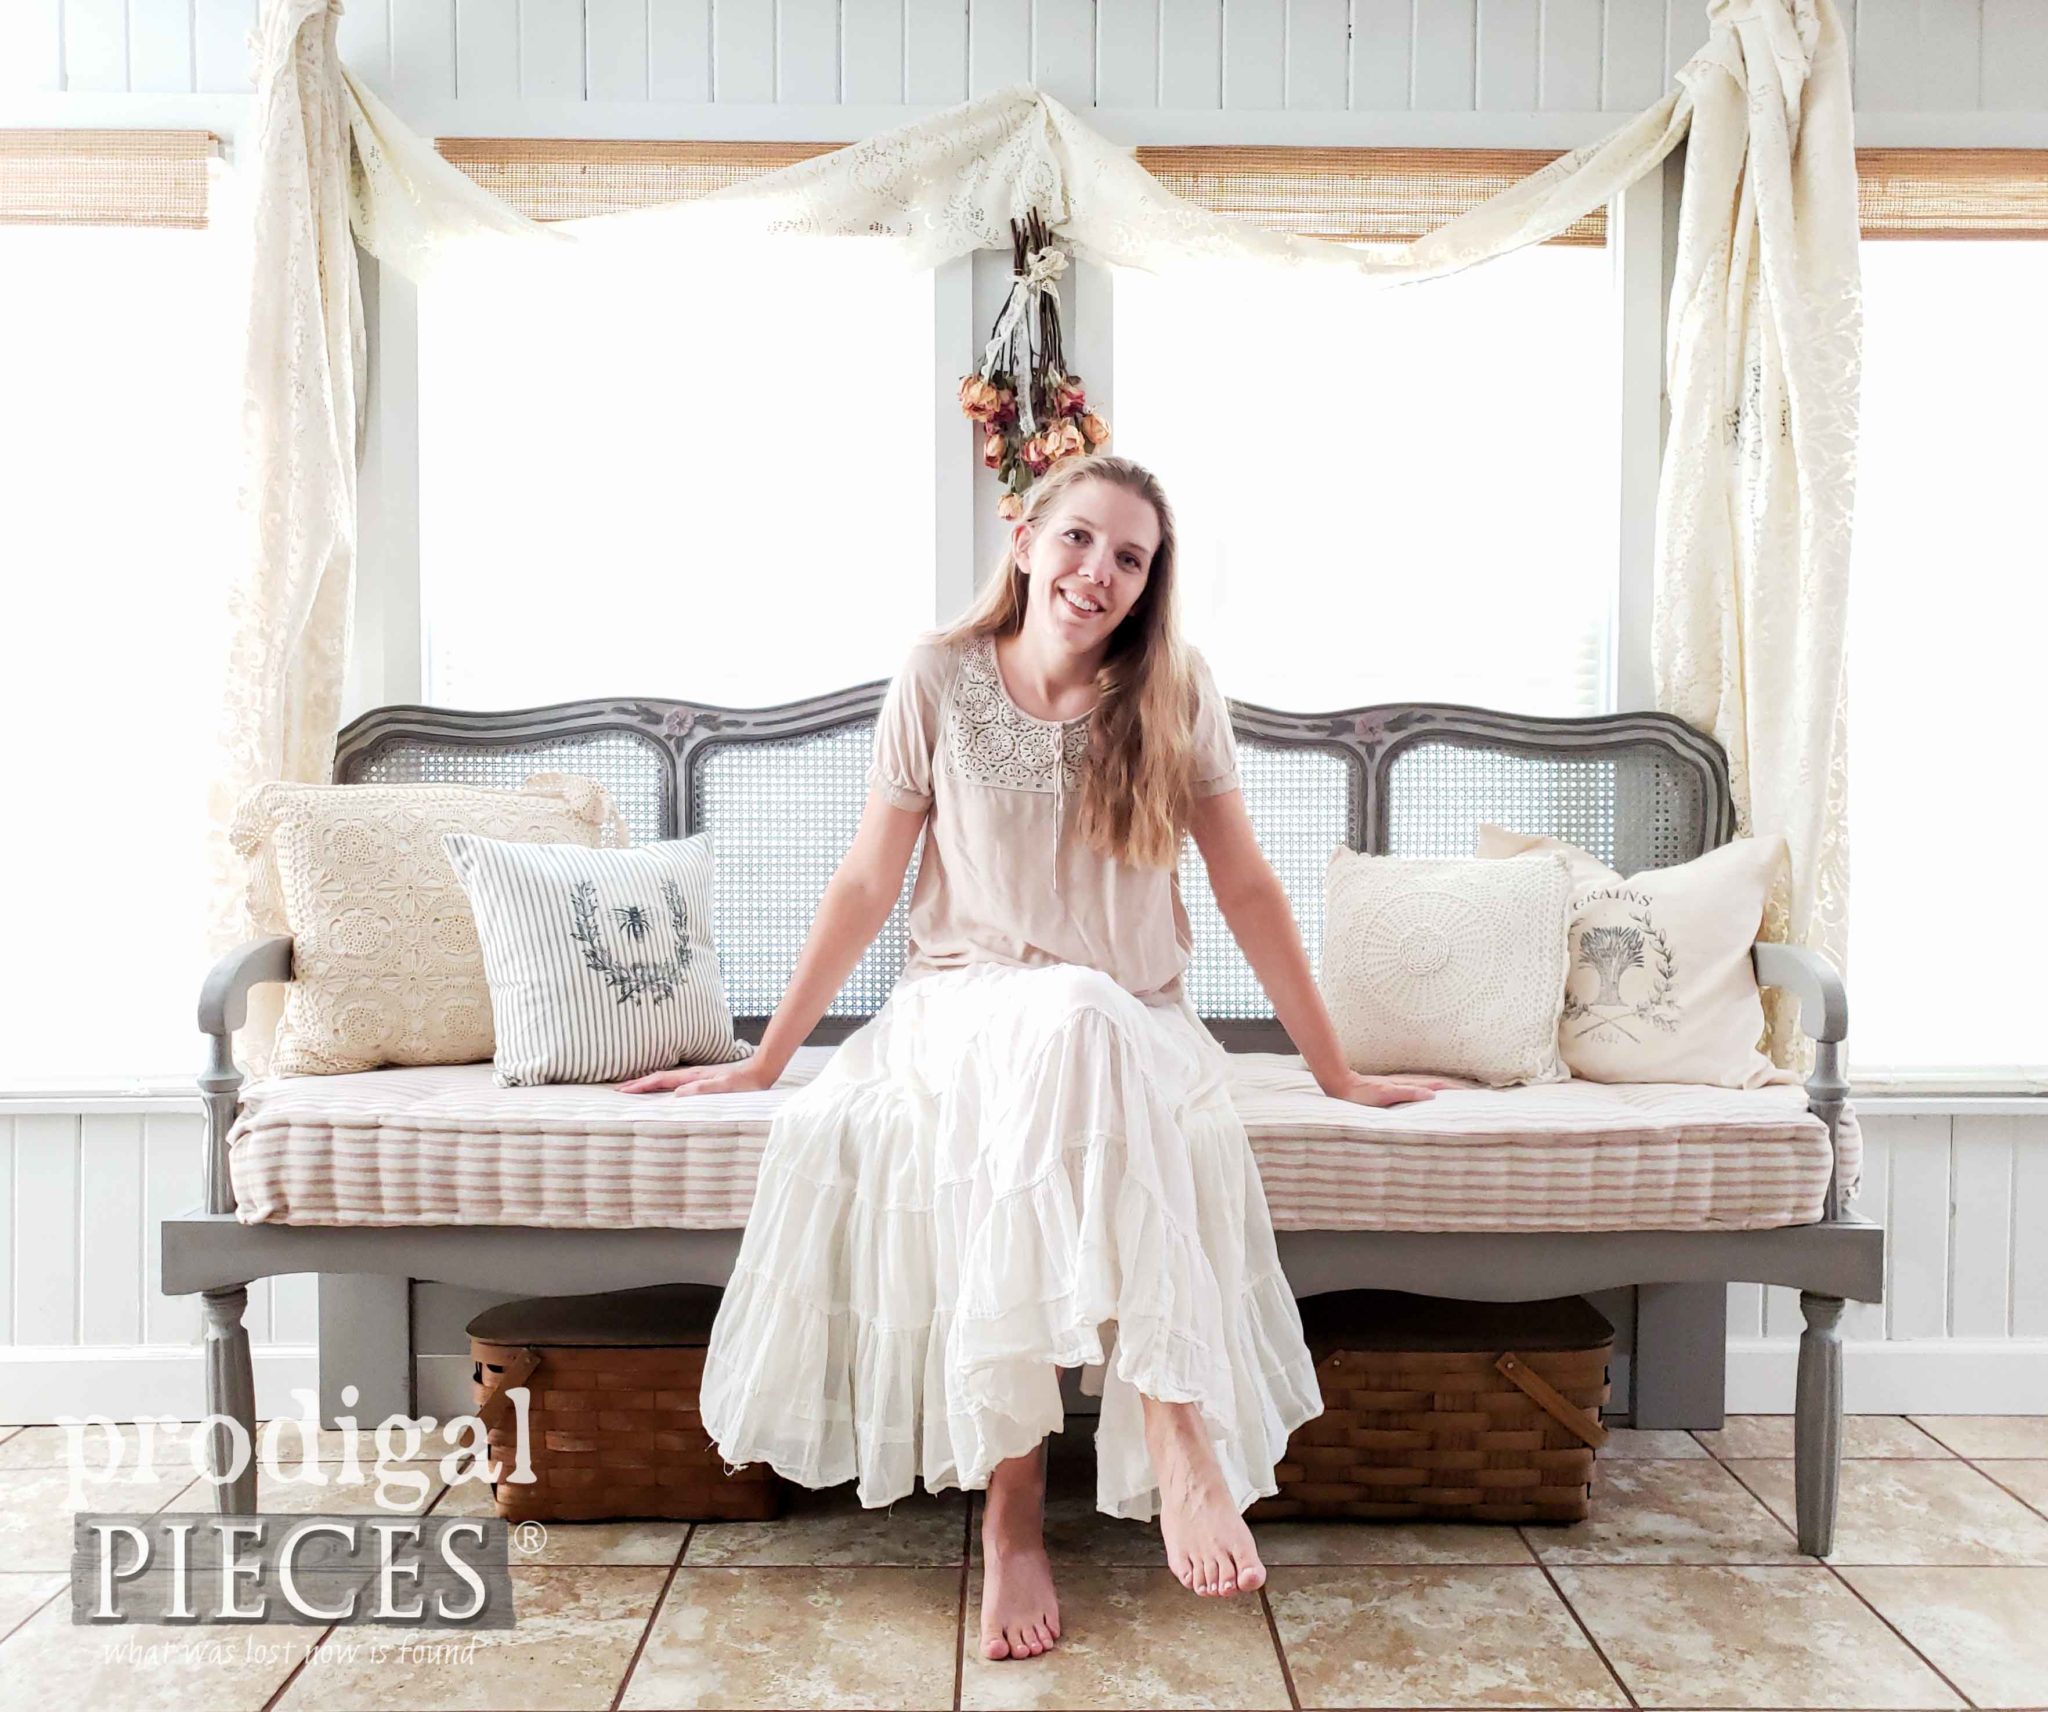
It was a must for me to get a picture sitting on my new creation. So many times, I forget to snap a shot and I nearly forgot again this time. Huge thanks to JC and my six awesome kids for putting up with me while I built and sewed. I couldn’t do it without my team.
I create for fun and while I’d like to tuck this into a corner somewhere, I’m making it available in my online store. Stop by to see all there is to offer!
SHARE
What is more, pin and share my French Provincial headboard bench to inspire others. My goal is to inspire others to give DIY a try and it shows me love when you share. Thank you!
UP NEXT
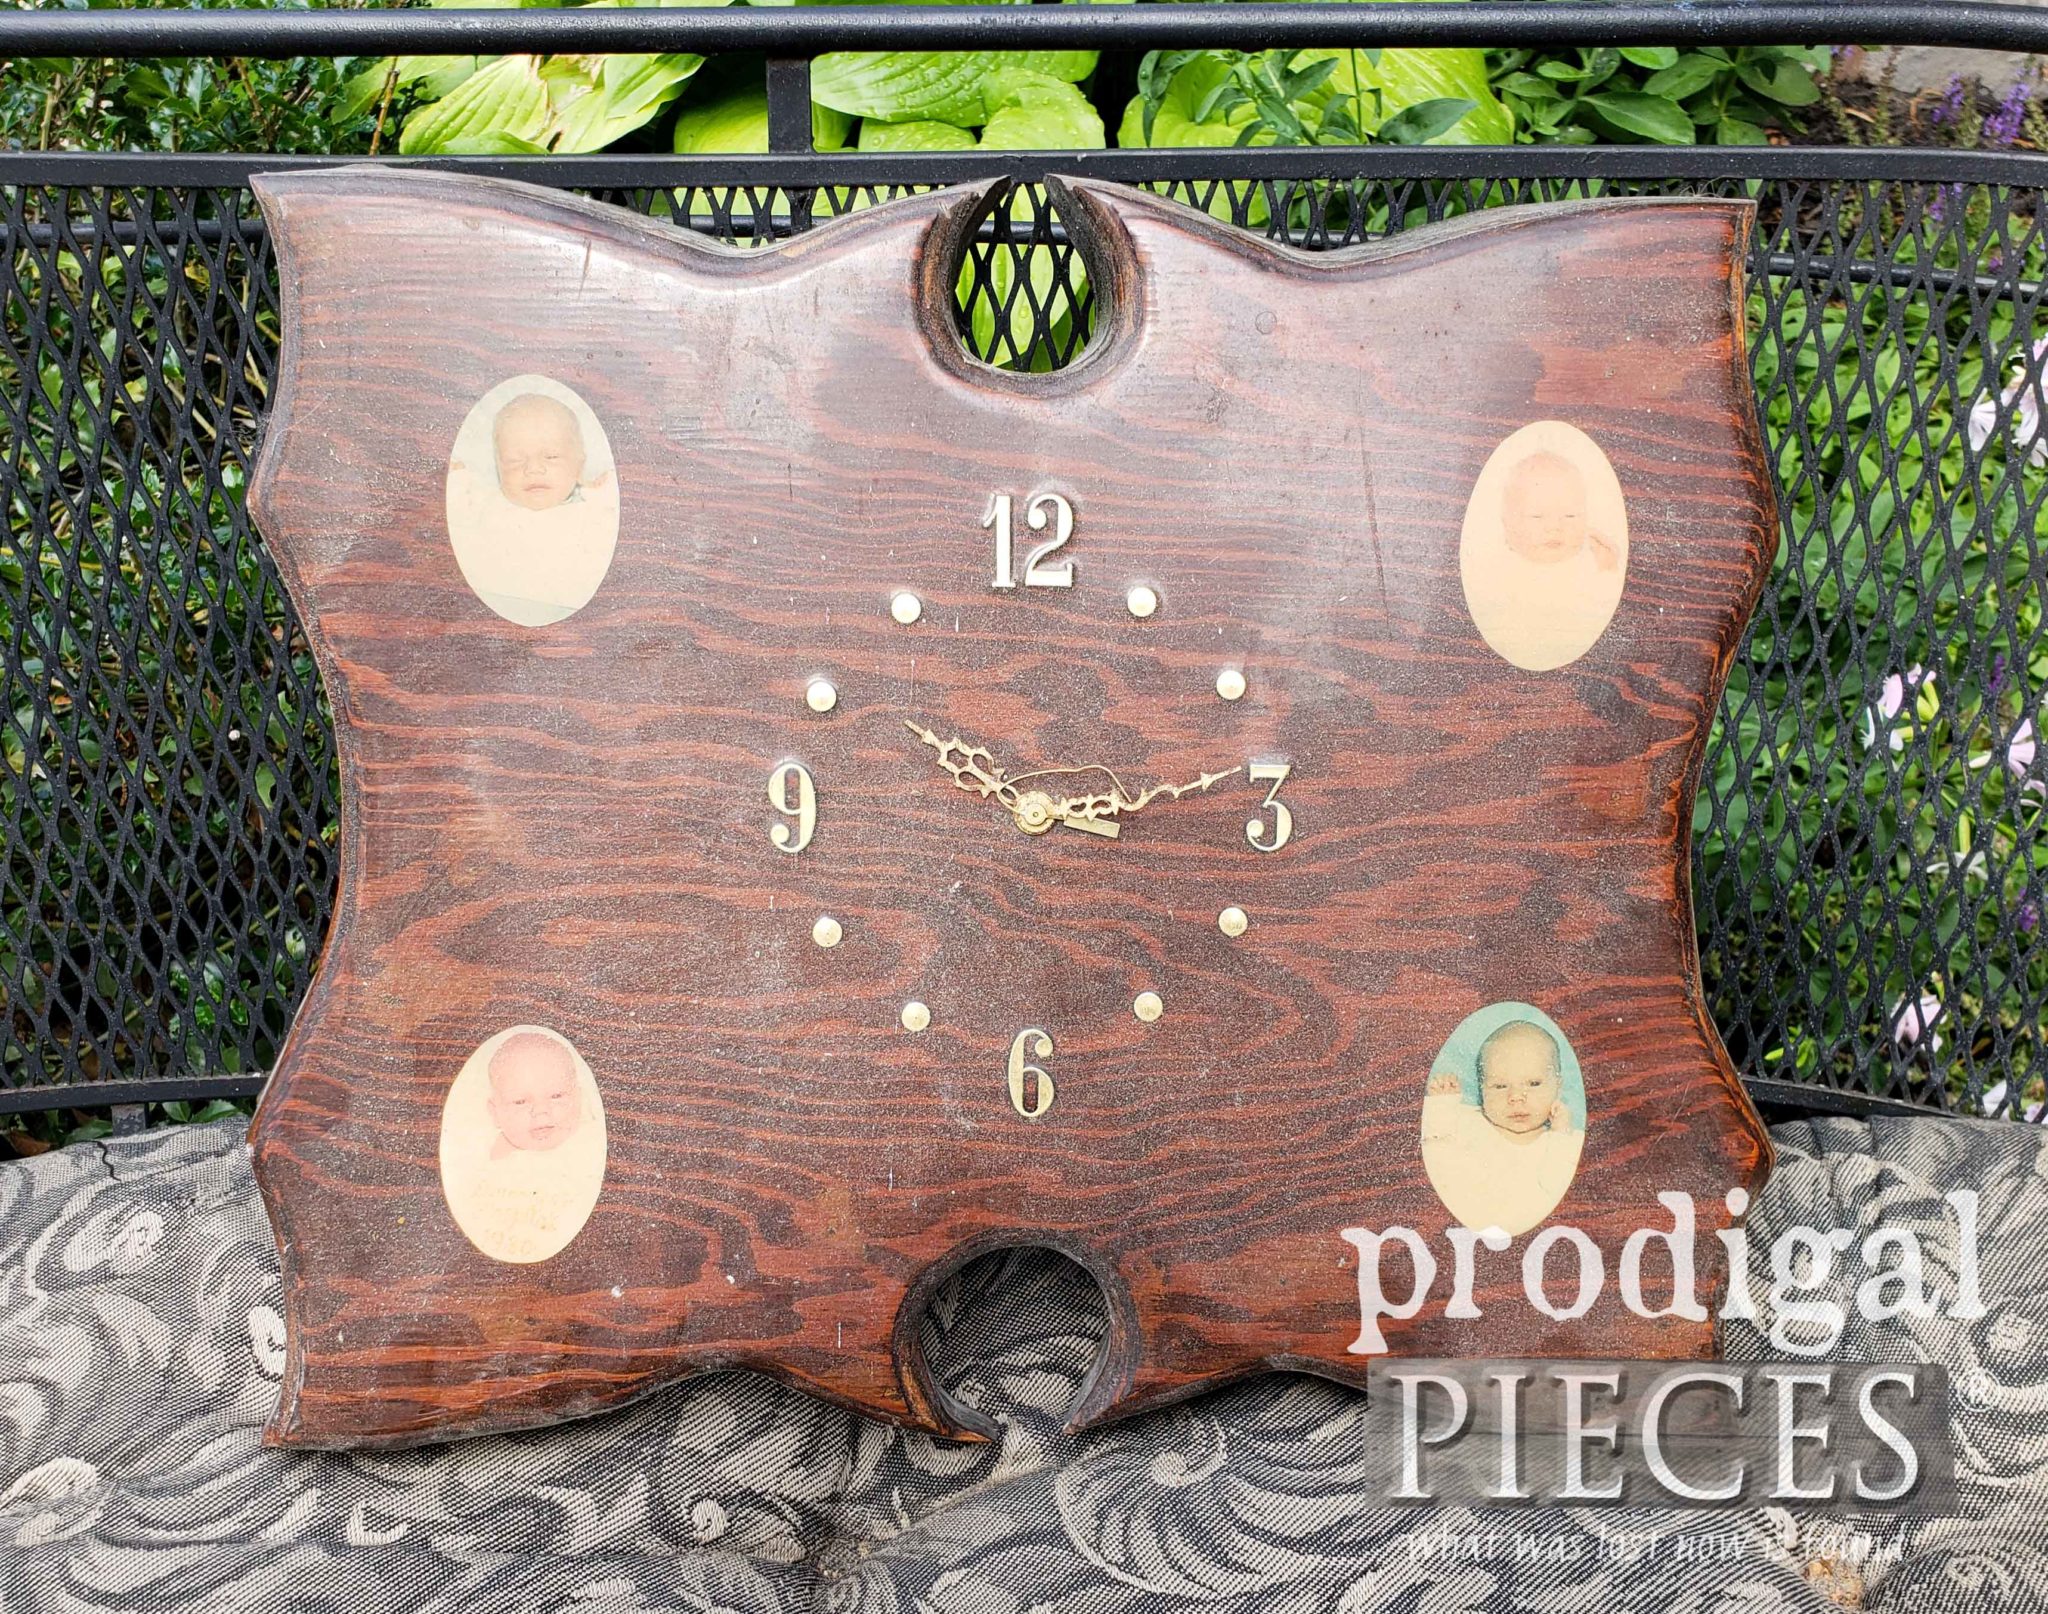
Up next, this…err…lovely clock my dad gave me is undergoing a transformation. See the after HERE.
To get these DIY tips & tricks in your inbox, be sure to sign up for my newsletter. Until next time!






Oh my gosh! Not only are you a master craftsperson you are also an amazing seamstress! Nice job Larissa this bench is awesome!!!
You made me giggle, Susan! Thank you so much. 😀
Beautiful and so creative!
Thank you, Janie! It was a fun challenge to take on.
I love it! It would be a great piece to replace that sofa I never sit on! Alas, I’ll be on the lookout for a great headboard. Thanks, Larissa!
You sound like me, Gail! haha! Hope you find one. 😀
Love the French Provincial bench! My parents had a bedroom set that was this style and I always thought it was beautiful. I admire your skills at building Larissa. Great vision for this piece.
Fantastic job Larissa, so inspiring. I’d love to try making one of those cushions. Saving this post for sure. Just stunning!!!
Wonderful!! They sure are comfy and so pretty too. You’ll love it!
Like all your work, this is beautiful i am in the early stages of designing and building a wall of faux built-in storage for my craft room and definitely could use the sprayer to paint all those pieces.
Thank you, Edie. 🙂
Stunning! I love the work you do. Your pieces are beautiful. I would love to learn how to use a paint sprayer and take my painting hobby to the next level. You inspire me.
Thank you for the kind words, Claudia.
You put a lot of work into that one! Very nicely done!
Oh yes. Many days, lots of sweat, and owieness. haha. Thanks, Shirley!
You raised the bar with this one!! That cushion! The arms and legs! Your blog is my favorite, your craftsmanship and your dedication to family make me smile.
Wahoo!! I’m delighted to hear it, Judy. Thank you!
Wow! I love seeing your transformations!
Thank you for the love, Cindy. 😀
I have some caned back chairs I would like to paint that I would use this for.
You are sooooo talented! You never cease to amaze me.
When you use chalk paint in your sprayer, how much water do you add to the paint to dilute it?
You’re the best, Michele! Thank you. I typically don’t use chalk paint in my sprayer for no reason other than I have others I would like to use up first. Most brands have a thinning ratio on their label. Just depends.
I have a dining set with cane backing. A sprayer is almost necessary!
Amazing!! I love the color and high five on the cushion . I would love to have it on the porch(perfect coffee spot)
Thank so much, Lori. Fun challenge and I learned sew much. 😉
Wow! Another fantastic makeover. You never cease to amaze me with your vision. Your little helper is so adorable! Amazing that you used the remainder of the cut off legs in the armrests. Great, great job Larissa!
Super fun challenge, much work, but it was worth it. Thank you!
Beautiful bench! I’ve never used a paint sprayer but would love to try one!!! I have thought about painting my kitchen cabinets. A sprayer would make this project so much easier!!! Thanks for the chance to win this giveaway!
Thank you. 😉
This is simply beautiful! Thanks for the inspiration. I have two bed frames sitting in my garage. Need to get busy.
I’m glad you think so. Thank you!
Larissa I cannot believe you started out with just a headboard and then turned it into that beauty! Girl if you sell this you better charge big buck! Just that tufted cushion is worth so much! Every single bit is wonderful.
Now I have a question, the grey grunge is that a wax or just paint?
I had to try! 😀 Thank you so much. Can’t wait to see where it ends up. It’s a gray wax.
What a lovely bench! And so many details. By far the best bench I’ve seen and the mattress takes it over the top. Beautiful! And I like the ticking pillow more.
Fun to hear, Barb! Thank you. Truly one of my favorite creations.
I love this.❤️❤️❤️
Wonderful! Thank you.
Larissa…….you are amazing! That bench is just beautiful. Your talent is second to none? It is so nice that your little helper is there to learn from you! She is a very lucky little girl as are all of your children! Great work!
You’ve made me blush, Darlene! Thank you so much. All my guys are such a blessing to me.
Wow! That was a big project and it turned out Amazing! The pillow in itself is a feat. What kind of stuffing did you use?
Good tools are key and I’ve followed your lead on many. Thank you for the inspiration.
It took many days, but glad I tried and got it done. Thanks so much for the love. I used upholstery foam and batting for the inside.
WOW; That is Stunning. what a great master piece. How great that would be sitting in someone’s sun room / enclosed porch
Who ever buys it, is one lucky person to own such a lovely bench.
I do have another set of bar stools that could use a new face lift.
Thank you for this wonderful giveaway opportunity
I can’t wait to see where it ends up. Thanks so much, Colleen.
Wow! This project is stunning, and the ticking fabric is perfect.
You are very sweet to say so. Thank you, Judia.
As always, super job! Love the colors your picked and the details with which you used them. Niiiiice!
Woot! I’m excited to hear it. Thank you!
Lovely bench! I am enjoying your blog immensely–thanks for the inspiration!
You are most welcome. I’m all about inspiring! 😀
Absolutely another beauty, Larissa! I wish I had the vision you do when browsing through thrift markets. Even a smidgeon would be fine with me! My first paint job would be an old dresser i have. It needs a bottom to a drawer and also a facelift to its worn outer finish.
I love that you enjoy what I do. Sounds like you have a sweet project! 😀
Excellent vision and workmanship, as always!
Thanks you from the bottom of my heart.
Oh, Larissa, this is AMAZING!! I am drooling over that mattress.
I wish you could sit on it! So good. Thank you, Kimberly!
I love how this turned out!!!!! Just added another item to look for when out thrifting, junkin, or just driving on trash pick up day. Thank you for the inspiration.
What a treat! Thank you so much.
Great, awesome, exceptional project – once again! You are such an inspiration. Your vision, patience and perseverance to see things through to the finest detail are incredible. Thank you for being you!
My absolute pleasure, Carol. Thank you!
Oh, this is another winner! What a beautiful job you’ve done. And, hats off to your little helper too! 🙂
I couldn’t have done it without my whole gang and JC’s help. Thank you! 😀
LOVELY AS USUAL! I HAVE TOO MANY THINGS TO USE THAT SPRAYER ON TO PICK ONE!
Thanks! 🙂
That is really beautiful! I have to admit, I did not have your vision when began this project but boy, the end product is spectacular! The colors couldn’t be more perfect too! Love the whole darn thing!
That is so fun to hear. Thanks for the smile, Renee!
Exquisite! I sure wish you were in my neck of the woods! ?
You are the best. Thanks!
WOW!!! I just love the French Provincial style and the cane insets…YOU are an inspiration to me!! My mom still has one of these headboards….I’ve got dibs on it when she no longer wants it!! and her nightstands and dresser too!!! and I know exactly what I’m going to do with them!!! Thanks for a terrific blog!!
Caning is what made me have to have that headboard. tee hee. Thanks so much for the awesome encouragement!
really, really nice makeover! And the french tufted mattress is perfect! This project was obviously a labor of love!
Thanks for the love!
I love the bench and French mattress. You are amazing! It’s awesome that all your lil ones are part of the process. I was wondering if you take orders for the French mattress?
I just love having my family around. Thanks so much! I think my hands would say no on the custom ones…haha. But, I do see awesome ones from other shops on Etsy.
I’m not entering the contest this time, but I still have to comment because -WOW!
So much to love about the bench, and the post… I’m loving how you divided the legs and used the left over part for the arms. And tracing the design and using it for the front…genuis.
And the cushion. Swoon.
And last but not least… Your adorable little girl…that brought back the memories of me sitting next to my grandmother while she was sewing…and I’d dump the entire pin box on the floor…. Just so I’d have an excuse to stay next to her longer as I picked all the pins back up.
Aww…what a sweet story! I did similar with my parents and have sweet memories. So fun!
I love all your projects- I definitely need the spray painter to finish my flower pot side table.It is also so cool that your son is involved in your projects
Thank you. I love having all 6 of my kids alongside and sharing their work with you too. Makes it fun!
Our rescued cats need a play center with beds. This would be my first project I really like your bench.
Thank you, Deb.
I love the bench!! Looks so great. And obviously I would love to win a HomeRight sprayer! It’s been on my wish list for awhile now.
Thanks! You will love it. 🙂
WOW ! The details on the back really show up so nicely now. Beautiful !!!
I couldn’t wait to make it shine again. Thank you for the encouraging words, Charlene.
Love what you did with the headboard and love, love the mattress on the final piece. You are very talented and insightful.
I’m so excited to hear it. I worked hard and my family to, to allow me the time. Thanks so much!
Oh my goodness Larissa! That is stunning ????? You are so talented. You never cease to amaze me.
You sure know how to make a gal smile. Thanks, Karen!
I love your new project – it’s stunning! I still haven’t painted our new side tables. I’d do that first.
You are such an inspiration! Awesome job.
Thank you for showing me love. 🙂
Oh my goodness! Every project you do just amazes me so much! I’ve never used a sprayer before so I would probably give it to my brother in law who could spray some bigger pieces for me…. maybe a headboard bench… fingers crossed!
Thanks! Sounds like you could use it too…just gotta try. 😉
I love the fact that you took the time to match the curves n the lower front piece to the back – it’s details like this that truly make a piece outstanding! Beautiful job!
That’s how I like to roll and thank you for taking notice of my extra steps. It takes time, but worth it.
I have never used a sprayer and would use it for many small items and furniture
You are so talented! The project was a huge one – the bench, the cushion, the pillows! Good job!
My first project with the paint sprayer would be painting my dining room furniture – I dread doing it with a brush, but the sprayer would simplify and shorten the job! Would love to be the winner!
So kind of you to say, Nancy. Yes, it took many days and felt good to see it all done and together. Thank you!
Totally awesome! Love it!
Thank you, Jana! 😀
I love your bench! The first thing I would use my new HomeRight Super Finish Max Paint Sprayer and Spray Shelter for would be some outdoor wicker furniture, Can’t wait to try it out!
Thank you, Ivy.
This is one of your best yet!
So fun to hear. Thank you, Maura! 🙂
Your bench is beautiful! You’re so talented in reusing pieces you already had on hand and they fit right in with the bench.
Having stash makes it all the more fun. Thank you, Patti, for the love.
This is beautiful! I would love to use this sprayer on my kitchen chairs. I do not want to paint all of those chairs by hand. ?
Thank you, Angie. Sounds like fun!
I would use it to paint an old dresser that belonged to my sister.
The bench is lovely! I am building dollhouses and I think could use the sprayer on one of them.
Thank you, Patti.
Larissa, this is just so beautiful! My fingers, hands and back just ache thinking about how much time you put into the bench and awesome French cushion/mattress!! You will always amaze me with your talent!!
Oh yes…I still ache today from it. haha. But, I learned so much and enjoyed the challenge. Thank you, Kaycee!
Wow!!! This is amazing!!!!!! I want It! Really stunning! What a transformation…you are soon talented! I need to get me some tool tutorials! Bravo!
You’re so fun, Hanna! I love your tenacity. Thank you for the love!
Beautiful, beautiful, beautiful!!! I love that you did this. And the mattress! I am totally inspired to give both a try.
aww…you’re so sweet to say so. Thank you so much, Karen.
One of the best headboard to bench projects I’ve seen in a long time! Love the mattress cushion too!
Hooray! That makes my day. Thank you!
Completely inlove with this piece! It’s stunning!
Absolutely wonderful to hear, Lourdes. Thank you!
WOW, Larissa……what a great imagination you have to come up with these ideas for redoing furniture. I love it. Great job!!
It makes what I do fun. Thank you, Terri!
Amazing as usual Larissa. Now I want one.
haha…isn’t that how it always goes? Thank you, Suzanne. 😀
Love the bench.
Thank you, Peggie.
Wow, did that ever turn out beautiful. What a great makeover.
Thank you, Mary. So fun to try to take it all on.
Absolutely gorgeous, as always!! I’ve said it before and I’ll say it again…you ARE a ROCKSTAR!! Fabulous job!!
You’ve just made my day, Lori! Thank you for that. 😀
Hi Larissa,
What a beautiful bench! You are inspiring!
Hi Sue! Thank you for stopping by and showing love. It means so much.
I love the bench. I would work on several pieces that belonged to my grandparents if I won. I would start with my grandma ‘s vanity. You are so talented and can do anything. I wish I had your skills and confidence to tackle everything. Thanks for always sharing your projects with us. Thanks for the giveaway too.
Glad to hear it, Brandi. Thank you! My pleasure.
You thought of every detail and the outcome is perfection. It is a gorgeous piece.
It was a fun challenge and glad I gave it a try. Now, time for a nap! haha. Thank you, Debra.
Oh wow, your talent is endless, Larissa! This headboard bench is absolutely stunning 🙂
It was much work, but a fun challenge. Thank you for stopping by and showing love, Marie! Hugs!!
Dear Larissa-I’ve been following you for a long time but this is the first time that I leave a comment. All your projects are awesome. I like your creativity, persistence and love of what you do. You are very talented and inspire me to get my projects done. I love your tutorials and ideas. I must say that this bench is my favorite project of yours. I am so impressed and you should be so proud of yourself. High fives to you and your team of little helpers. And a big hug from Canada.
How wonderful! I can’t say enough how much comments are to me. When people come and visit my blog, it’s like visiting my home, so of course I adore hearing from you. Thank you for taking the time. 🙂 Hugs back at ya!
All I can say is WOW! I have finally decided to paint something (coffee & end tables) but waiting until the weather cools down a little bit. I hope I can do half as well as you!
Works for me! tee hee! Thank you so much. You will rock it, Cindy!
That bench is stunning and the handmade French tufted mattress is something to aspire to.
Absolutely love the entire piece. So talented.
I’m glad you like it, Heather. I enjoy a good challenge and this one was a doozy! 😀
Your talent and vision astounds me!
Thank you for that vote of confidence, Julia. 😉
Great headboard to bench conversion!
Thanks, Chris!
Great headboard to bench conversion! The tufted mattress adds perfect touch!
I’m so glad to hear it. Thank you!
The bench turned out beautiful. This is my favorite style as well. I need your tools and hope to gain more knowledge too!
Gotta love French Provincial – so classic. I’m glad you enjoyed my work. Thank you!
This is absolutely beautiful and I am hoping to paint my kitchen chairs that would be so much fun
Thank you, Lorrie.
I am in LOVE with this French Provincial Bench! I would love to have a Home Right Sprayer and tent to work with. I have a set of 4 chairs with lots of spindles and design in the back rest that would be painted in a snap with that paint sprayer.
Wonderful!! You will enjoy it to the full to save you time and effort.
I just love watching you do what you do! Your tools are amazing! Your team? The best! Inspiring work.
Hip, hip, hooray!! Thank you for that awesome smile, Brenda. So fun!
I love the French Provincial bench – how lovely and so creative. I also love the pic of you sitting on it – stunning!!
You are too kind, Judy. Thank you!
Your new project is nice.
The first thing that I would tackle with my HomeRight Super Finish Max Paint Sprayer and Spray Shelter, would be the wooden bench.
I believe you have outdone yourself with this one, my friend!
This particular build was a challenge that I looked forward to. Thank you so much!
I would love to refinish some old adirondack chairs I have in my yard.
Beautiful as always. And I loved the information on the mattress/cushion.
I would paint a vintage Costco stool I picked up a couple of years ago.
Larissa,
This is so beautiful and feminine! I absolutely love that your family got a picture of you sitting on it. Your children will cherish it when they’re older. Your work is awesome, but you have the most creative mind for sure! ?
I’d love to be so creative and do a chair.