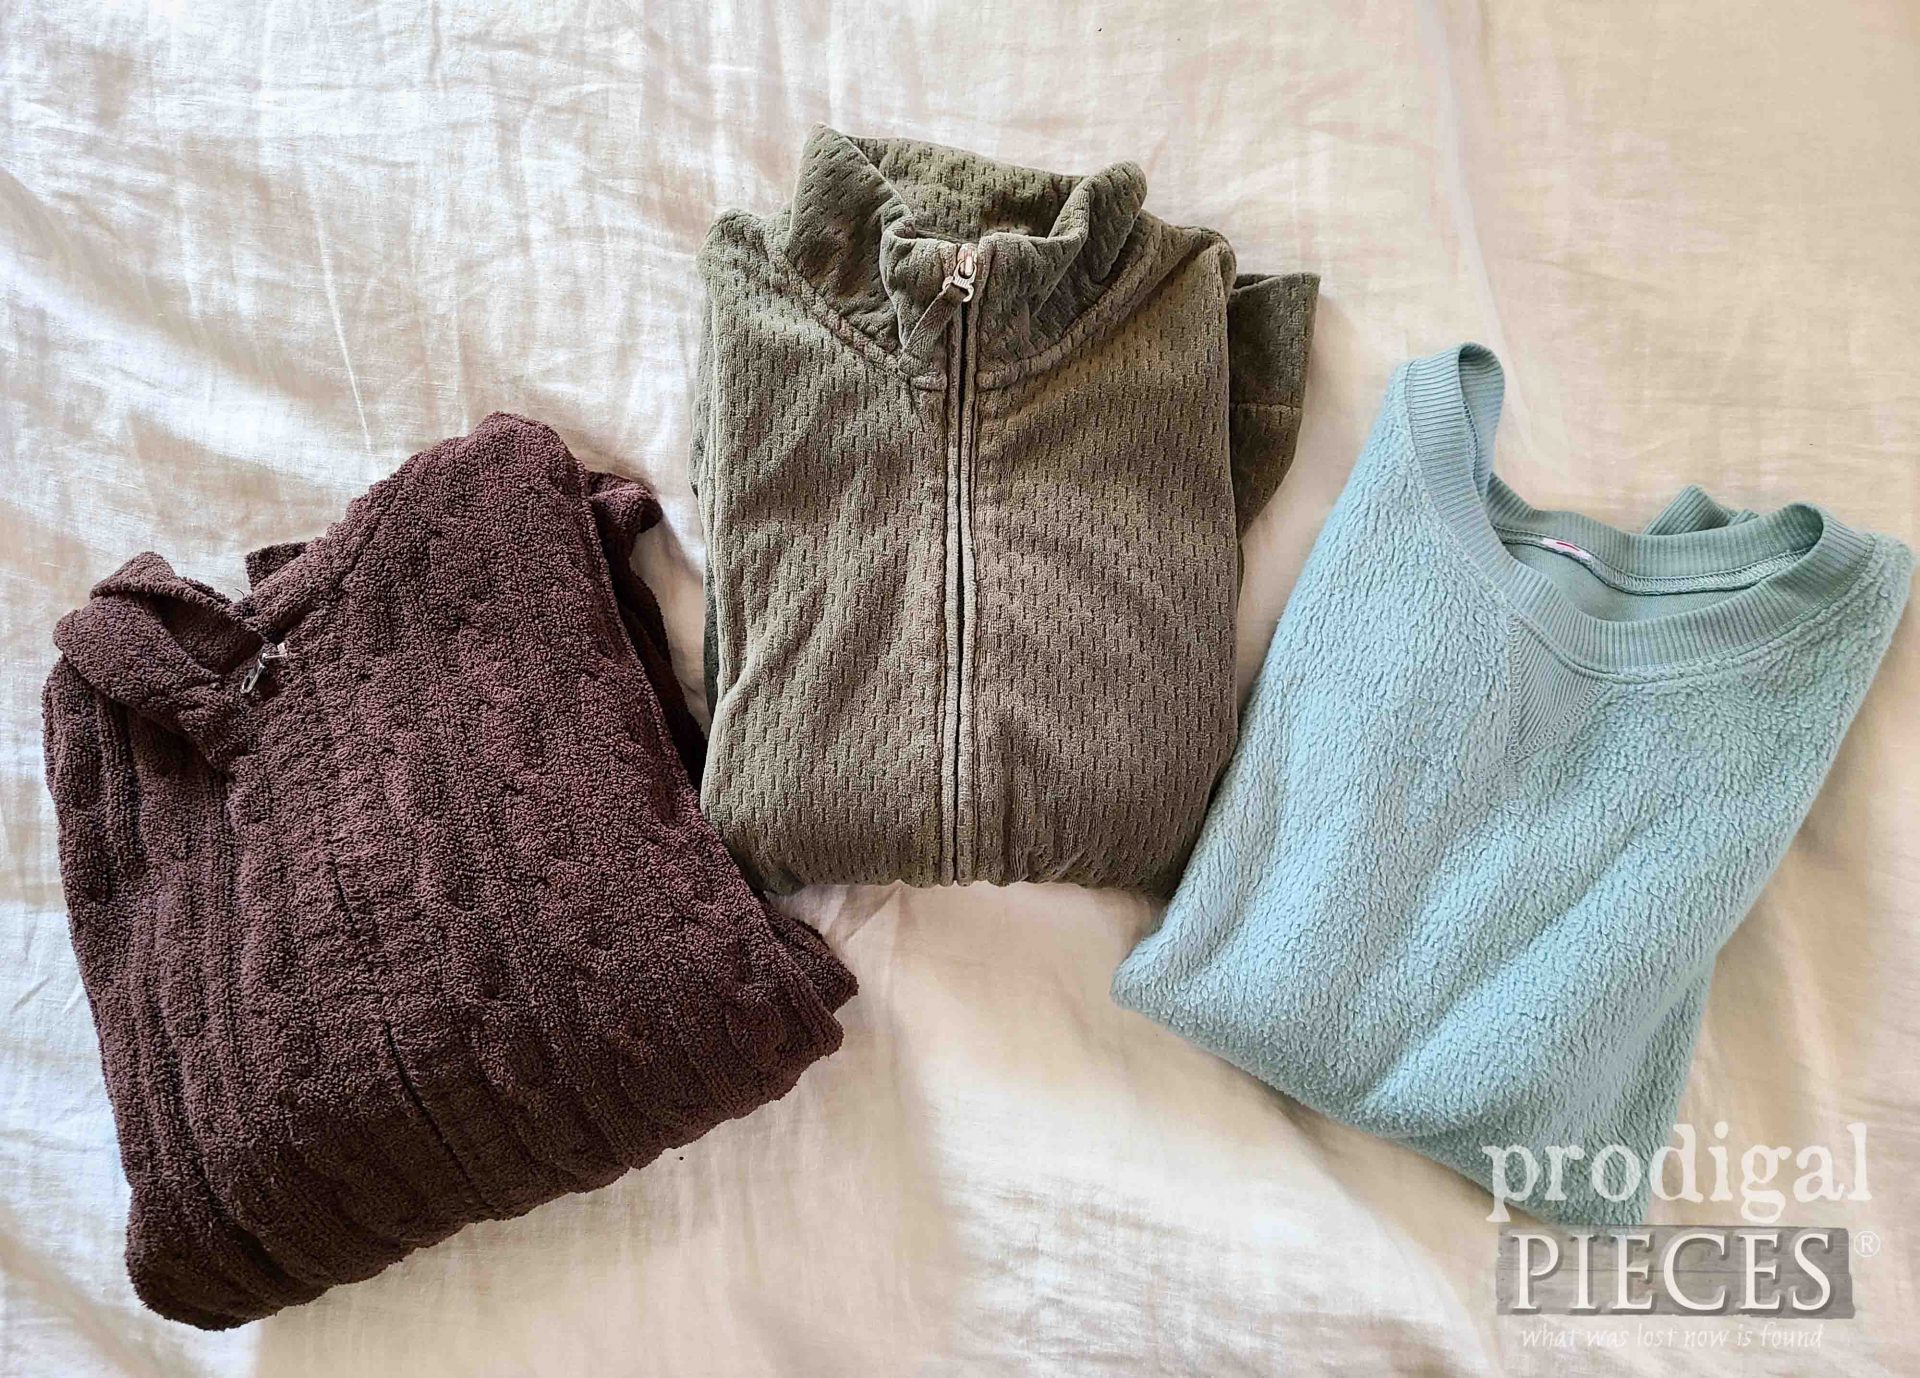
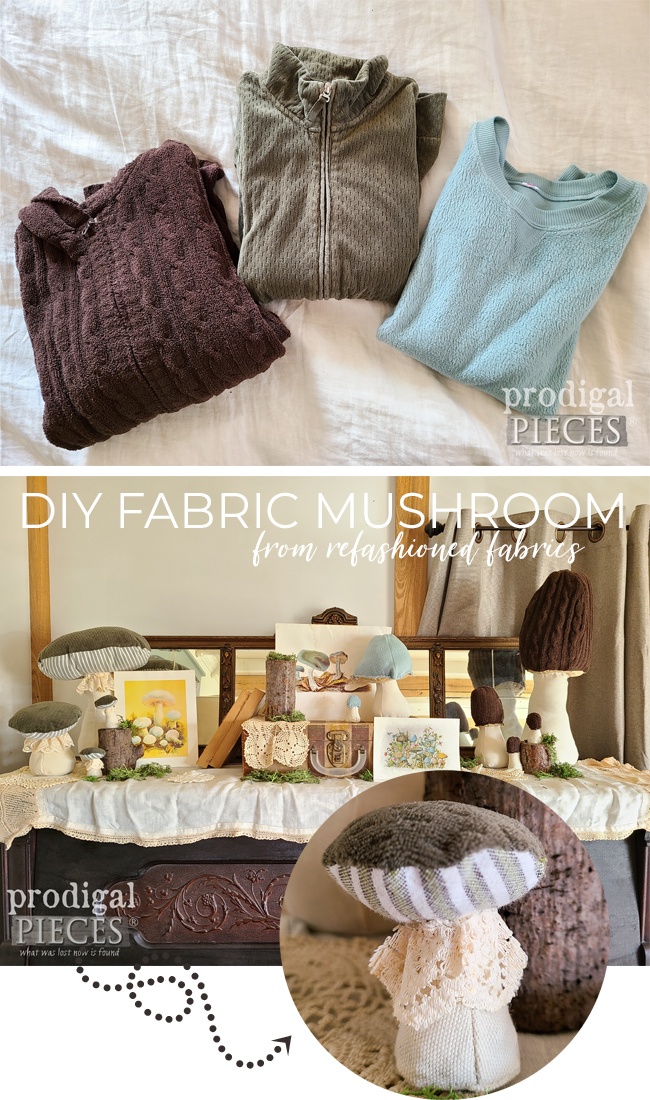
When the last Tuesday of the month rolls around, I get so excited to share with you the next Reduce, Reuse, REFASHION installment. Problem this month is, I’m a week early. ahem. I messed up, y’all, but I hope you don’t mind. While I wholeheartedly love decorating, woodworking, and cooking, I definitely love to work with textiles as well. While you’re doing your spring cleaning, be sure to give those clothes and fabrics a second look. Take, for instance, these three sweaters. They may not suit me, but they sure have a purpose for what I’m about to create. Anyone see a DIY fabric mushroom tutorial coming? Let’s decorate for spring!
Yeah, I’m sure that some may look at the sweaters and shake their heads at my idea, but hang with me. See…aren’t they adorable?
‘SHROOM MAKIN’ TIME
While I’m not a fan of mushrooms in my food (when cooked they have the texture of slugs, just sayin’), I do have fond memories of hunting them. My bapcia (aka. grandmother) LOVED to hunt mushrooms each spring. She would come out to our home and we’d trek off into the woods and to hear her delight at finding them was the best thing. After our hunt, we’d bring them home, pick off the insects, wash them up, and she’d fry them in a pan. I soaked all of it in except the consuming part. bluck. While I sorely miss my bapcia, I thought it would be fun to create our own mushroom hunt using found fabrics. If you’d like to join me, here’s what you’ll need:
Tool & Supplies
- any fabric will do, but try to focus on less waste. I’m using shirts, sweaters, vintage lace, and old curtains
- batting and stuffing (consider using that damaged pillow up)
- needle and thread and/or sewing machine
- sewing scissors
- sand or other weighted fill (beans, rocks, etc)
- templates (bowls, plates, you get the idea)
TERMS OF USE: If you want to create these mushrooms, you agree to the following: it cannot be shared or distributed for monetary gain in any way, it may not be modified in any way, and you may not claim the work as your own.
STEP 1
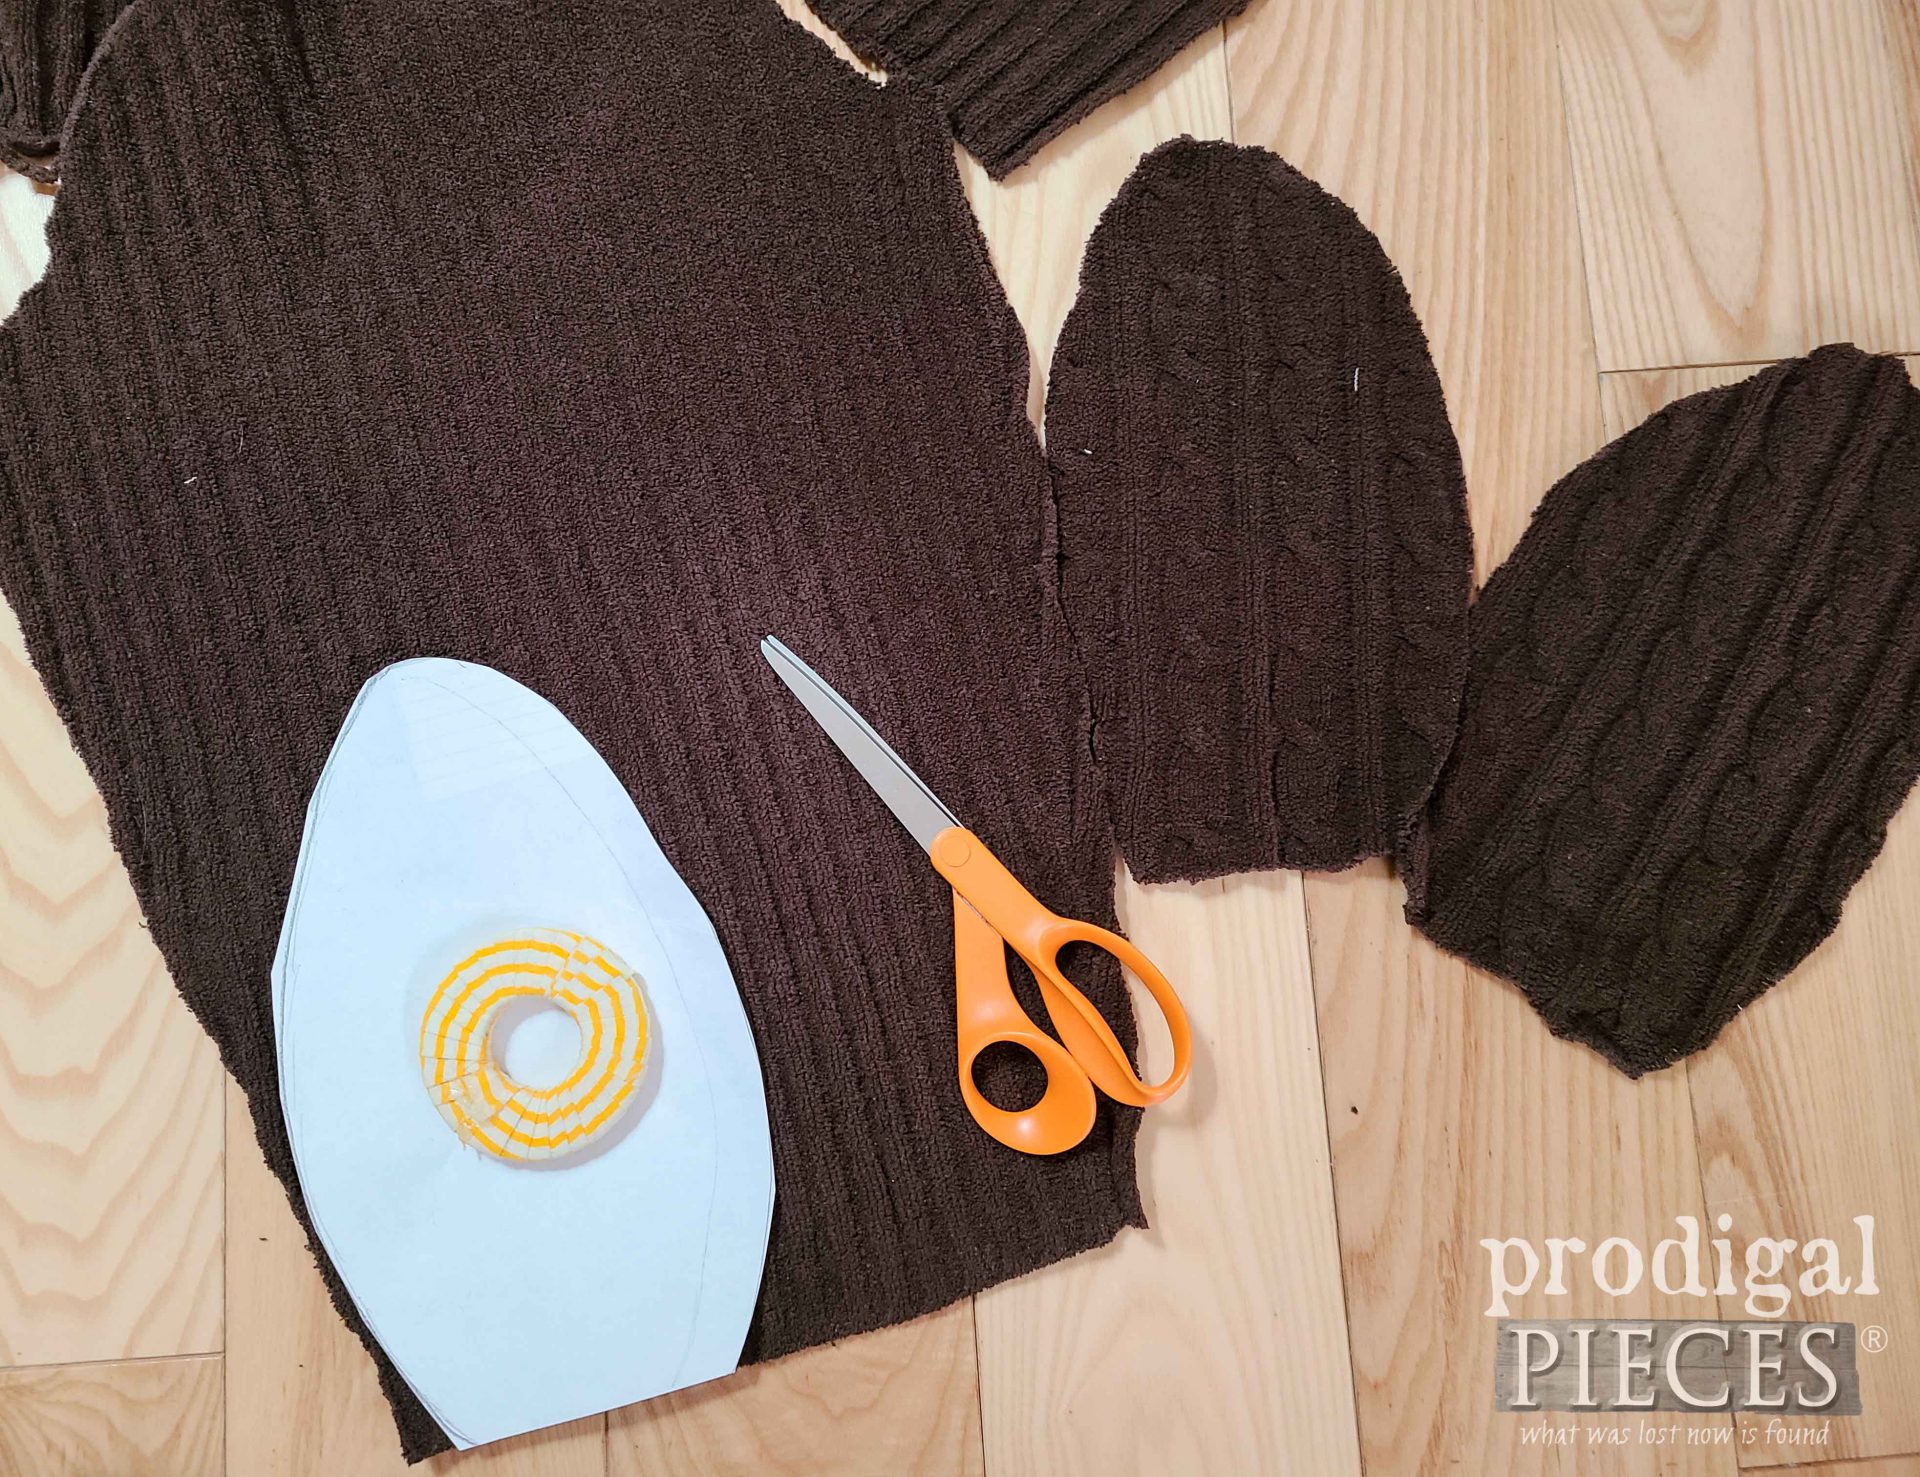
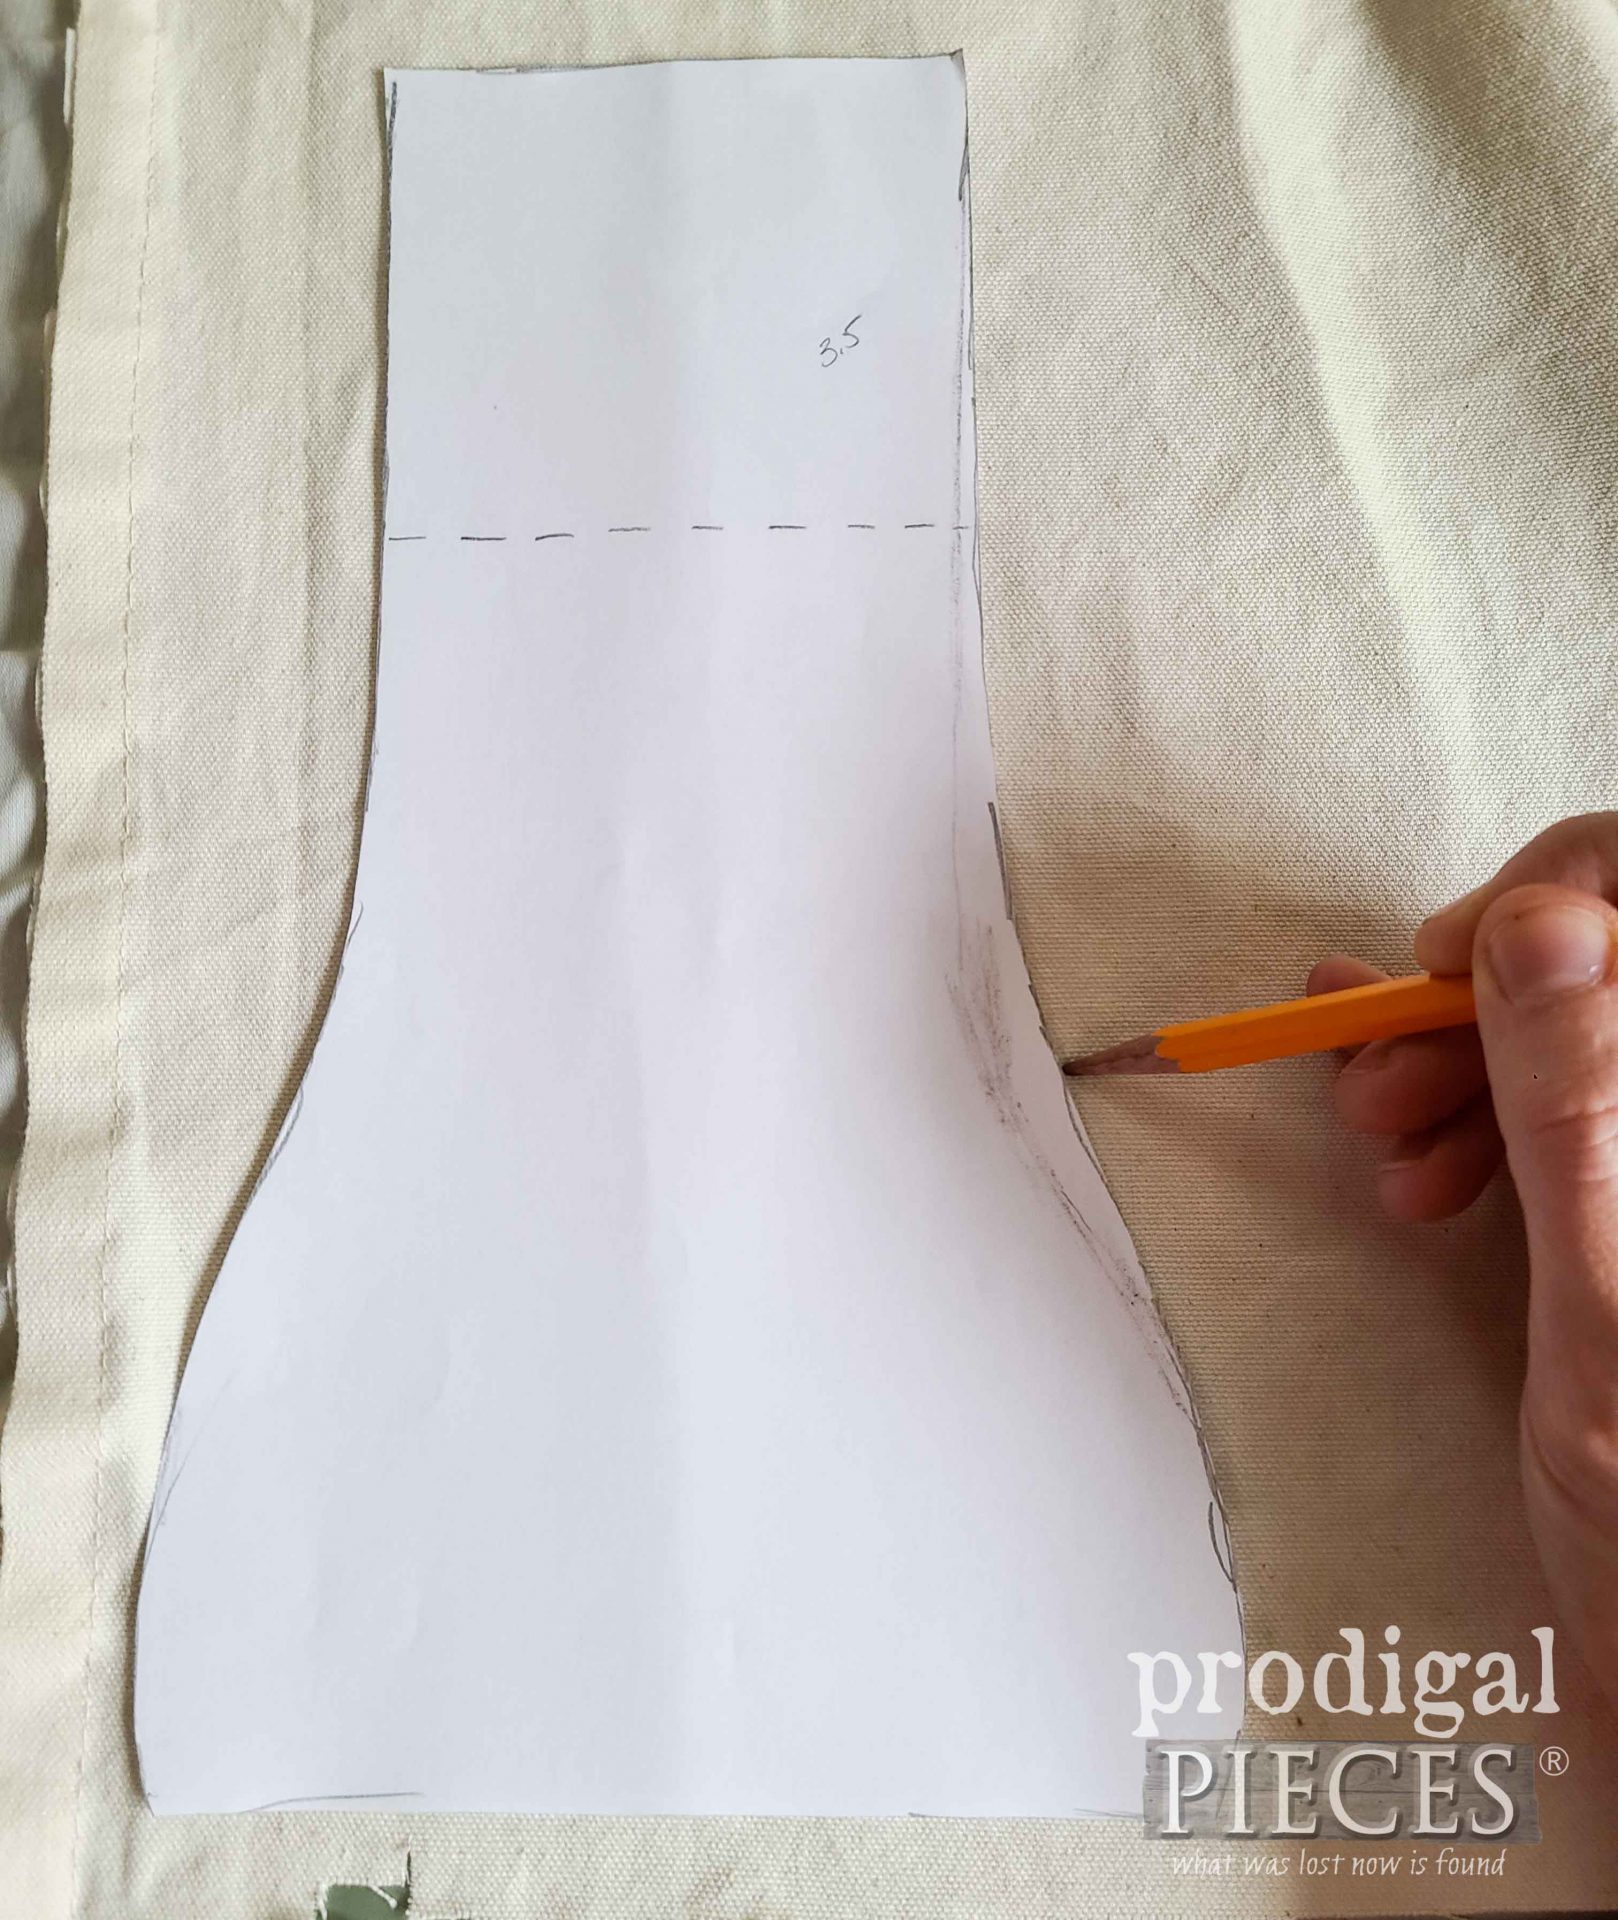
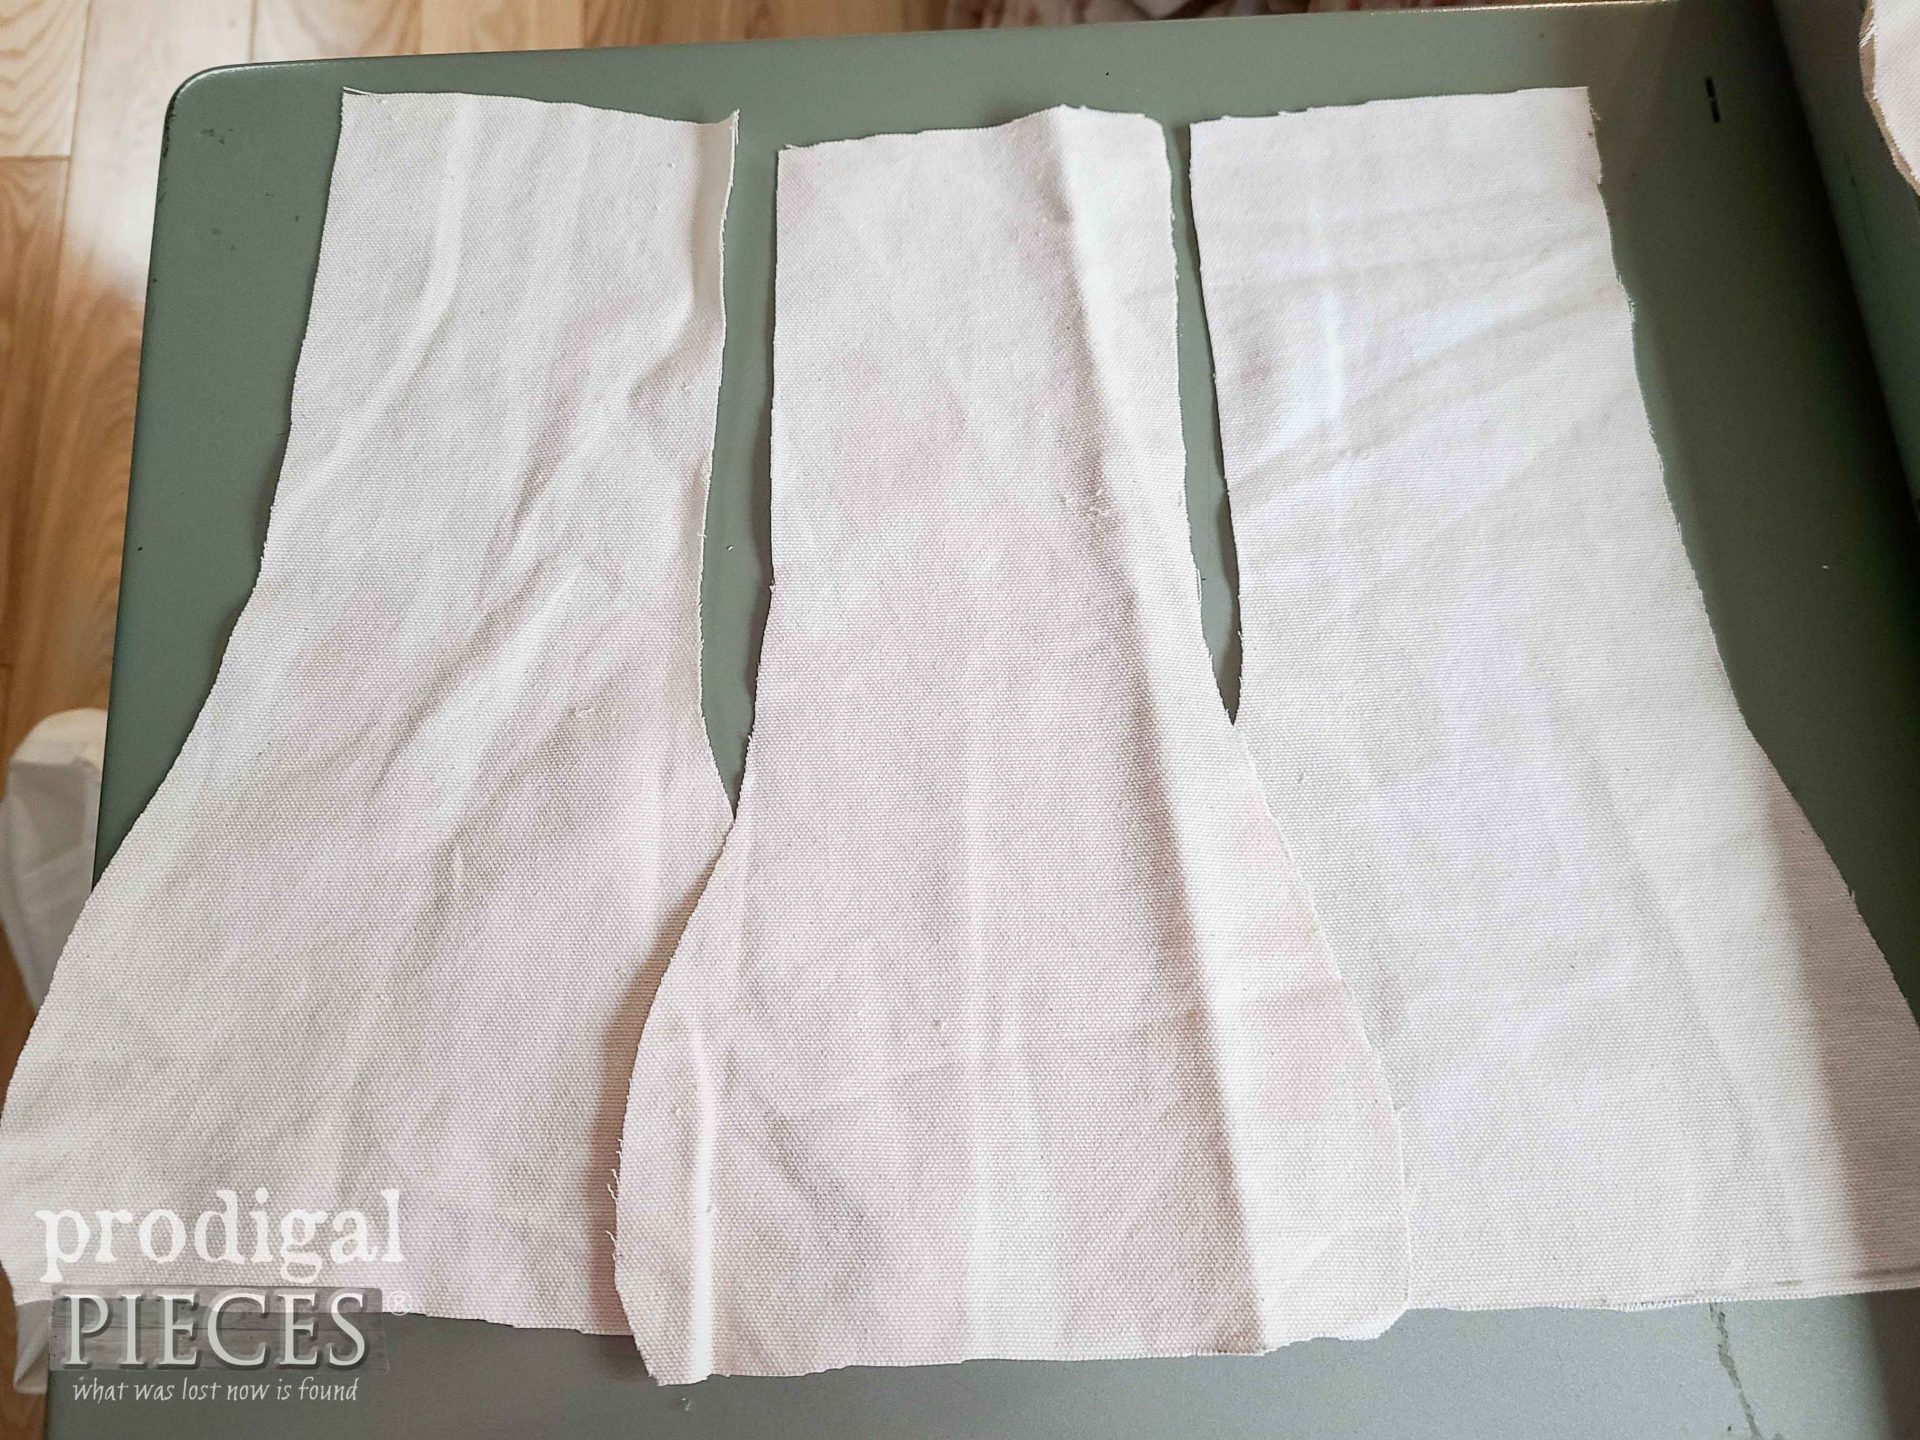
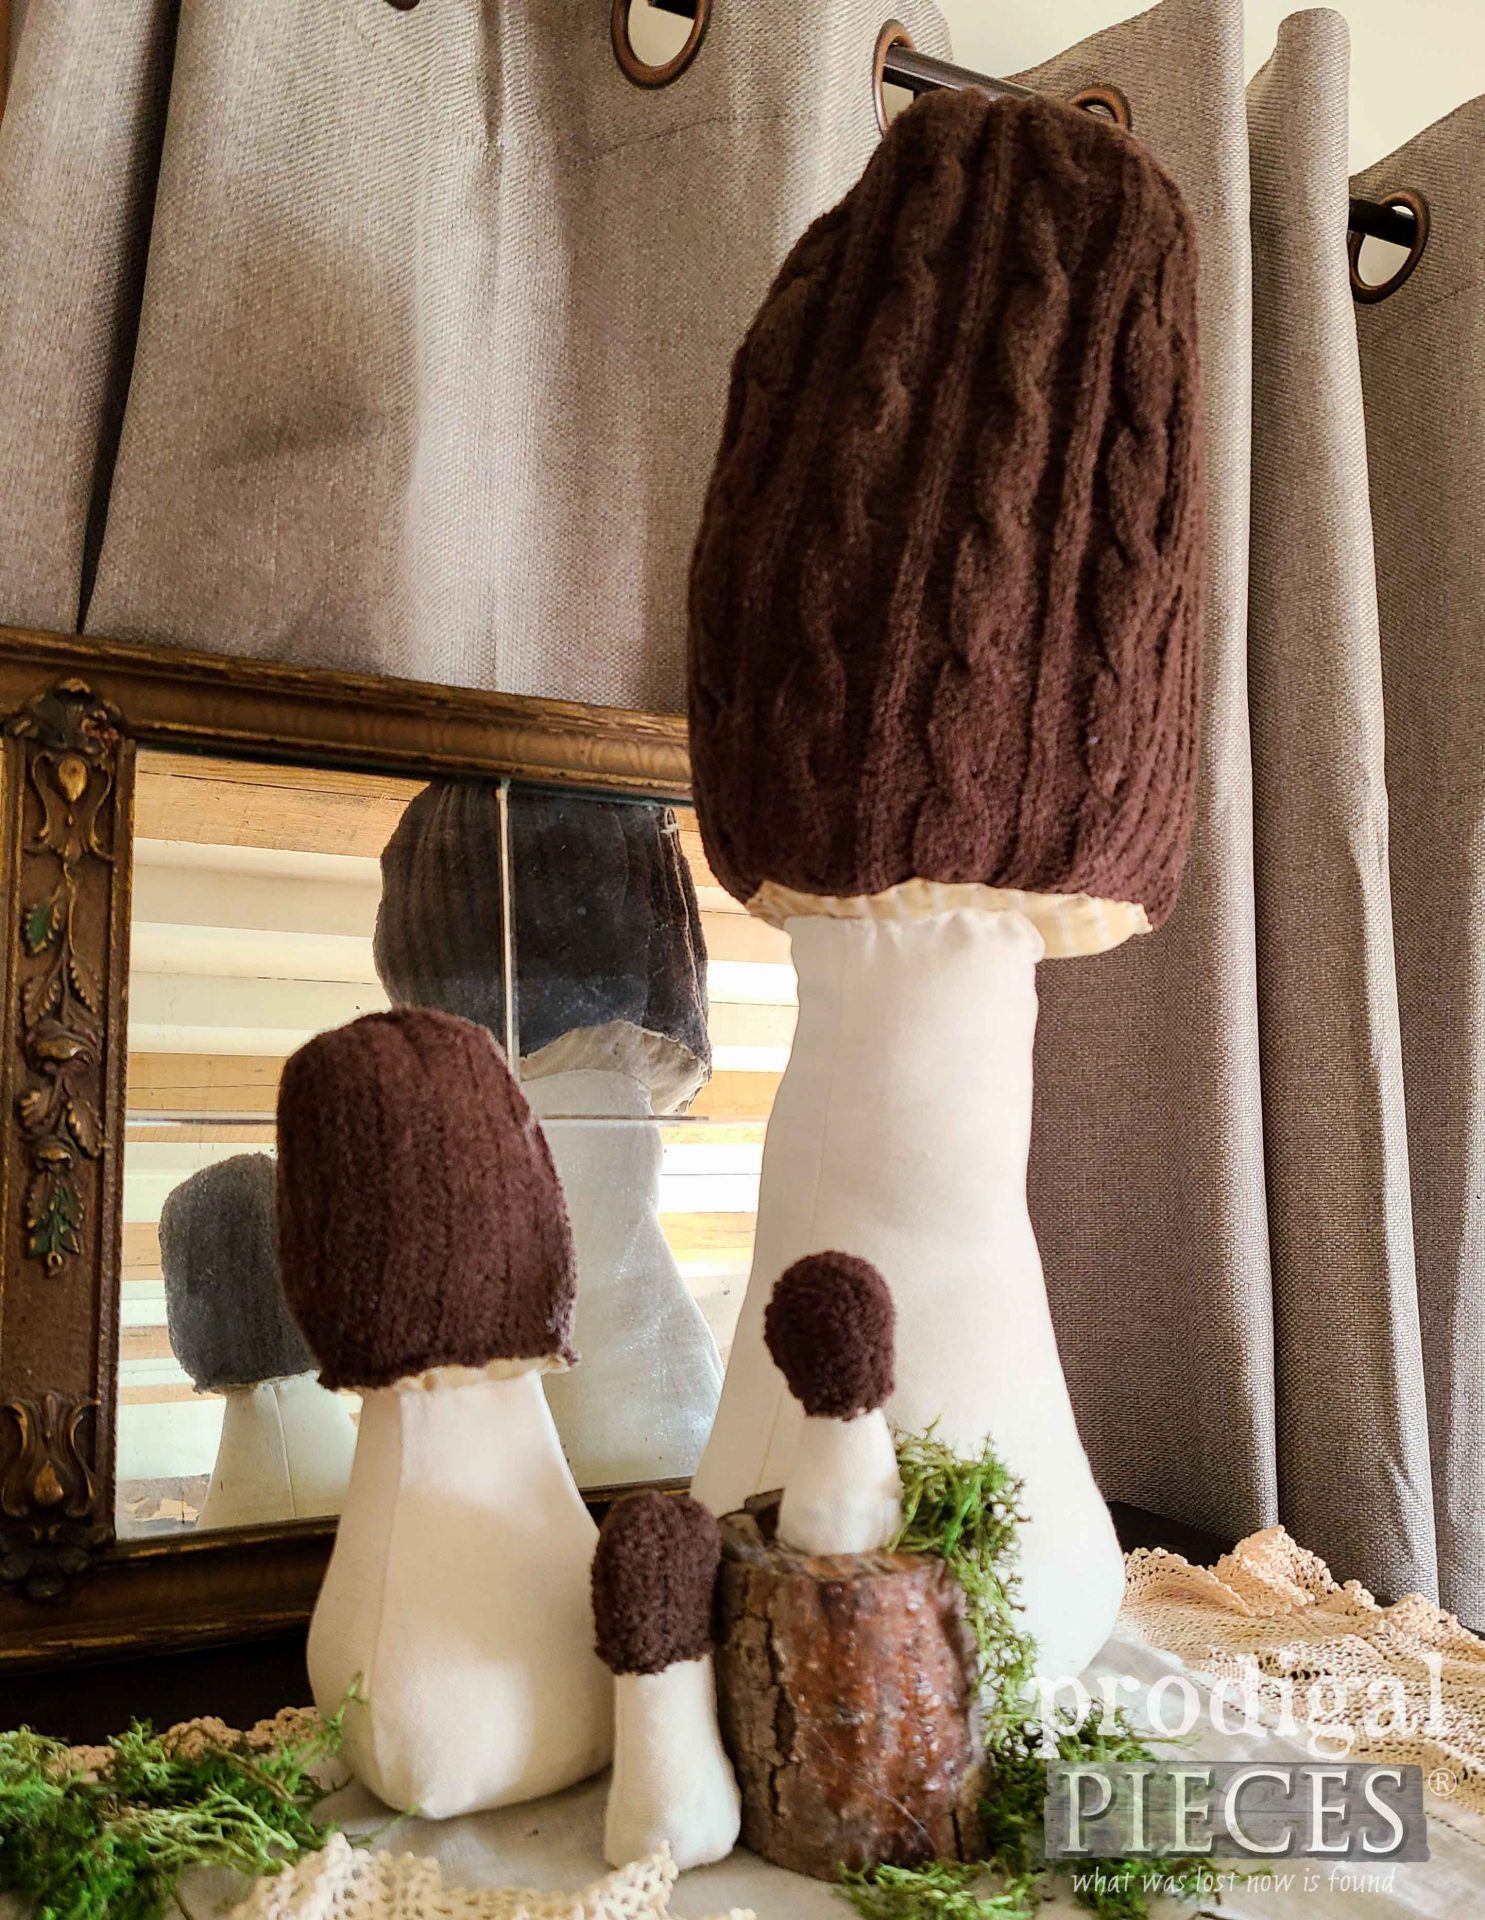
First, there’s no specific design to my mushrooms, but I wanted to replicate morels, toadstools and the like. In order to do that, I sketch up a pattern and cut out 4 sections for a large morel. If you want smaller, just scale it back accordingly. I’m debating on creating a pattern available in PDF, so if you’re interested, let me know.
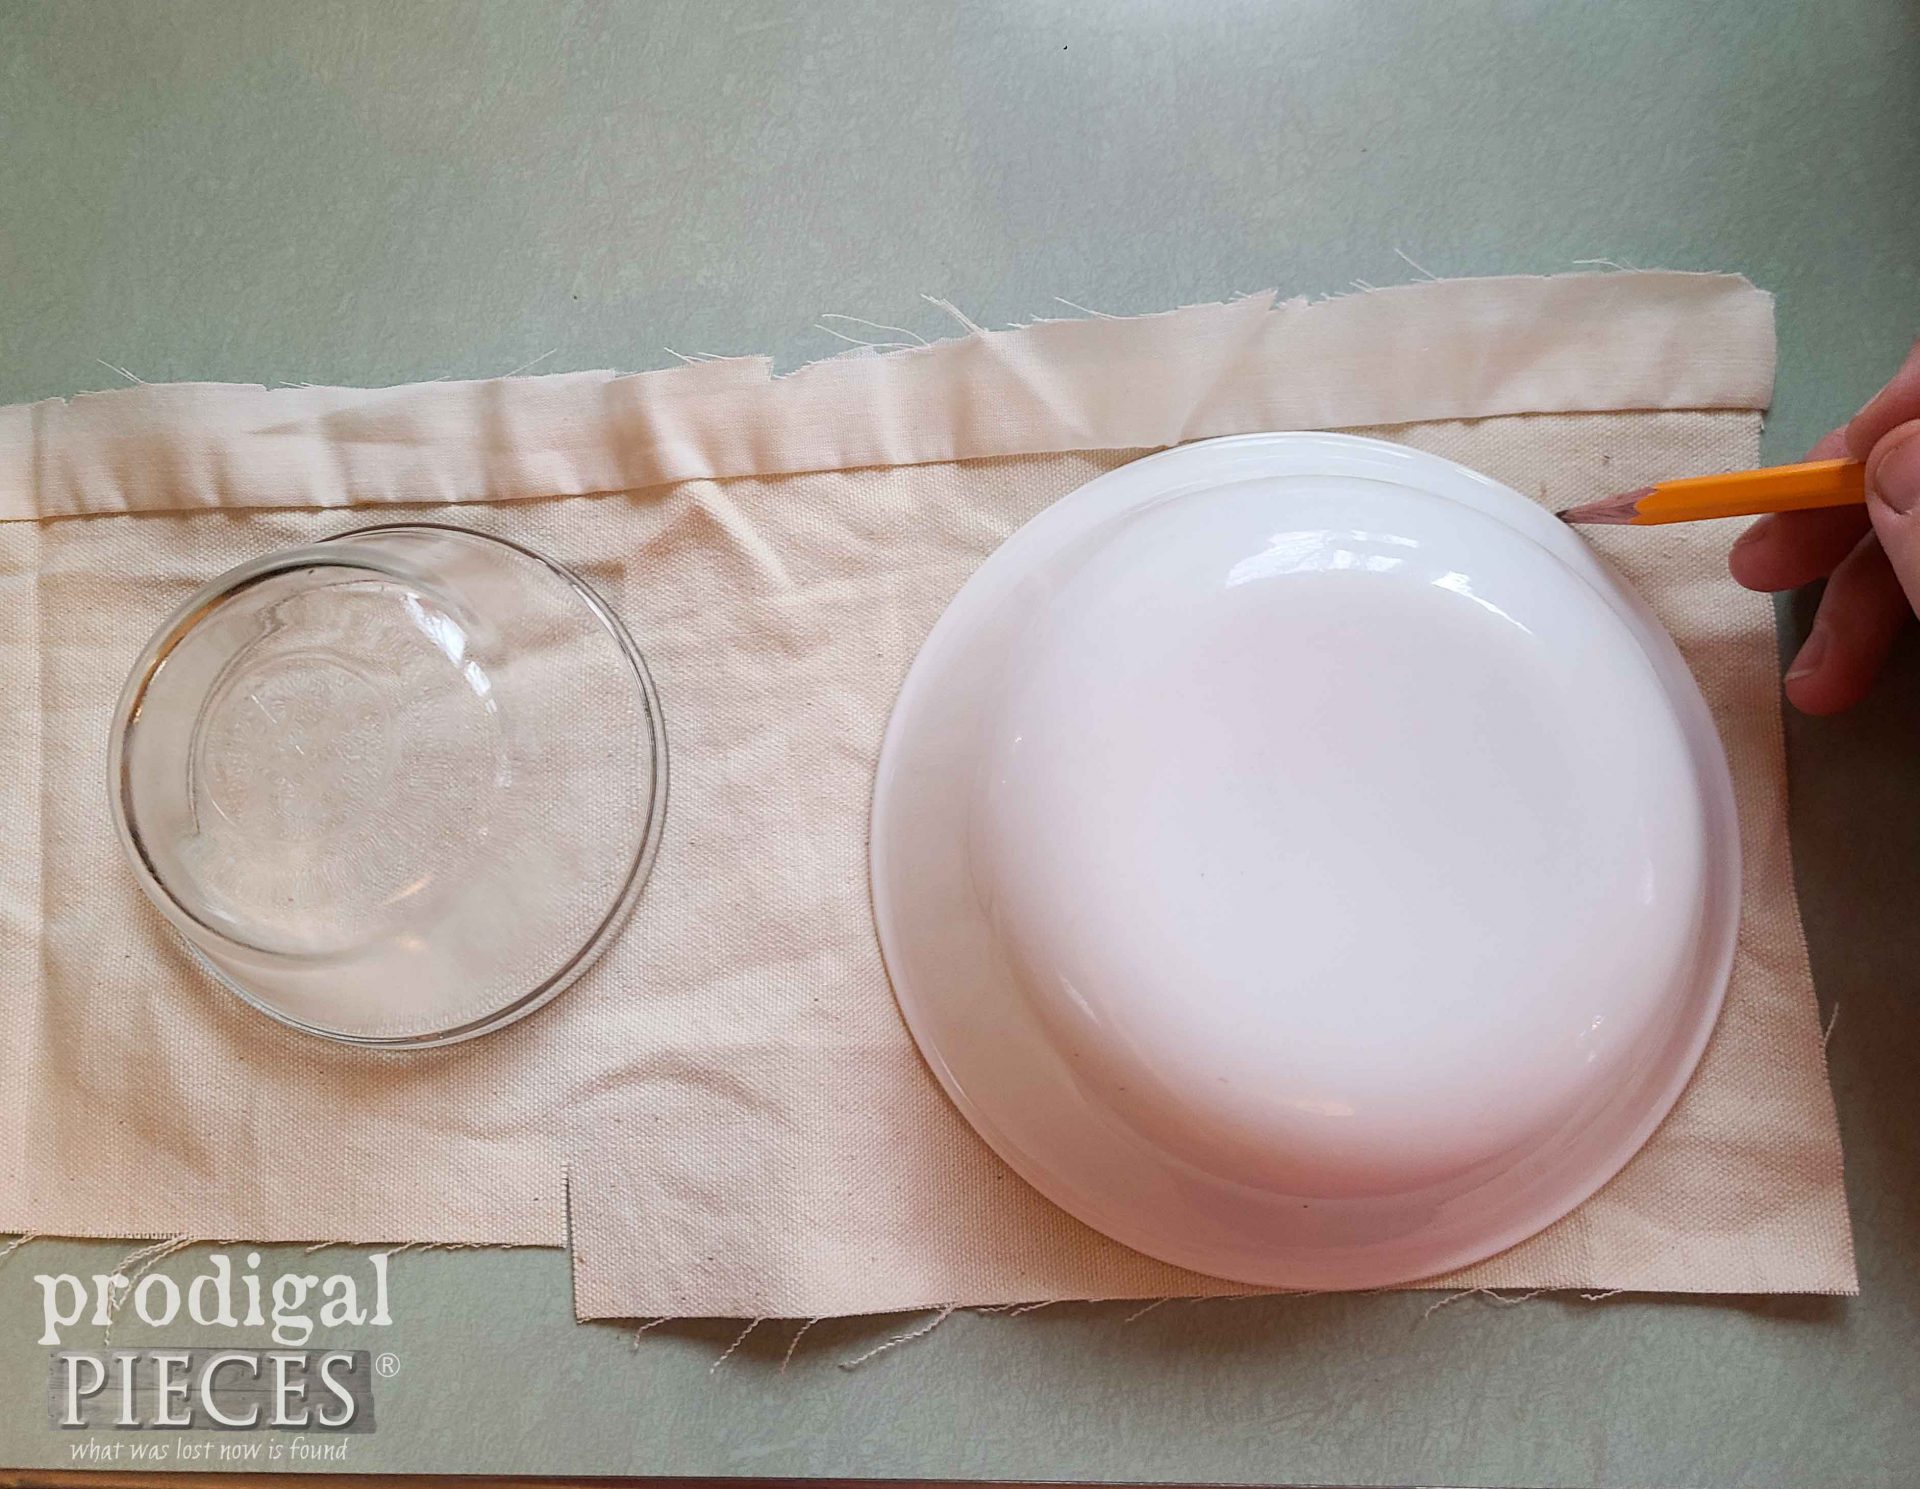
At the same time, I also cut out of my curtain fabric that is basically a heavier canvas-like fabric. Notice I am using bowls to make the base of the mushroom – two sizes shown, but I make a smaller one as well.
Meanwhile, I draw out a butternut squash-like shape for the stem with the base the same diameter as the coordinating bowls. Also, feel free to vary the height and width as well.
STEP 2
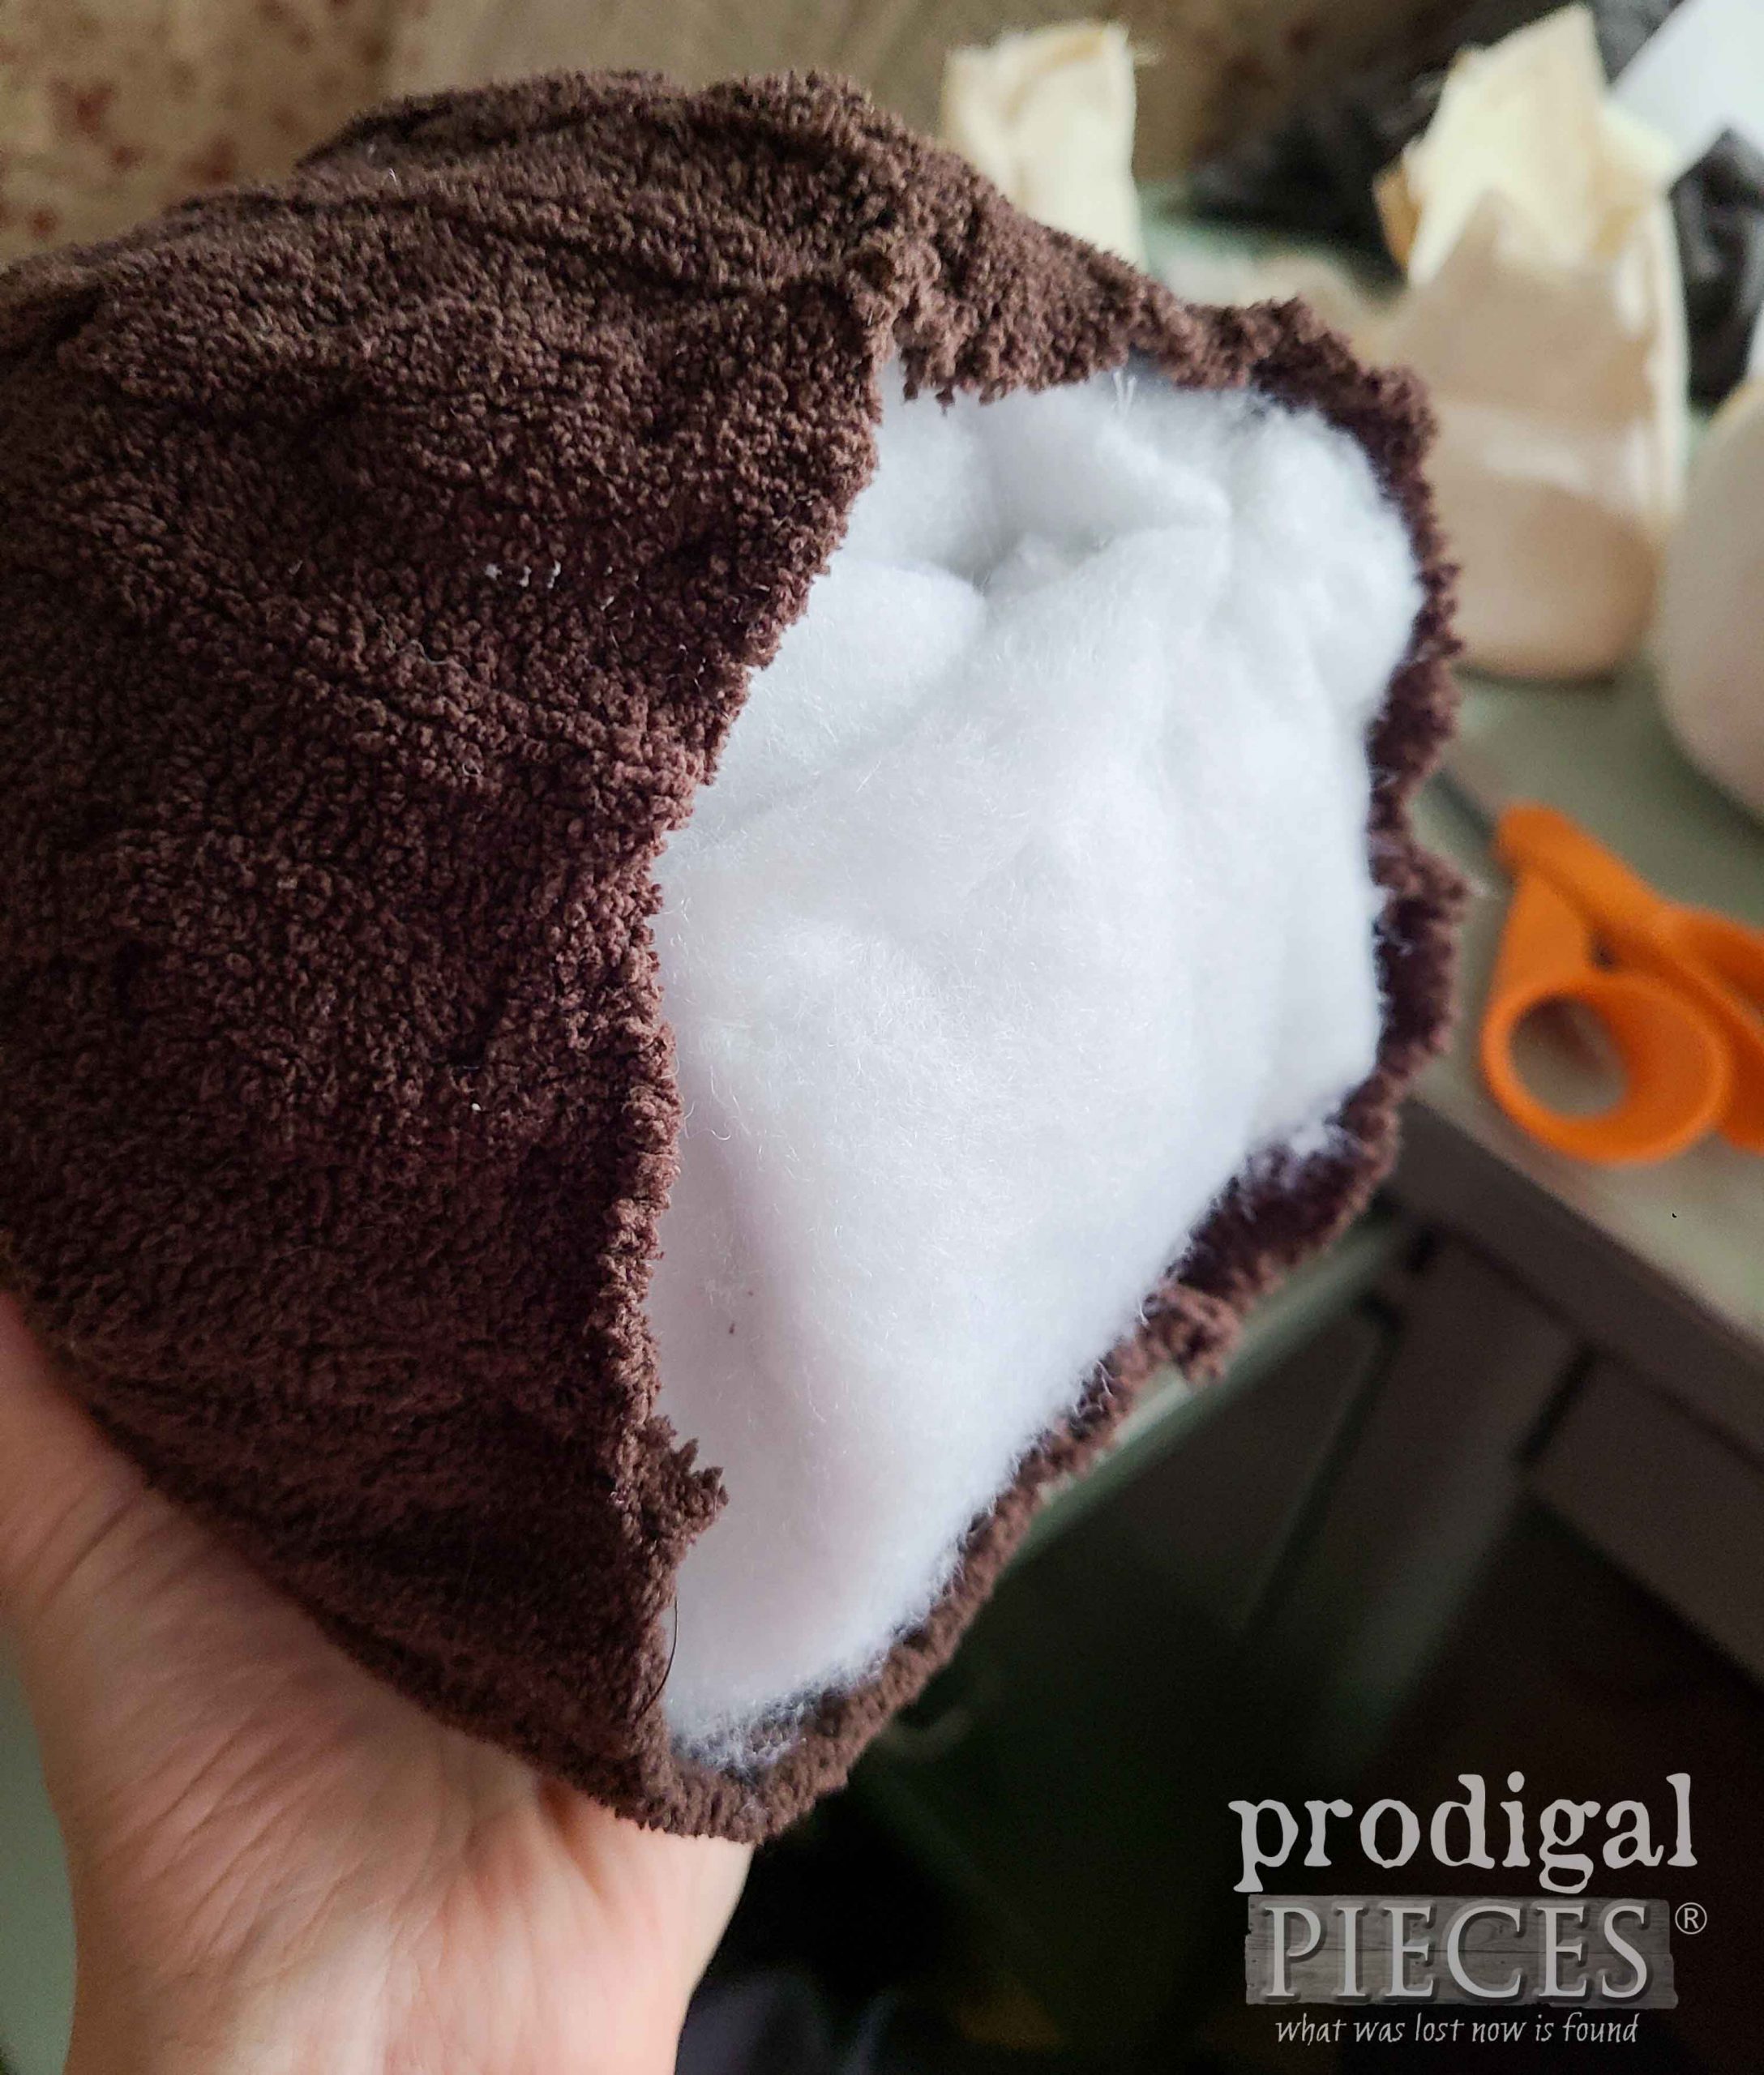
Next, it’s time to assemble our DIY fabric mushroom pieces. With right sides facing, sew the morel pieces together, then stuff. I’m using batting wrapped around stuffing for a nice firm shape.
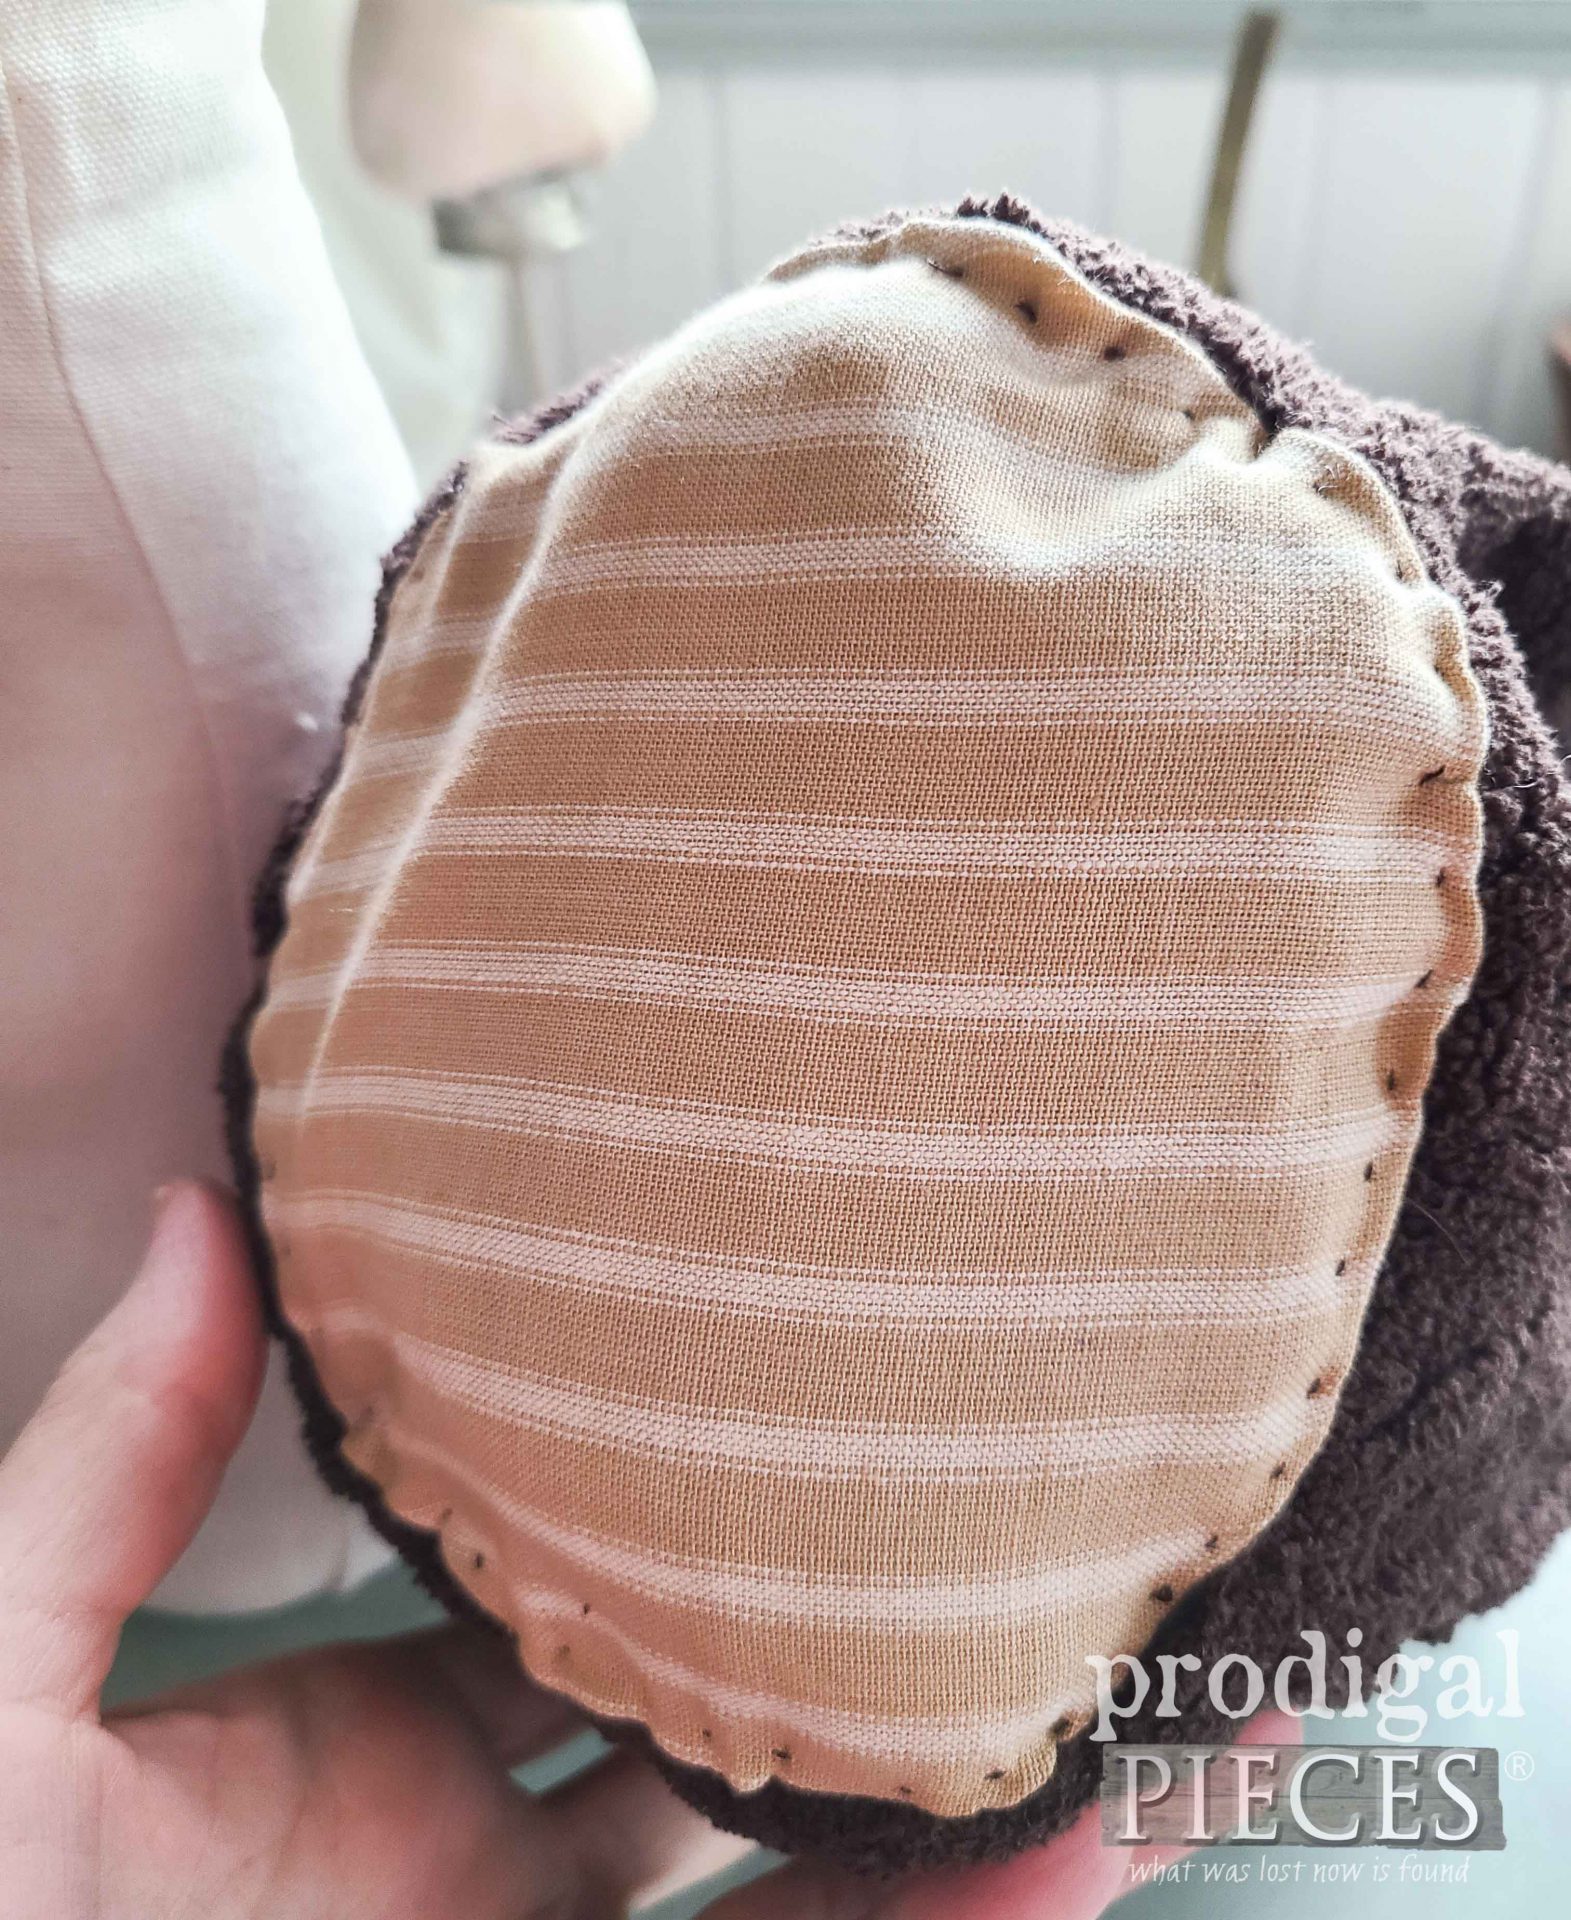
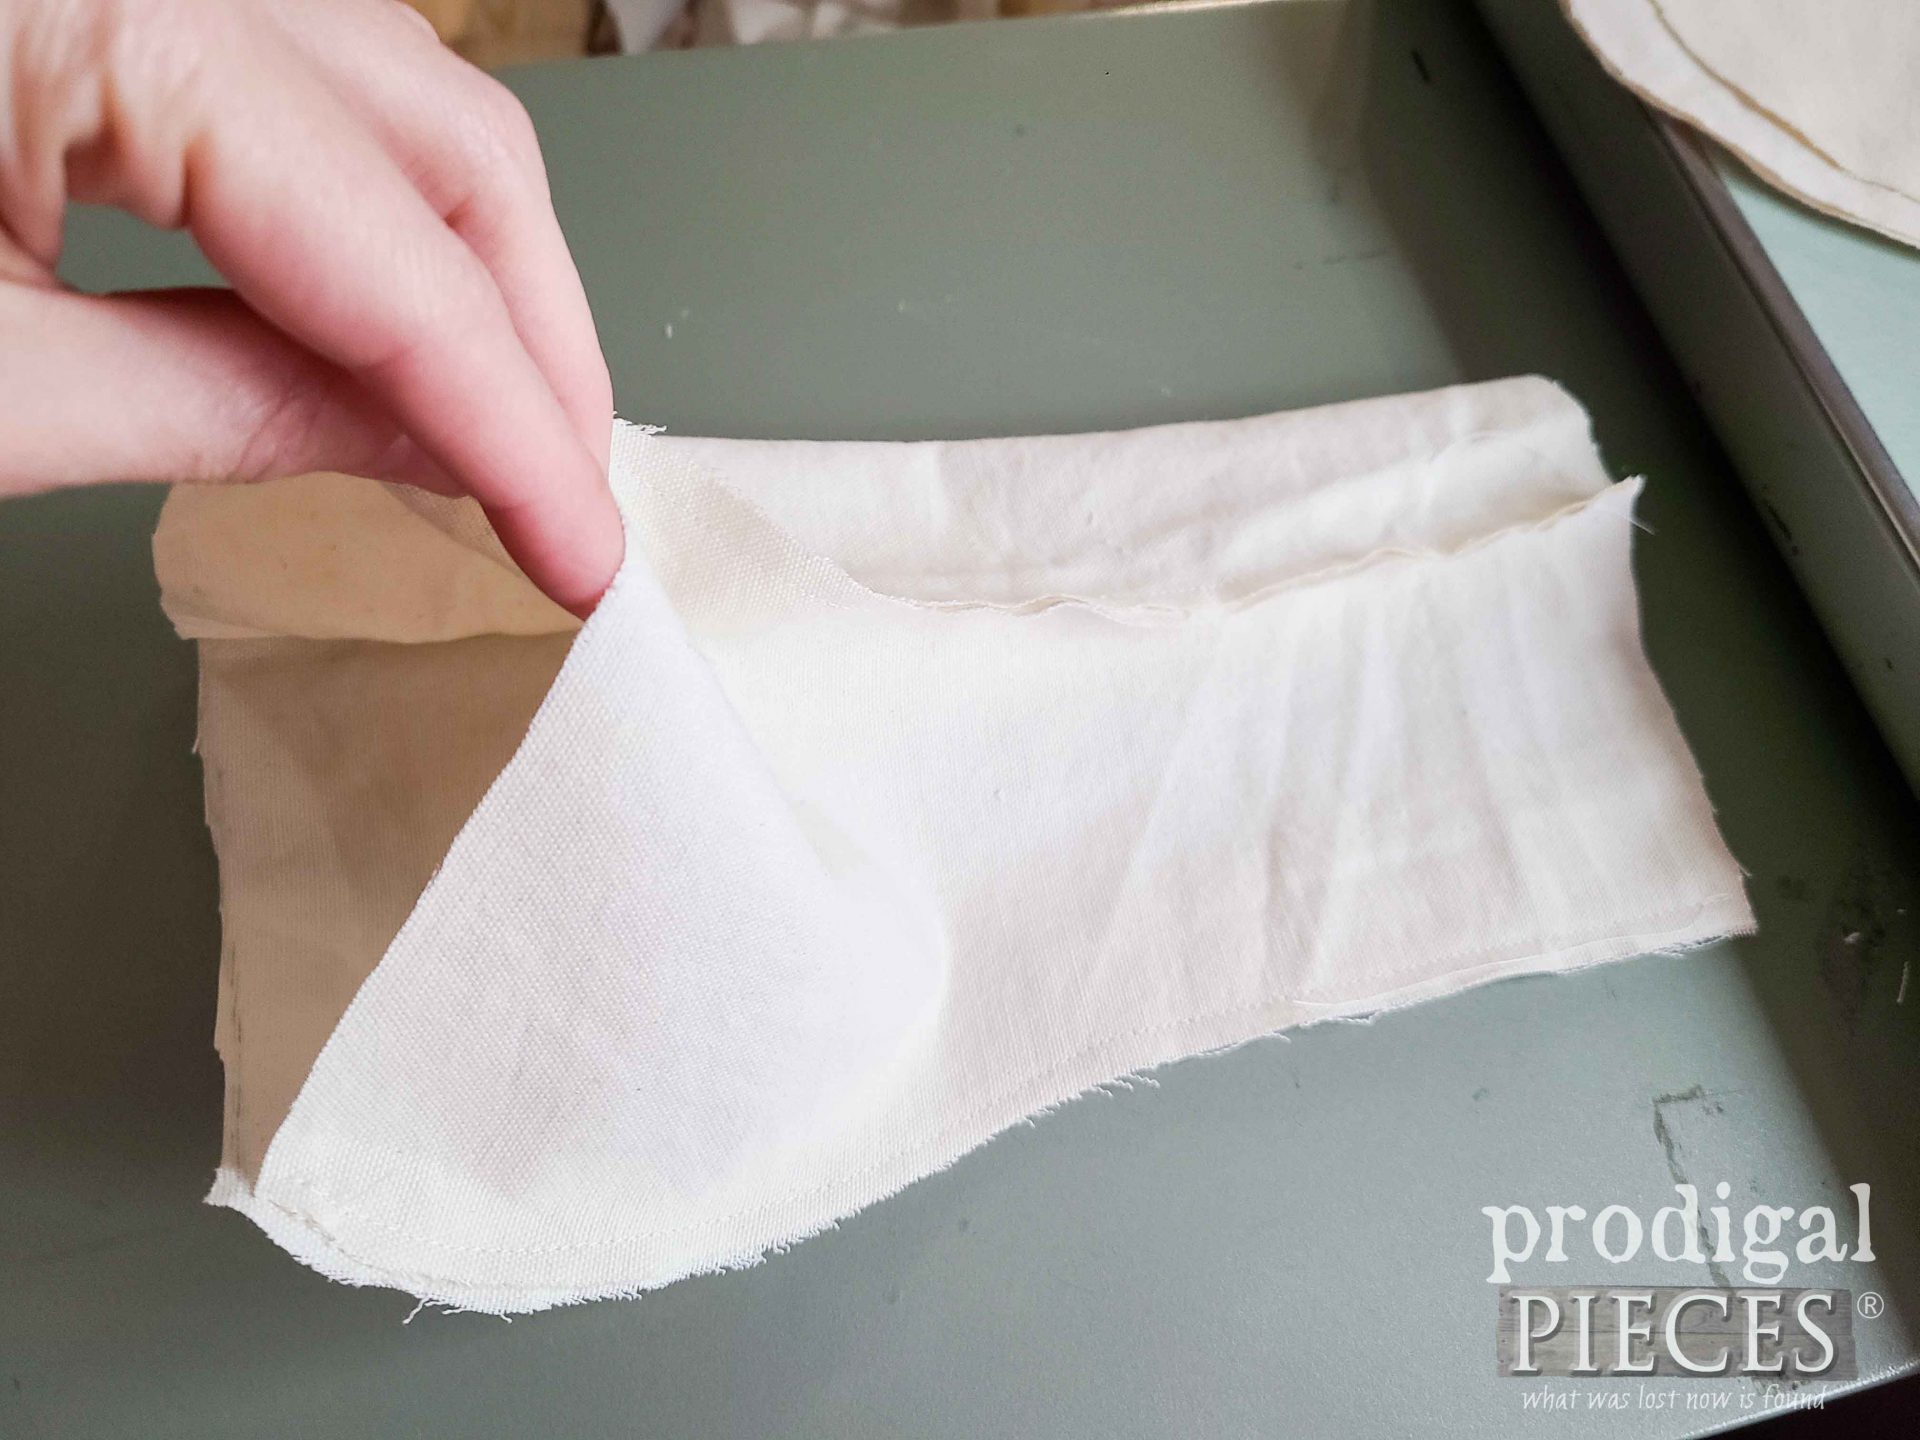
Using a coordinating fabric, cut a circle and hand-sew on. I just adore making dolls, so I have oodles of experience with this. It’s simple, just takes time. Since most mushrooms typically have that fluted bottom side, I’m using strips to replicate that look. However, if I had more time, I’d use a gathered fabric to created fluffy layers instead.
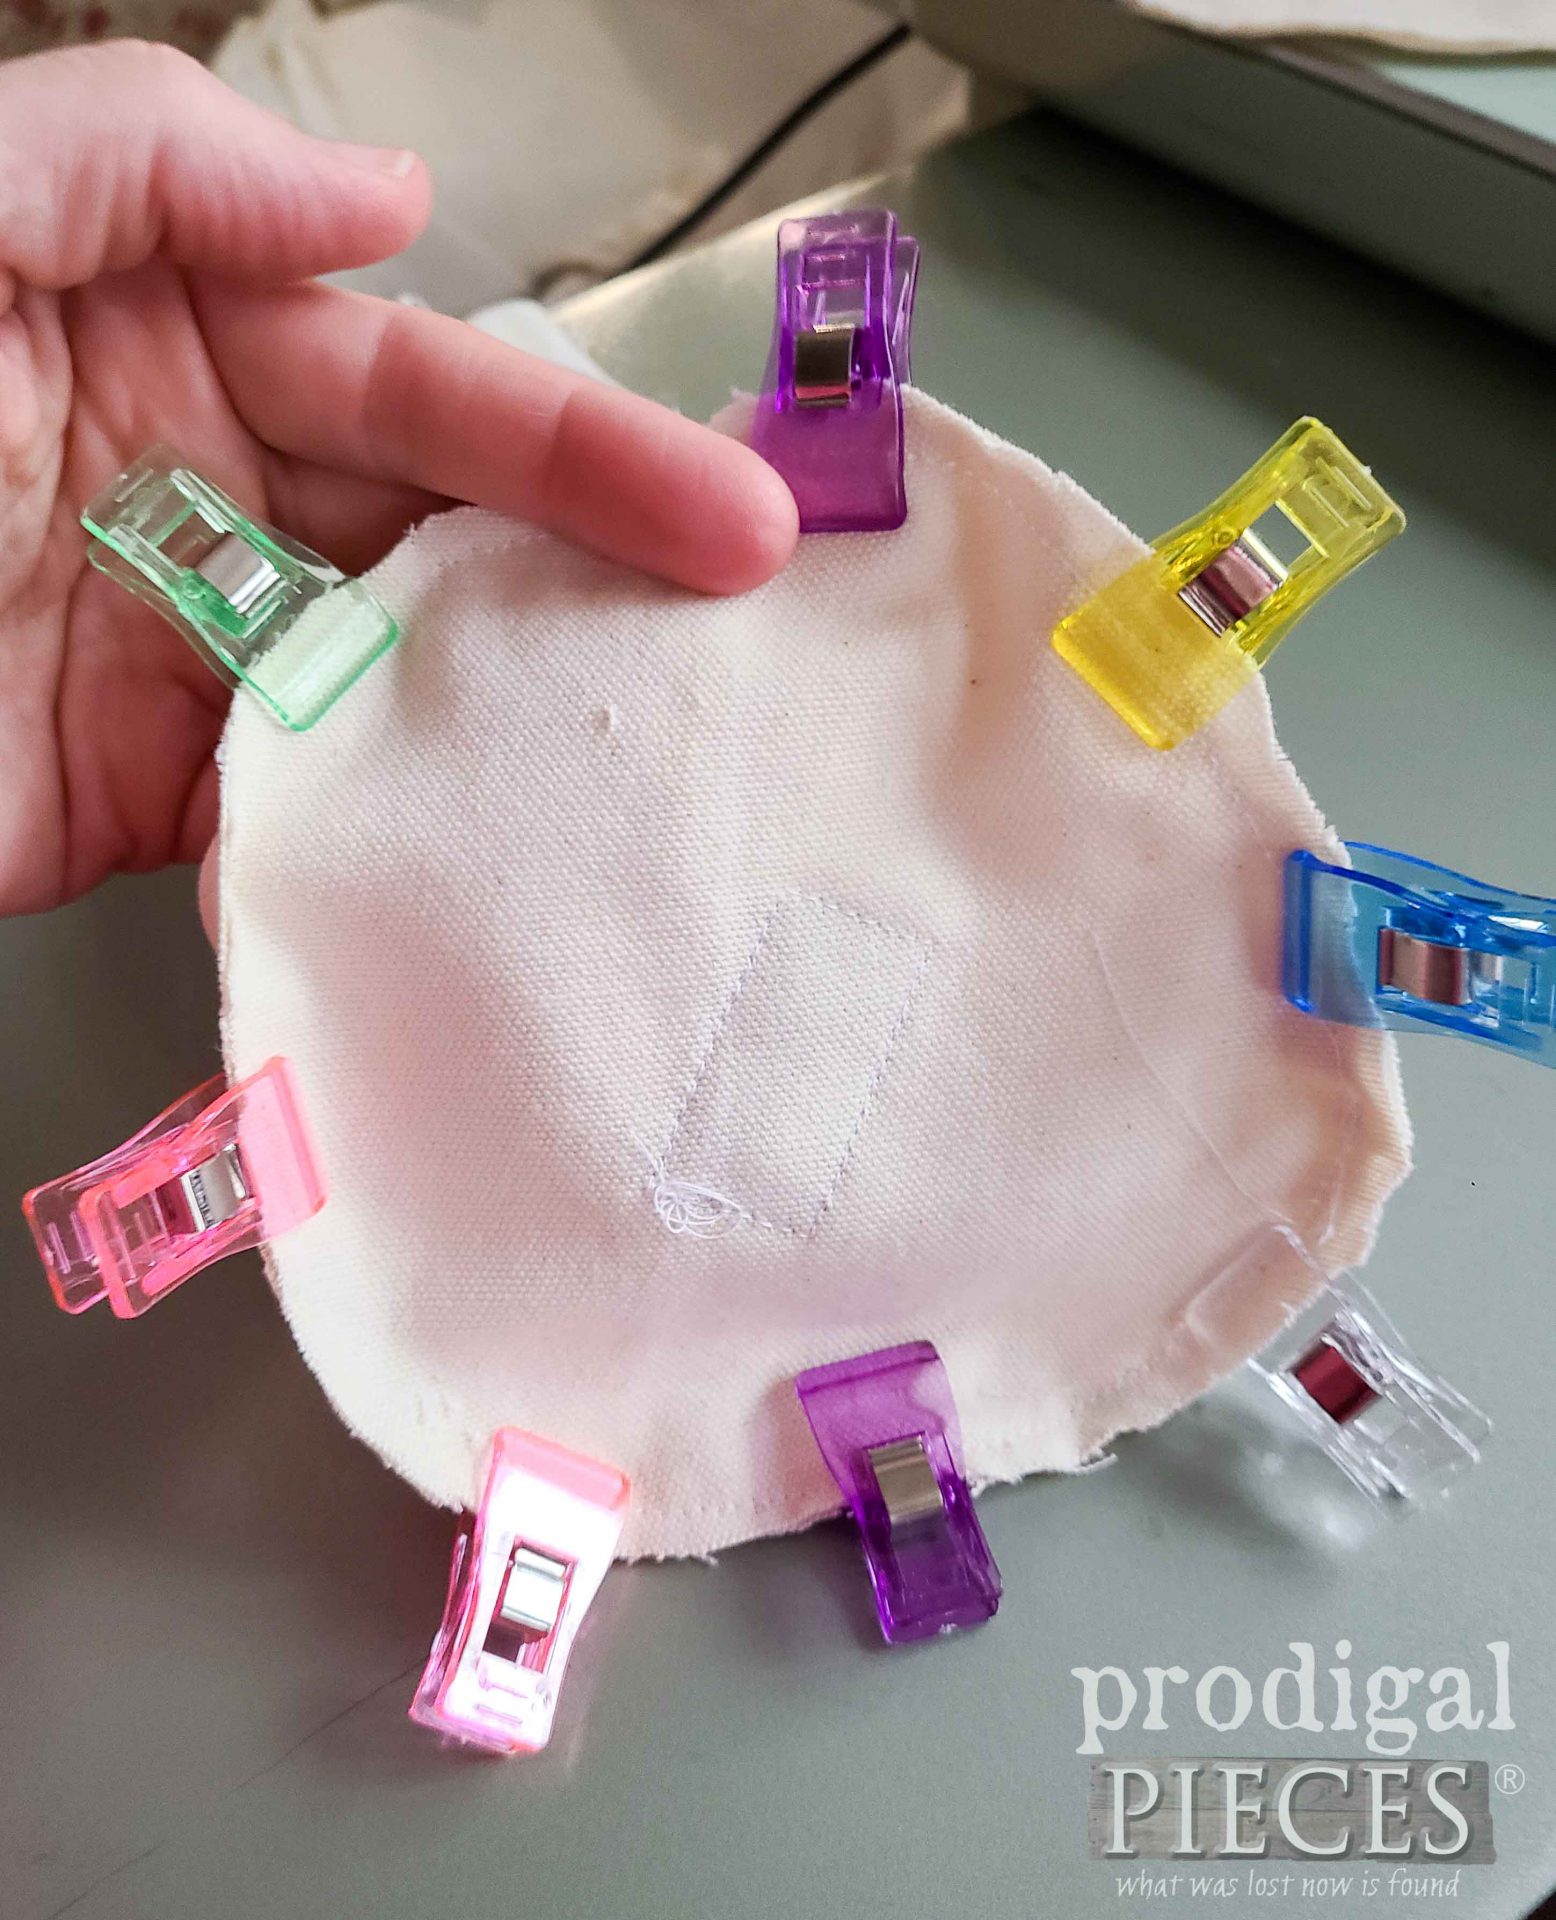
Likewise, do the same with the mushroom base – sew together the 3 pieces, but wait to stuff.
Then, we need to add the base. Pin or clip in pace and sew together.
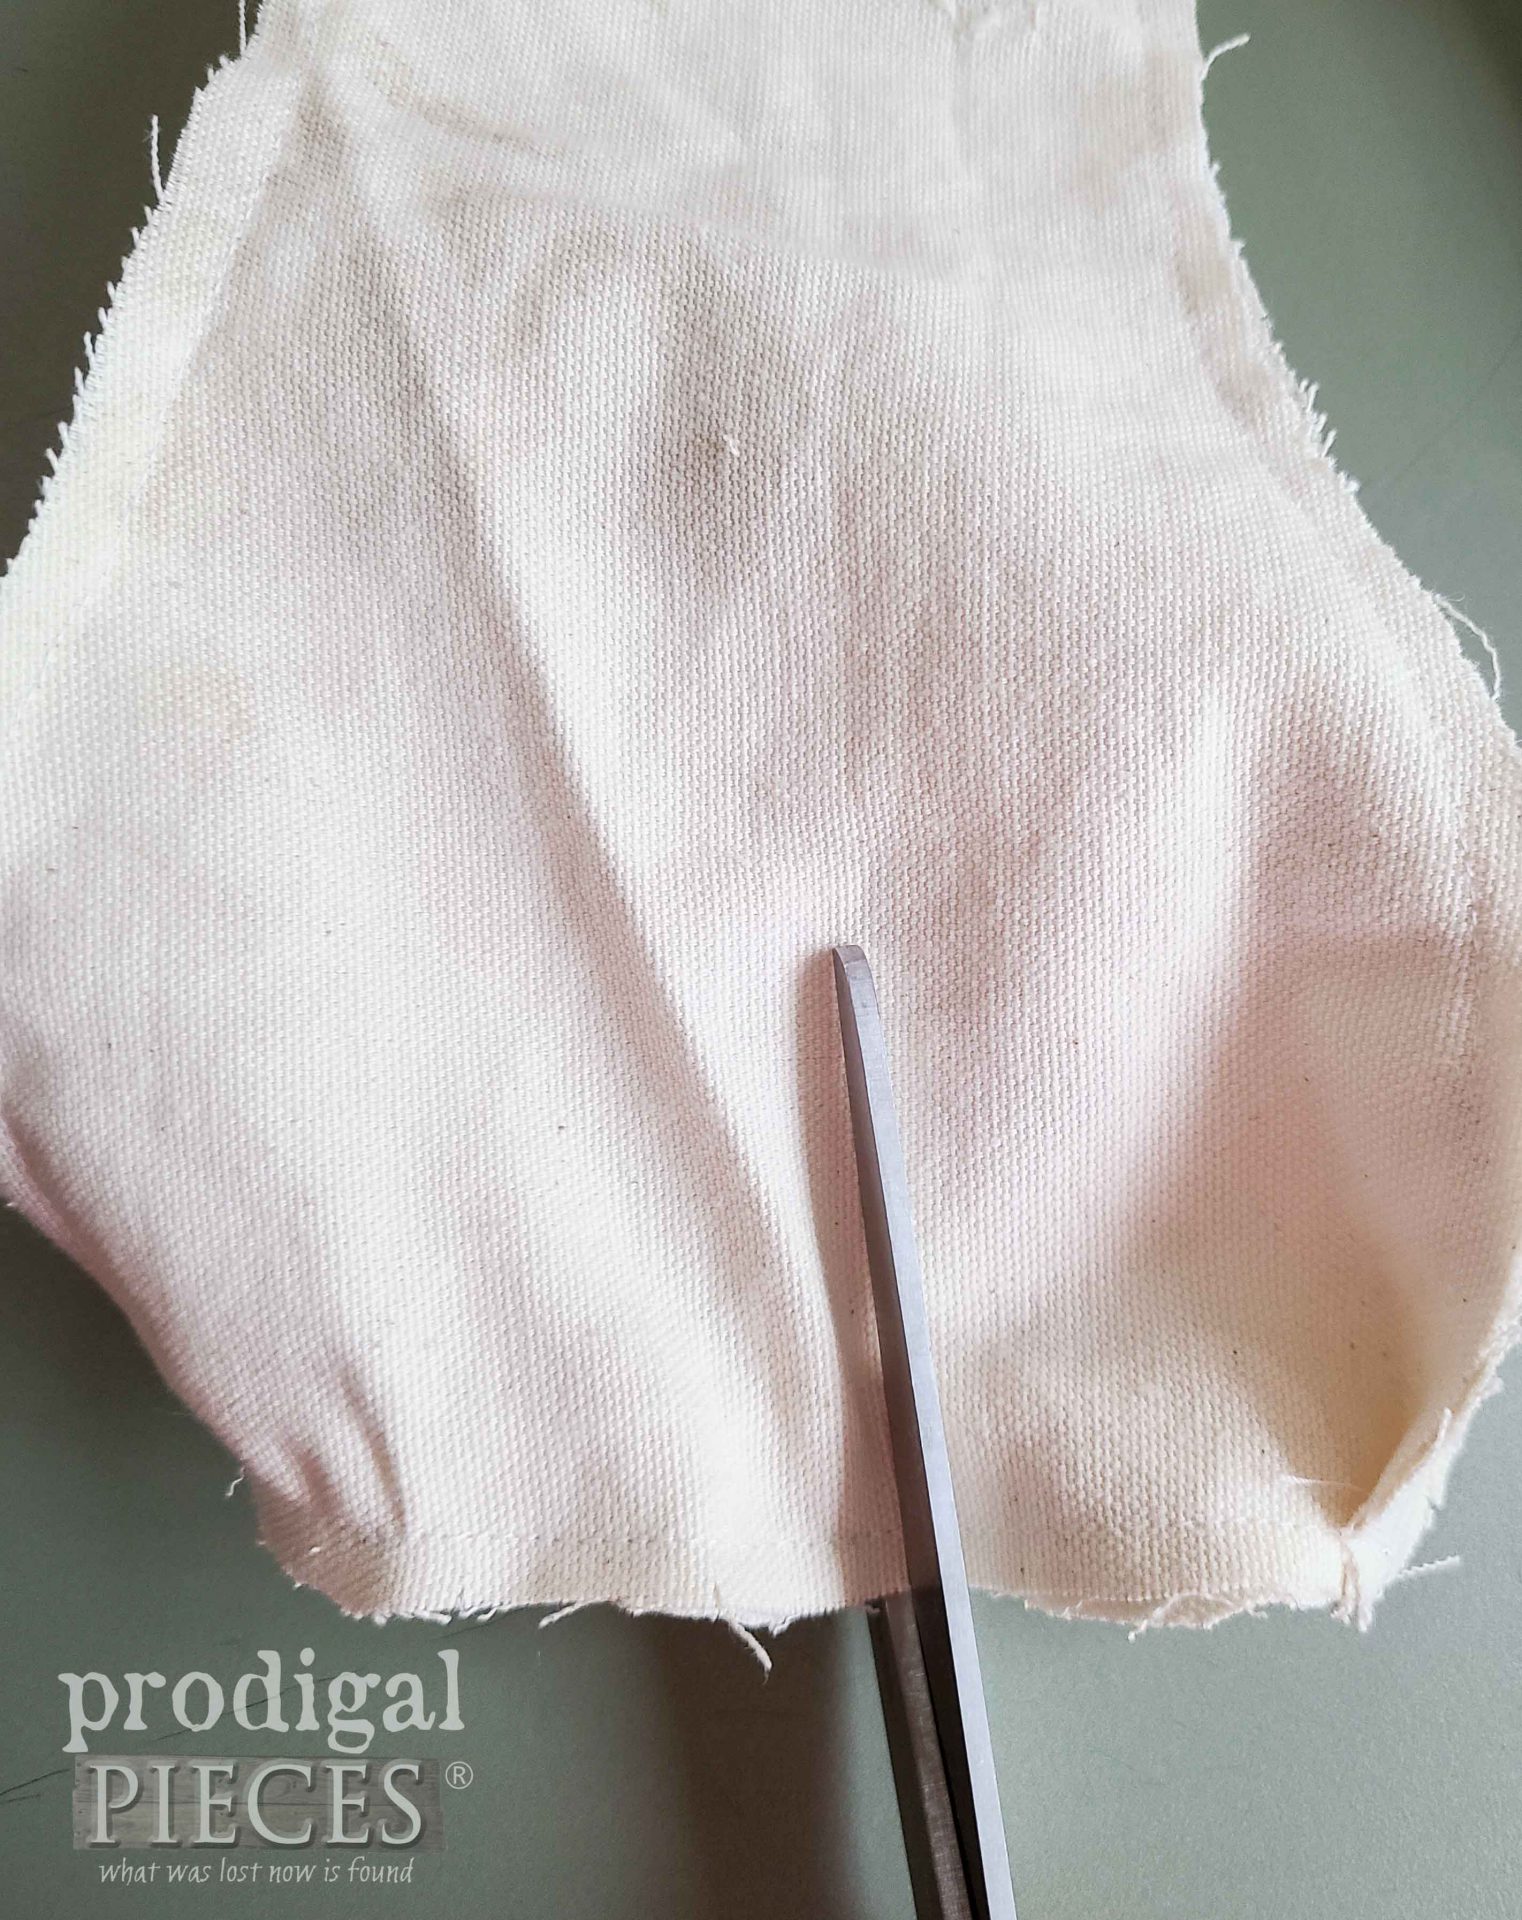
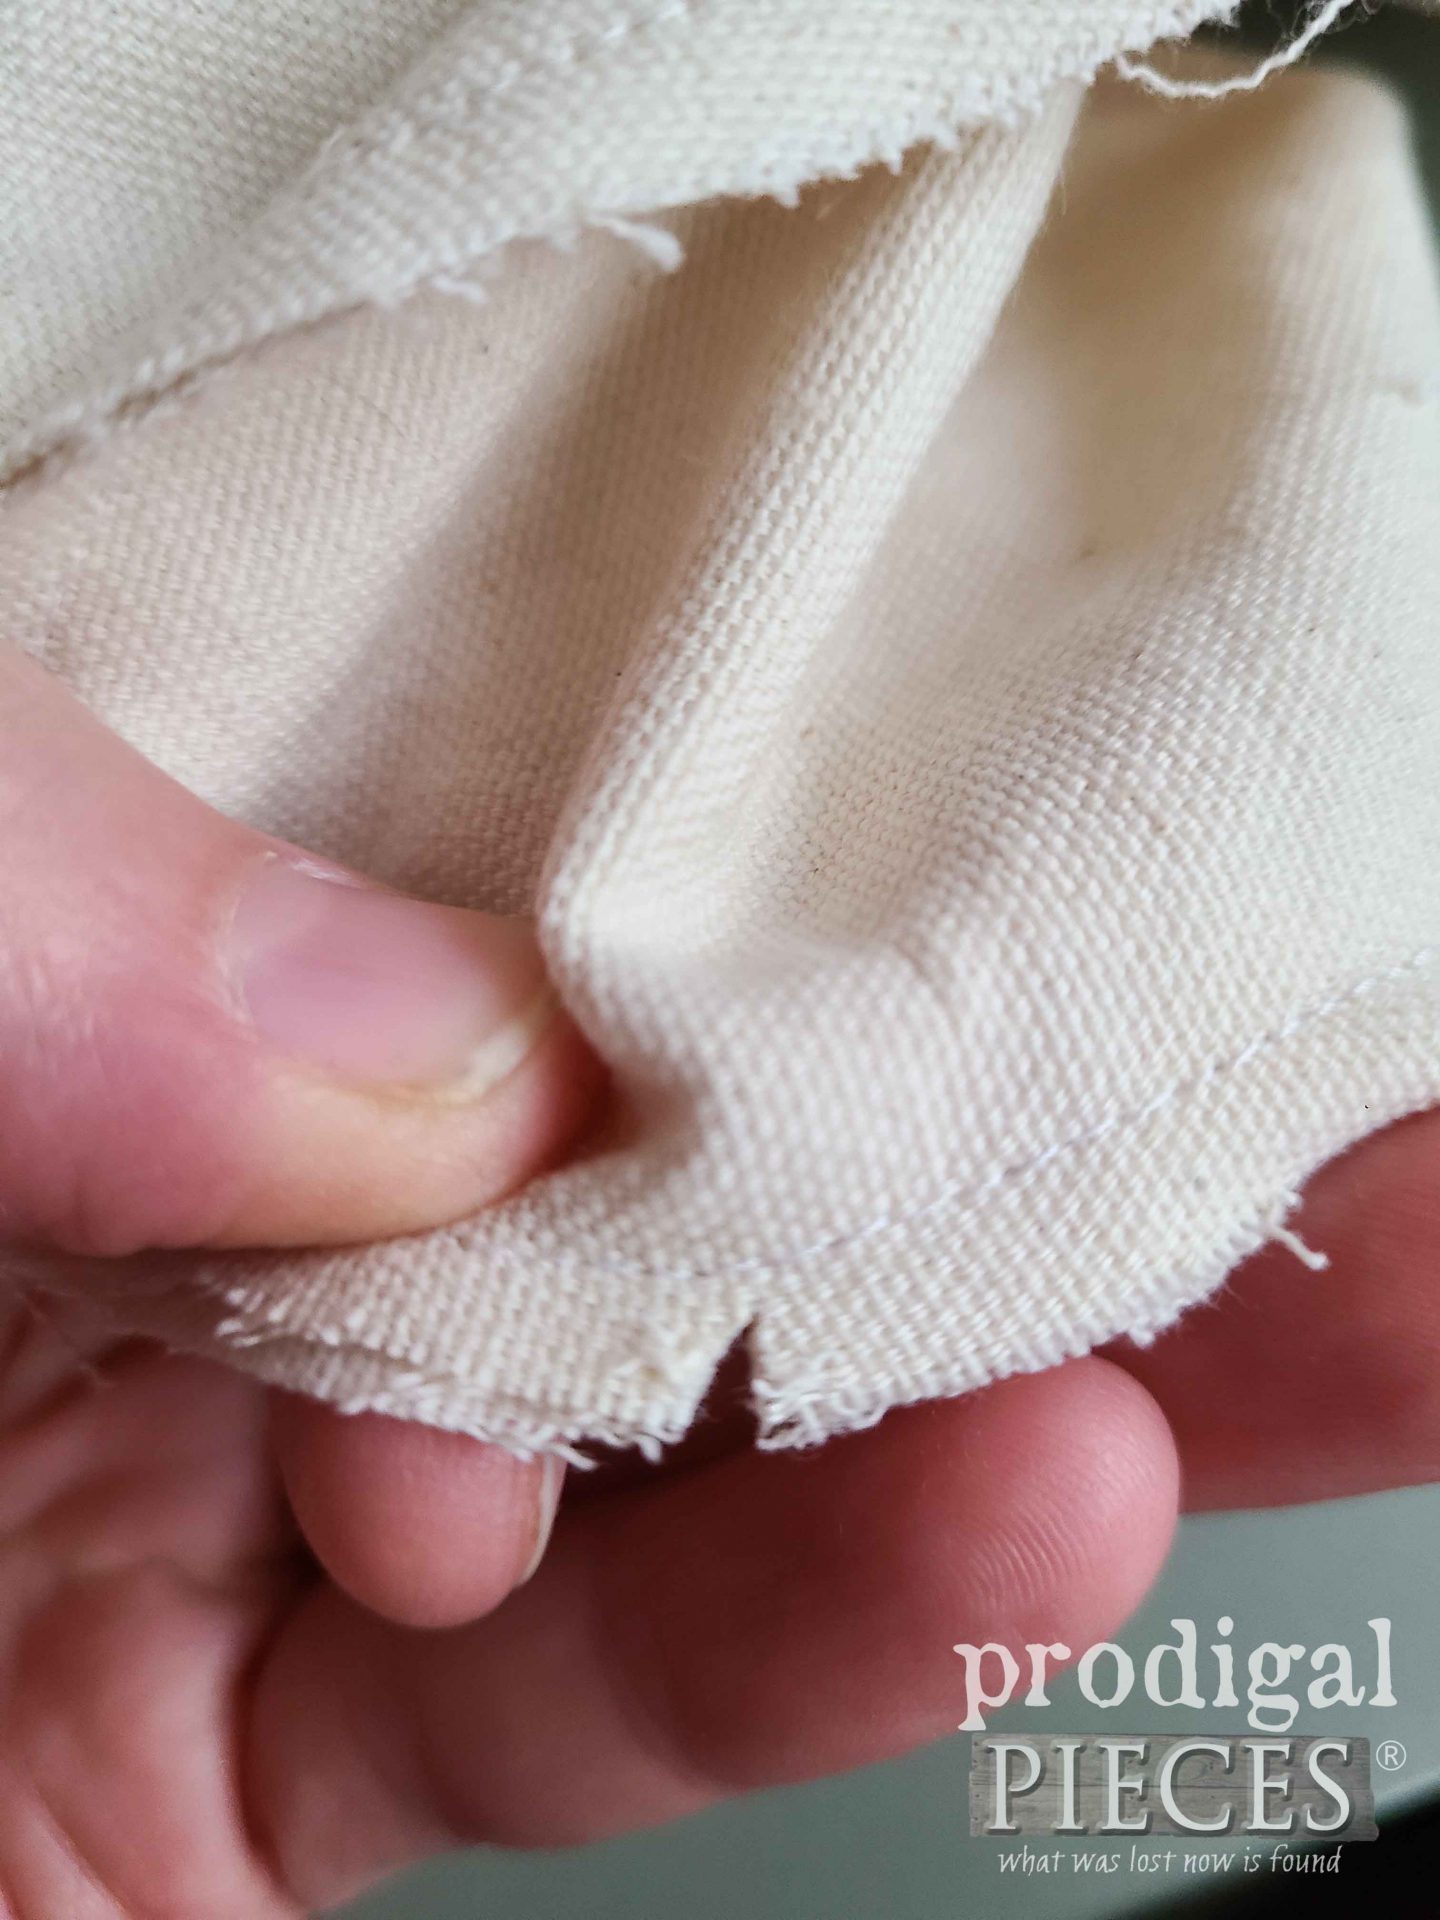
In addition, carefully snip the edges of the base so that the seam will lay flat when resting. Just be careful not to snip through your seam.
STEP 3
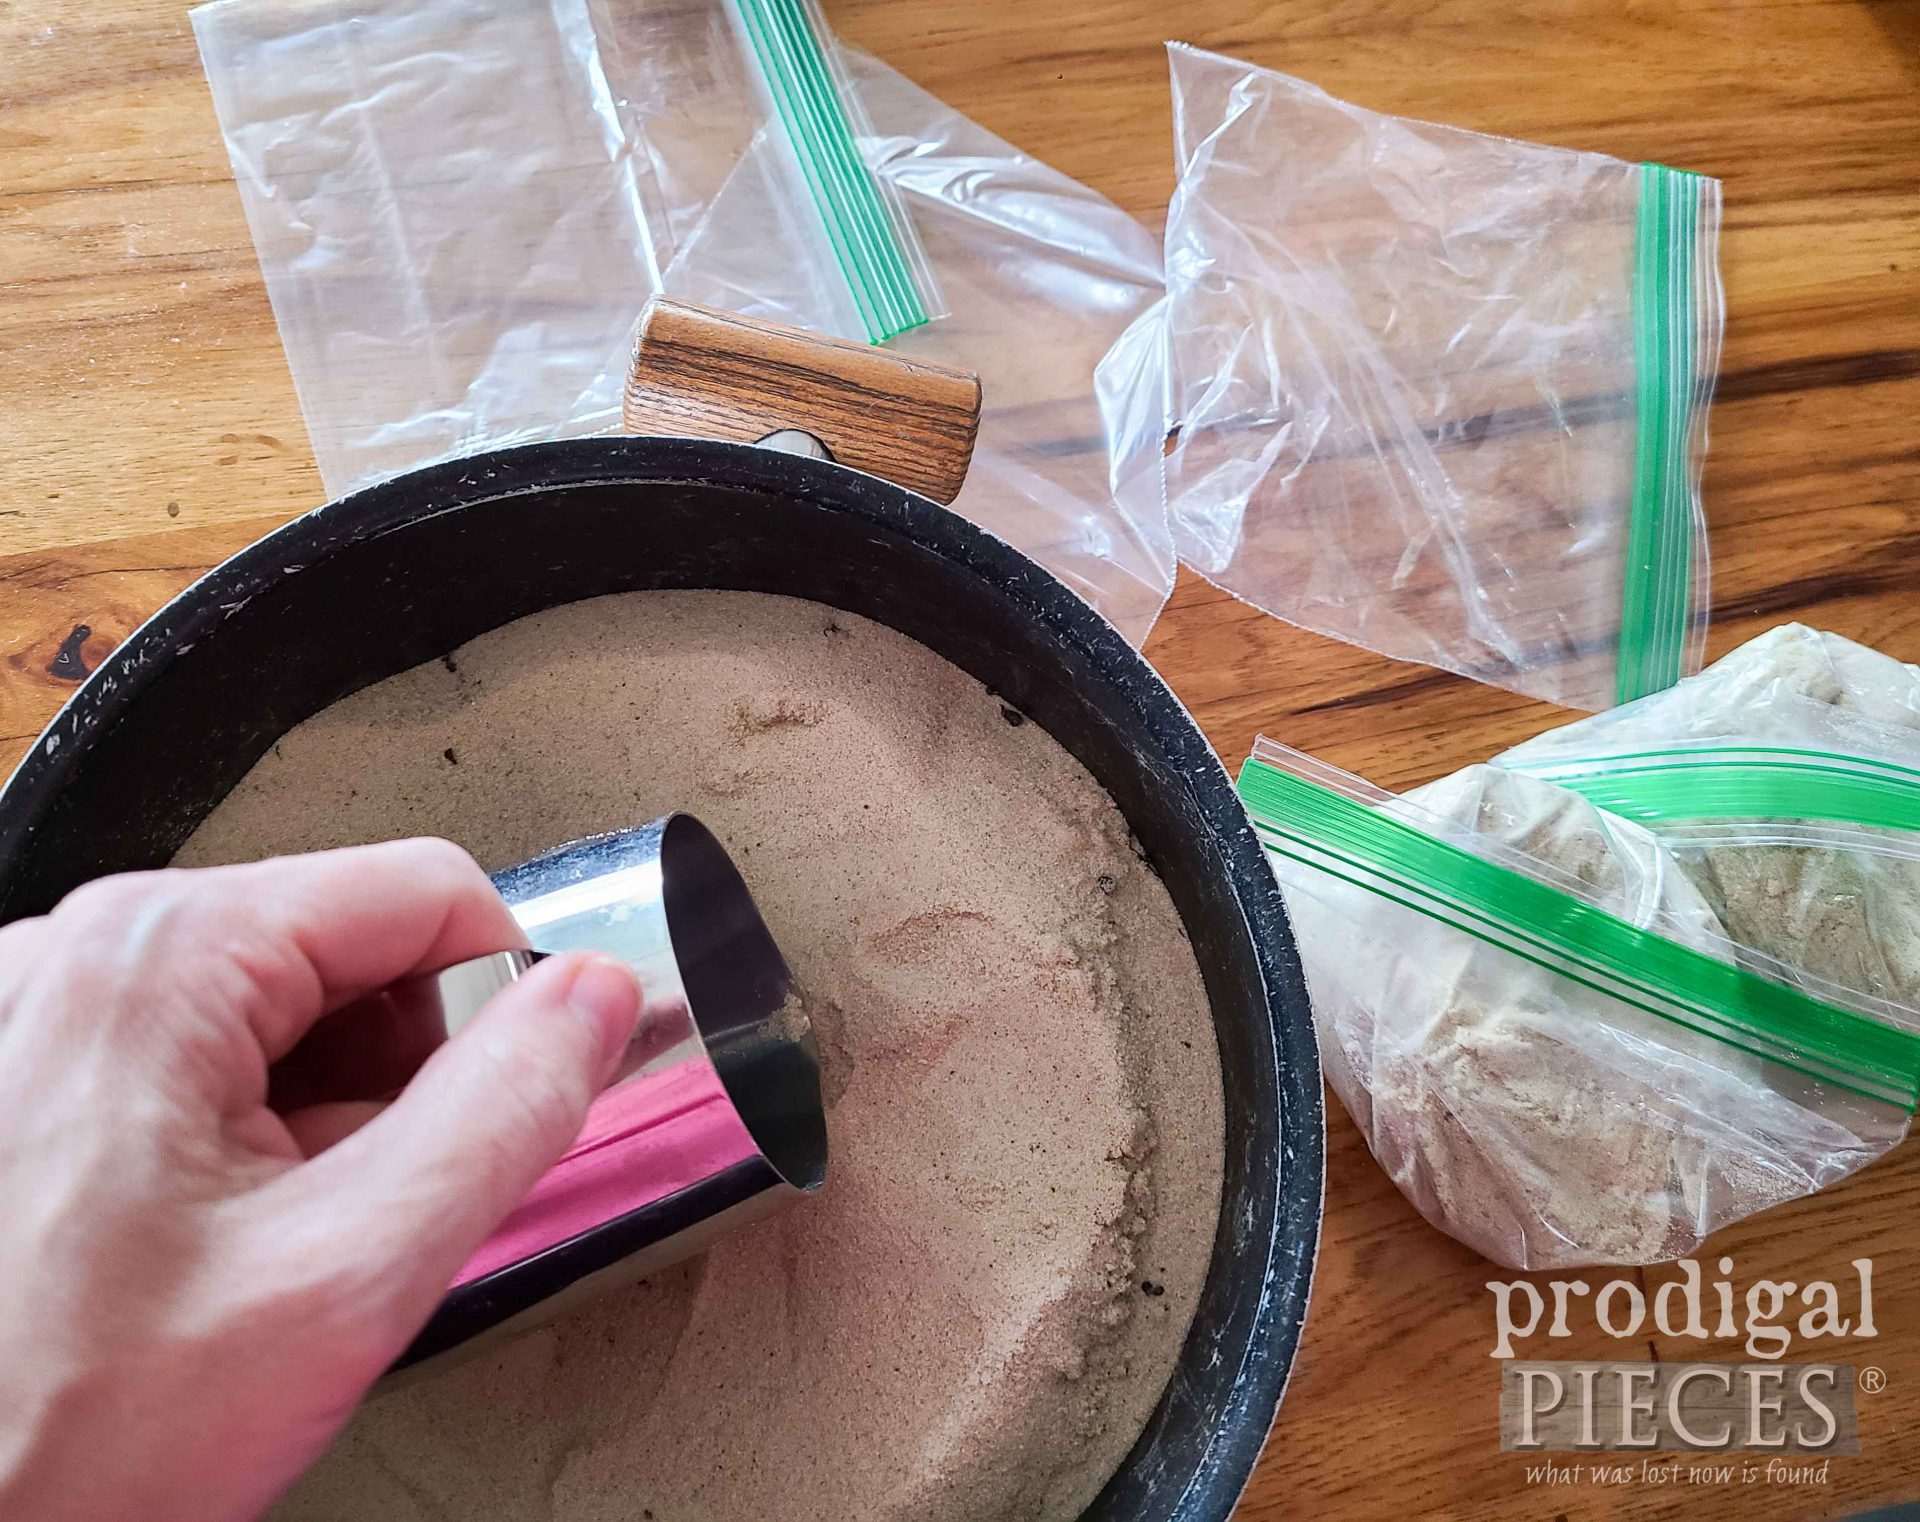
Fill ‘er up! Not only is this step fun, but also crucial for our mushrooms to have a stance. My choice for fill is bagged play sand, but you can also use beans, pebbles, rice…whatever floats your boat…er…mushroom.
After that, place a bit of stuffing in the bottom of your mushroom base, then layer in the bagged sand, and stuff the rest up the neck. Finally, using a needle and thread, attach the morel head to the base.
A HUNTING WE WILL GO
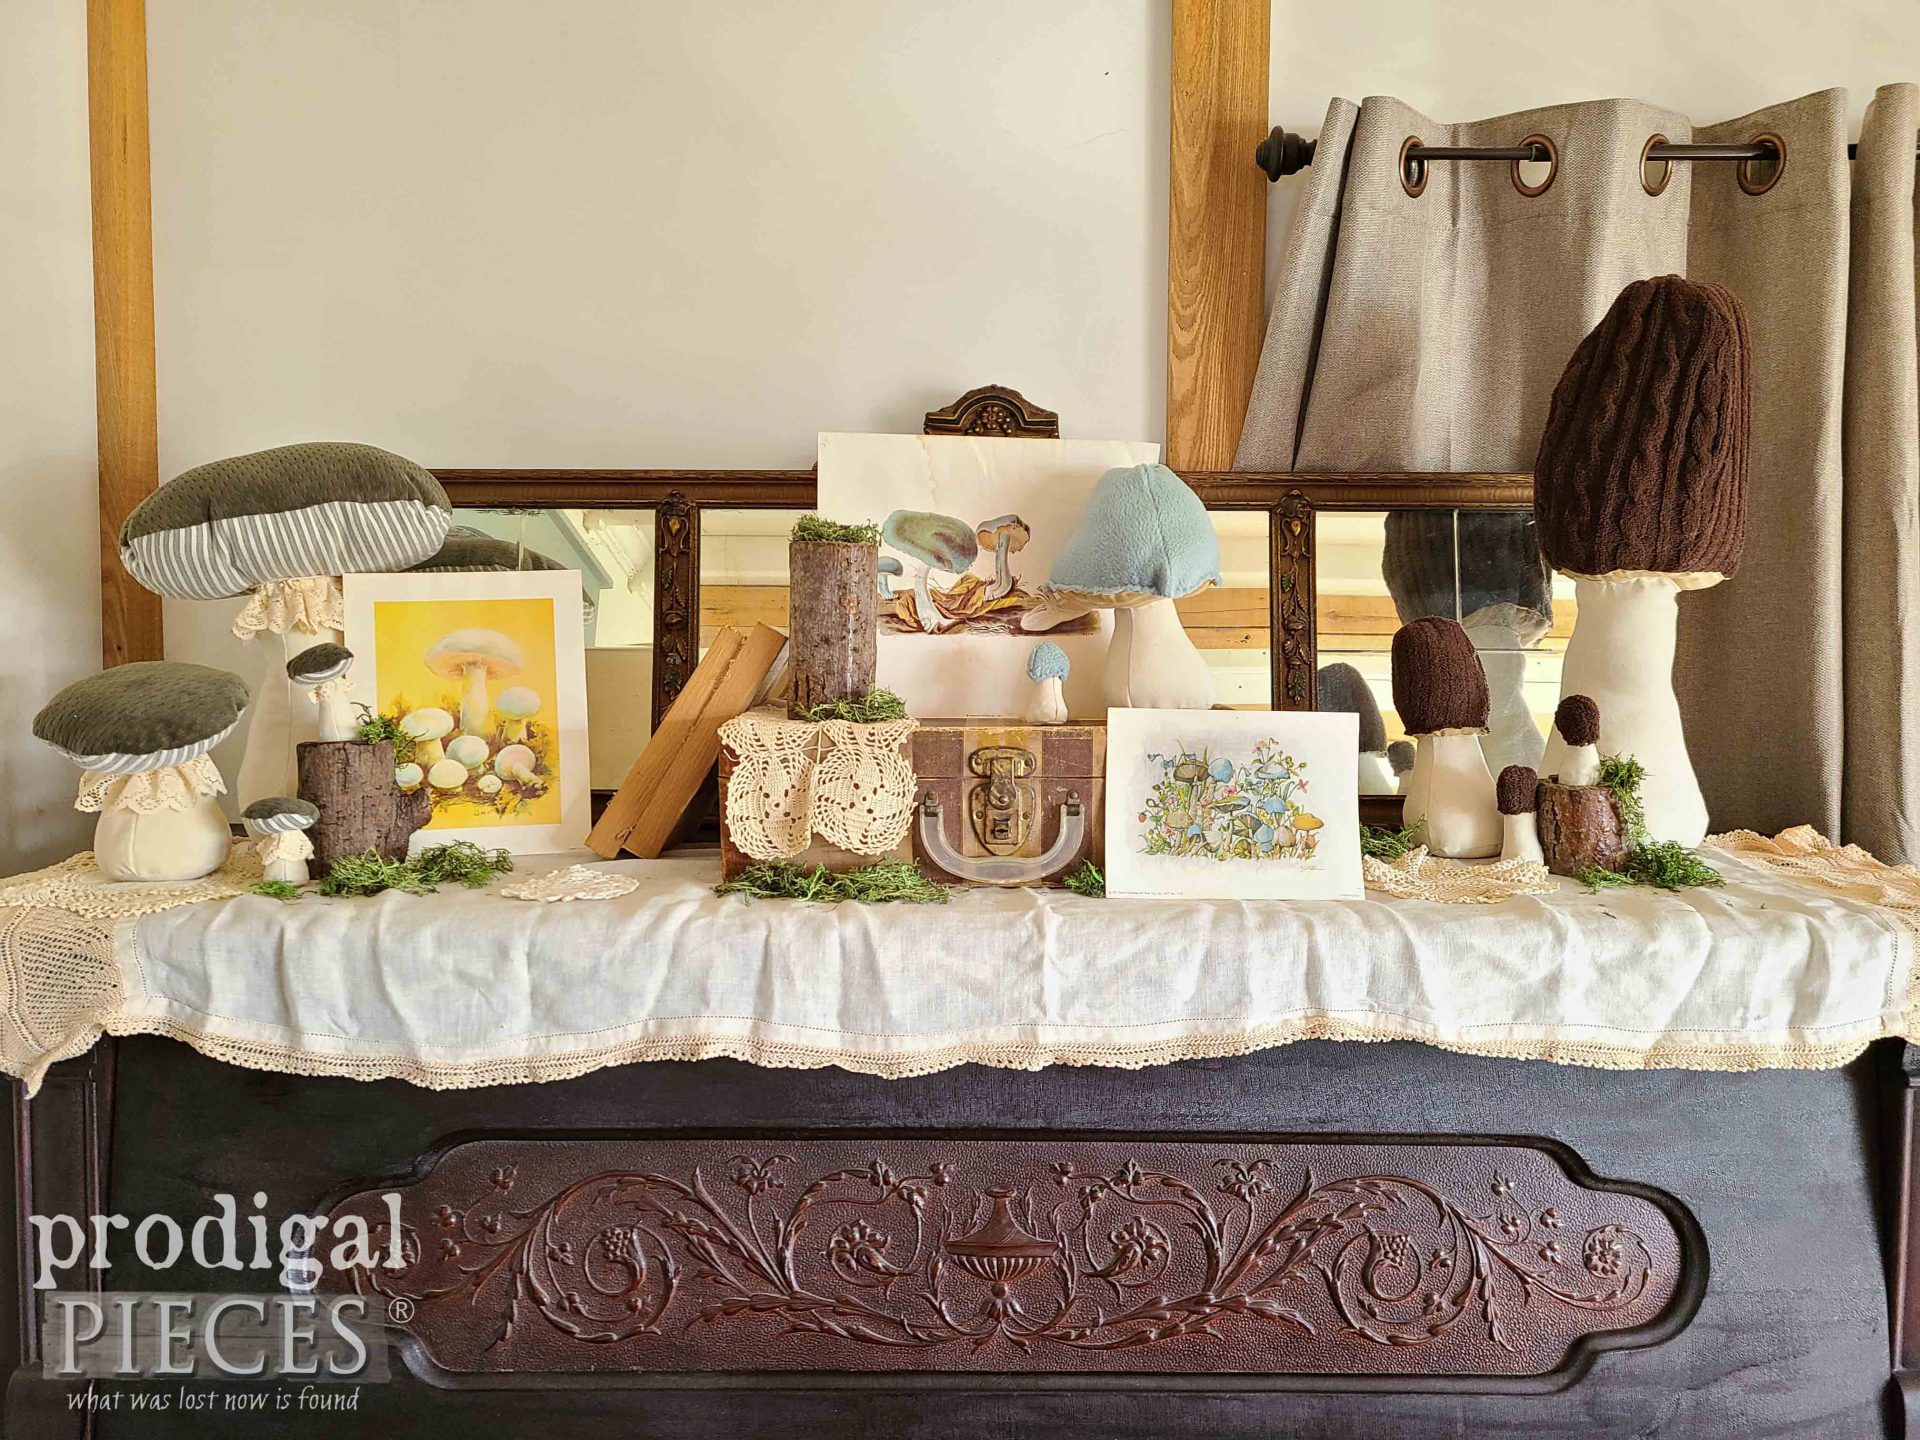
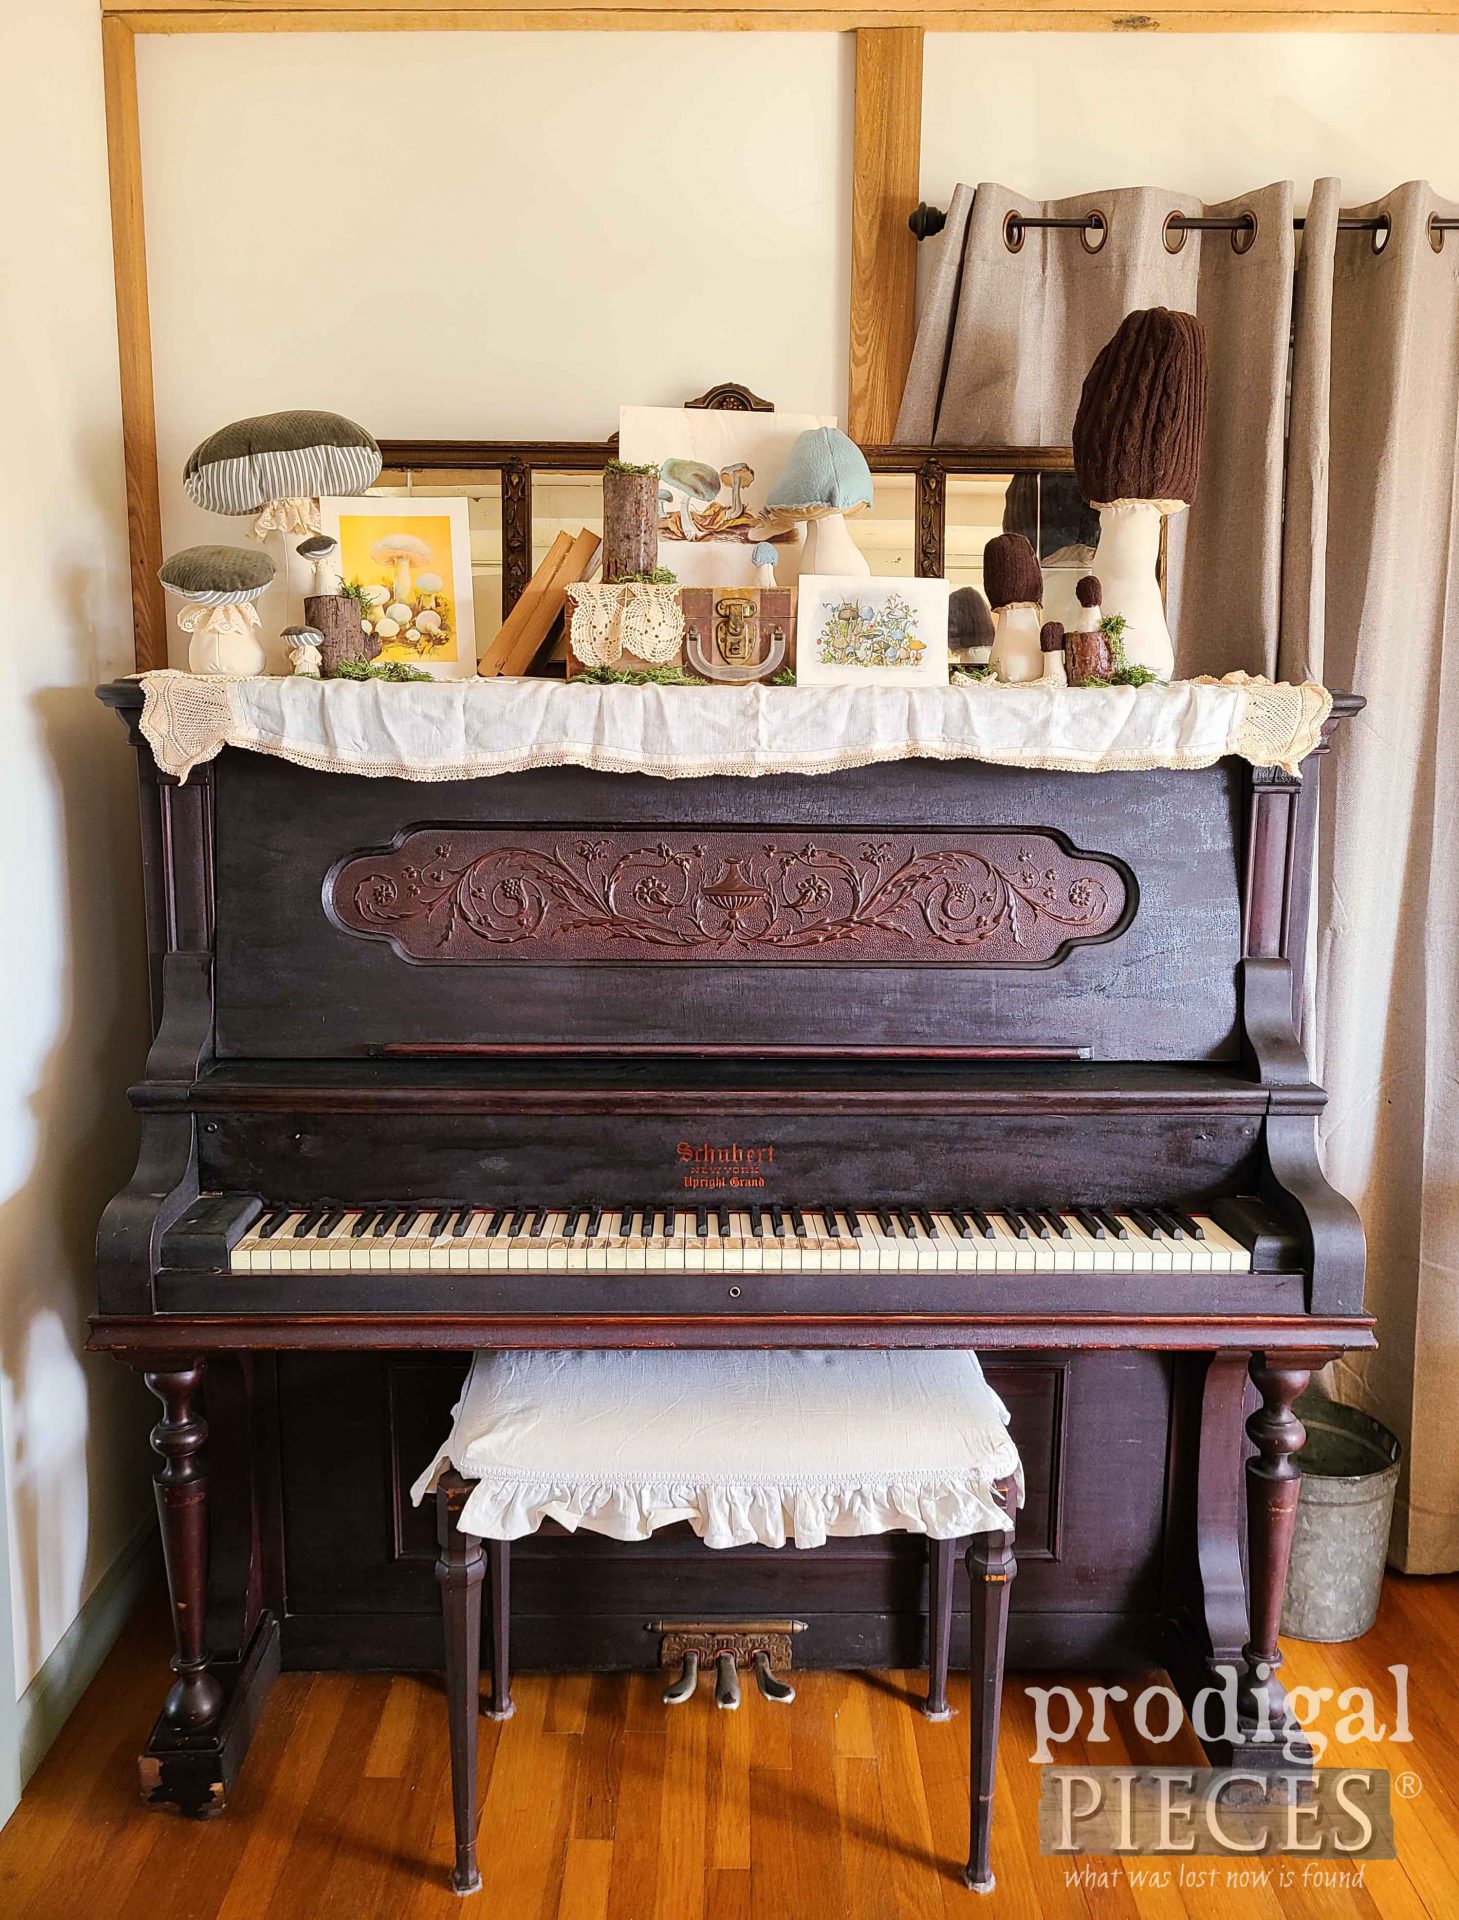
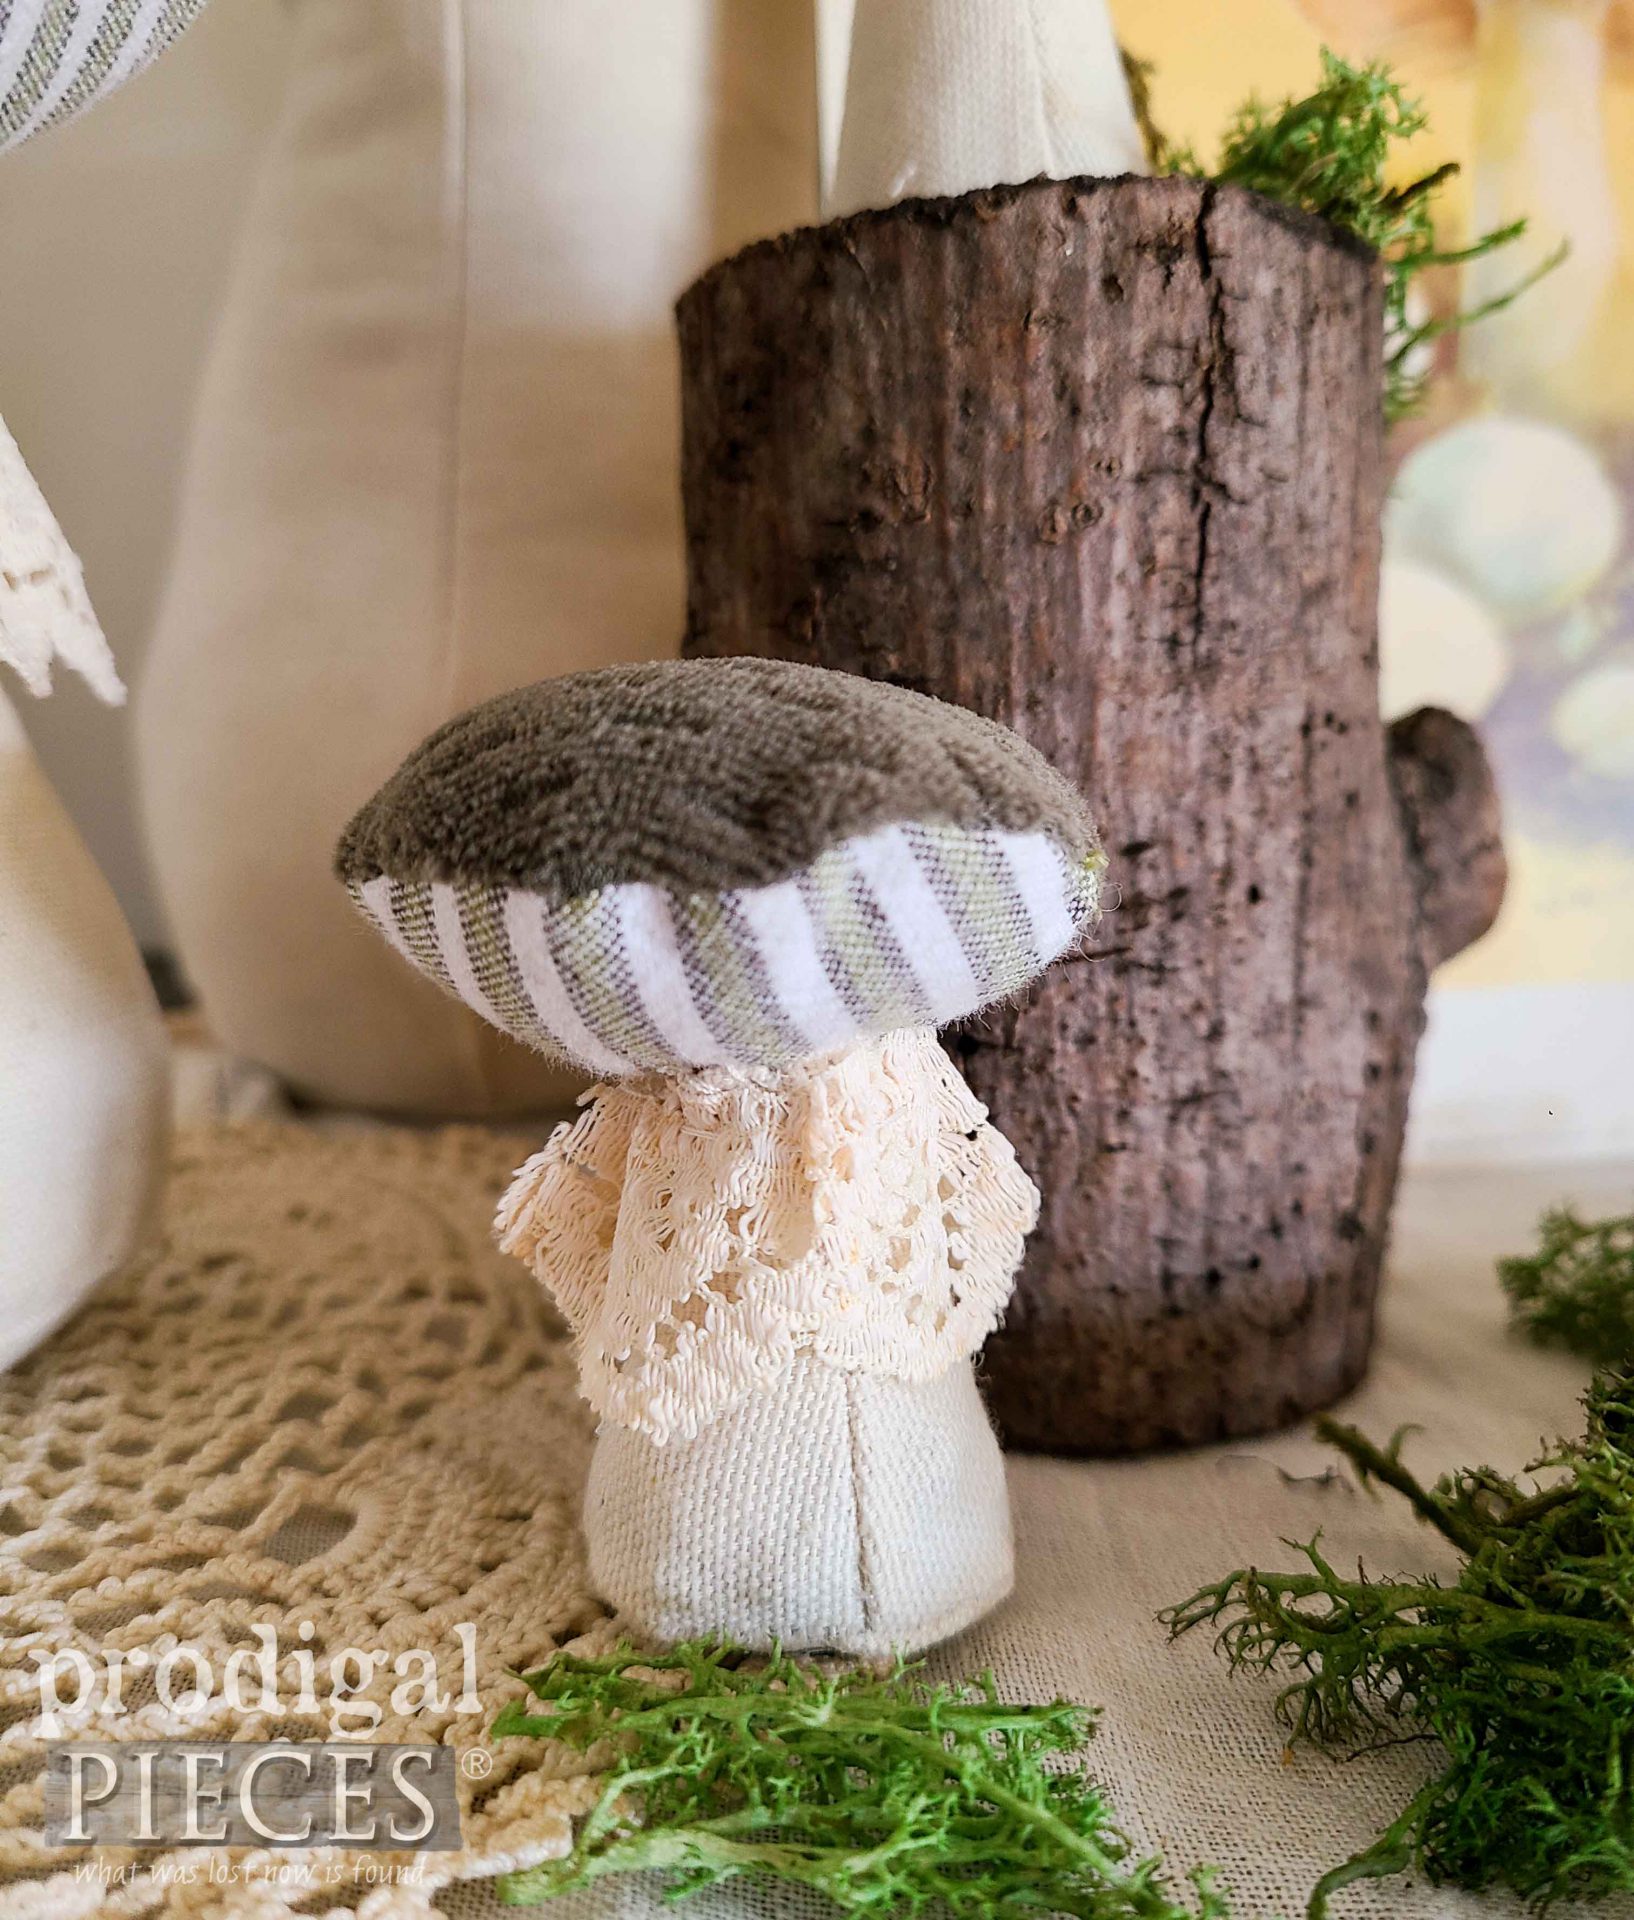
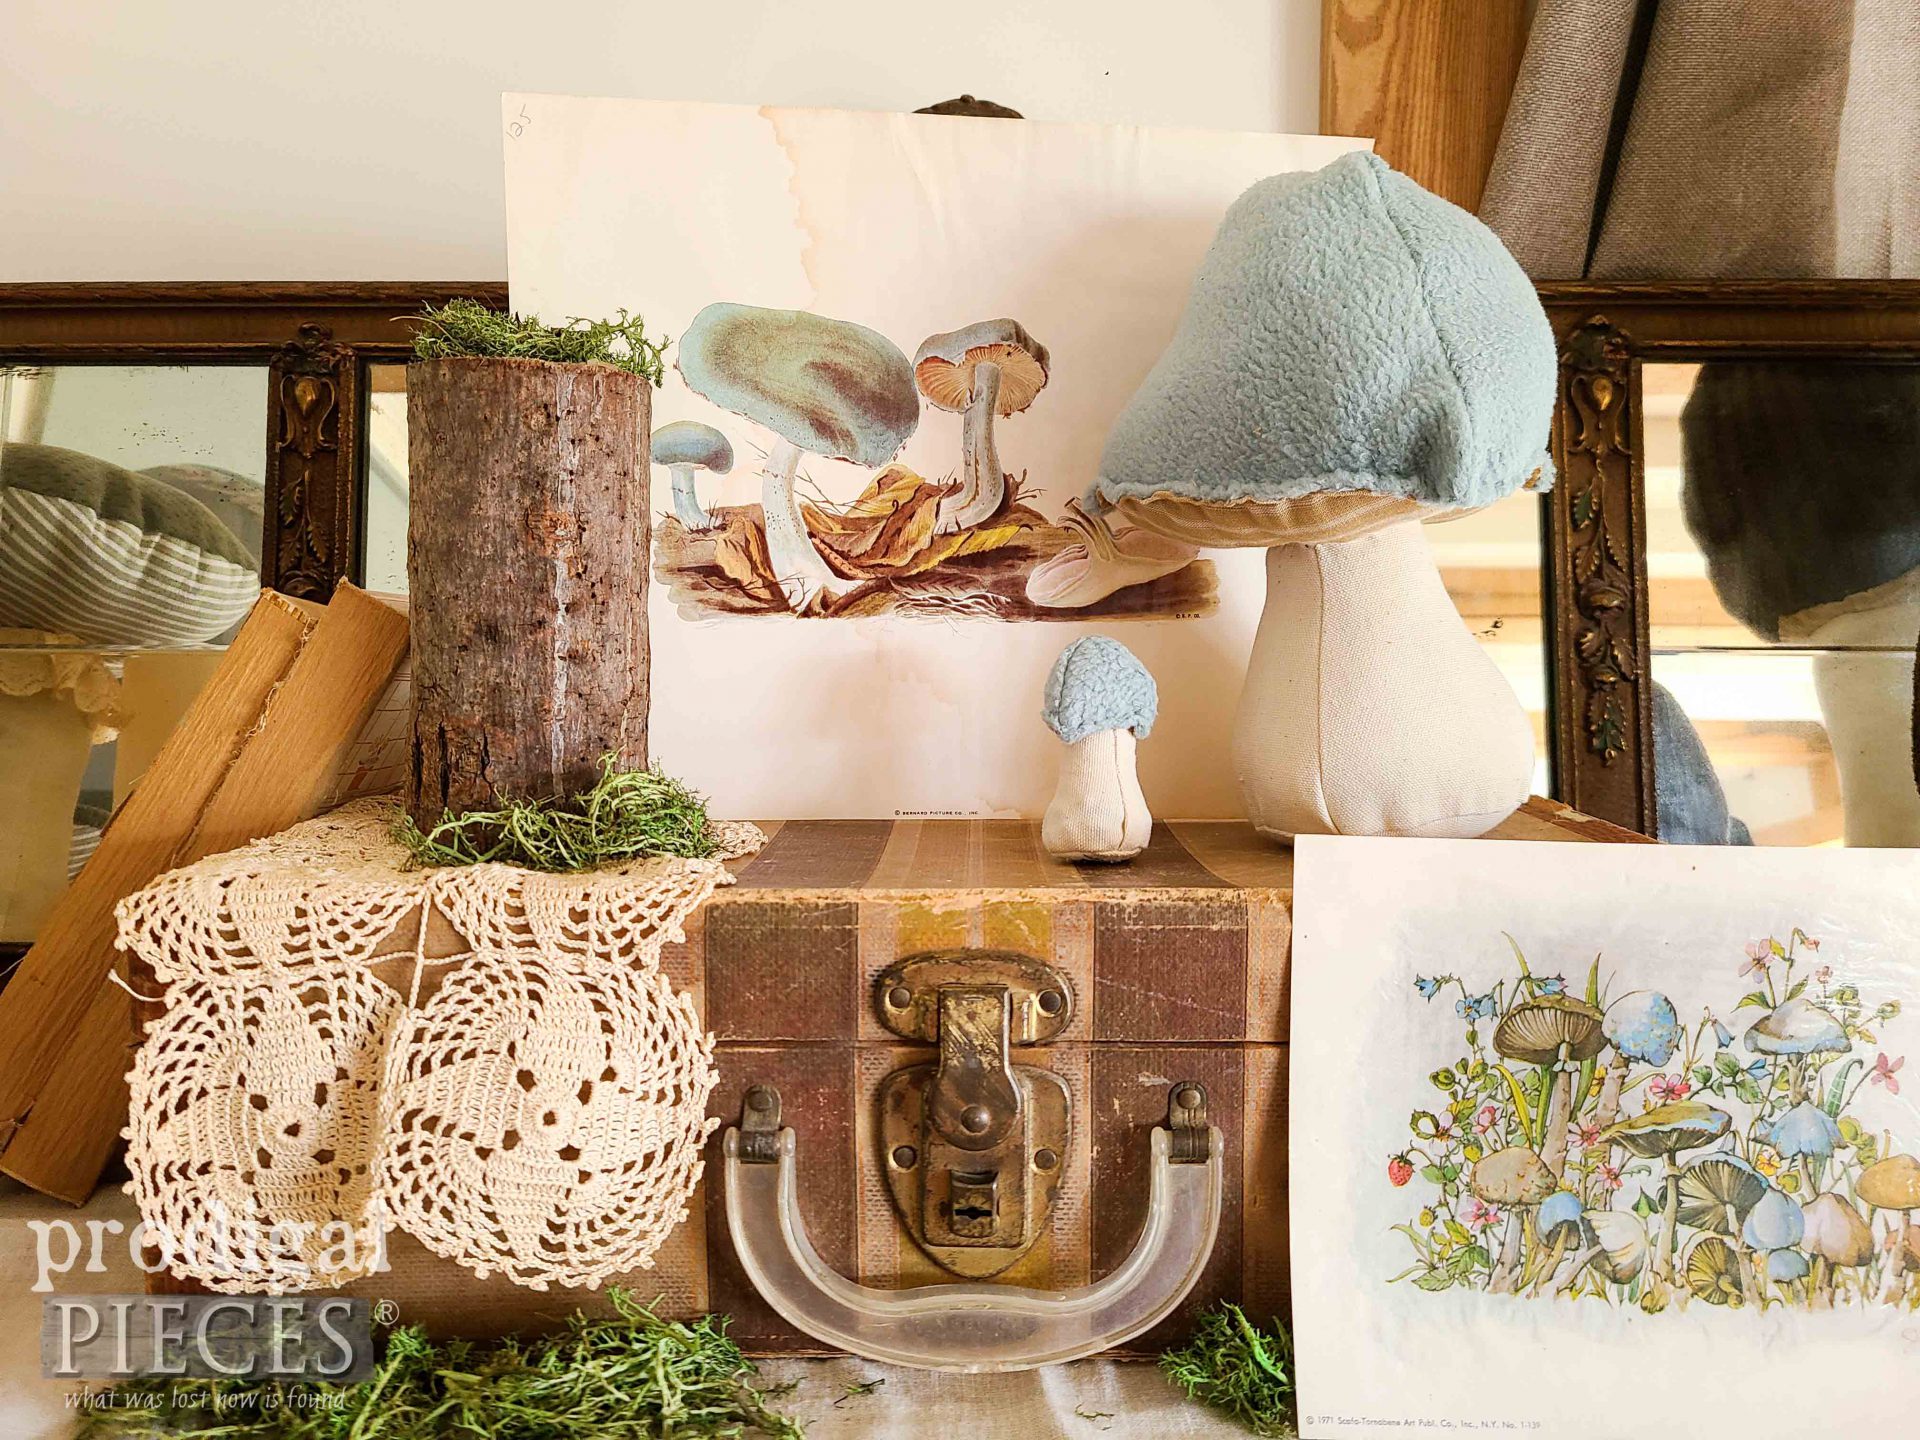
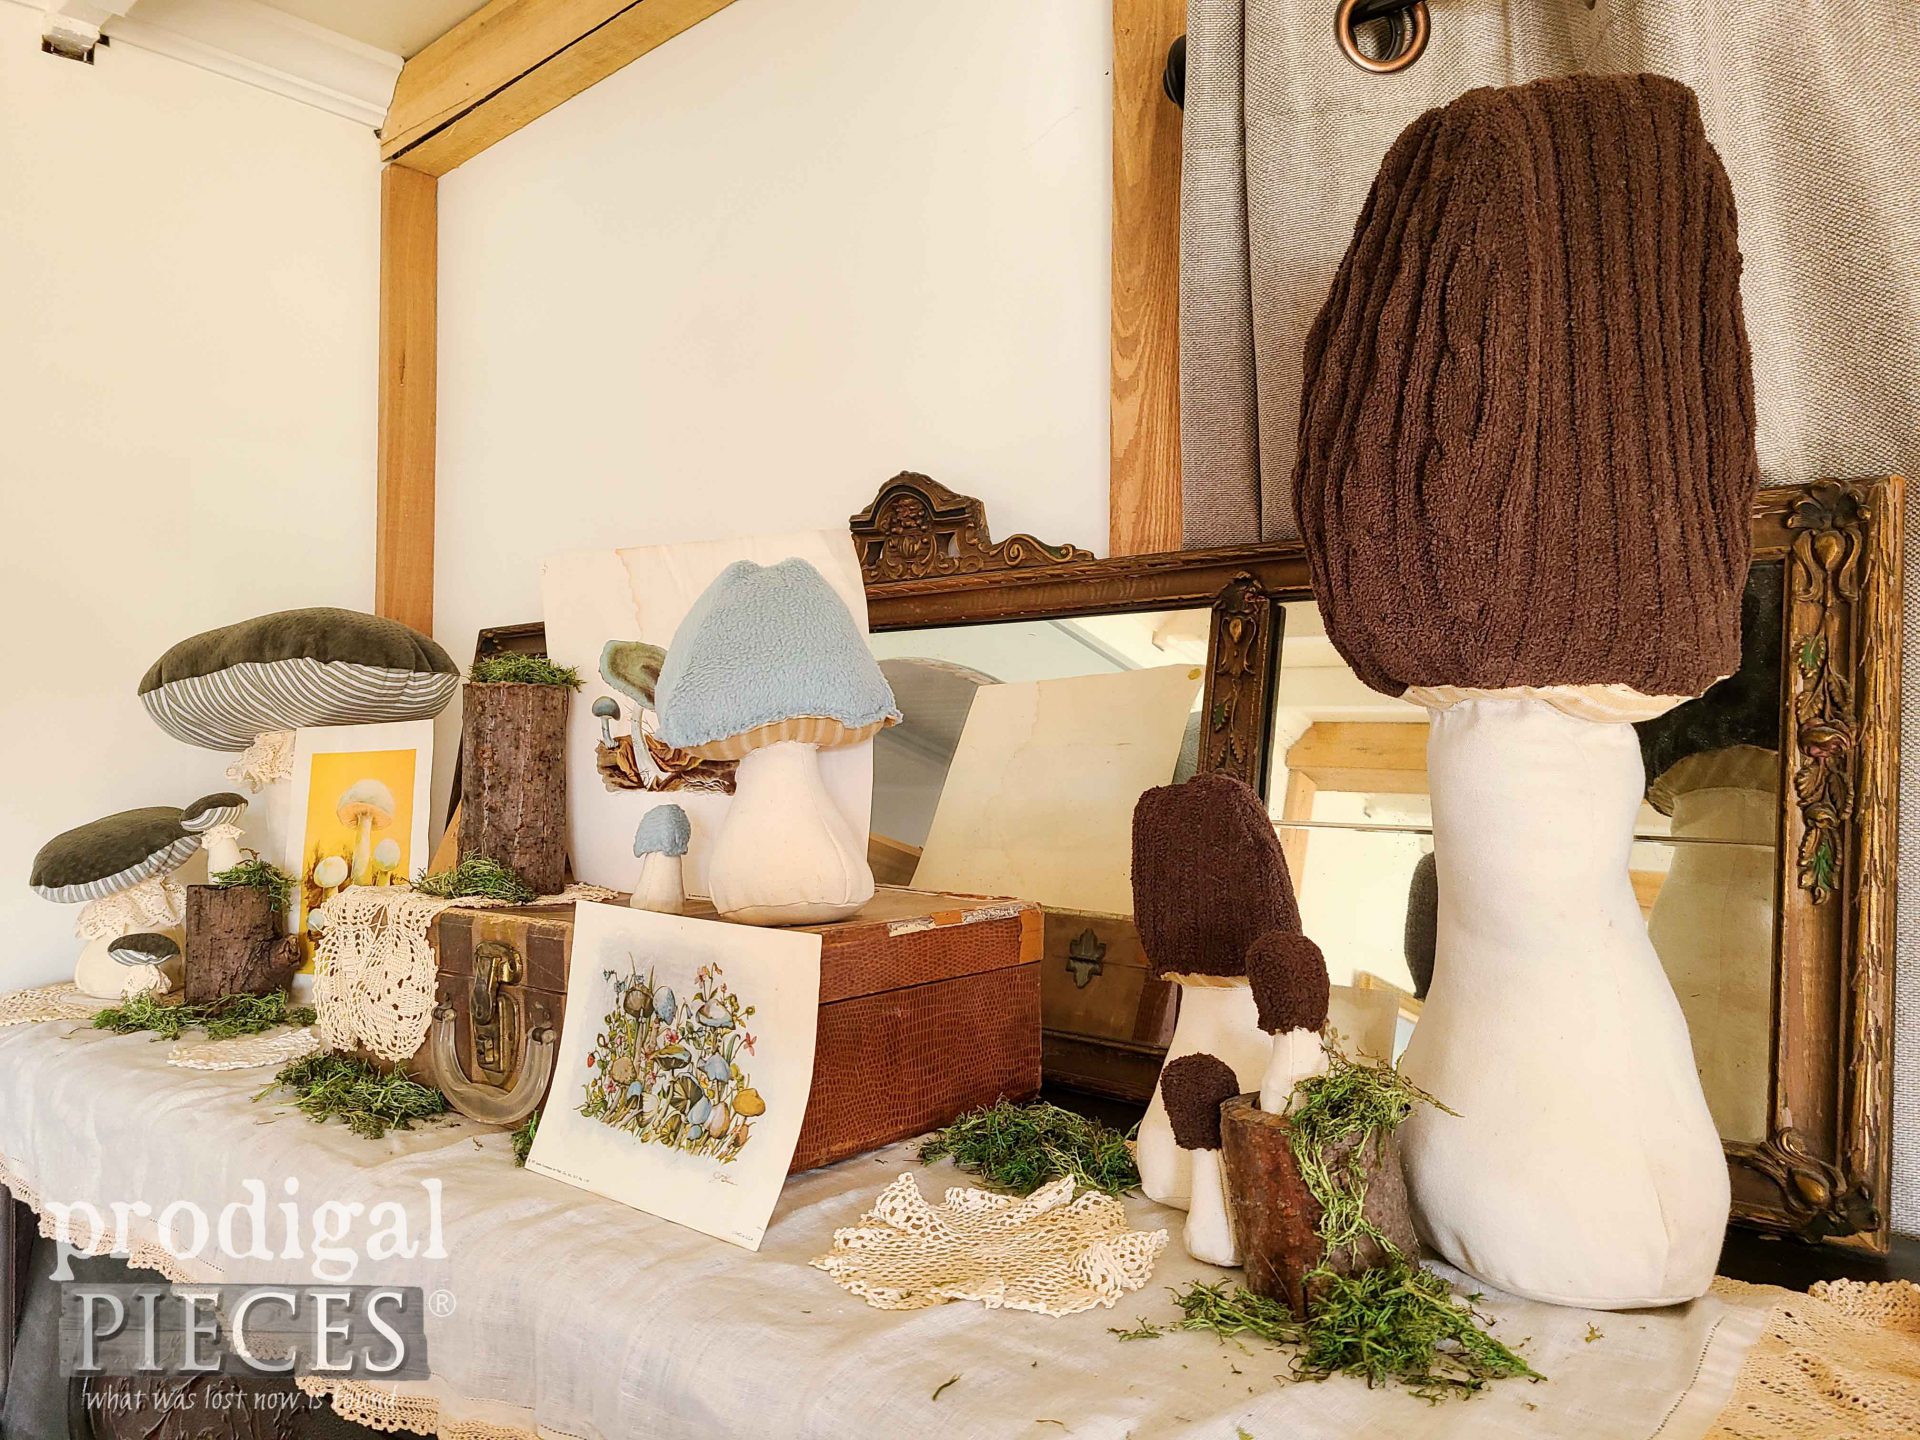
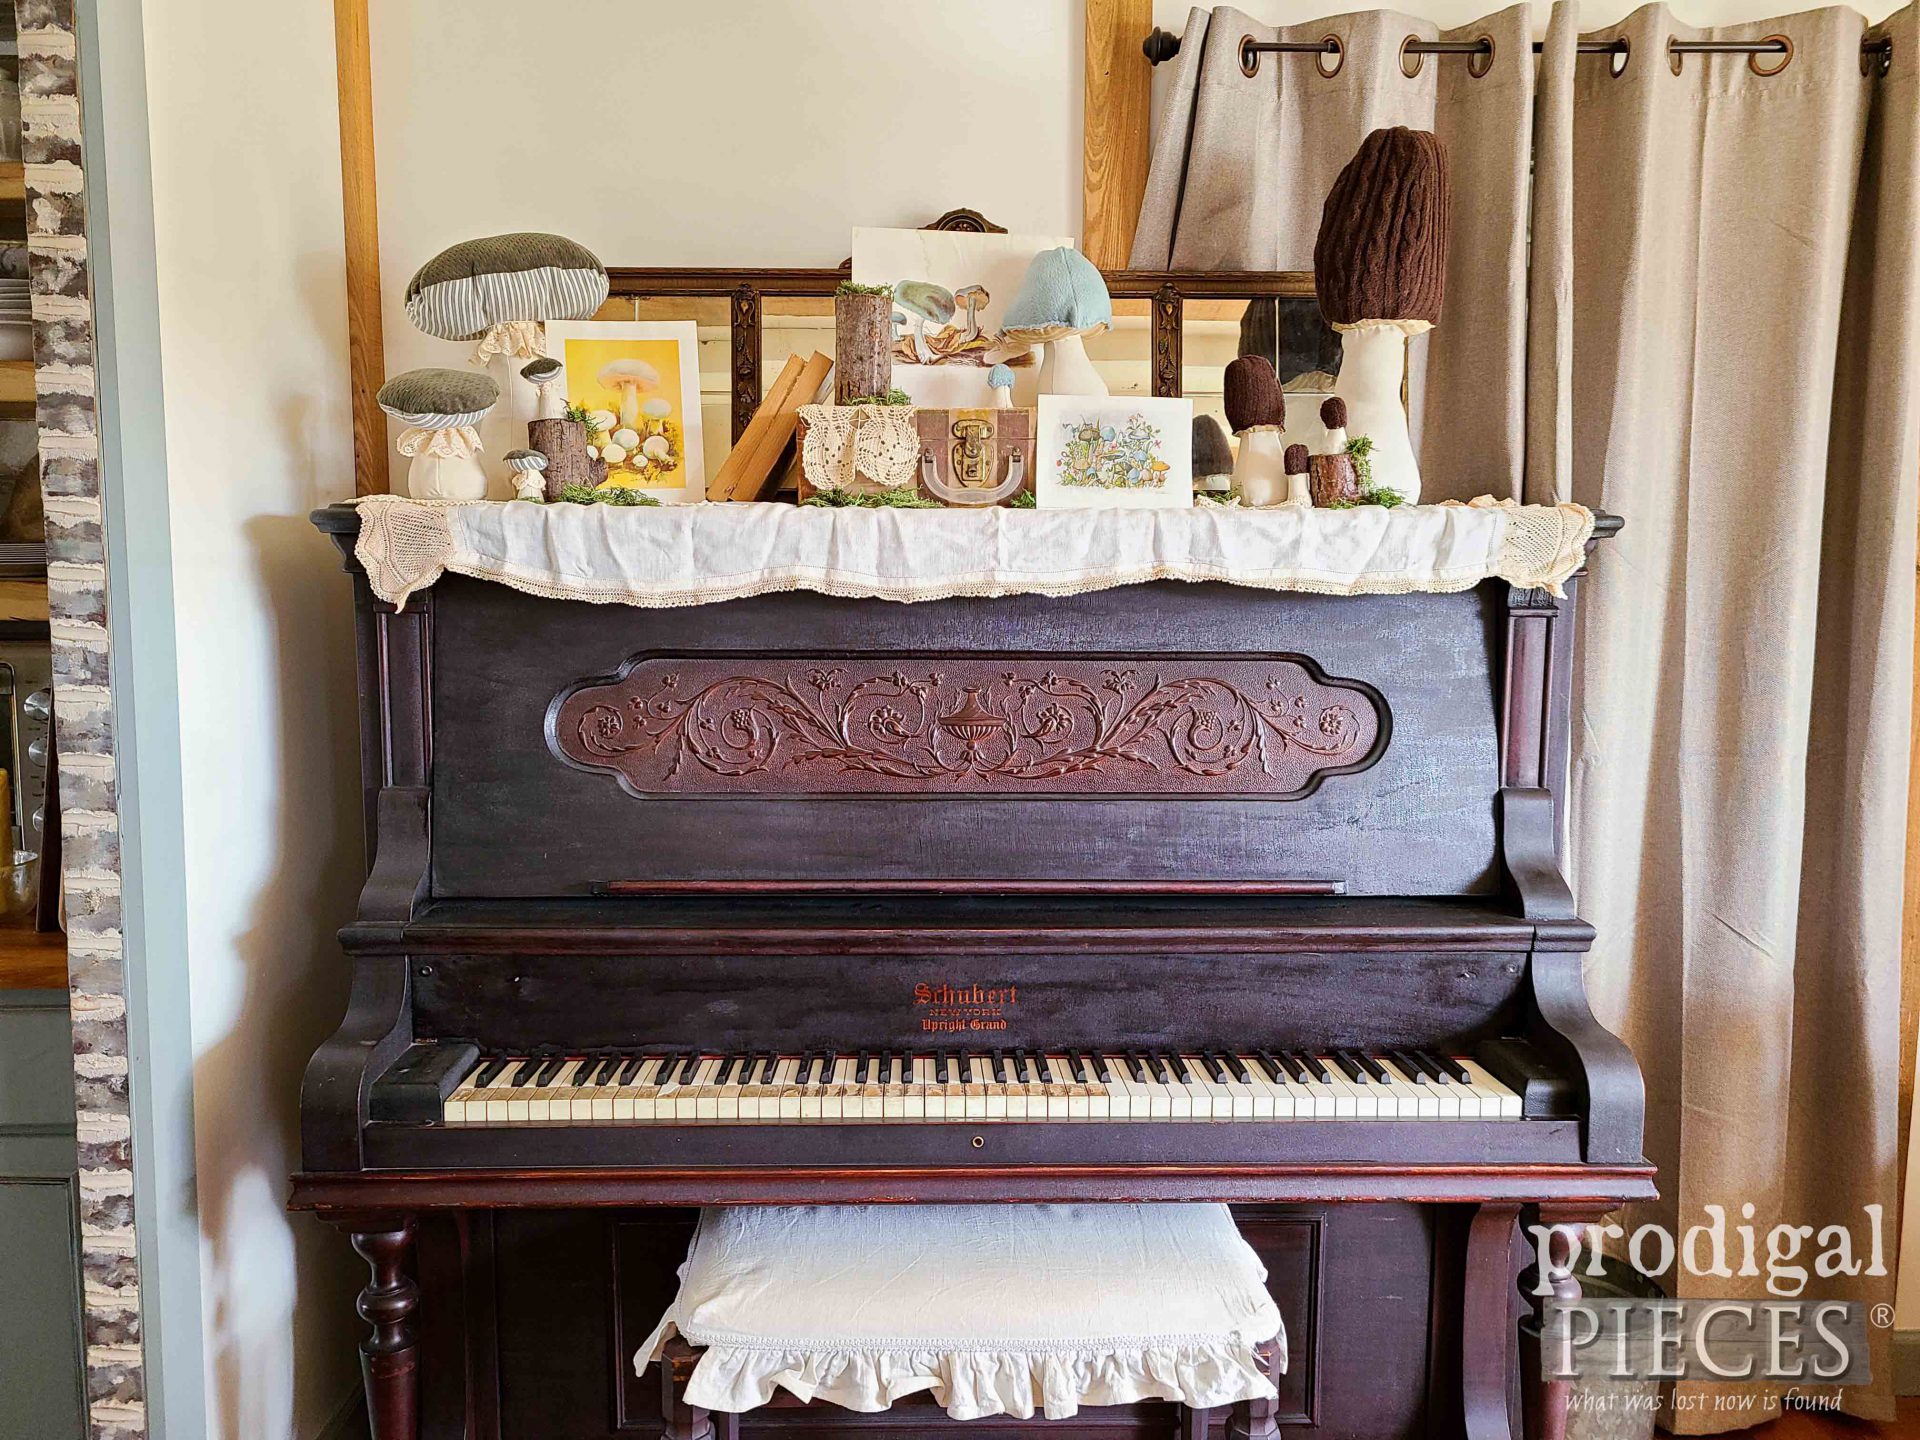
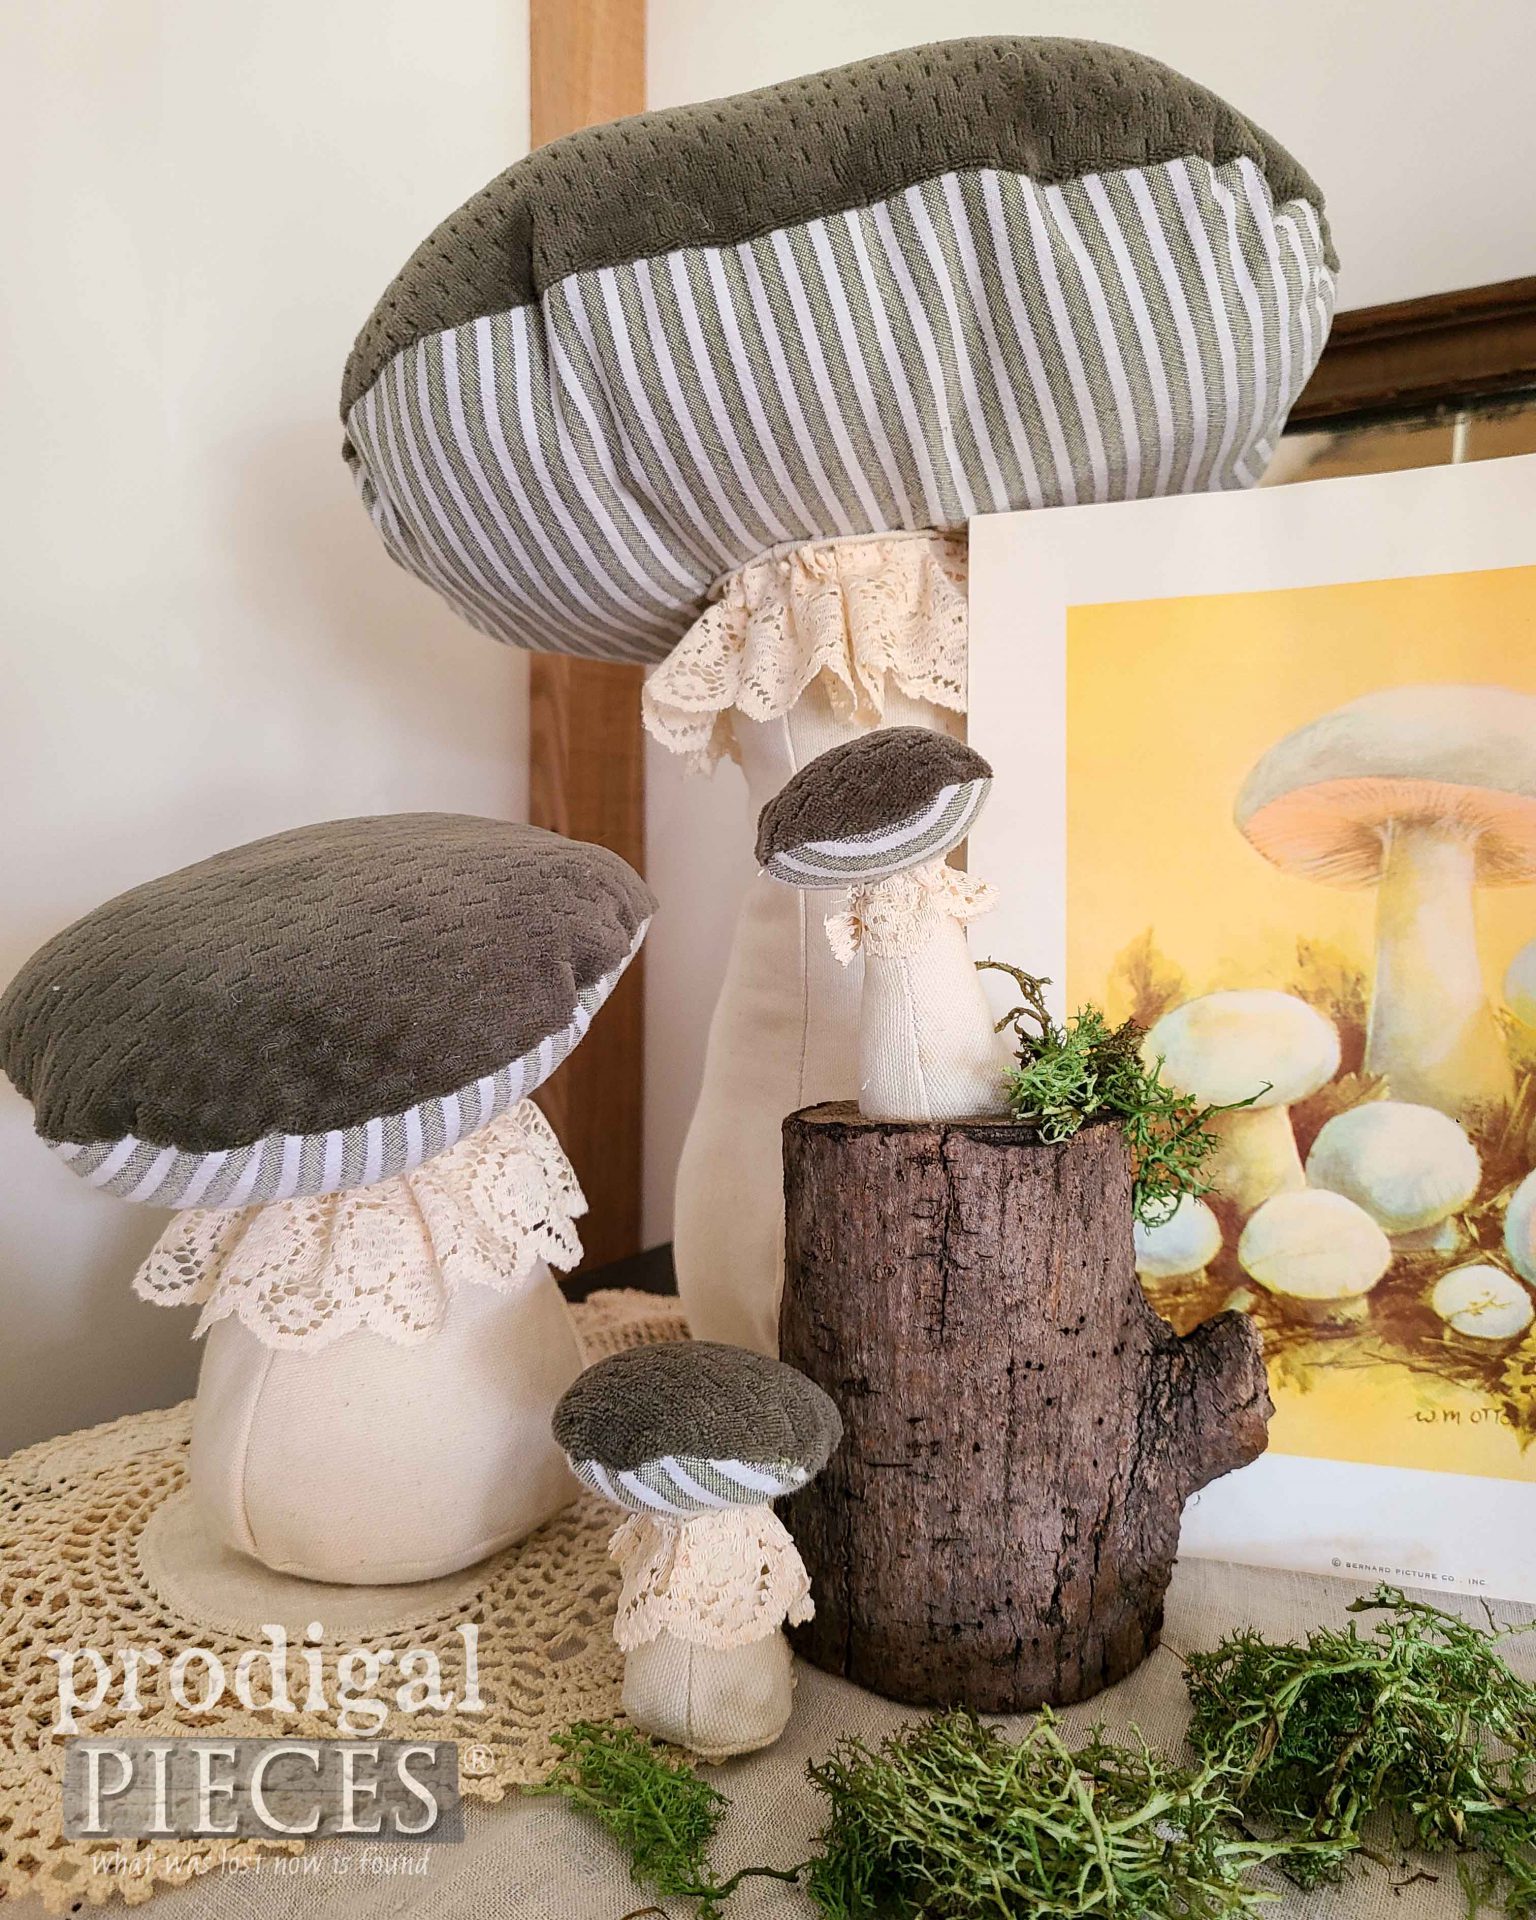
Here are my DIY fabric mushroom assortment ready to welcome spring. I’m so smitten with them all!
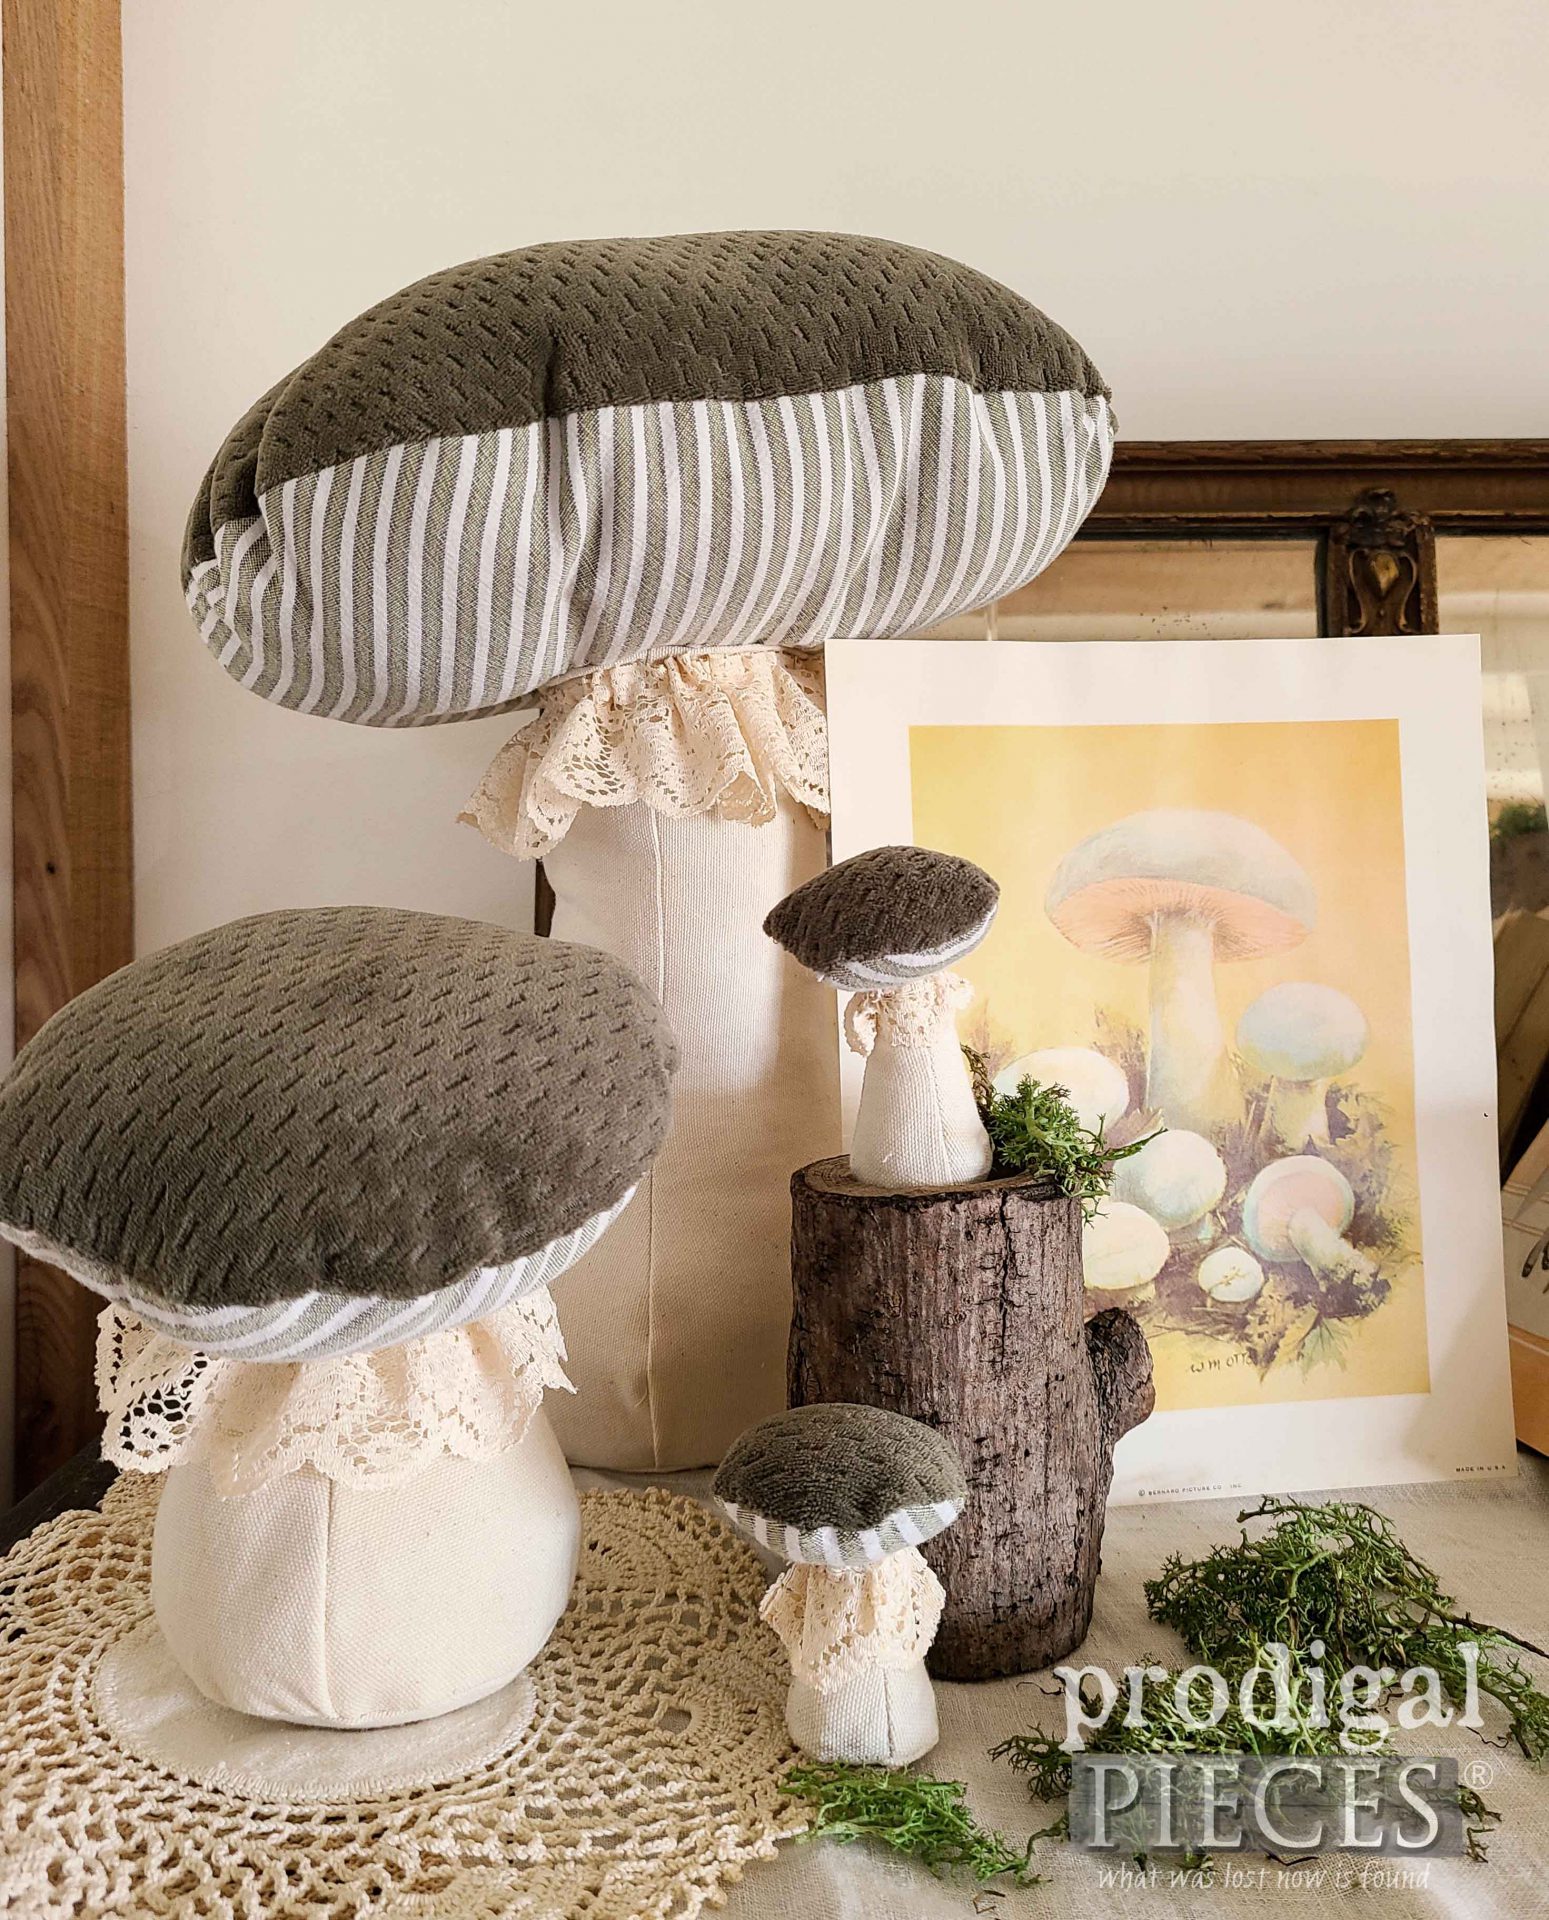
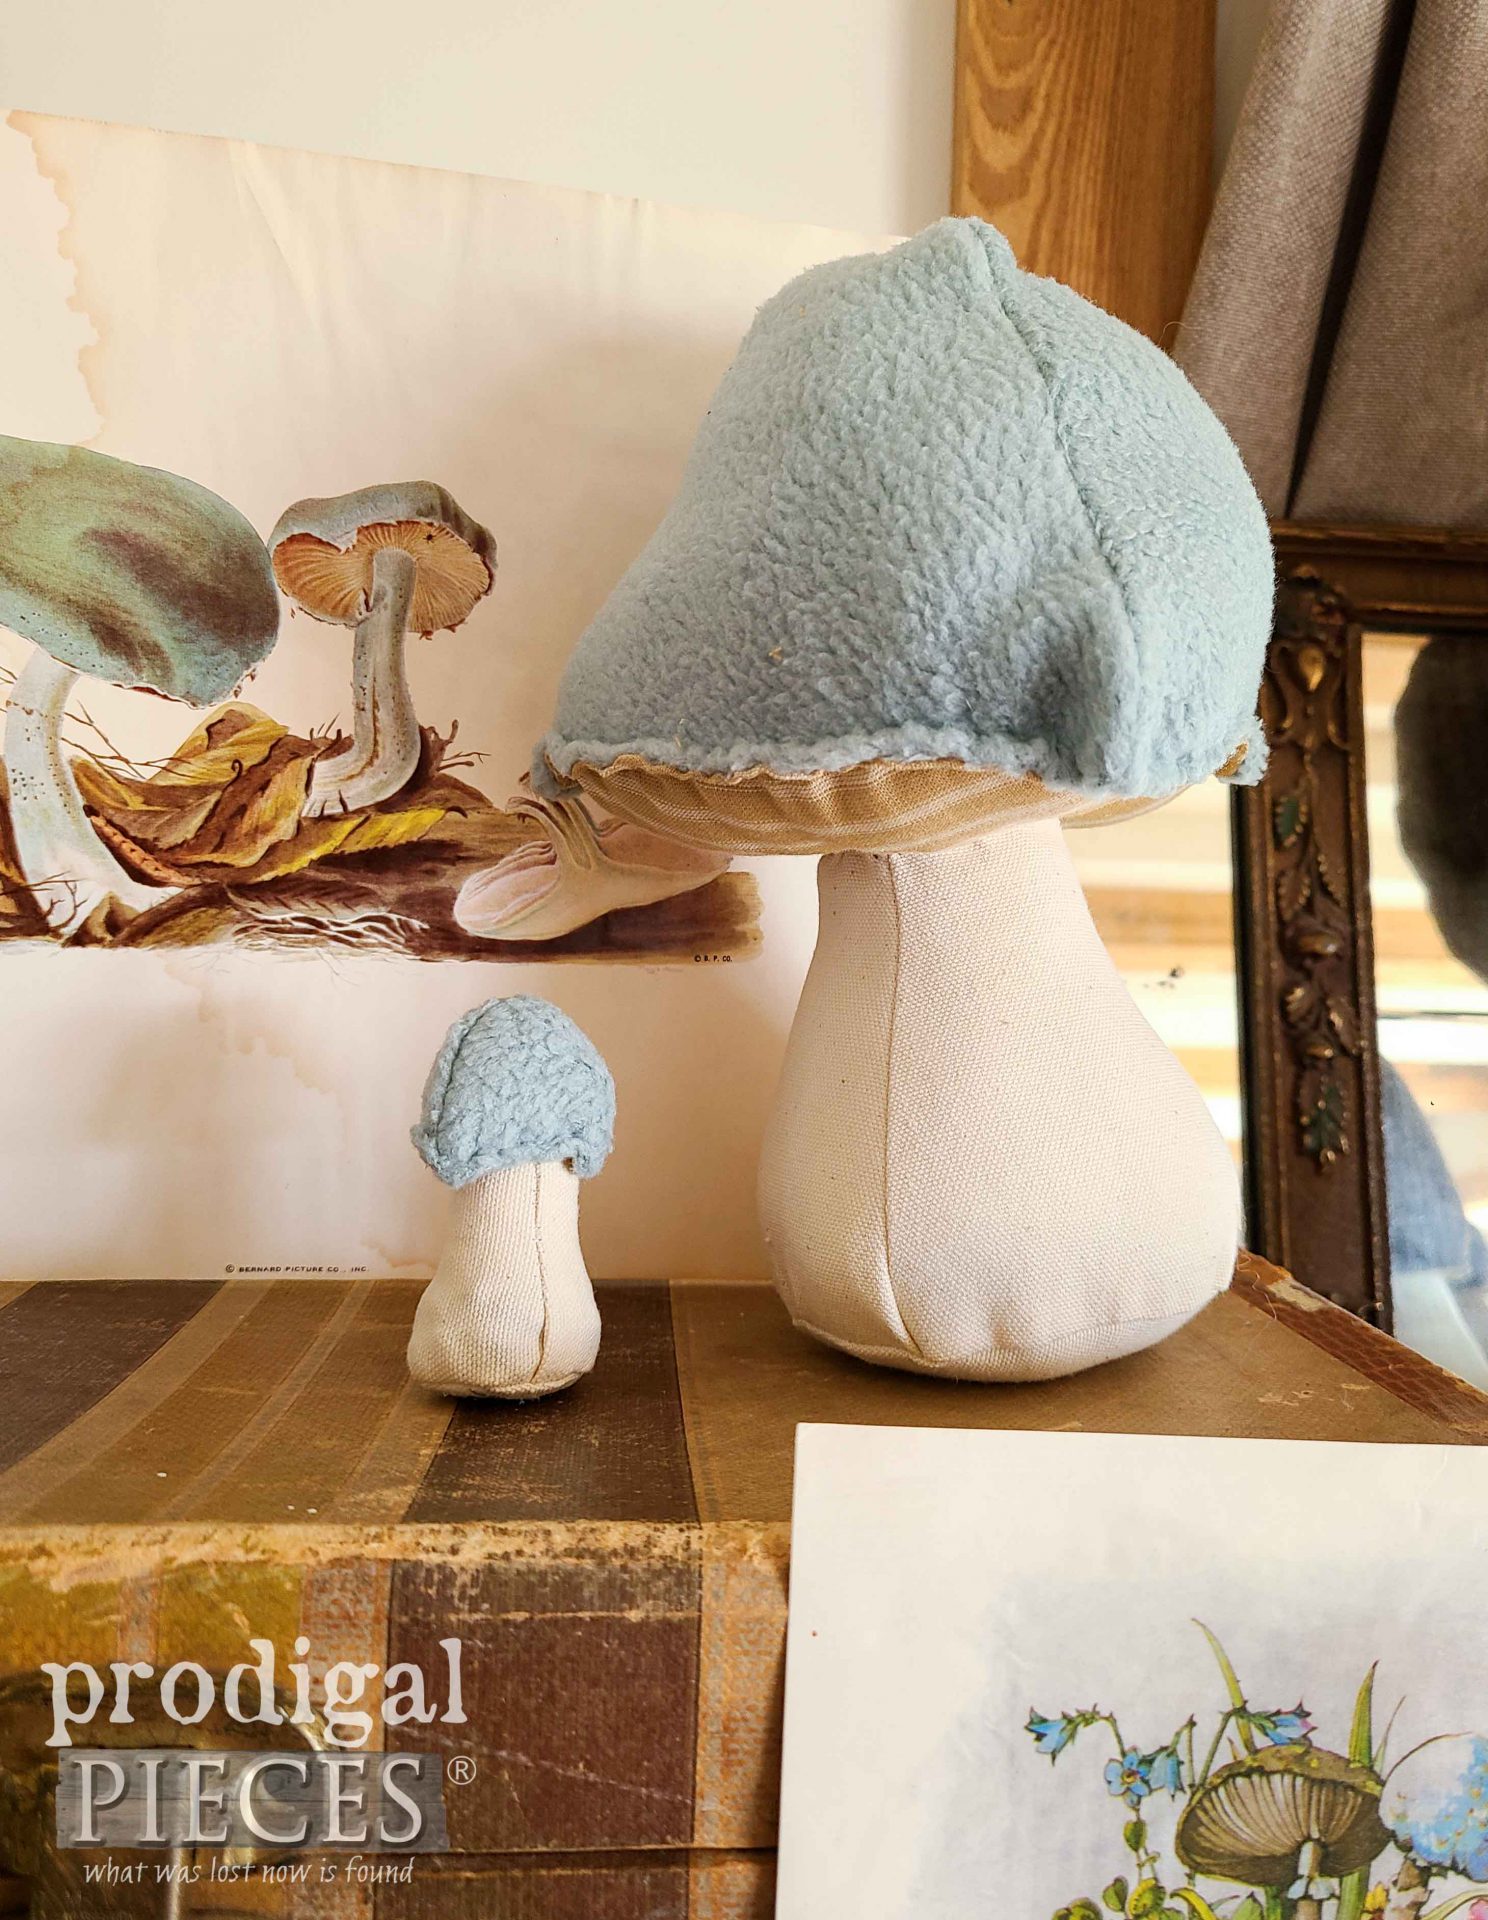
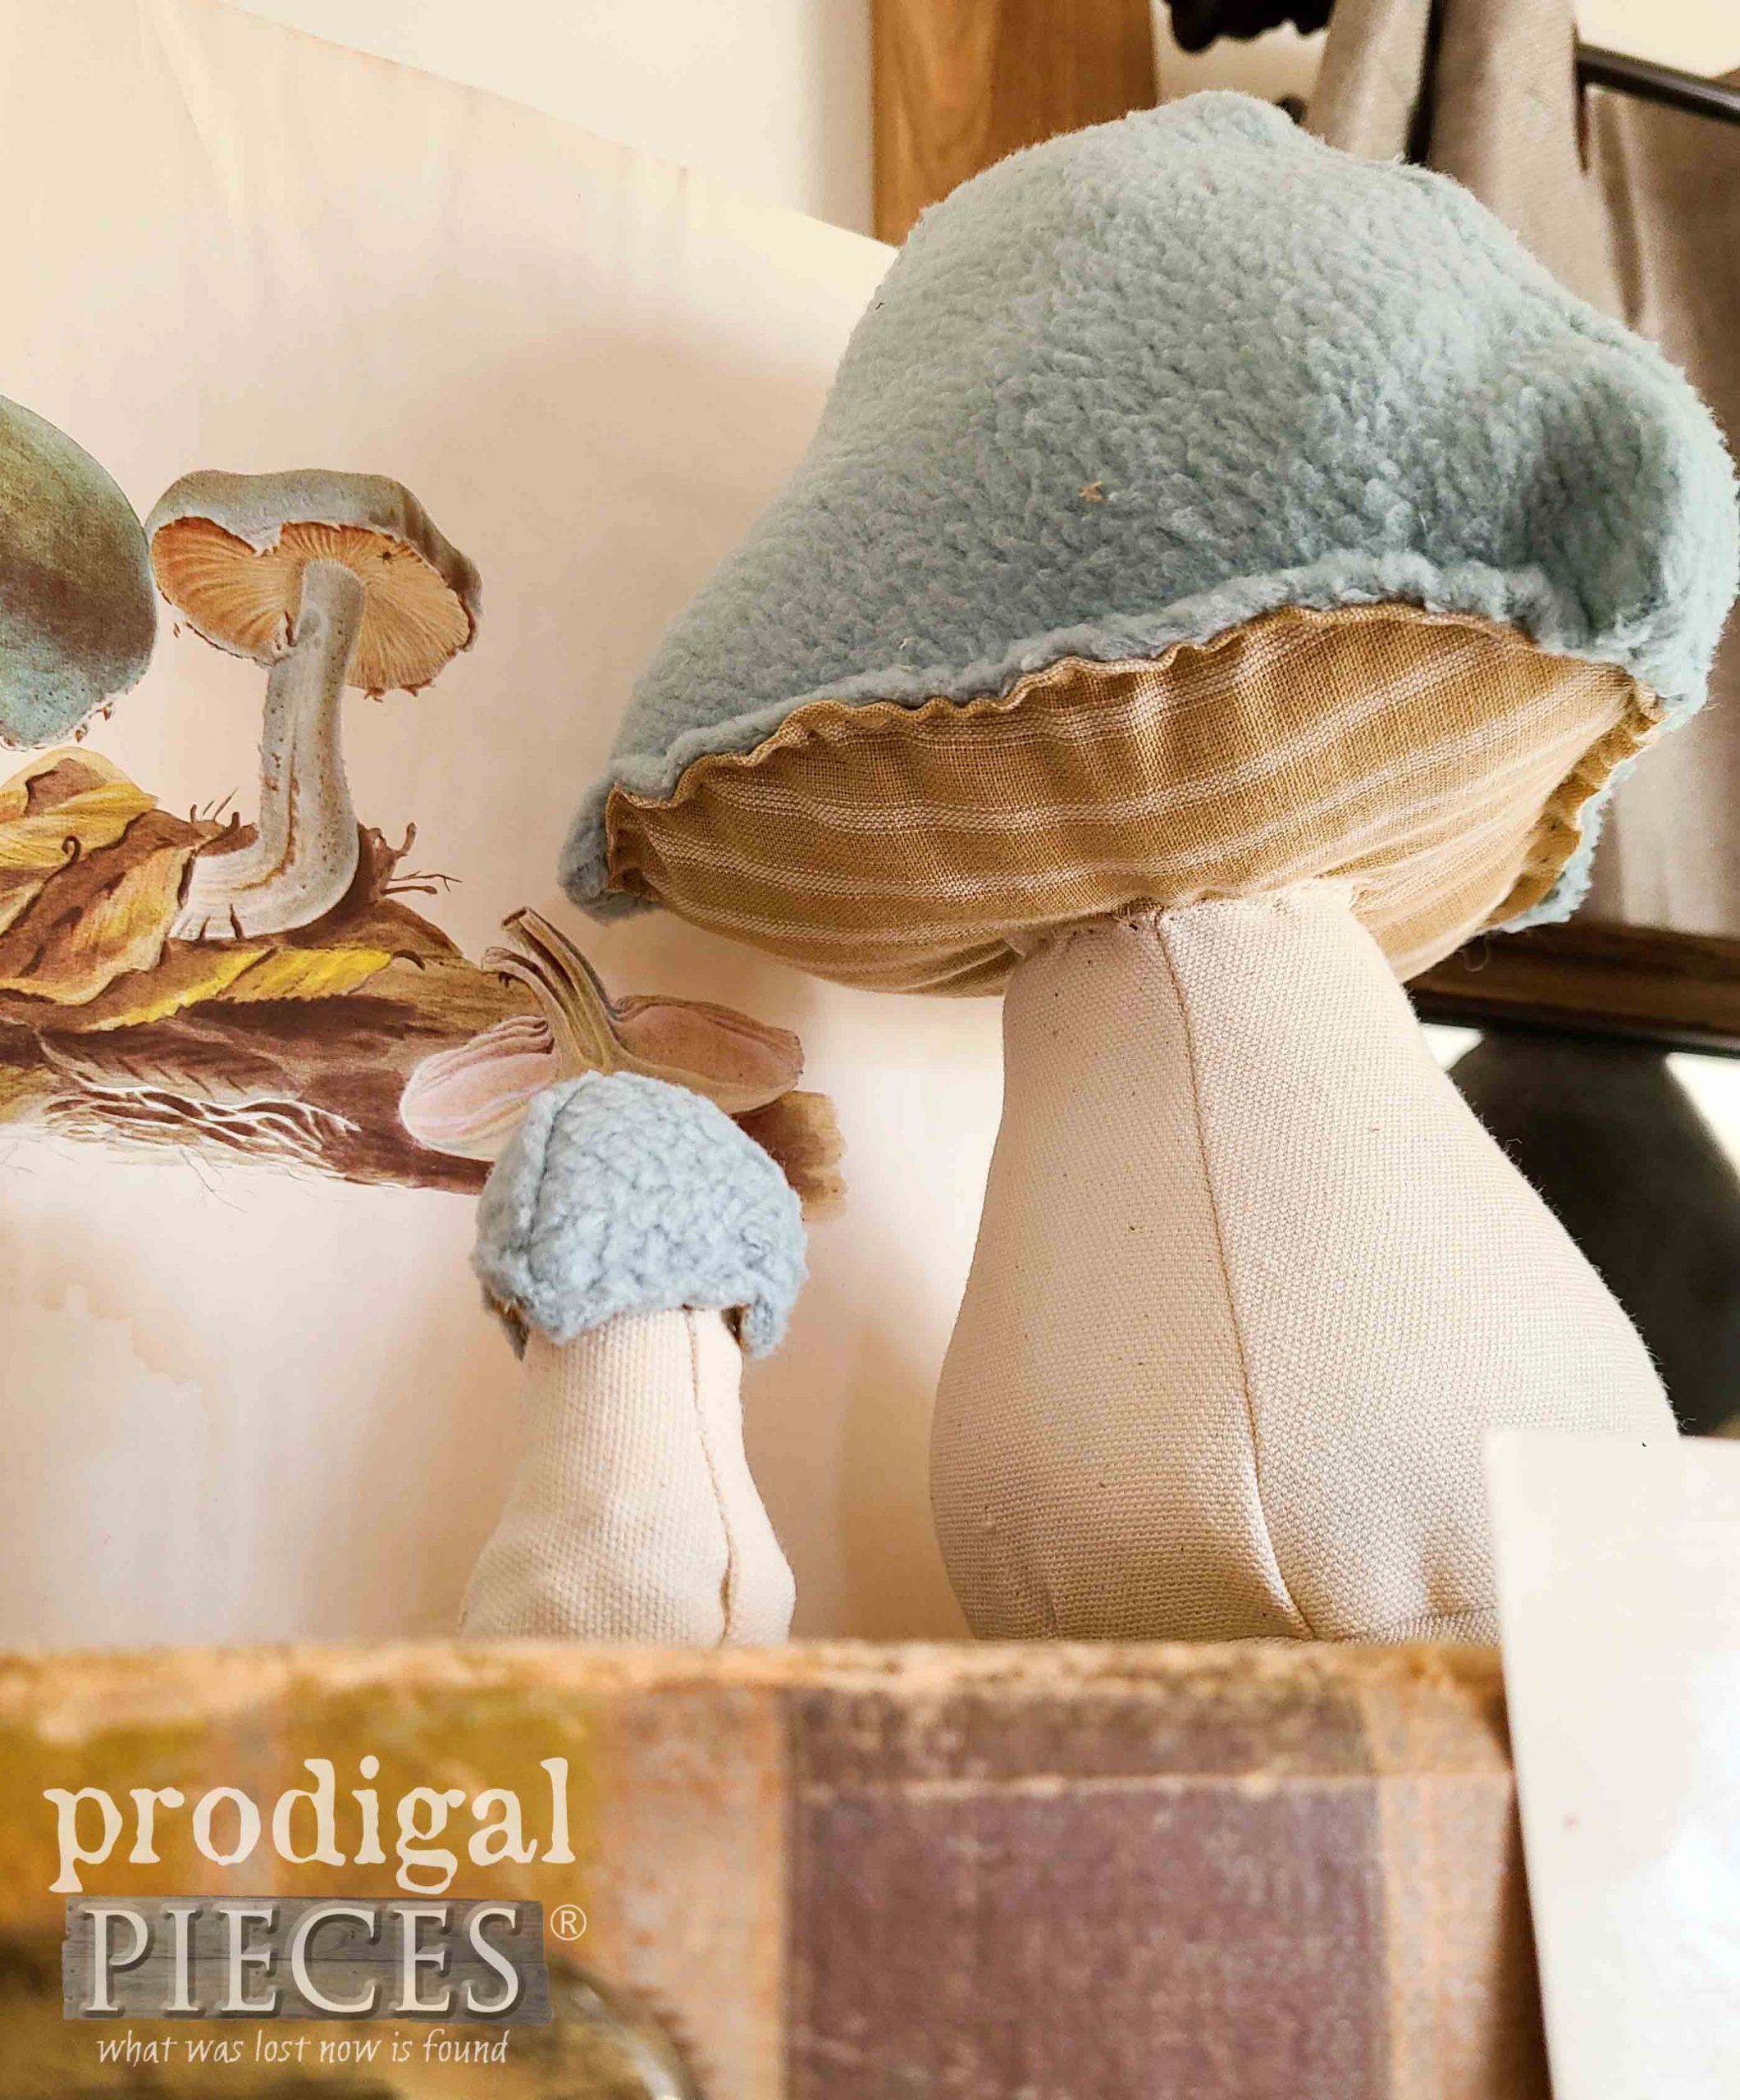
And if you know me, I couldn’t just stop there. hee hee. I had to whip up some other styles too. So fun!!
Who can resist a tiny mushroom? eep! These were definitely tricky to sew, but so worth it. These toadstools are using the same shirt I upcycled in this post for bowl filler. Waste not, want not! In addition, I created these blue versions with a different top design as well.
So…I’ve gotta ask…which style is your favorite? There are so many beautiful parts of creation that I am in awe of how God took time for each intricate detail to make it perfect. Just like you. You are perfect in His eyes. What a blessing!
If you’d like to make any or all of these ‘shrooms a part of your home story, you can find them and much more available in my online store.
SHARE
Additionally, do take a minute to pin and share my refashioned mushrooms. They’re sure to bring a smile, plus it’s fun to inspire!
Up next, be sure to sign up for my newsletter. so you can see what becomes of my neighbor’s trash. tee hee. HEAD HERE.



I don’t think I can choose one style , I love them all! I used to have so much vintage mushroom decor and sadly lost pretty much every material thing 4 years ago in a storm. Lately when I find any kind of mushroom decor at thrift stores they have outrageous prices. So like you I try to make my own. As always you knocked it out the park and have a blessed day!
Oh goodness, Lori. That’s awful! I’m so sorry. I have all these vintage prints that were stashed in my basement and a lazy plumber sprayed water all over my shop inventory damaging the prints (as you can see). Hang in there!
These are great! I love the blue ones, both shape and color!!!!