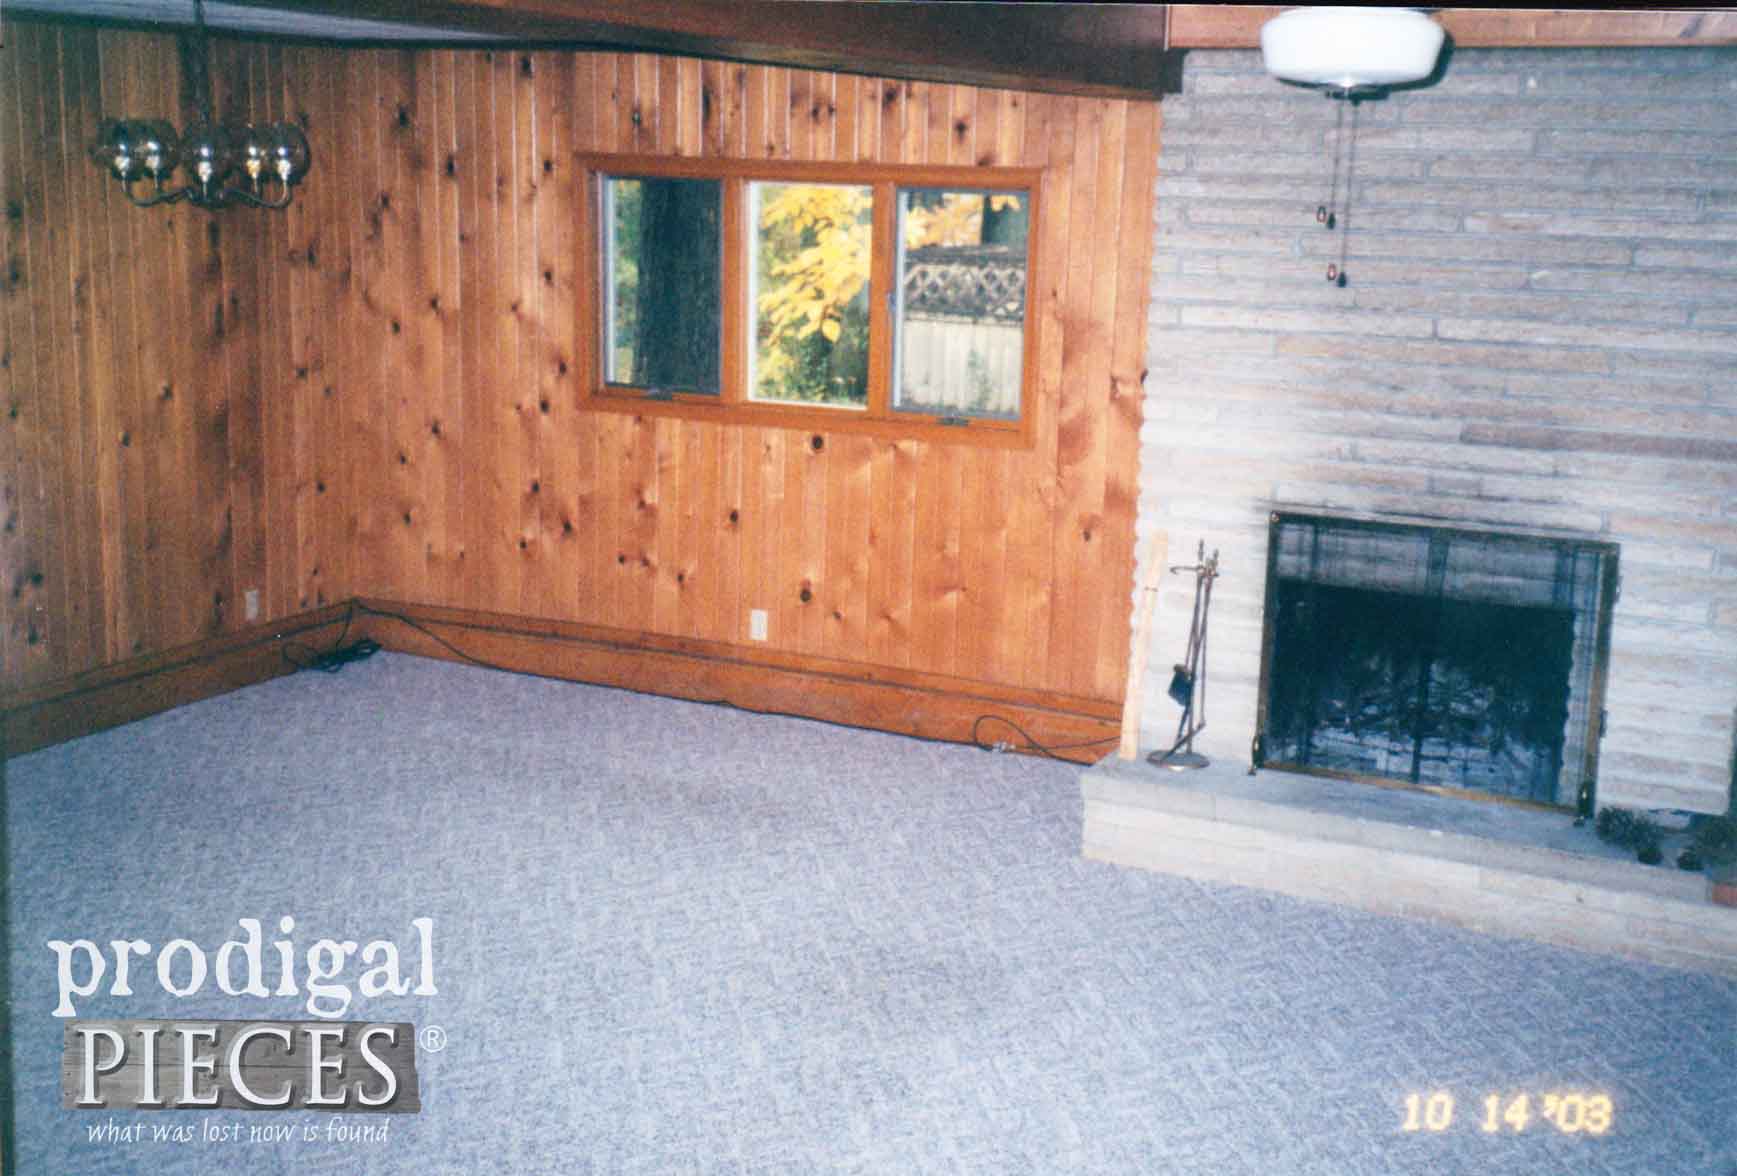
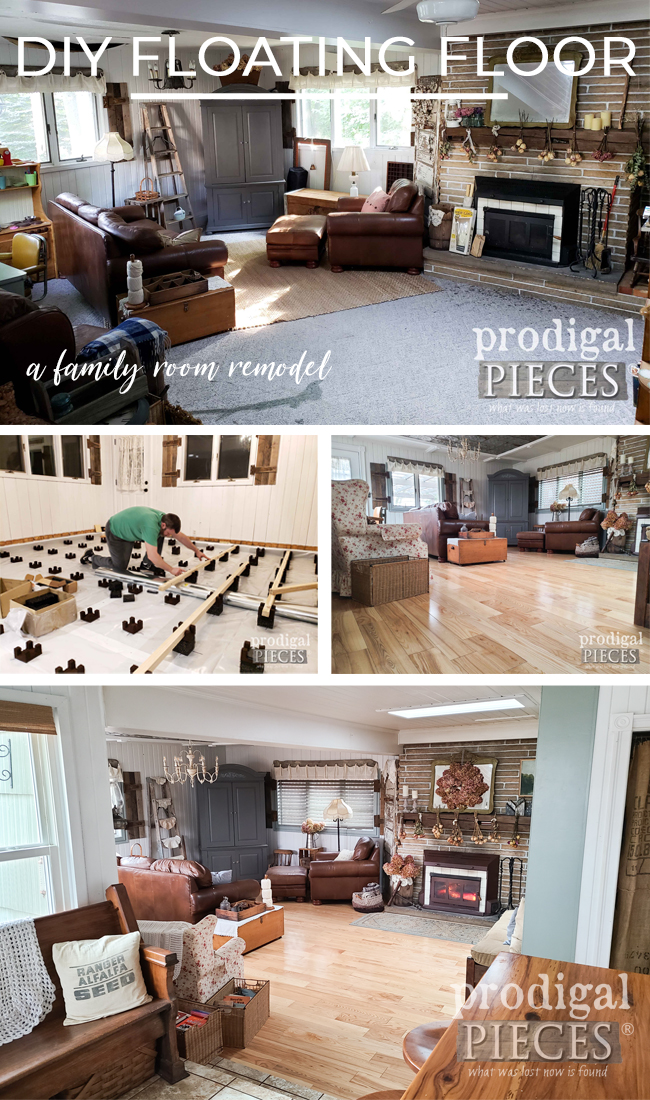
Do you hear the angels singing? Well, maybe not angels, but my voice is singing praises that we have arrived at this point today and I’m not sure it’s angelic. ahem. With that in mind, as promised, I’m sharing our family room remodel complete with DIY floating floor. While some of you may be wondering why the big to-do, let’s take a little trip down memory lane, shall we? Below, you can see the ultimate before – as in, when we bought it.
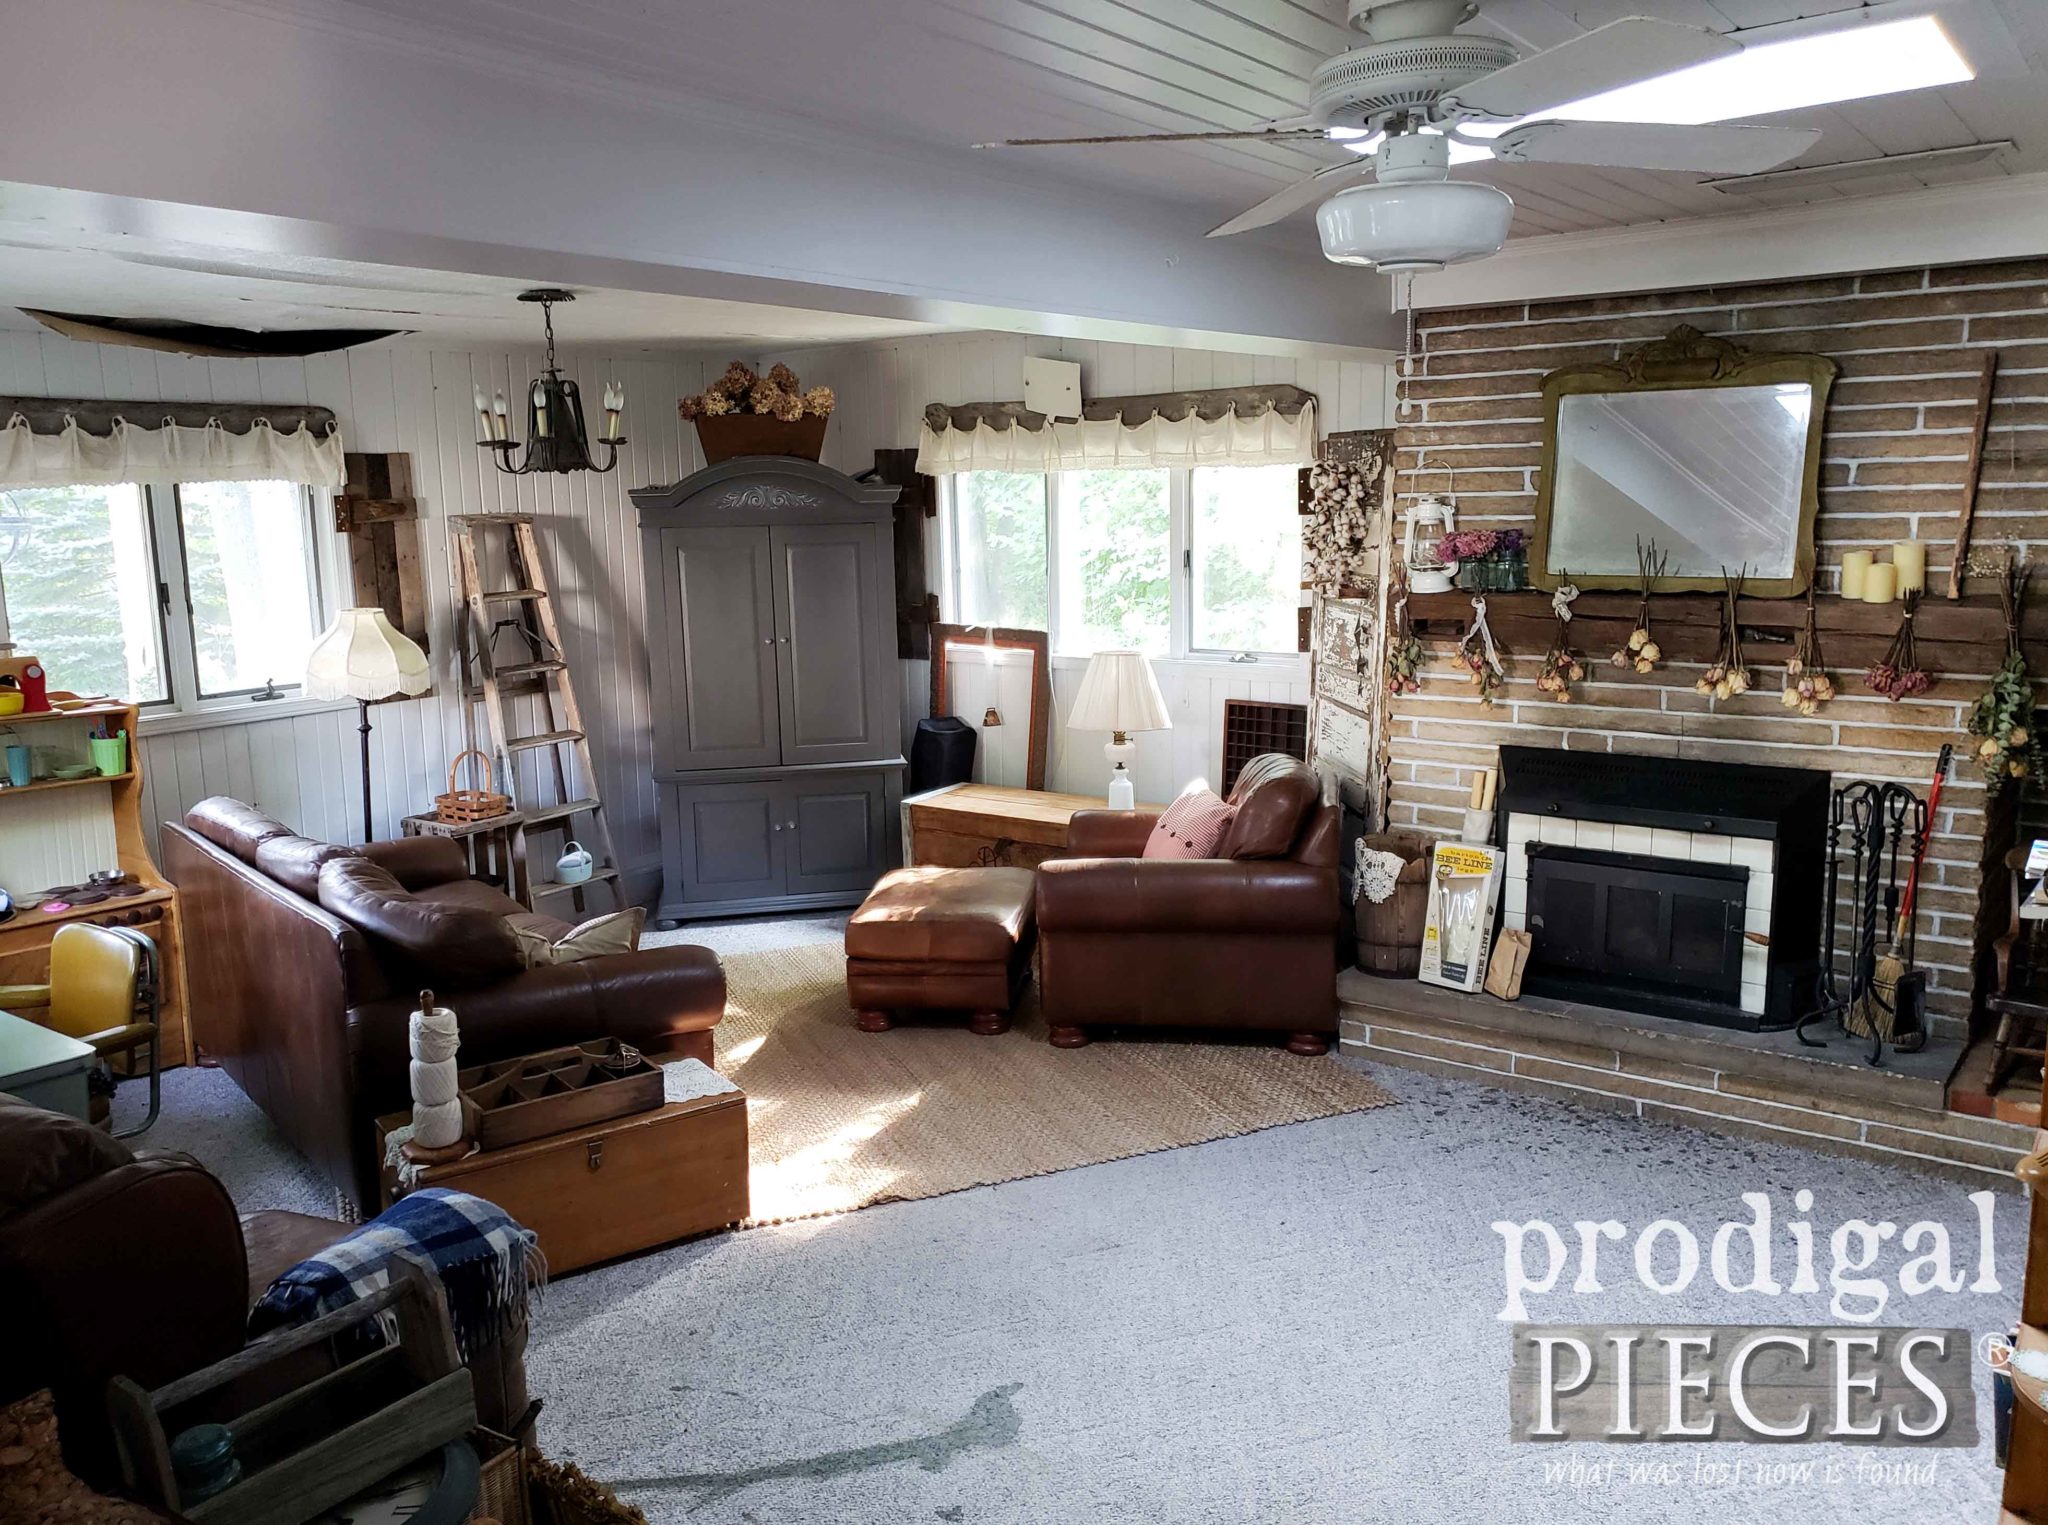
You see real pine paneling, a sandstone fireplace, and carpet (my nemesis as I loathe the stuff). Also, you can’t see the drop ceiling on the other side of that header beam. About 9 years ago, I decide I had enough of the dark walls and drop ceiling. First, I had to do 3 coats of stain-blocking primer and paint…all by lil’ ol’ self. Then, I tore out the ceiling and found more acoustic tiles. UGH!! So, I temporarily hung up textured tin-tile wallpaper. However, after we had a new metal roof put on about 3 years ago by a “professional” that did a horrible job, we had a leak. Mind you, we didn’t have a leak until we had the new roof put on. You can see the hanging paper in the photo below and my horribly stained carpet.
BACKSTORY
Before I continue, let me just say that I have many excuses as to why it’s taken me this long to put this together. For one, we had a neighbor from the pits of you-know-where give us trouble. Then, my phone went corrupt with my images and videos. Next, my computer went belly up which led to learning a new one with new software. And, I had a health journey that led me into bilateral vertigo and the possibility of having strokes (read about that HERE). Also, we listed our home and had a near miss. (details HERE) I could go on, but you get the idea. I’m not a quitter though!
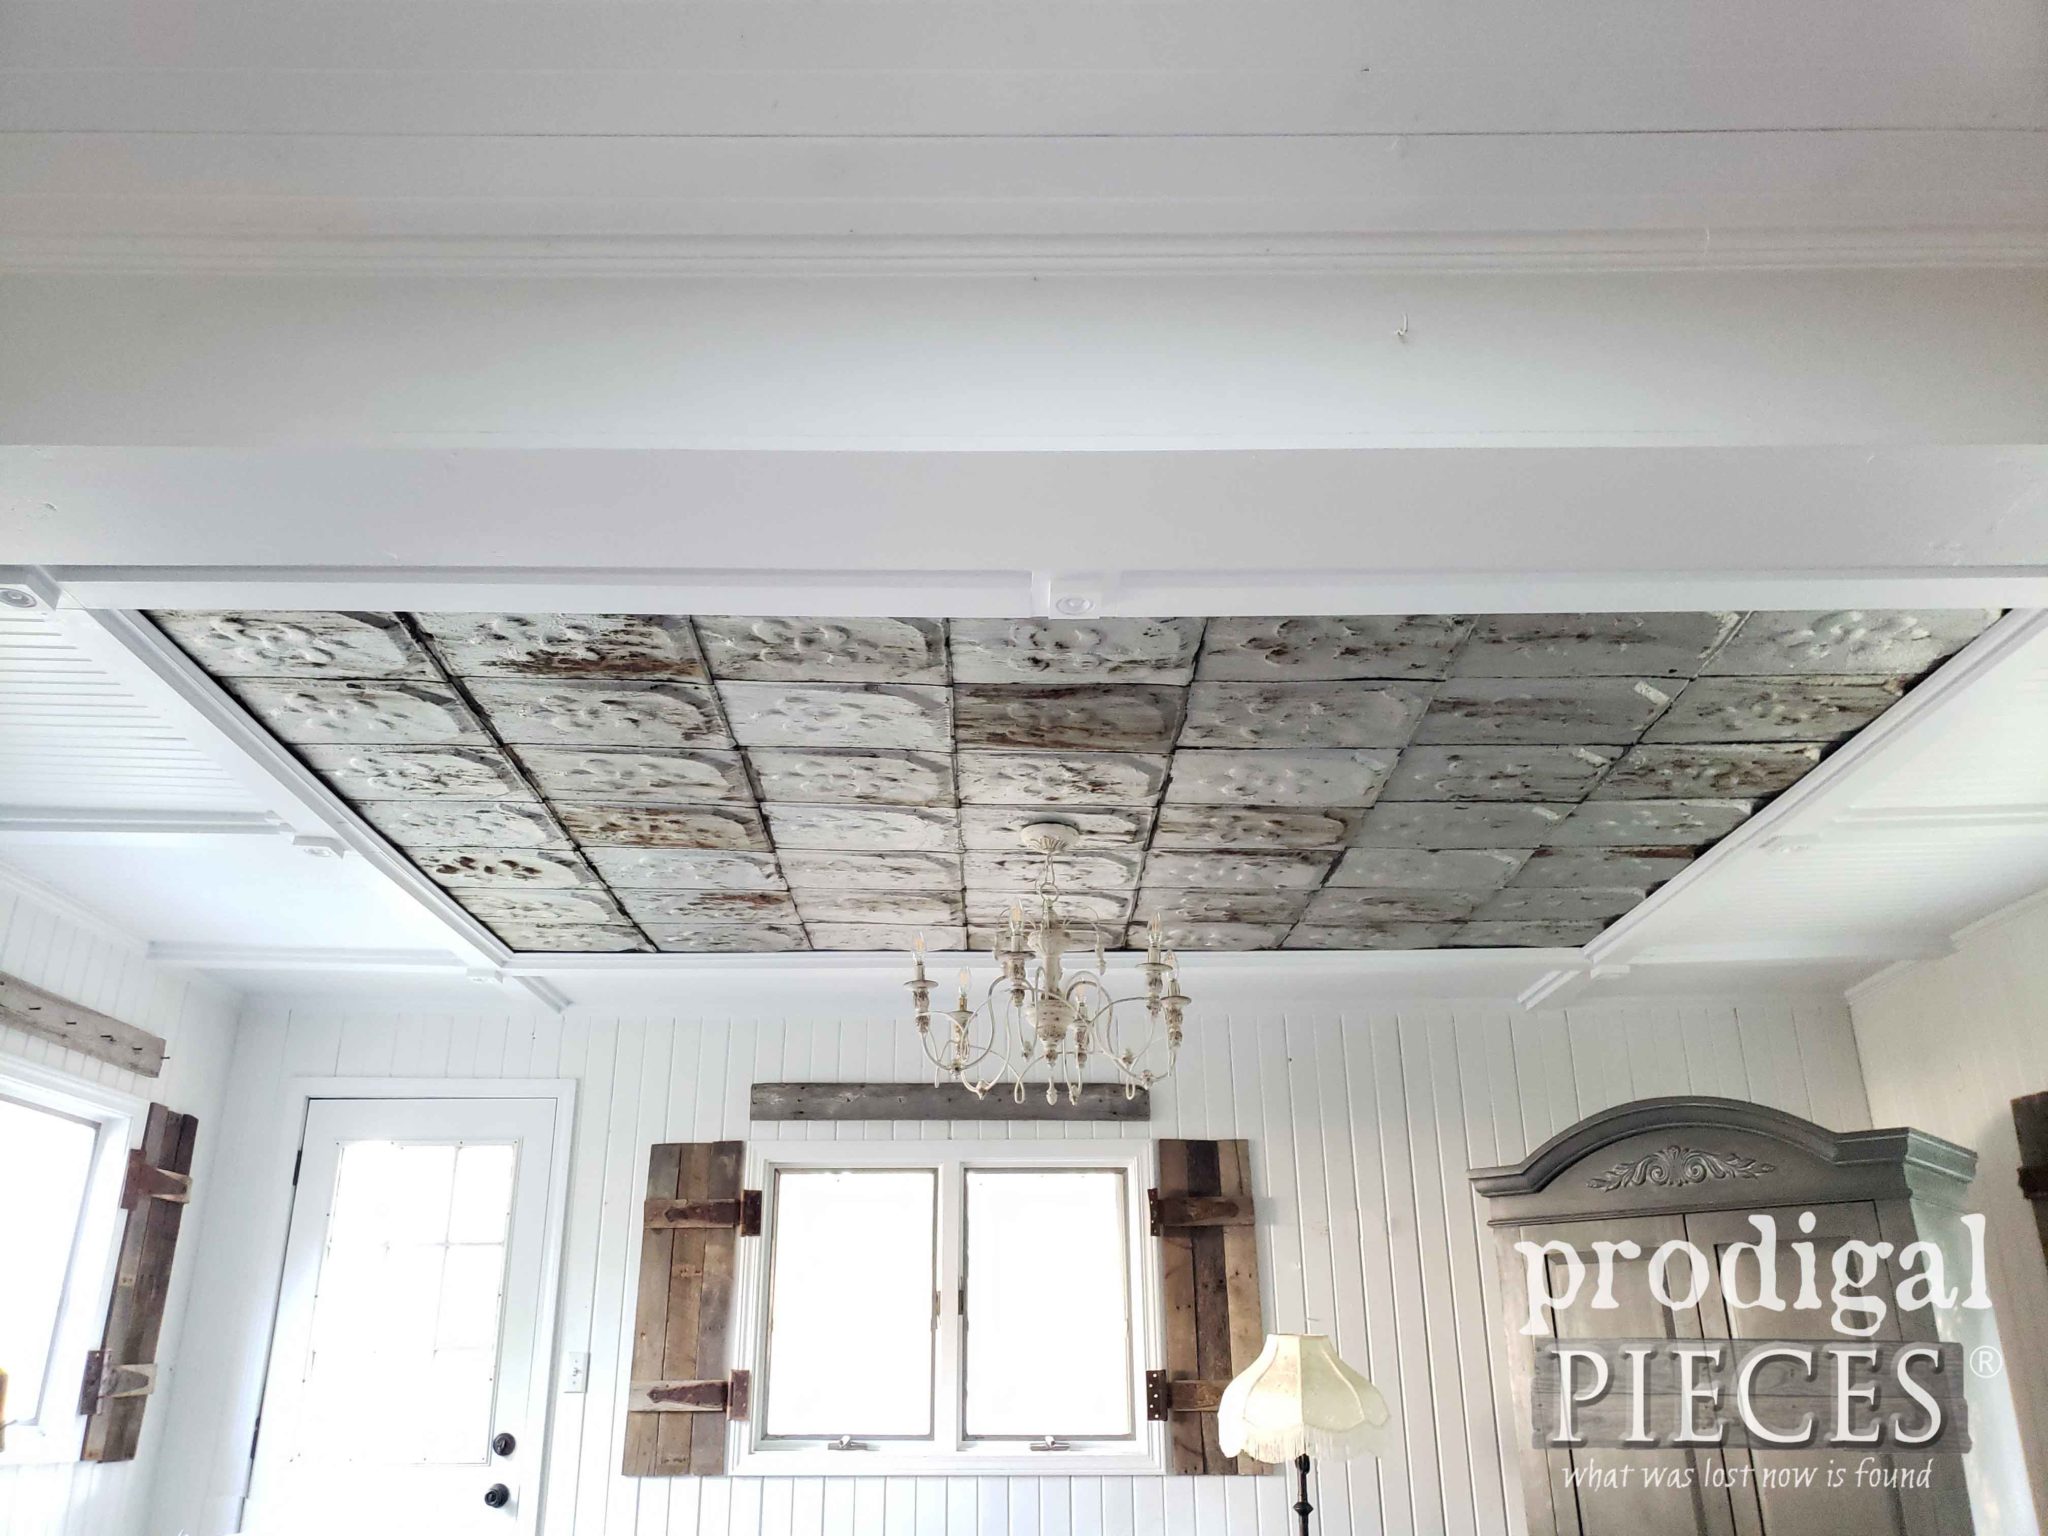
Back to the remodel… Eventually, I am able to tear it all down and put up a coffered ceiling, again, all my myself. Talk about a job!! You can read all about it in this DIY tutorial post.
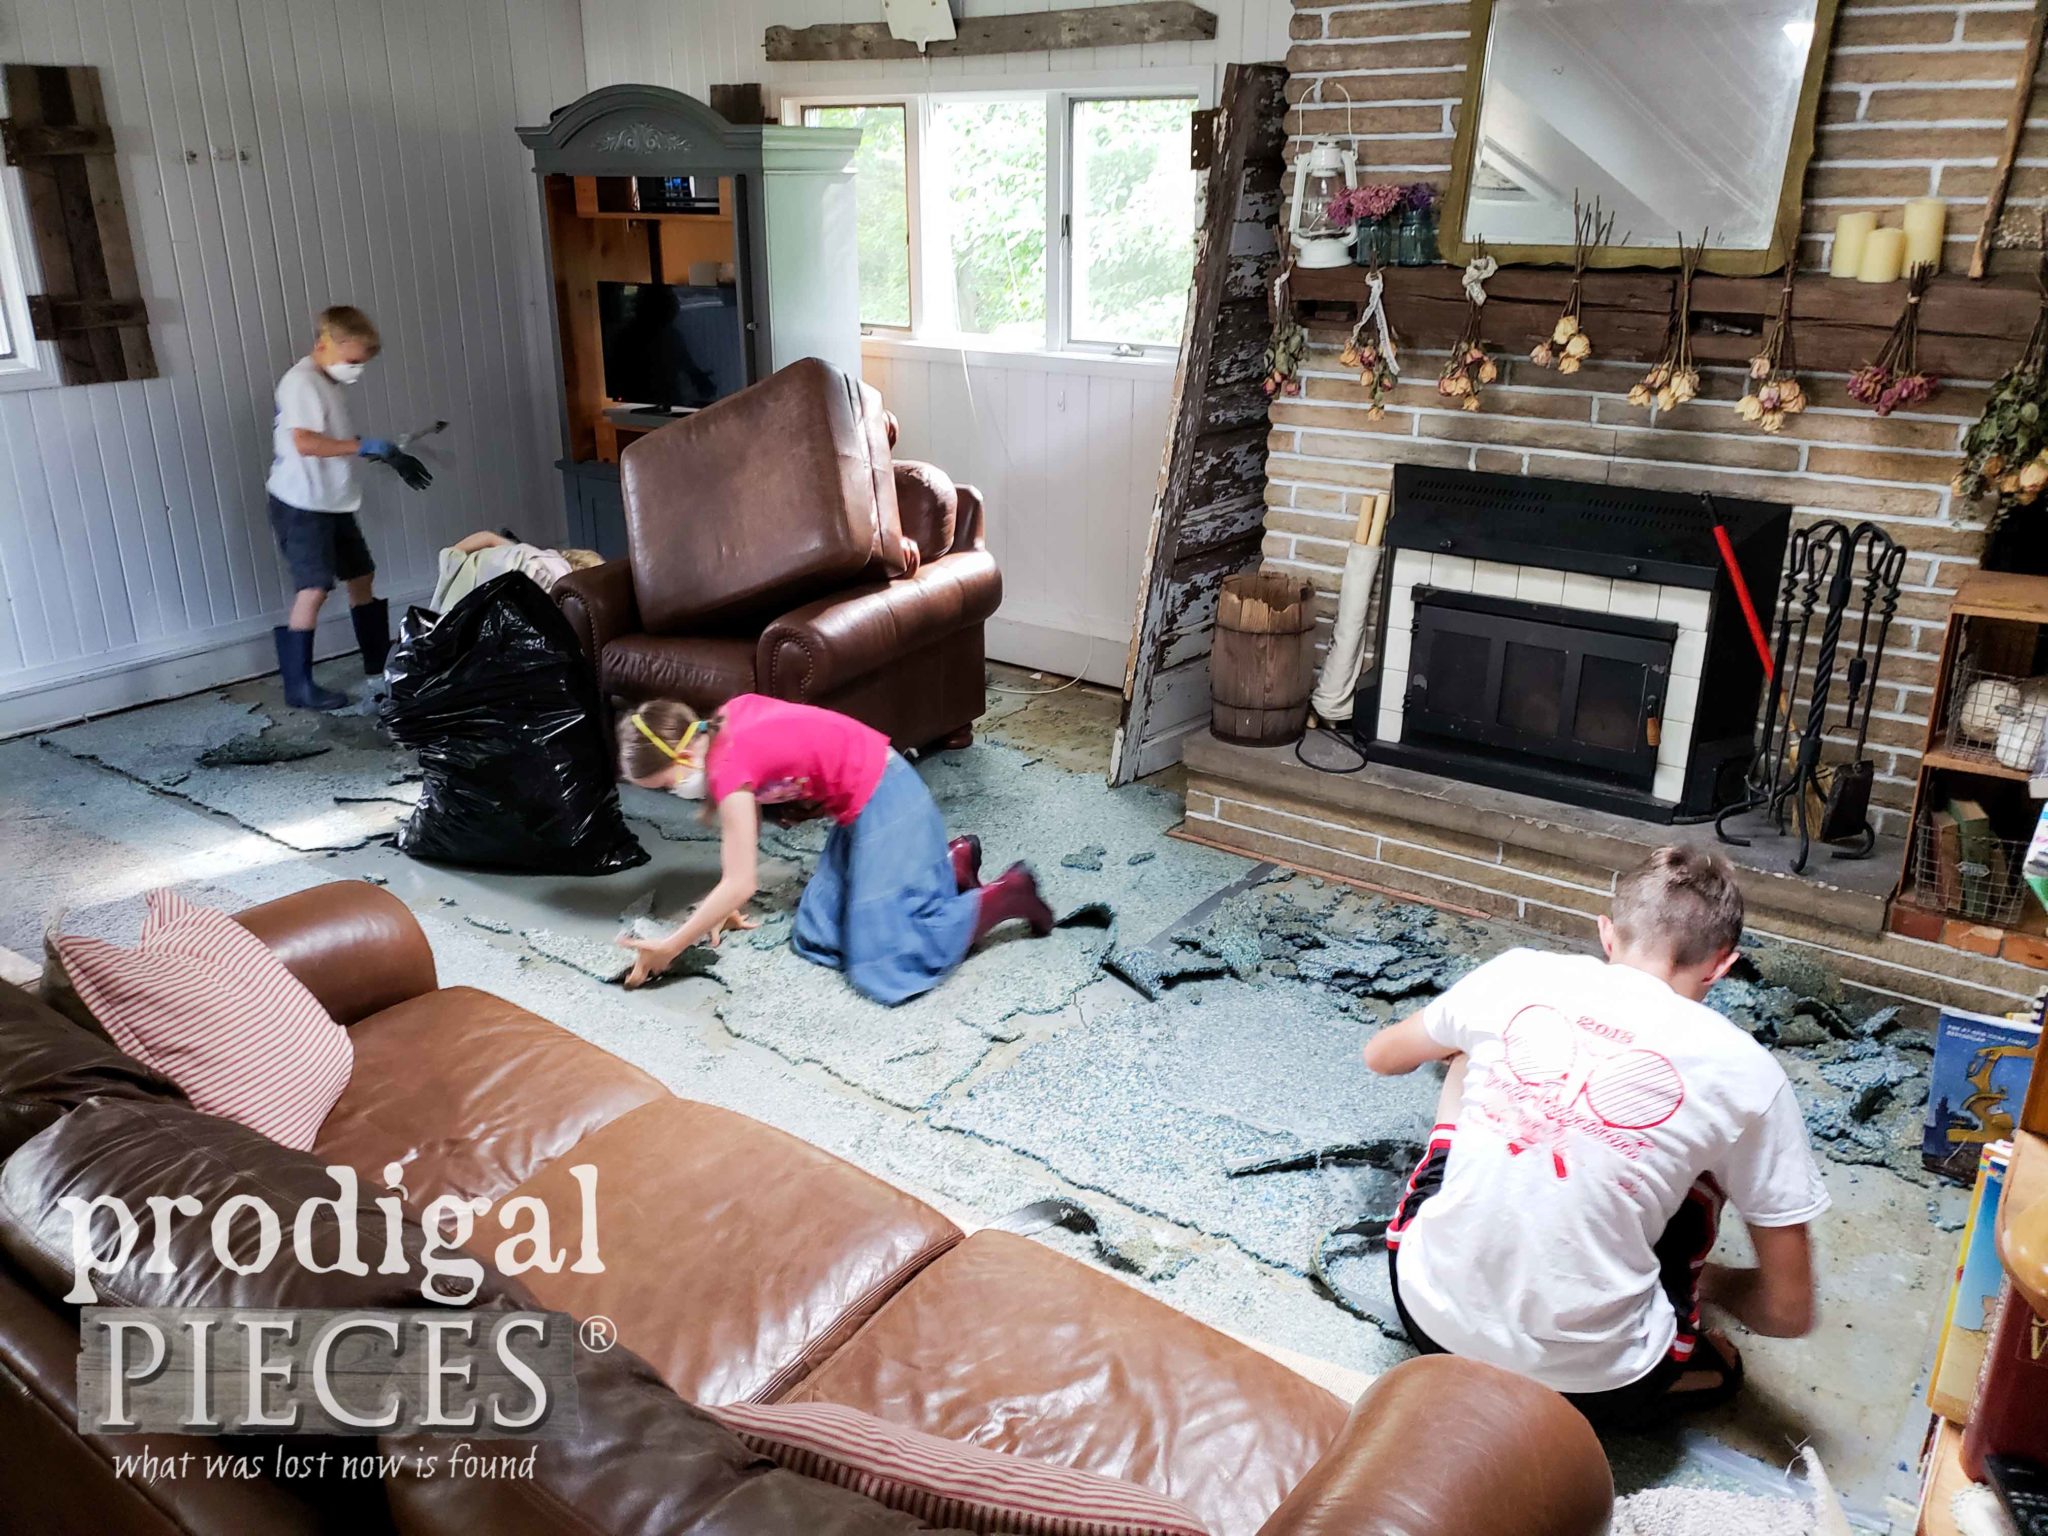
That may cause you to ask…what about the floor? Well…at the same time, I also pulled up the carpet. Oh, what a glorious day!! After kid vomit, dog poo, cat funk, this rag is dead and done. The whole family is ELATED to see it gone.
WHAT TO DO
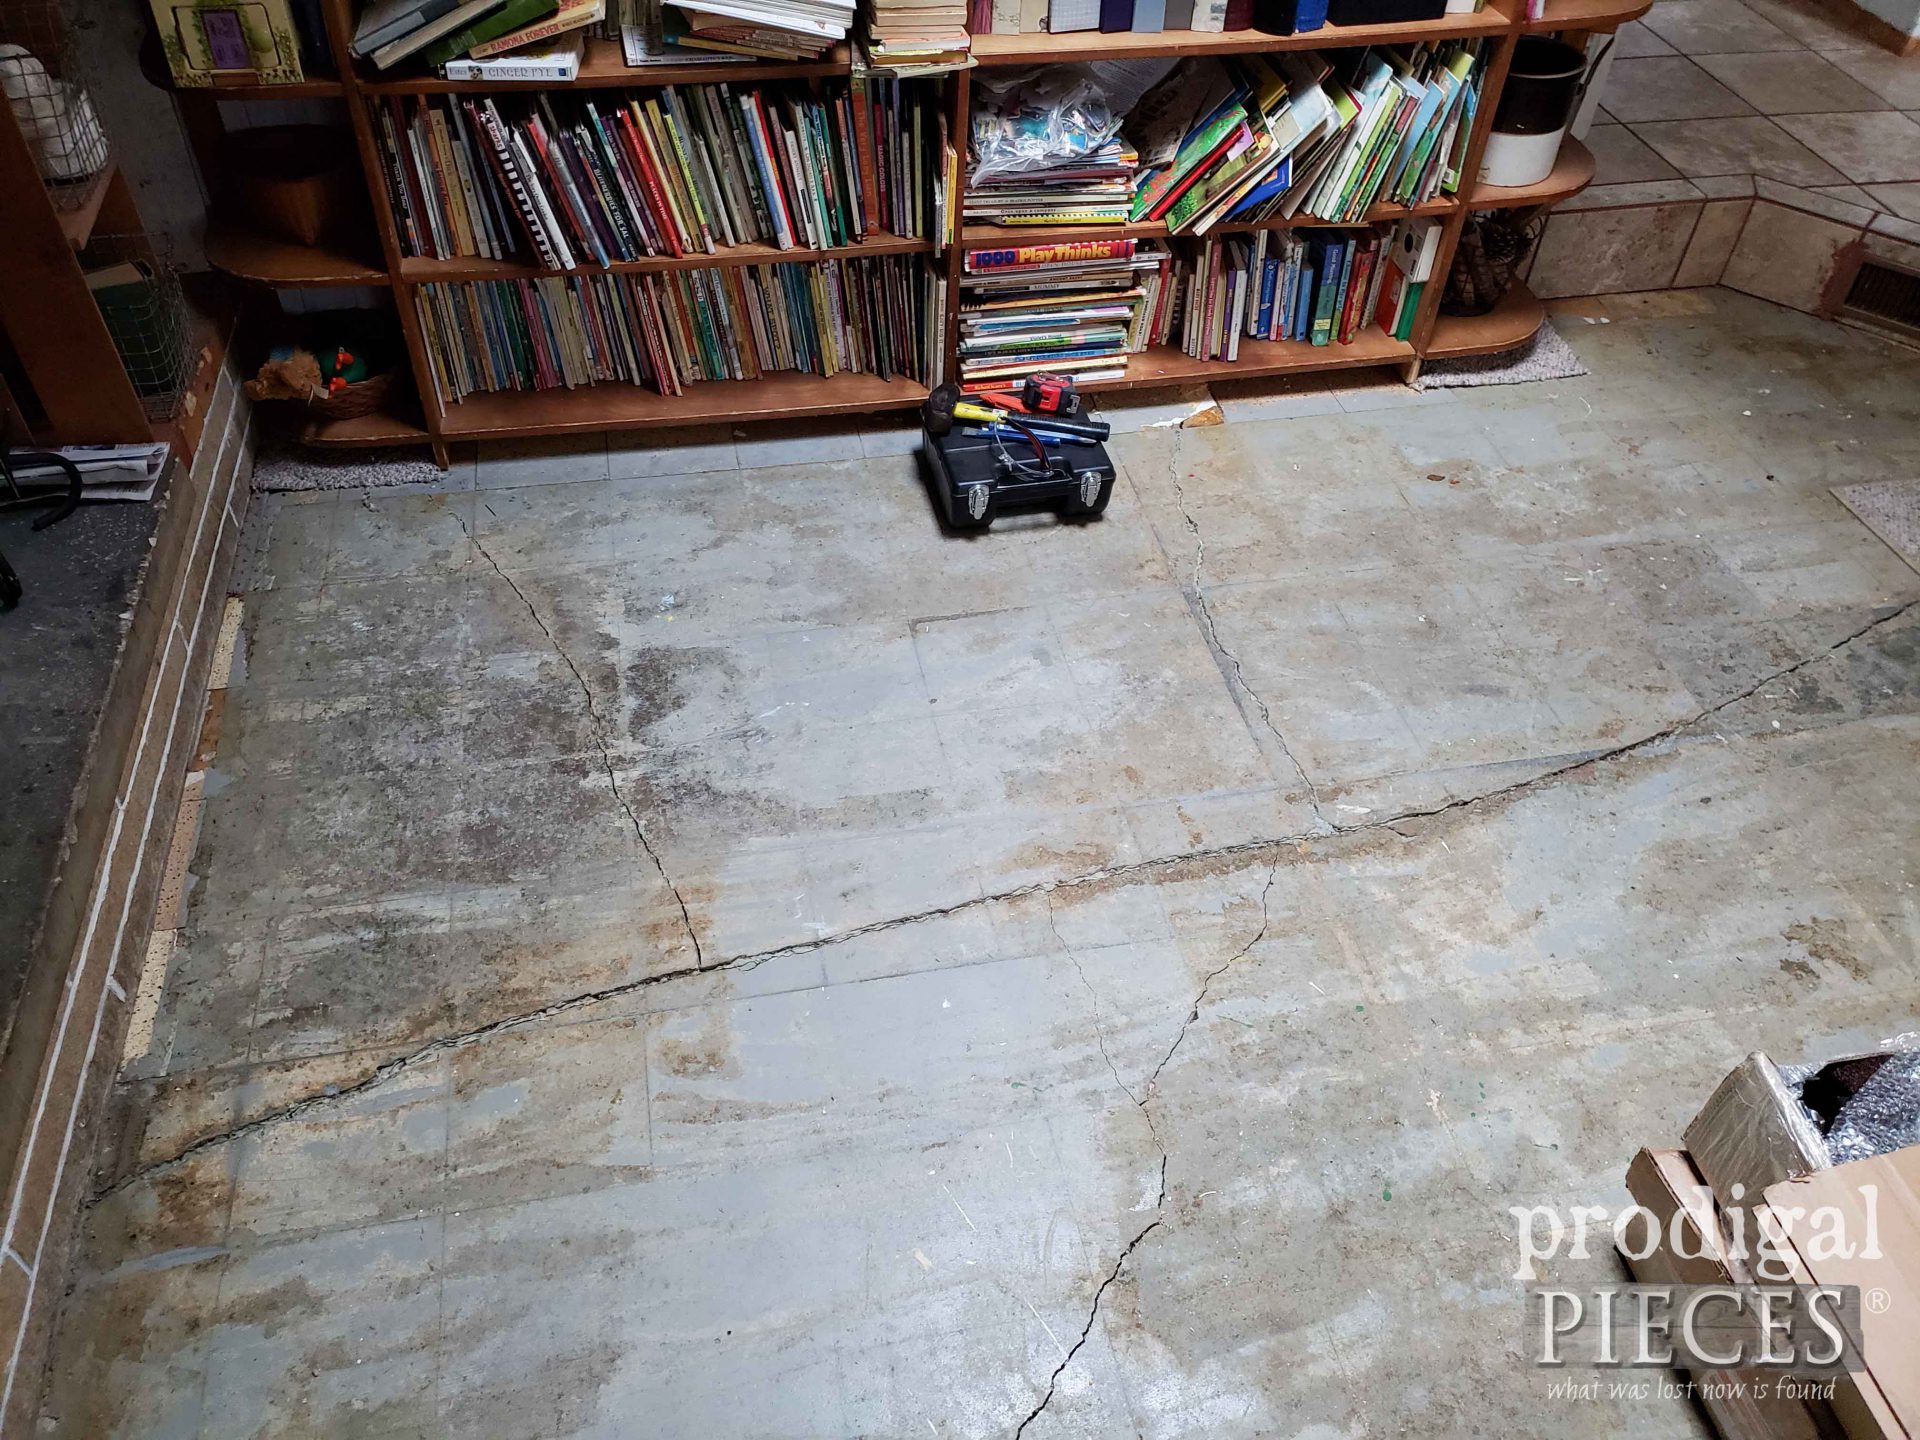
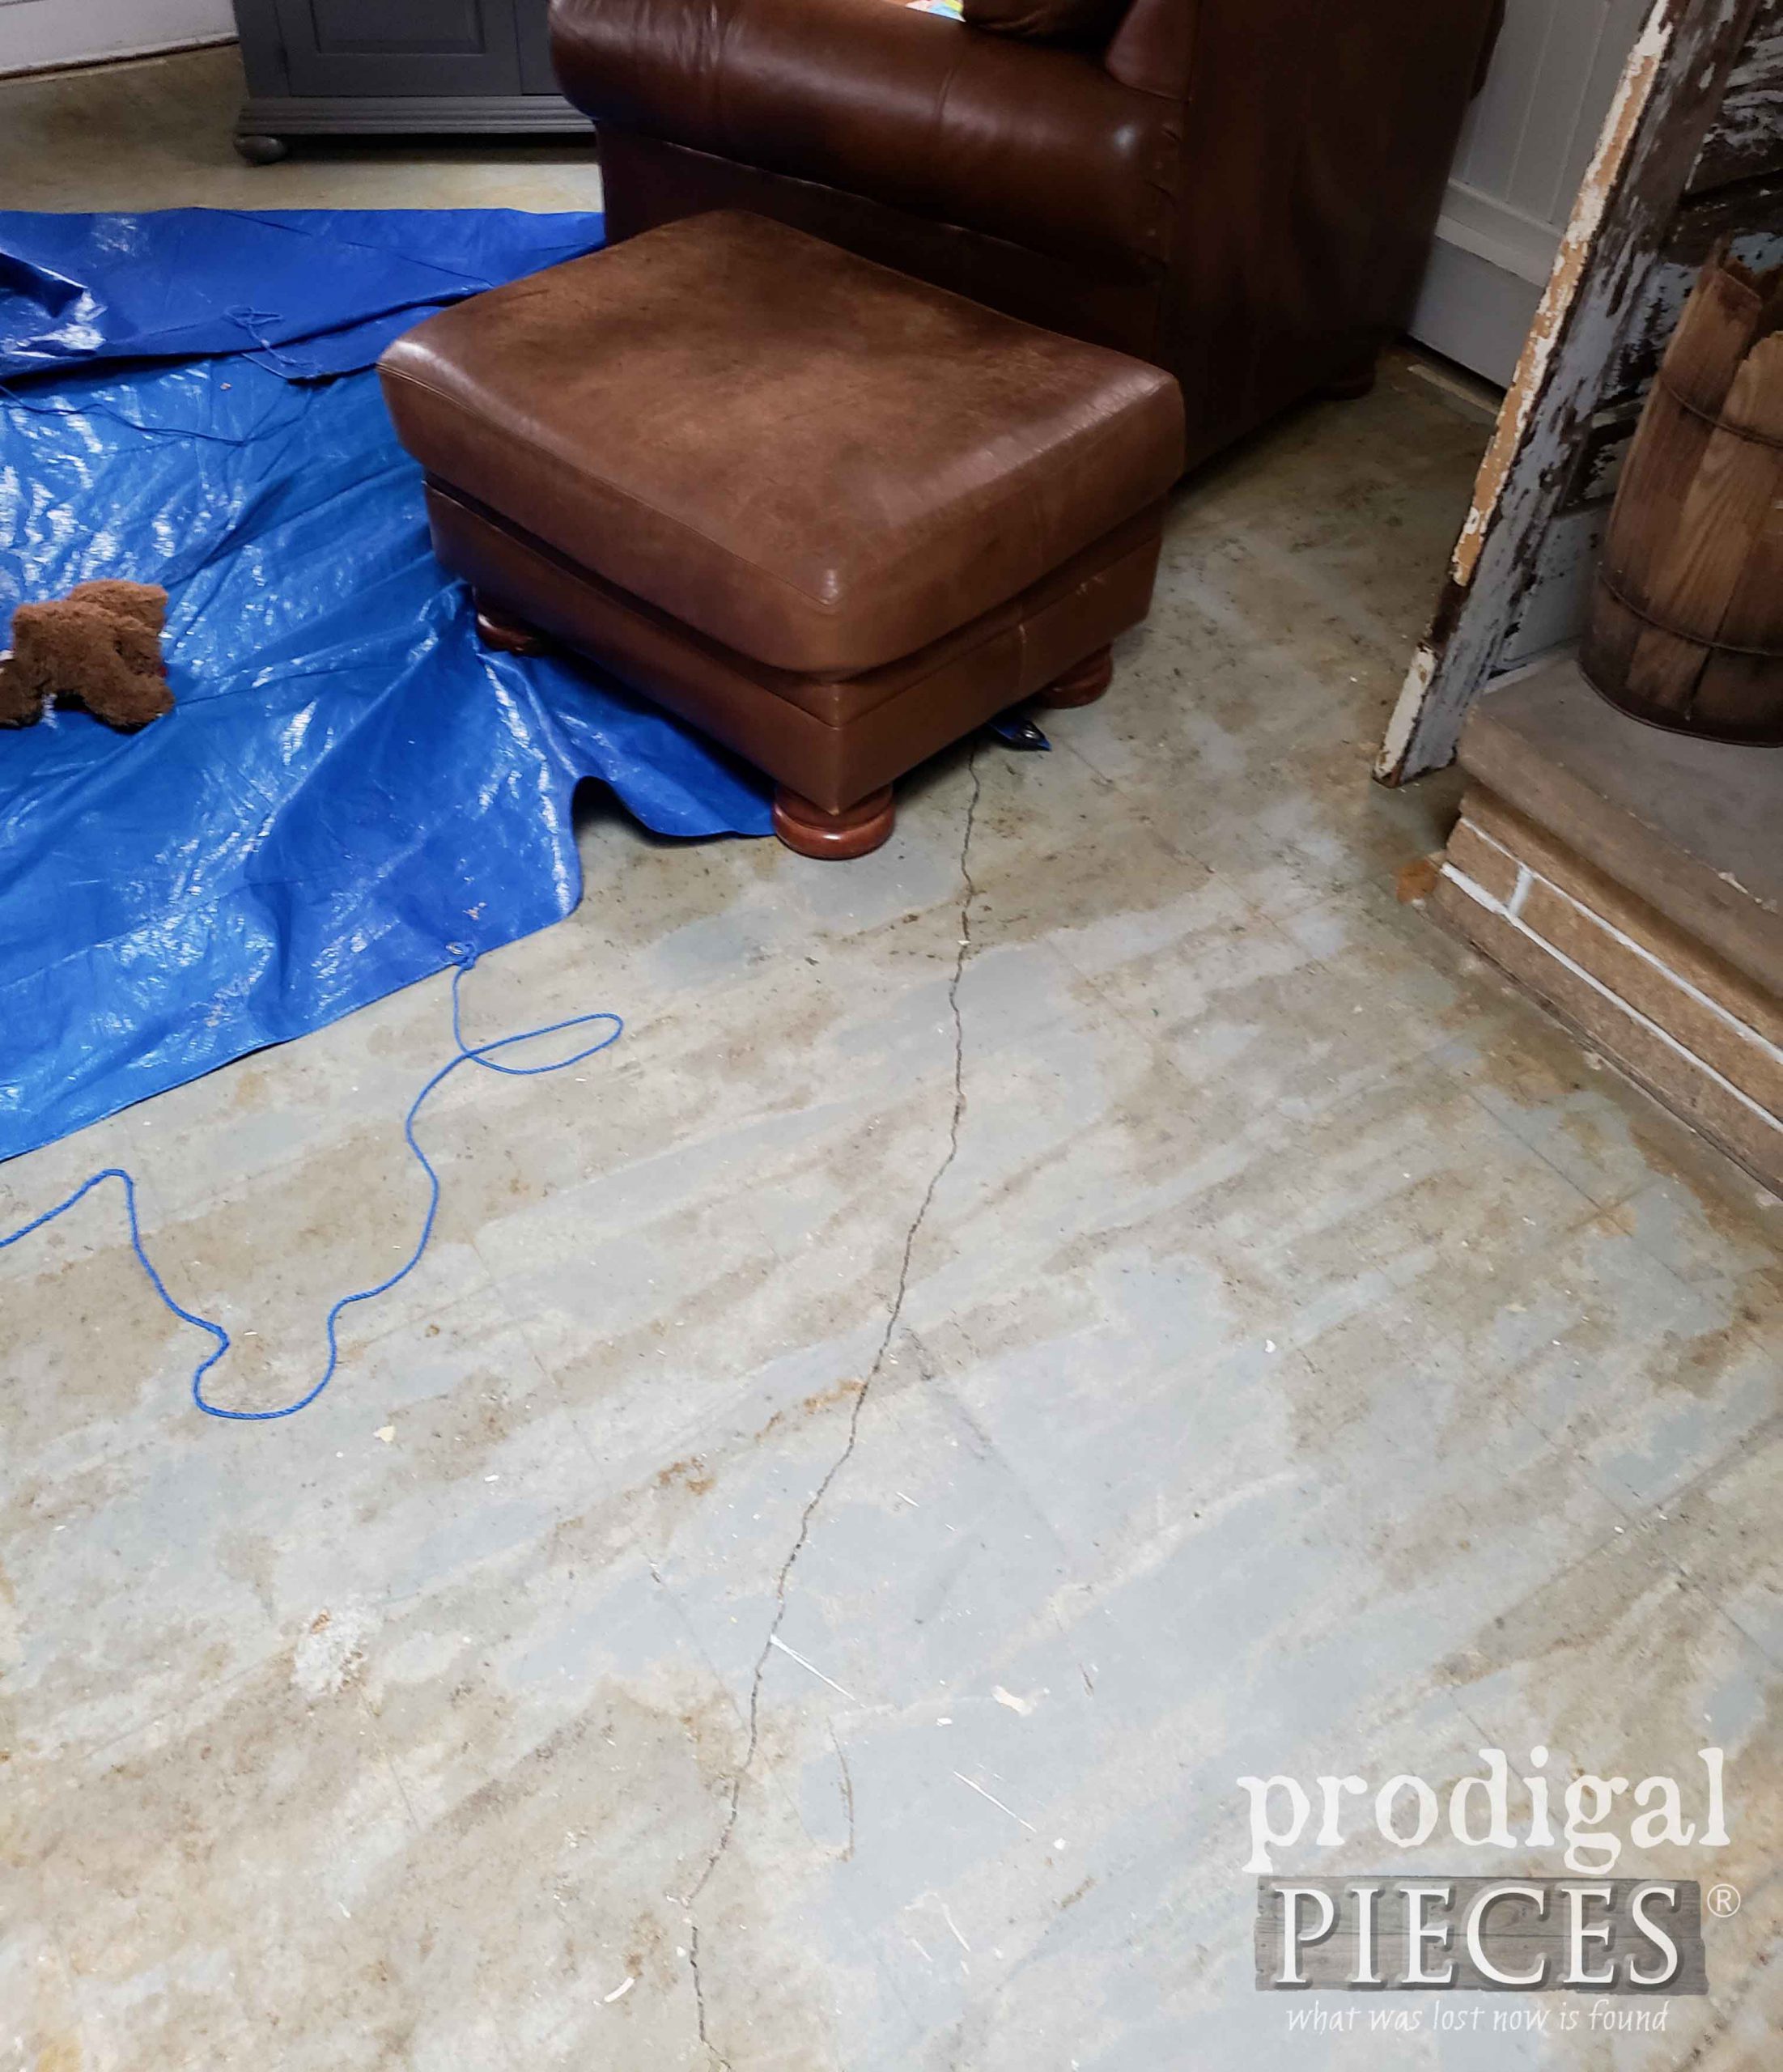
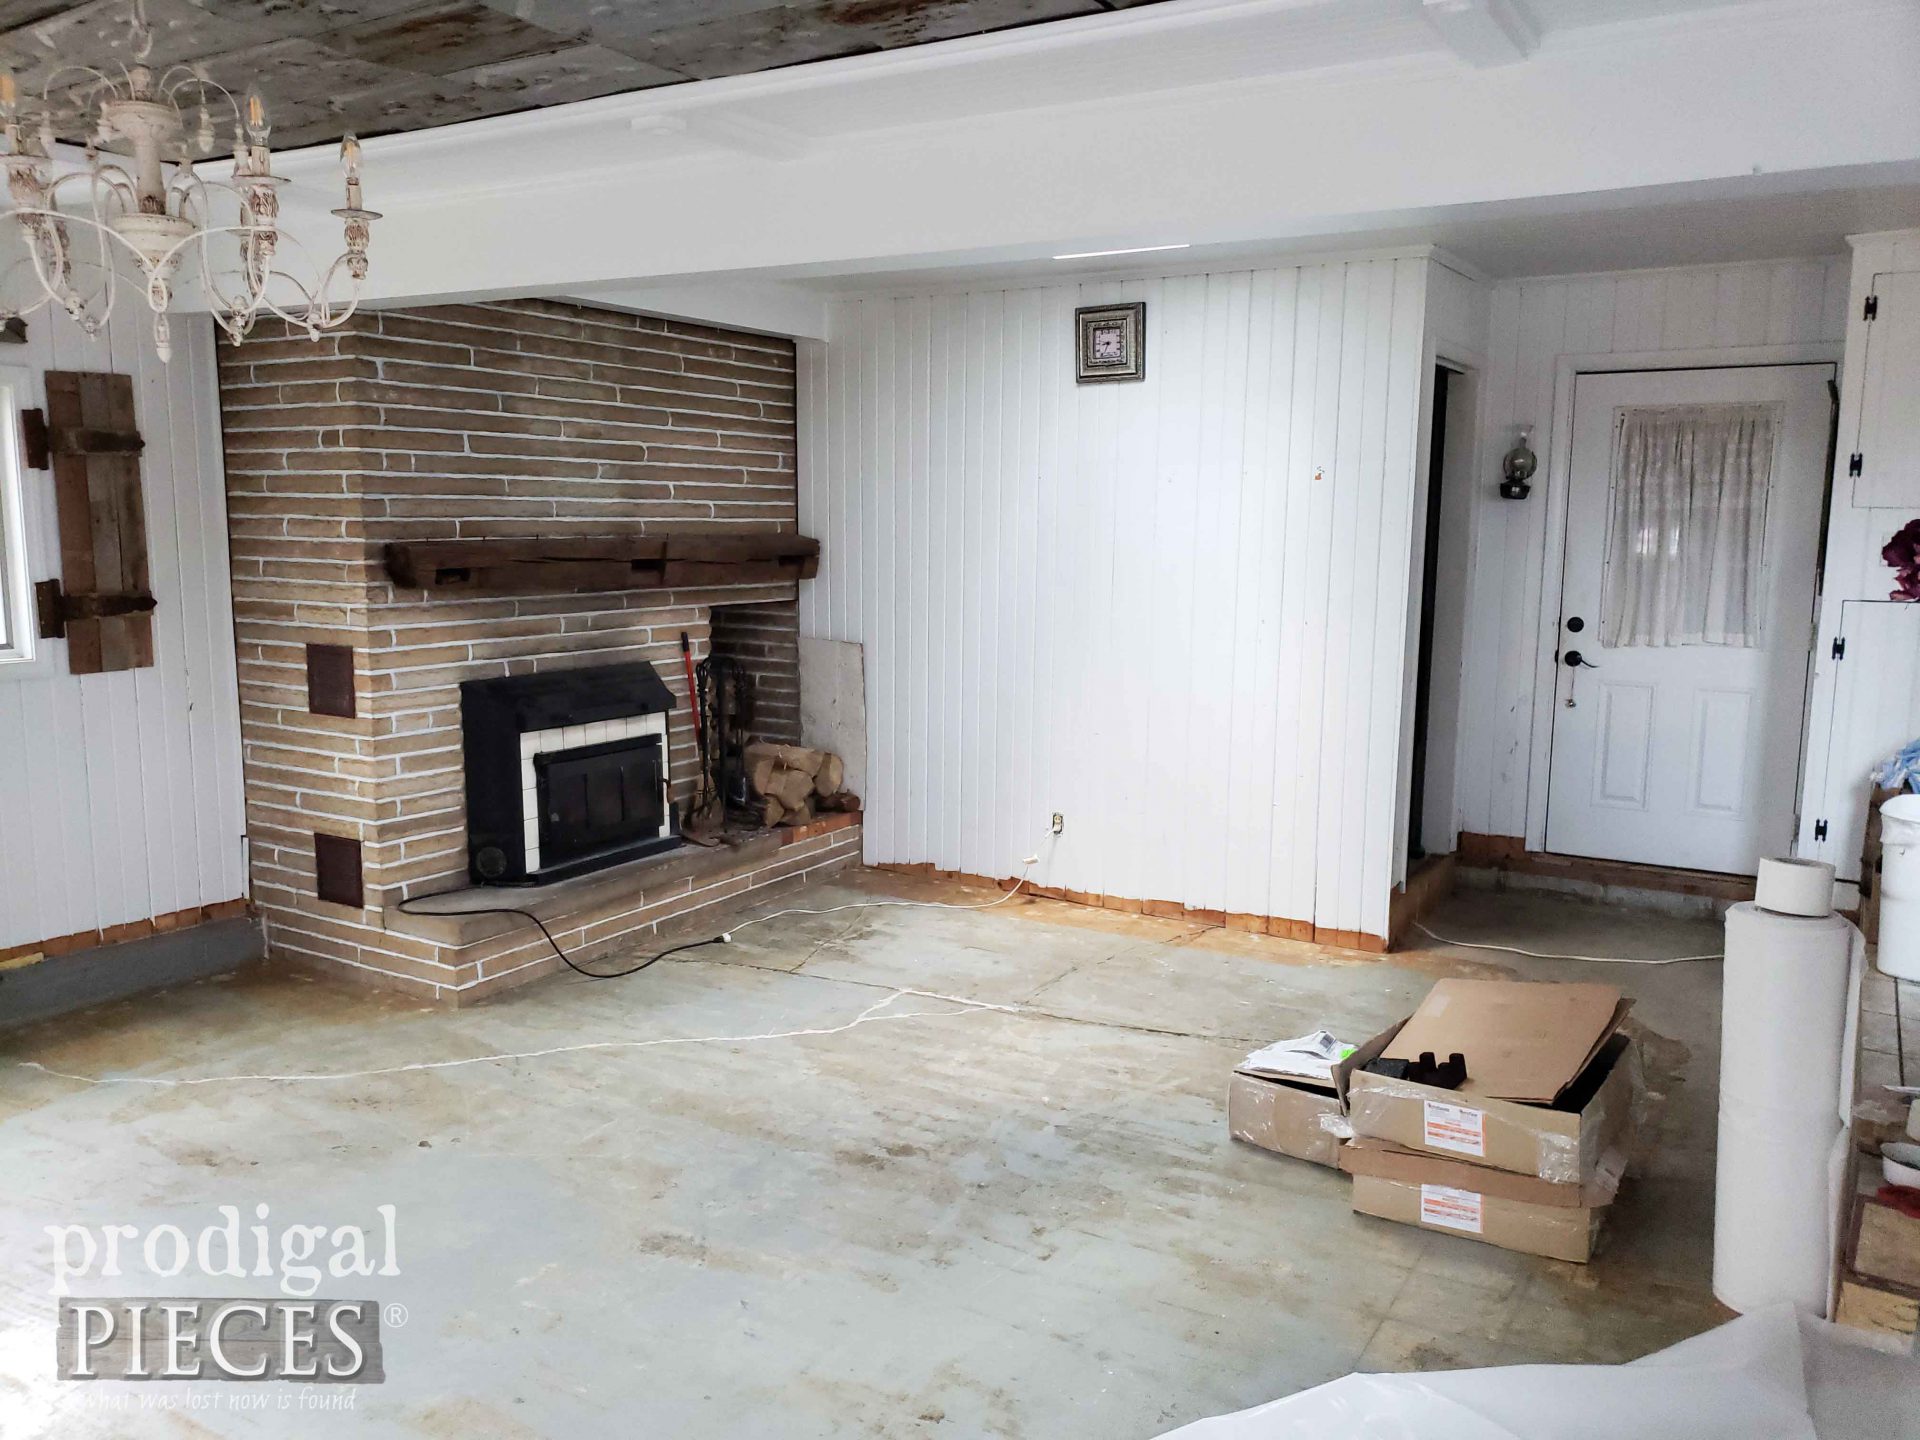
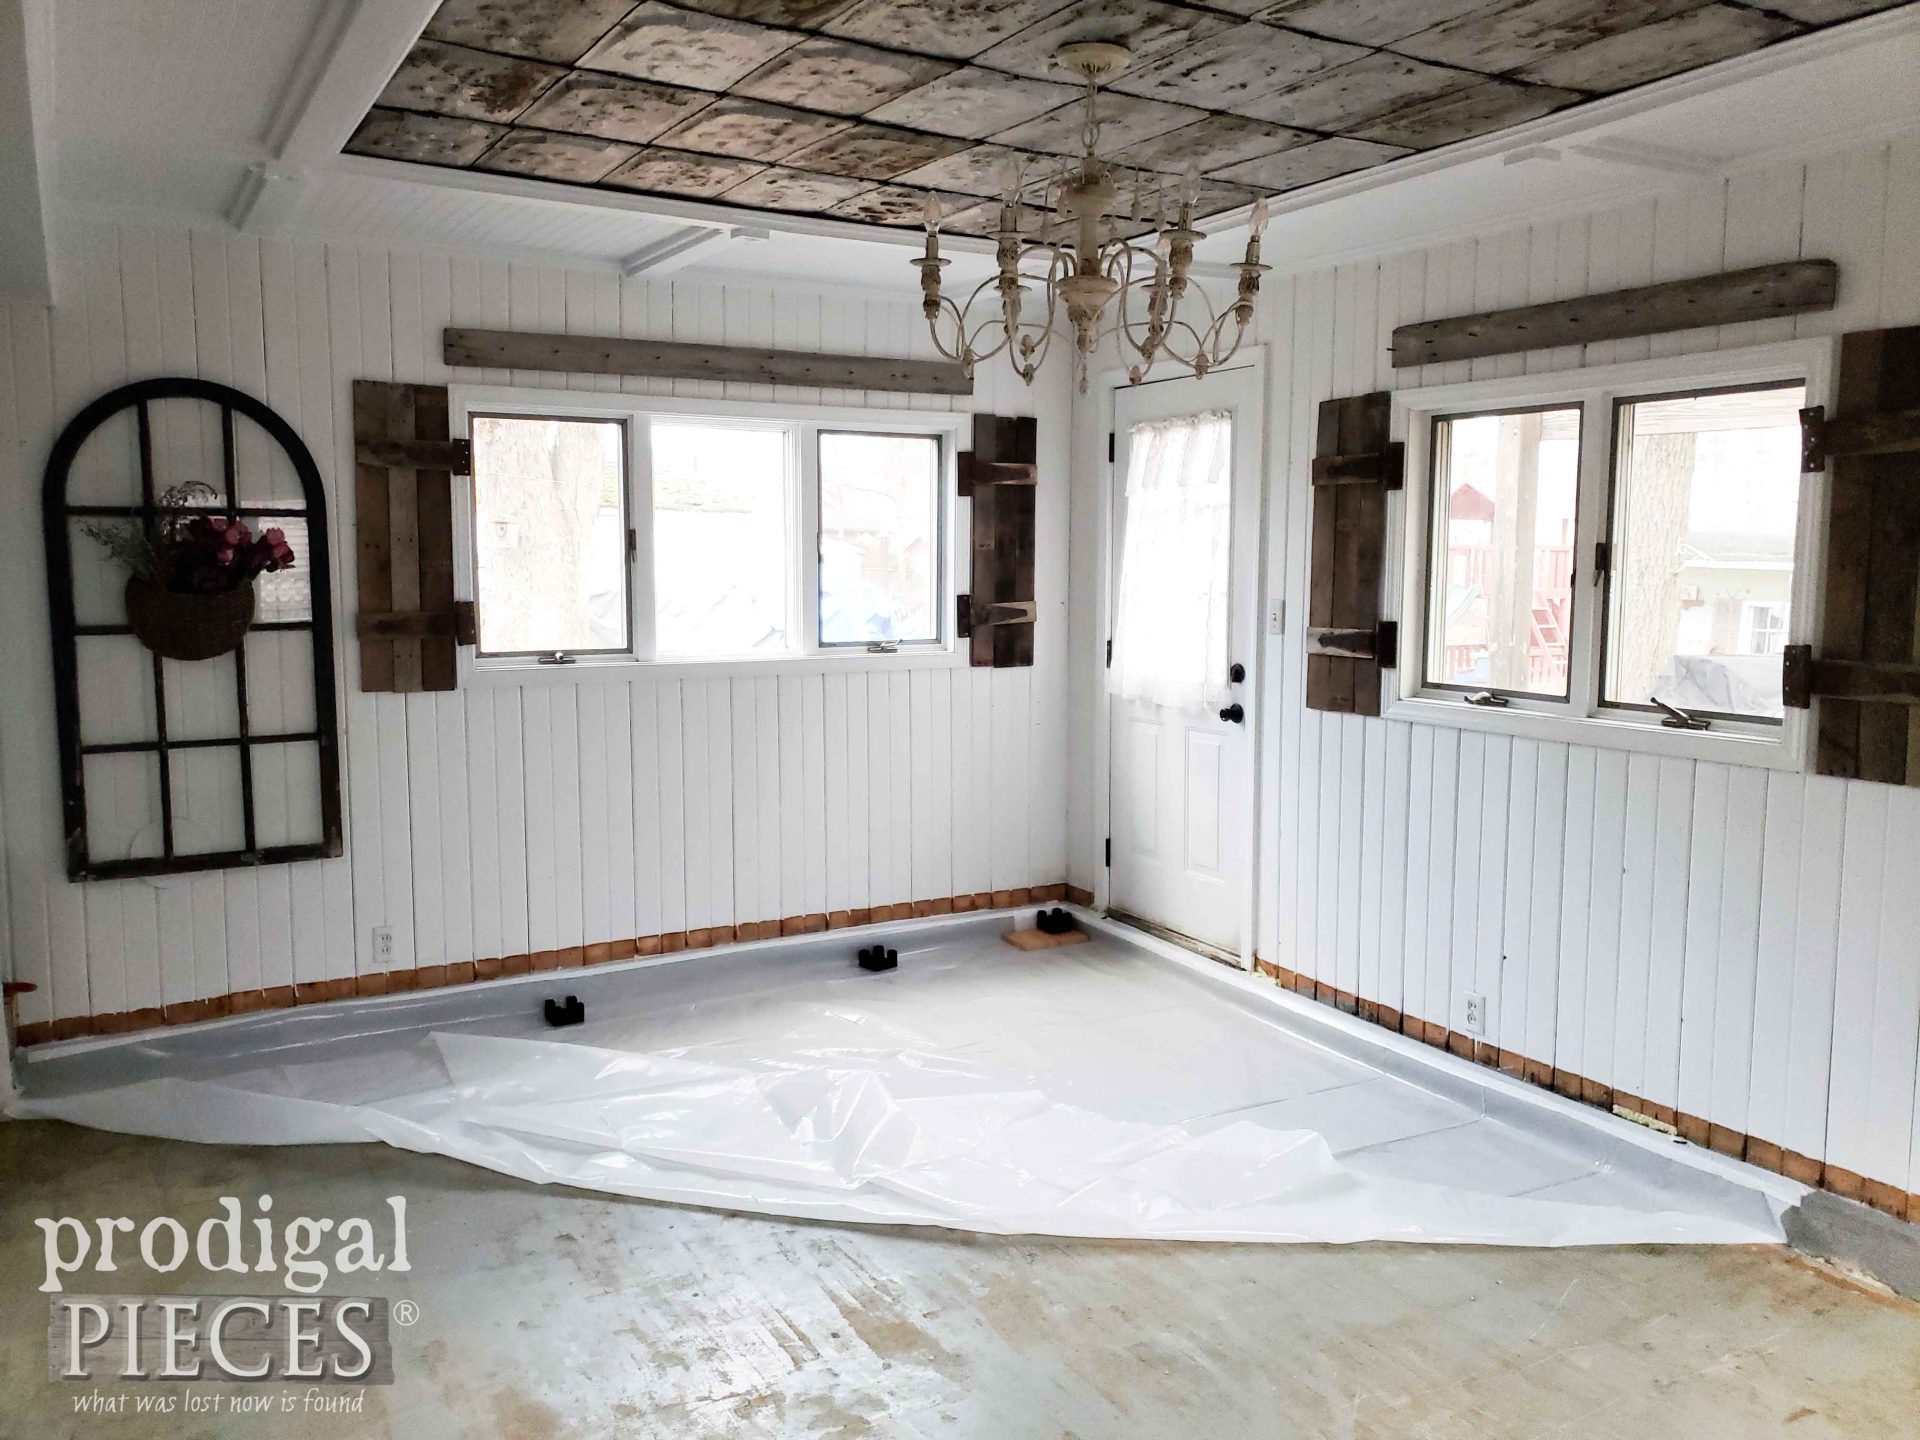
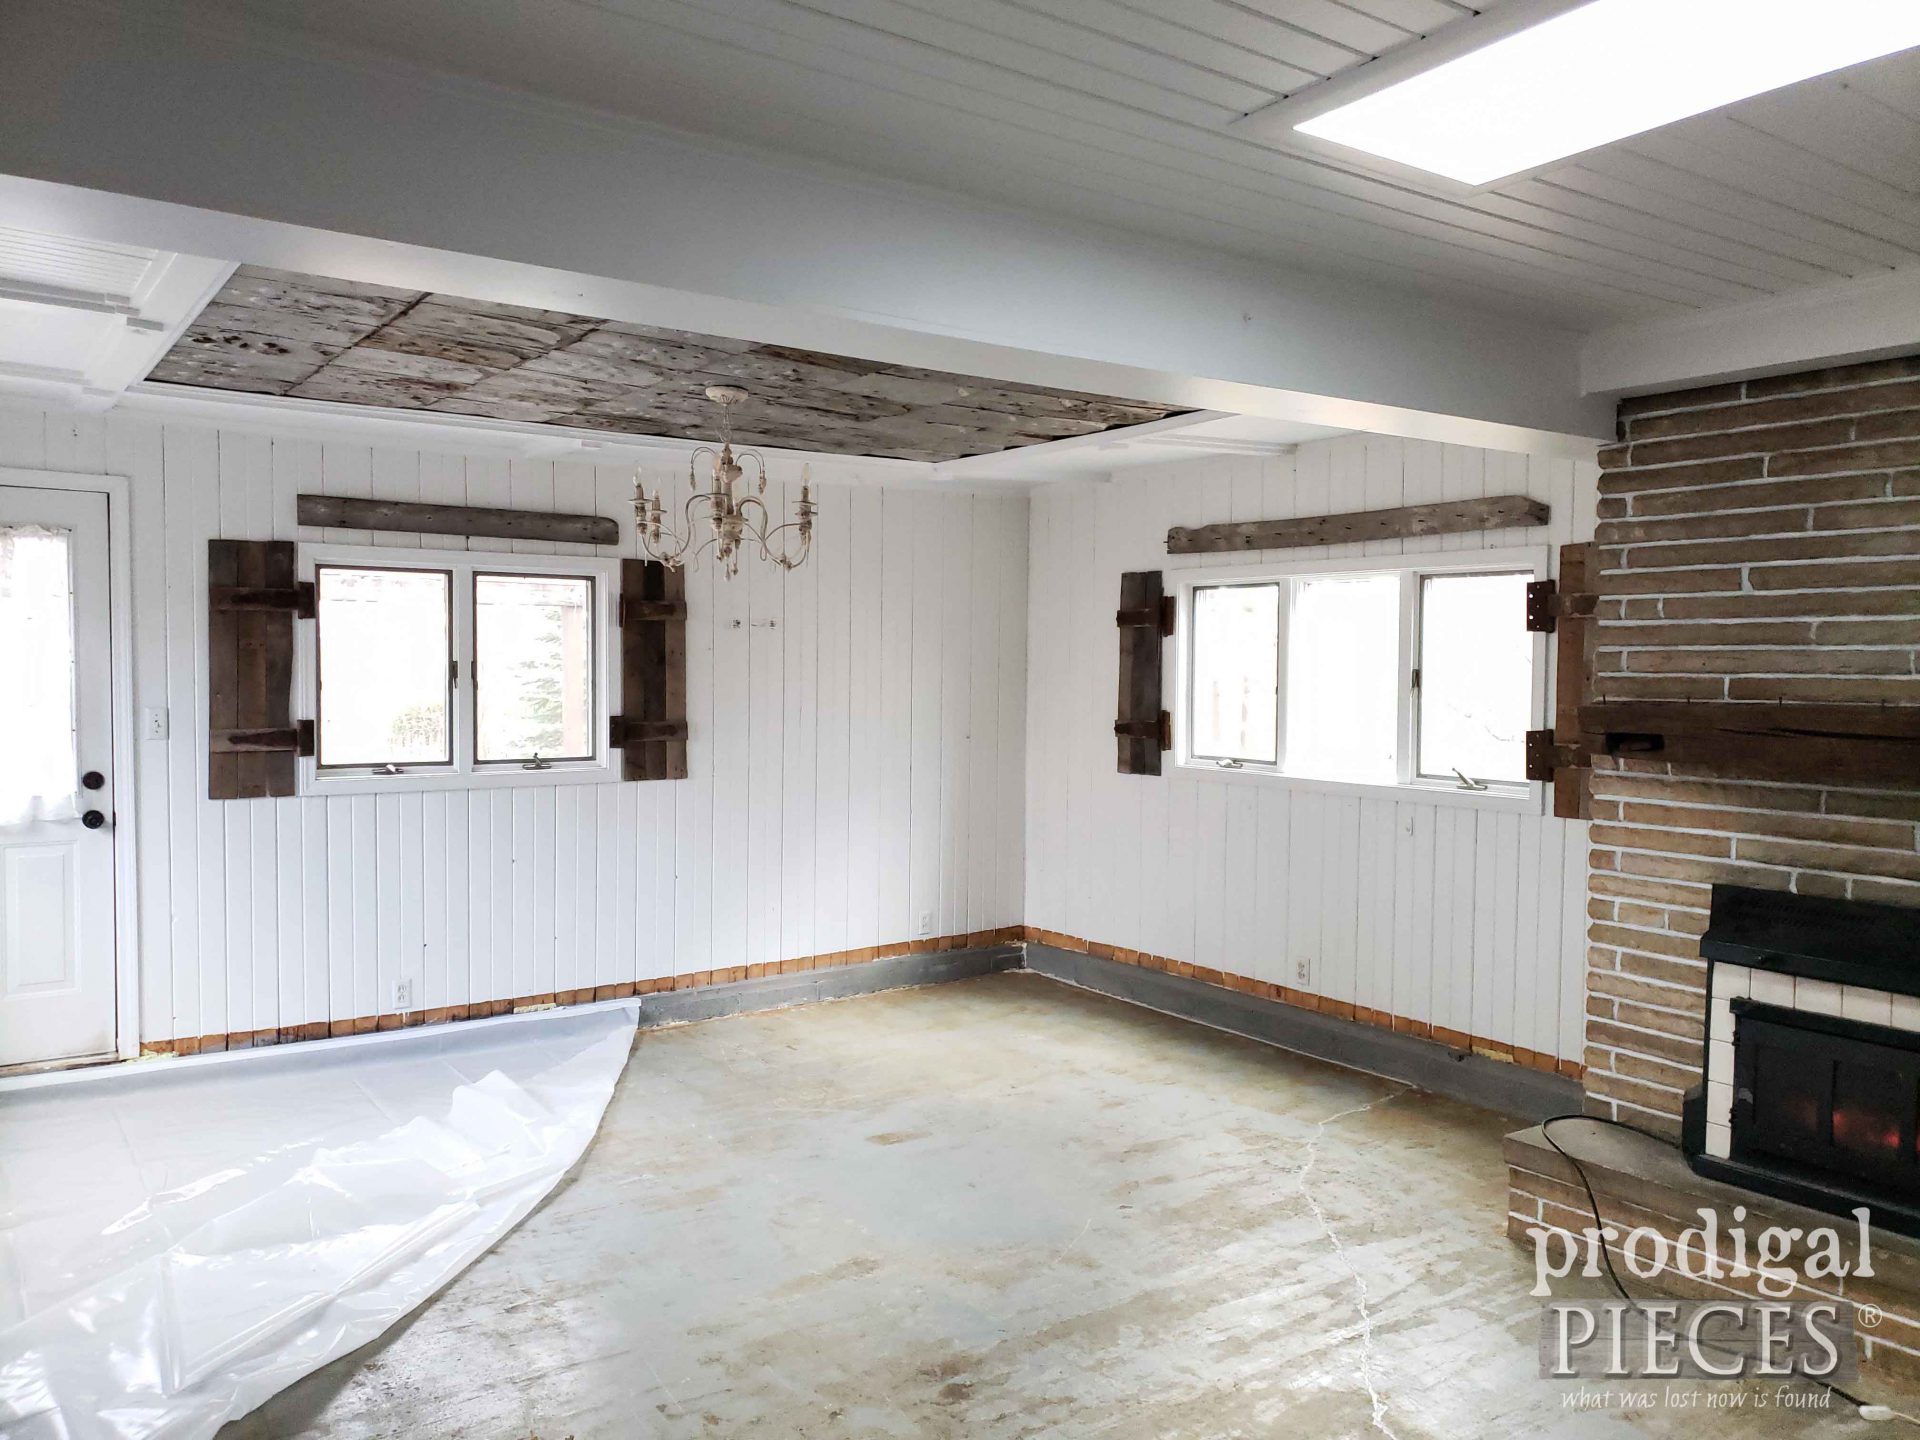
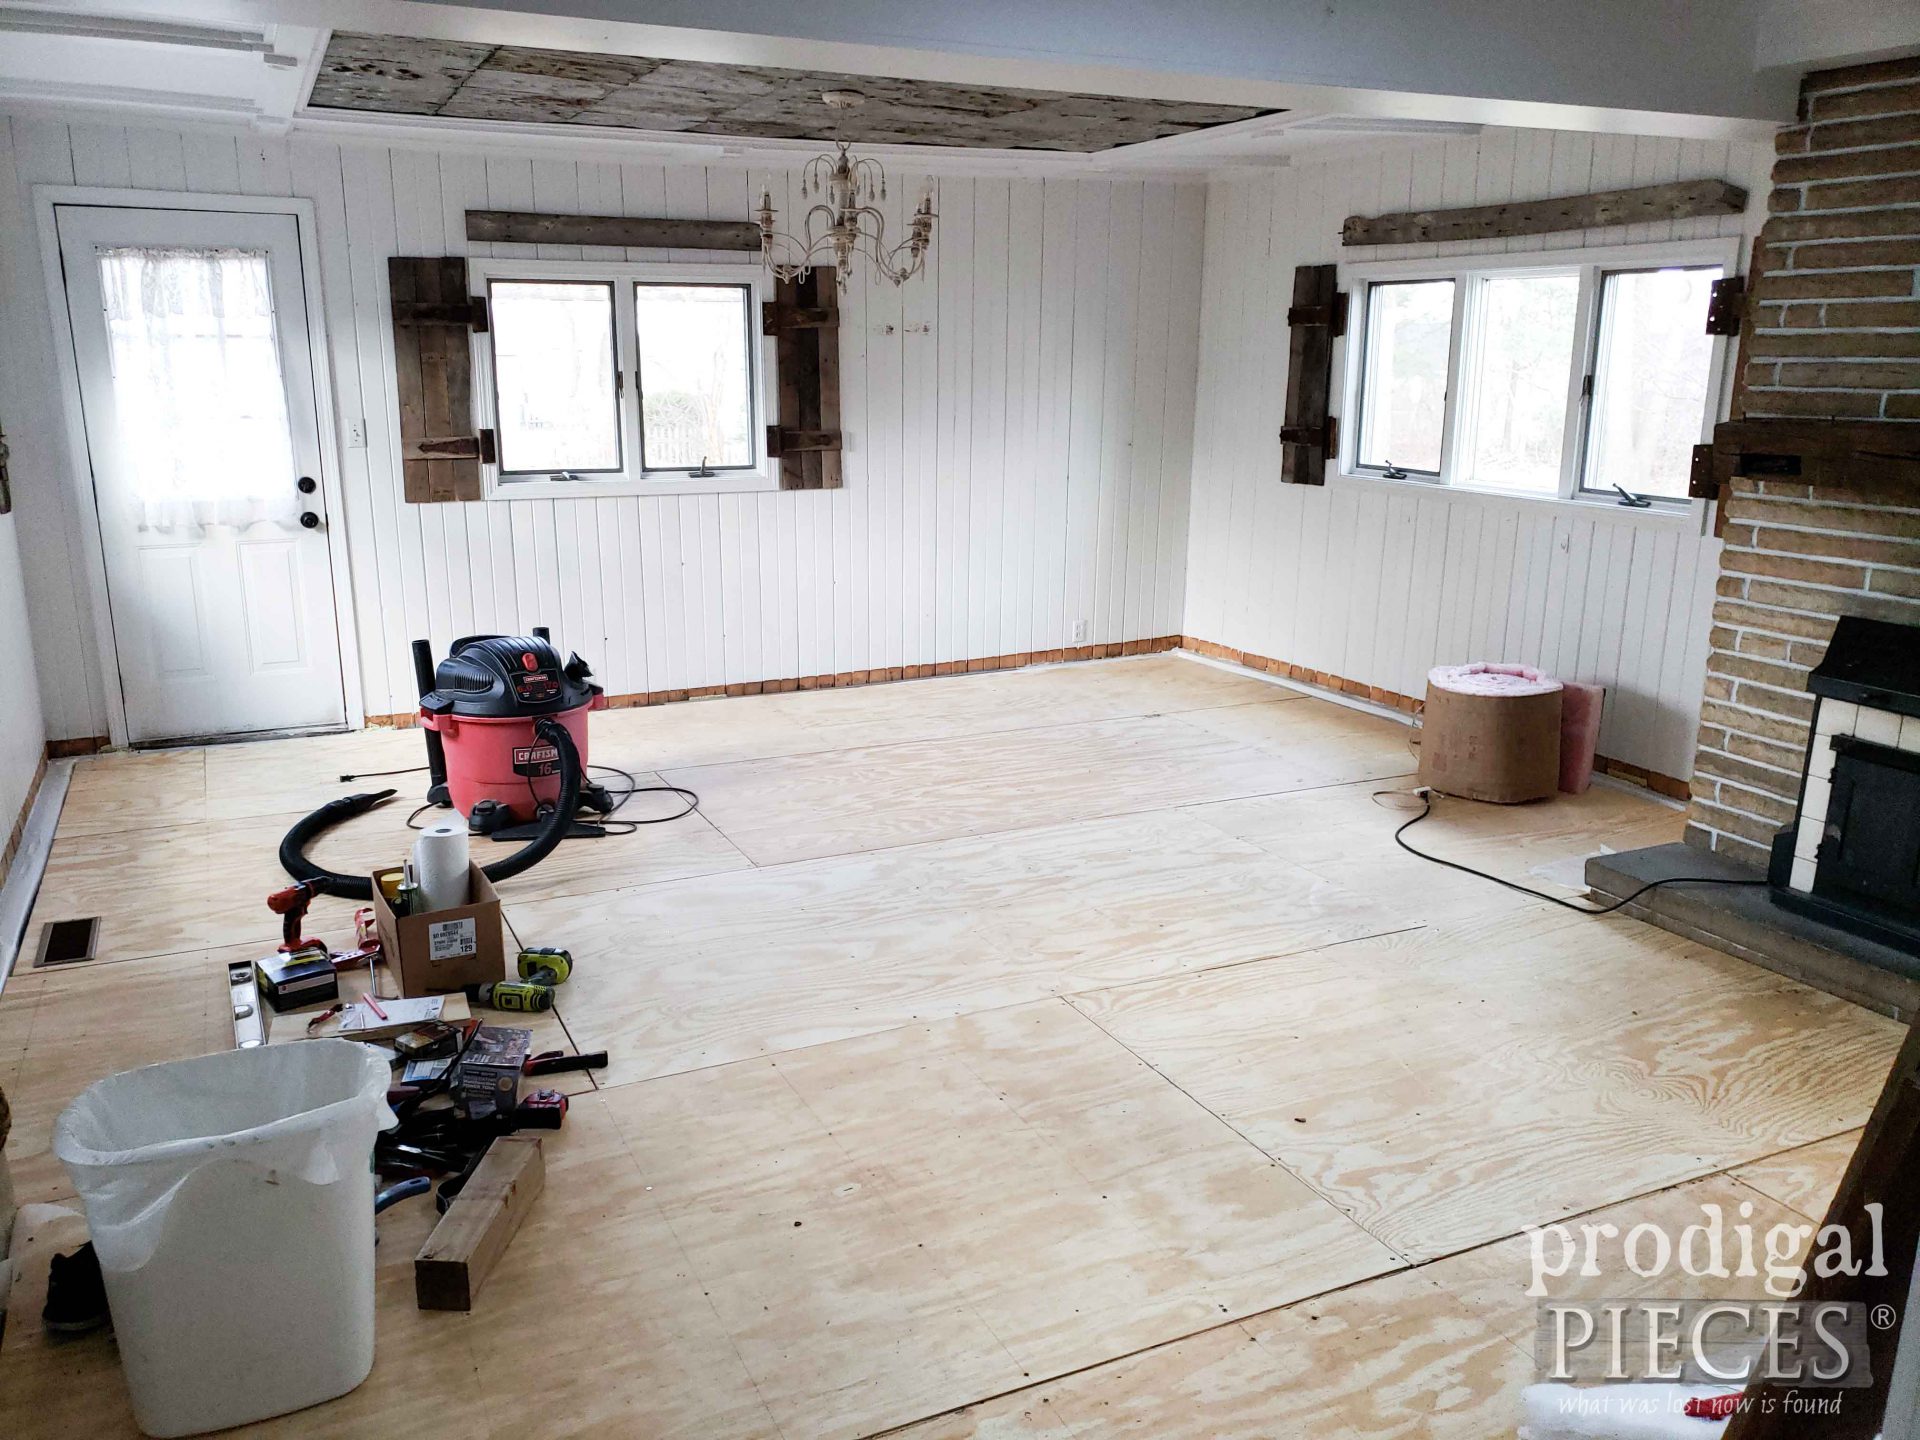
Now for the ultimate negative. sigh… This room used to be a garage off of a screened in porch. With that comes a concrete floor. After we purchase the home, there are two ginormous oak trees squeezing in on either side of the room. Of course, trees have roots and large trees have super roots. So, our floor is buckled and isn’t an issue for the basic structure. However, on a hard freeze they can raise a bit.
With those details in mind it makes it a conundrum to be able to put flooring over it. Two obvious options: (1) put new carpet down (2) pour new concrete. Two obvious negatives in conjunction with that (1) not happening EVER – germs, bluck, kids, firewood, etc (2) the cost is expensive and it will buckle again. Then, my unwillingness to give into this floor led me on a stubborn research project for a floating floor.
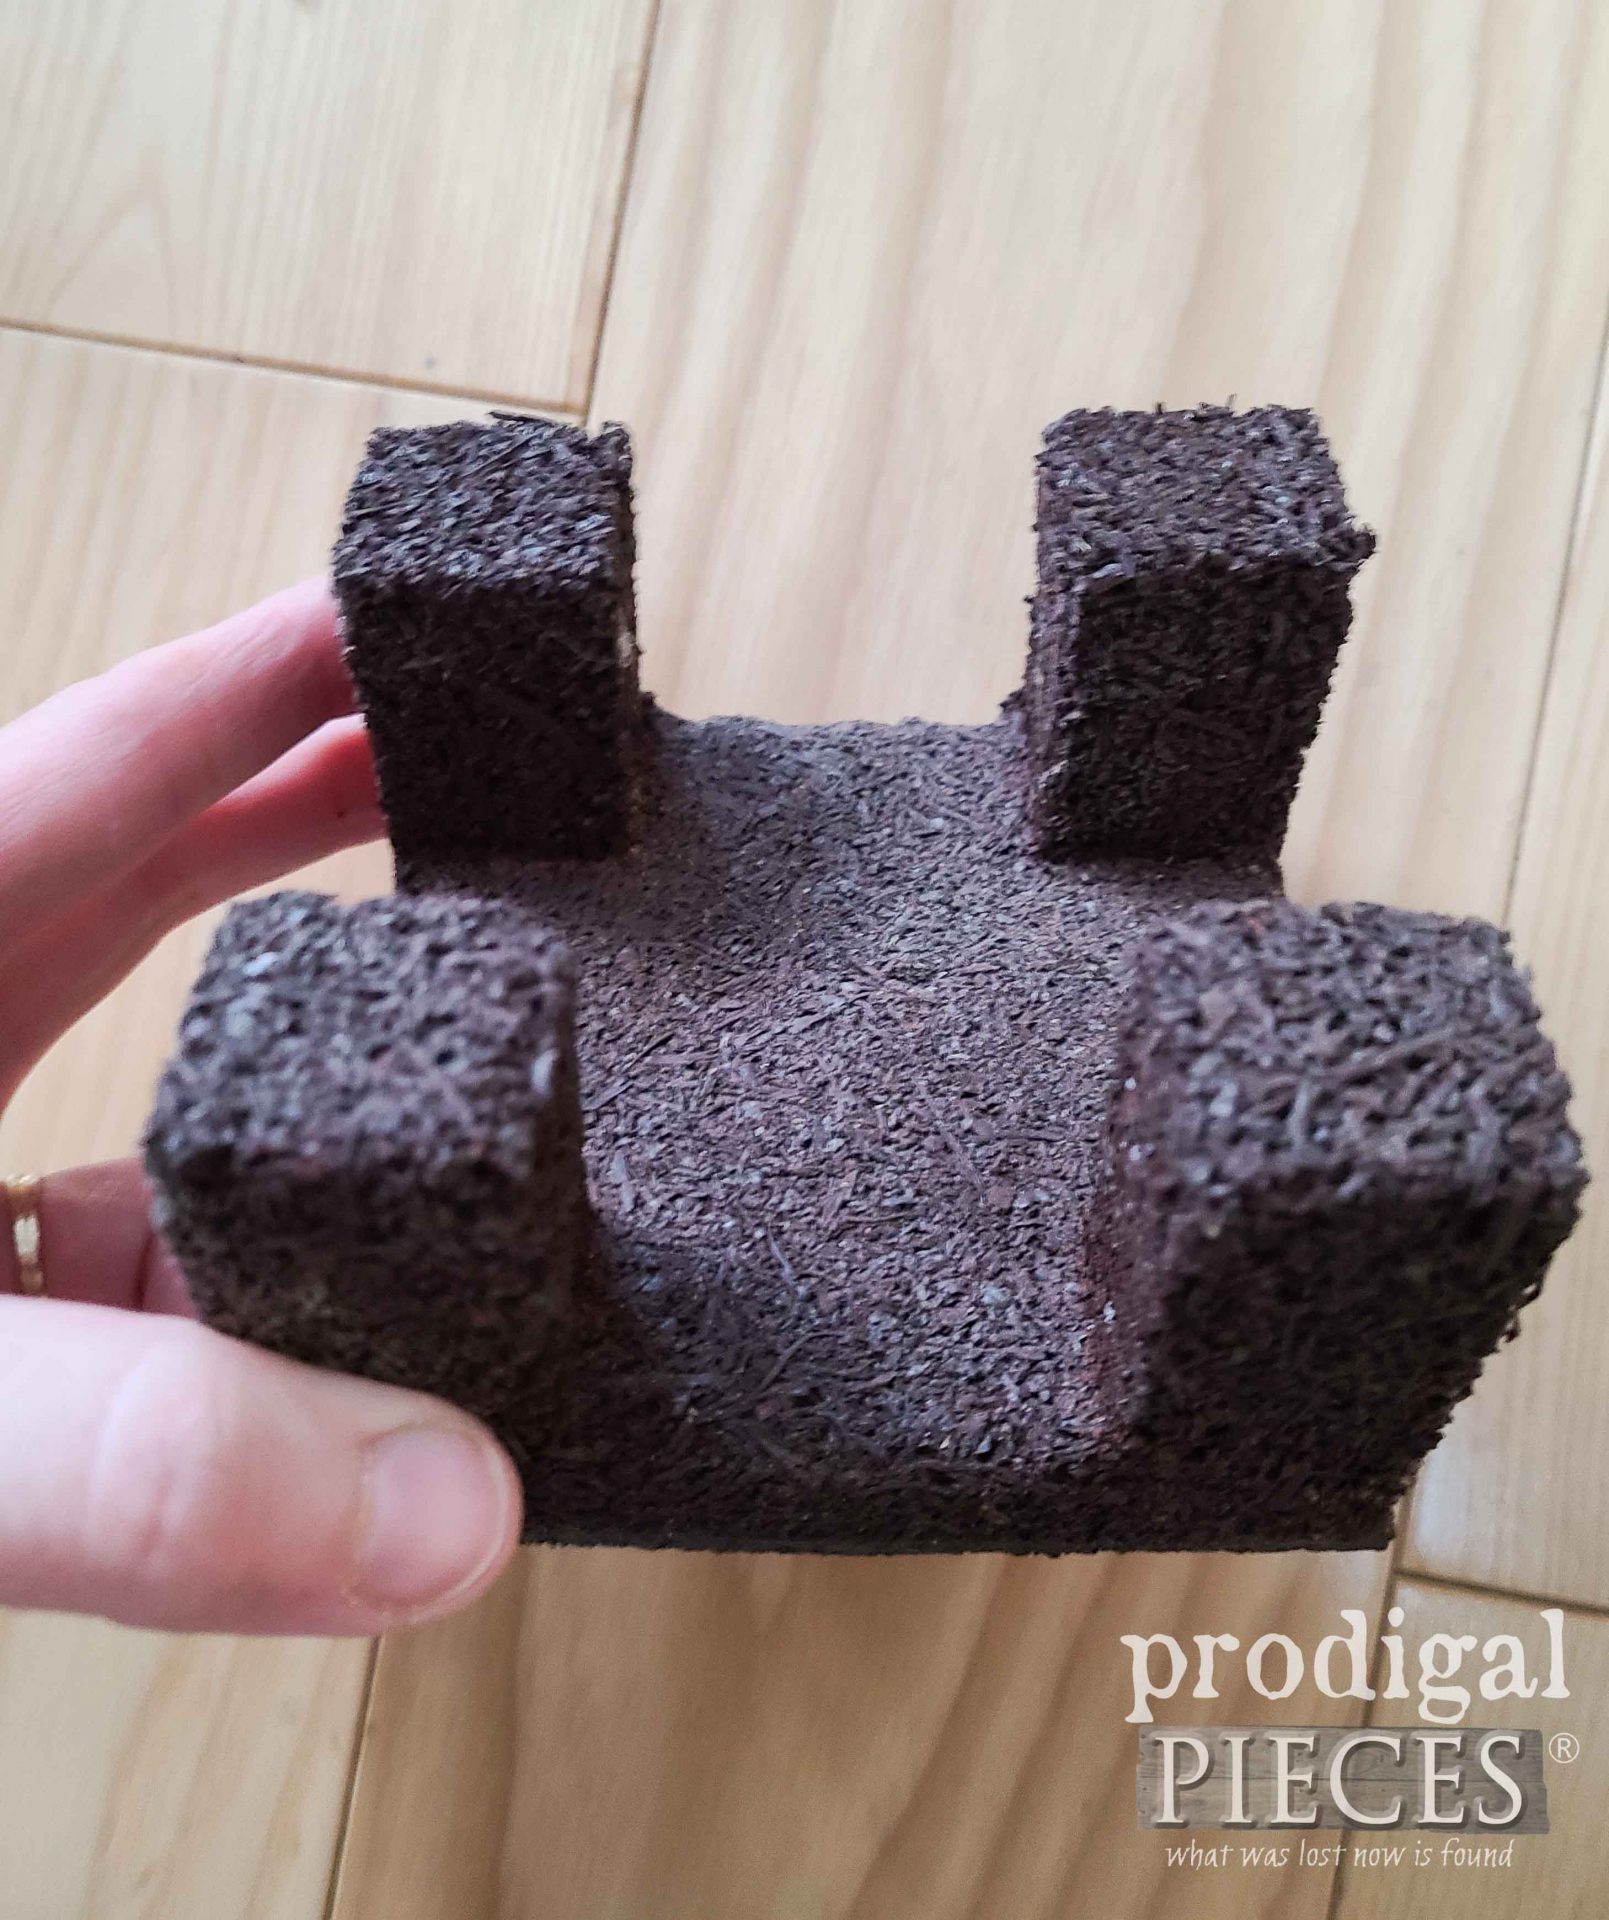
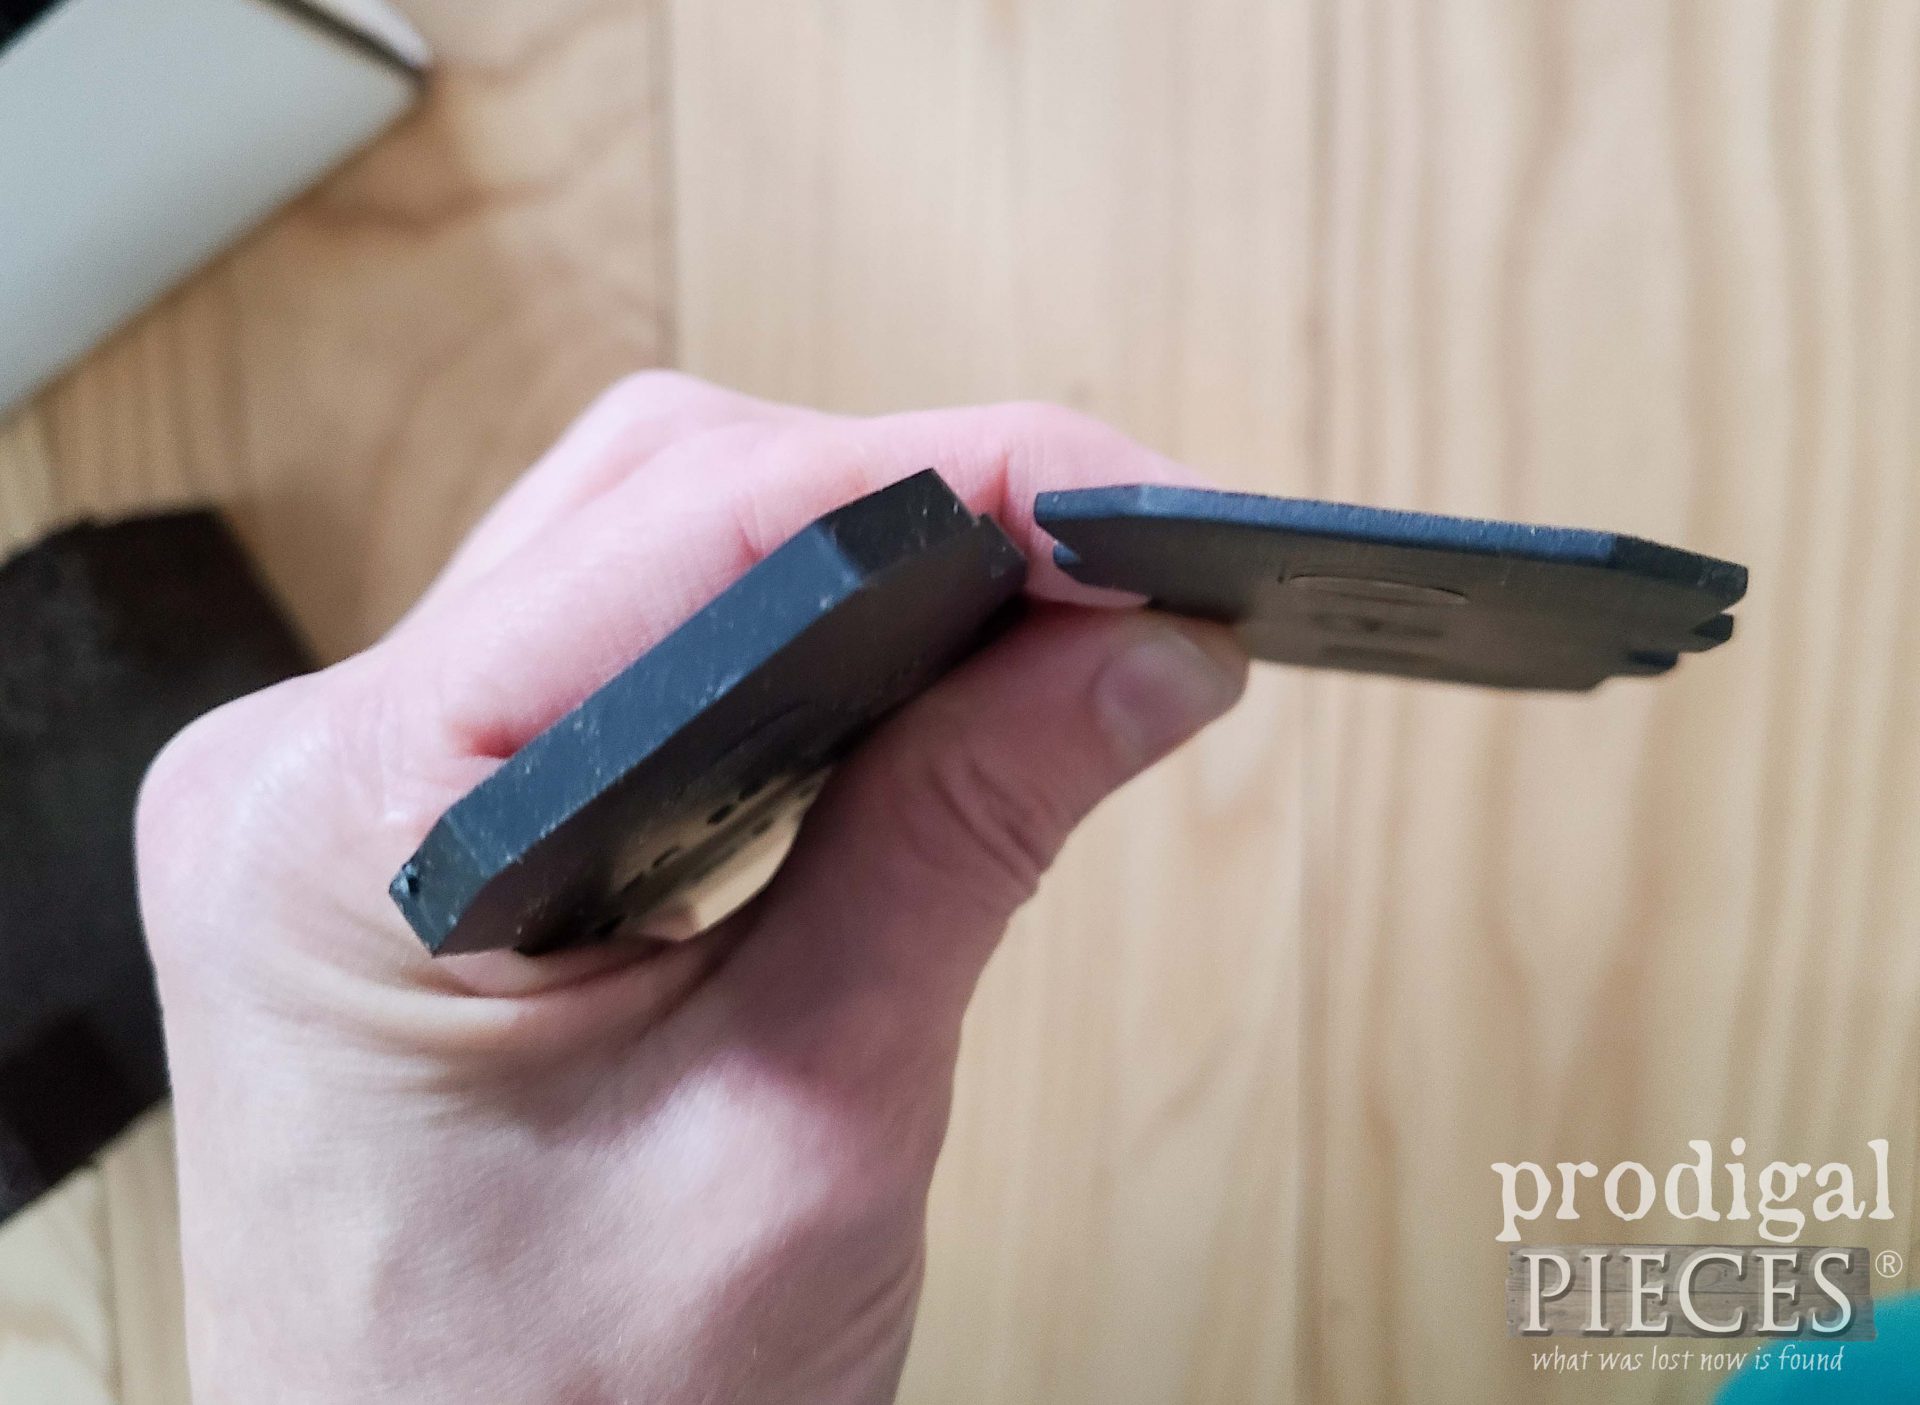
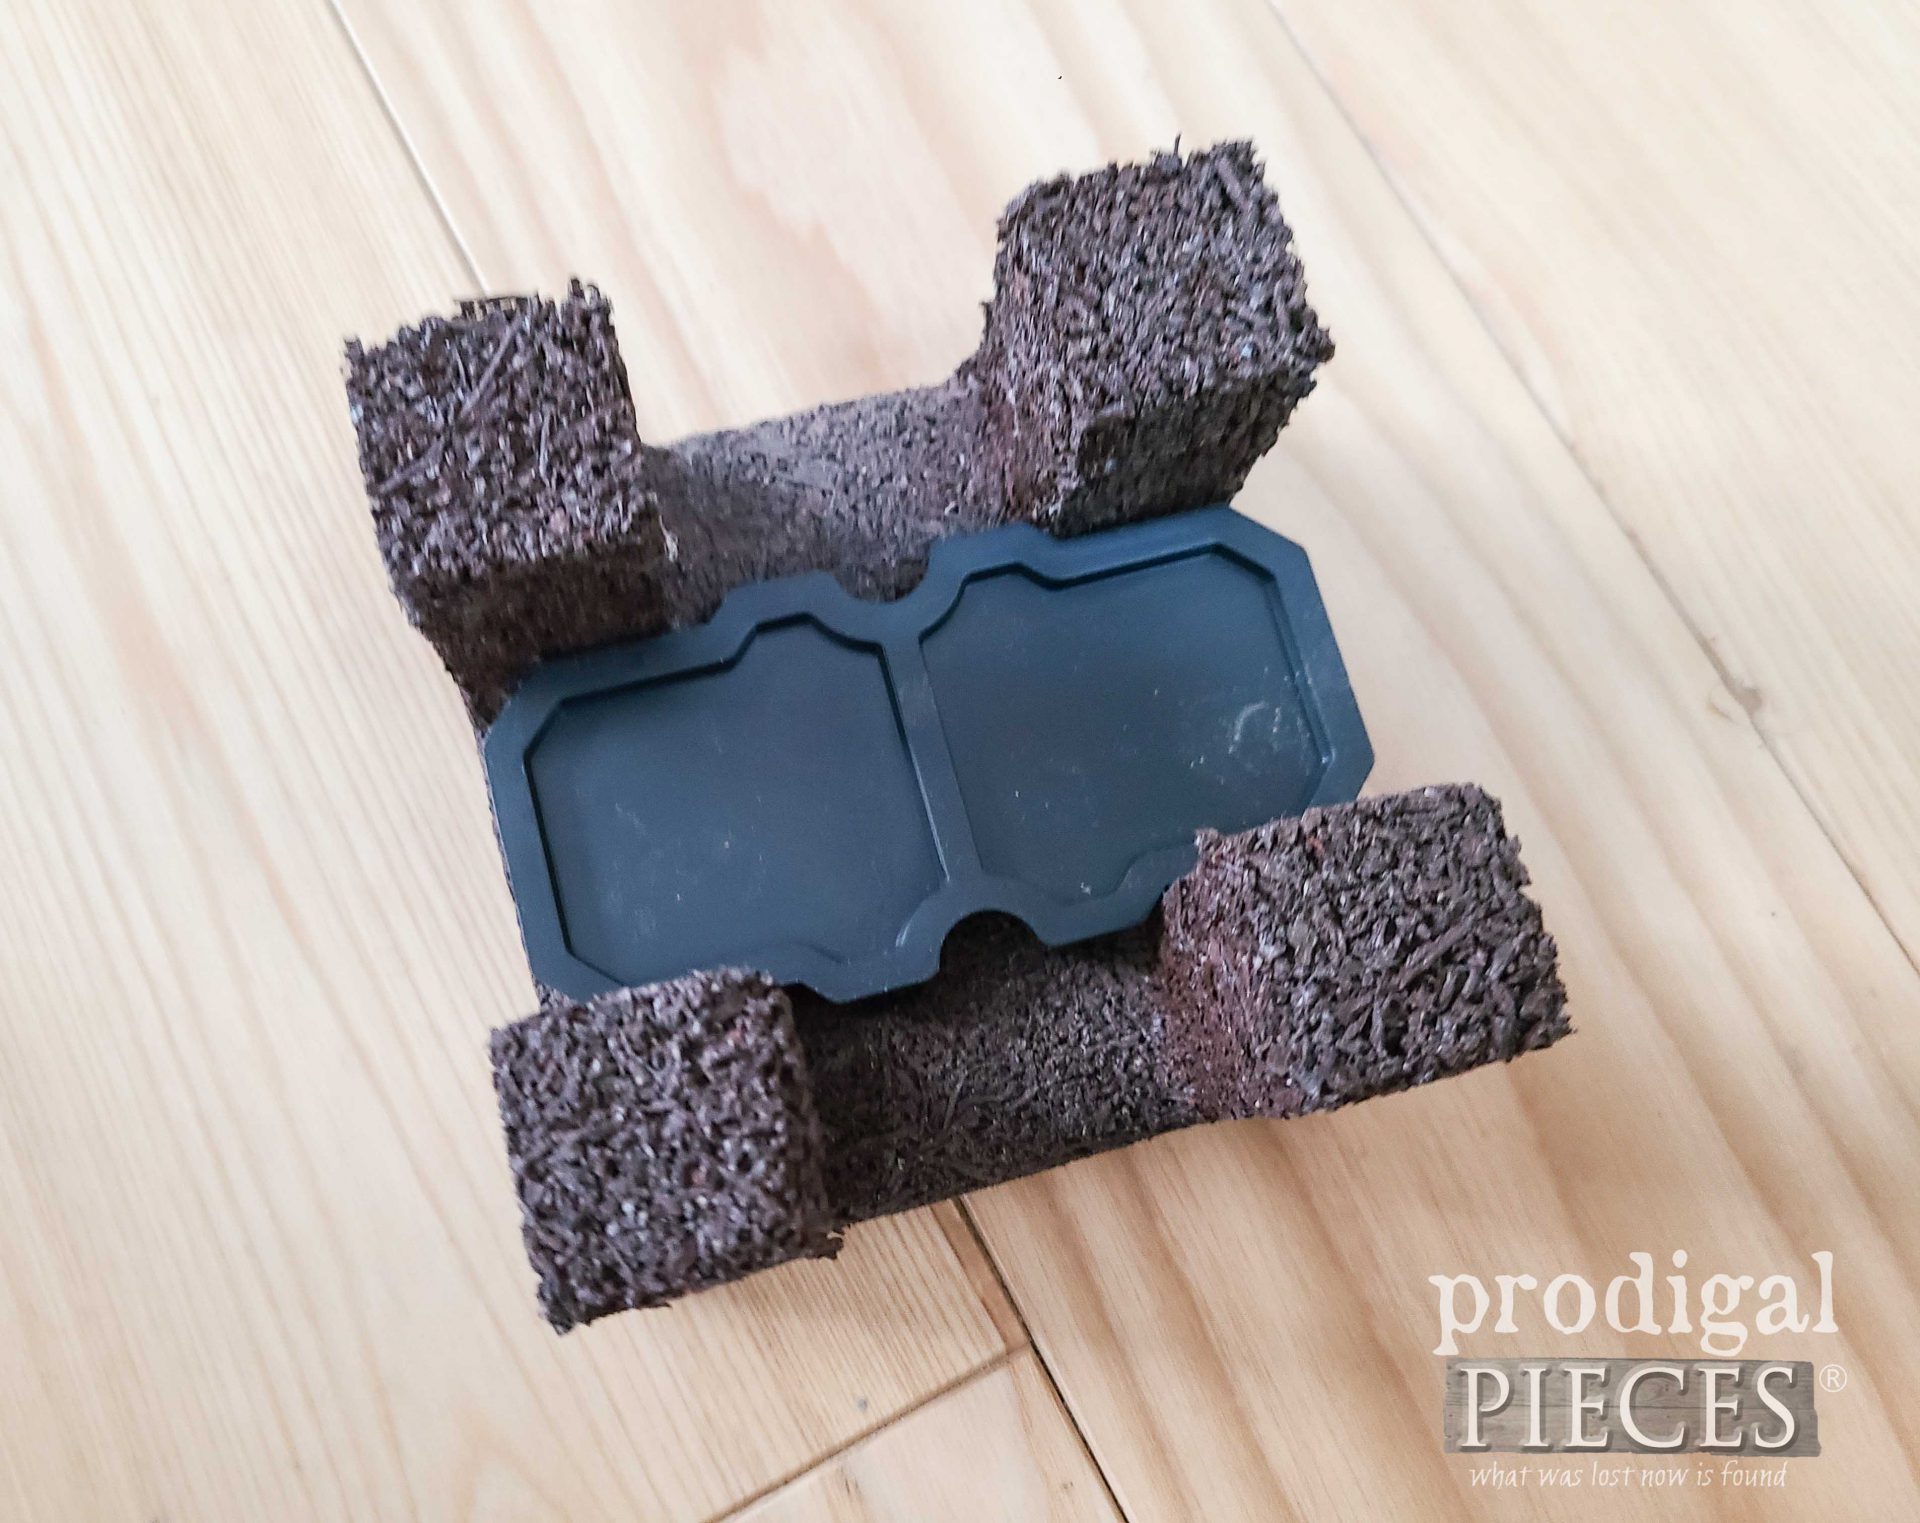
First, I looked into building the floor into the walls as support. There were negatives to that and cost an issue. Upon researching floating floor, I came upon floors built for performing art studios and gyms for sound proof purposes. This made sense to me. The design allows the floor to flex, is economical, and is also a green alternative. Enter in these cradles.
THE FLOOR
Next, after more hours of researching I settle my focus on InstaFloor InstaCradle. Mind you, this was 3 years ago and this was the only product like it on the market. It is produced in the UK as I’d rather support a local company, but I needed to solve this problem pronto. Just so you know, this isn’t a sponsored post, and even it was I only work with products and companies I truly believe in. Of course, I have to convince JC we can do this. Hey, I did the walls, the fireplace (also seen HERE with an update, and the insert HERE), the pallet shutters, the barn wood and bed skirt valance, and not to mention that awesome ceiling. ahem. Now it’s his turn.
NEXT STEPS
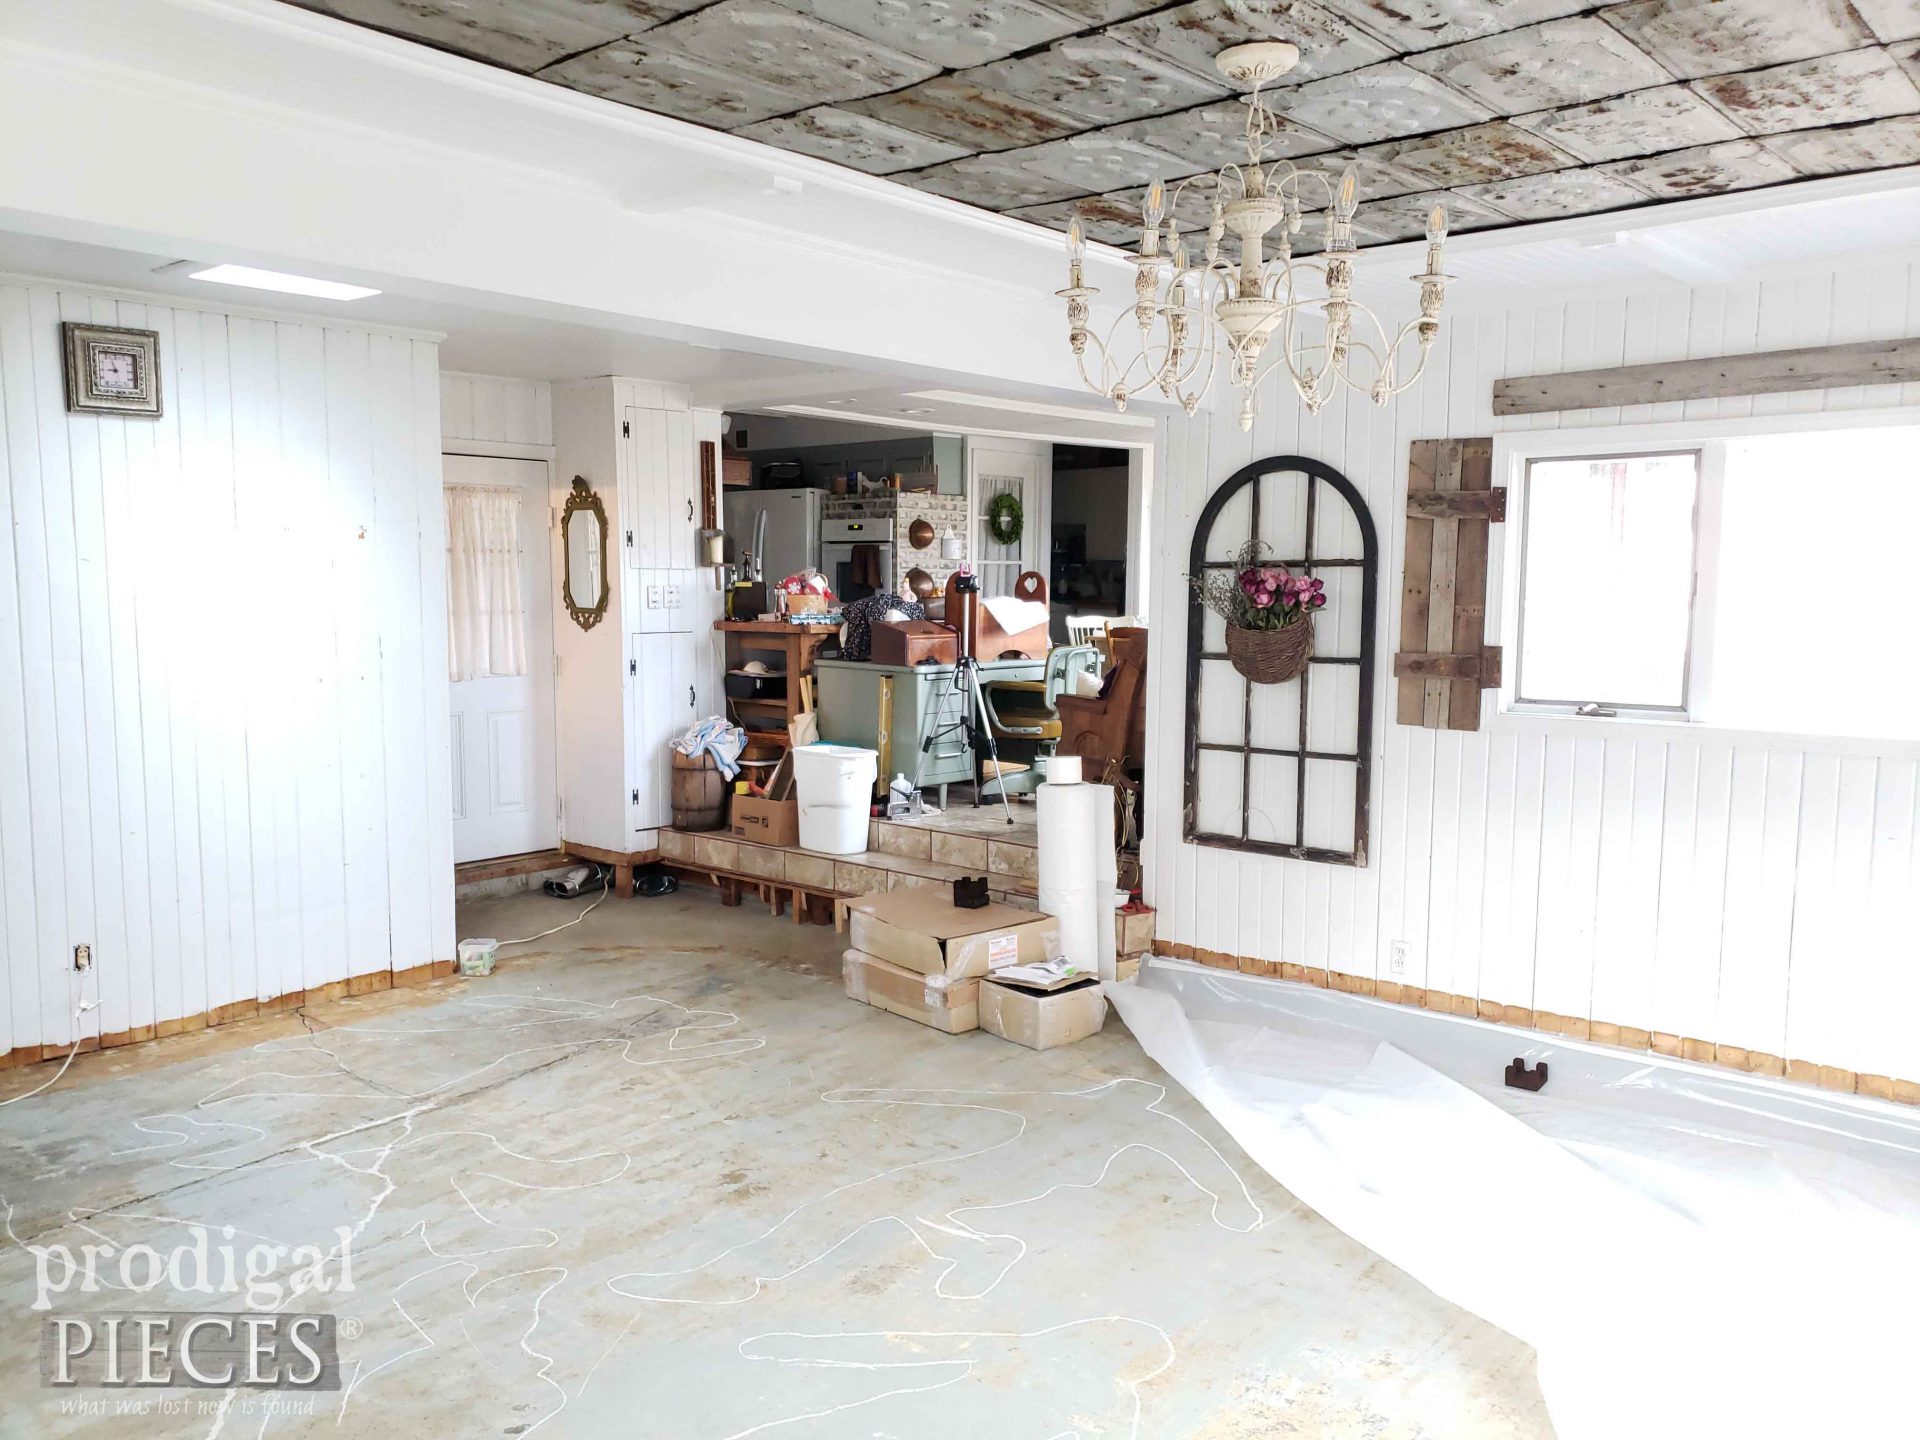
This system is meant to provide an interlocking system that allows you to build a subfloor right on the frame. On top of that, you can add your own flooring. InstaCradle has video tutorials on their site and also other products for outdoor applications. Our goal for our DIY floating floor is to finally get the hardwoods I dream of. However, before we get started, we need to have a little fun. Why not spice it up for the next owner to find a taste of our family humor.
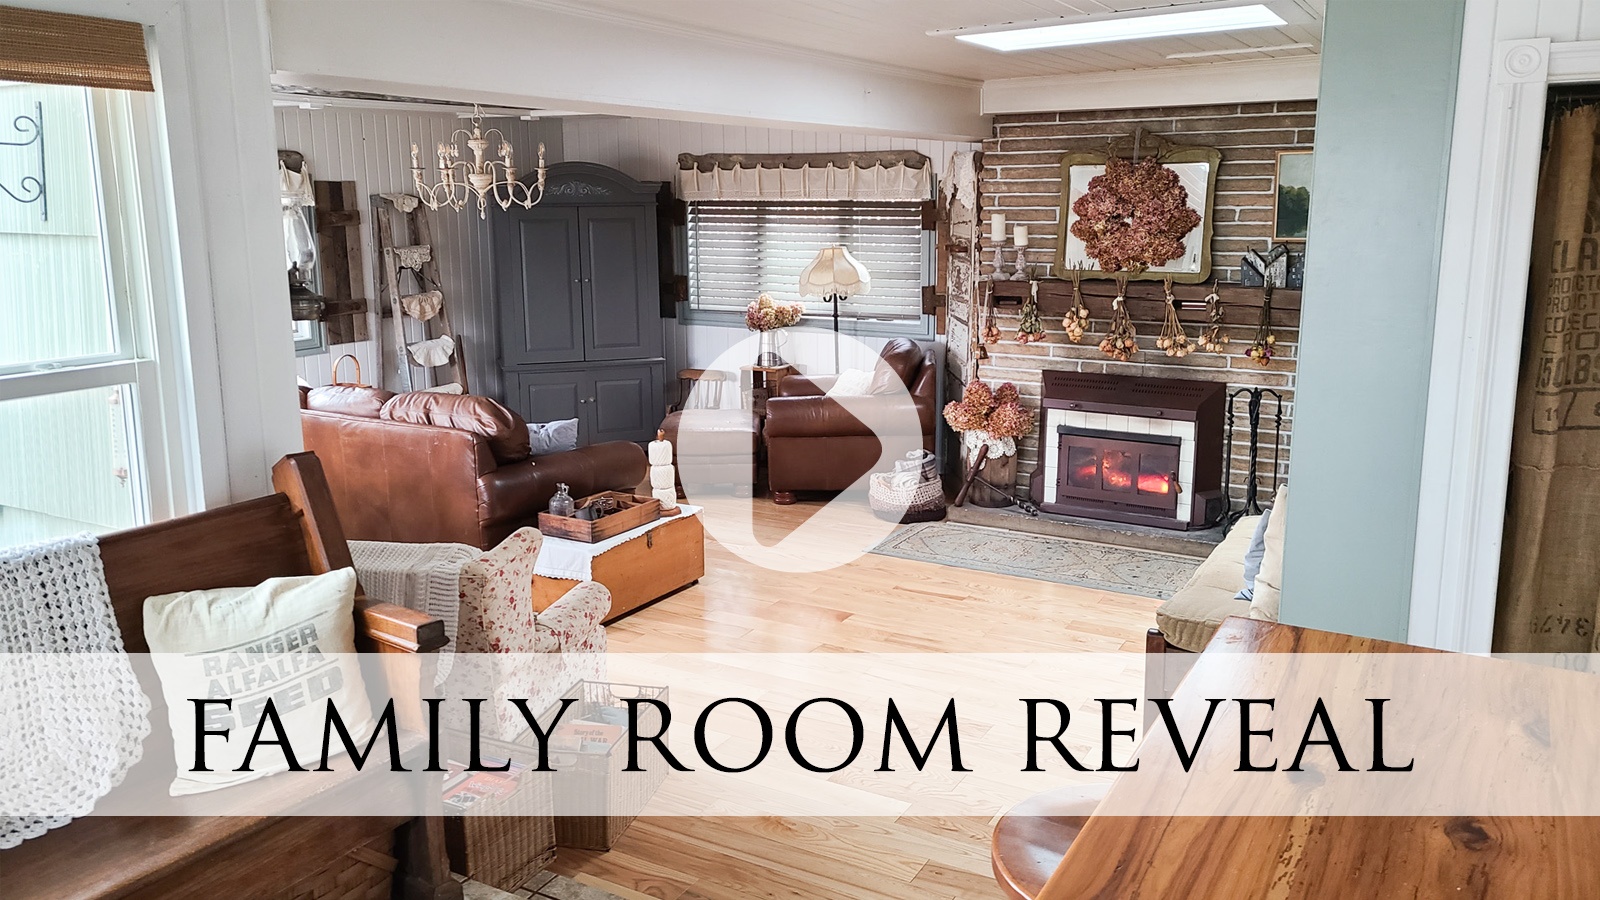
I have a video demo for you below, but am also outlining the steps for you here as well. Let’s take a quick peek at what we’re up against and get started!
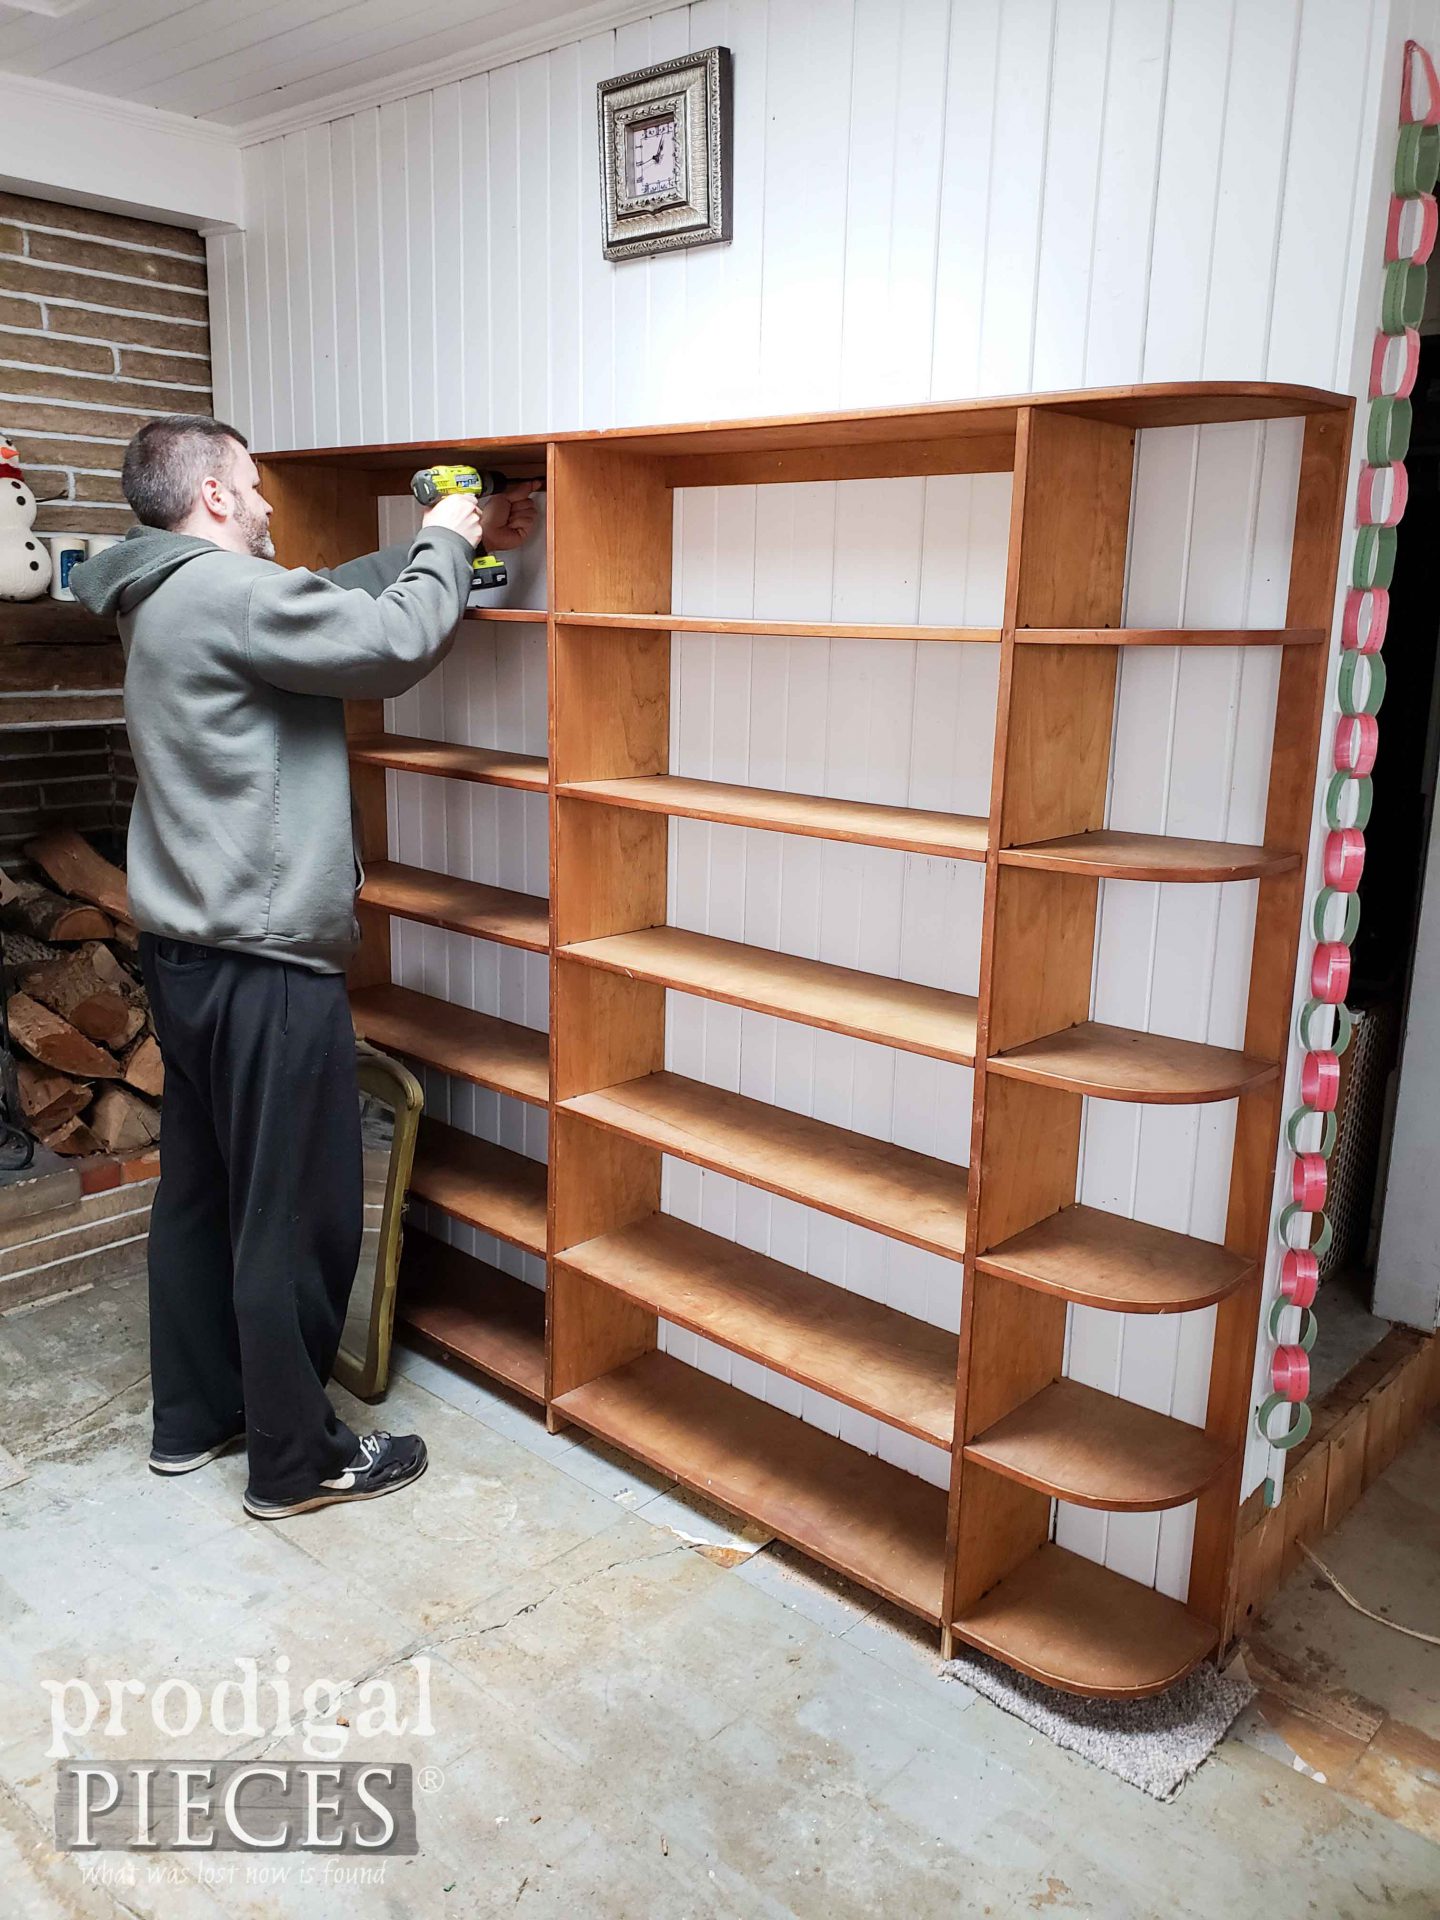
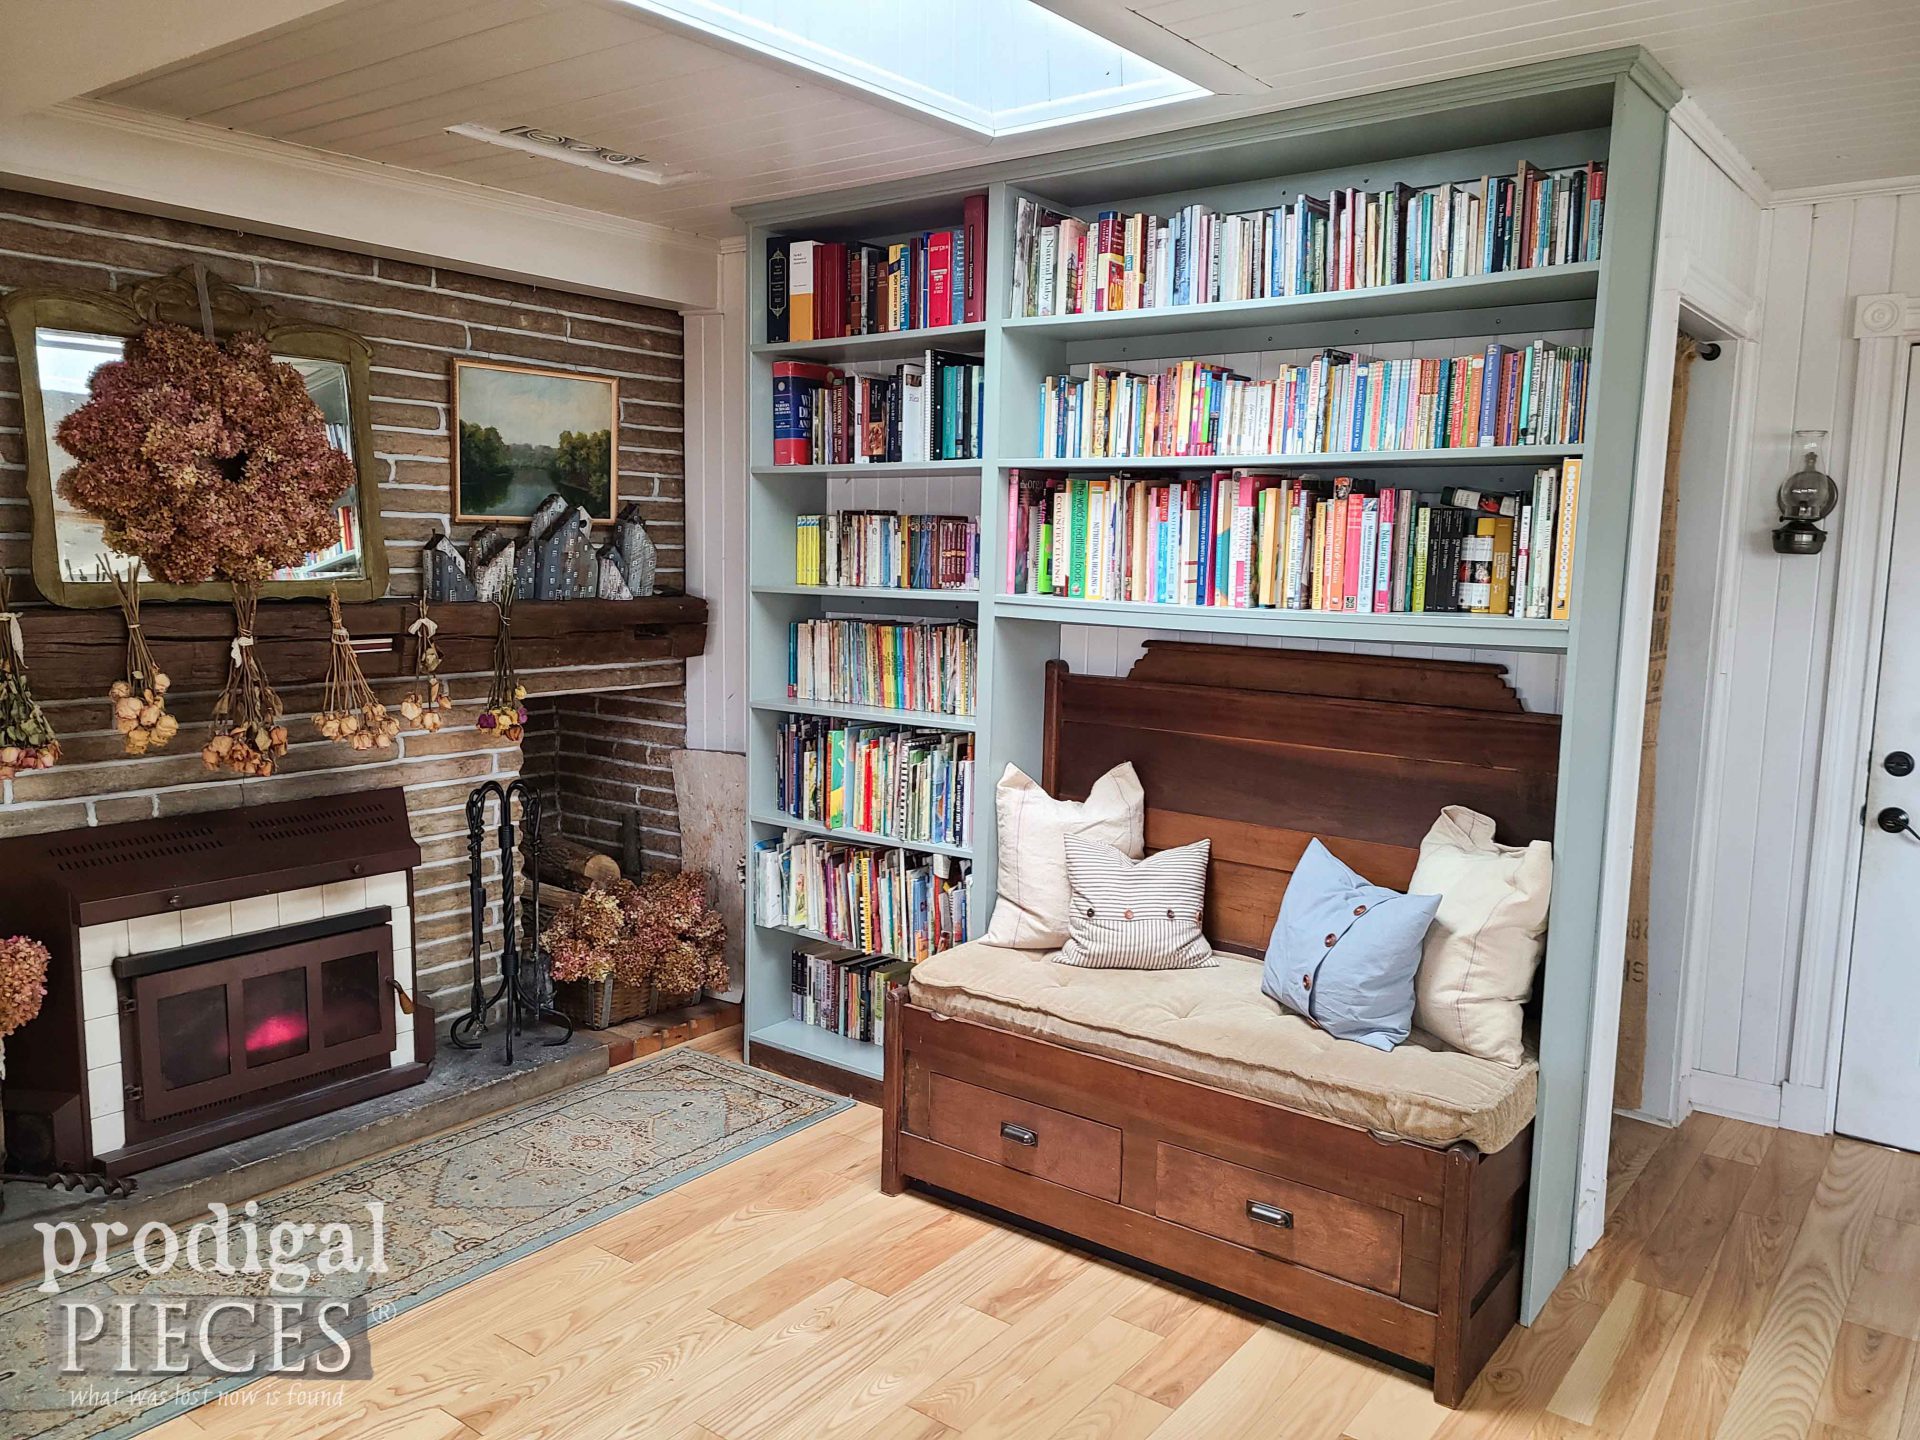
Our original bookshelves did the job, but they have a Mid Century vibe, and also I want to add a reading nook. Shelves go buh-bye along with the carpet.
Here’s the crazy part…from one corner of the room to the other we have a difference of about 6″. Yikes!! This new system also allows us to level up.
STEP 1
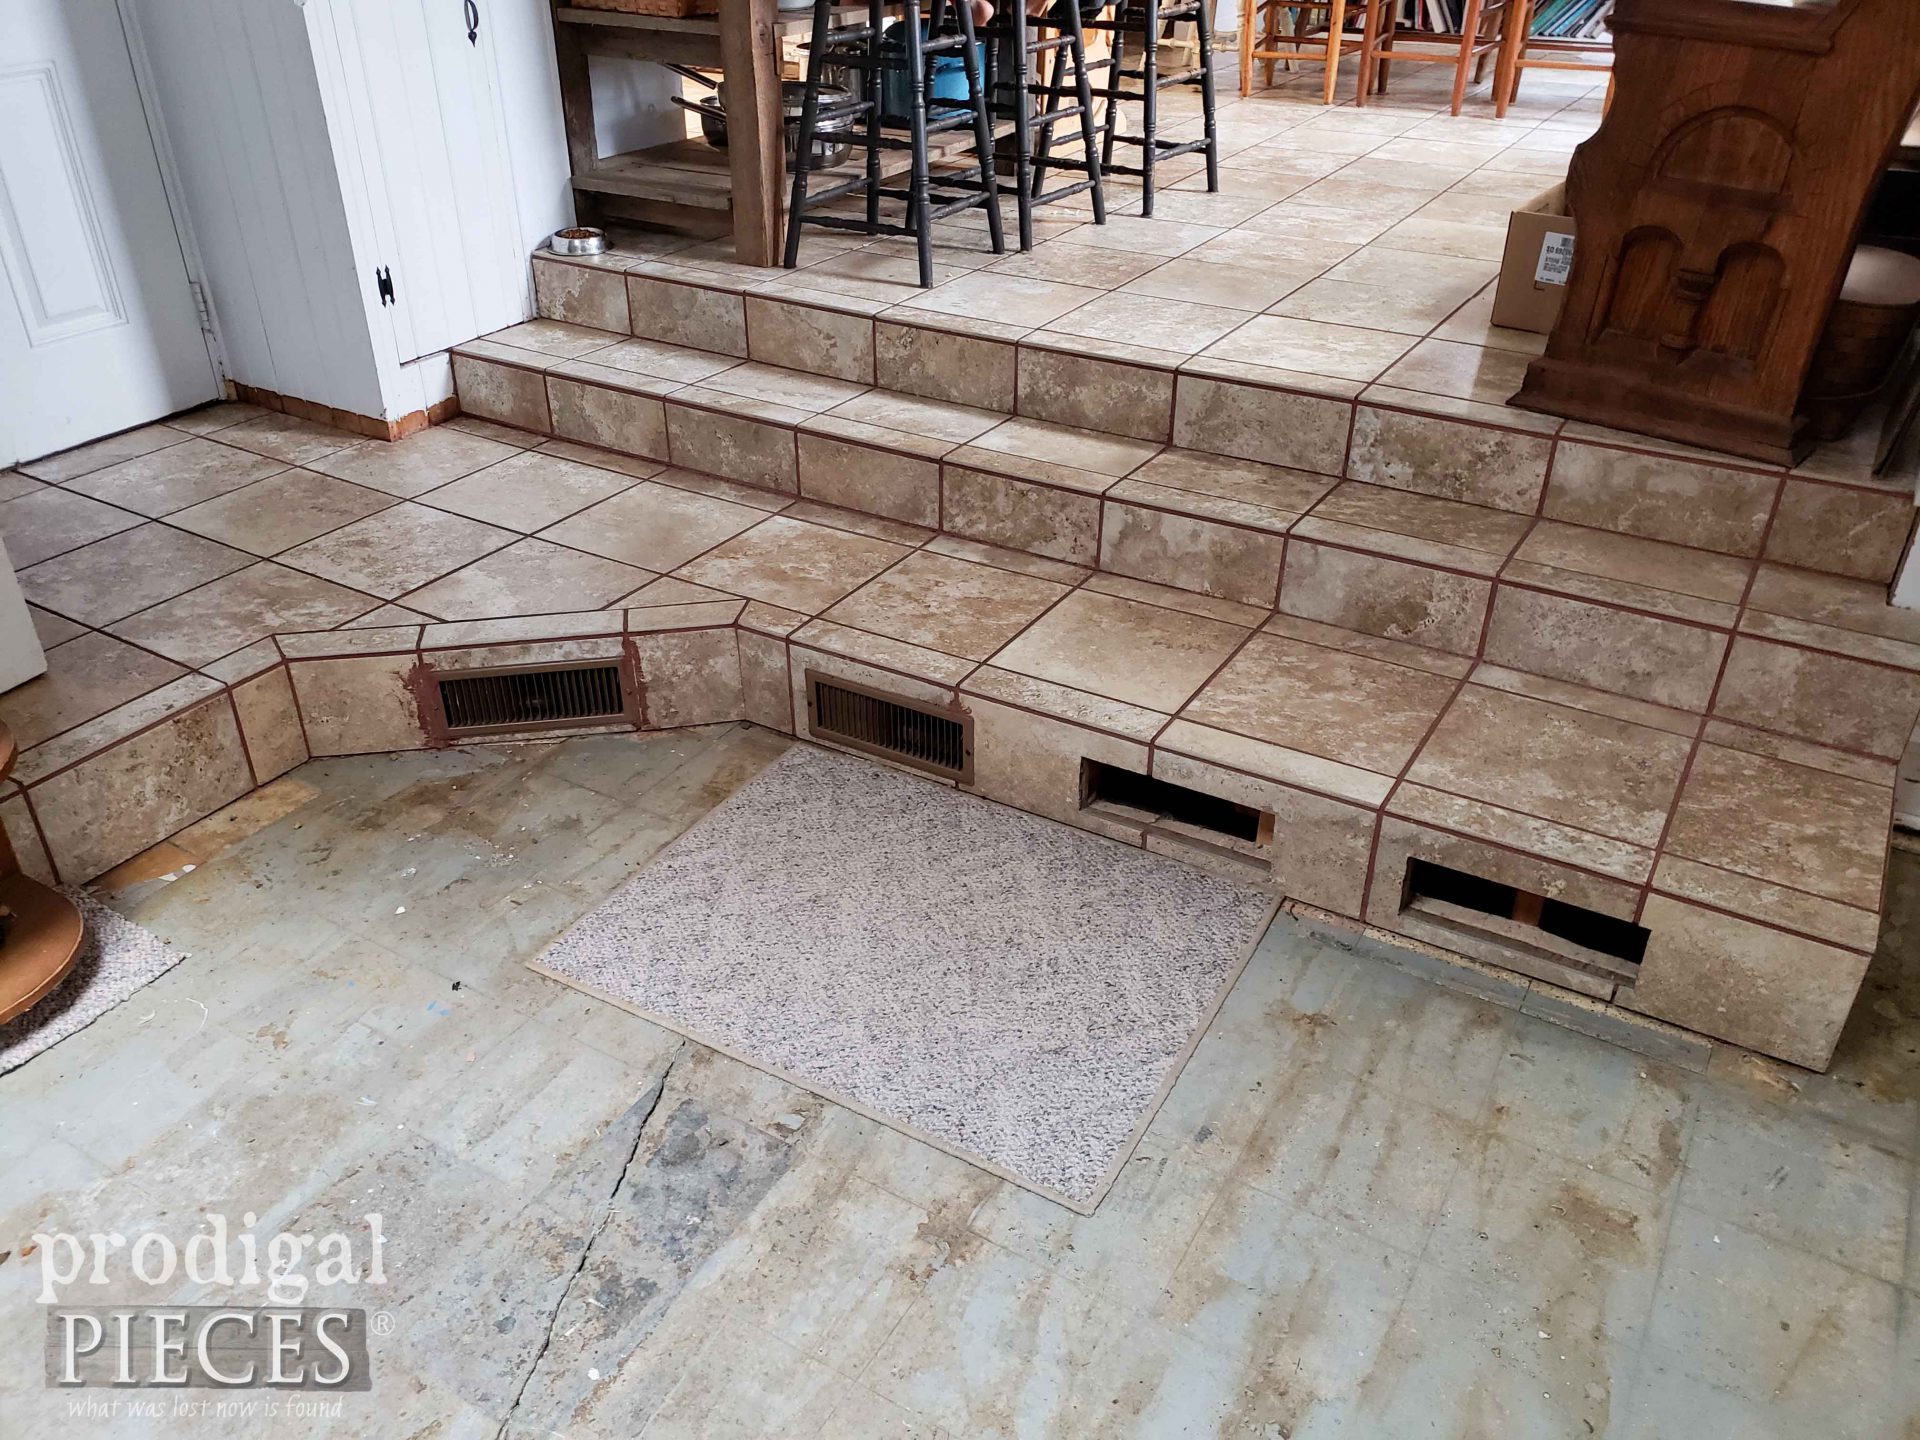
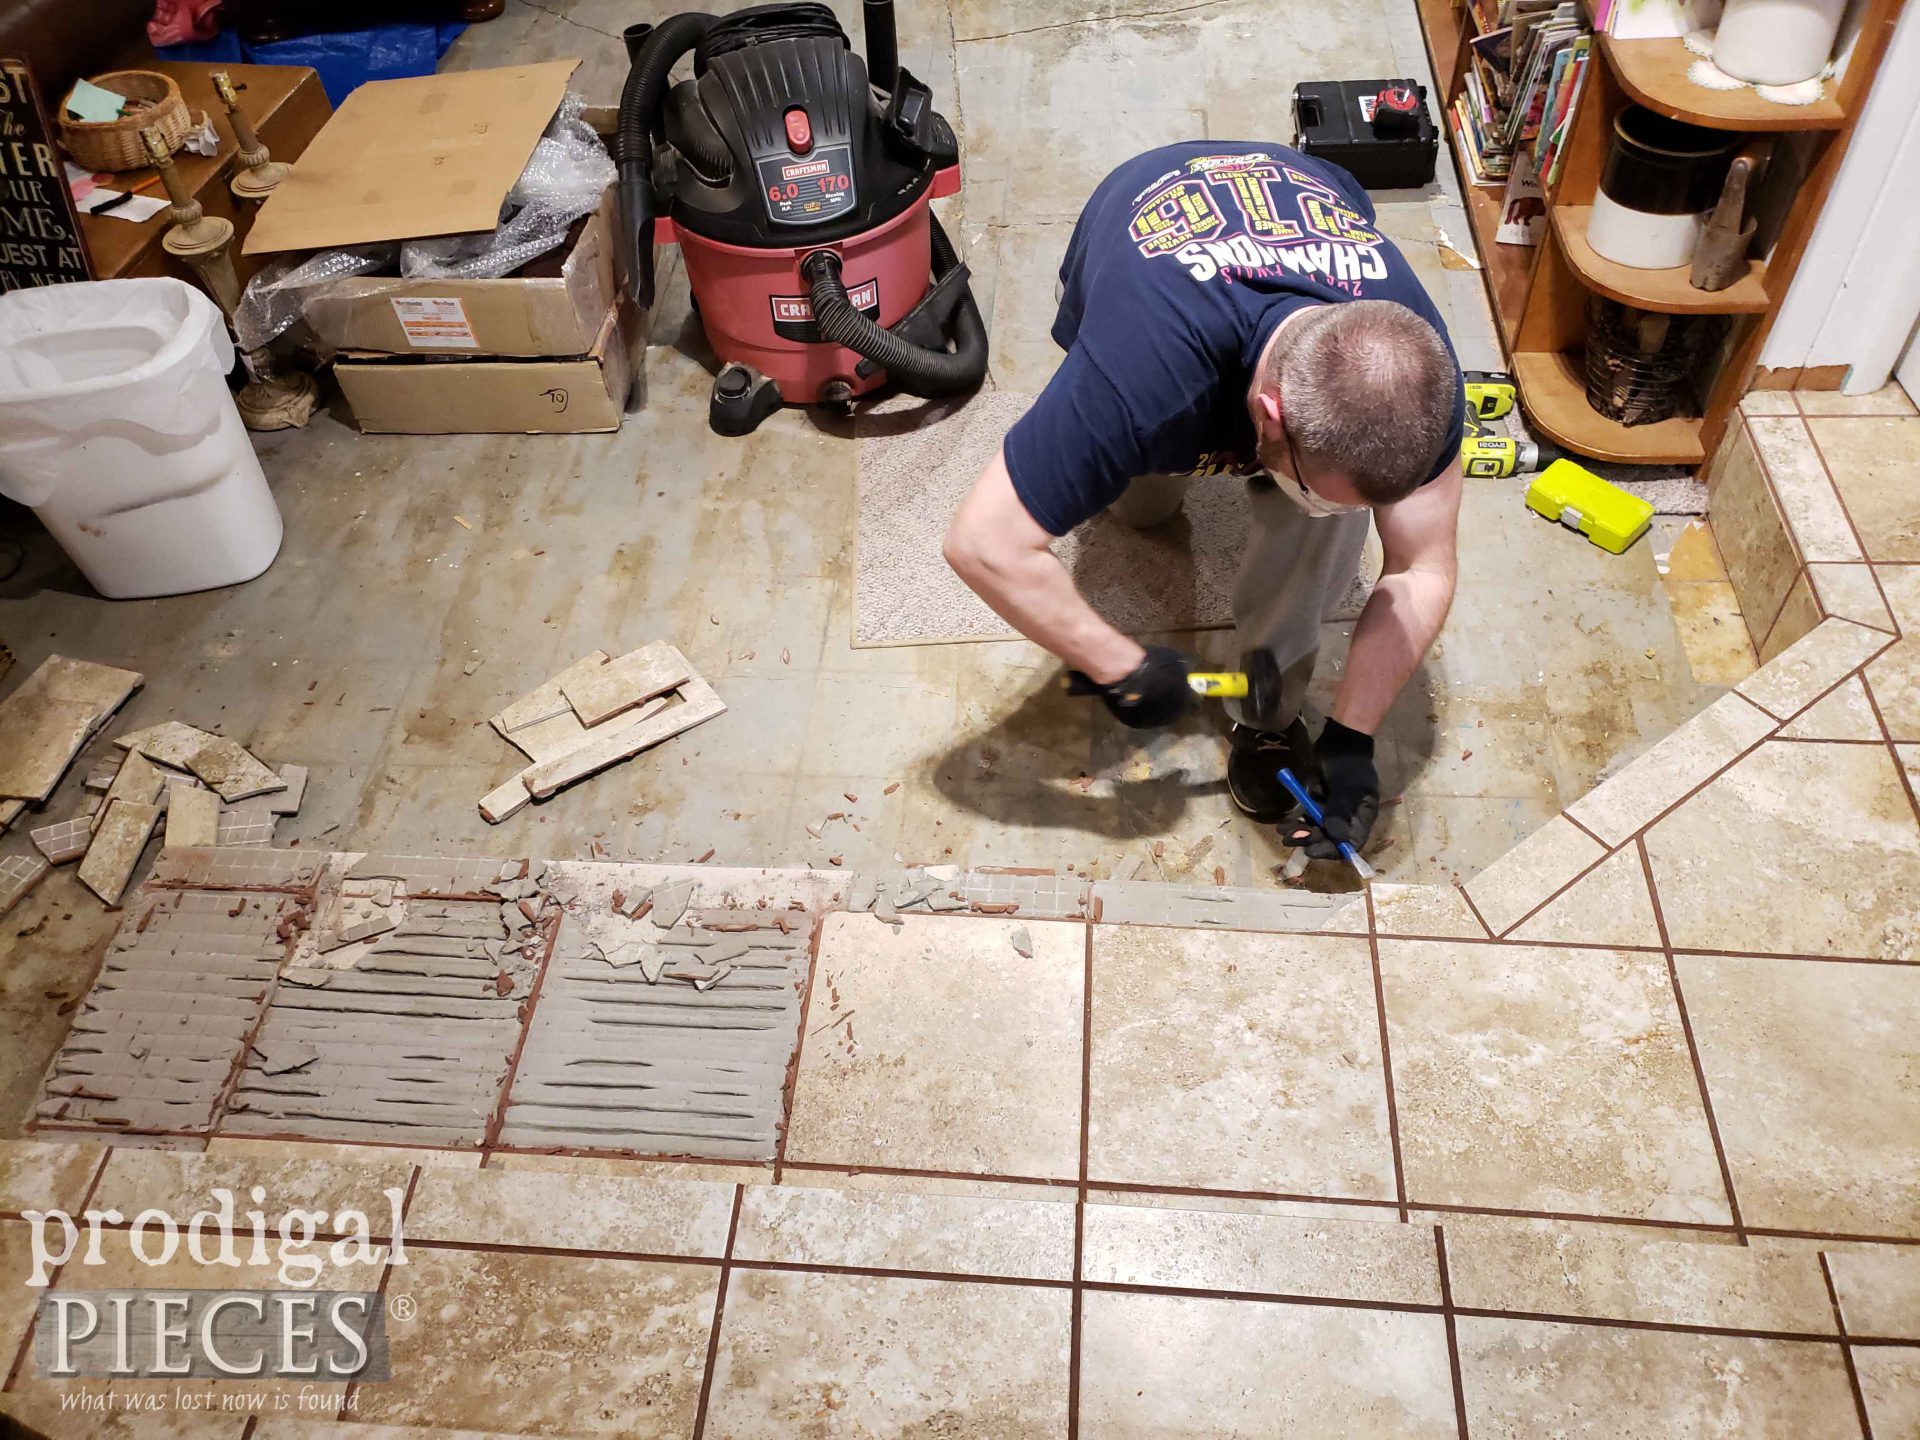
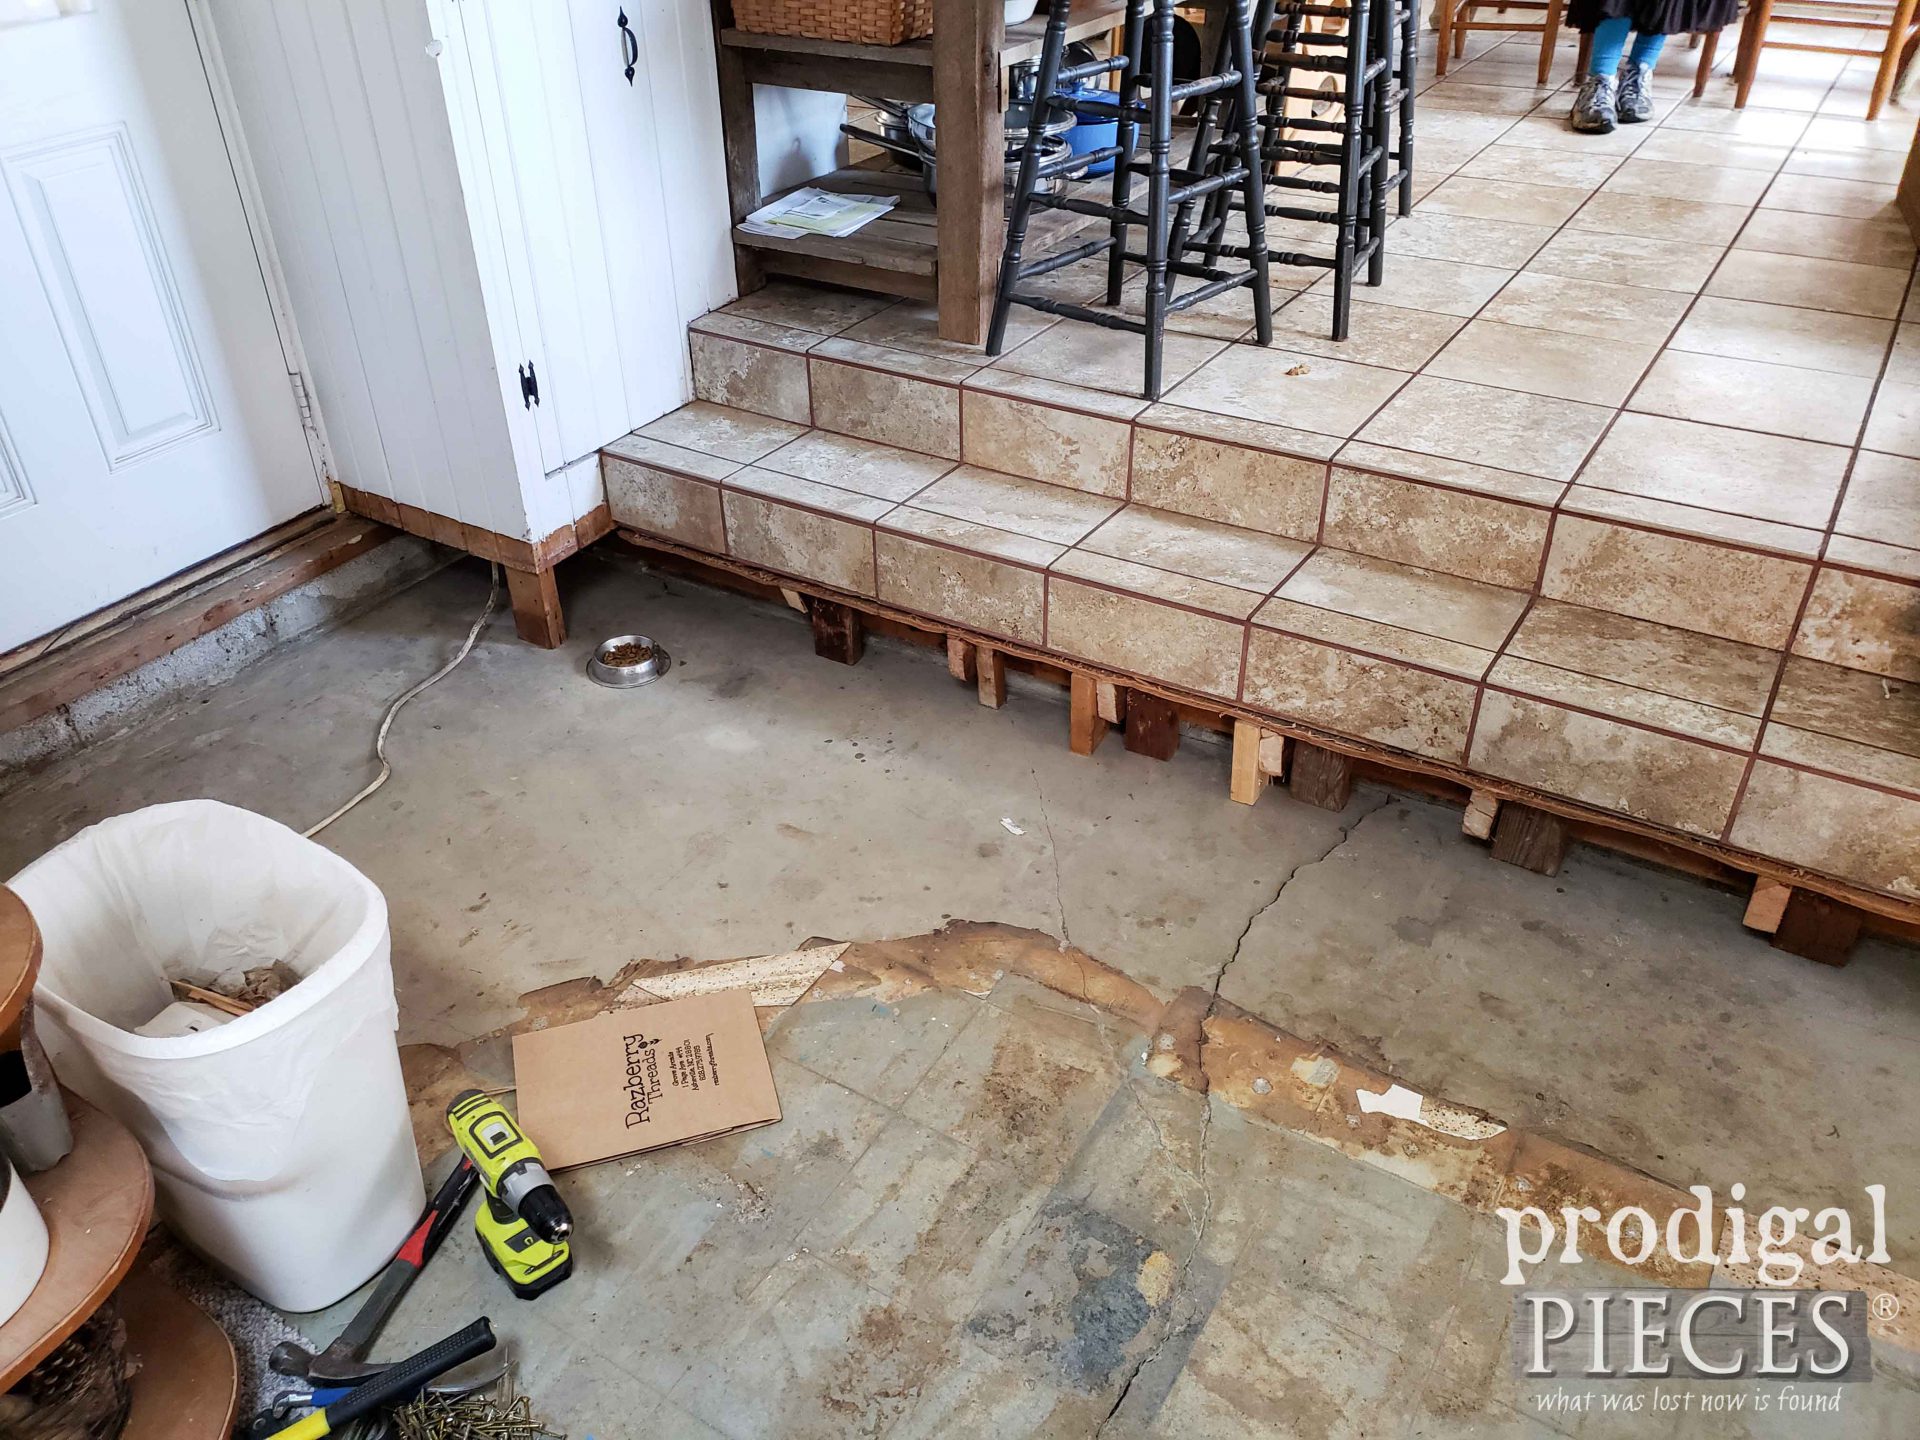
While it would be wonderful to just throw down the floor and call it done, we can’t do that. When we remodeled our kitchen (see it over HERE) JC laboriously tiled the floor and these steps. Not only did the steps have a high drop, but the landing had a weird joint from the original add-on build. Talk about a tiling job with the angles and five vents.
You can imagine what cheeky words are running through JC’s mind at this point. ouch.
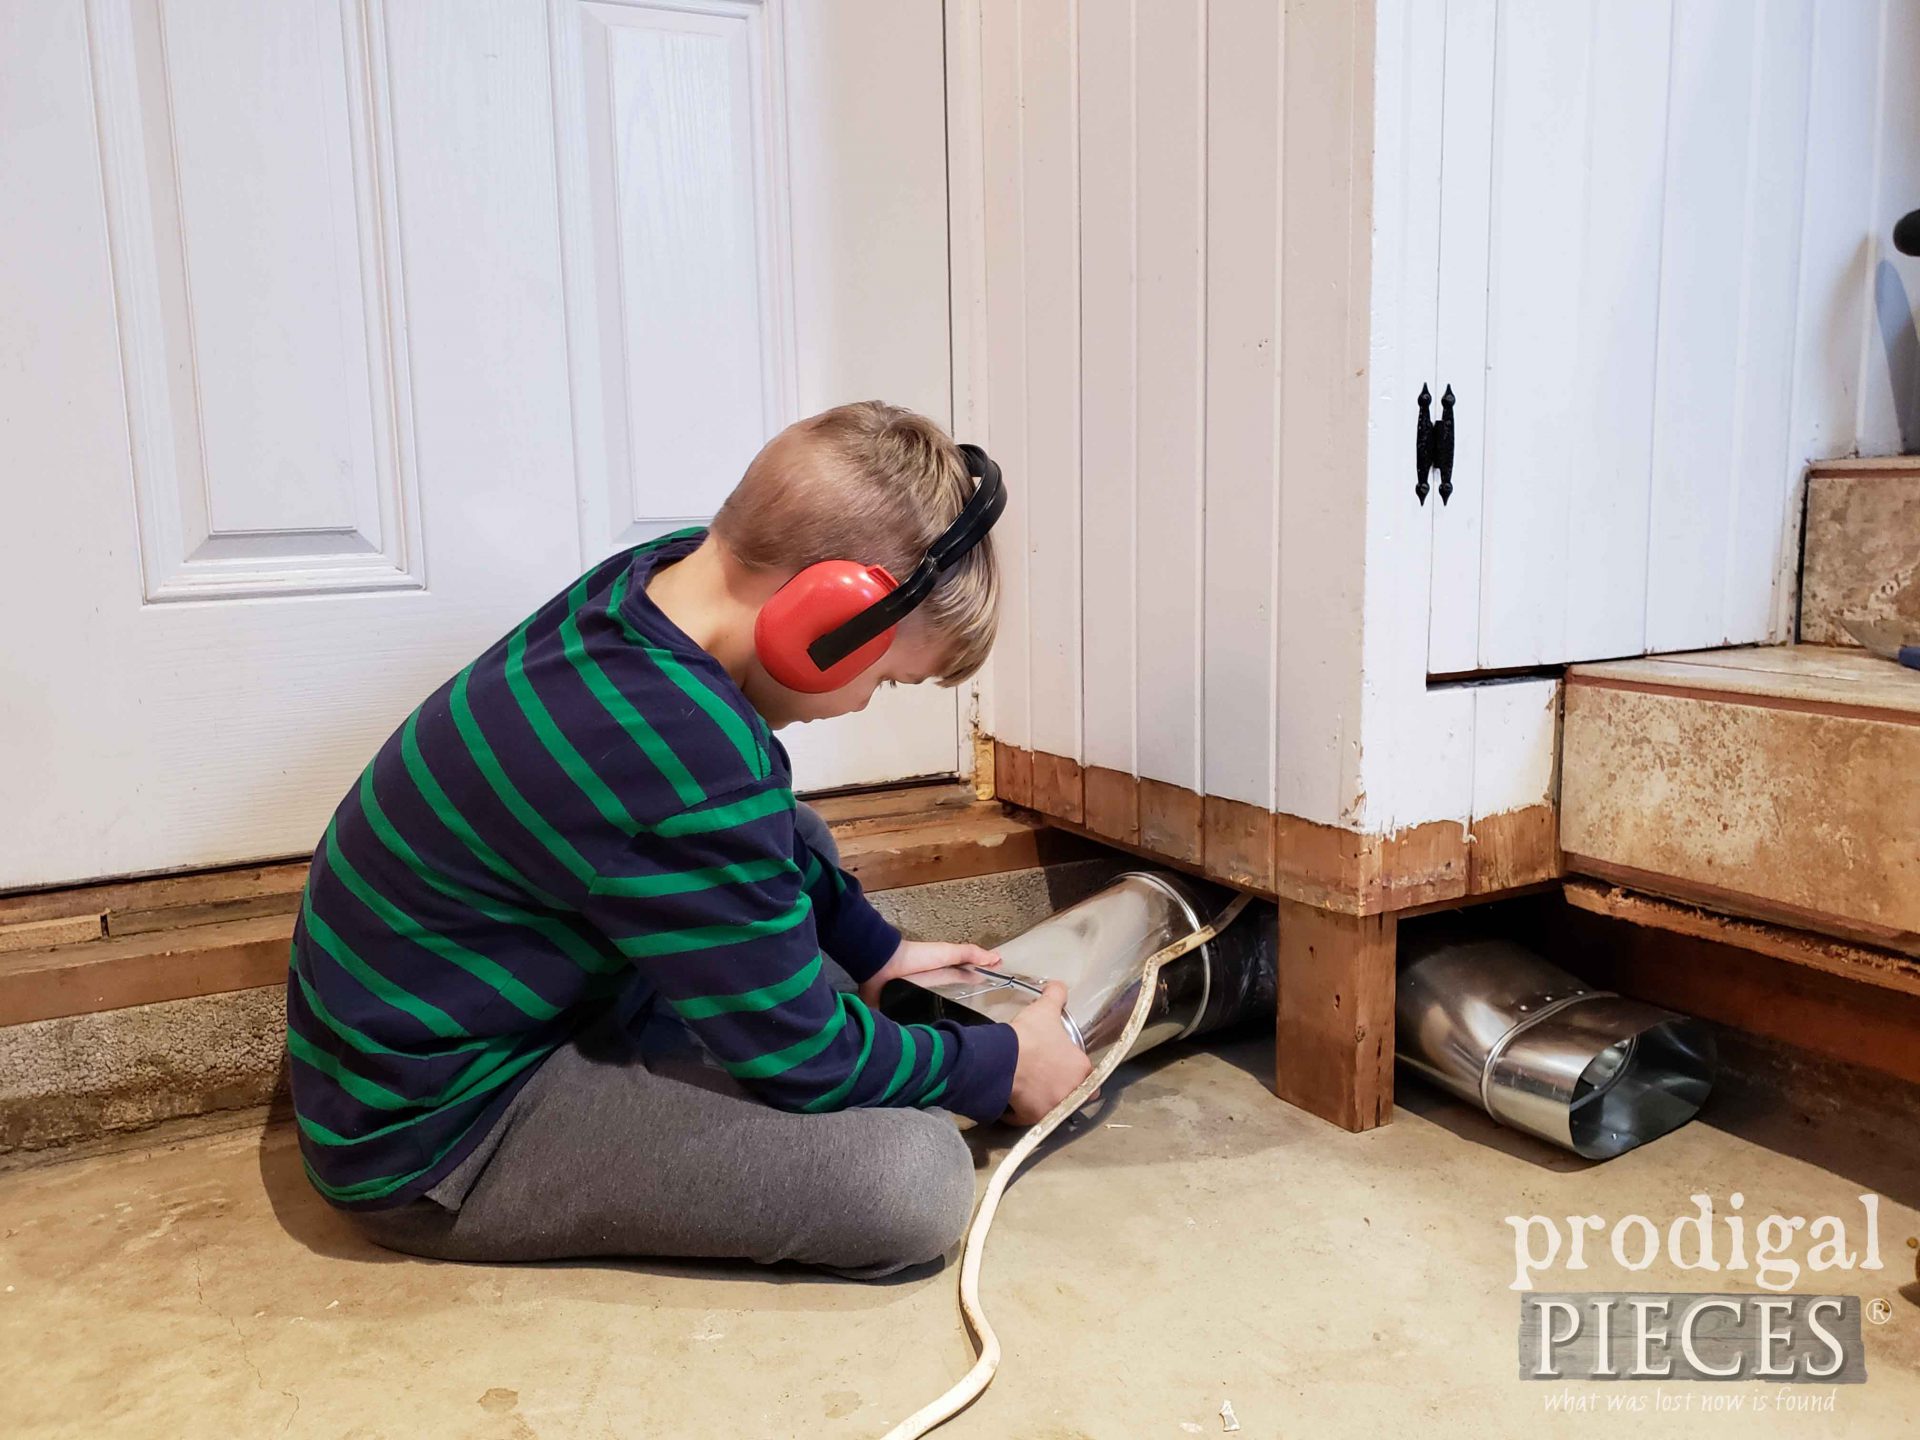
With the removal of the vents, we needed to set up a system that would finally allow us to direct the heat around the room. The source point is in the very corner under our cubby. #halfwithouse (my endearing term for this entire place) Also, you can see we have the best help ever. In this picture, JC is in the basement cutting and attaching new duct-work as my little man holds on.
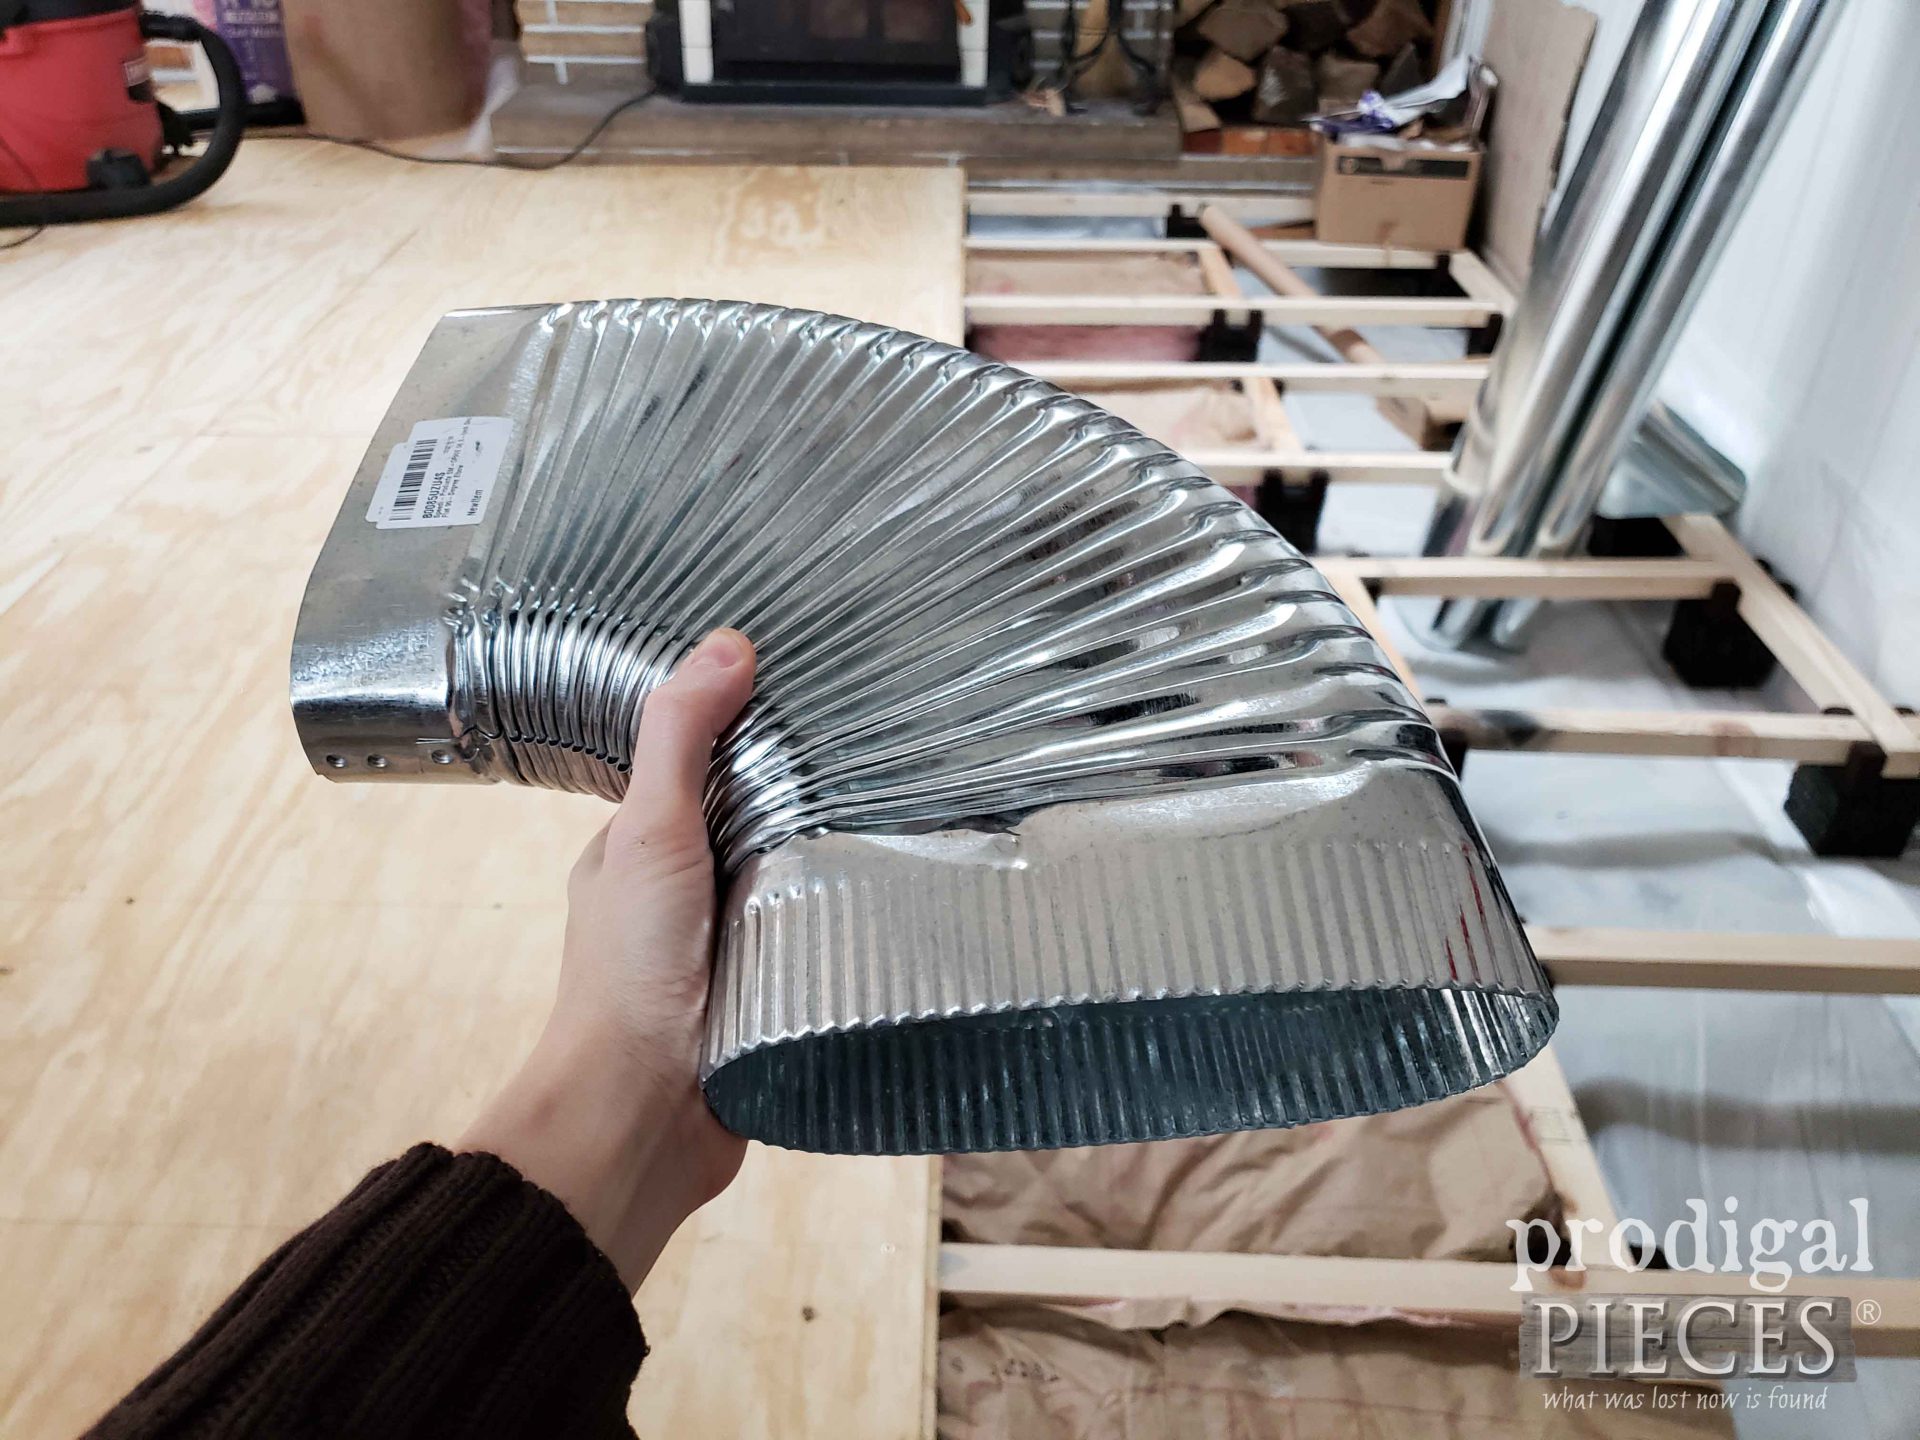
Thankfully, we source these flat ducts with elbow to match.
STEP 2
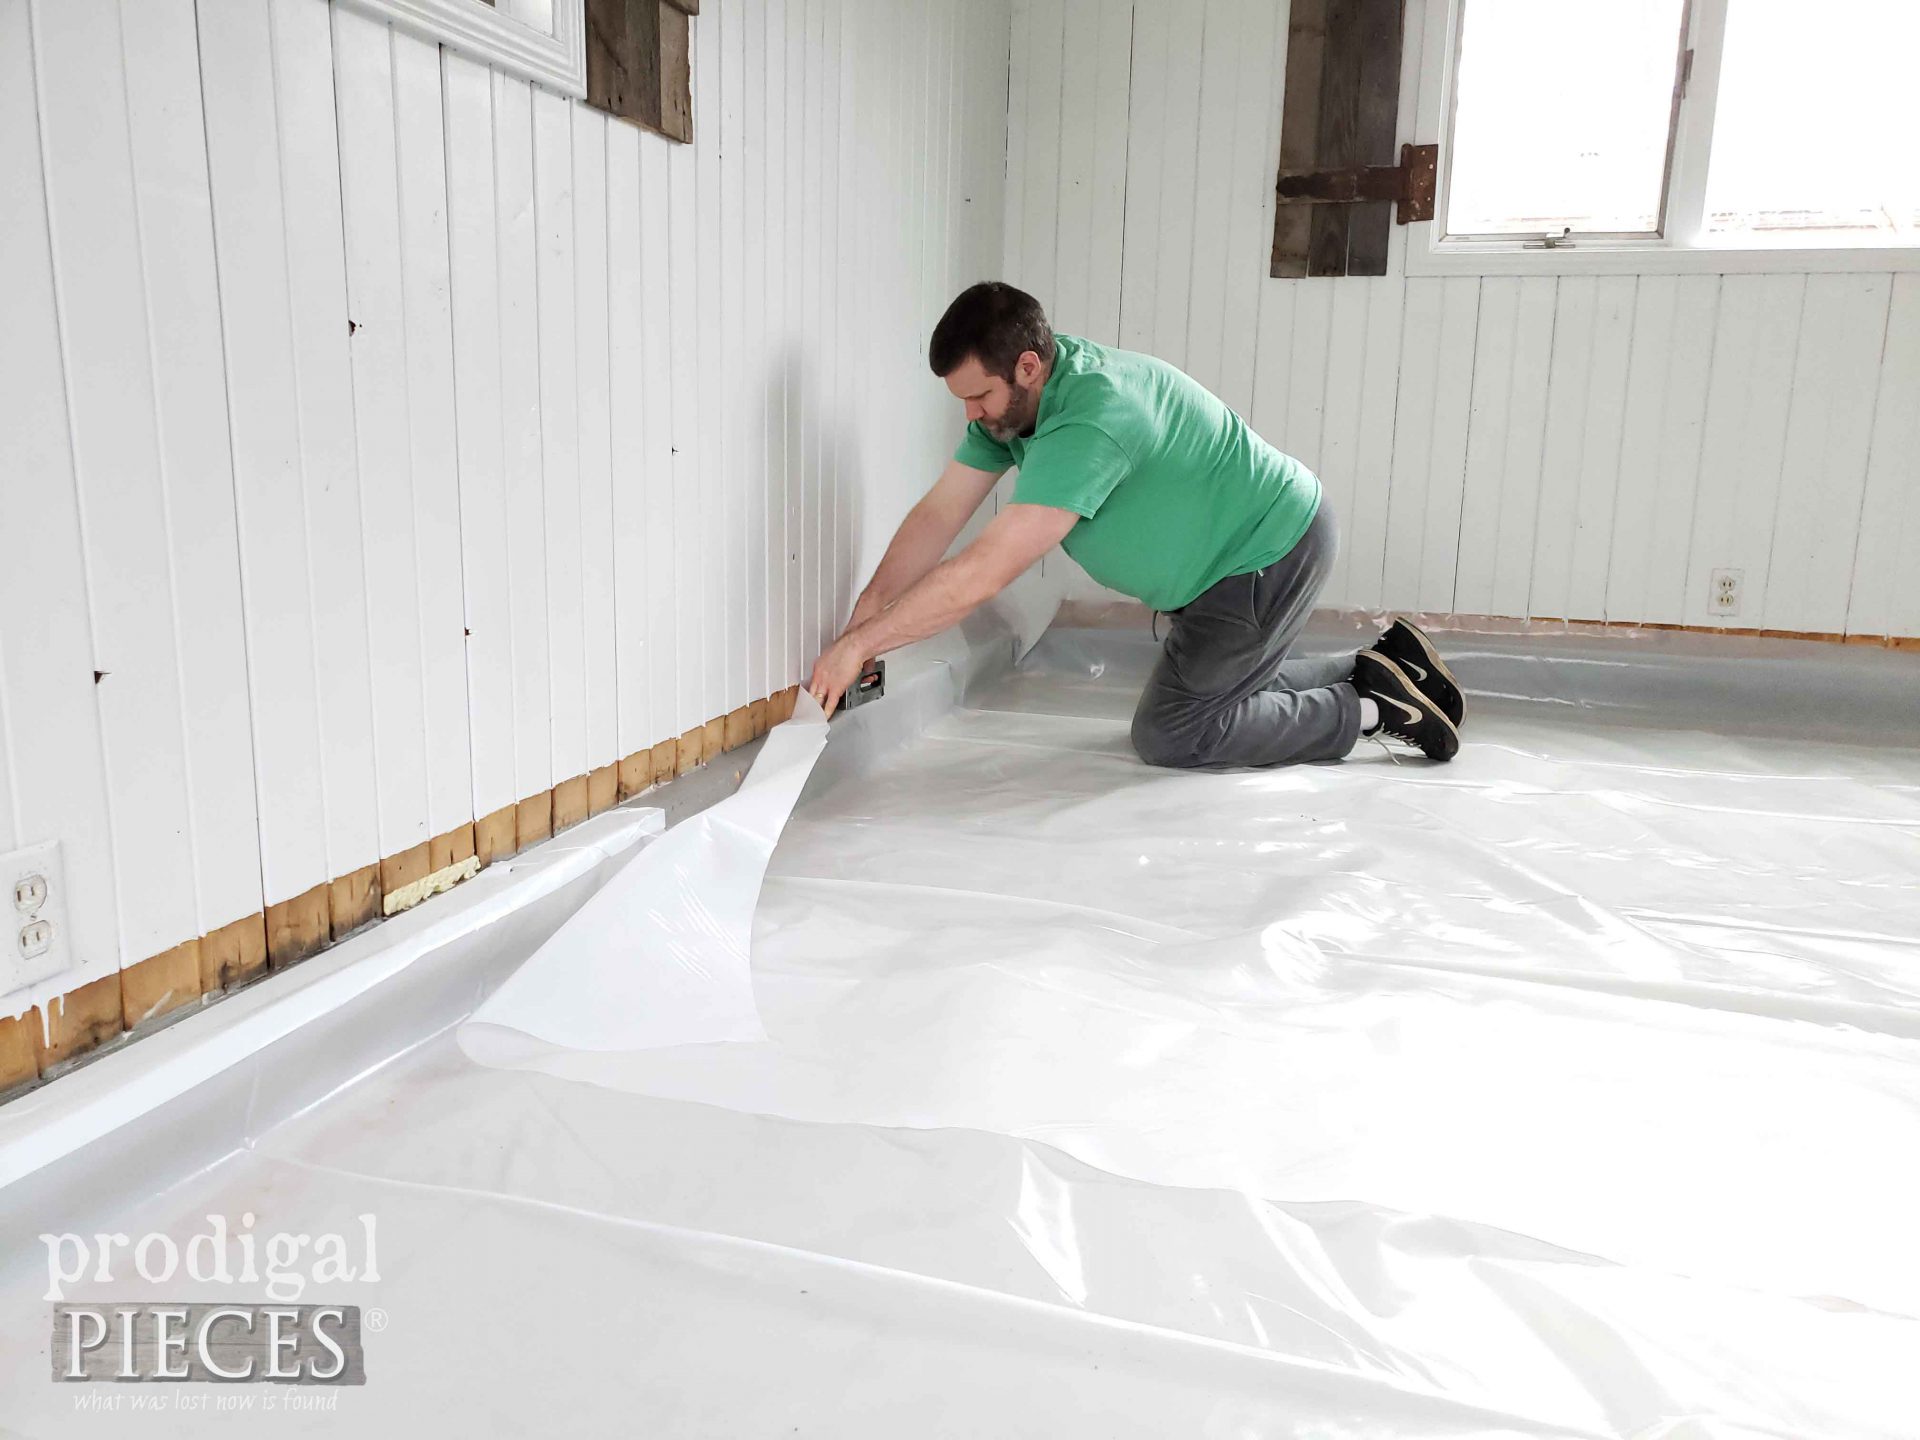
Then, before we can attach the ducting, we need to prep our floor. Since concrete tends to hold moisture, we need to lay down a moisture barrier. There are specific thicknesses of this plastic for various purposes. Simply roll it out and tape down with tape meant for the same purpose.
STEP 3
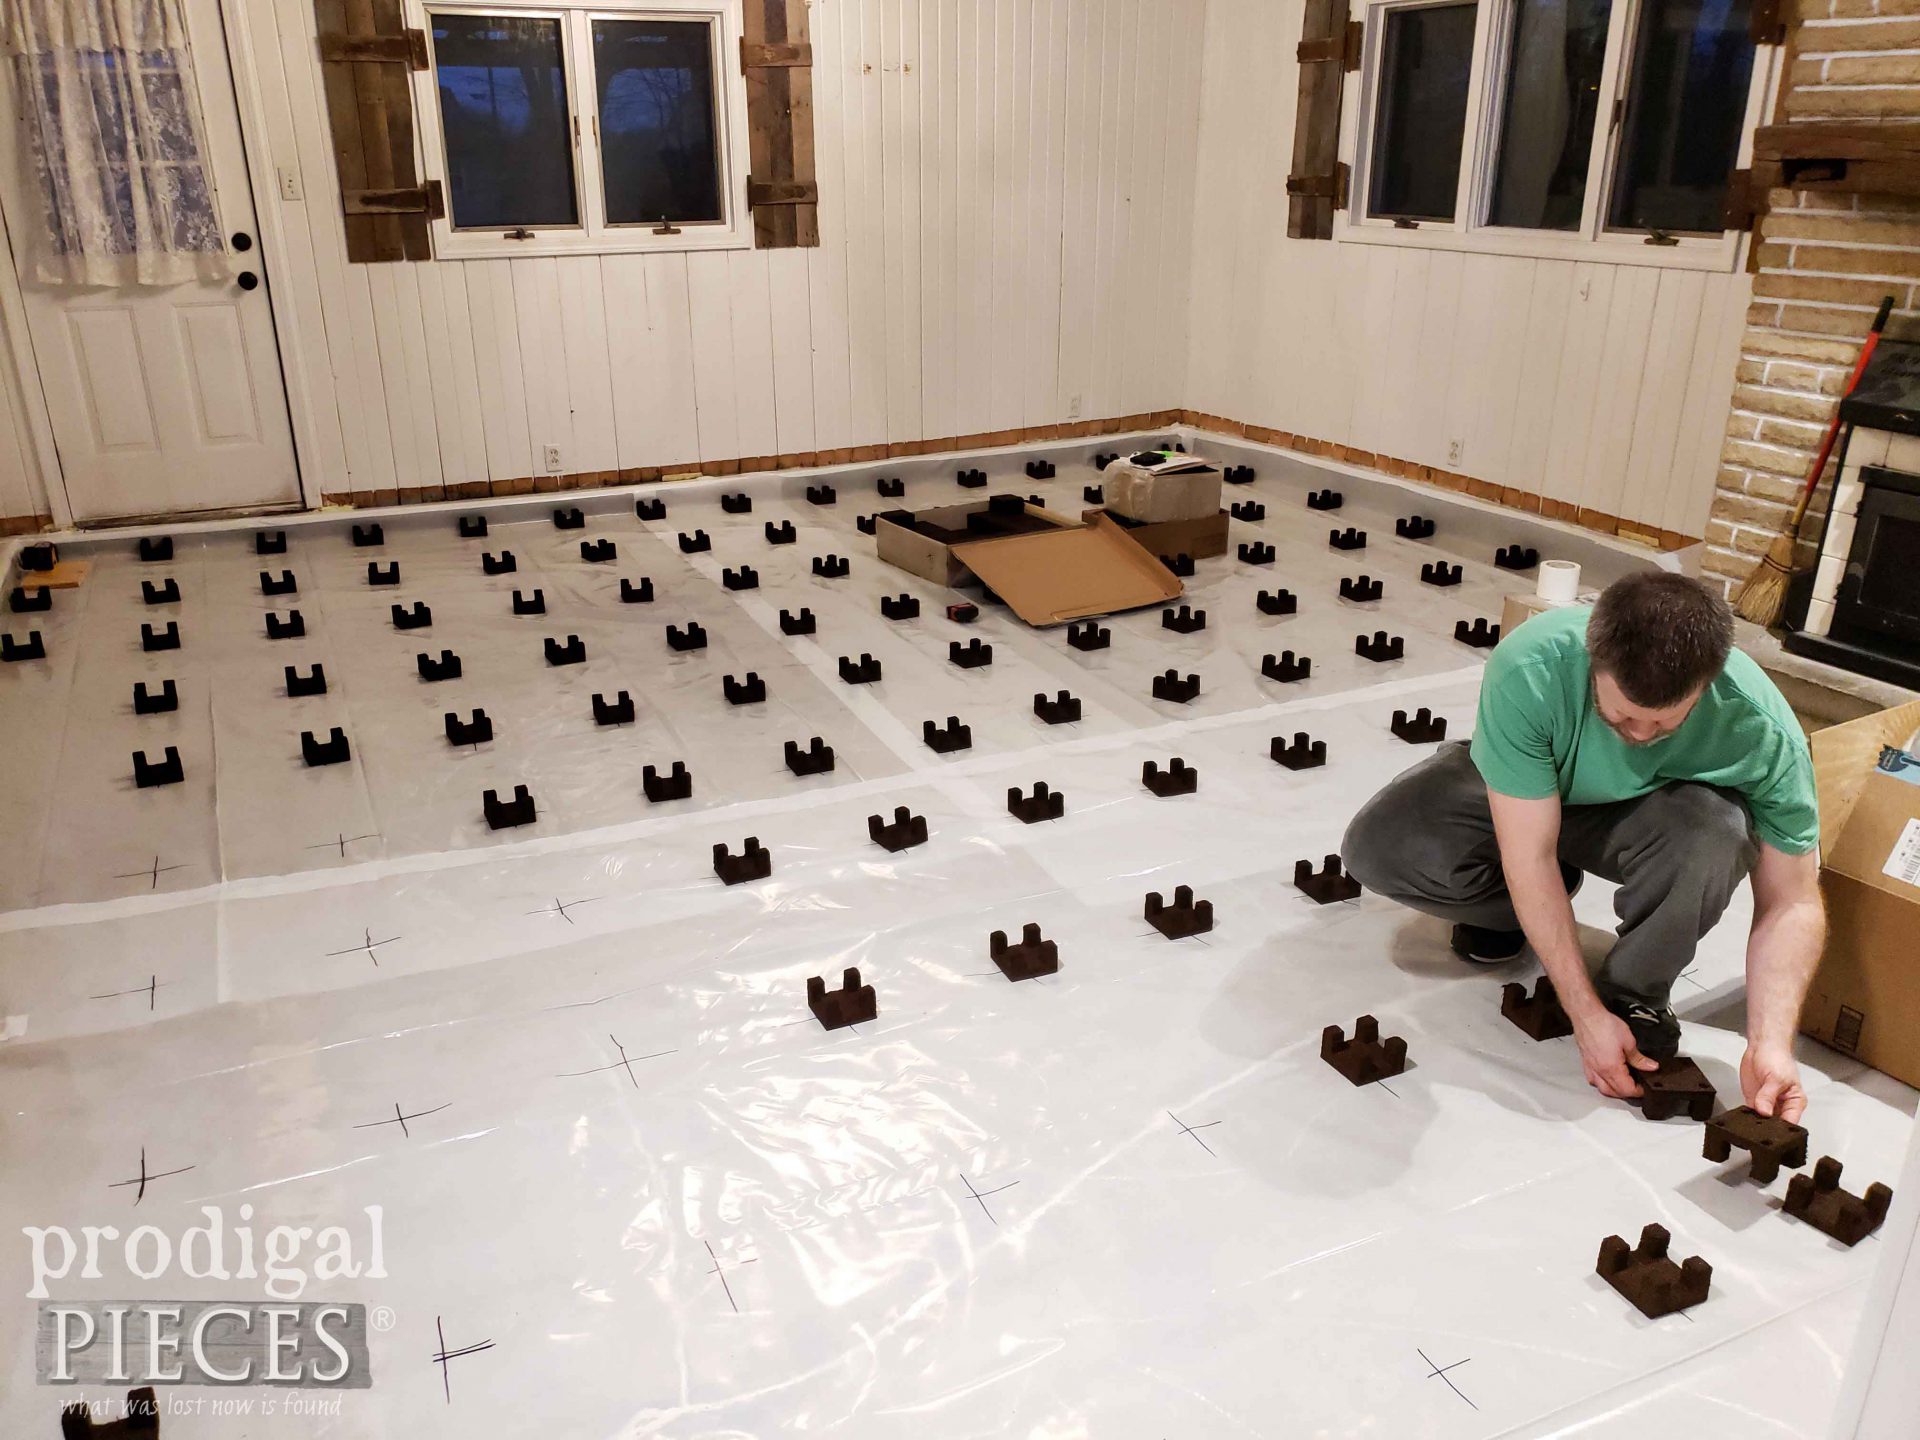
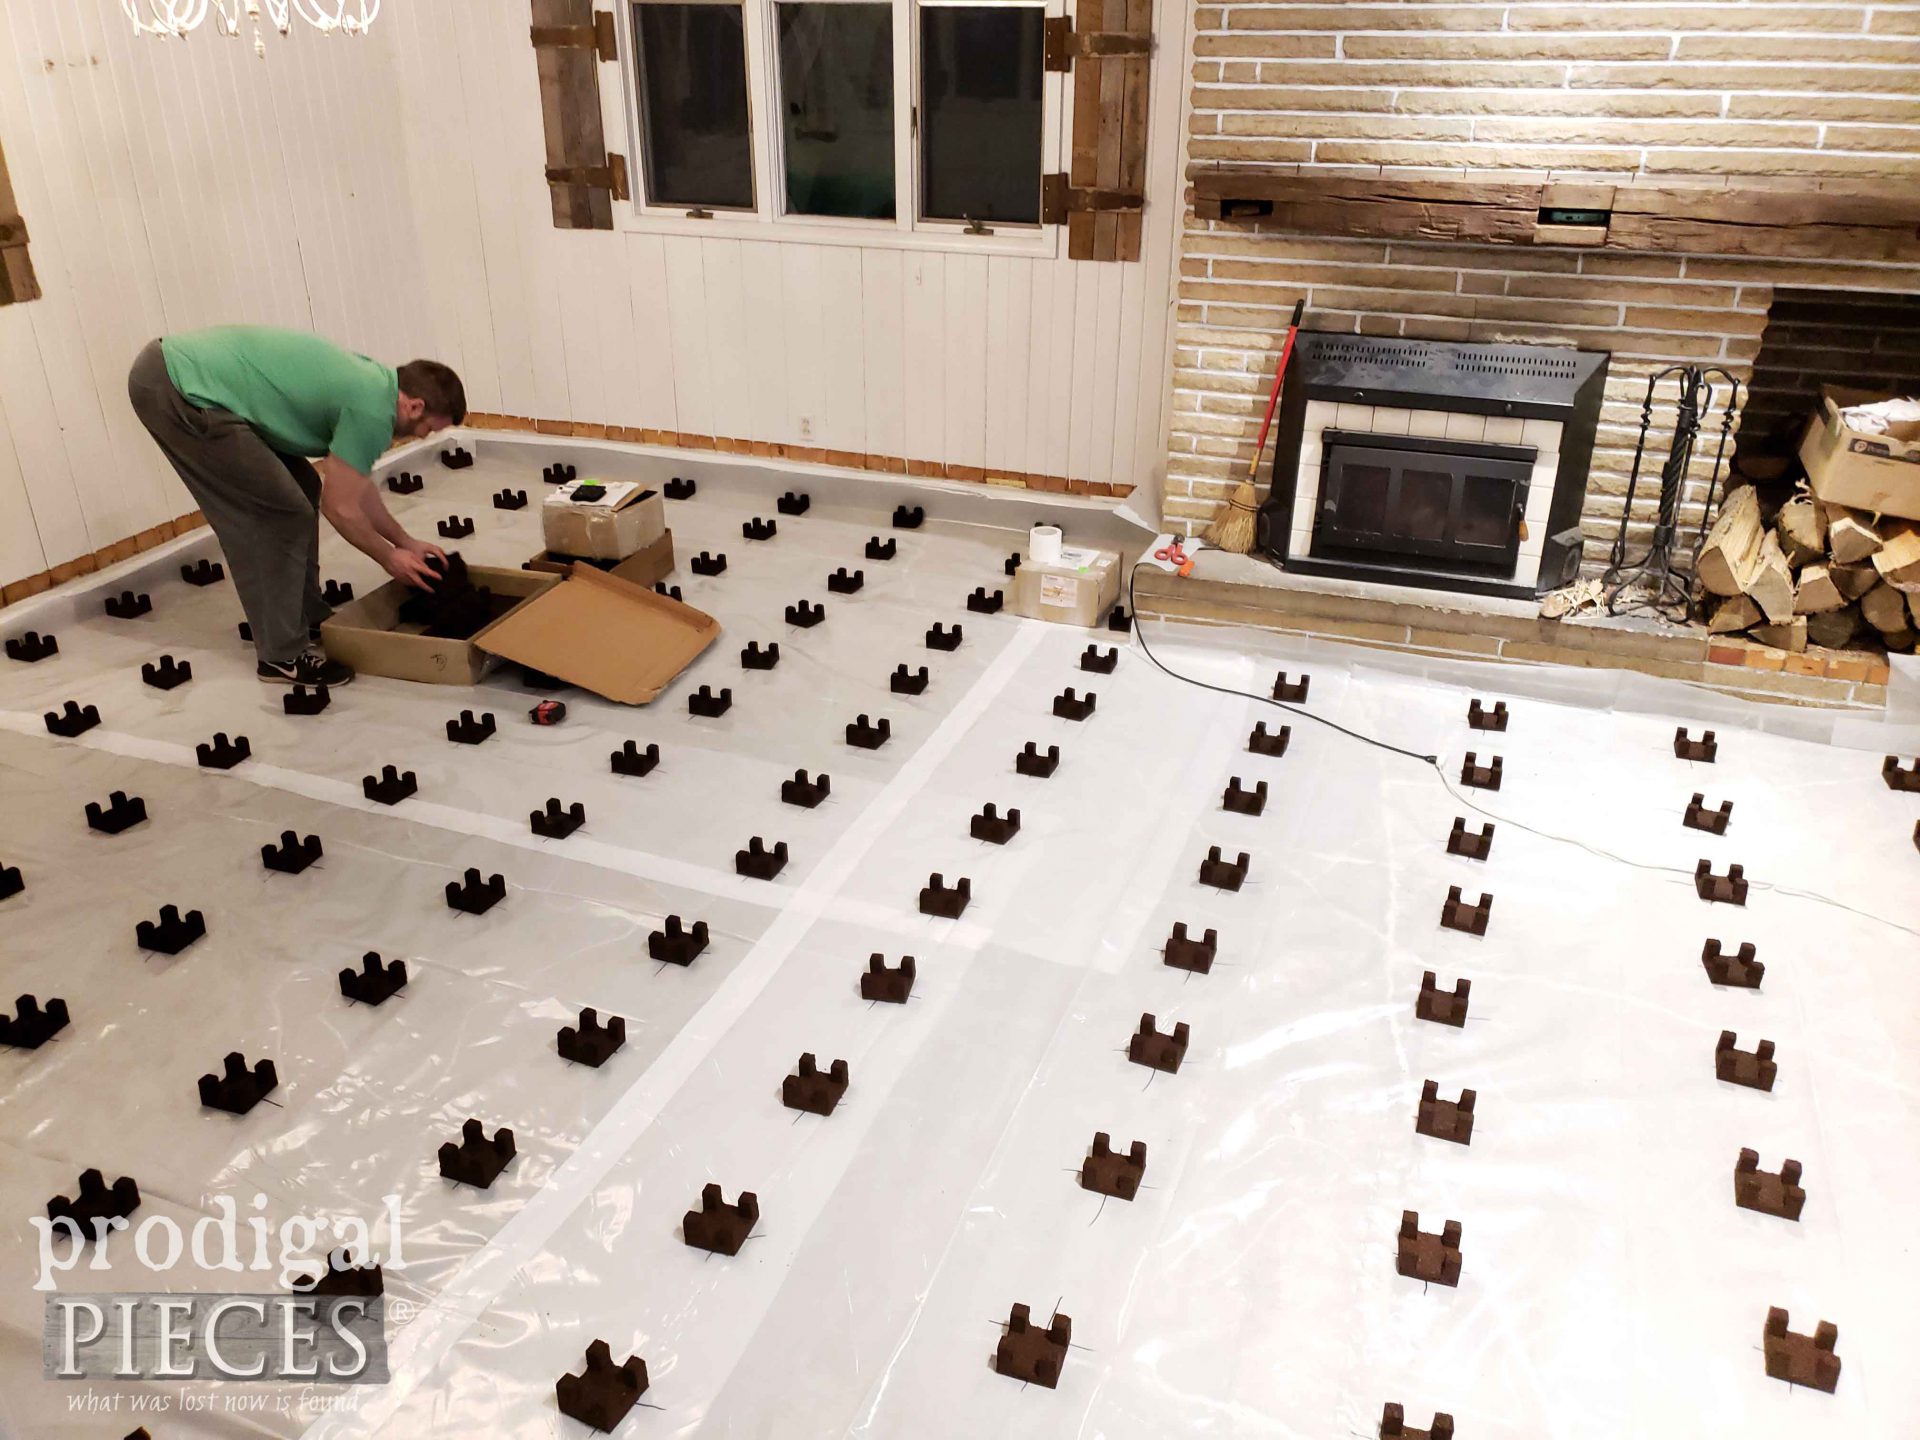
Then, once the moisture barrier is in place, we measure and mark where we want the cradles. The placement for your purposes of your own DIY floating floor will depend on square footage and your design. The website/company will help you with this.
STEP 4
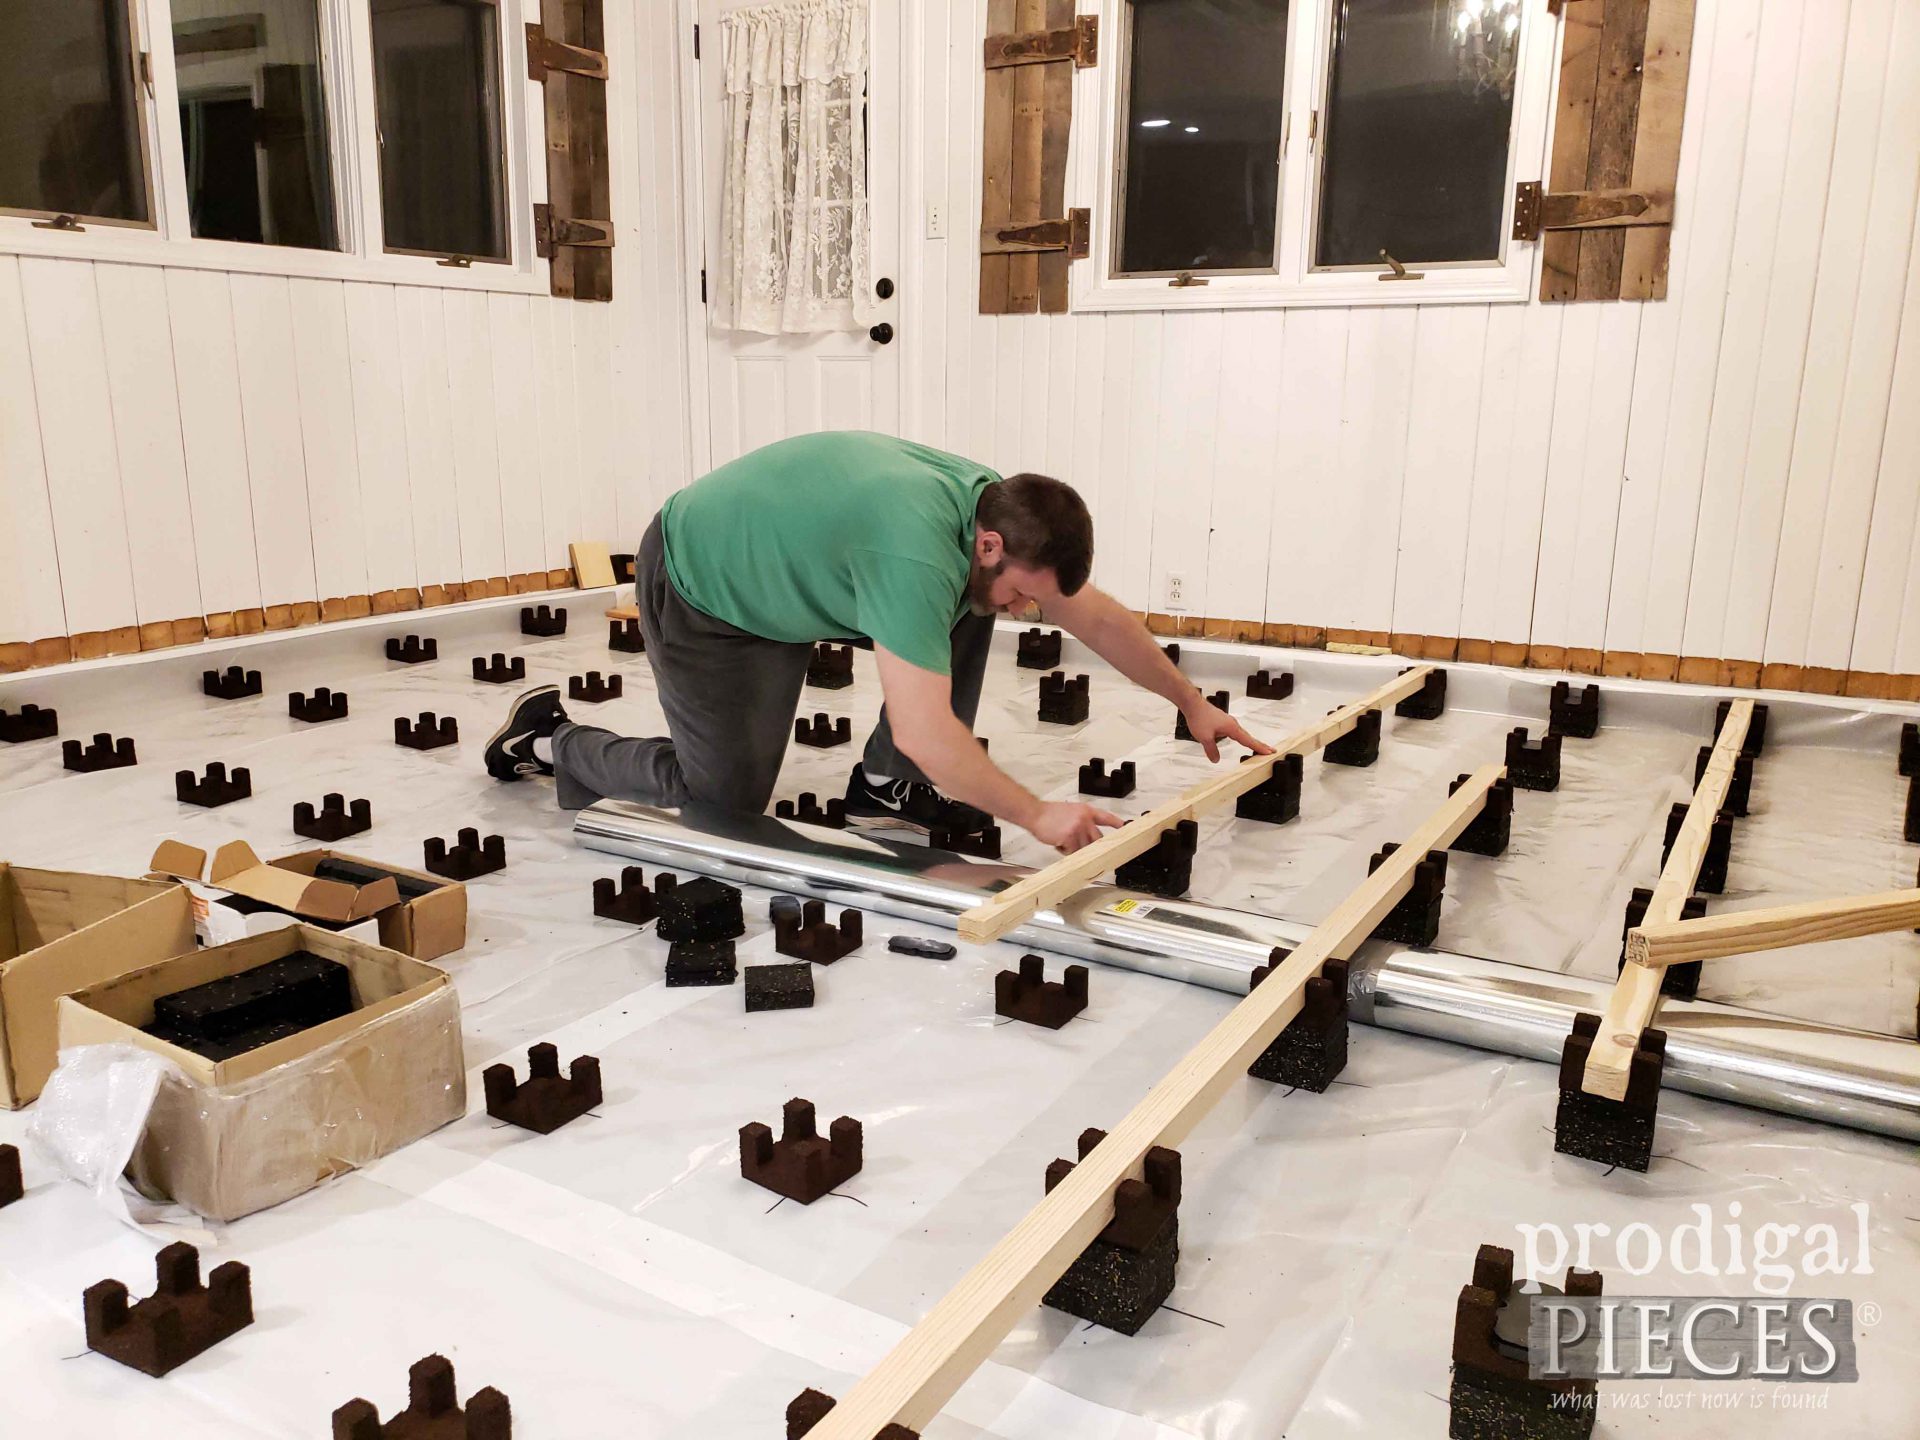
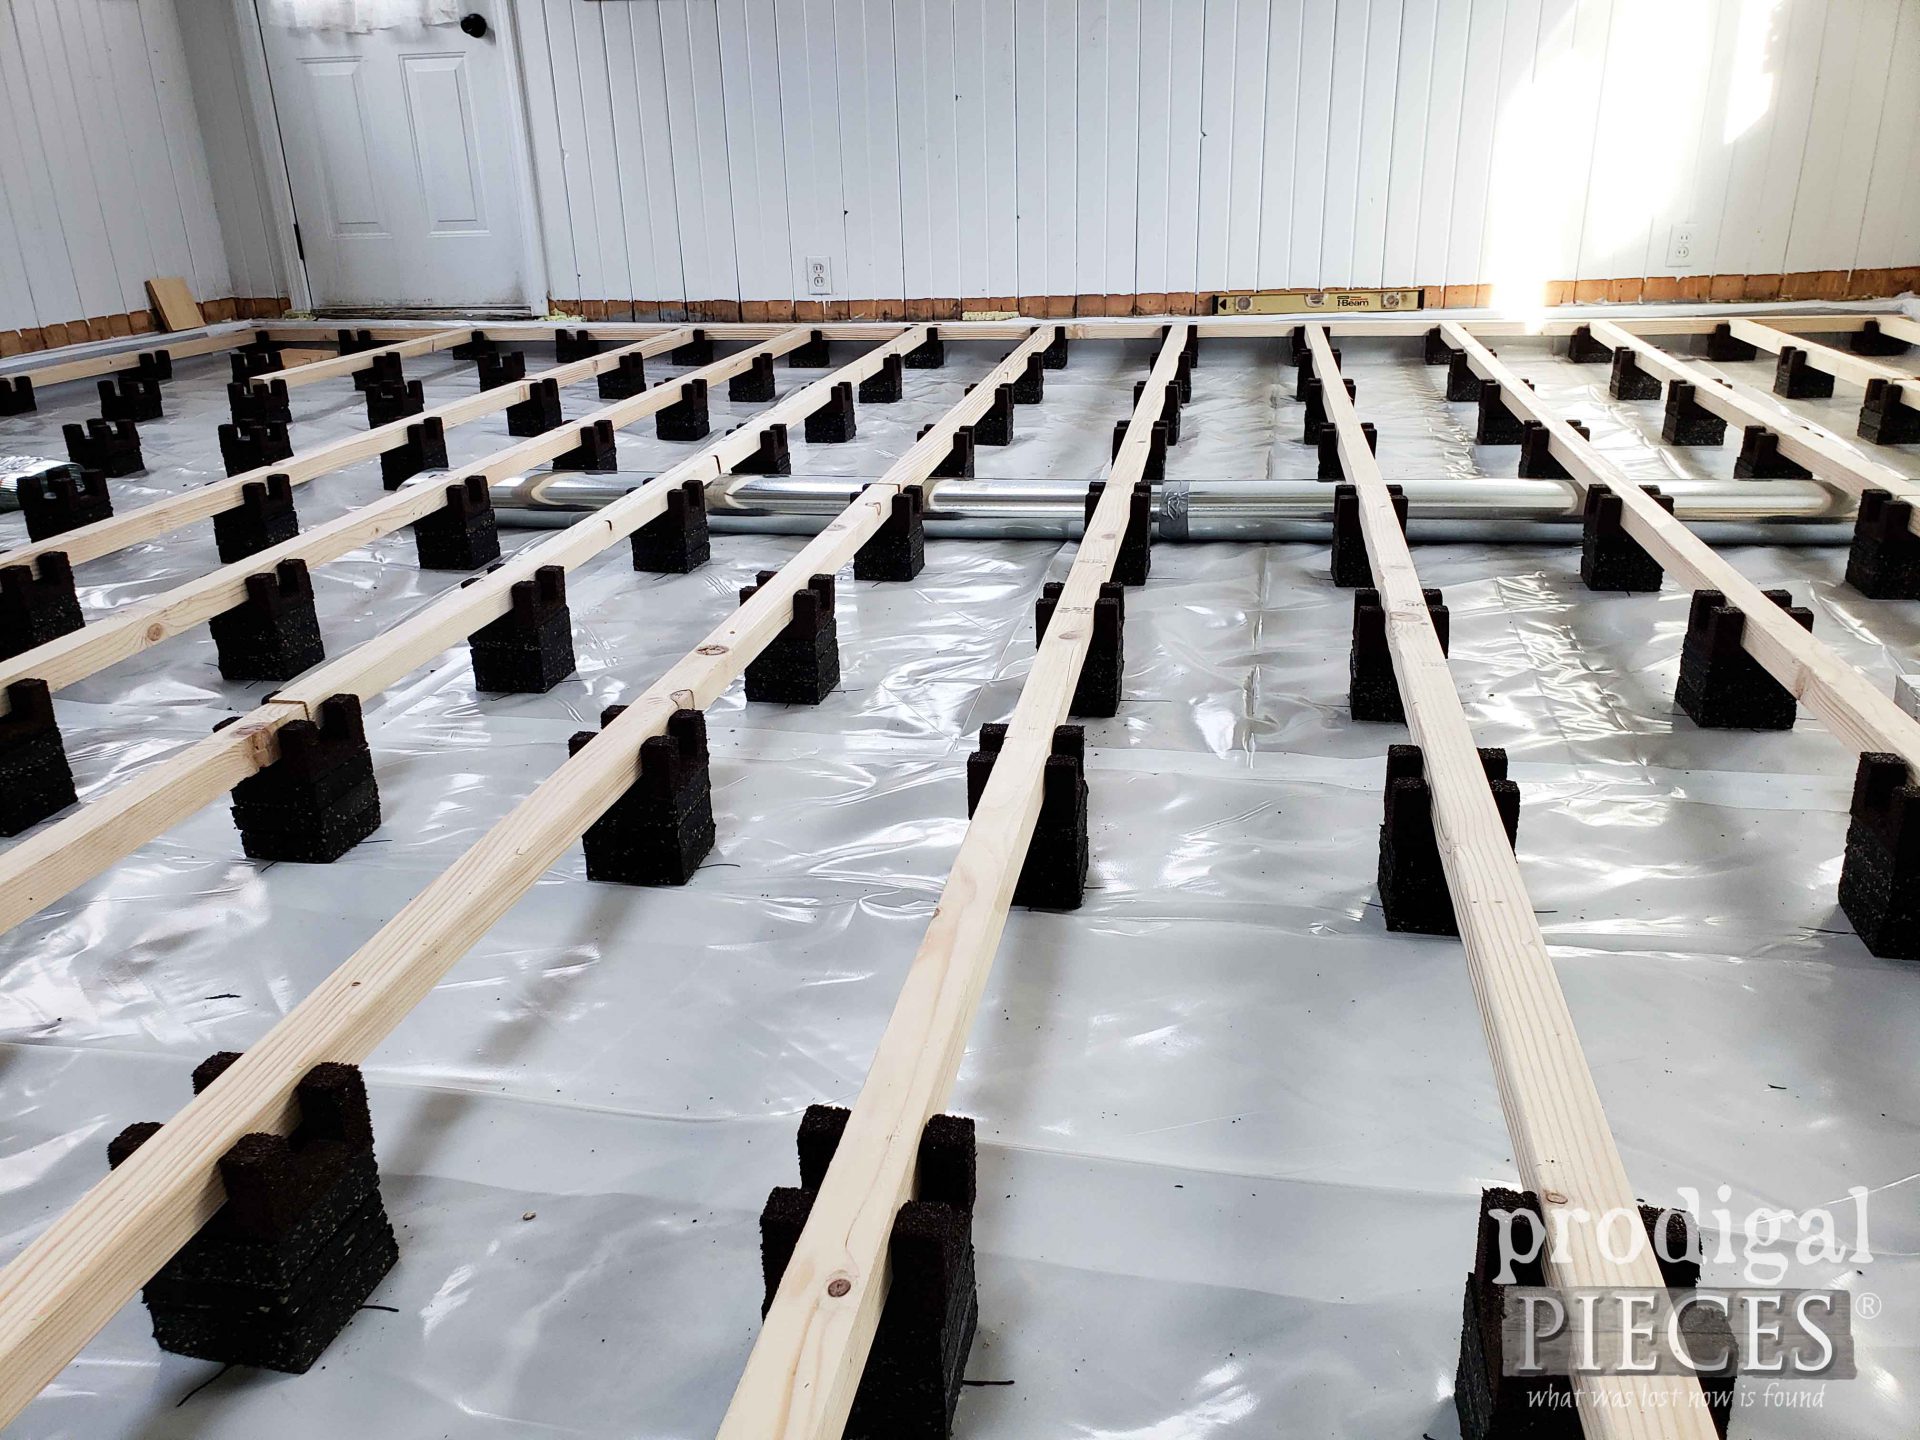
In addition, we need to pace our grid into our cradles. We used 2″ x 4″ lumber ripped in half and cut to meet ends inside the cradle. Notice we haven’t finished the ducting yet. But soon!
Additionally, you can’t see them in this pic, but in the pic below, JC also adds a small cross piece at various intervals to lock the grid together.
STEP 5
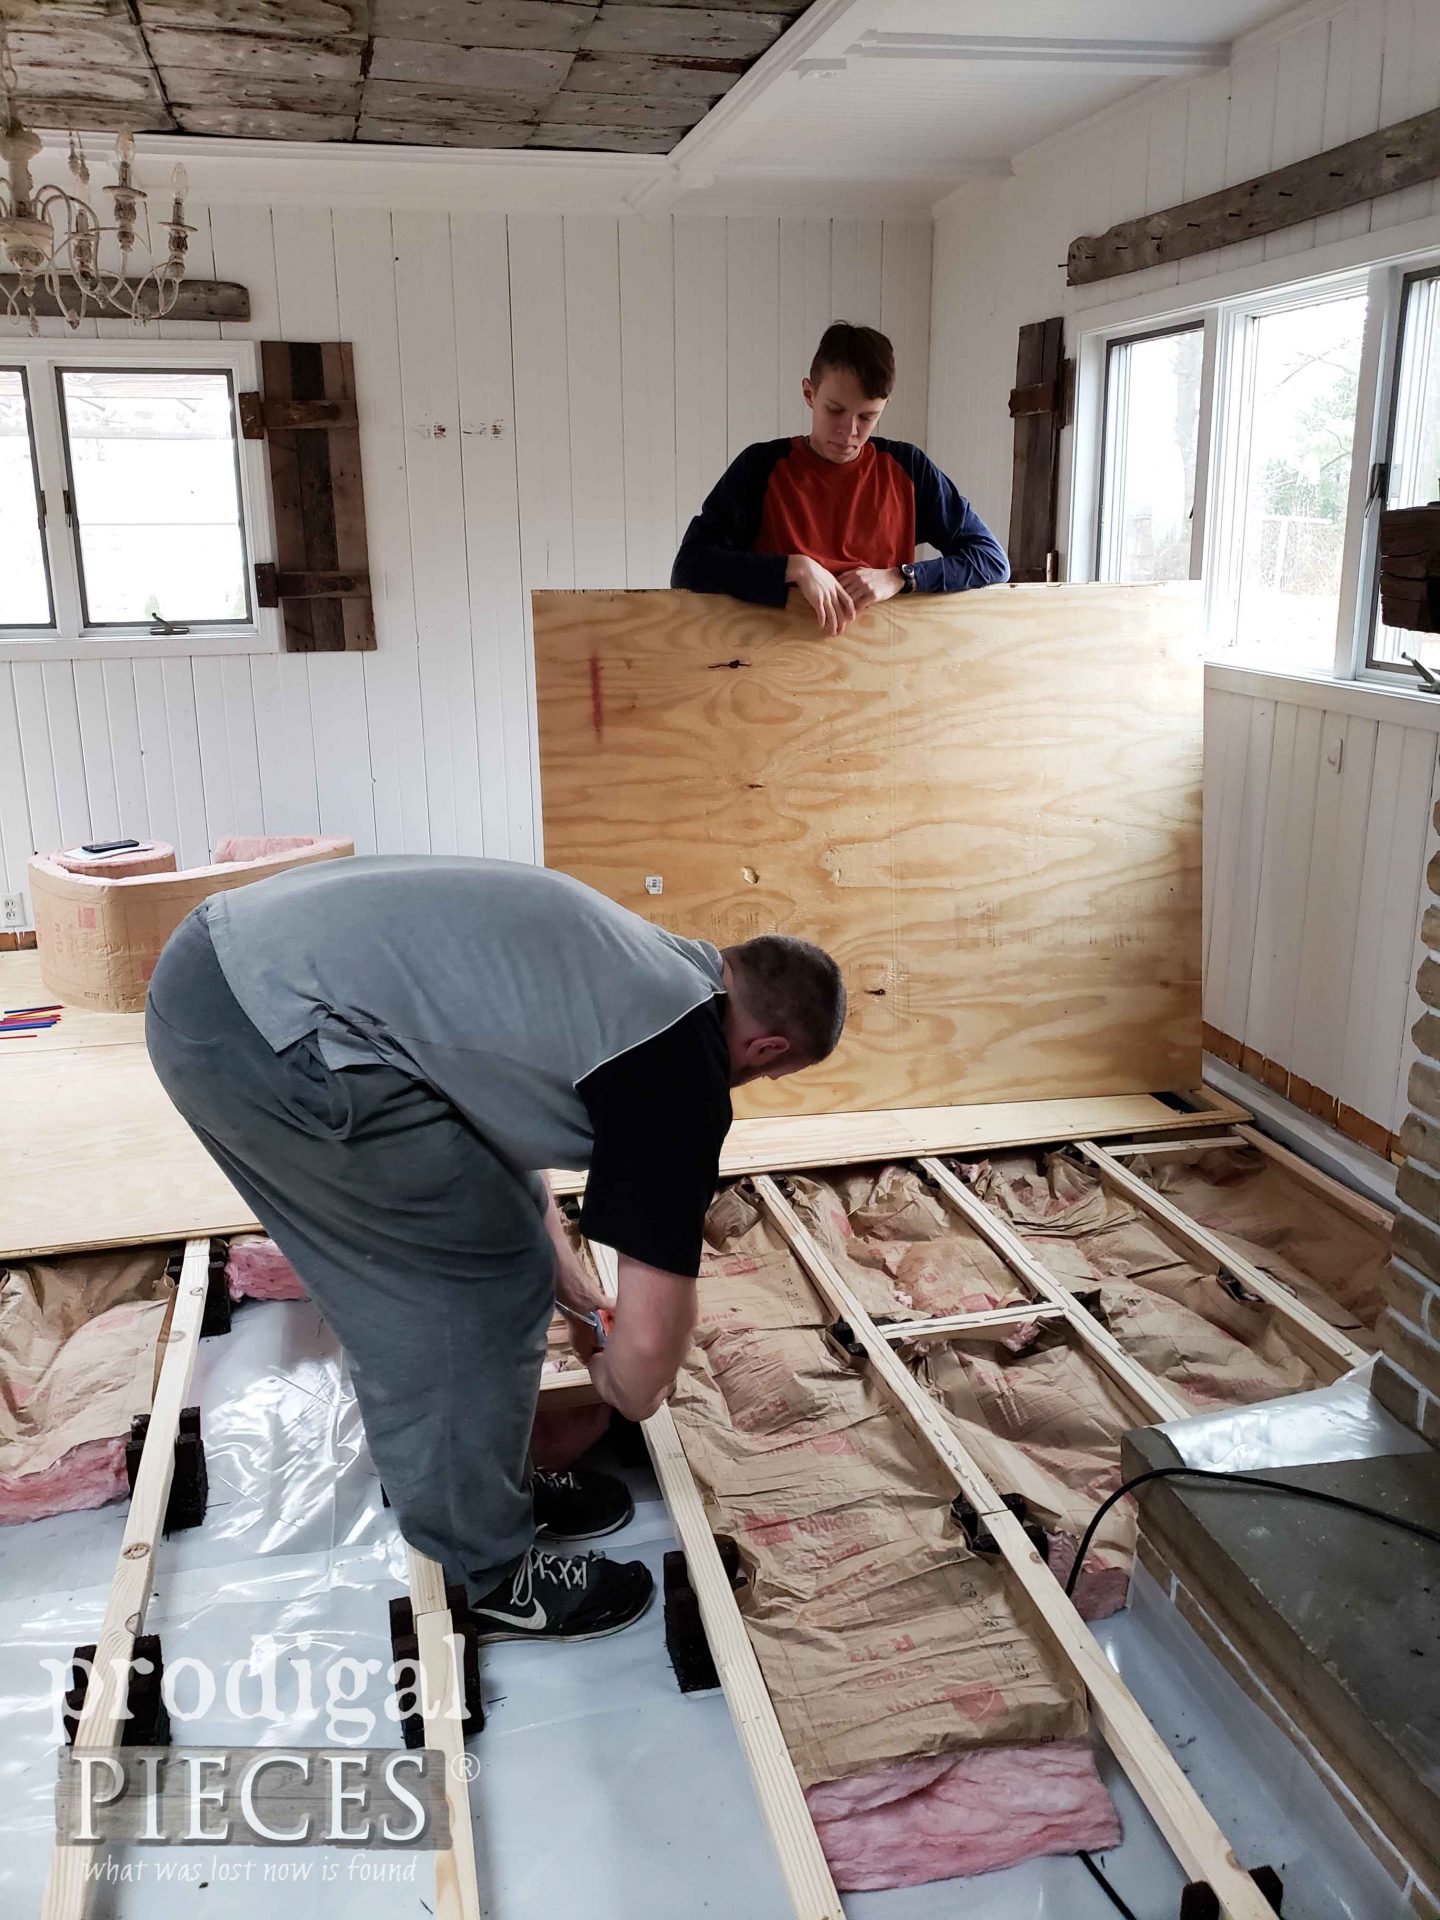
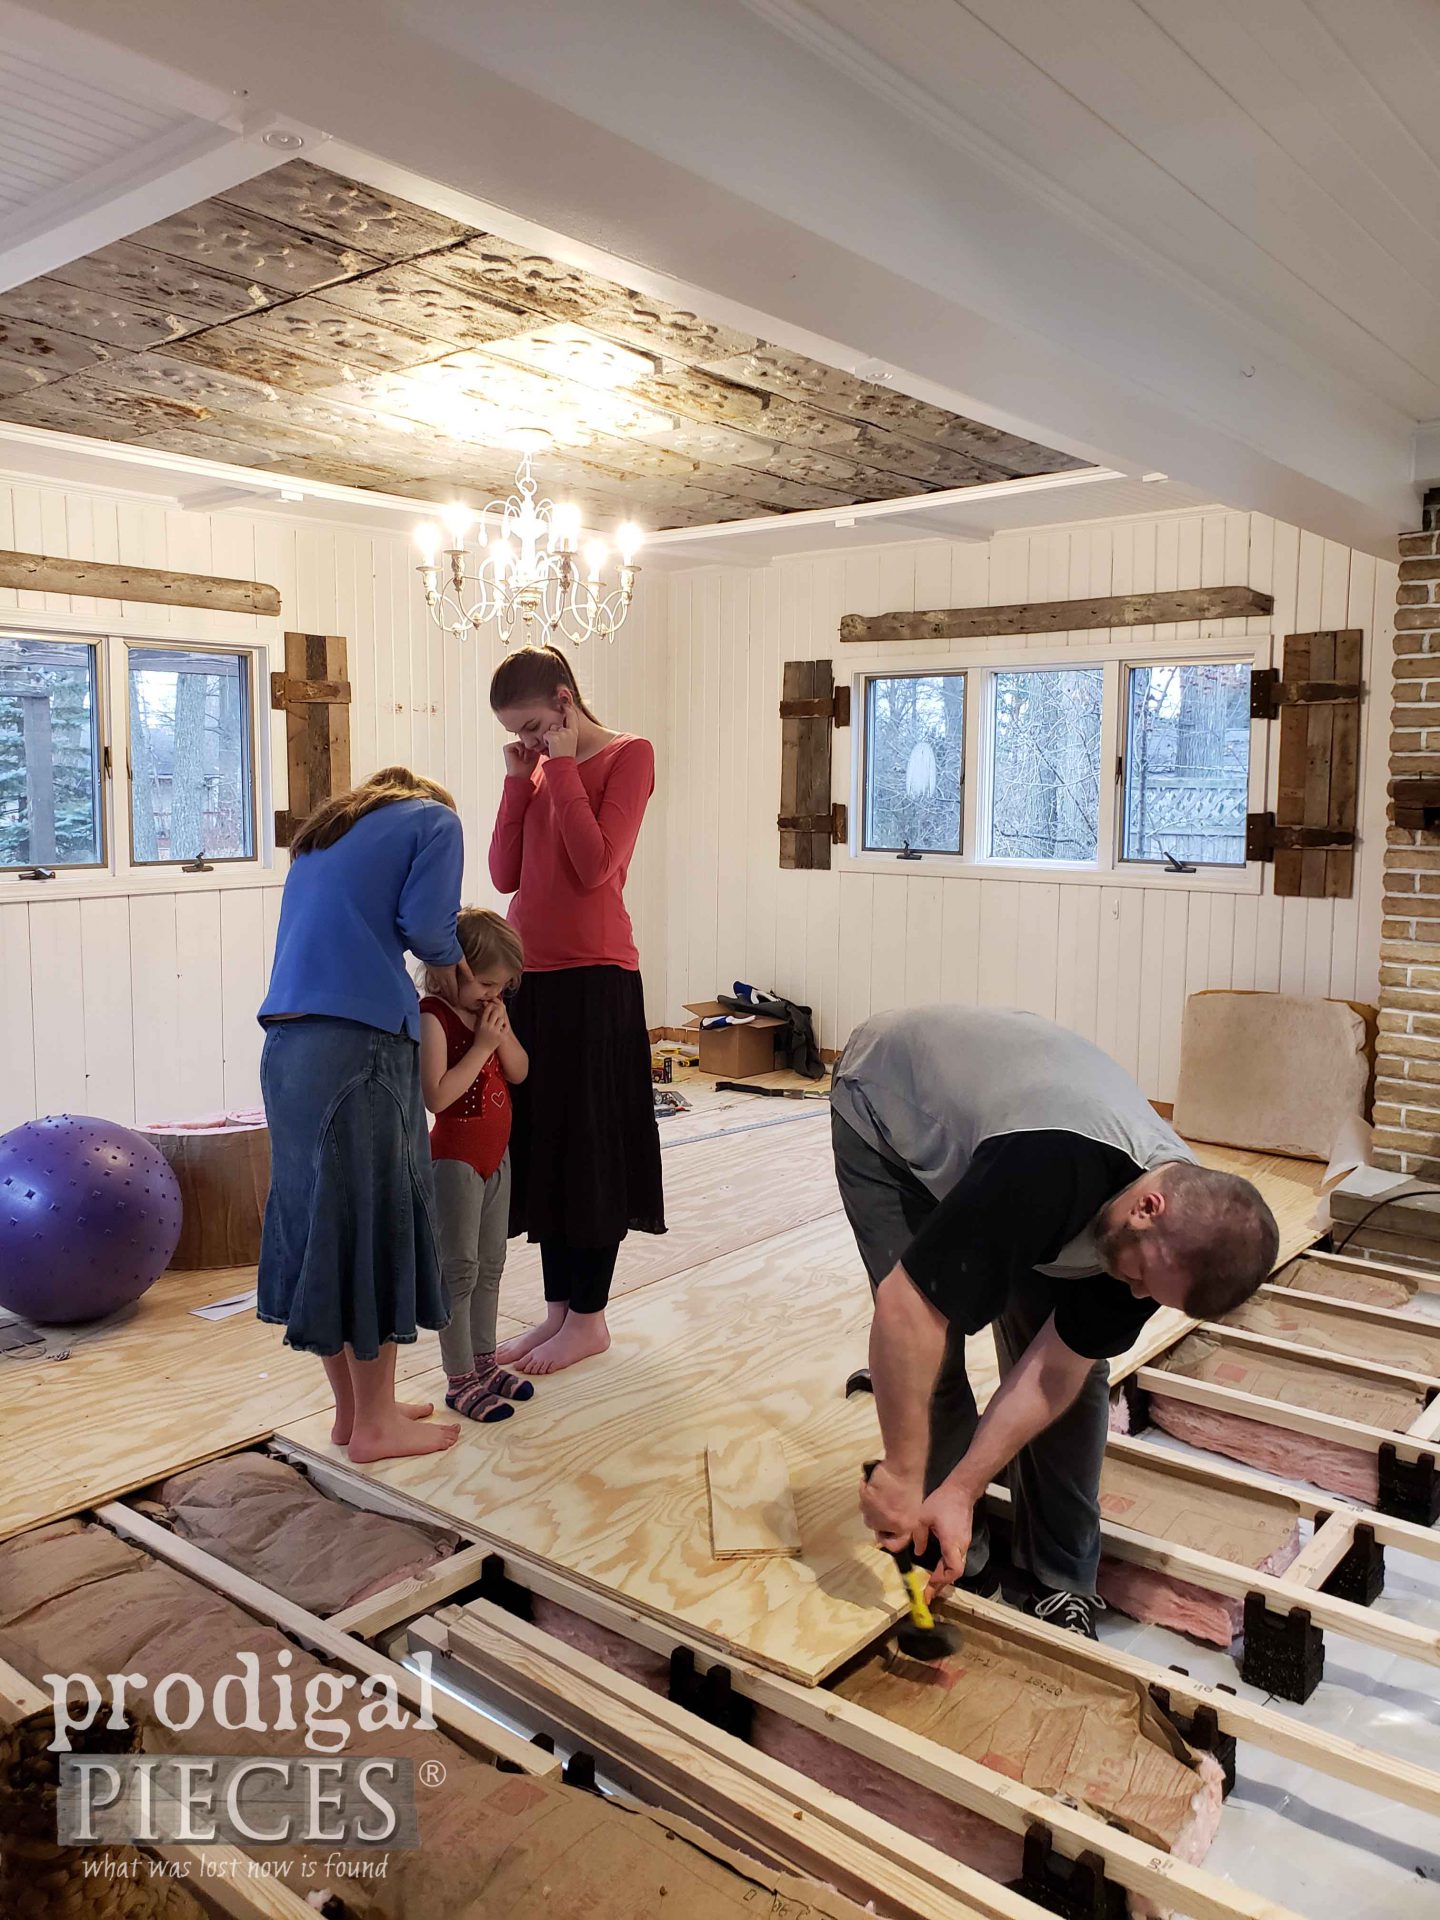
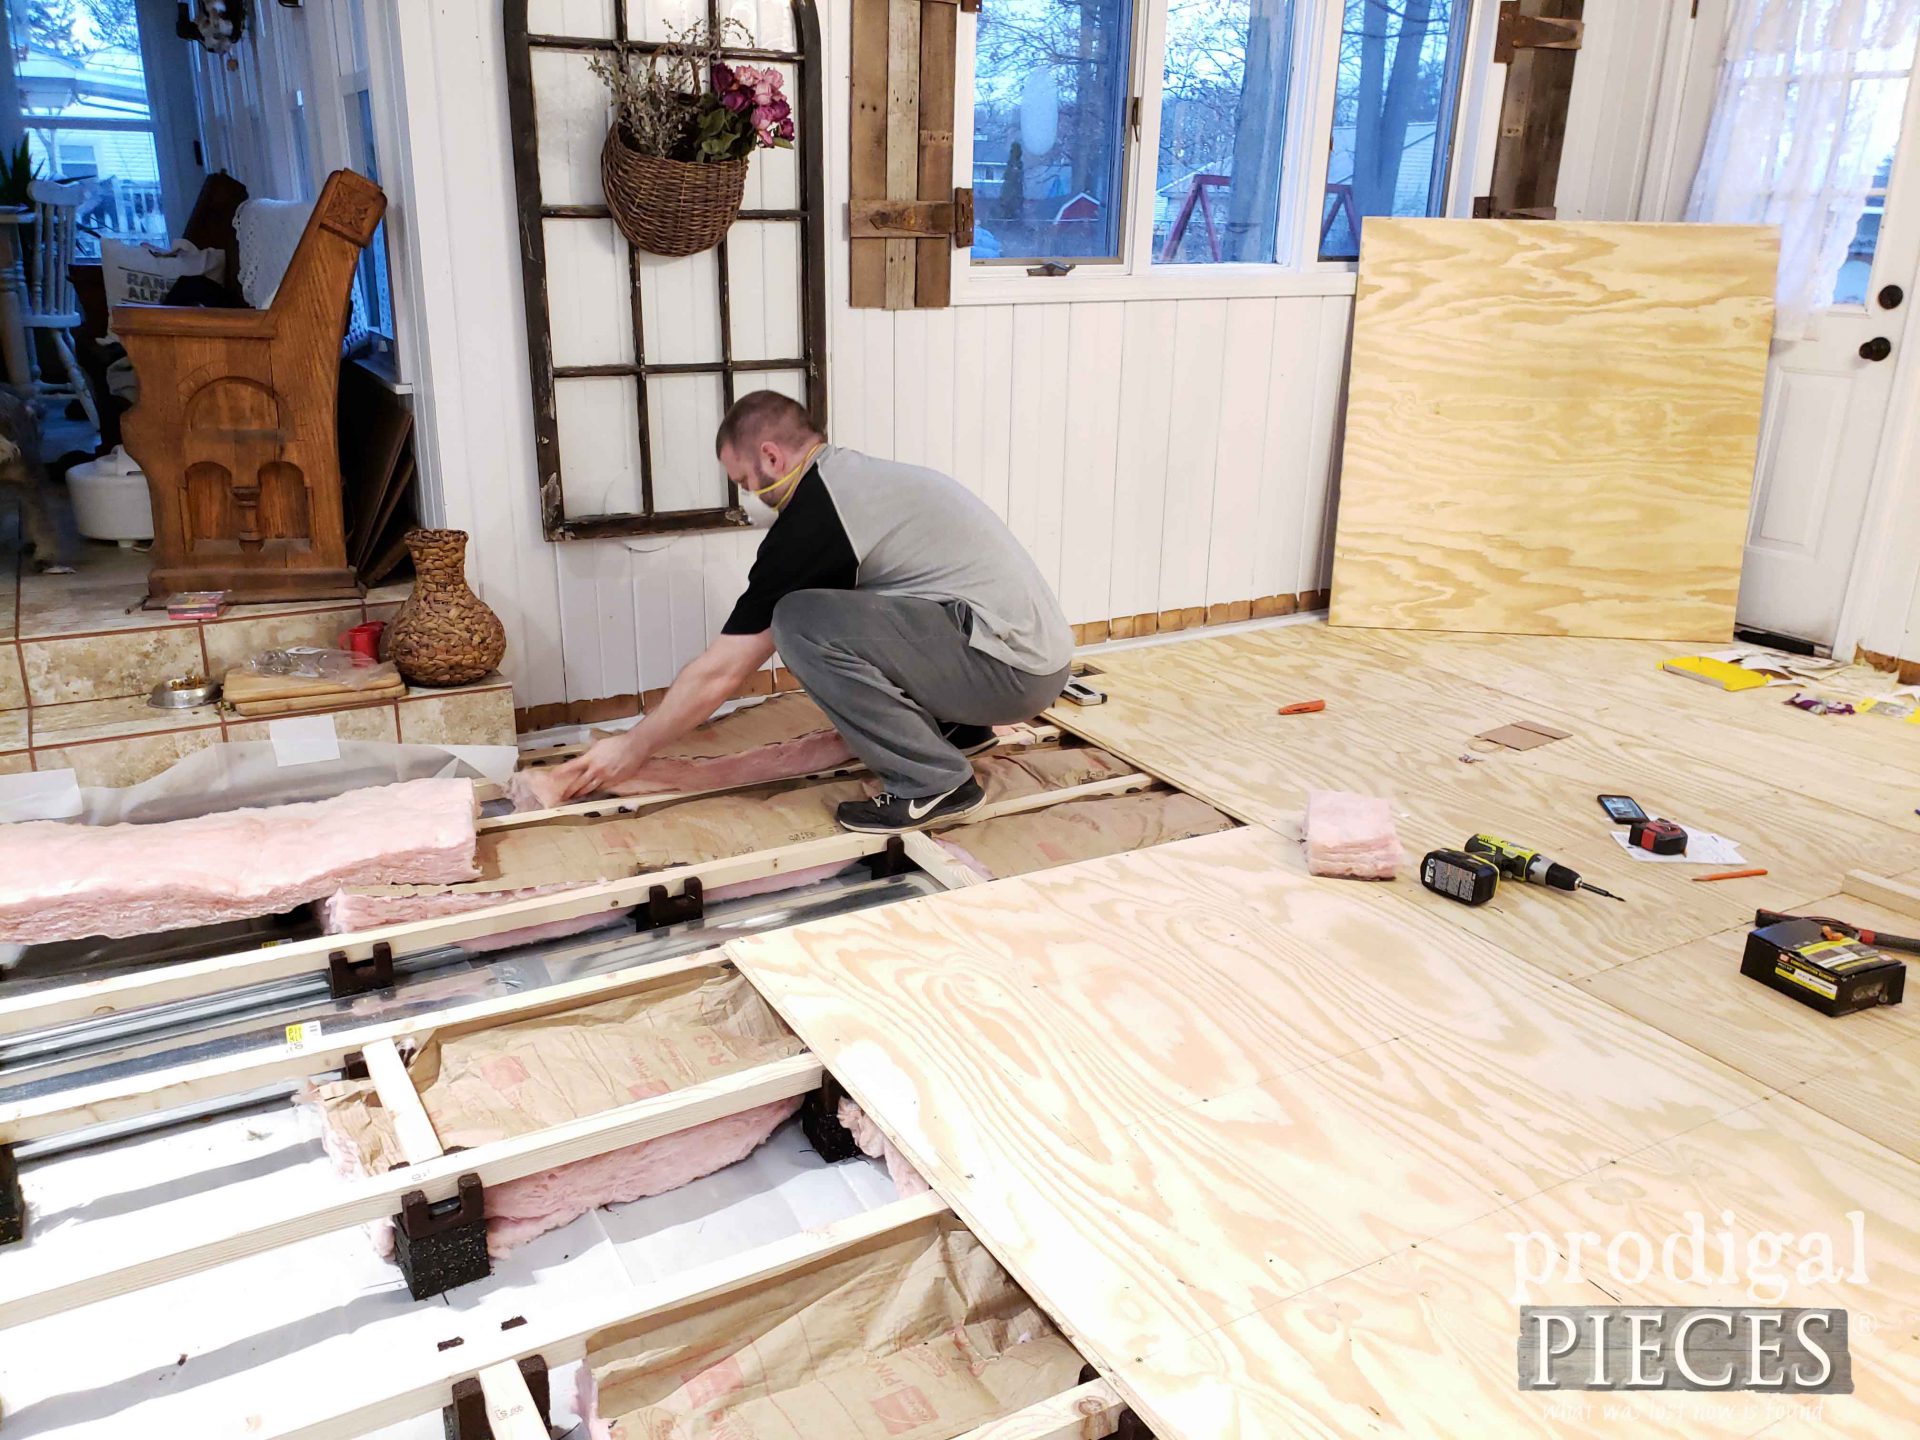
Next, we add rolled insulation in between the grid and then apply a thick bead of subfloor adhesive before laying down the tongue and groove panels cut to size.
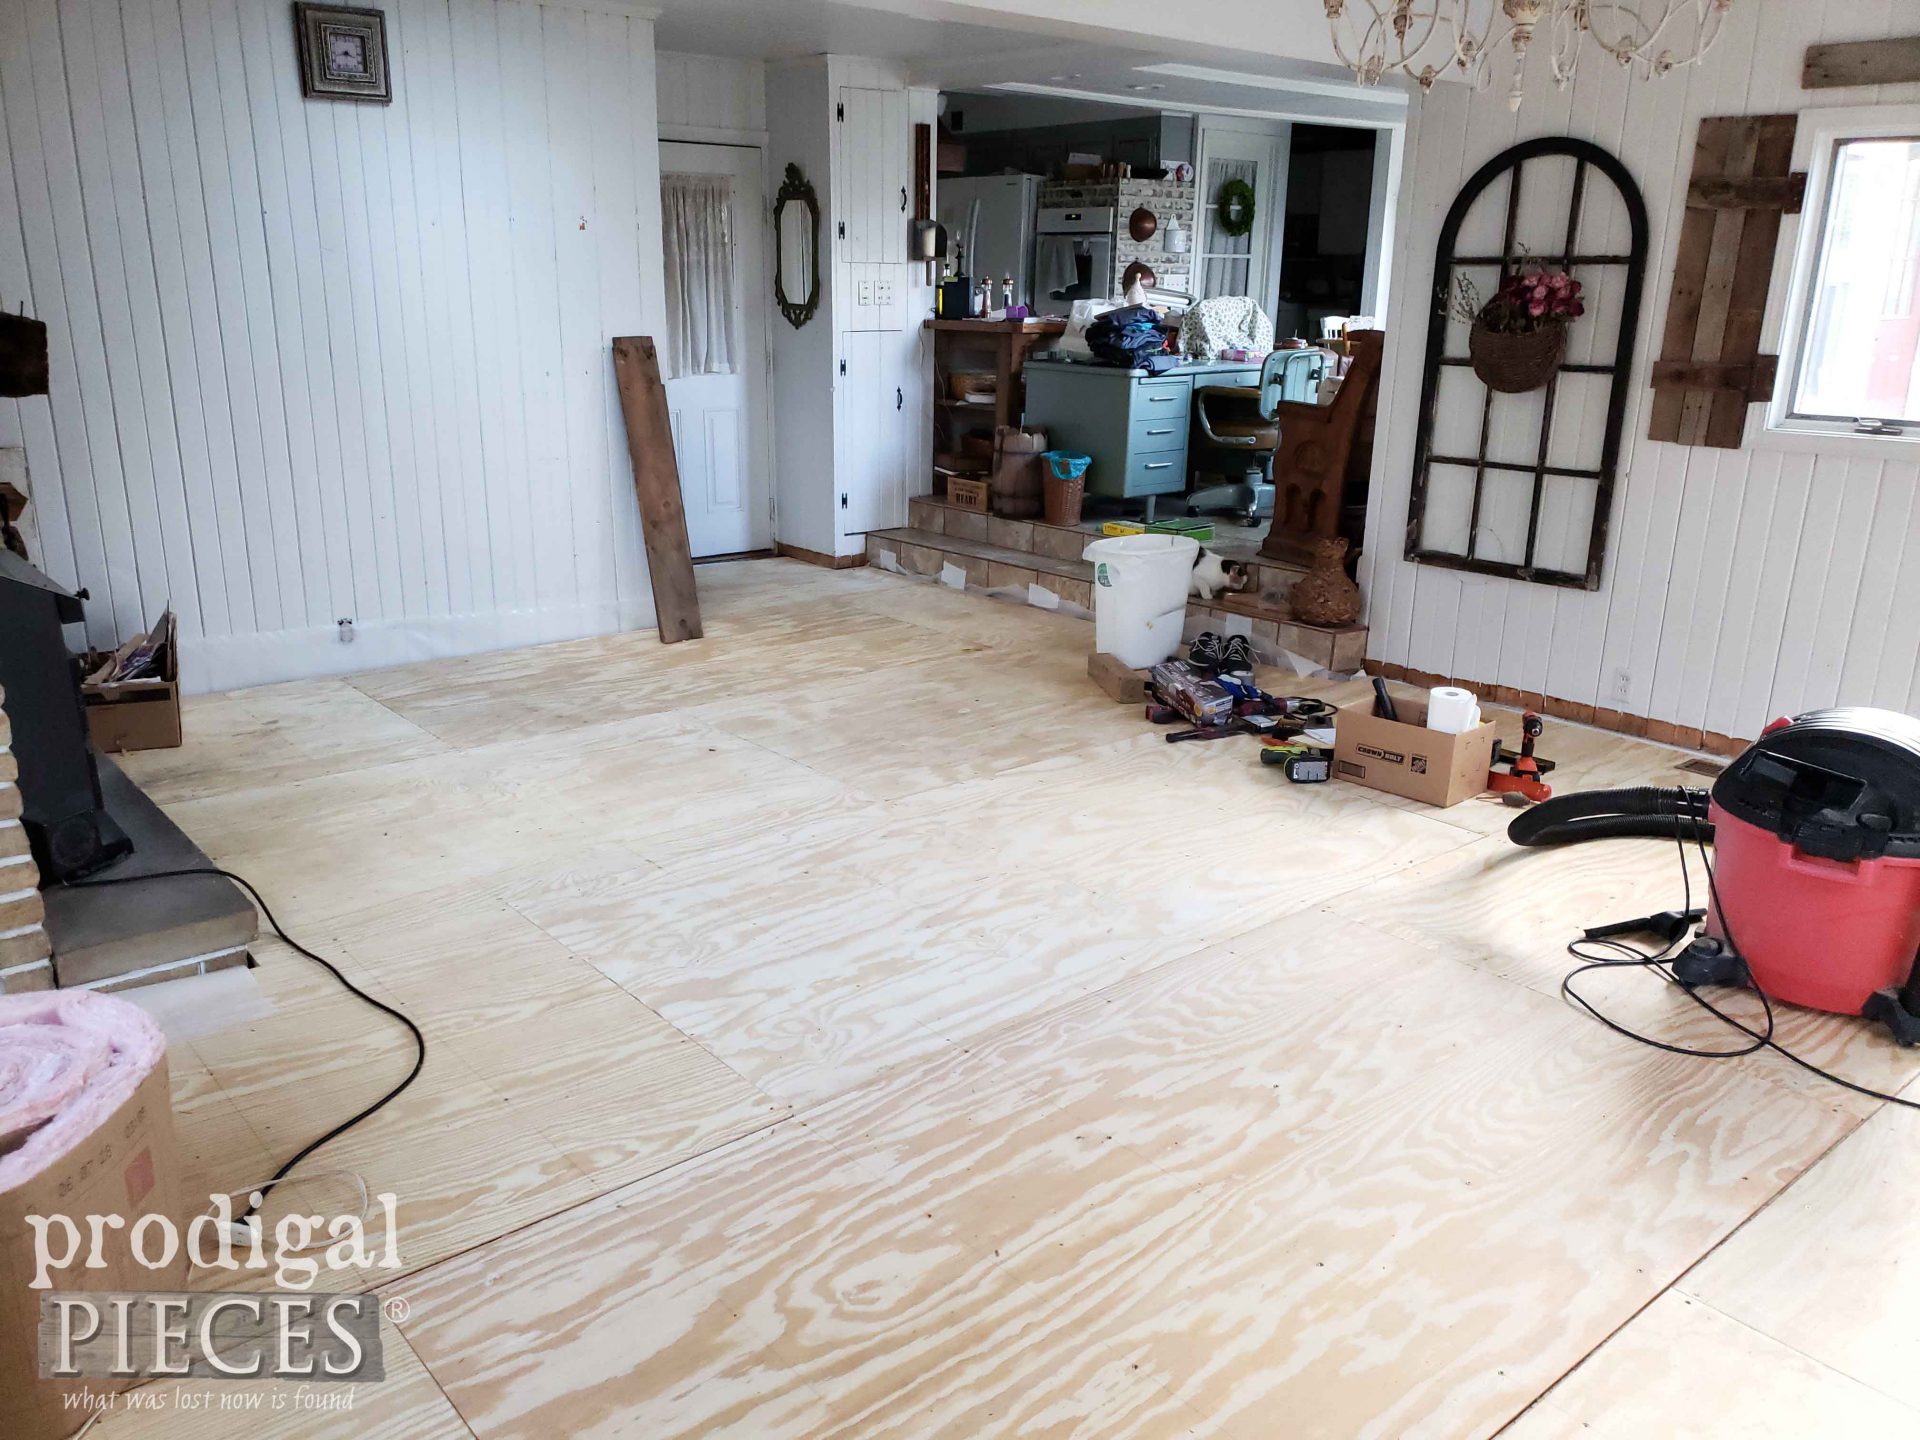
After that, we use screws to secure it into place. And, it doesn’t hurt to have some cute helpers too.
STEP 6
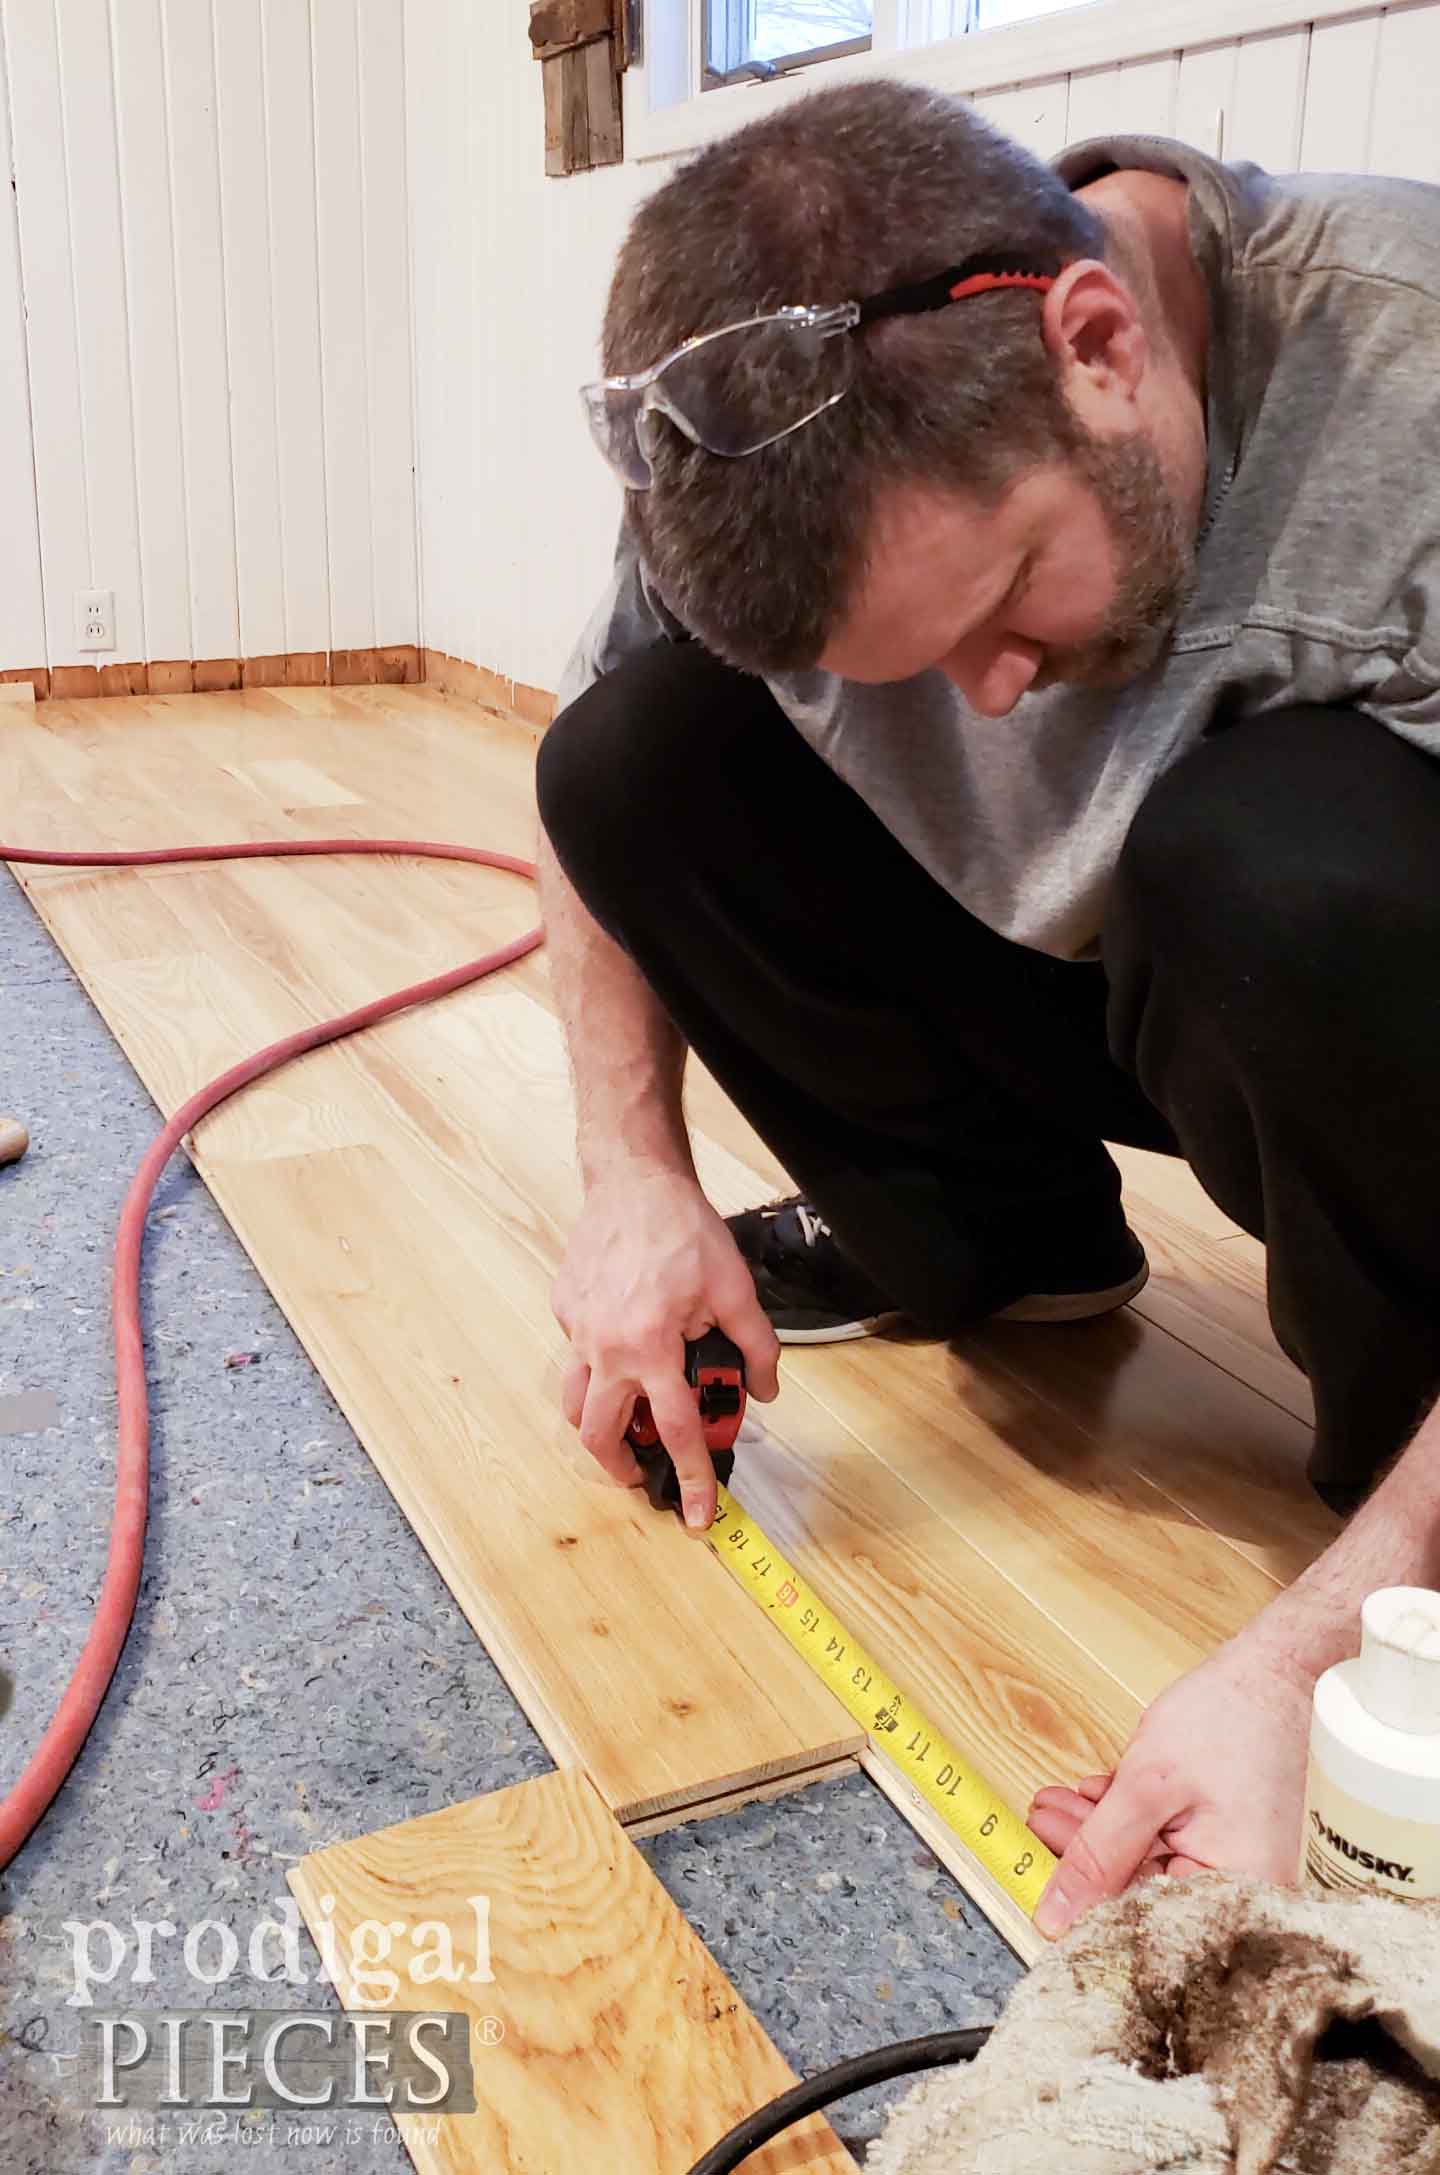
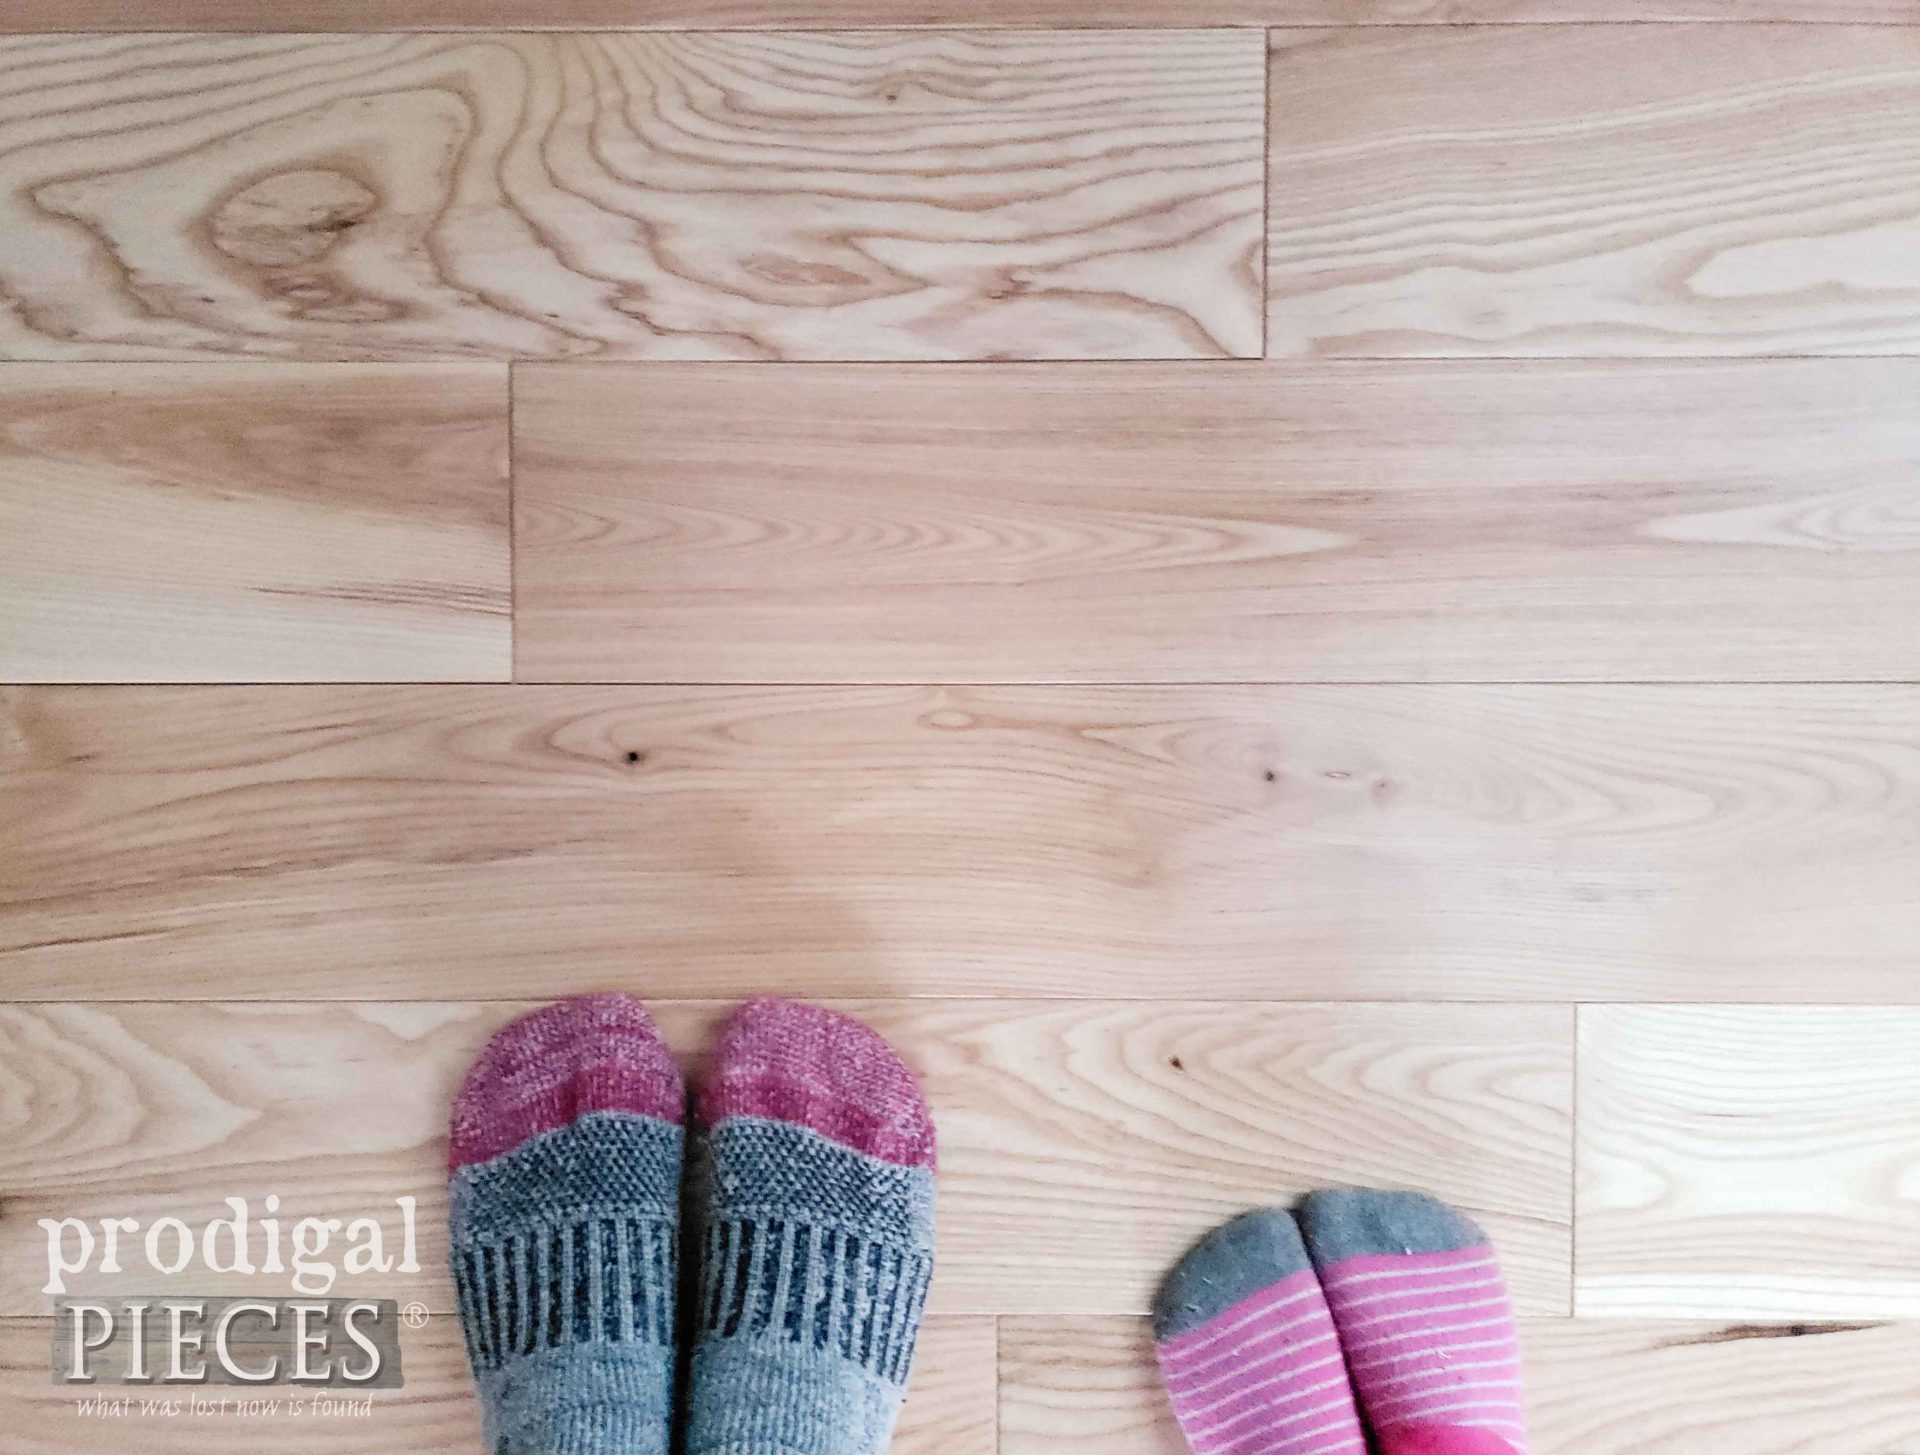
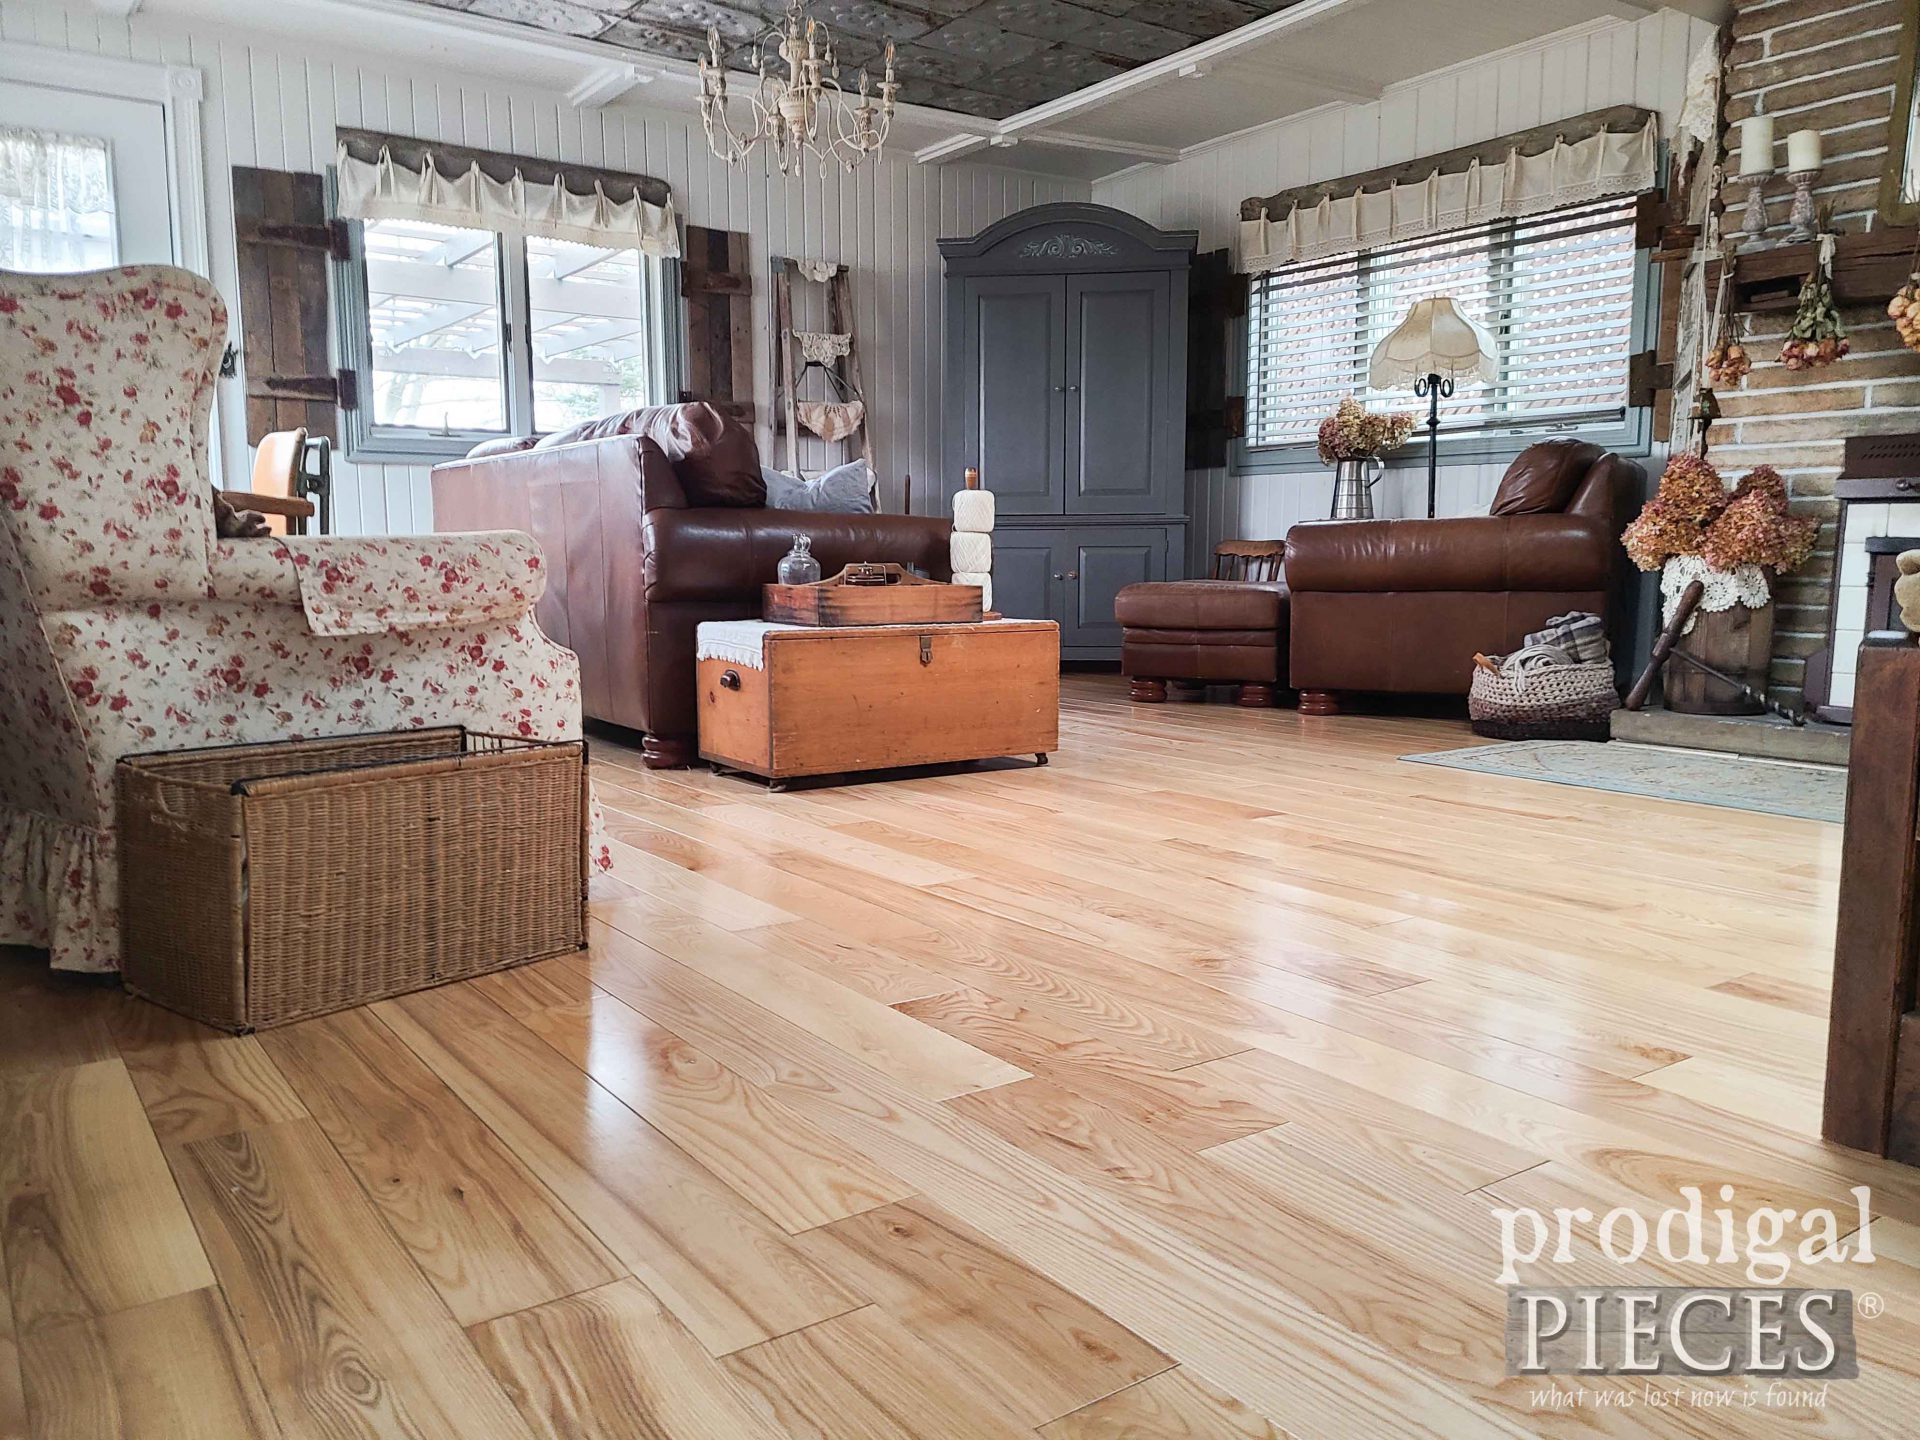
Last, we are ready to add our hardwood flooring. Also, notice that just under that we use a layer of felt per manufacturer instructions. I’m definitely smitten with this wide ash we were able to find. eep! I wanted something to warm up the space and make it cozy and light. Bravo JC!
STEP 7
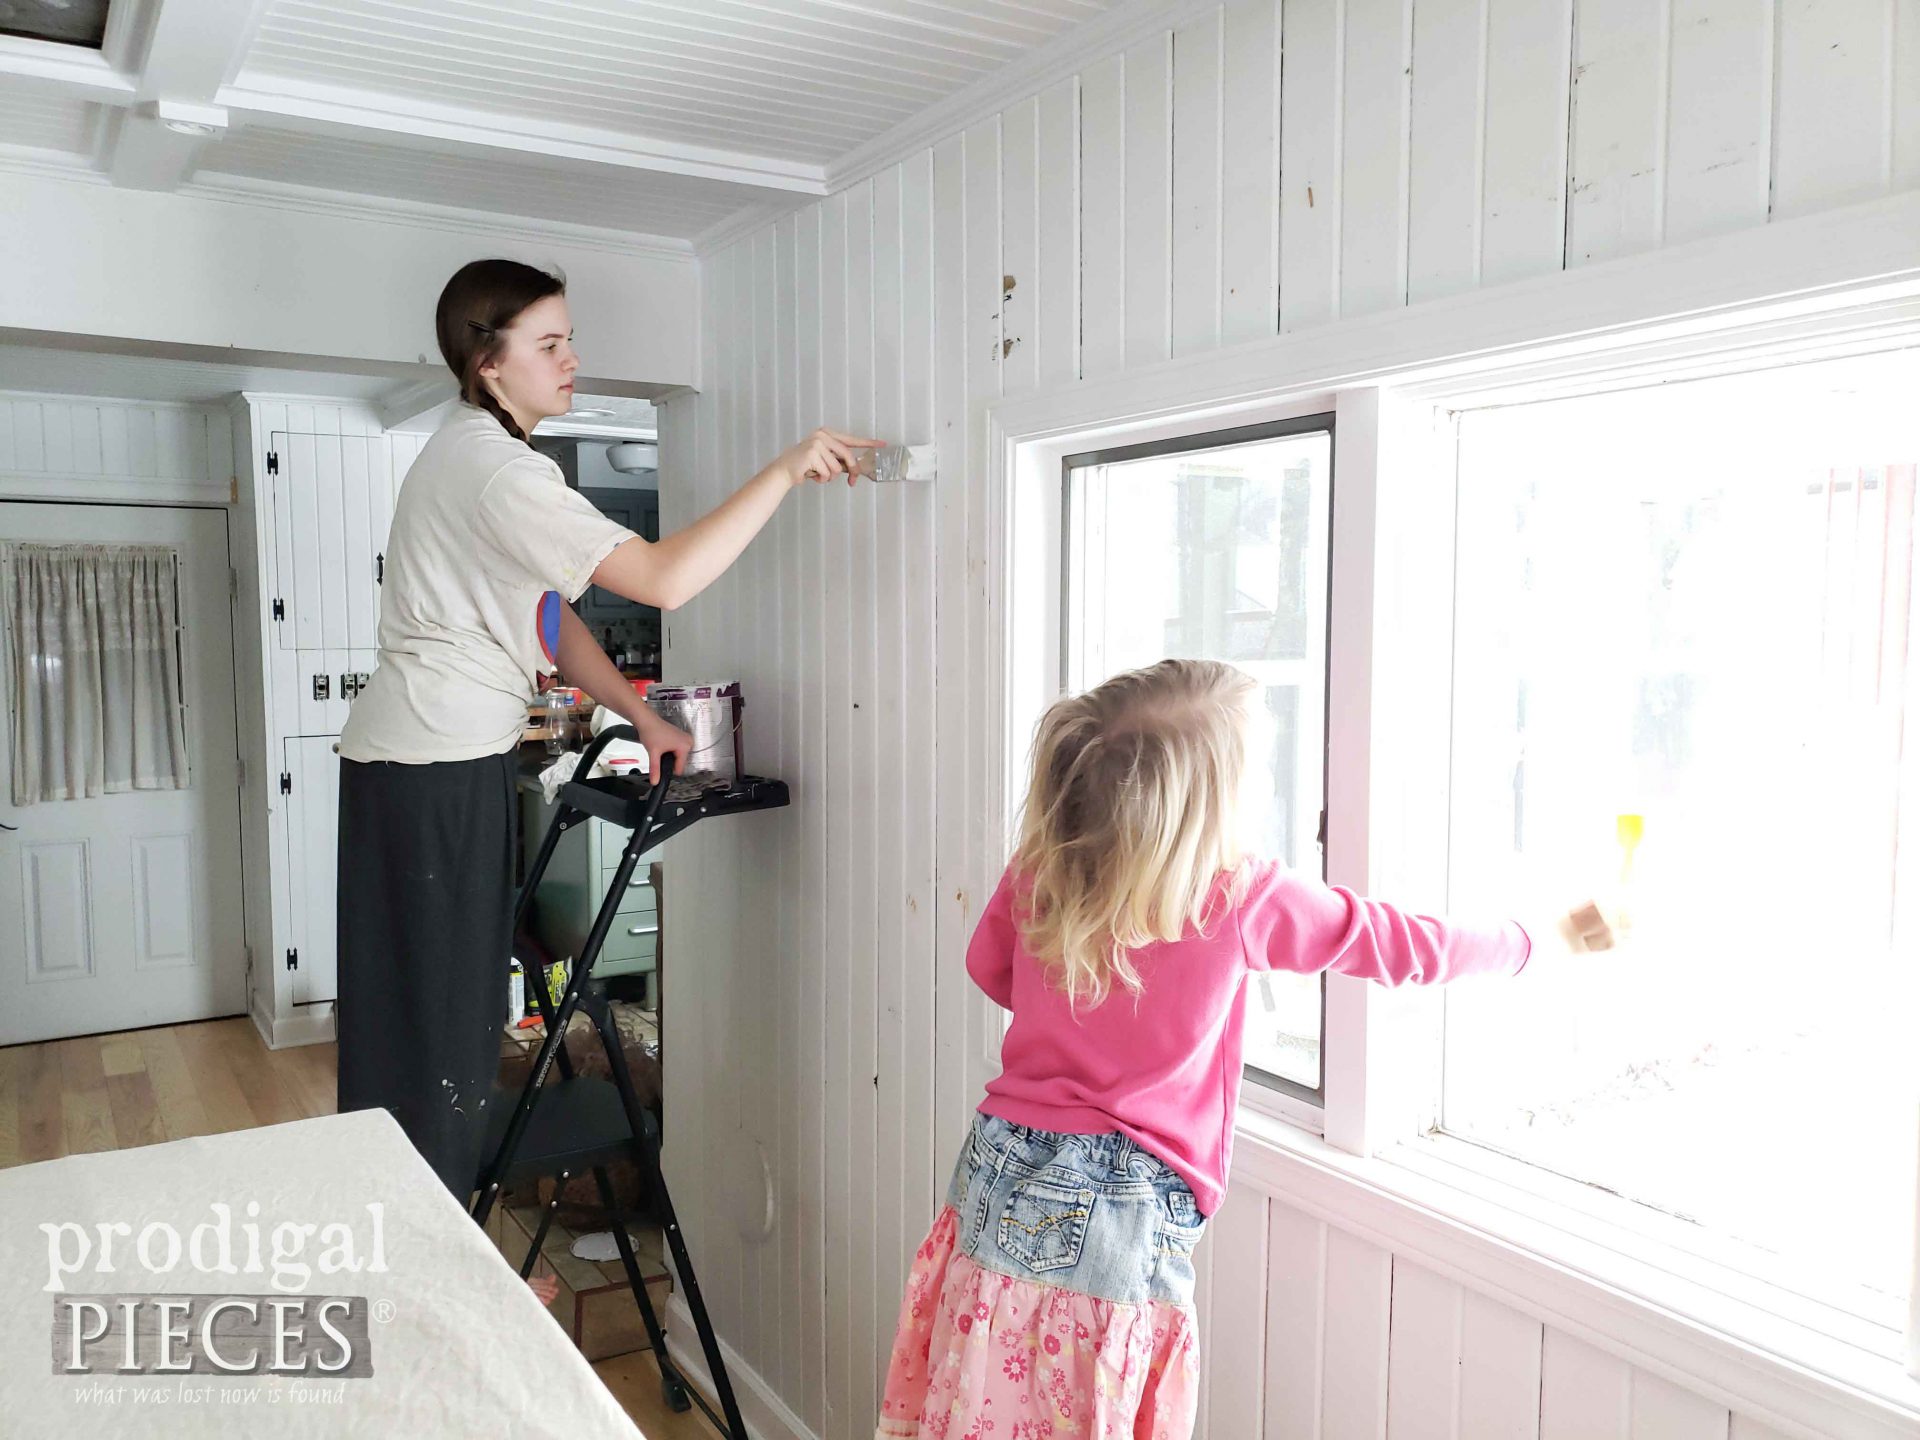
Finally, once we had the floor in, we just need to do a few other DIY things. First, we re-paint the walls. Best helpers ever!
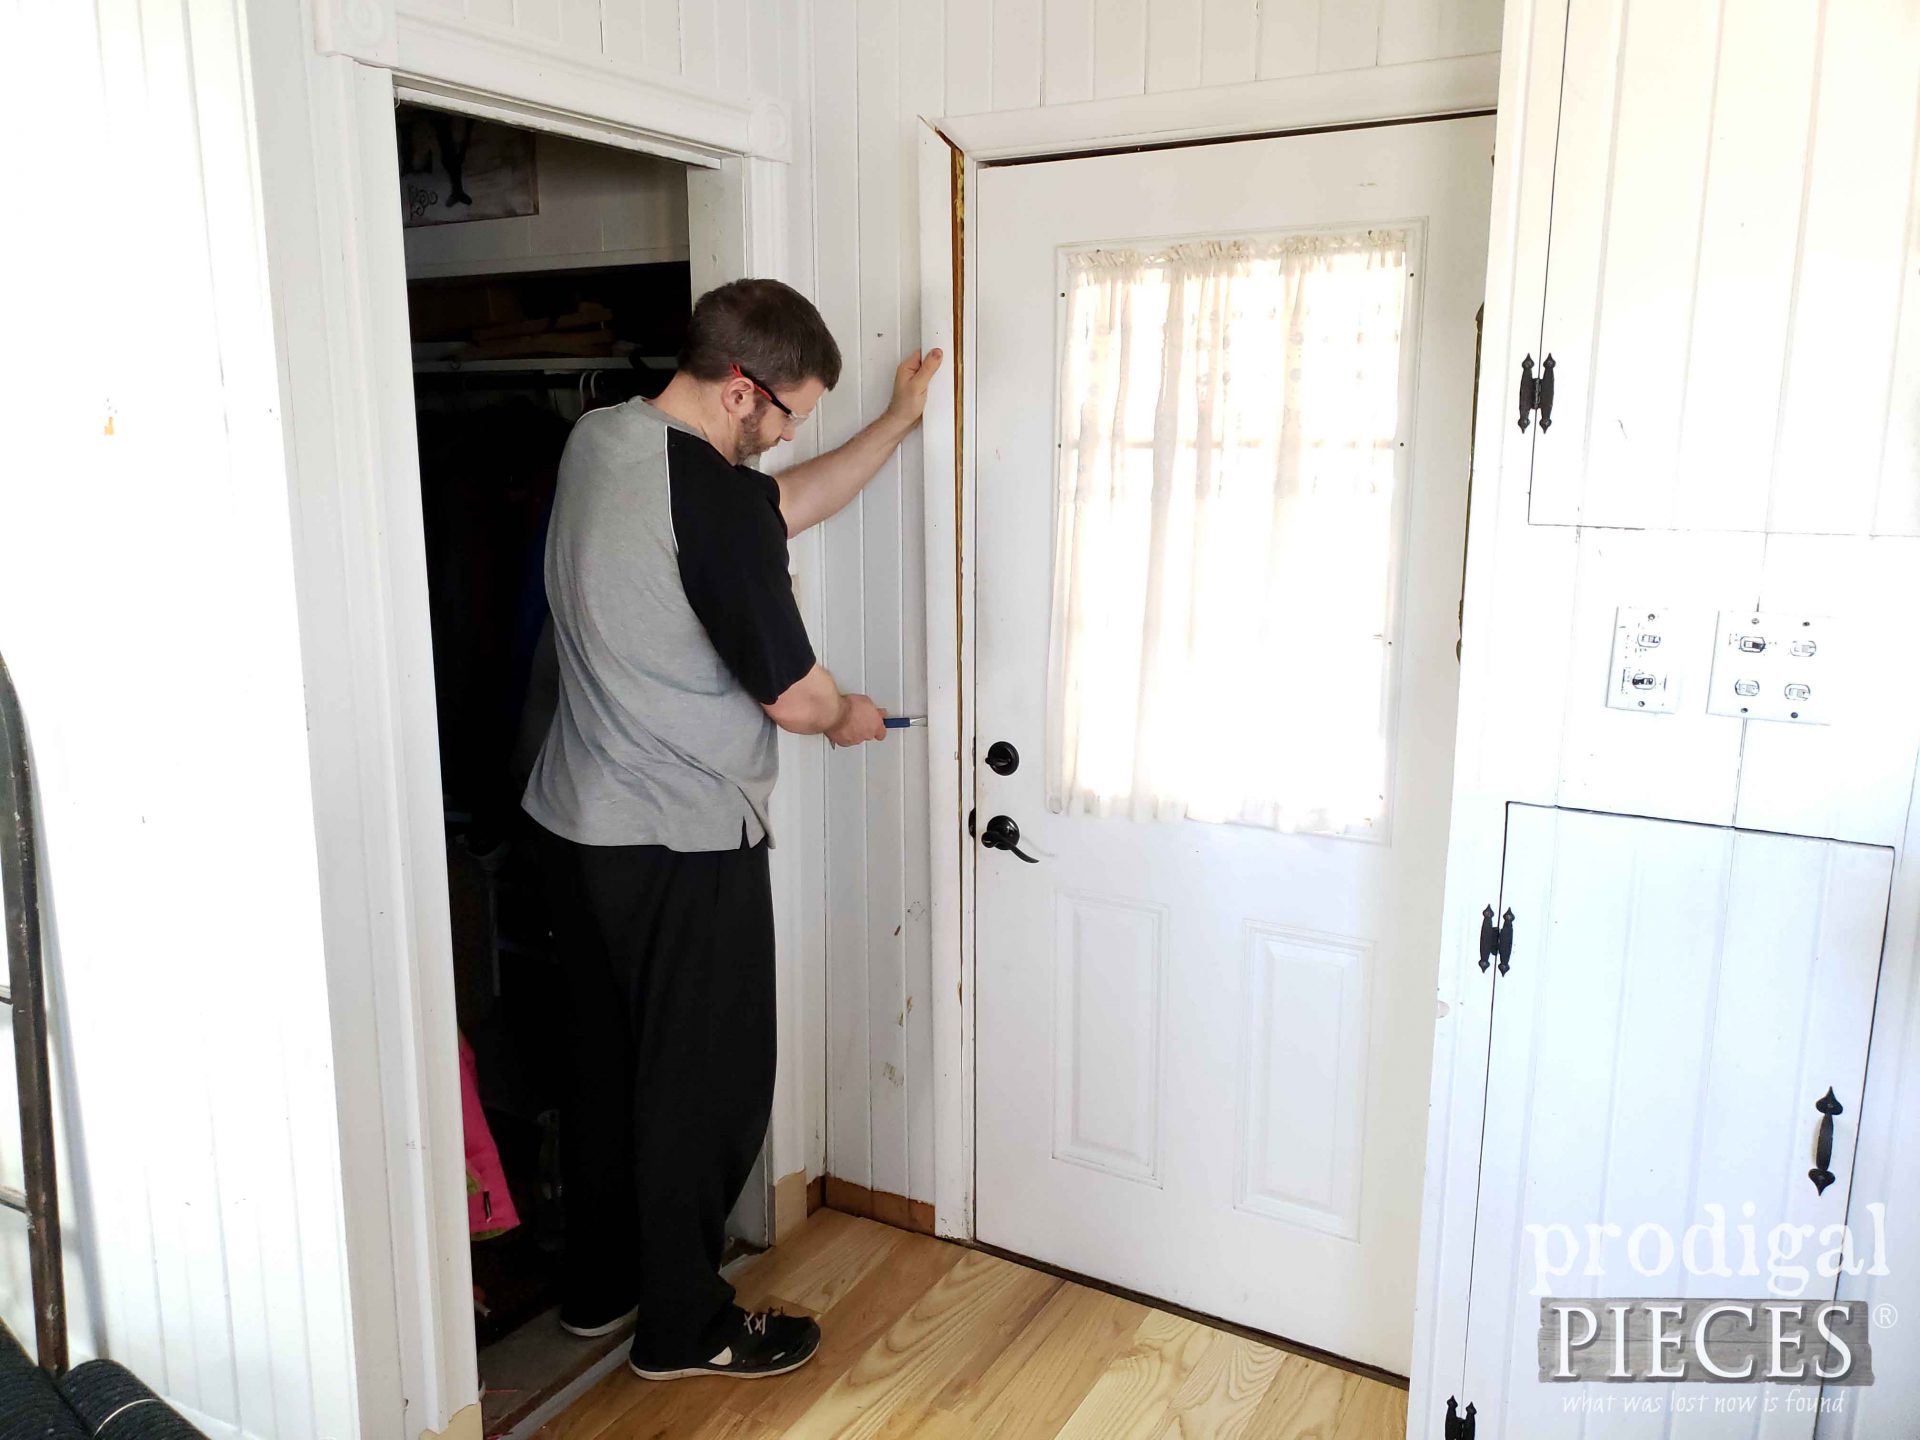
While we didn’t see the need to get rid of all the trim, I did want to change the door trim for a bullseye effect to replicate the coffered ceiling. You can see it on our mudroom on the left and the old JC is removing.
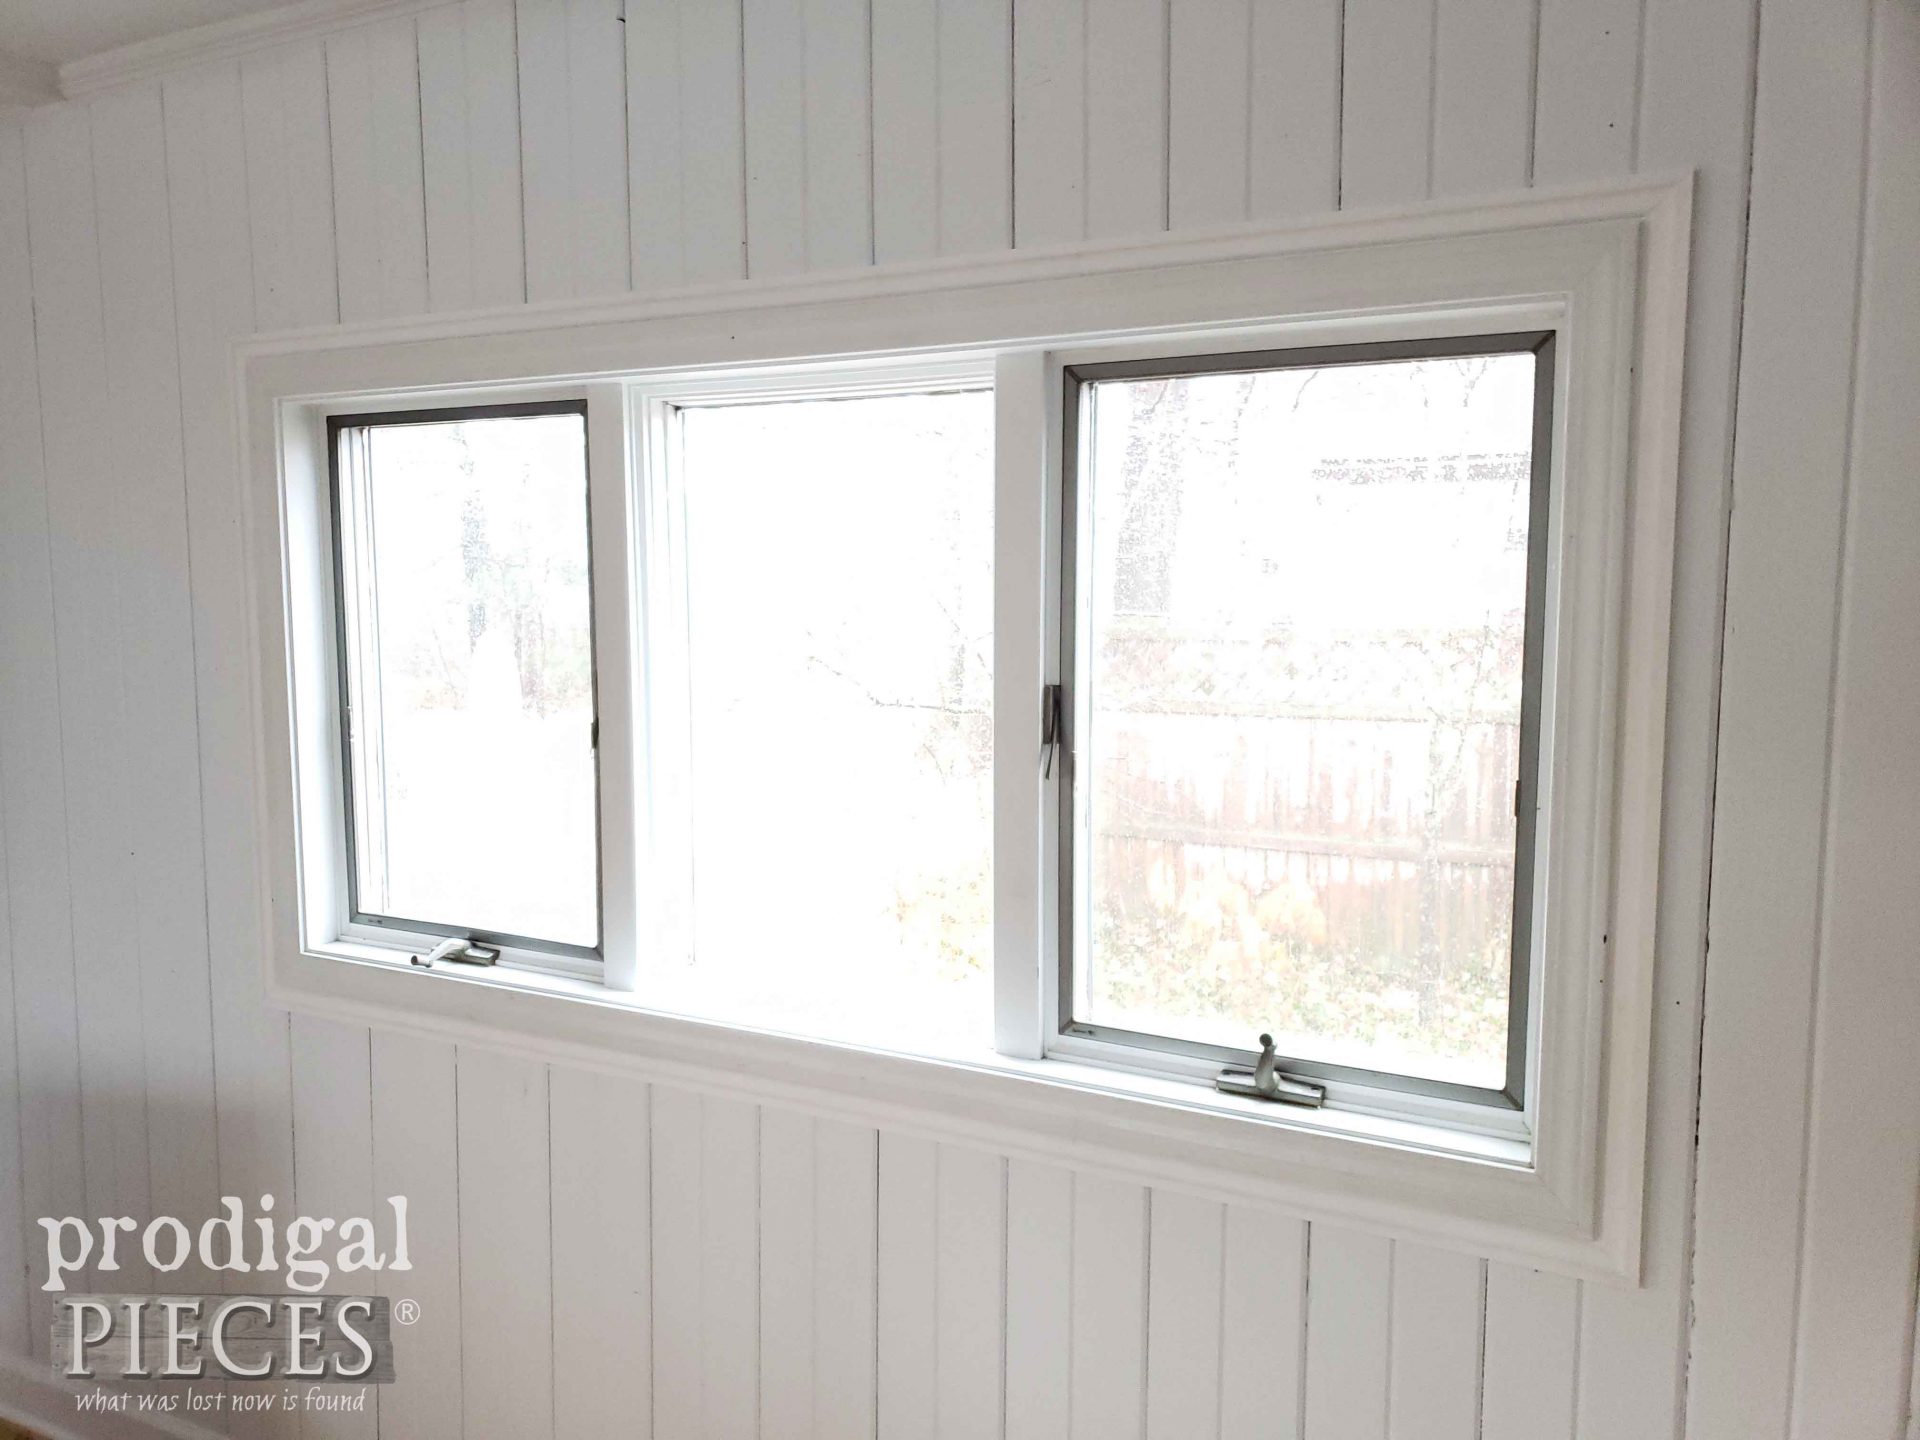
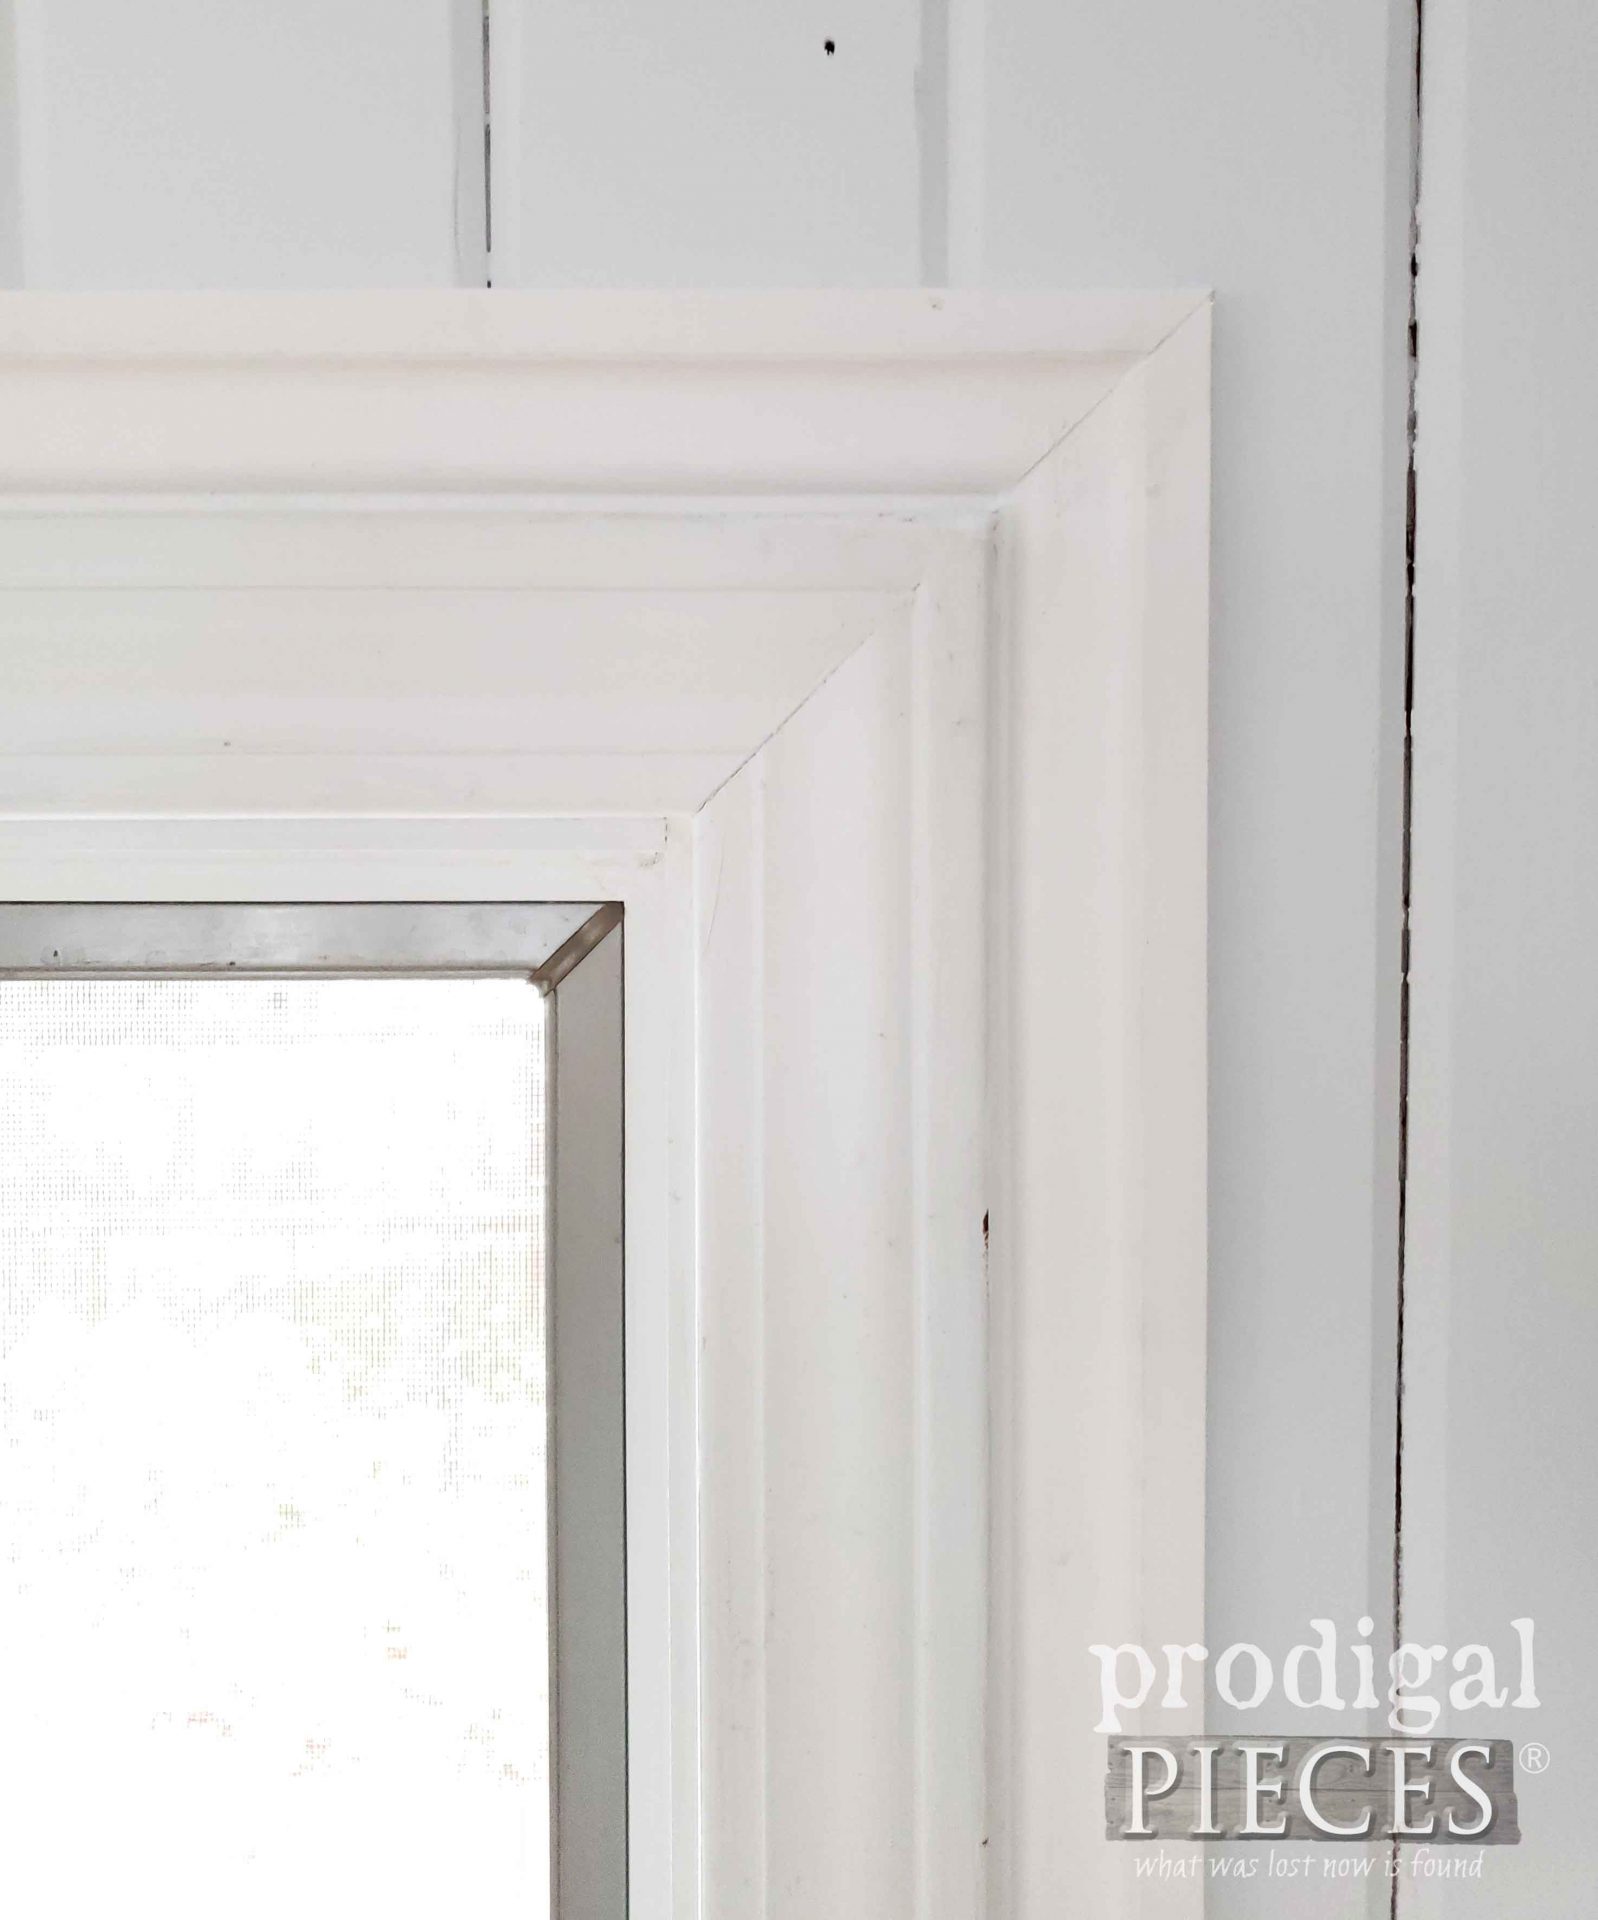
Likewise, my windows need some oompf. That’s easily upgraded with a bit of additional trim to beef them up.
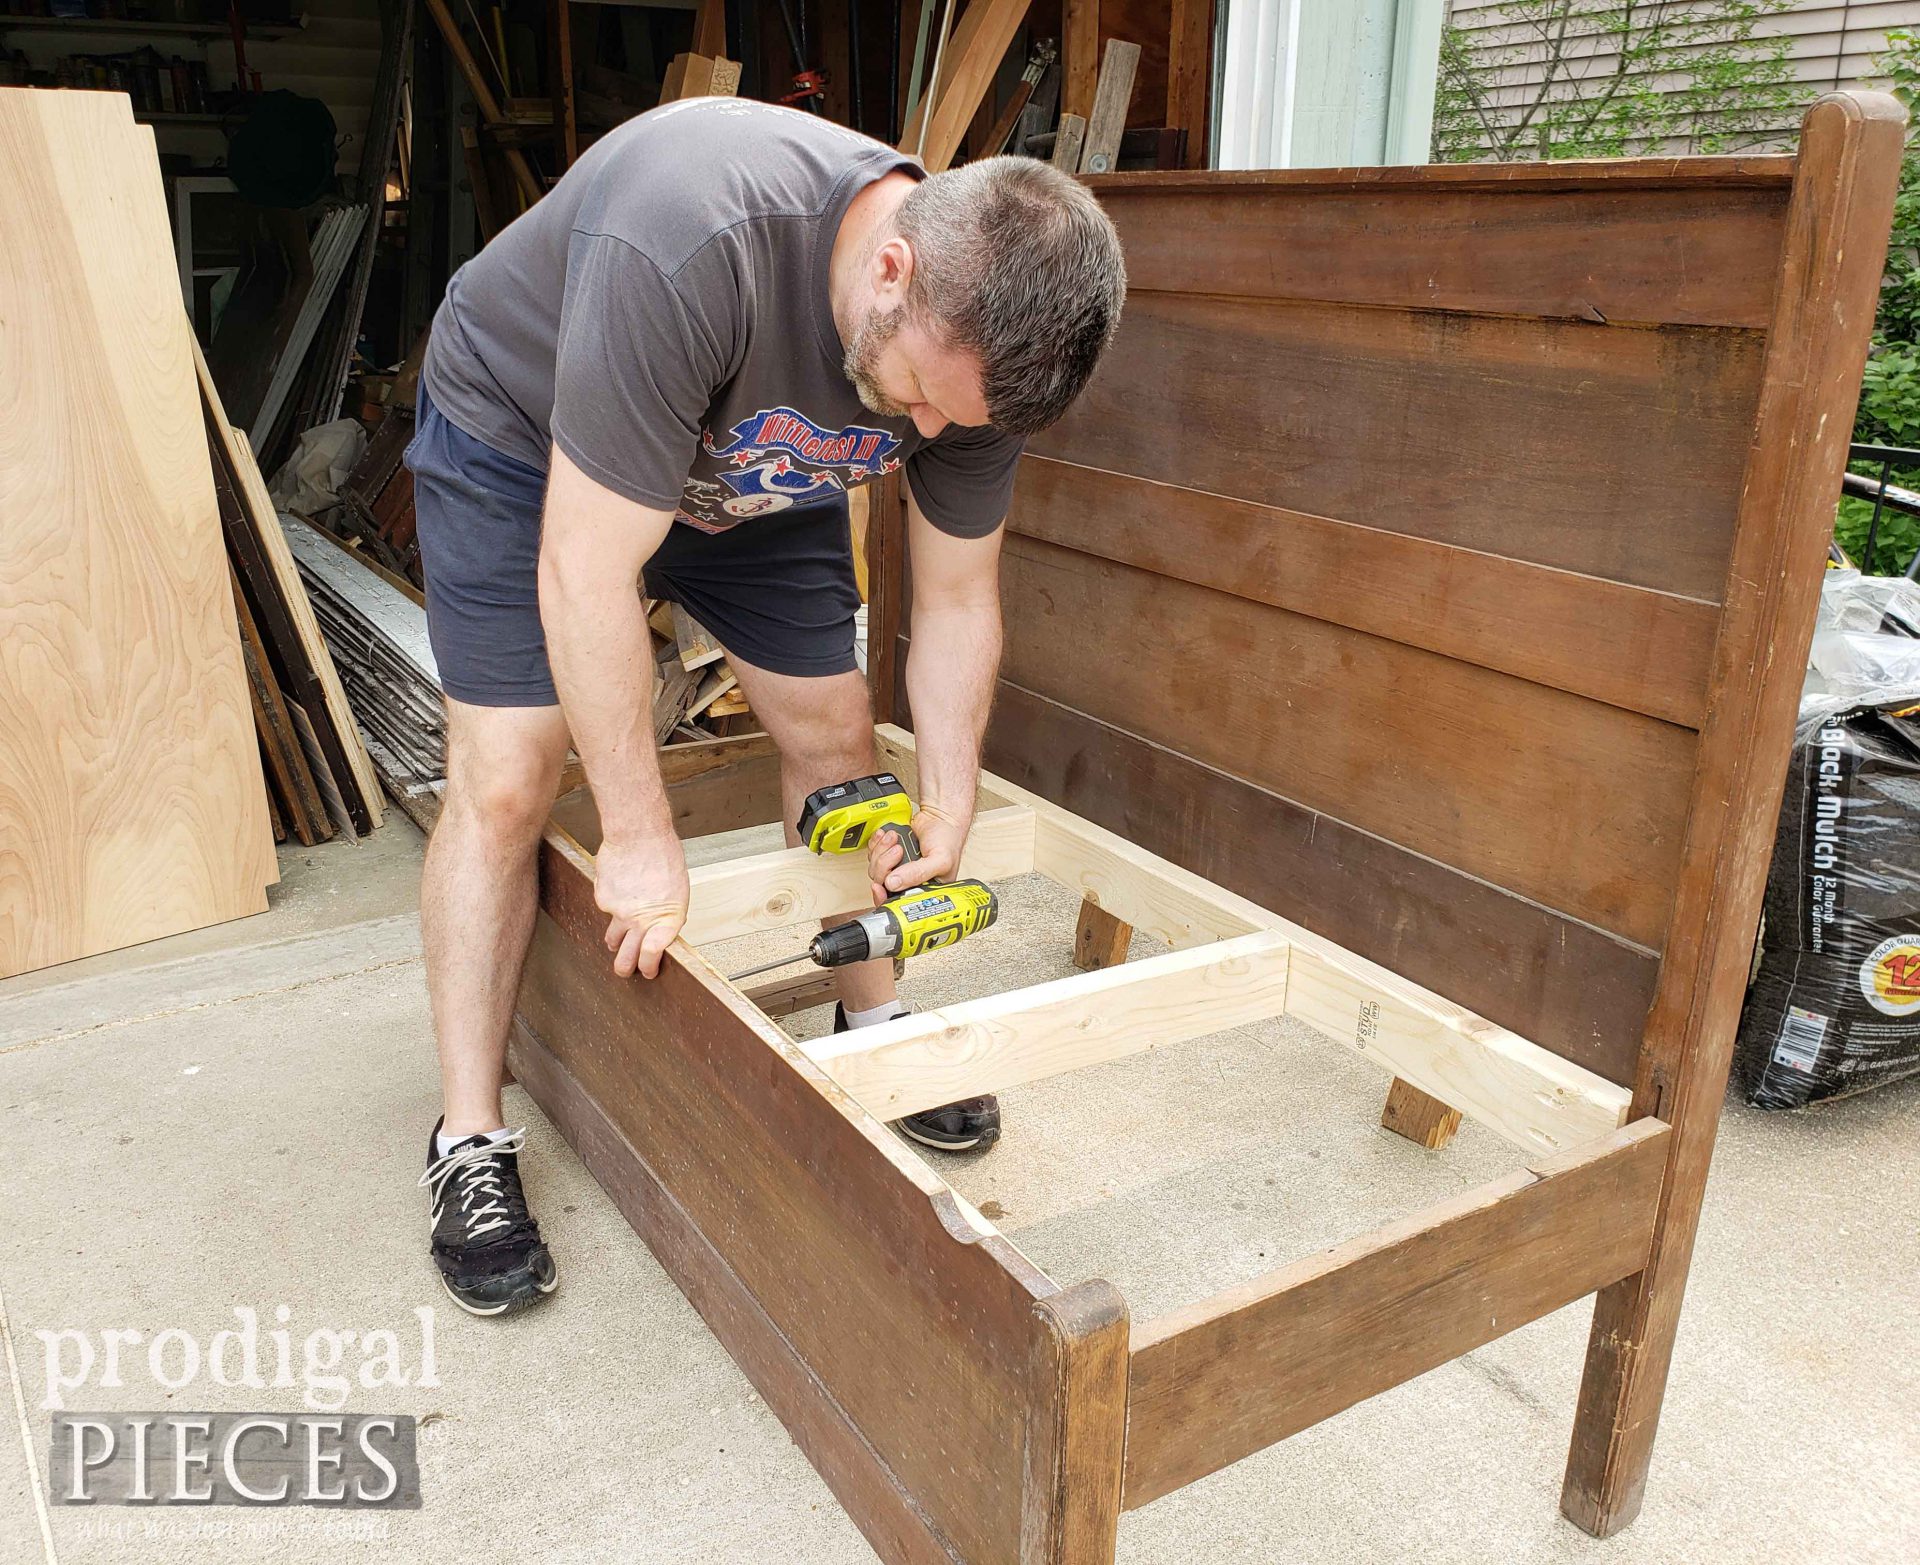
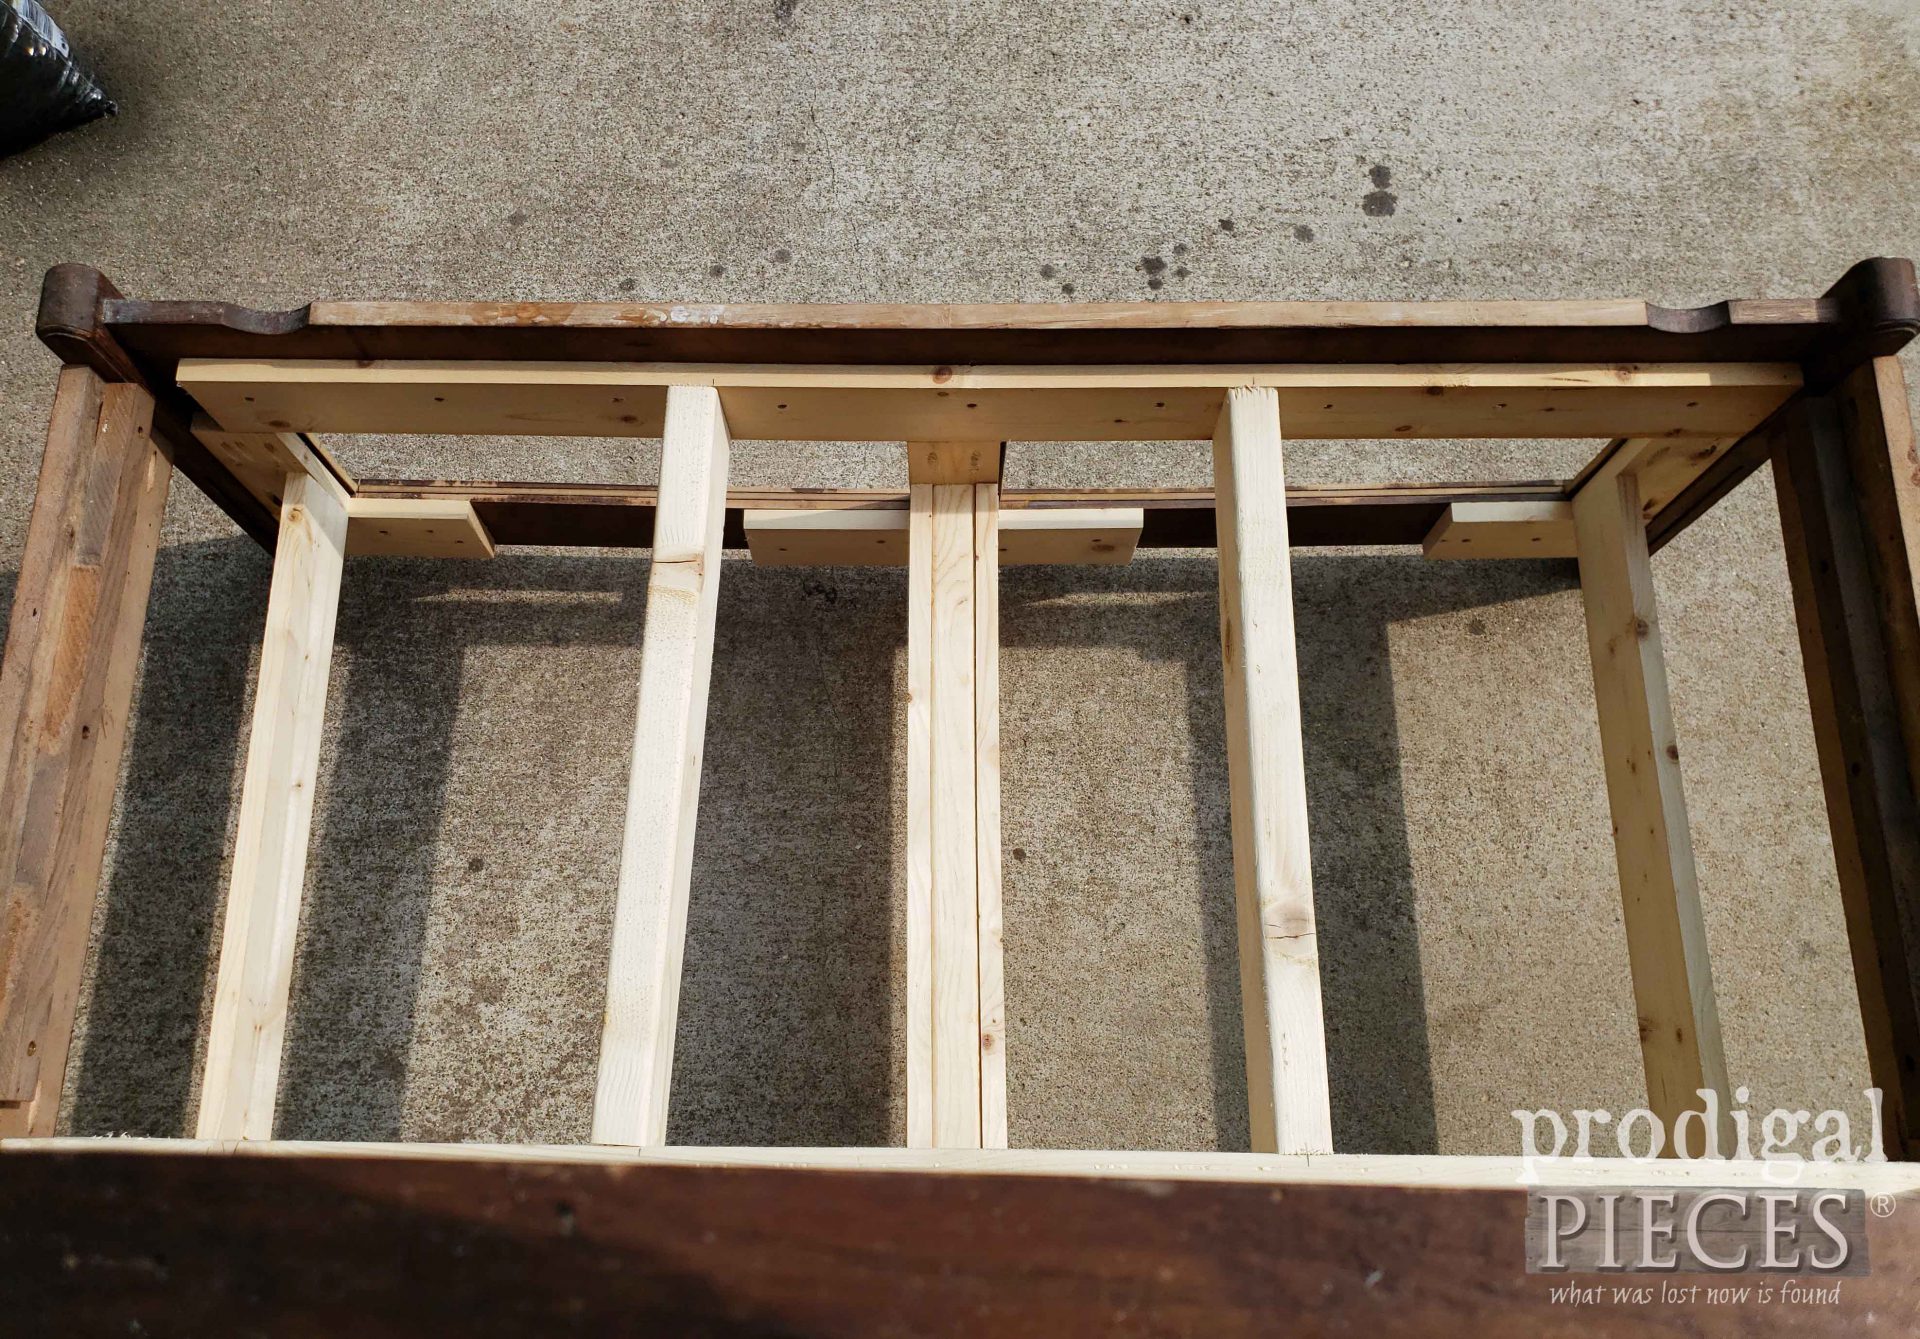
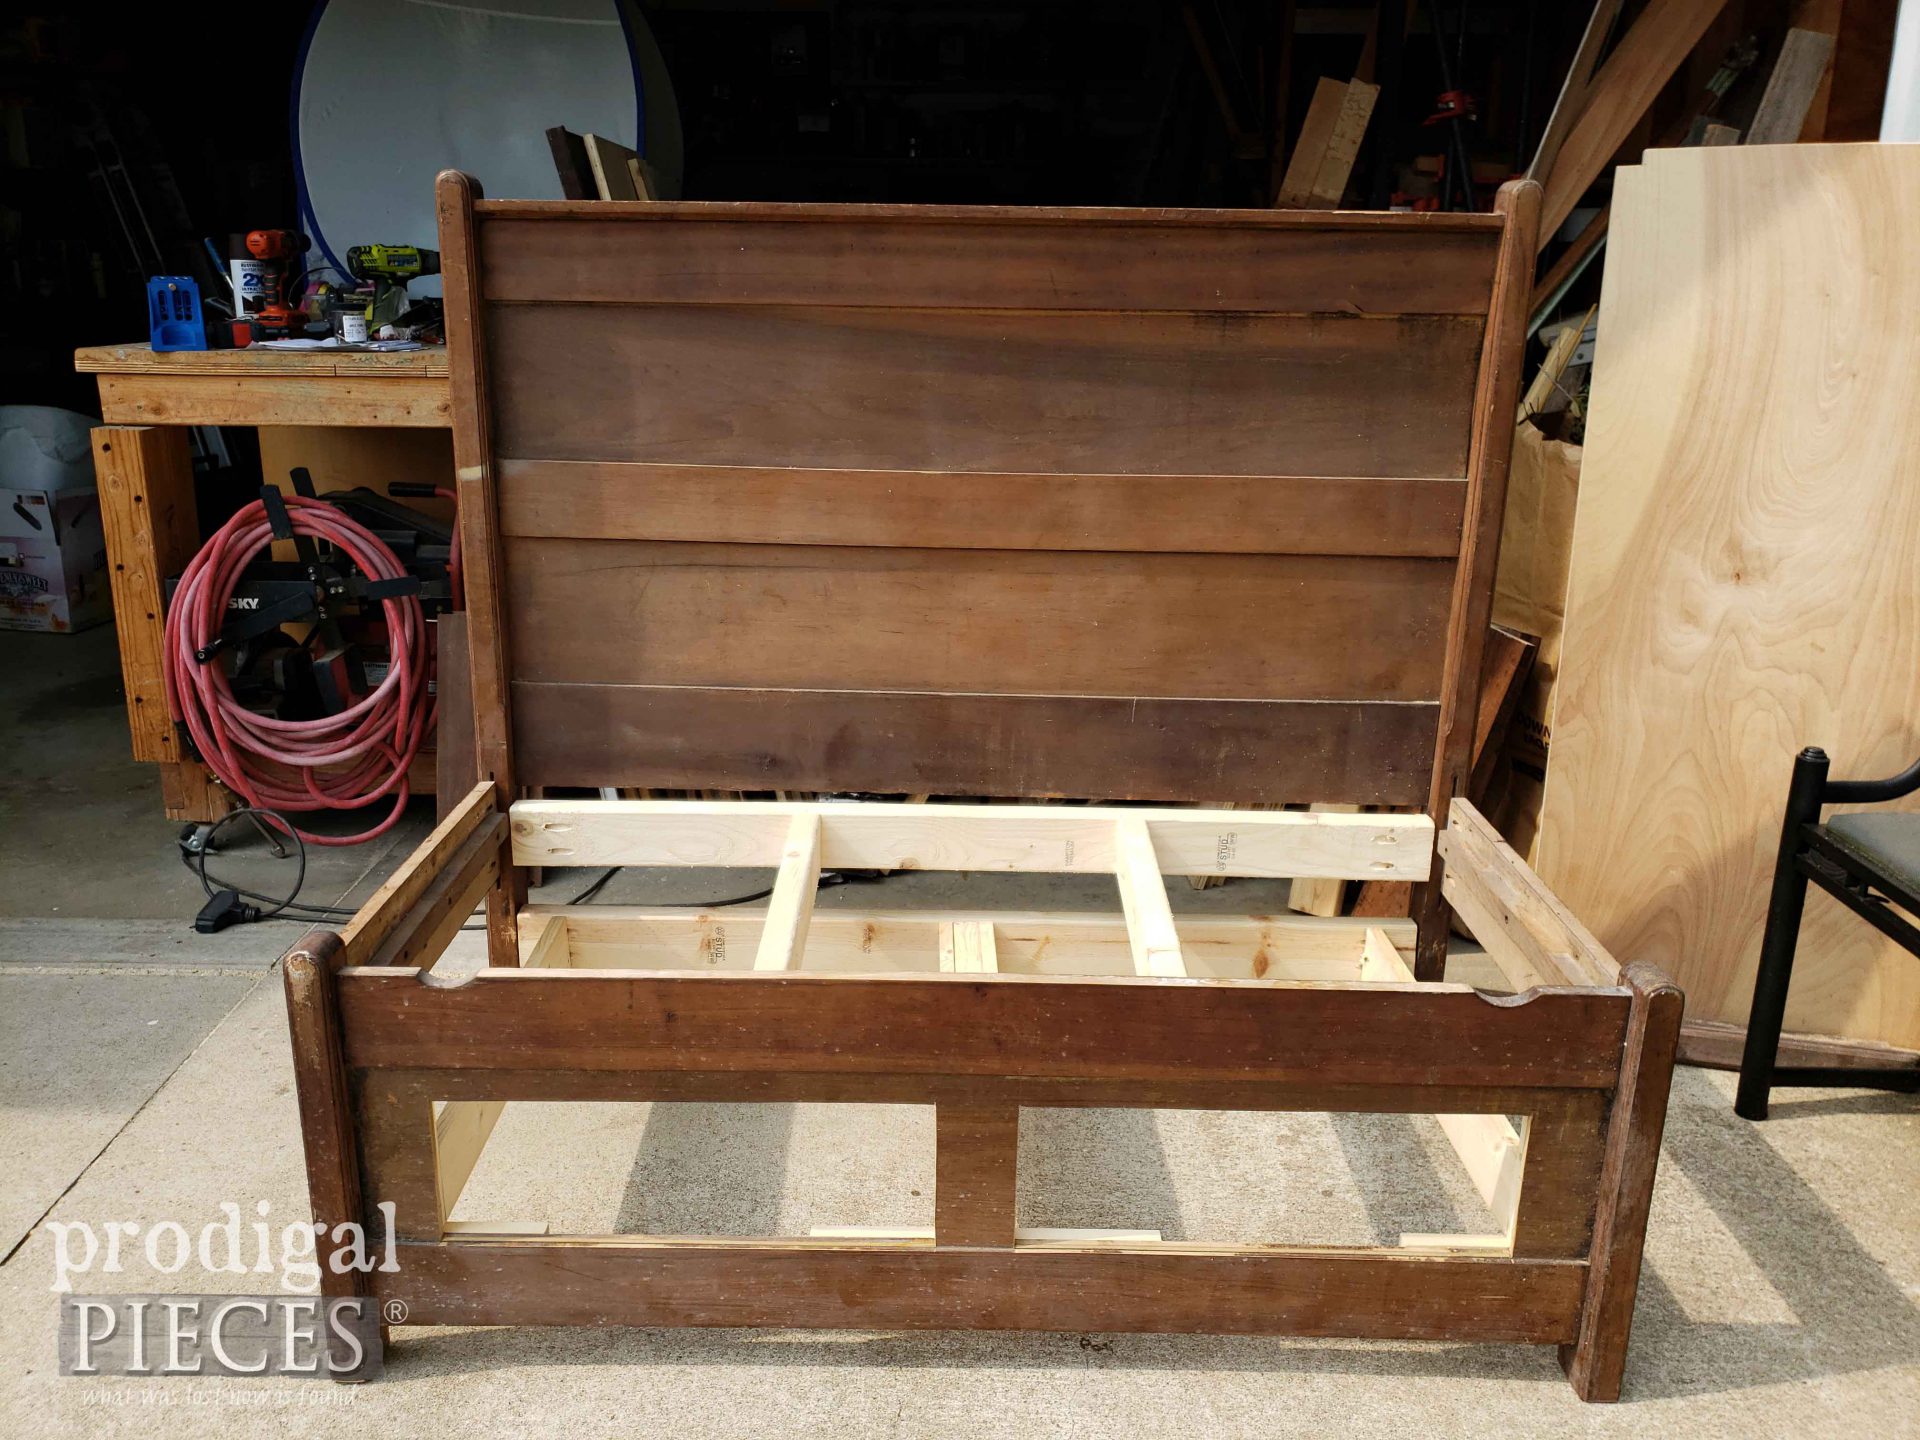
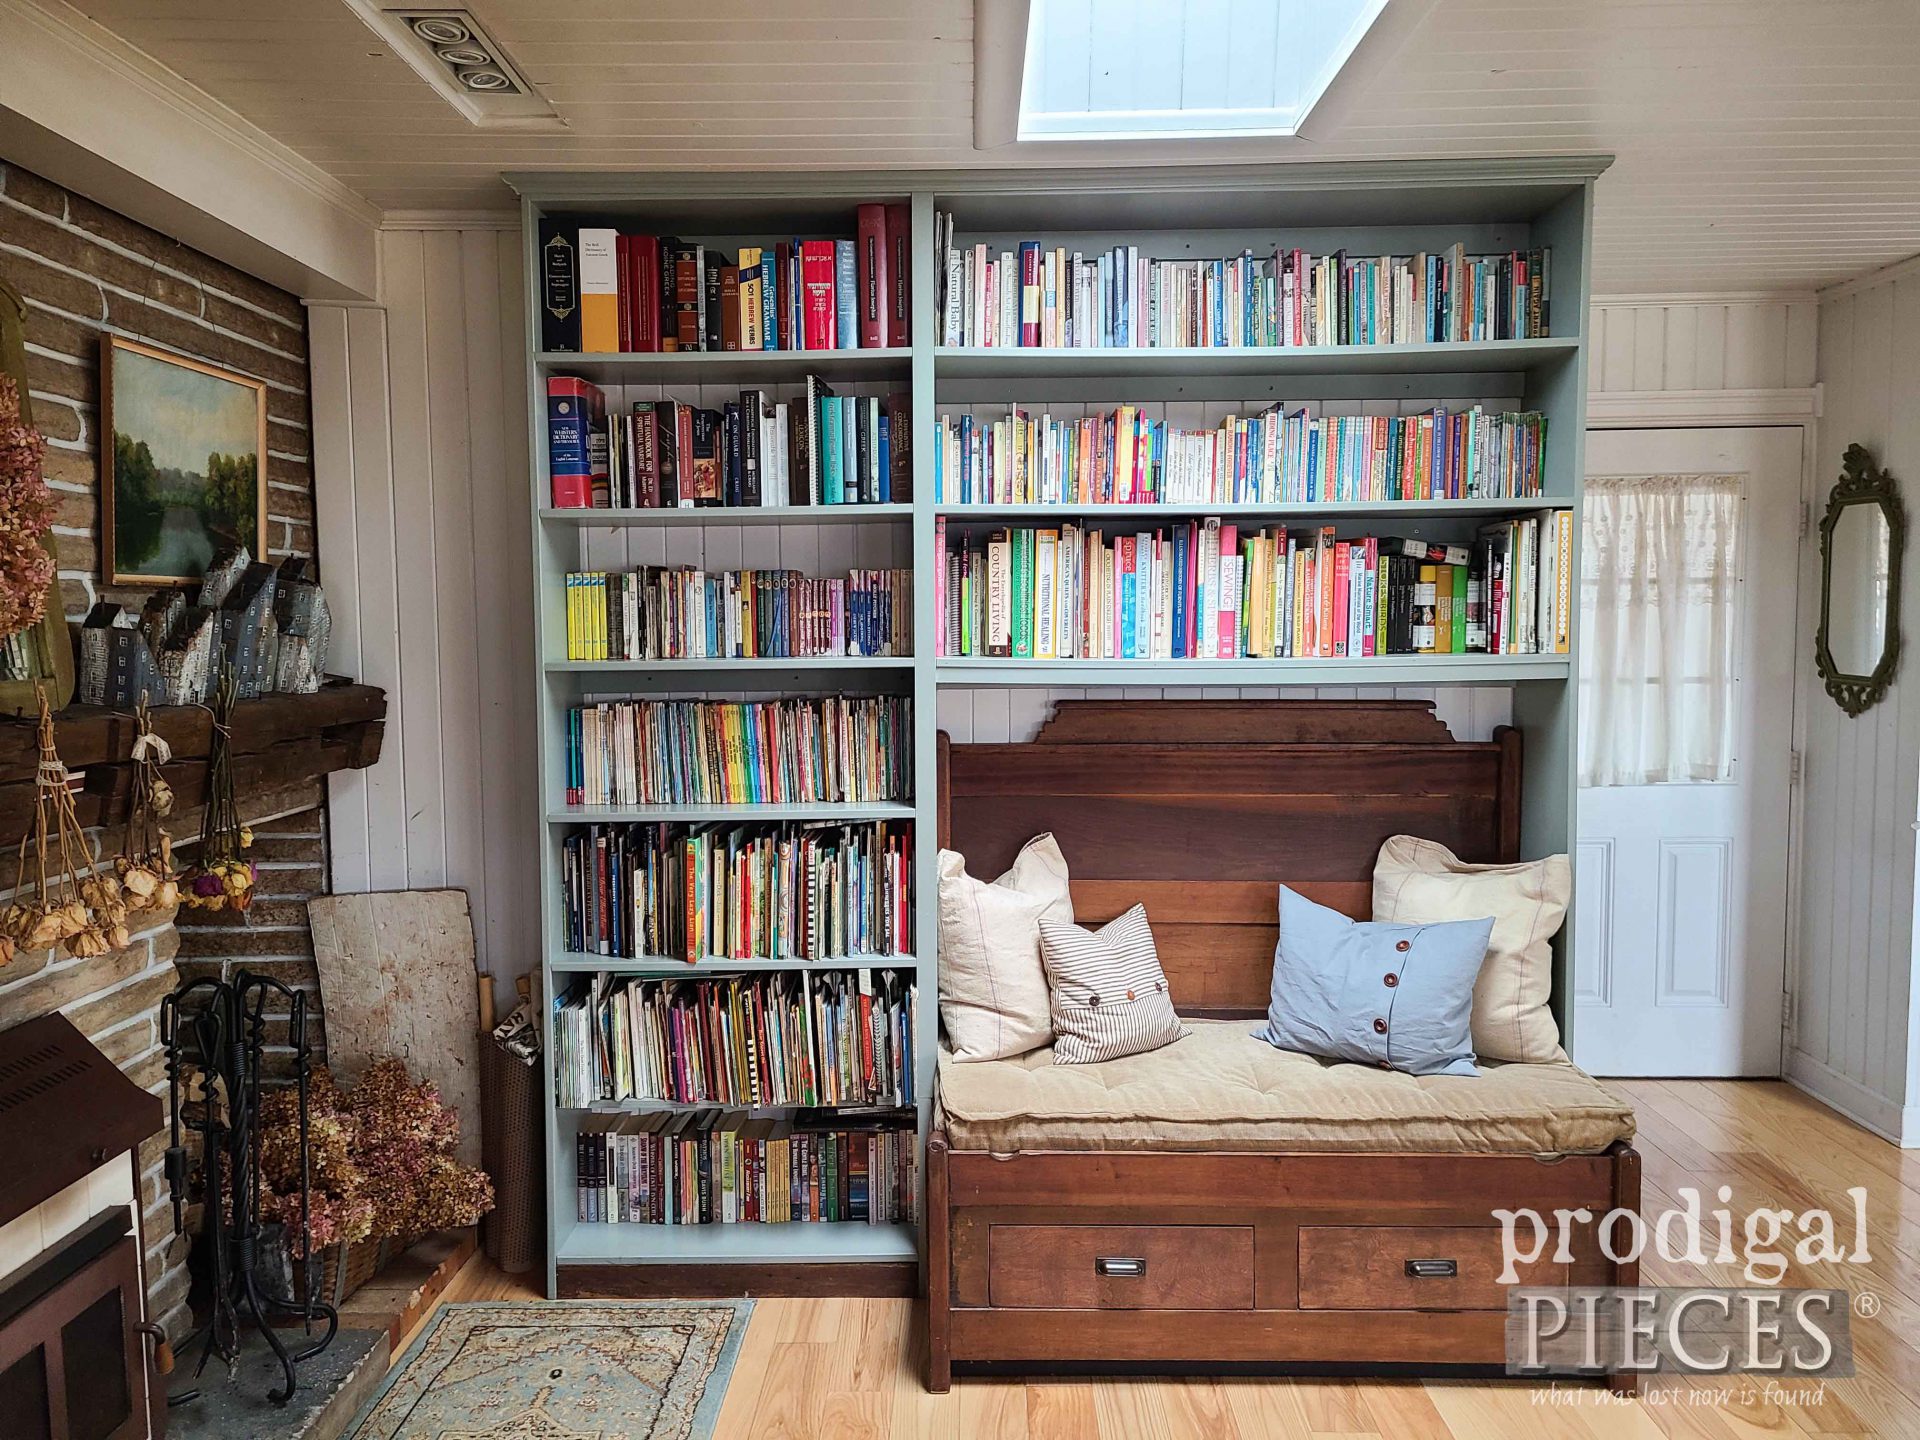
In addition, I found an antique bed set out for me to find #trashure and I totally wanted it as a built-in bench with drawers. Thanks to working with JC, we got ‘er done. You can see my other builds in my project gallery HERE.
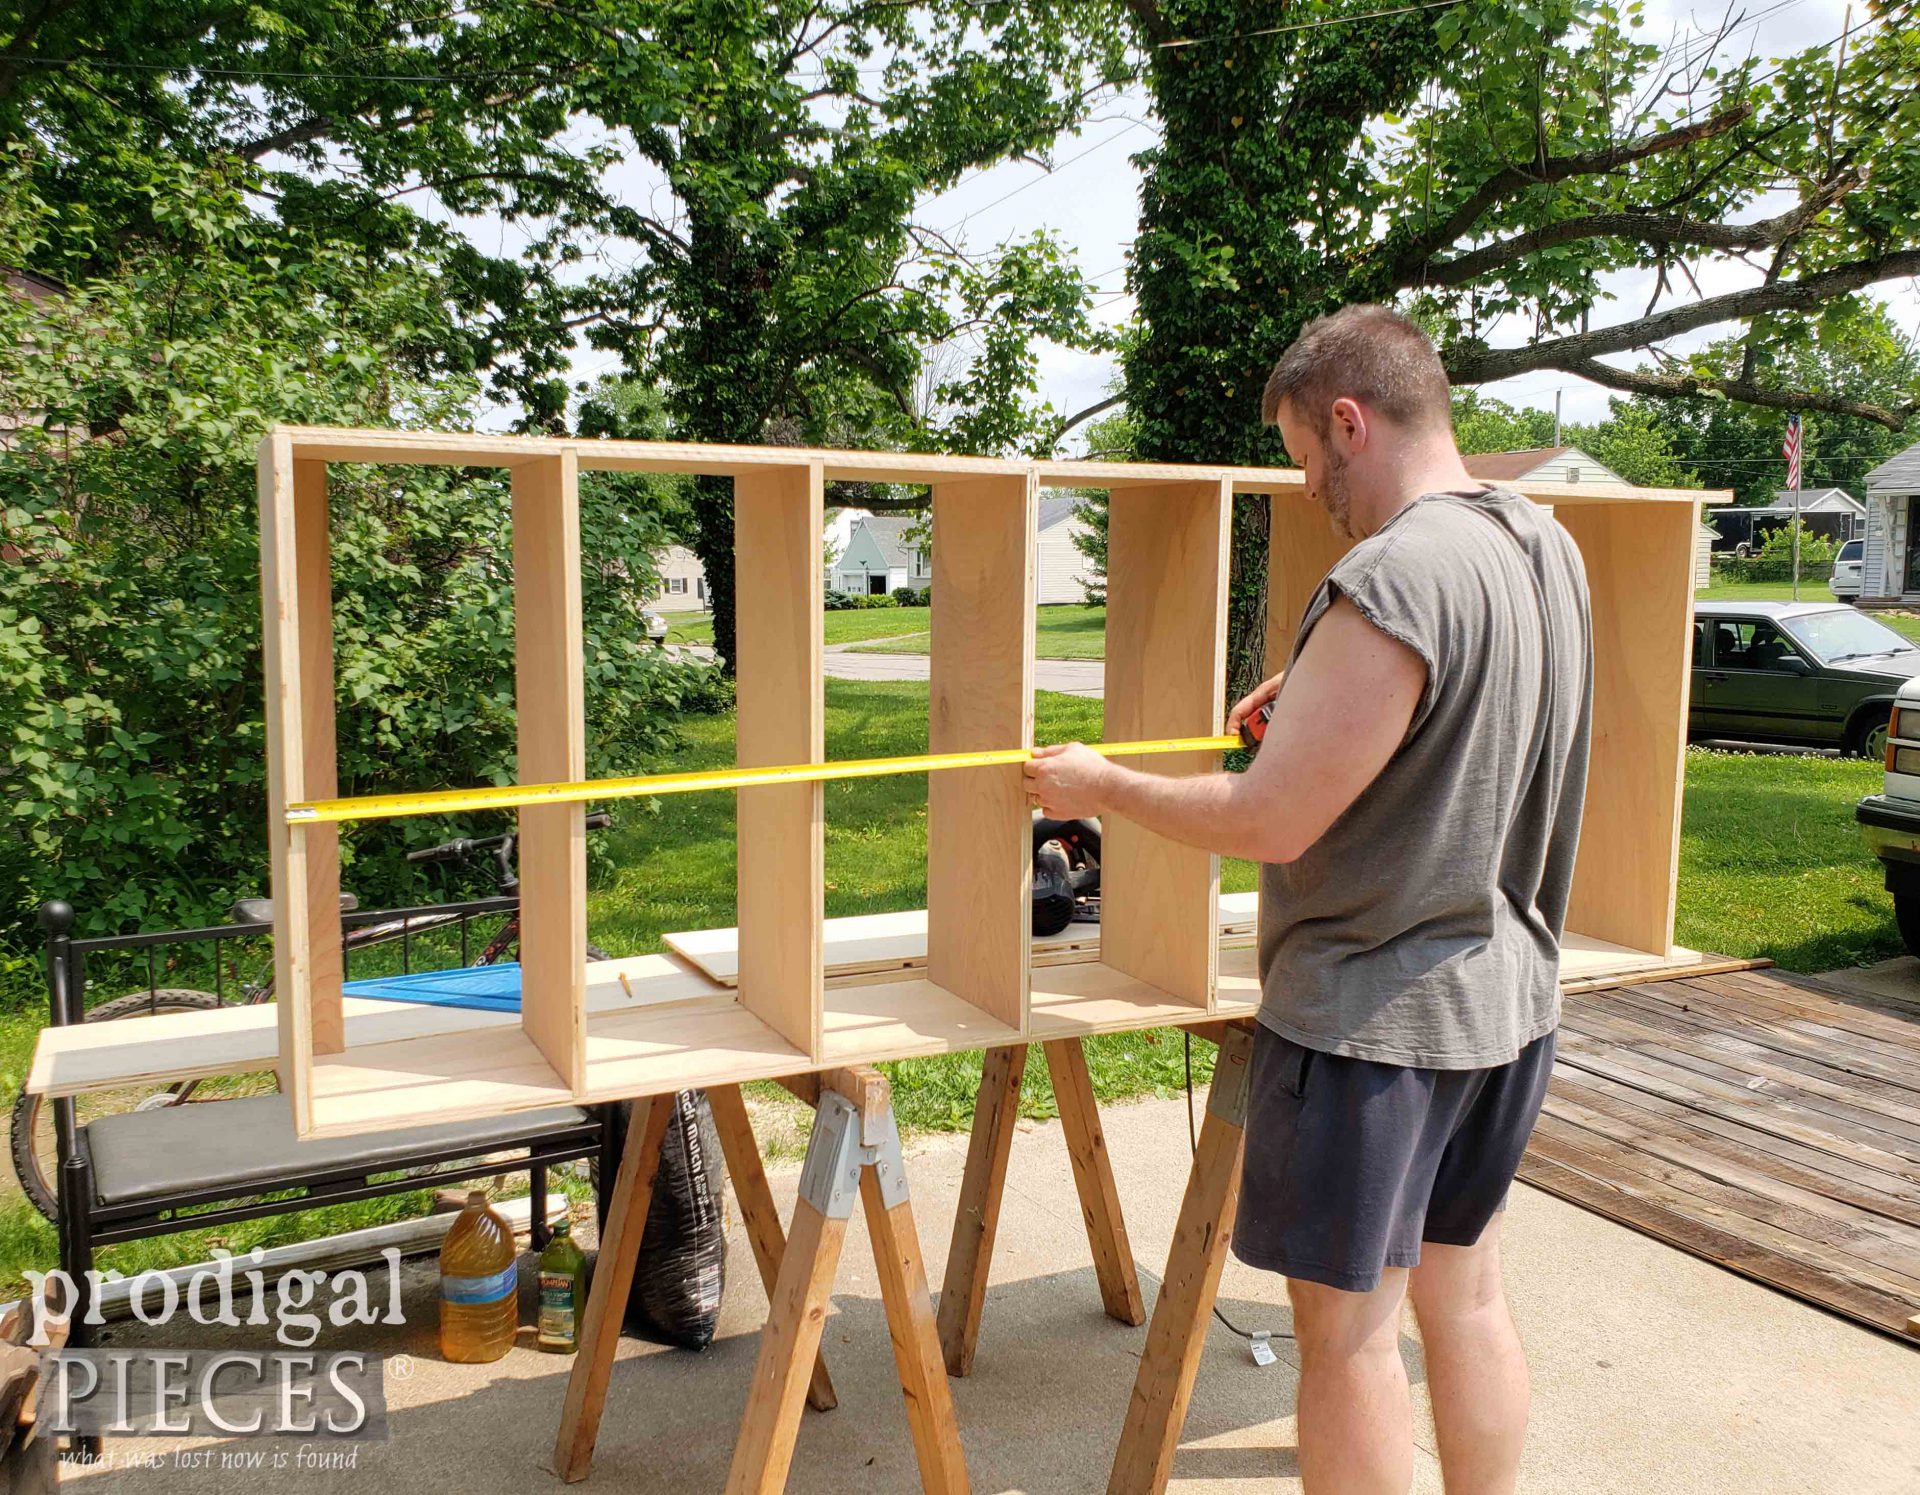
Add to that some custom bookshelves and we’re nearly done. woot!
THE REVEAL
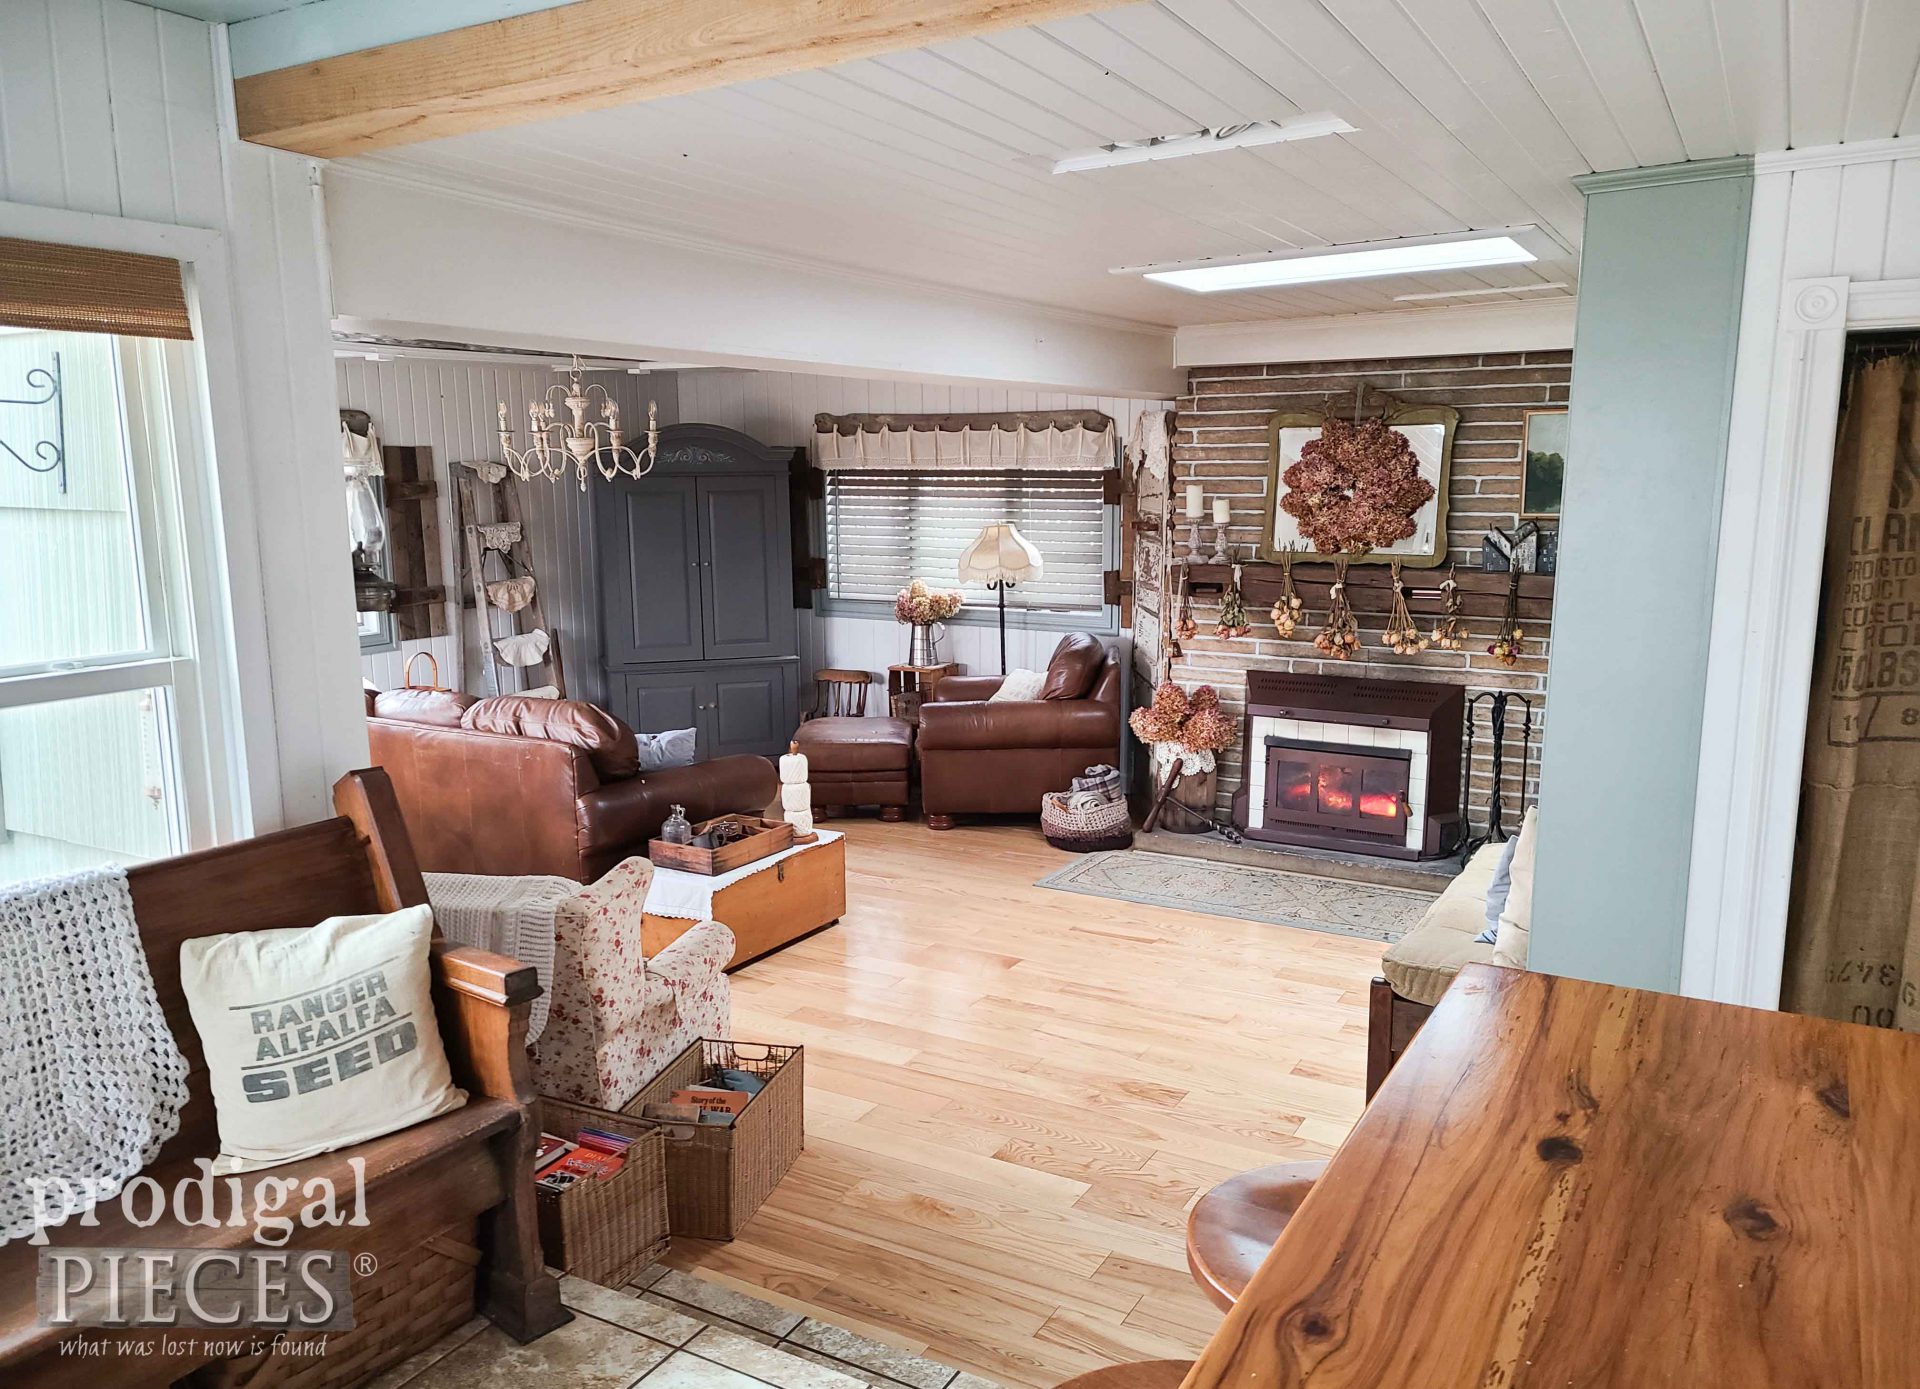
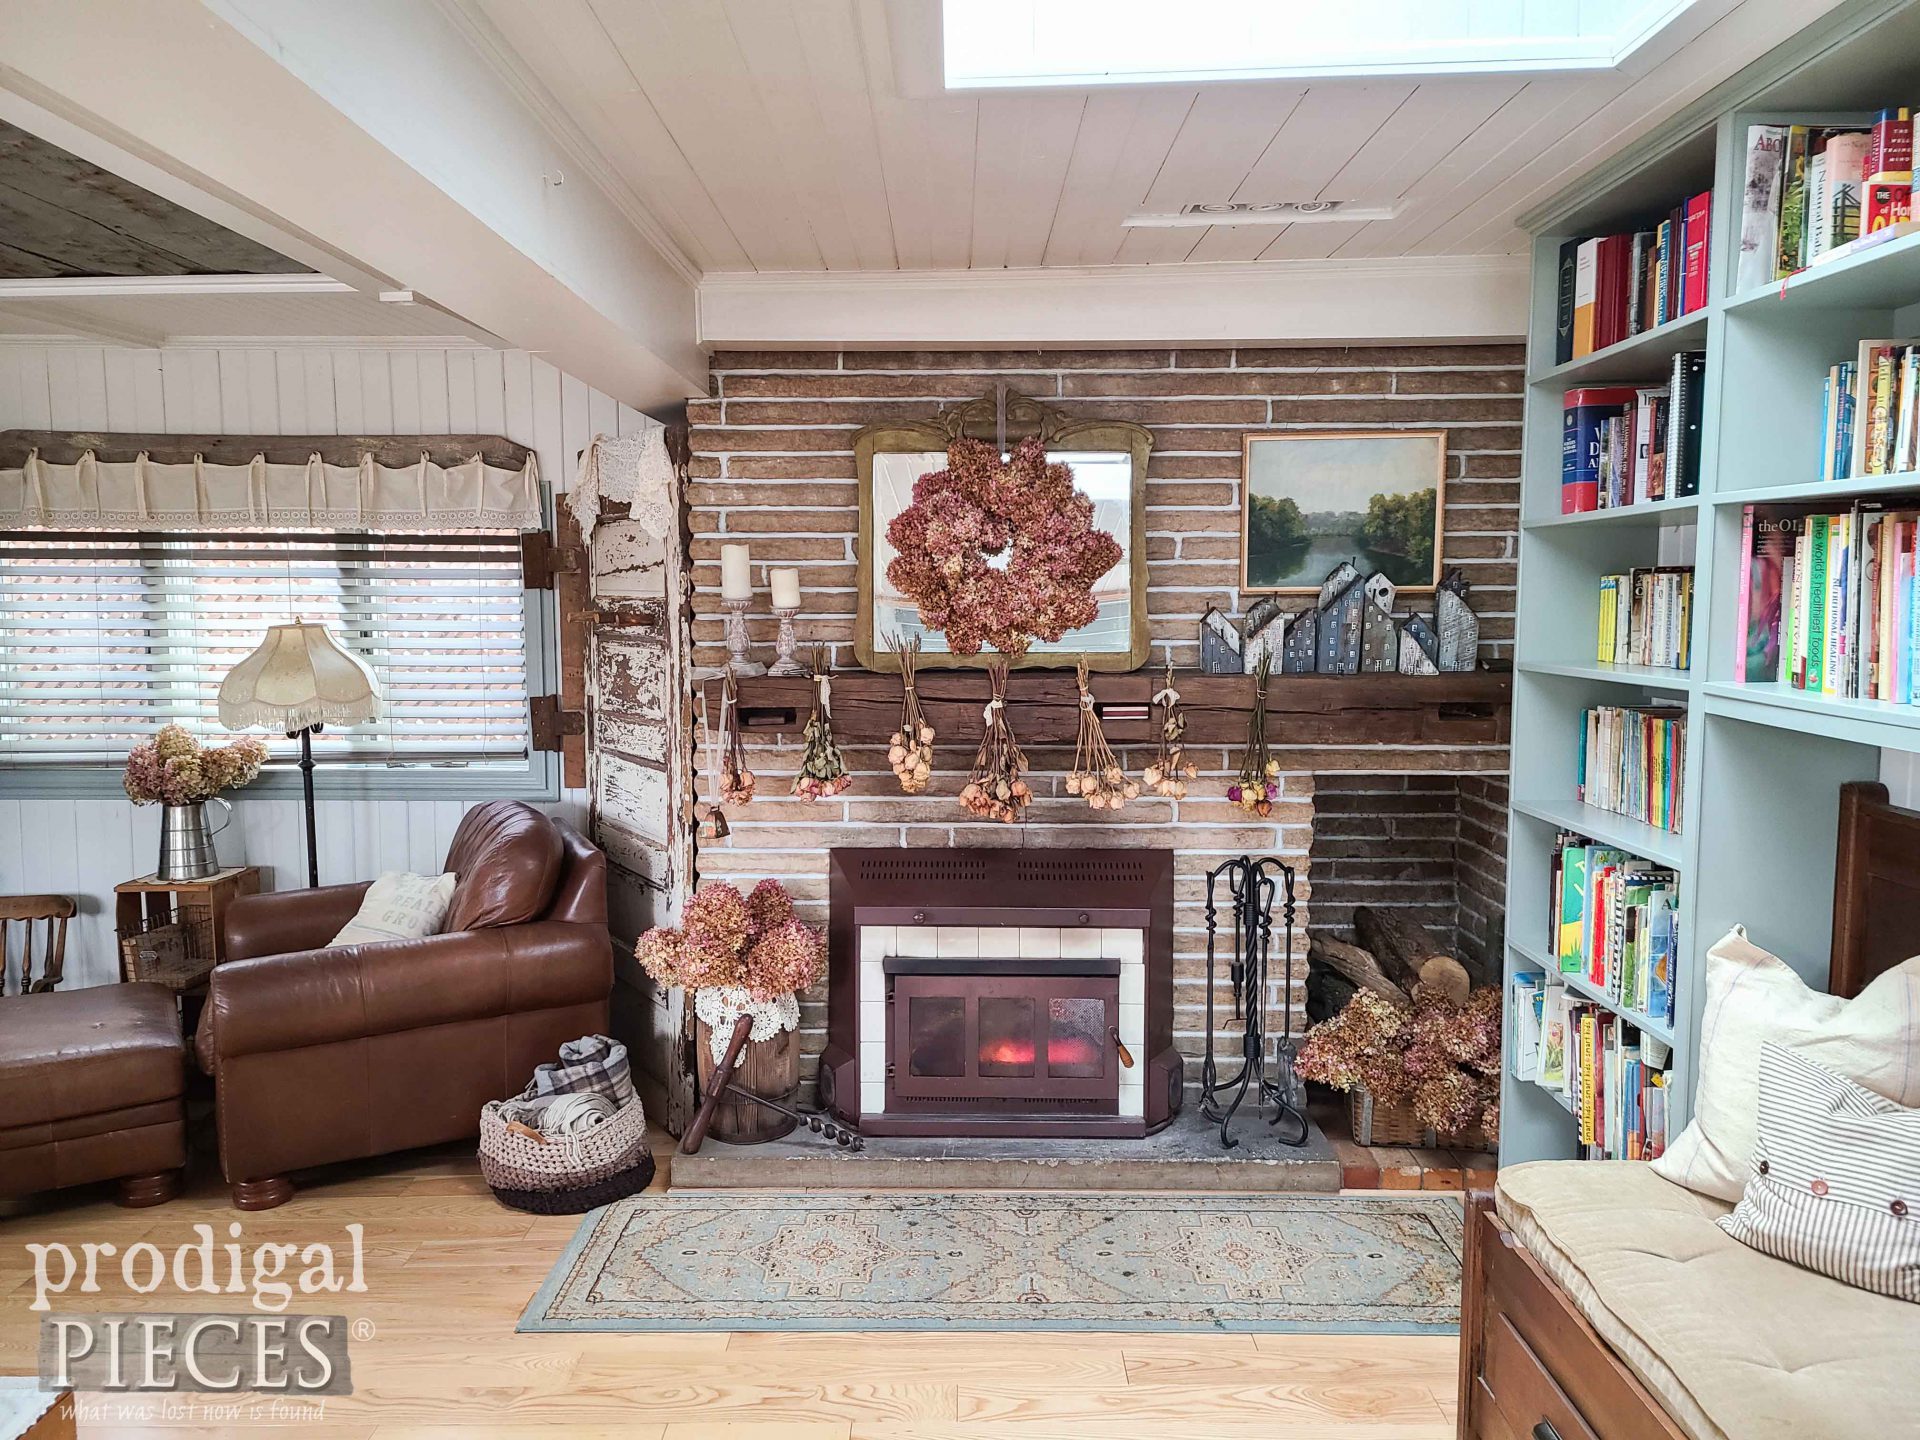
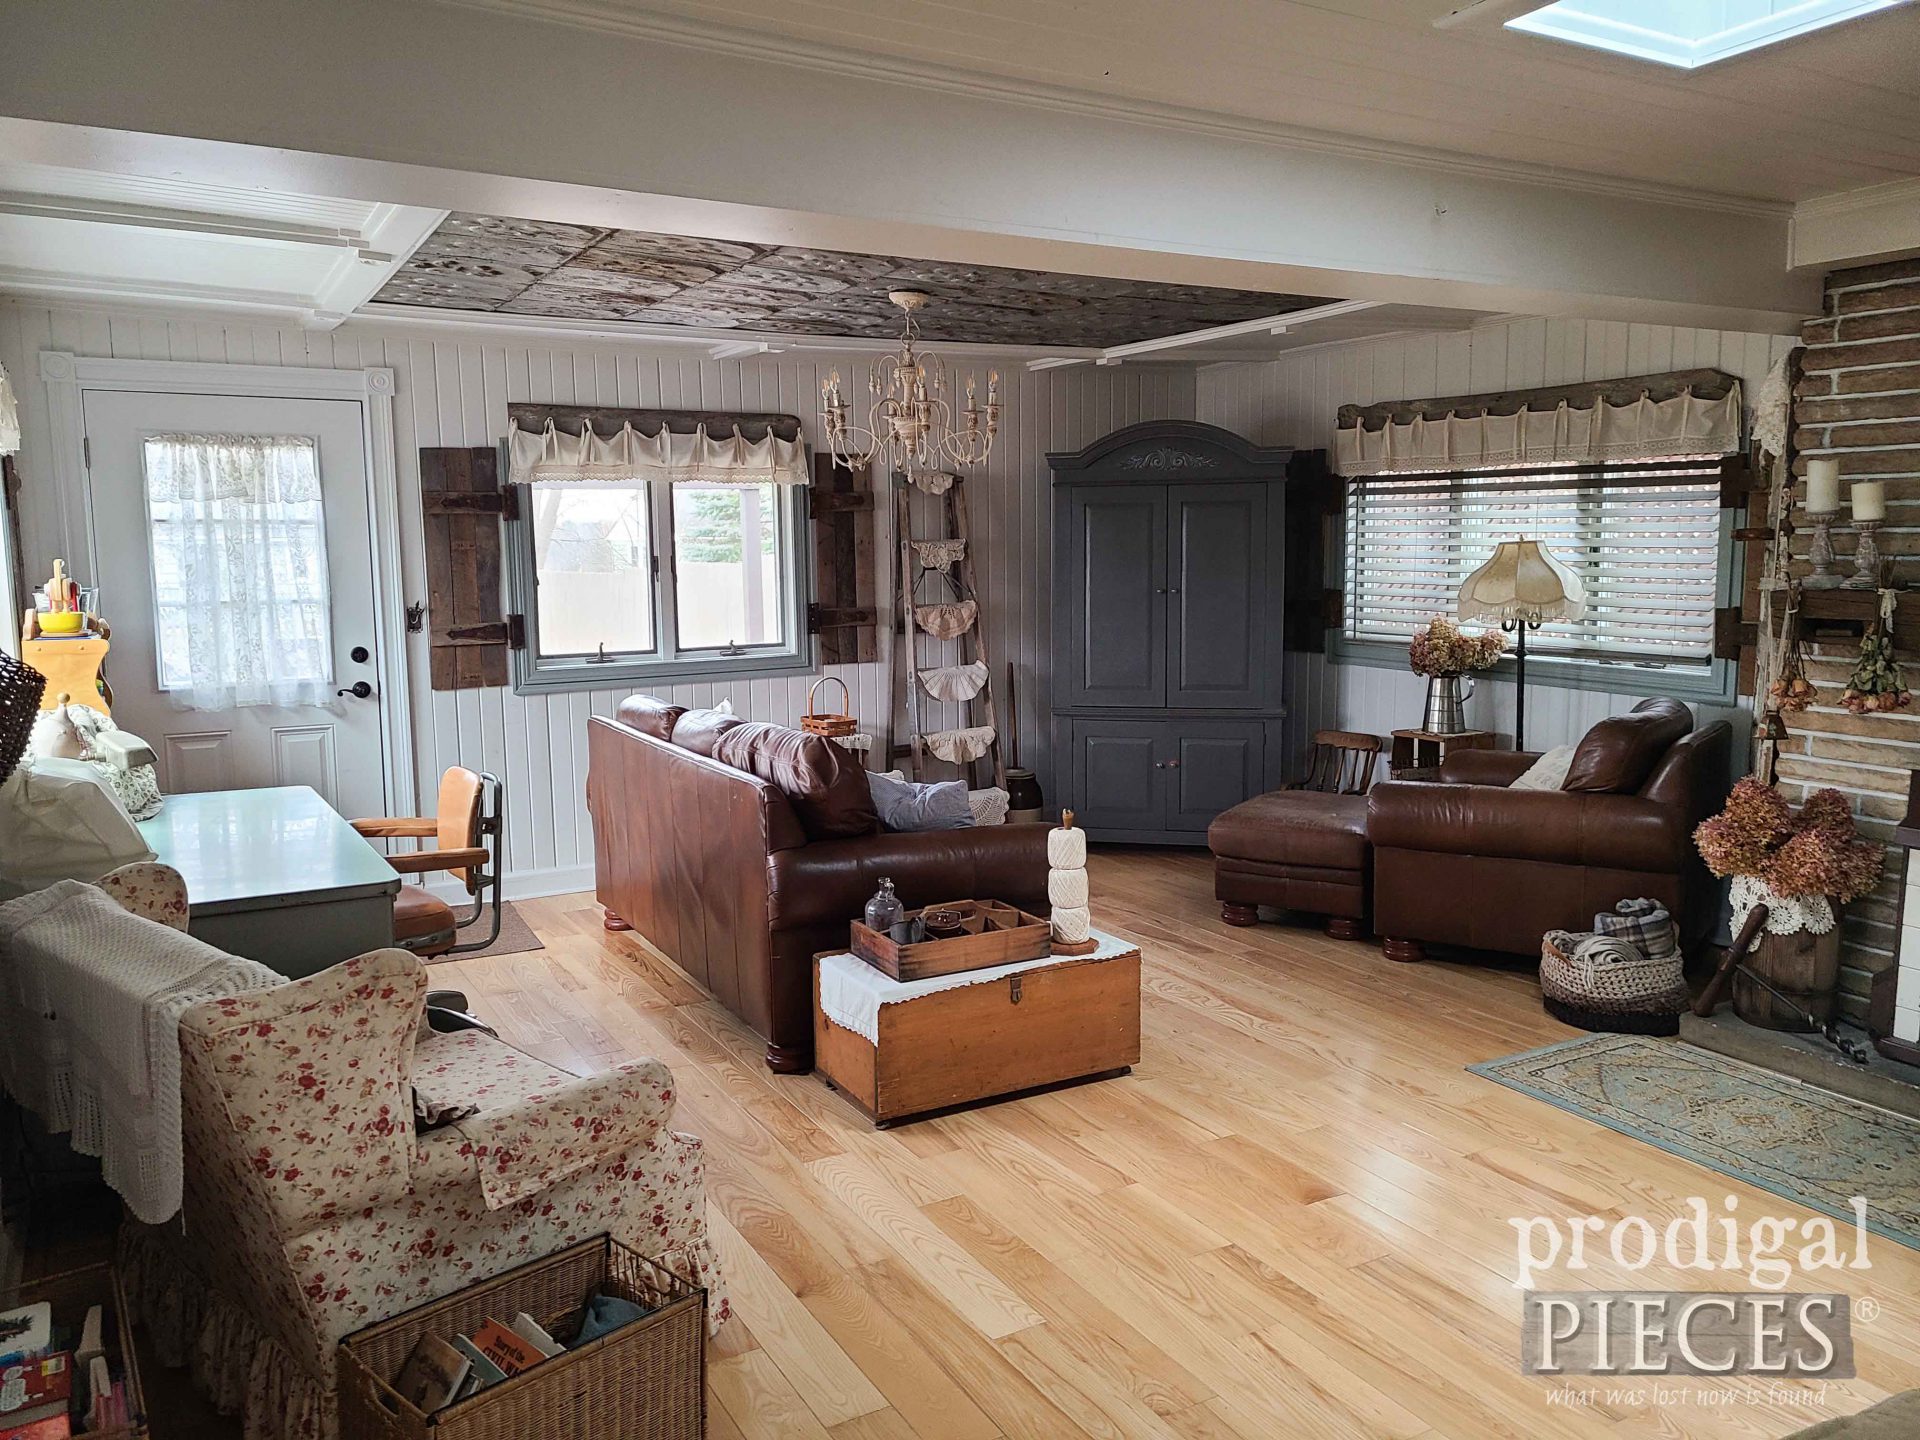
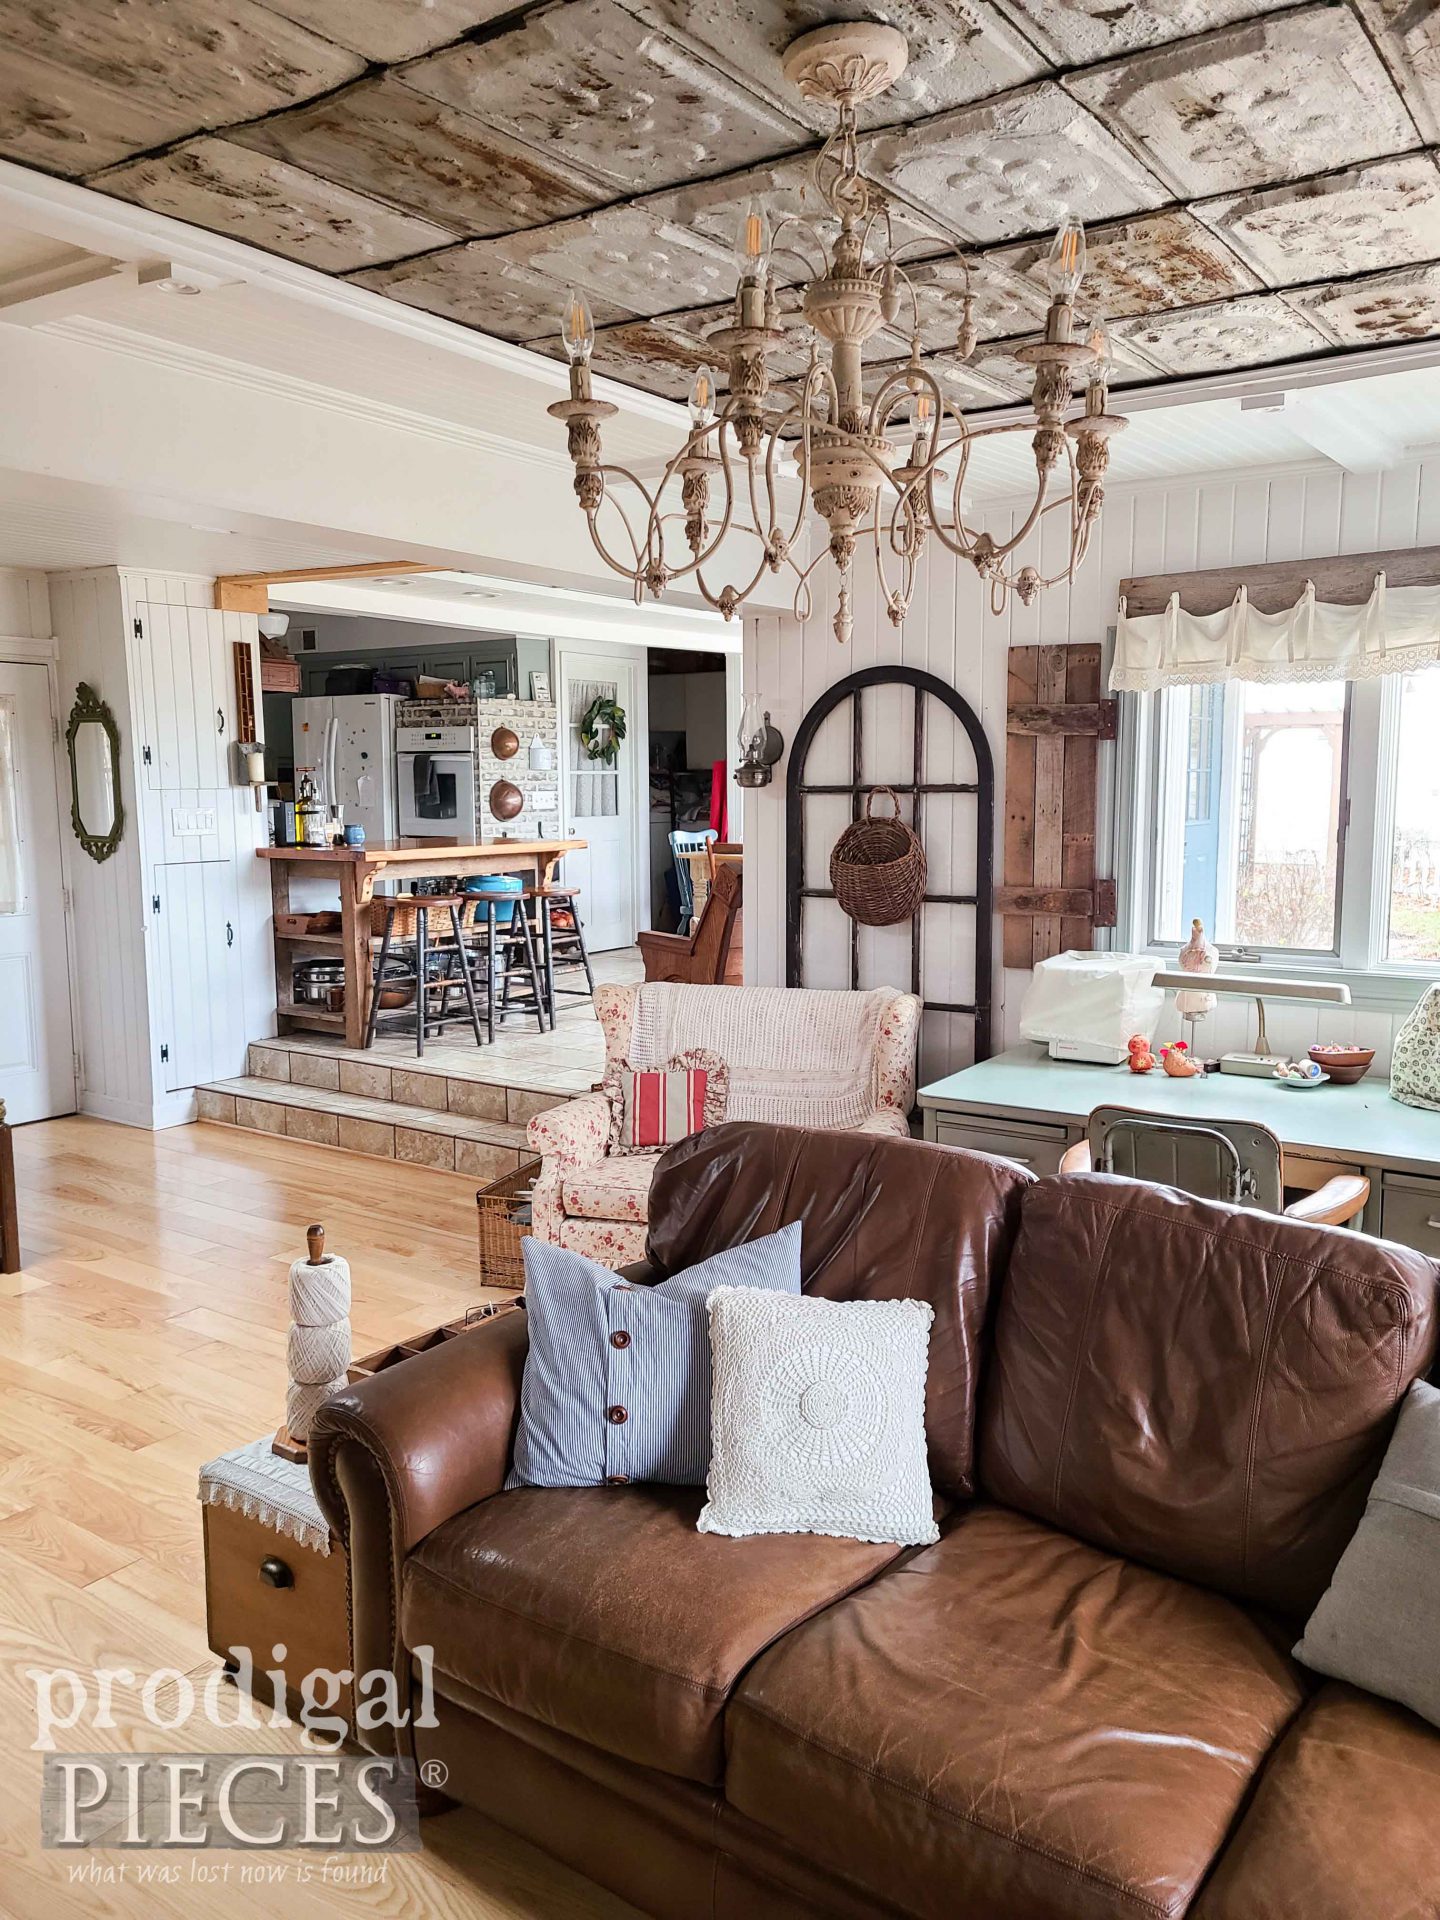
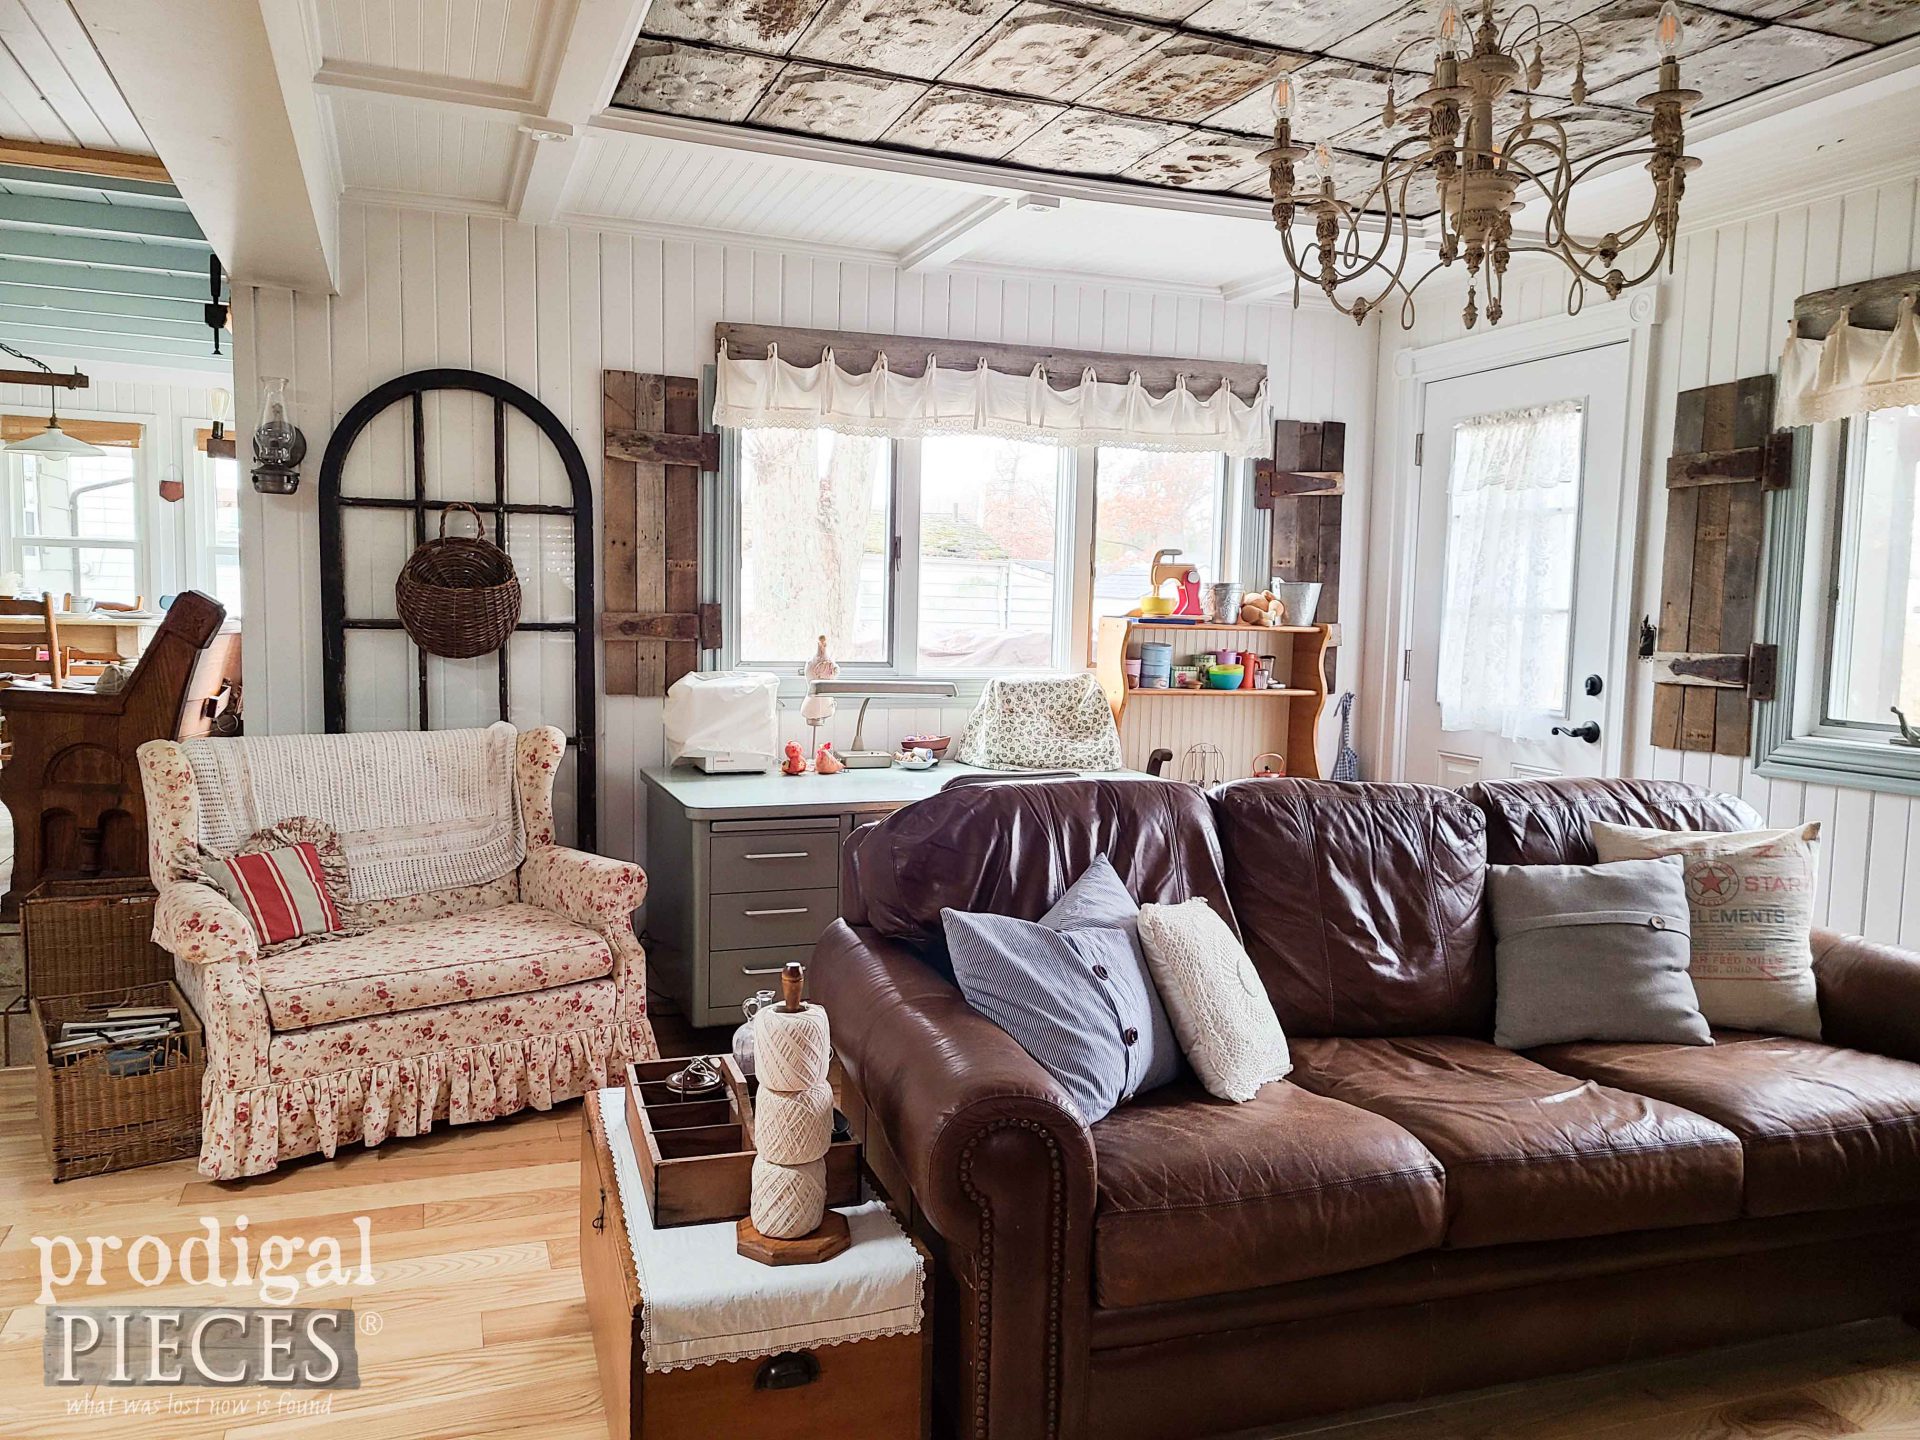
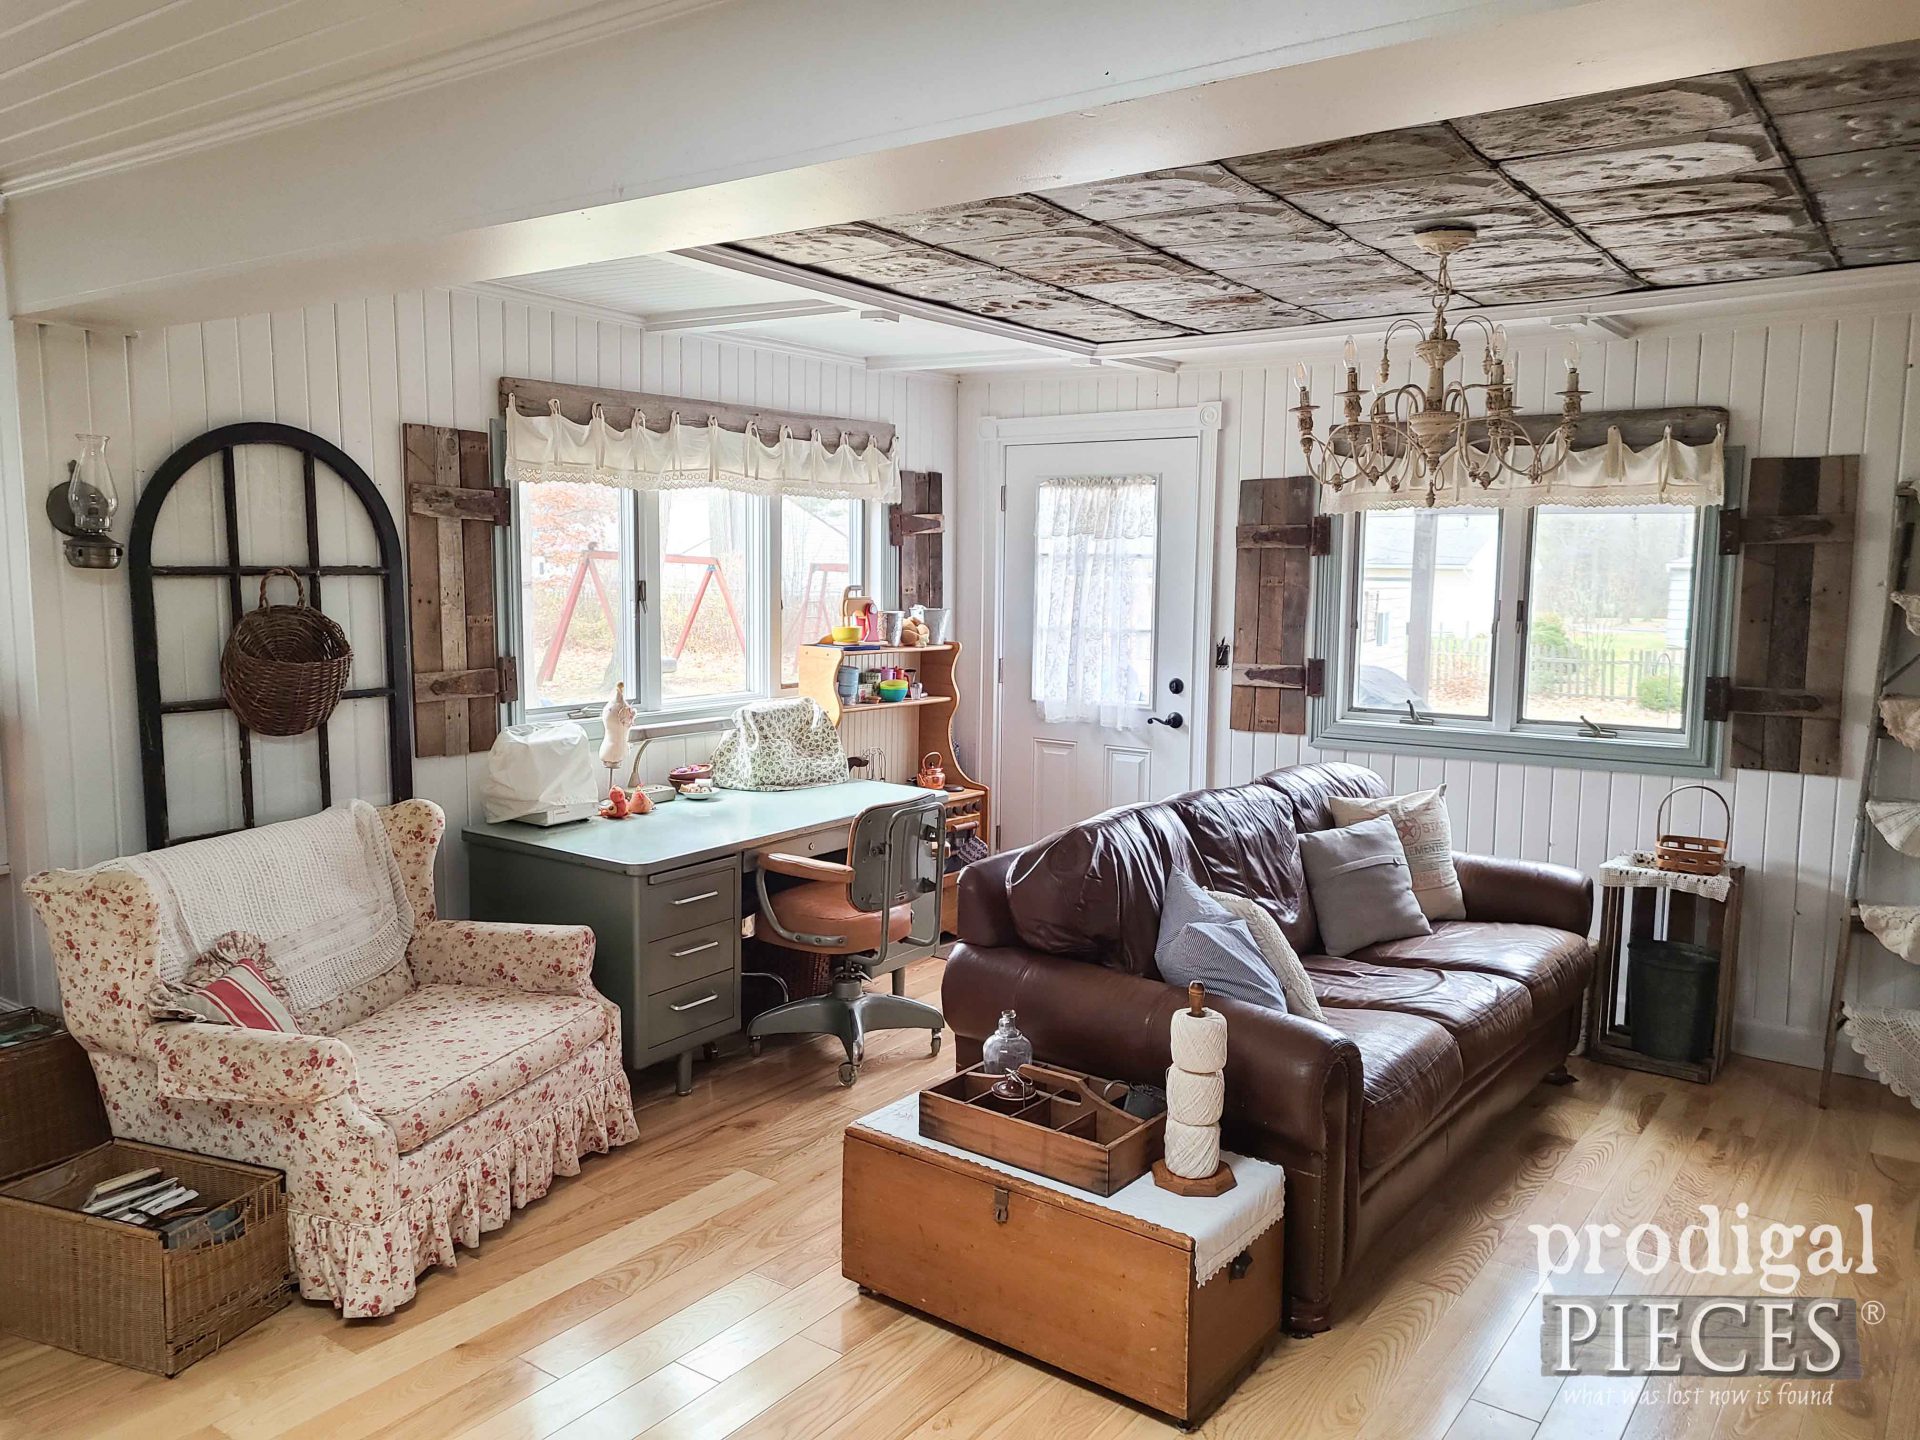
You guys…while I’ve waited so long to show you this space, my joy doesn’t lessen when I get to enjoy every inch of it with those I love. I hope you enjoy it too!
We finally feel we can enjoy this space to the full from top to bottom. It meets our needs and then some.
Not only is the floor much more pleasing to the eye, but so easy to take care of. My mama heart is happy.
Also, an added bonus is the reading nook. You’ll find one or more of us tucked in there with a read daily. The tufted French mattress I made makes it even better. woot! You can see my sewing desk tucked in here too. I love that steamer desk…works perfectly as a cutting table too! I’m sharing a list of all related projects seen in this room below.
Likewise, everything refreshed and new it makes my heart happy, but also we can call this space complete. That is a huge deal for this DIY-ing gal because we work so hard in all we do. Add to that I homeschool our kids, run my business and blog, and JC works full-time at his job, also teaches classes every week at a Christian academy and ships all my product – both furniture and smalls. whew!
My hope is that our work on our DIY floating floor in our remodel inspires you to make your house your home too. Don’t let budget or lack of ability scare you. You can save, learn, and do it yourself too.
REFERENCE
If you’re interested in more of the projects that made this remodel come to fruition, check these out.
- Barn Wood & Bed Skirt Valance
- Pallet Shutters
- Floating Fireplace Mantel
- DIY Coffered Ceiling
- Industrial Leather Chair
- Mudroom Makeover
- Curbside Arched Window
- Restored Antique Pew
- Reclaimed Wood Houses
- Dried Hydrangea Wreath
SHARE
In addition, inspire others and share our DIY floating floor and family room remodel. Your house is telling your story.
Up next, while I adore the idea of this upcycle I found at the thrift store, I have a different idea in mind. Check it out HERE.
To get these DIY tips & tricks in your inbox, be sure to sign up for my newsletter. Until next time!










Larissa!!! I’m so HAPPY for you!!! How beautiful and beautifully done!!!!! ? In addition to the great look, I’ll bet the whole room is warmer with the floor insulation and new ductwork. Can’t wait to see how much lower your heating bill is ?. You should be so proud!!! Can’t wait to see it in all its glory in my favorite magazines!!!!!! I’m sure I will!!
???
Thanks so much, Rebecca. Just glad it’s done and we’ve been able to enjoy it these last 3 years. Time does fly and having a comfy space to enjoy family is key for me.
What a beautiful outcome…Love it, all the hard work really paid off Larissa and family…I know you all enjoy this room and thank you for sharing the project from start to finish..
It’s been a blissful 3 year stent of being able to enjoy it. I’m so happy to finally share all the details with you. Thank you, Cathy.
Oh happy day!! Wow! What a big job, this whole space has been. It looks fantastic!
I detest carpeting as well. We have one area rug in the living room, and that’s it!
Oh, and I had to show my hubby, the “surprise” you left the next owners. He thought it was brilliant too, lol.
Happy dancing all around! Now we have dance parties, play ping-pong, and full enjoy the space. Thanks!! We have fun!
I love your new family room! And whew, what a job to improve the floor, but I’m glad to know about it if I ever need to do something similar. Your joke with the chalk outlines is hilarious! When we remodeled our bathroom, we found the names of the former owners written inside the wall, so we added our names as well, along with “We did the best we could!” I like your joke better, ha 😀
So many have asked how we did it, just took me years to wrap up the small details and find all my notes, pics, and videos. woot! Thanks so much! Yes, I am a crazy mama, but we have fun! Love your idea! haha!
Good morning ?,
What an awesome job! That floor is beautiful and I’m amazed at the amount of work to pull it off! What a great solution ☺️ job well done to you and your family!
Kudos to the family for pulling their weight and seeing it through. You can imagine where all the stuff went for months while we worked. It was nuts!
Larissa, what a fantastic, lovely inspirational job! I’m never ceased to be amazed at your creativity and vision.
What an interesting system. I’d never seen anything like that.
And that ash wood!!! Stunning! You couldn’t have made a better choice. So bright and light.
Awesome job!
I swoon when I get to walk over it in my woolly socks. It is holding up awesome after 3 years under our pets and family wear. I love it! Thank you, Shelley!
Larissa, it’s gorgeous! The whole room! You guys are the most organized and talented people! I don’t know how you do all that you do. God certainly blessed you in so many ways!
Aww…thank you, Susan. I’m so ready to be done remodeling. I have two more updates to share with you and working on a the very last room. Hallelujah!! God is good.
WOW!!! Stunning!!! How satisfying to know that gorgeous room you guys did yourselves. You definitely inspire me. Much to my husbands displeasure!!! Haha. Though he has now jumped on the bandwagon for removal of all our wall to wall carpeting. Three rooms down and two more to go. Be well my friend!!
bwahahaha! Right? I had to nag a bit for things in here, but we are all glad to enjoy it to the full. My husband would love carpet again, but he knows who takes care of it. ahem. I’m so excited for you!!
Wow, that’s quite an impressive floor system you’ve got there and such a clever way to solve your dilemma! I bet the room feels much cozier with the new vent configuration too. I’m with you on the yucky carpet. We yanked all the carpet on the main floor of our home too and I love our hardwood. Your family room looks bigger now too! Love your reading nook idea too.
It is warmer and much more suited to the space. Carpet can take a flying leap! haha! Thanks, Marie.
Larissa I am so happy to see your new floors. They really make a difference in the room. It looks so nice and cozy now. Congrats on a job well done!
Yahoo!! Just so happy to have had it for 3 years and finally share the steps with you.
You are an inspiring and amazing woman. I dare say you can’t sell that house because you put so much work and memories. Into it. You are a blessing to read. Many happy days in you ‘new’ fantastic family room.
I’d love to sell today if I found the right next property. We are anxiously awaiting a country home. That’s where my hear ts, but for now God has a plan here. Thanks so much, Stephanie.
It’s so incredible, Larissa! I am so pleased for you, feeling lots of vicarious satisfaction imagining walking on those floors.. it’s sooo great! I am thankful for all that you do (I found your blog after we bought our first house and began doing some remodeling ourselves – I think I was looking for tool advice and that’s how I stumbled upon your work here), and I am grateful for the time you took to lay it all out here for us! My daughter and I scrolled through and were just so speechless and proud! We think it’s just beautiful)) and she thinks your children look like they would be wonderful playmates)) I am just so impressed with “calling the space complete”!!! That is the goal, isn’t it?)) Is there any space left in your house that needs this completion stamp? Keep up the good work! And thank you and congratulations!
You are so very sweet, Kaleria. That story of you finding me warms my heart. We so love sharing to inspire others to make their own home story. My kids are a blast! (says a partial mama) 😀 Thanks for the love!
Larissa! It is simply stunning that you were able to accomplish this mammoth project!
Thanks! We make a great team. I’m so blessed!
WOW, Larissa! I learned so much with your experience with the floor risers. I will have to tell my sister about this. Her lake house is on an island full of stones – not a single basement can be built there, so everything rests on concrete. I can imagine your room will be soooooo much warmer now, too. Well done. and lol to the humor of your family.
PS: next big flooring job make sure your wonderful hubby wears knee pads. 🙂
Thanks! I can imagine they have issues too. As for JC…ever hear the phrase as stubborn as a mule? 😉
Larissa, I have watched so many of your ideas come to life and often wondered how much more you could pack in your head. I am so proud for you how this turned out as I know how much you wanted it done. You gave me so much inspiration that 2 weeks ago I started tearing up carpet in my double wide to put down hardwood floor myself. Just because I am turning 61 doesn’t mean I can’t do it right? Lol my girls got me a Ryobi saw and glu gun for Christmas so have 6 of their products. Starting on shutters for outside also. Thanks for all the help and inspiration over the years.
I wanna be you when I grow up, Bonnie! THAT’S AWESOME!! Yes, I wanted this done for many reasons, but so glad we’ve enjoyed it these last three years. Our roller coaster life keeps me so busy I had to take a week off to put it all together to show all of you. Thanks so much for the love.
Wow! My hubby and I have done many a home project Larissa, but this was ingenious! Love when DIYers do such professional work as you all accomplished in this room. ❤️ You had to be researcher/developer/designer just to find the product to use for that tough problem of uneven cement floors and now to have beautiful insulated hardwood floors in that space is taking the impossible and making it possible! Kudos all around for an amazing outcome!
You’ve made my heart happy, Mary. Such kind words for our project of many years in the making. Thank you!
That floor is SO COOL! Well done!
woot, woot! Thank you so much!
Looks amazing!! love your book nook and the floors and ceiling! Wonderful job! Enjoy!
How fun to hear, Alicia. Thank you! We are enjoying it to the full.
Oh my word, what a job! That was a lot of steps and a lot of precise measurement and cutting and…venting to boot. WOW! It is just beautiful! The room looks fantastic and that floor is gorgeous! The step up to the kitchen looks much better too, but I do feel for JC, ’cause that was a lot of work to do then rip out. 🙁
What a terrific team your family is. 🙂 Stellar job!
It was quite a job for sure. If he would have listened to me in the first place, he wouldn’t have had to tear it out. haha! Thanks so much for the praise on our work. 😀