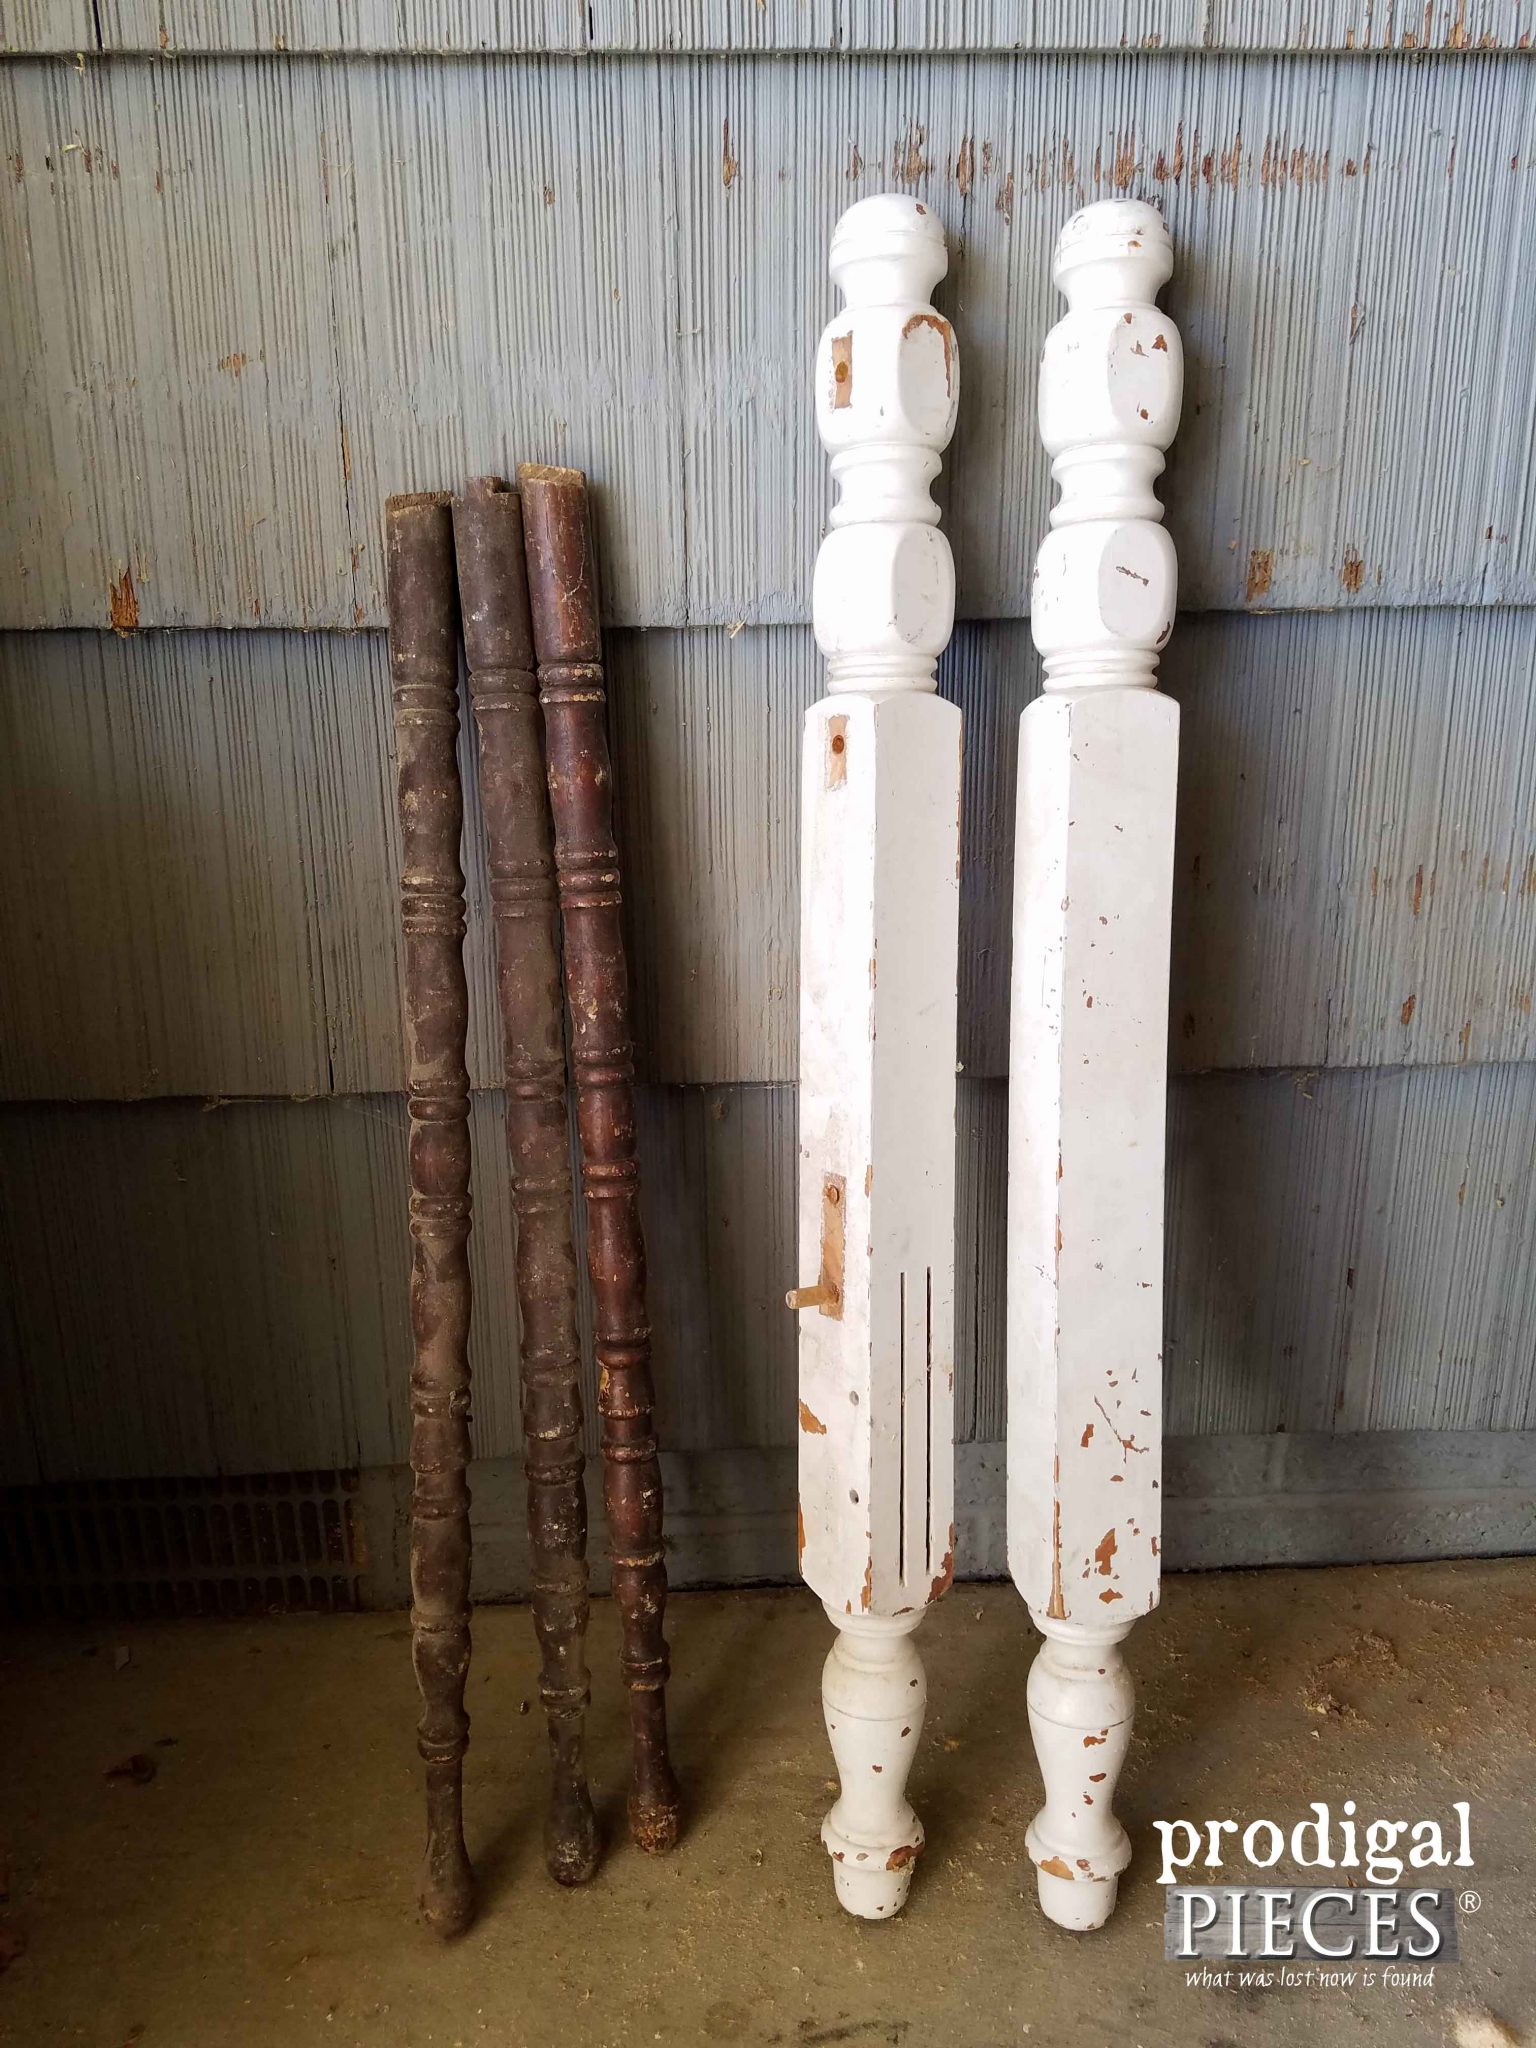
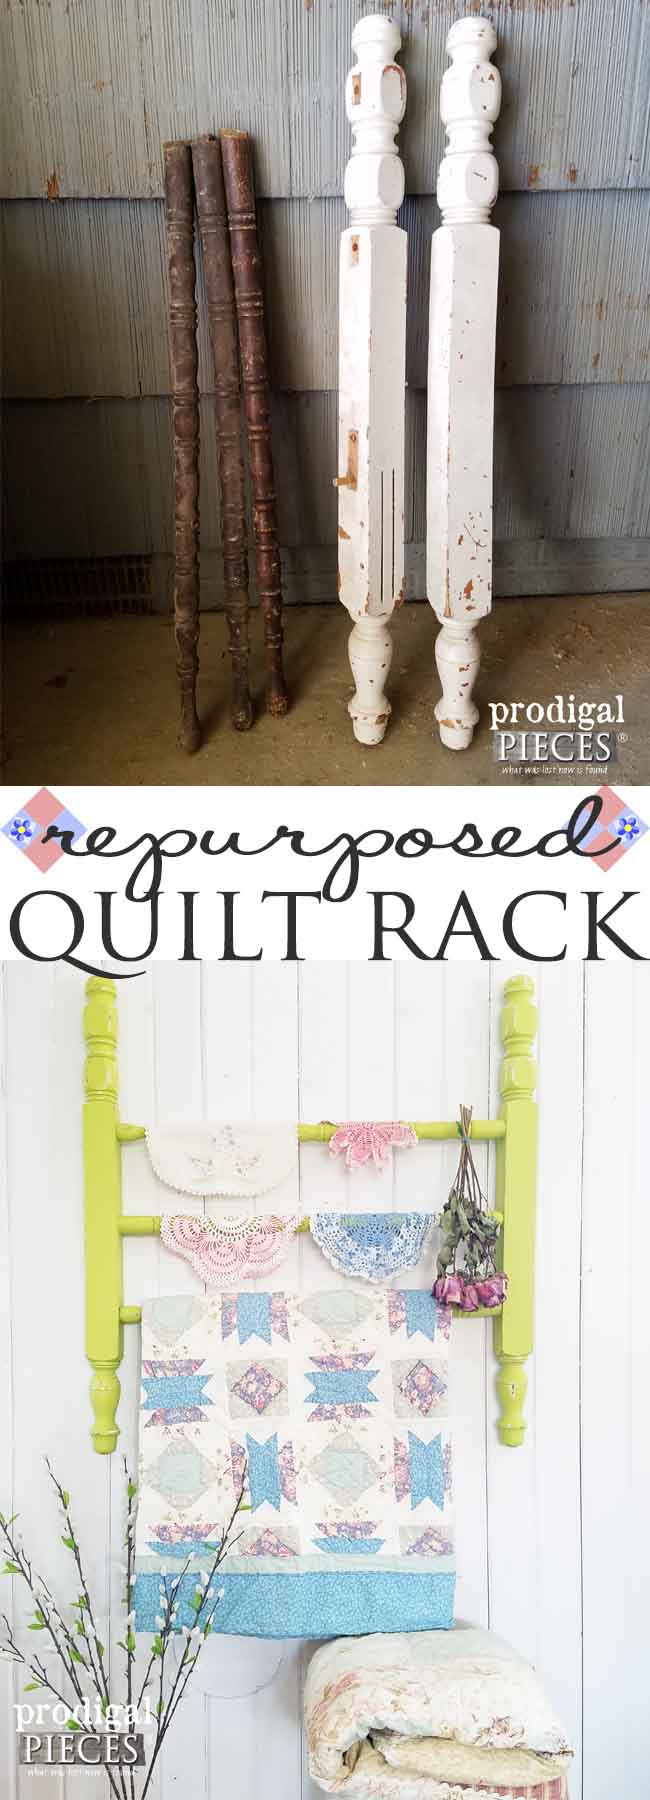
Do you ever get inspiration from junk? I mean, like it just kinda begs to be made into something and the vision is real the minute you see it. JC, my husband, does not. Bless his heart…hahaha… He tries, but is one that needs some direction to see things in a different light. That is what I’m here for, right?! Take this set of bed posts and misfit table legs. Do you see anything there? Let me show you how I turn it into a DIY quilt rack.
First, here’s some background on these pieces. The set of spindle legs came from one of the greatest hauls I ever had. I mention it back in this post from 2014 where I scored feed sacks for a dollar and upholstered a chair. See HERE. Got myself a whole barrel full of table legs for $10! SCORE! I have used them in various posts to create oodles of fun. Ya can’t beat that.
Next, those bed posts were found in another awesome haul from the curb (aka. #trashure). Along with a settee and some other goodies, these were in the mix and you can see what I did with the rest HERE.
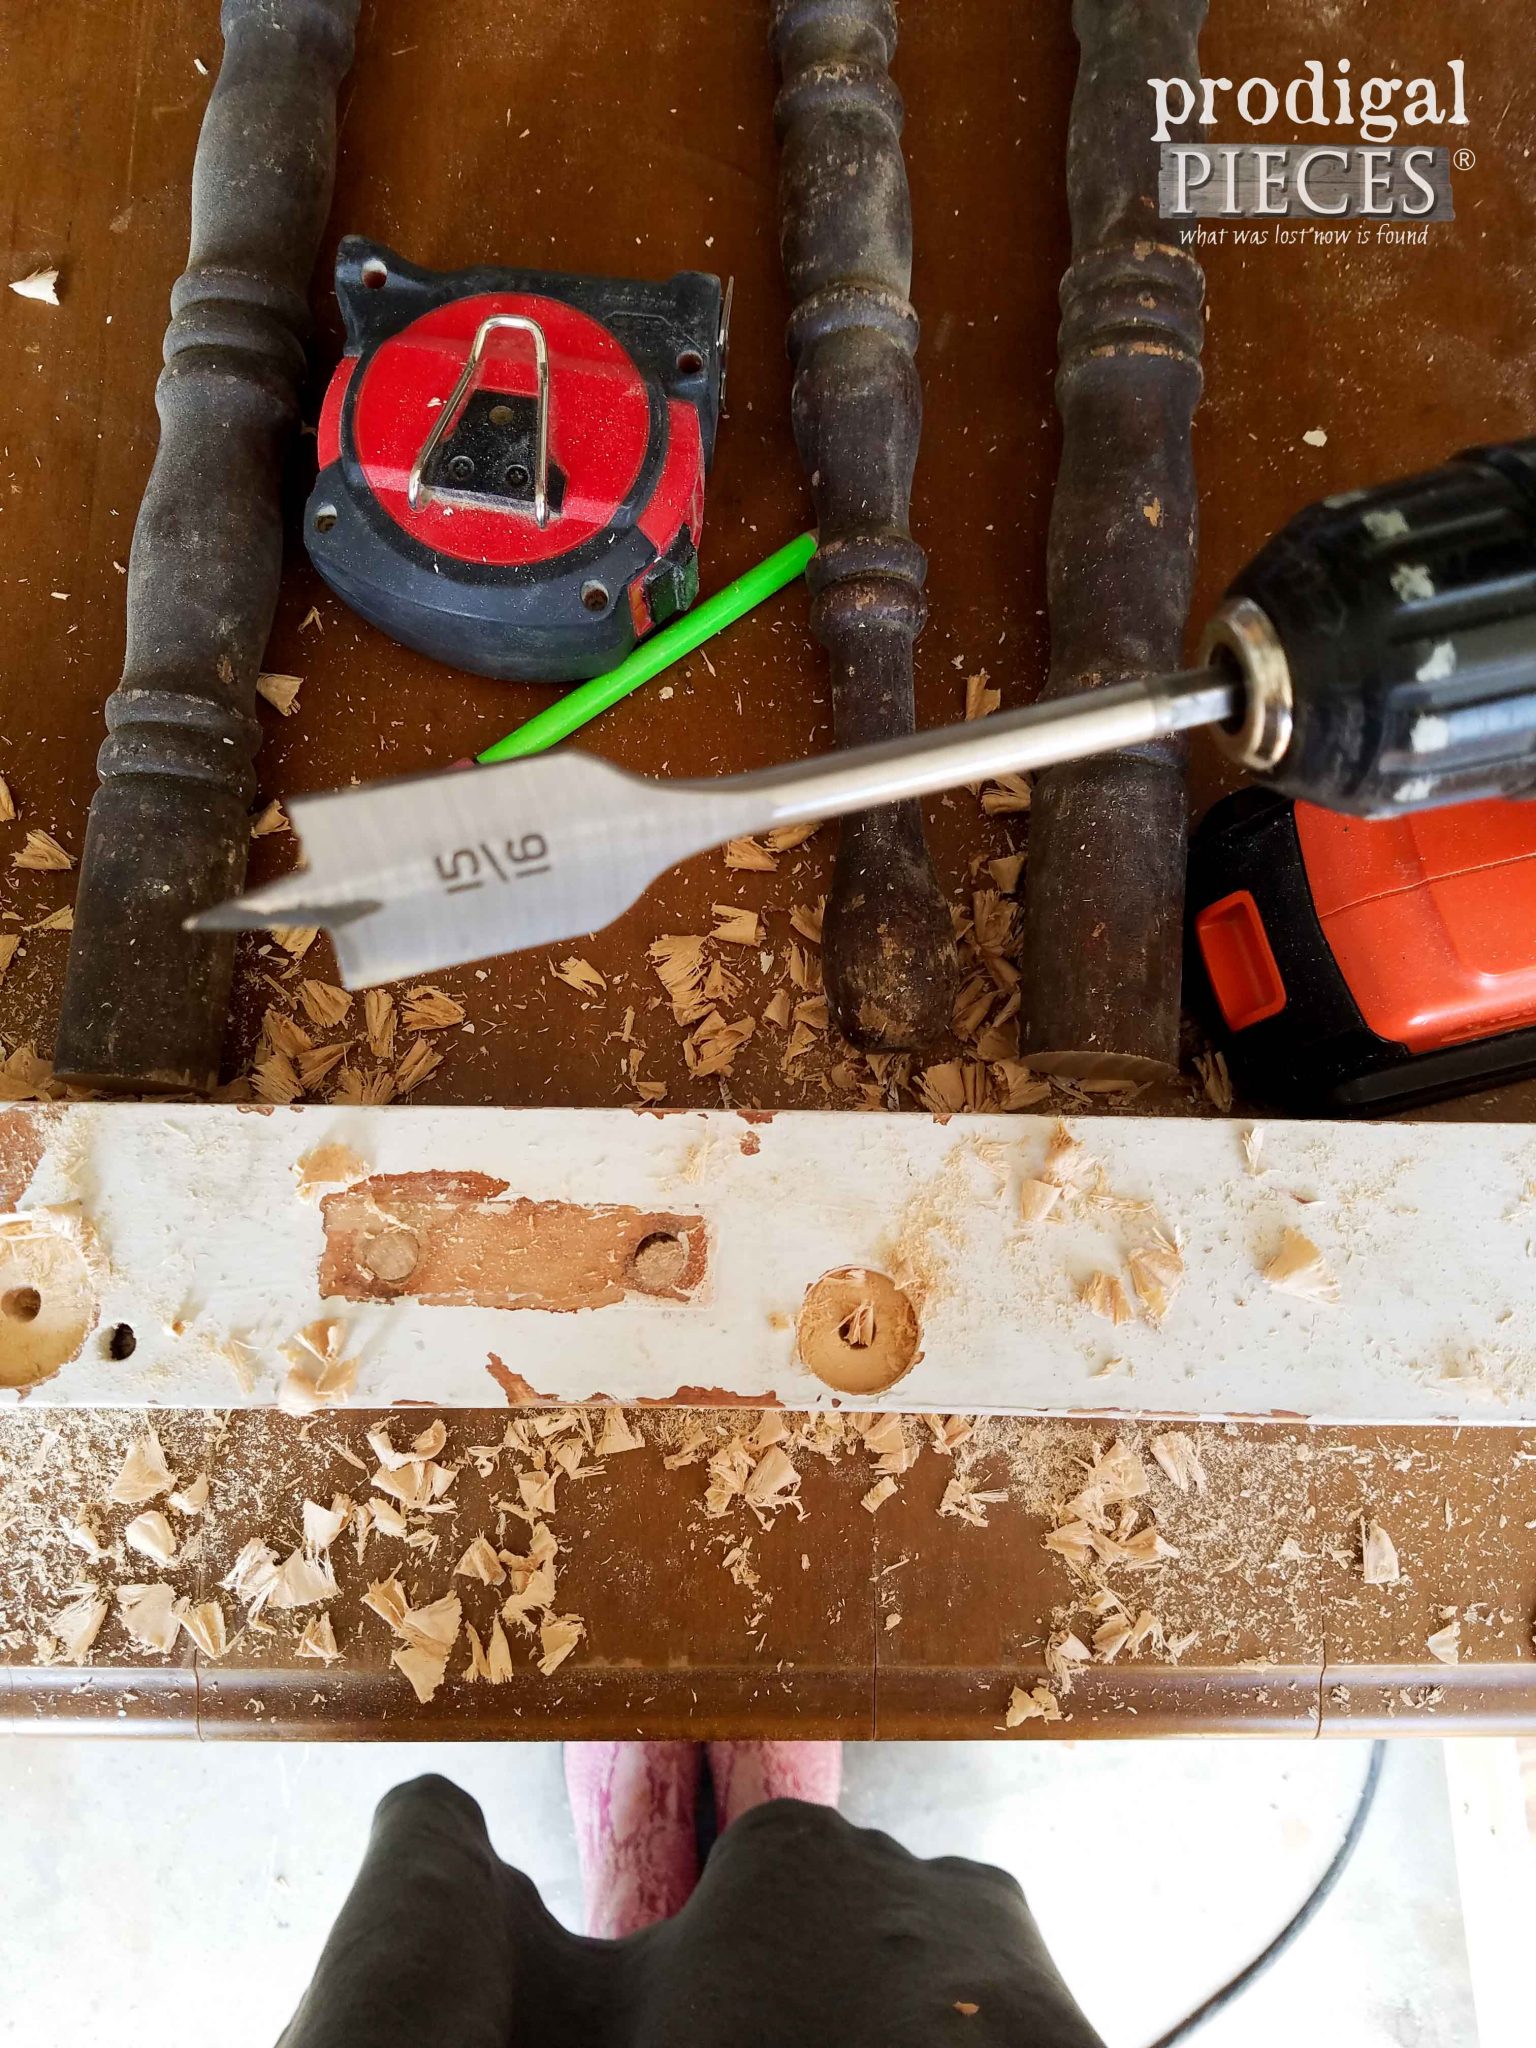
Both of these sets need each other to become something new and that’s the fun of it all. First, I use my drill and spade bit to create a few pockets to connect it all together.
Once all is ready, I simple counter sink a few screws into the outside bed post sides. Then, I add wood glue to the table legs and attach. Easy-peasy, right?
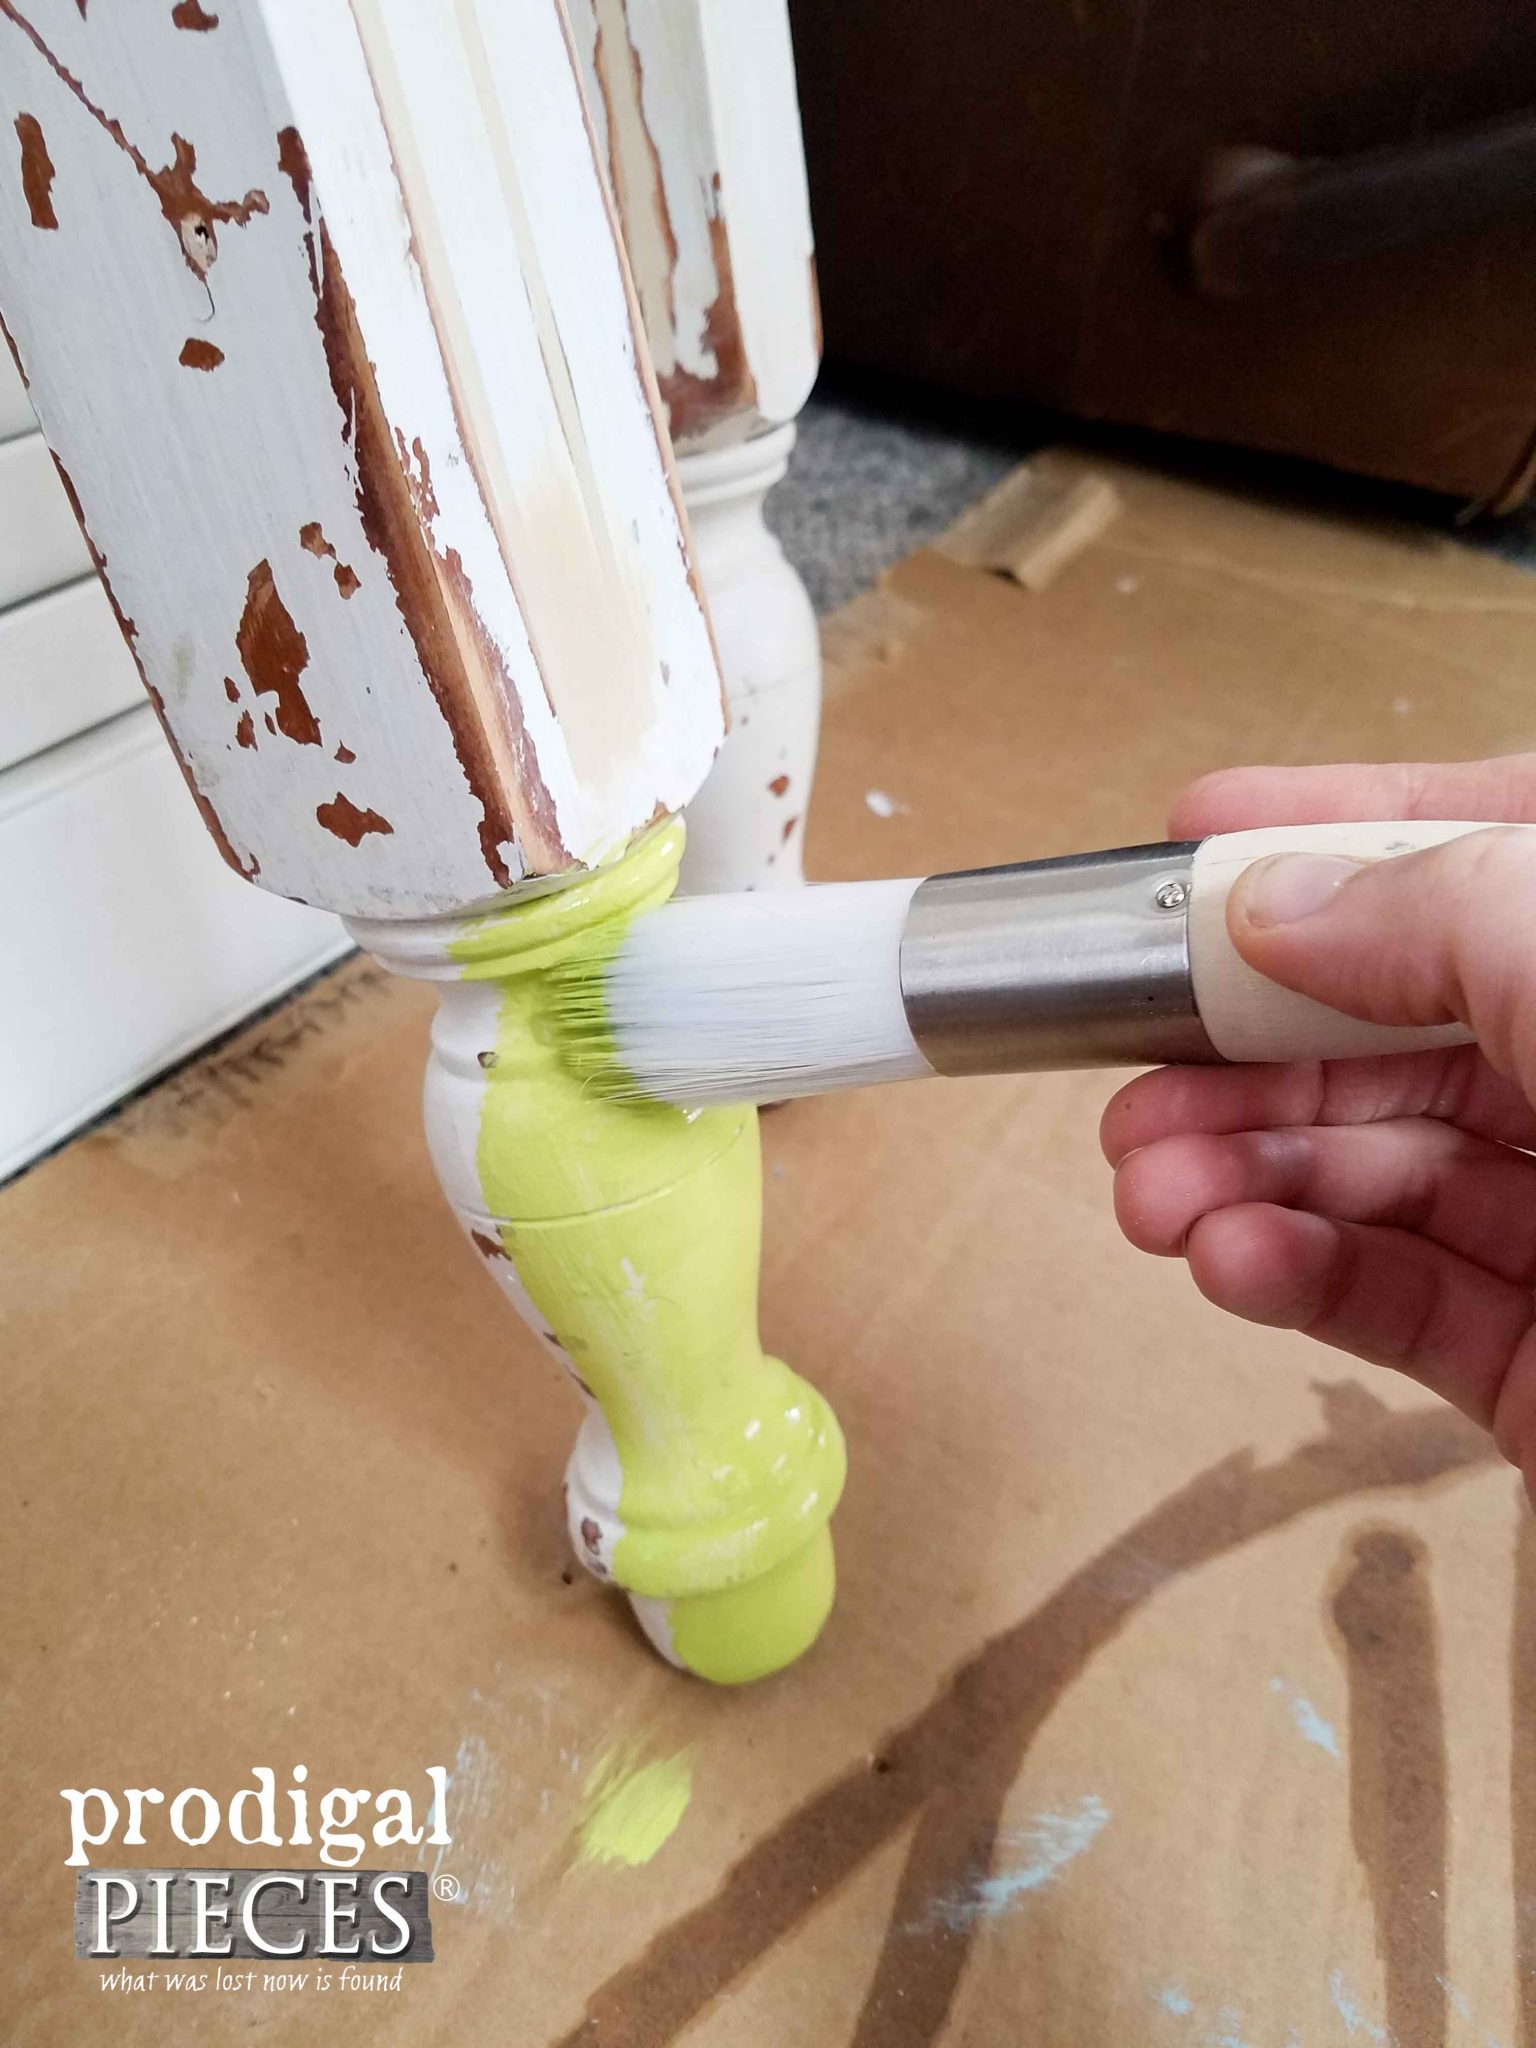
Now, for a bit of fun, I wanted to create a fresh, spring-like feel so I use a fun bright color.
THE REVEAL
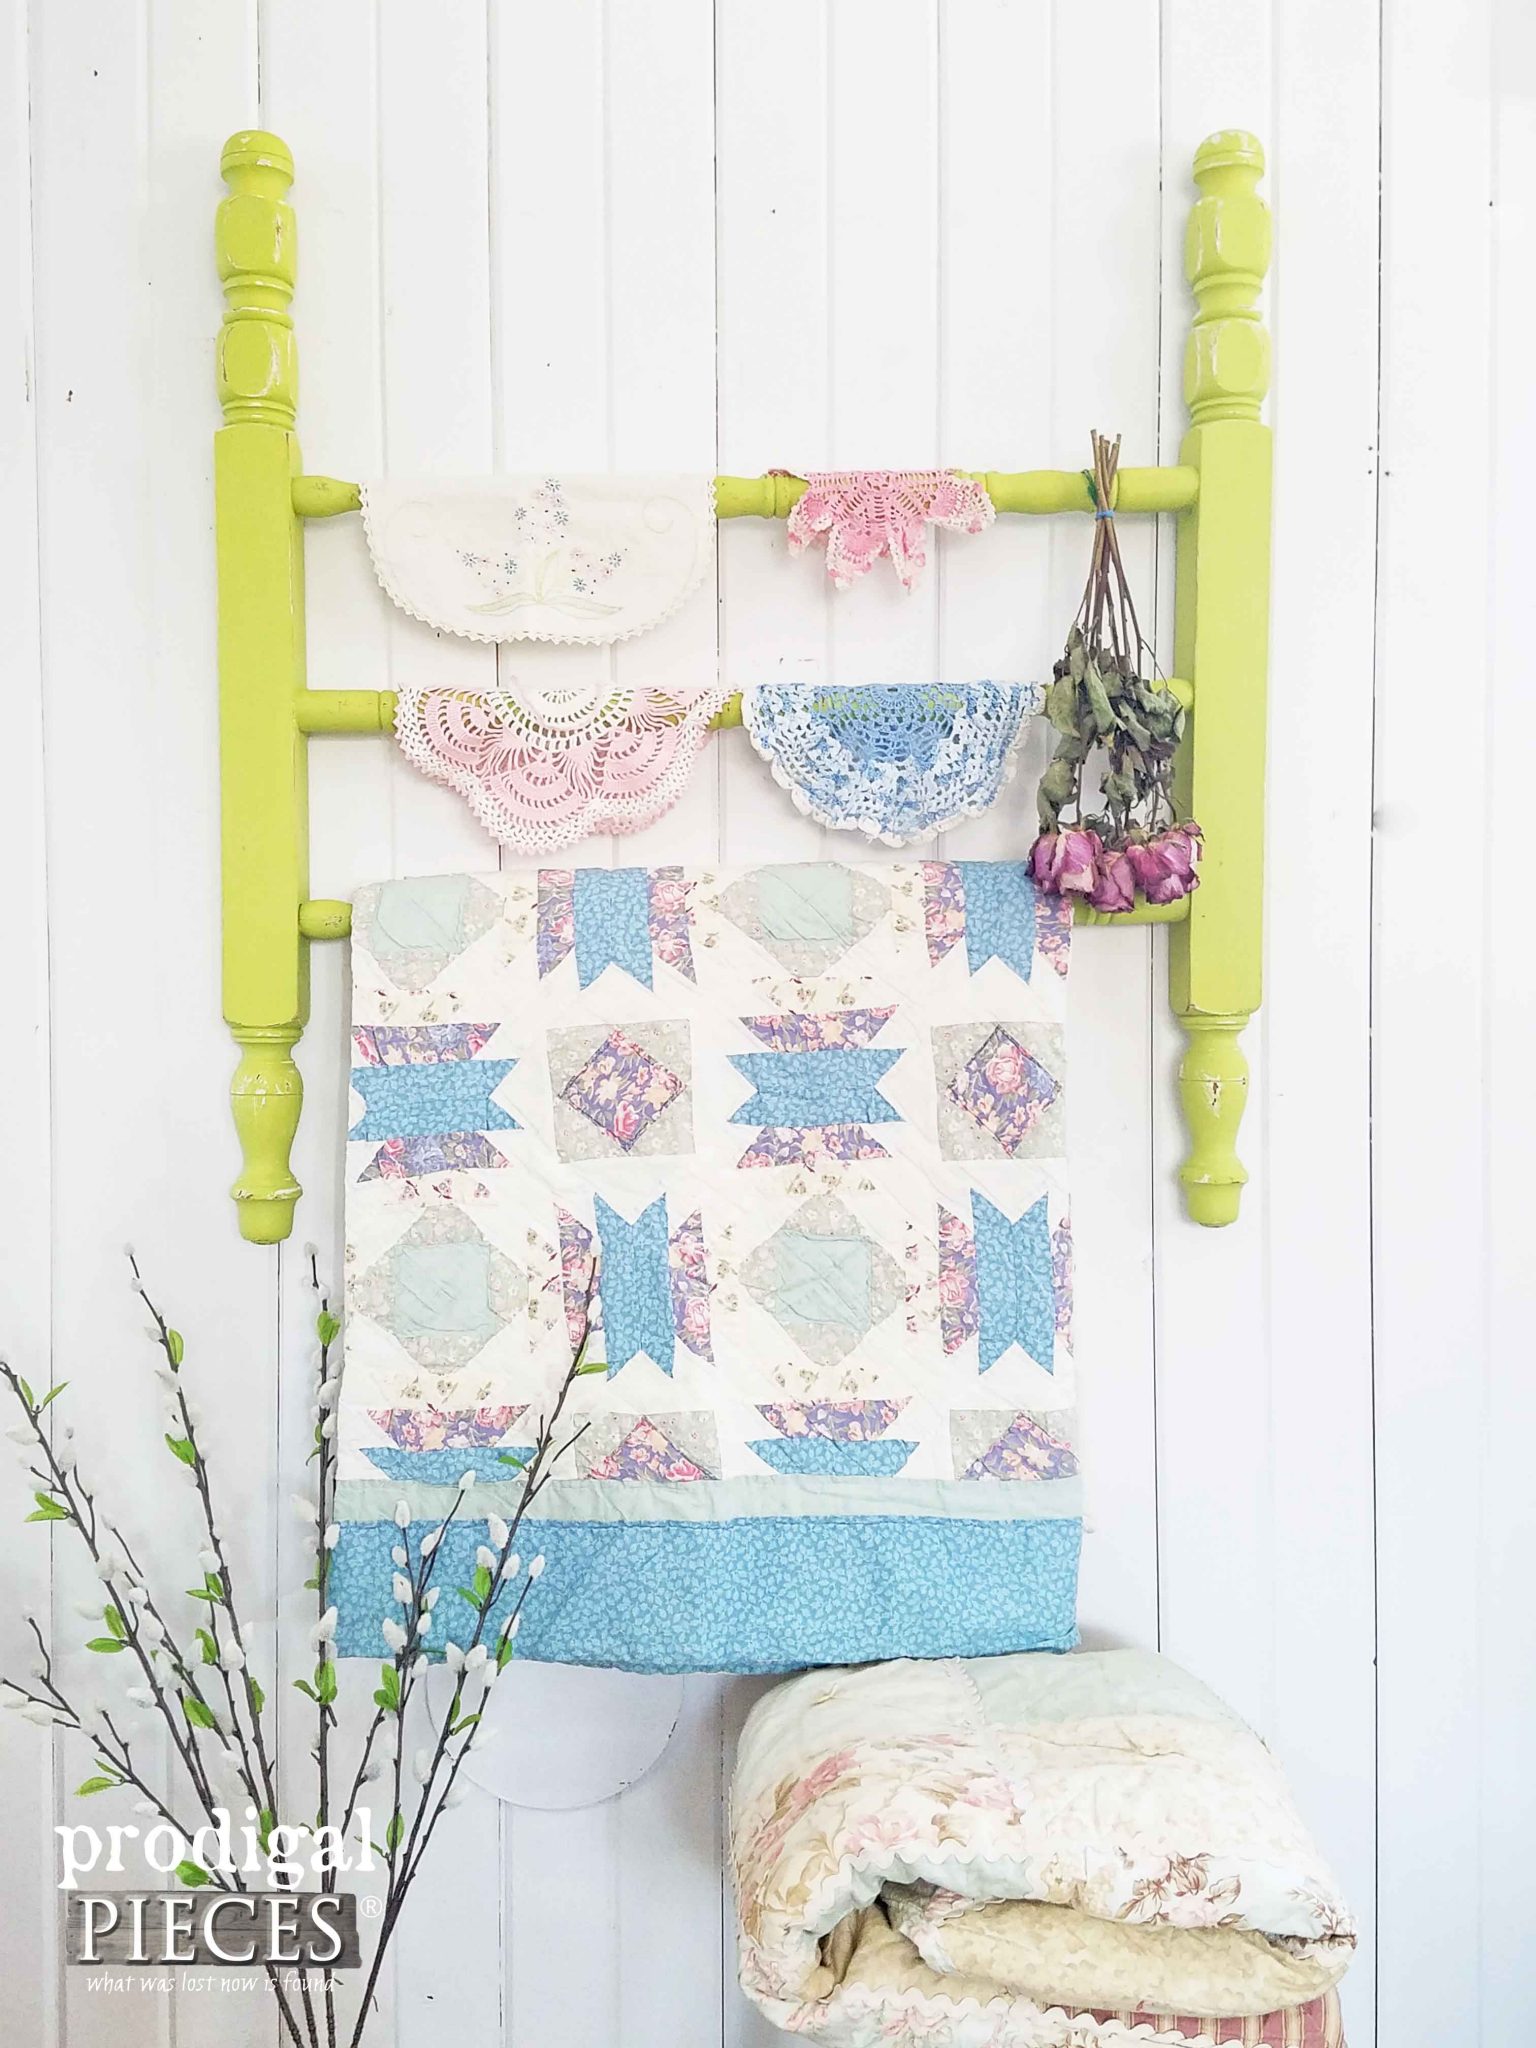
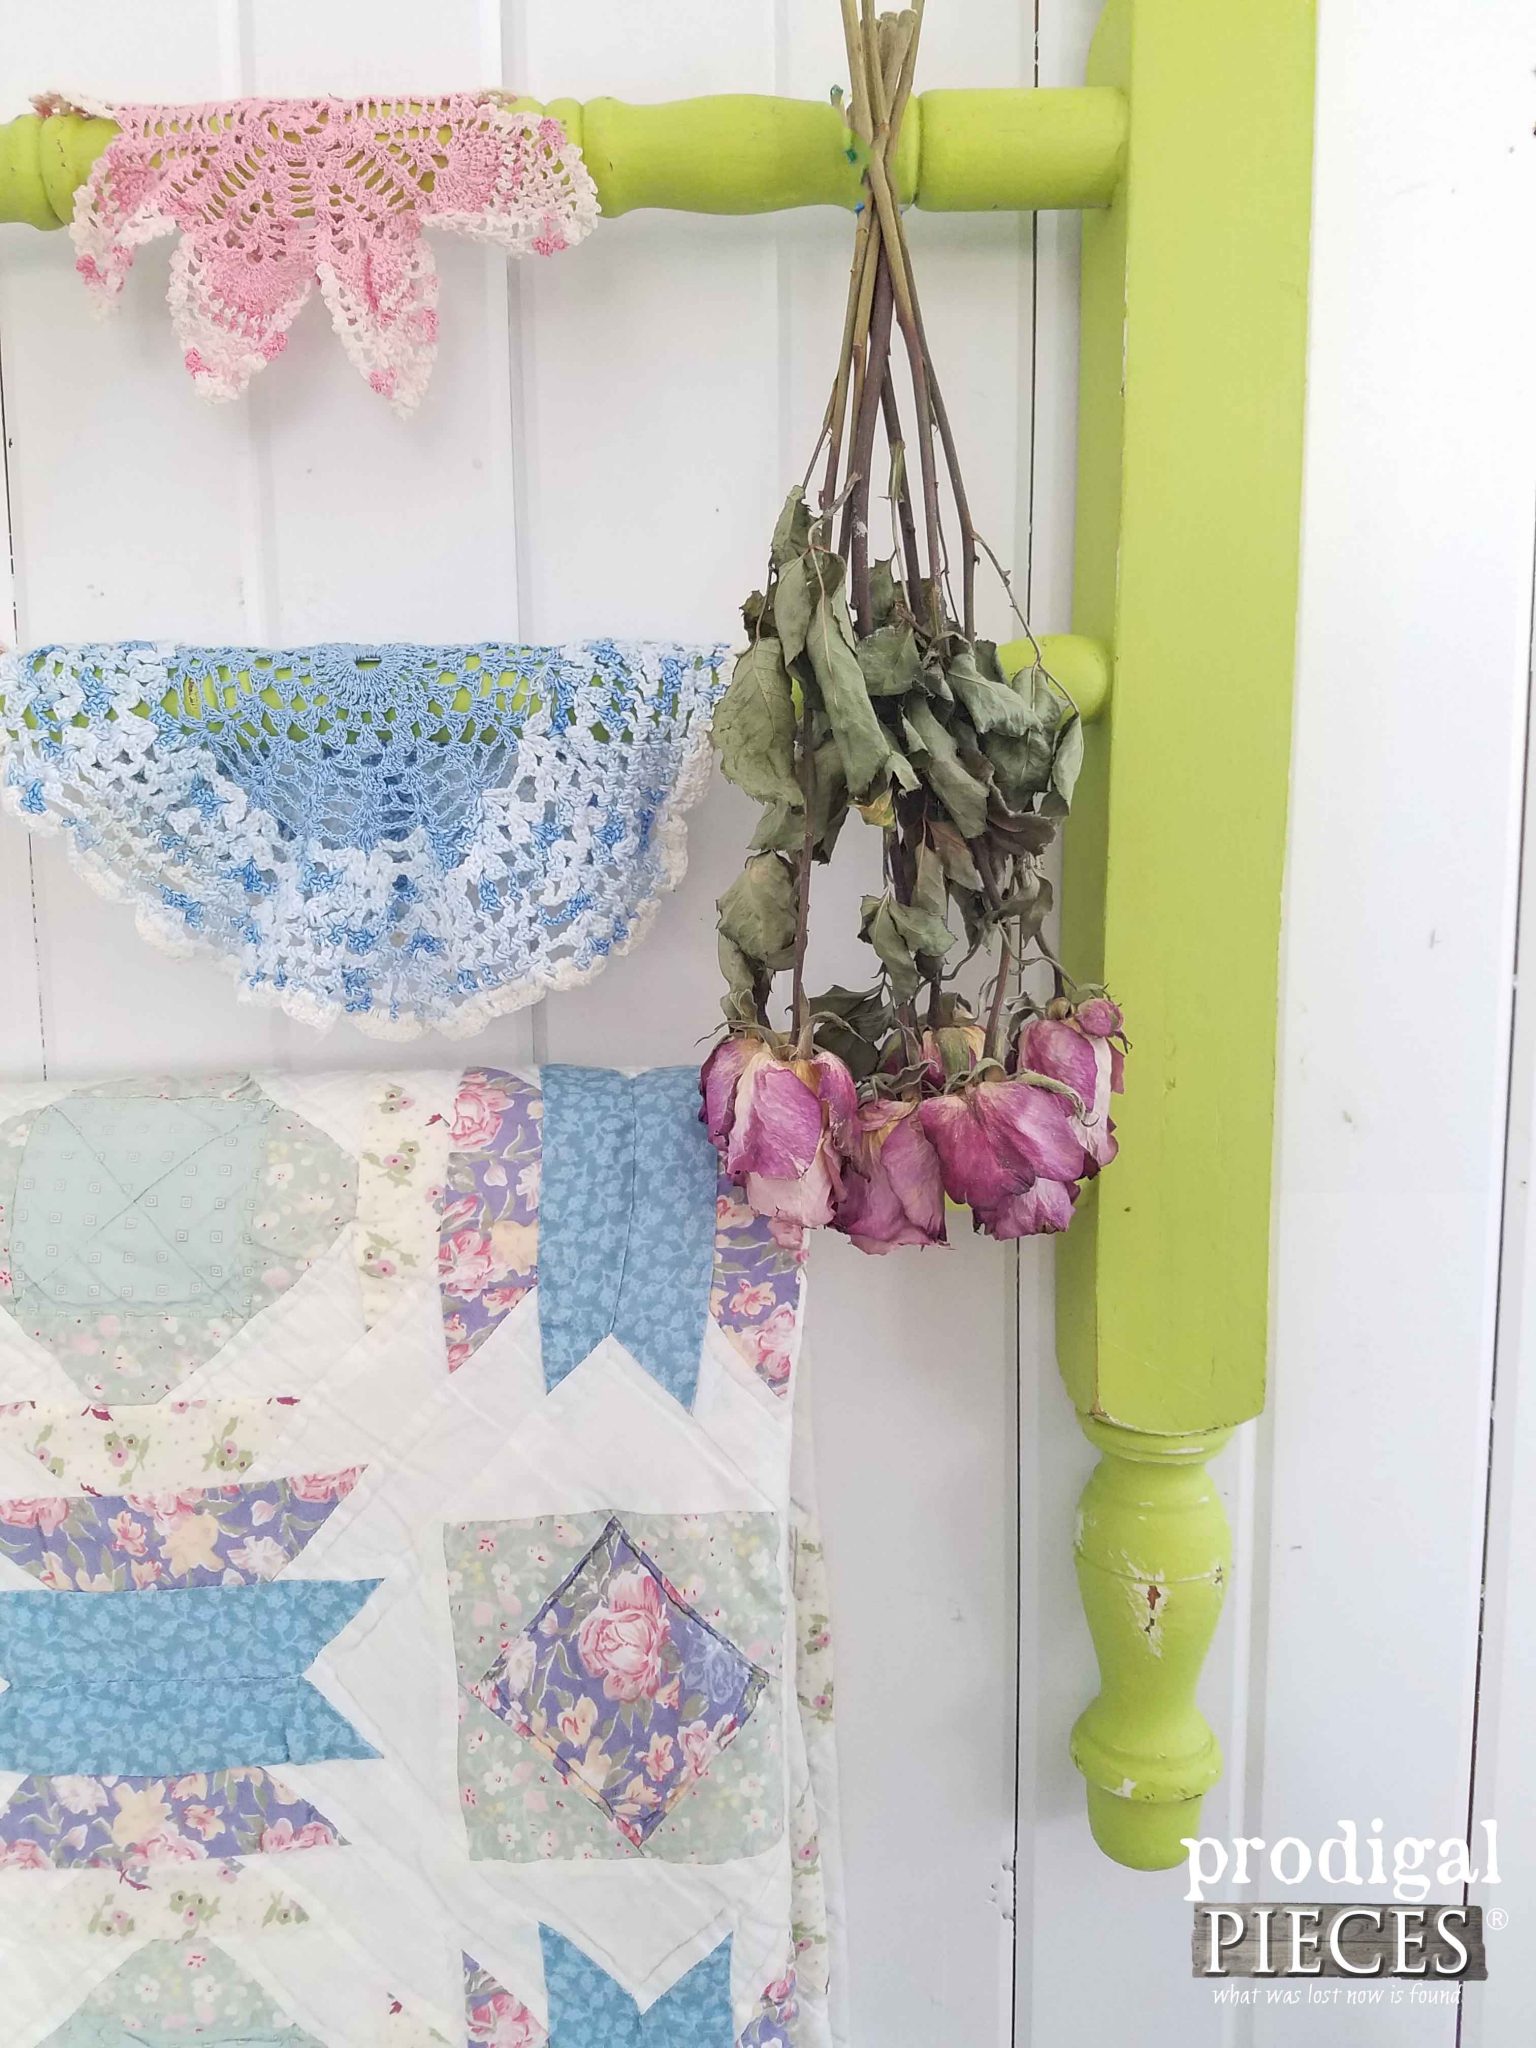
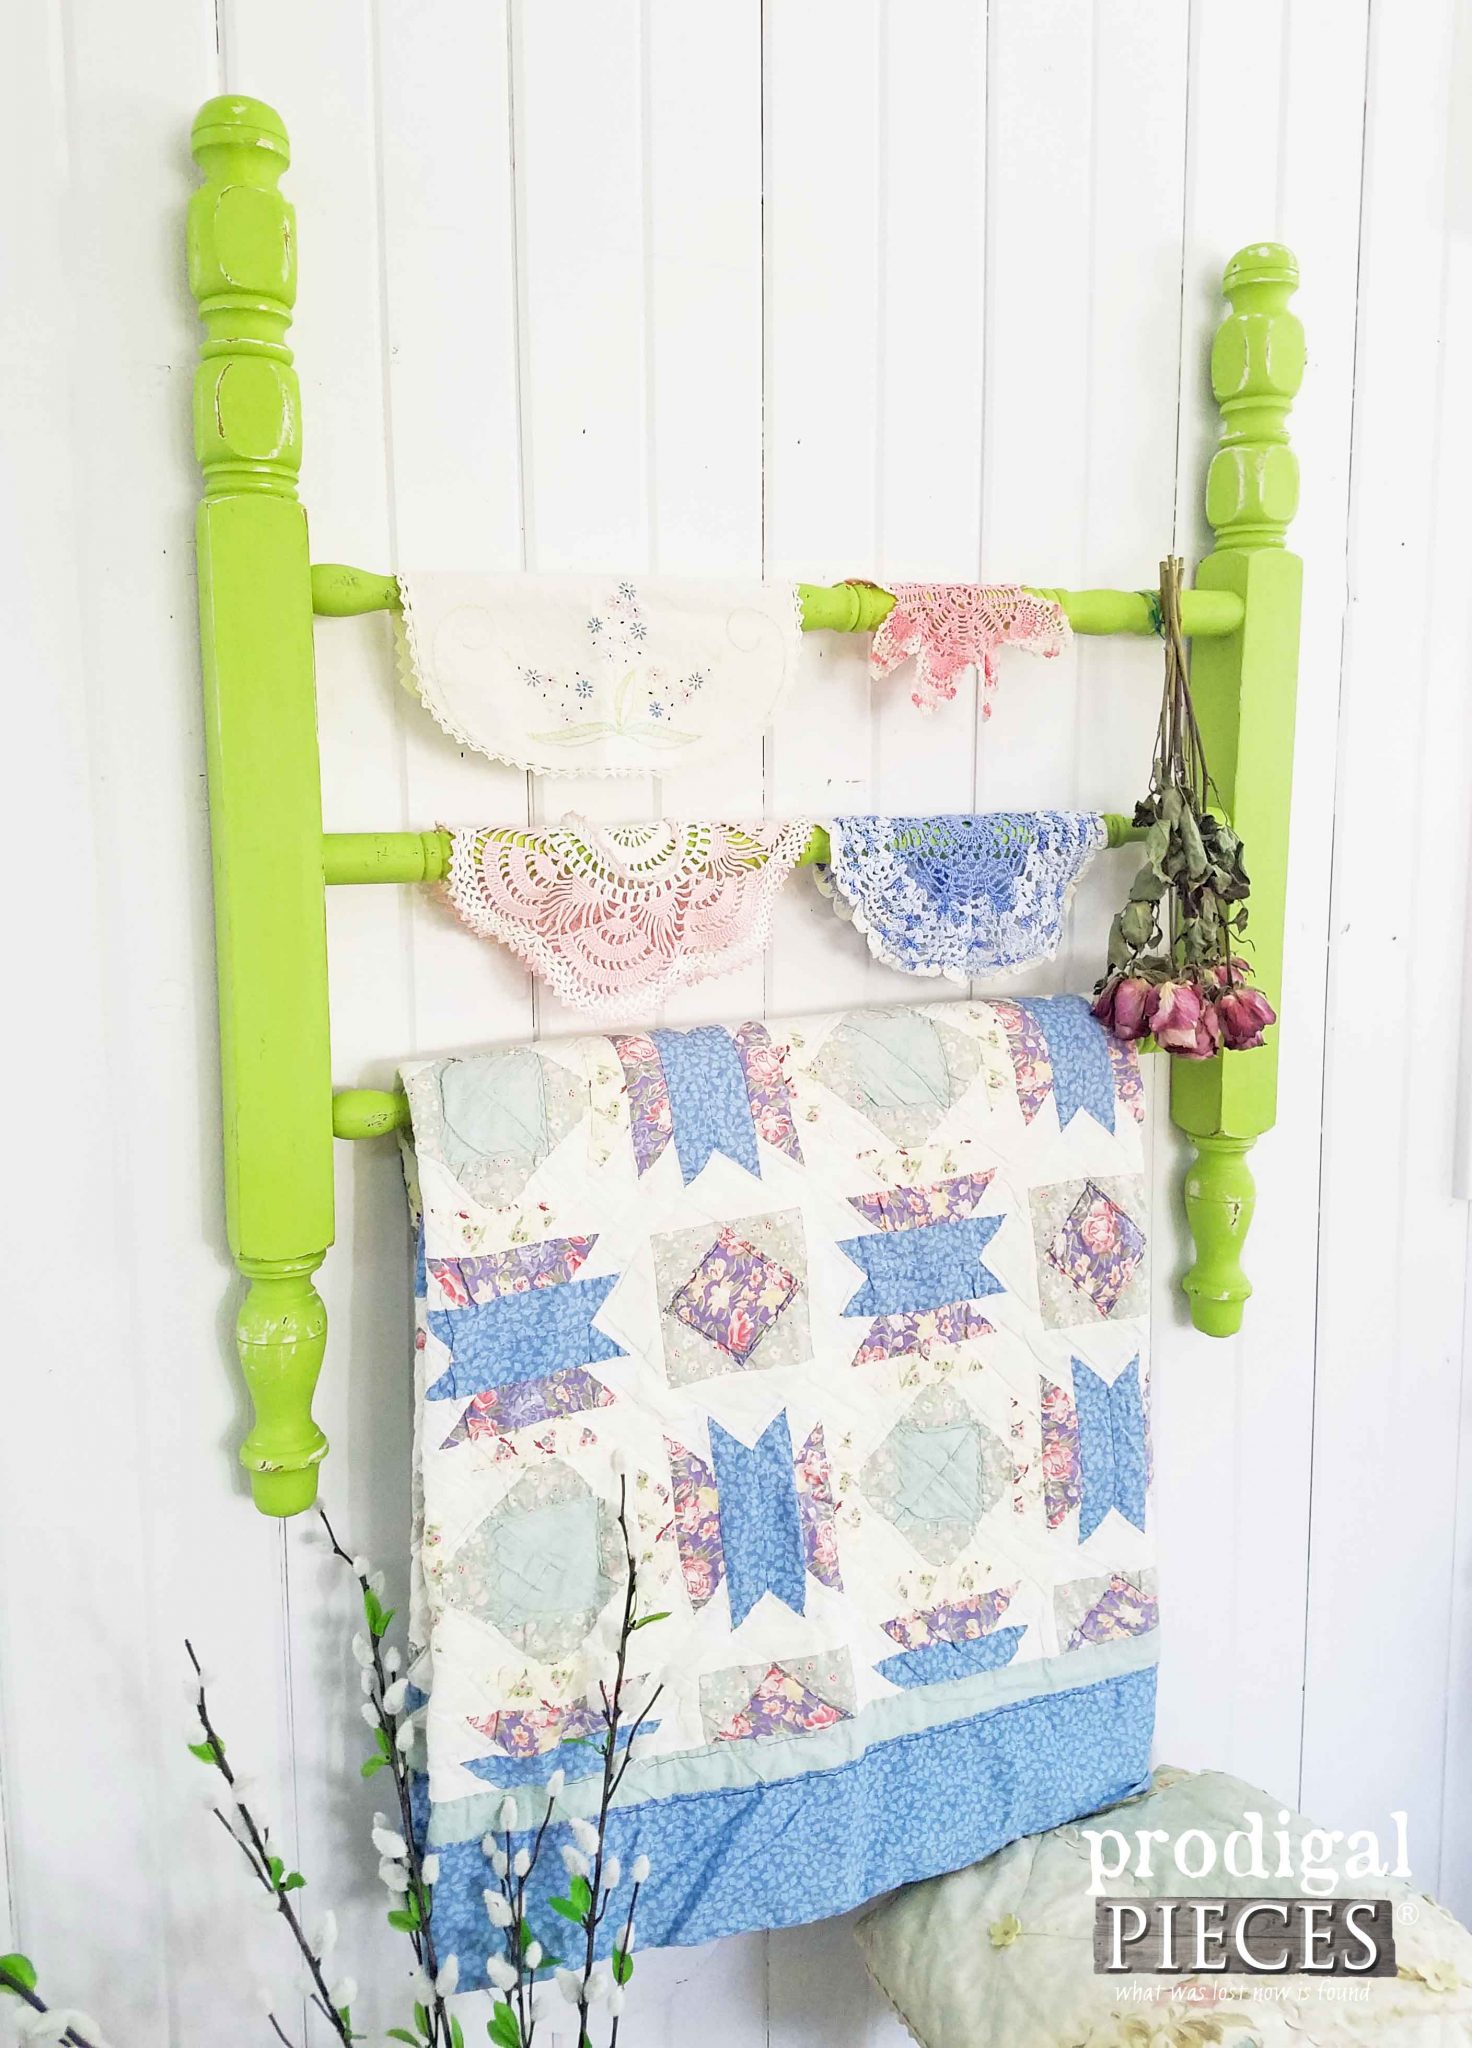
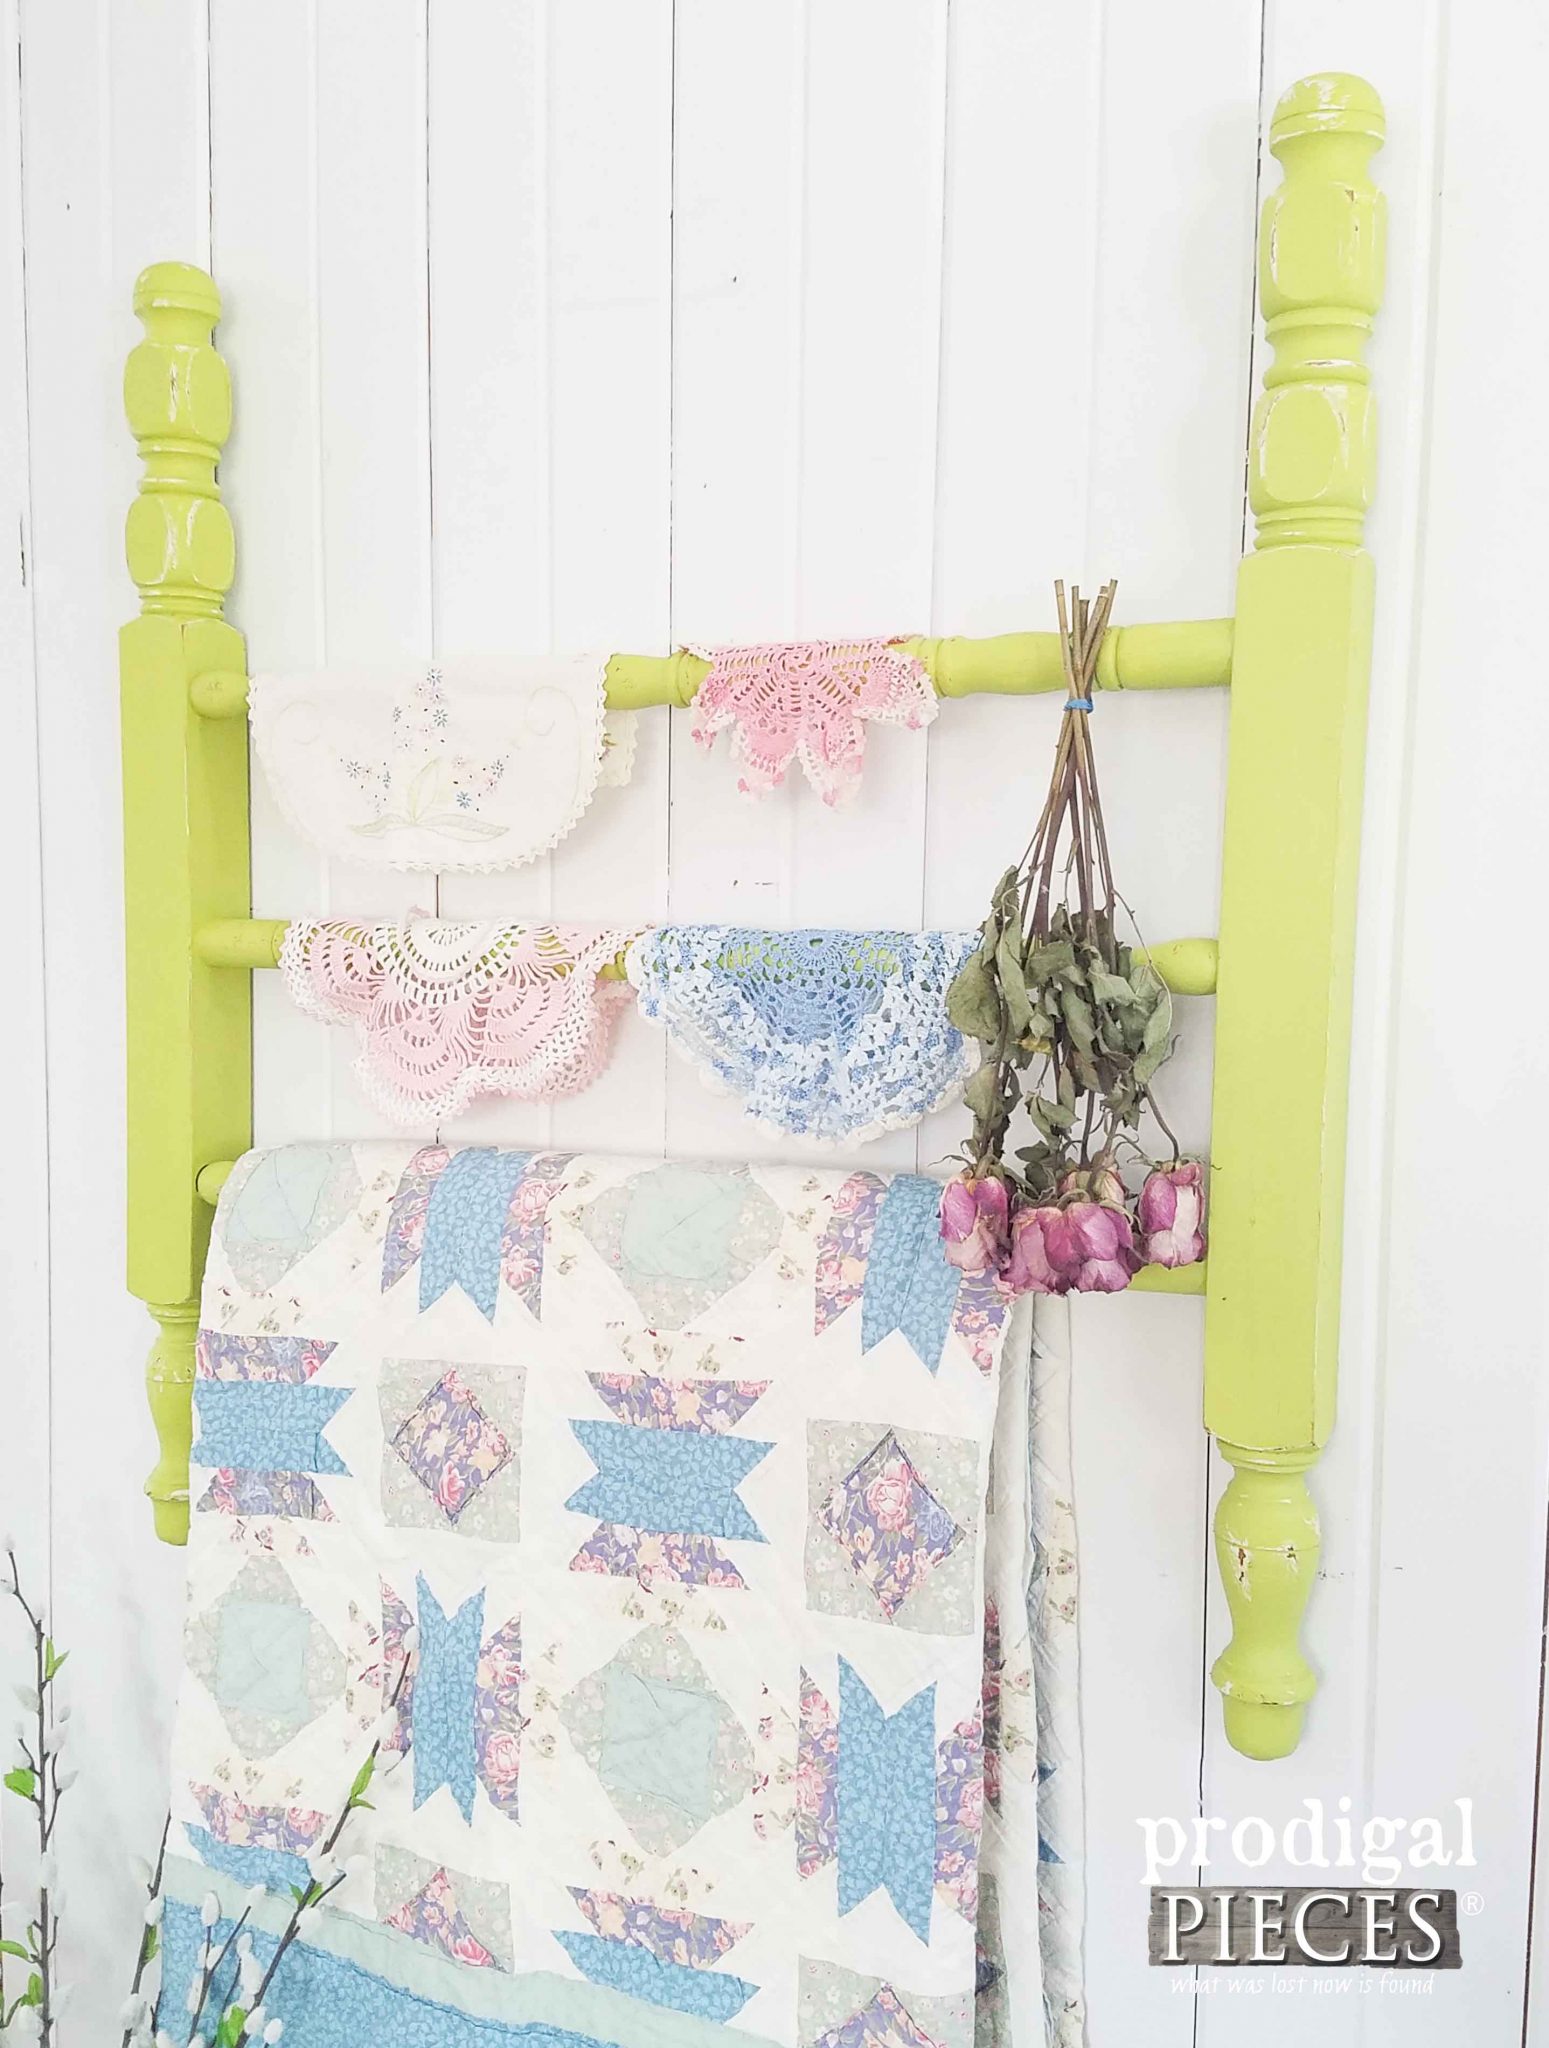
After a few coats of paint, letting it dry, and then a little distressing for fun, my DIY quilt rack is done.
Isn’t that color fun? It’s so fresh and cheerful…perfect for showing the homeyness of quilts and handmade textiles.
I have to tell you that it was hilarious that after I finished this (mind you JC knew I was building it right in our living room that day), he said, “You built that? I forgot. Looks like an end of a bed”. hee hee hee. It fooled him!
Just for fun, I’m showcasing my great-aunt’s handmade quilt, some vintage embroidery and also some handmade doilies that were gifted to me by a wonderful reader who knew my love for handmade. So sweet!
My hope is that you can see with a different vision – that junk isn’t really junk, but #trashure that needs new life. No, we all may not have vision built-in, but we can try to think outside the trash. Making our house our home can be fun!
Do pin and share to inspire others – thank you!
Up next is Furniture Fixer Upper time! This is my project piece because my partner in crime, JC, shouldn’t have brought it home. Or should he? See HERE!
Before you go, be sure to sign up for my newsletter. Until next time!


Such a fun repurpose! Love the bright splash of green. Really ties all the pieces together. You’re a wealth of inspiration to find a use for discarded pieces!
I’m happy to be so, Cecilia. Thank you!
This one is pure genius! I am now on the lookout for some old bedposts – wooden dowels (or old curtain rods) would certainly work well too instead of spindles, and I have some of those. Love the green, it is really nice to see some color, not just white and black that is everywhere, and the quilt does look wonderful on it. Thank you for your truly fun and inspirational blogposts, they are very much appreciated. I think I’m pretty creative, but I don’t think I would have come up with this one, lol!
I’m so happy you think so, Karen. It’s fun to share and to inspire you is why I do it. Thank you!
What a cute idea Larissa. I could probably use the bottom end of a bed to do the same thing since I’m not as skilled with the tools.
Yes, as that’s what I was after, replicating a bed where most hang quilts. 😉
Can’t wait to see those drawers done. I LOVE that piece! Wish I were closer to come over and purchase. Really like that green on the wall rack!
What fun, Patty! Thank you for making my day, It’s been a long one.
I love this, Larissa!! So clever!! <3
I thought that color looked familiar, luscious lime, one of my favorites used in my home. Such a clever idea, Larissa – love!
Yes! So spring-like and fun. It was meant to be. Thanks, Marie!
How did you secure it to the wall?
I used keyhole hardware for a flush mount. 🙂