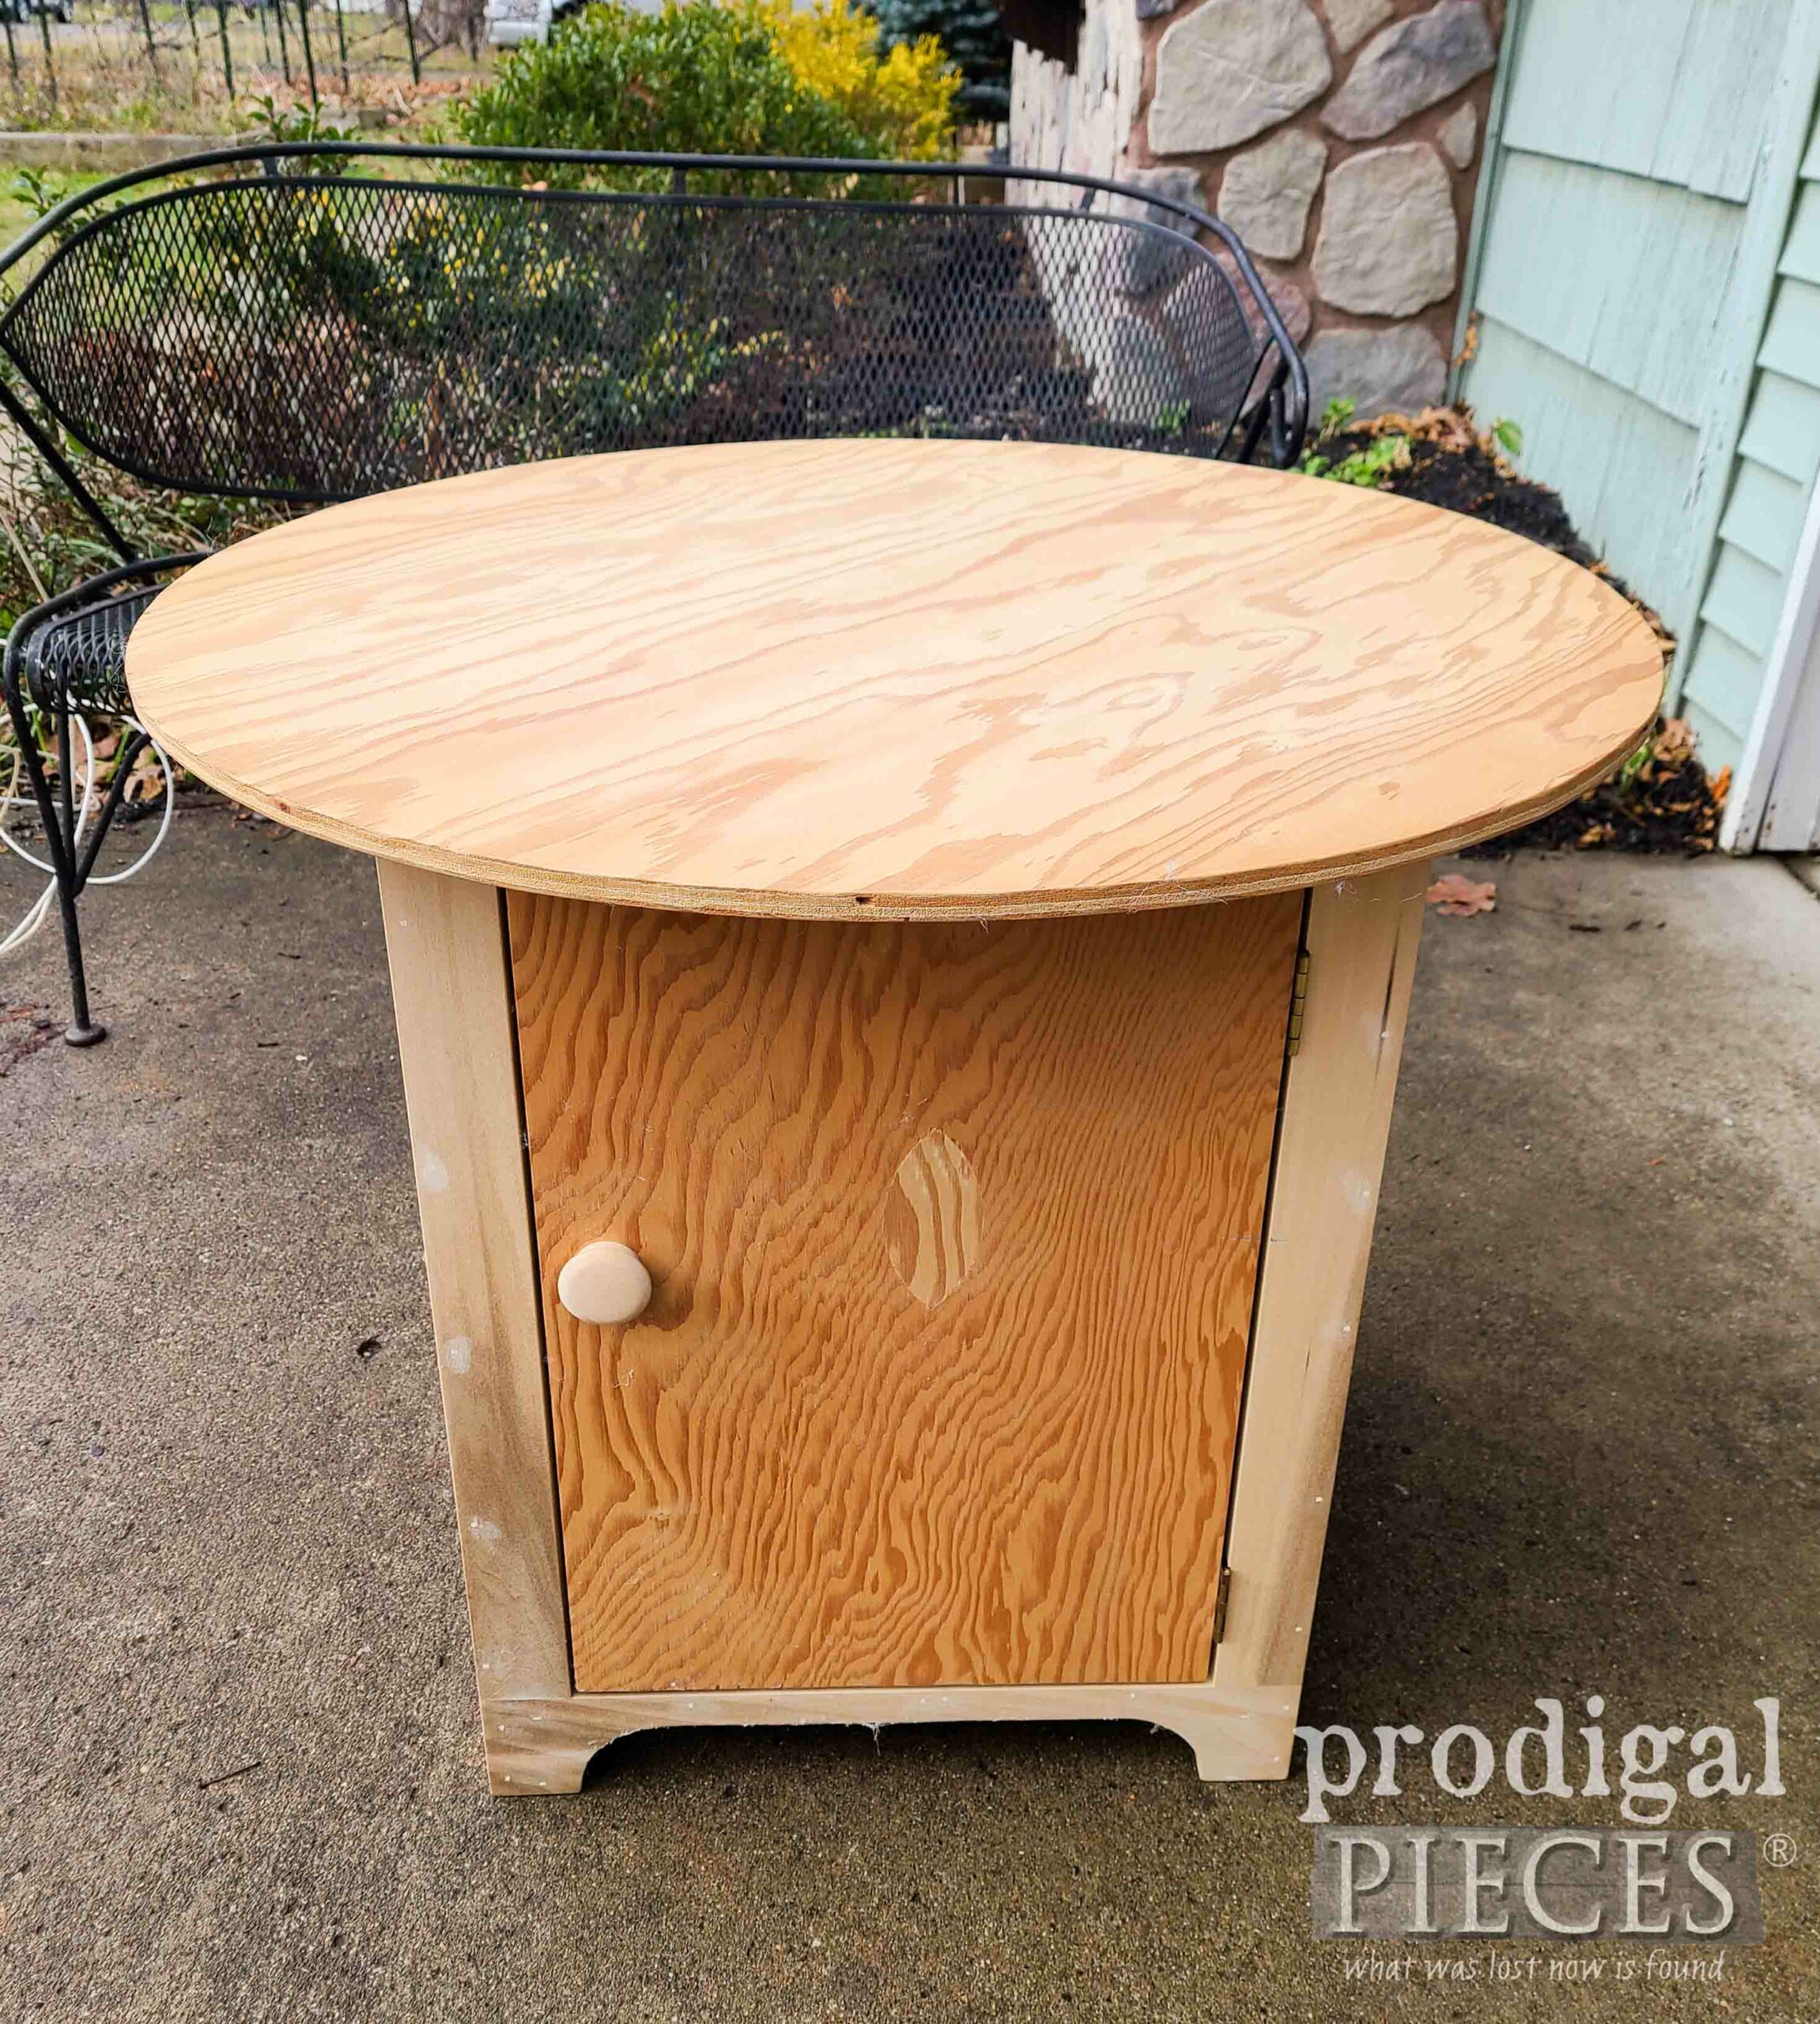
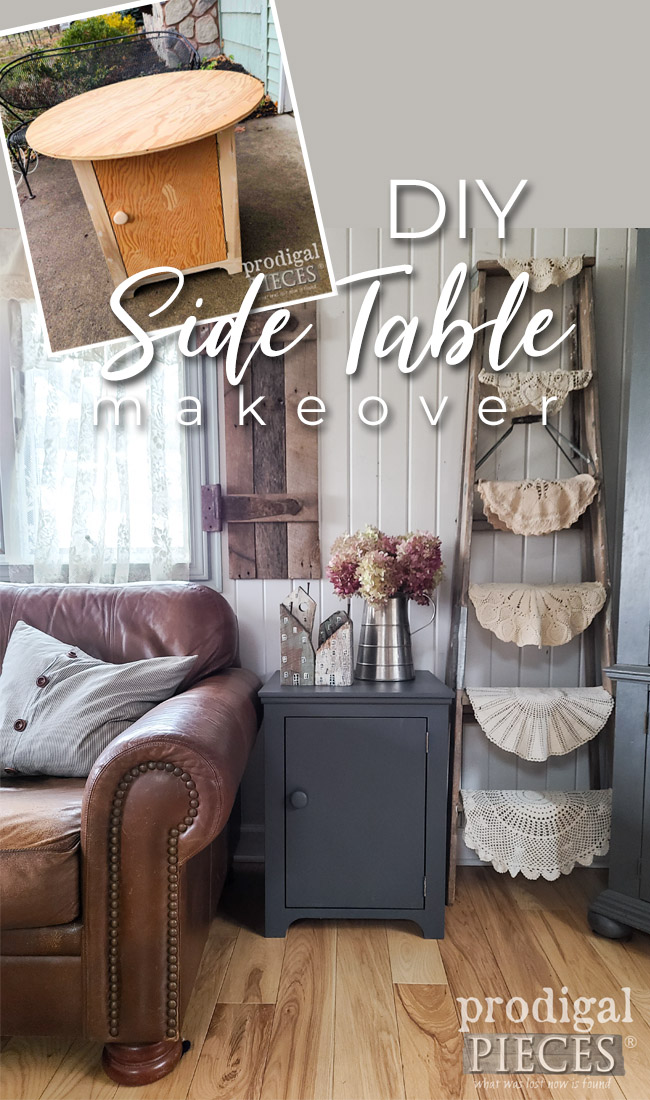
A dollar doesn’t buy much anymore and that’s a fact. However, sometimes you can still take that buck and grab something like this. You’re looking at a DIY side table that I did not build. It’s got potential, but I truly want to change it up to suit me and my style. Would you pay $1 for it?
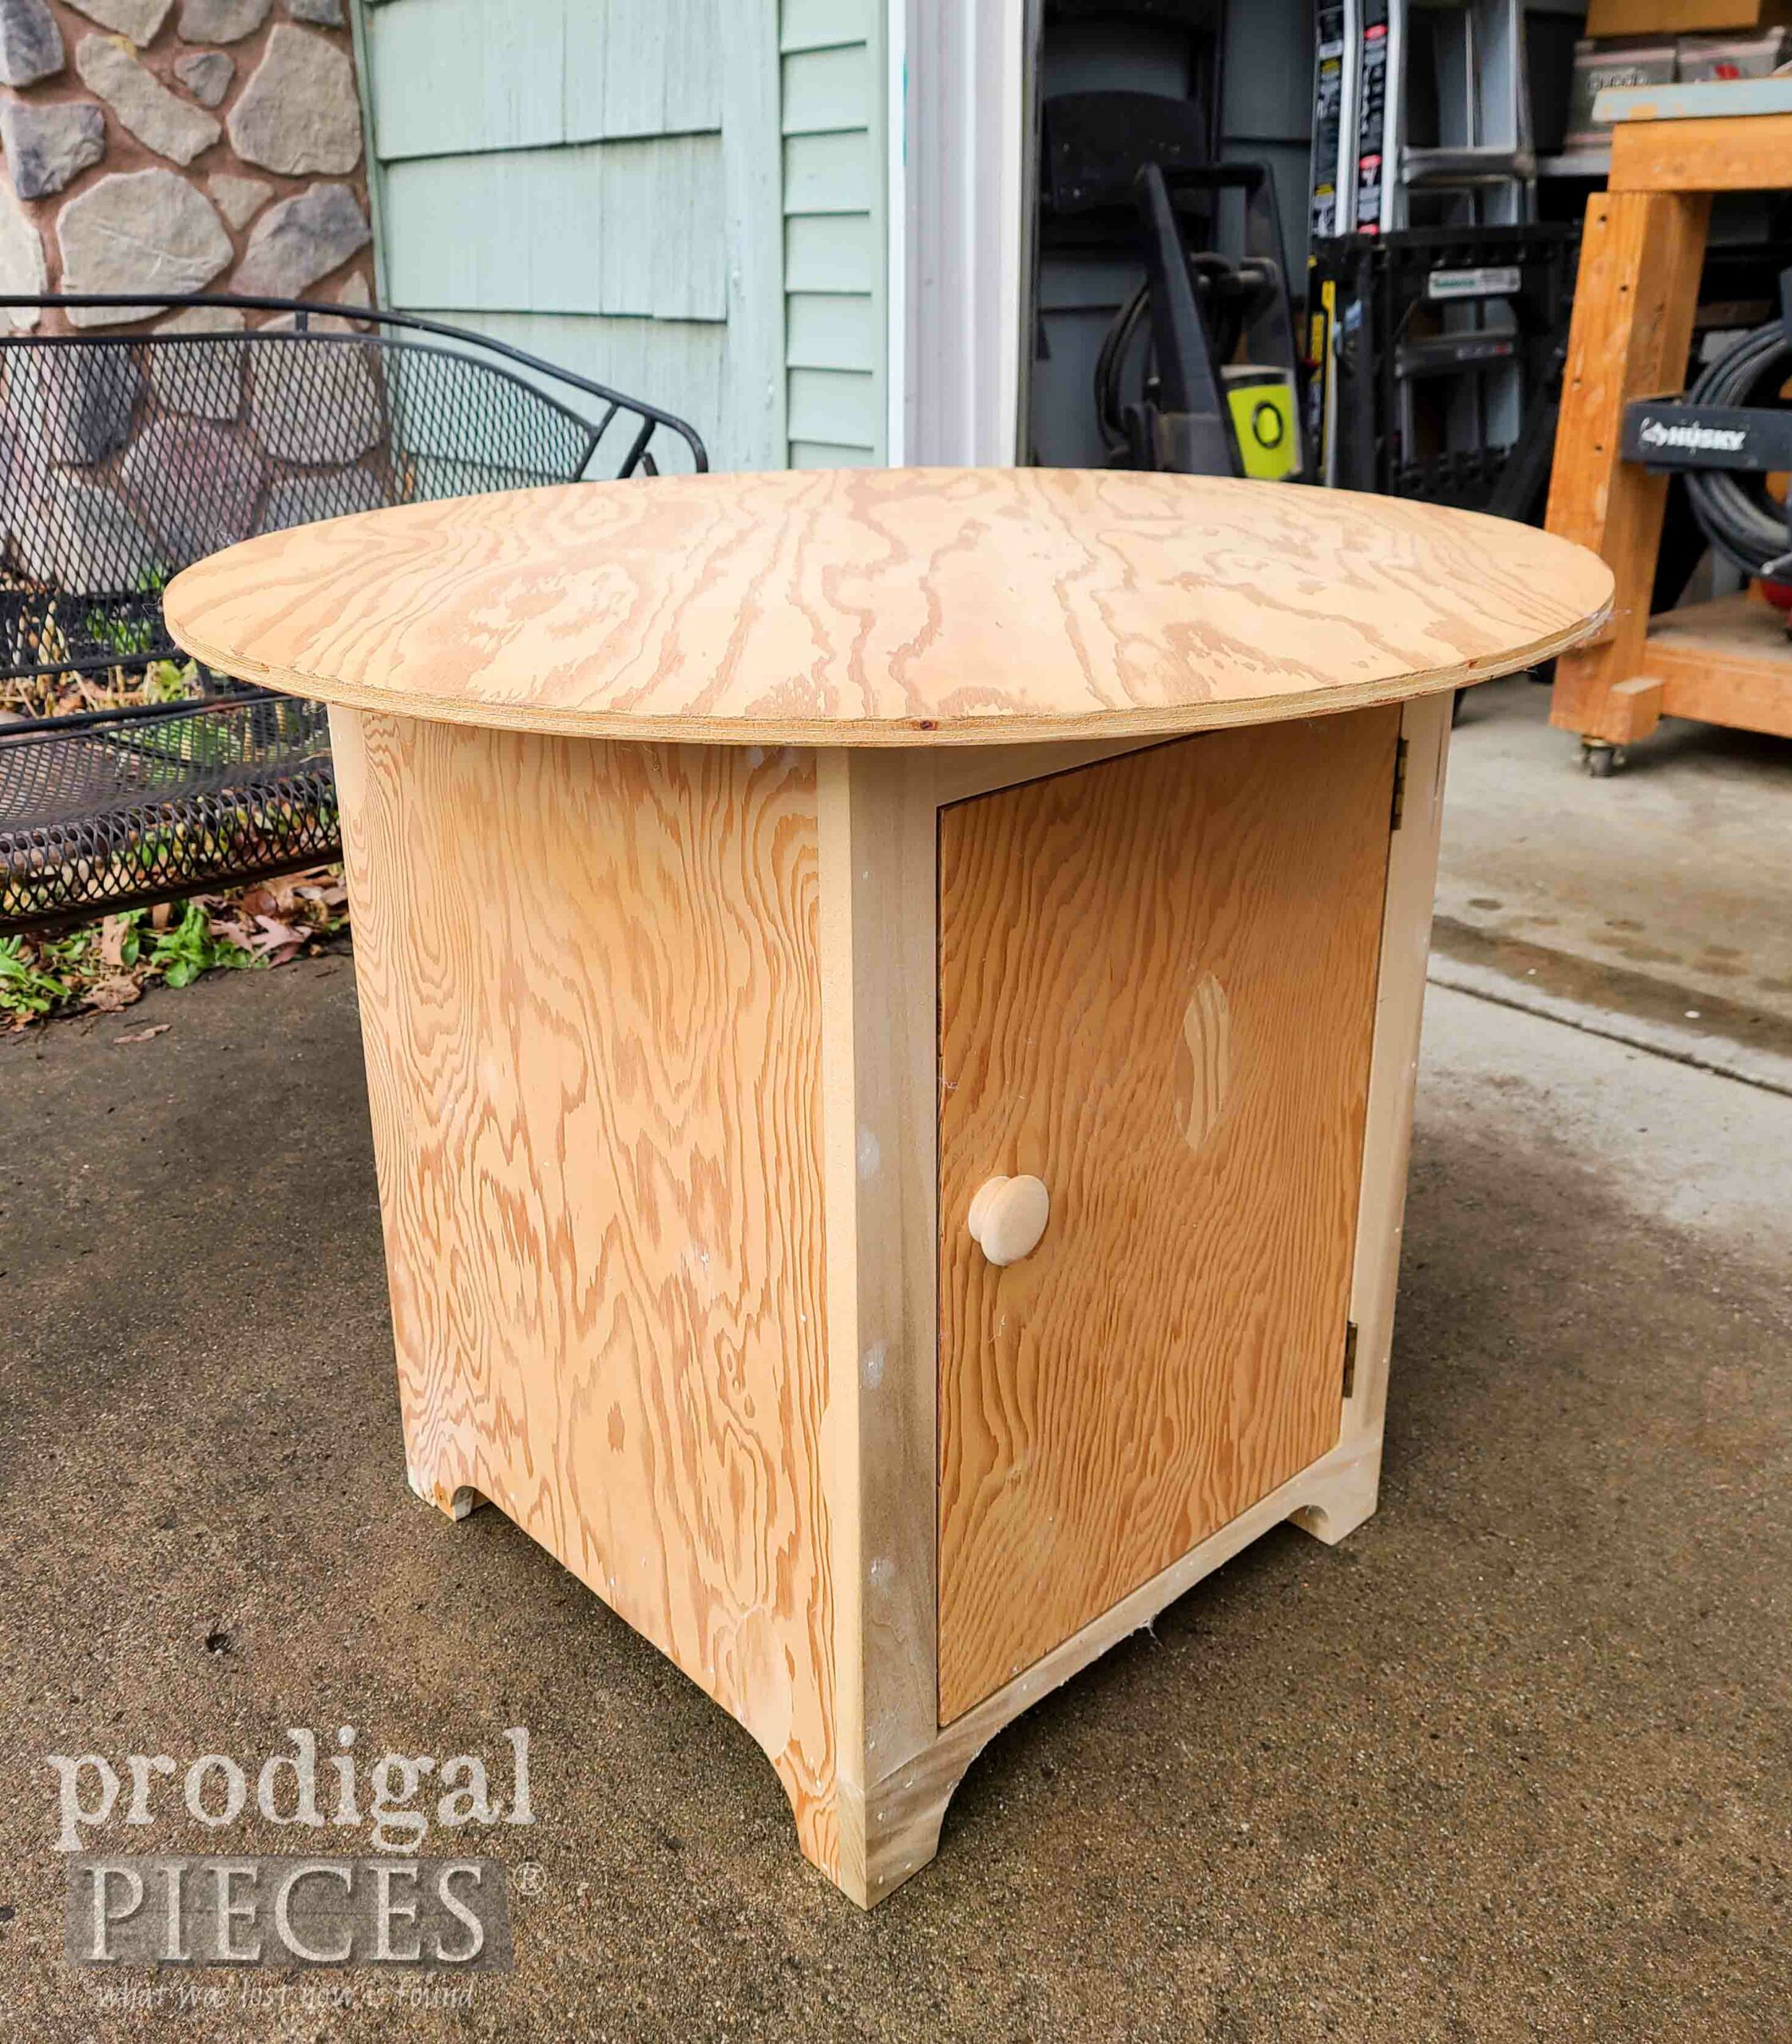
At first glance, it’s not too bad. But… I can’t take my eyes off that ridiculously large top. It isn’t suited for ease of function, to me. That round top doesn’t allow it to go up against a bed or arm of a couch, and it’s made of cheap plywood, which isn’t grand either. What to do? Change it up DIY style.
TAKING THE TOP OFF
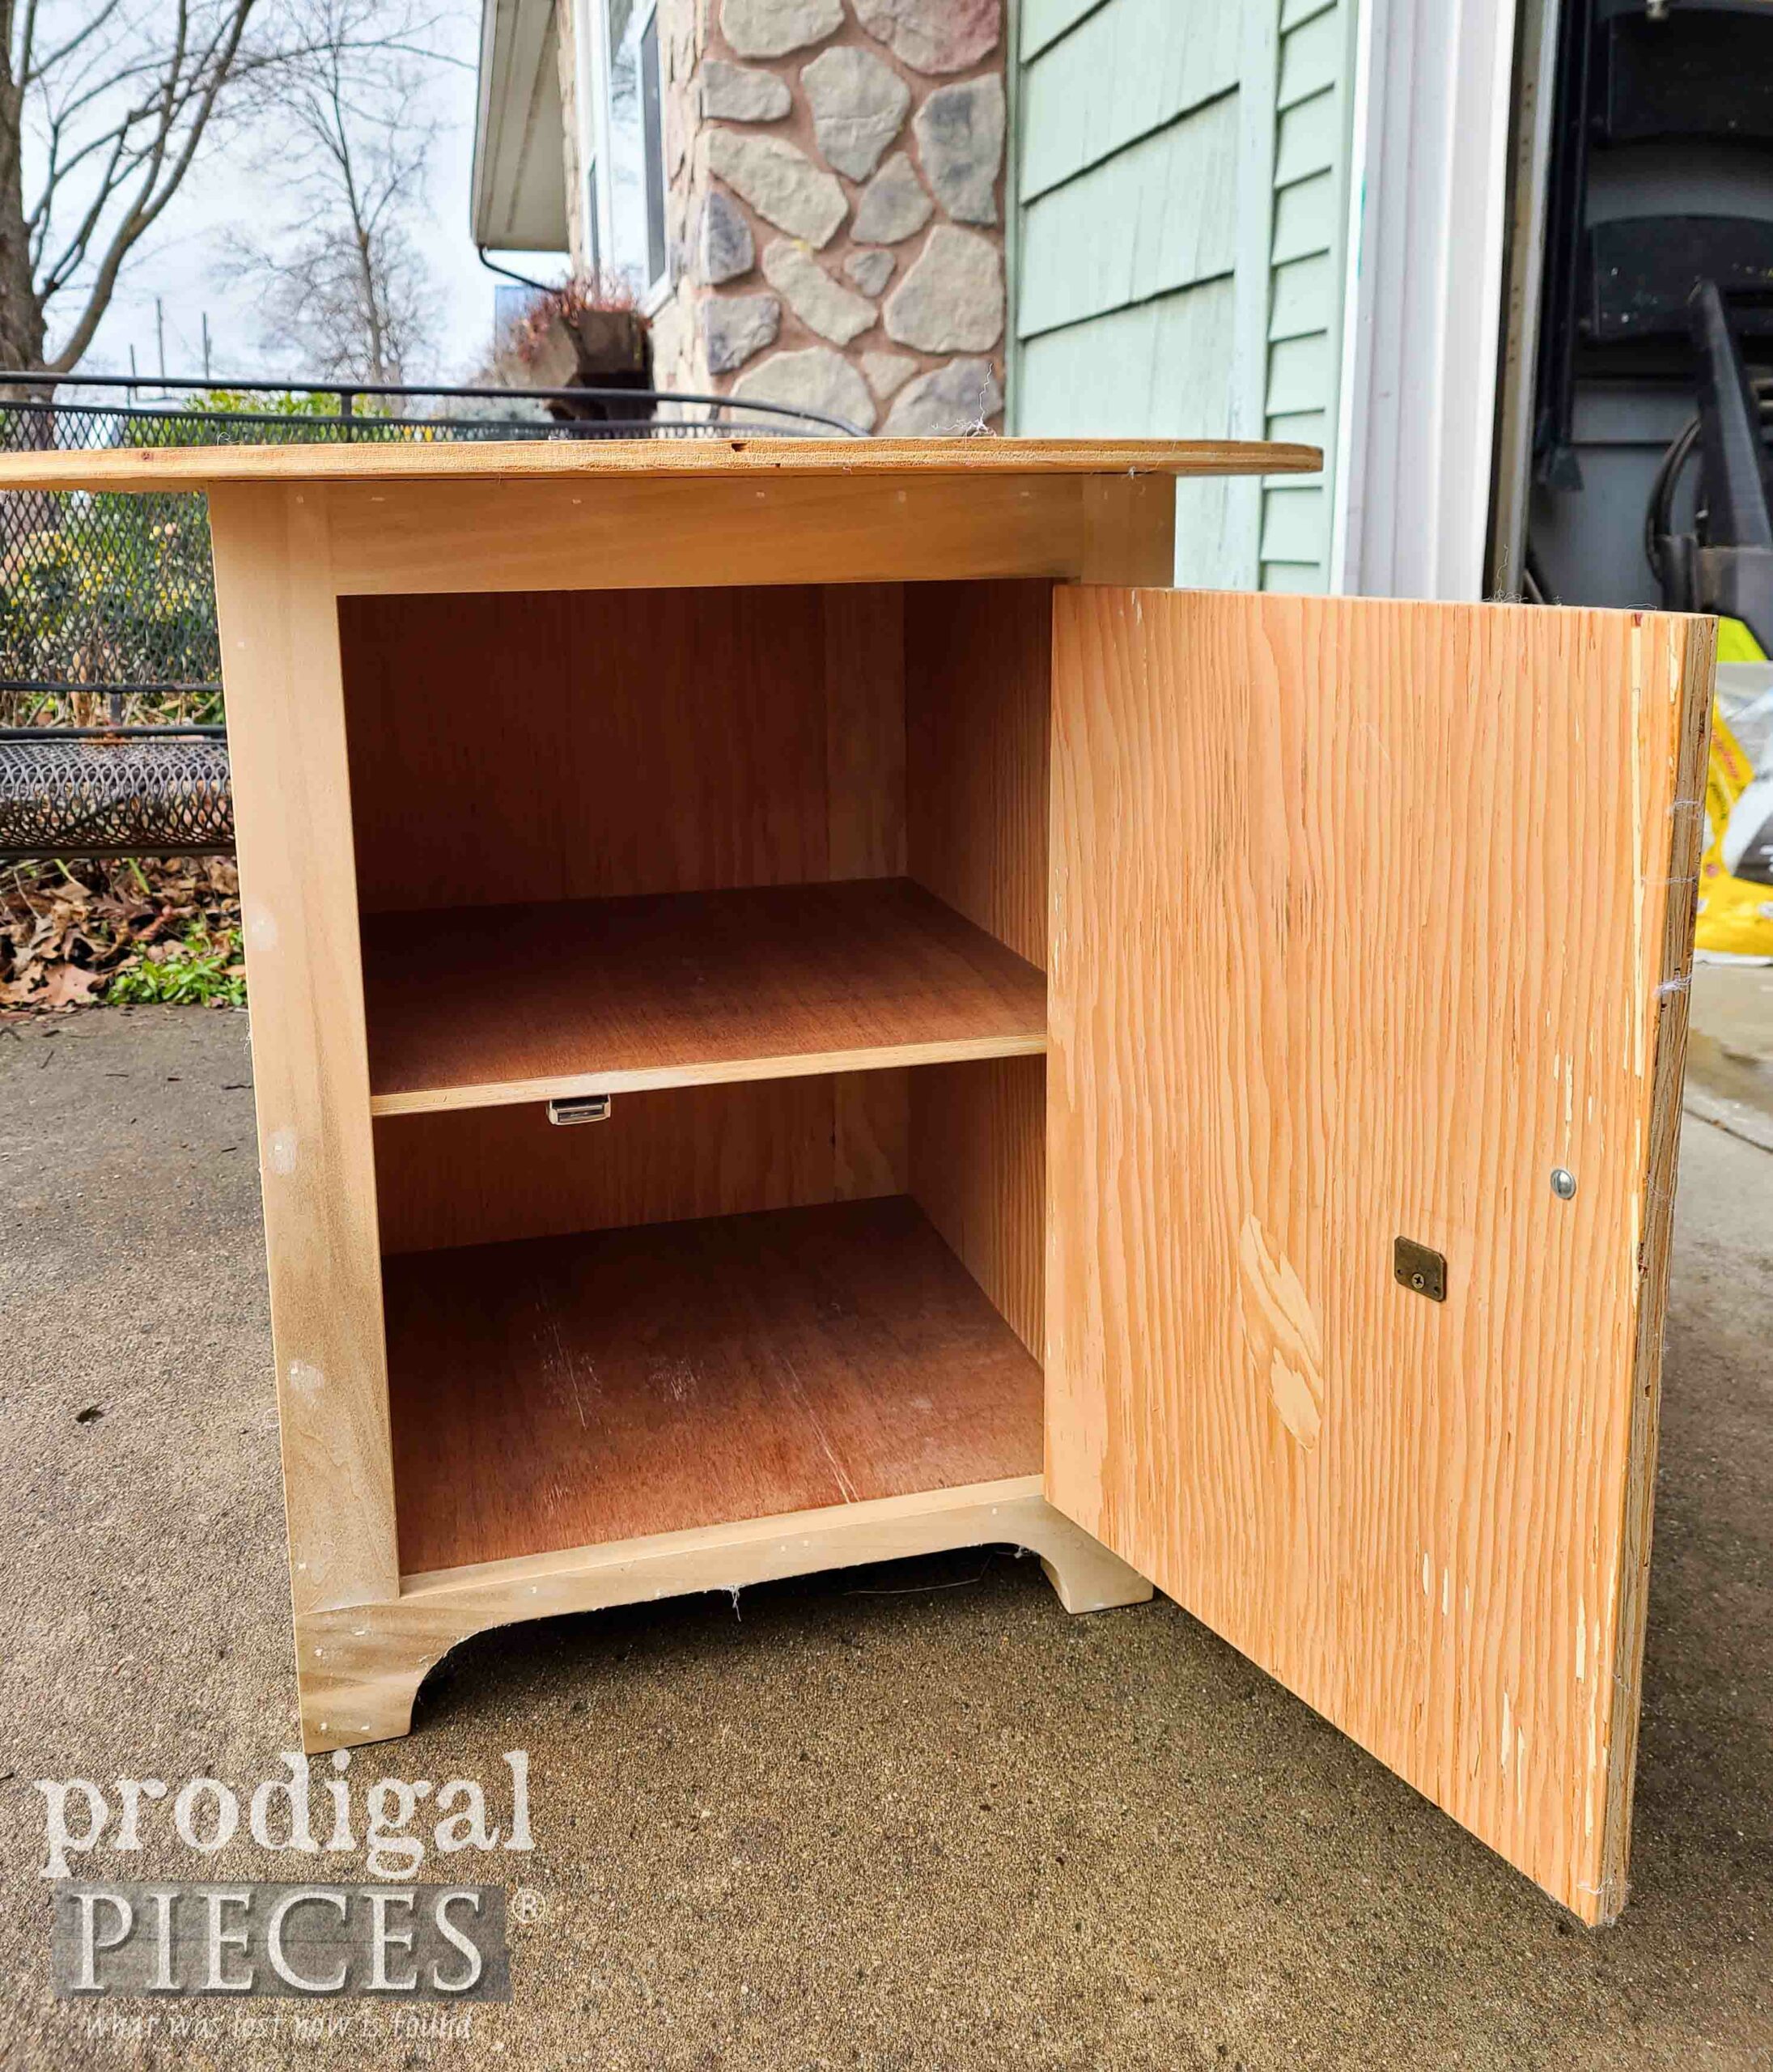
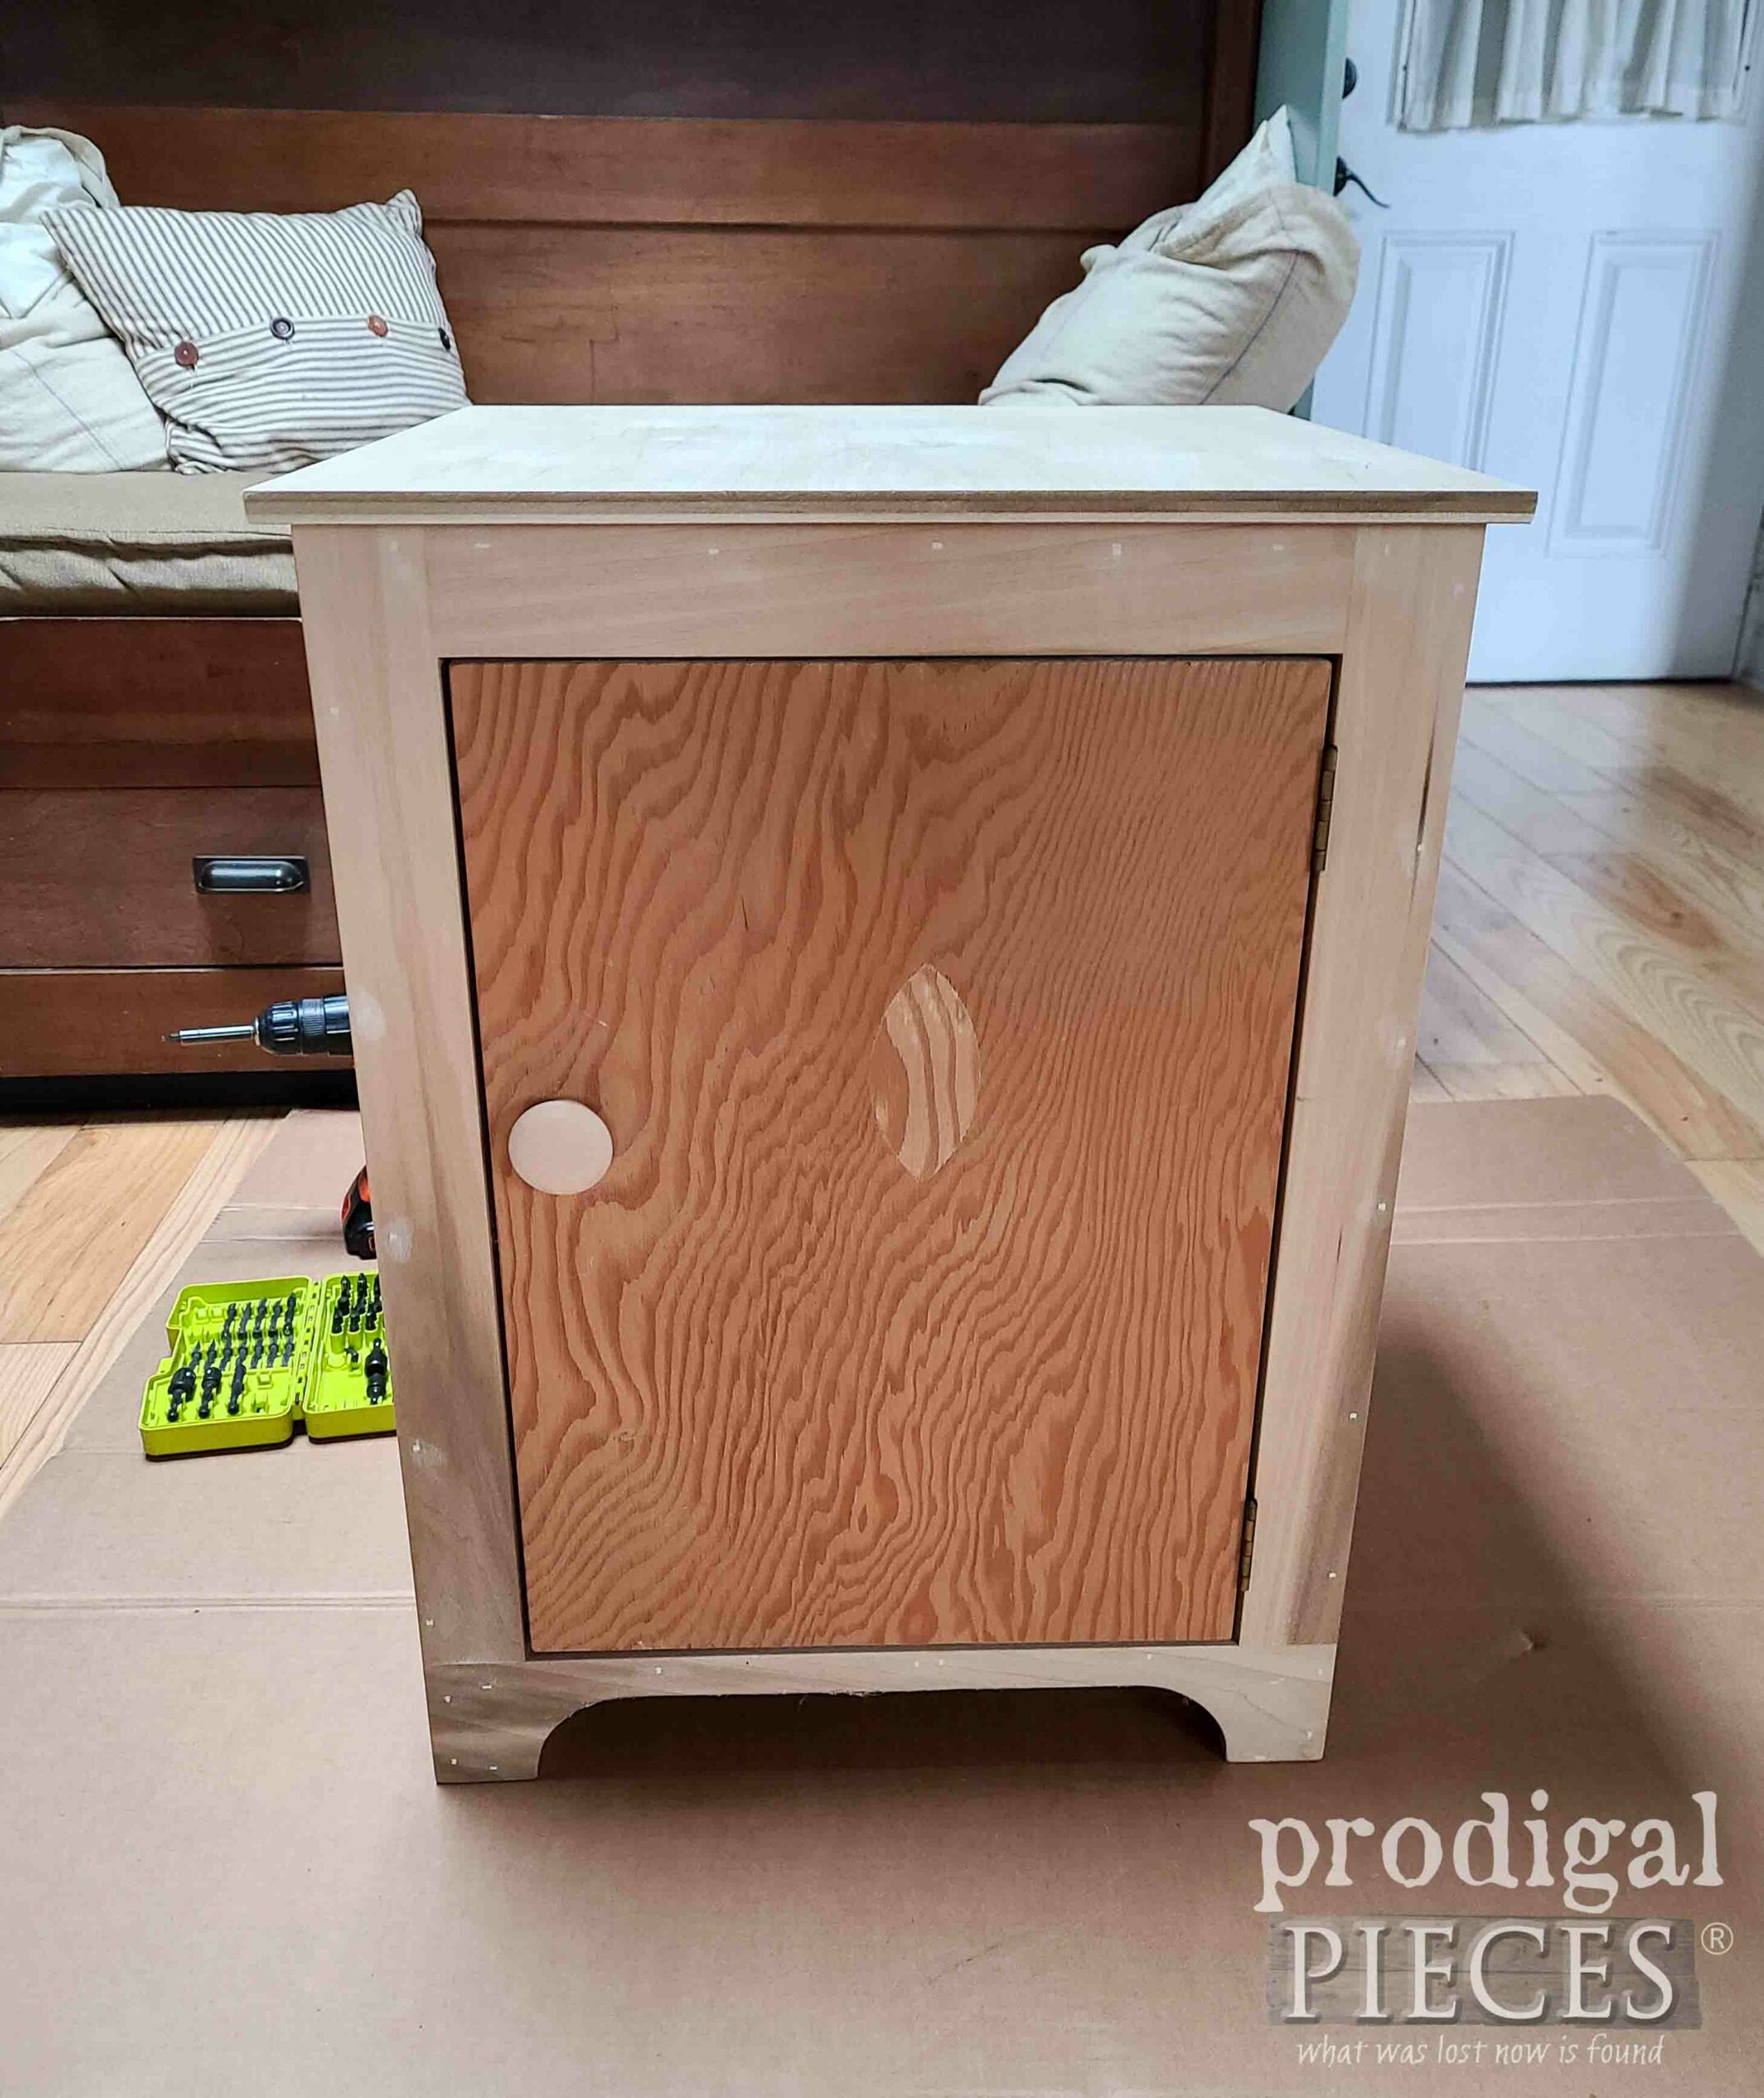
First, as I mention, I want to remove that round top and see what I’m up against. Now before you get flustered that I’m taking the top off, no worries as I’ll be putting that to good use next. {{wink, wink}}
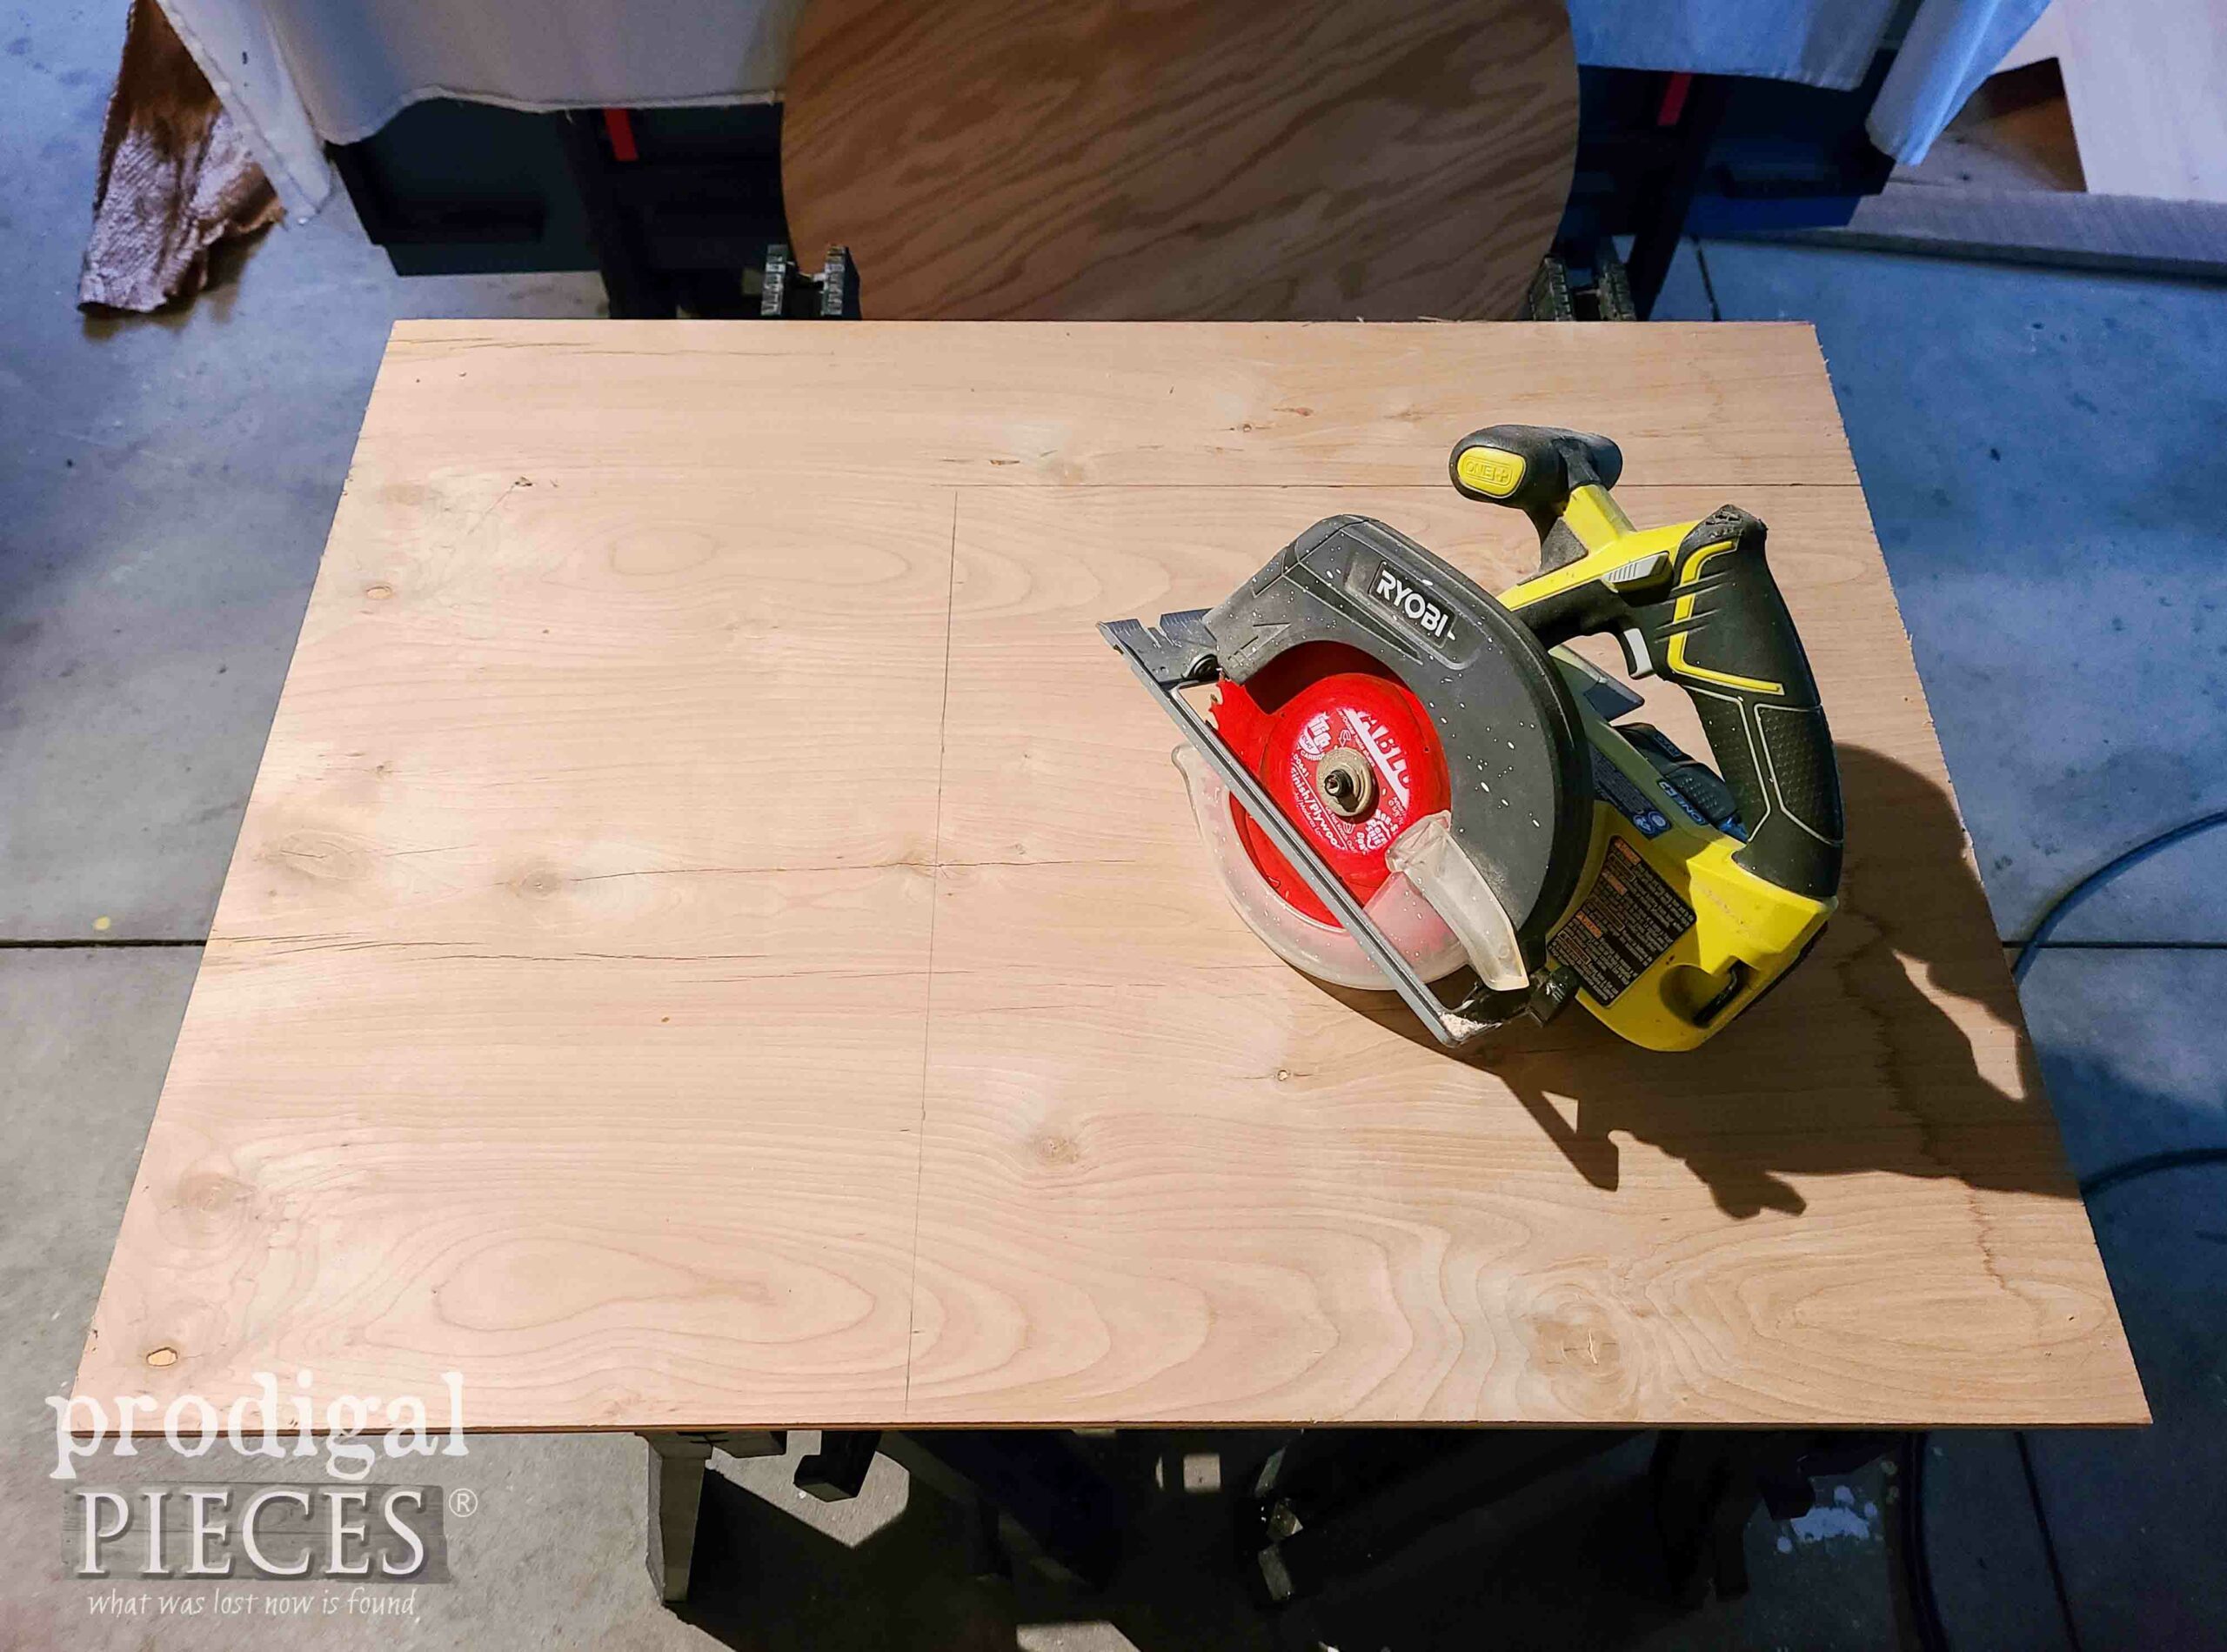
As you may have noticed, the ply that was cut into a circle for the top is not cabinet grade and the cut is kinda wonky. In order to remedy that, I want to replace it altogether by cutting a new top from cabinet-grade ply I have on hand.
Once I measure and mark, I simply cut with my circular saw. Here it is resting on the top before I attach it using the hardware that held on to original top.
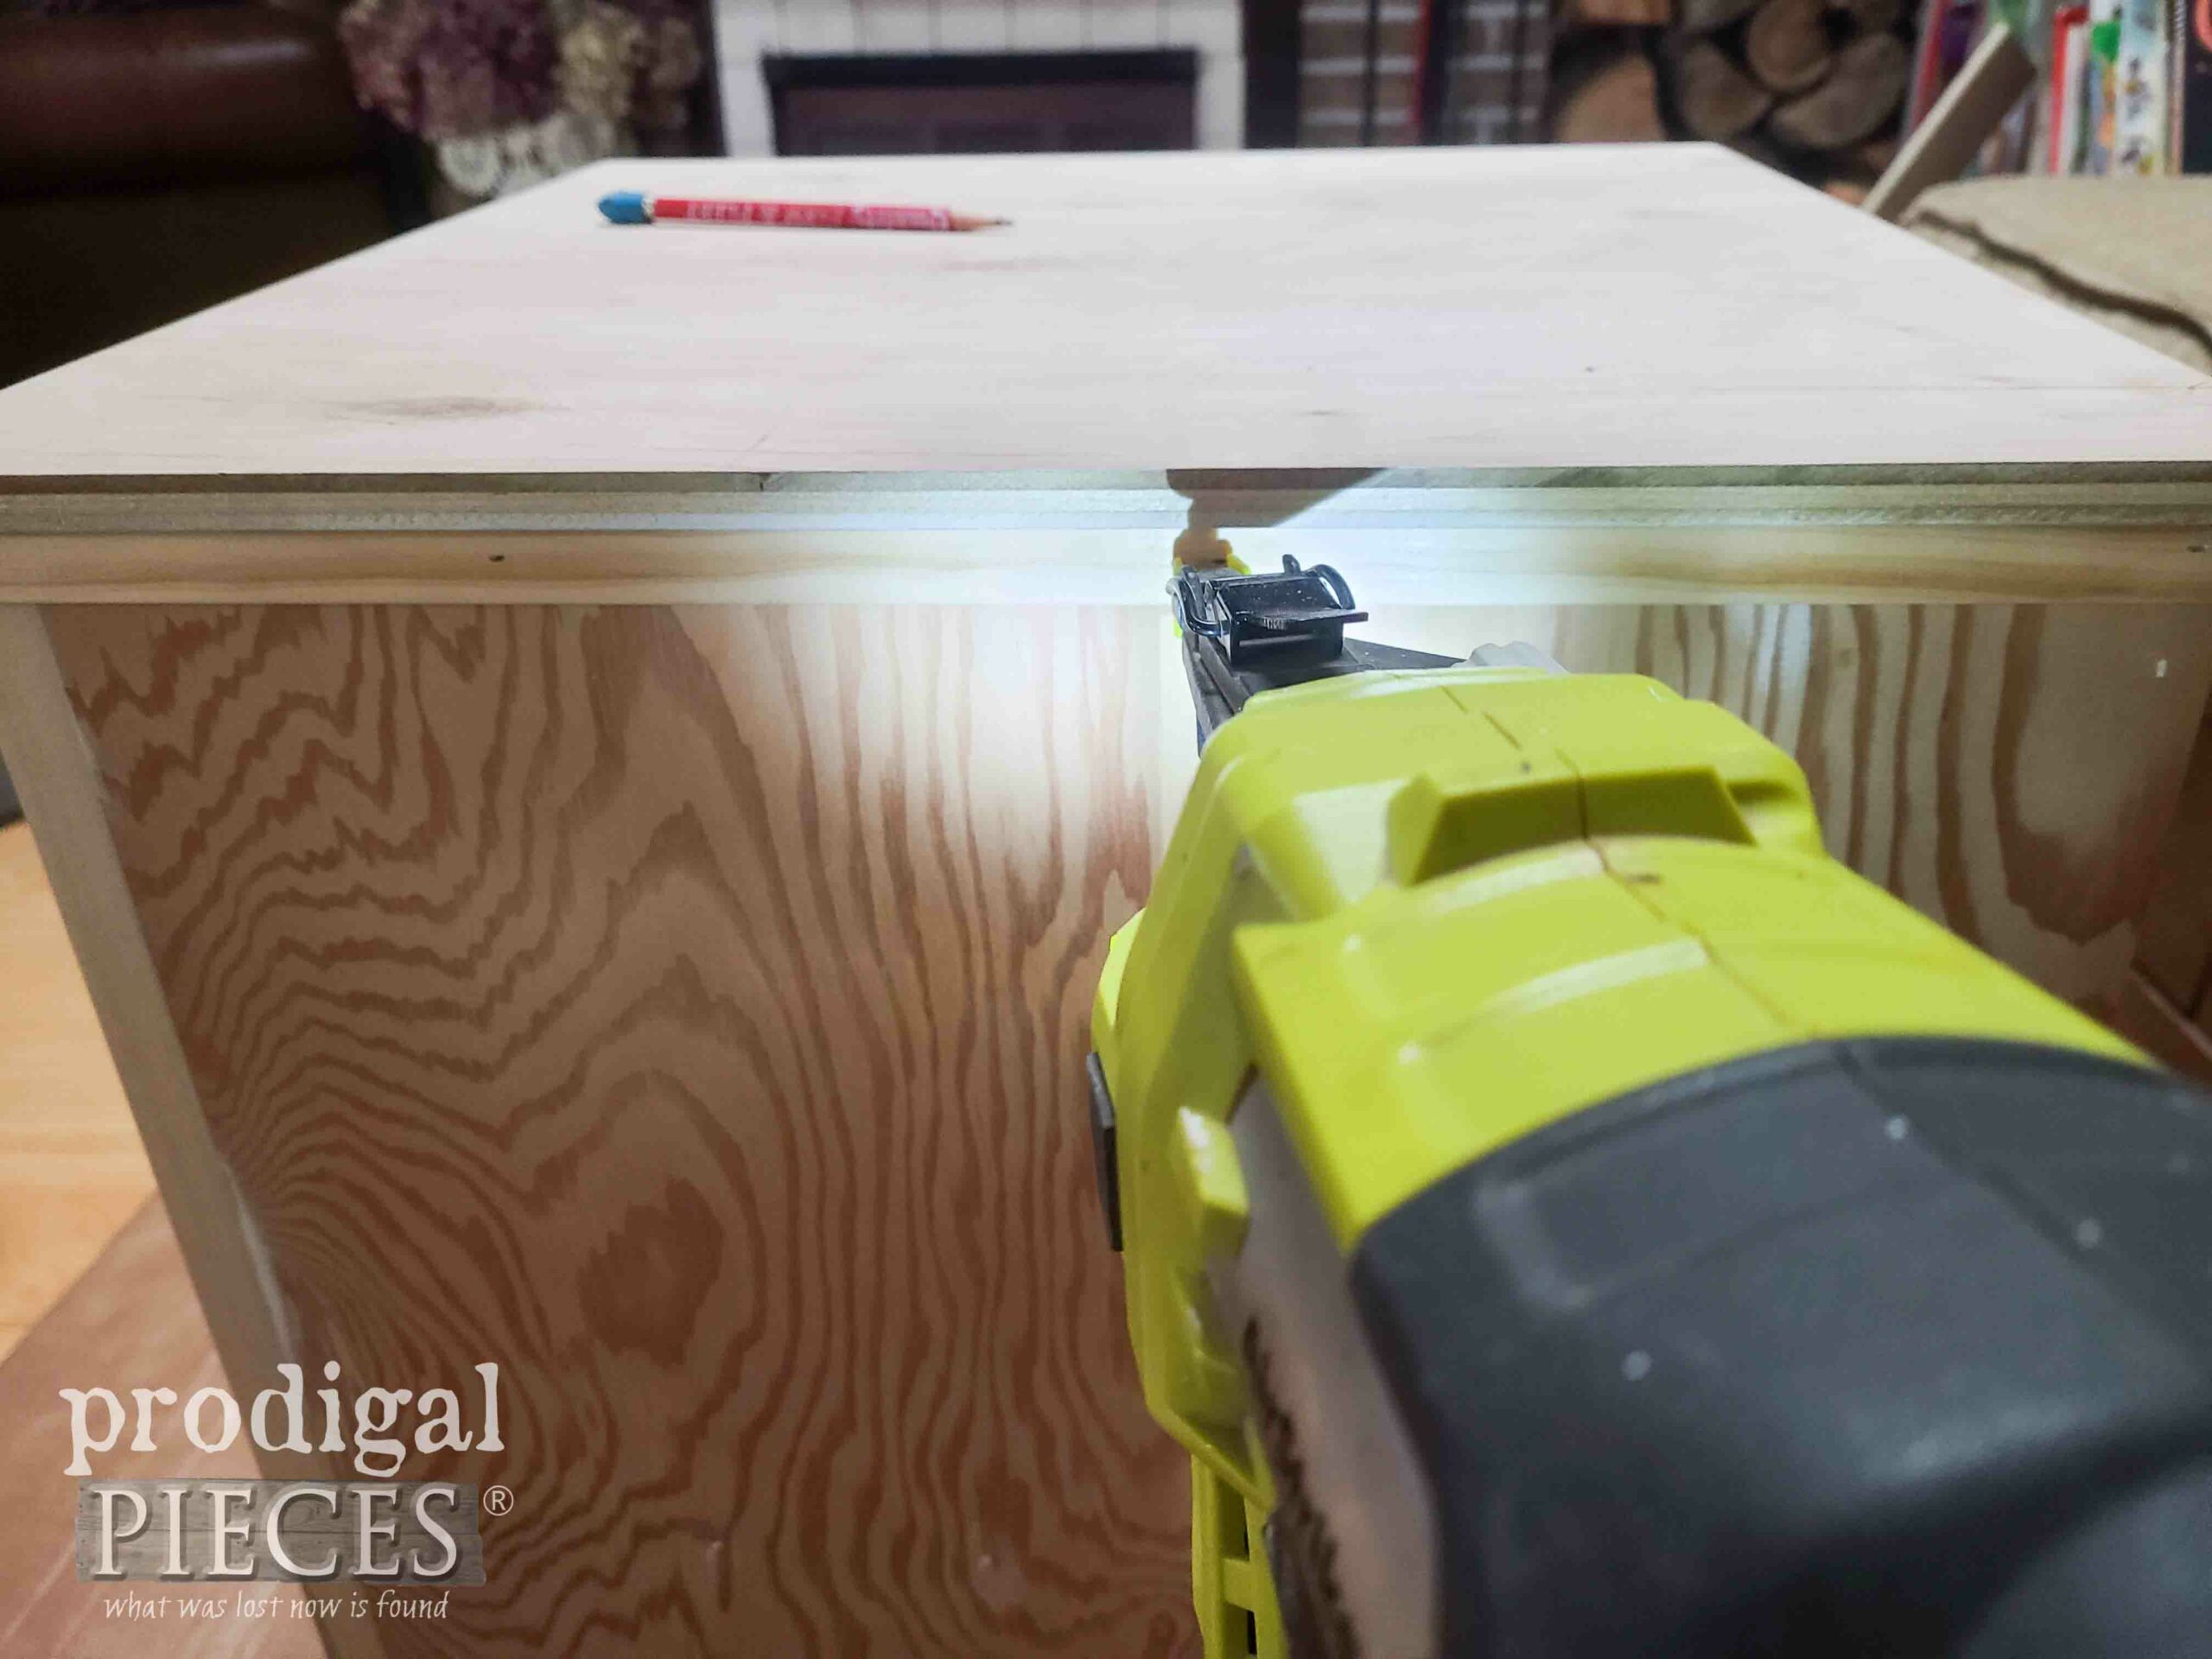
That’s much more pleasing to the eye, isn’t it? In addition, it allows it to be beside a bed or couch without all the wasted space. Then, once I have the new top attached, I use my nailer to attach trim below it to dress it up.
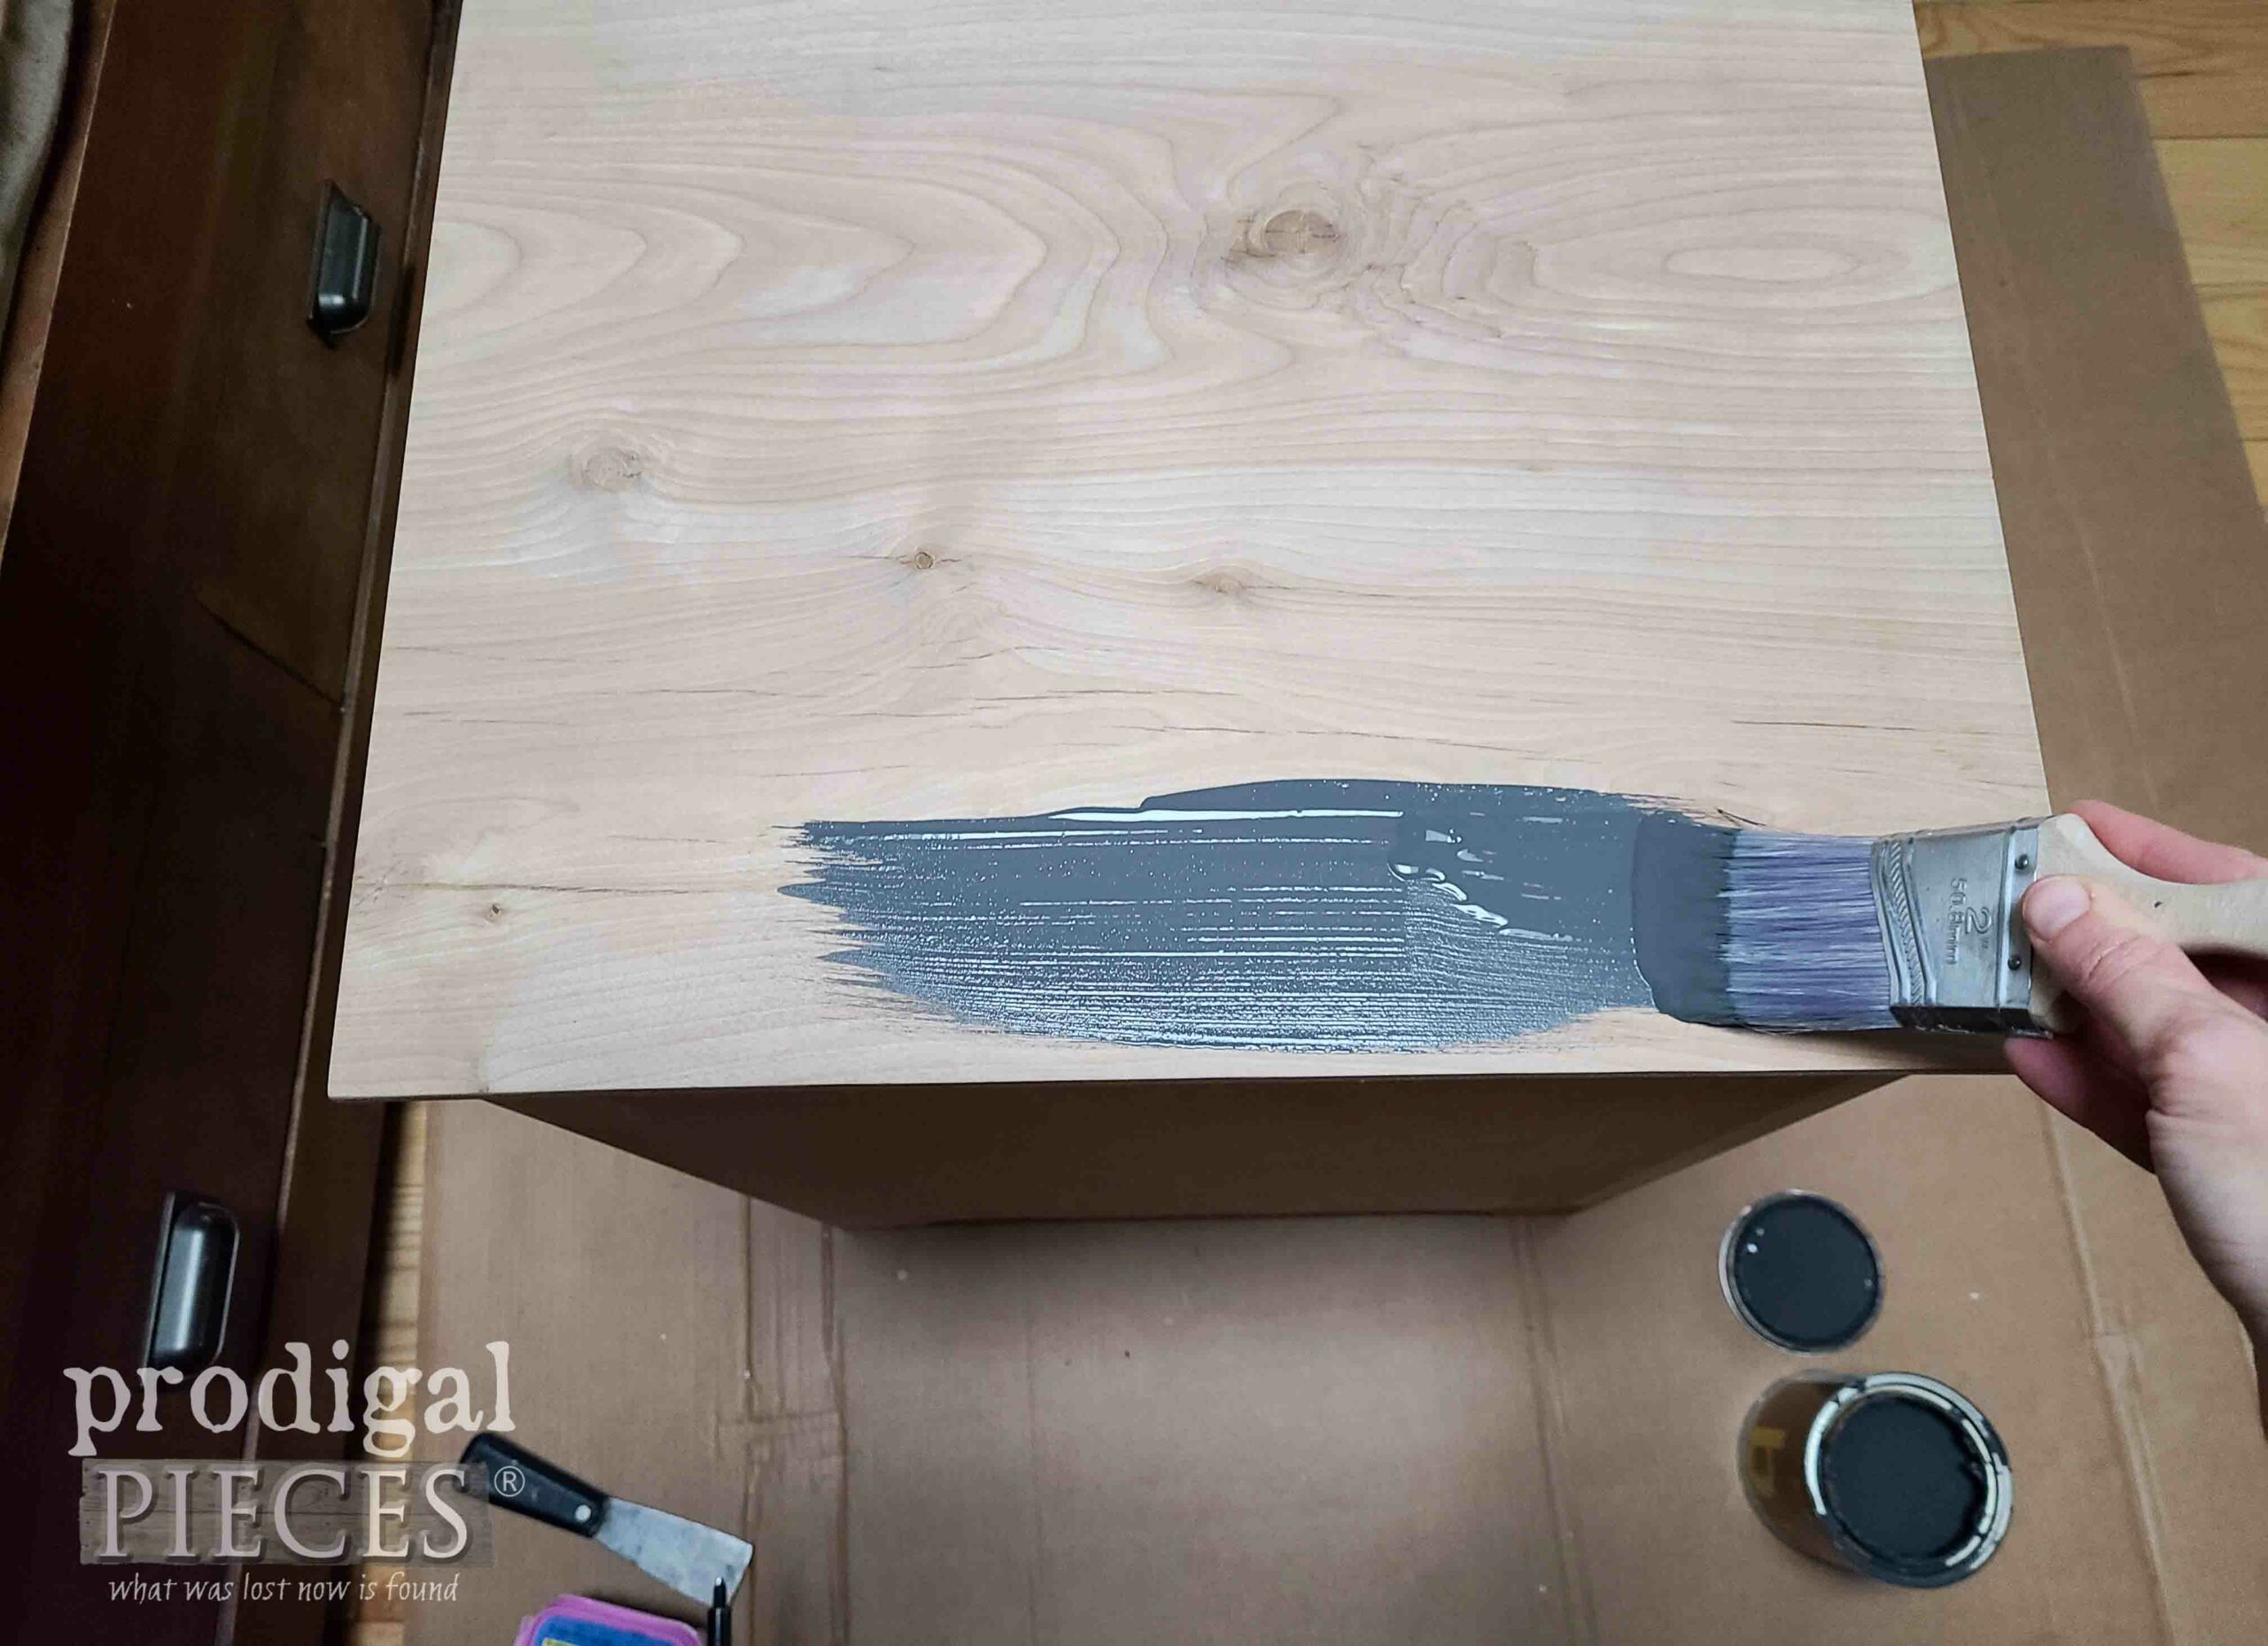
After that, I use this dark gray seconds paint to give it two coats letting cure in between. Since I really like the basic lines of this piece, I’m not really doing much to change the cabinet look. Sometimes simple is best. What would you do with it?
NEW LOOK
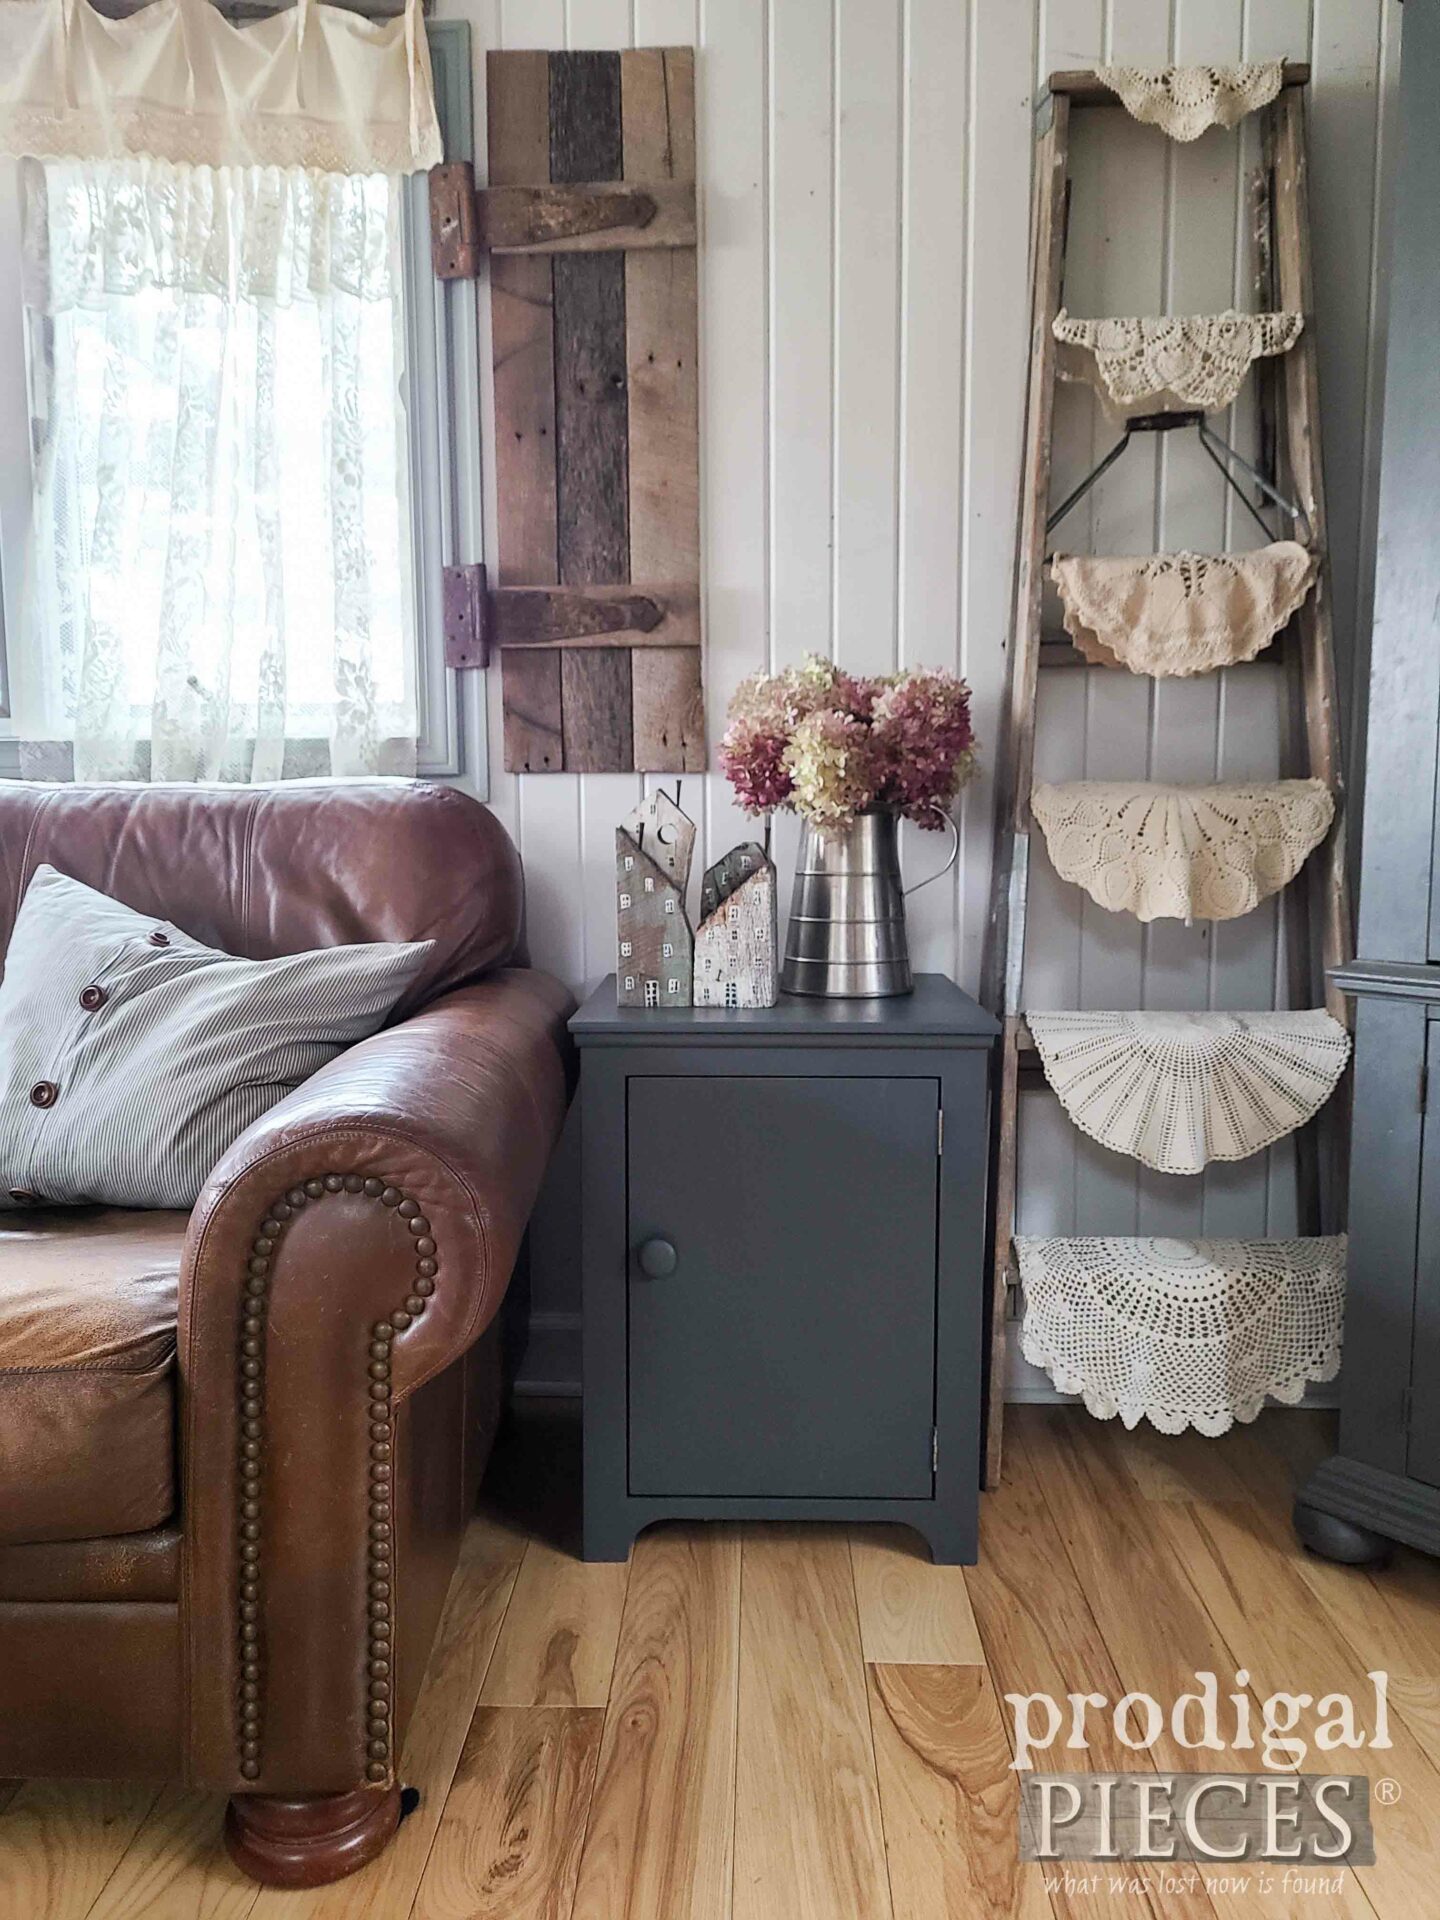
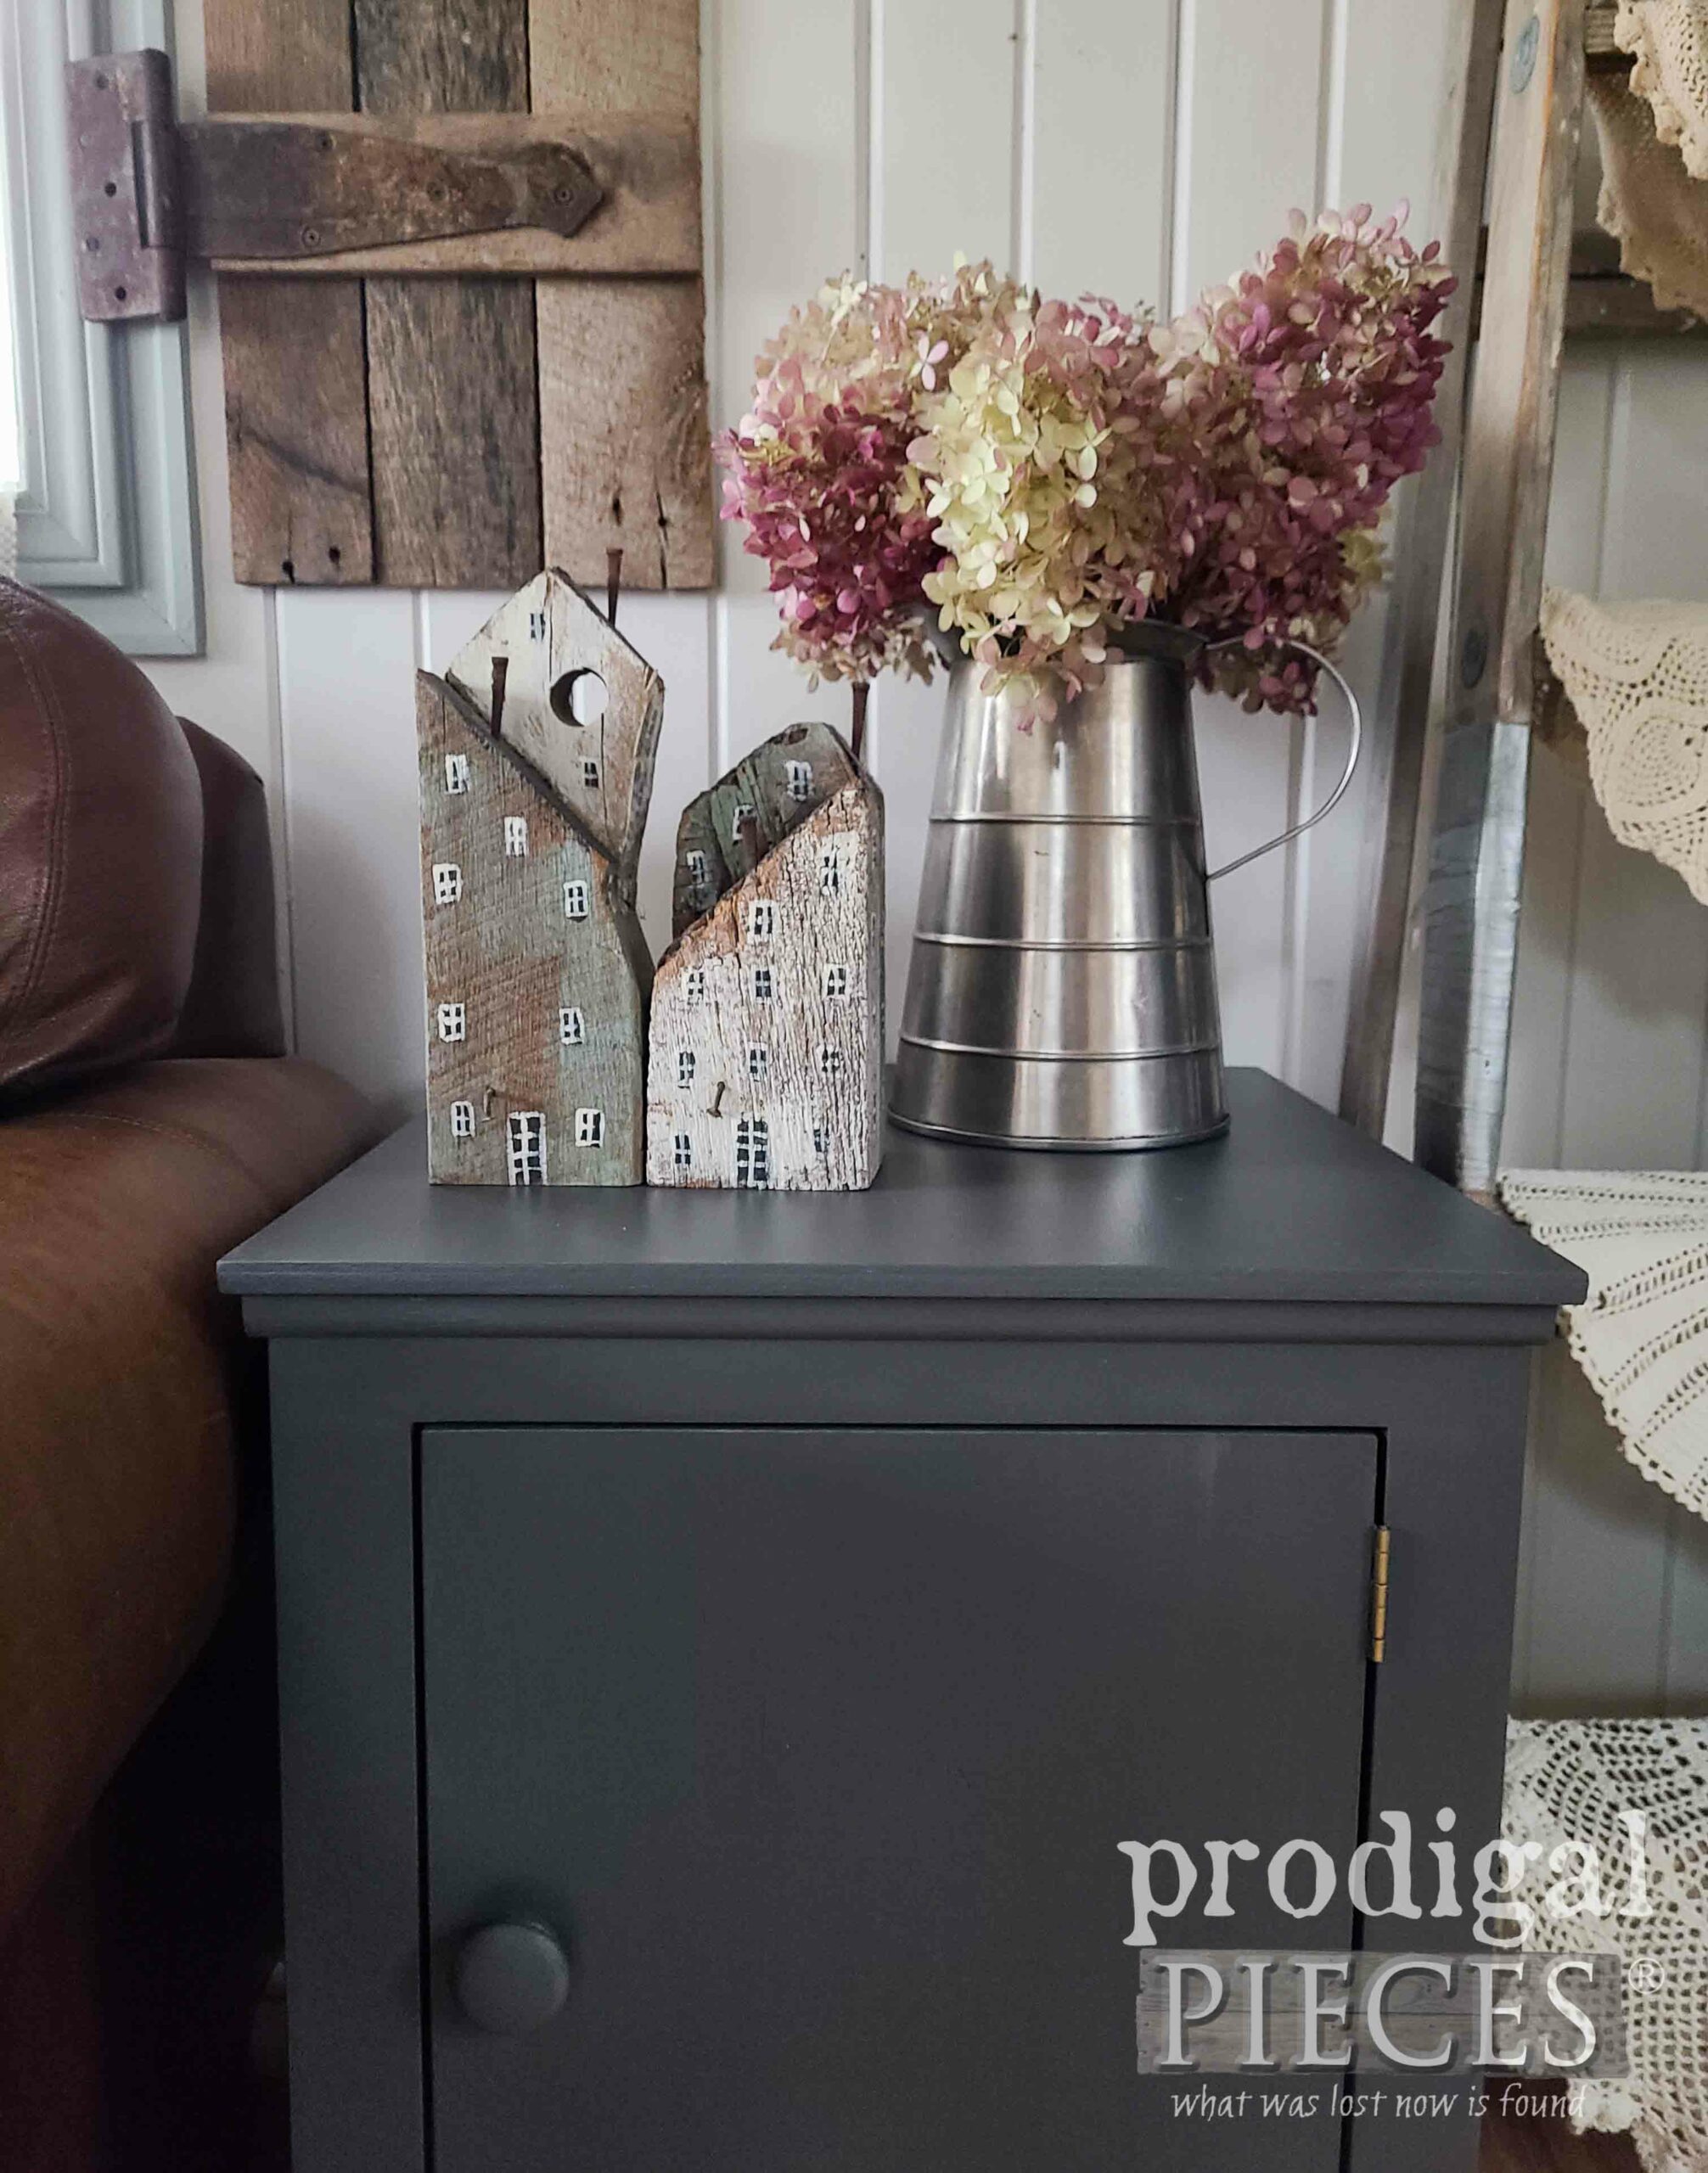
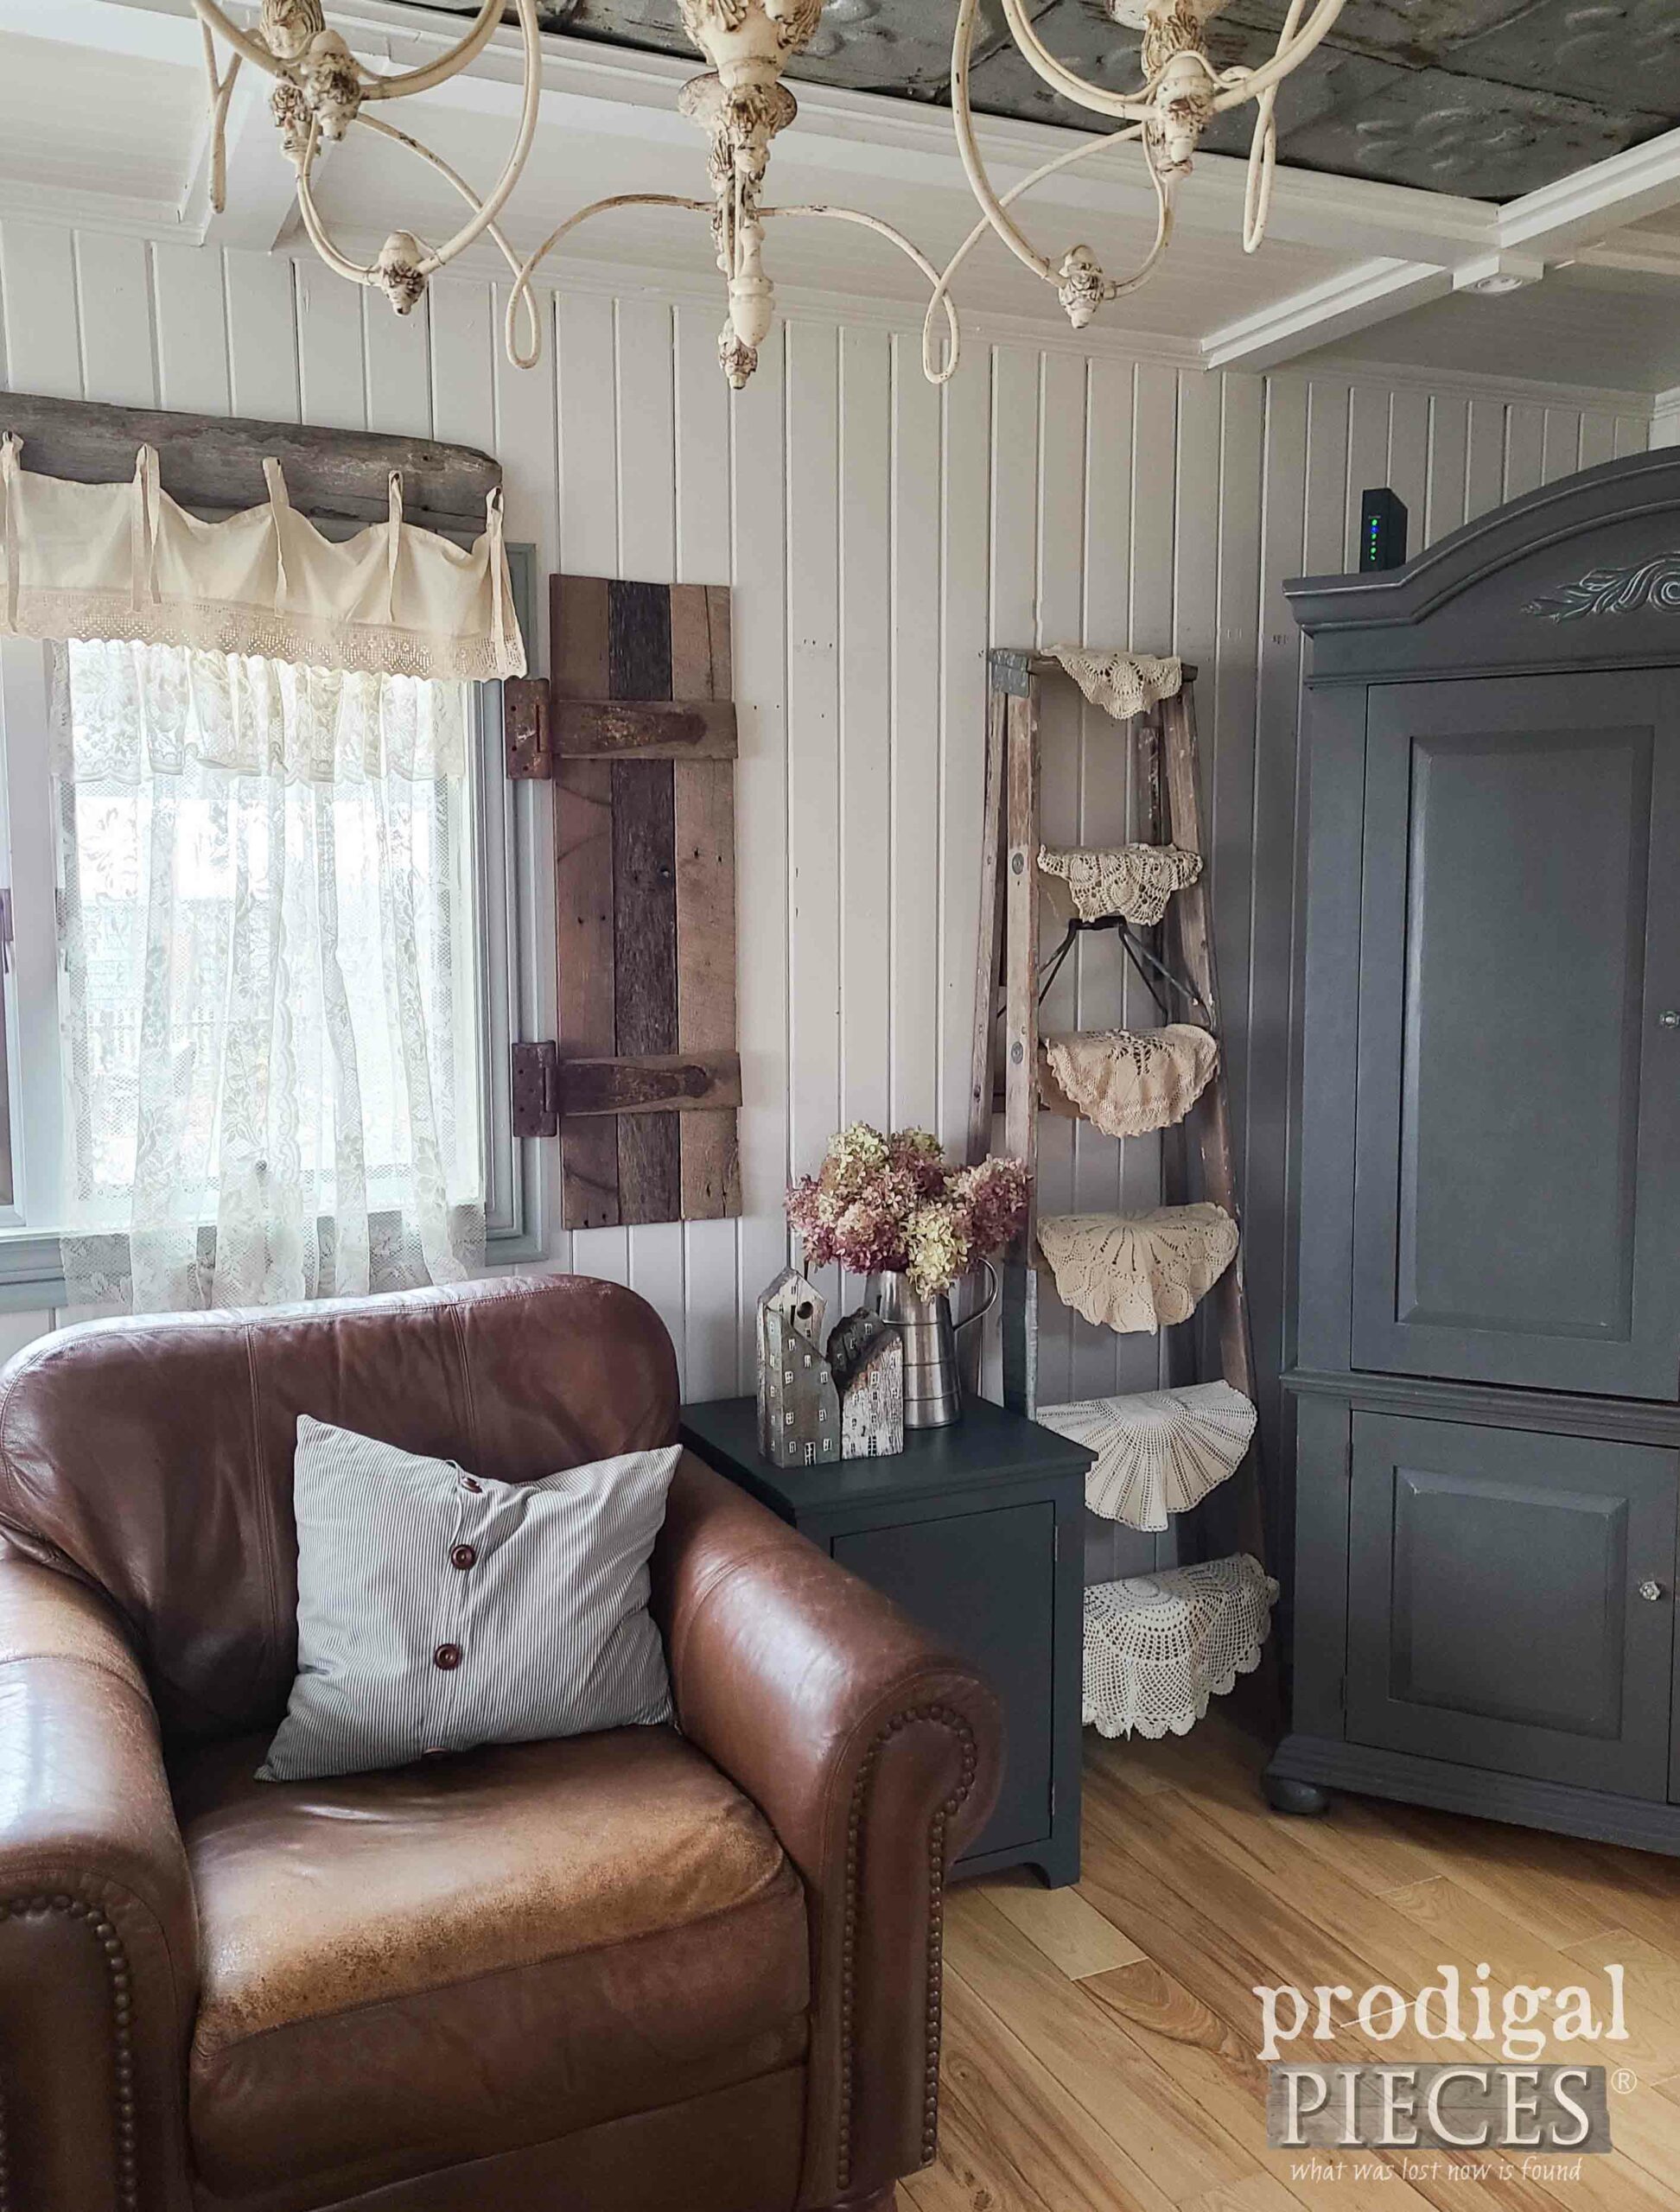
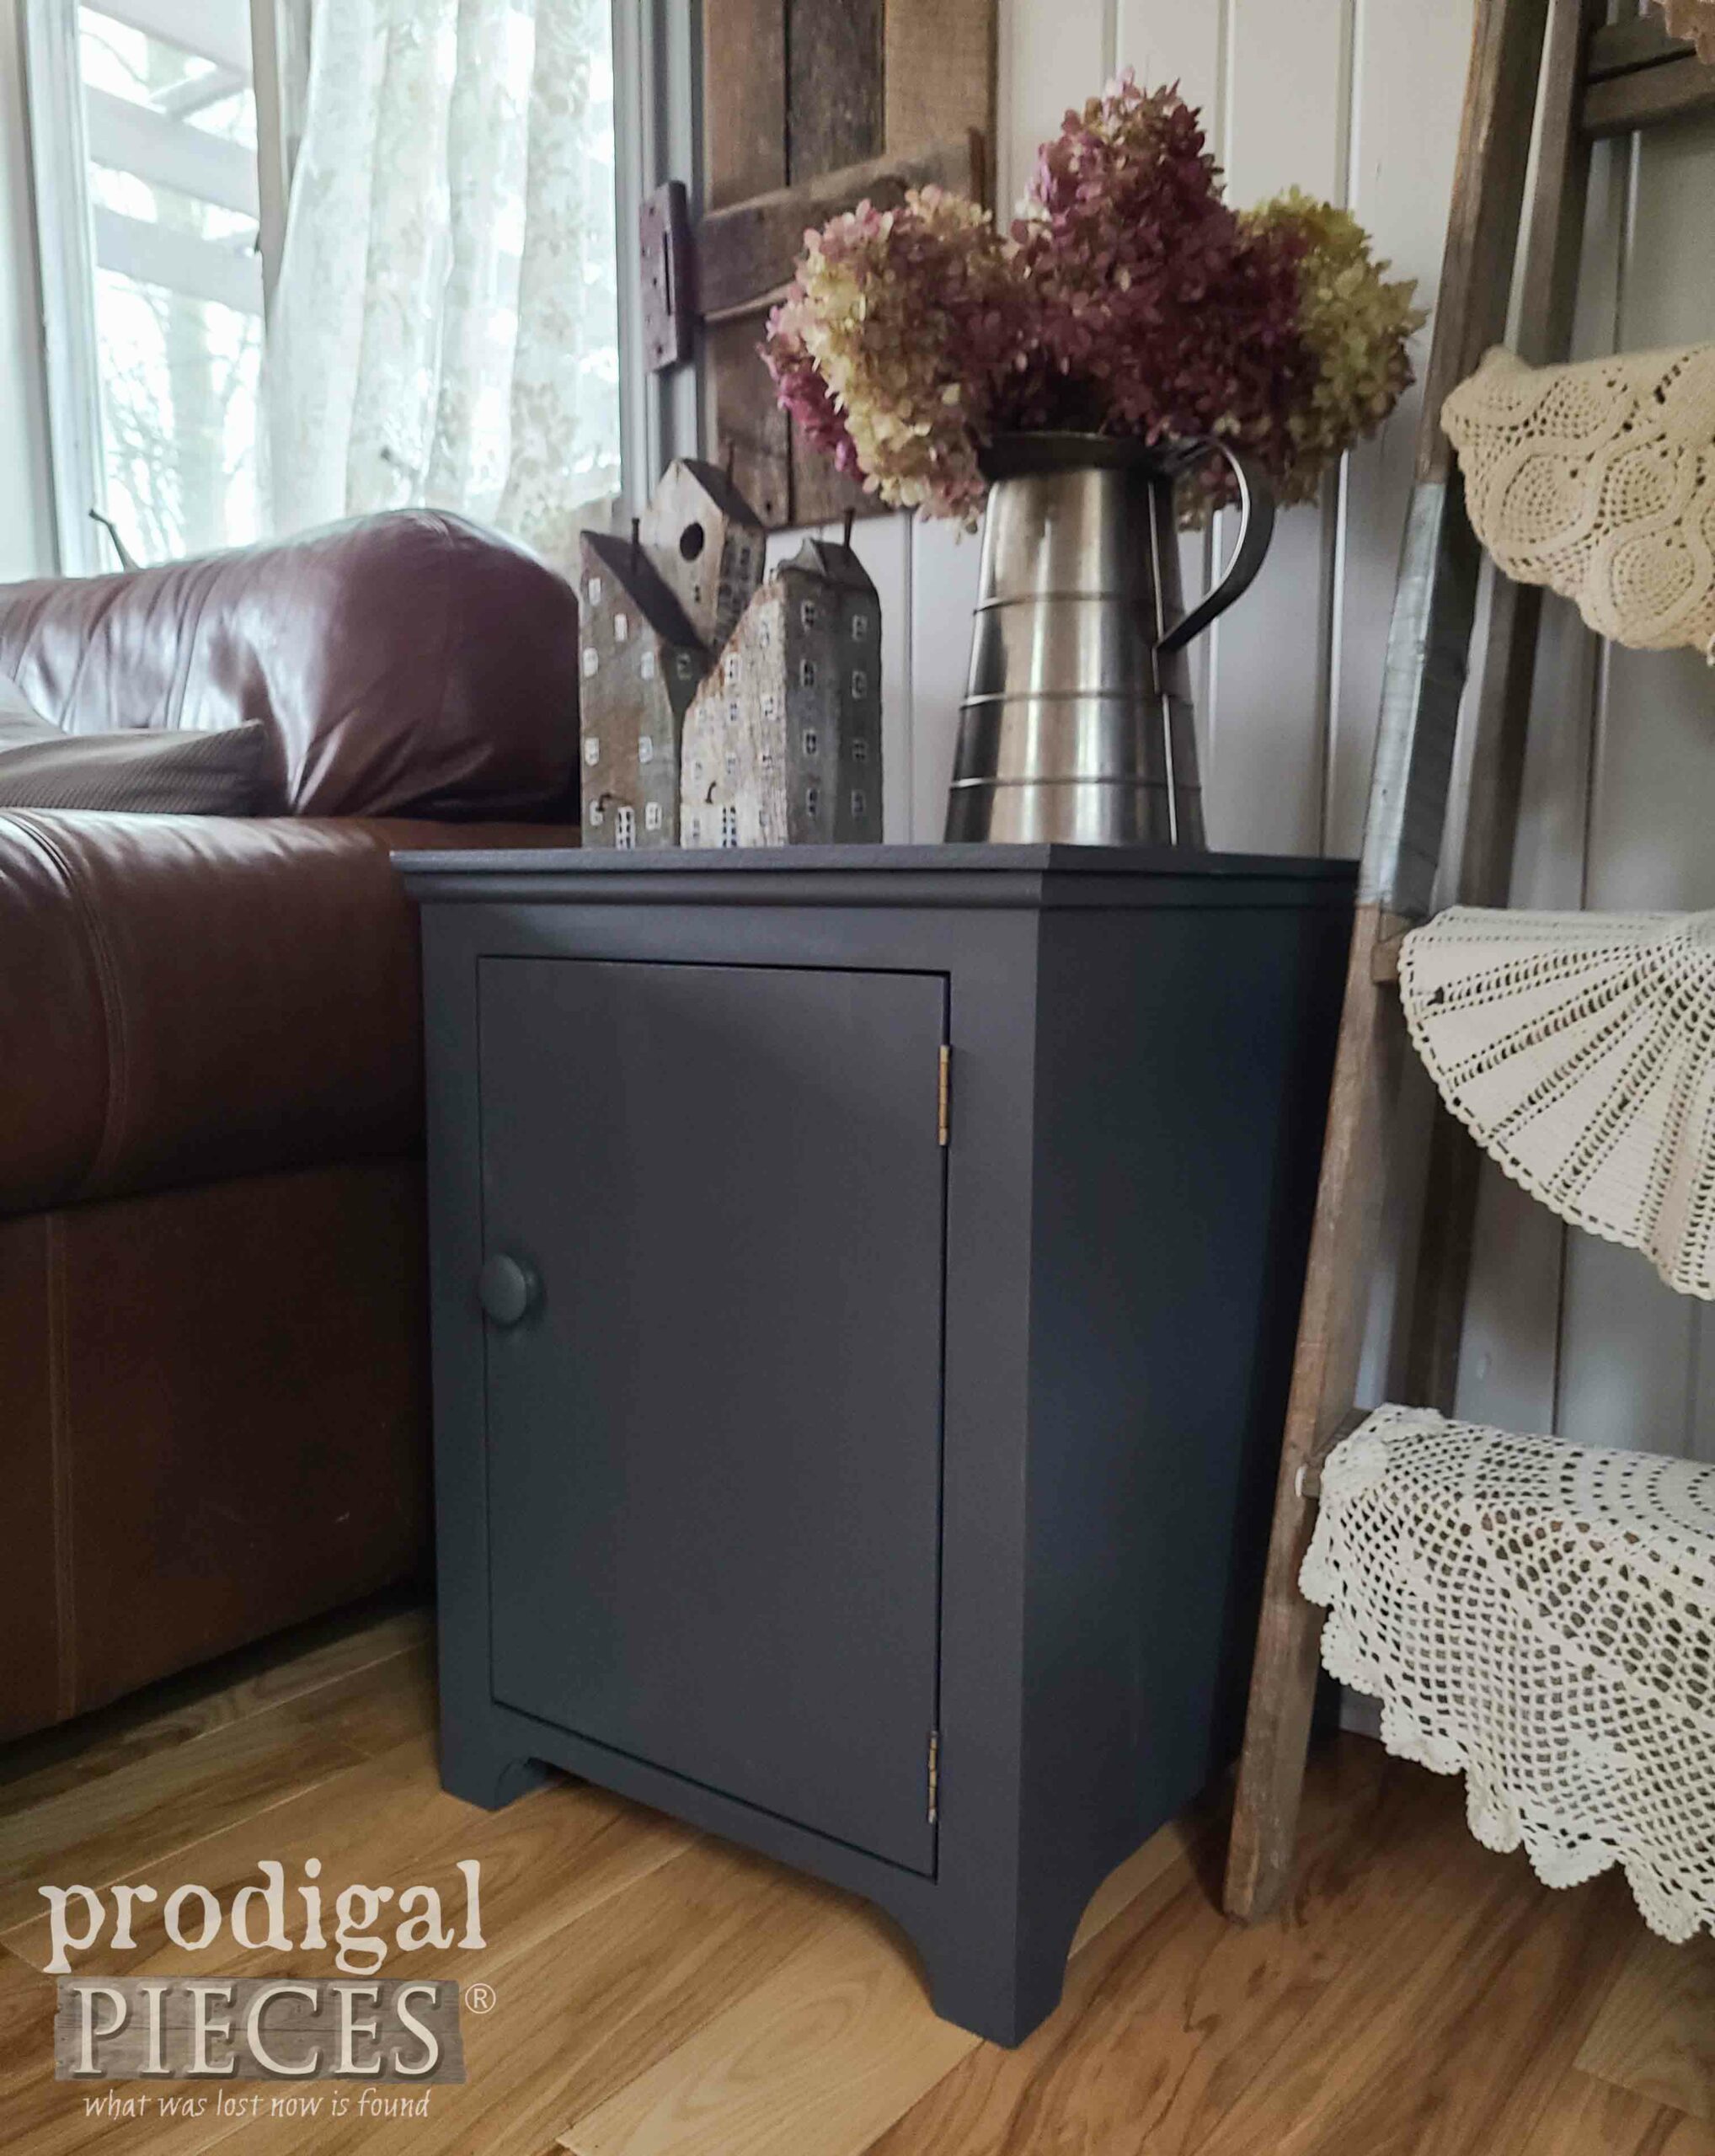
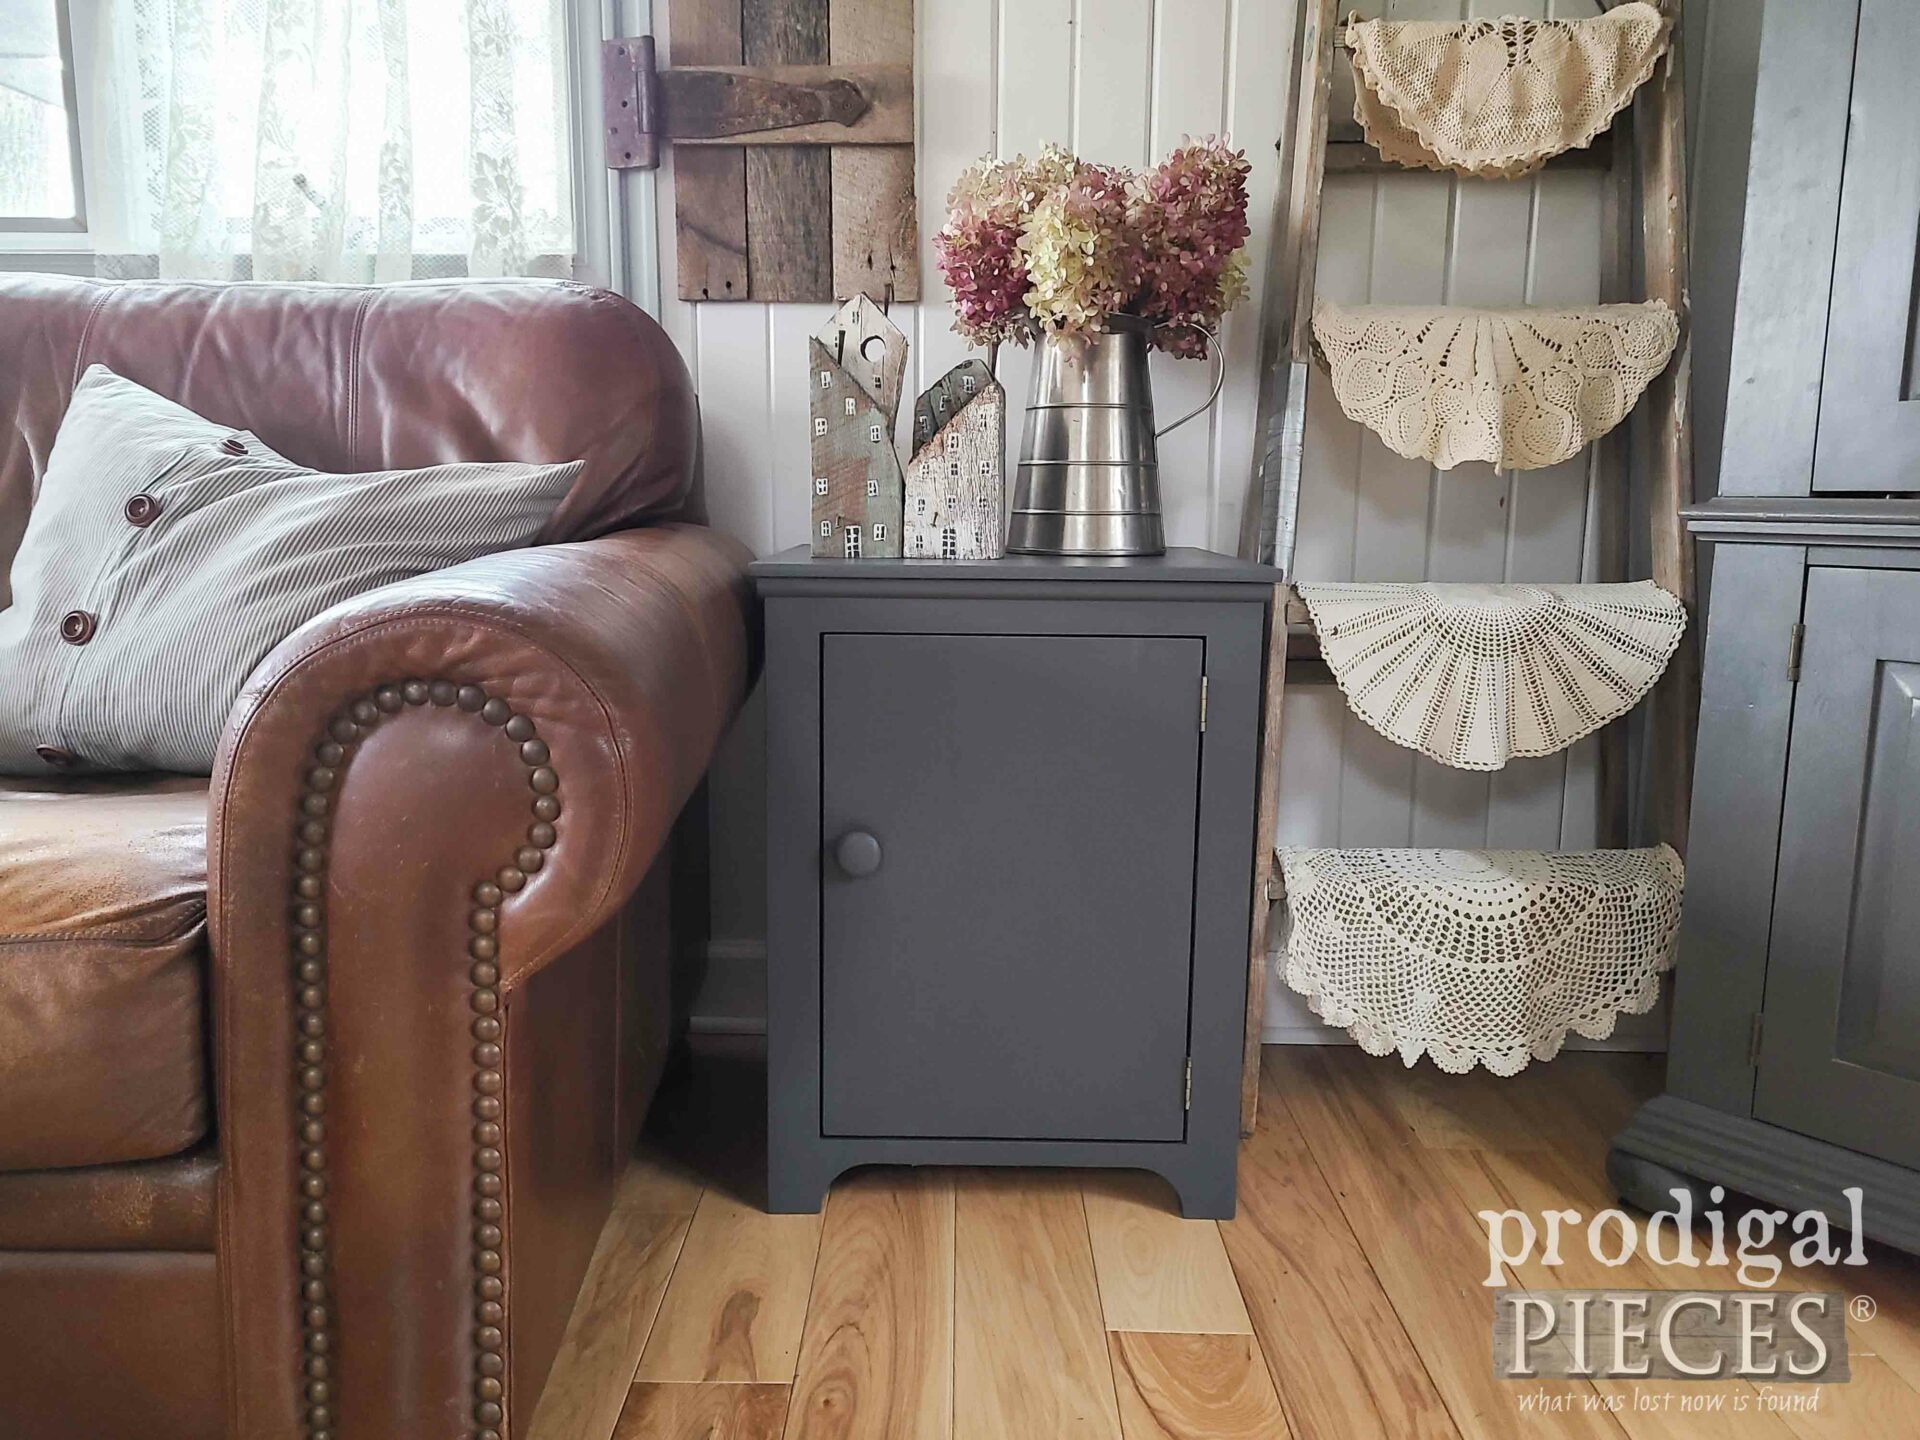
Finally, after my work and finishing, the DIY side table is ready for a new lease on life. It has new color, new vibe, and new start. Don’t we all need that every once in a while?
What’s funny is this color is very similar to the color I custom mixed for my free entertainment center. What is more, I finished it with a matte poly for plenty of protection. I love it!
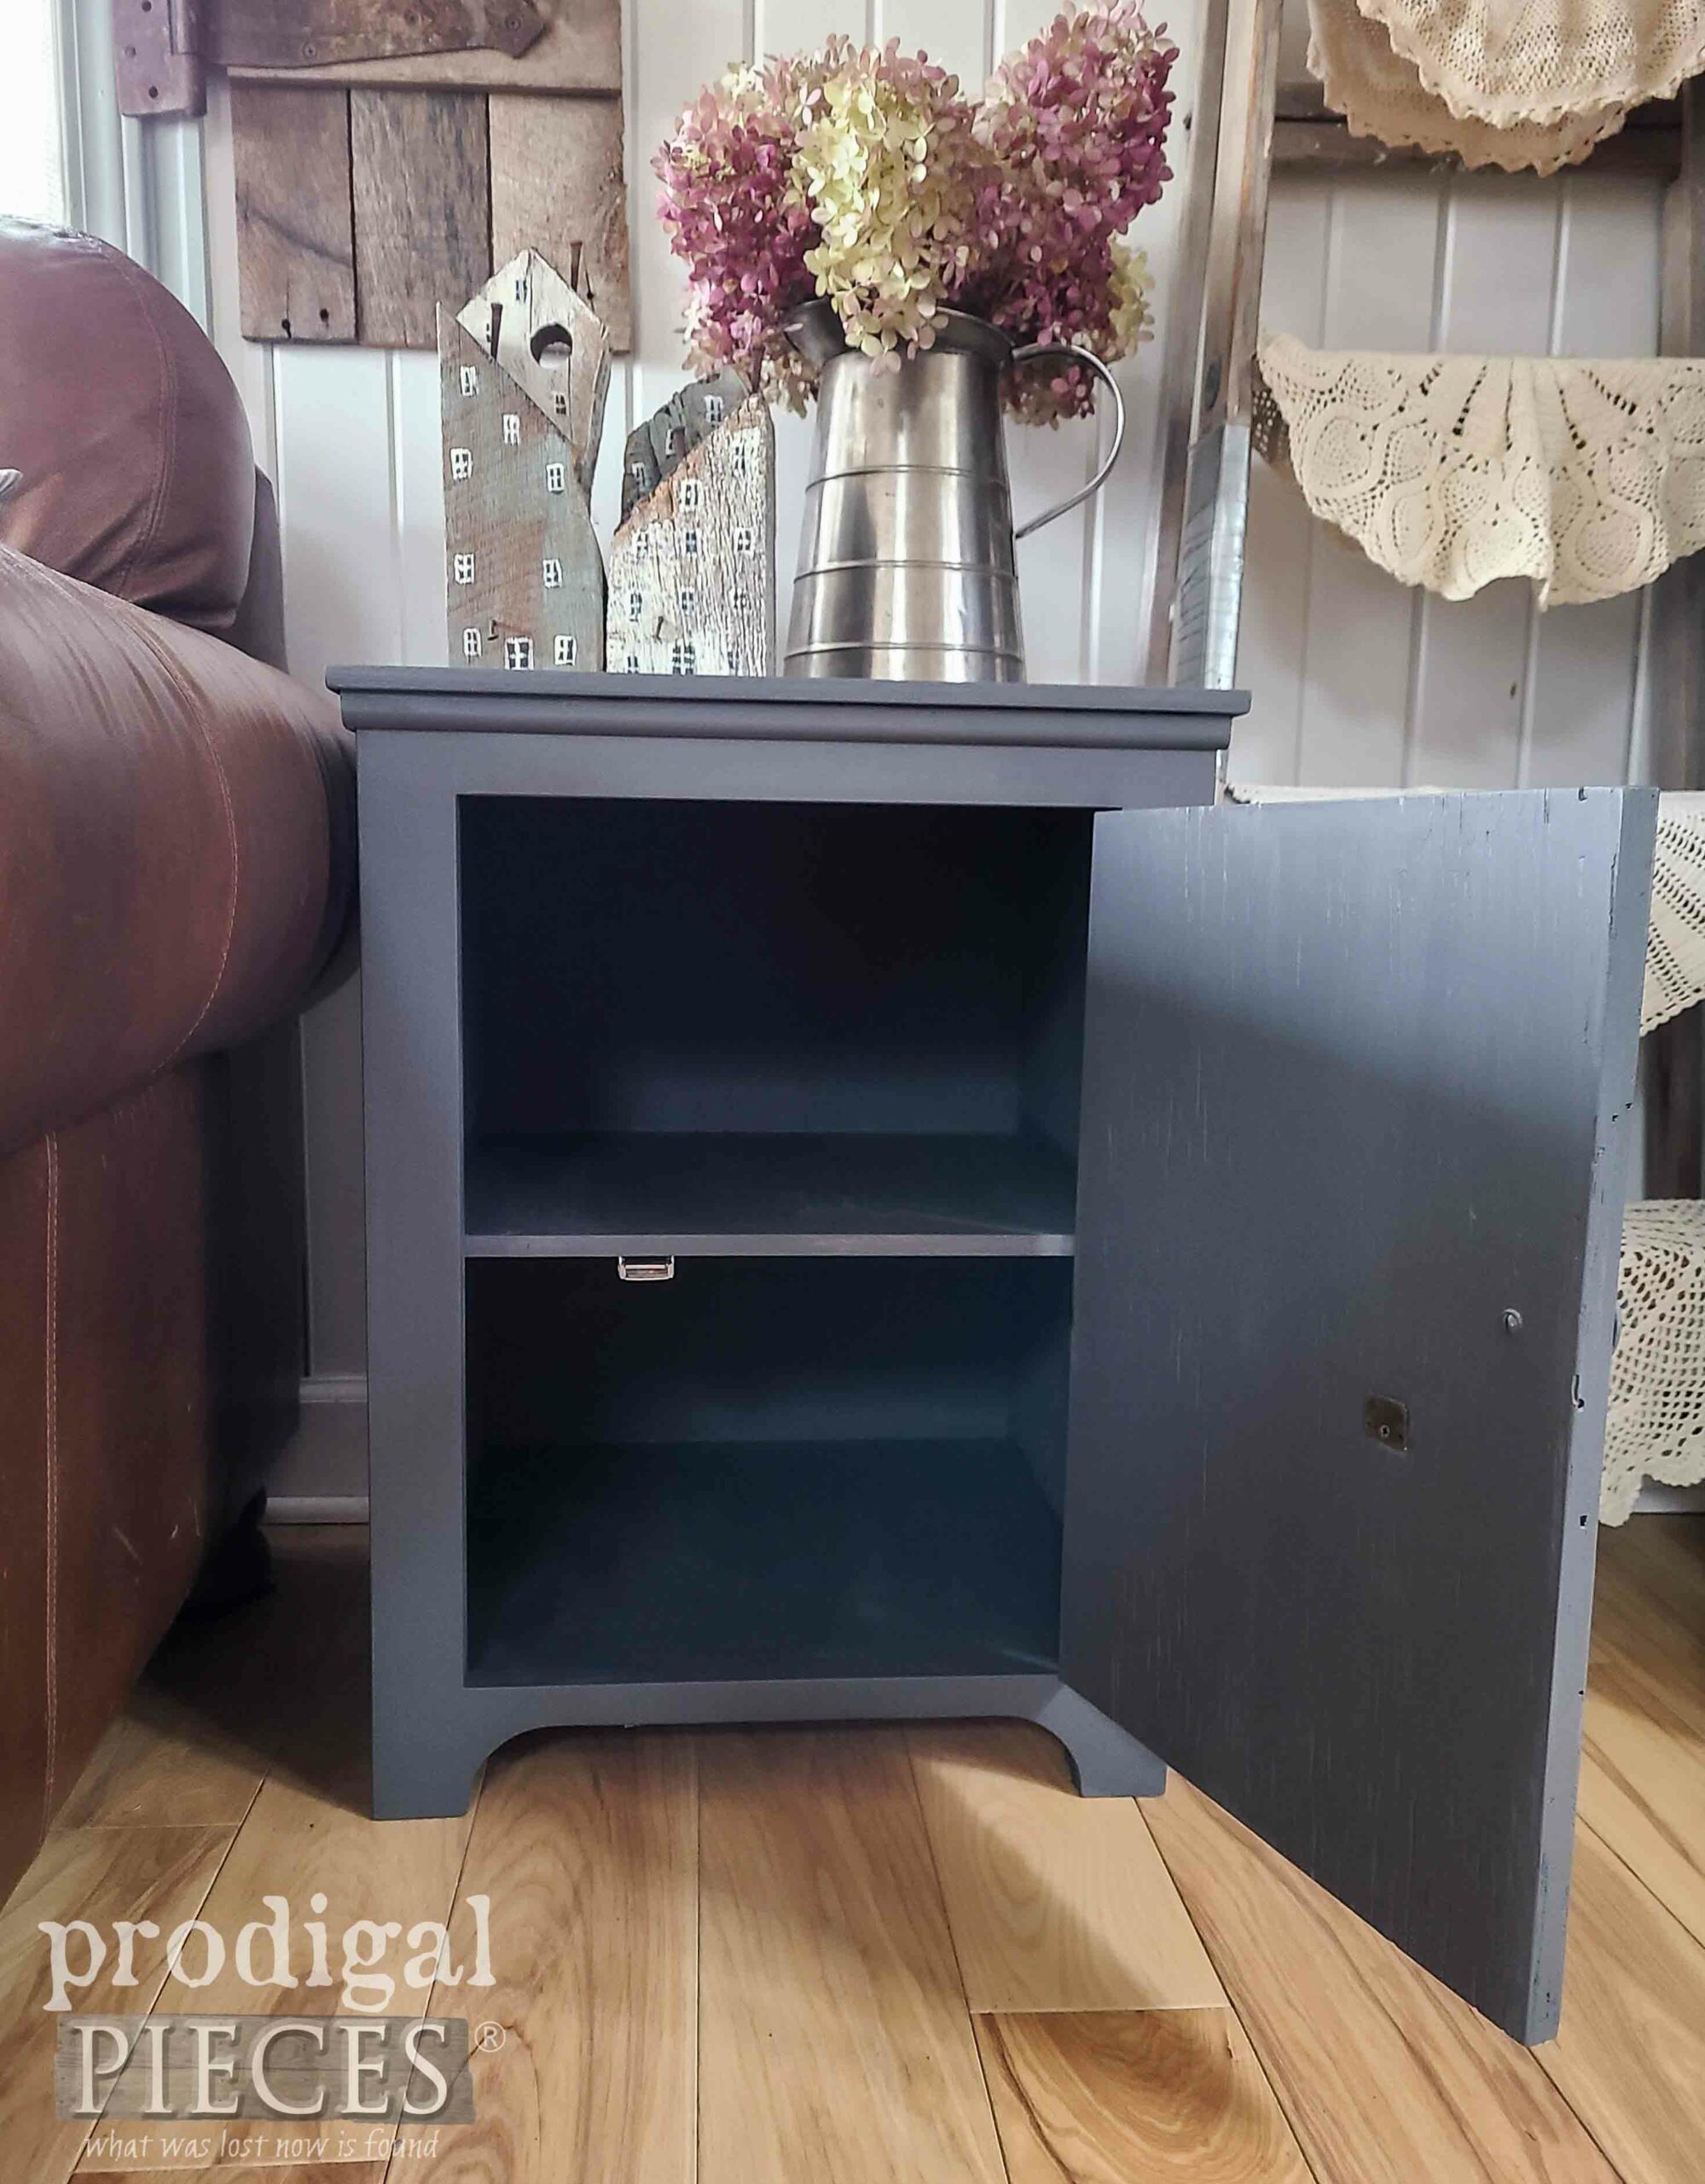
While I debated on doing a different color on the inside for a peek-a-boo effect, I decide to keep it monotone and simple. I like that every once in a while too.
Side thought… while it’s always a treat for me to share my adventures with you, hearing from you is the ultimate cherry on top. If you’d like to make this cabinet table part of your home story, you can find it and more in my online store.
SHARE
After leaving some comment below (chat it up as it makes it fun for all!), do pin and share my DIY side table makeover. I’m sure there are other misfits out there waiting for new life.
Before you go, be sure to sign up for my FREE newsletter to see what becomes of the table top OVER HERE. Until next time!

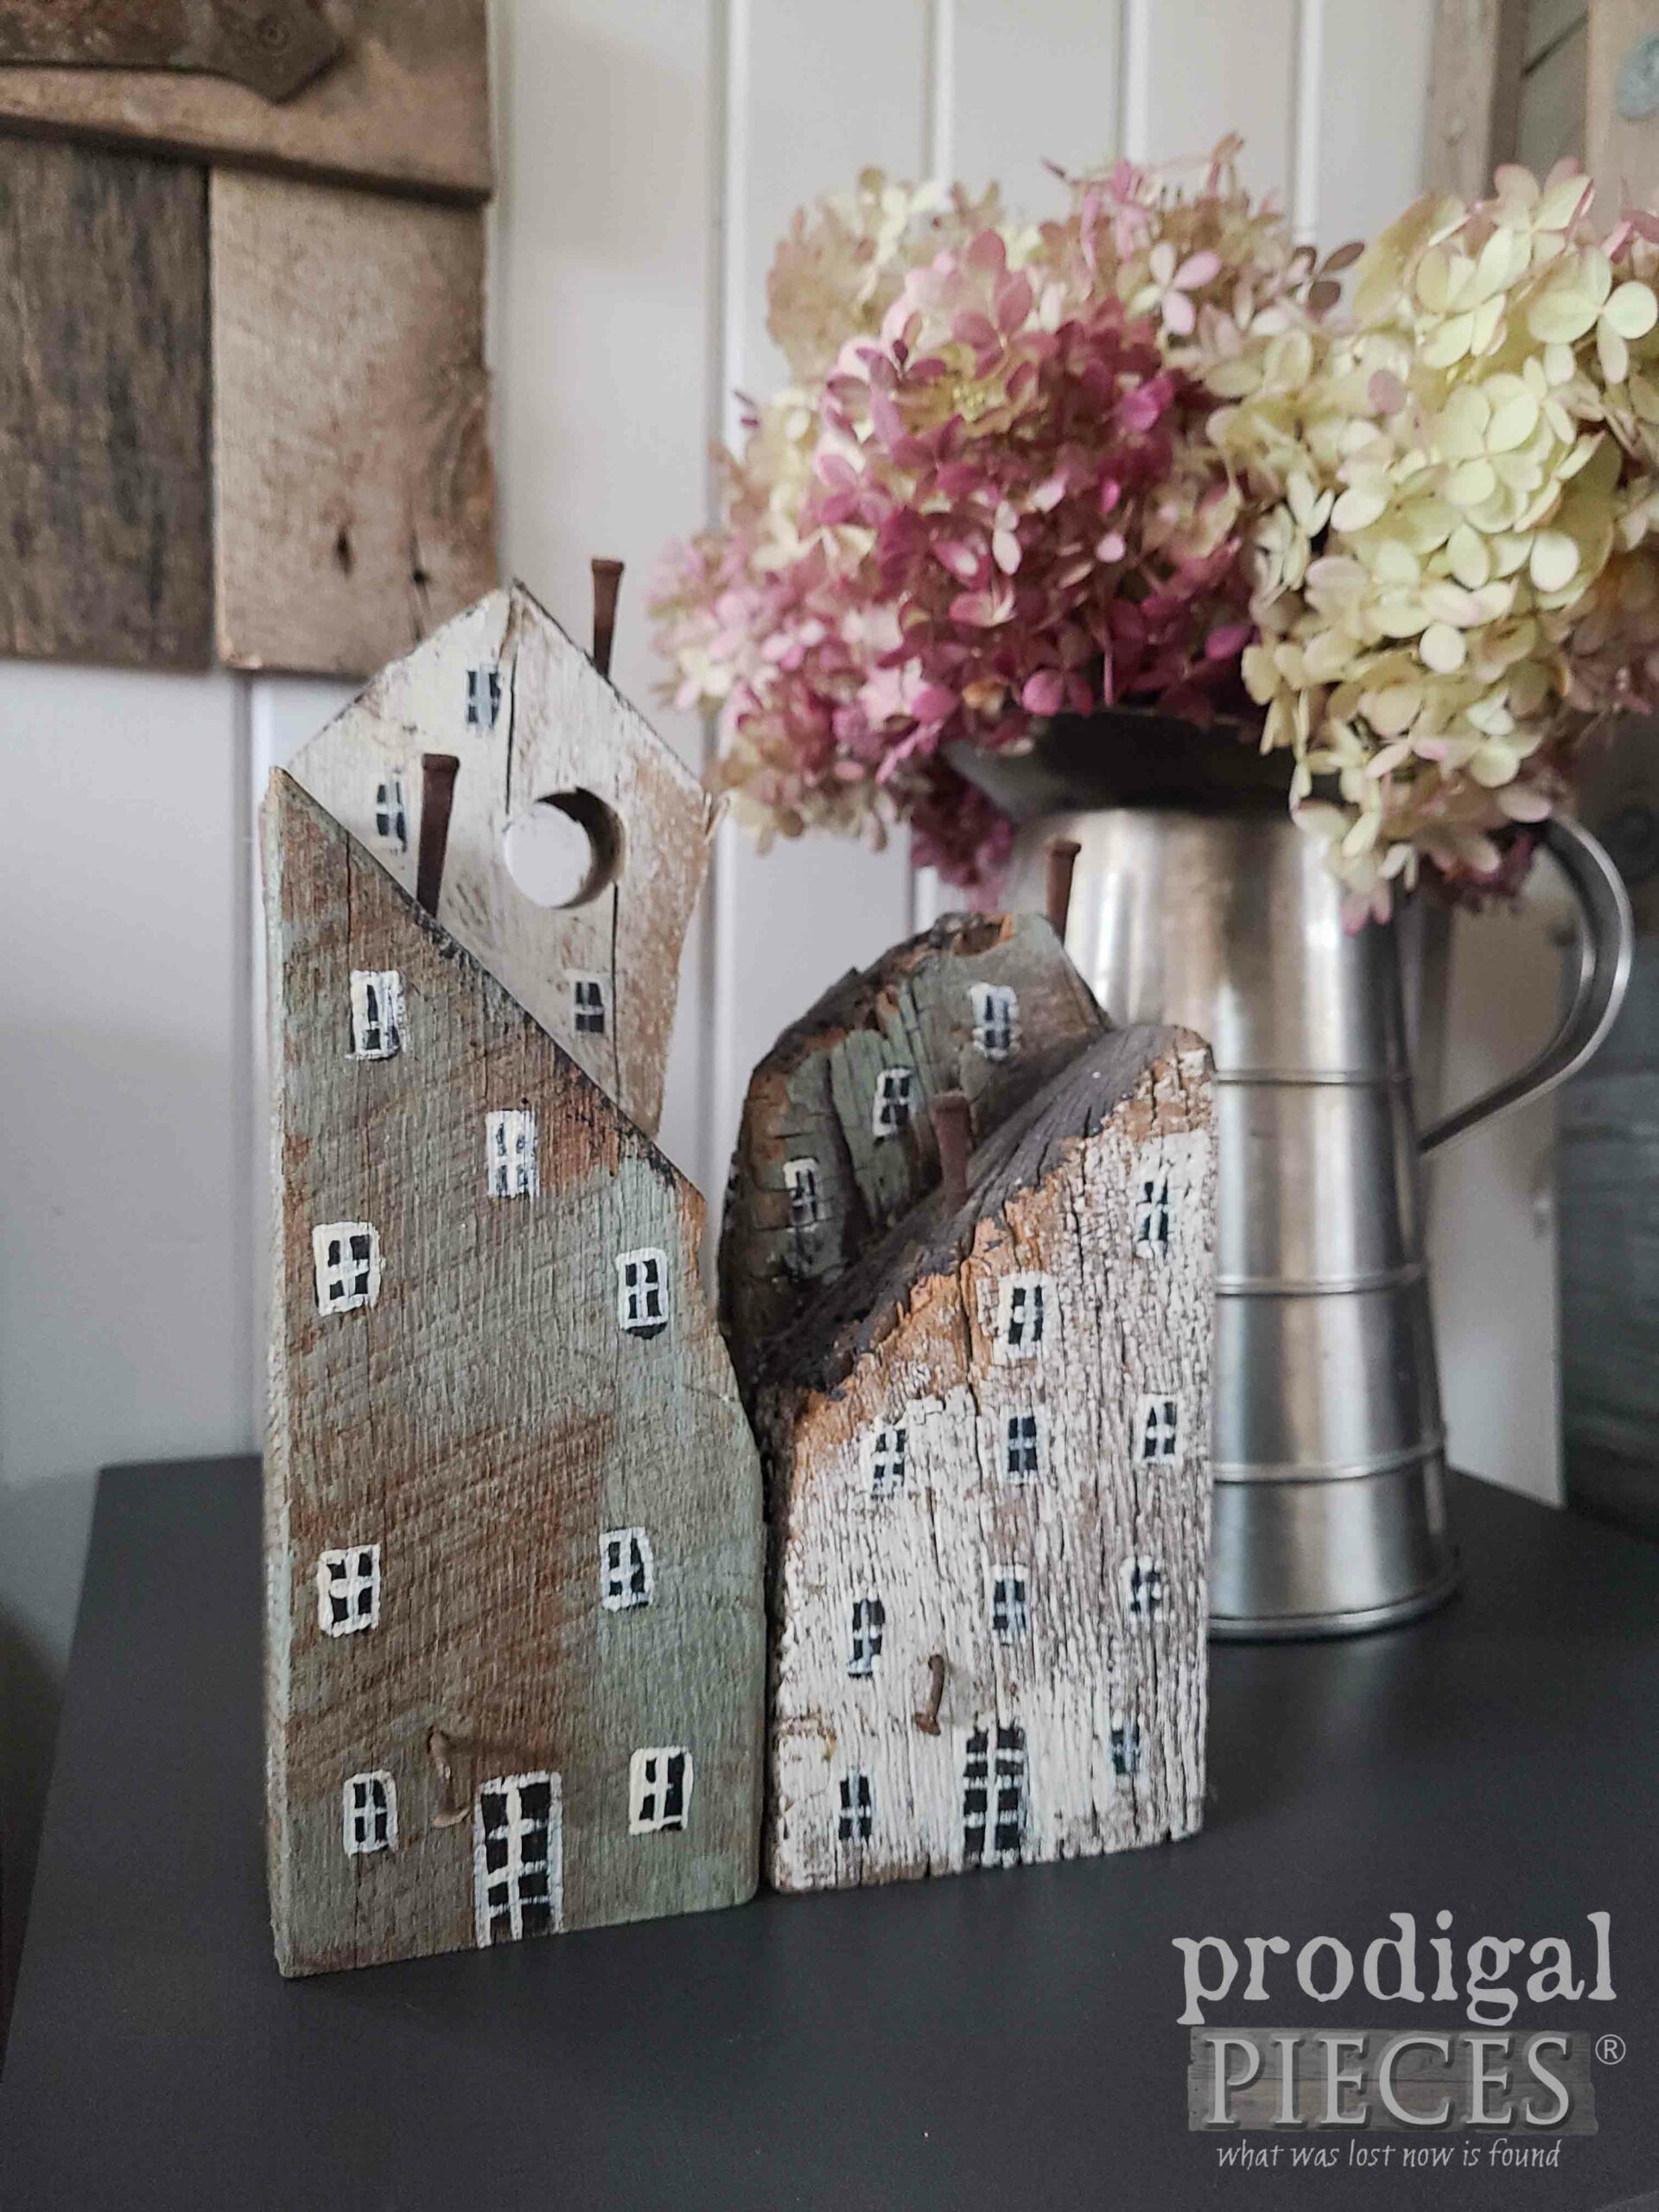

Beautiful job! The round top looked awkward, but you made it beautiful! I love the wood houses you staged it with. I don’t remember seeing those before. Can you give us some info on those?
Love your work!
Diana
Thank you for that sweet affirmation, Diana. I made those back in this post and they rest on my mantel: https://prodigalpieces.com/reclaimed-wood-houses/ They’re just a happy thing for me. 🙂
Larissa, I smiled when I saw the cabinet, because it reminded me of one that my mom had next to her bed. It was made of one side of those adorable dressing tables with the giant round mirror in the middle. Then my dad cut a circular piece of wood and mounted it, so that she could drape a round (butterscotch colored?!) tablecloth over it all and use it next to her bed for her favorite family photos. I love what you did with this one – it looks SO much better and definitely more functional. It would have been difficult to open the door and use the cabinet inside with the crazy round top (and especially if a round tablecloth covered the whole thing! ha ha. Thanks for the smile and the inspiration!
I love that you have that memory. It’s amazing to think of all the things the shape our lives. Thank you for that smile. 😀
I absolutely LOVE that you took something for $1 and made it into something that looks so much more high end! I’m always amazed at your ability to see what things can be changed into! I like to try to do the same when I’m out thrifting. As always, thanks for your continued inspiration and how -to advice! Here’s to a bright New Year!
You are such a fun spirit, Jill. I’m delighted to hear you have your own adventures and get why I do what I do. Thank you and well wishes!
Such a difference! So much better without that round top! And I love those houses sitting on top! Going to check out the post you reference in the comment above! Happy New Year!
Wonderful to hear, Susan! I had such fun working on it (and those houses for myself). Sending happy hugs. 😉
It’s simple, useful and fits in with most other furniture. You can’t lose for $1. You changed it and made it so much better.
Thank you for getting what I was after, Rita. I wanted to show how a few simple changes can change the entire look.
What a transformation! Such an improvement when you replaced the round top.. I always look forward to seeing how your vision guides you.
Happy New Year
woot, woot! Thank you, Joanne. I wanted to show how simple one change can make to entirely change up a piece.