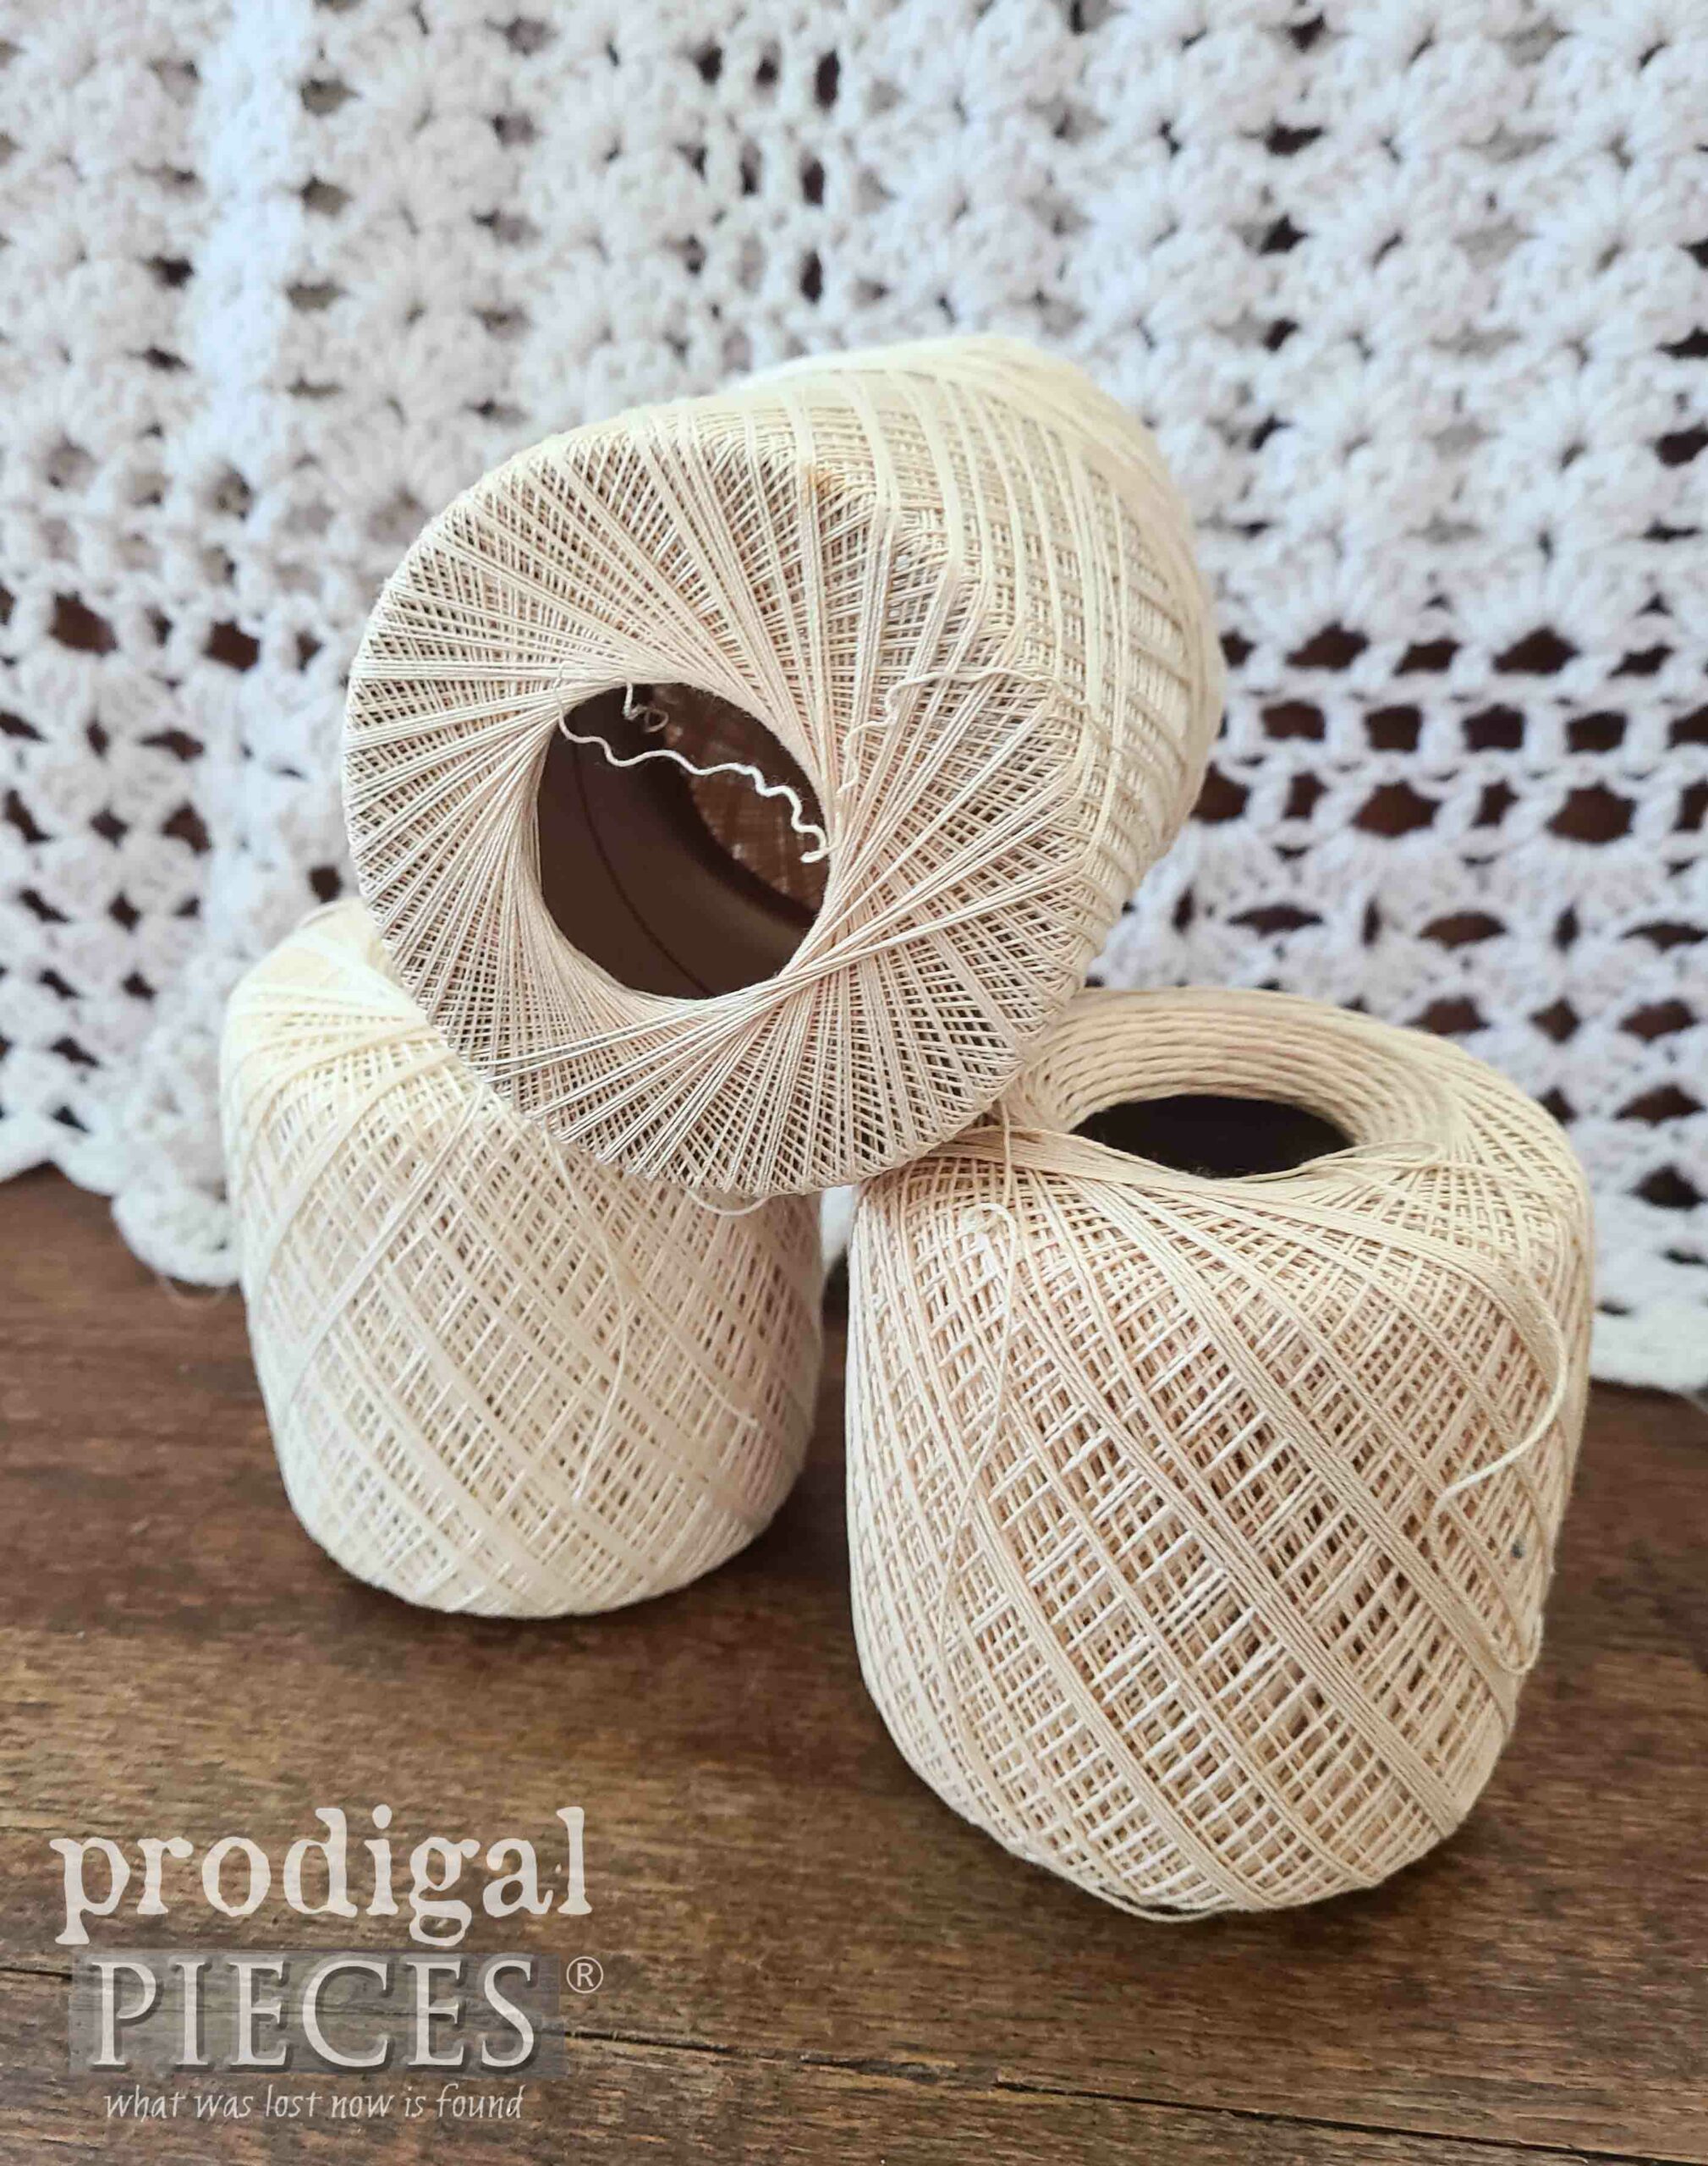
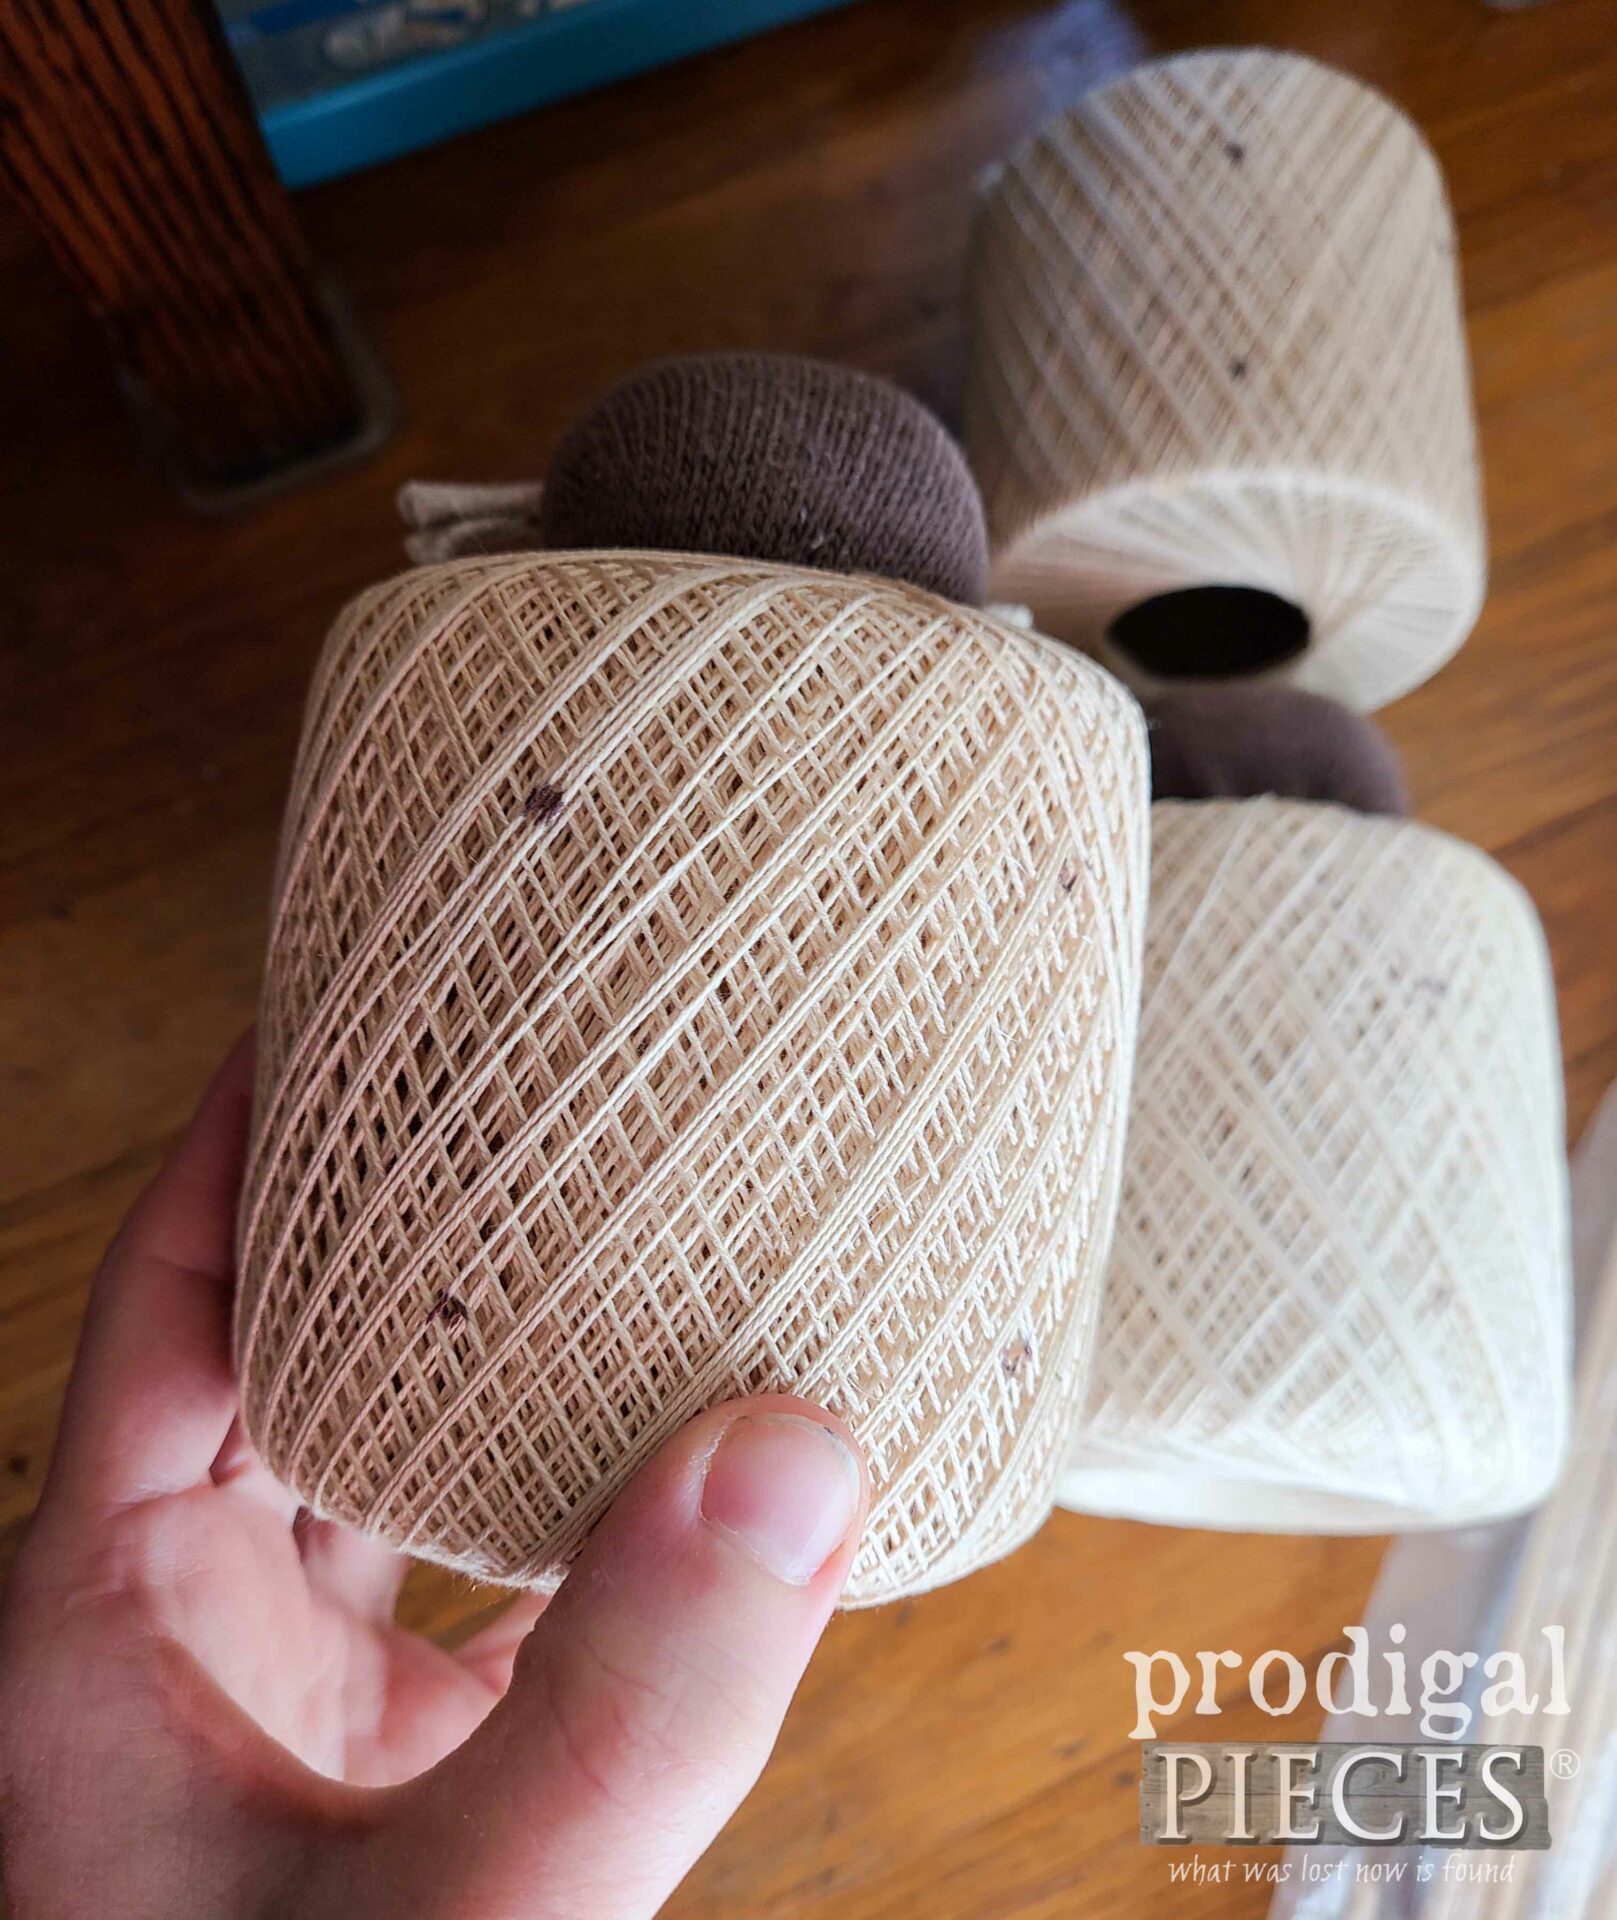
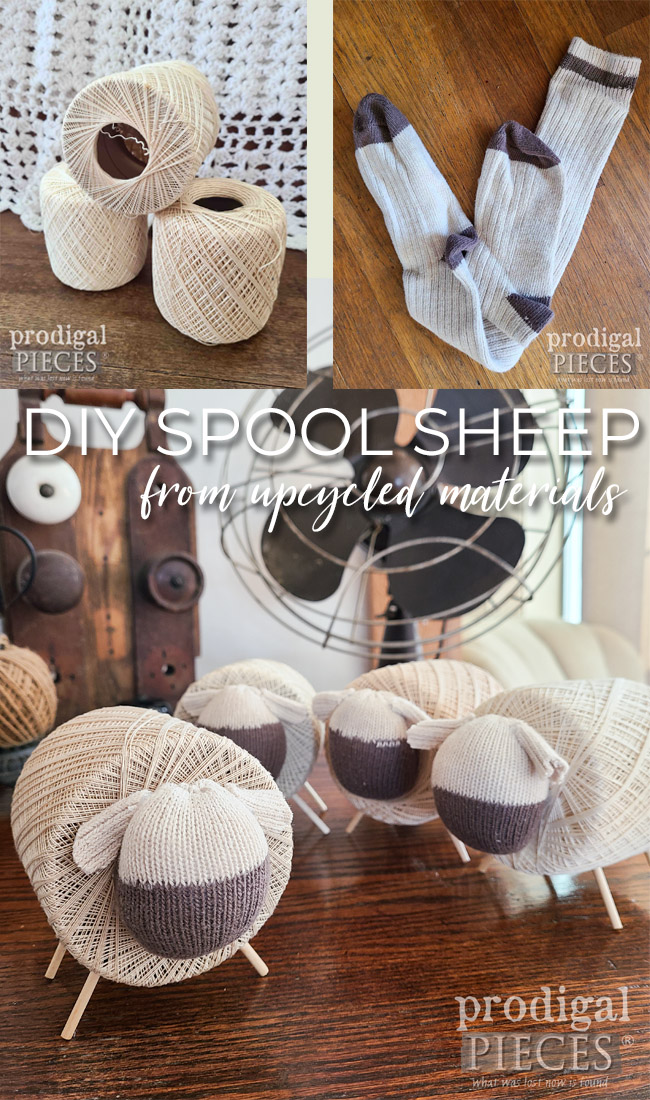
Tis the season for purging! Well, when isn’t it that season, right? Better yet, don’t bring that junk home. haha. With my occupation, most people assume I bring all kinds of things home. However, in the last decade, and as part of being a DIY blogger, I’ve become so strict about what I bring home. Recently, I’ve been purging my yarn stash. Much I’ve given away and some I’ve sold, but while looking at what to keep, I came across this crochet thread. Just looking at these inspired me to create DIY spool sheep. yep.
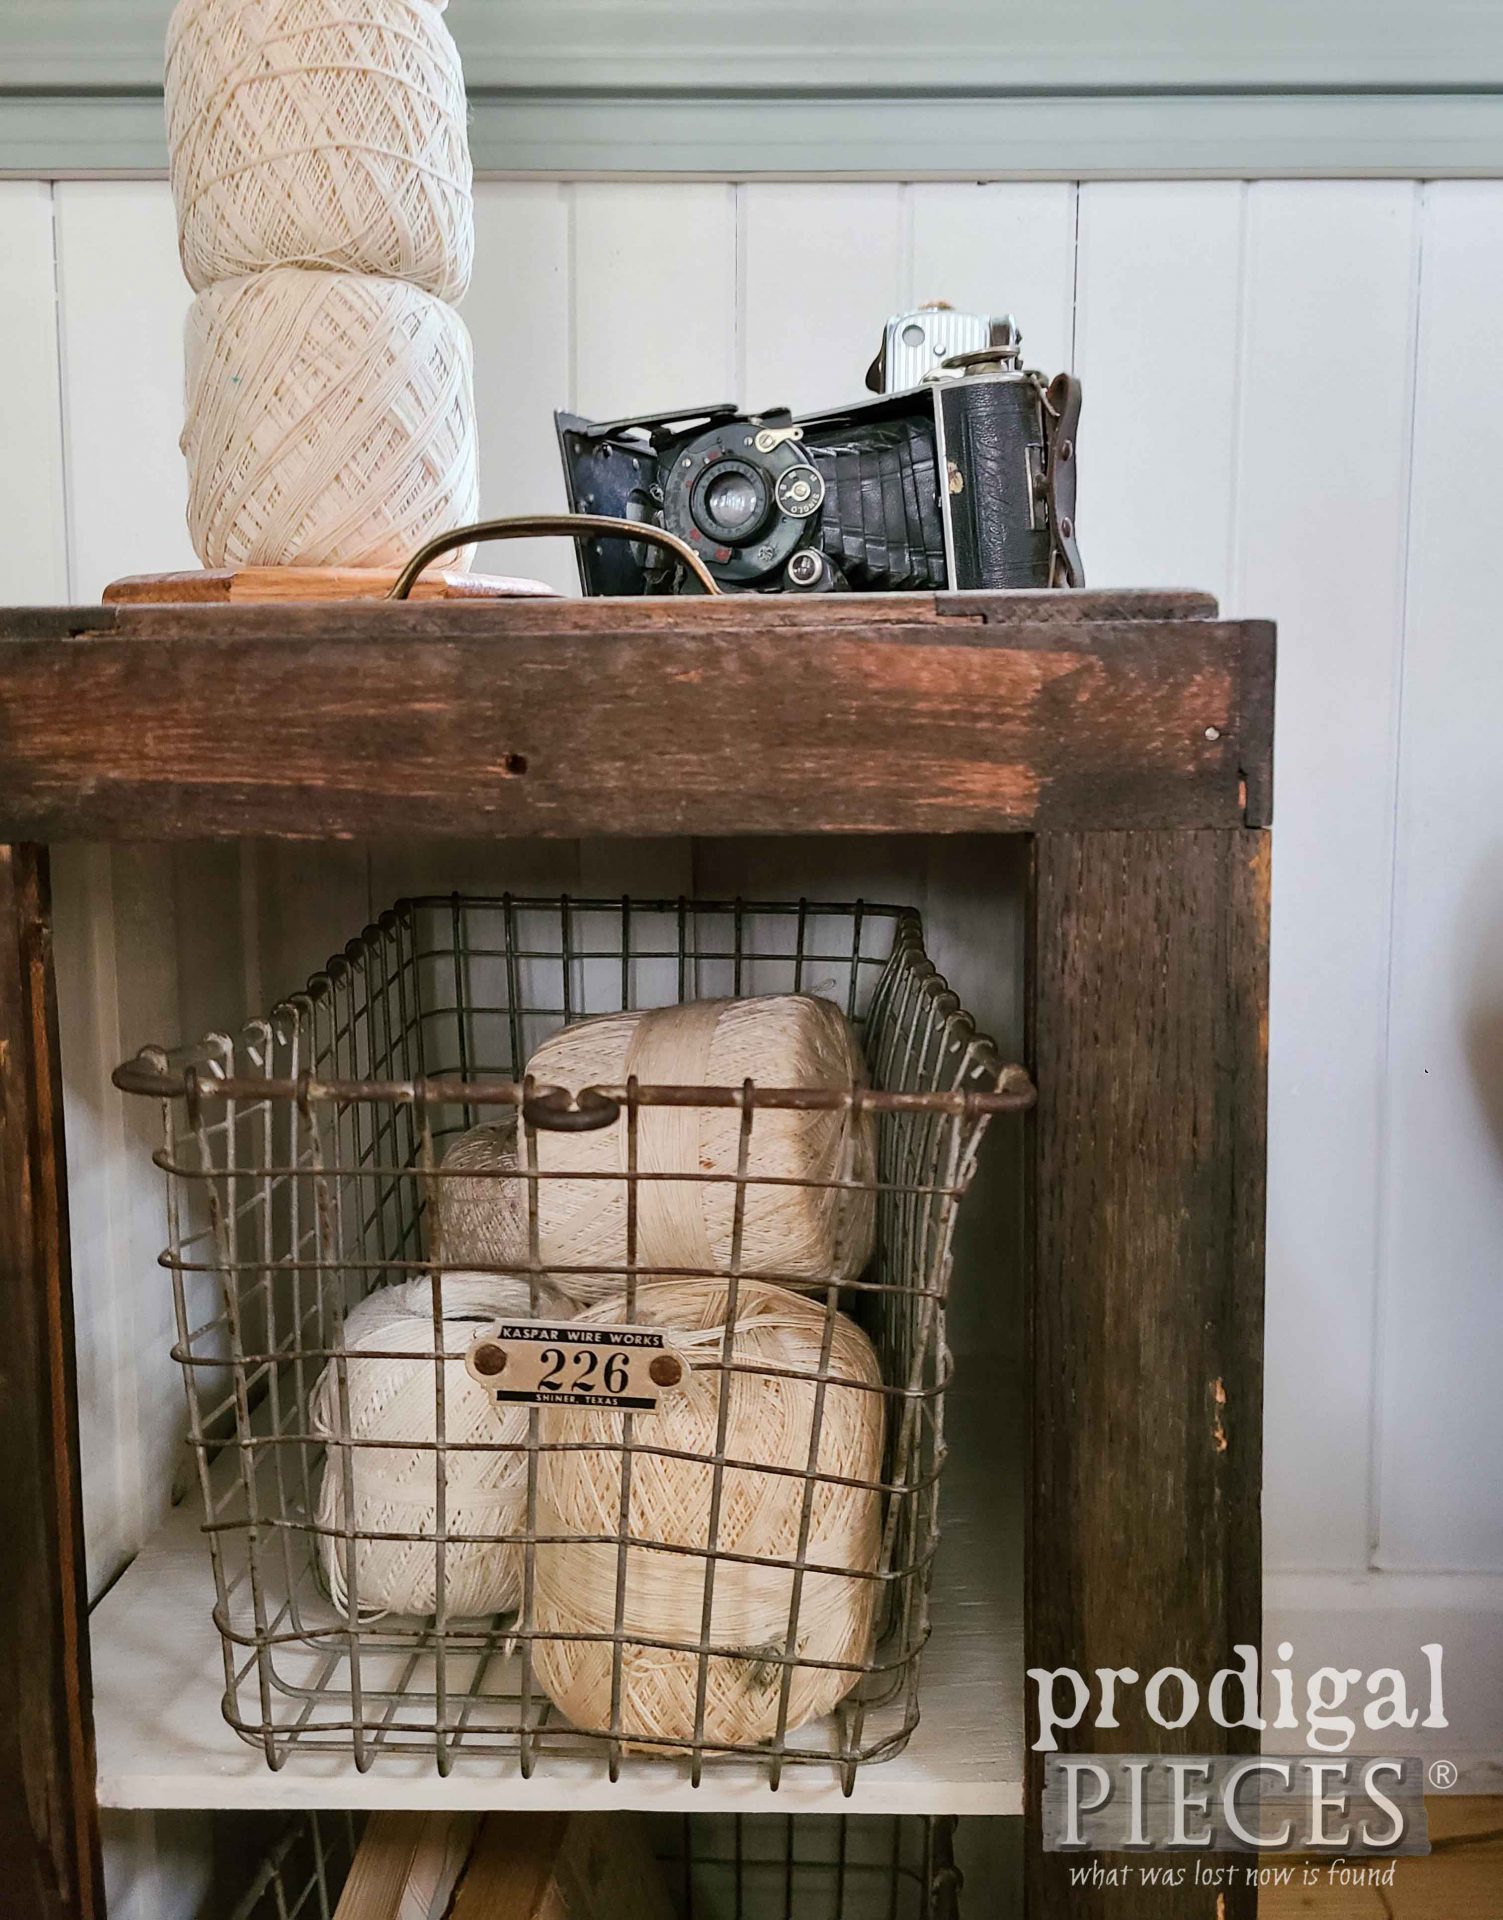
Honestly, I keep spools like this in my stash for staging my photos. They’re a great fill in my wire locker baskets or stacked on a vintage paper towel holder in my antique filing cabinet drawer upcycle.
This particular lot was my effort to attempt tatting. Tatting is a type of vintage lacework made by knotting thread in a series of patterns. I’m a hooker (of the crochet kind) and found that tatting was not great on my eyeballs. whew!
PAST SHEEP
First, if you’re new to my DIY space, you may not know I have a thing for sheep. I’ve never owned one, but I tell ya that many of my upcycling projects lend themselves to becoming sheep. Here’s a few sheep-ish projects for you to check out.
- repurposed woolly sheep
- upcycled child’s stool
- embroidered strainer
- kid’s rocking chair
- DIY farmhouse sign
- blanket chest
- repurposed flea market decor
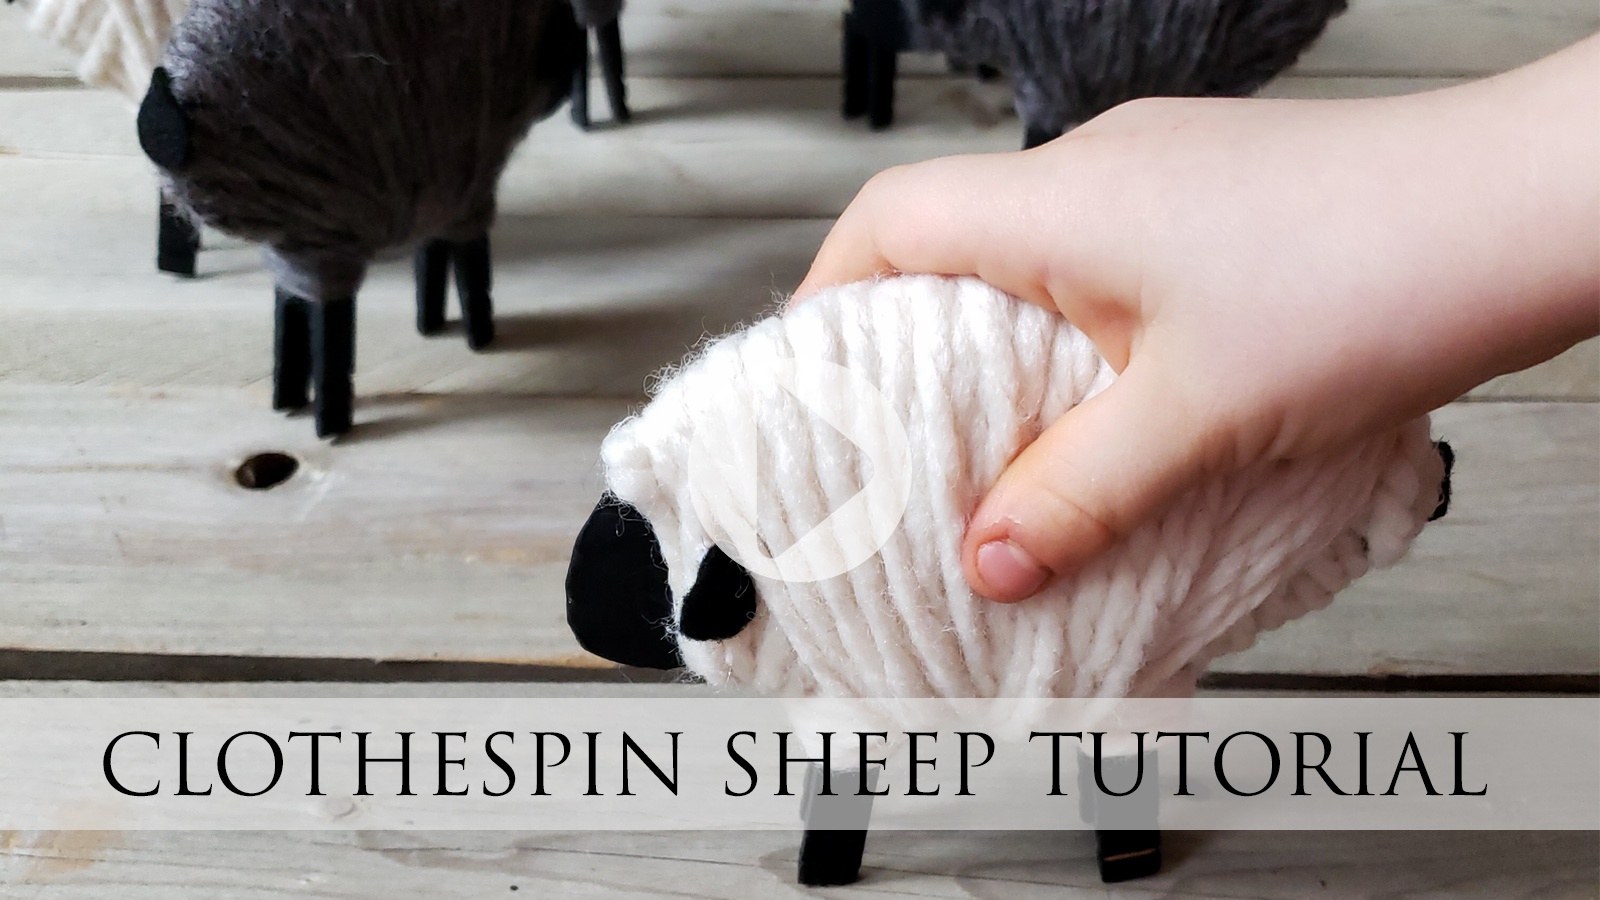
- clothespin sheep tutorial
THREAD UP
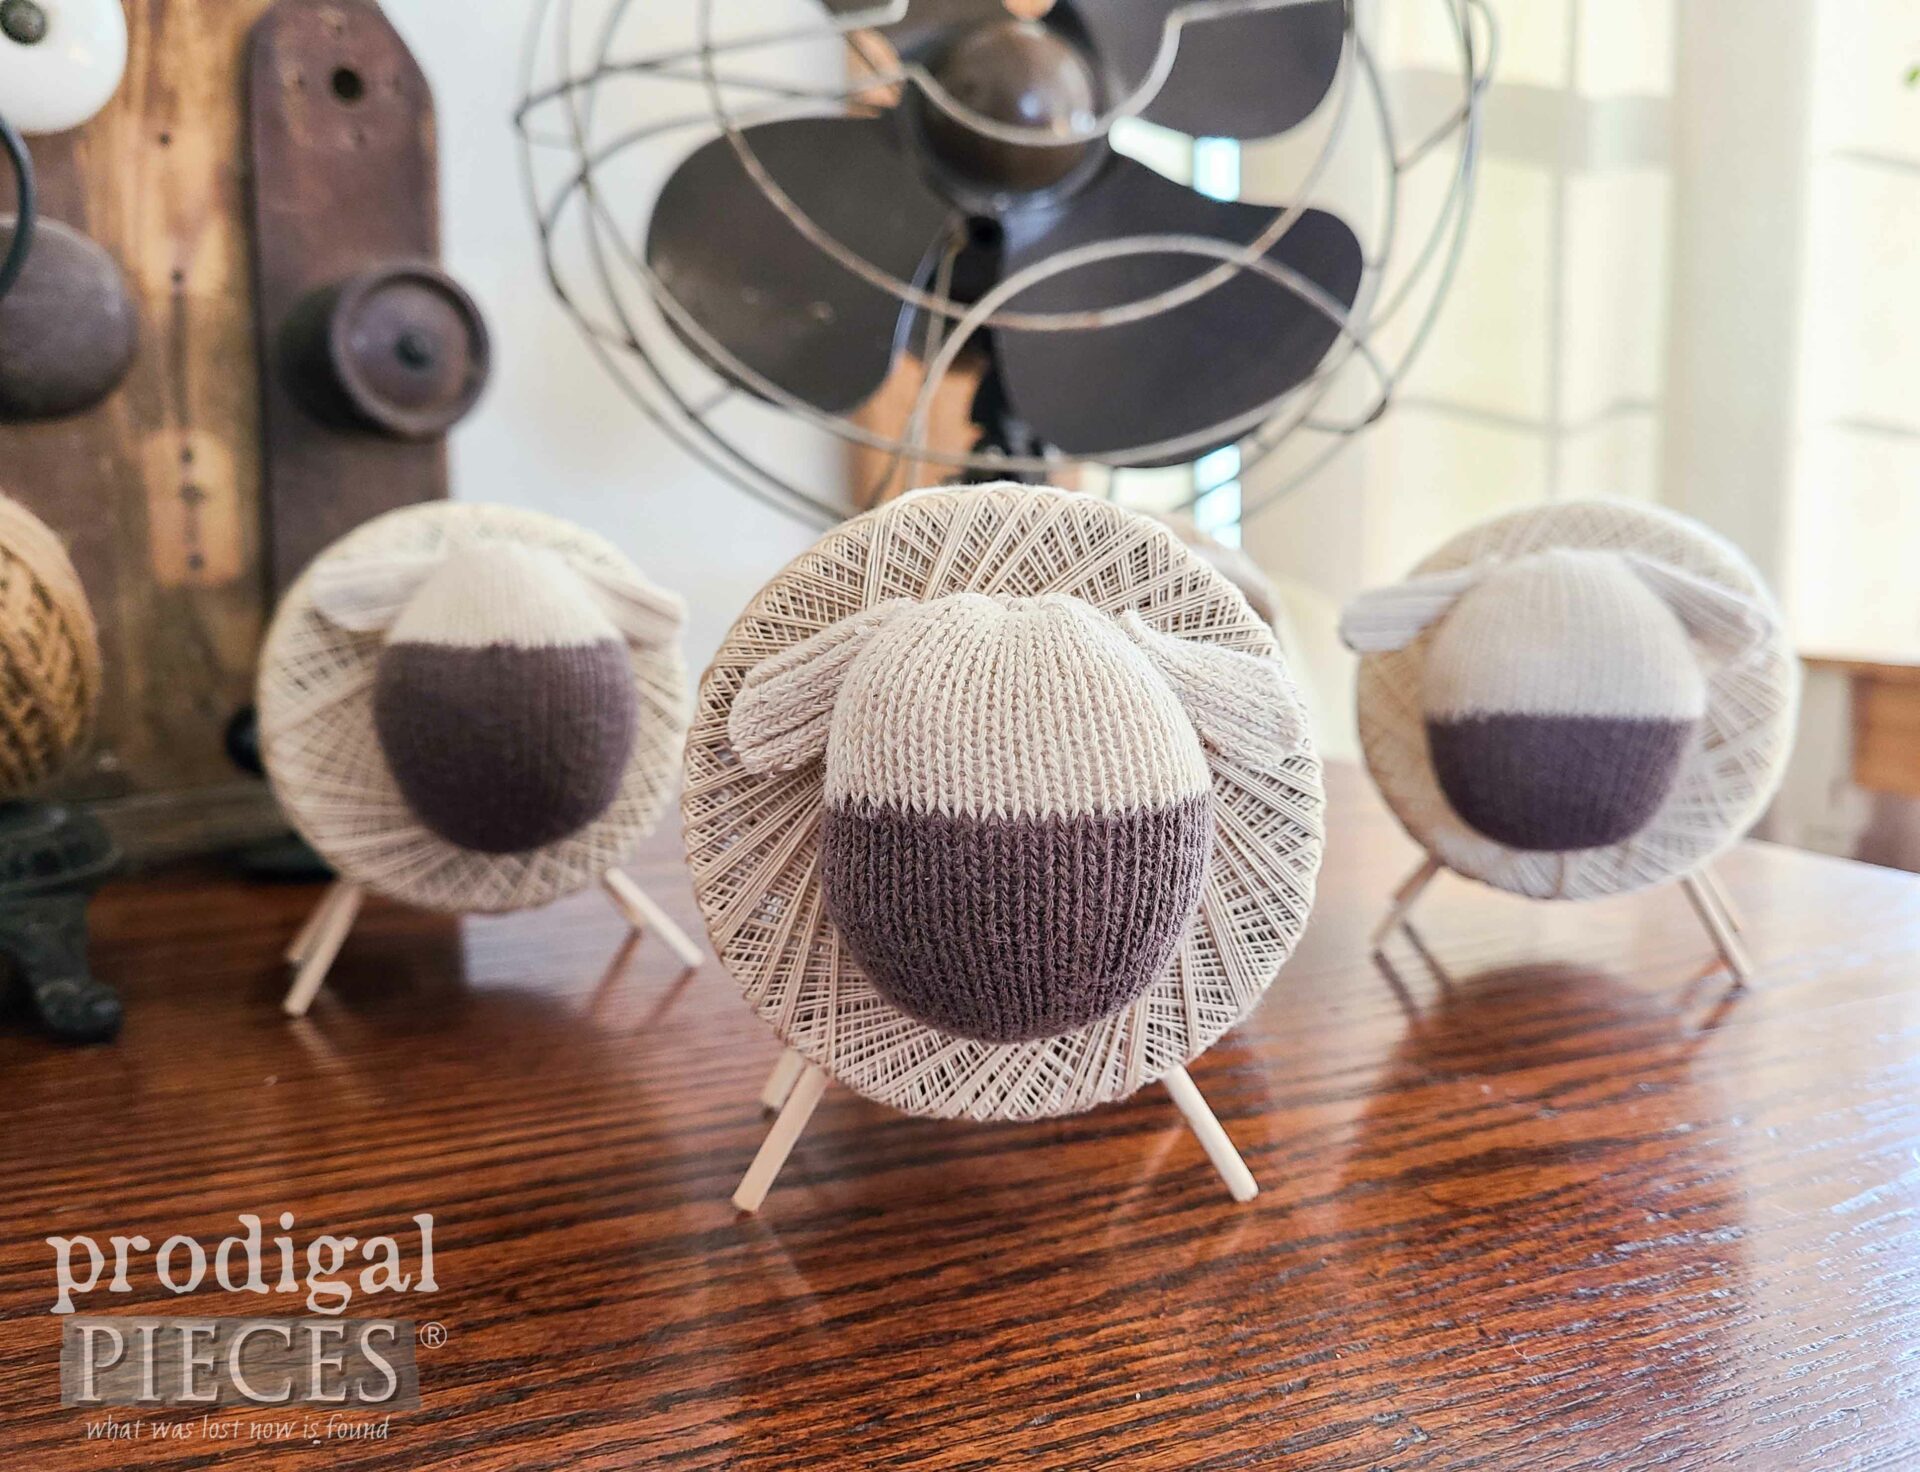
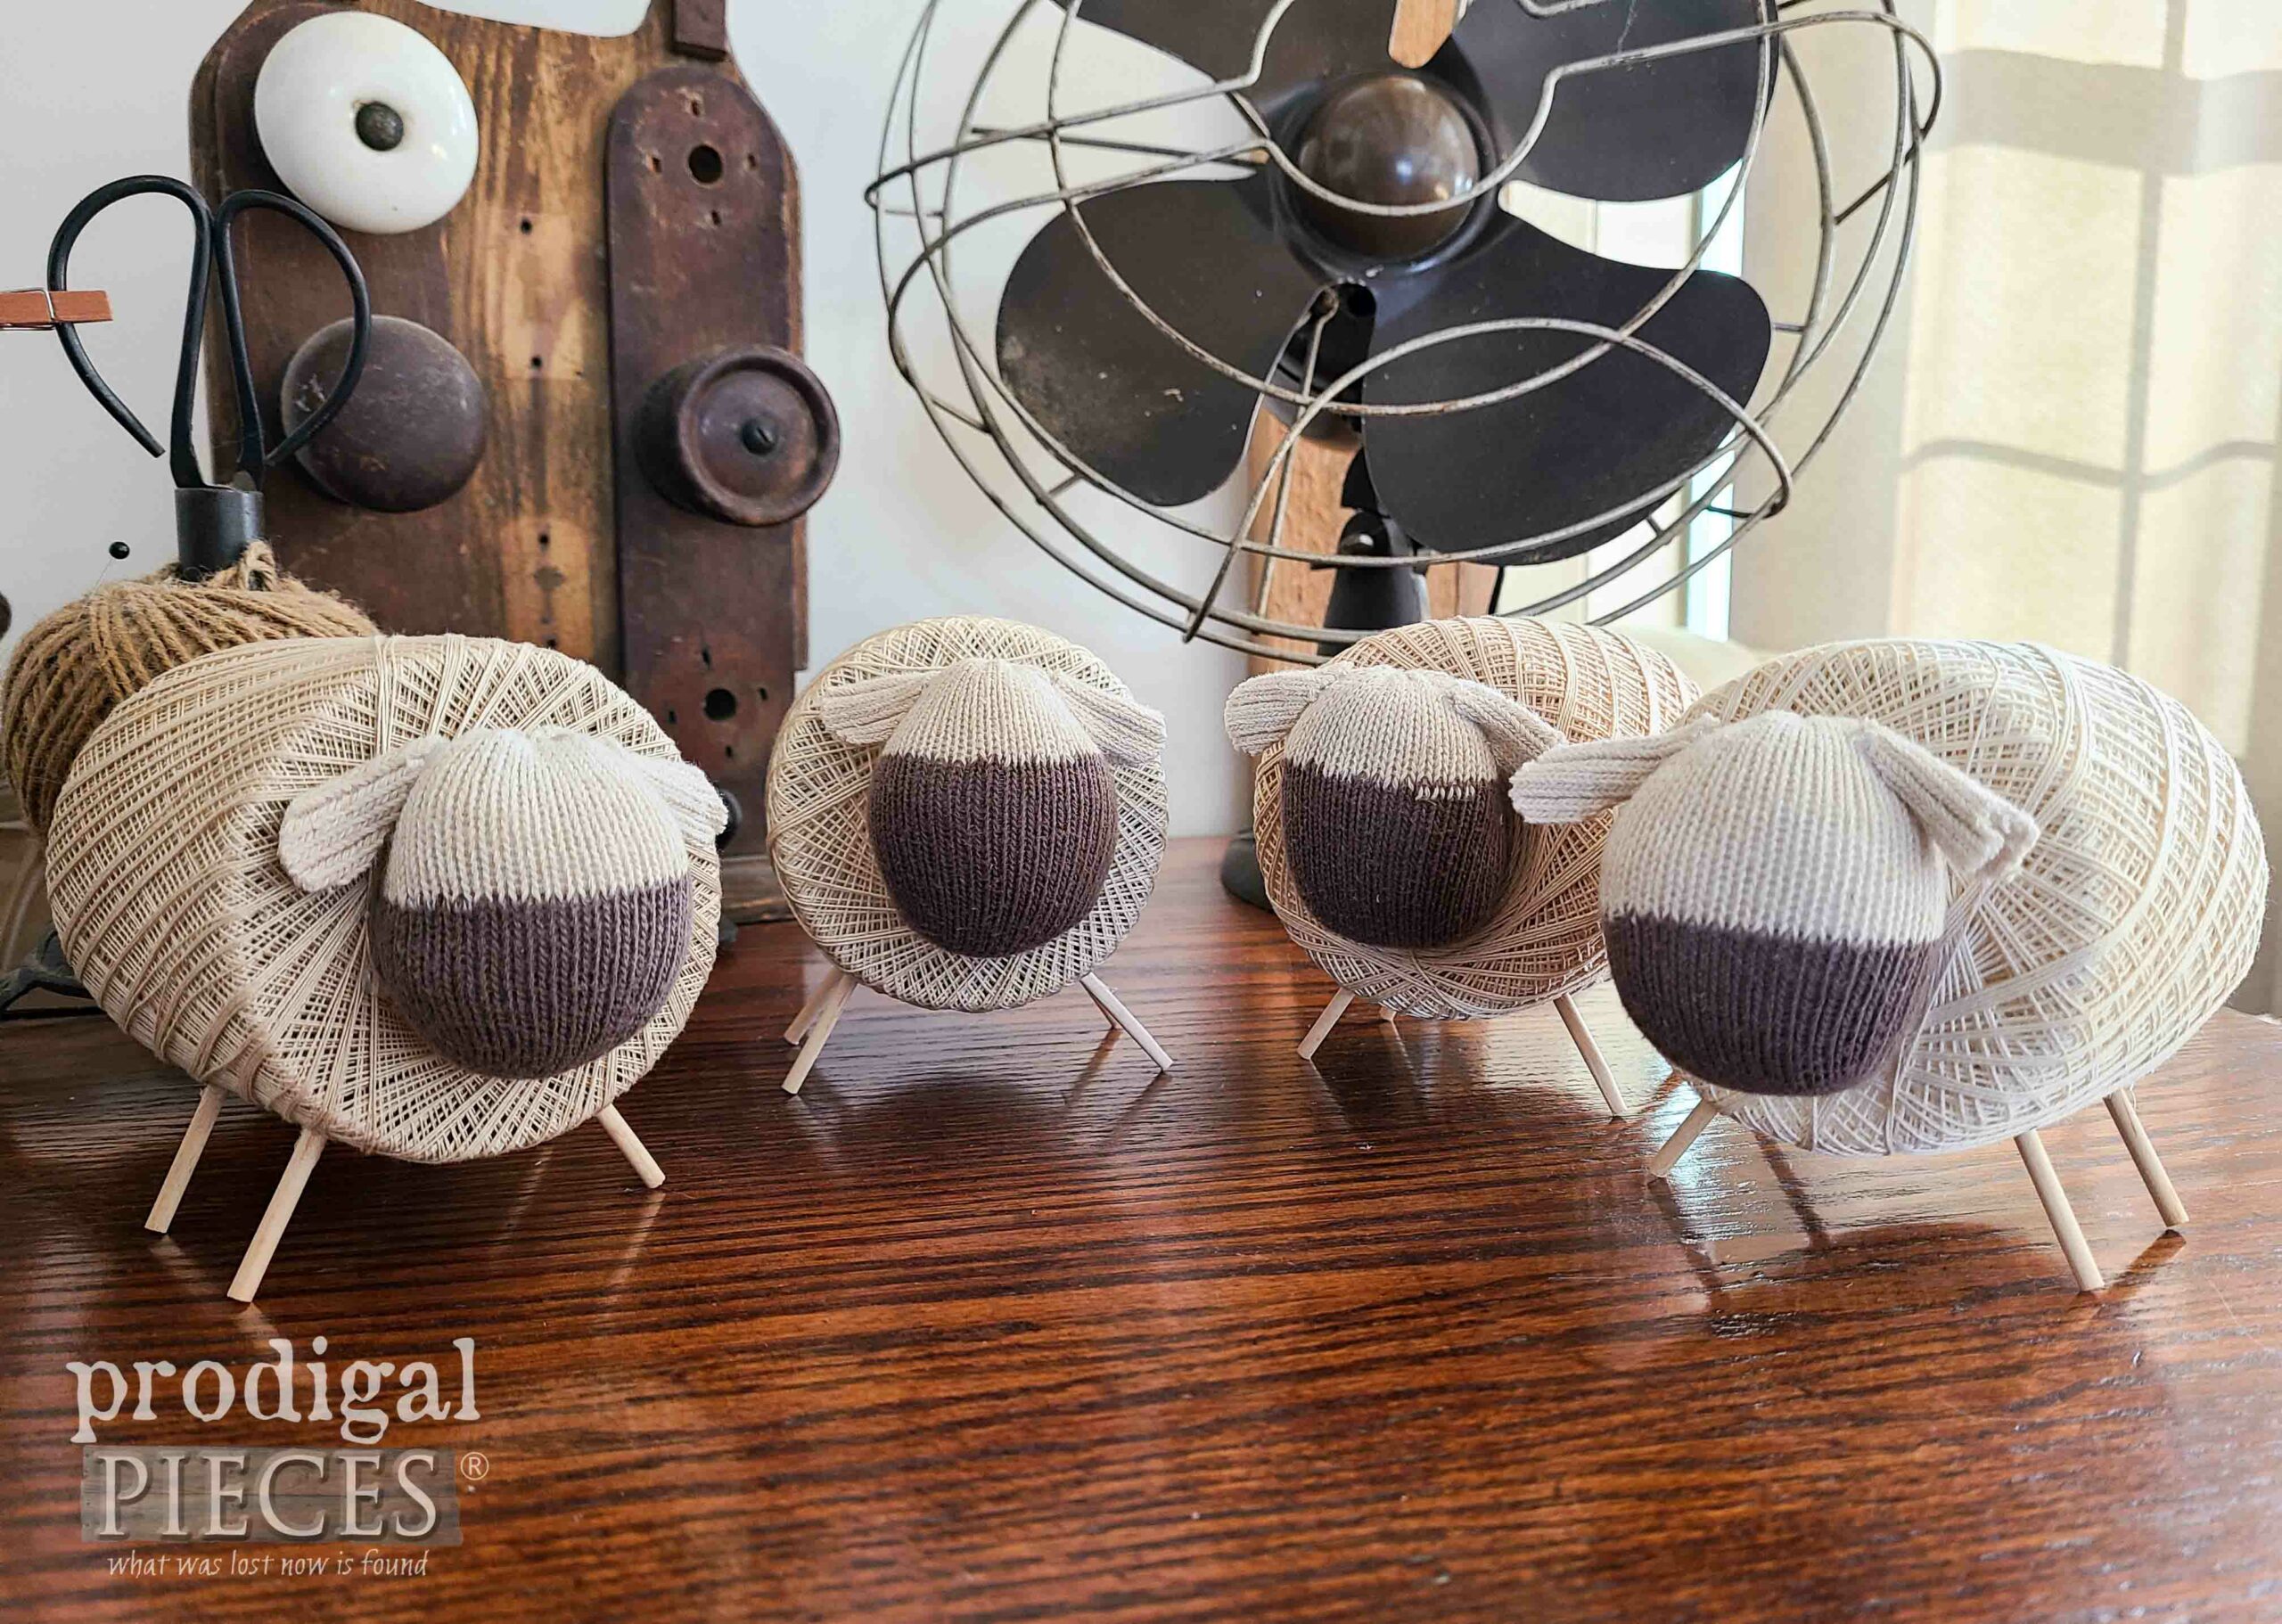
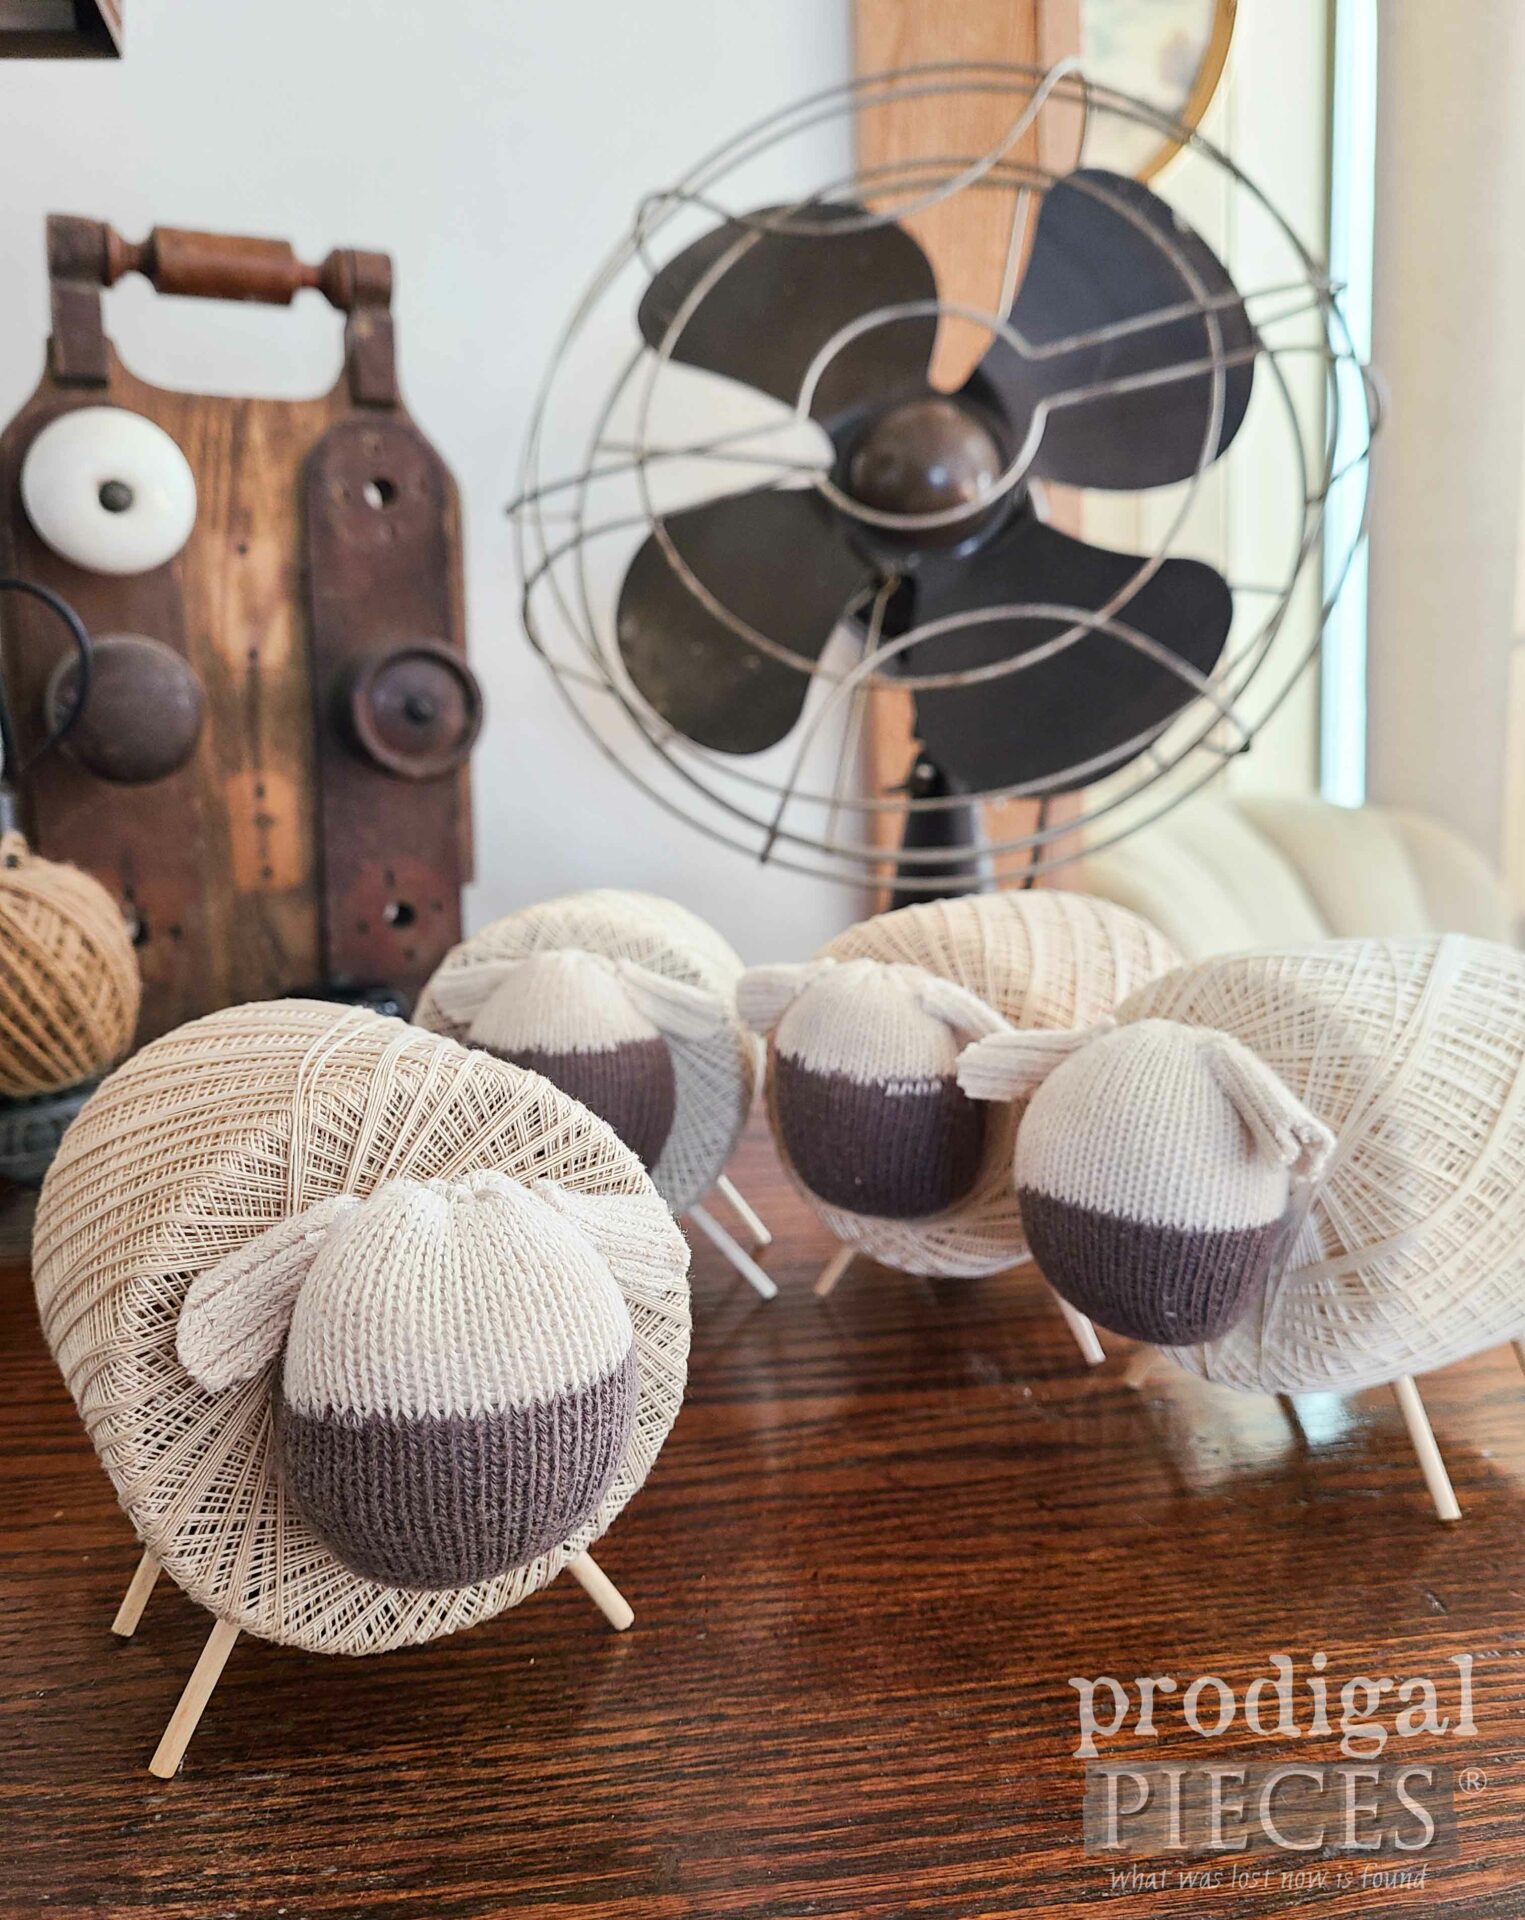
In my inspiration for my woolly adventure, I want to keep this simple enough that anyone can do it, but also simple in design for a soothing aesthetic appeal. Aren’t they cewete?
That’s where socks come into play… hee hee. I’m a sucker for sock dolls and animals as I’ve shown HERE.
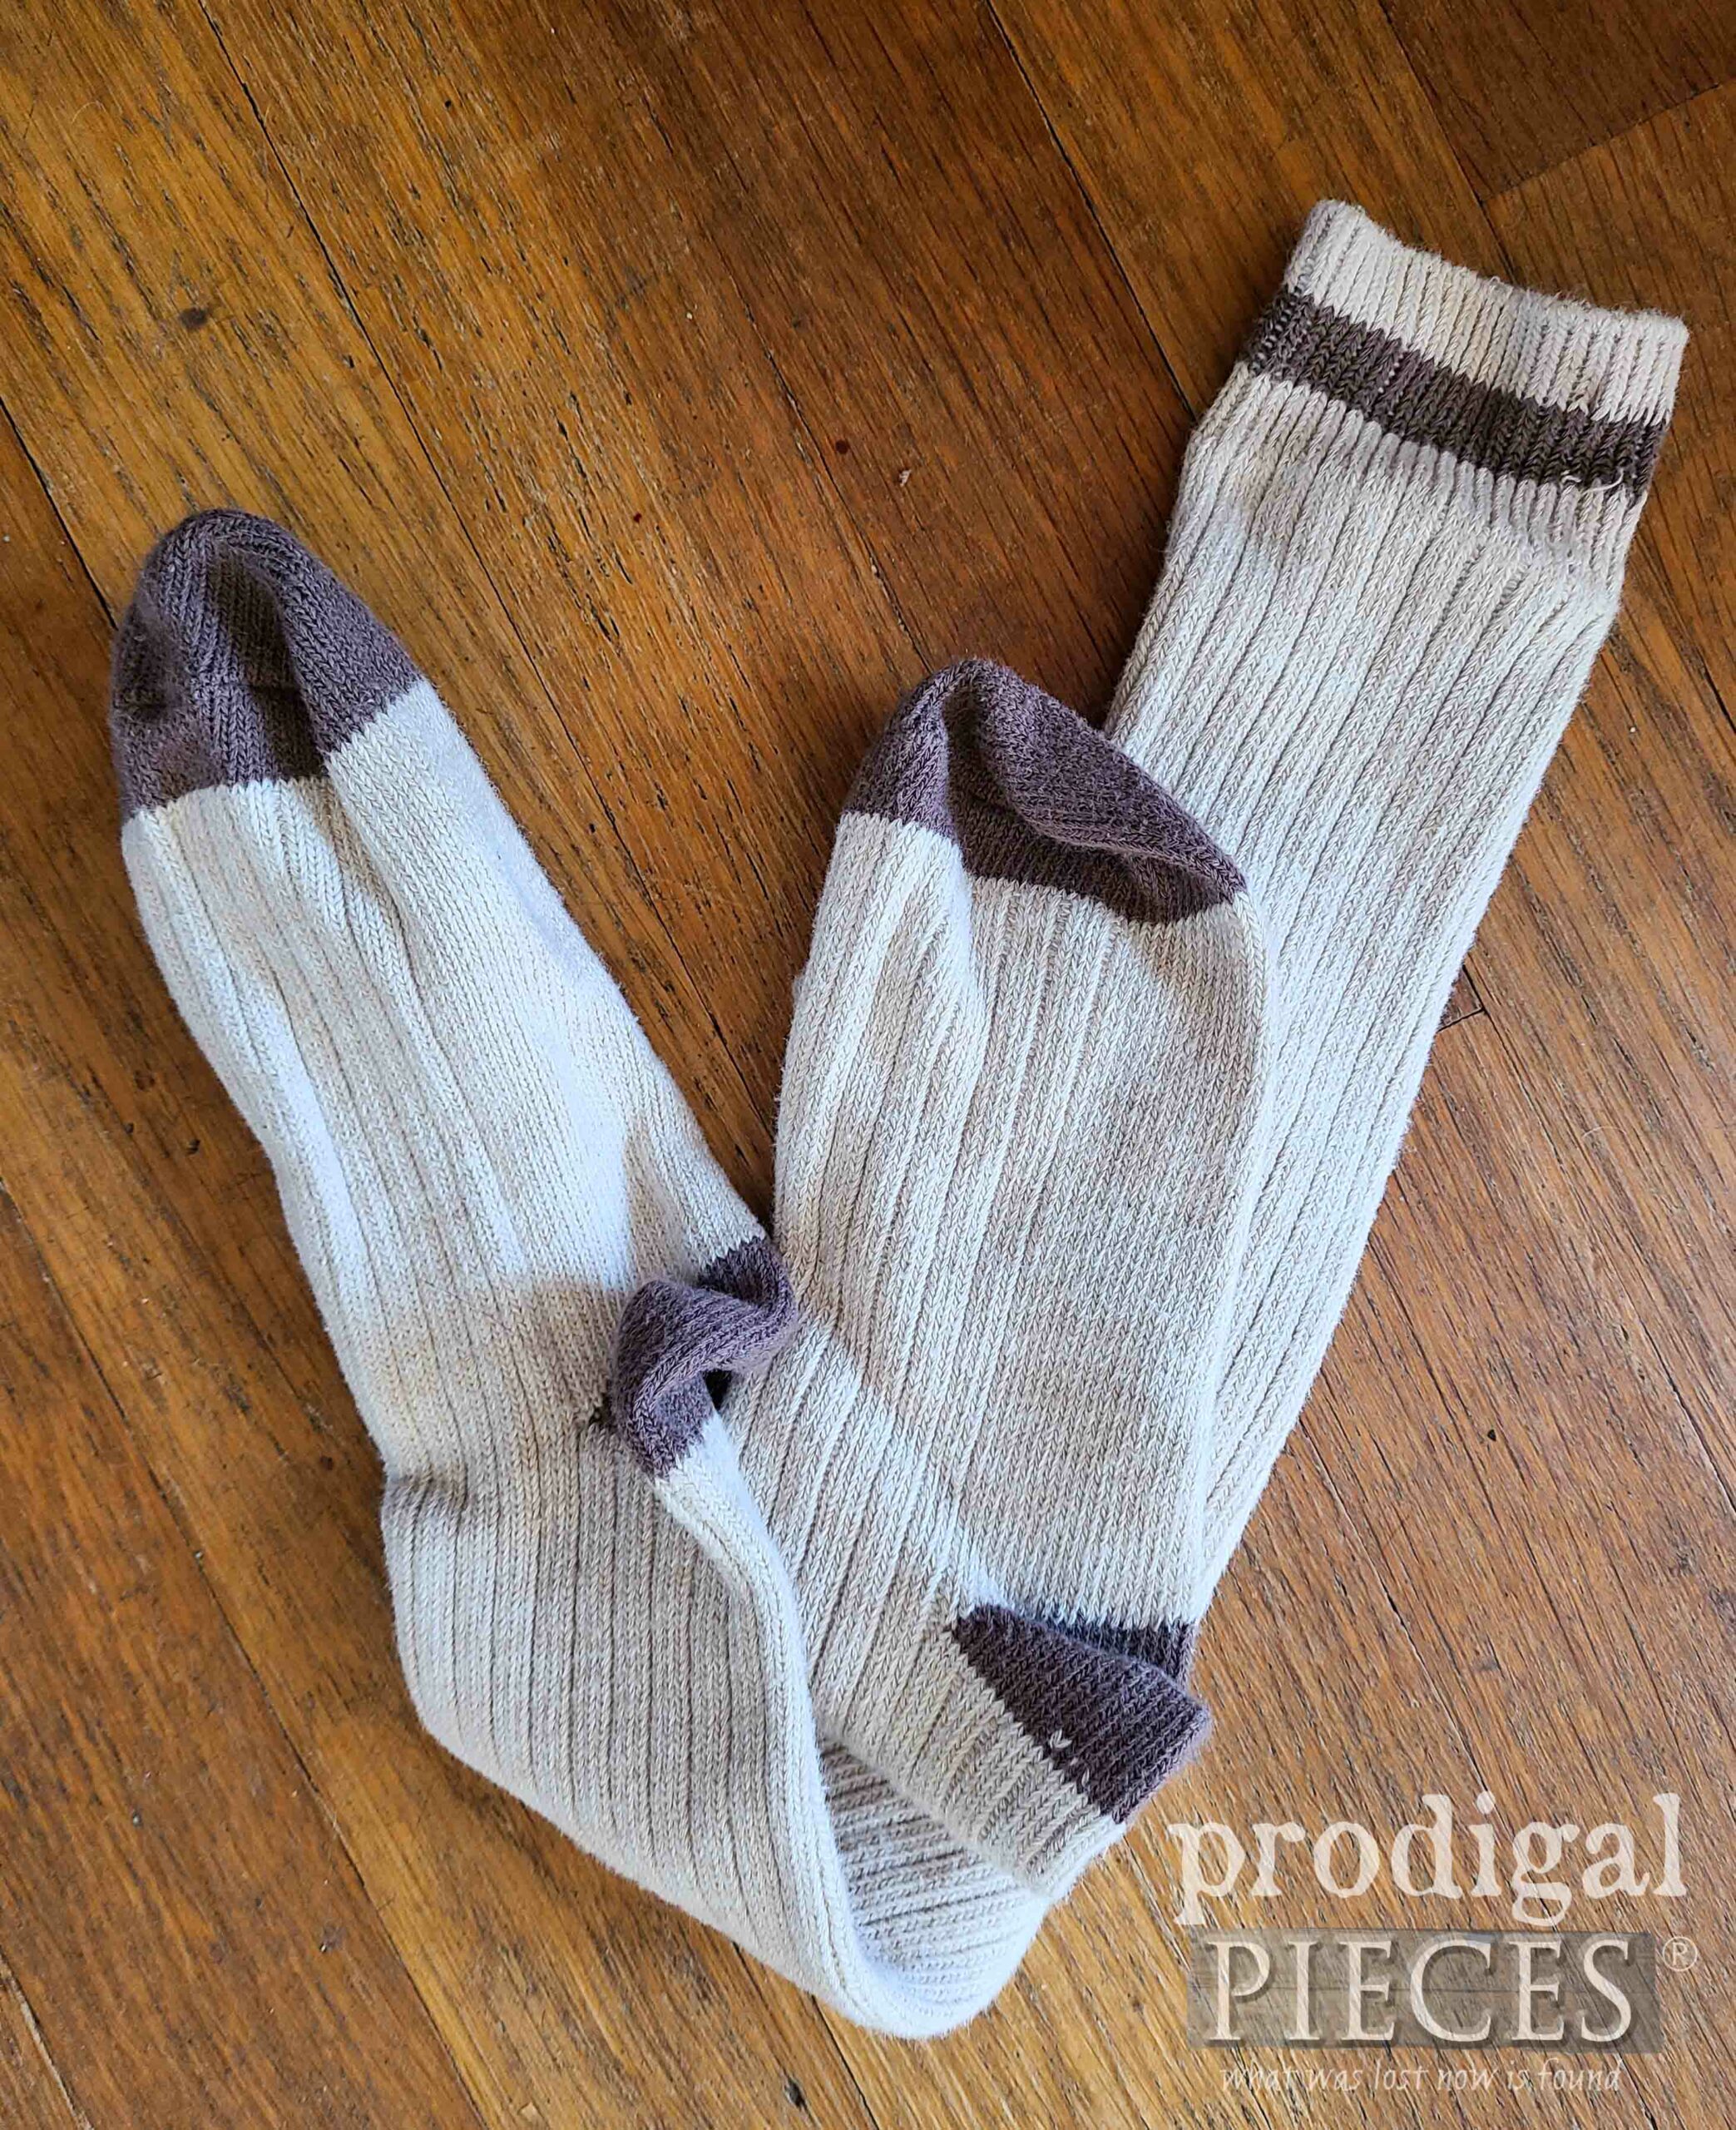
First, these knit socks are in the same shade as the thread, coincidentally, and the brown toes and heels are perfect.
If you’d like to make these DIY spool sheep too, here’s what you’ll need:
TERMS OF USE: If you want to create a spool sheep, you agree to the following: it cannot be shared or distributed for monetary gain in any way, it may not be modified in any way, and you may not claim the work as your own.
- crochet thread spools (in any color – have fun with it!)
- a sock with contrasting toes and heels or a solid knit sock works too
- needle and thread in coordinating color
- hot glue gun/glue sticks
- sewing scissors
- 1/8″ dowel cut into four pieces per sheep at 1 ½” lengths
STEP 1
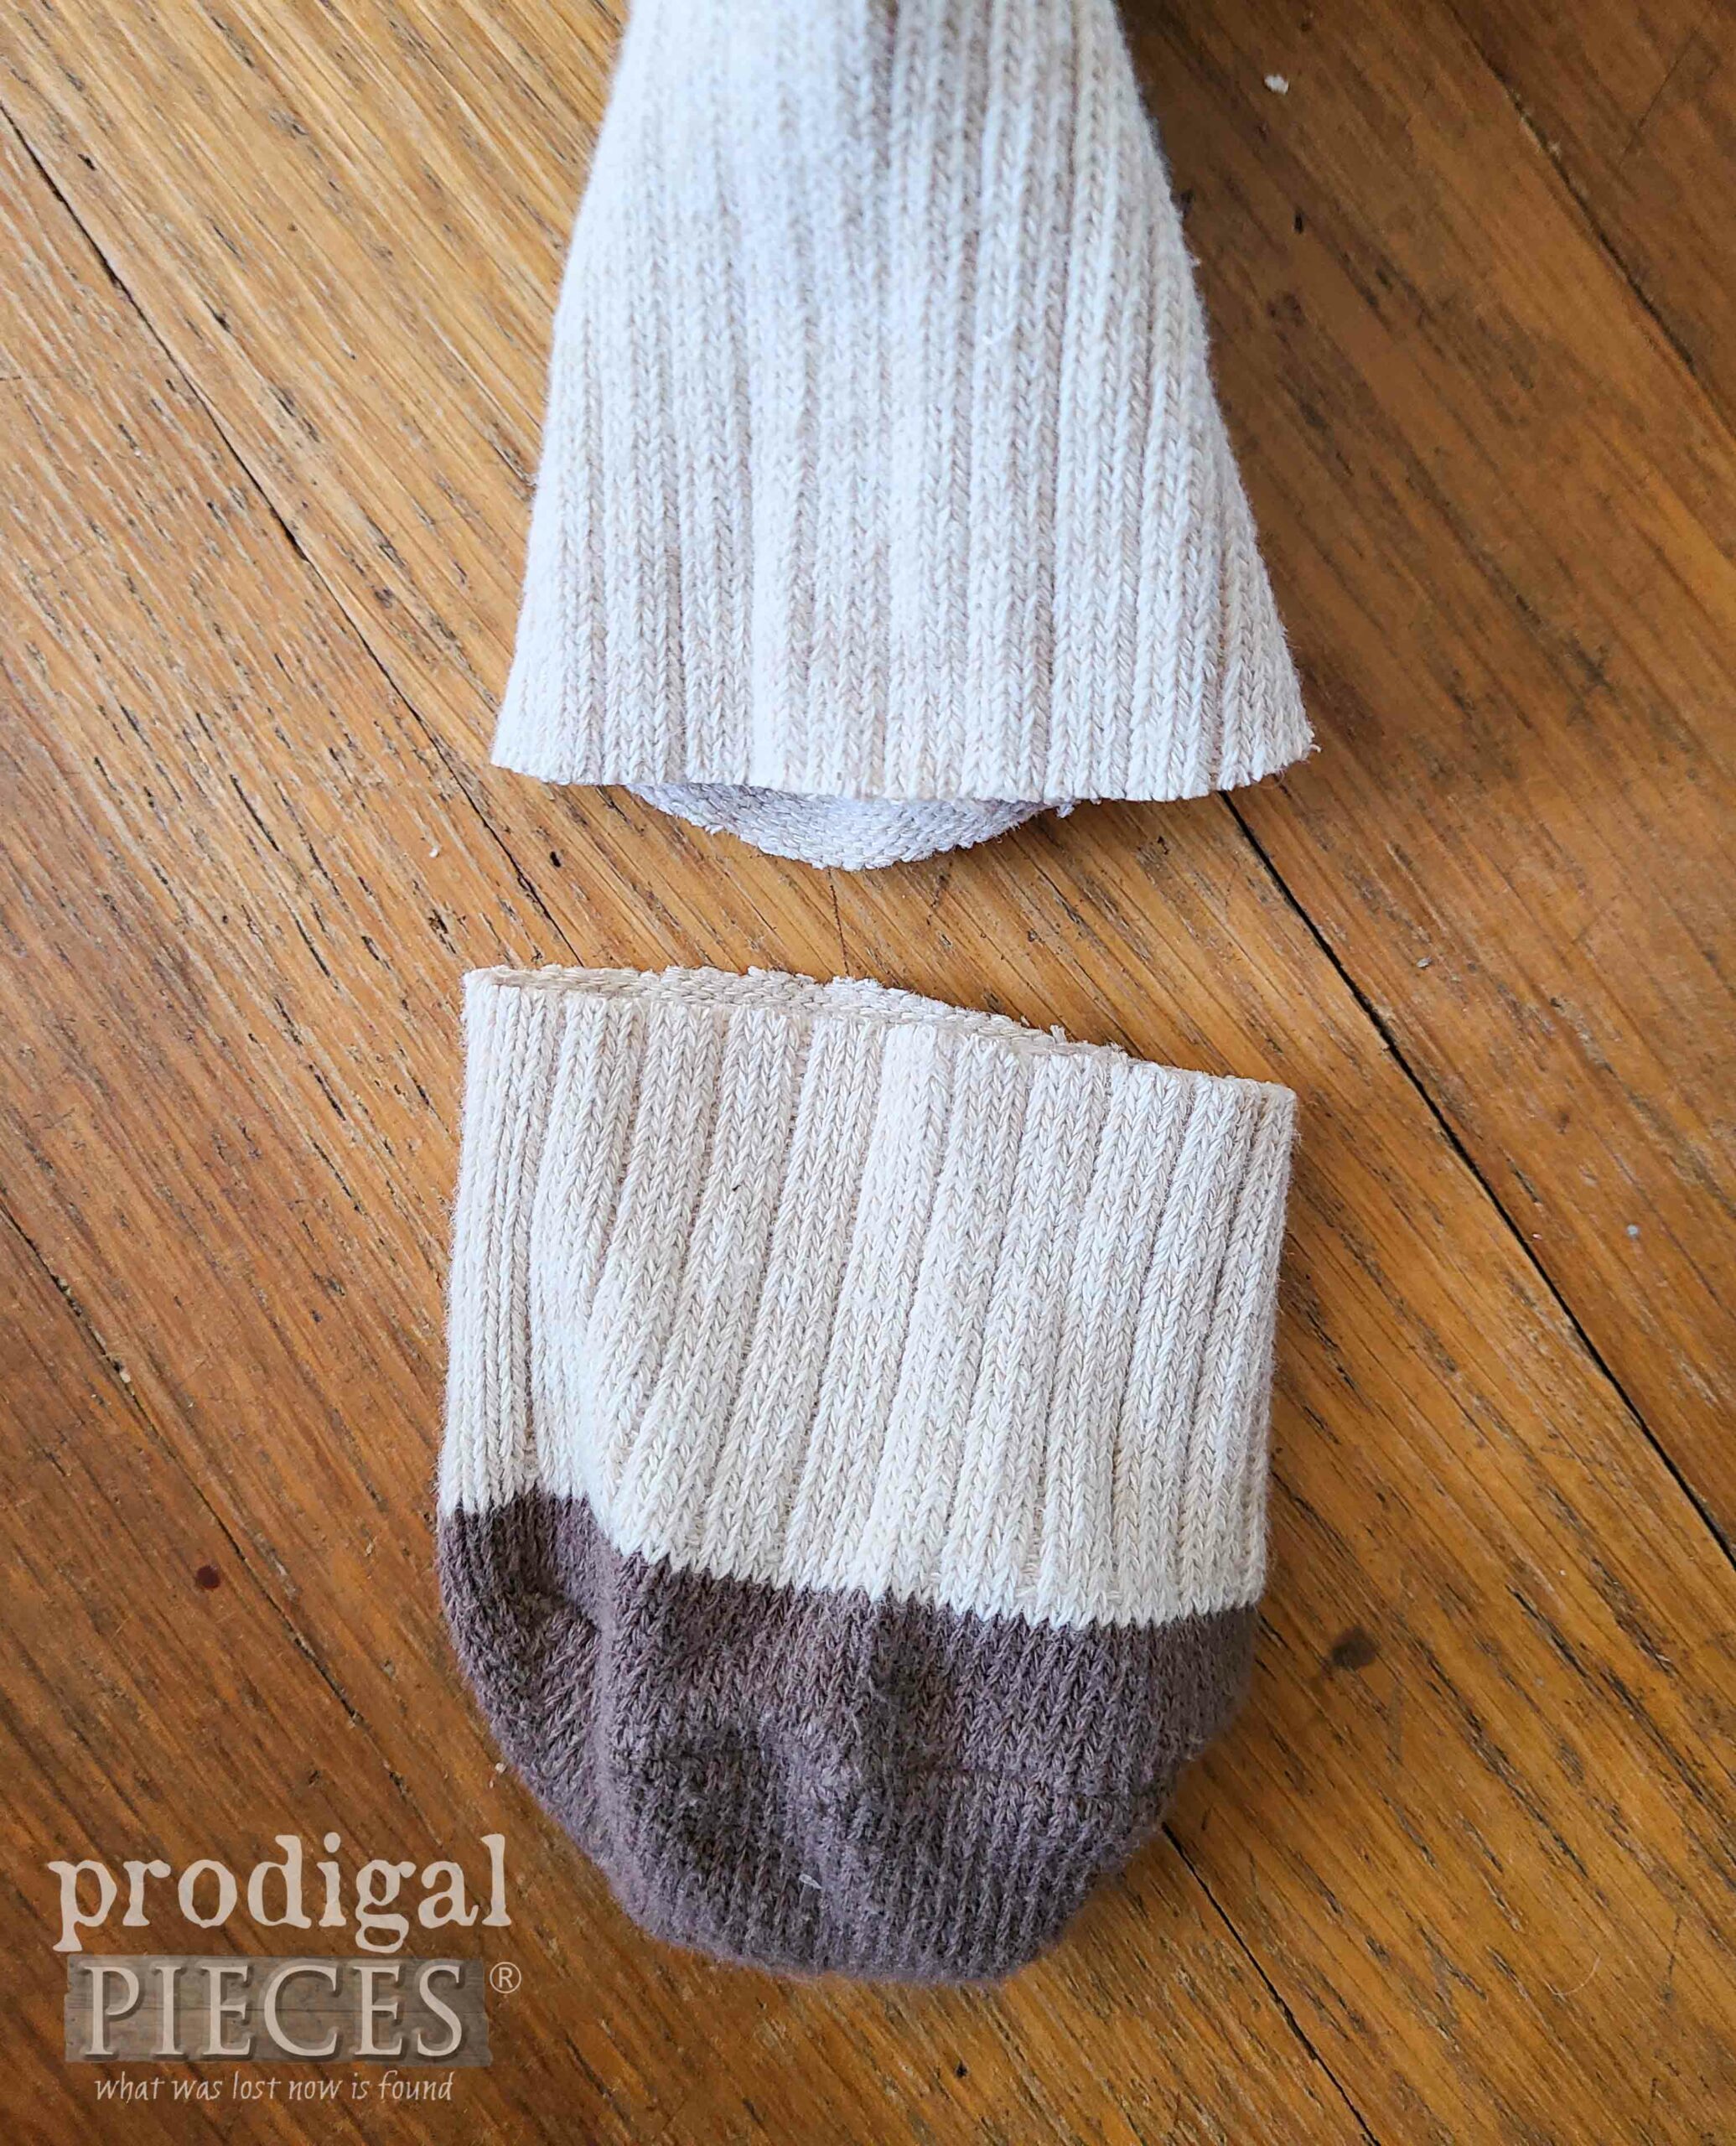
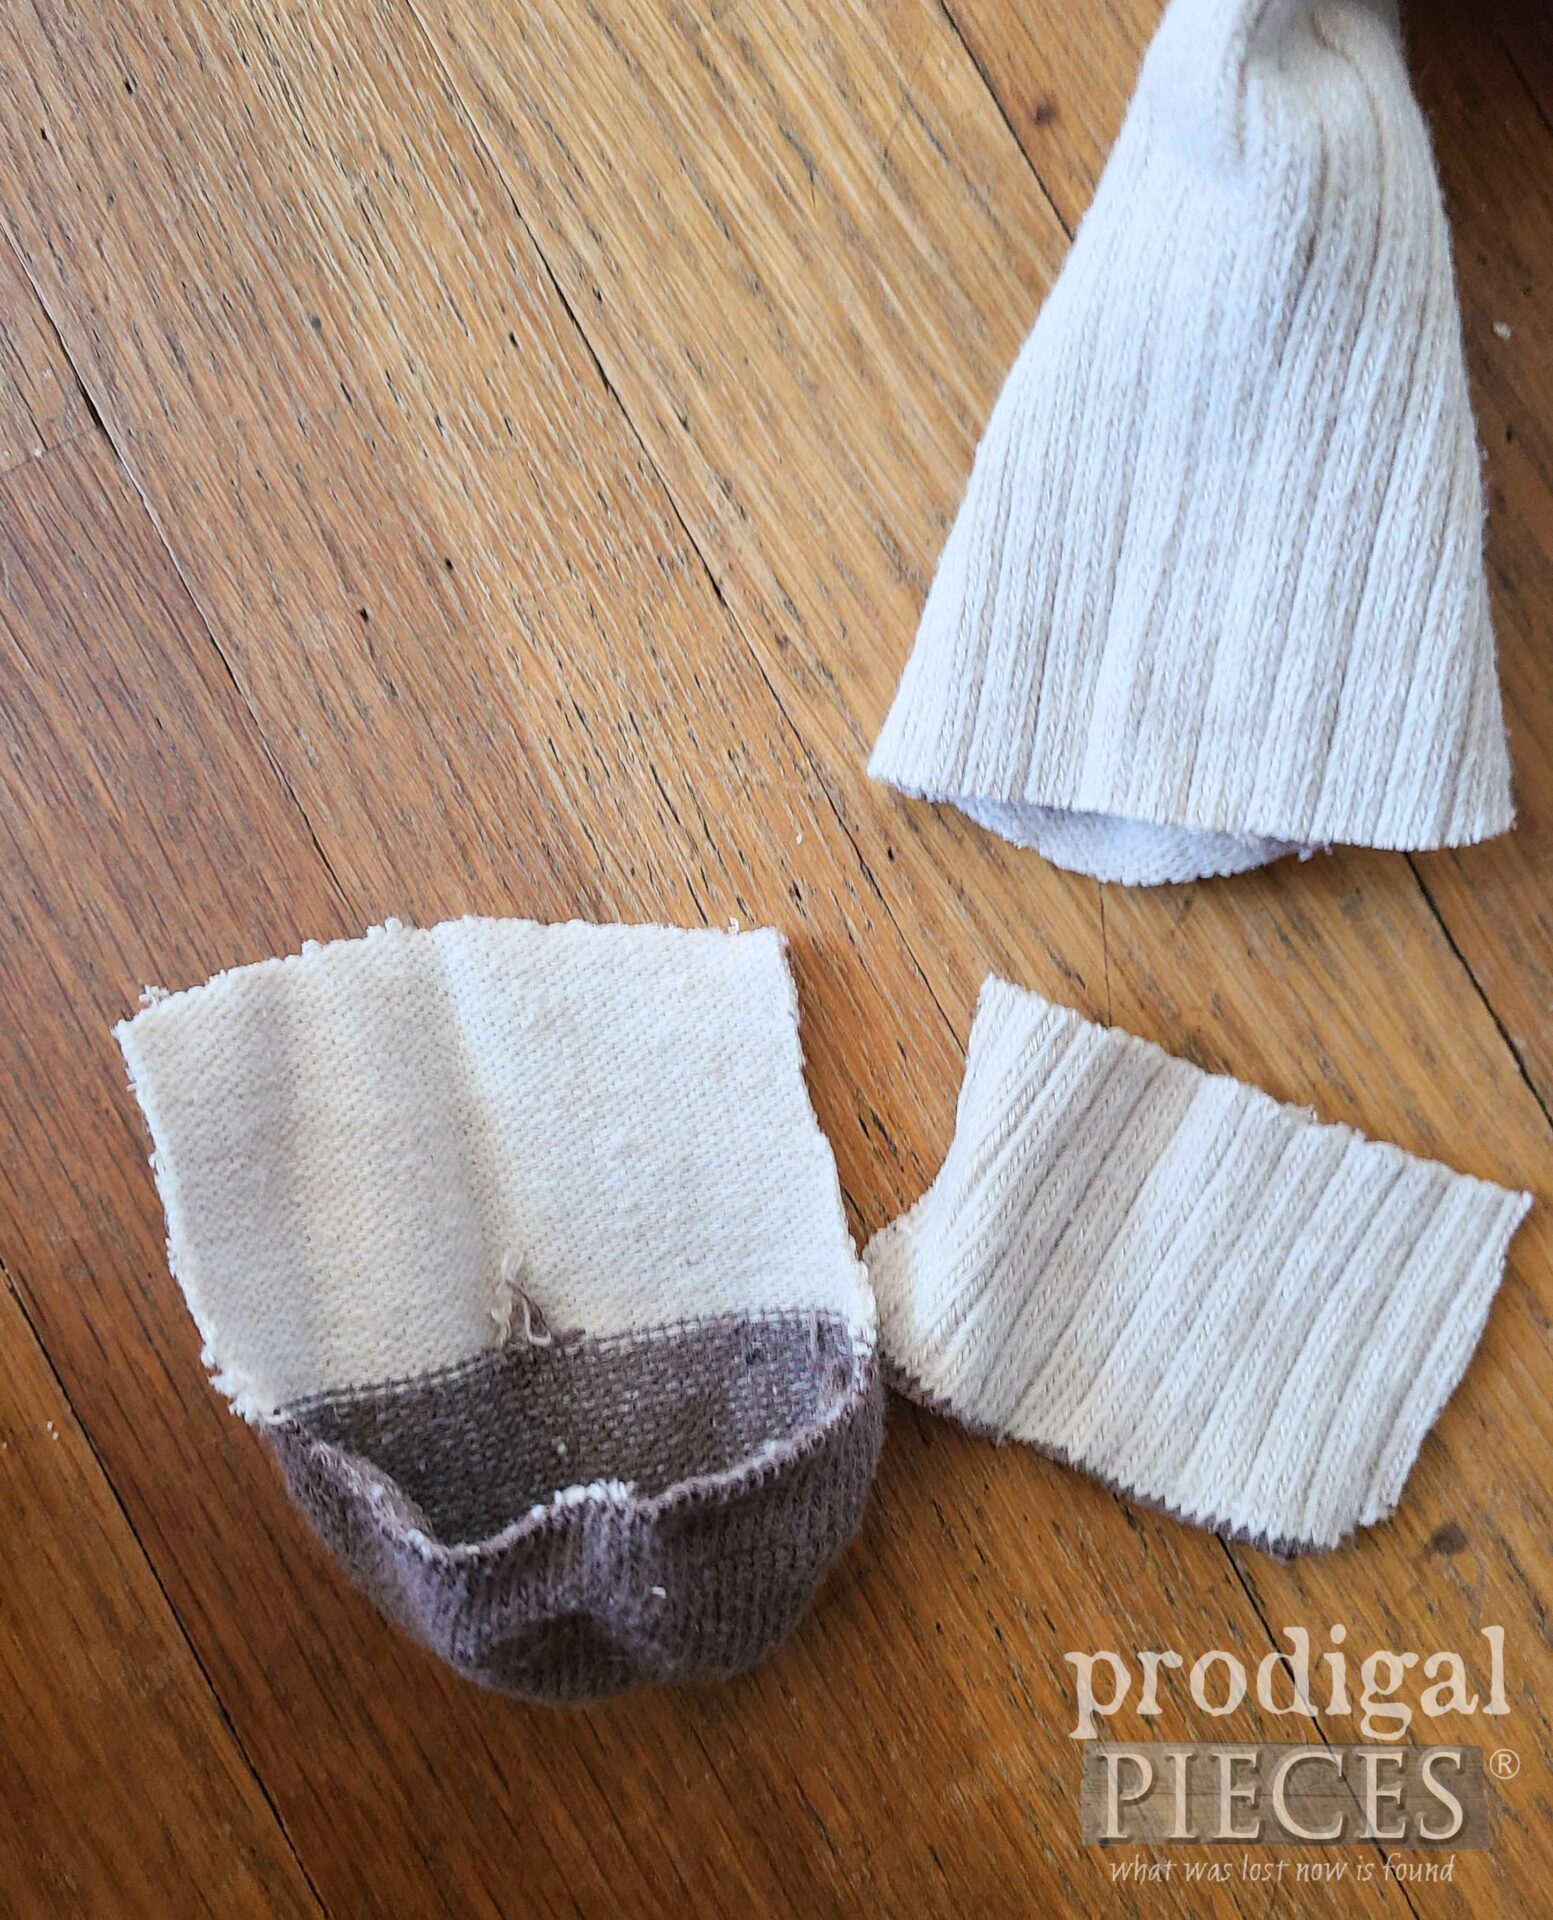
Let’s get this sheep party started! I begin by snipping the toe off of my sock as shown – about a 3″ length.
Then, I cut out the panel from the front (top) of the sock. Which, in this case, is the ribbed section. Likewise, don’t forget you can use the heel too!
STEP 2
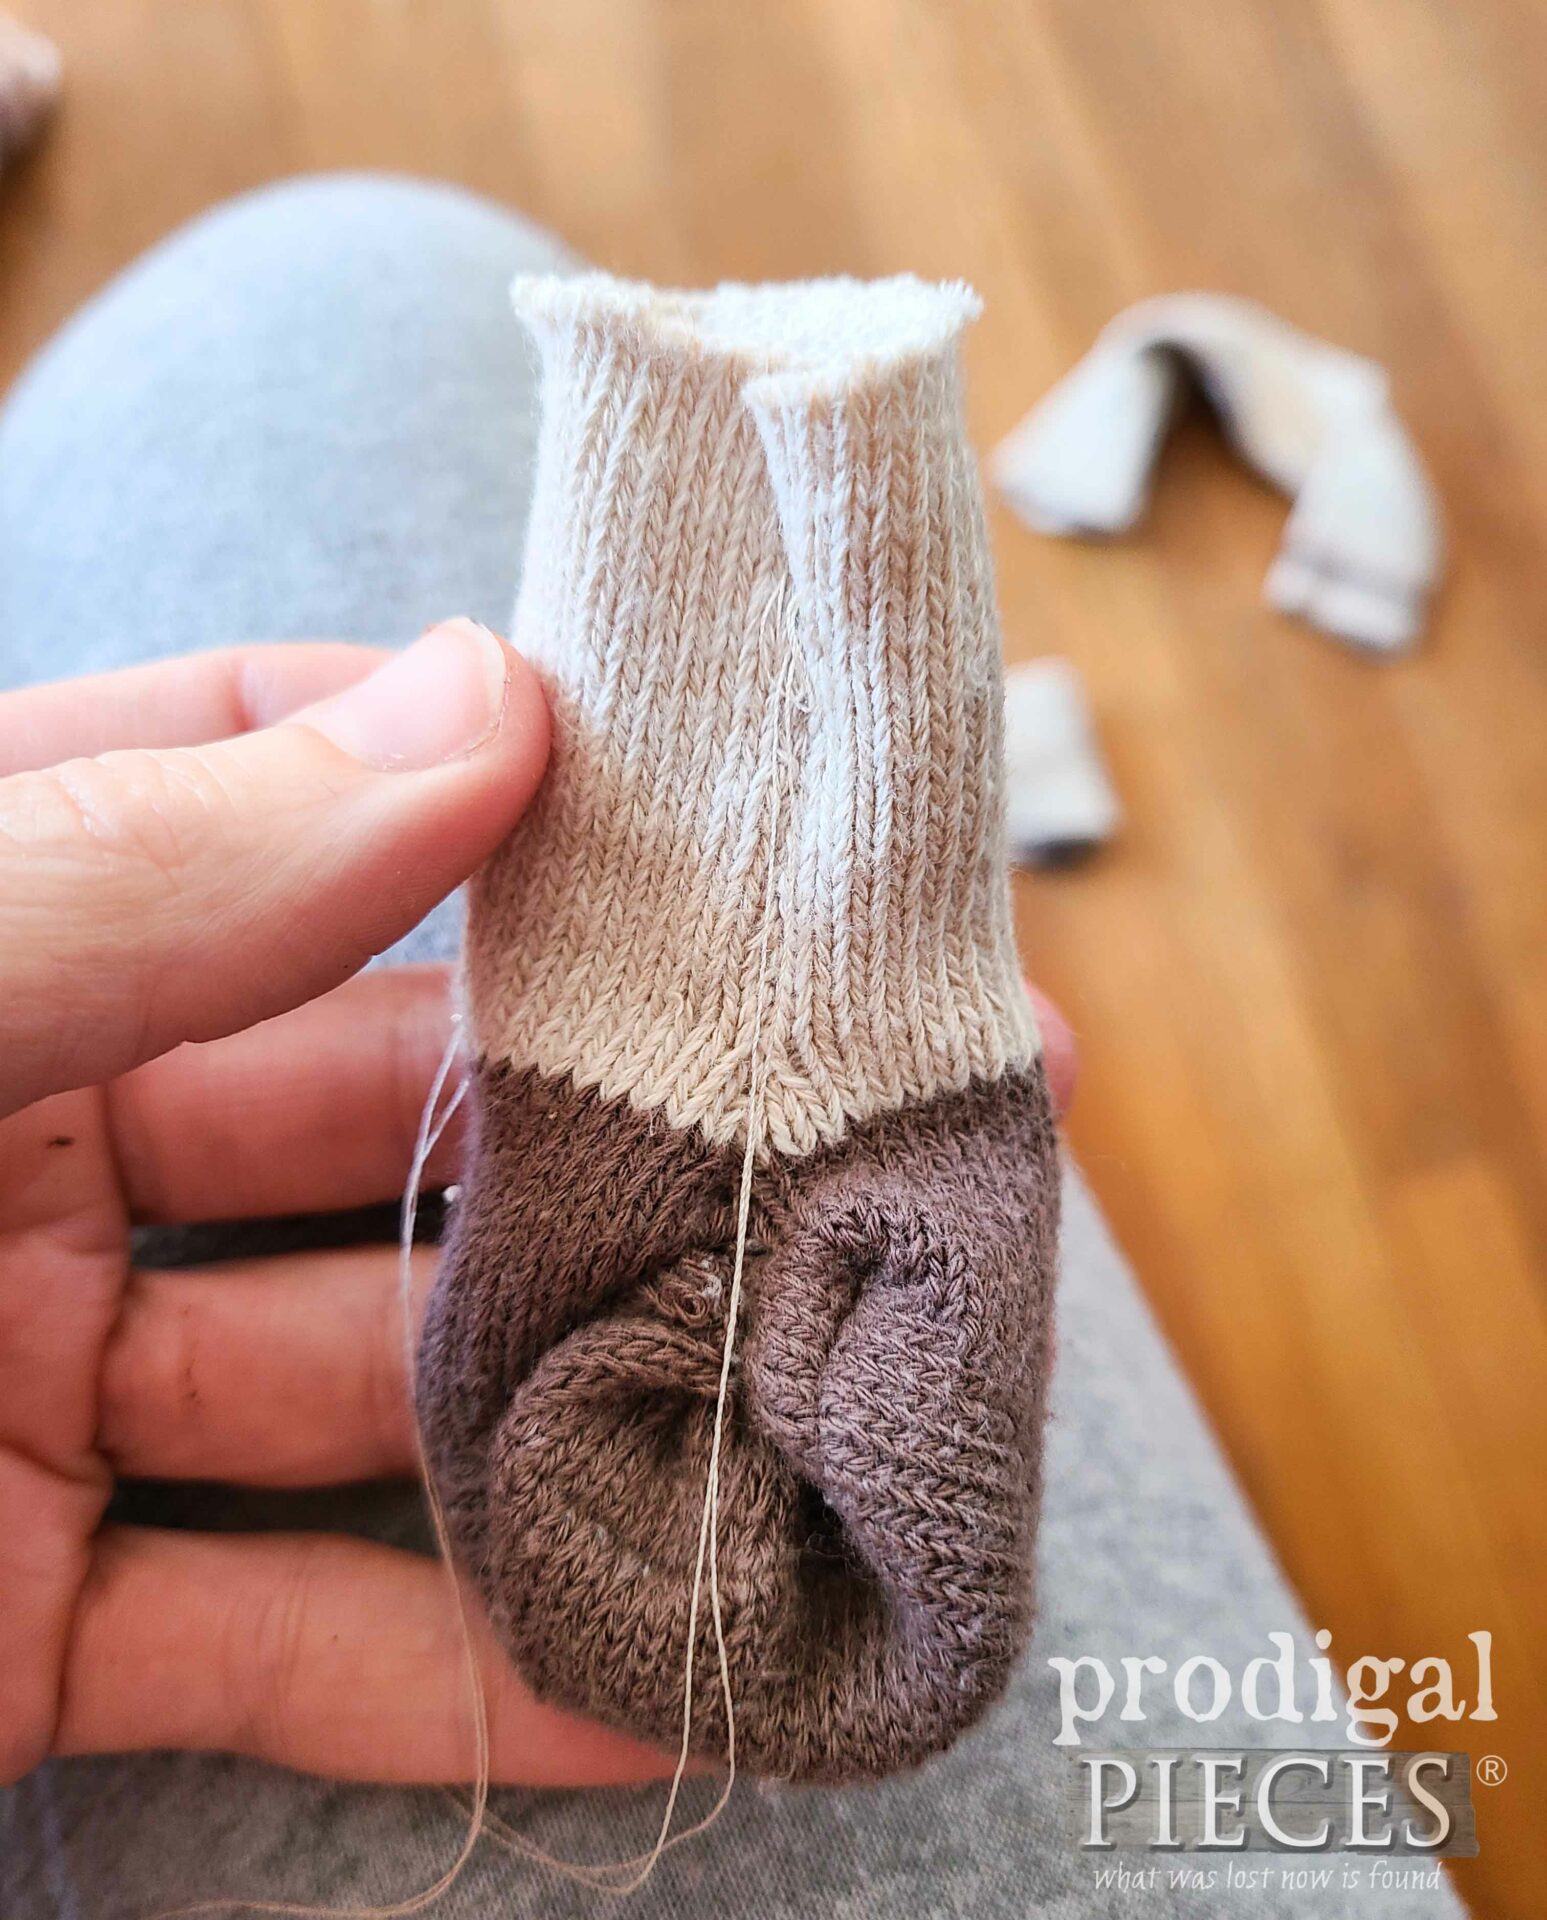
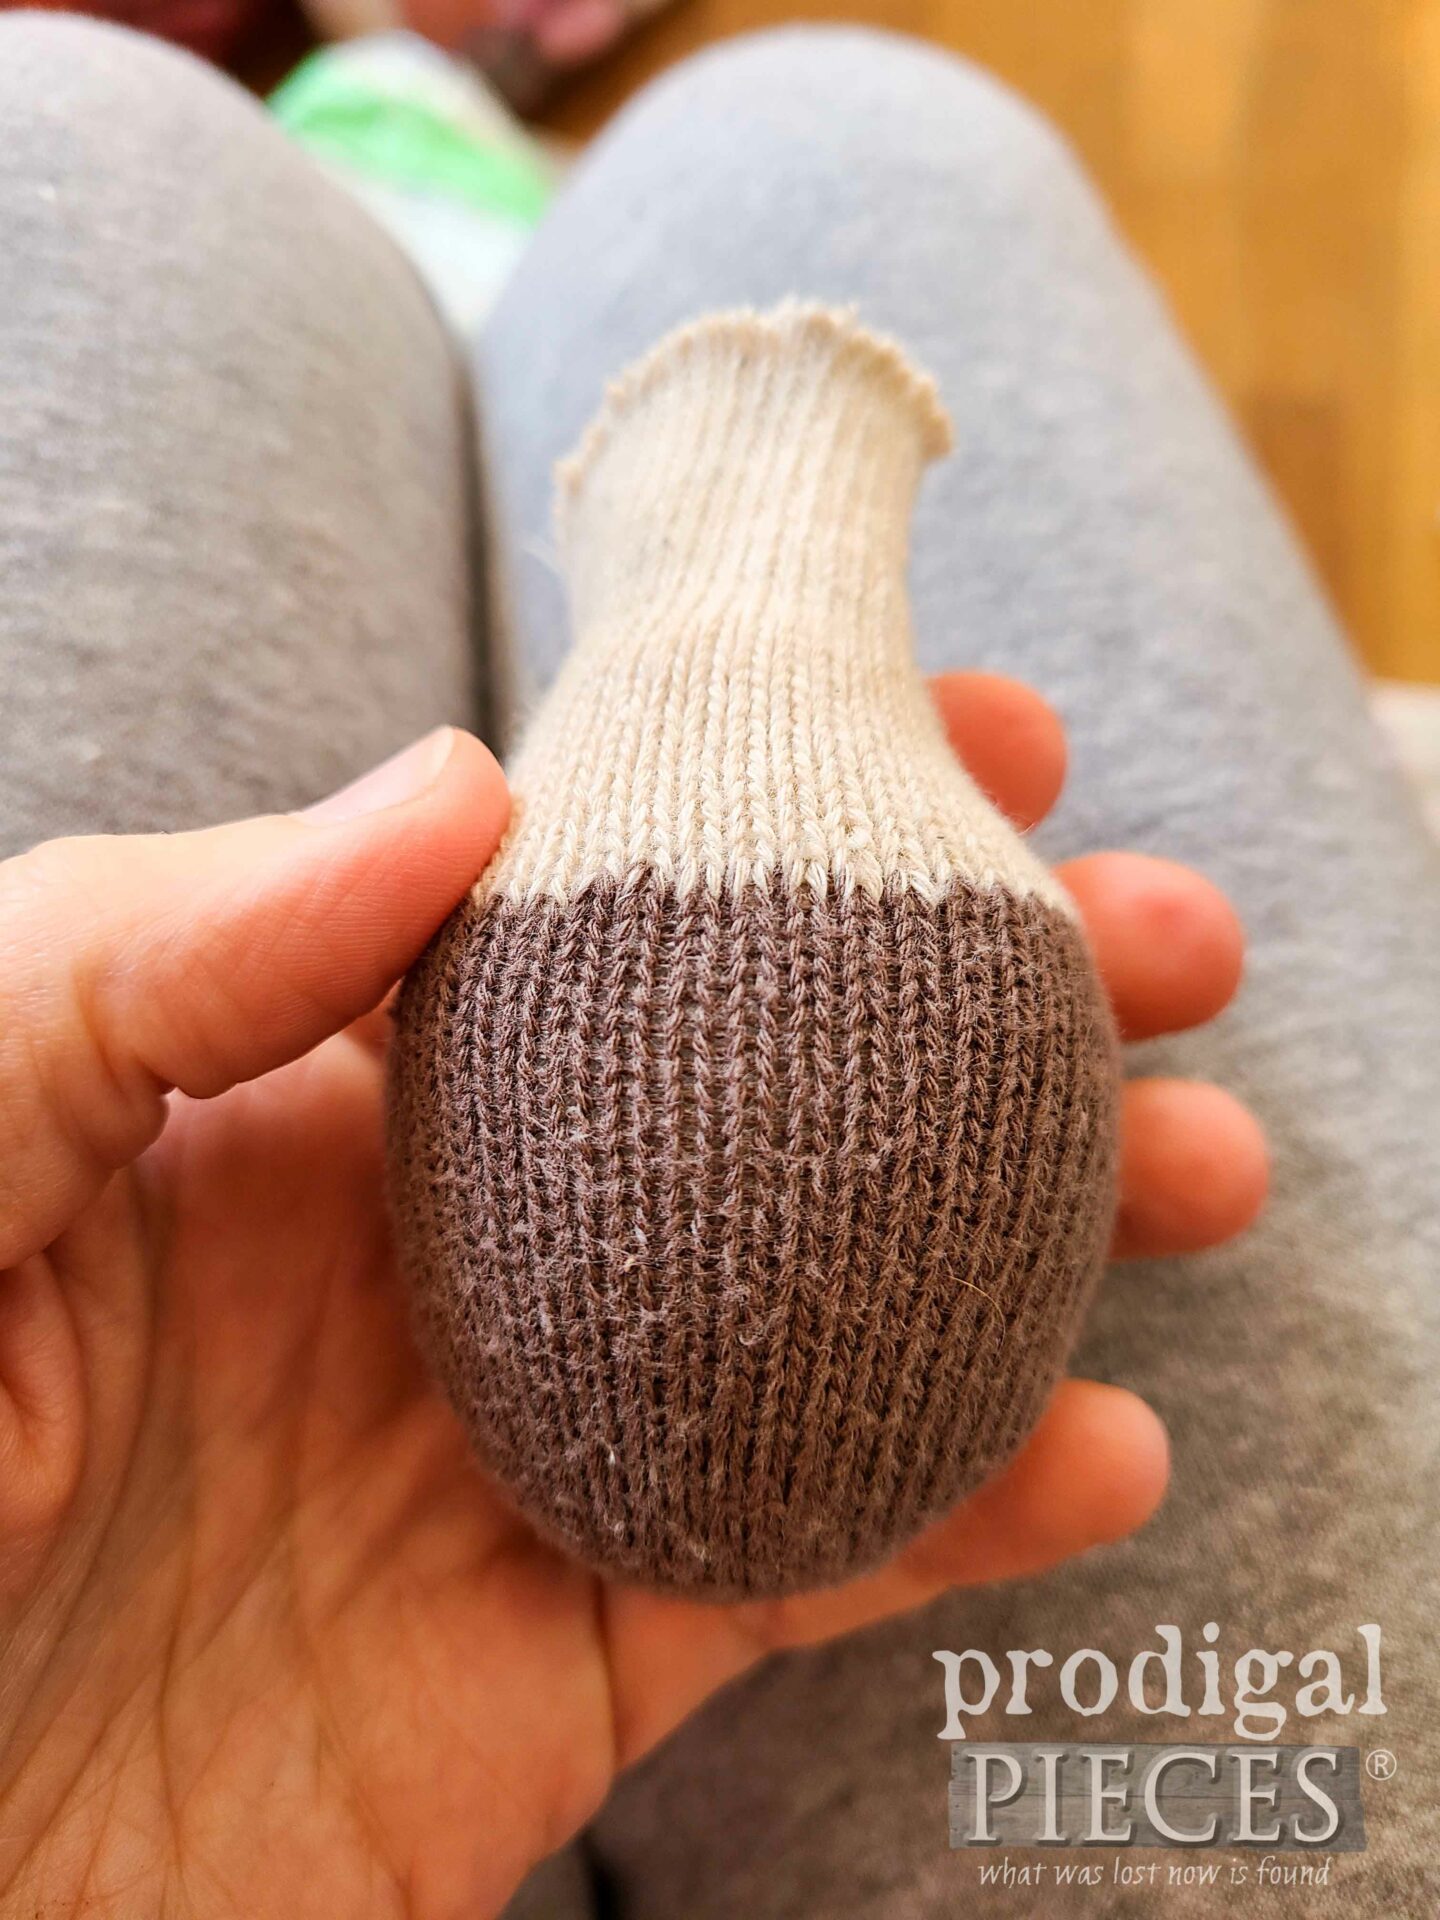
Next, I turn the sock inside-out and take my needle and thread to sew up this sock piece. First, I run a gathering stitch on the brown toe area (the front edge of the ladle-looking piece) and then follow up the “neck” with a ladder stich and leave un-anchored until stuffing.
However, notice I didn’t go all the way up. I leave about an inch open at the top. This is so I can stuff in a 3″ loose ball of stuffing in and then clip off excess accordingly. Turn the top edge in and use another gathering stitch to close it tight and anchor.
STEP 3
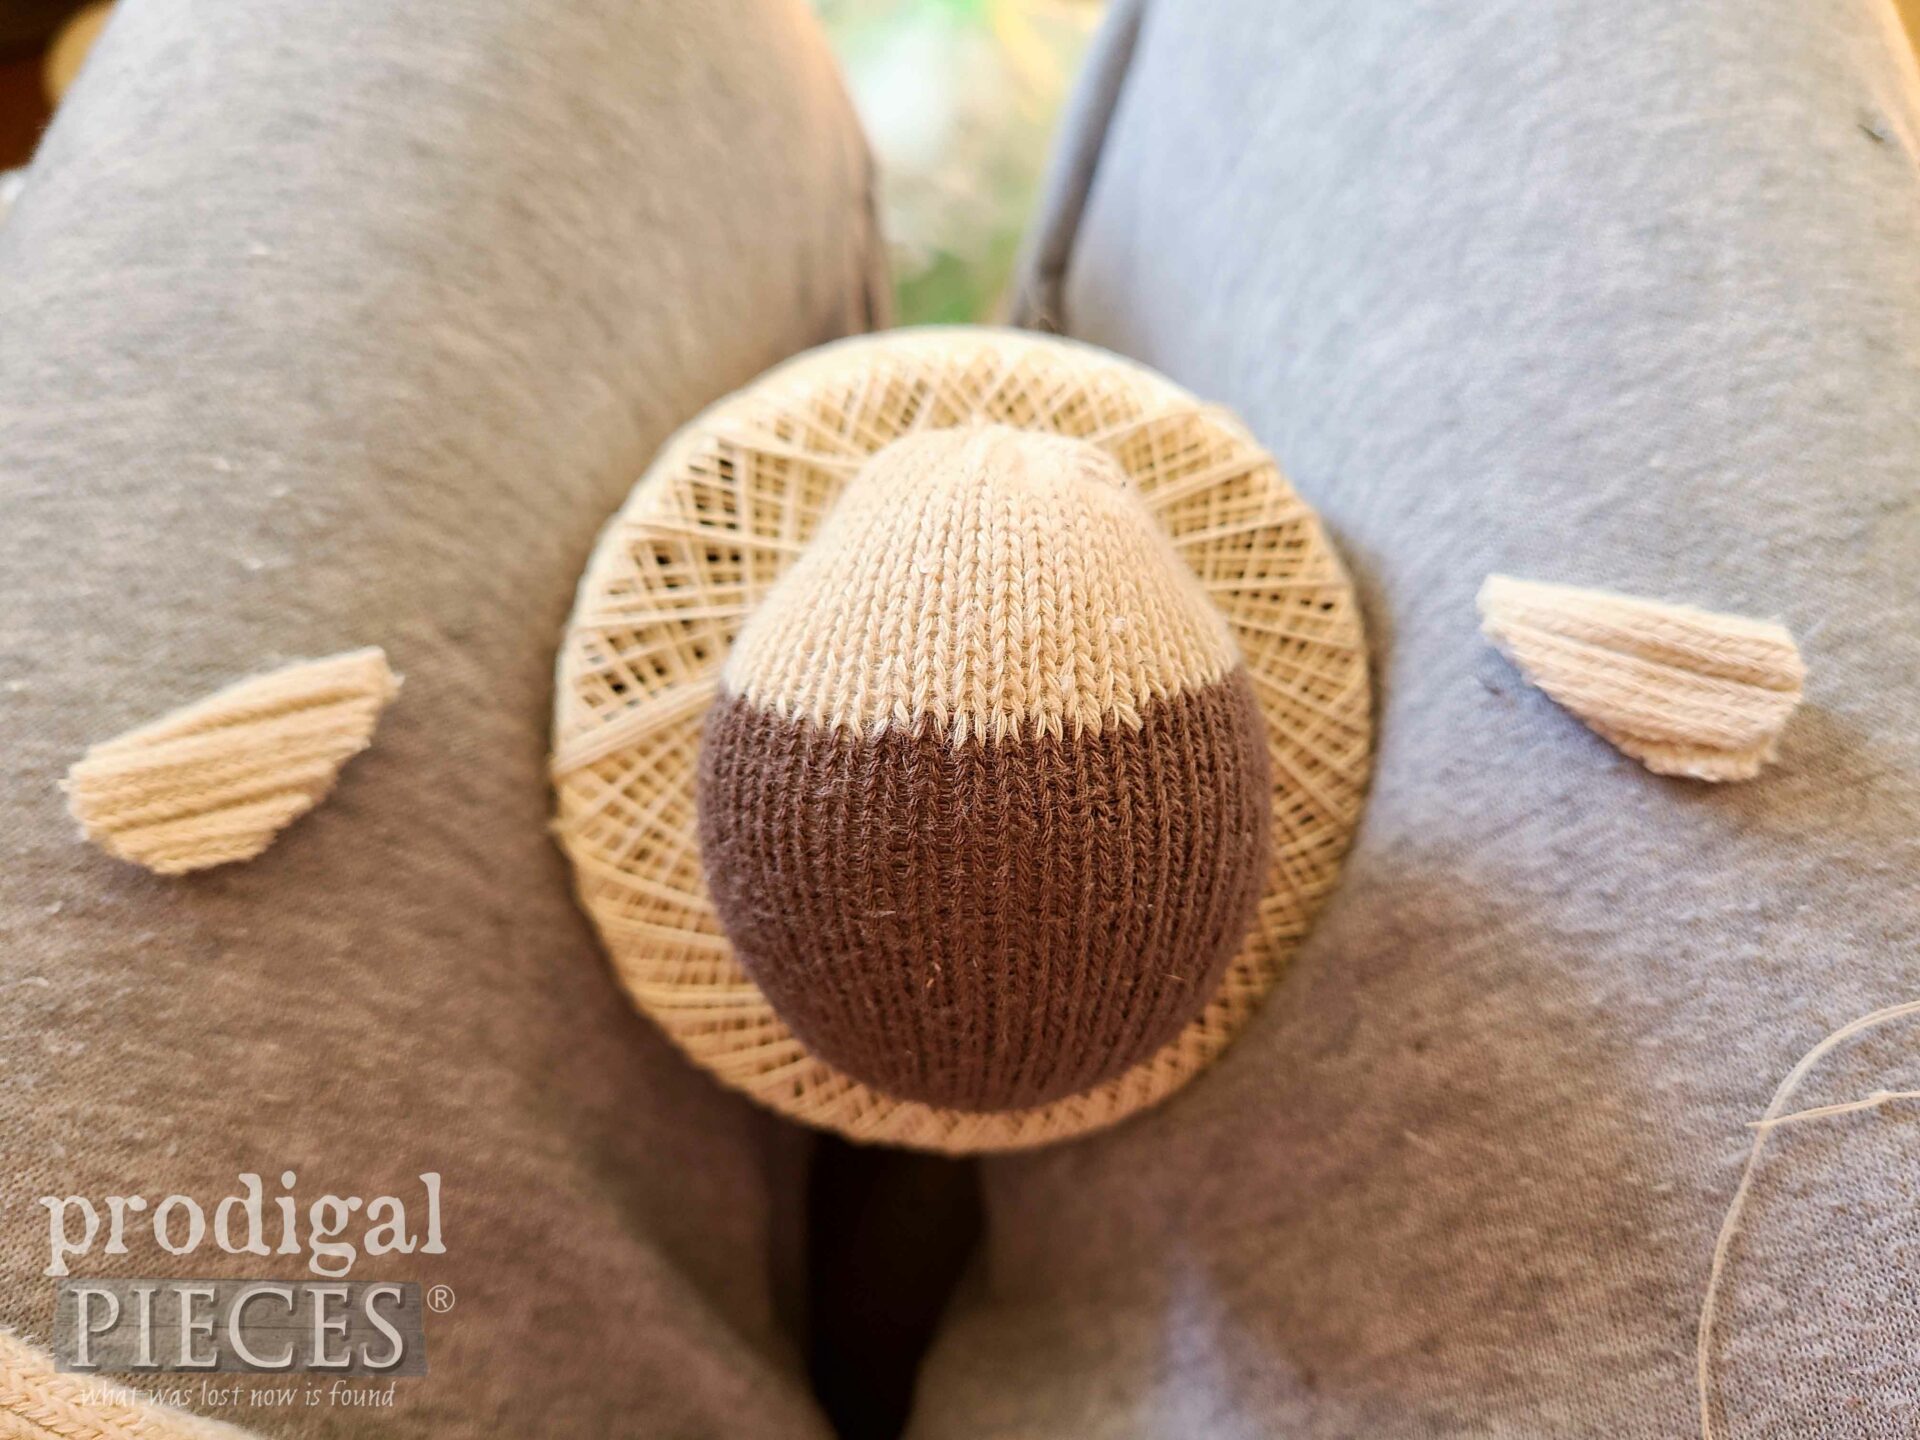
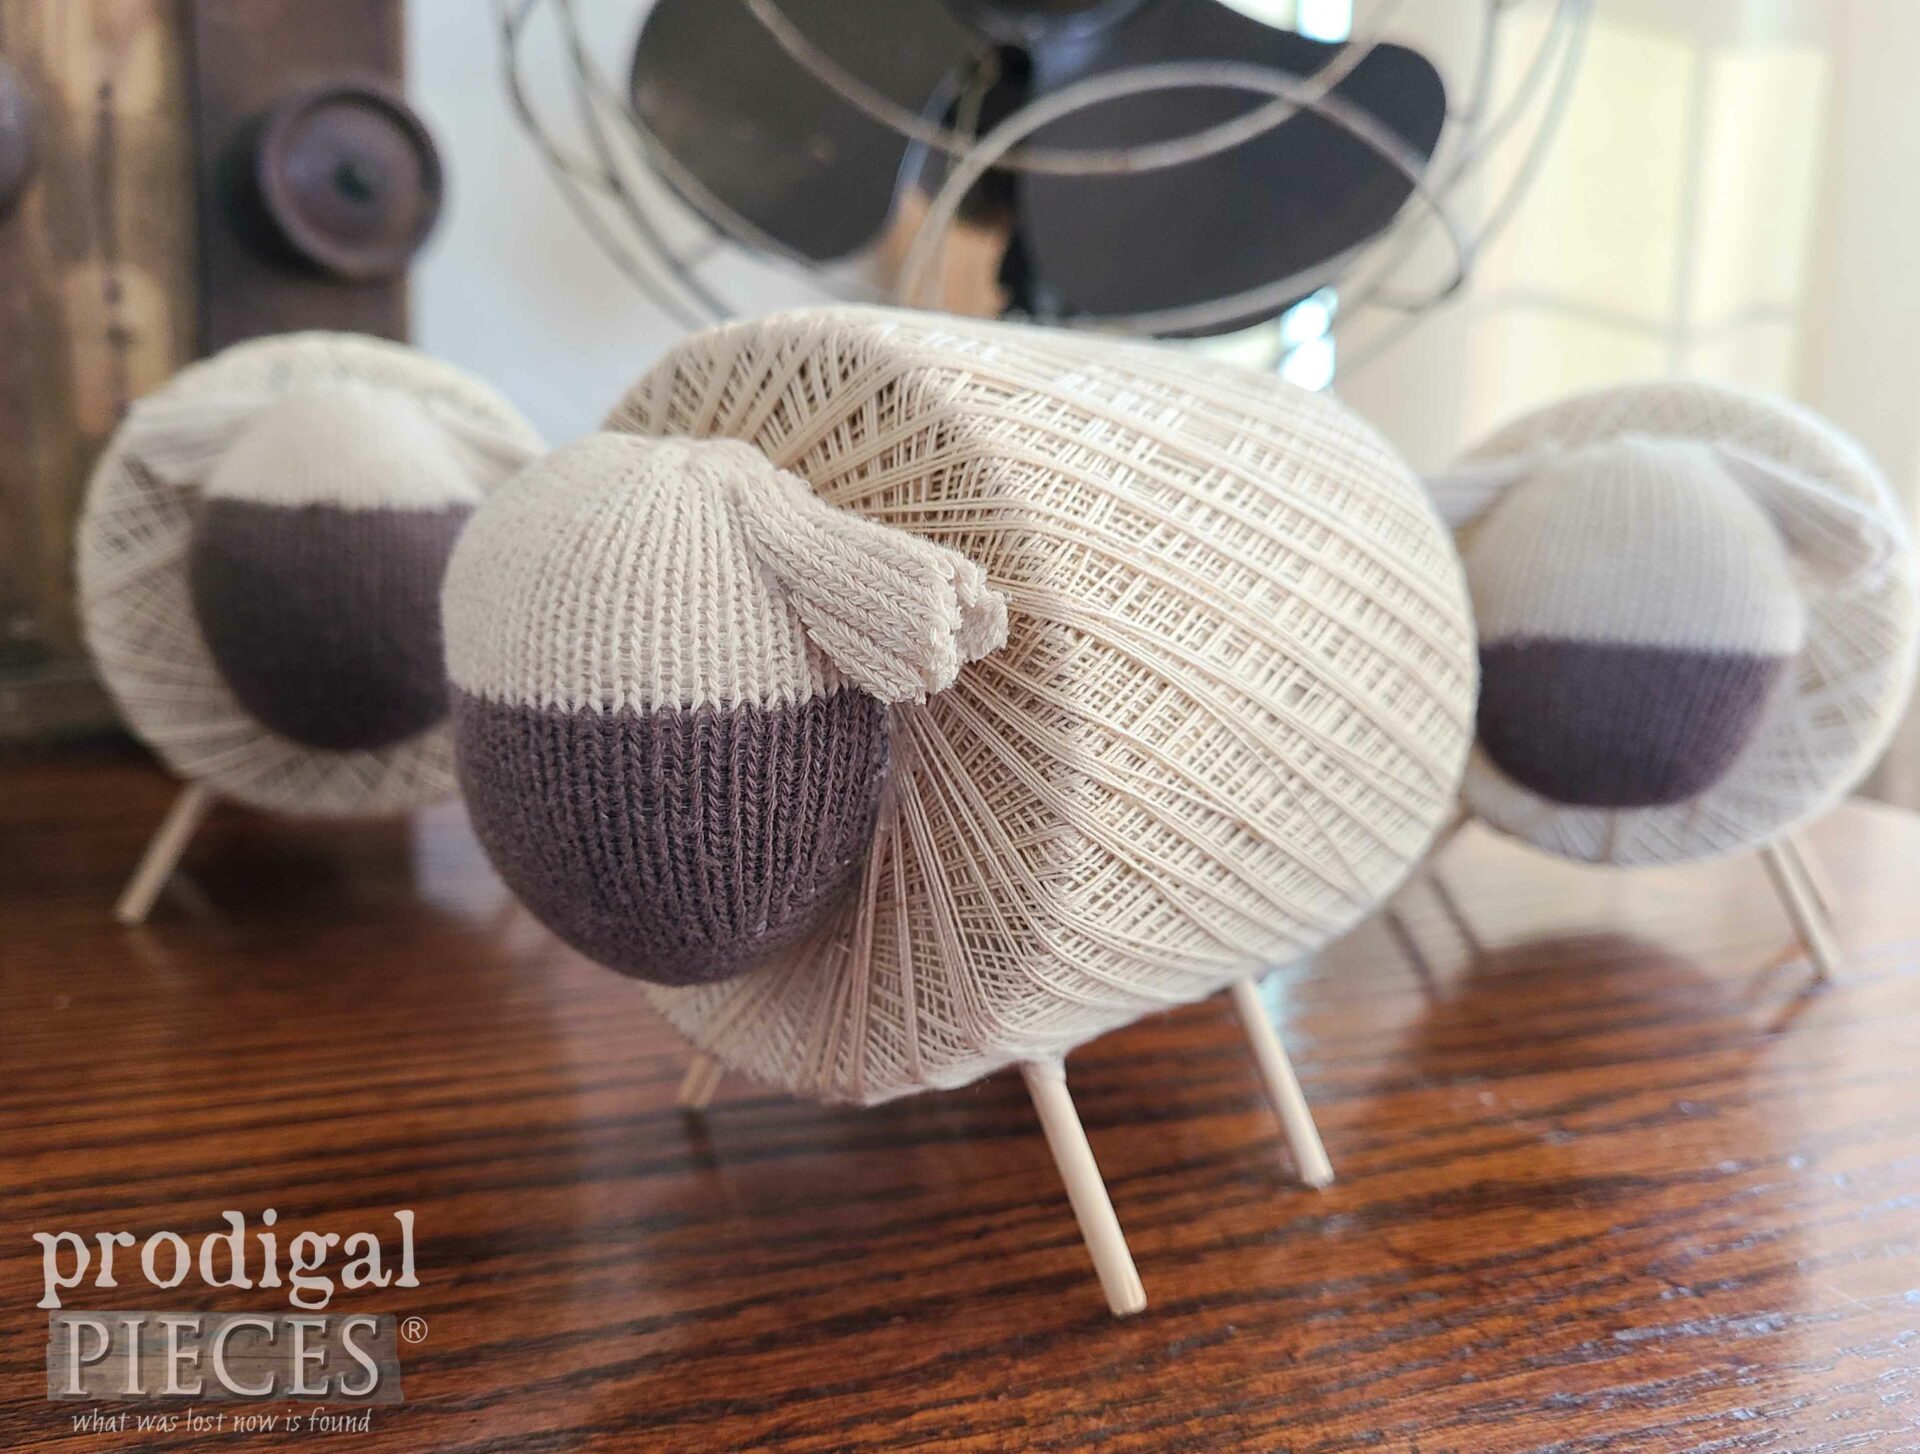
After you’ve created the DIY spool sheep head, this is the point where you can add bead eyes, embroidery, etc. That way you can hide the anchors or starting points behind the head. For me, I’m wanting to keep it super simple, so I leave it plain, but add a couple of ears.
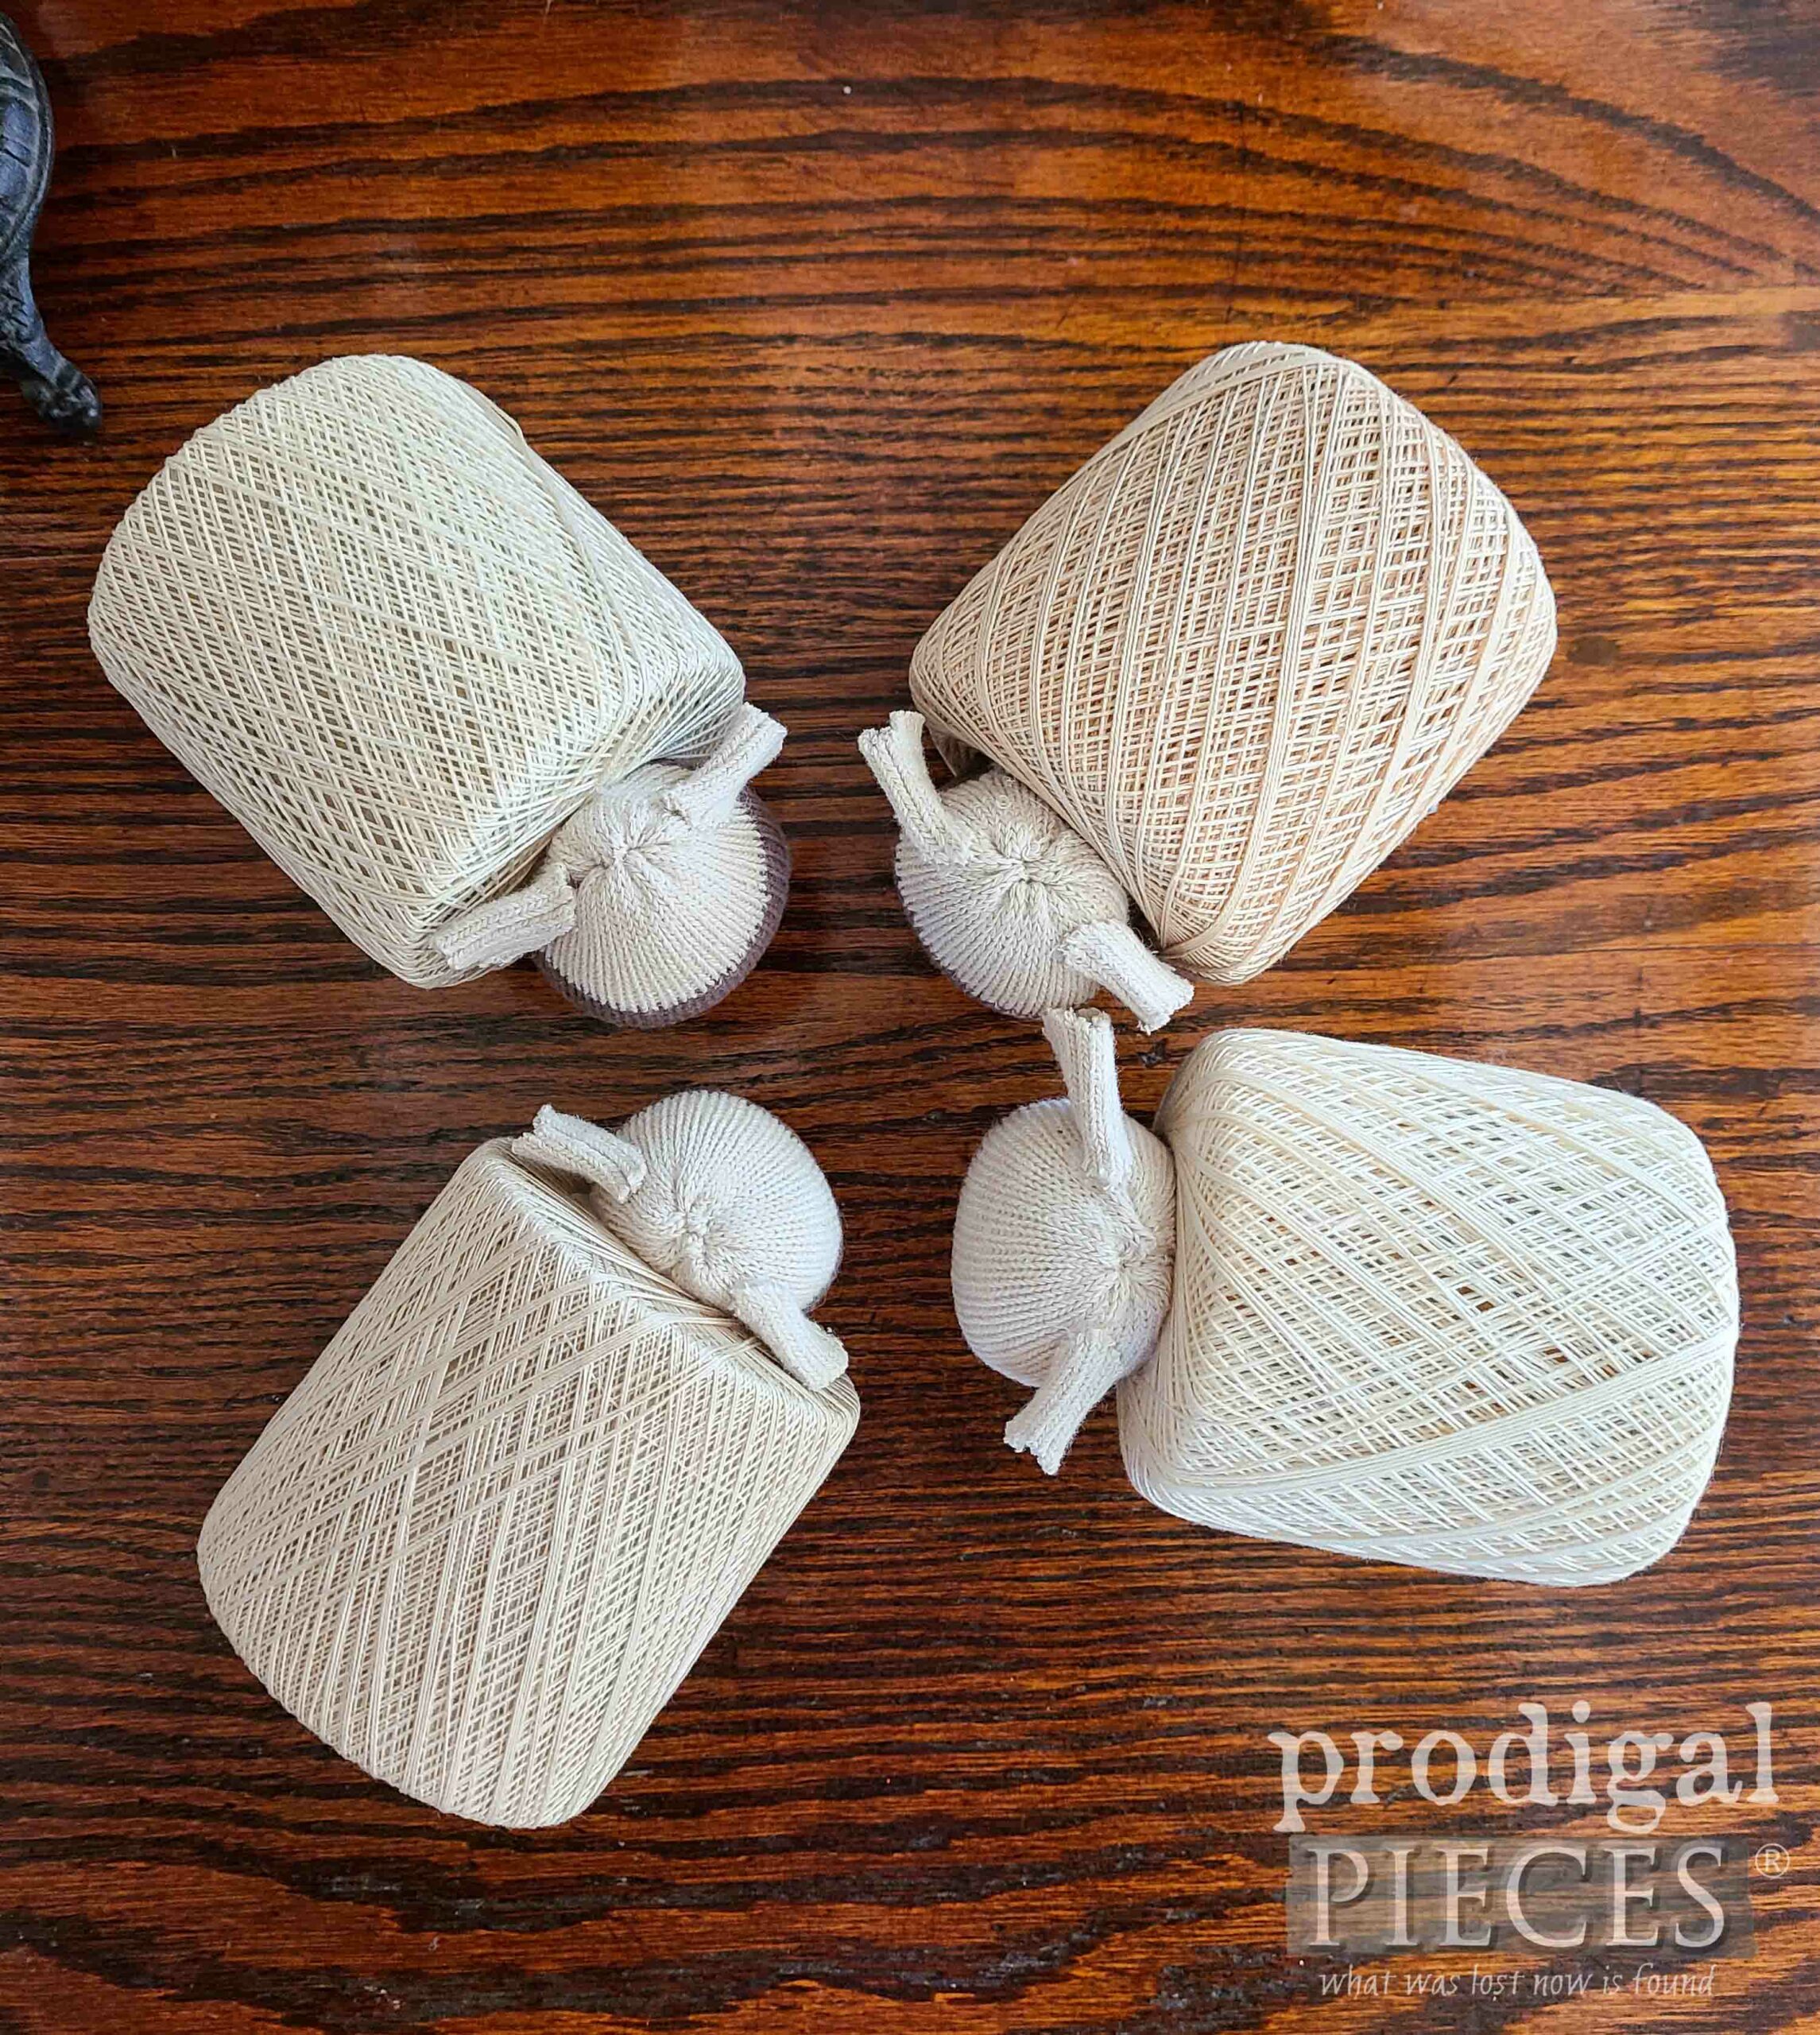
The ears are just teardrop-ish snips out of the neck/tube of the sock and hot glue them on either before gluing on the head or before. I have the folded edge facing up and the open, cut side pointed down.
STEP 4
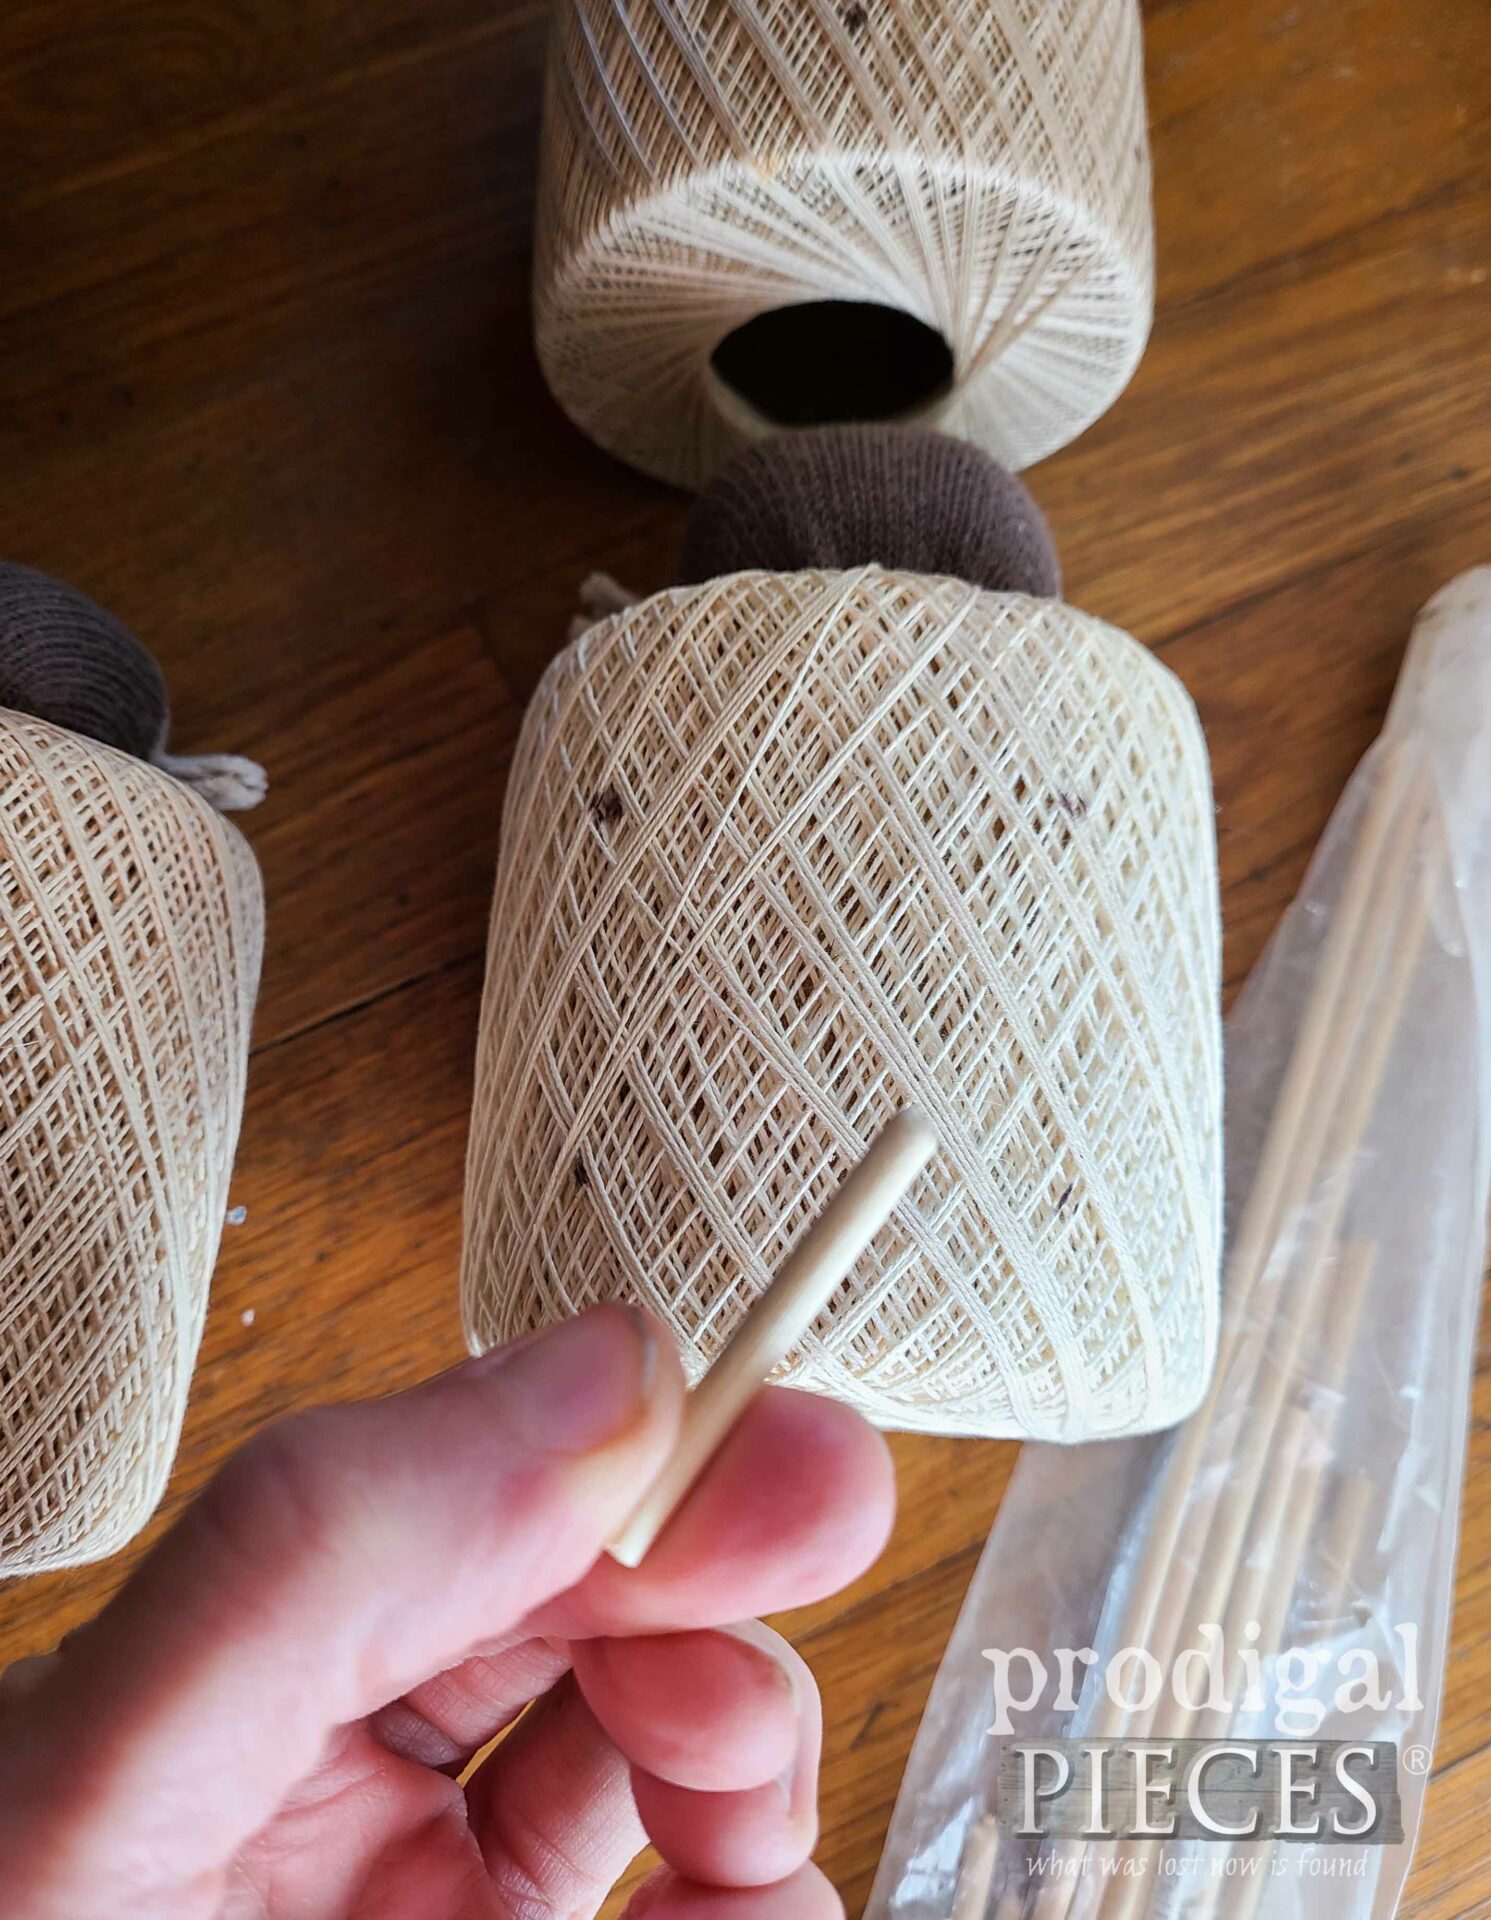
Last, but not least, I need to add legs. At this point, you can go any way you want with this. I debated on clothespins (both vintage and new clip kind), even crocheting some. However, in the end, I went with a skinny dowel cut into 1 ½” lengths. In order to do that, I use a marker to make marks where I want the legs. Also do note I’ll be putting them in at an angle to prevent tipping.
Then, using my scissors (or an awl), carefully punch holes in at an angle pointing inward to the belly. Place a bead of glue and put in dowel about ¼” in. Additionally, quickly make sure the sheep sets square and no tipping. If it tips forward, pull front legs out a tiny bit and adjust accordingly.
HOORAY FOR SHEEP
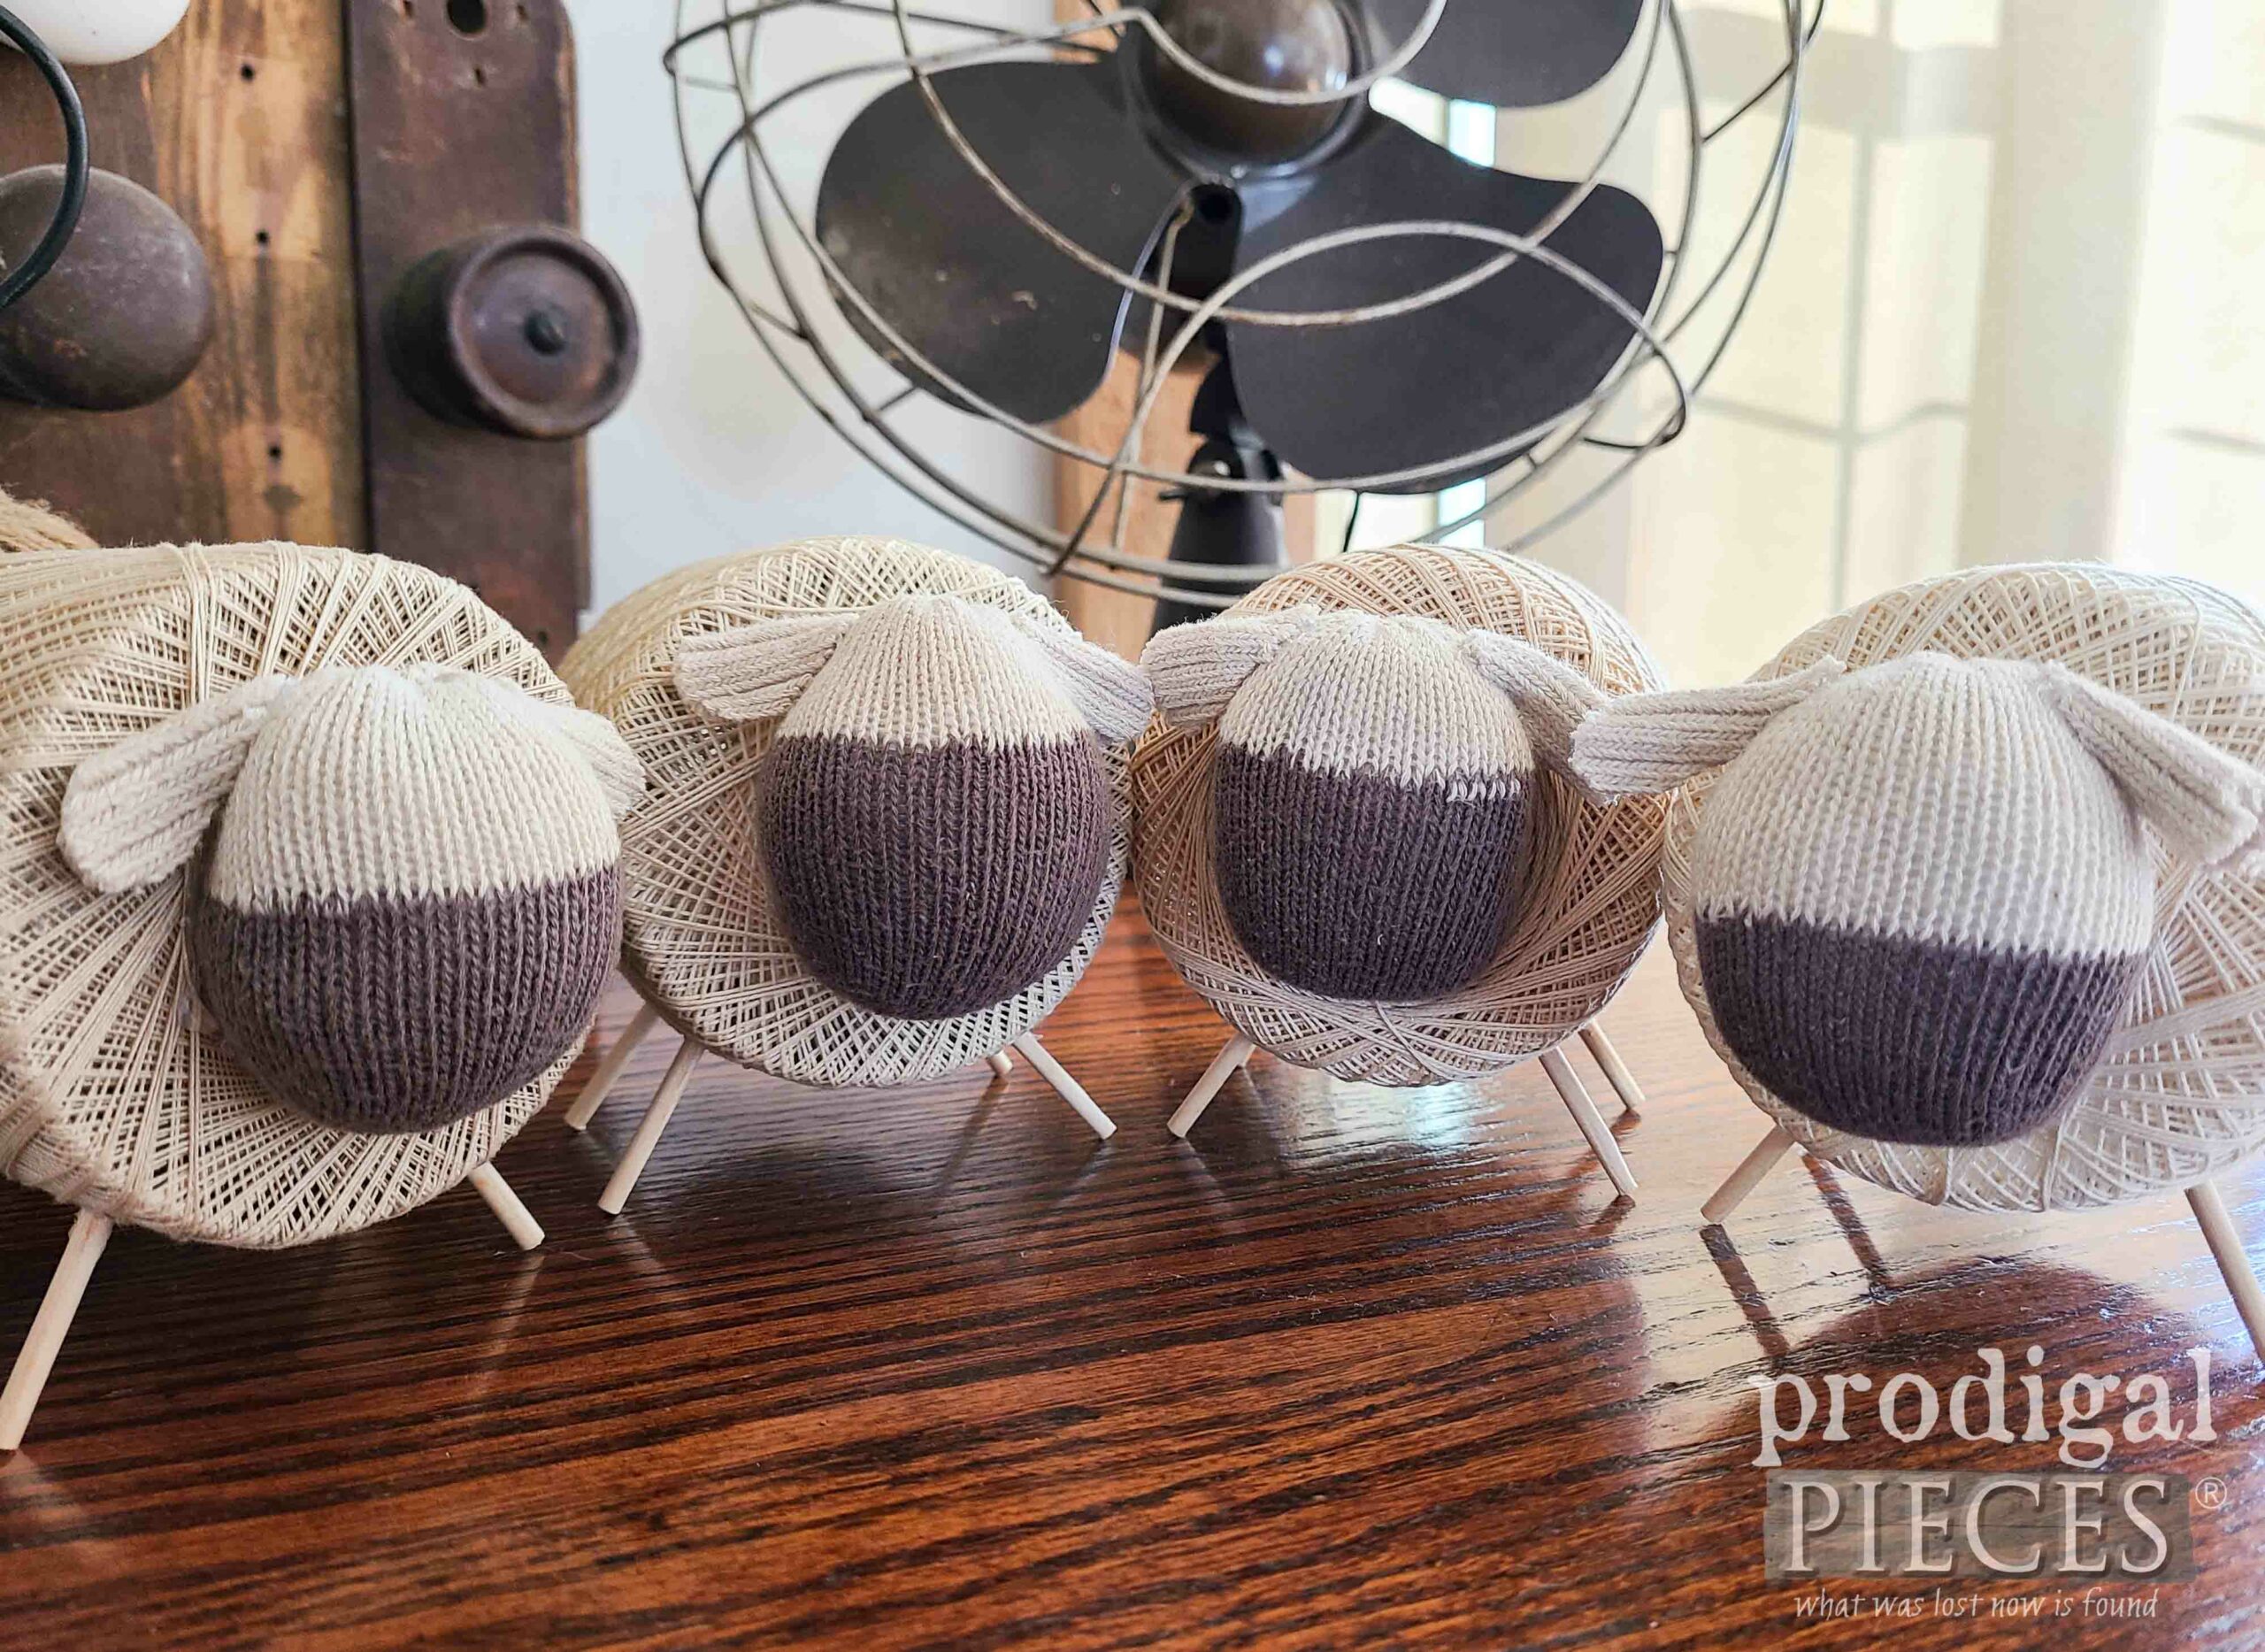
Finally, we have a flock of our DIY spool sheep just ready for adding whimsy to our home. Don’t they make you smile from ear to ear?
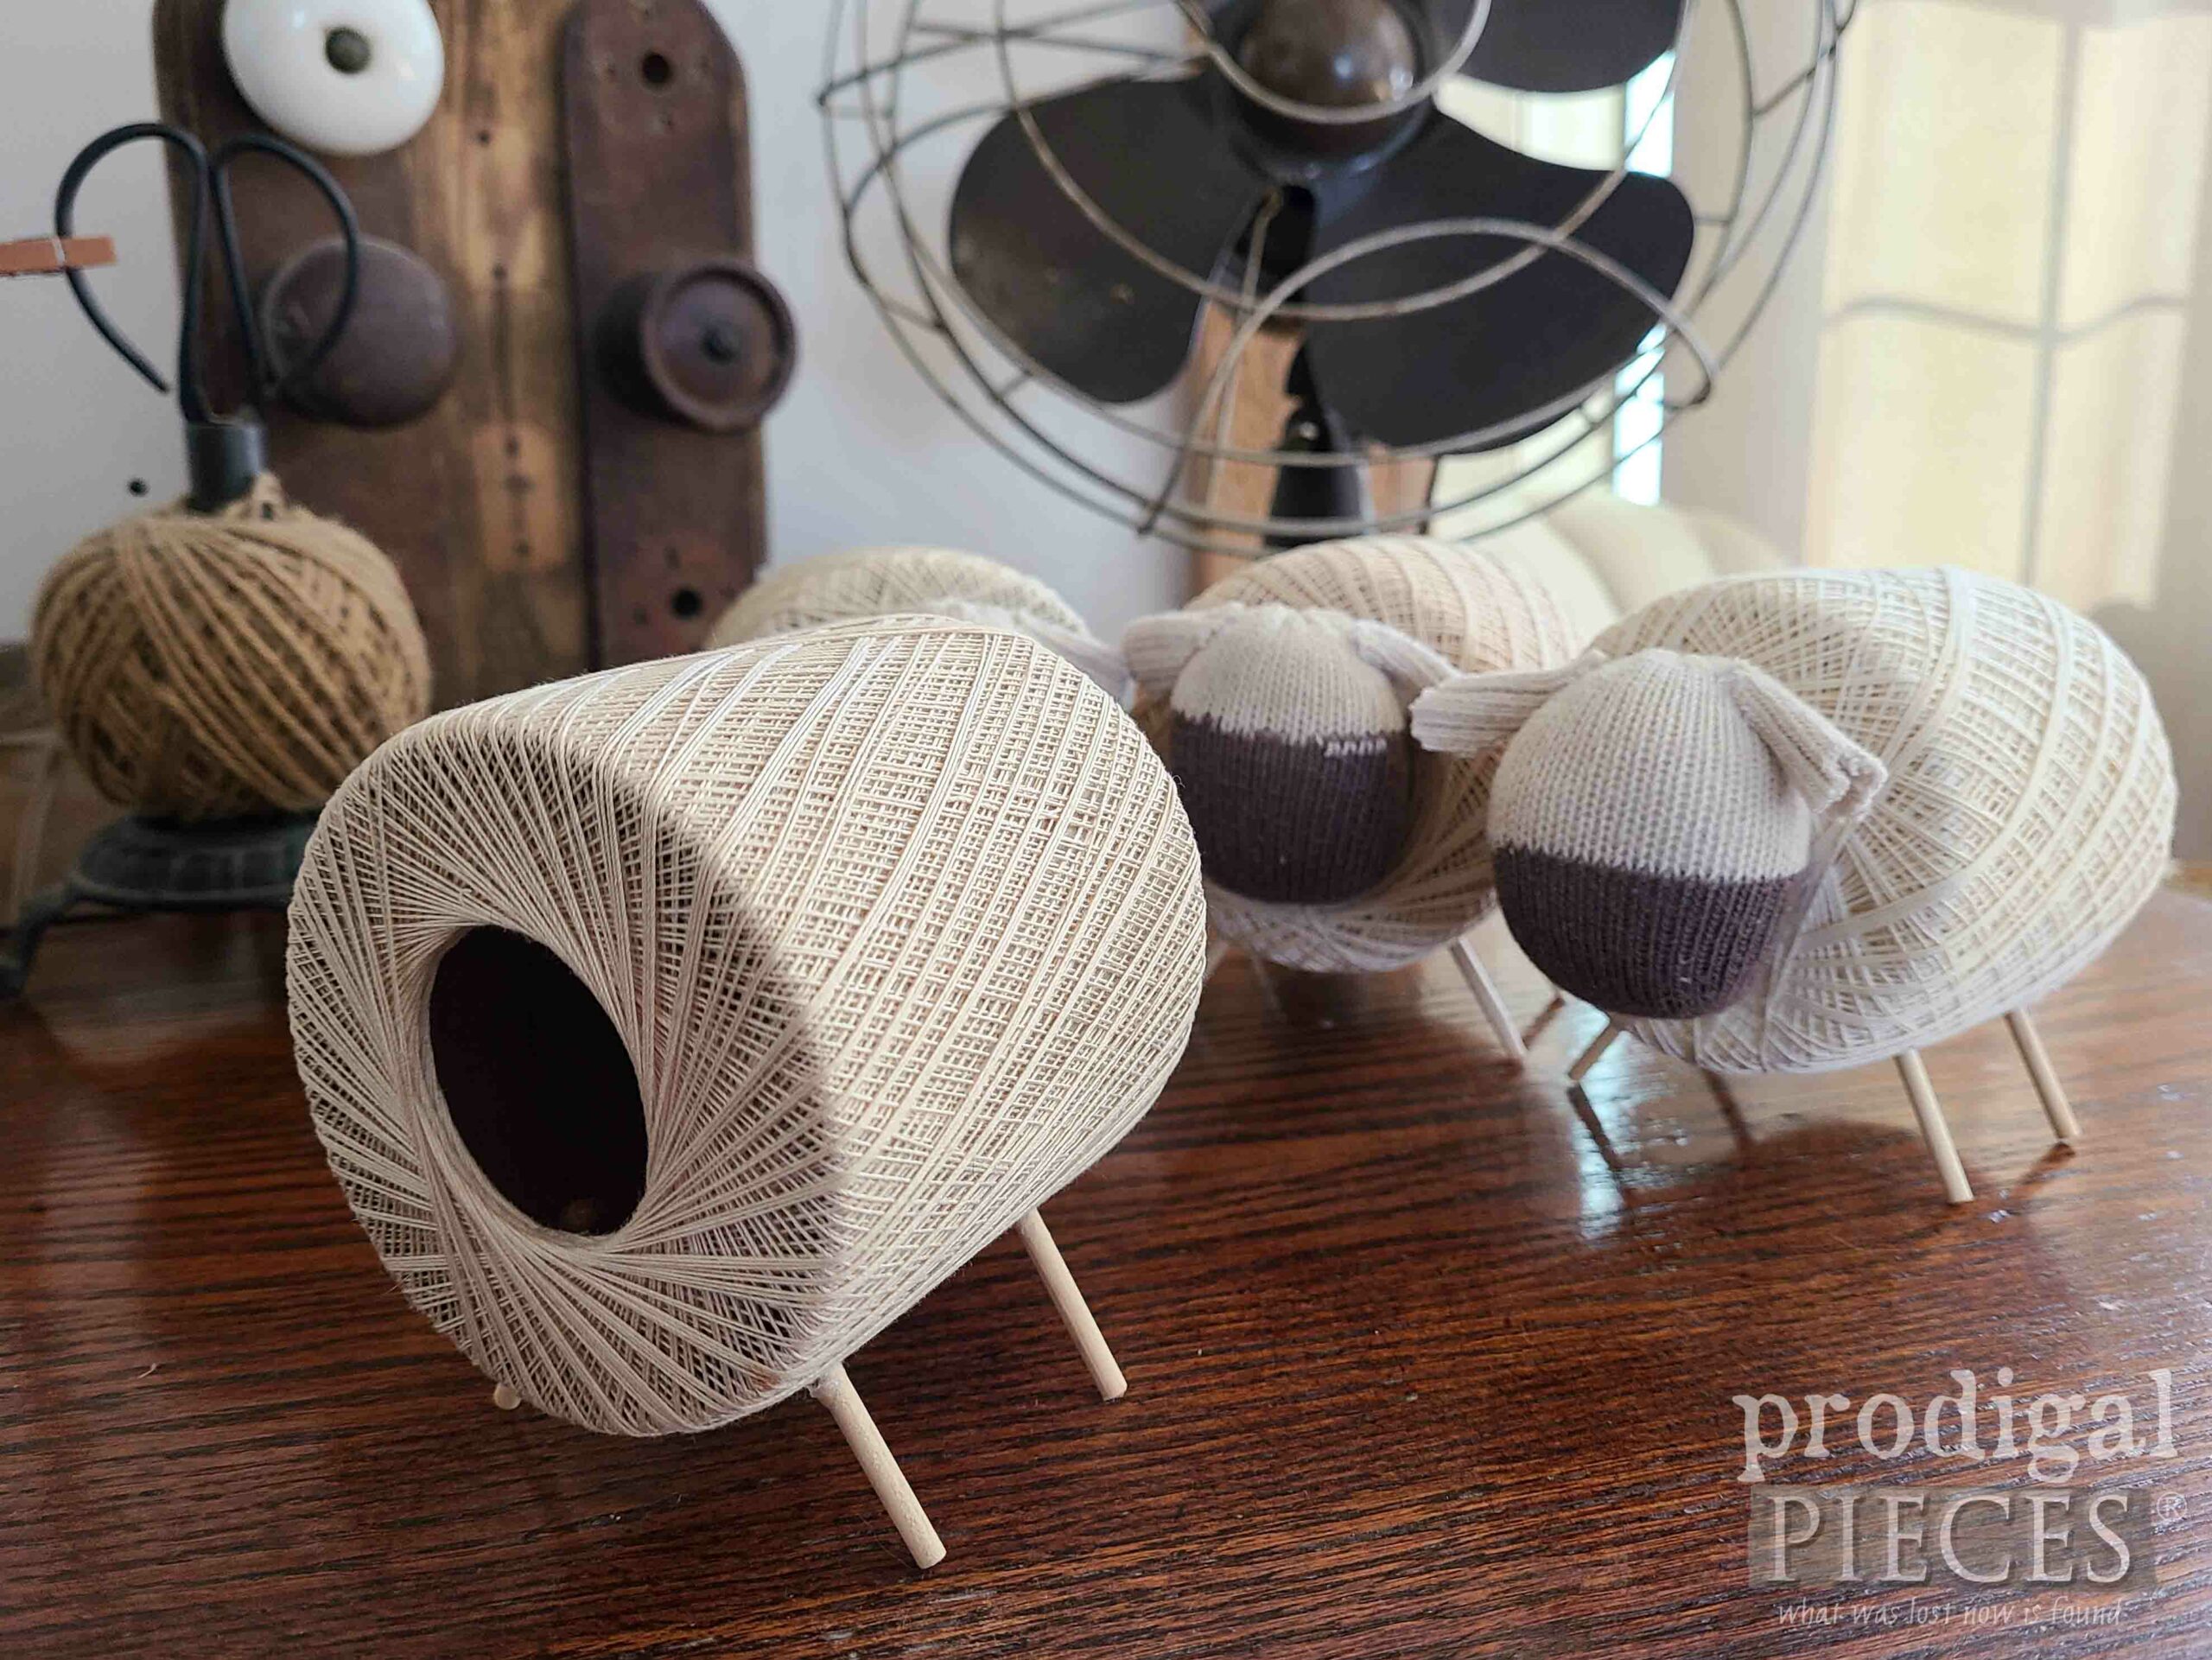
Even more, I left the back open you can tuck in a treat or a small gift to someone special to you. (or hide the chocolate you want for yourself later!)
Can you tell I’m hooked on these? Oh, so fun, easy to create, and instant smiles emerge. They need names, so let’s hear it!
If you’d like to make one or the whole flock a part of your home, you can find them and more in my online store.
SHARE
After leaving some comment love below, do take a minute to share these DIY spool sheep. Not only do they make for a wonderful family craft, but also add to your home story.
Before you go, be sure to sign up for my FREE newsletter. Until next time!


Oh my goodness!!!! Those are ADORABLE!!!! Sadly, my naming abilities are lacking…. I tend to choose literary names. I’m thinking the names of the Bennett sisters in Austen’s Pride & Prejudice? Elizabeth, Jane, Amy, Kitty and of course their friends Charlotte, Darcy and Billingsly! 🤣🐑🐑🐑🐑🐑🐑🐑🐑🐑🐑🐑🐑
haha!! YES!! That is super fun to me. woot!