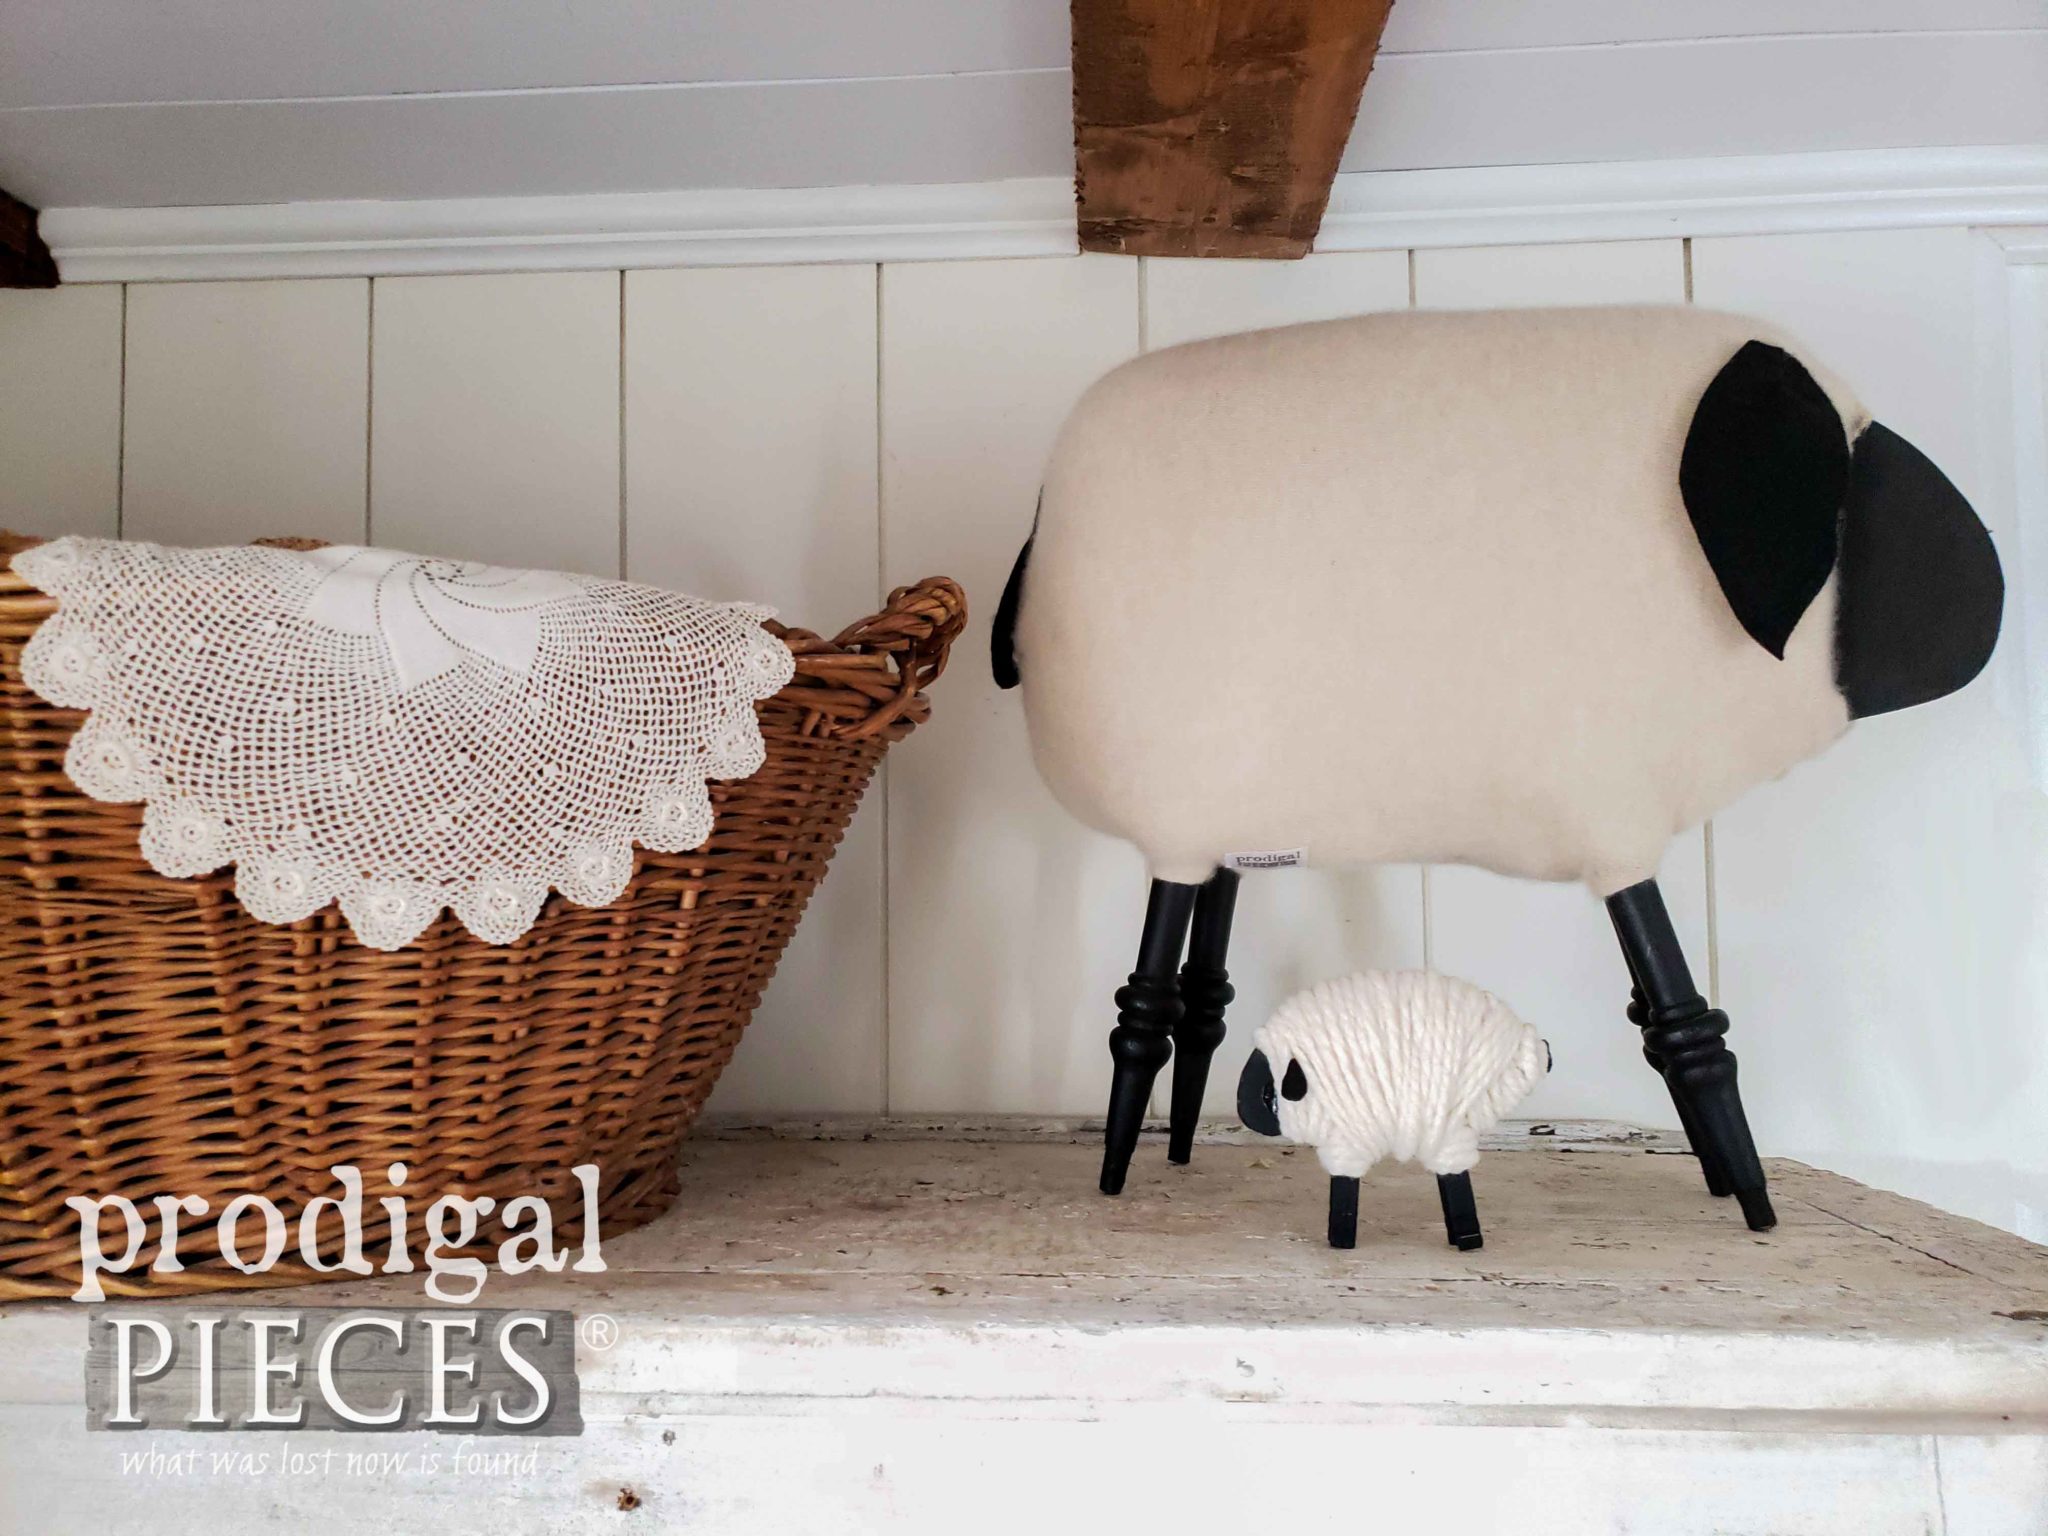
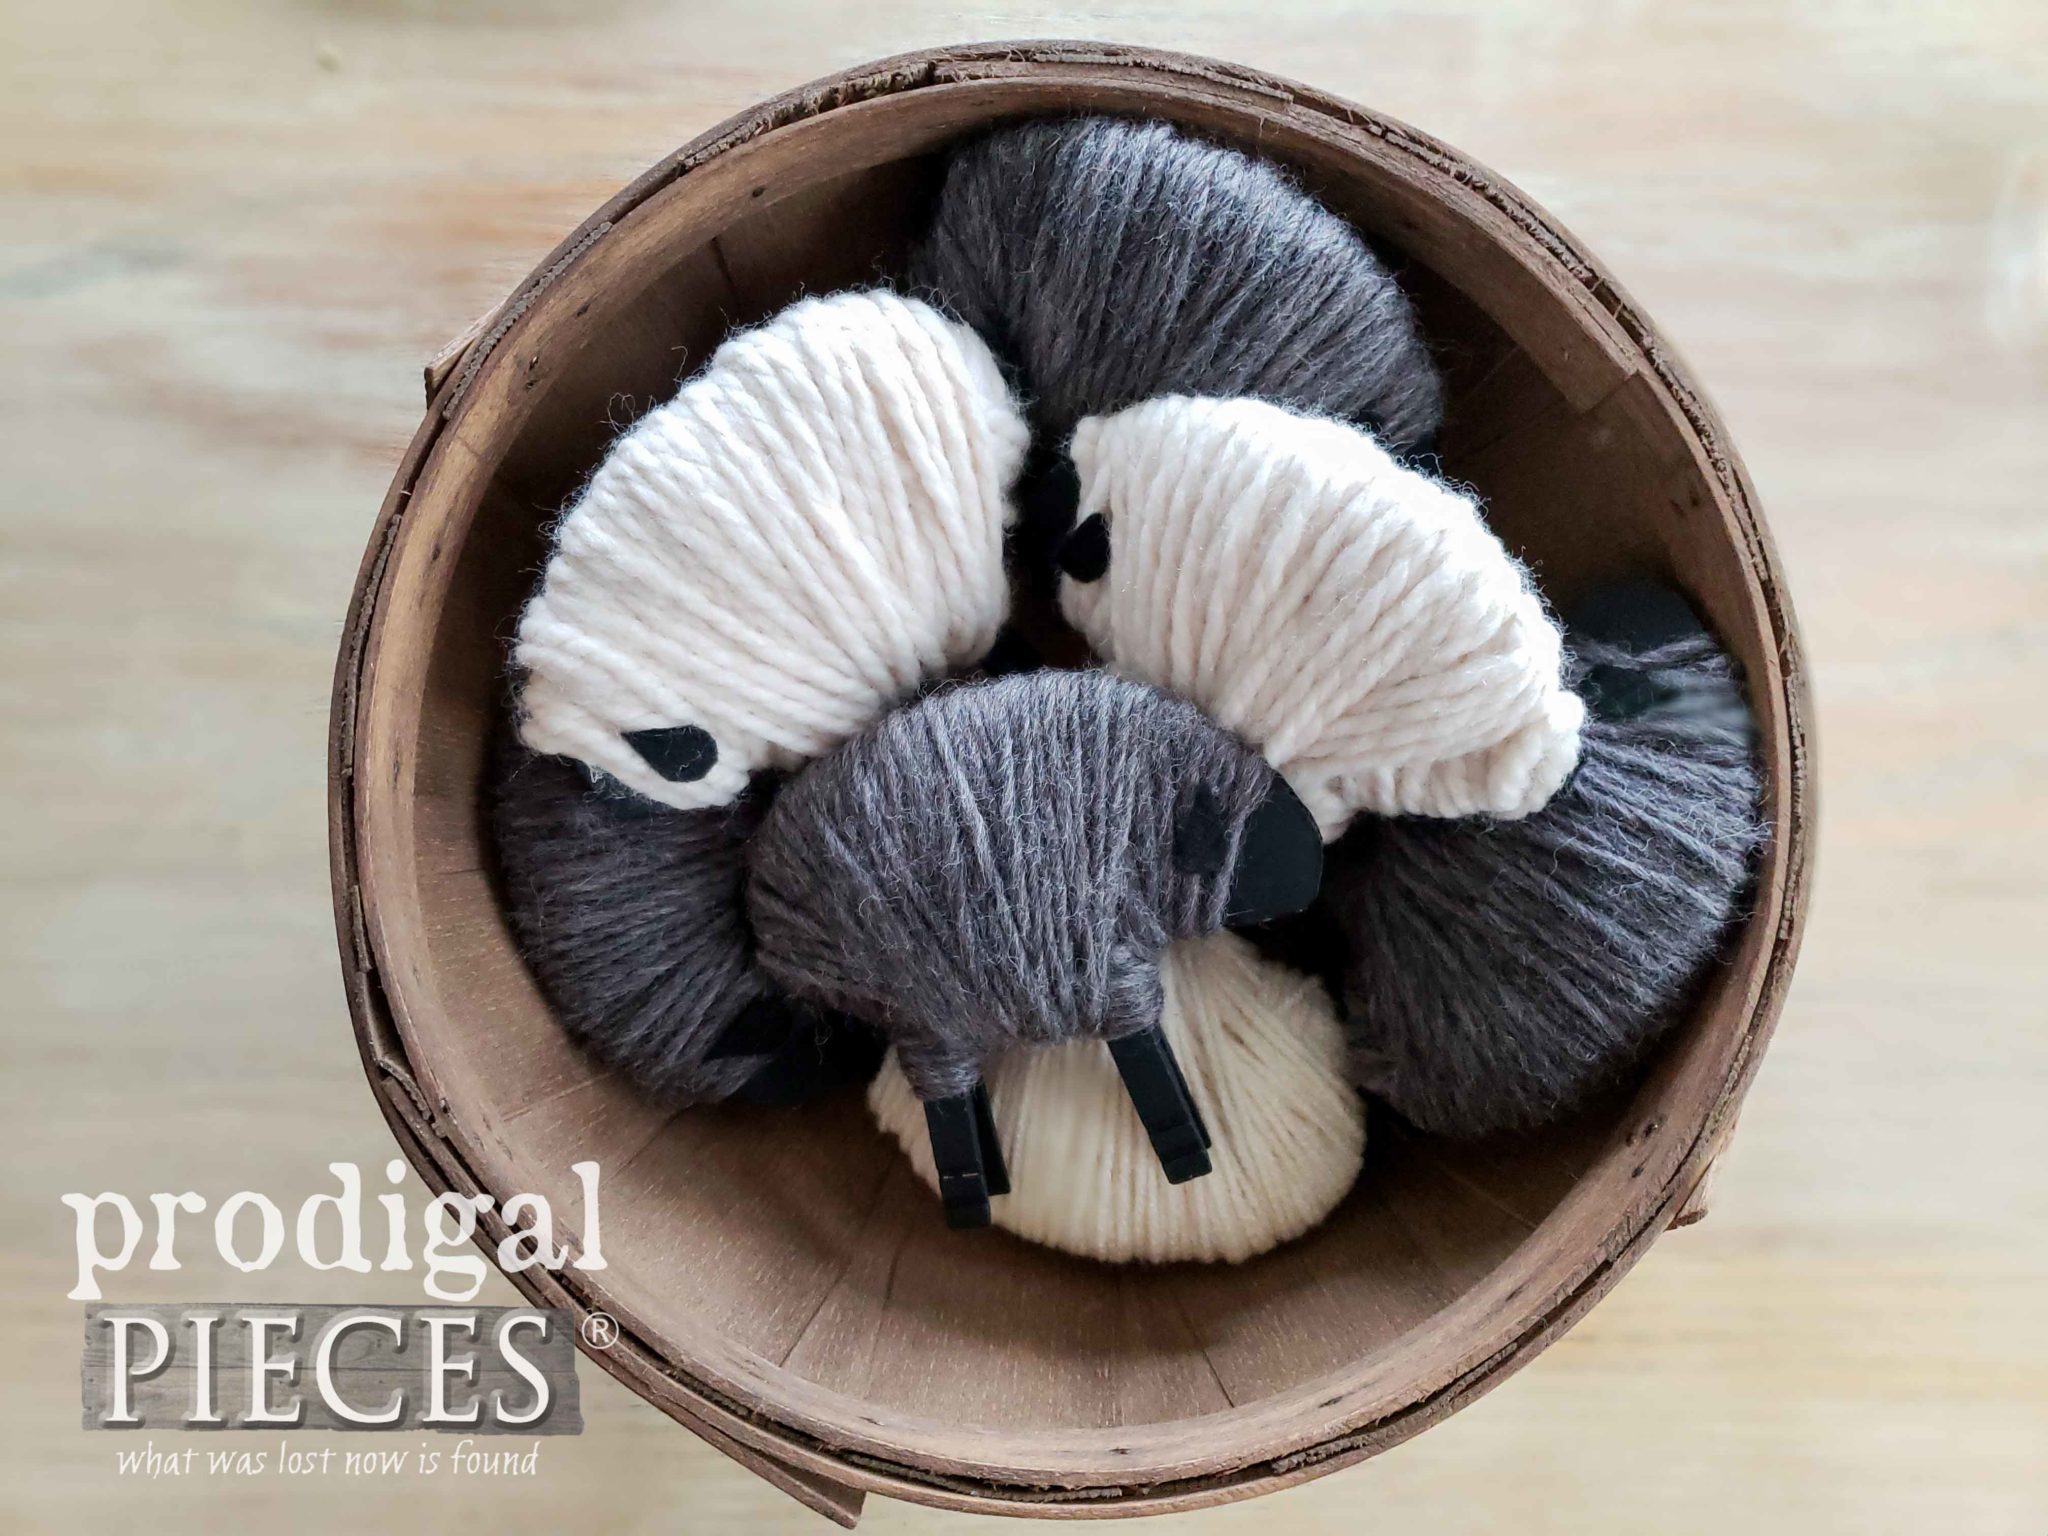
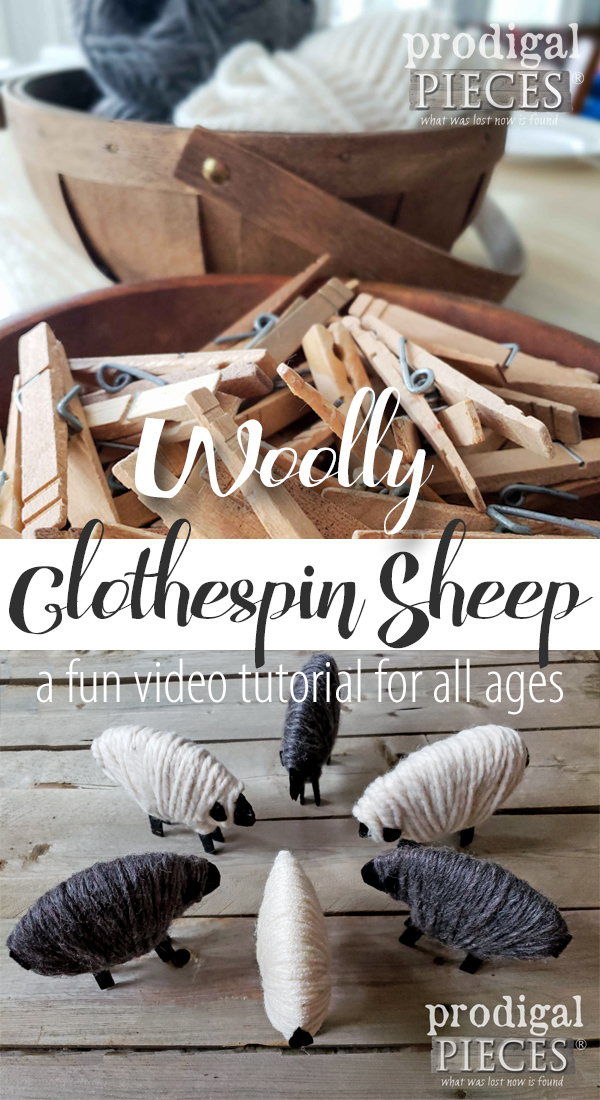
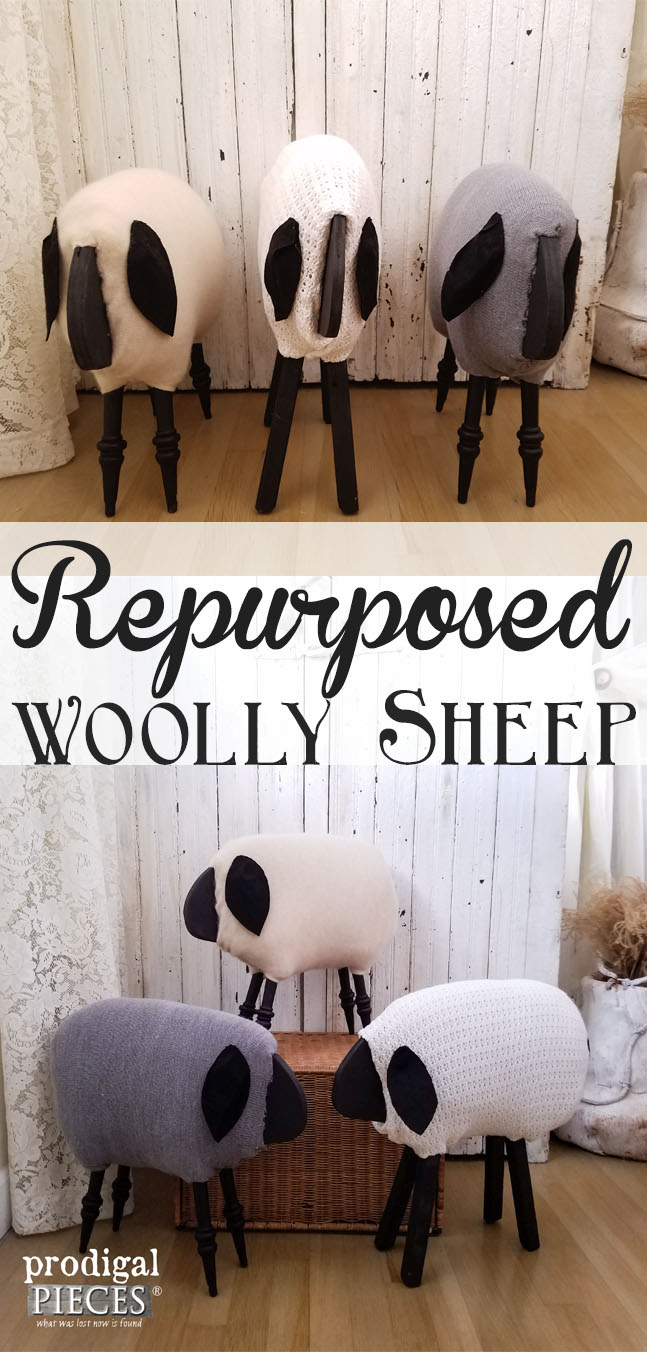
Can you resist cute farm animals? I, for one, can not. I won’t say I have a favorite, but I truly adore cows, chicken, horses, goats, pigs, and sheep – any and all. A few years ago I made each of my kids a woolly clothespin sheep ornament and that inspired me to make a larger version a while back (tutorial HERE). As a result of sharing that tutorial, many of you asked for a DIY on how to make the smaller ornament too. Well, today’s the day!
This little flock is so easy to create in a few minutes. In fact, even kids can do it! The best part is they make wonderful handmade gifts from kids of any age. You can string them up to be ornaments on a Christmas tree, stick them here and there on your shelves, or tuck them into arrangements for a bit of whimsy.
Ready to make some of your own? Let’s get started. First, I created a video tutorial for you. I know I’m not the only visual learner out there.
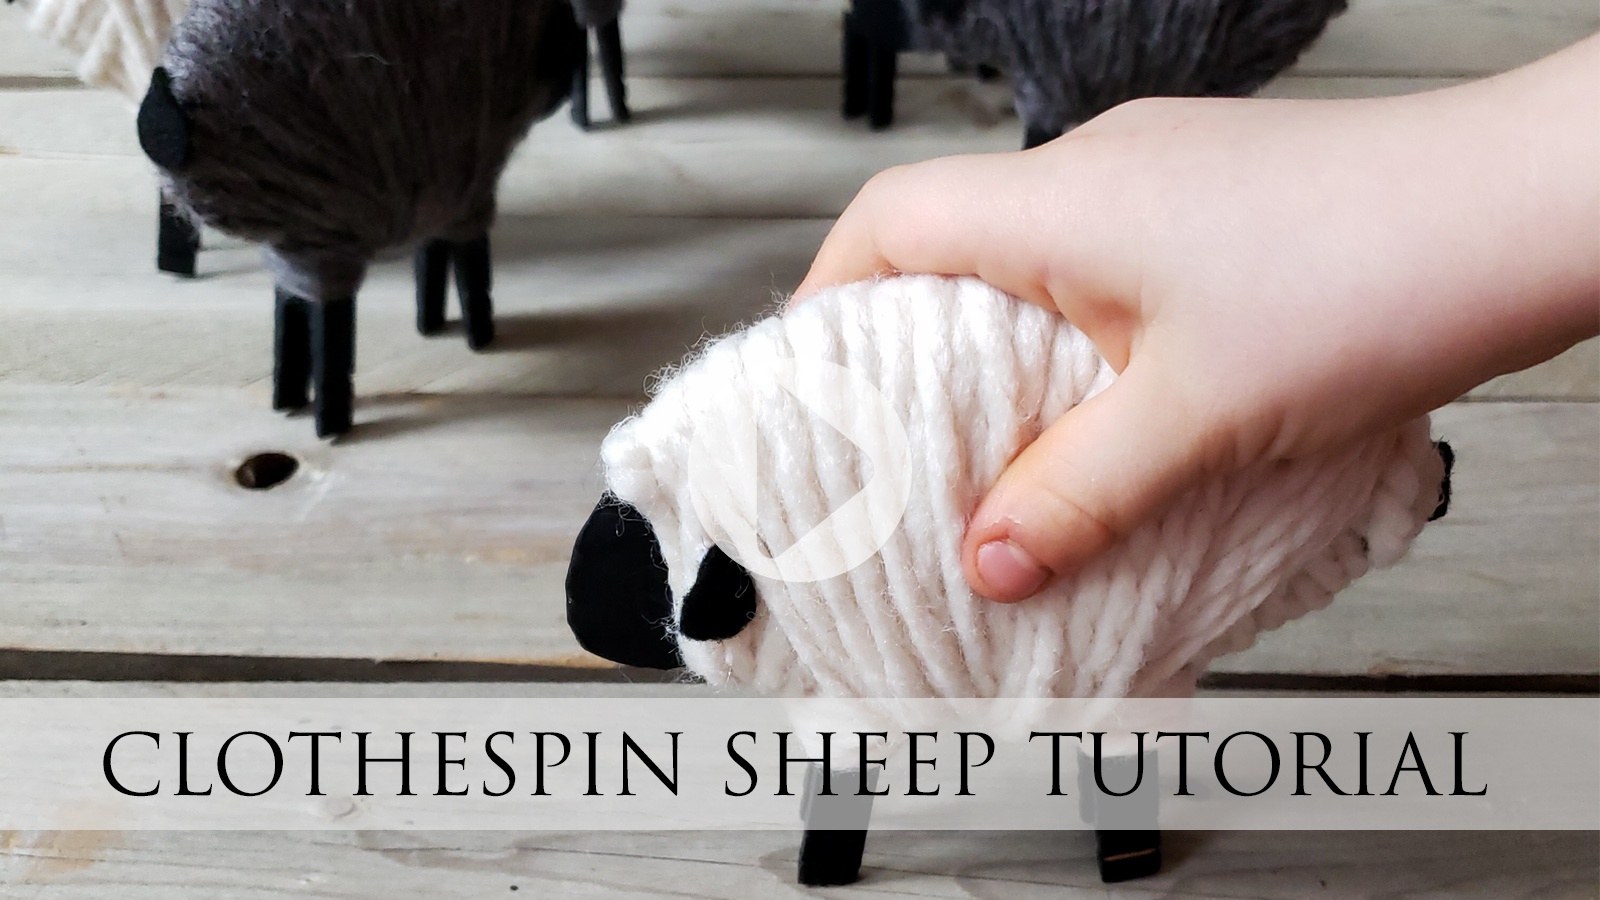
TERMS OF USE: when you create a clothespin sheep ornament you agree to the following: it cannot be shared or distributed for monetary gain in any way, it may not be modified in any way, and you may not claim the work as your own.
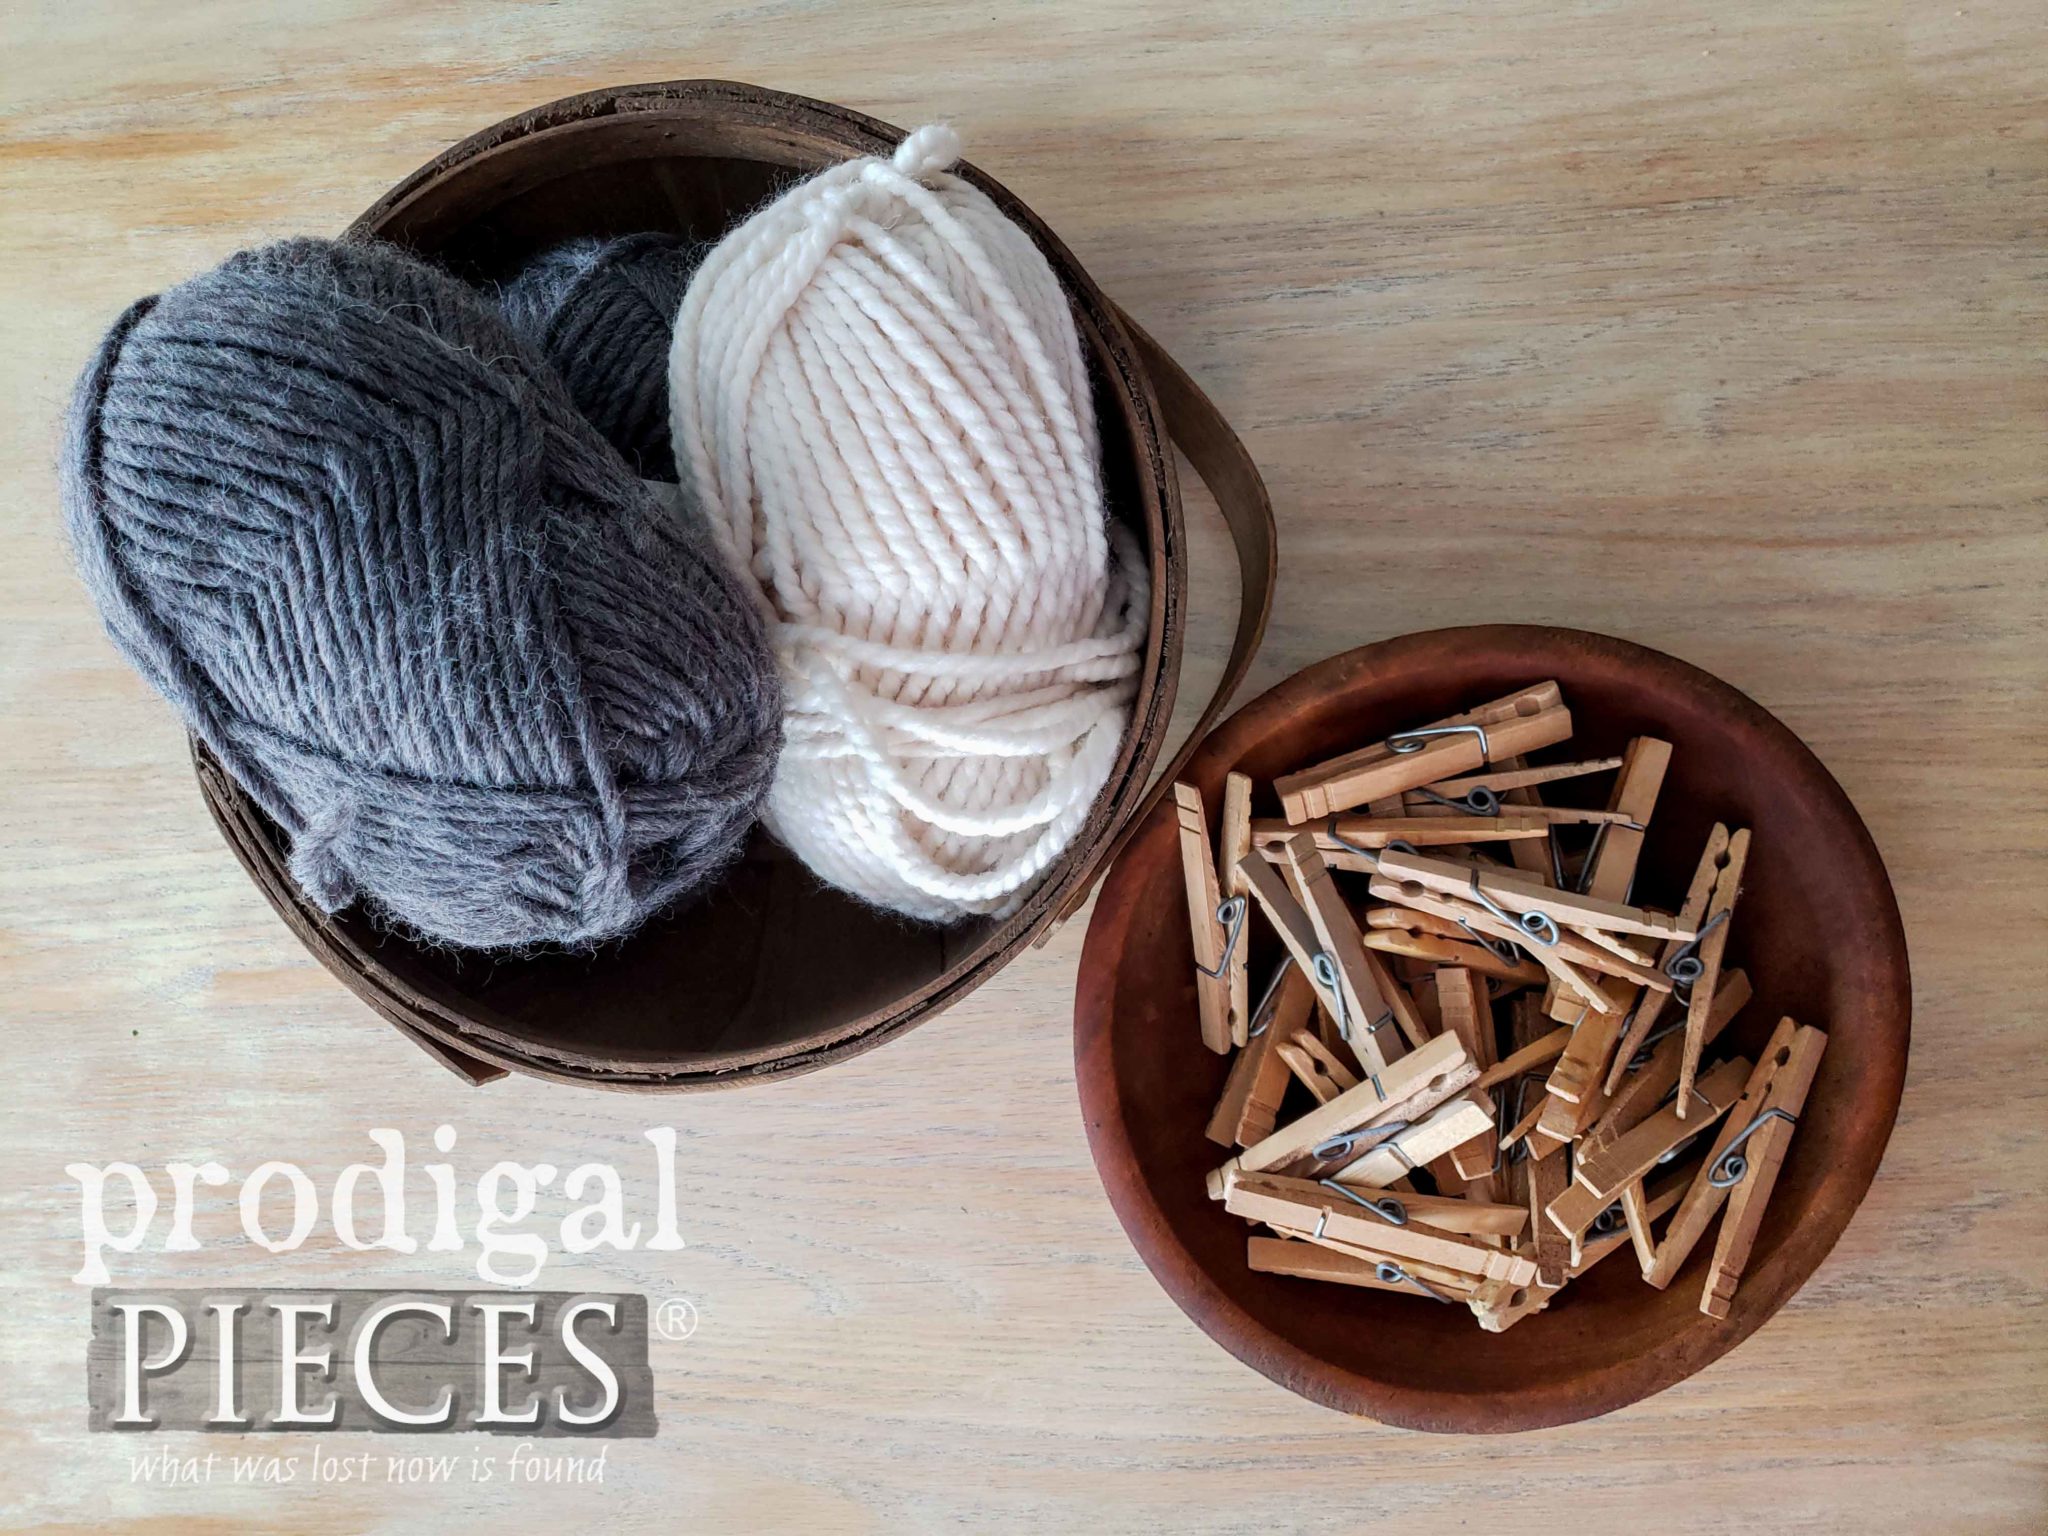
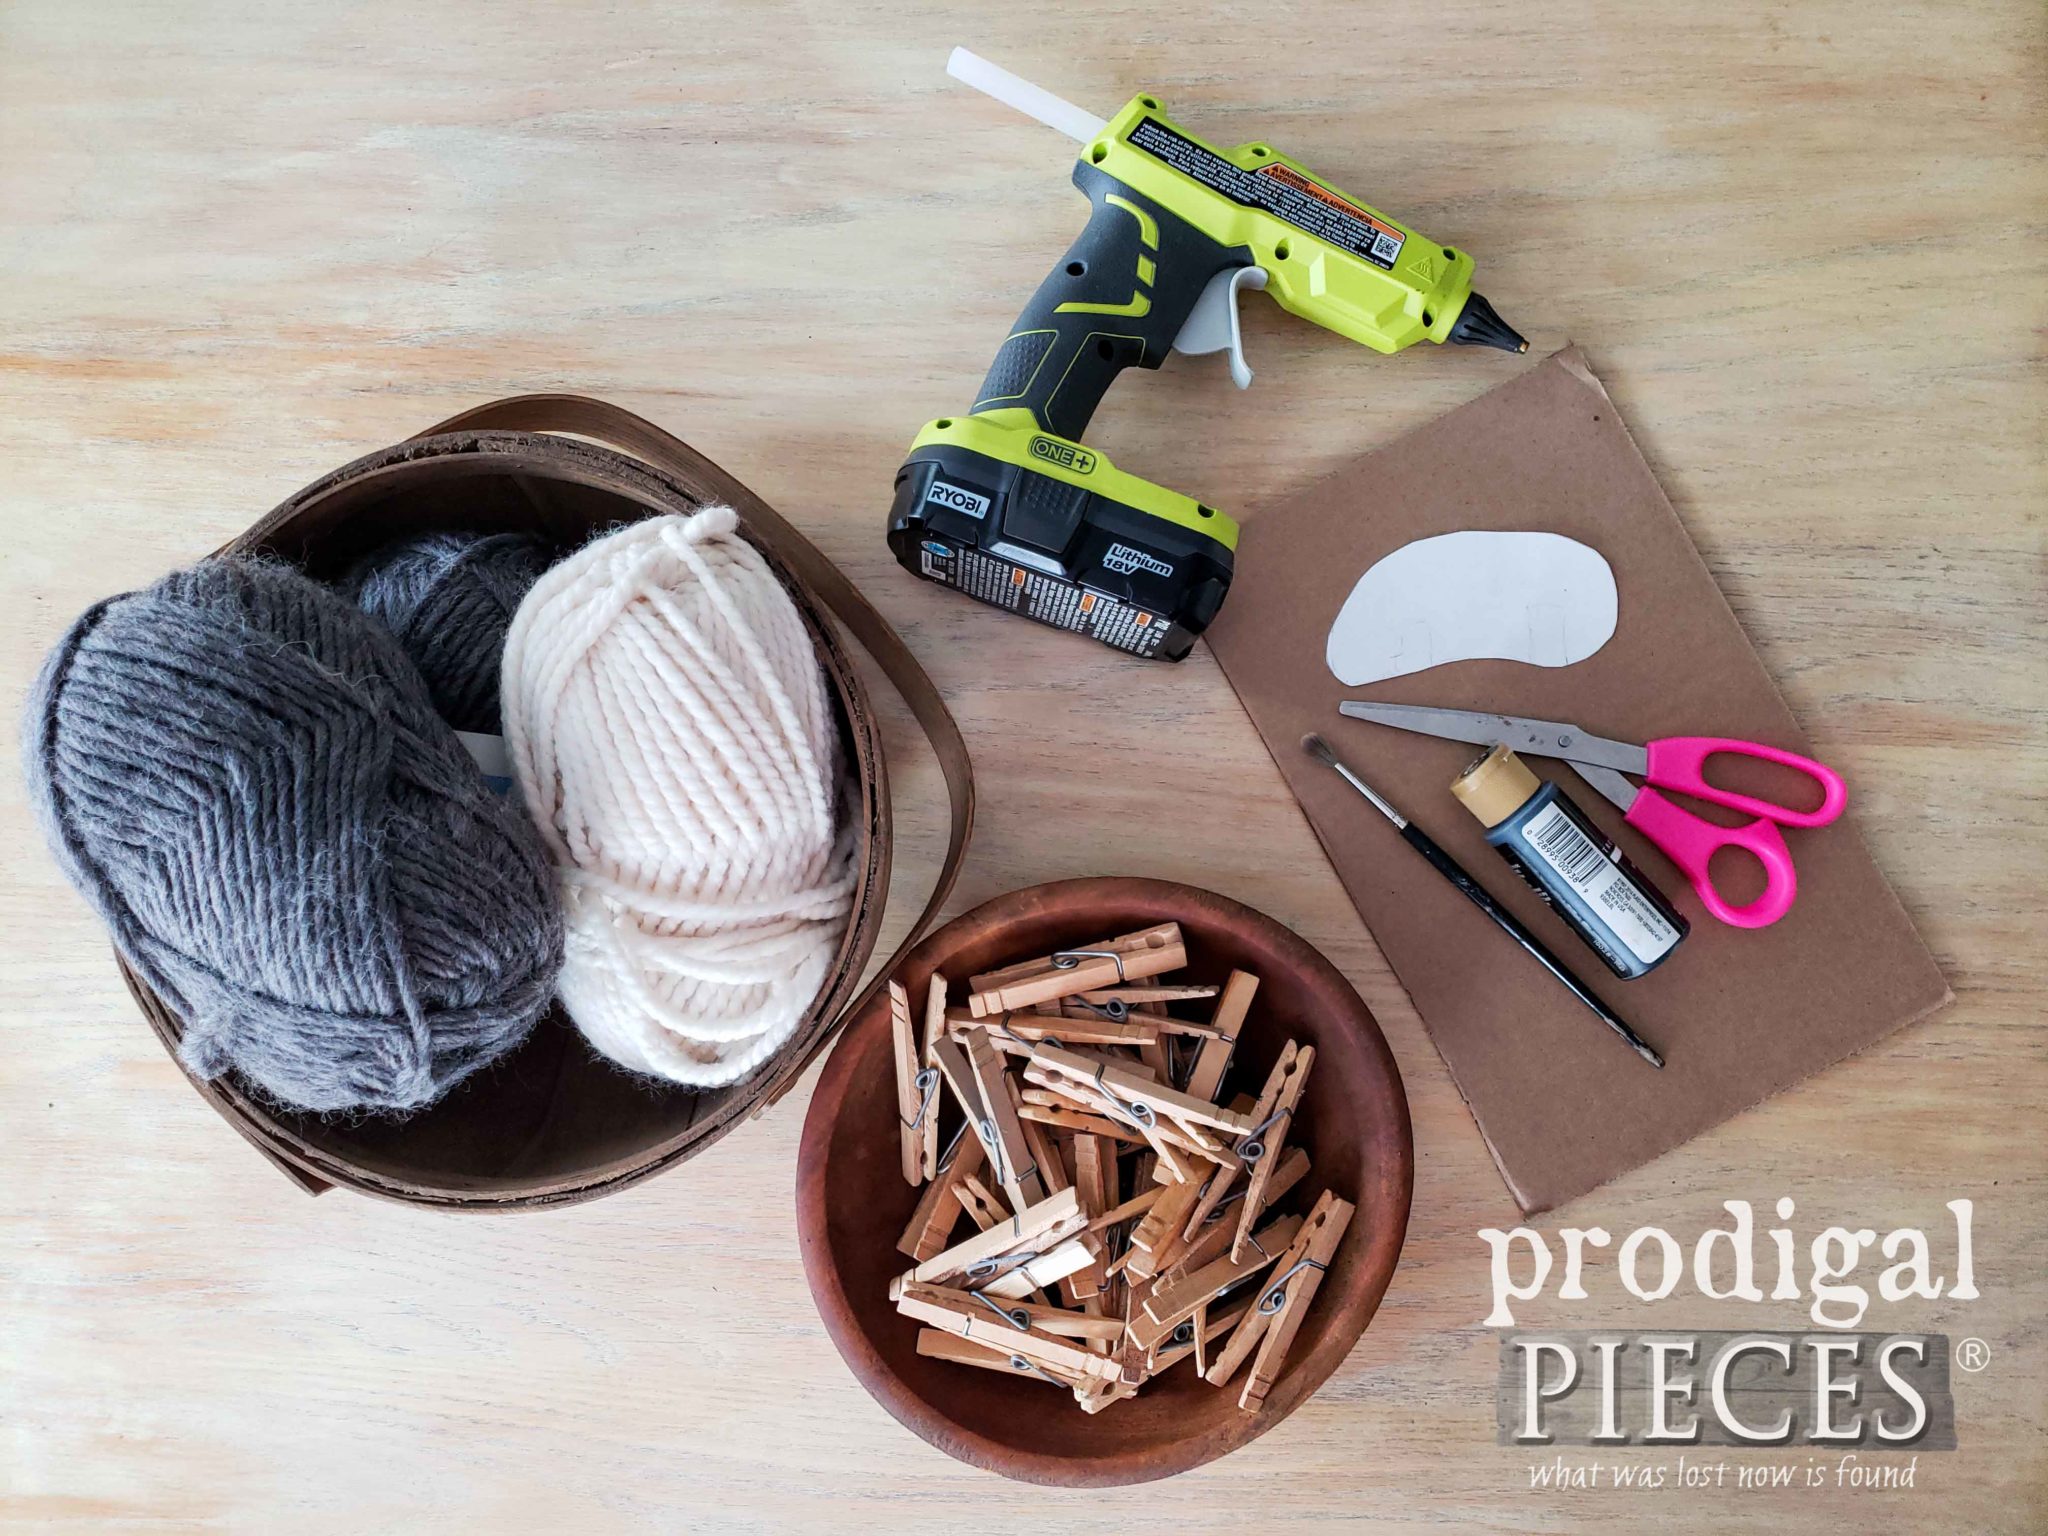
Here’s what you’ll need:
Materials:
- sheep body template – PRINT HERE
- yarn – I prefer to use wool blend roving I used a gray and white
- wooden clothespins
- cardboard
- black acrylic paint
- black felt
- cardboard
- Tacky Glue – optional
- ribbon, small bells, other accessories you may want – optional
Tools:
- hot glue gun
- hot glue sticks
- artist’s paint brush
- scissors
- pencil
STEP 1
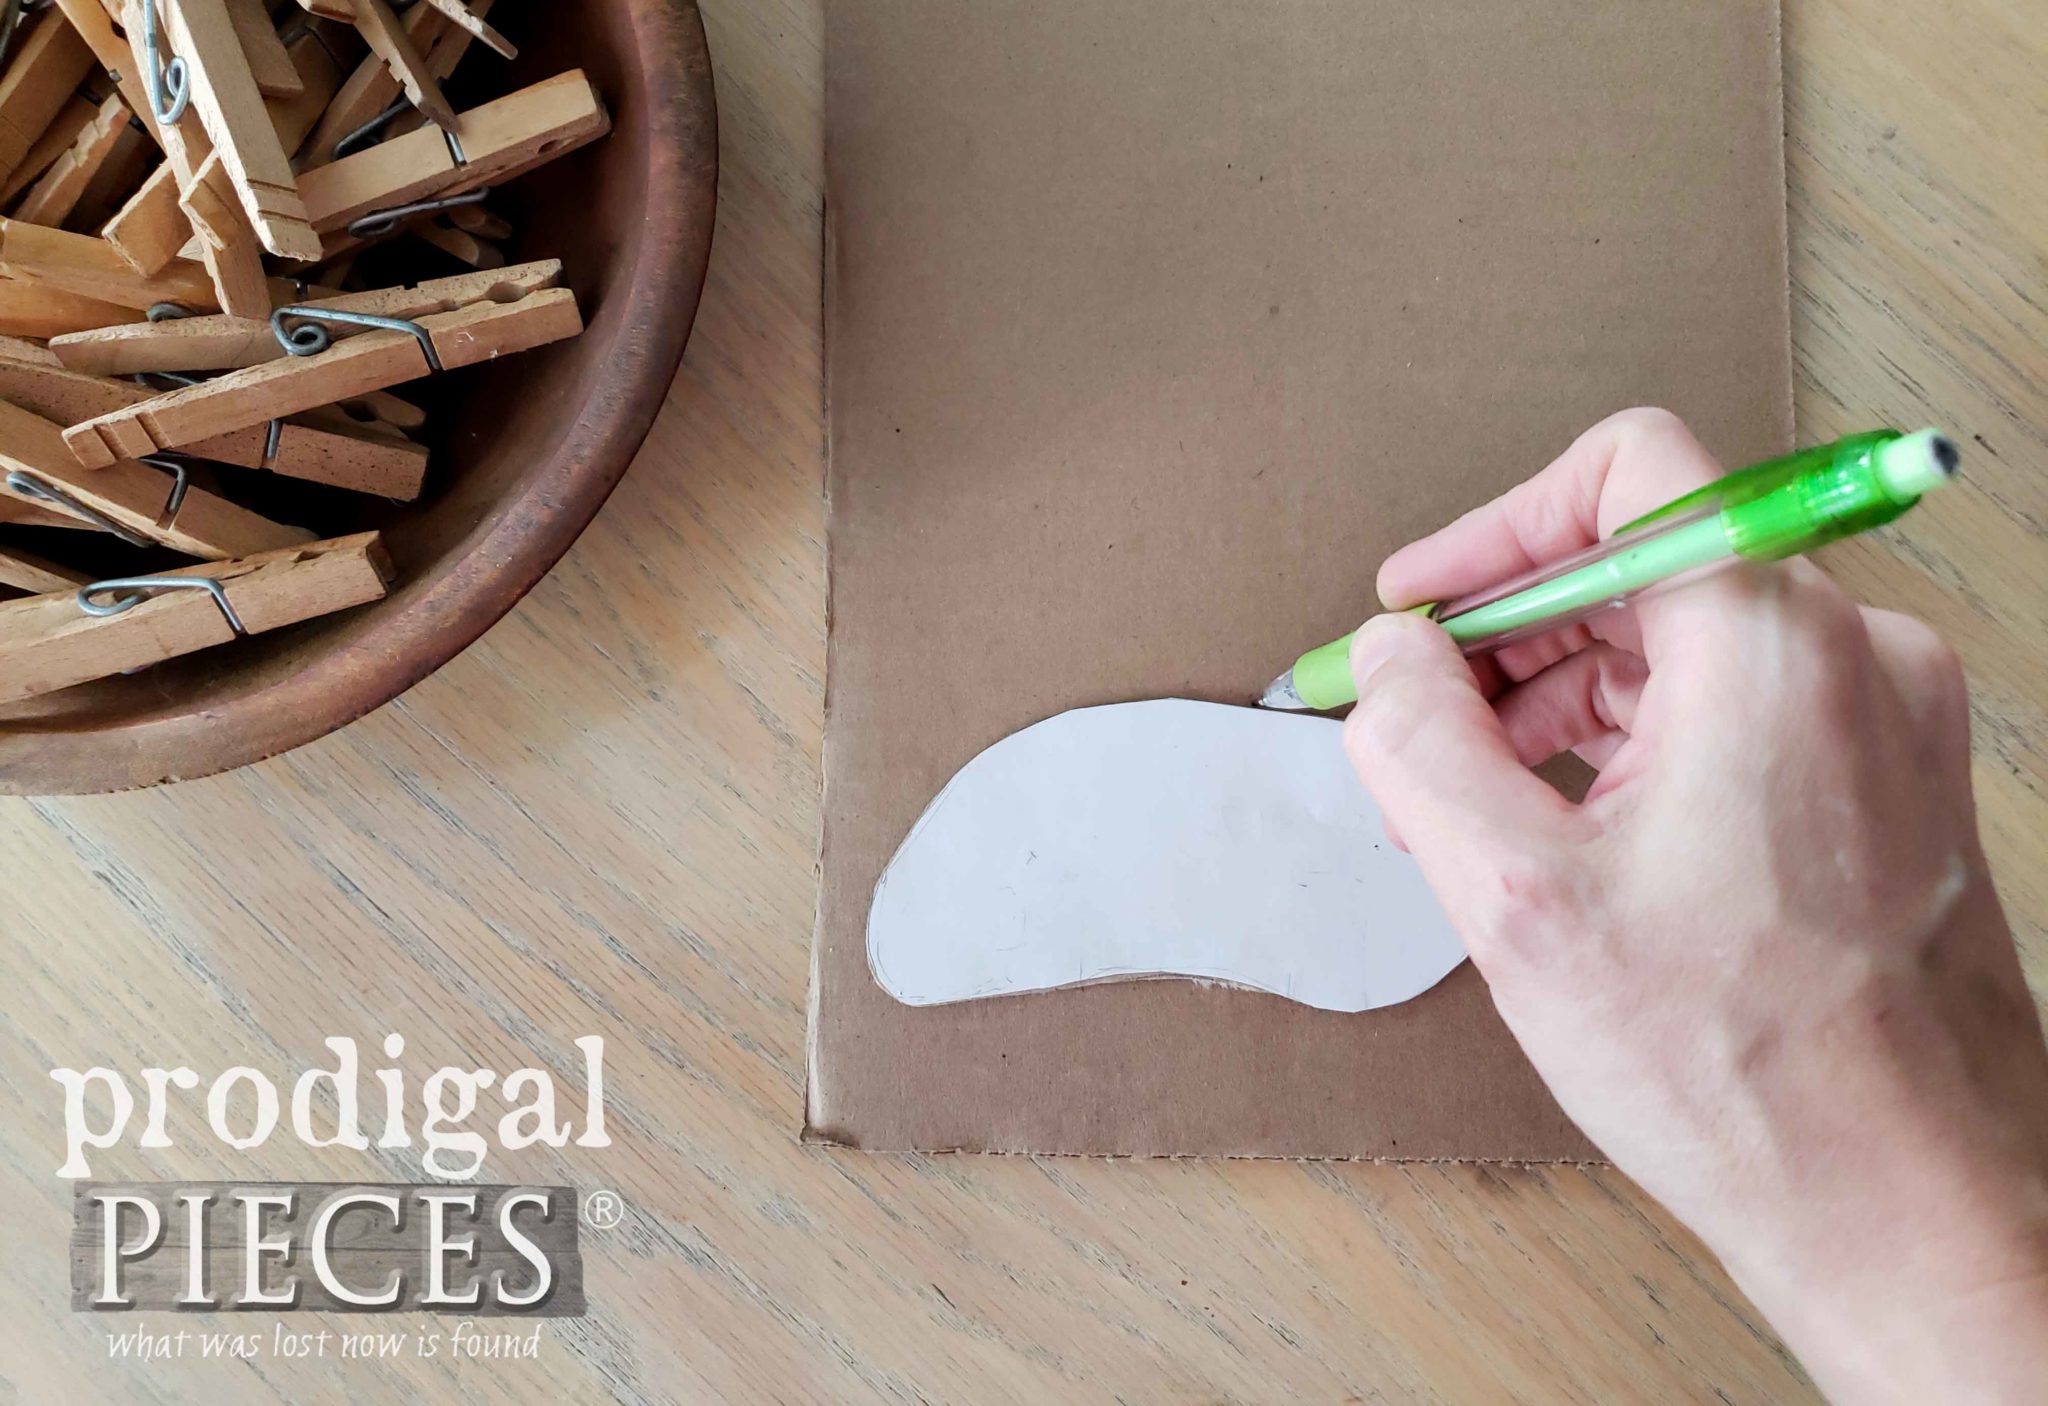
First, print out the body template in the materials listed above and trace onto your cardboard. I like to make several at a time. For this reason, I like to use a piece of paper board as my template. It holds up to several uses better than paper. Just grab the backing off of a notepad to make one.
STEP 2
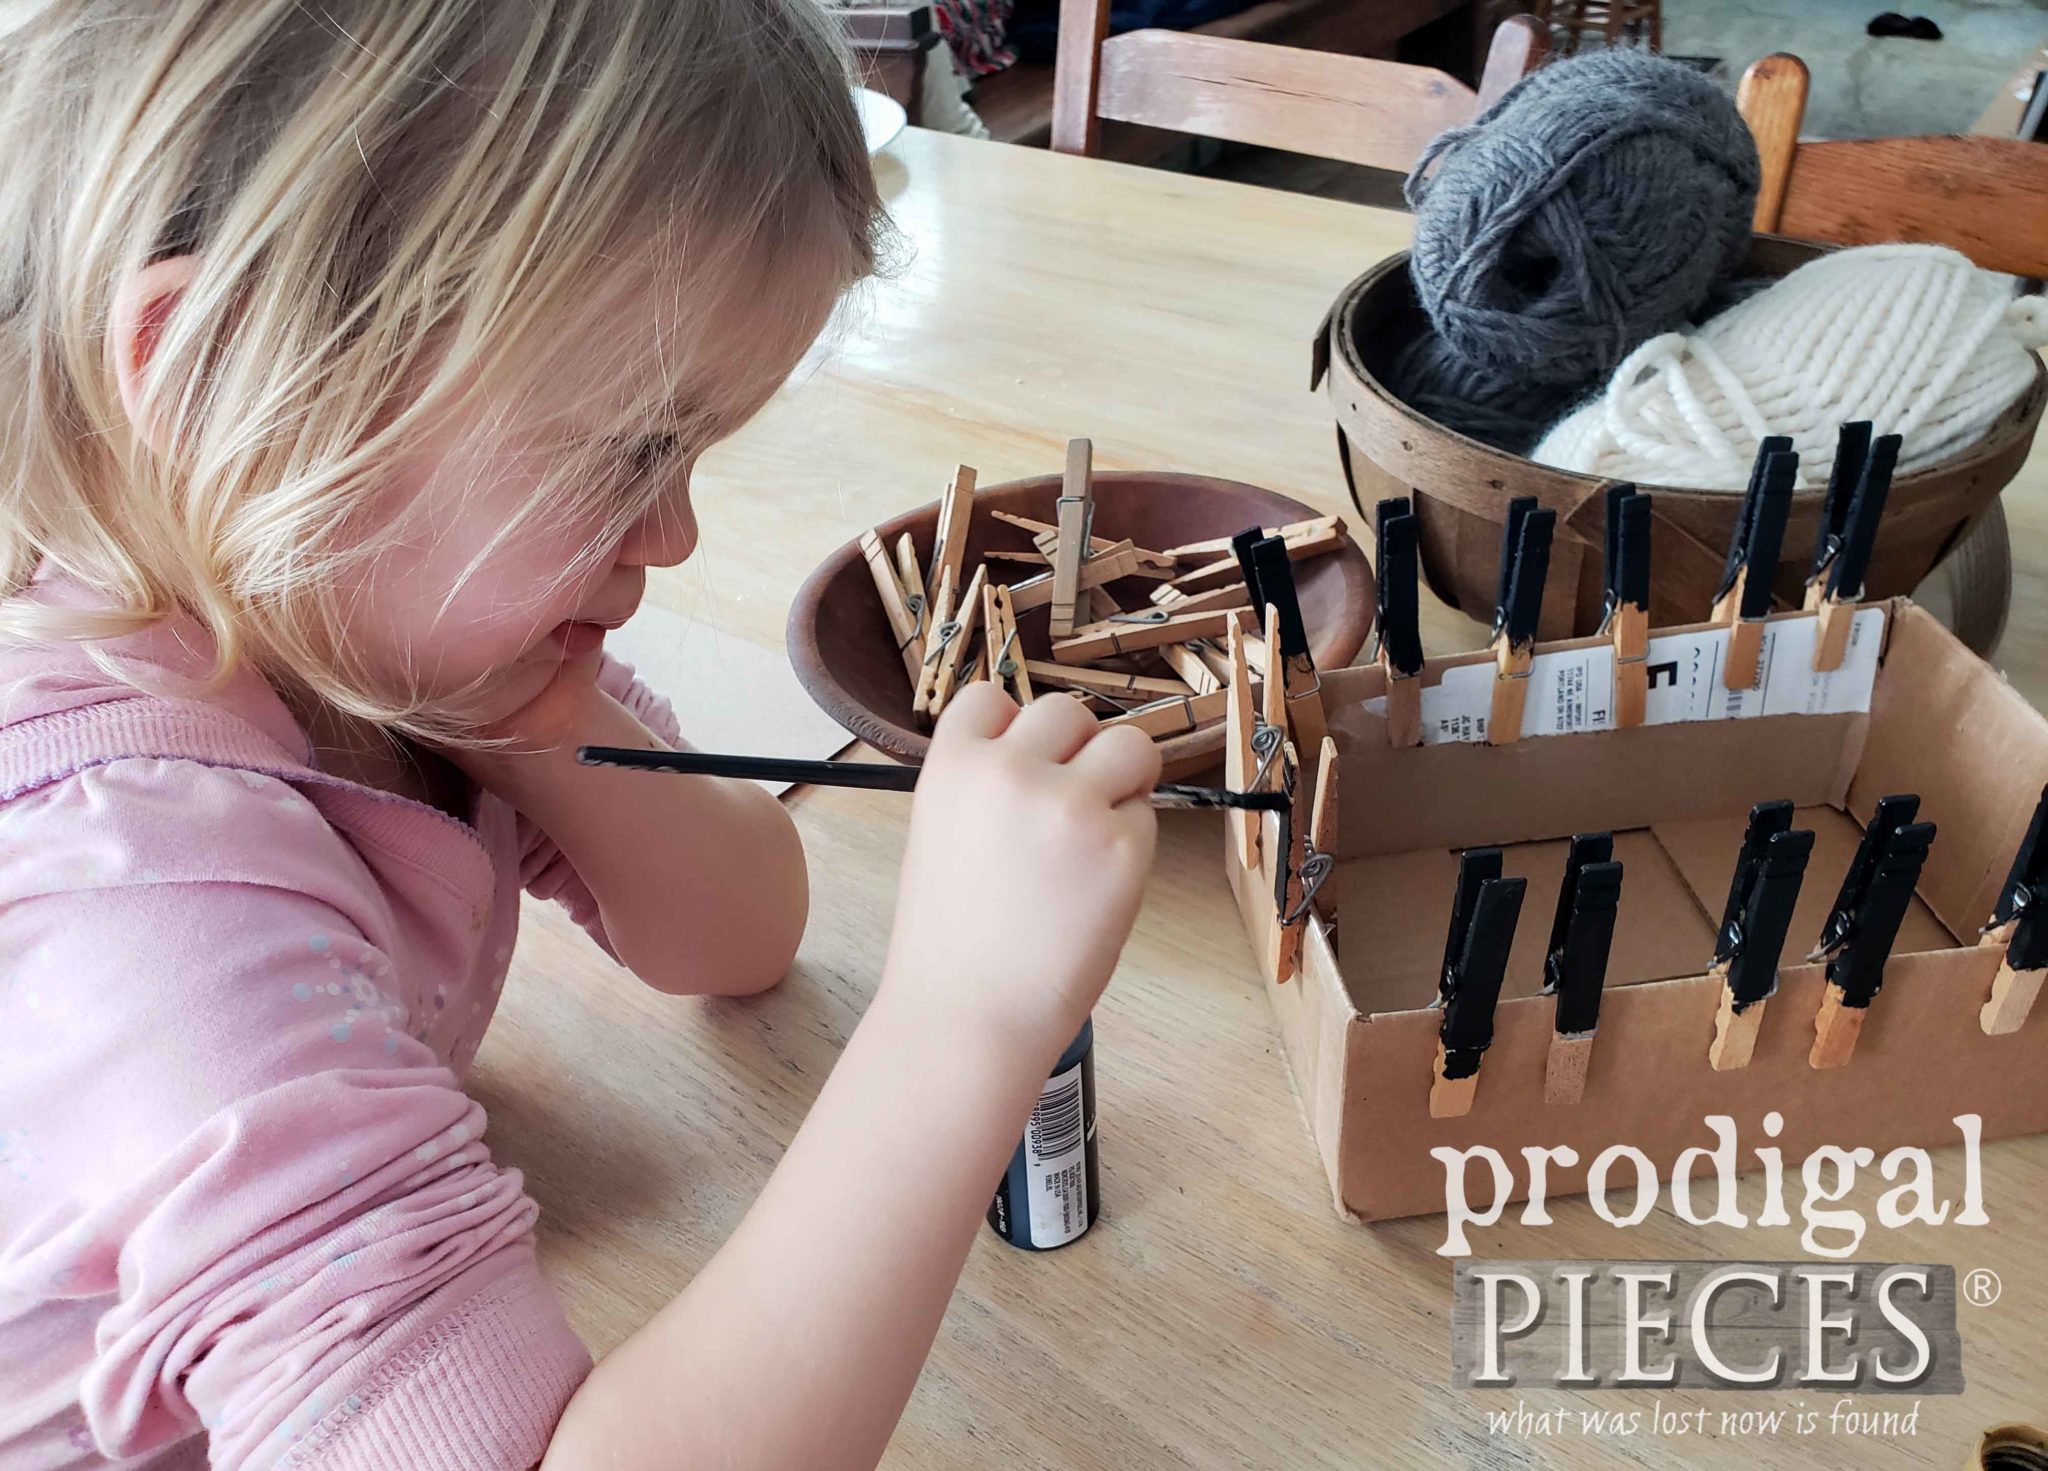
Second, clip your clothespins to the edge of a box or similar. This step makes it easy to paint them. Afterward, use your artist’s paintbrush and black acrylic paint to give the clothespins a coat of paint. Let dry.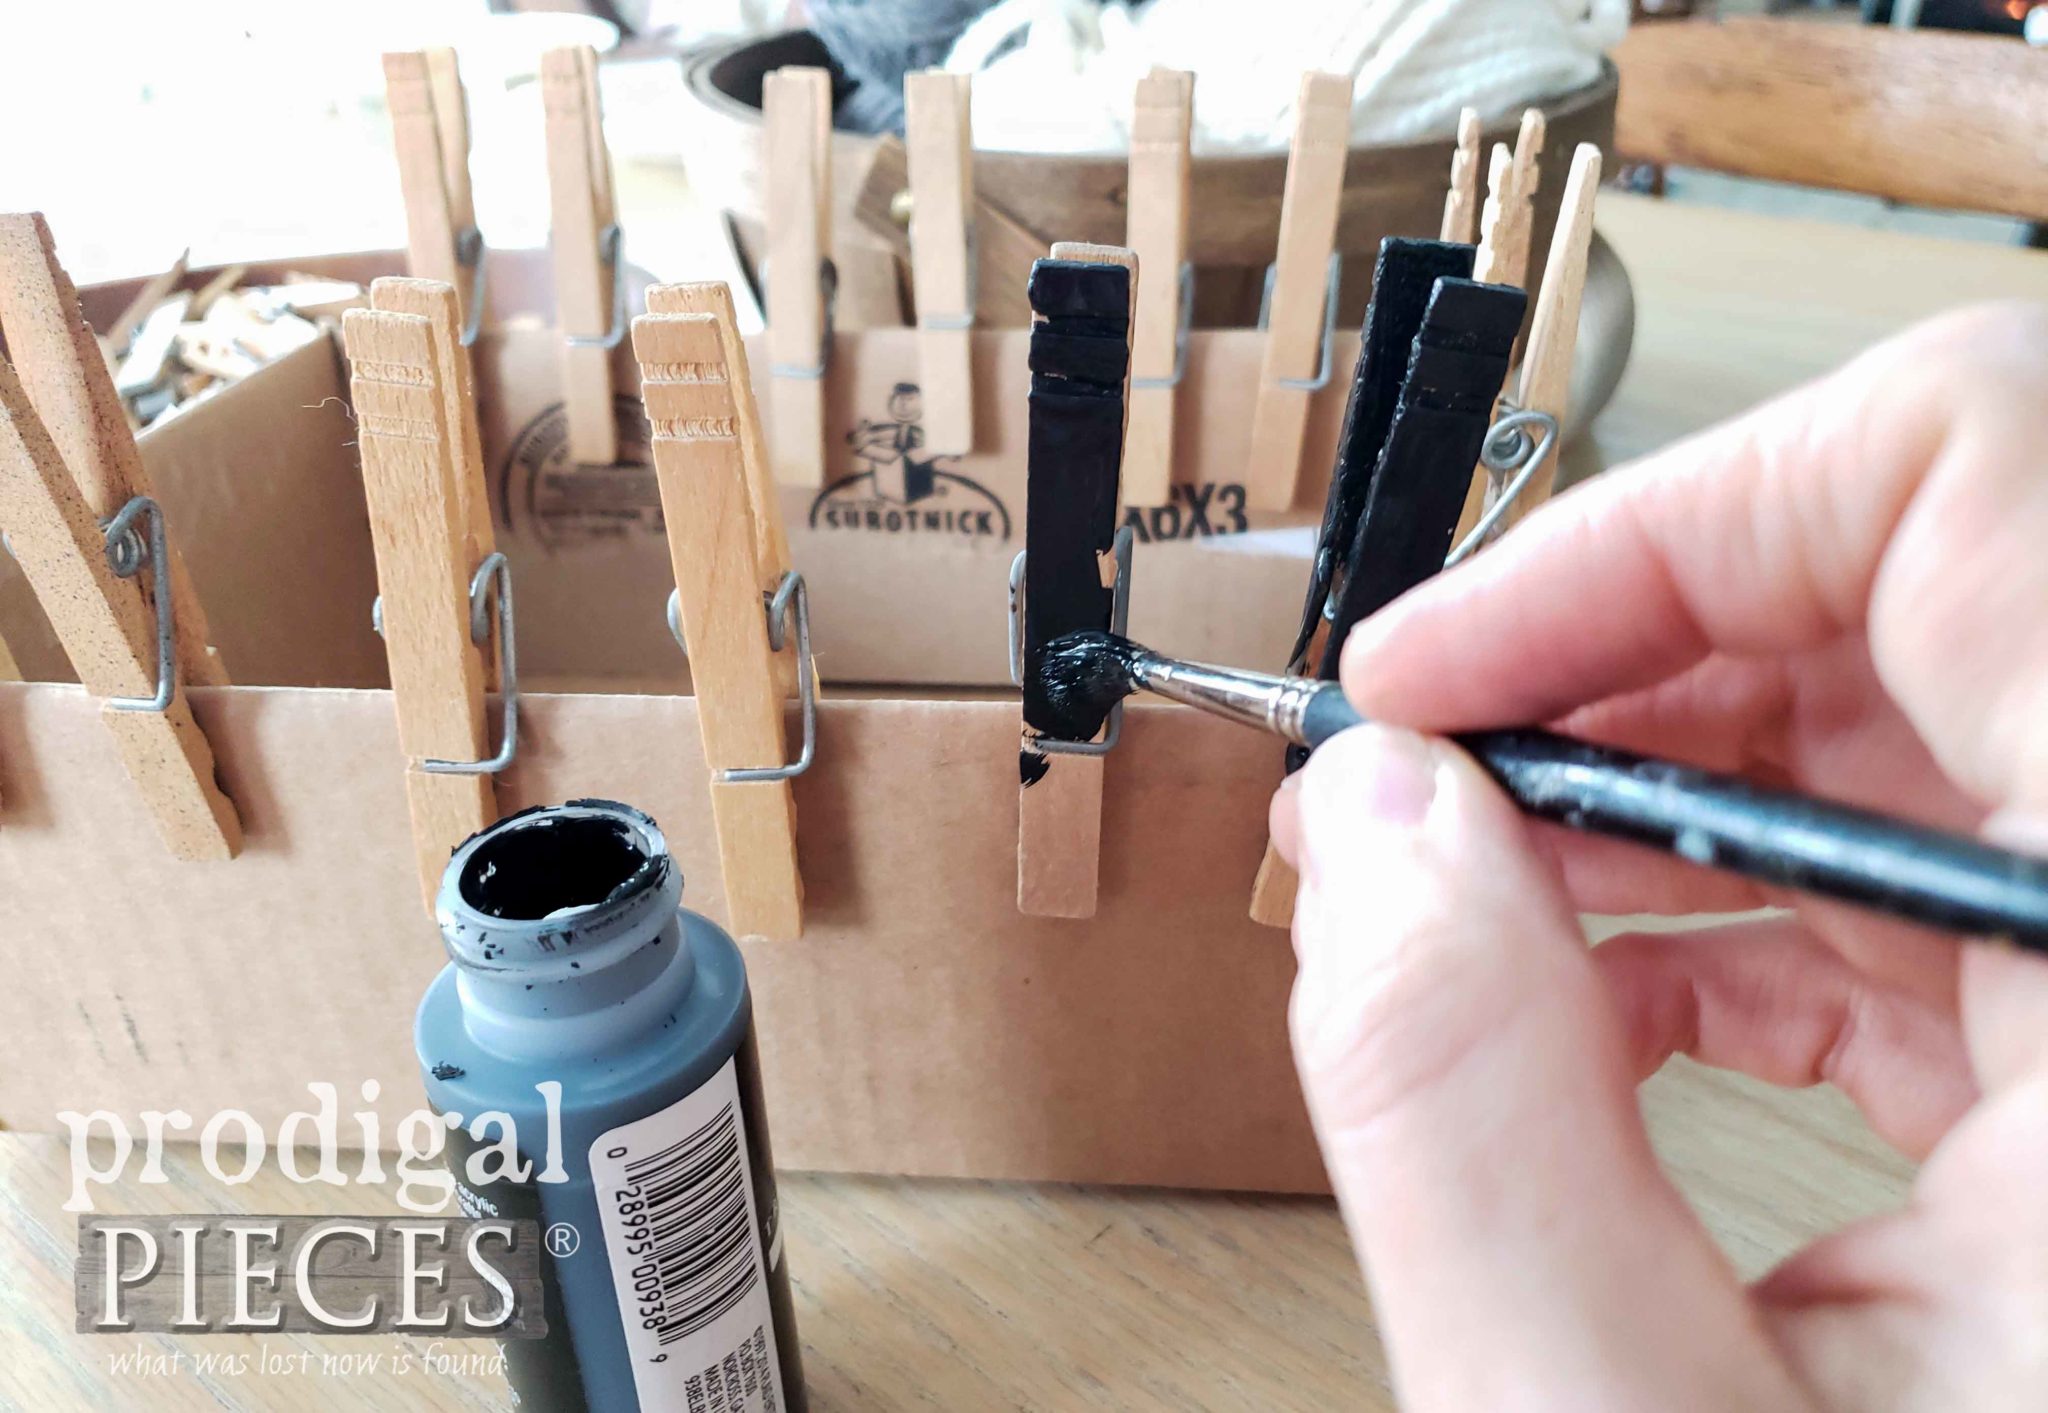
For instance, this task is so simple that your littles can join in.
STEP 3
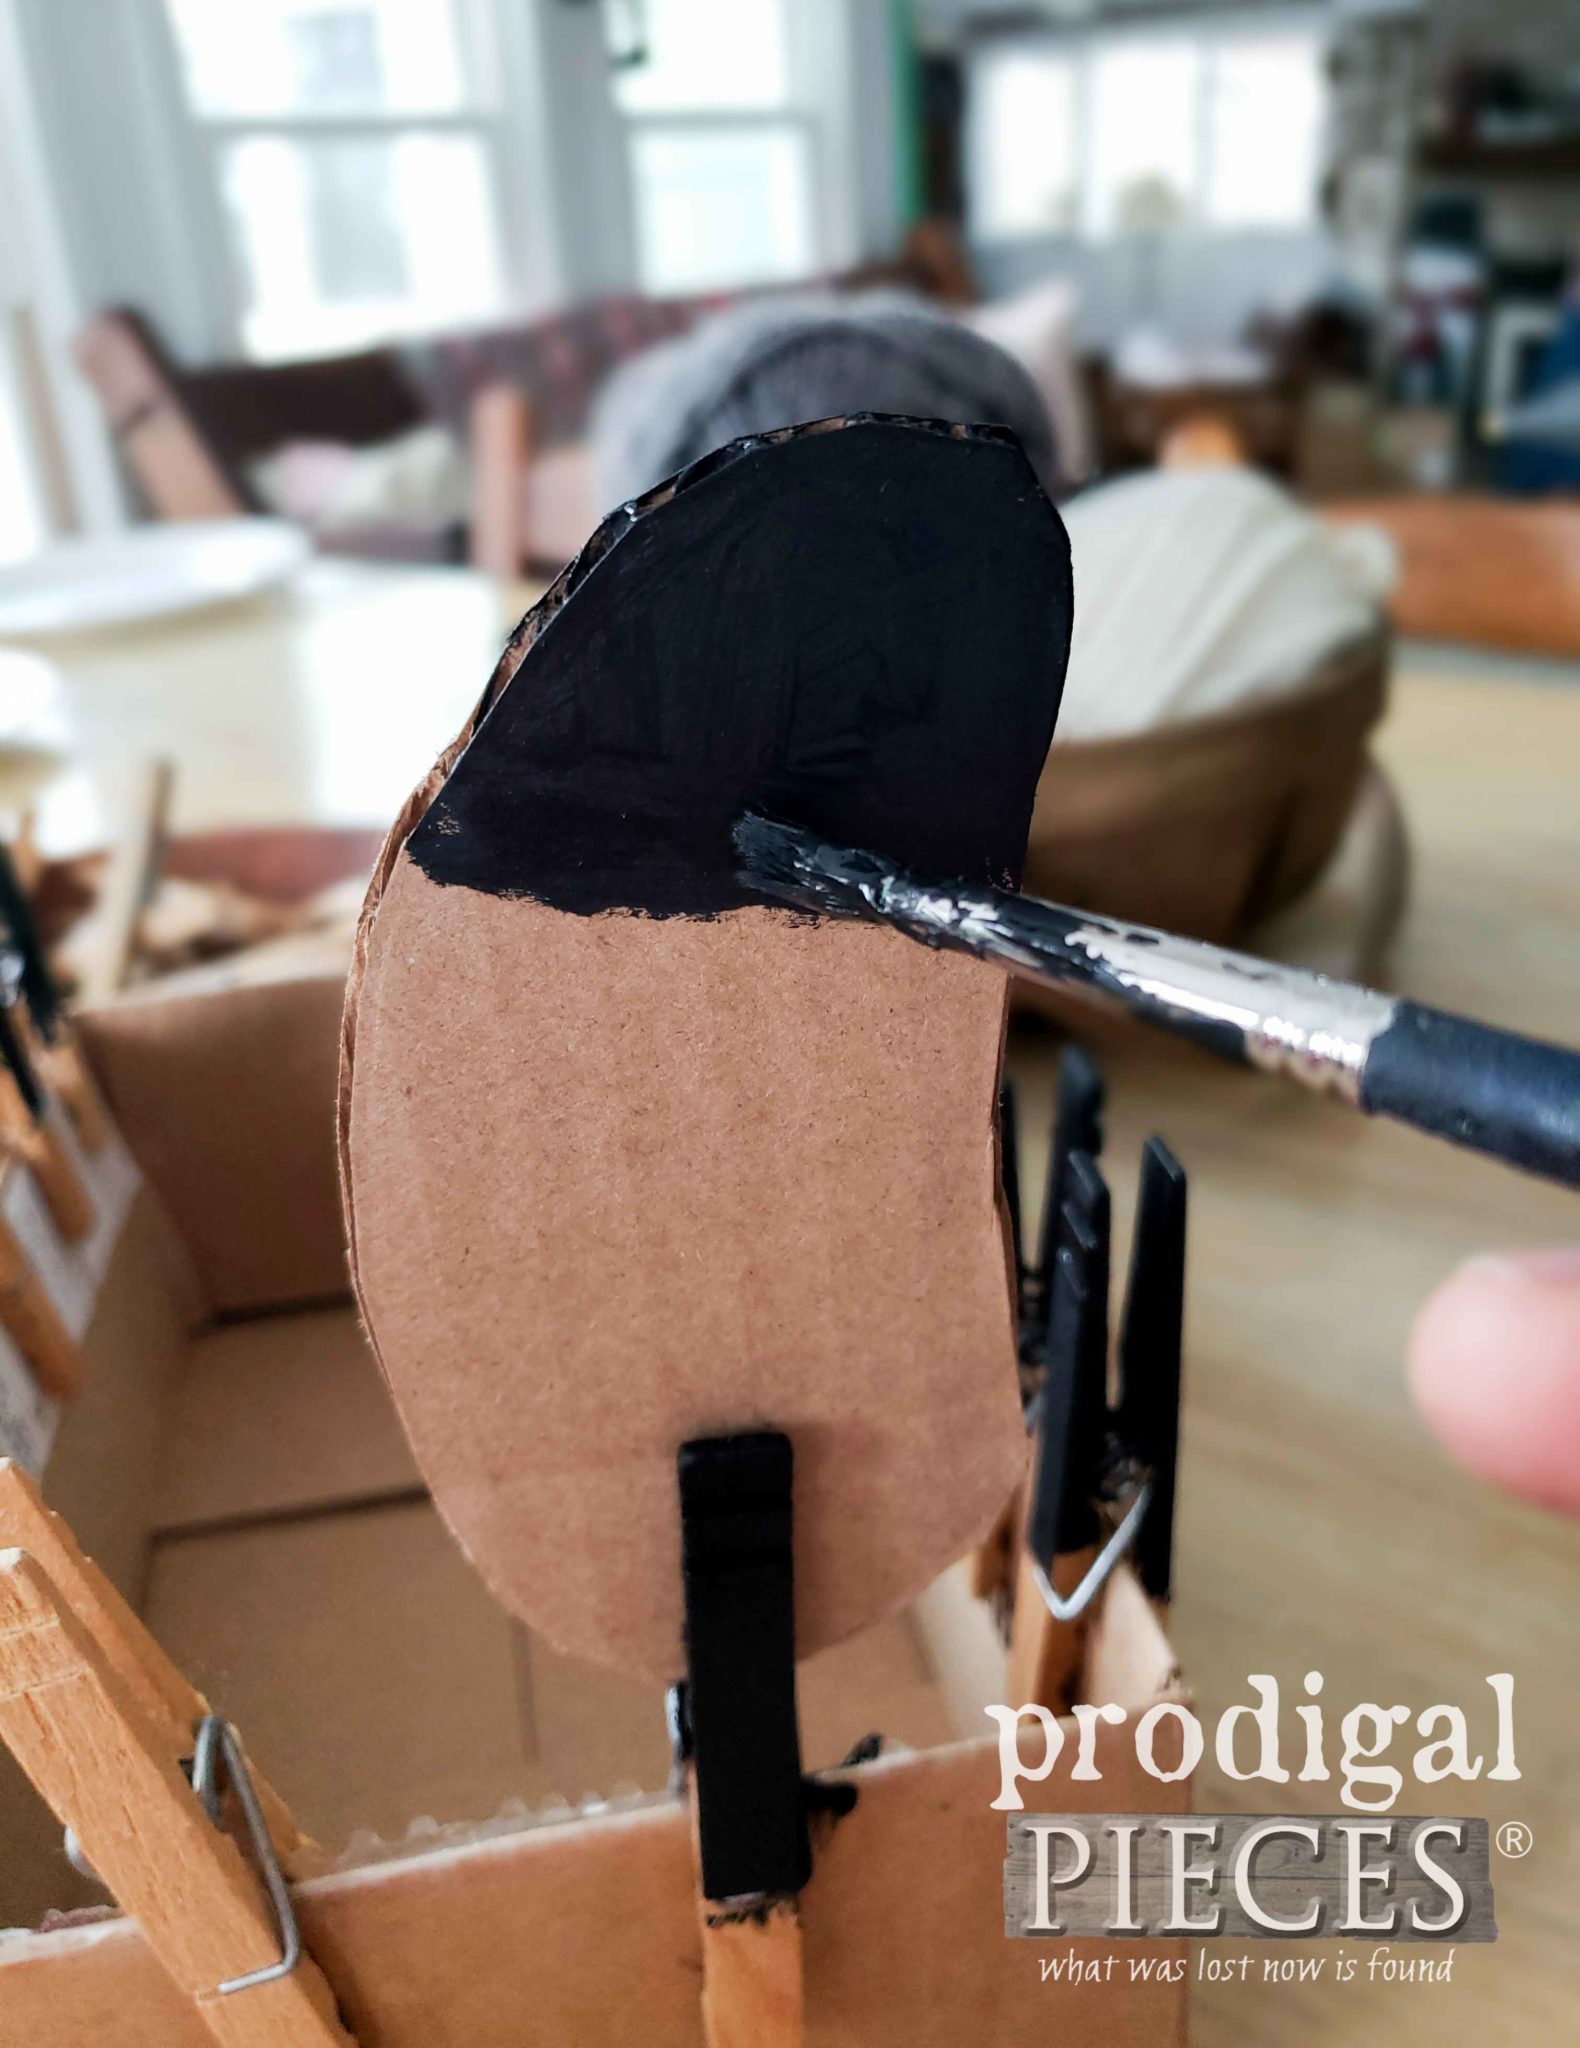
Then, using the same black paint and brush, paint your woolly sheep ornament face. The rest of the body, however, will be covered with yarn.
STEP 4
Next, it’s time to add your clothespin legs. Add a bit of hot glue to the spot where you want the legs to be and clip on. Make sure the body is tucked down against the clothespin spring. Also, make sure the legs sit splayed so your woolly clothespin sheep ornament will stand up. (see video for demo)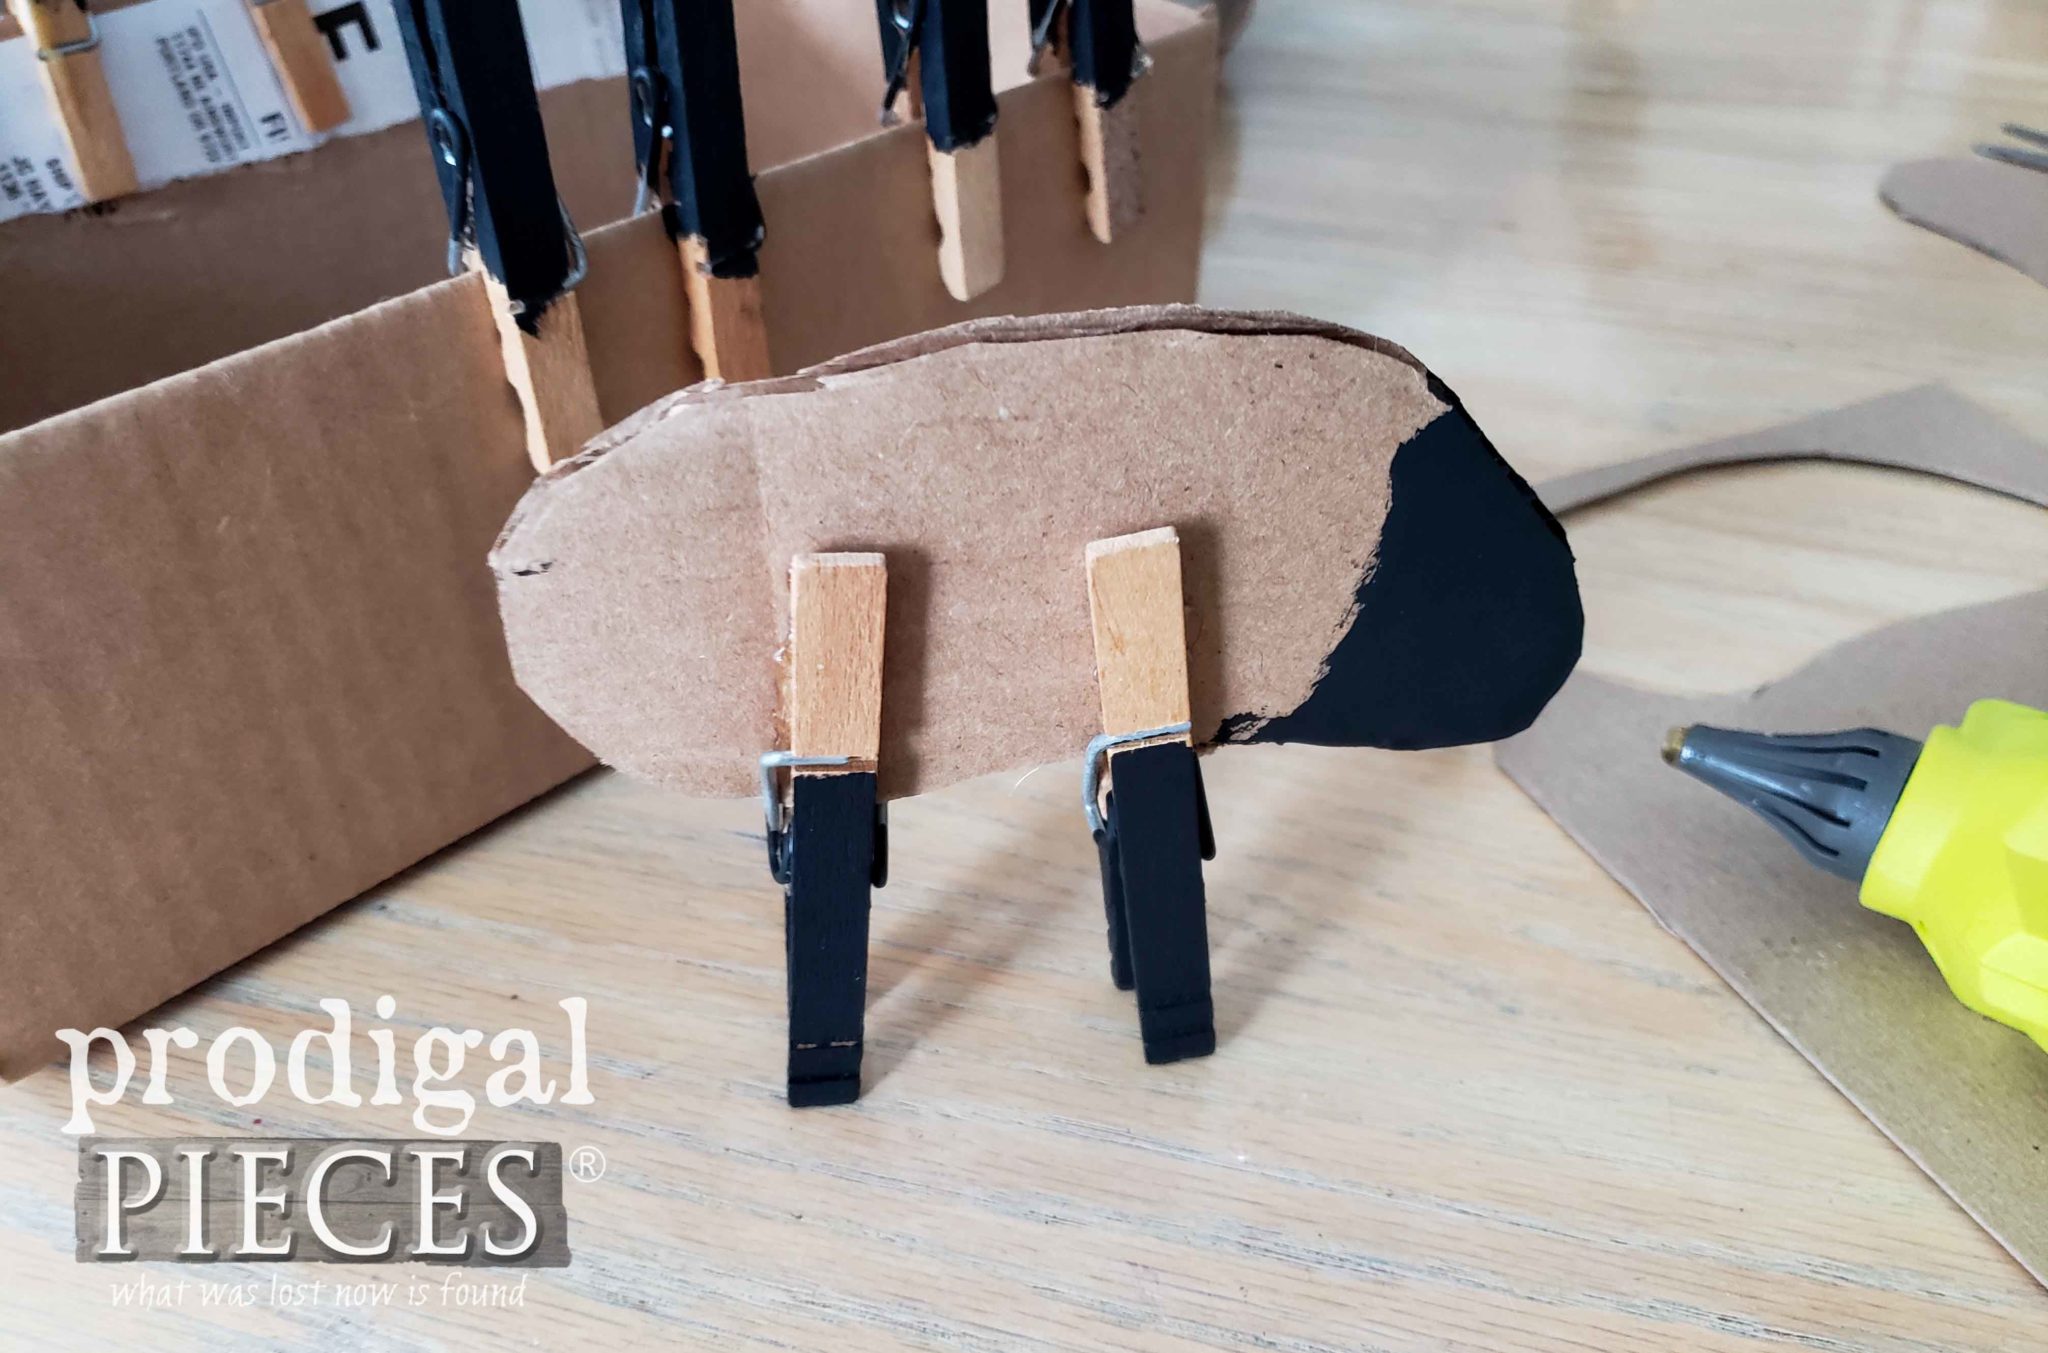
He’s looking like a cute sheep now!
STEP 5
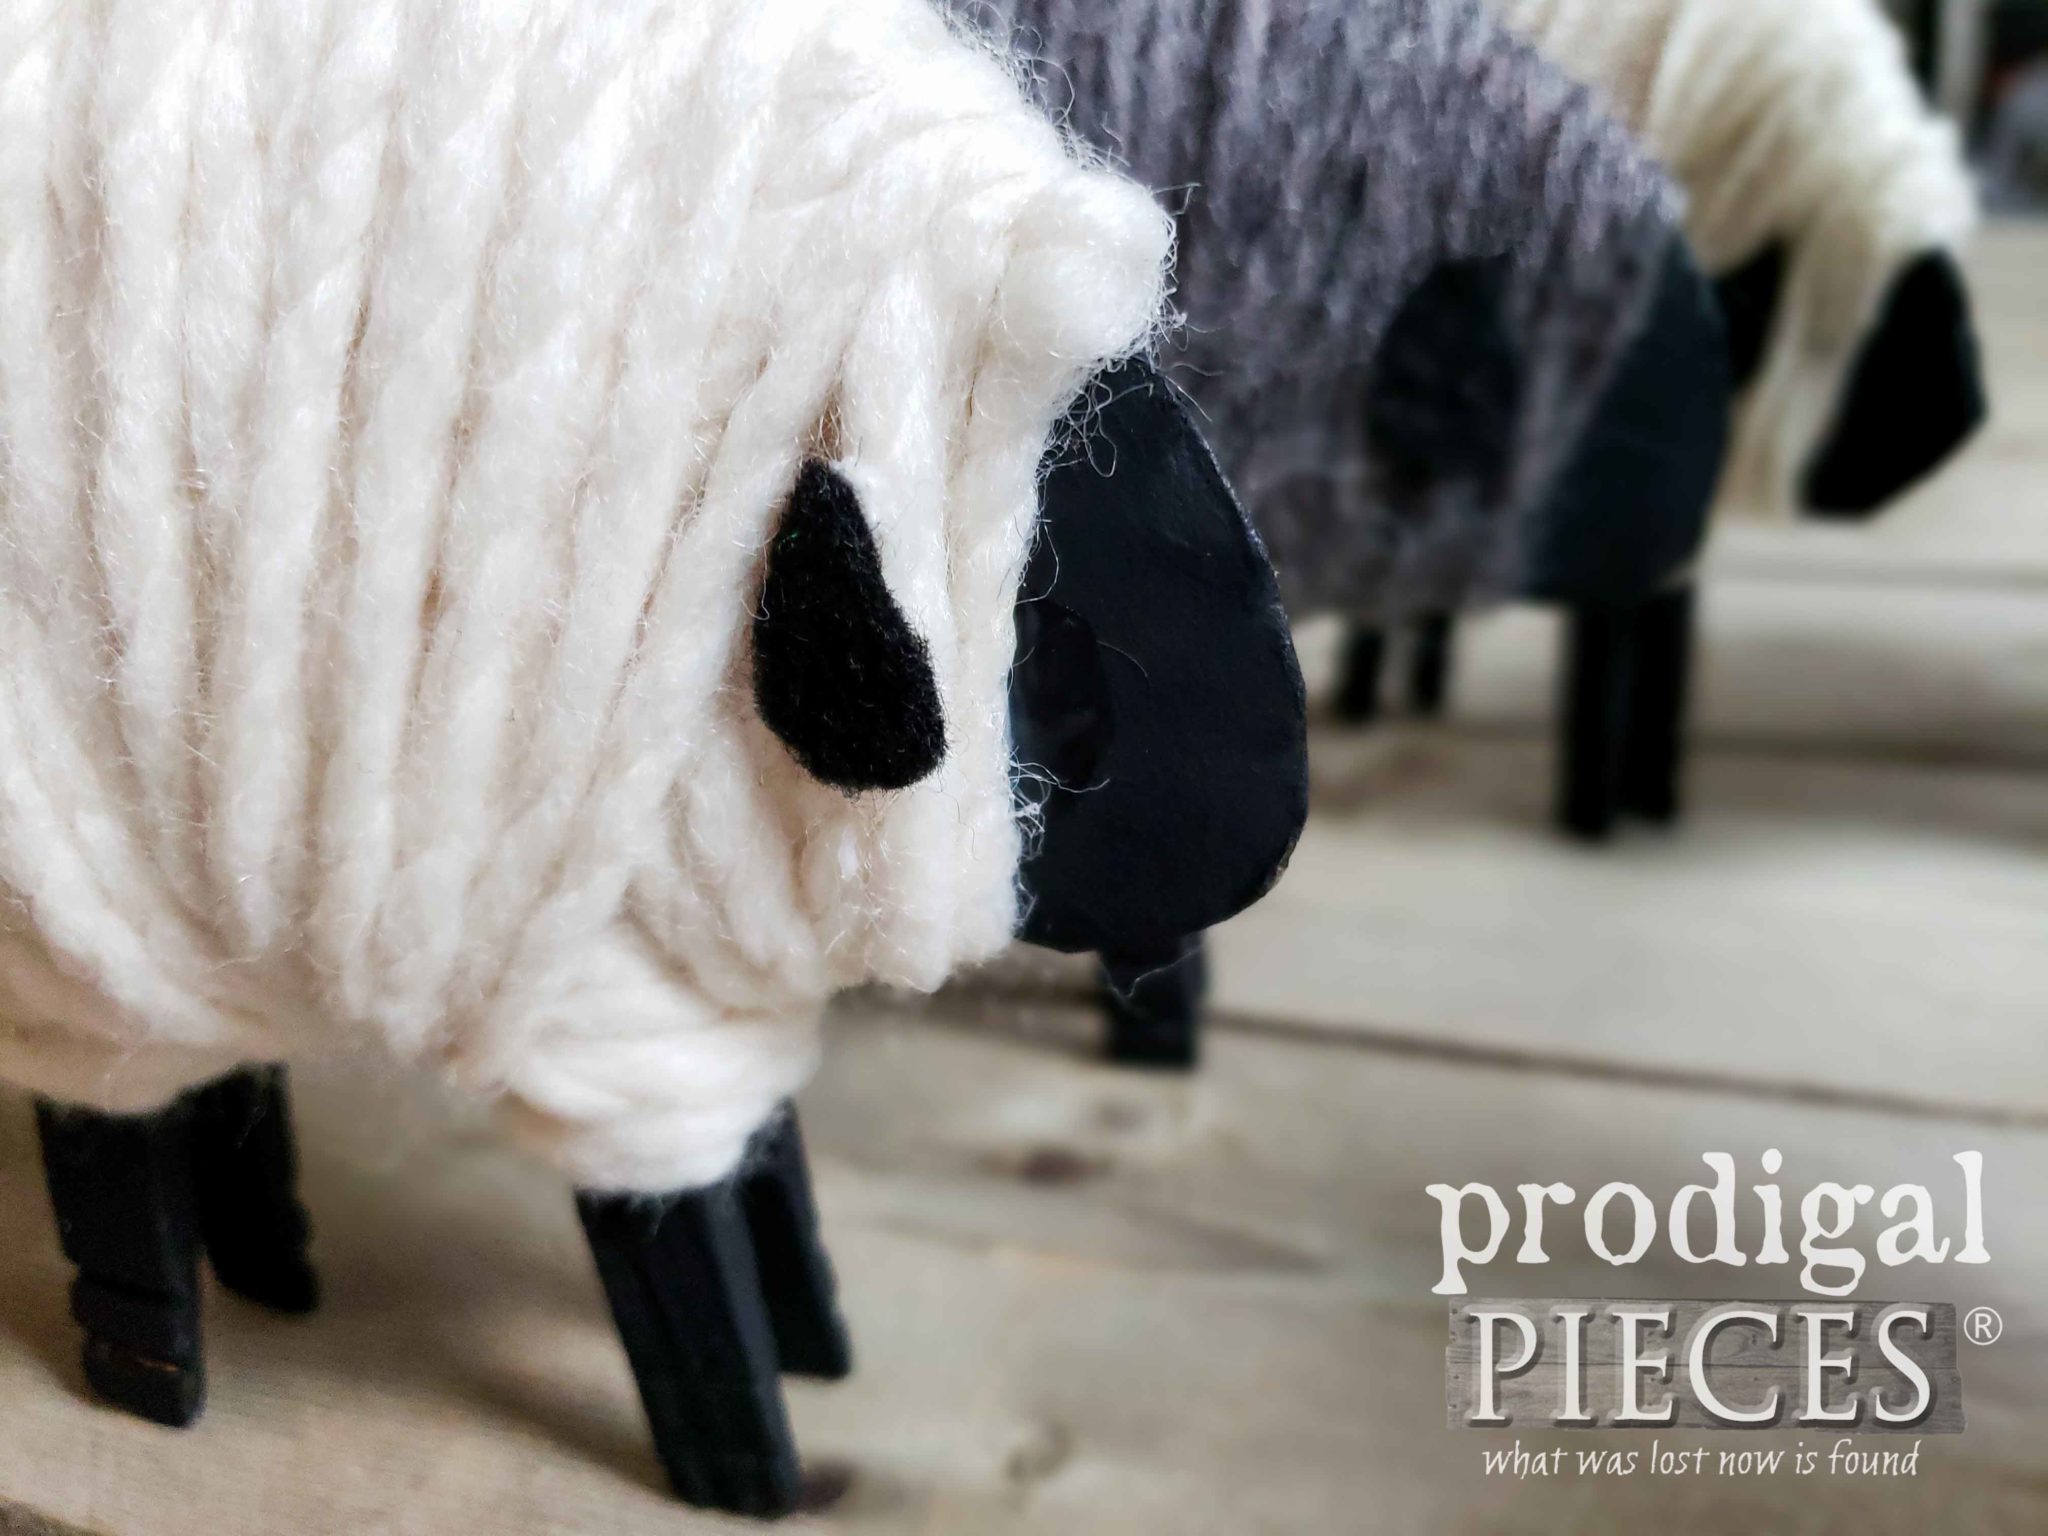
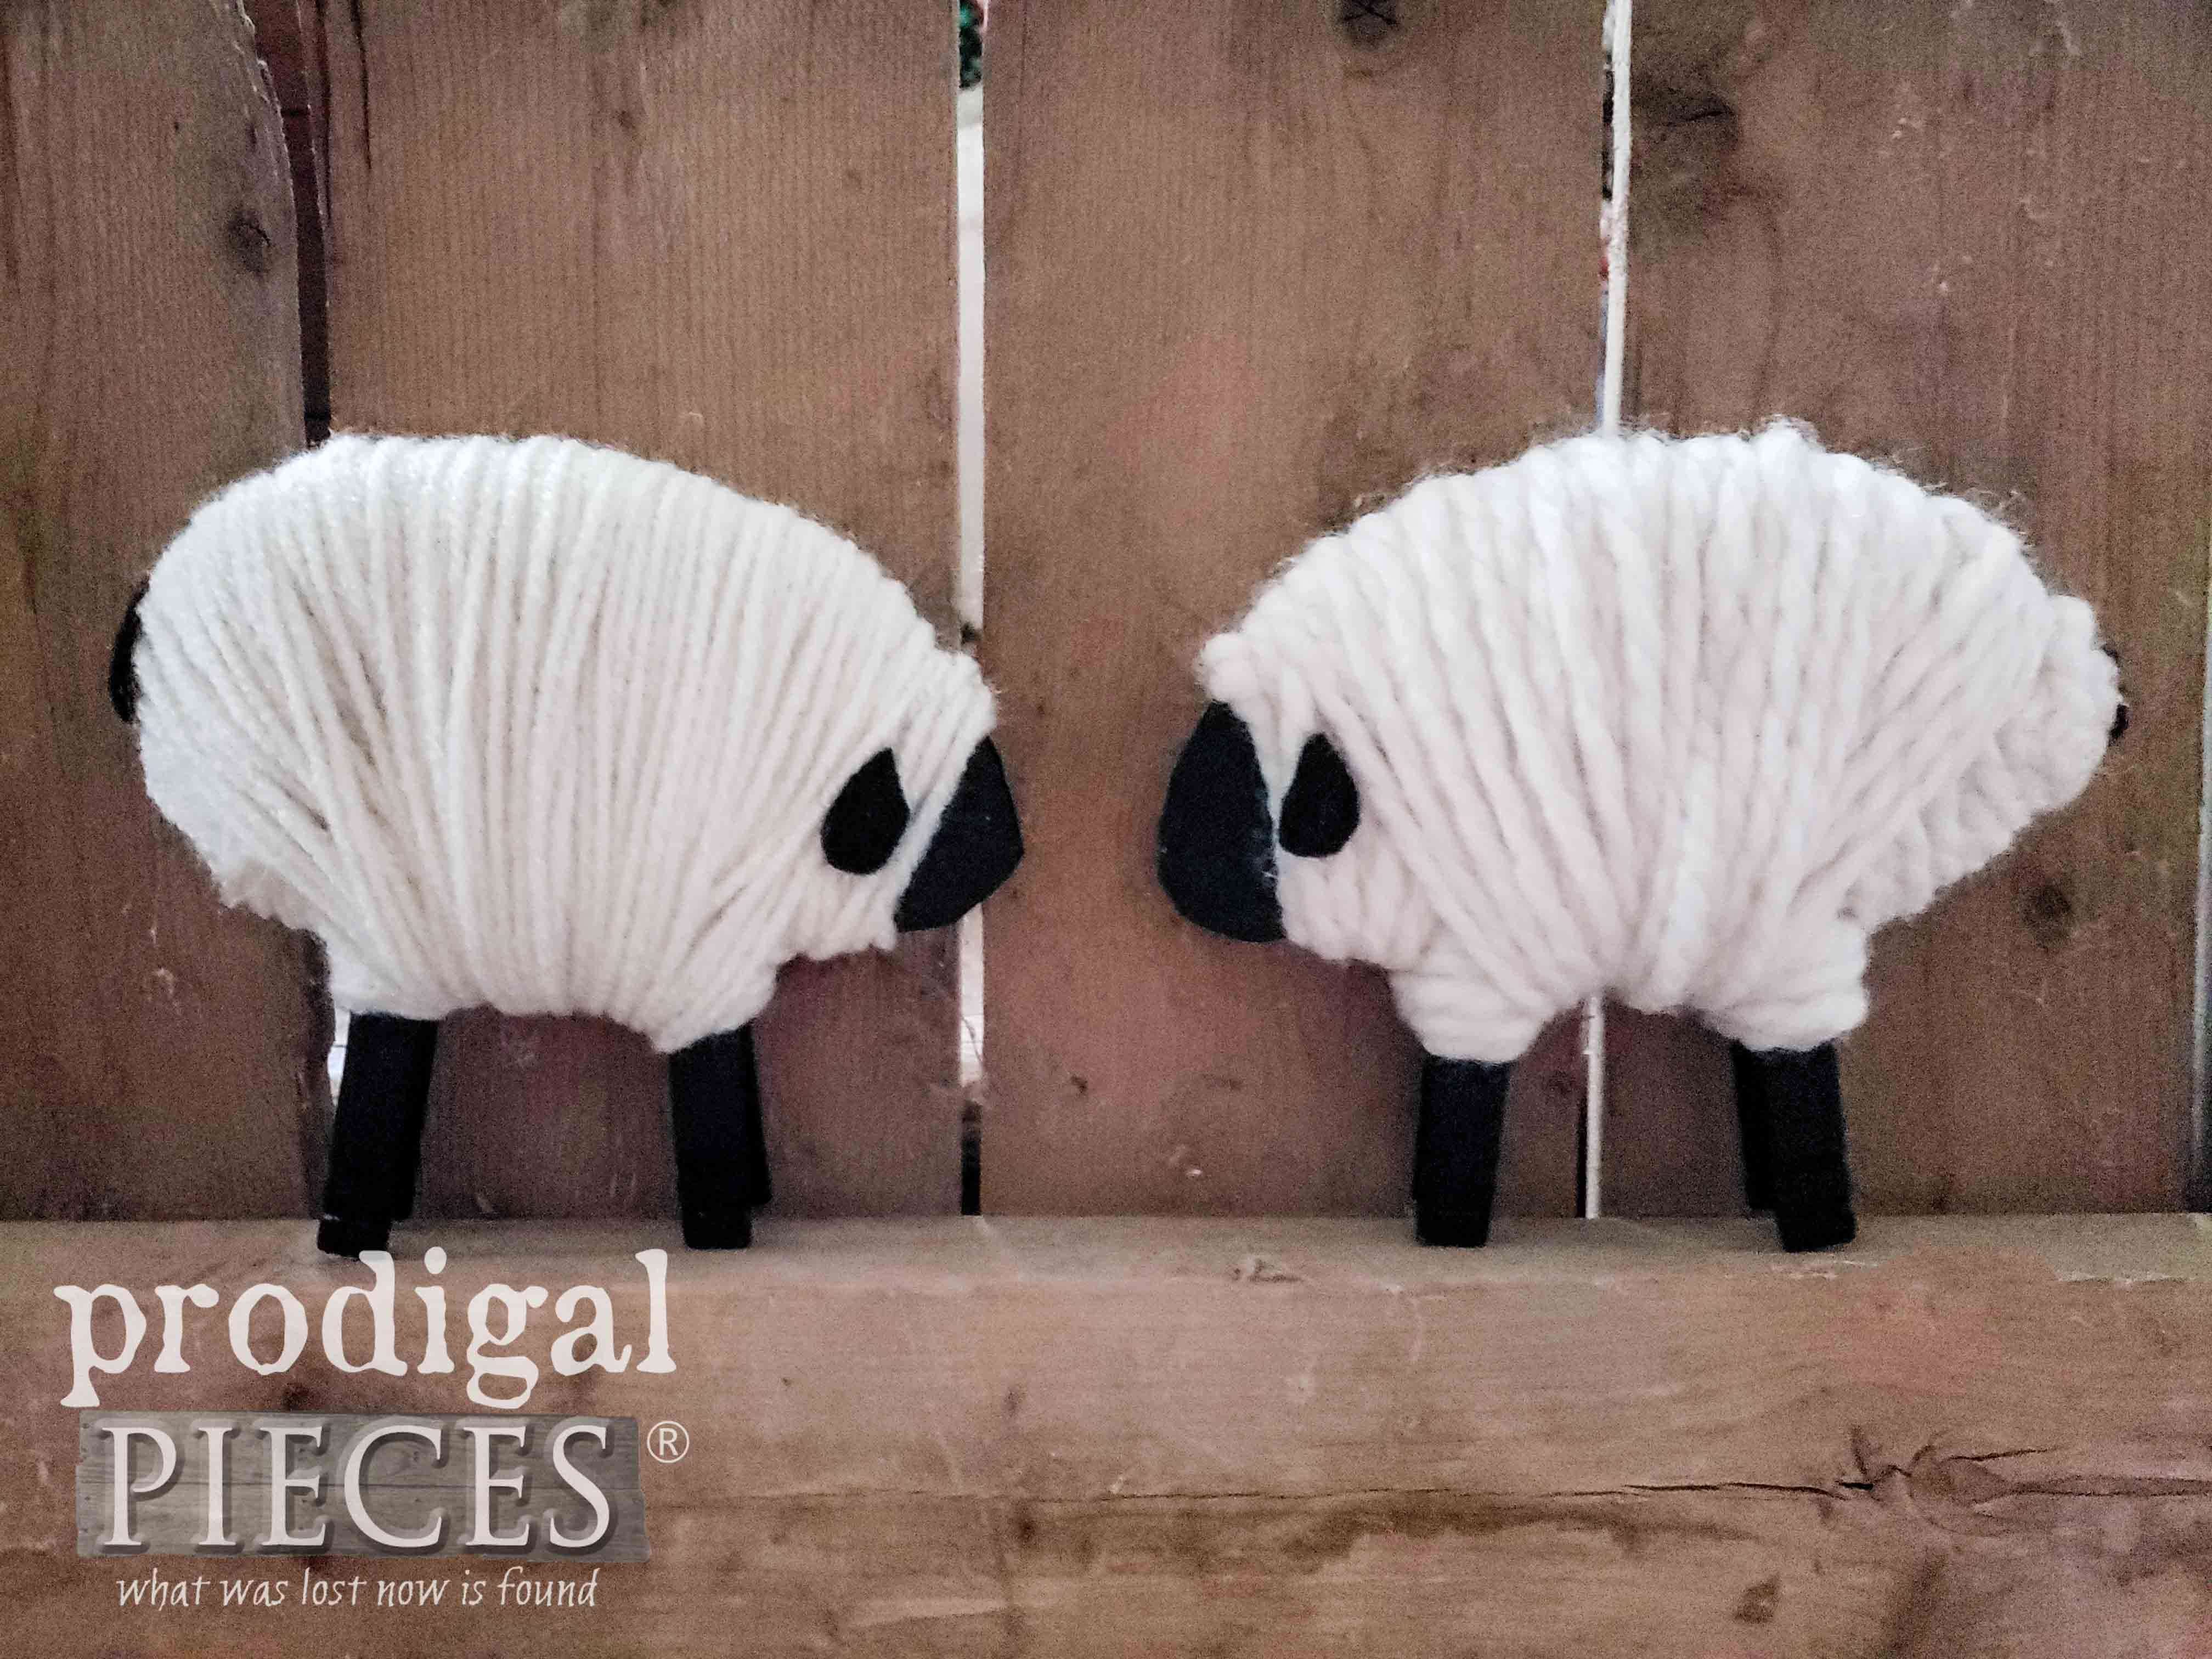
Time for some woolly fun! Previously, I mentioned I prefer to use the wool blend roving. Not only does the sheep assembly goes faster, but also it looks more realistic too. Here’s a side-by-side comparison of a wool roving sheep compared to an acrylic yarn sheep. Do you see the difference? The acrylic is on the left, while the wool roving is on the right.
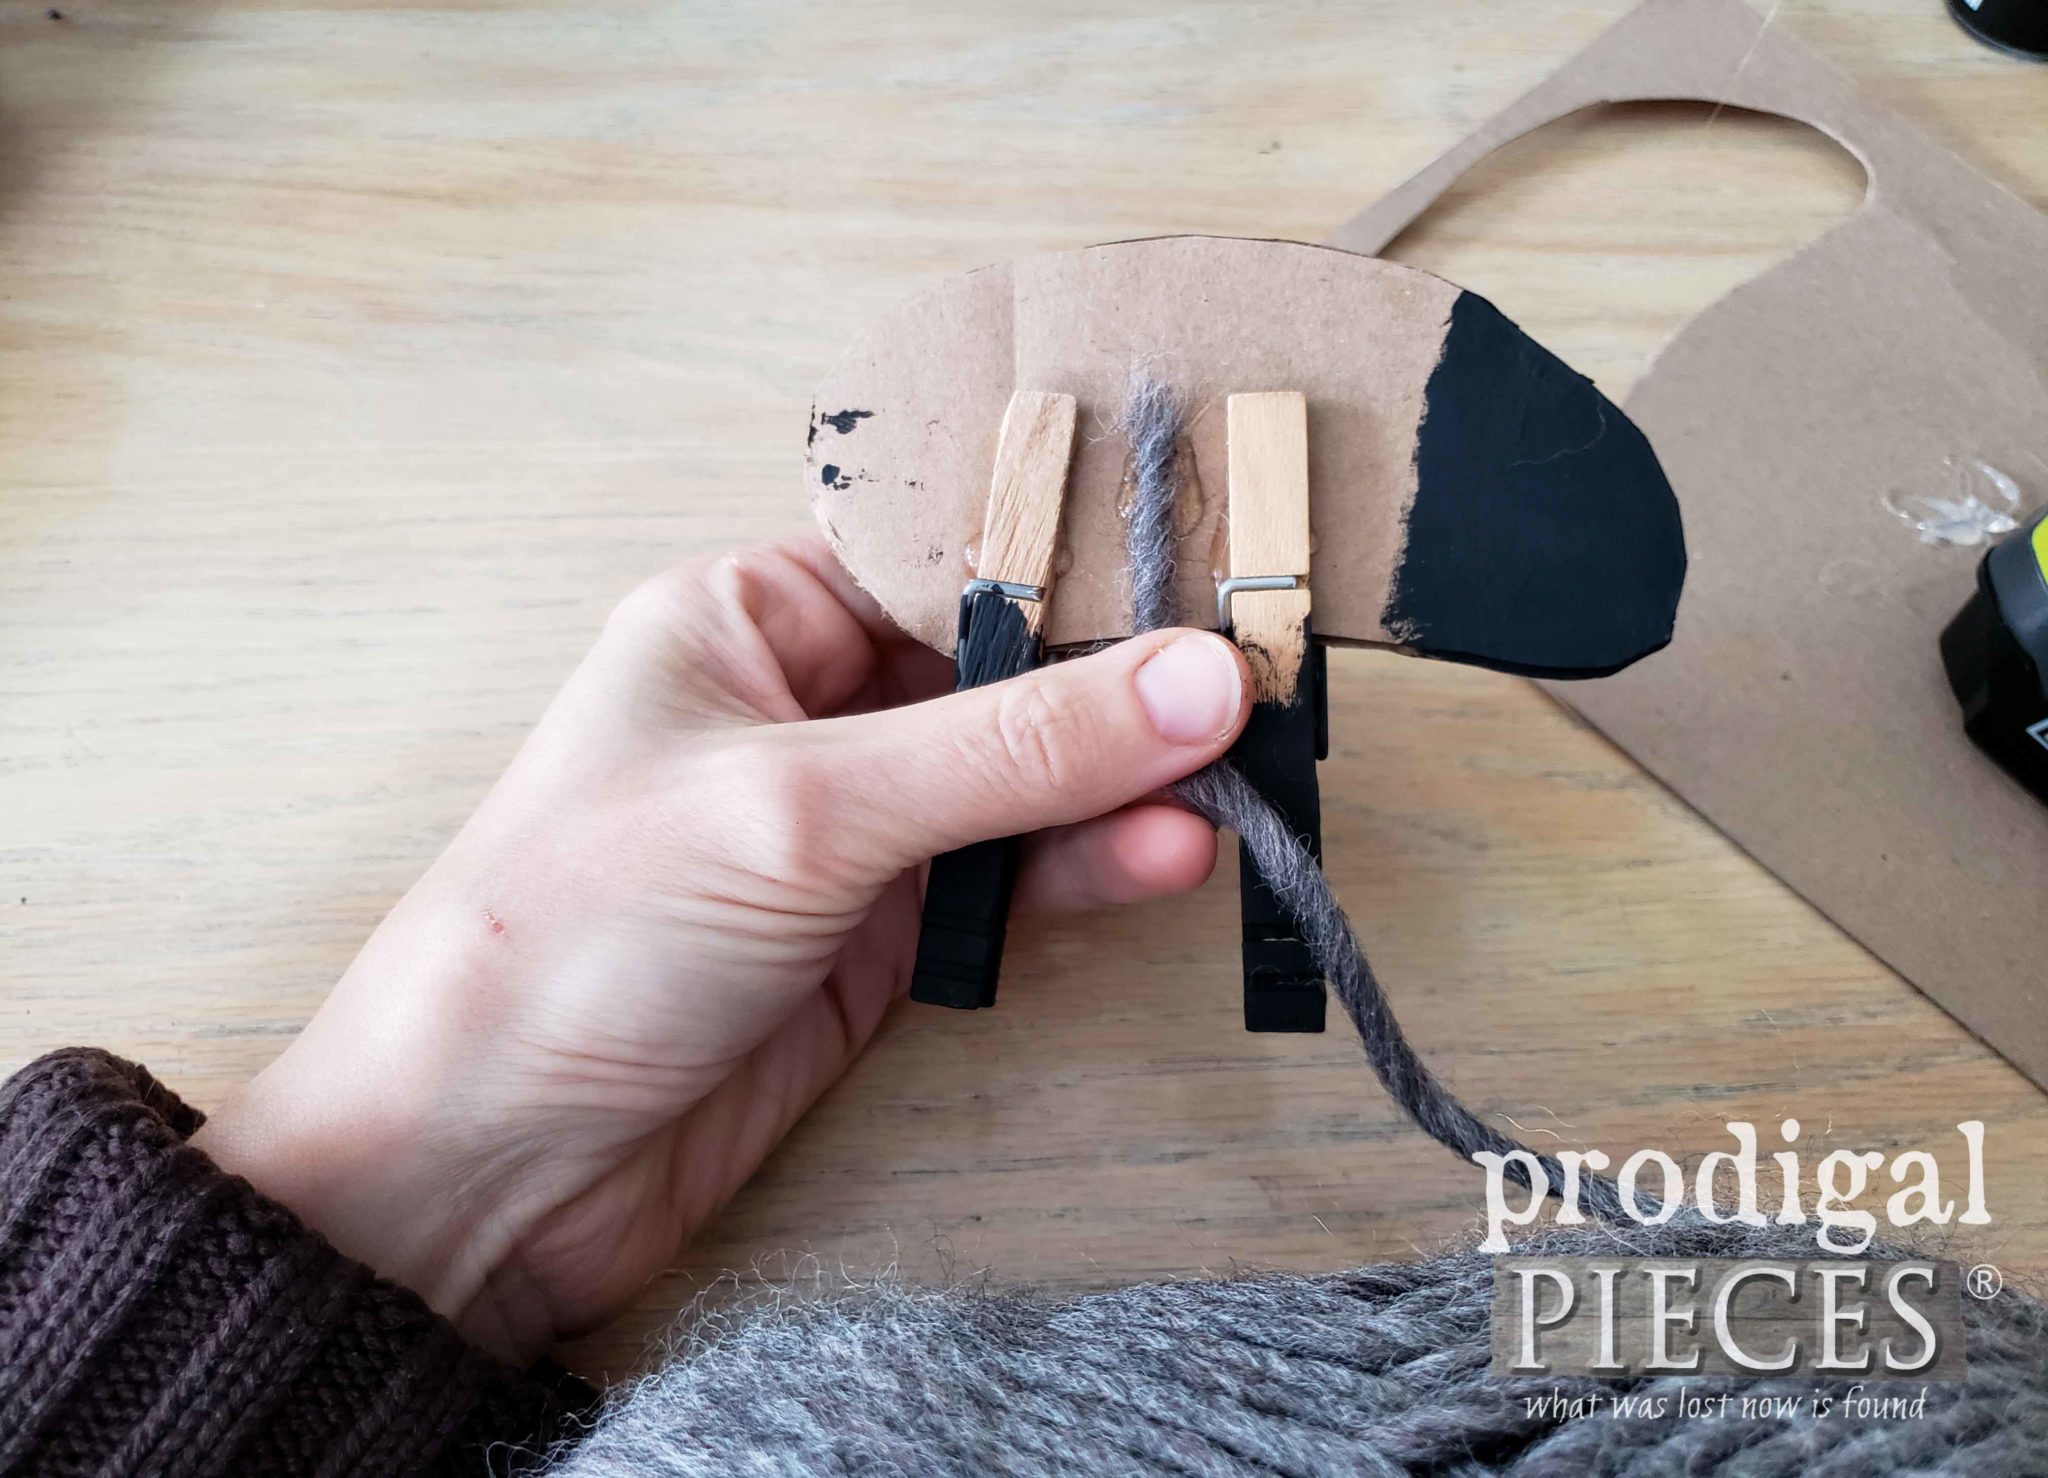
To get started on your woolly adventure, begin by adding a bead of hot glue to your sheep. Place the end of your yarn in it and let it cure for a minute or two.
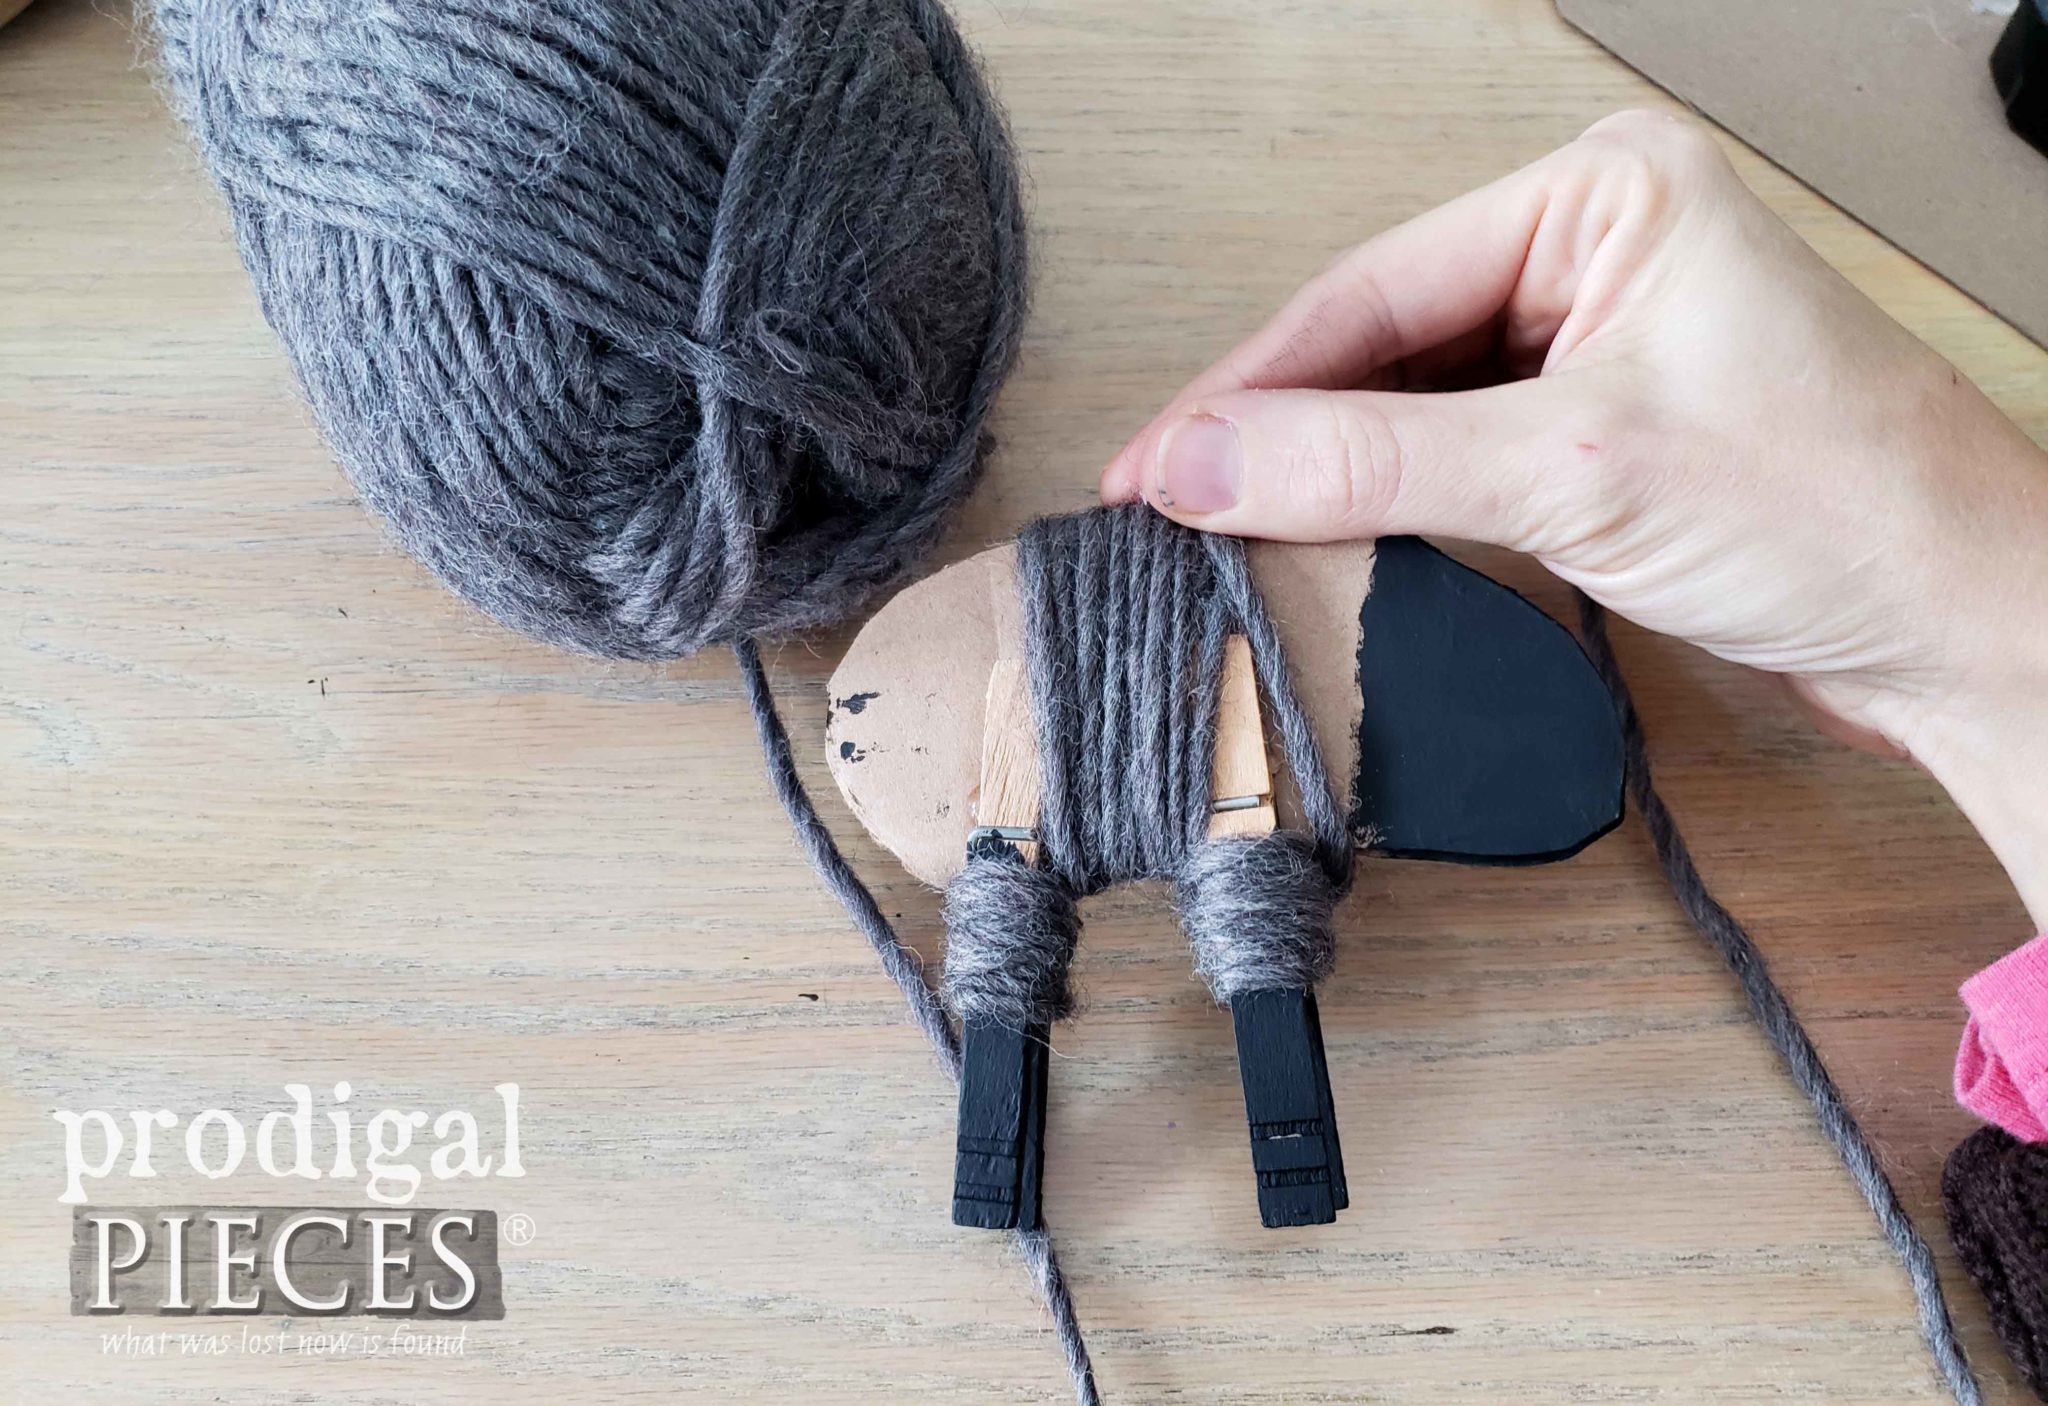
Next, wrap the yard around the middle for a few passes, and then wrap down around one of the clothespin legs to cover the springs. Then, work your way back up around the middle and down around the second clothespin. (see video for demo)
STEP 6
Once you’ve wrapped the legs, continue to wrap around the body working from one end to the other. Likewise, I share my tips in the video how to make it as easy as possible to cover those rounded ends. Cut your yarn leaving a trailing tail when you think you’ve made it woolly enough. Last, tuck in the tail and you’re done with the yarn.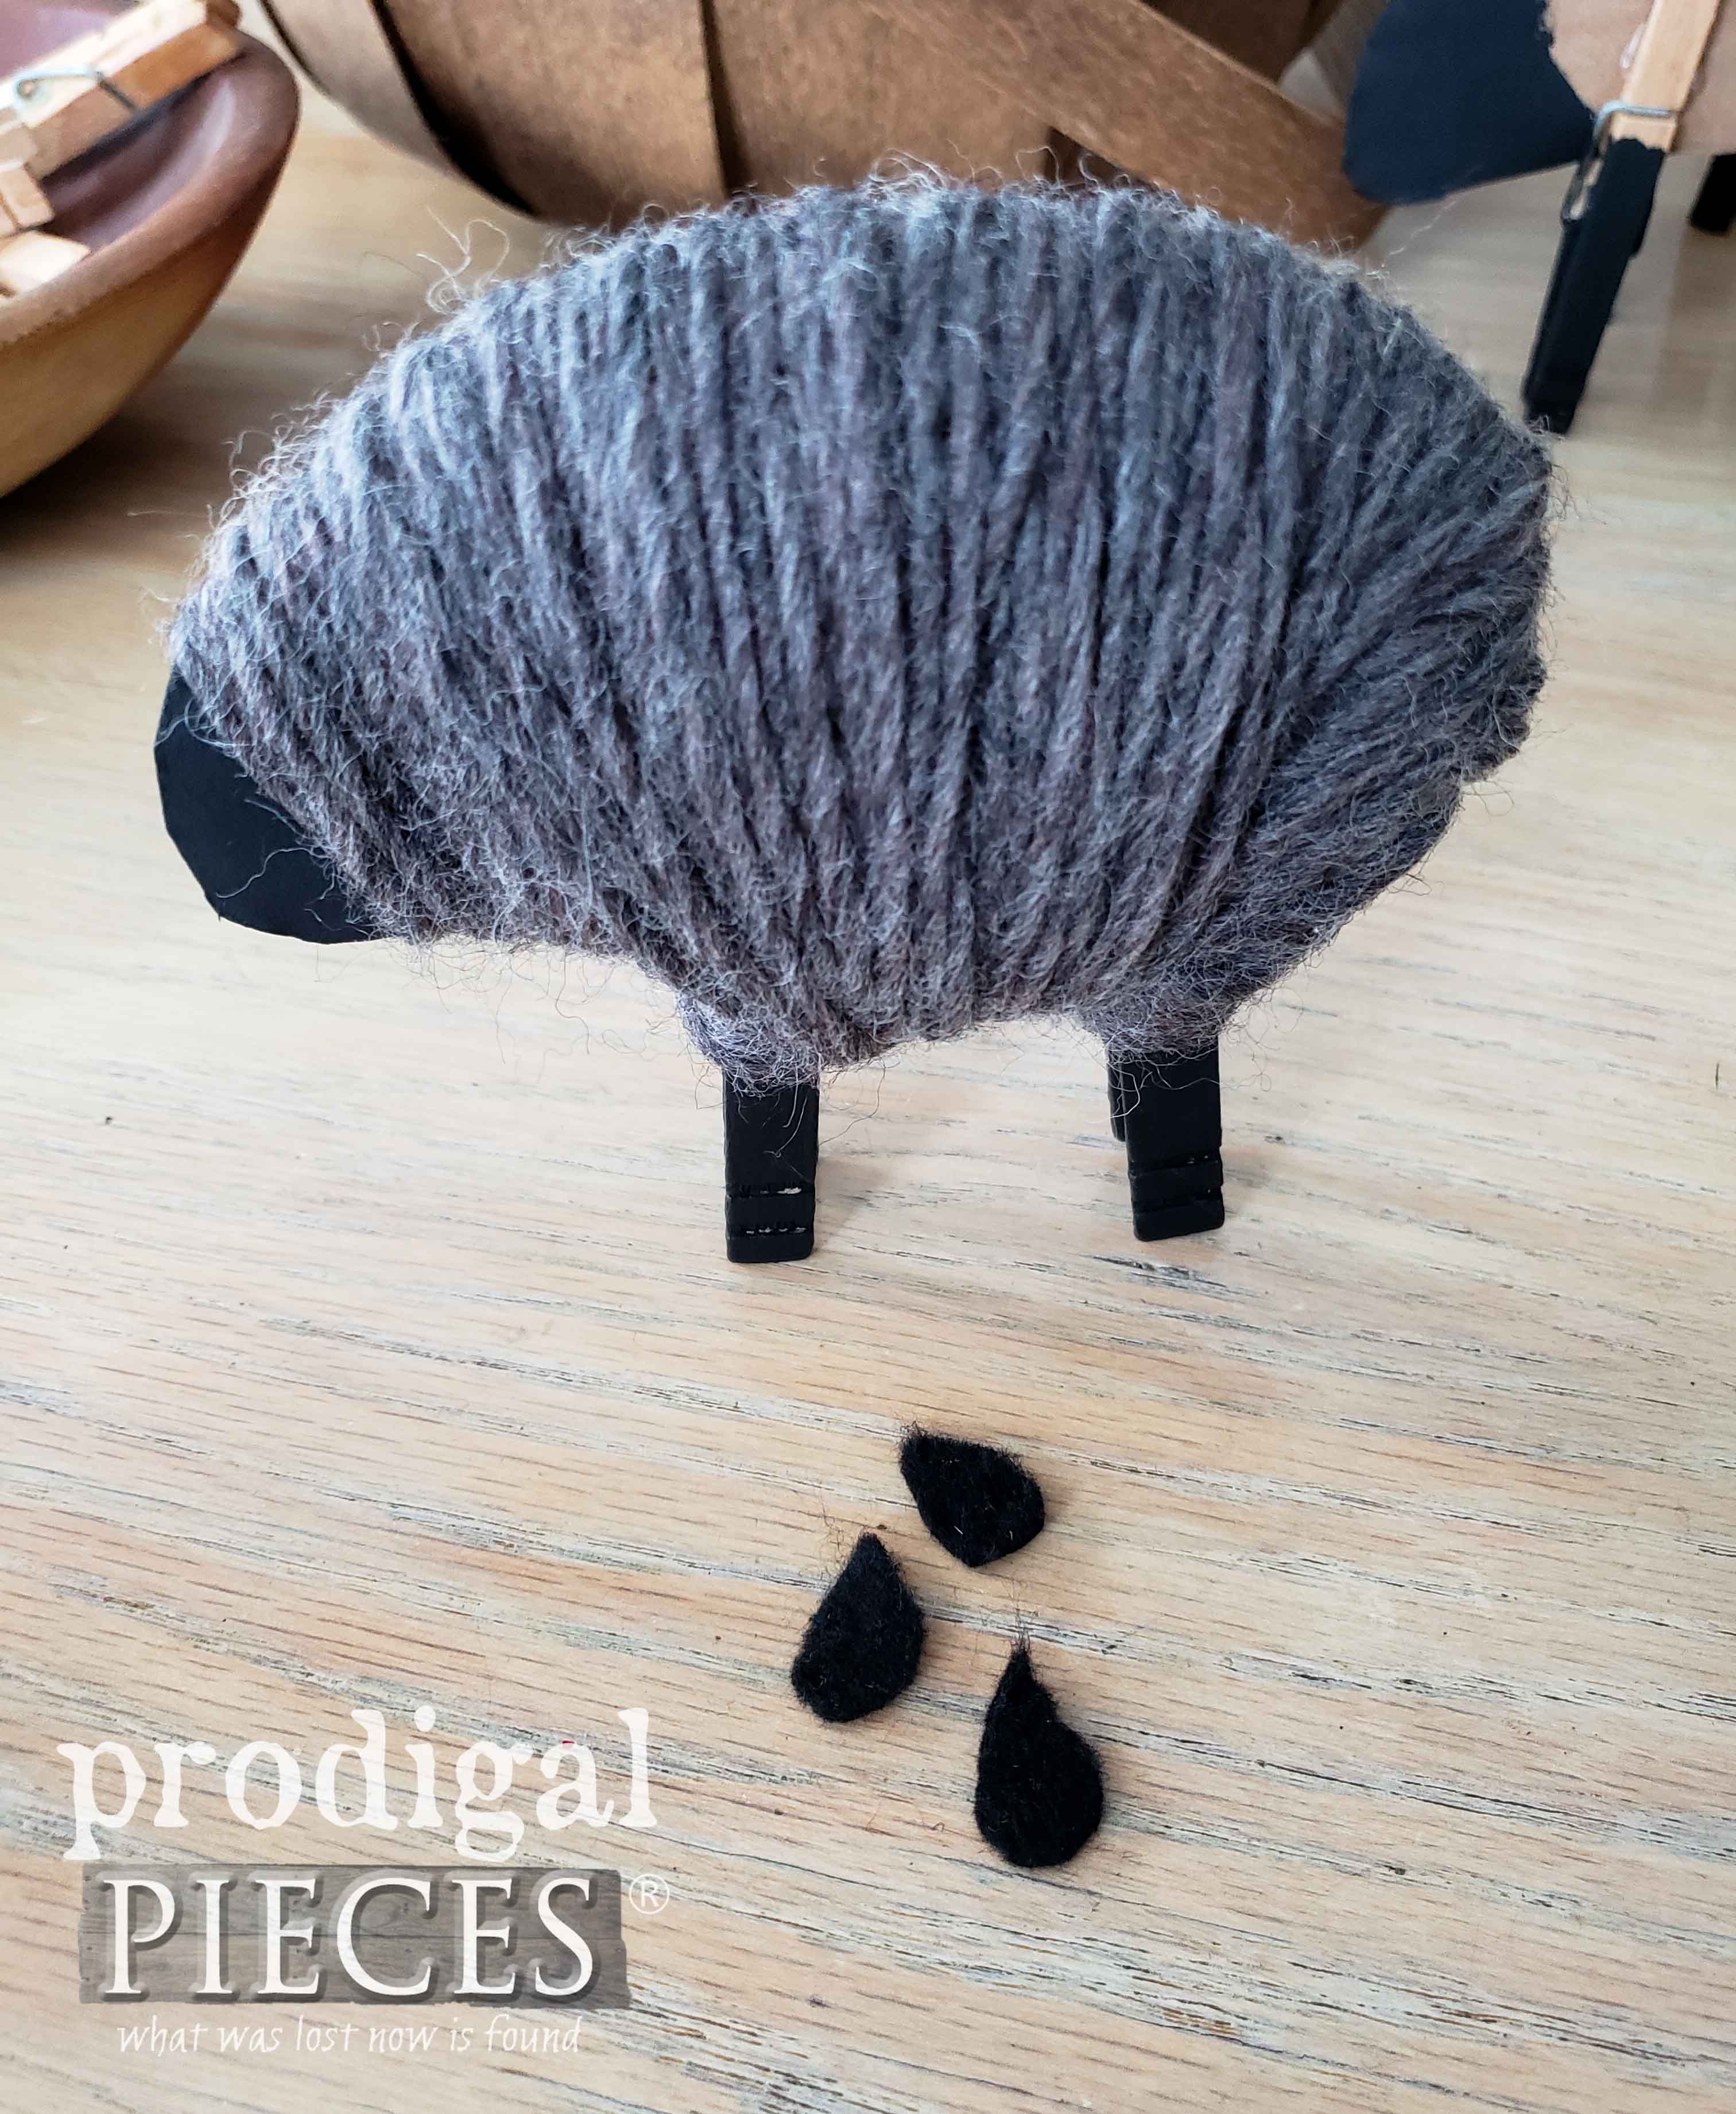
STEP 7
After that, for the next step, cut 3 small teardrop shaped piece of your black felt for two ears and a tail. I prefer to use the Tacky Glue to attach these since the glue dries clear, as opposed to hot glue.
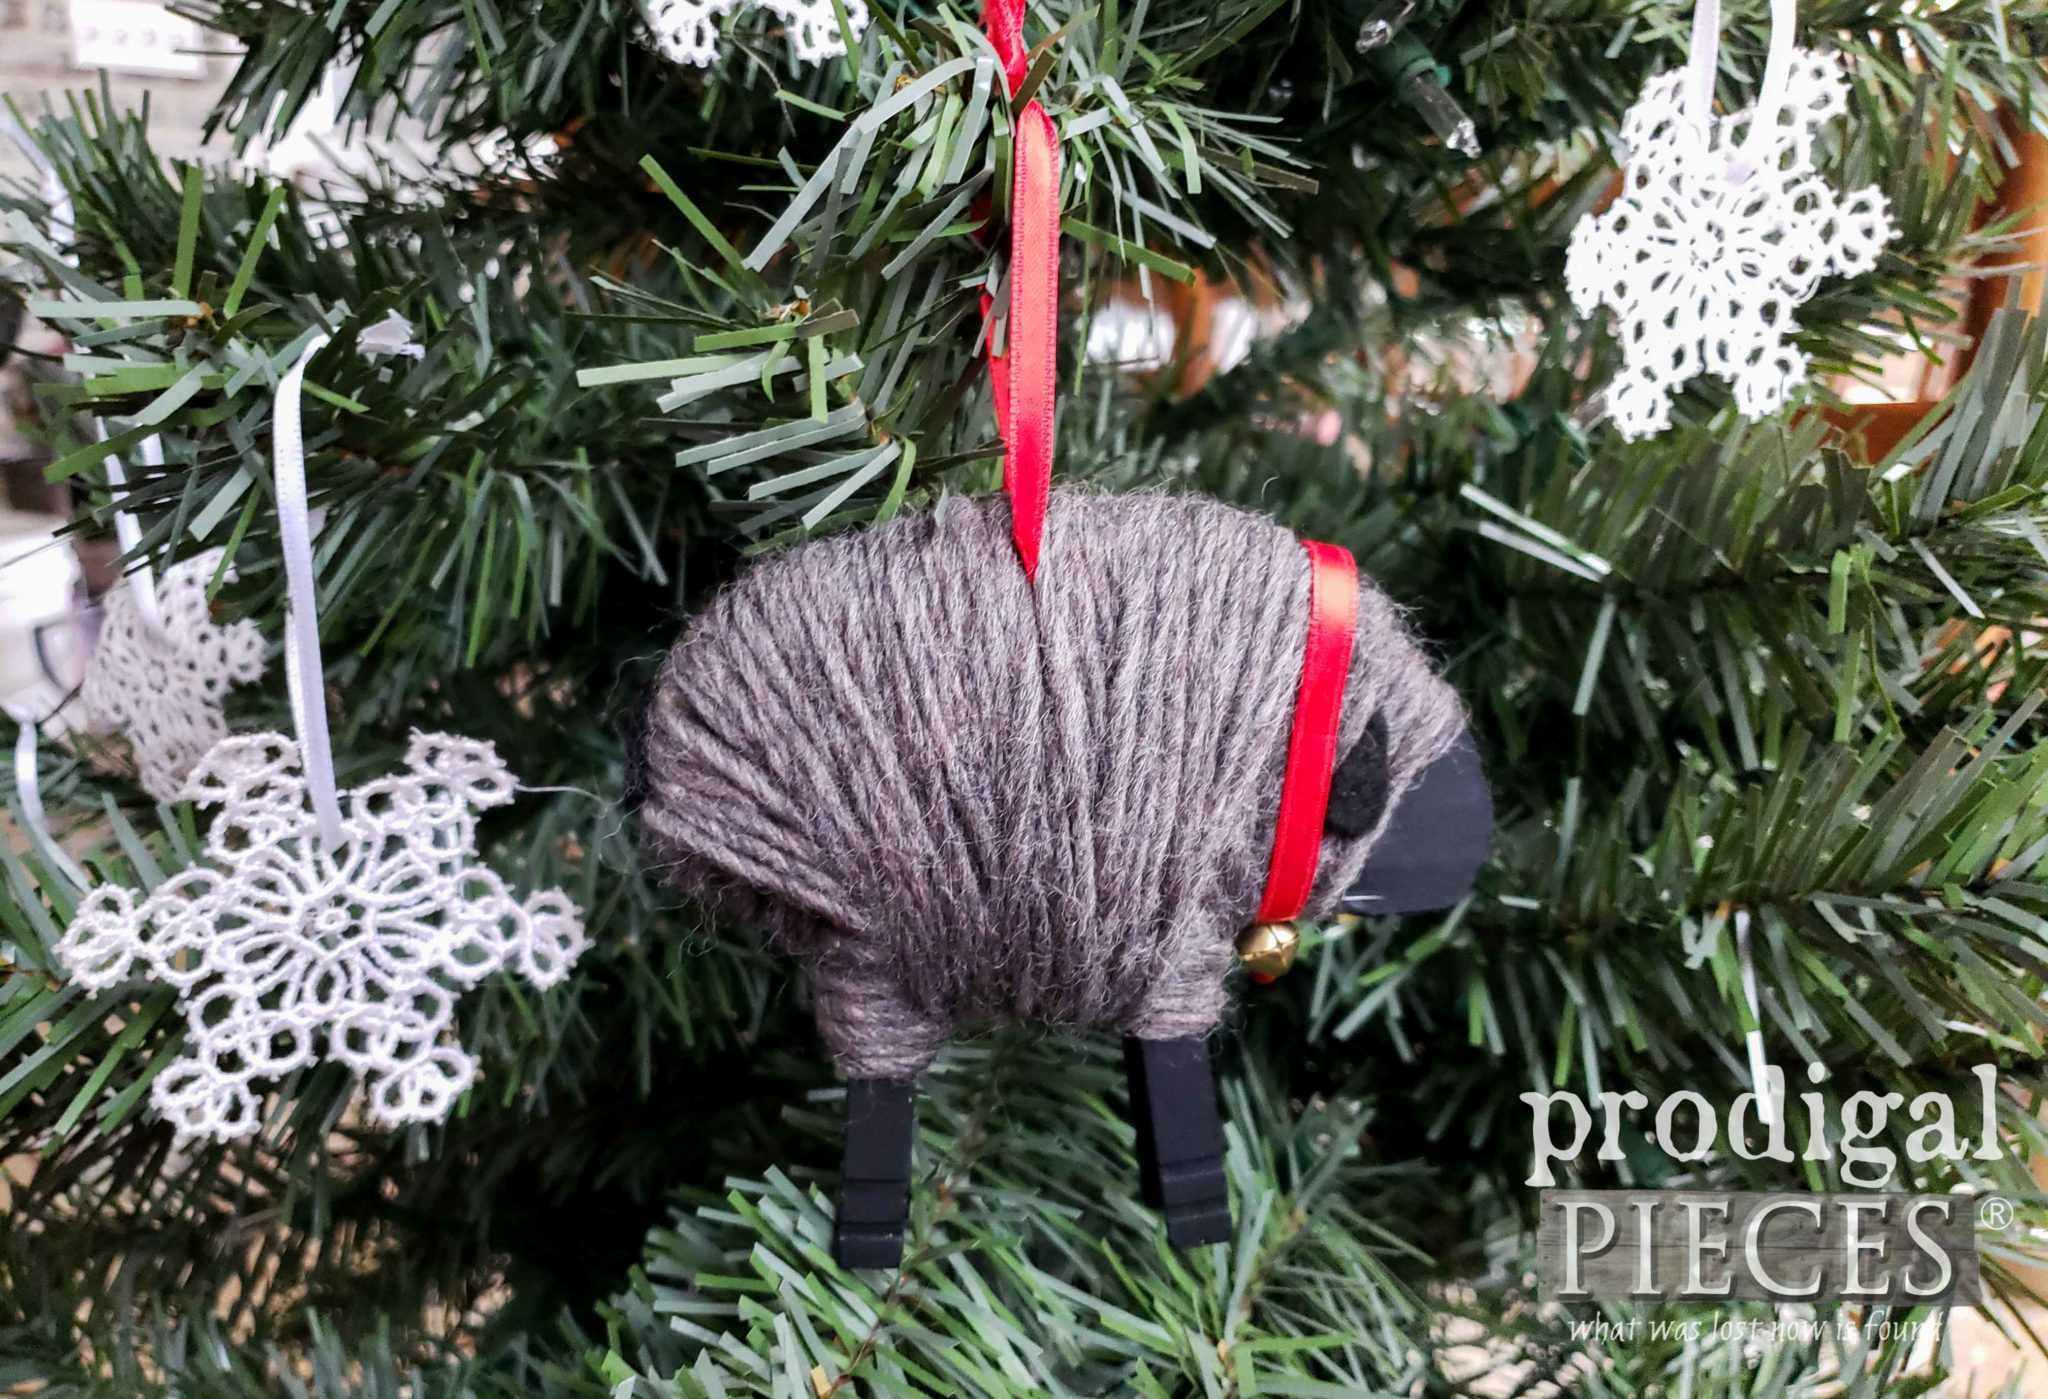
At this point you can call your woolly sheep ornament done. However, if you’d like to add a ribbon around the neck with a bell, you can do that too. In addition, you can add a ribbon hanger to make a hanging ornament. Simply use an awl to poke a hole in the sheep’s back and thread a ribbon through.
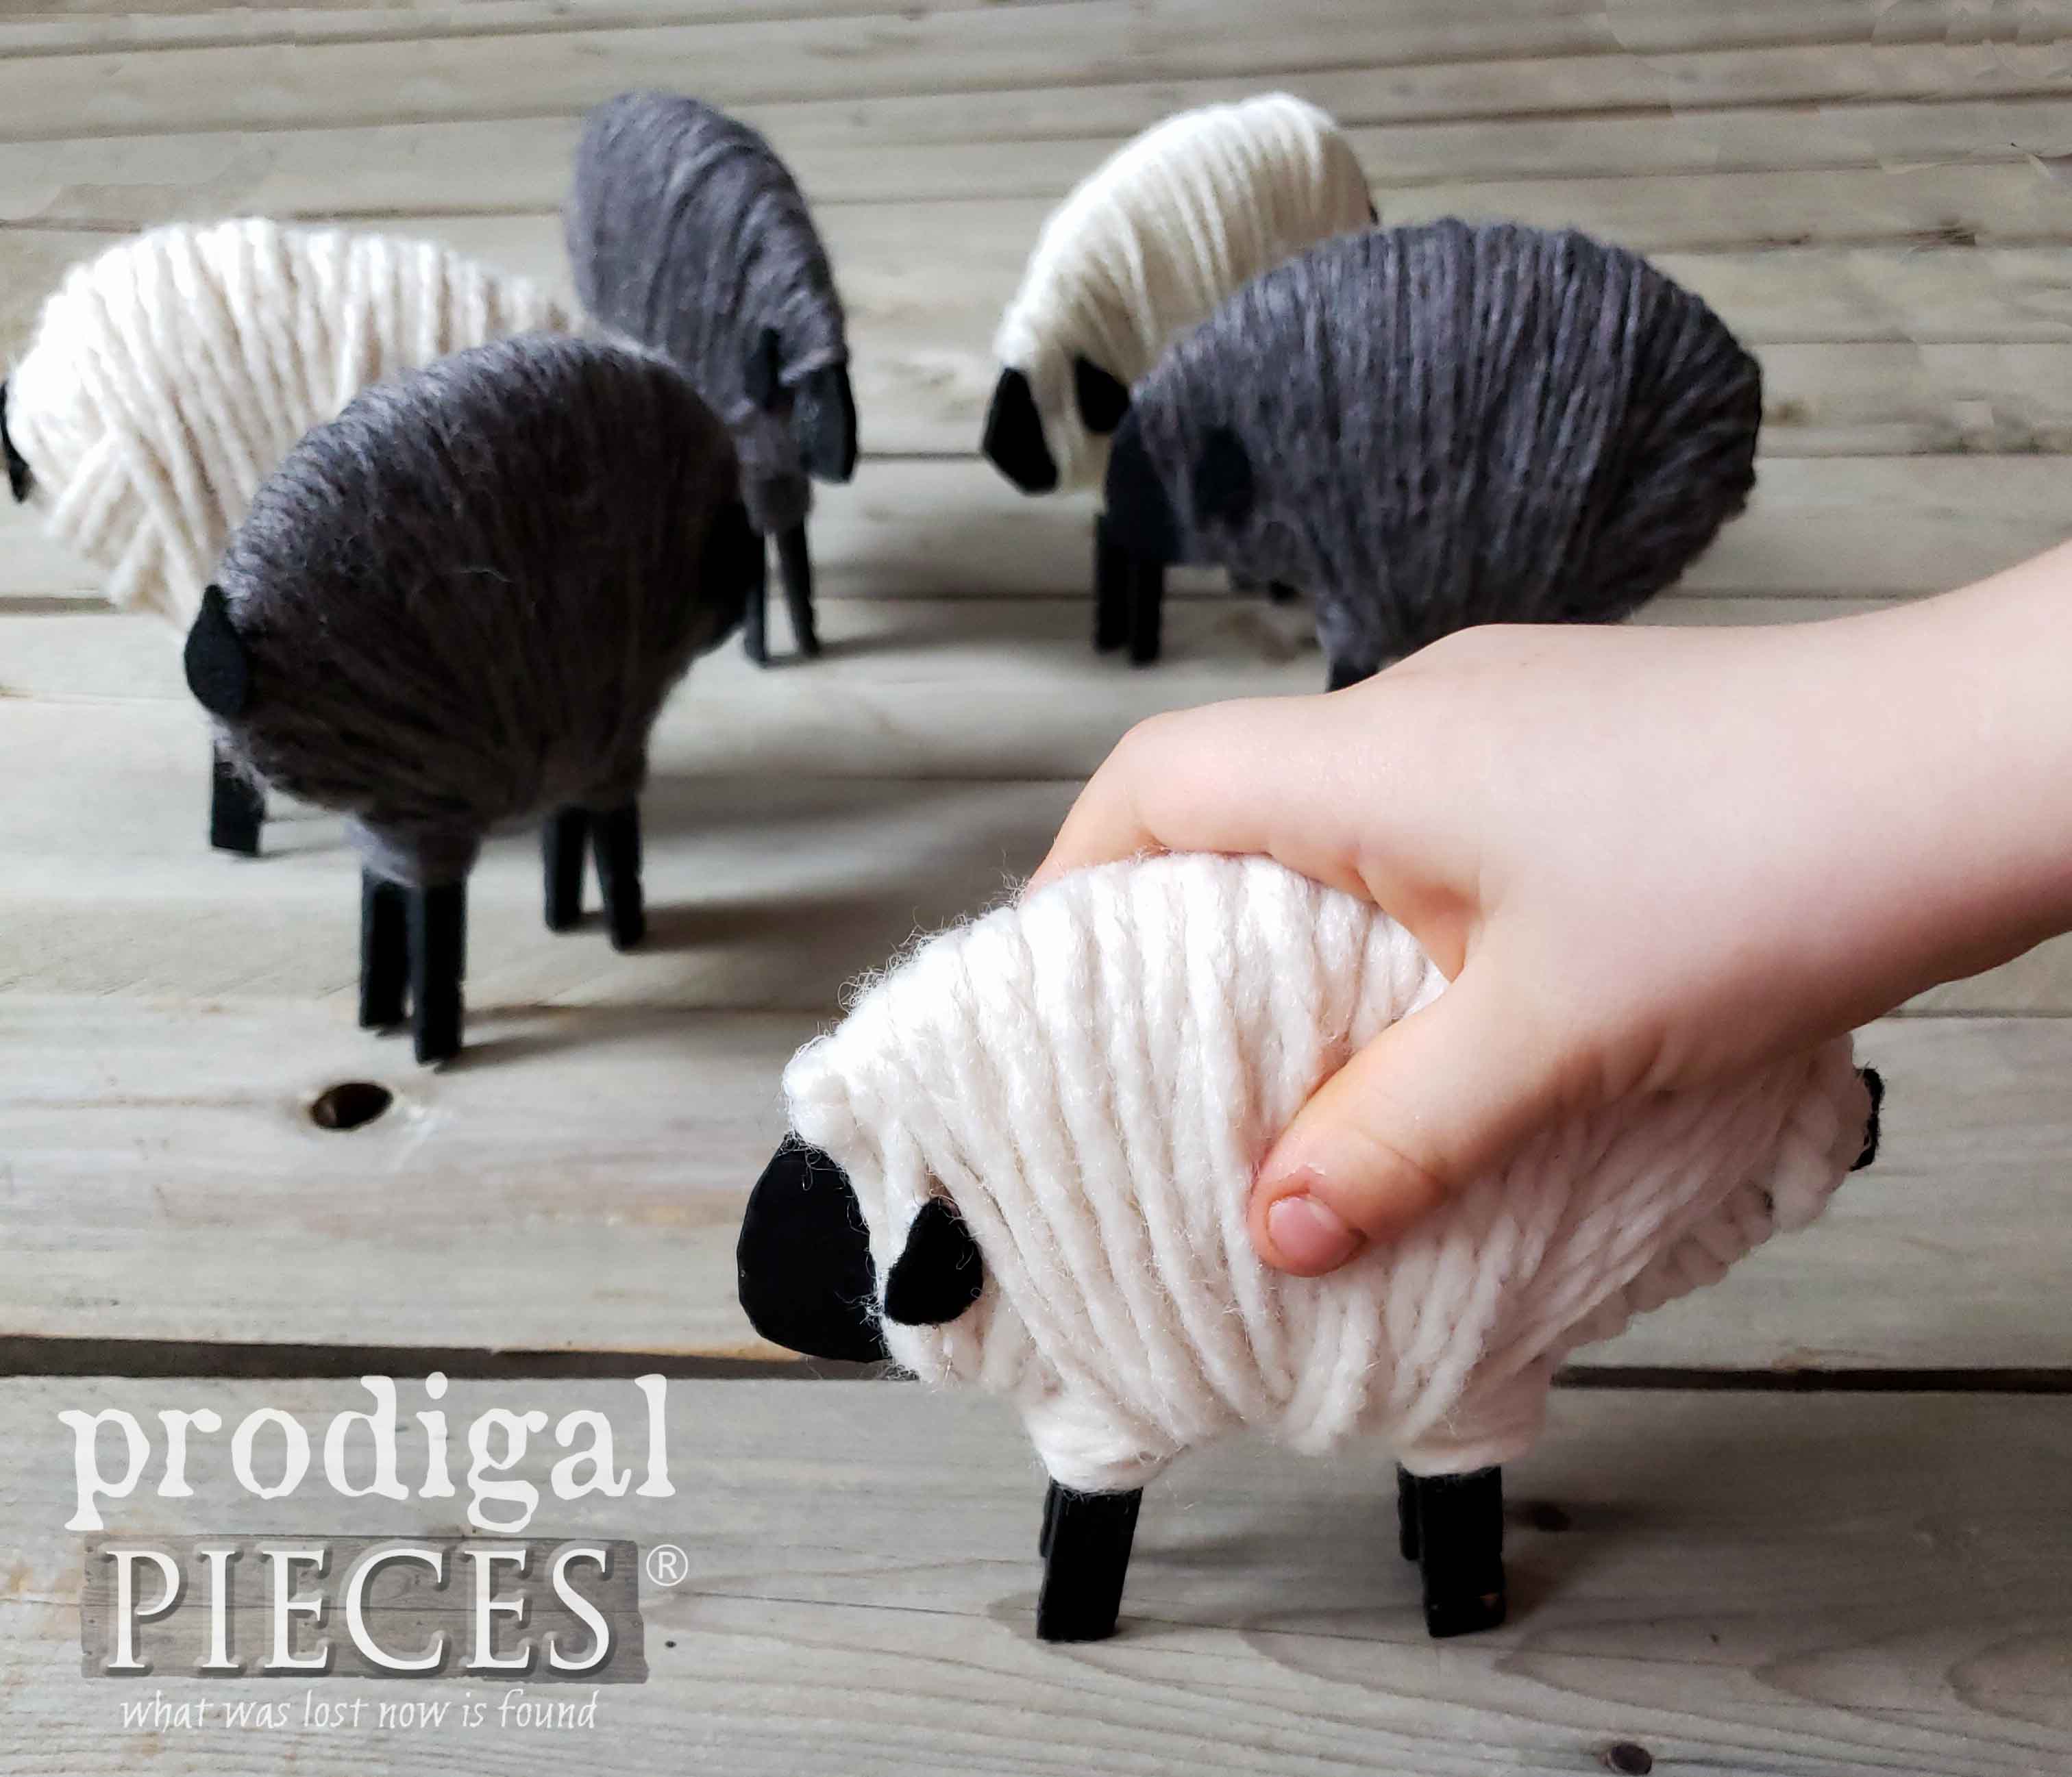
Aren’t they cute! I must say these delight my heart – both the large version and these small ones. I know you and your friends will love them too! You can even add a tag that reads, “Thank ewe for ….”. Ewe get the idea. tee hee!
Feel free to ask any questions as I’m happy to help. Okay, I have to ask…which one is your favorite? The white or the gray?
Additionally, pin and share this clothespin sheep ornament tutorial to save for future use. Not only is it my desire to inspire you, but also inspiring others. It’s what I’m all about.
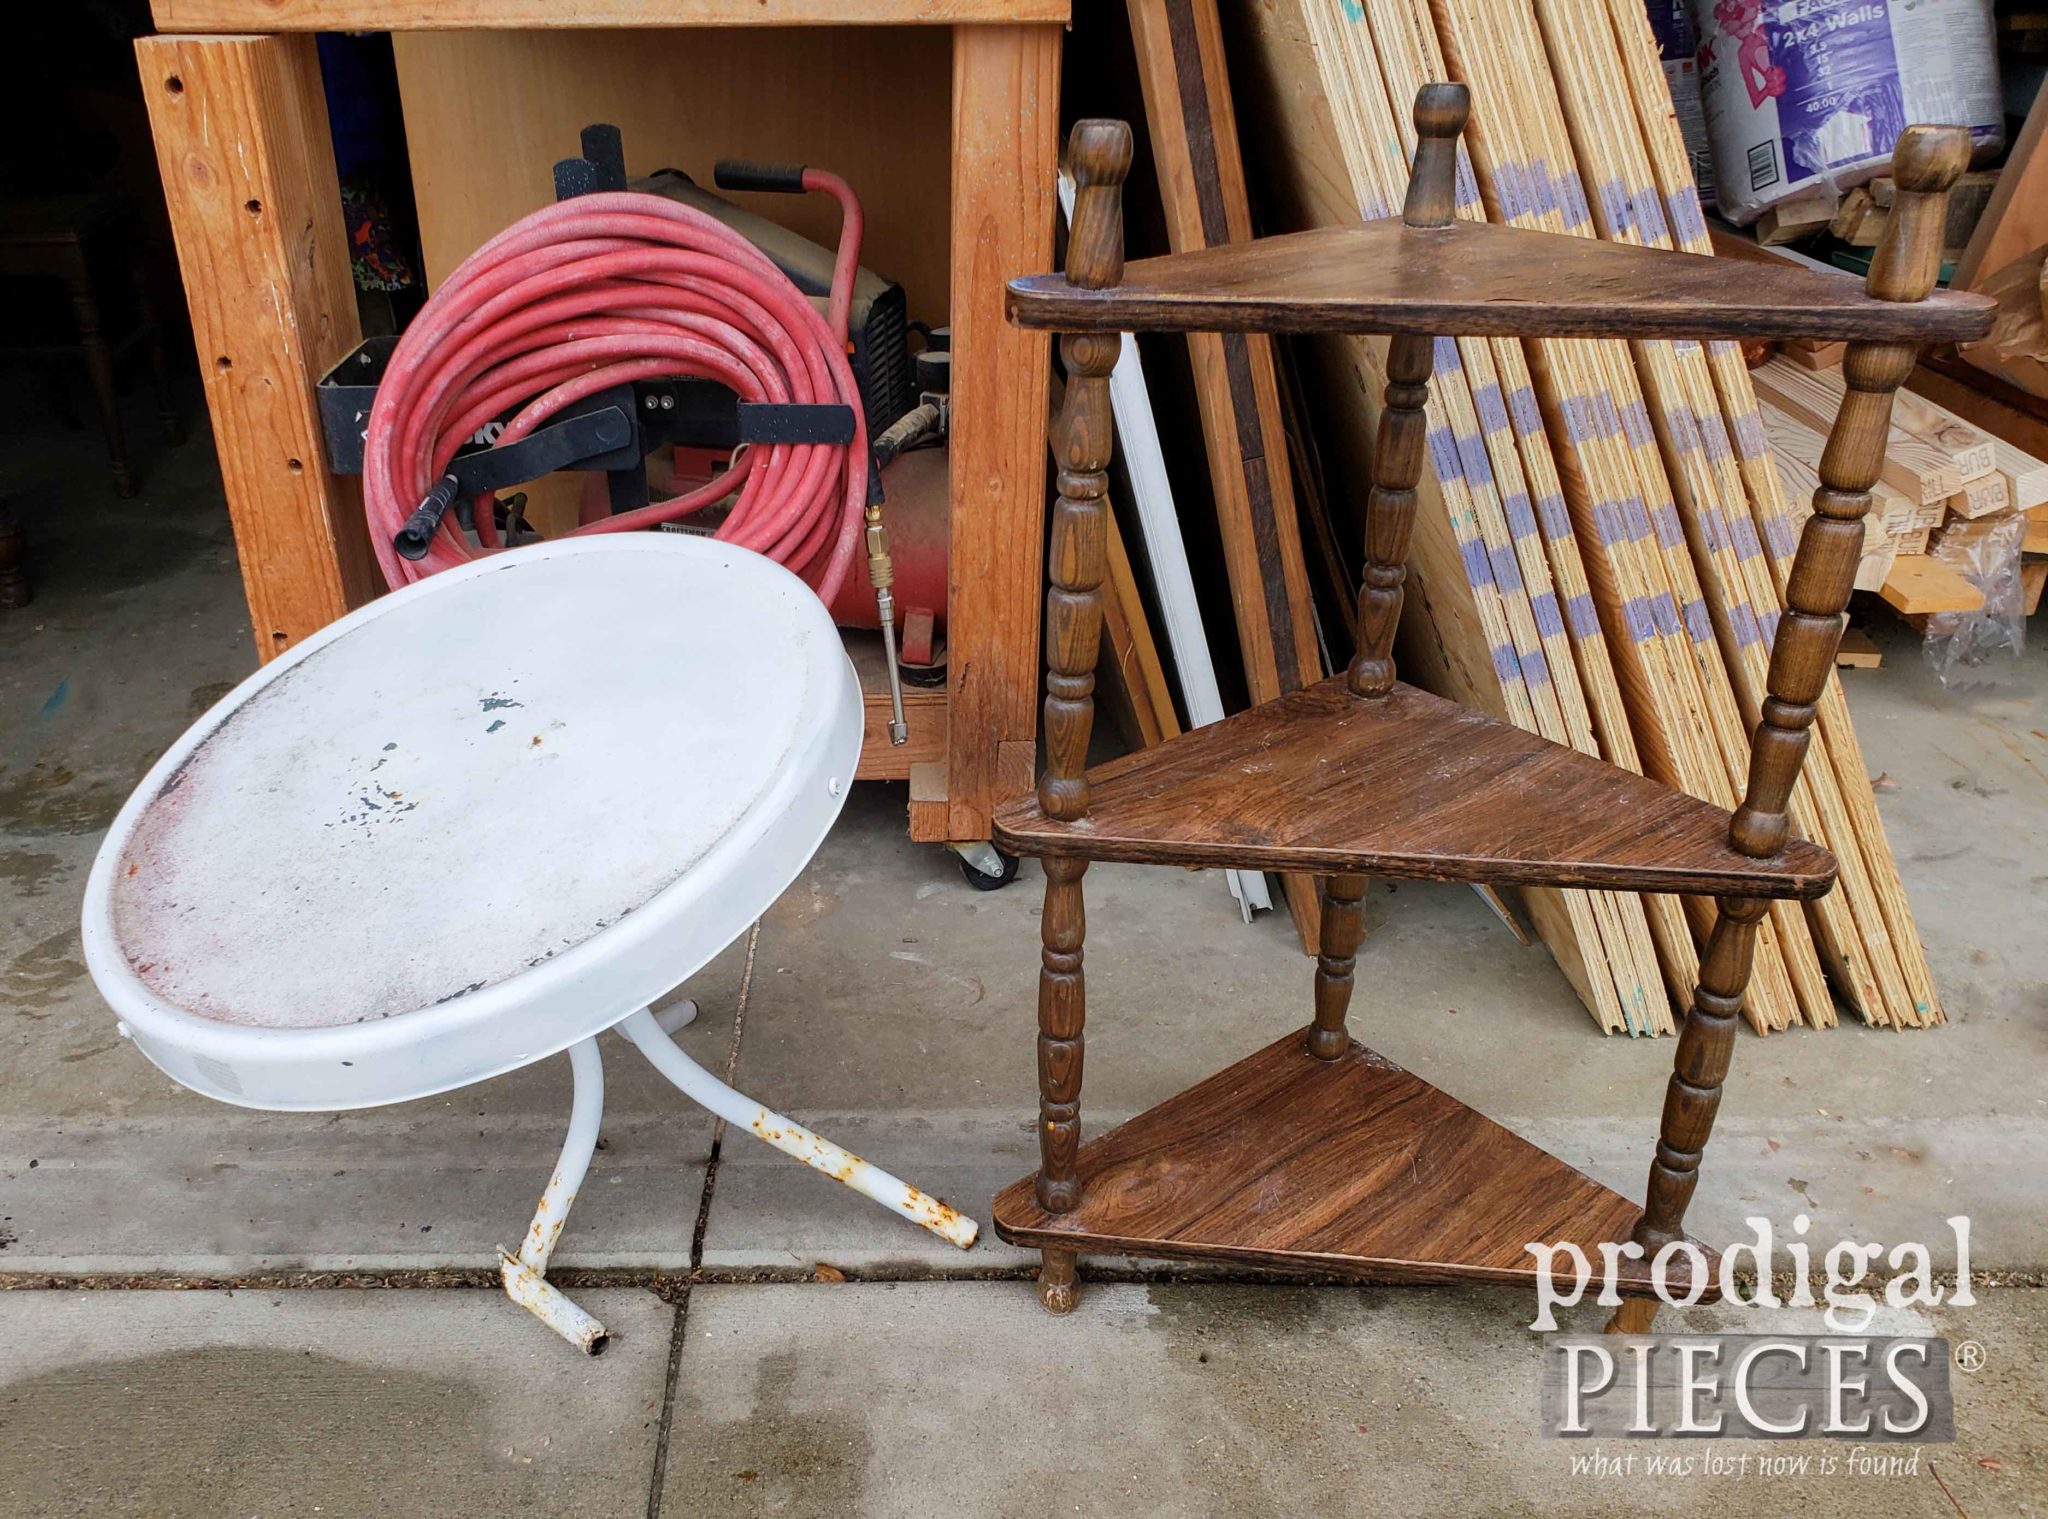
Up next, I will be sharing what I did with these two tables I pulled from my neighbor’s trash on two different occasions. Head here to see the tiered table and then the metal table HERE.
Before you go, be sure to sign up for my newsletter. Until next time!



I’ve always liked these sheep…they are very cute! The first ones I saw were the big ones and then it wasn’t until fairly recent that I saw the little ones. I’m going to make some just for the fun oof it! ???
Me too!! I hope you have a blast, Shirley!
I love the sheep now if you would please figure out how to do a llama I would be forever grateful .Loving your site as always
Thanks! Just add a neck to the template and you’re good to go. 😀
Awww. Too cute!
Thank ewe! 😀
We are doing these tomorrow at preschool…I have wool roving we are going to glue on instead. Very cute
How fun! I hope you have a blast. 😀
I hate to tell you that I made these about 20 years ago from a magazine. They are cute and worth repeating
Umm…no need. I made them as a kid at church. They’ve been around forever and I have fun sharing. 🙂
Adorable!
You asked our favorite? I prefer the white as the legs and other features stand out better. If the grey were a tad lighter I might like them equally as well.
I’m forwarding this blog entry to my BFF’s daughter who has 2 little “kids” tee hee. I imagine she will use cotton balls vs yarn, but it’ll be great to add to their creche under the tree.
Fun! They are just a blast to make and we all have fun sharing. Have a fun with it! 😀
So cute. Thank you Larissa for sharing with us. I can’t wait to try to make these with my grandchildren. God Bless you.
Aren’t you the sweetest?! Thank you for the smile. I hope you have a blast, Vicki!
I just finished wrapping them. Now on to the embellishments
Oh how fun! I think I may make more this year since my youngest would love to do it again. 😀
Nothing like a good ol’ repeat that you HOPE you find. YAY! Thanks a bunch!
How fun to hear, MaryAnn. Thank ewe! Have fun with it. 🙂
Thanks your the tutorial. My new favorite ornament. Soooo cute. I used chenille yarn. They are so soft and fluffy!
aww…I love that! I’m a sucker for how easy these are to make. Thanks for the smile!
Excited to make these cute sheep! One thing is stopping me. The template image does not appear when I go to print it. Help please.
Awesome! Does the document open when you click? And is the only issue when you print? Feel free to email me larissa at prodigalpieces.com