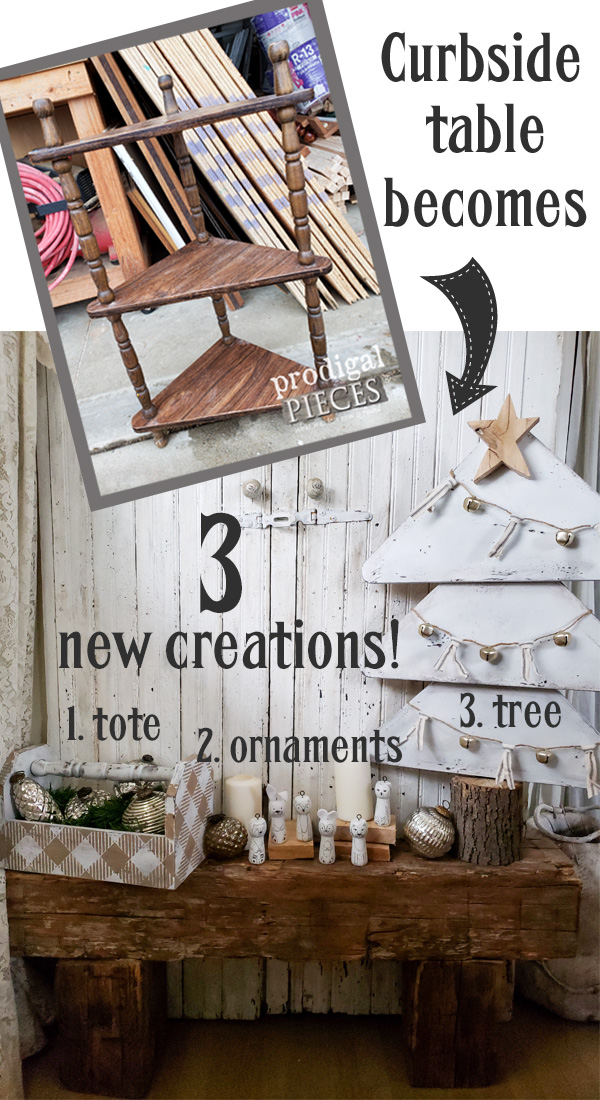
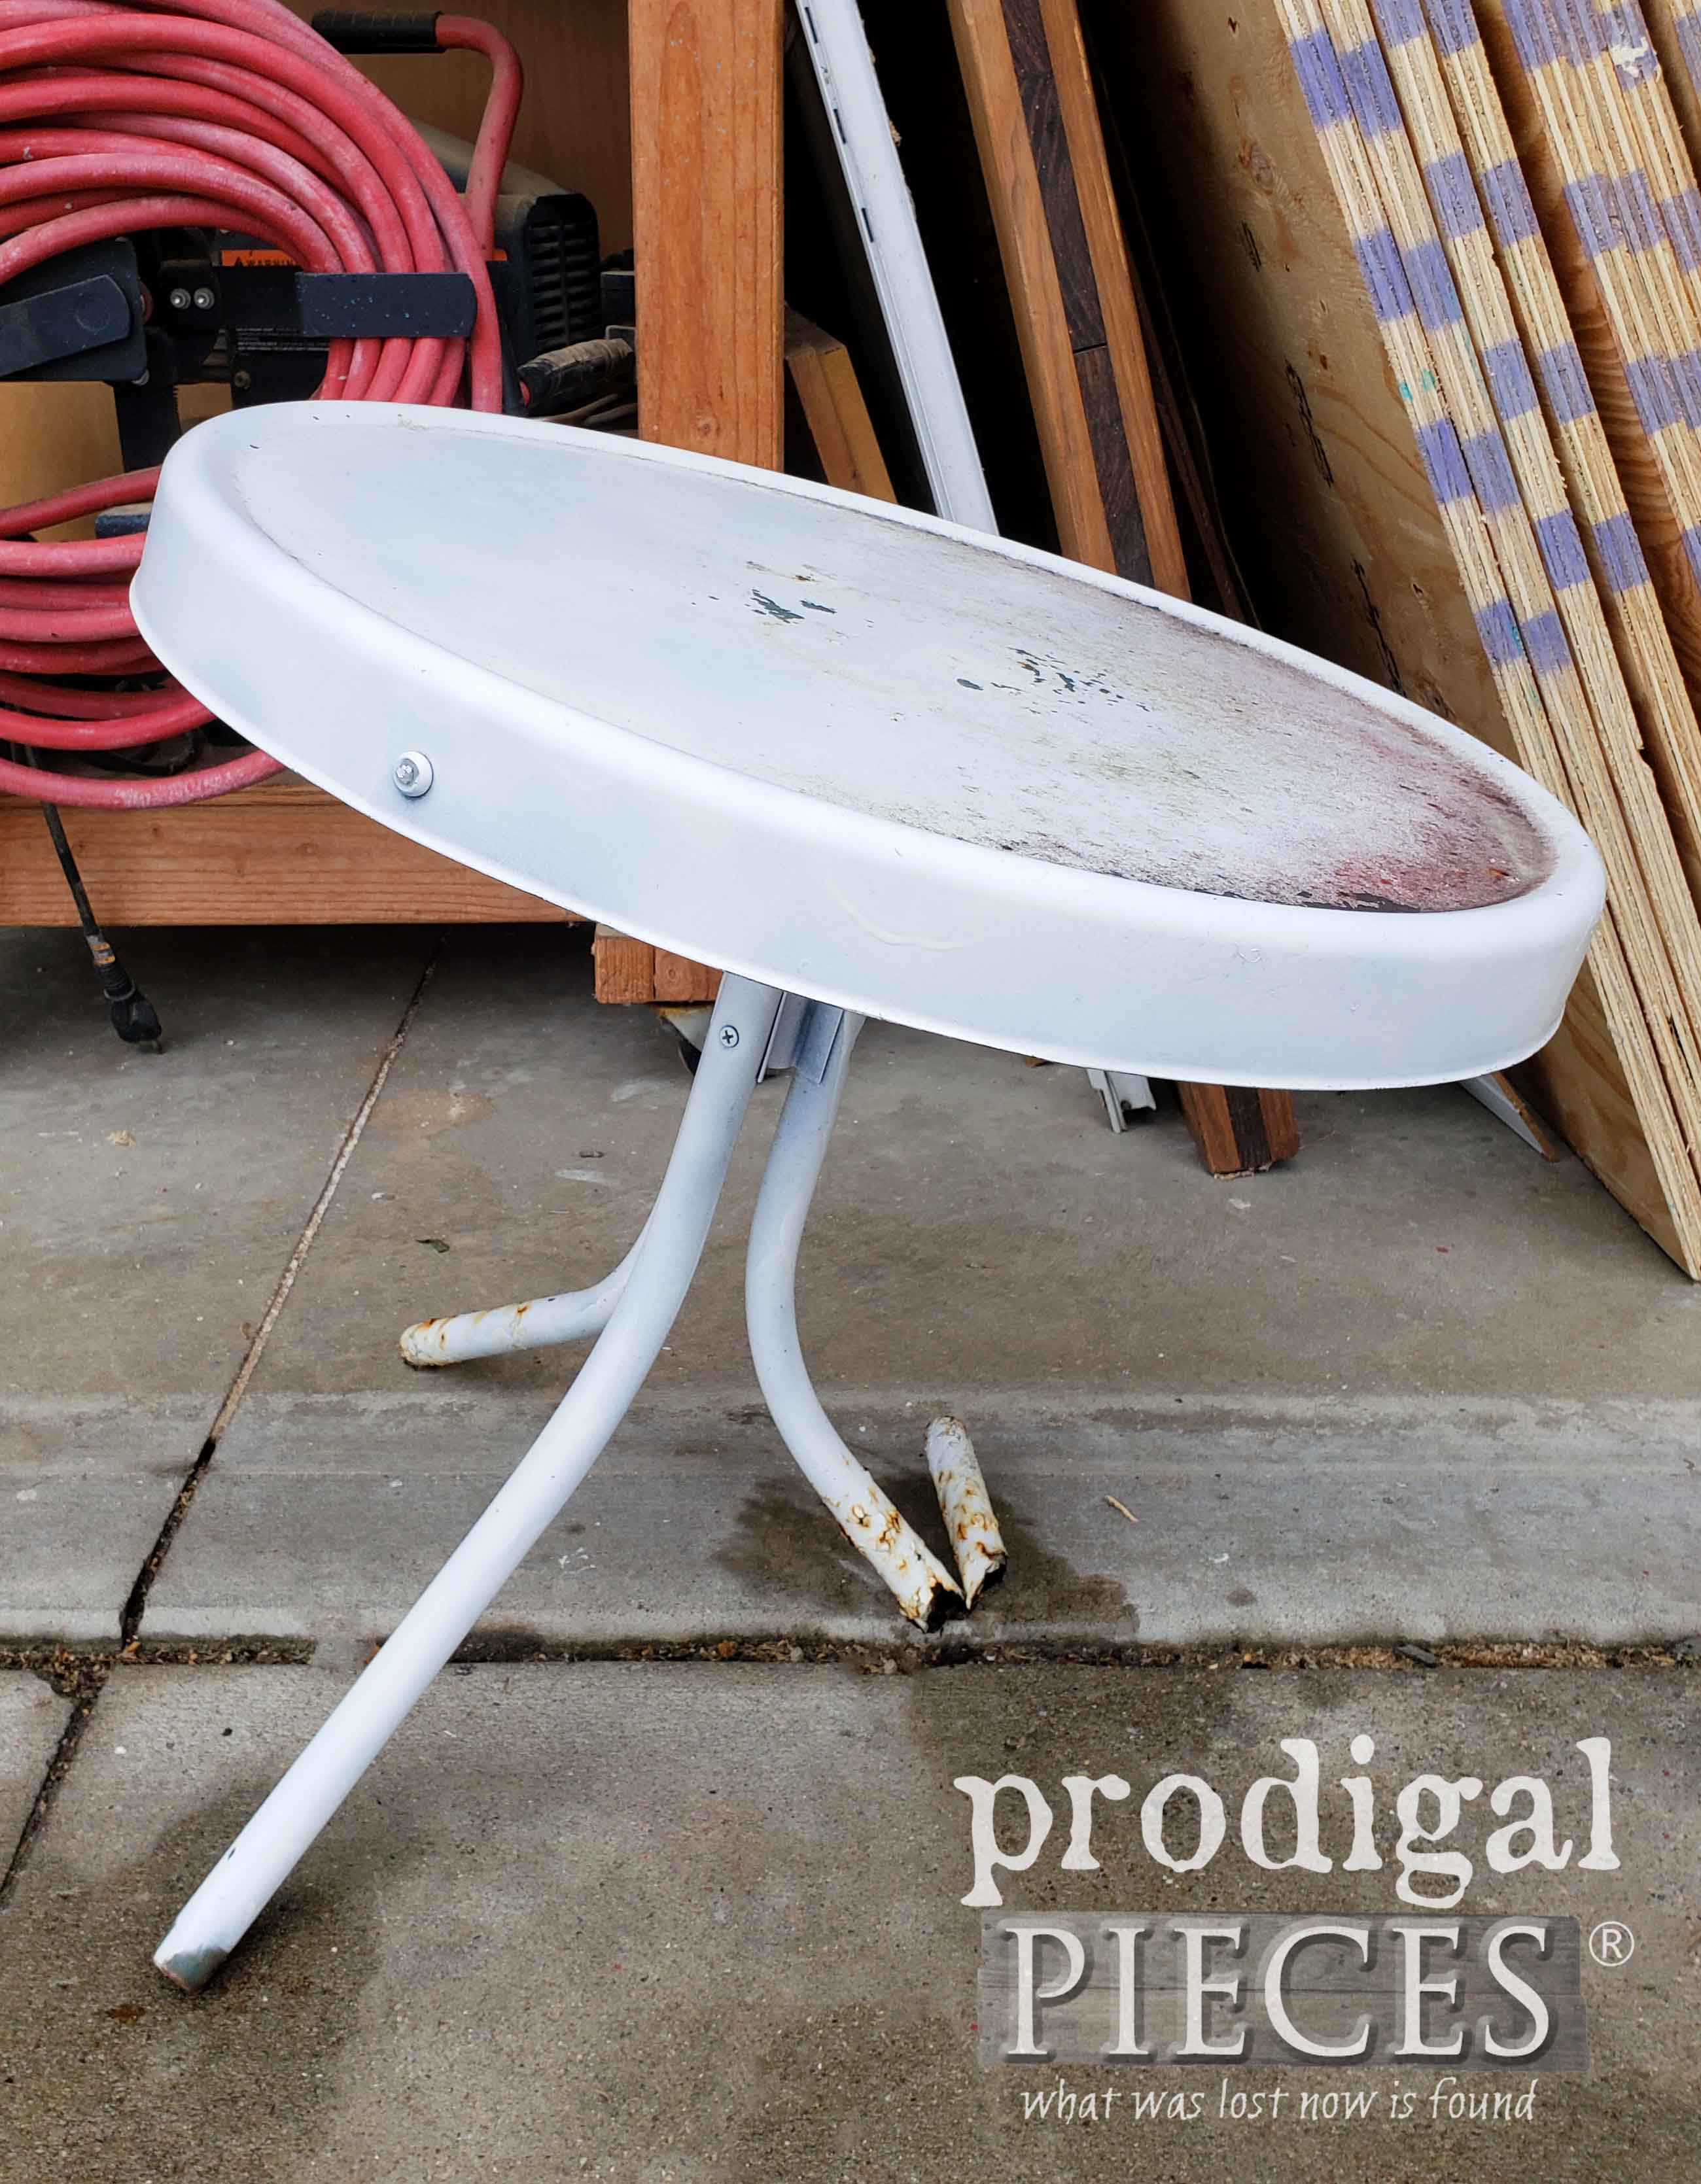
‘Tis the season for holiday decor! One might not think of someone else’s trash as potential for beautifying your home, however, that just depends on your vision. Right? Take a peek below. I yanked this unlikely pair out of my neighbor’s trash across the street over a couple weeks time. Today I’m turning the tiered table on the right into an upcycled Christmas tree. 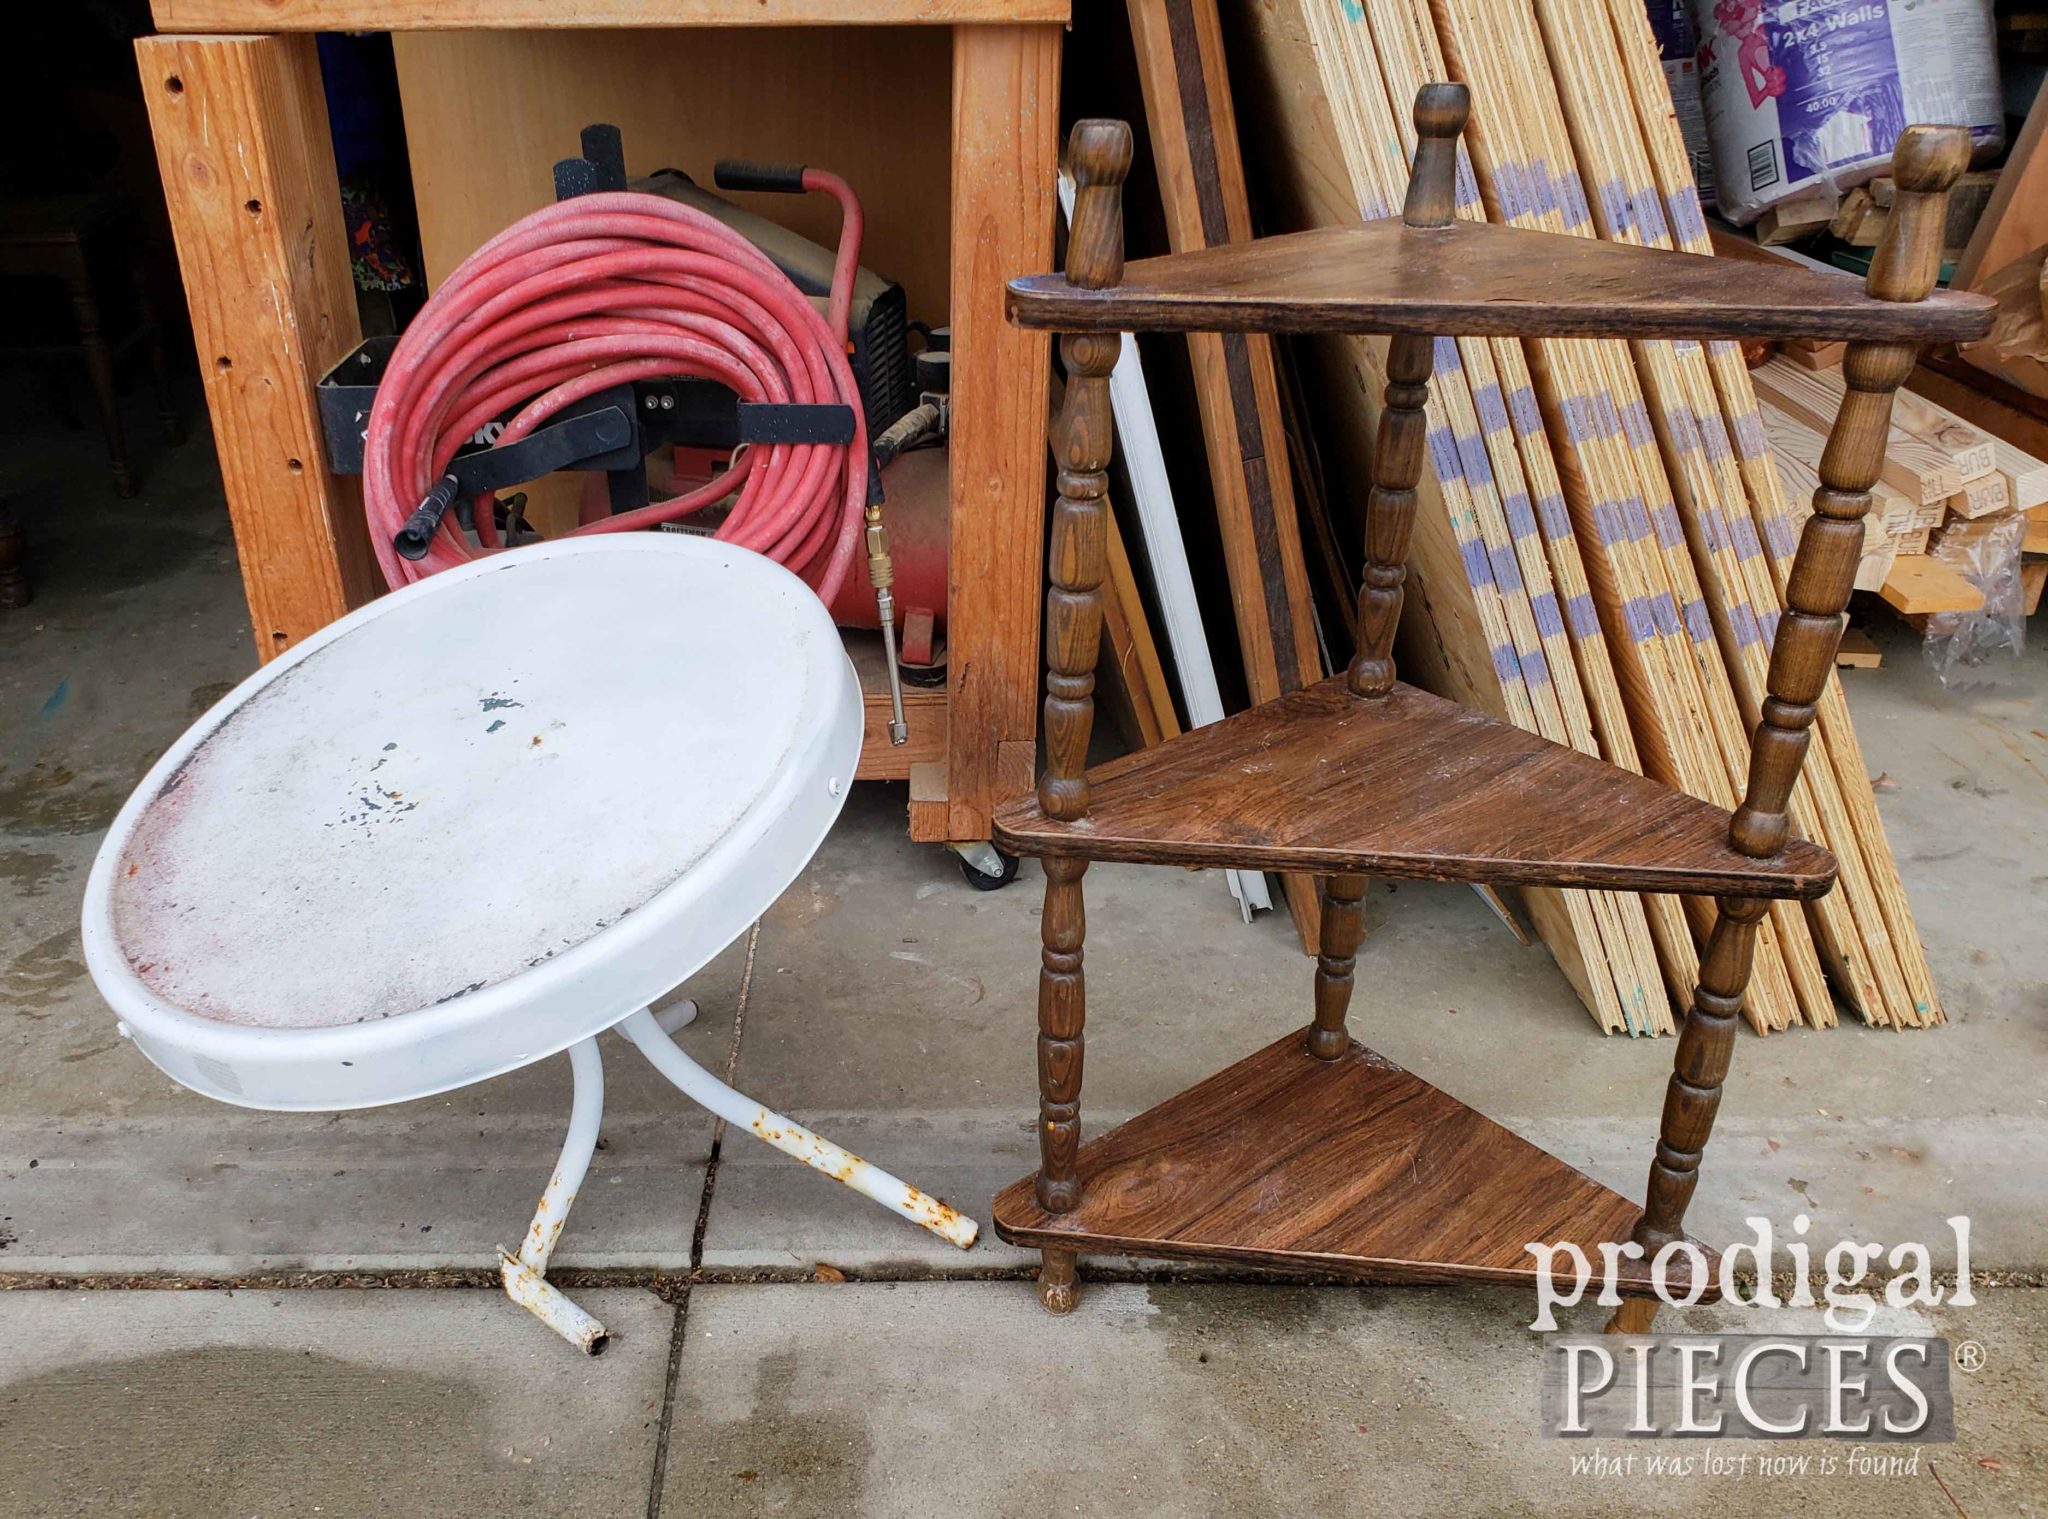
No worries though, because I’ll get to the table on the left next time. I can’t wait for Trash to Treasure Tuesday!
Okay, so maybe it is a little crazy to gasp when you look out your window on trash day and see a table sitting on top. For me, I’m all about keeping it out of the landfill in any way possible. I grabbed the tiered table first and really was planning on donating it to a local charity. However, I kept eyeing those wooden spindles, and then an idea hit me for the shelves. That sealed the deal that it was time to make a #trashure upcycled Christmas tree. {{happy dance!}}
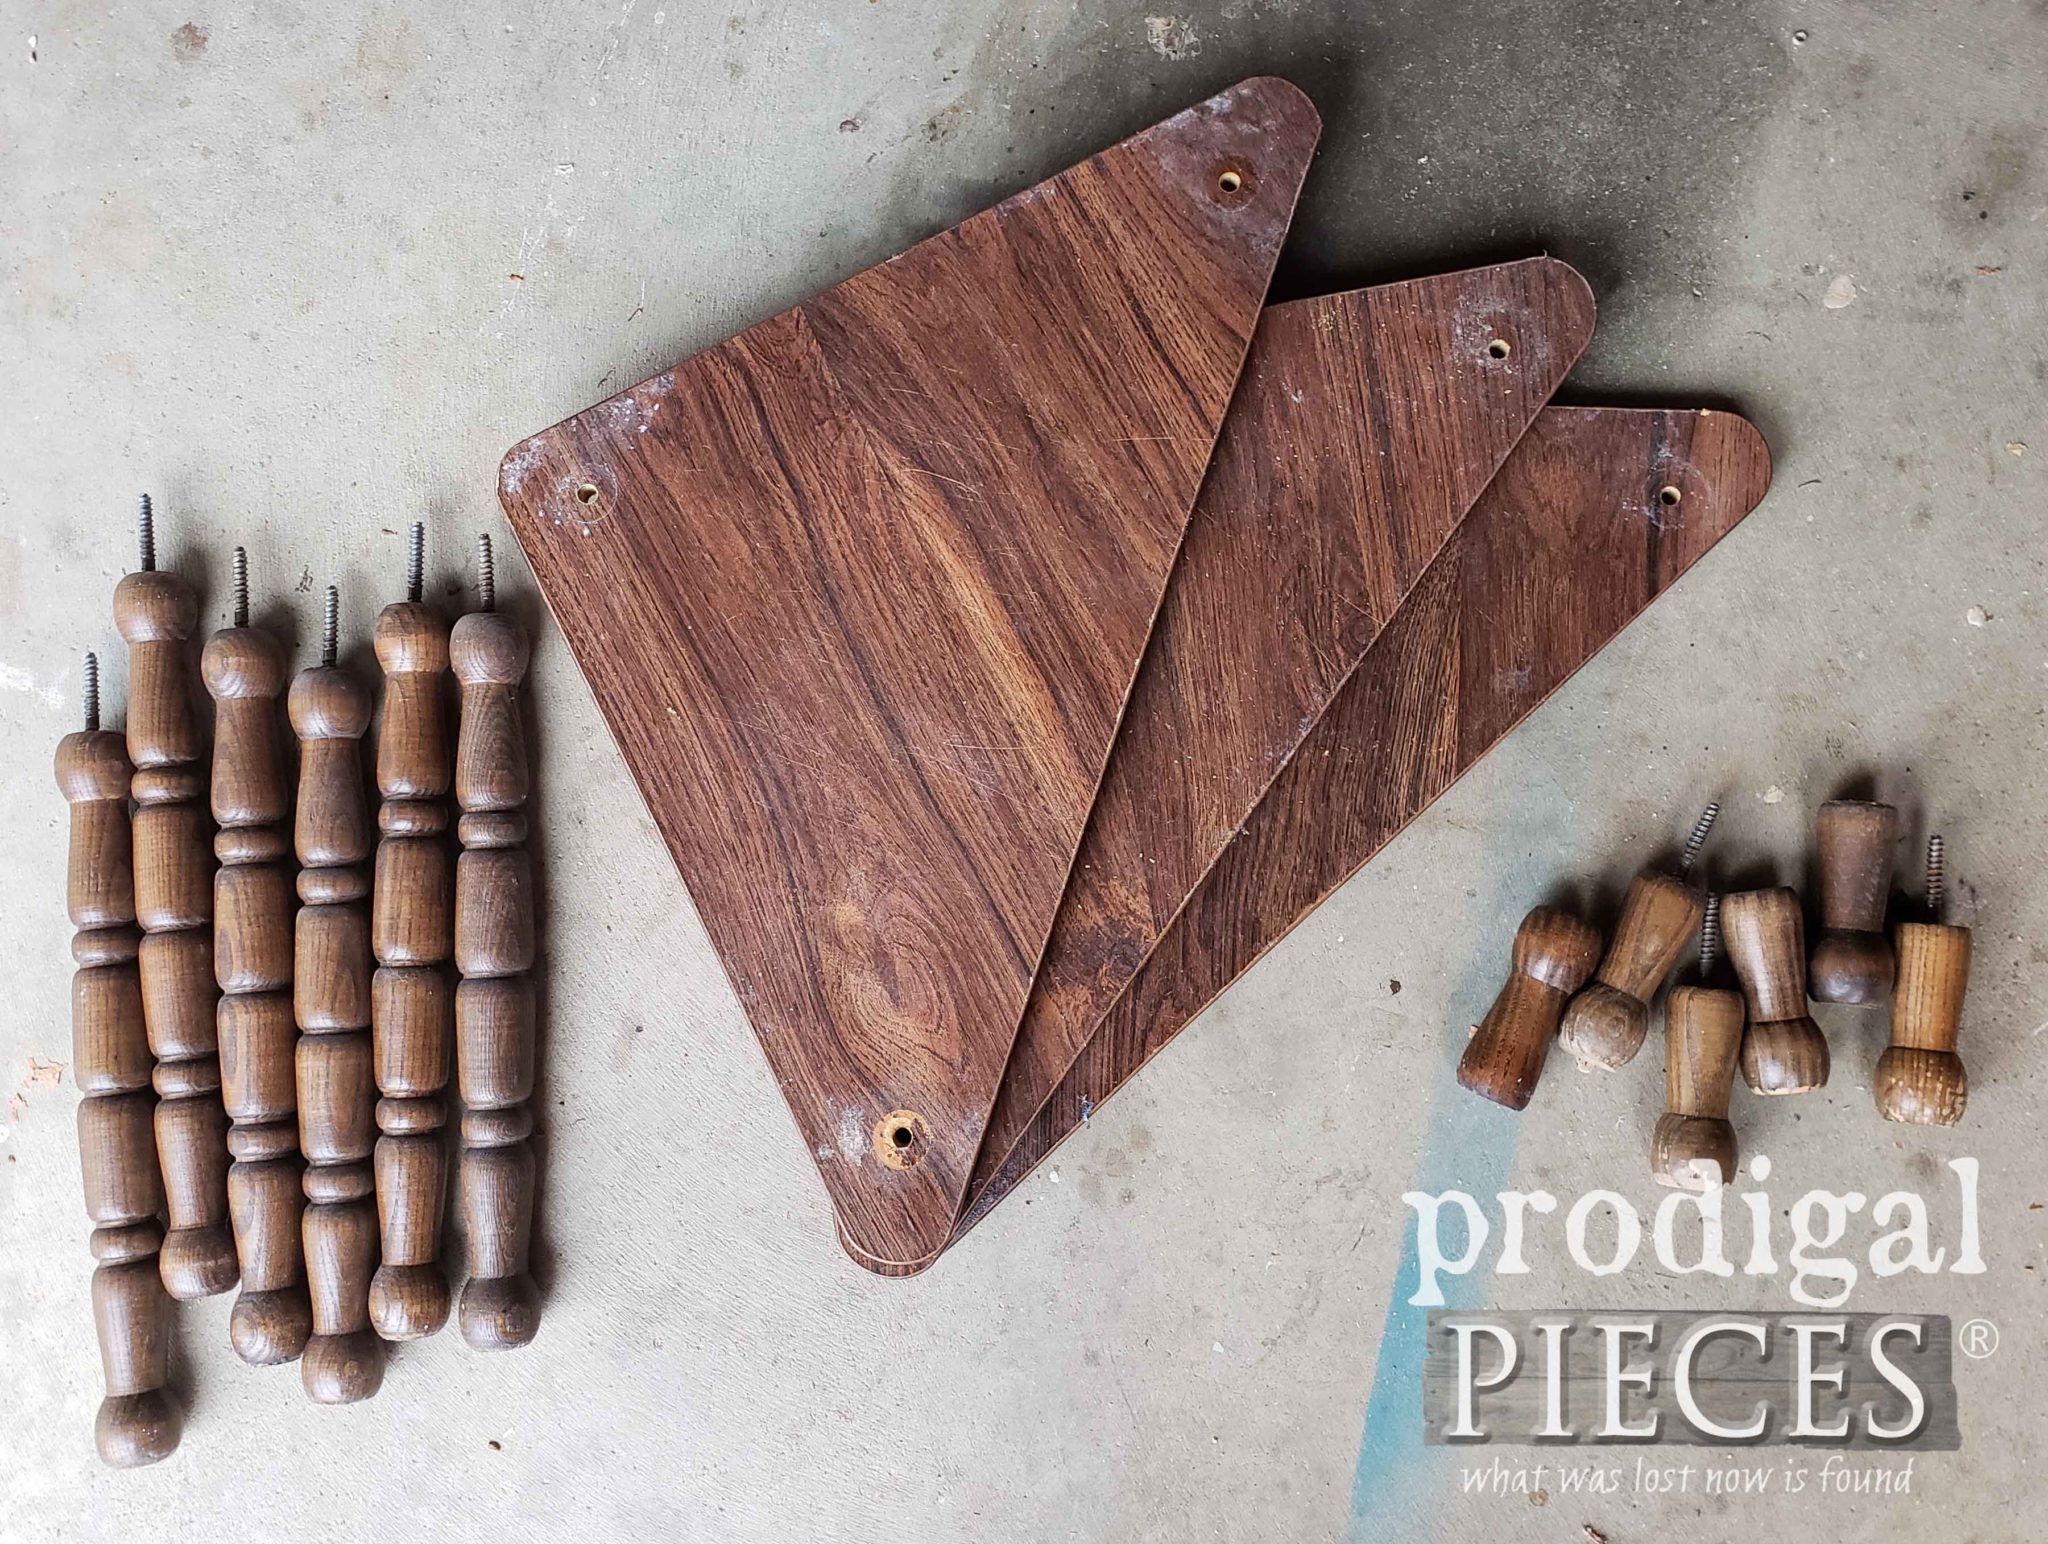
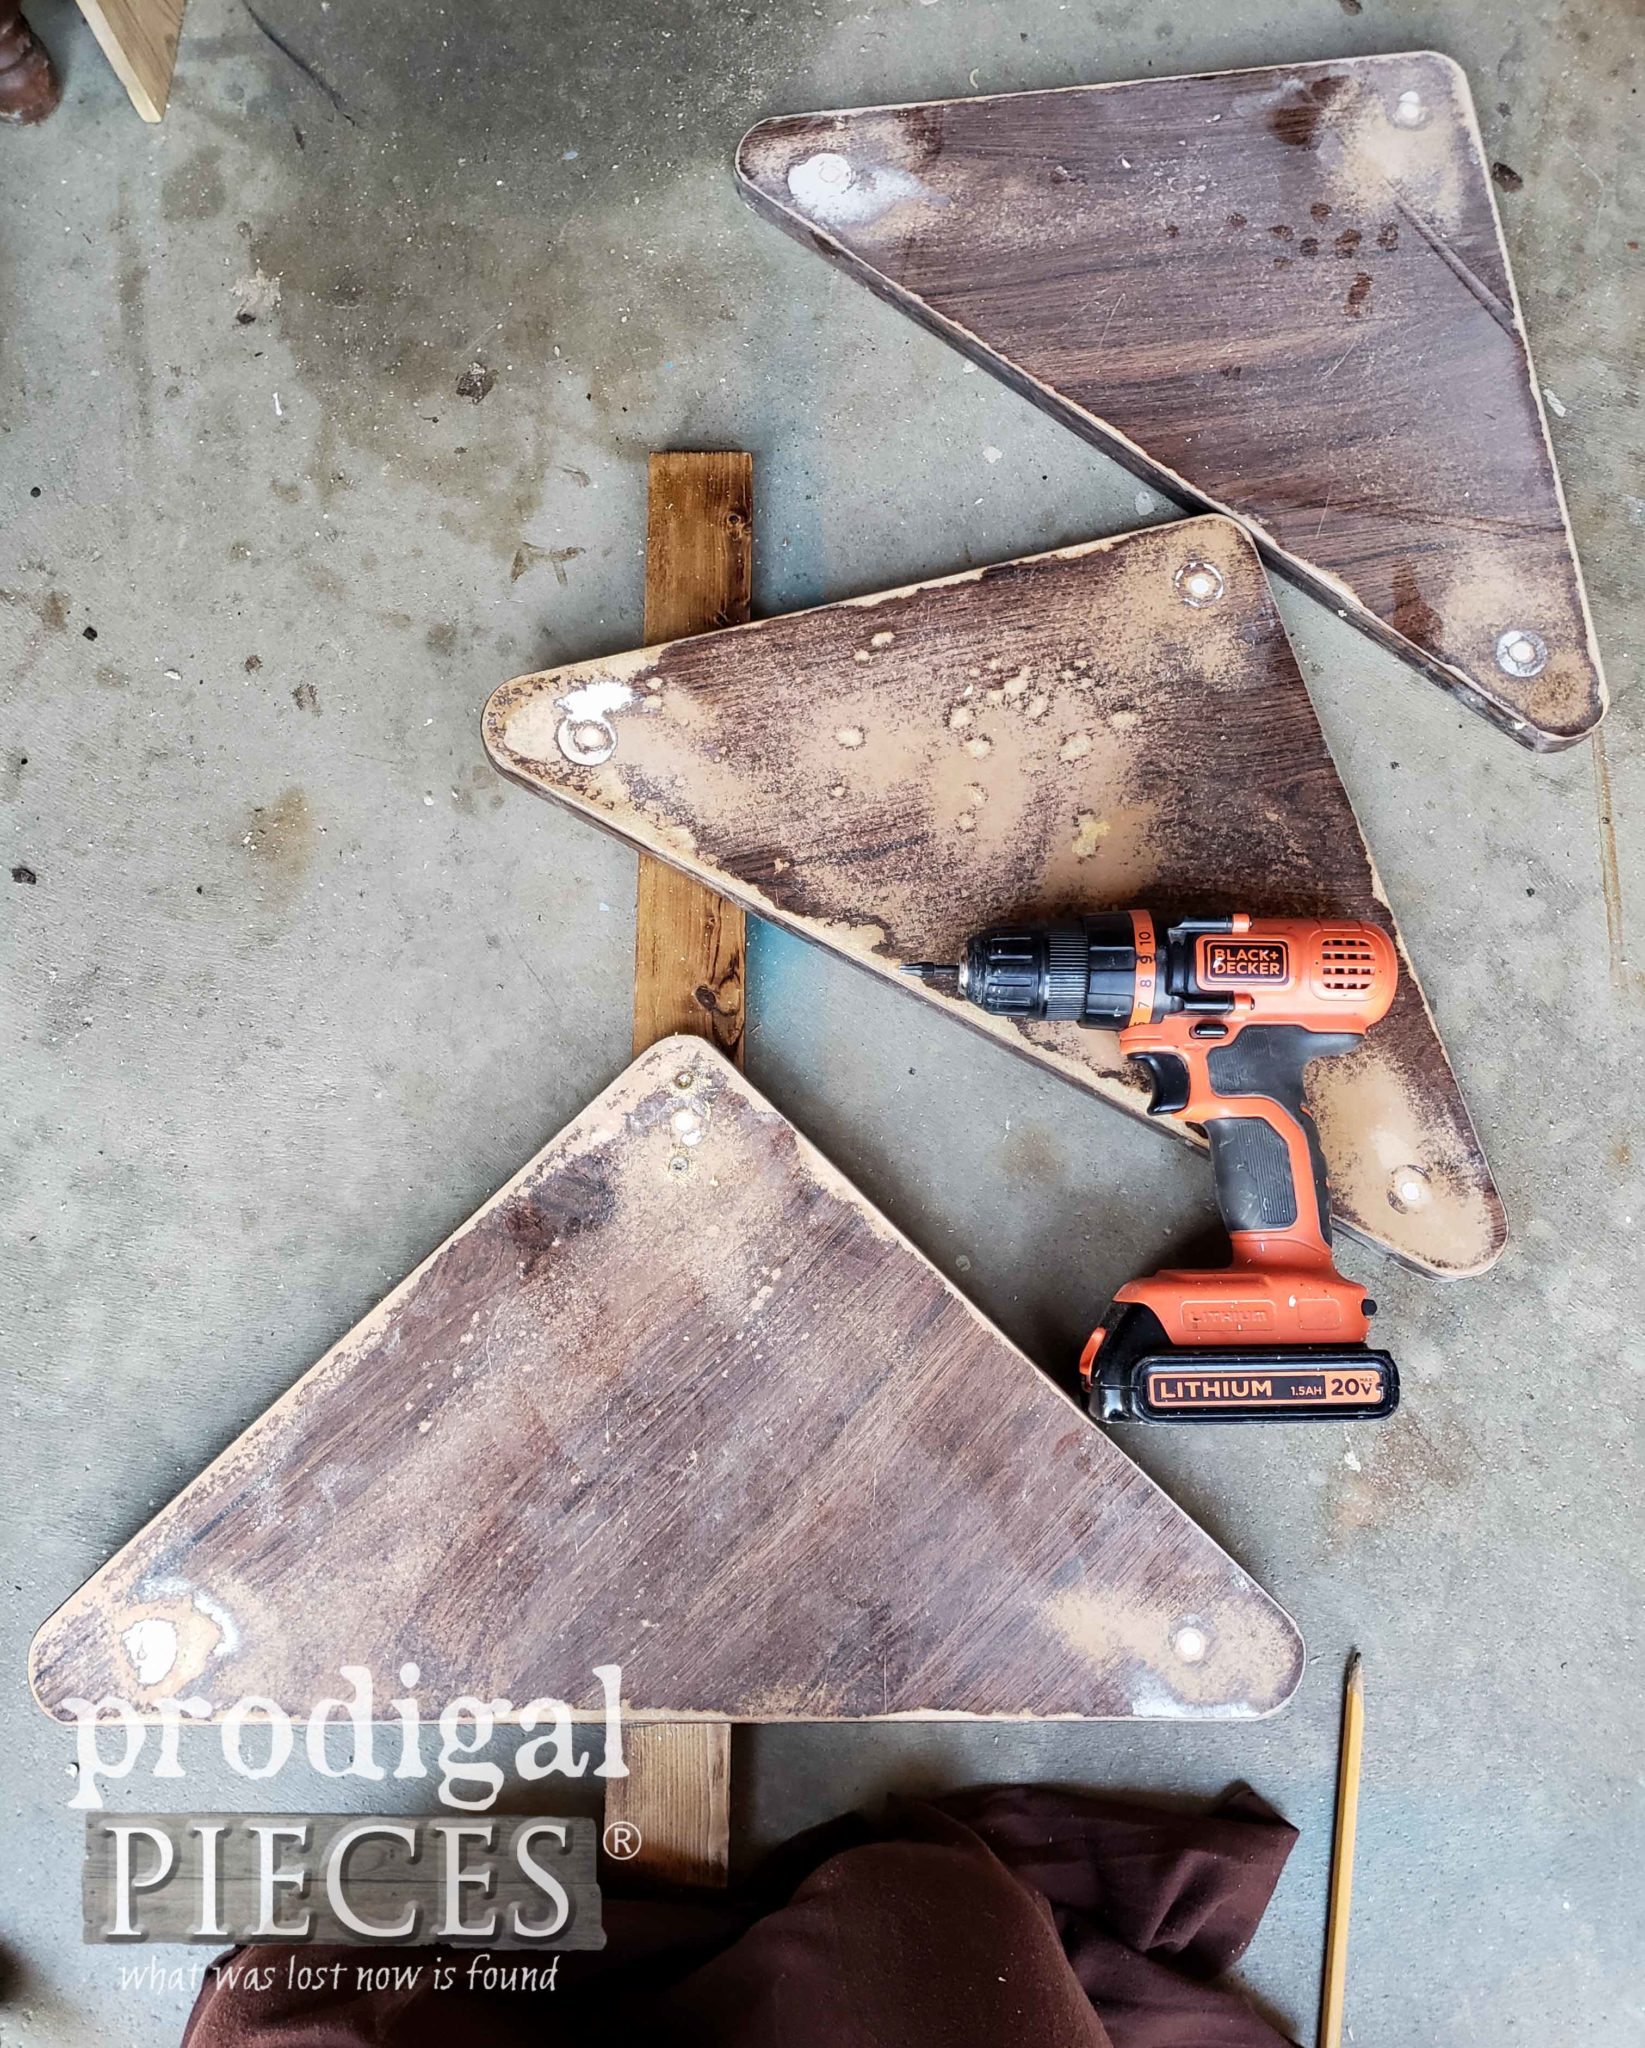
I took the table apart to get a better vision of the creation in my head.
*post sponsored by HomeRight (see full disclosure)
Like I mentioned, the spindles and feet were solid wood. However, the tiers were made of particle board wrapped in a veneer edging. meh. Not too much you can do with that stuff, but it’s still wood, so I can work with it to an extent.
DIY TIME
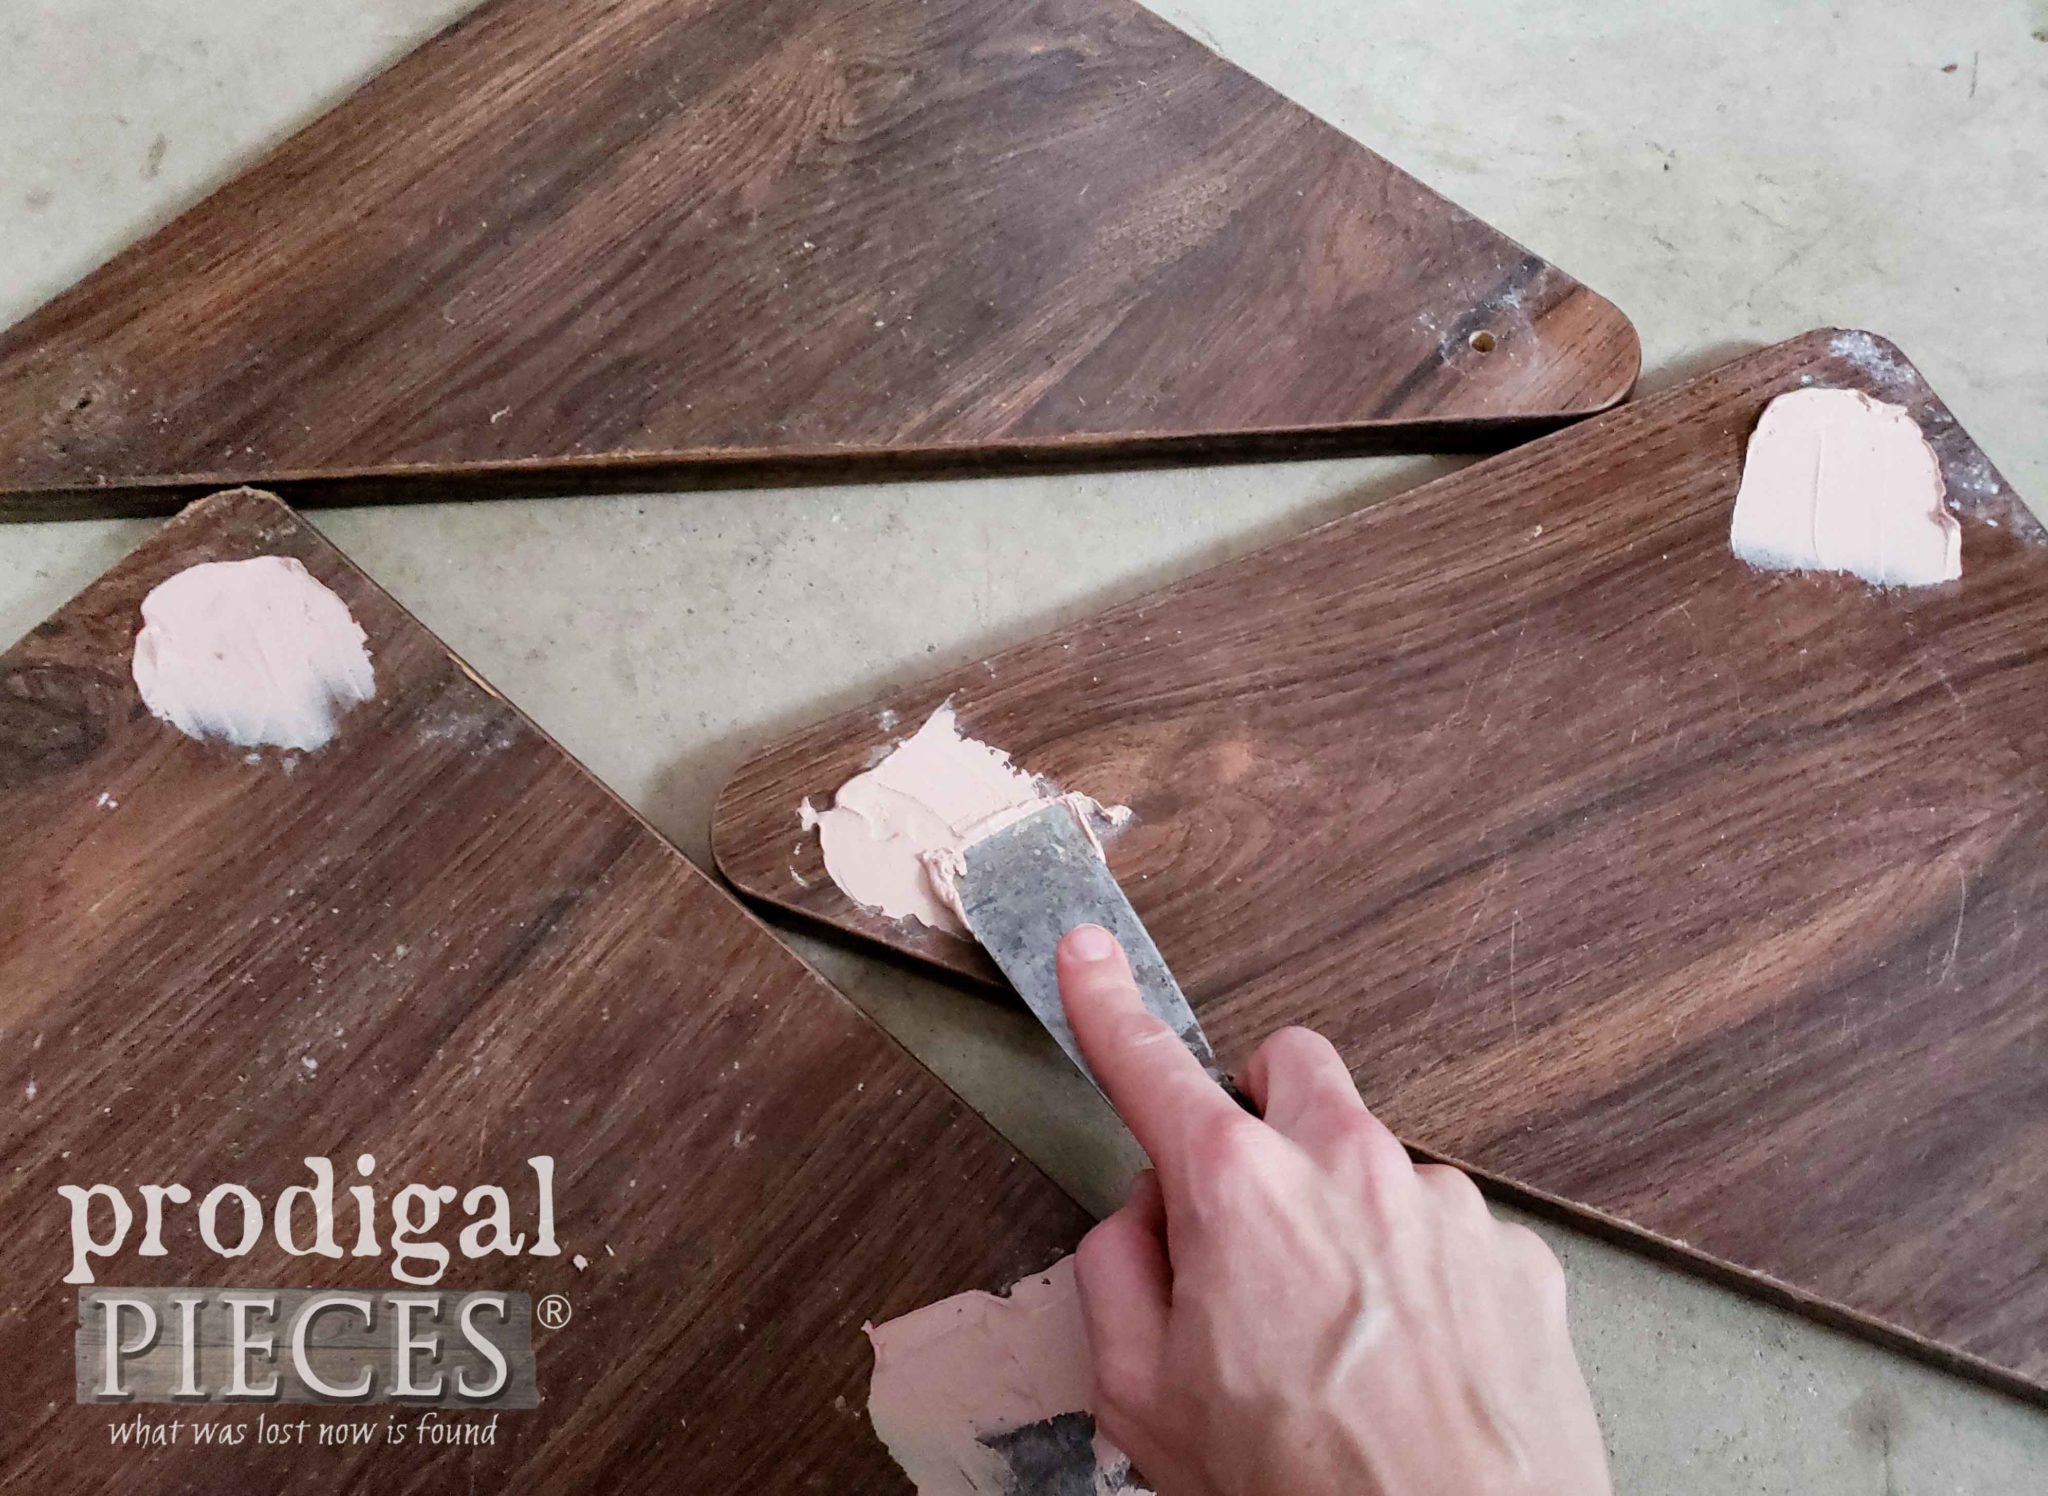
My first order of business was to fill the holes in the shelves with wood filler. The key to getting a good filled hole is to overfill it. When the filler is curing, it will shrink so you want a little excess to sand away.
After the wood filler cured, I sanded it down with my sander, as well as all the raised places from water damage to the table.
To make this into my upcycled Christmas tree, I needed a trunk, right? I headed to my wood stash and pulled out a 1″ x 3″ piece of scrap. I stained it and then used my drill and some wood screws to attach them to the board. To assemble, I started from bottom up so the screws would be hidden behind each layer. When I got to the top piece, I attached from behind.
NEXT STEPS
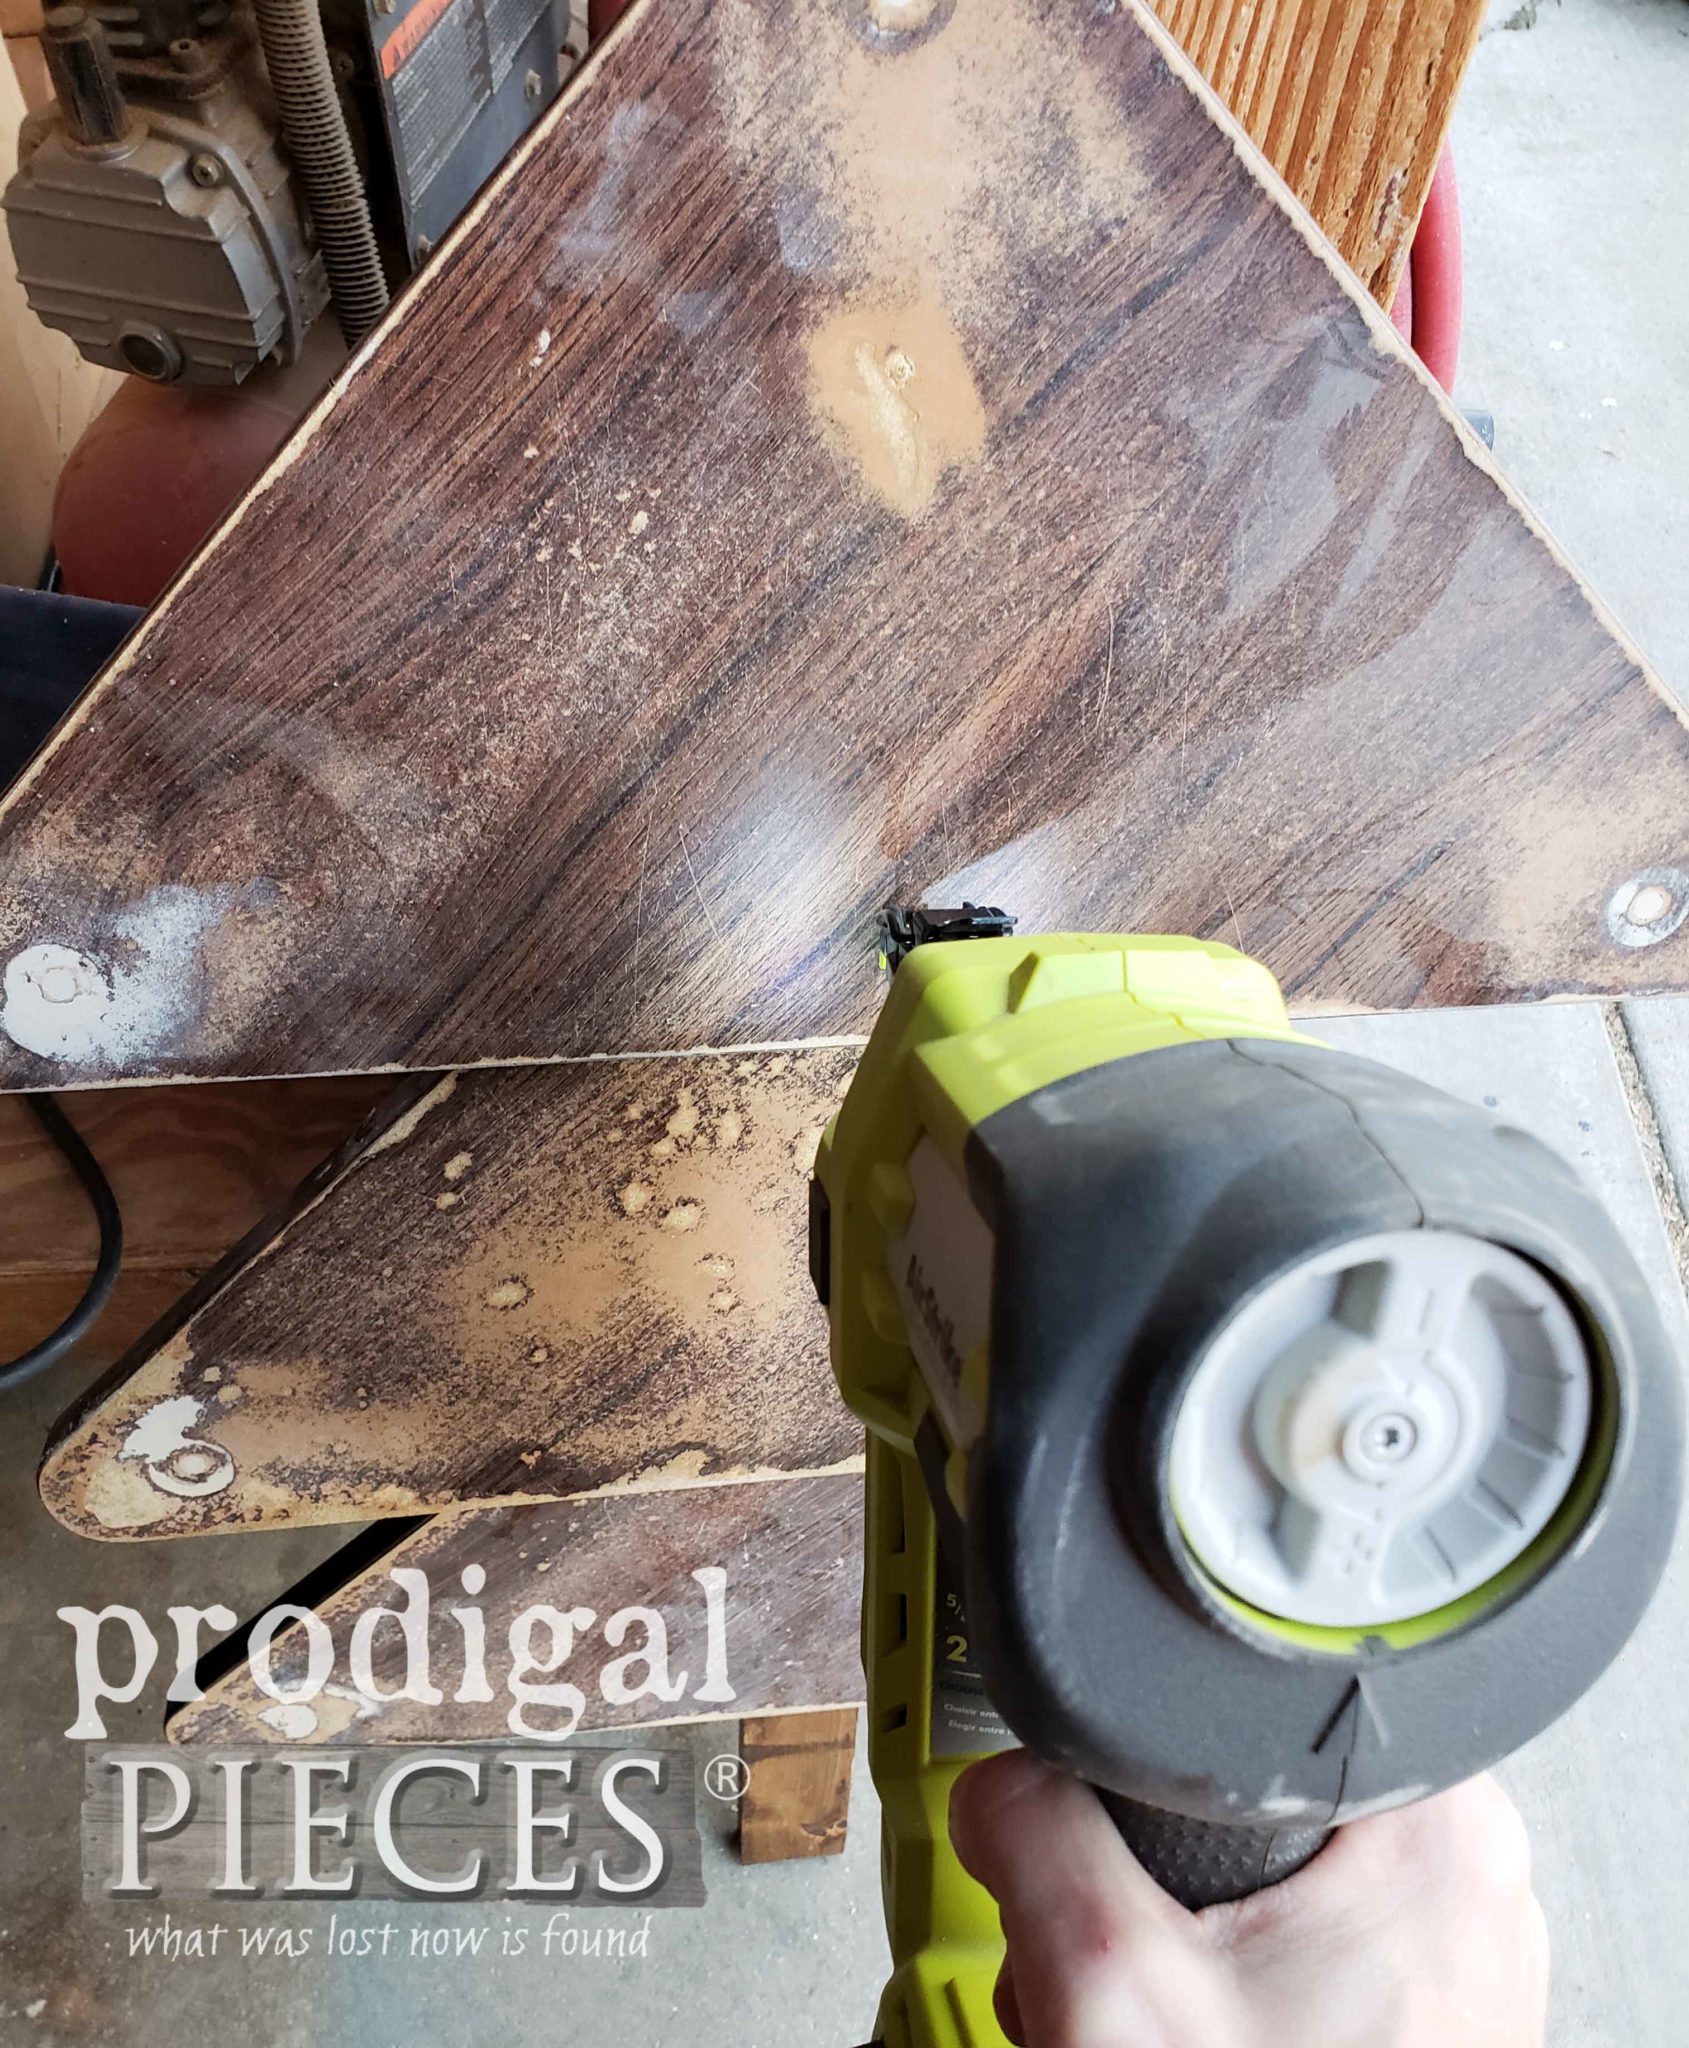
Next, for extra stability, I used my nailer to drive in a few brads to tack each layer together. Do you see where I’m going with this?
All the while I was working, I keep wondering if my neighbors can see me messing with their cast-off table. haha!
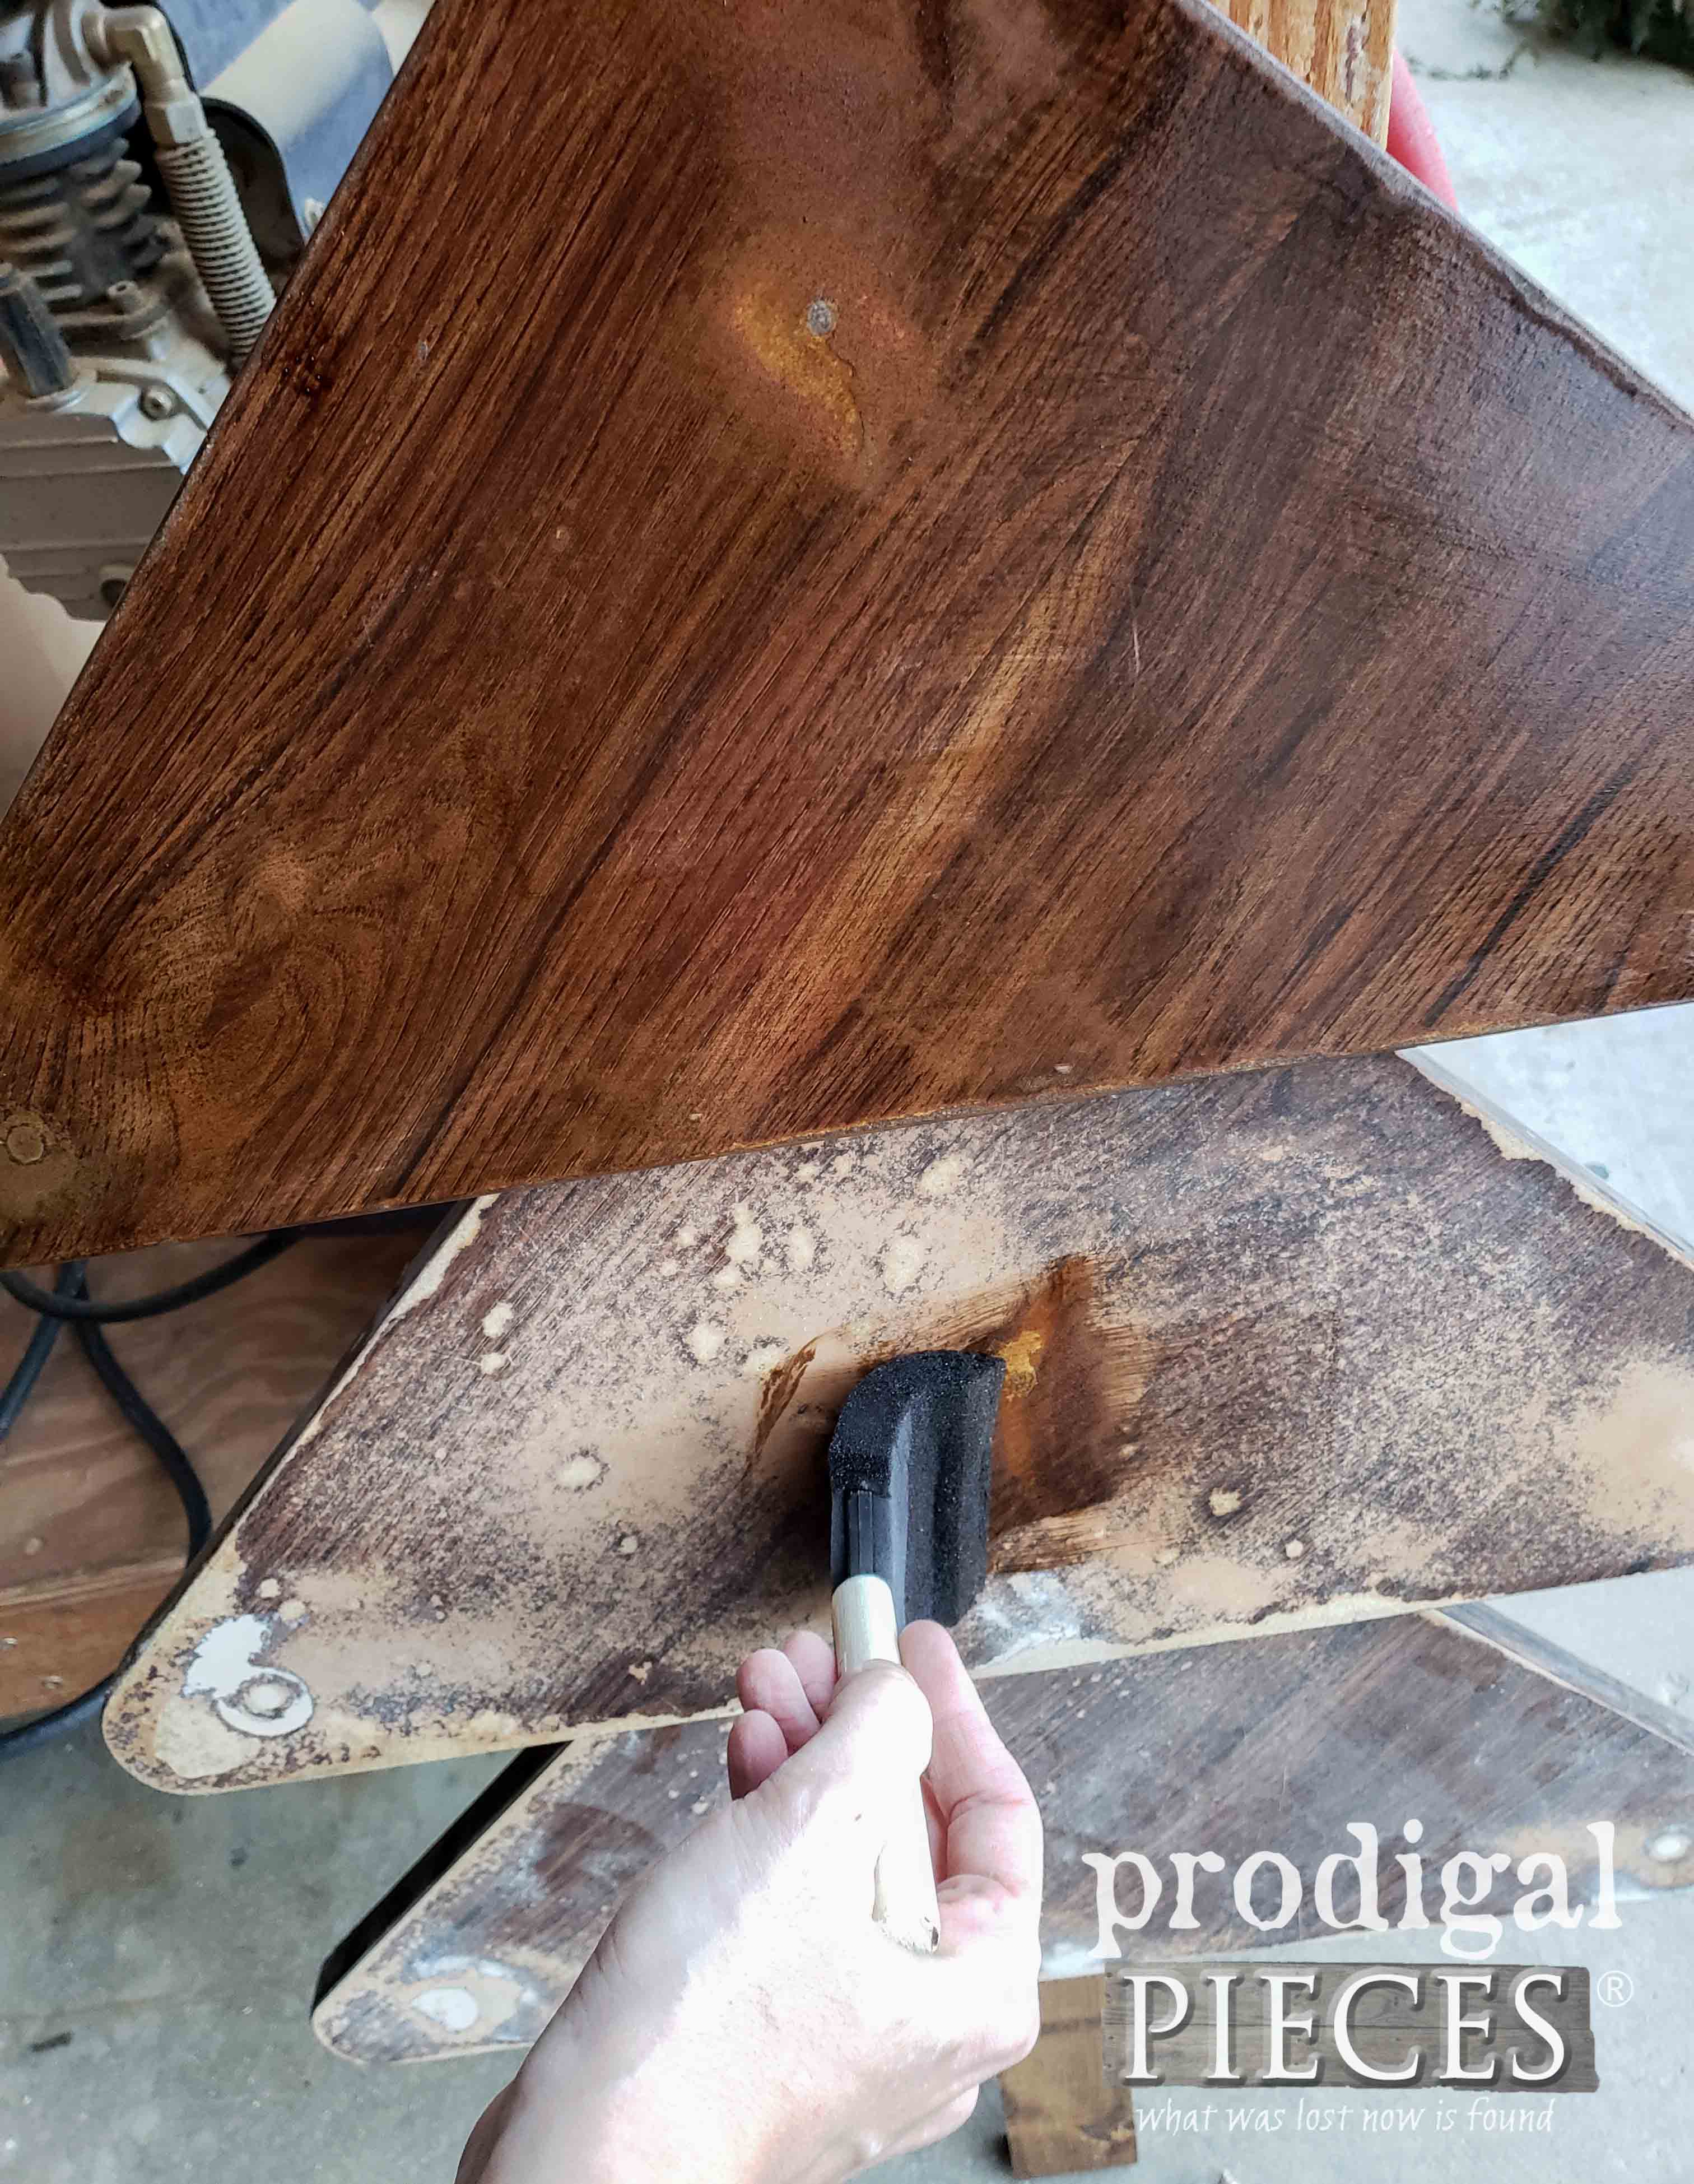
Now the main part of my upcycled Christmas tree is assembled. I wanted it to have a cohesive base, so I used some stain to darken the filler as well as all the scuffs on the tiers.
Now, I needed to add a base as this can’t stand alone as-is. That’s where my winter wood pile came in handy. JC (aka. husband) helped me cut off the end of a log so I could have a real pine tree trunk as a weighted base. I attached that from behind as well to hide all the hardware.
PAINTING
Time for some painting fun!! It seems kind obvious I needed to paint my little upcycled Christmas tree. It was looking rather ragged, don’t you think? We can all get like that every once in a while. {{raises hand}}
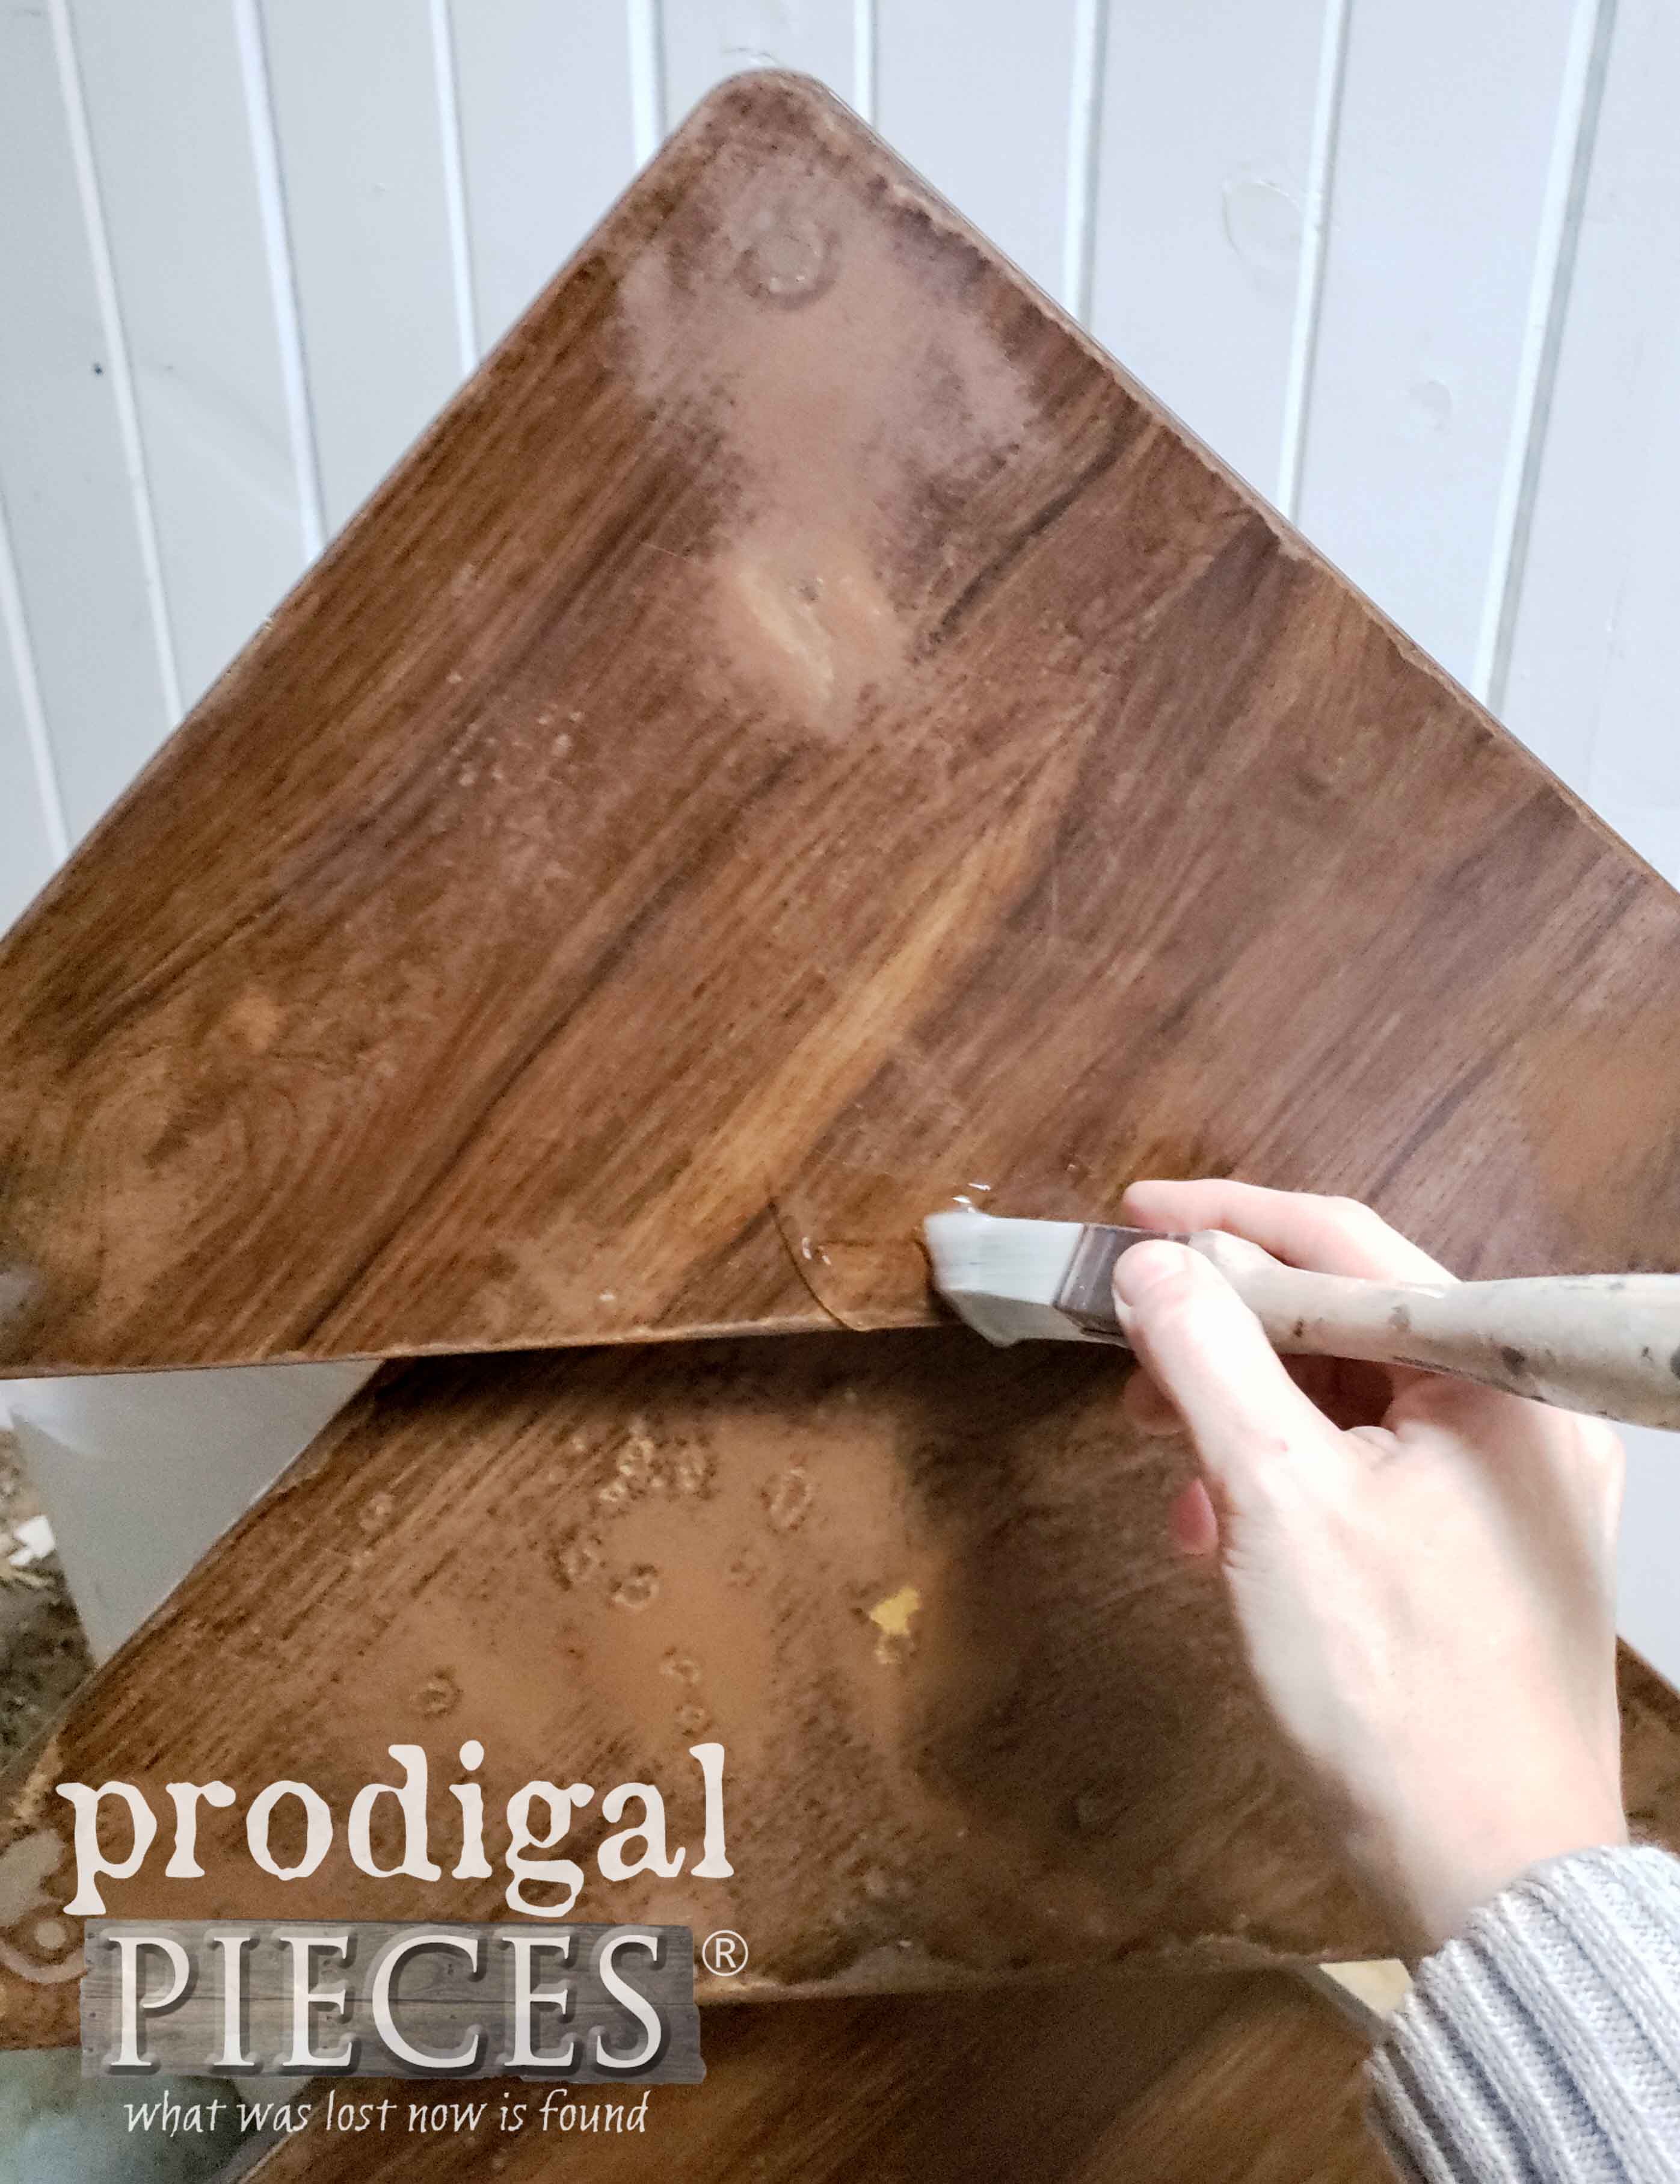
My goal was to create an aged rustic feel with this, but also make it quick. First, I brushed on some crackle medium and let it cure.
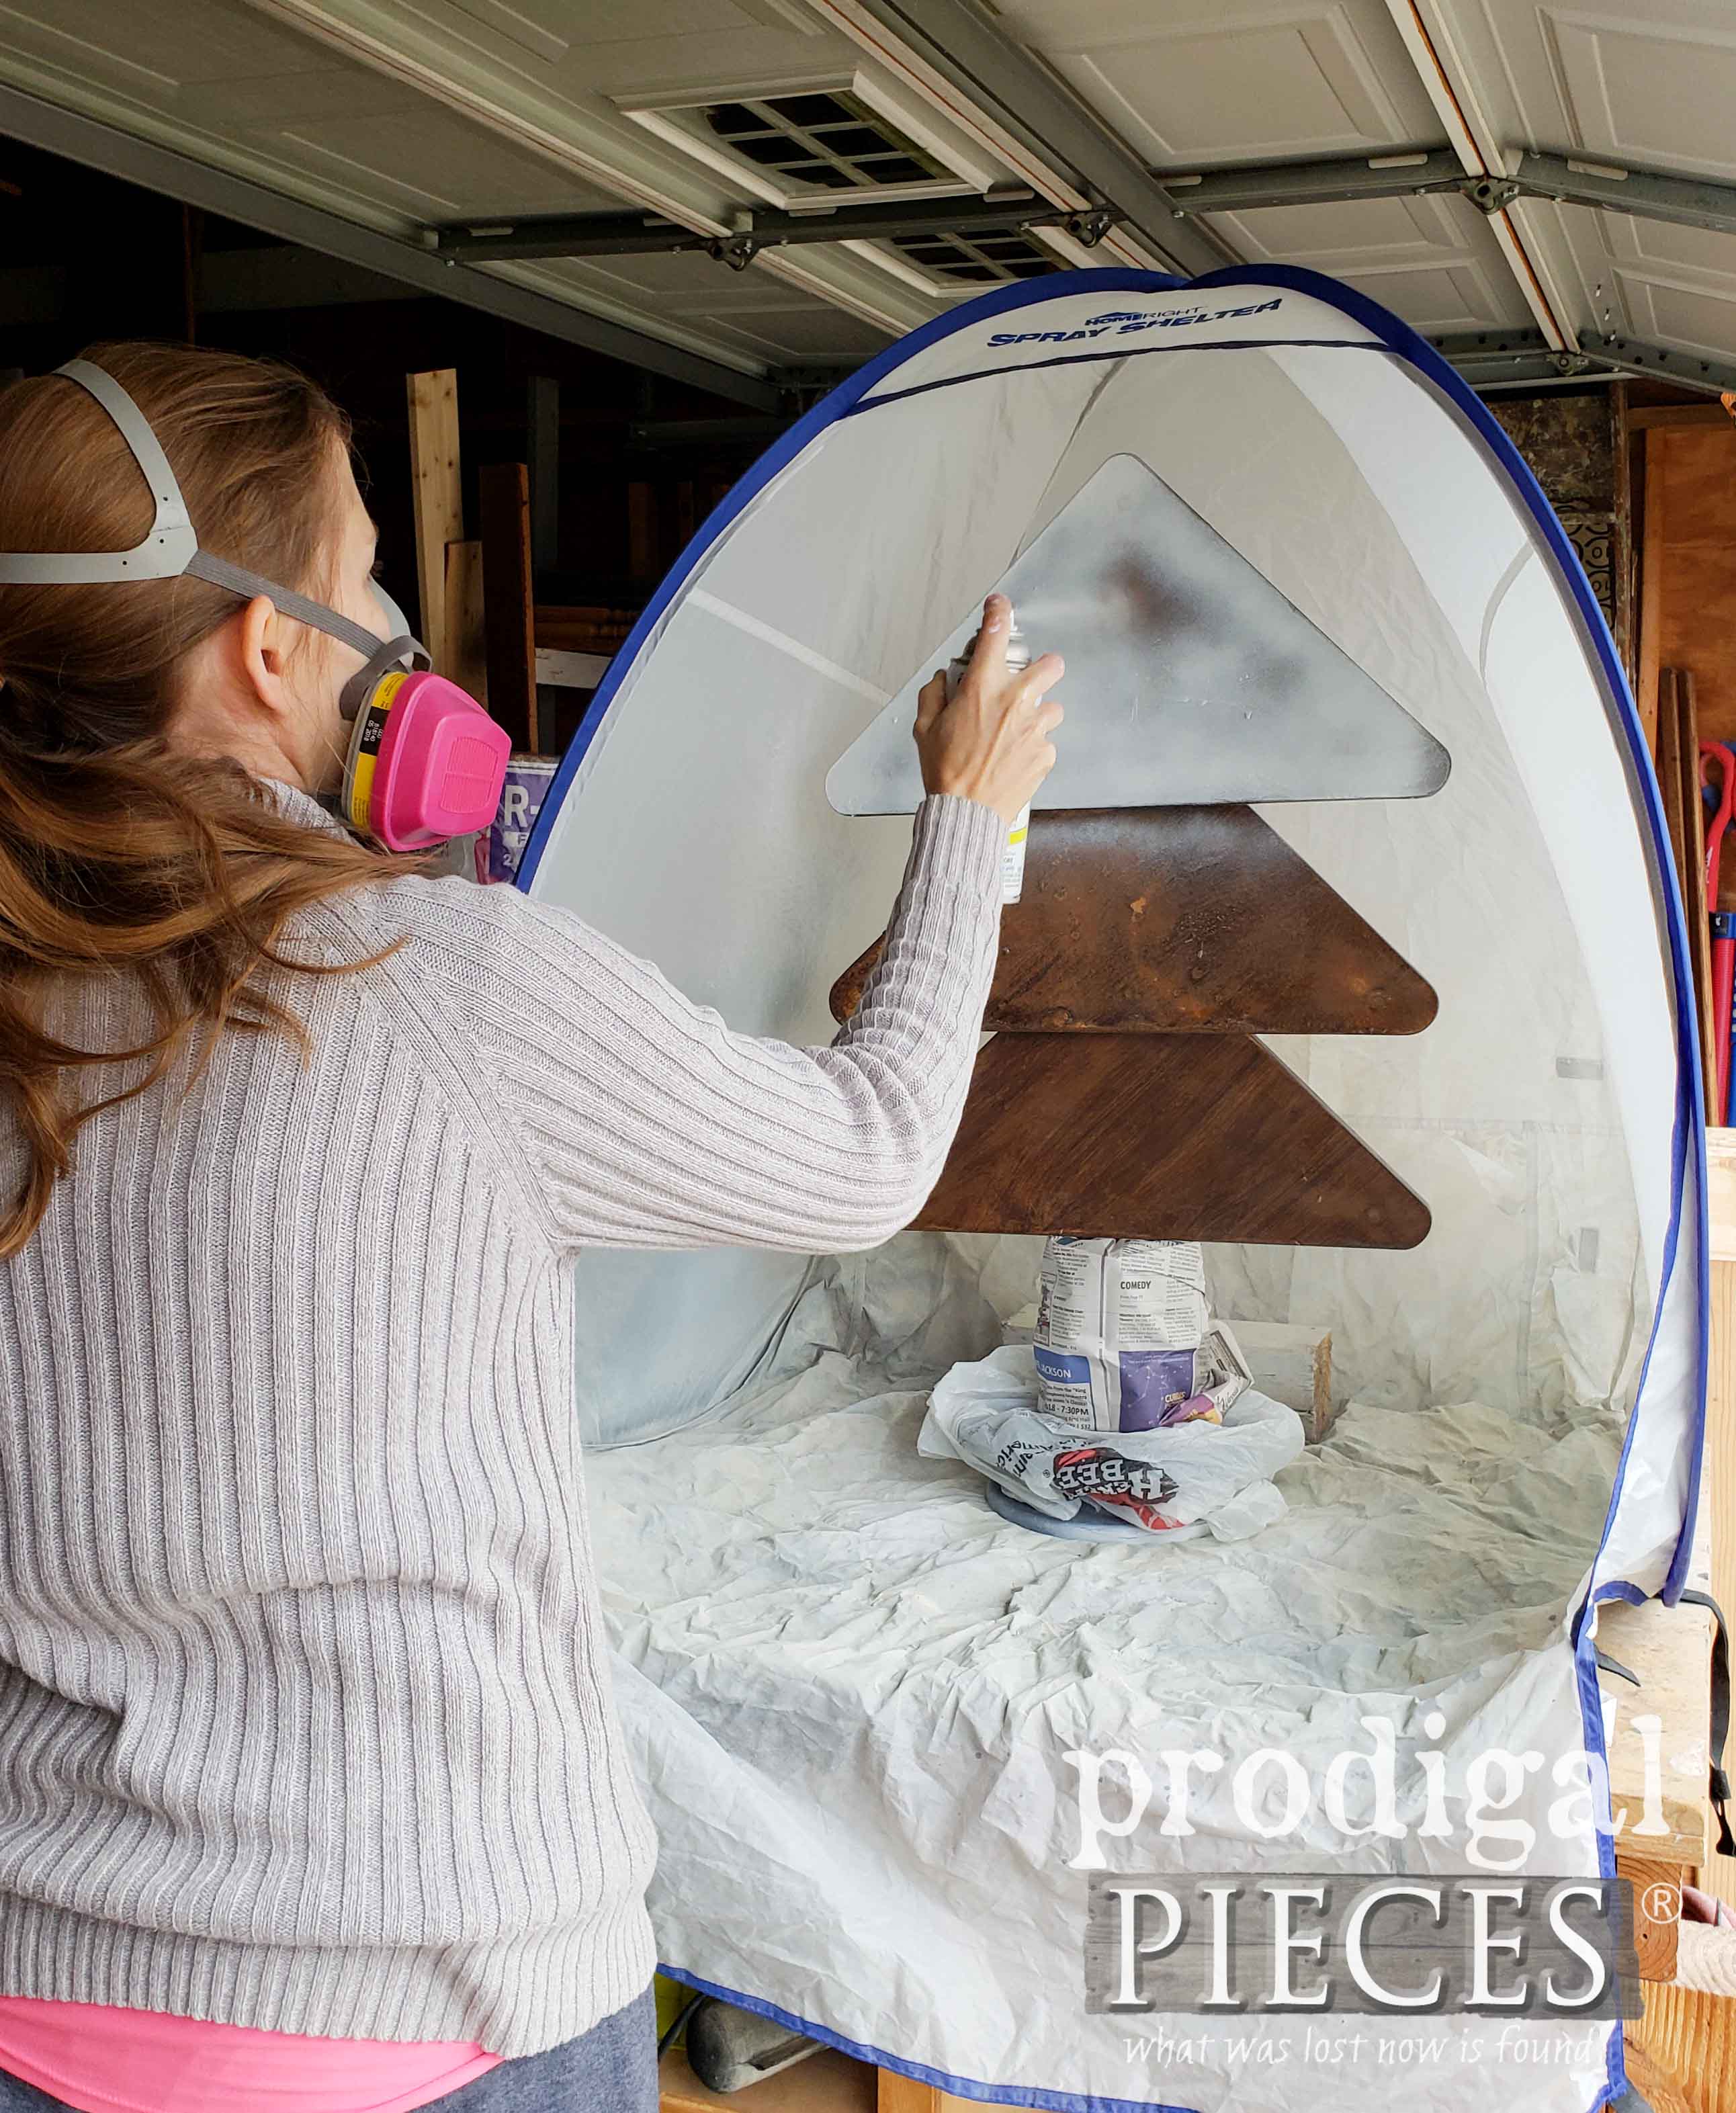
Next, I bust out my tools. You can see how I’ve used these lovelies in these past posts. I love how this shelter pops right open and is all like “I’m here and ready to get started!” Yes, my tools and I have fun conversations. ahem.
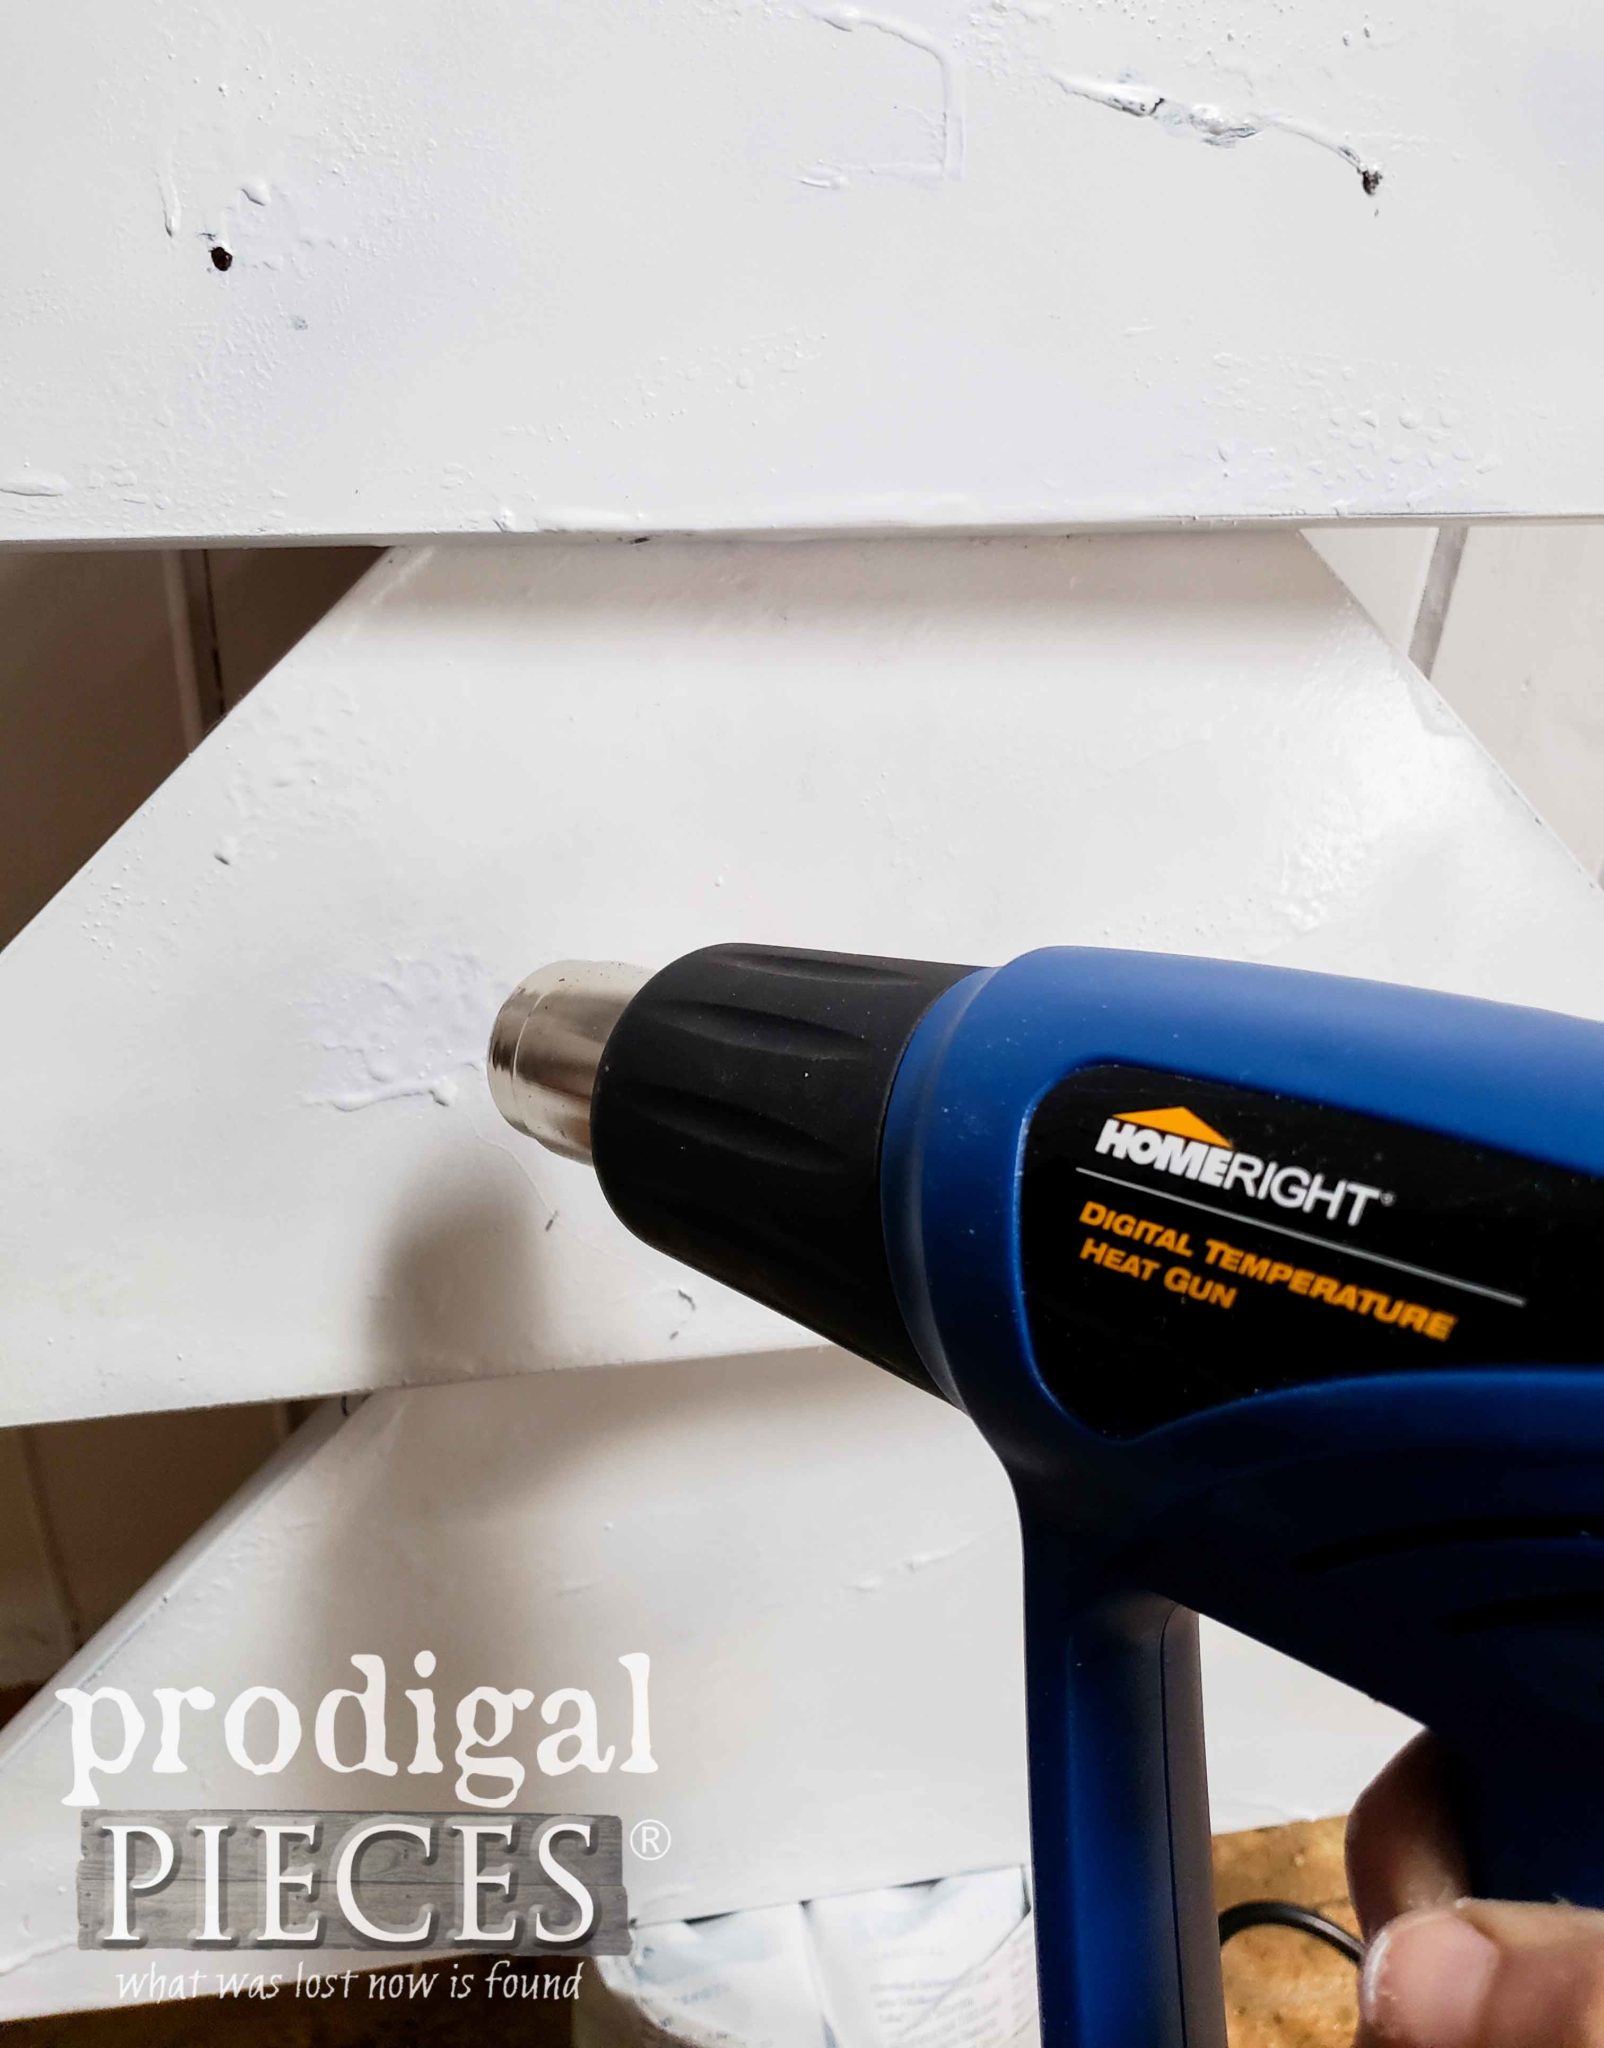
I gave the upcycled Christmas tree a heavy coat of paint and then use my heat gun to help the paint crackle and cure fast. The faster the cure the larger the crackle, in most instances. Typically, I use a brush and paint, but I wanted to see how spray painting would work with the crackle.
It really helped create texture on my little tree. I’m going for a time-worn, aged look, so this was perfect. I’ll show you what I did to finish it off in a bit.
MORE FUN
Now, did you think I forgot about the rest of the table parts? Let me show you what I did with those.
I always save the hardware when salvaging bits. You just never know when it will come in handy. Those reverse threaded bolts are wonderful for making tiered stands and the like. I took them off and added them to my stash.
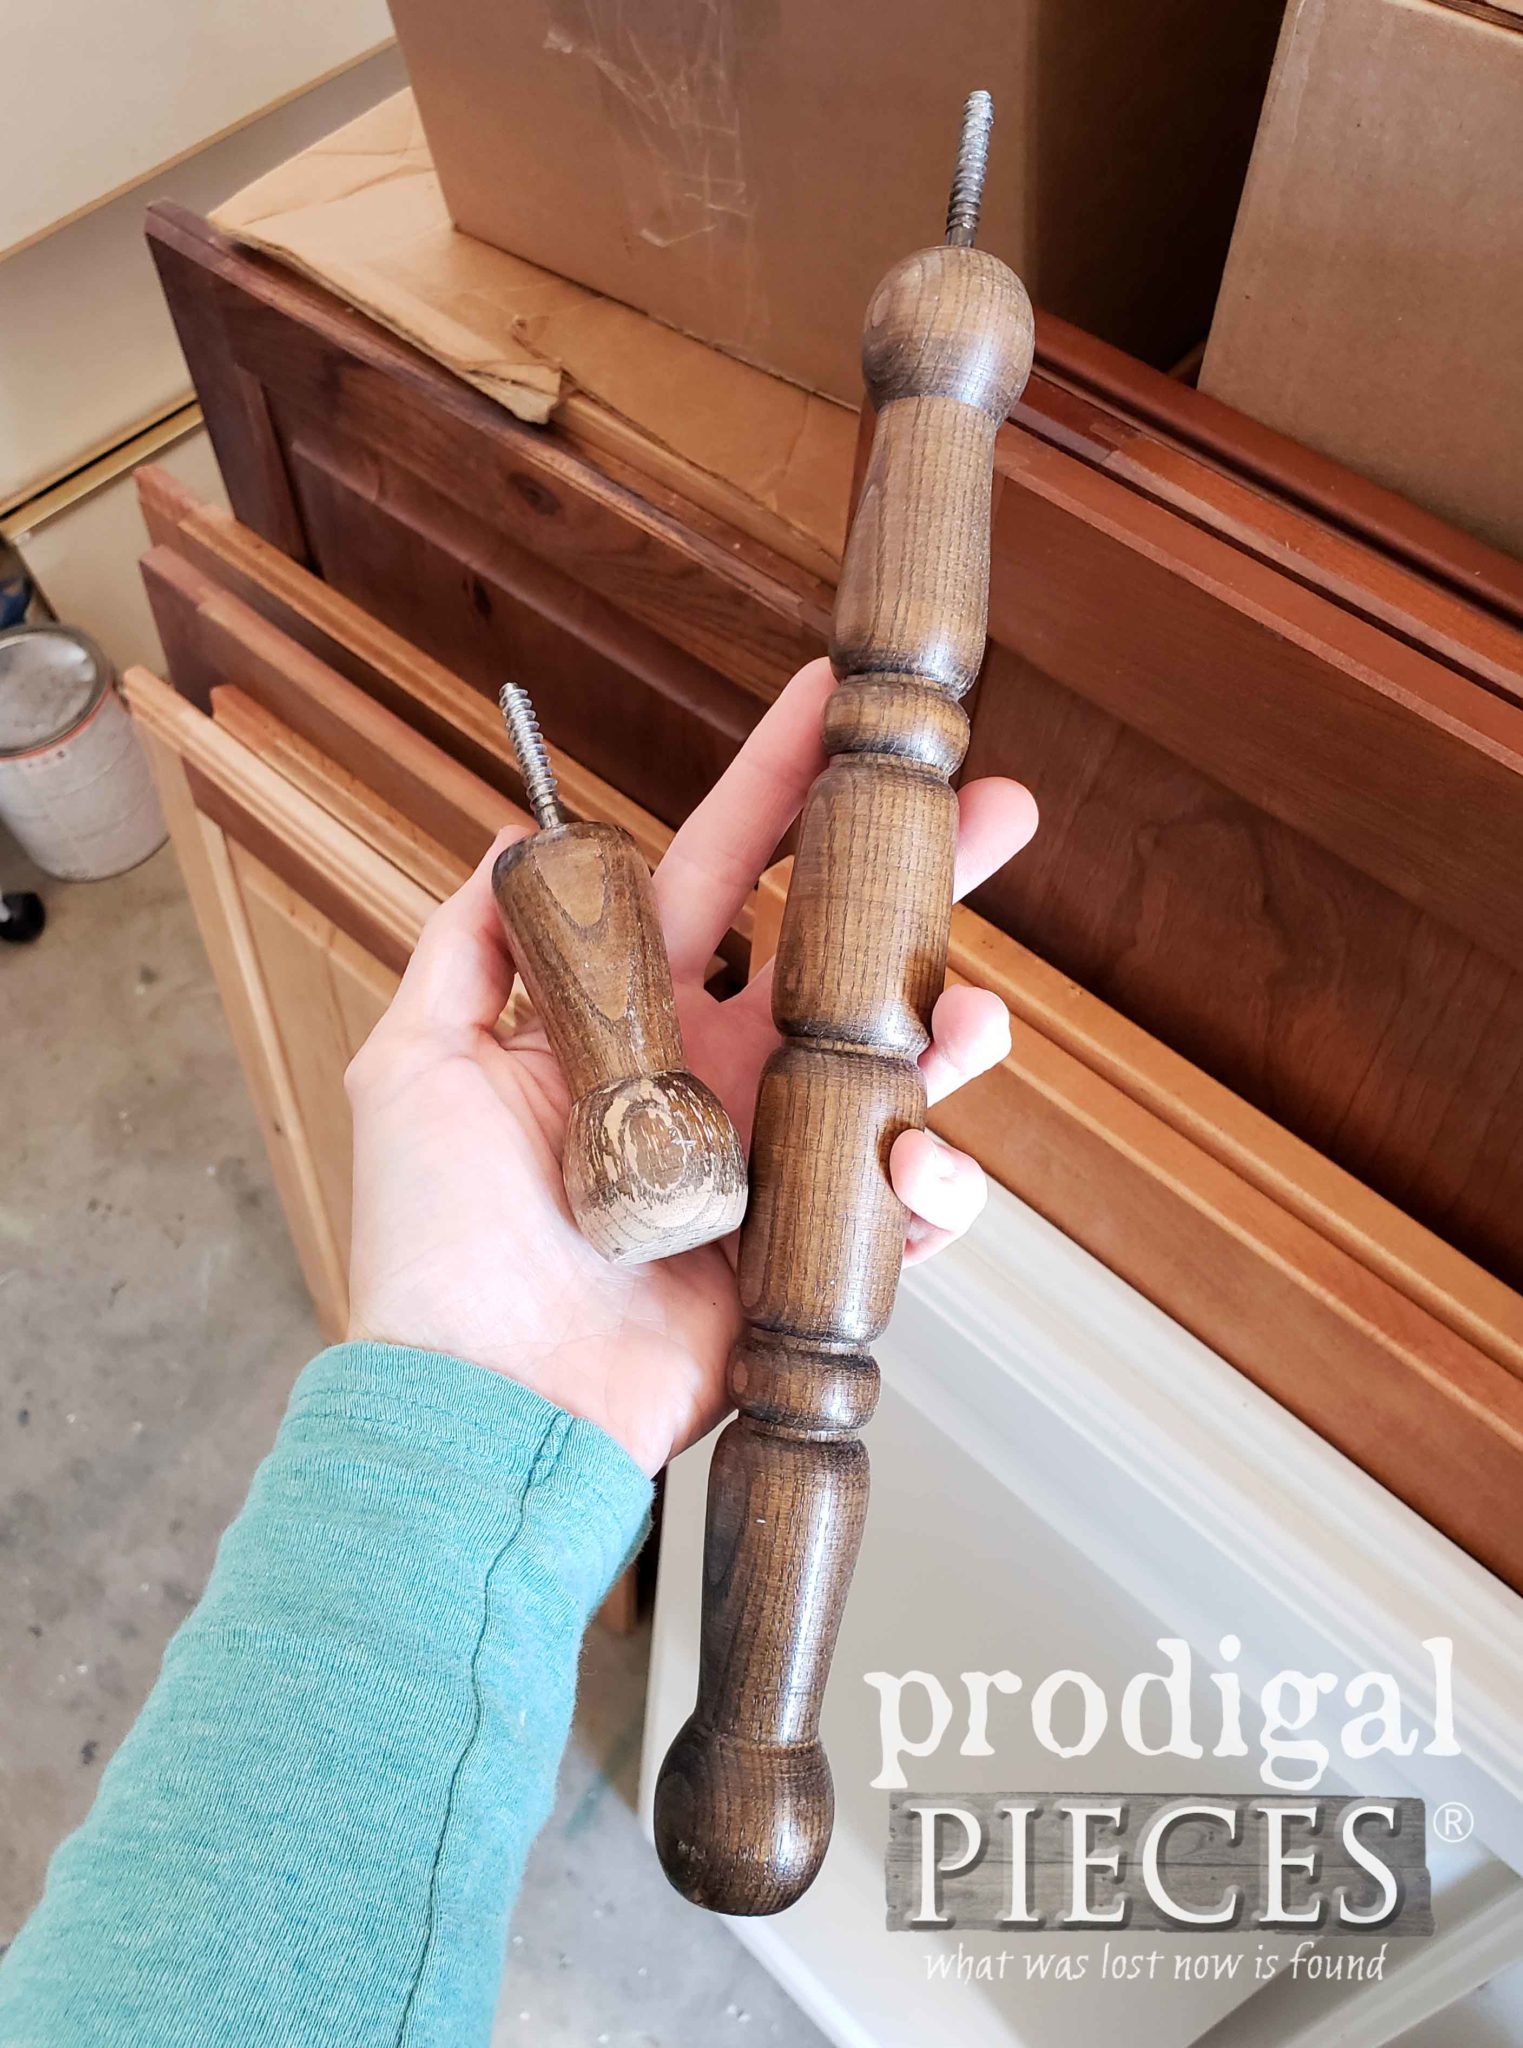
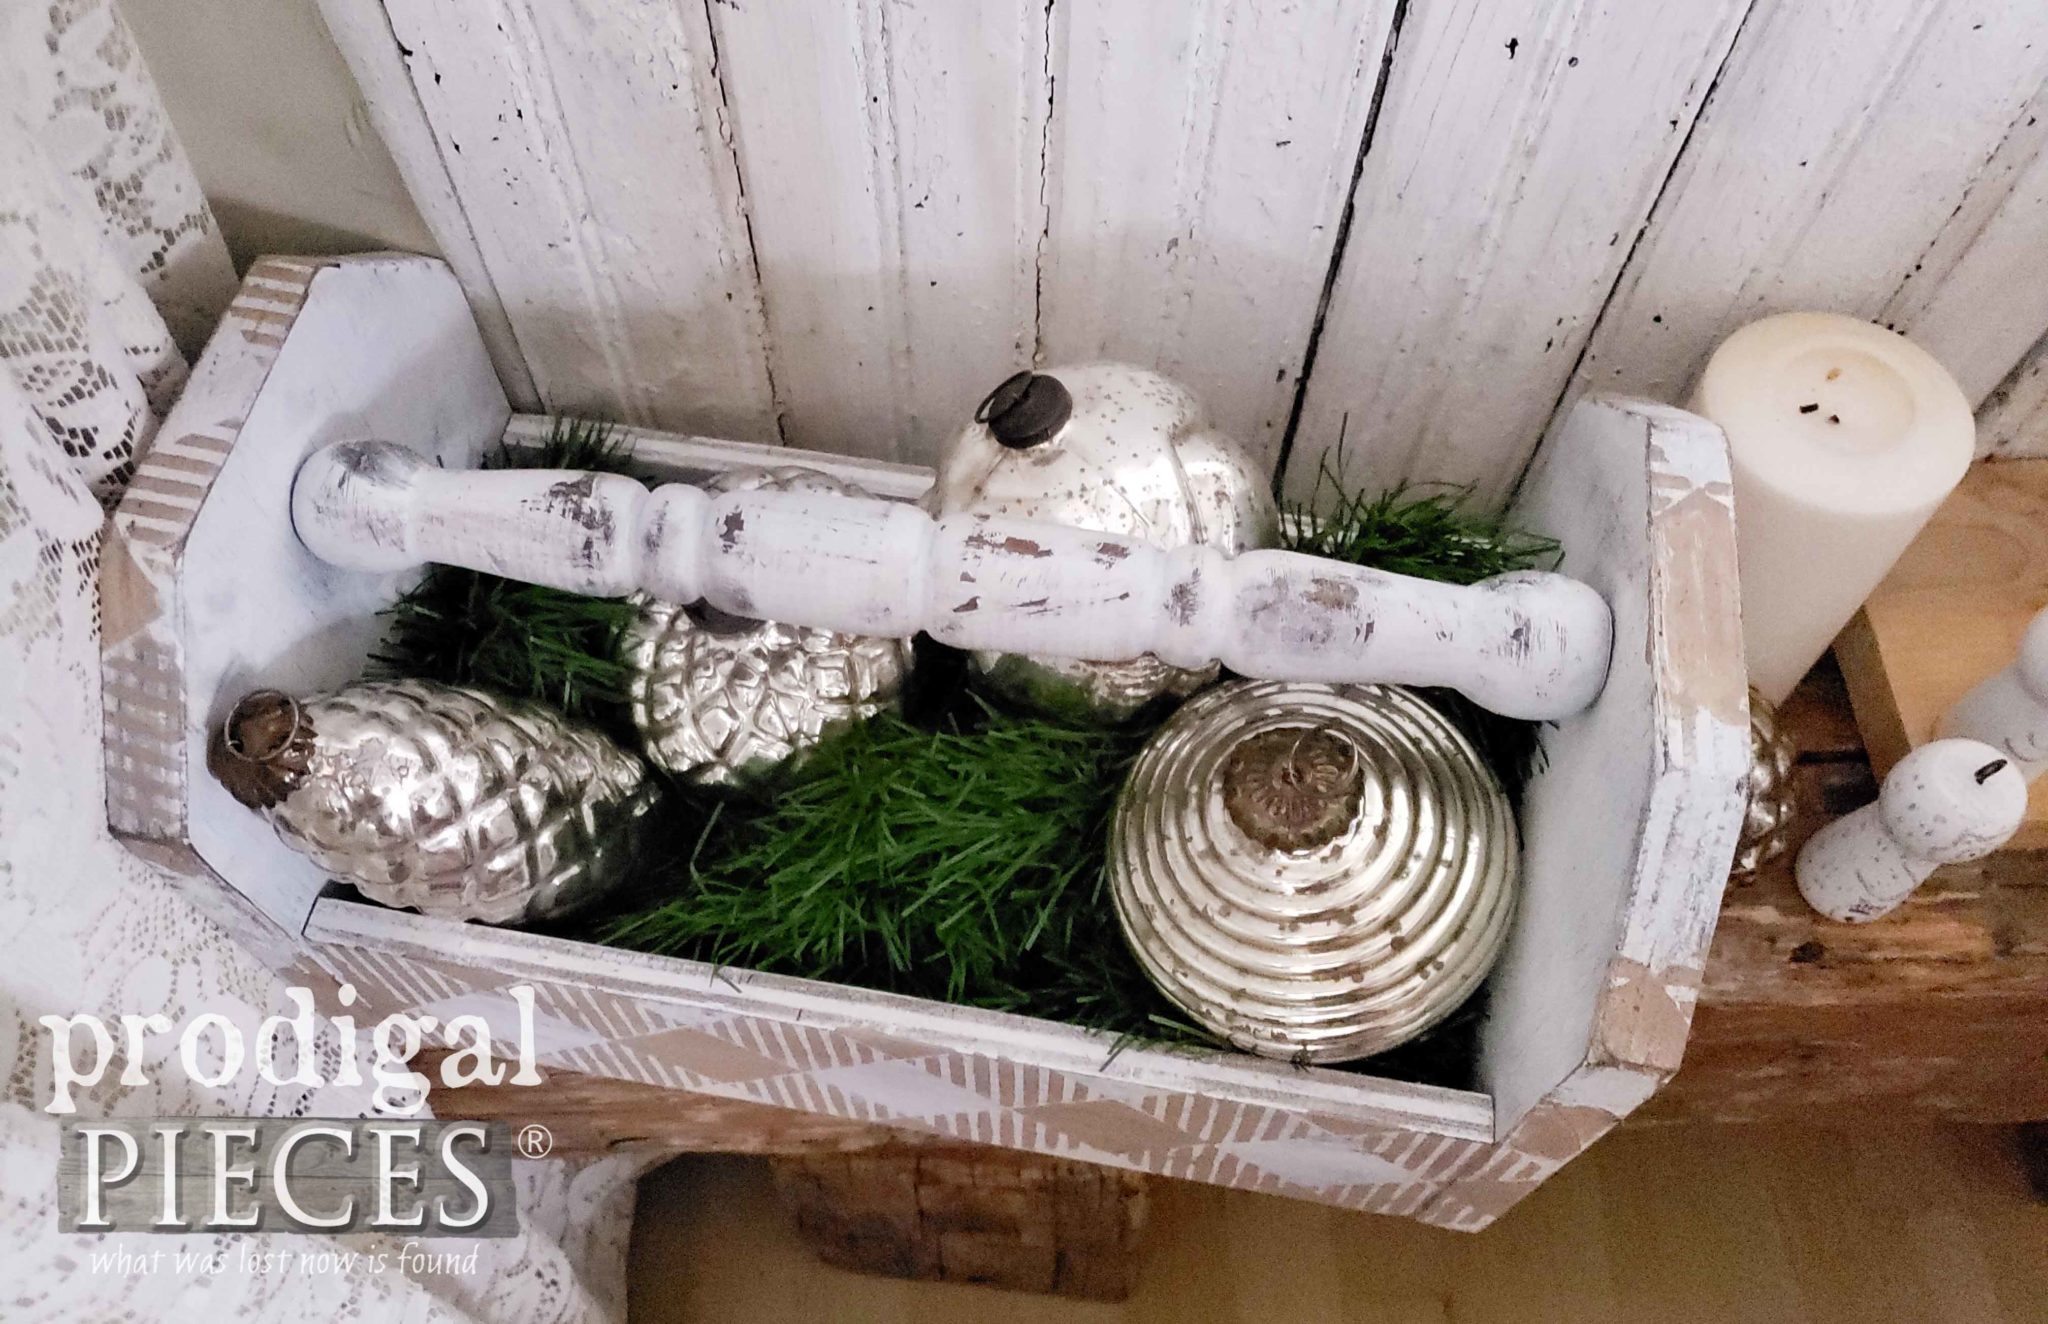
Those turned legs make for awesome tote handles. You can see my tutorial how to build one HERE. I dug out some scrap wood and whipped this baby up. See it pays to hoard stash wood. Just sayin’.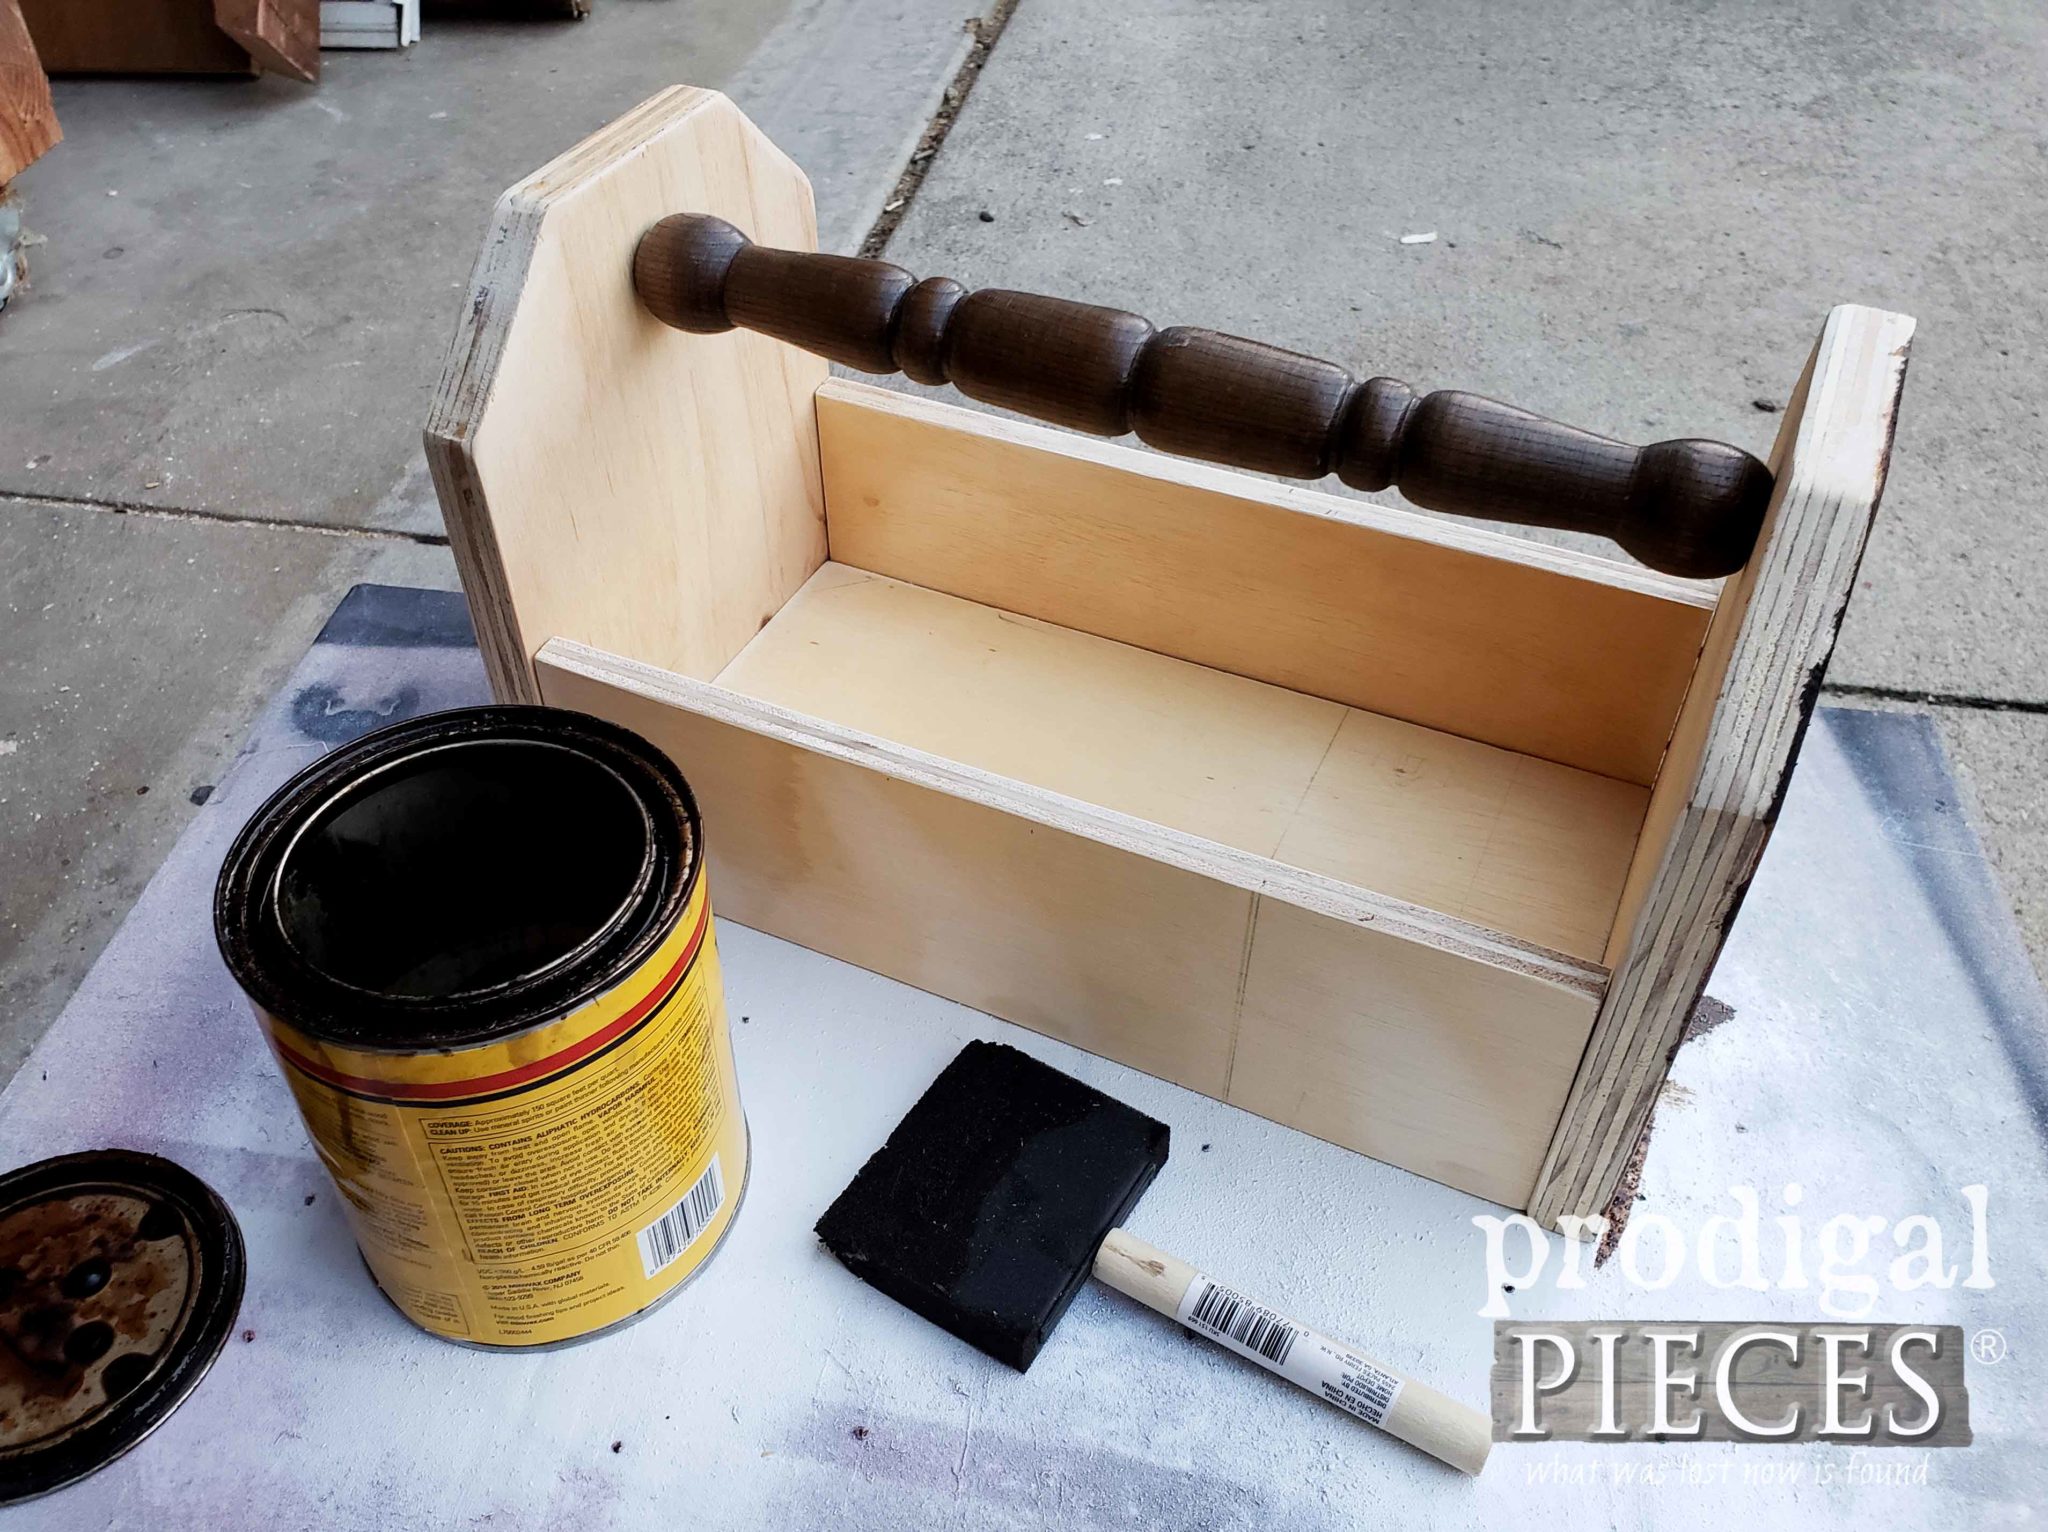
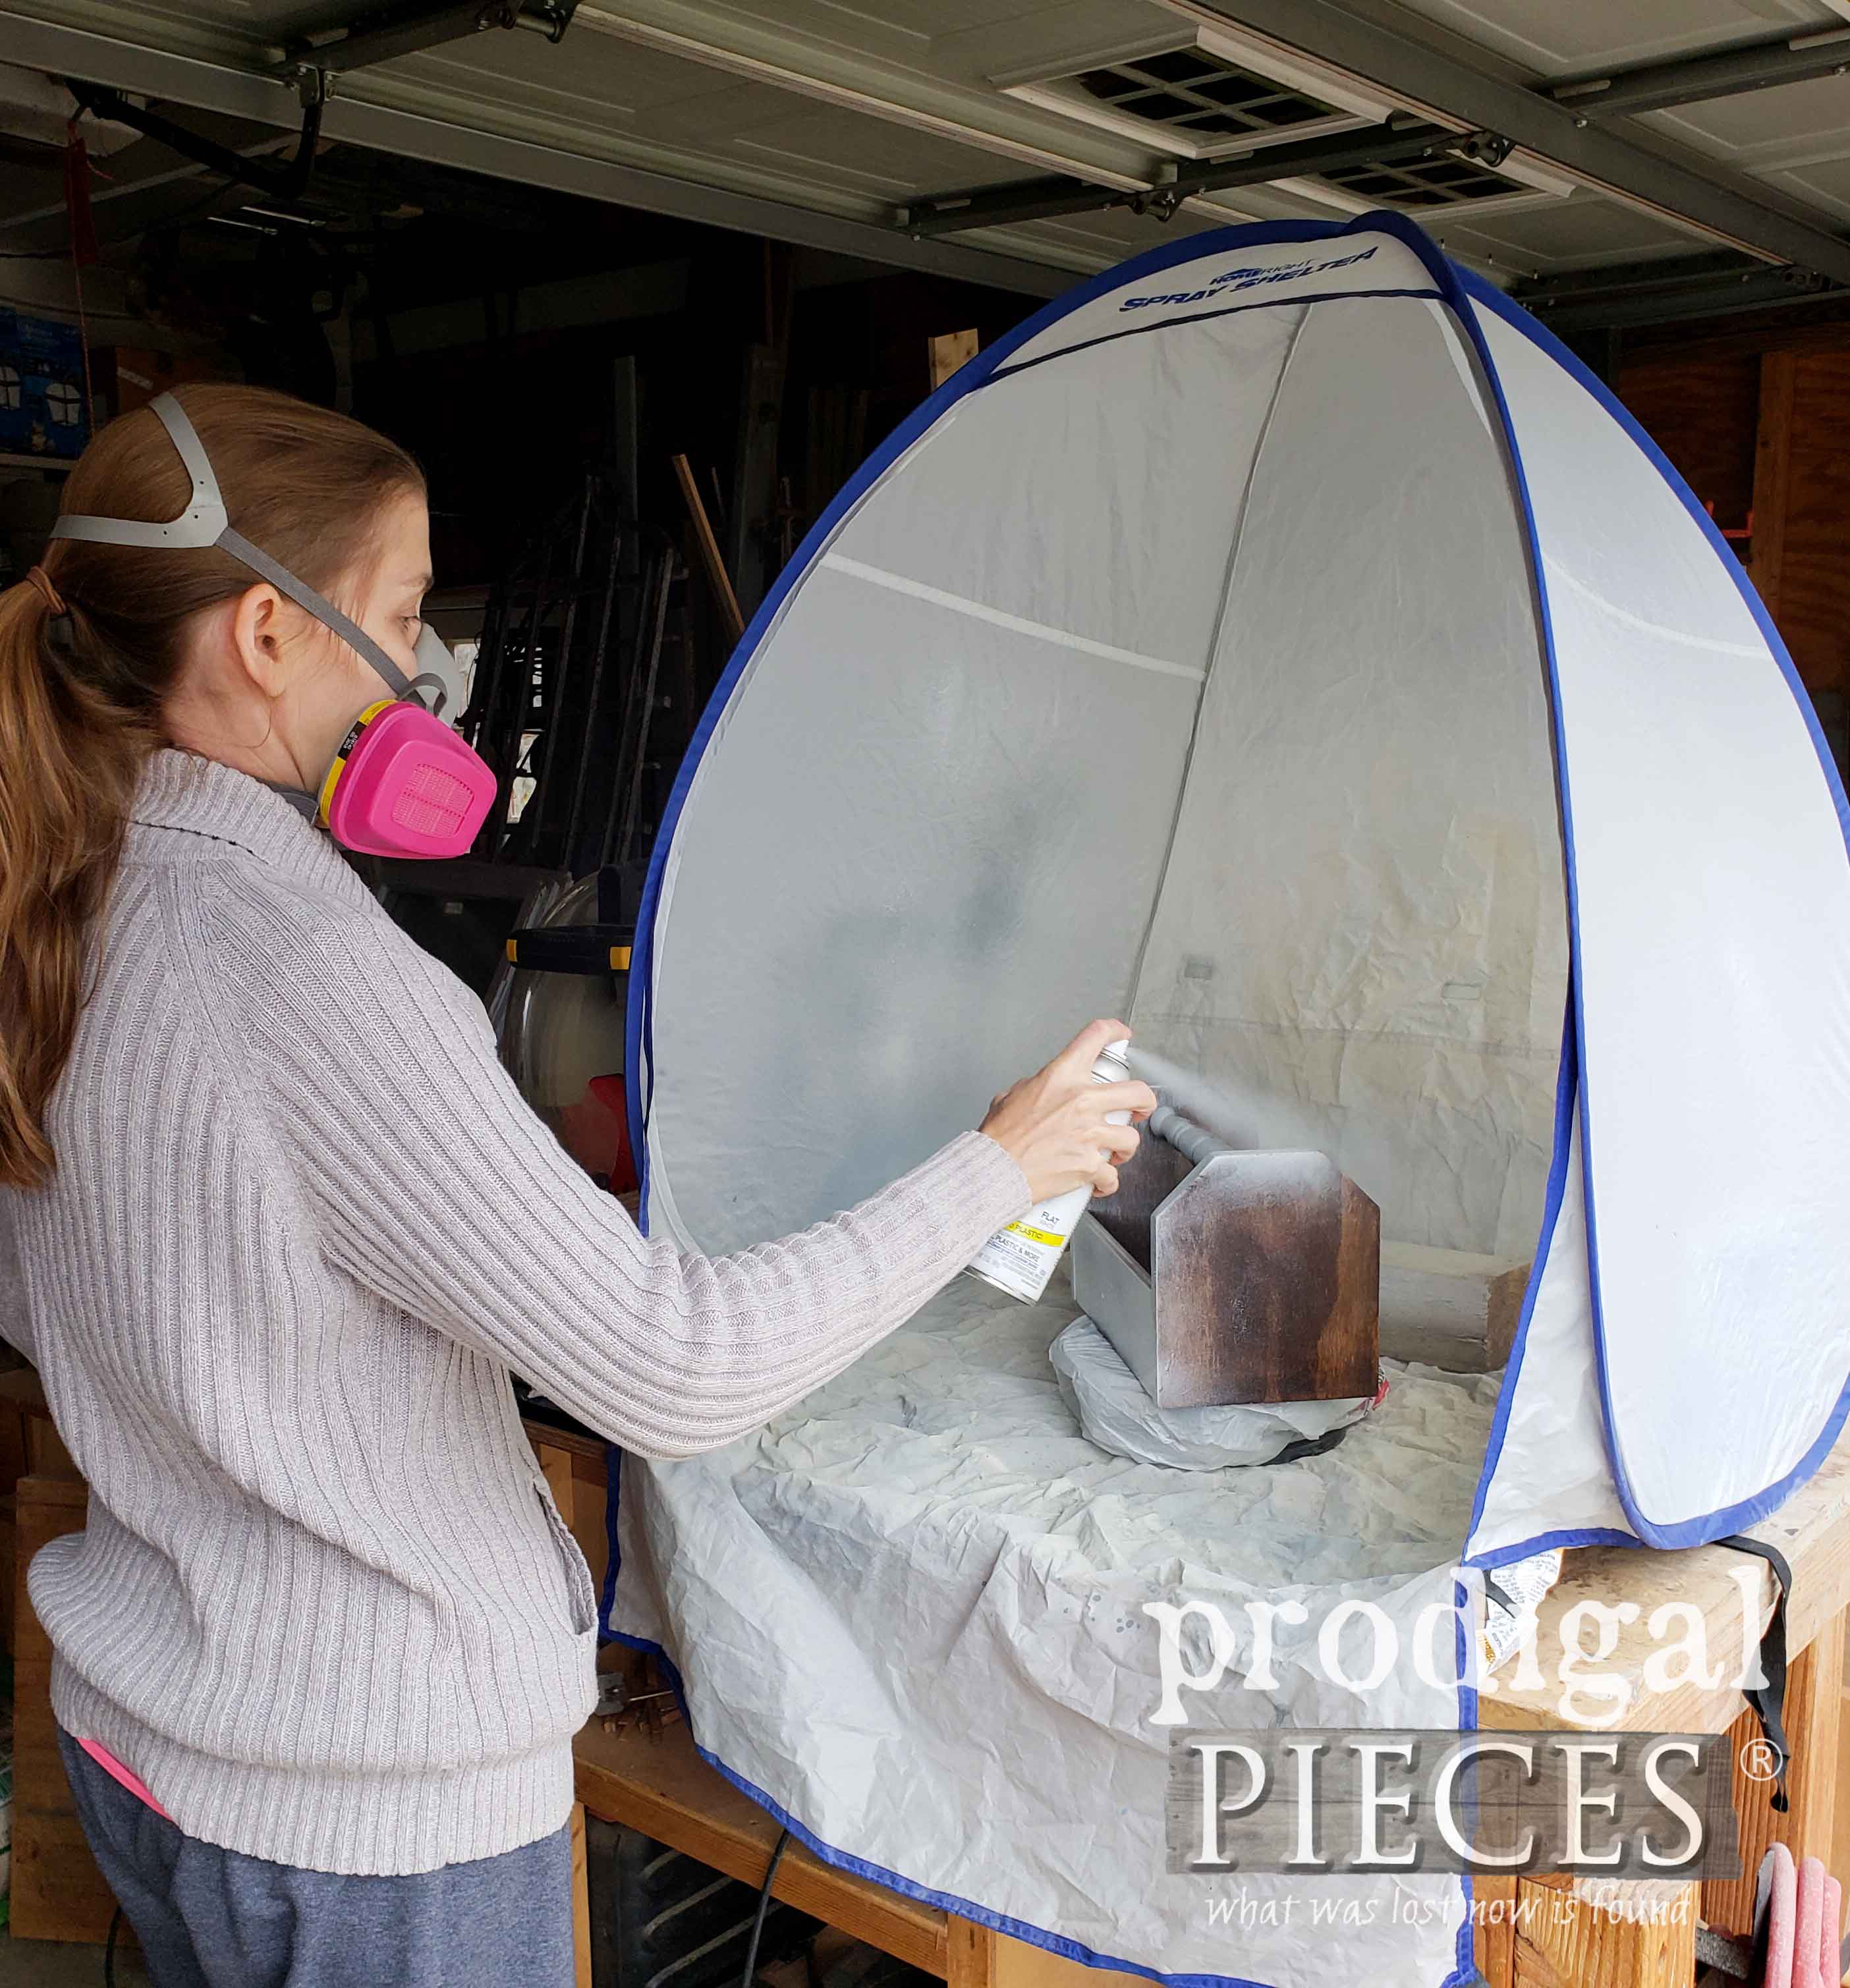
Again, to make it cohesive, I stained it all to match. I didn’t mind the stained wood look, but it looked too new. haha! Time to break out some paint and create layers. I used my crackle again to highlight edges and a few “worn” places. Once the crackle cured, I used my Small Spray Shelter again to give the tote a coat of paint. Notice how I used my Turn Table to make it super easy to hit all the sides at once.
PAINT TIME
*note: I like to cover my turntable with either a plastic grocery bag or a shower cap to keep the table clean.
I’m not kidding when I say the right tools make a job SO much easier! I repeat as I’ve said before…my motto since being a teen: #tooloverjewels.
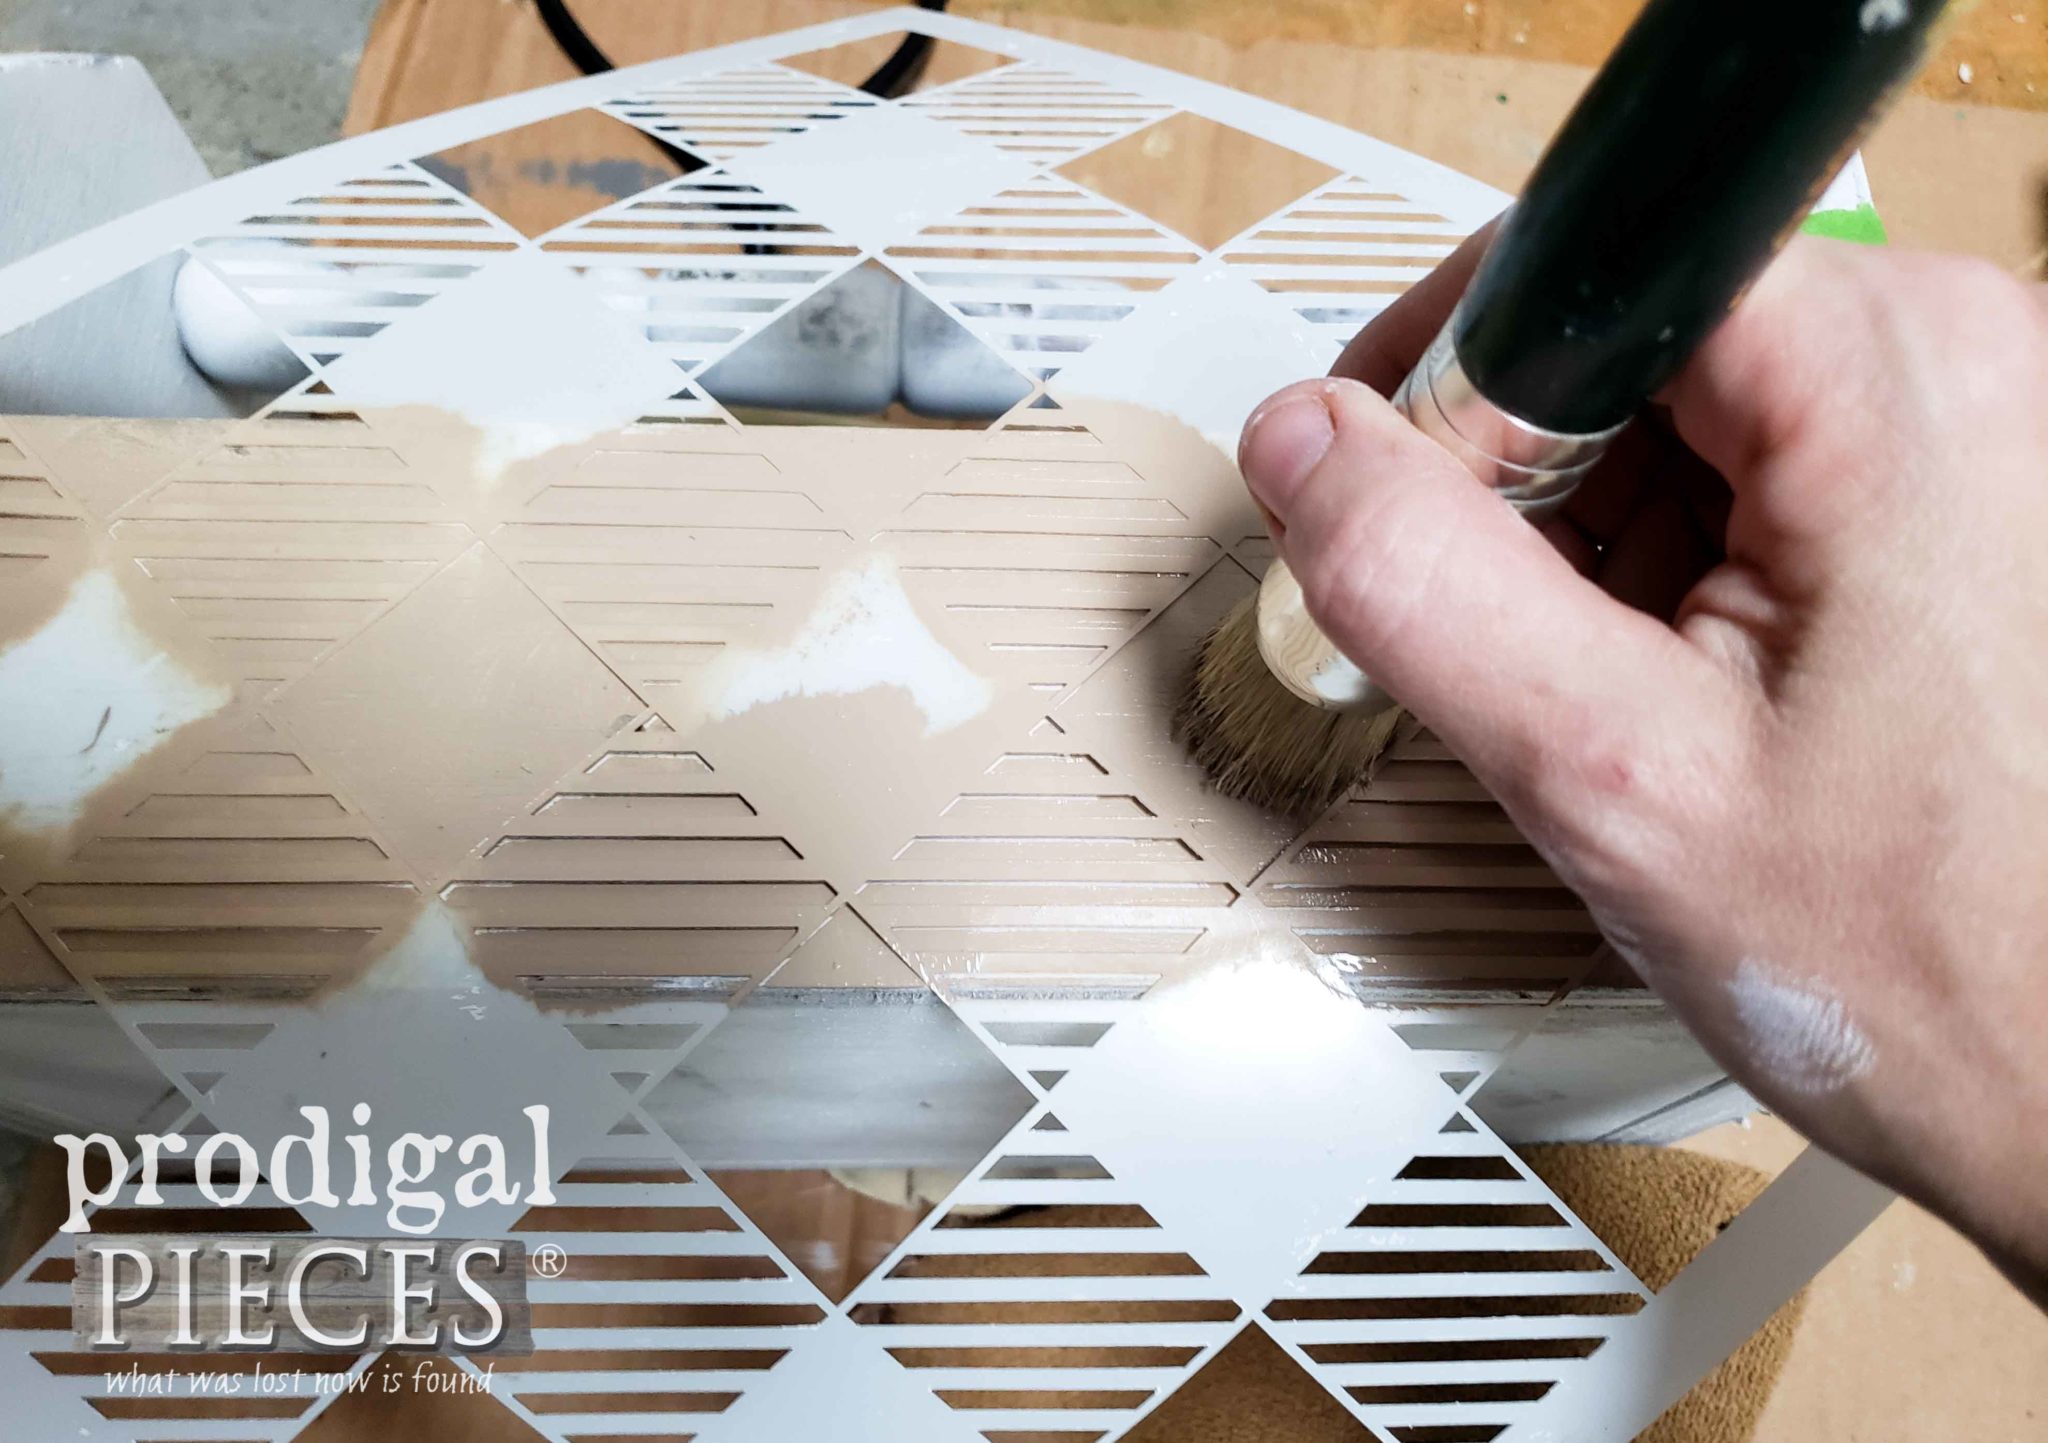
Next, when my paint cured, I used the same Buffalo Plaid Check Stencil I recently used on my kids farmhouse play table see HERE.
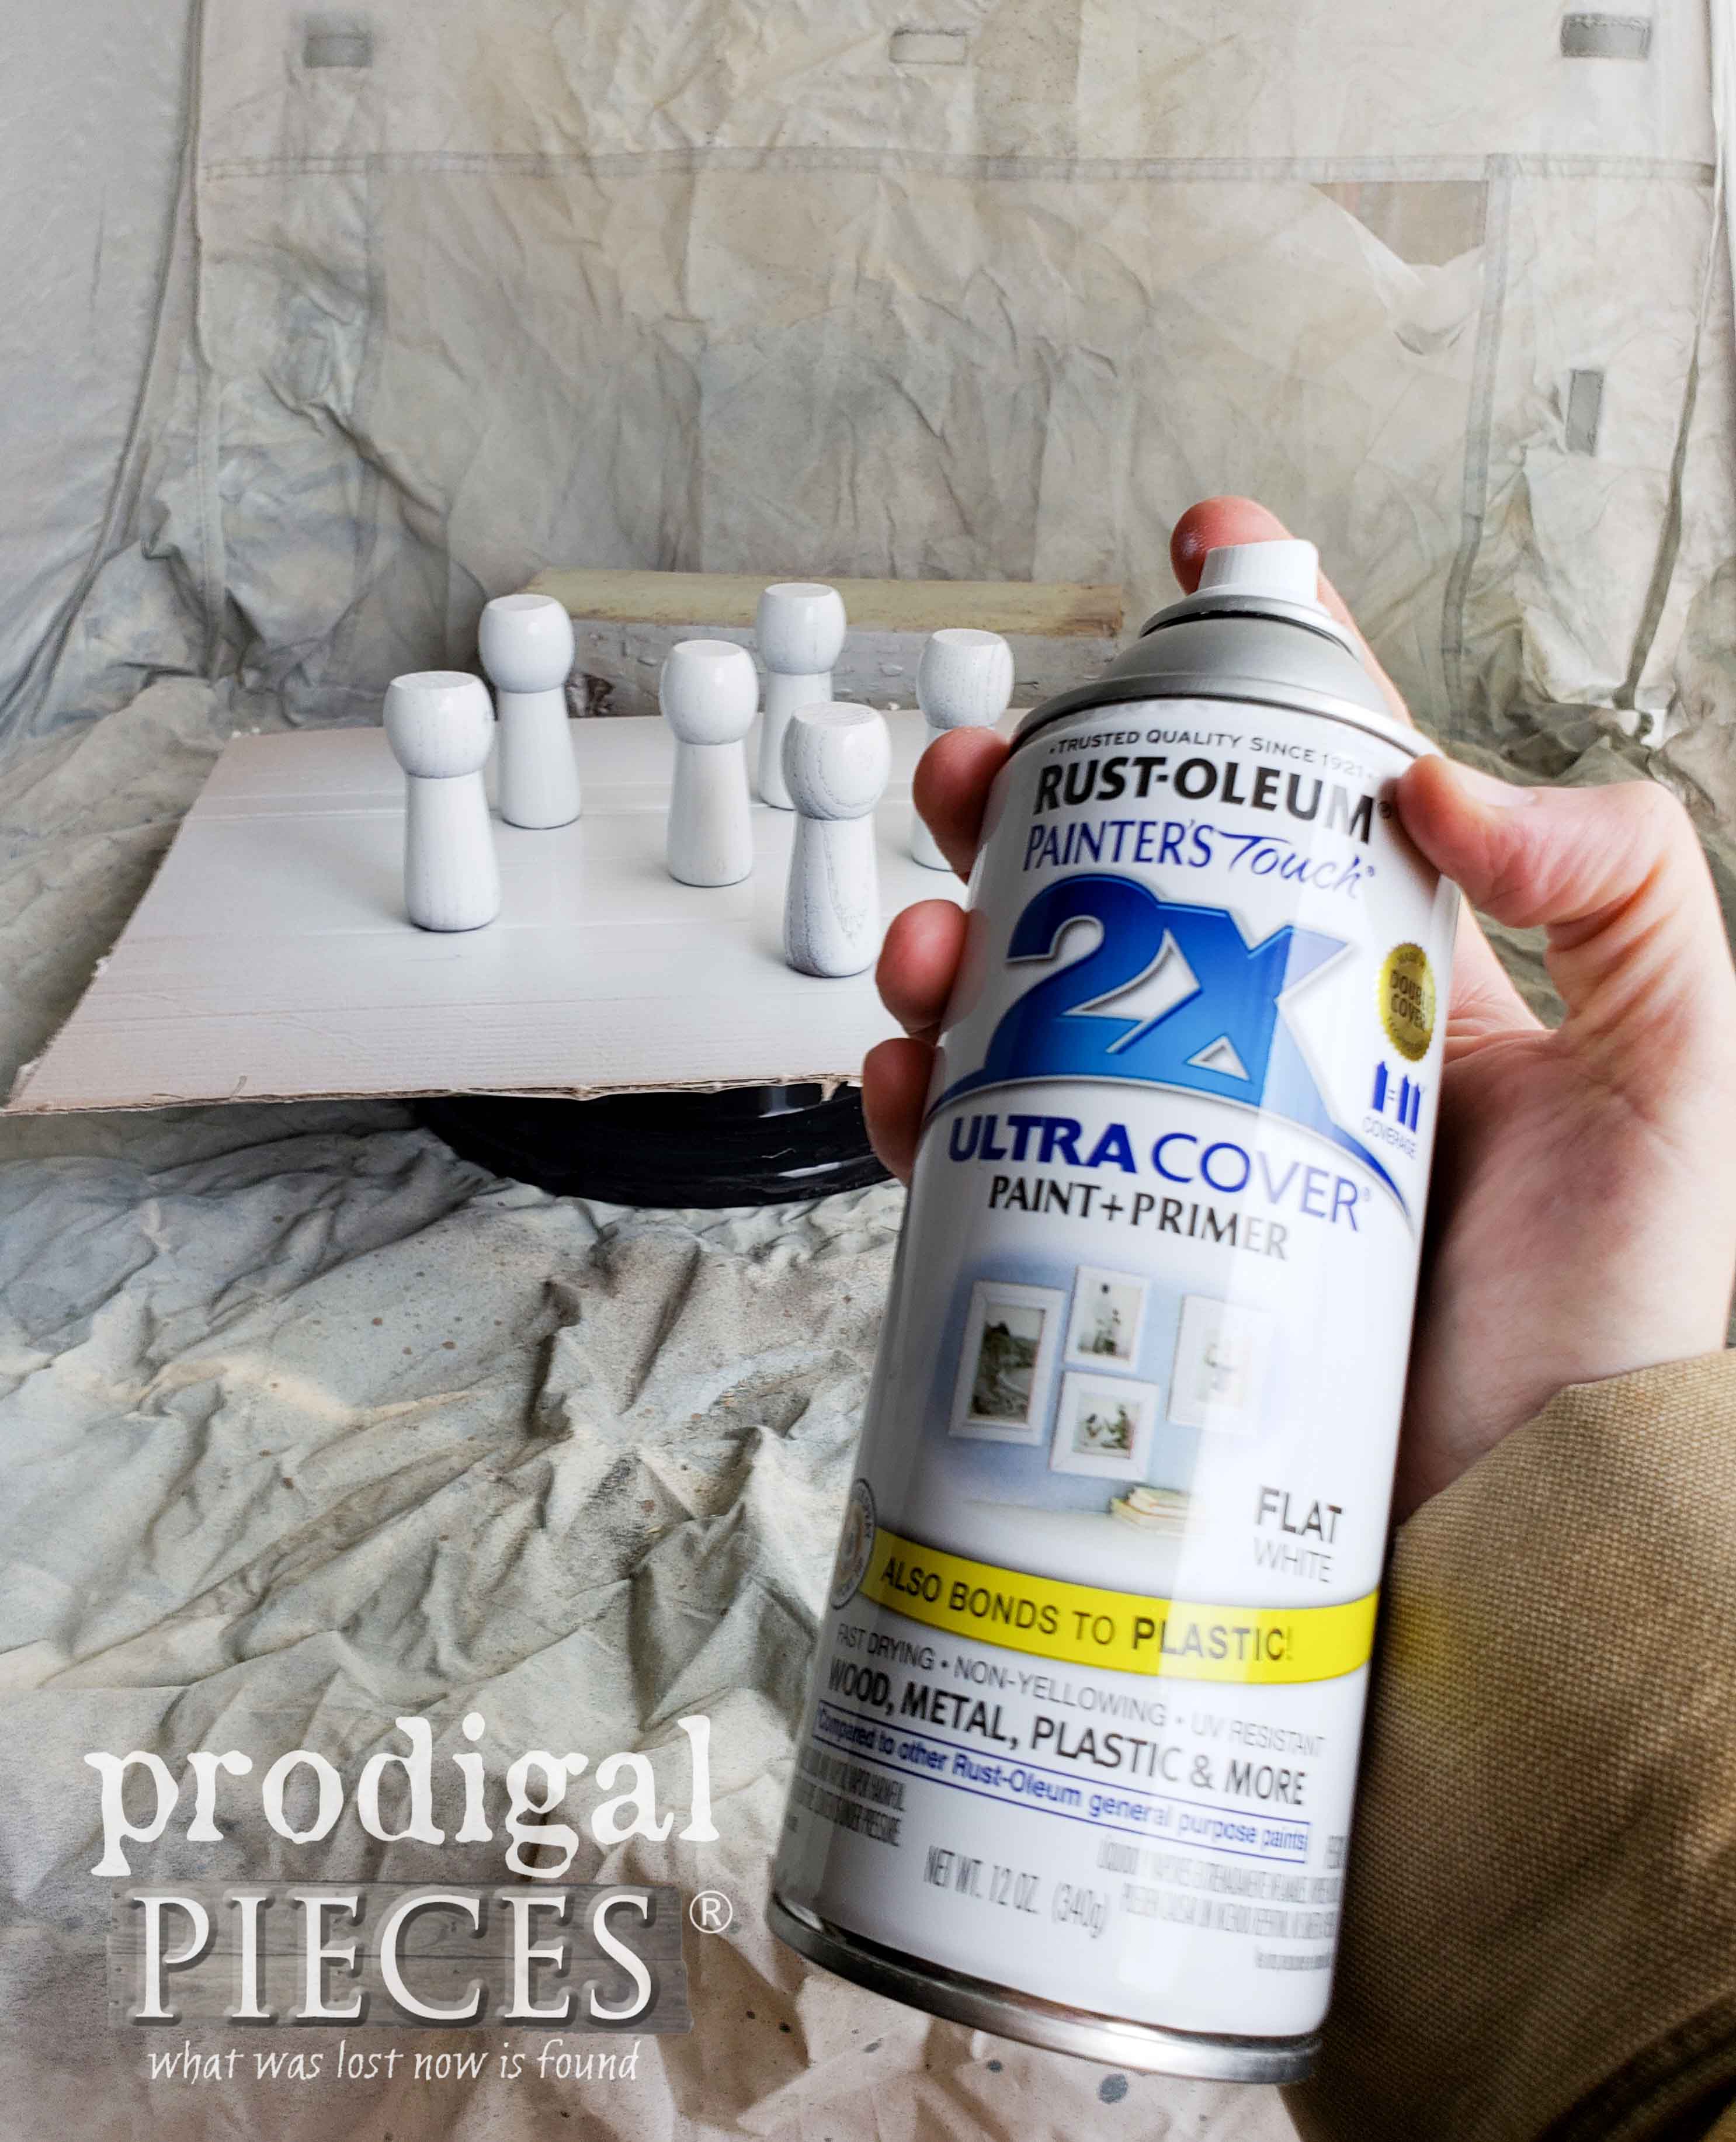
While the tote and tree are curing, it was time to make use of those table feet. My tools come into play again to make my job a breeze. I’m also using the same flat white spray paint as I used on the tree and tote.
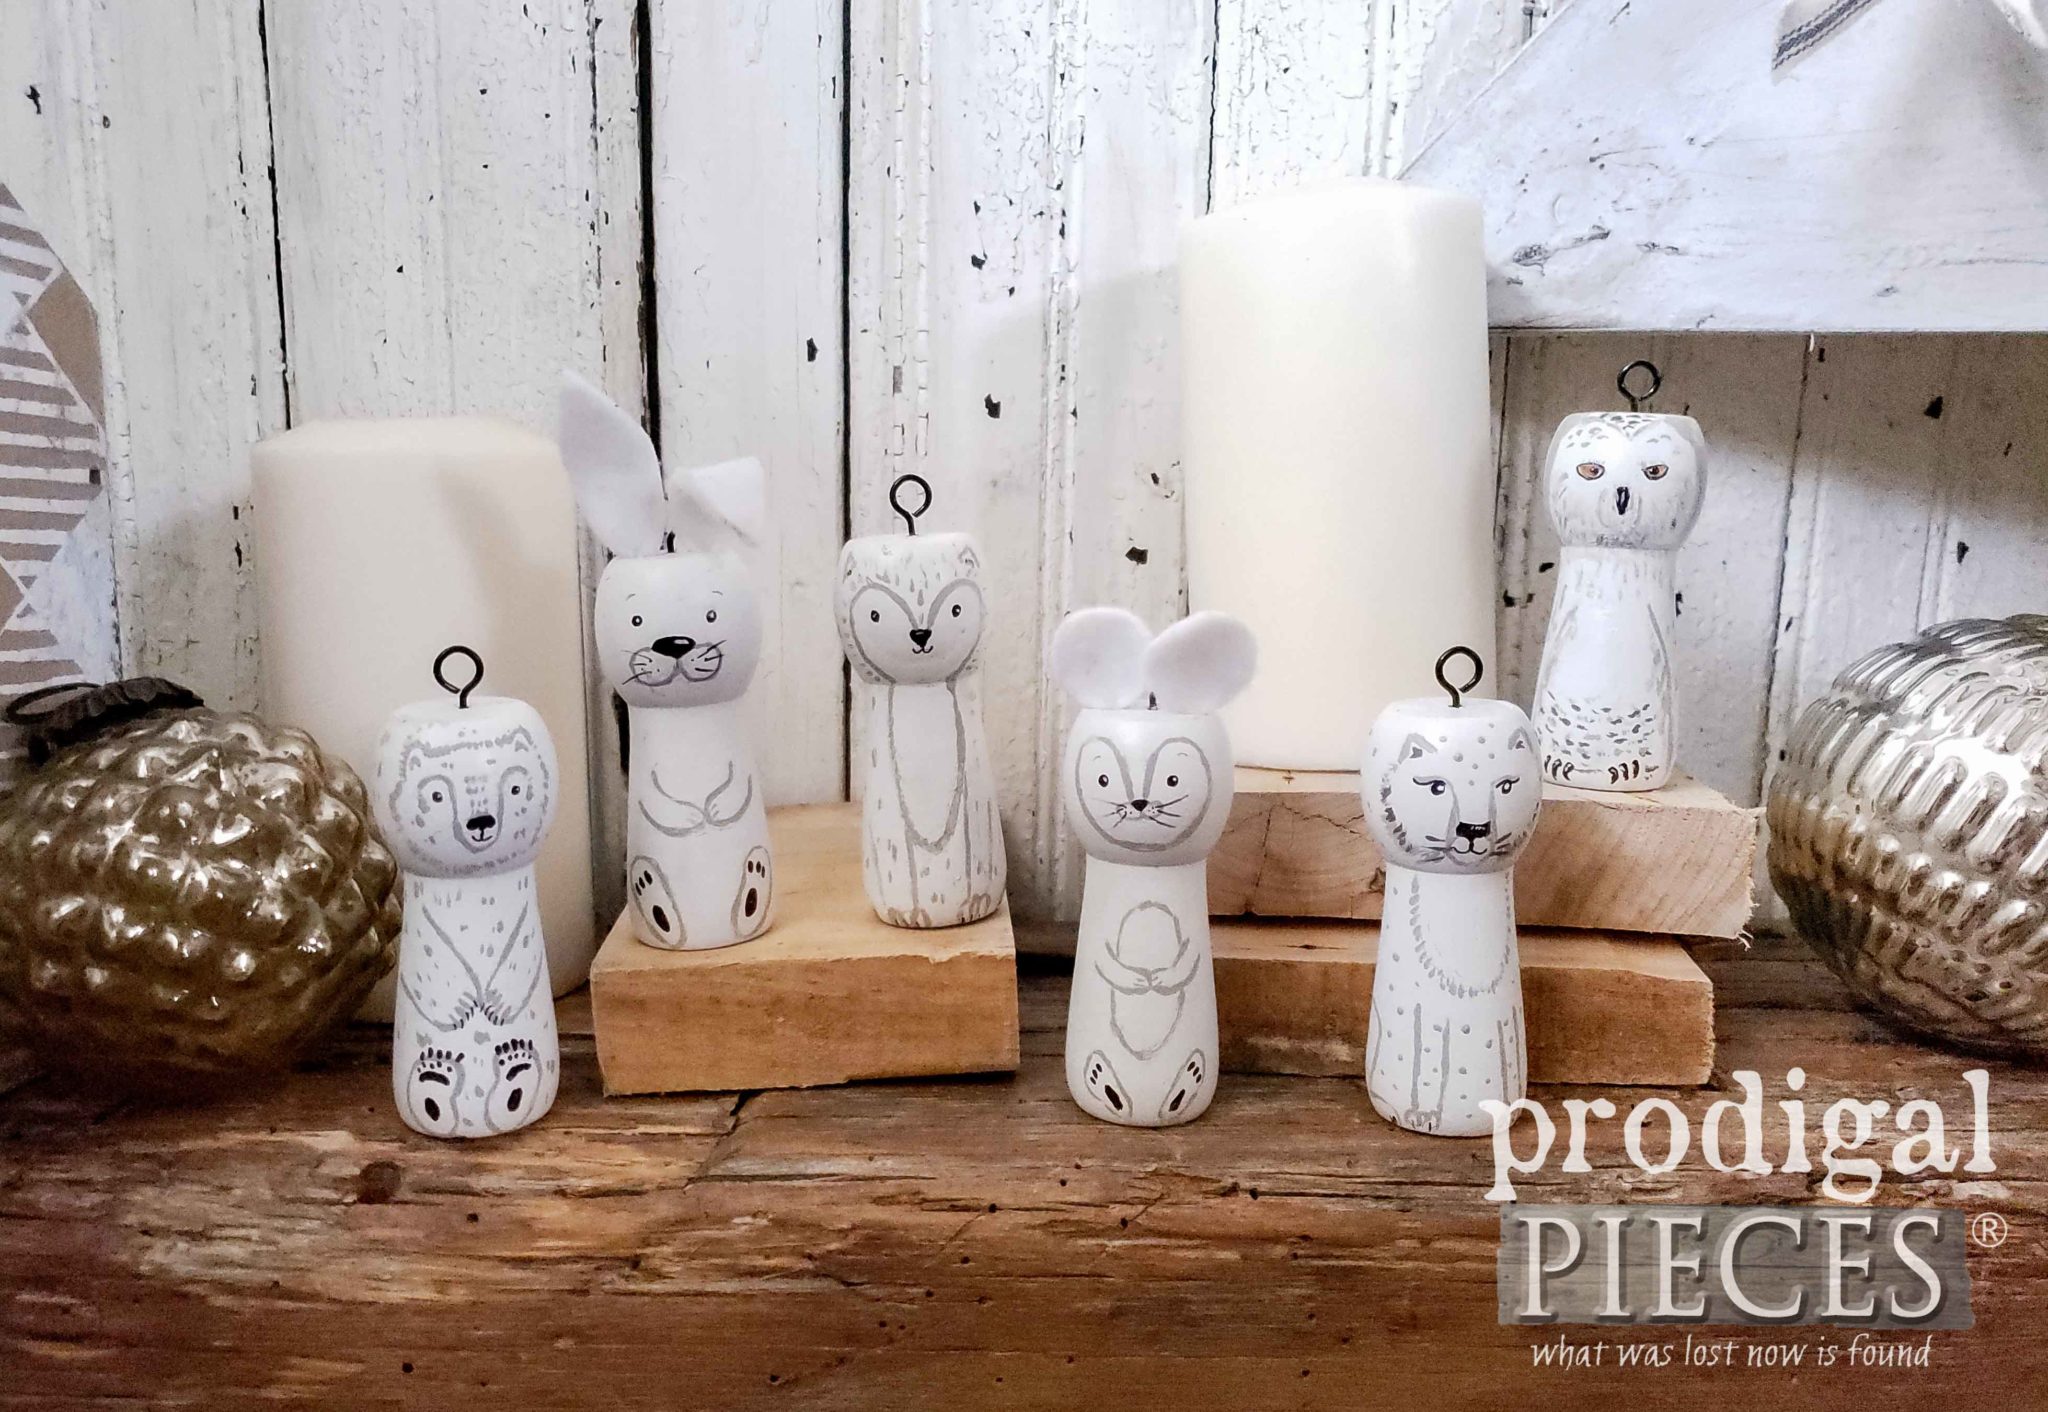
You may be wondering what in the world I will do with those. Well, let me give you a history. I have 6 kids and each year since the oldest was born, I have given them a handmade Christmas ornament for our tree. This tradition actually started between JC and I when we were newlyweds. The challenge is to create an ornament from something from around the home (no buying anything) . These table feet are going to be gifted to each of my kids this year after I do some hand-painting. Fun!
THE REVEAL
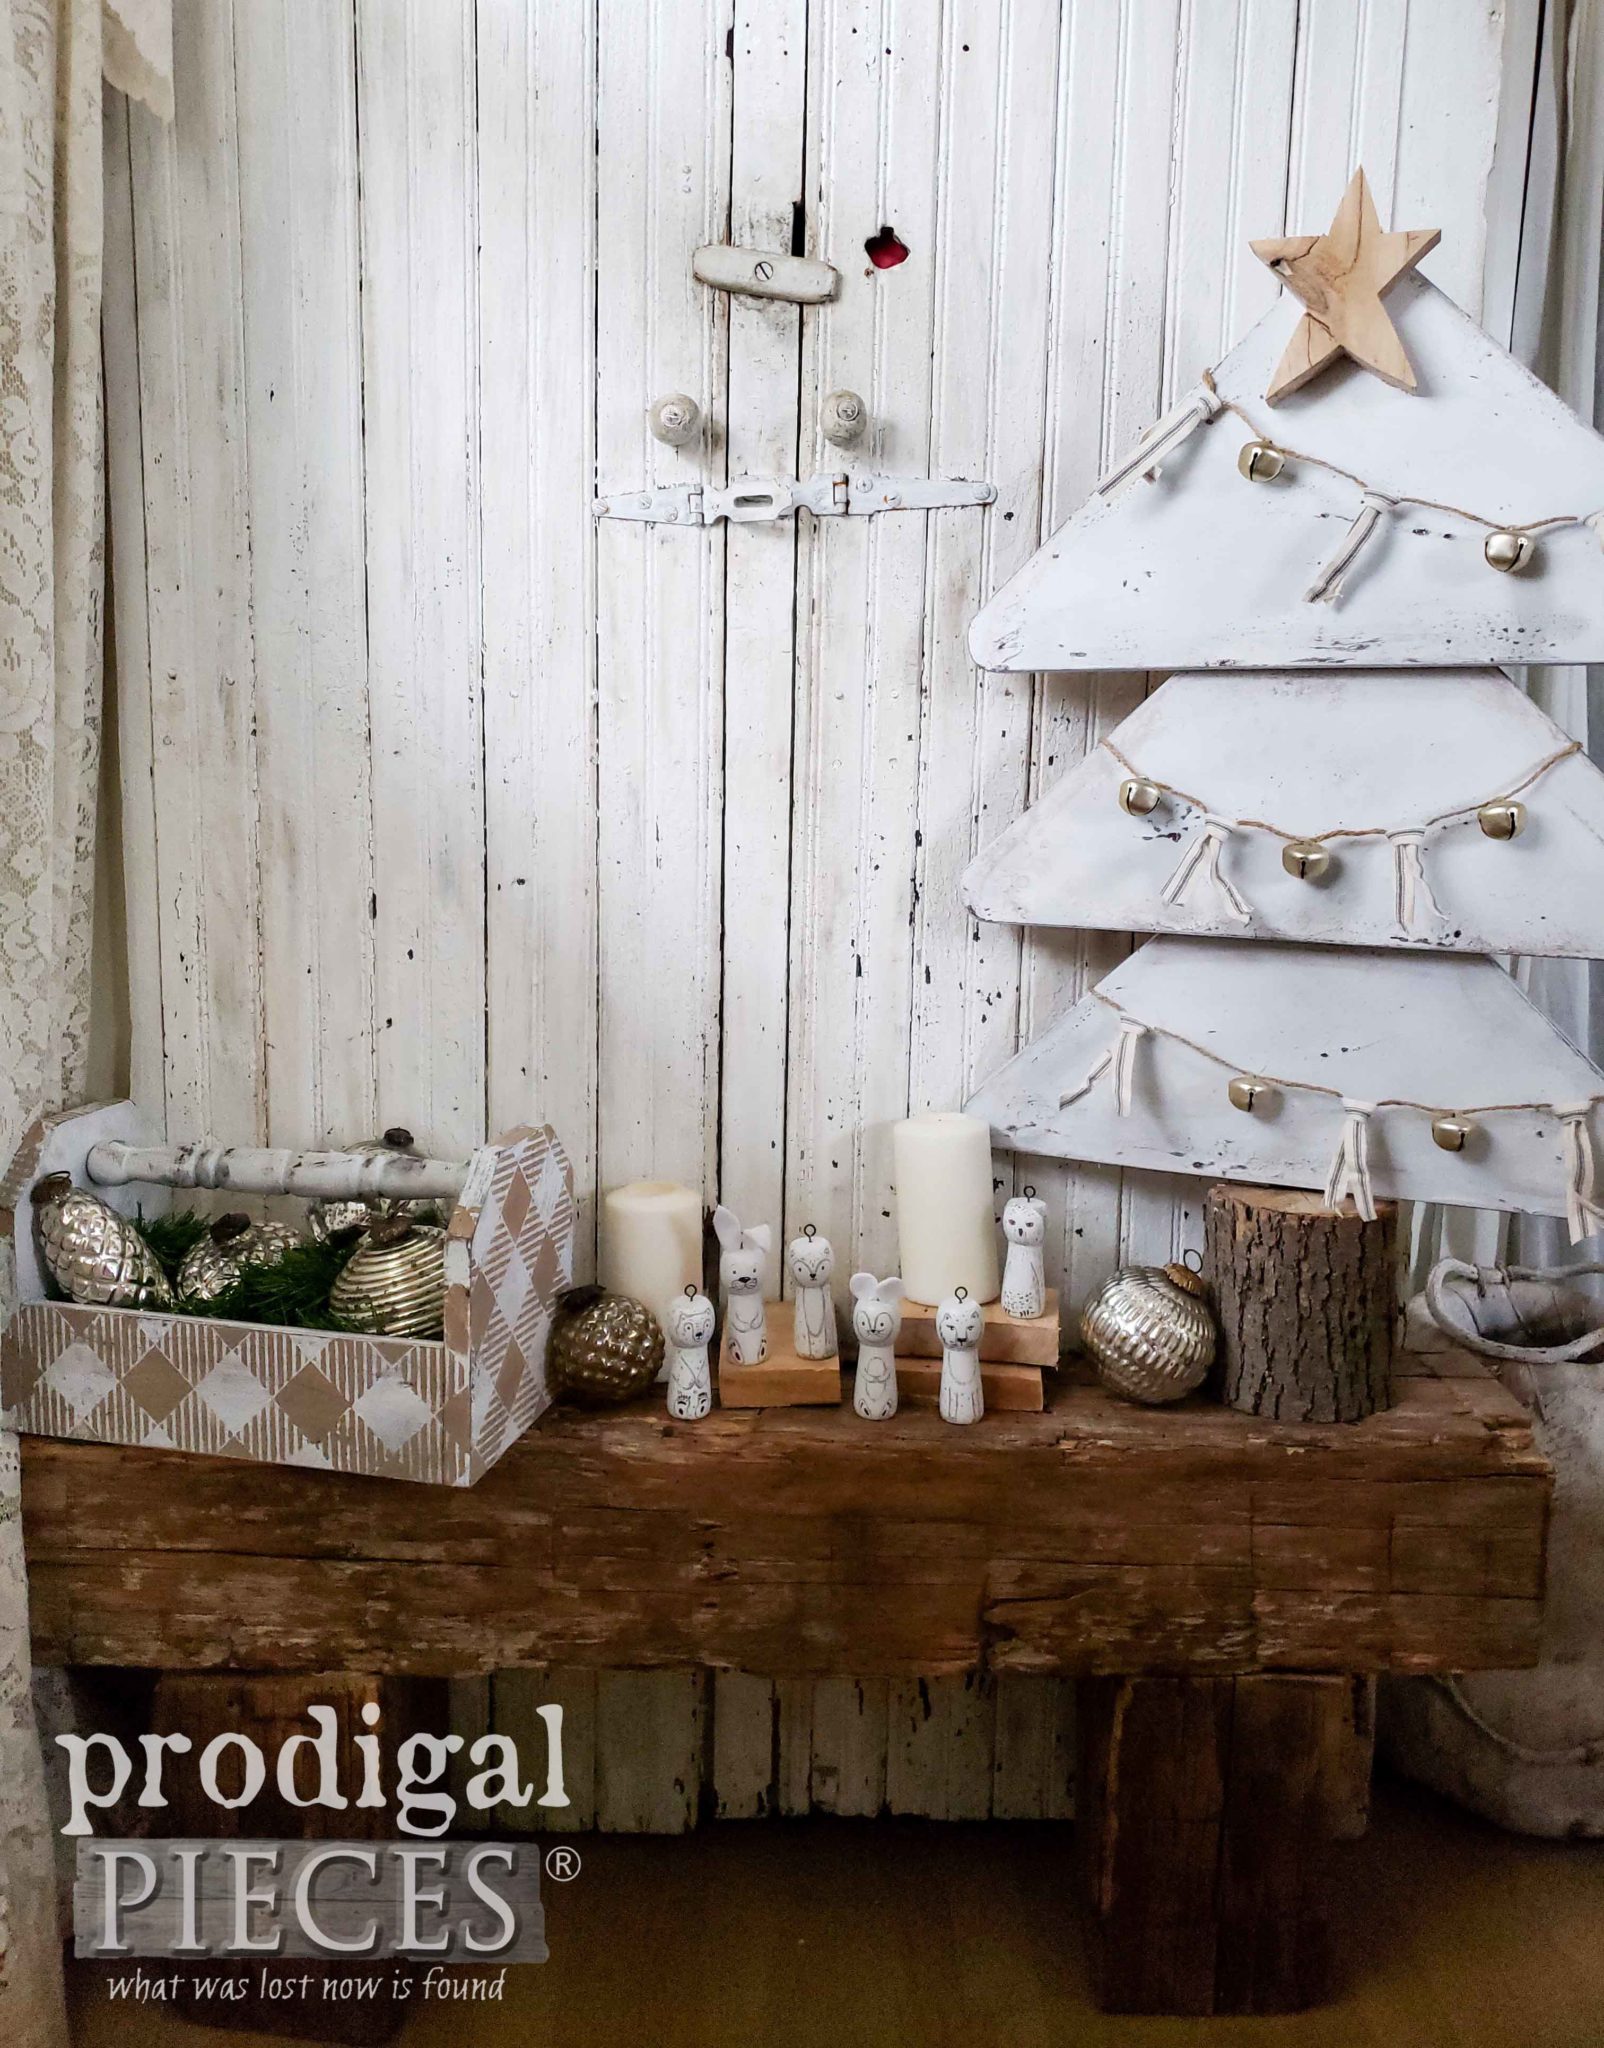
Are you ready to see all my crazy projects put together? I am!
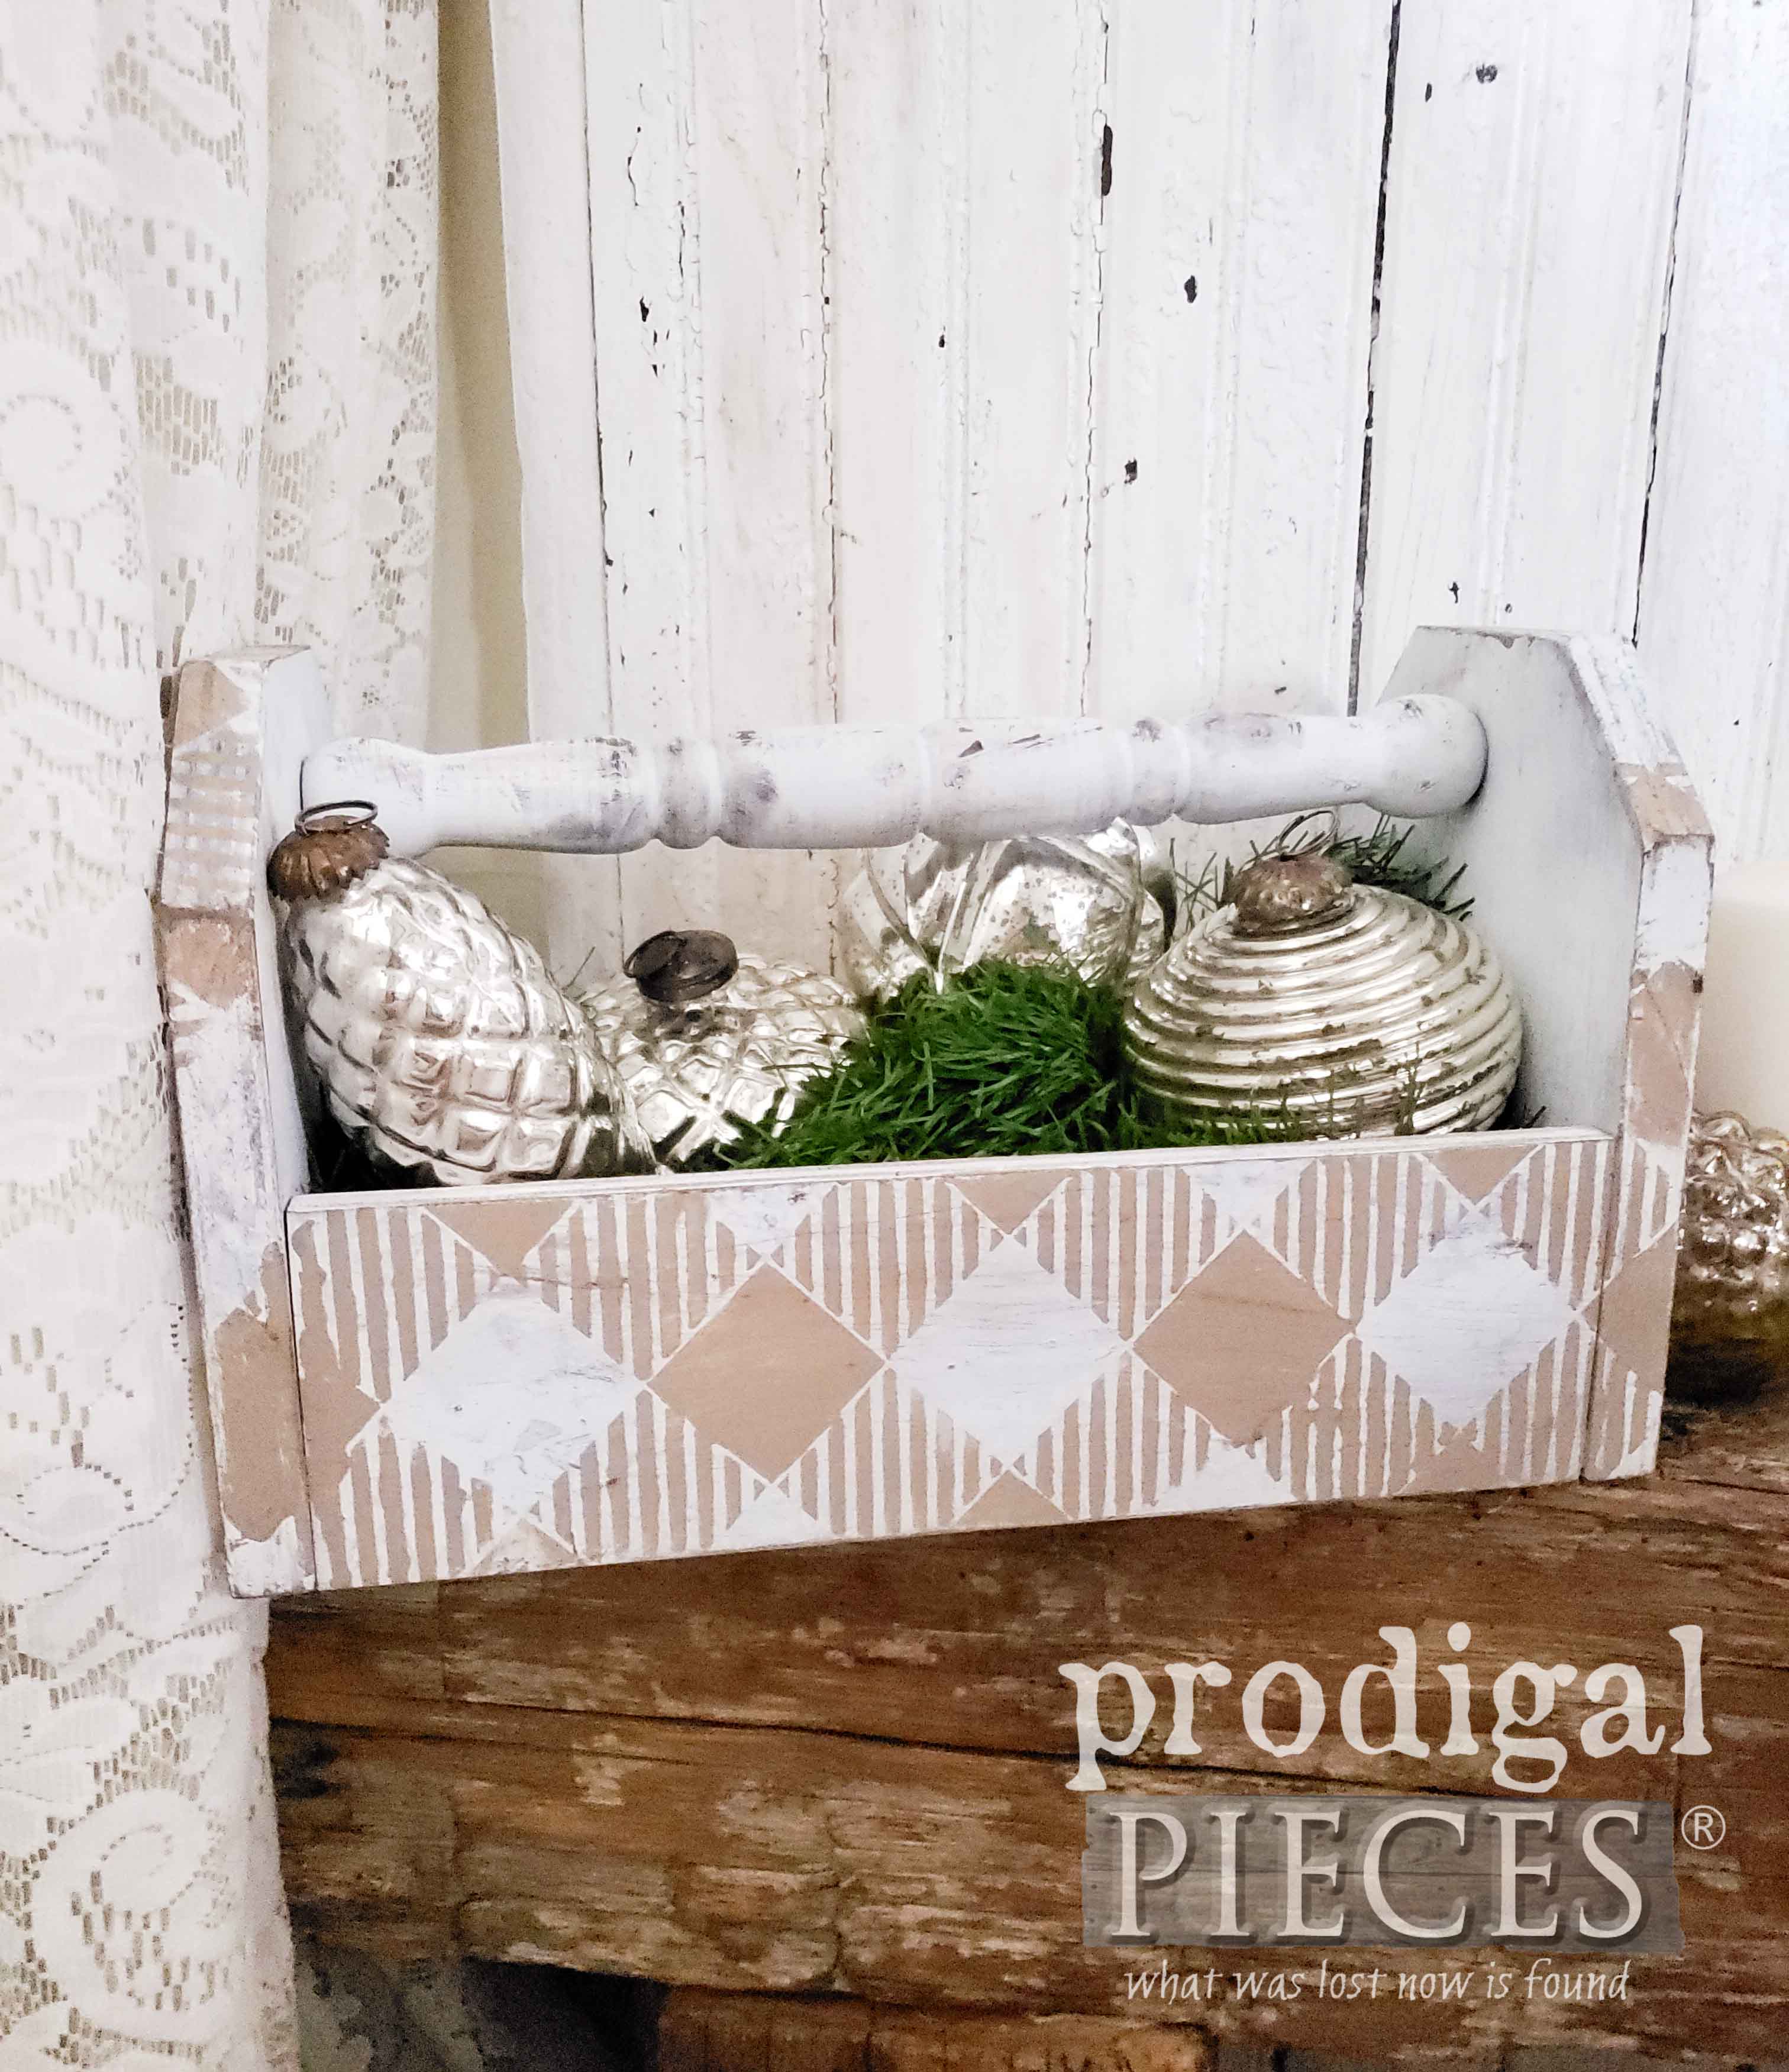
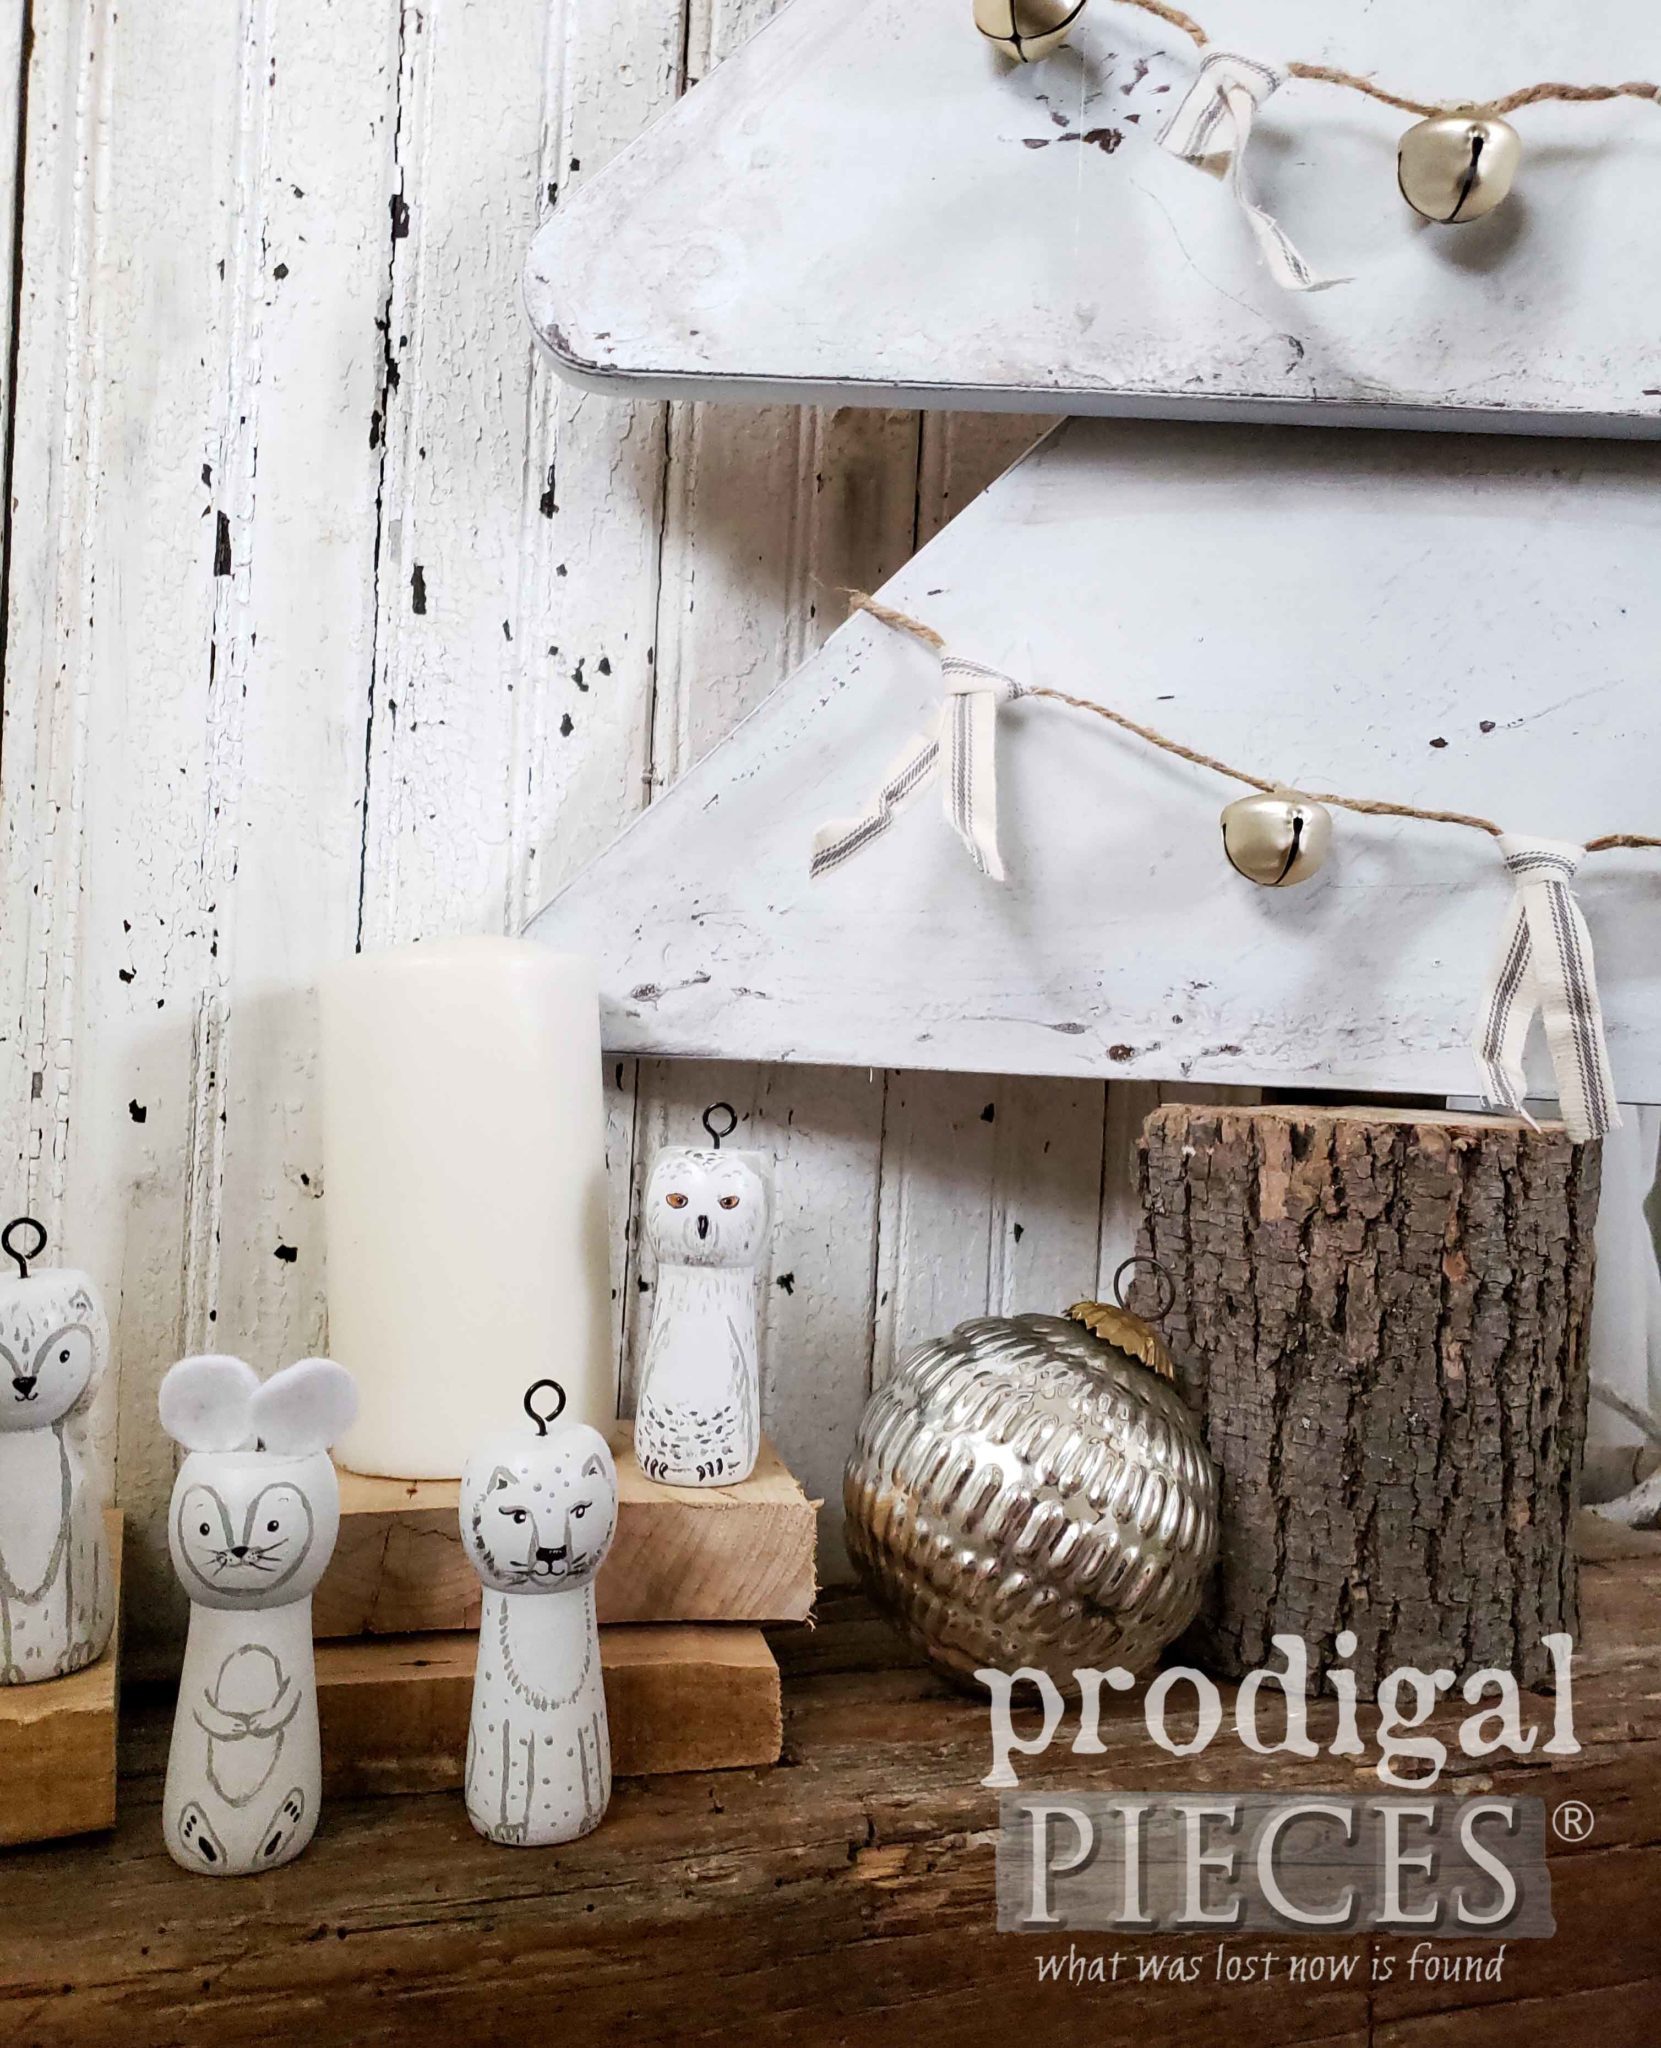
My little tree is now decked with a twine garland made of jingle bells and ticking selvage ties. Isn’t it cute? Then there’s my rustic tote complete with buffalo check goodness.
Those legs make for perfect tote handles, don’t you think? They could also be candle sticks, legs for a fun animal creation, rungs for a ladder…you get the idea.
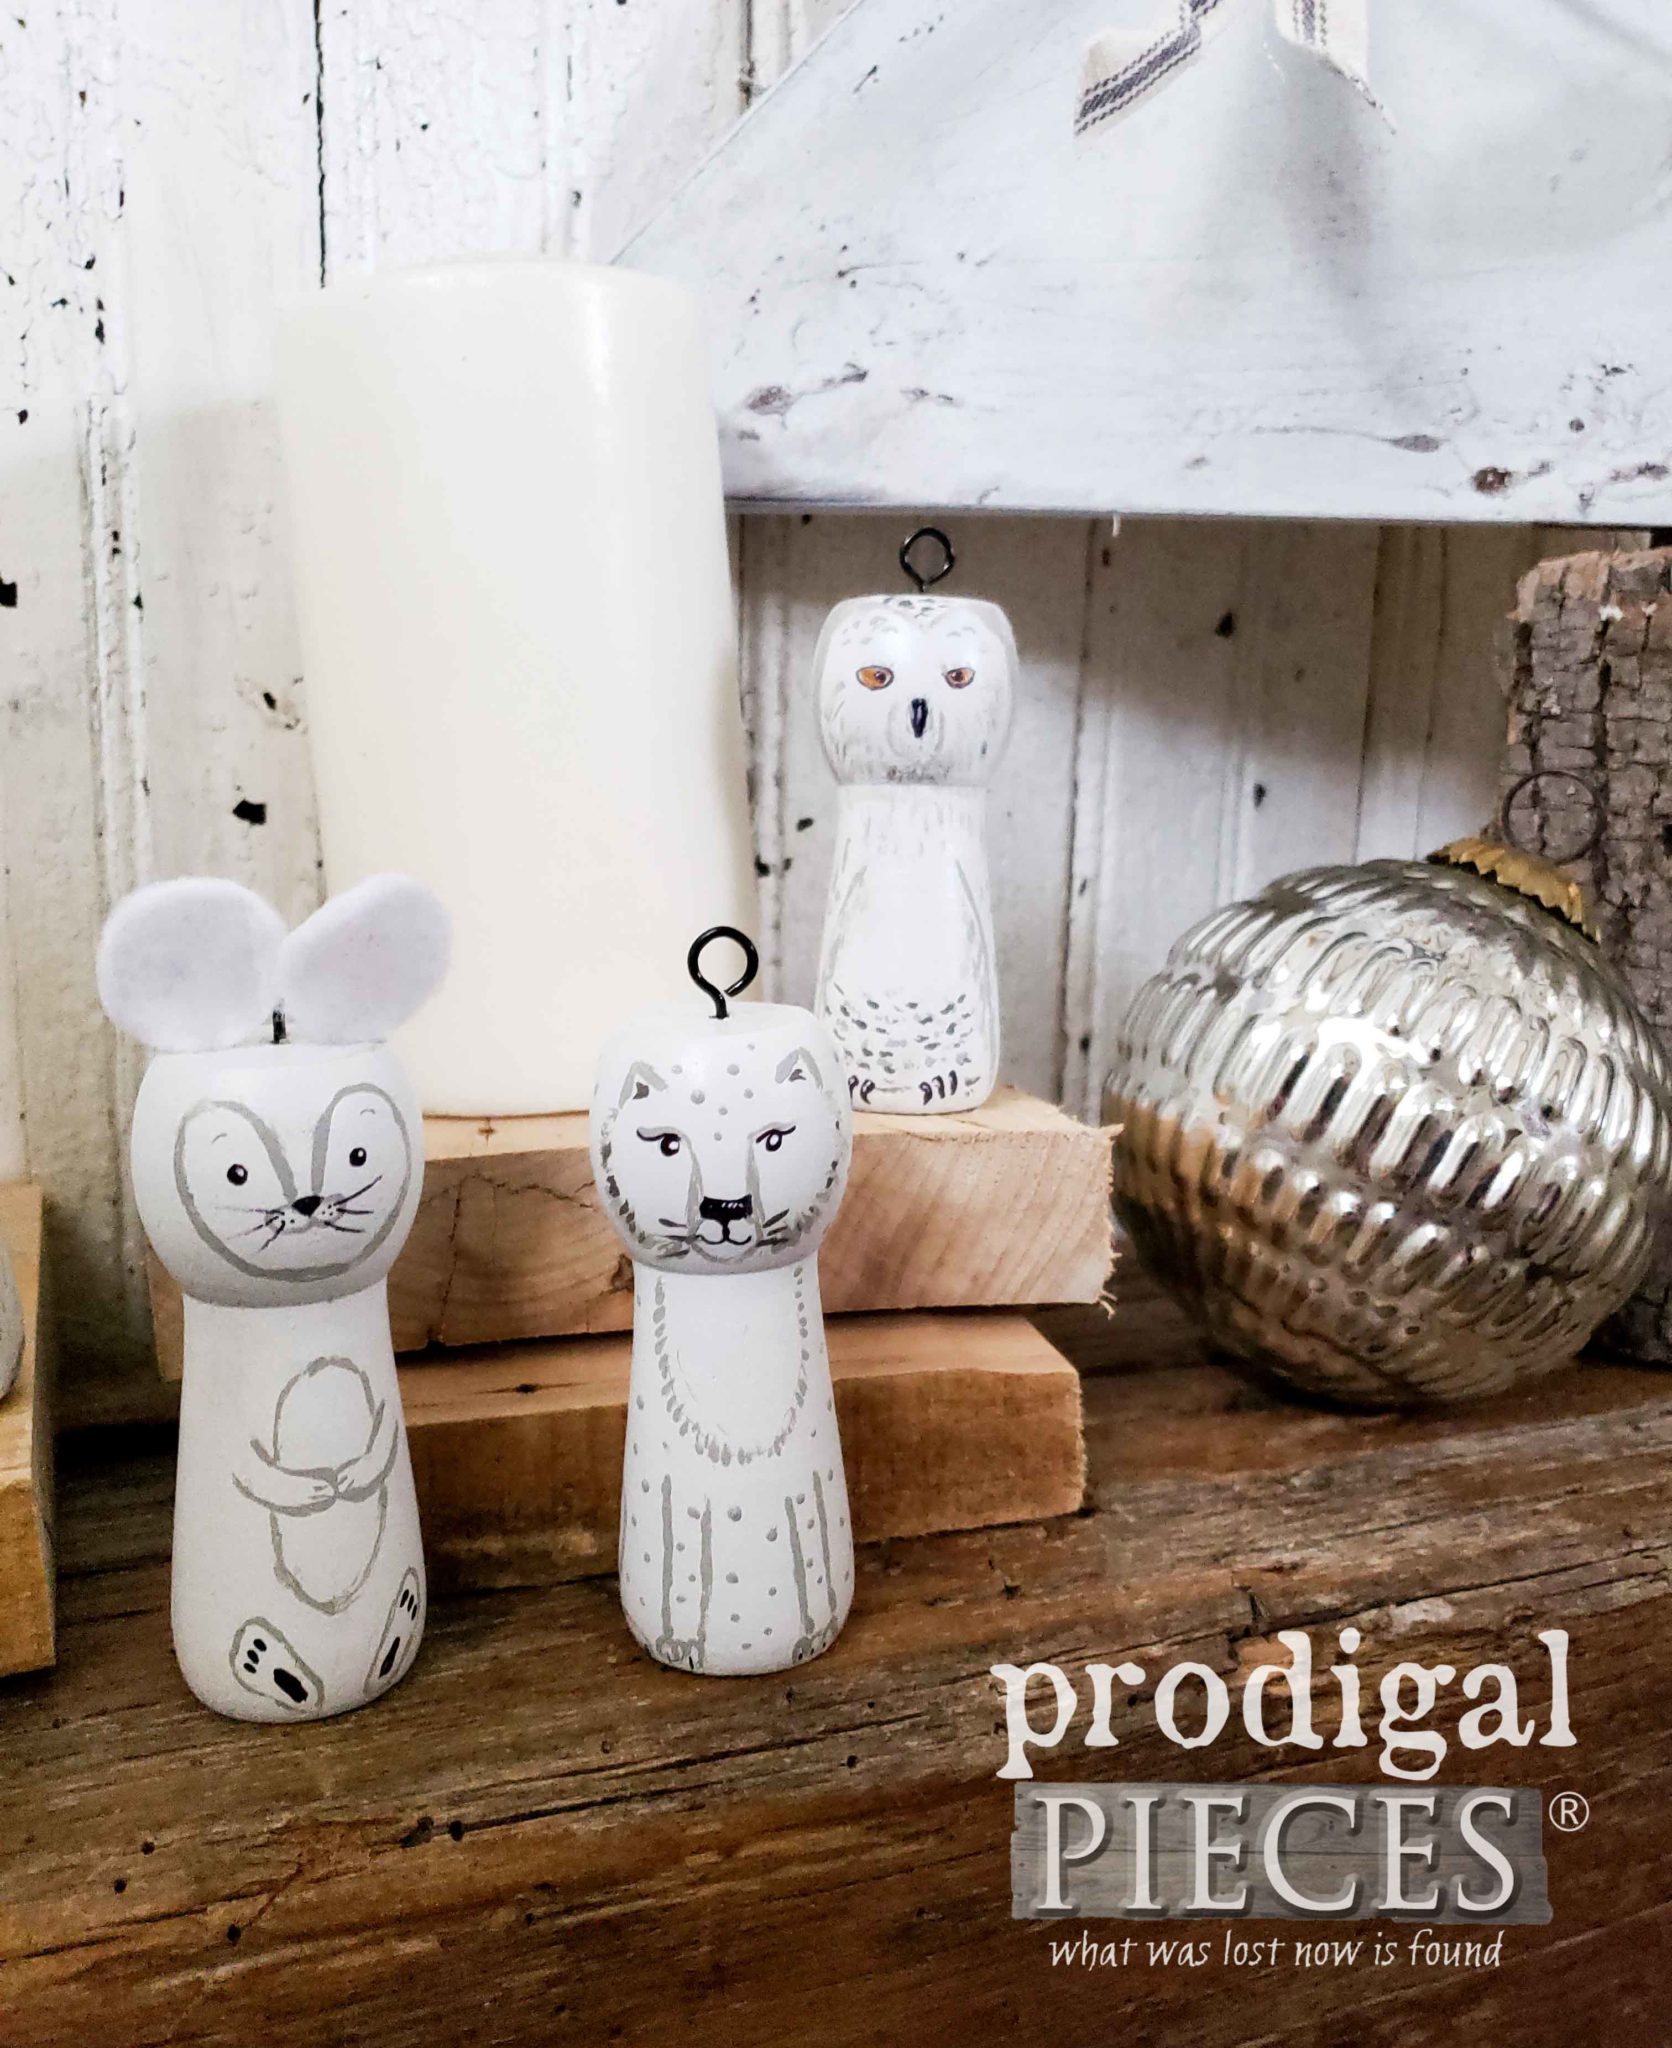
Last, but definitely not least, my little arctic woodland animal ornaments.
I made a polar bear, a rabbit, and a fox up above. While below, there is a mouse, a wolf, and a snowy owl.
They each have an screw eyes on top, and I will be adding a hanger and little note to each one. I admit…I have fun!
My wooden tote and upcycled Christmas tree are available in my shop, but I need to ask you to keep the ornaments a secret! It’s been hard to keep them out of sight of 6 pairs of eyes. hee hee.
SHARE
Pin and share this upcycled Christmas tree and decor tutorial. You never know what will inspire others – even a table in the trash.
Up next, for the other table from the same neighbor’s trash will be getting new life. See what it became HERE in this post.
Before you go, be sure to sign up for my newsletter. PLUS, you will get your FREE Furniture Buying Checklist and special discount to my shop. Until next time!






I would never have thought of doing anything like that. The tree and ornaments are adorable.
I’m so glad you like it. Thank you!
Fantastic ideas!
Thank you! 😀
What a fantastic idea. I Was wondering what you would do with that table. Great job & I love the little Christmas ornaments. Very original
Kinda crazy fun I had. I’m glad you like it, Karen.
It is wonderful when neighbors throw out things. I love the tree. And the little ornaments are so cute.
I know, right??! haha. Than you, Debra.
Your creativity rocks! In all my creative world I would never have thought of doing that! Beautifully creative!
You’ve made my day, Deb! 😀 Thank you!
I absolutely love your new tree and cute little ornaments along with your great imagination.
At the moment I have nothing that I could paint of which you know what that means; Thrift Store shopping 🙂
I sure could use that spray shelter.
Thank you for this wonderful giveaway opportunity. What a great Christmas gift this would make for the winner.
Enjoy your day and have yourself a Very Merry Christmas
Thank you so much, Colleen. These tools make a job so much fun and easy.
I love the tree and onaments. So creative. I need to paint so many things. I love my Home rite sprayer. It is great for shutters.
Thank you.
Oh my! I am always inspired by your creativity and artistry. Thank you!!
I’m delighted to hear it, Jennie. Fun for me to share.
Homemade ornaments are a wonderful tradition! Love the the little spindle animals – So creative!
They make our hearts happy. Thanks!
I have some chairs I would like to paint.
Another creative project! Love it.
Awesome! Thank you, Pat.
Hey Larissa! Again another wonderful blog post! You are so creative! I have Hal for my garage full of projects I have yet to get to! The turntable and gun would really be a nice addition to my tools to get my projects done easier and quicker! Thanks for the giveaway!
Kim
That is such creative thinking. Love your sweet Christmas tree! And those little ornaments with the hooks on top are also adorable!
I know you would have had fun with this too, Mary. Thank you!
Very very clever, love the ornaments. Were you that versatile when growing up?
Thanks! Yes, always creating and making my own way. 🙂
I’m absolutely blown away by your creative mind! Occasionally I get some awesome inspiration, but never like yours! The Christmas tree is so stinkin’ cute. I’m going to see if I can somehow make something similar. Awesome projects!
tee hee! You’ve made me giggle, Kimberly! Thank you. I do hope you try!
Your imagination! Do you ever sleep?
haha…you may think not, but YES! 😀 Thank you, Peggy.
I wish I had your creative eye. I don’t tend to see the possibilities in a piece like you do. What a clever idea. Thanks for your posts. I really enjoy them.
Love how you see something from something worn out 🙂
Thank you for all of the tips, and the chance to win. Merry Christmas
I think the first thing that I would do is paint an old drawer that we put feet on to make a blanket/whatever you want to put in it 🙂
What a wonderful creative mind you have! I never would have seen a Christmas tree from that corner shelf. The little knobs/animals are so darling!
It truly hope to inspire. Thank you so much, Lynne. 🙂
So cute!!!
Thank you, Lorri. I had fun!
AhahahAha! I laugged when you said you sent your son! I used to do that with my daughter… We’d spot something on a curb, and I’d tell her “just jump out and grab it!” She grew up to be very frugal, and environmentally responsible. You’re doing great! ?
He loves to do it and I was couldn’t get away from what I was doing to get it. haha!!
Those little ornaments are absolutely adorable! Your kids will love them. And I wasn’t wondering why your neighbors threw out that shelf but was wondering why you would want it. Once again you made something beautiful from a cast off. Oh Christmas tree, oh Christmas tree…… beautiful.
I sure hope so. Thanks! It’s been awhile since I’ve created just for them so it felt good. Thank you, Barb.
What great vision you have! I couldn’t imagine what you were going to do with this. It’s adorable!
Fun for me to share and inspire. Thank you, Carolyn.
I consider myself to be creative but I am seriously always amazed when you take one piece and break it down into several awesome pieces. I would repaint my nativity set with the sprayer and shelter.
Thanks! It’s kinda like candy for my brain…tee hee. Such fun!
Very creative! Those little animal ornaments are adorable! Your children are blessed with great parents.
You are so sweet to say so, Danelle. Thank you.
I’m always amazed at the ways you come up with to recreate the pieces you find! You inspire me!
That’s wonderful to hear. Thank you!
I am totally amazed how you can come up with the projects you do with what you are given. That project turned out just adorable. I really am at awe with your imagination. The first project I would tackle with the sprayer and the shelter would be a set of wooden Christmas tree that I would like to repaint. I could do it by hand but it would look so much cleaner if it was done with a sprayer.
Thank you, Renee. I truly hope to encourage others to see past the obvious too.
Who’da thunk??? You are so creative! When I see these make over I always try to imagine what the final design will be. No way with this piece? I love them all!
happy dance!! Thank you so much.
You are so clever. Love the tree.
Thank you, Bobye.
Such great ideas! The tree is cute but those ornaments are the most adorable things I’ve ever seen! What a special gift for your sweet babies! I give my children, grandchildren, and great grands ornaments every Christmas and some of them are handmade but definitely not in the same ball park as yours! Another amazing makeover. God has given you such amazing talent!! Merry Christmas to you and your family!!
You always make my day, Debra. Your children and grand children are blessed to have you. Merry Christmas!
The wooden tree is so clever…love it! You have such great talent! Keep up the awesome work! I would love to have the sprayer to finish the dresser that my daughter started painting a few months ago. It’s still on our porch and winter is coming…time to complete this project so she can finally organize her room. Thanks so much for the chance to win this giveaway!!! You are an inspiration to us all!!!
Thanks so much, Ginny! 😀 Sounds like some fun headed your way.
Larissa, I have to tell you. You are a true visionary and craft artist and I enjoy watching you create. That said, you outdid yourself in every way with this corner shelf. Oh my goodness the imagination! I truly LOVE what you made. It is one of my top five! lol Merry Christmas and best wishes for the new year to you and your family!
Wahoo!! That is fantastic to hear. Thank you!
P>S> I have so many projects waiting for me to paint them, I may never get done without that paint sprayer!!! I have arthritis in my hands and this would be such a gift!
You sound like me. tee hee! 😀
Thank you so much for sharing your projects with us. You fulfill your mission to inspire every week (twice I might add; and in this post alone, three times!) I not only admire your creativity, but also your time management skills. That boggles my mind how you fit so much into a day.
I love how you used the pine firewood round for the trunk of the tree! I would love to build a little tote or two with my hoarded scrap wood pile. And I could go on and on over those adorable little critters. You are going to get some squeals out out those! A spray tent would be so handy to paint the tote that I will make in your honor if I win one! More blessings to you, thank you for all that you do and share!
Thank you for saying so, Paula, as it takes much work and I really try to create projects to inspire. I sure you have a Merry Christmas!
So adorable! I love it!
I would use these to paint my farmhouse signs that I have been working on. Thank you for the amazing giveaway!
Hugs,
Erin
Thanks! Sounds like fun.
I have an old outdoor table that definitely needs some attention, so I would tackle that first.
So very creative!!!
Wonderful to hear. Thank you!
What a wonderful idea and so cute. I pick up things off the curb all the time because I do not like to see items go to clutter our landfills. The neighbors wull be wanting their items back now for sure lol.
haha! I thought about showing them what I do with them both. 😉
The little animal ornaments are super cute! Love to tree too.
Thanks so much. I had fun with all 3 projects. 🙂
Hi Larissa, I know I mentioned loving these projects and loving the ornaments you made for your children, but I forgot to mention how cool the tote with the buffalo print looks, I mean that spindle handle is just awesome!!!
I am also jumping for joy because I finally found a good sized and well spinning lazy susan to use for painting! I don’t remember exactly when you shared that tip with me, but it was fun to hunt that one down all these months! Thank you
You are sweet to say so. That was a fun build and so useful too. I have fun! Sounds like you’ll be having some DIY fun of your own. Yahoo!!
Oh darn, I just noticed that I made a type in my email address on my earlier comment, I pressed post comment too fast!
No worries!
I love all those projects but I’d have to say the little tote was the best
Sweet! I was so happy with the outcome of that one. Thank you!
Love it all, so talented! I would paint some old metal chairs for my patio
Thanks! That sounds like a great project.
omigosh! I was just marveling over all the repurposing you did then I see there’s a giveaway! Thank you for another chance to win one of these! COOL! I would probably start with something small just to break it in. Maybe just a piece of wood to make a sign.
You are so fun, Patty! I’m so glad you had fun. You will love it!
My favorite are the ornaments. How creative. It’s something that your children will enjoy for decades. ❤️
I think they will too as they love to get my creations. Thanks so much. 🙂
I do love finding a new purpose for old items and your creativity is never ending! I get so much inspiration from you! I have several old brass picture frames that I want to paint and use in my home, so that would be my first project!
What a great thing to hear. Thank you, Kathy. 😀
I would paint my coffee table. This was a really cute project.
Thank you.
God has gifted you with a vision. I could look at something like that and think “Meh, nothing for me here.” You look at these broken down, forlorn little homeless items and envision a thing of beauty. You are truly blessed. I love your blogs.
You’ve just made my day, Cecilia. How very sweet of you to encourage me. Thank you!
I love your tree! And I’d have to go back to my saved project file to remember why, but I just made myself a note to watch for a heat gun at the thrift stores in the last week sometime, so winning this prize would be amazing!
How fun is that?! Woot! I hope you win, Shelley!
I wish I had the ability to look at an object and visualize it as something completely different. Your finished projects are always great. I really enjoy your blog and have learned a lot from it.
Your words means so much to me, Janet. Thank you for lifting me up in what I do.
Love the tree ! You’re so talented !
Thanks, Charlene!
I love the idea of homemade ornaments. I have made both of my children one every year until my youngest reached 21. Once they moved out I gave them each their own ornaments and they had a start on their first trees. Now I have begun doing the same for my 2 grandsons. The ones you have made are beautiful!
That’s our plan too. Fantastic mama! 😀
I love everything you did here. The ornaments are ADORABLE!
I’m so excited to gift them to them. I can’t wait!
you are amazing, absolutely amazing.
I do think the same of you for such love. Thank you, Jolinda.
Larissa, As always: AMAZING work!
aww…shucks. Thank you!
I save all the pieces too!! You never know when you’ll need a doodad!
Beautiful!
Atta girl! 😀
You have such an amazing eye when it comes to turning thrift ‘junk’ into beautiful treasures! Because of your blogs I give everything at my local thrift shop a second look. I often think to myself ‘What would Larissa do with this?’!
That’s so fun to hear, Michele. Thank you!
I love everything about this post. So cute. I have so many projects to do, its hard to pick what would be first
Wonderful! I’m delighted to hear it, Cindy. Thank you.
Larissa, you continue to amaze me with what your eyes can see and your creative mind imagine. I immediately wanted to find the same table. LOL,. don’t know exactly when I would get it done. I am impressed. I will put the sprayer and shelter to good use. I am getting ready to repaint my kitchen cupboards and have a couple of magazine racks and a built in telephone desk that are going to need some new paint, just haven’t decided what color. The sprayer and shelter would be a great help.
haha!! Maybe it’s out there waiting for you. Ya never know. 🙂 Sounds like you could use this set for sure.
You always have the best ideas and follow-thru! Love the sweet ornaments. How special for your kiddos. Would love to see the ornaments you guys have made over the years!
I”m so glad you think so! Thank you, Staci.
This is just too awesome! The only thing I can’t figure out is why you didn’t hang those cute little ornaments on the cute little tree? You amaze me girl!
Thanks! They are too large for the little tree, plus they’re for my kids so I’m keeping them. The tree and tote are available in my shop. 🙂
I would redo an old nightstand I have.
I have a table I would like to repaint.
I have a small candle stick holder that needs to be painted.
I love working and restoring all kinds of furniture. Almost everything in my bedroom and most in the living room are things that I have painted and or restored.
So cute! Love those ornaments. When I told my granddaughter that you made your son grab it from the dumpster, she laughed and said that sounds like something I’d do. Lol I would have too! Liz
haha!! Right on, girlfriend!! He loves to go get them, my kids fight over who gets to go. 😀