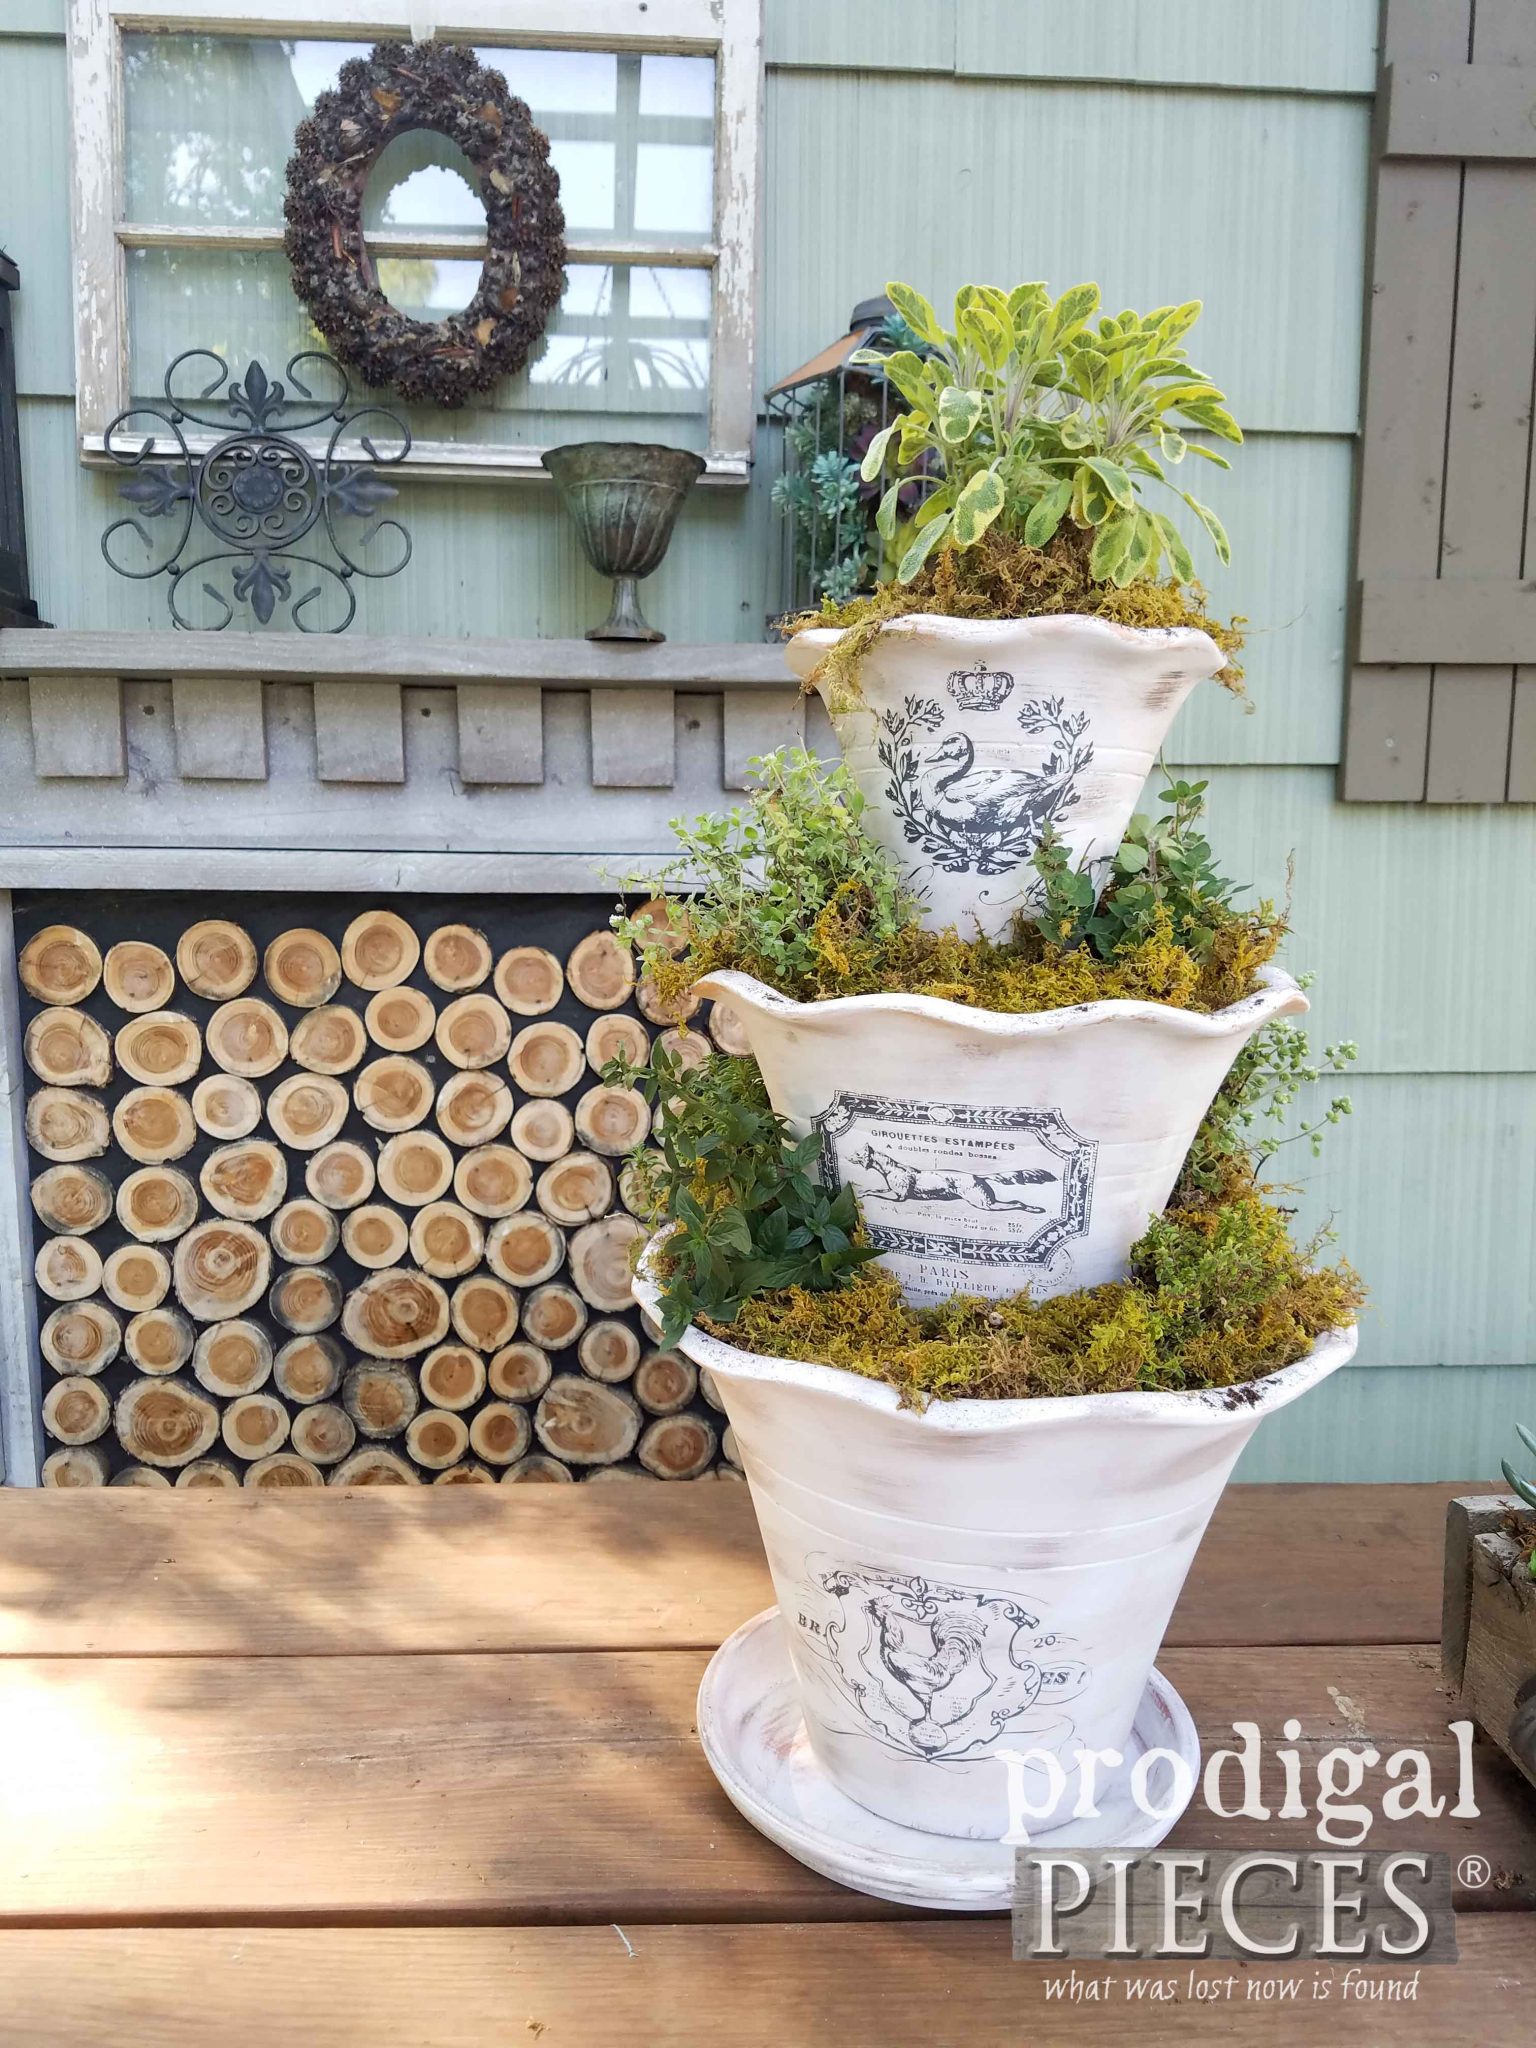
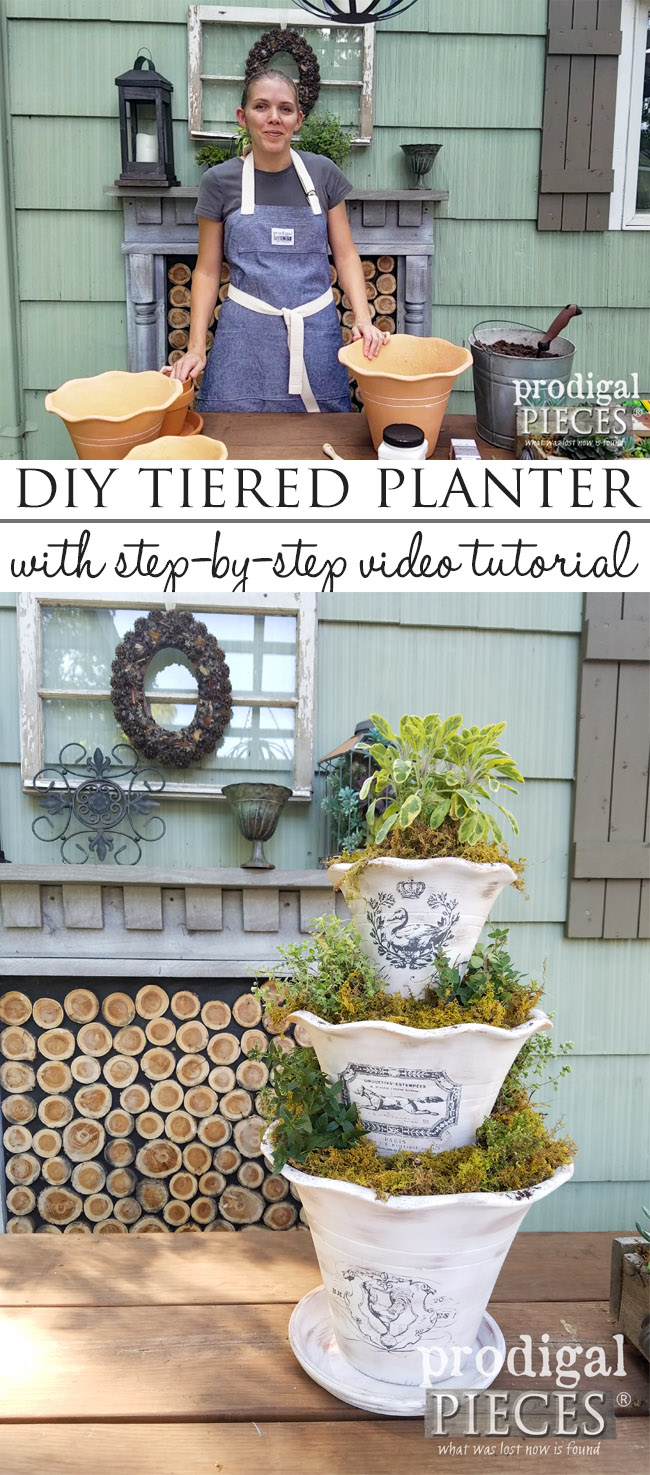
Do you have a green thumb? No worries if not because my project today will be perfect for fresh or faux displays. It’s all about getting crafty and I’m here to show you how in my latest video. We’re going to take our gardening to new heights by creating a DIY tiered planter that will give you the option to add French flair.
The best part about this entire project is it can be tweaked to your liking in oodles of ways. For this purpose, I am going to demonstrate an aged French finish in my latest video. As a result, you will see the options are limitless. Yay!
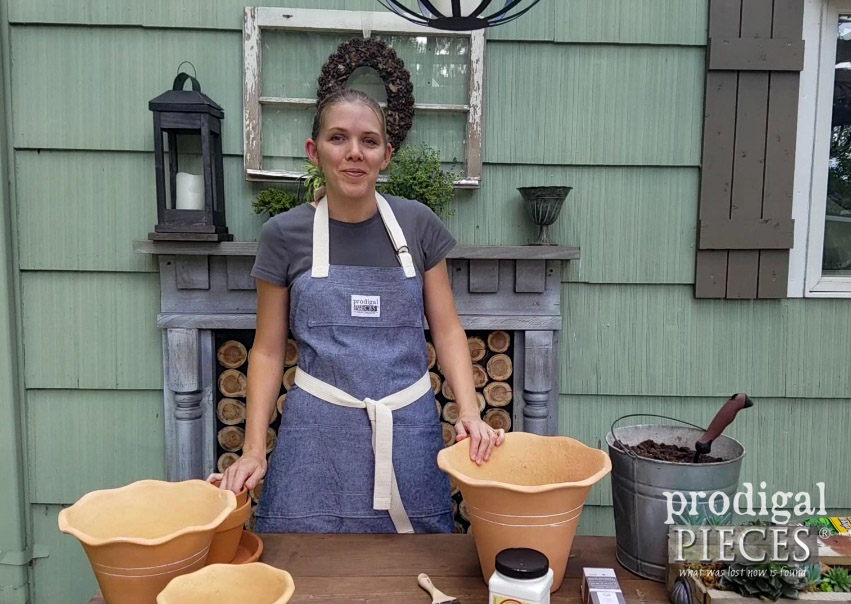
First, here are the basic supplies you will need to create a DIY tiered planter of your own. Feel free to dry stack the pots at the store to make sure you get the right height.
TERMS OF USE: when you create these planters, you agree to the following: it cannot be shared or distributed for monetary gain in any way, it may not be modified in any way, and you may not claim the work as your own. Likewise, this planter design can not be used as decor in a store either online or brick and mortar. Thanks for complying!
DIY TIME
Materials:
- 3 – pots of varied size for the base of the structure. I used 8″, 11″, 13″
- 1 – approx. 6″ x 5″ pot (for inside the large)
- 1- approx. 5″ x 6″ pot (for inside medium)
- potting soil/compost blend
- 1 – base plate for bottom of tiered pots
- white paint
- brown wax (optional)
- French Pot Transfers
- Liquid Nails
- topcoat (optional)
- sheet moss
- painter’s tape or masking tape
- selection of herbs, flowers, faux flowers, etc.
Tools:
- paint brush
- garden spade
- caulk gun (if using liquid nails)
Ready to get started? Let’s get our build on. Woot!
To make this easier, I created a video that take you through the entire process start to finish.
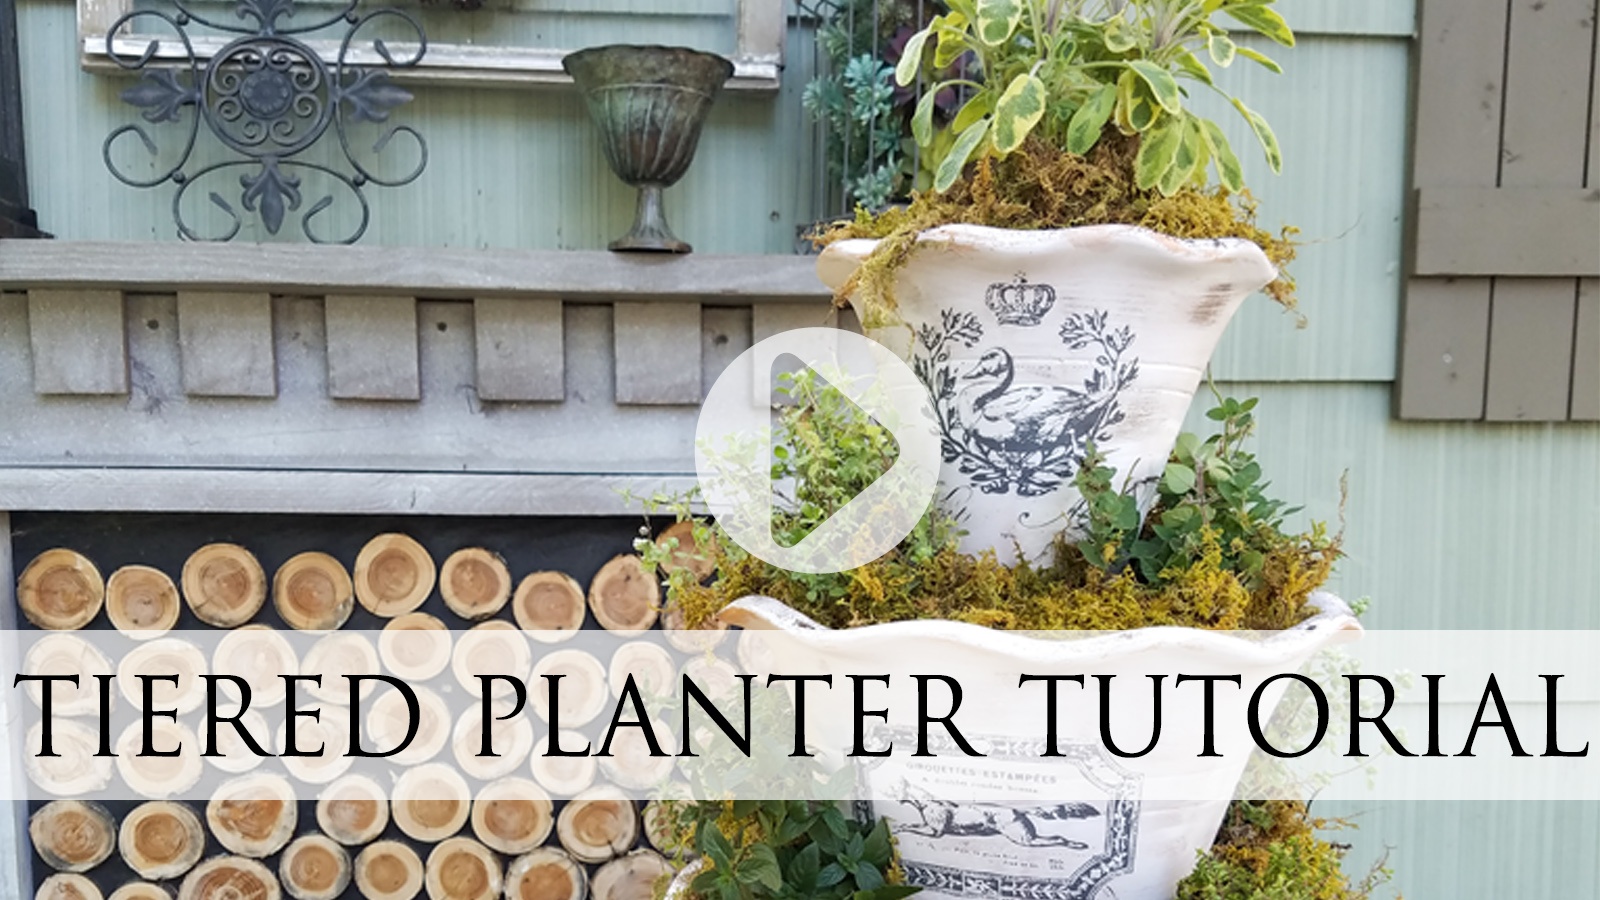
For those of you not video inclined, I also have the steps laid out for you so you can have them in written form too. Again, you could go any direction with color and style of design, but I am demonstrating how I created a French DIY tiered planter.
Step 1
Once you have all your materials and tools gathered together, you’ll want to begin by giving your pots a whitewash using a basic white paint. Using strokes that go around the container. Then, a brush-width edge on the inside.
Also, you want to use a dry brush technique of just getting a bit on your brush. We’re not looking for a solid coat, but rather an aged appeal. Then, let cure for about an hour or completely dry to the touch.
Step 2
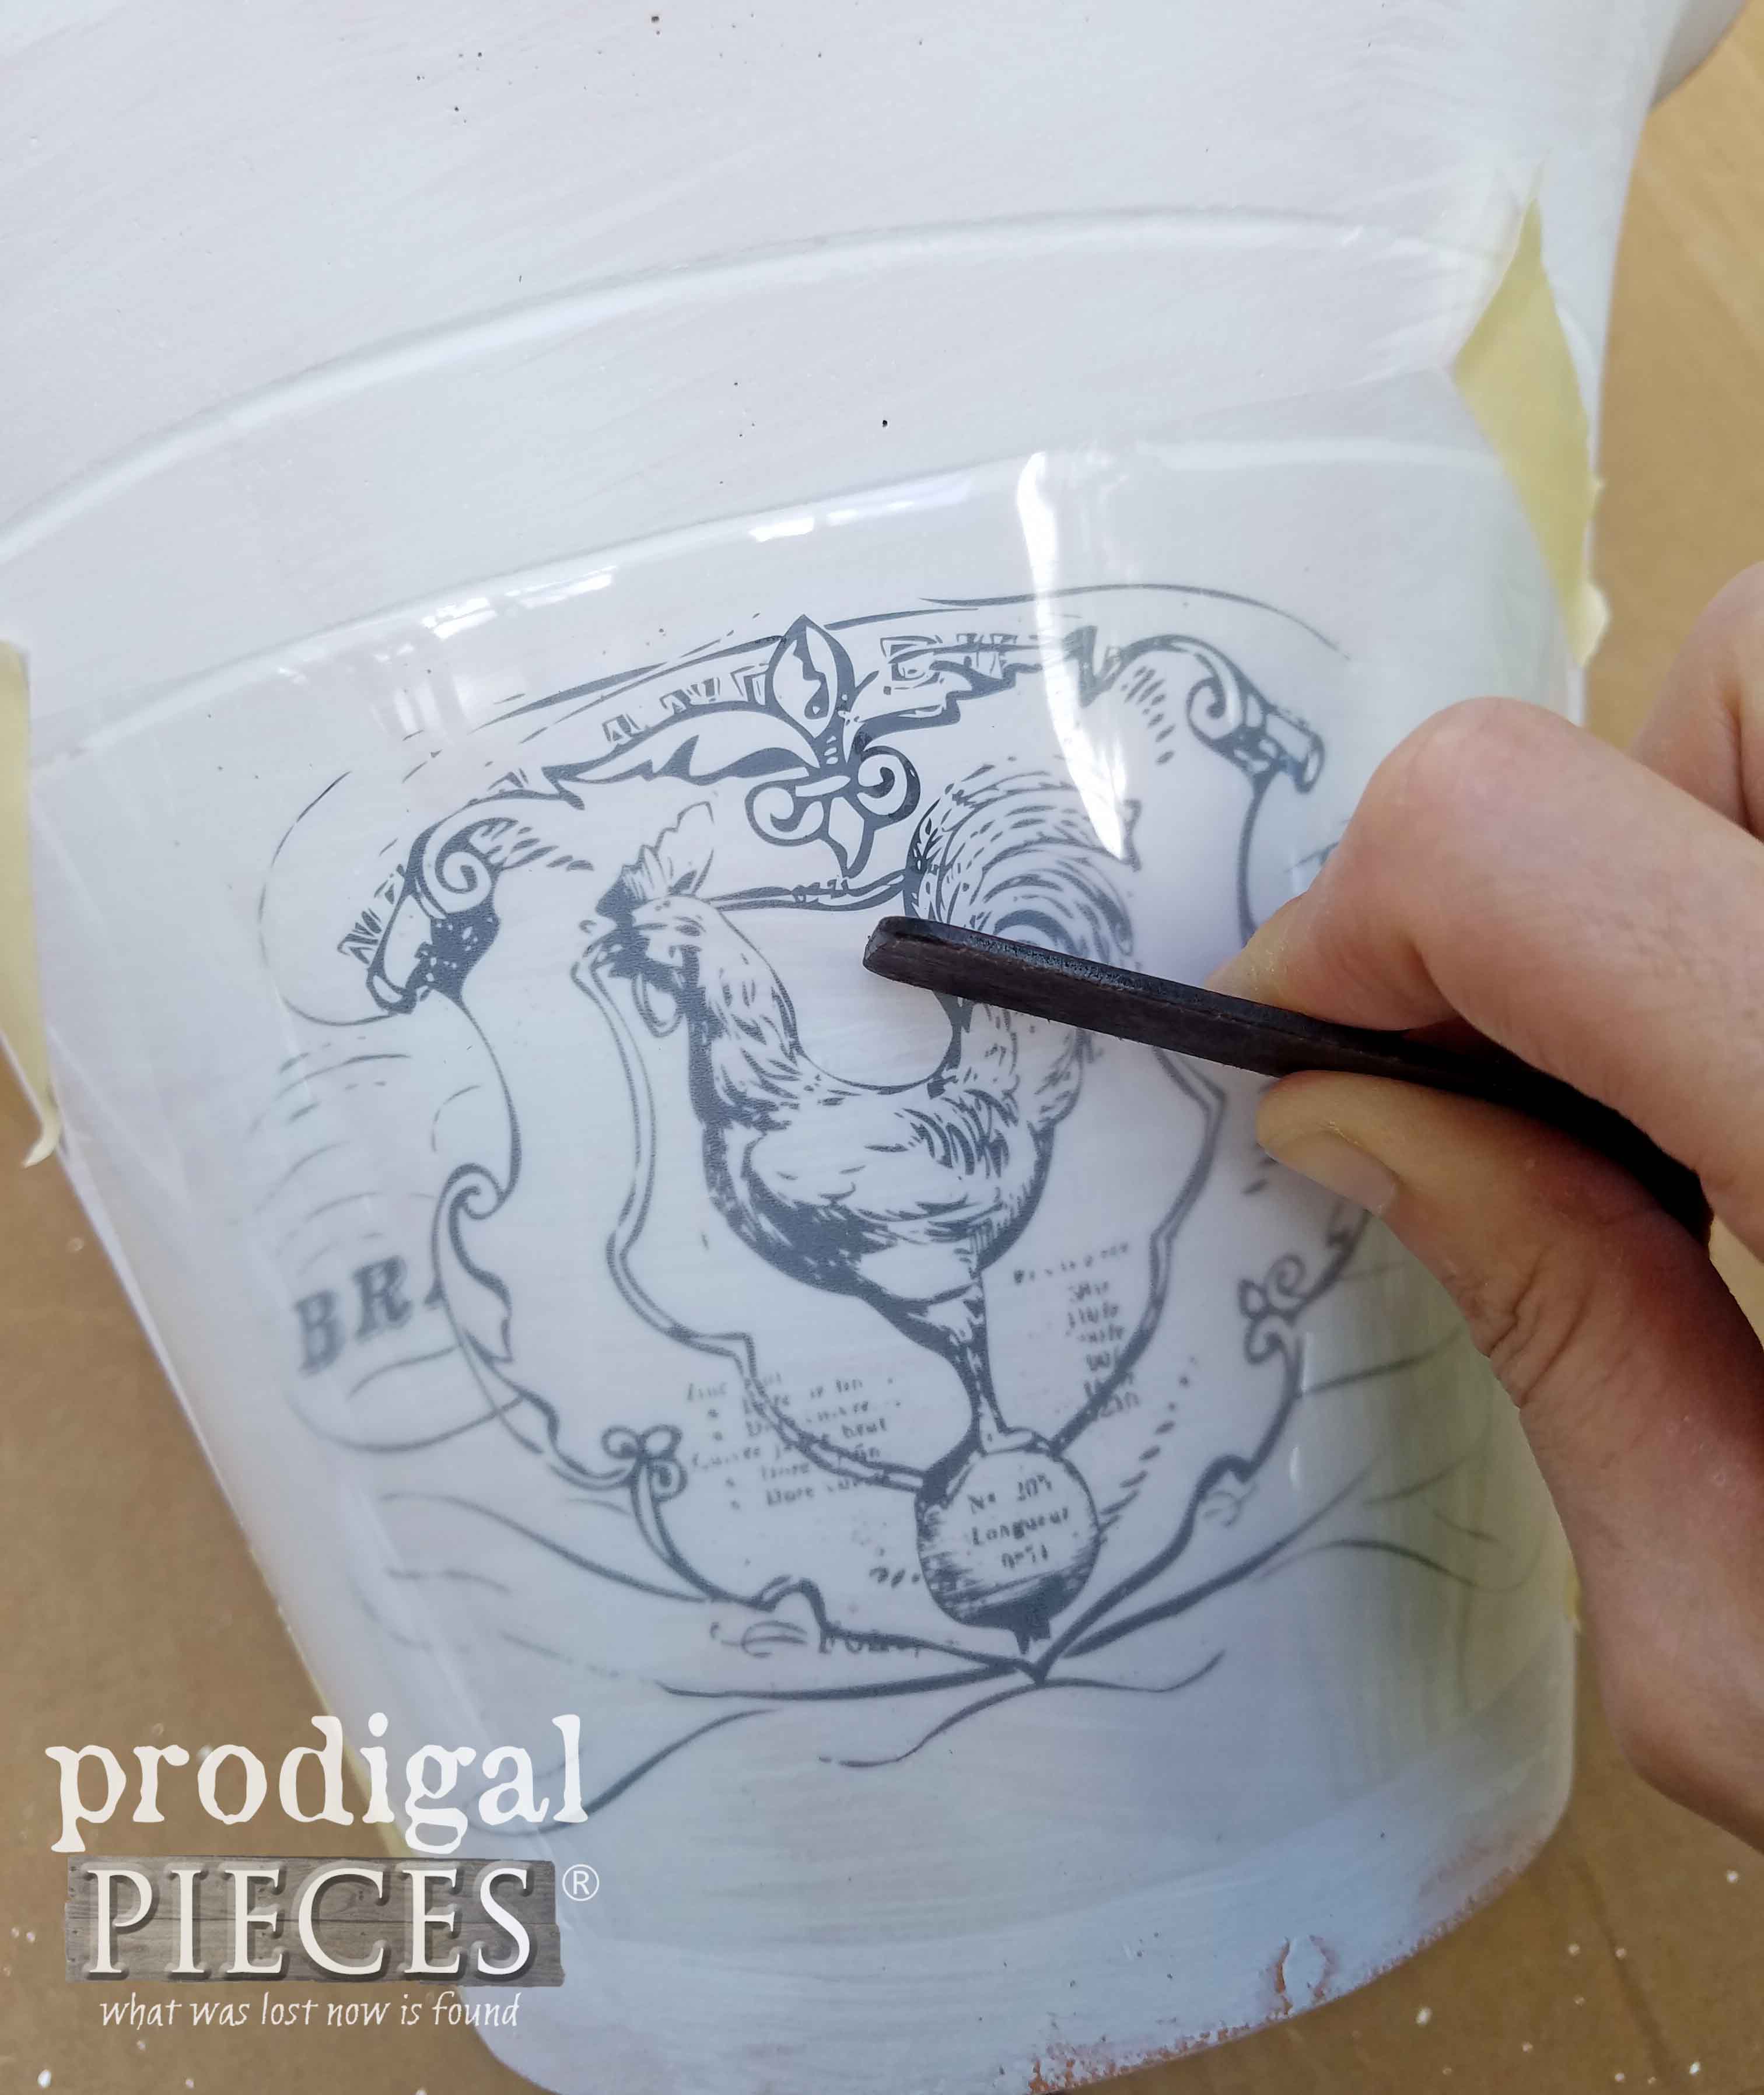
Time to add our French flair. Ooh la, la! This is a fun part because it’s so easy to quickly see results. Next, cut apart your transfer into 3 separate decals and tape them in place. Then, using the provided burnishing tool, rub the transfer starting from the inside out working to the outside edges. To illustrate, refer to the video above.
In addition, you will notice the transfer being applied as the backing becomes translucent. To remove the backing, start at one end lifting slowly to make sure all the image has transferred. Aren’t they fun?
Step 3
To add to the time-worn aged appeal we’re after, we’re going to use a brown wax to lightly go over each pot in random swipes going around the planter. (see video for demonstration) With this in mind, you are even going to go over the transfer as well.
Once you’ve applied the wax, take a soft cotton cloth and remove any excess and also lighten up the color a bit.
Step 4
Then, it’s at this point that you want to apply your topcoat if you are using one. Just choose whichever suits the look you are after. Generally, you will use as many coats as desired and let cure.
Step 5
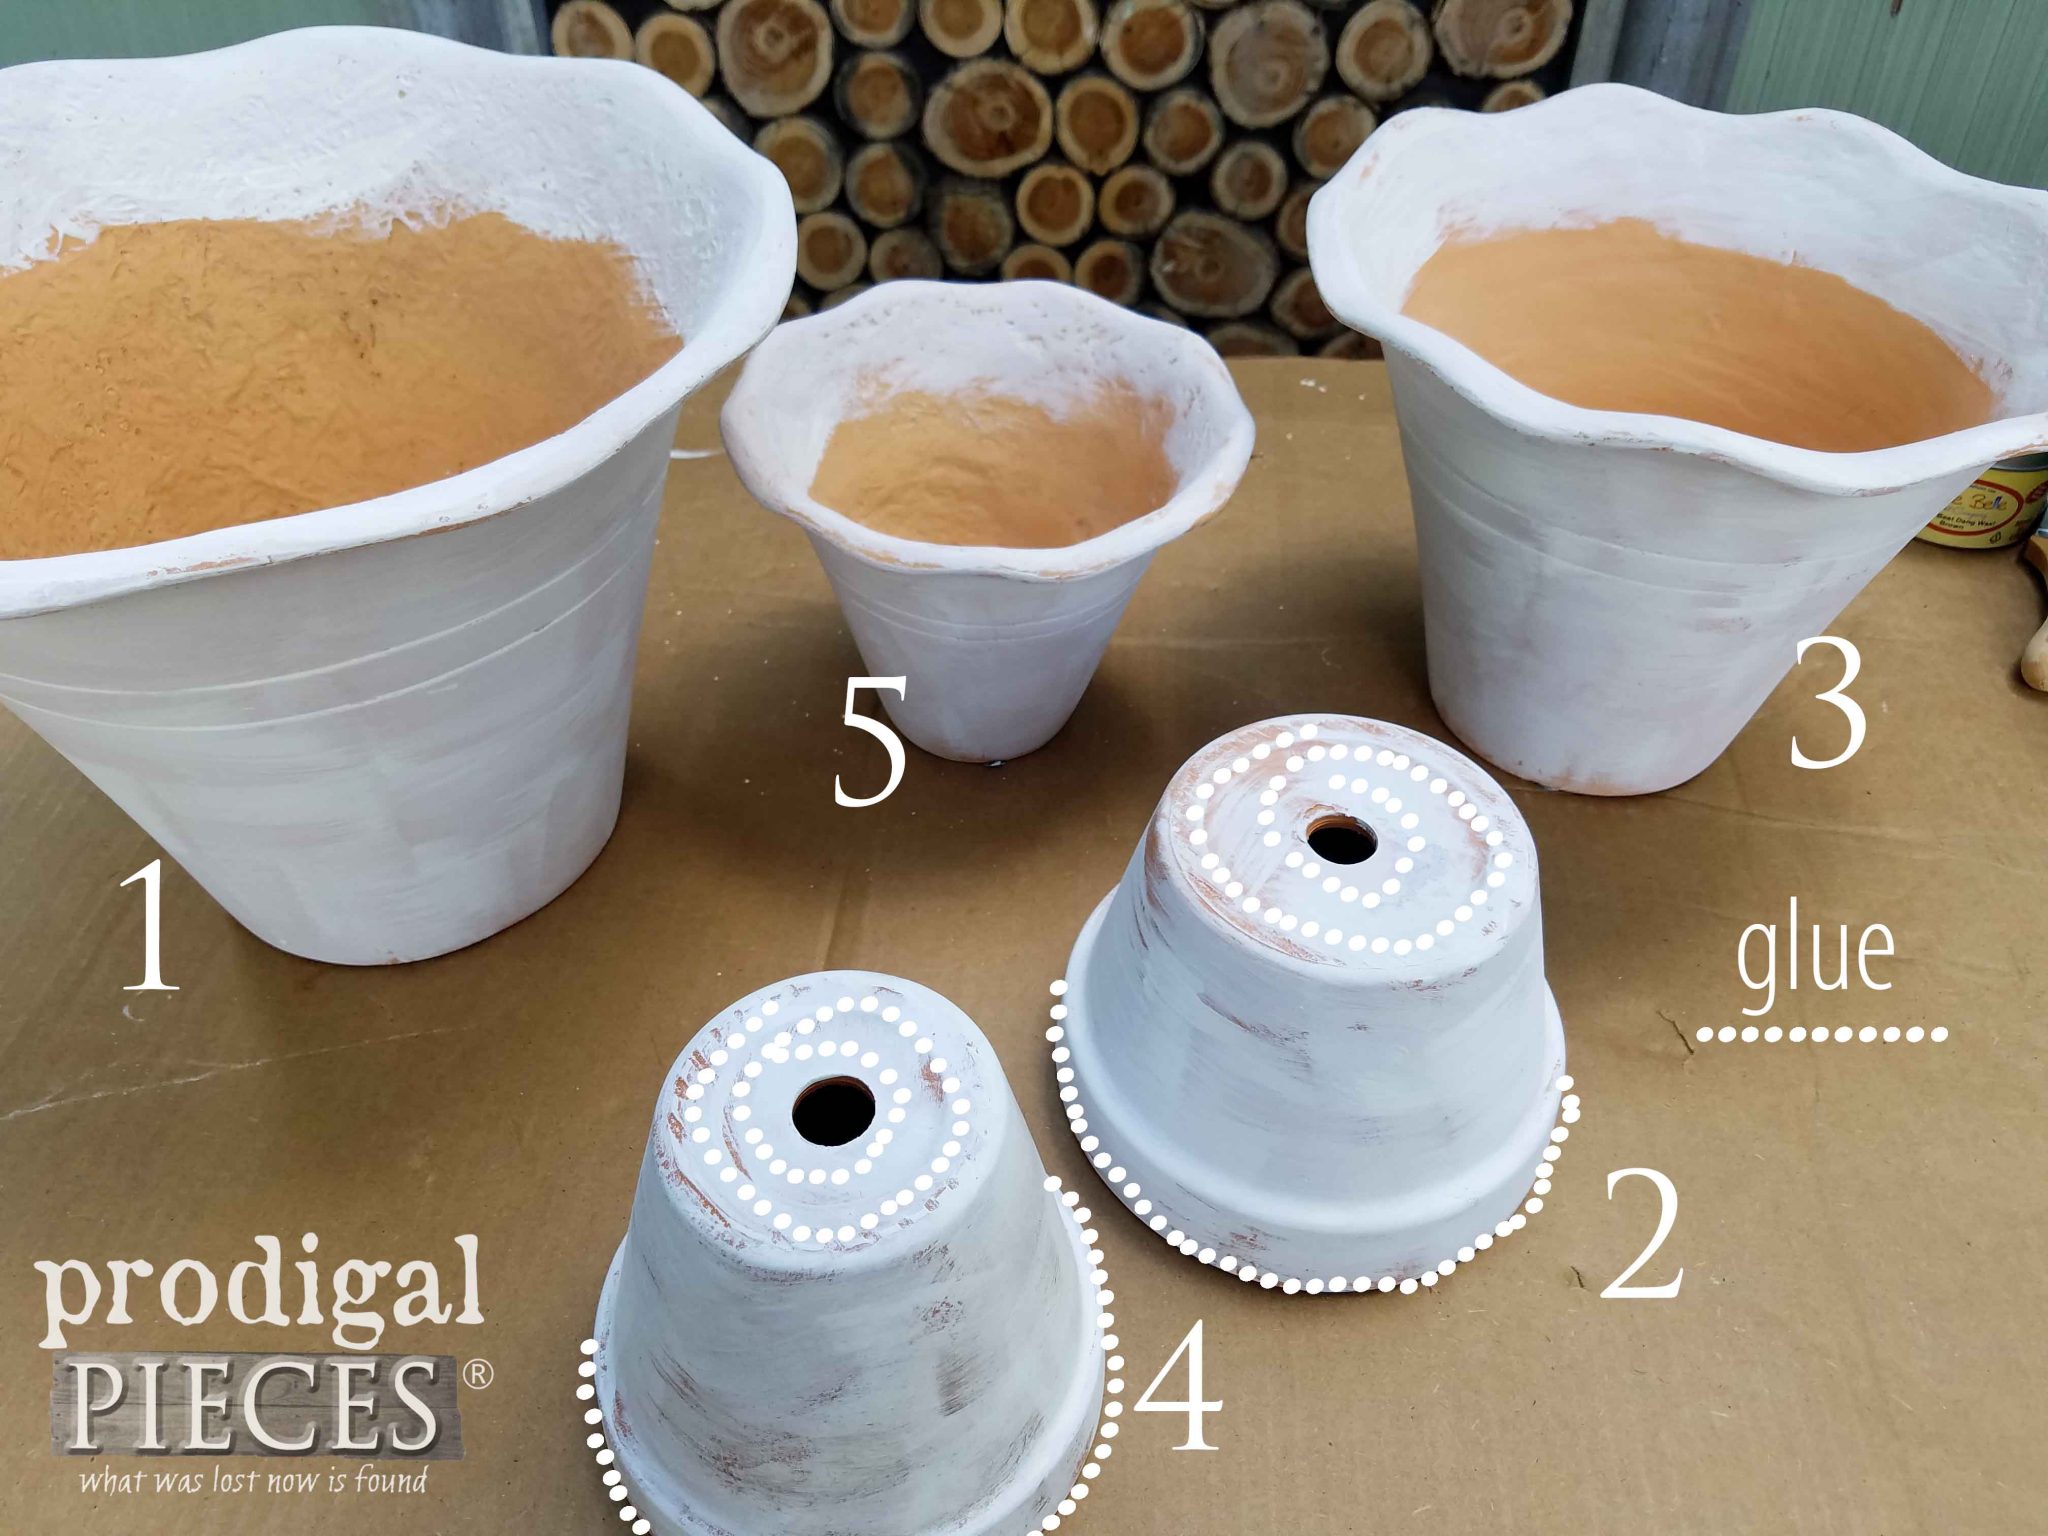
Time to assemble! Take a peek at the assembly order below making note of the glue lines. To begin, I use a heavy duty Liquid Nails glue in a tube for my project since we need quite a bit. Then, add a bead of glue around the two pots top edge that we are are turning upside down to place in the bottom and middle pots.
Next, insert the upside-down pots inside the bottom and middle planters and press firmly into place. Afterward, apply a generous amount of glue to the bottom of each upside-down pot and stack your planters according to size. (see video demonstration) Let cure for 12-24 hours.
Step 6
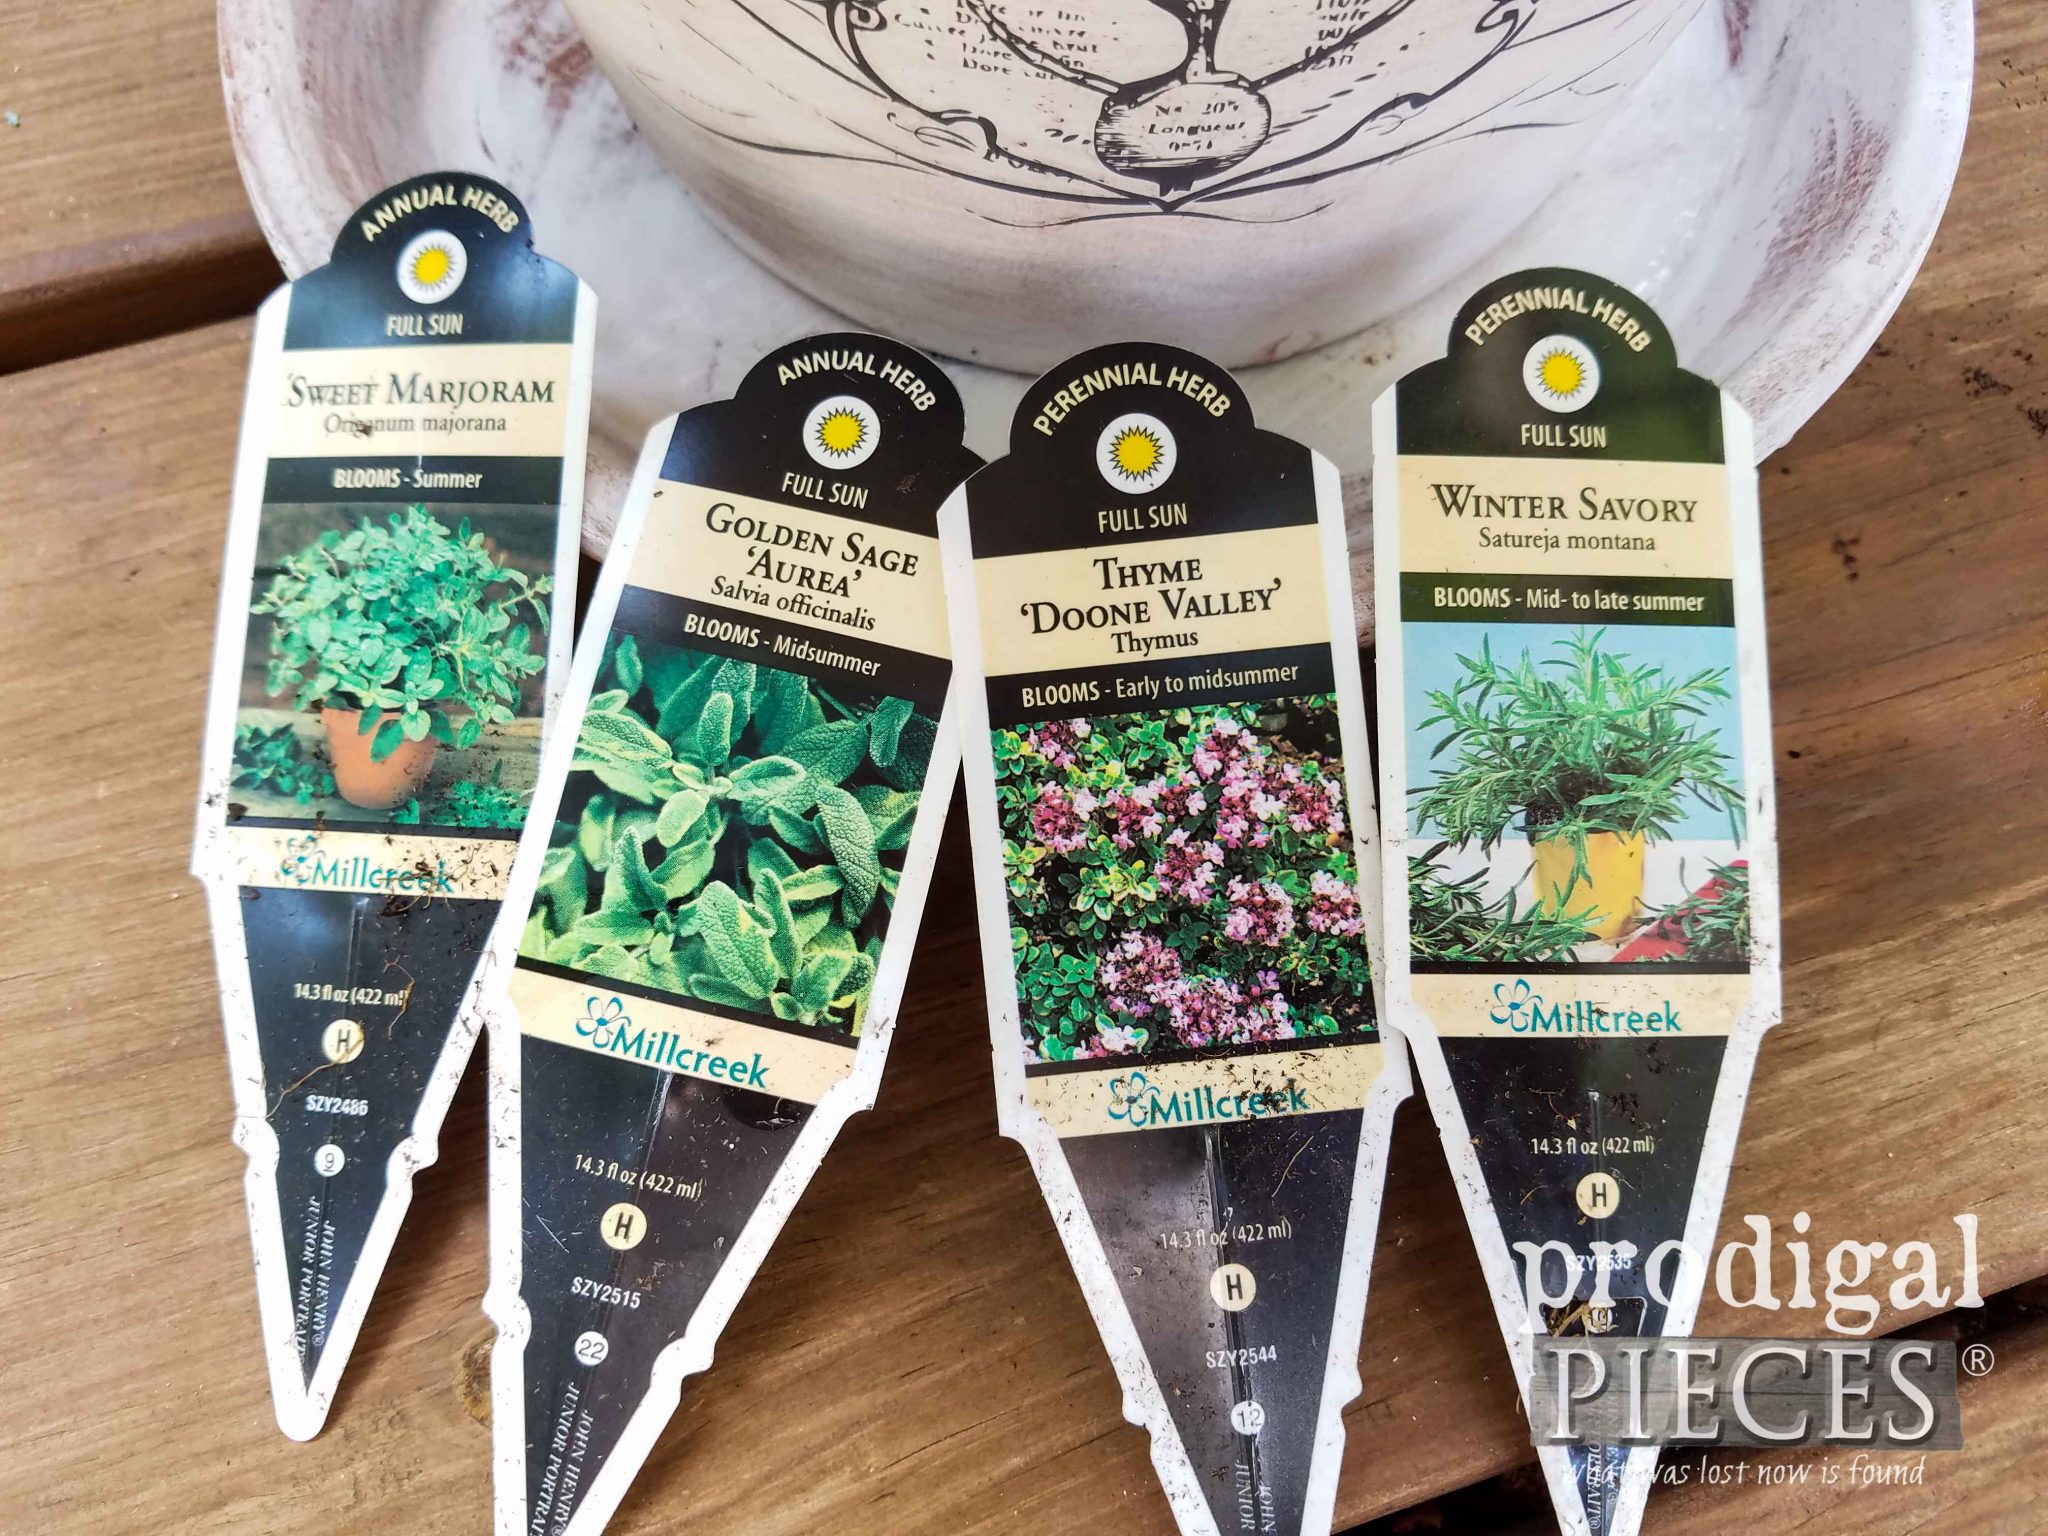
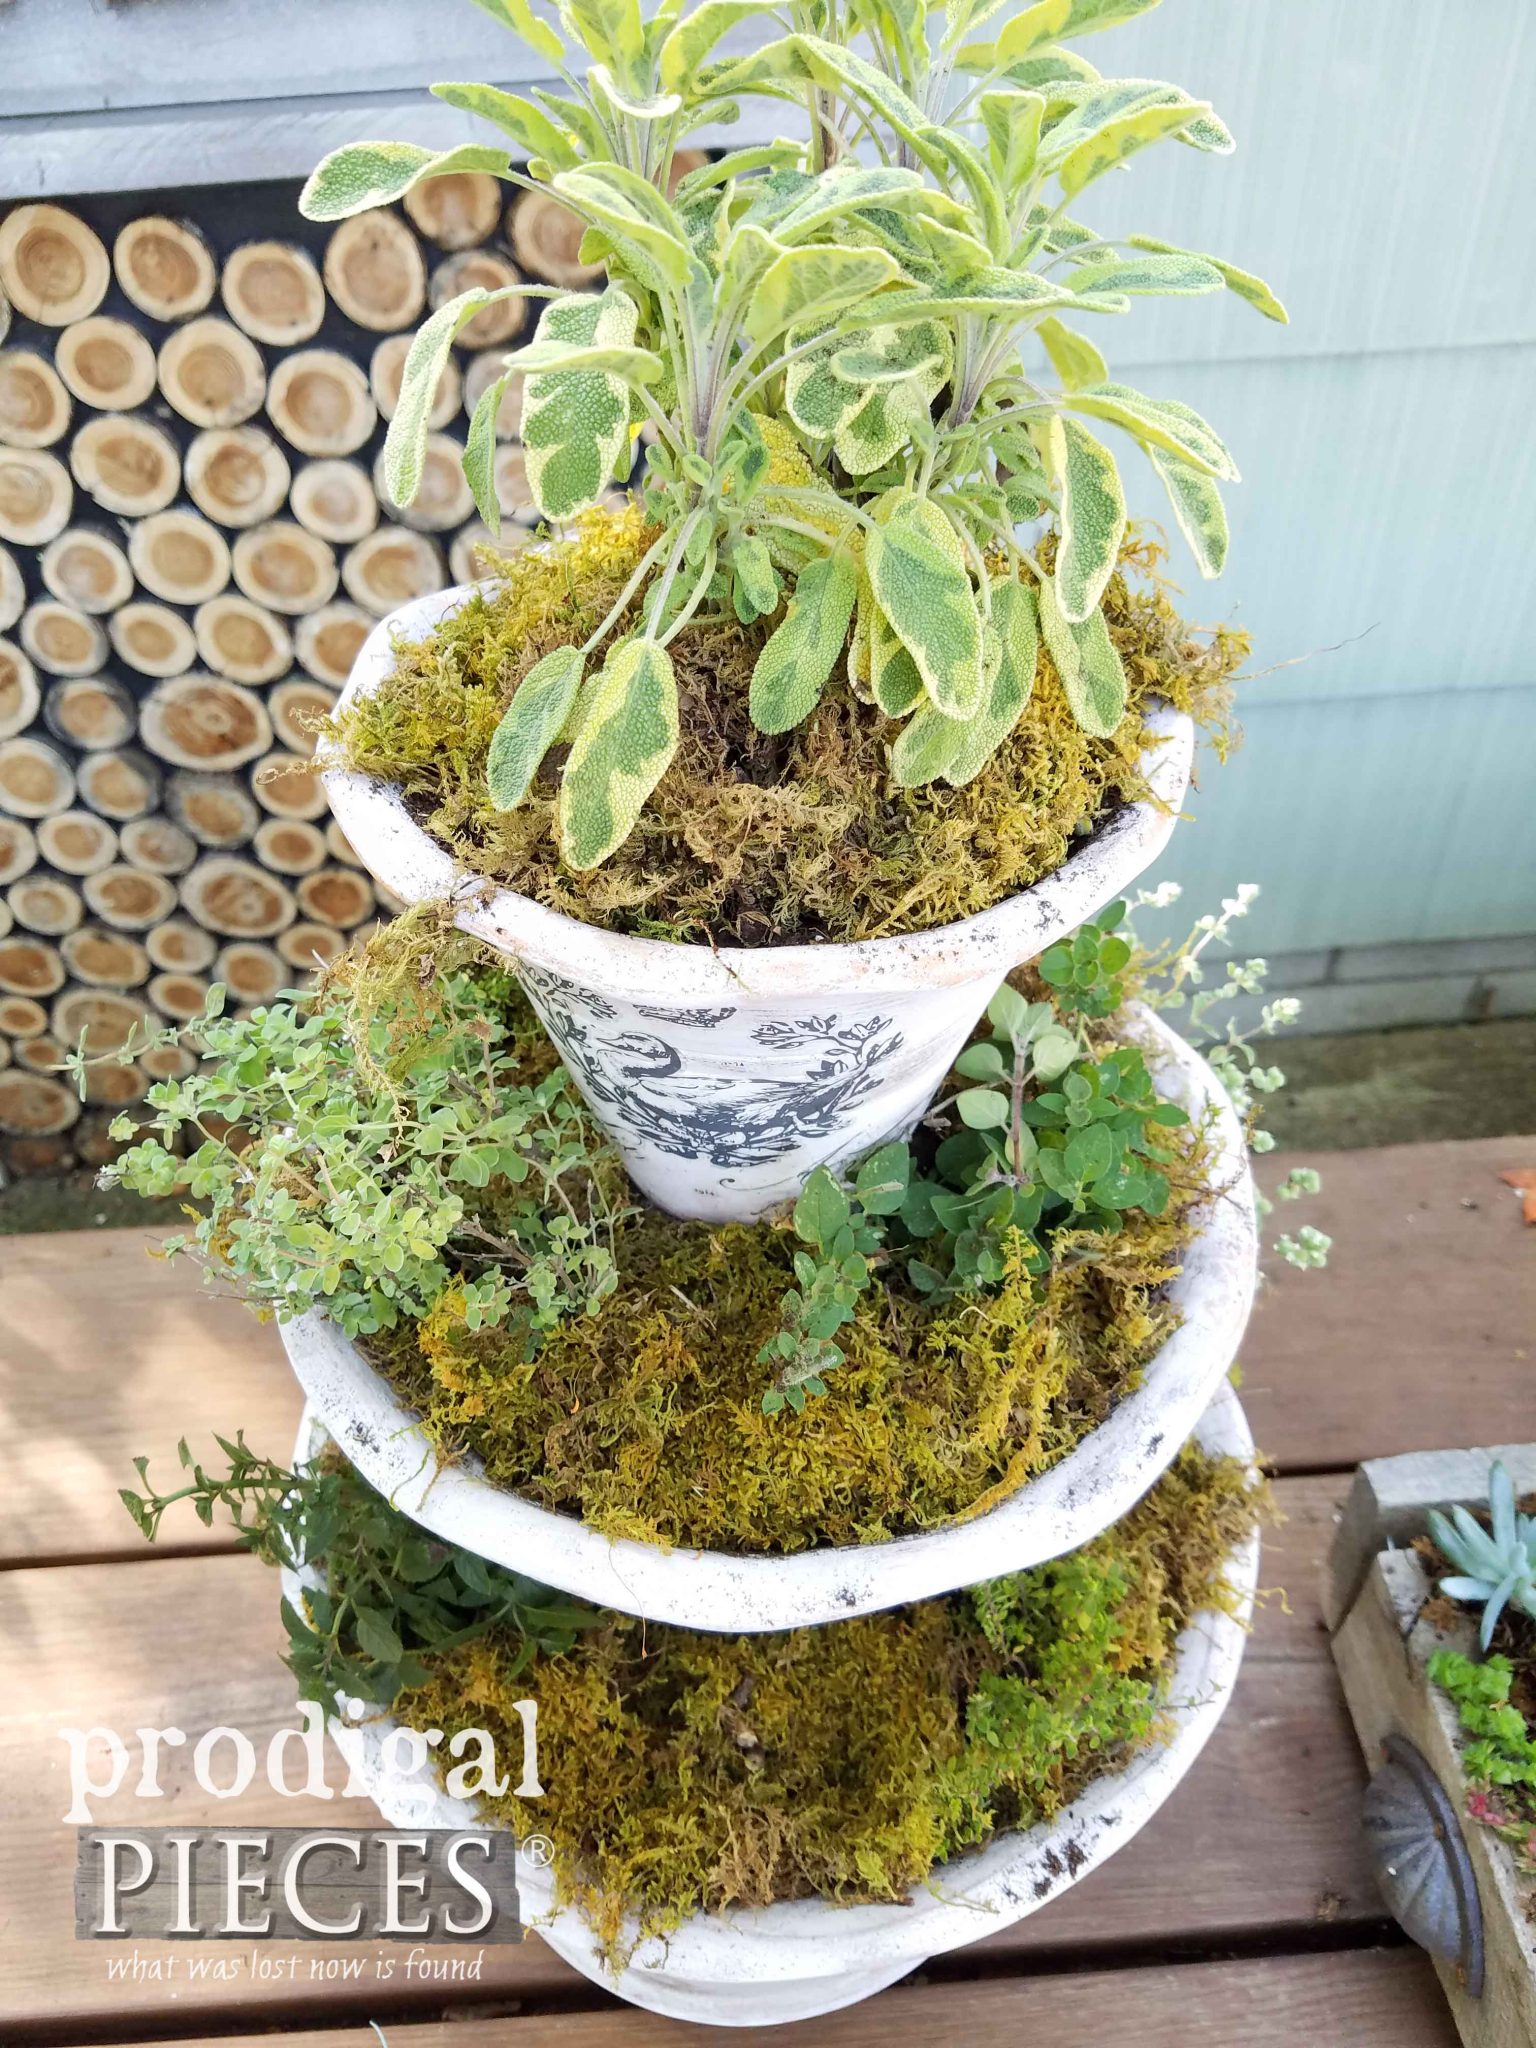
Finally, it’s time to fill our pots with whatever makes our heart happy. Likewise, you could even turn this into a water fountain by adding a pump from your local home improvement store. Additionally, since I wanted to create an herb planter for my home, I used a variety of herbs from my garden and local nursery.
Last, I added a bit of sheet moss on top of my soil to add texture, and also help retain moisture. Also, isn’t it beautiful! I love to harvest some out of my backyard as well.
You can easily make this planter in a day. In addition, pin and share this DIY tiered planter so others will be inspired to try to make their house their home too.
To get these DIY tips & tricks in your inbox, be sure to sign up for my newsletter. Until next time!





Ilove you’re tiered planters. Iwould love to win one of the prizes. I have a primitive cabinet that I have been wanting to re-paint & this would come in so handy. Thanks
Thanks! I love a primitive makeover.
Hey, Larissa! i’m glad you showed the tiered planters – i have several mis-matched flower pots that would be perfect for this technique! please consider me for the prizes!
Excellent! I love a good project that uses up a stash. yay!
I love the pots! I would of never guess that they weren’t stone! You did a great tutorial by the way,thanks for the ideas:) I want to try the paint,for a chair that I have. If I don’t win well….I will just have to go and buy it!
Awesome! That’s the spirit, Melinda. 🙂
Just gorgeous Larissa! I love the fluted edges on the post. Can I ask where you got them?
Thanks, Kim! I mentioned from Home Depot so be sure to swing by before the season passes. 😉
I really love this! I have to make one maybe using mermaid tail paint! Beautiful!
That color looks so fun!
Love your planter pots make-over. What cute transfers to go on your beautiful painted pots.
Right now I really don’t have anything to paint but I’m sure something will come along; as it always does.
Thank You for this giveaway opportunity.
These were so fun to create and I can’t wait to enjoy my herbs all winter long.
I love your makeover and it will make an awesome winter project while I am waiting for spring again. I have a little vintage shelf and a vintage bread box that are begging for some paint, I would paint either one of these first,
That’s exactly how I felt creating it. It will help keep me sane! hahaha…
Love the planter!
So fun to hear, Donna. Thank you!
The planter came out nice!
Sweet to hear. Thank you!
Love it? Very creative.
Thank you, Jewell.
Couldn’t find those exact Iron Orchid designs but their similar transfers are expensive…up to $34 on Amazon Prime. Where did you buy yours? You are so thrifty, I can’t believe you paid those prices! Smile.
I got them through Dixie Belle as they are now carrying the designs. These pot ones are small and not so pricey.
I would paint a side table that’s waiting for me.
Sounds perfect!
I’ve never tried this brand of paint. Would love to try it on a chair makeover..
It was sold the minute I took my first stroke. Seriously, I’ve tried many brands and chalk paints and this one had me oohing right away.
Your imagination for coming up with these projects always amazes me. Just beautiful.
I needed something to keep me sane in the winter days and hope this does the trick!
What a cute idea Larissa, thank you for sharing! I keep seeing Dixie Belle Paint but haven’t tried it yet, but I think I am going to have to give it a go, the colors are so tempting… If I were to be lucky enough to win, I have a great little vintage secretary desk that I would love to try it on.
My pleasure, Wendy. You will love it, I promise!
Love the tiered planter. Your creativity never ceases to amaze me. Would love to win the paints as I haven’t tried them yet but you’ve painted some amazing pieces with this paint and you inspire me to want to paint stuff.
I’m glad I was up to par, Debra. Thank you! 😀
Love the planter and what a great video – always appreciated! Can’t wait to try it.
My pleasure, Stephanie. Thanks!
Your video is excellent and so easy to follow. The pots are fun and not to mention beautiful.
Good to hear, Jolinda, as I try to make it simple. Thanks!
I love this! I will definitely have to try it! Thanks for the giveaway too!
I hope you do! I’d love to see it.
Too cute! this is a very versatile project – can be changed up to fit the seasons or holidays.
Yes! I love the idea of bulbs and evergreens, pumpkins, and such. Fun!
Your planter looks great. I have some pots that could use a face lift. I’d use the prize on that.
Sounds good to me! 😀
I love this!! I can’t wait to try this, thanks so much for sharing!!
What fun you are, April. Thanks!
I love everything you do. This is one of my favorite blogs to visit. You are sooo talented and inspirational. Thanks.
Teresia, you just made my day. Thank you so much!
Love Dixie Belle paint’
Woot! Me too. 😉
Beautiful project! I would use the prize to paint my sewing machine cabinet and coffee table.
Those sound like perfect candidates!
Thank you for the wonderful idea and the step by step video!
You are most welcome, Karie. Thank YOU!
I haven’t tried Dixie Belle paint yet but would love to!
You will love it!
I love this idea and i have tons of unused flower pots so i am going to do something like your project using the paints to have them coordinate better.
That’s a great way to reuse! Have fun with it!
Wow Larissa! There’s nothing I don’t love about this project — the pots, the transfers and the paint color all look beautiful! You truly are an inspiration (and thanks for that, BTW)!
Hugs to you, Kelly! Thank you for all your support.
I love your makeover and would, definitely, like to do this project if I win. Thanks for the giveaway.
WOW! Such an awesome project!!! The dresser in my little boys’ bedroom is in serious need of a makeover so that would be what I would use the paint for.
I love what you did here, and my first thing I would use the Dixie Belle paint on are pots like you just showed.
I would like to use the paint on my kitchen cabinets- I like easy!
Larissa,
Beautiful
These would make nice gifts.
Thank you !
Nancy
Love the planter! Another great project. I have alot of projects and would love to try Dixie Bell paints.
I love your pots! I think I would start on something small like a pot also to get a feel for the paint first. Then I have a drsser in my garage begging for a makeover for at least 4 yrs!
Your pots are gorgeous. I would paint my vases, I just love your idea and how nice they came out. LOVE IT!!!!
I would paint my cabinets!
Excellent!
Just beautiful!! Love the sweet French transfers on the front!! Another awesome project!
Nothing like a fun DIY, right? Thank you, Sam!
Oh I LIKE this!!! Well done! I always need new/bigger pots this time of year, as I move my plants back into the house from their summer on the deck, and have to fit in the new growth! I love the way your painted pots came out!
You sound like me. I love to garden!
So in love with these planters wonderful job as always
They are so versatile that I’m thinking on making more for other reasons. Thanks!
Wow! I have the projects, I’ll have the brush (Thanks, Larissa!)…all I need is more paint! I’d love to try DIXIE BELLE PAINT and am already ordering some GATOR HIDE, (again, thank you, Larissa, for pointing me in the right direction!).
My absolute pleasure, Kathleen! I’m happy to hear you’re loving them.