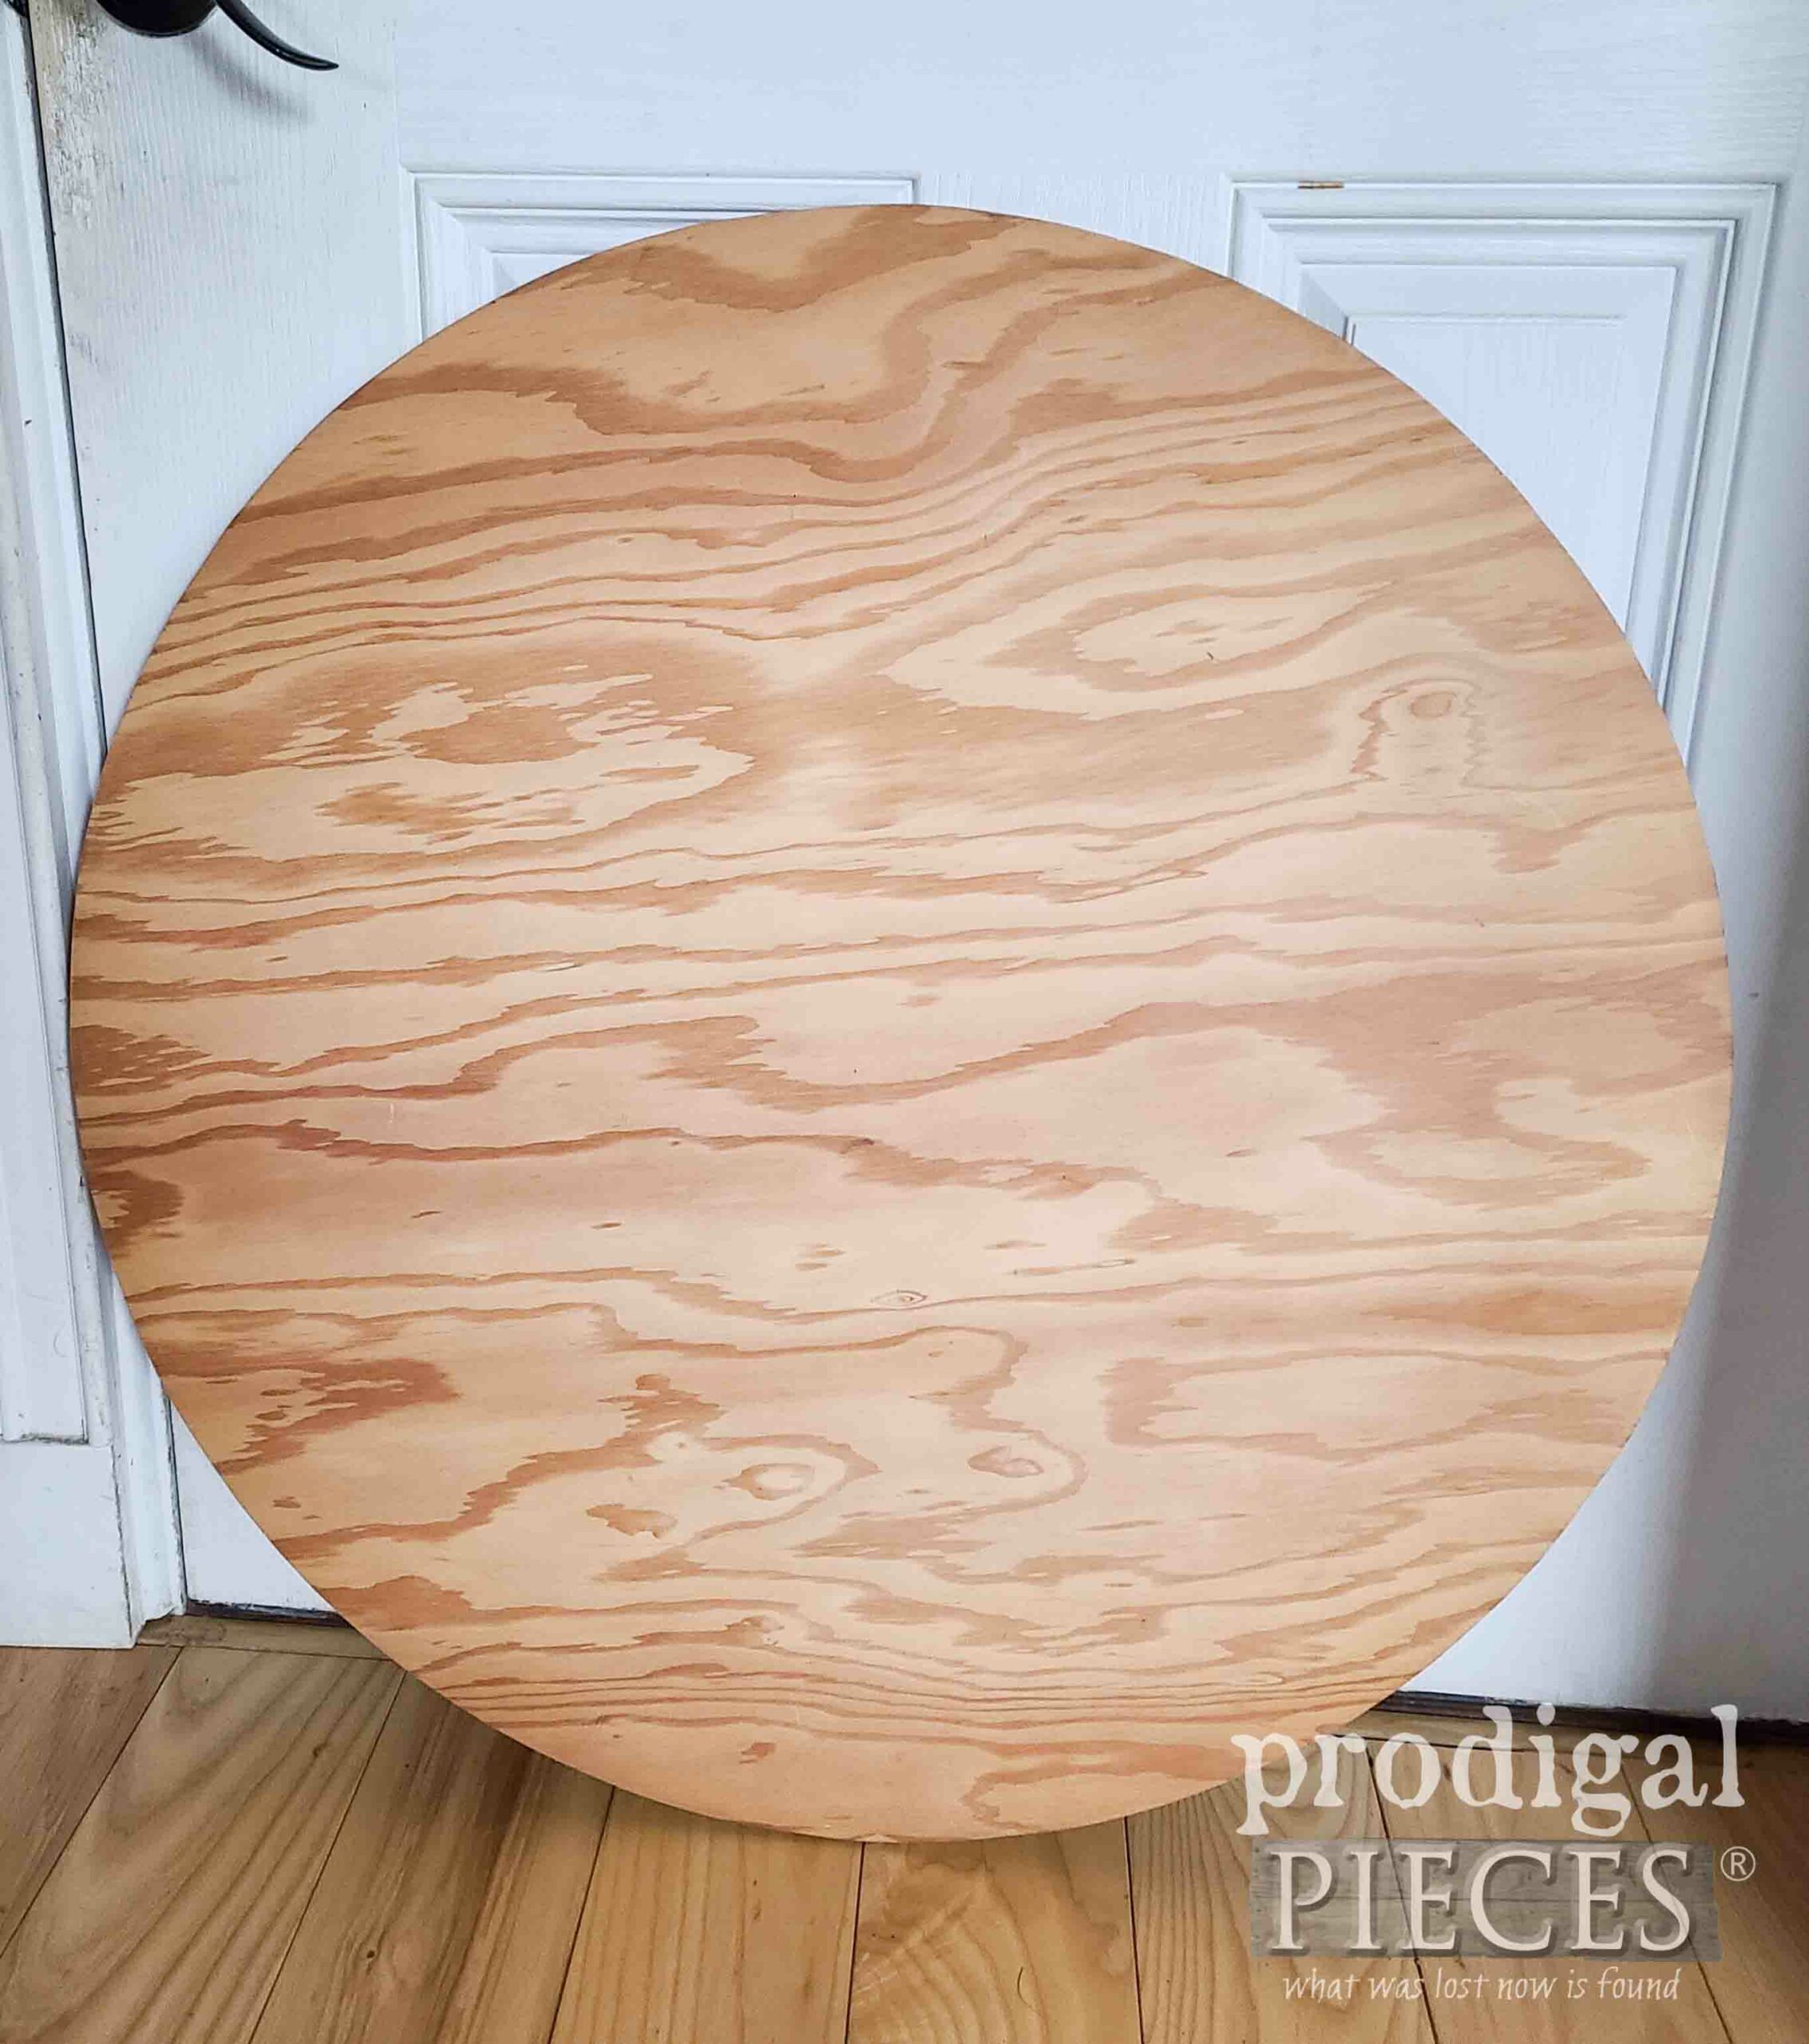
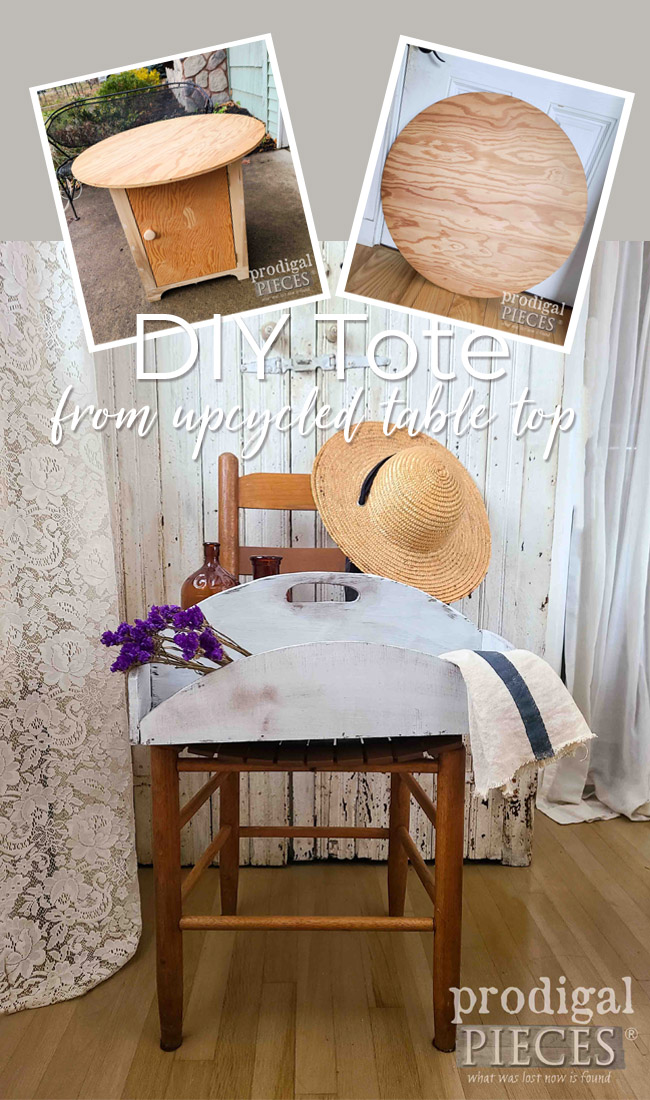
I’m a gal that keeps her word, so here I am making good on the promise I made in my last post. What’s the promise? To take this table top I removed from this side table and turn it into a something fun. Obviously, I can go many ways with this, but today… I’m creating a DIY tote for you.
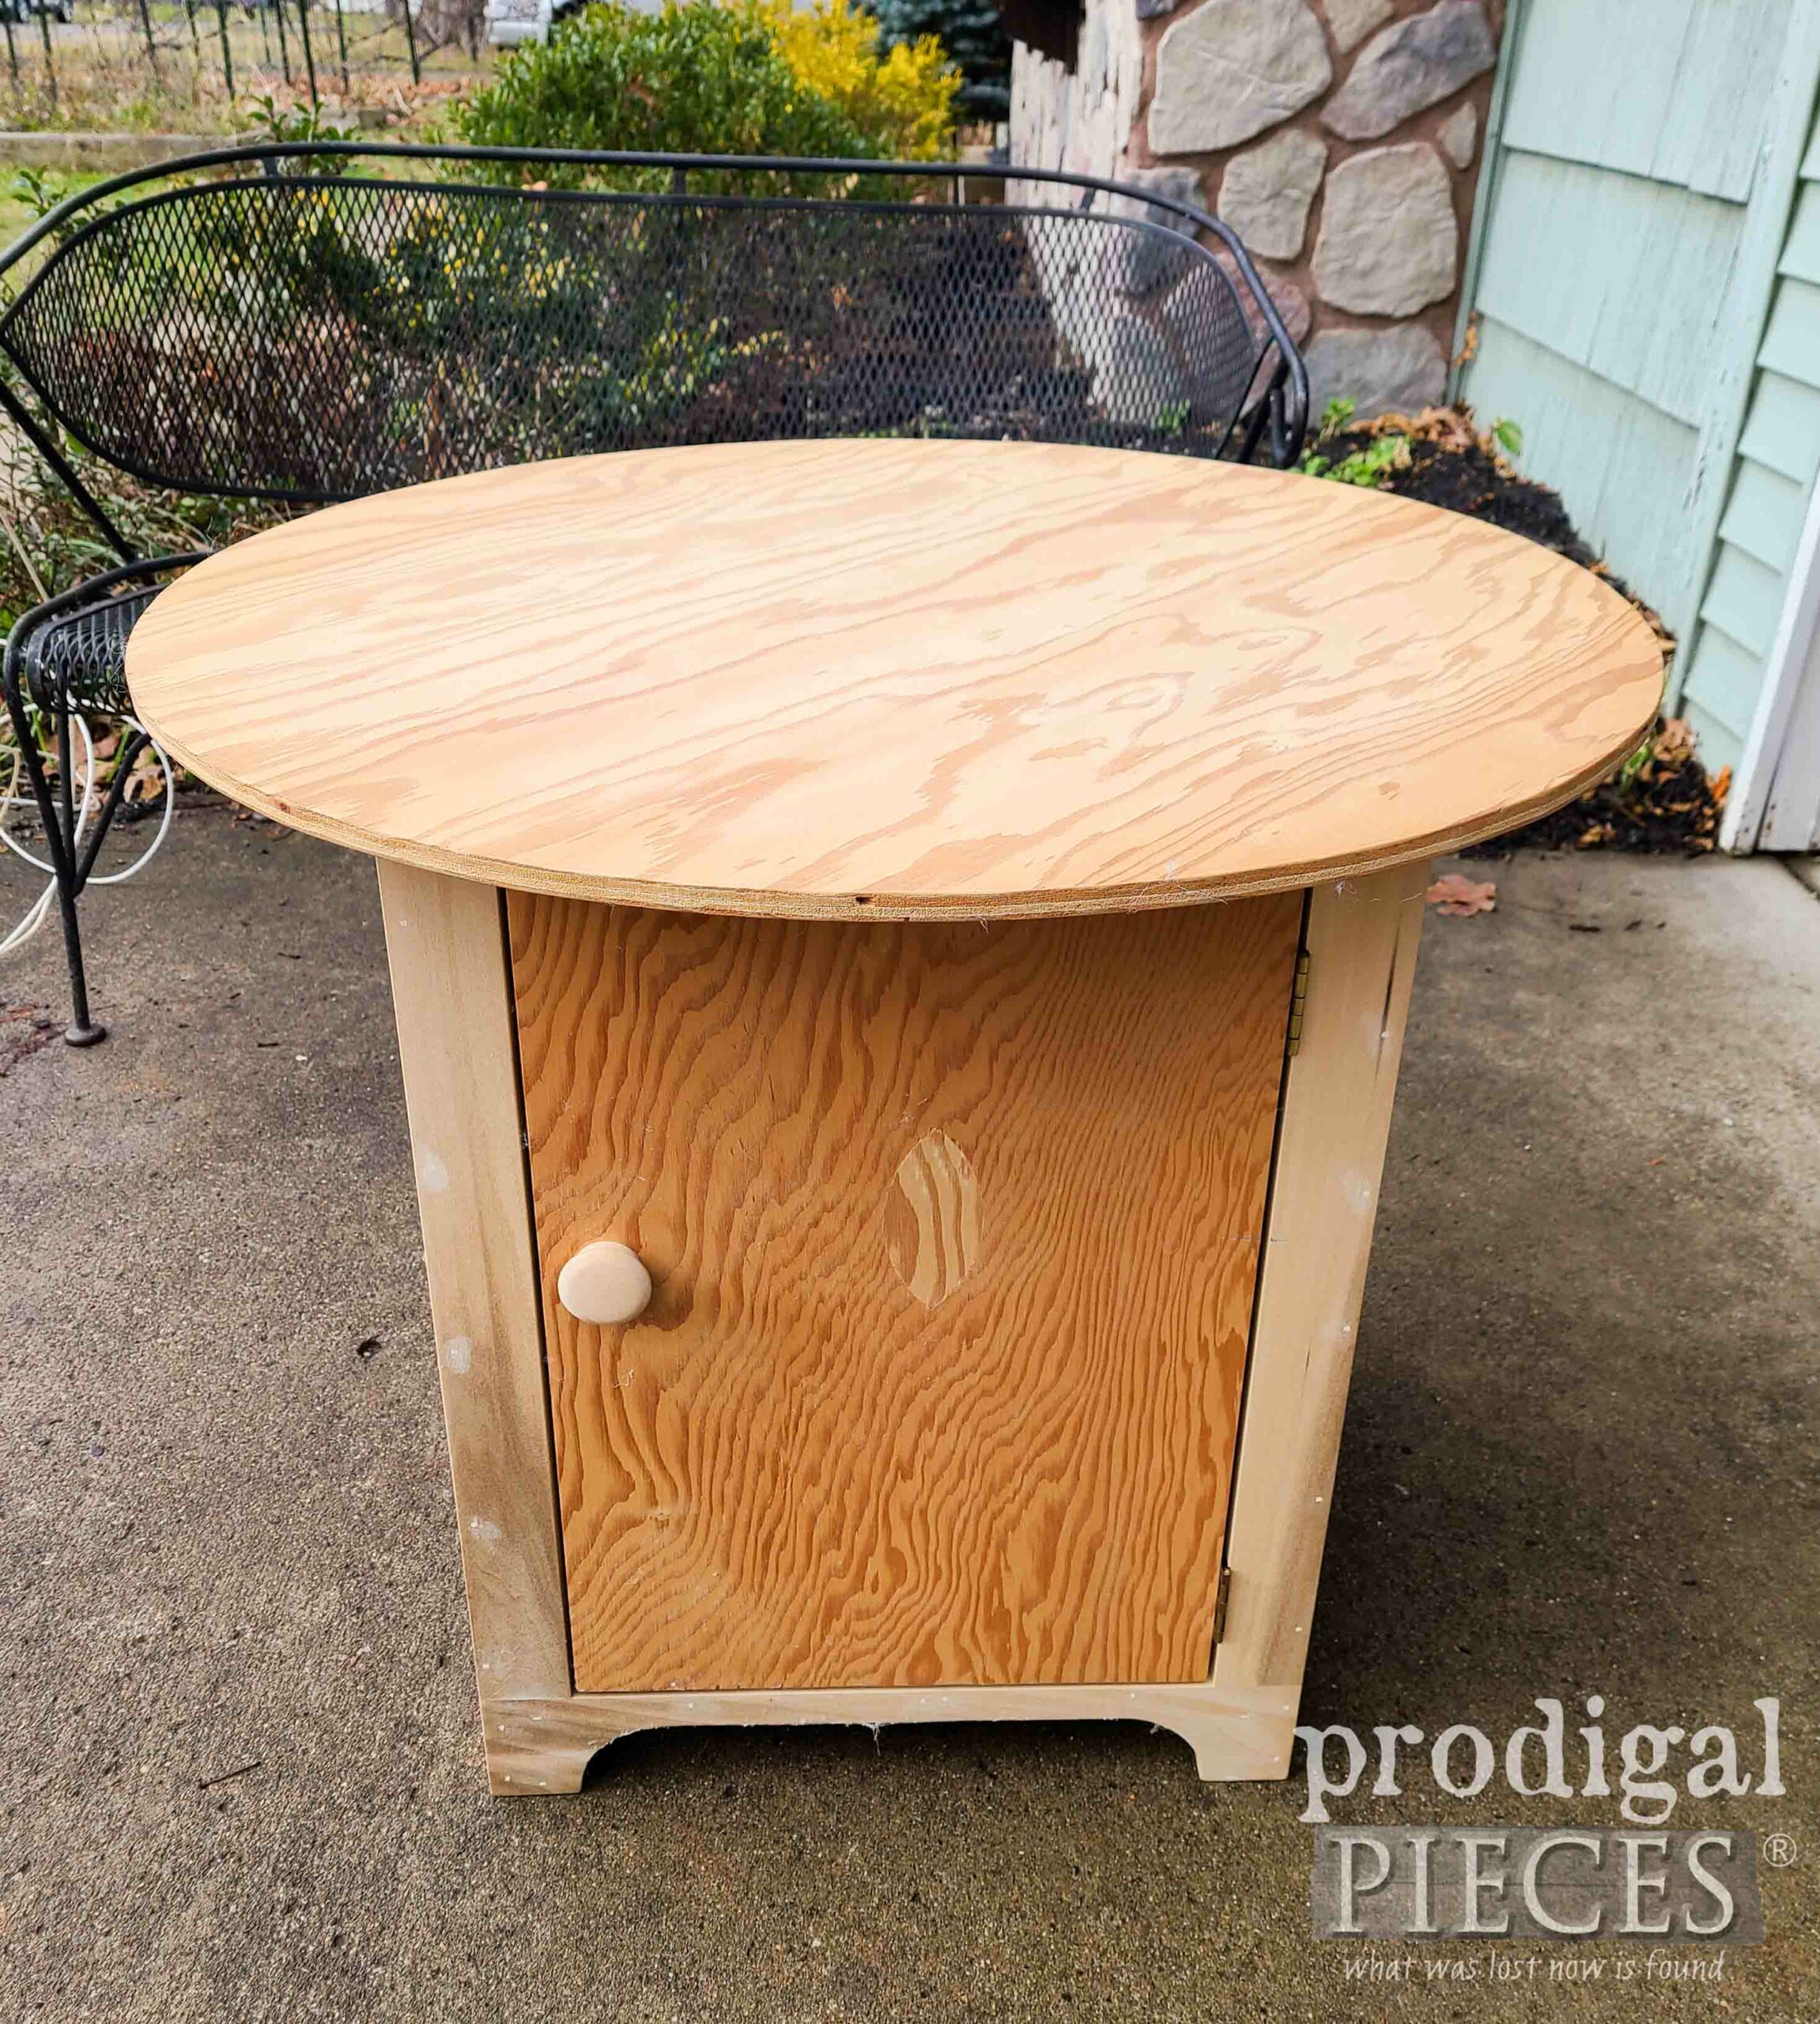
For reference, here is the table I took the top from…
Doesn’t it look like that circle was just plopped down on there? I linked to the makeover above, so take a peek to what happened to the base. Today, I’m circling back to make use of that circle. (pun intended)
HIP TO BE SQUARE
First, I have nothing against circles, but do have an aversion to pieces that don’t function properly. That top definitely didn’t make that side table very functional. However, that plywood does absolutely has potential in the mere fact that it’s wood. I’ve often said that if something is made of wood it is a DIY gold mine.
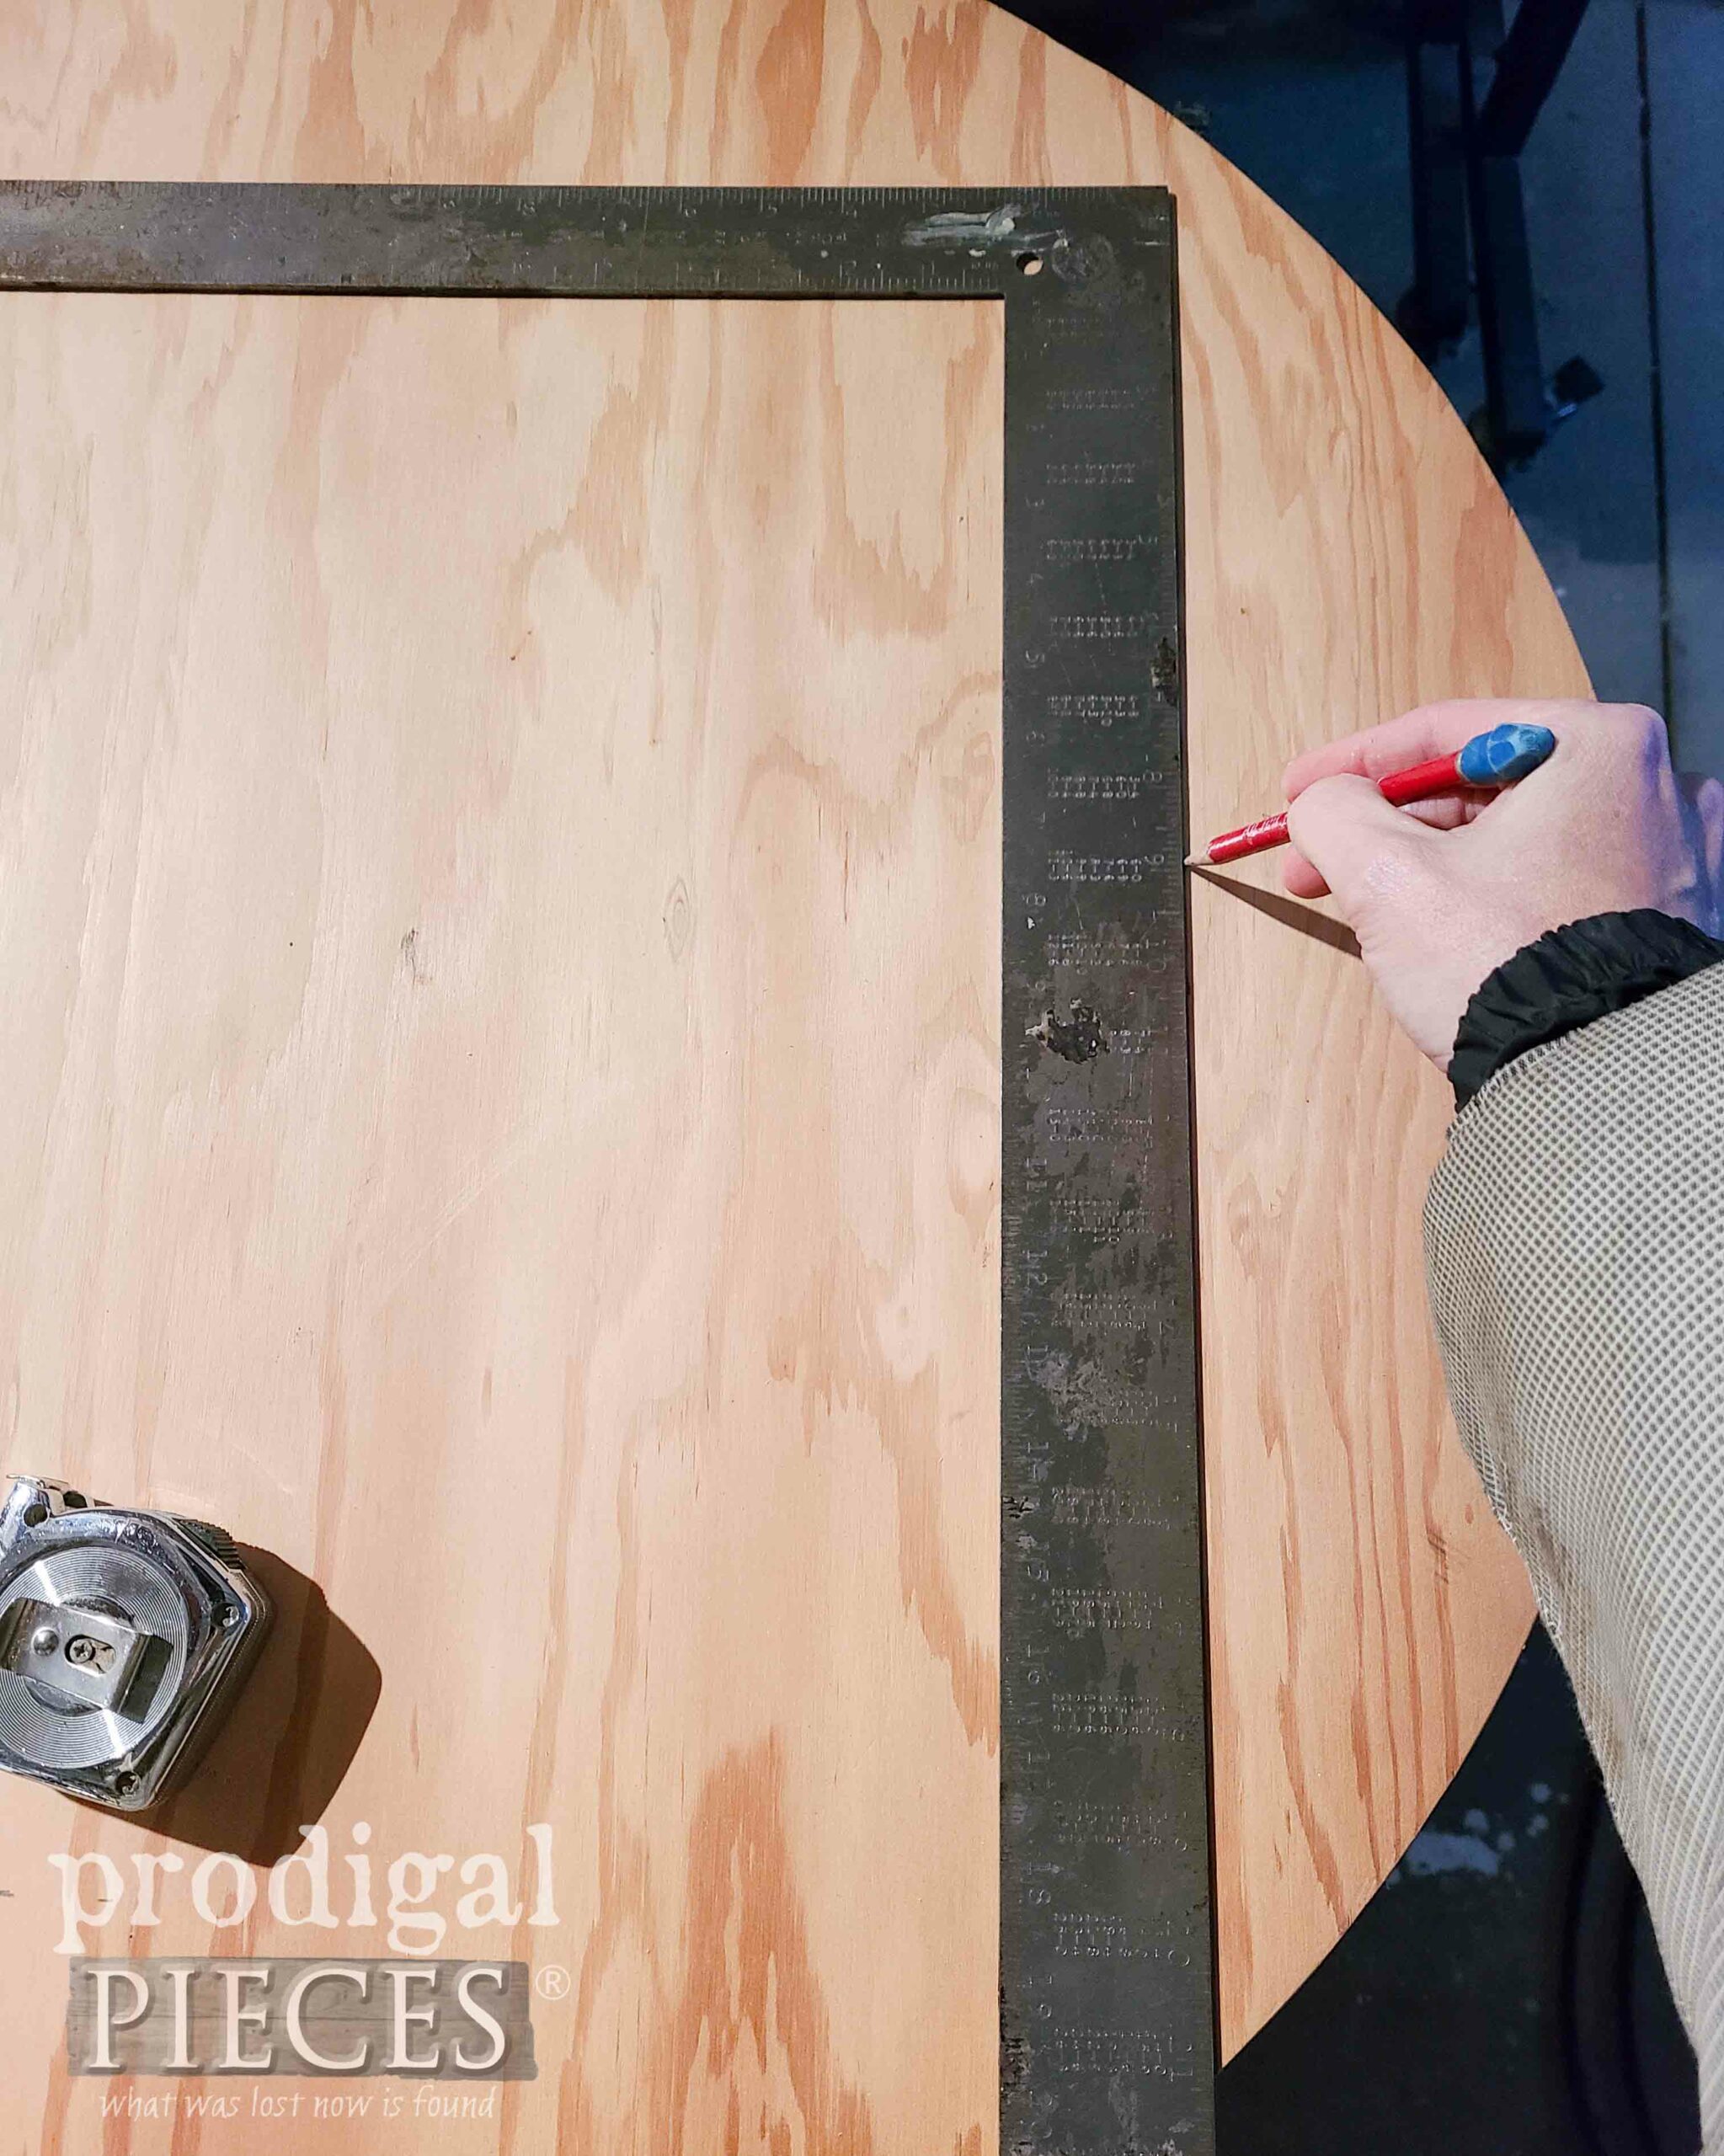
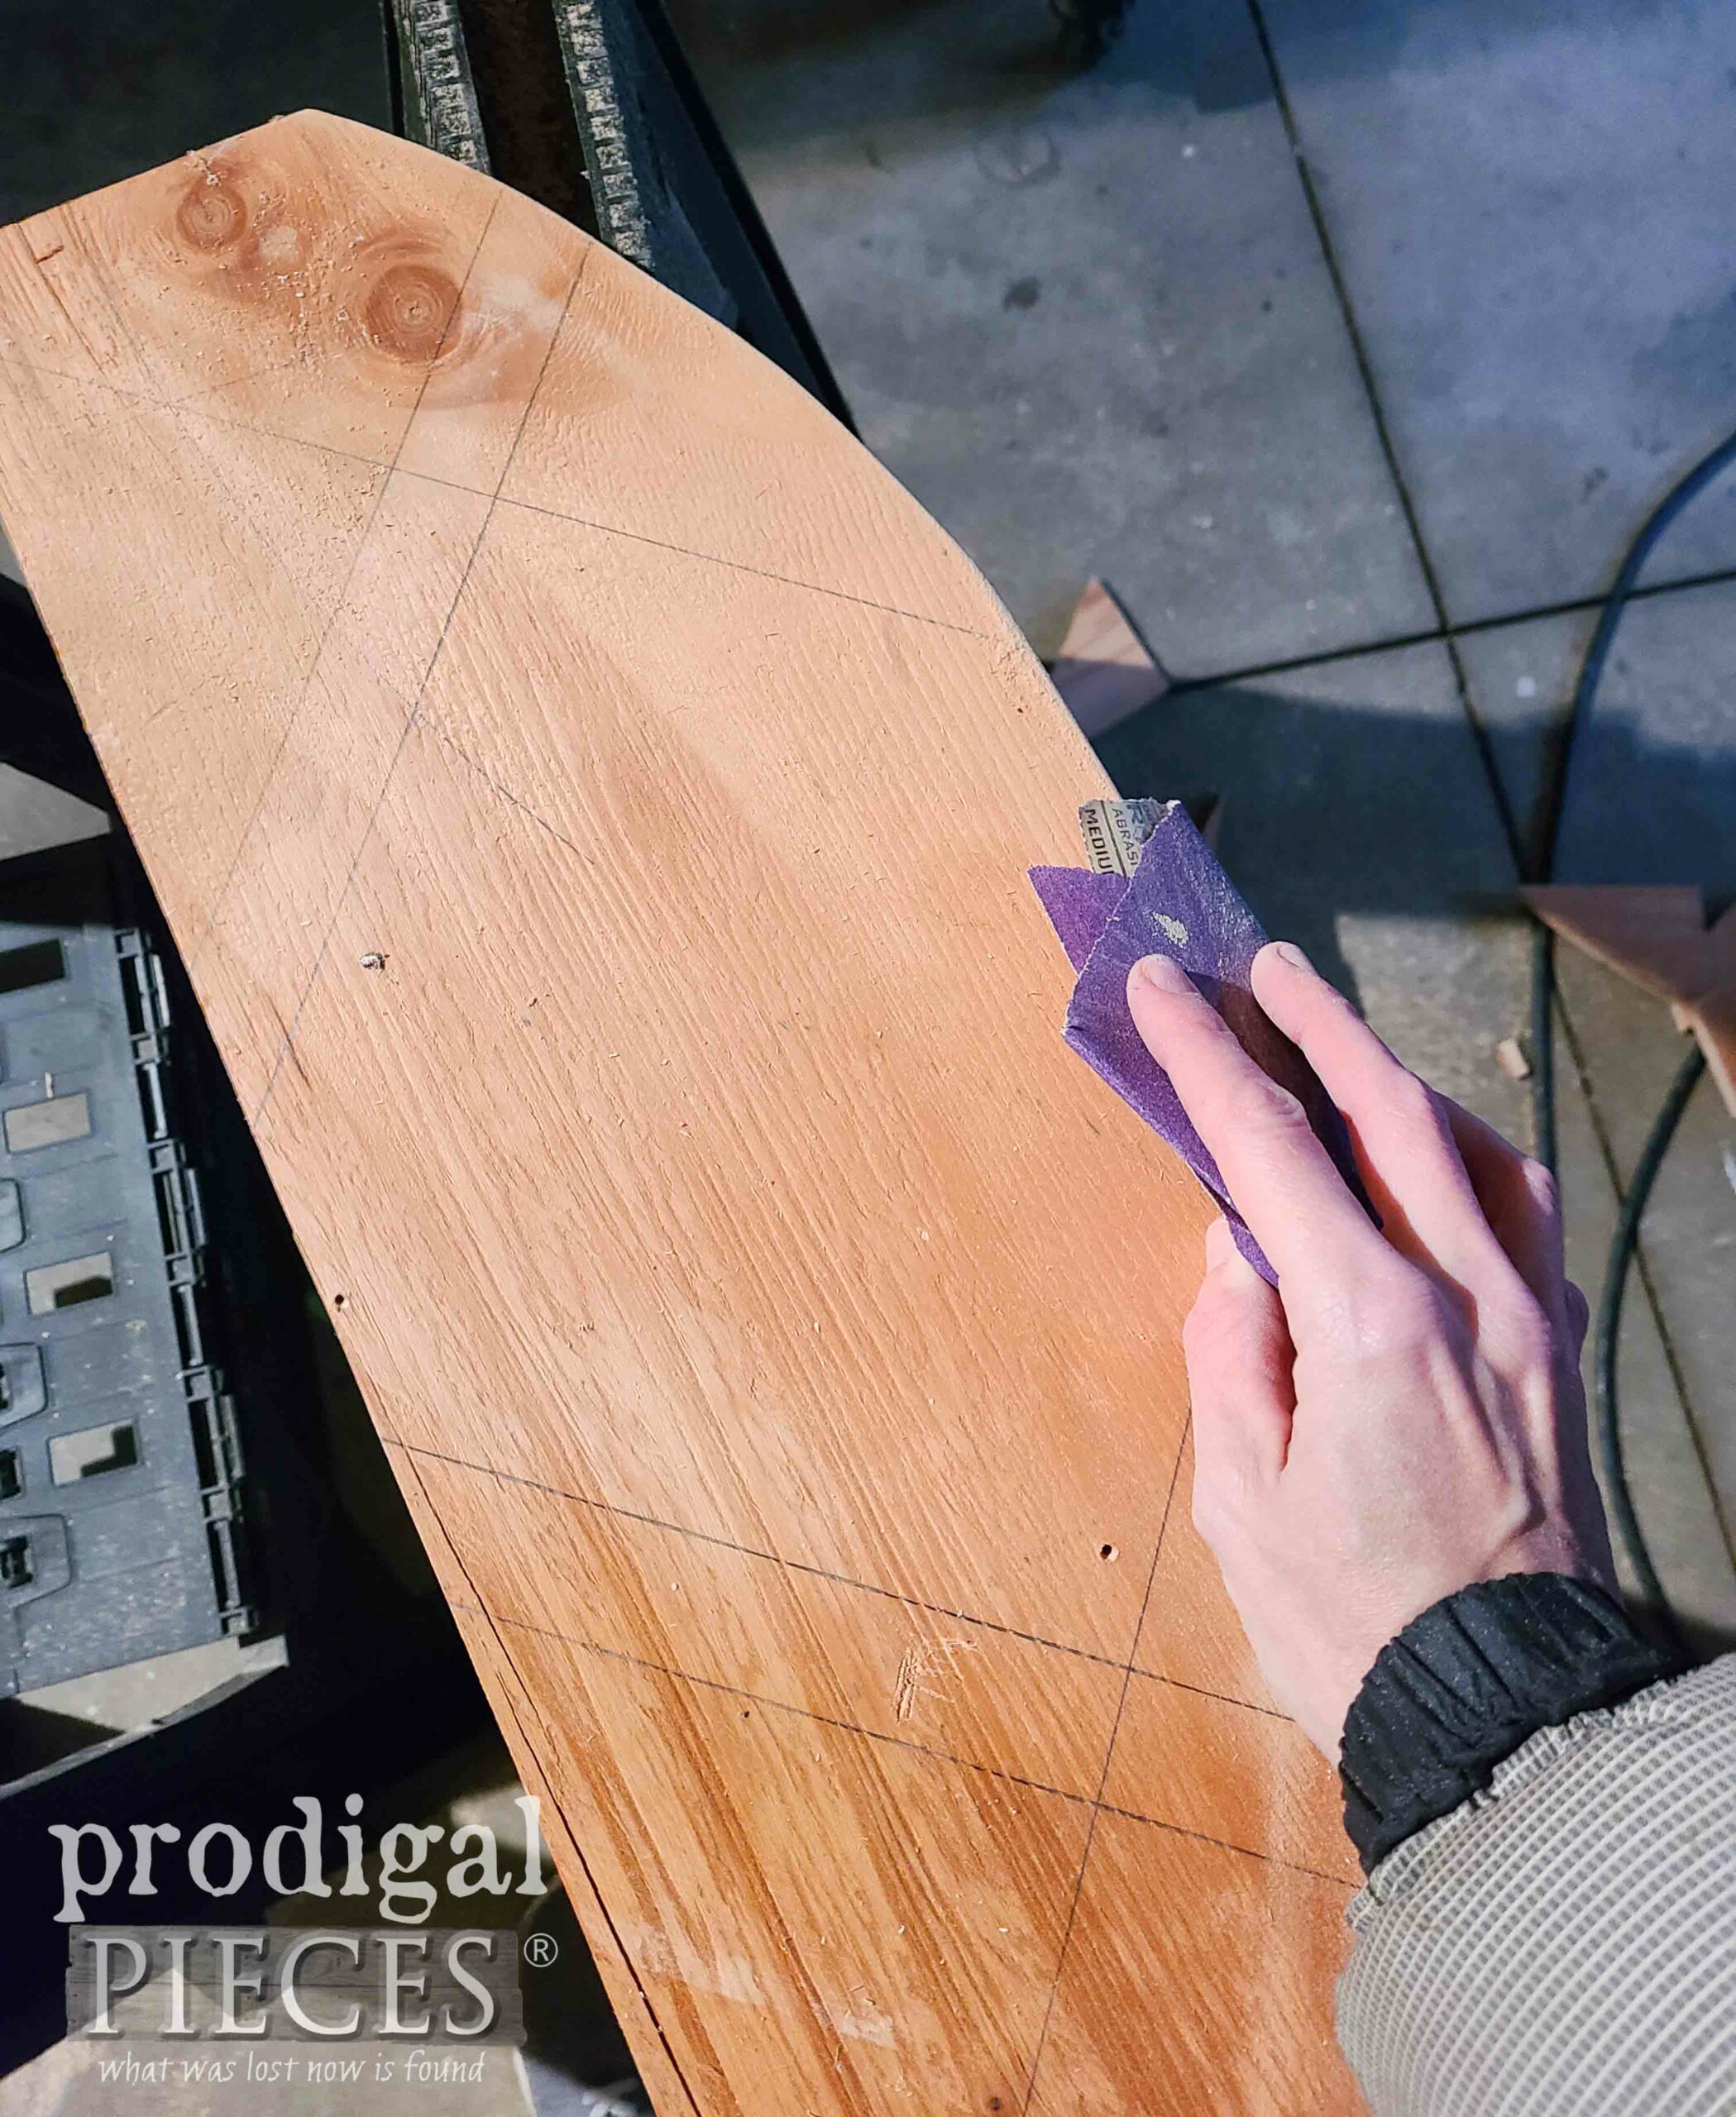
In order for me to accomplish the DIY tote project, I draft a drawing of how to make use of every inch of the wood. I begin by making the center square.
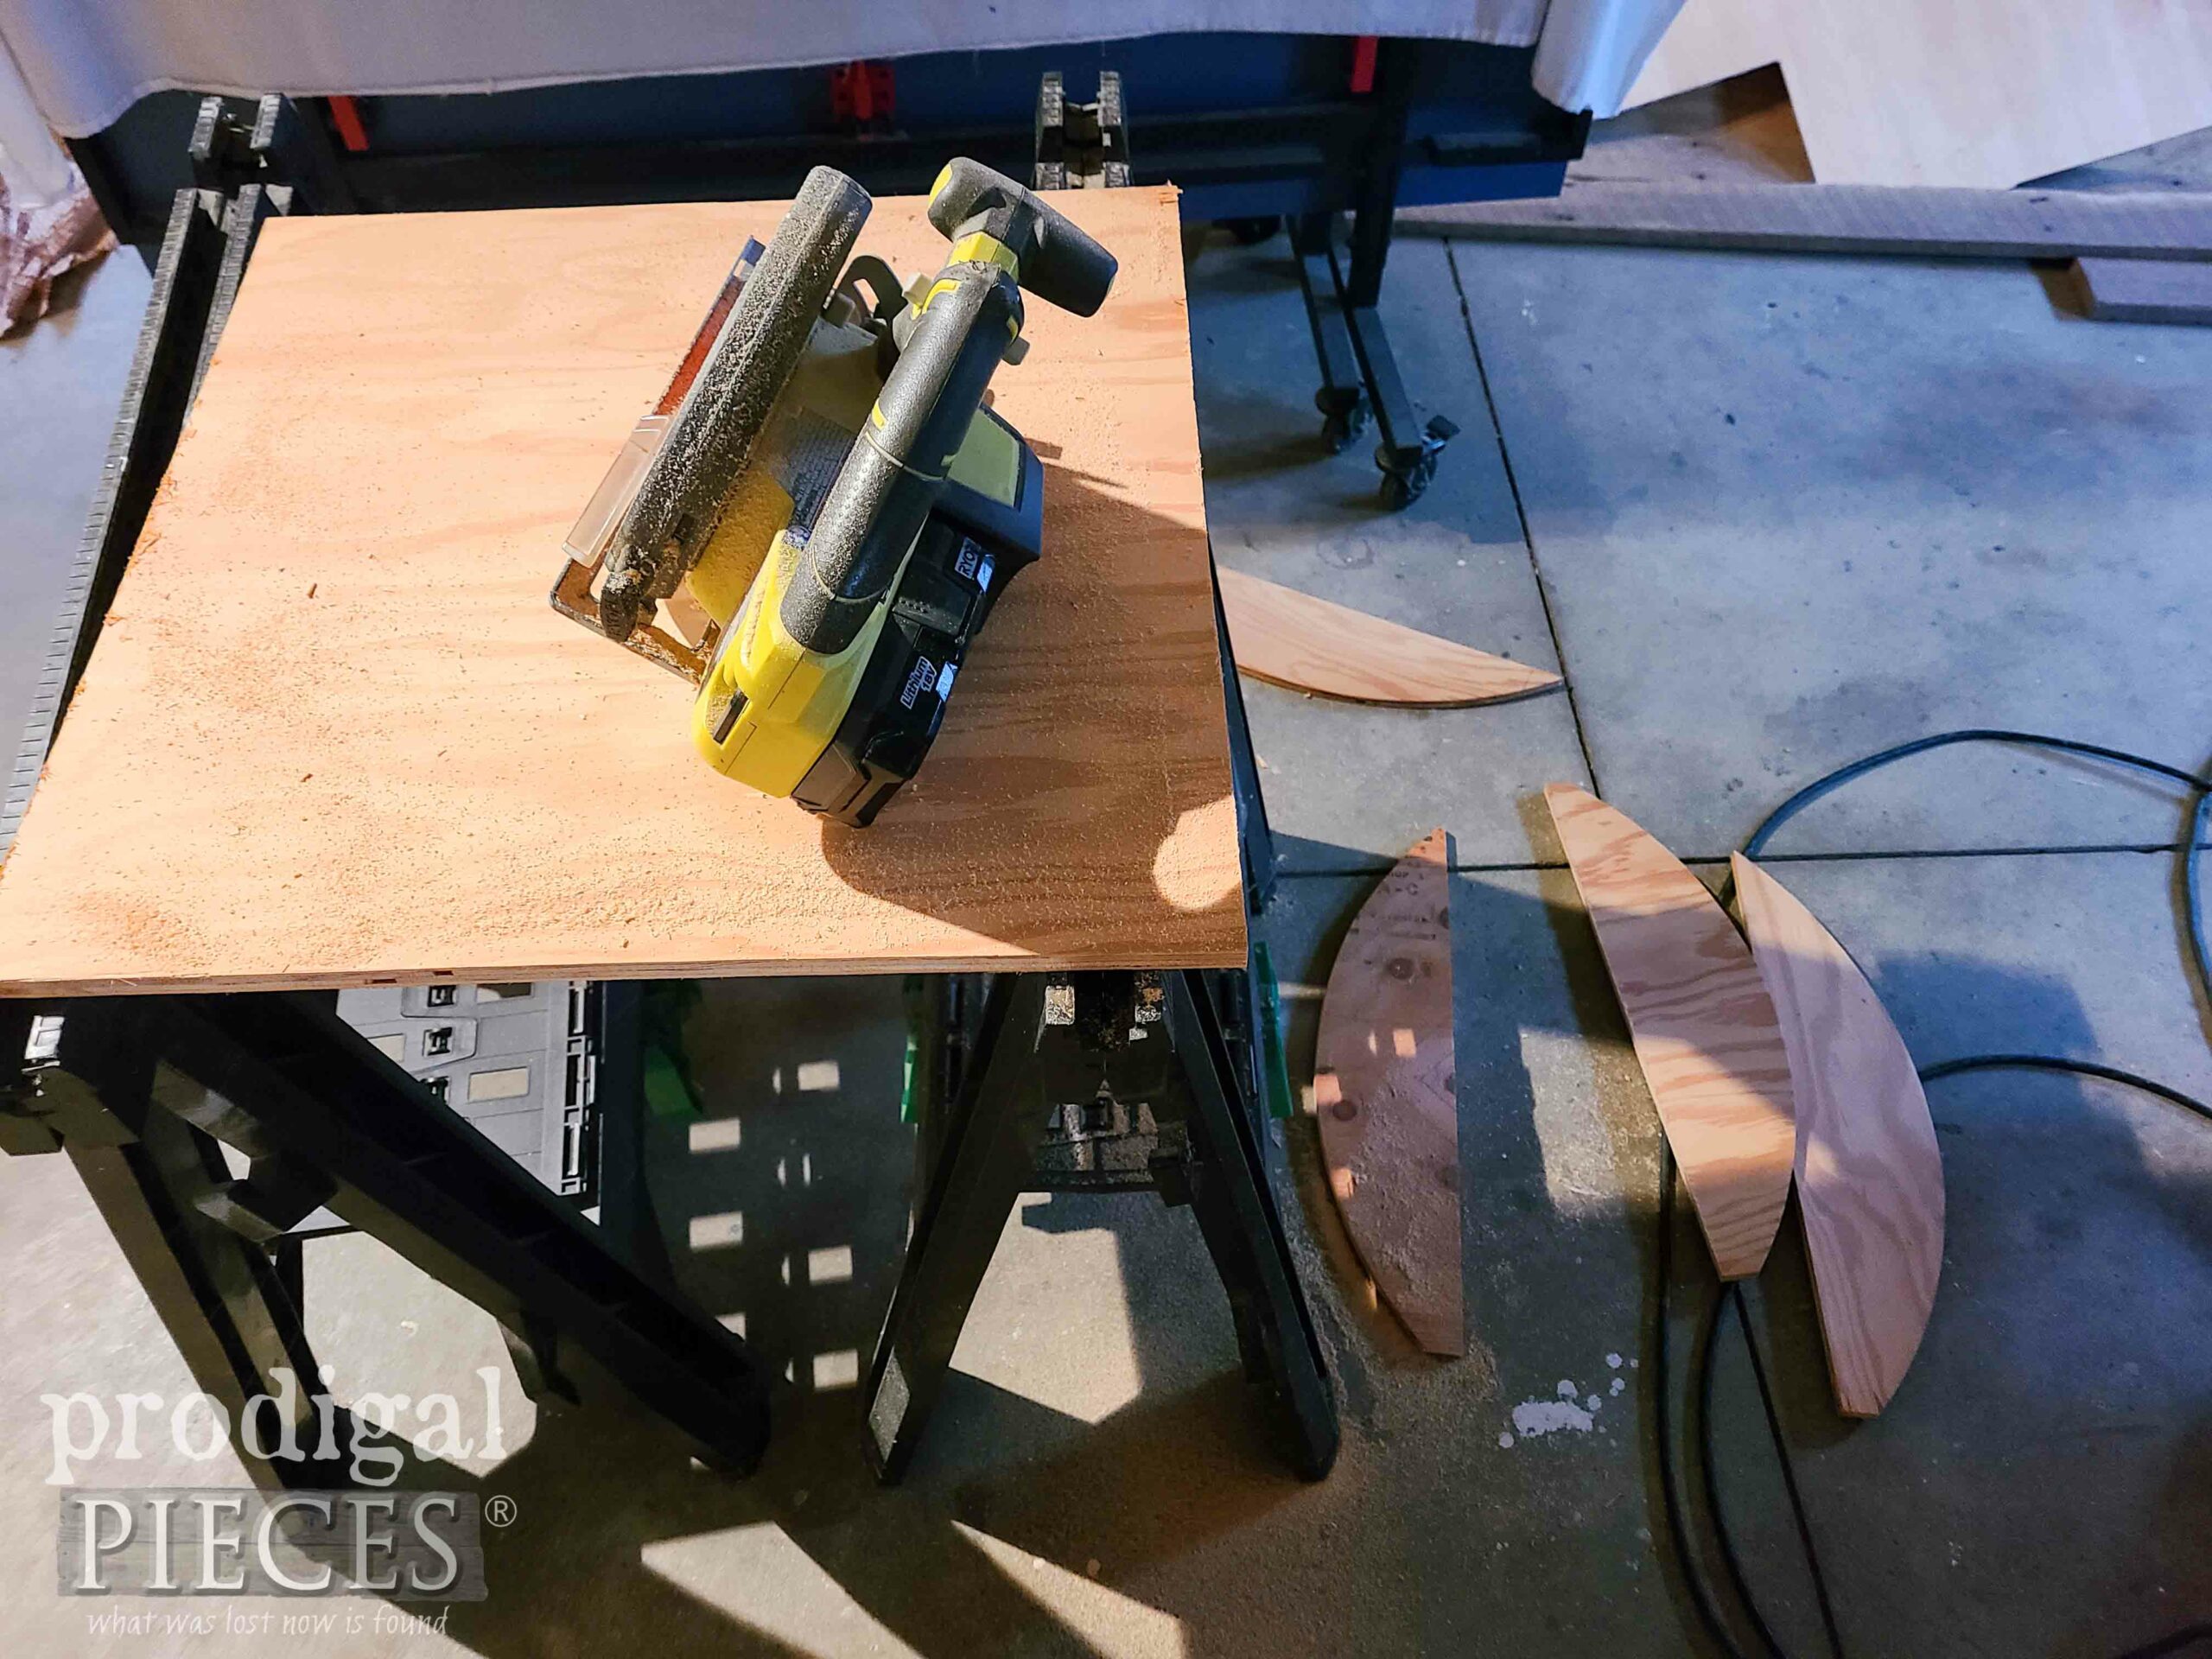
Then, once I mark up the board, I take my circular saw and cut off the round edges.
After that, I cut off a length from the long side to use for a handle. Next, once all pieces are cut, I begin to piece together the sides of my tote and sand them down by hand.
FINISHING TOUCHES
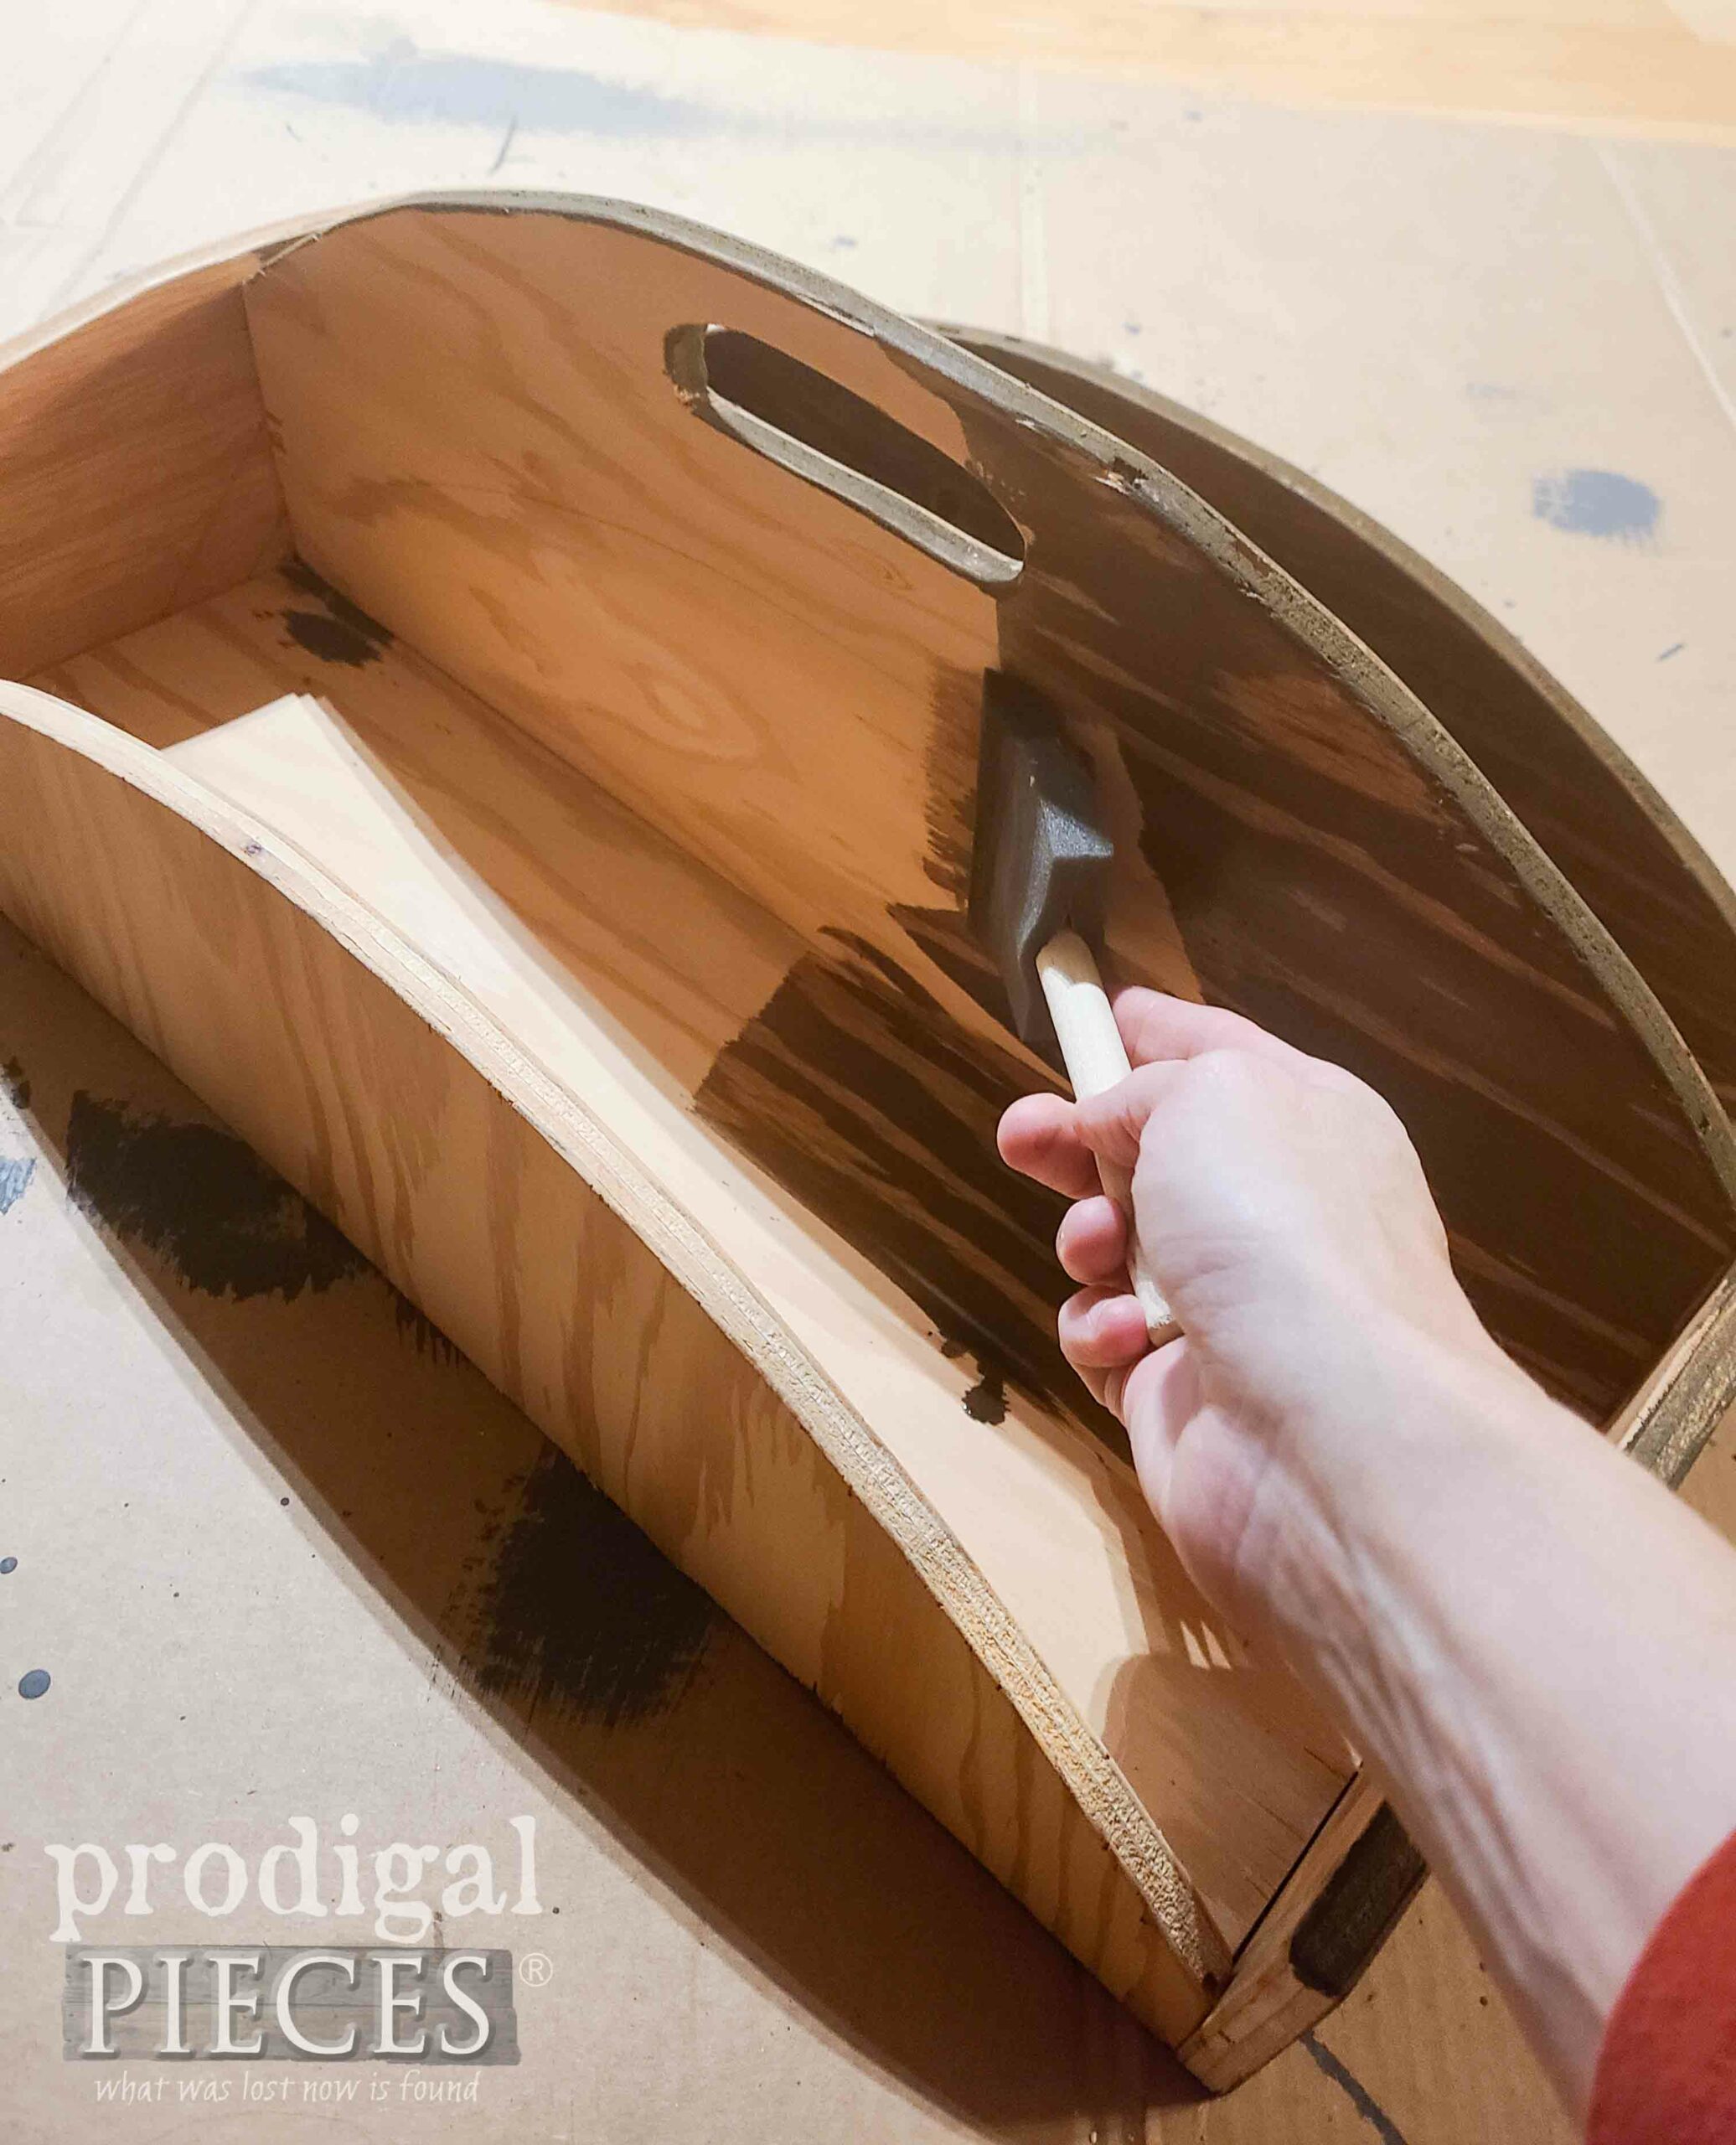
As you can imagine, there are many ways I could go with this to finish it off. For my purposes, I want to create a rustic feel. In order to do that, I stain the tote with a reactive stain as I’ve used before HERE on a vintage sewing box and HERE on a thrifted cheese box as well.
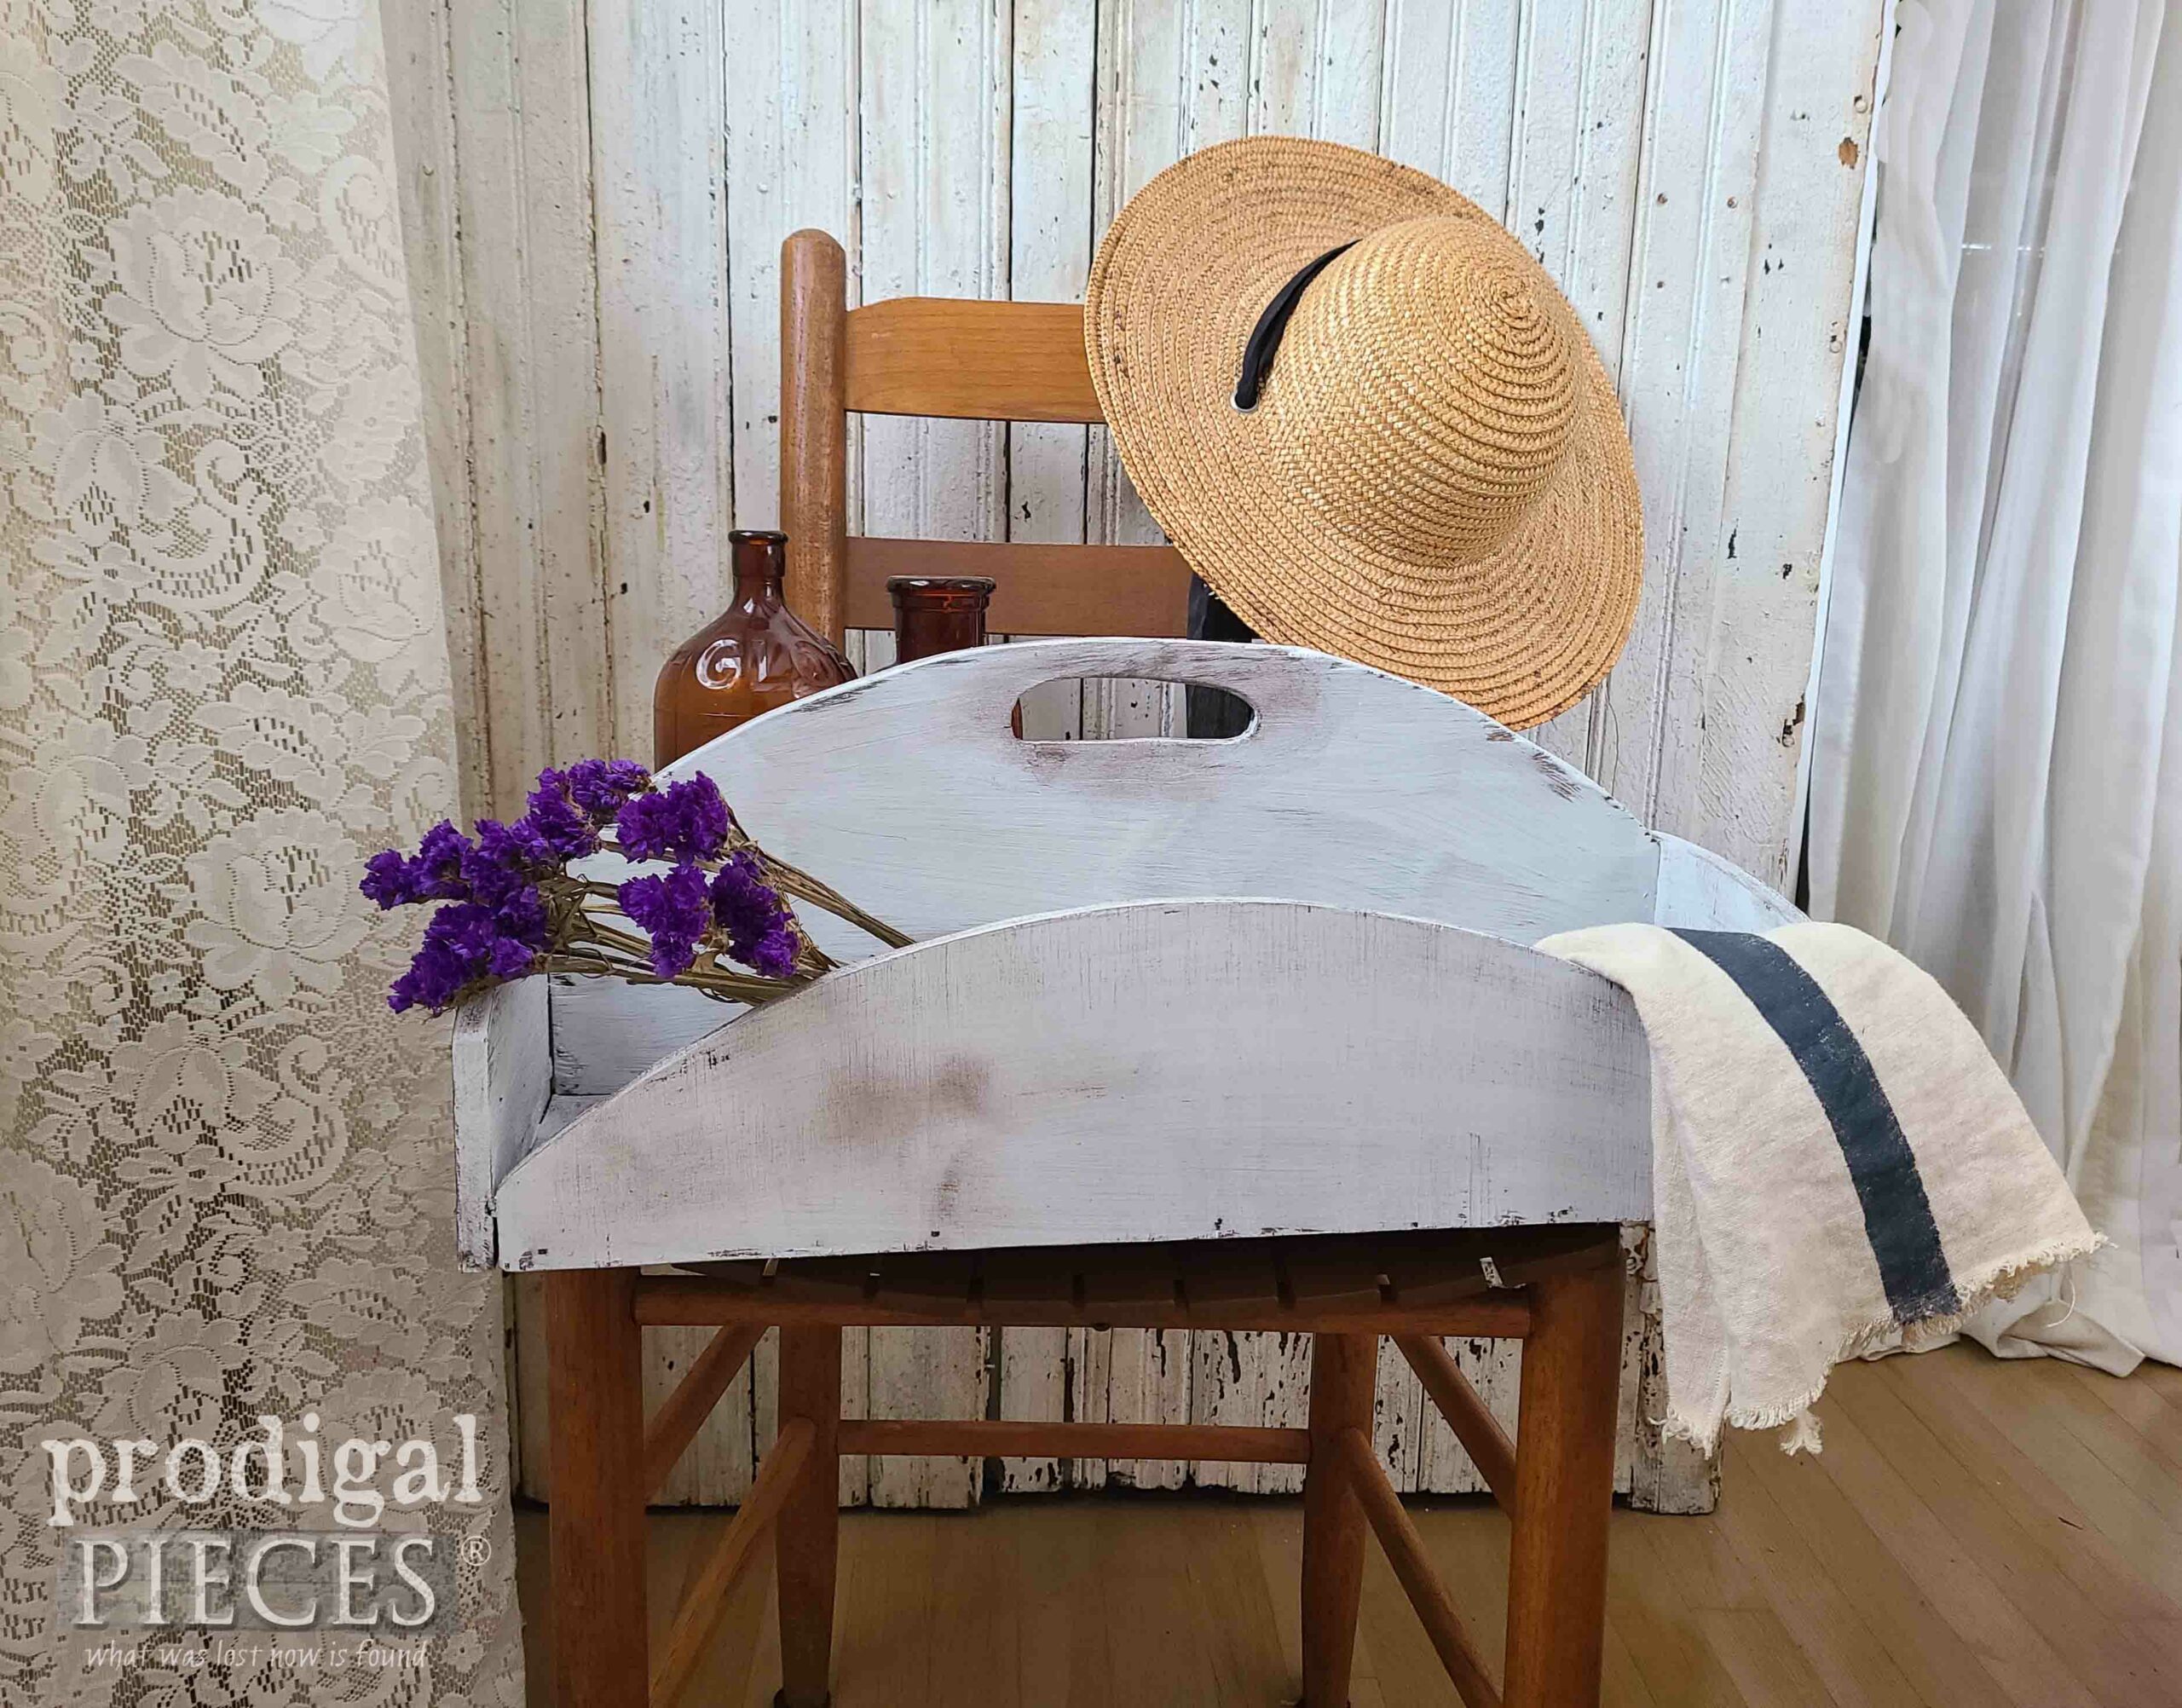
This particular stain is a brown that naturally ages the wood to a gorgeous patina right before your eyes. Finally, once the stain cures, I apply white milk paint followed by brown wax to age it.
DIY TOTE DONE
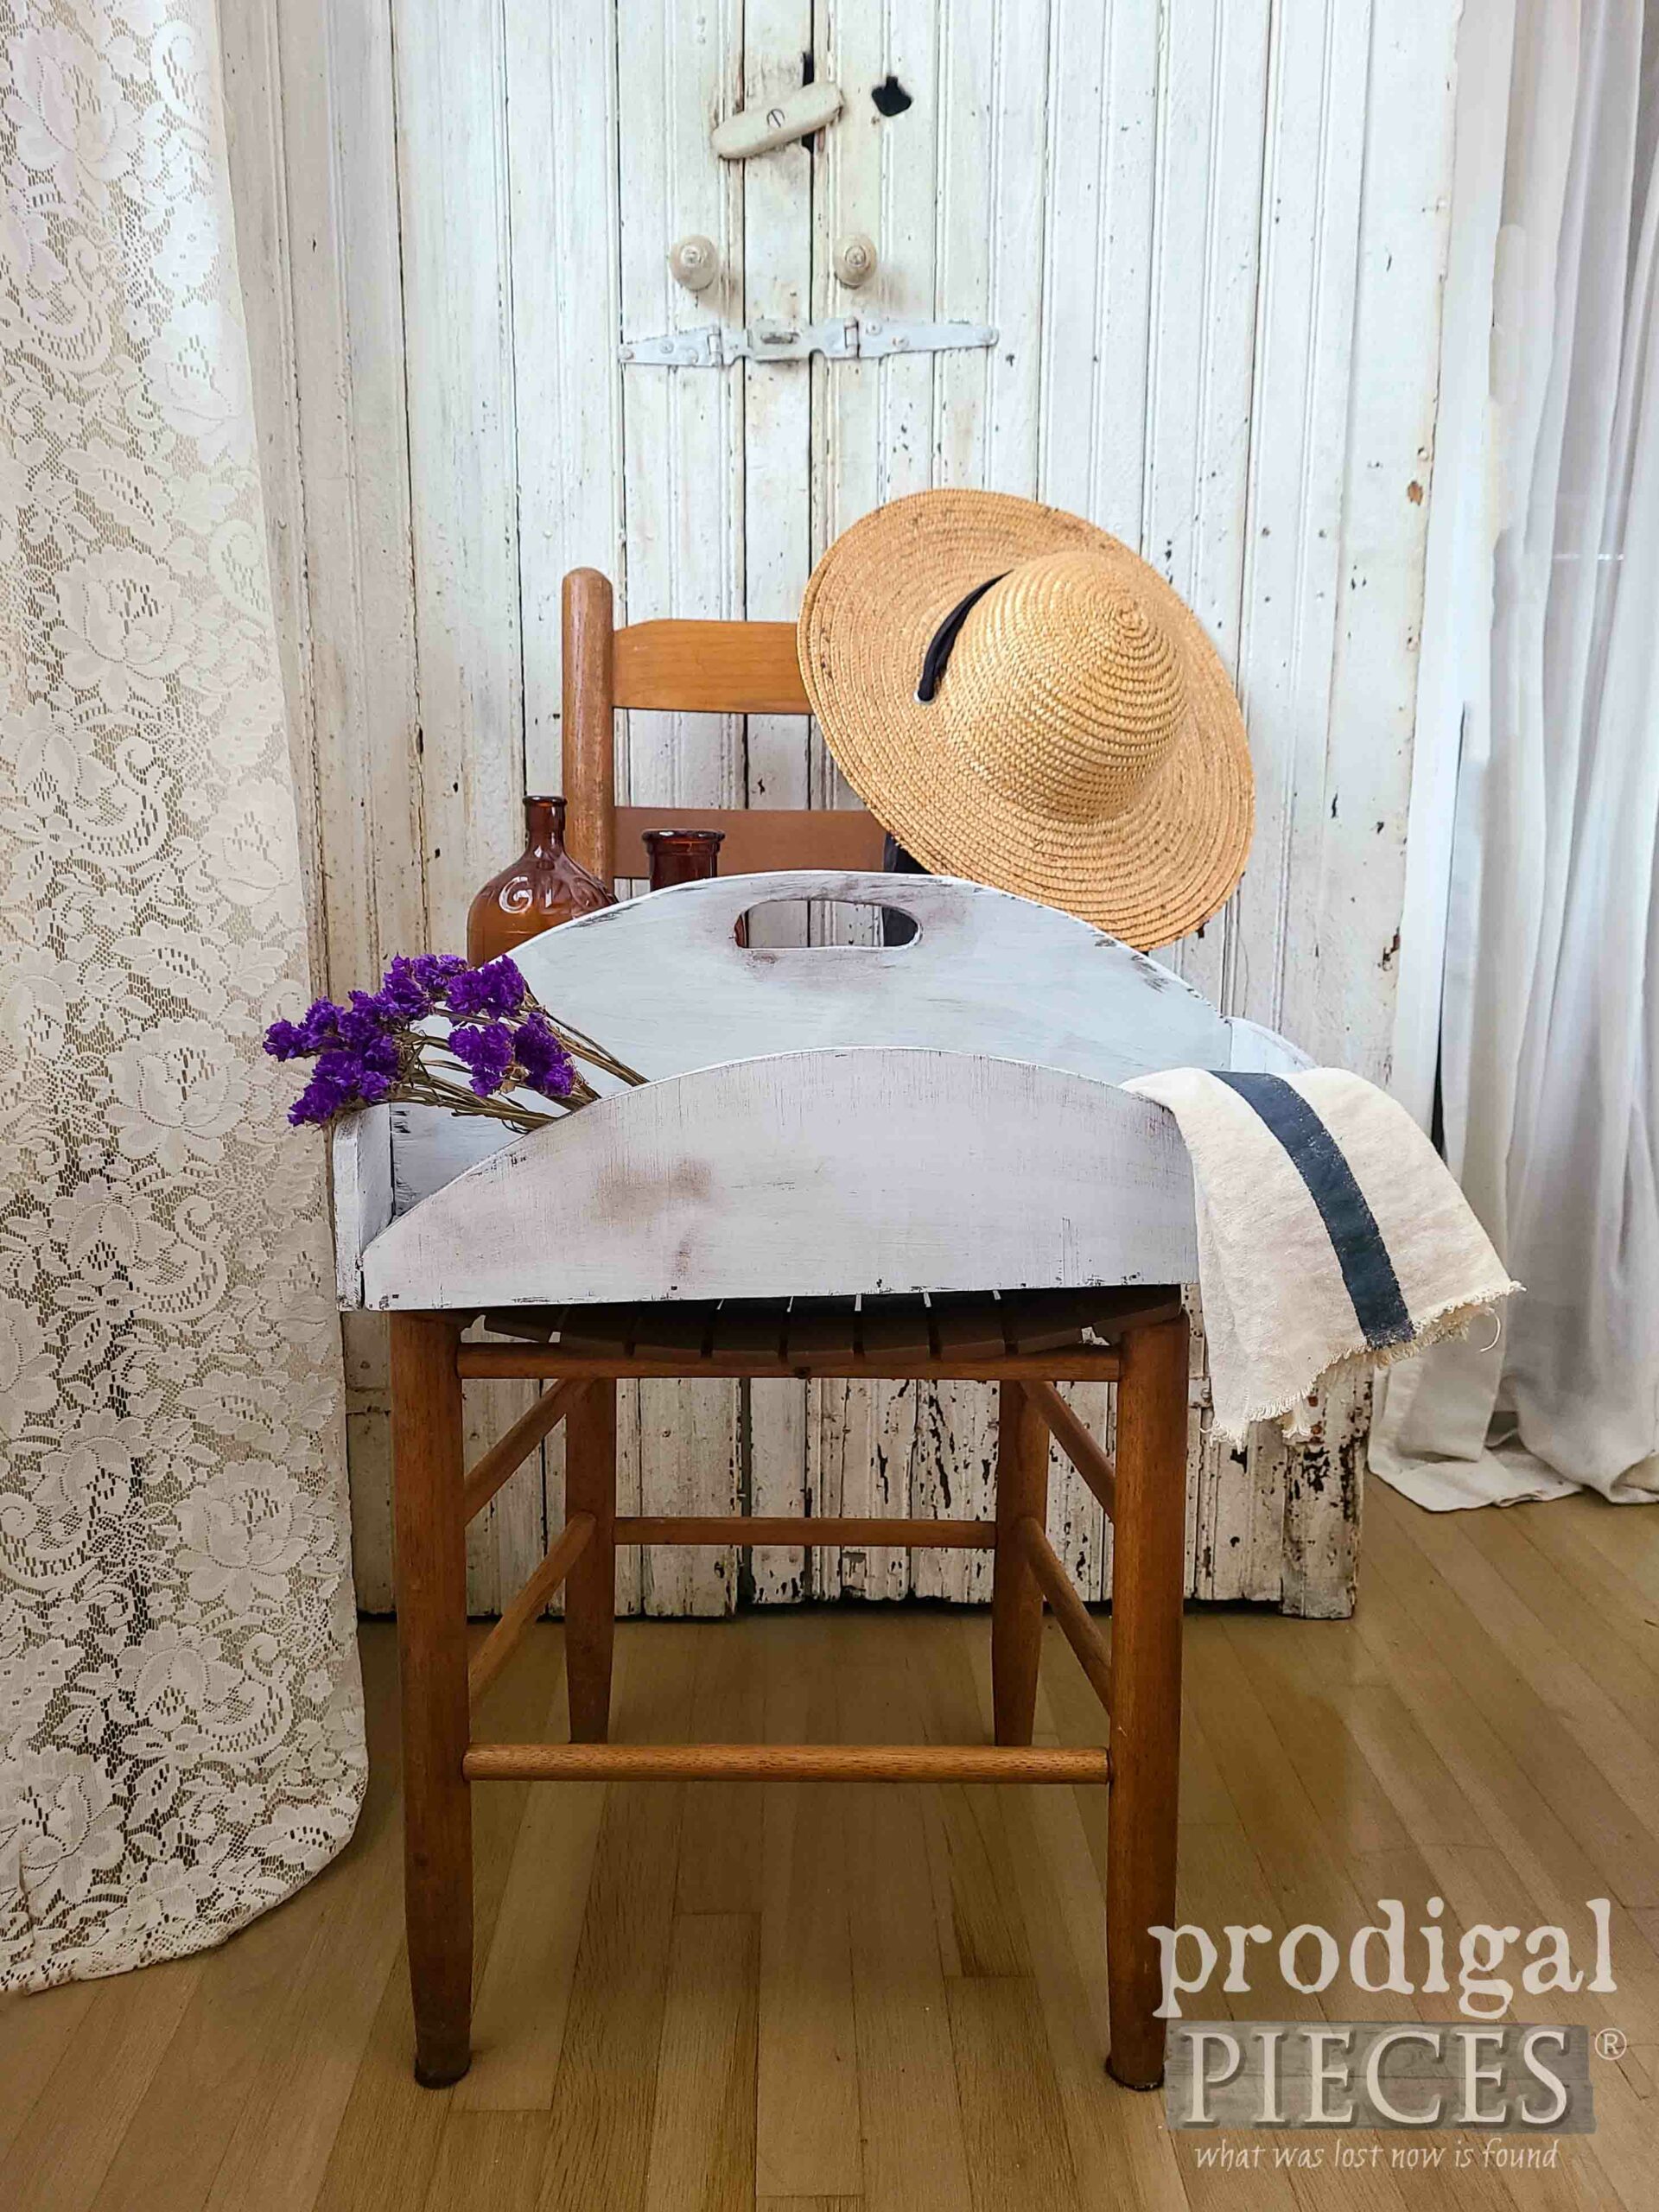
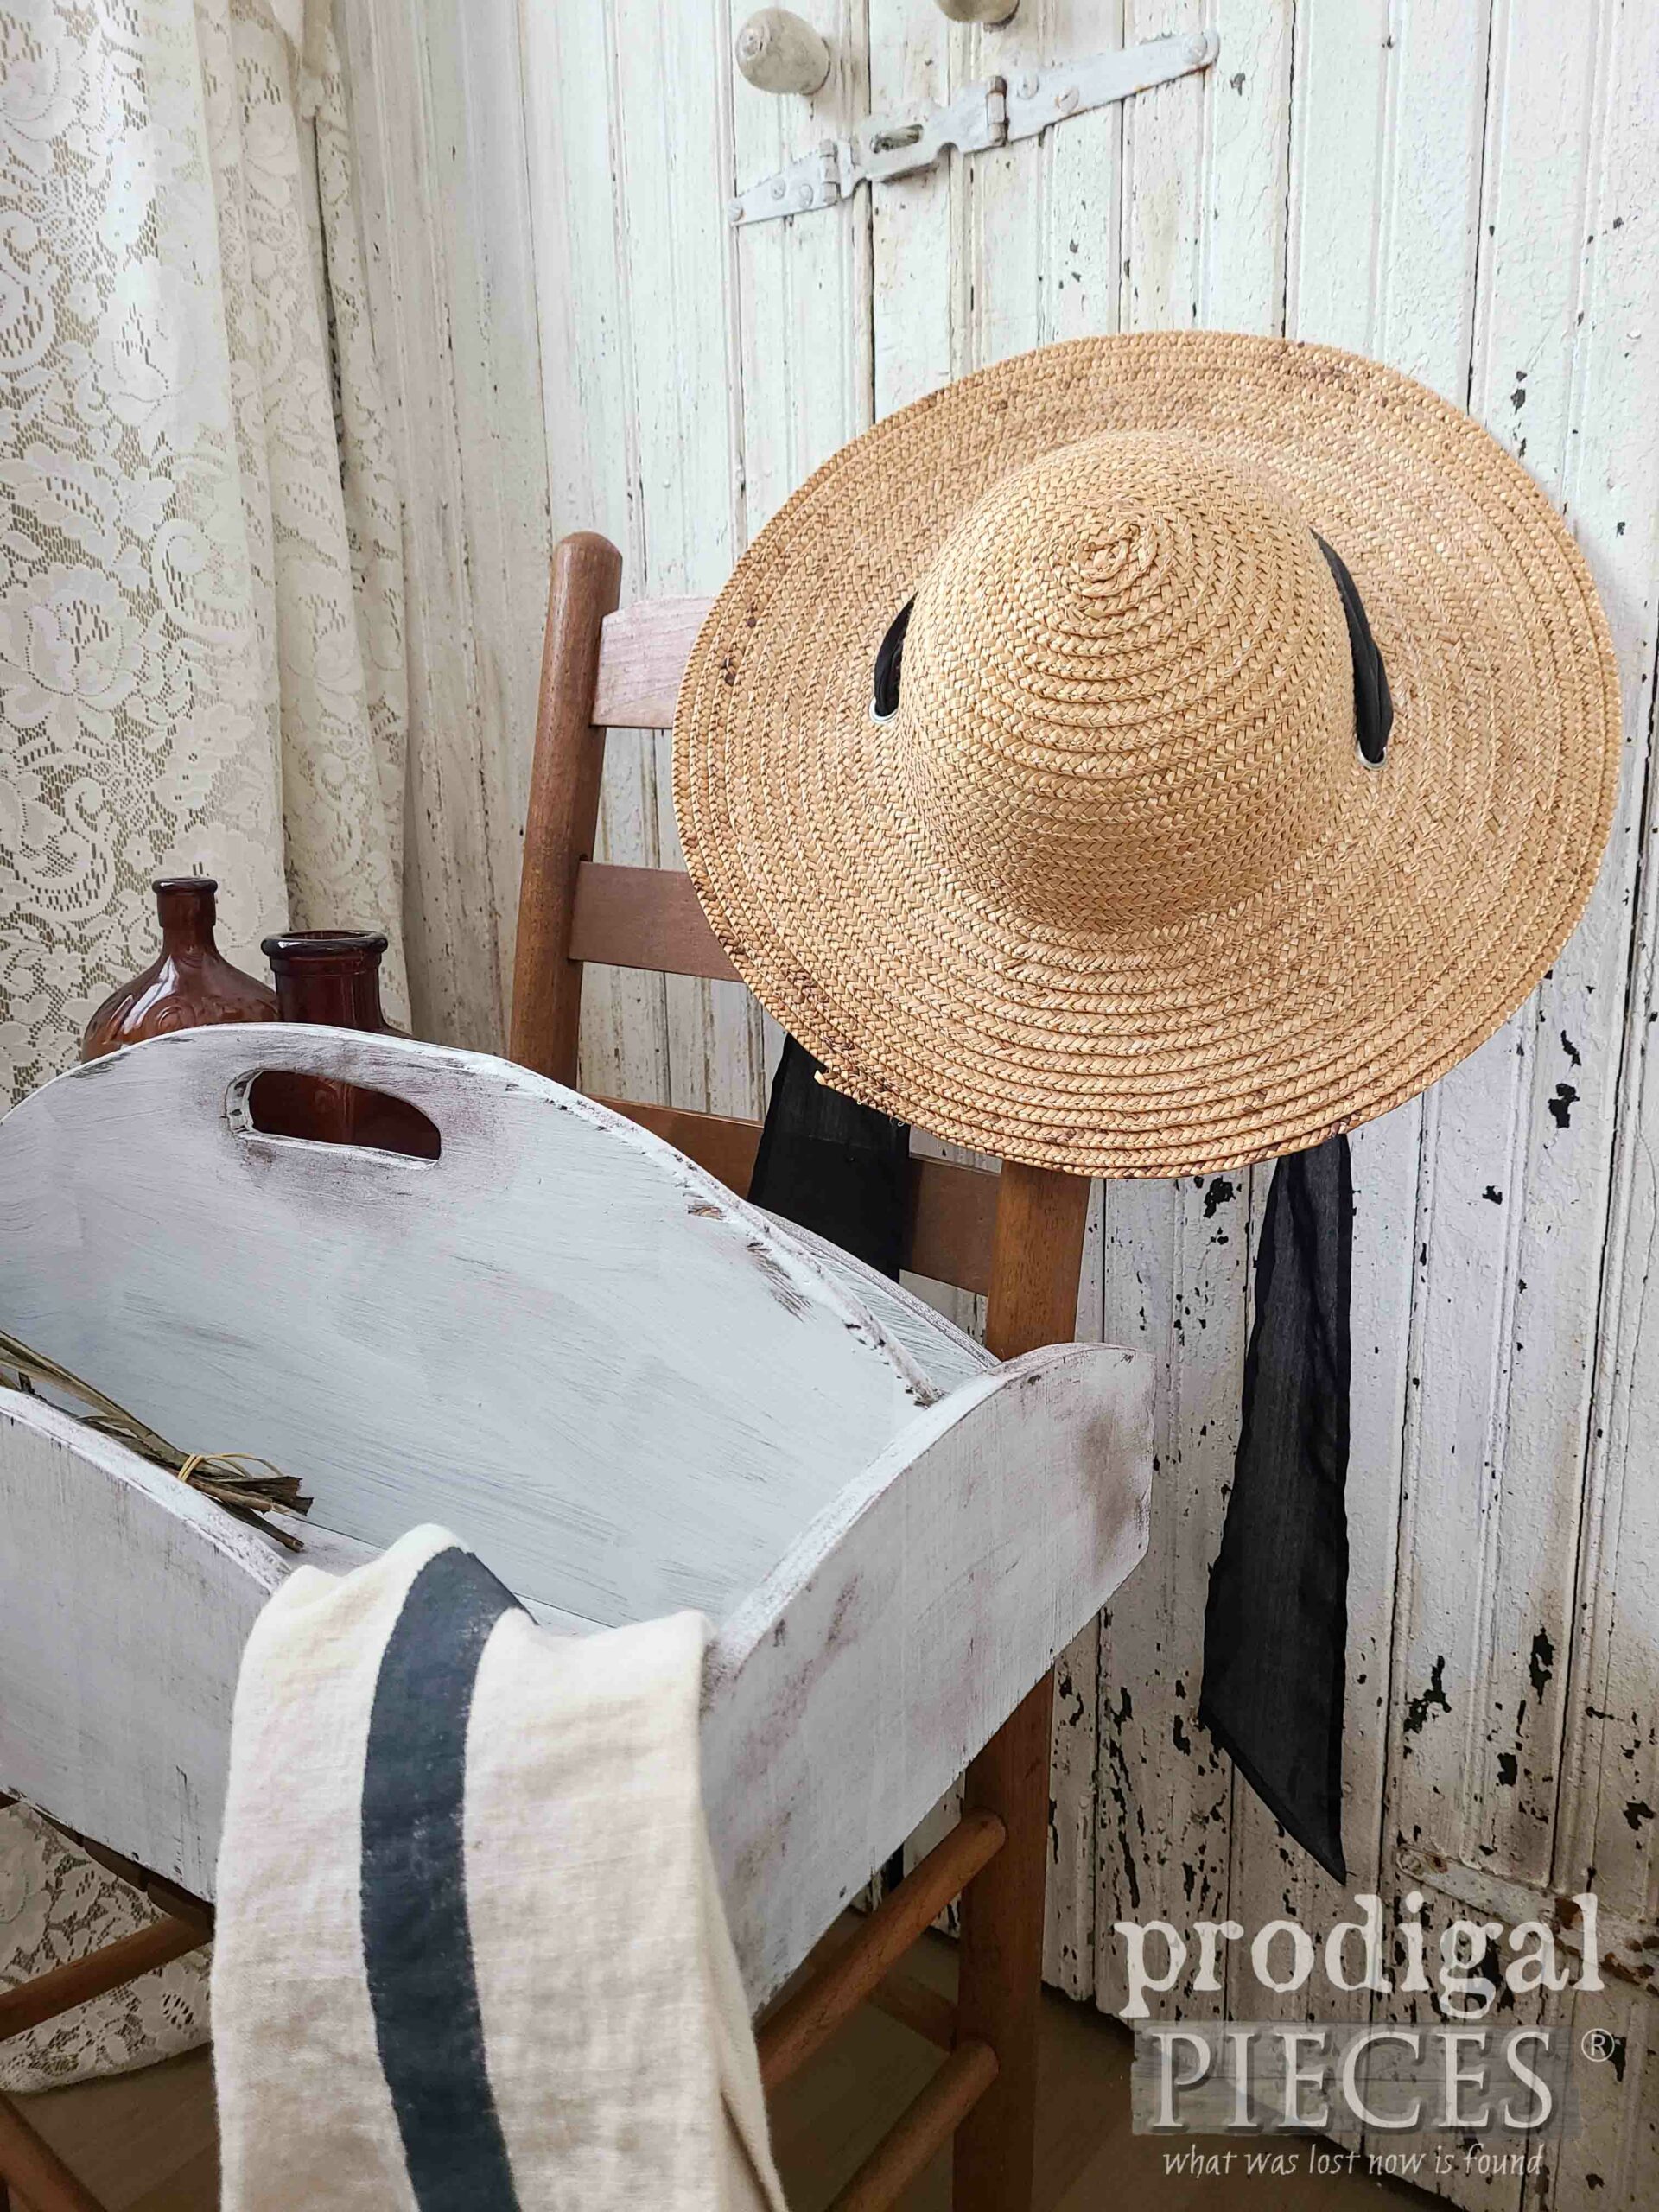
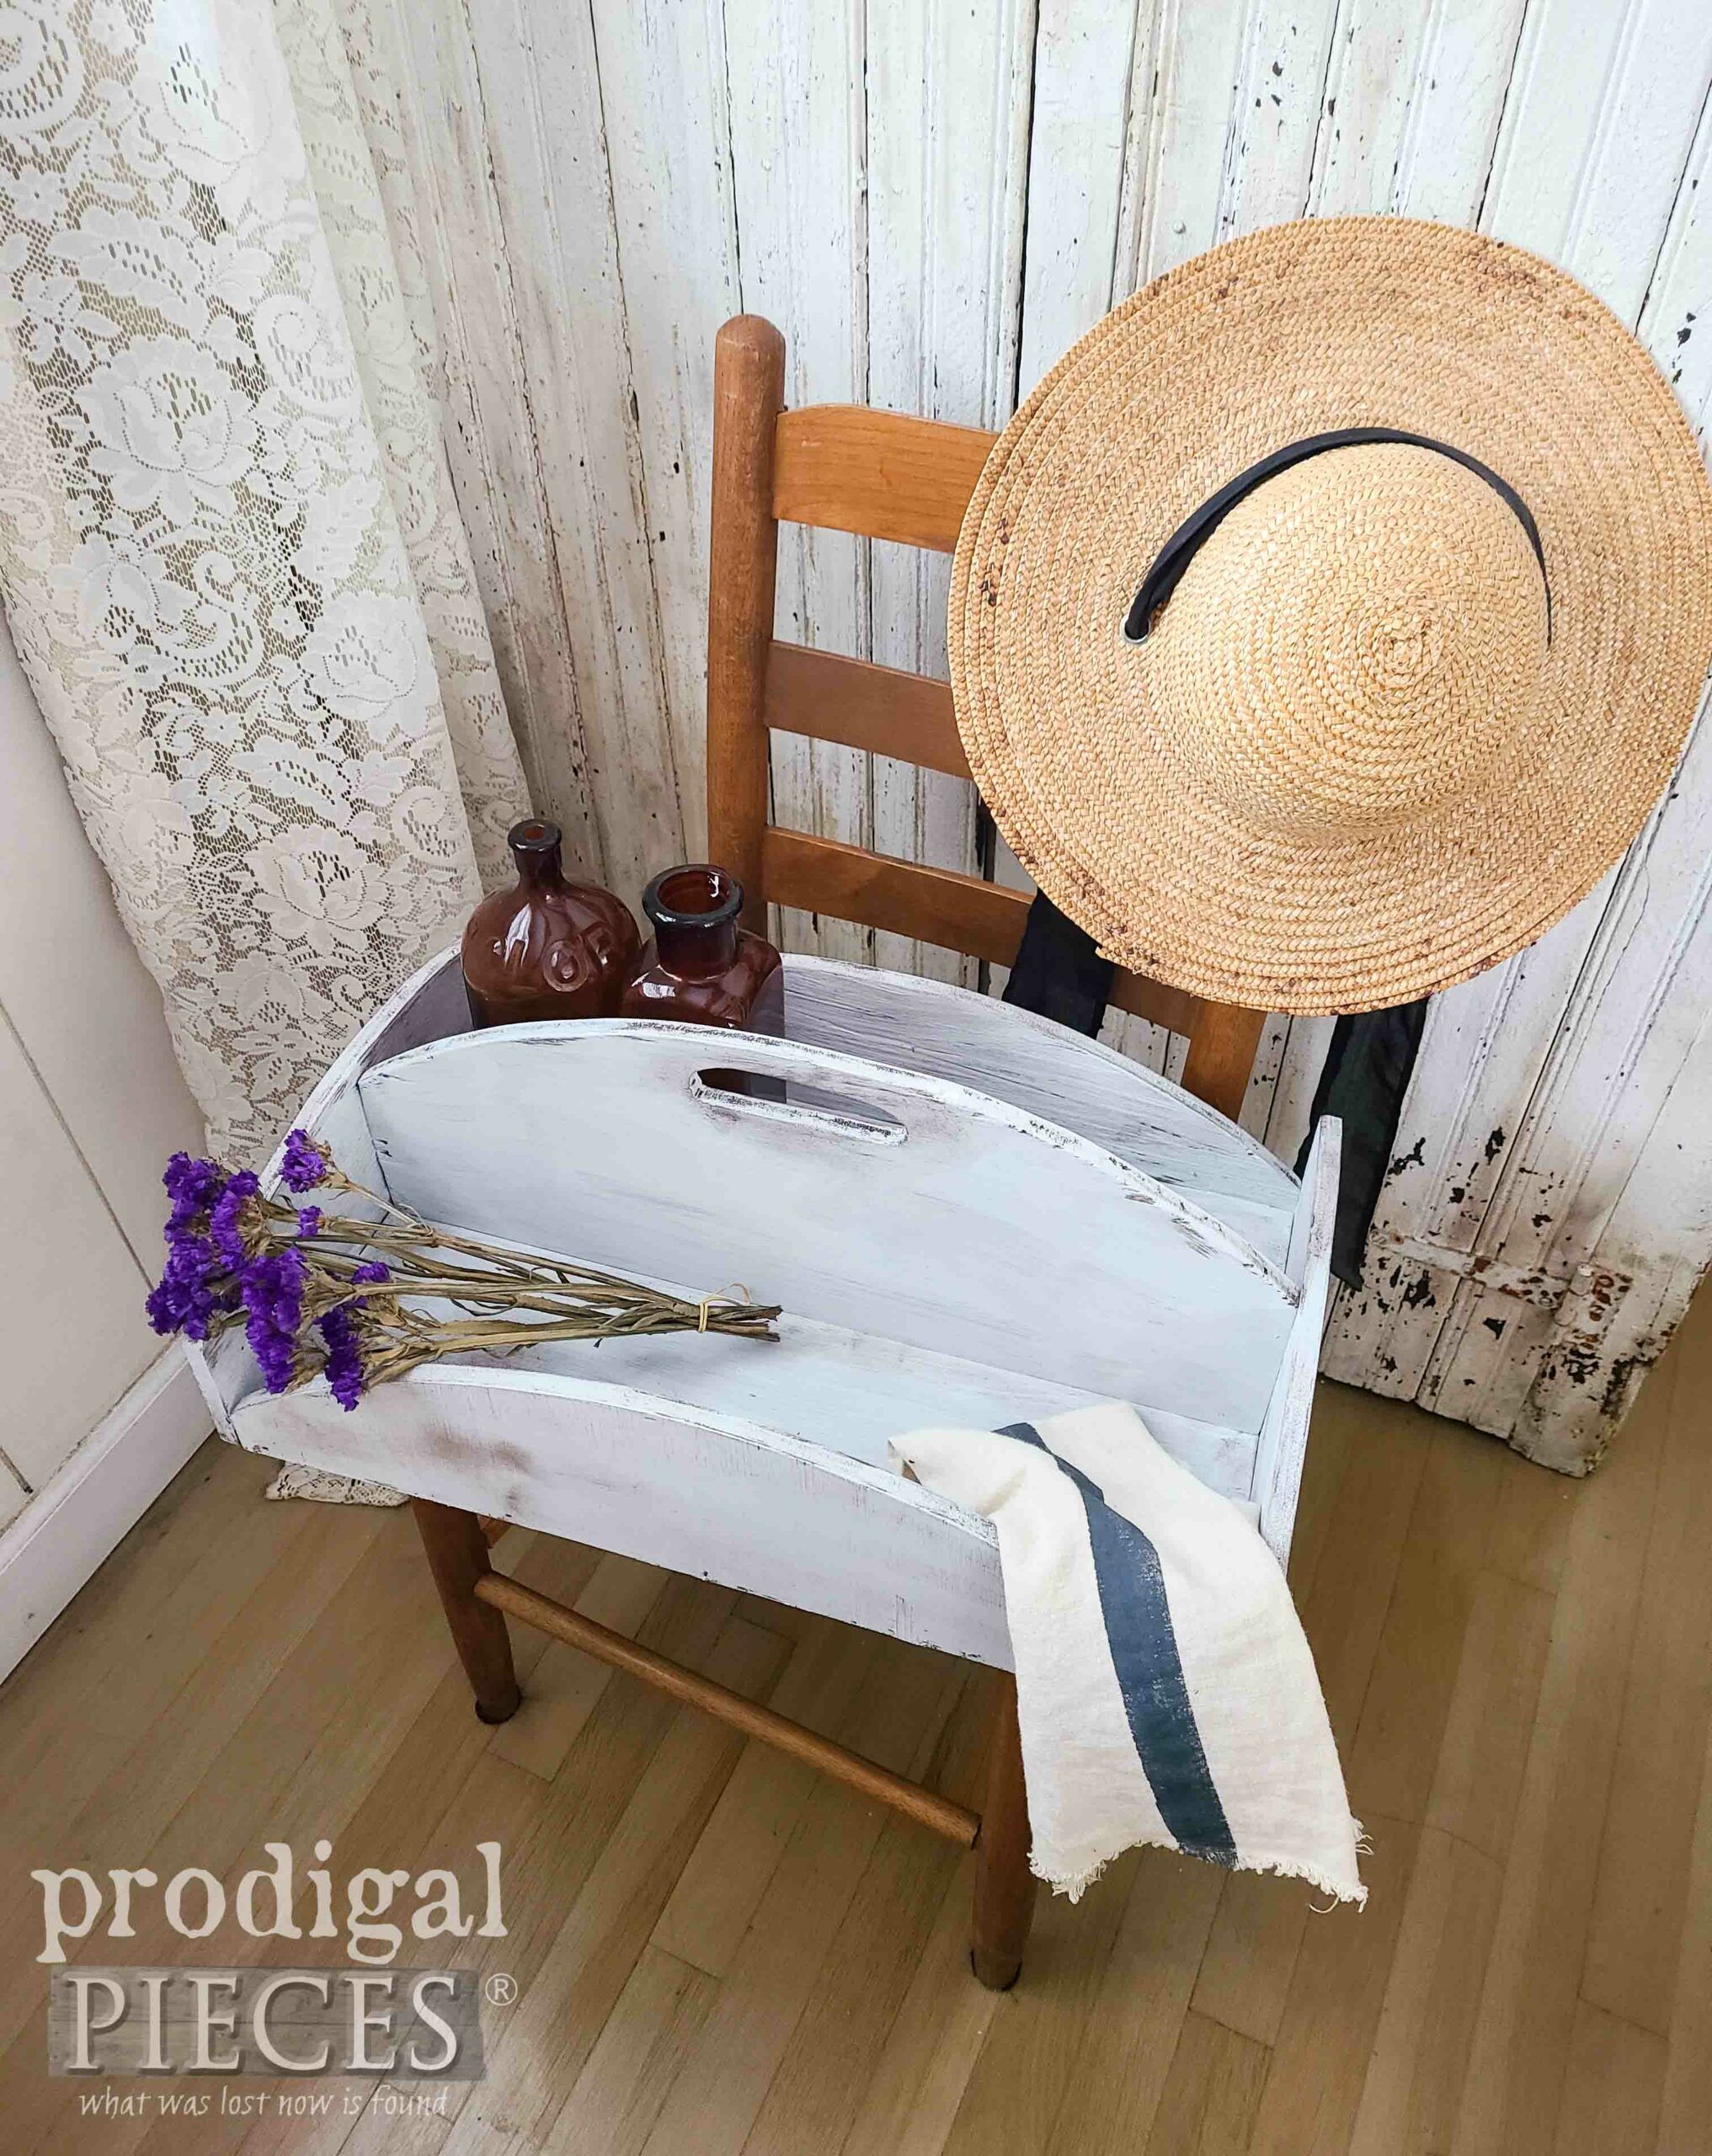
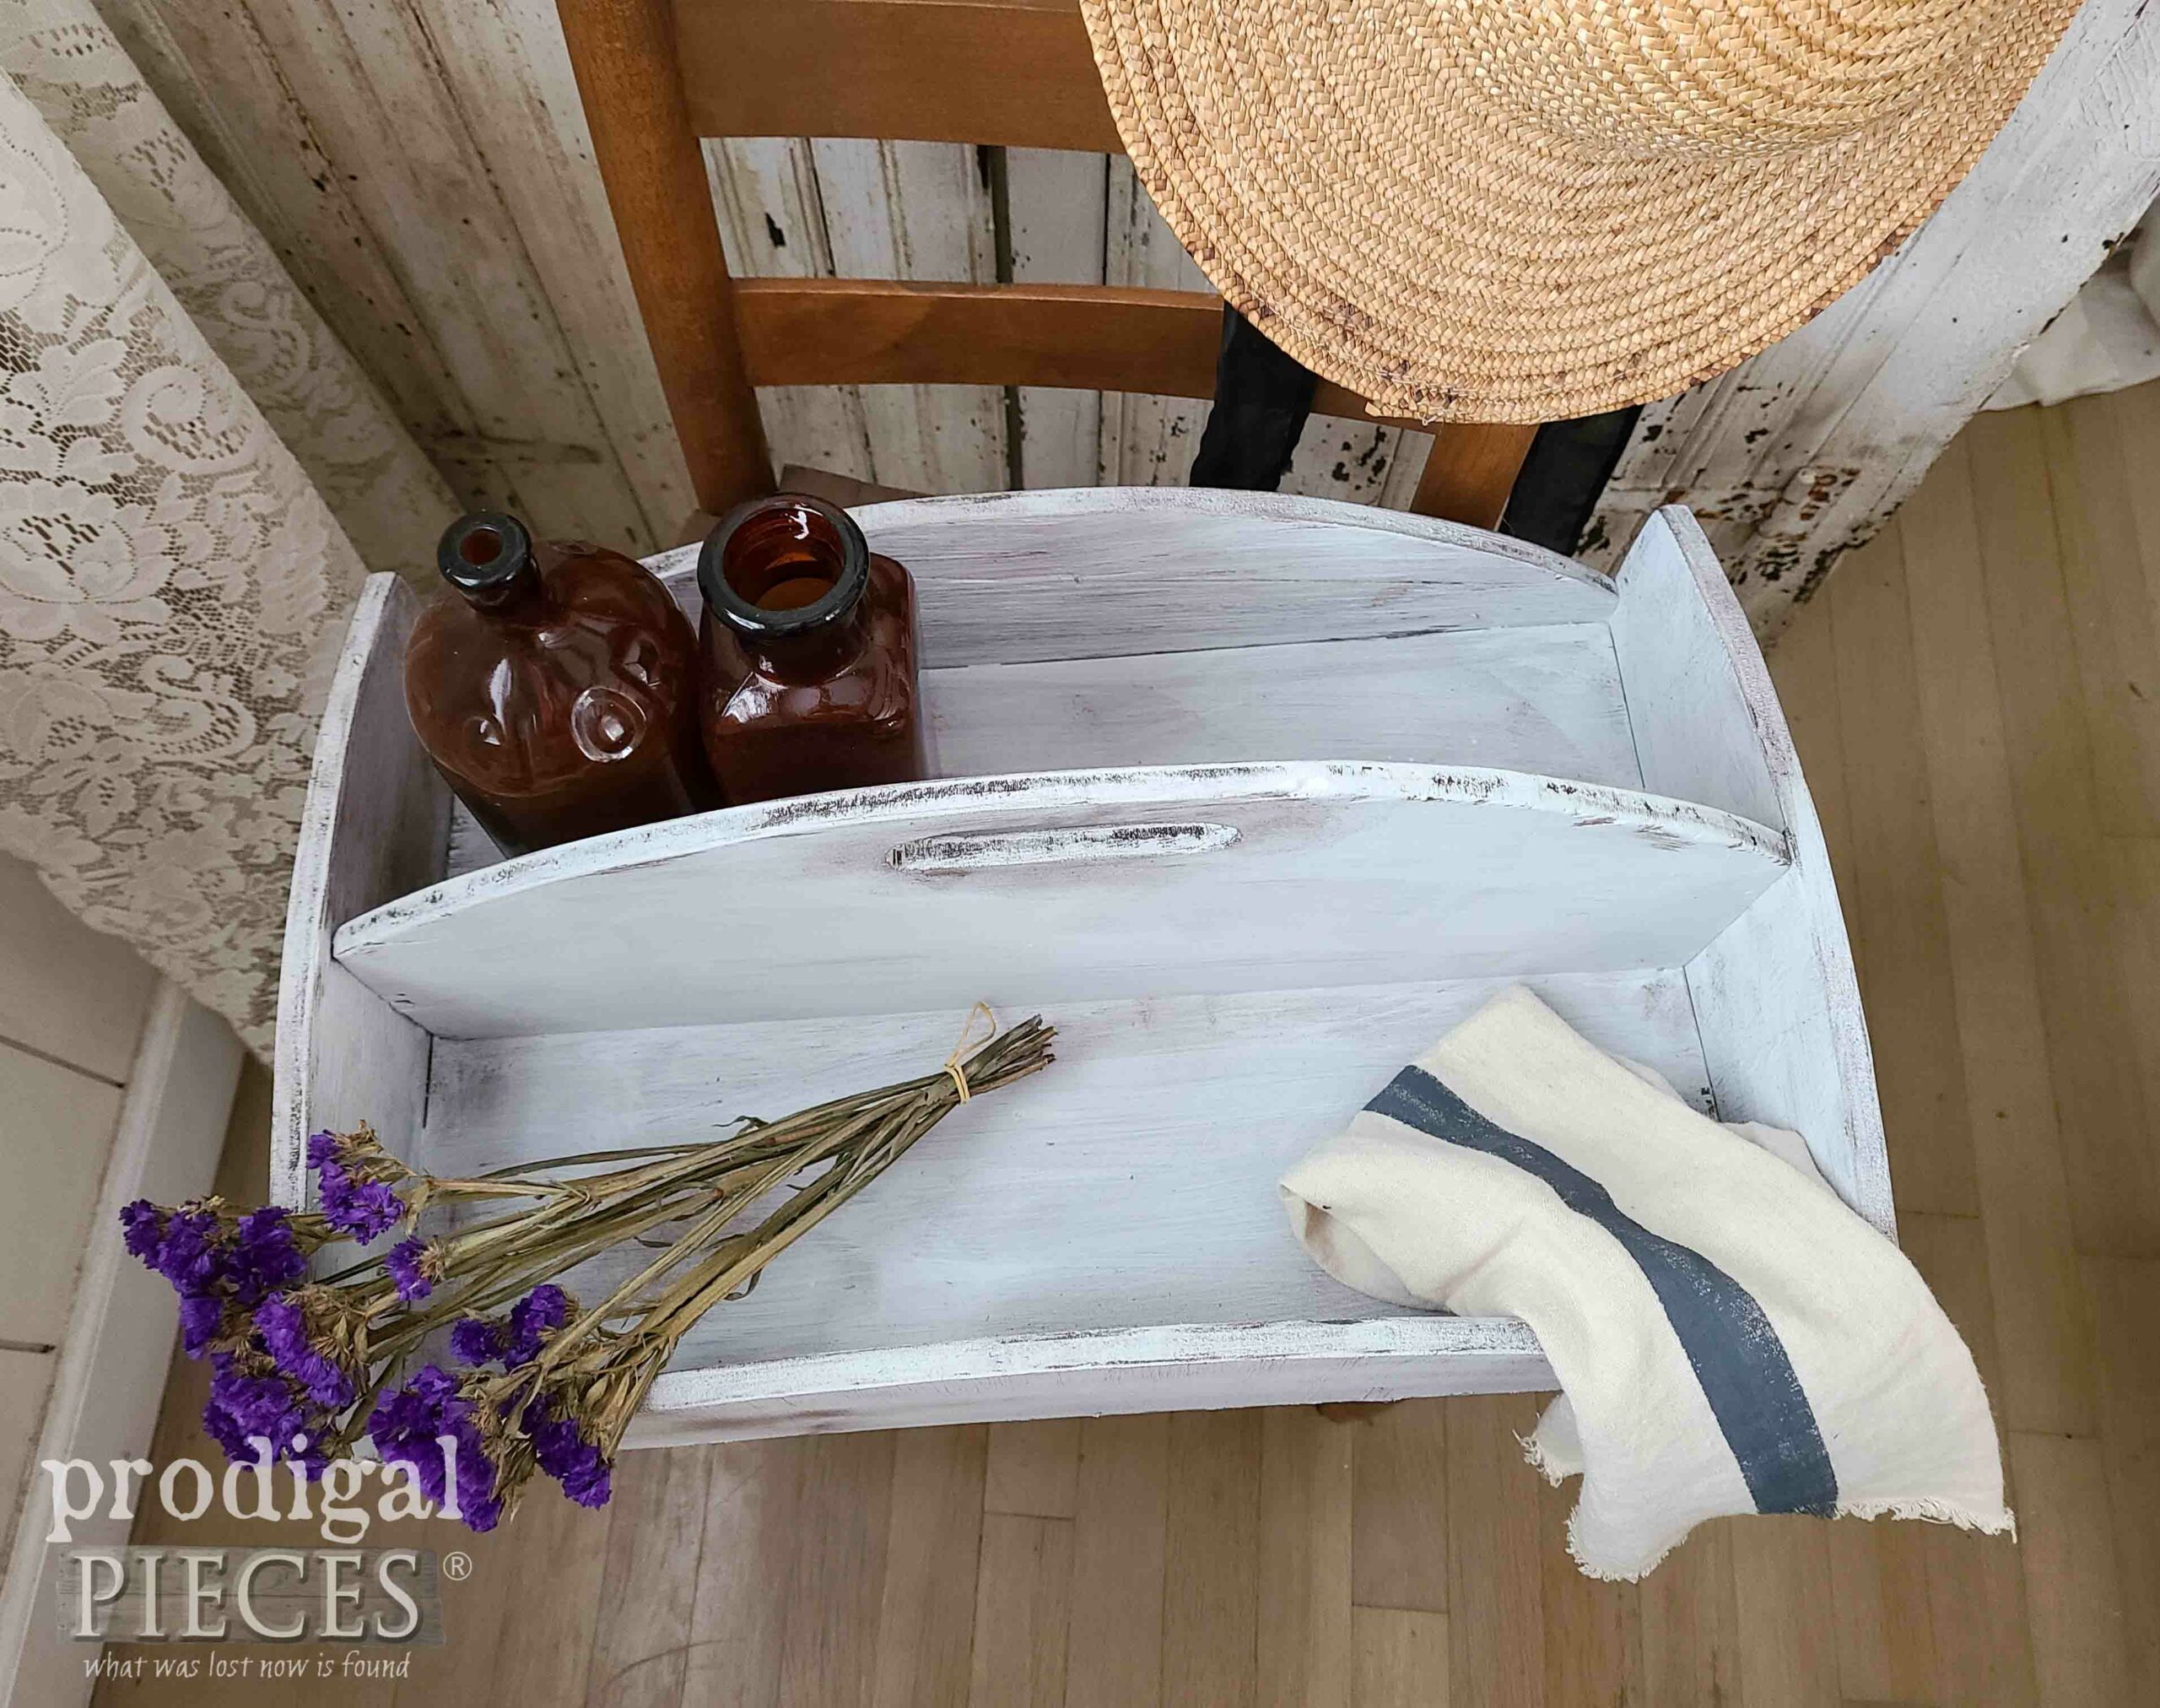
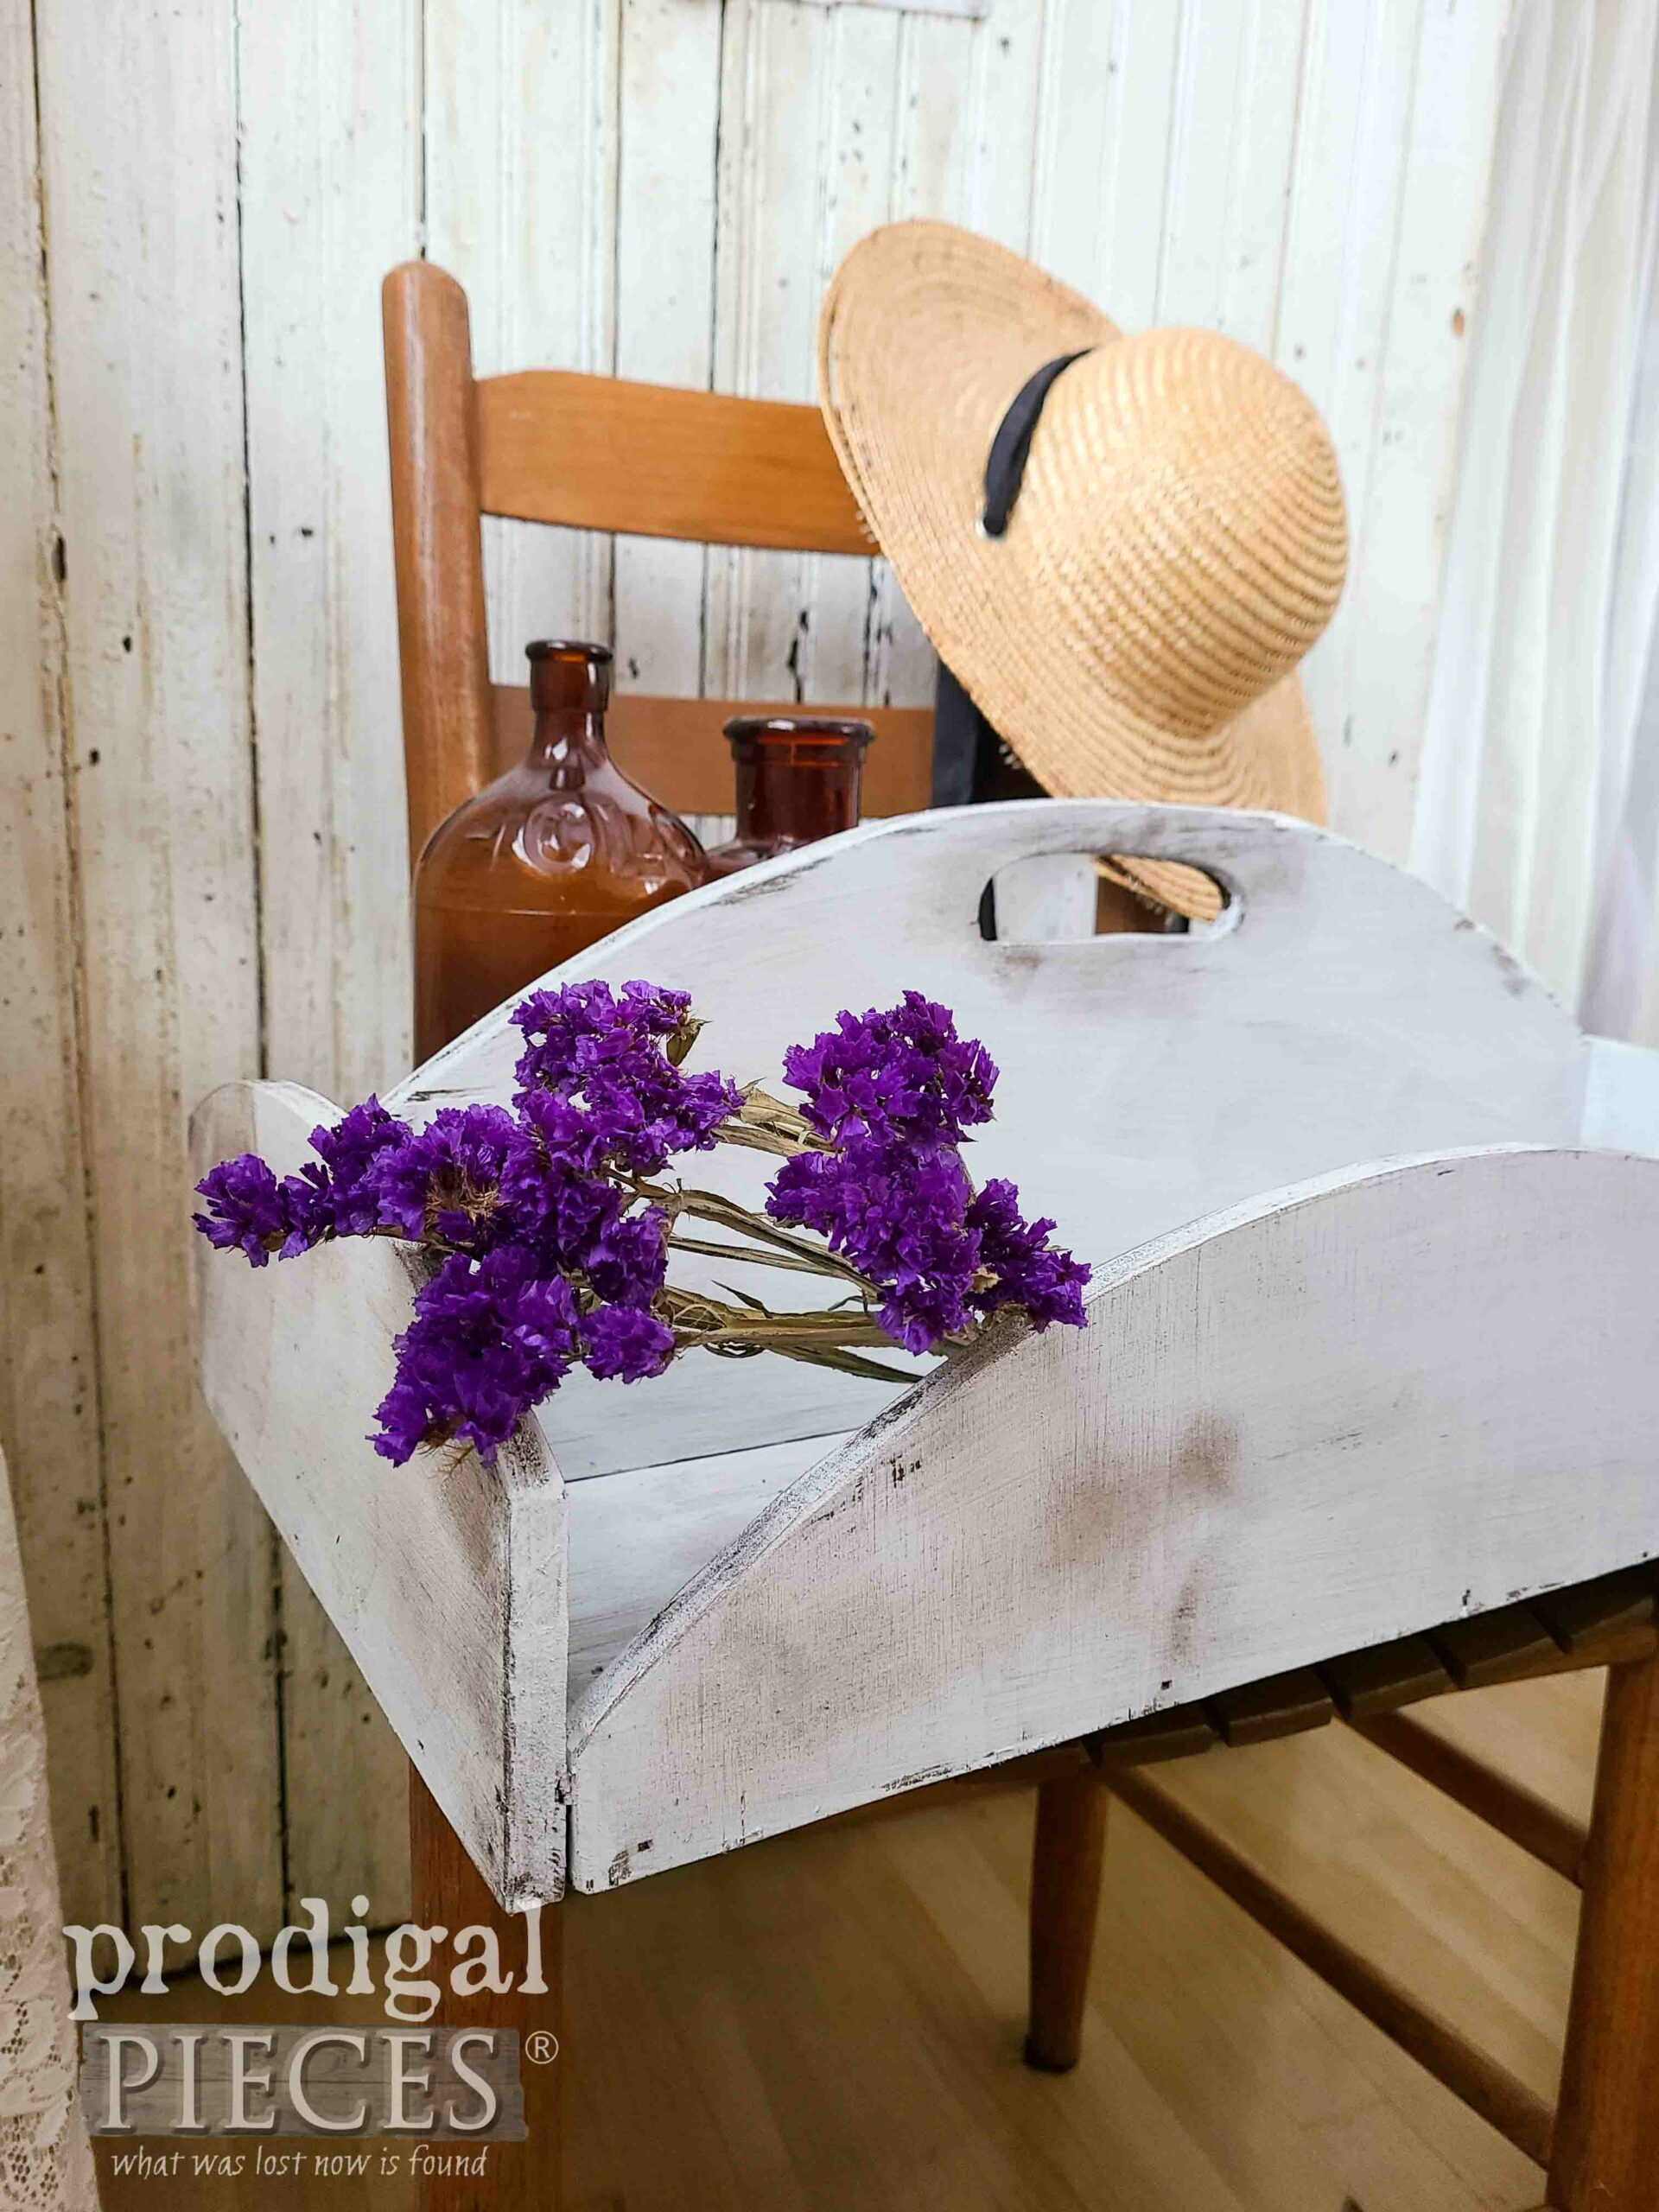
Here’s my tabletop turned tote and ready to go for pretty much anything your heart desires. What would you fill it with?
We call it a tote, a trug, a caddy, but all things lead to storage in some fashion or another. I have a few tucked in and around my home for various reasons.
Now, it’s your time to share. Would you have saved the top for a higher purpose? Or maybe would you have just left it in a circle? I want to hear from ya!
Also, if you’d like to make this tote or any of the vintage and handmade finds in my online store, you can make your own home story too.
SHARE
What is more, do pin and share to inspire others to see past the obvious and give DIY a try. Not only is it fun, but is useful in more ways than one.
Before you go, be sure to sign up for my FREE newsletter to join me as I rework this thrifted table for Trash to Treasure Tuesday. See the “after” HERE. Until next time!


Fabulous!
aww…thank you, Diana.
That is so clever!
Thank you, Cyndi.
Hello Friend! I believe your original piece—a cabinet with a circular plywood top—was used as an end table. I have something similar, draped with a round tablecloth that reaches the floor. You use it as an end table but also have storage hidden underneath. Great use of the plywood round, too!
I know what you’re referring to, but this one was built by a local person so I don’t think it’s the same. Another lady thought the same as you and I even had one when starting out with no furniture. haha. Thanks so much!
Love it! I would fill it with my blue bottles..
You are a kindred spirit. 😀
Ohhhh. Gotta love a wooden tote !
That is really cute – And functional.
So wish I had some carpentry skills. Darn.
A creative piece – and the design is sooo cute.
Thanks !
p
I would love to teach you! 😀 Thank you for getting why I do what I do.
When I saw the left over round table top by first thought was creating a turntable for my medium or large spray tent. But aren’t you clever to use all the pieces and make a very functional tote. Good job, you!
Great minds! I made one in my tutorial a few years ago: https://prodigalpieces.com/piano-bench-makeover/ I use that thing all the time. Thanks so much for the smile, Joanne.
Larissa,
I know that post with turntable instructions. I used your tutorial to make one! It’s the best thing when spray painting. And it was so easy with your easy to follow instructions. And that’s exactly why it came to mind when I saw the left over round table top. 😄
haha! My bad. That’s awesome! And that’s also music to my ears. I’m so glad you like it.
What a good job on using all the pieces of this set, they are both awesome.
My one question is did I miss how you made the handle hole?
You are always so clever of thinking outside the box.
Love your pun! “thinking outside the box”. I just hand-drew a spot, drilled pilot holes, and then used my jigsaw to cut out the shape. Thanks for the kind words, Bonnie.