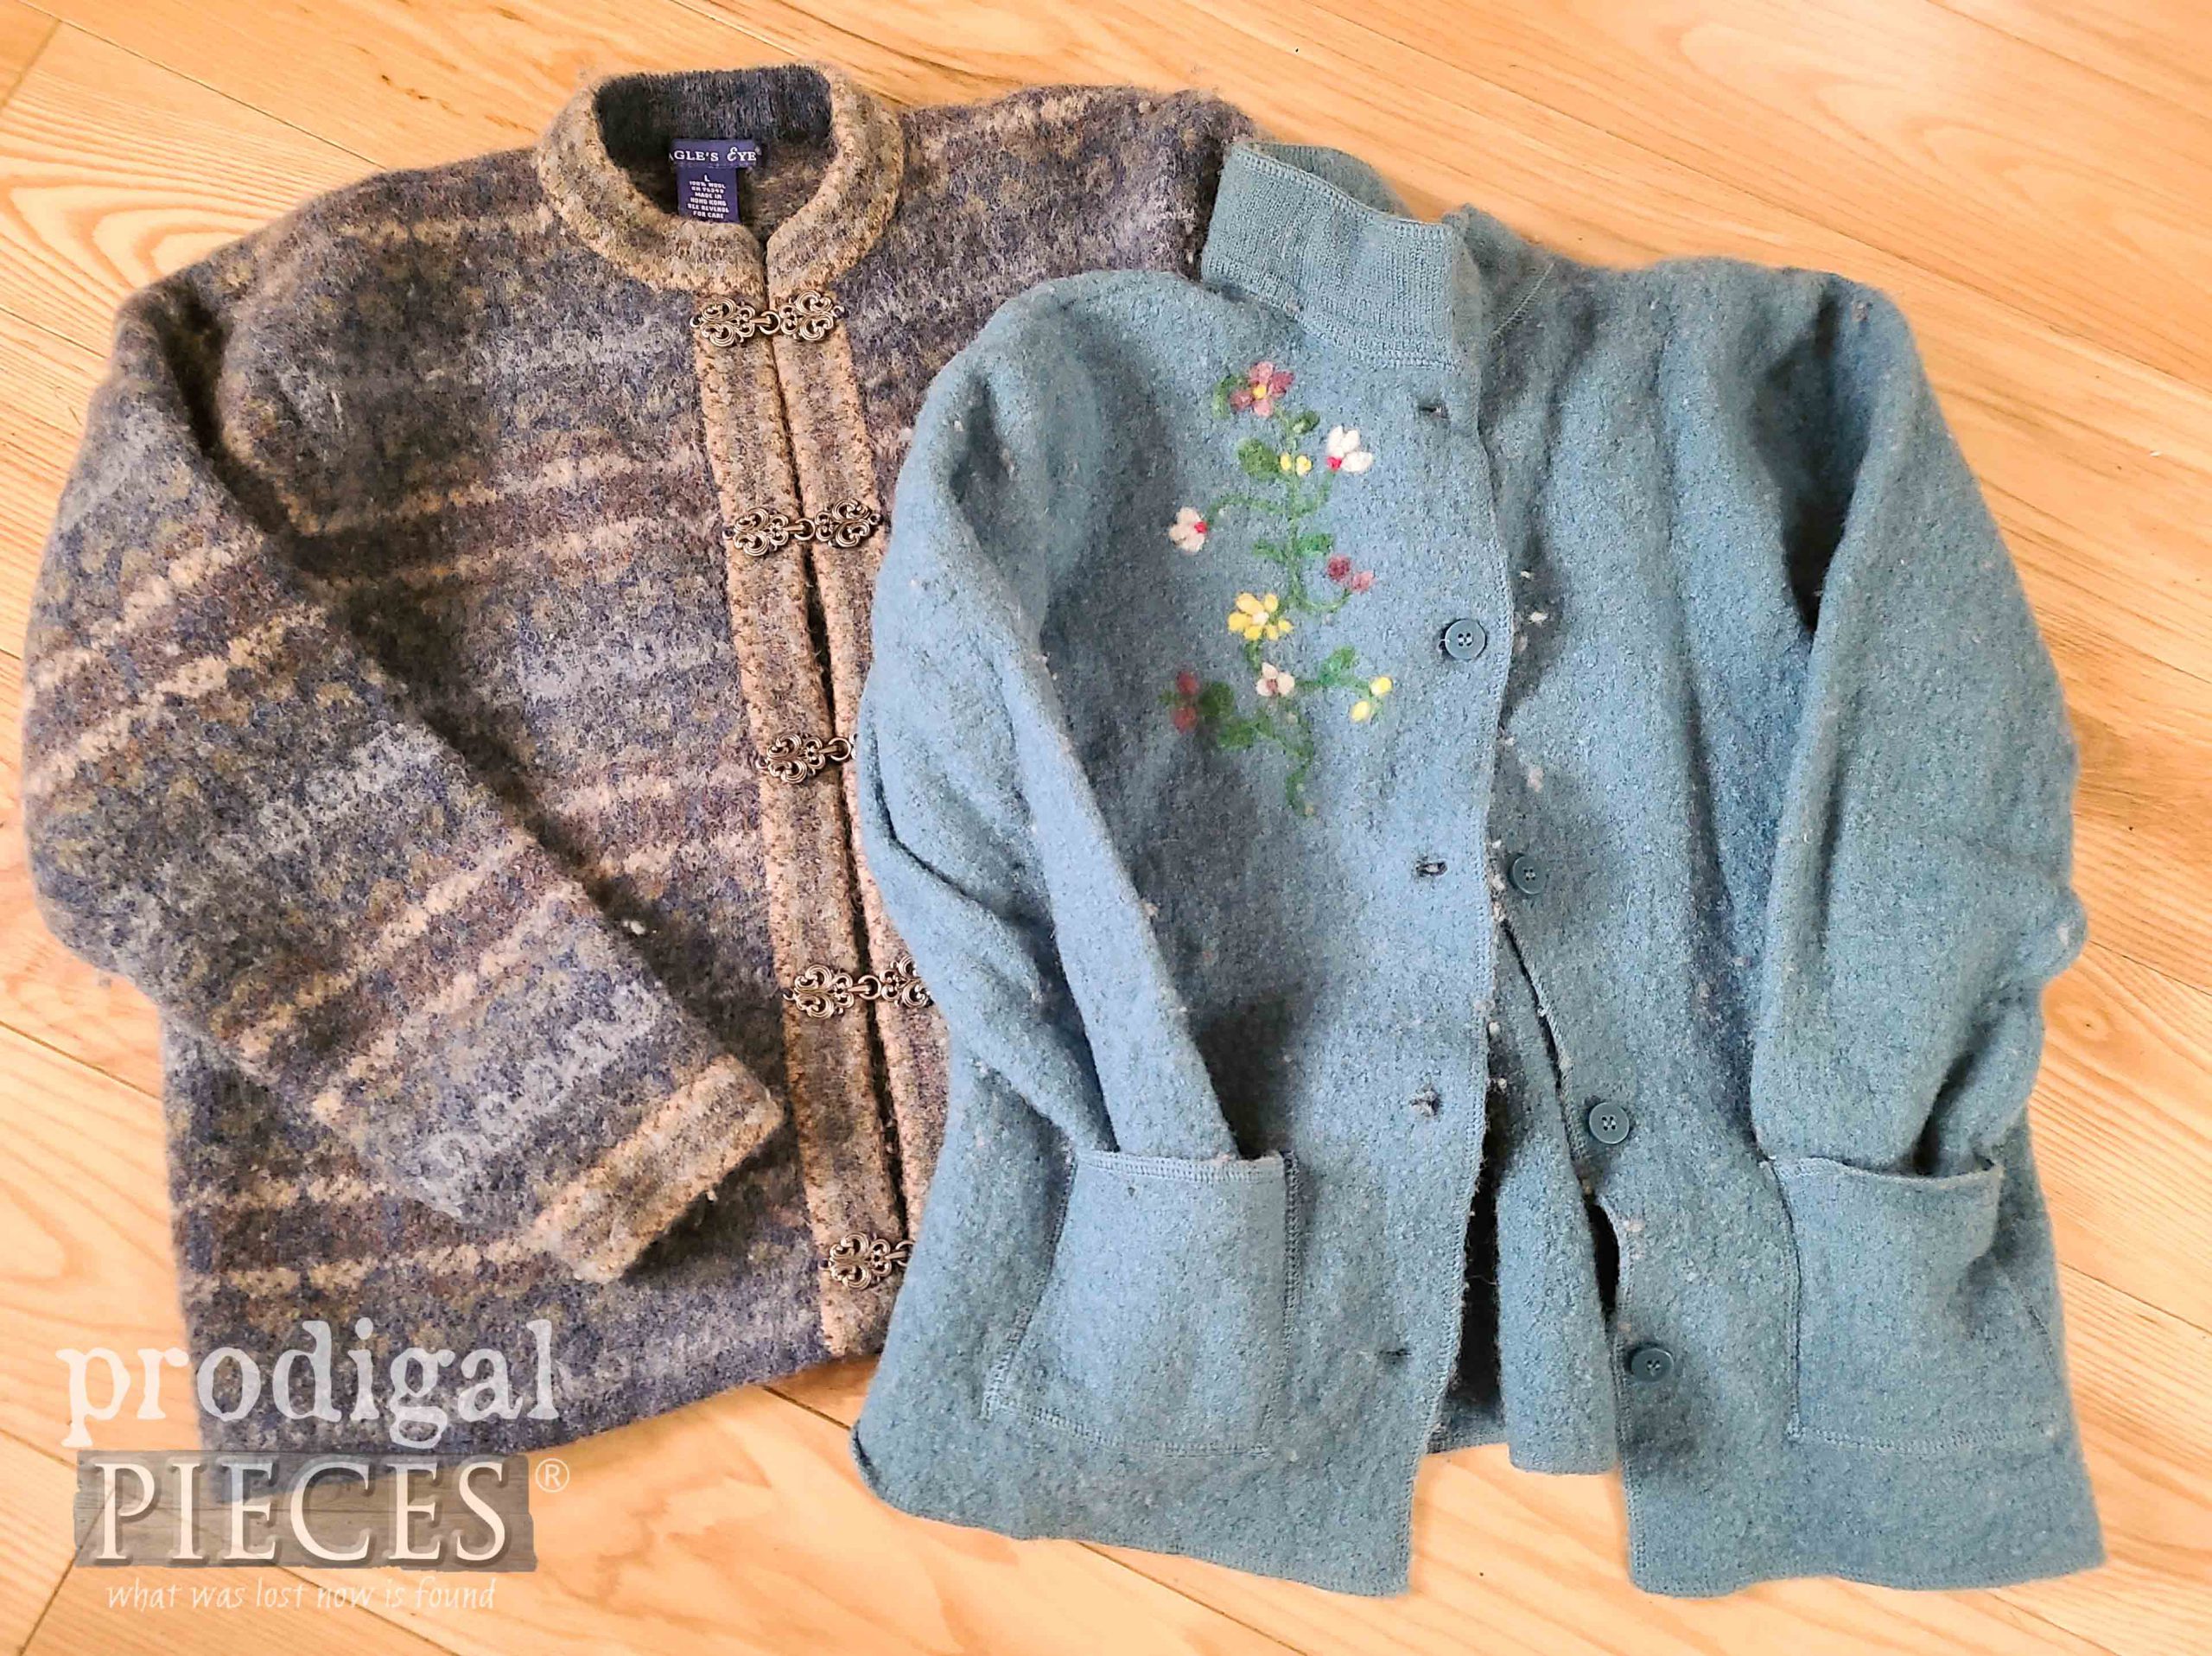
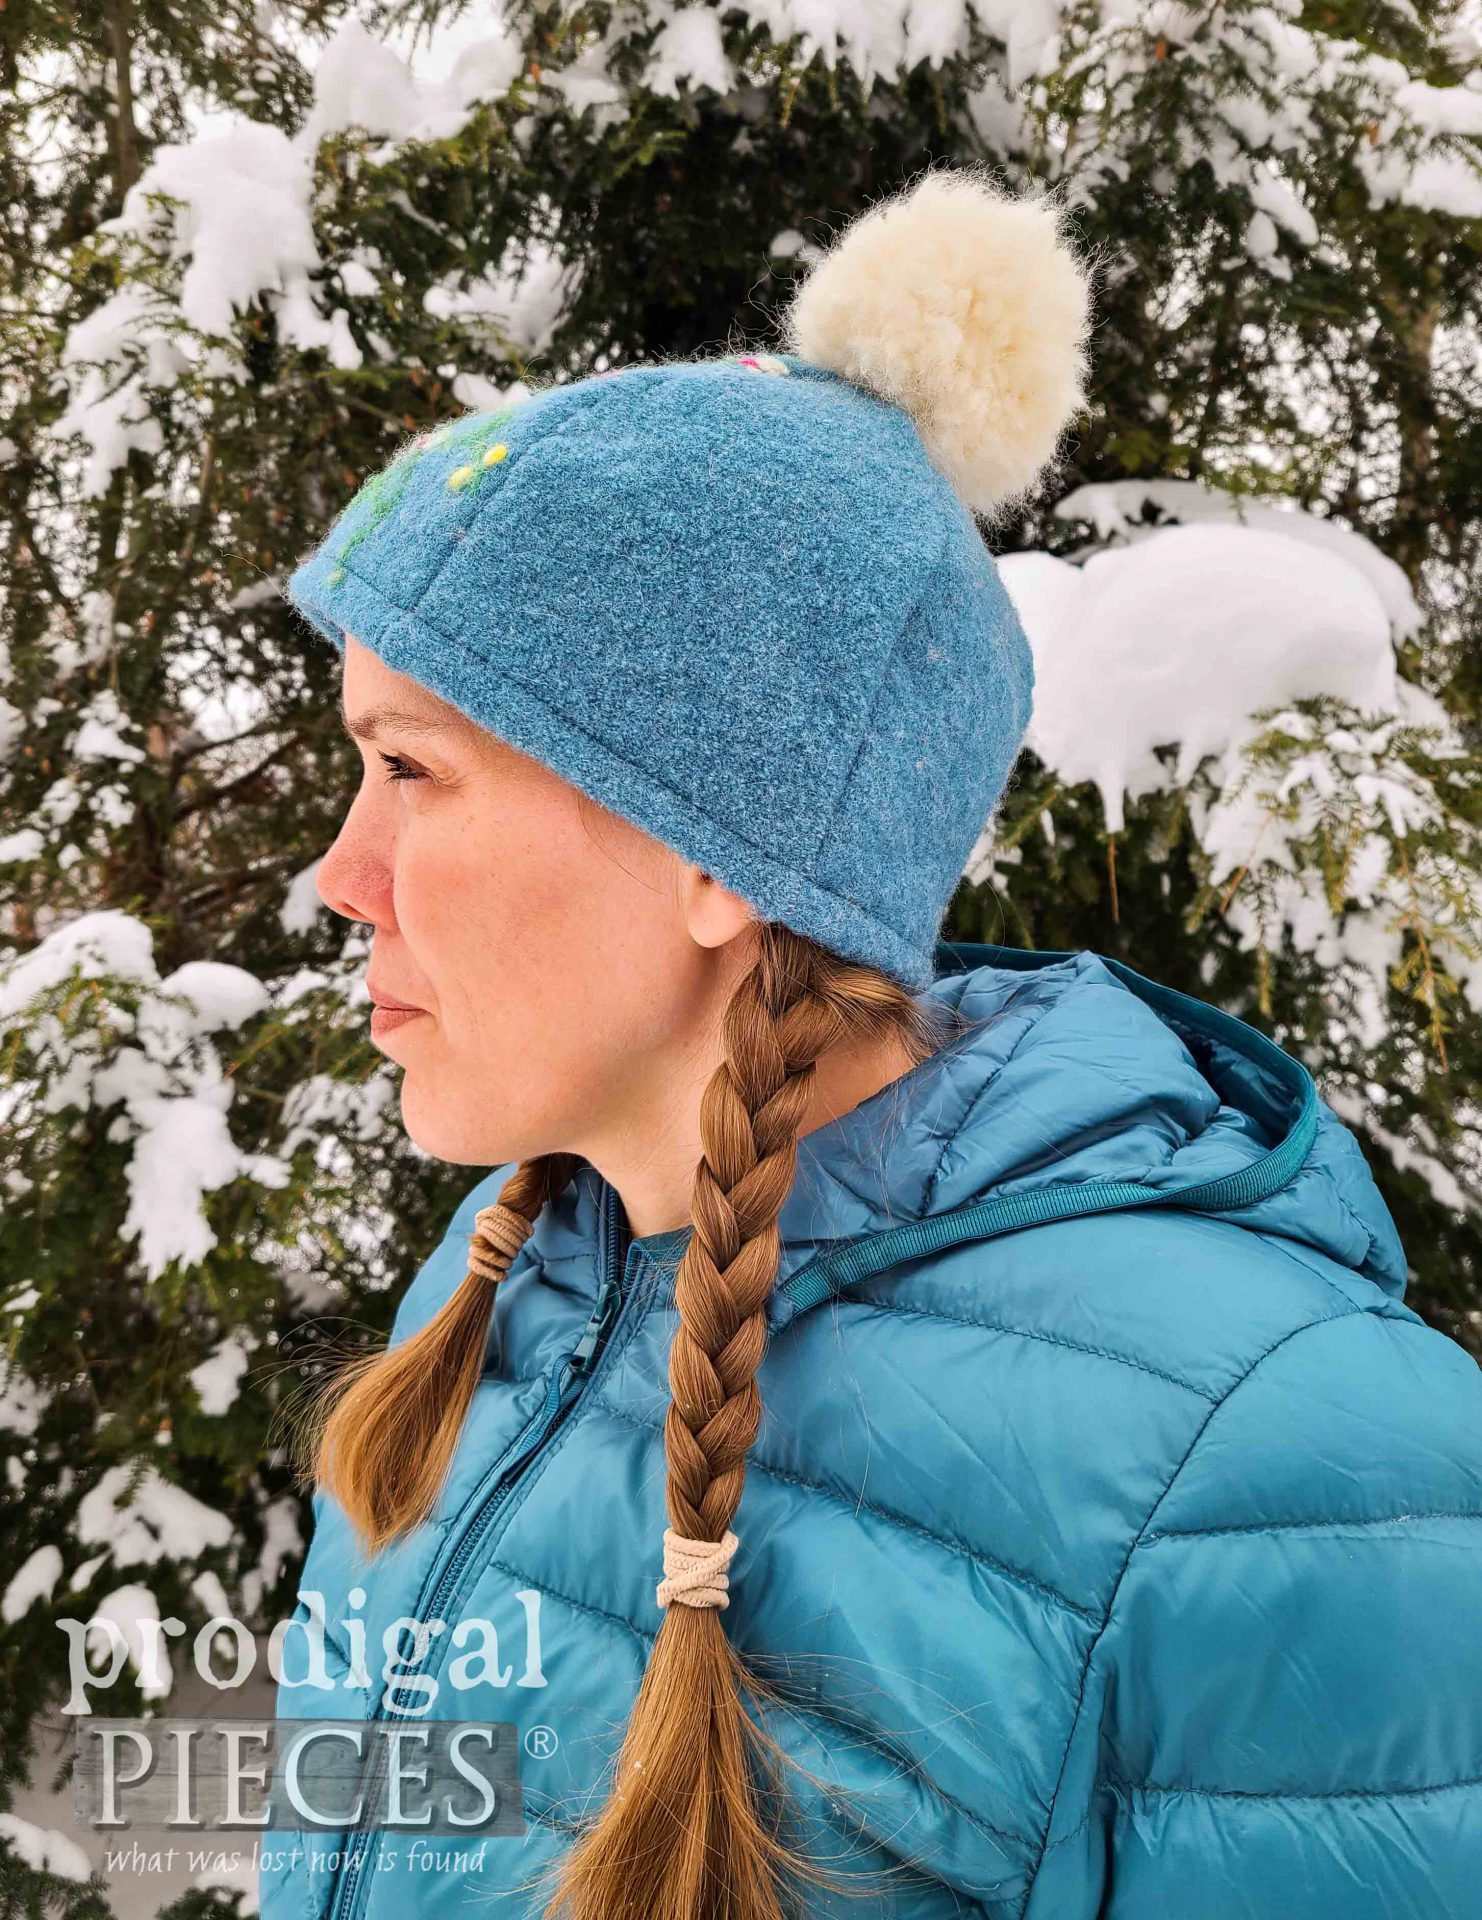
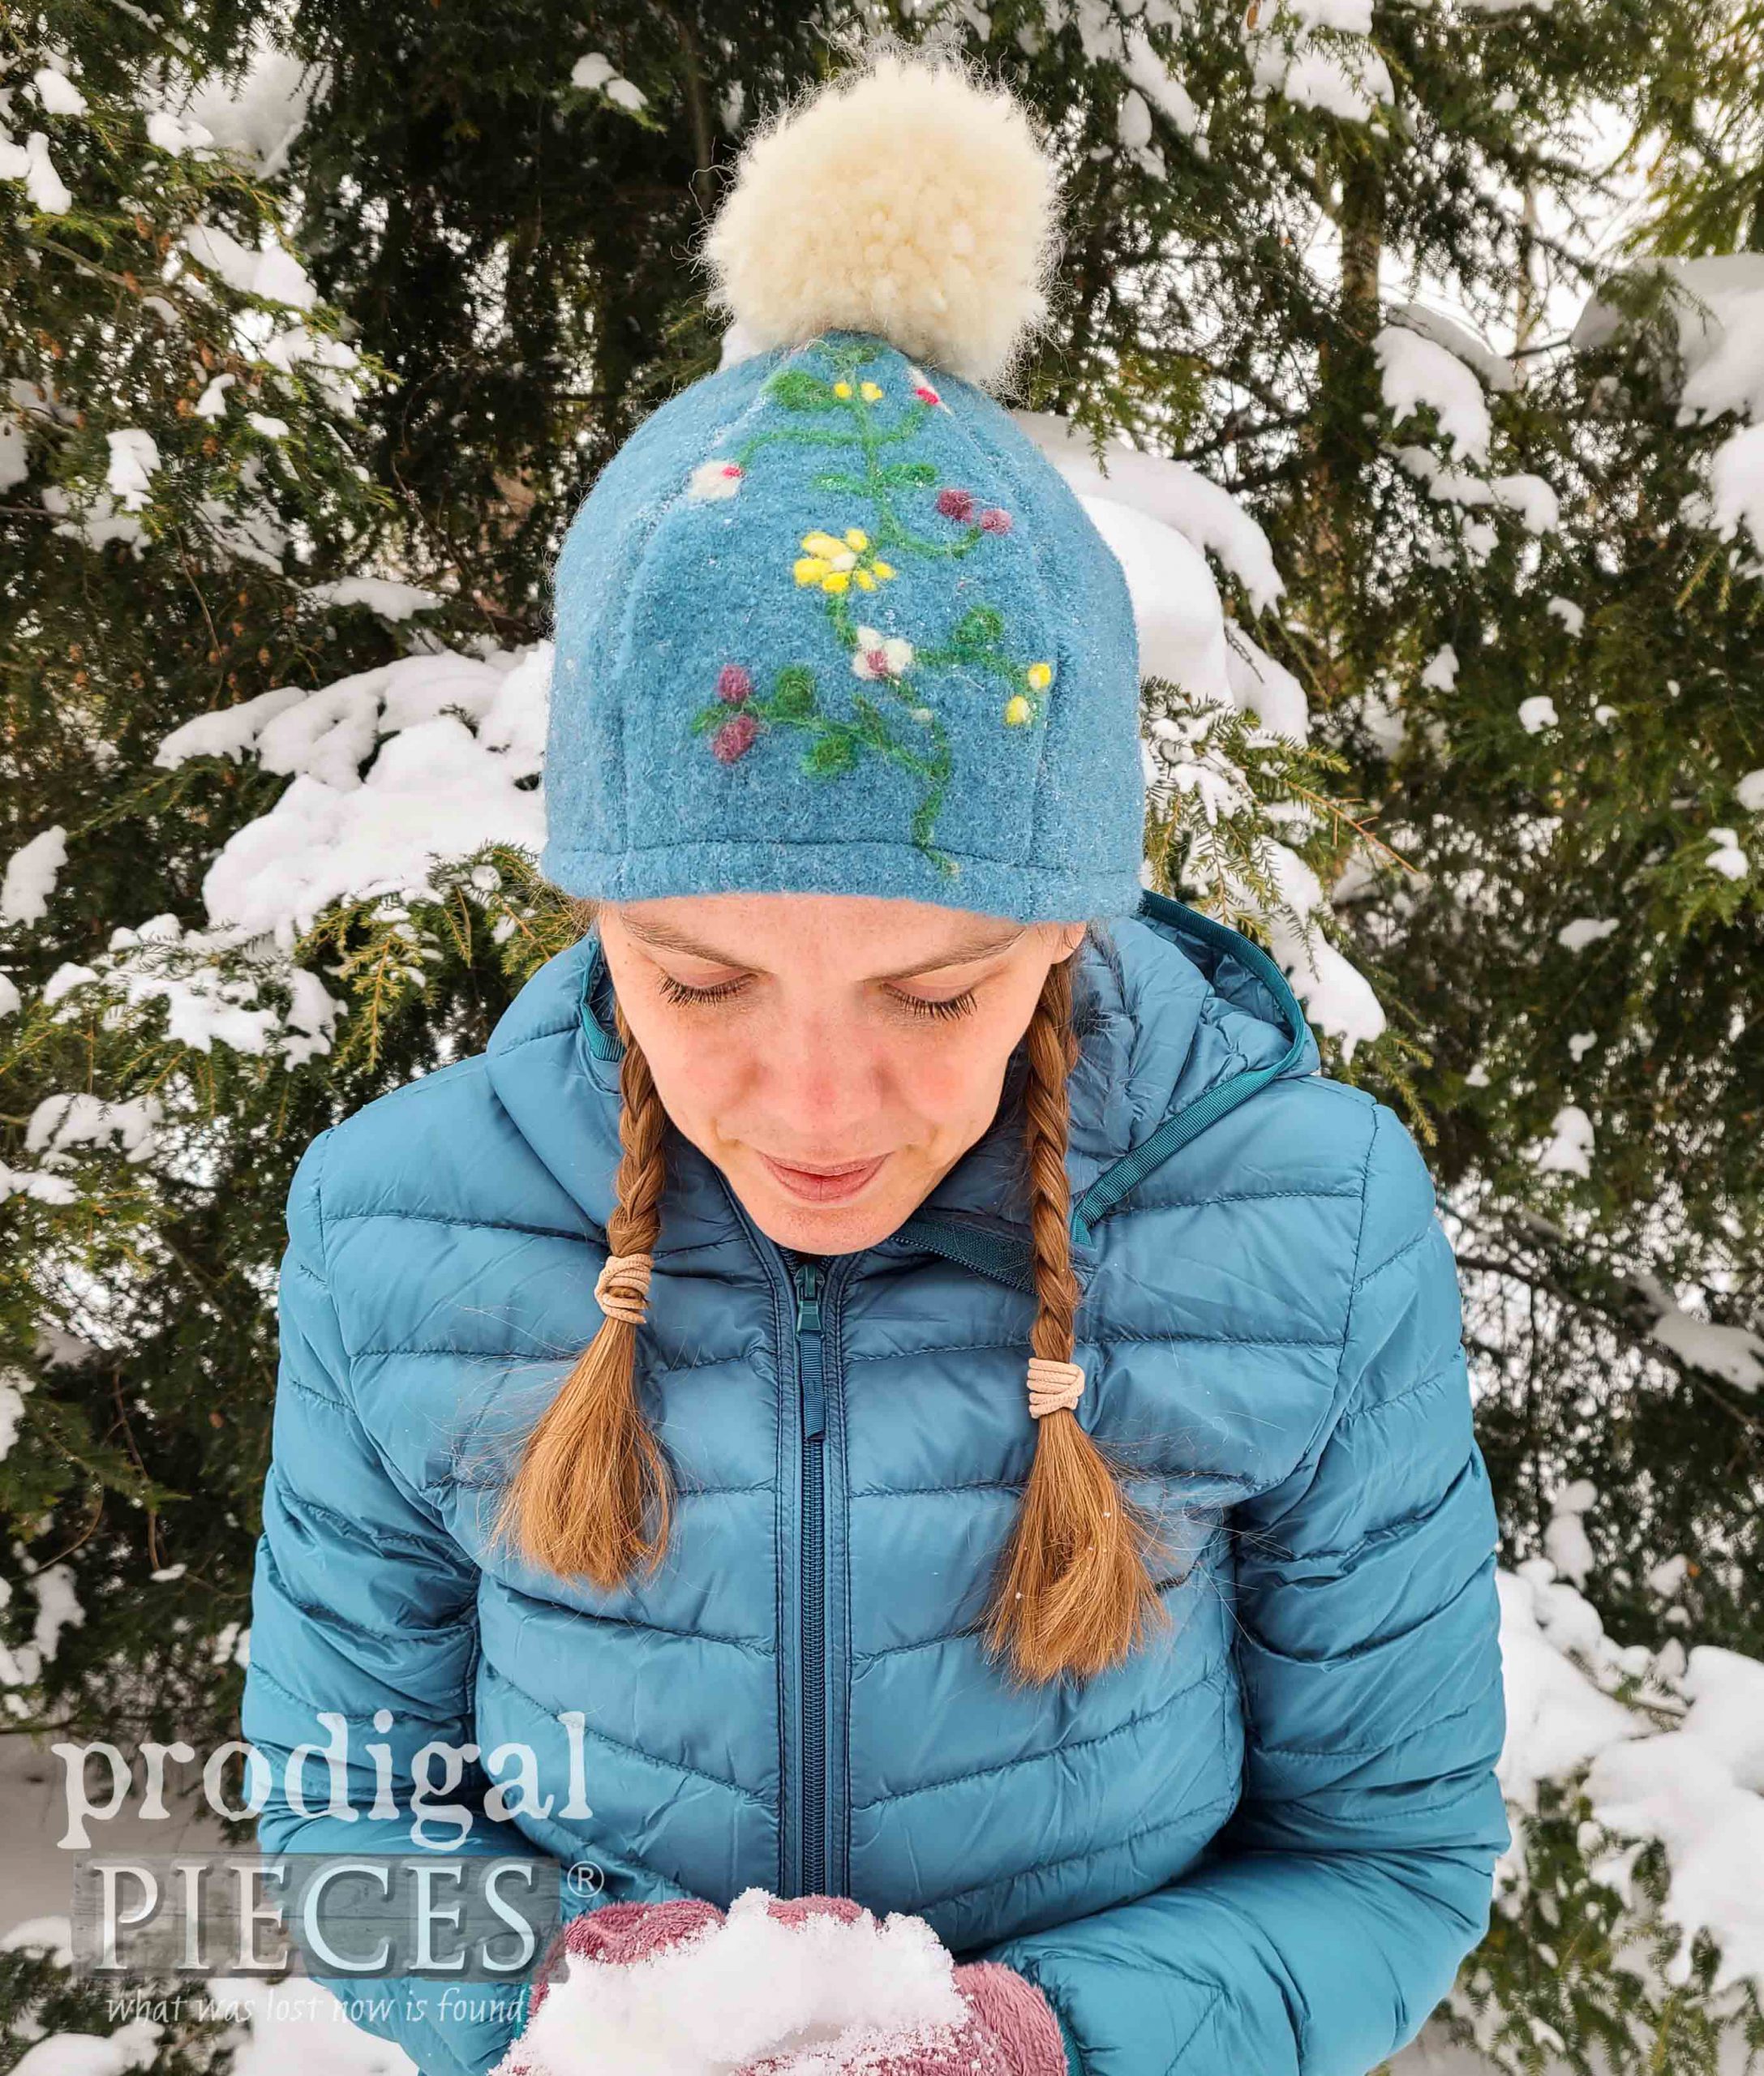
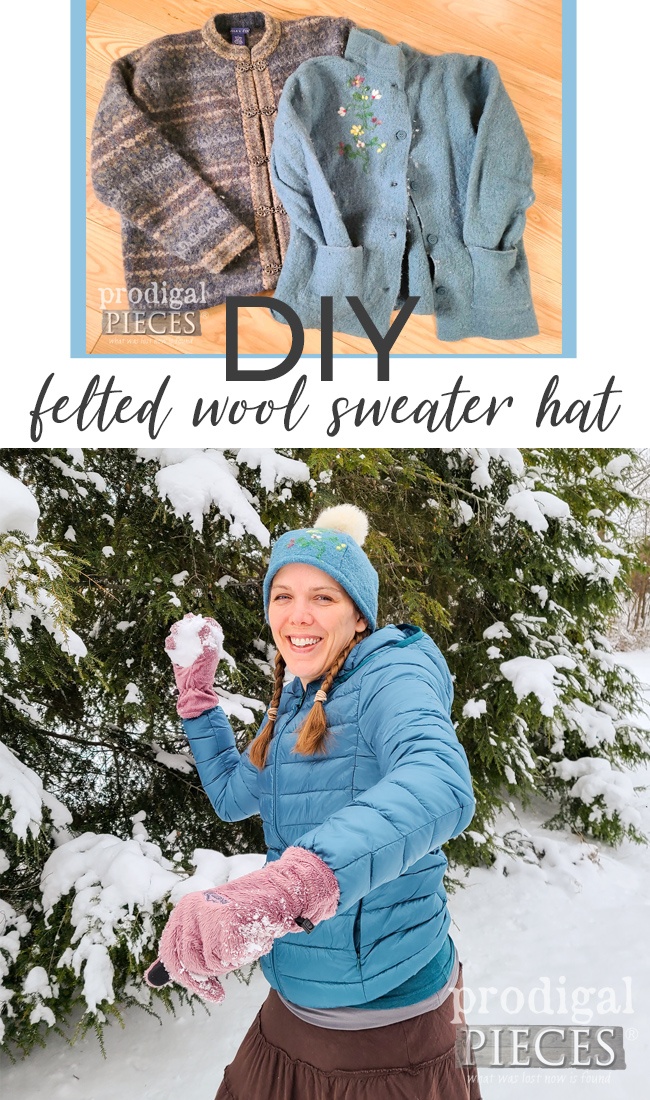
Brrr! Winter is officially here and that means it’s time to get cozy. I’m so excited to bring you another Reduce, Reuse, REFASHION project with my goal to inspire. I’ve always said that wool is one of my favorite textiles to work with. Here are two thrifted sweaters that I’m going to turn into a felted wool hat.
These beautiful pieces are already felted, so I they are ready to go. Don’t know how to felt them? Well, first you want to find a sweater that is at least 70% wool (the more the better). Wash them in a hot water wash 3 times and dry them on high heat 3 times as well. You can see how I’ve used felted sweaters for other uses in the video below.
DIY TIME
Do you want to give this a try? Sure you do! Here’s what you’ll need:
- at least 70% wool sweaters already felted
- sewing scissors
- sewing pins
- needle/thread or sewing machine or serger
- fabric tape measure
- wool yarn, optional
- a pattern (see below)
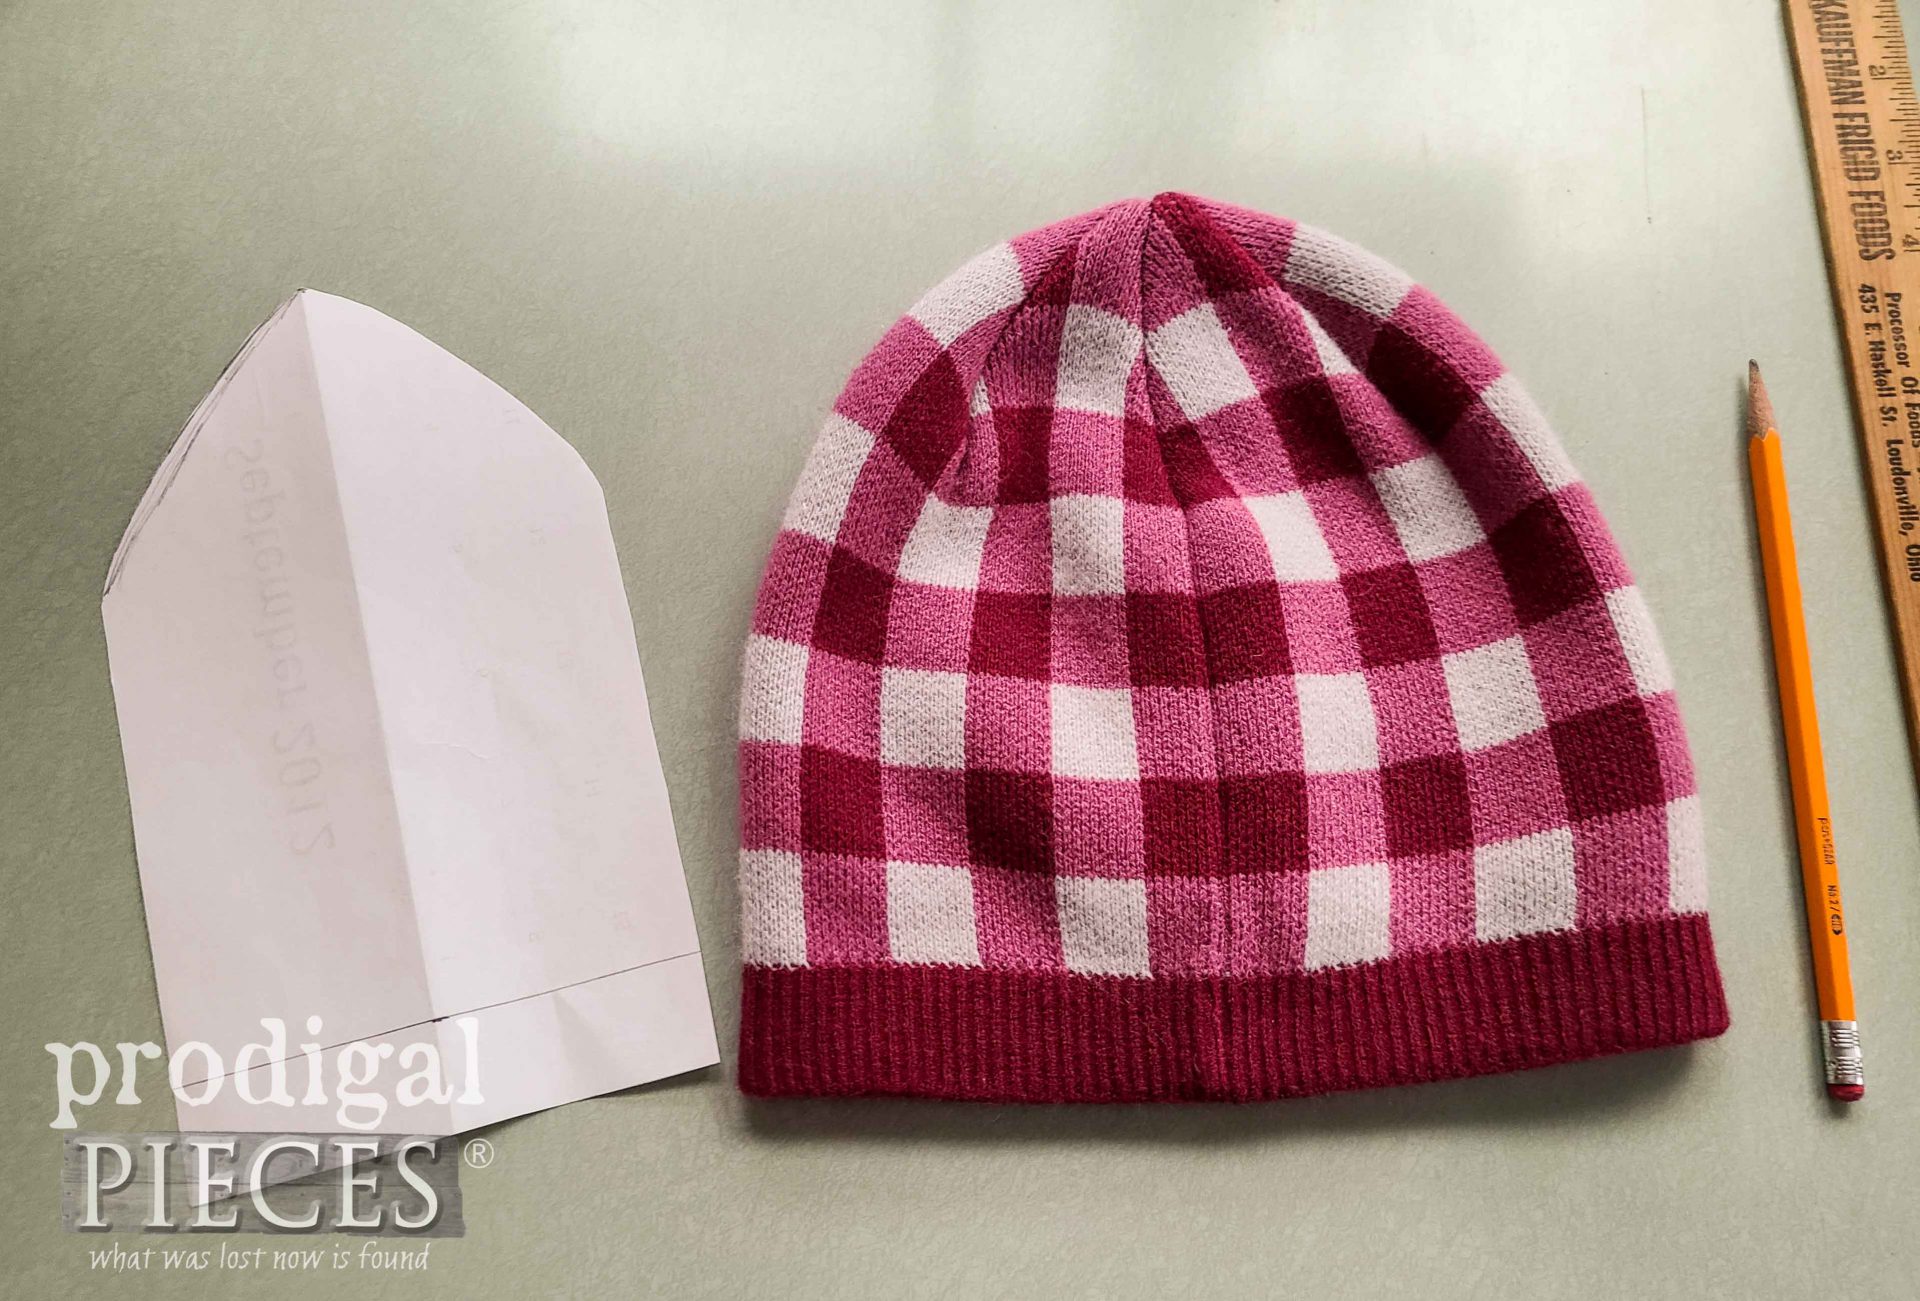
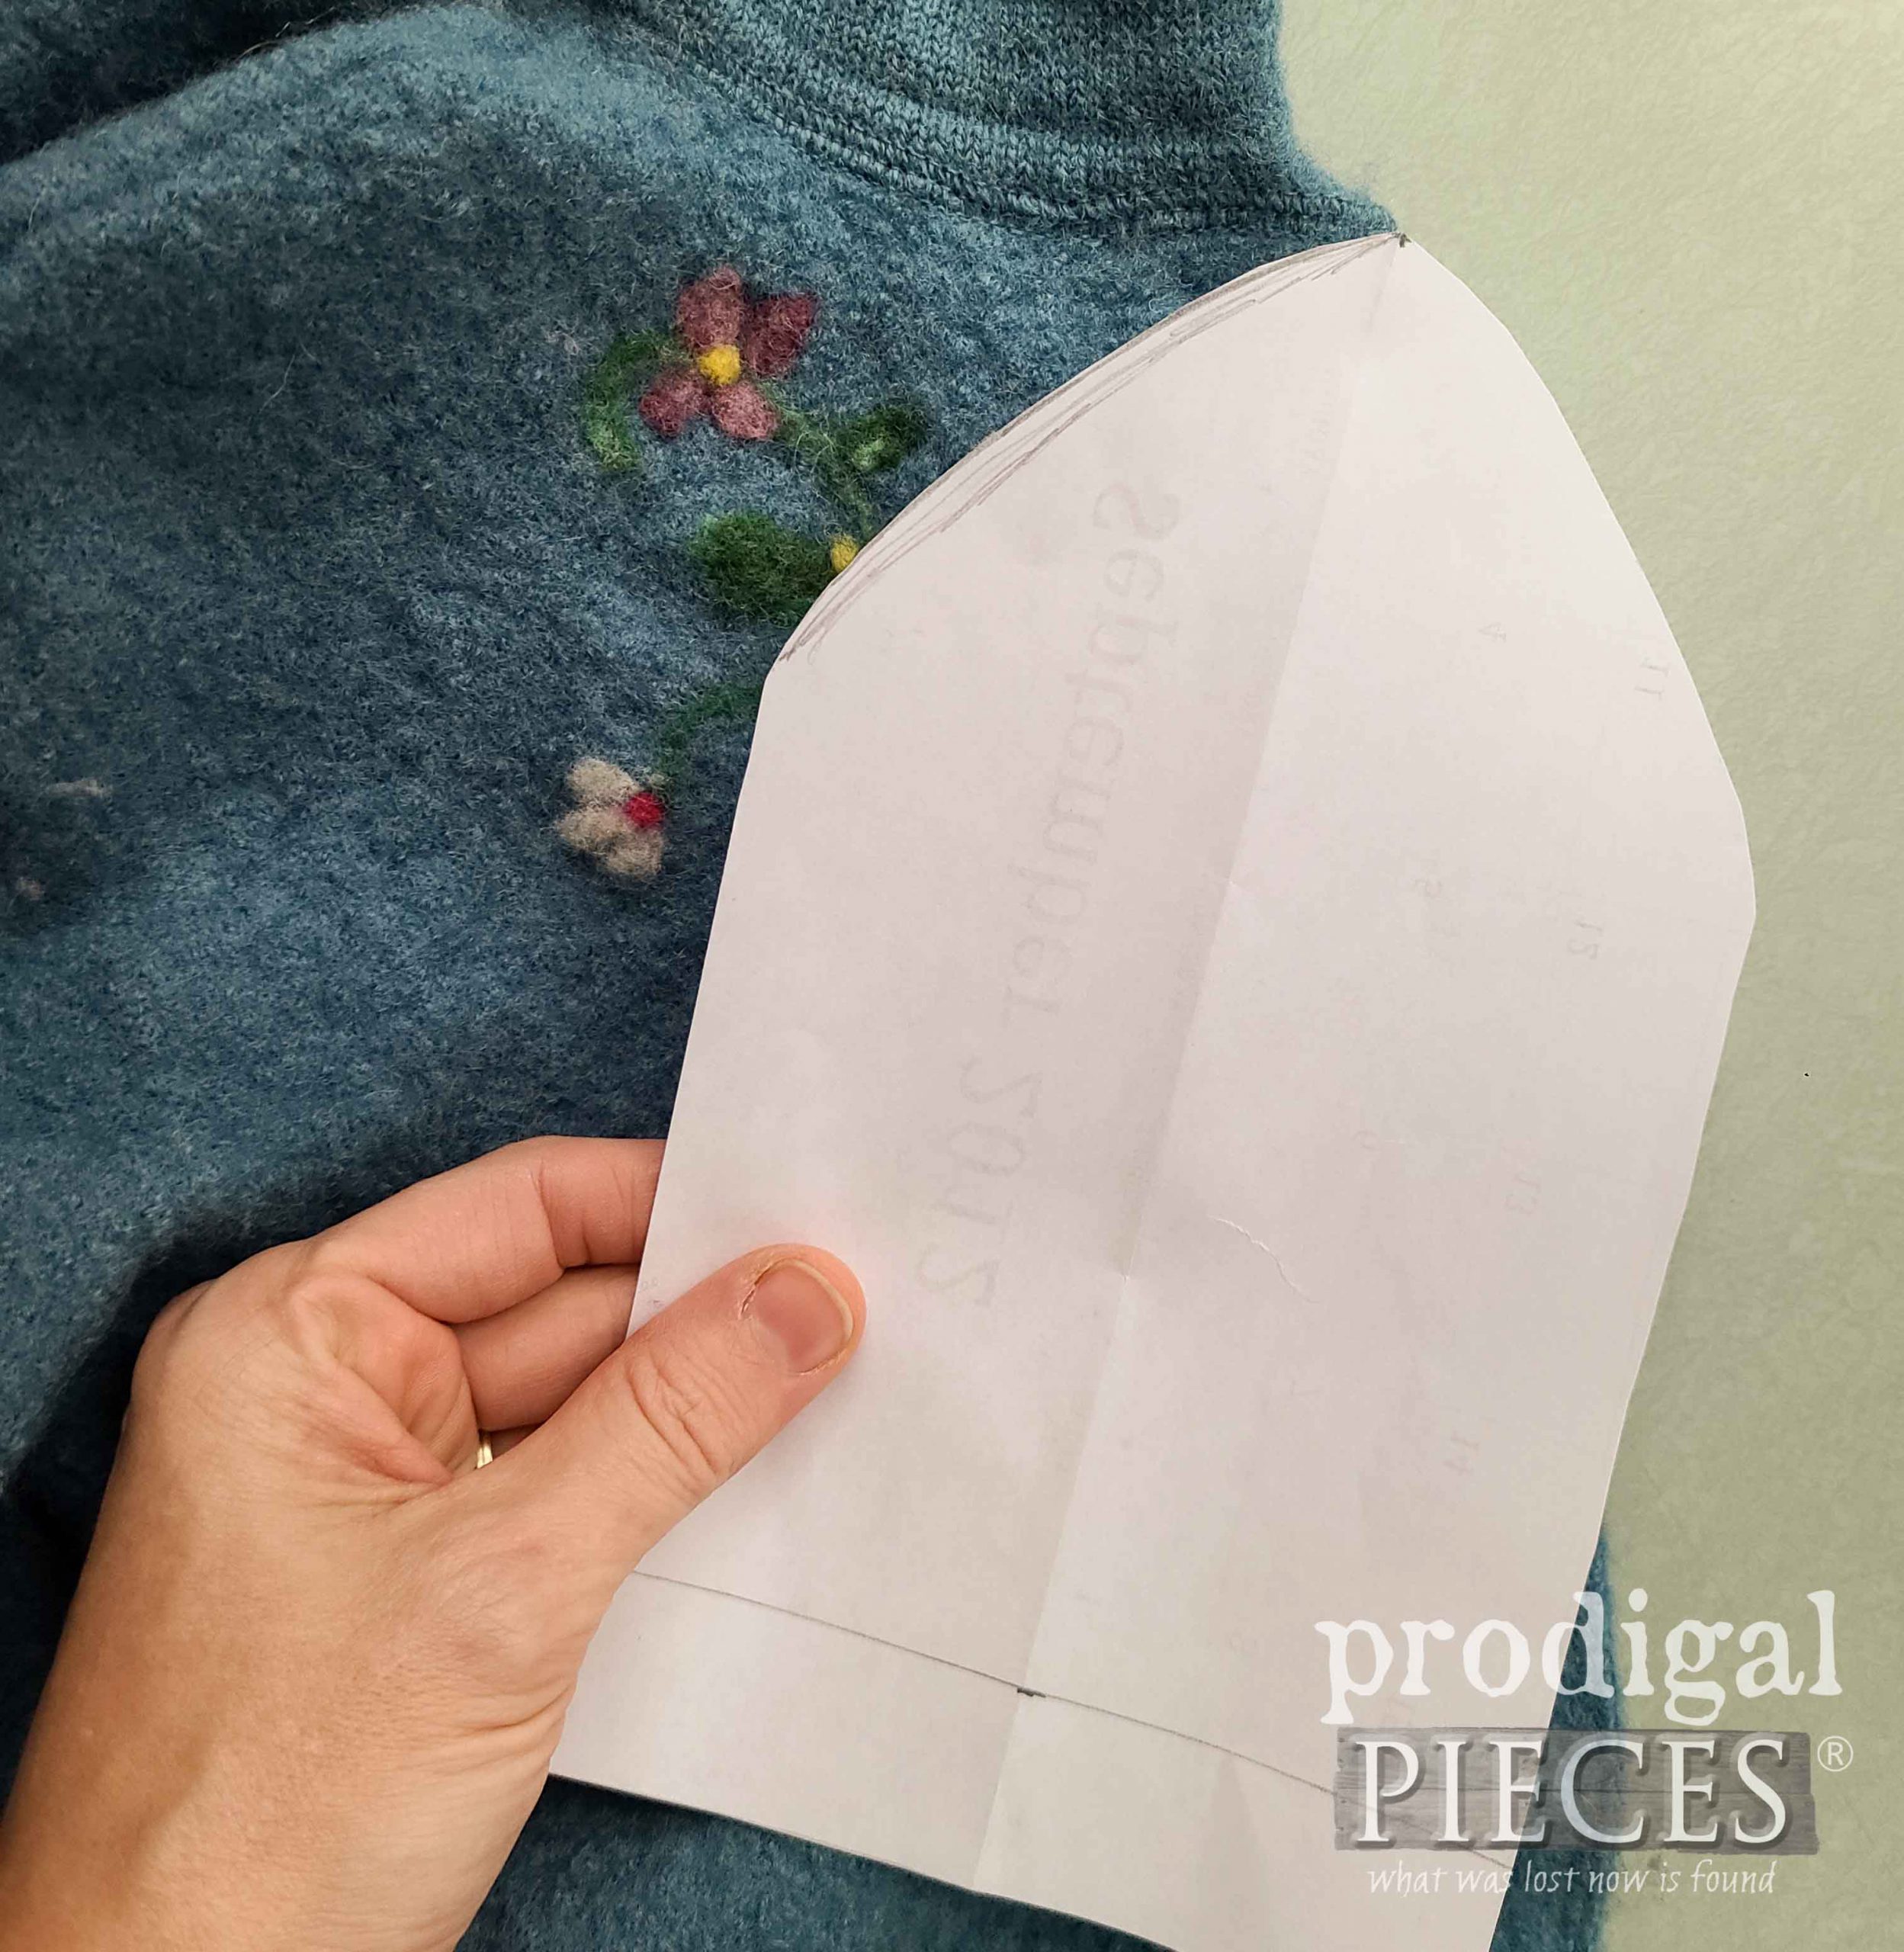
First, we need to create our pattern. You can measure you head circumference following where your hat brim would lie. Then, measure to the top of your head. For instance, my diameter was approximately 19″ and my brim to top is about 7 ½”. However, you could also use a current hat you own to copy as well.
We are looking to make a domed pattern piece. For example, my pattern measurements yielded a 5″ wide x 8 ½” high rectangle. Remember, I measured my brim diameter which was 19″. Add 1″ to your diameter for seam allowance, and divide by 5. That means we need 5 wool pieces 5″ wide each. Last, fold the pattern in half and cut a slight curve to the top edge.
NEXT STEPS
Next, use your pattern to cut the 5 pieces. I like to make the most of the sweater featuring decorative parts or patterns. You can also make sure to use the bottom of the sweater so it already has a finished edge for your brim.
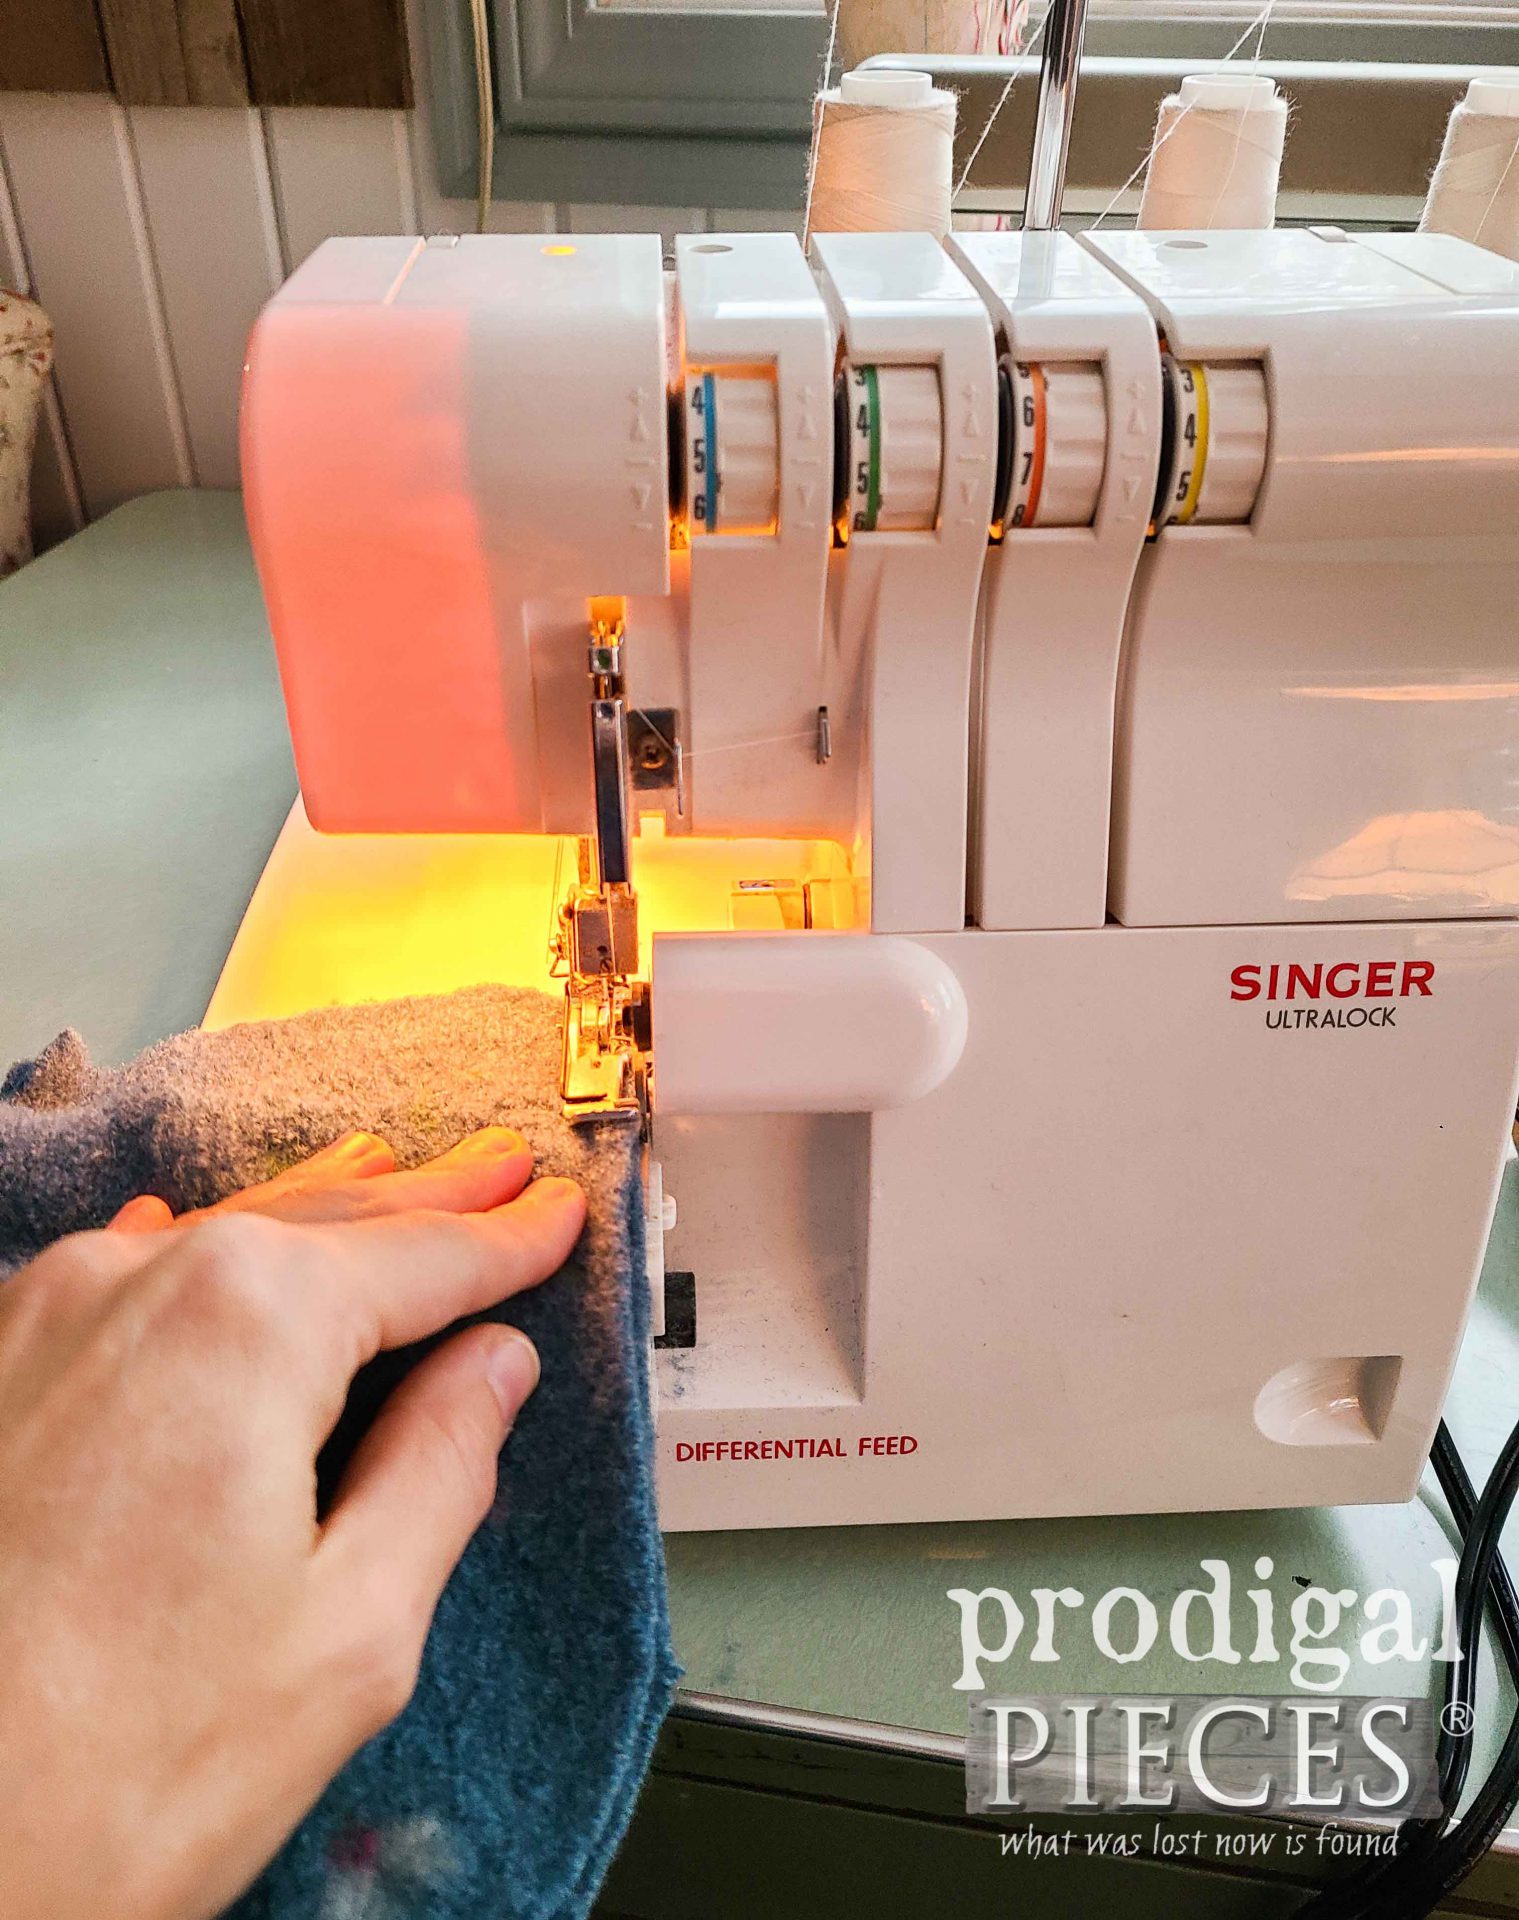
Then, we want to join our pieces. Beginning with two pieces, place them right sides facing, pin, and join. You can use needle and thread, a zig-zag stitch on a sewing machine, or serger.
Or, you could even use a blanket stitch to embroider the edges for a reverse seam effect. Continue joining until all 5 panels are attached. At this point, you can leave the brim if it’s already finished. However, you can turn the edge under and stitch it down for a brim that way. Likewise, you can even add a complimentary or contrasting fabric and make a brim to fold up.
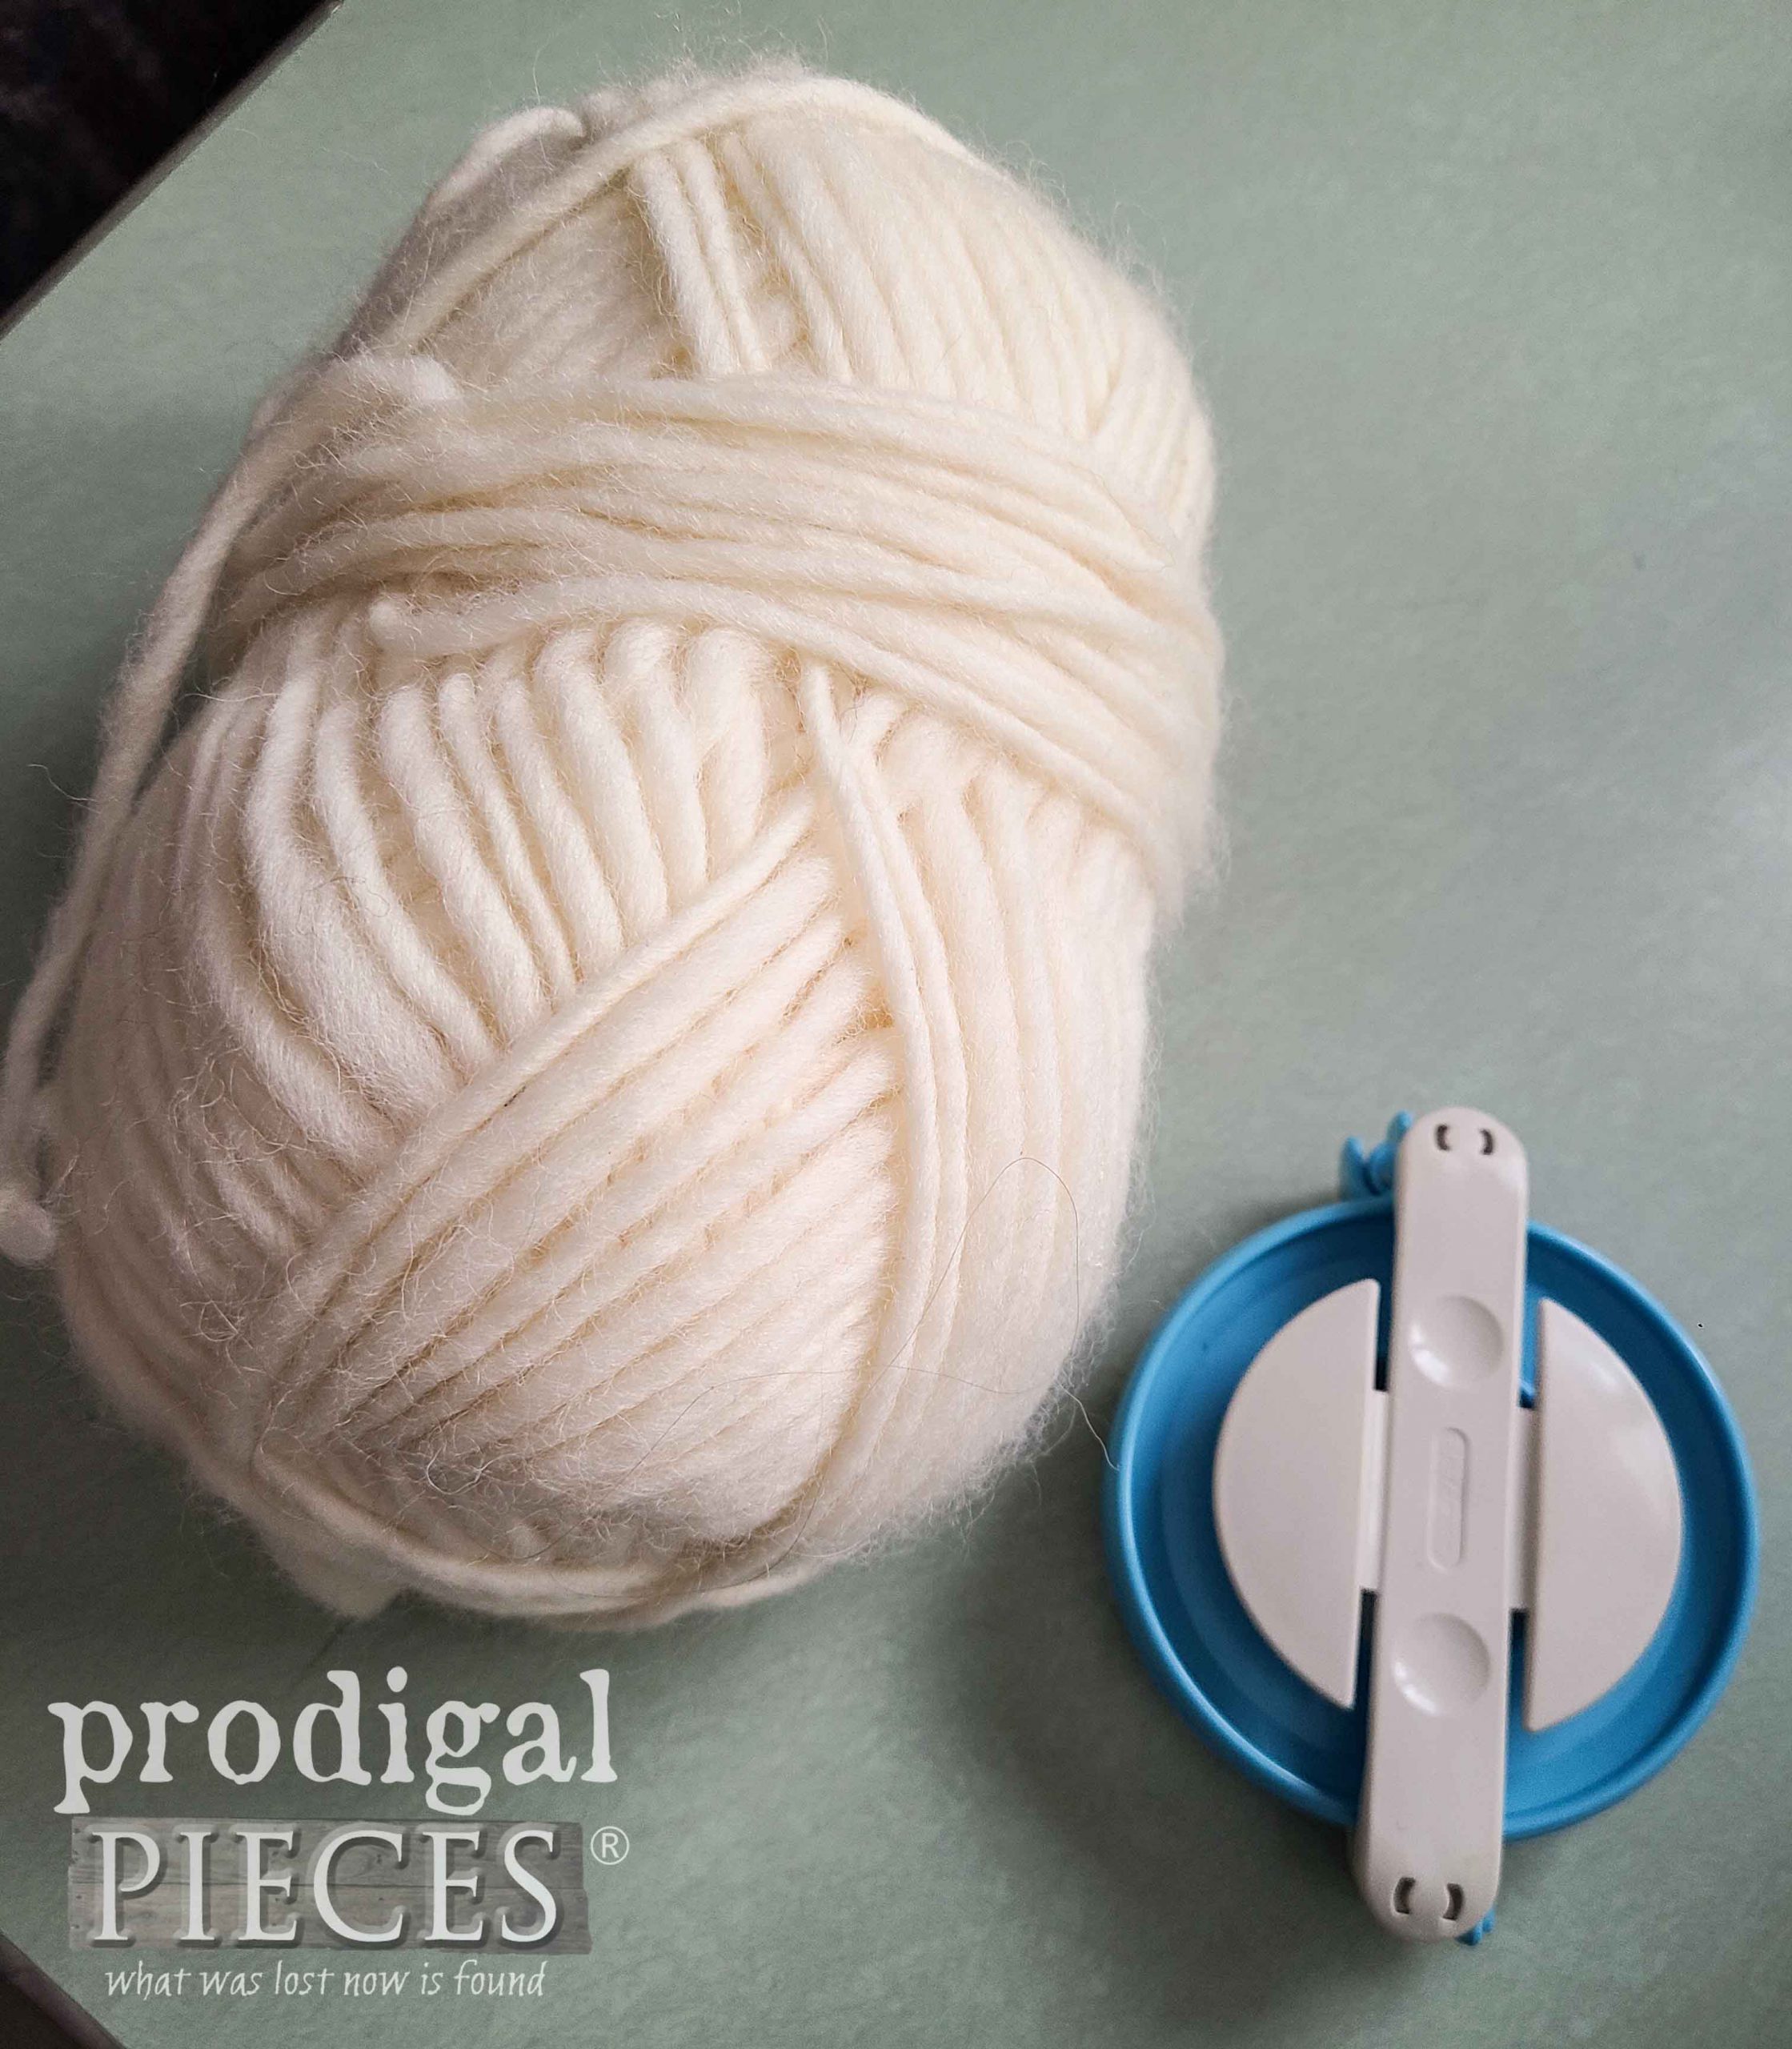
Plus, feel free to add some fun. I wanted one of my hats to have a pom-pom. First, I want to keep with the natural fibers, so I use a wool yarn and my pom-pom maker.
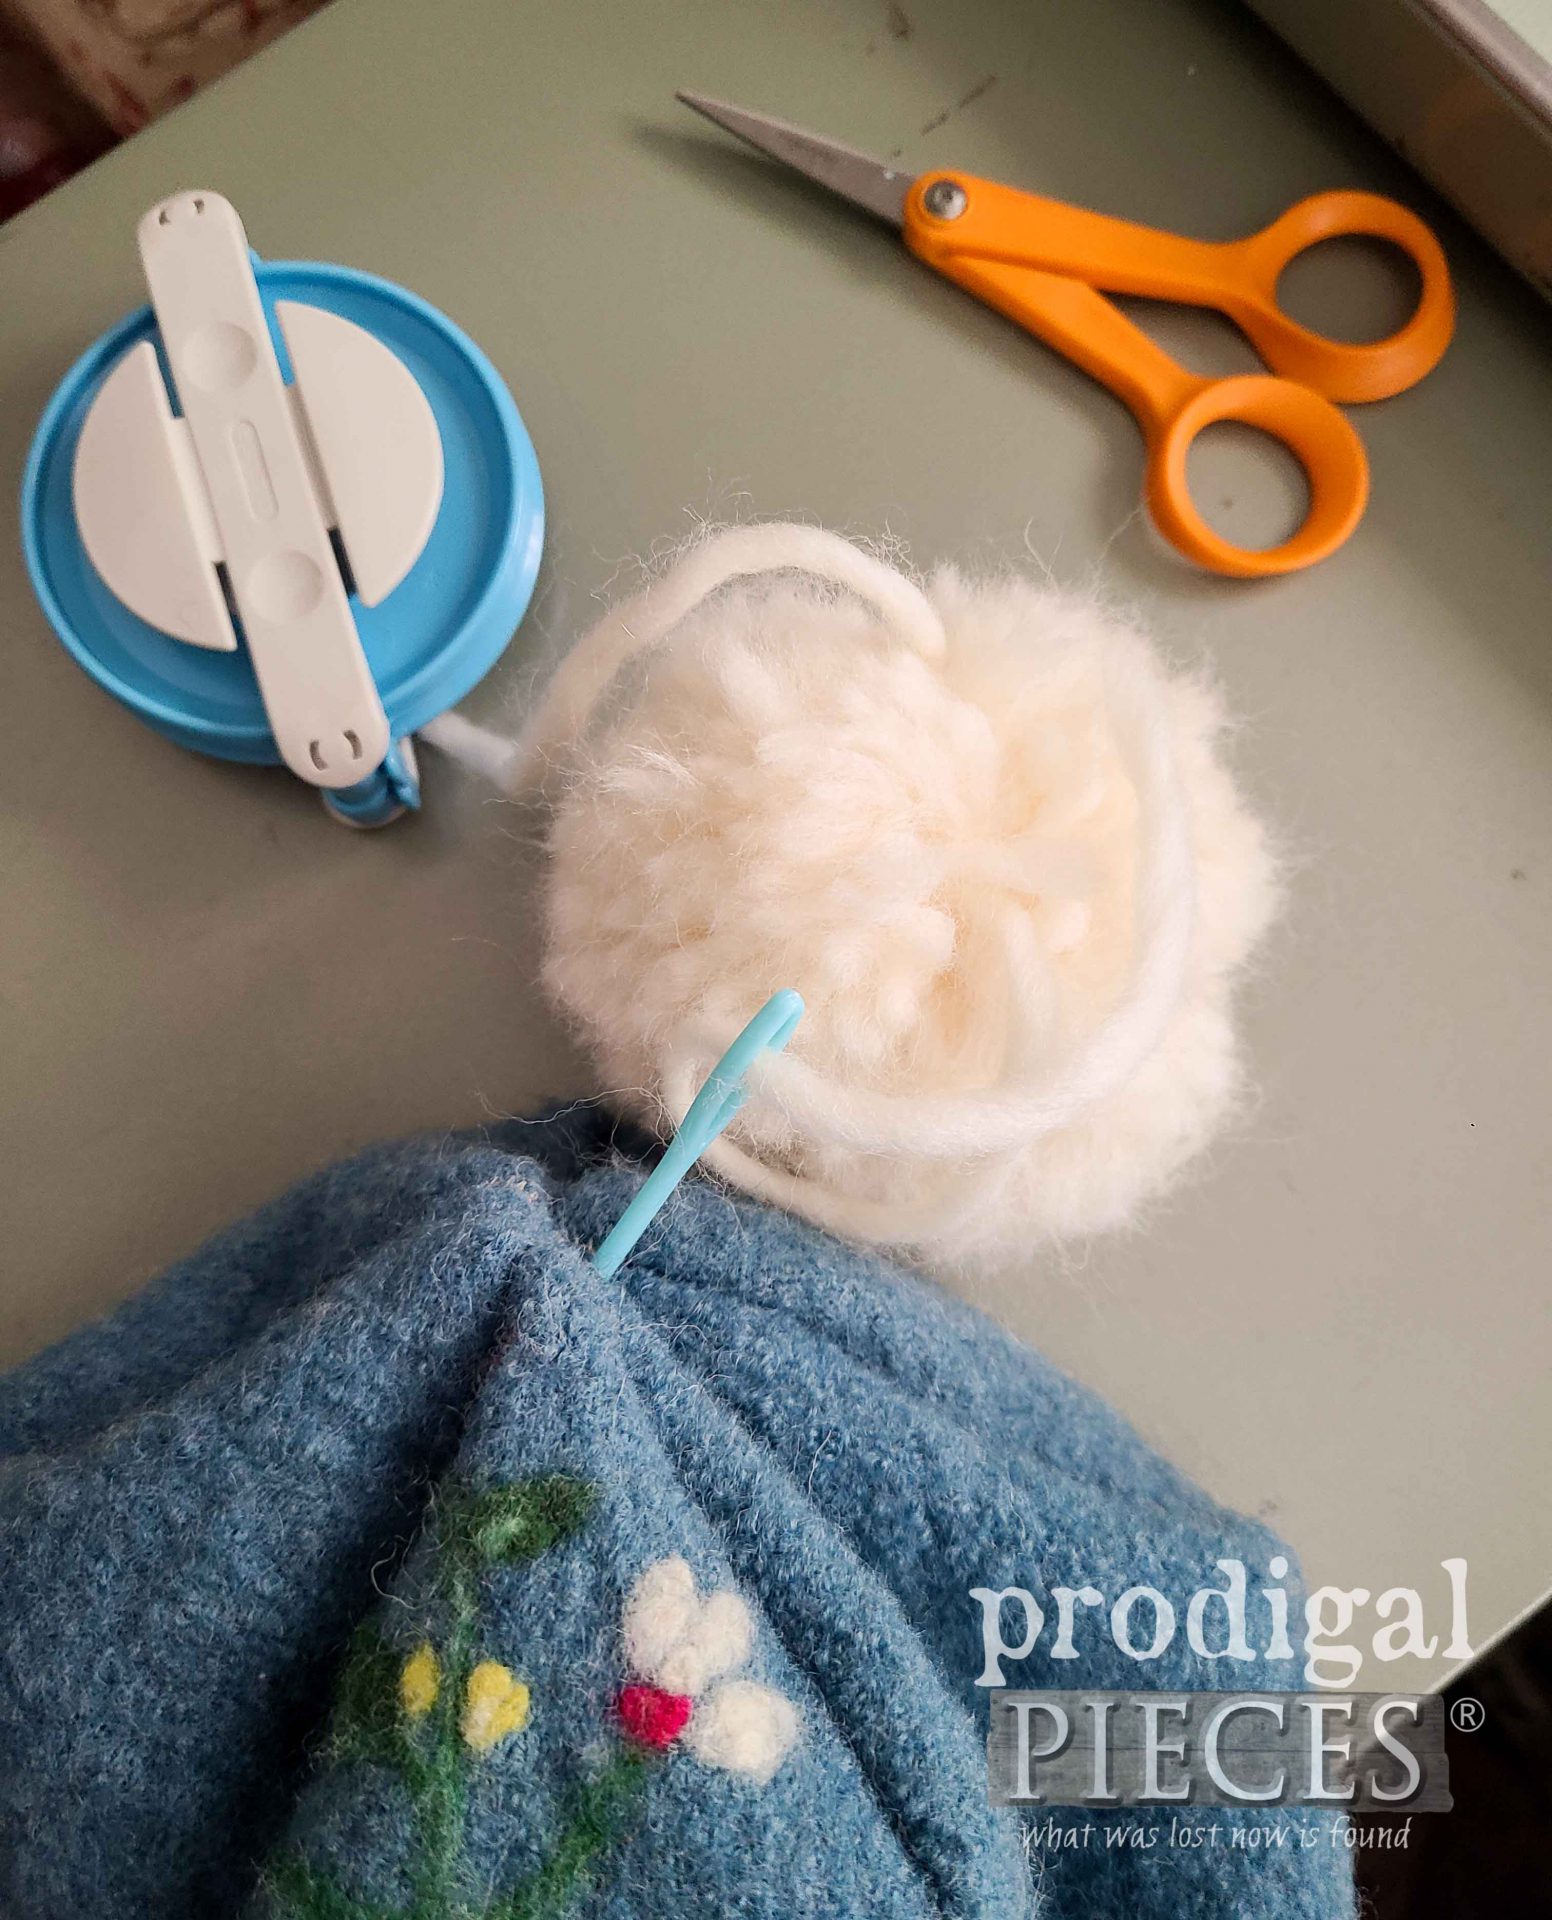
Then, wrap around the pom-pom maker and you’ve got a fun accessory.
Next, I like to make it look like a more solid ball, so I use my seam ripper to fluff the yarn.
Attach with a yarn needle and knot off.
HATS OFF TO FUN
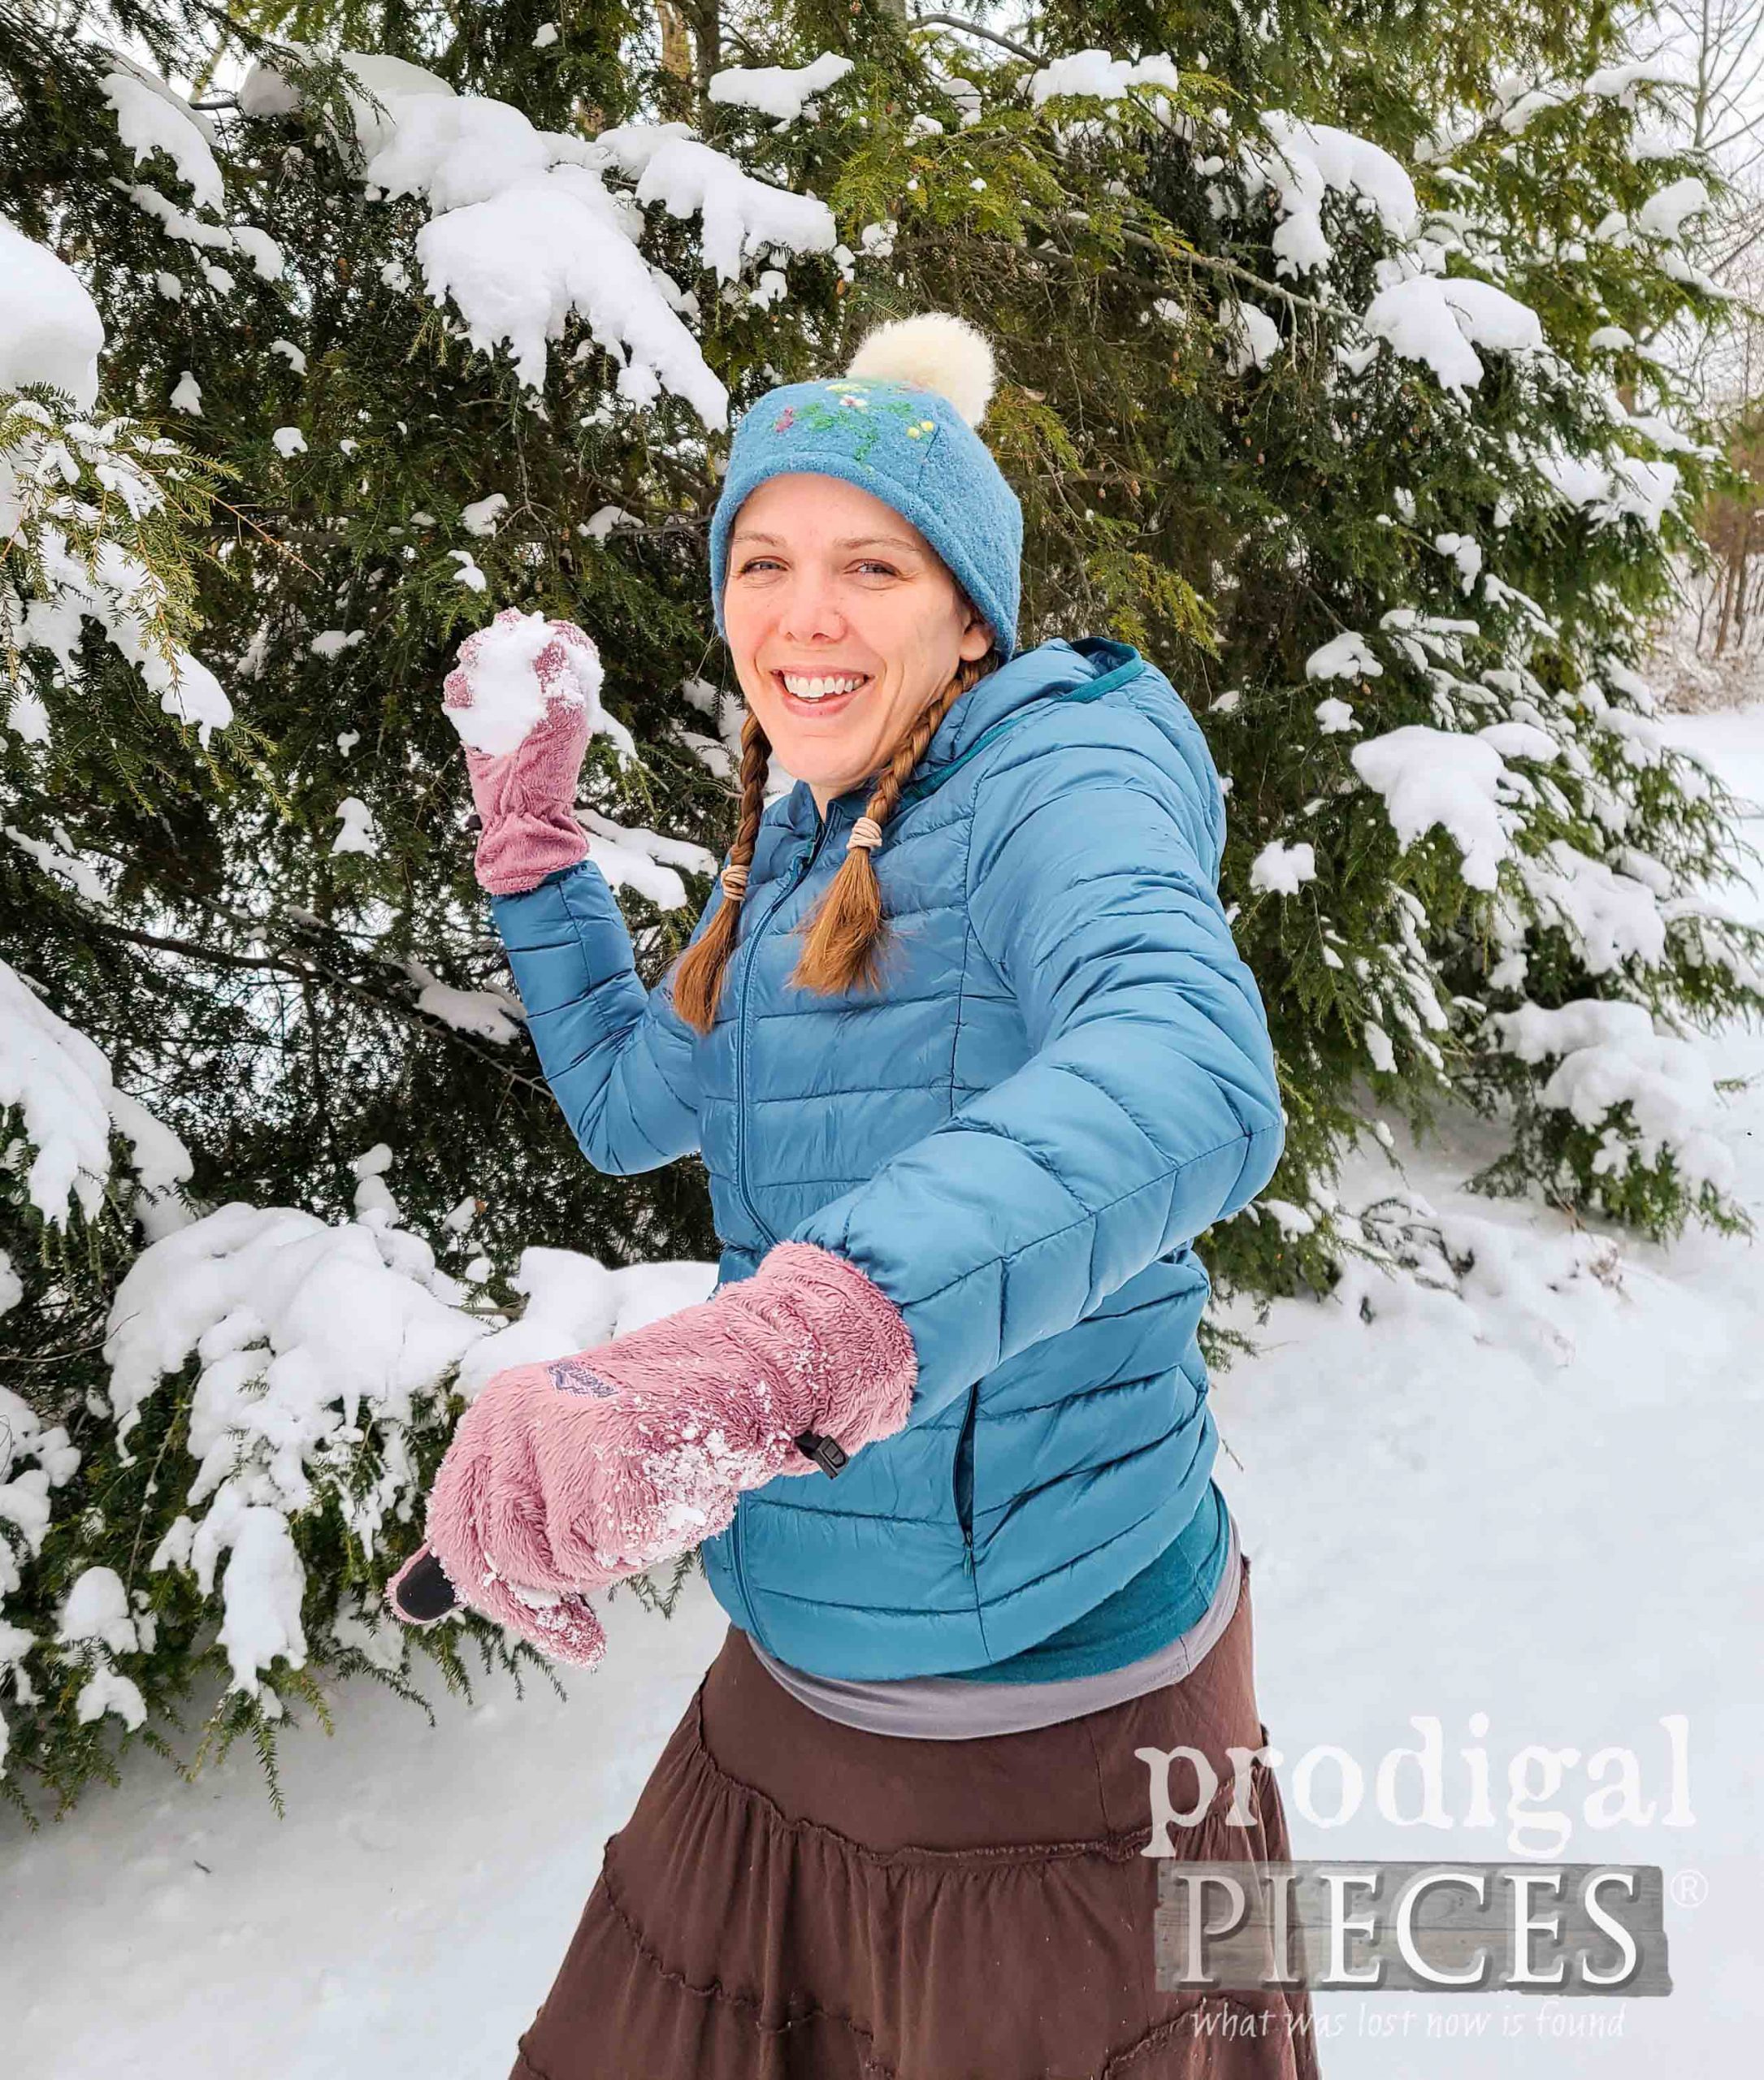
I had two sweaters to share with you and I’m excited that both are super cozy and easy to make.
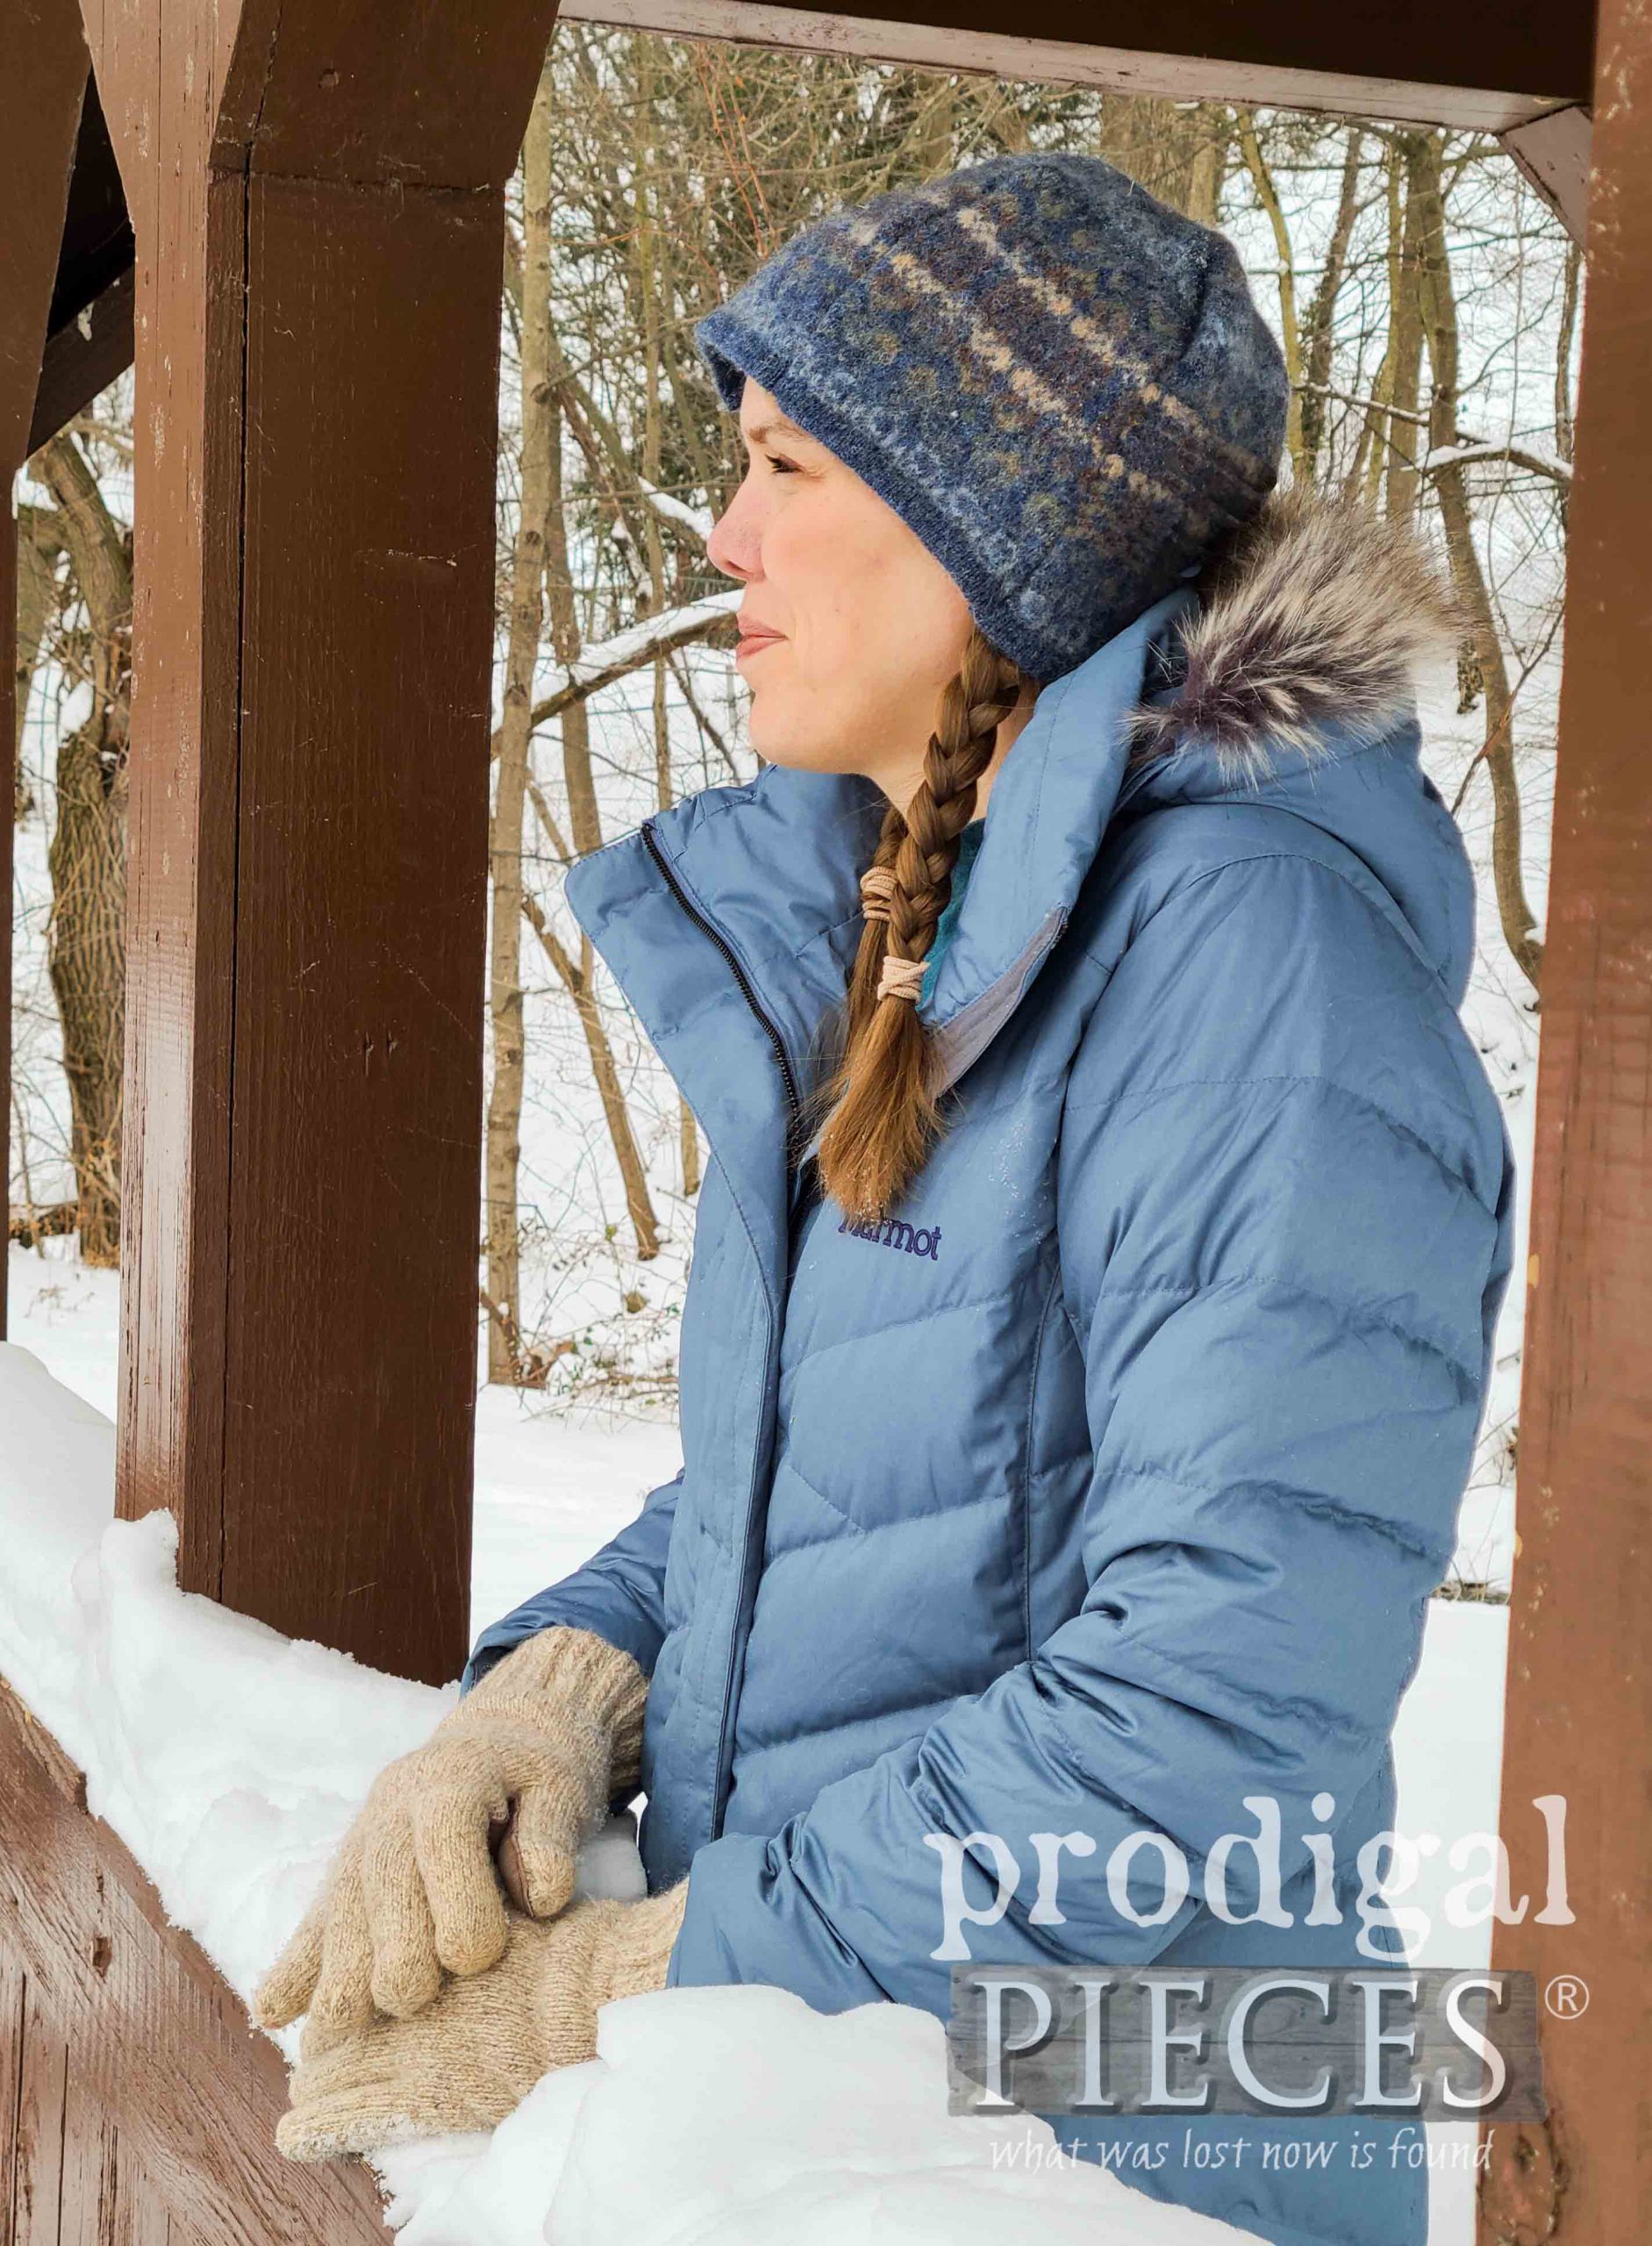
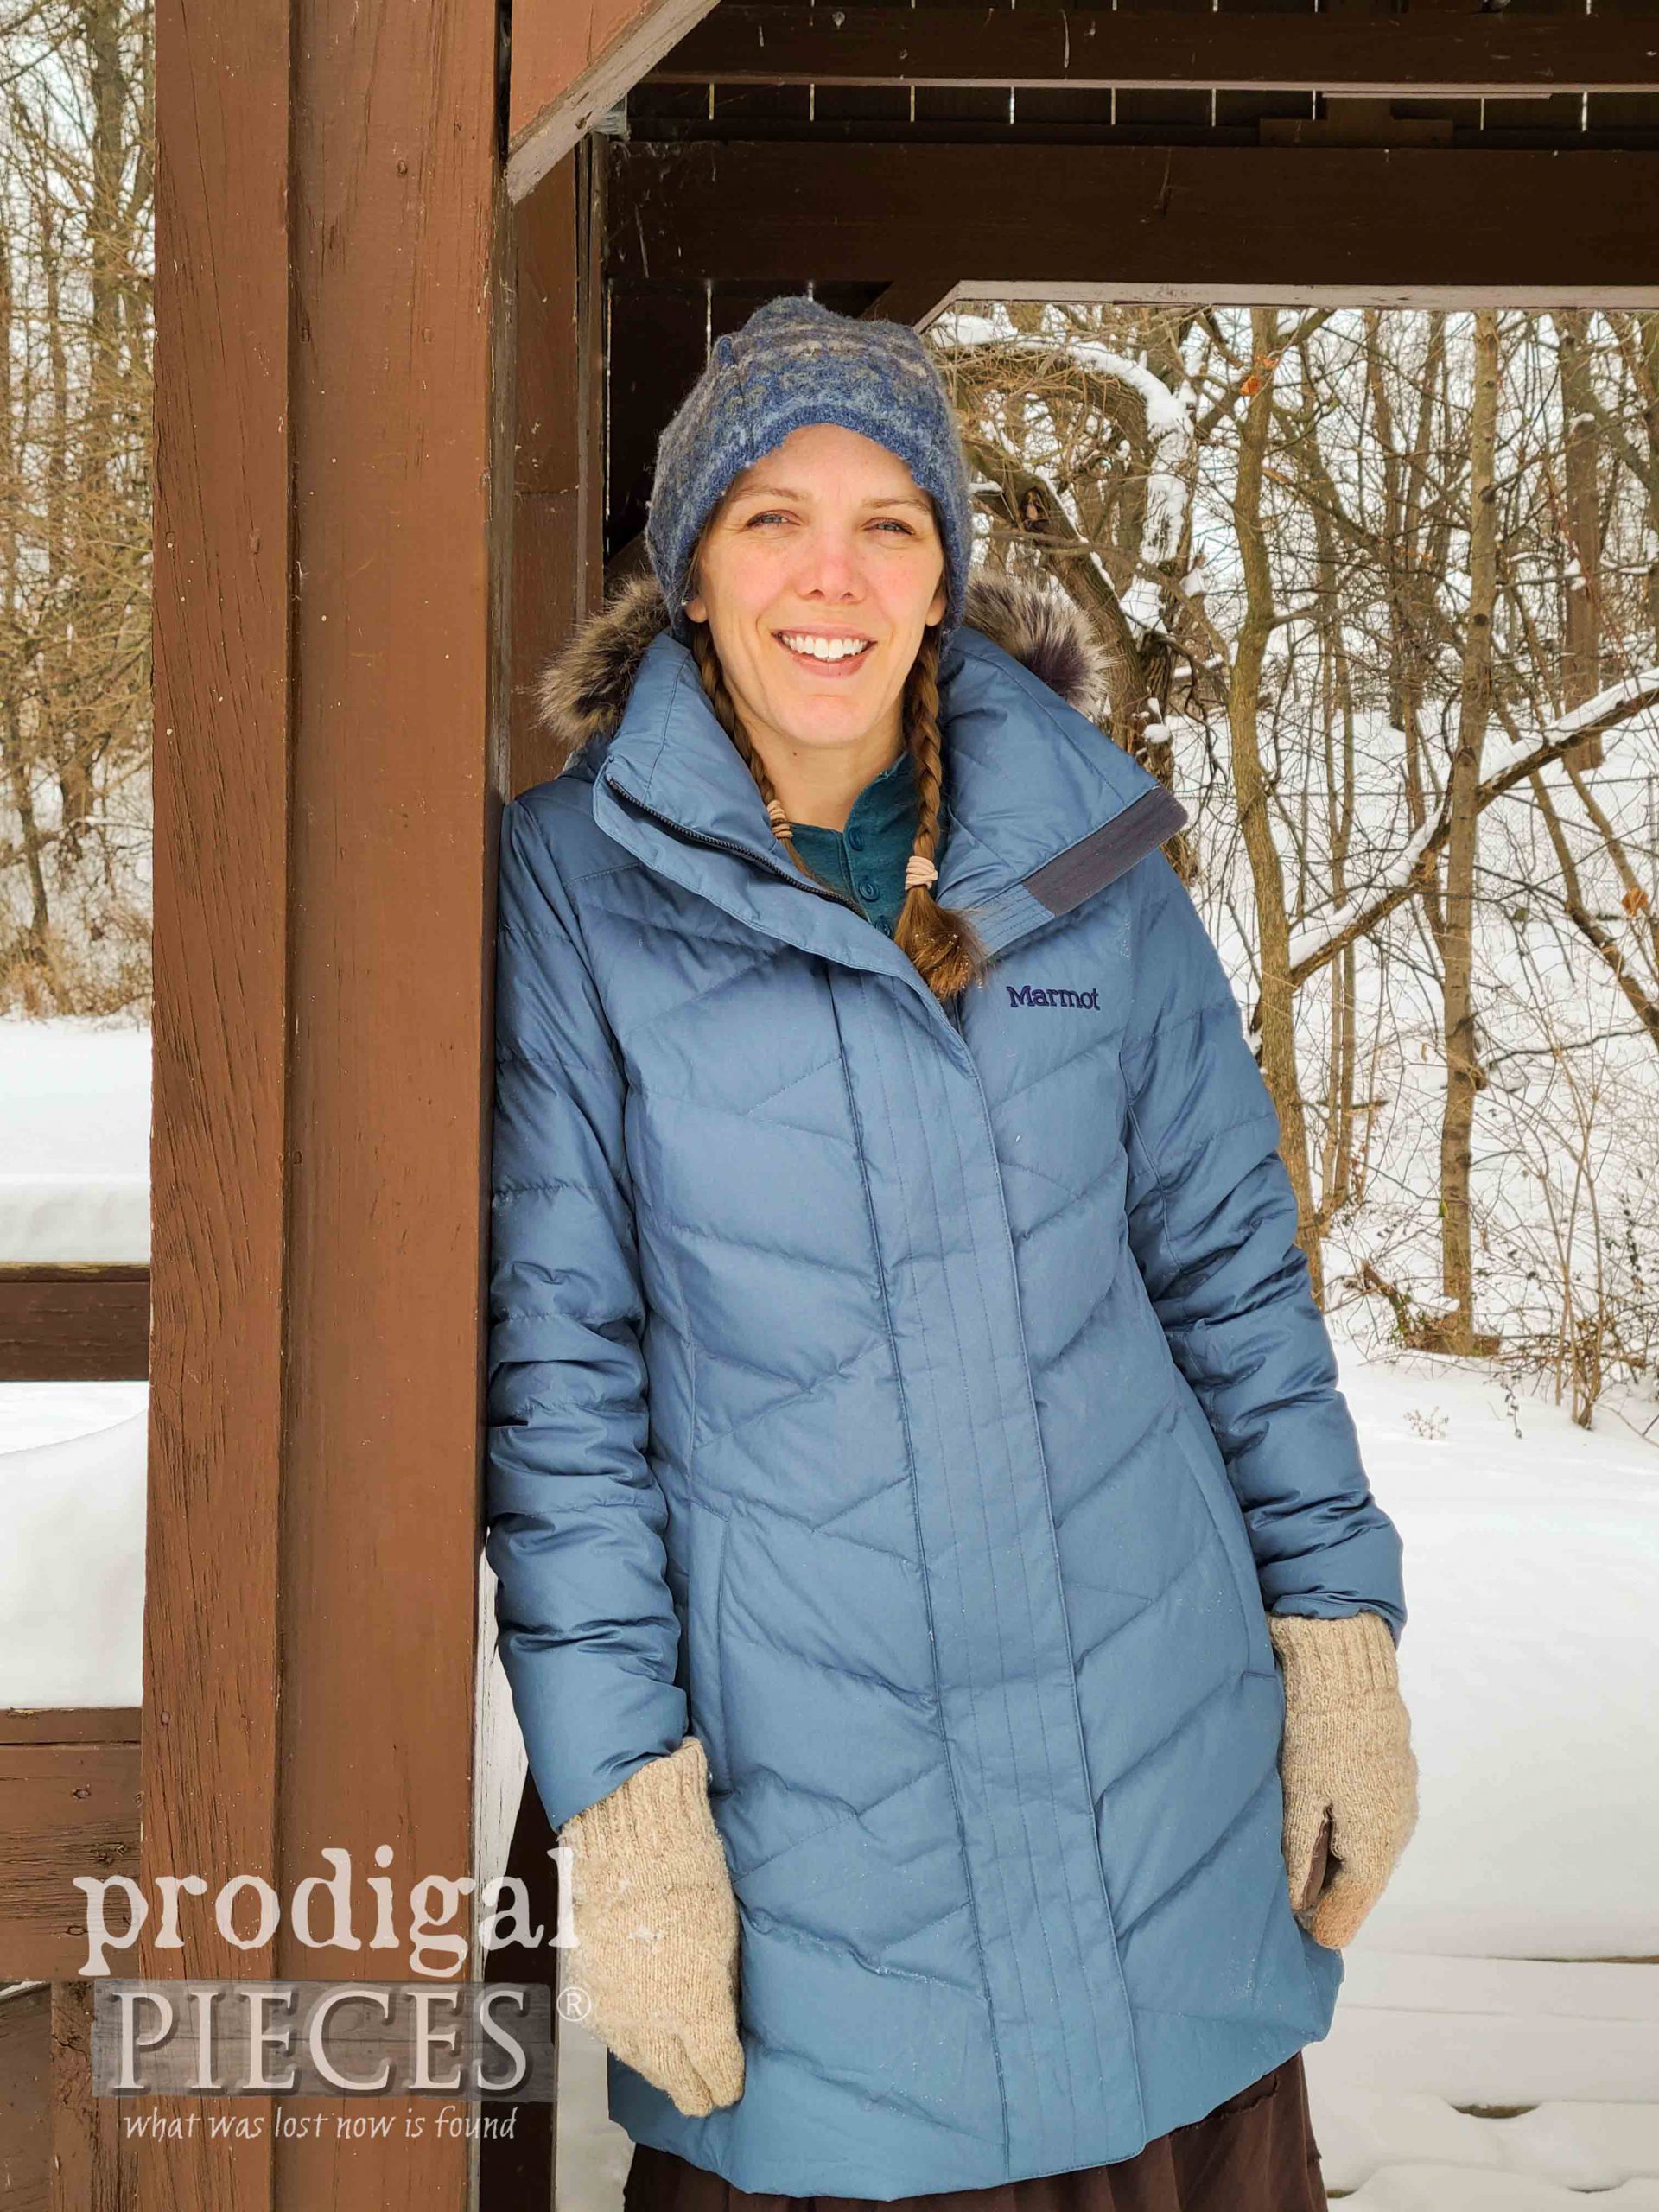
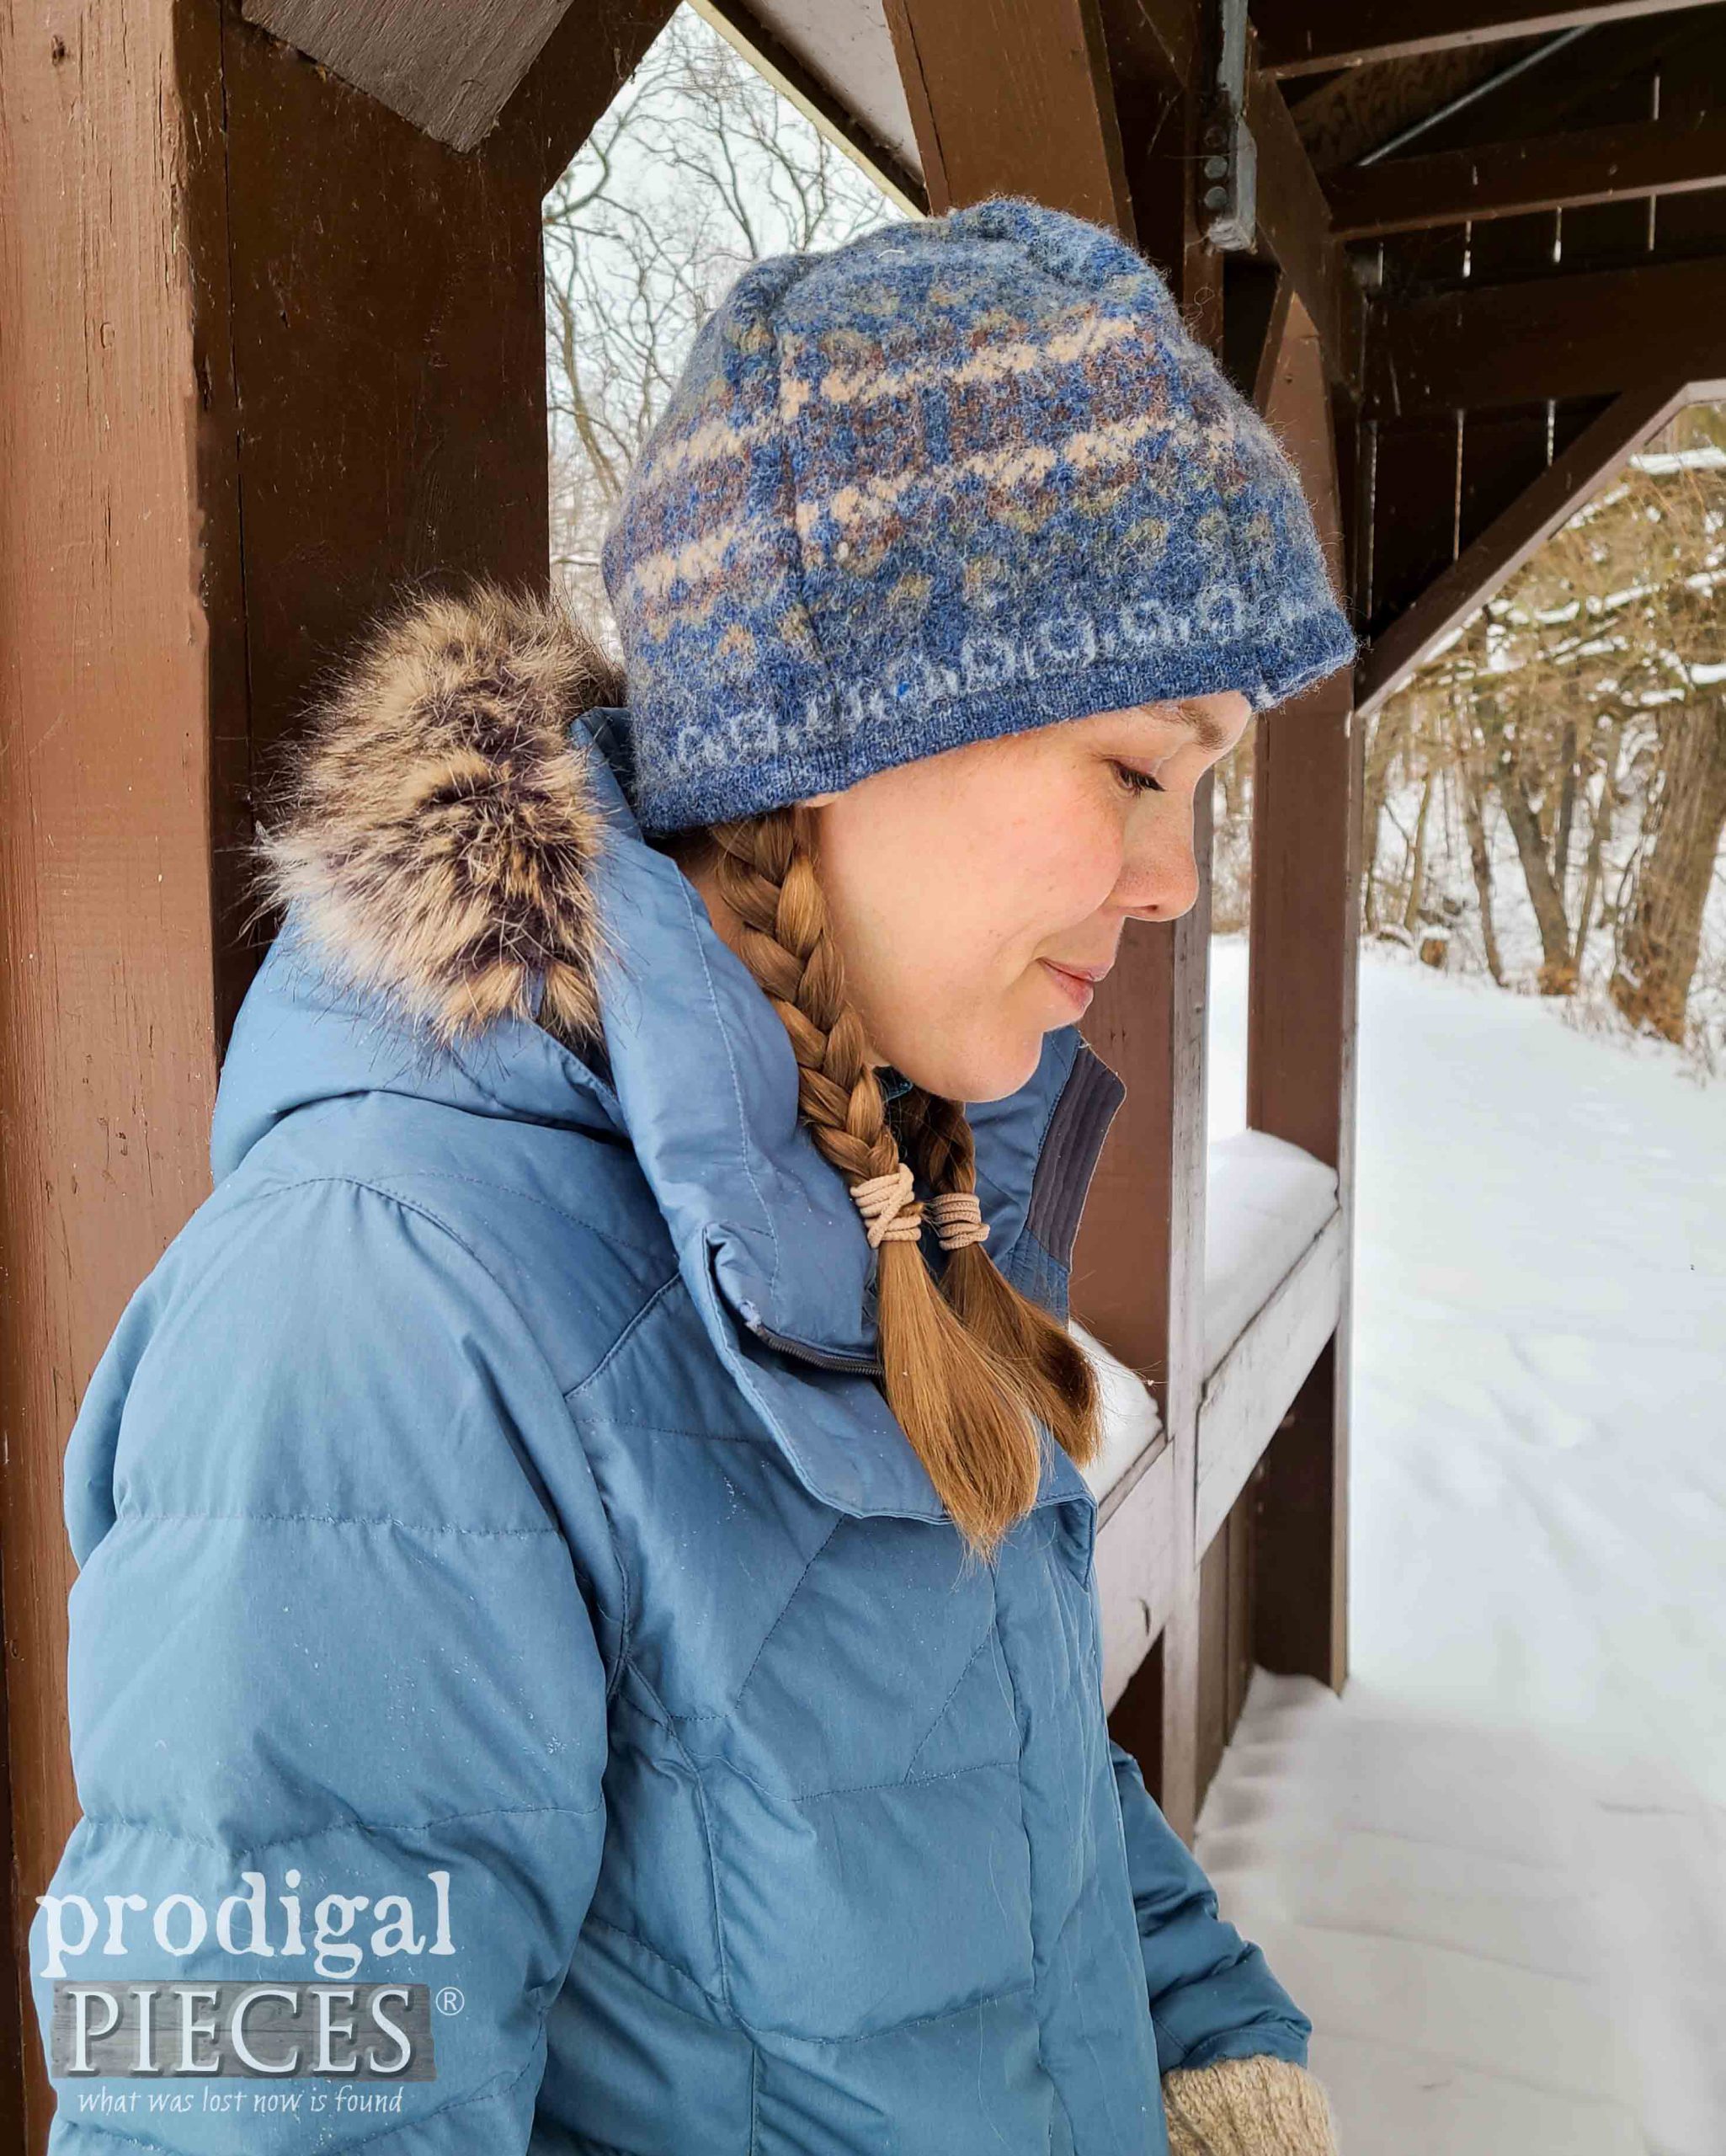
And, here’s my other felted sweater hat from the second sweater.
Which one is your favorite? I love both for different reasons. That’s the beauty of making your own fashion. You can style it to your liking and it won’t be like anyone else’s. woot!
Also, do pin and share so that others will be inspired to try their hand at a felted wool hat. No need to toss those damaged wool sweaters.
Up next, this sad little table is going to get a new lease on life. See the new life HERE.
To get these DIY tips & tricks in your inbox, be sure to sign up for my newsletter. PLUS, you will get your FREE Furniture Buying Checklist and special discount to my shop. Until next time!



Beautiful hats and do love a good pom pom, what a good idea as usual from you Larissa.xx
Thank you. They’re fun to make and accessorize. 😀
You are so talented and creative Larissa! As always, your tutorials are great!
What a sweetie you are, Sherri. Thank you!
Love them both!
Yay! Happy dance! Thank you, Maria.
So cozy! Stay safe and warm!!! Happy New Year
Thanks!! I had fun! 😀
Both hats are really nice Larissa, and as usual very easy to follow directions.
But I must say, that 4th pic down of you, facing full-on and smiling, is just GORGEOUS. so pretty, and that dimple on your right cheek? Fabulous!
Thank you for saying so, Shelley. You are so sweet. 🙂
These are wonderful! What a great up upcycle! You are so creative and skilled at so many things. I wish I had half of your talent! ?
You’re such a sweetie, Alisa. Thanks so much. You can do it!
Cute hats! I never thought of frizzing a pom-pom to get rid of that “yarny” look- great tip! Aren’t you loving this snow!?! ?
Woot! Thanks! Yes, it works with the wool yarns, but is tricky with acrylic. Yes, loving the snow too!
These are wonderful. Thanks for the share! And the pics of you are utterly adorable too!!
How wonderful of you to say, Lauri. Thank you. I had fun!