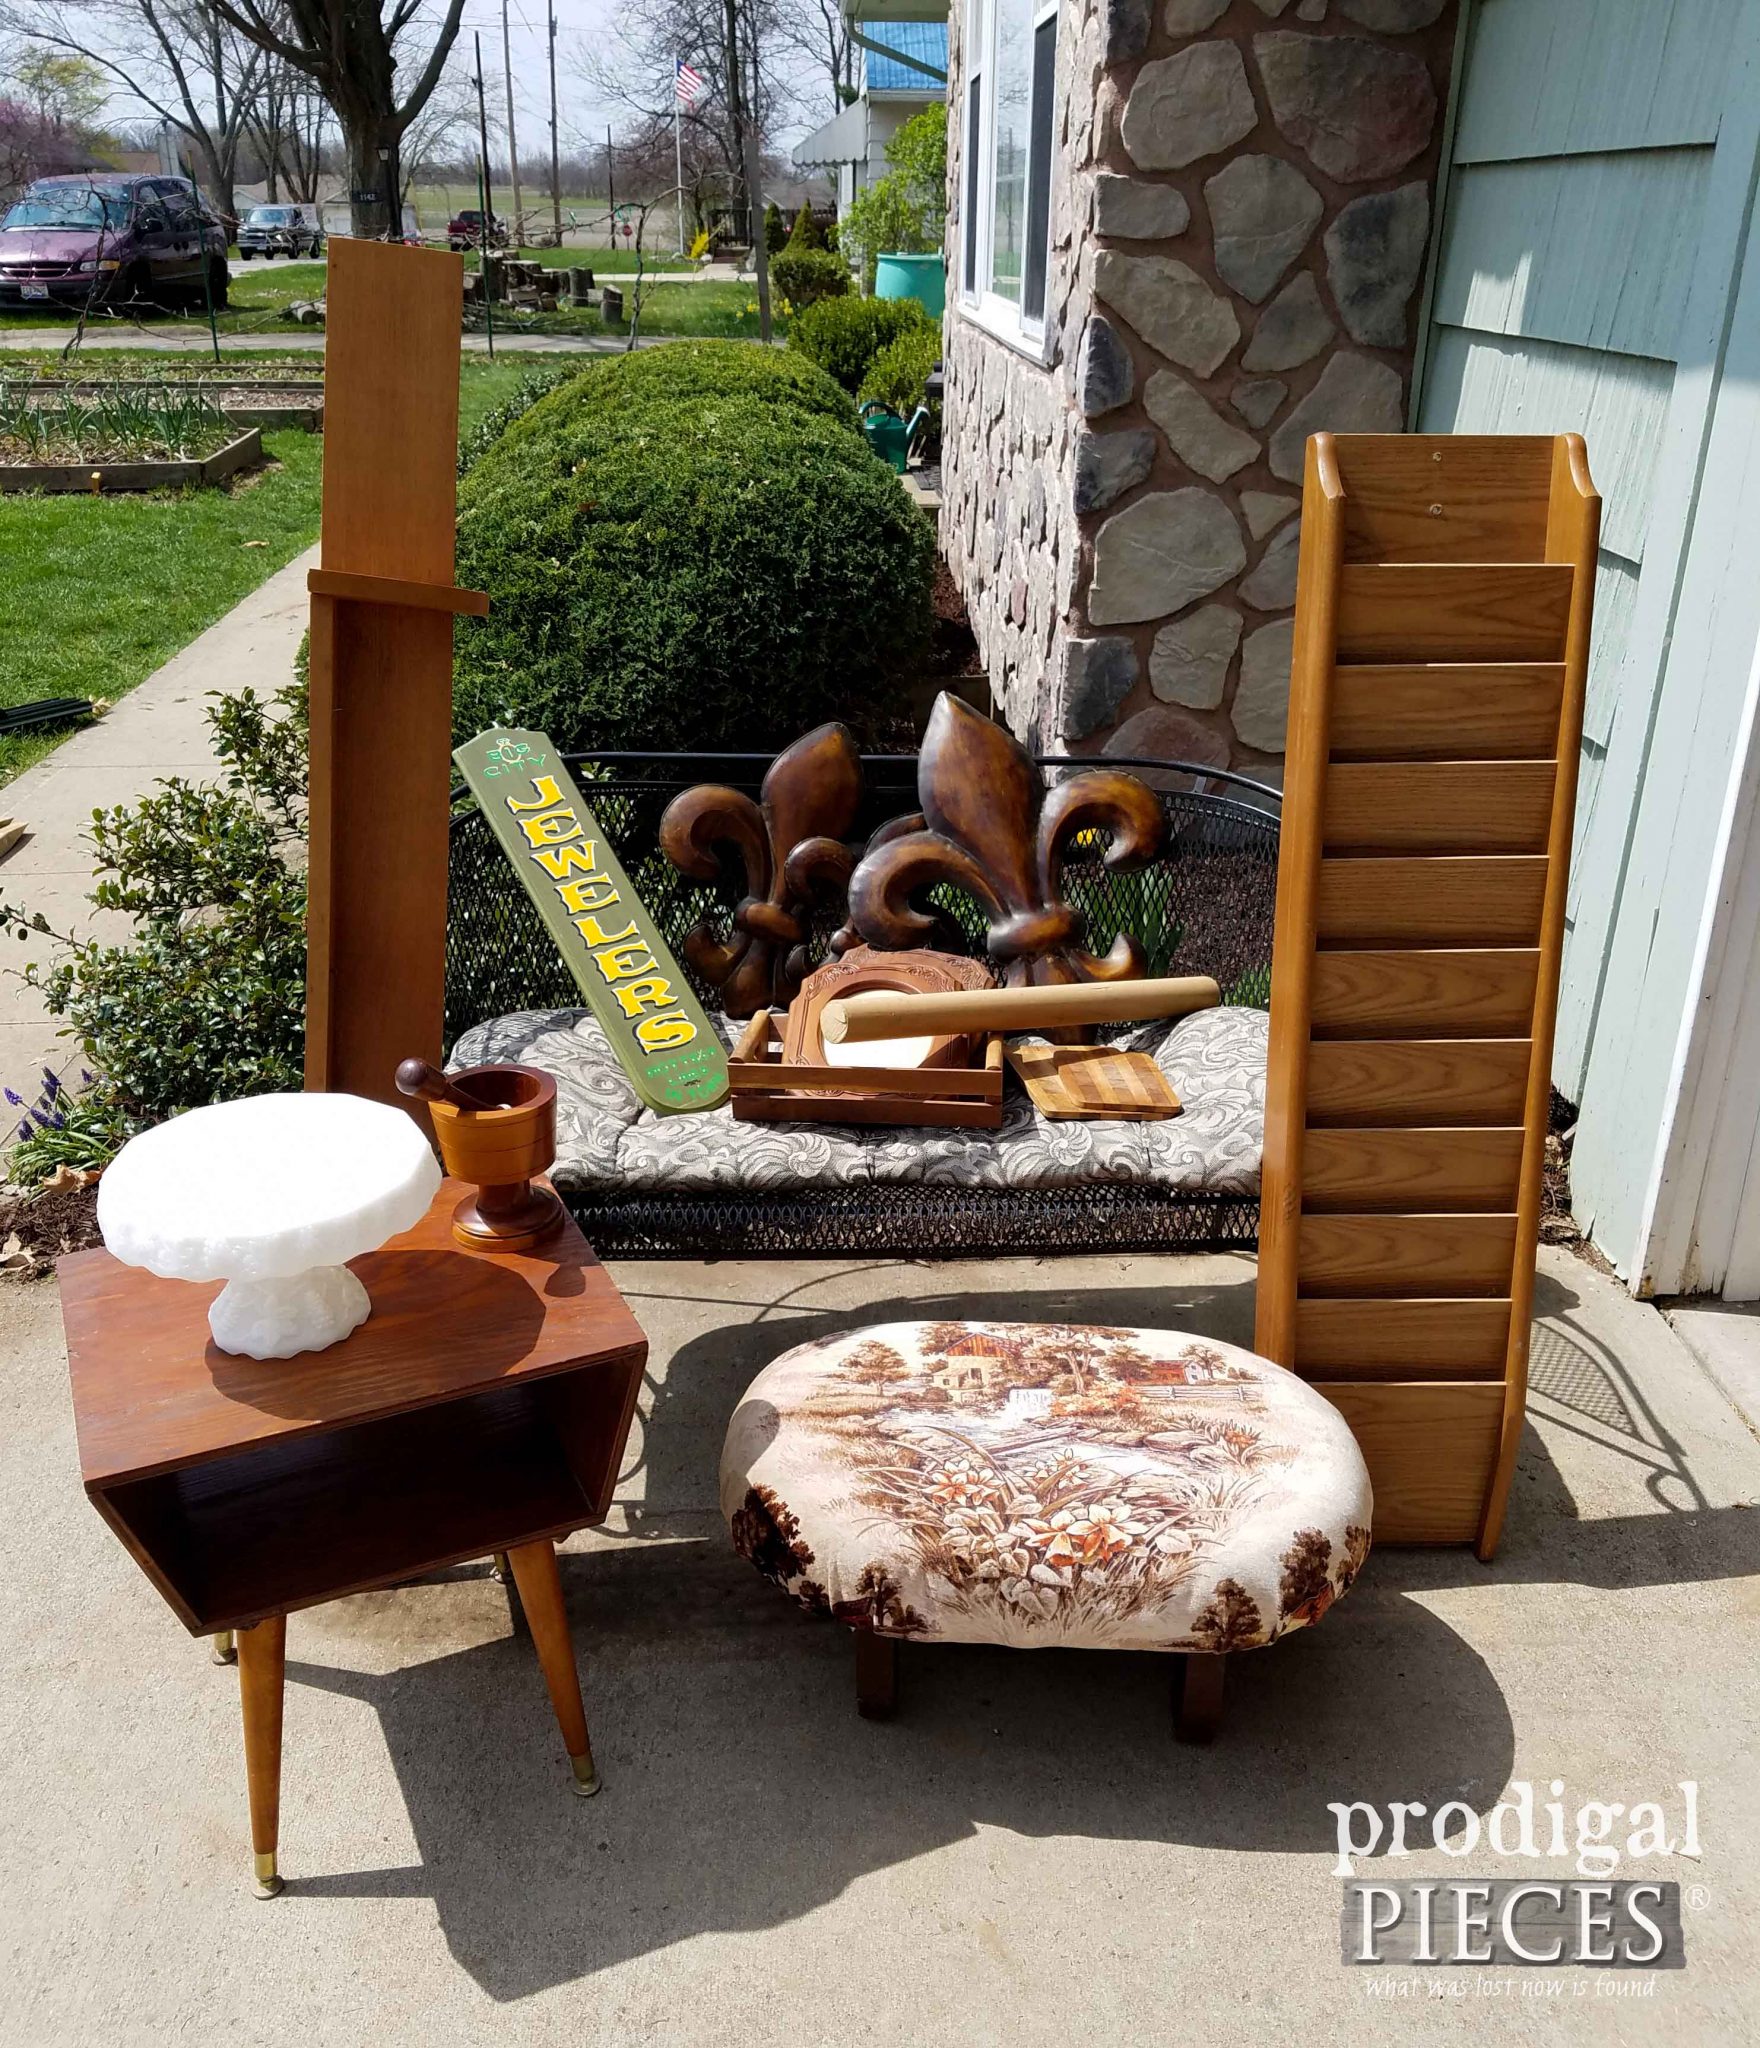
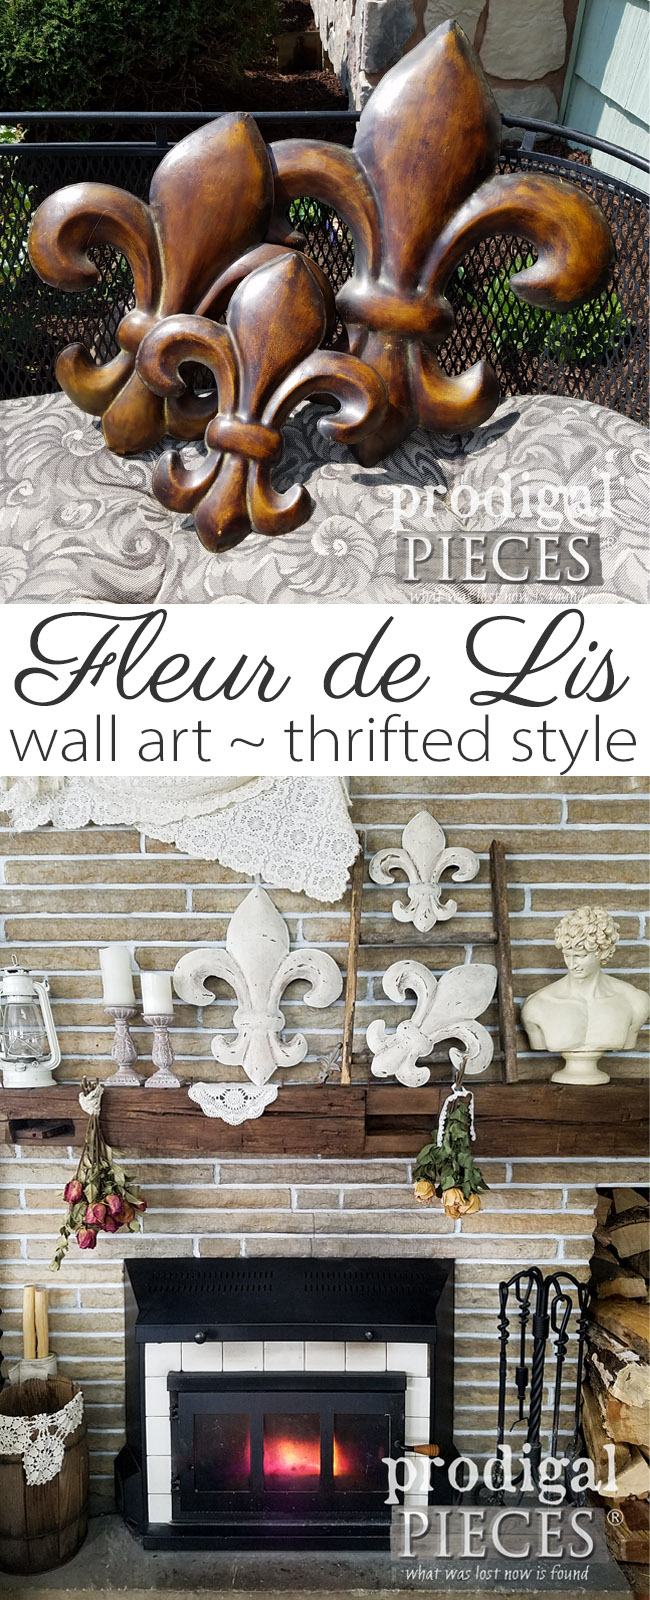
It’s a new day and time for a new project, right? It is pure delight to get to share with you each time inspiration hits. This particular time,however, was a bit of a struggle to get to the end result, but I’m glad I stuck to it. A few months back I had this haul from the thrift store. Some I kept, some I gave away, and some I redid for my shop, like that footstool seen HERE. Today, I’m keeping my promise to some of you to do something with that Fleur de Lis wall art on the bench there. It only took me 8 months to get to them! haha.
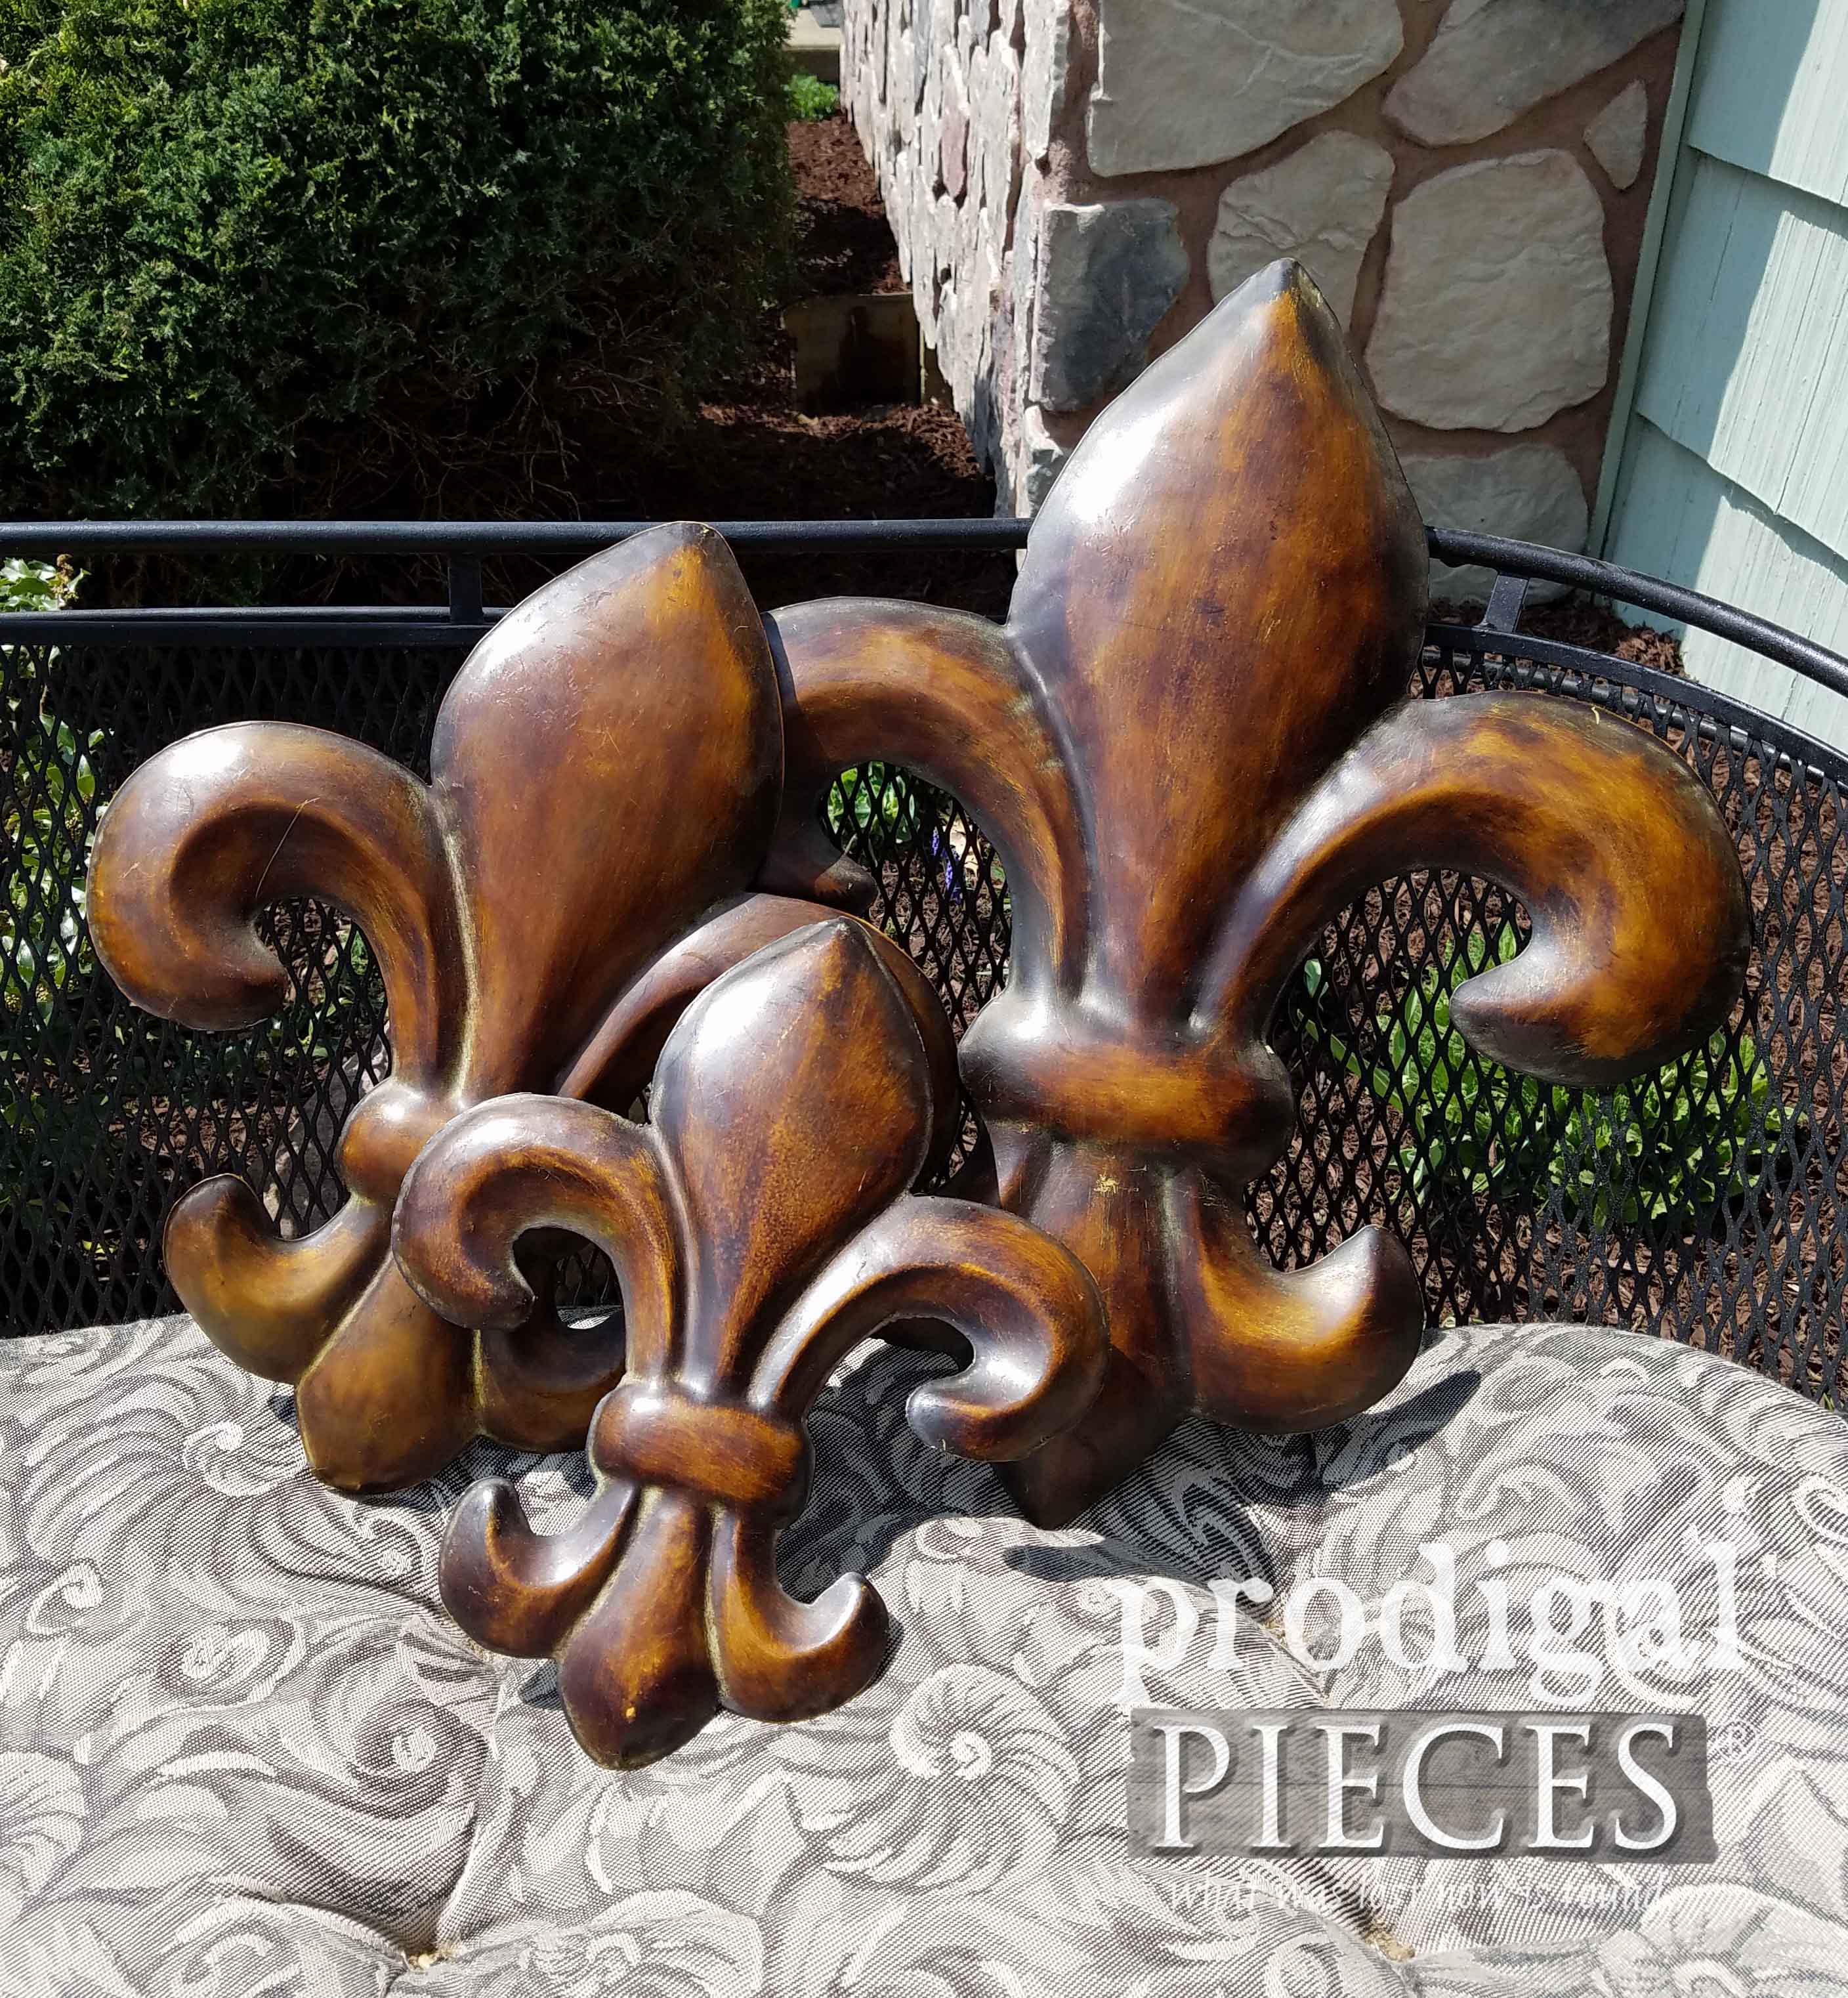
Here’s a closer look at that Fleur de Lis wall art. It’s an imported metal set that is bent up a bit and has a few dings here and there, but otherwise fine. I felt just needed cleaning up and a new lease on life.
DIY TIME
I was hanging onto these to save as cold weather project and now it the perfect time. First, I kinda liked their dark color, but felt a change would be nice too. My original goal was to use my metal effects to create a weathered look to it, but that didn’t go quite as planned. Here’s what happened…the patina paint is awesome. It can take ANYTHING it turn it into an aged-to-perfection piece. You can see it in action in my video below as well as the end result in our DIY Arbor Tutorial.
I started out using the special primer so that my patina wouldn’t eventually eat through my metal. It’s easy to apply and works wonderfully.
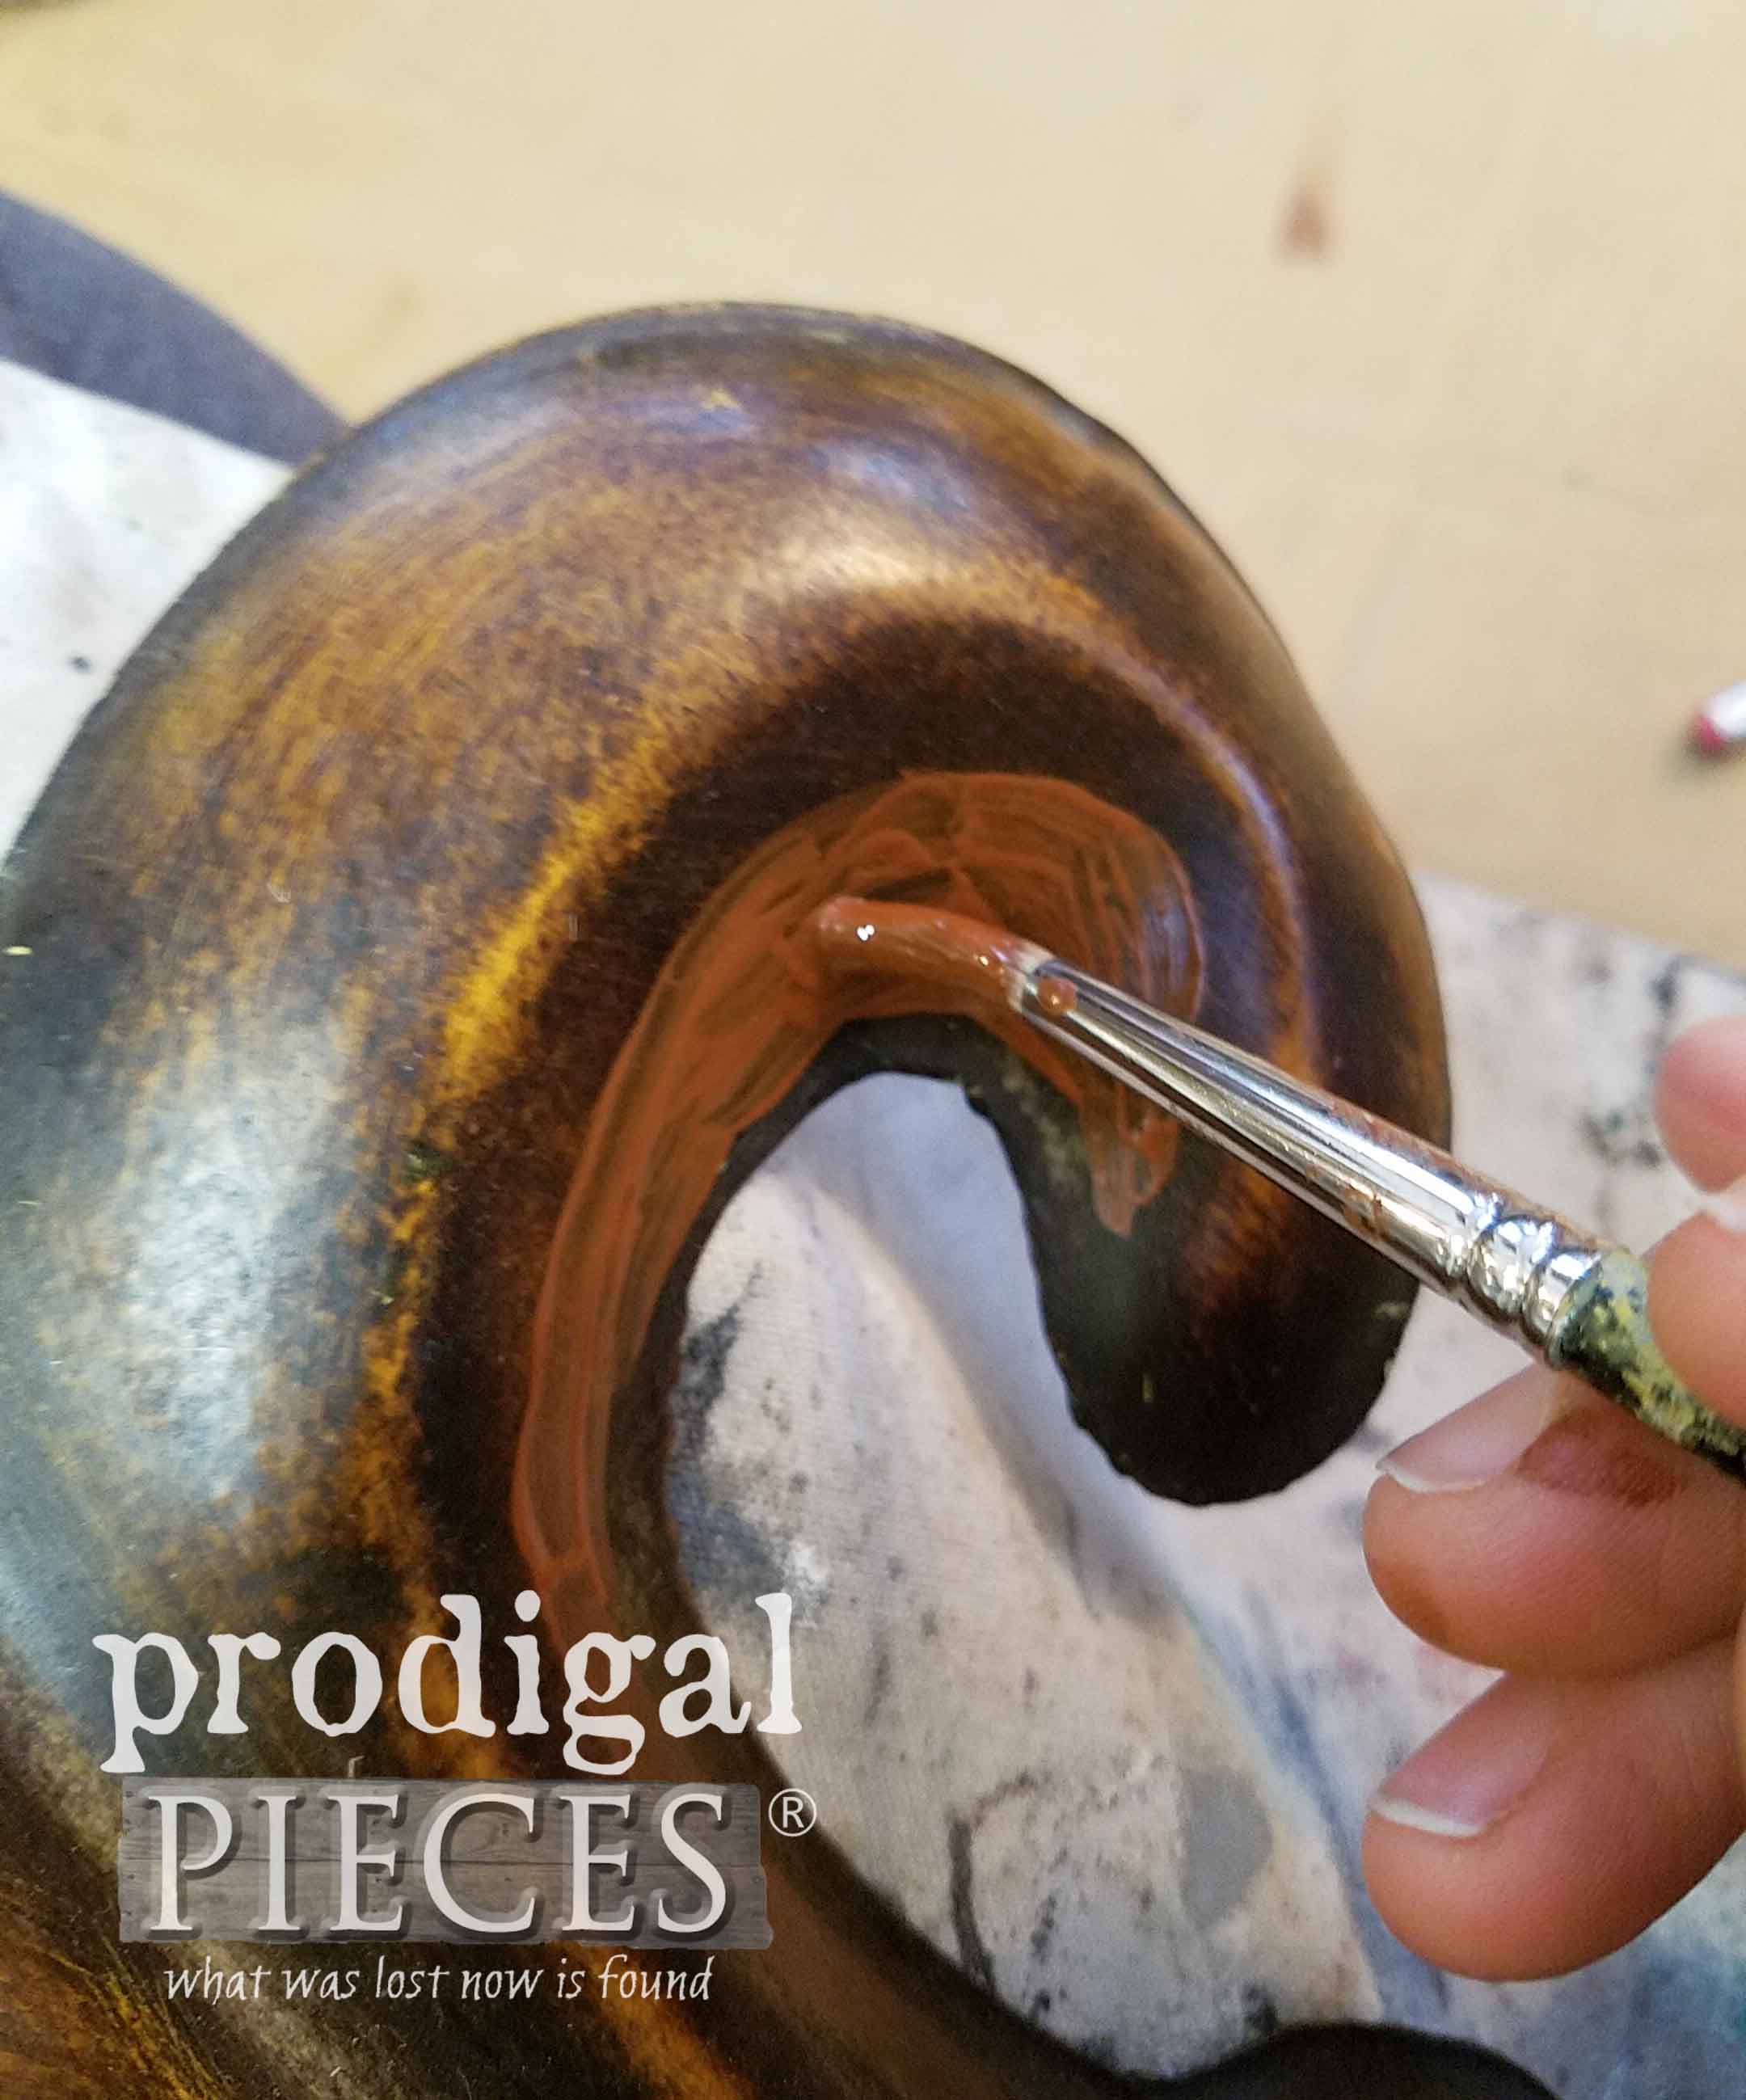
Next, I applied the metal effects paint in two coats and sprayed with my patina spray. It’s at this point I realized I should have used a different metal paint in order for there to be more of a contrast. My vision wasn’t popping like I had hoped. To remedy that I decided to use a soft green “patina-ish” color to top the patina paint.
OH BOY
This wasn’t looking bad, but I just didn’t get that satisfied feeling that I normally do. It just needed something. I decided to skip my idea for patina and switch to a time-worn effect while still playing with the patina action going on . I added some crackle medium to spots I wanted to age, just like I did on my Cedar Chest Makeover (full tutorial how to use it here). Love this stuff!
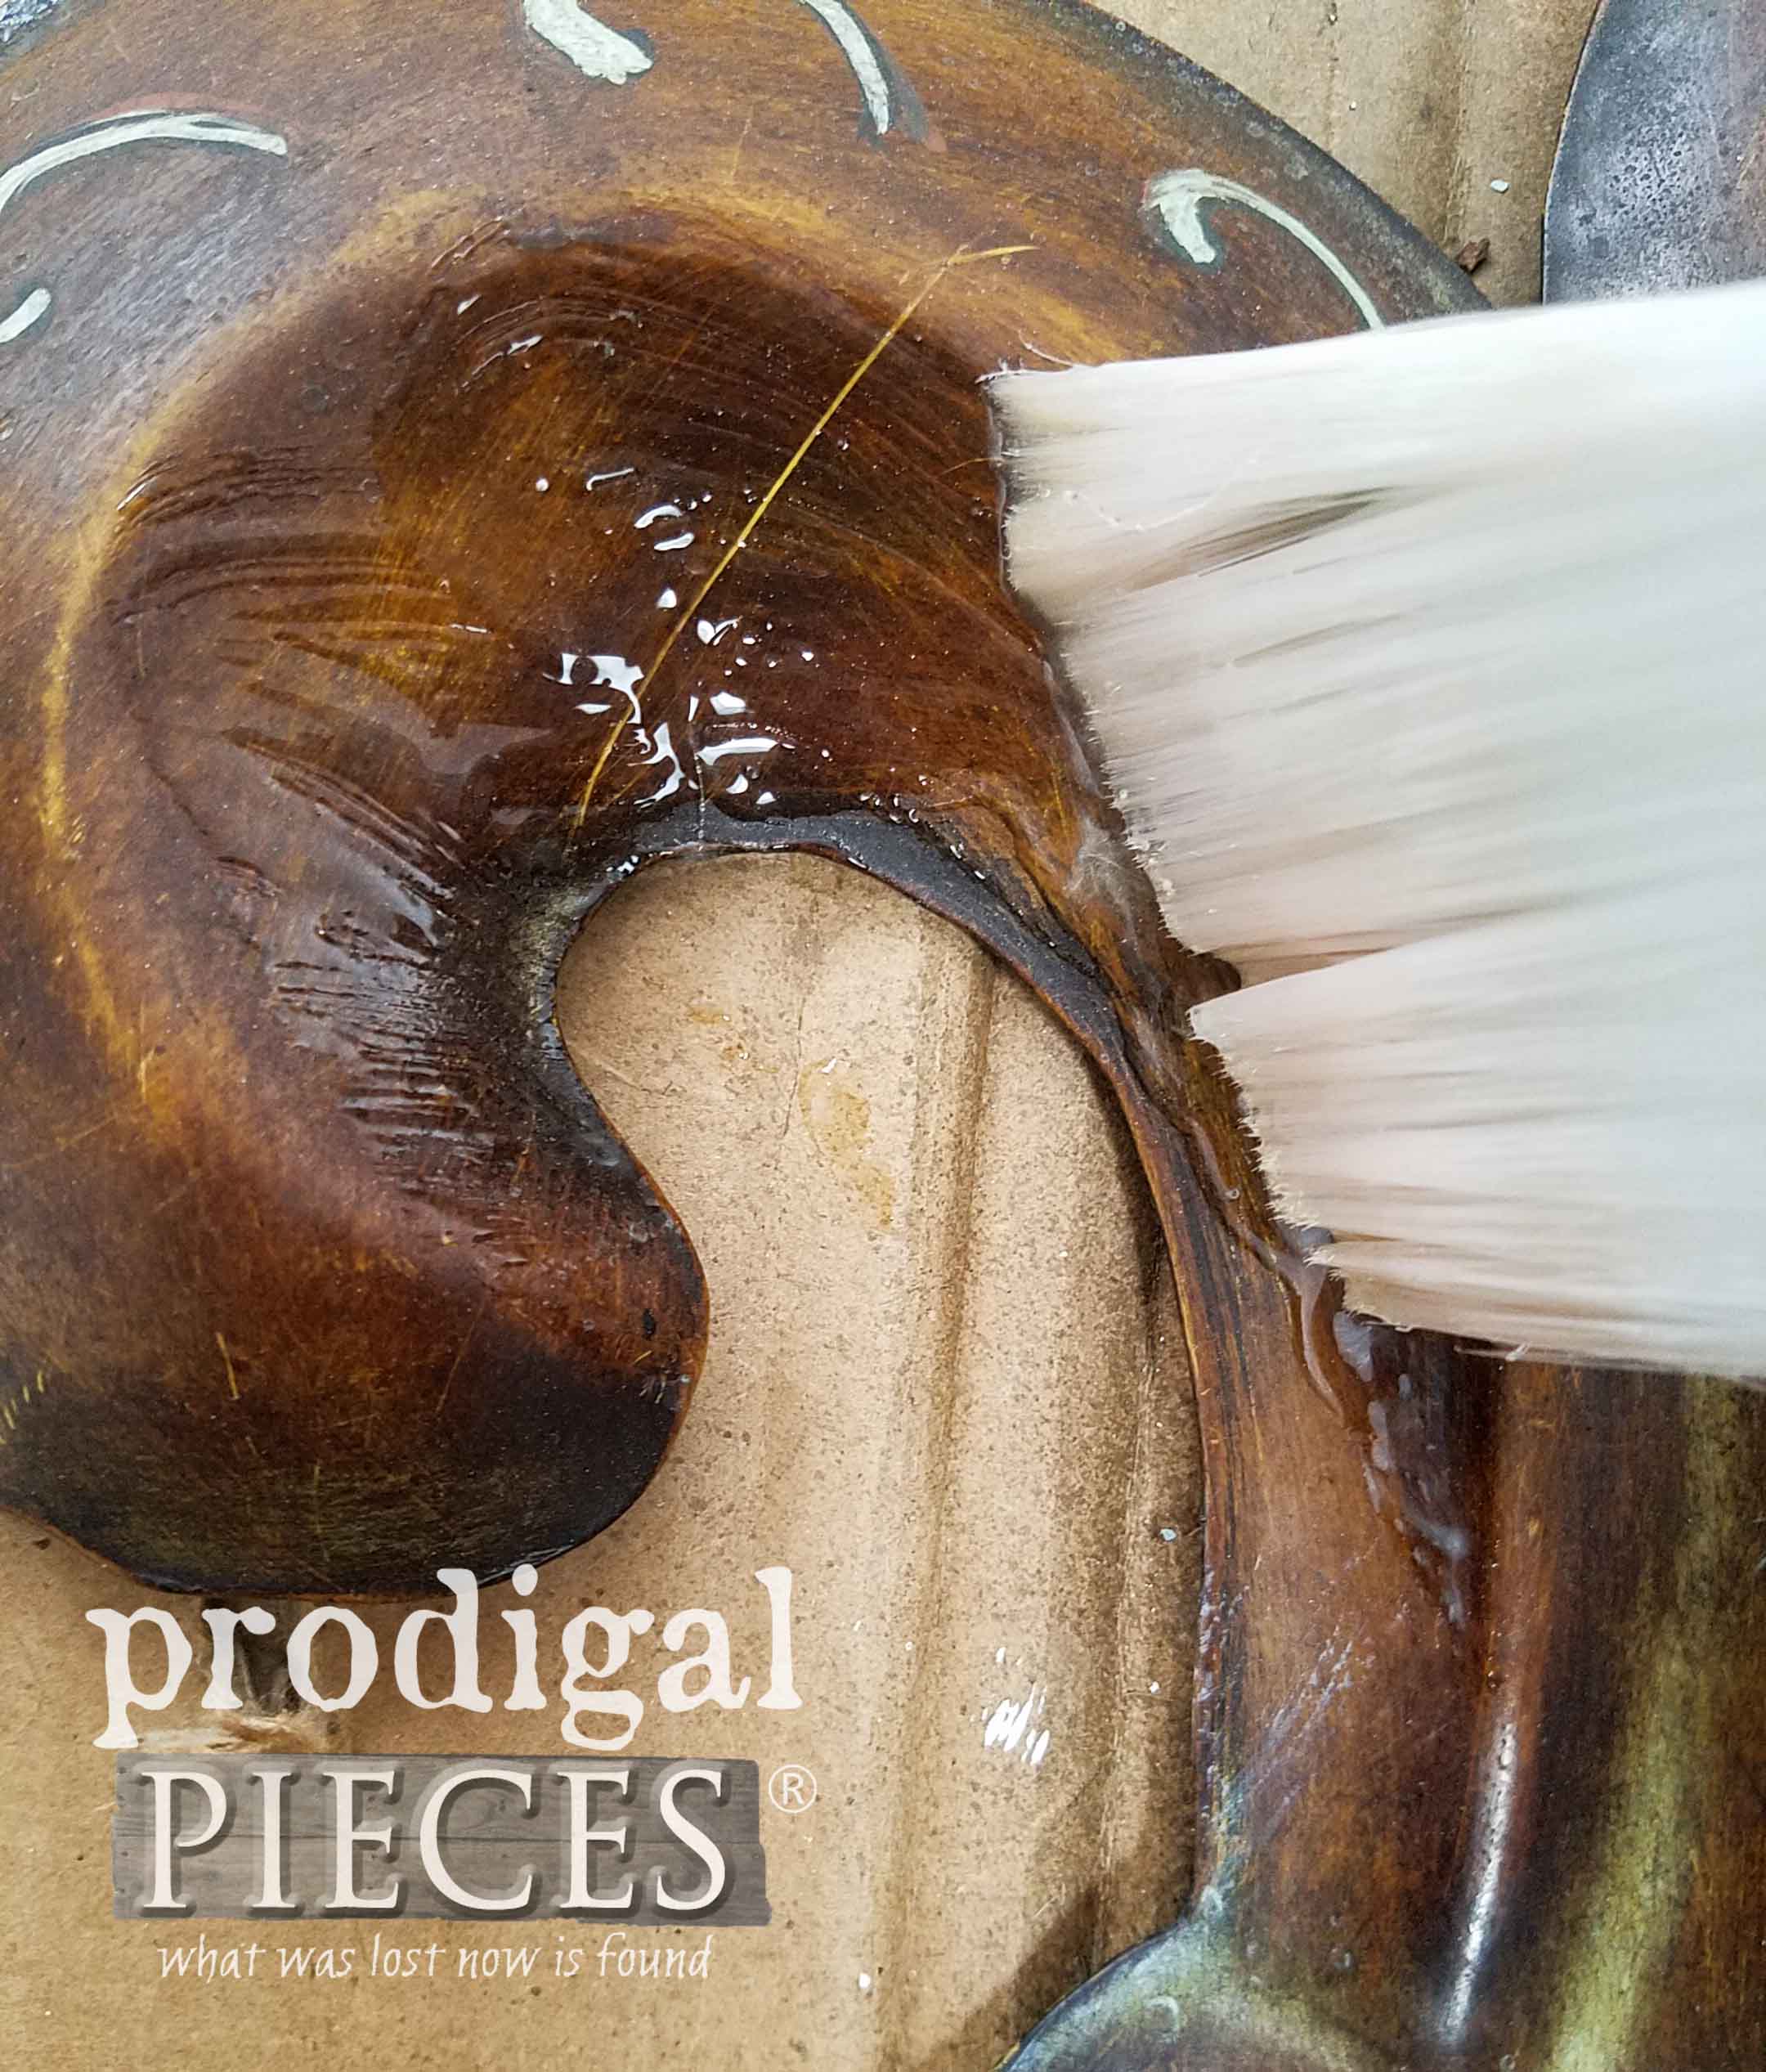
Once the crackle was dry I applied a soft white paint – see the instant crackle?
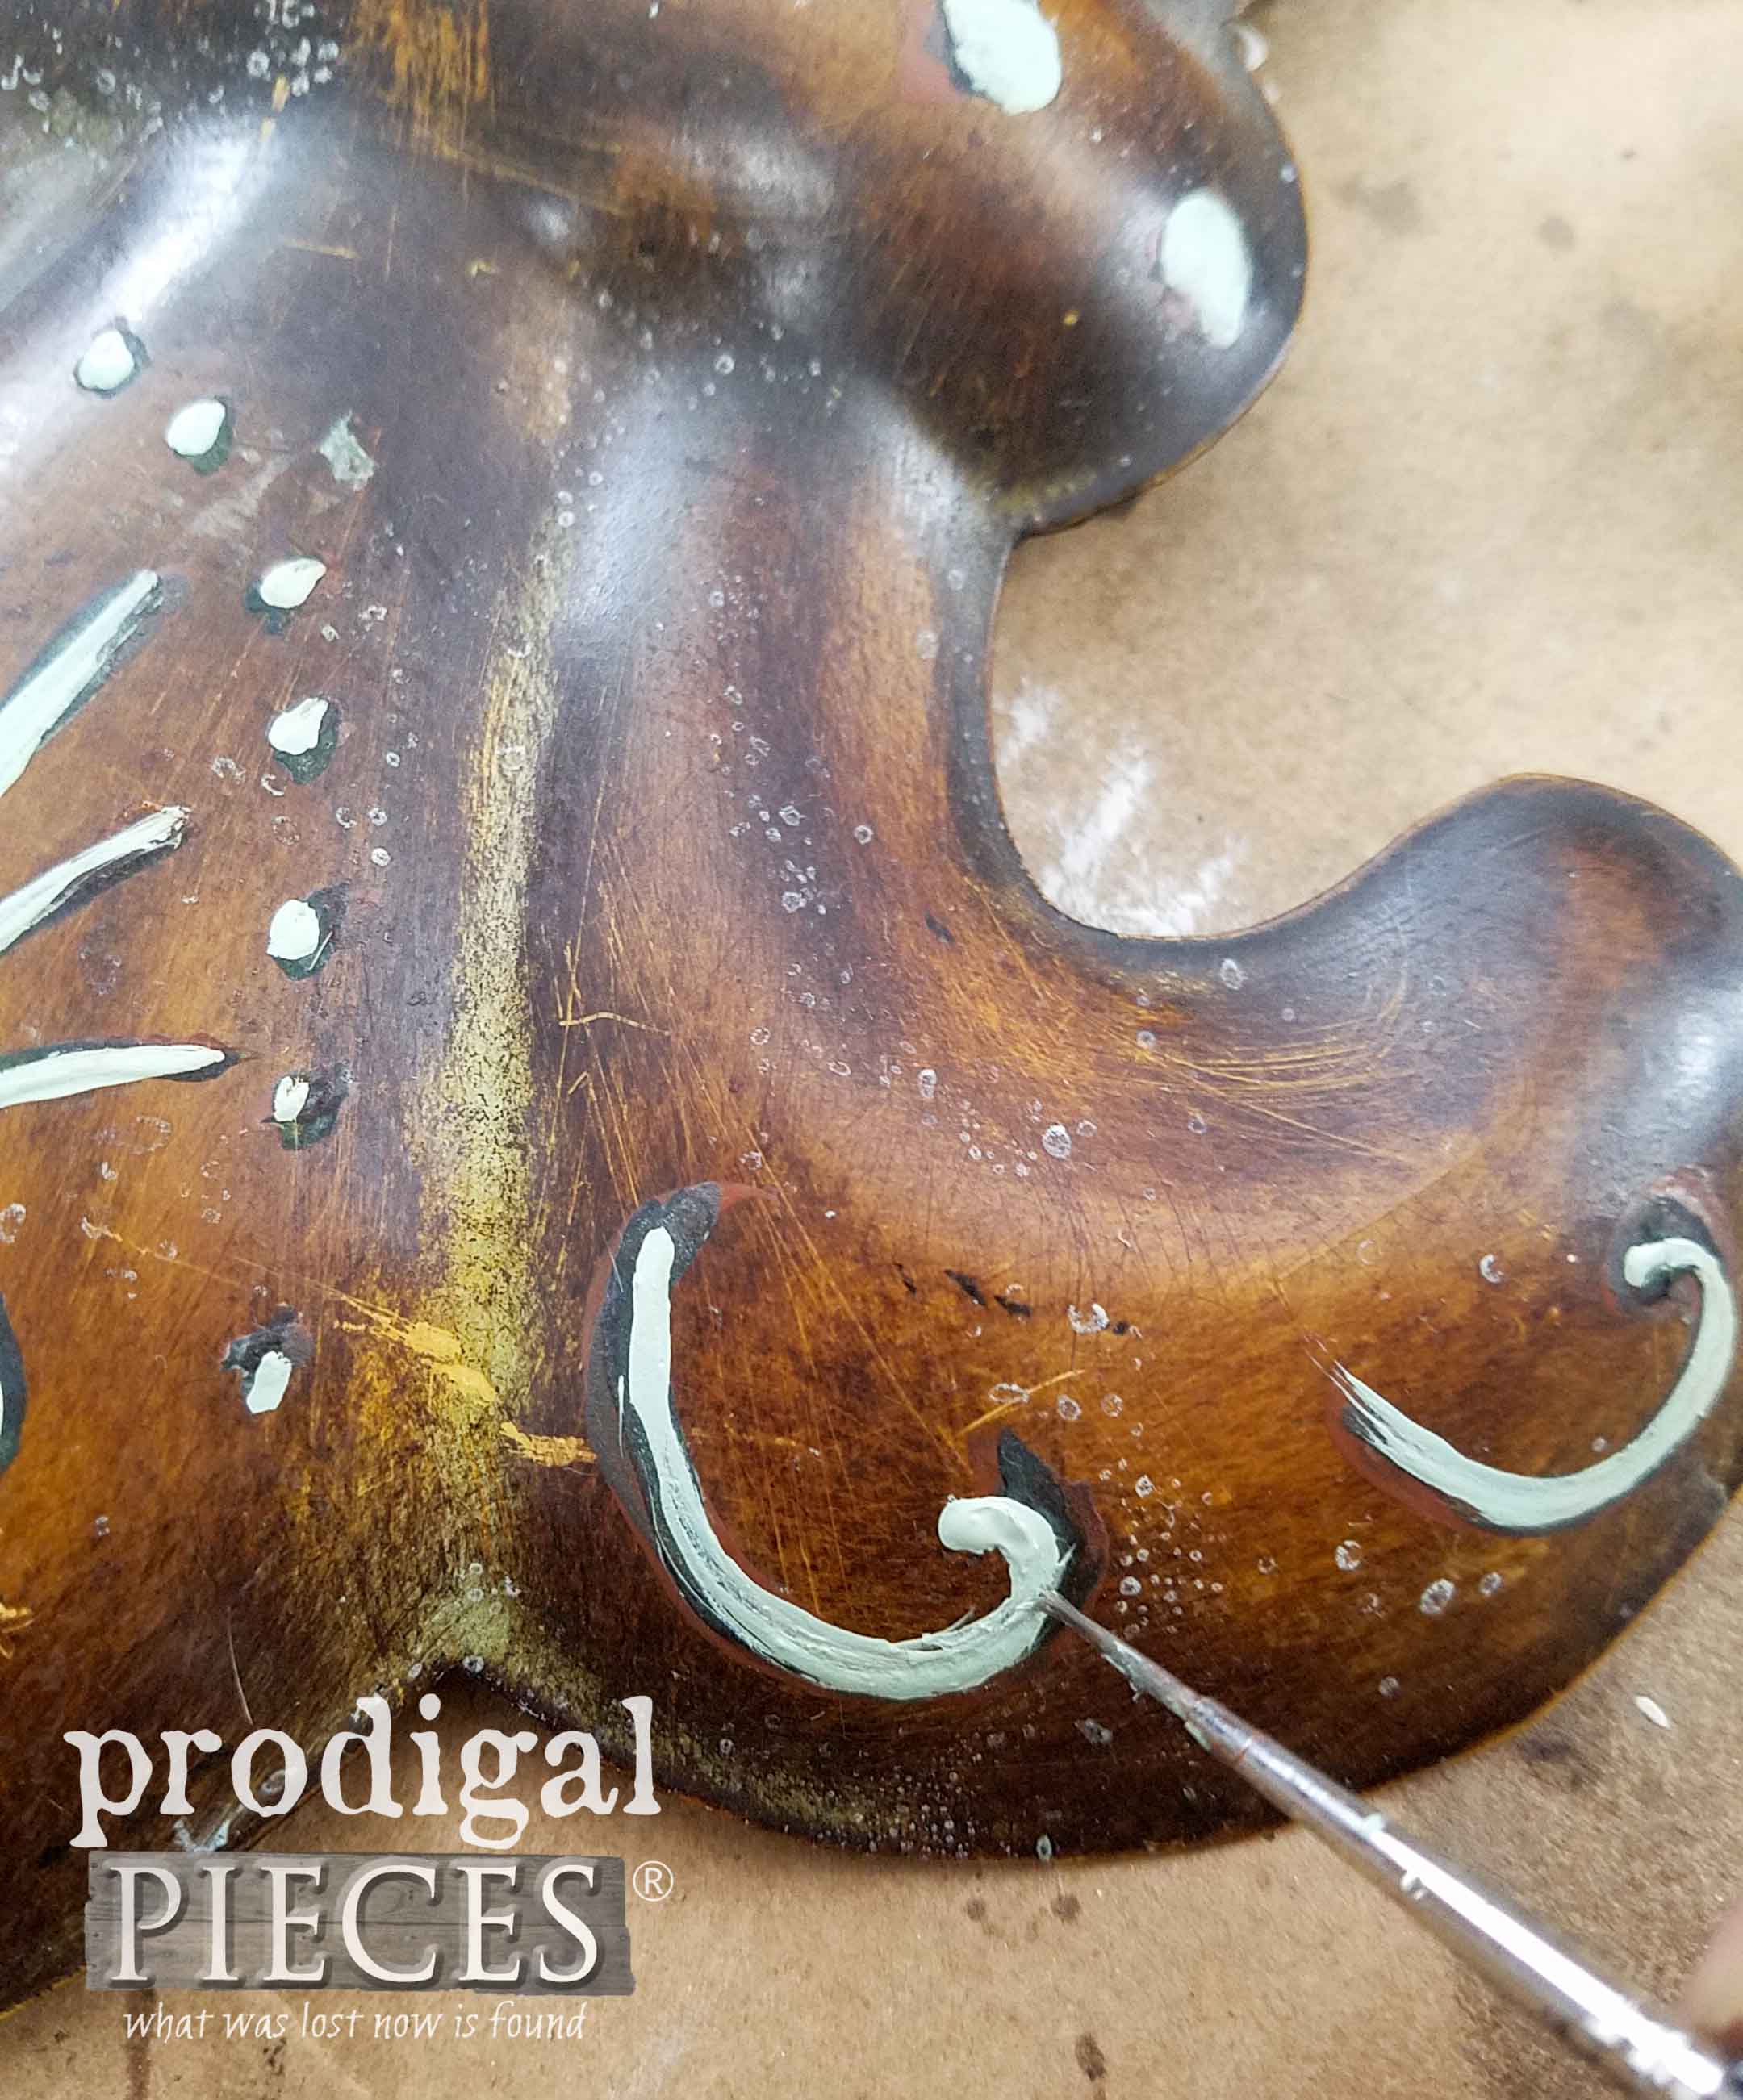
Once the first coat was dry, I did another light coat and let cure. The cool thing is the patina was bleeding through the paint as I had hoped. To give it more dimension, I used a dark wax to make those painted details I added earlier really pop.
THE REVEAL
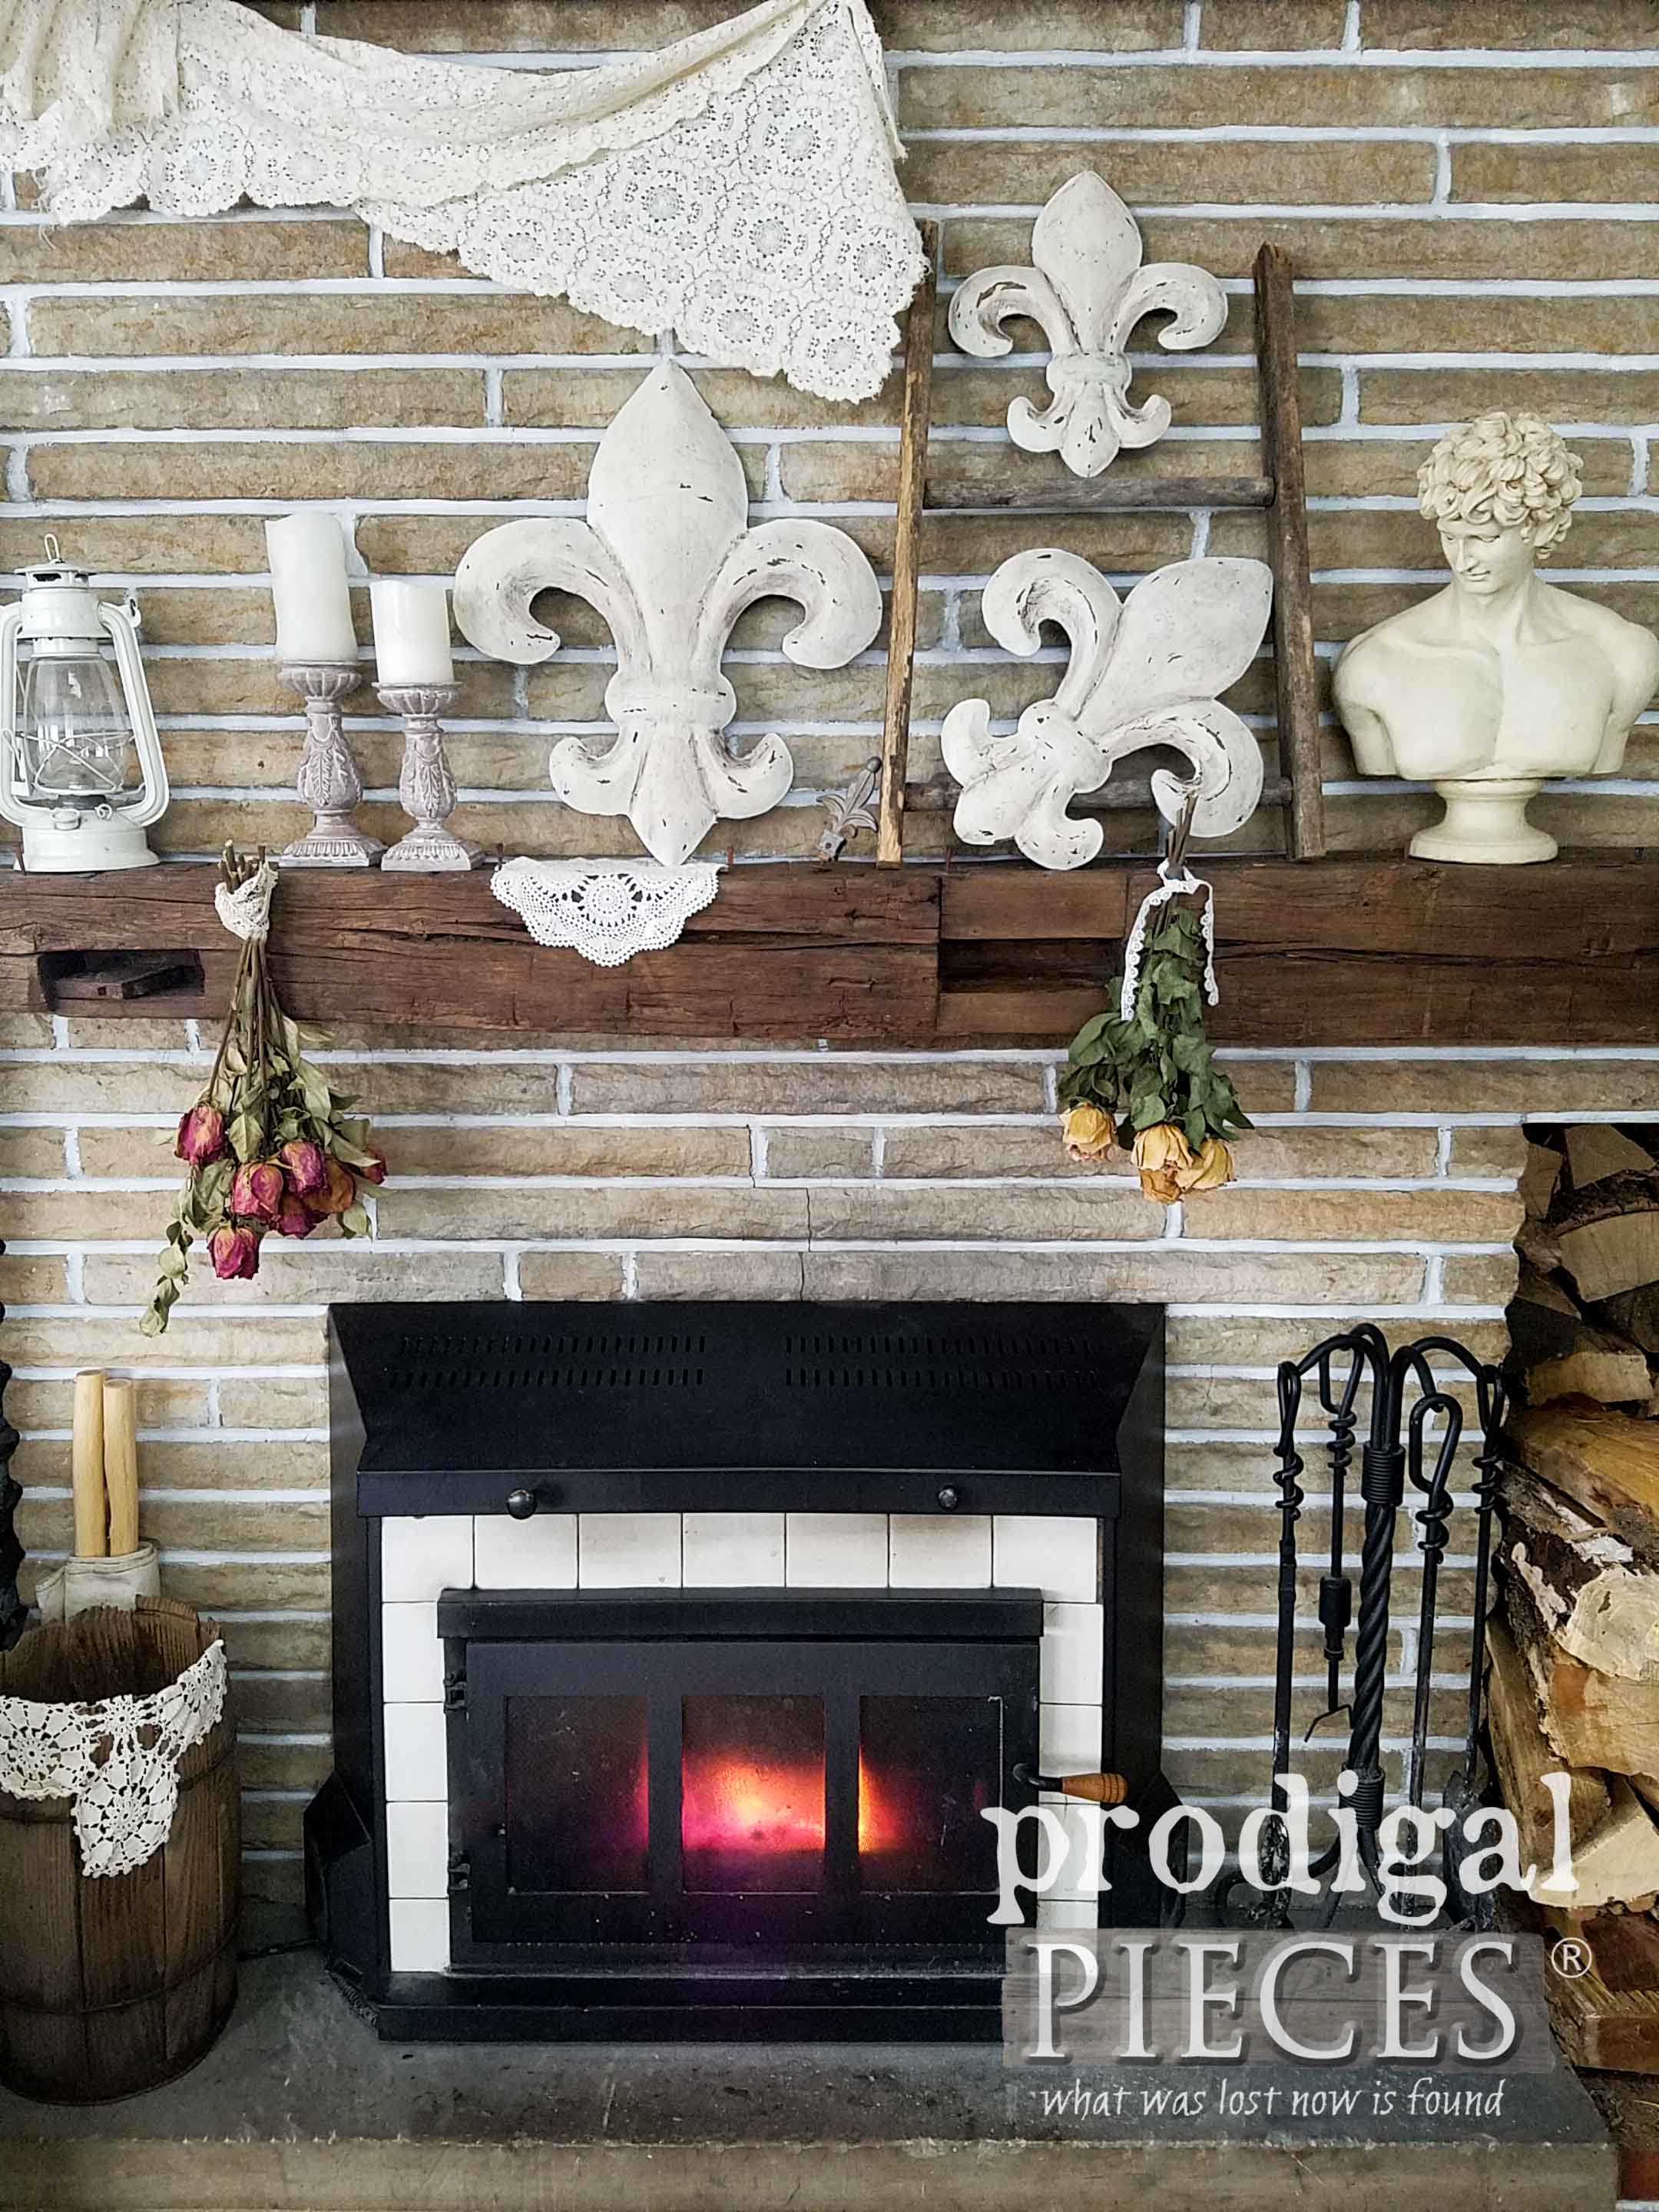
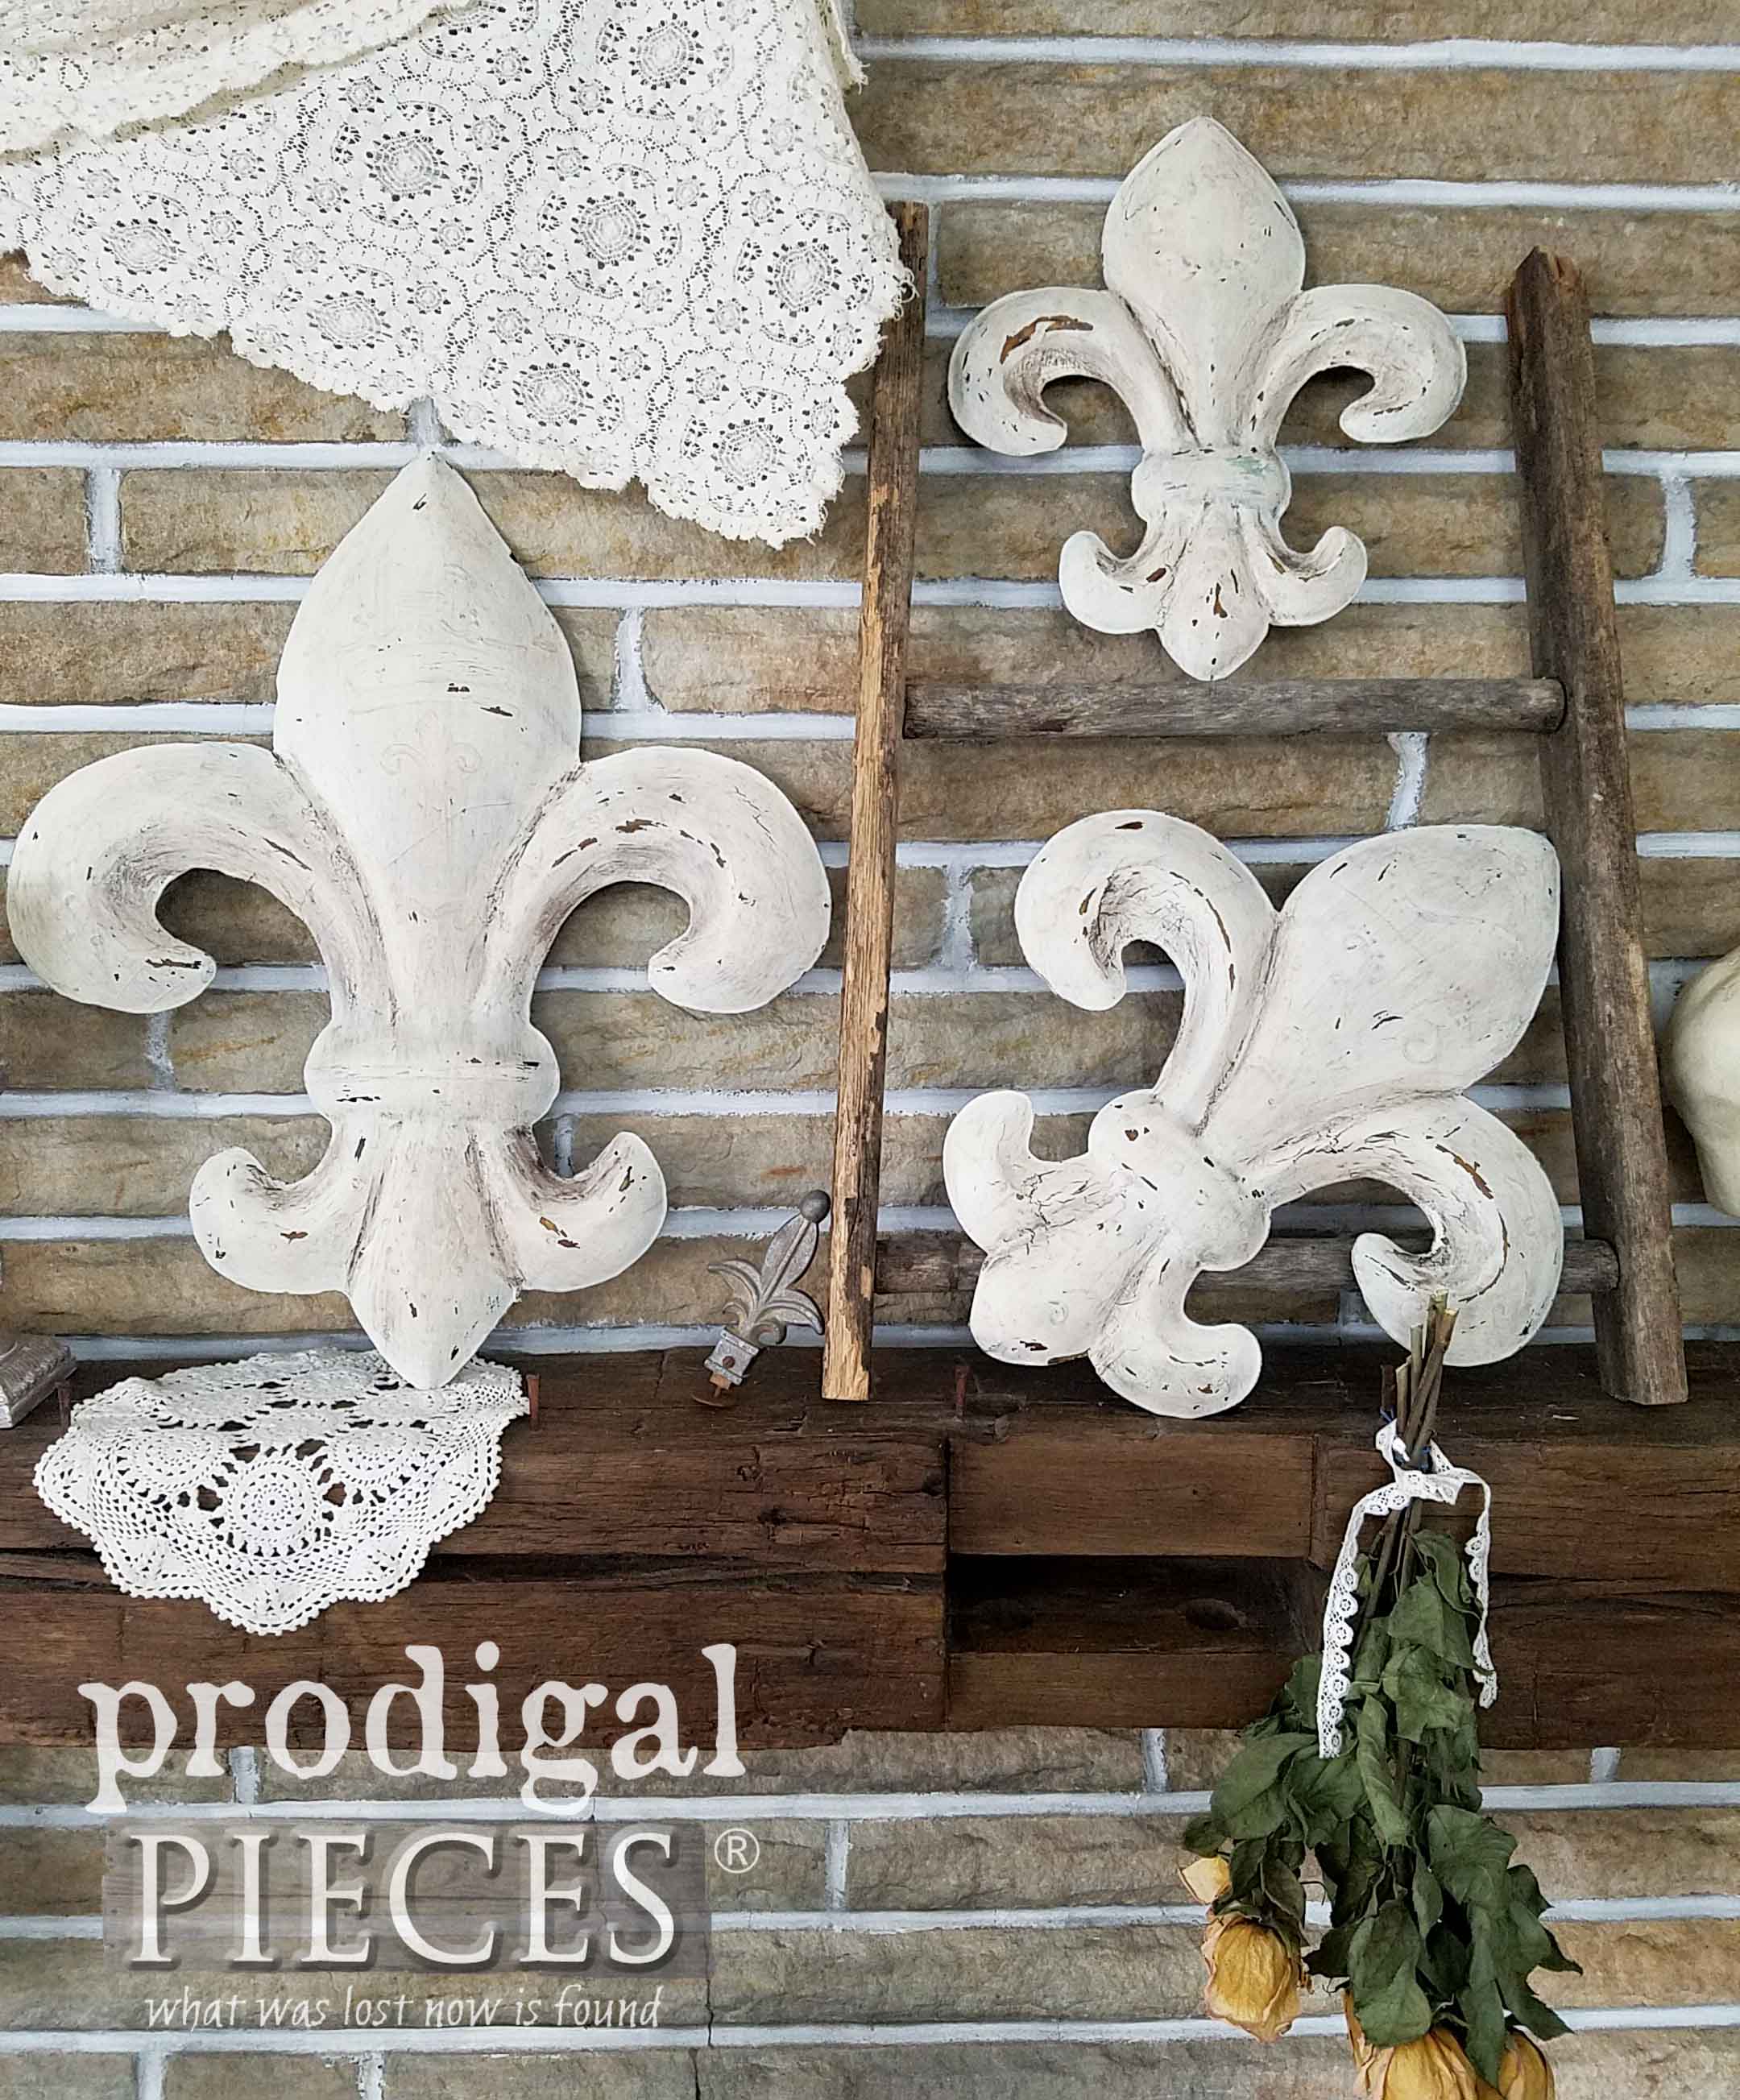
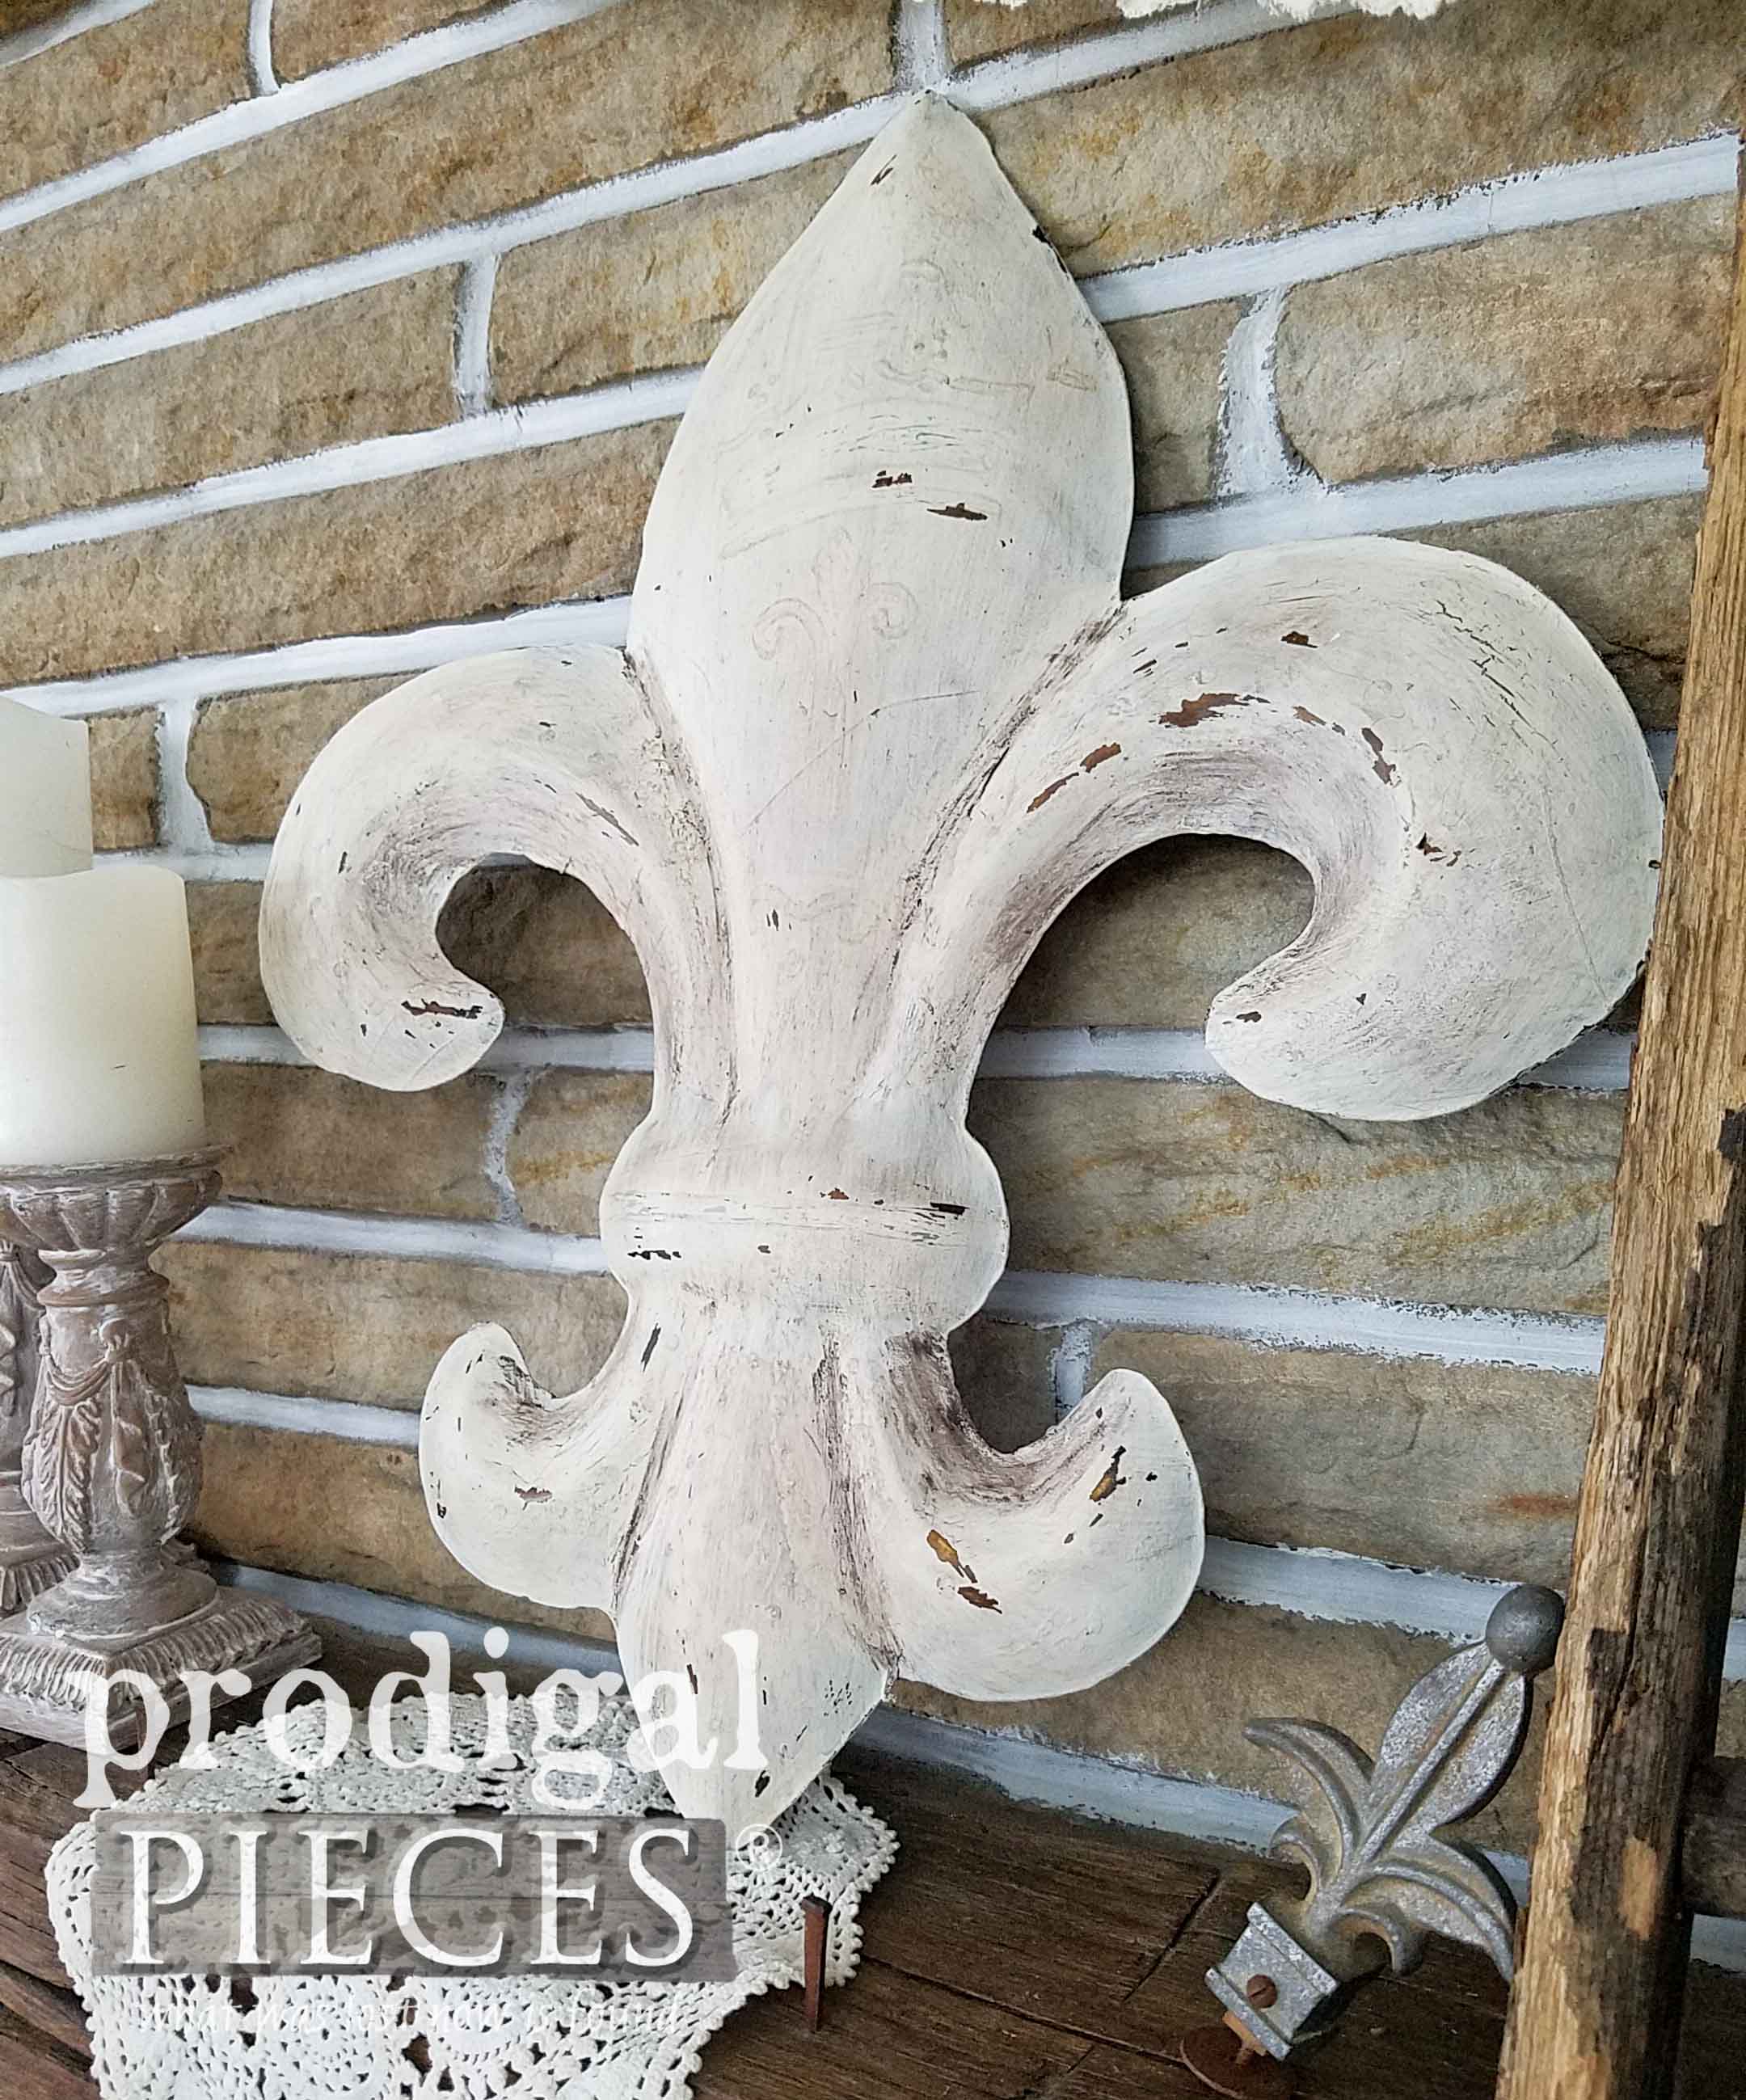
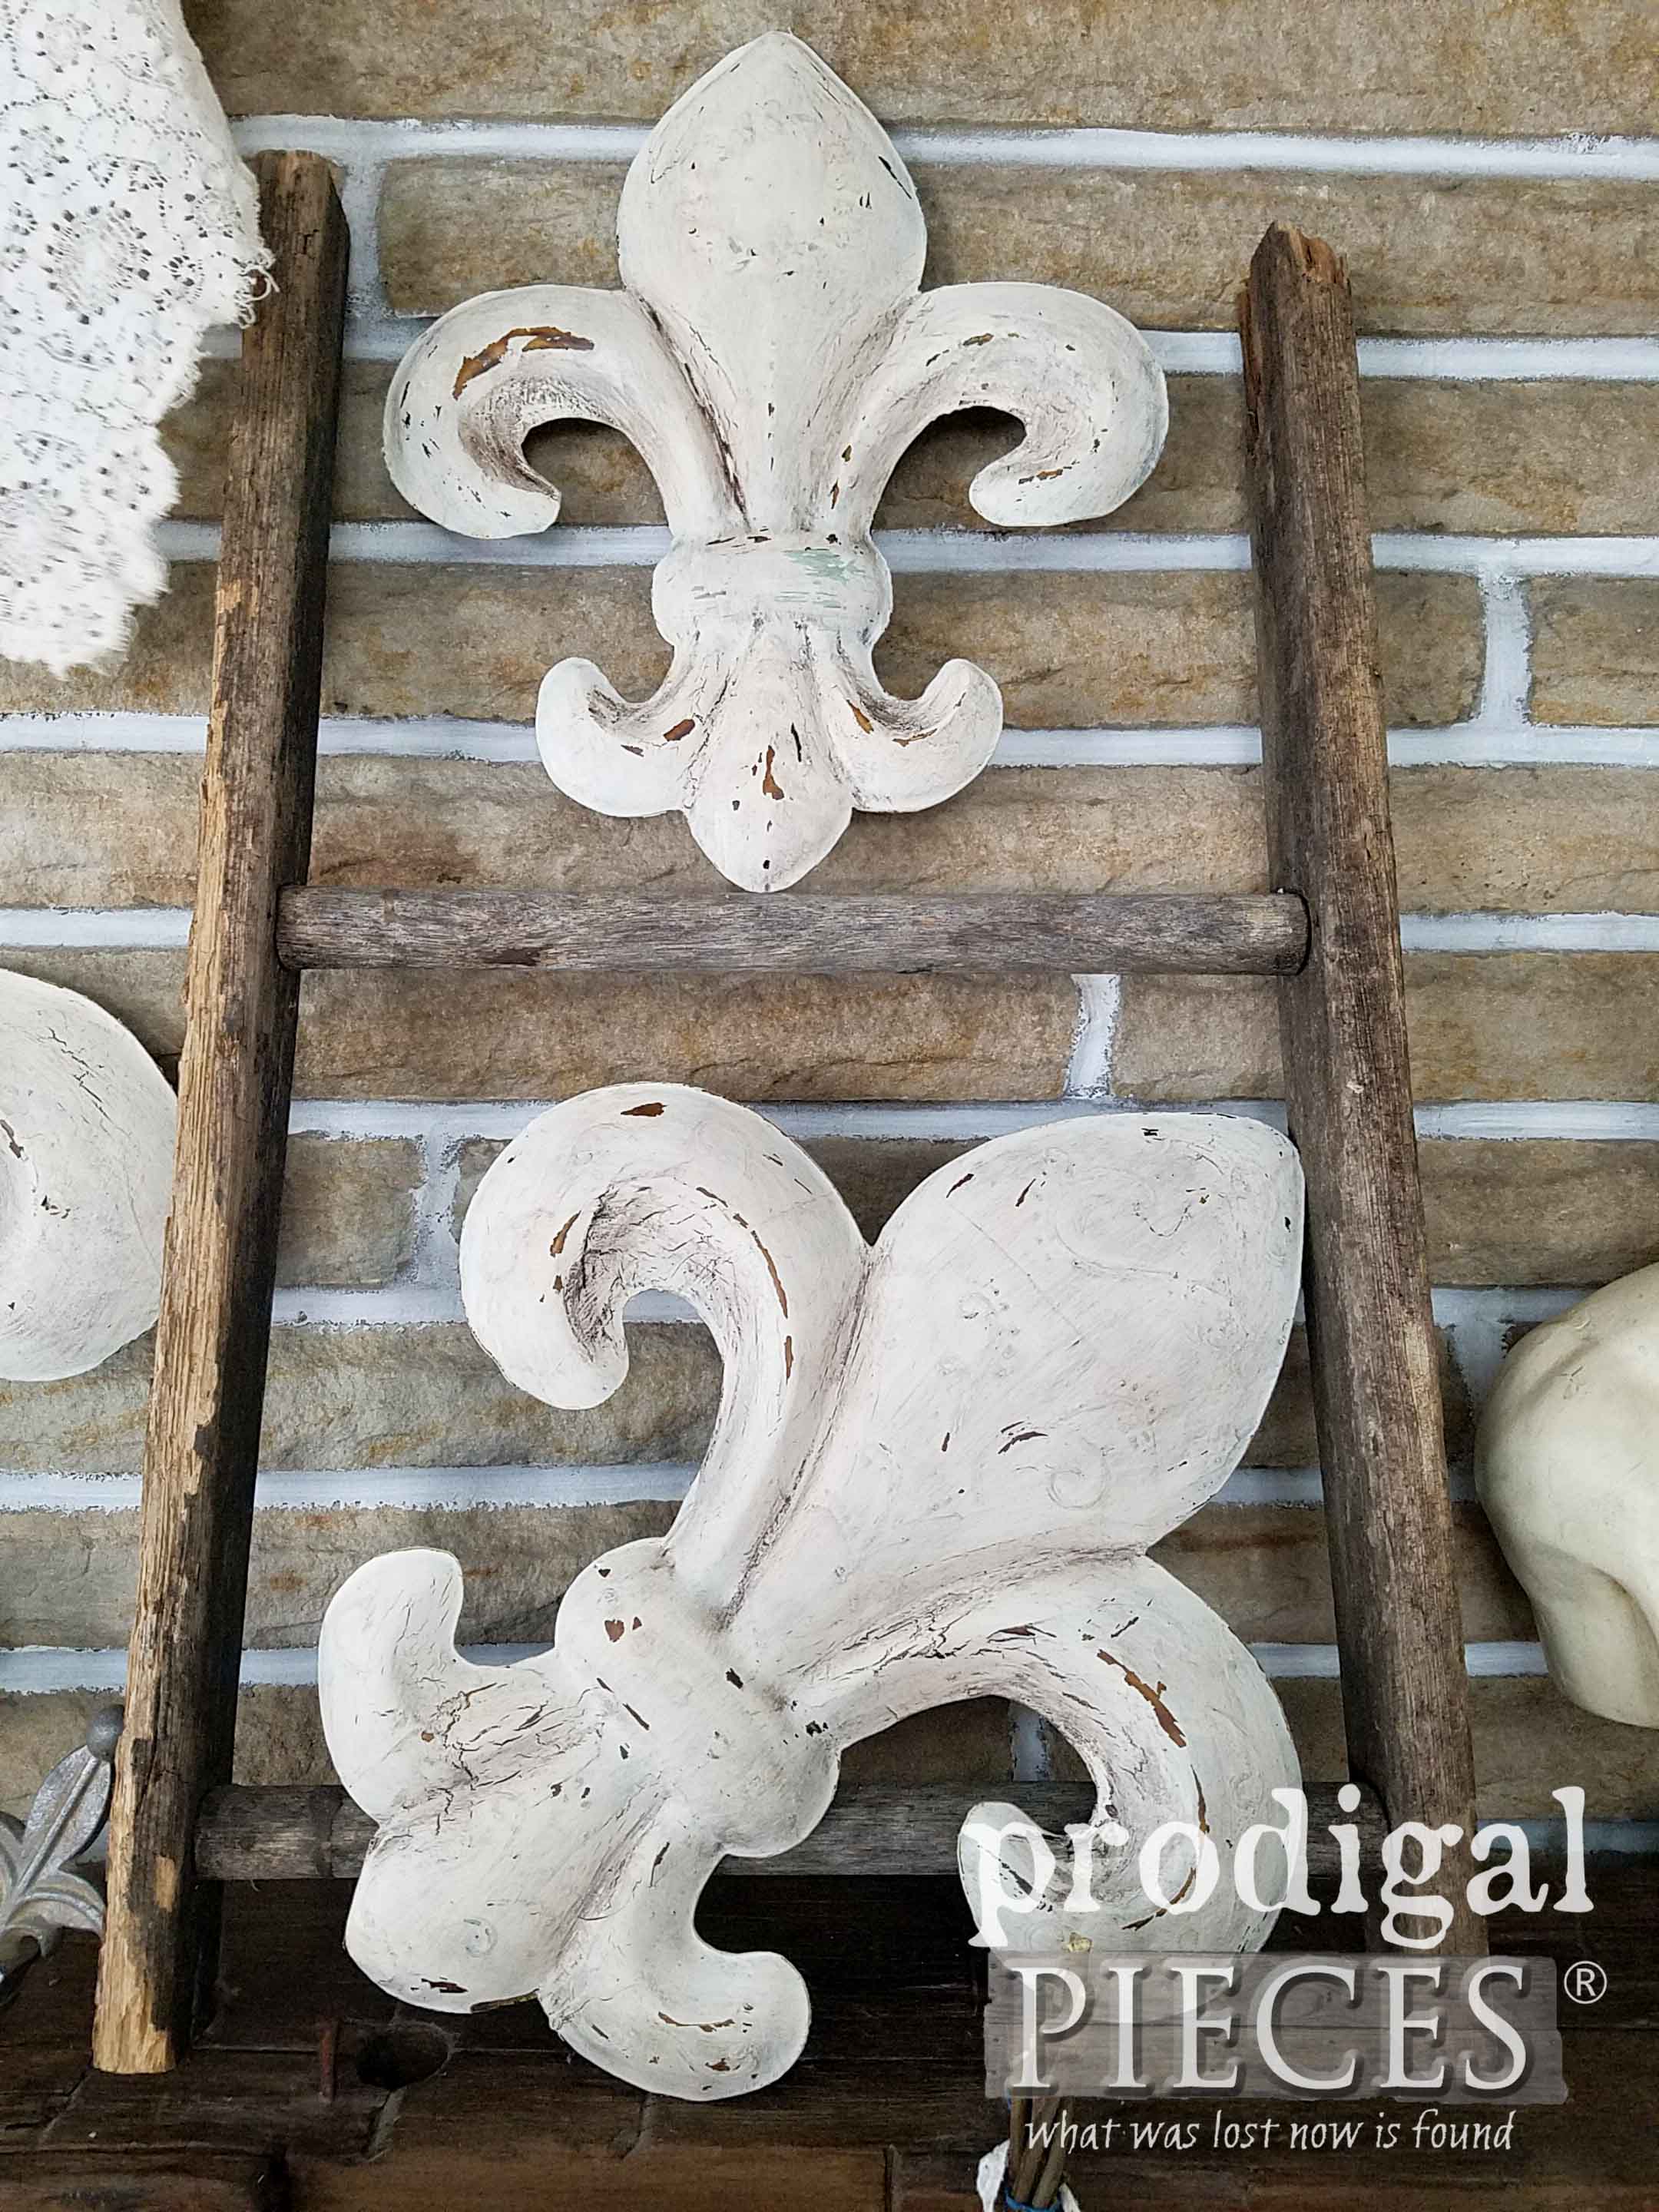
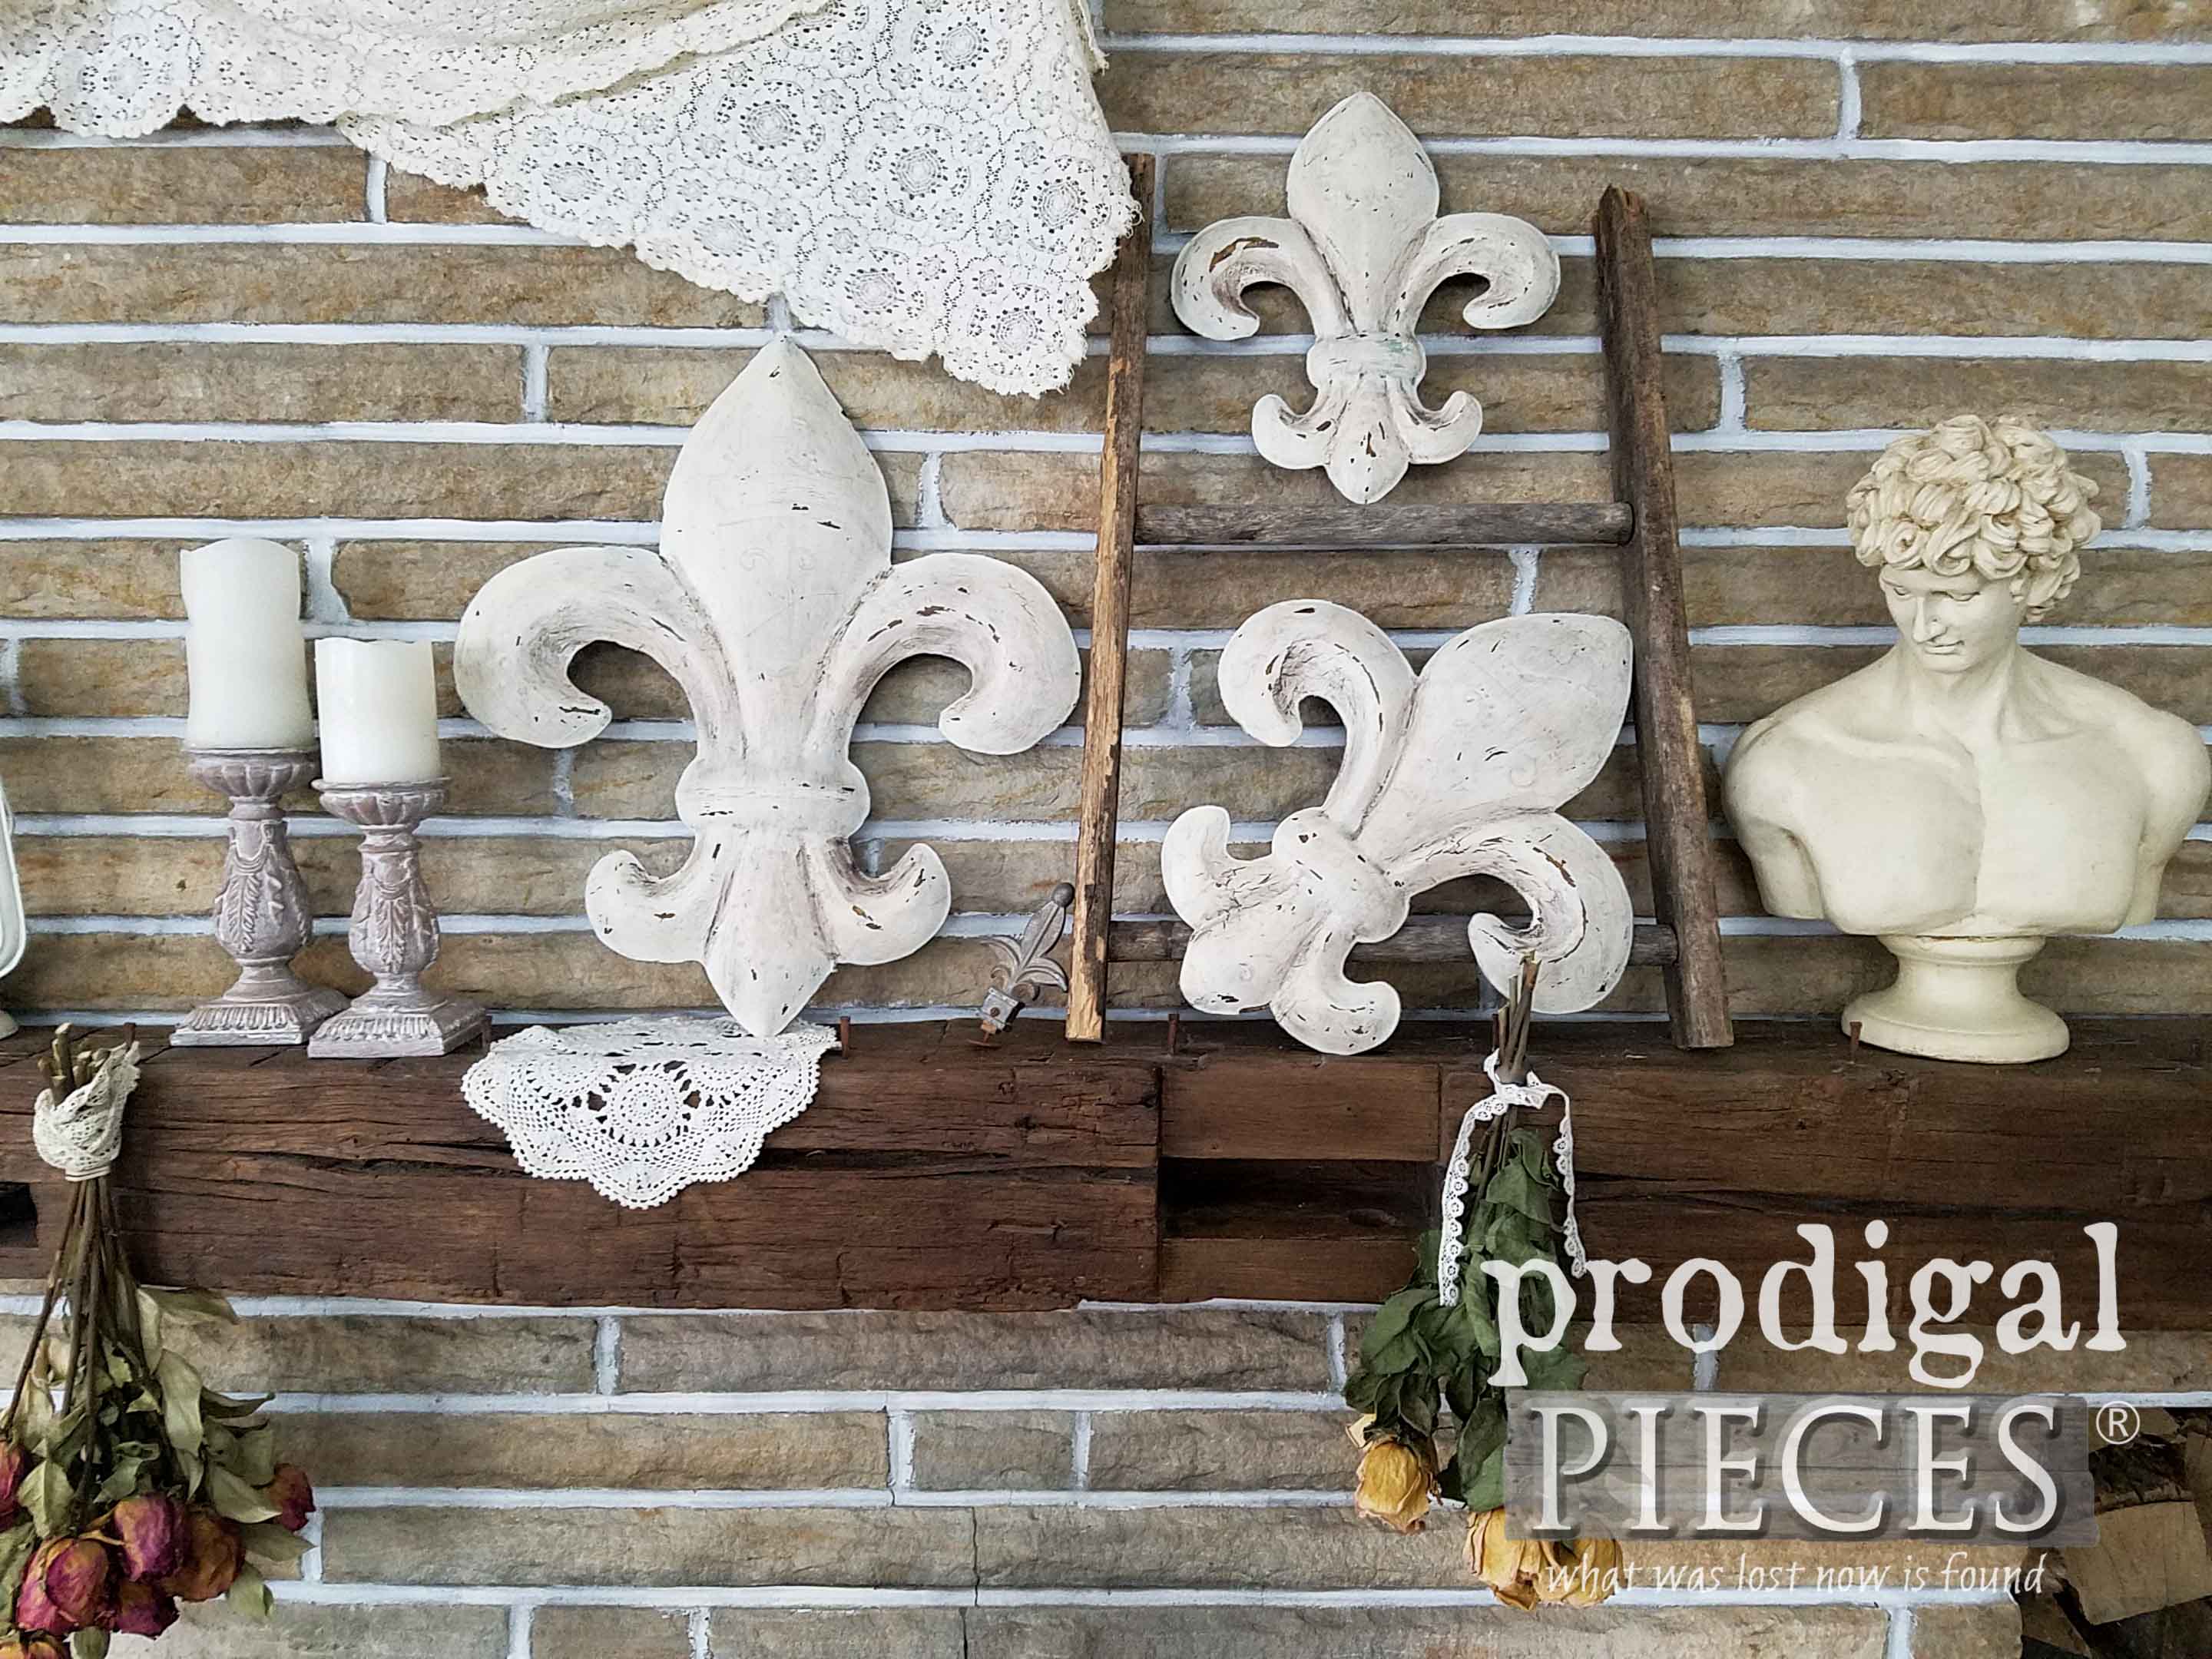
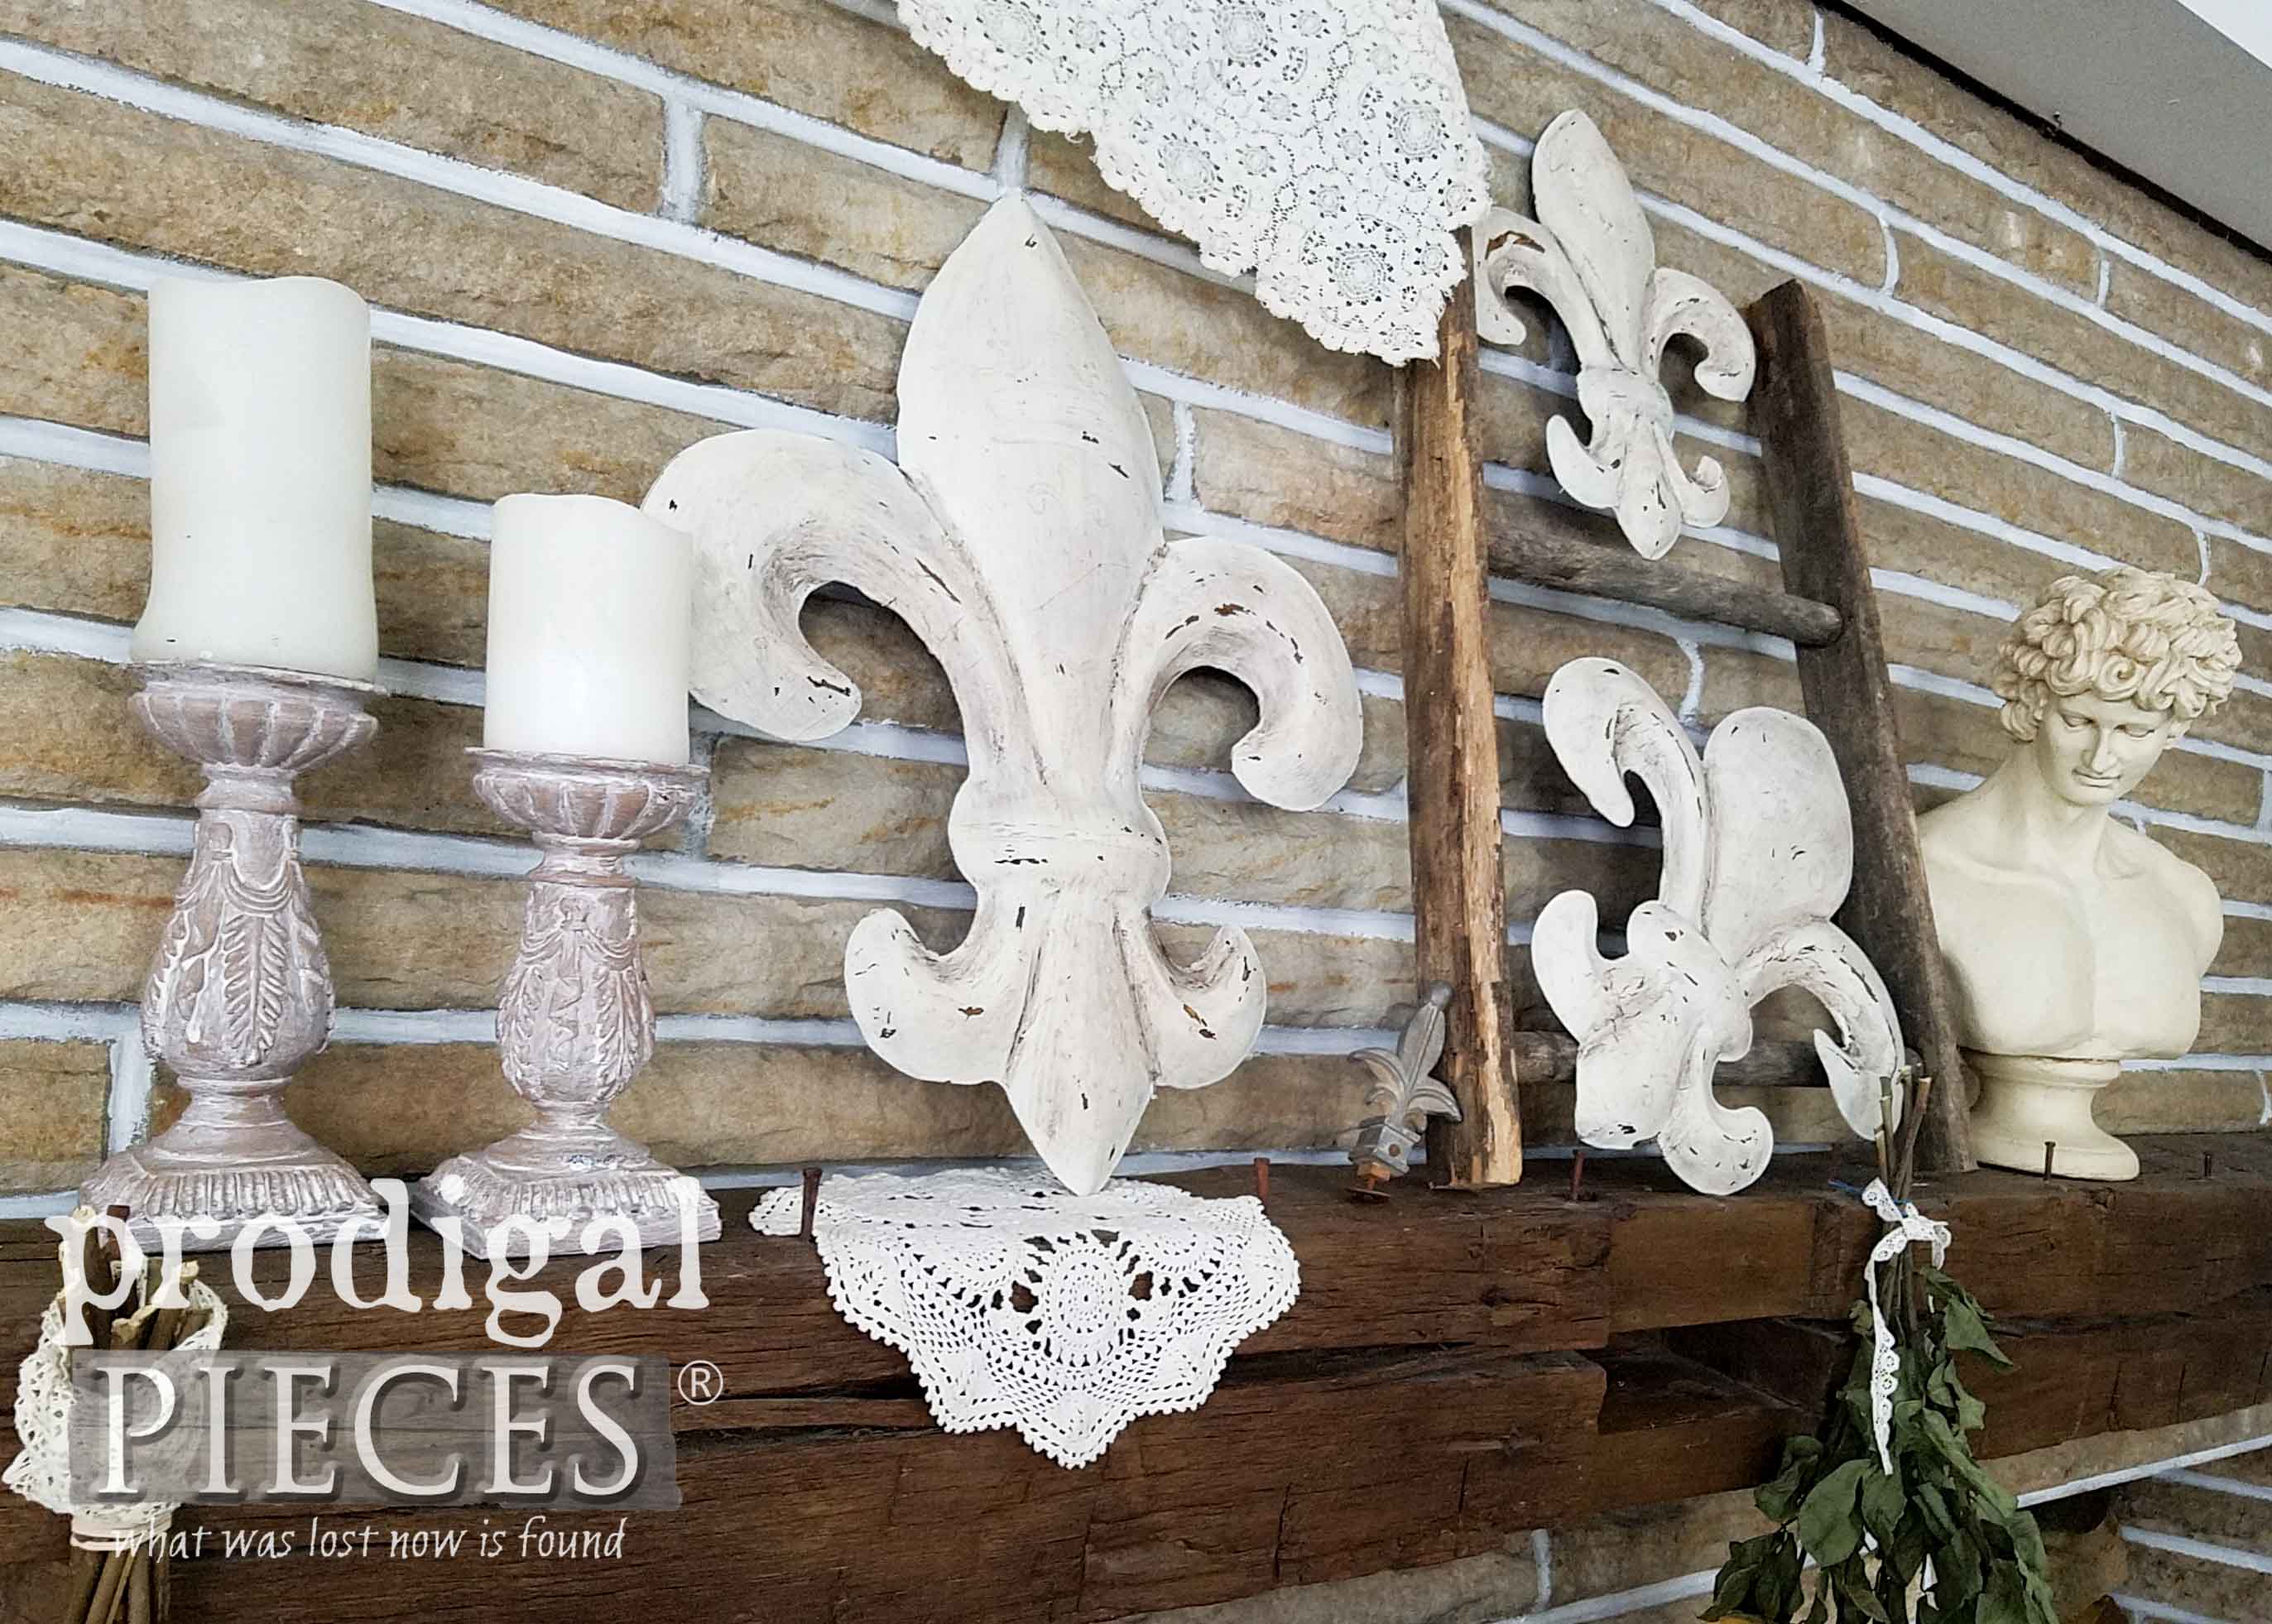
I just love how they came out!
They’ve got that little bit of rustic, paired with the timeless Fleur de Lis design that I love. You can see a bit of that aqua color I painted peeking out, a bit of patina action still going on, and an embossed look as all those designs I painted pop out.
Even David can’t take his eye off them. He thinks they’re cool. hahahaha!! This dude is my thrifted bust I only found because my toddler pointed him out and started to giggle. I almost walked right by him. Good score, girl!
My Fleur de Lis wall art is among other trashure finds, like my candle stick tutorial here and my broken ladder creations here.
I prefer my home to be filled with the things I create rather than coming from a box store. It makes a story that is unique to me and my family and is even a budget savvy way to be. I would do it even if I had ample money to spare. There’s nothing better than making your house your home yourself.
While this set of Fleur de Lis wall art looks good on my mantel, I’m parting with it as I have another mantel design in my mind to share with you soon. You can purchase this set along with many other of my creations and finds in my shop. (SOLD)
INSPIRE
My goal is always to inspire you to see past the obvious and grab hold of the potential that is there. Do pin and share to inspire others to give DIY a try even when things don’t go as planned. Trying is key!
To get these DIY tips & tricks in your inbox, be sure to sign up for my newsletter. PLUS, you will get your FREE Furniture Buying Checklist and special discount to my shop. Until next time!
Also, more projects like this Fleur de Lis wall art:






OMG!!! I LOVE!! My dining room is done in the Feur de lis!!
You are so fun, Kat! Great mind think alike. 😉
I agree with you, that making your house a home with things you create or “re-create” is more meaningful than going out and just buying something. That is how my Christmas decor has developed…antique hunting, thrifted, redone…making do. You are MY kind of woman!
High five, Sherry!! So fun to share. Thank you!
Oh, I forgot to say, IF you EVER want to get rid of “David” ….I want him. I have admired him when you style your pieces. I would love to find something like him! So classy!
hee hee hee! I will let you know – there is a long wait list for him. 😉
It was worth the wait! So pretty! Now I’m looking for metal things to paint.
You’re so fun, Paula! Hope you find a treasure. 🙂
I love your blogs! The fleur de lis are beautiful over the fireplace. When I saw the pretty green color of your house, I had an idea…..wonder how the fleur de lis would look outside attached to the front of your house? My neighbor has some aged metal pieces on the outside wall of her house and it’s stunning! Thanks for sharing with us!! Happy New Year!
My absolute pleasure, Bev. Thank you!