Do you love to create your own decor or maybe are looking for inspiration how to change up your home on a budget? It most certainly can be done because I am proof. {{high five!!}} Even if I had the biggest budget ever, (which believe me I don’t) I would still be decorating with my own handmade/found style. Why? Because ain’t nobody gonna make me decorate box-store style. tsk. Take for instance the basic wood vase. It’s a blank slate that I’m going to turn into a French script vase. Let the fun begin!
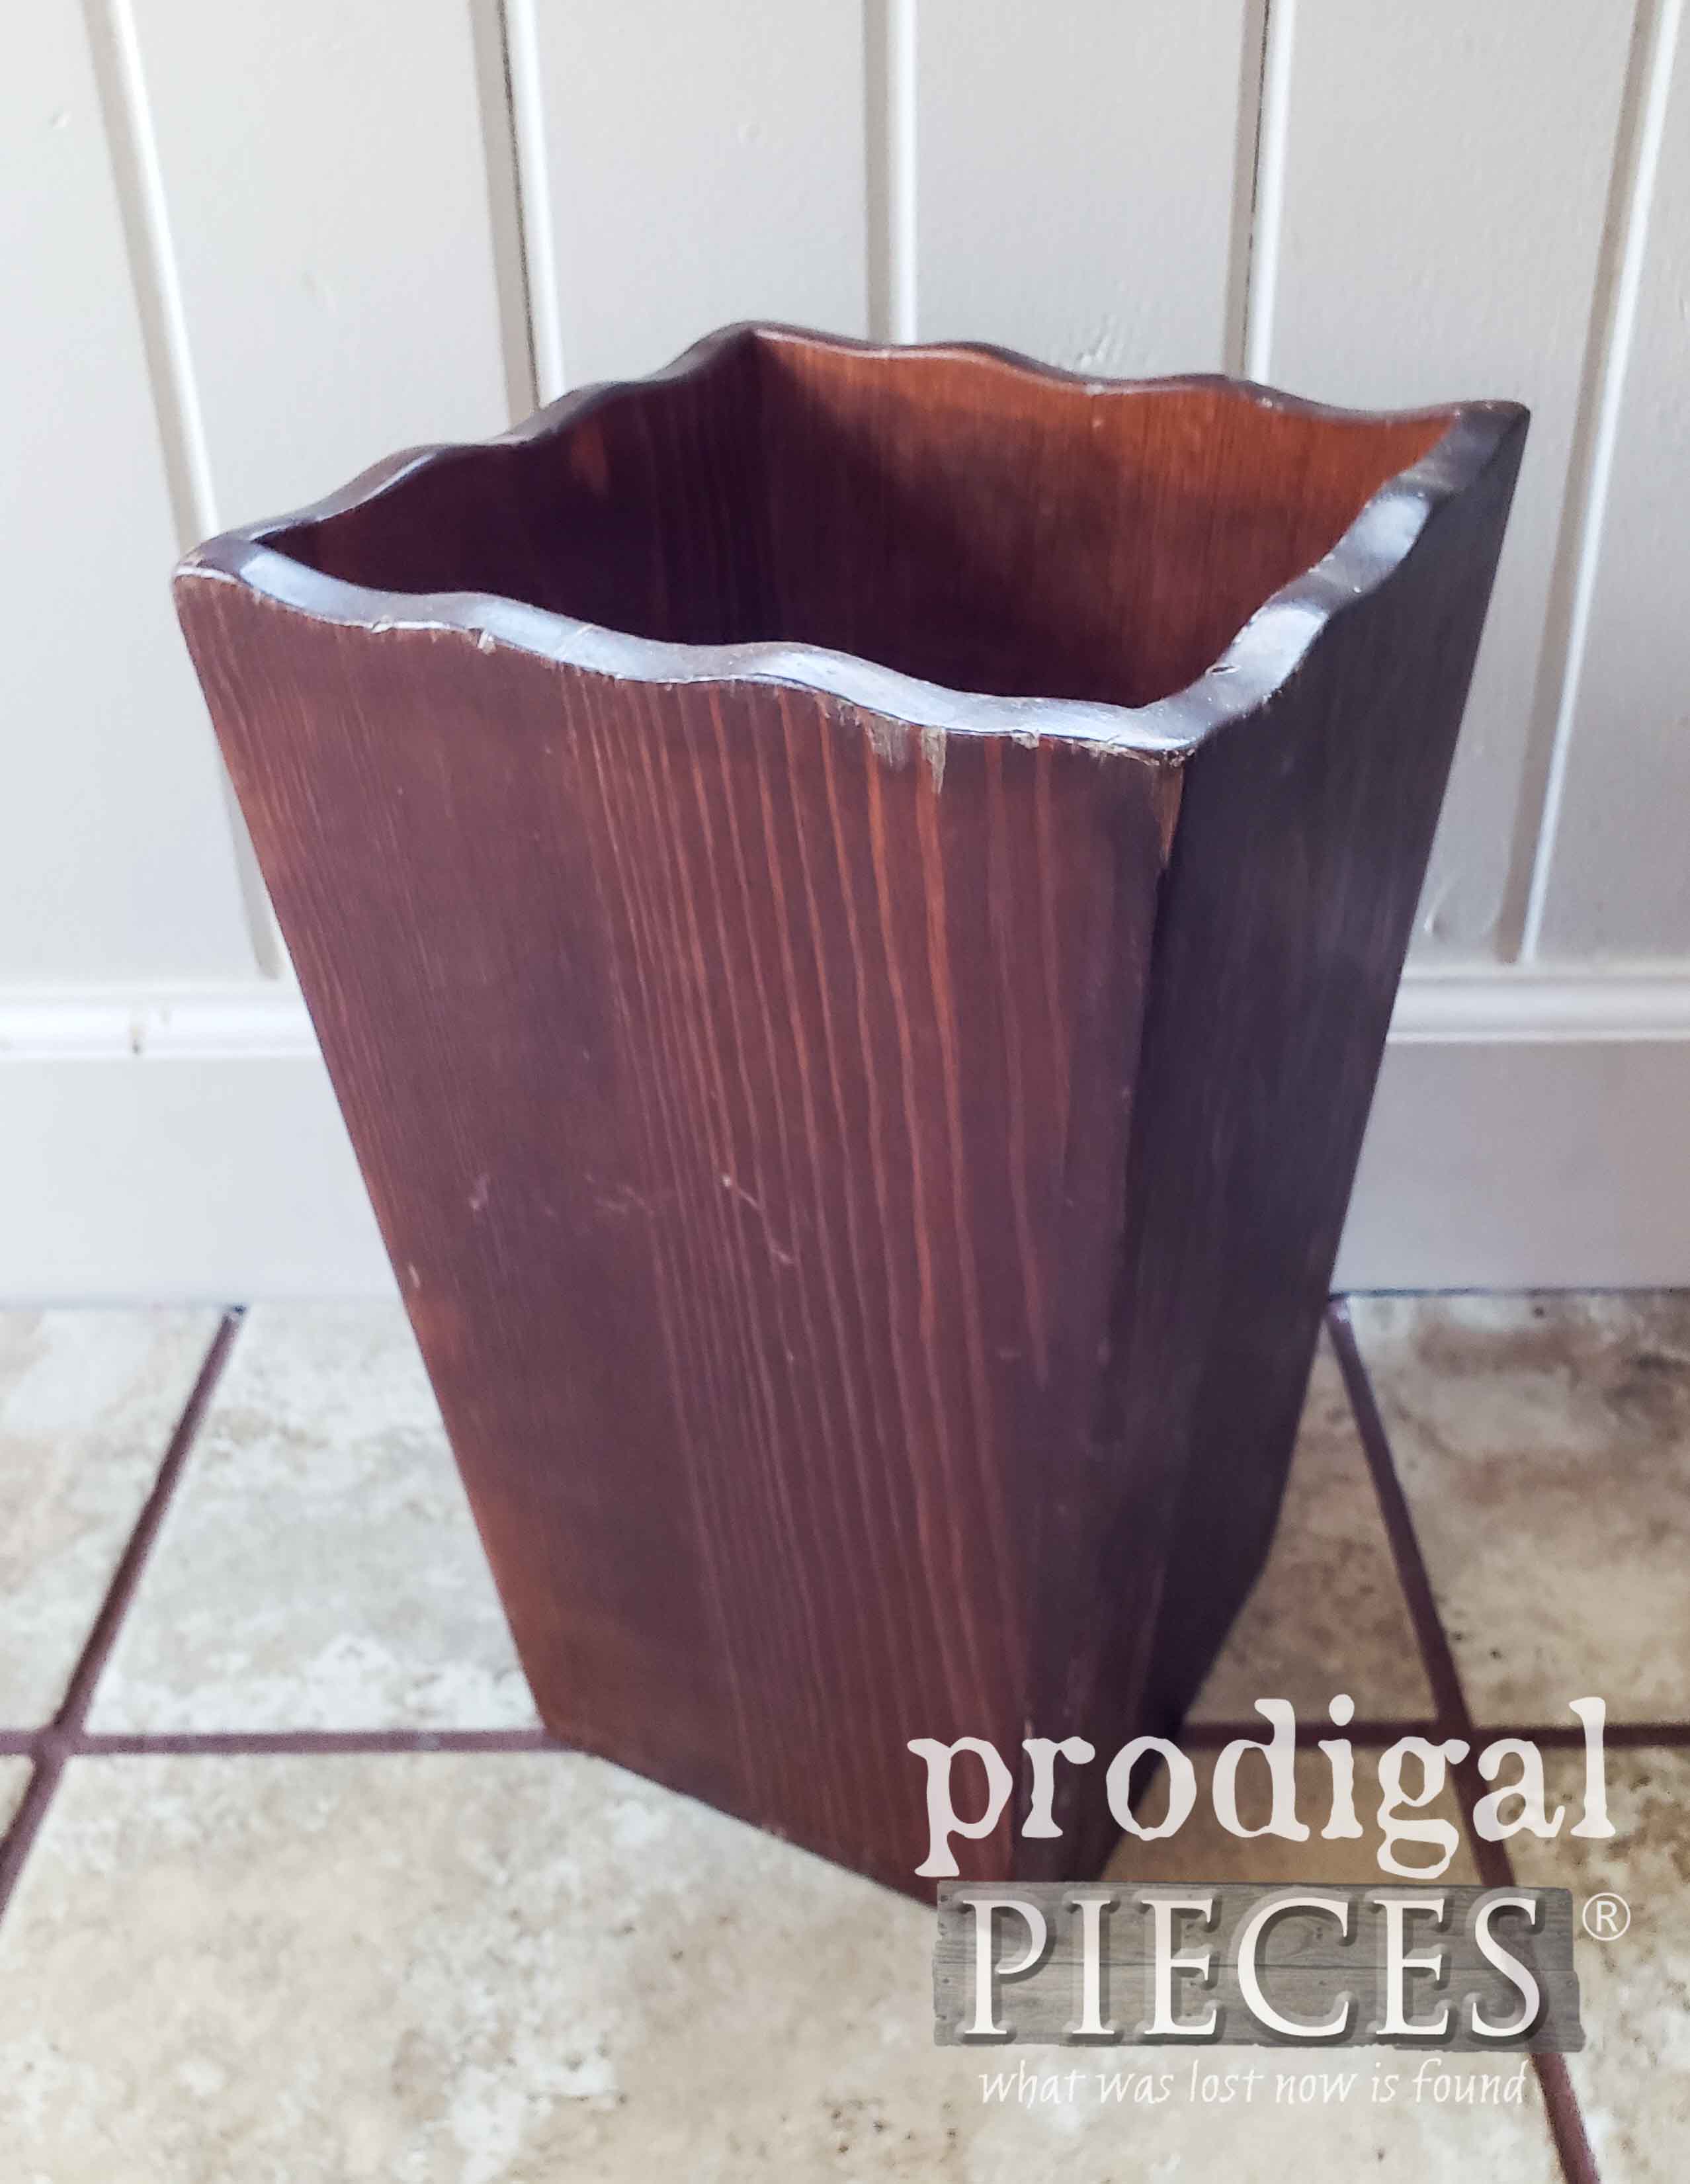
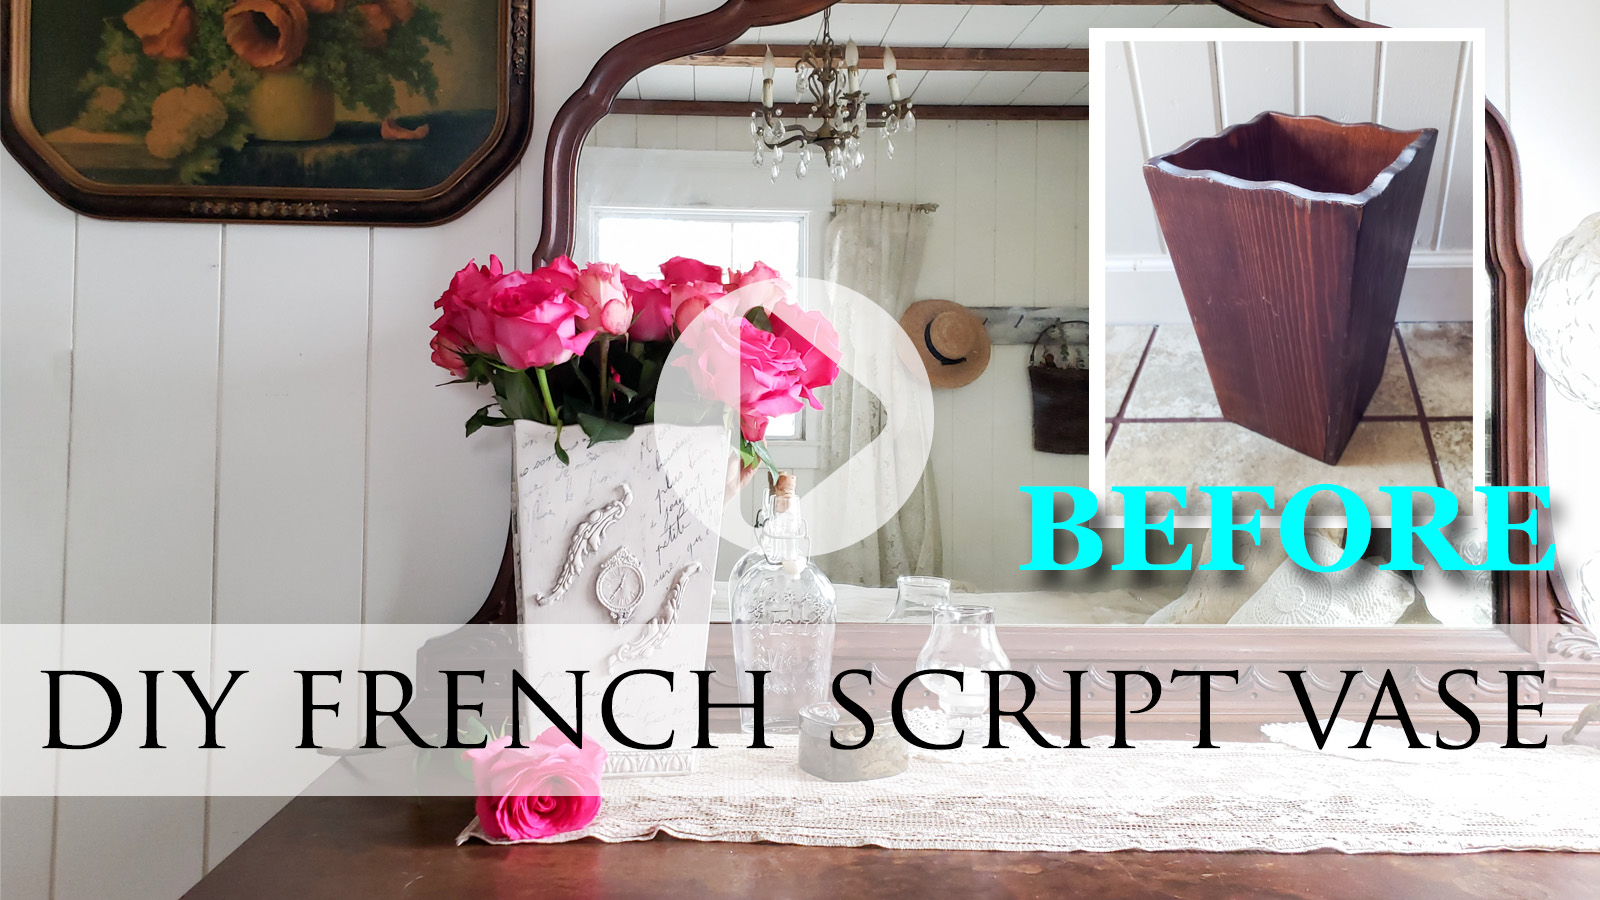
I’m assuming most would have walked right past this at the thrift store. It’s bland, boring, and lacking some ooh, la, la. That’s where I come in and snag it while walking gleefully to the checkout like a kid in a candy store. tee hee!
There are many ways I could go with the style, but this time around I wanted to give it a shabby chic vibe and create the French script vase I mentioned. In order to do that, we need paint. You knew that was coming right? I actually debated on stripping it, but the grain I could see wasn’t very appealing to me. (wide open pine) I share my video tutorial below for you who love to see the process in action.
DIY FUN
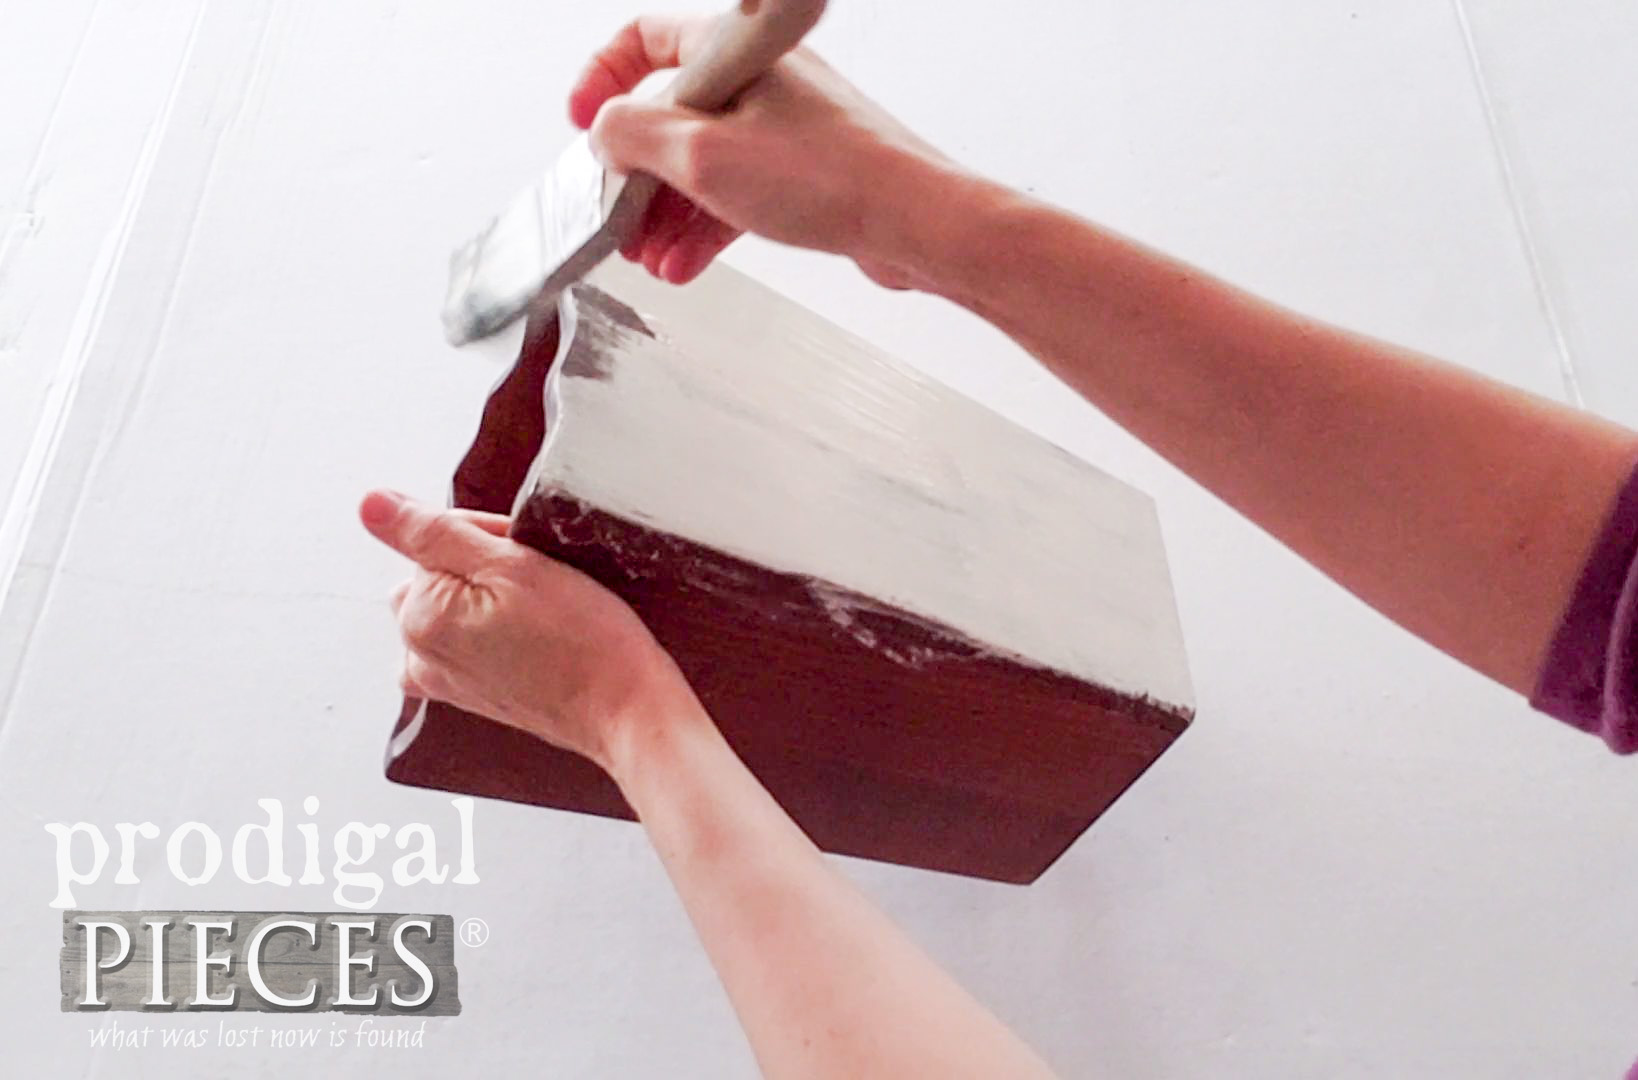
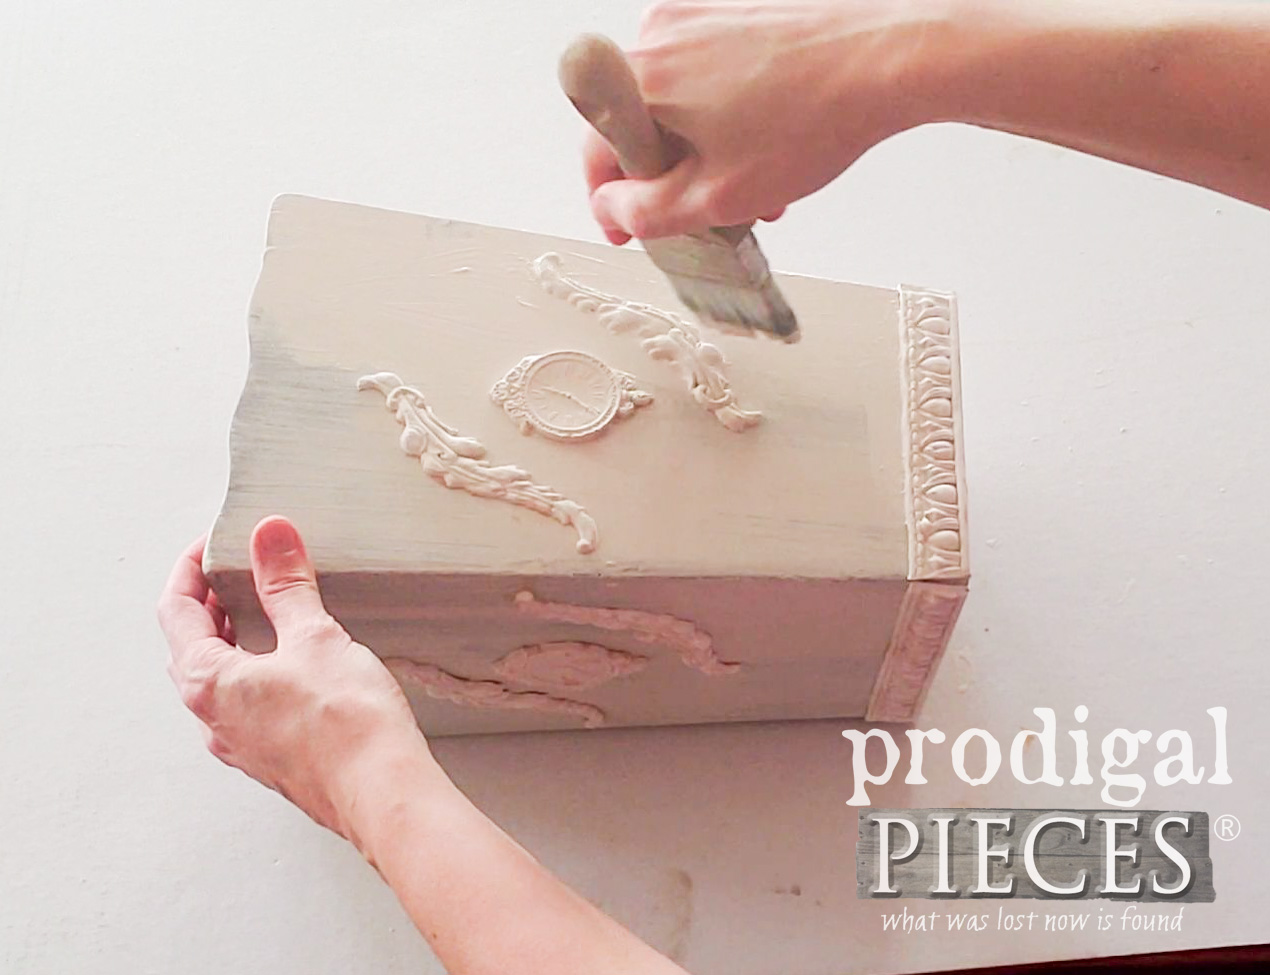
First, I use my paint brush and an antique white paint to give it one coat of paint.
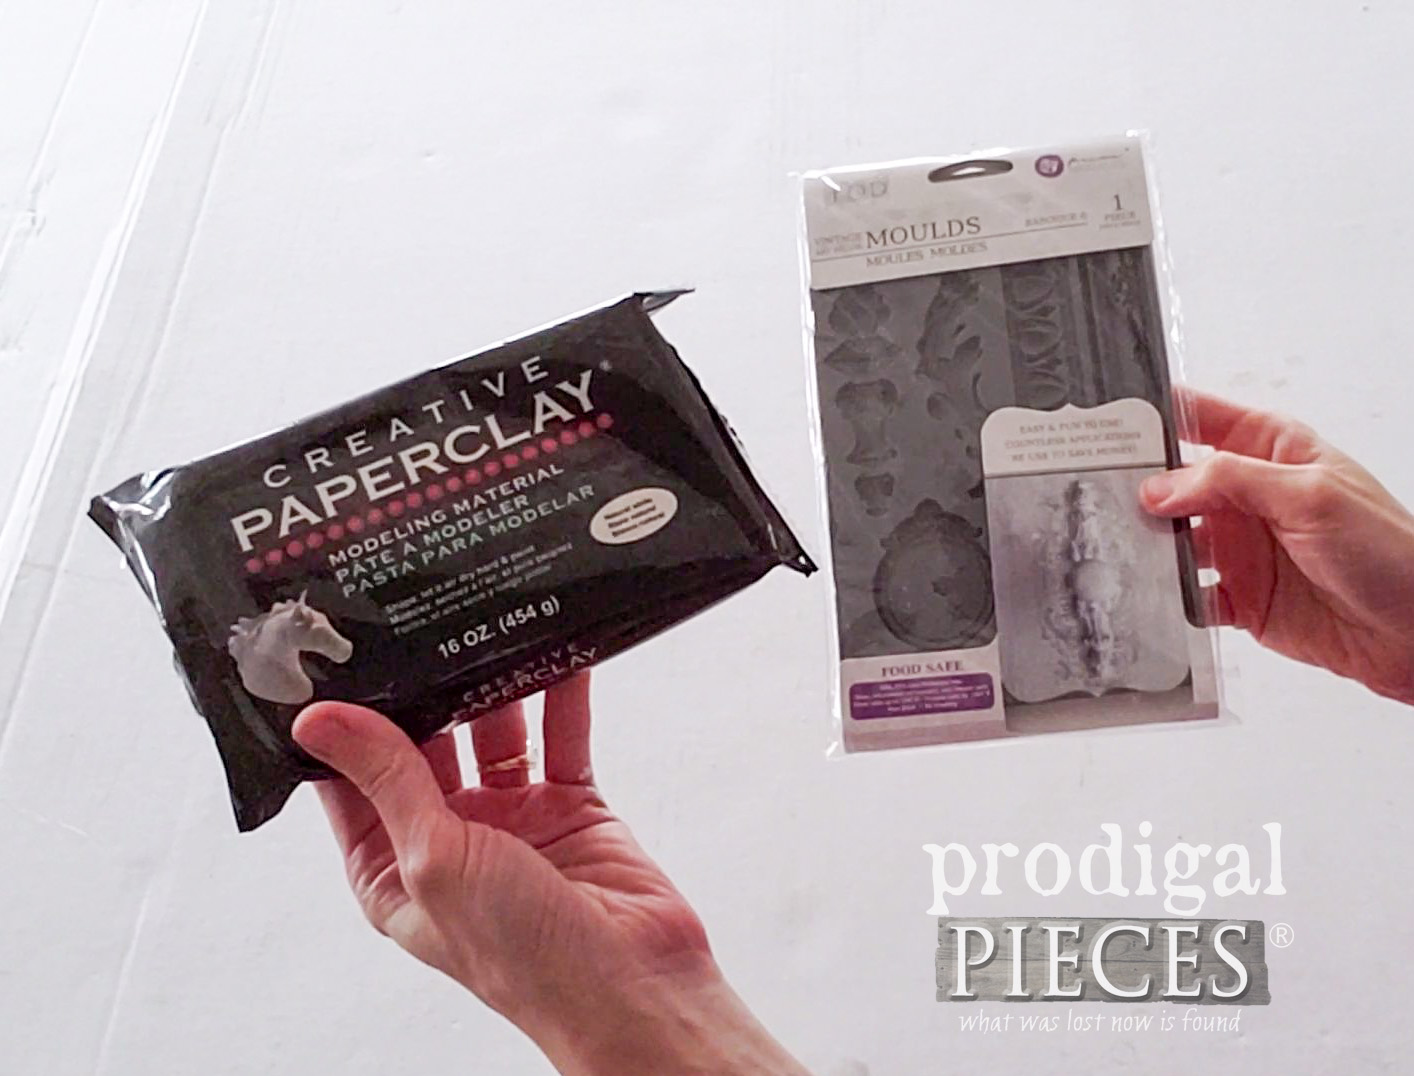
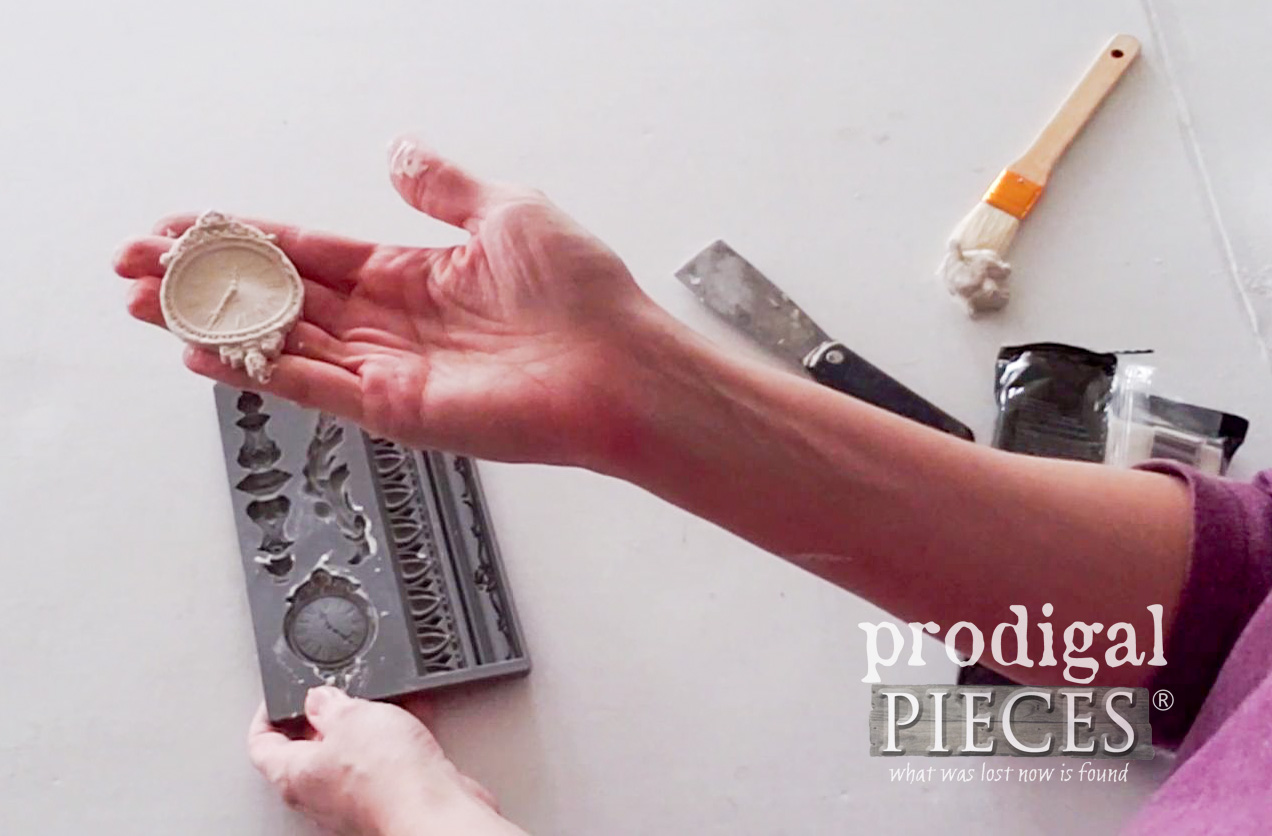
Then, while that is curing, I break out some of my fun tools. I’ve shared before how I adore these molds for adding decorative elements to my furniture and decor. You can see my past projects HERE.
These decorative molds are perfect for so many mediums. You can use it for paper clay as I’m doing today, but also for chocolate, Sculpey, or hot glue as I’ve shown in my past work.
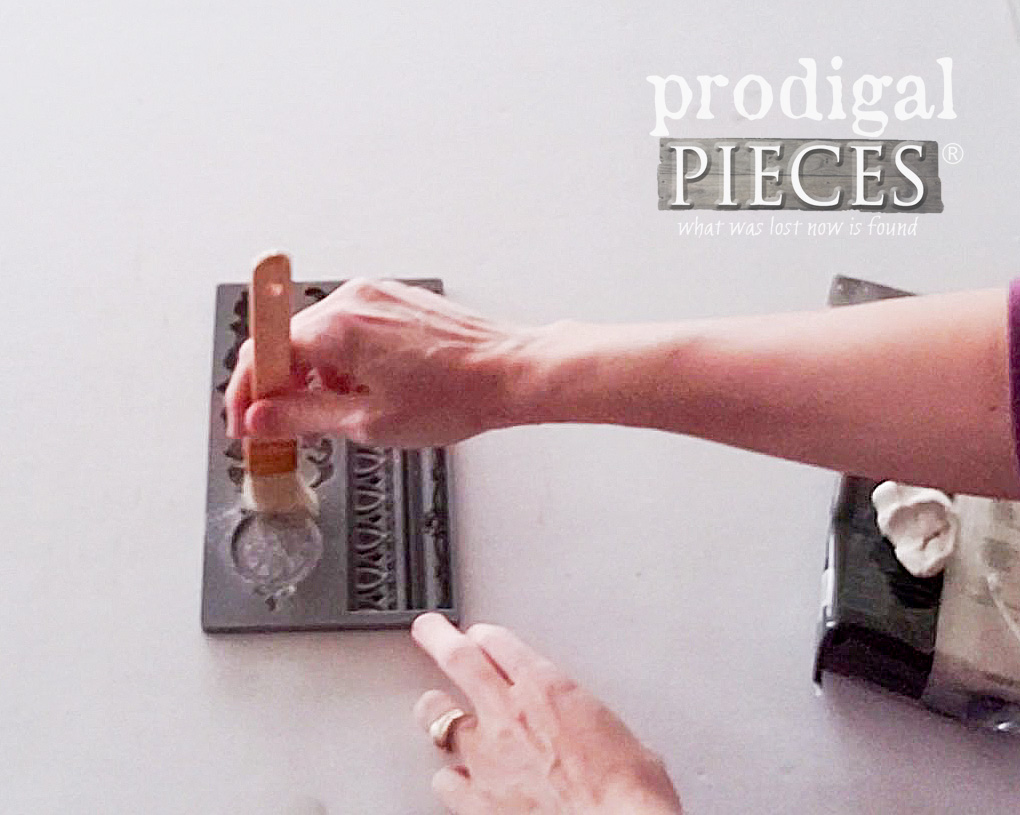
They’re easy to use with paper clay following these simple steps:
- lightly dust the mold with arrowroot (or cornstarch)
- roll a small ball of paper clay and press into mold
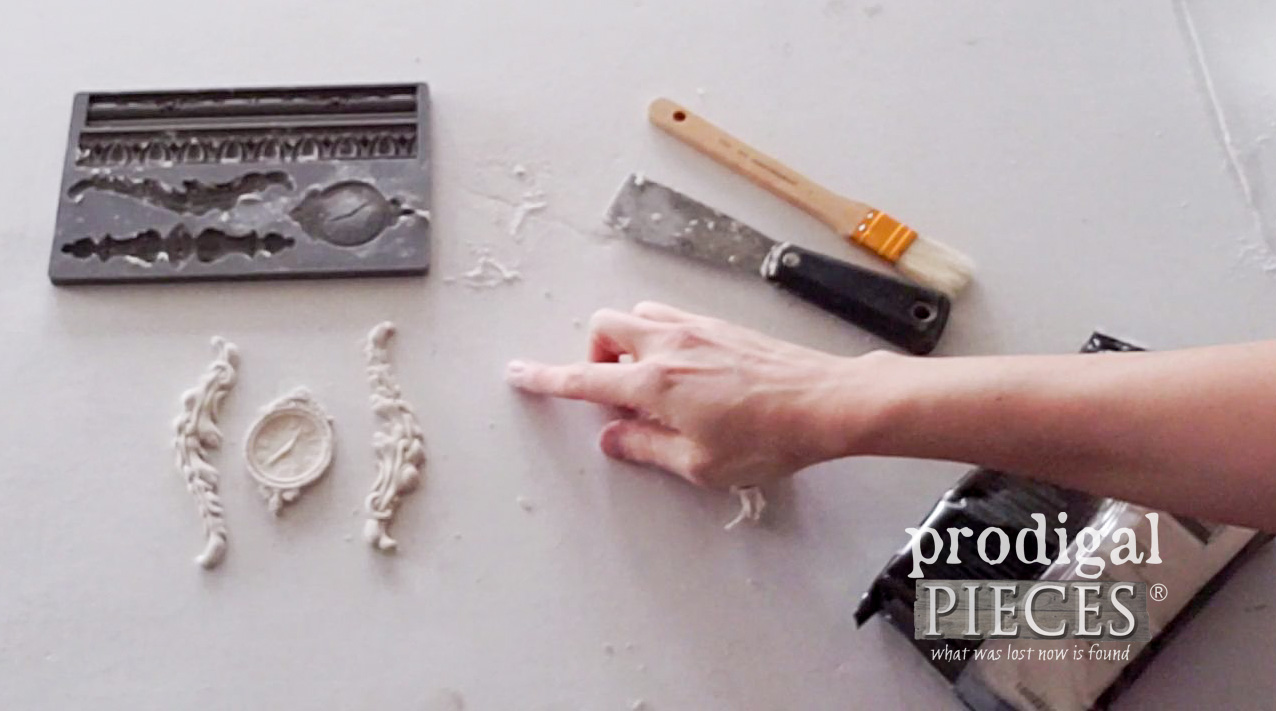
- using a straight edge like a putty knife, remove excess (video demonstrates this best)
- flex the mold to release the art
- let cure overnight (or use a dehydrator as I do on lowest setting – takes about an hour or so)
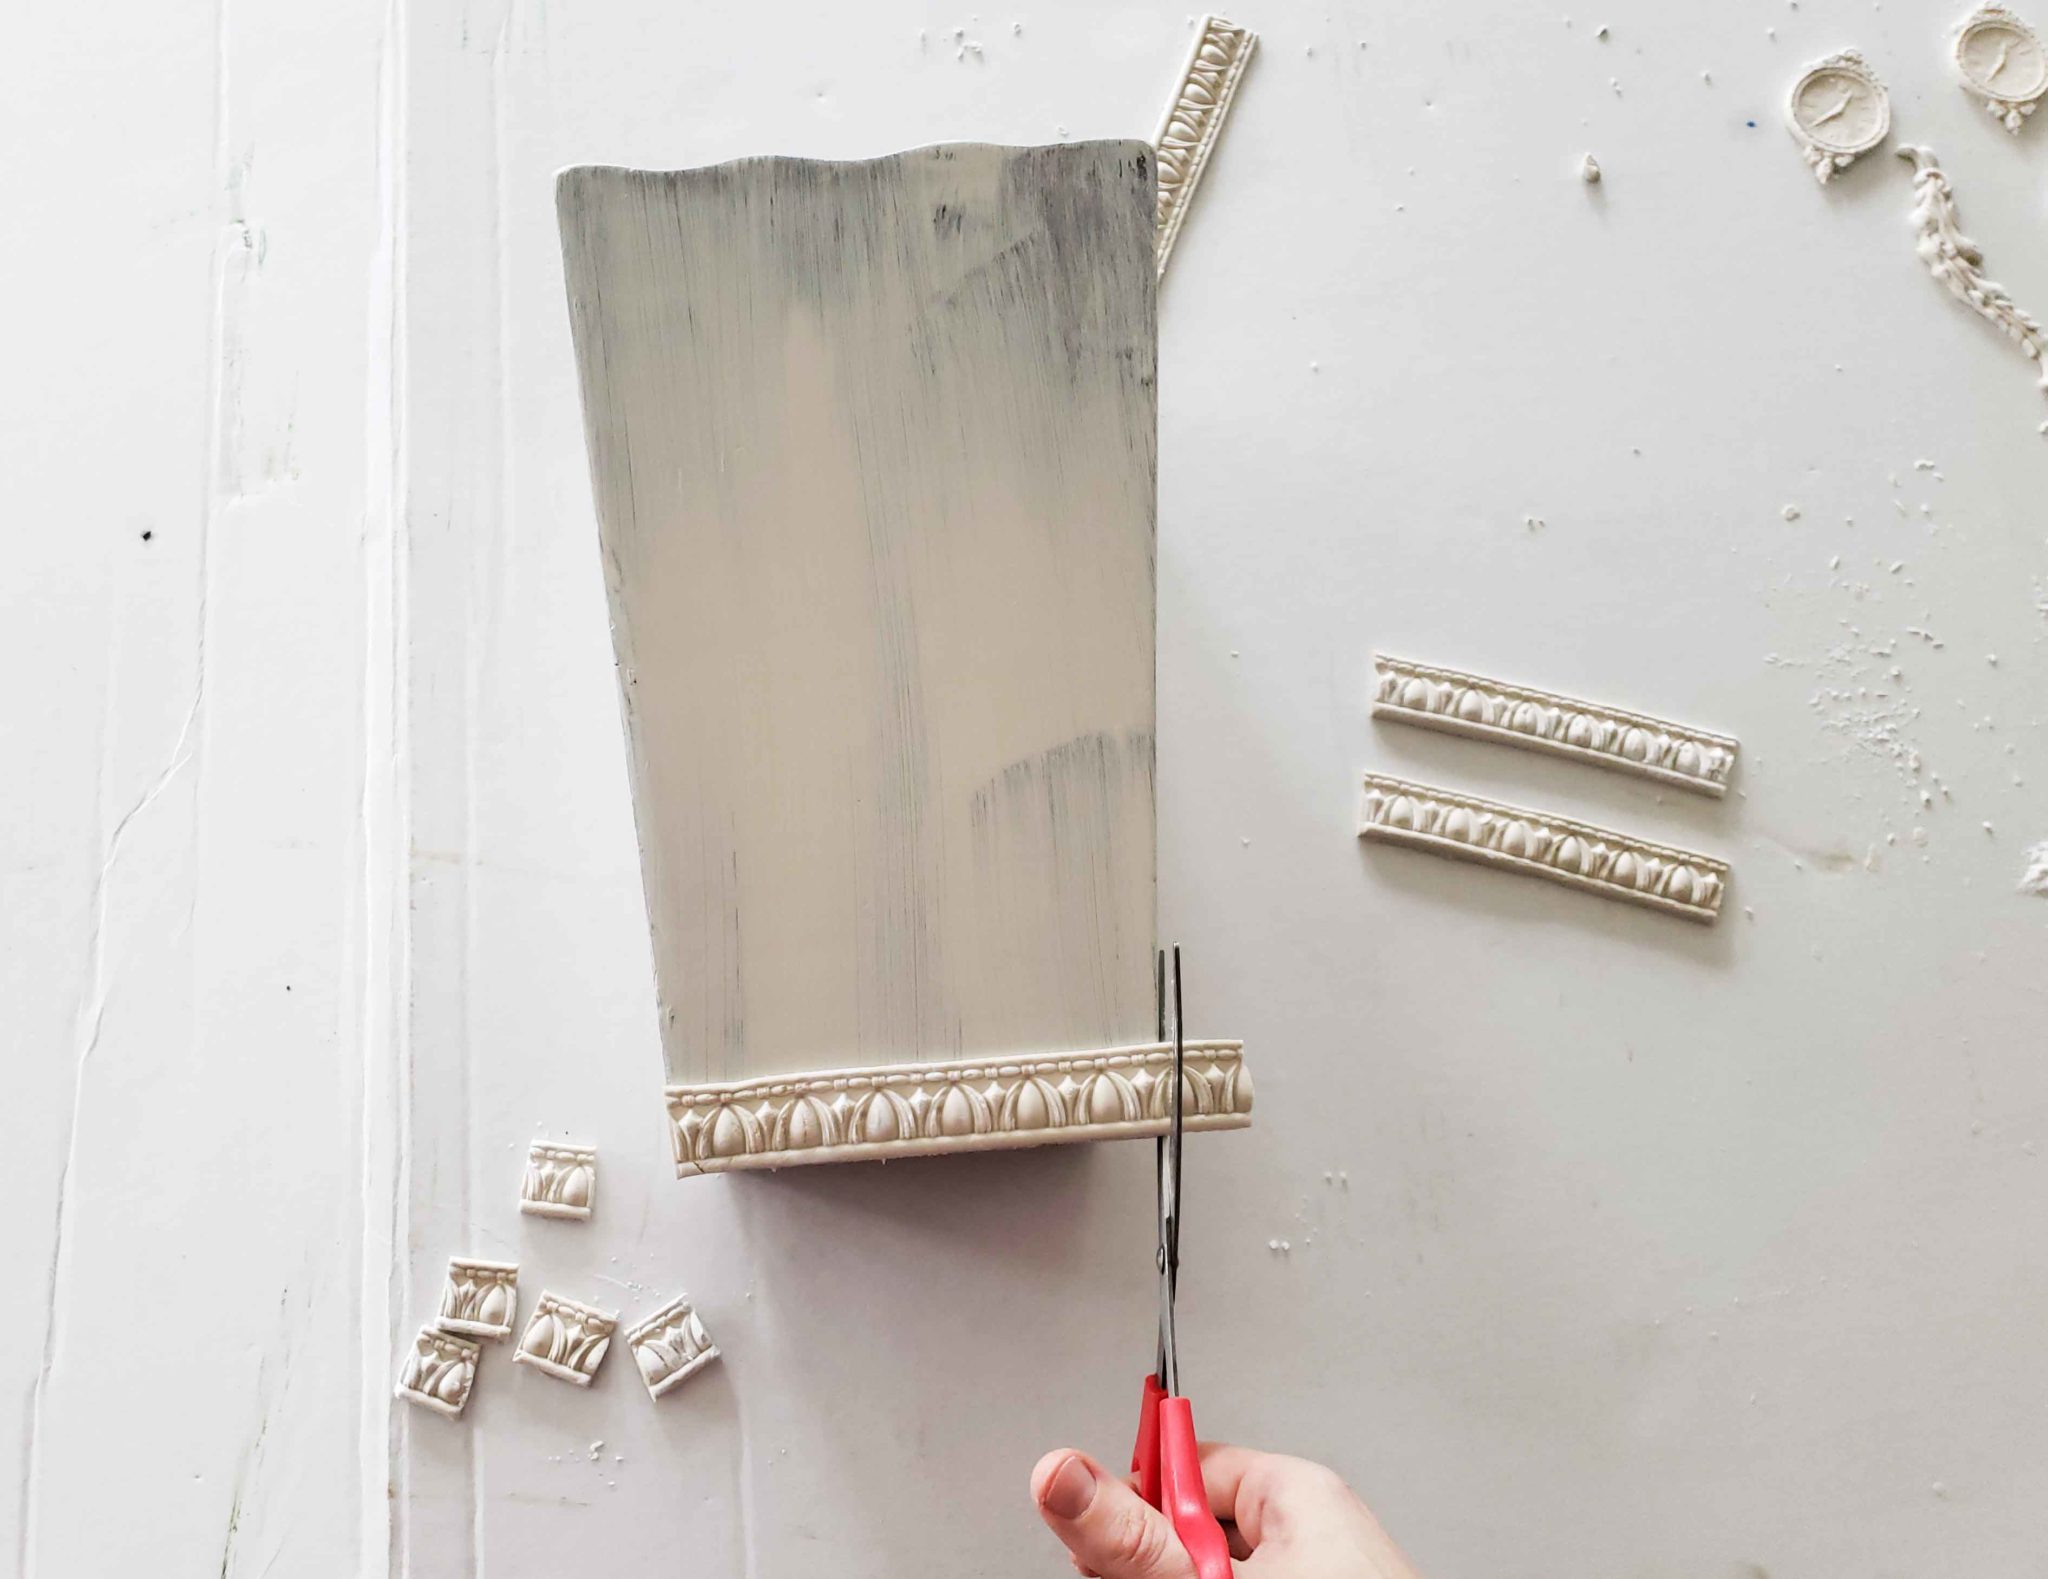
Since I am wanting to decorate all sides of my soon-to-be French script vase, I created four sets of this clock and filigree design. Plus, I also made four molding strips for the base of the vase. I actually didn’t dry those completely so I could cut them to size before they hardened.
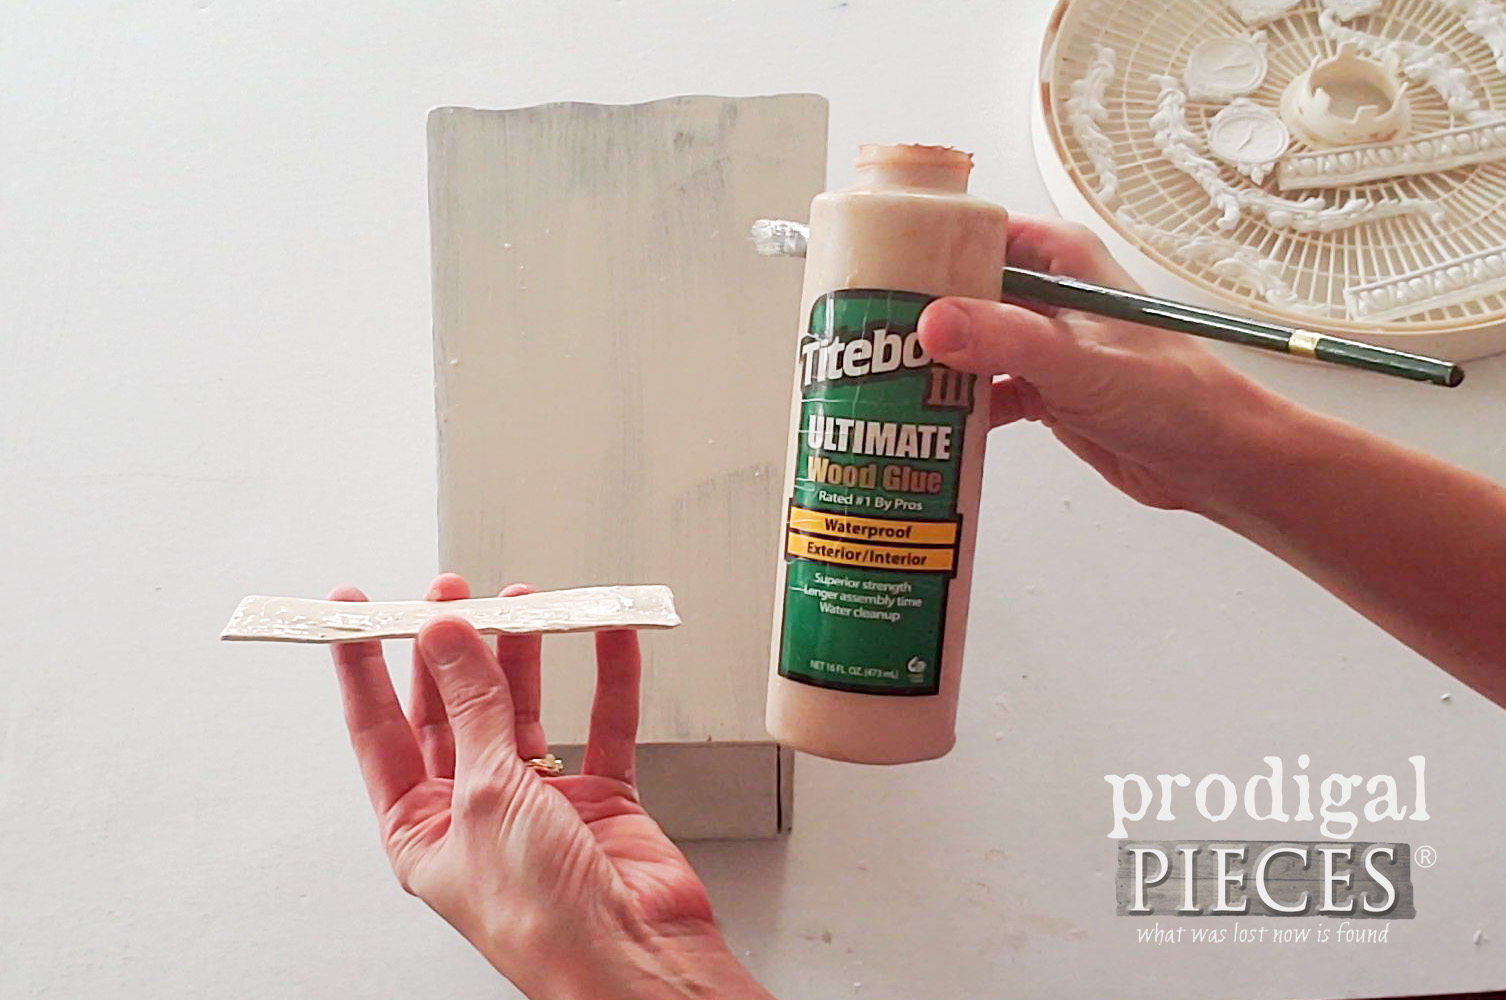
Next, when everything has cured, I use a wood glue to adhere all the pieces to the wooden vase.
Again, I let the glue cure and then it’s time for a second coat of paint to make everything cohesive.
Then, after the paint has cured it’s time to add the French script part of my French script vase. Makes sense, doesn’t it? ahem. Making your own transfers is super simple and so very effective. I’ve described the method in these past posts, so check those out.
TYPOGRAPHY
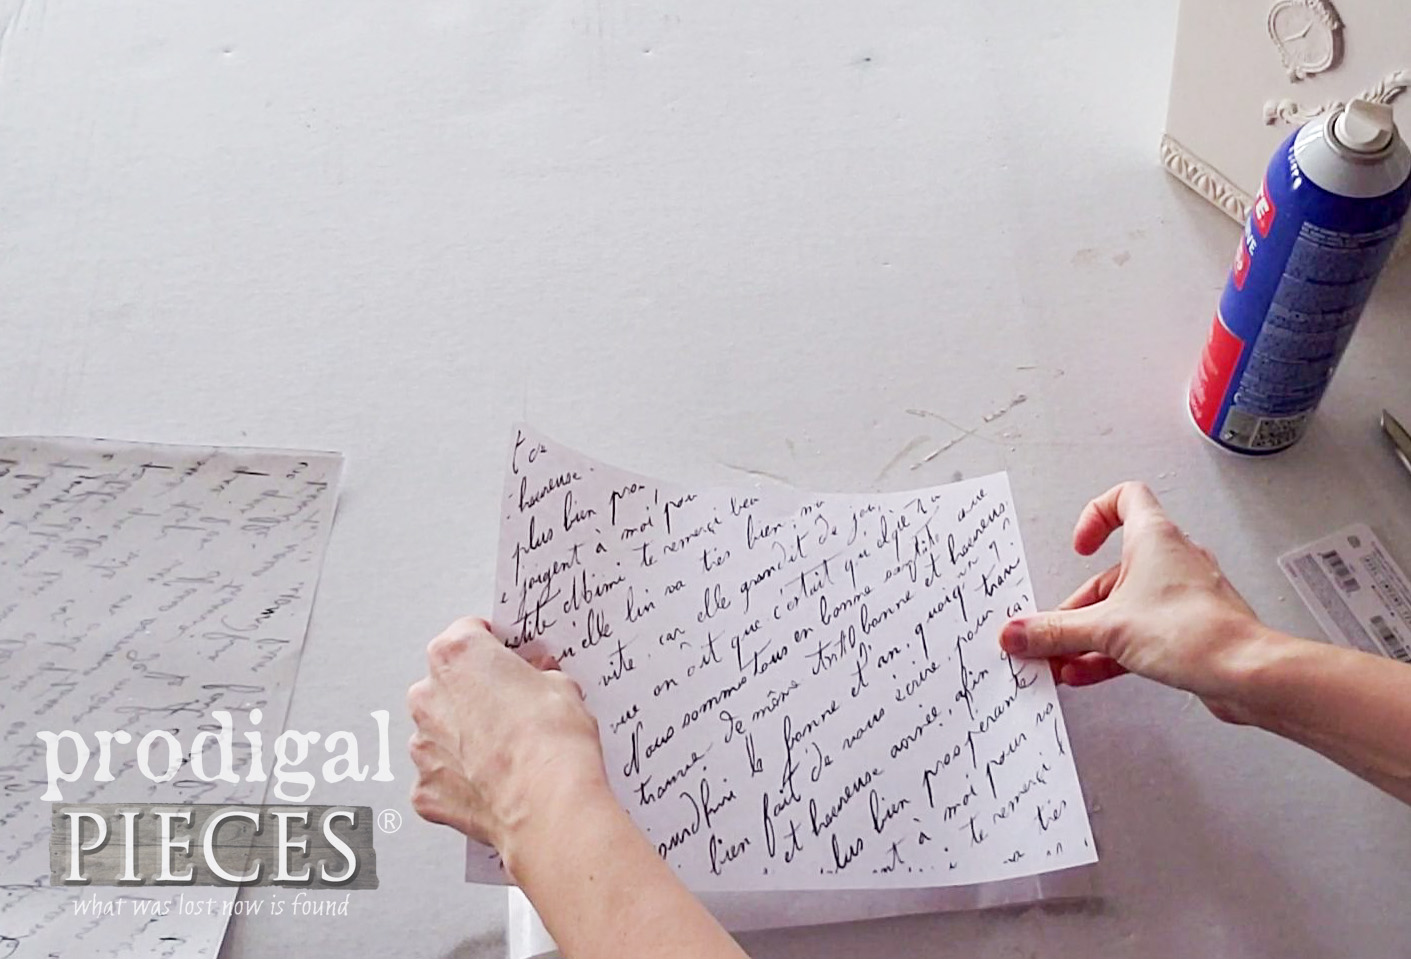
Print your design in reverse onto freezer paper that has been adhered to a sheet of office paper. I like to print the exact design on the office paper too so I can like up my transfer properly.
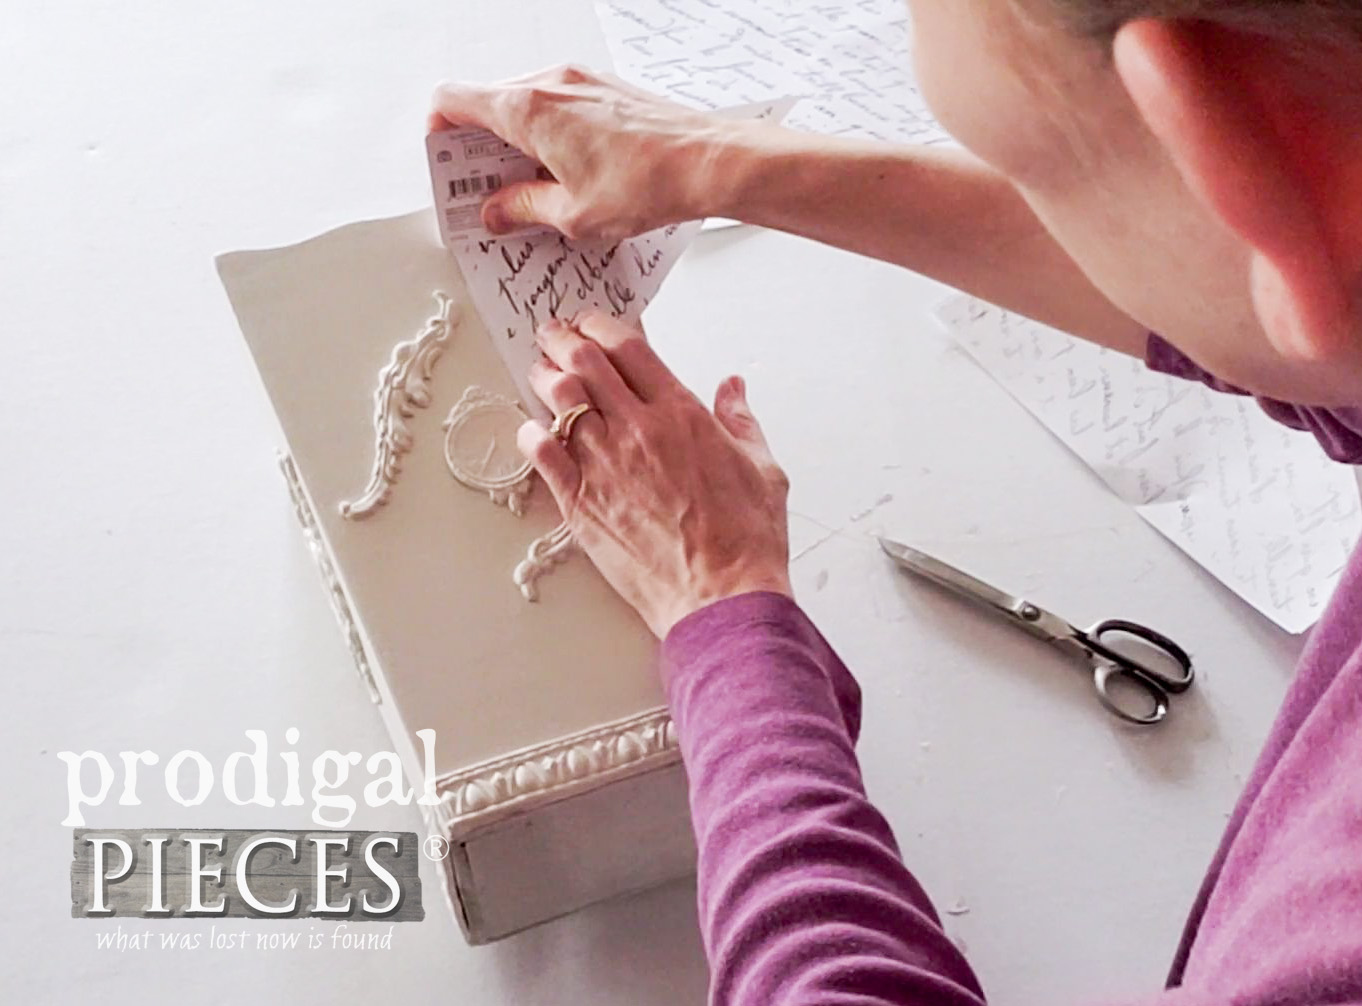
As soon as the design is printed, I cut it up into usable pieces and press on with a gift card/credit card. See video for demo and get the free French script printable HERE.
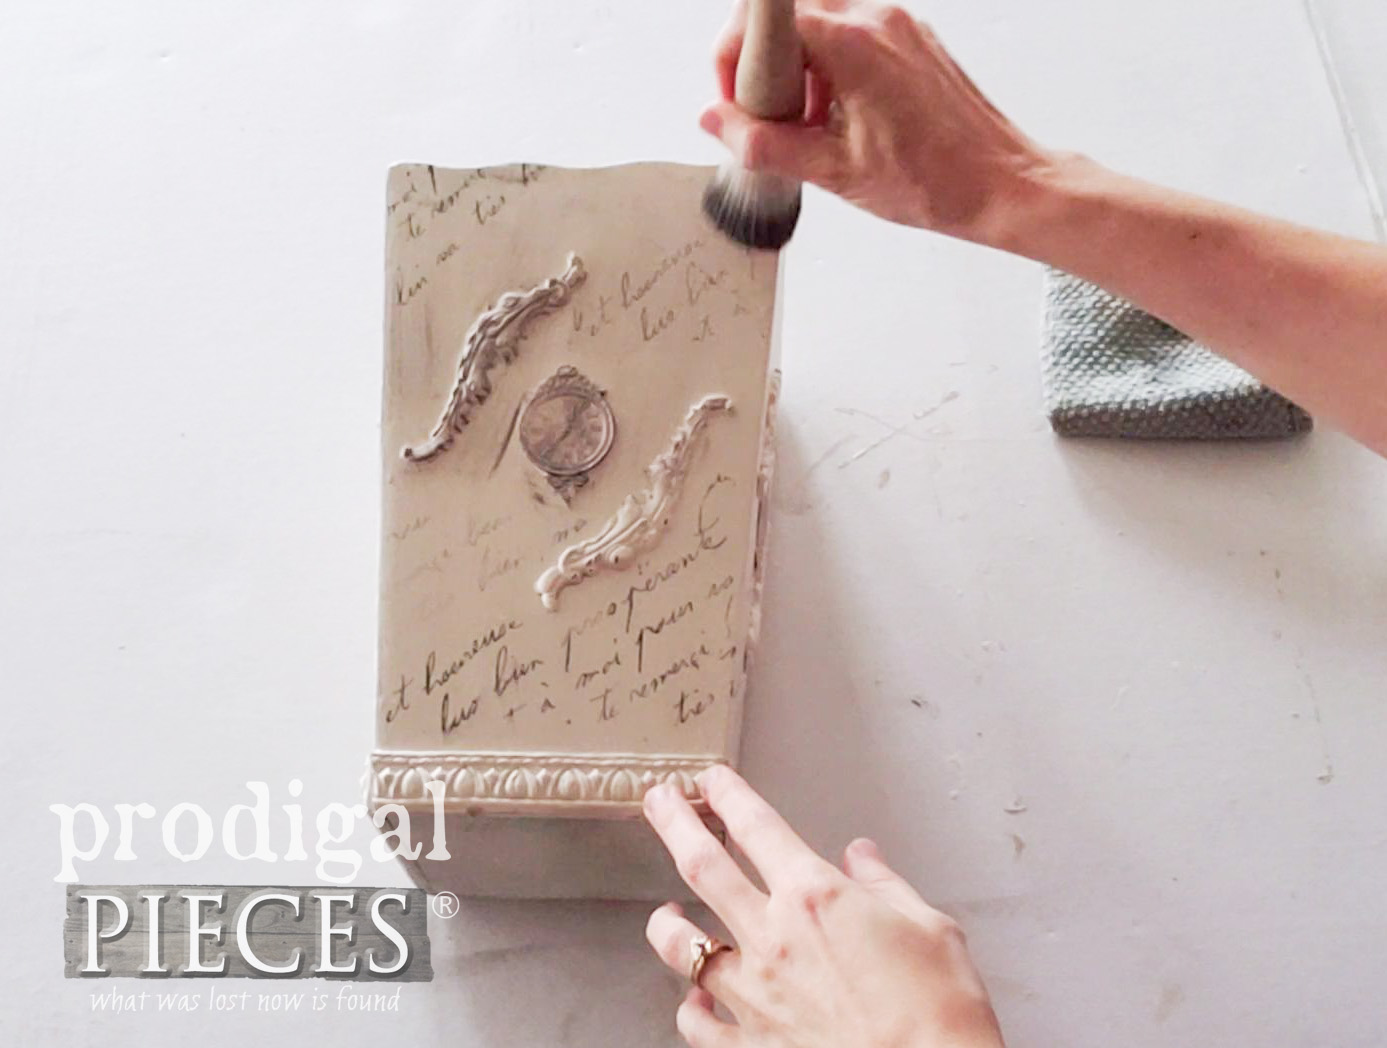
In the next steps, I like to apply a gray wax with my an old brush to accent all the details and create texture. You want to wait until that ink cures, or in some instances you may need to use a couple of coats of a spray poly to seal it in first. Then, when you’re sure the ink doesn’t smudge, apply the wax and buff to your liking.
THE REVEAL
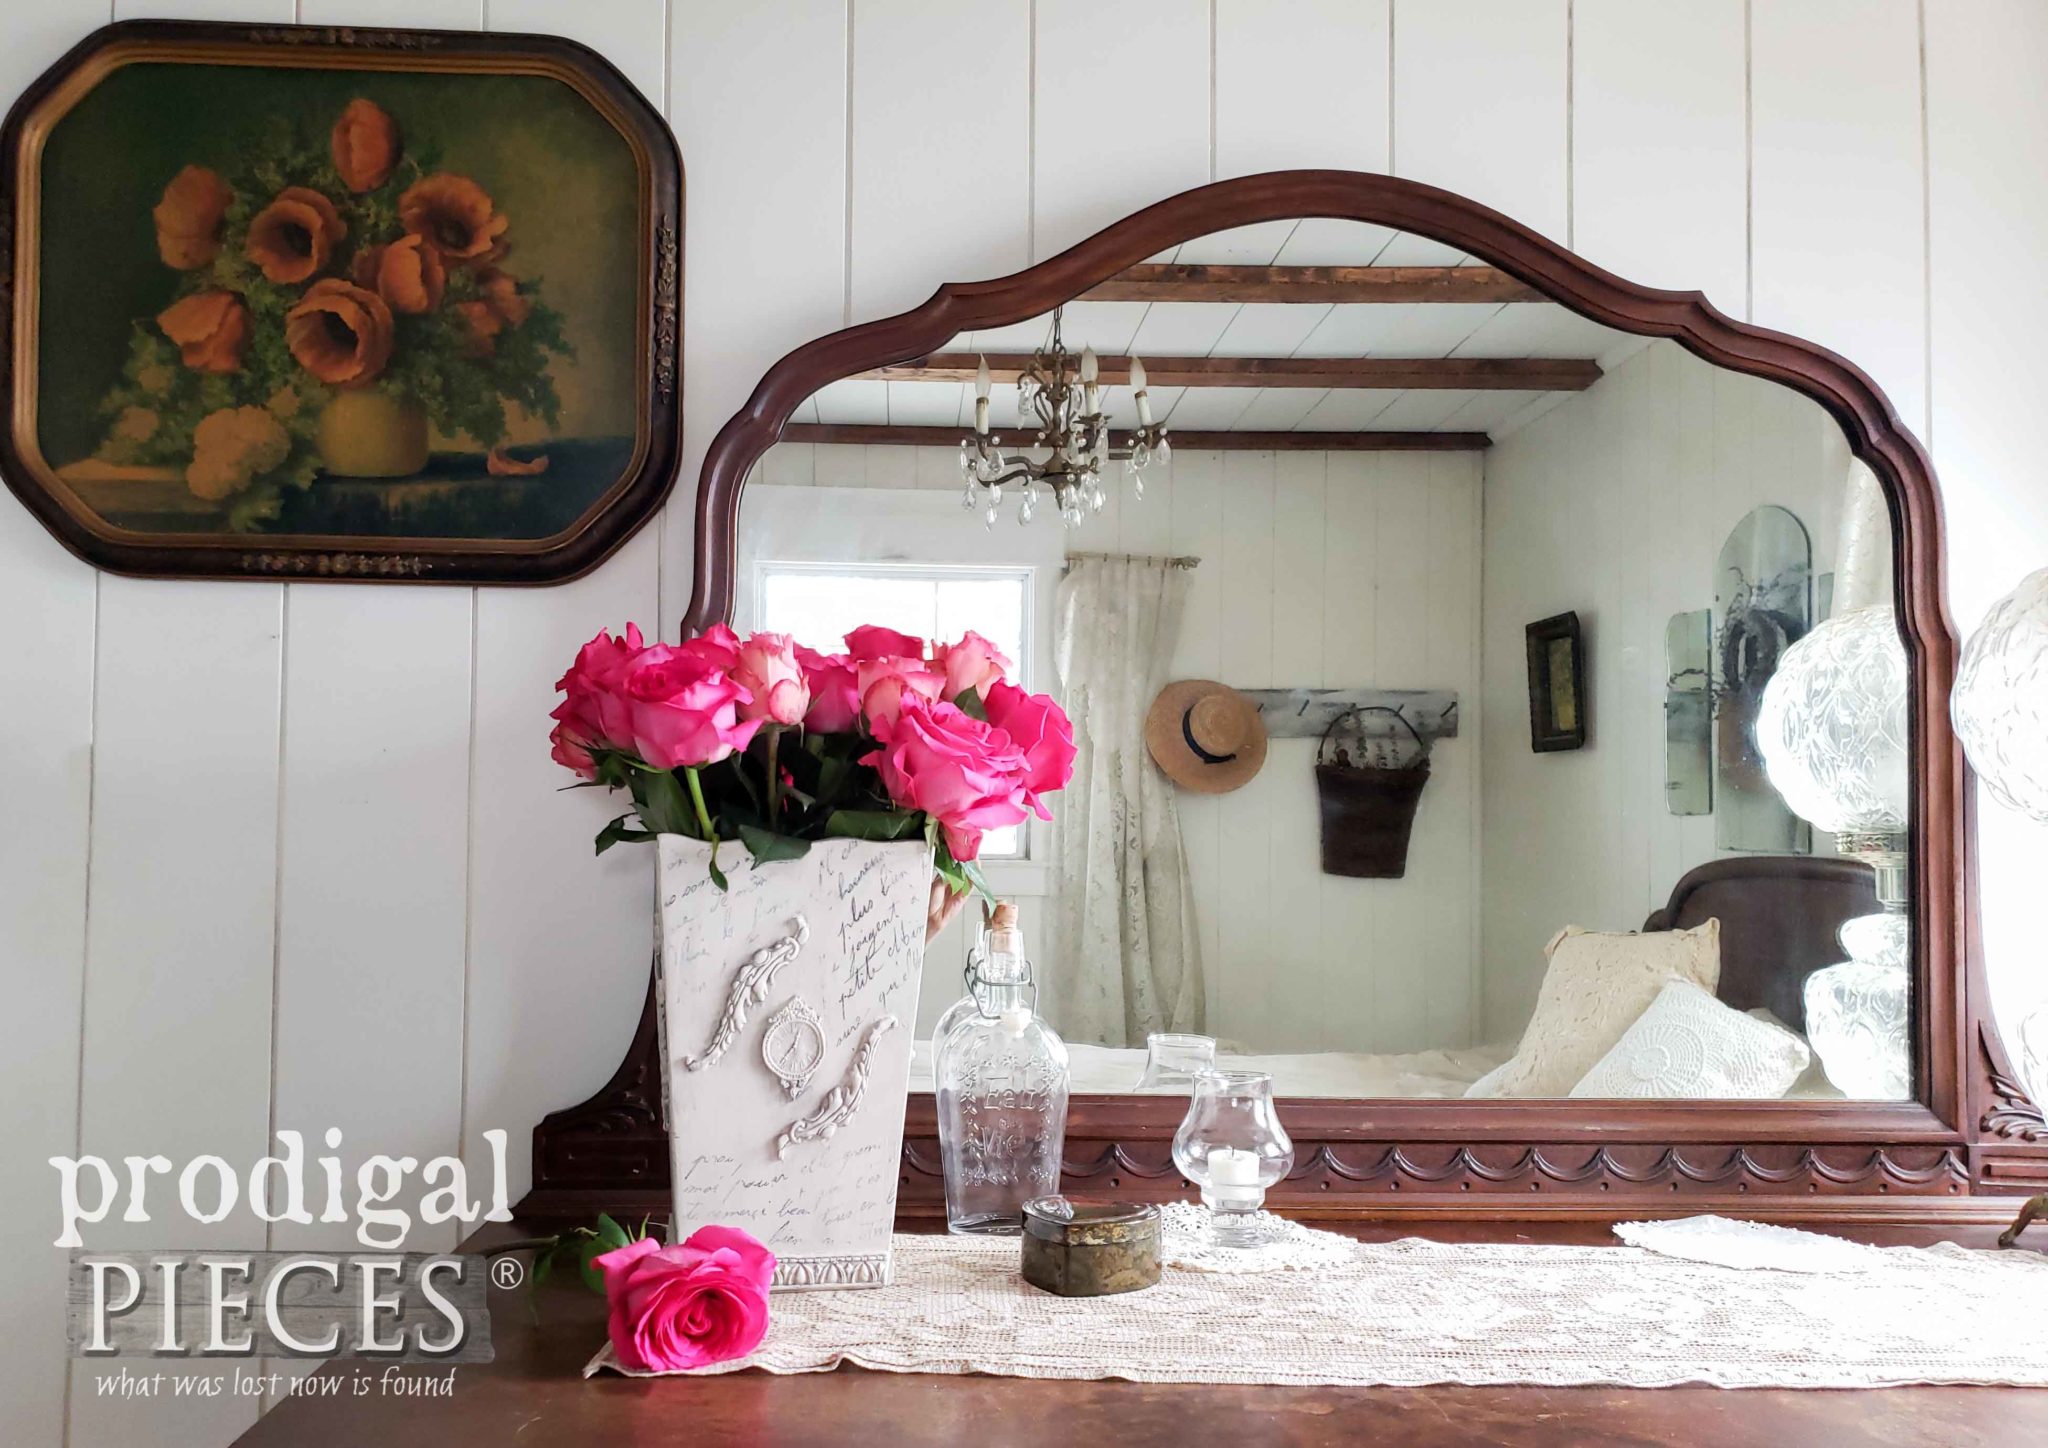
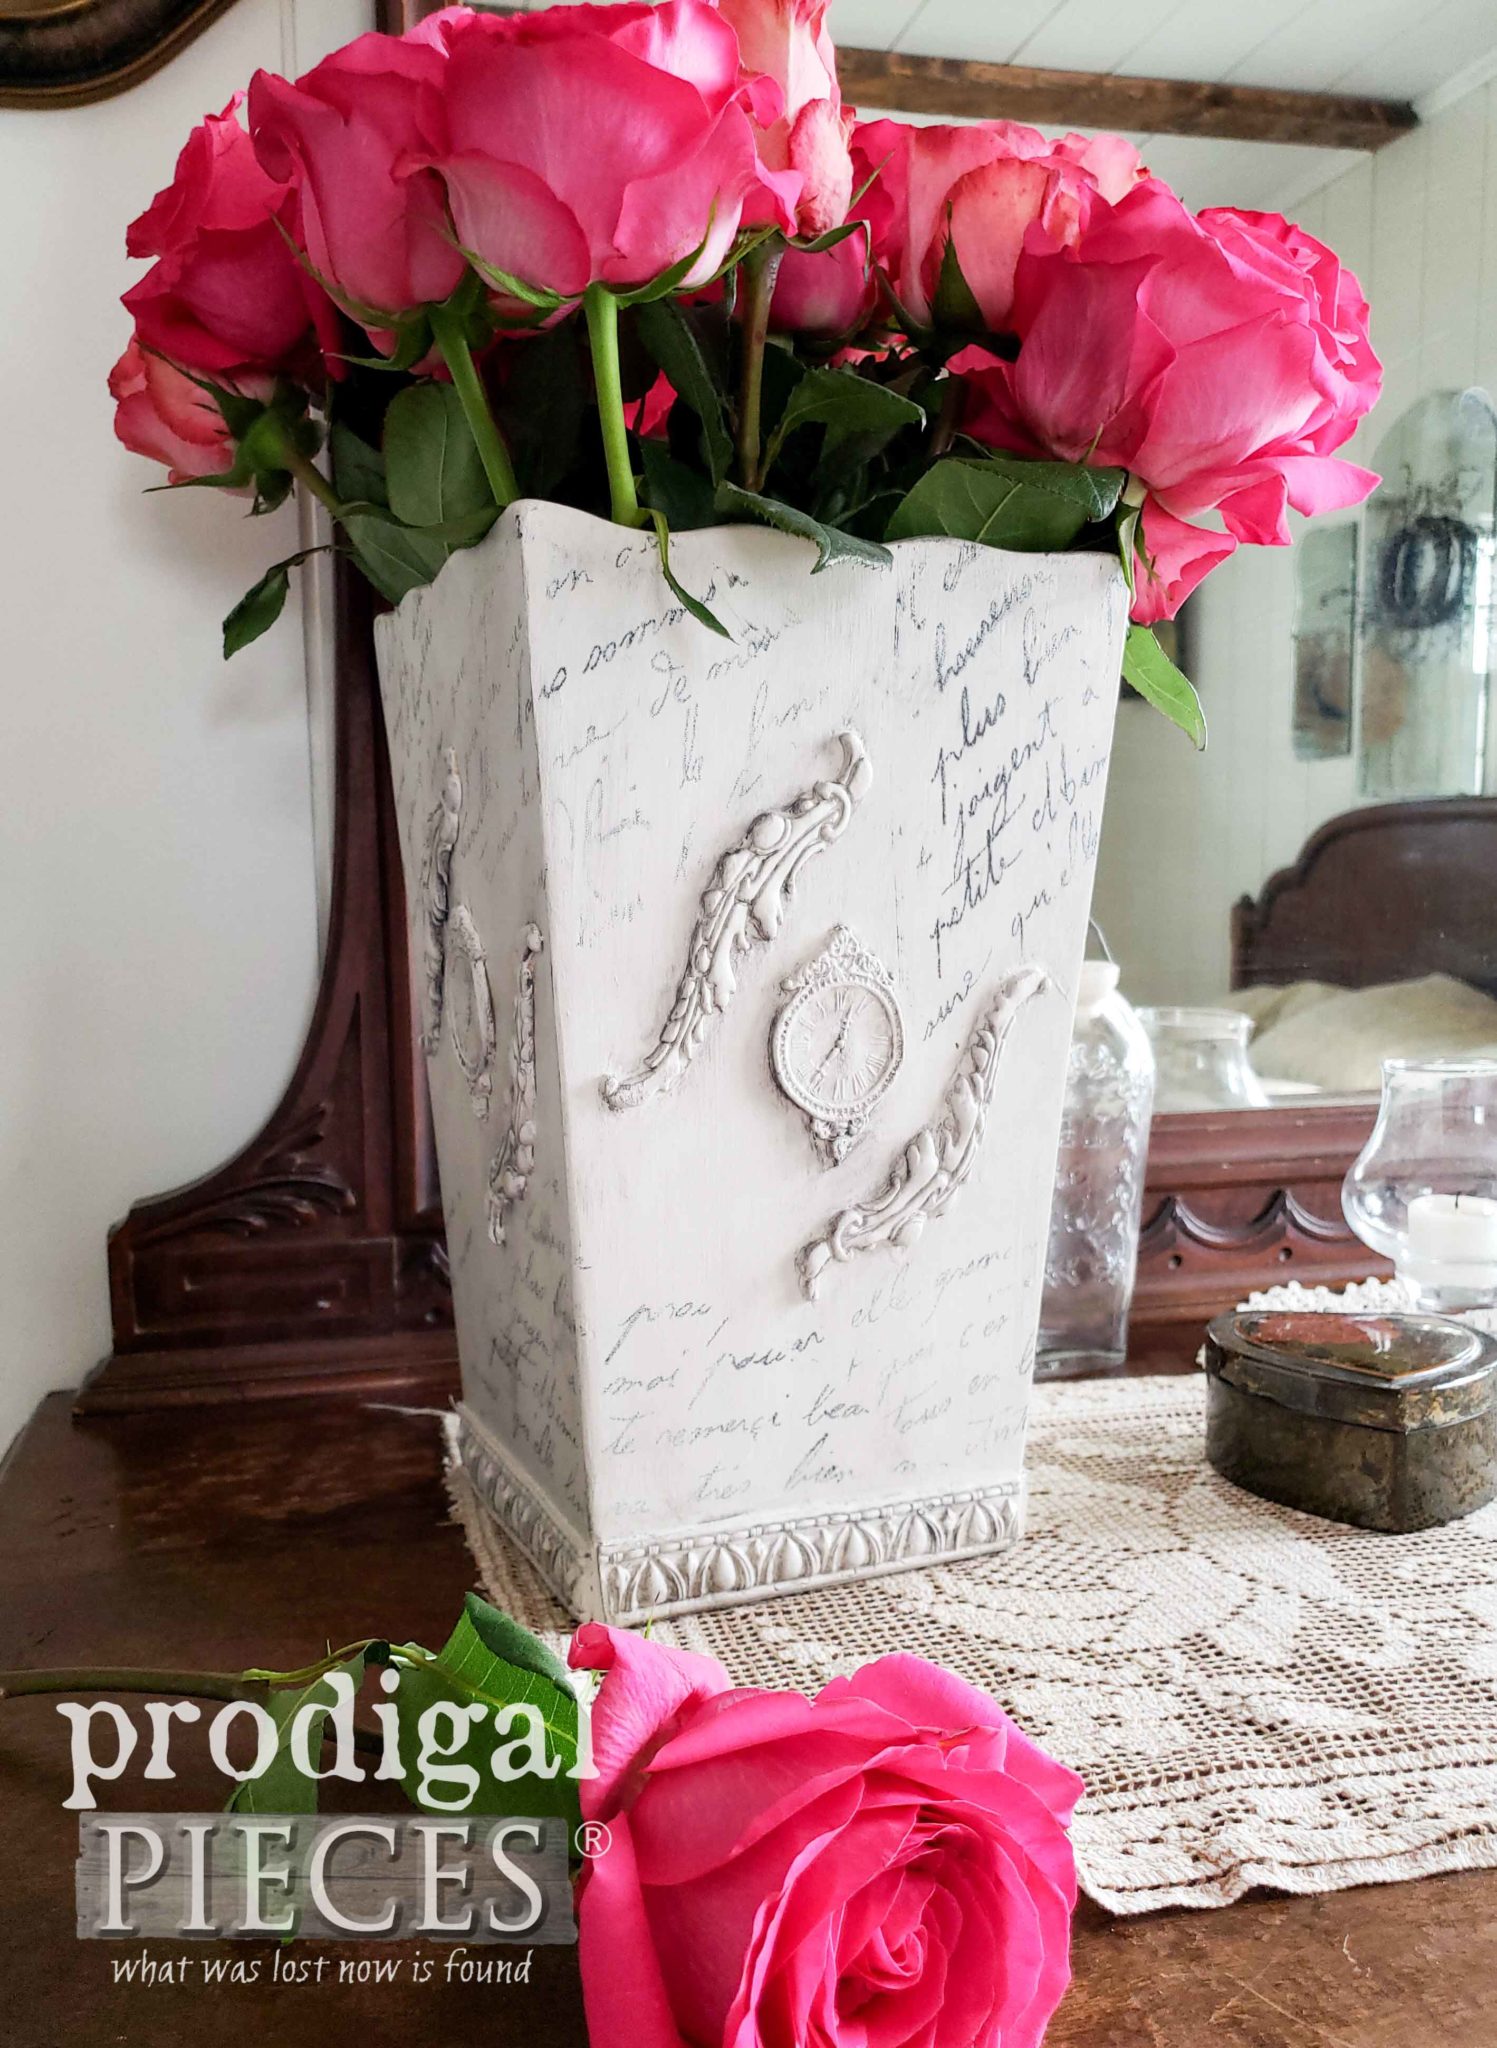
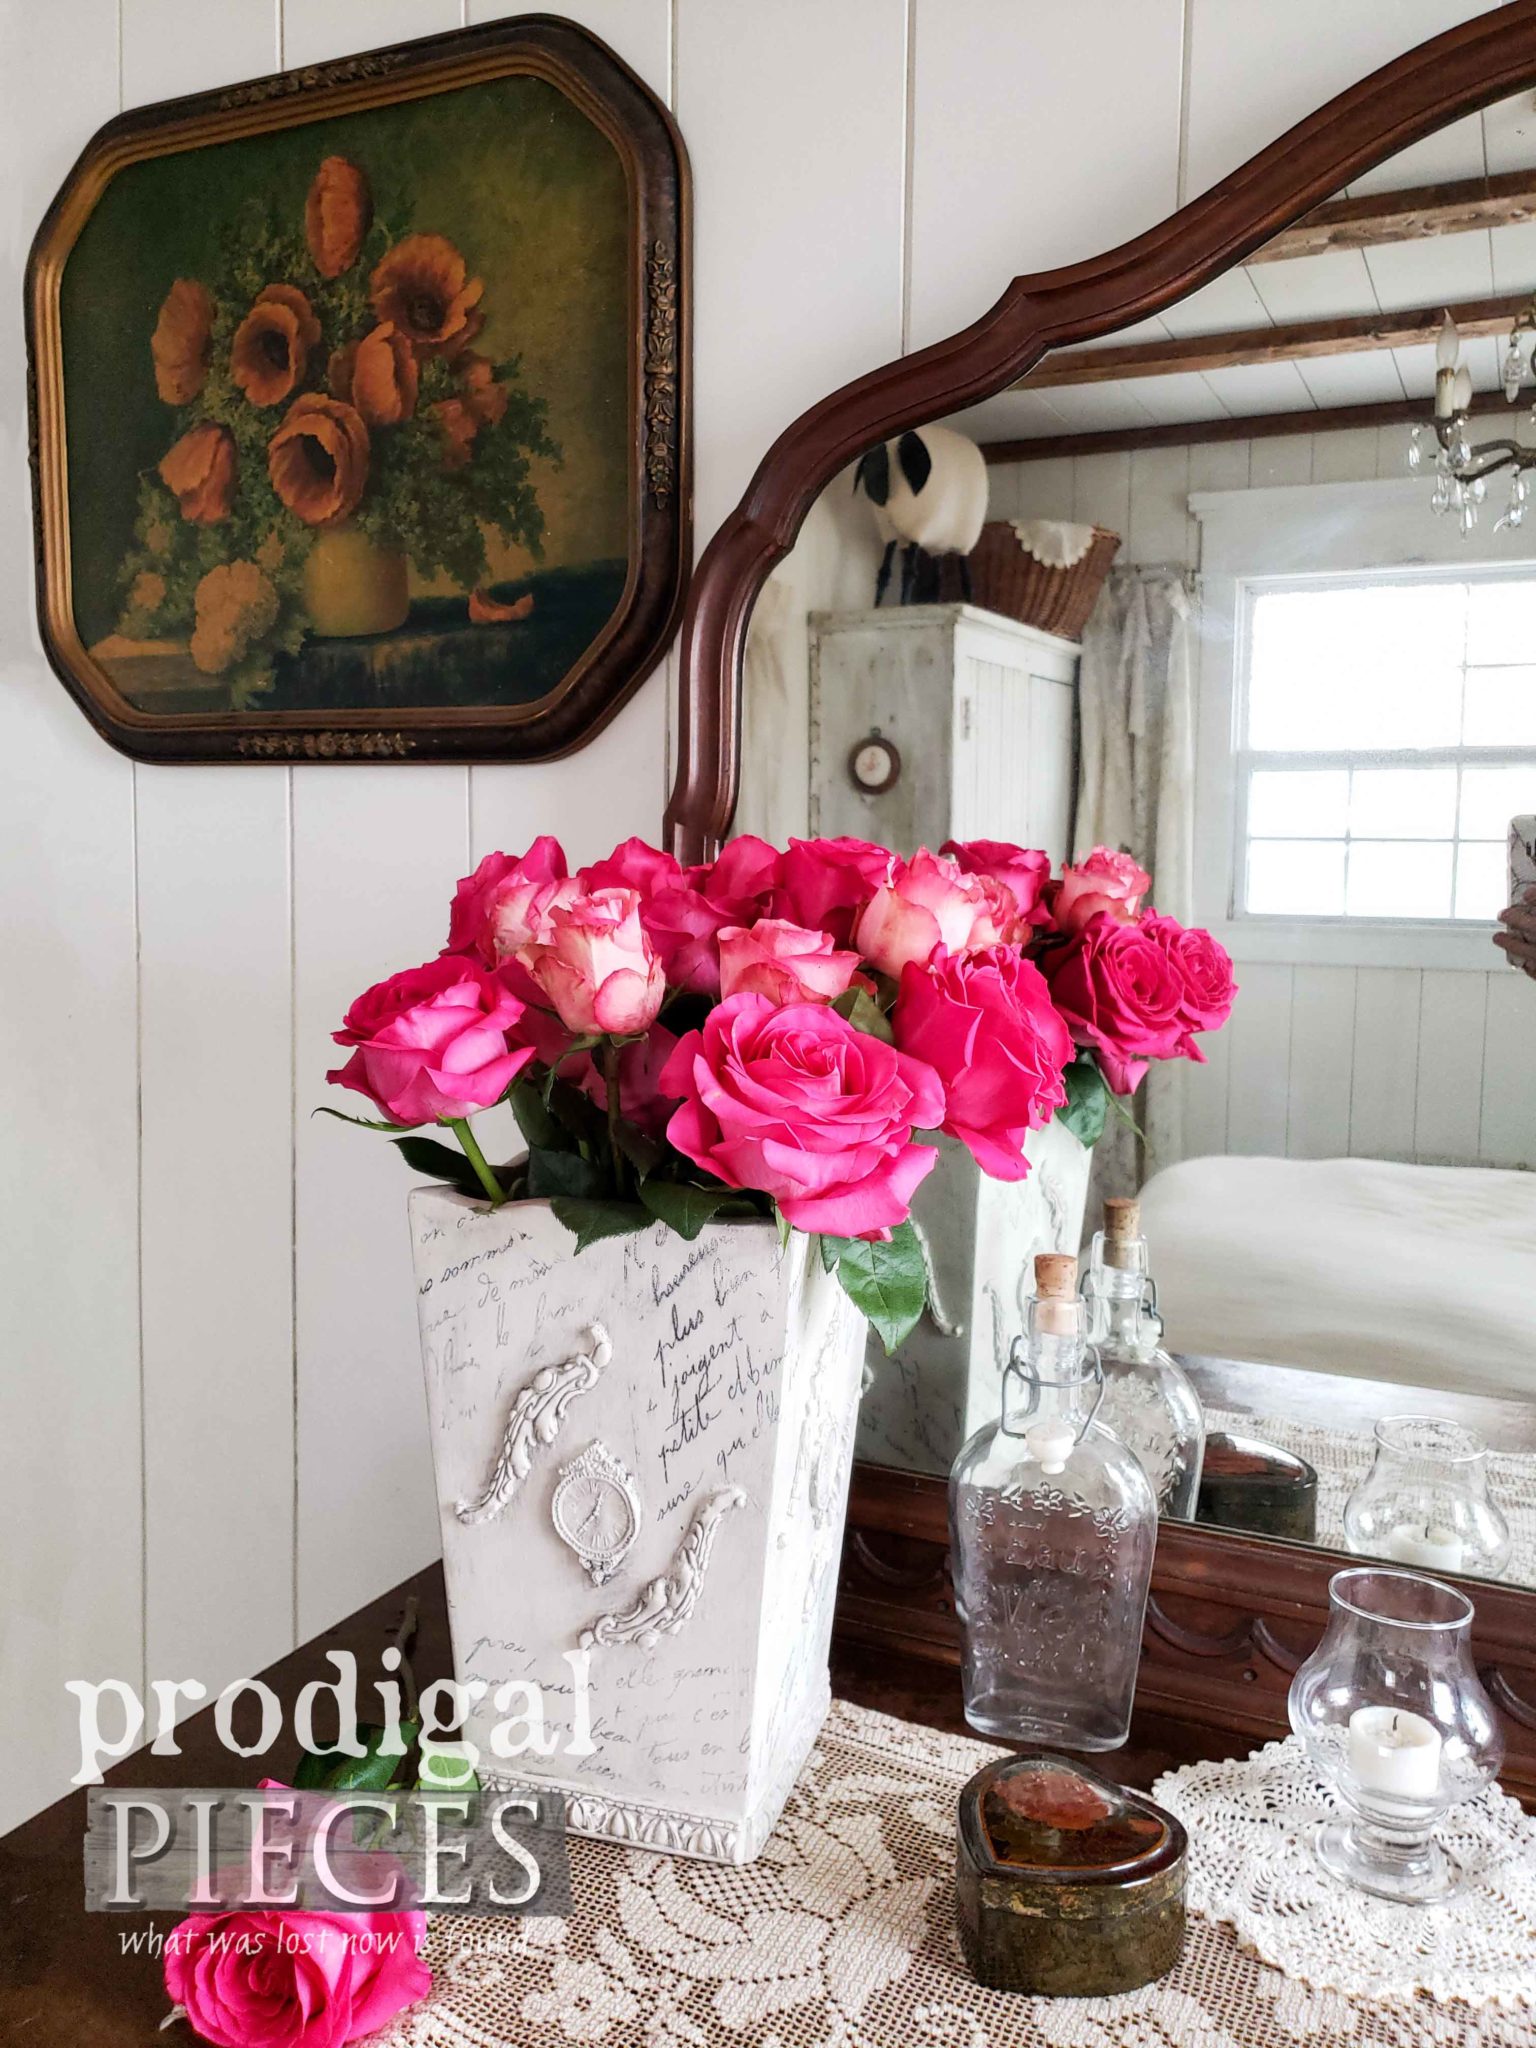
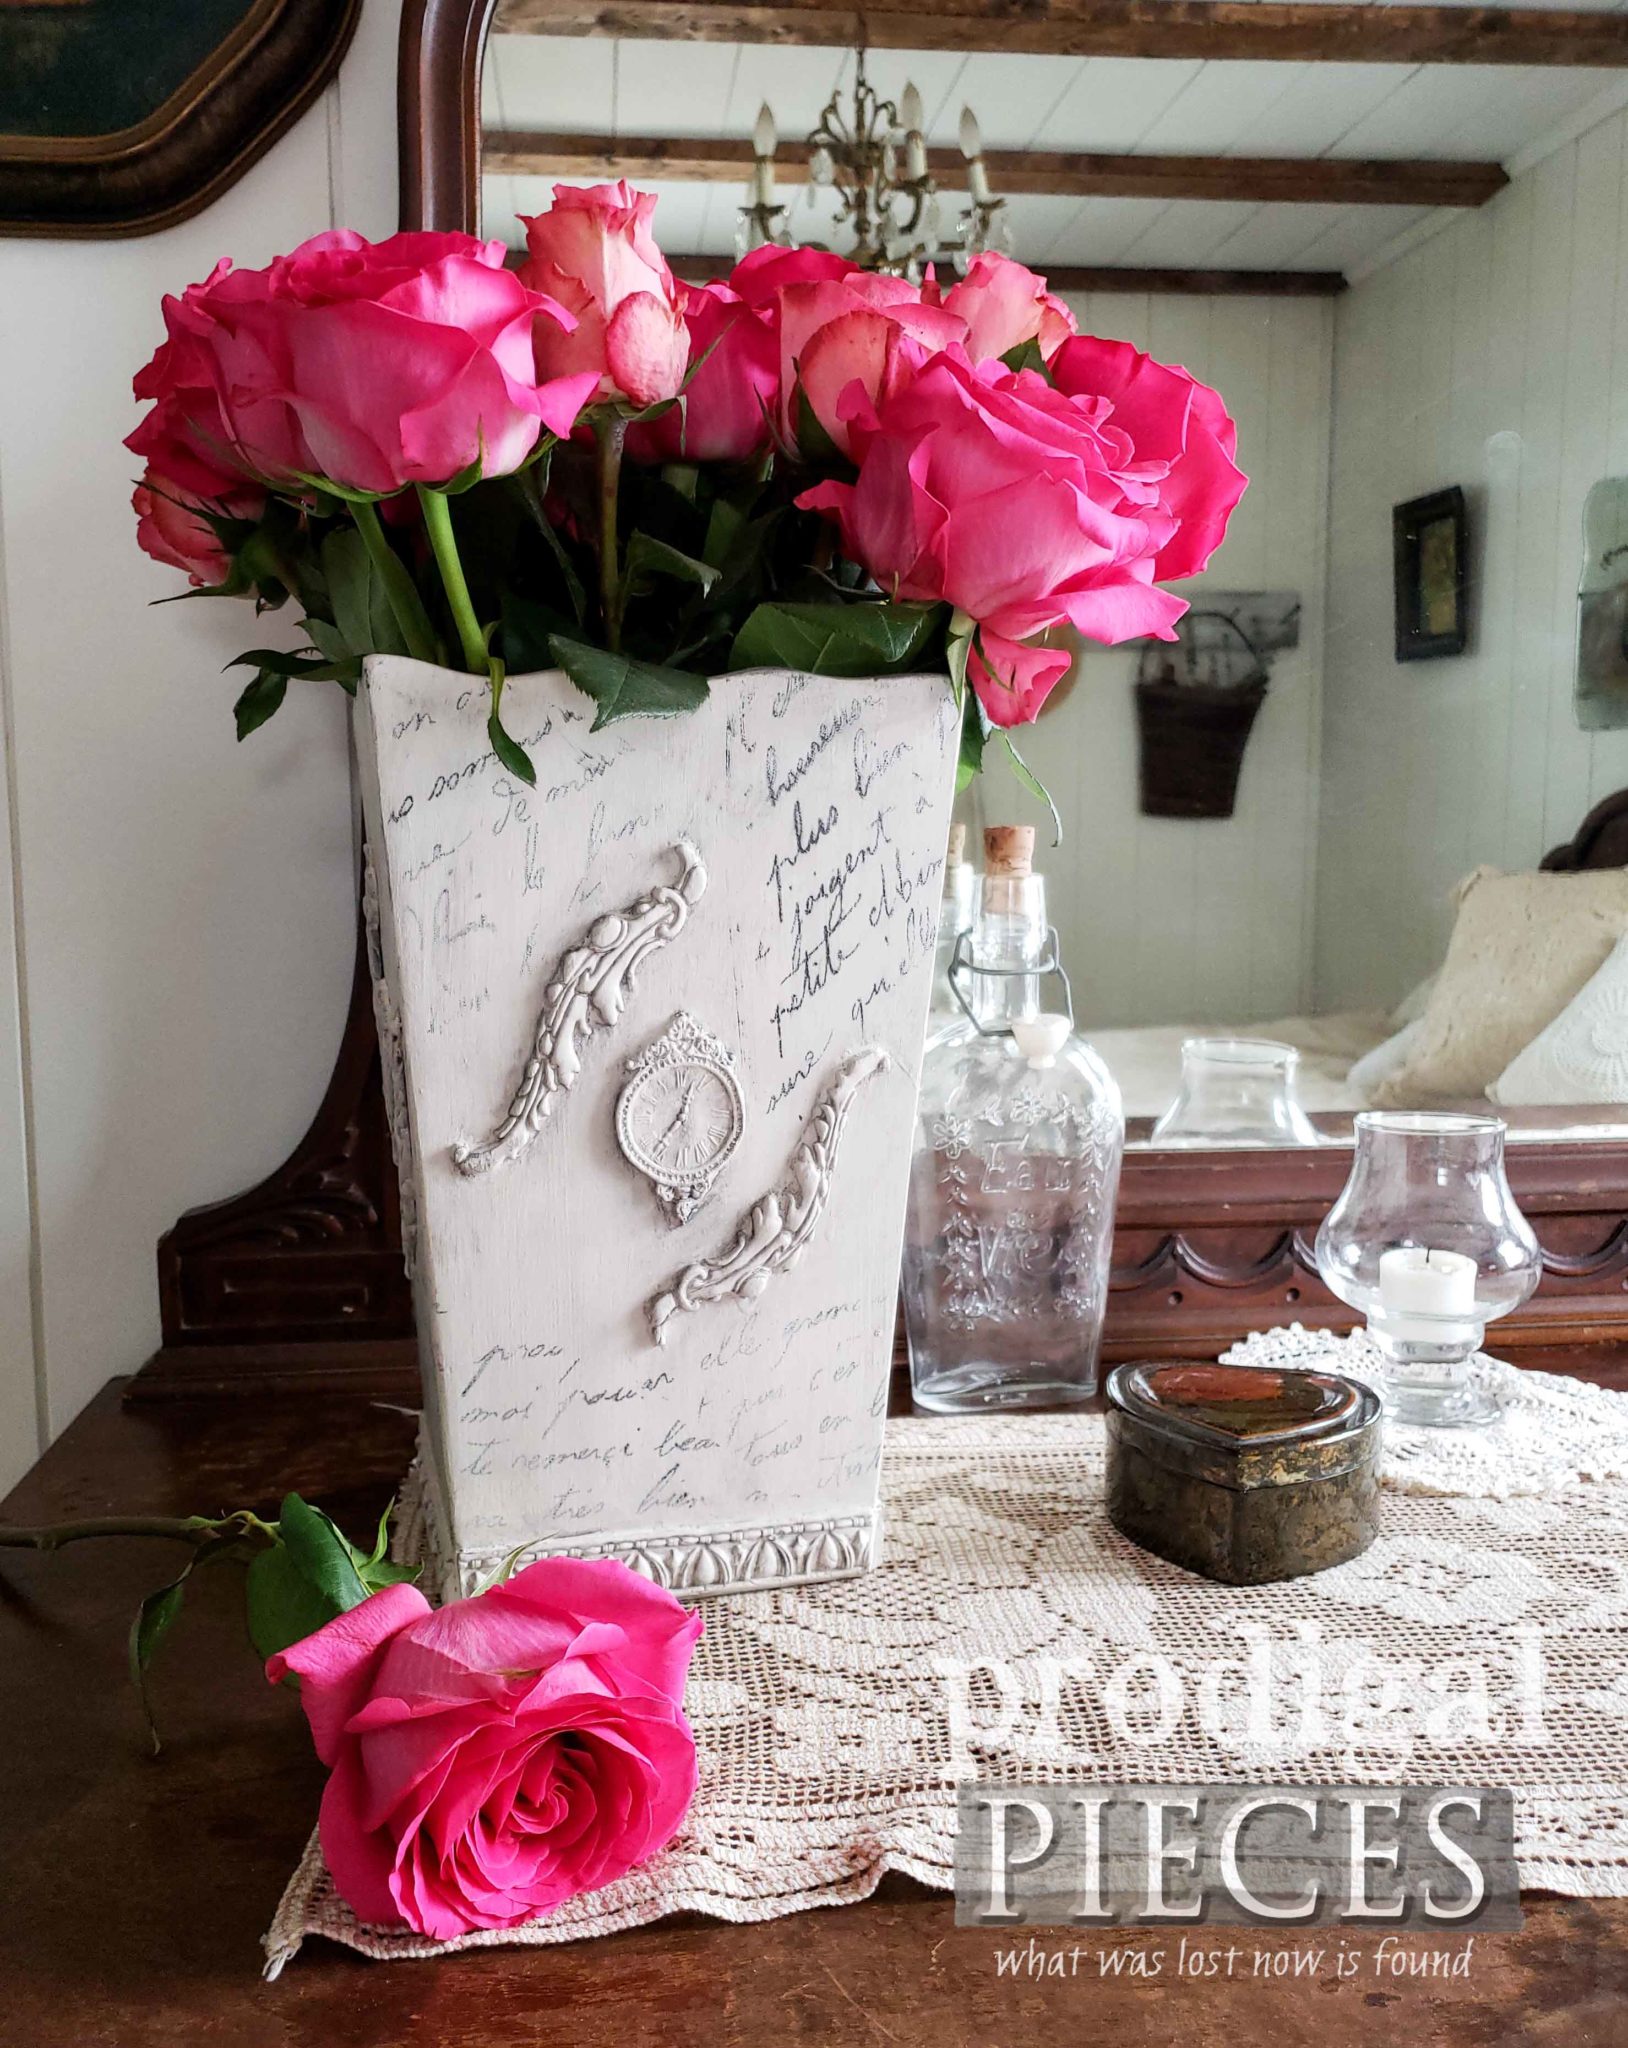
Now my thrifted vase has that ooh, la, la I was after and is ready to display.
I’ve inserted a glass vase inside so that my roses could be nourished, while the wooden vase make a perfect vessel. Isn’t it fun?
All the texture makes me giddy – eep! The best part is I could have used any kind of mold or transfer and totally changed this up to another style. The options are limitless with DIY. {{applause}}
If you would love to own this French script vase, you can find it available in my online shop along with other furniture, handmade, and vintage/antique finds.
Do pin and share this DIY fun because my goal is to inspire and help YOU and others create their home story.
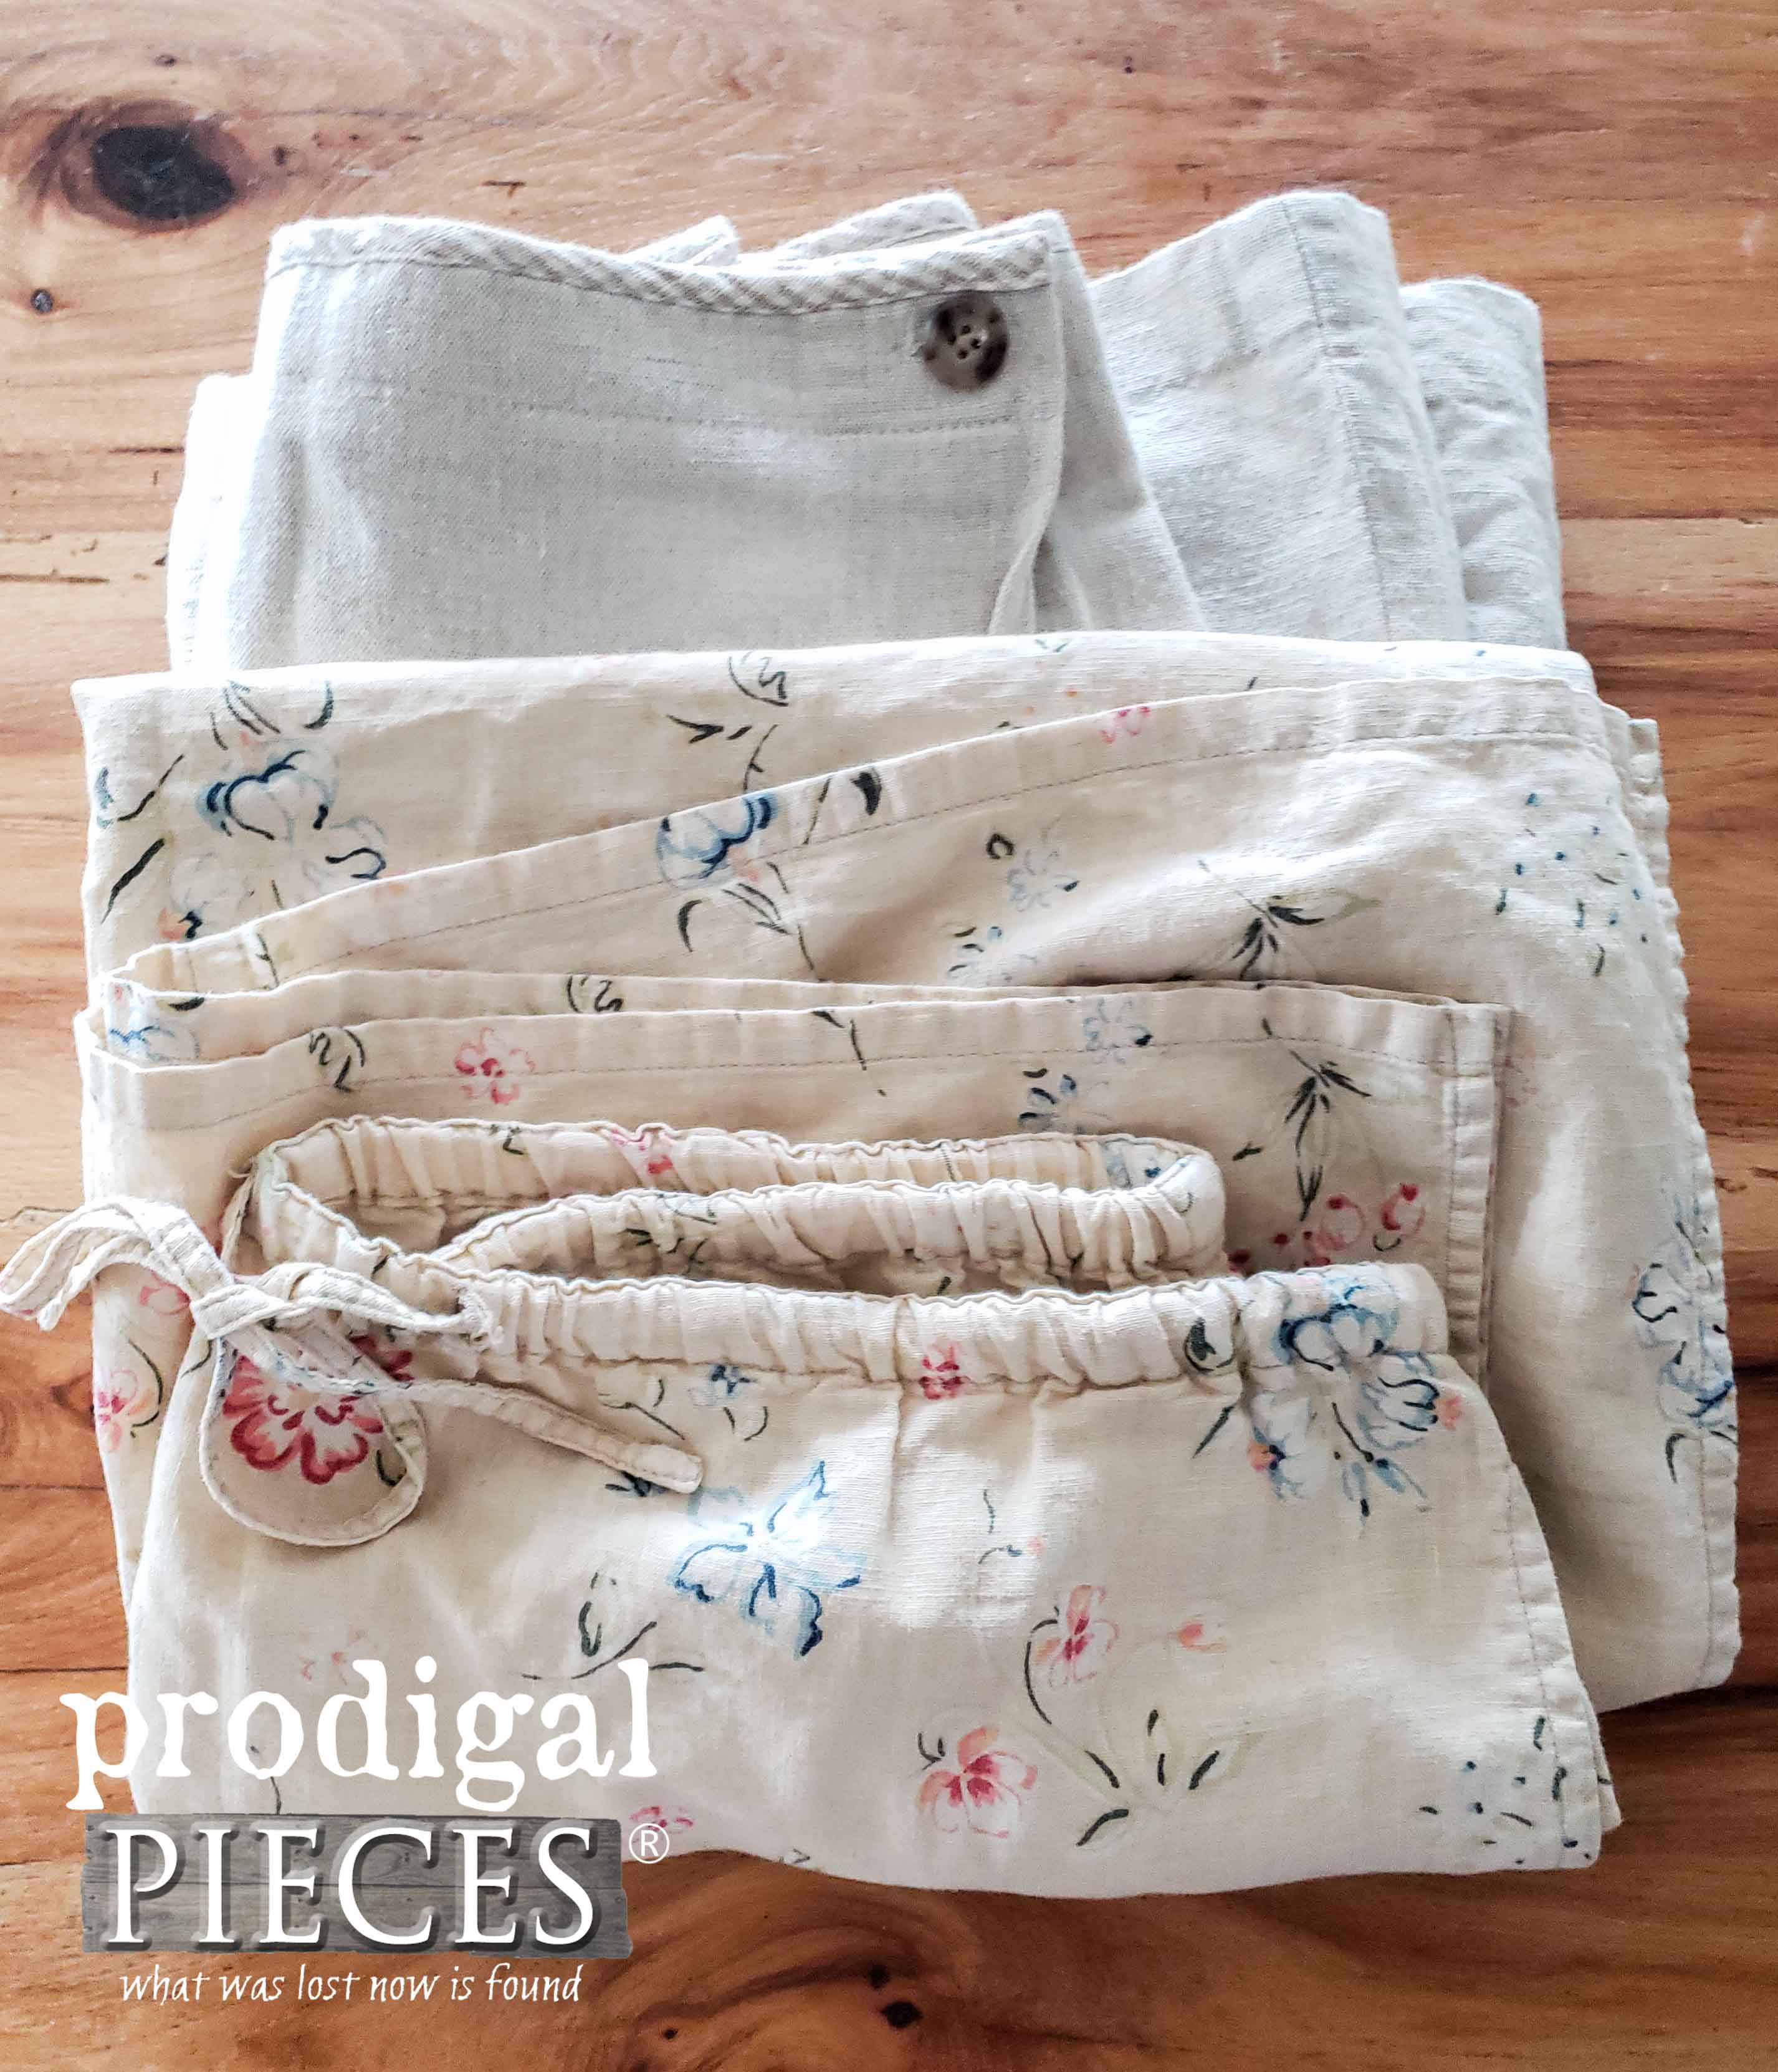
Up next, it’s Trash to Treasure Tuesday! This pile of linen skirts is about to become something so much more. See their new purpose HERE.
To get these DIY tips & tricks in your inbox, be sure to sign up for my newsletter. Until next time!
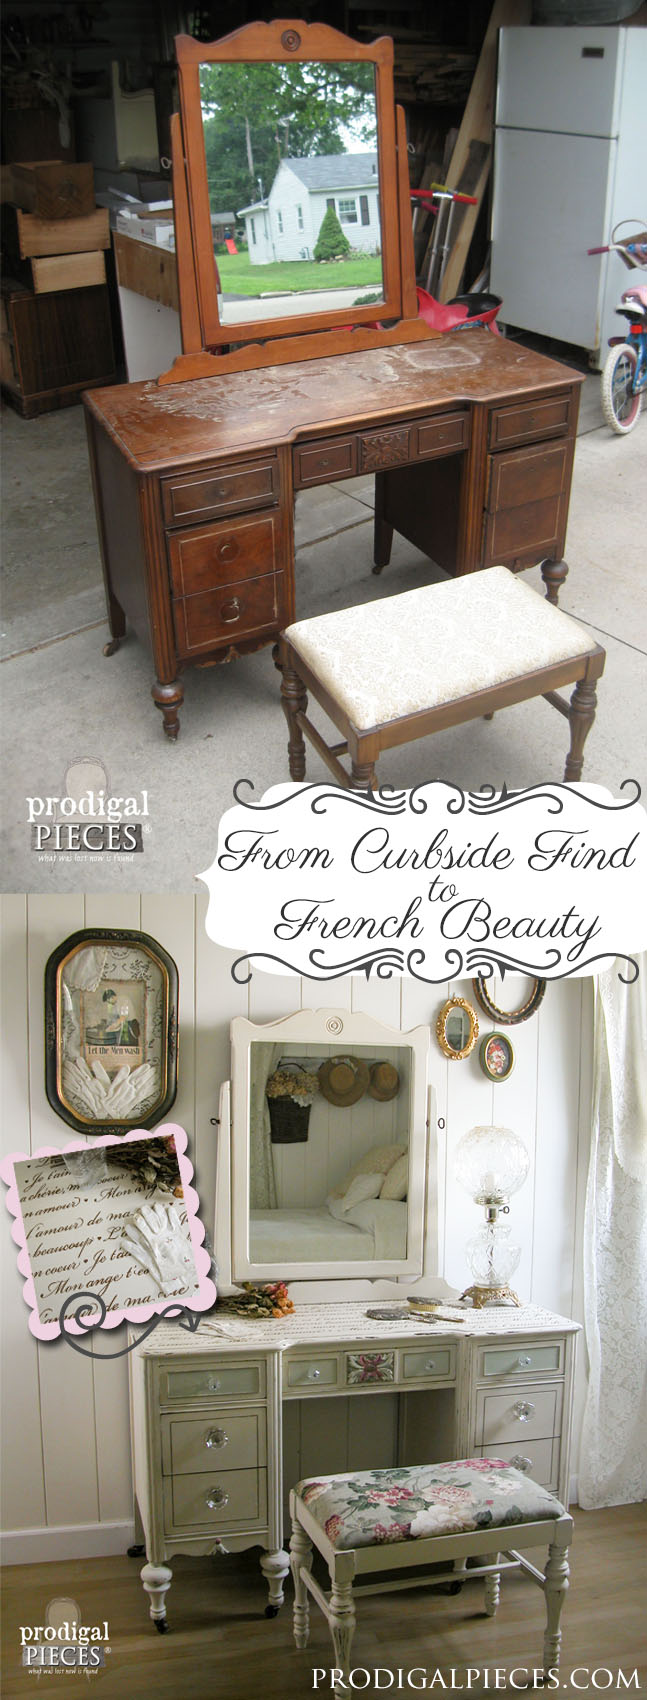
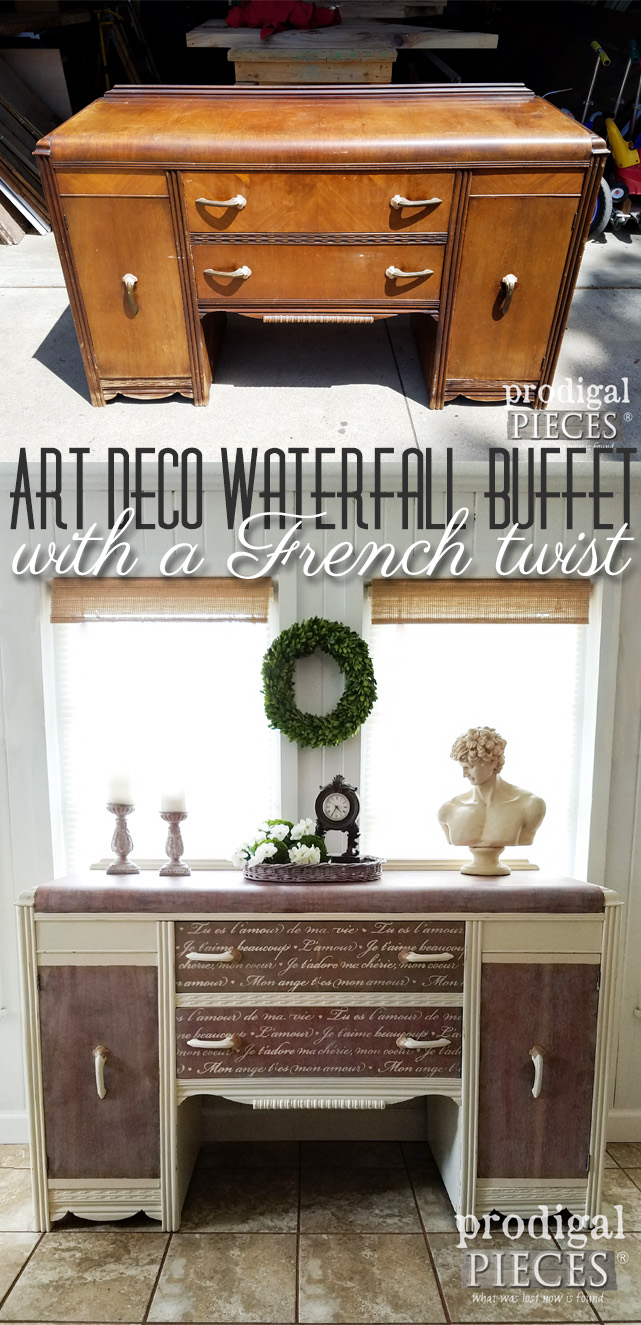
More projects like my French script vase makeover:




Very beautiful ! I really liked the transfer script.
Thank you! Those are so easy to make and use. Ever tried it?
Beautiful! I am in as much awe by your ideas as I am by the finished product.
You just made my day, Tammy. Thank you!! 😀
That was neat. It’s so pretty now! You used some things I’ve been wanting to try but didn’t know how. Thanks!
Wonderful! I’m so glad to hear you enjoyed it. It’s fun! 😀
Oh my gosh I absolutely love this! I am currently working on a wooden “box” that I found at the resale store and have decided to make into a mailbox of sorts (indoor) purchased with you voice in my head saying that if it’s wood it can be saved. I so wish I had seen this earlier because the molds are exactly what this box could have used! Also this transfer method would have been so much easier than the one I choose to use. Can you use waxed paper or parchment paper instead of freezer paper? Well at least I haven’t waxed it yet and I can use the idea of grey wax! 🙂 Thank you once again for all the inspiration you provide me!
Sounds like you have a fun project to work on. Yay! I don’t think waxed paper would work the same for the printer end of it, it’s not as firm. I like freezer paper also for making iron-on stencils. Just cut out the design and iron onto your fabric you’d like to paint. It’s even reusable for a few times. That stuff is great.
Beautiful work – well done
Thank you!
I so wish I had seen this earlier because the molds are exactly what this box could have used! Also this transfer method would have been so much easier than the one I choose to use. Can you use waxed paper or parchment paper instead of freezer paper? Well at least I haven’t waxed it yet and I can use the idea of grey wax! ? Thank you once again for all the inspiration you provide me!
I’m happy to hear it! 😀 They are fun to use and easy too. You do need freezer paper as it’s a different thickness of wax. Have fun!
Absolutely gorgeous, I love it.
Thank you!