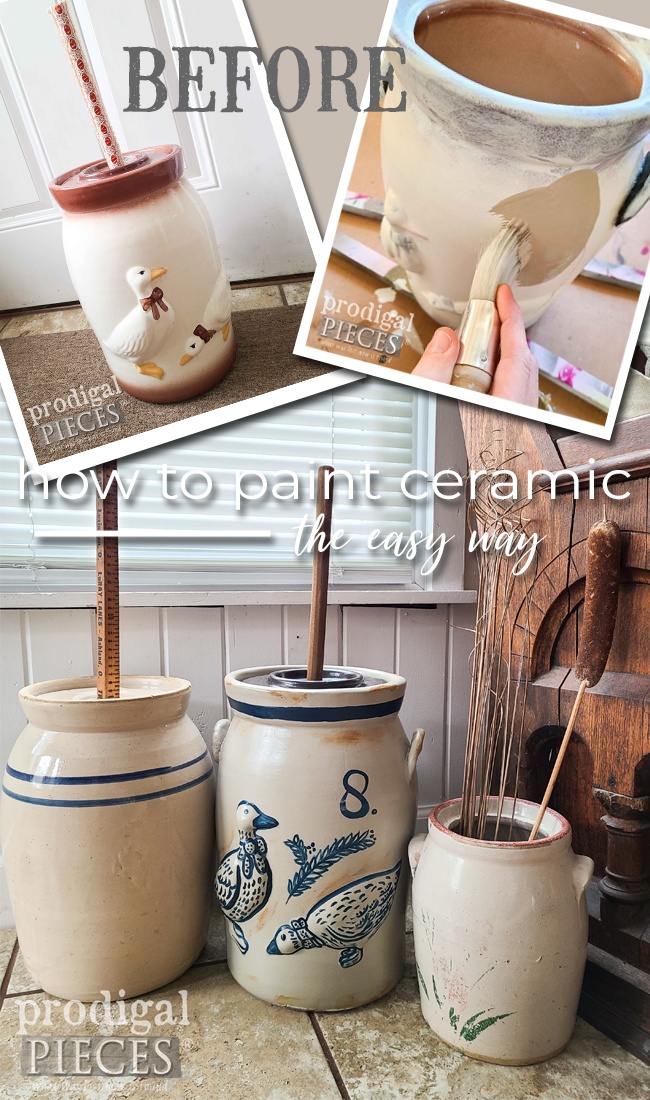
Do you ever ask yourself why you get yourself into things? ahem. Yes, I’m a sucker for the down-trodden and those that are destined for the trash. It’s a blessing and a curse (in some ways) as it can get me into tricky trouble. You can see what I mean in this past post. Thankfully, this time I take on this seriously quirky churn and it leads me down a creative adventure I want to share with you. I’m also going to show you how to paint ceramic so that it sticks.
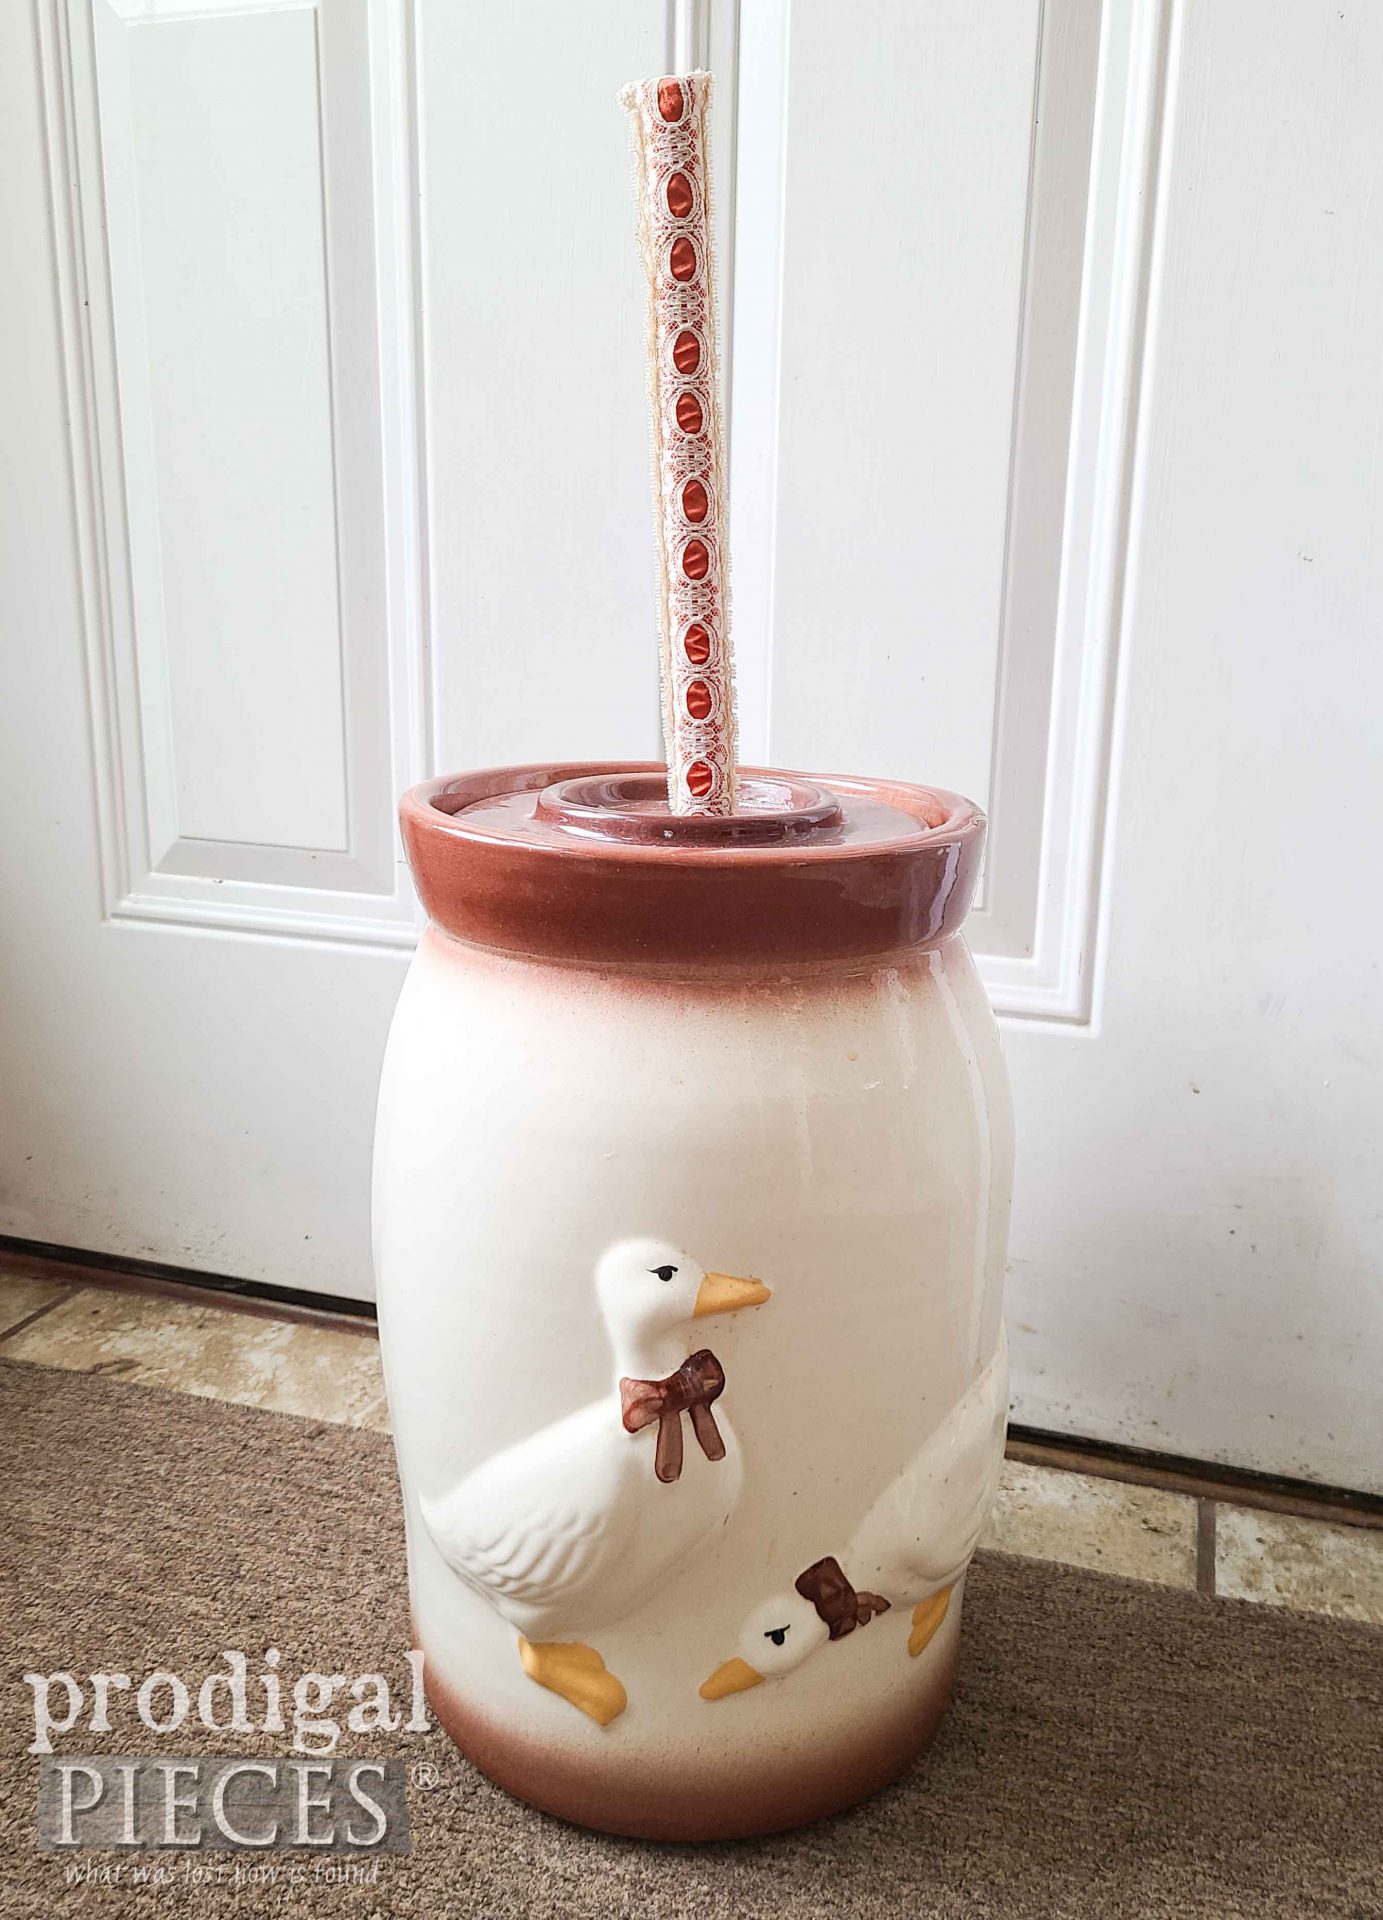
Okay, let’s call a goose as we see it. Why are these geese always angry? If I was to caption this scene…
“Hey, dude, why you sniffin’ my feet?”
“They stank!”
“Knock it off buddy or I’m gonna peck your angry eye out.”
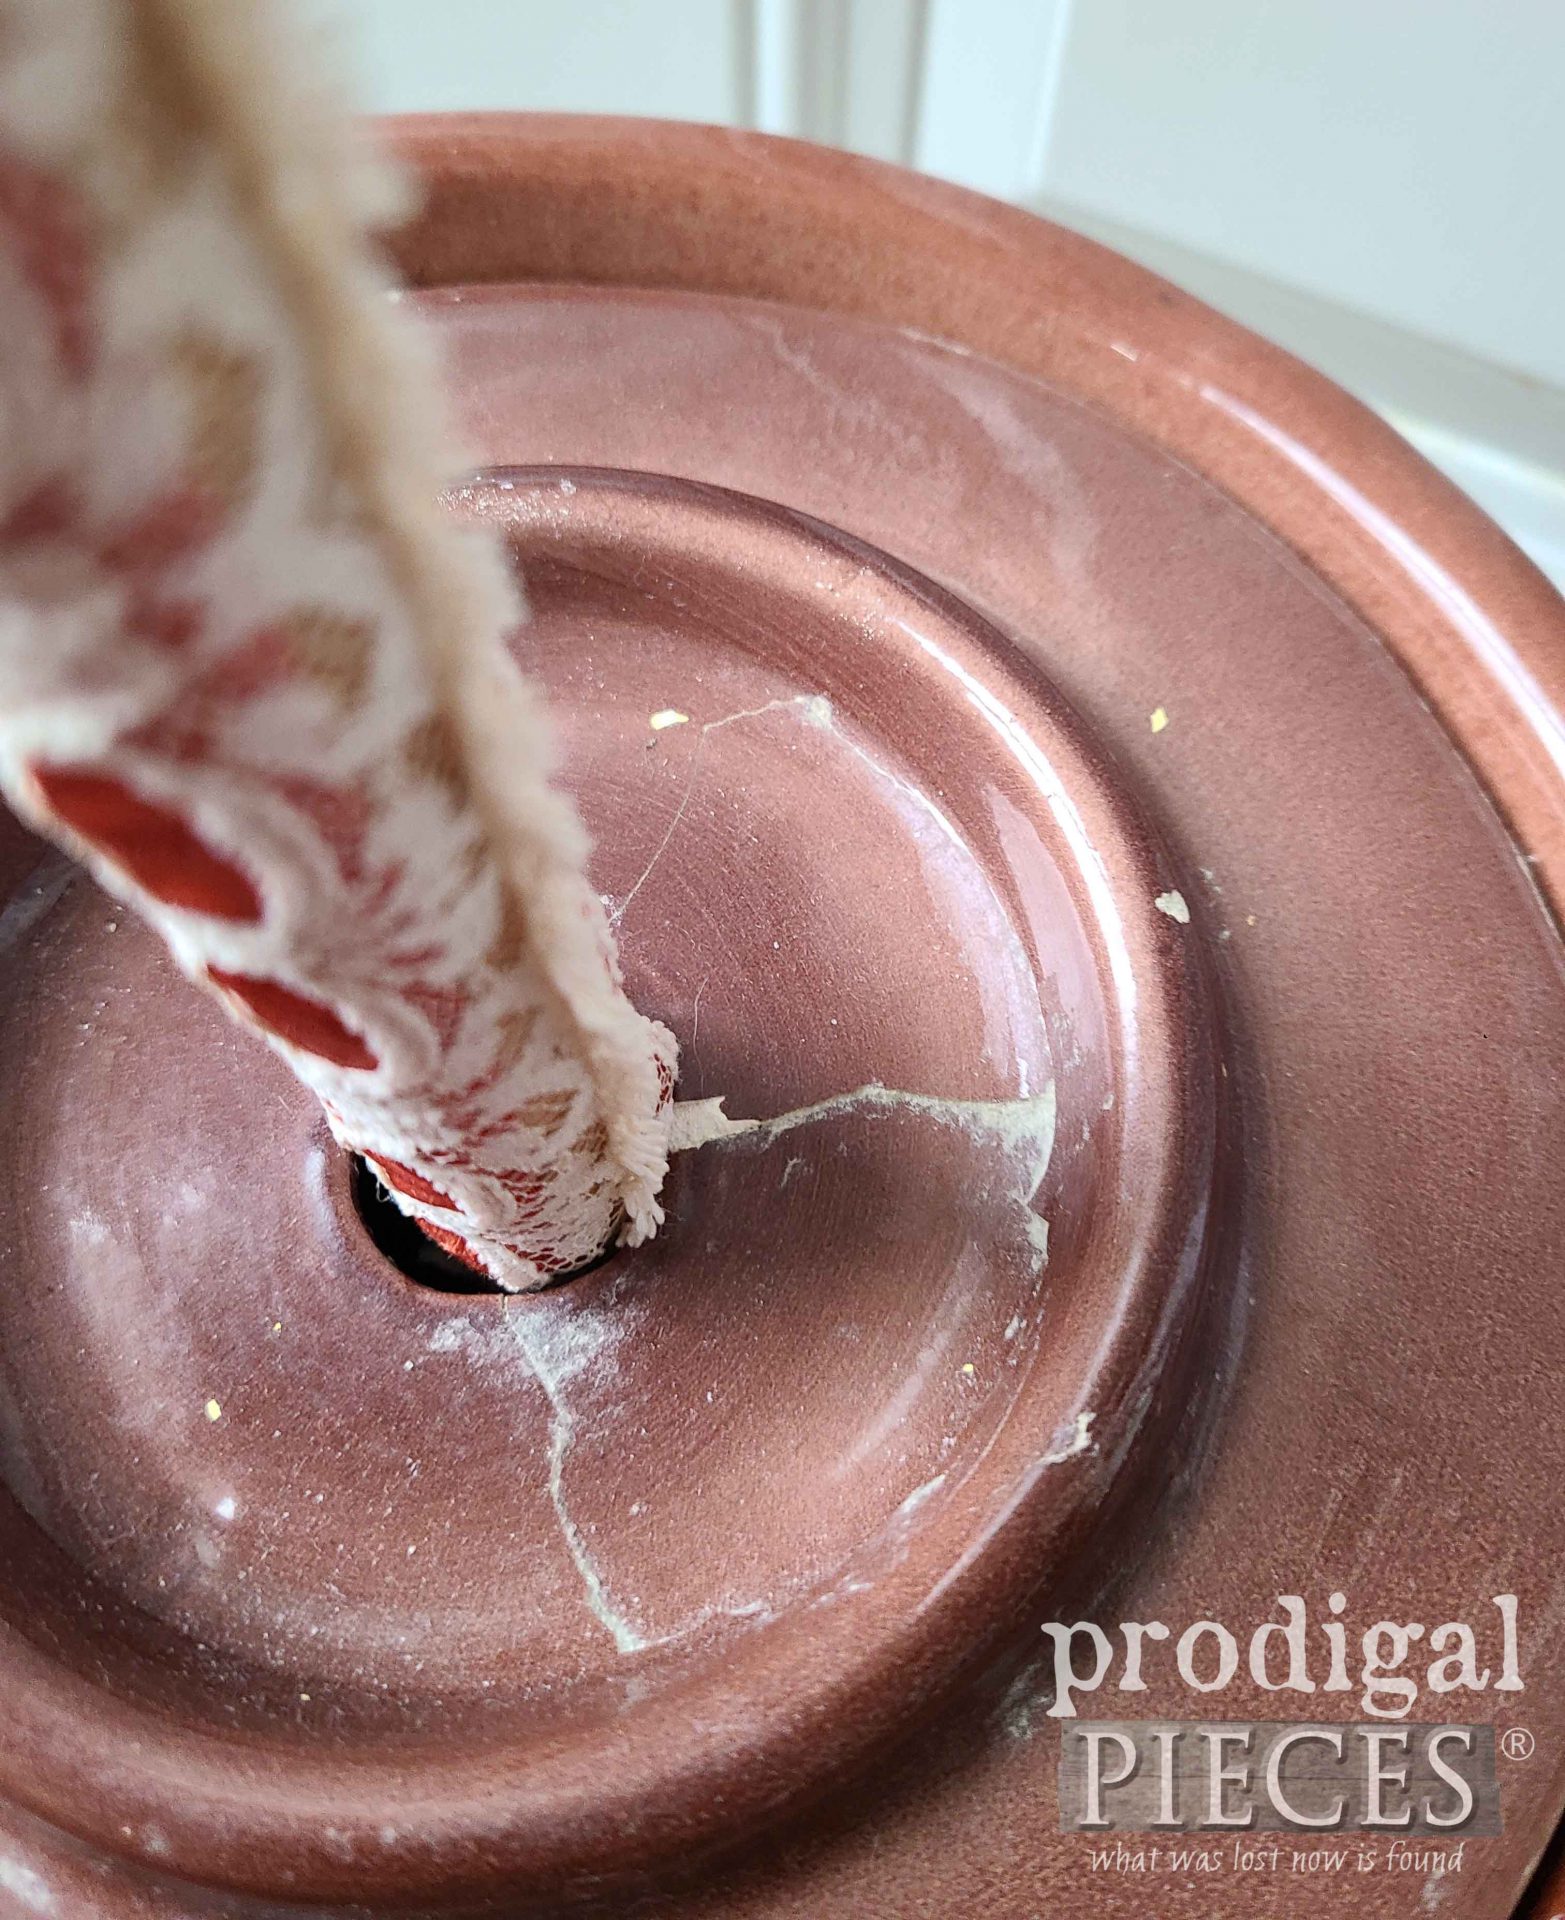
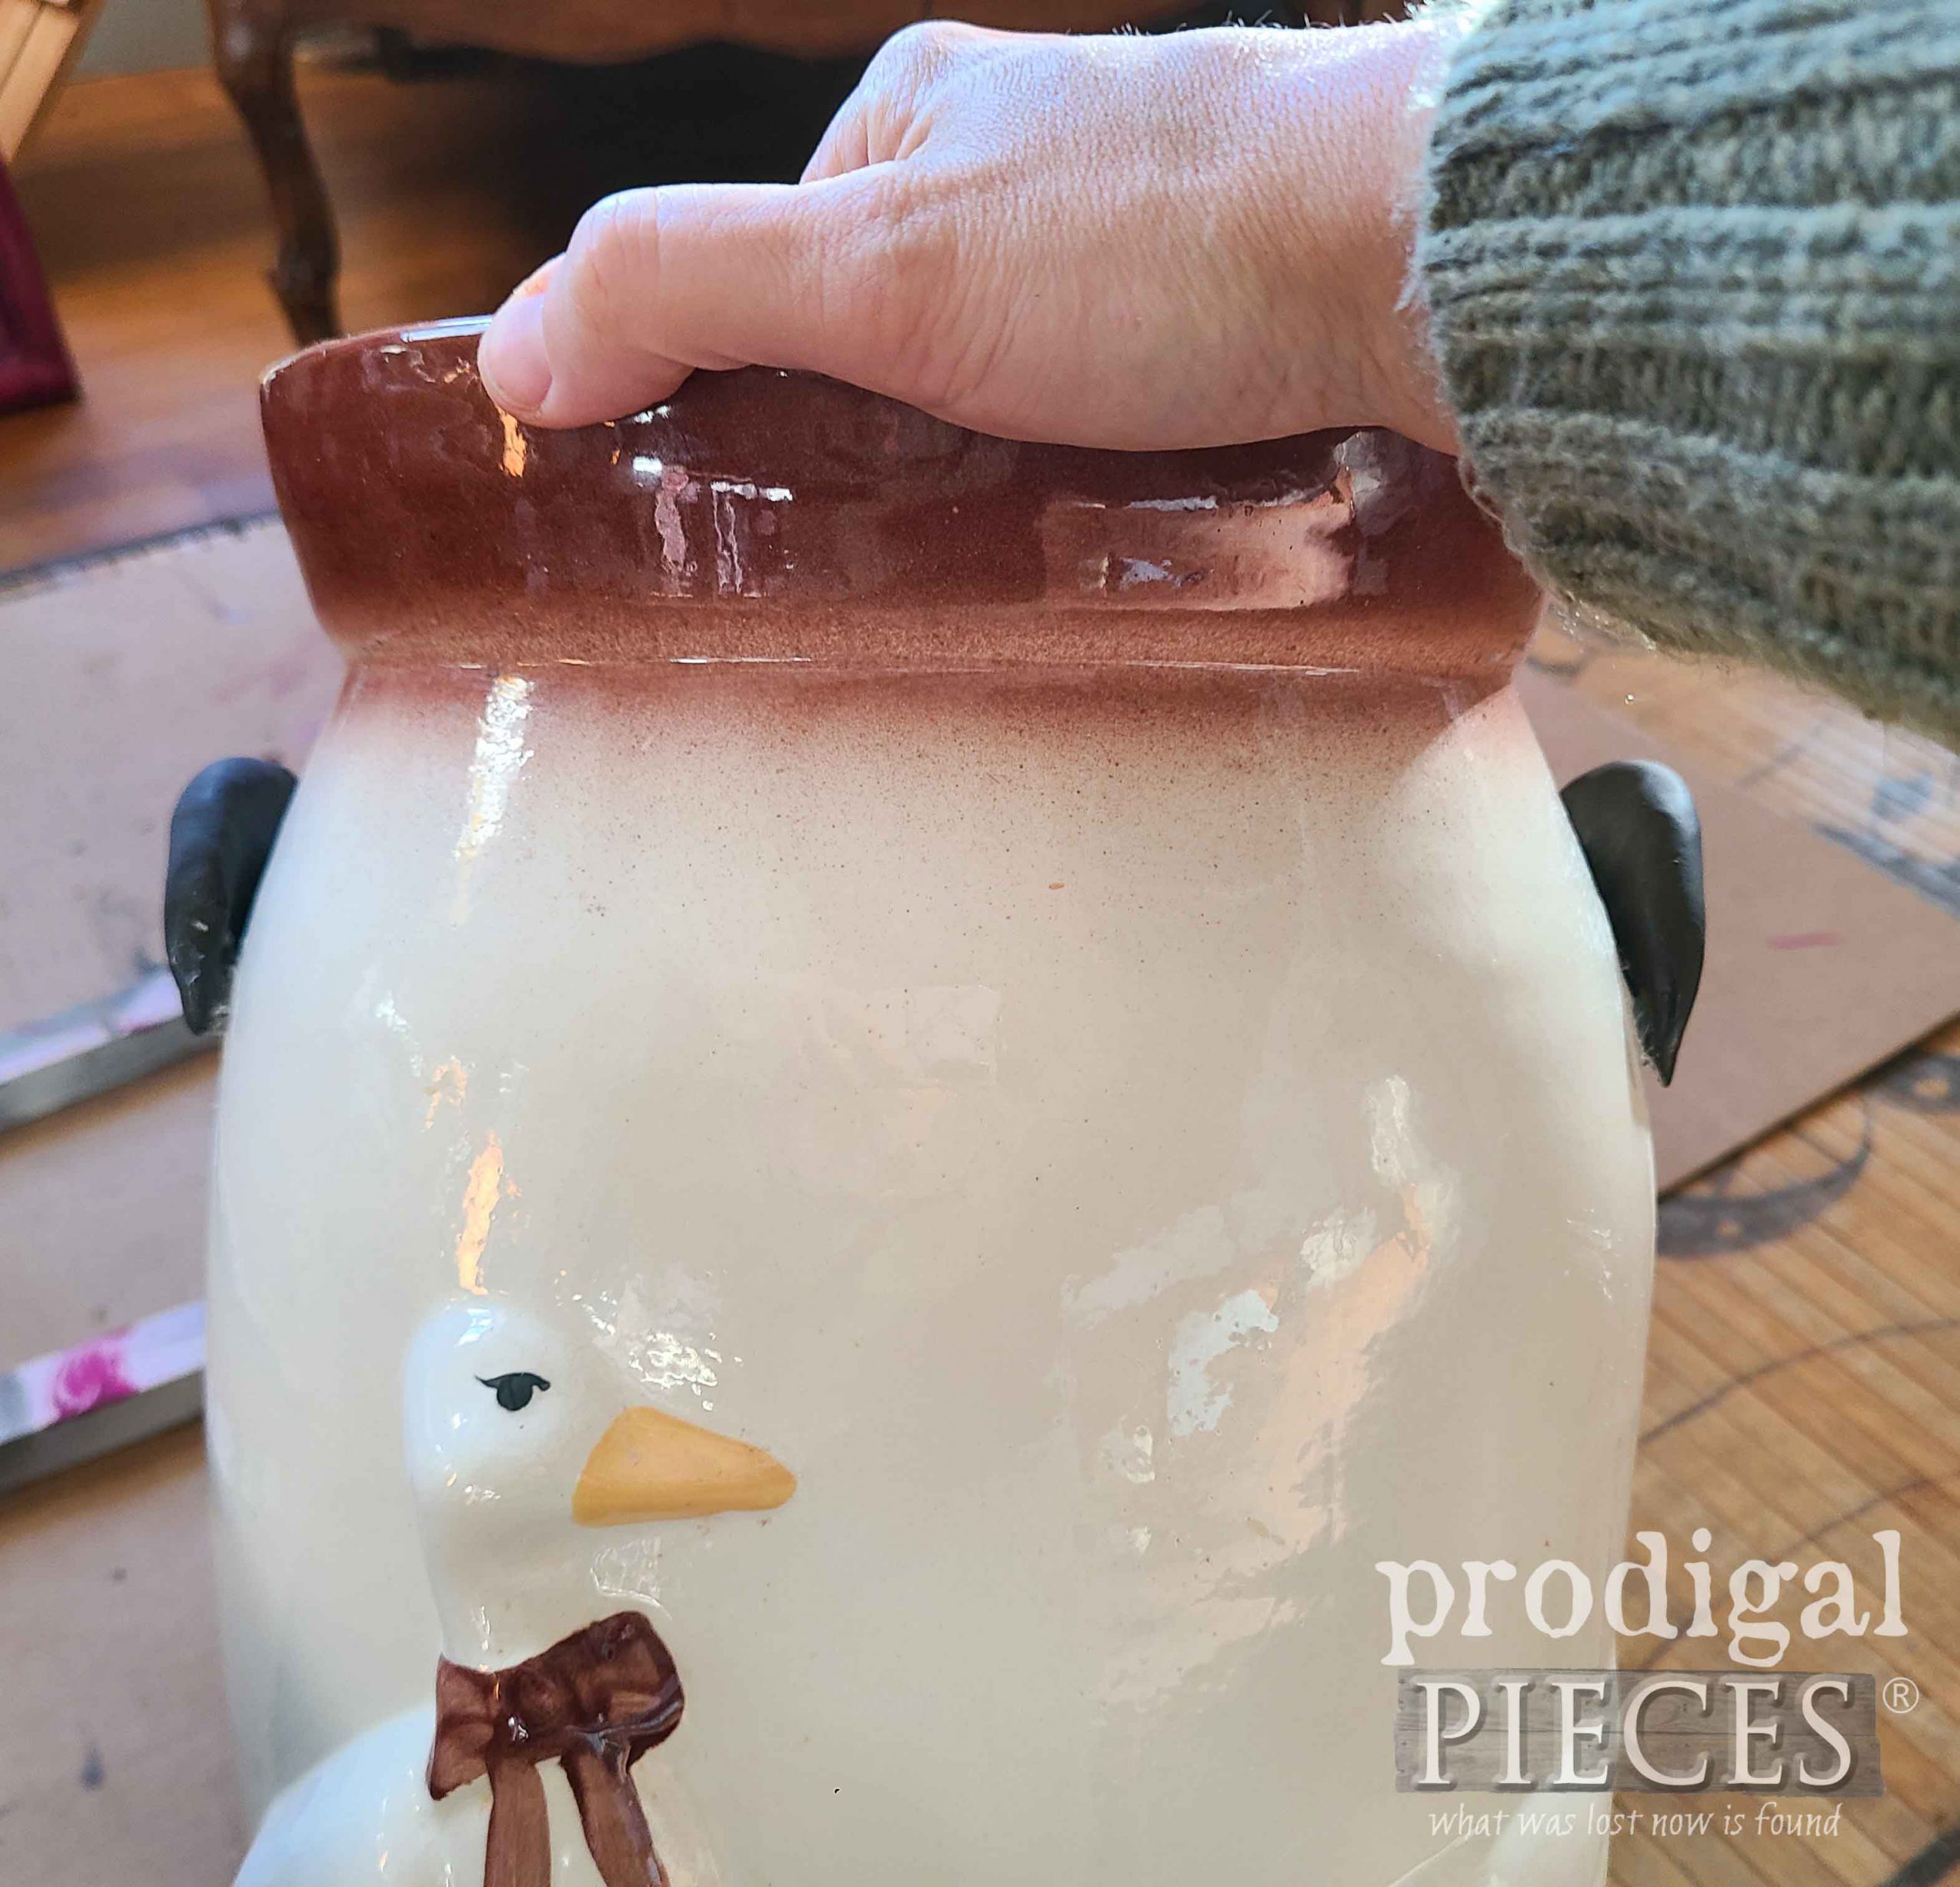
For real tho… I love geese, but let’s not allow decked out geese in bows to overrun our homes again, k? “Those who cannot remember the past are condemned to repeat it.” via George Santayana. Okay, so we’re not able to totally get rid of the geese in this instance. However, you can see this nail barrel makeover and this wall art makeover as well. Also, note that the dasher is covered with a fu-fu ribbon thing, and that the lid has been cracked at some point.
No worries, however, as those are easy to remedy. Let’s talk about how to paint ceramic.
STEP 1
First, I wipe down the surface with rubbing alcohol to get rid of any residue and prep it for the next steps. However, before I go any farther, I want to add some details to make my churn look more legit. To do that, I go to my stash and pull out this…
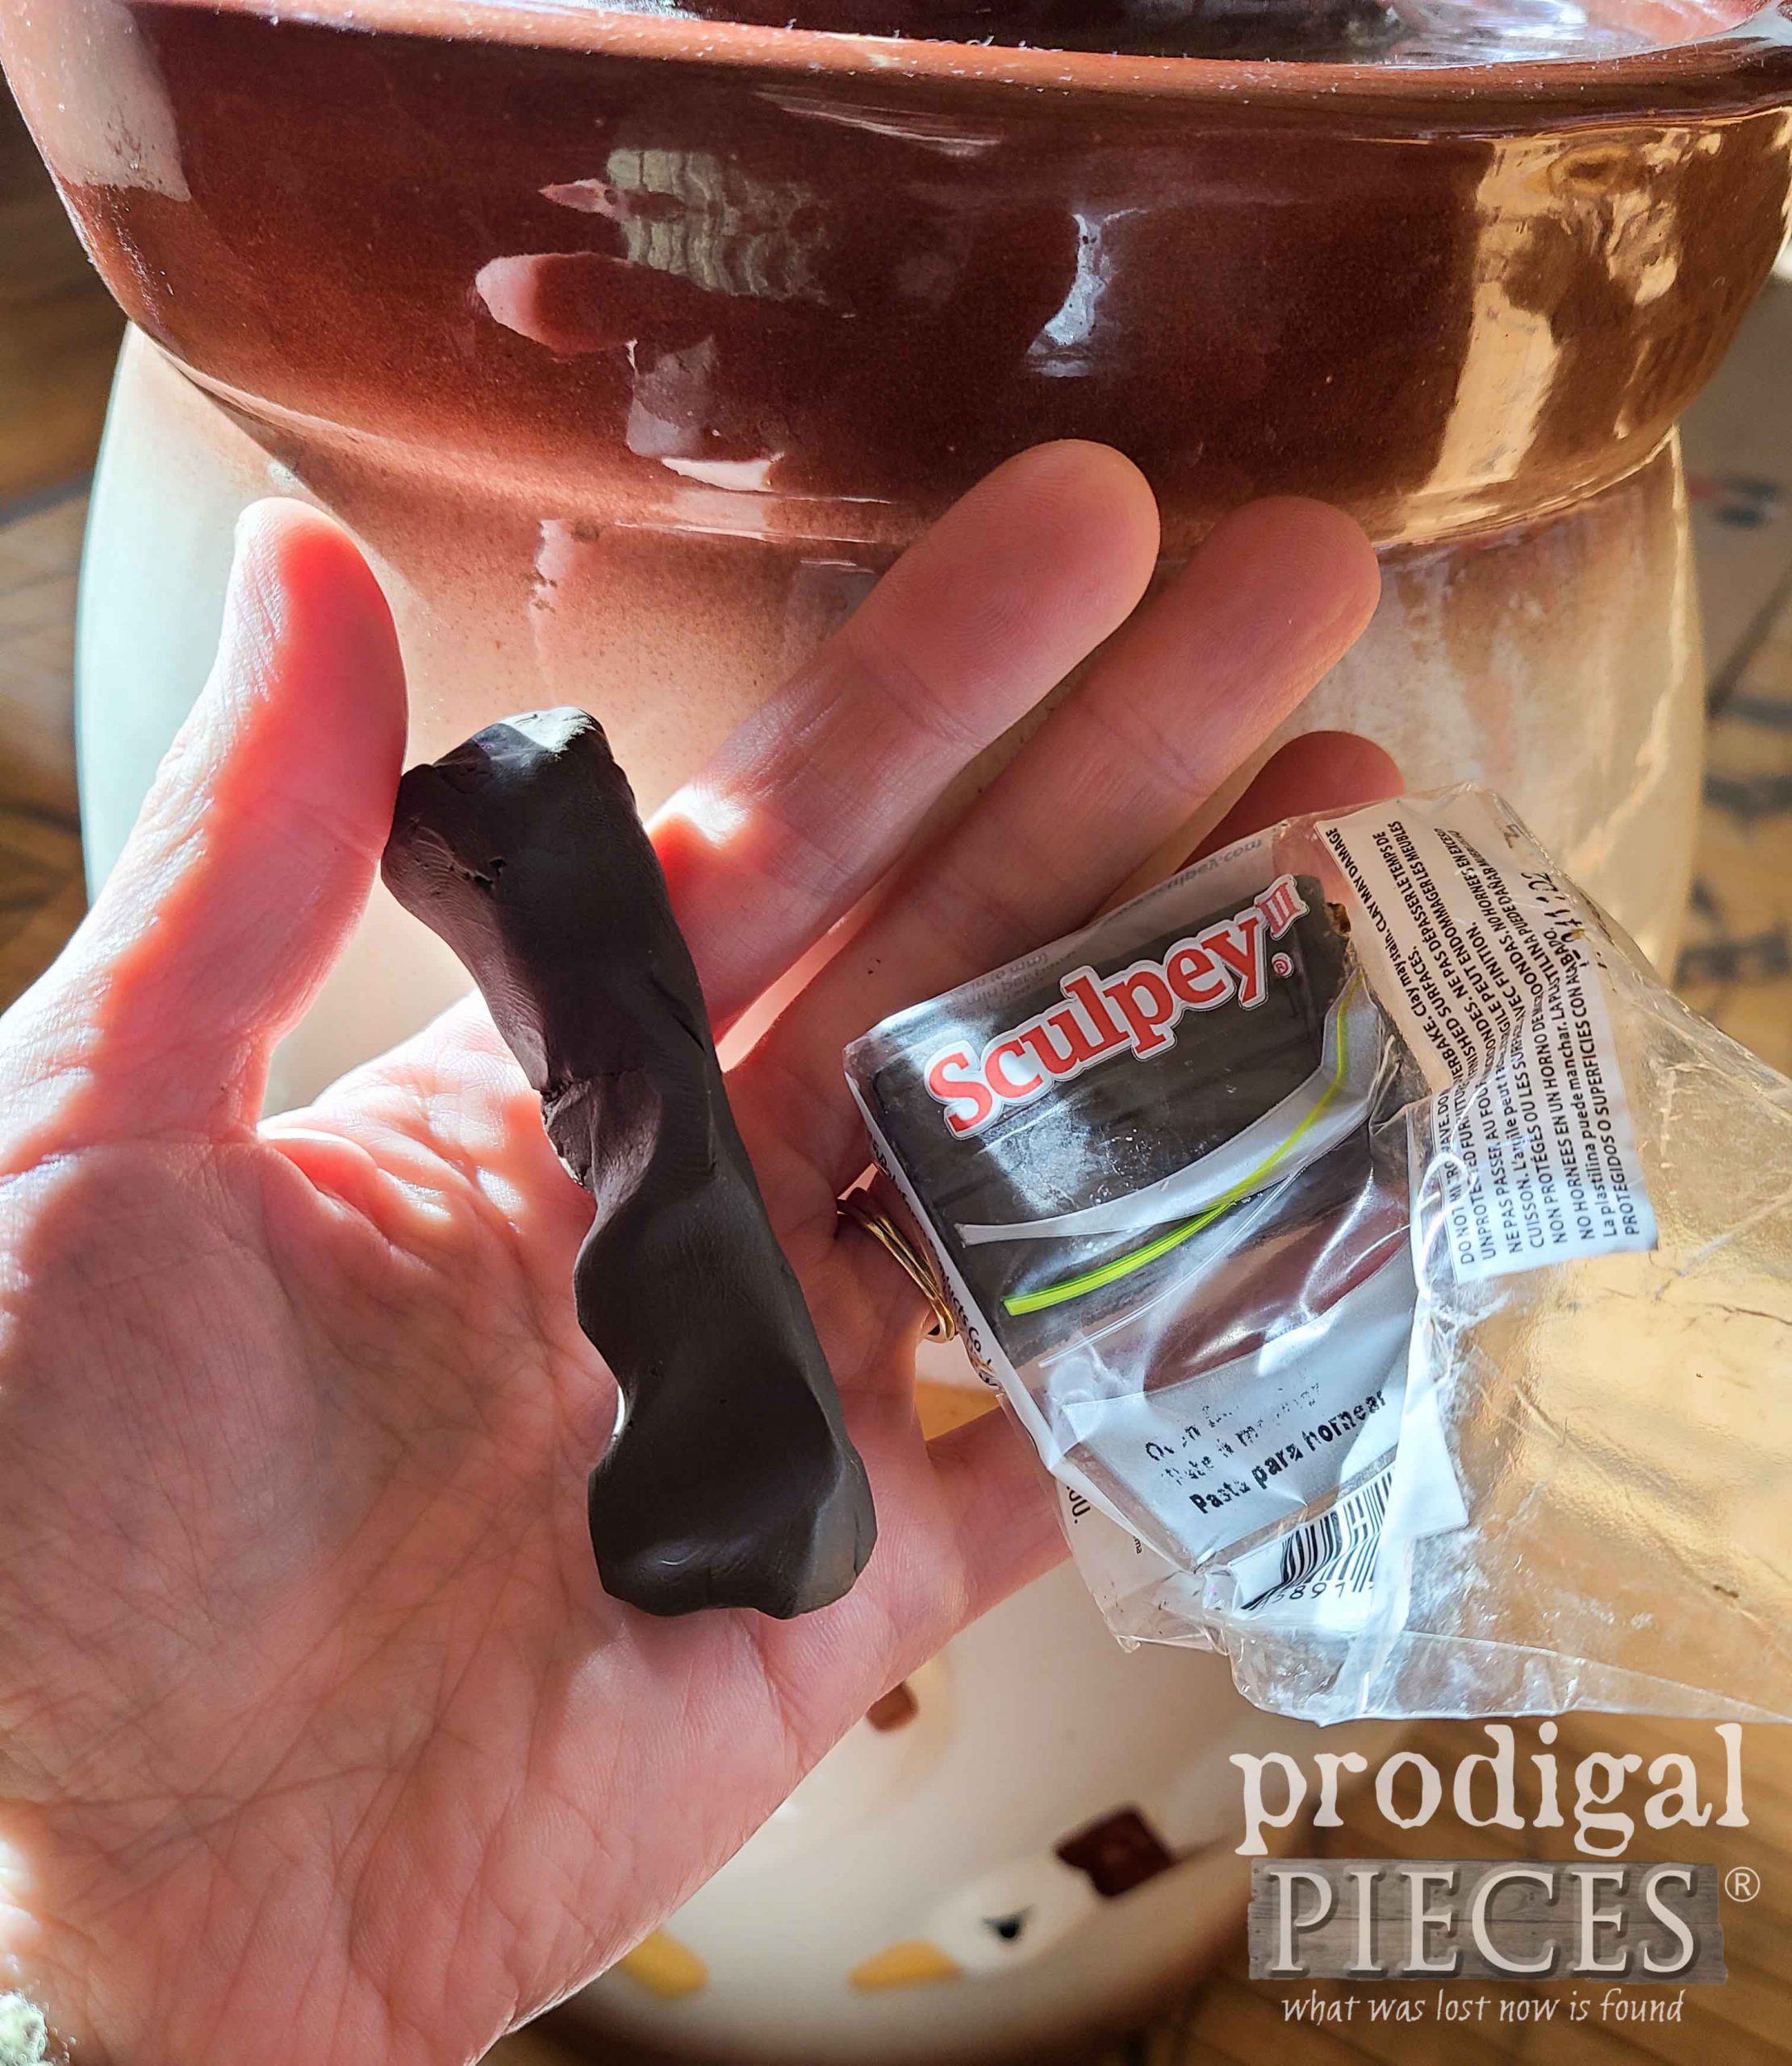
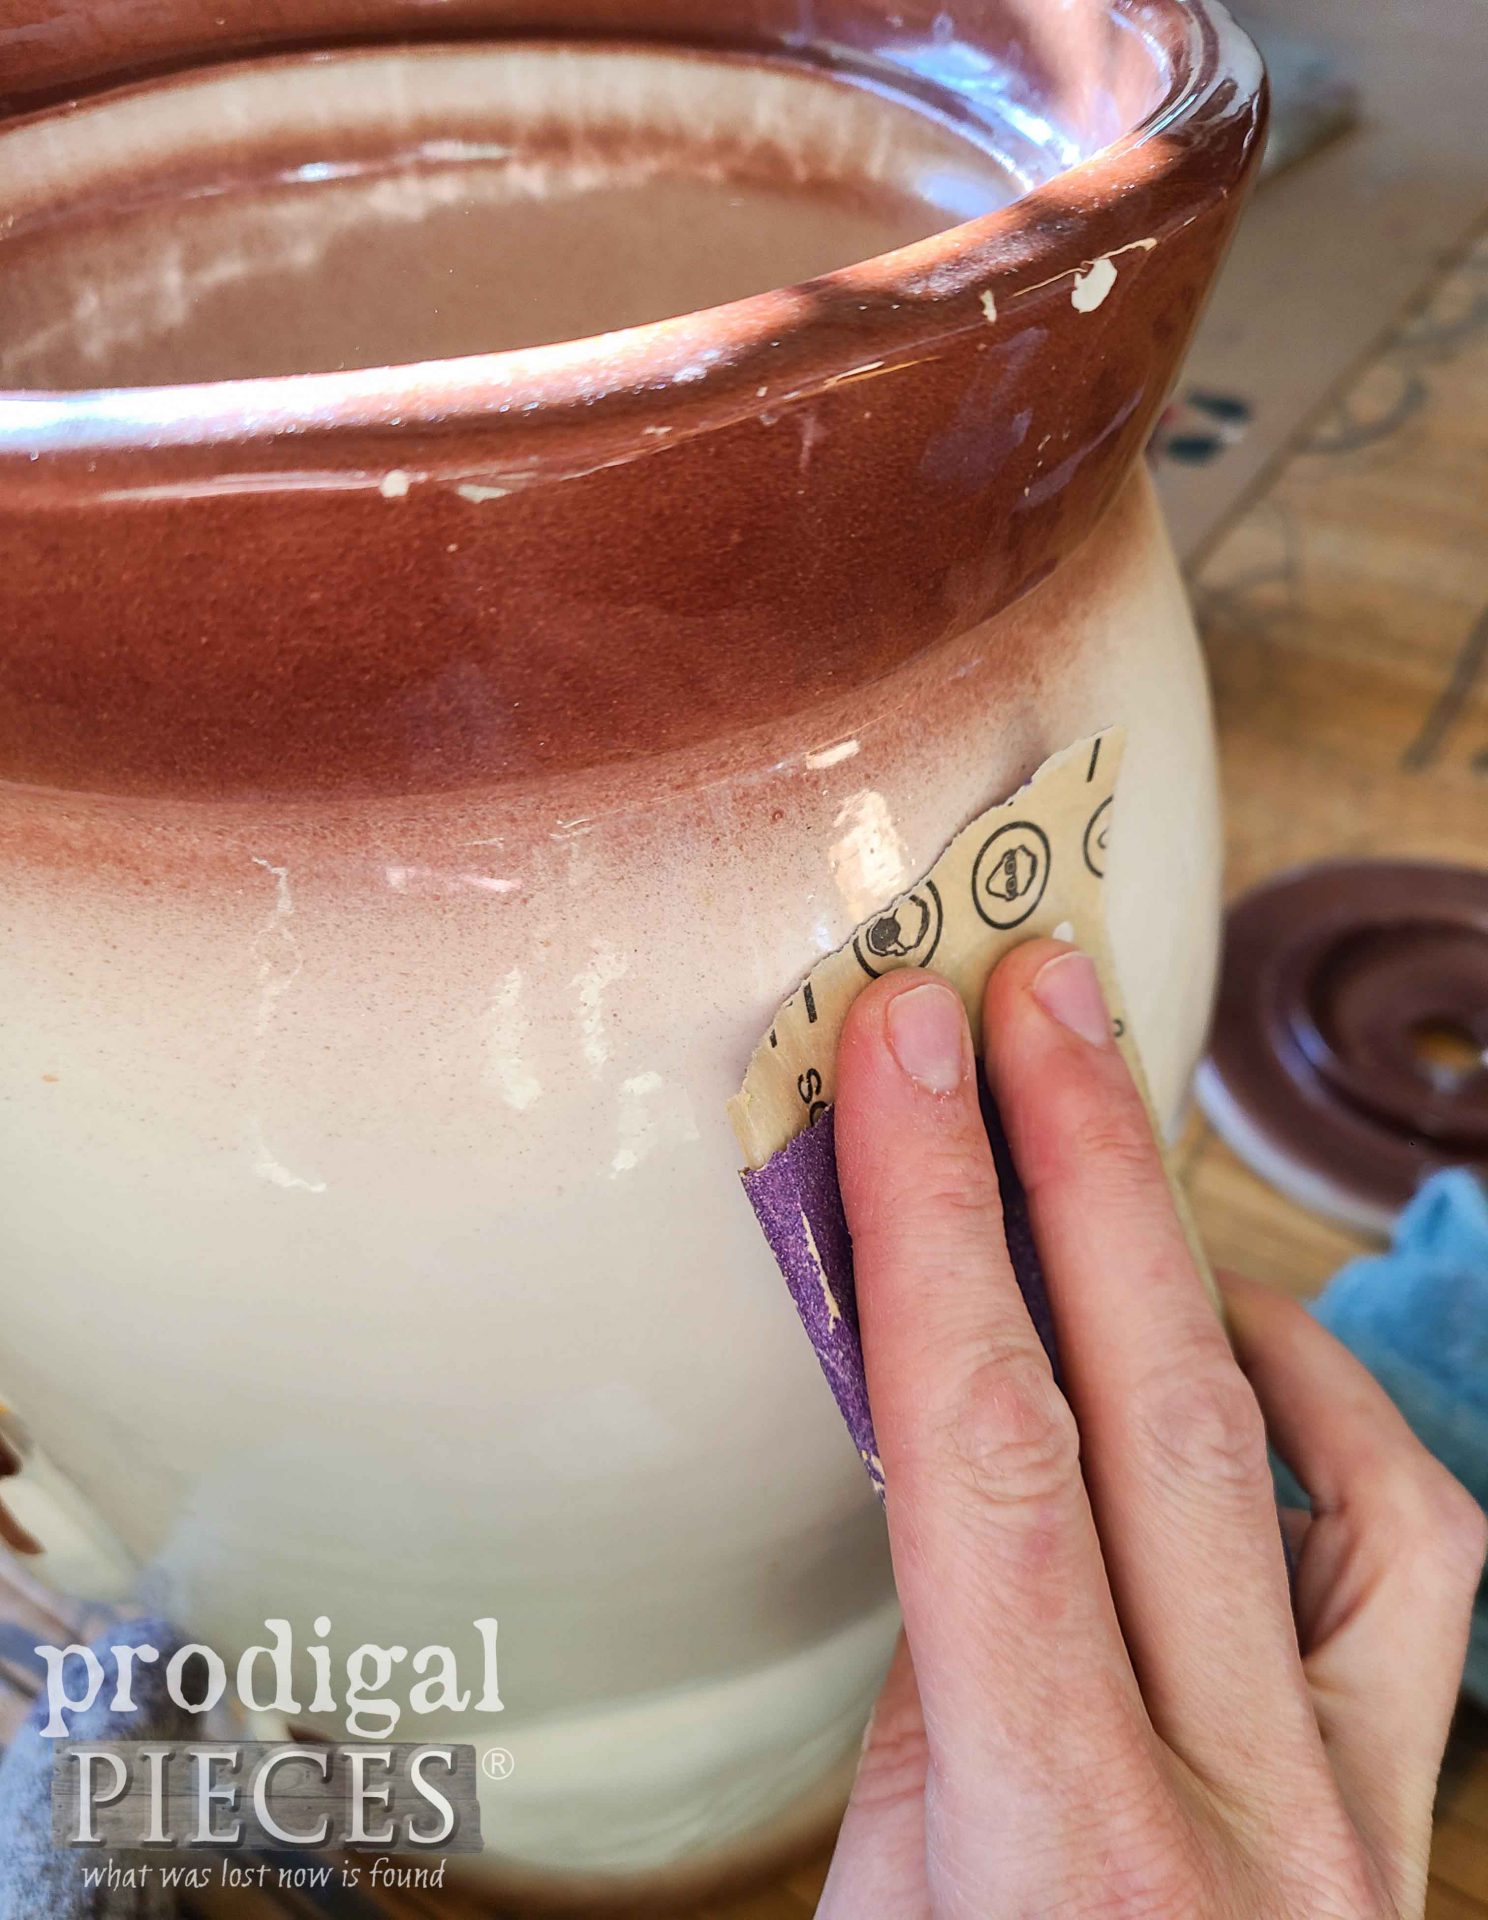
Yes, it looks like something we won’t name, but…it has a higher purpose. I just love Sculpey for so many reasons. See my past creations in these posts HERE. This time, I’m making handles for the sides of the churn. I shape the piece and bake it according to instructions. Before I can adhere the handles, I scuff the ceramic with sandpaper to make for a better connection.
Then, I adhere with e6000 adhesive. Here they are sitting pretty.
STEP 2
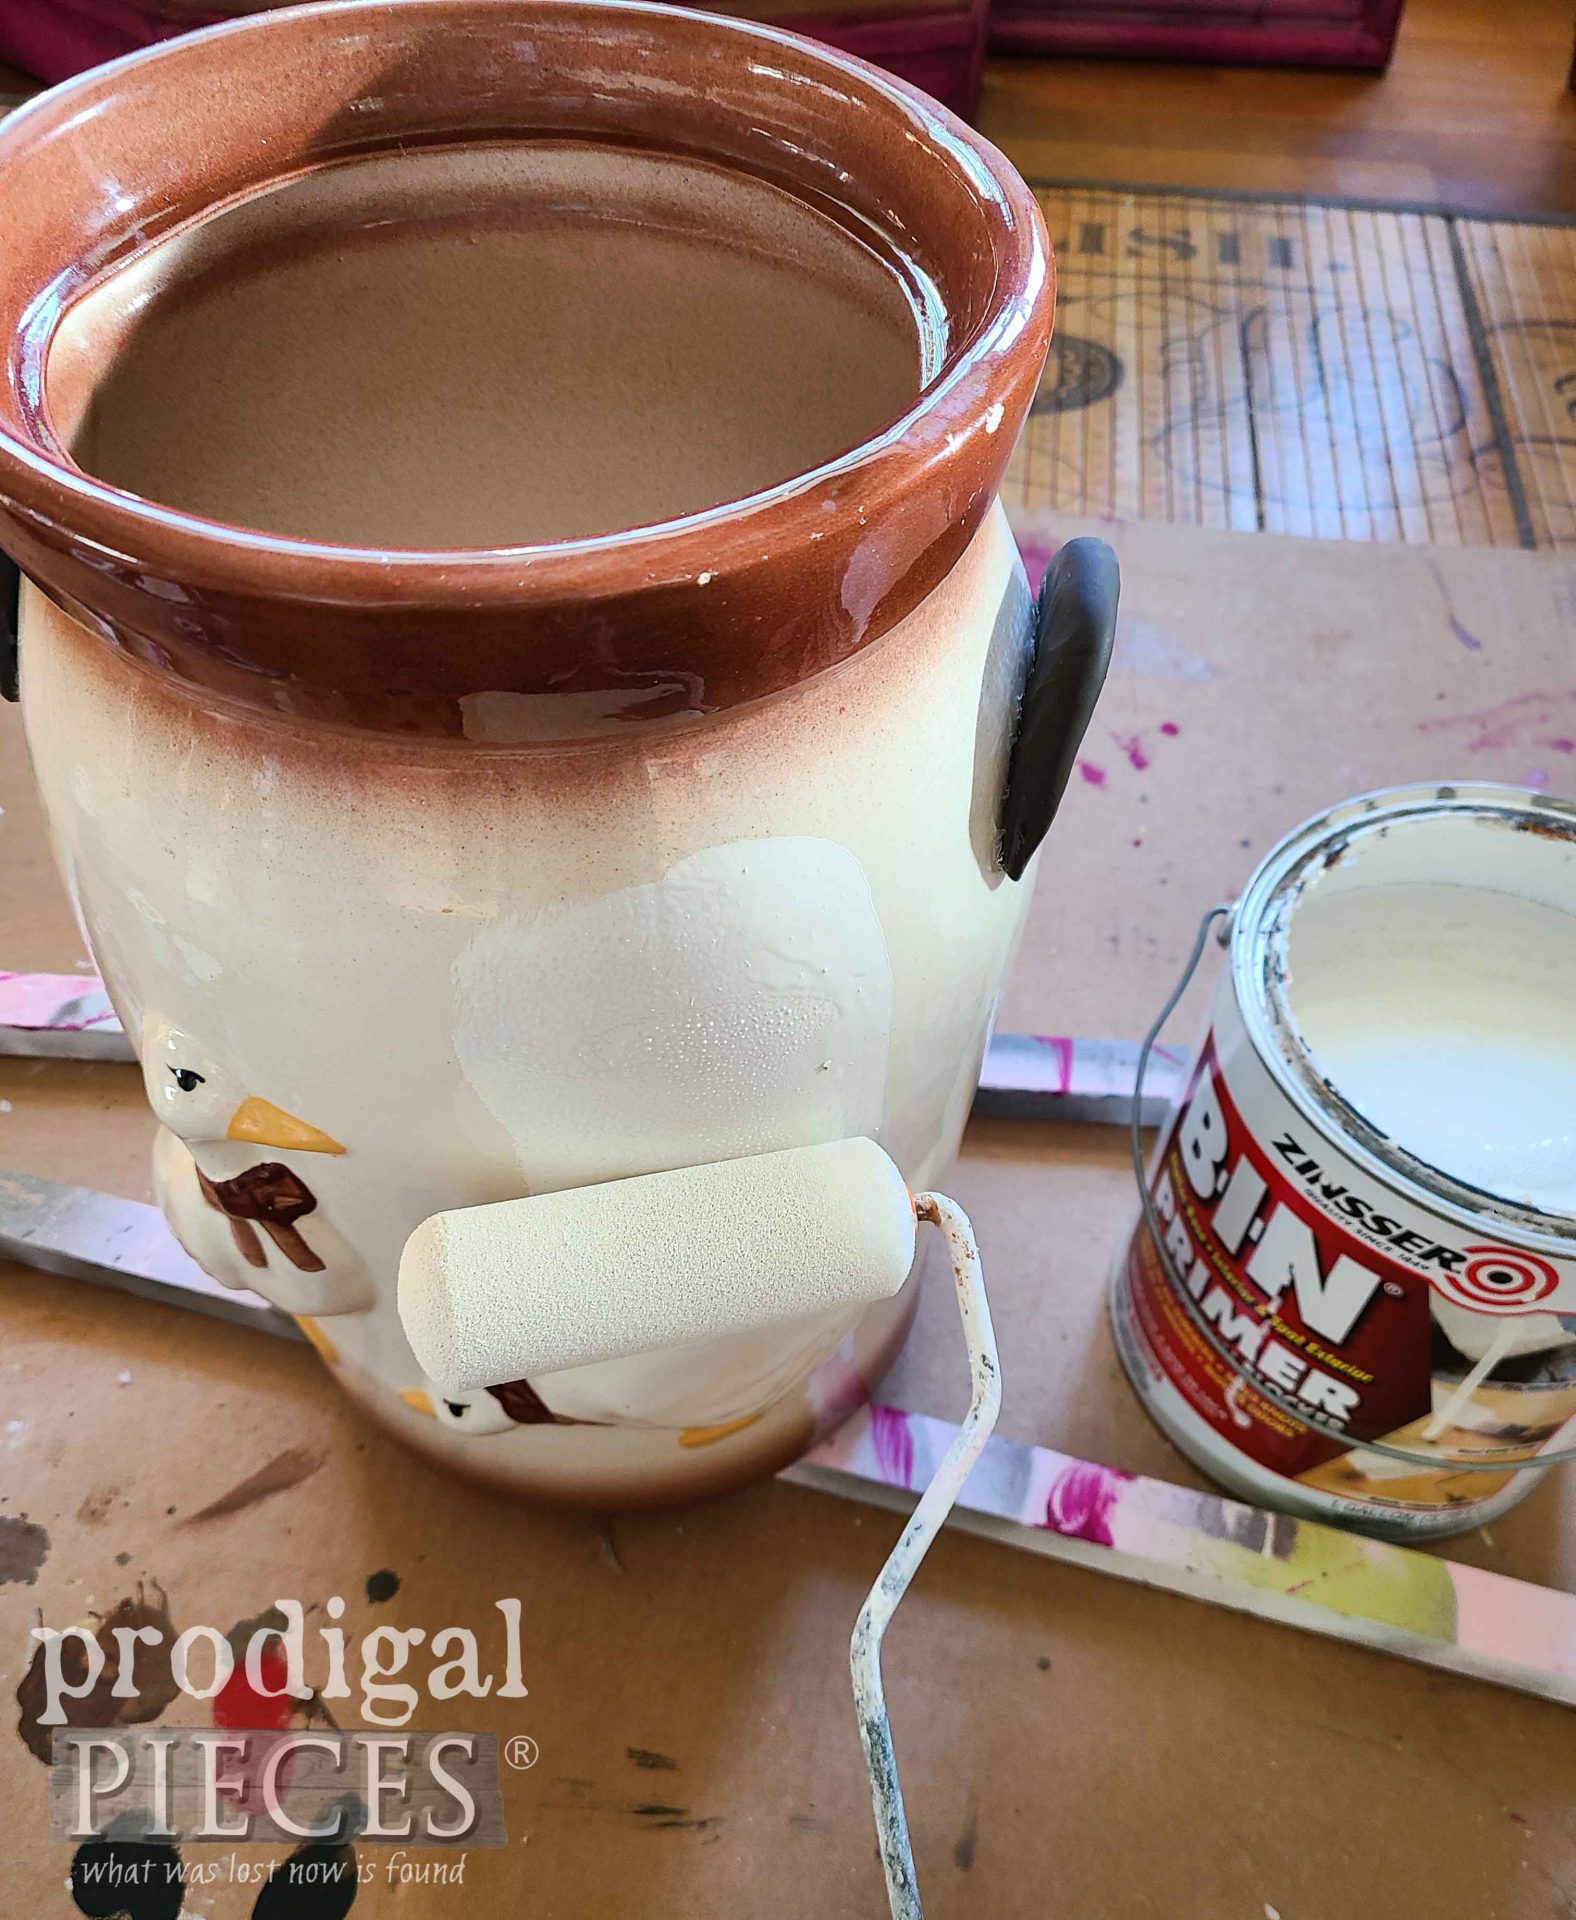
Next, I need to make the glazed ceramic ready for paint. To do that, I use Zinsser BIN primer to give it a single coat. This stuff is AWESOME. I use it to block stains, smoke, and so much more.
STEP 3
It takes only 5 minutes to set up and then I can continue in showing you how to paint ceramic.
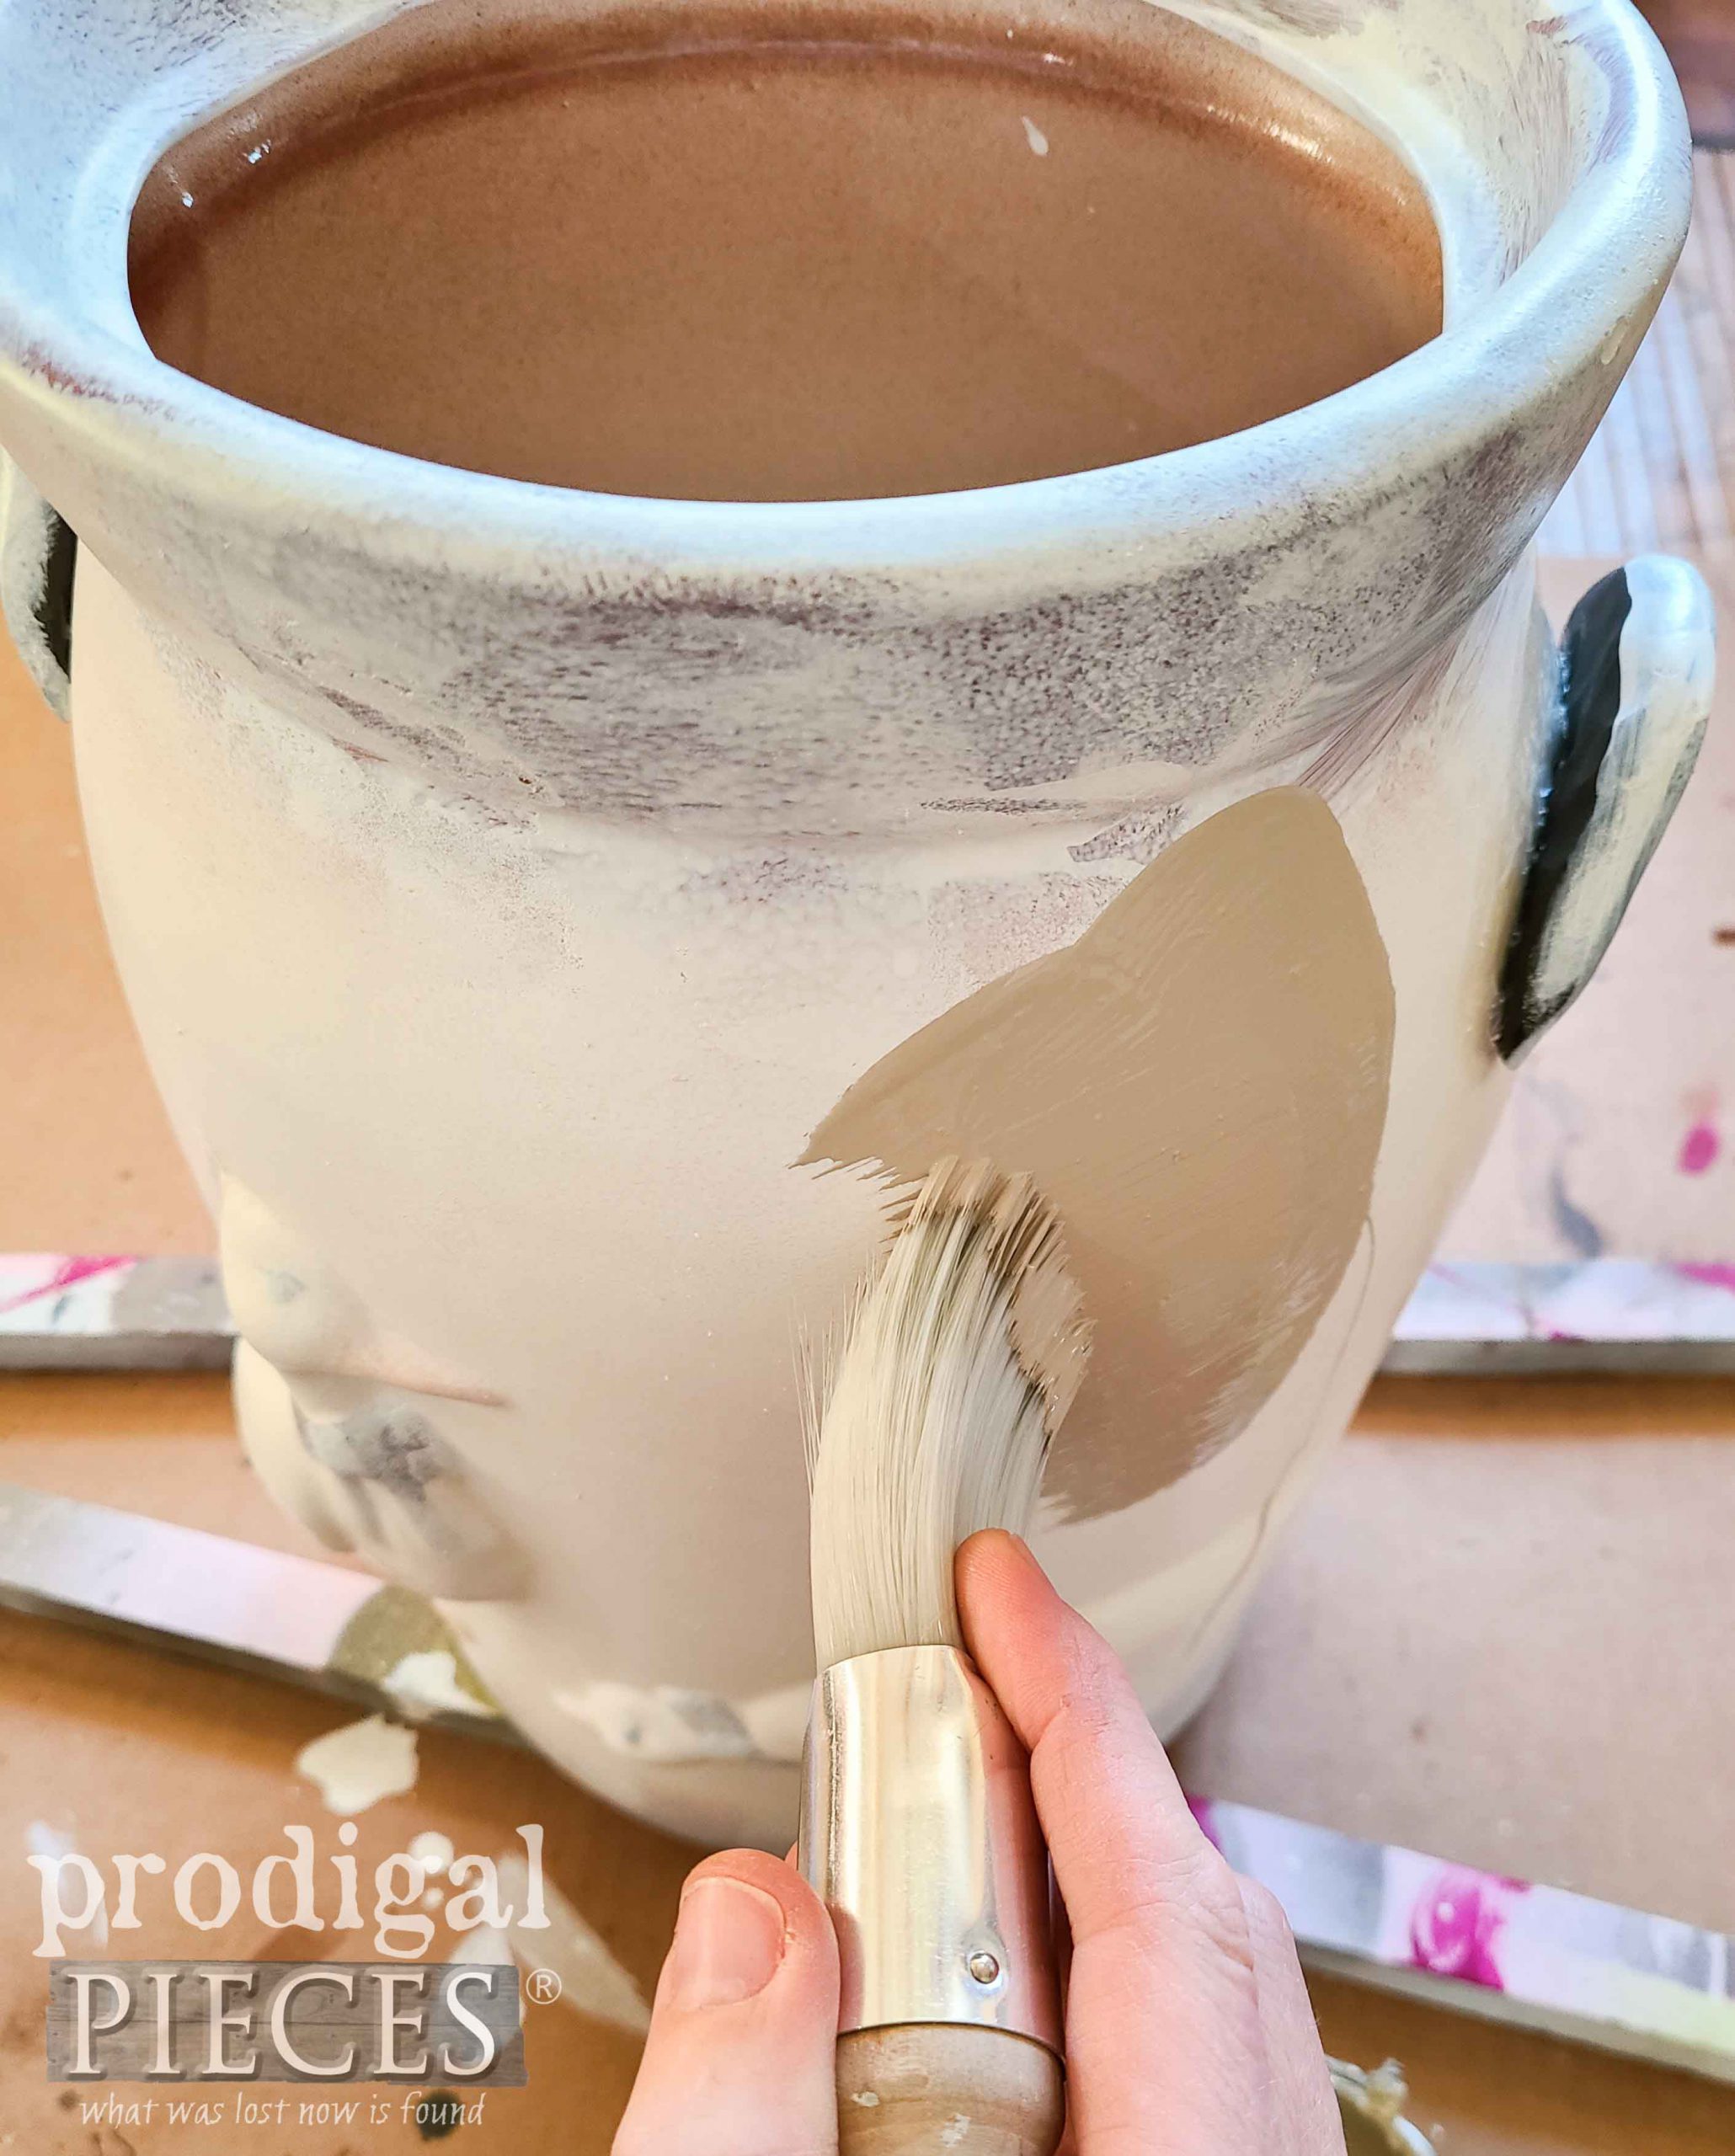
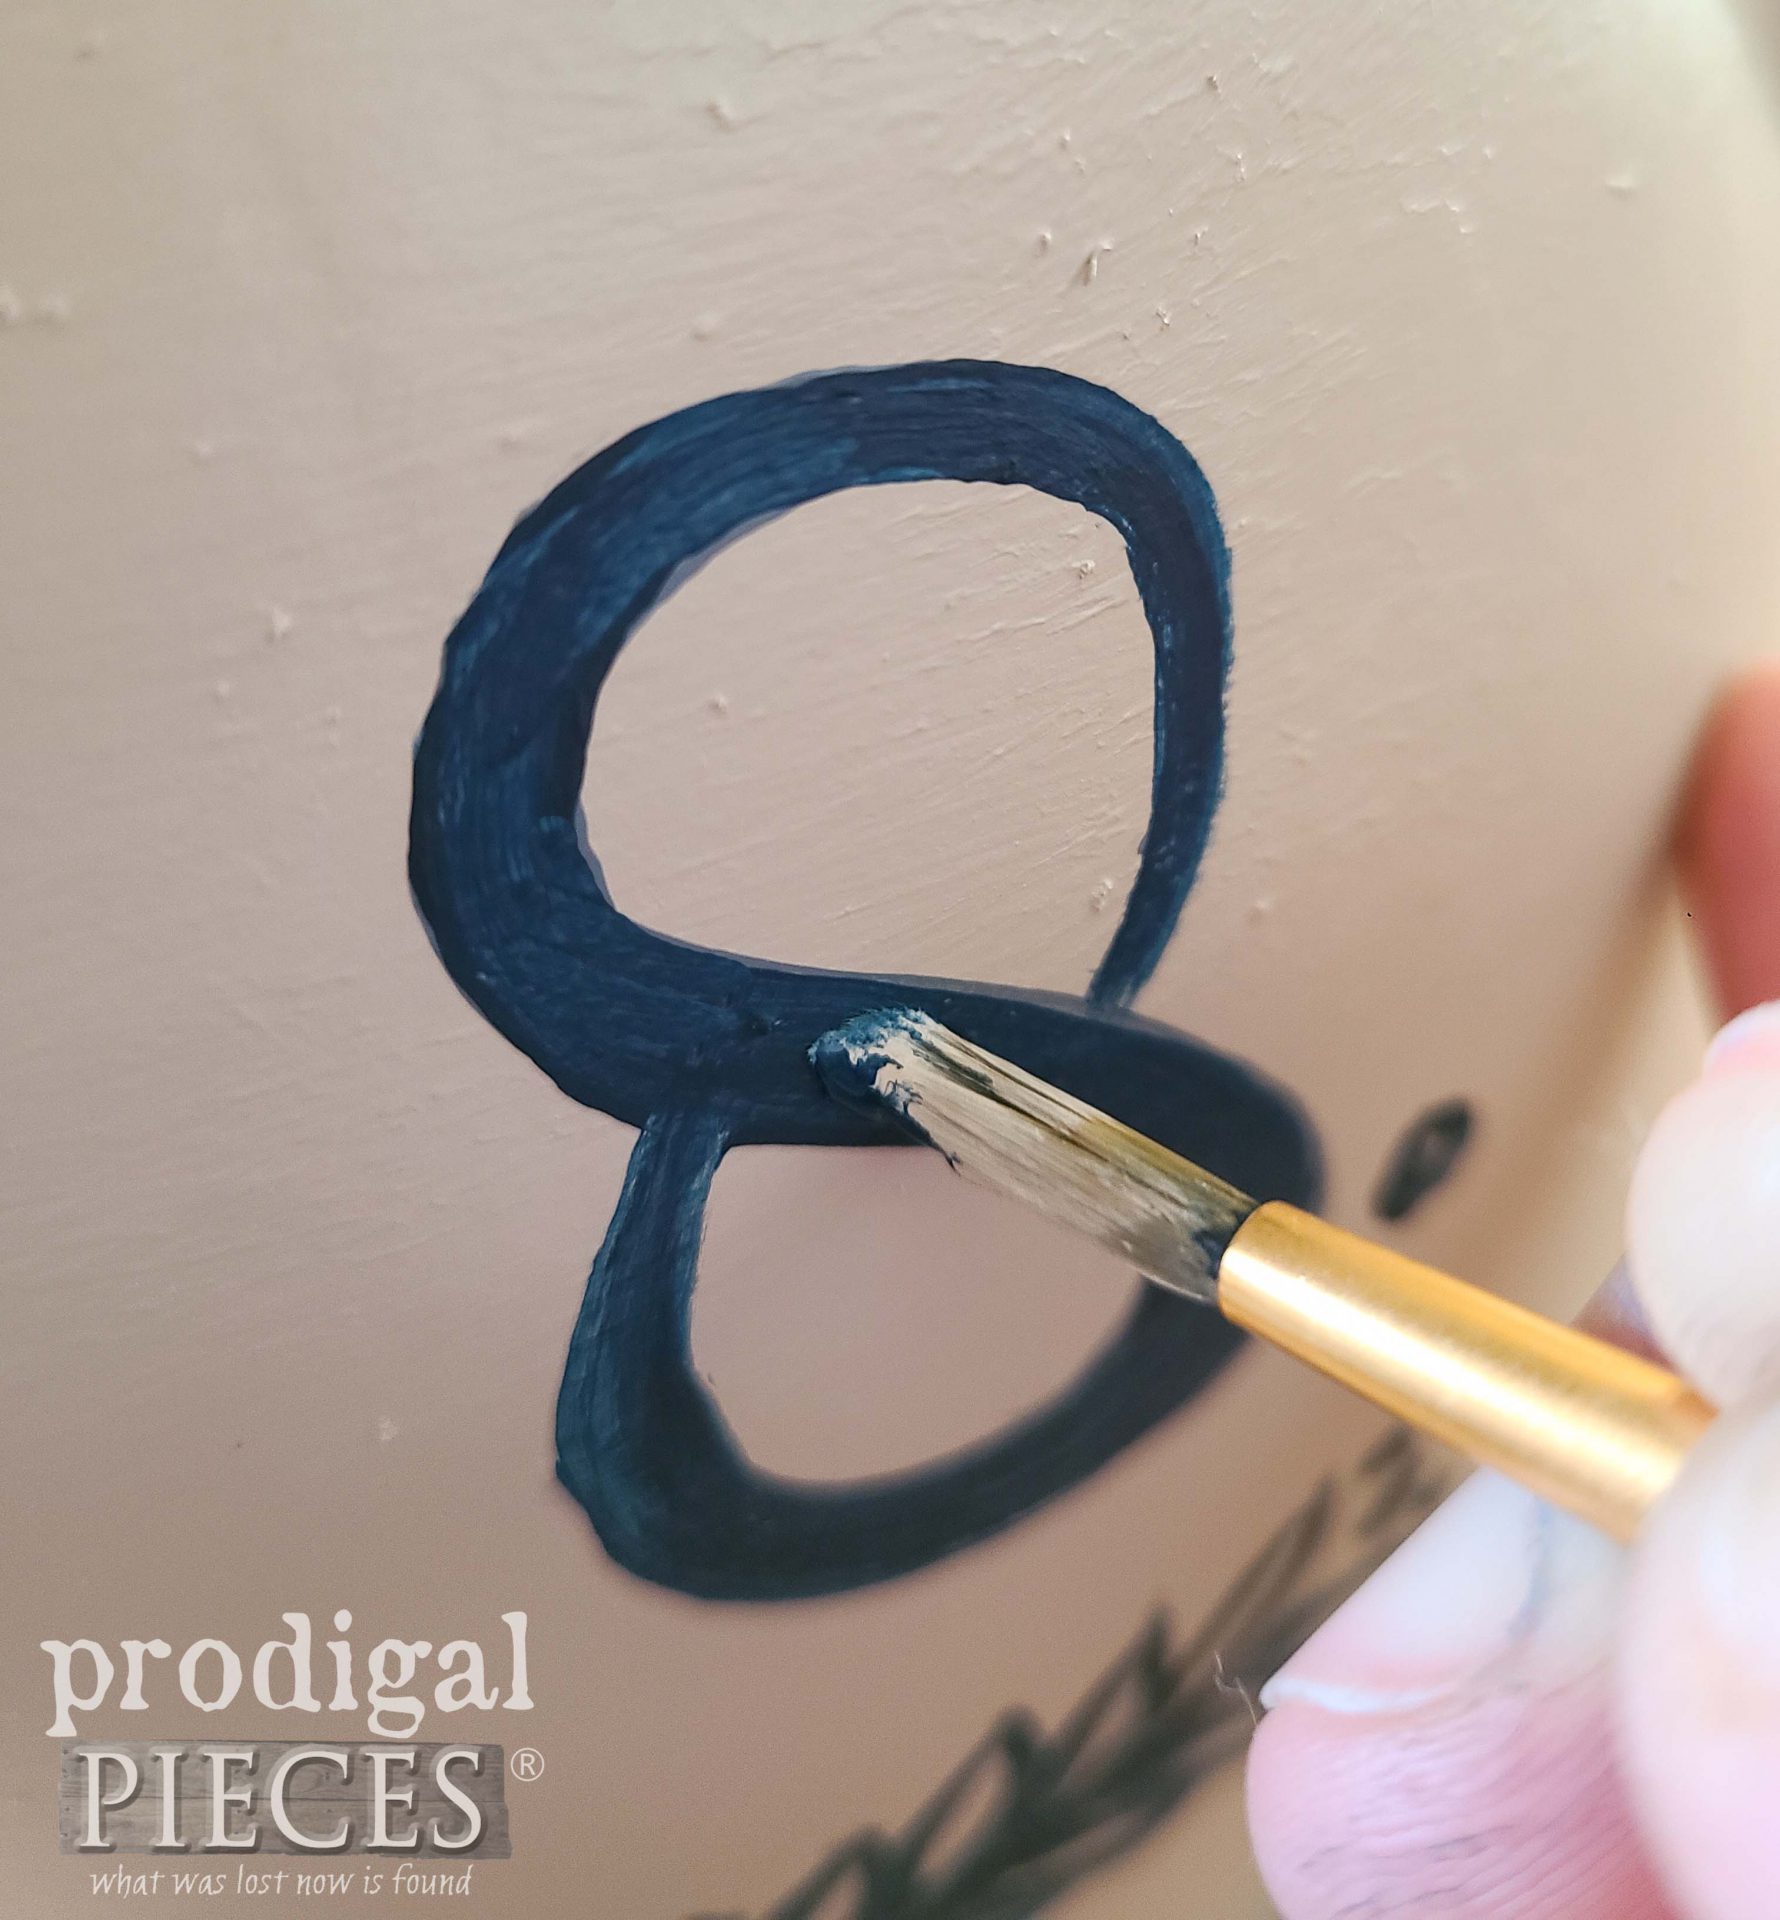
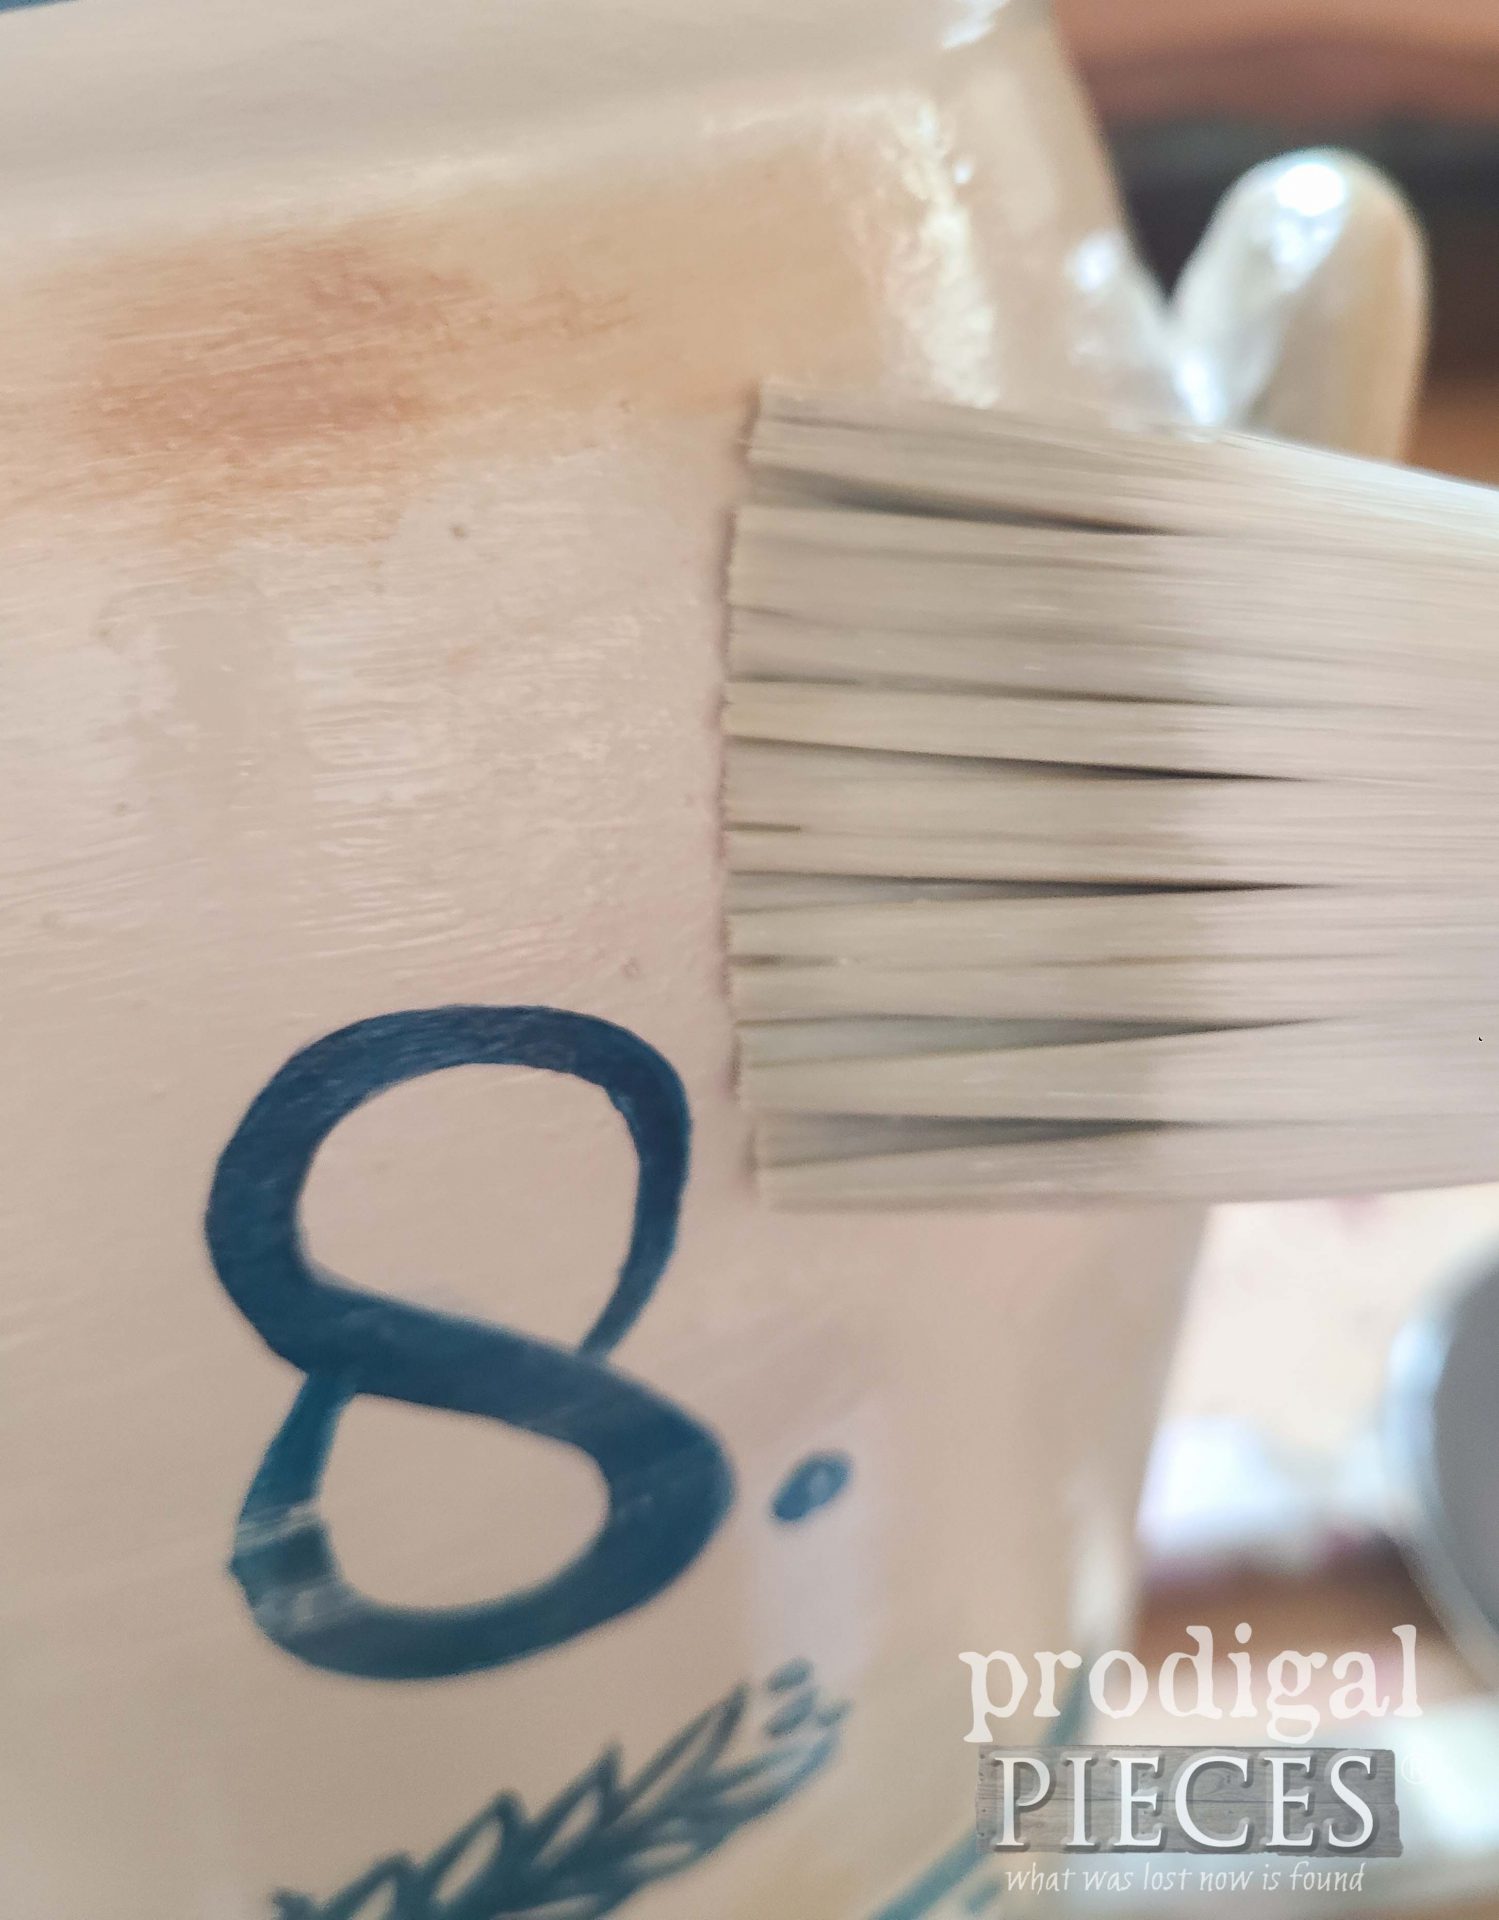
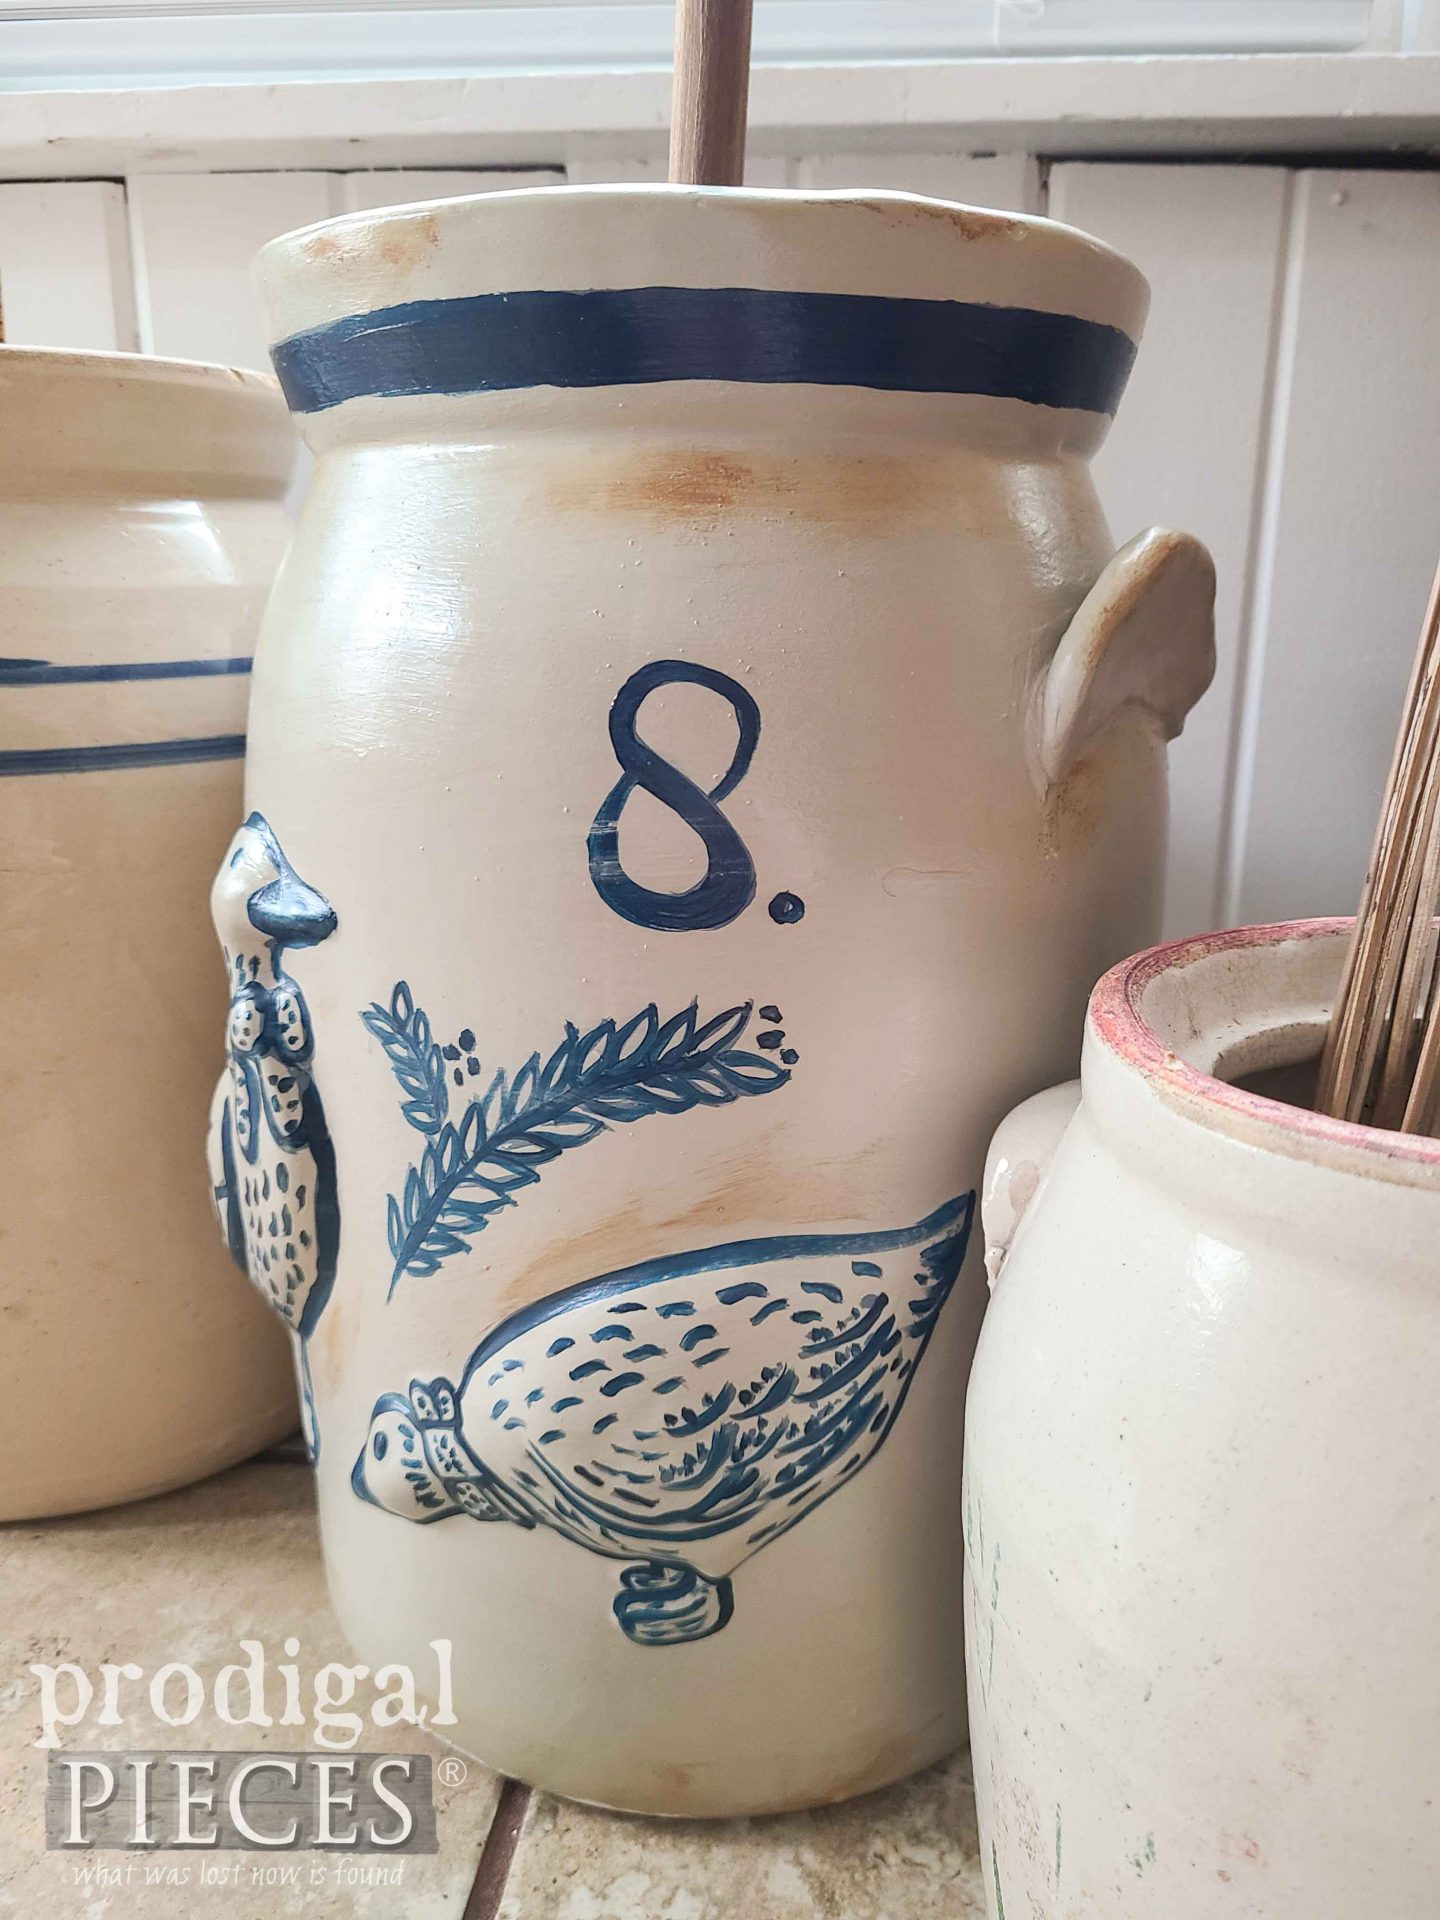
After two coats of stoneware colored paint I have on hand, I add a cobalt blue-ish color to outline the geese. This time, I’m embracing the geese.
STEP 4
Finally, I add time-worn wear and a glazing finish by using a polycrylic.
THE REVEAL
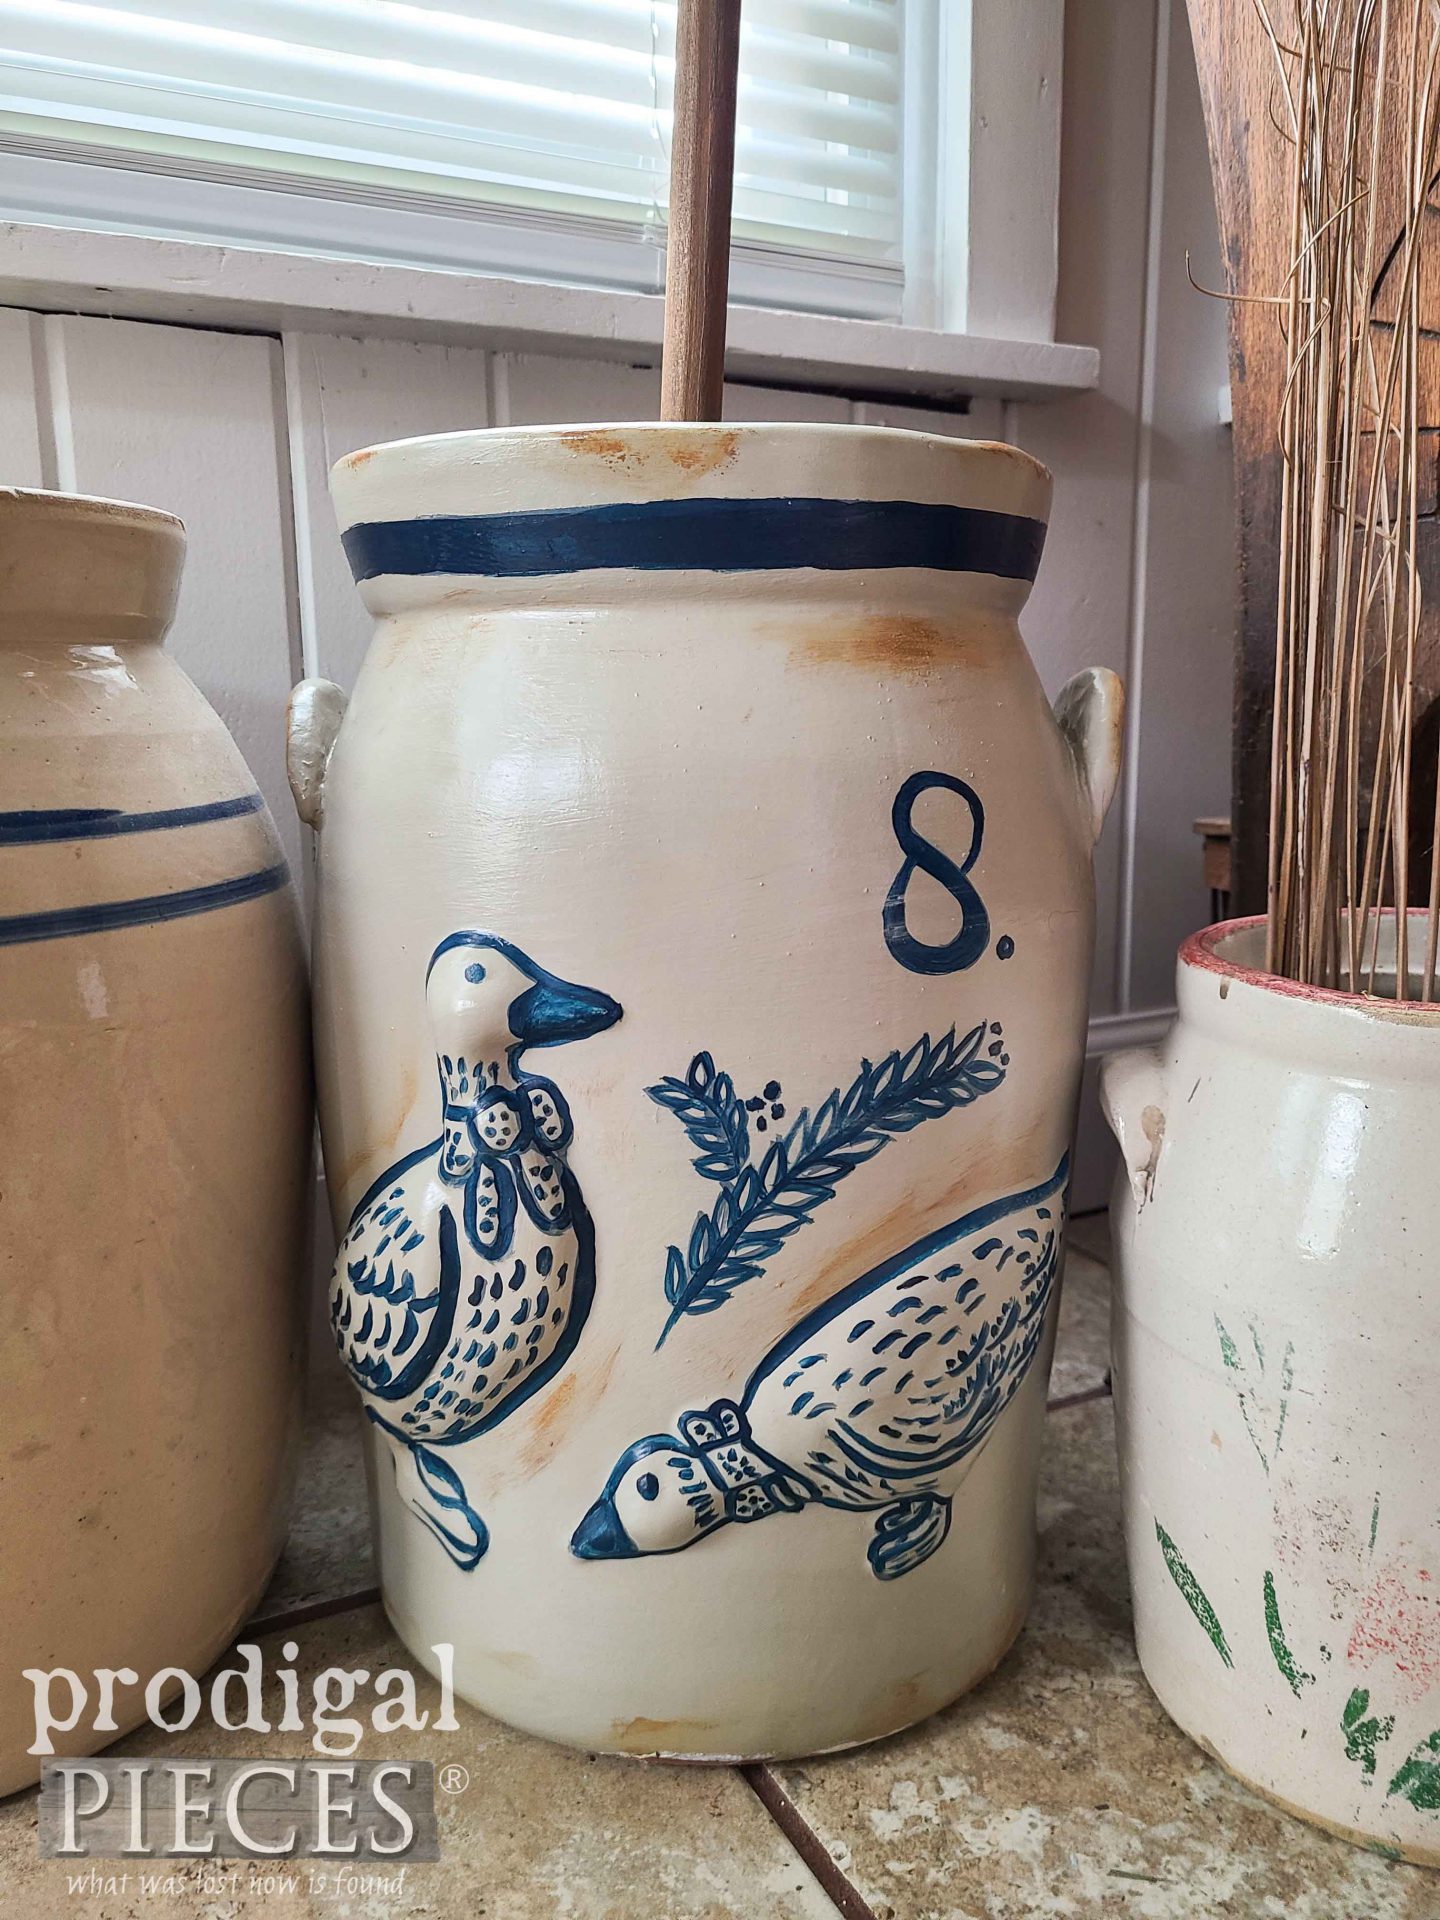
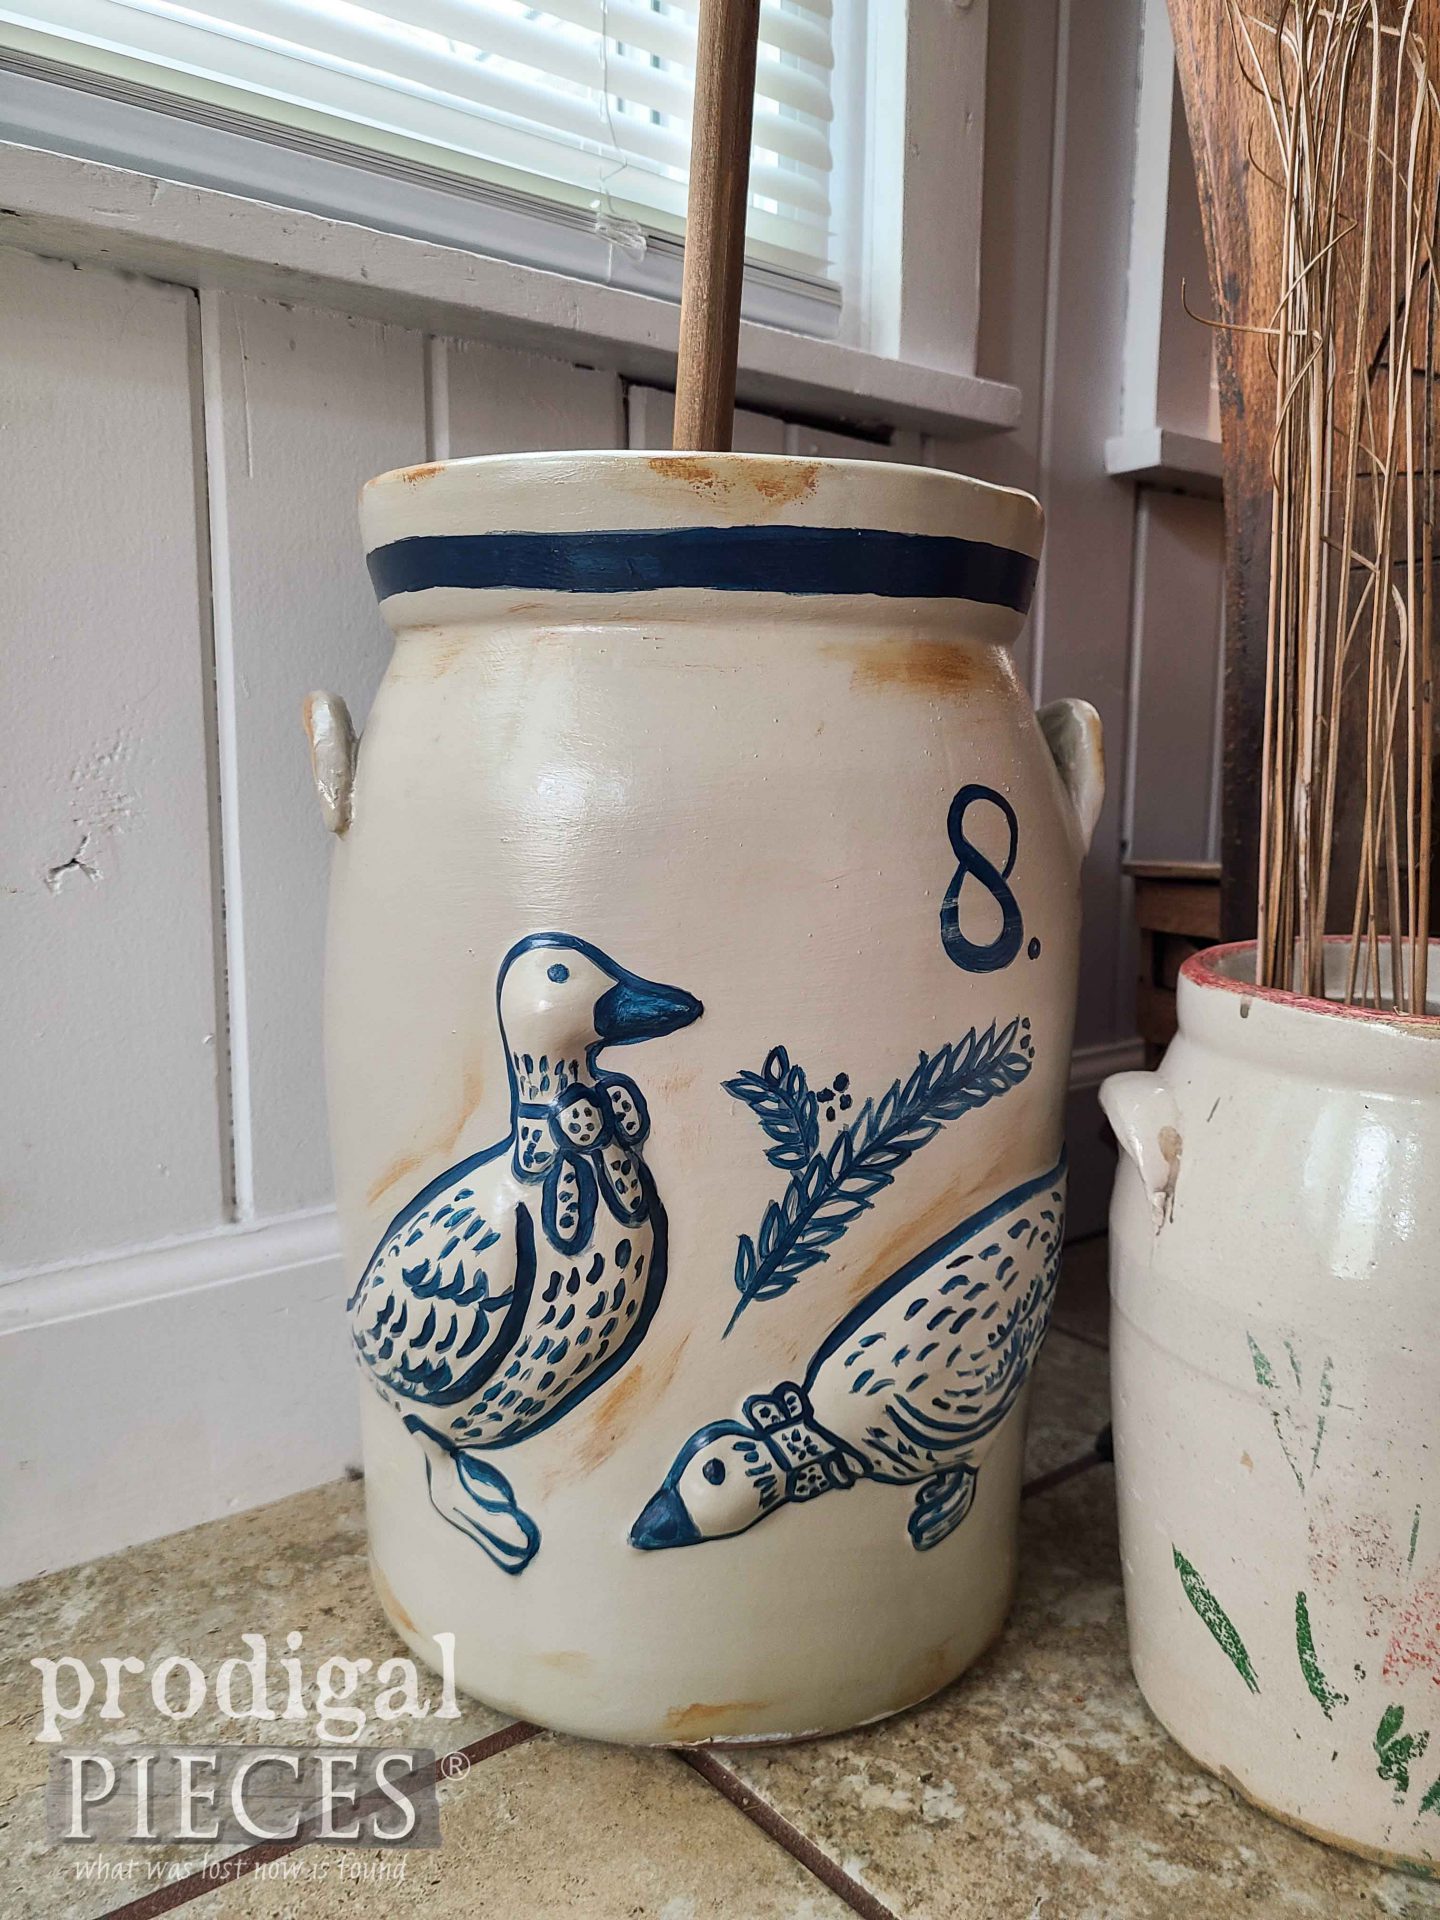
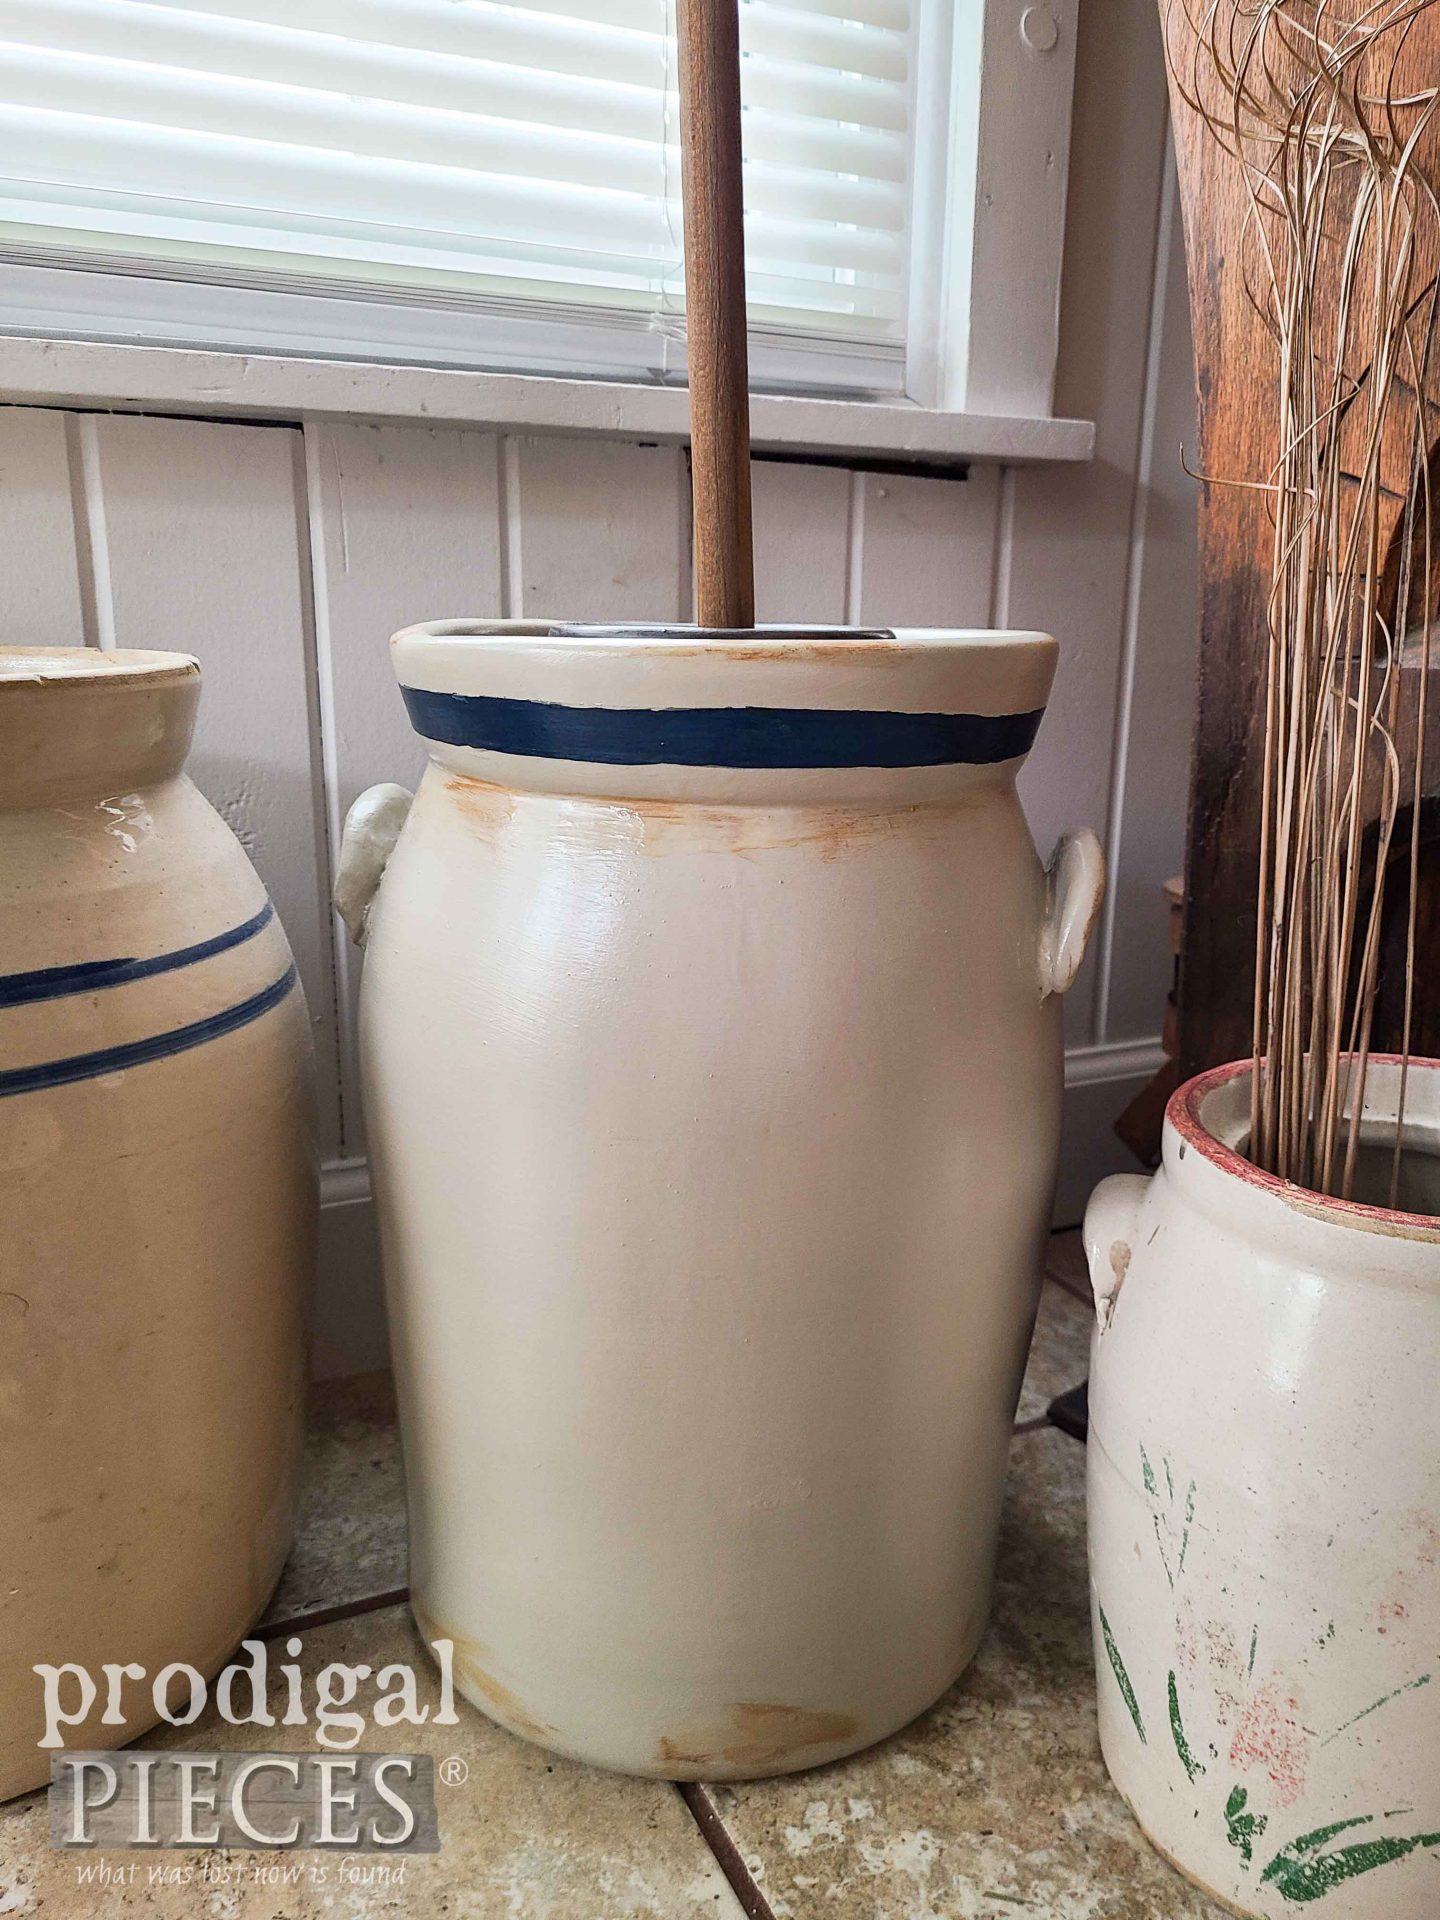
After my DIY stent on how to paint ceramic, here is my goosey makeover ready for a new lease on life. Let’s embrace the geese in a new “old” way.
Isn’t it soooo absolutely fun and soooo much better? Sorry if you liked the “before” (though I’m not really…haha). Not only are the geese now a happy crew, but also more classic in their new look.
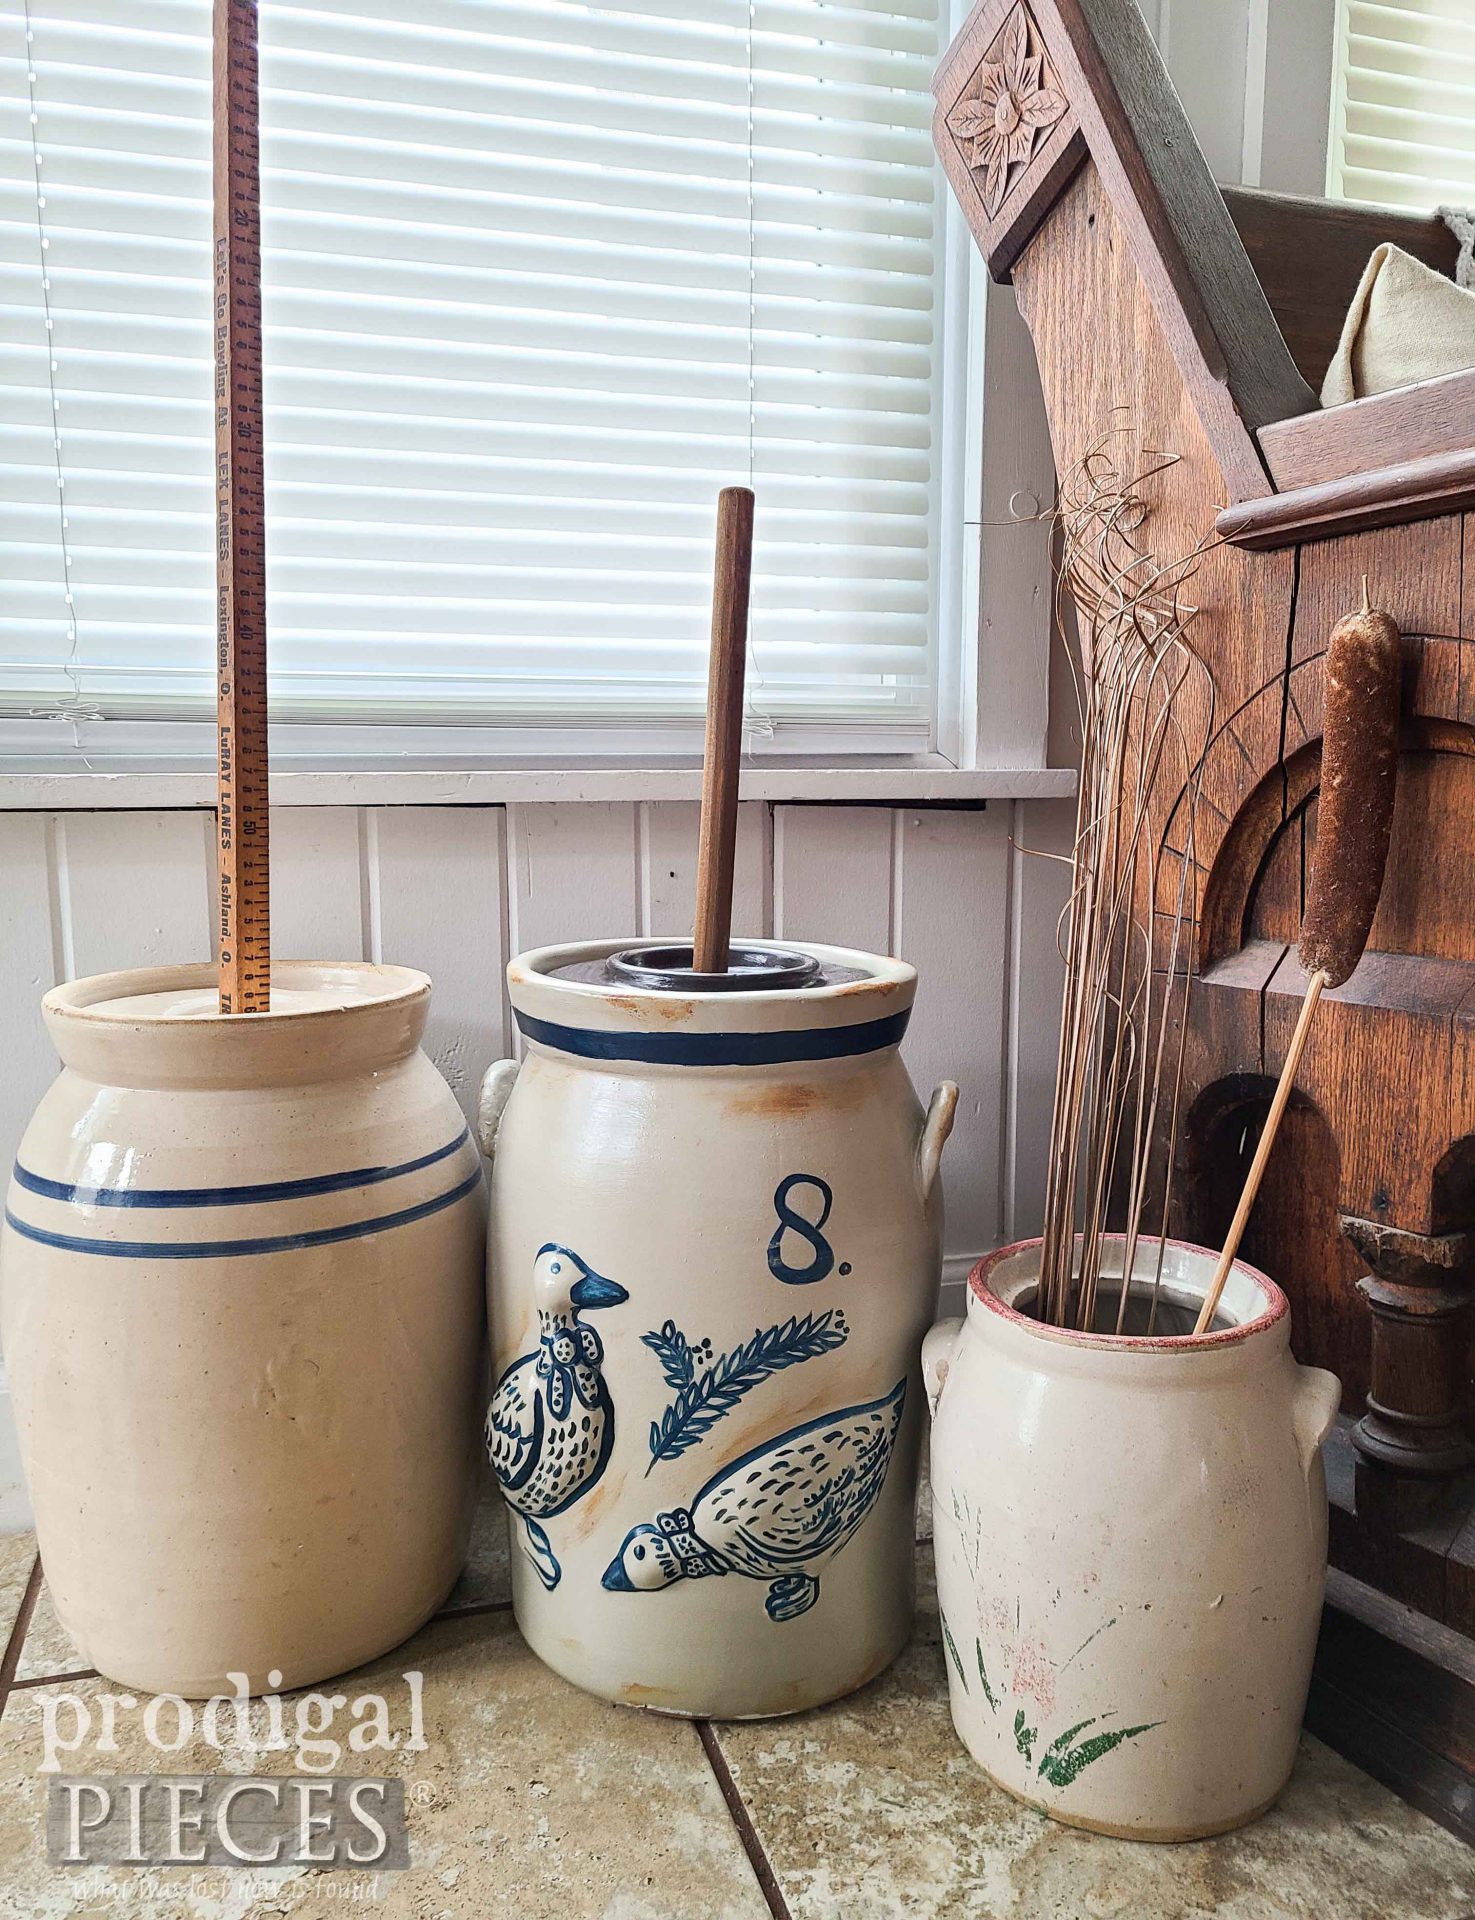
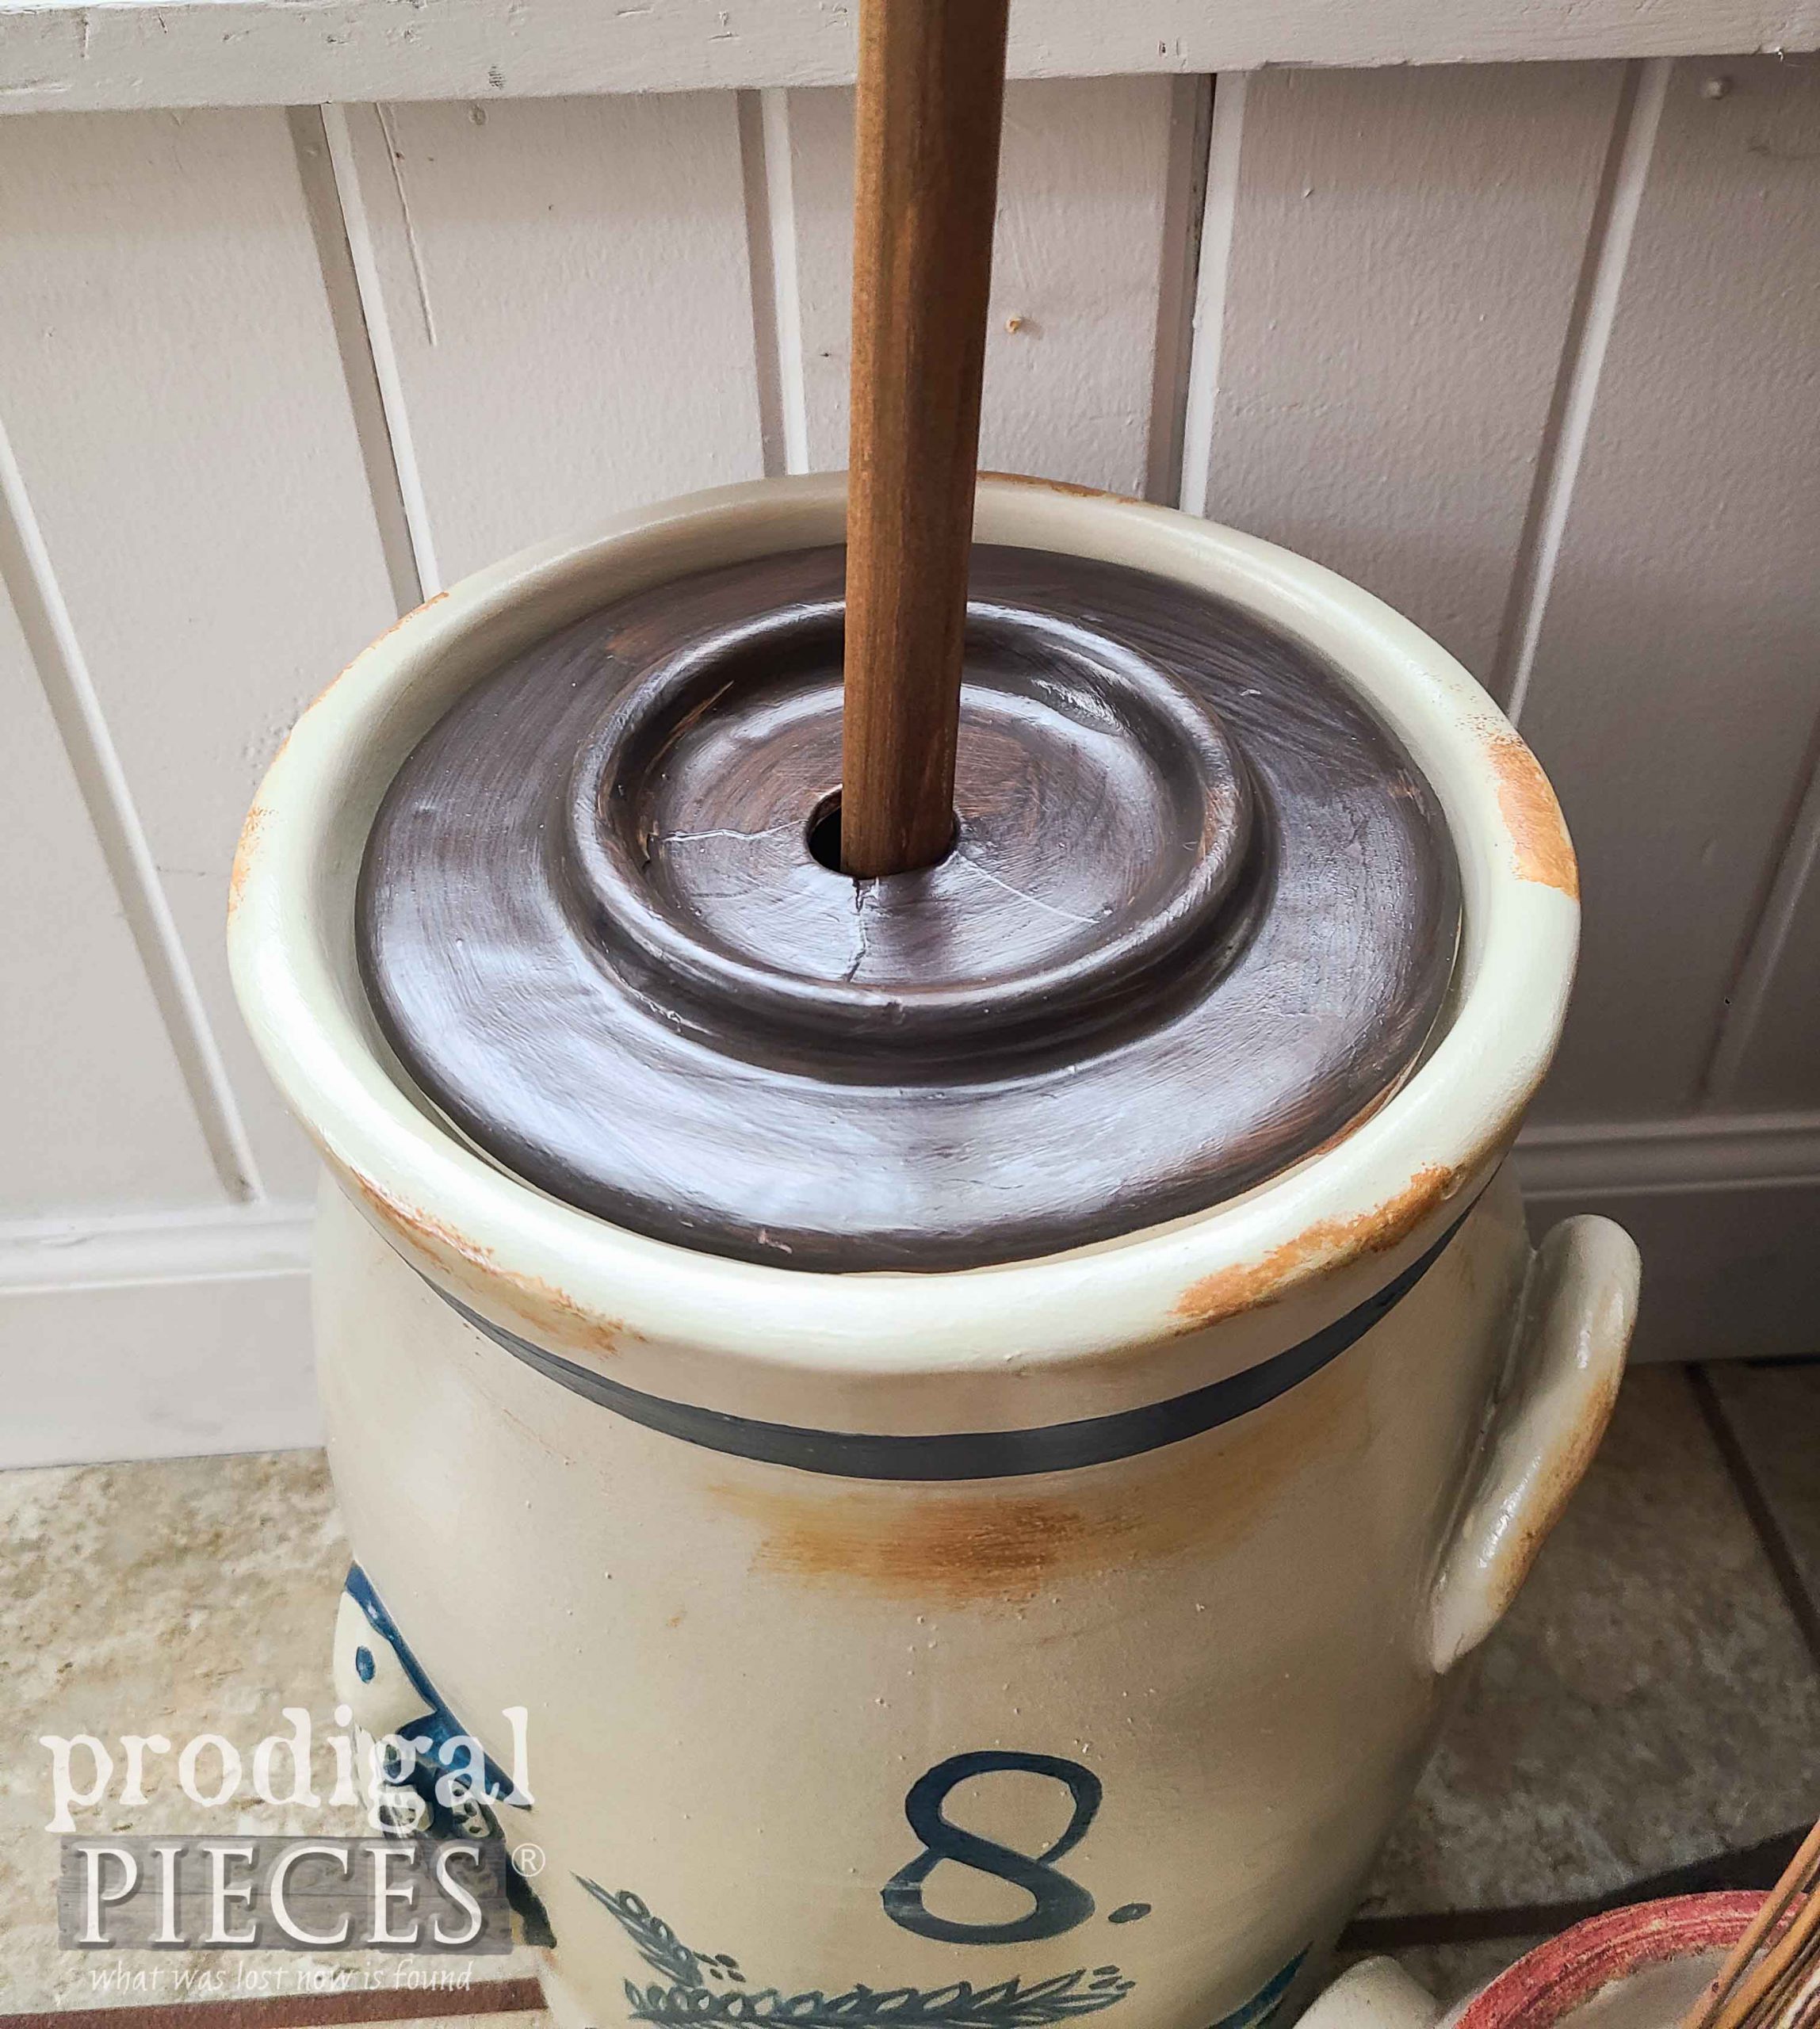
Likewise, the lid has a sporty new dark brown, although, the lid is still cracked and holding strong. Much better, right? In addition, I have to go with a “8” because of my awesome crew.
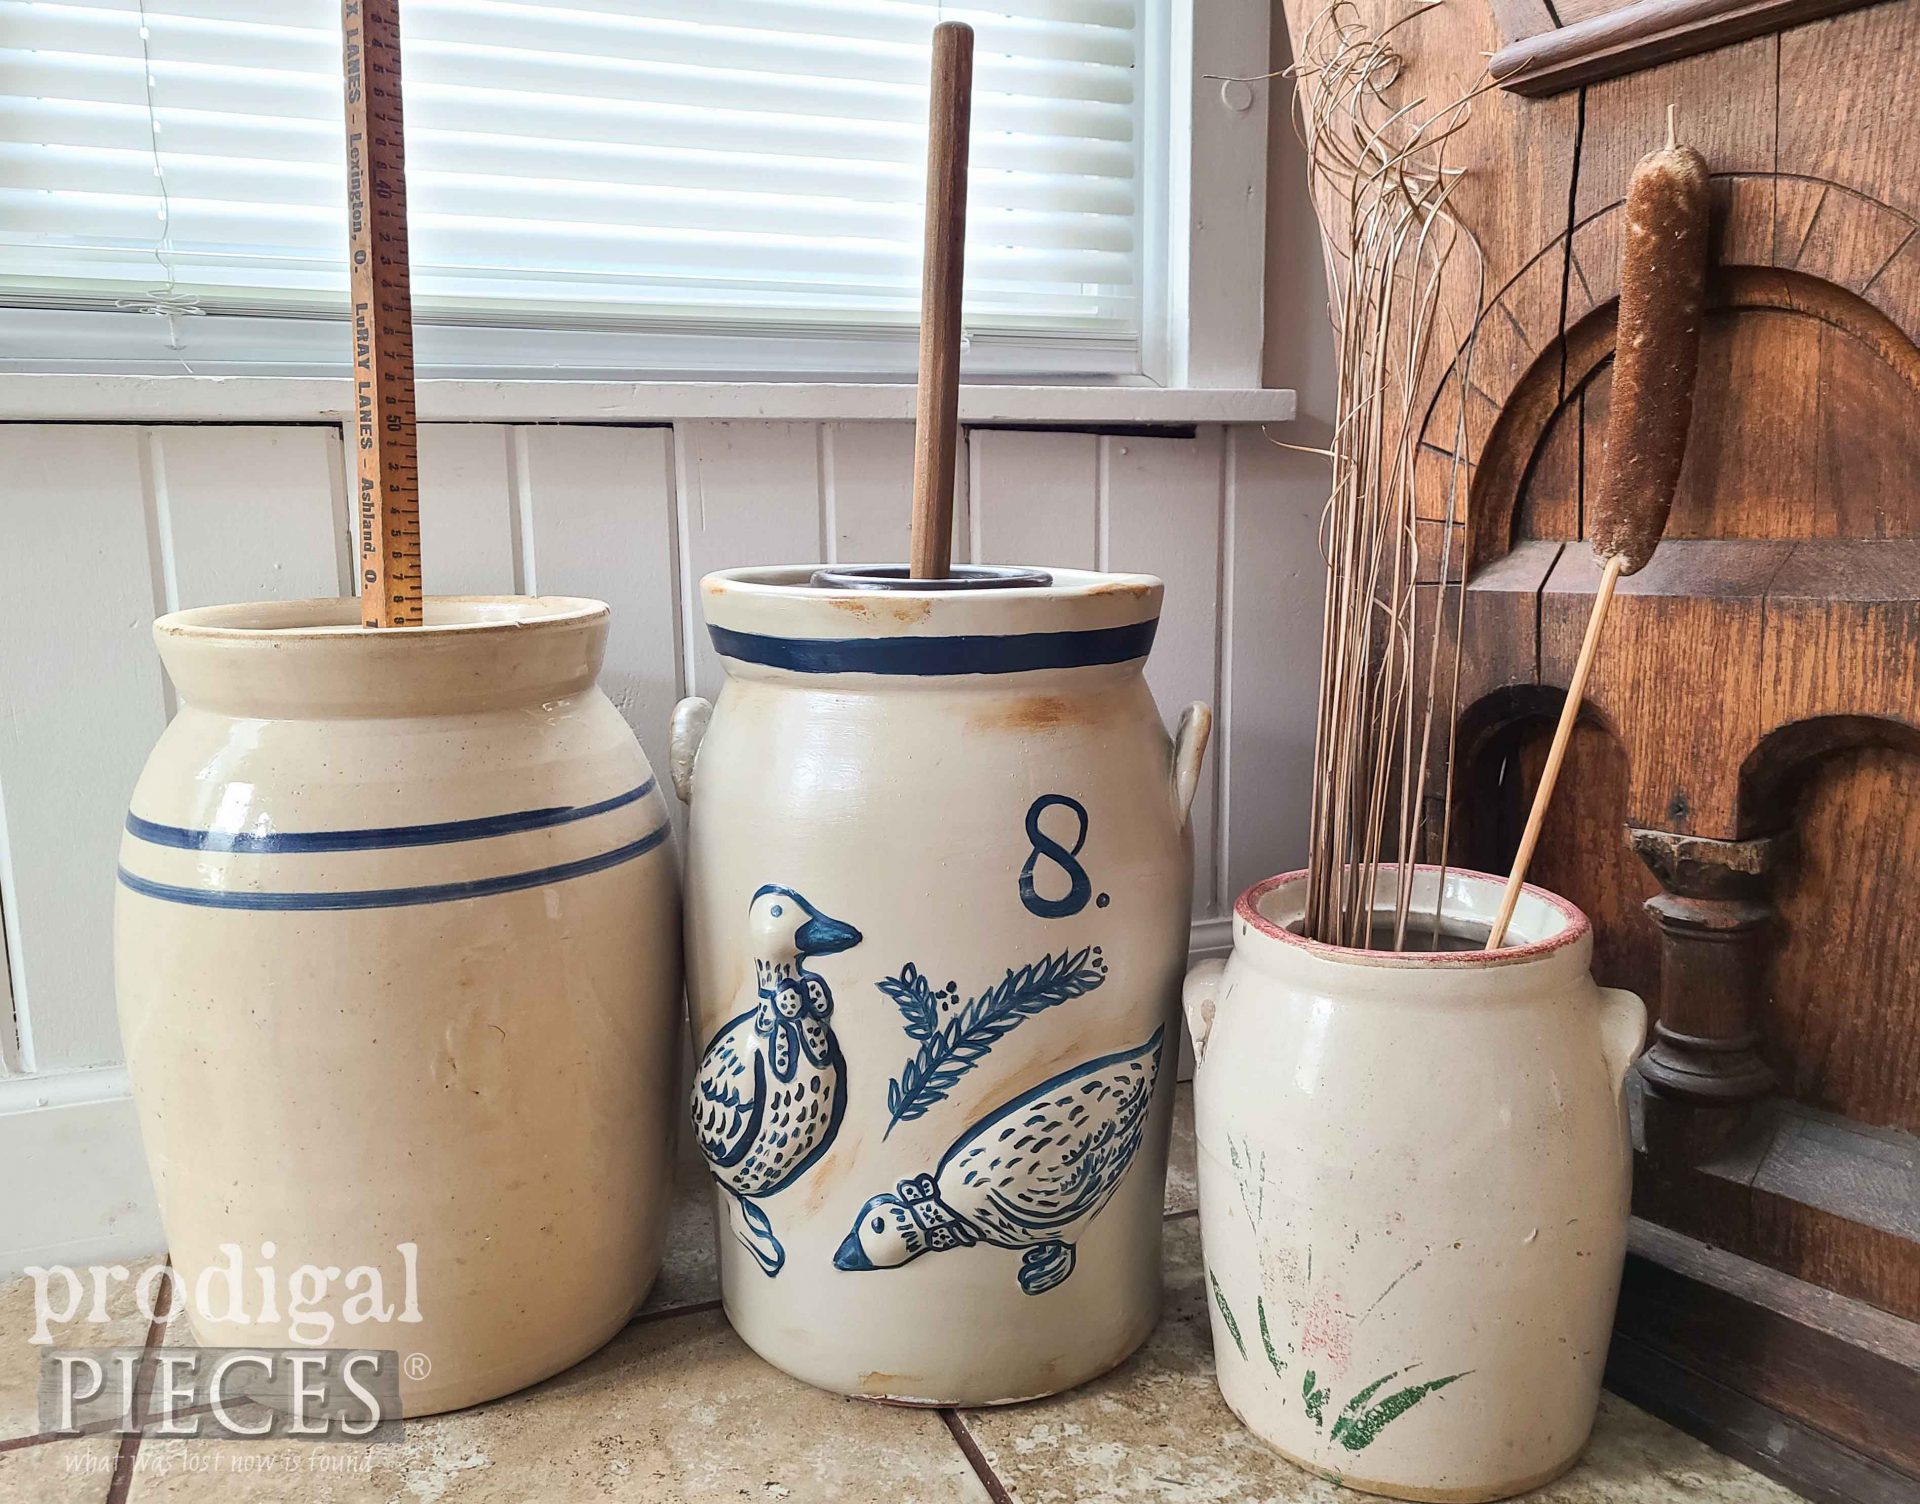
My vintage crock is tucked in between two antiques: (1) is a churn I found at a local thrift store and use a vintage ruler walking stick as a dasher. (2) the other is a find my mother purchased many moons ago and handed down to me.
Likewise, if you’d like to purchase this churn from my online shop, you can find it and much more for creating your home story.
SHARE
Additionally, share and pin to inspire others to learn how to paint ceramic to update their own finds and decor. Easy and fun!
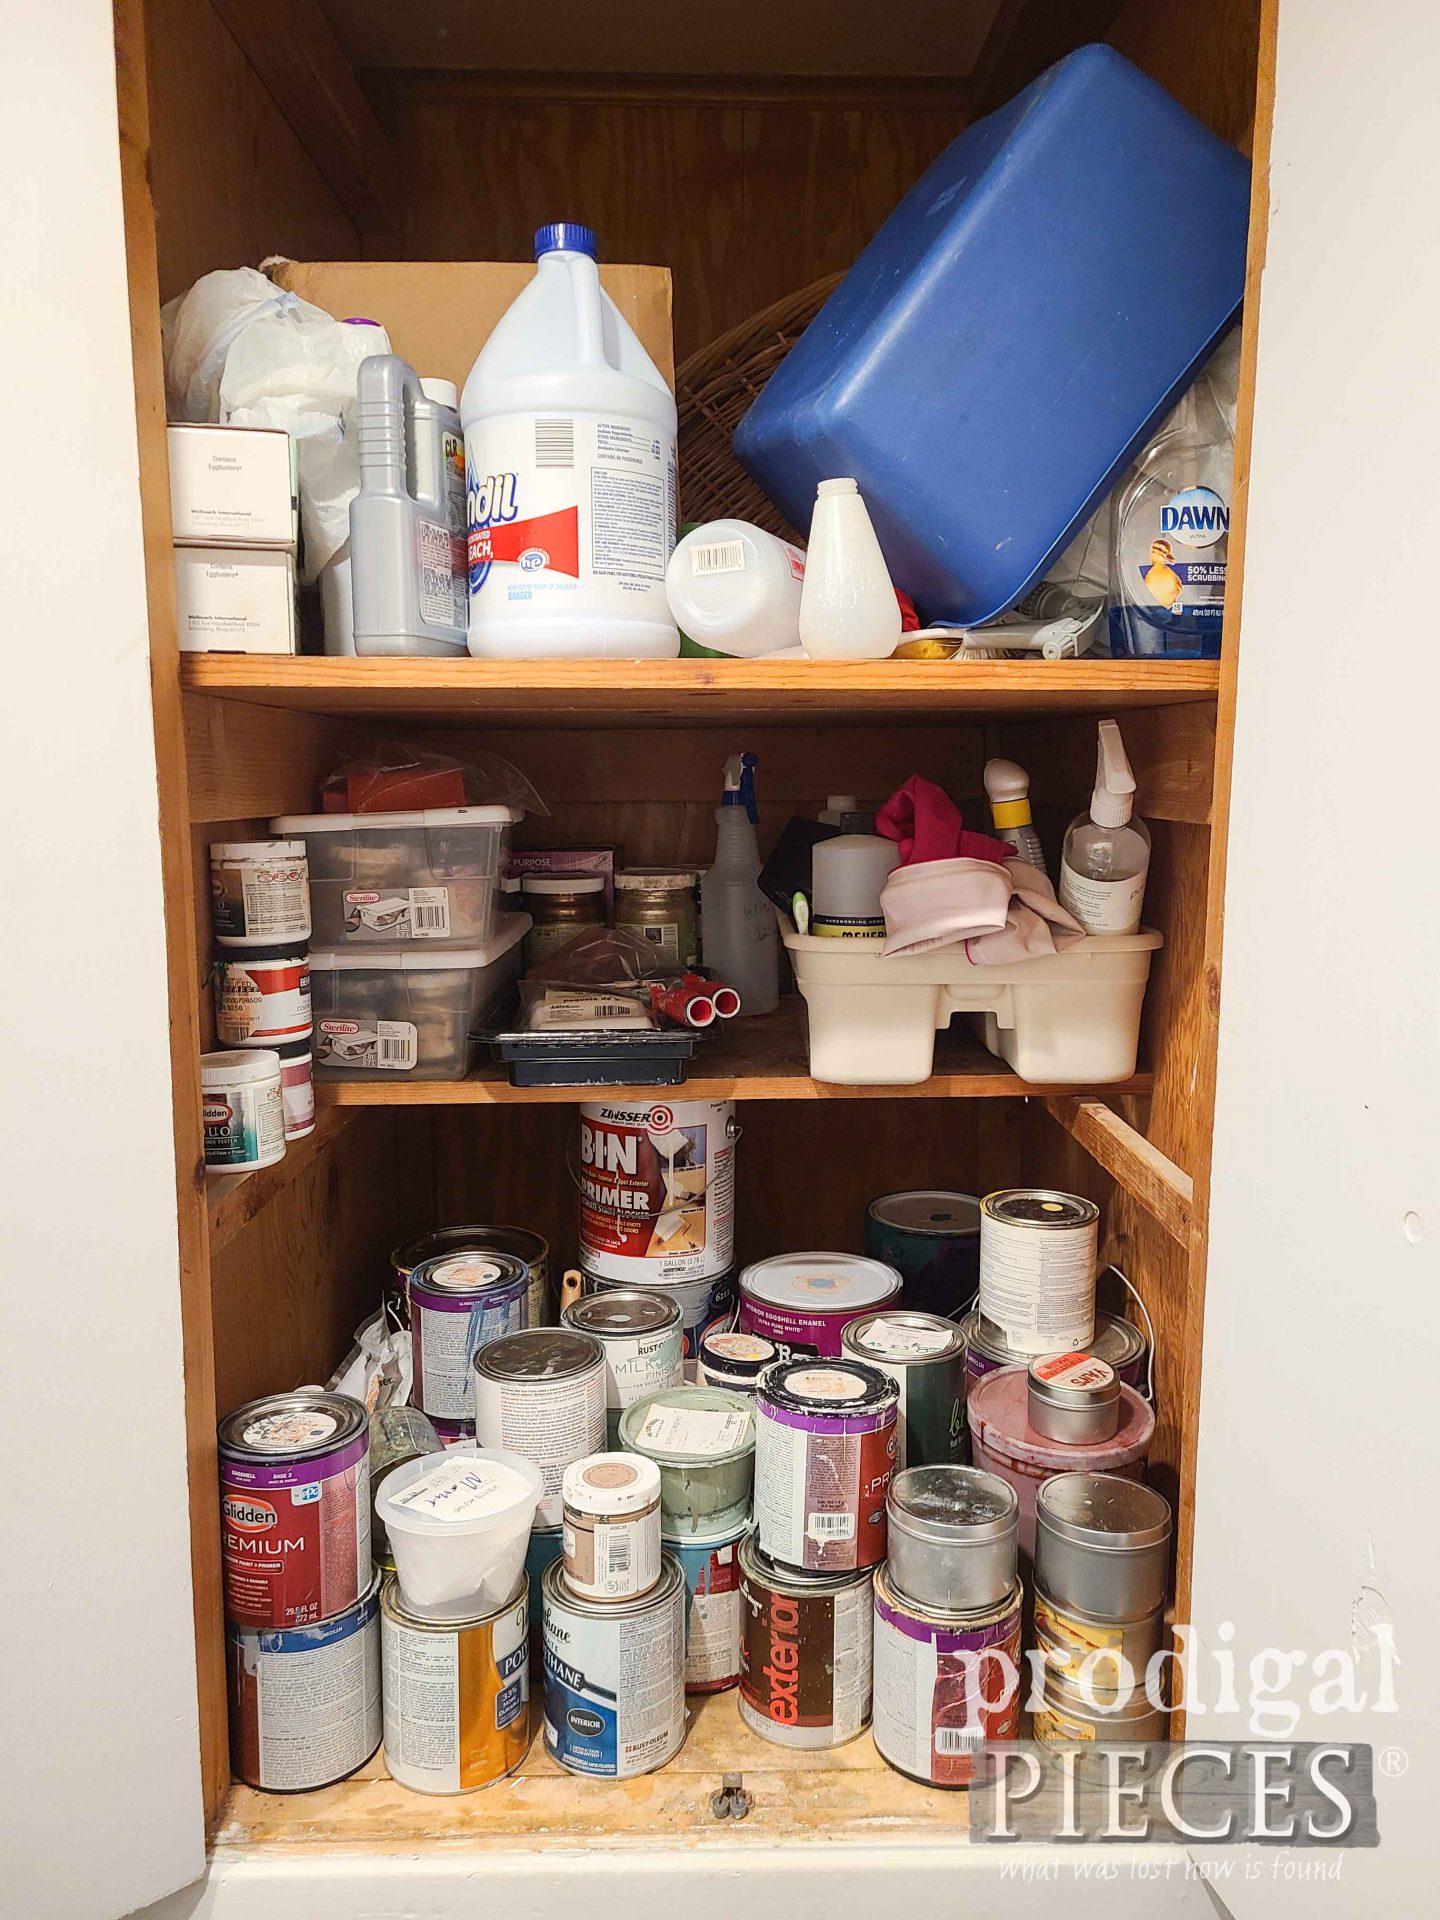
Up next, I have a much-needed makeover of my paint cupboard and it includes a giveaway for you! Take a peek at it HERE.
To get these DIY tips & tricks in your inbox, be sure to sign up for my newsletter. PLUS, you will get your FREE Furniture Buying Checklist and special discount to my shop. Until next time!



I am constantly amazed by your creativity! I definitely would have thrown those geese in the trash. Thanks for helping me see things in a new light.
I’m sure most would, but I’m a nut. haha! Thanks, Jennifer.
That is an amazing transformation into “salt glazed” pottery!! This would complement any collection!!!! You are soooooo talented!!!!! ?
You got what I was after…I love that era! 😀 Thanks so much for the love and smiles, Rebecca.
Hi Larissa! That turned out so good. You always do such a great job.
Thank you bunches, Cheryl. I sure have fun being challenged. woot!
This is one of my favorite things you have done! Love the blue and the geese!
Oh so fun to hear, Fran. Thank you!!
I was thinking that no way she is going to make this look good. I was wrong. You are so talented!
bwahaha…great minds think alike! 😀 I’m so glad you like it, Kimberly. Thanks!
I honestly could not imagine how you could make that 80s-goose-laden crock look good, but you did! Amazing!
haha! I had the same feeling, Amy! I literally was like…girl…you got this! 😀
I have to admit Larissa that I had my doubts and as always you blew me away with your creativity. Wow, it looks so authentic!
When my friend, Mandy, offered it to me…I was like…NO. Then, I was thought…bring it. haha! Thanks so much, Marie.
I shouldn’t be amazed and shocked, but I am! I wasn’t sure how you would update this butter churn, but you did it! Wow it looks so much better, and the geese no longer look like they were prototypes for the “angry birds” game!?
bwahahahaha!! Right?? I don’t understand as that almost all the geese I redo are angry. That says something. You are a hoot!
I have been a long time collector of ornamental ducks but most of my misguided friends have given me those awful geese. I’ve since got rid of them but can I could have maybe worked with some of them
aww…haha. That was me and Holstein cows. I don’t collect anything, but folks always find a way. 😉