Do you ever find that it take a bit before you realize you crush on a certain object? Like it doesn’t show up until you see a pattern that you notice that’s tell-tale. Well, I apparently have a thing for carts. ahem. Like any and all. I’ve worked on tea carts, built my own carts, and even buy carts for my workshop. So, when I spied this vintage Mid Century modern bar cart at the thrift store, it may have jumped in my cart before anyone else could grab it. tee hee!
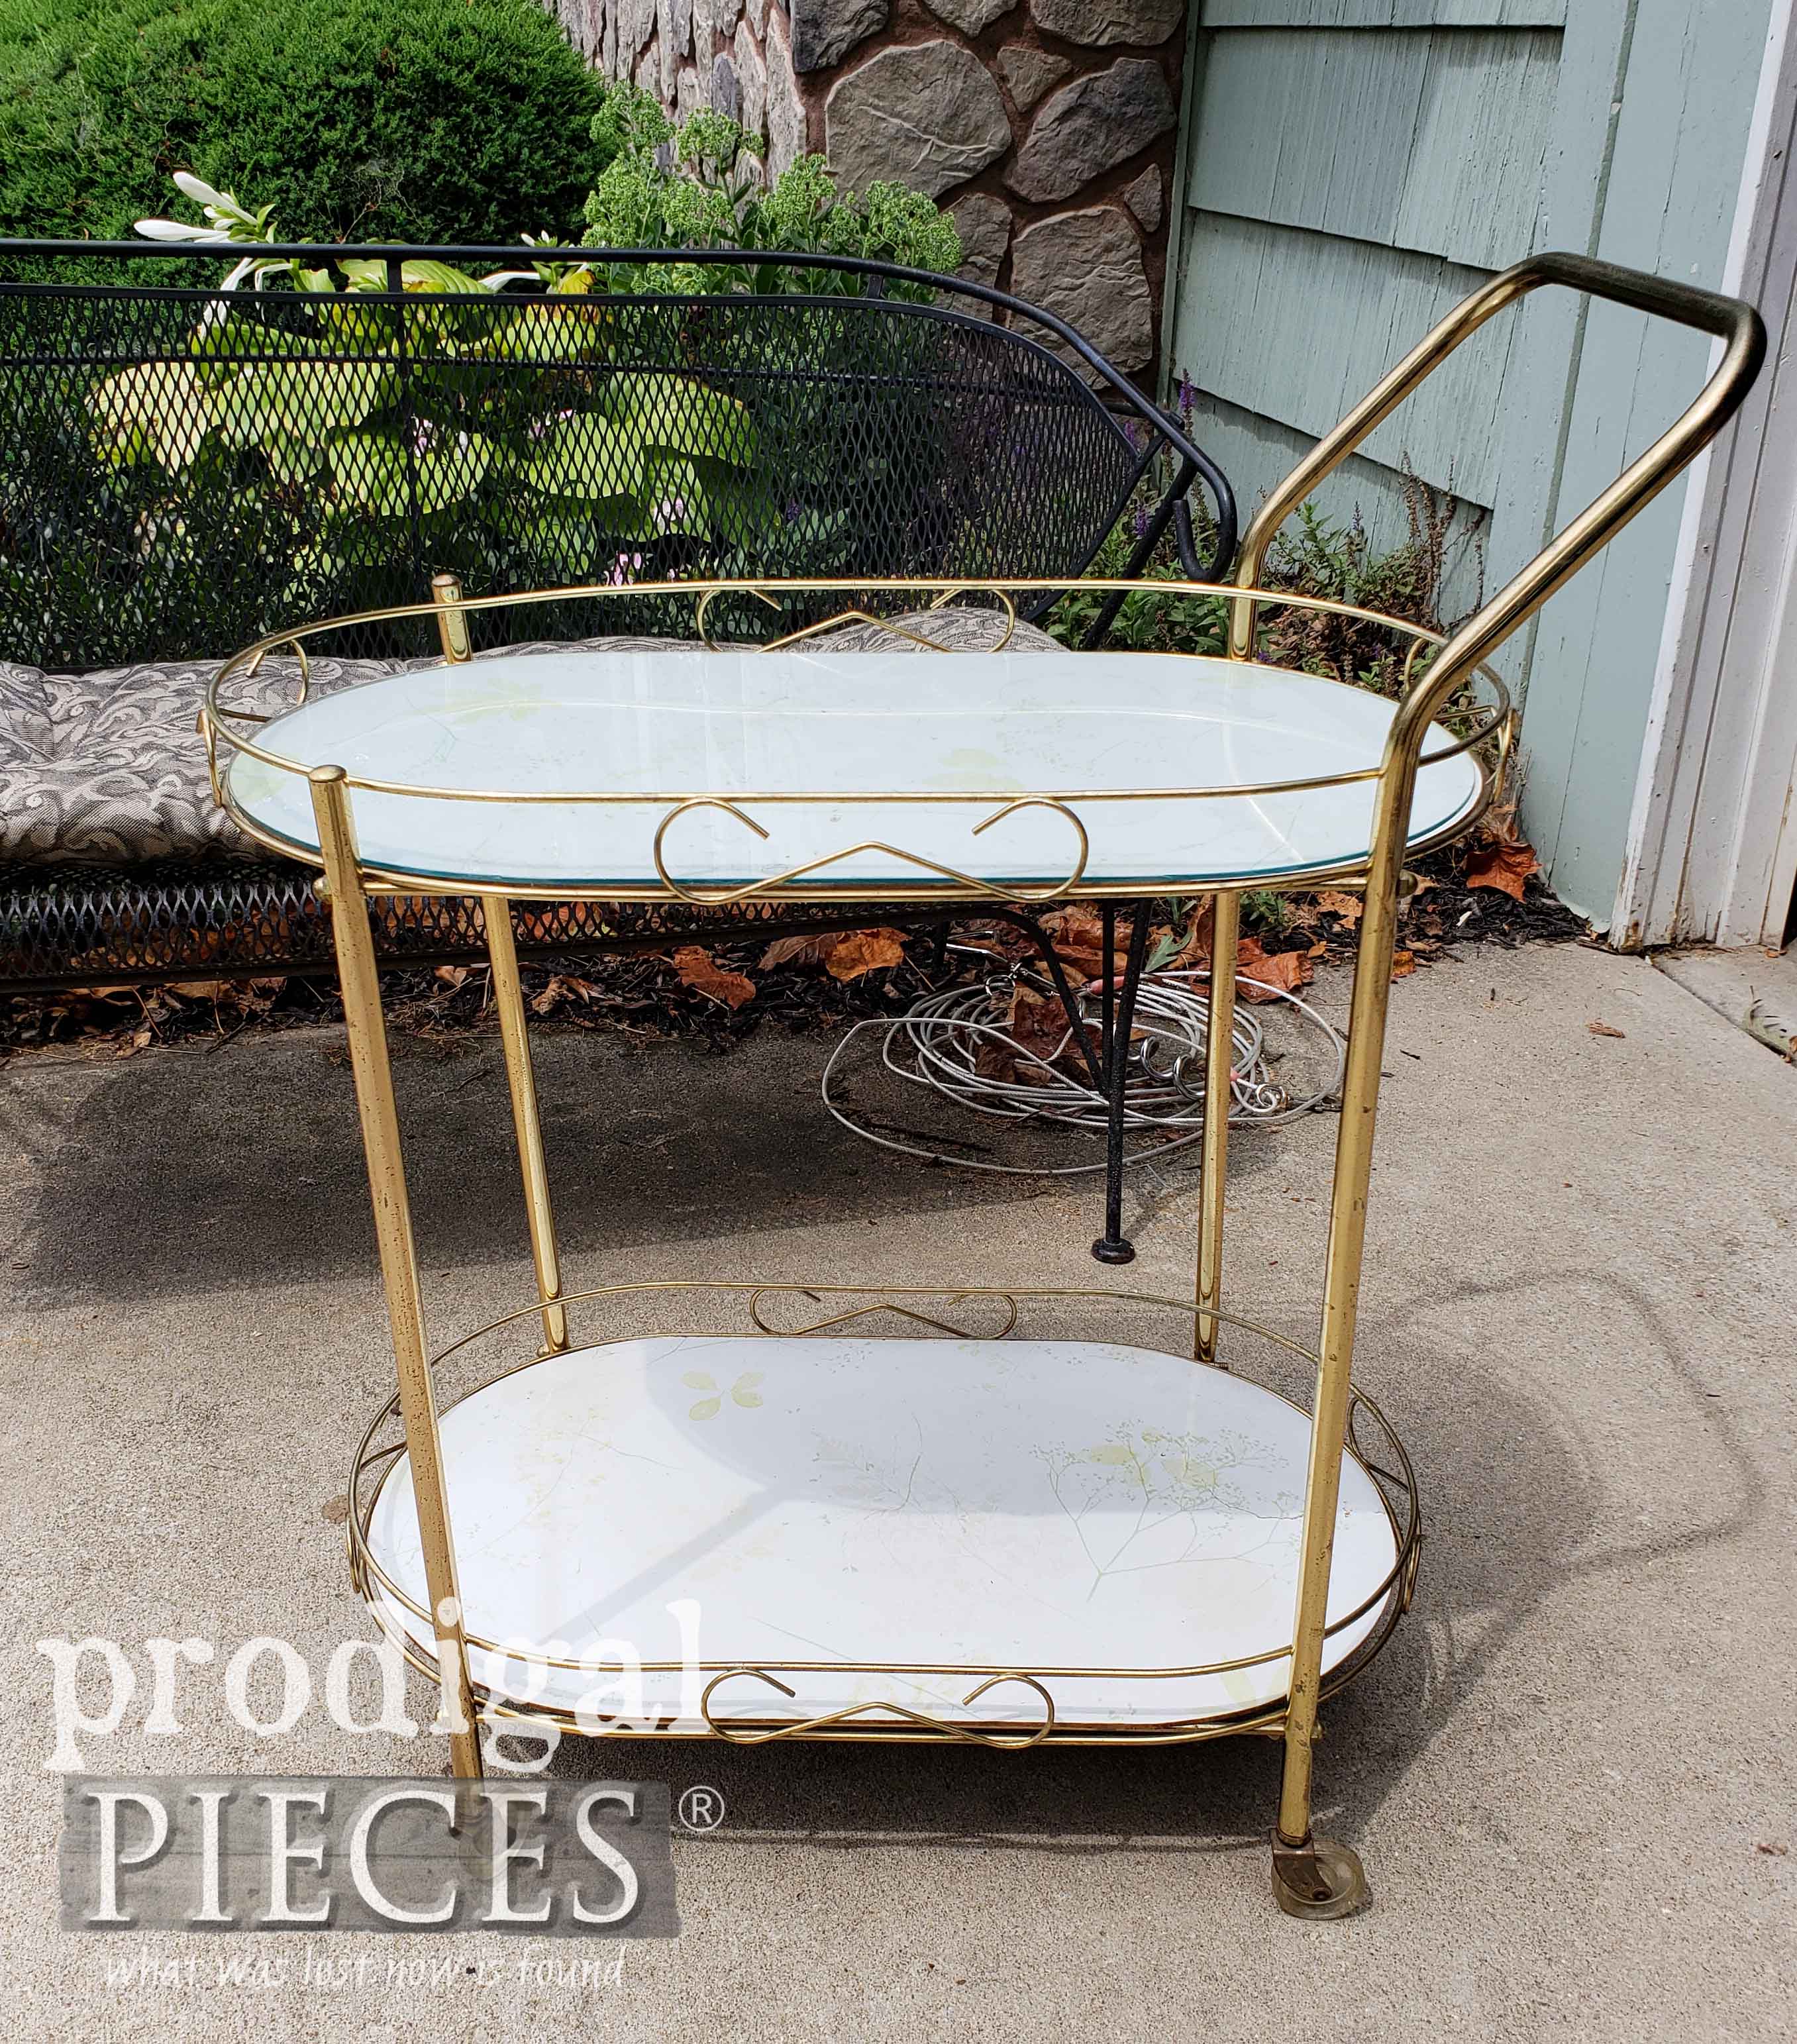
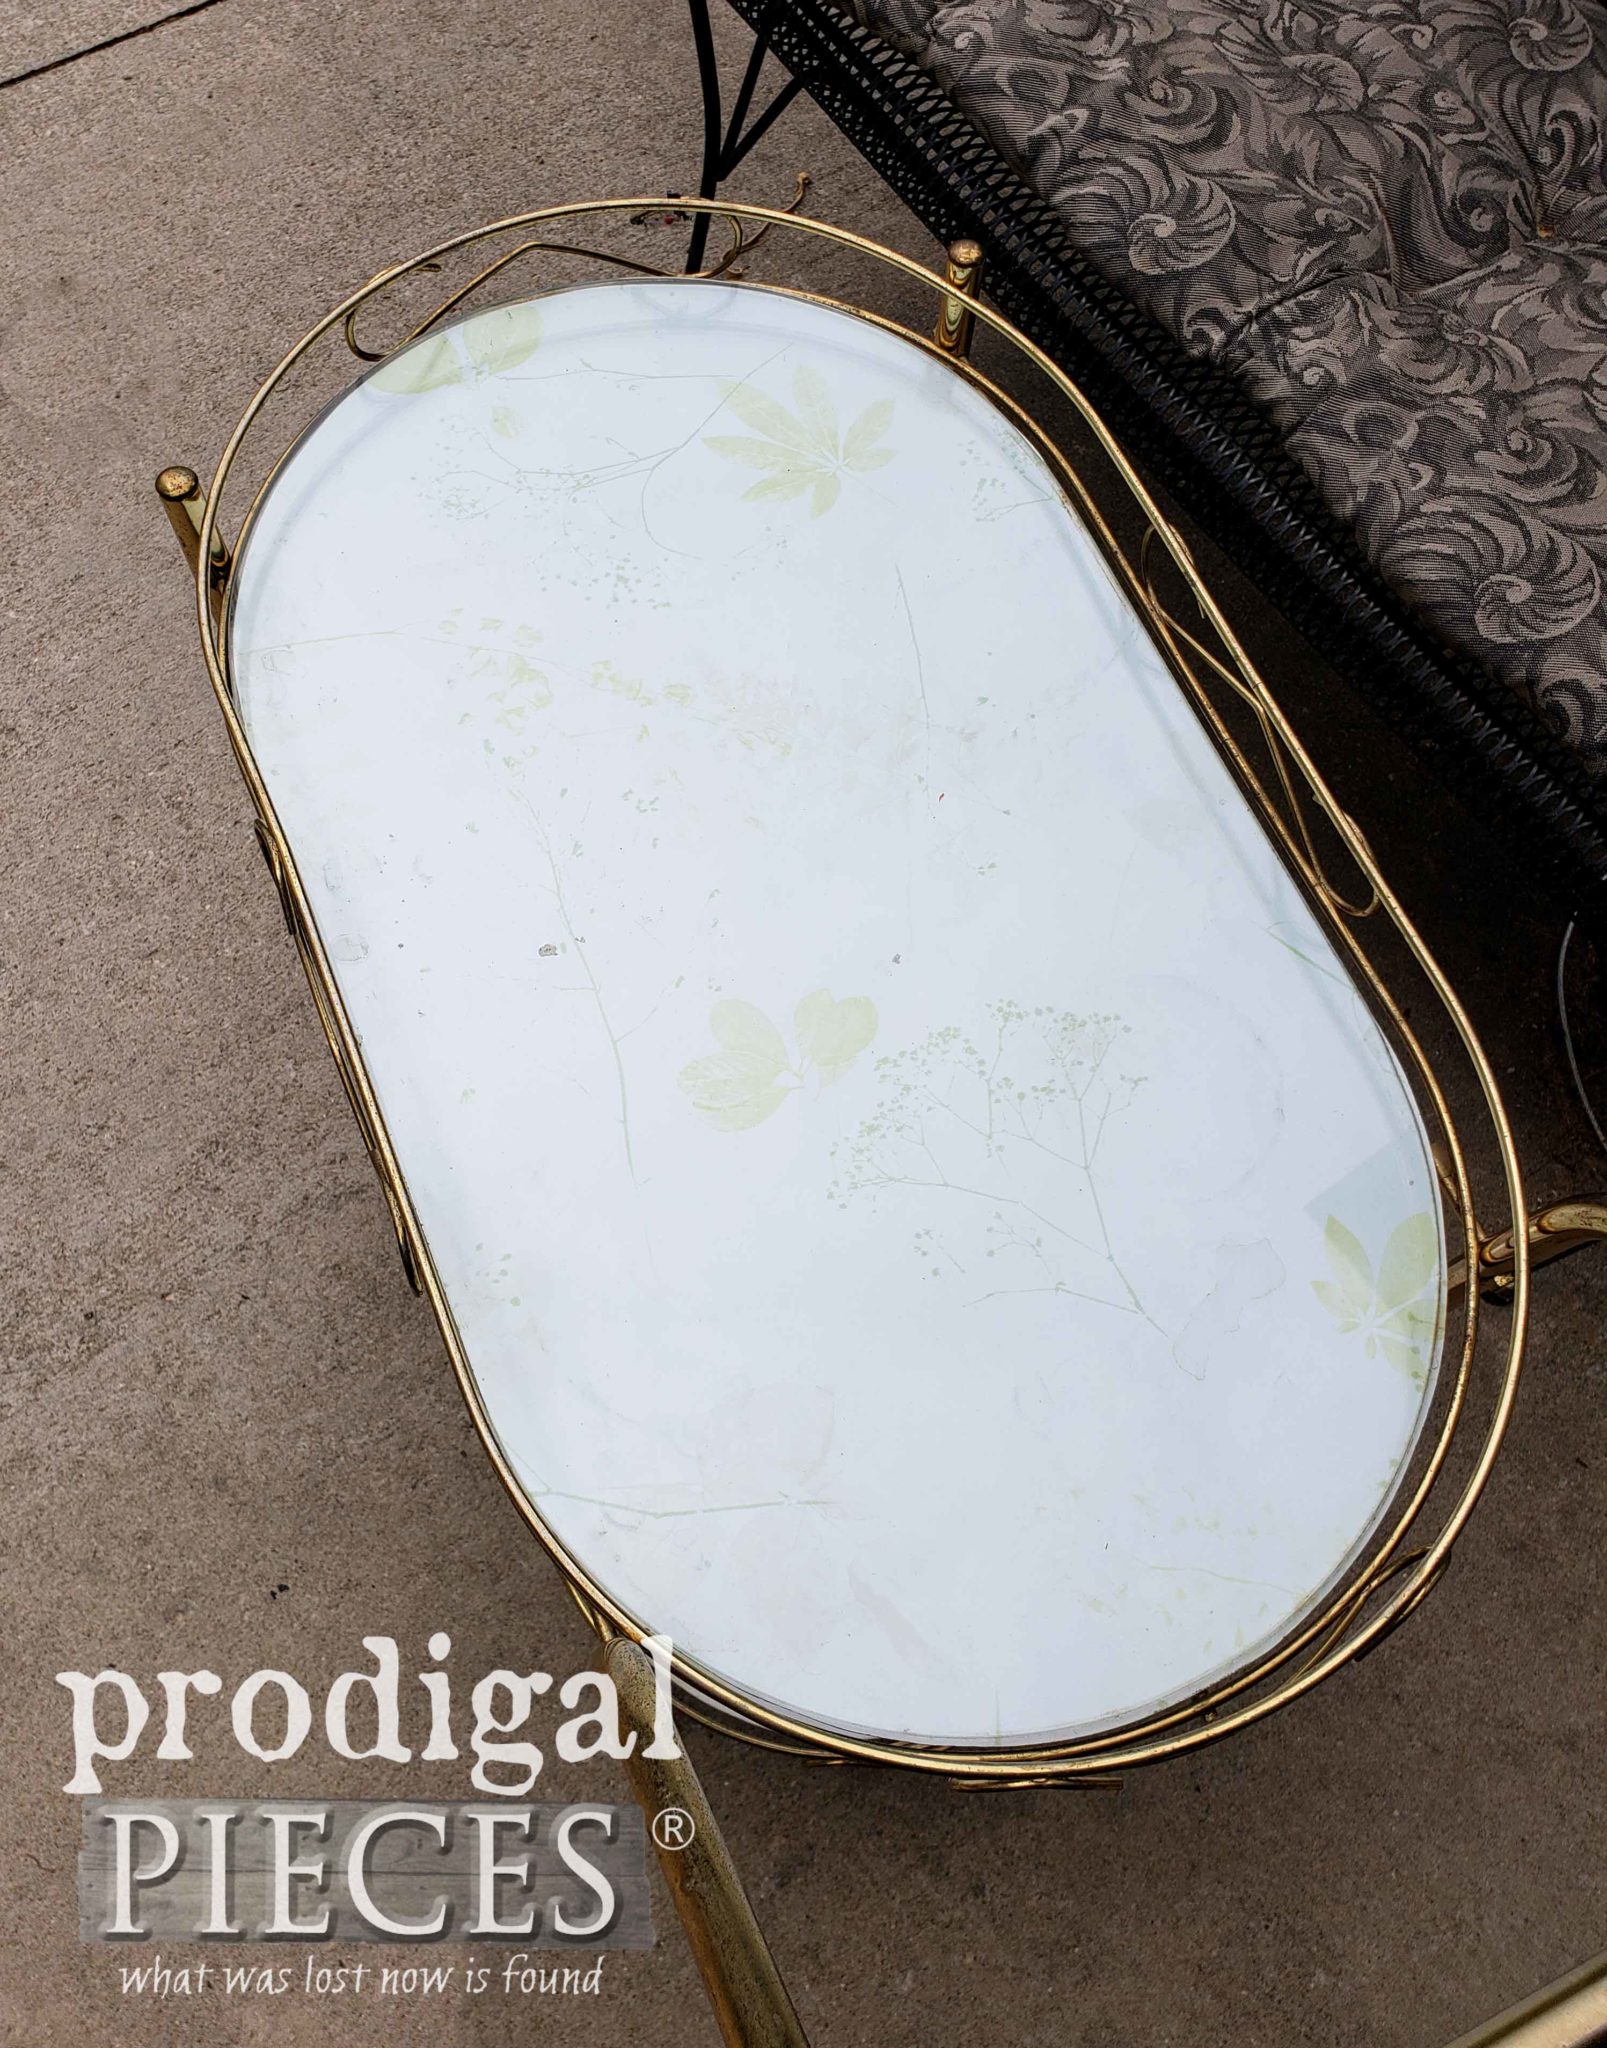
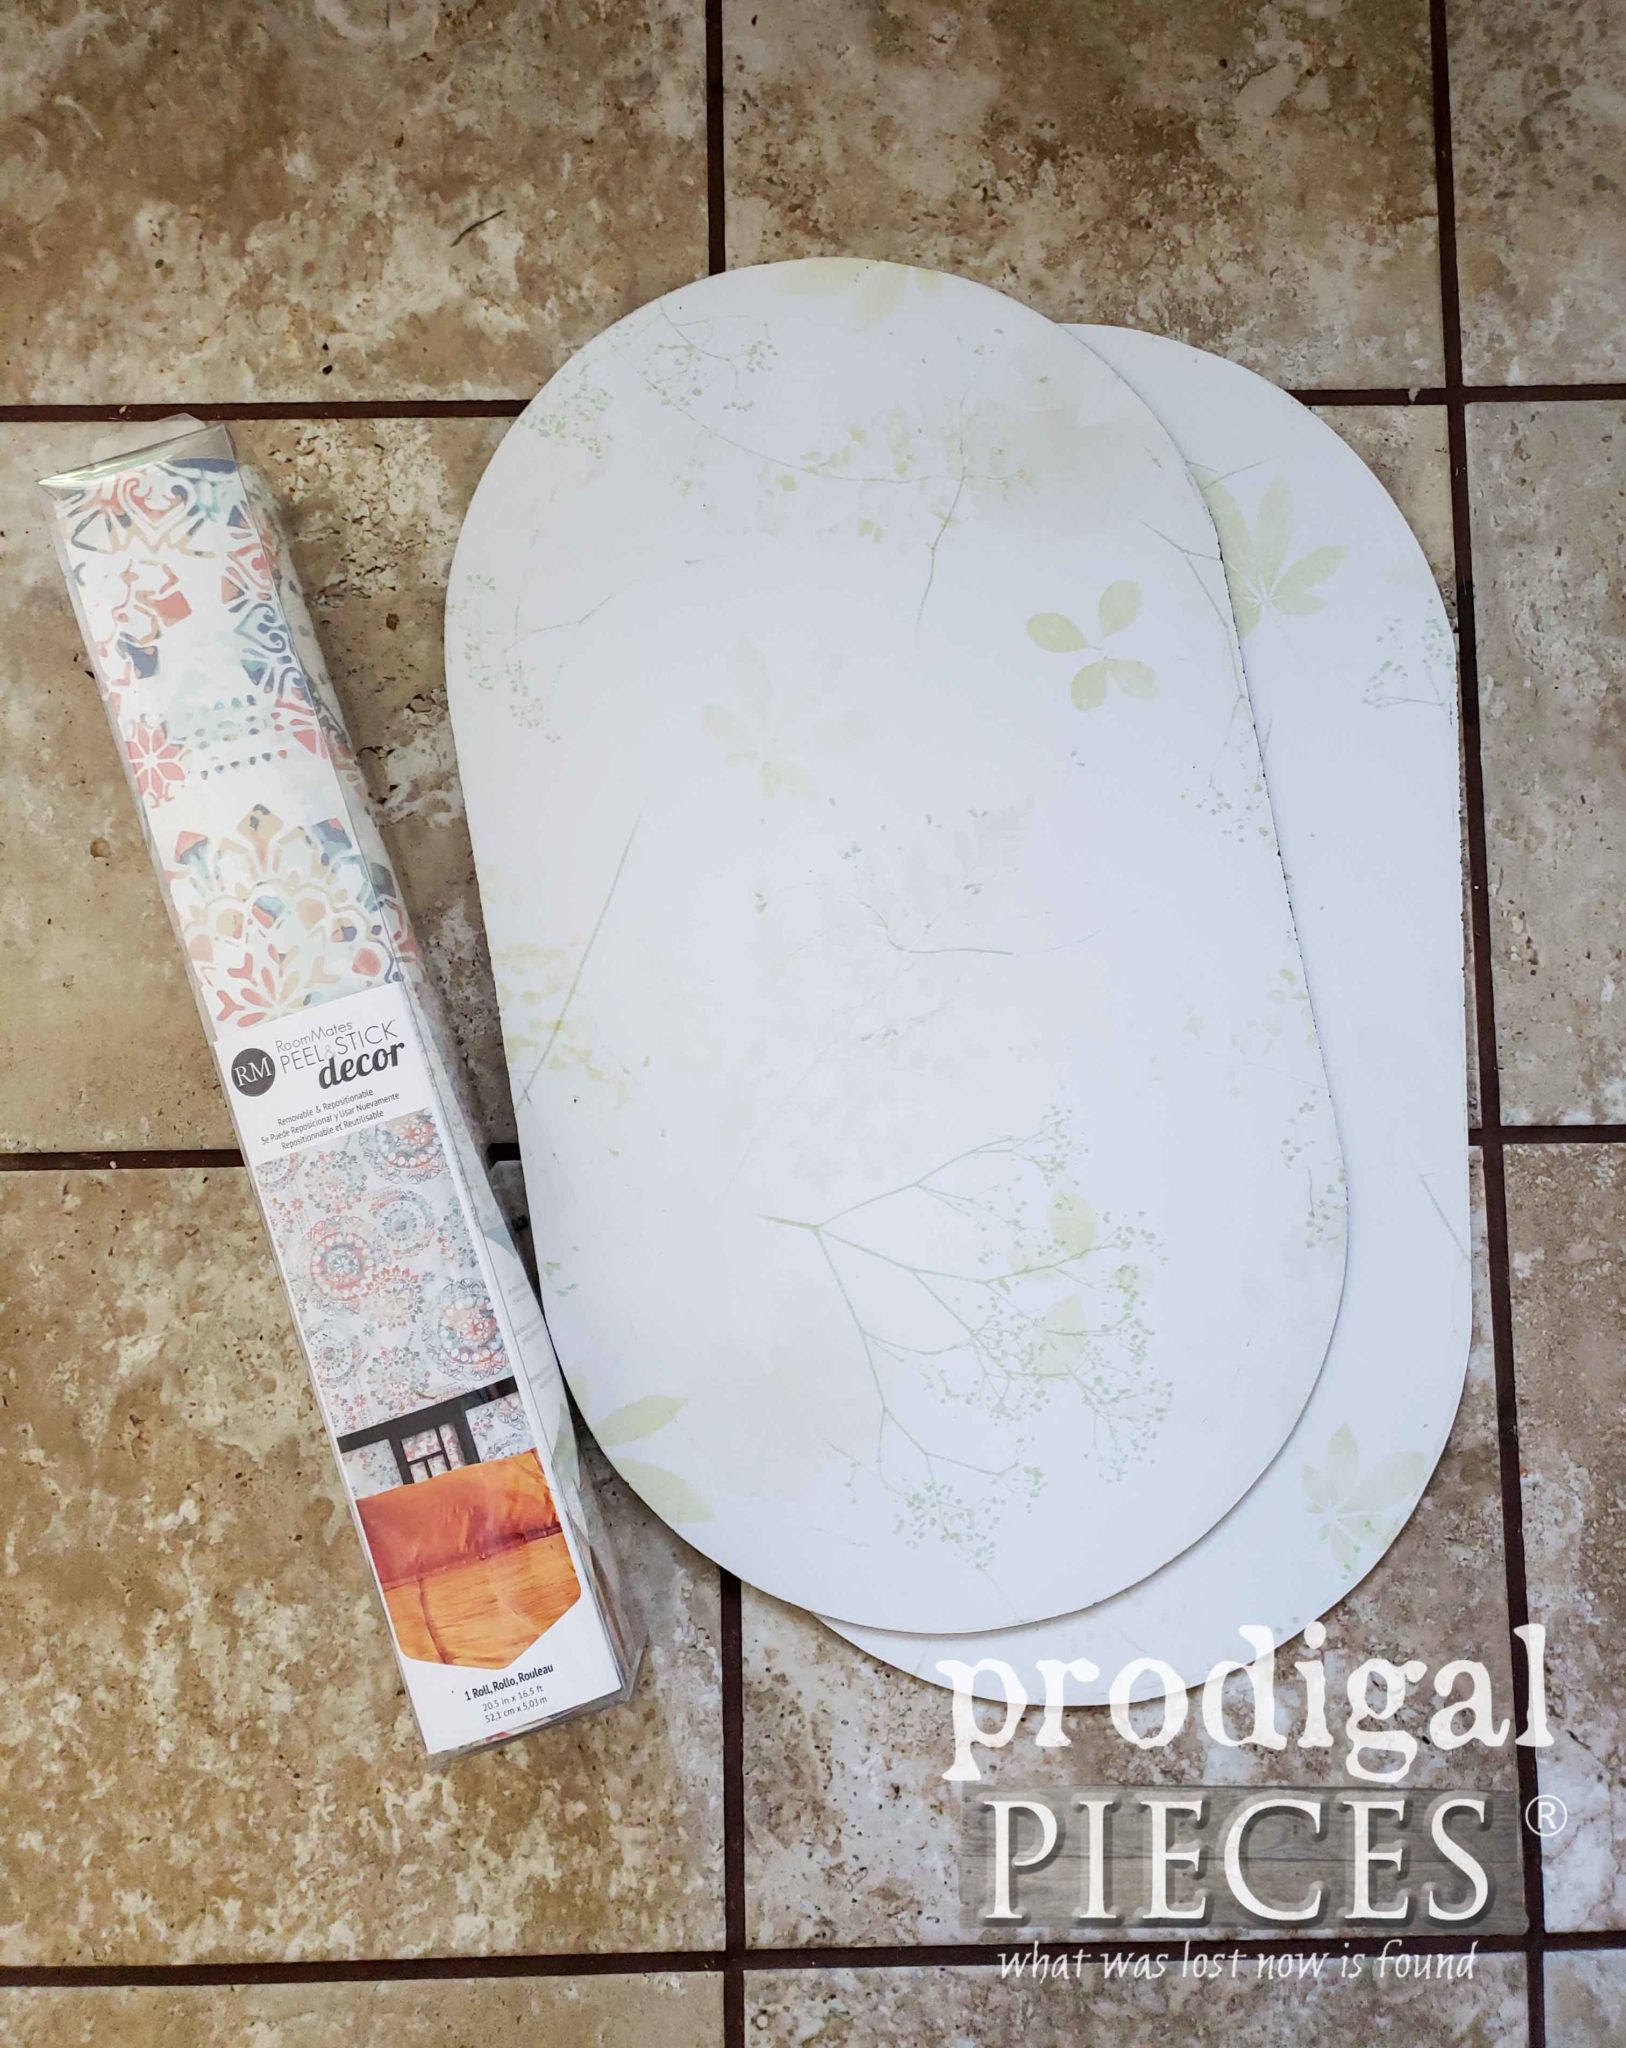
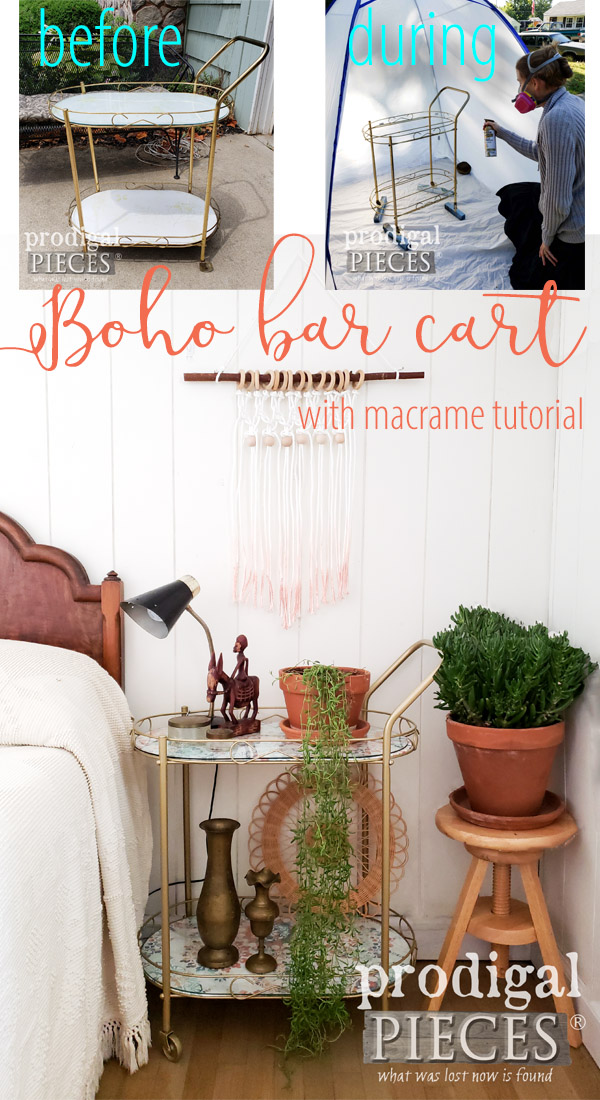
I know without a doubt that the casters are what draw me in every time. Having mobility with style is so fun, isn’t it? This little gem was missing a few things, but nothing I couldn’t fix. One shelf was missing a glass top, some of the nuts were missing, but that was mainly it. The dated pressed board design had to go. Can you see the faded floral motif?
DIY TIME
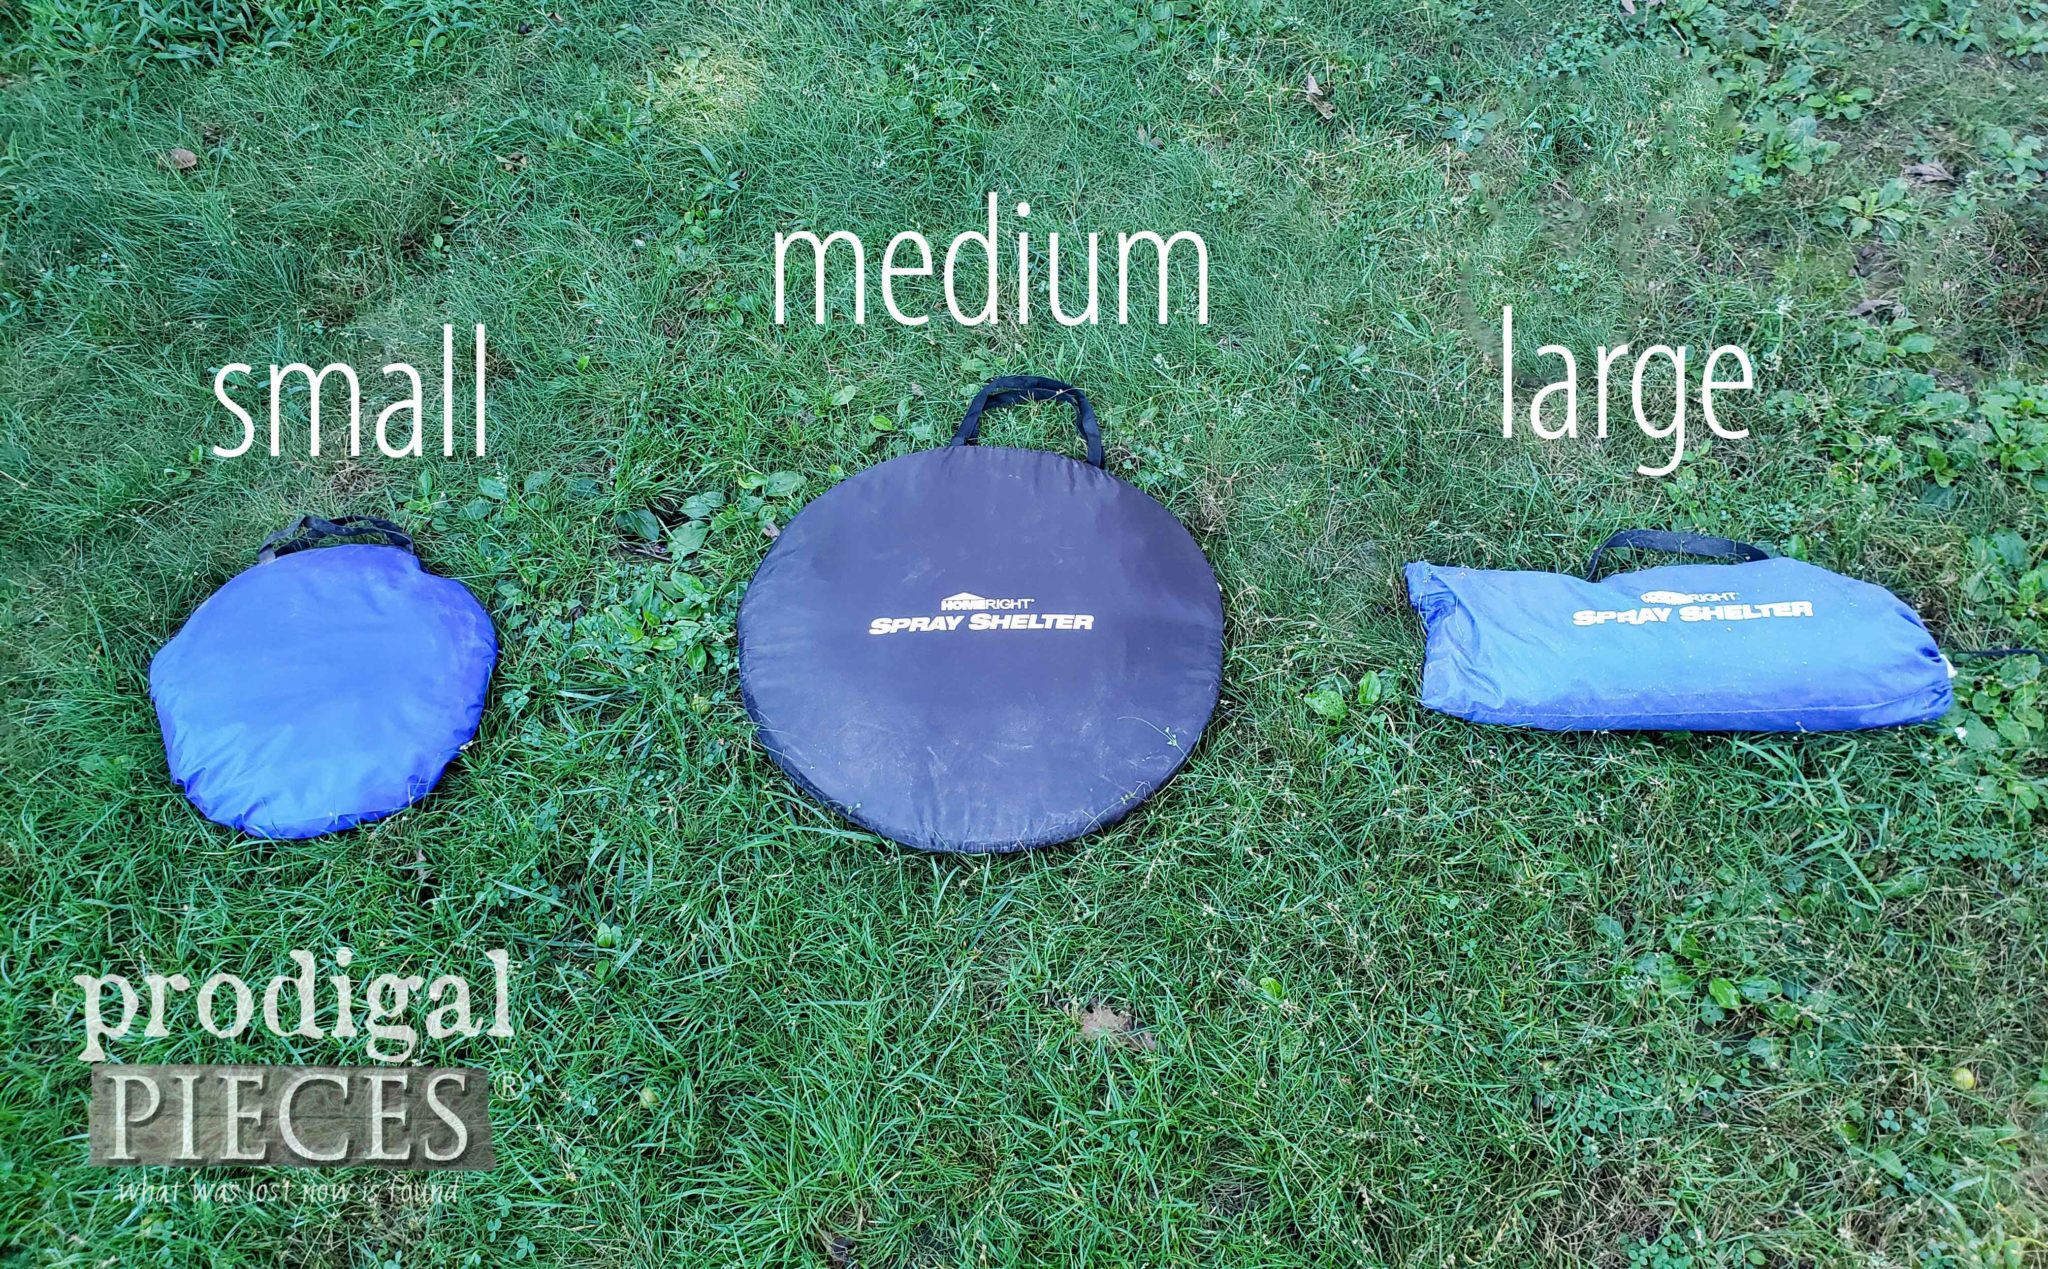
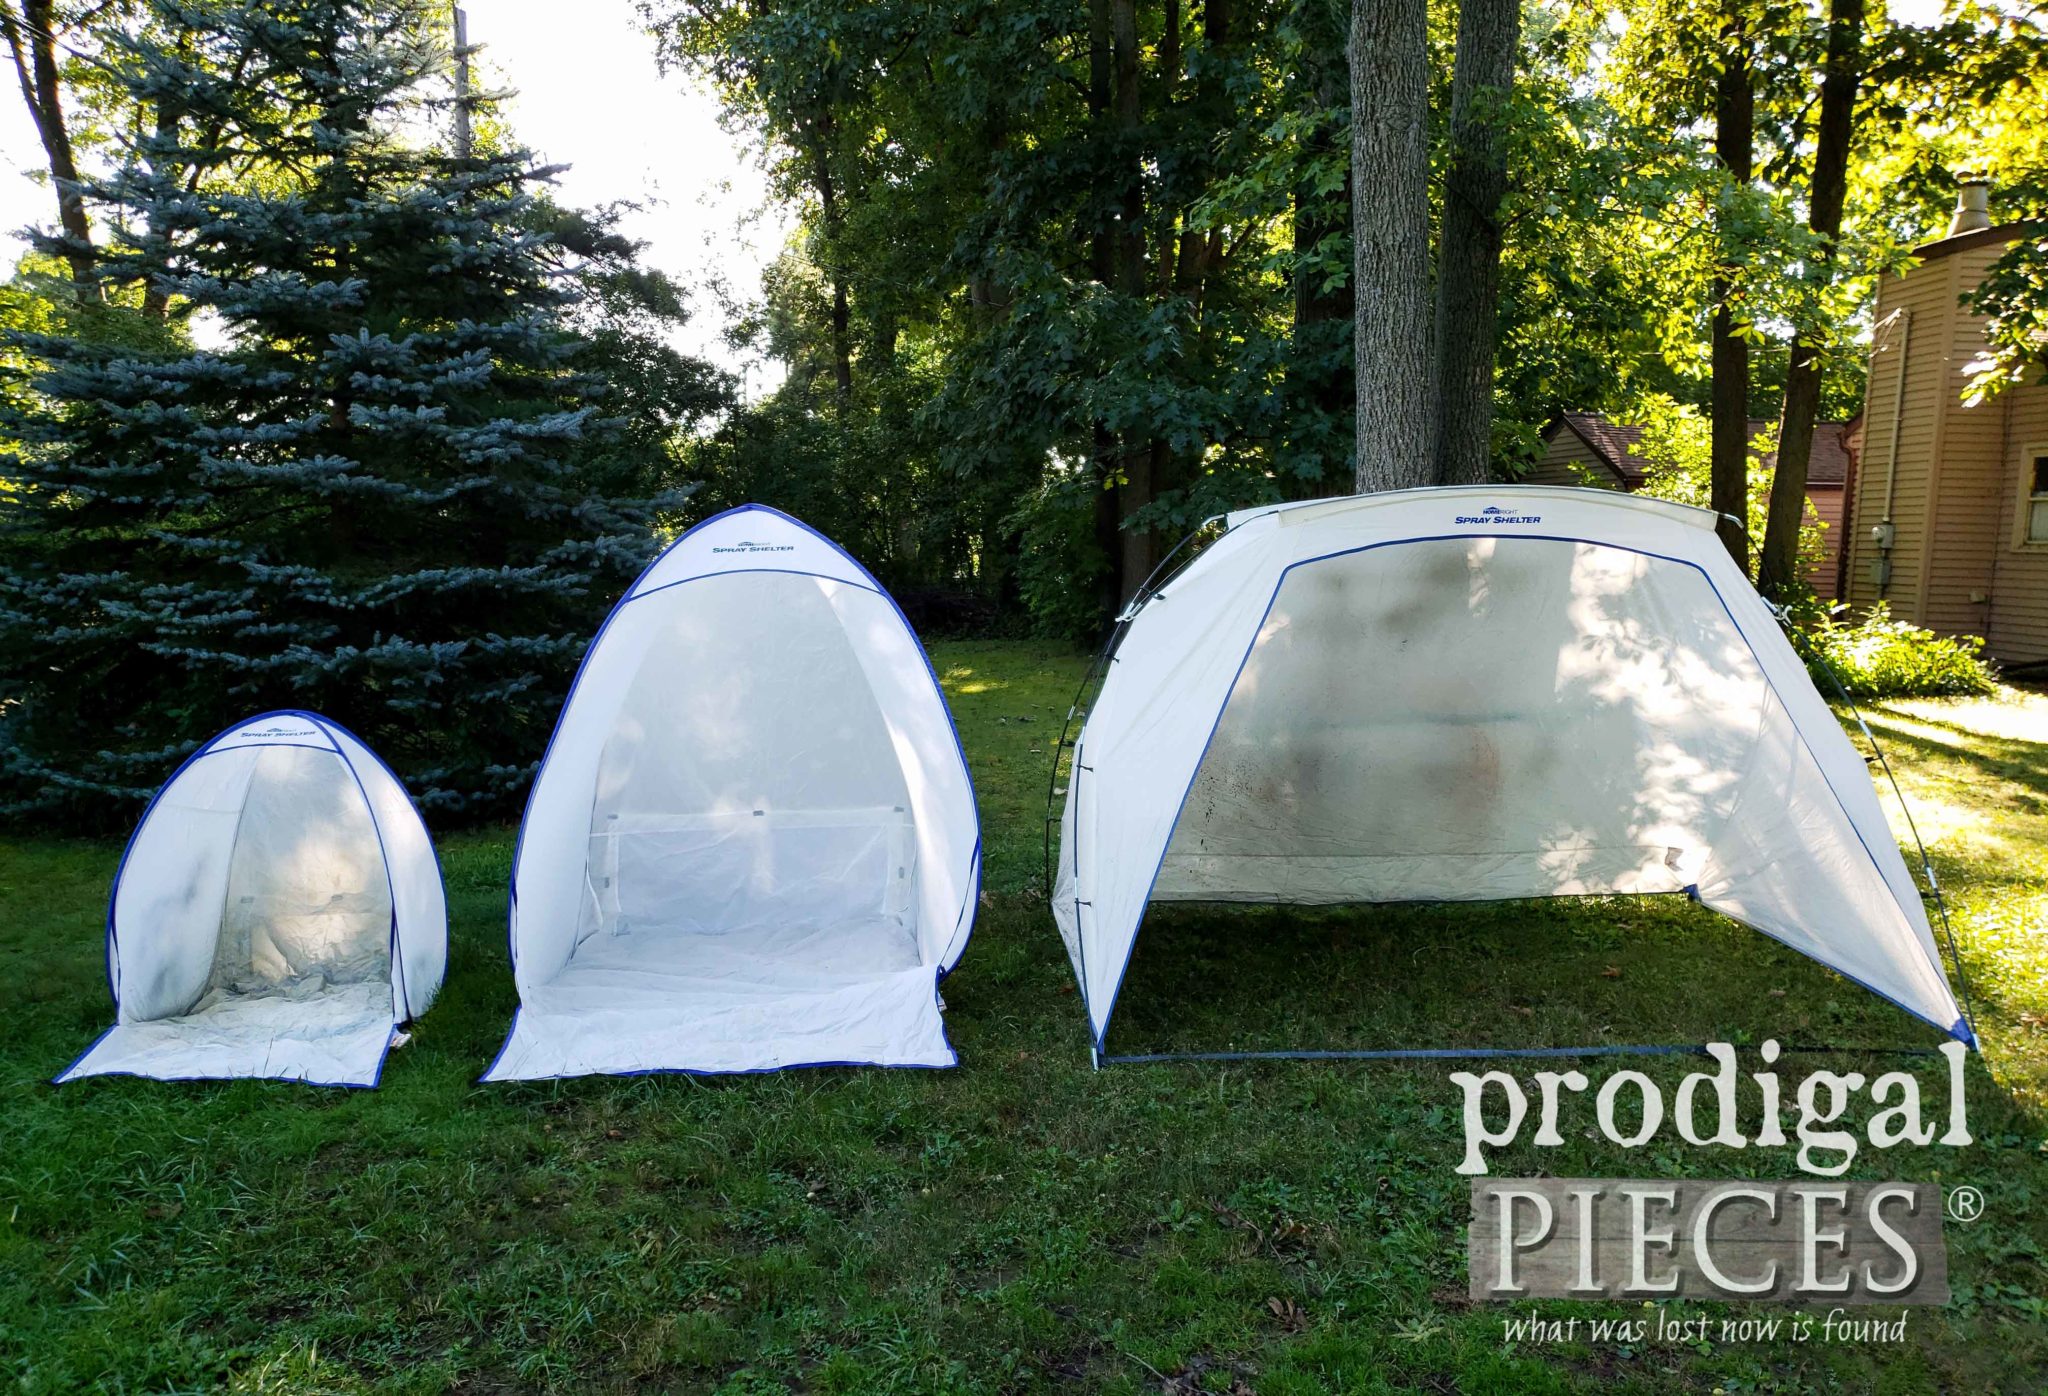
Since this was too big for my HomeRight Small Spray Shelter, and seemed like overkill for my Large Spray Shelter, I thought it would be the perfect time to show you my Medium Spray Shelter. Take a peek at the sizing. Here they are in their awesome compact state.
The first two pop up in seconds, while the large takes a bit of assembly (like 10-15 minutes. You can see how I put my Small Shelter to use HERE, and the Large Shelter in these posts.
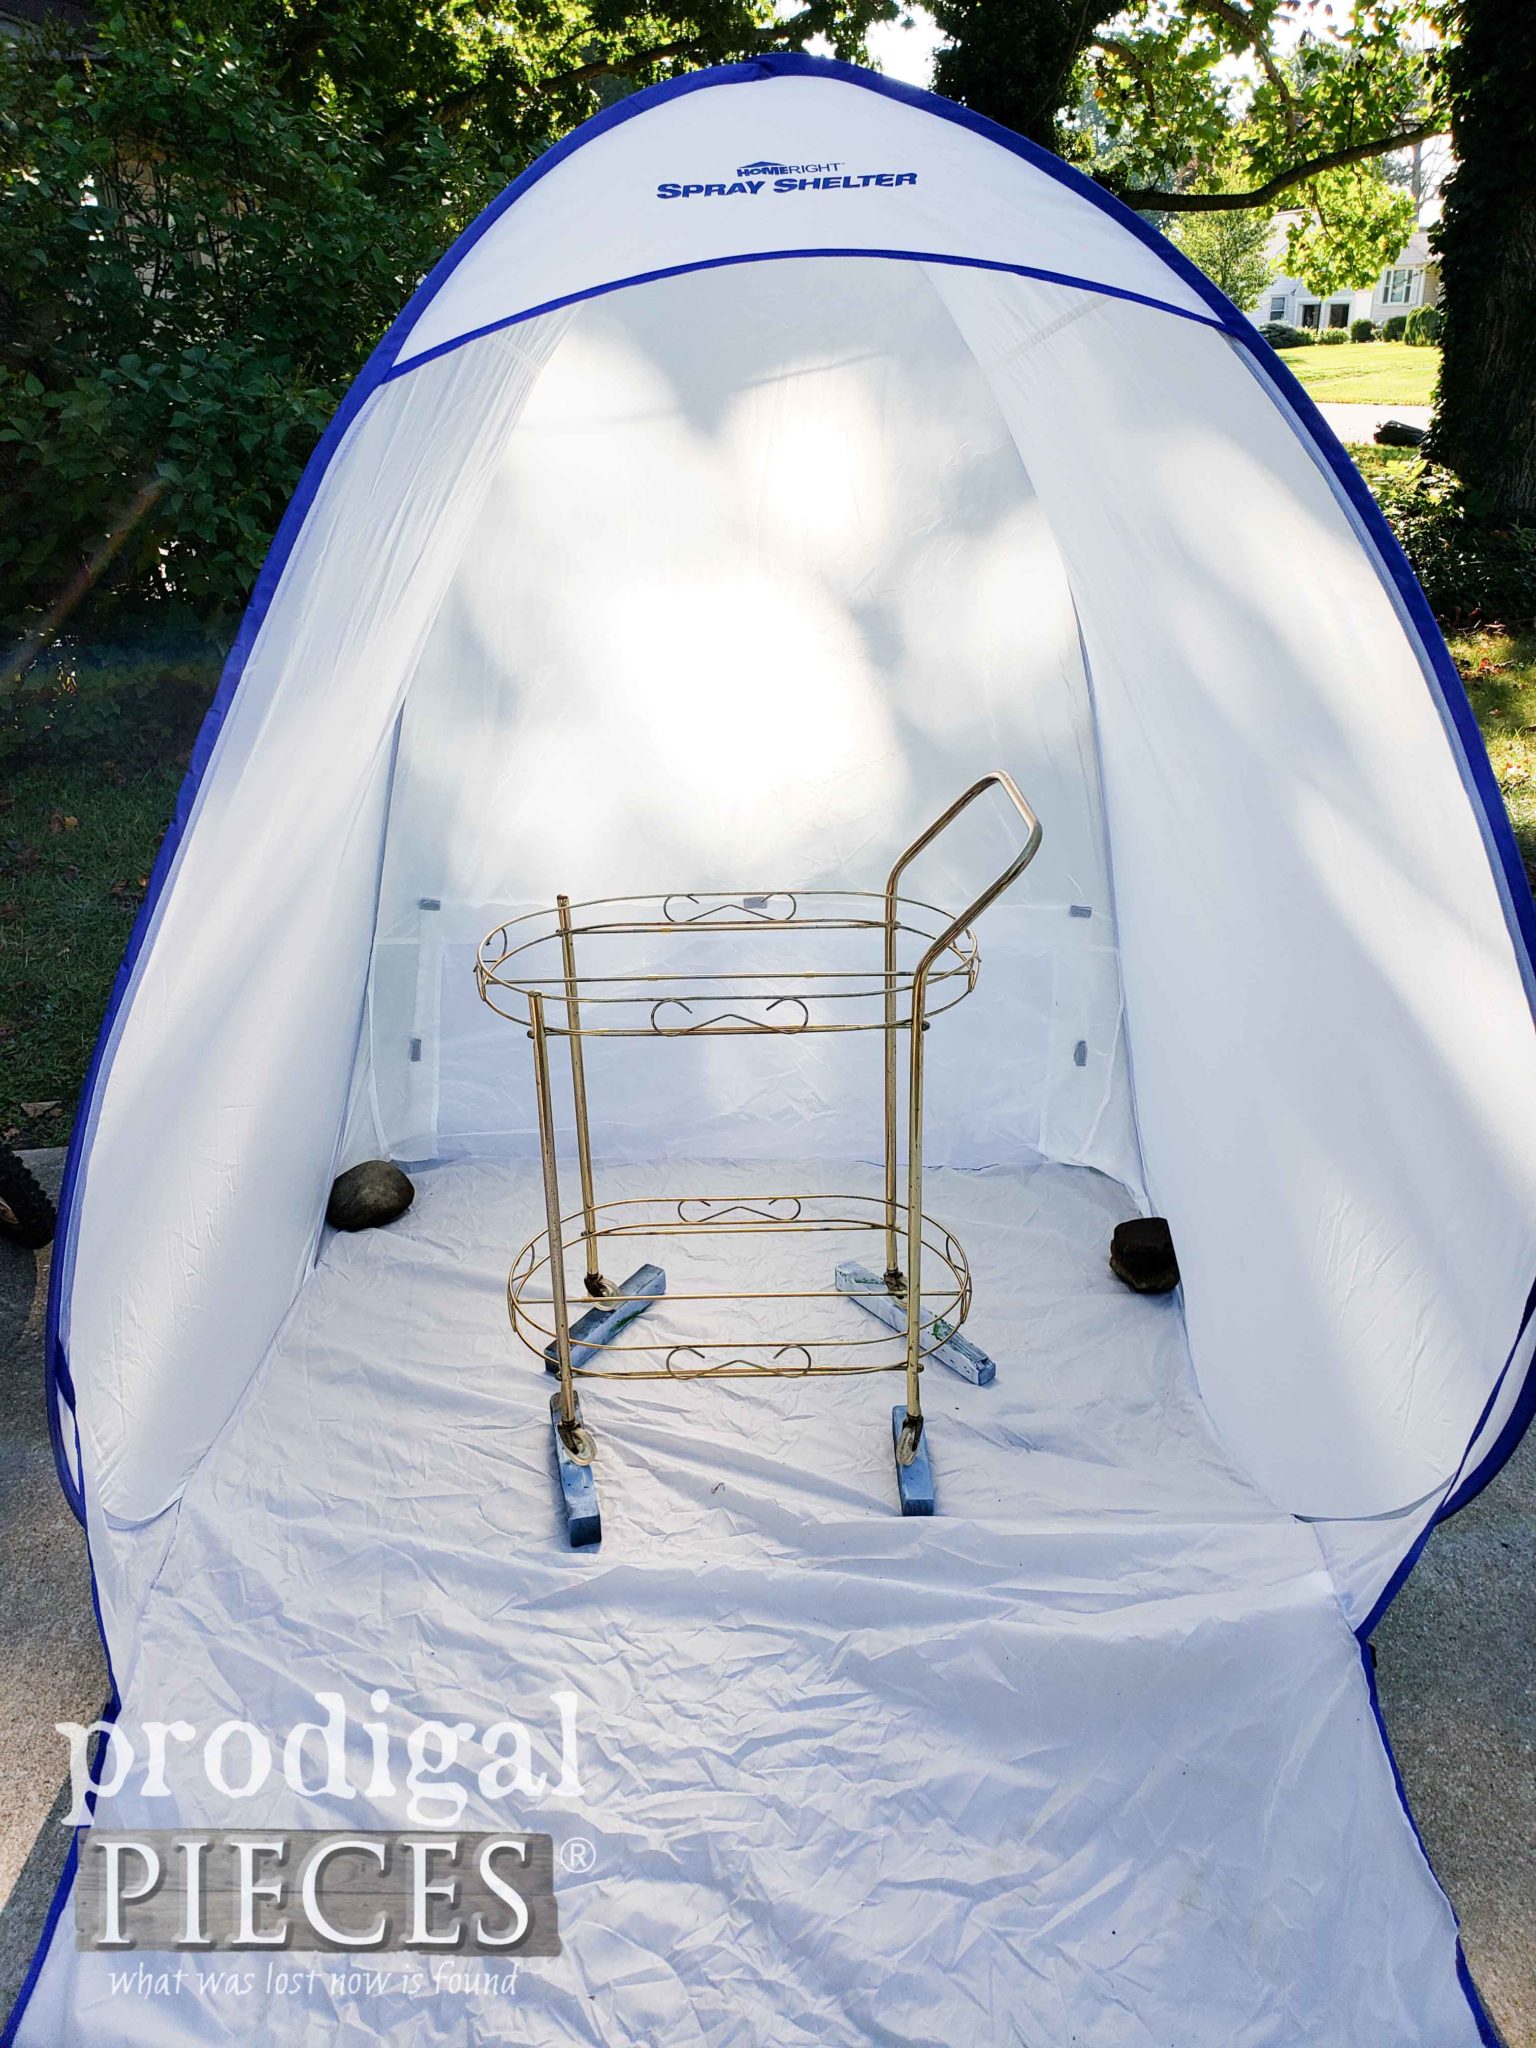
You can see why the Medium Shelter is perfect for smaller pieces of furniture. It was perfect for the job I had at hand updating this Mid Century Modern bar cart.
LET’S PAINT
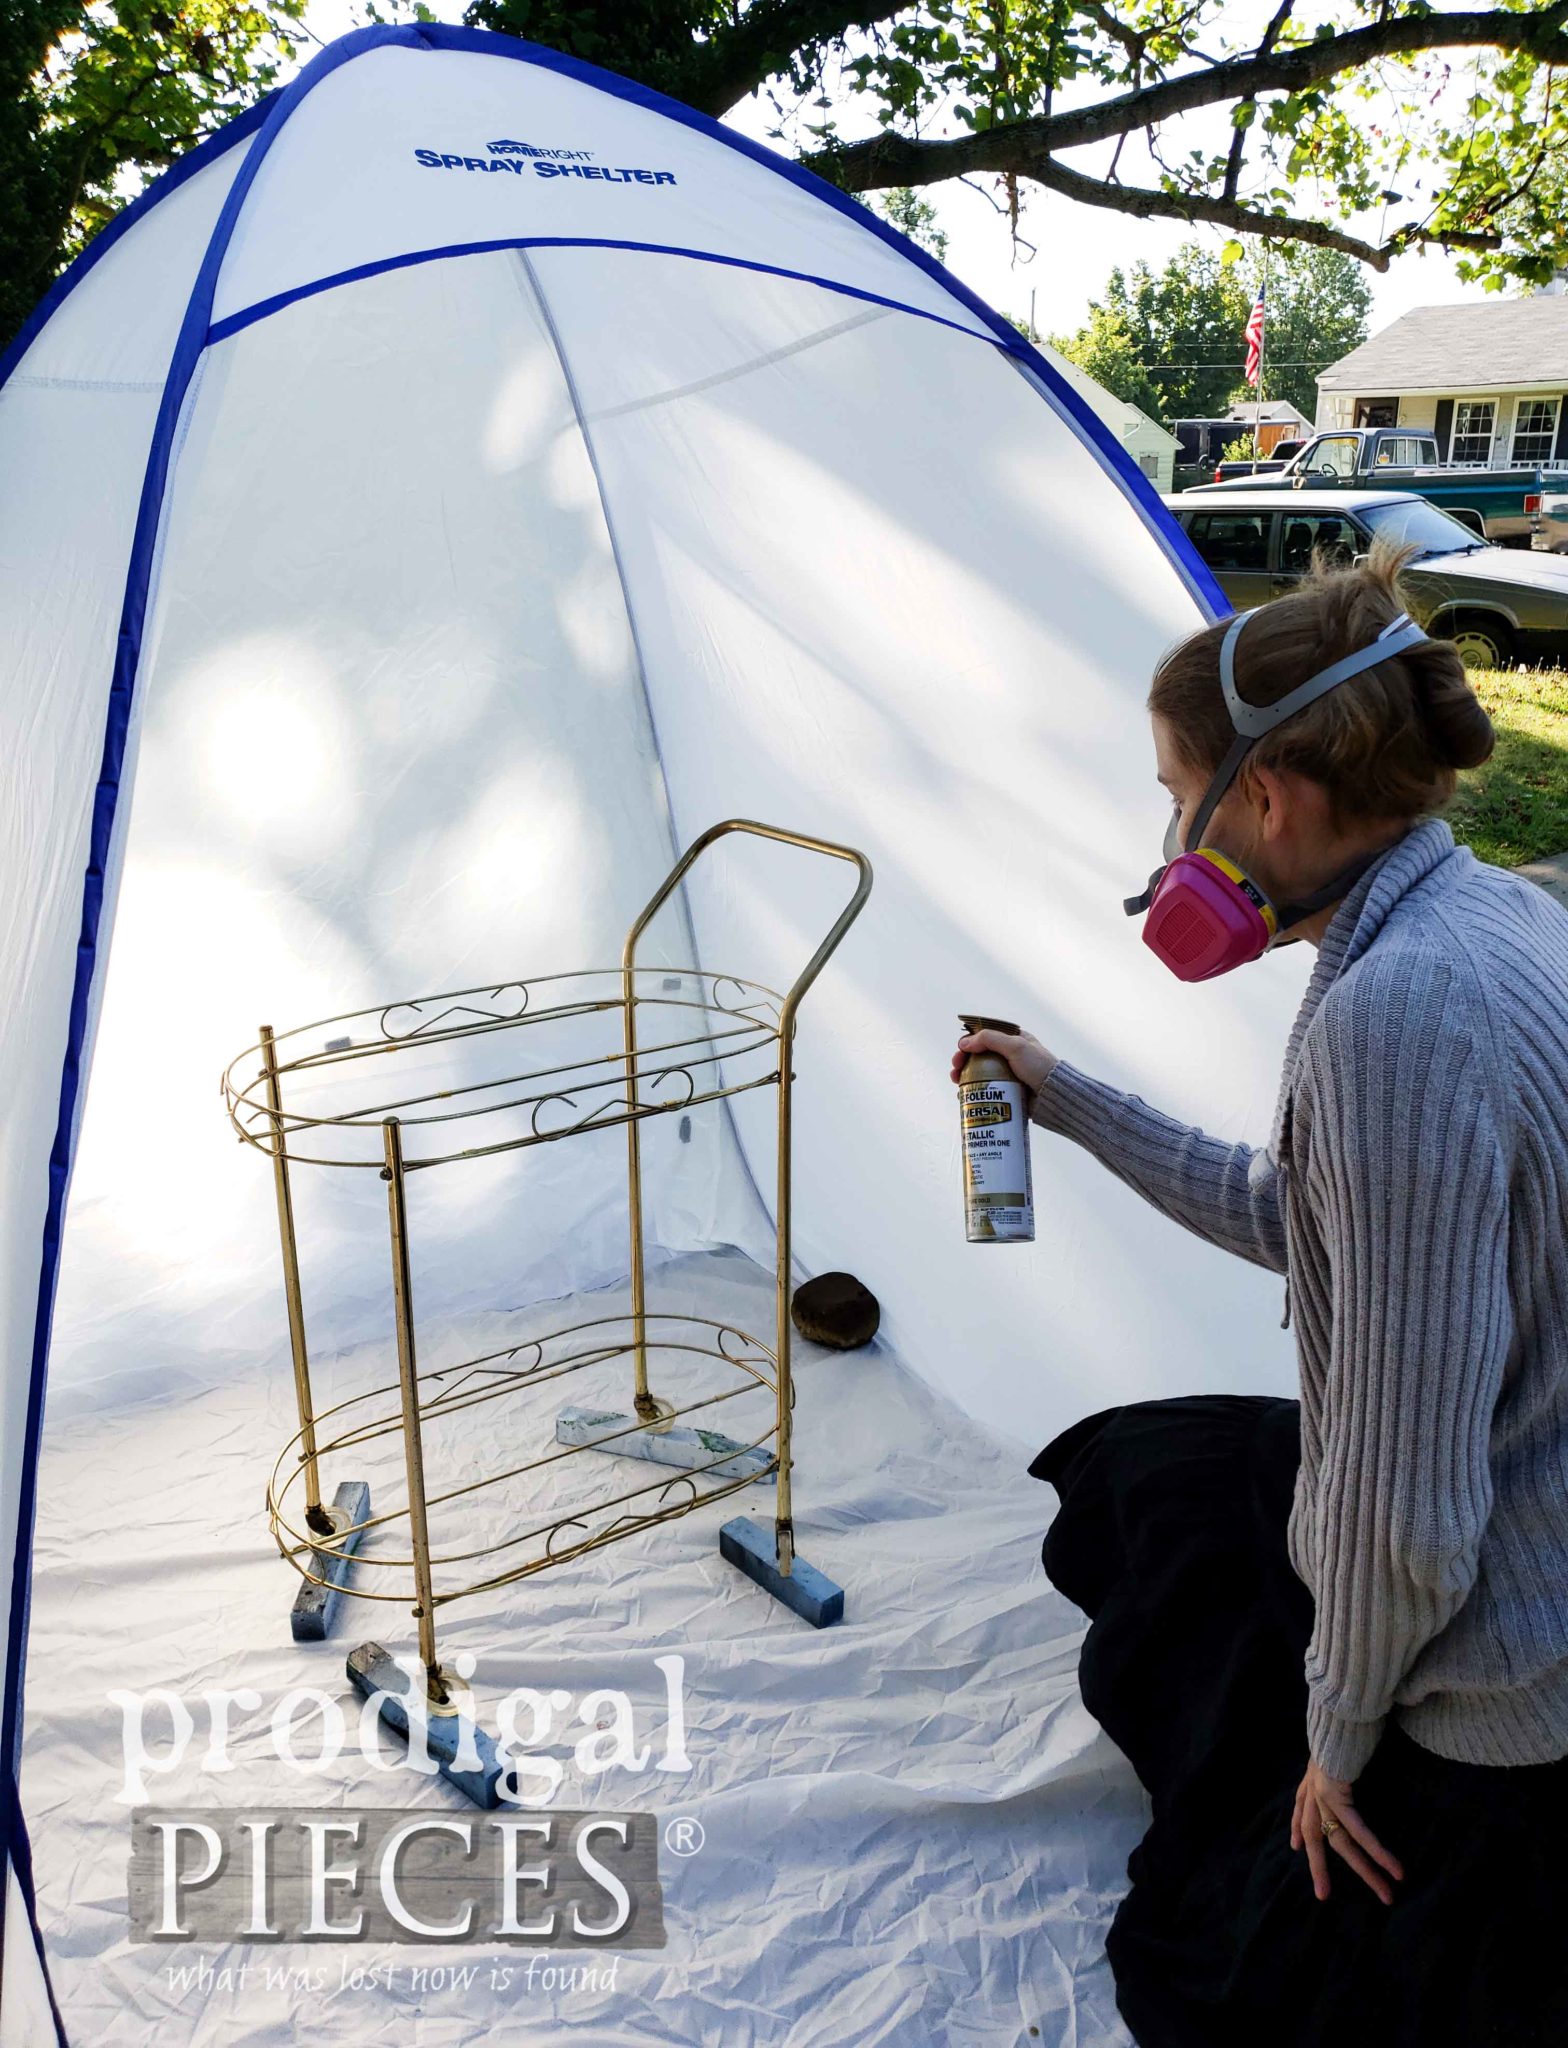
There was a good wind that day, so I put a couple of rocks in to keep it steady on my concrete driveway. For the vintage vibe I was after, my go-to paint was one of my favorites: Pure Gold.
It’s such a nice soft gold color that would help update as well as refresh all the worn spots on my cart.
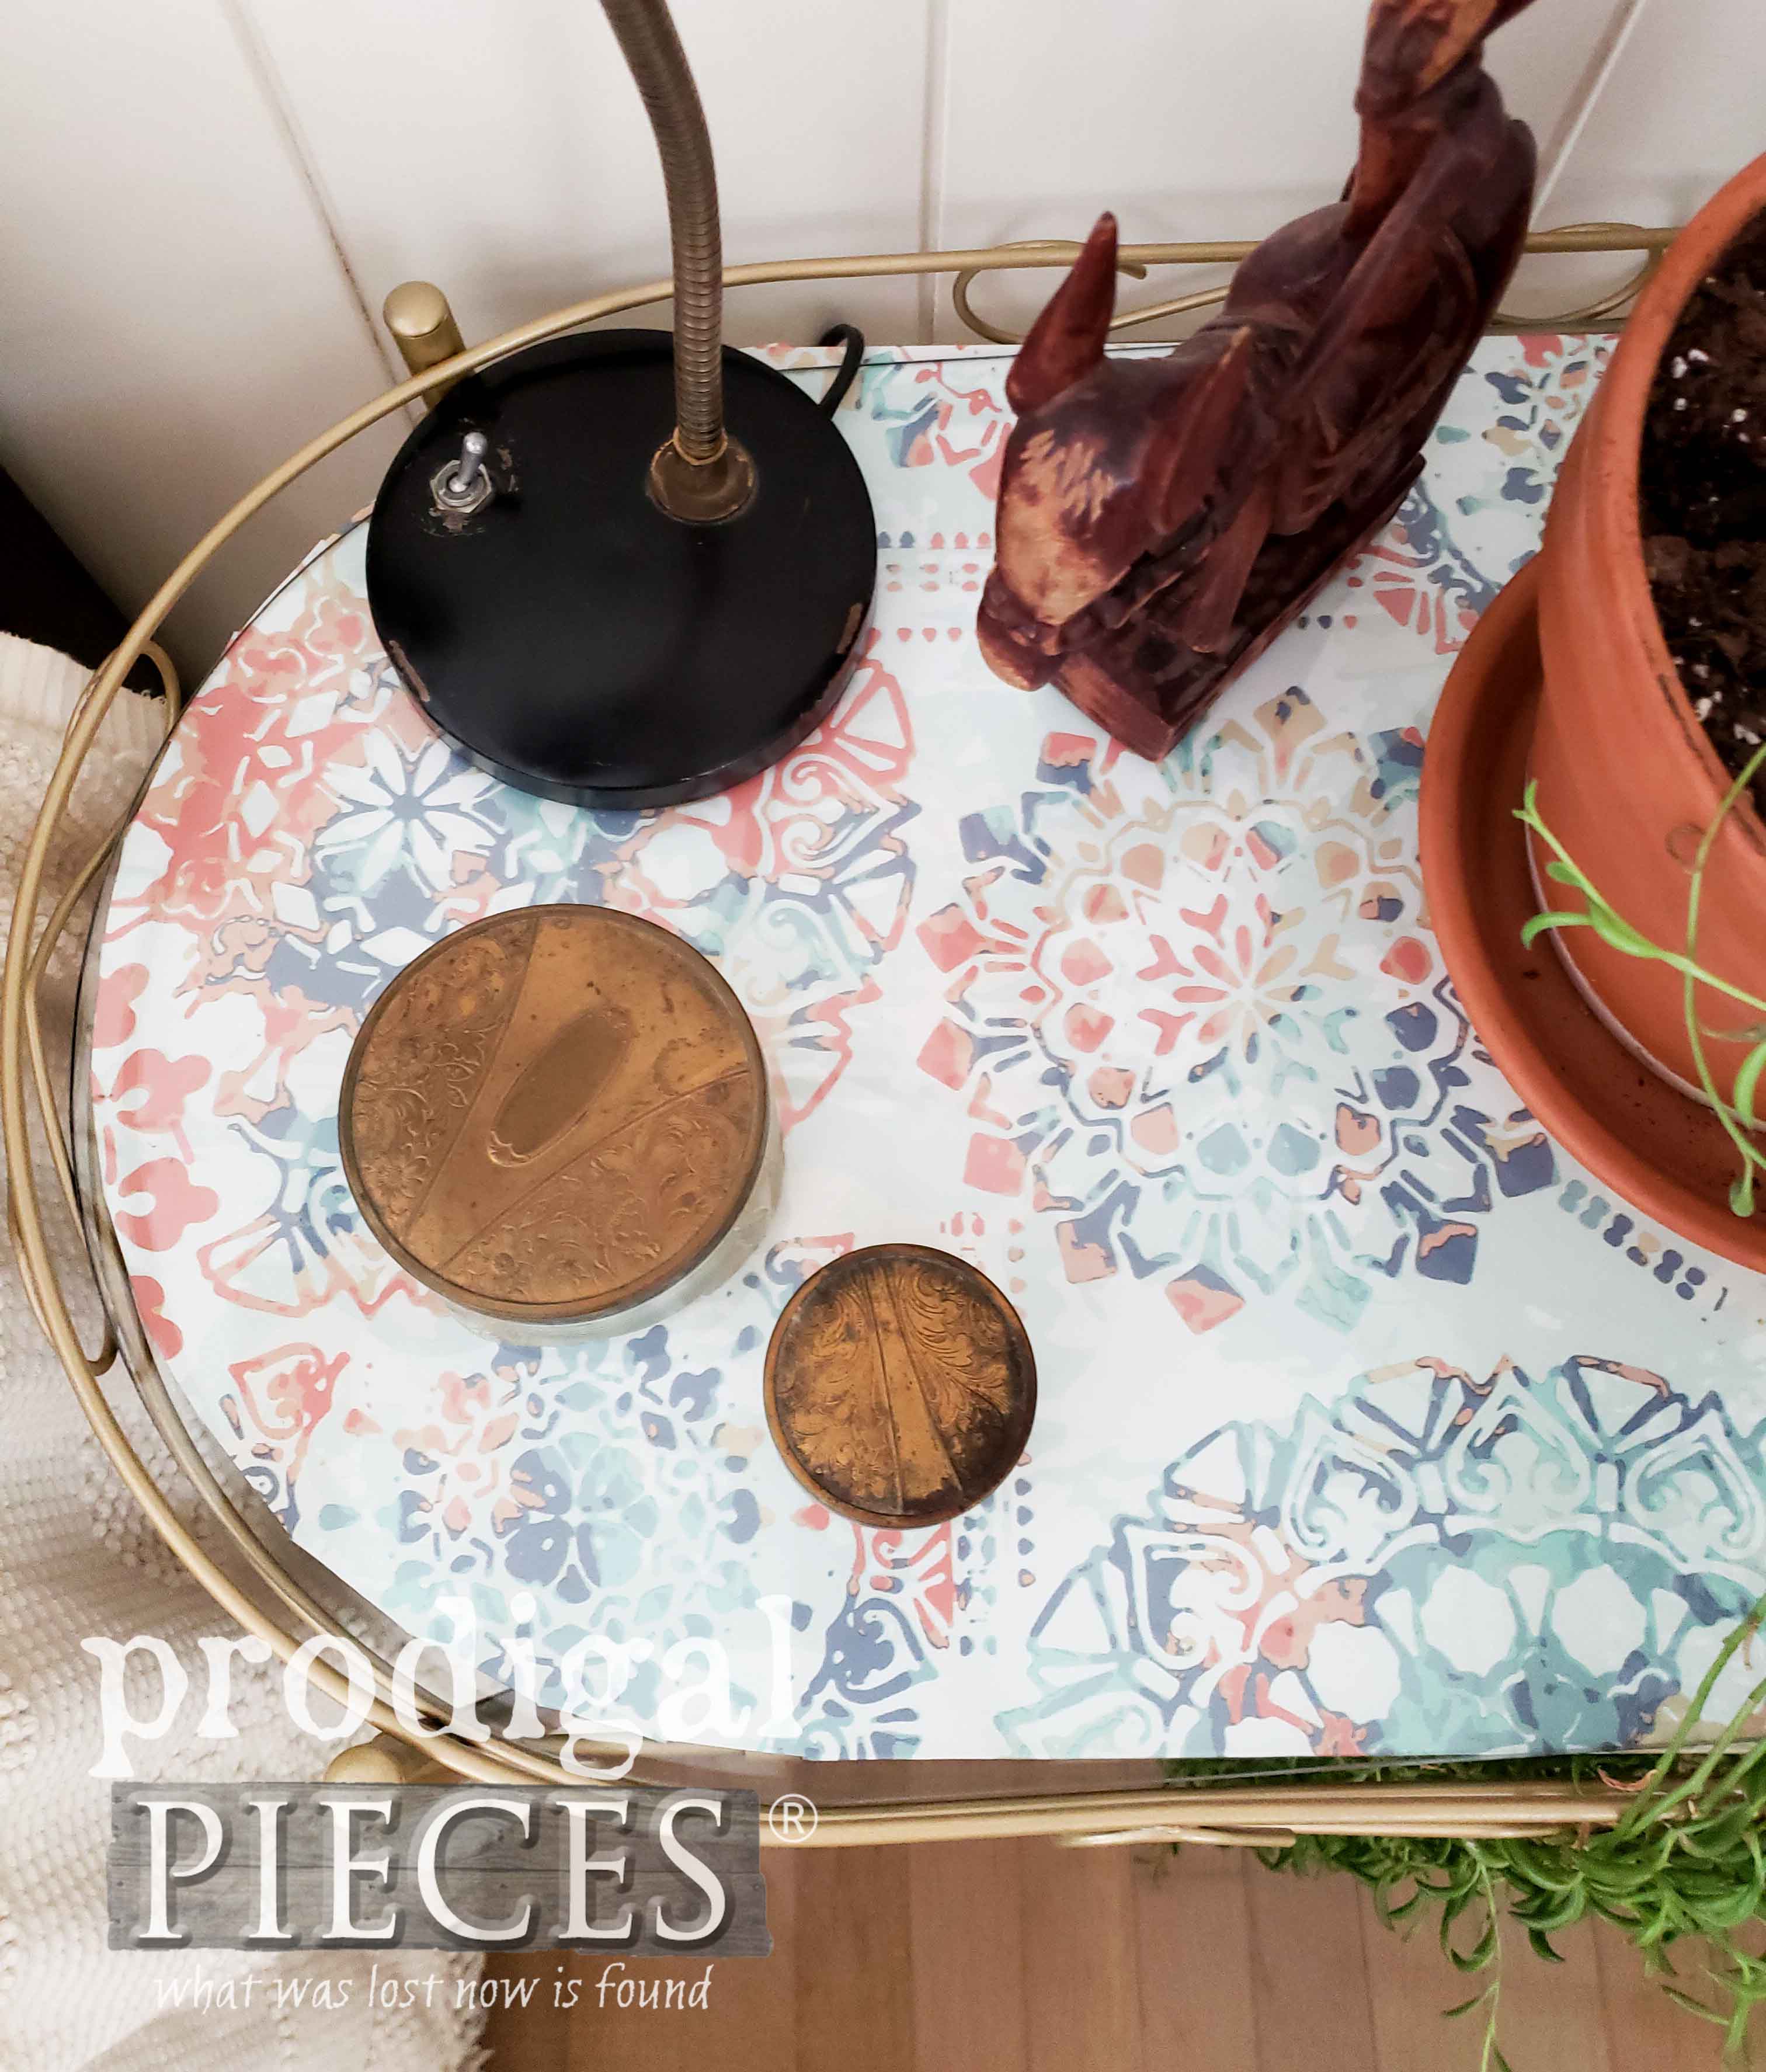
While the first coat cured, I went to work on updating the shelves. I ordered a custom cut piece of glass to replace the missing one, but had a fun idea for covering the pressed board pieces. A peel-n-stick repositionable wallpaper that I used for a vintage bookcase makeover that had a Boho vibe, so I chose to use it again.
It would give it the updated look I was after, plus super easy to remove if you ever want to change it up. This kind of wallpaper is changing the DIY world, I tell ya. I’ve used it on these past projects, including our son’s room, and we LOVE it!
WRAP IT UP
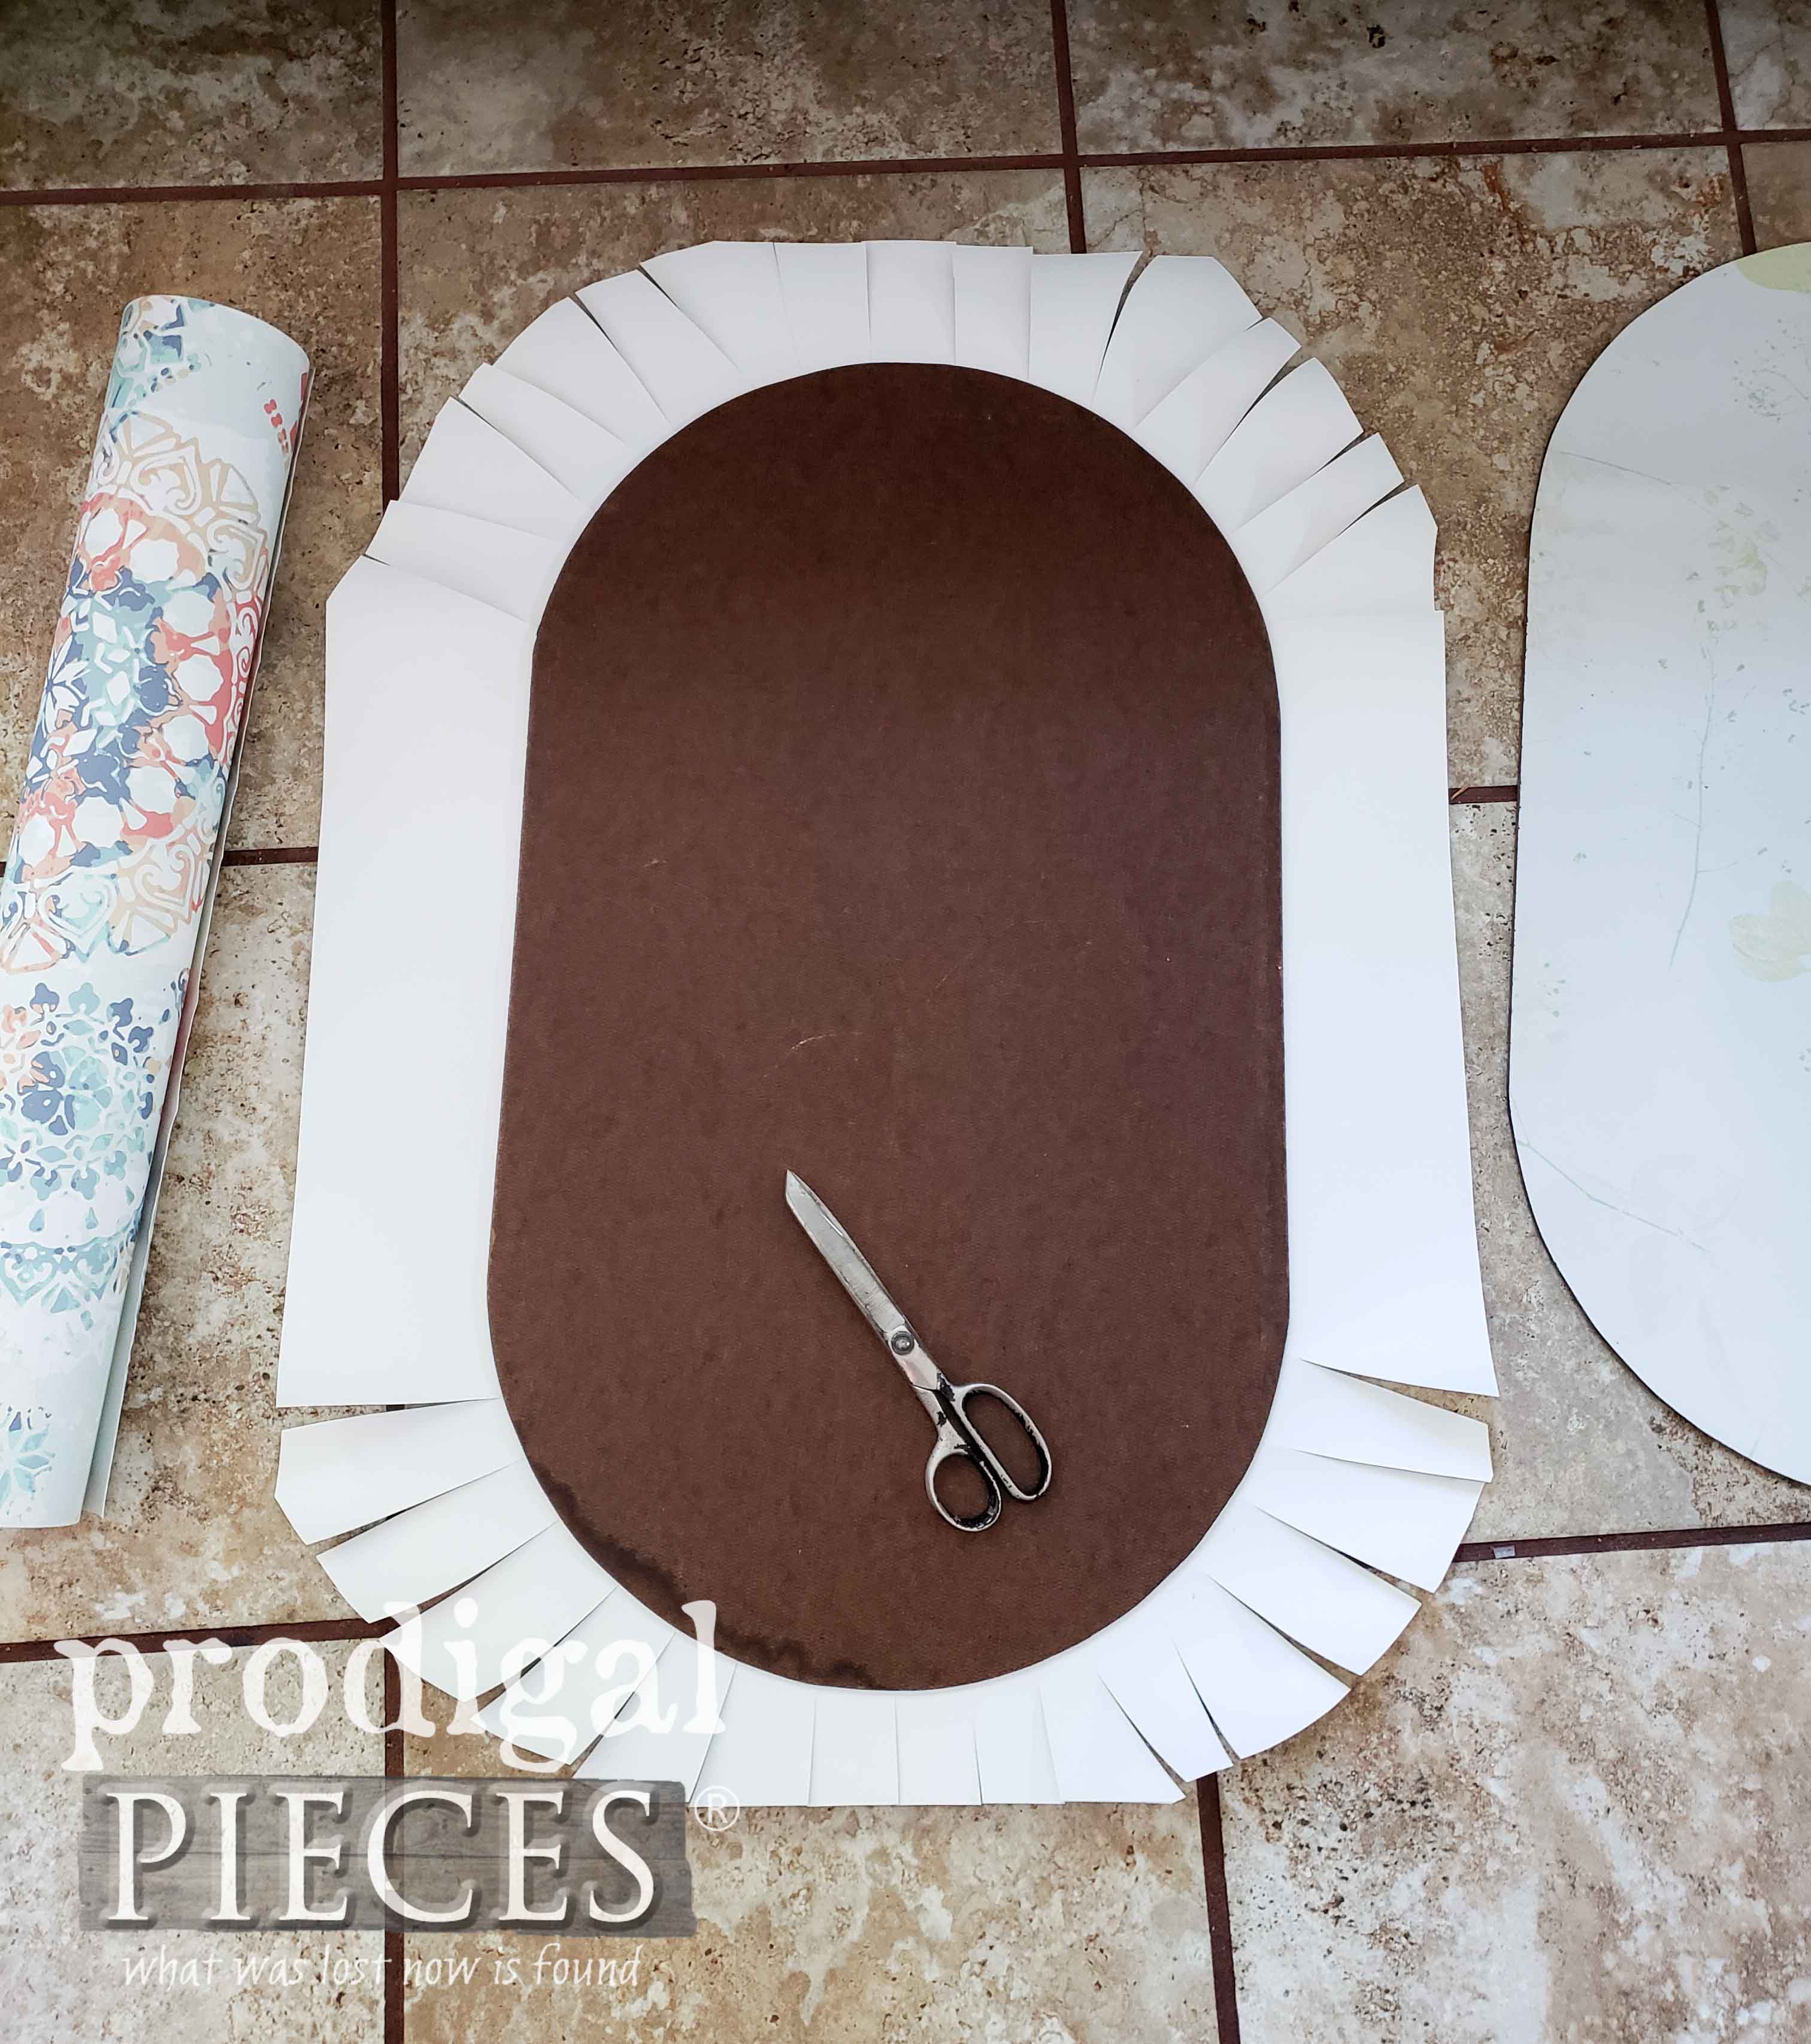
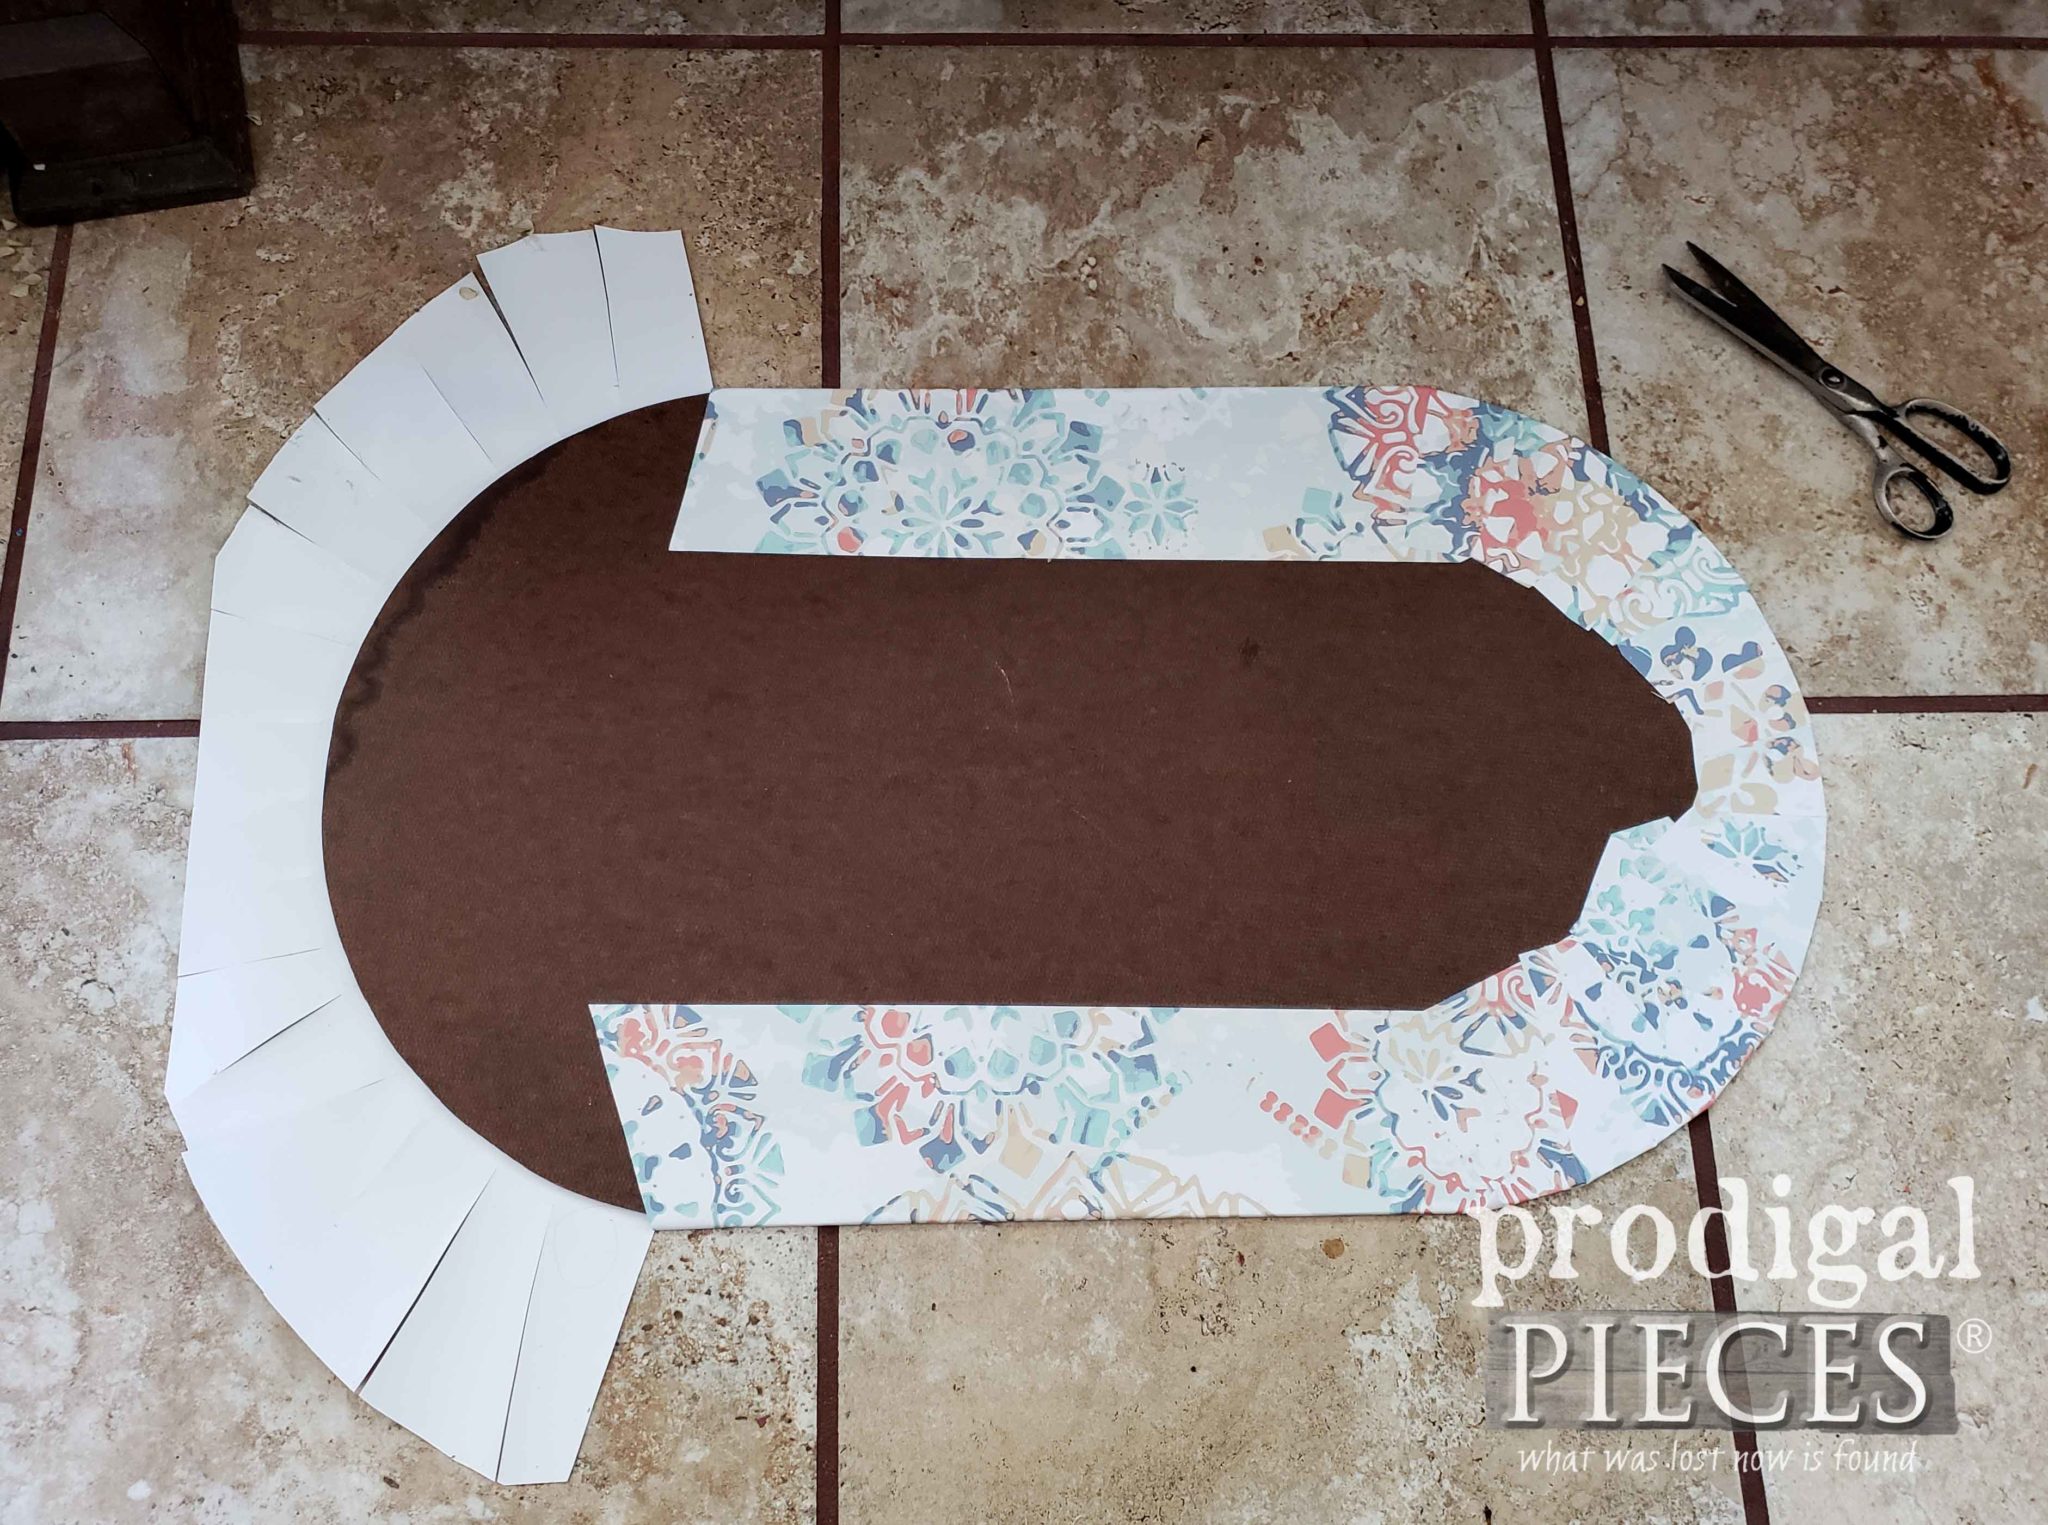
To apply, I cut a piece of wallpaper to length, then place my pressed board shelf on it face down. Make sure to start on one end and smooth out bubbles as you go. When you’re happy with placement and smooth surface, take a pair of scissors and make cuts around the curved ends so that the wallpaper will fold over smoothly. Just like in sewing to ease corners.
Fold over long sides first, then work your way around the rounded ends.
Once you have that sheet applied as you like, cut a smaller oval shape to put on the back to make a nice clean surface.
Now the Mid Century modern bar cart shelves are prepped, so I head back out to second coat the cart. As soon as I’ve applied that coat to let cure, I decided (like the nut that I am) to create some DIY macrame wall art. yup.
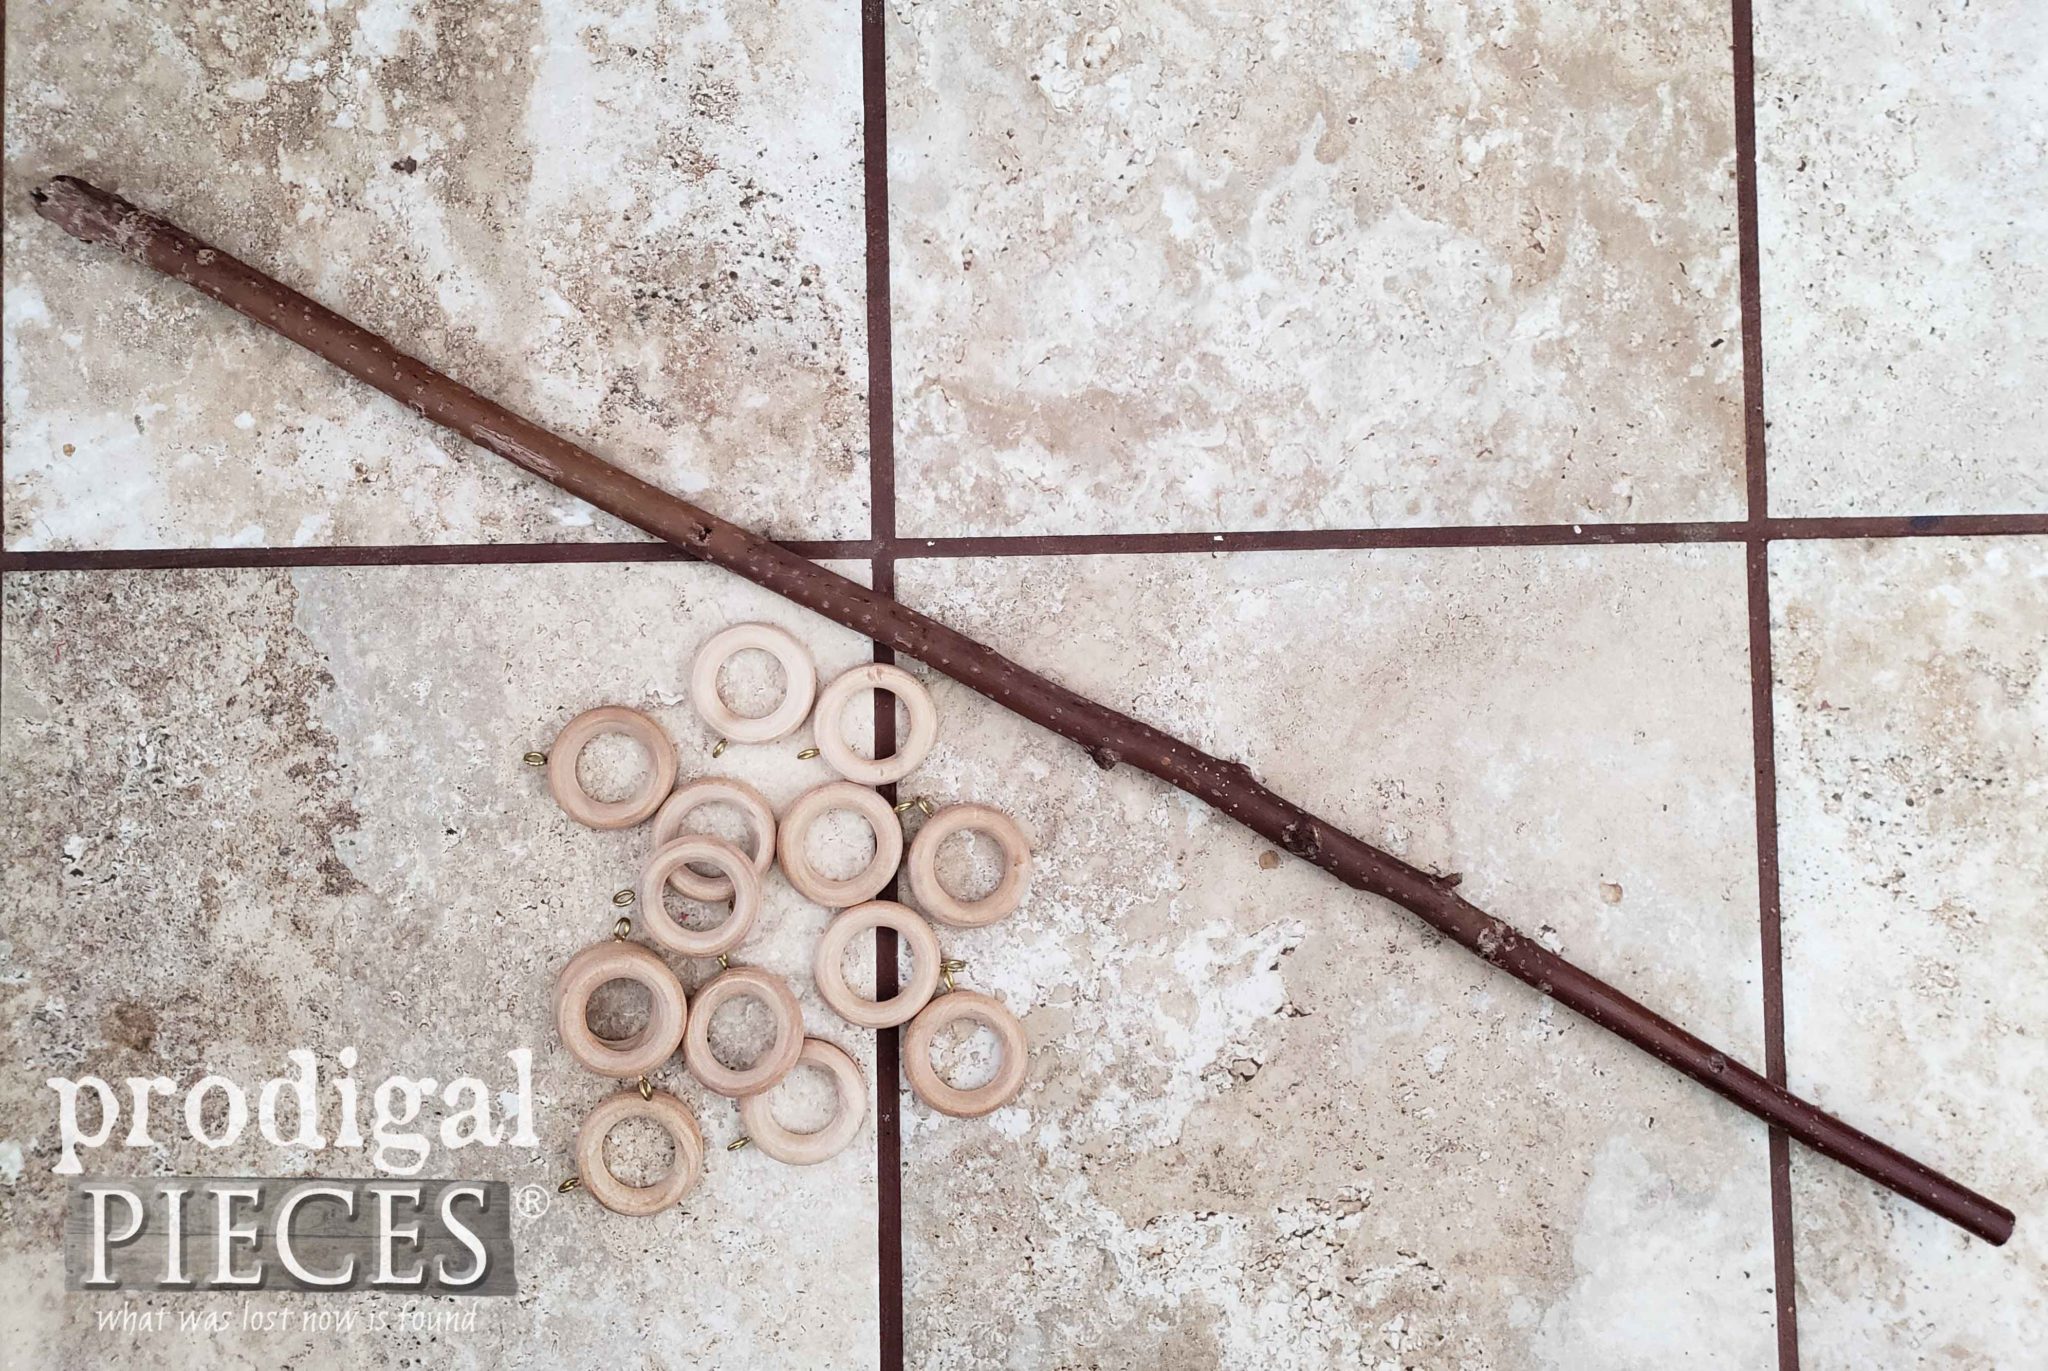
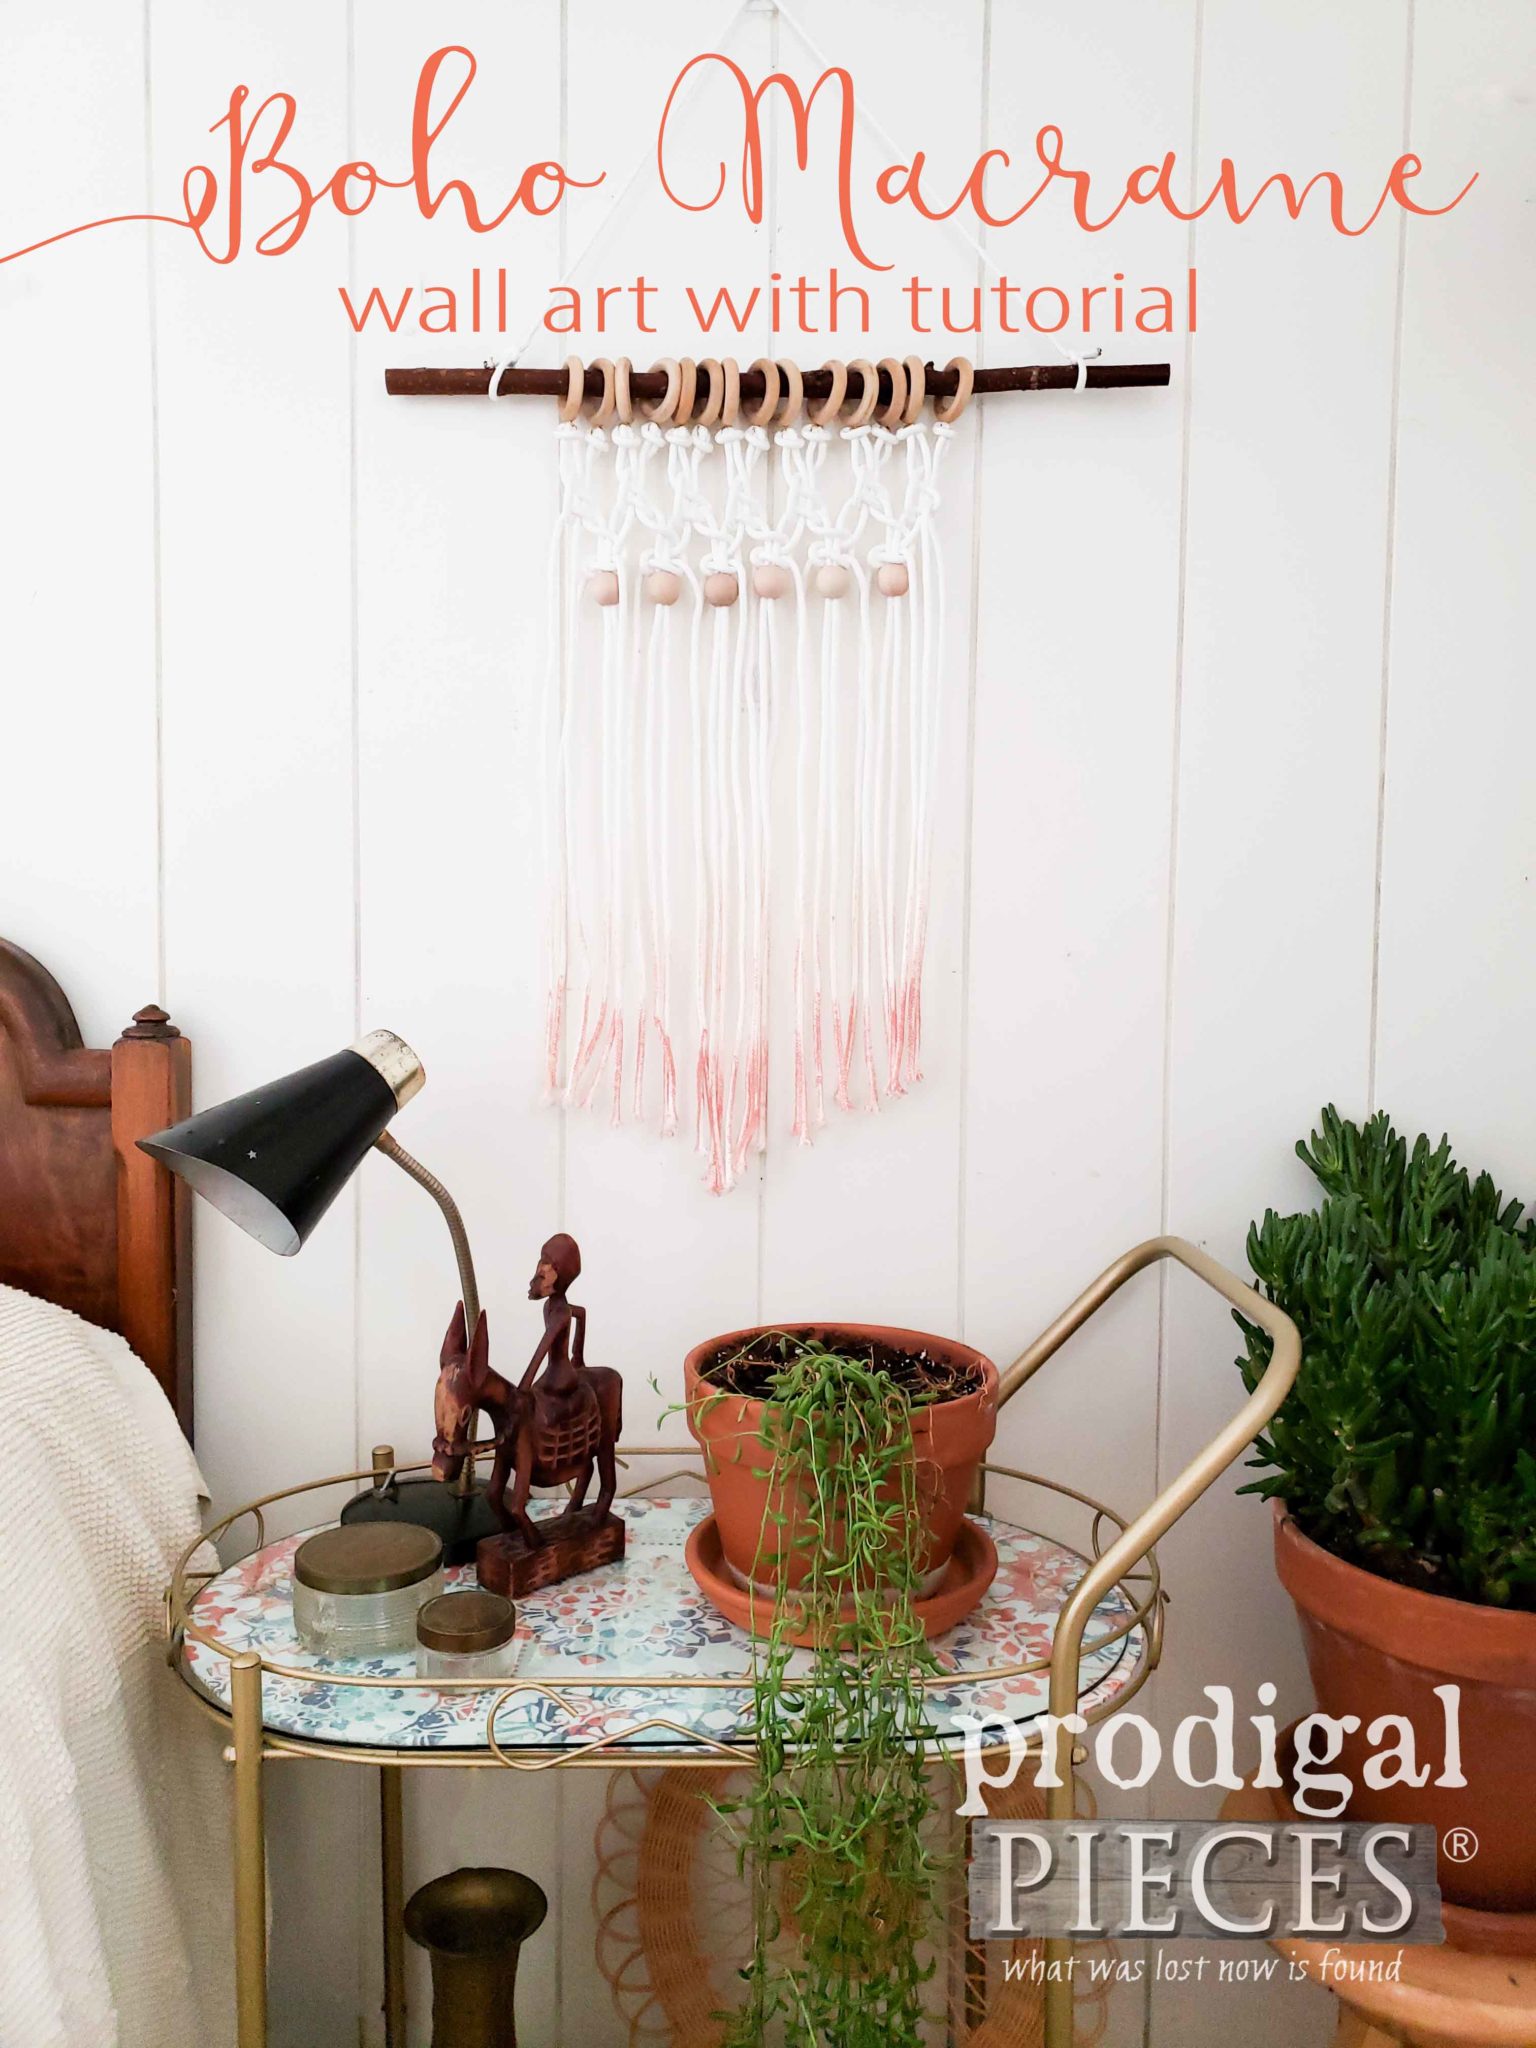
You see, I love to crochet and work with fibers and have always wanted to try my hand at this since it’s resurfaced as a popular art right now. It’s got the MCM vibe and fits the Bohemian style too. I had these wooden curtain rings a friend gave me just waiting for a new purpose, and today’s the day.
CRAFTINESS
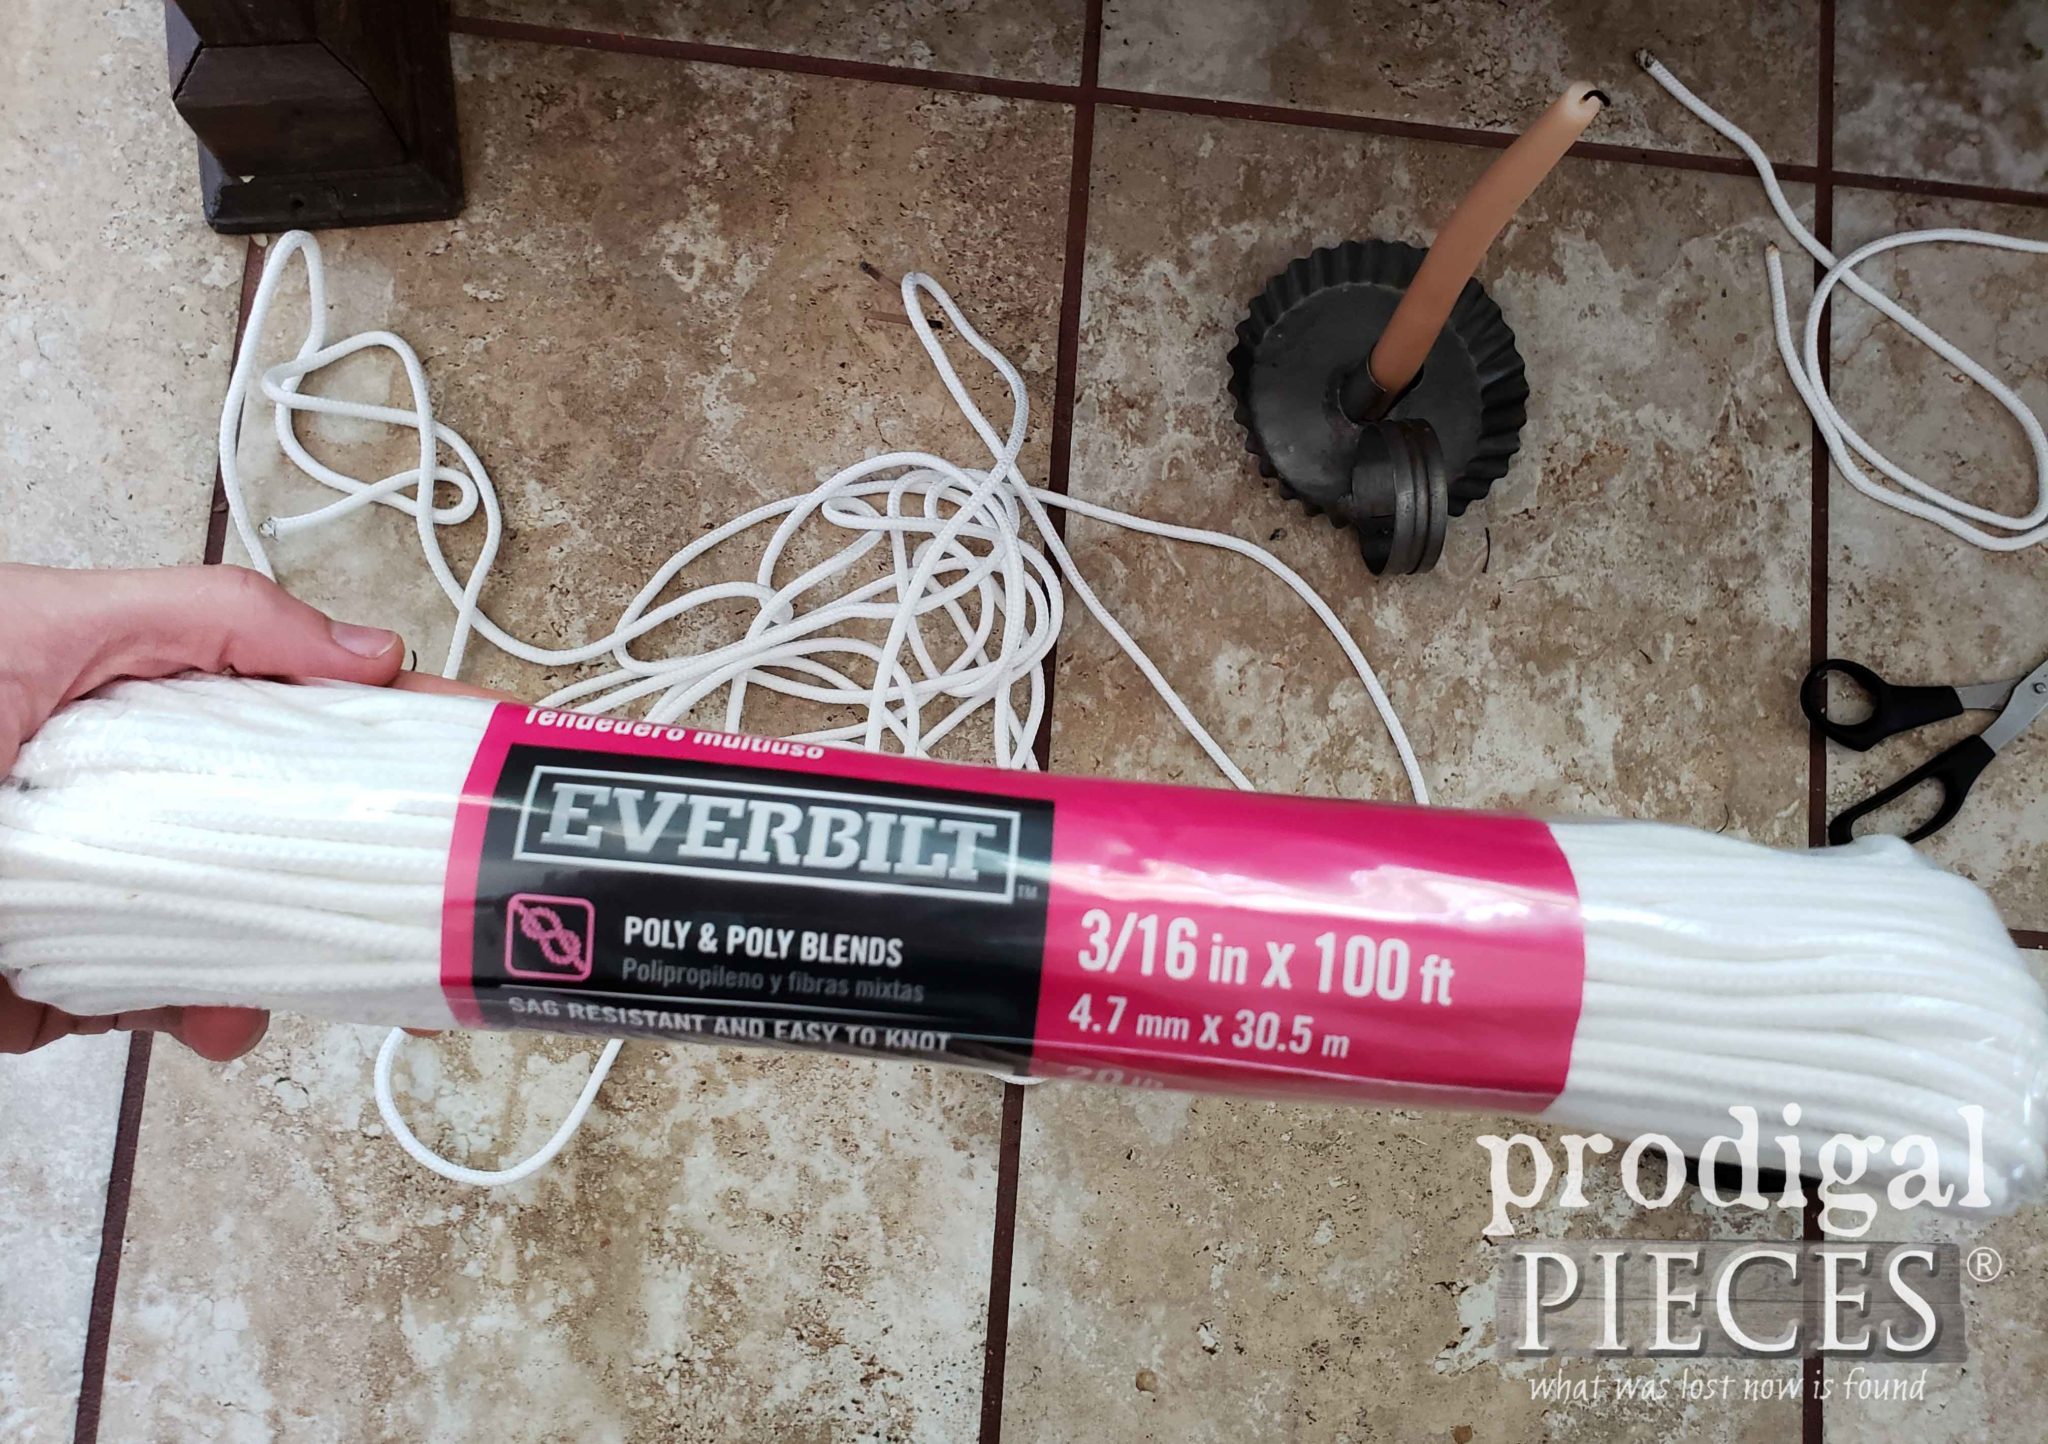
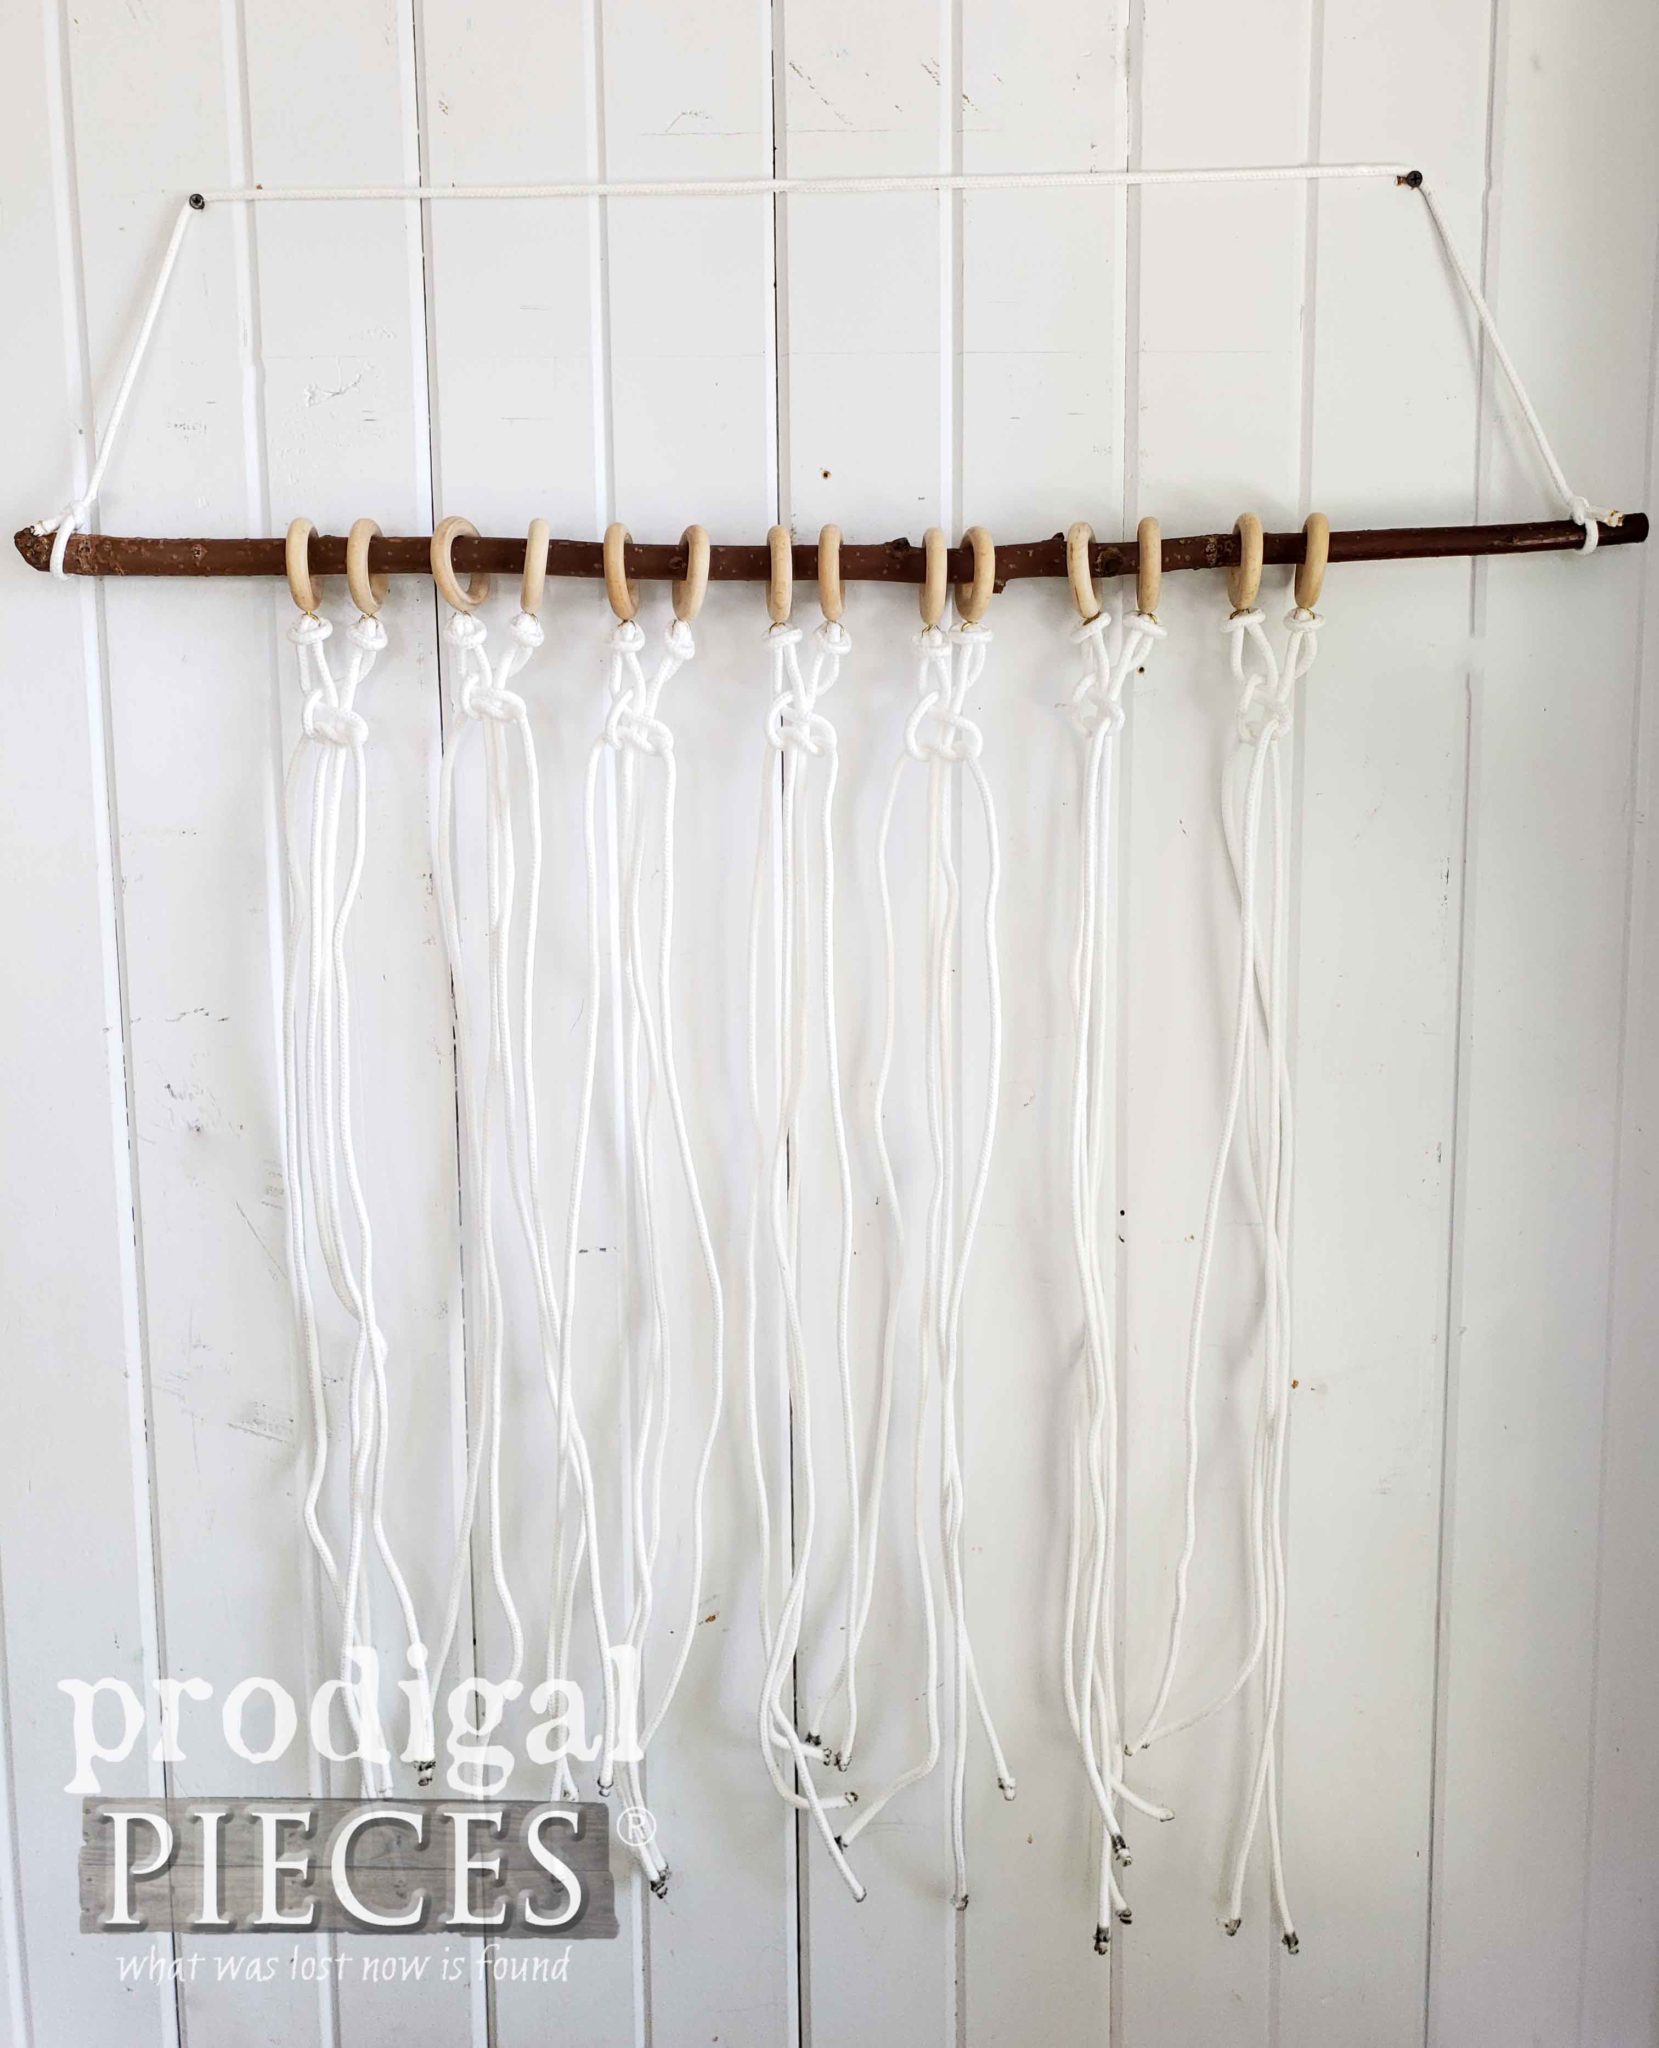
I’ll share a quick tutorial on how I created it, but really the sky’s the limit with something like this. I took a piece of sassafras tree and tied on a long piece of clothesline. For whatever reason, I couldn’t find a cotton line anywhere local, so I went with a poly mix. If you’d like to use cotton, you can use that too. I only needed one 100′ skein of it for my project.
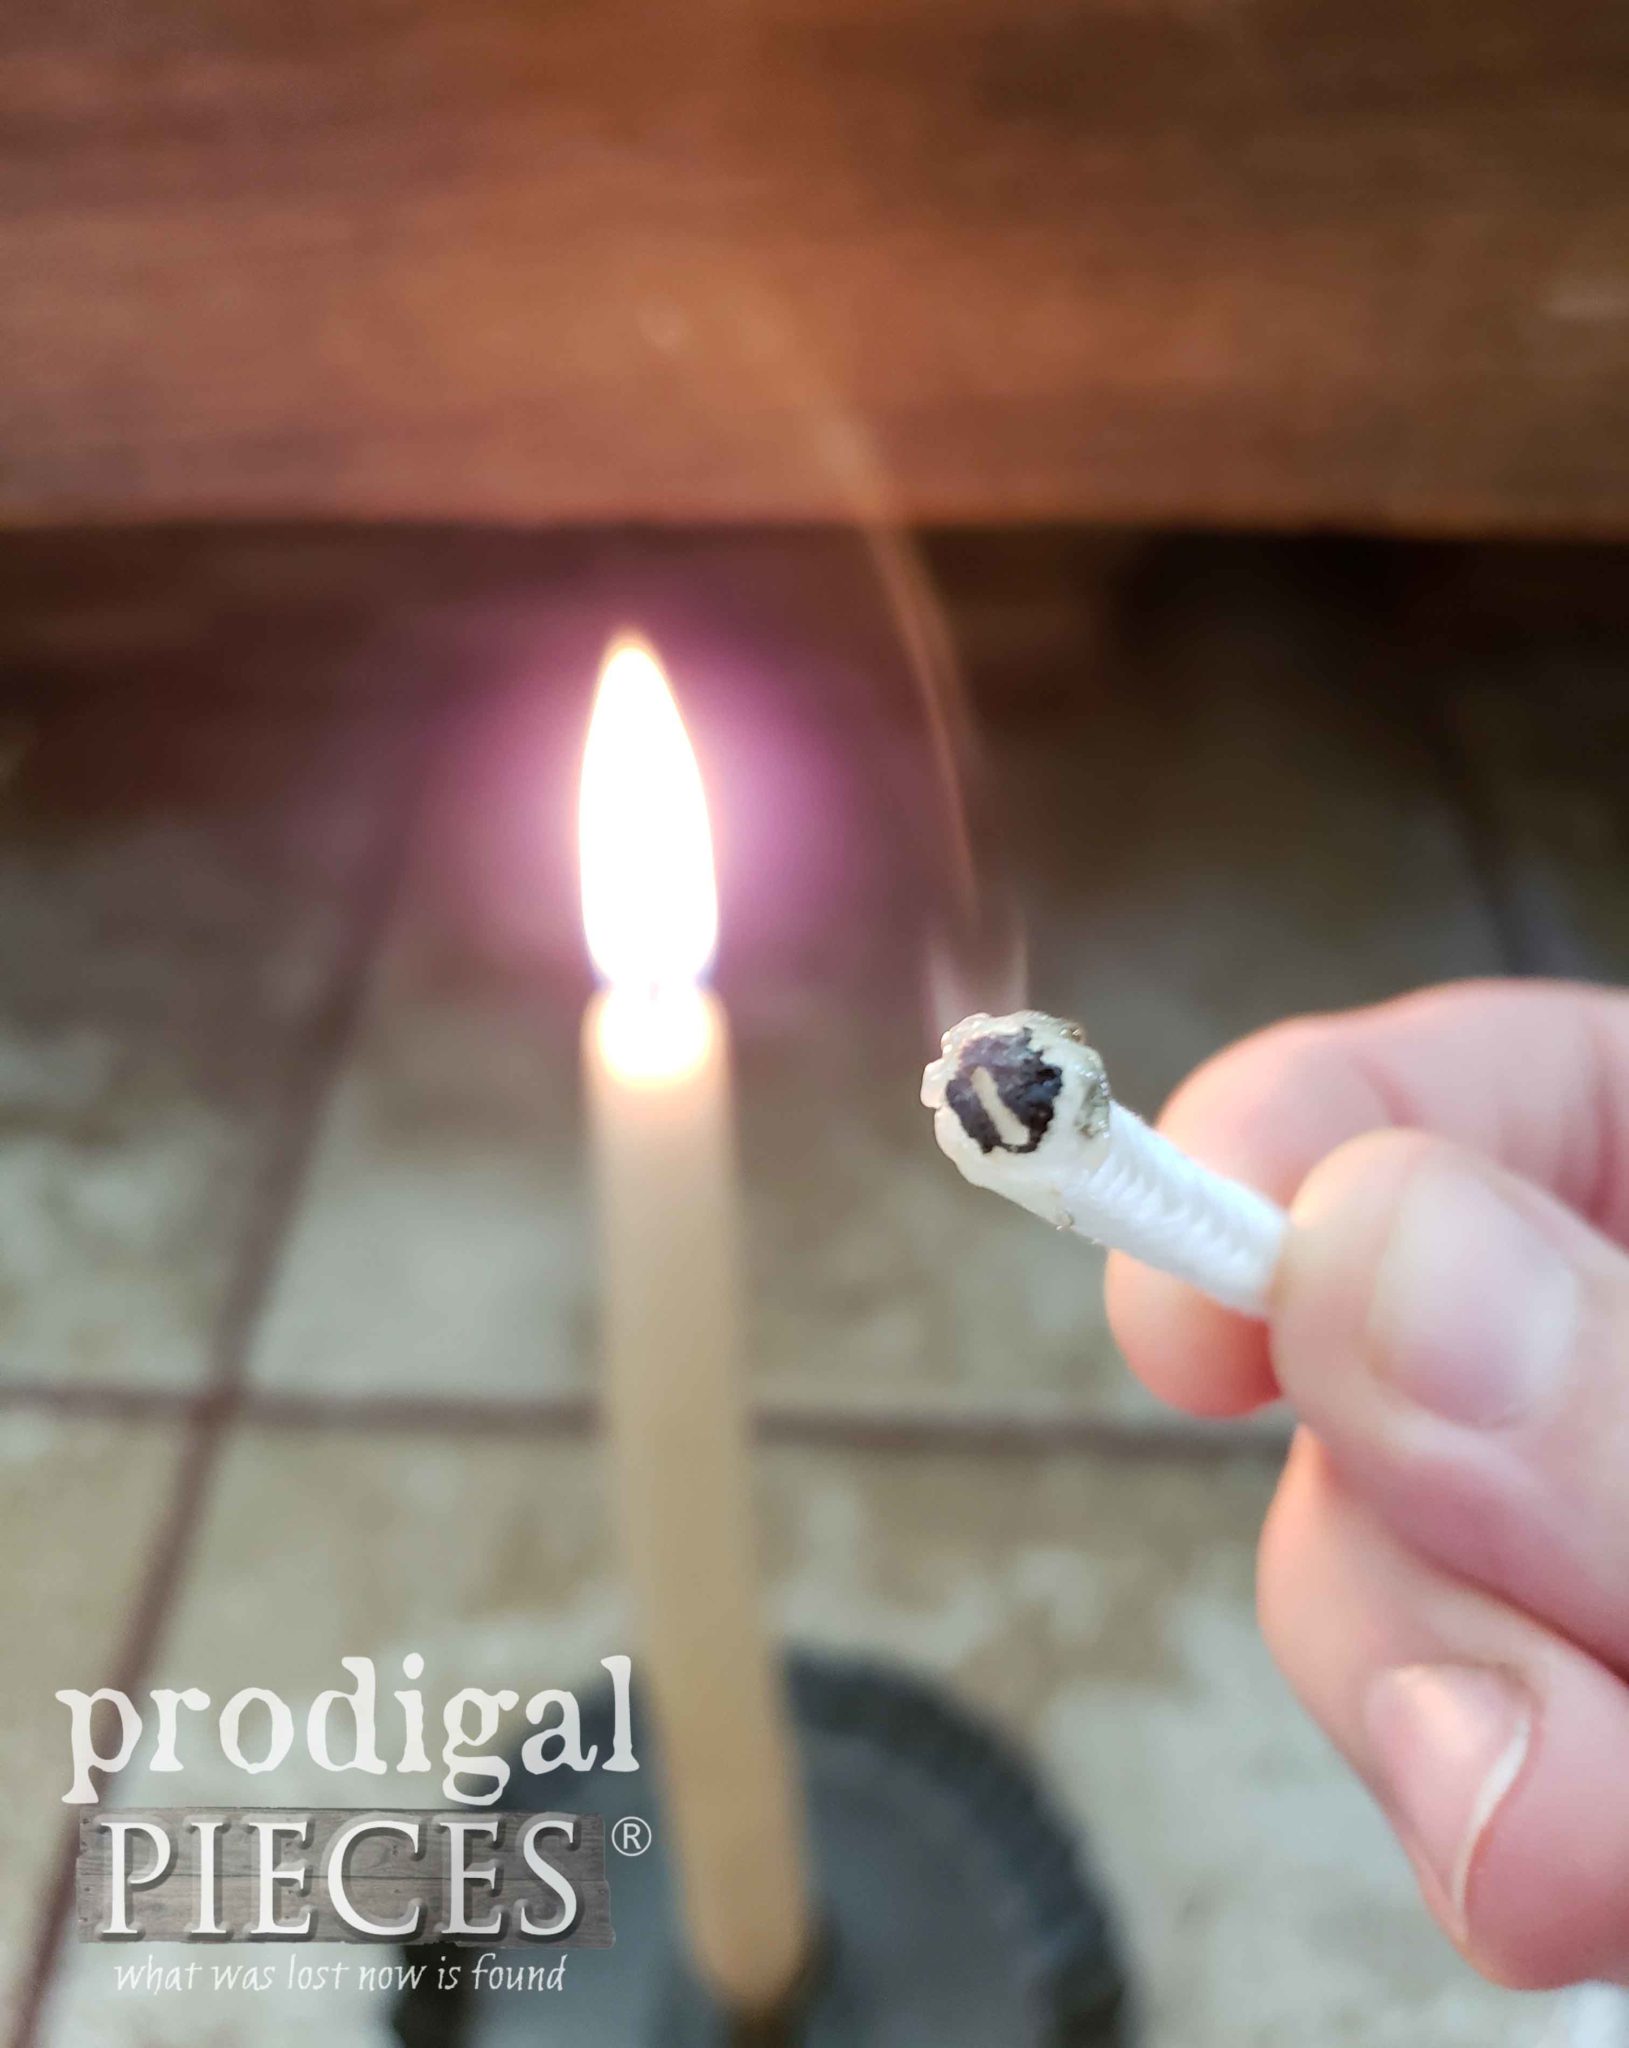
Since I had 14 curtain rings, I cut 14 lengths. I figured the length of the art I wanted, doubled it, and then added half of the art length amount (24″ art length = 60″ rope lengths). As soon as I cut a piece, I would singe both pieces of the cut to keep it from fraying while I worked. A candle works well to make it go quick. You can trim this singed part off later if you like. Or you can also use fray check, but that takes a bit longer as it needs to dry first.
BTW, you can totally skip the curtain rings and tie right on the stick, which can make the art more stable for a beginner. Also, I hung the stick on the wall so I could keep my work even and spaced accordingly.
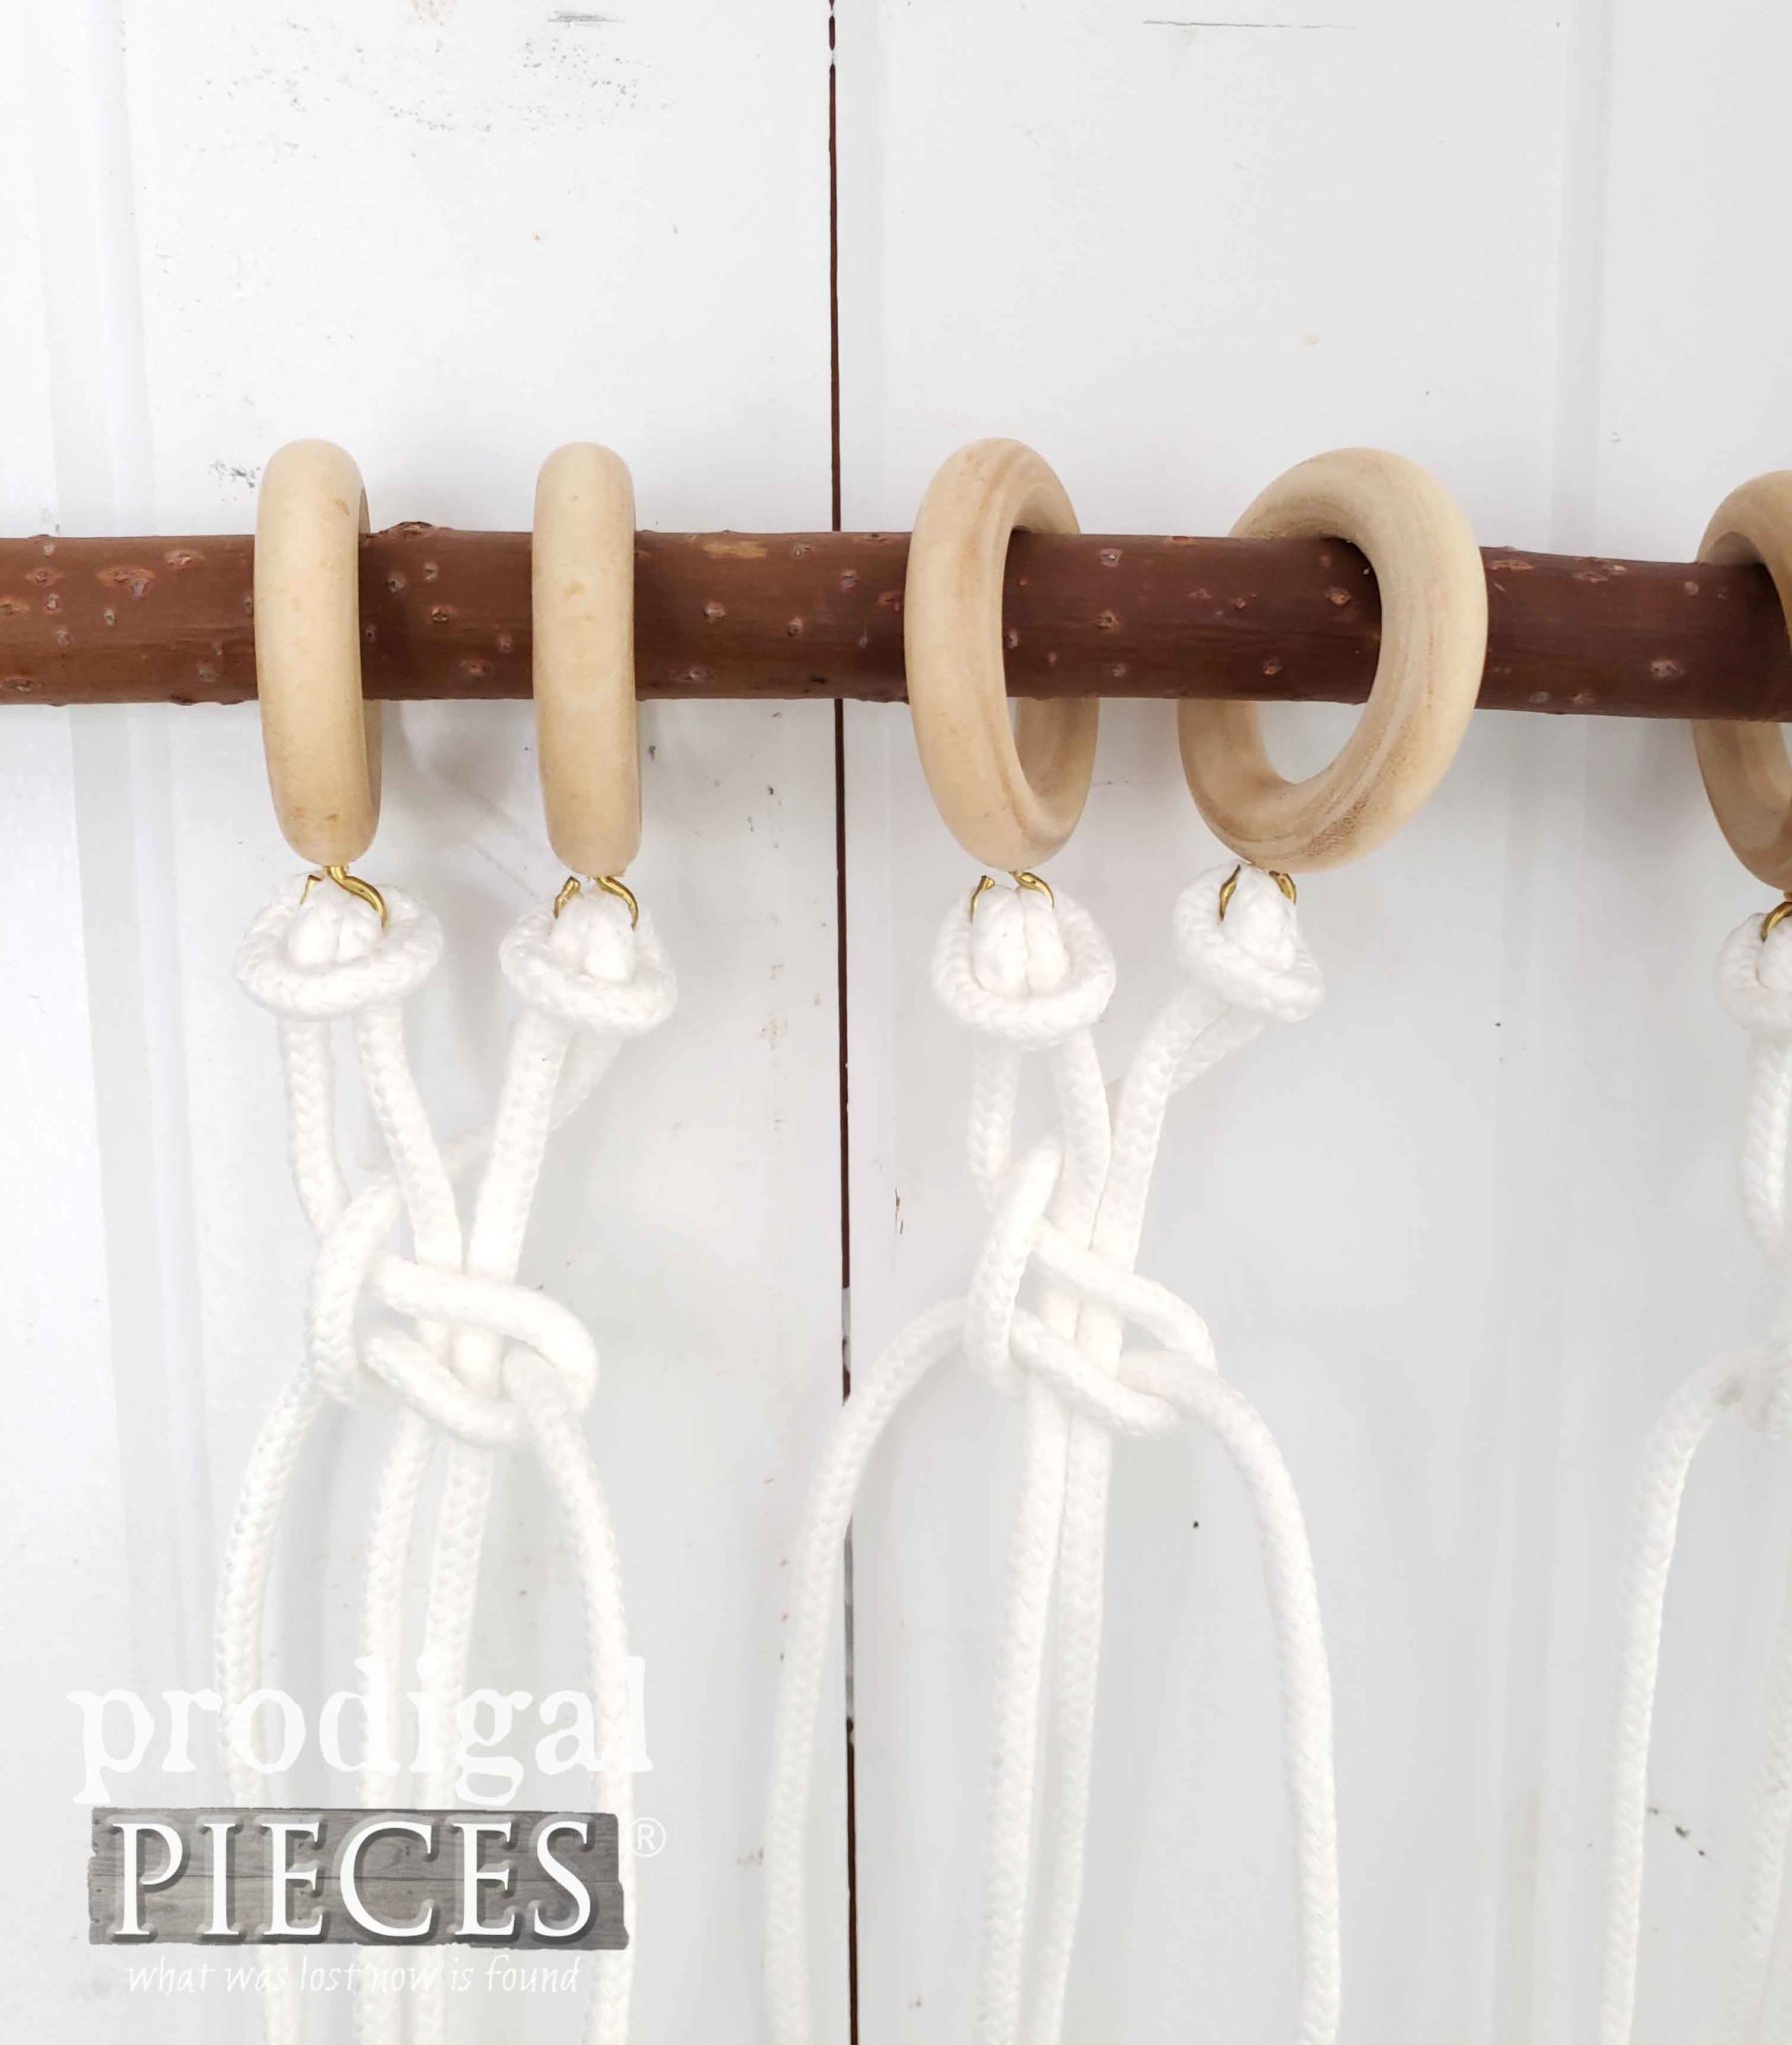
To start your own macrame wall art, take a peek at these helpful visuals on knots. I used a Lark’s Head knot to begin to attach my rope. Then, I did one course of square knots. I know my knots would hold better shape if I had attached the rope to the stick instead of the hanging rings, but I didn’t care.
KNOT DONE YET
After a second course of square knots, I added a few beads from my stash. I had just enough and was stoked to use them up. They add more texture and whimsy to this macrame art. You can also see I’ve clamped on two lengths of scrap wood – that’s to hold my rope in place while I make a cut.
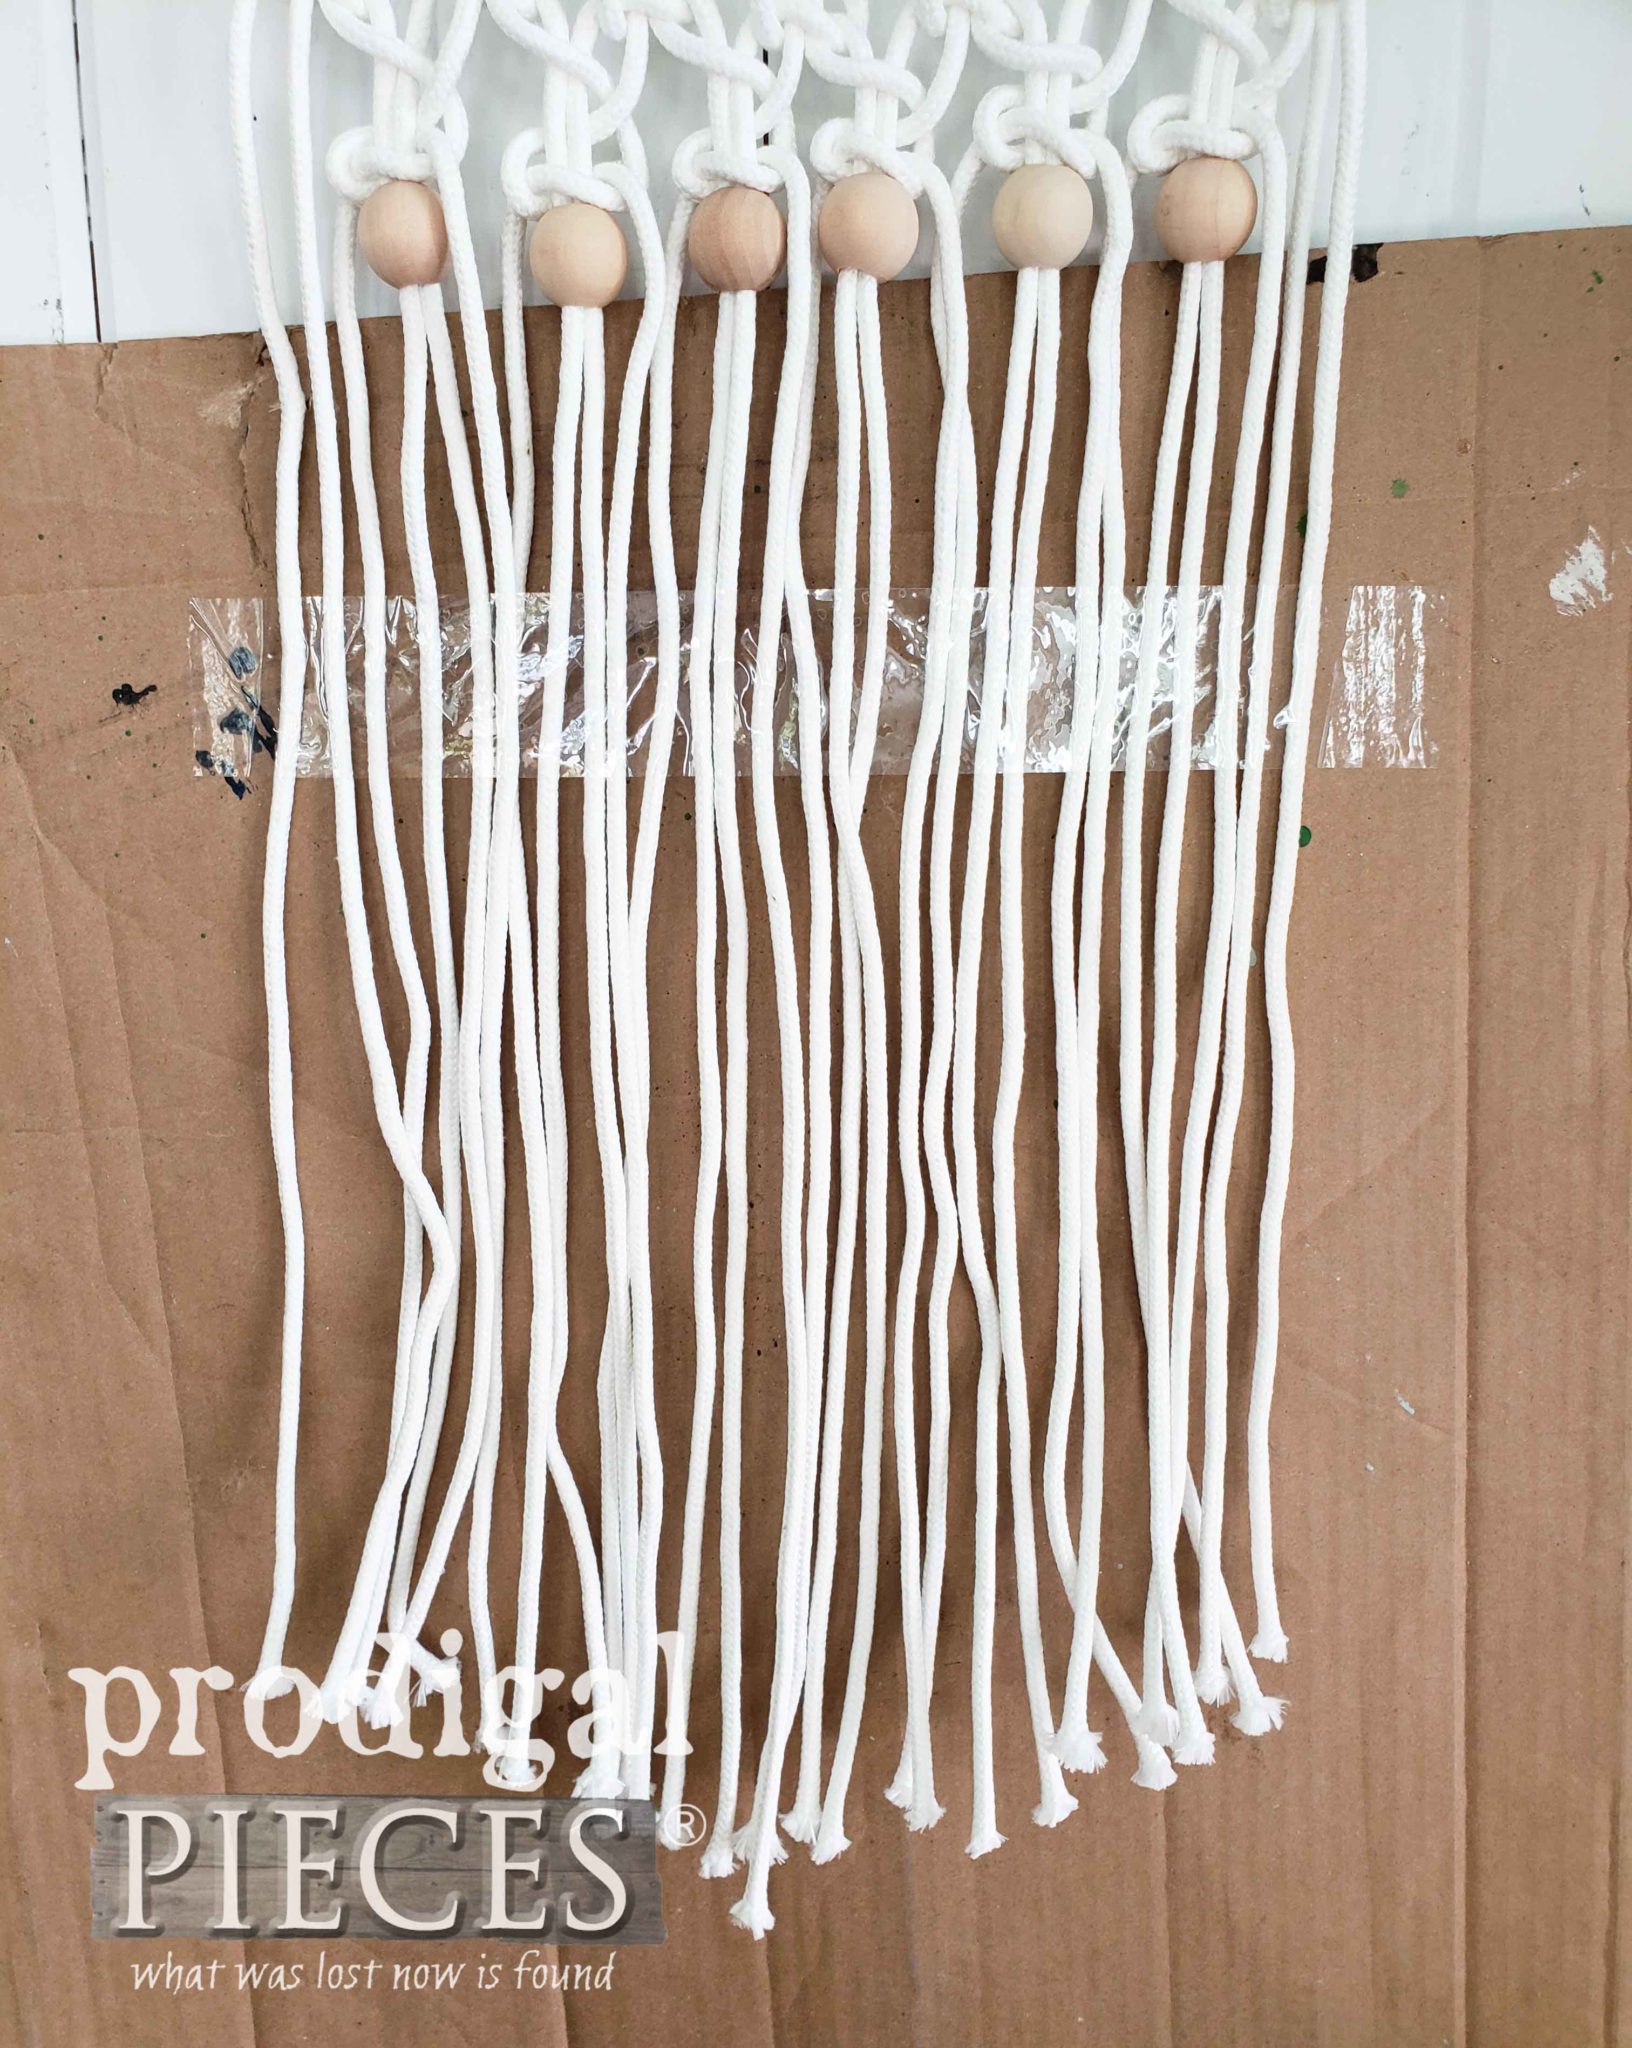
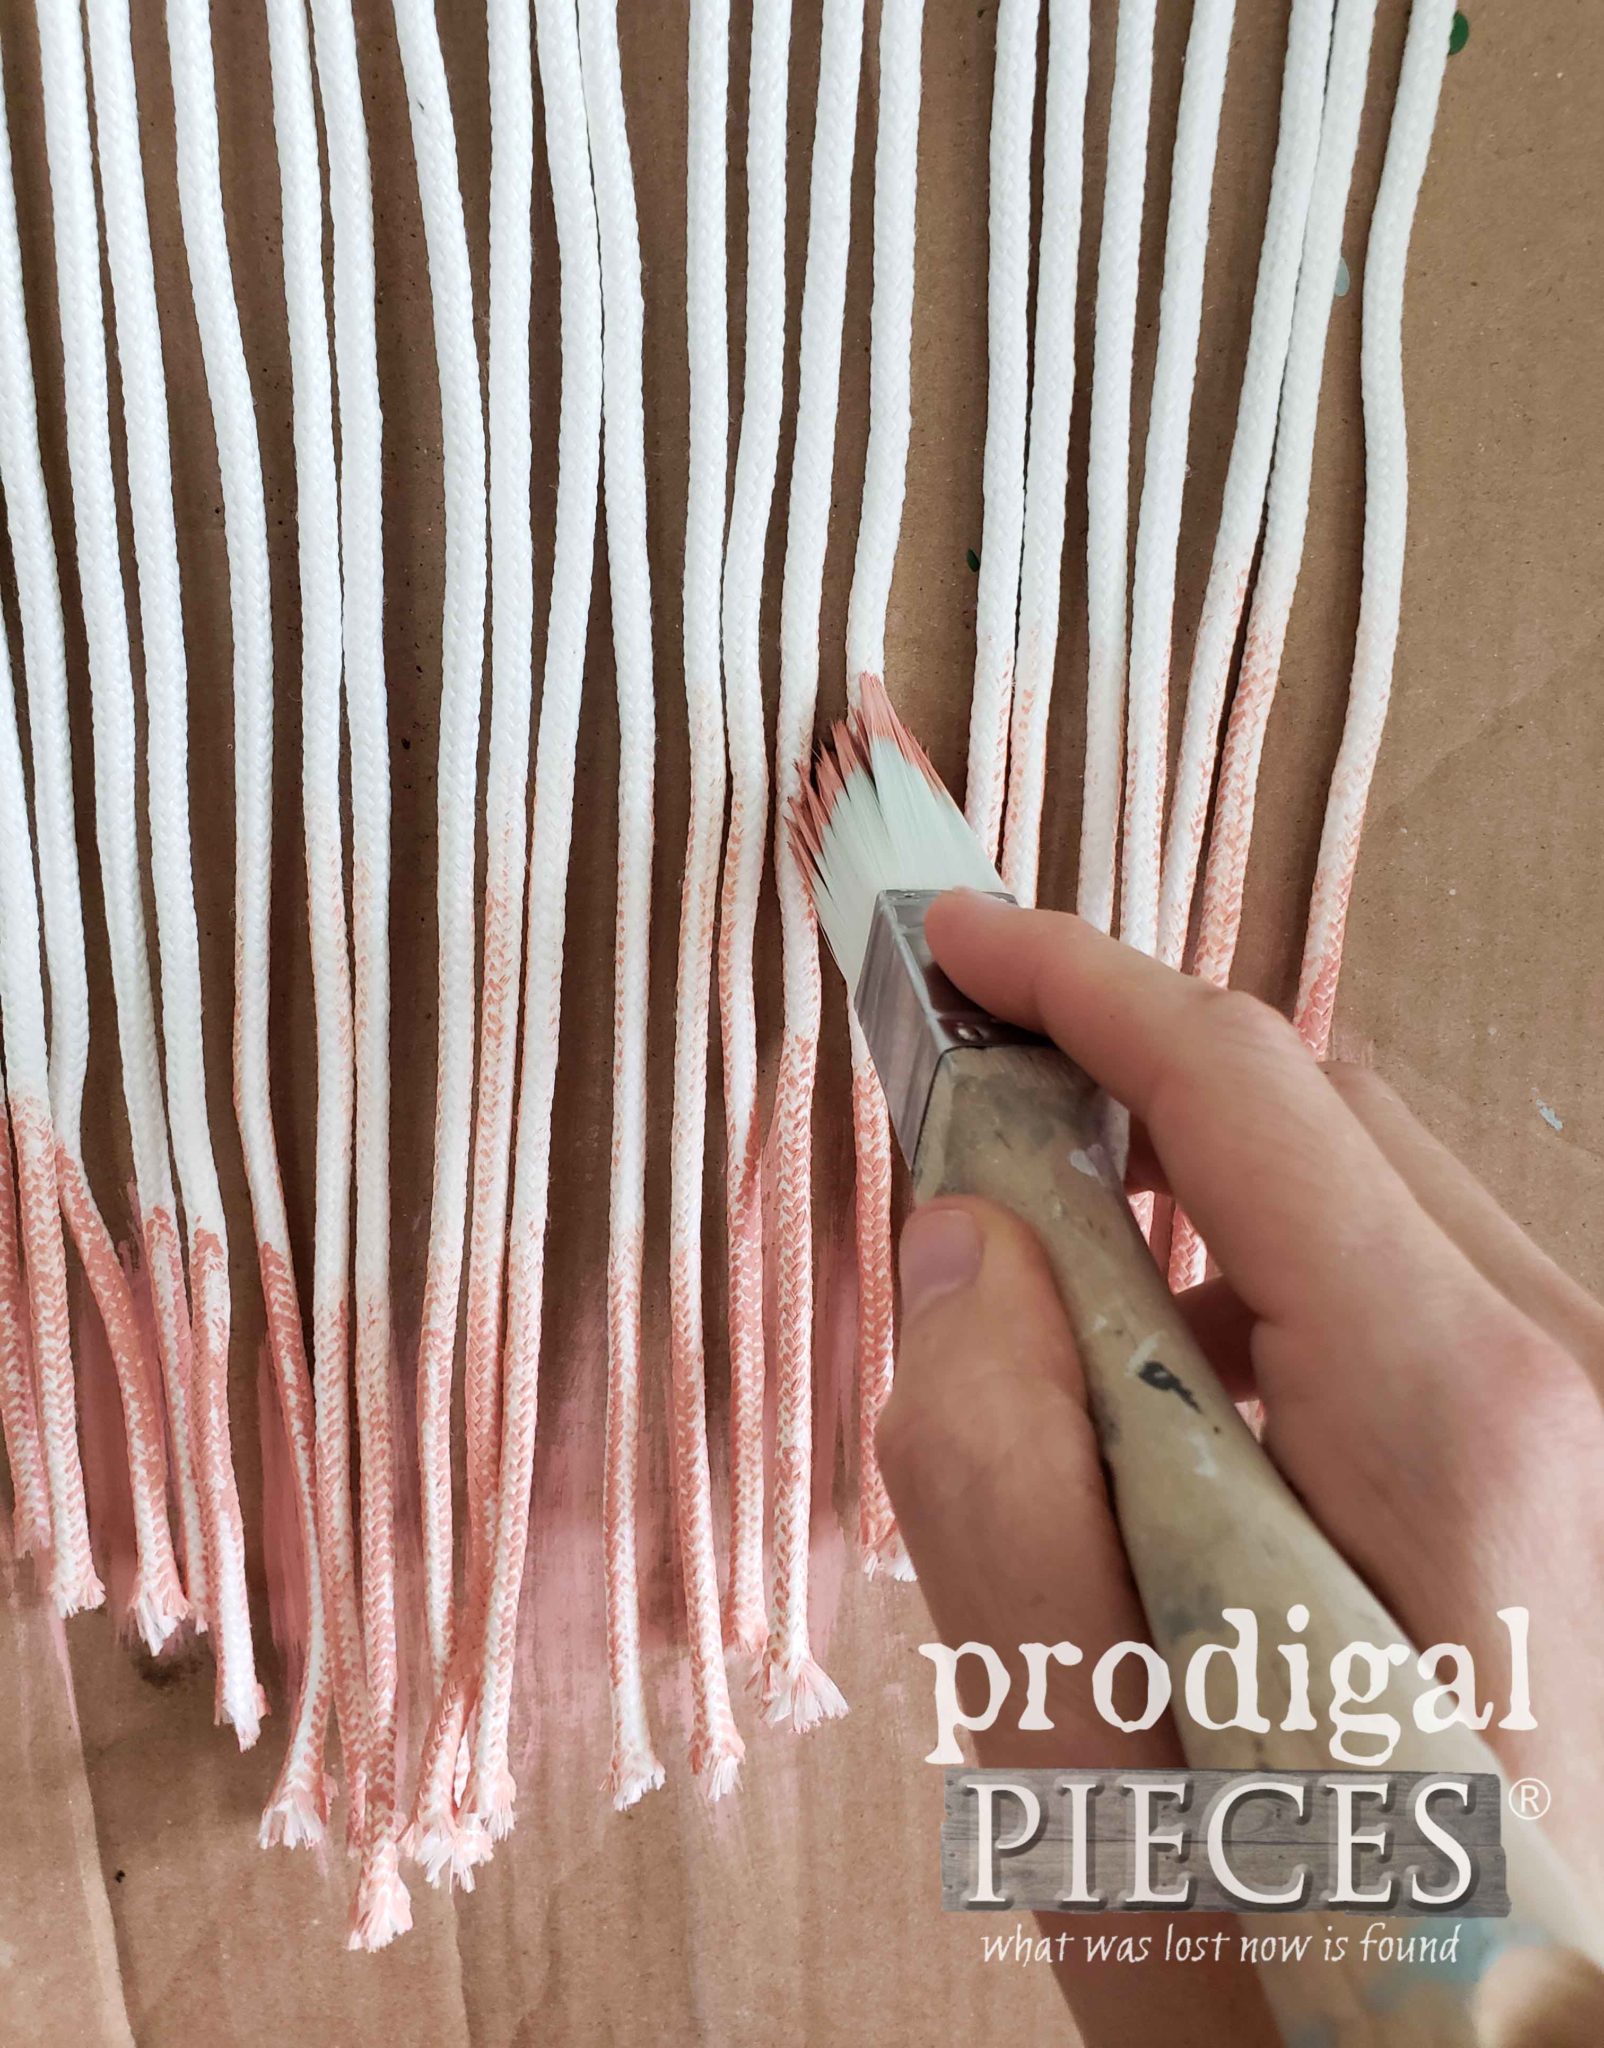
Notice I put a wooden bead at the bottom of the art on the two center pieces. That helps me know center and where to angle my cuts. For the next part, I wanted to add a bit of an ombre′ effect. I put a piece of cardboard behind the macrame and tape the rope in place.
Using my paint brush and a bit of leftover latex paint, I gave the bottom a darker coat, and then dry-brushed up the art to lighten the color. That is what gives it the ombre′ look.
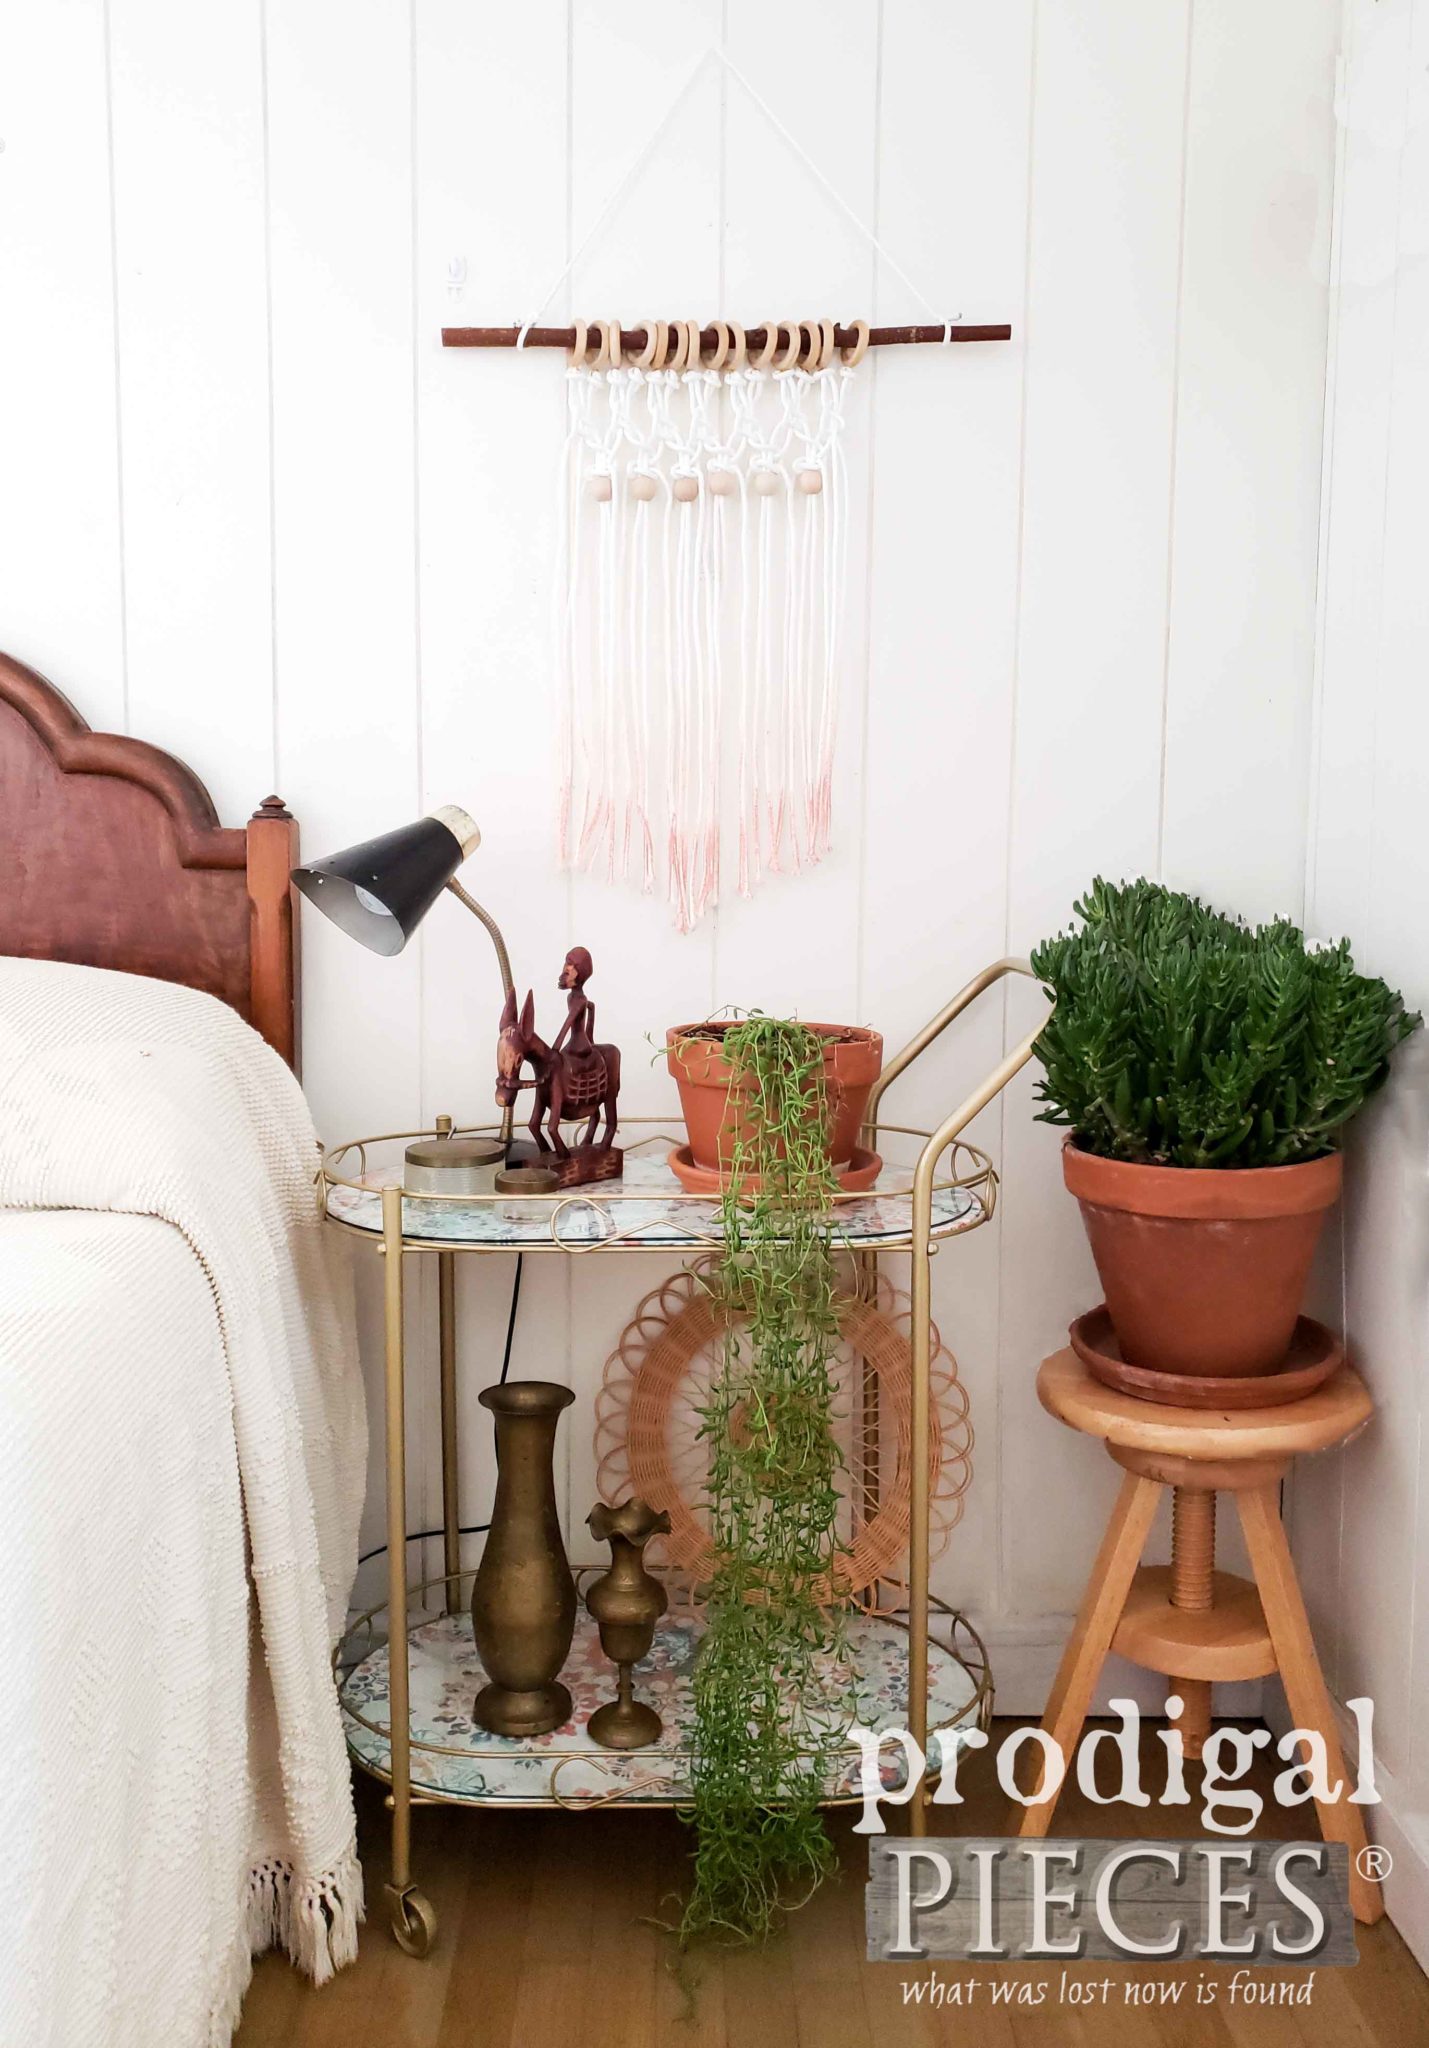
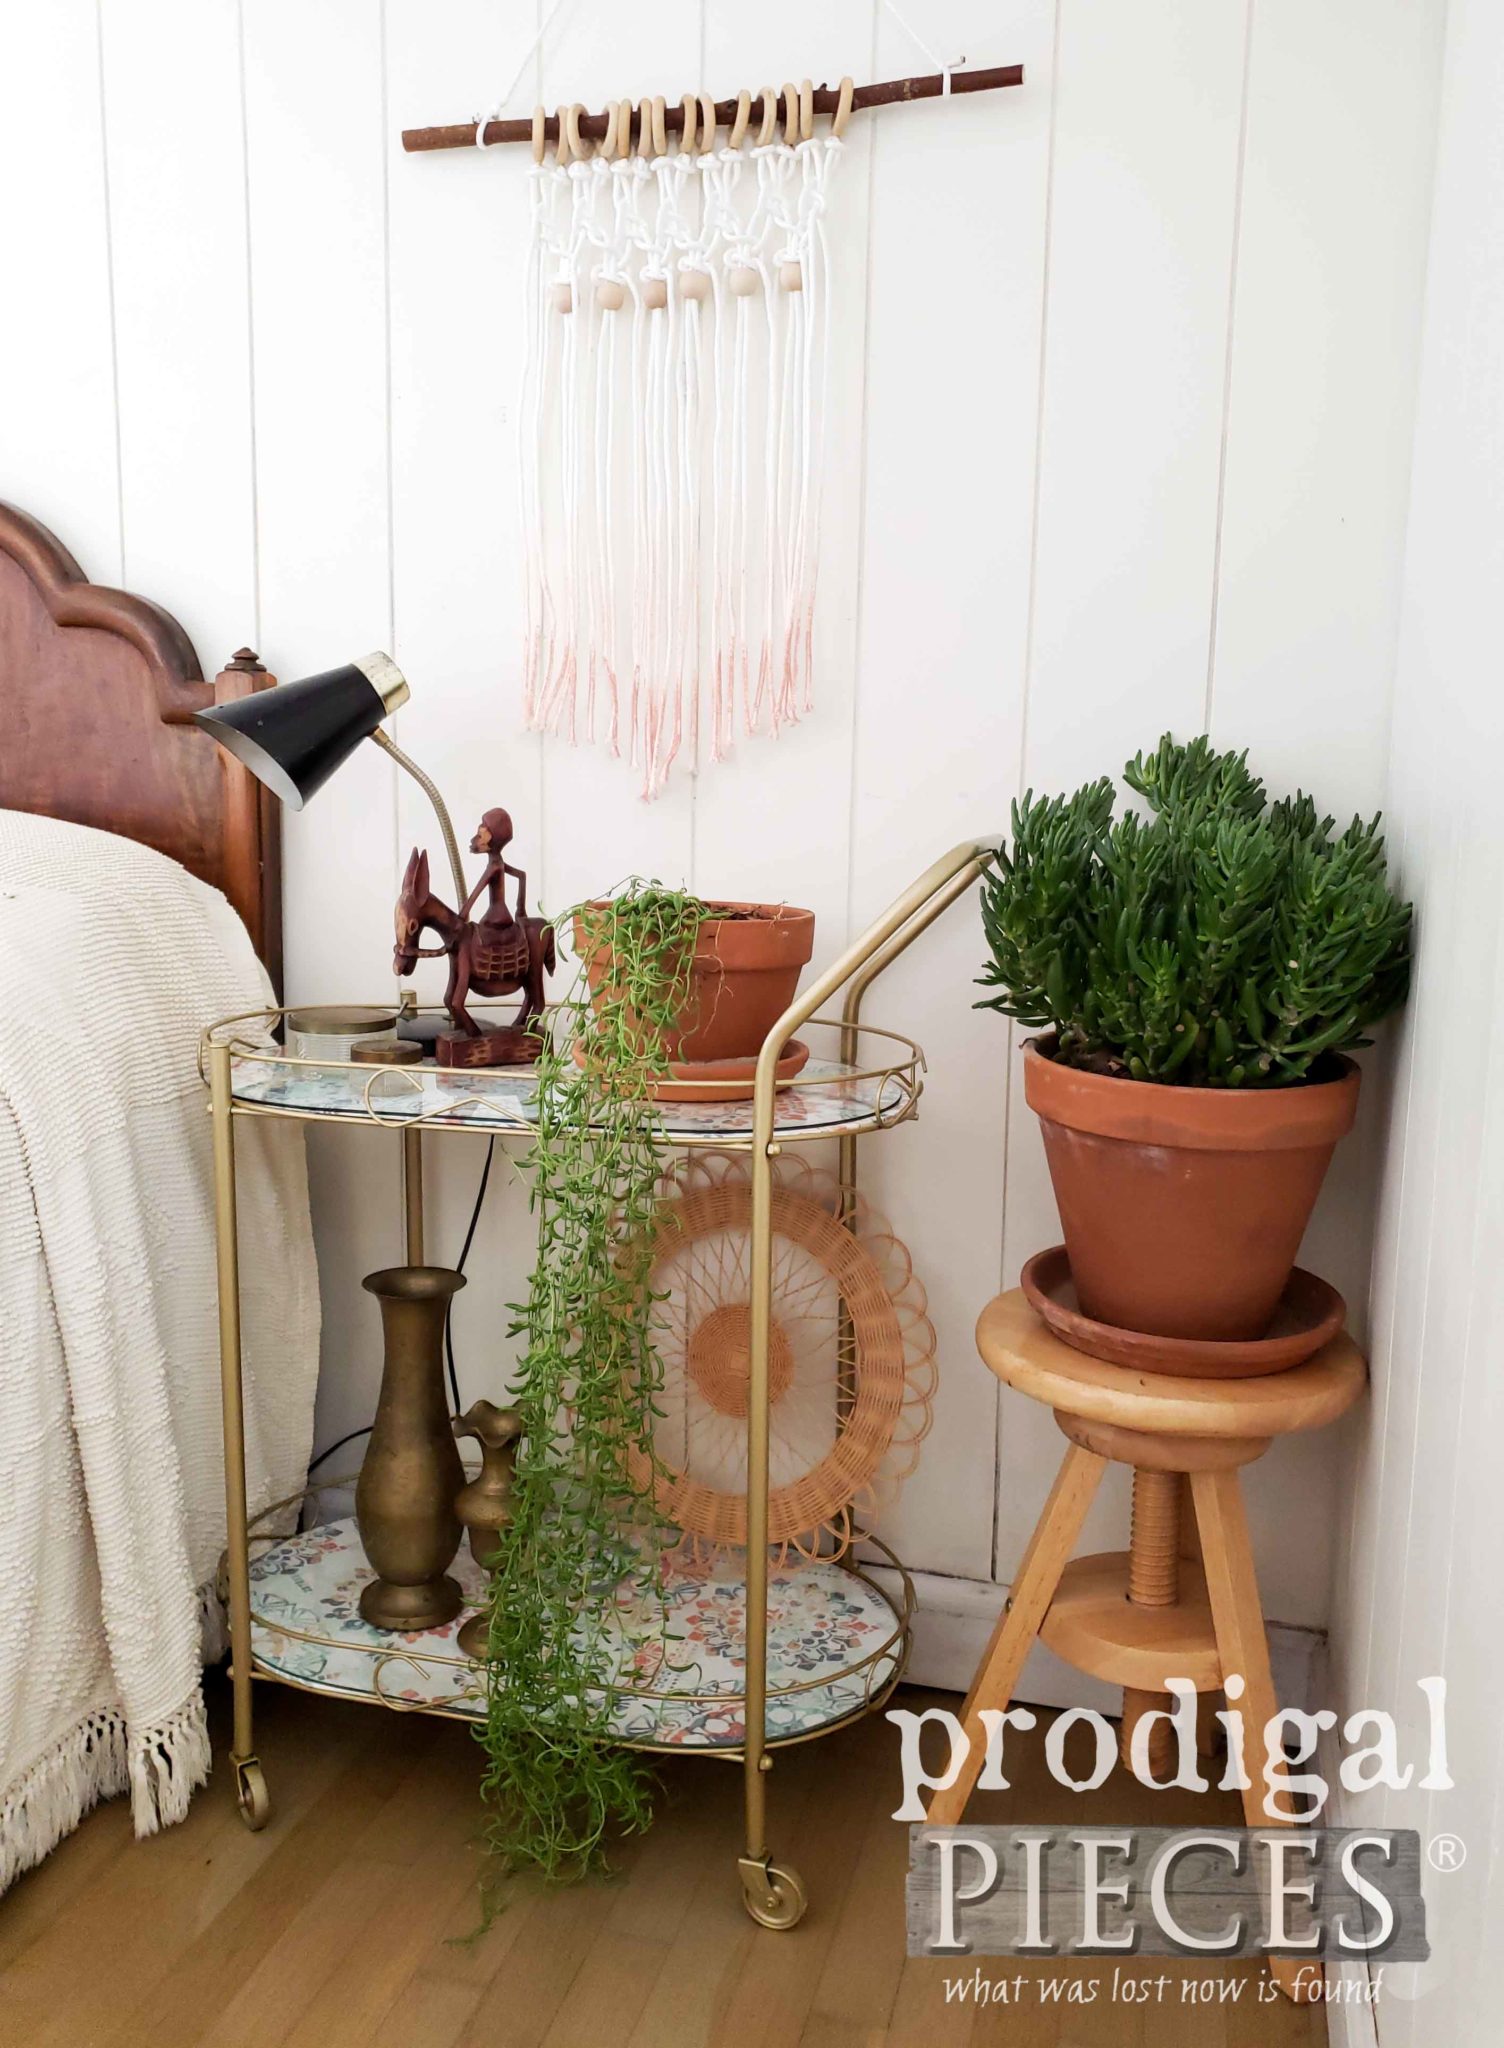
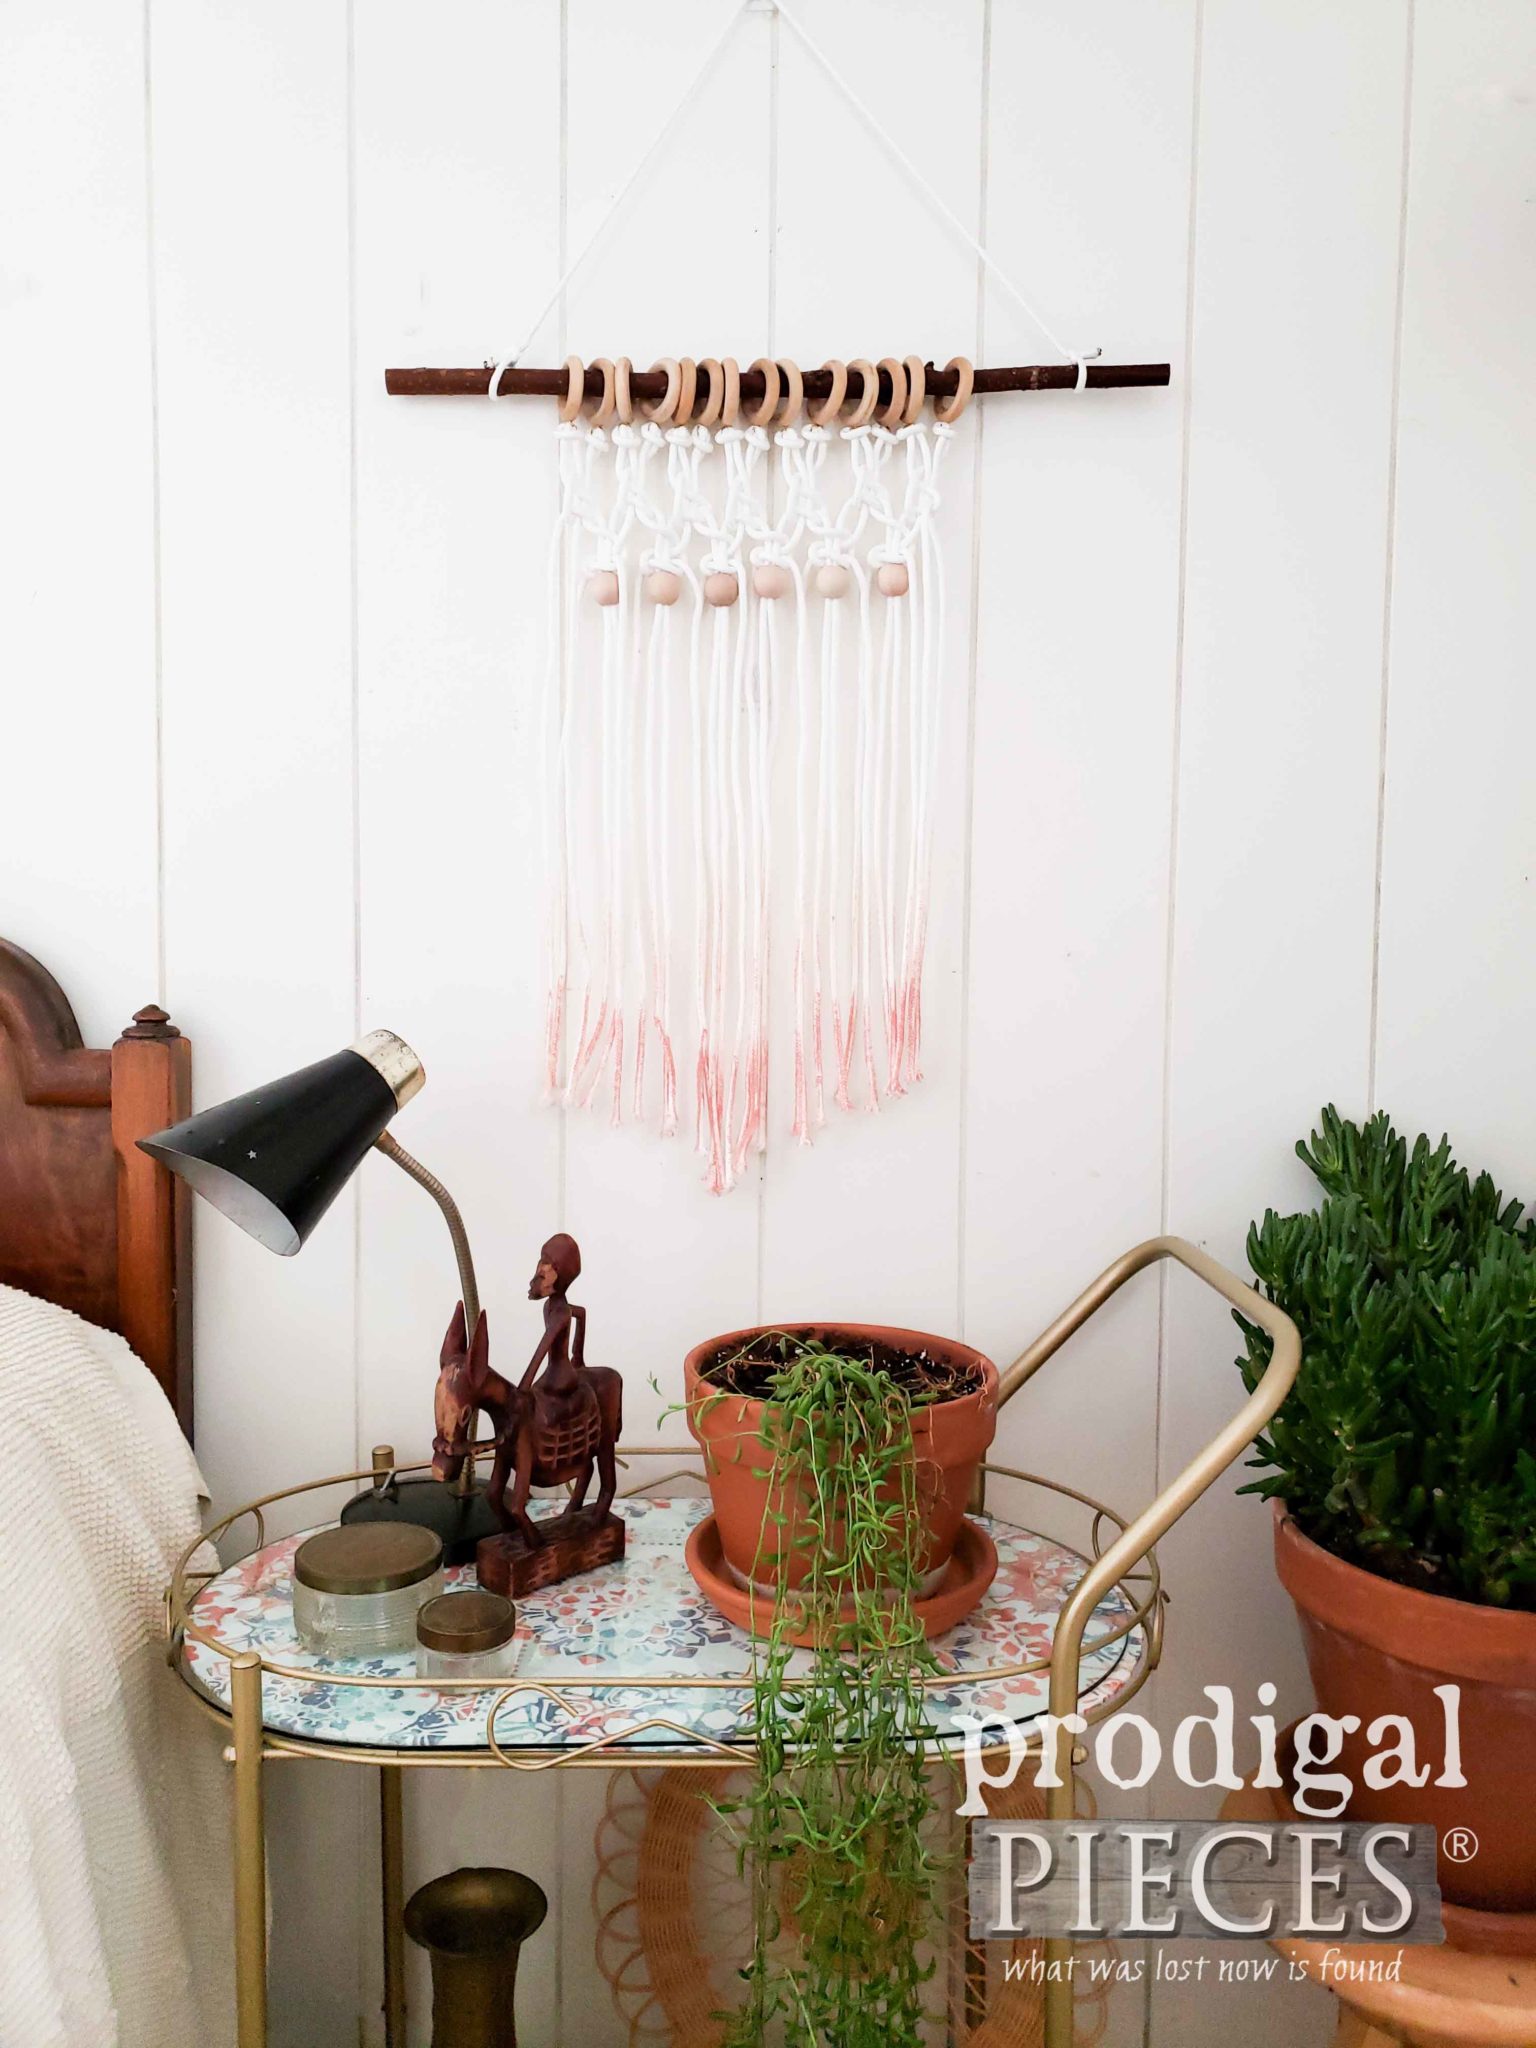
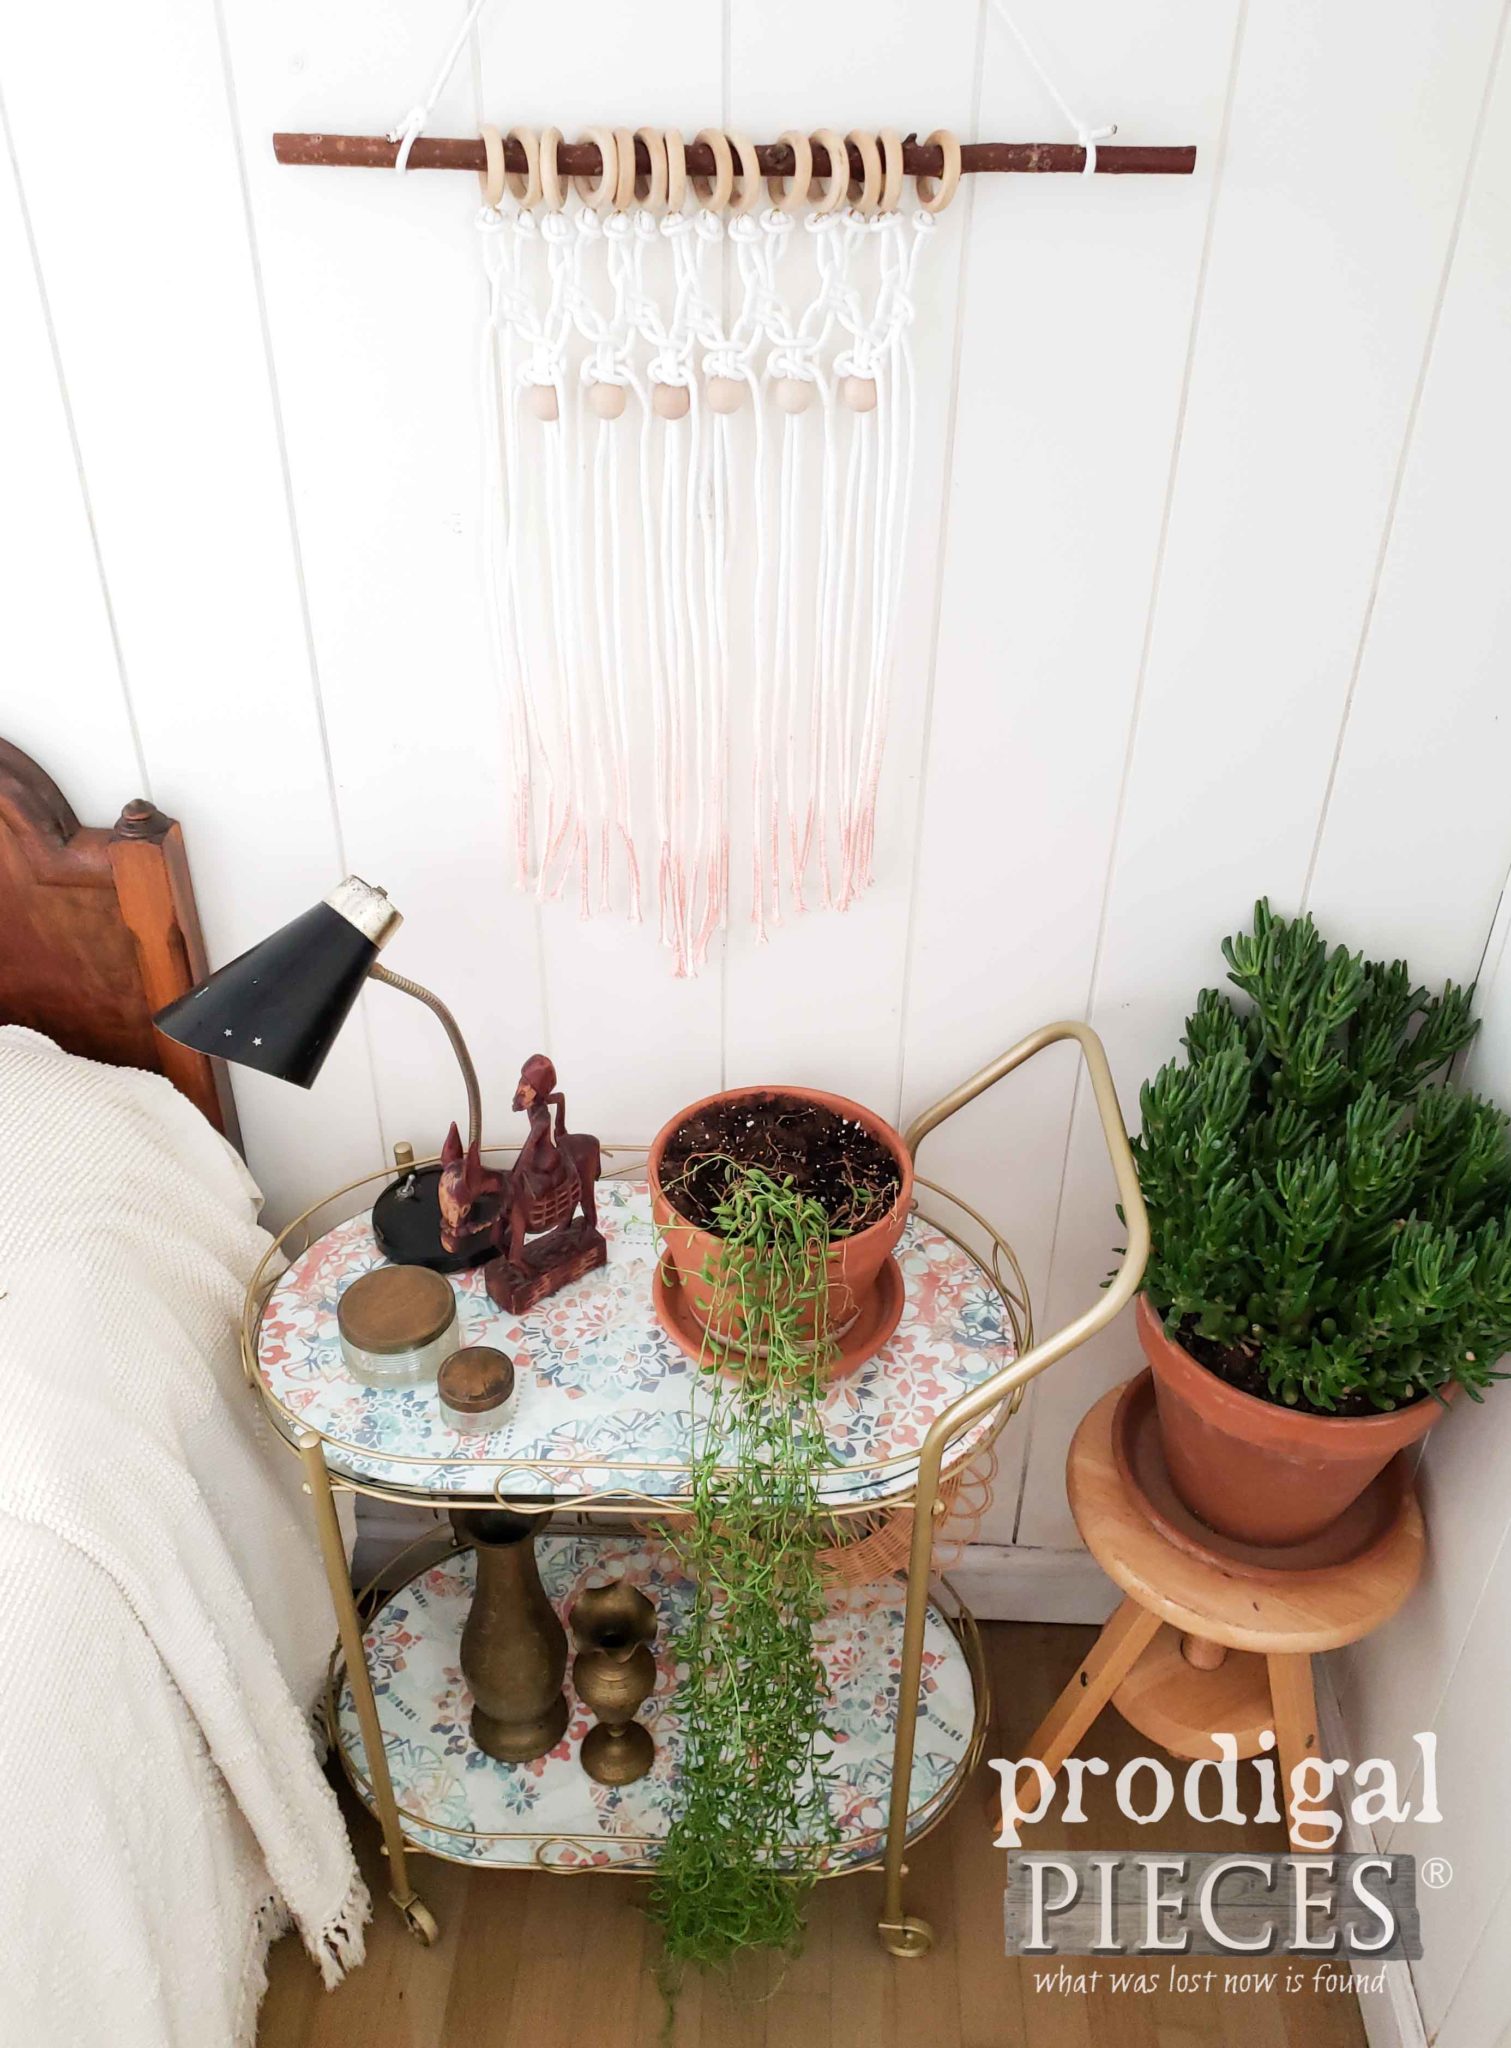
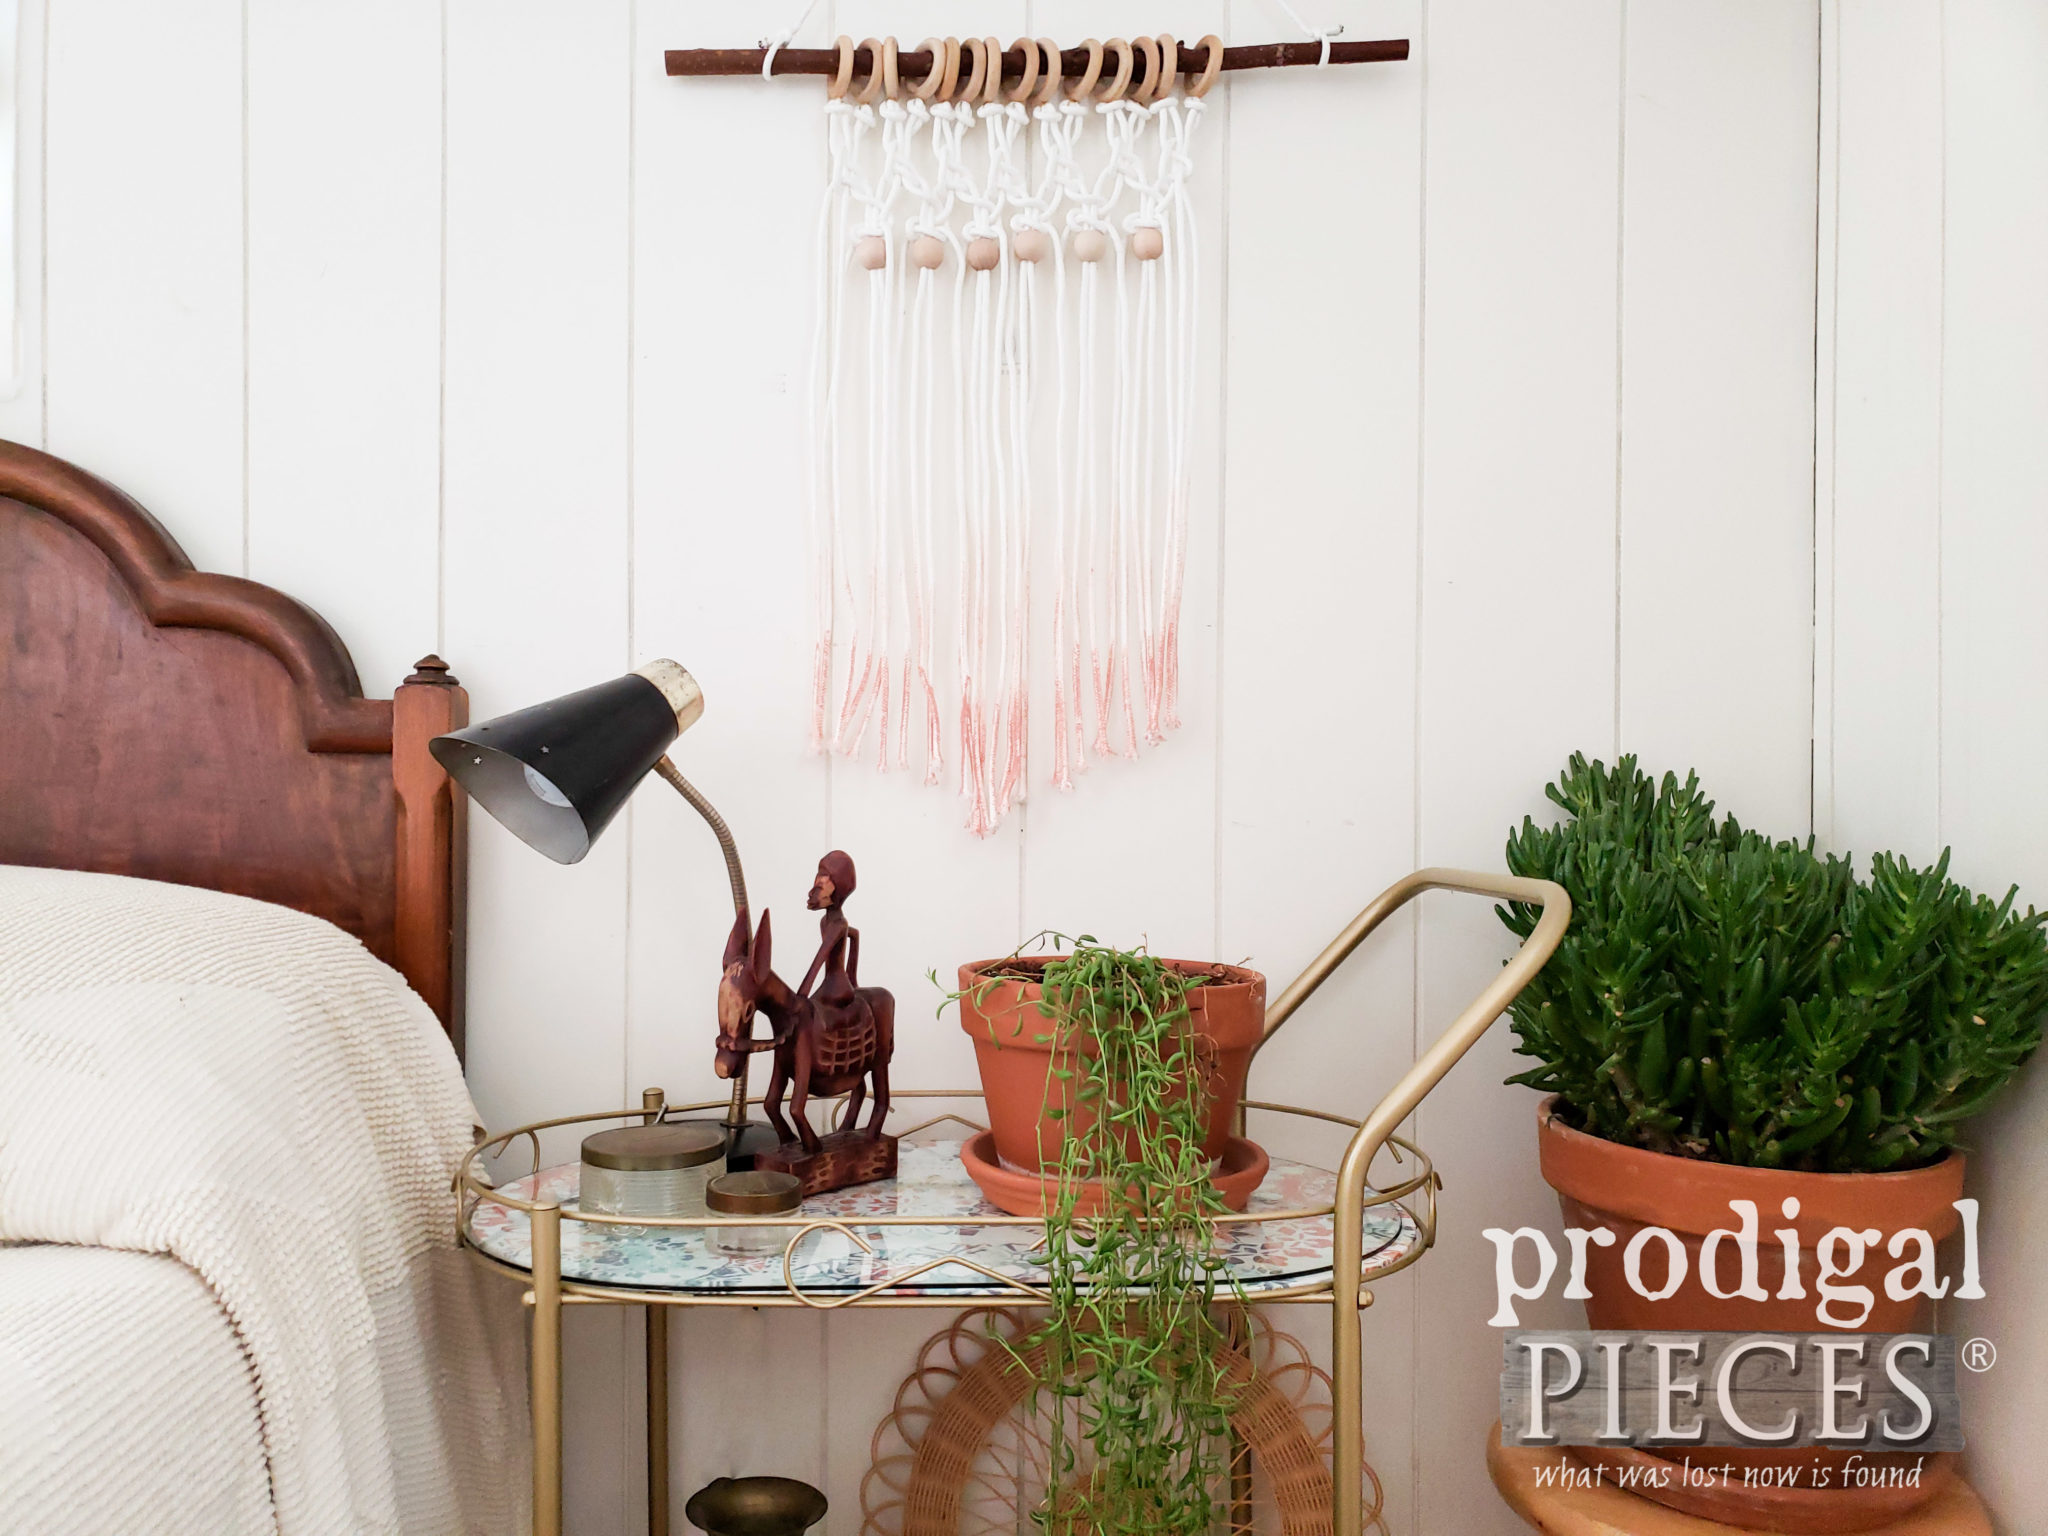
Are you ready to see all my fun work together? woot! Here it is!
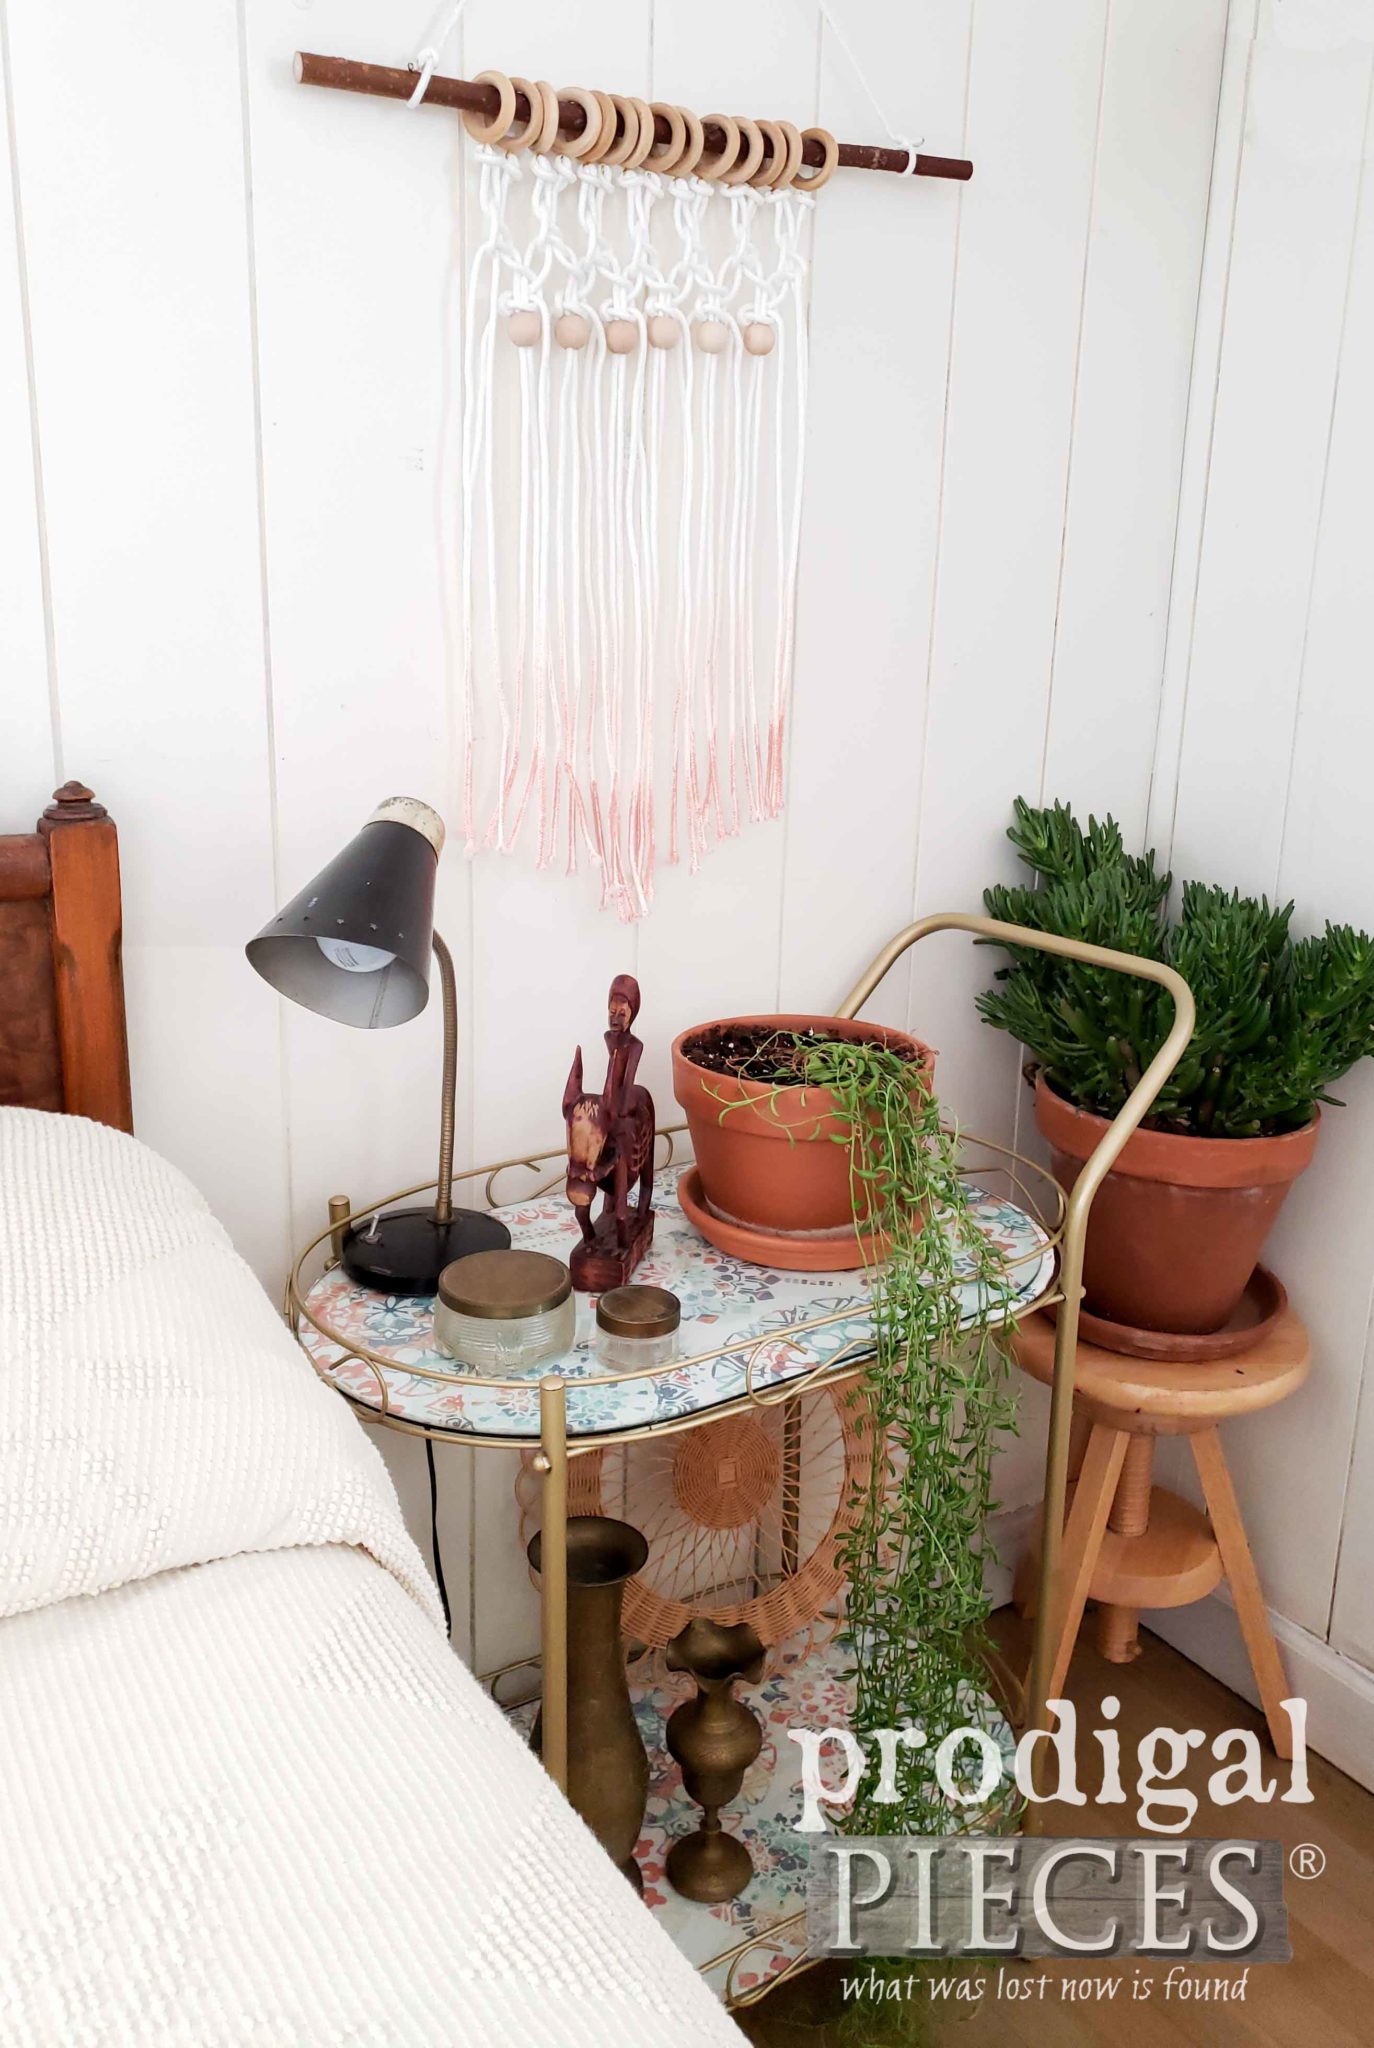
Just because it’s a Mid Century modern bar cart, doesn’t mean it has to be only used for a bar, right? I love it as a nightstand, or bathroom caddy, or even just a place to stick some of my favorite plants.
ALL DONE
I had such fun creating the repurposed macrame wall art. It was fun to learn and I would love to try more complex projects. Are you gonna give it a try?
How about that wallpaper? It added just the right touch to brighten up and add a bit of color to my bar cart.
I hope you’ve not only had fun seeing these pieces come together, but are inspired to try them on your own. Both the bar cart and wall art are available in my shop (SOLD) along with all sort of other vintage and handmade items. Stop by to see!
Do pin and share this Mid Century Modern bar cart makeover to inspire others to create their home story DIY style.
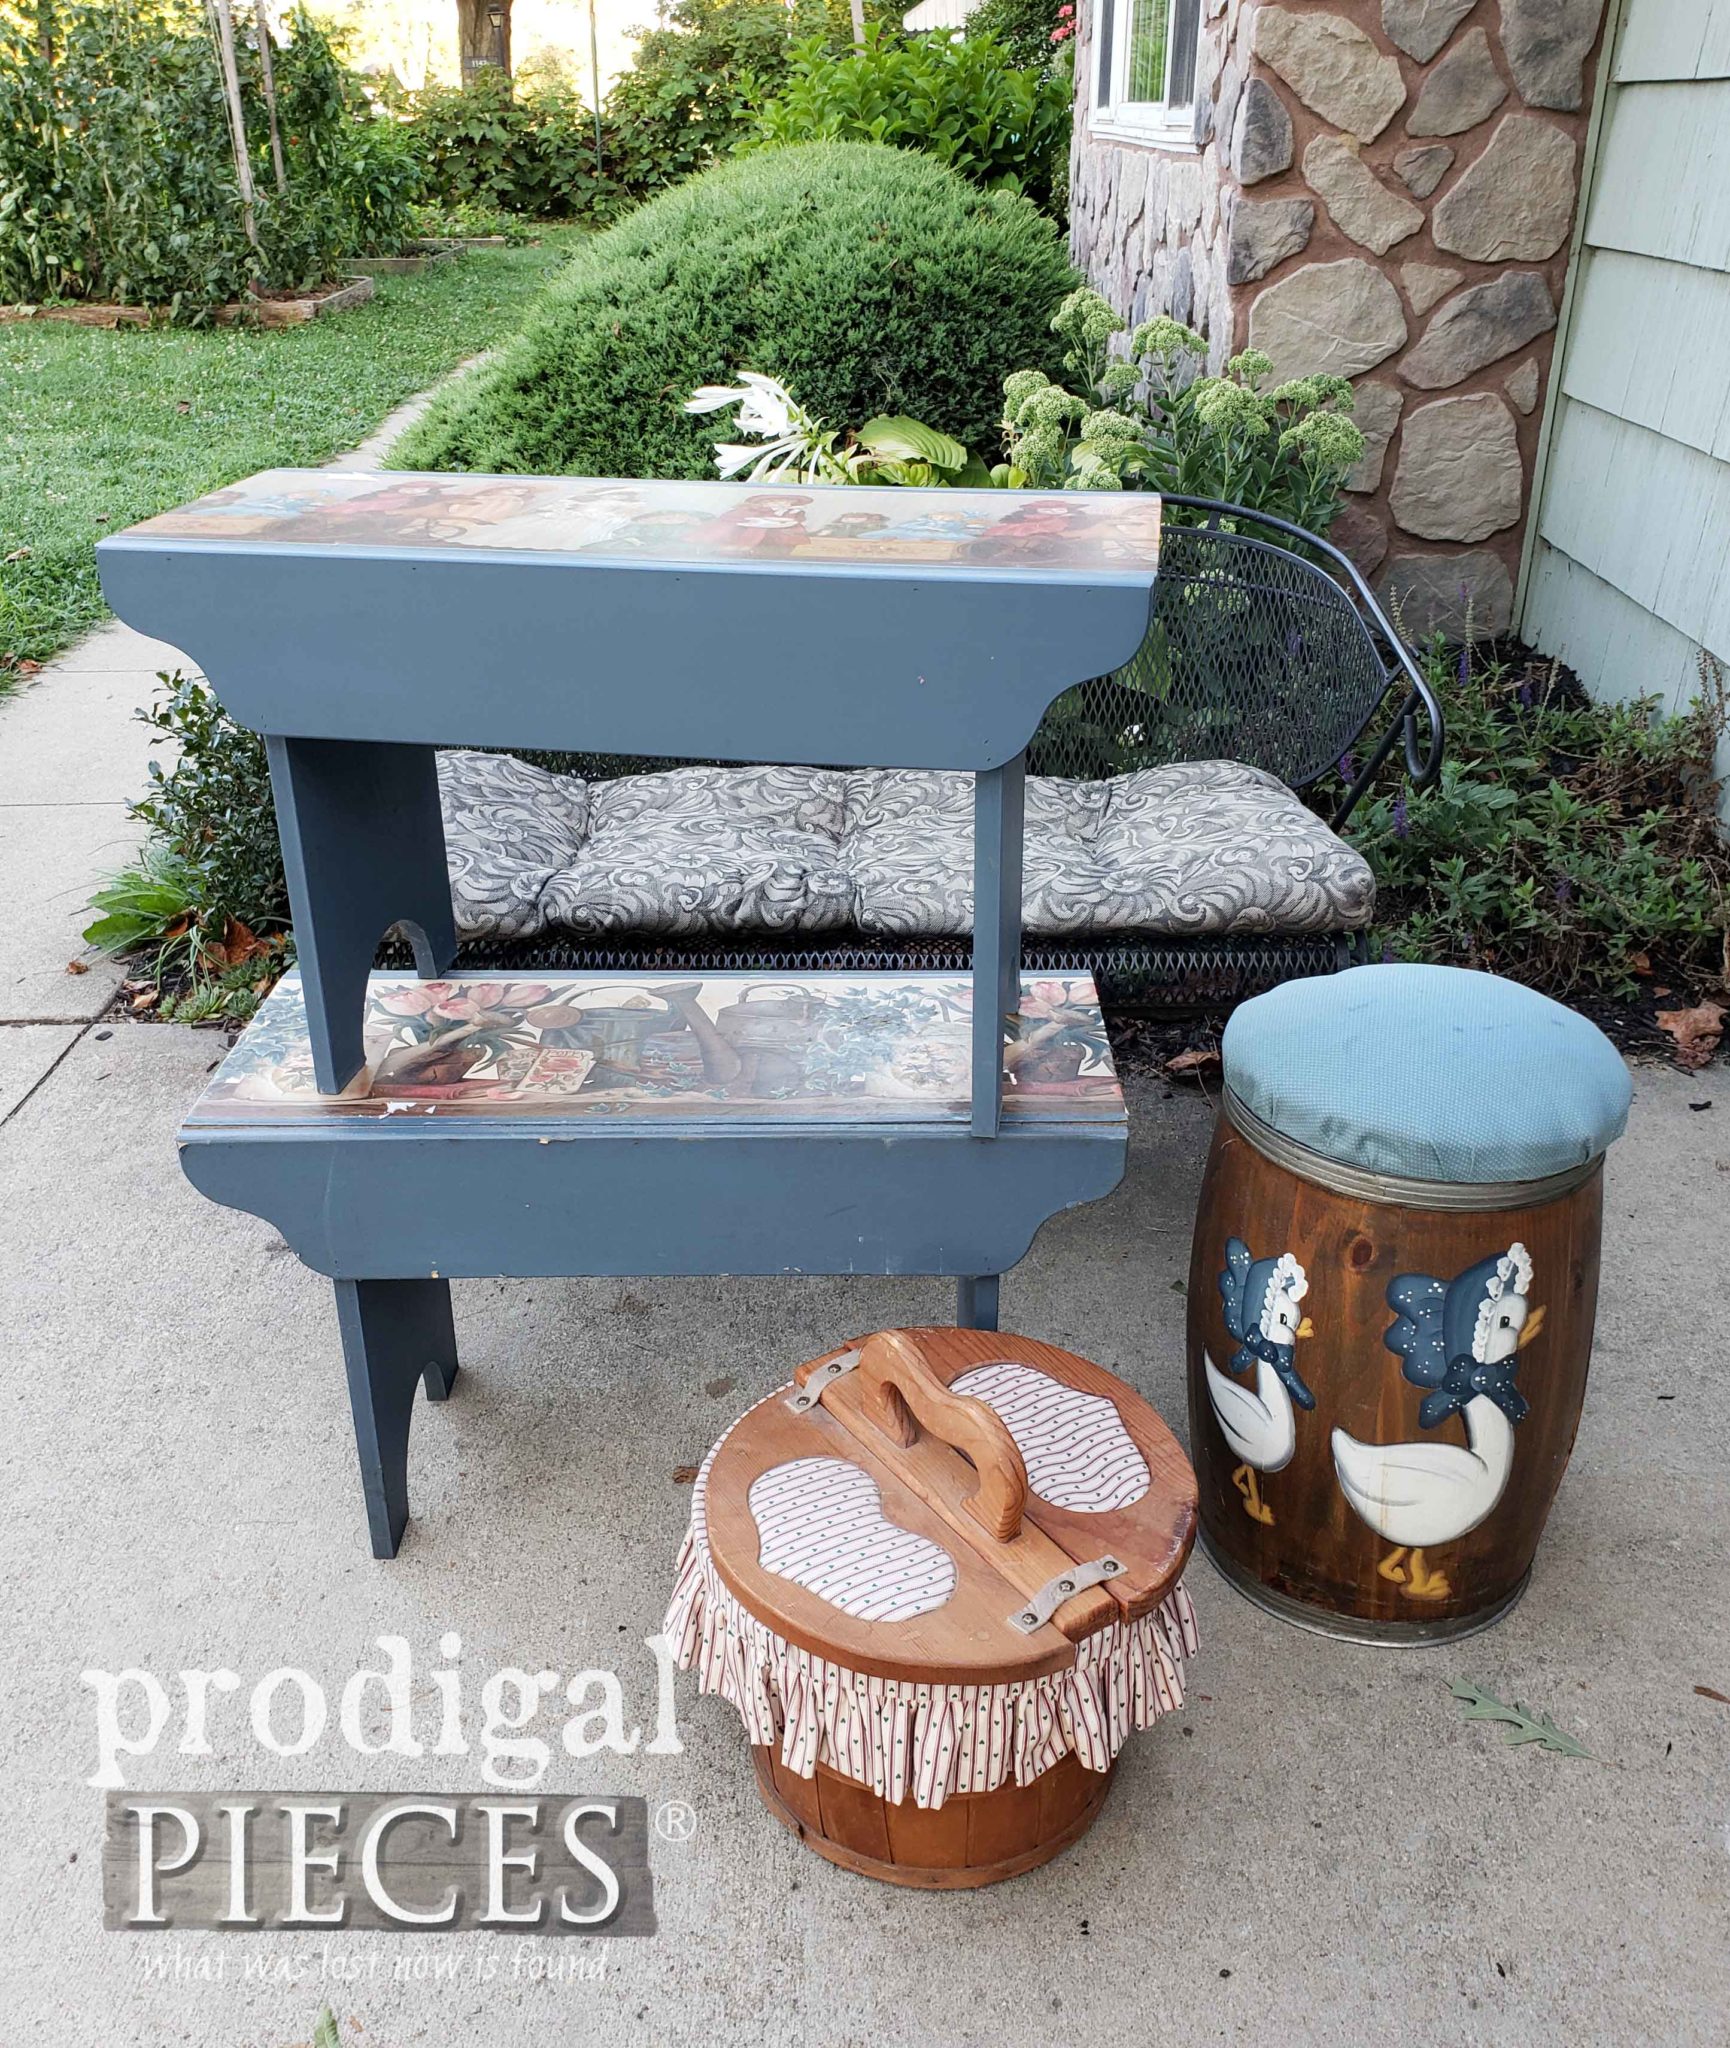
Up next, I’m starting a 1980’s flashback makeover spree with this collection of thrift store goodies. Doesn’t it take you back? tee hee hee. See their after HERE.
To get these DIY tips & tricks in your inbox, be sure to sign up for my newsletter. PLUS, you will get your FREE Furniture Buying Checklist and special discount to my shop. Until next time!
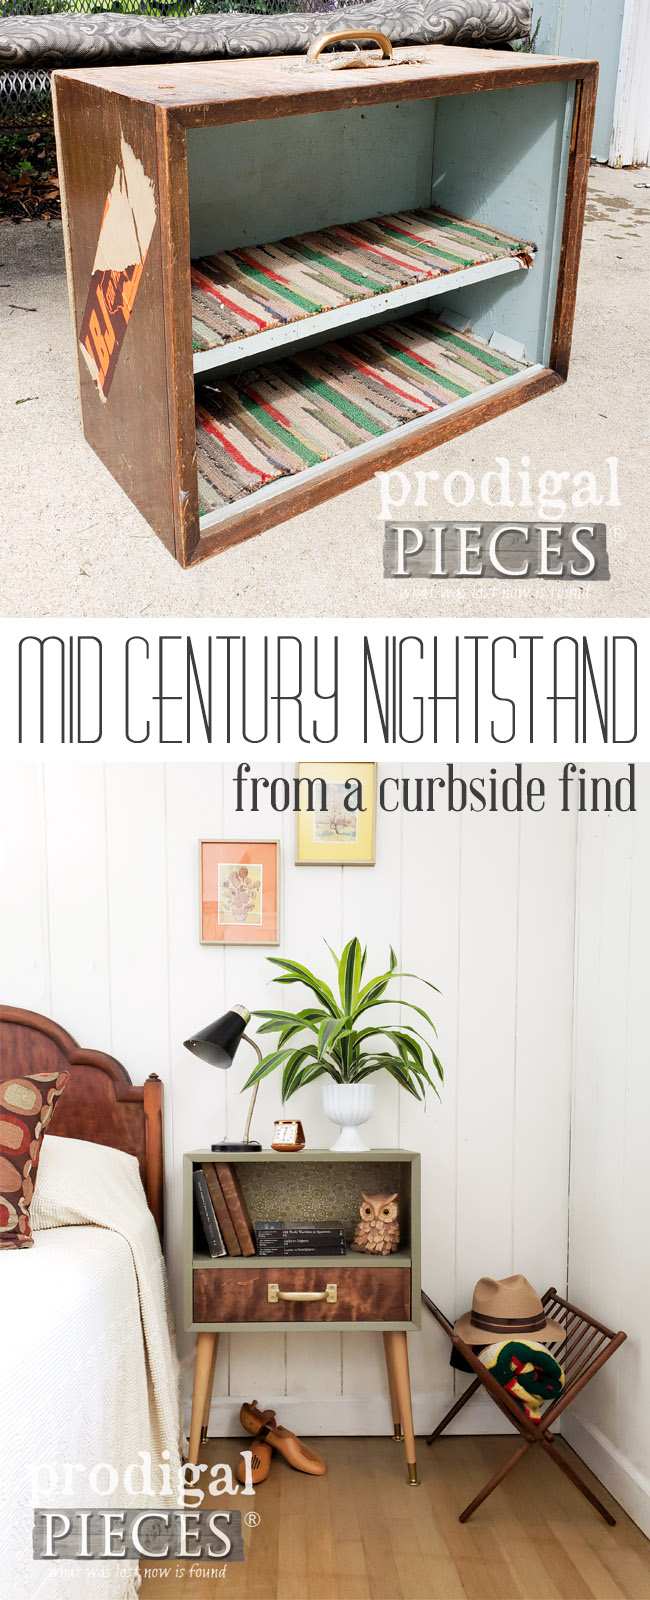
More projects like this Mid Century modern bar cart:





So cute! I can’t wait to see what you do with that little wood-and-ruffles sewing basket, I have one just like it in my garage that I’ve been staring at for awhile ?
Thank you, Lee! Yes, been staring at that one too…for like months. ugh. I have an idea though!