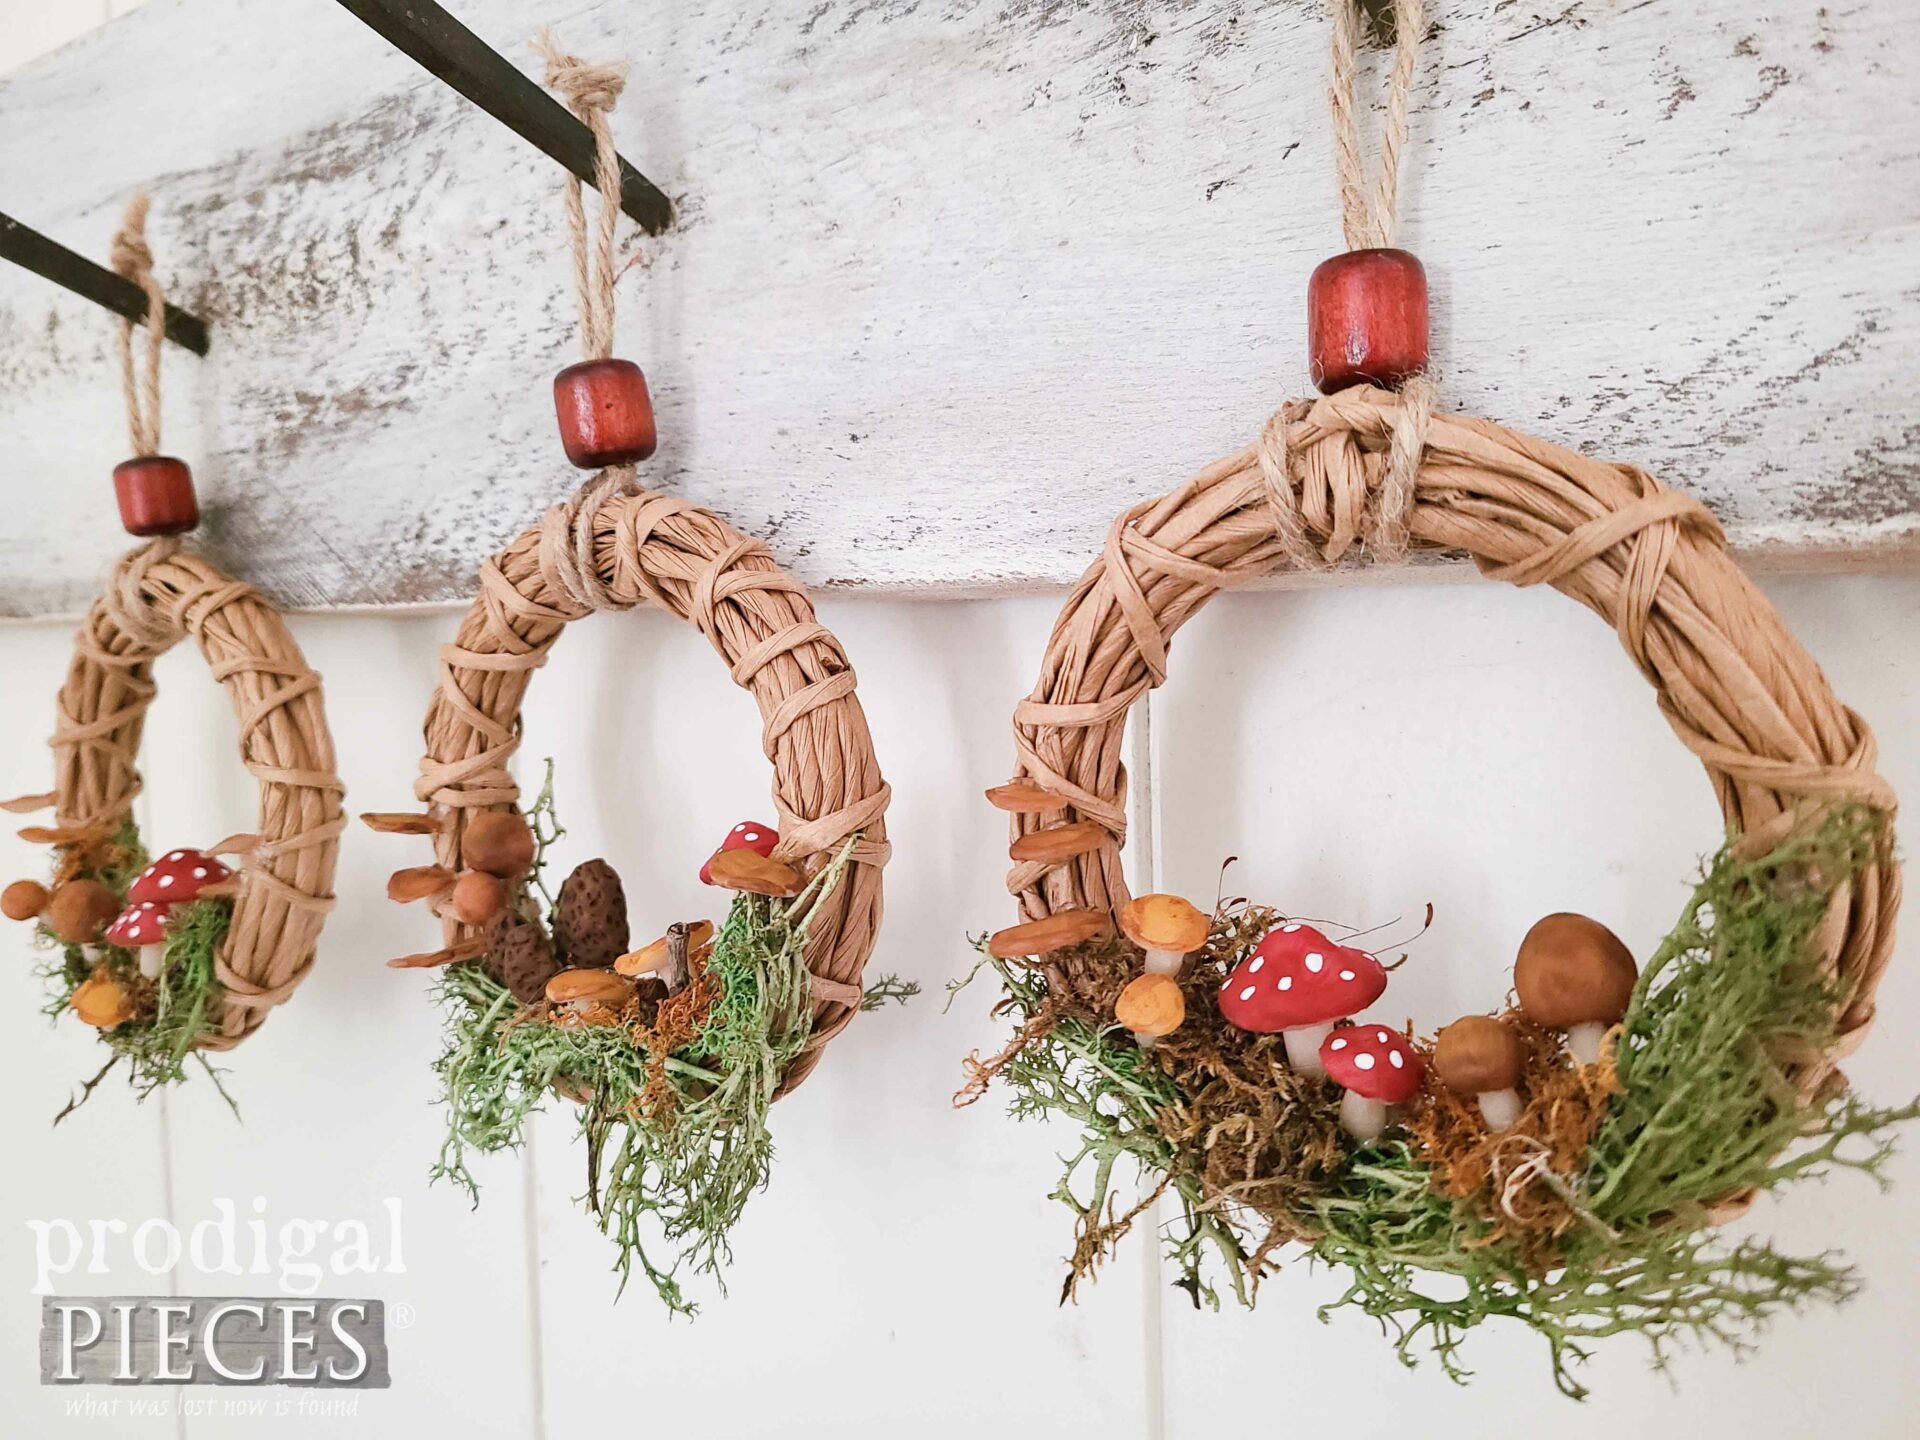
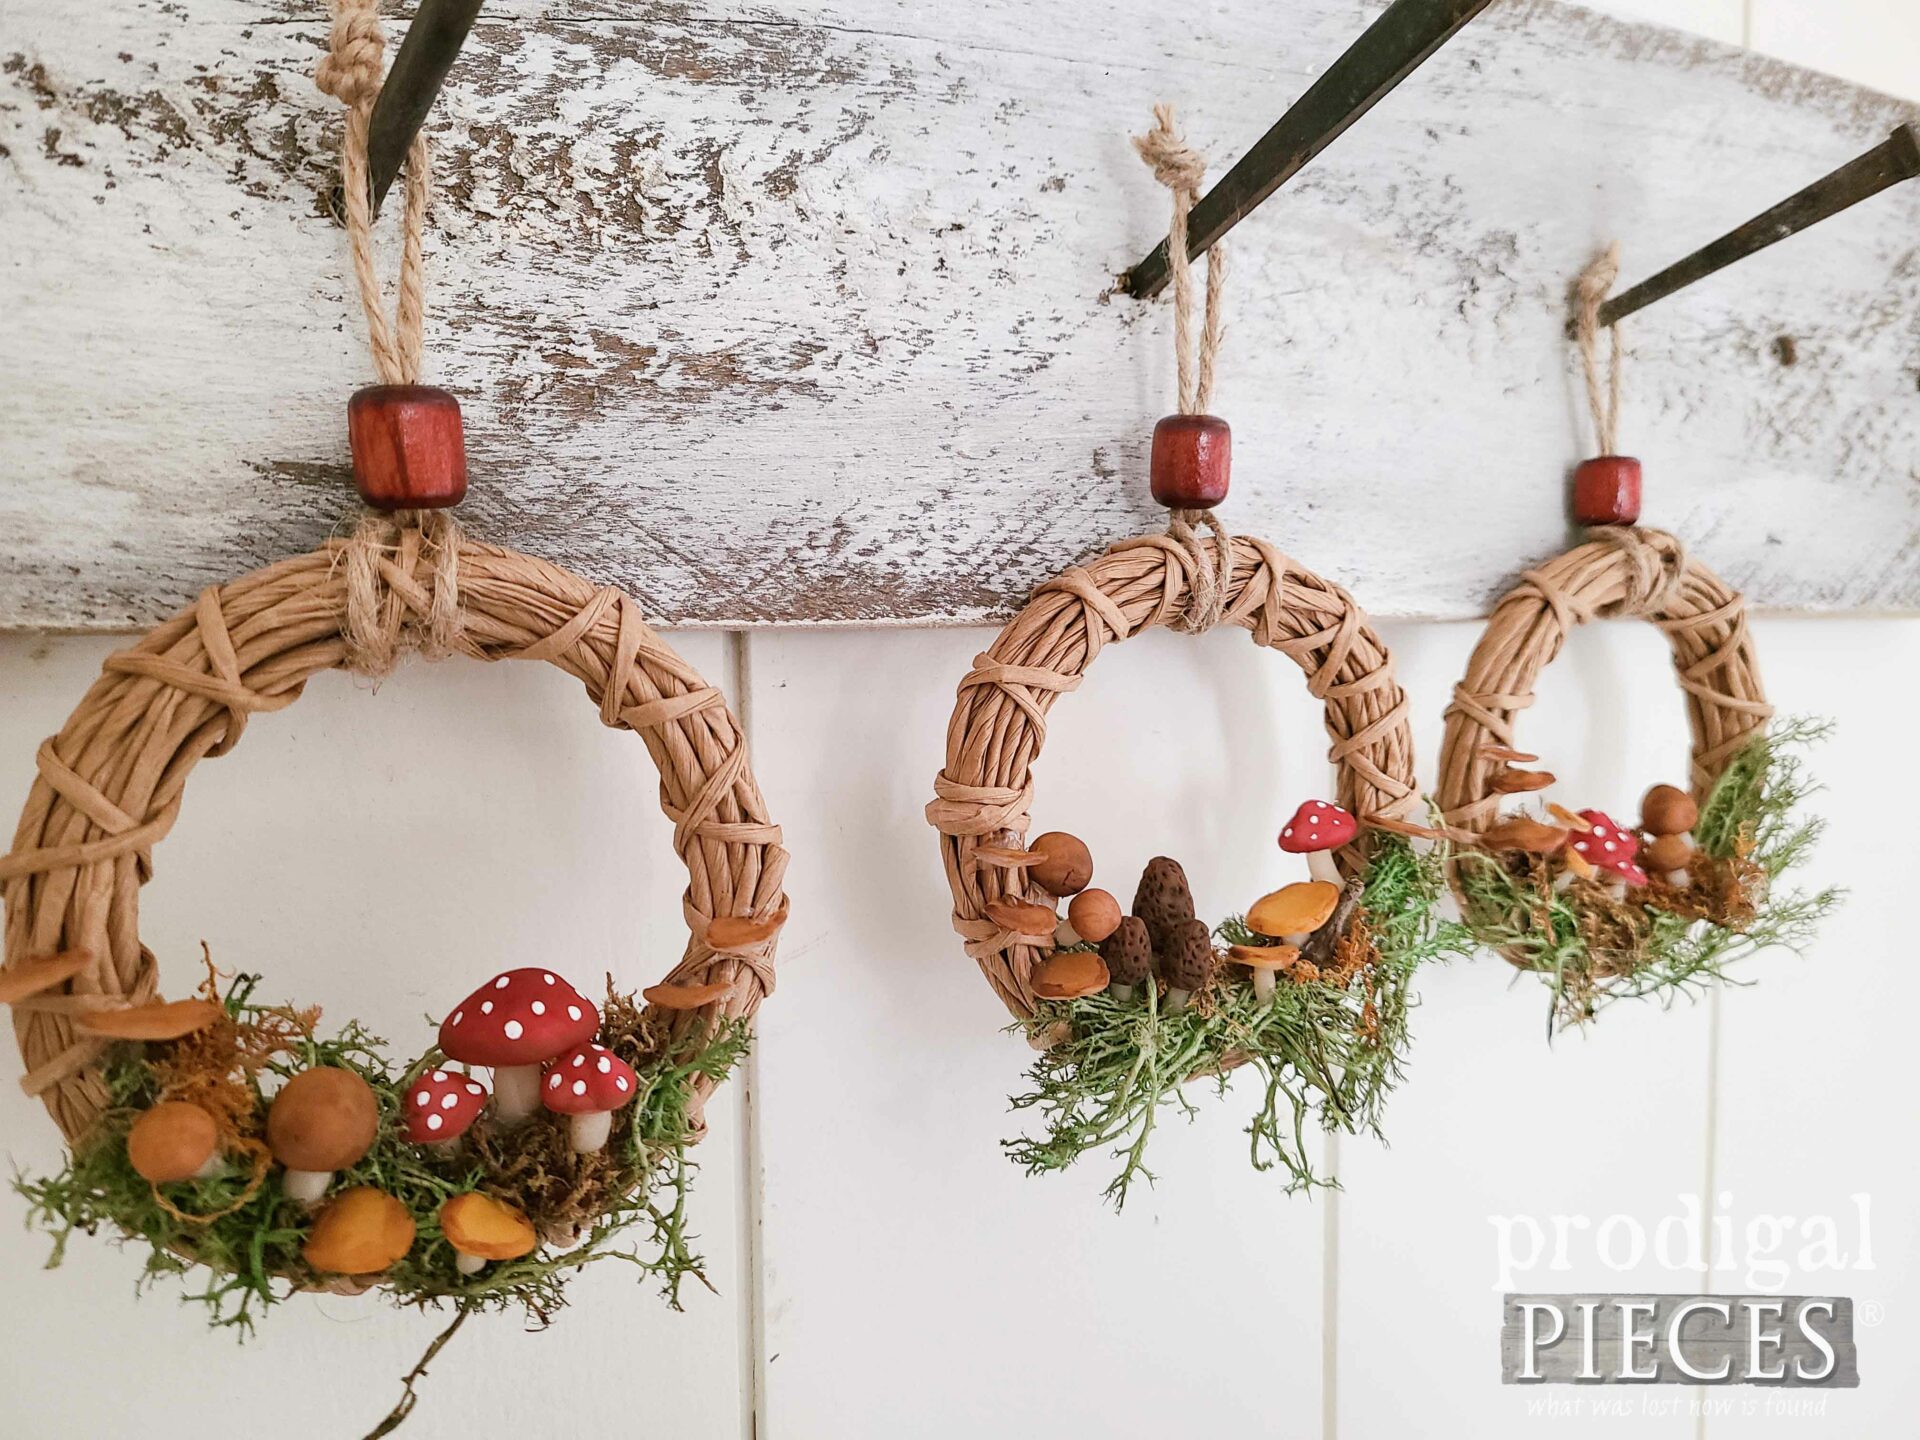
As each season rolls around, it’s fun to think of ways to bring that same feel into our home. We add warm colors in the fall, soothing colors in winter, then comes spring and summer when the options are limitless. For me, what I enjoy most is not the box-store decor, but really bringing nature in any form I can. Today, I’m taking a mini wreath set and making my own spring decor. Won’t you join me?
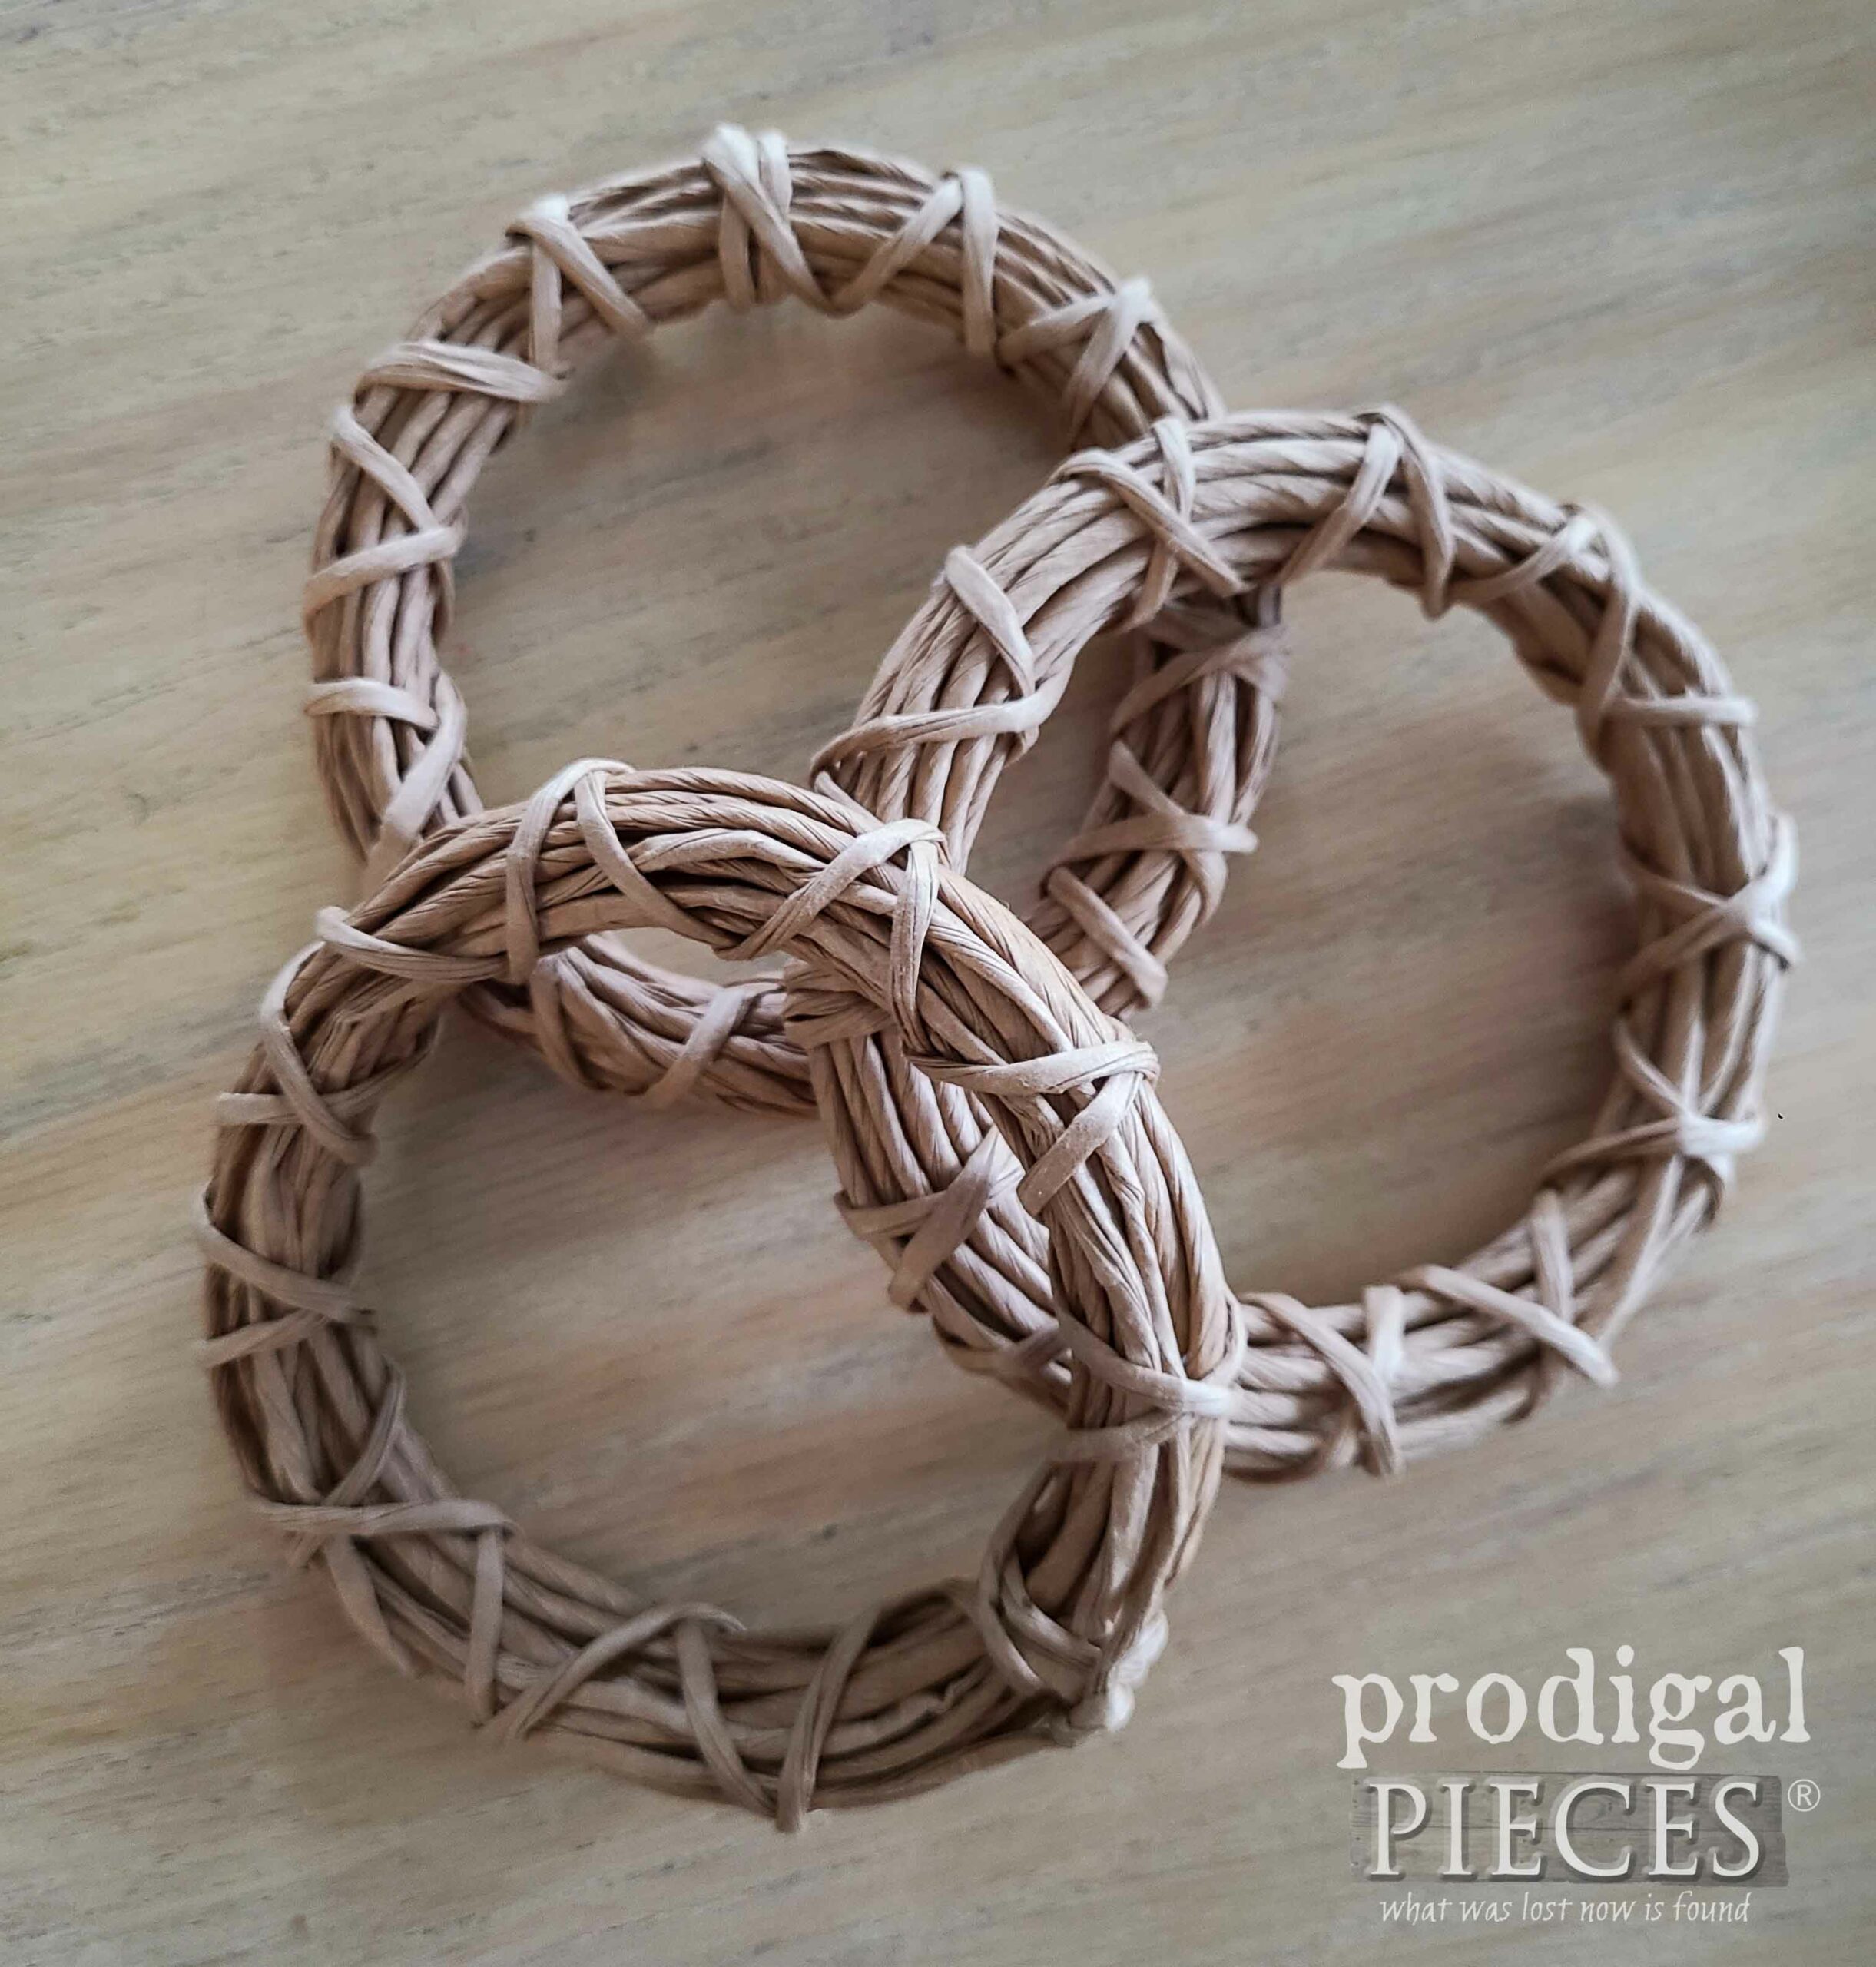
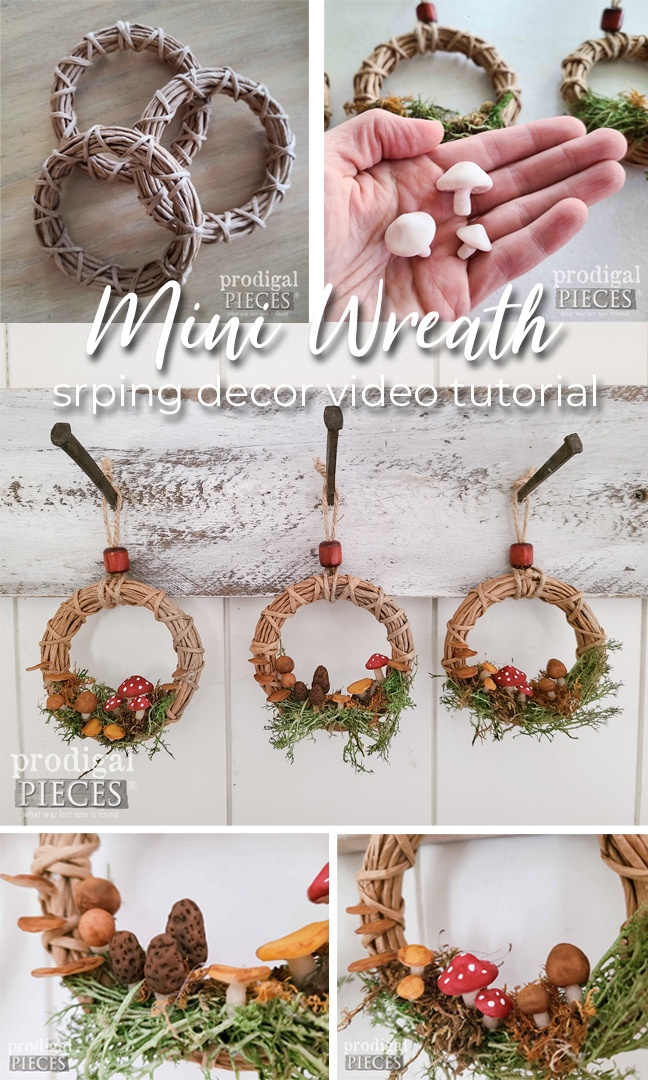
I found these cuties at a thrift store for a buck or so. They’re about 4″ in diameter and perfect for a simple crafty adventure. However, you could use canning rings, wooden rings…you get the idea. While I’ve created a video tutorial for you, I’m also taking it step by step so you can join in the creating too.
MATERIALS AND SUPPLIES
Here’s what you’ll need to get your crafty groove on right along with me:
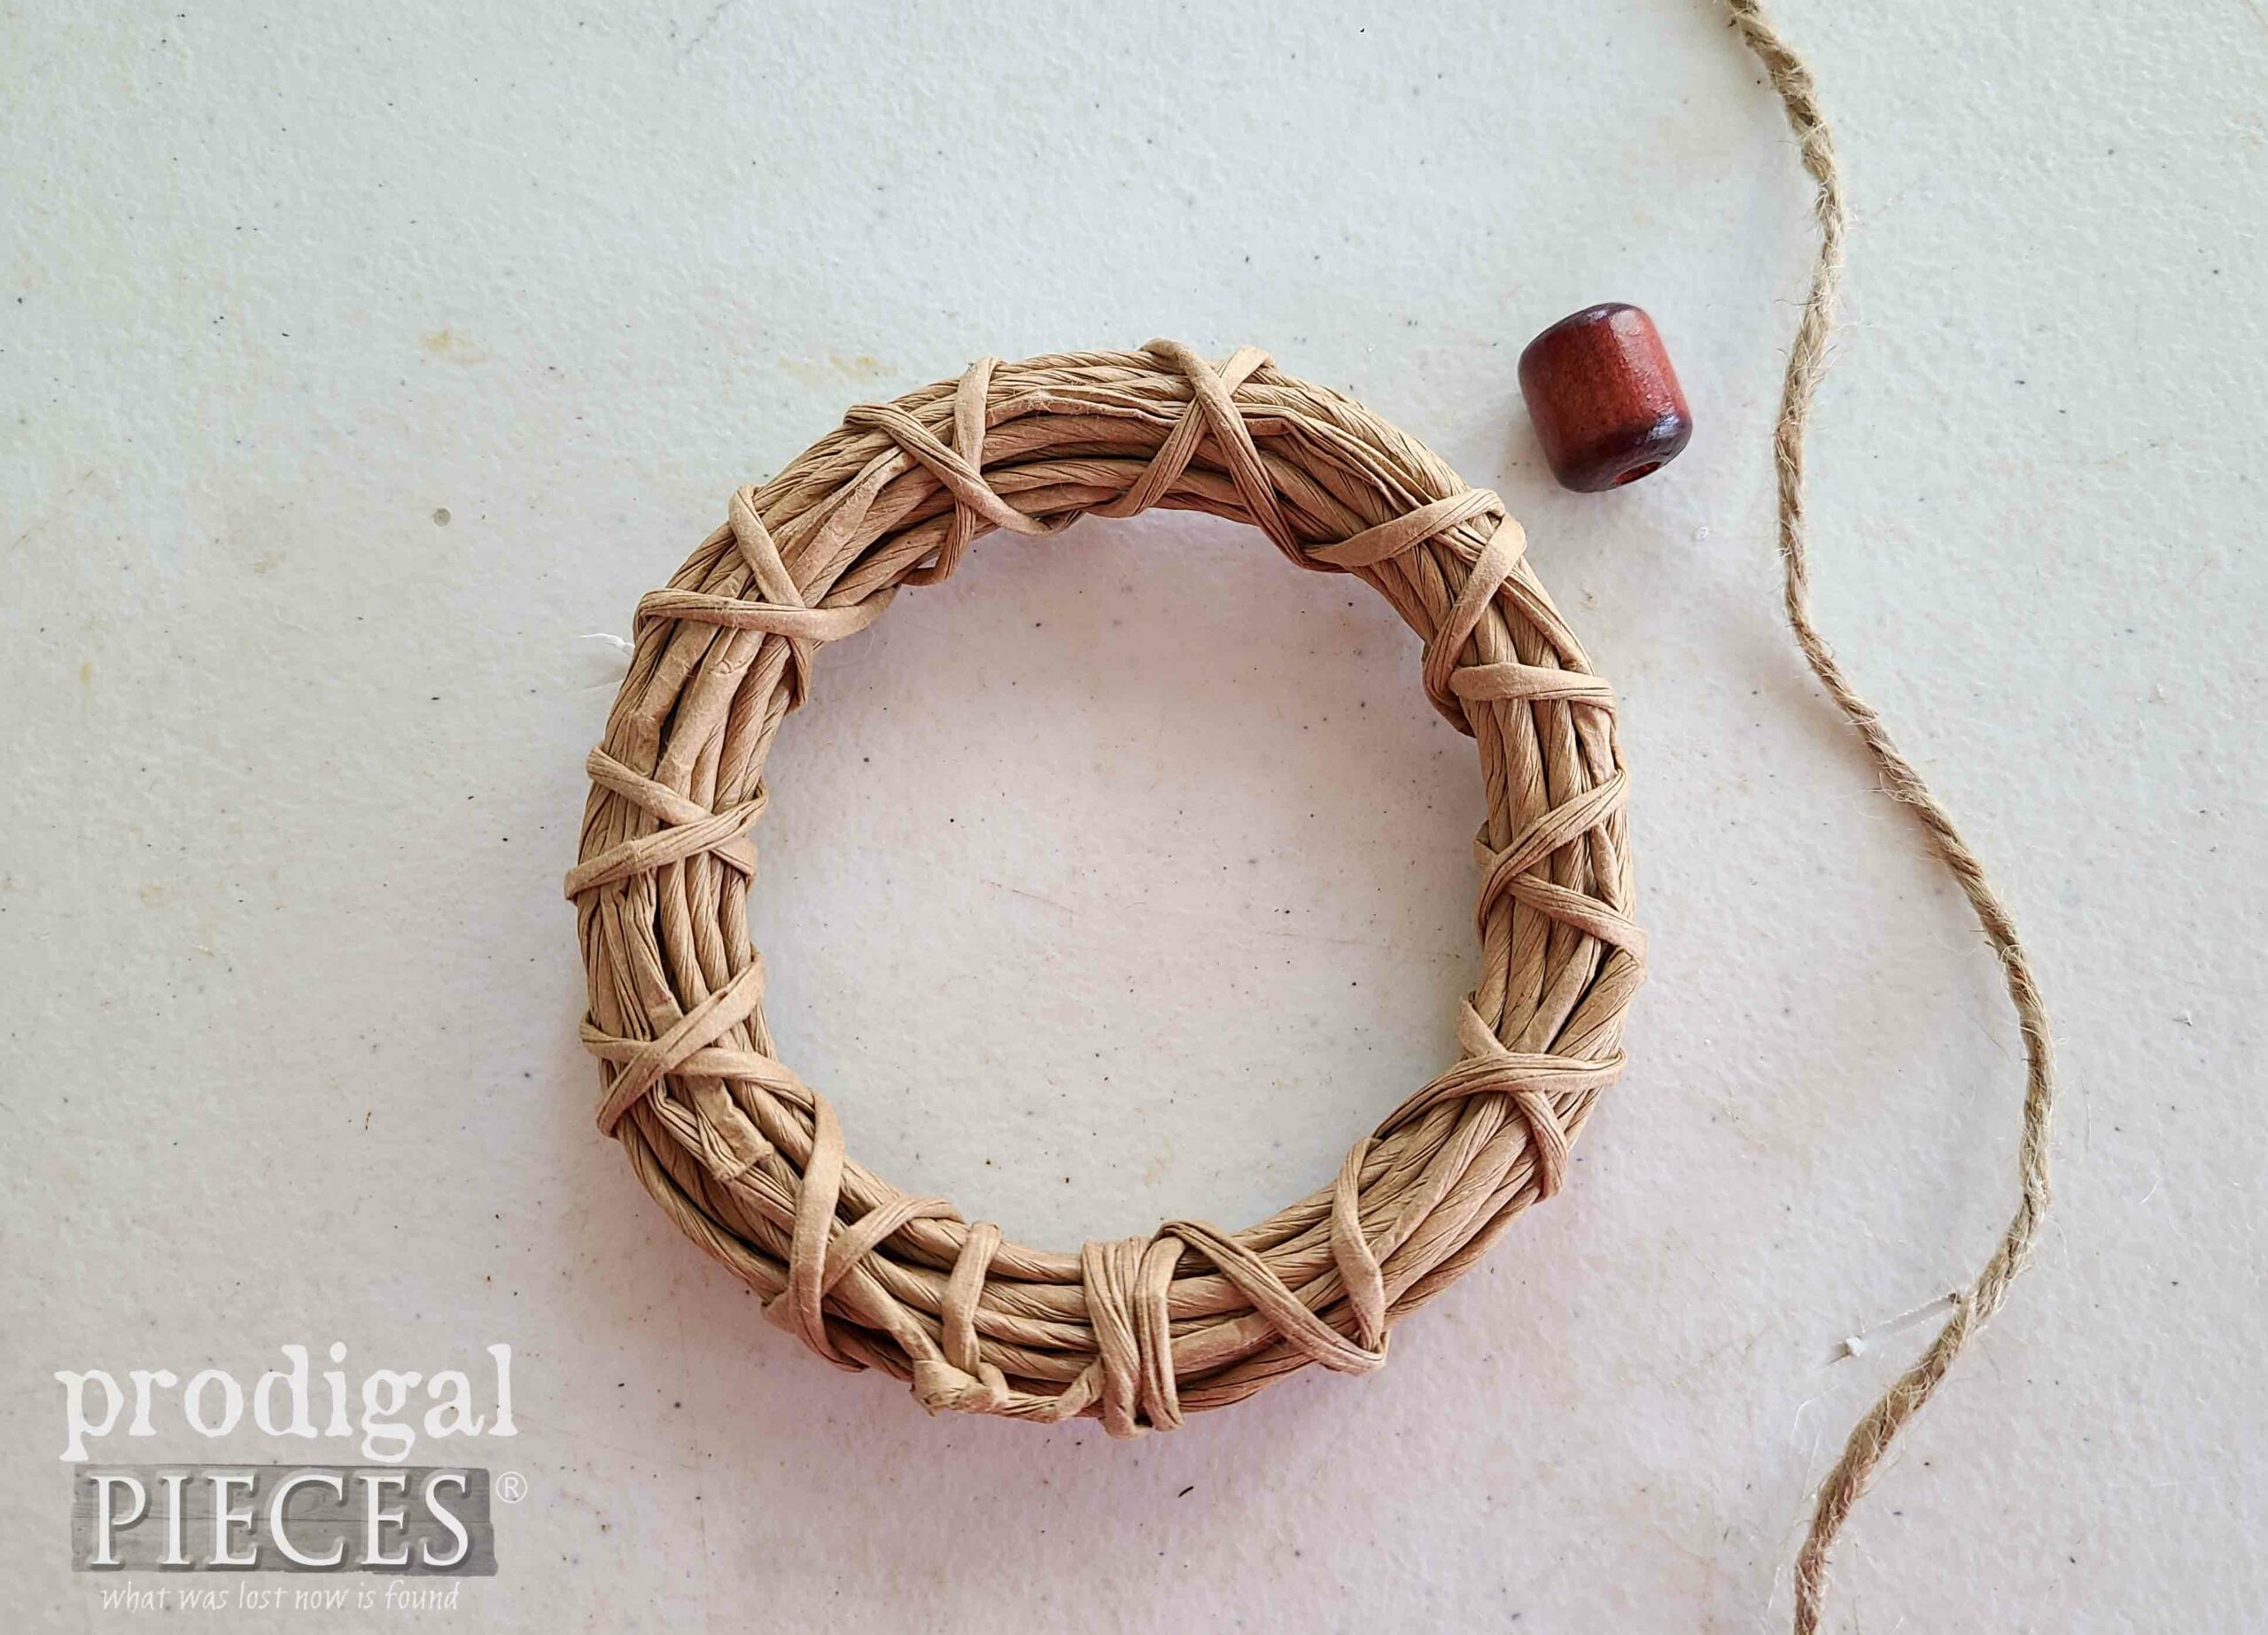
- mini wreaths (or canning lids, wooden rings, anything you want to make into a wreath)
- mosses or other accents (flowers, grasses, twigs, leaves etc.)
- Sculpey clay for mushrooms (or premade mushrooms)
- twine or ribbon
- beads (optional)
- scissors
- glue gun/glue sticks
- acrylic craft paint (optional)
As you can imagine, there are limitless ways to run with this for other seasons, holidays…any event you desire. With that in mind, I’m focusing on relieving my spring fever with adding a bit to my home.
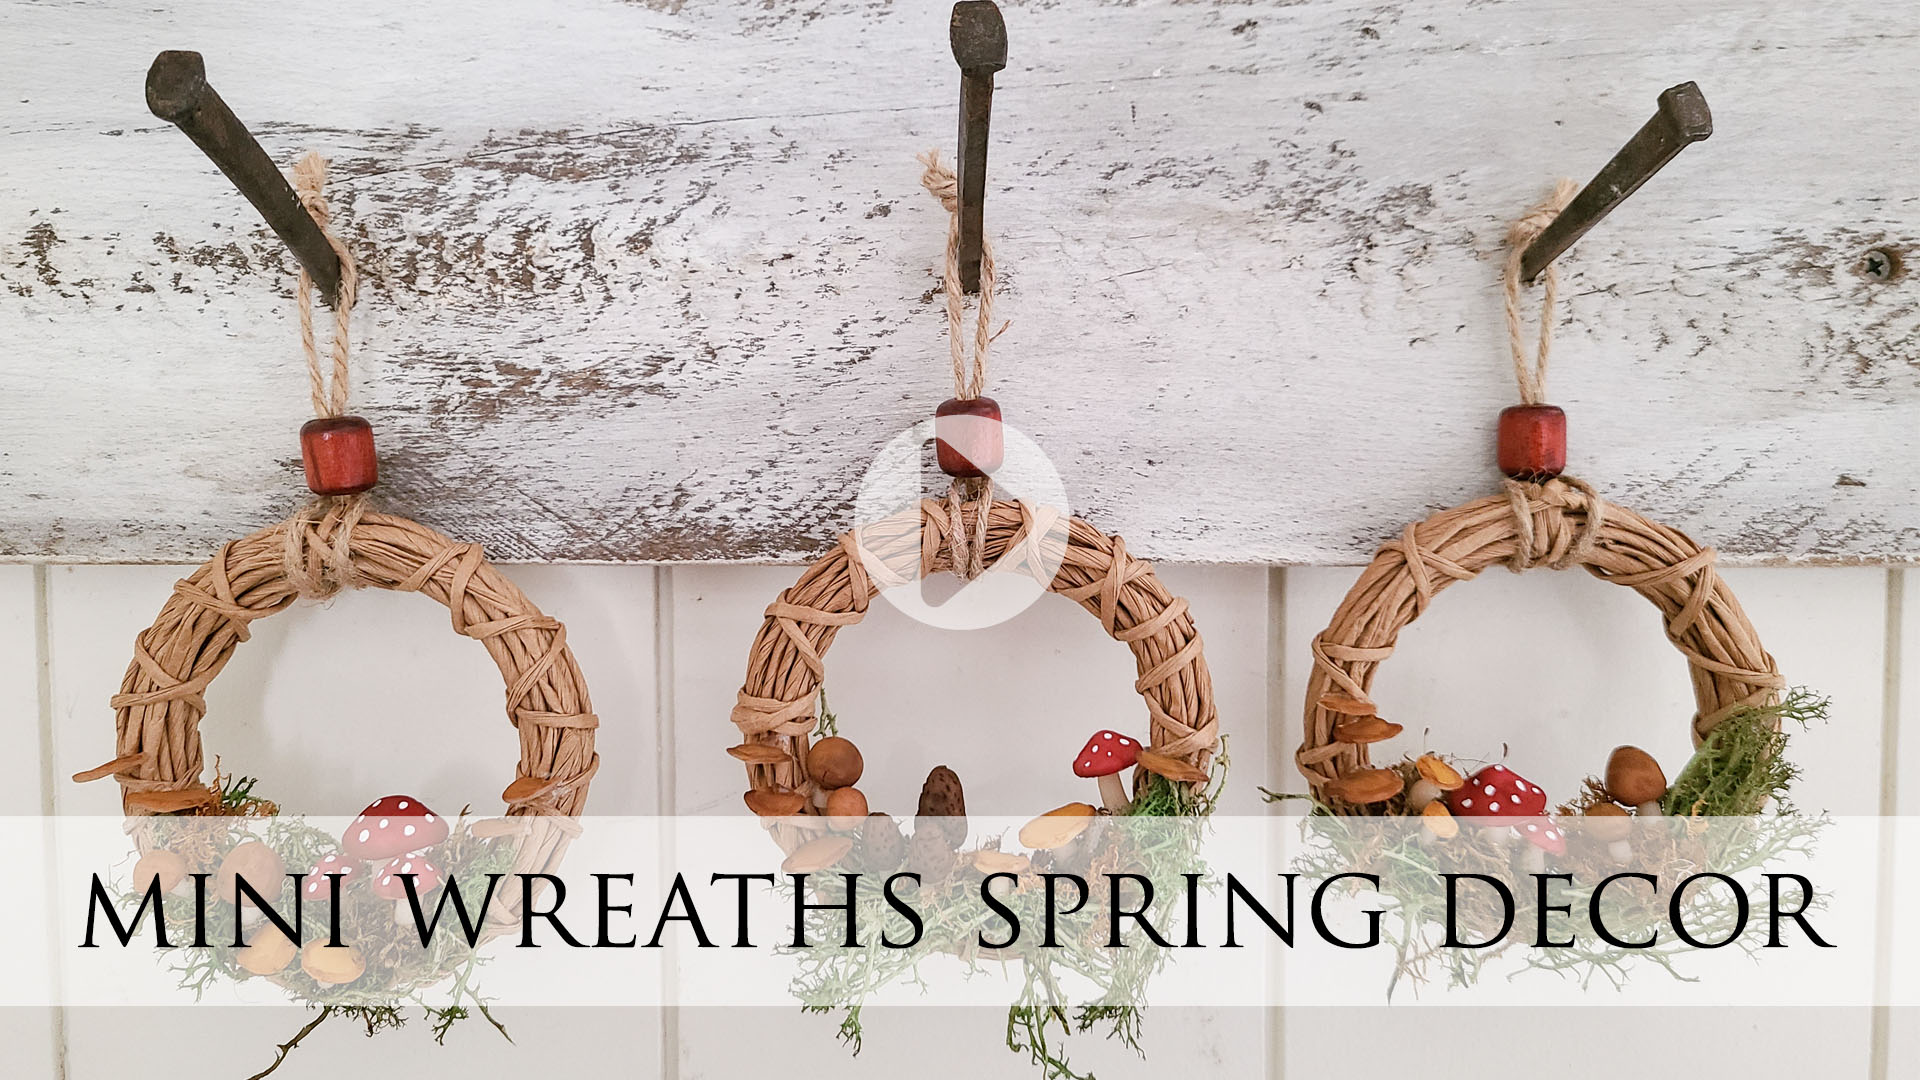
In addition, for best reference, the video shows the step best, but let’s get started in text form.
STEP 1
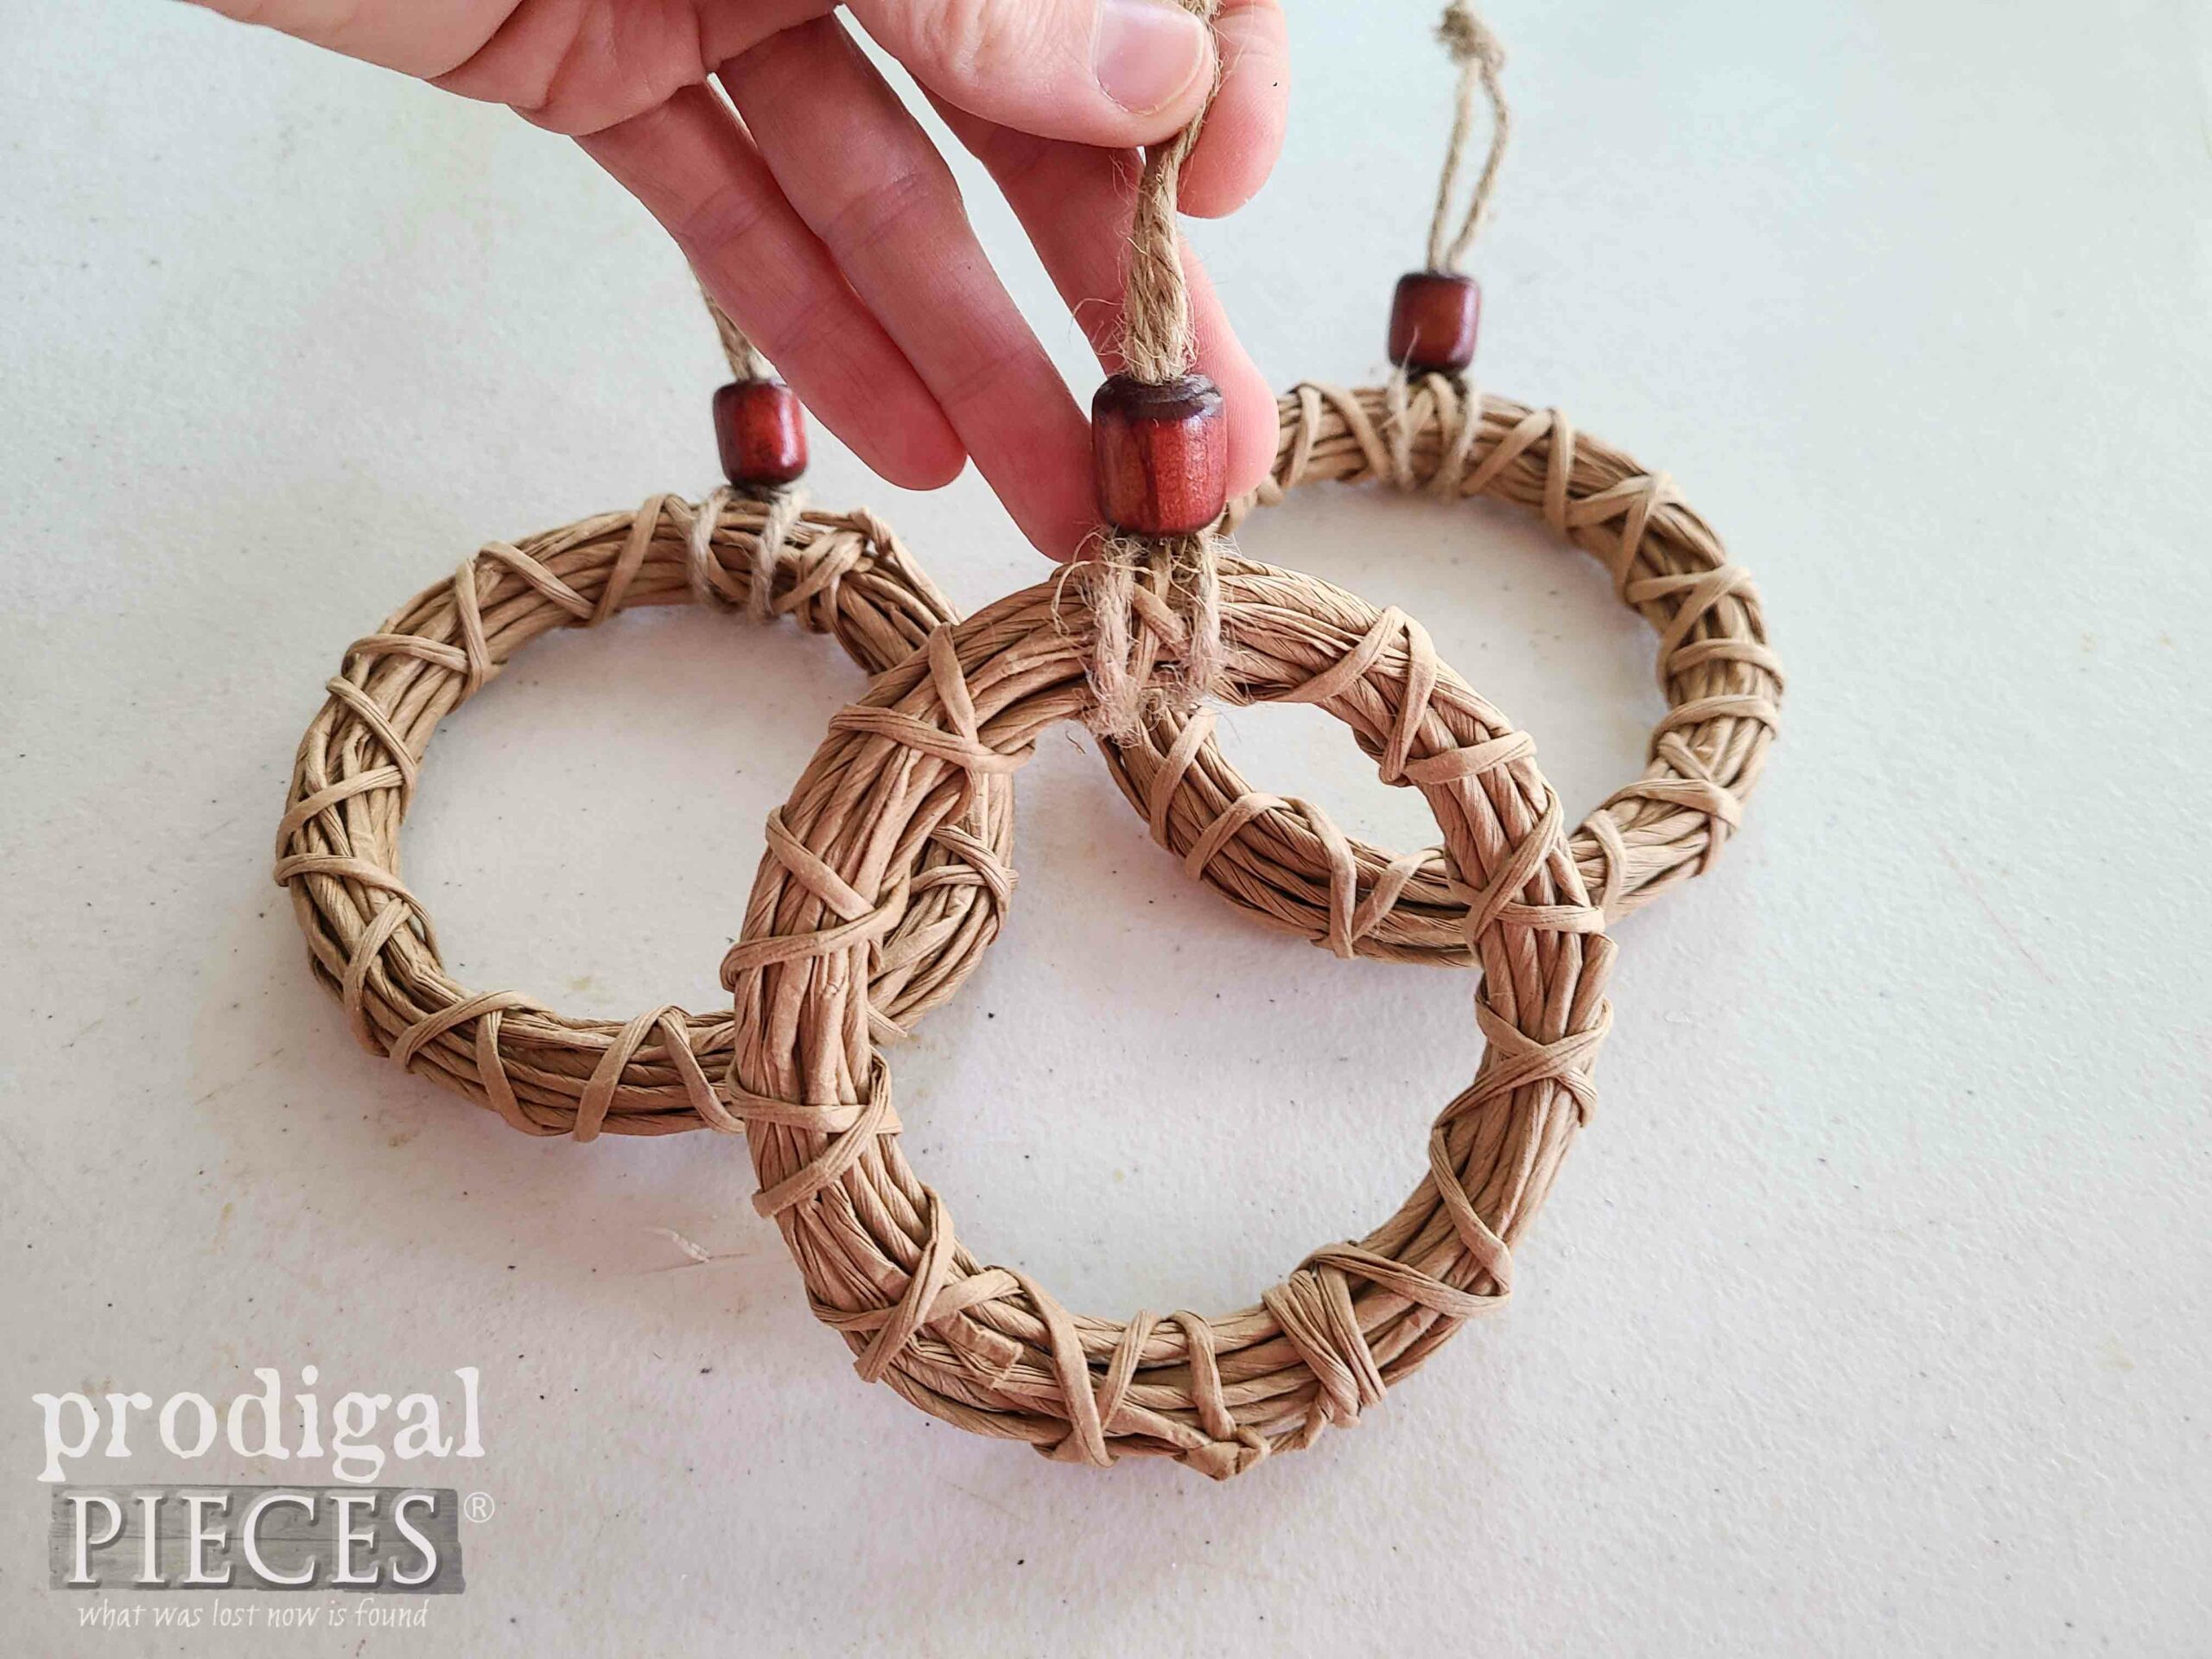
First, cut a length of twine twice the length you want it to hang. After that, wrap around and add a bead or bow for accent, and knot off at the top for a hanger.
STEP 2
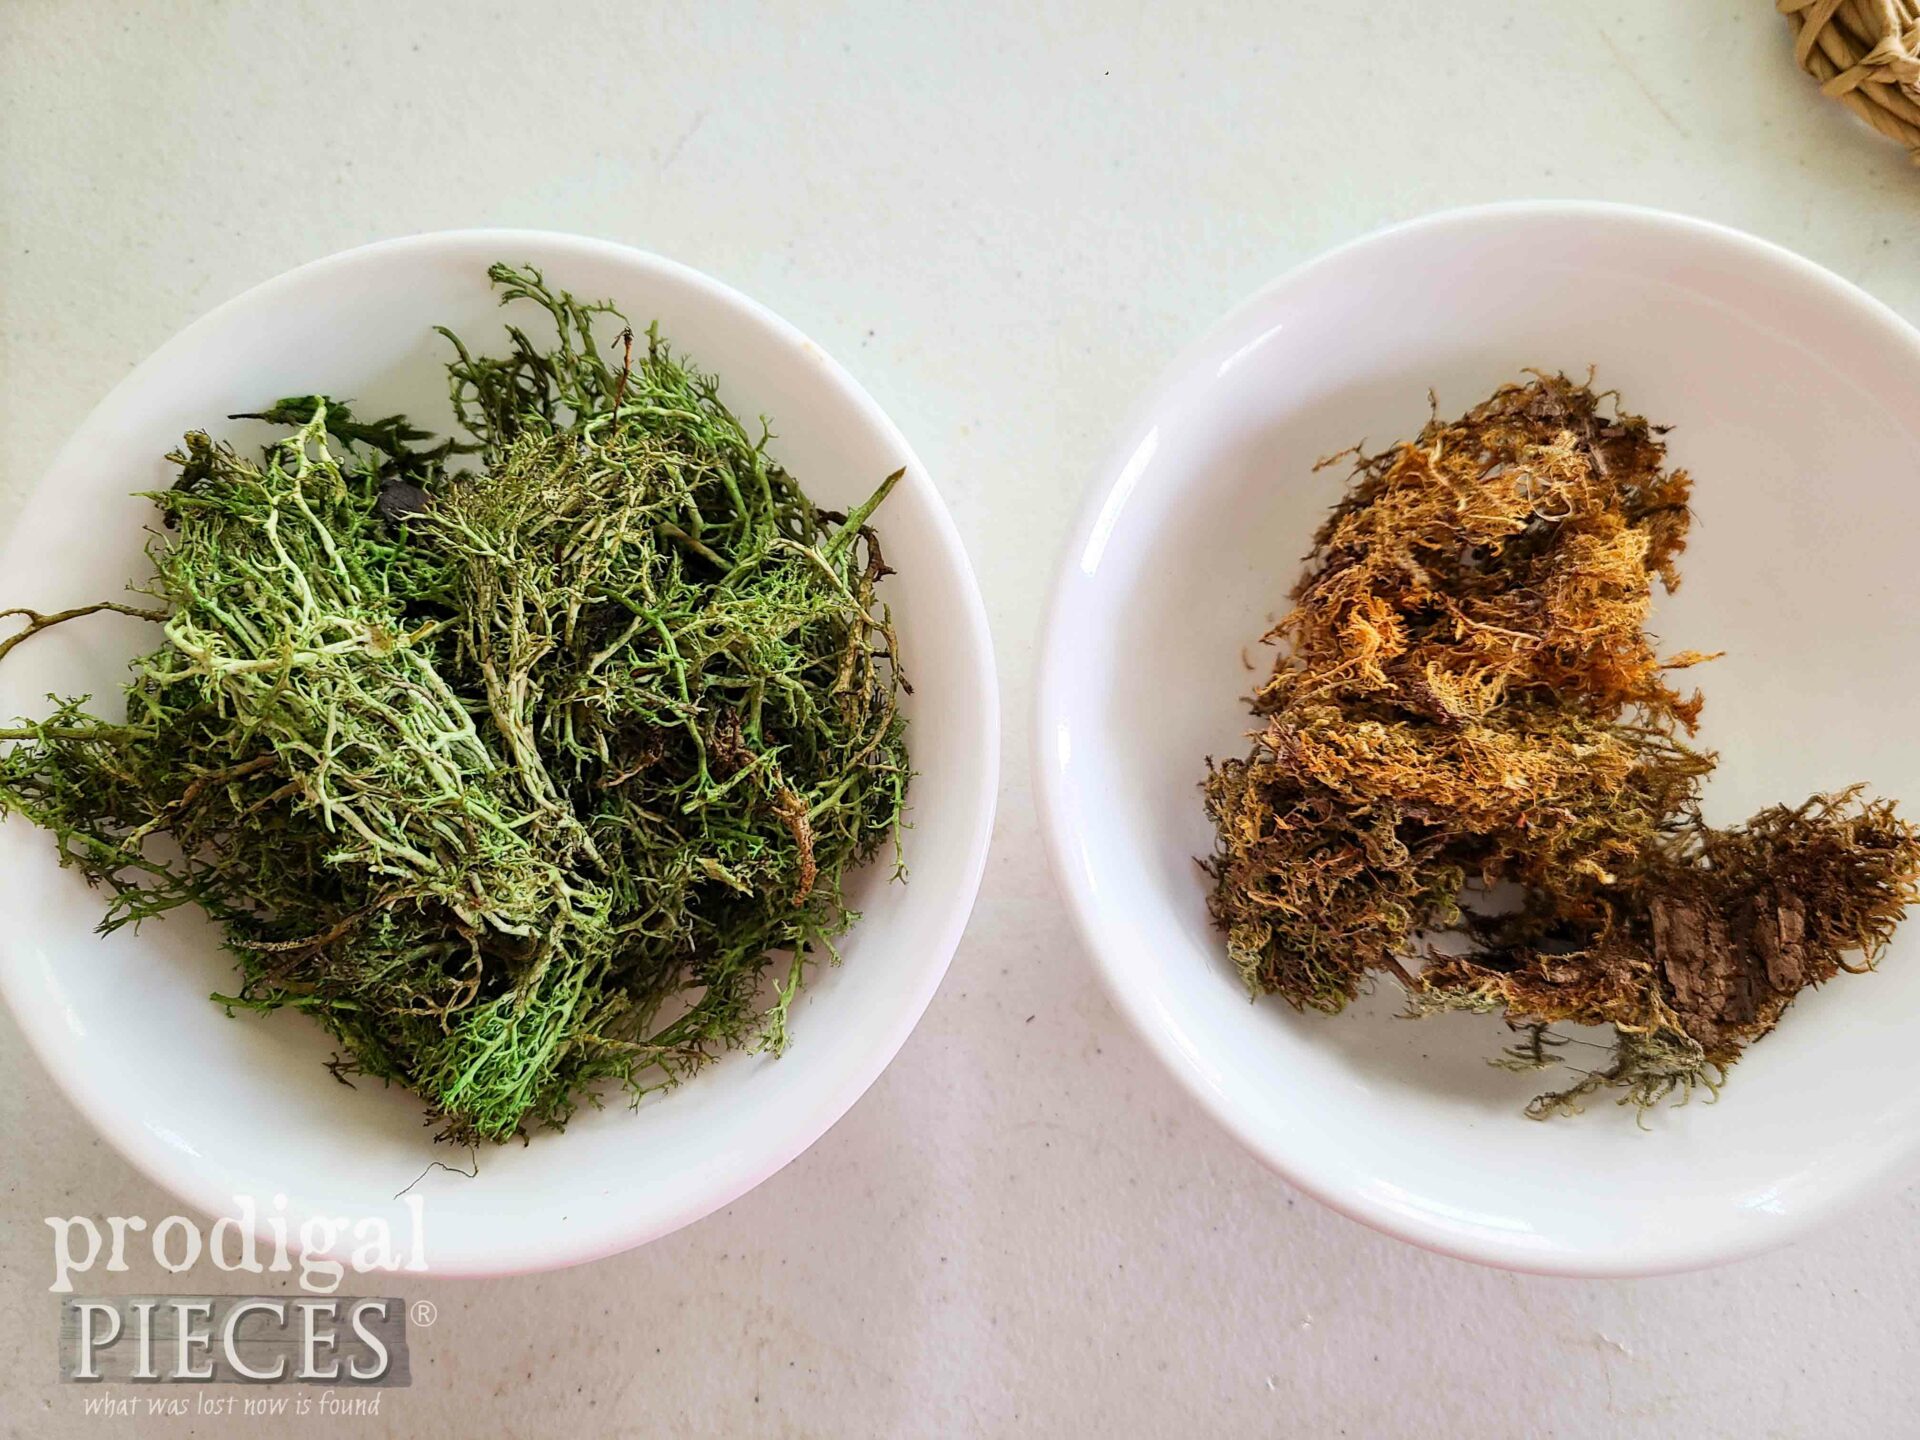
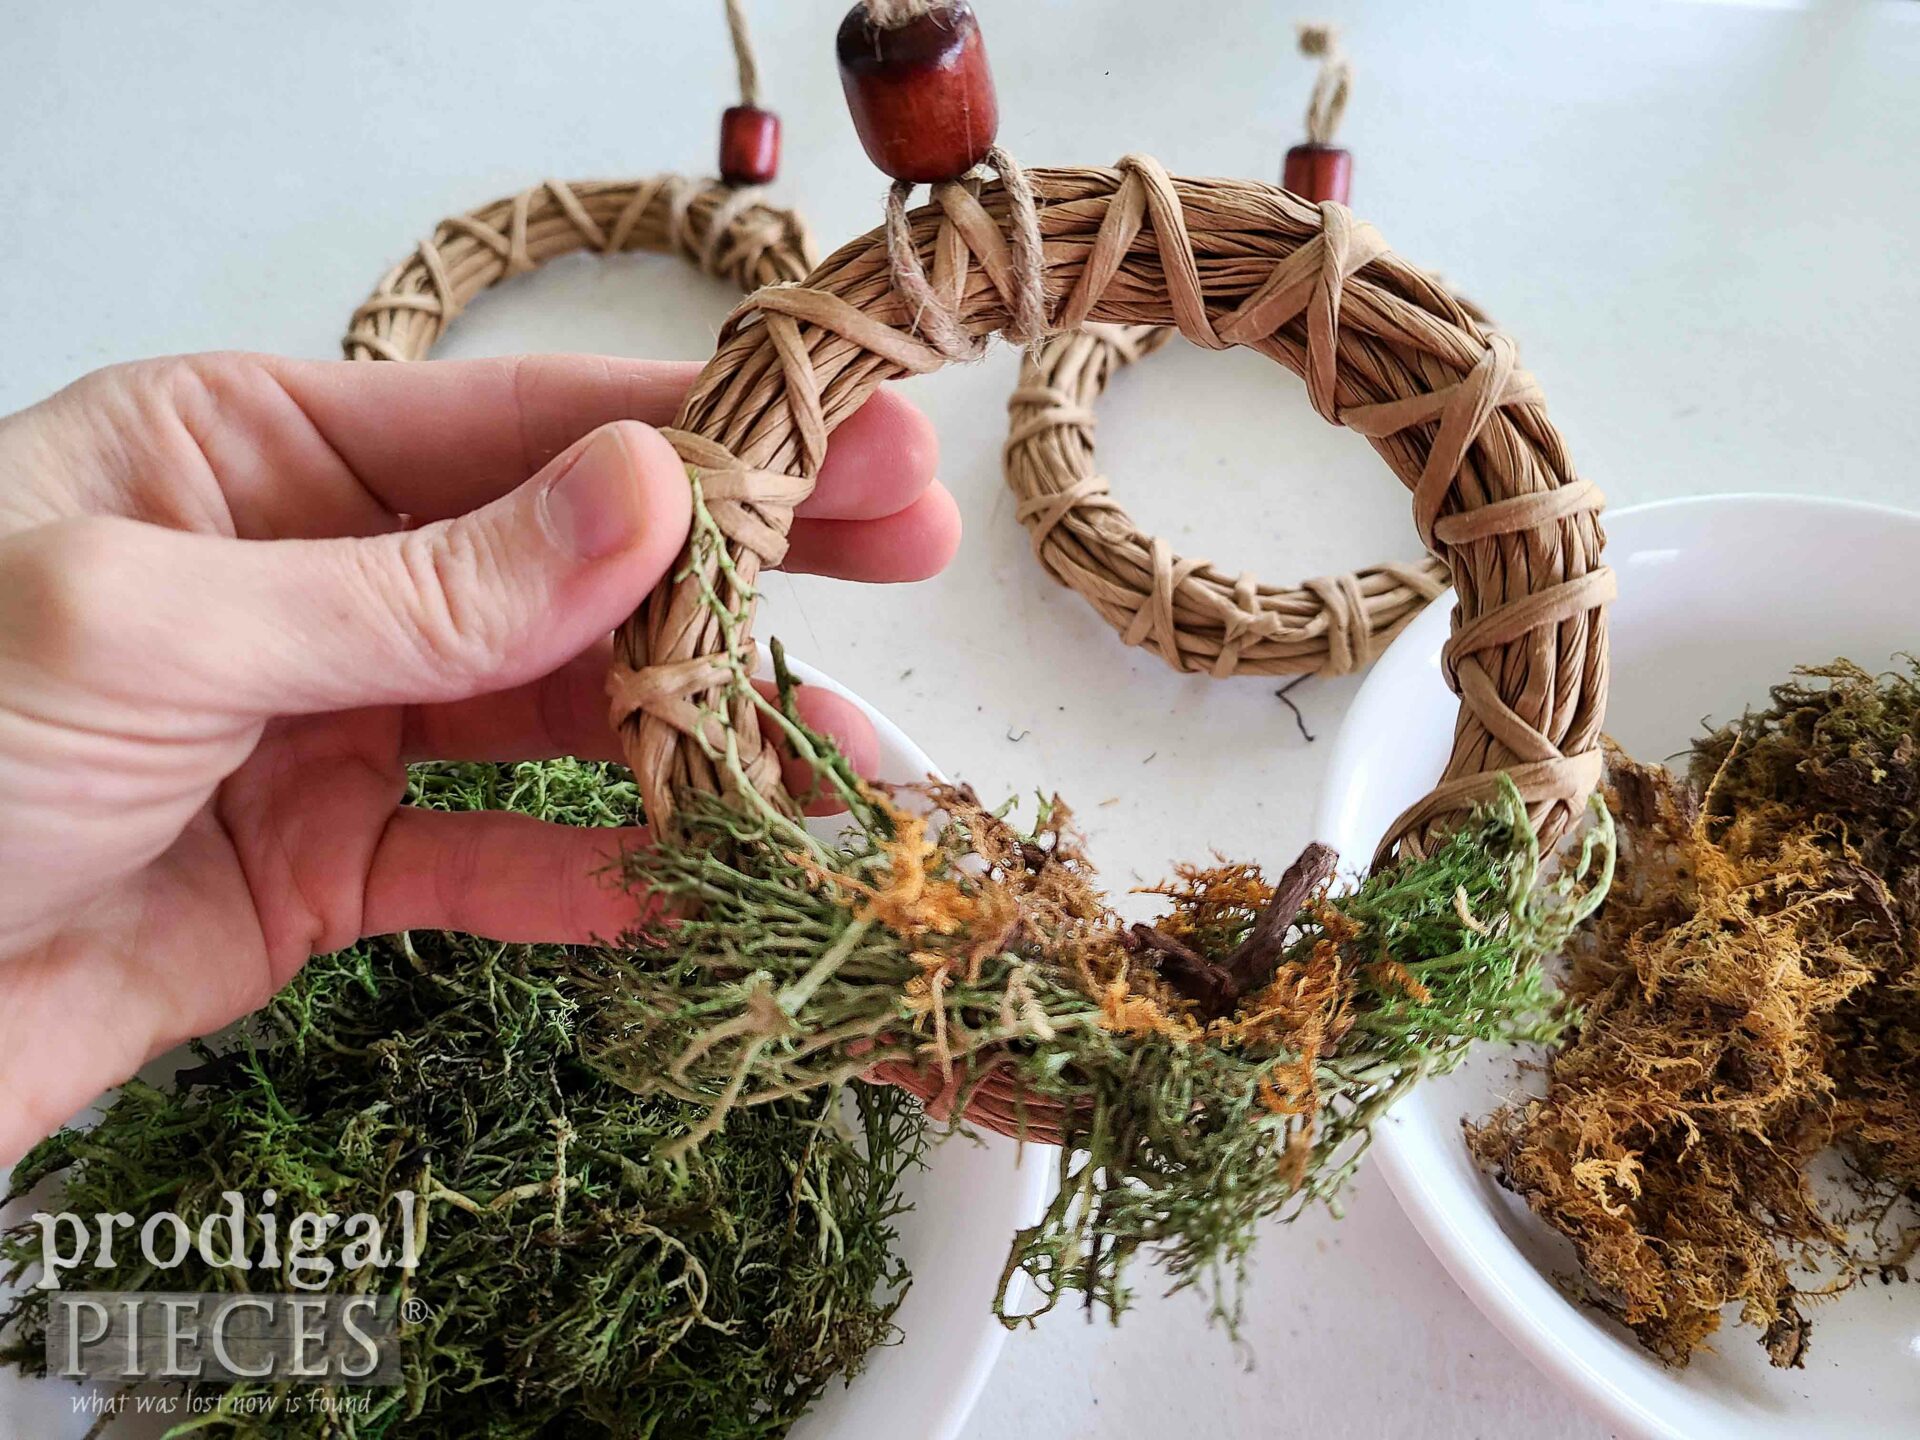
At this point, you can add the embellishments. For me, I’m using a bit of dollar story moss as well as moss I dry for my crafting purposes.
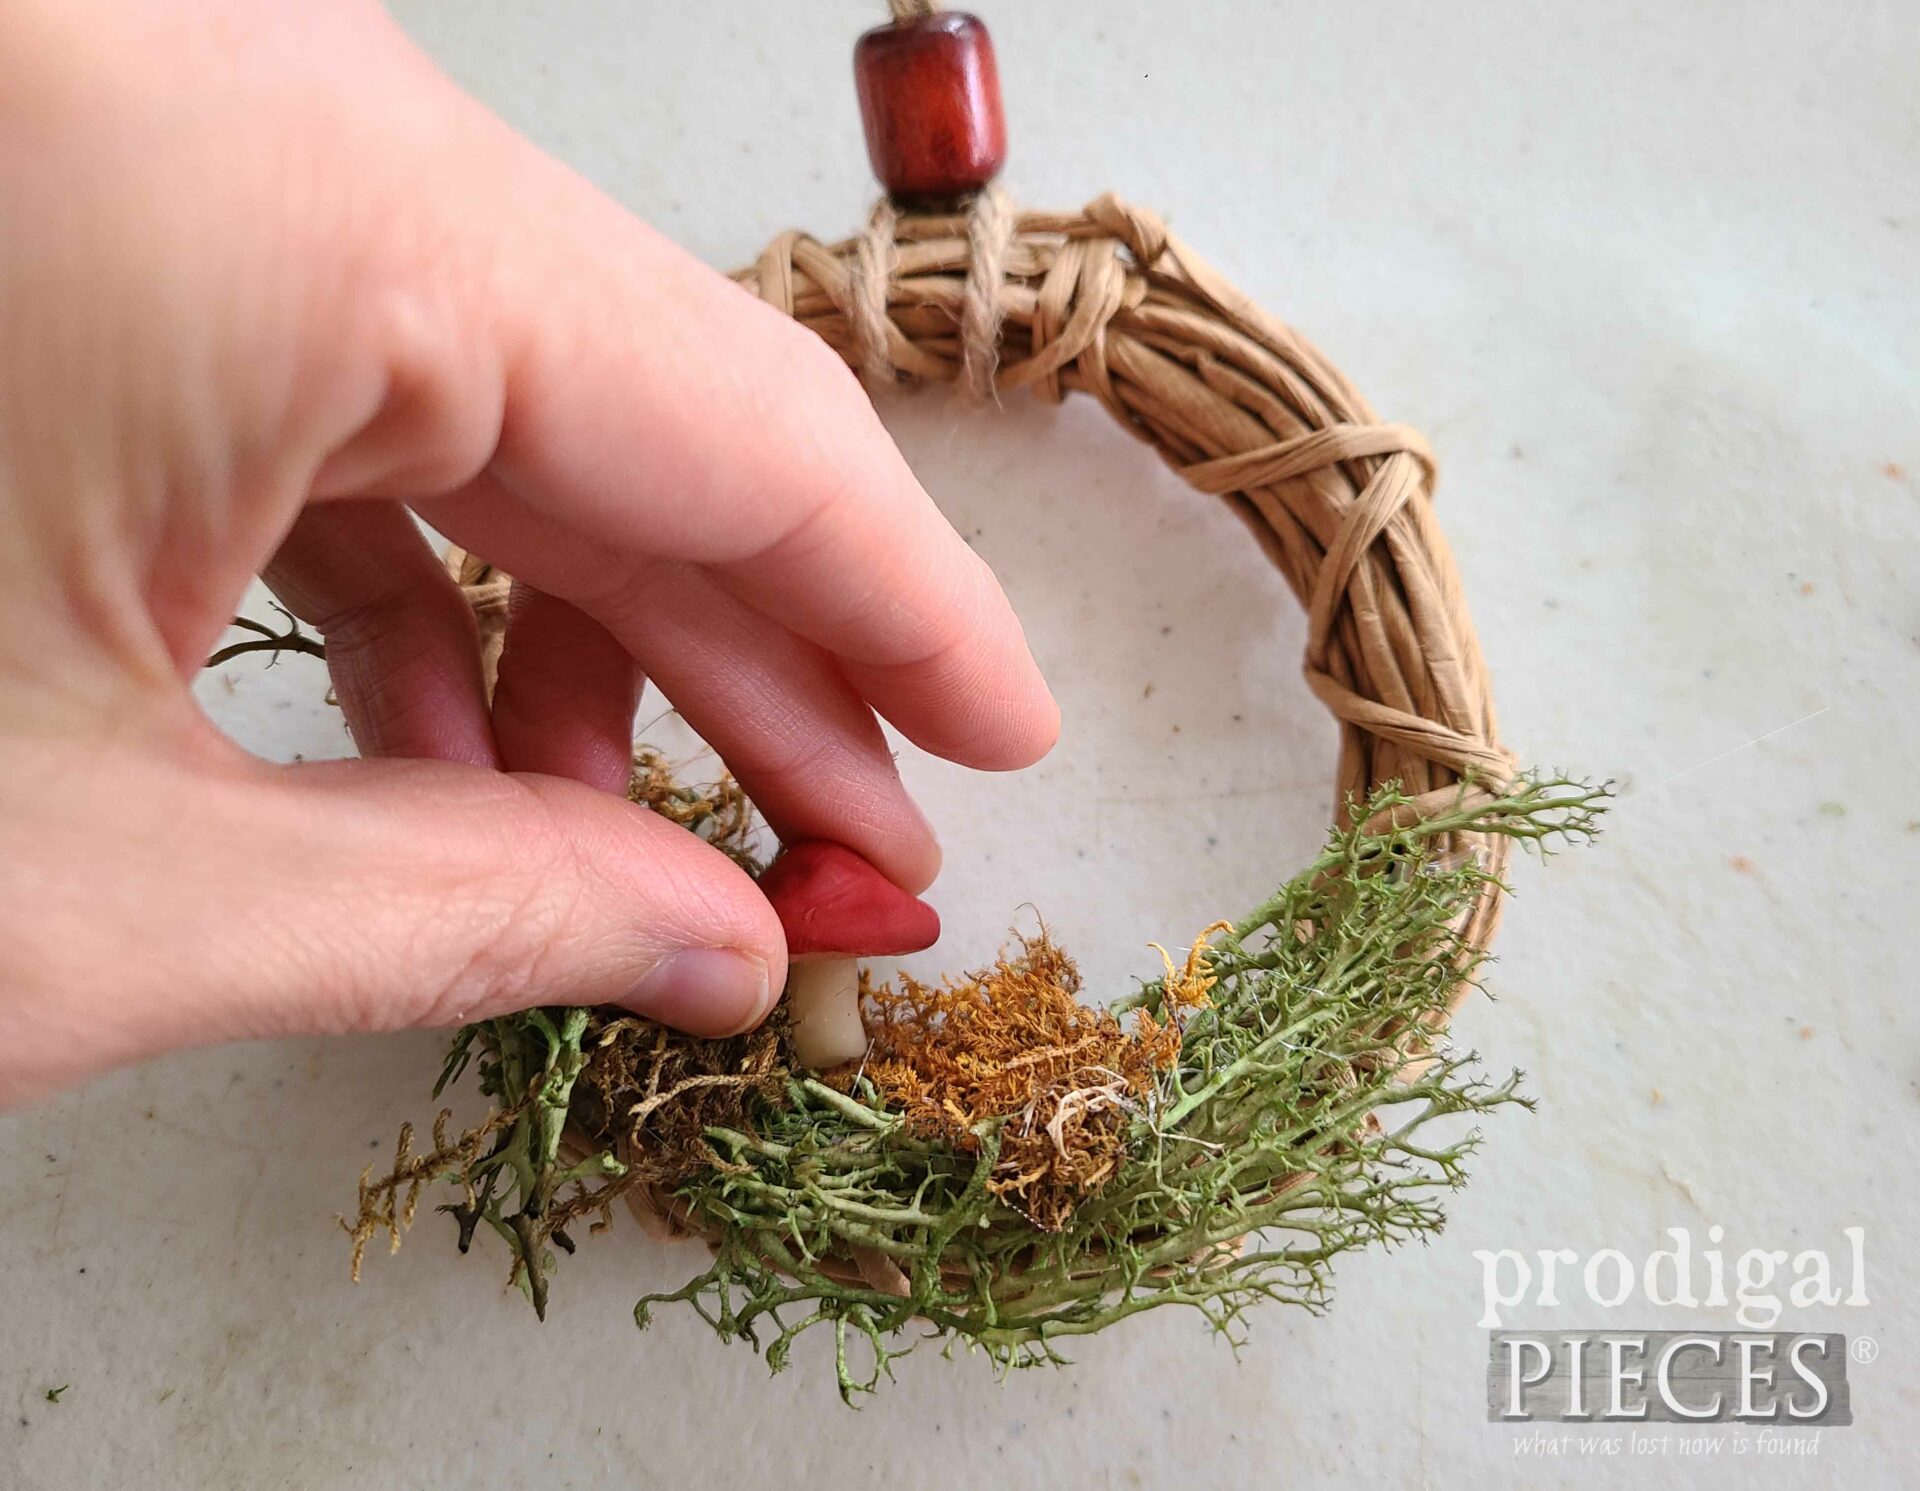
Then, using your hot glue, add a bead and apply your mosses in layers to create texture and interest.
STEP 3
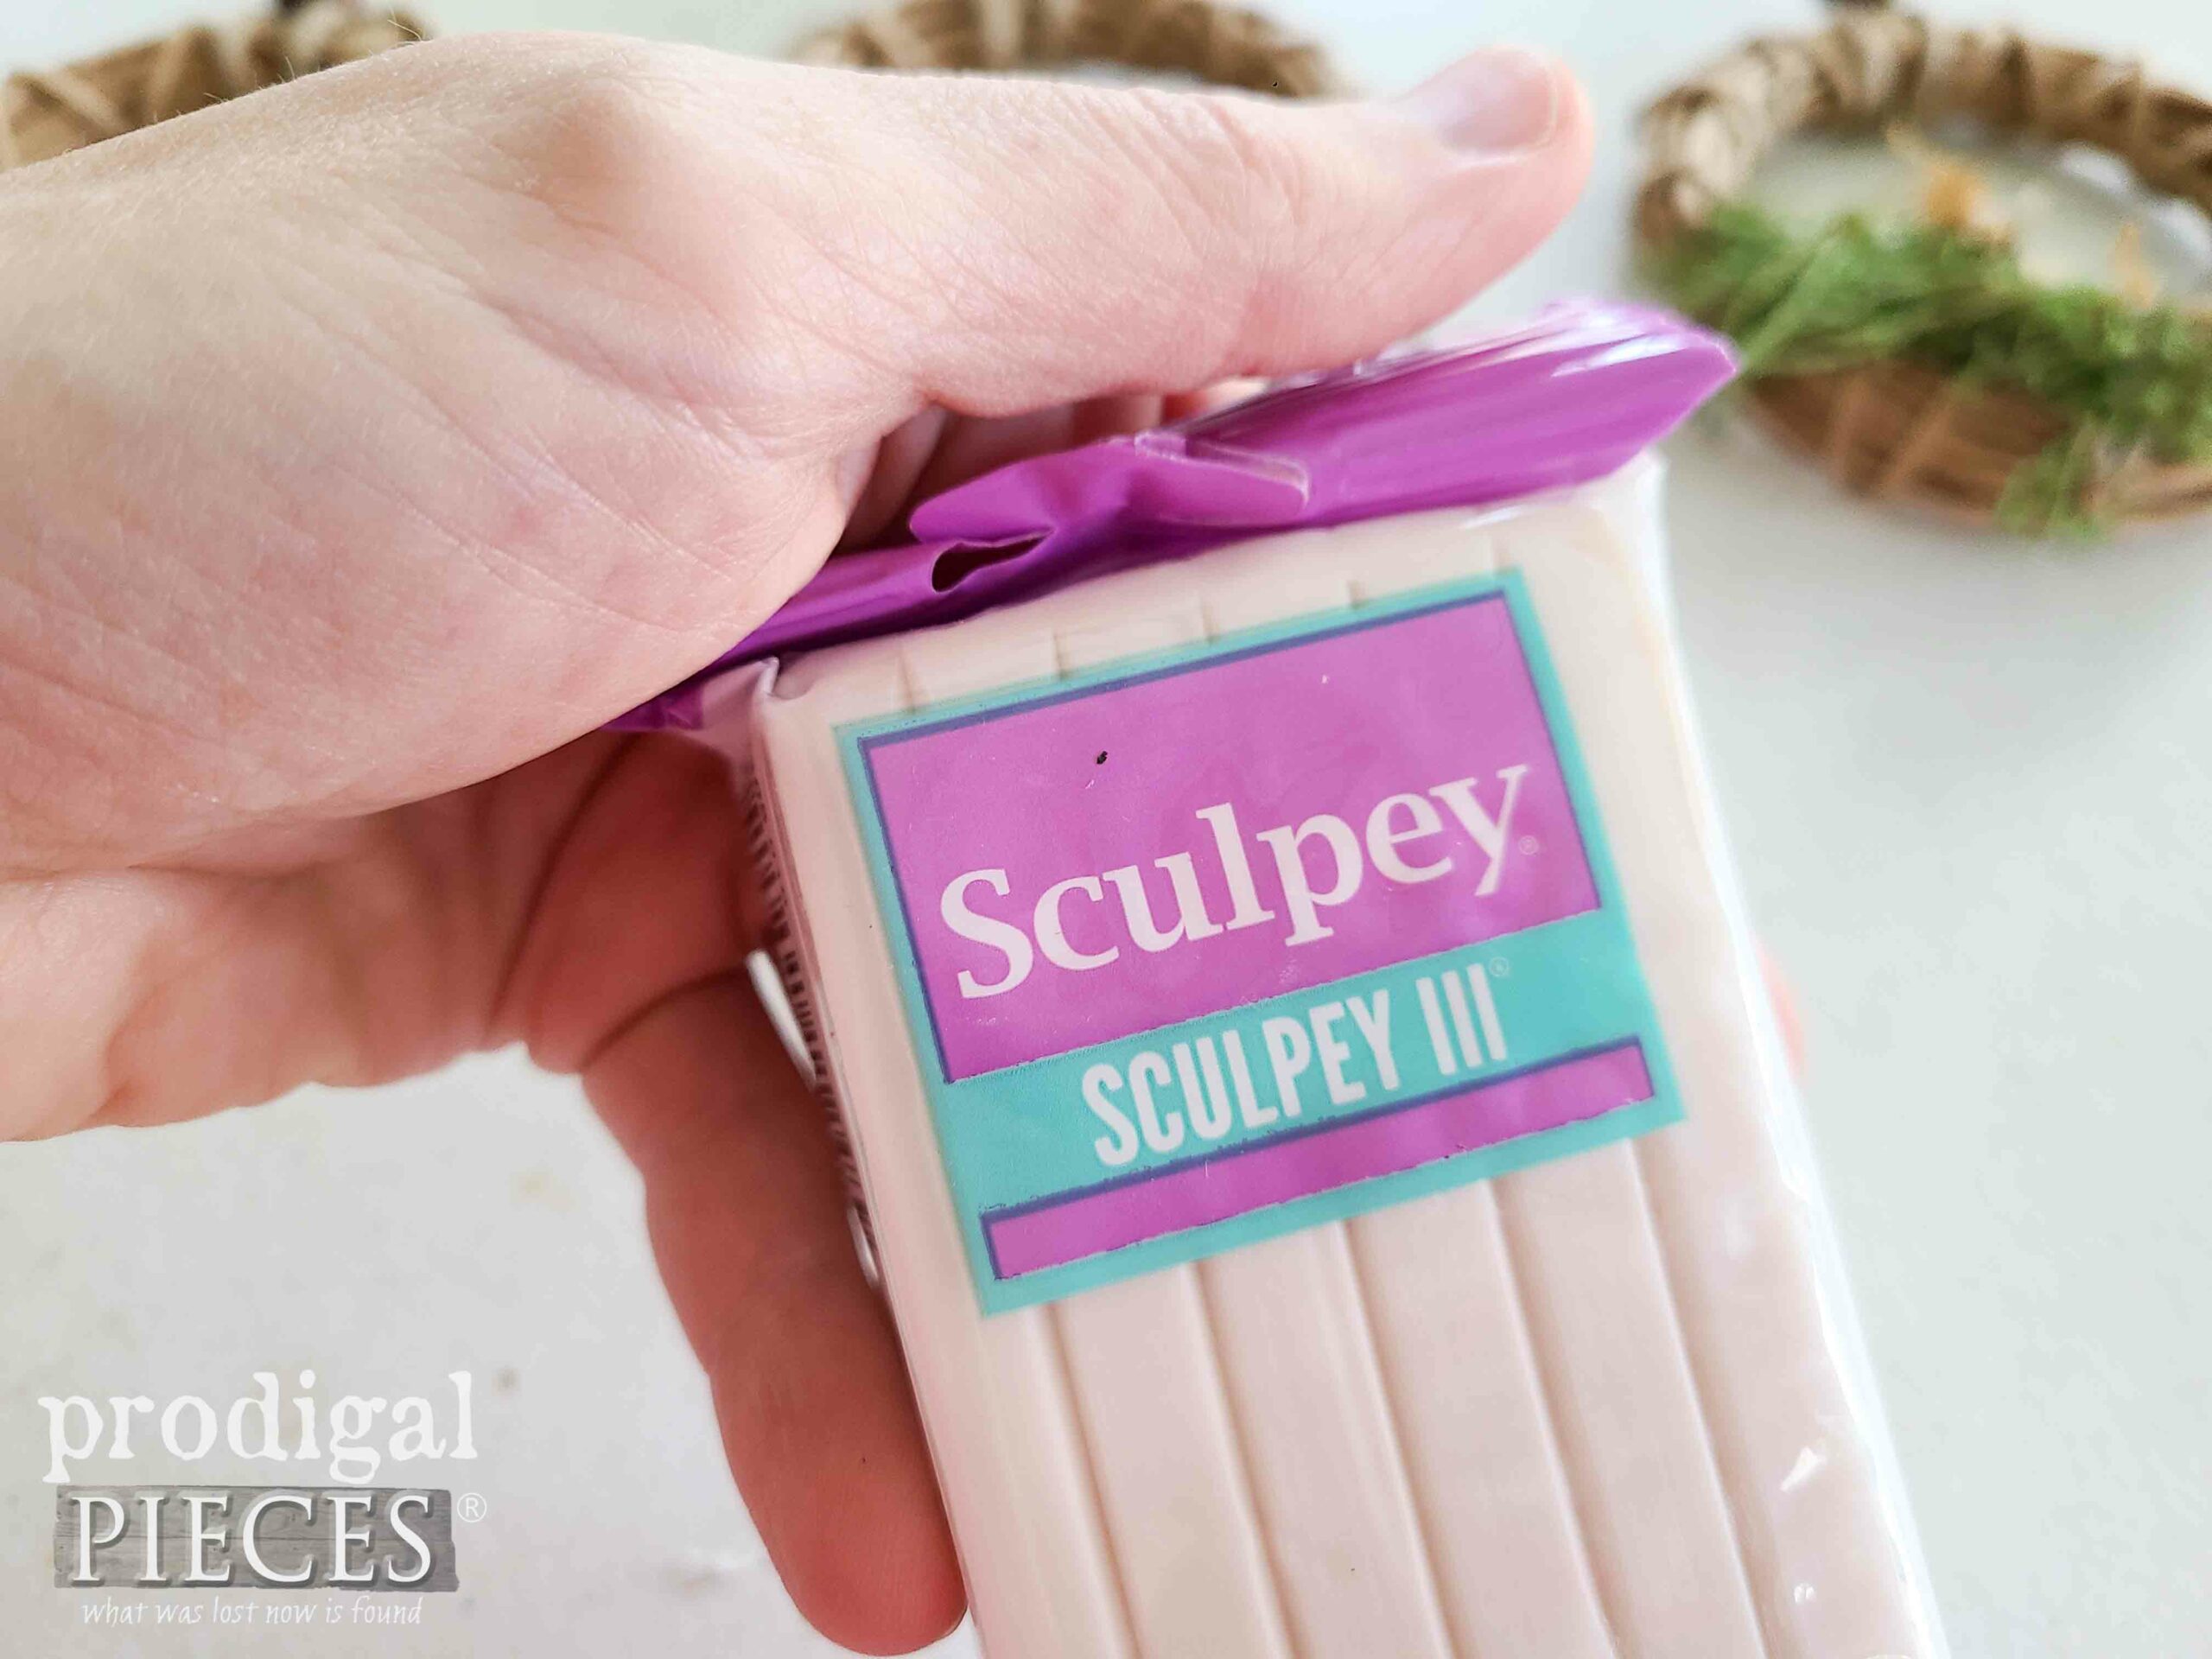
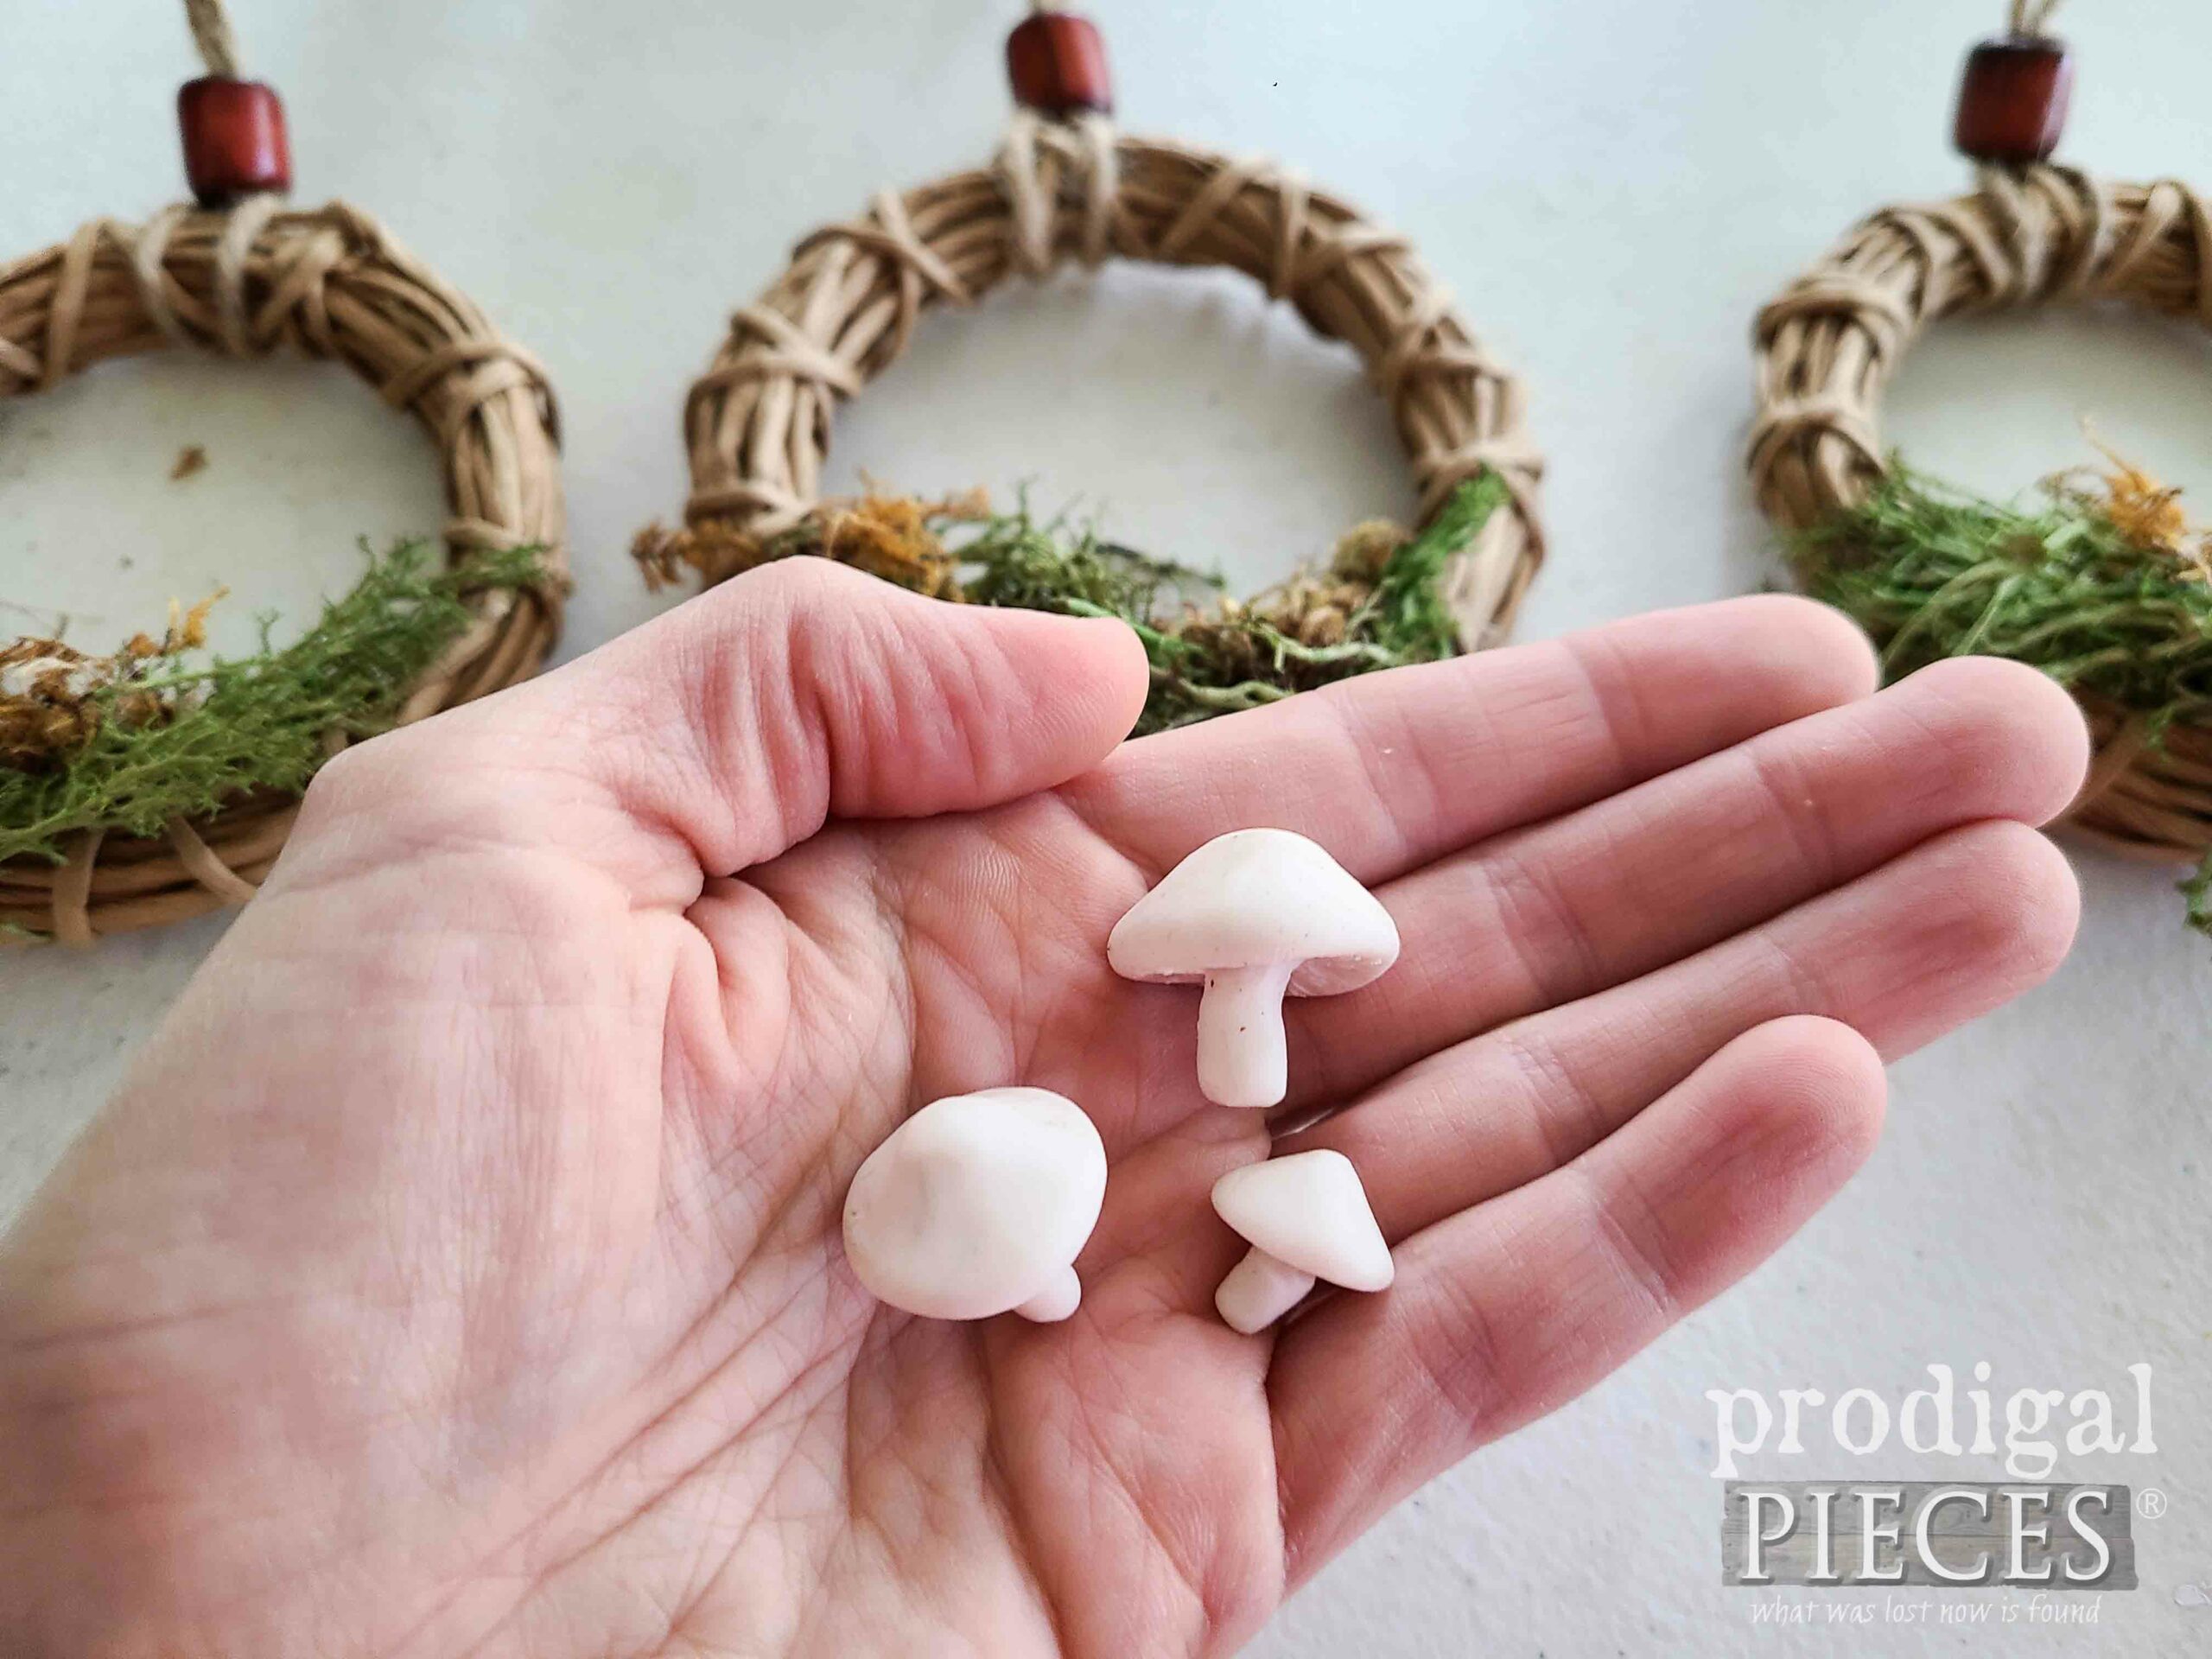
Next, grab the polymer clay (Sculpey) and create your shrooms. At least this kind of fungus won’t take you on a psychedelic trip. tee hee.
With this clay, I need to bake it for a short time. Not only can you use polymer clay, but you can also use air-dry clay – just follow the instructions on the packaging. Furthermore, you can see how I’ve used Sculpey for various purposes HERE.
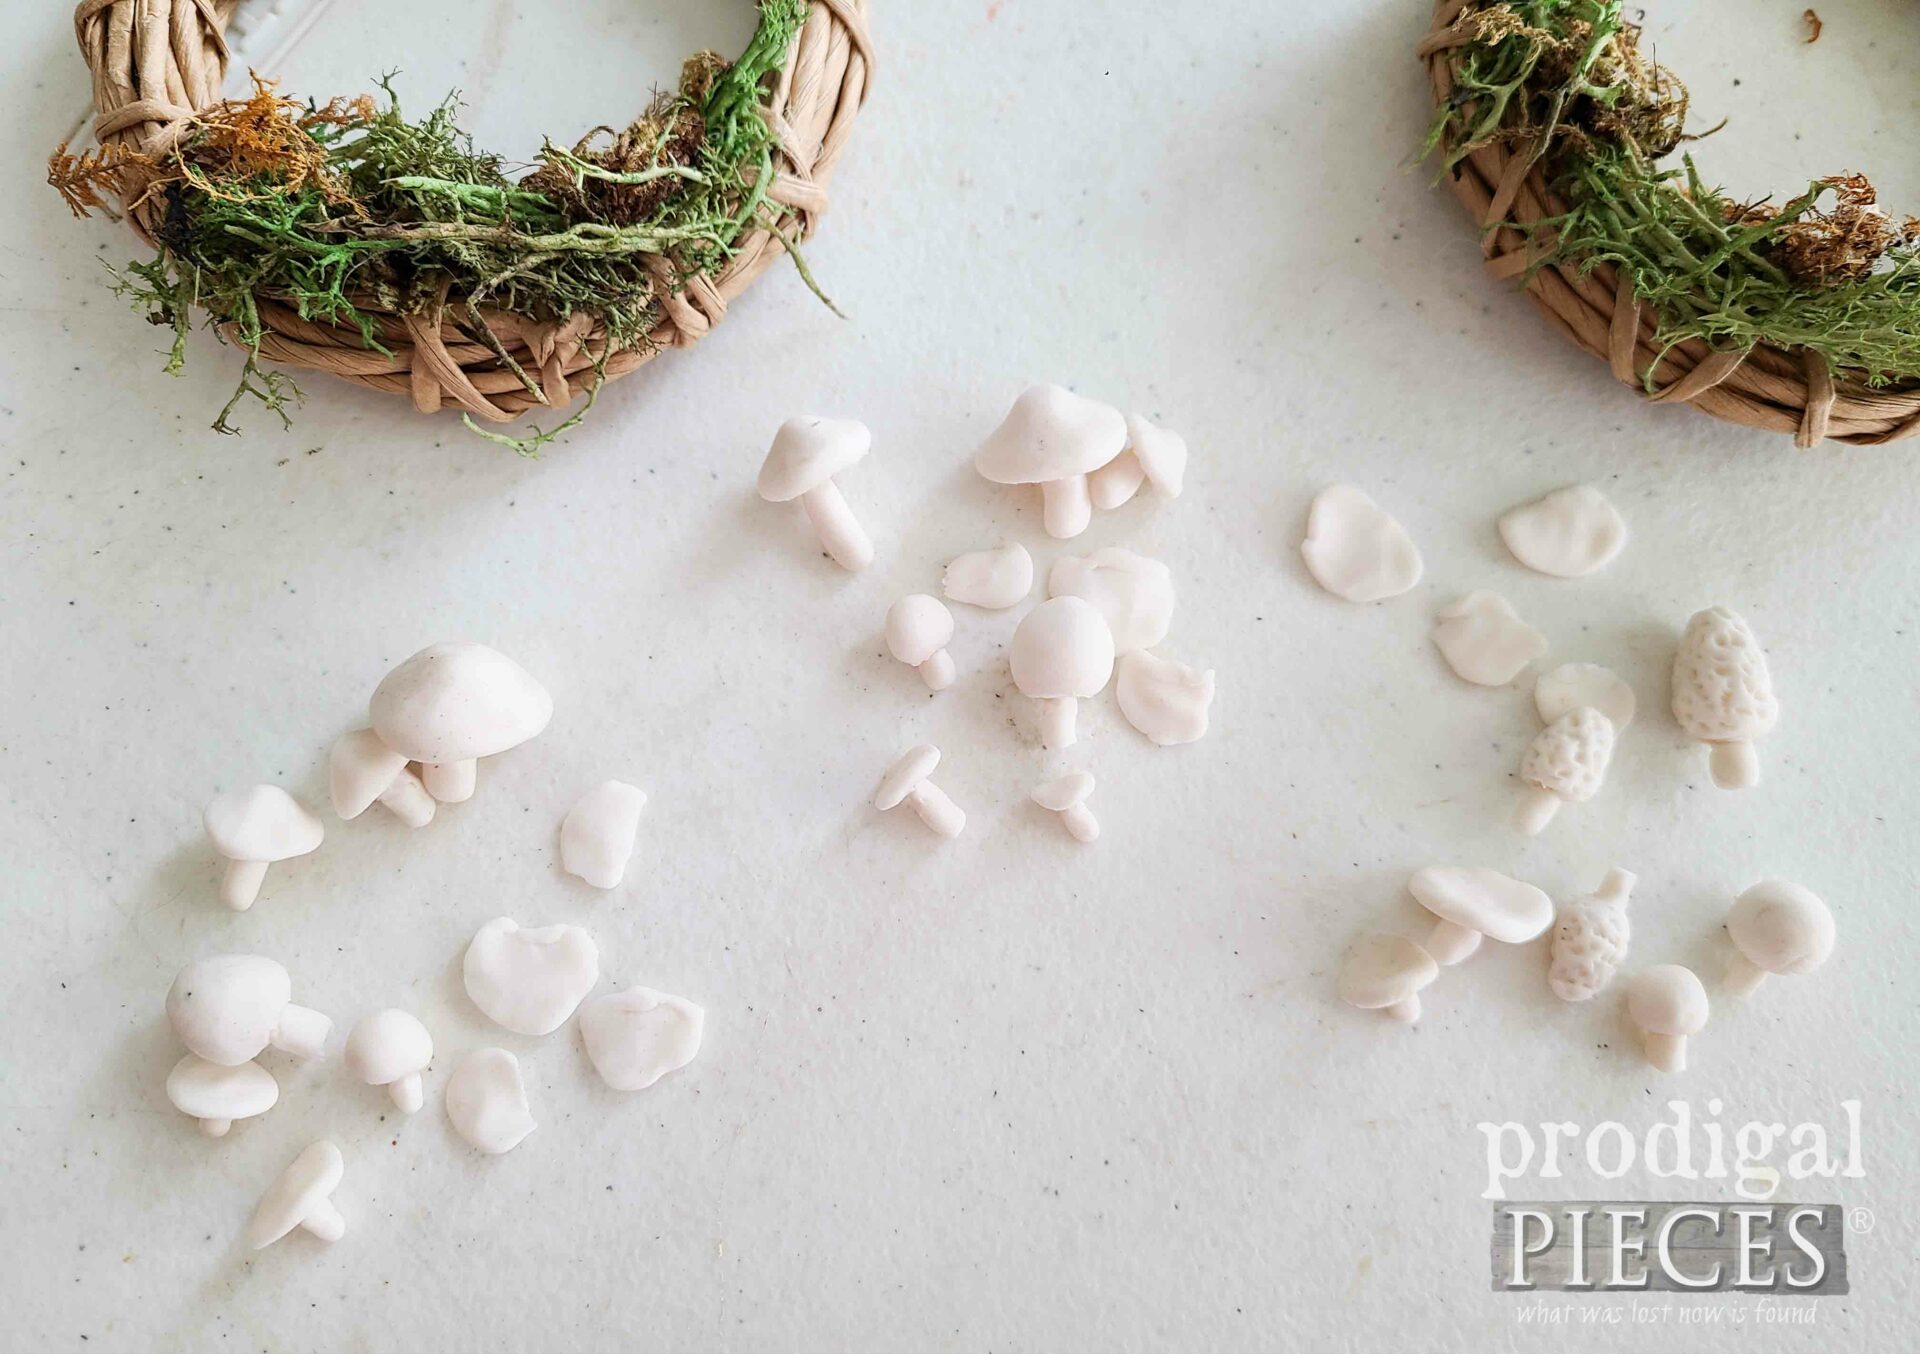
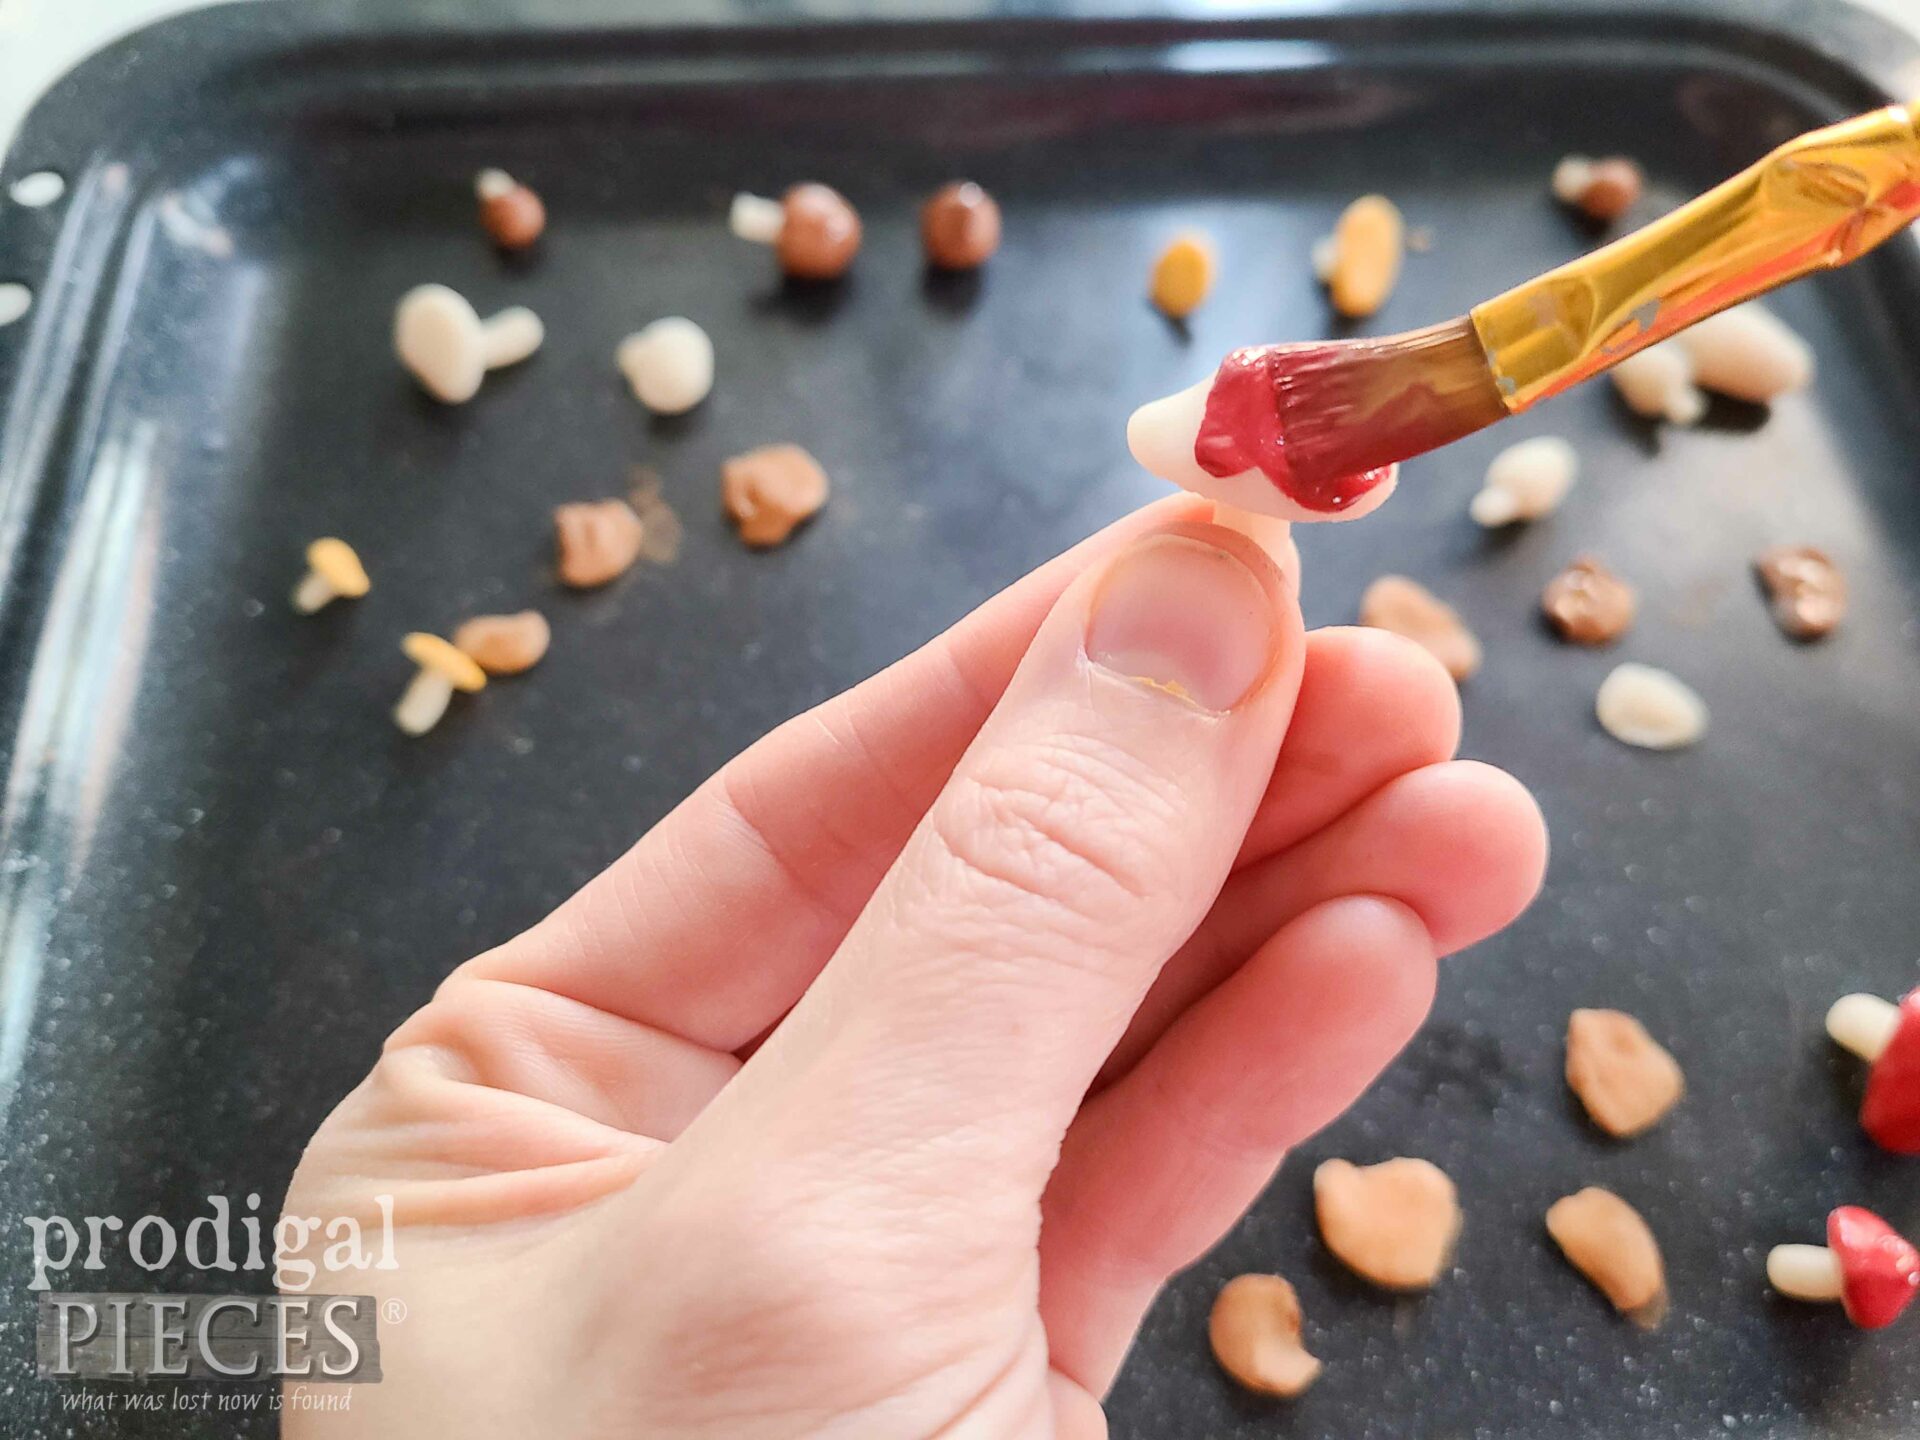
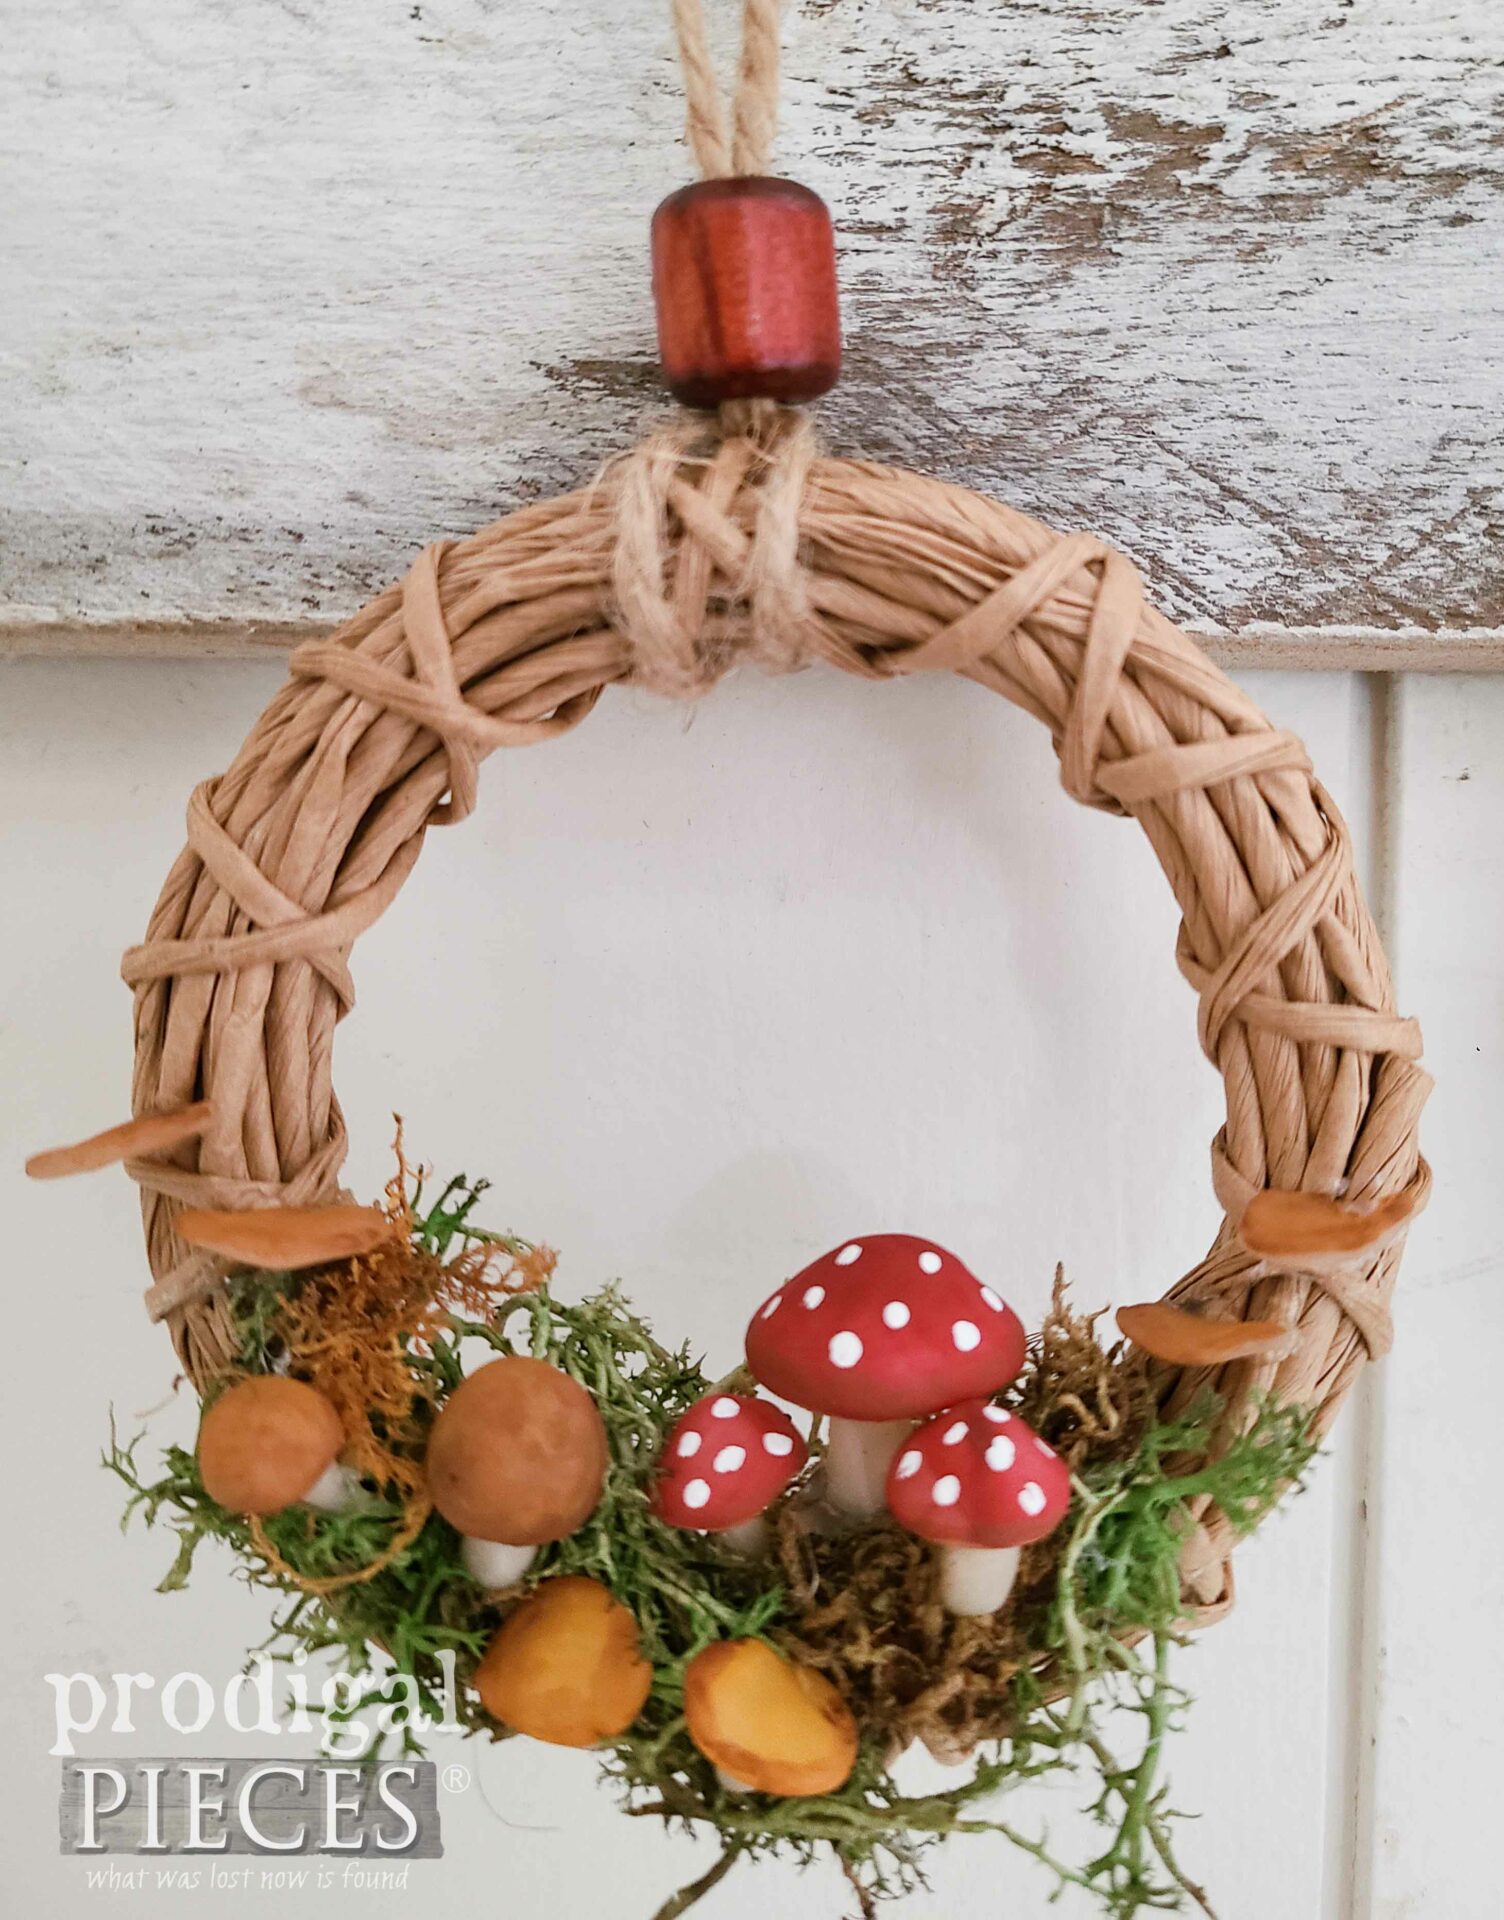
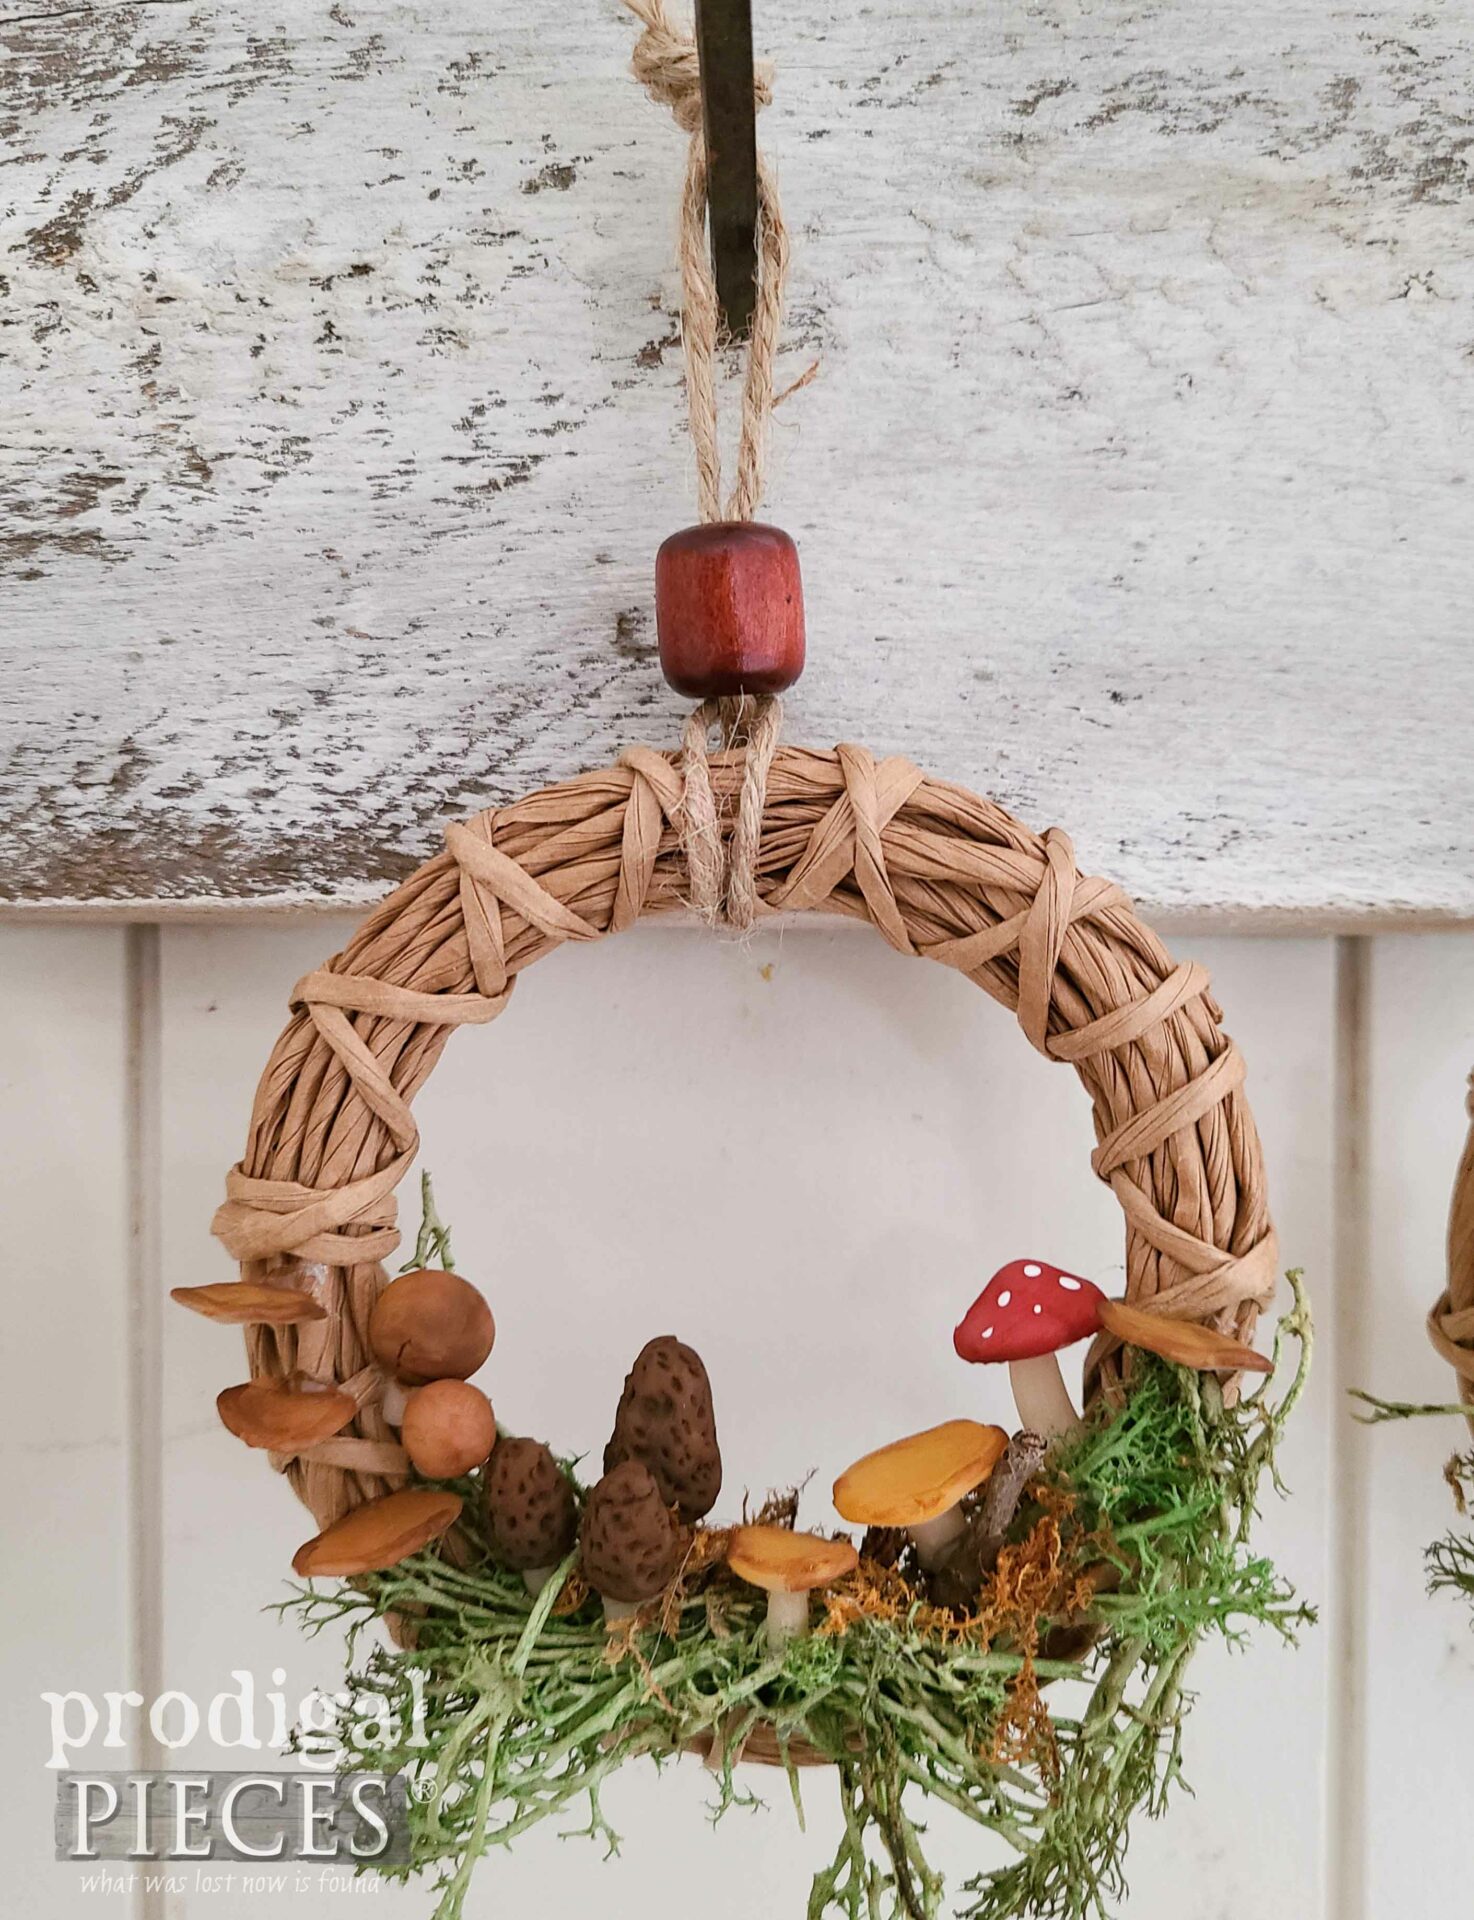
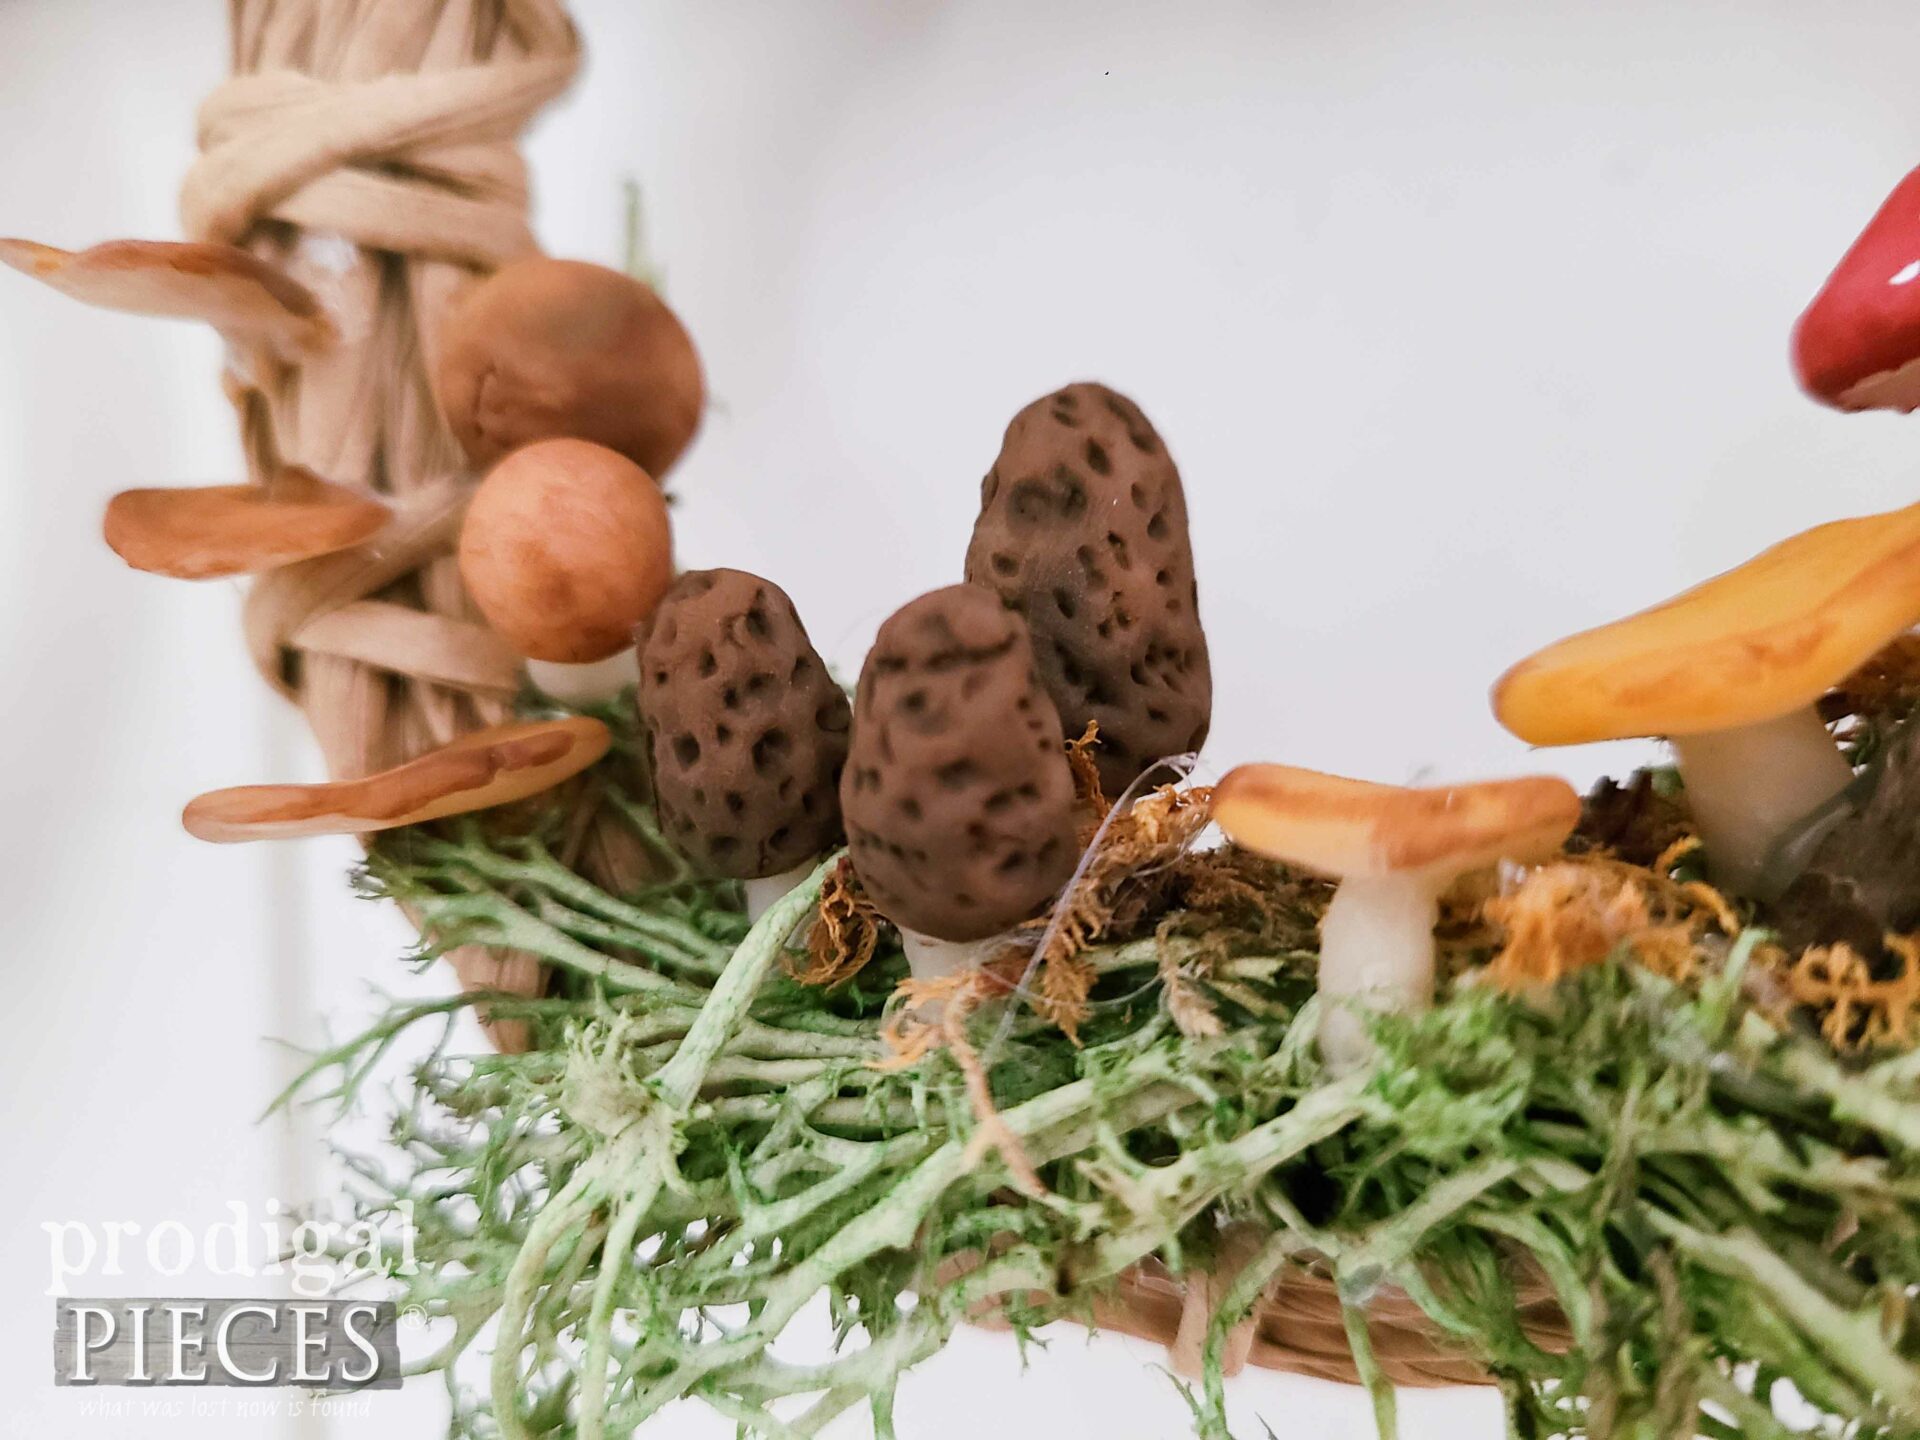
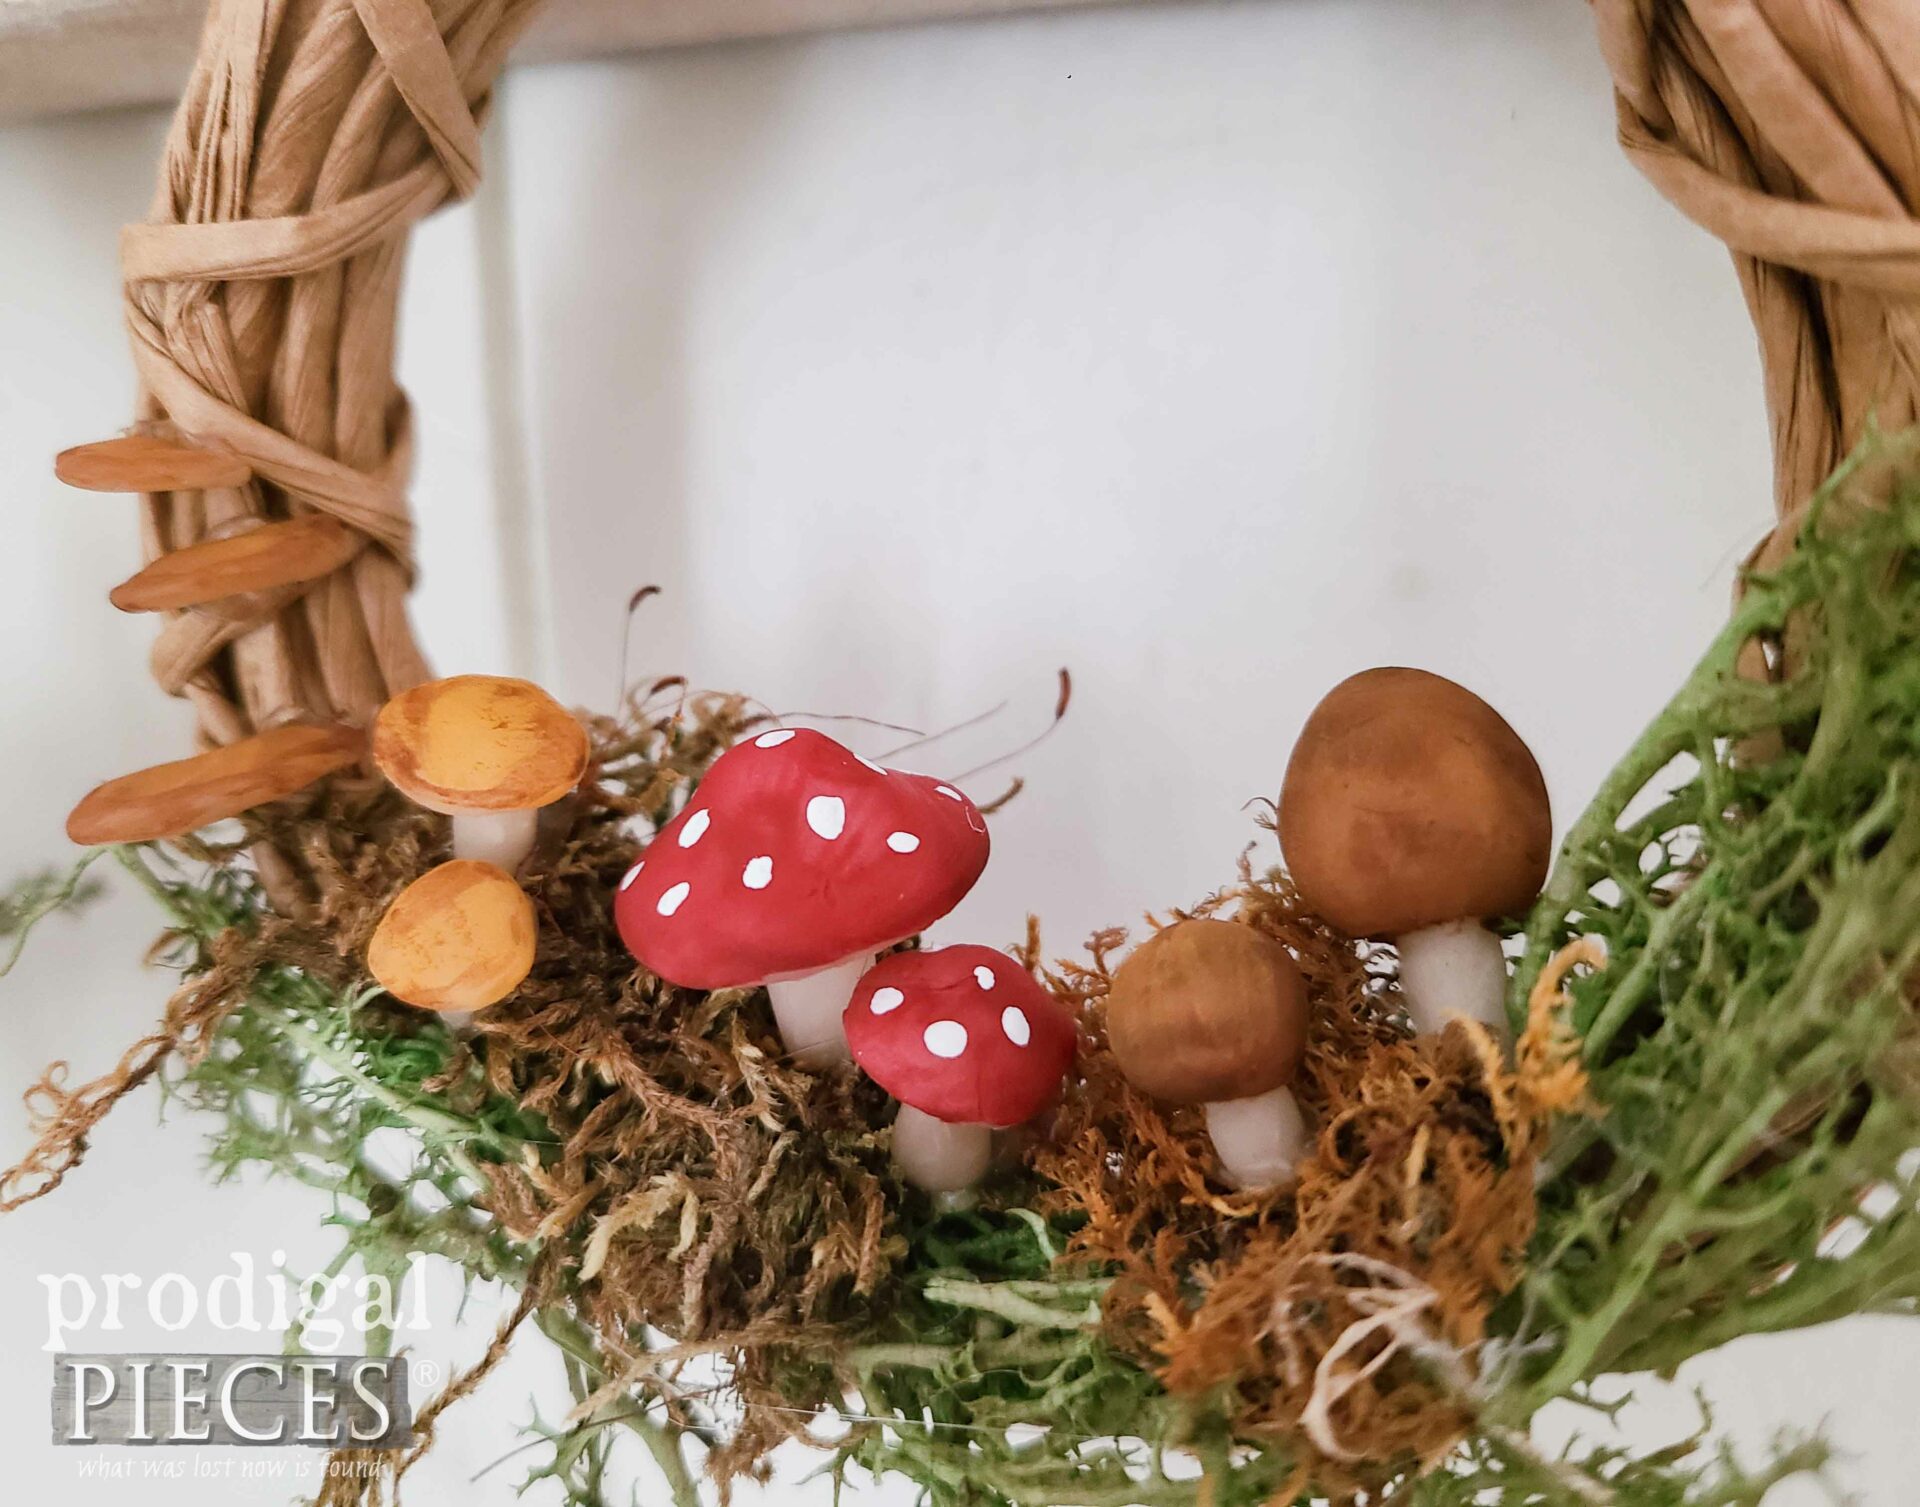
As you can see, I’ve not only made toadstools, but also all kinds of sweet fungi to create our mini wreath decorations.
STEP 4
Last, once your mushrooms have cooled and cured, you can paint them to suit your heart’s desire. For my purposes, I mix up my own colors using basic craft acrylics, then add details and shading after the base colors are cured.
Finally, when you have finished the details, you use your glue gun and glue to tuck them into the moss.
WELCOME SPRING
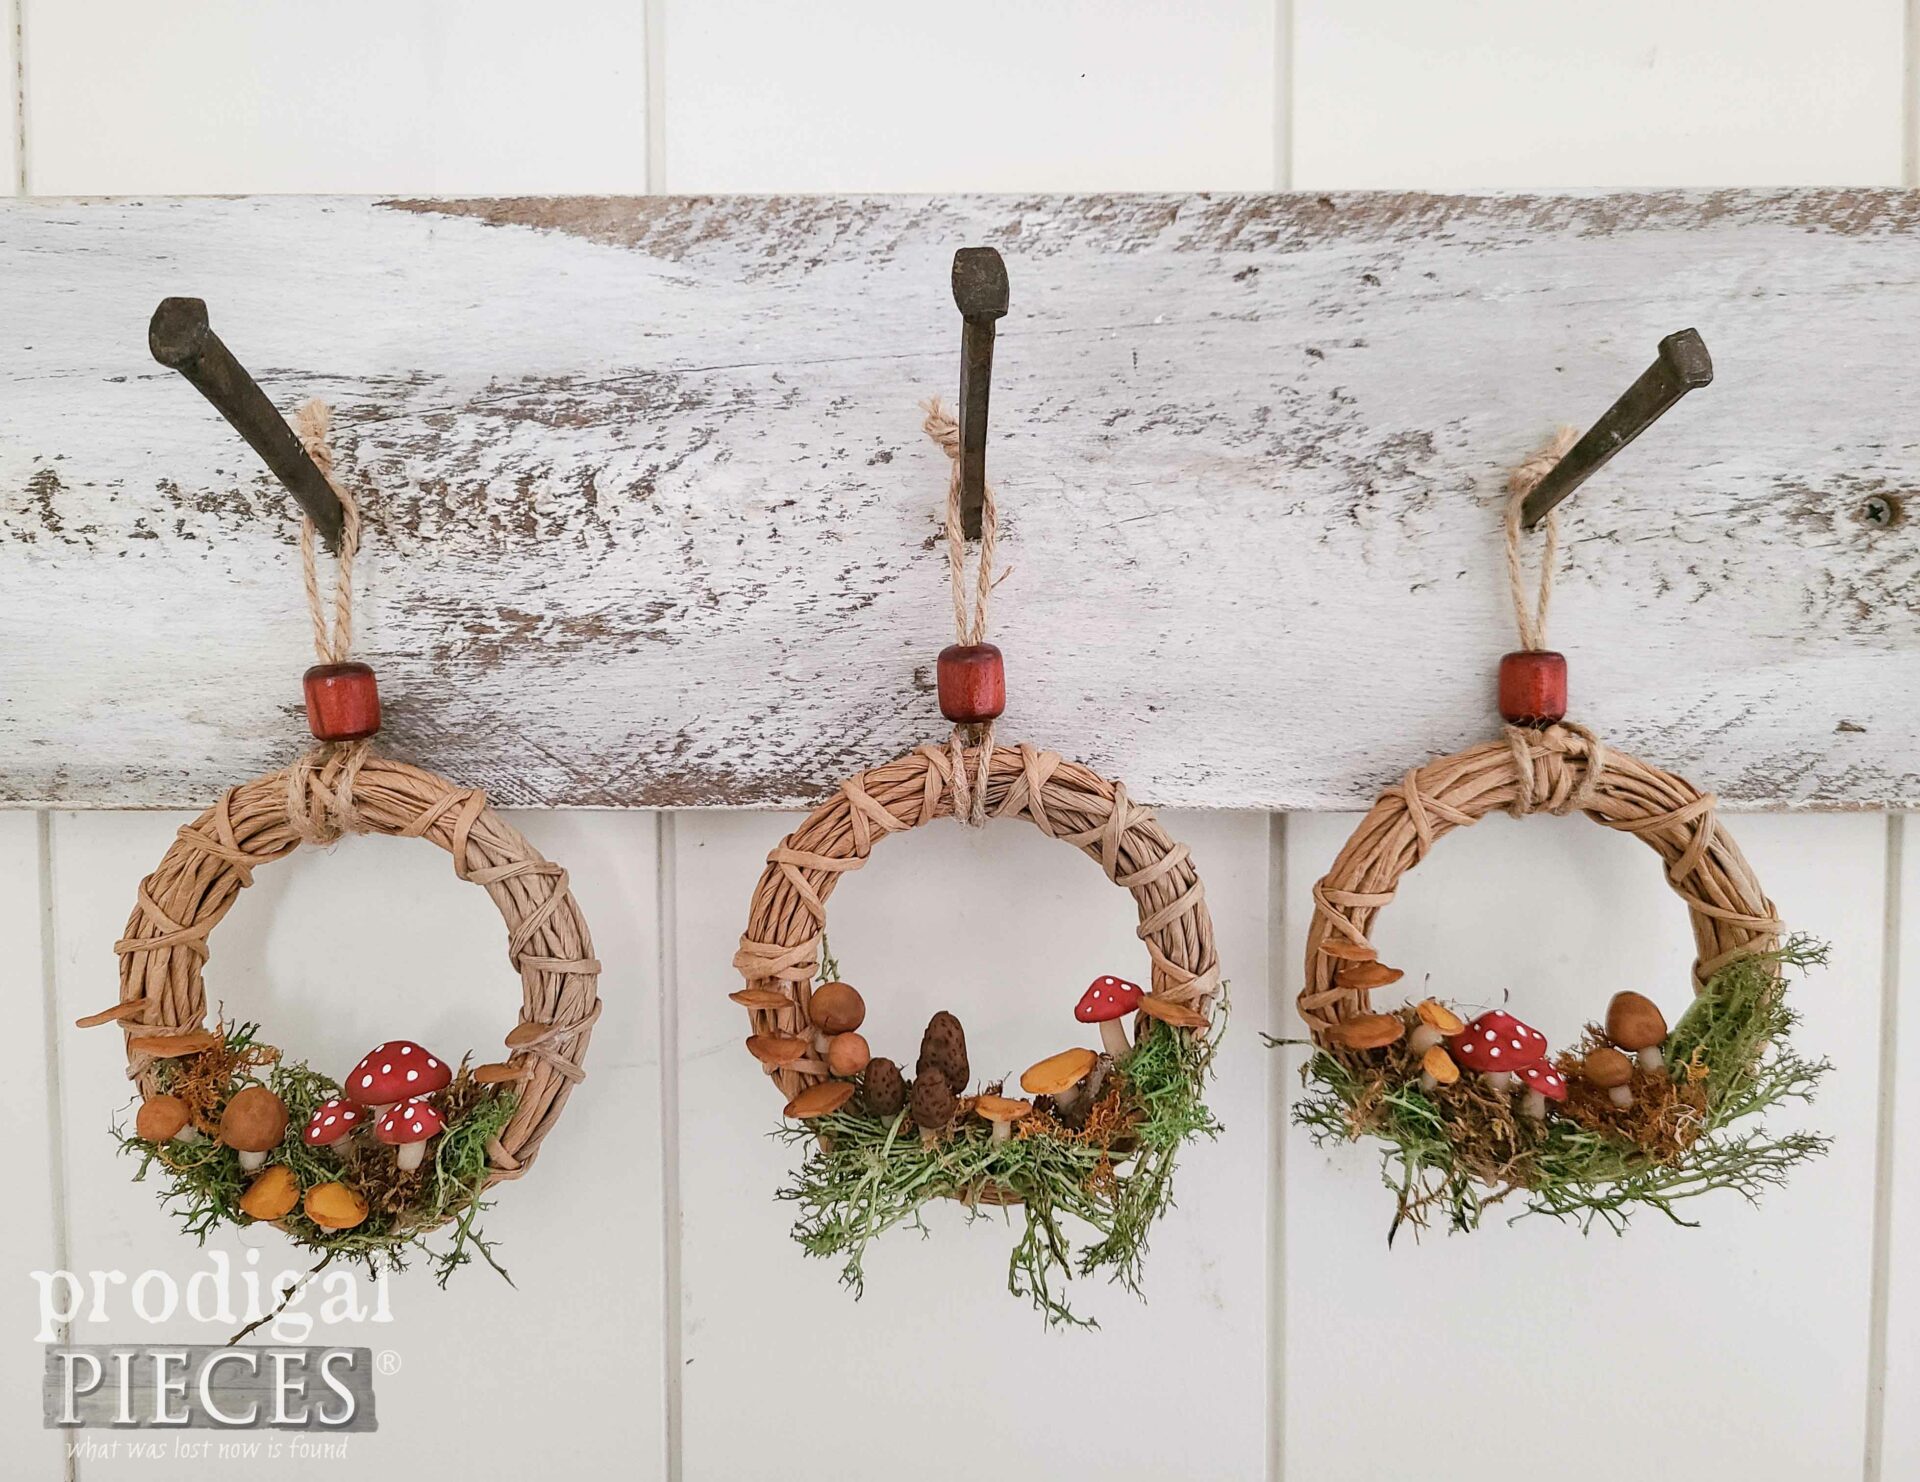
While many may choose to think of bunnies, chicks, and the like when spring arrives, my heart turns to mushrooms. Does anyone else think of them in spring? Certainly, I have very sweet memories of trapsing through the woods with my bapcia (Polish grandmother) and family in tow in search of morels in the forest I grew up in. At long last, here are my mini wreath decorations ready for adding a woodland theme to any home.
Likewise, this isn’t the first time I’ve made mushrooms for spring decor. Check out these upcycled sweaters turned mushrooms for decorating the top of my upright grand piano HERE. The funny thing is, I don’t care to eat them…they’re like slugs! haha!
So tell me, do you have any fun spring stories or things that make you smile?
If you’d like to make this set a part of your home story, you can find this and more available in my online store.
SHARE
Additionally, after leaving me some comment love below, take a minute to pin and share my mini wreath tutorial too. Let’s inspire others to create too!
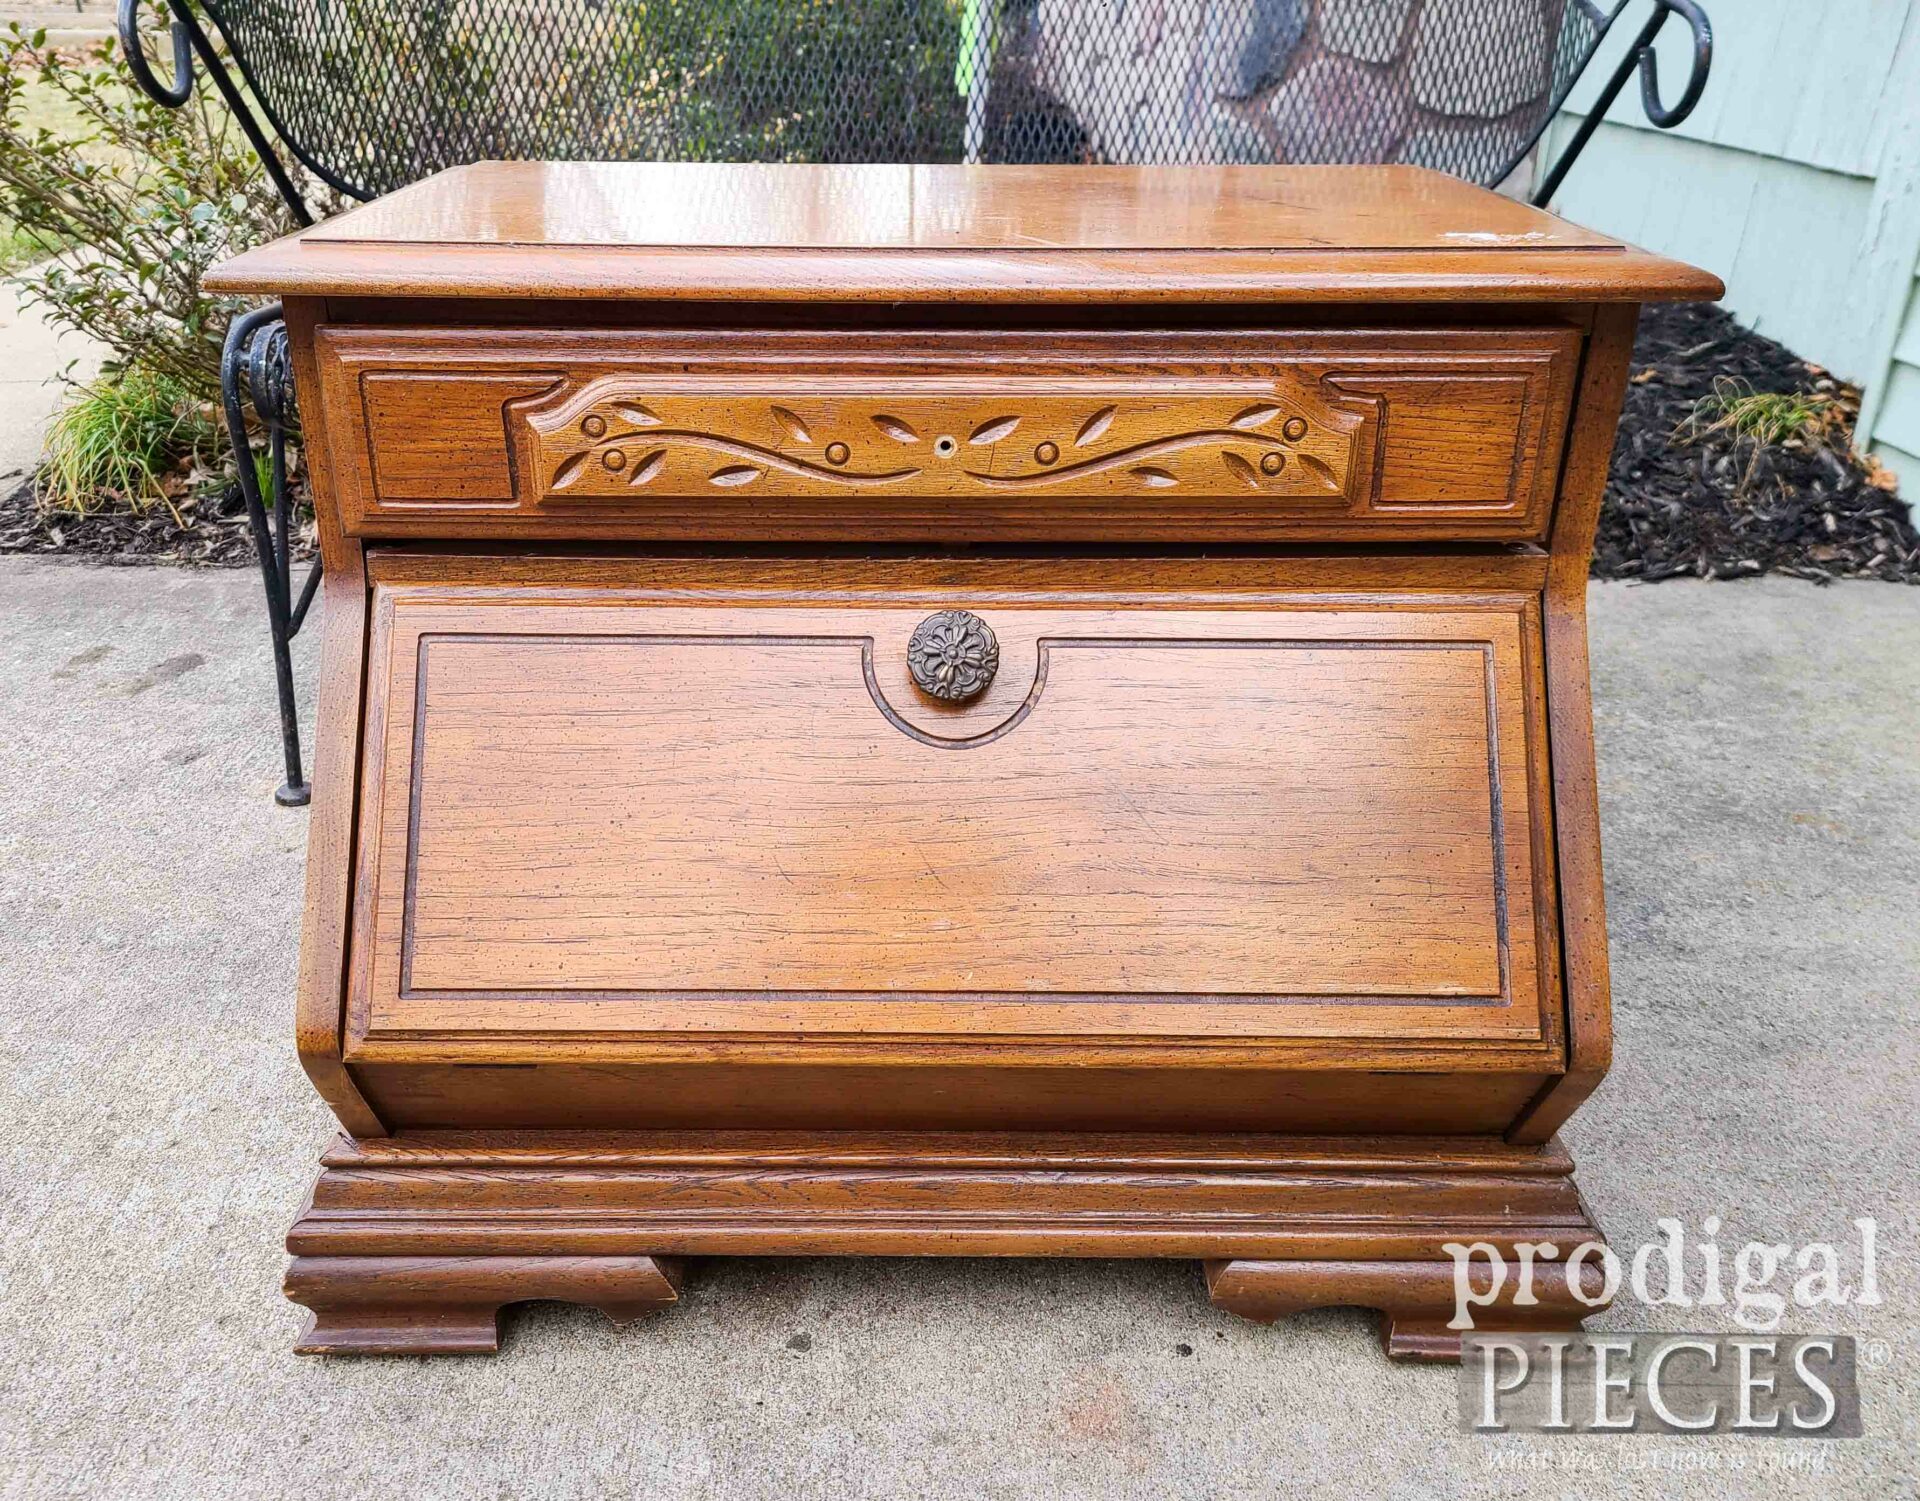
Before you go, feast your eyes on this squat cutie that is next on the makeover list.
To keep up on the details, be sure to sign up for my FREE newsletter. Until next time!


Those are the cutest!!! You are unbelievably talented and SO CREATIVE!!! The daffodils and red buds are blooming here in NC and my cherry trees are beginning to flower. Spring is definitely in the air (along with the pollen!!) Your little wreaths fit right in!!! 🍄🌹🌸💐🌺🌷🌻🥀🍄 🧚🧚♀️🧚♂️💐🌷🌻
I can imagine the glorious sight! I am eager beaver for spring to arrive here in full force. For now, I enjoy my crocus and tips of daffodils and hyacinths peeking up. Thanks so much, Rebecca!
When i think of spring its always daffodils and mushrooms. Your custom shroom wreathes are awesome!
Yes! My first blooms here are crocus, followed by hyacinths and daffodils. I’m so excited to see them peeking out!
Super cute natural spring wreath decor Larissa. I love the simplicity and girl, you make very realistic looking mushrooms!
I’ve had them hanging around waiting for a couple years…isn’t that crazy? I couldn’t let go of them because I wanted to complete my vision for them. Thanks so much, Marie. 🙂
Great job on the mini wreaths! Absolutely adorable. 🙂
Thank you! These made me happy. 😀
What CUTENESS! Those ‘shrooms are adorable!
tee hee! They’re so fun to make too. Thanks, Becky!