What better way to add function and style to your home than with a DIY project, right? I mean, the satisfaction of saying, “I created that” is not surpassed. Today, I’m sharing a simple woodworking project to create a reclaimed coat rack for any room in your home. Check out what I found at the thrift store that inspired me…
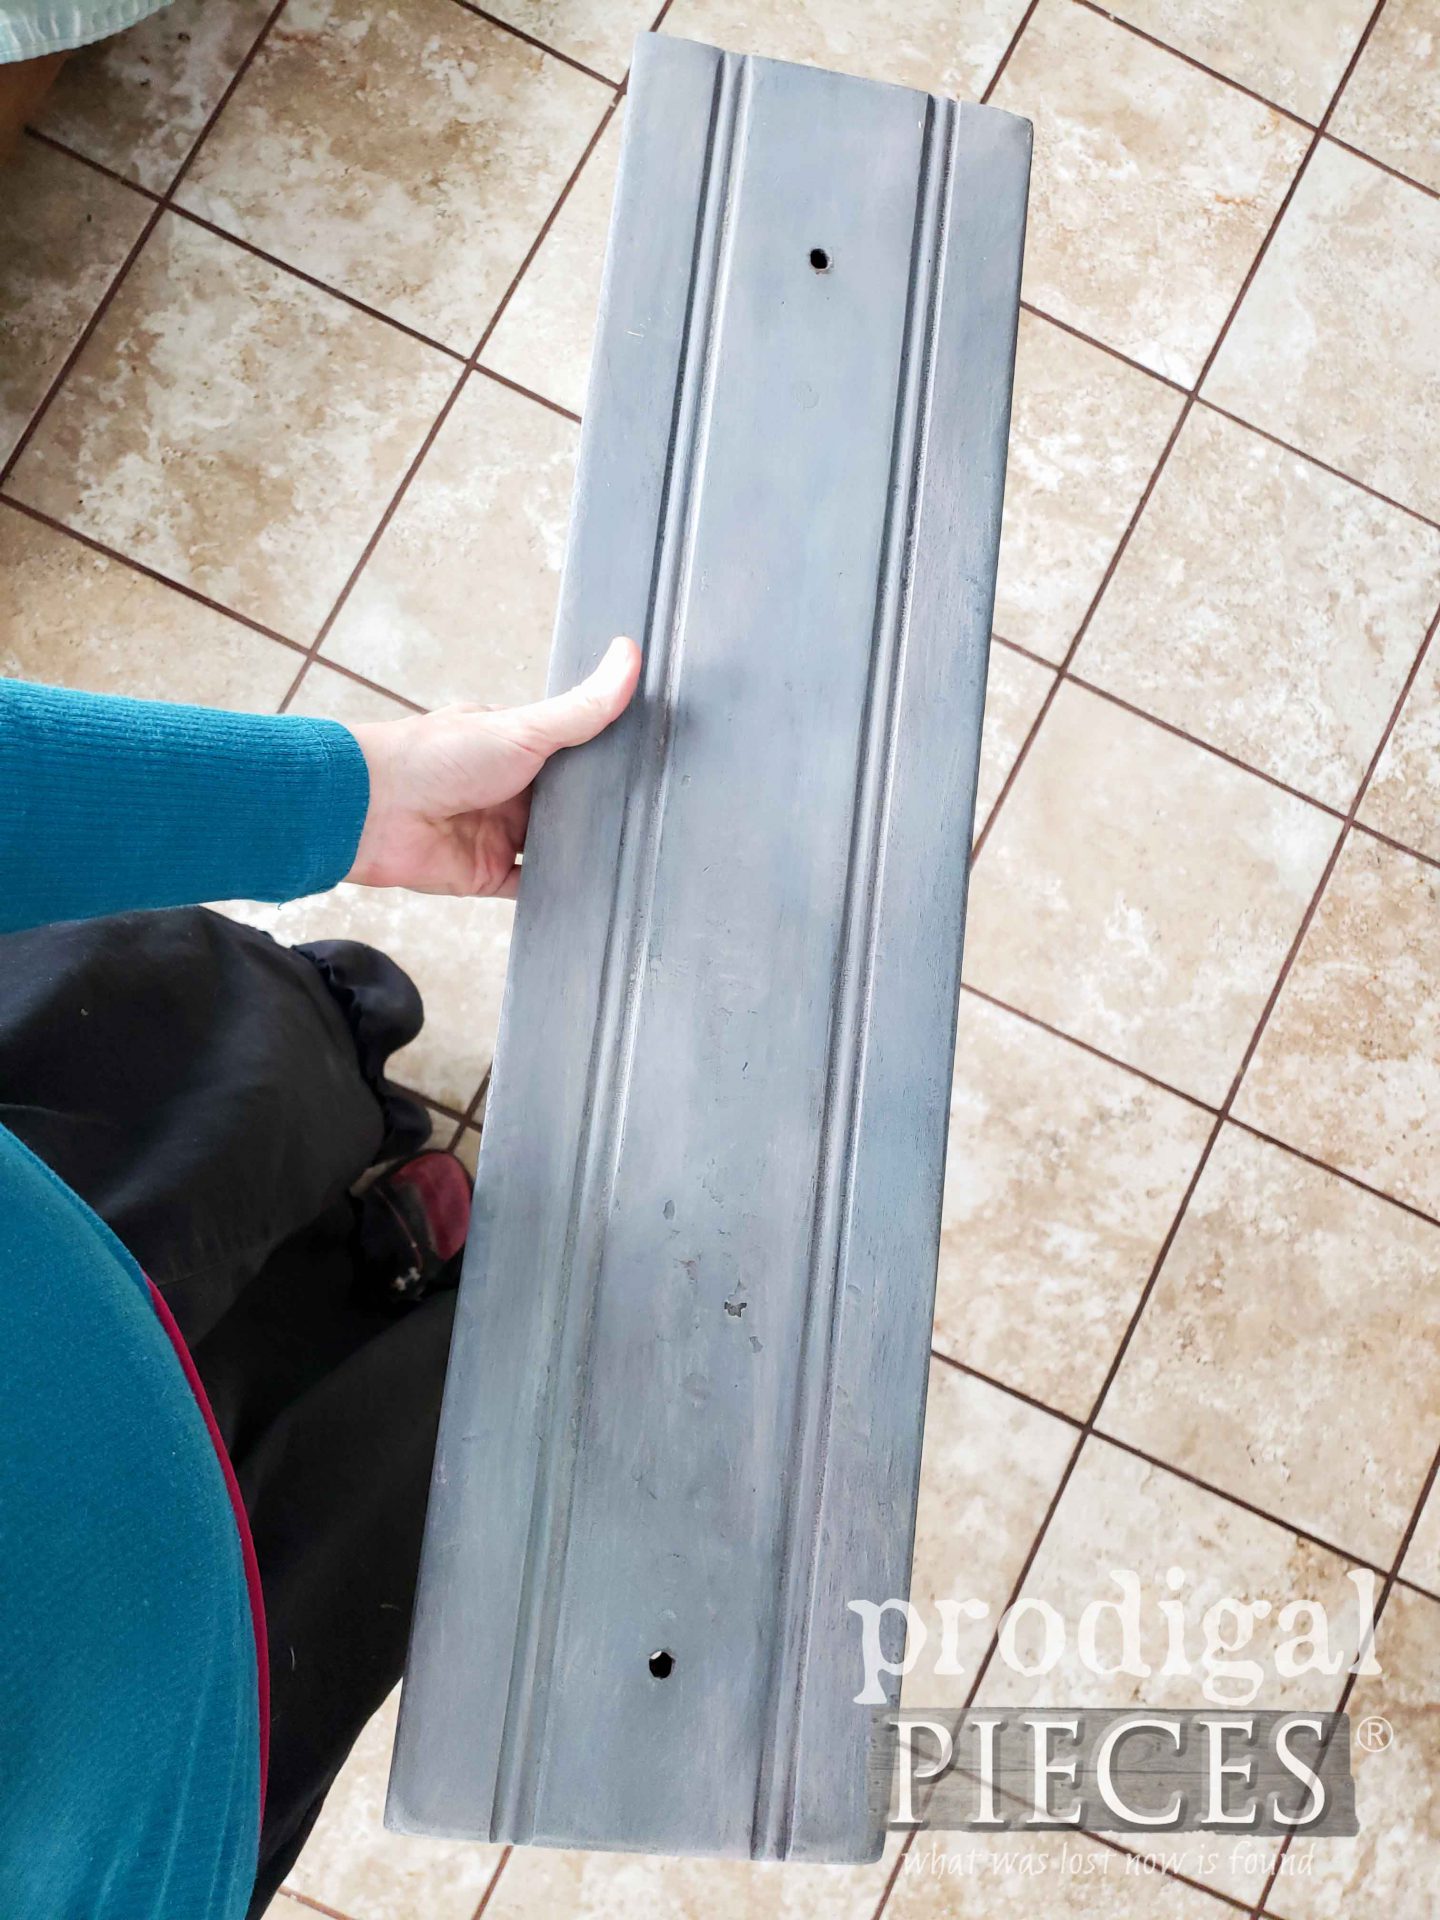
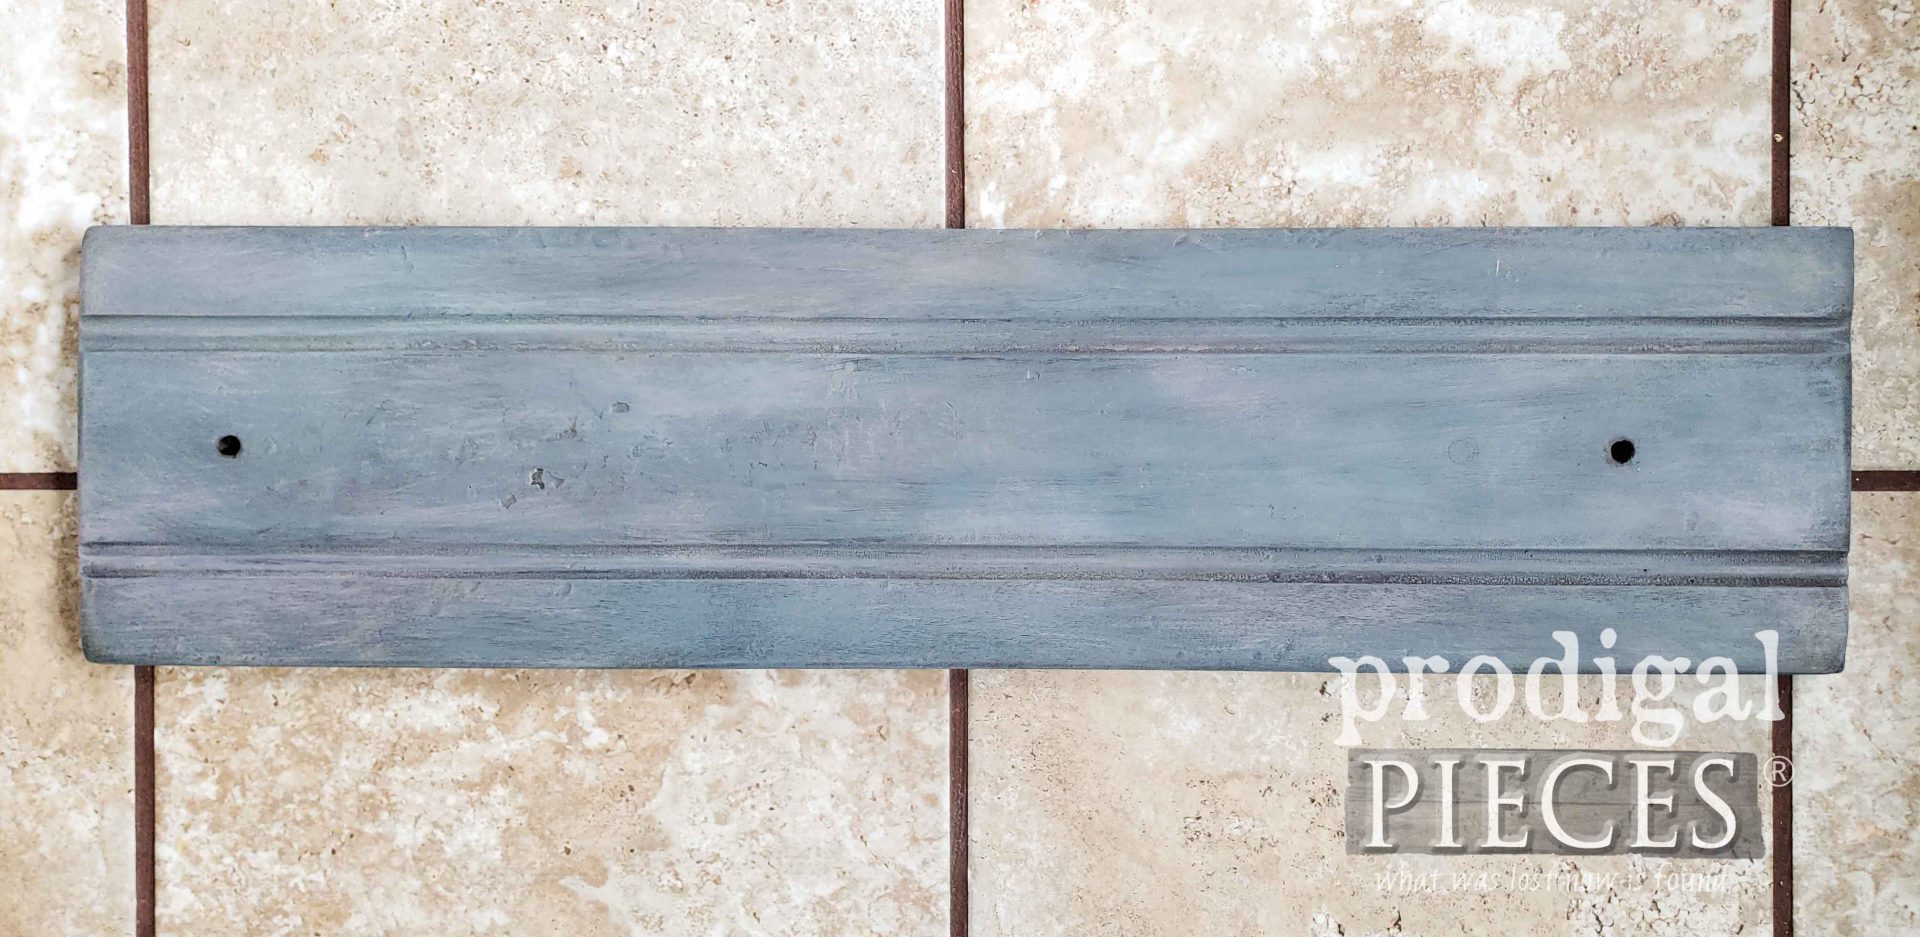
Would you have grabbed this drawer front? It was a no-brainer for me. It’s gorgeous solid wood that even has already been painted a beautiful blue/gray color. Plus, it’s the perfect size to make a reclaimed coat rack I mentioned. You can see my other coat rack tutorials HERE.
DIY TIME
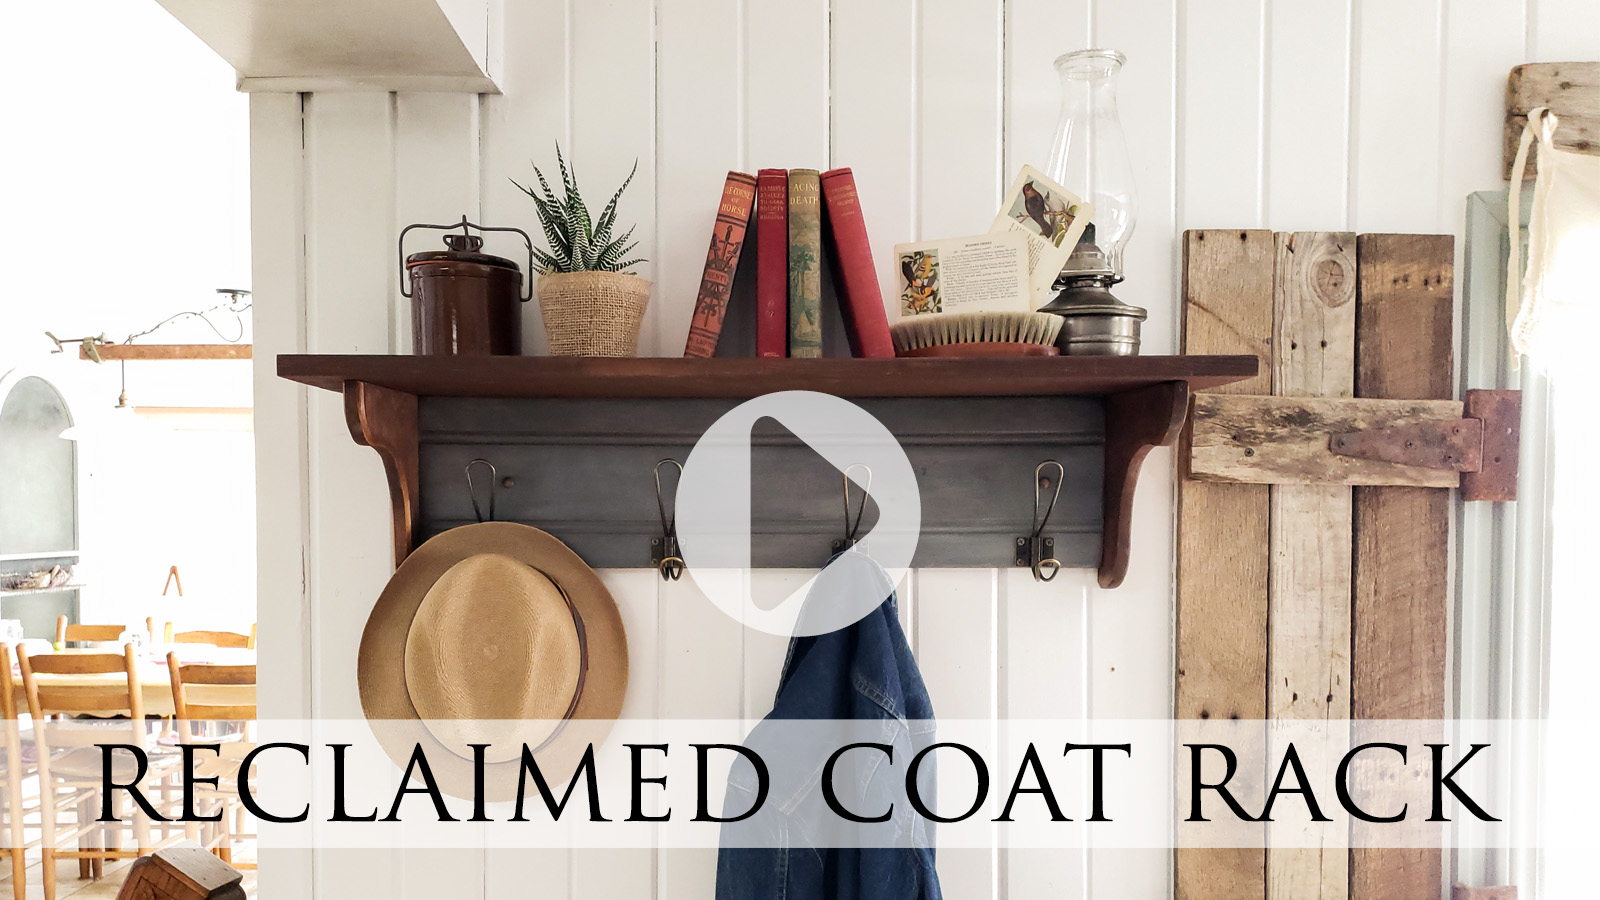
In order for you to create something similar, I’ve created a video tutorial for you below. In addition, I’m also laying out the steps here for you too. Let’s get our build on! Here’s what you need:
Materials:
- scrap wood – can be any size depending on what you prefer
- corbels – either pre-made corbels or make your own
- set of hooks
- keyhole hardware
- wood glue
- stain or paint of choice
Tools:
- drill
- nailer
- tape measure
- miter saw – optional
STEP 1
First, keep in mind that when you’re working with reclaimed wood, there is always the possibility you will have to deal with wonky, wear, and variations. That’s half the fun! Since my drawer front was already a set length and width, I just work with it.
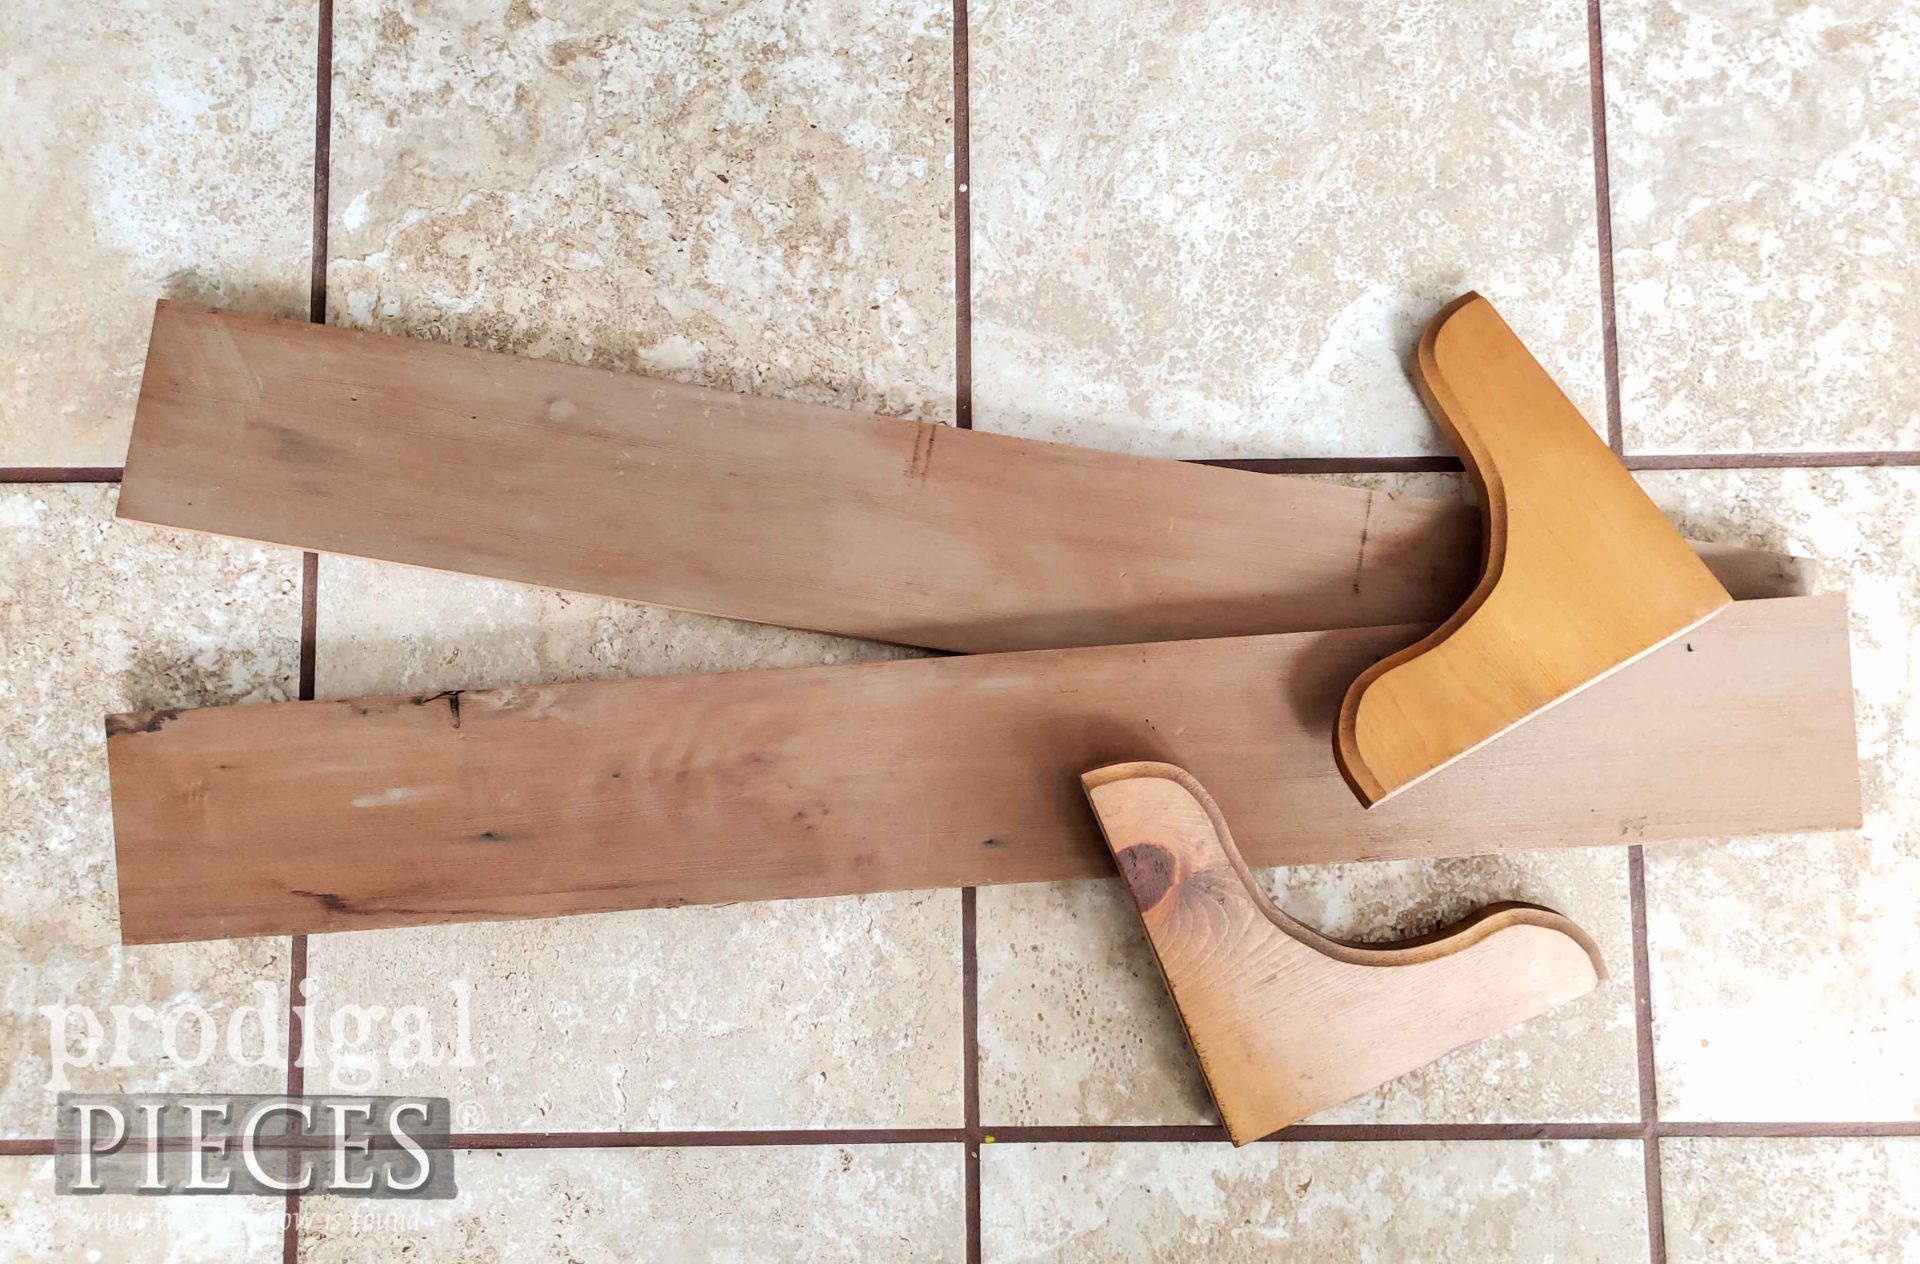
Then, my stash came into play with these corbels I found at the thrift store years ago (yep, I bought them all…a dozen or so…haha!). I want to add a top shelf, so I used a huge piece of #trashure tongue & groove siding I found at Curb le Chic. I ripped it and cut it to length. Ideally, I would have preferred a solid board across the top, but this plank version will do just fine.
* note I cut the boards to overhang the ends by 2″ and their combined depth would be 1½” past the corbel.
Since they already had a finish on them, I sanded them down to raw wood. Then, I used a Hickory Gel Stain to make them cohesive in color. (see video)
STEP 2
Next, I attach the corbels with my nailer first on each end making them flush to the top of the drawer front. Use a bead of wood glue before attaching for extra durability. Then, attach the top shelf slats in the same manner.
STEP 3
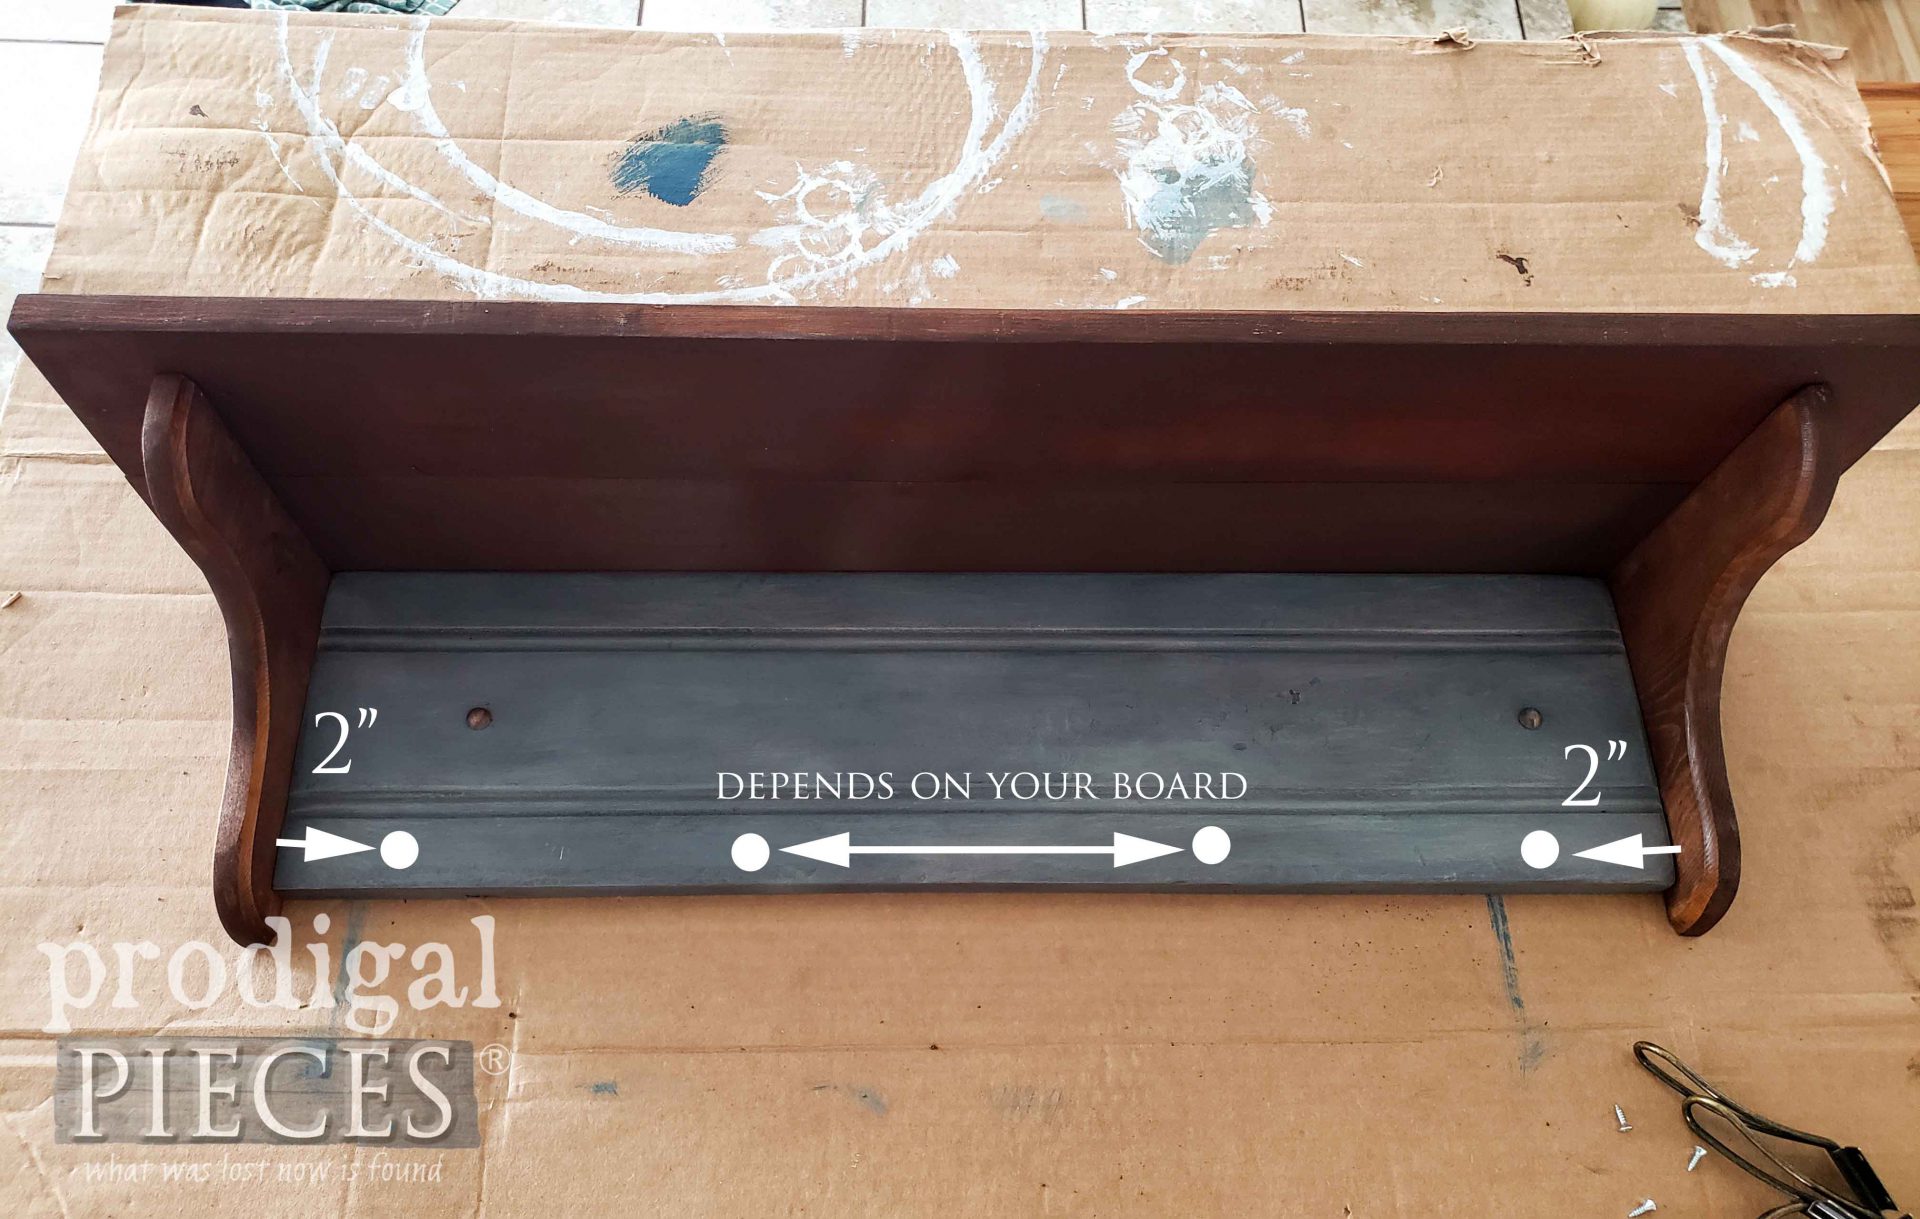
Last, it’s time to add hardware. Almost done! I prefer to add my hooks 2″ in from the corbels, and then divide up the space between there based on how many hooks I’ll be using. Eventually, my spacing ended up being 7½”.
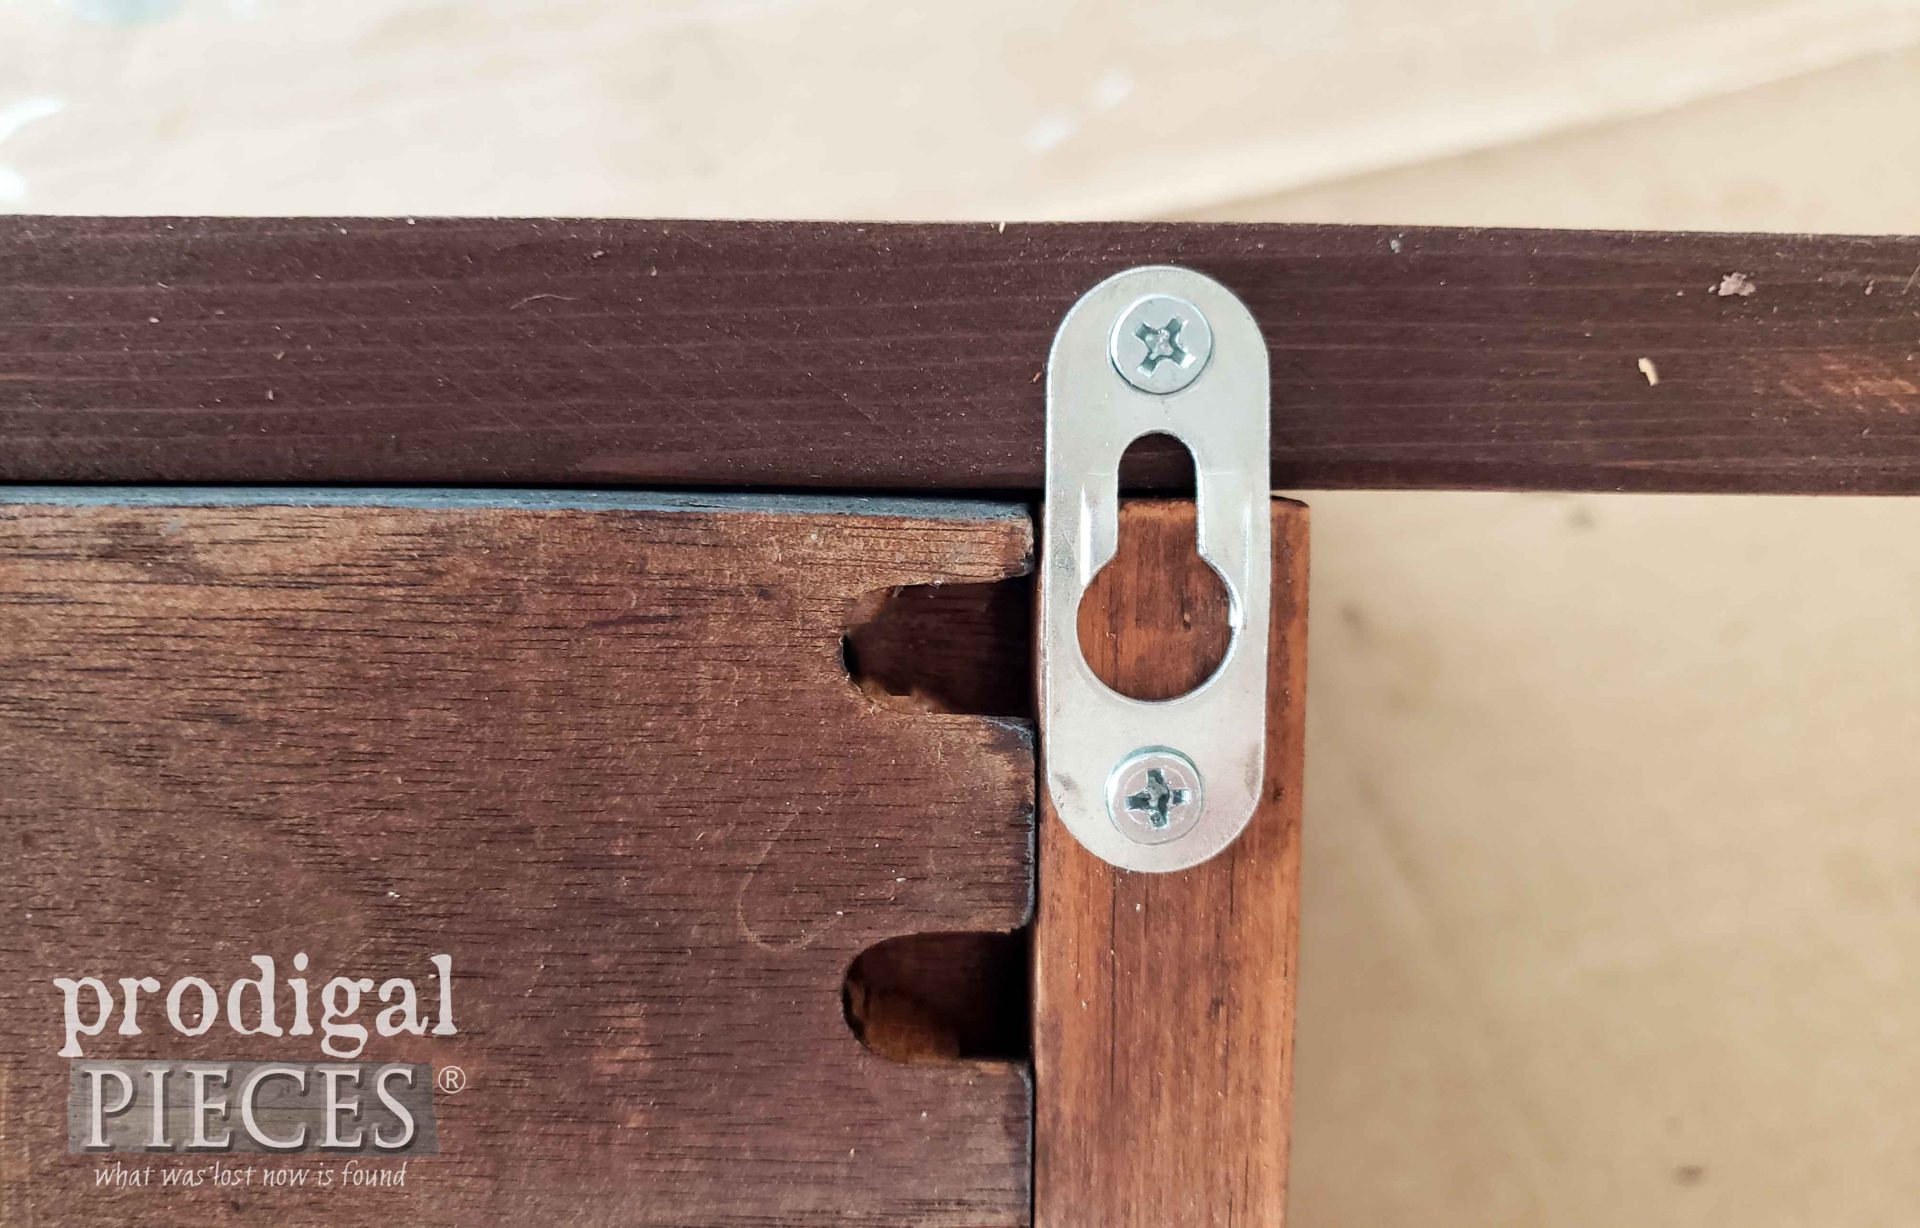
In addition to the hooks, we need to add the keyhole hardware. This will allow the reclaimed coat rack to mount flush to the wall in a secure fashion. Make sure to note the orientation of the hardware so you can hang it properly.
Ideally, you want to aim for catching the studs if possible (in older homes it can be as wide as 24″) and drill holes accordingly. Or starting at center measure 8″ in both directions, then 16″ from those points.
At this point, you can finish the wood with wax, poly, or a hemp oil. It just depends on your preference. I used a poly topcoat on the shelf only for durability and easy of cleaning.
THE REVEAL
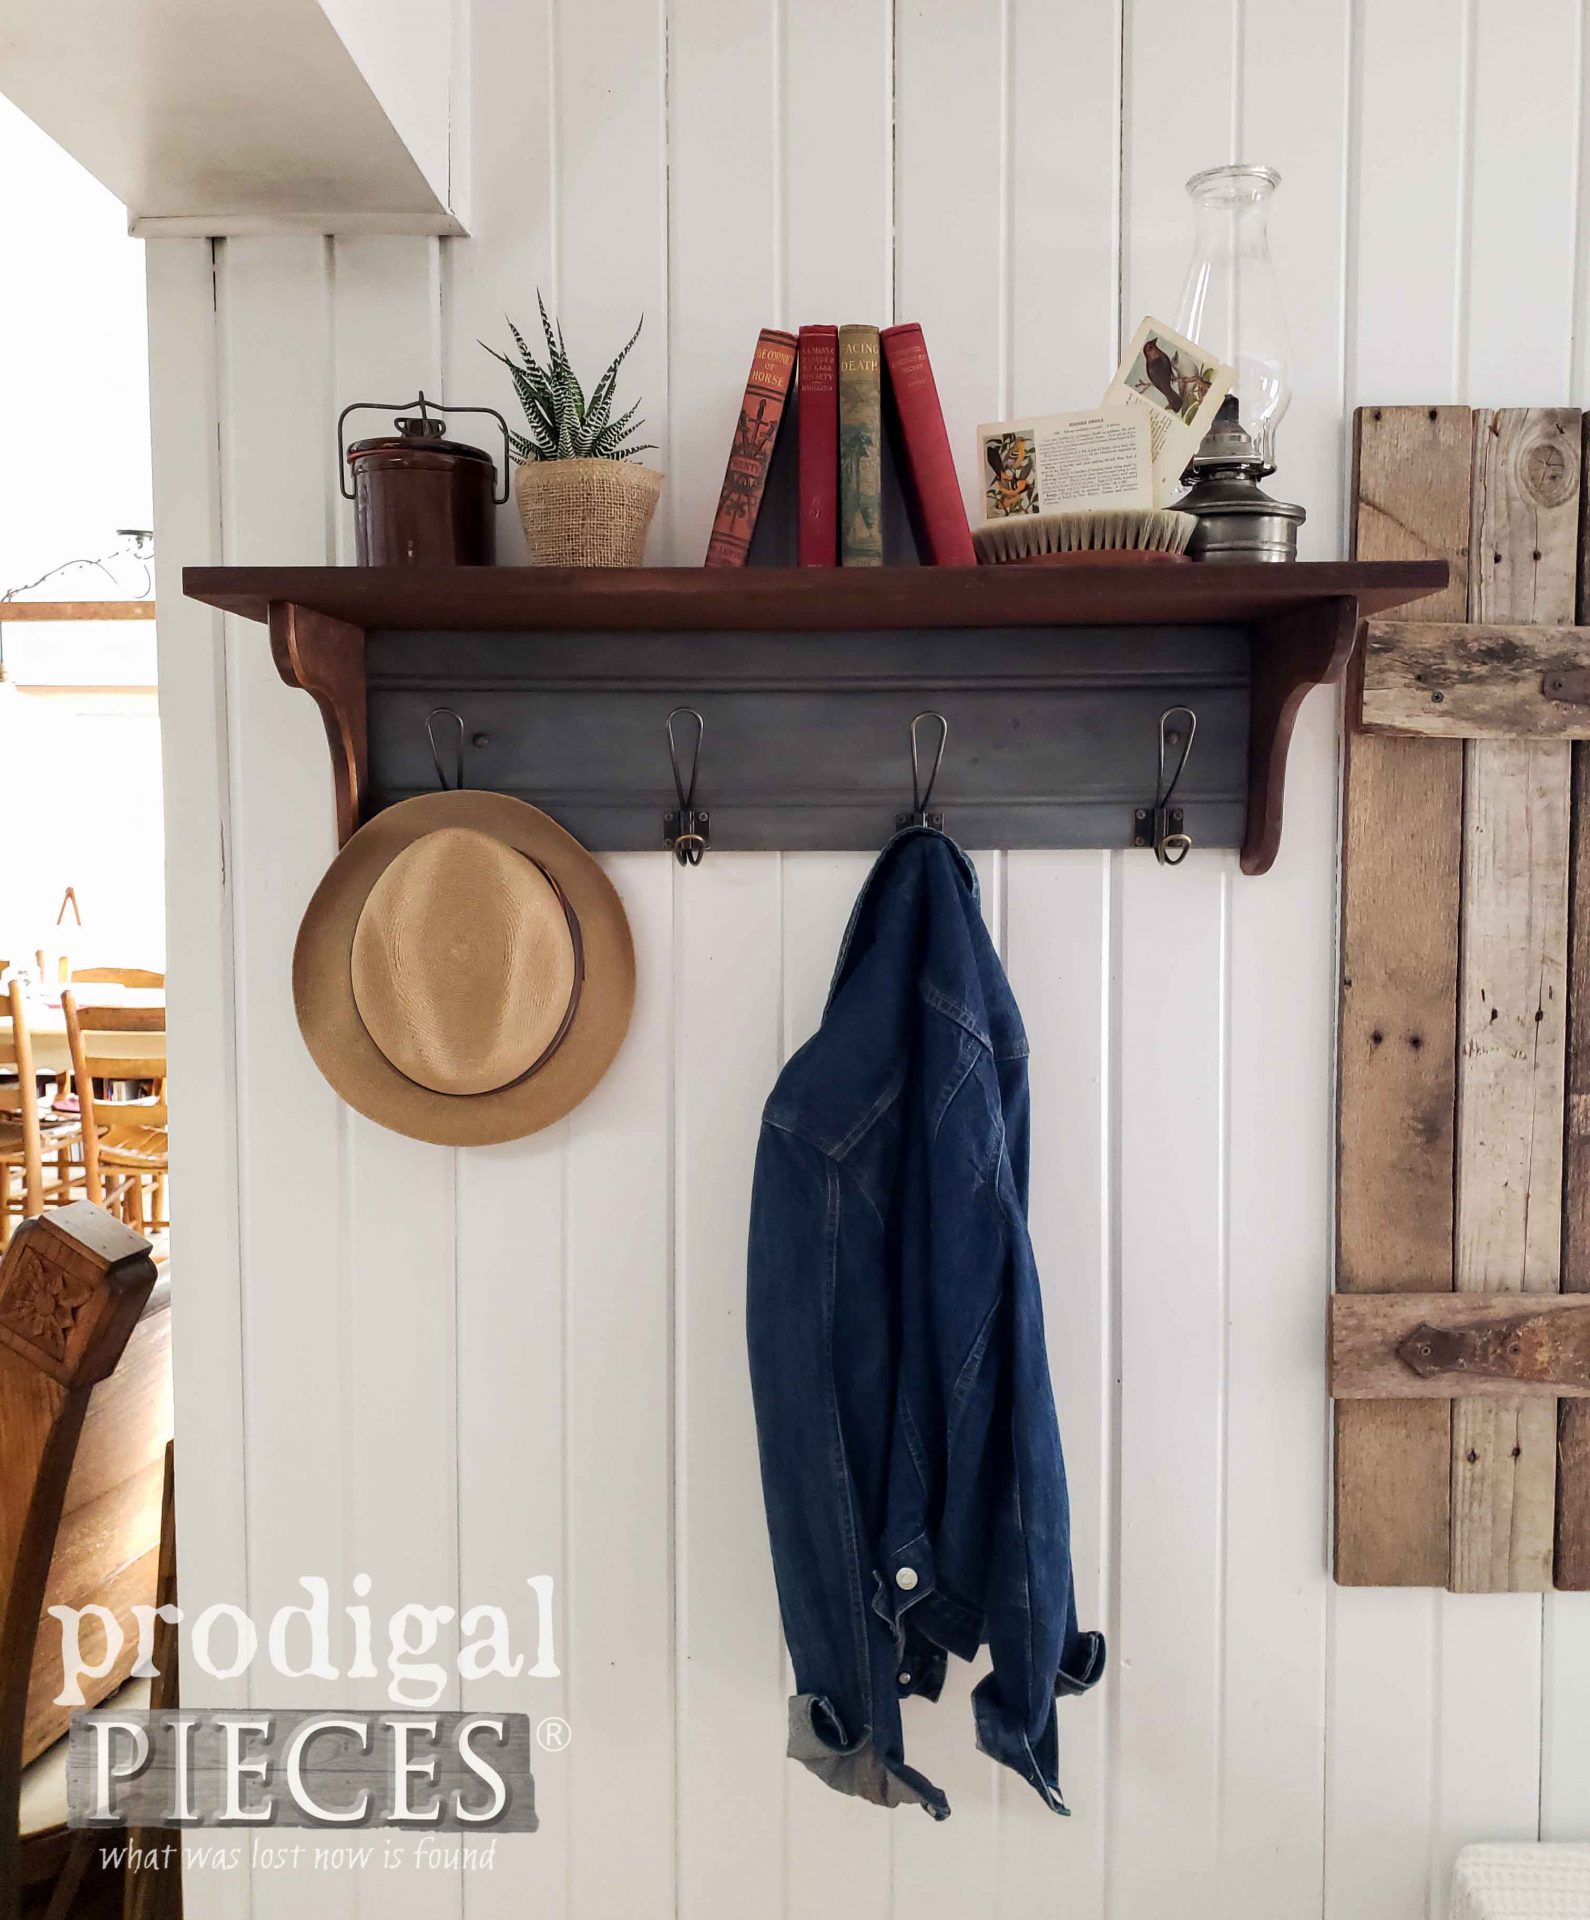
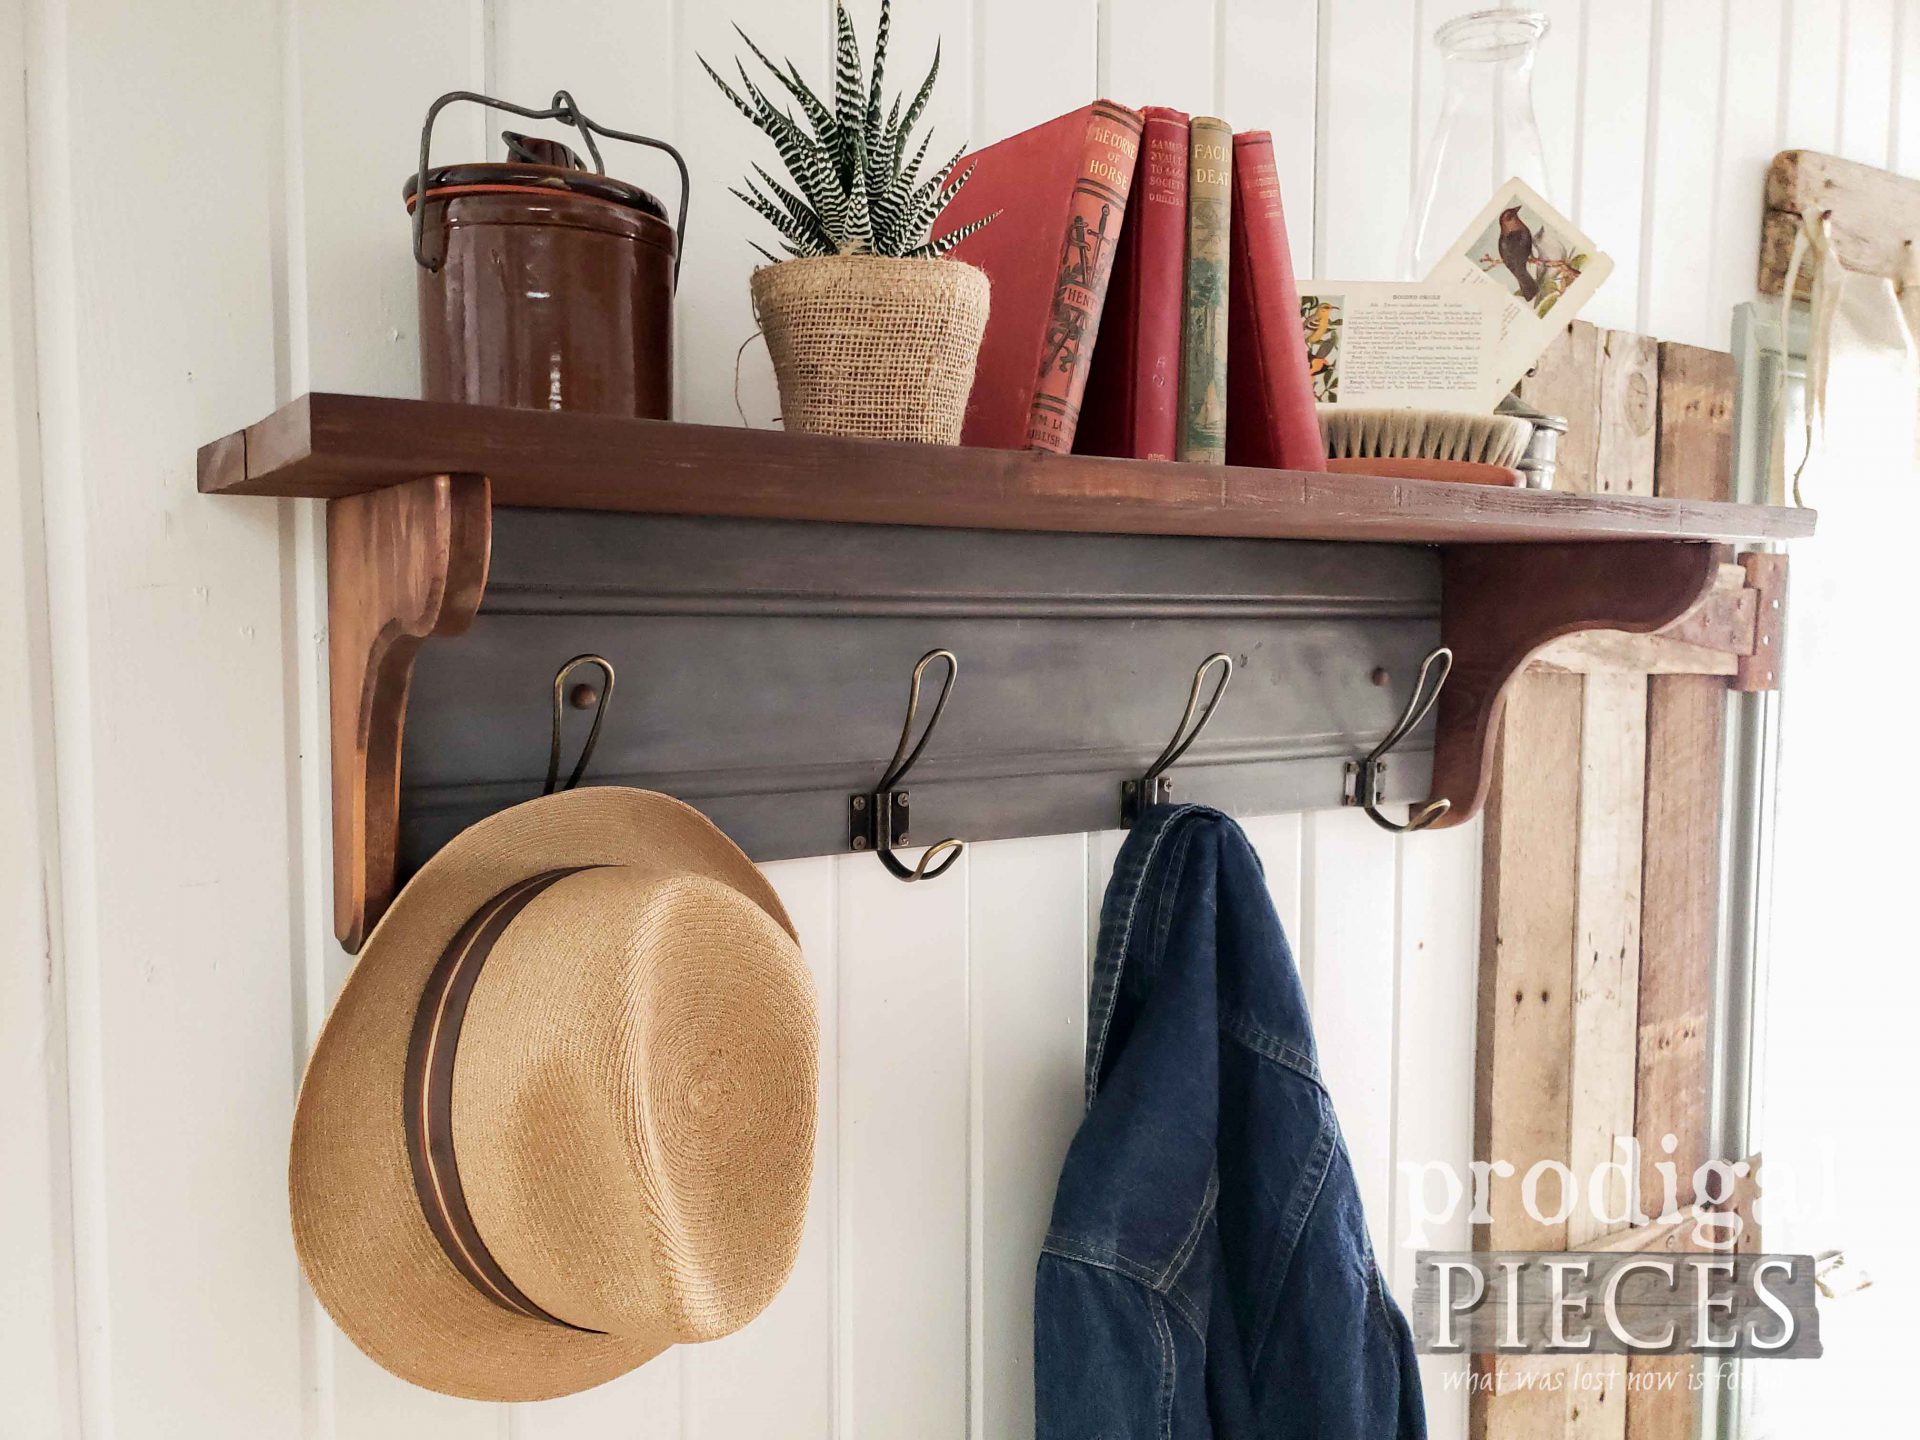
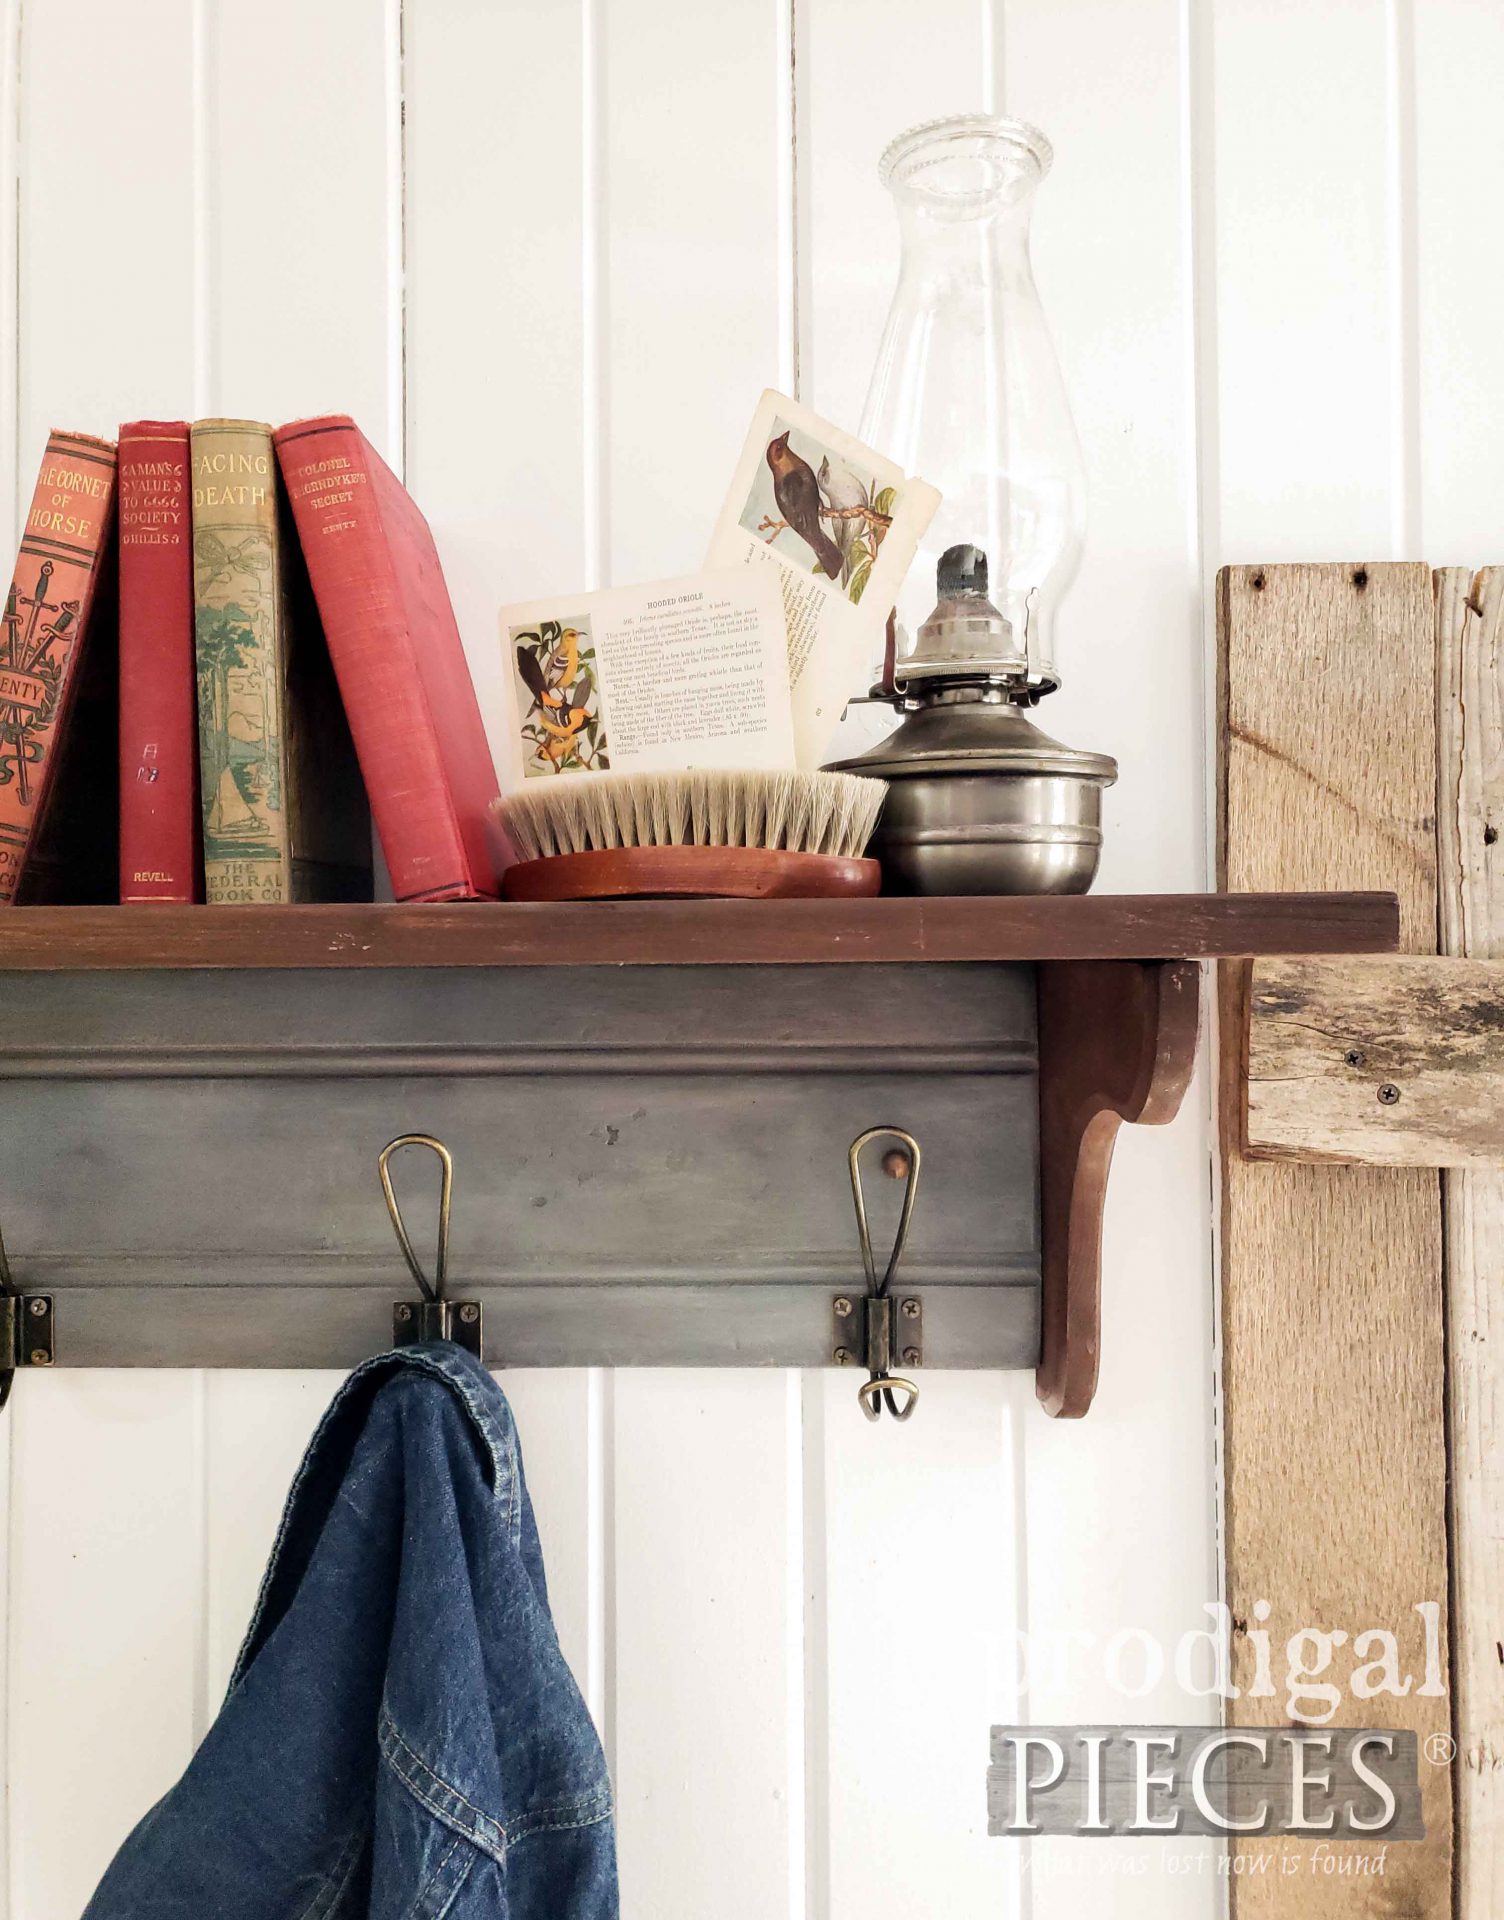
We’re done! Finally, our coat rack with shelf is not ready for any room of your home. woot!
How fun was that? It all came from a single drawer front I found at the thrift store. haha. Kinda like that “If You Give a Mouse a Cookie” story. Yes, I’m fun like that. tsk.
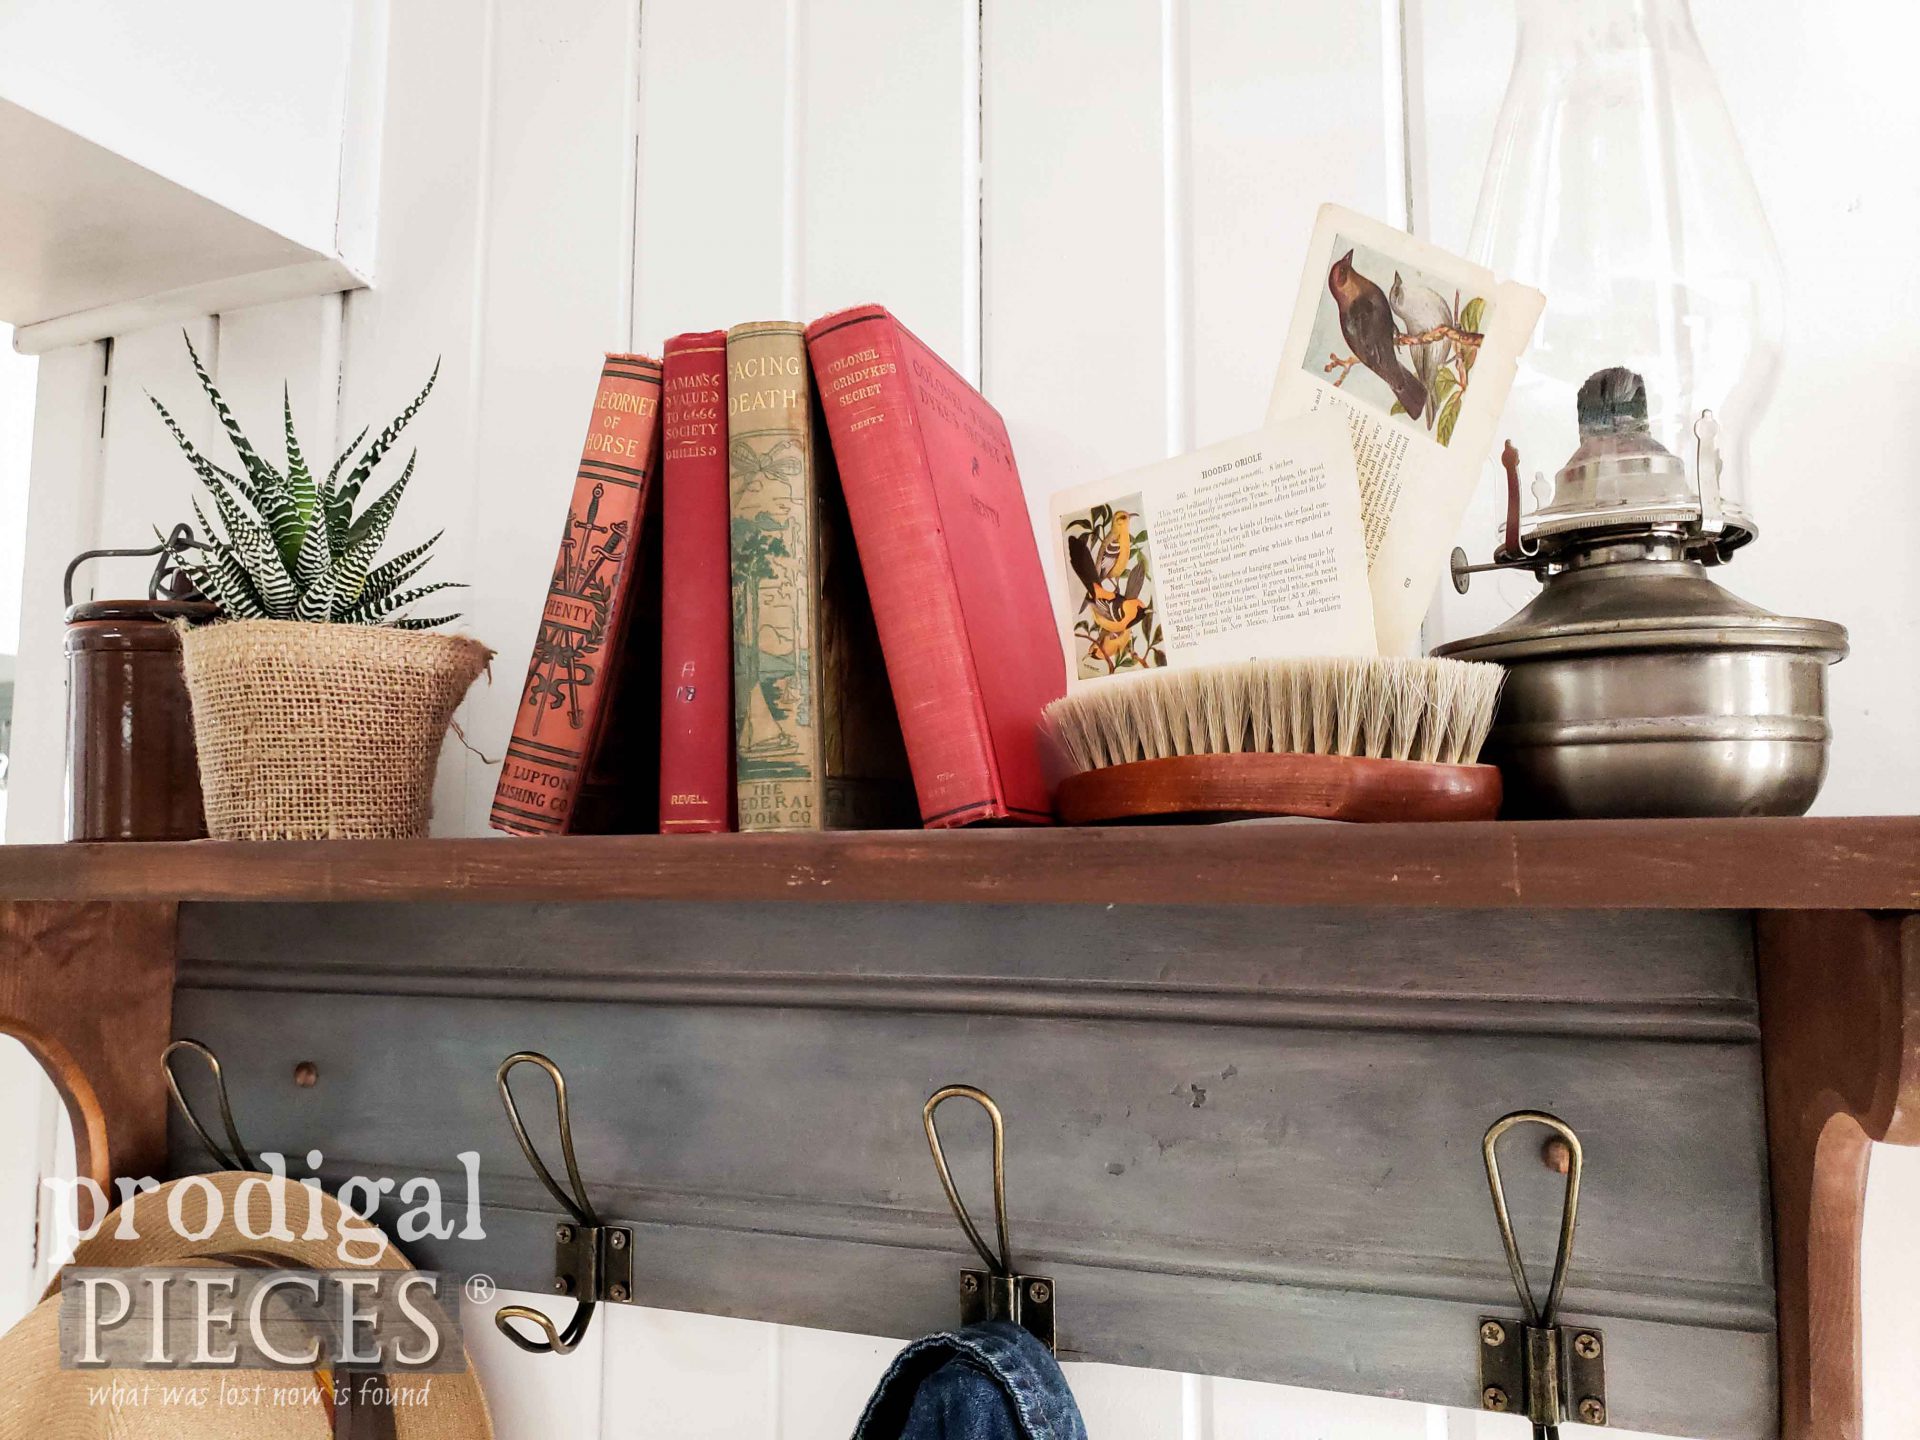
Notice that all my decor items are from the curb, the thrift store, or flea market. Yes, even the hat and jean jacket. What is more, ya gotta love mixin’ it up with fun finds.
Likewise, if you’re not the DIY type or just love this coat rack, you can find it and much more available in my online shop.
In addition, pin and share my reclaimed coat rack to inspire others to give DIY a try.
Up next, I’ll be taking this vintage French provincial desk and giving it a brand new look. See the new look HERE.
Before you go, be sure to sign up for my newsletter. Until next time!
While you’re at it, here are more projects like my reclaimed coat rack:


great upcycle! i would have bought the board too!
You are a smart gal, Gwen. 😉
Larissa! Awesome makeover! Very Rustic. thank you for sharing.
Thank you, Cheryl. 🙂
Awesome job
Thanks!
That board transformed into something sweet with your inspiration! Love it! Hope you are feeling better… Always look forward to your creations Larissa!
Happy dance! Thank you for the smile, Mary. 😀
Wow, that came out looking good!
Thank you, Becky. I enjoy creating with wood finds.
This is one of the best blogs I have read on this topic.