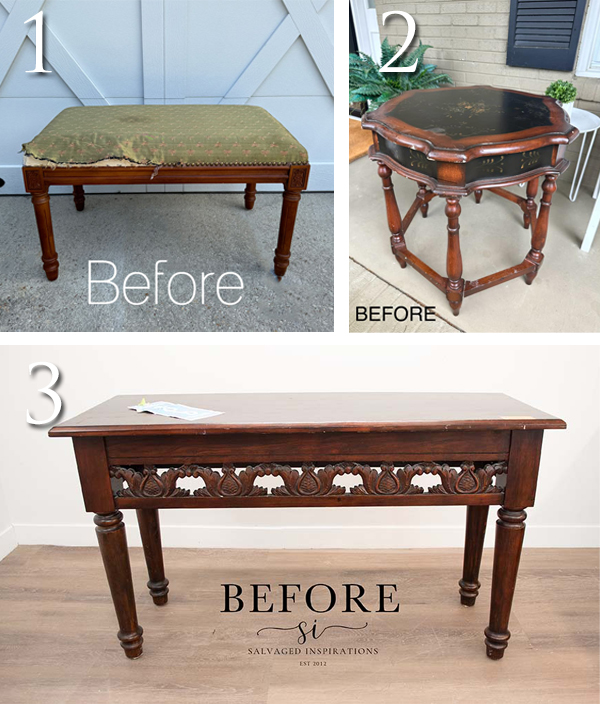
Each month on the second Tuesday, my Trashy Treasures friends and I create new projects to inspire you. While you’ll see their project in a bit, take a peek at what has my focus this month. It’s BIG, it’s chunky, and I’m ready for a repurposed headboard project. Are you?
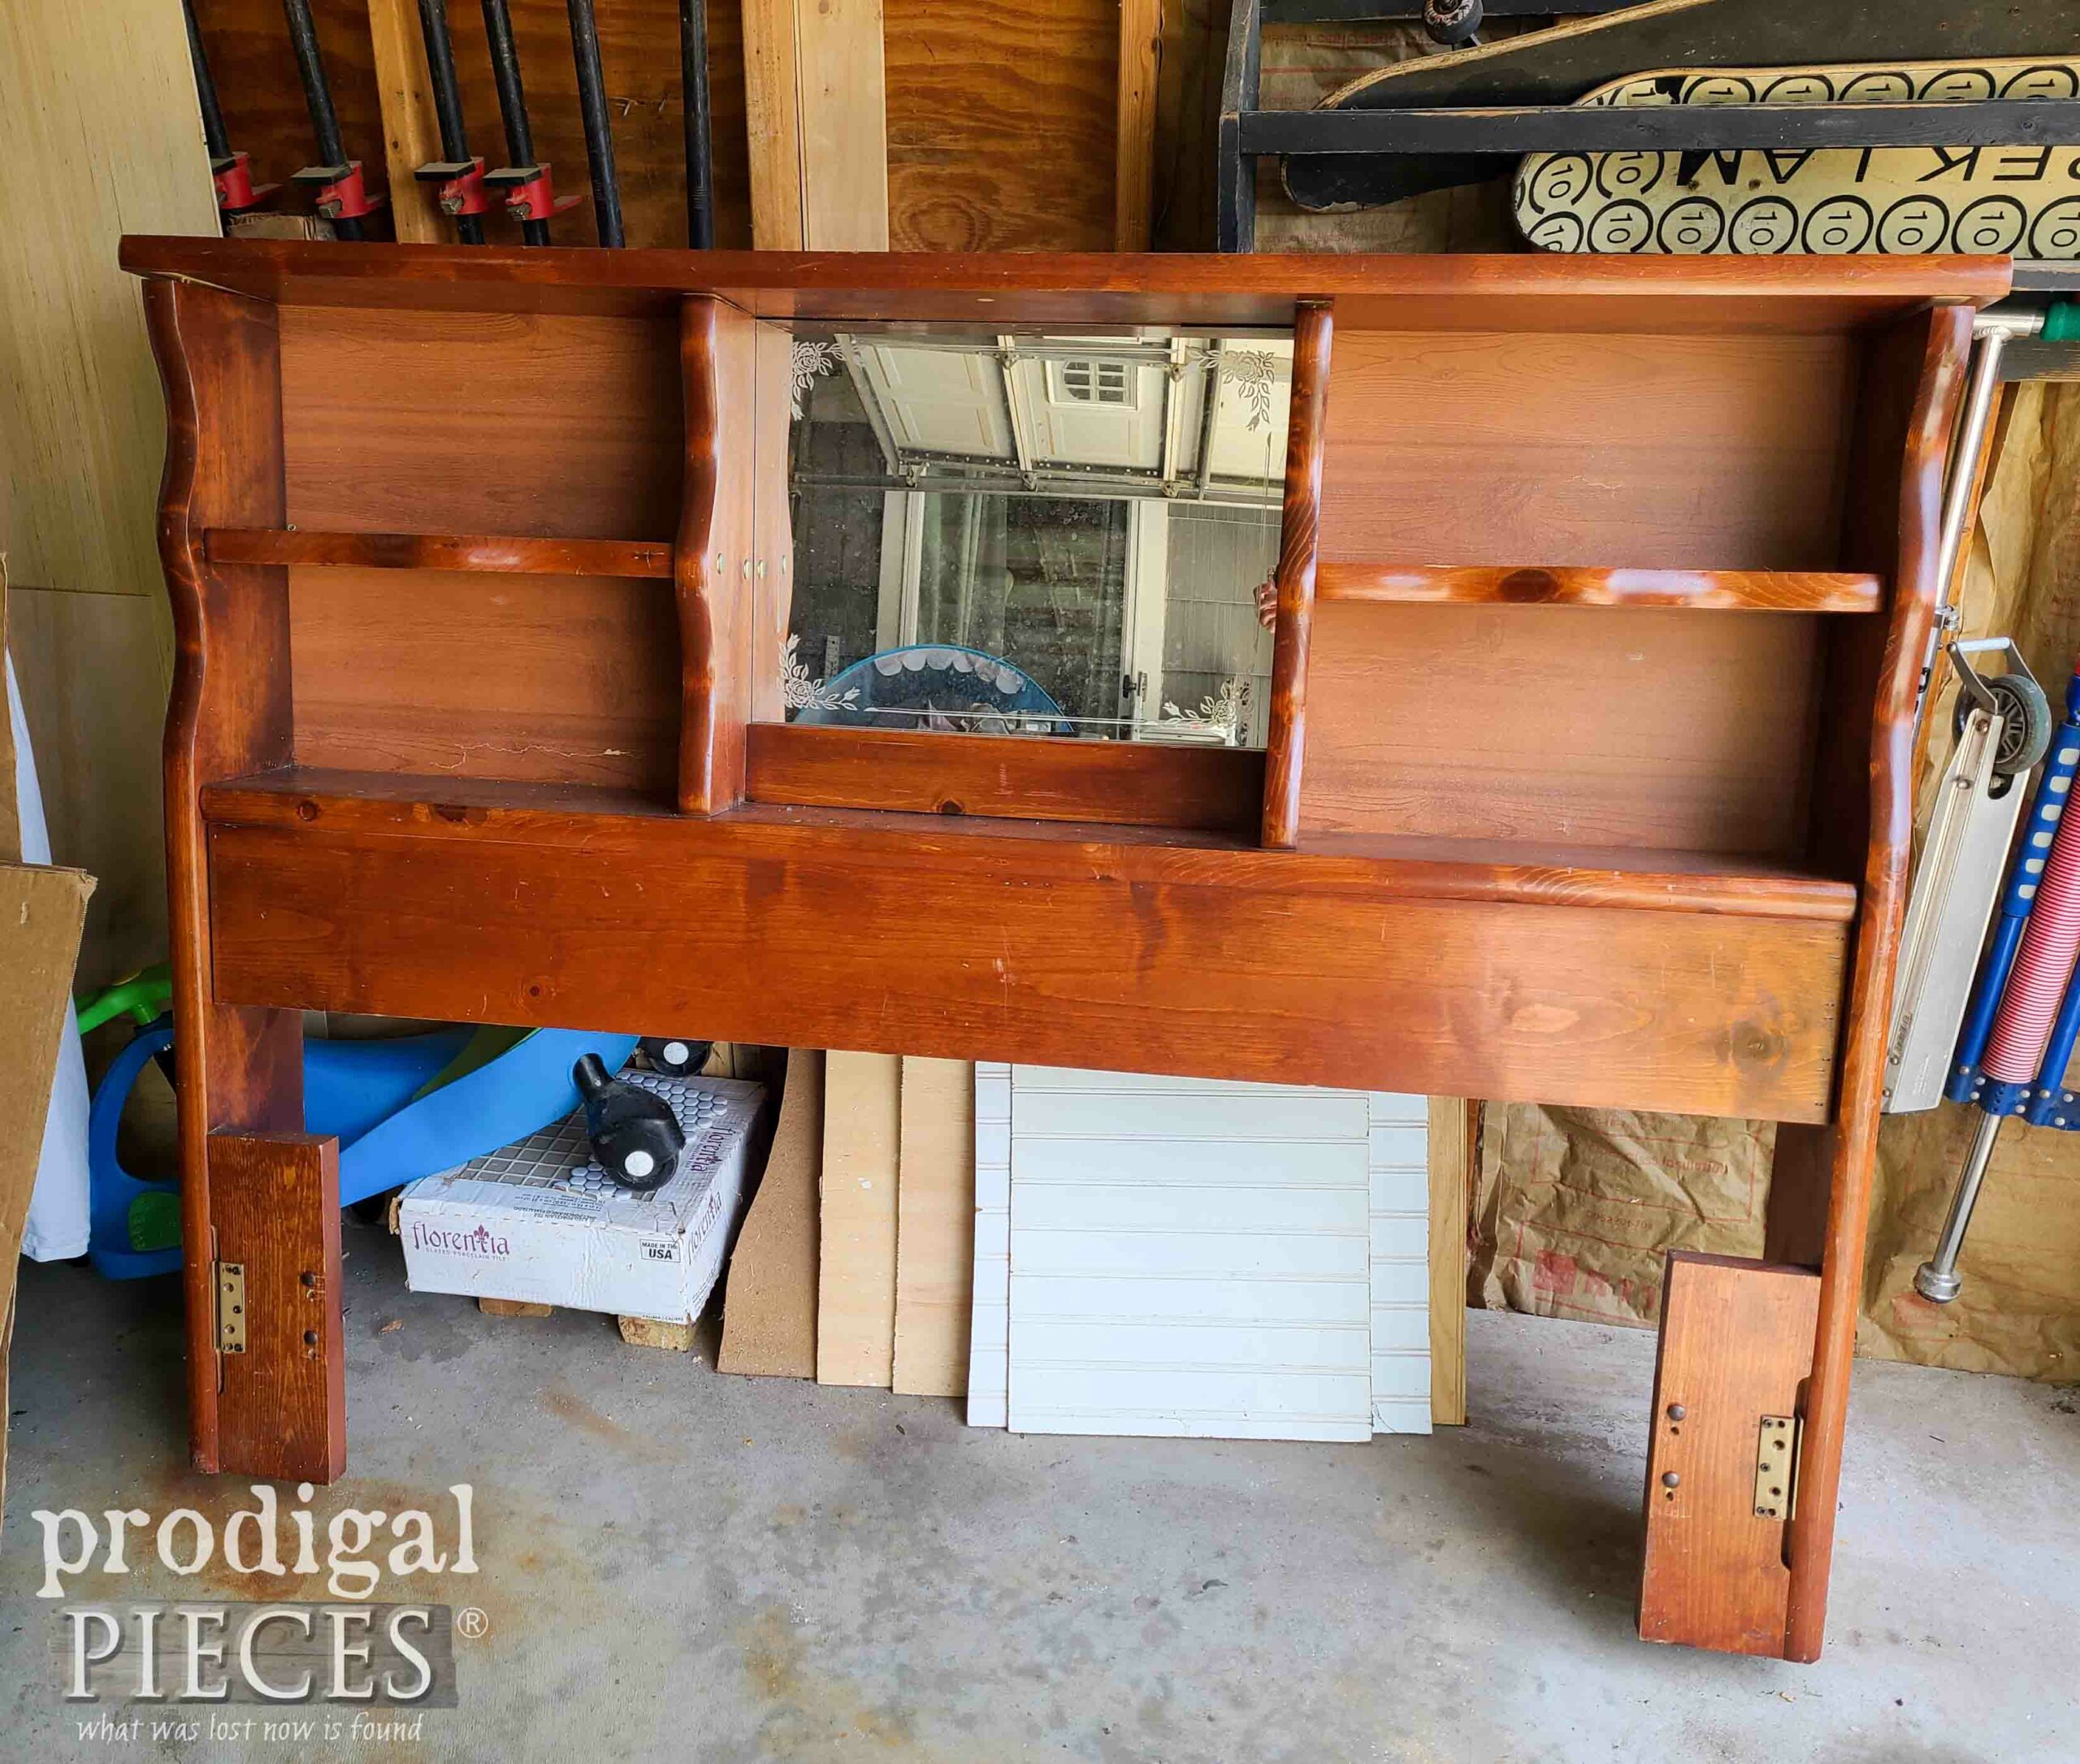
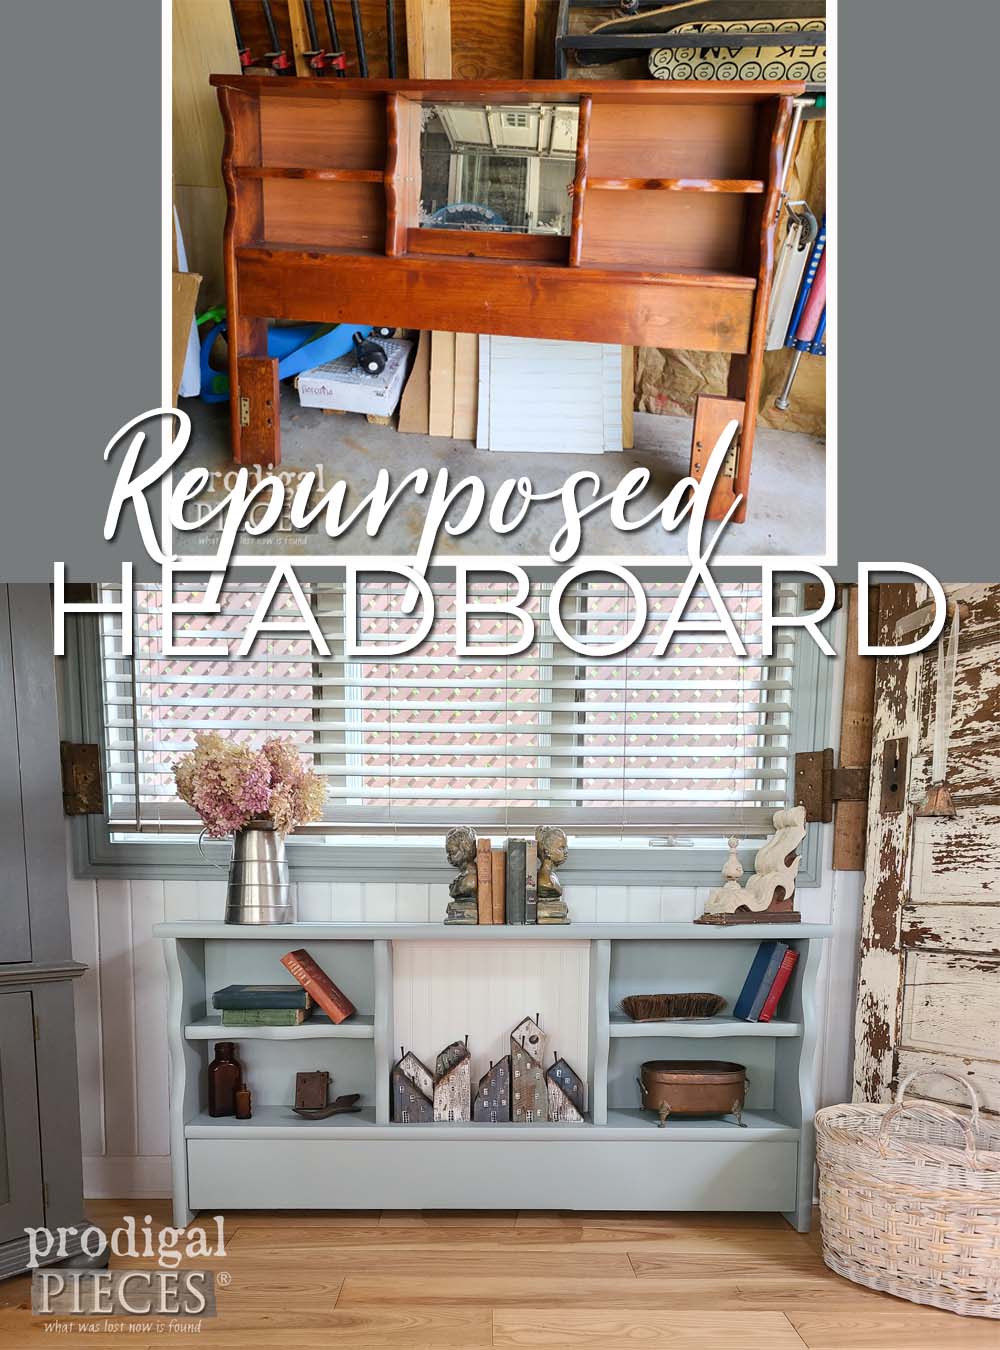
If this thing doesn’t bring back flashbacks from the 80’s I don’t know what will. haha. This waterbed headboard served its purpose, but now I get to have some fun with it. And, just so you know, this isn’t my first bookcase headboard rodeo. Check out these past projects for more inspiration.
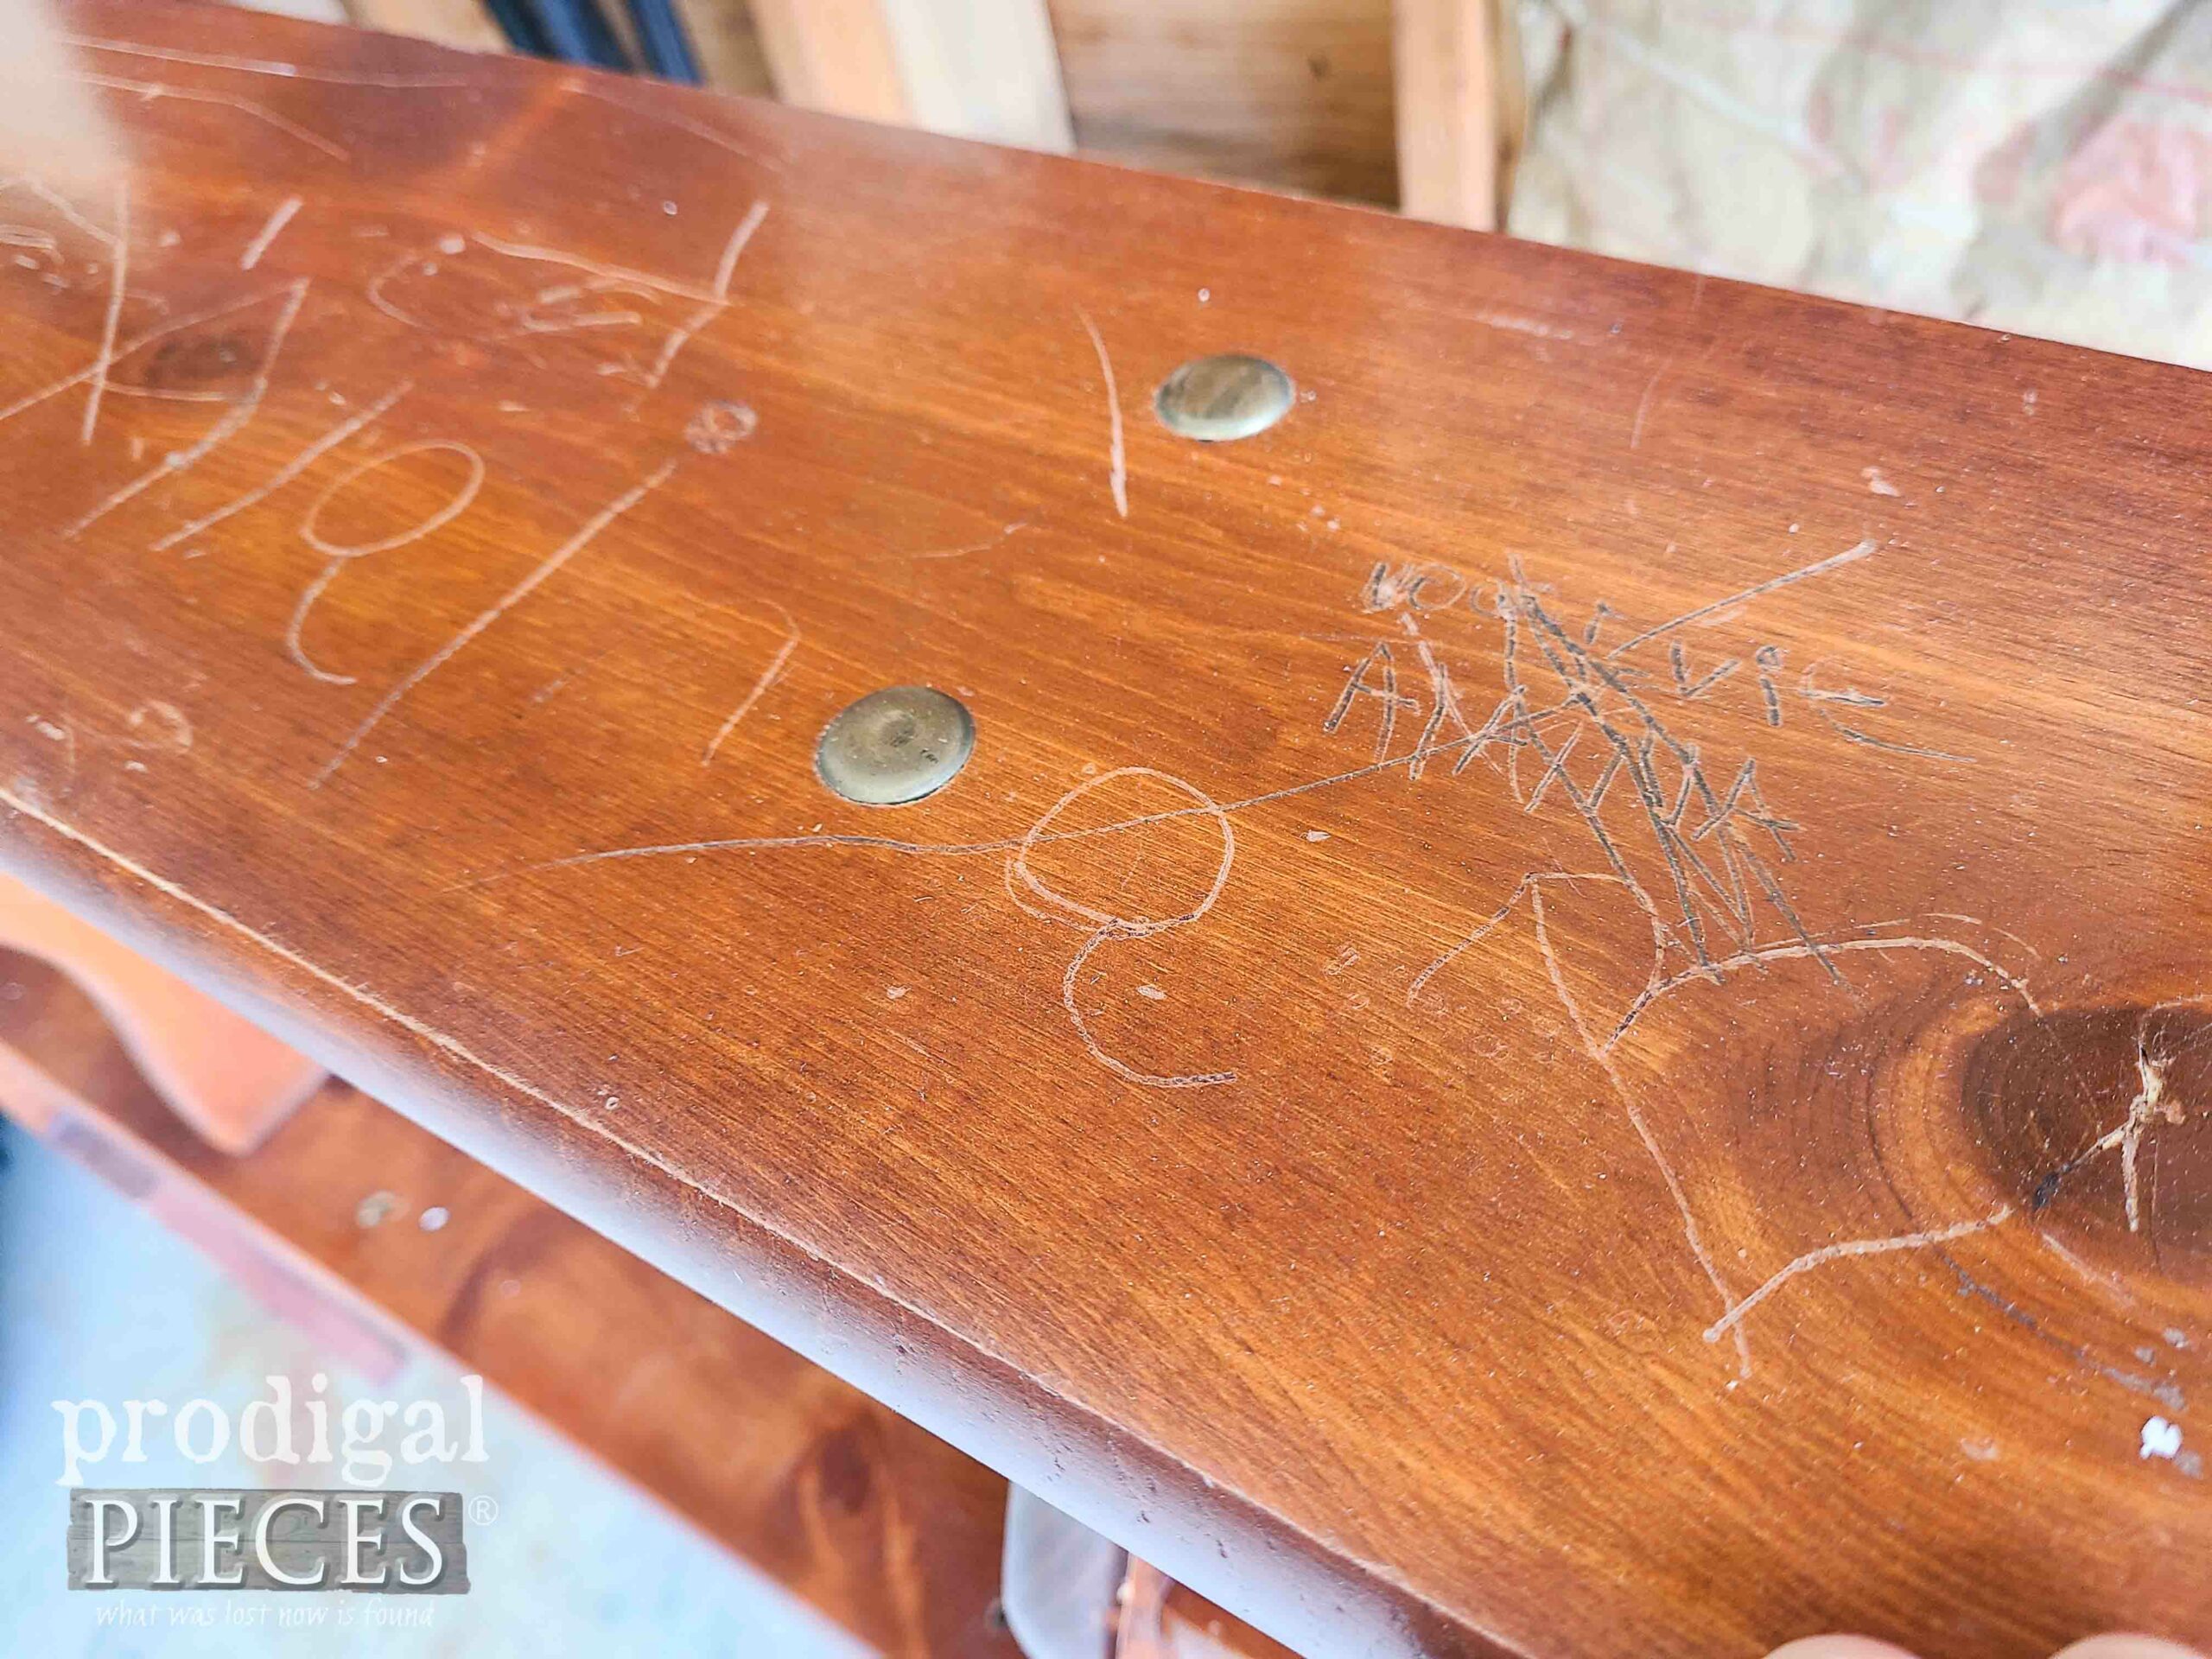
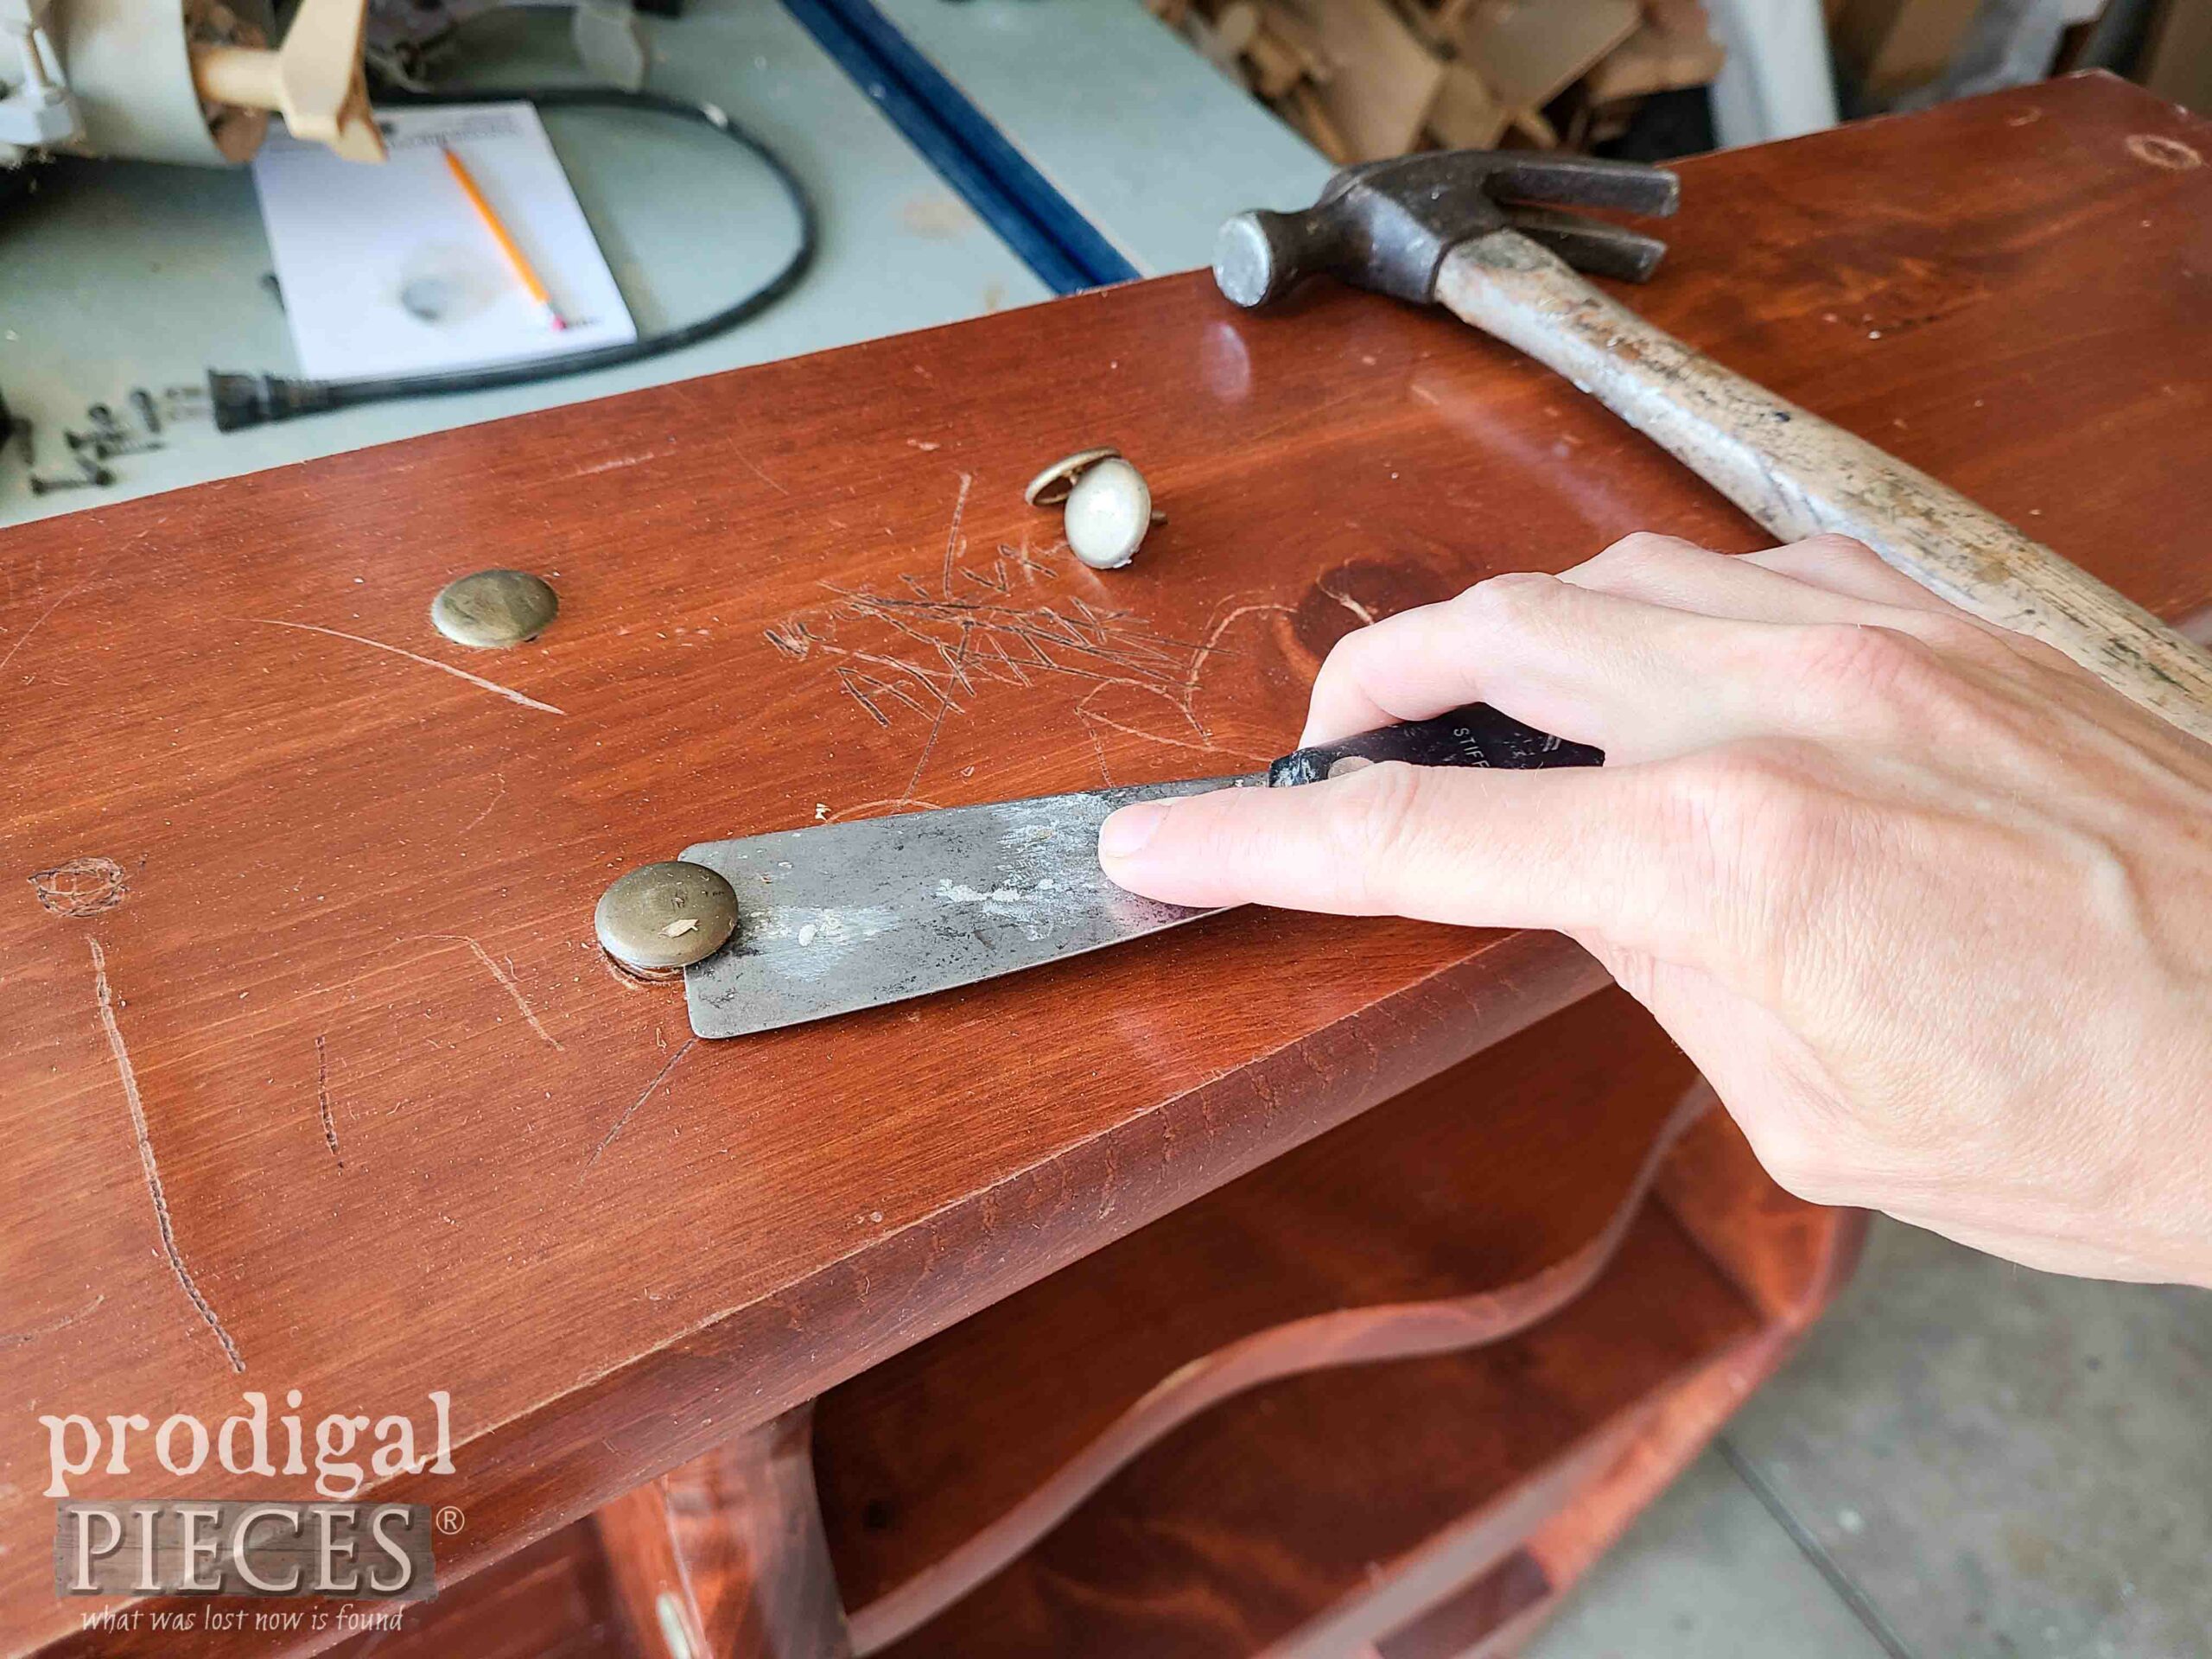
Okay, so now I have this beast, but what to do with it? First, let’s take a peek at the bad. The entire thing is etched with some kids’ art.
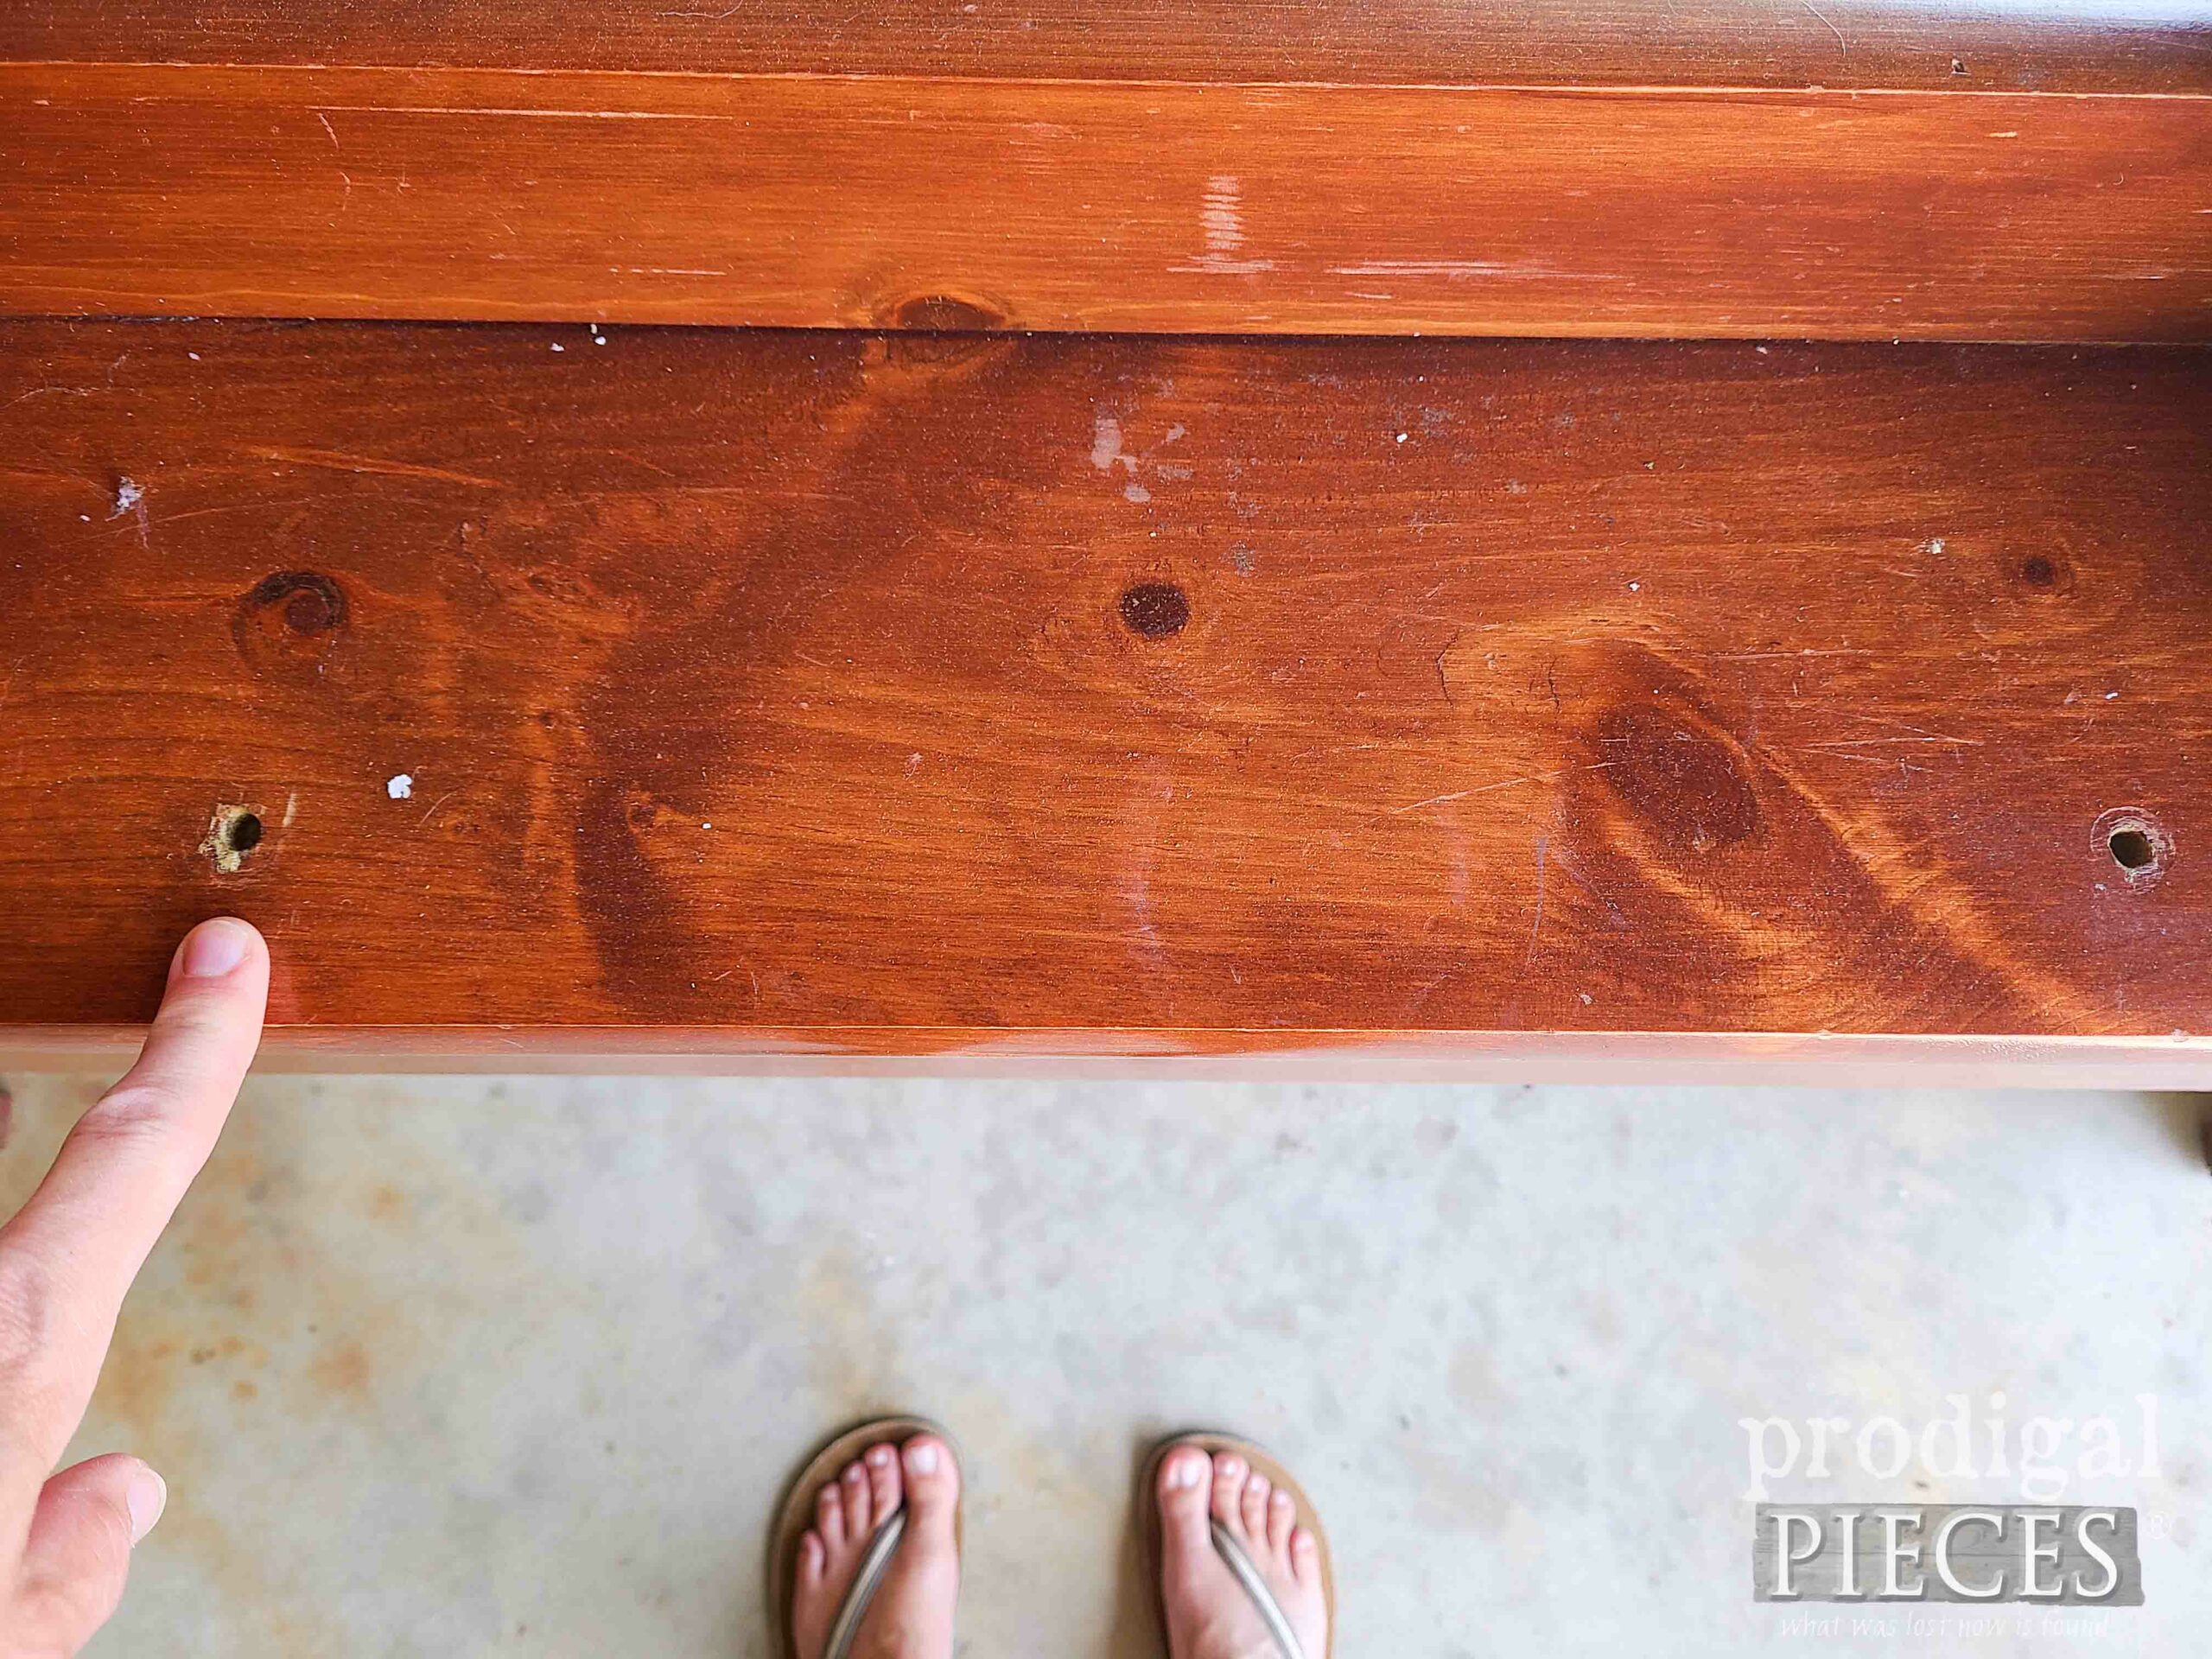
After that, I notice a spot where I bet there was a little wood railing that is no more. Why was everything made of pine and have little railings on them?!?
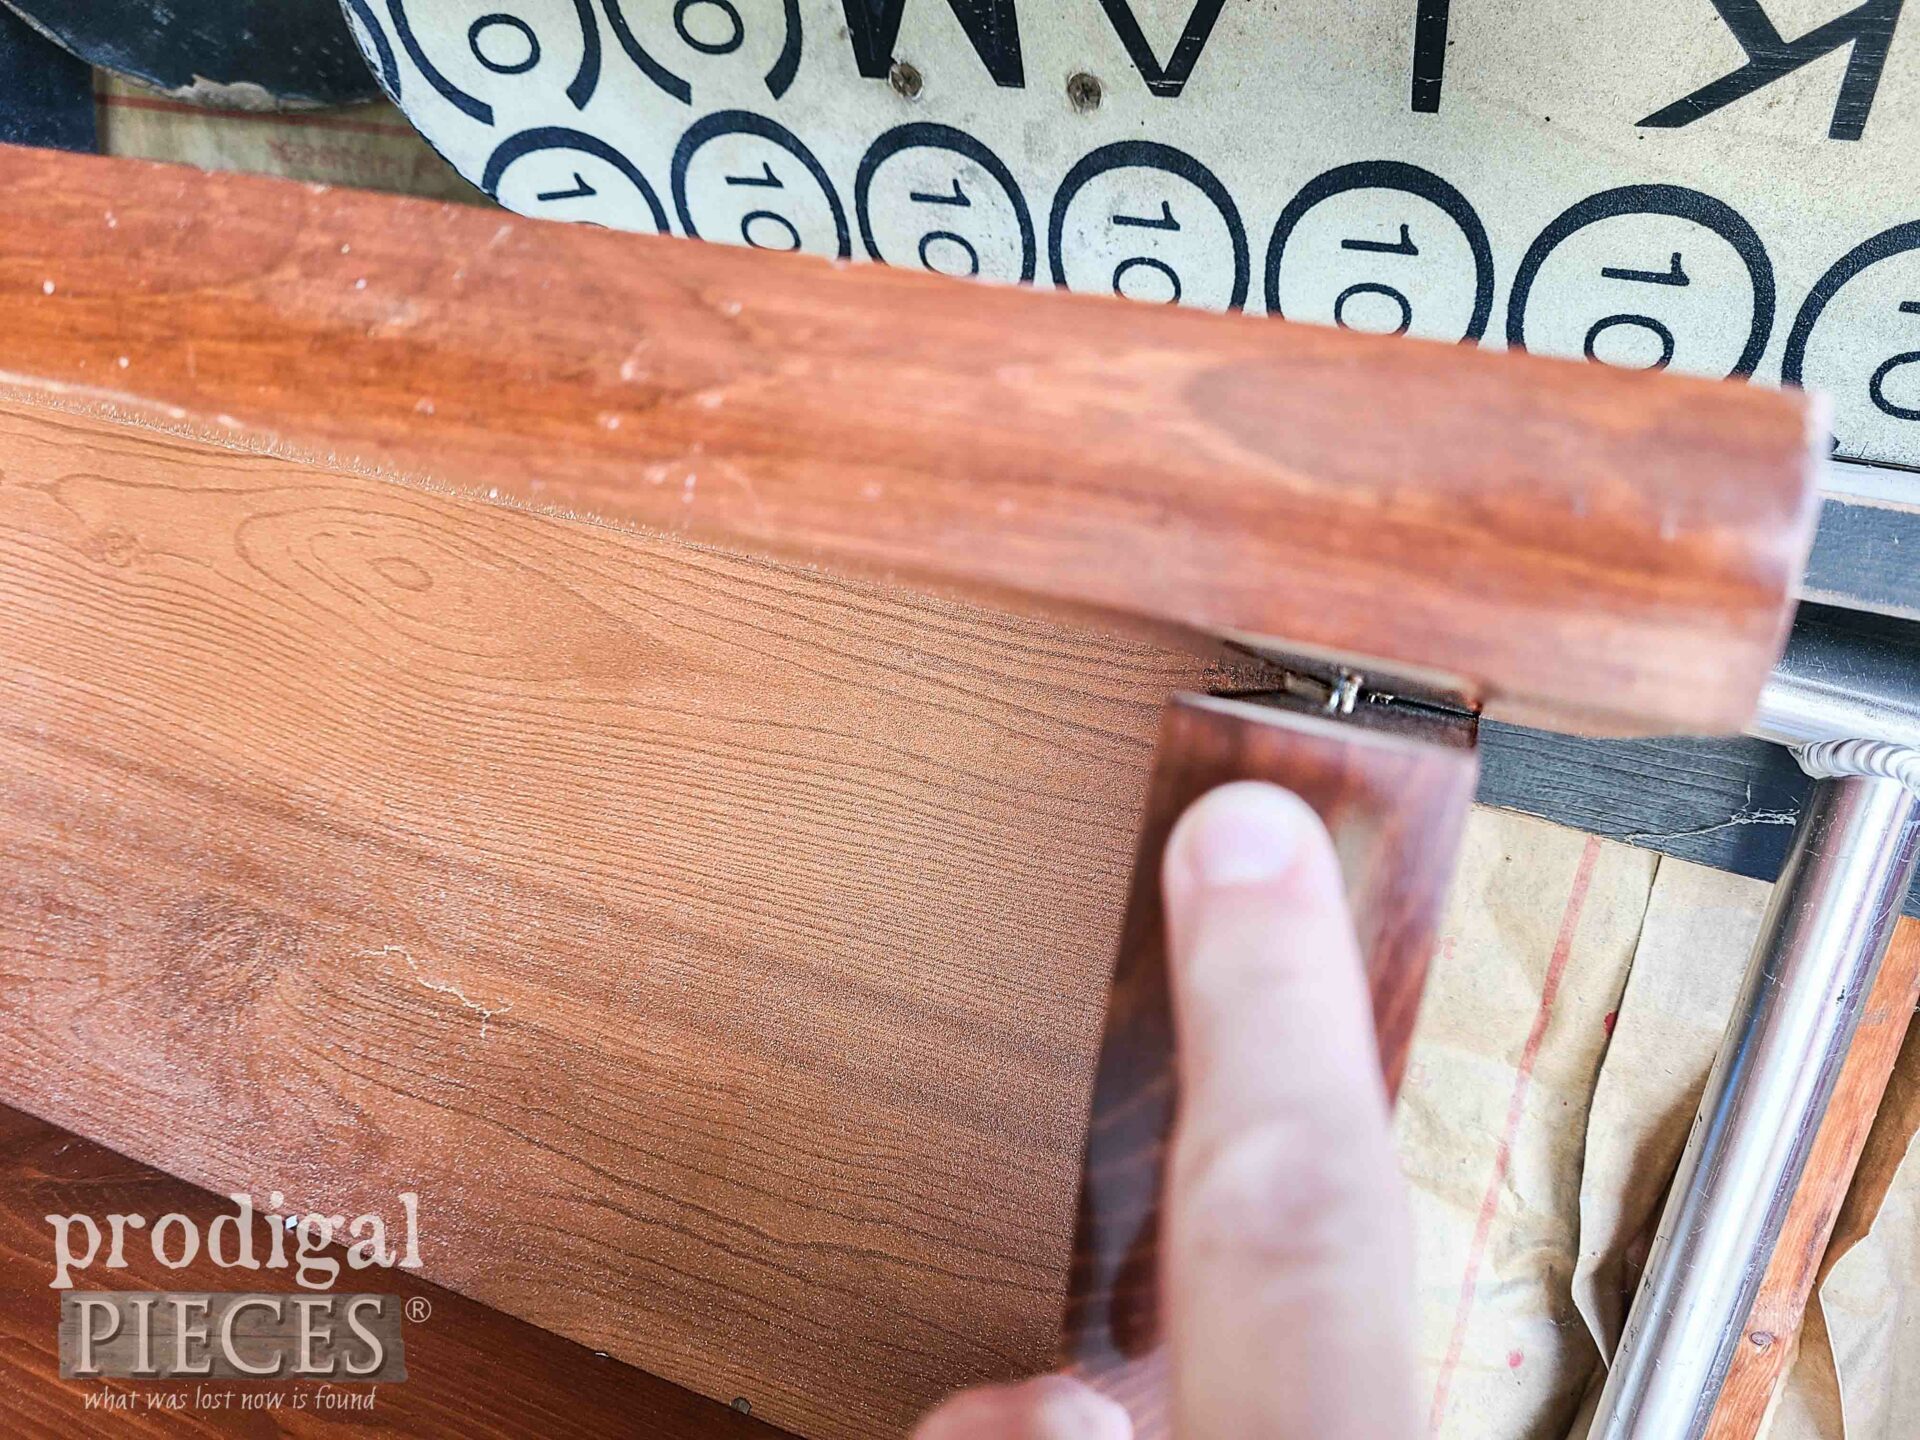
In addition, the top is loose as the factory staples are giving way. Notice those furniture feet tacks they used to cover the staples.
FIX ‘ER UP
First, to get started, I remove those large tacks that should be used as furniture feet will be saved for later.
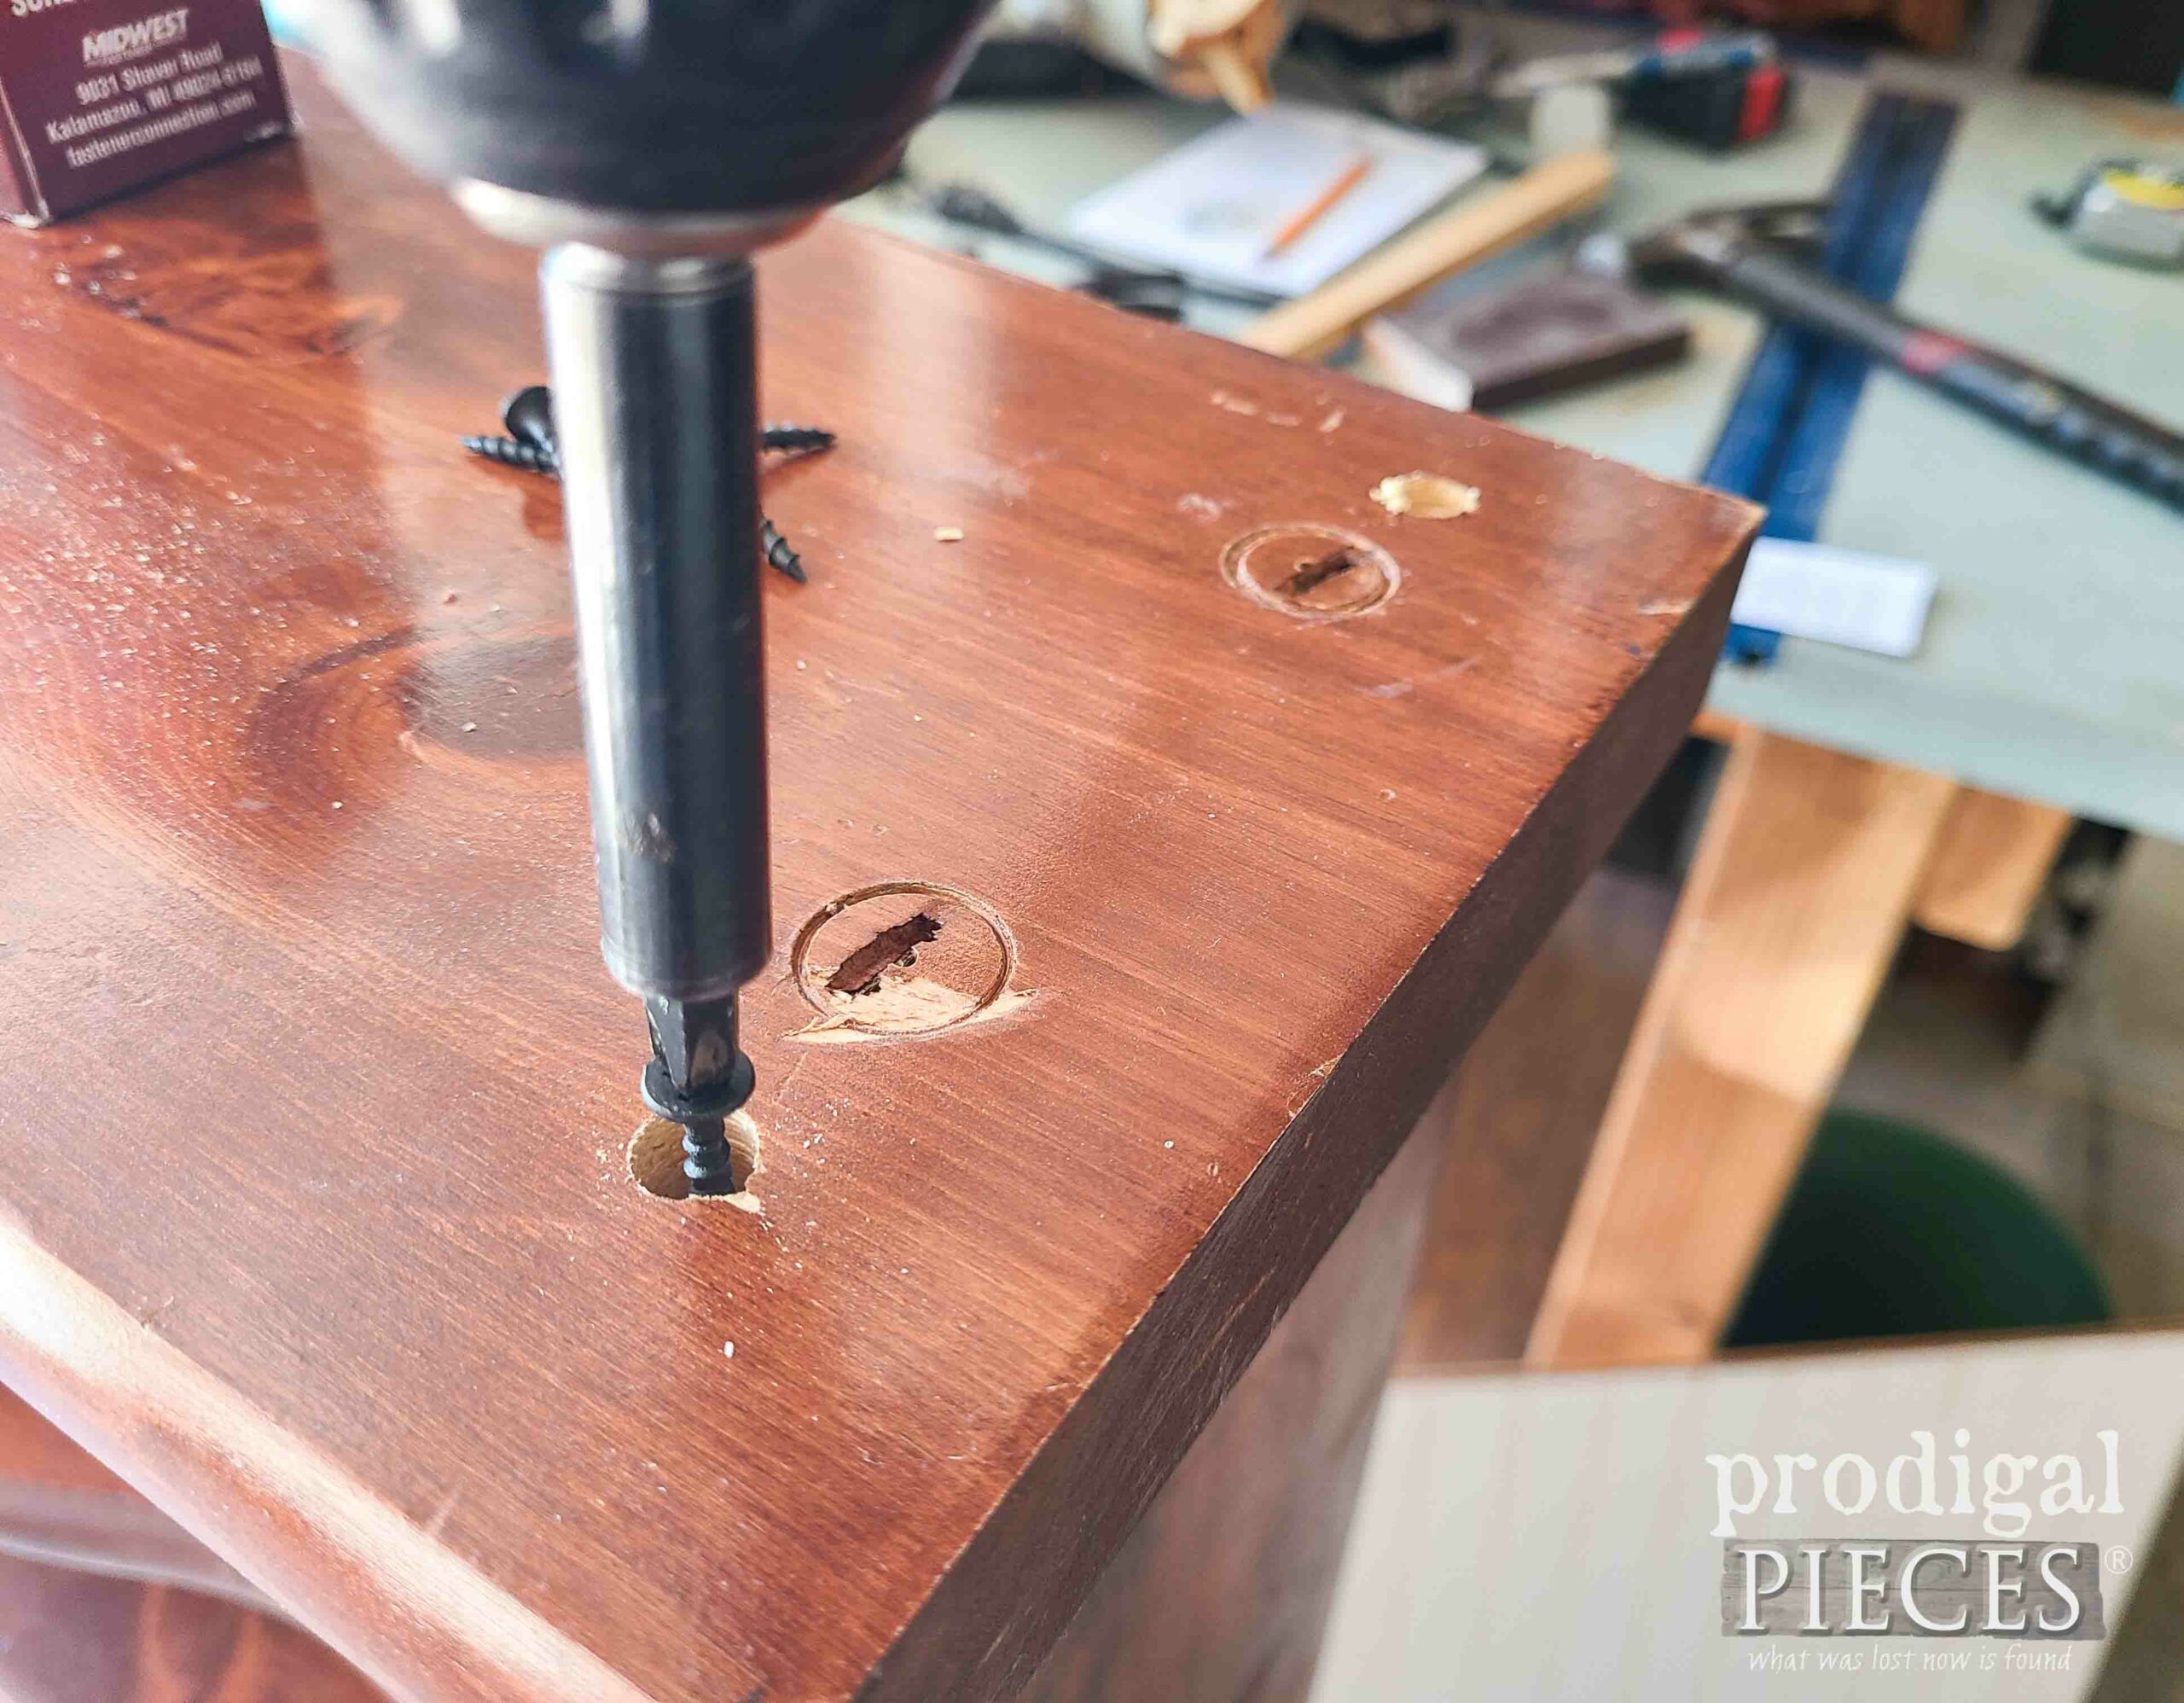
Then, underneath, I find what I’m dealing with. Large staple holes that I plan to cover up. To do that, I predrill holes for screws so they can reinforce the top attachment.
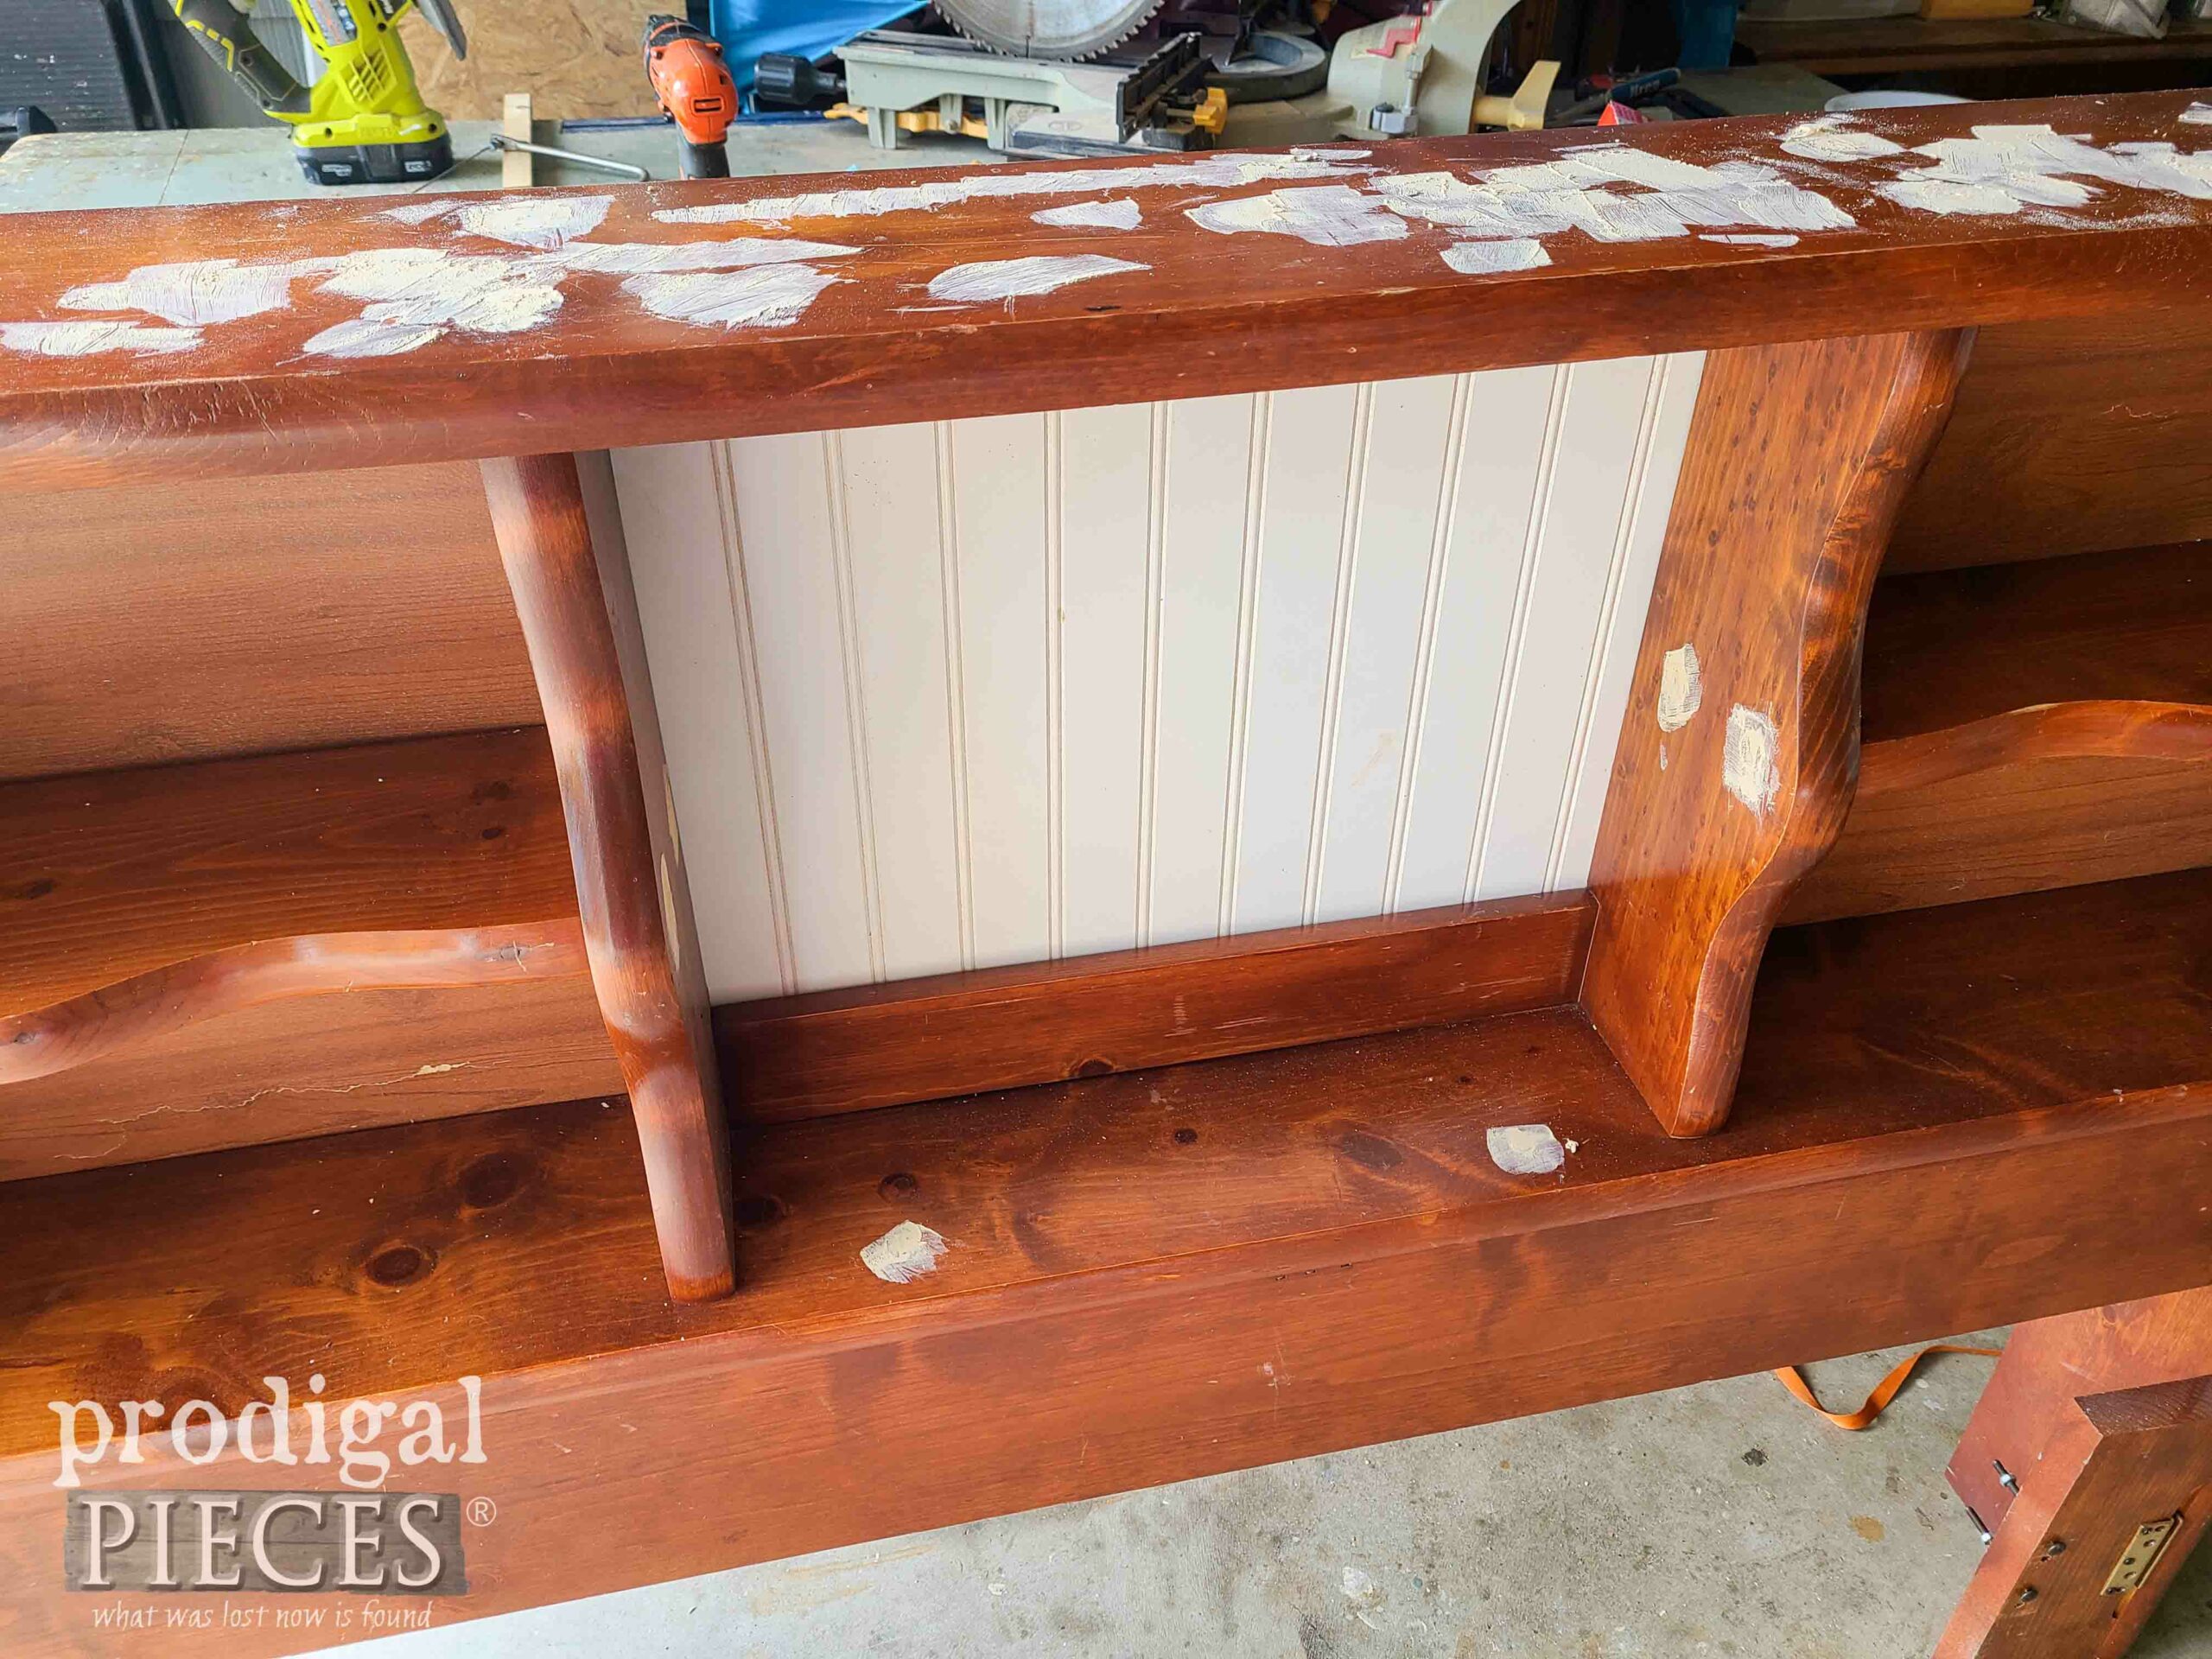
Next, I fill the drilled holes with dowel, as well as that little rail hoes, then topping with wood filler. At the same times, I remove the middle mirror and find an already sized piece of beadboard in my stash. woot. Here’s the wood filler mess and new panel with trim.
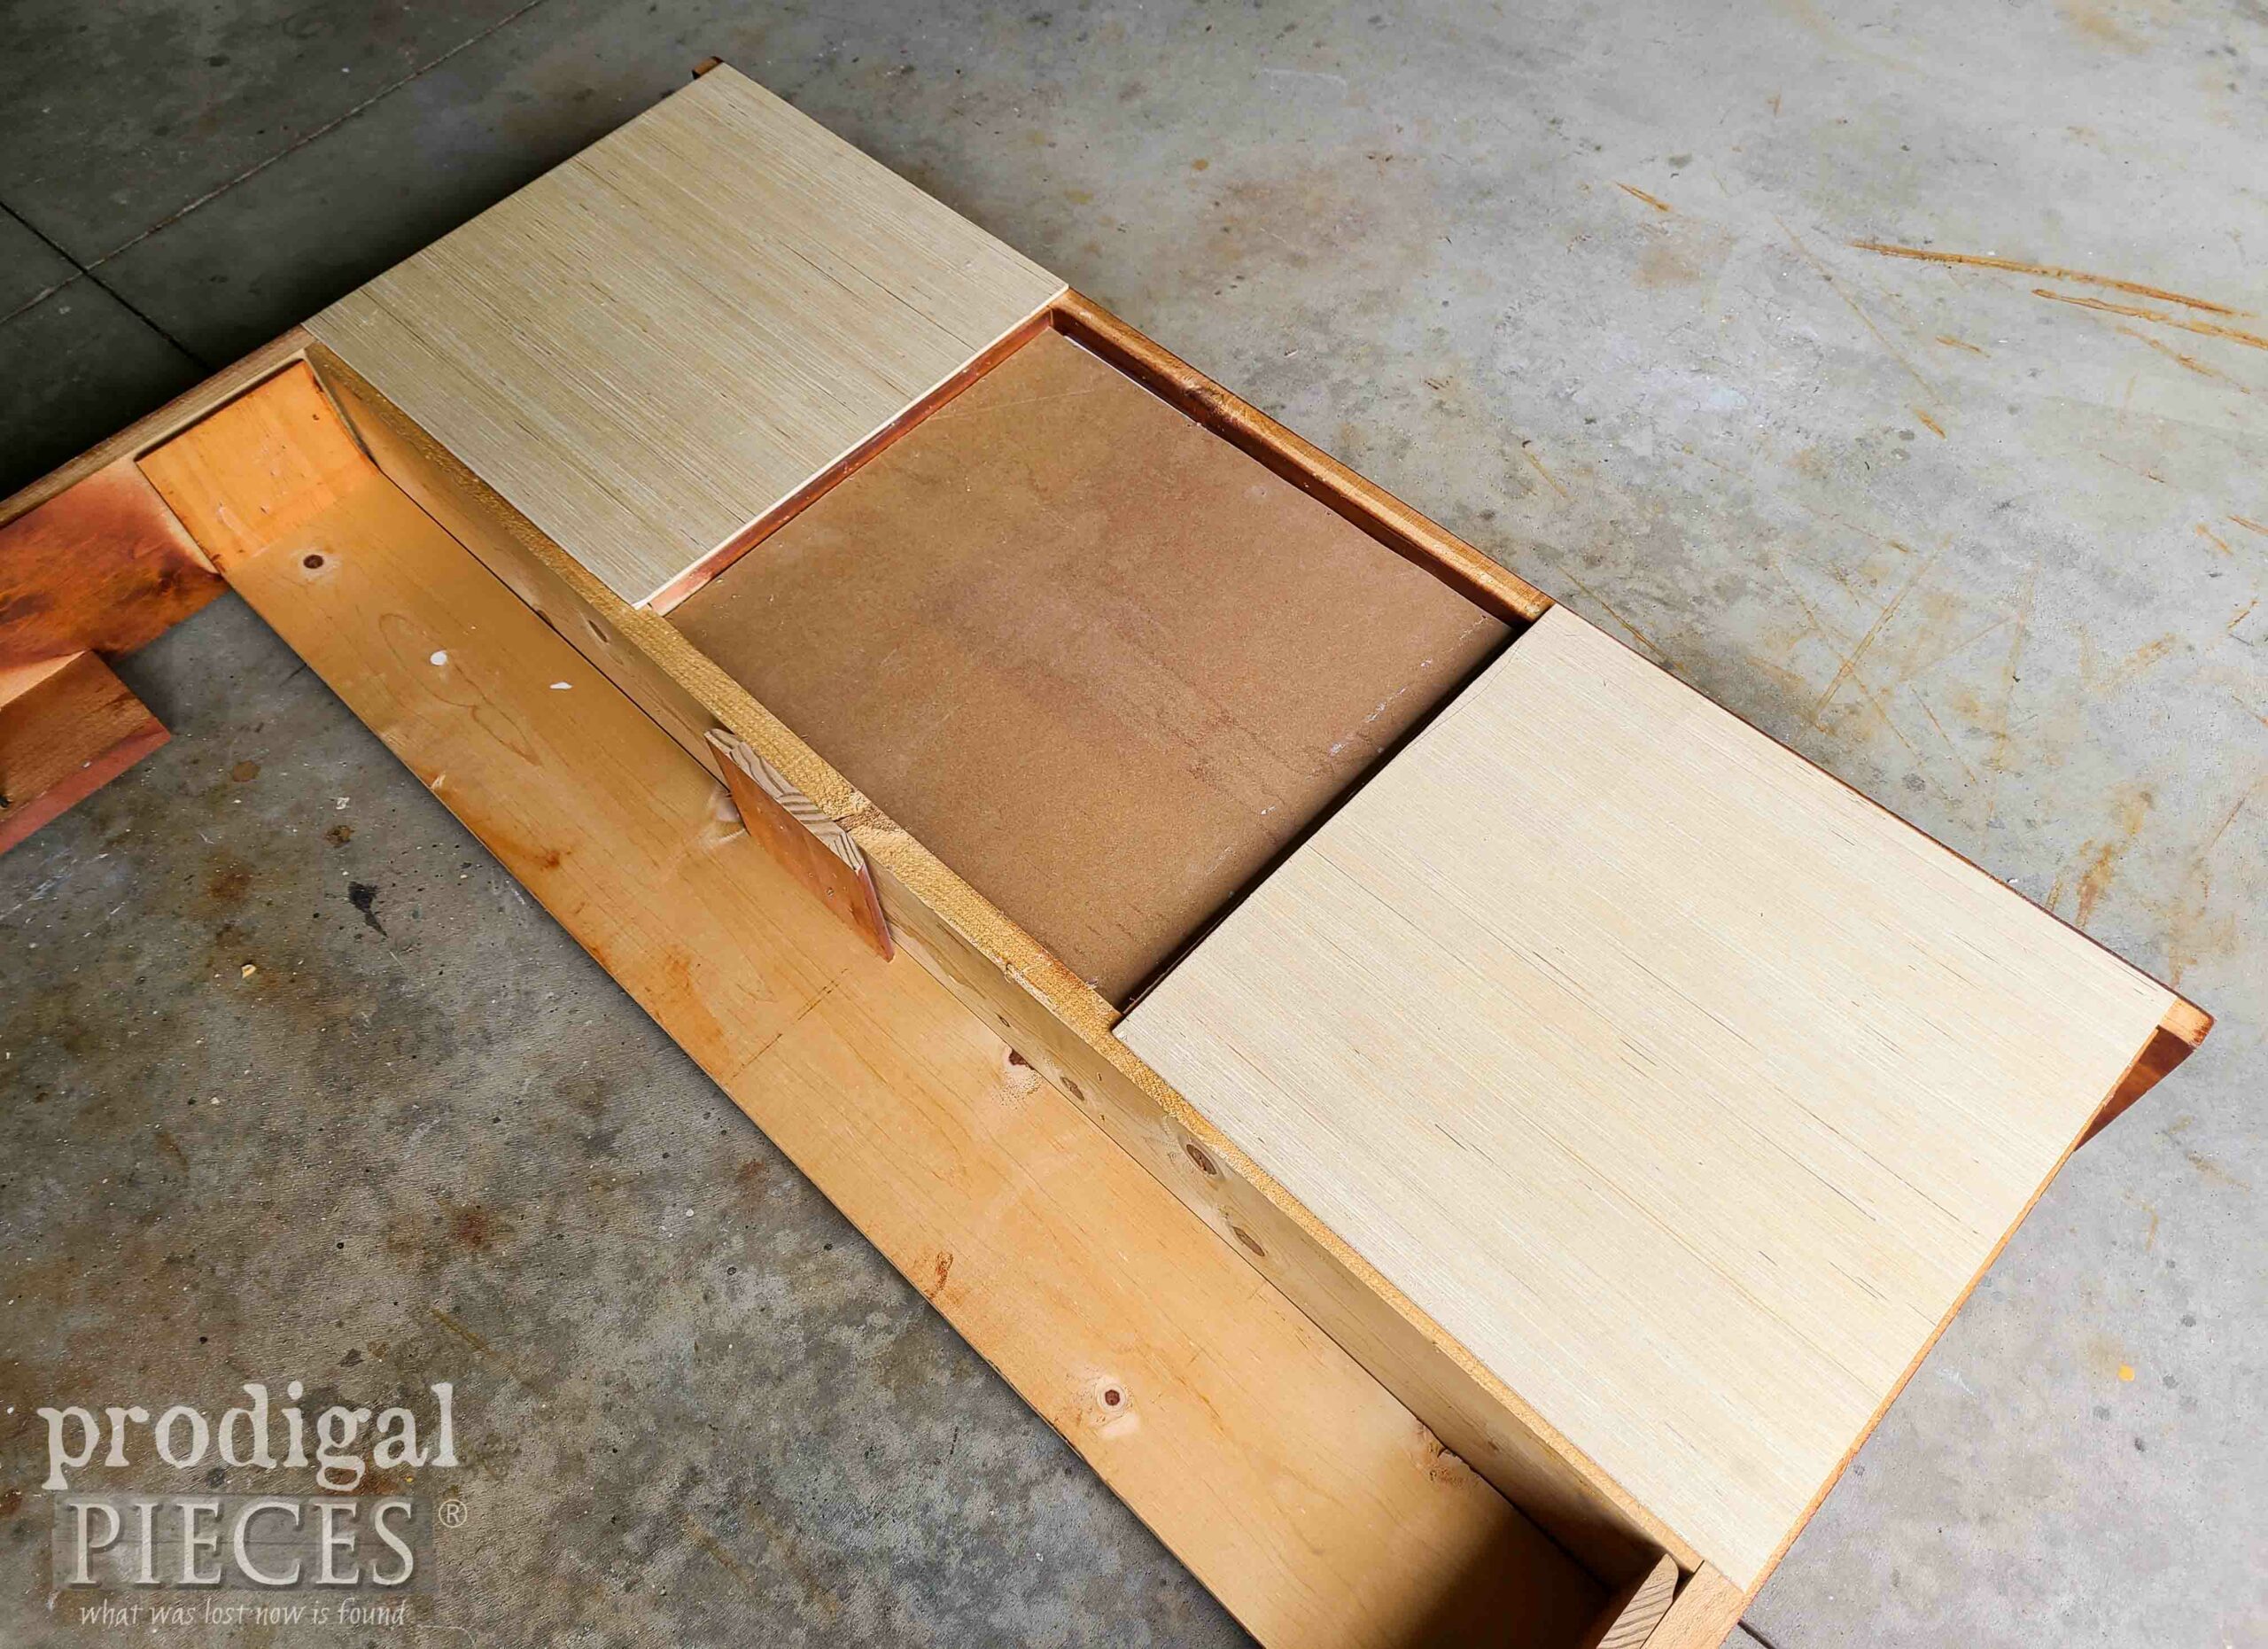
In addition, the two side backing panels have holes and cracks, so I cut new luan and attach.
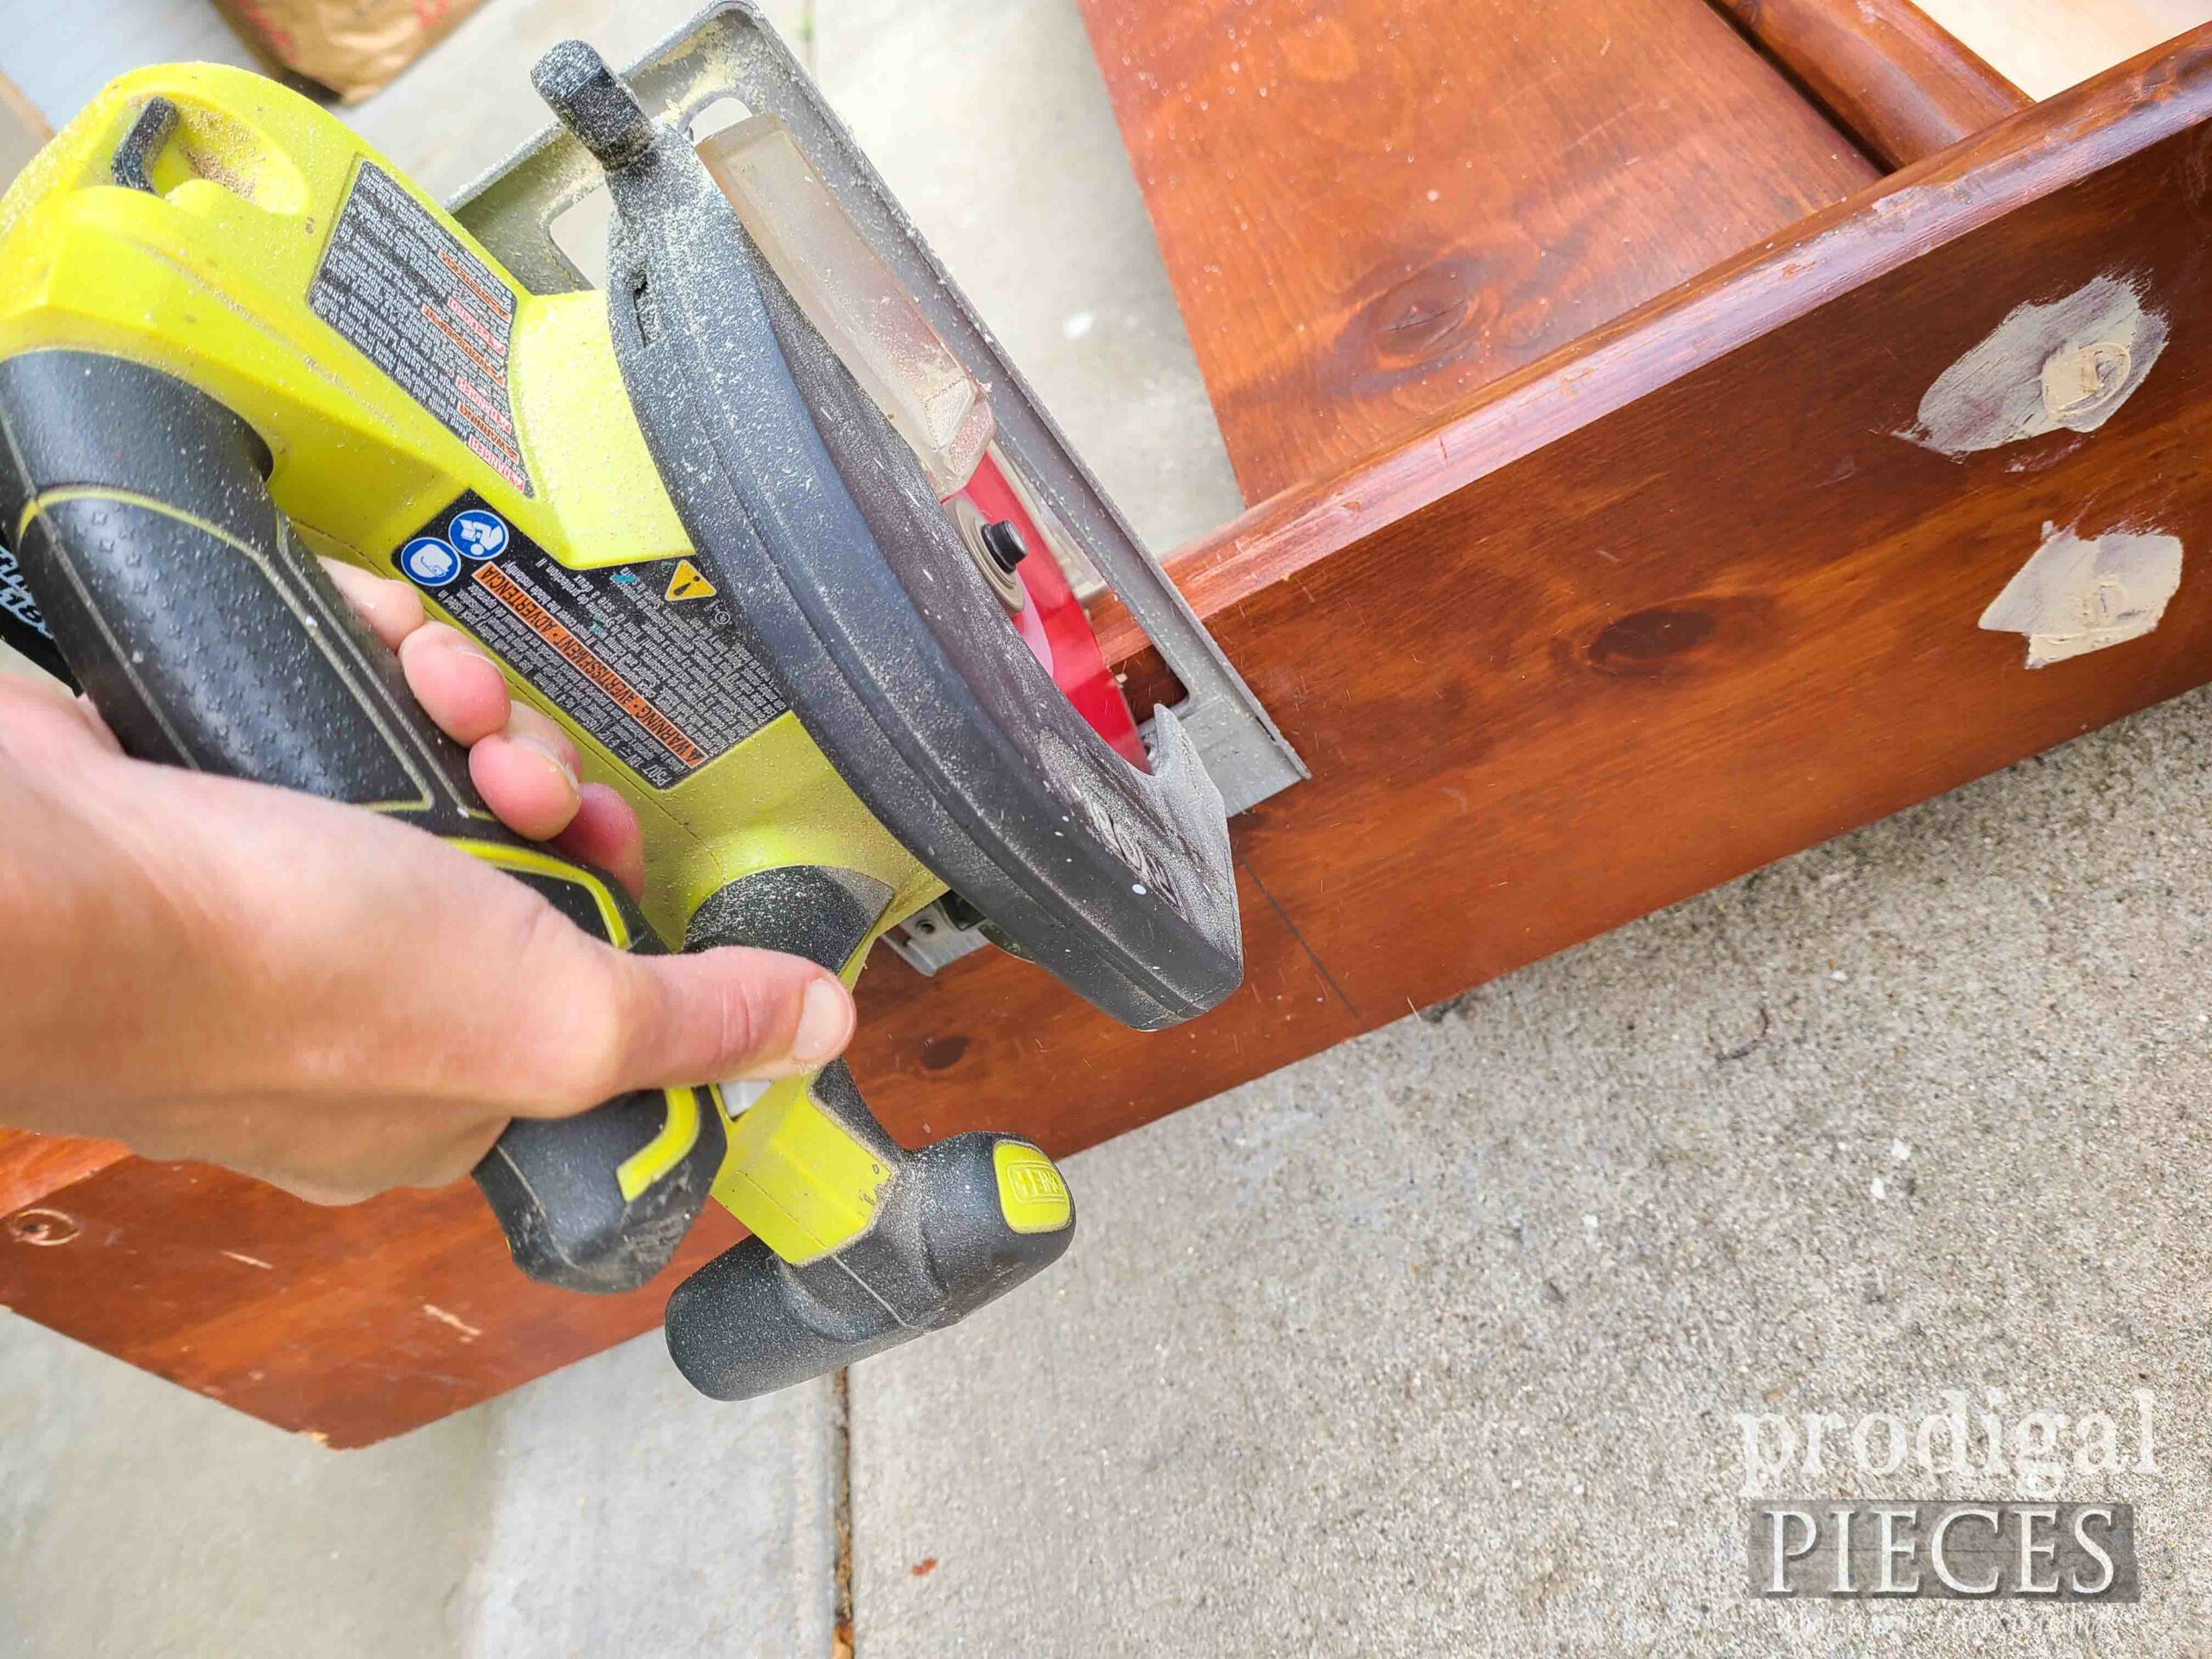
Oh, and I cut off the uprights so they would allow this bookcase to rest on the ground.
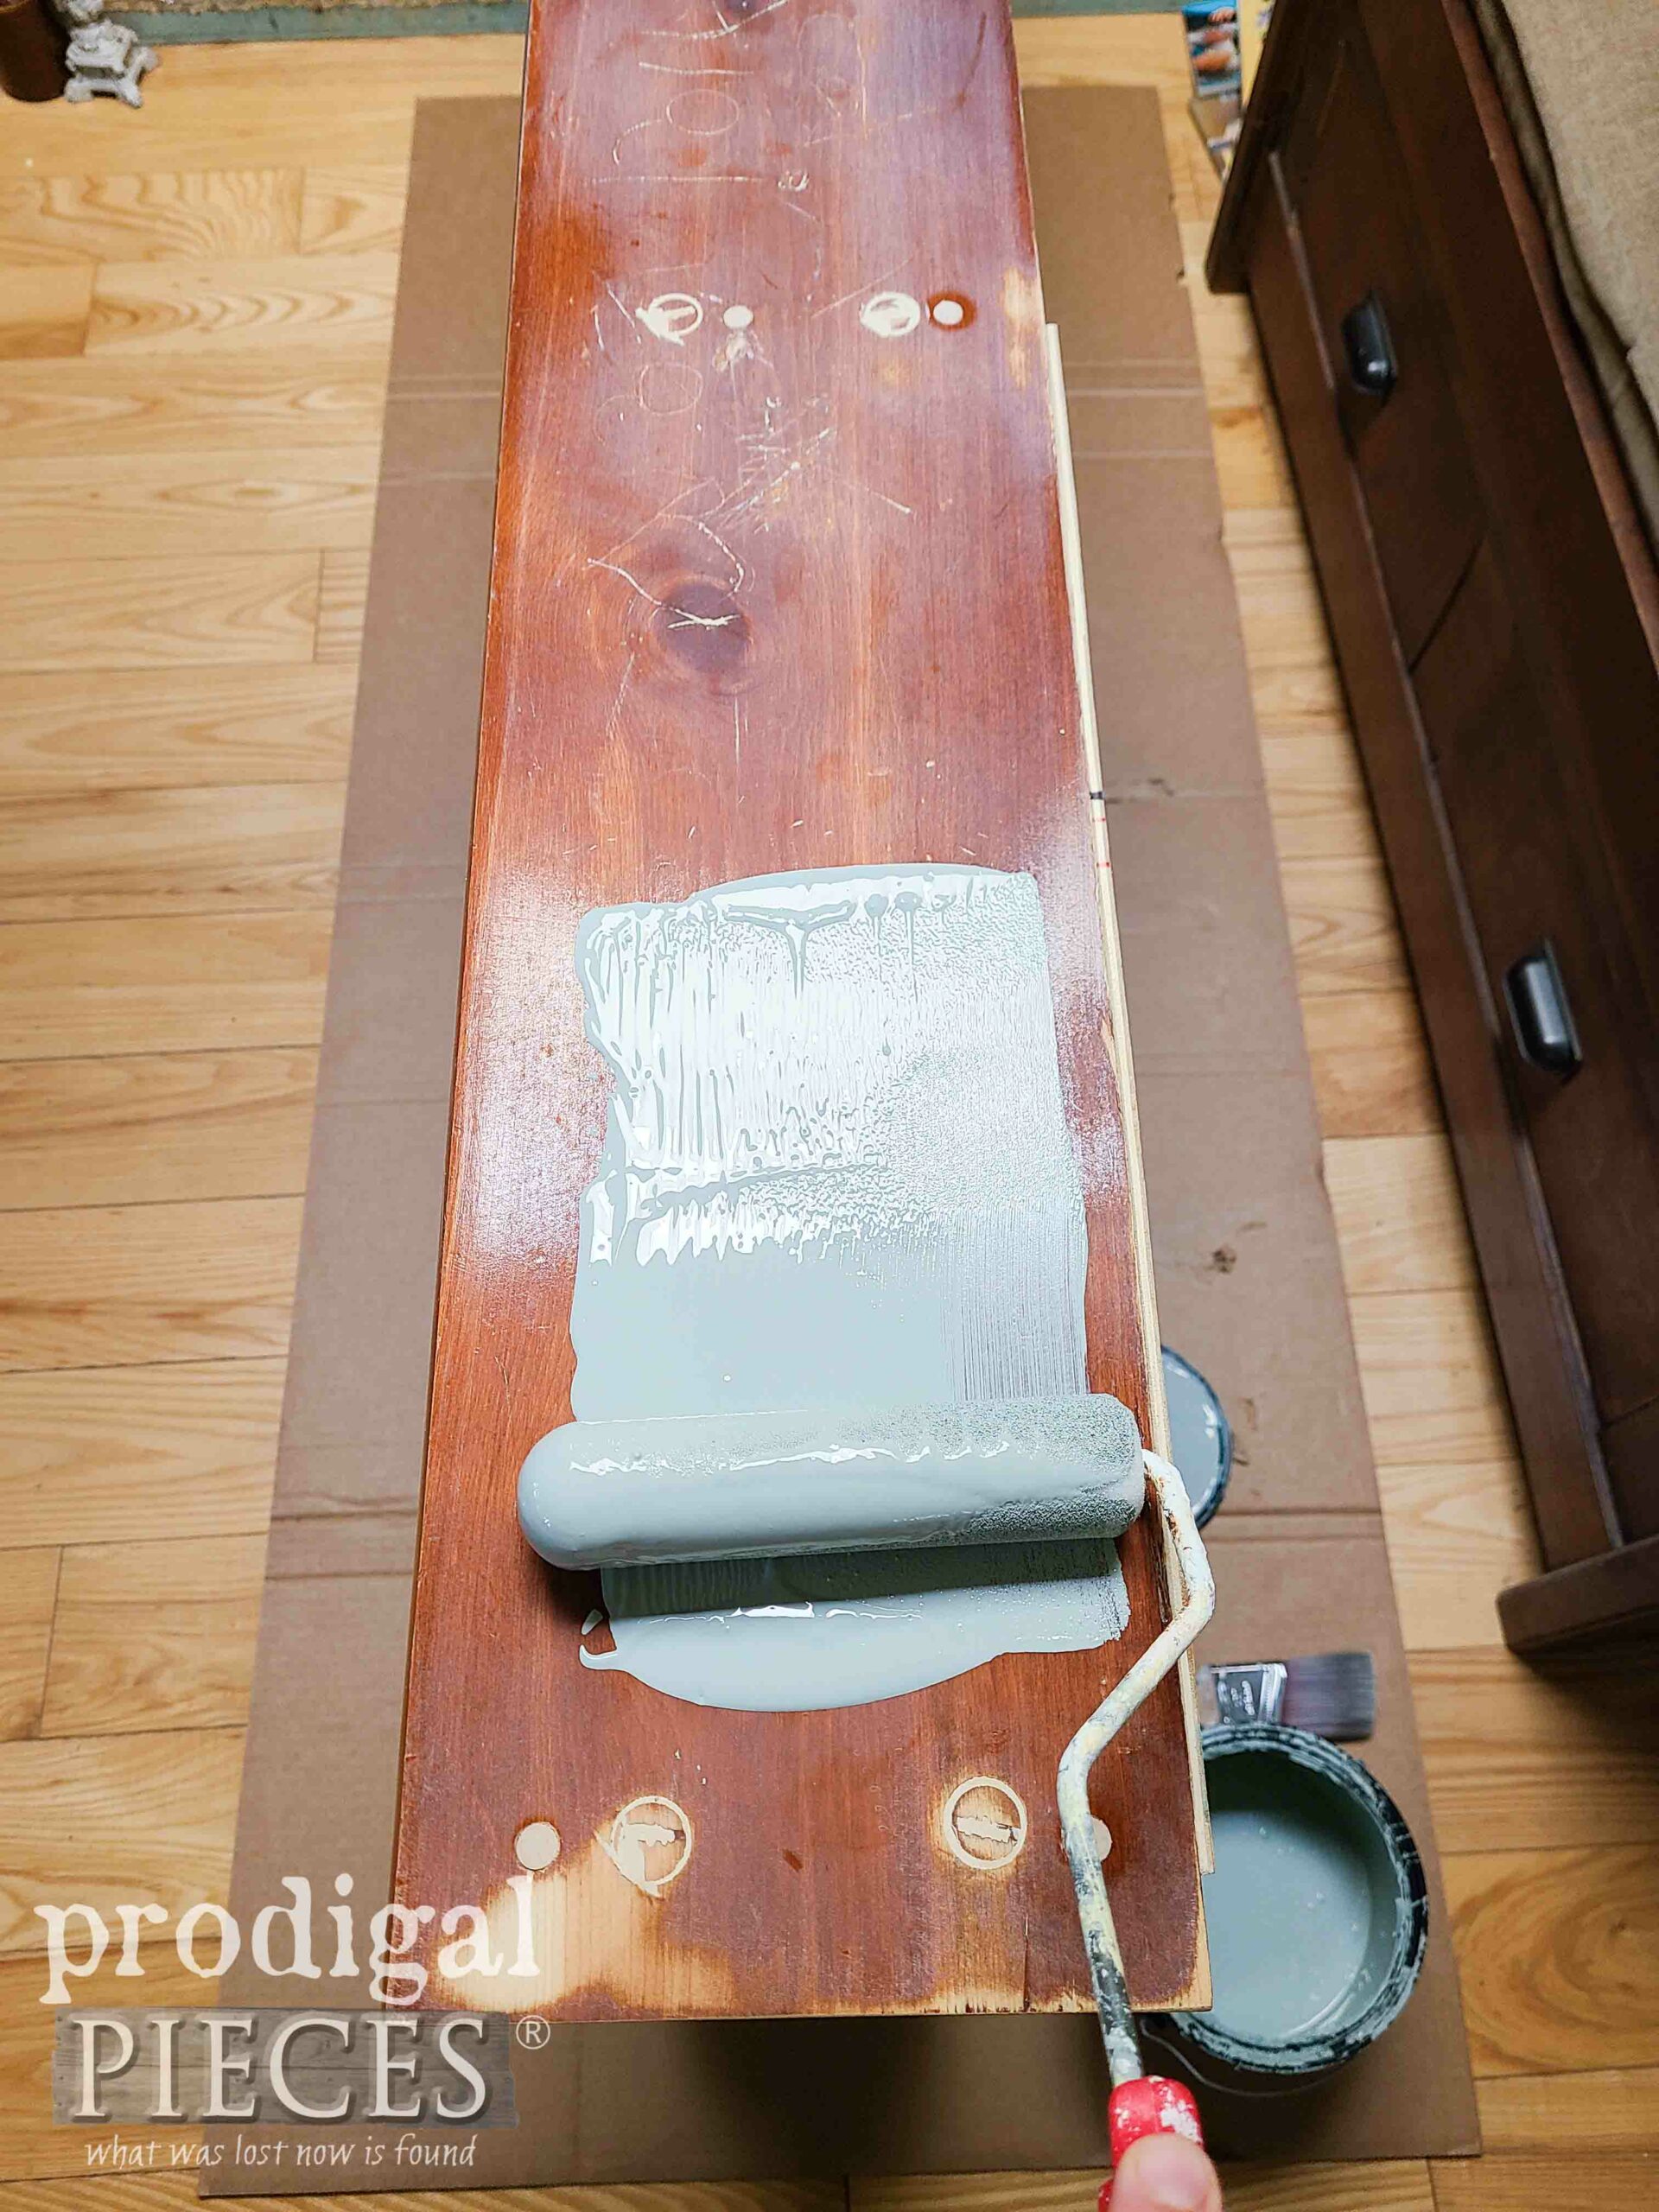
Last, but not least, I paint it all with two coats and let cure. whew!
BOOKCASE FINISH
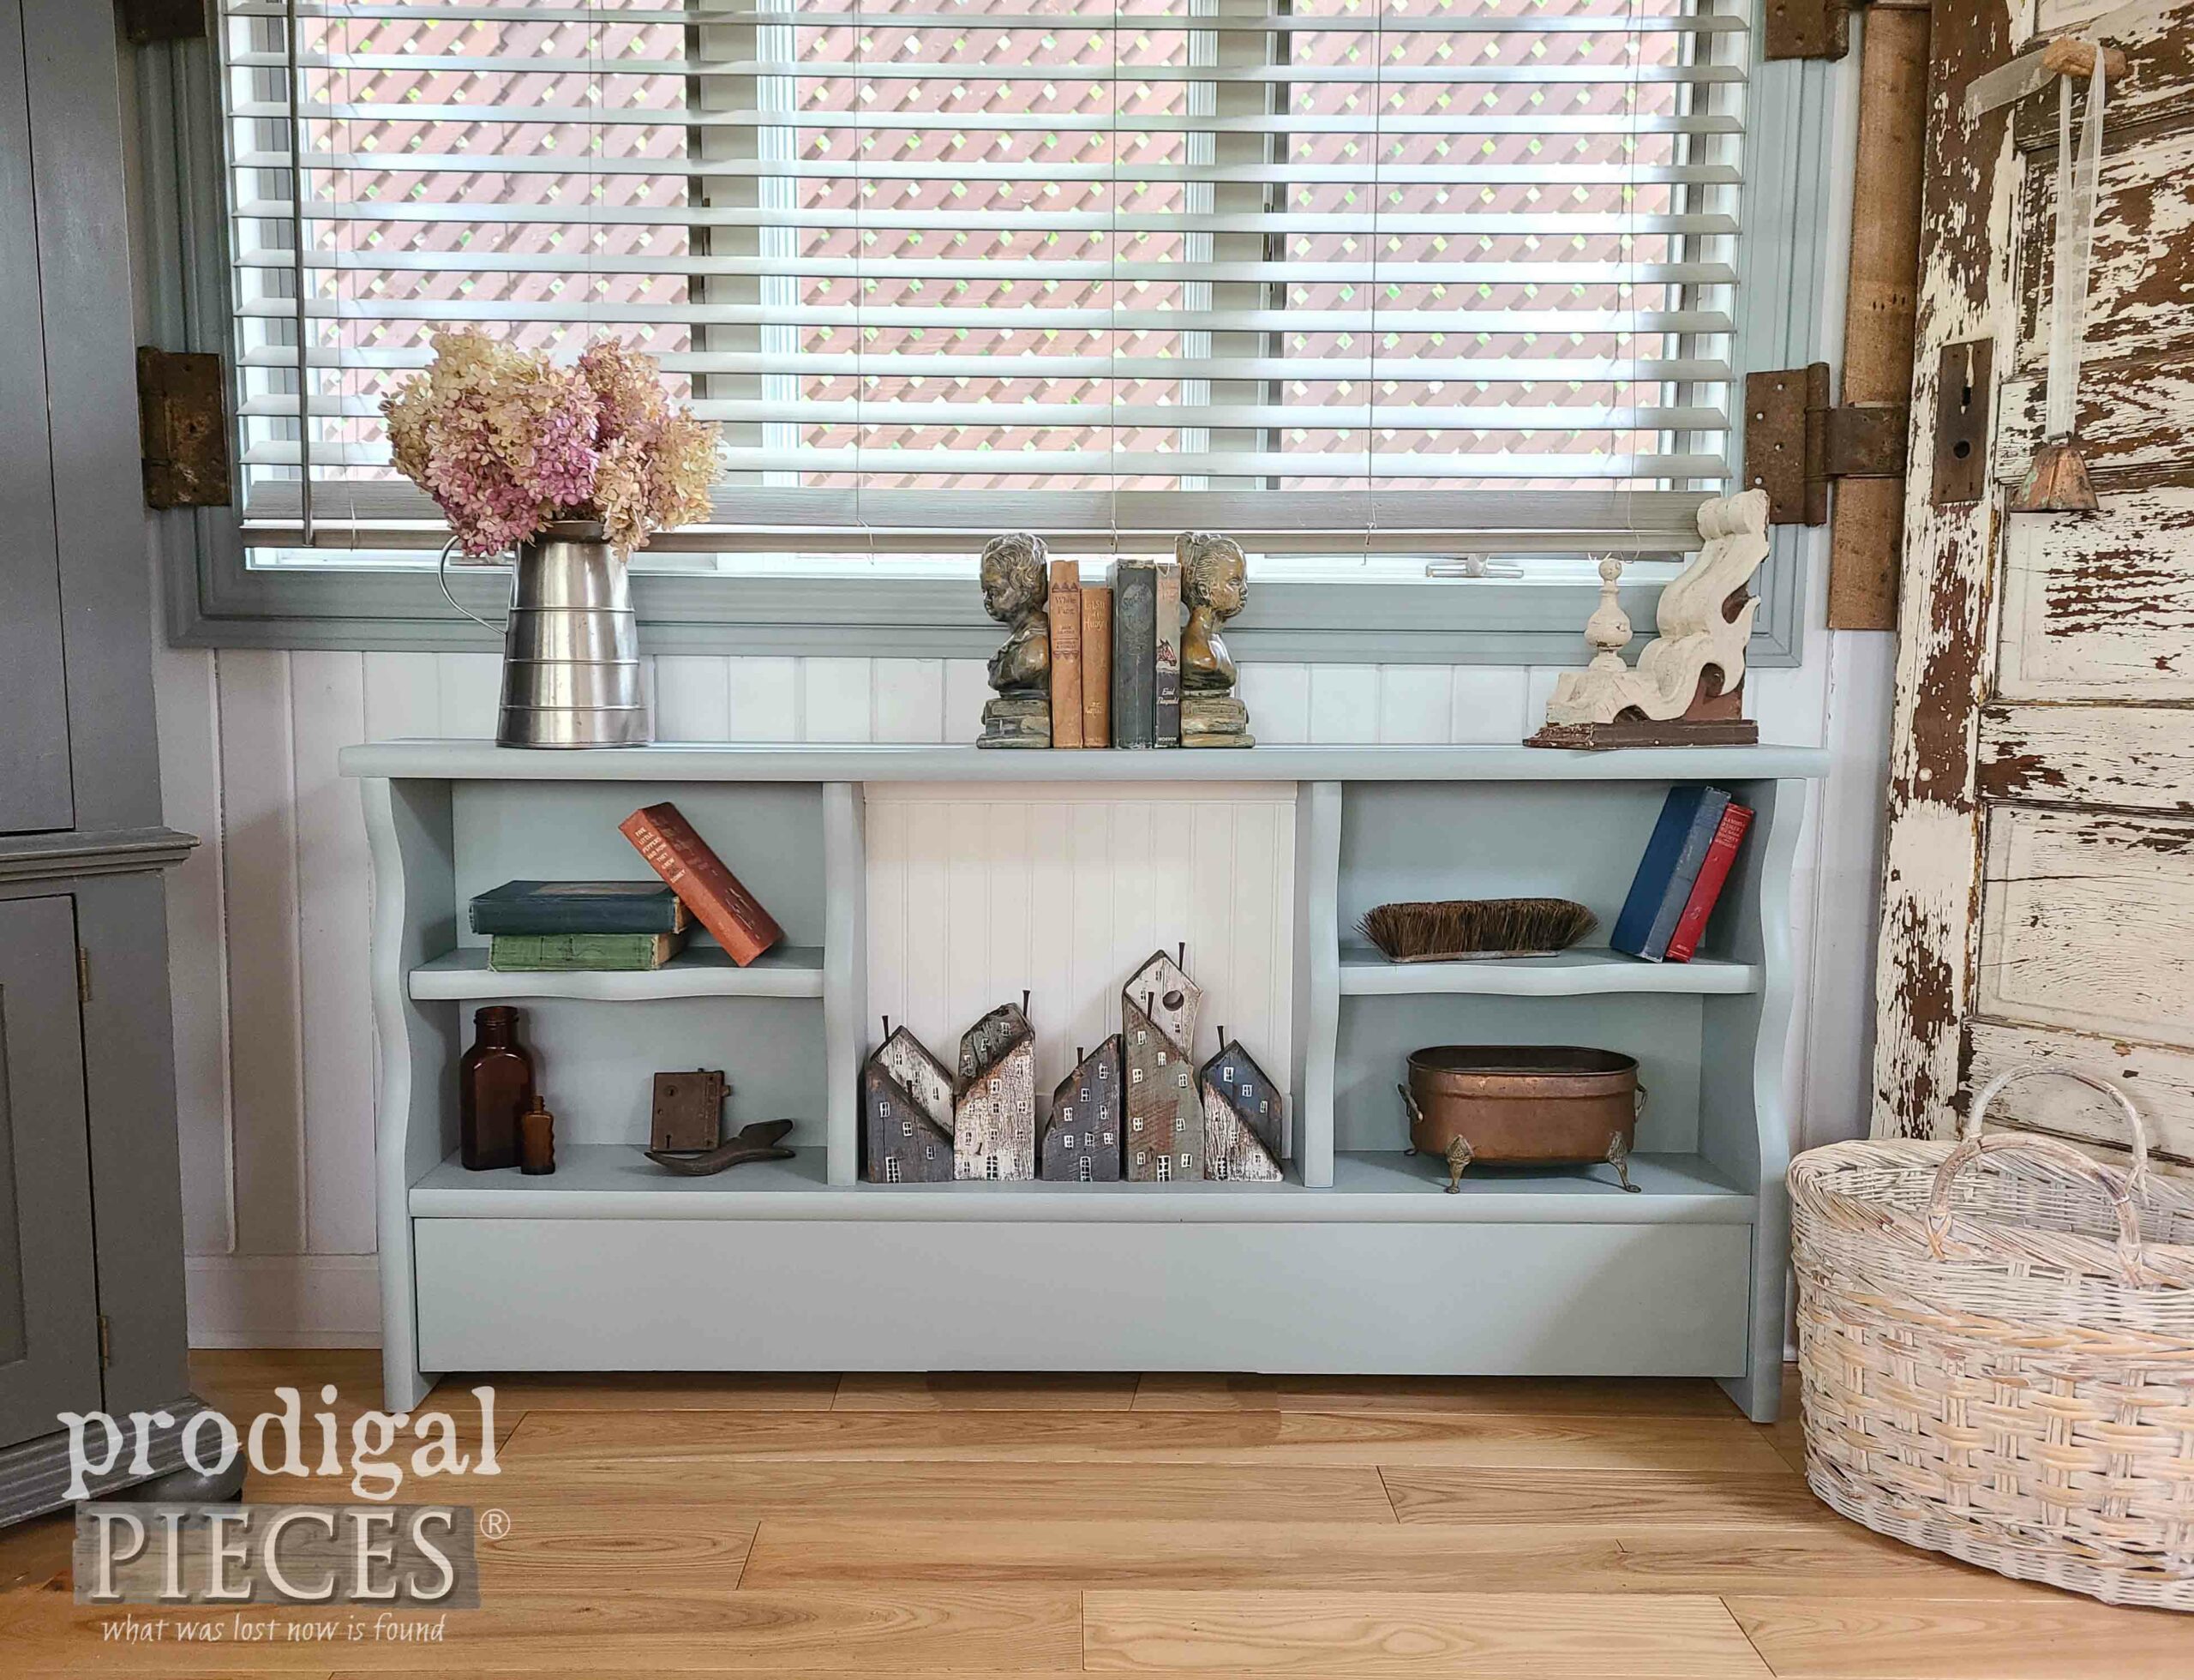
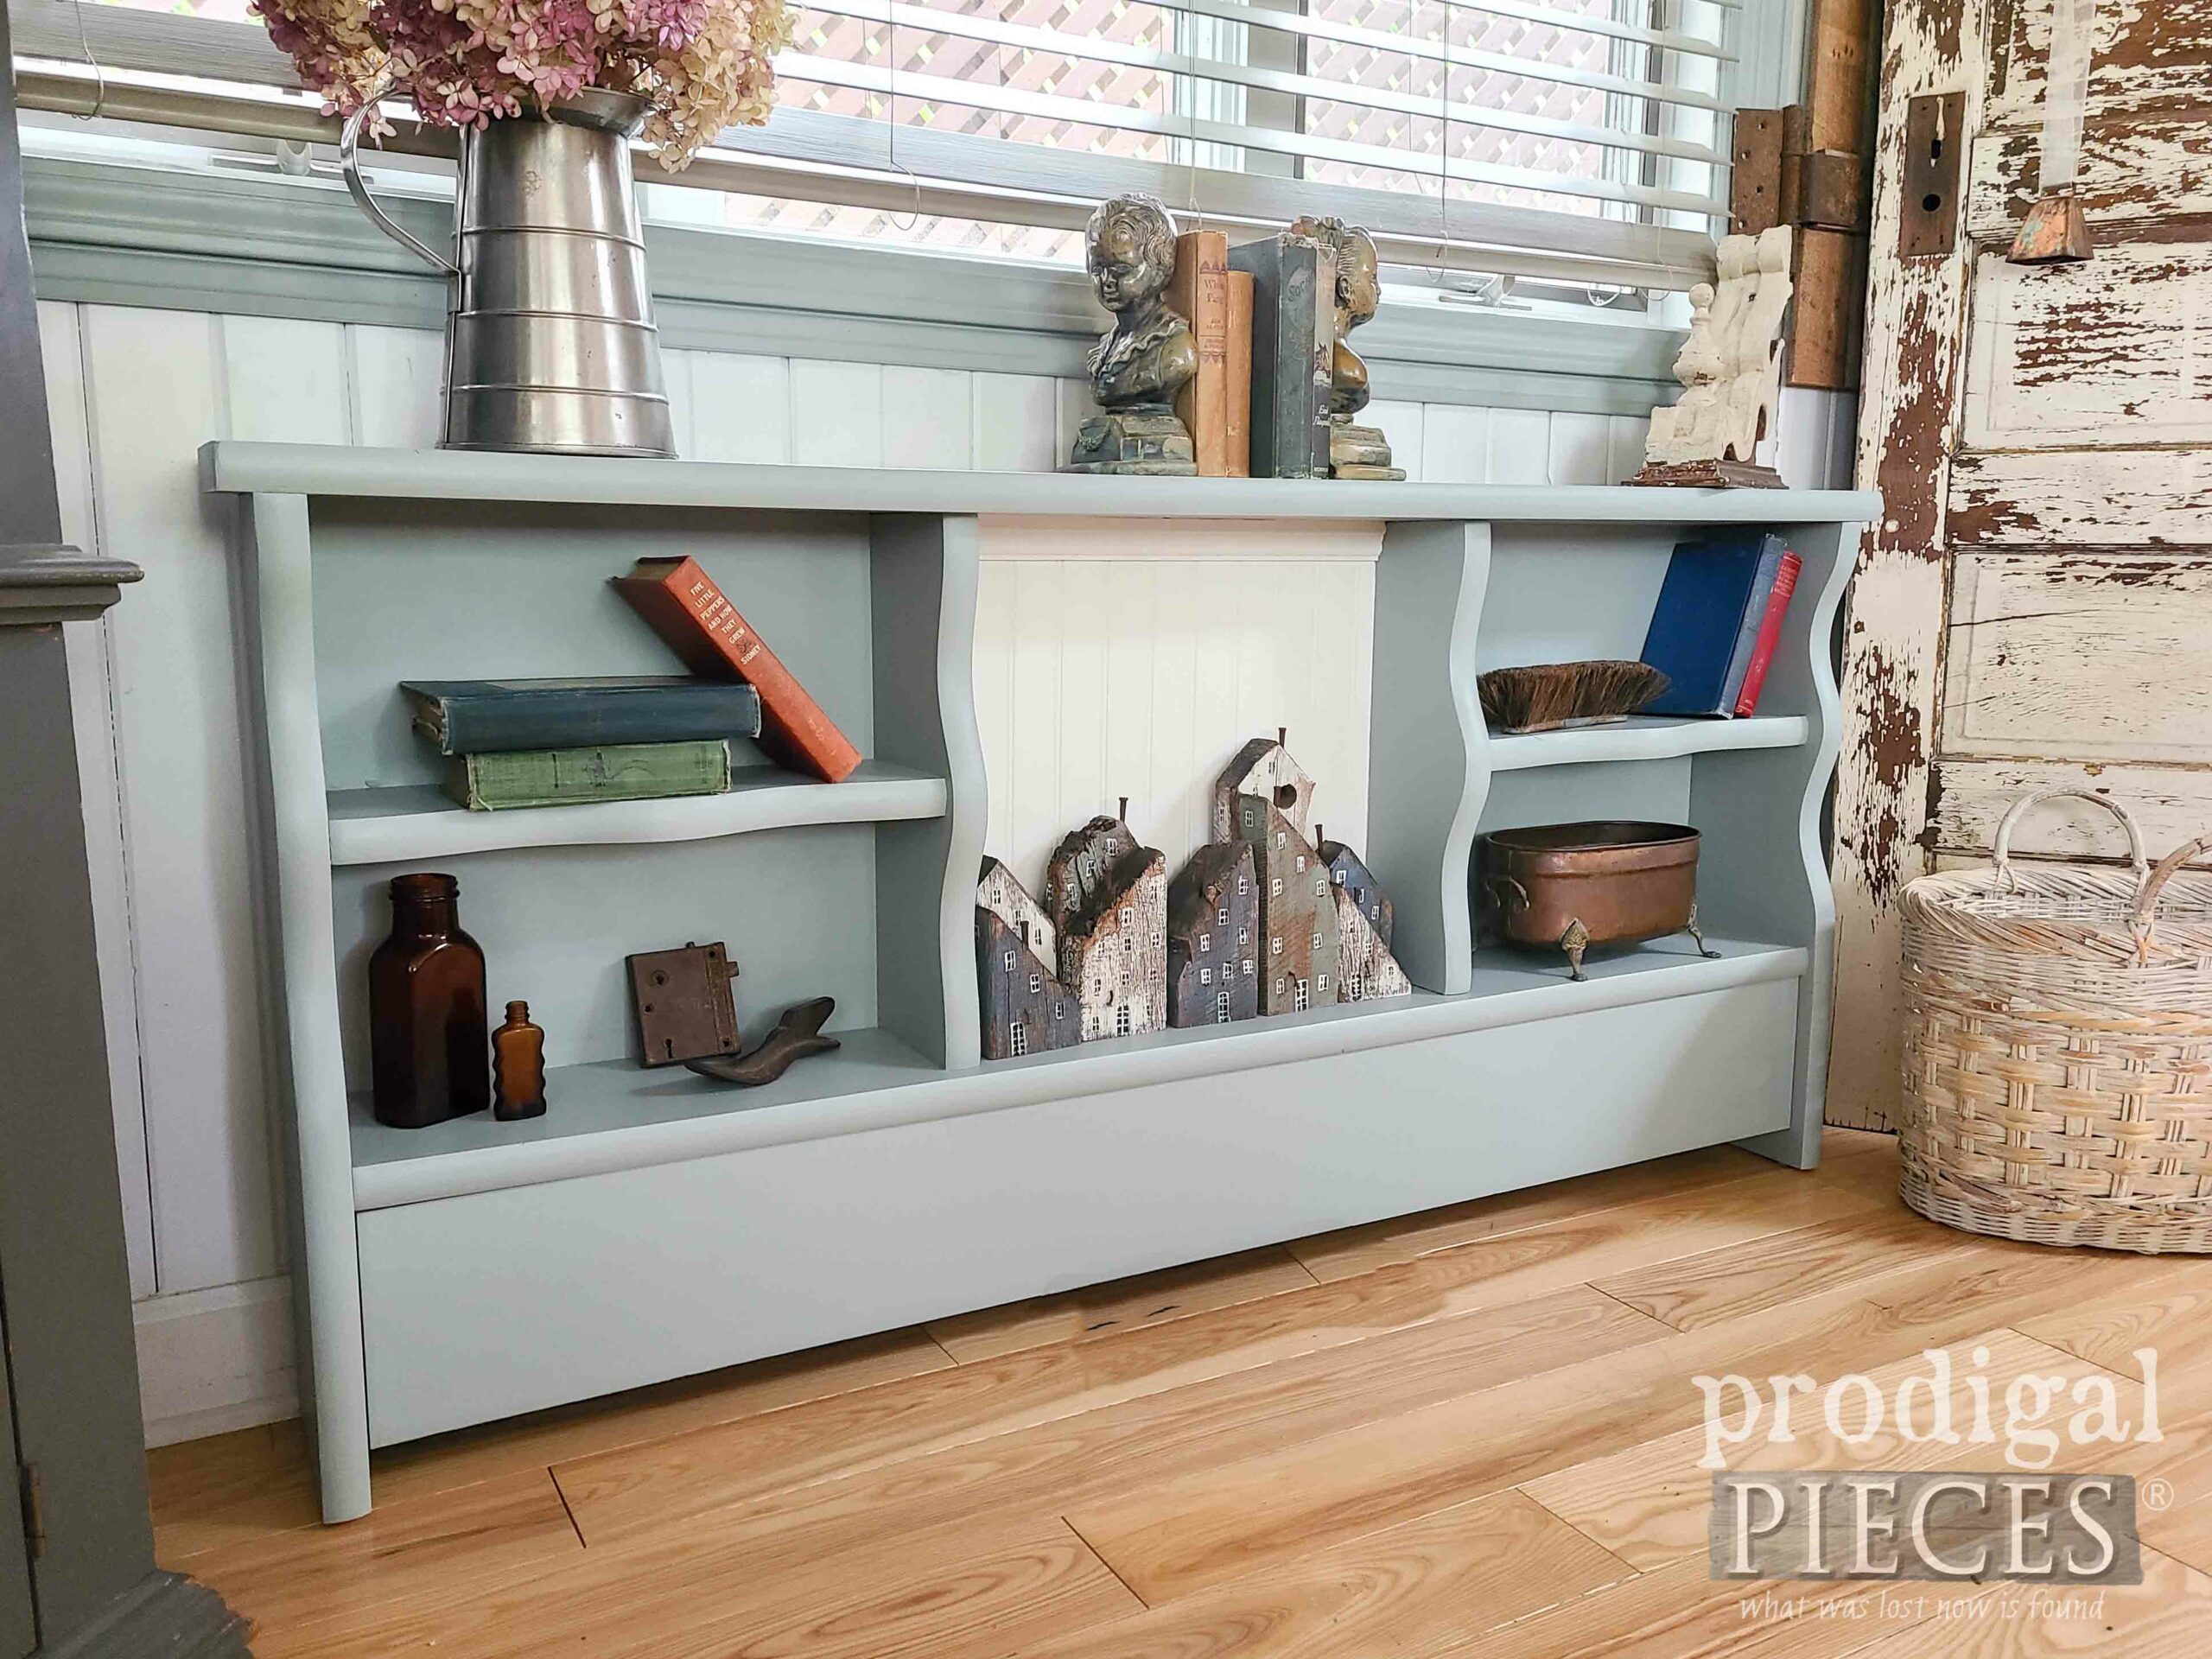
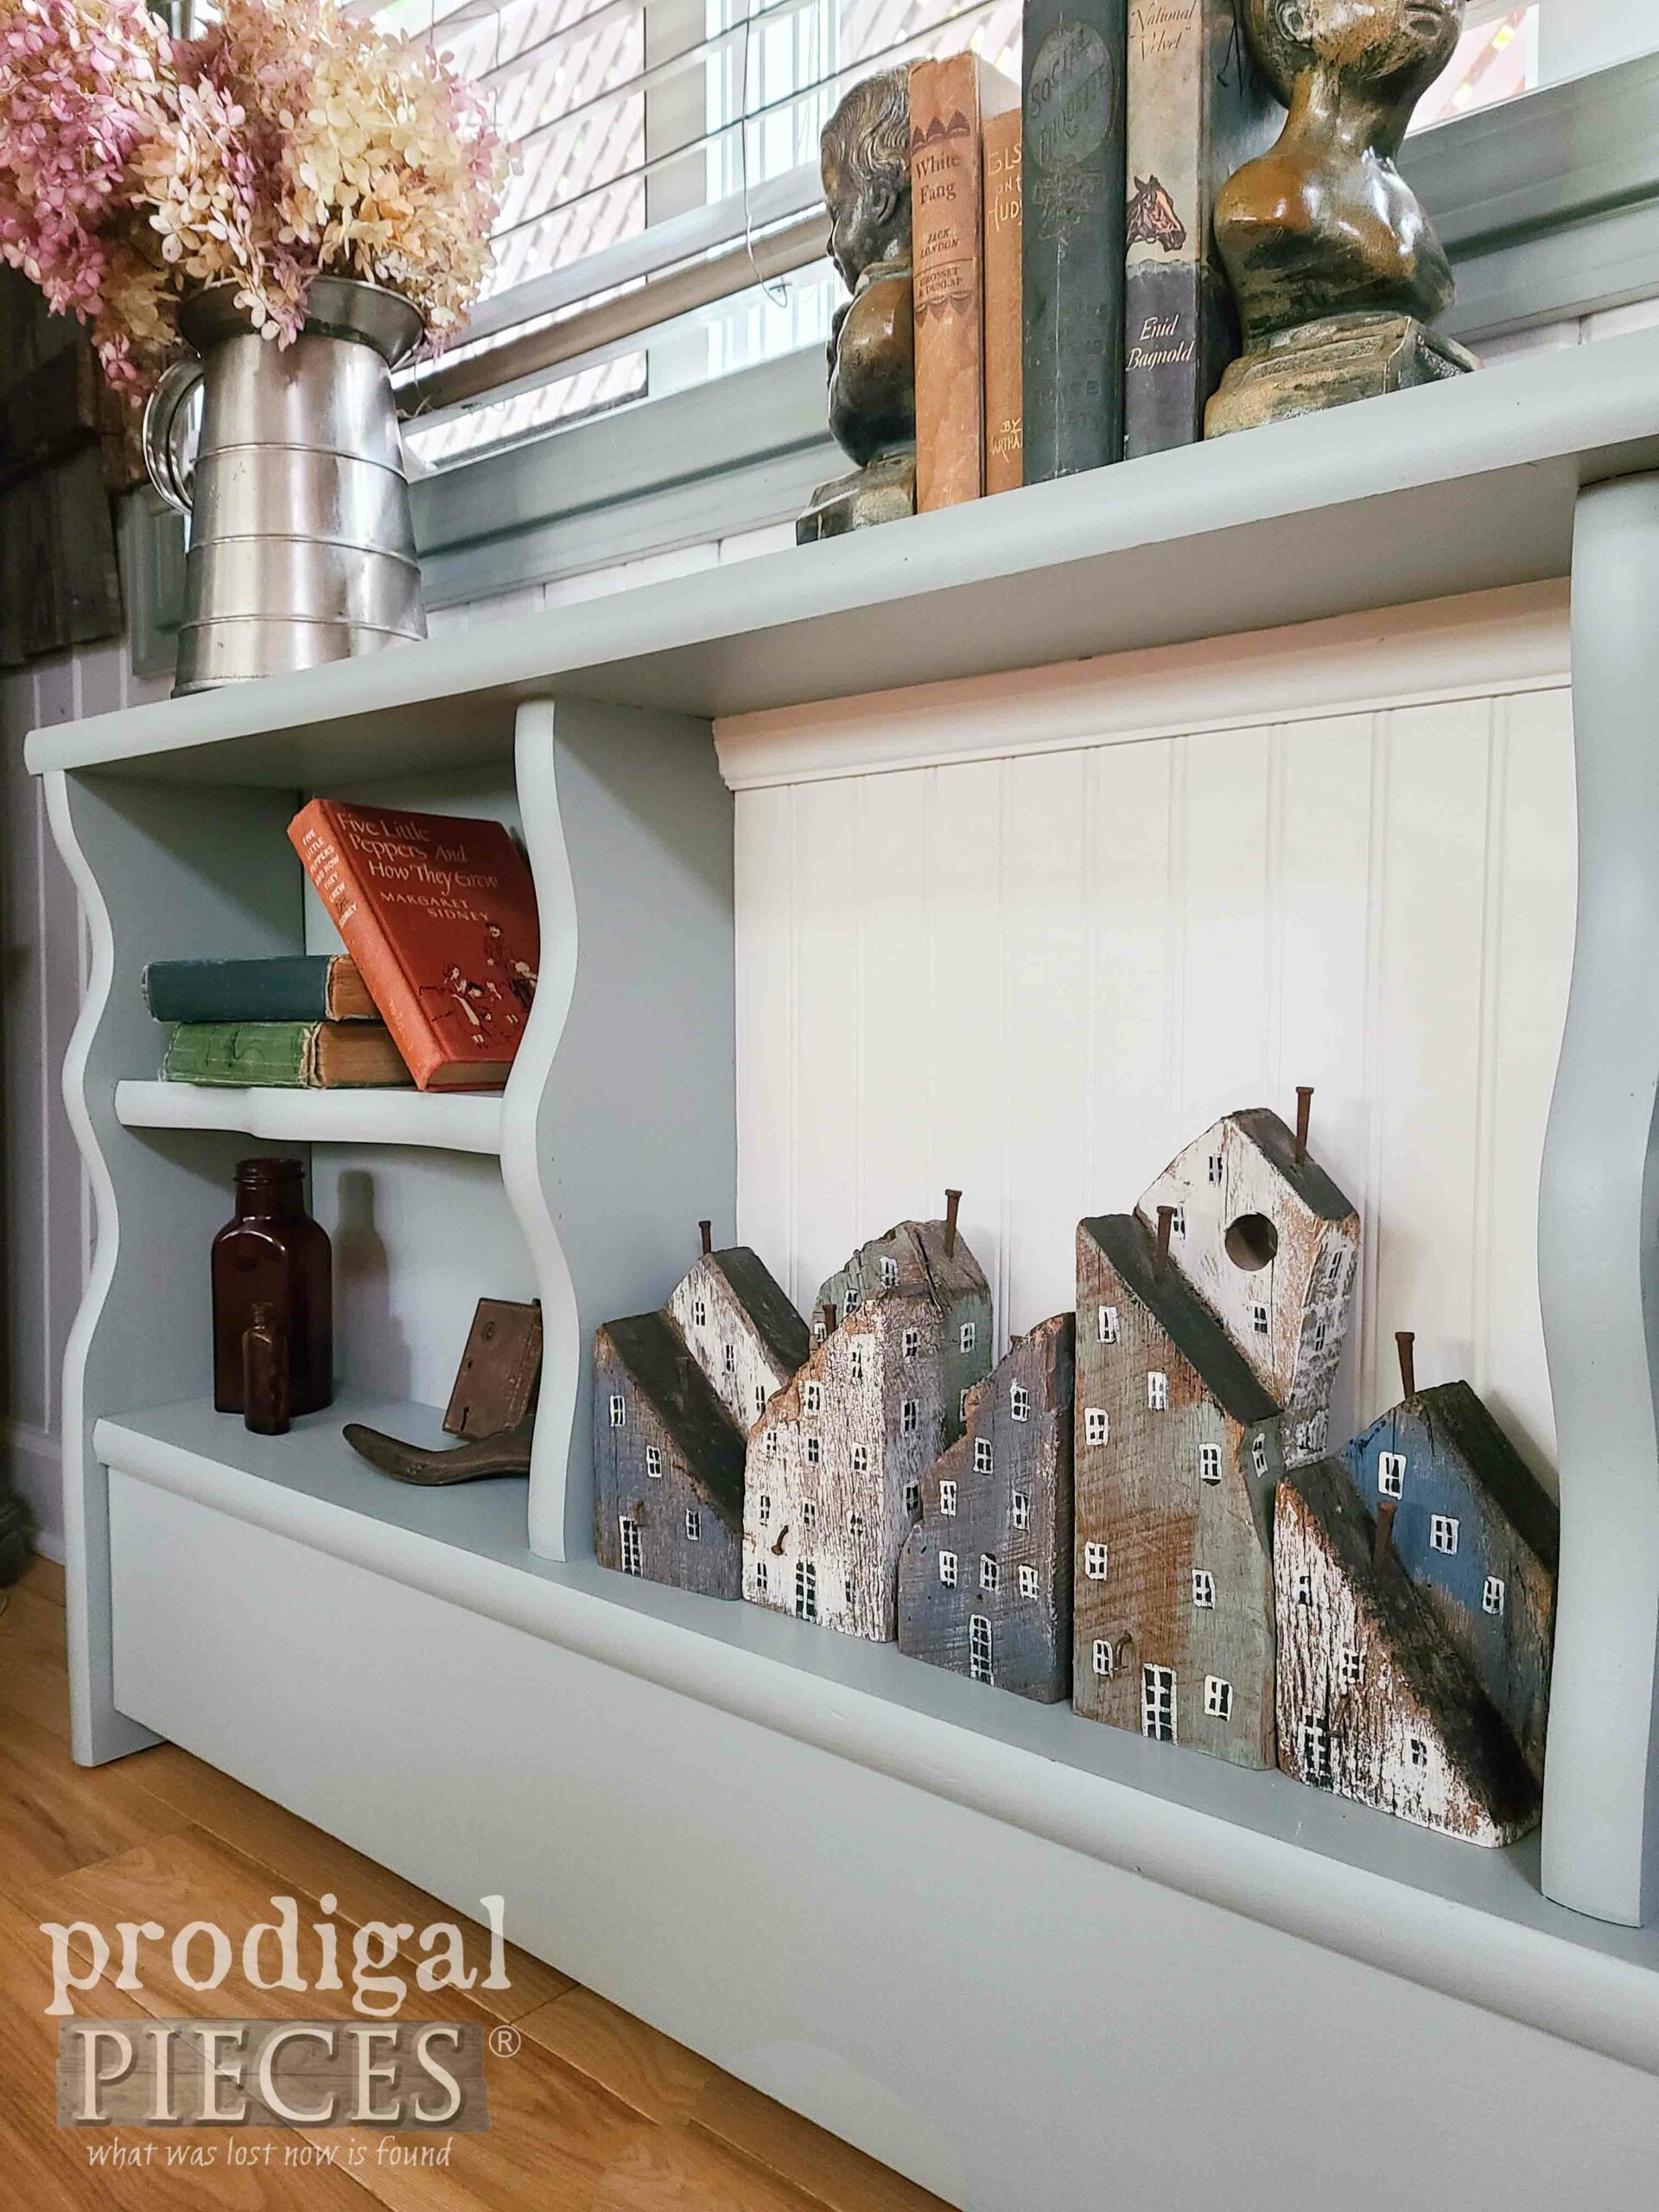
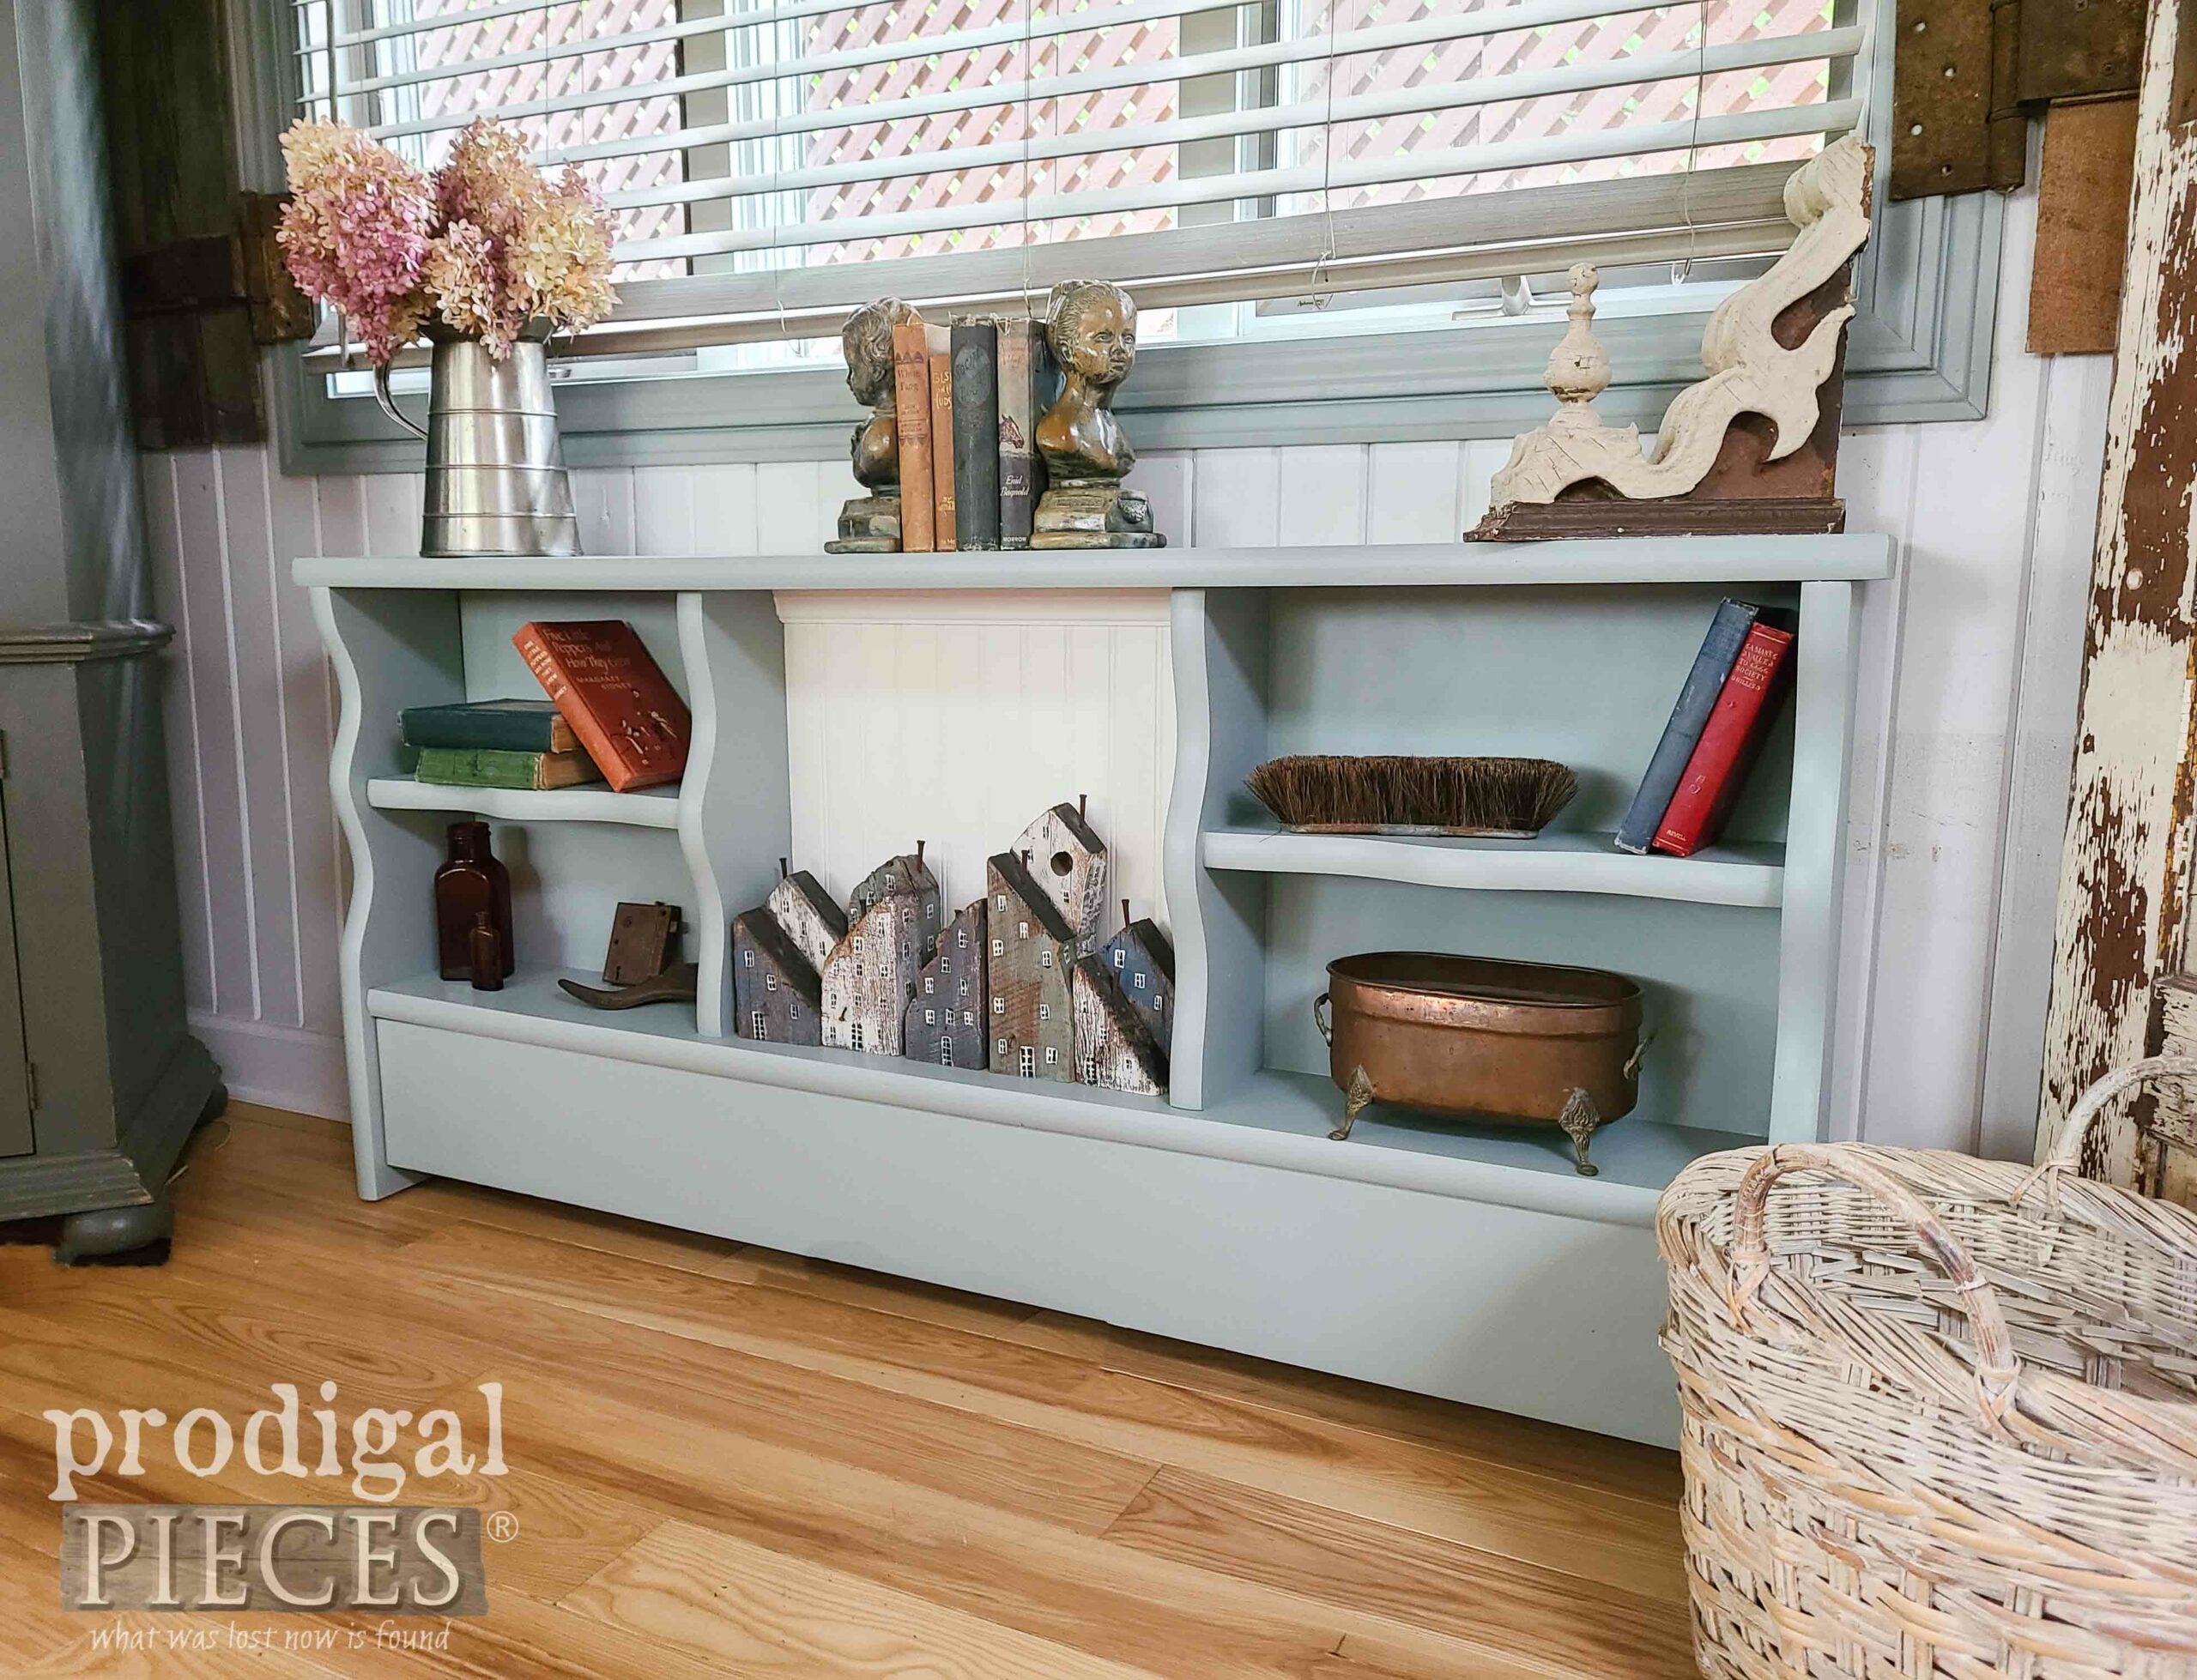
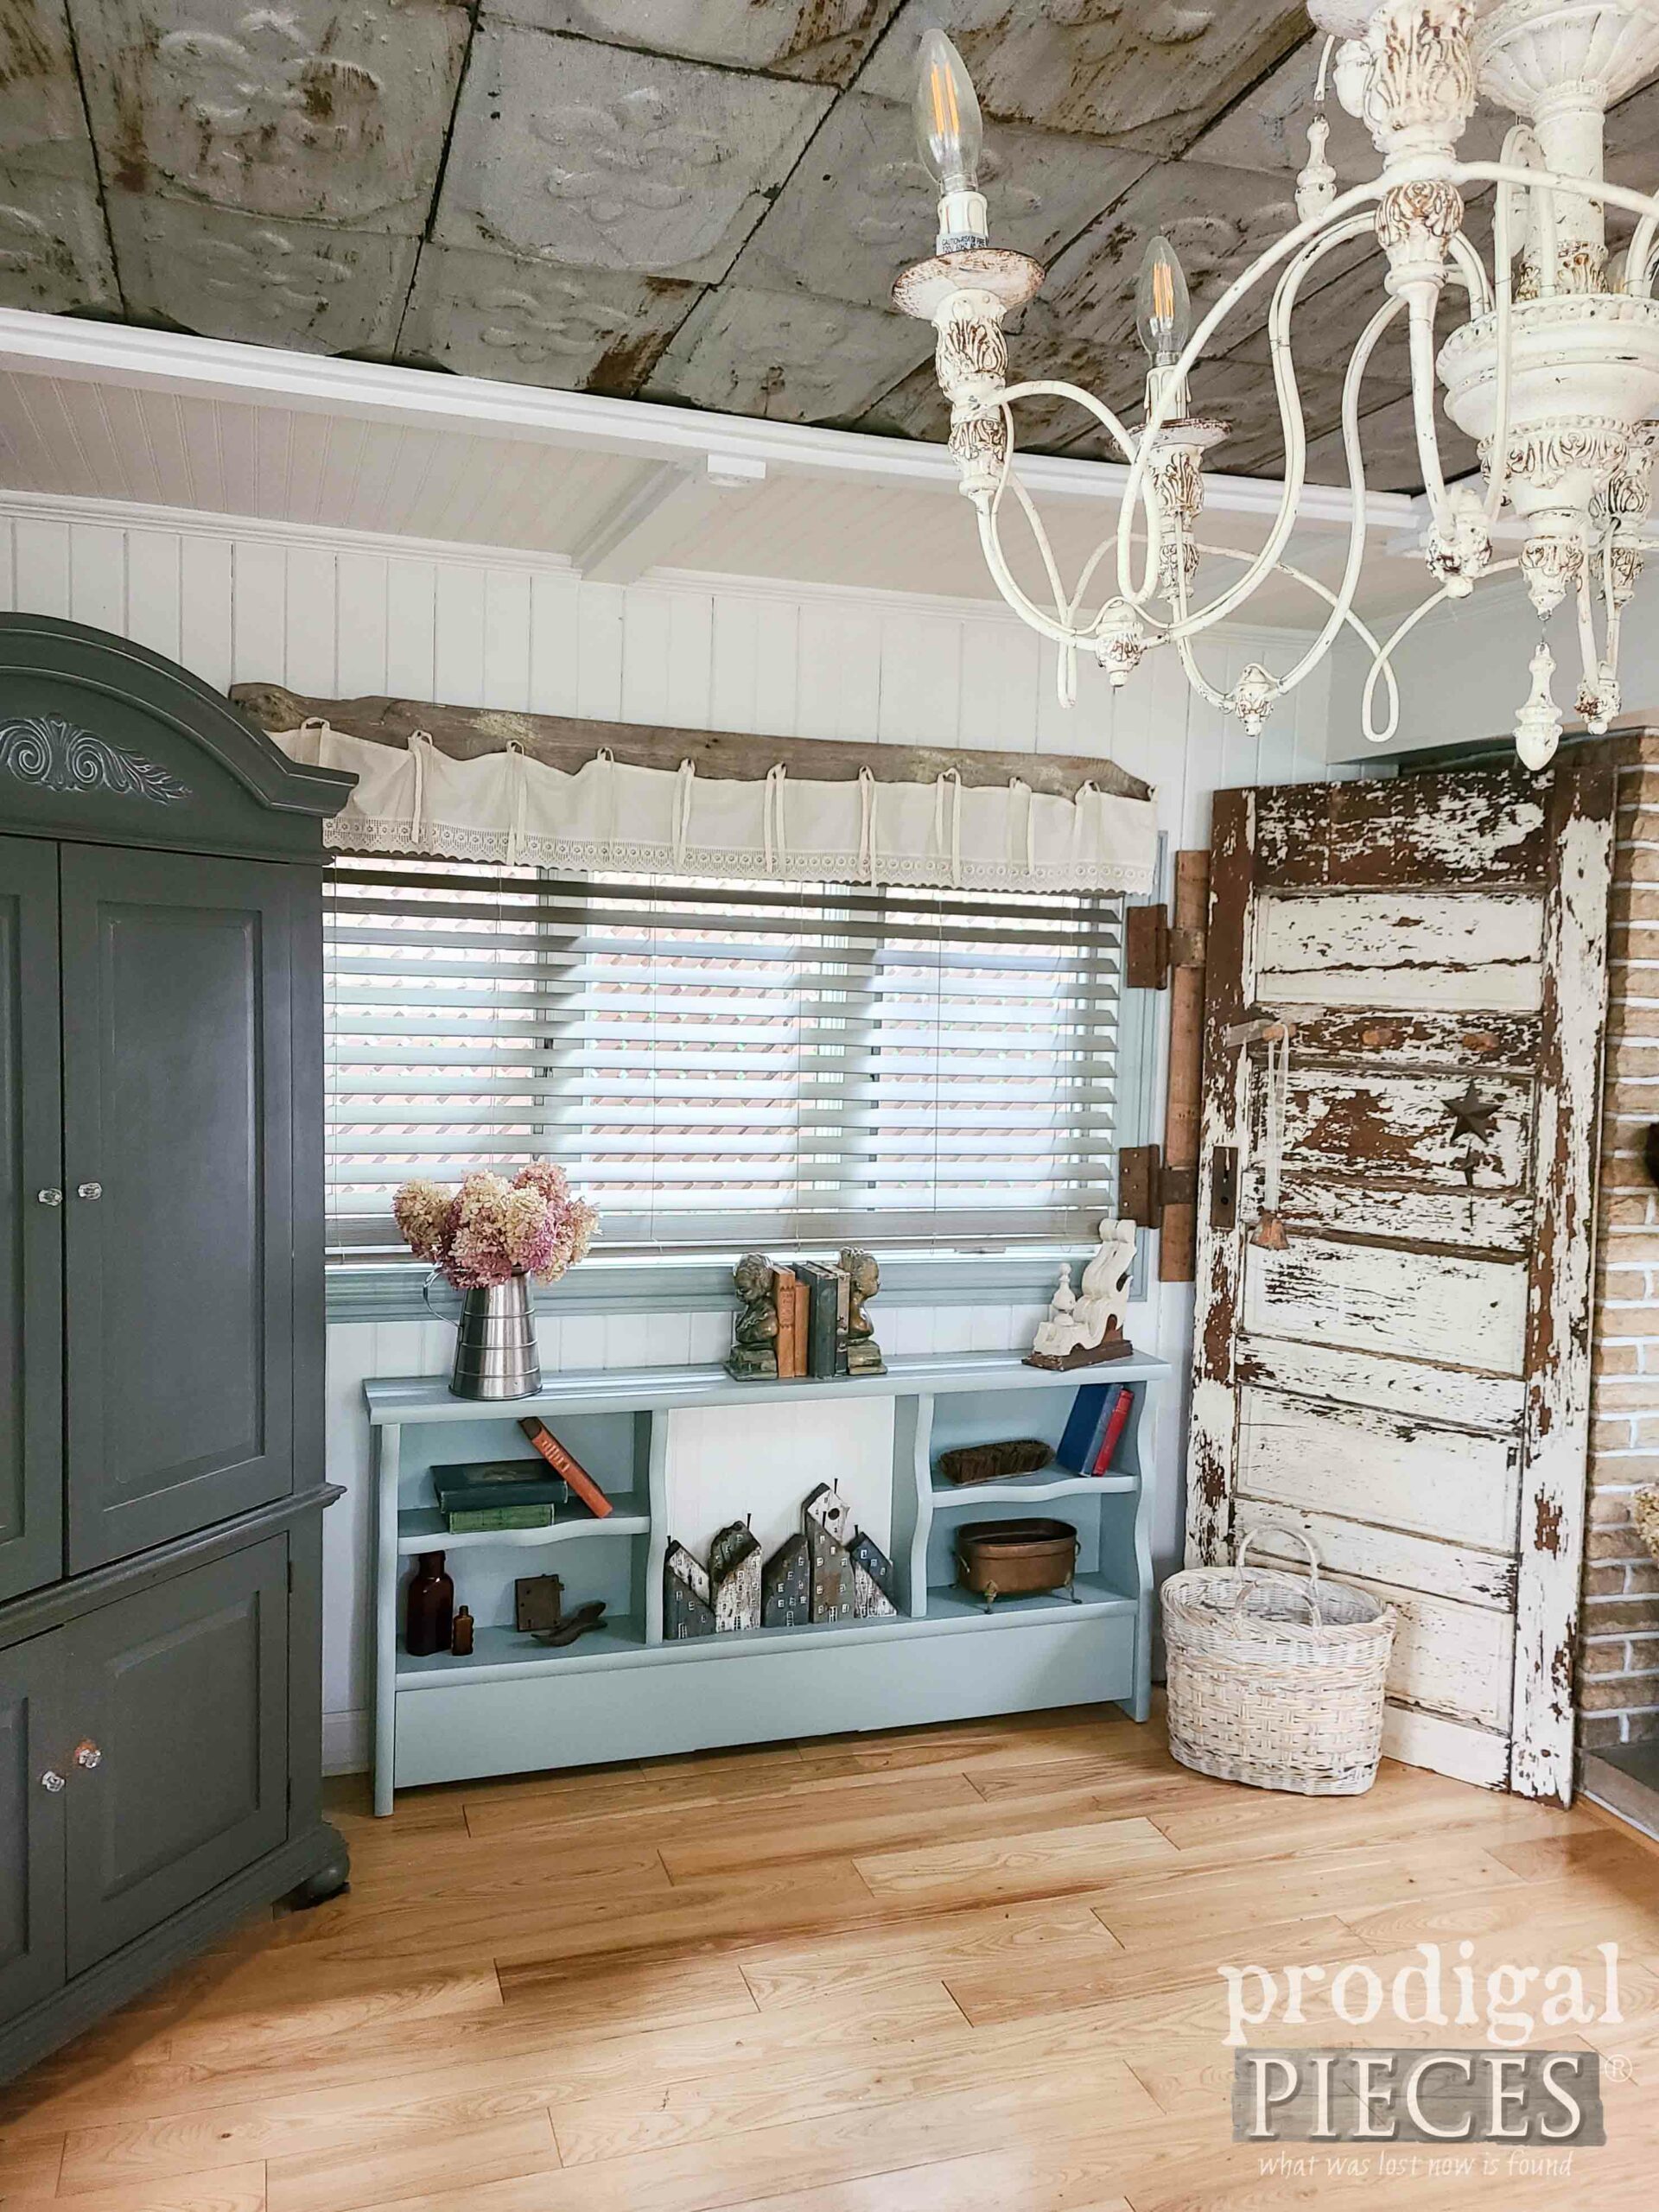
At long DIY last, my repurposed bookcase headboard is finished into a console perfect for wall or behind a sofa.
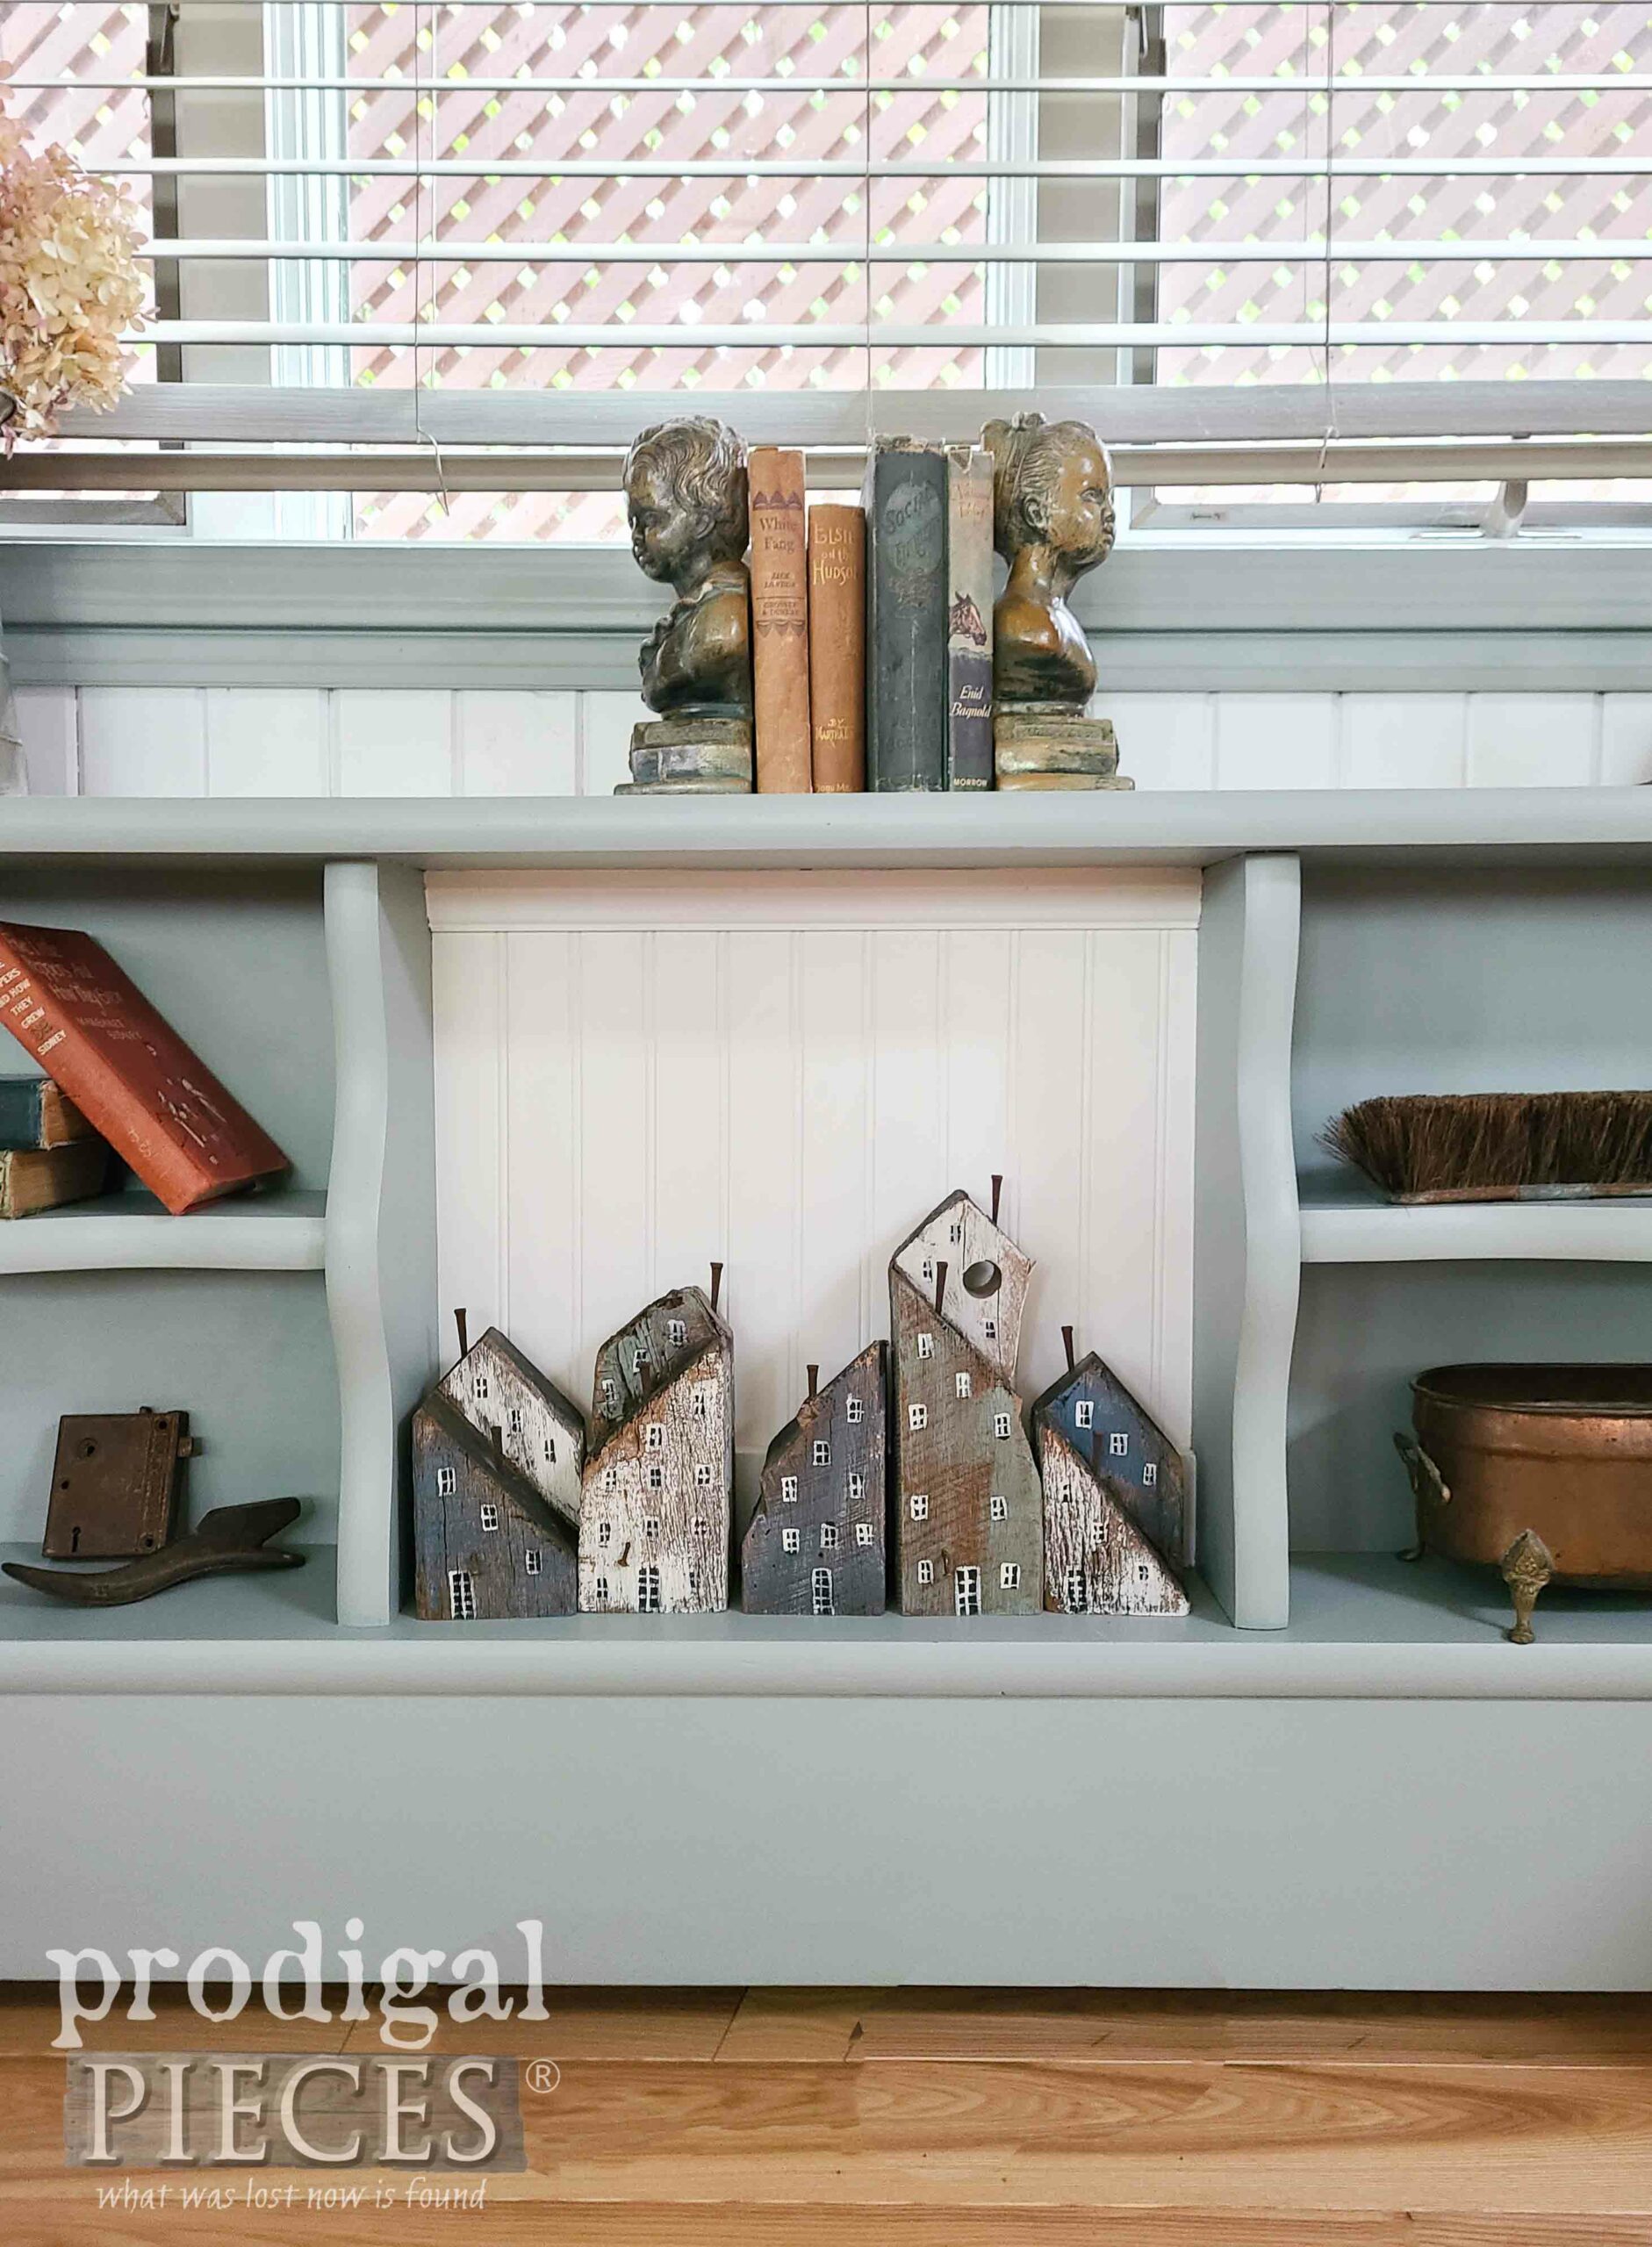
As you can see, I painted the beadboard panel a soft white to contrast the slate green (same as I’ve used in all these projects, including my kitchen)
It’s a favorite color of mine for many reasons, especially for toning down that brown beast I started with.
I love that it was pretty much straightforward and just a matter of basic woodworking skills and elbow grease.
SHARE
As always, I want to hear from you – you that I write for. Would you have lugged this big thing home? If so, what would you have done with it? Leave some fun comments below as well pin and share so we can inspire others.
Before you go, be sure to sign up for my FREE newsletter then head below to see more DIY fun. Until next time!

While you’re at it, here are more DIY projects like this repurposed headboard:
Love this! I will grab one of these now that I have seen this. Great job 💕
That’s what I love to hear, Pamela. Yay!
This, to me, is one of your BEST reprposed pieces. Now I just want to find a funly 60/70s headboard for my own!!
How fun to hear, Alice. Thanks and happy hunting! 🙂
Amazing, Larissa!! I can see it in a child’s bedroom, holding all those tiny books they love to drag around everywhere!
aww… that would be fun! Thank you, Christy.
YOU get the queen of patience and creativity badge Larissa! 🫵😃 This makeover is awesome!! You gave this old ugly headboard a brand new life and she’s so pretty now… and practical/functional too! Pinned!! XOXO
Right back at ya, Denise. After I saw your project today, I needed a rest. 😉 Thank you!
Absolutely amazing as always!! And I’m sending you and your kids positive energy and prayers!!! You’ve got this and peace and love are about to become your everyday, all day!! ❤️🥰❤️🙏🏻🙏🏻
You are the best at bringing smiles, Rebecca. Thank you!
So smart! That’s a great repurpose.
Thanks! I debated on doing something a bit different and more involved, but I’ll save that for another headboard. haha.
Wow Larissa! What you come up with is amazing to me. I really like what you did with that old wreck. Good job!!!
haha! I love your terminology, Caye! 😀 Thank you so much for the smile. I certainly had fun.
So cool! Love the size and convenience. I had a bed like this as a kid.
It totally clicked in my had when I saw it. 😀 Thank you, Stephanie. They are definitely cool headboards as we are a bibliophile family, but the heaviness of that pine always makes me cringe. haha.
That is brilliant, Larissa!! I love the colors too!! xo
Yay! Thank you so much for saying so. It was a fun piece to recreate.
A very clever (and attractive and functional) makeover.
I’m so happy to hear you think so, Cyndel. Thank you.
This is exactly the makeover I needed to see. Have a headboard in my garage waiting on me. I have been wanting a new TV stand that is wide enough for TV but has spaces to hold all of the extra components. Two problems solved with one make over. You are wonderful. Thank you so much for the inspiration and instructions. This is why you are one of the four I follow every week. I appreciate your work very much.
Awesome and you just made my whole week. I could hug ya, Sue. One note… I debated on staging it with a TV above it hanging, but want to caution those with littles and pets to attach it to the wall with hardware or safety straps.
Pięknie, ale Ty zawsze robisz piękne, pomysłowe i funkcjonalne rzeczy. Mebelek zawiesiłabym nad blatem w kuchni lub nad biurkiem ,by wszystko mieć pod ręką. Pozdrawiam
Jesteś miły, że tak mówisz Dziękuję Podoba mi się ten pomysł!