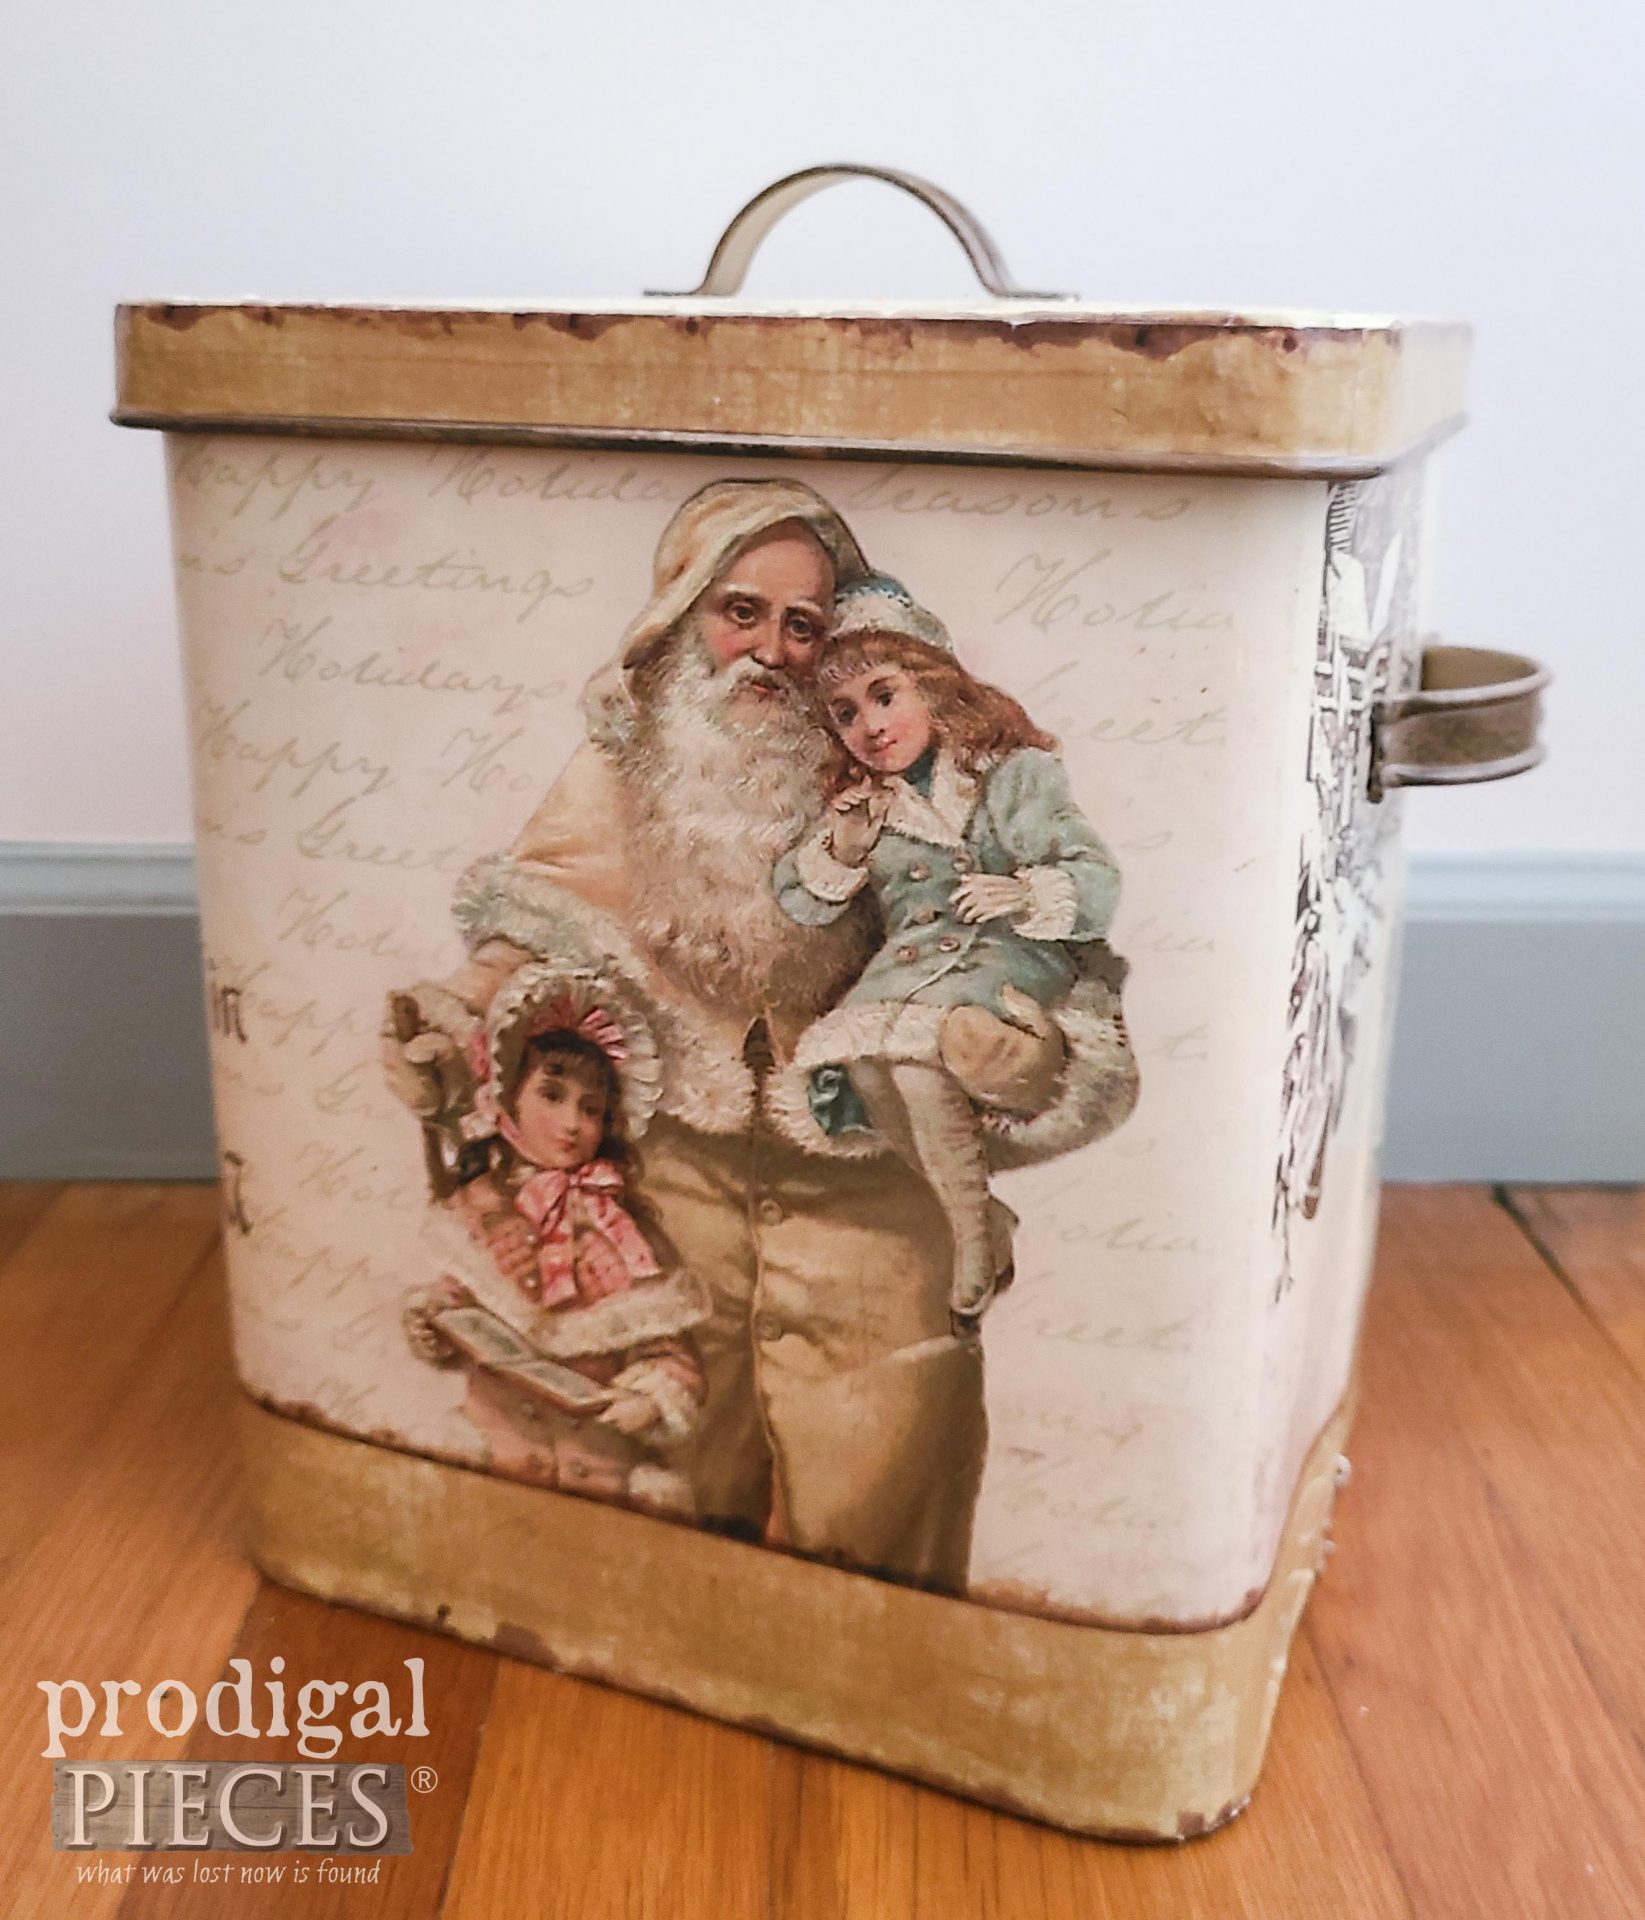
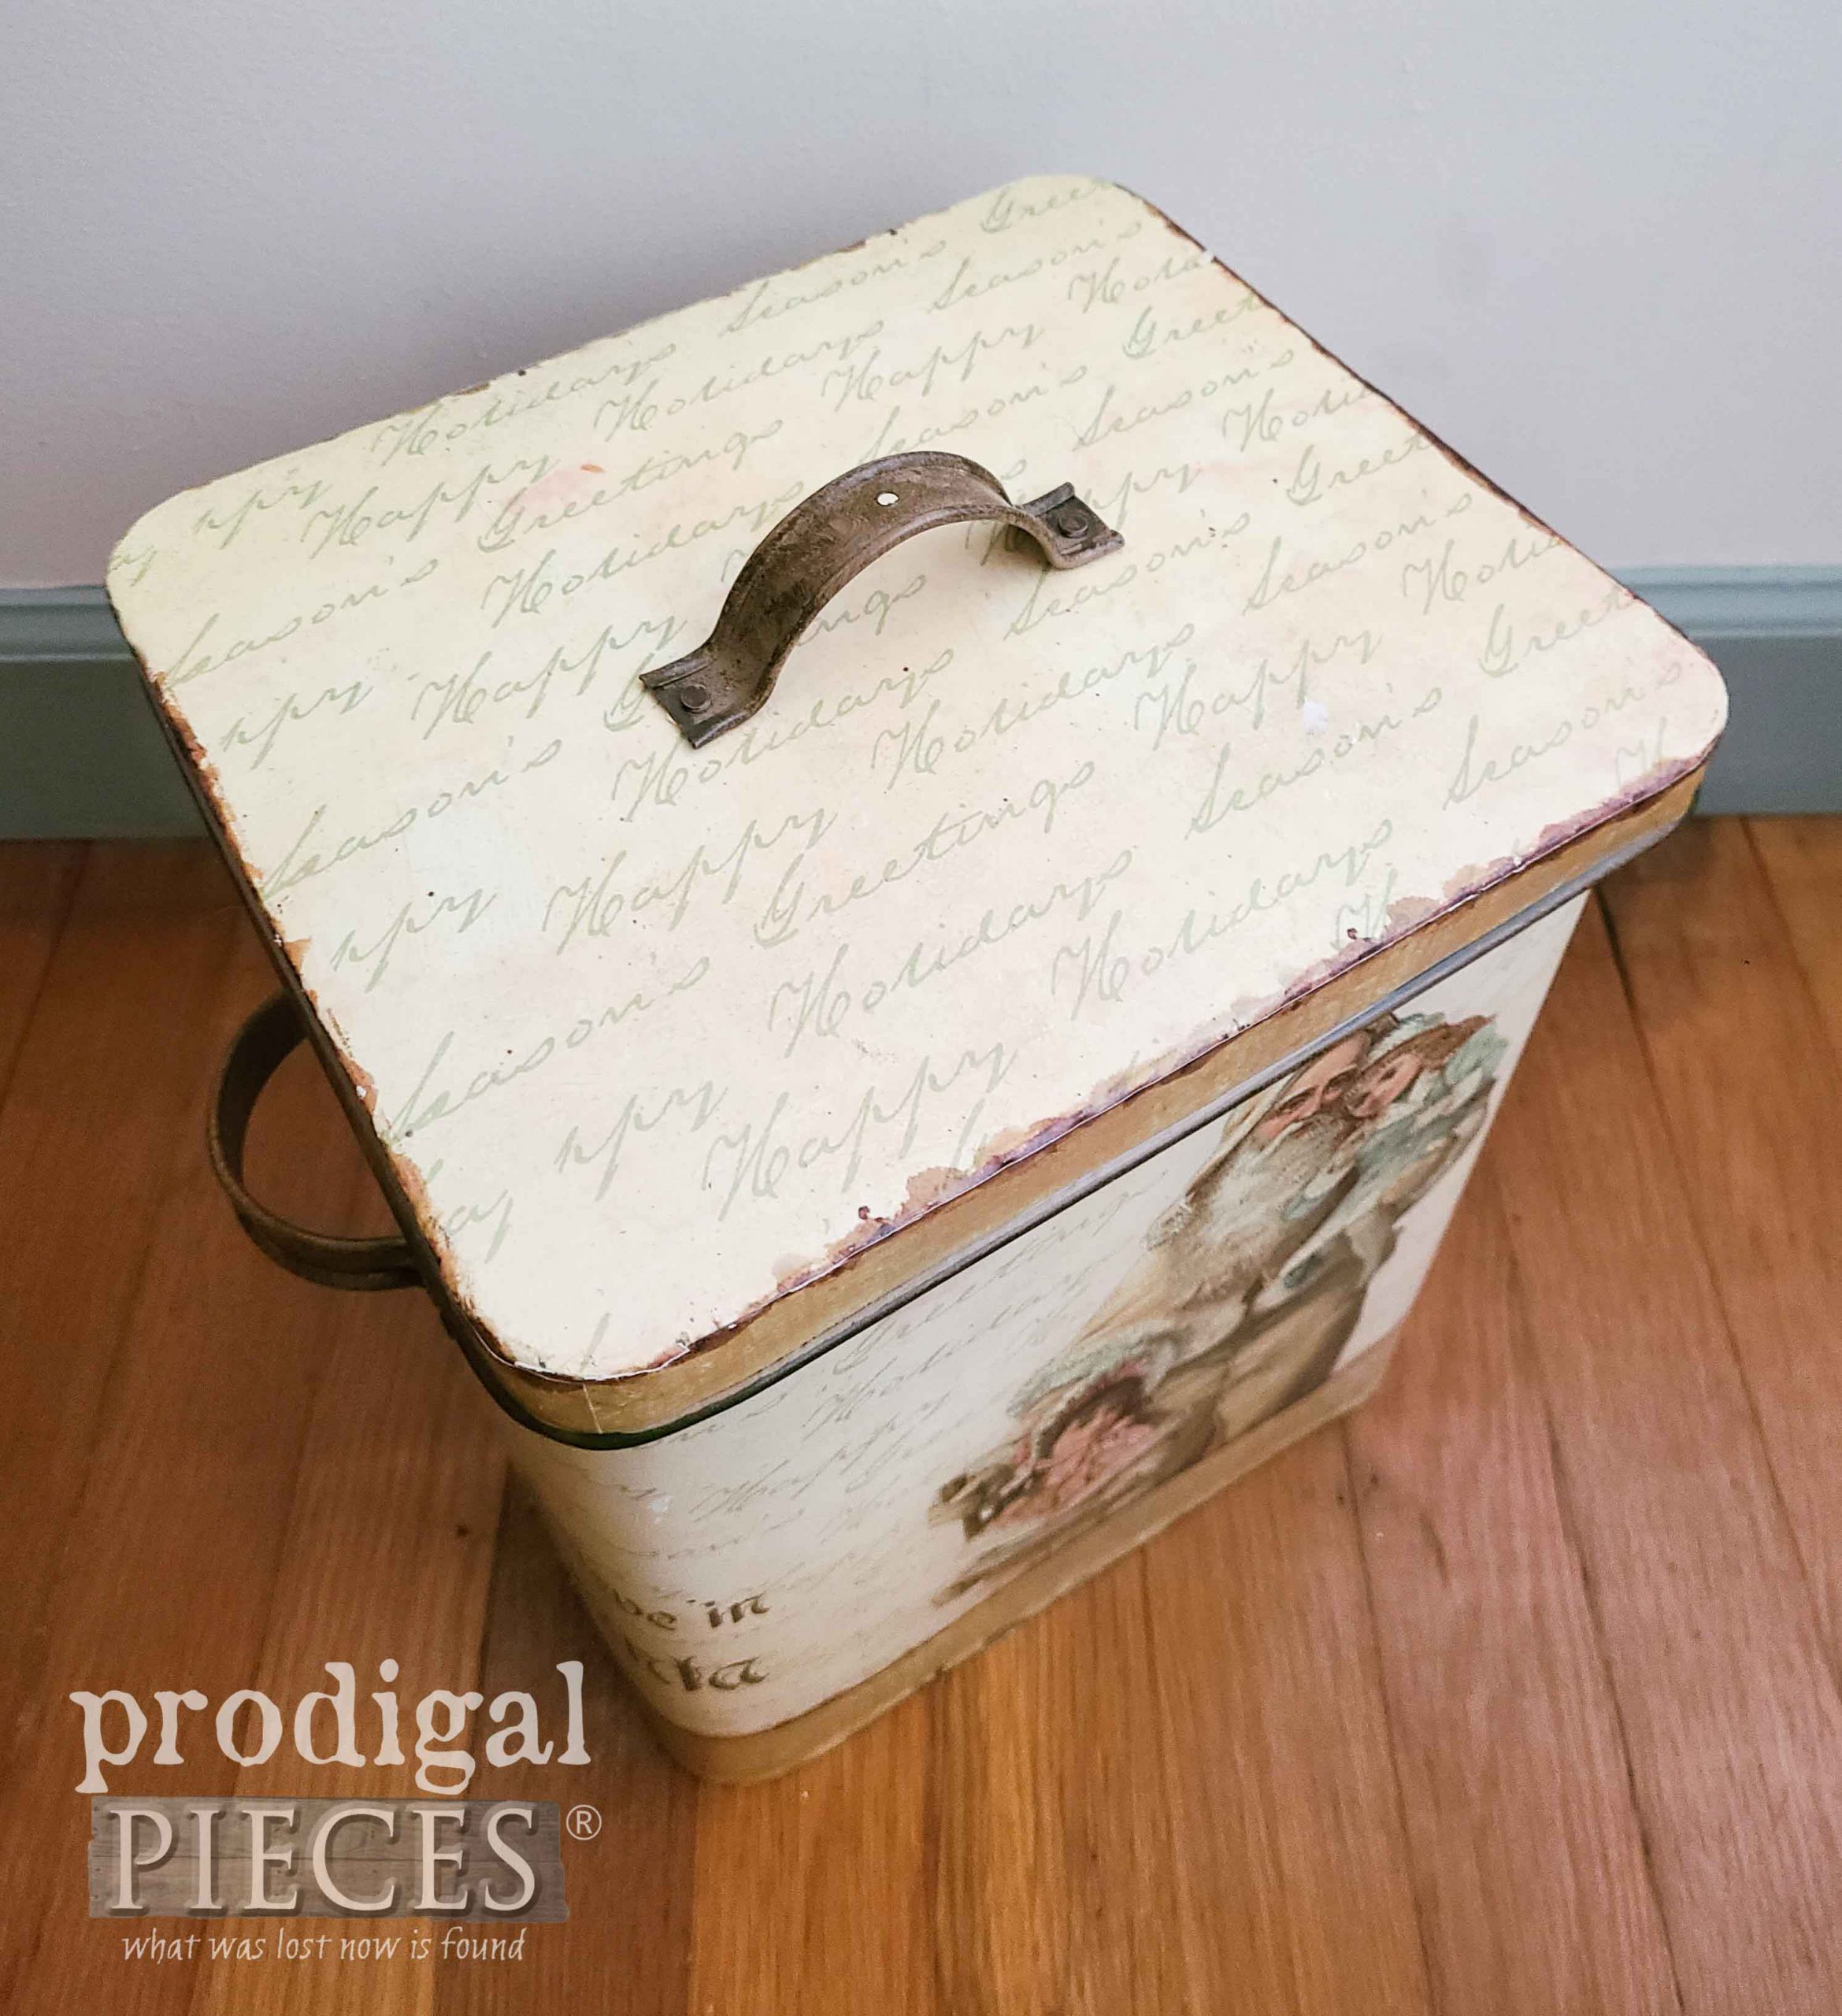
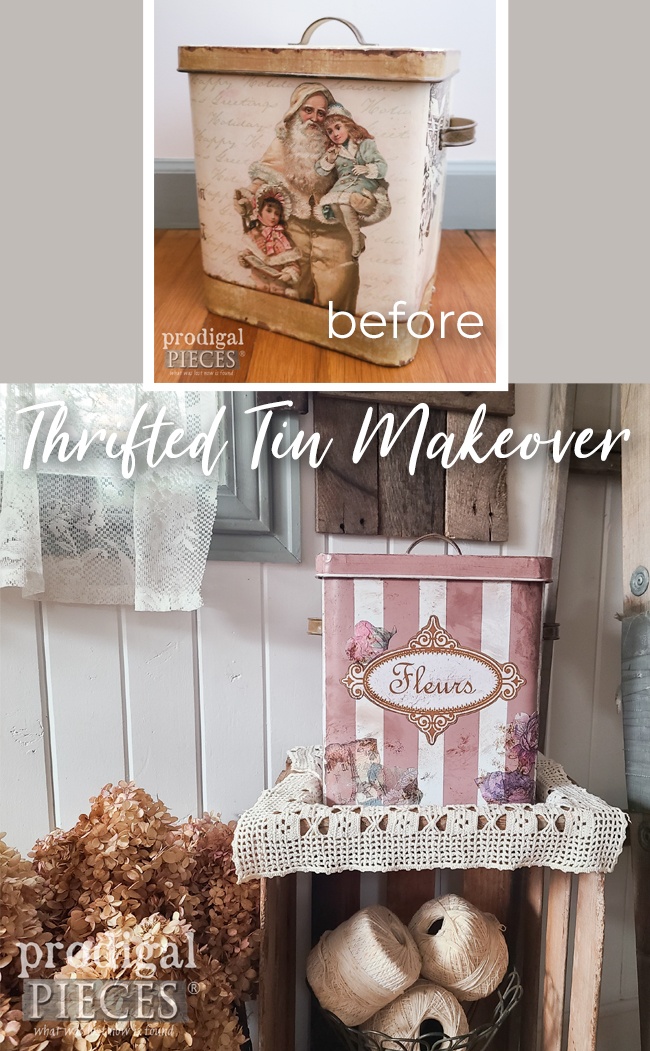
It’s that time of year when we start making plans for our holiday season. Often, that means we have to purge unwanted holiday decor items to make room for new. Over the years I’ve taken a simpler approach to what I keep and what I pass along to someone else. It’s been wonderful to have less to manage, but sometimes I want to keep an item for a different reason. Take this santa tin I found at a local thrift store.
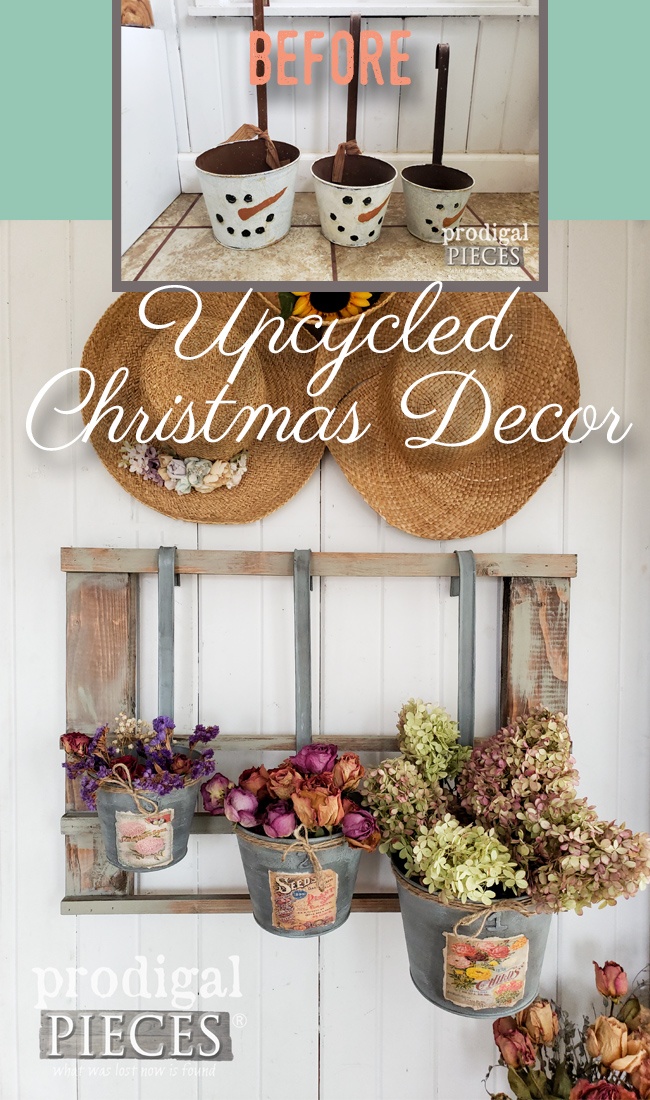
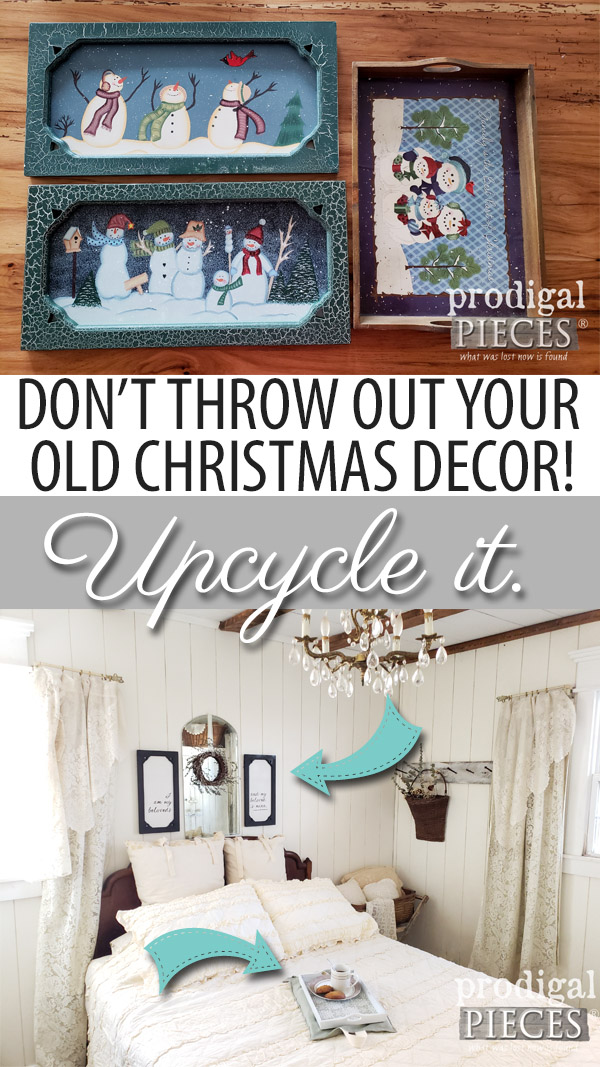
I thought it would bring it home to show what this tin can do outside of the holiday season like I did with these snowman ladles and snowman art. My family and I focus our attention on Christ at Christmas, so santa doesn’t play a role in our celebration. However, I like the shape of this tin and can envision a fun new look that will serve a purpose any time of year. Let’s get started!
MAKEOVER TIME
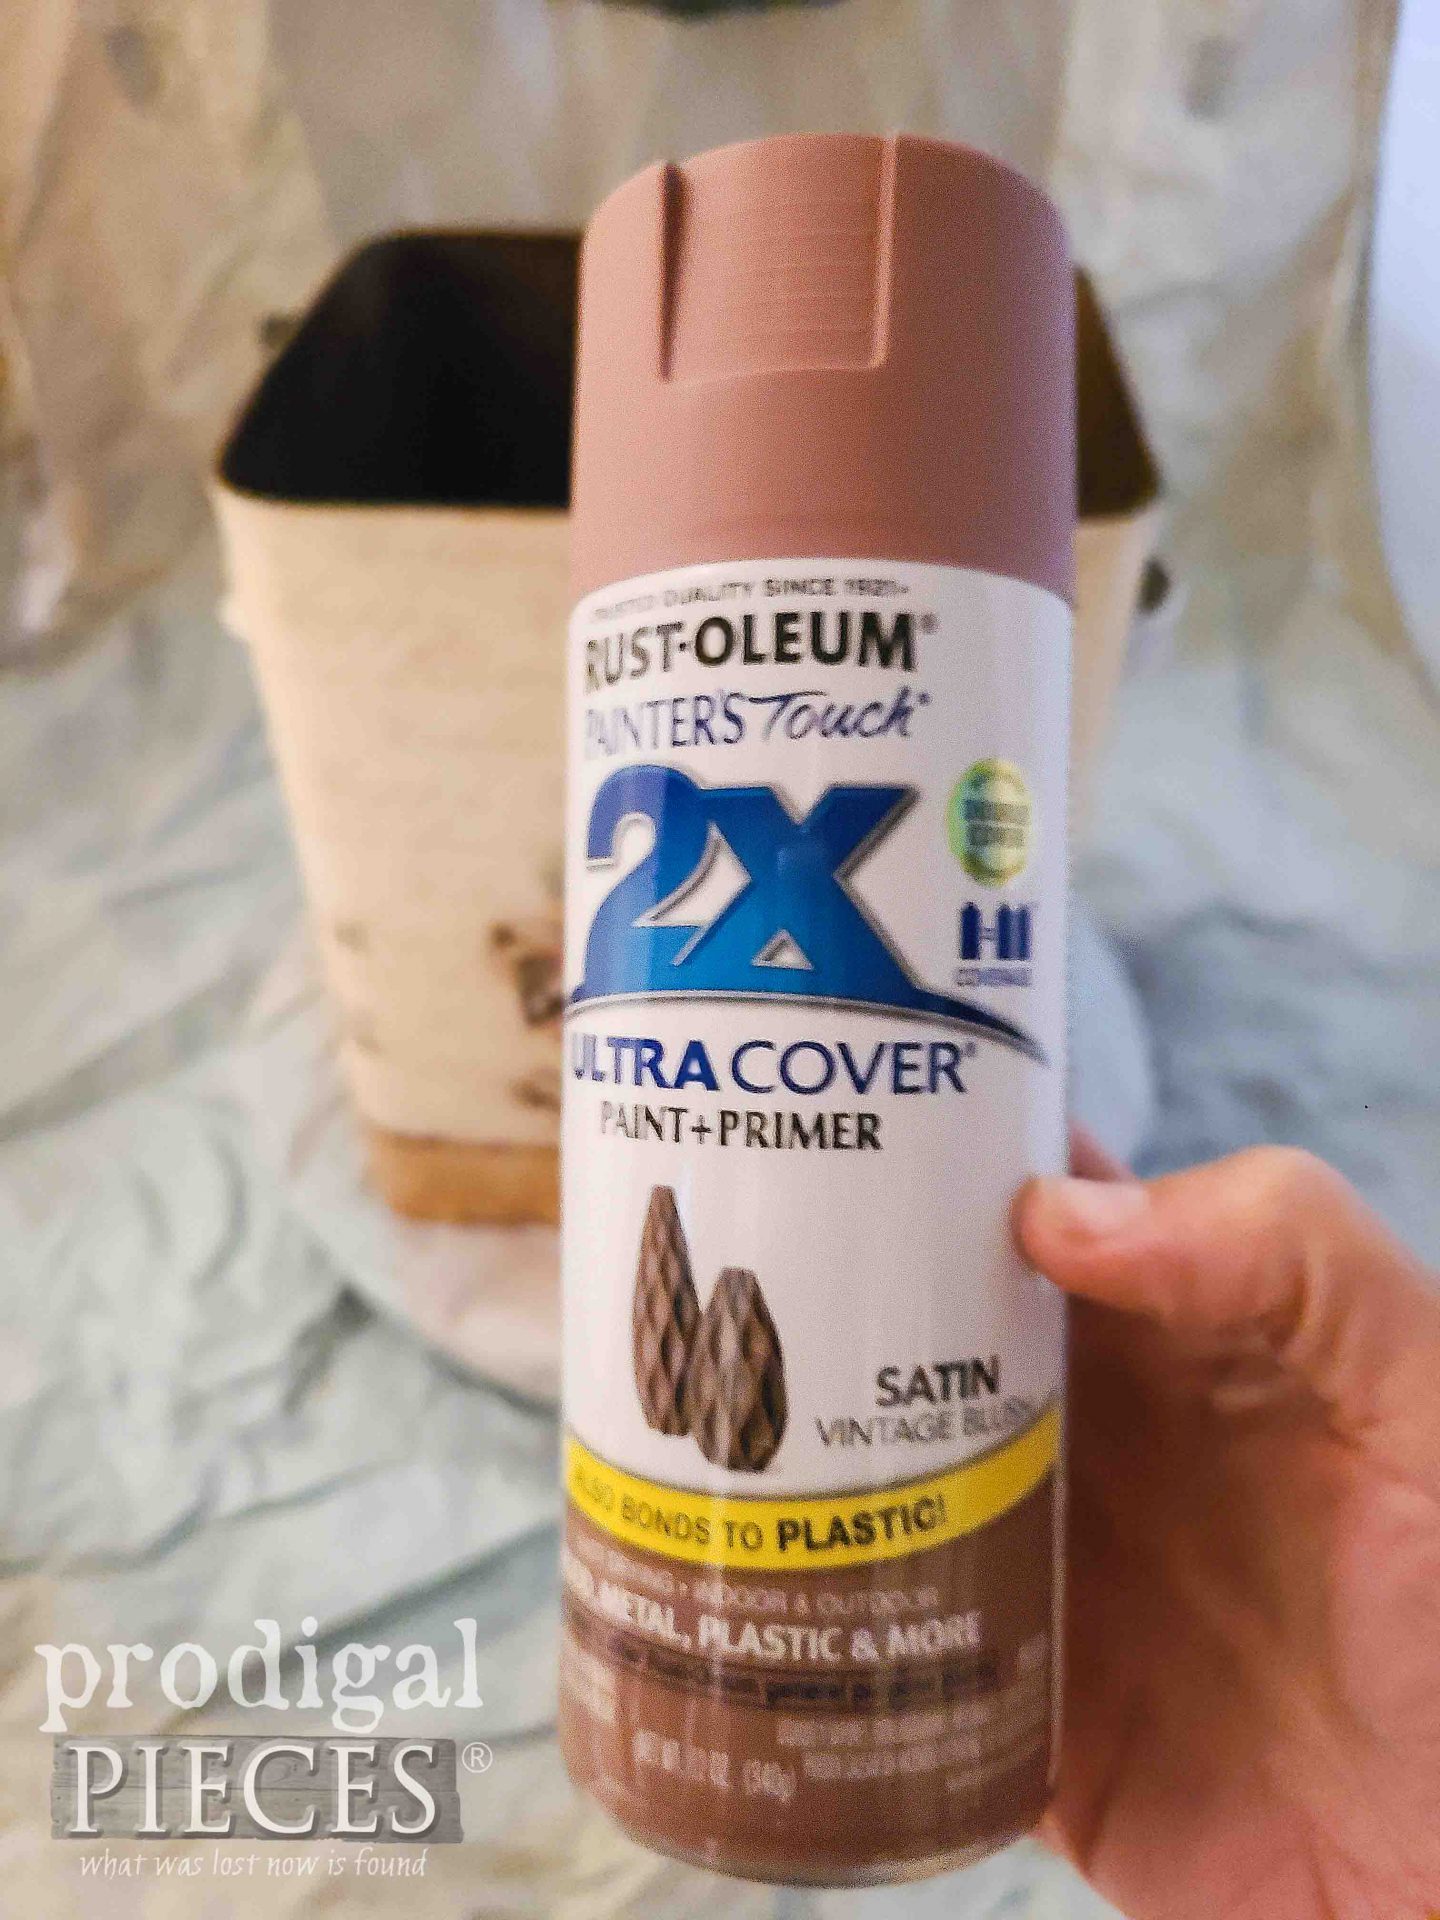
First, if you look close, you can see this tin is covered with a paper wrap instead of being decorated metal. I’m going to leave that in place, but first give it a quick clean with rubbing alcohol to remove any residue. Then, I set up to spray a base coat of this Vintage Blush letting cure between two coats. It’s a nice soft pink that suits many decor styles from shabby chic to Boho.
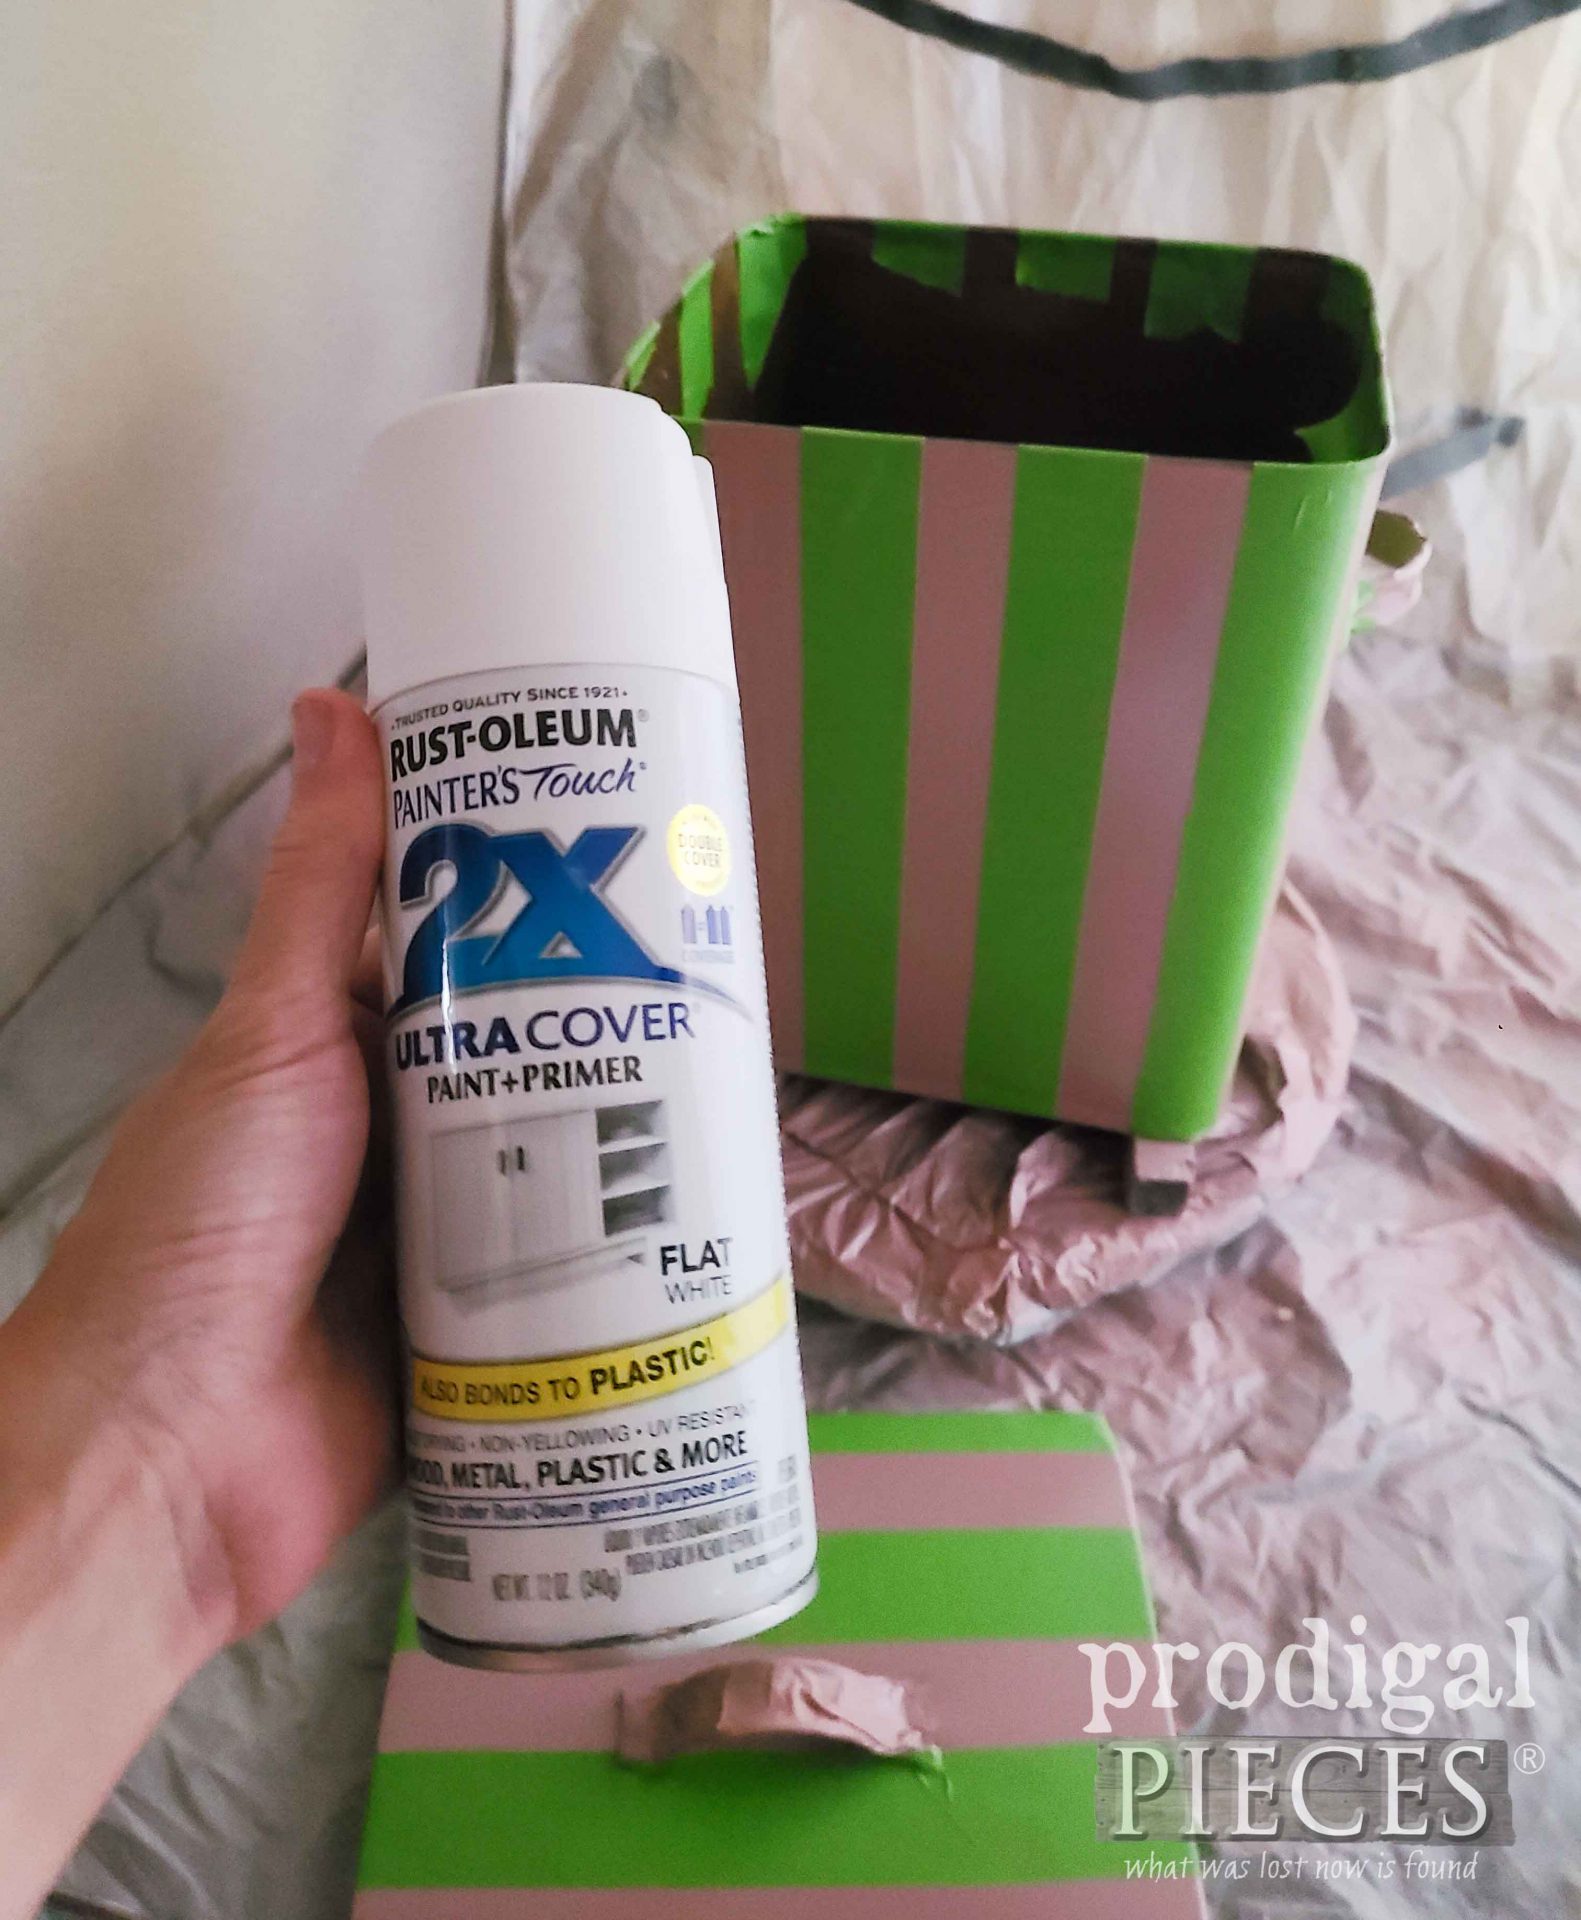
After I let the coats cure, I tape off sections to create stripes and then paint with a white for contrast. I’m a sucker for stripes when it comes to certain projects like this French Provincial Desk.
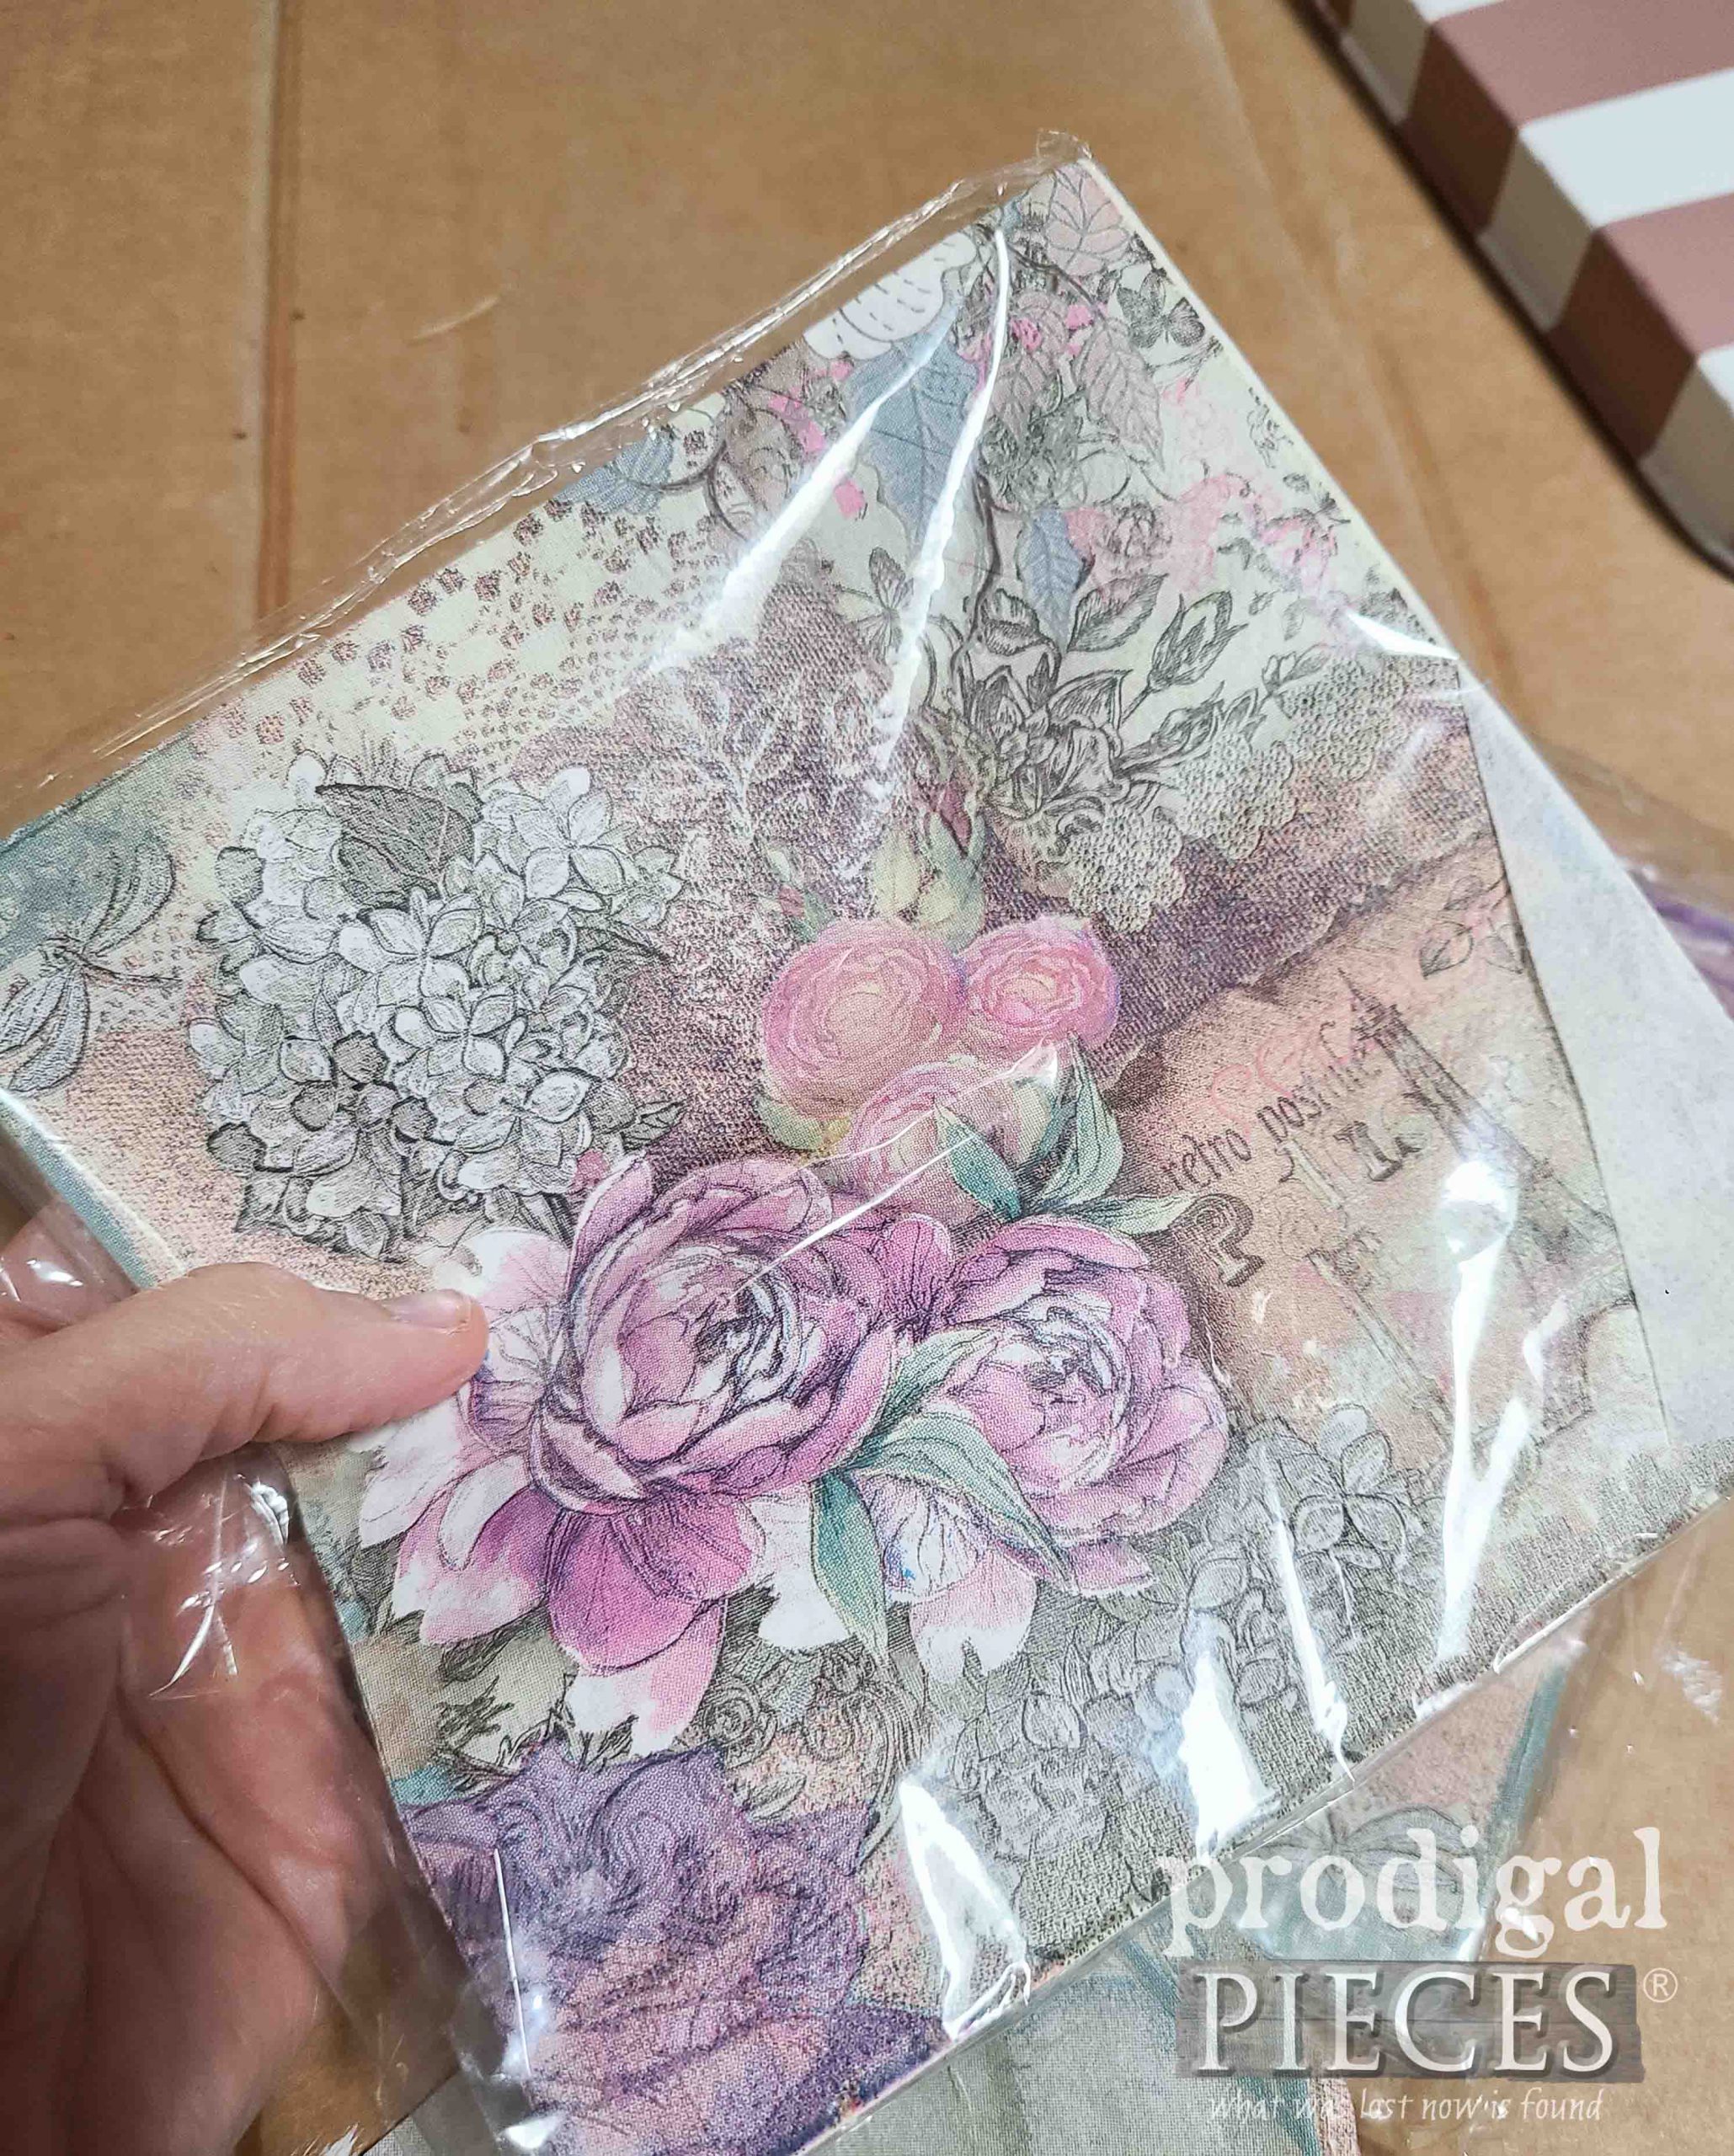
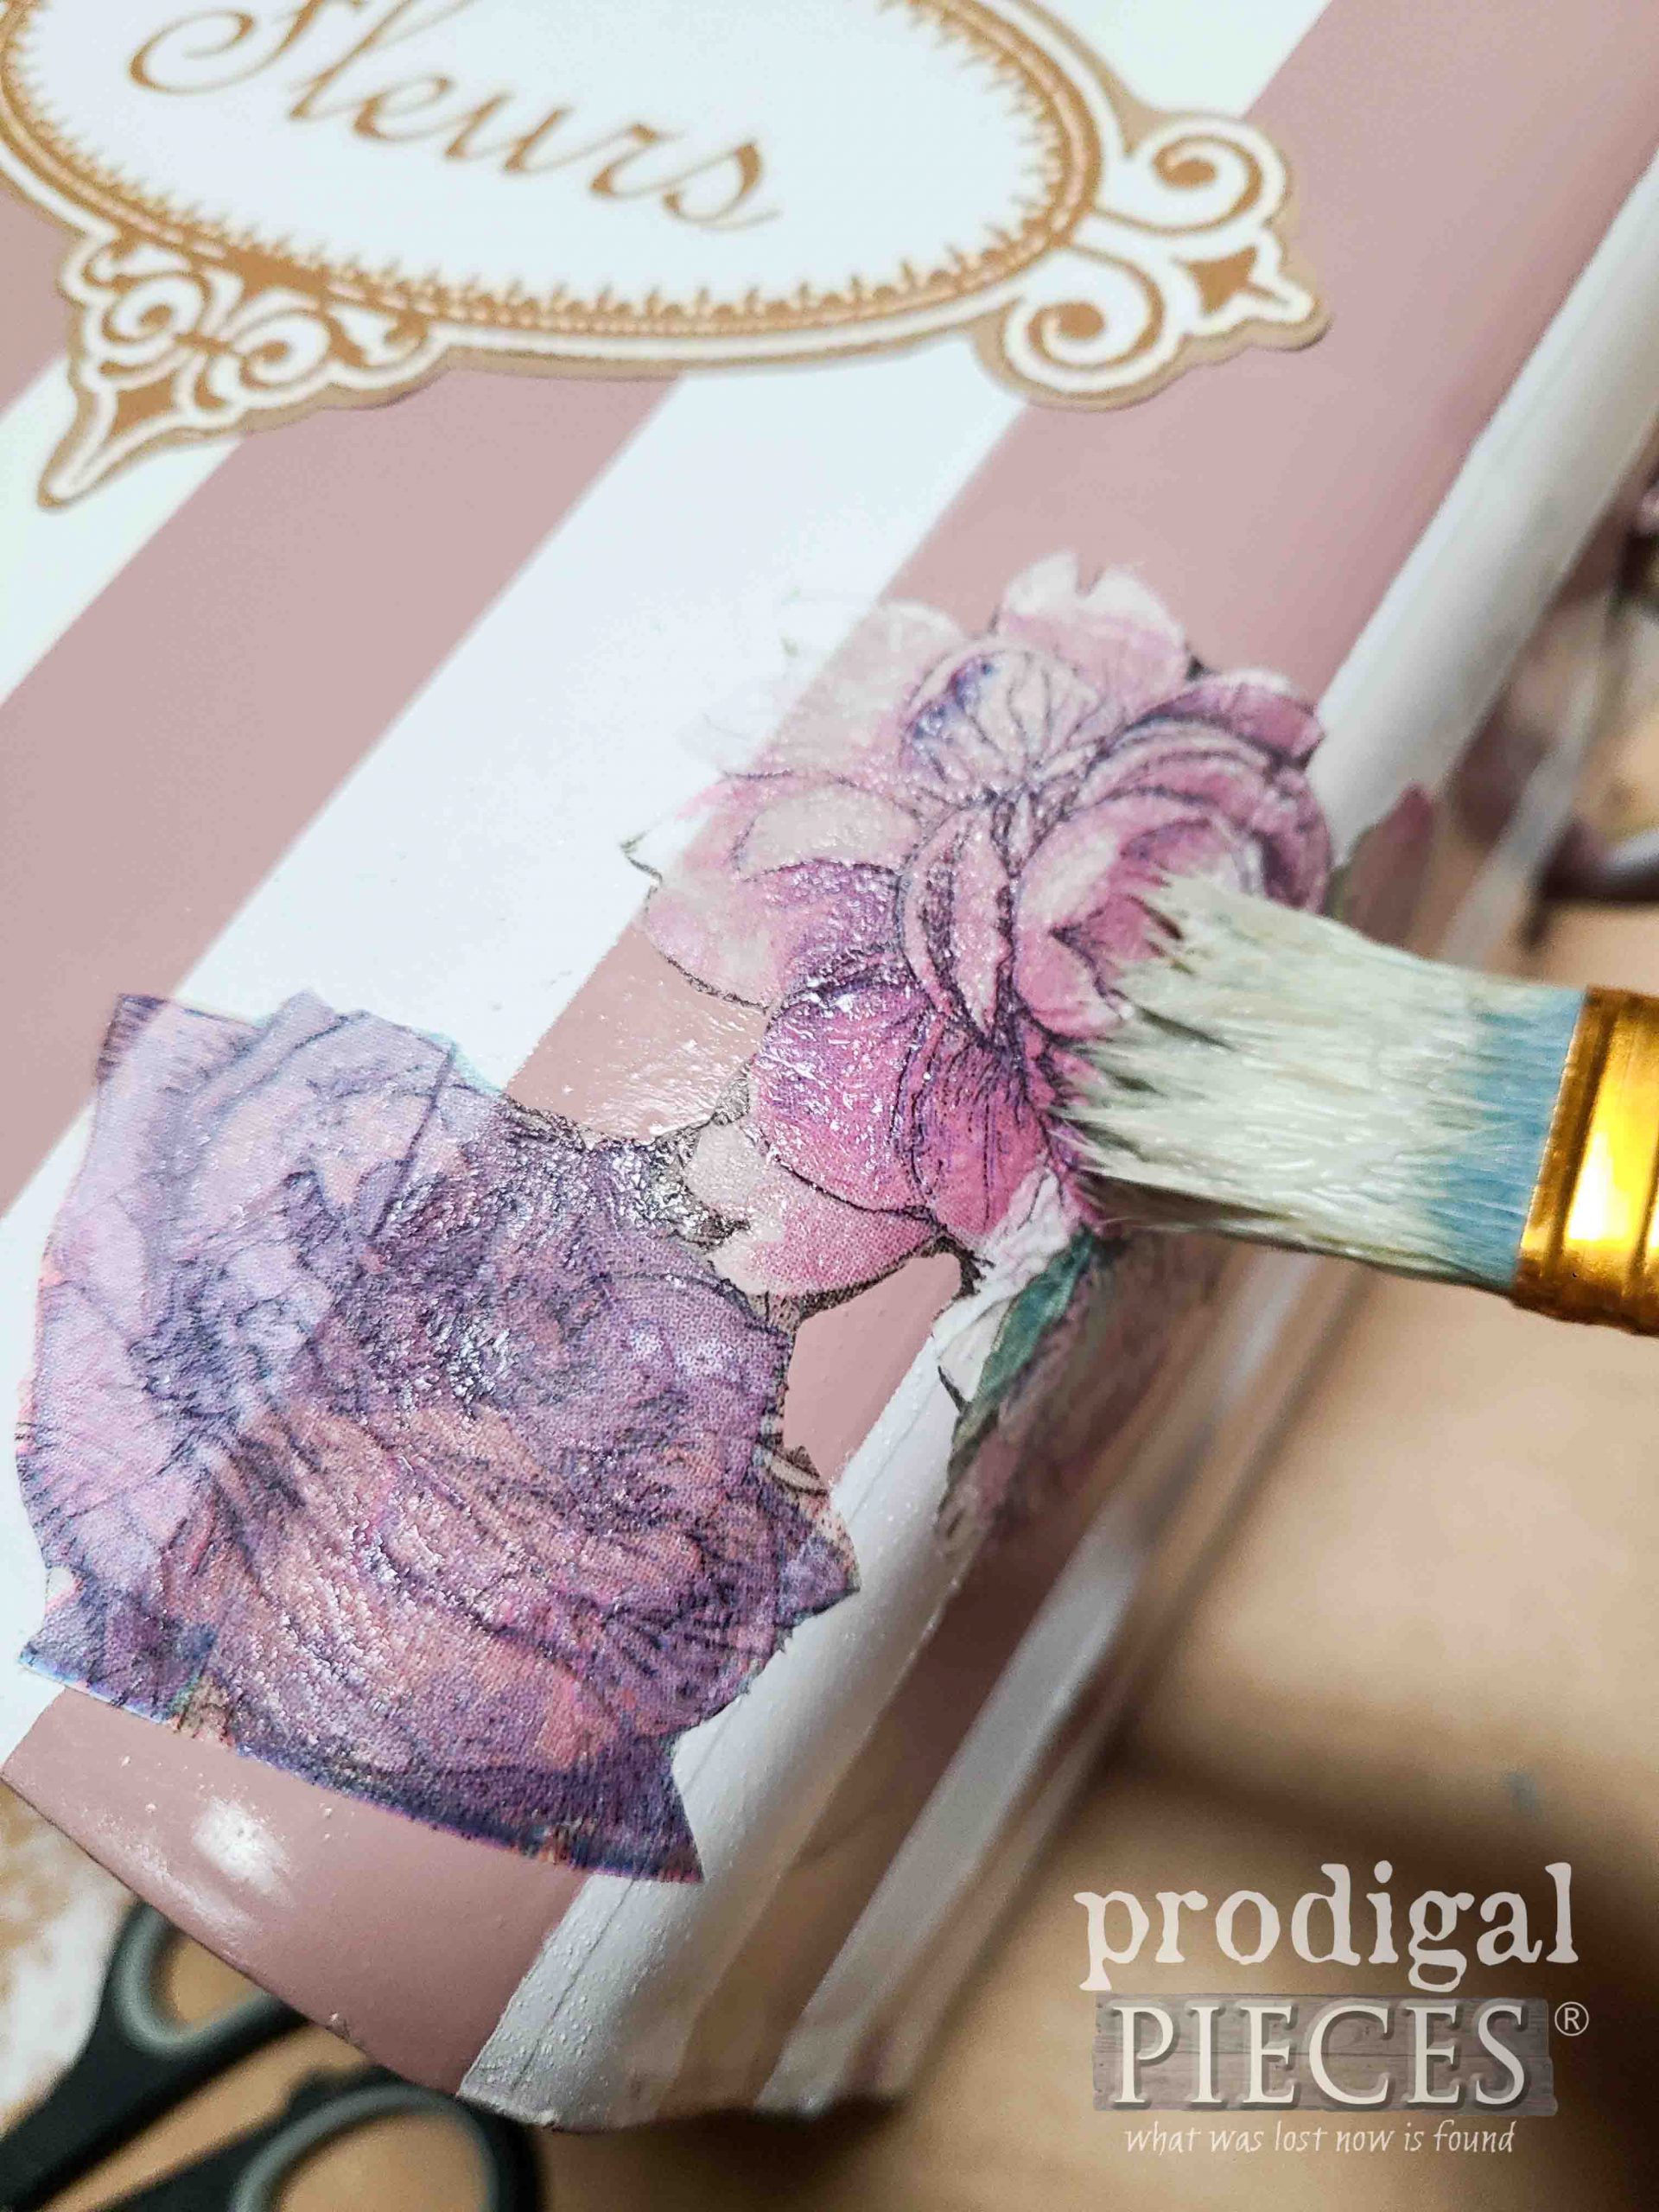
Next, as soon as the paint cures, I want to make some ooh, la, la happen. I create a graphic for the front. Meanwhile, I use these French napkins I have left over from this vintage screen makeover.
It sure is fun to decoupage, isn’t it? You cut paper, paste it on, and voila! Likewise, I’ve done a swan, a coat rack, a curio cabinet, and also many other things. Have you ever tried it?
Last, I use stamps with ink and dark wax to add dimension and age this santa tin makeover project.
OOH, LA, LA
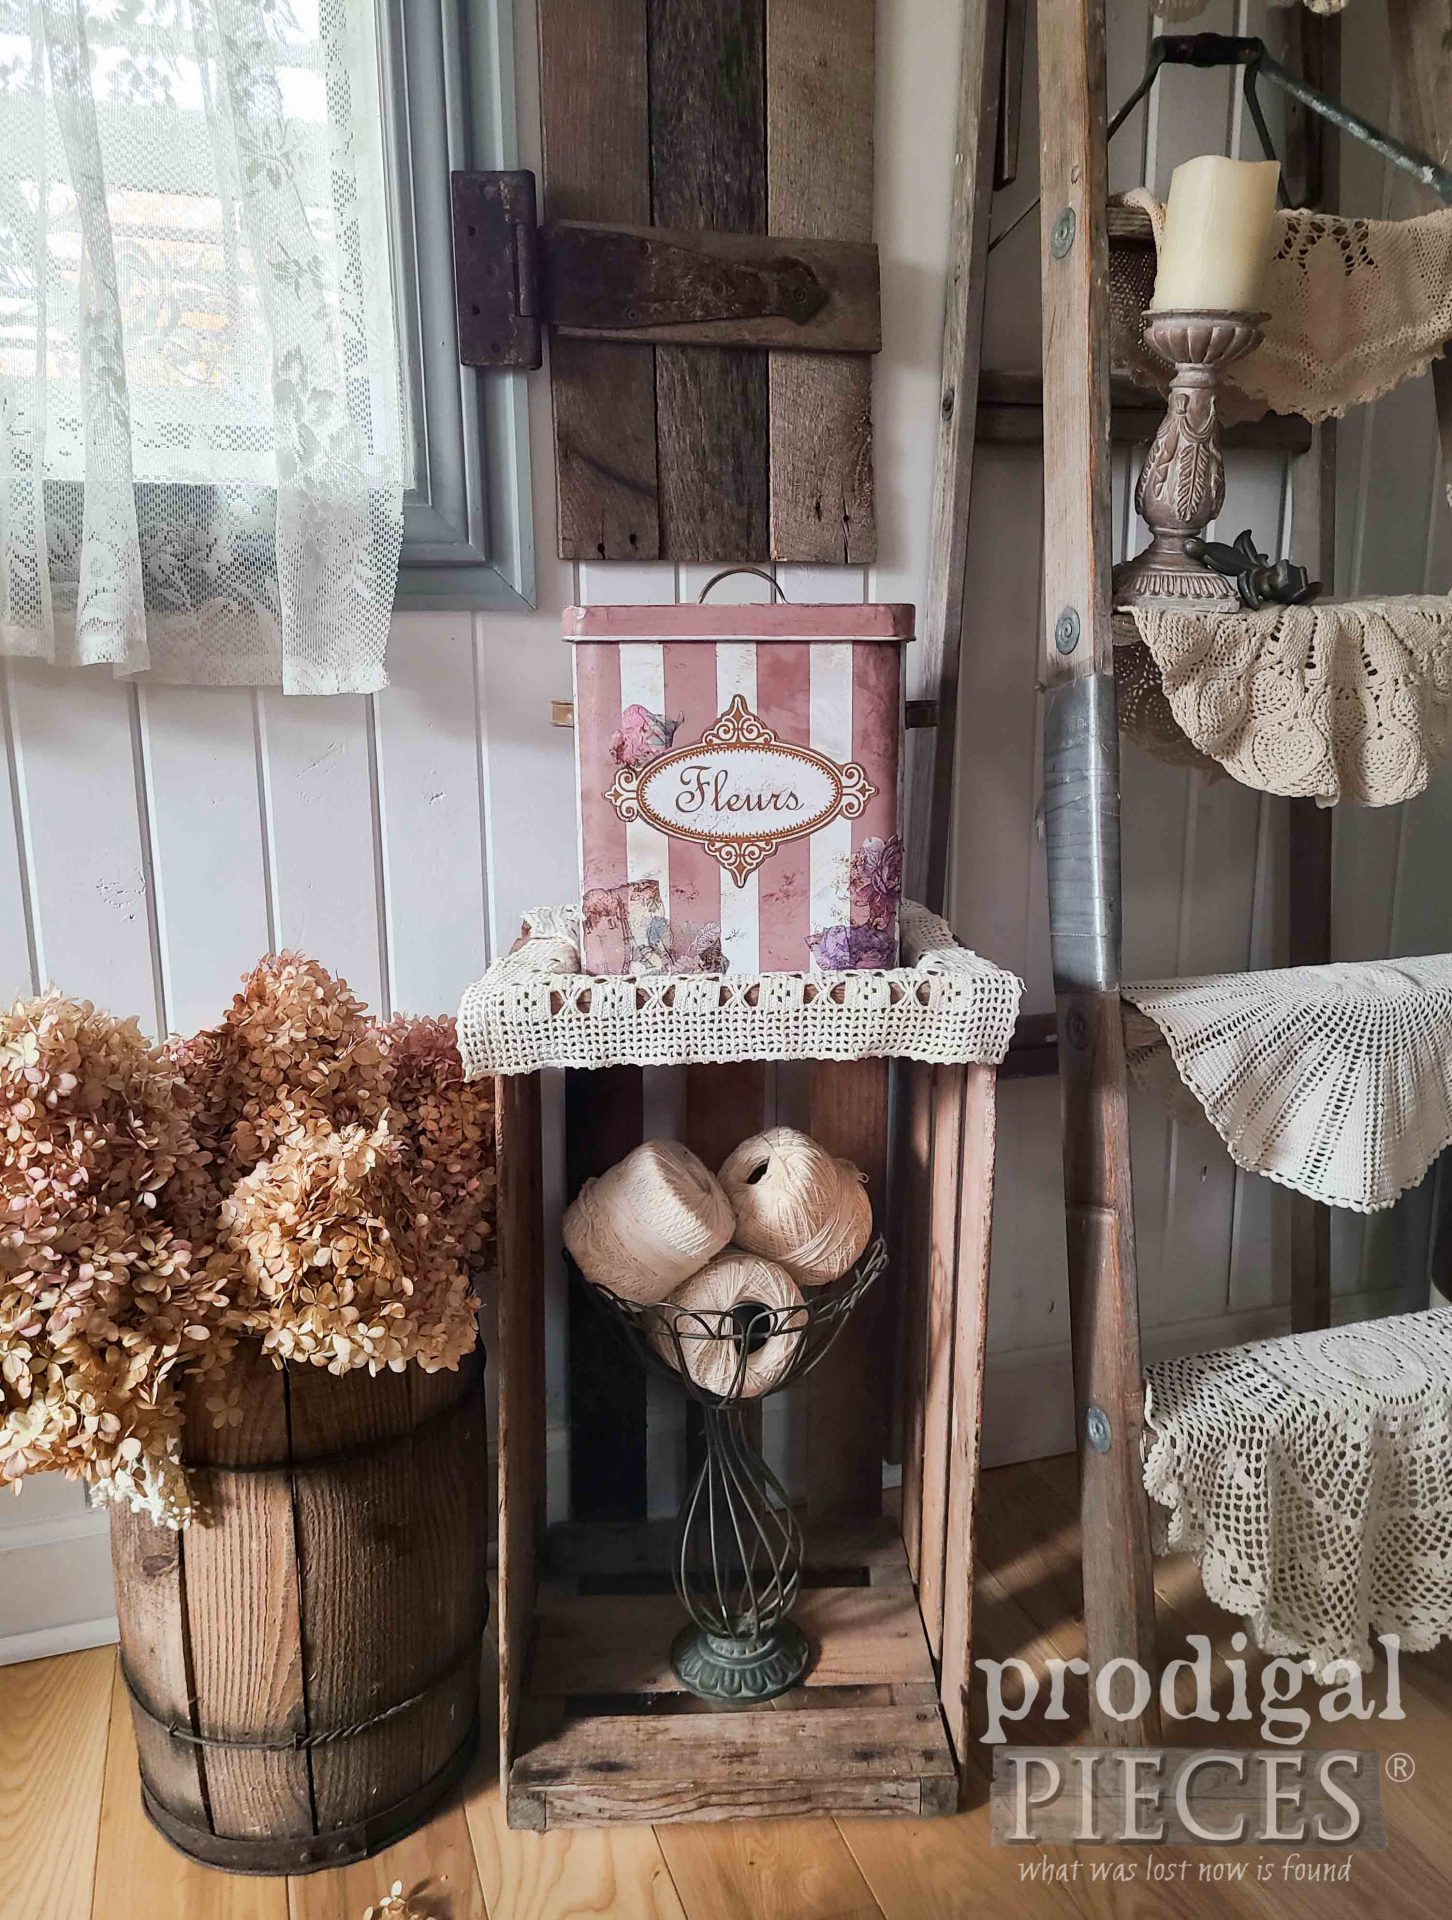
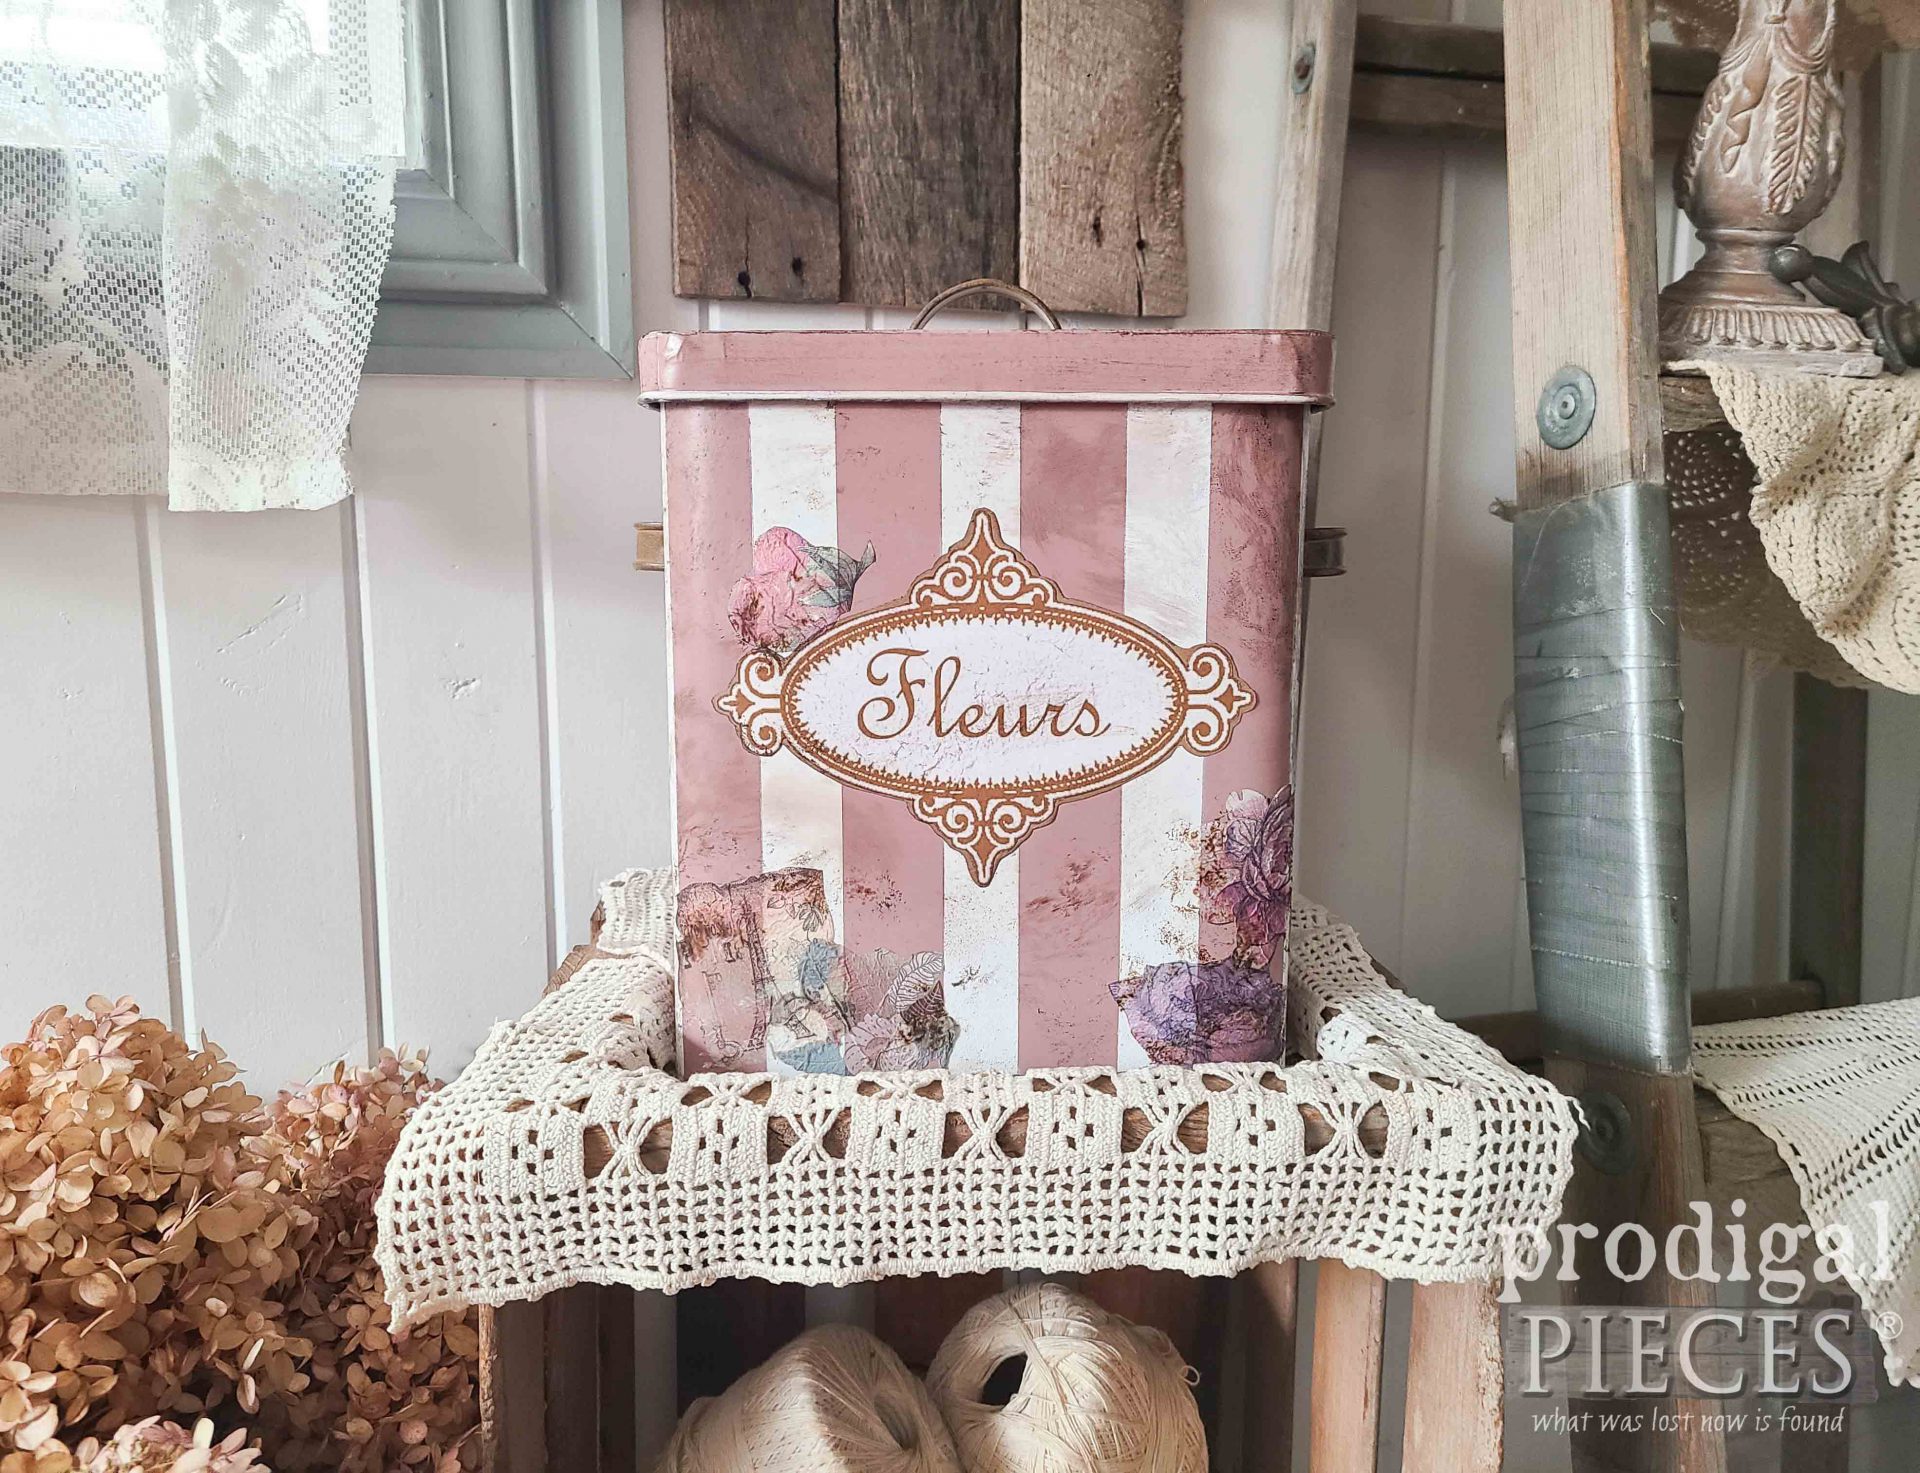
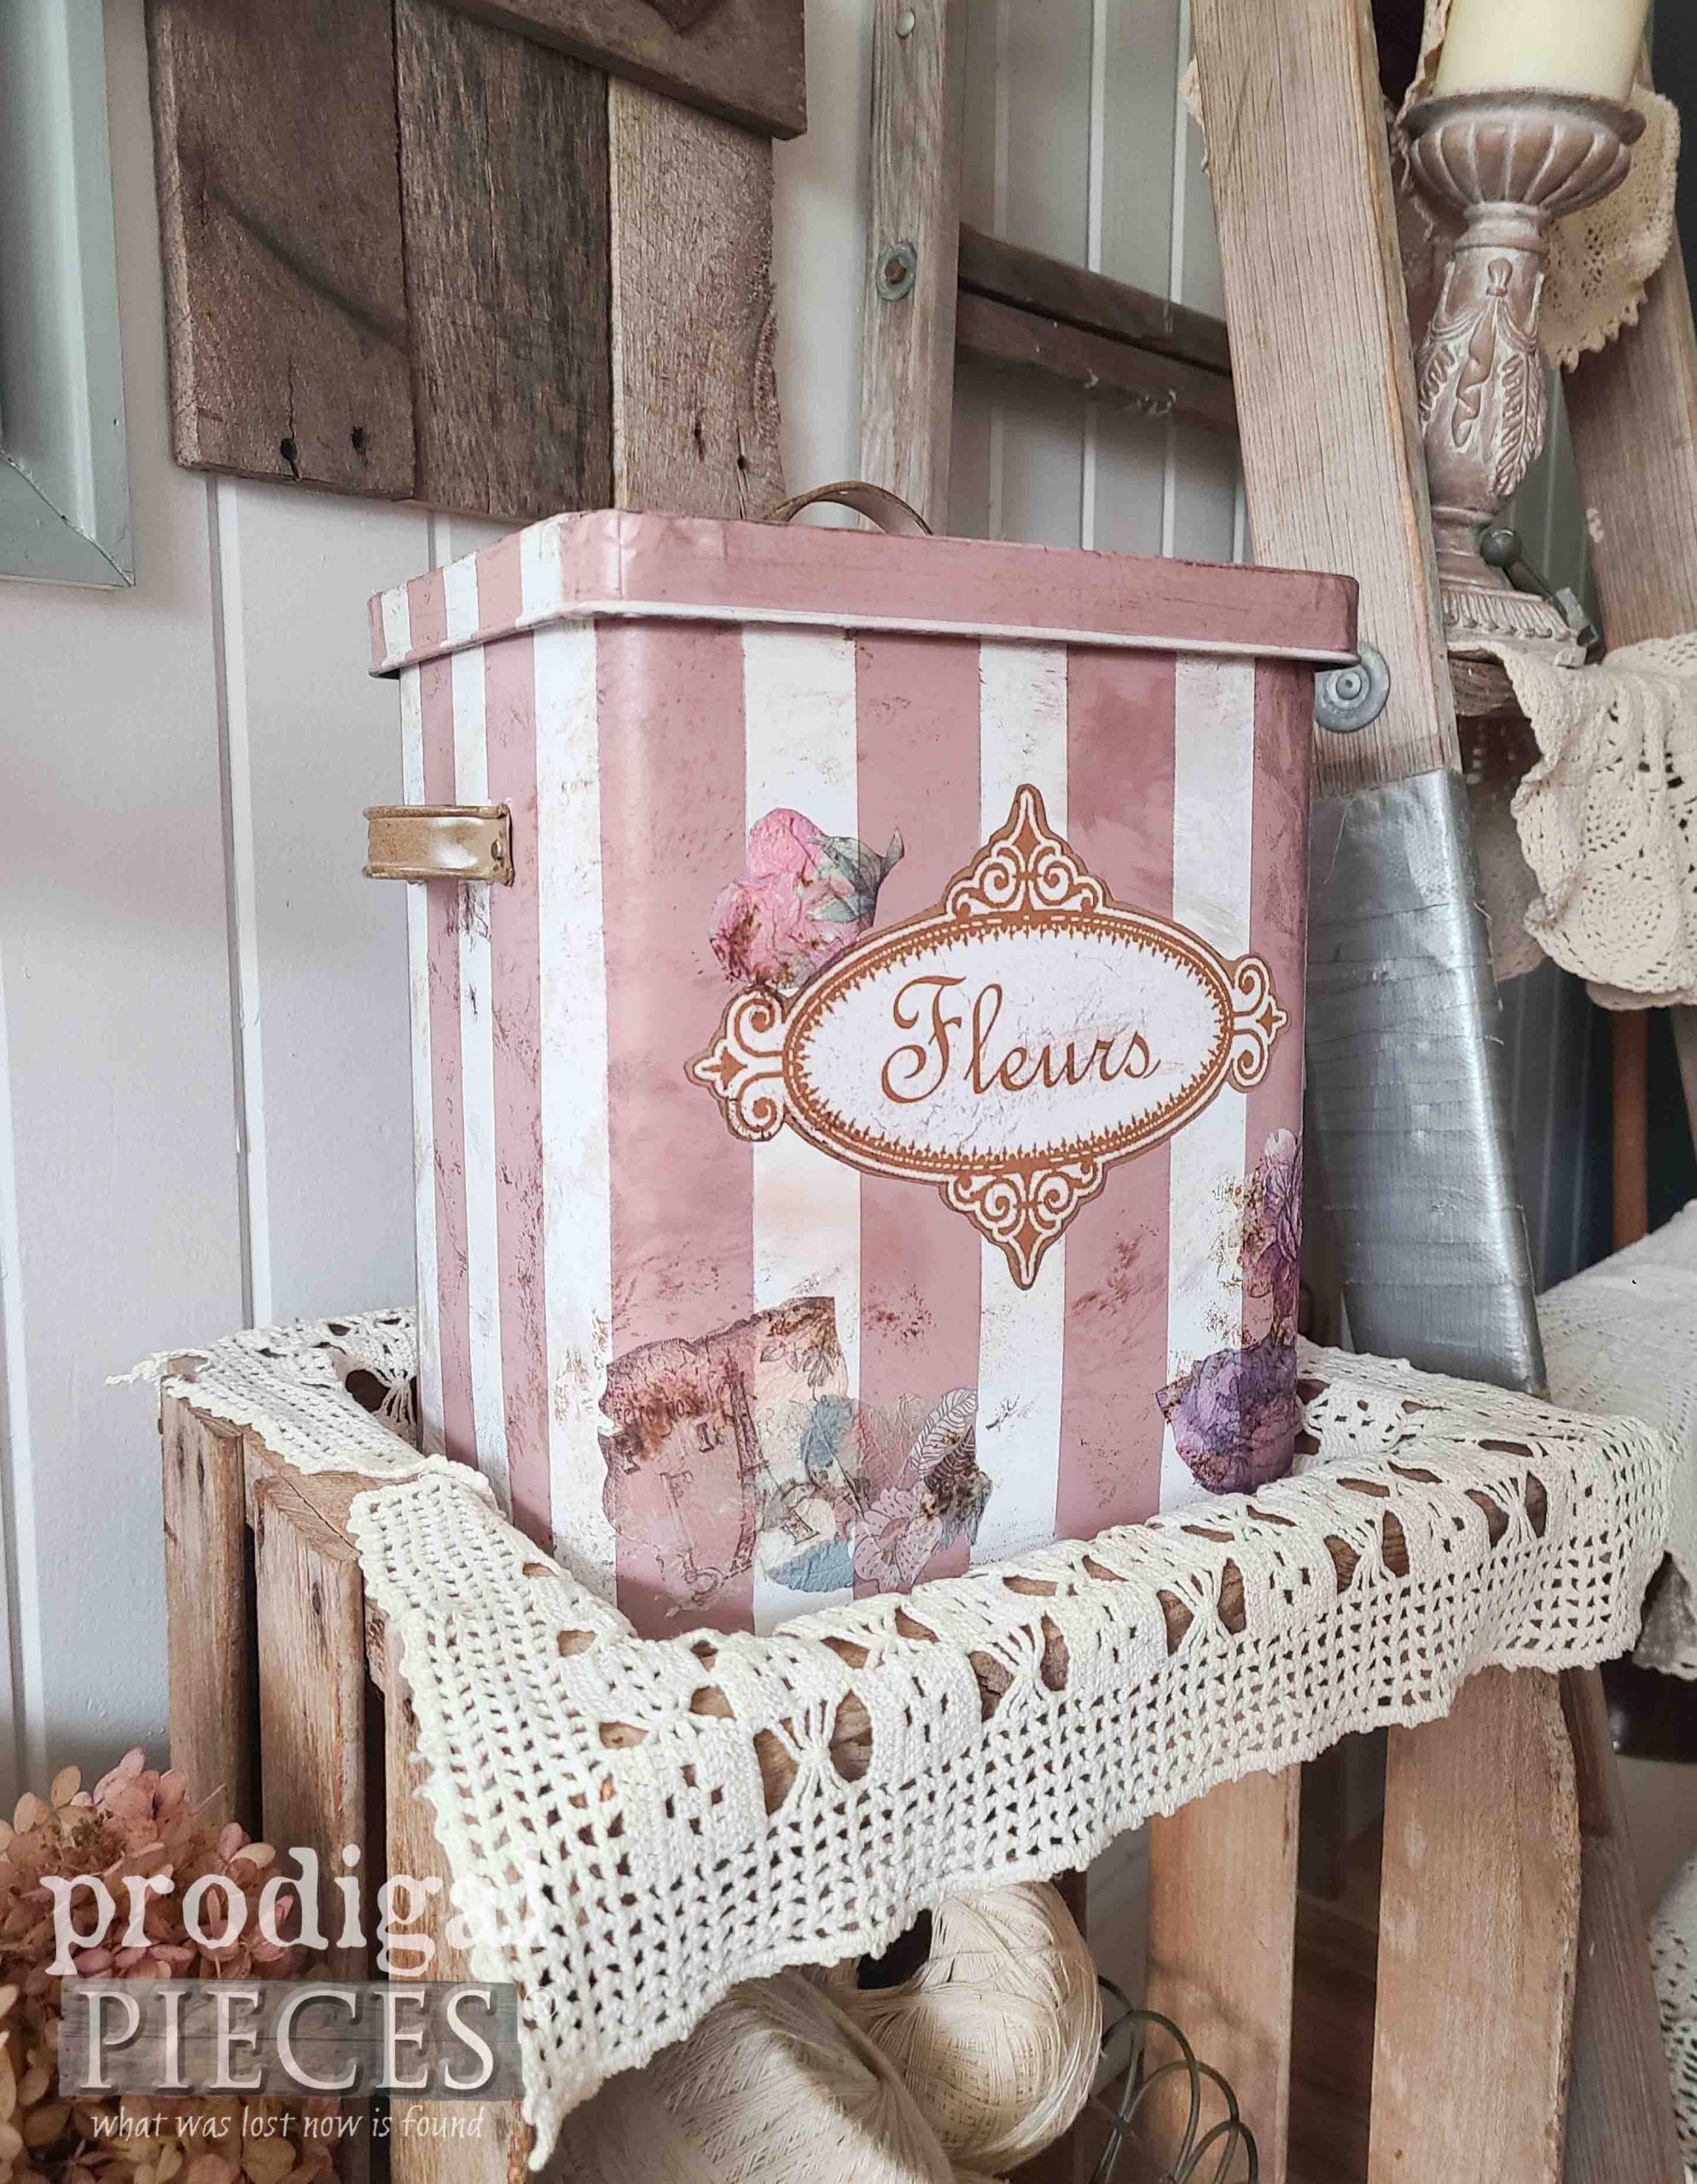
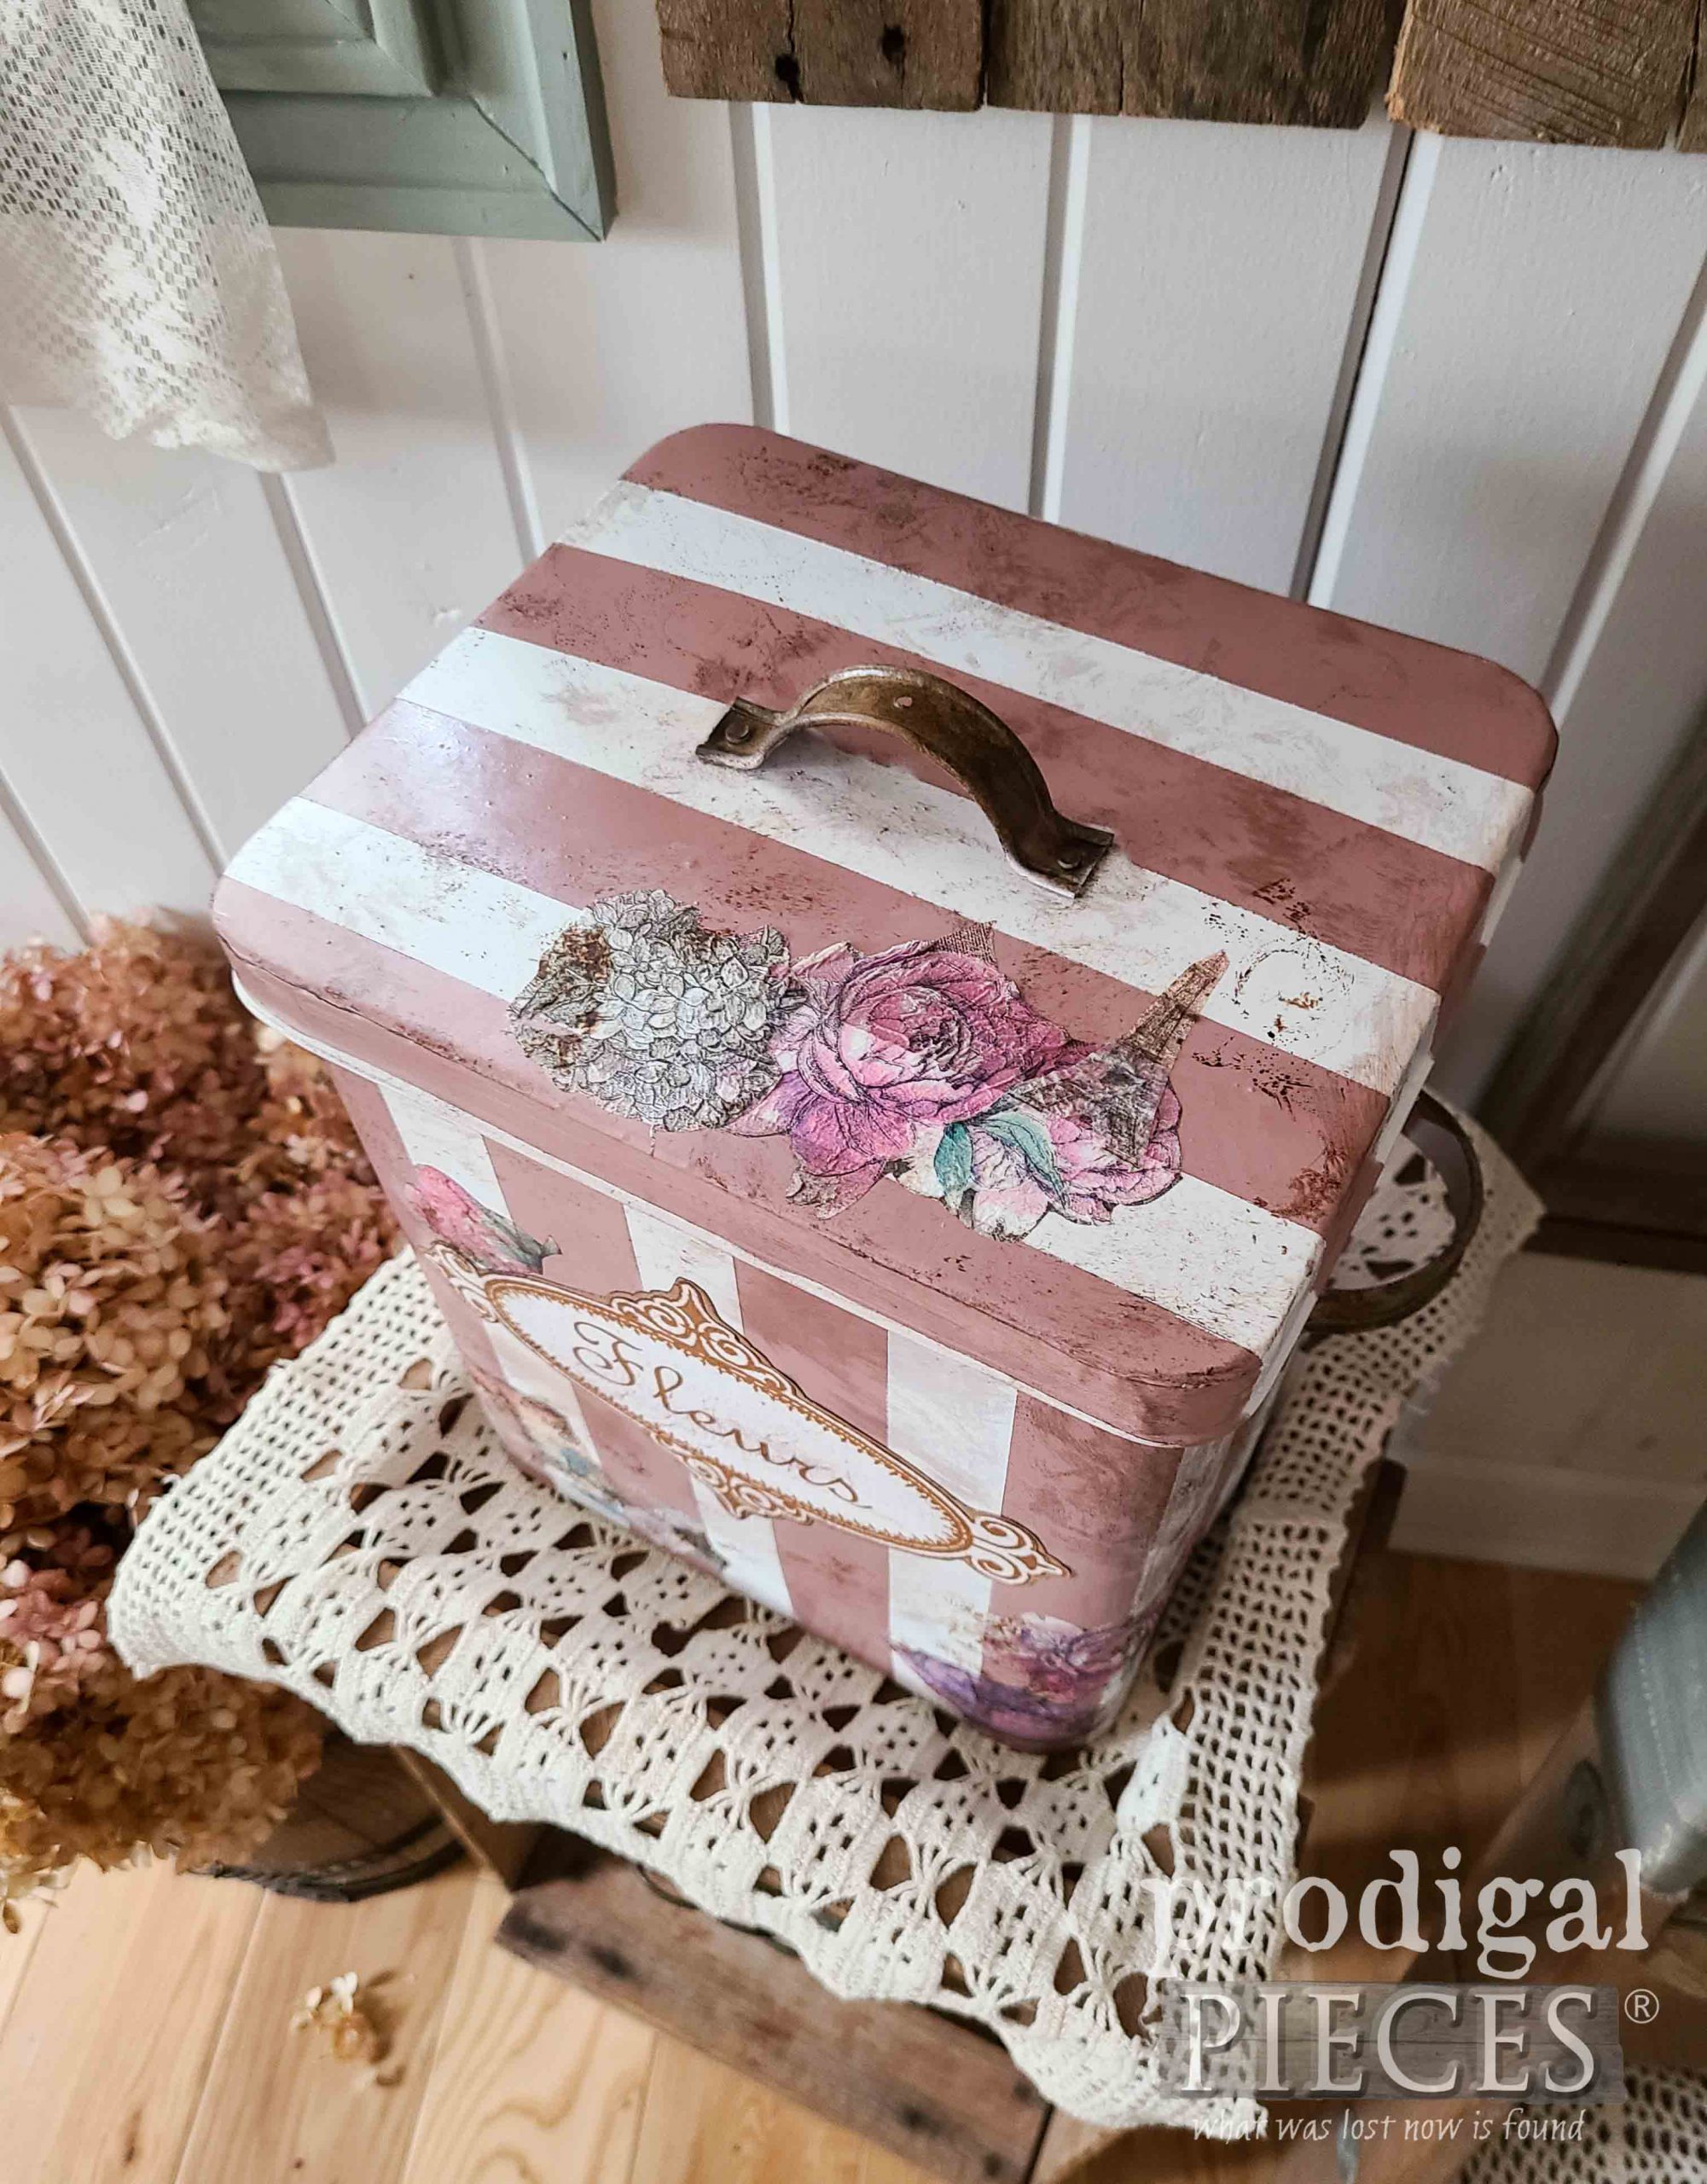
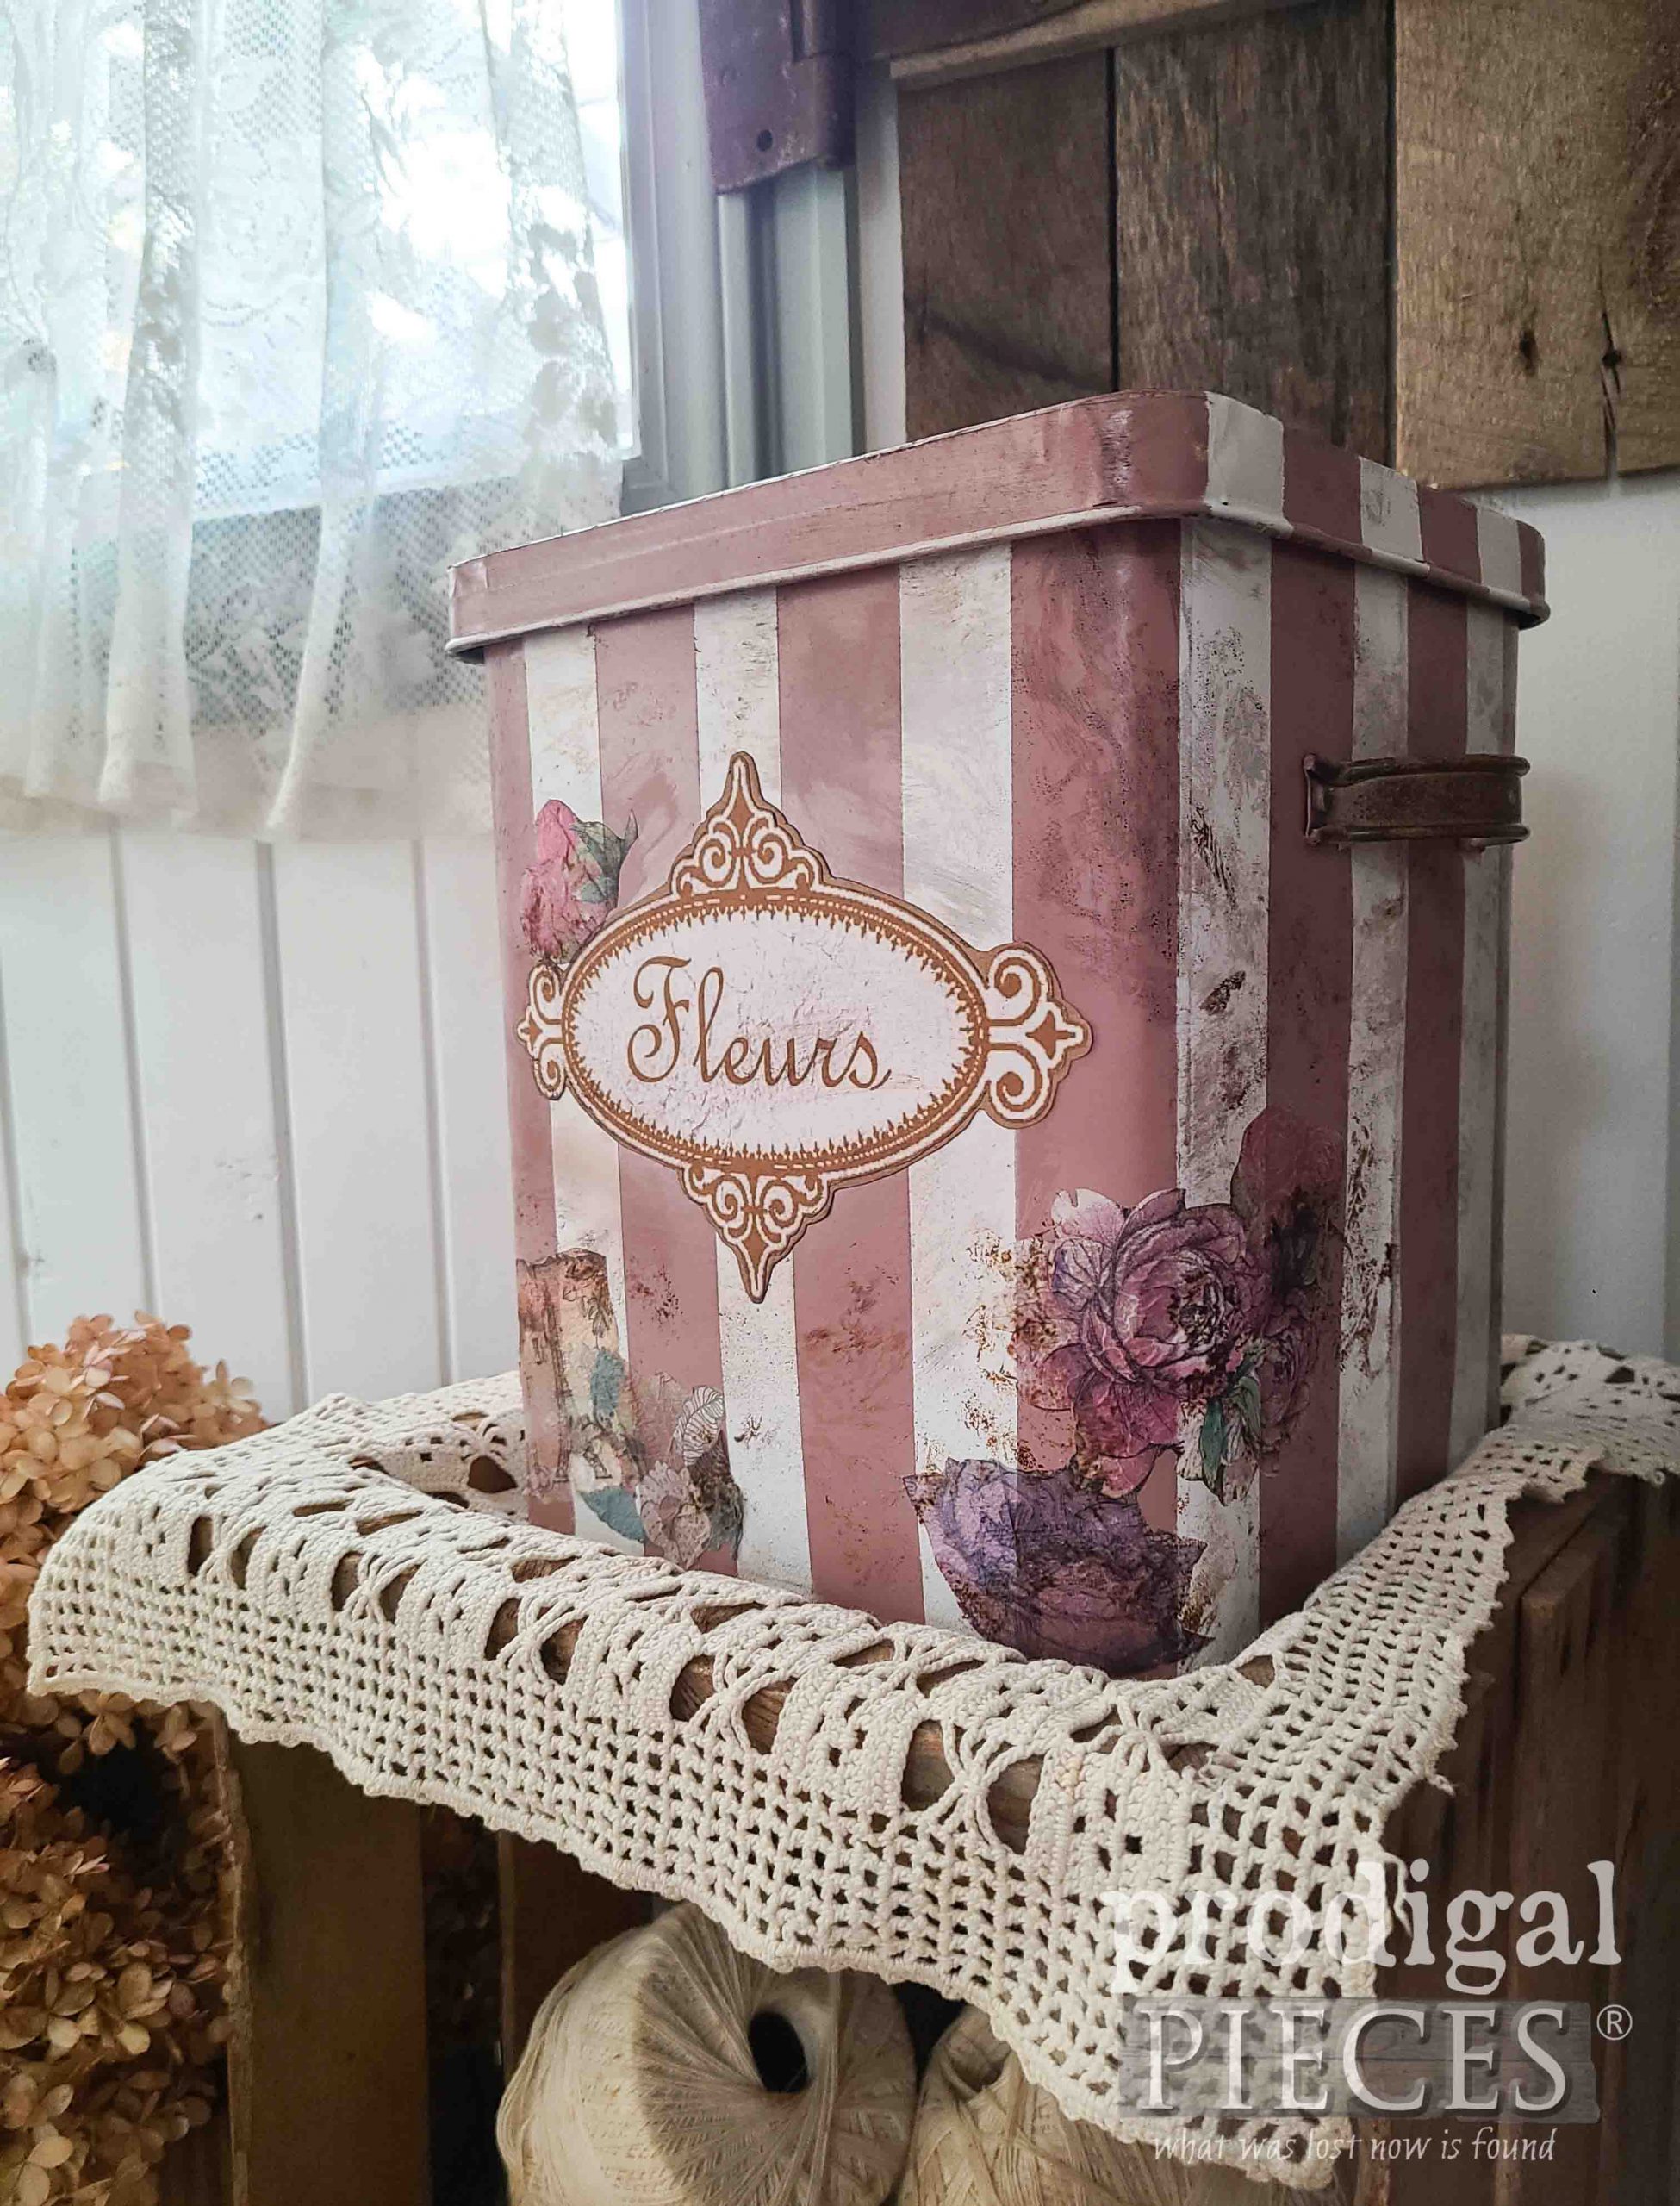
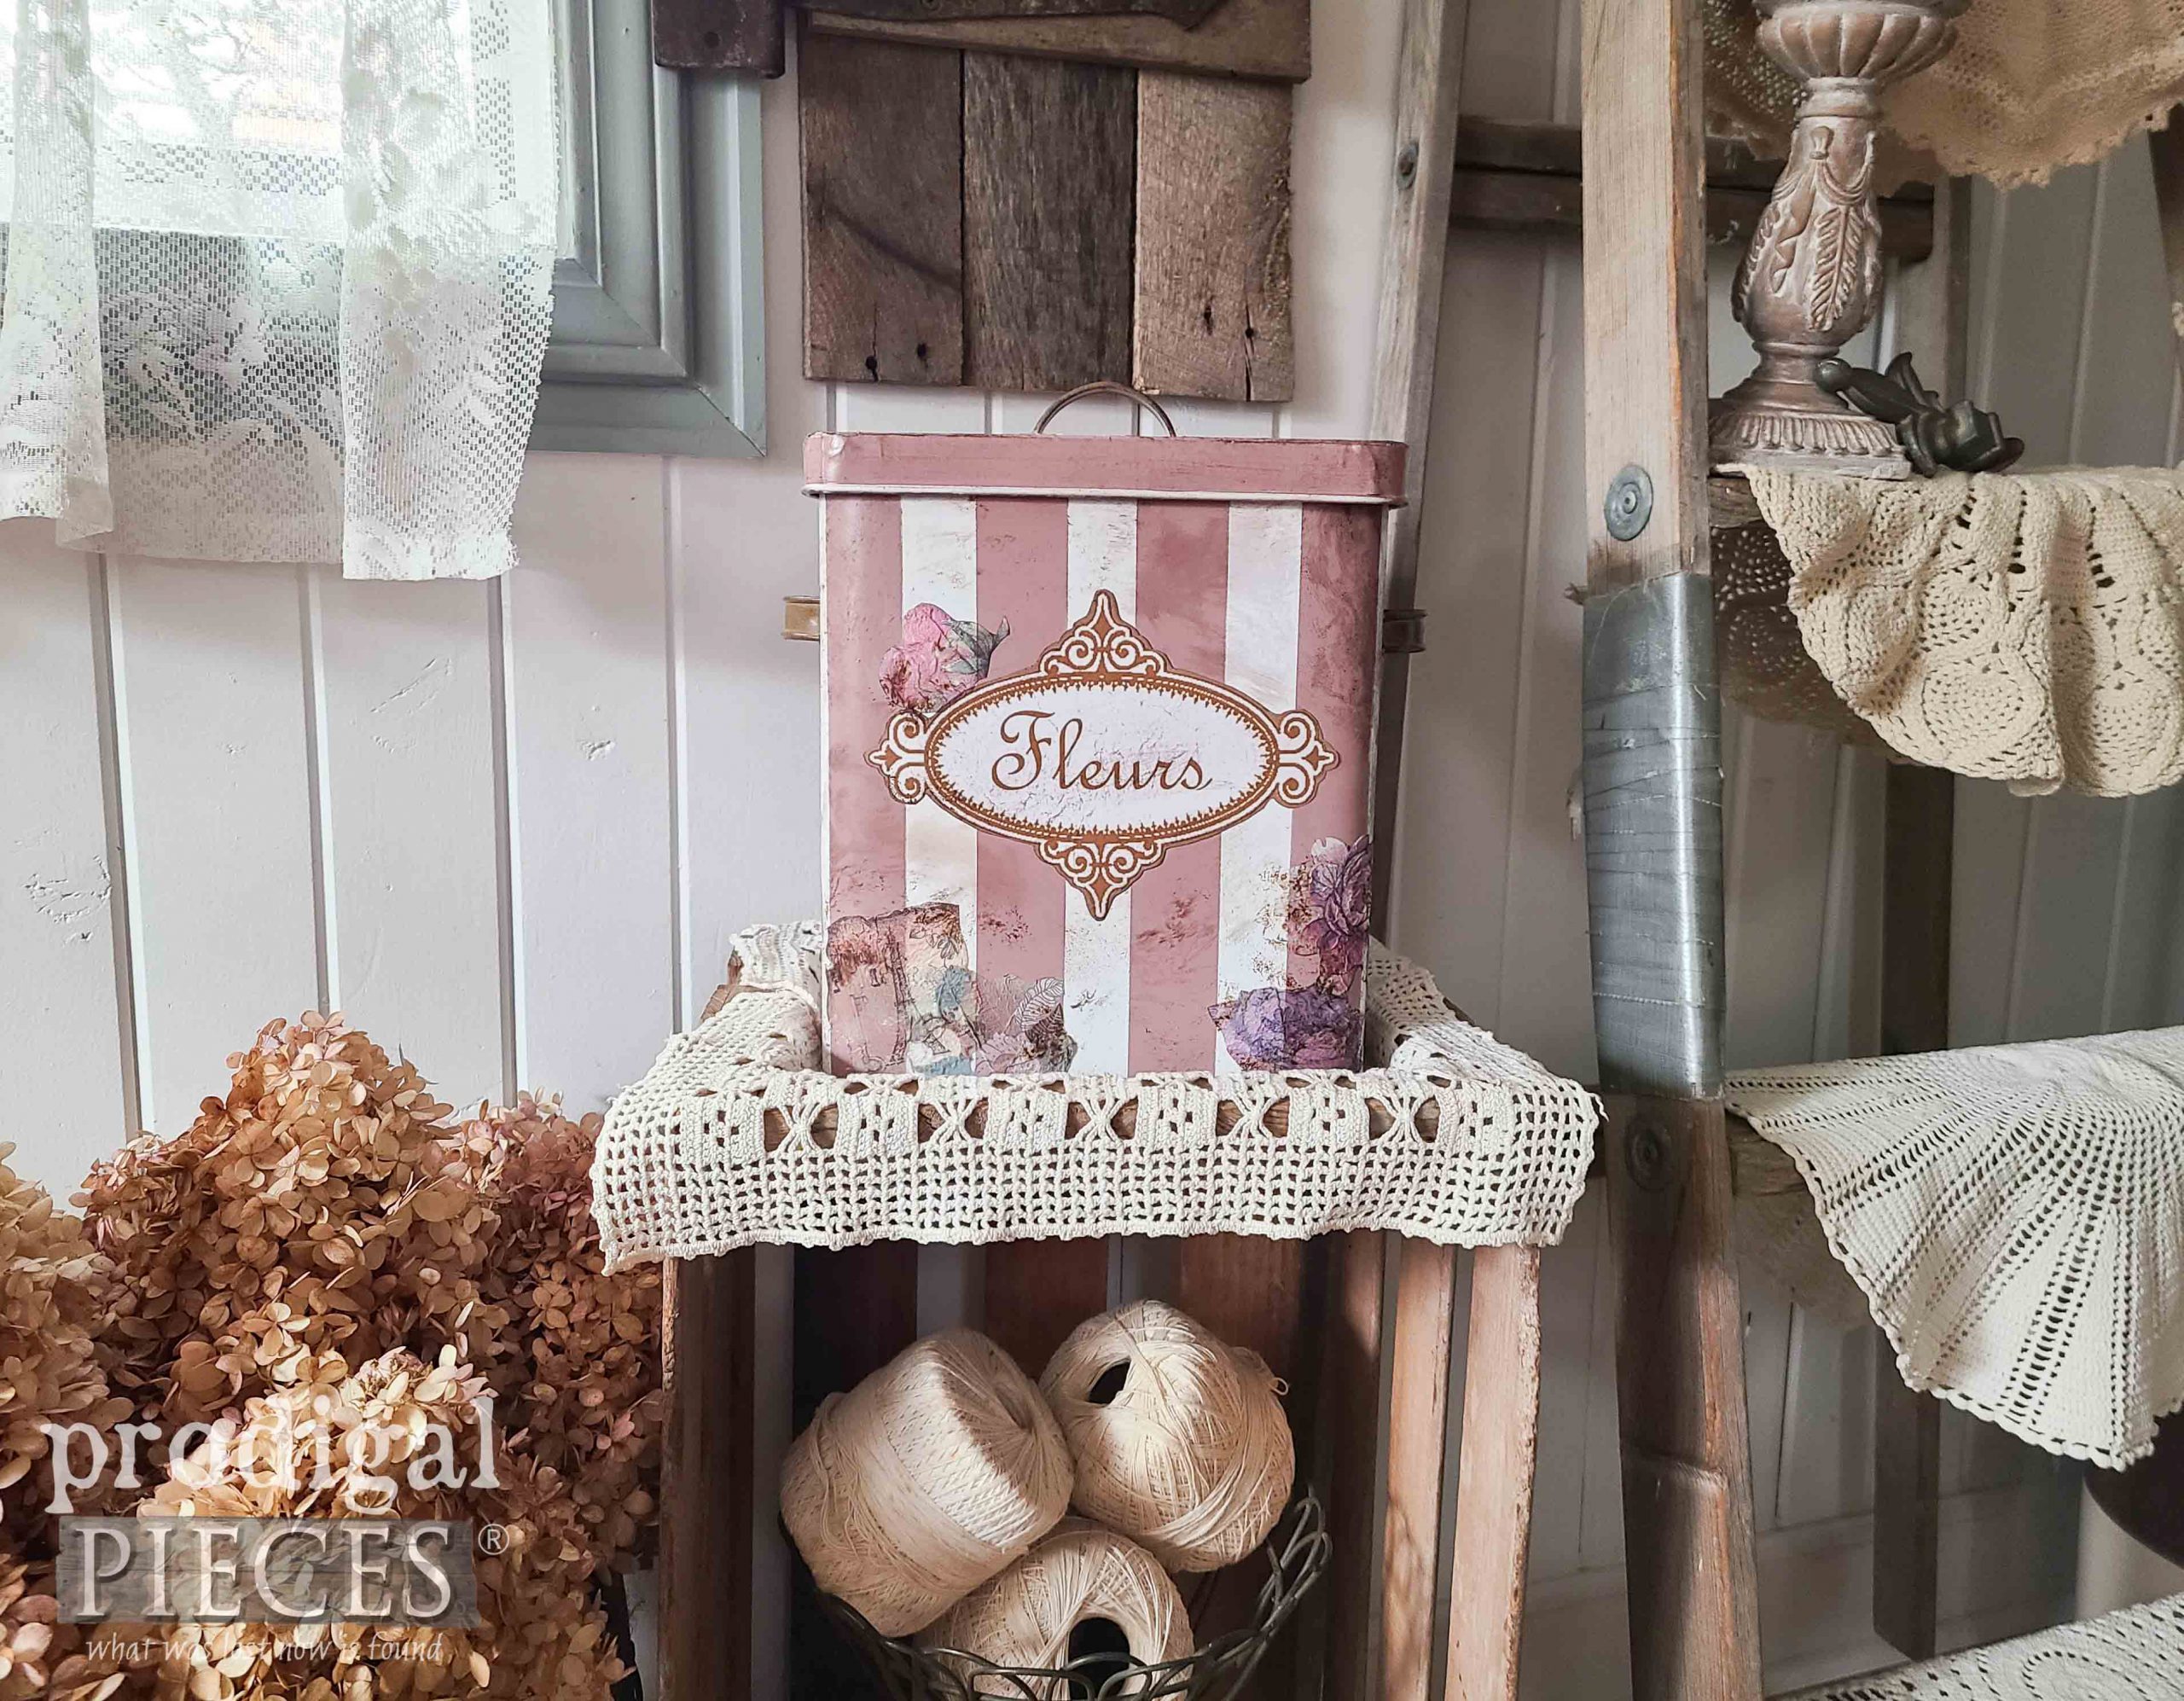
Here’s my sweet tin with a brand new “old” style that has a French twist. eep!
She’s a bit sweet, a bit sassy, and oh so fun! Additionally, I could have gone many ways with this. I debated on a basic farmhouse enamelware style with glossy white and black trim and letters that read “BREAD”. Or maybe a fun cat food/dog food design with whimsy.
Items like these also make great gift containers. I envision this for maybe a young mom or bride filled with pampering treats. Or how about that shut-in neighbor who needs a lift with some flowers tucked in? Either way, the possibilities are endless when we roll up our sleeves and give DIY a try.
If you’d like to make this a part of your home story, you can find this and more in my online shop.
SHARE
In addition, to leaving some comment love below, pin and share. Maybe someone you know could use some inspiration or you’d like to save this for future use.
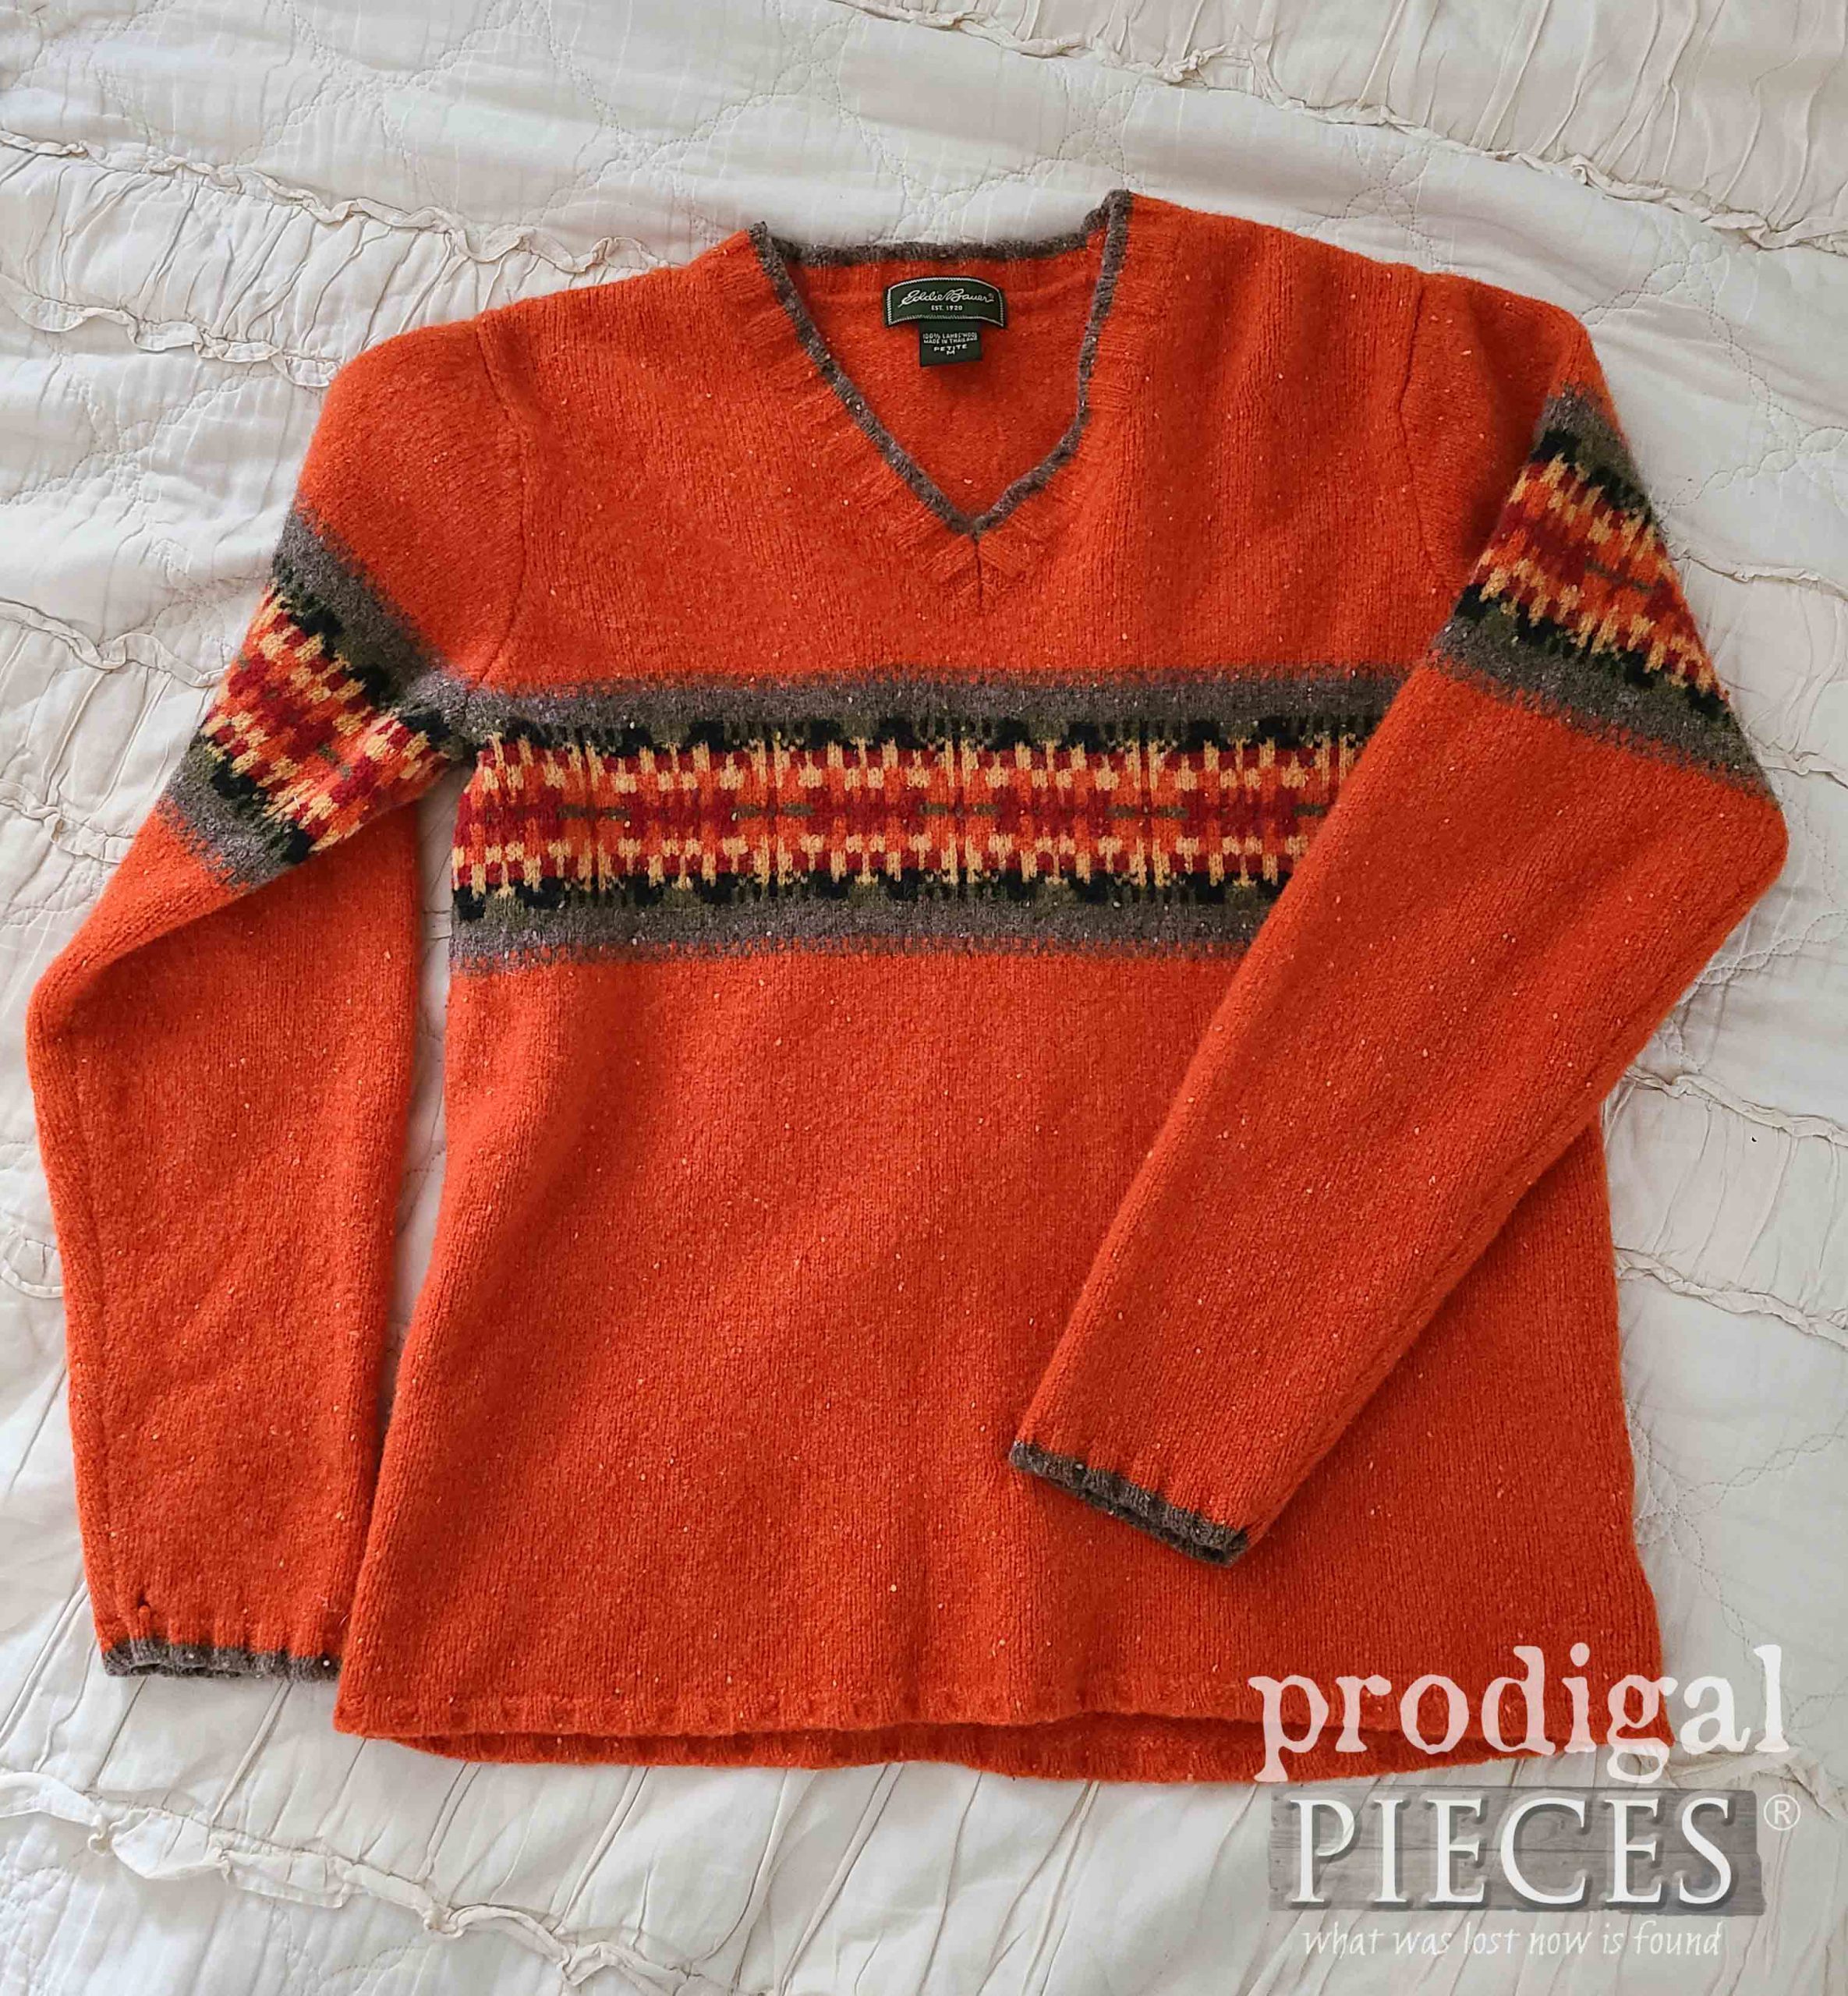
Up next is Reduce, Reuse, REFASHION time…already!! What do you guess will become of this SWEATER? Come see HERE. Be sure to sign up for my FREE newsletter to see the end result. See you soon!


Cute!!! And yet ANOTHER new technique for me to play with!! ?❤️
bwahahaha…you’re welcome! These are always so fun to od. Thanks, Rebecca!
That is such a cute makeover!
Thank you bunches, Donna. I had fun recreating it with a bit of French flair.
Good gravy girl!!! How long did it take you to cut the flowers out of the napkin that crisply? Very cute, and I like your ideas for usage too. Have a blessed weekend Larissa . It is bird hunting holiday here and company is coming. Also my M-I-L’s birthday today. Should be a good time!!
Only a minute or two, pretty easy since the napkin is thin. Thanks for the giggle! 😀 It sounds like you have a wonderful weekend planned. Enjoy to the full!
You had me at French napkin! The transformation is so pretty, Larissa. I couldn’t agree more that it would be lovely filled with goodies for a bridal shower gift or decor.
haha. My kindred spirit DIY sista! 😀 Thank you. I really was drawn to the shape of it. Thanks for the smile and virtual hug.