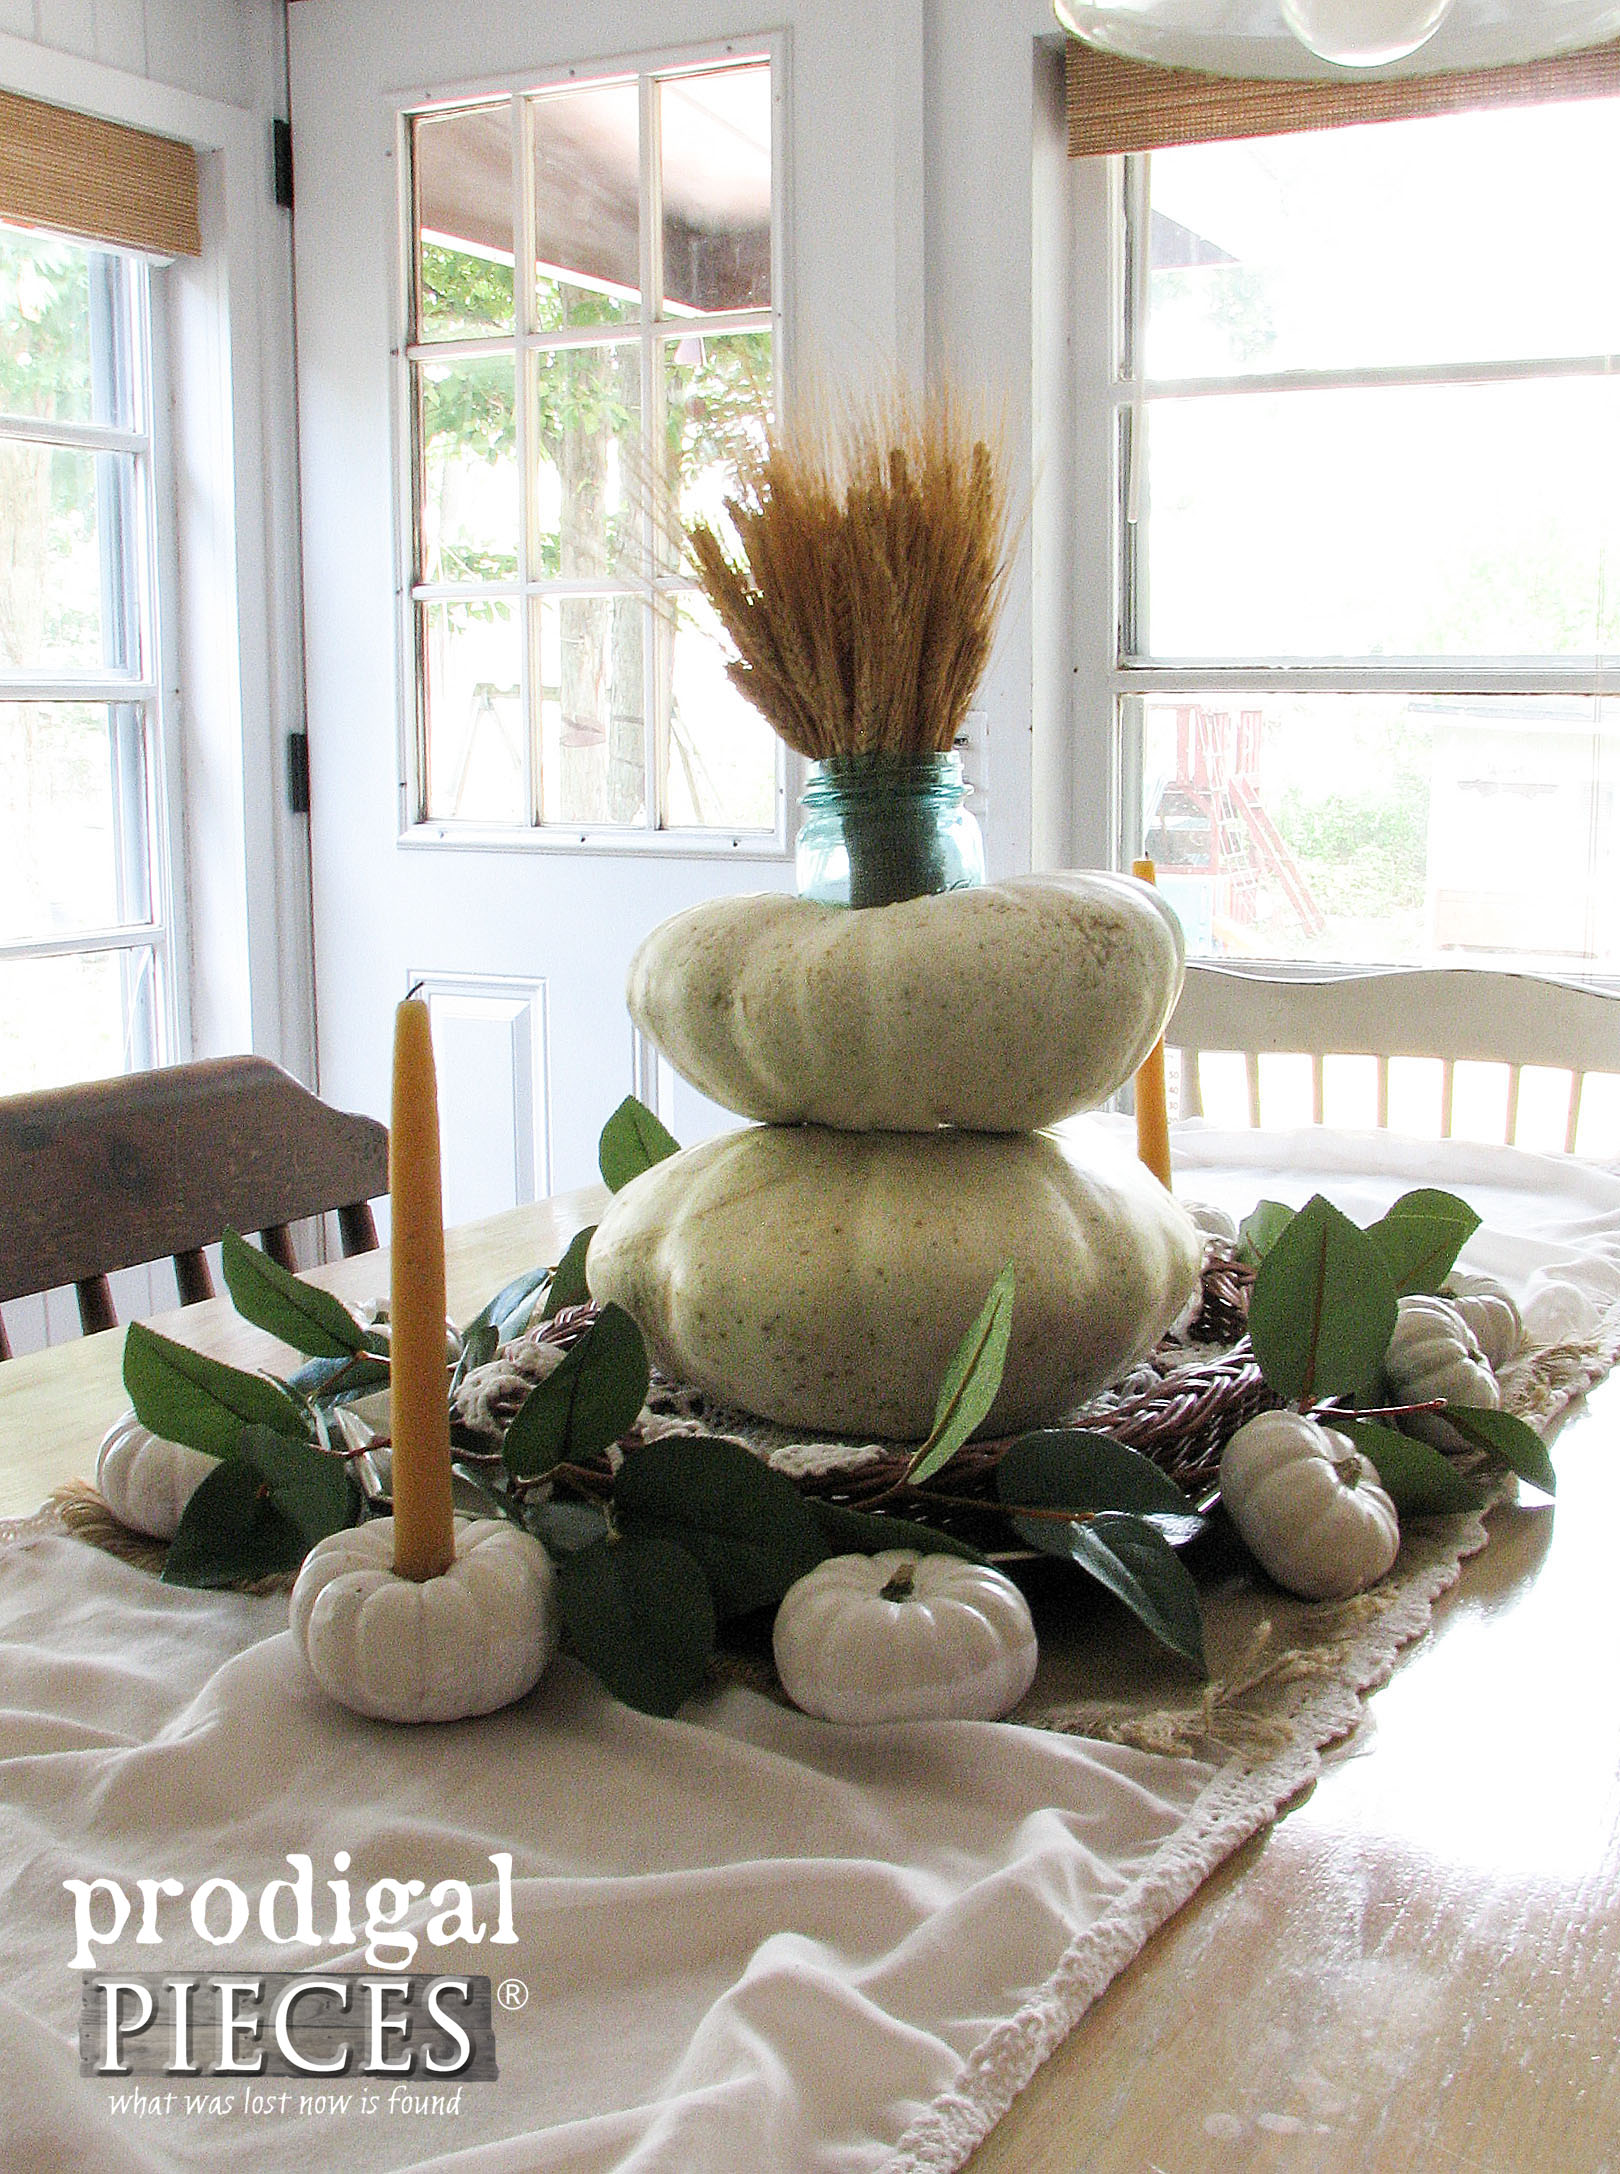
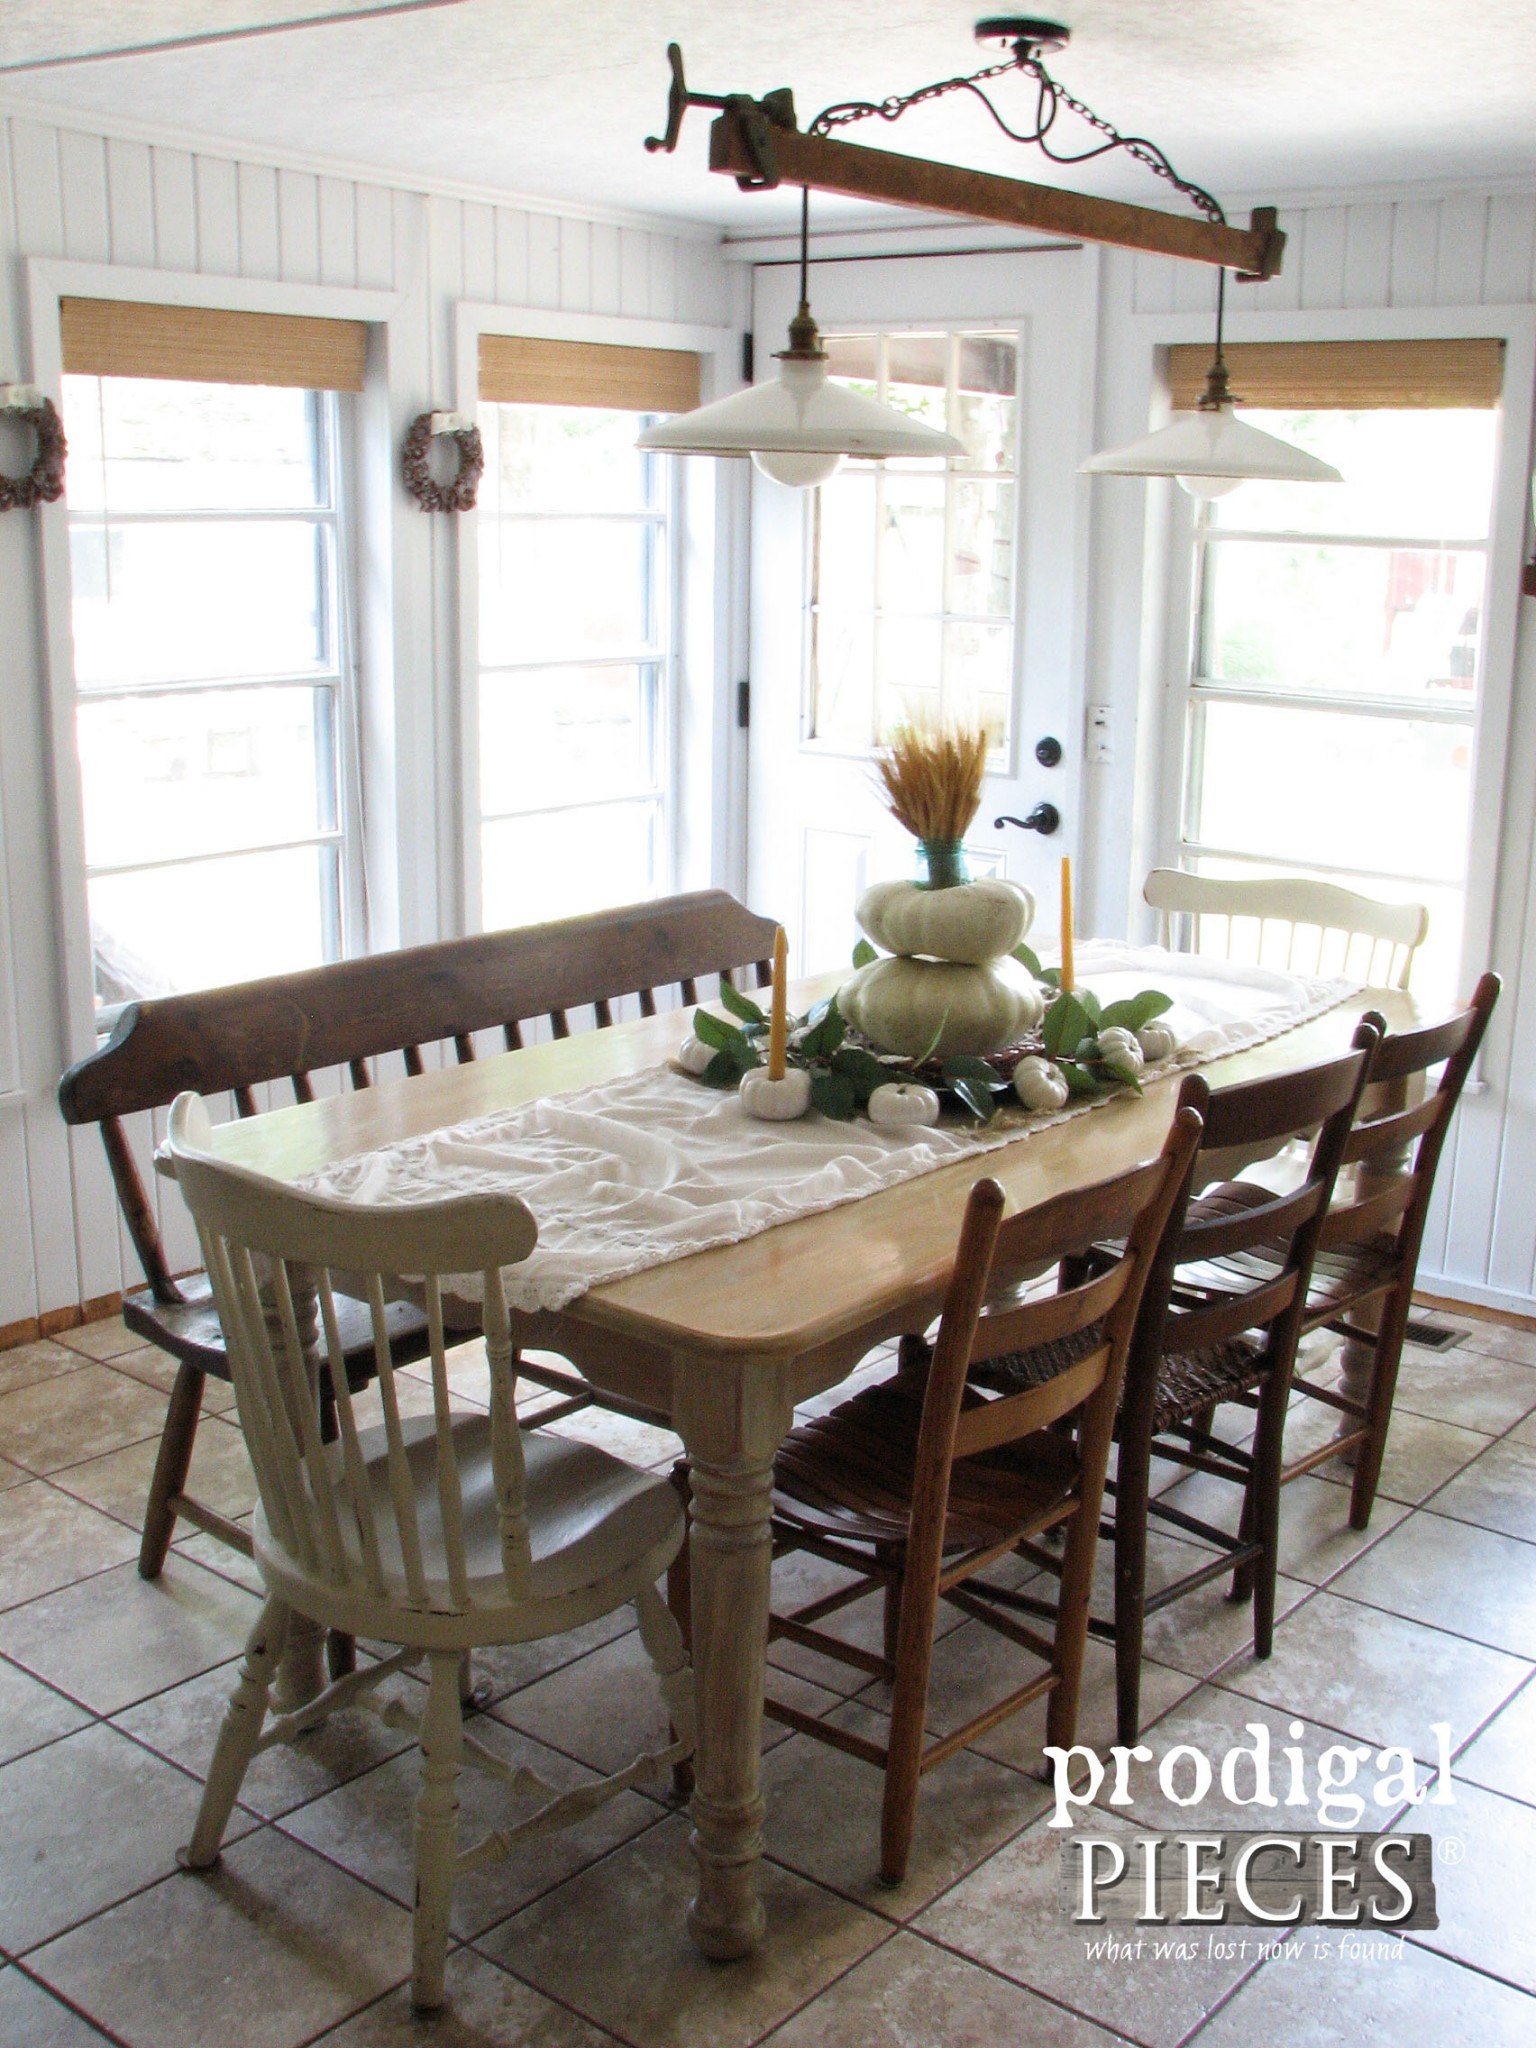
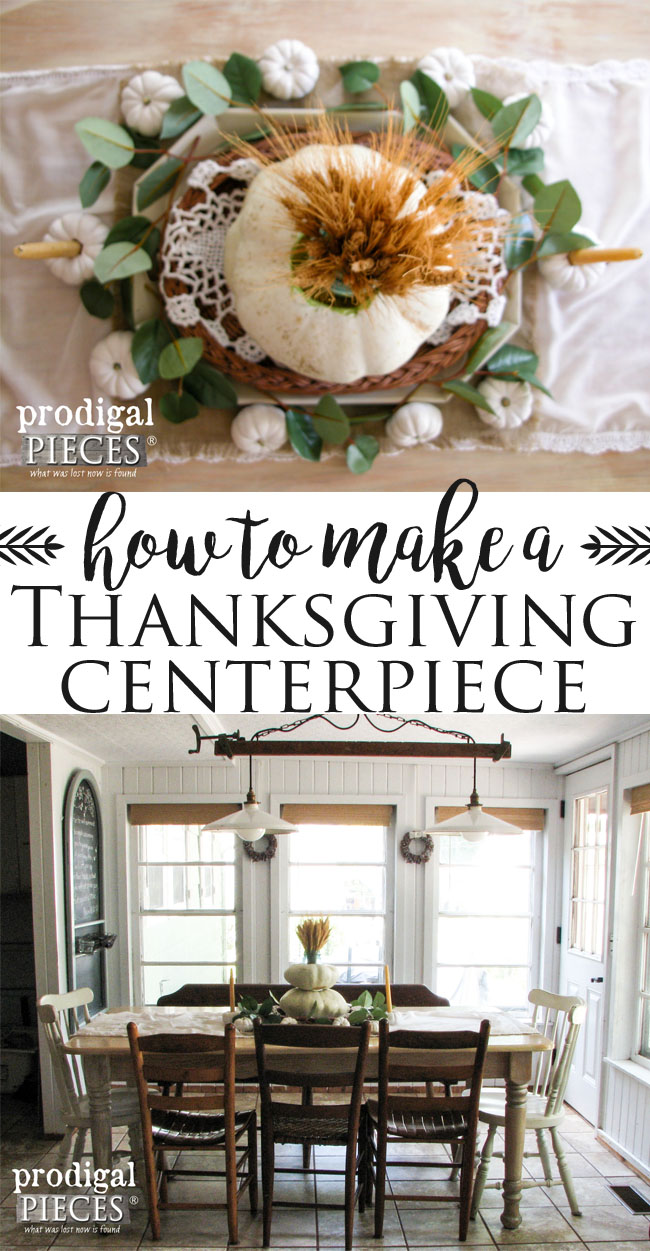
The holiday season is fast approaching and beginning our preparations can leave us feeling excited and sometimes a little frustrated. I like to use the K.I.S.S. (Keep It Simple Silly) mentality to keep me in focus. Our guests want to come to celebrate and relax, so we should aim to create that sort of environment, right? Today, I want to show you this simple, yet elegant, Thanksgiving centerpiece tutorial that will delight your family and friends.
*originally seen as written by me on Angie’s List
Using nature in our decor is a long-time staple when we celebrate harvest time at Thanksgiving. Your list of supplies will be fun to shop for because you can do a group treasure hunt to add to the fun.
Now, are you ready to get started on your centerpiece? Here’s what you’ll need:
Materials:
- two heirloom flat white Boer pumpkins (or any variety you choose)
- bundle of wheat
- assortment of Baby Boo gourds (mini white pumpkin-like gourds)
- rubber band
- Ball jar or other container (see details below)
- tapered candles
- burlap or other material of choice
- fresh or faux greens
- assorted trays
- linens
Tools:
- knife
- large spoon
- newspaper for ease of clean-up
- rubber band
- scissors
- garden shears
Let’s get started! Keep in mind, this is a fun activity that can involve the whole family, so grab your kids or grandkids for some holiday fun.
STEP 1
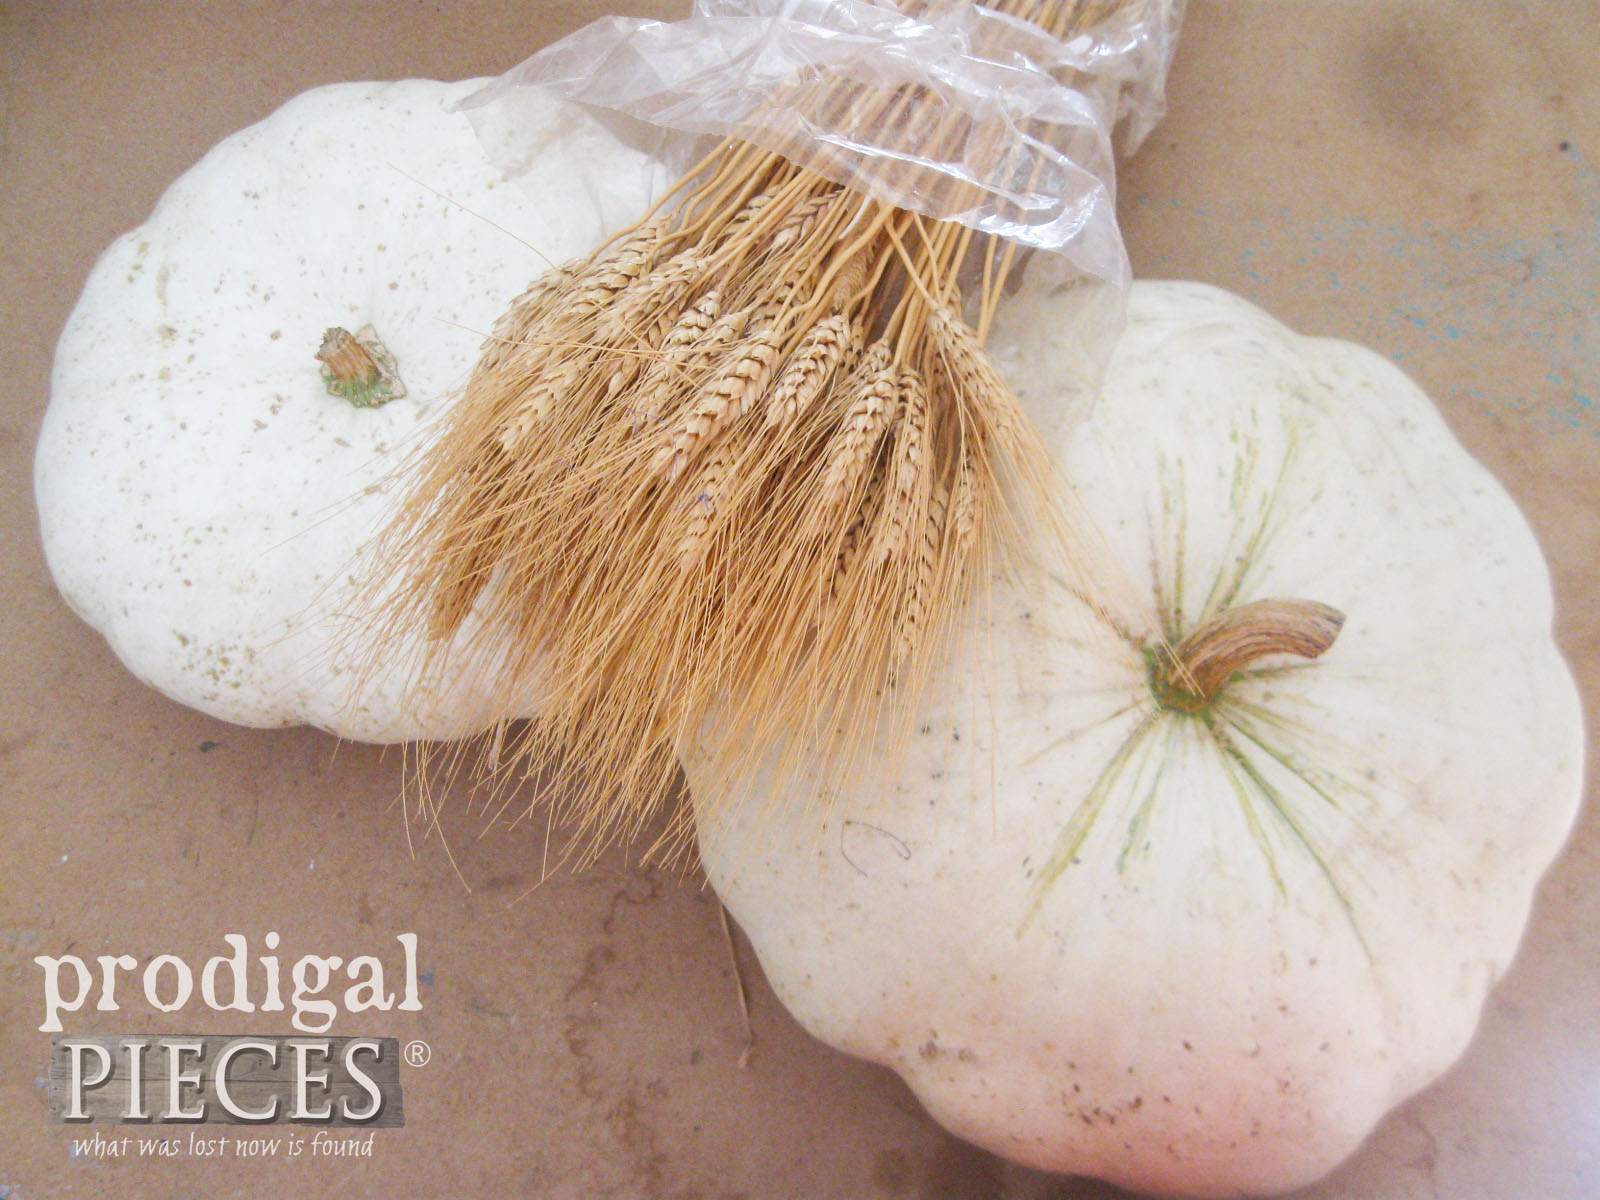
First, you’ll need your two pumpkins of varied size (one larger and one smaller) and wheat. Check your local farms or farmers market for these goodies. Also, be sure to grab some homemade cider to sip while creating!
TIP: Did you know these Boer pumpkins are wonderfully sweet for making pies? Grab and extra few while you’re shopping to save for baking later. YUM.
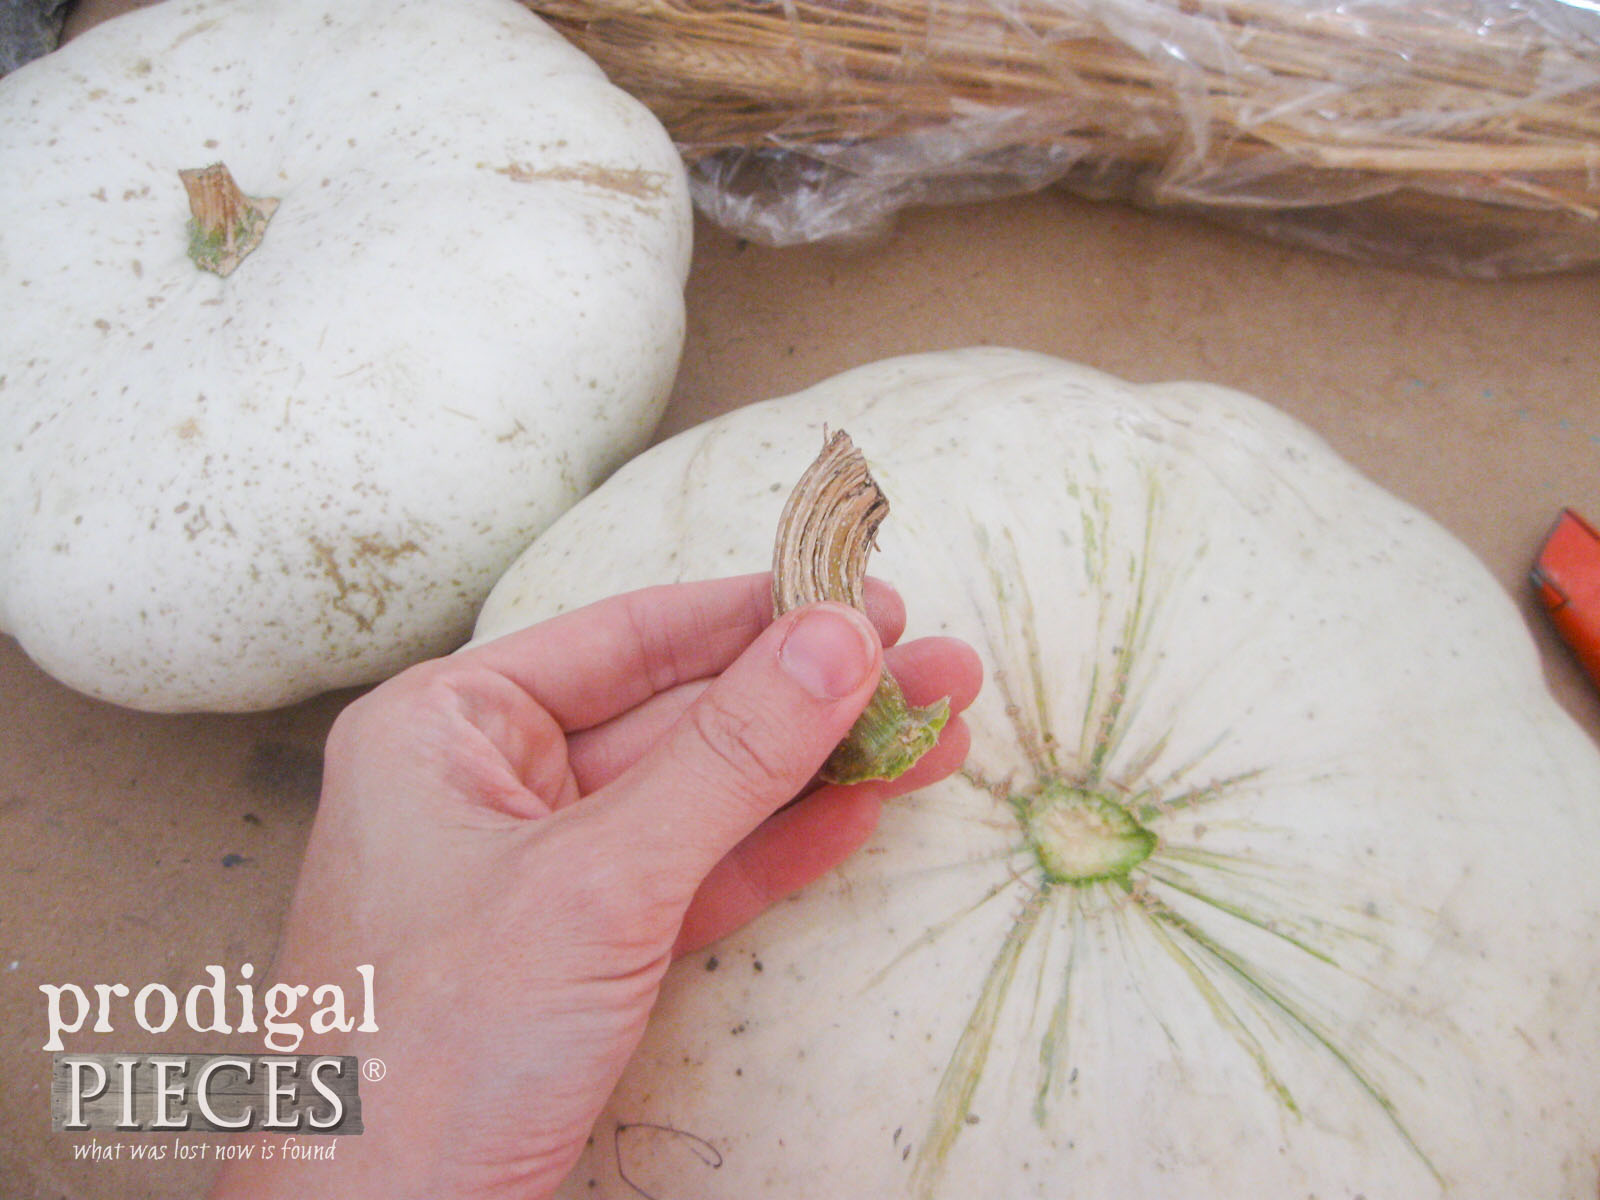
Next, remove the stem of the larger pumpkin and save for a future craft. I love to keep these year after year when I make my faux pumpkins. Likewise, the dried stem makes for some wonderfully realistic decor.
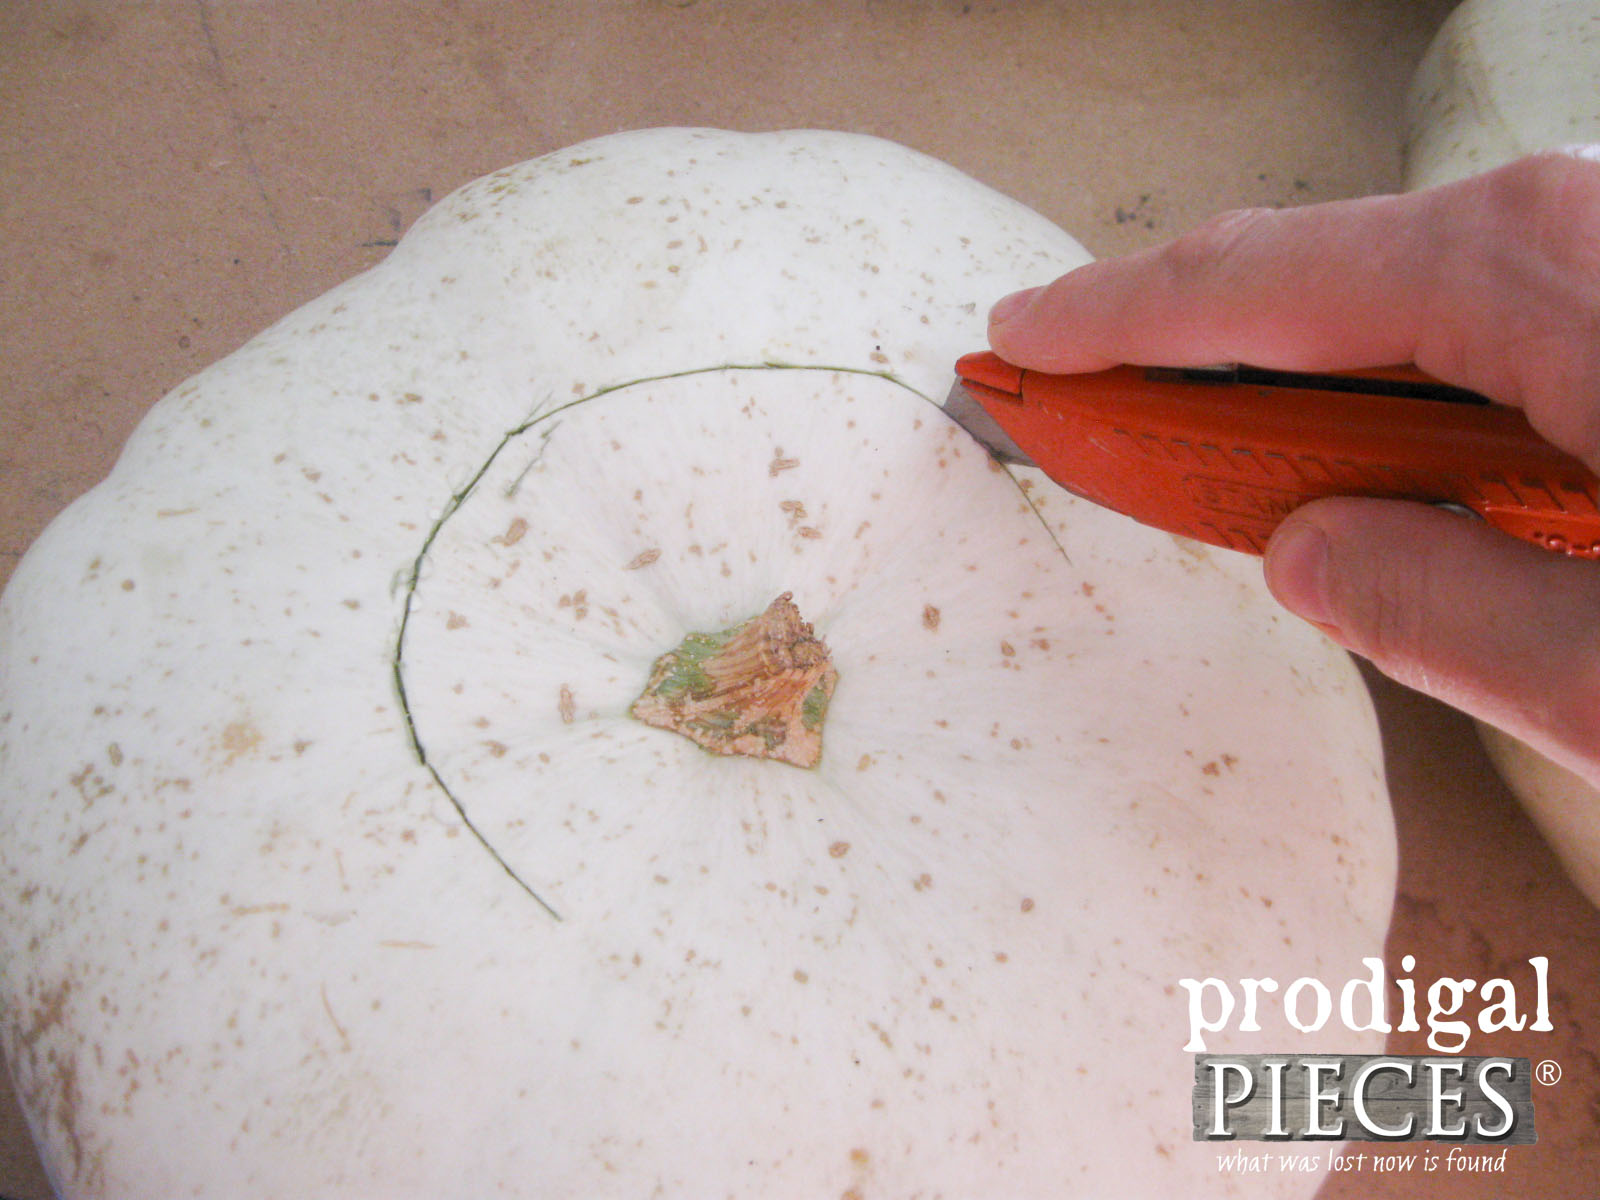
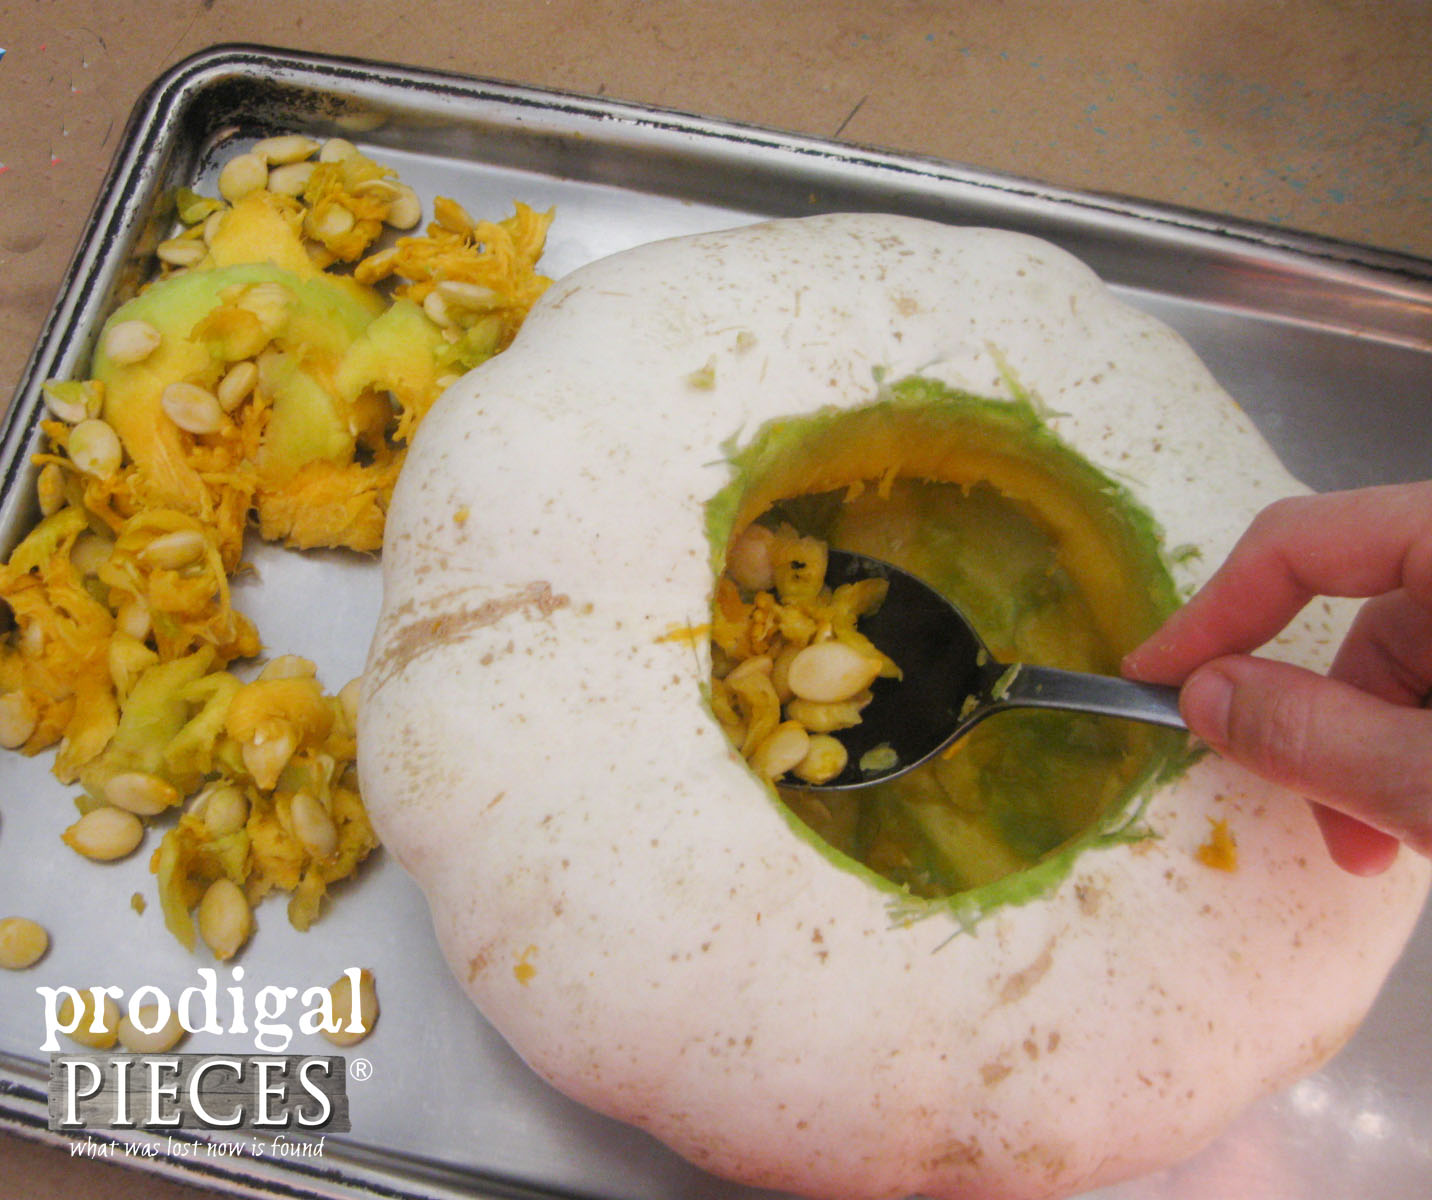
Then, like the good ol’ days, start carving your smaller pumpkin making a hole large enough to hold a jar or flower frog.
STEP 2
In addition, clean out the insides and reserve seeds for roasting, if you like. They’re delicious and nutritious…mmmm.
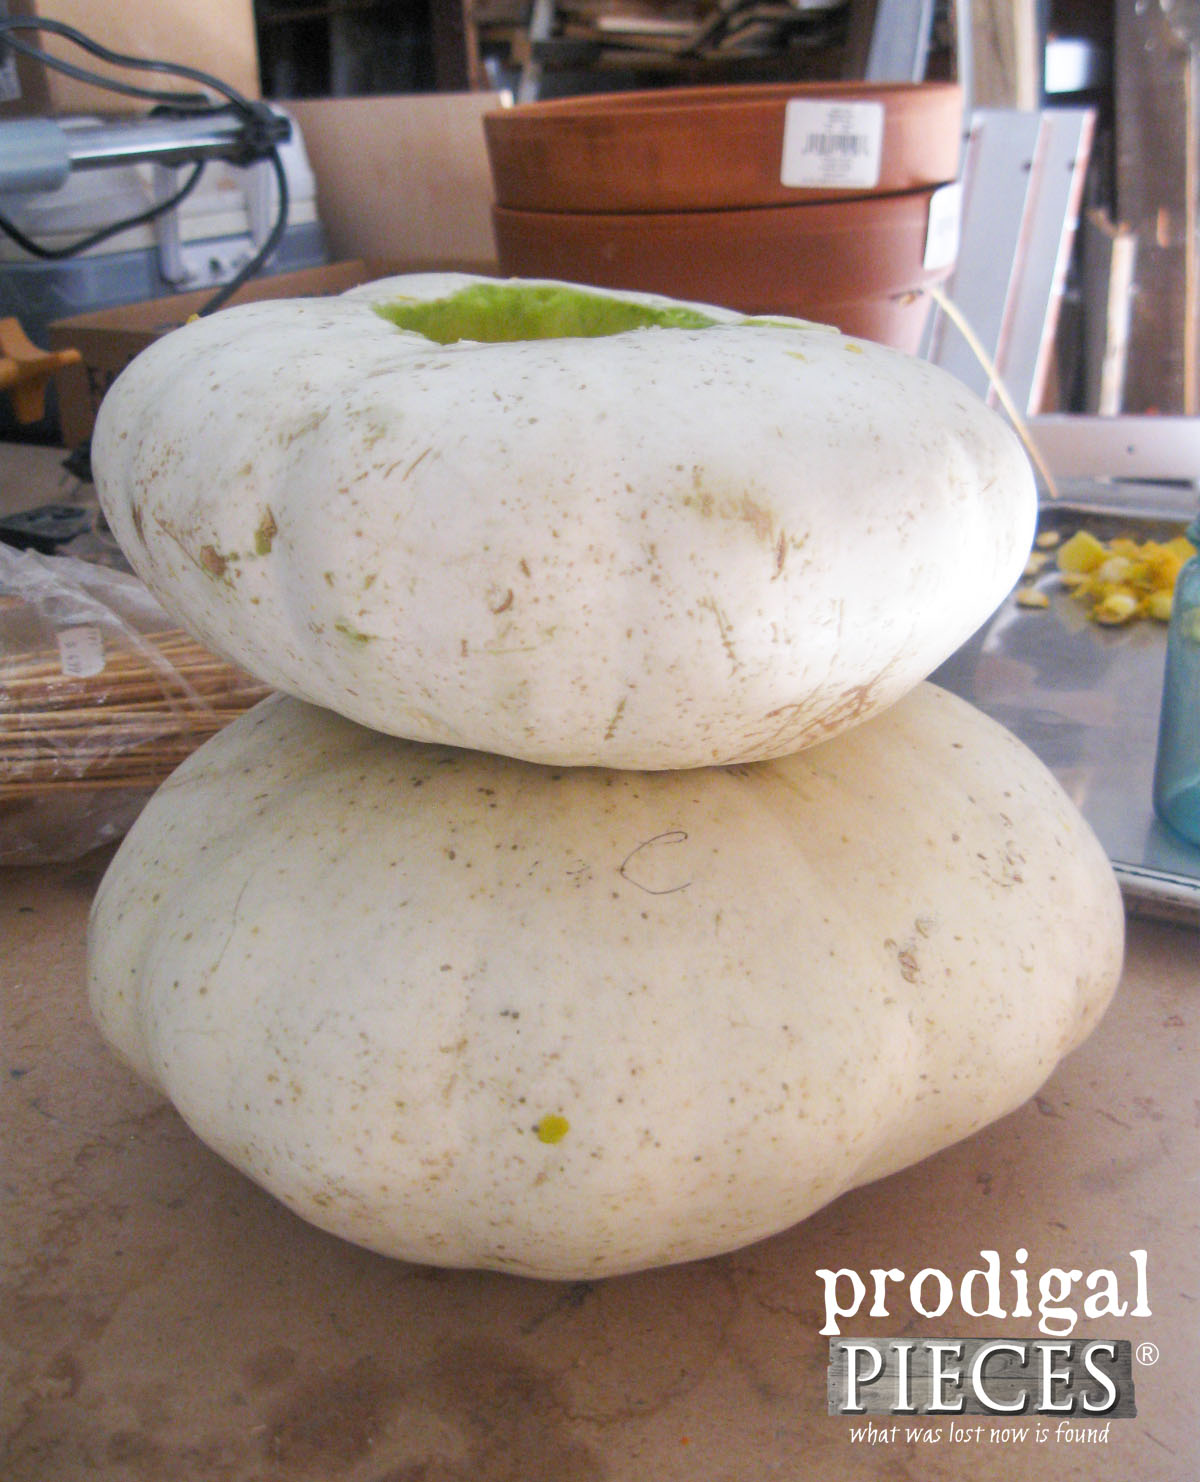
Once your pumpkin is carved you can run a dry test to see how they sit stacked together.
Mine sat together without any extras support needed, but you could add a few ¼” dowels cut into 3″ lengths. Drill holes using a less than ¼” drill bit and insert the dowel. Next, center and press the smaller pumpkin onto the dowel to make marks, and then drill in the coordinating spots. Slide the top pumpkin on and you are good to go.
STEP 3
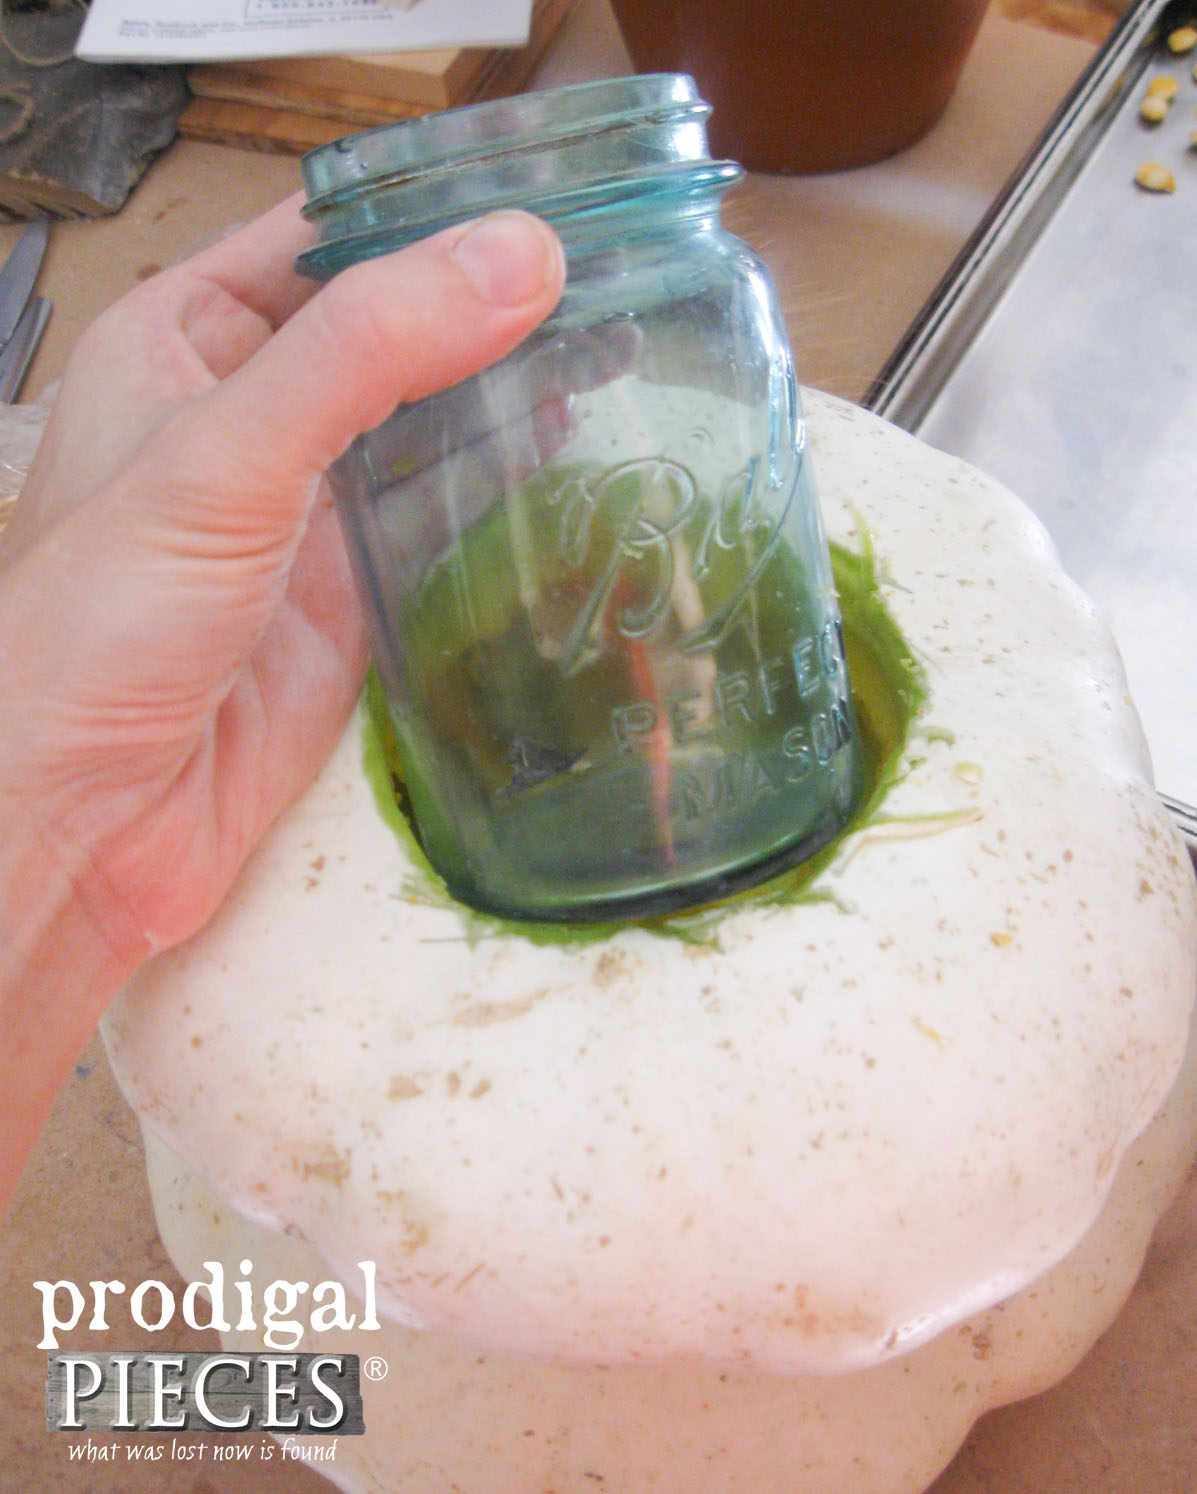
Last, it’s time to fill the center with whatever your heart desires. Add a flower frog for a fresh arrangement, or use a vase, or and old soup or bean can for a metal effect. Also, I chose to use an antique Ball jar to add a touch of color.
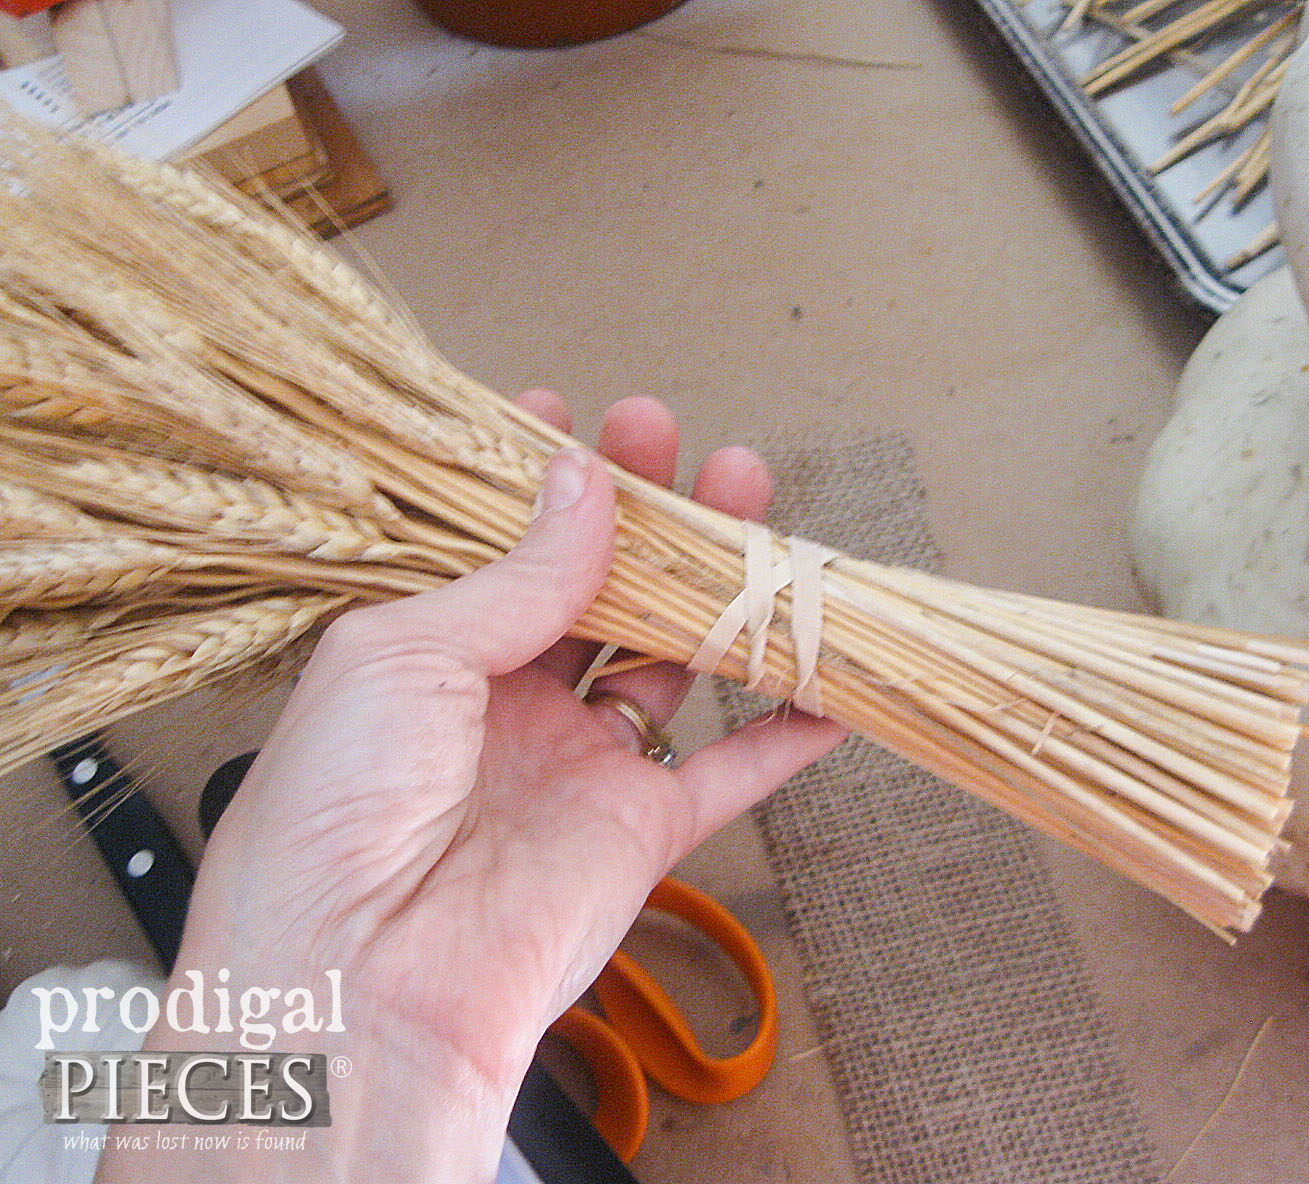
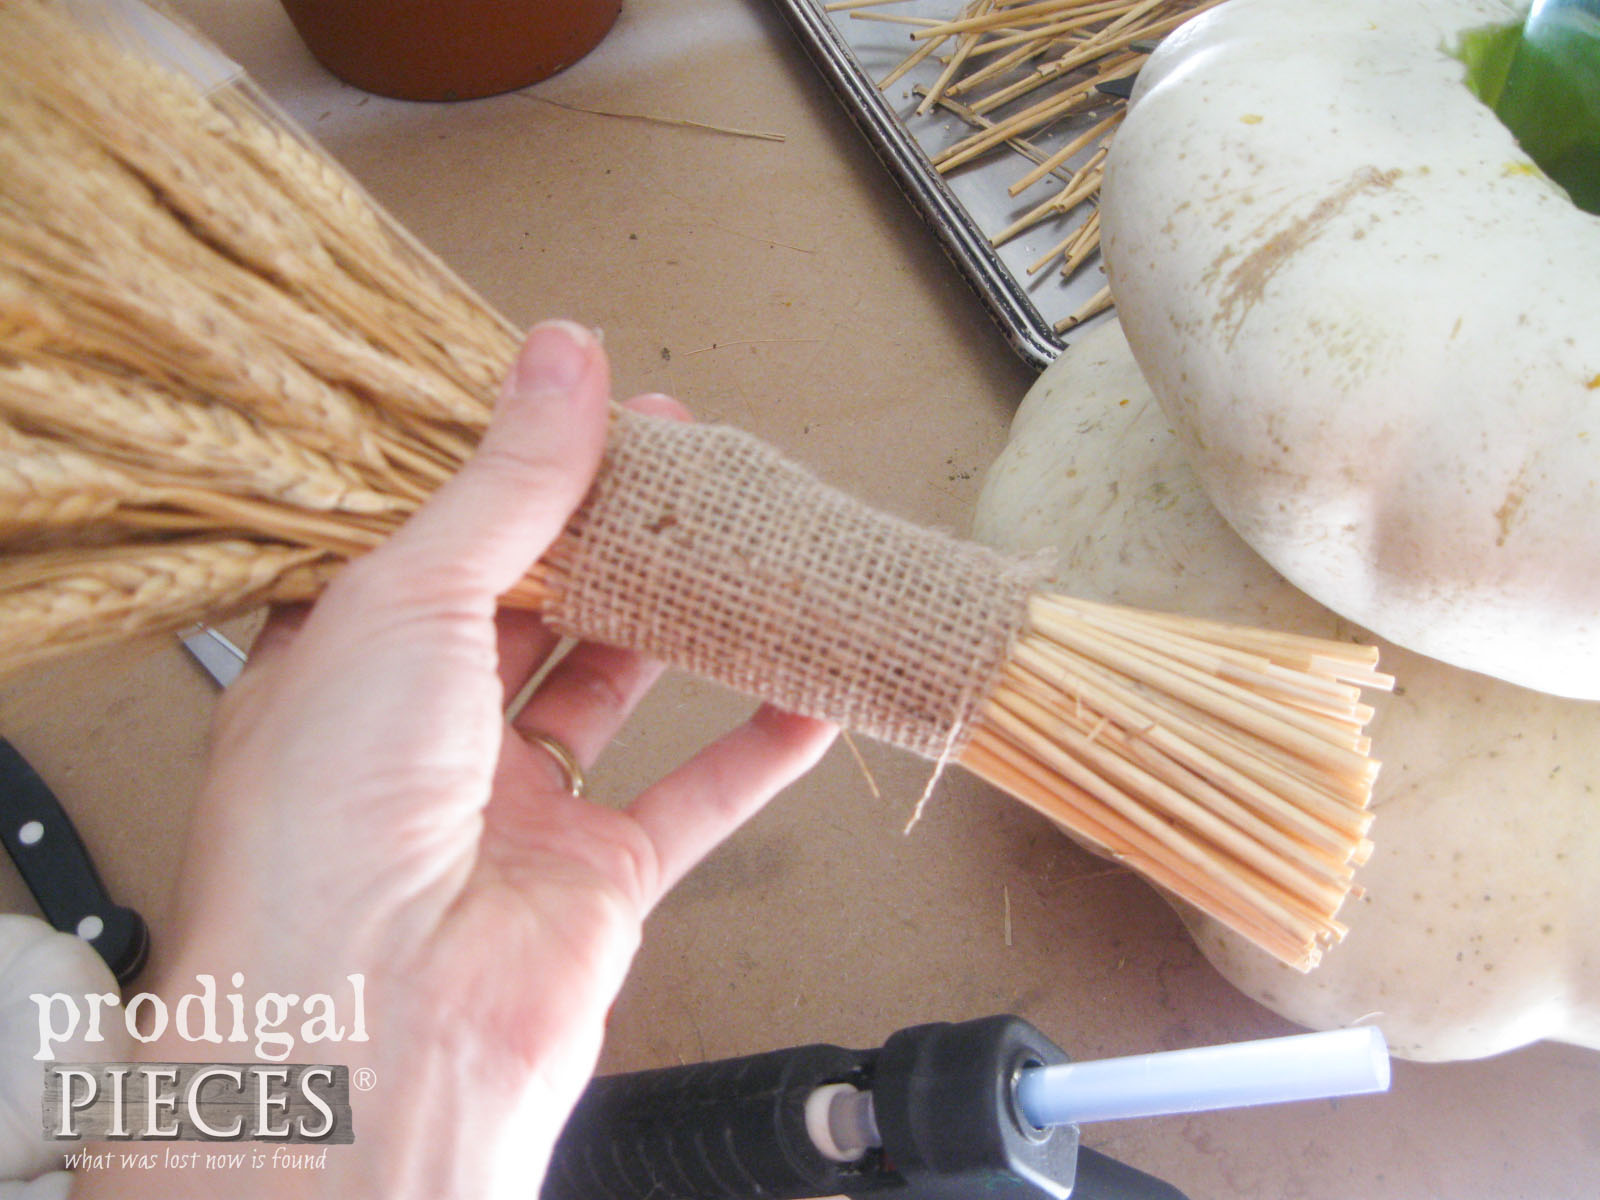
For my fill, I found a dried bundle of wheat at the thrift store and thought it would be perfect. Hold the bundle in one hand and cut to desired length using garden shears. Lastly, wrap the bundle with a rubber band.
To hide the rubber band, cut a length of burlap (or fabric of choice) and wrap the bundle by attaching with a bit of hot glue.
THE REVEAL
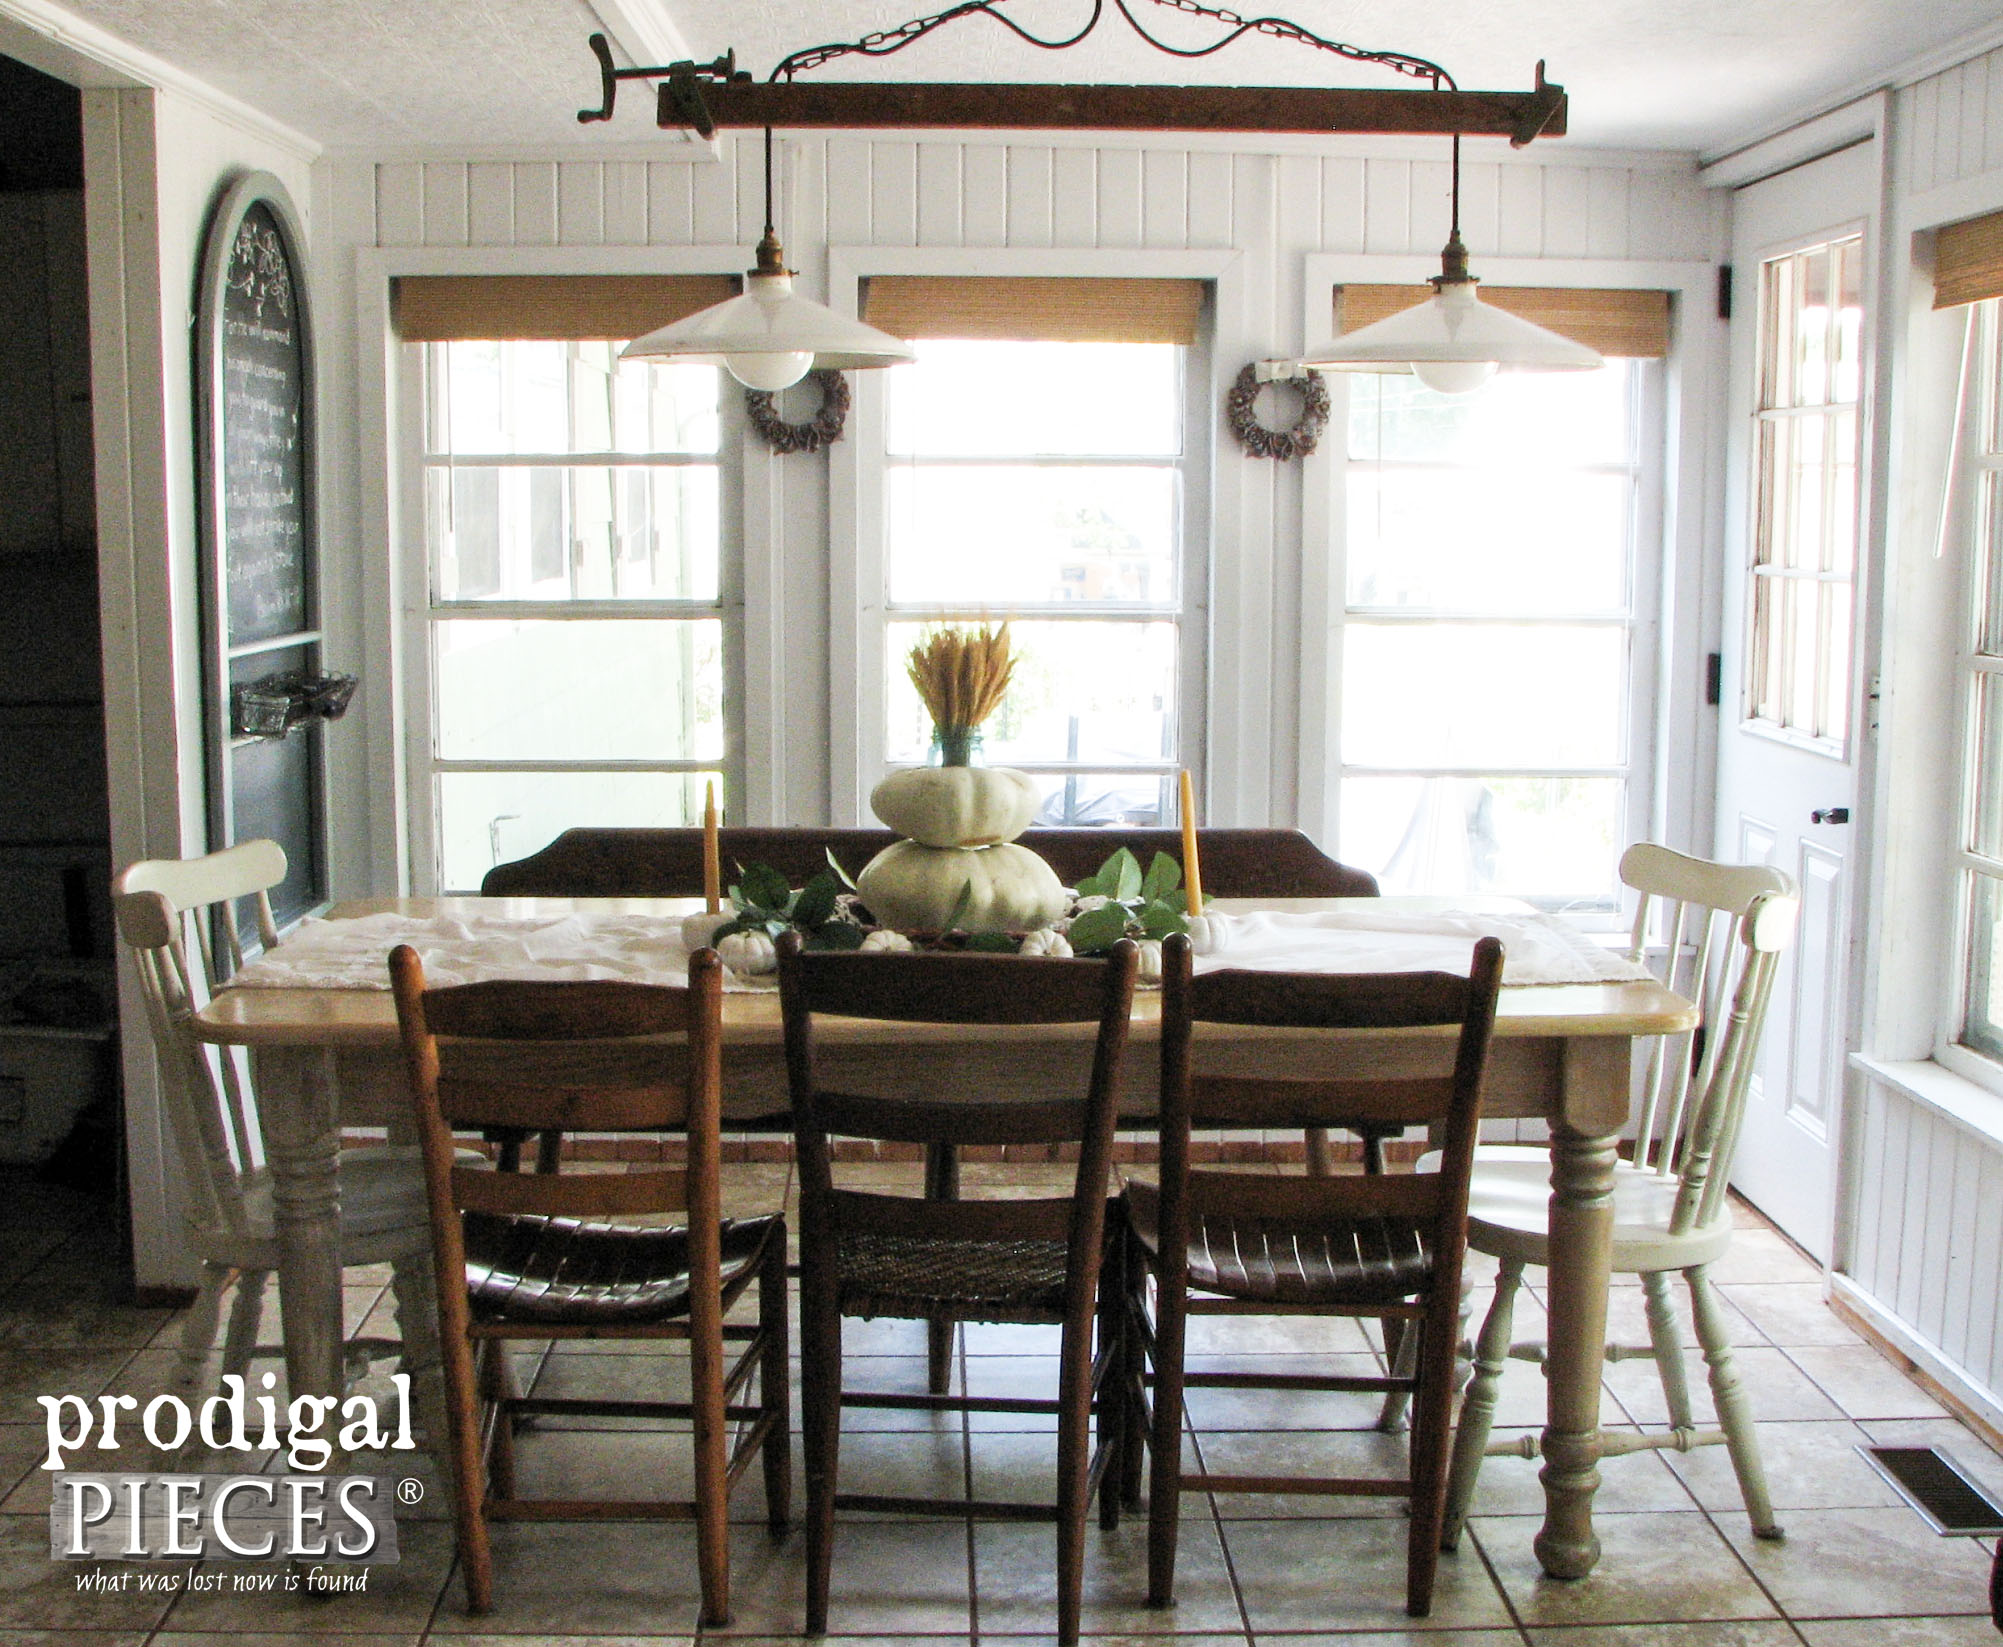
At this point, your centerpiece is ready for the table and time to decorate!
TIP: Sometimes it can be hard to find the mini white Baby Boo gourds. No worries. Just grab some of the orange ones and paint them in a creamy white spray paint. Just be sure to tape off the stems. ssshhhh…. no one will know!
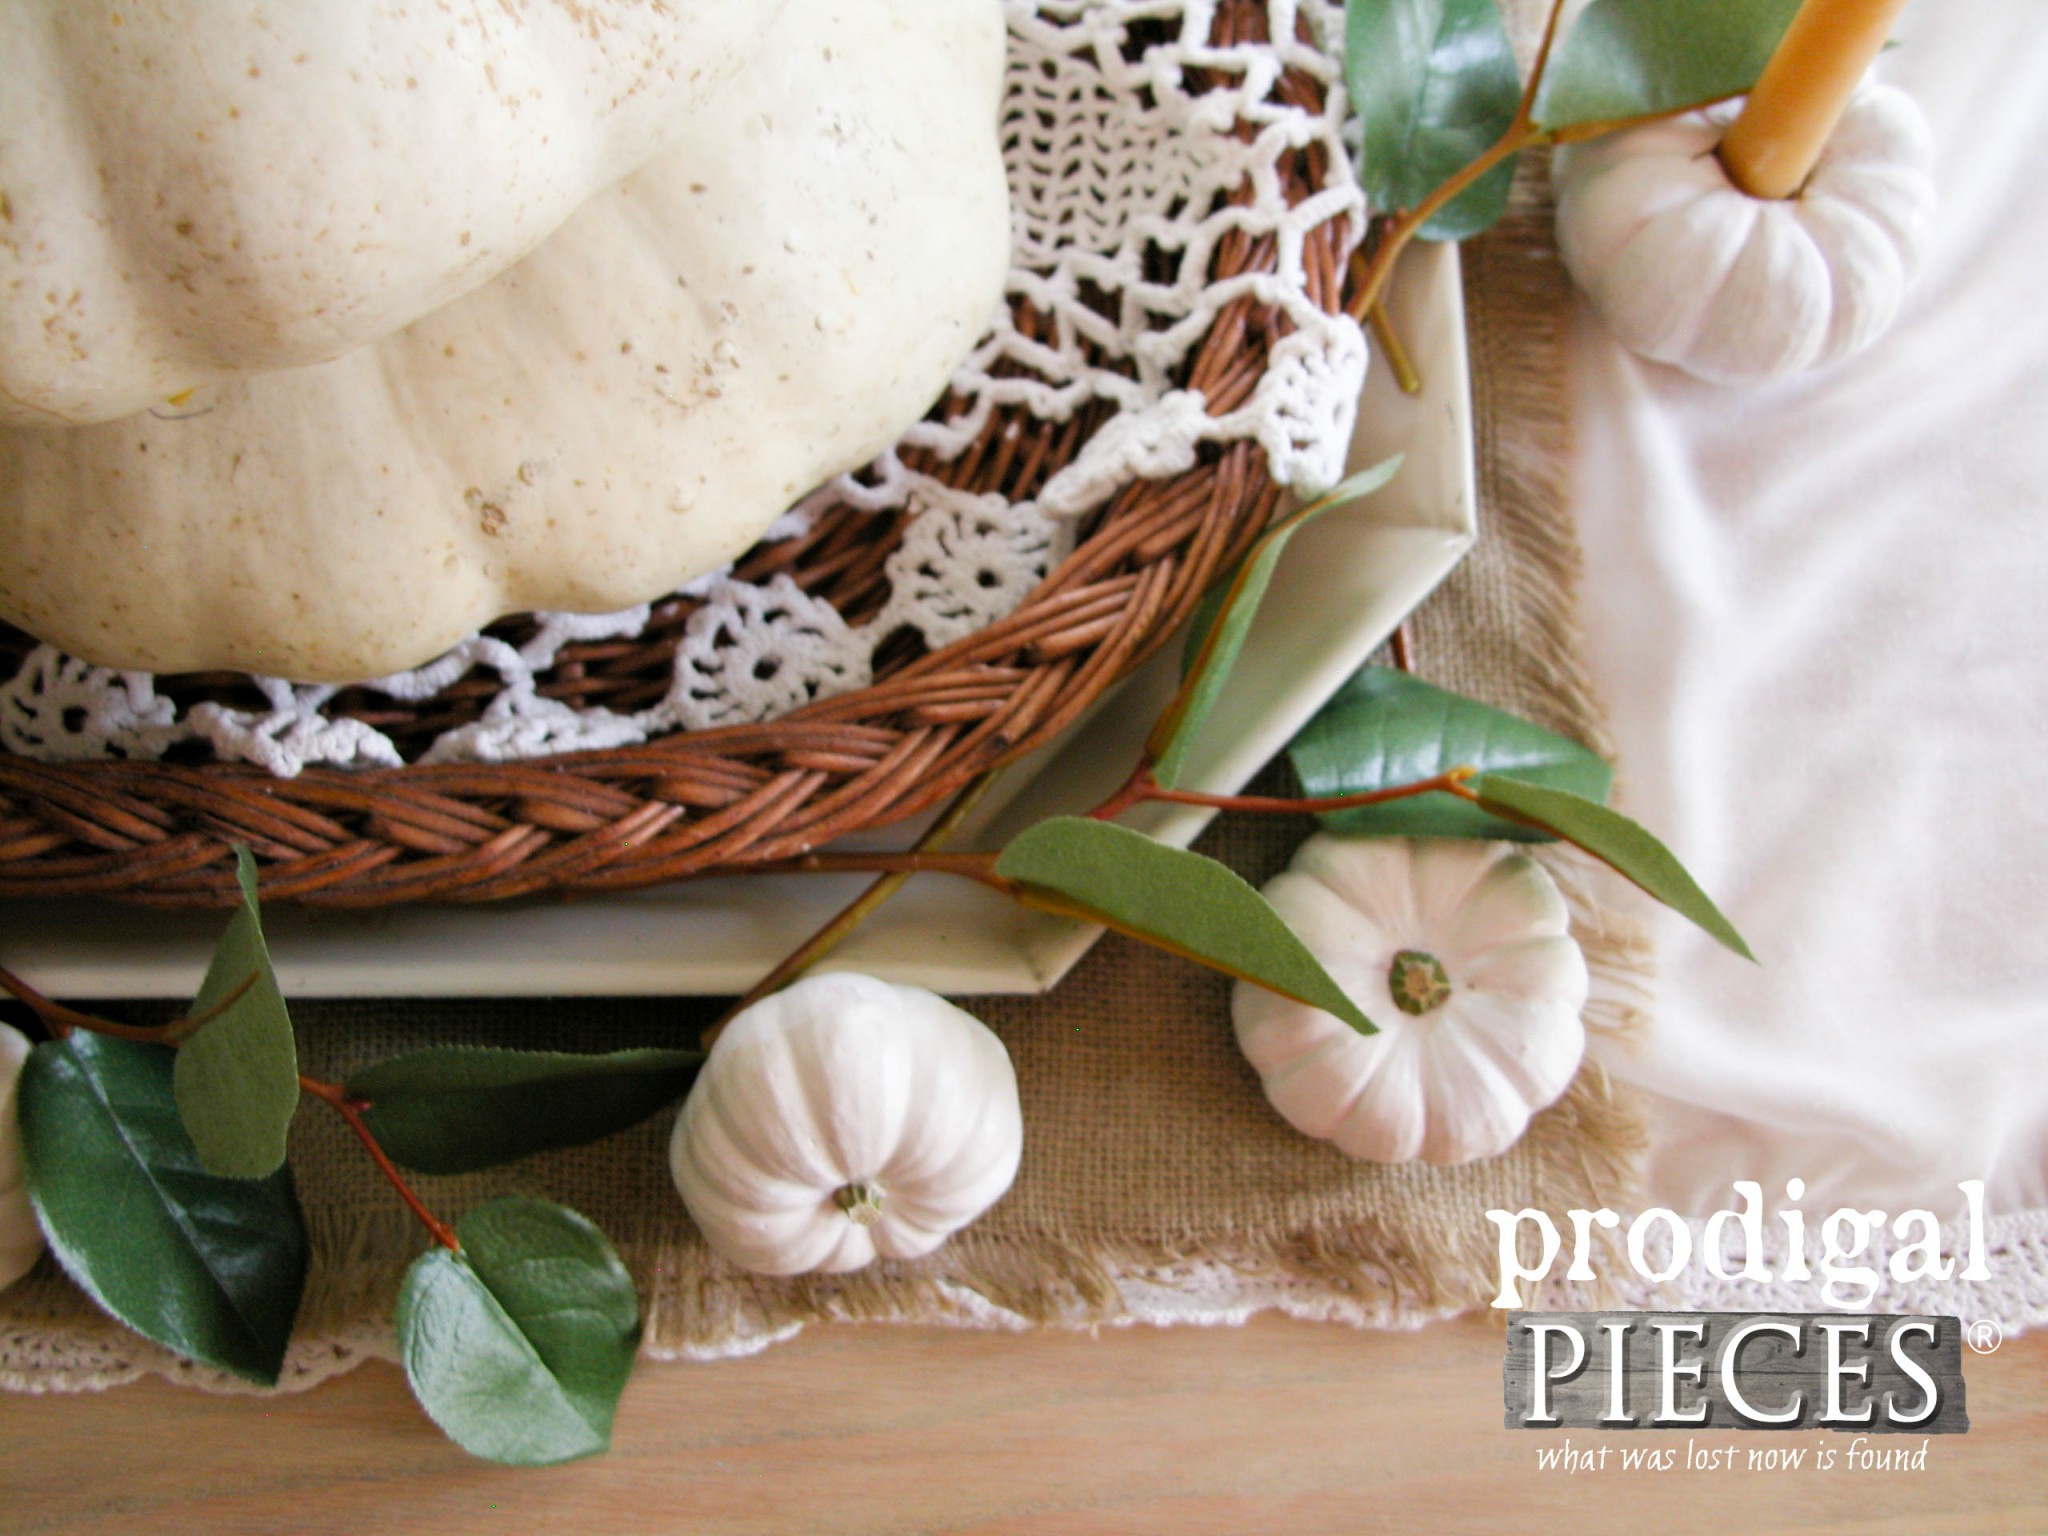
Additionally, for added height and dimension, take two of the mini gourds and carve them out to hold two tapered candles. Fun!
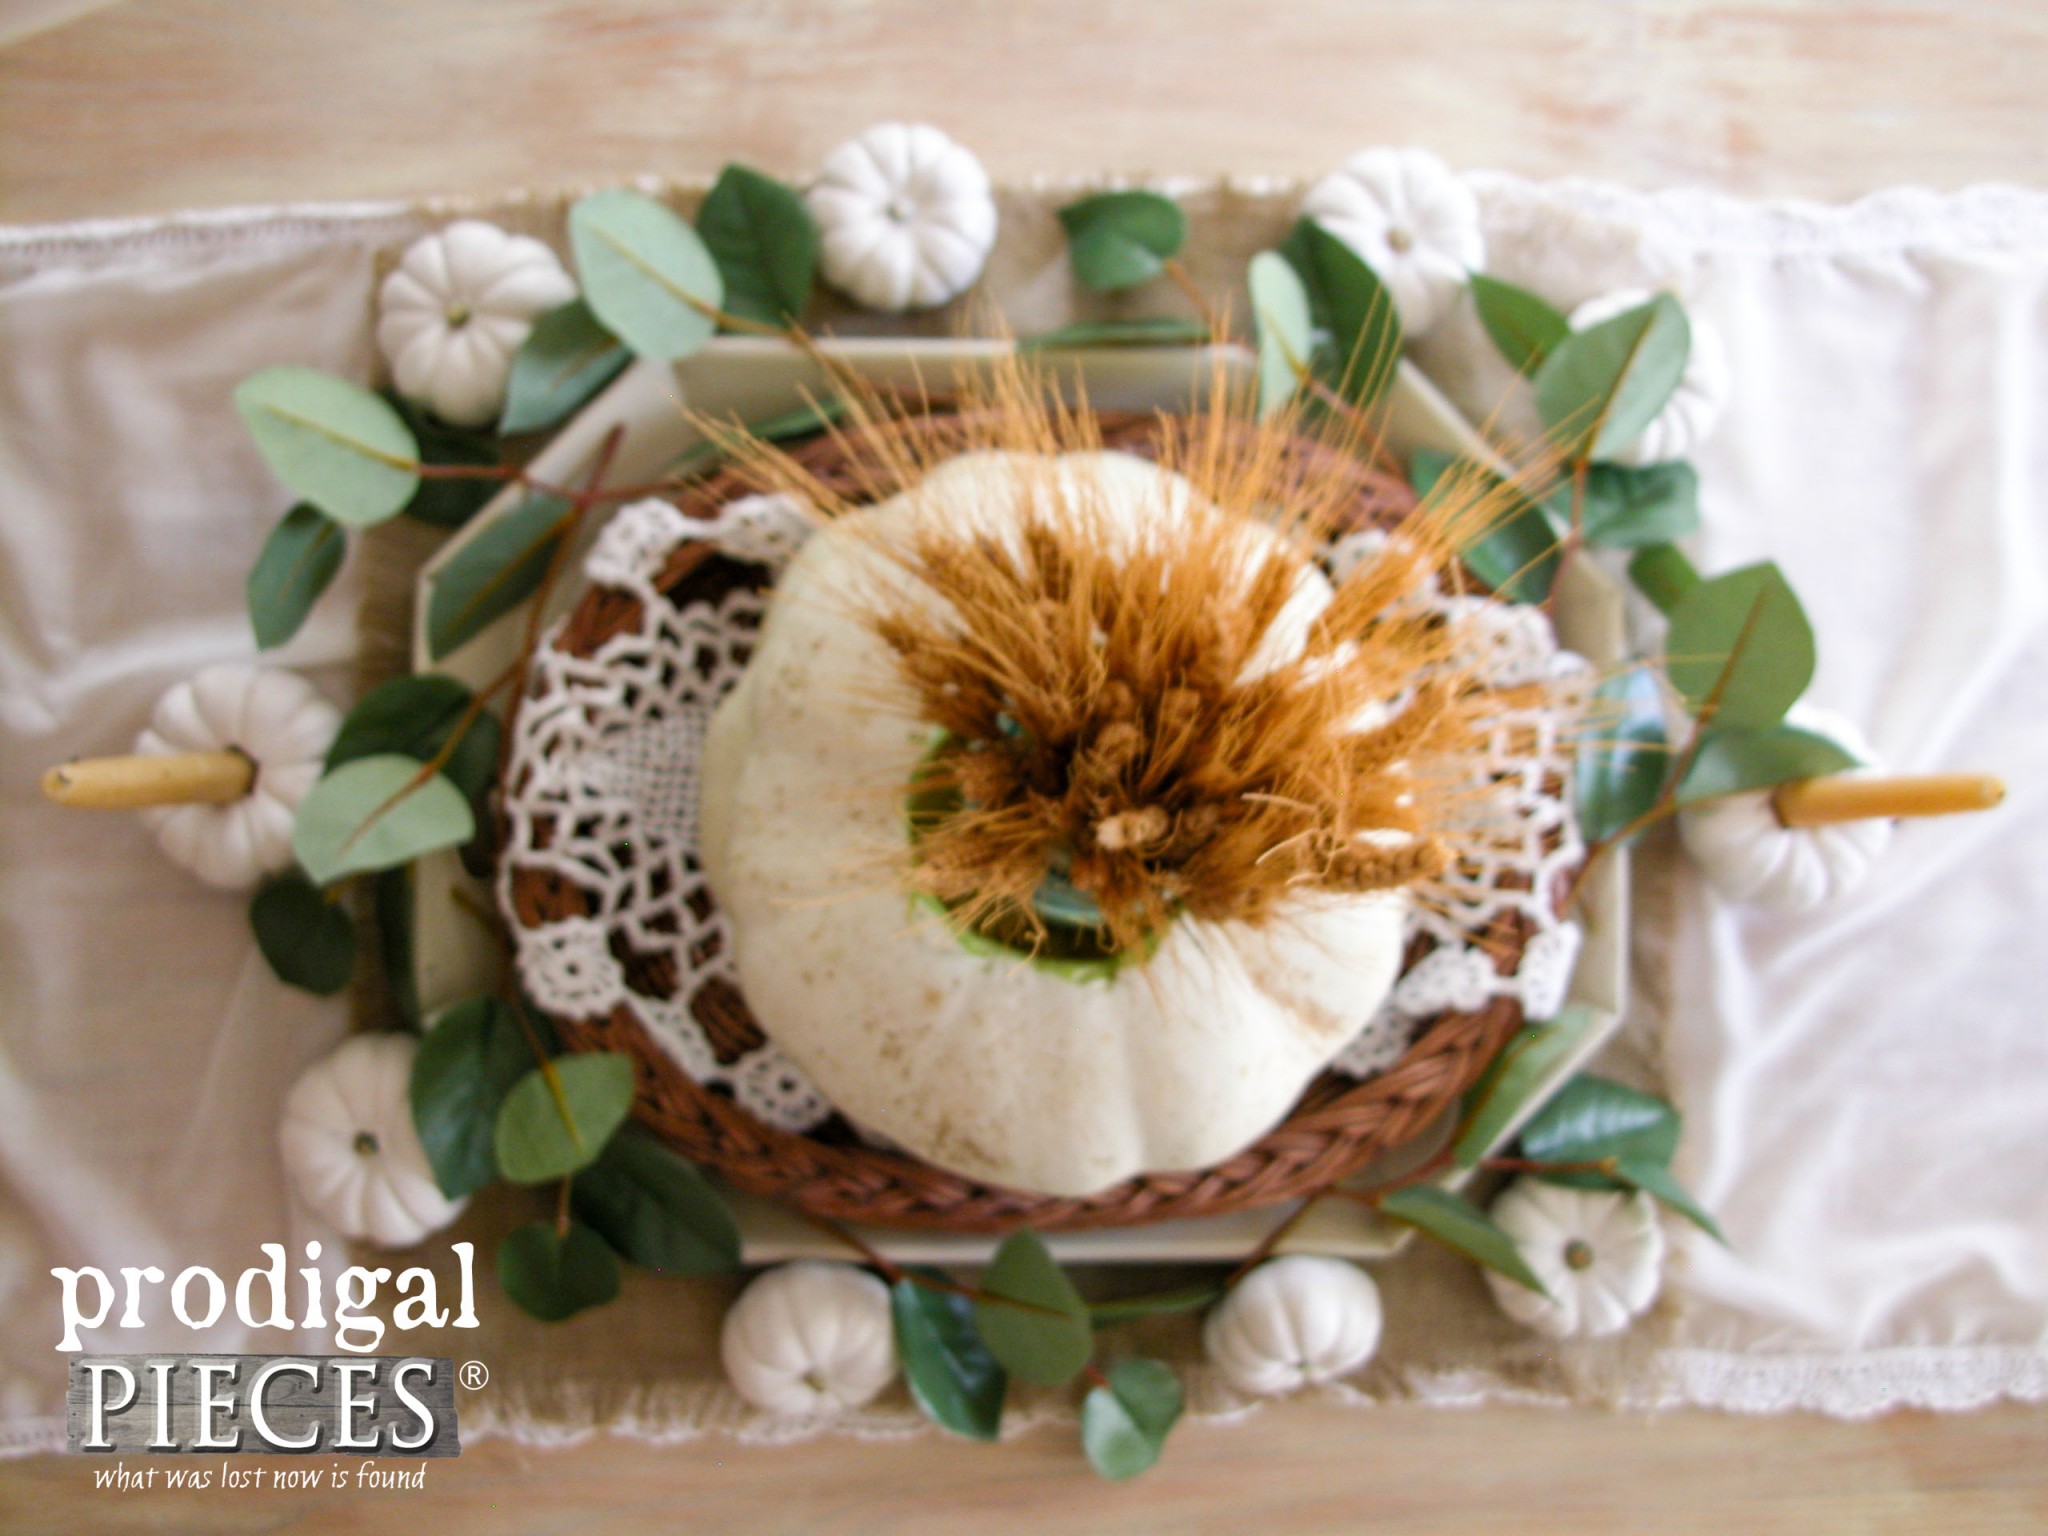
Also, create texture using simple layers of varied materials. Here I’ve used a thrifted table runner, a piece of burlap I cut and fringed, a metal serving tray, and a thrifted basket tray lined with a thrifted doily.
In addition, you can add in a few greens to bring in some color and texture. The best part is this entire layout cost me less than $20 and has very little waste since you can use the uncut pumpkin for pie later on. I adore that kind of decor.
Now your table is ready for your place settings and dinnerware. Your guests are sure to be delighted with this simple eye-pleasing setting. Enjoy!
SHARE
Afterward, I hope you enjoyed this Thanksgiving centerpiece tutorial and can look forward to a simple and love-filled time of Thanksgiving. Additionally, pin and share to inspire others too!
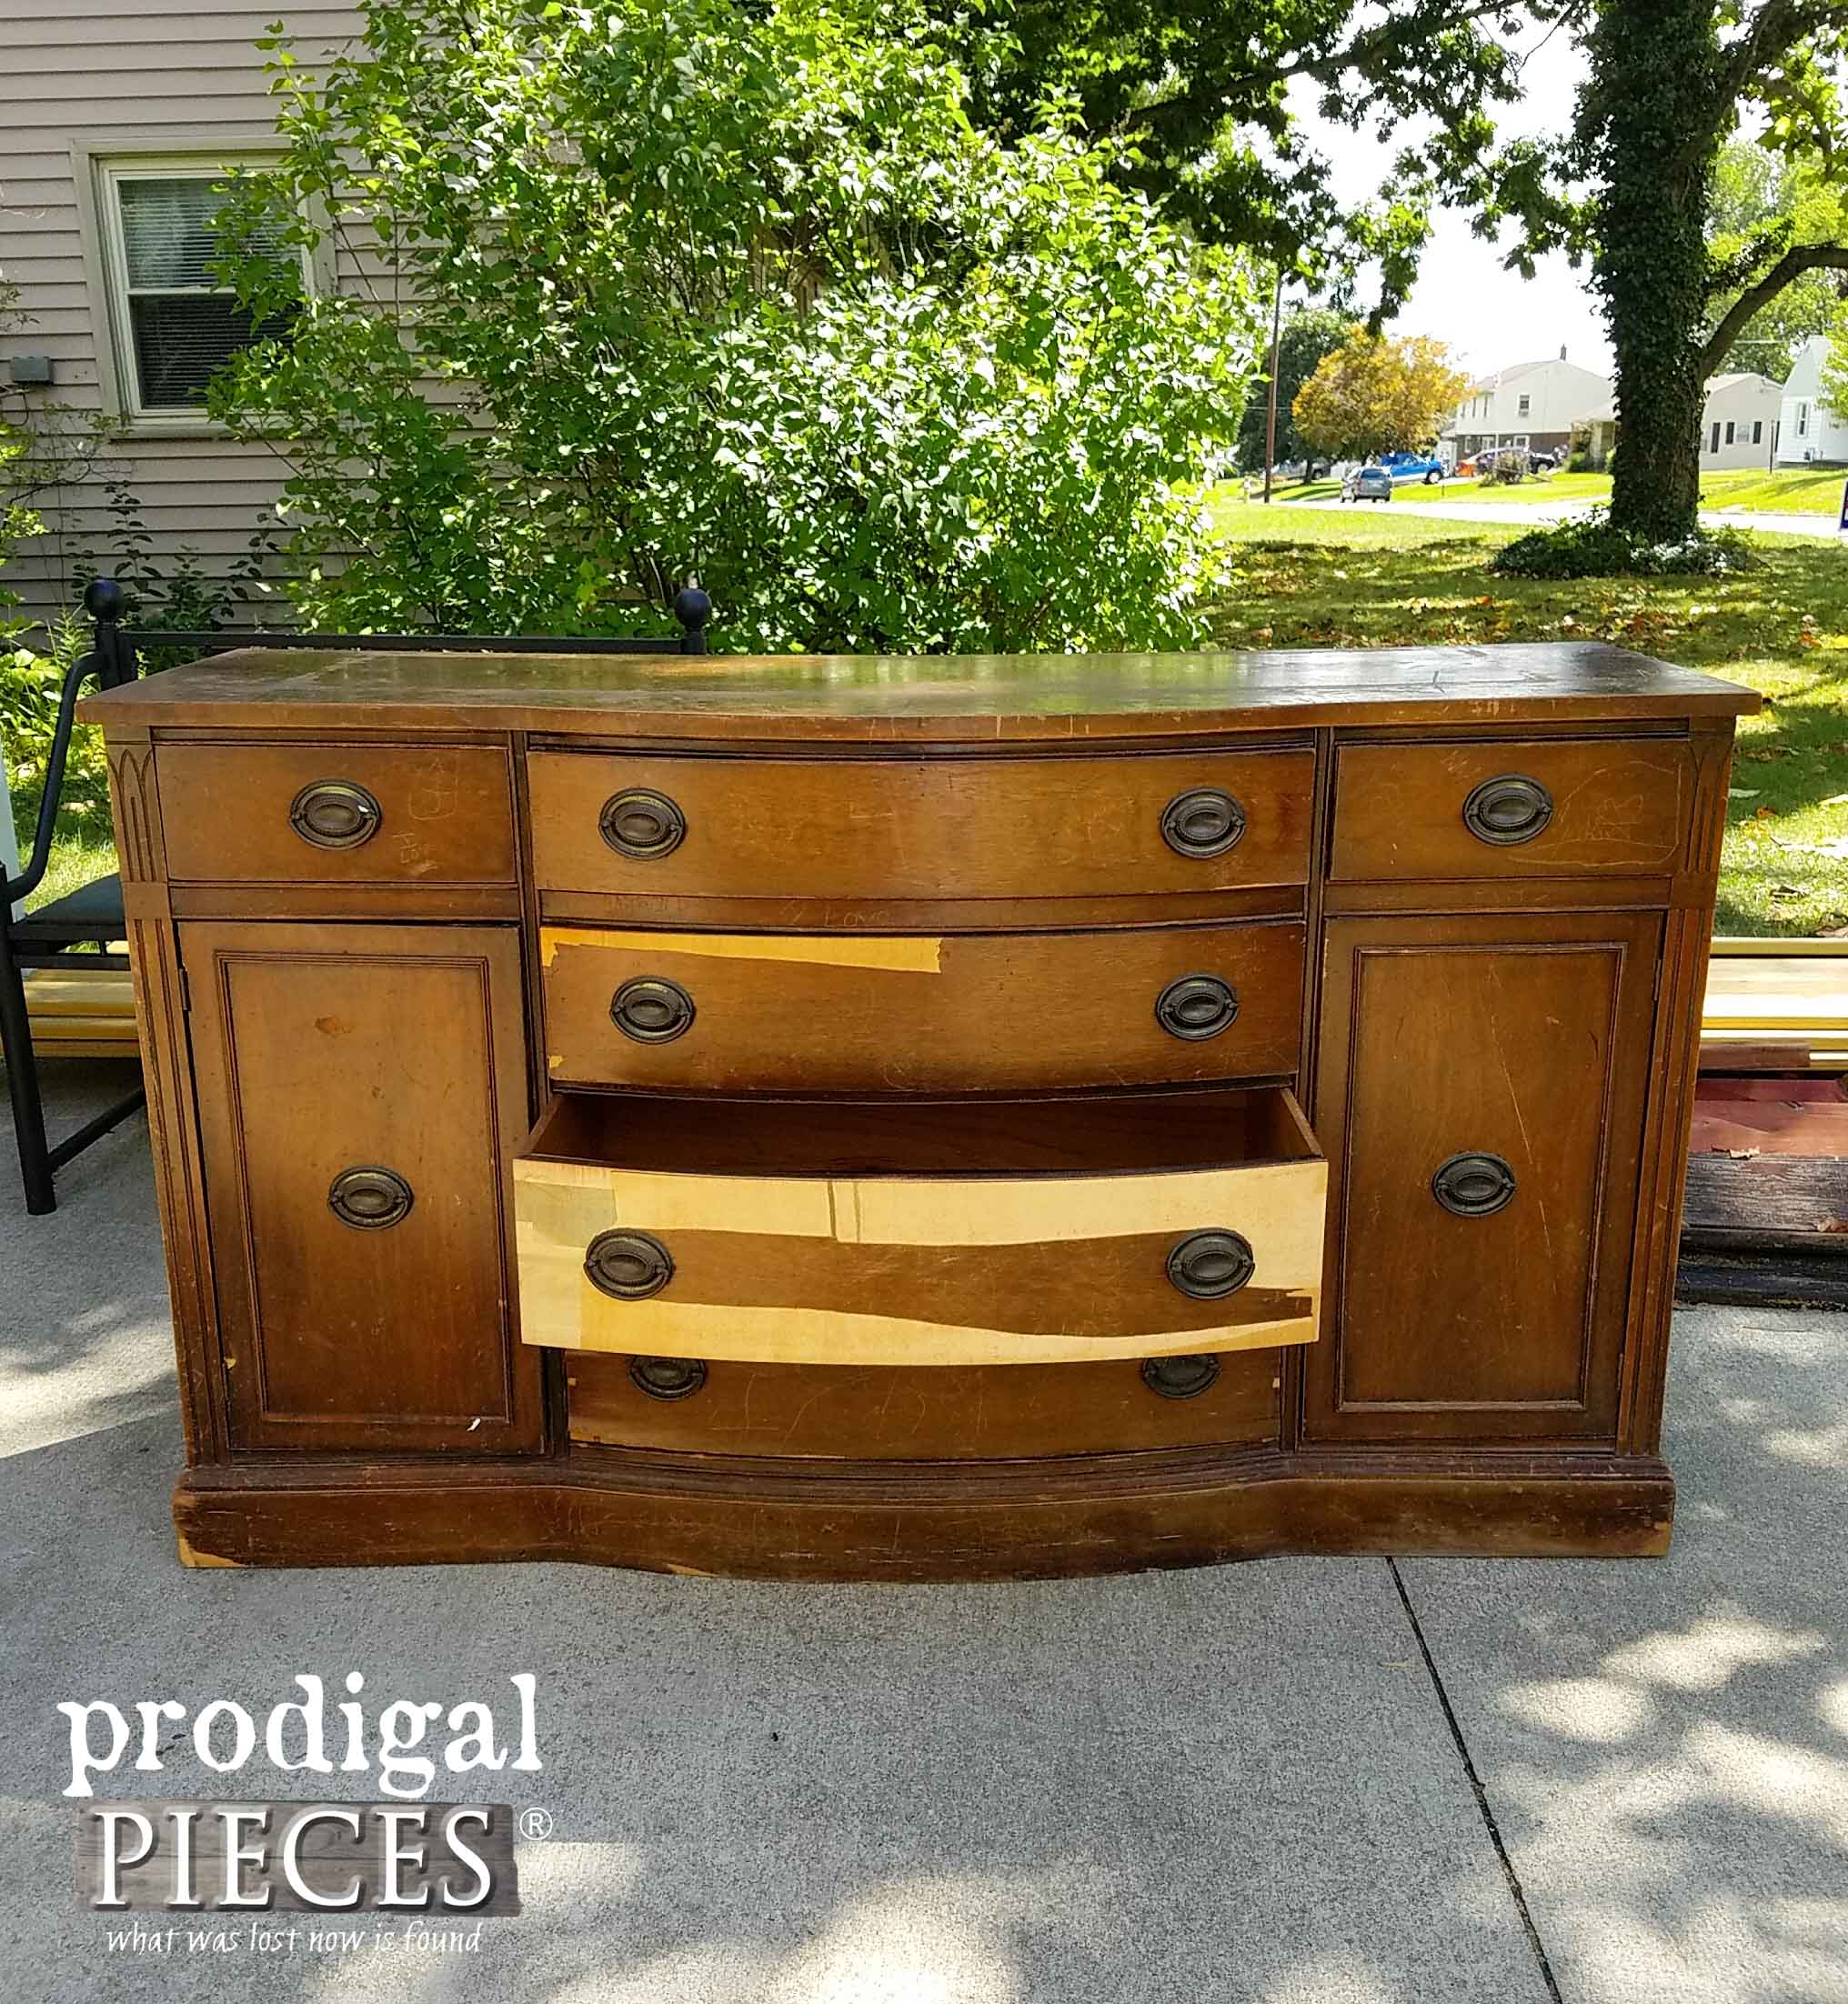
Up next, my son is taking center stage with this buffet I got for free and let him have a crack at it. You can see more of his work in these past projects. Take a peek at the after HERE.
To get these DIY tips & tricks in your inbox, be sure to sign up for my newsletter. PLUS, you will get your FREE Furniture Buying Checklist and special discount to my shop. Until next time!

Beautifully done Larissa. I like the way you’ve stacked up the pumpkins like that.
Thanks, Mary!
As always, you can repurpose anything and turn it into something beautiful – even harvested food! Your dining room looks great and I can’t wait to see that darn kitchen reveal 😉
hahaha…you and me both, Marie. We’re hoping to be done by the holidays. Wouldn’t that be swell?
What a lovely table setting. I enjoyed seeing your dining room and can see the family gathered around the table enjoying good times together.
Thank you, Debra. It is our favorite place to be…together. 😉