What better than creating DIY projects for your home? Seeing your children take on your passion and have fun with it. yahoo! Today, my two oldest daughters (I have 6 children on earth) are taking these two wooden vintage pieces and giving them their own spin. I’m excited! Let’s have some fun with these thrifty decor makeovers.
If you’ve hung with me for long, you know I don’t pass up wooden pieces. They offer so much potential for creating and tweaking. Likewise, these two are no different. They are blank slates just ready for new life.
DIY TIME
First, I have to say that neither one of my daughters are newbies. They’ve reworked furniture, decor, and more over the years. You can see Miss C’s work in these posts, and Miss S’s projects HERE.
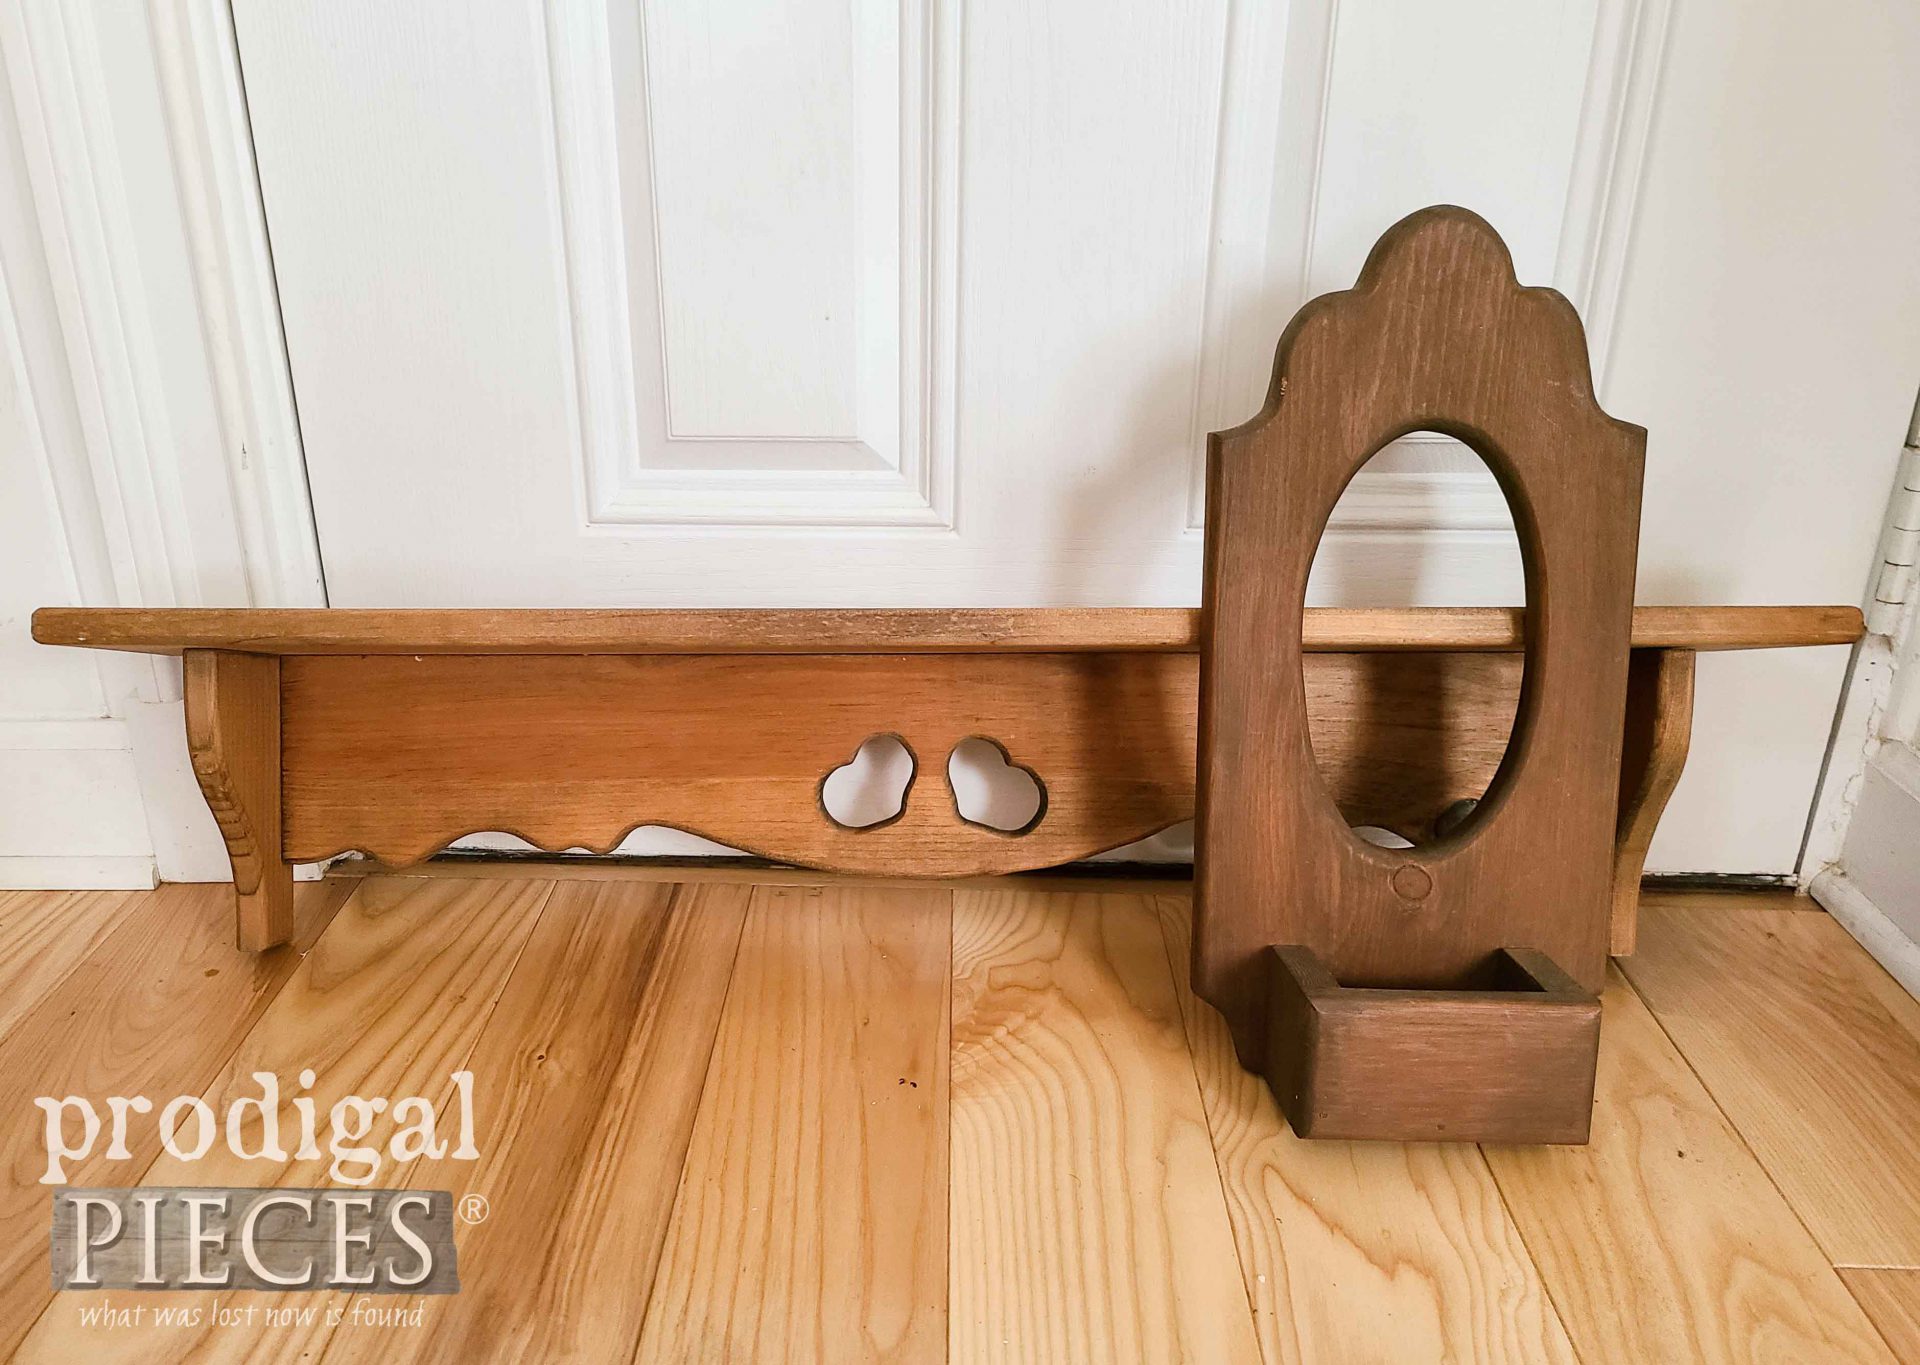
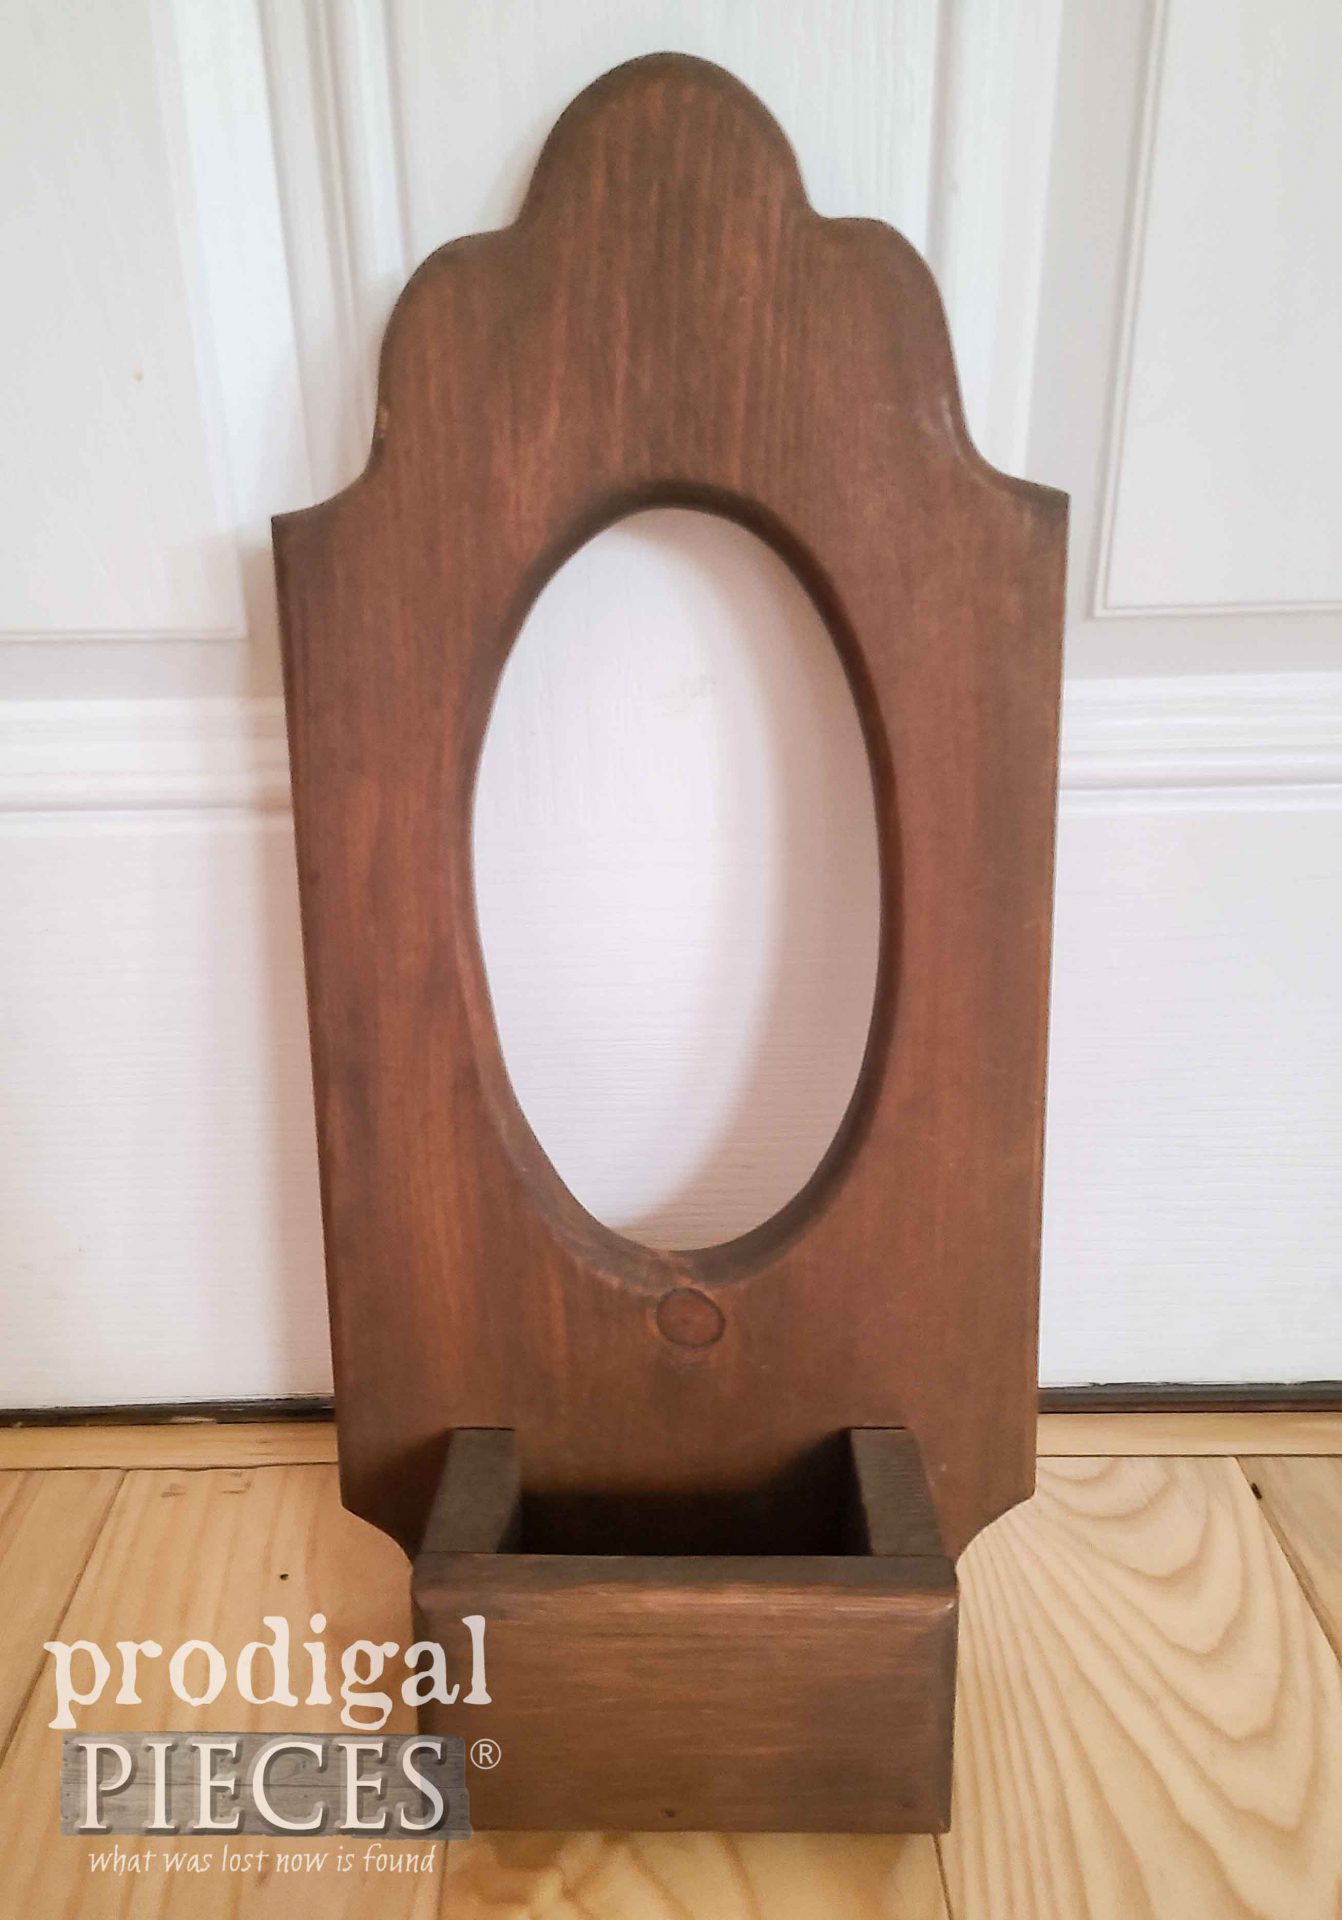
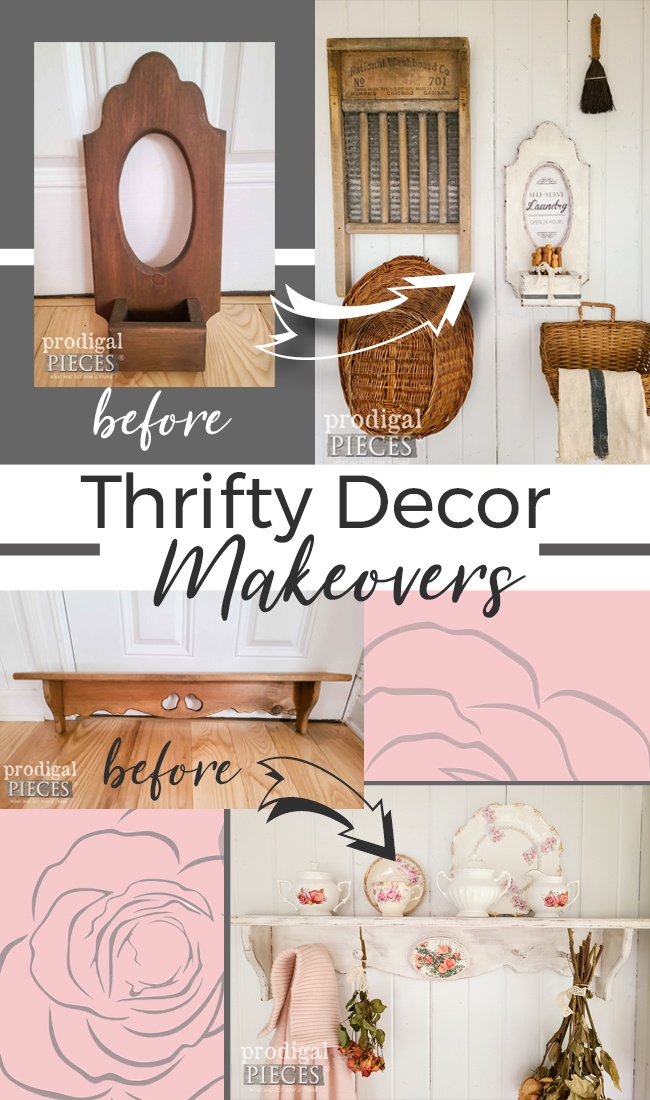
To get us started, Miss S will be making over this sort of frame with box.
When it came into her possession, she made a face and looked at me, “What is it??” Good question! haha. I told her, it’s whatever she wants it to be. So, with that she decided to make it a functional decor piece.
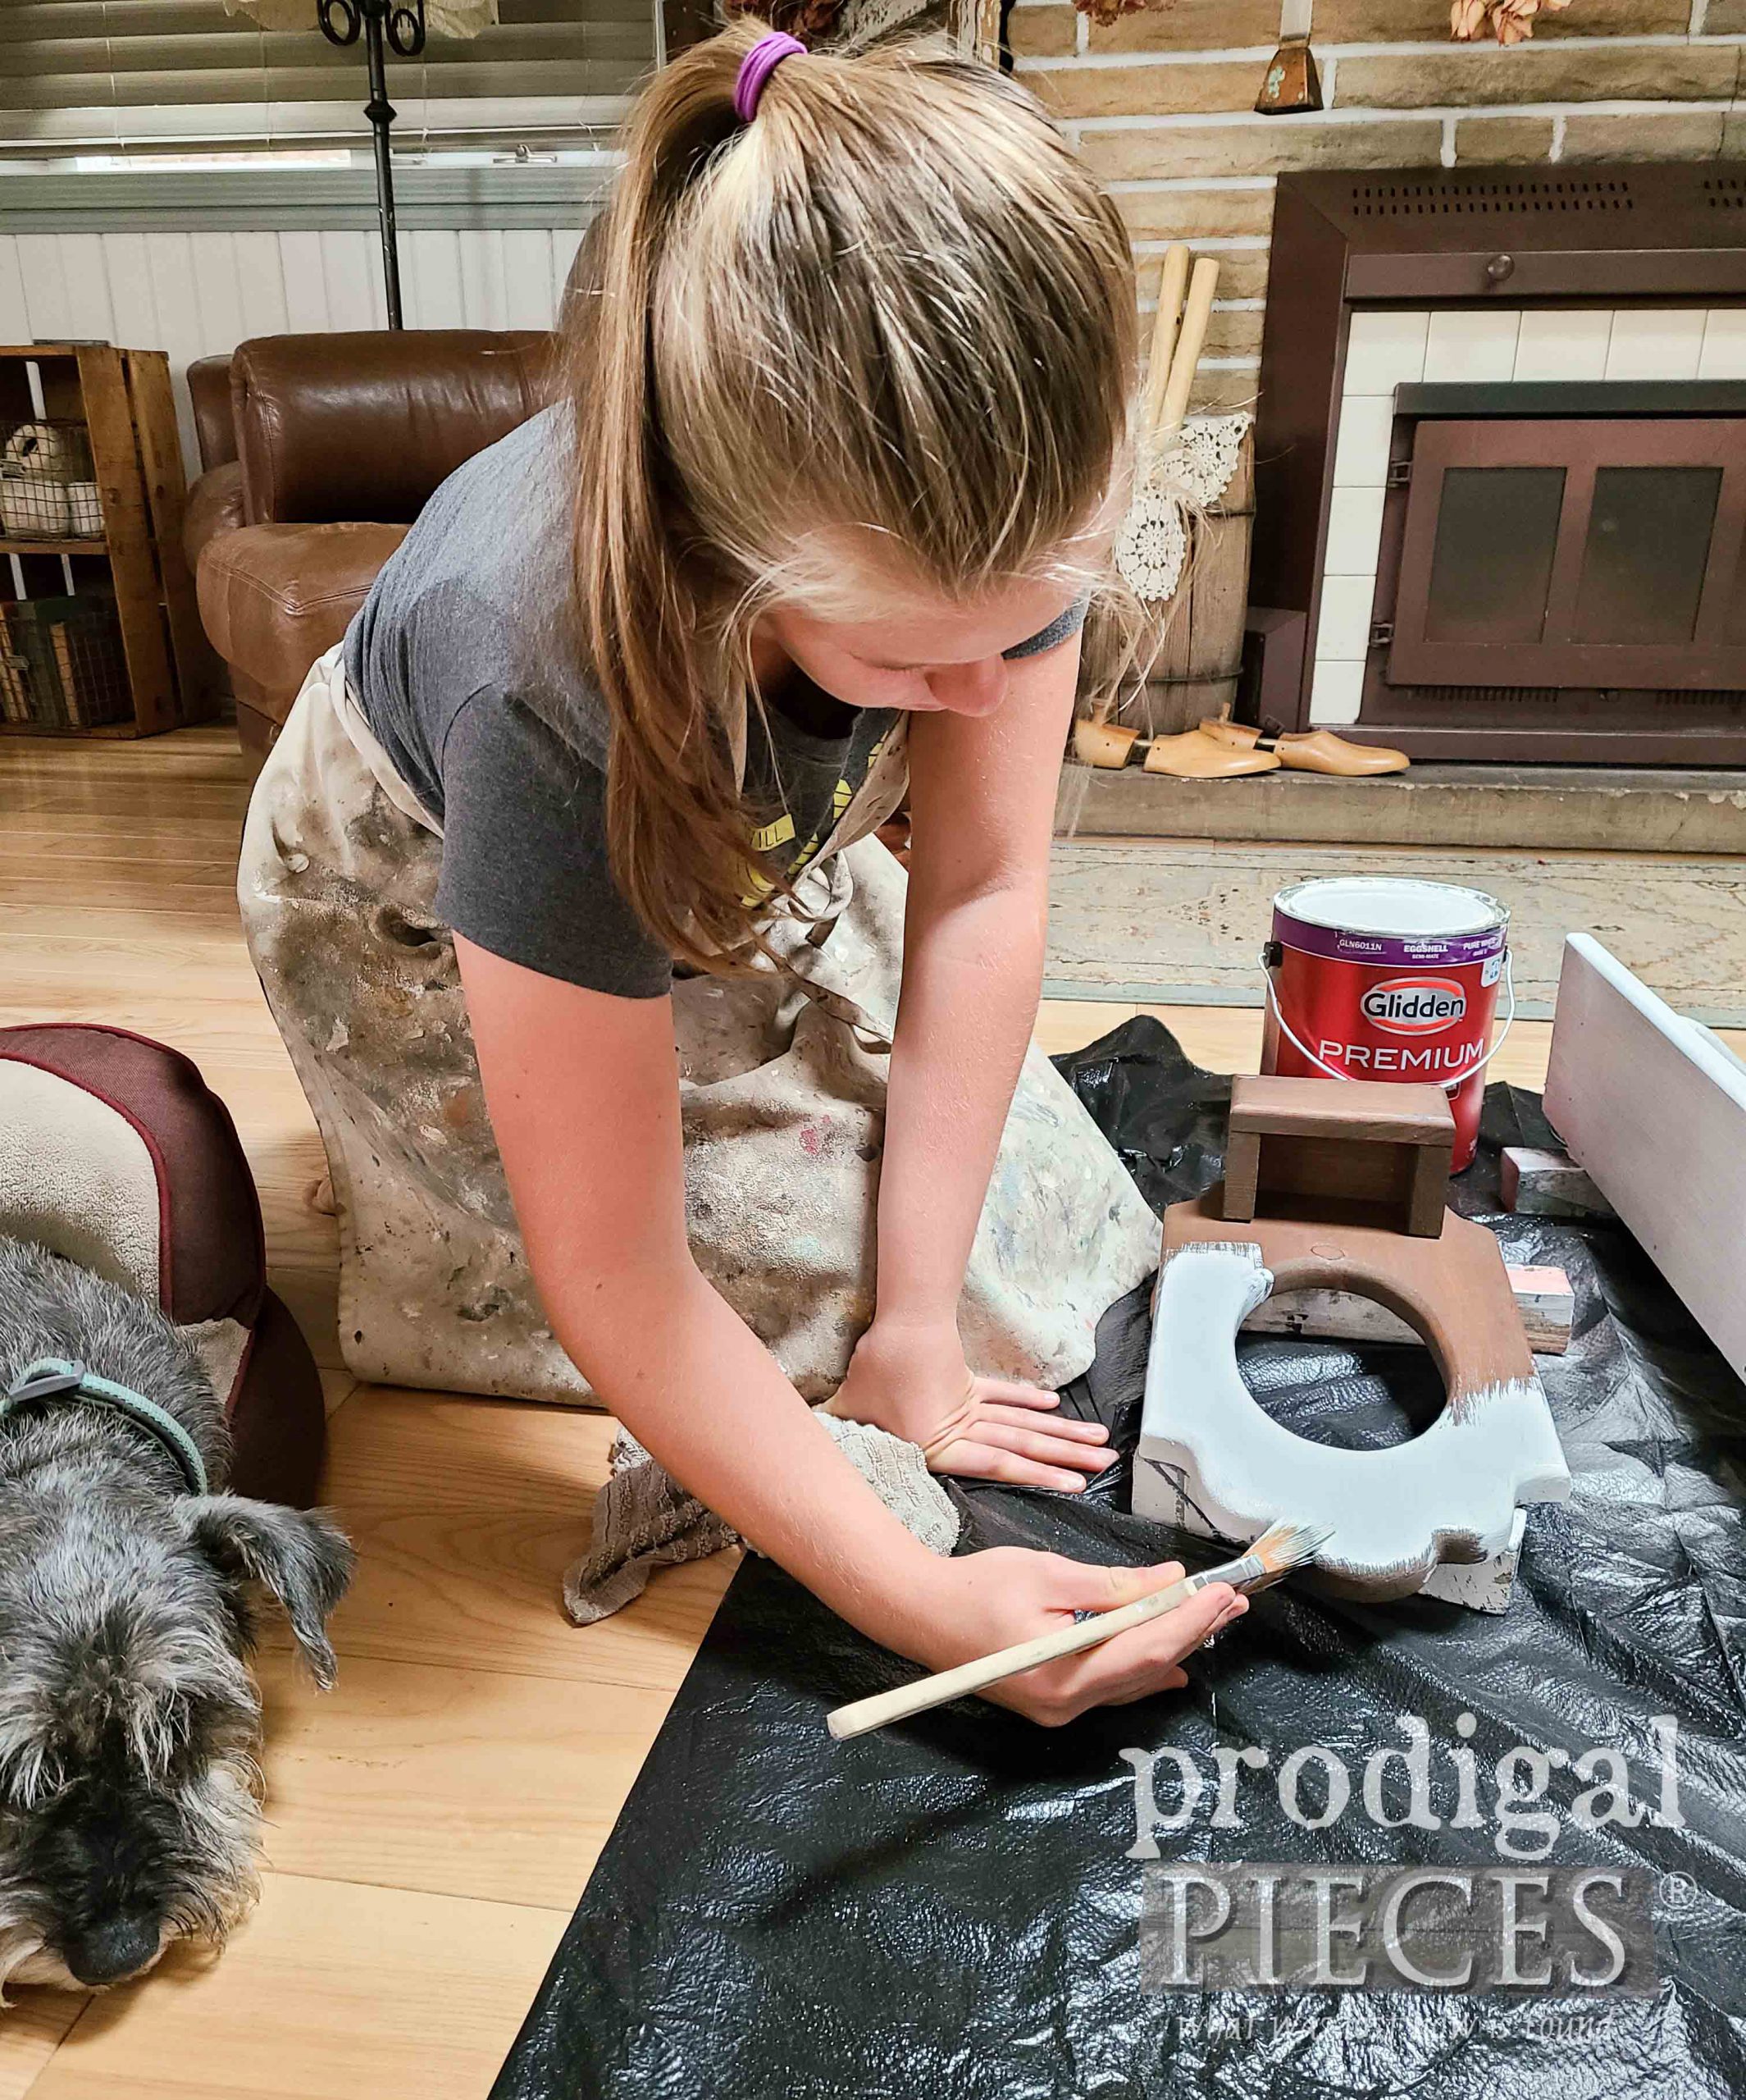
Miss S kicks off her makeover by using a simple coat of white paint. However, her intent is to have some of the wood peeking through to create a time-worn feel. Notice her onlooker…so sweet. My 14-year-old Teddy tore his ACL and is recuperating best he can.
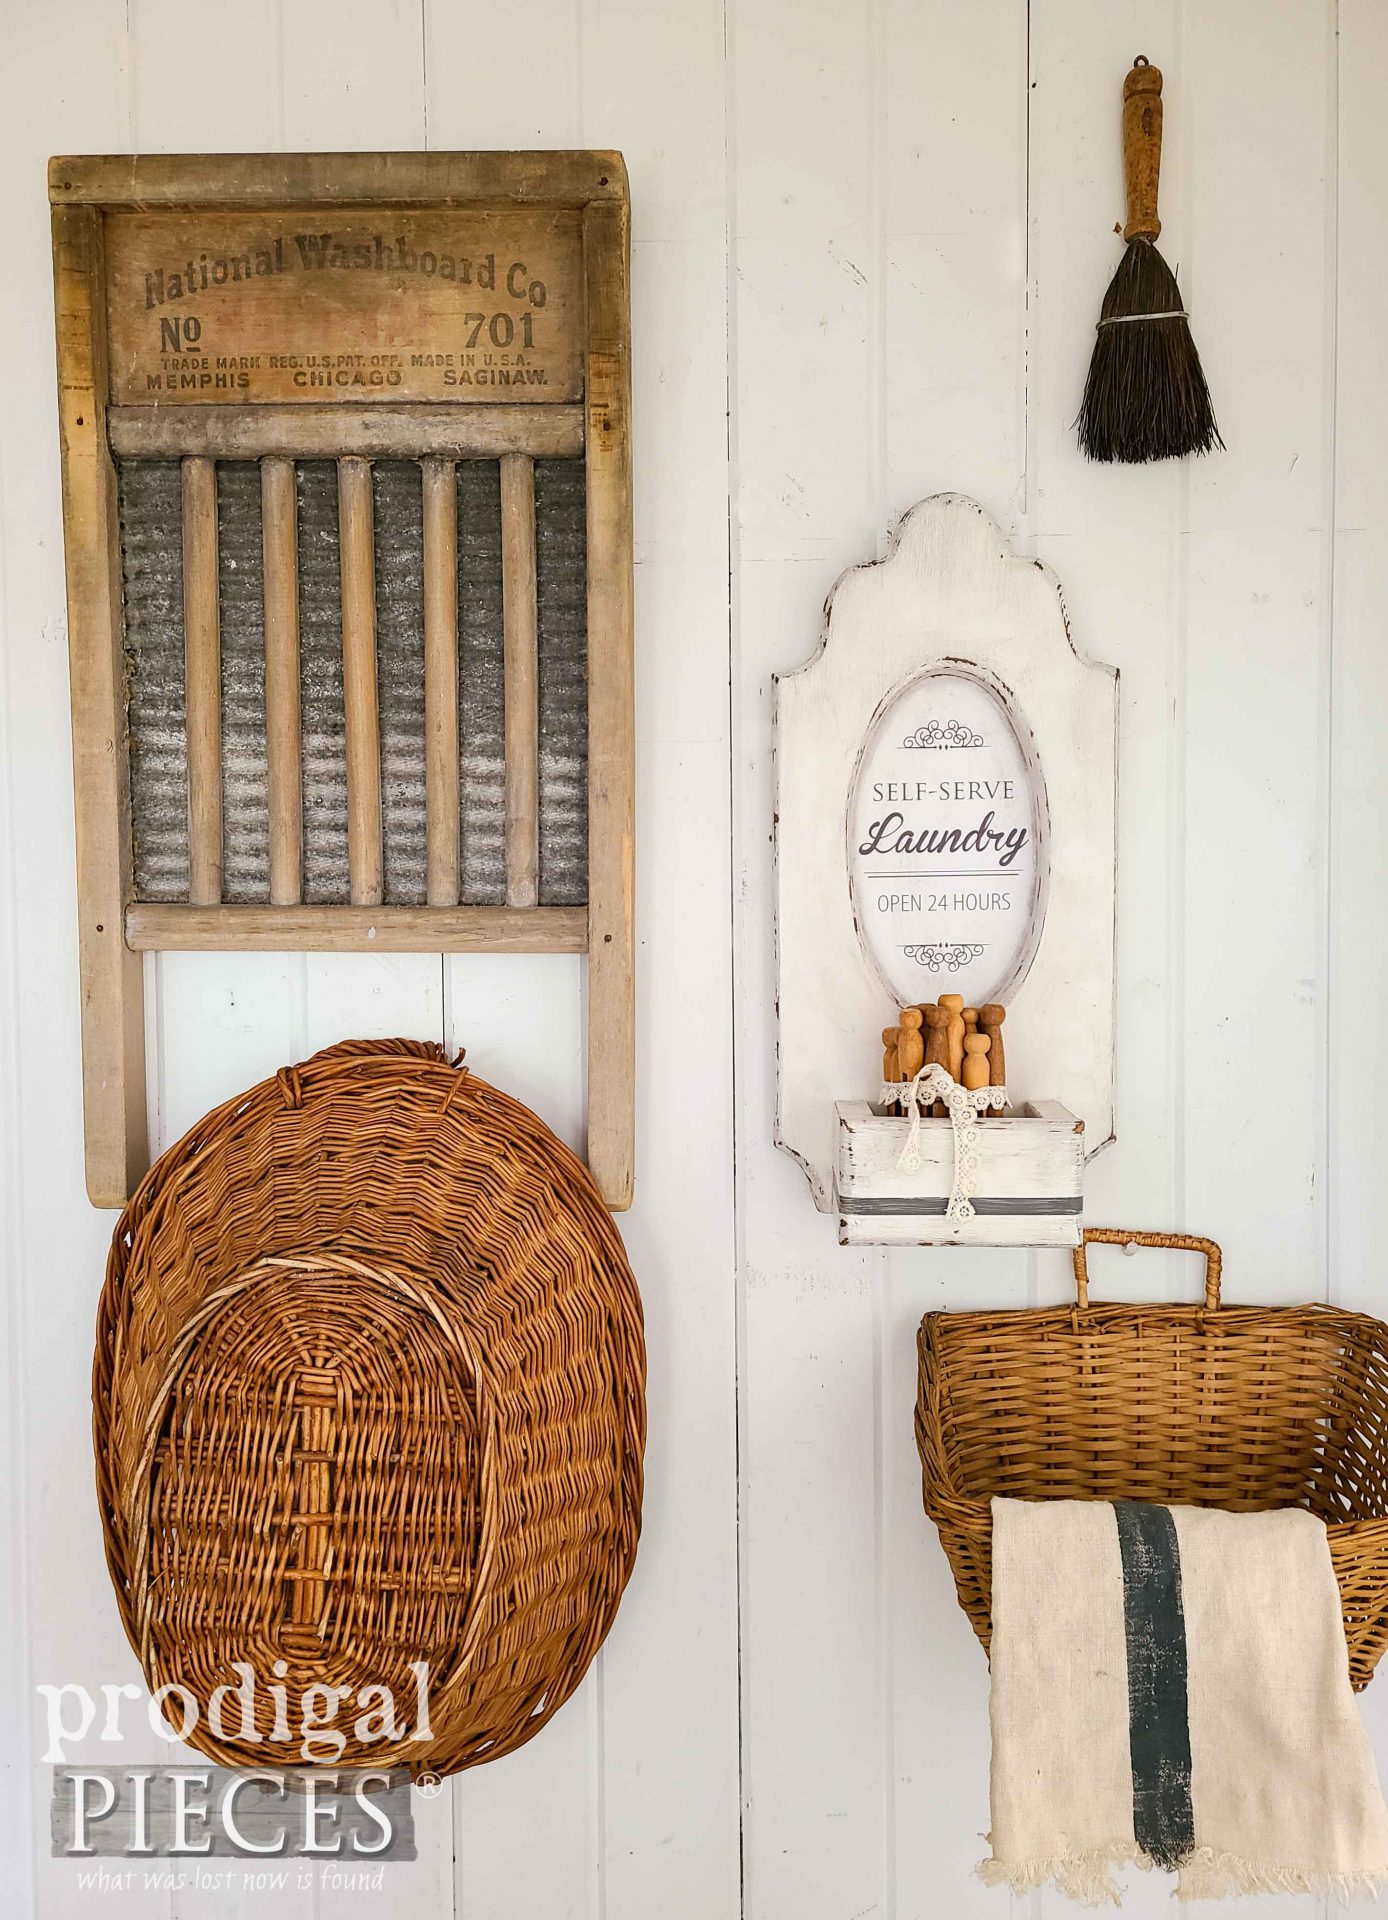
Next, once the paint cures, she makes a panel to fit over the oval opening. She wants to make it a fun laundry decor piece using typography and some of my old clothespins.
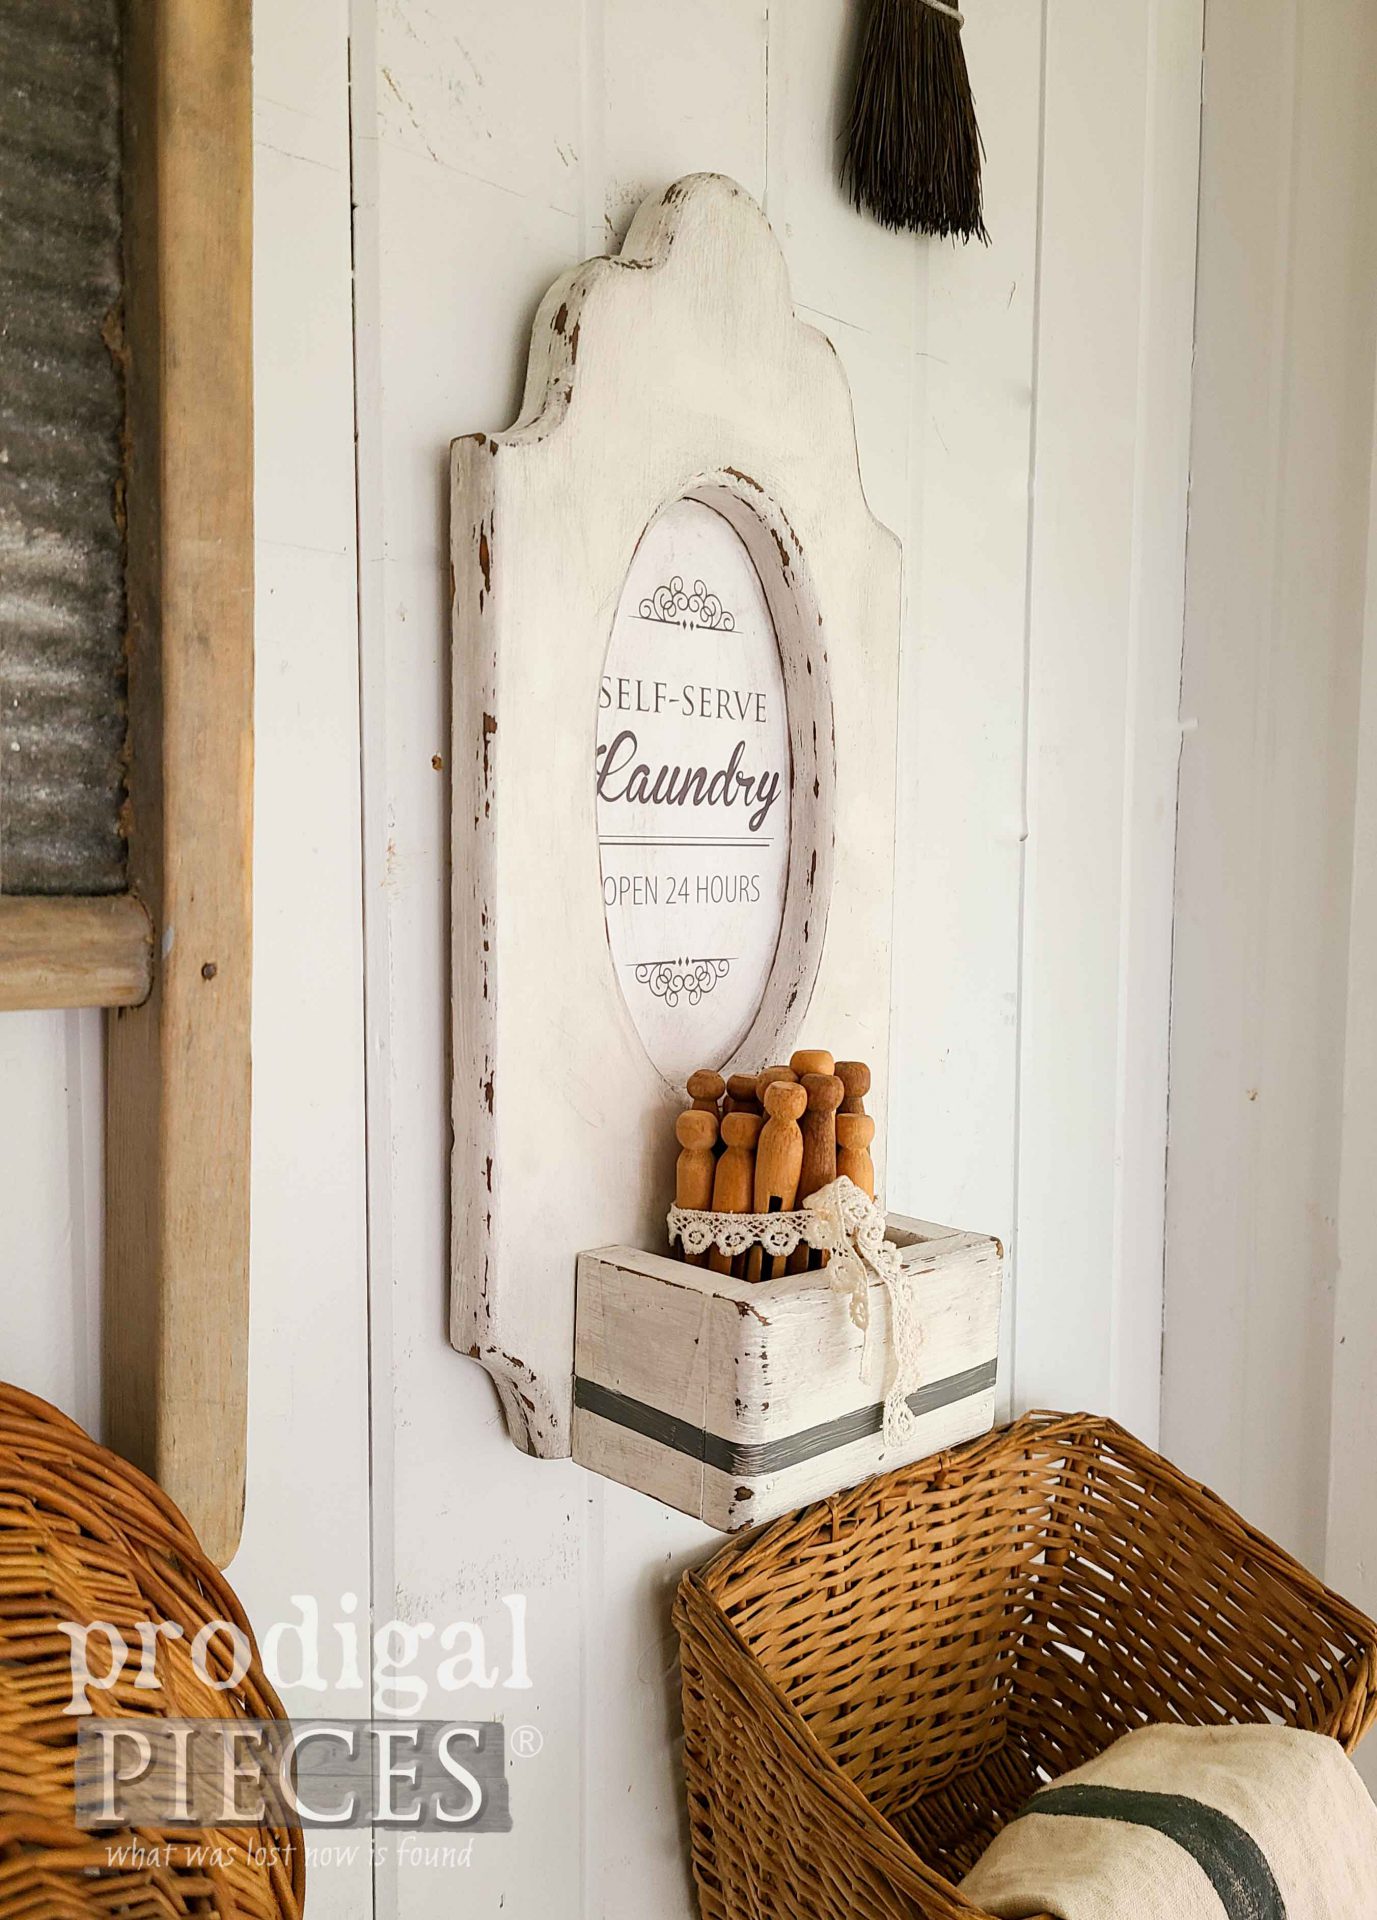
Here’s her sweet thrifty decor makeovers complete. Isn’t it cute?
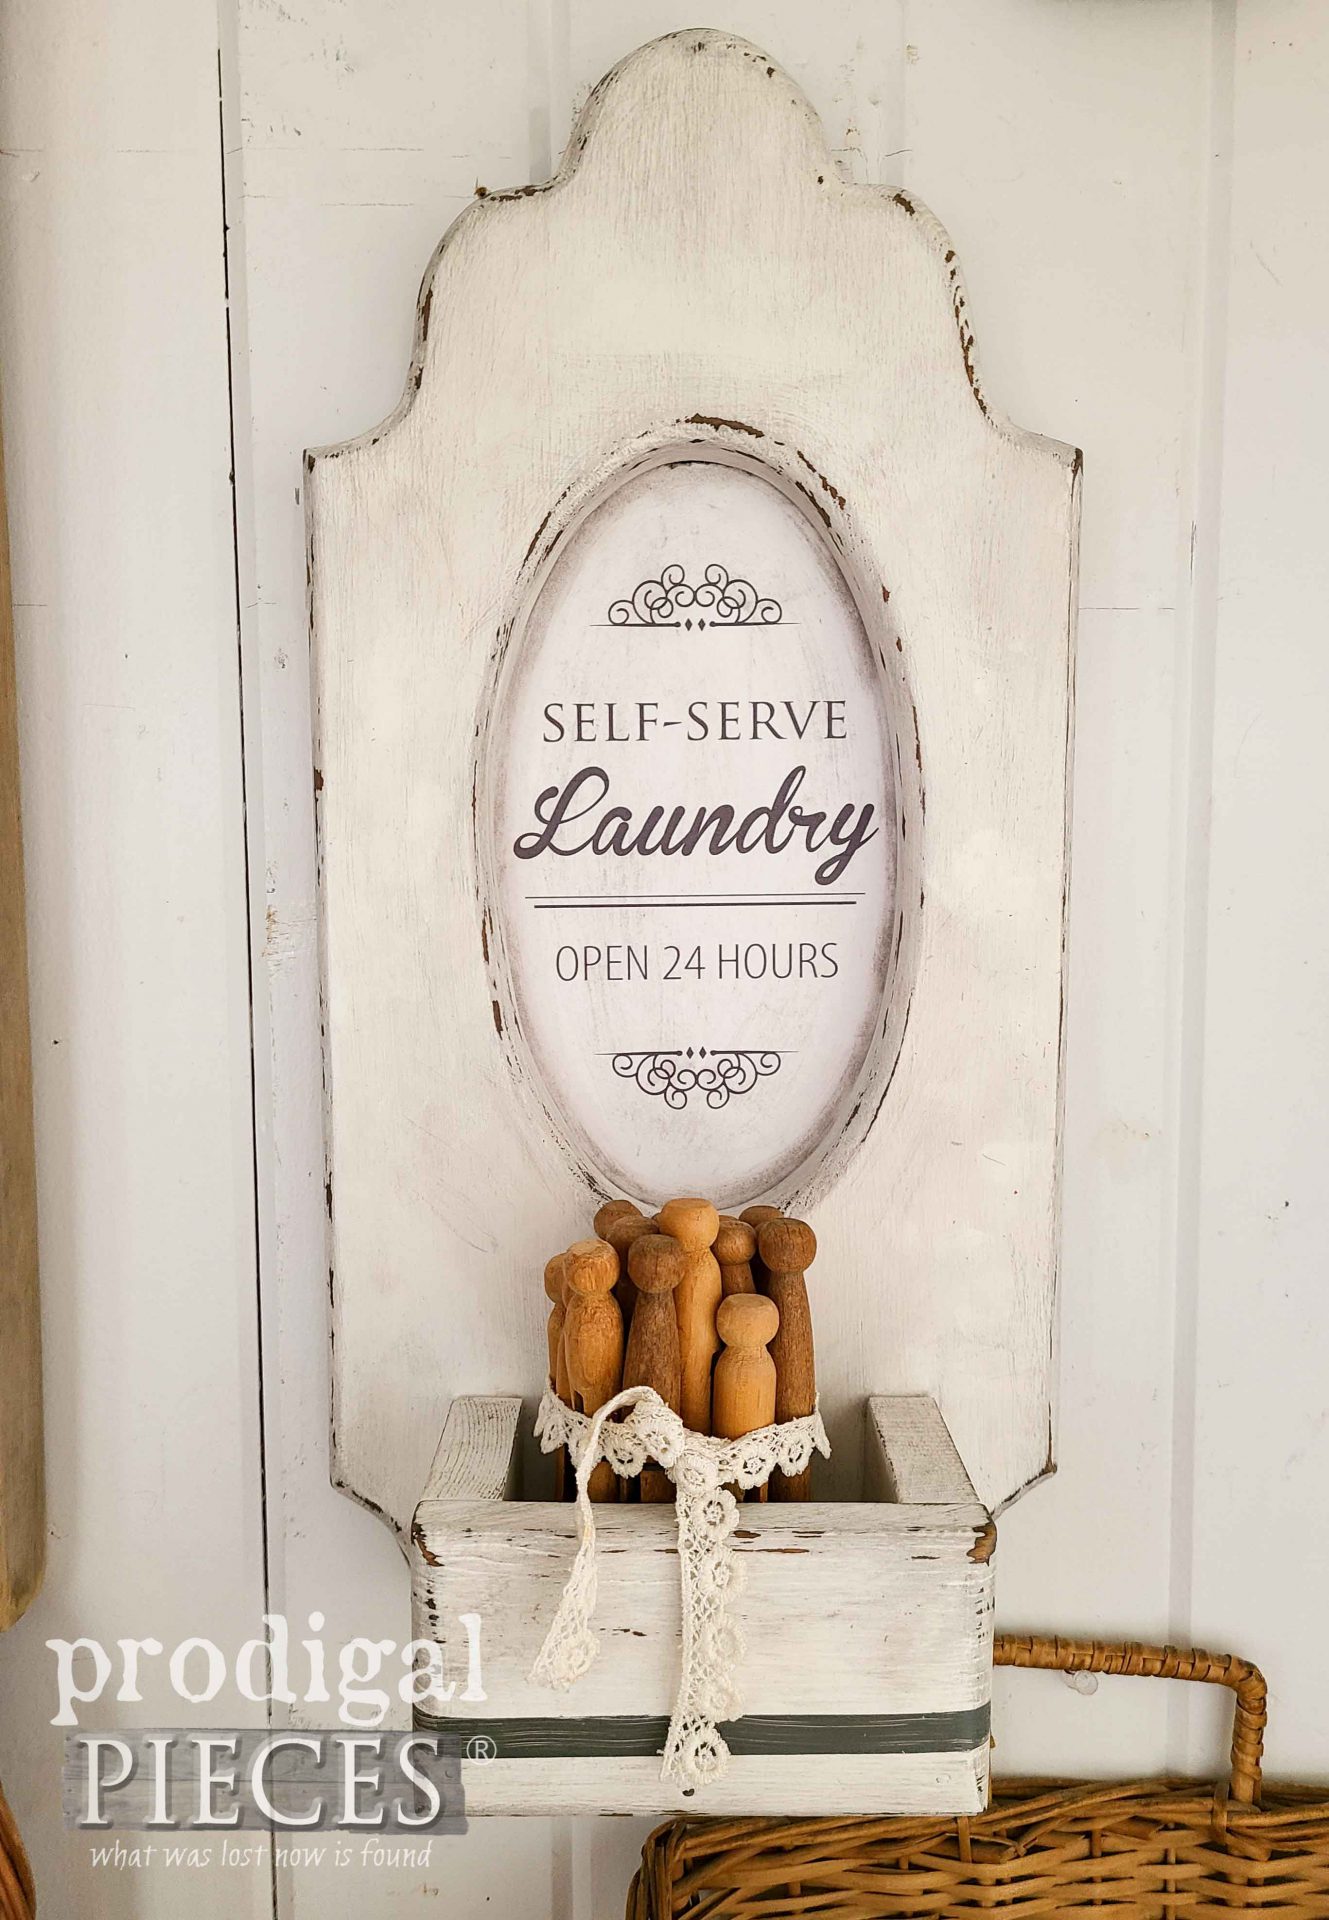
I helped her create the graphic (since I just love graphic design), and she added the time-worn touches. I love it!
NEXT UP
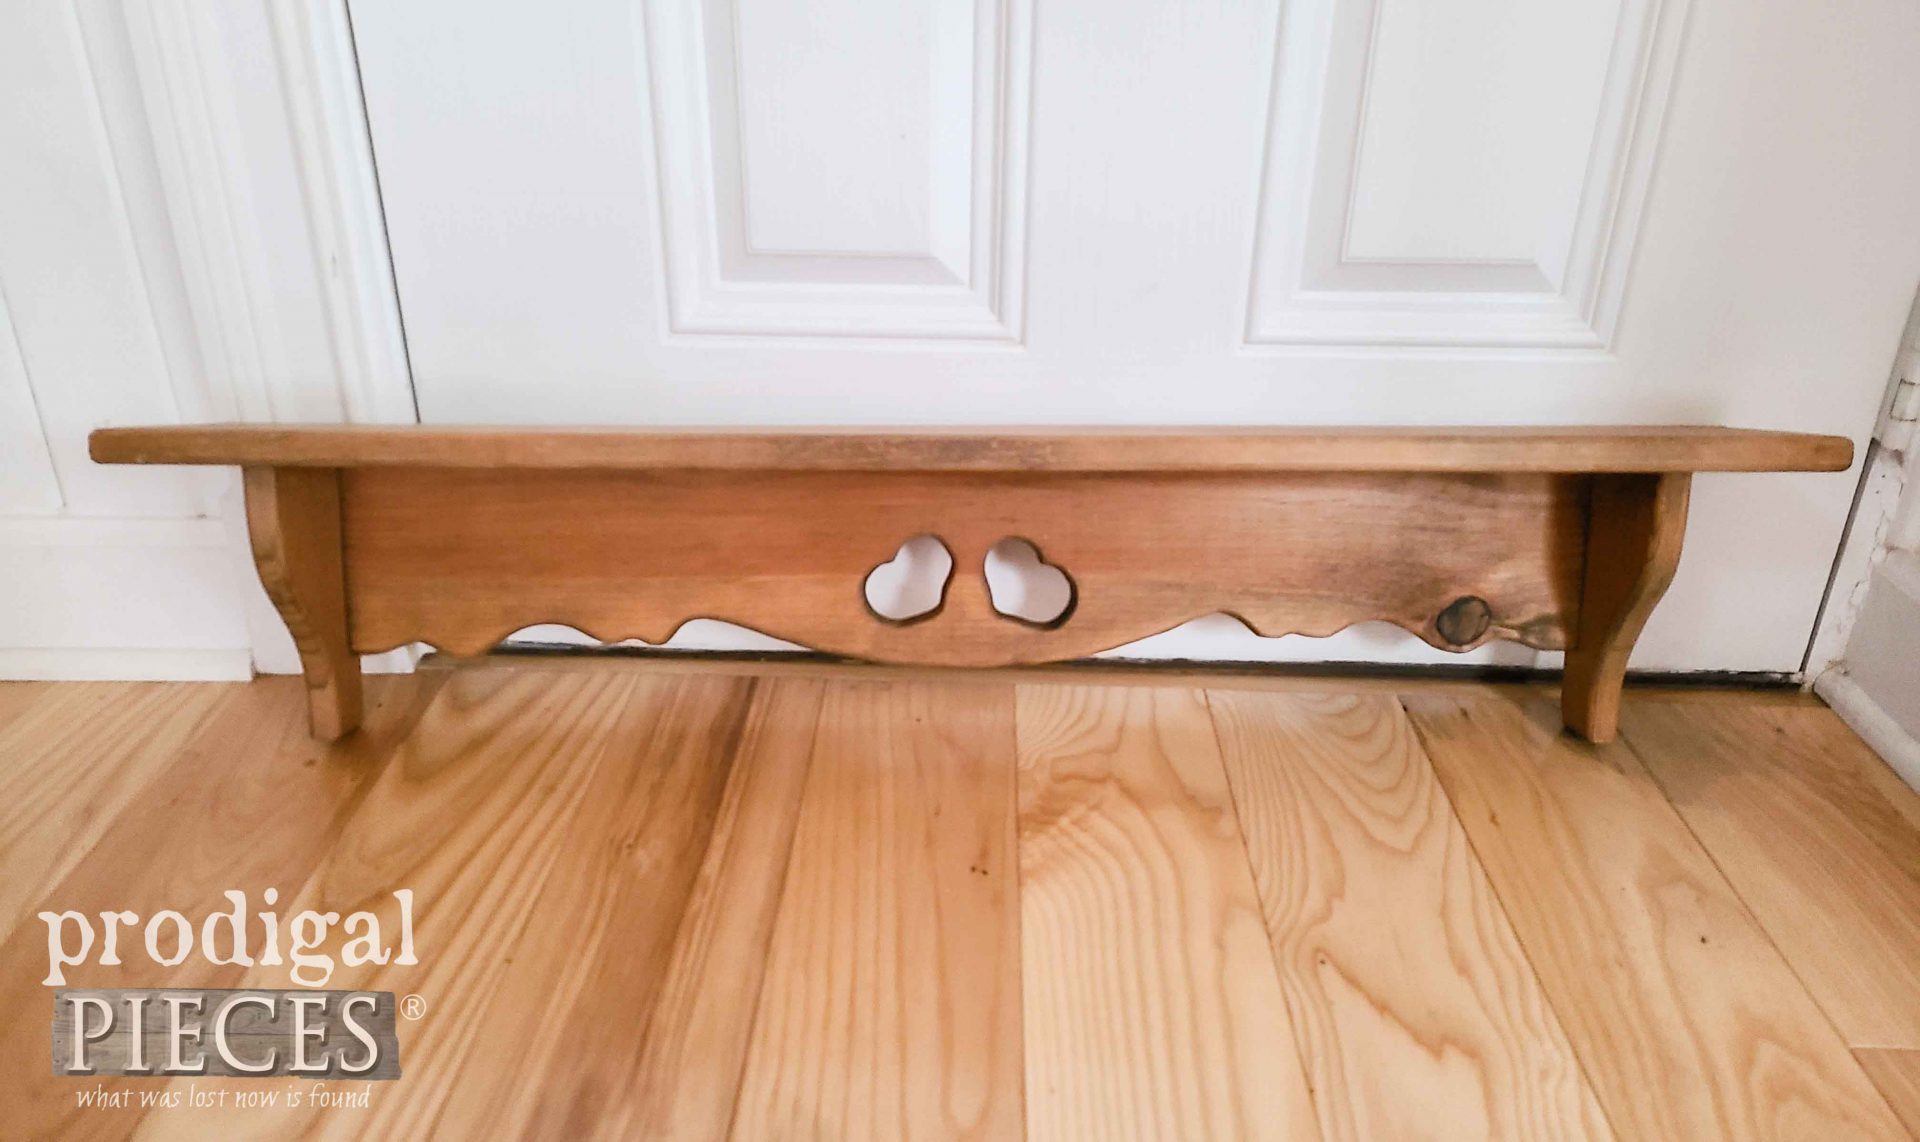
Now, it’ time for Miss C’s thrifted shelf to get a turn at a new life. Her and I both aren’t huge fans of the heart cut-out era of the 80’s and 90’s. They have their place, as I’ve shown in these past posts.
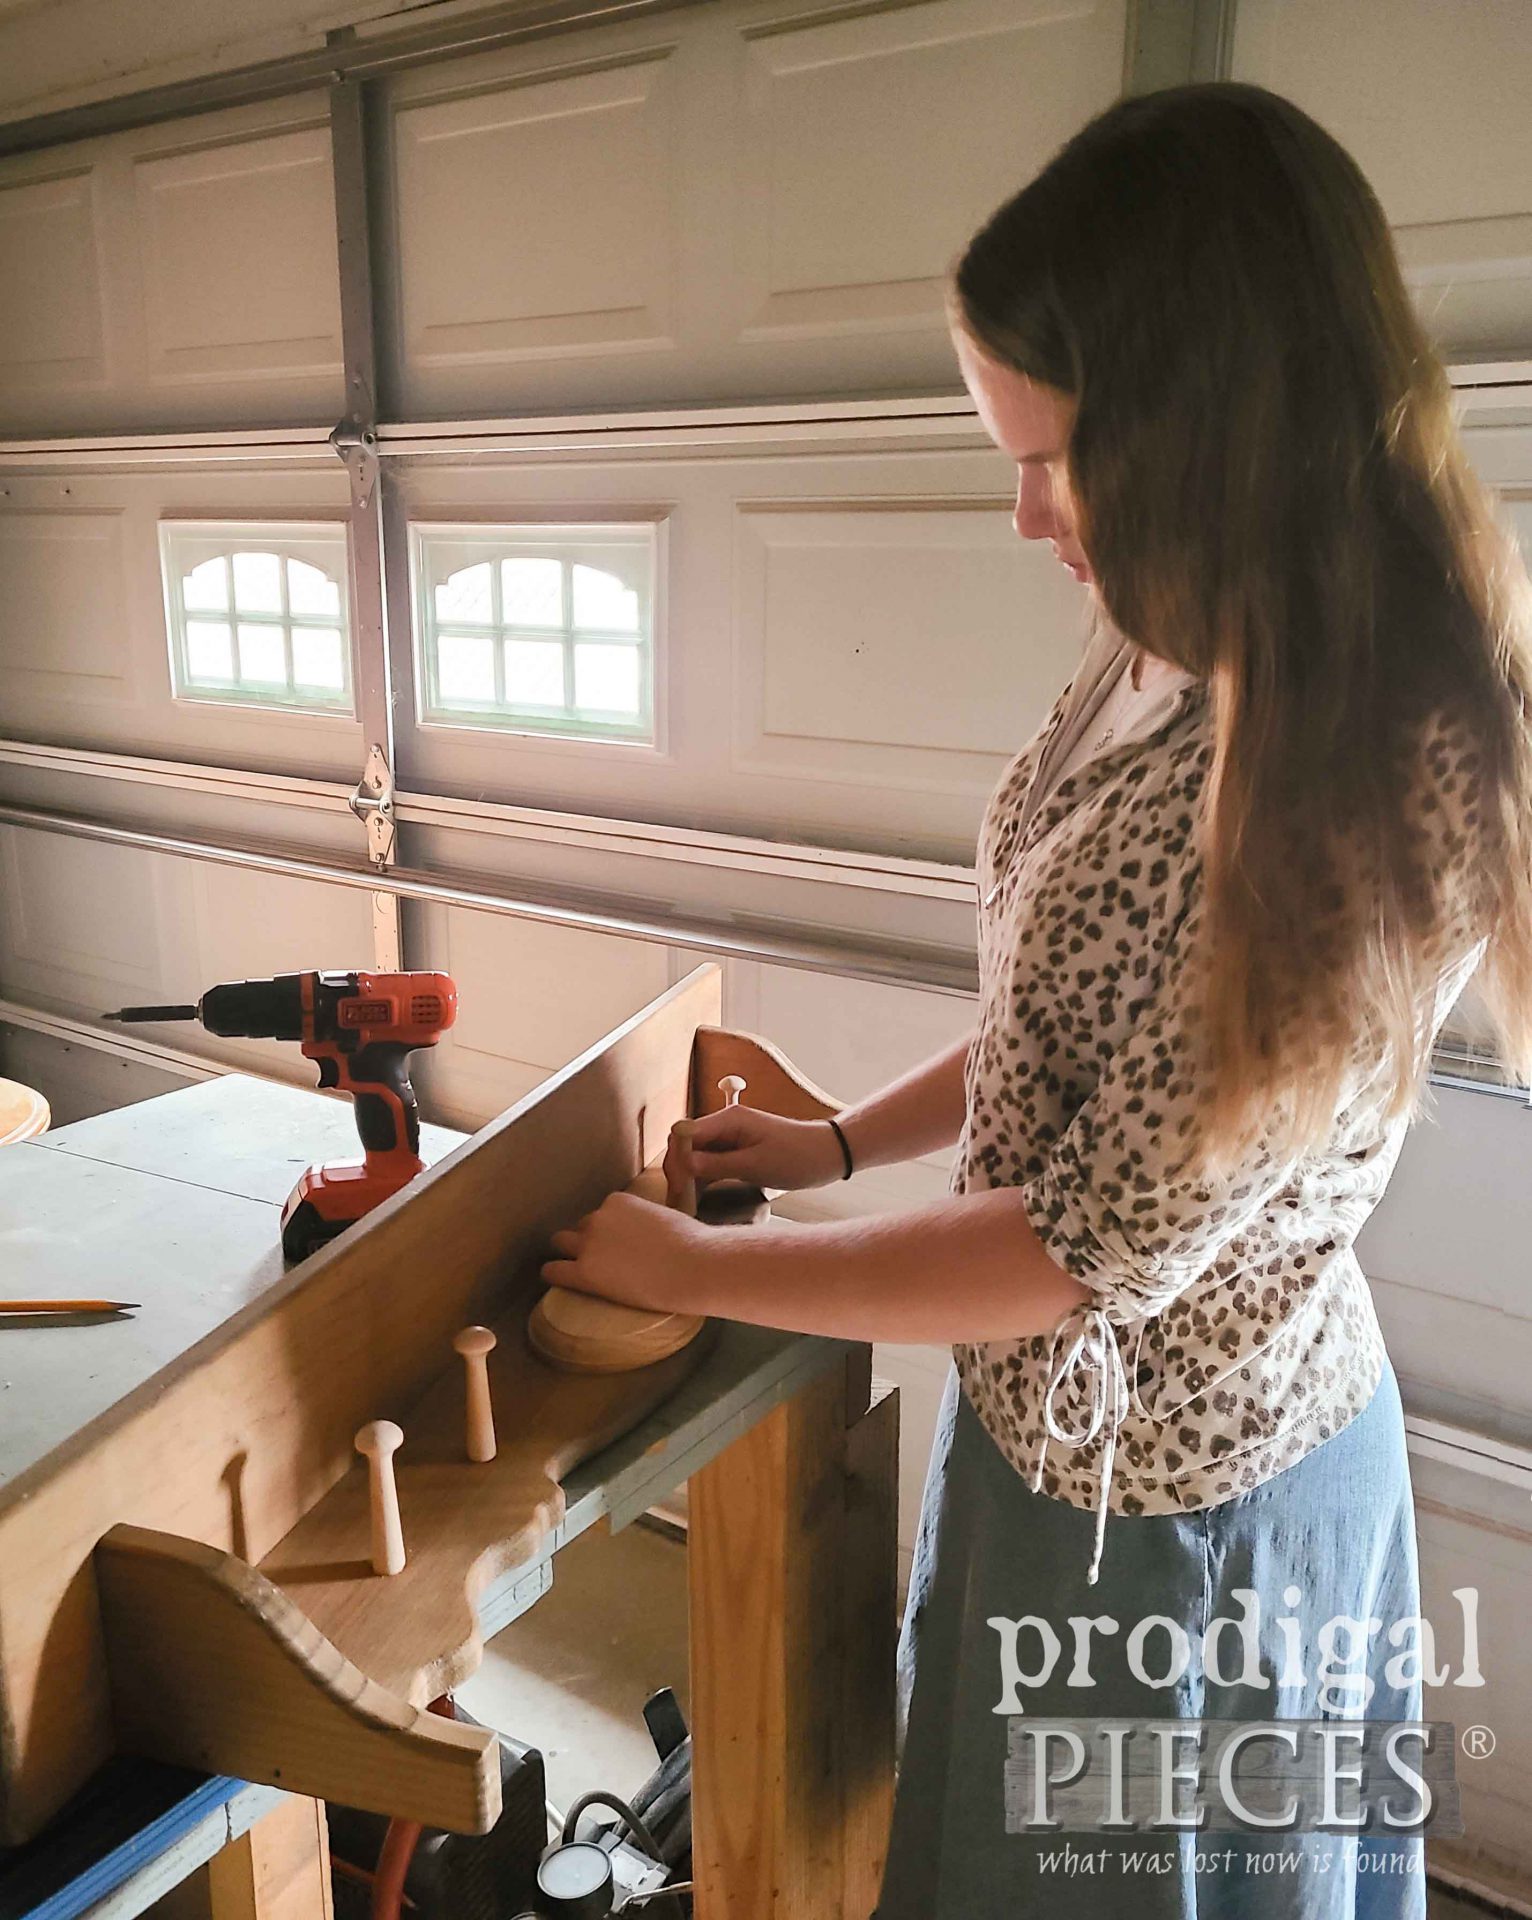
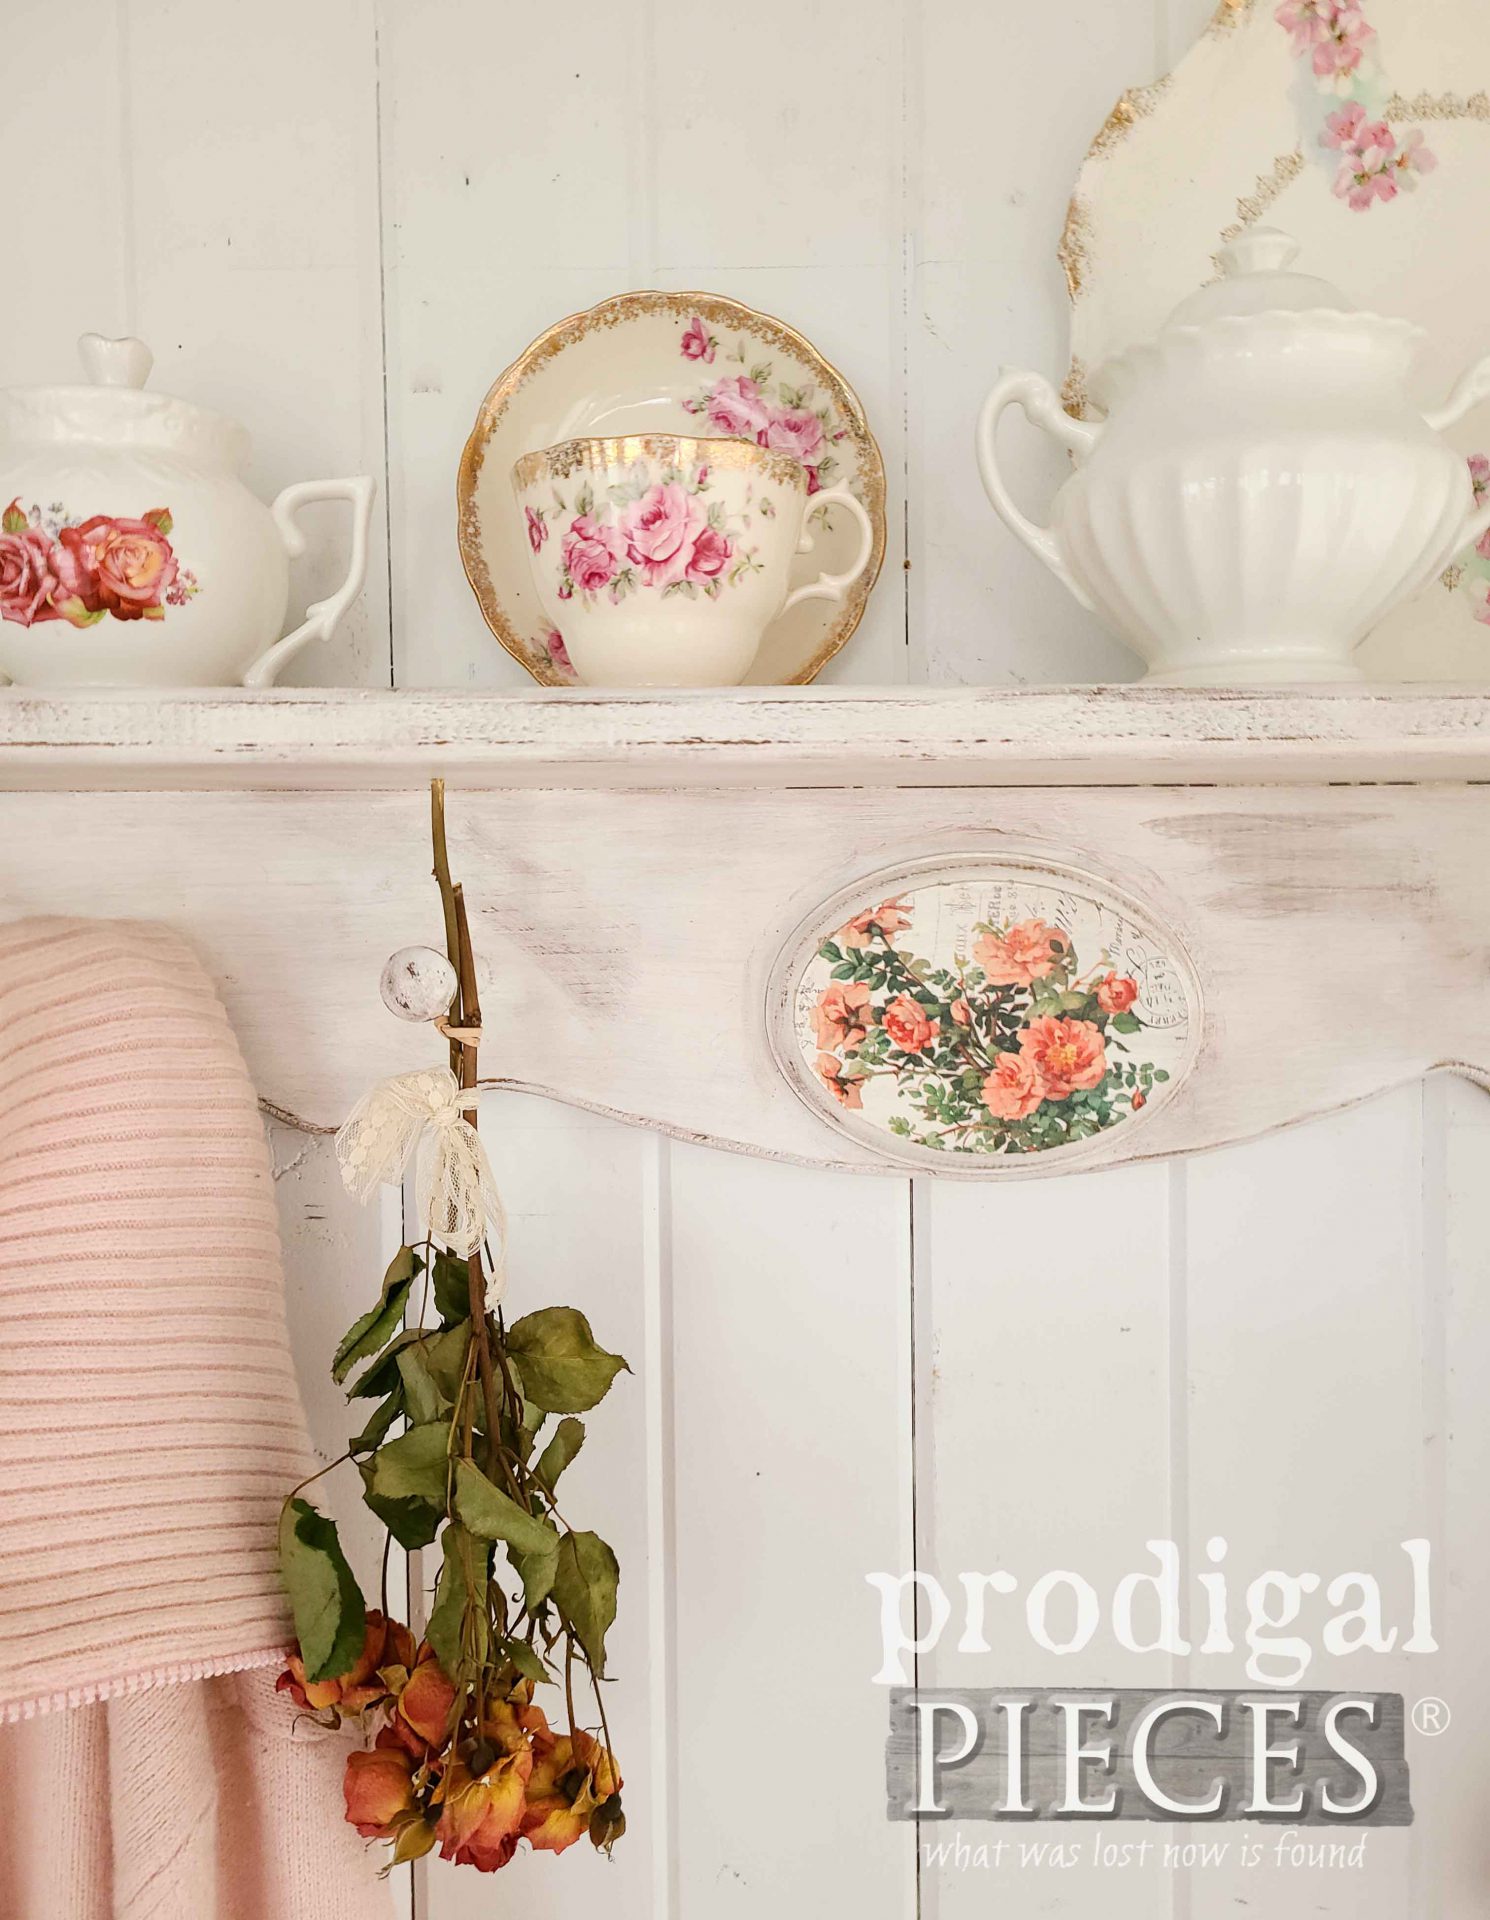
However, Miss C wants to take them out of the picture for this shelf. In order to do that, first, she affixes a small oval wood plaque over top. Then, she also added a few shaker pegs to add function and style.
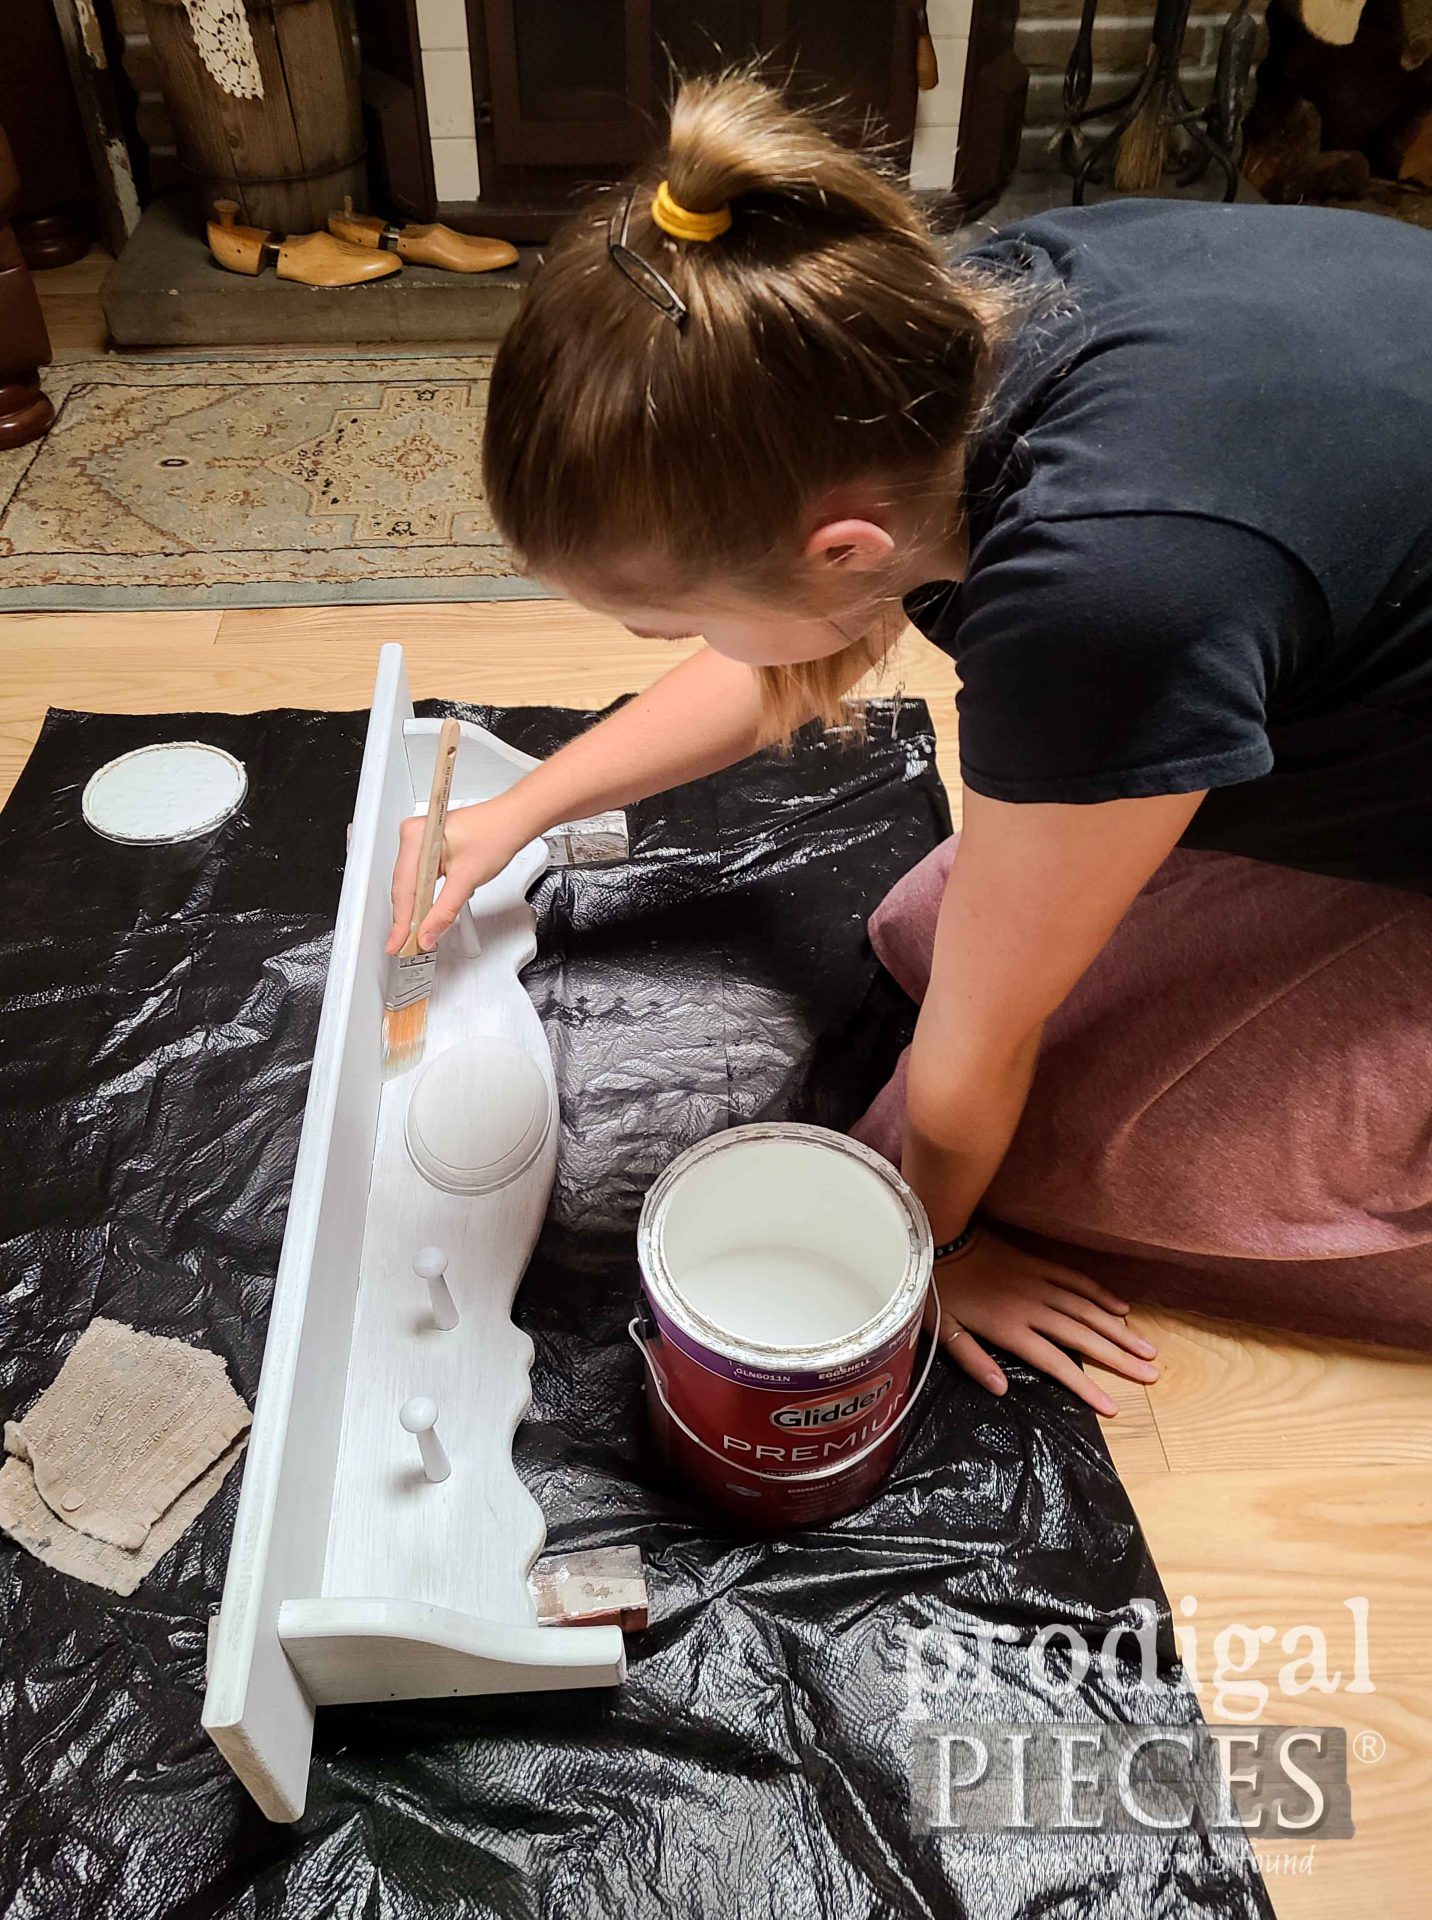
Next, she also gave it a fresh coat of paint, and then added a few fun details to update it.
SECOND REVEAL
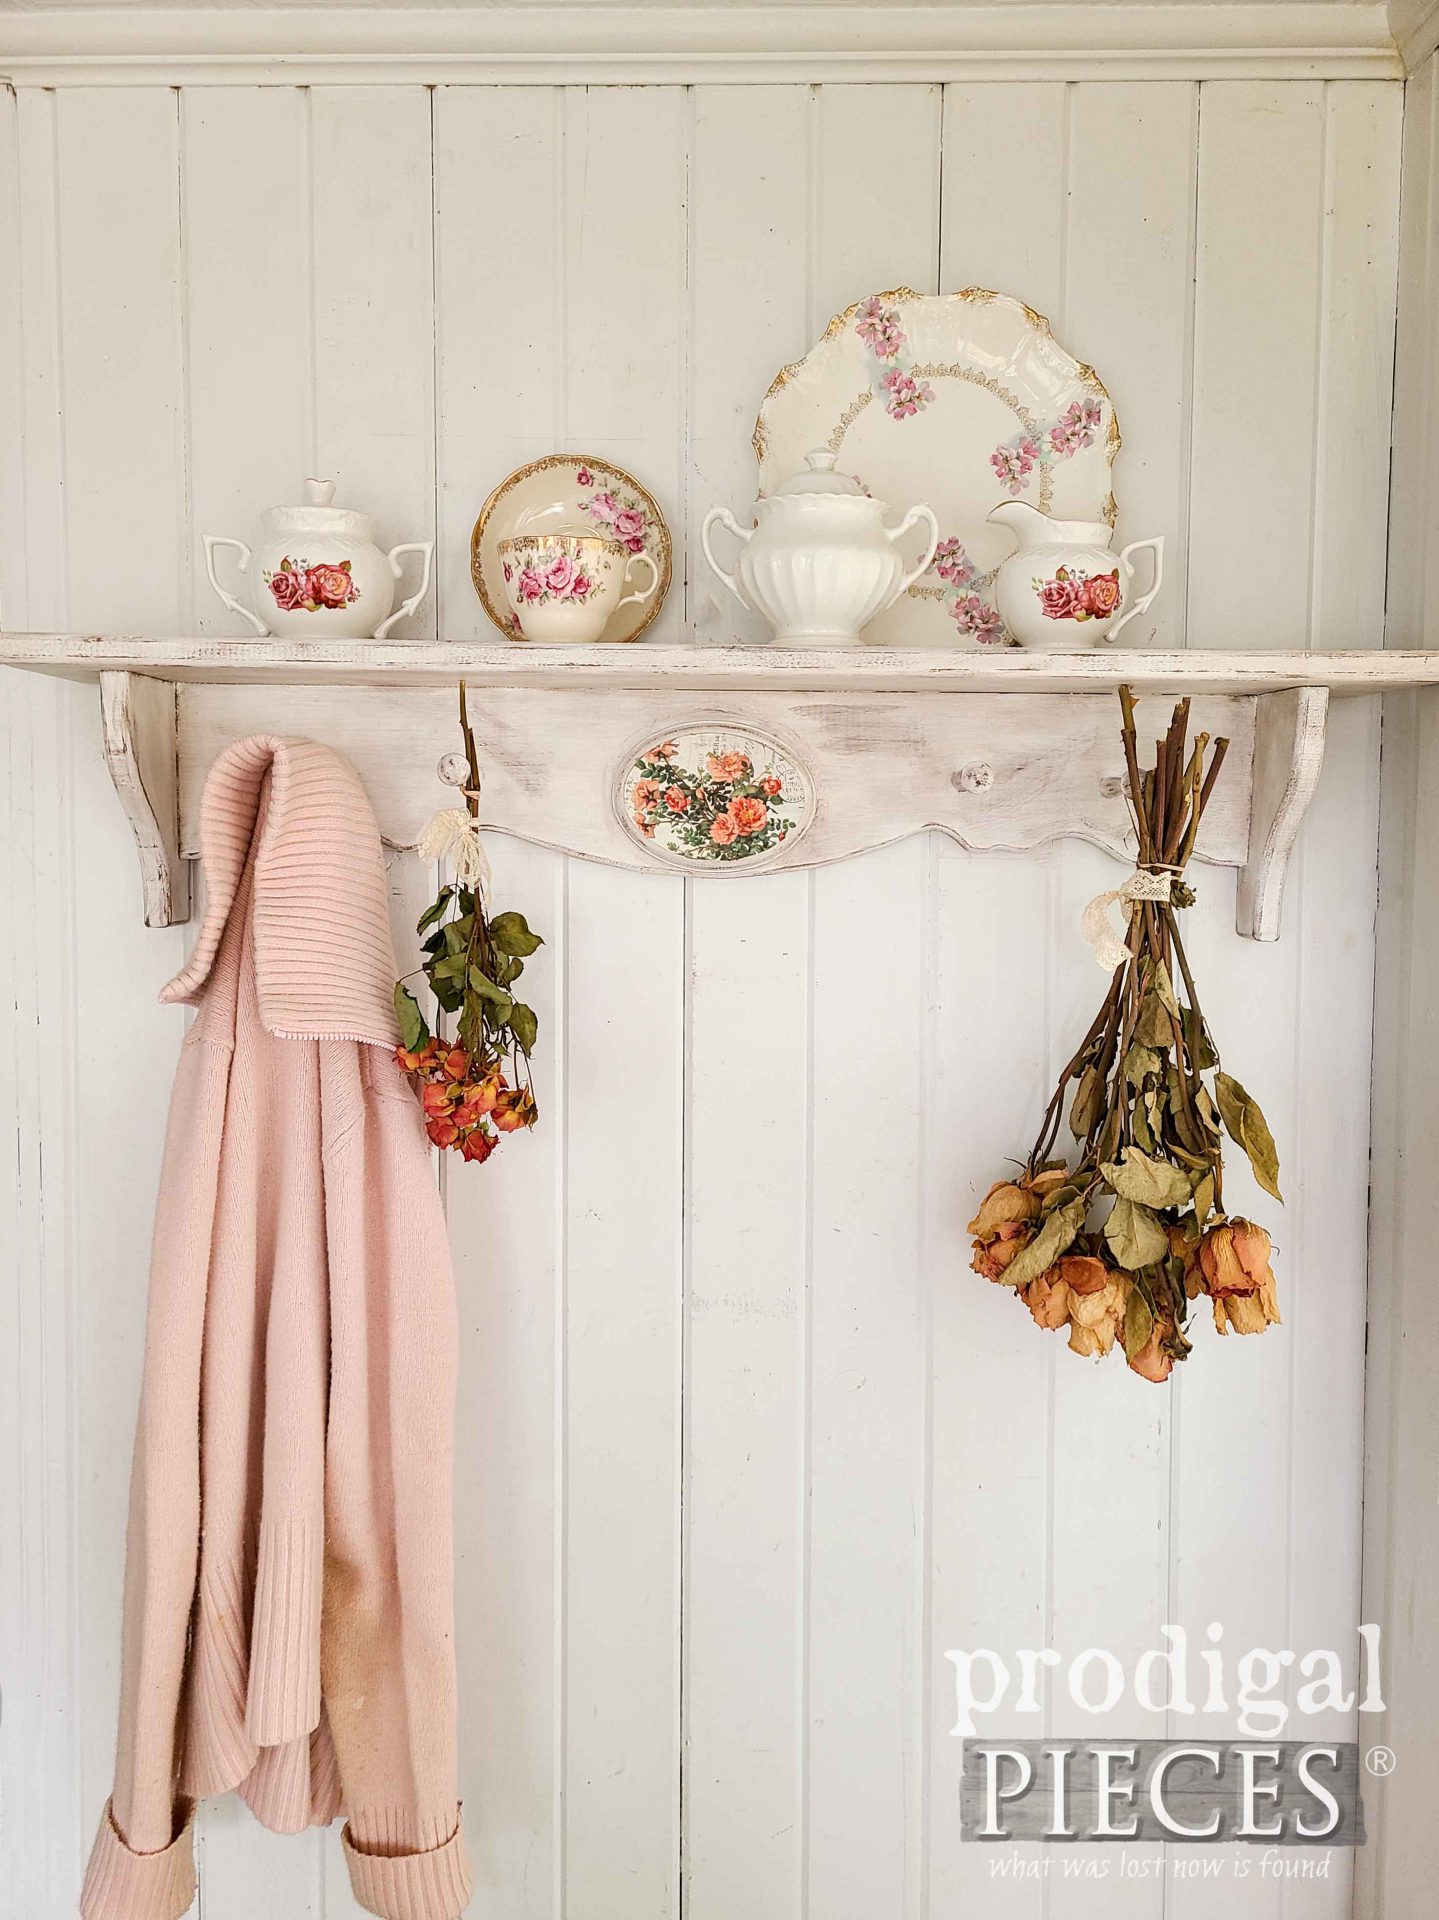
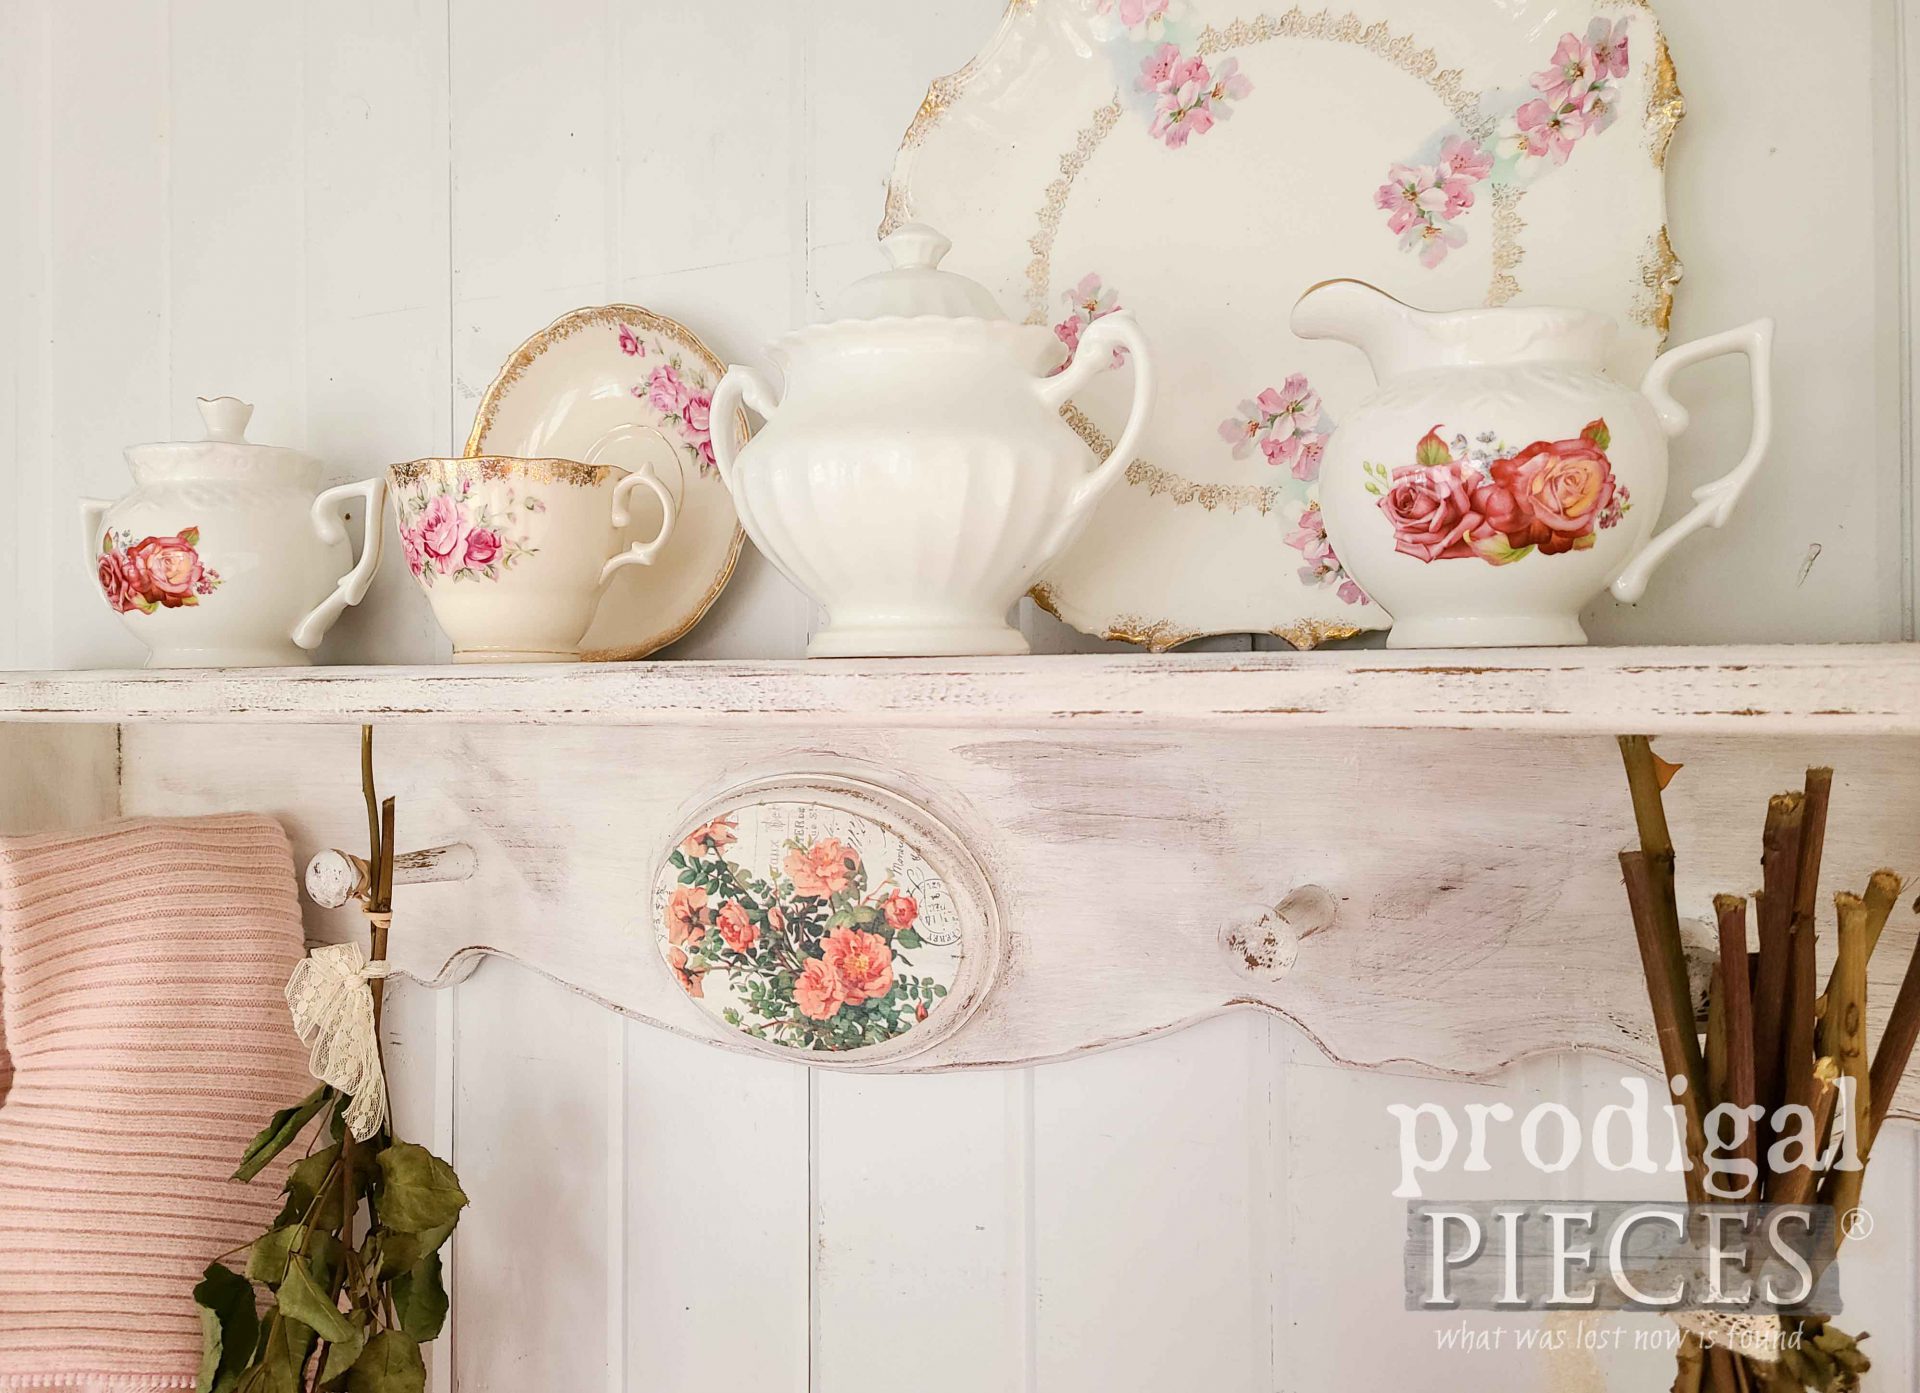
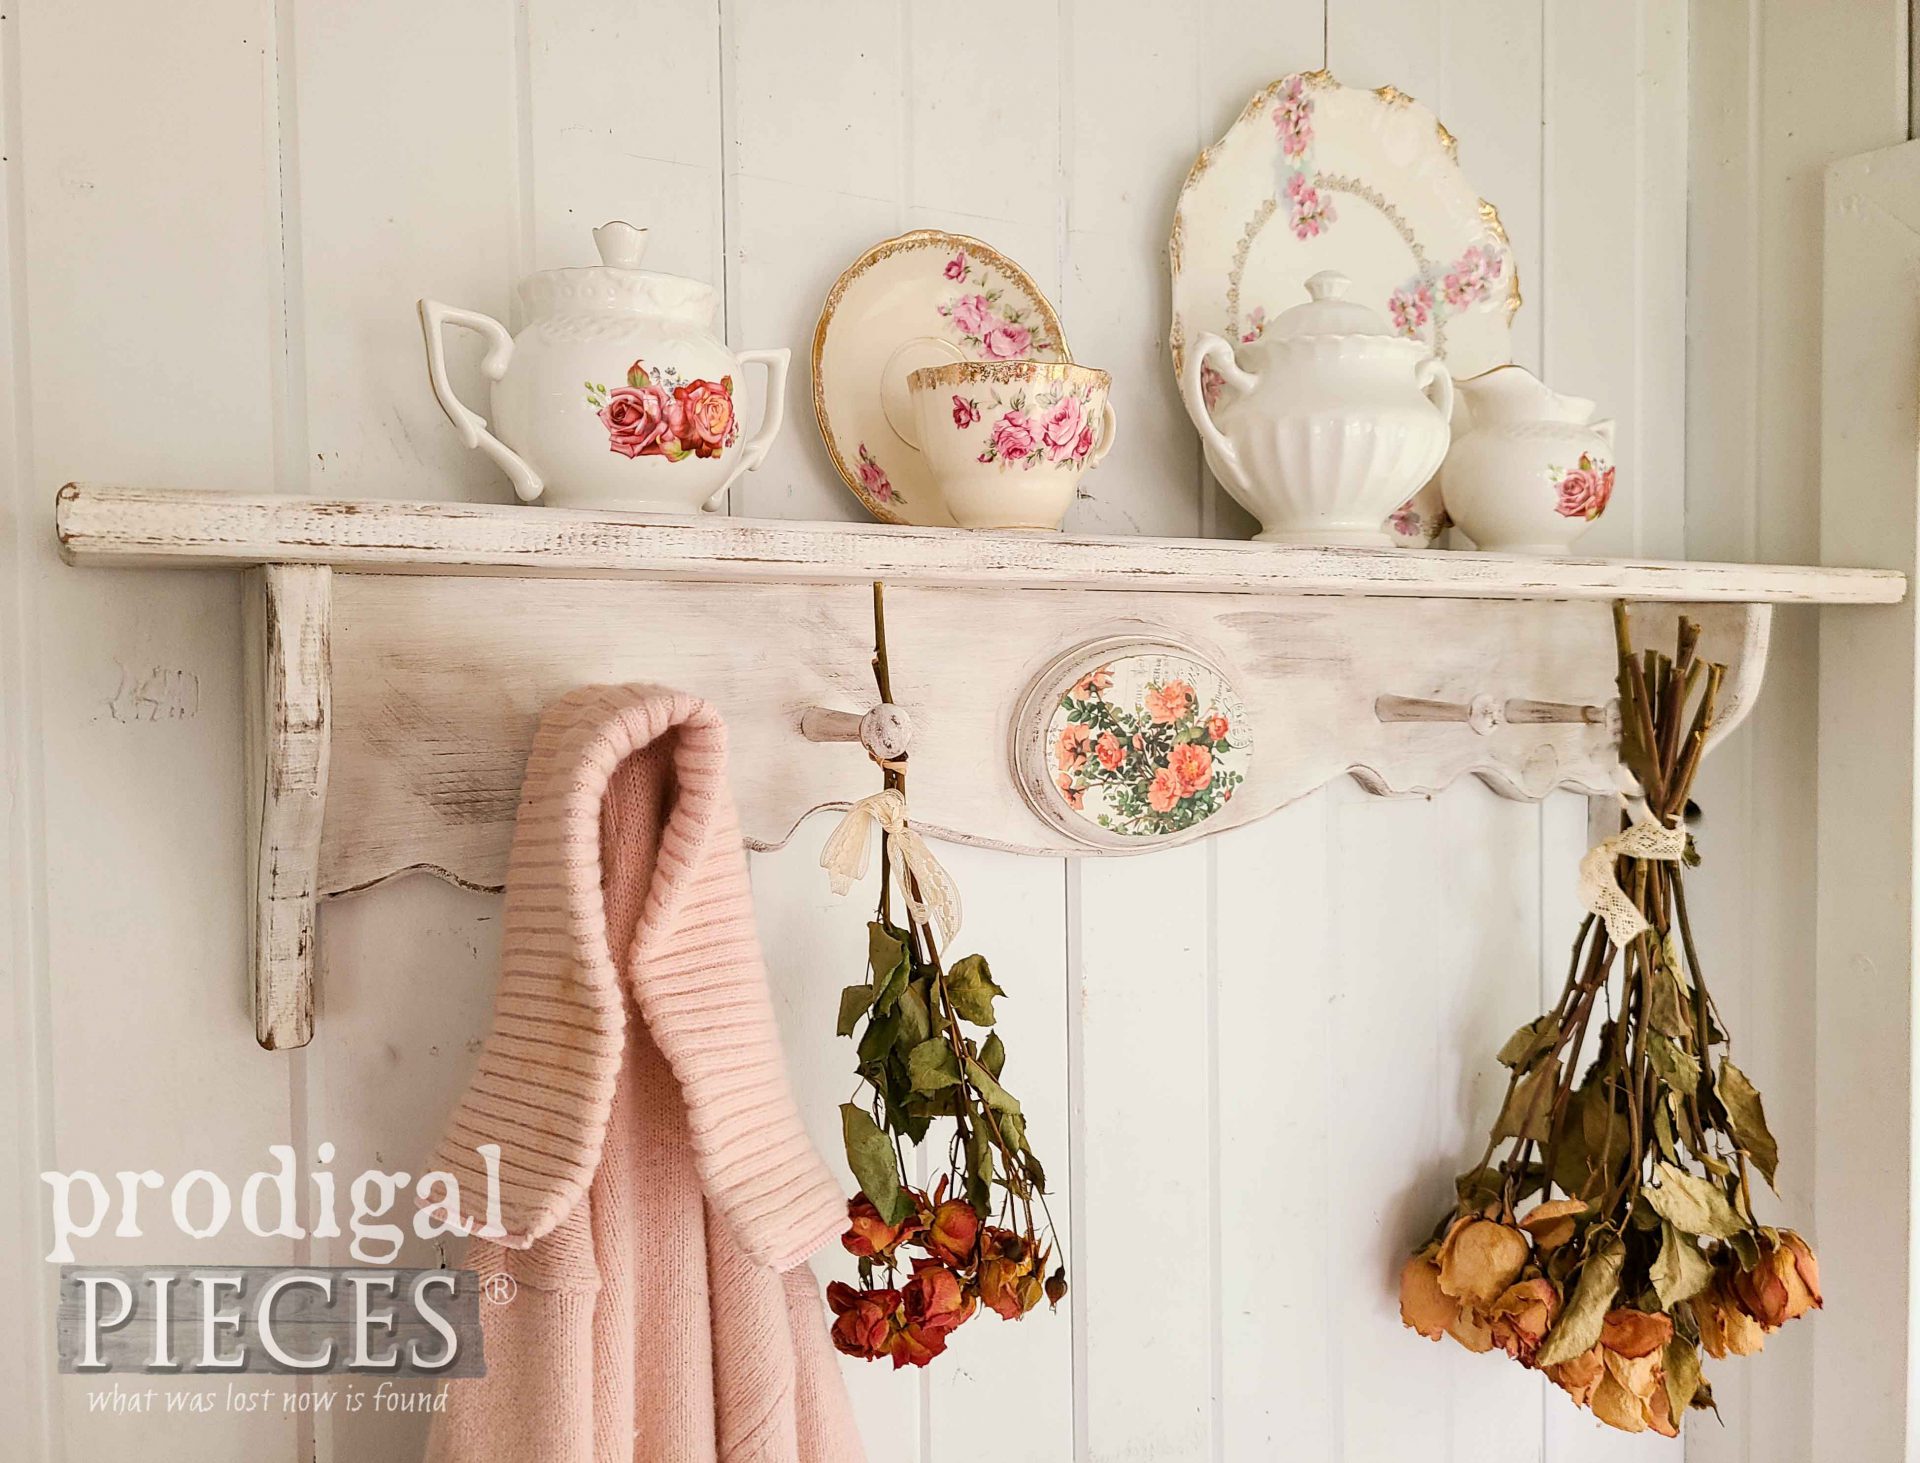
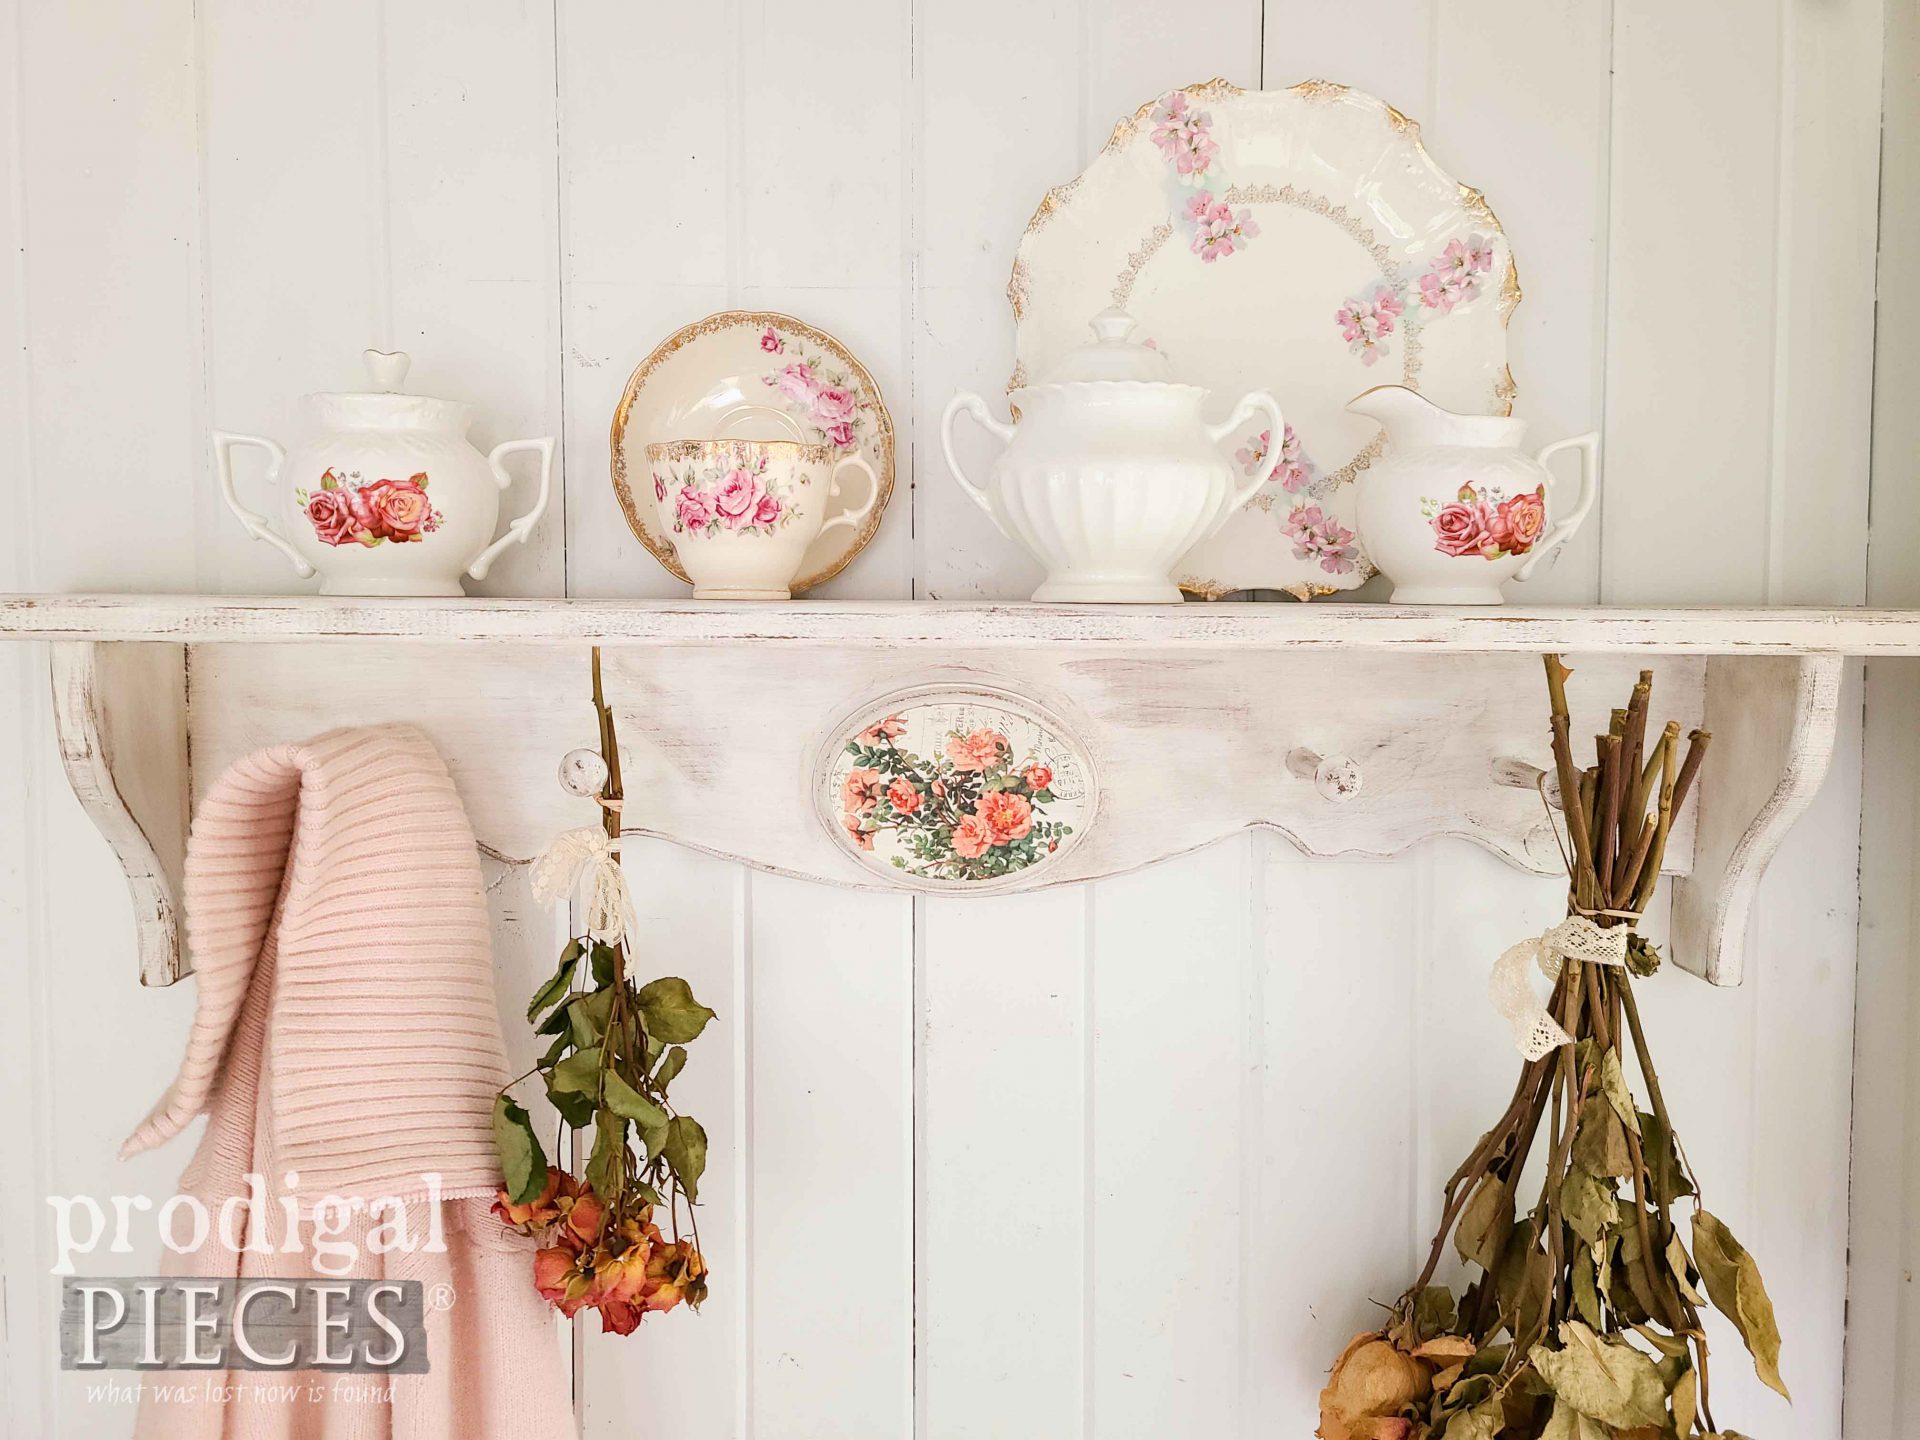
Yahoo!! Here is her vintage shelf for our second of the thrifty decor makeovers.
Goodbye heart cut-outs and hello roses. So much better, don’t you think? Miss C used the same decoupage paper that I showcased in my last two posts HERE and also HERE.
Finally, it’s ready for a hall or bath to hang daily grind essentials or to just look pretty. We all need those kinds of things, don’t we?
Not to compare, but we’re all curious…which one is your favorite? Or, better yet, what would you have done differently?
Also, if you’d like to own either of these beautiful, functional pieces, you can find them and more available in my online shop.
In addition, do pin and share our thrifty decor makeovers to inspire others to make their own home story.
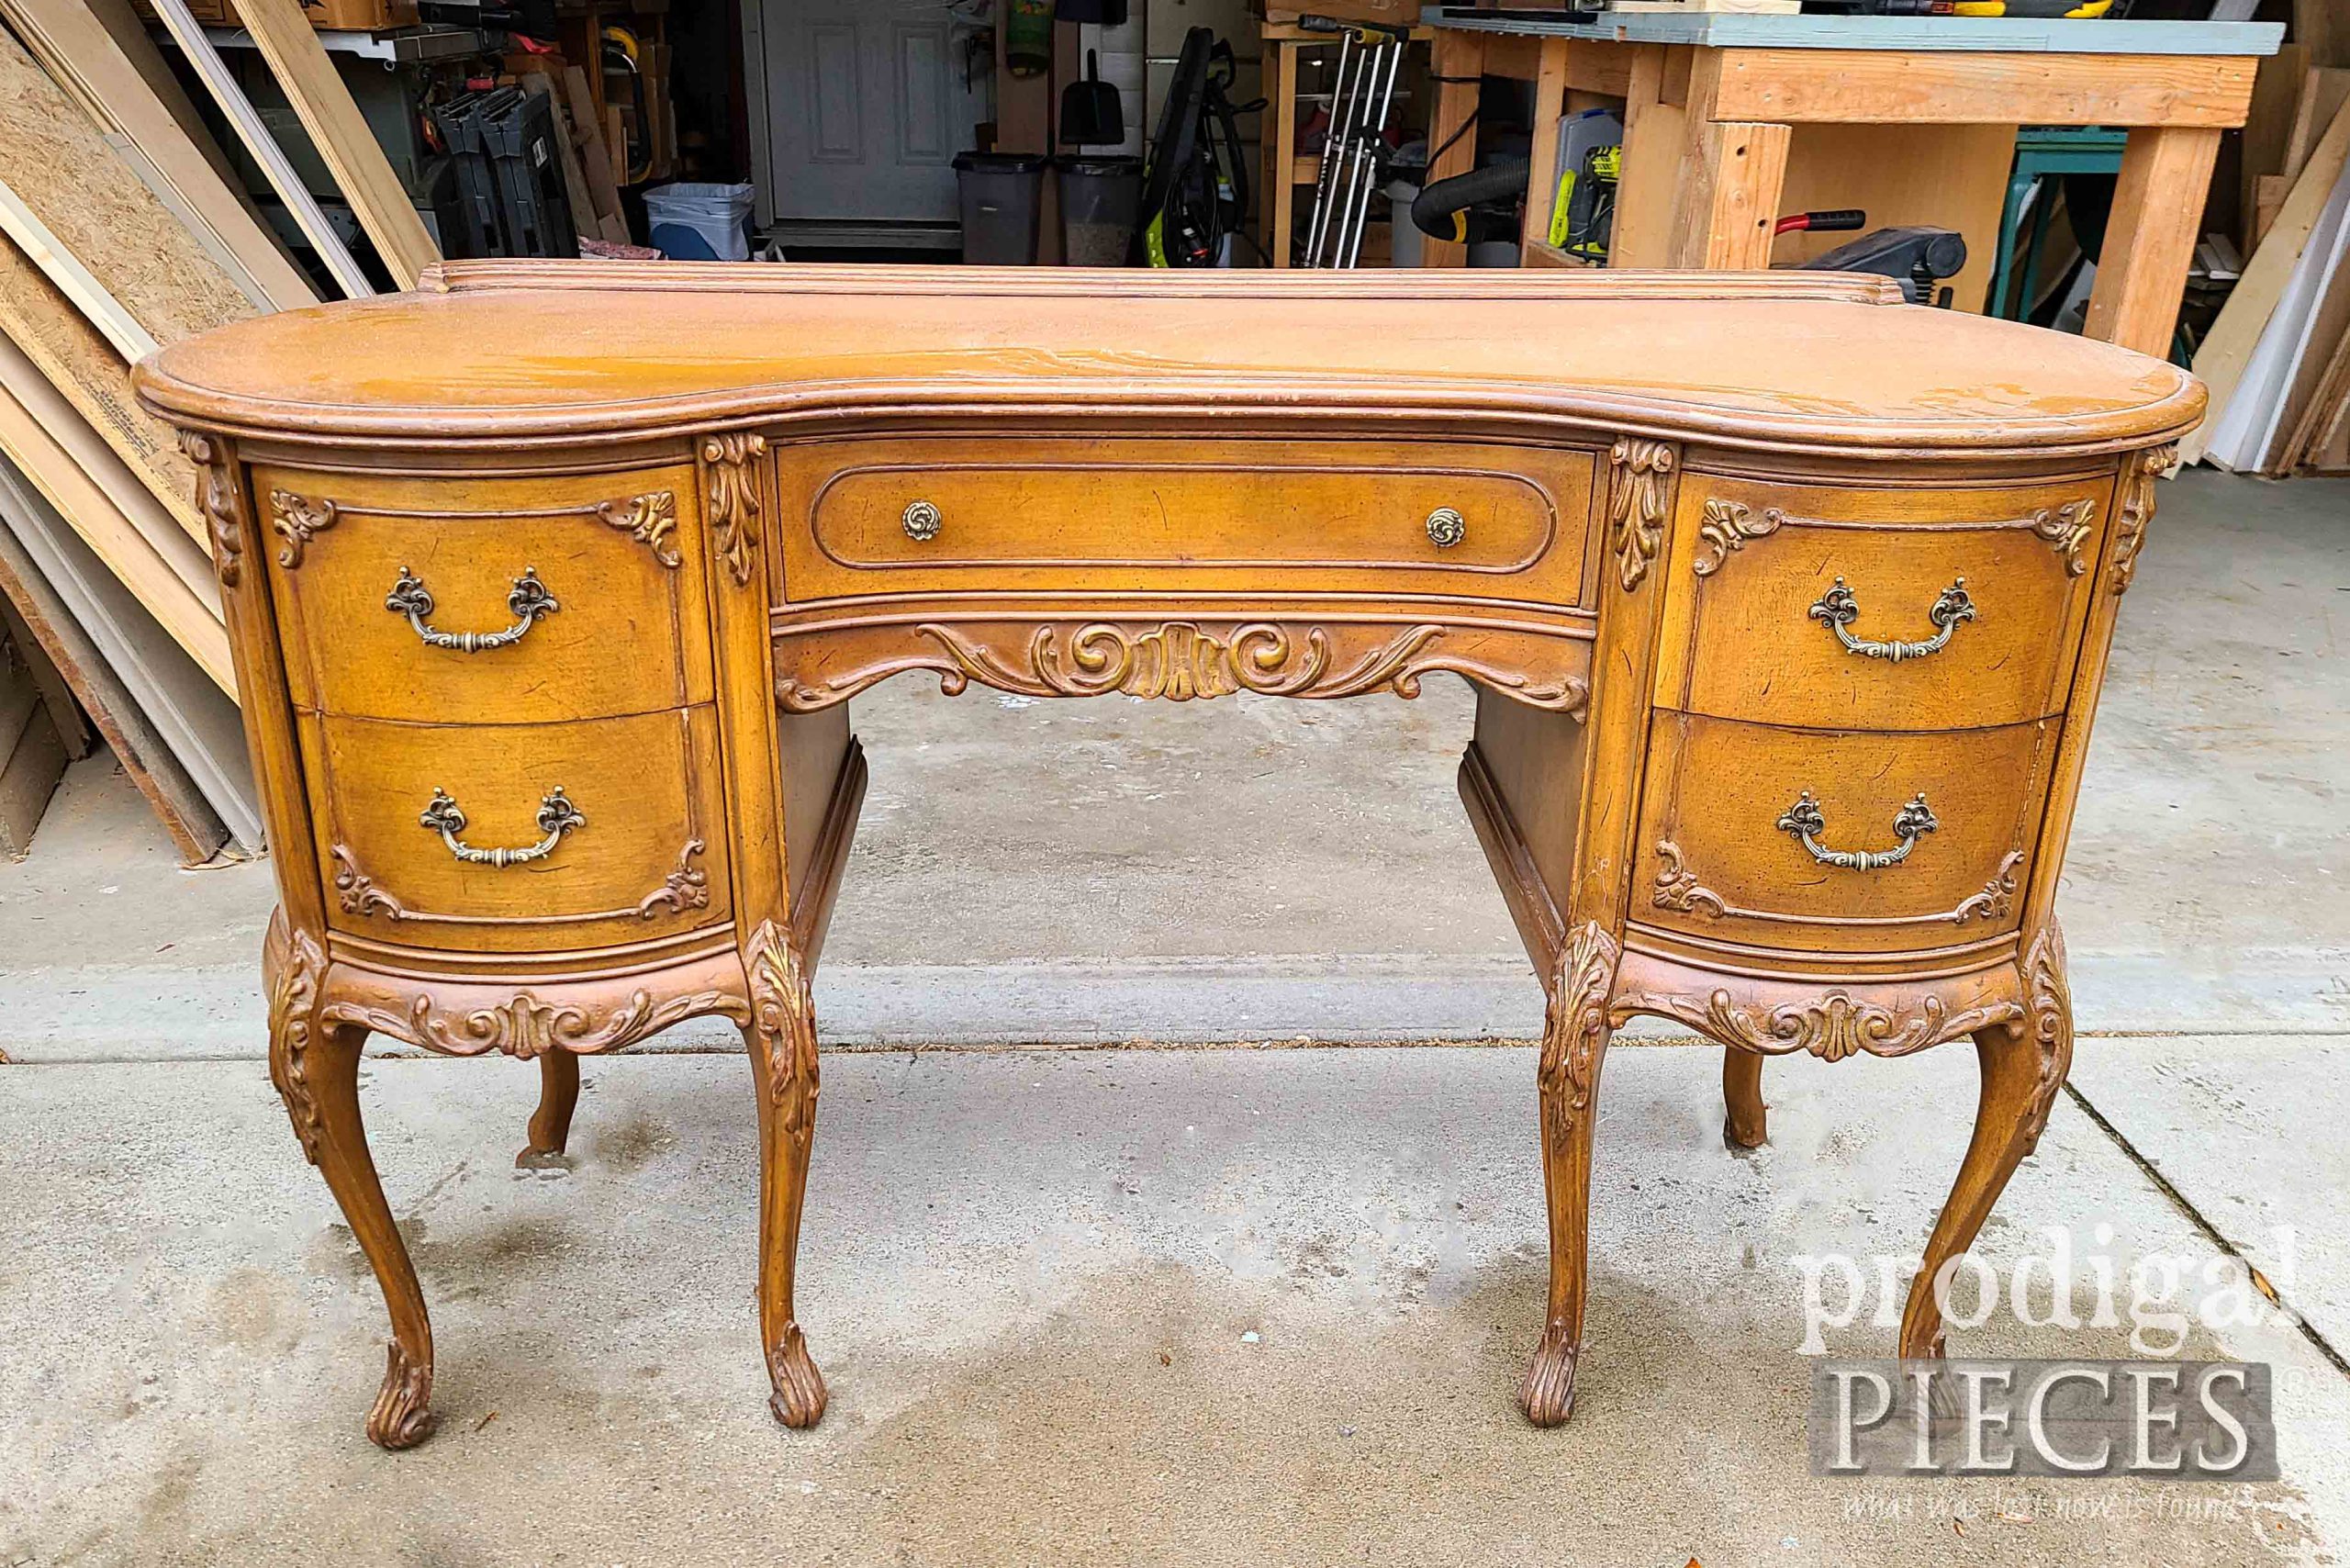
Up next, this French provincial beauty is up for a new look. Plus, I’ll have a giveaway for you too. See the new look HERE.
To get these DIY tips & tricks in your inbox, be sure to sign up for my newsletter. PLUS, you will get your FREE Furniture Buying Checklist and special discount to my shop. Until next time!



Your daughters do beautiful work just like their mom!
aww…thank you. They do work hard and it shows.
Great job girls. Playing no favorites; I love both your projects. Both totally awesome and each a mind like your mother’s.
Hey girls; you both for hire? I do have a couple small projects that could be given a whole new look. Right now, just too busy in getting them done; maybe come Spring……………hopefully.
You all have a great day and enjoy the weekend.
Thanks from the three of us! 😀 They do work for hire…haha! I pay them often and the neighbors do too. I hear ya on busy…crazy busy.
Wow! These 2 projects turned out beautifully! I am amazed! I would have donated both of them, not having a clue what to do with the pieces! I love that you have taught your girls the art of thrifting and transformation Larissa 🙂 🙂 That is a great accomplishment ❤️ Kudos to the 3 of you, well done!
They are both so awesome and so different, I can’t choose!! What beautiful talented young ladies you’ve been blessed with. I have 3 siblings and I thought our house was filled to the gills! They may not know it now, but they are so blessed to have each other and a Mom like you!! I know I sure am blessed with both!!! ?
You’re so sweet, Rebecca. Thank you! Yes, they do know it now and love being together. It isn’t always rainbows, but they know they have a special blessing to have many siblings. I love it!
Clearly, the apple doesn’t fall too far from the tree. Bravo to both upcycles, equally lovely in their own right so I can’t pick a favorite. I love the farmhouse charm your daughters gave each piece and I’m sure they’ll fly out of your shop.
I’m with you. Each has it’s own fun use and design. One already sold within 30 minutes. Yay to savings! 😀 (they’re trying to save up)
Wow Larrisa, your girls do wonderful work! Their young minds come up with some very clever touches, just like their mama! Can’t wait to see what you do with that beautiful desk!
Thank you on their behalf, Carolyn. It truly is a delight to see them at work and watch them grow. I’m excited to share!
both young ladies did an excellent job….wonderful creativity and imagination…
Thank you bunches, Cathy. I’m proud of their determination.
So cute — love them both — I think I have some things very similar — now I am inspired! what is the paint color used? I am looking for a creamy warm white, not a stark white and this one looks perfect. help?
Thanks so much, Gloria. They just used the basic white by Glidden in eggshell (you can see in the photos). I do love cotton whisper as a softer color and antique white for creamy.
I like both projects. I recently updated a couple shelves with the heart cutout but didn’t know how or what to do to cover, now I have an idea. Very clever idea on how to display old clothes pins
There ya go! I cut them out, cover them up, or just let them fly…just depends. tee hee! Thank you for lovin’ on their work, Donna.
Oh my heavens, they both are just charming and adorable!!! Good work girls!
Yahoo!! Thank you so much, Caye.
Ok, so here is the scoop. I cannot pick a favorite because I truly love them both! They did a great job! They have vision just like their mama. You go girls!
awww…that’s so fun to hear, Melva. We thank you! 😀
Both of these turned out great!! Good job, girls!!
Happy dance from us all! Thank you, Melanie!
Your Kids are so talented Larissa! I like both makeovers!
I often pass thrift store’s wooden pieces as i have no clue how to camouflage those hearts. Now i know how – thank you for sharing!
Aww…thank you. They sure have fun trying and I just love seeing them go. Those hearts can be buggers, but fun to dress up too.