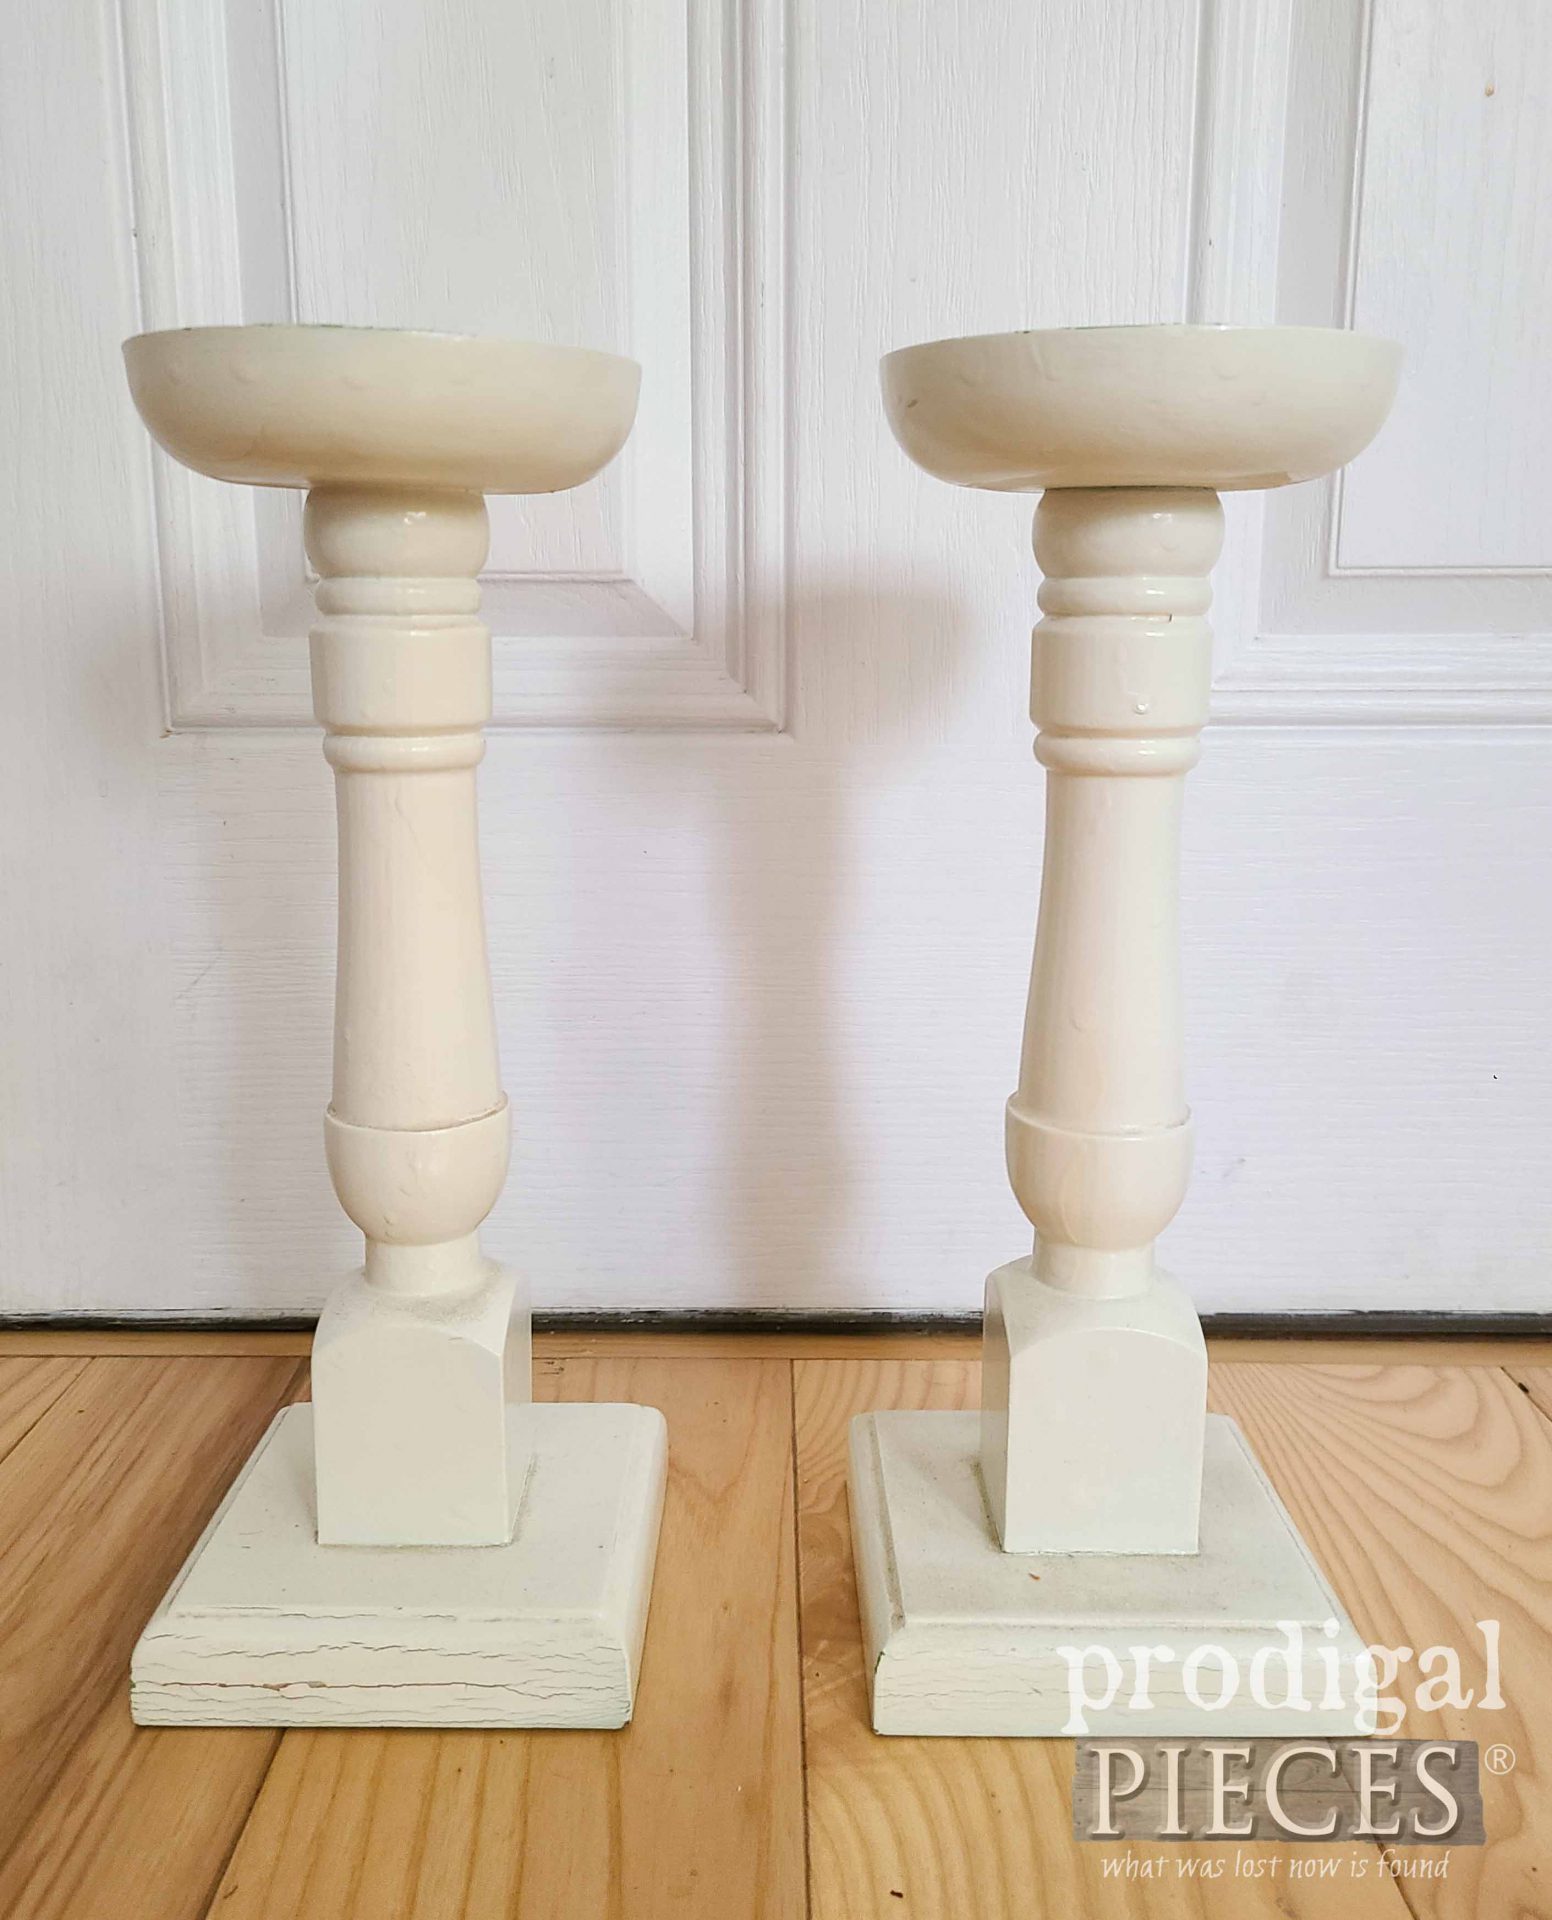
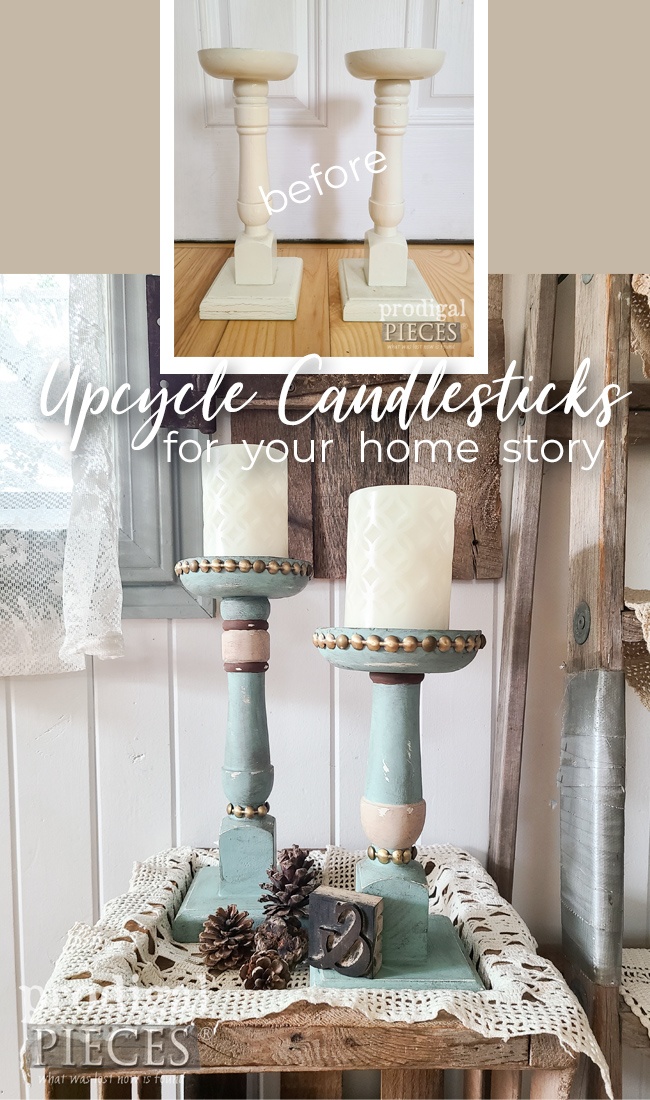
Doesn’t the saying go, third time’s a charm? Making our own home story doesn’t have to have a definite conclusion. Yes, we can aim for a goal, say…farmhouse style, but does it ever really reach a definitive end? Rather, I think we start out at point A, then in the next few months and years we go to point B, to point C, etc as our tastes change based on our experiences and inspiration. Take, for instance, this dynamic duo. They’ve come to me second-hand and appear to have already had a makeover (albeit a messy one). I say it’s time to upcycle candlesticks so that we can refresh our home story.
Oftentimes, I don’t have to look far for fun pieces to work with since I have friends and family in all the right junkified places. My daughter spied these for me while at work and asked if I’d like them. You bet. Candlesticks have potential and are always useful for many things. However, this pair needs another makeover to suit me best.
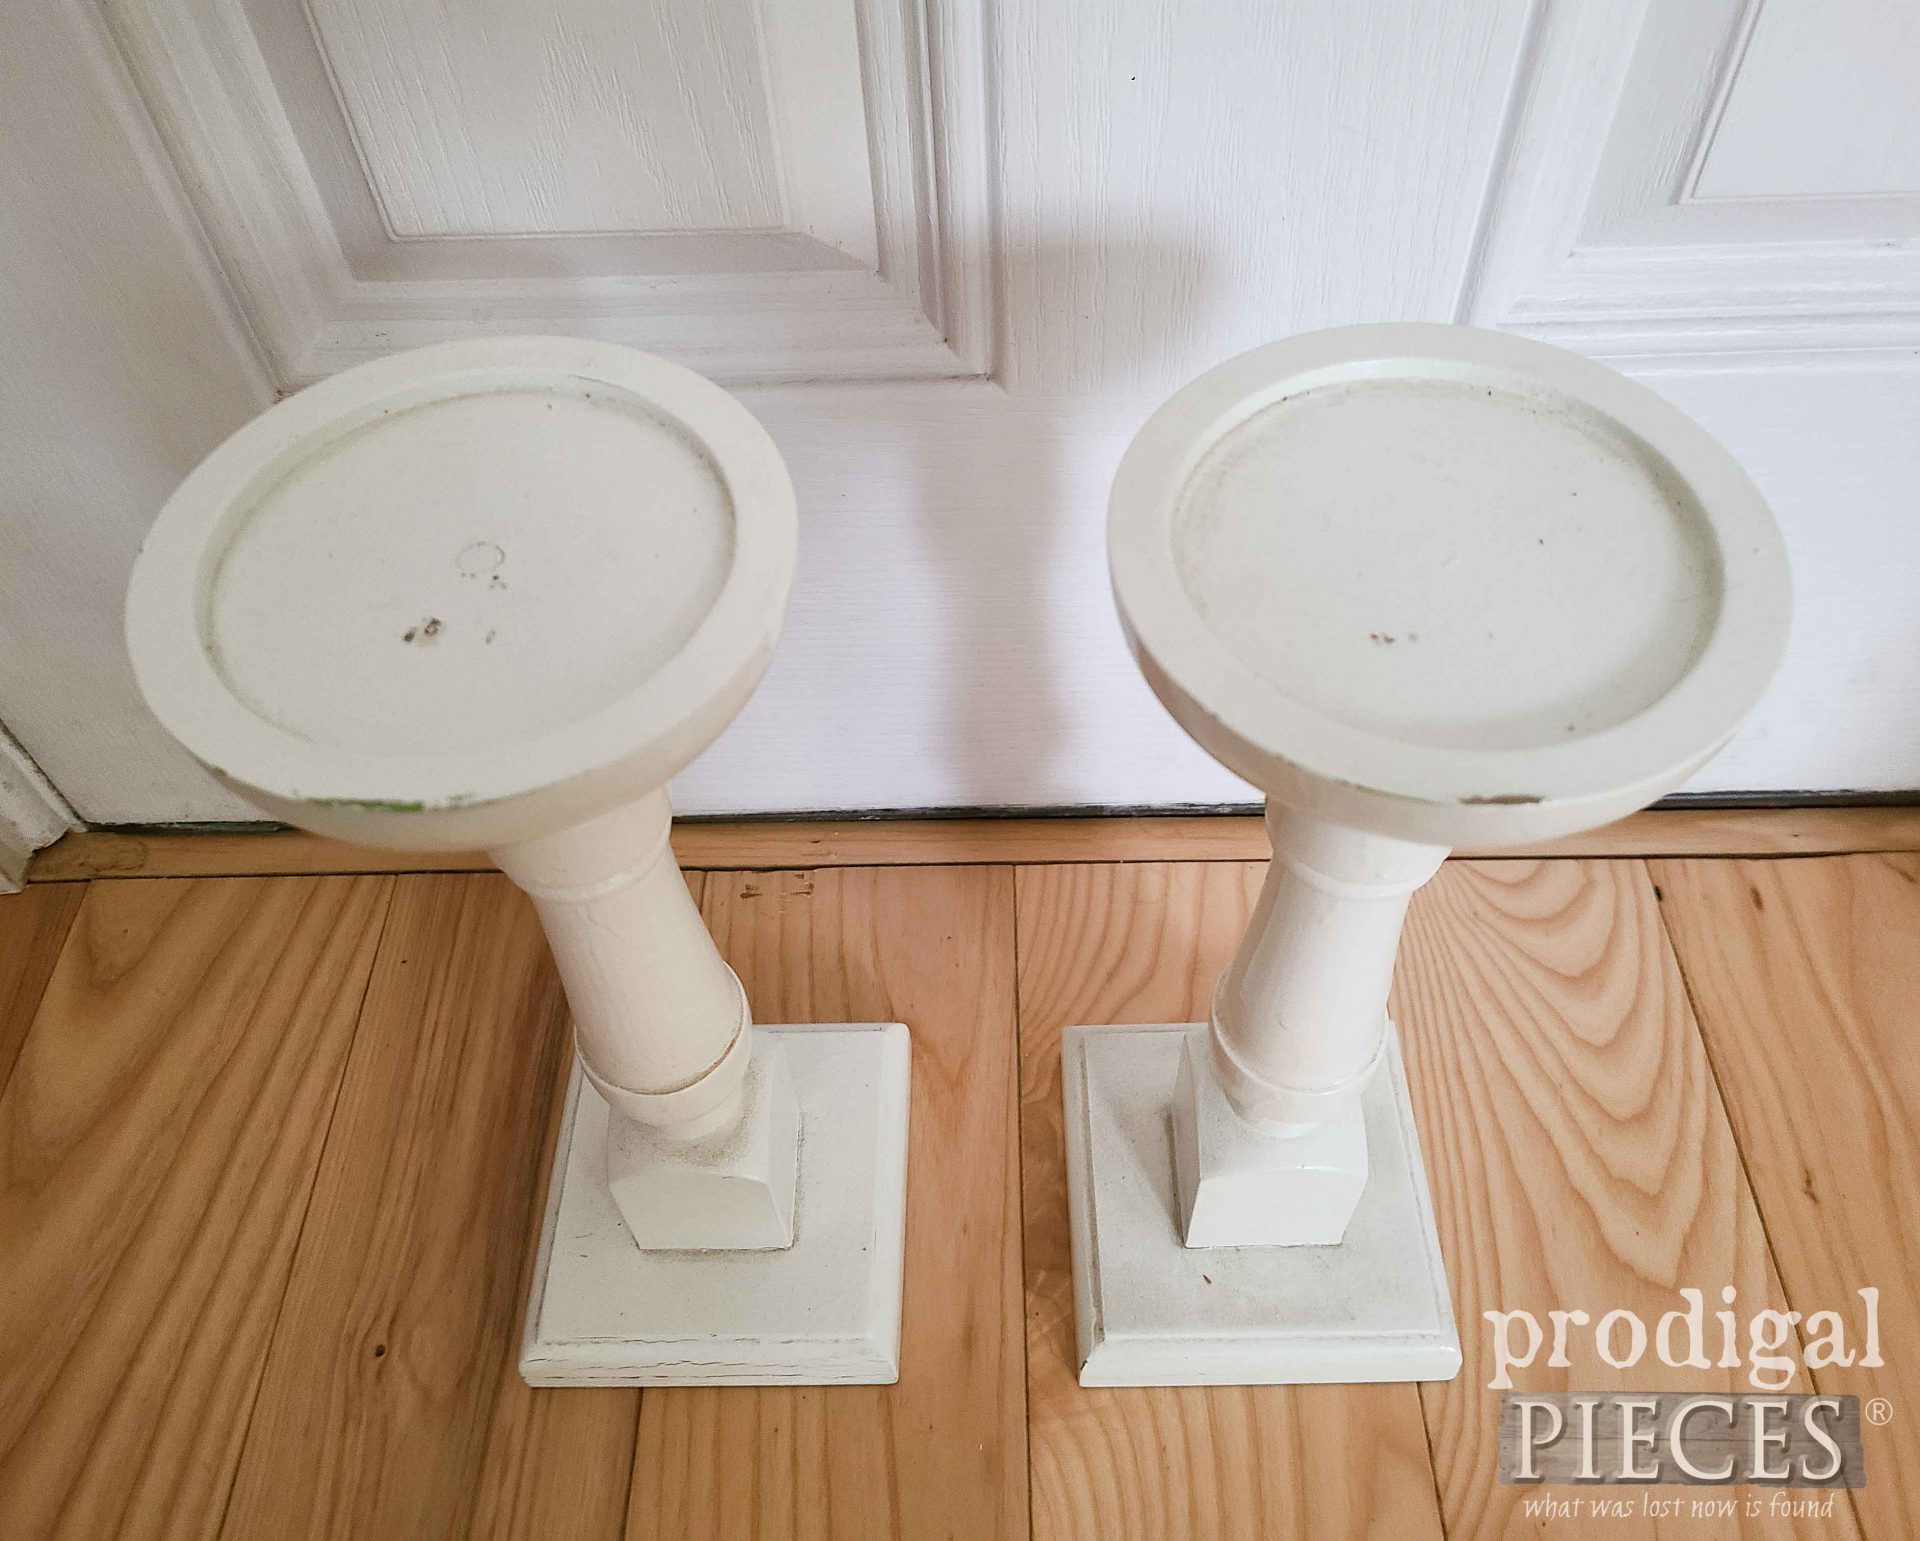
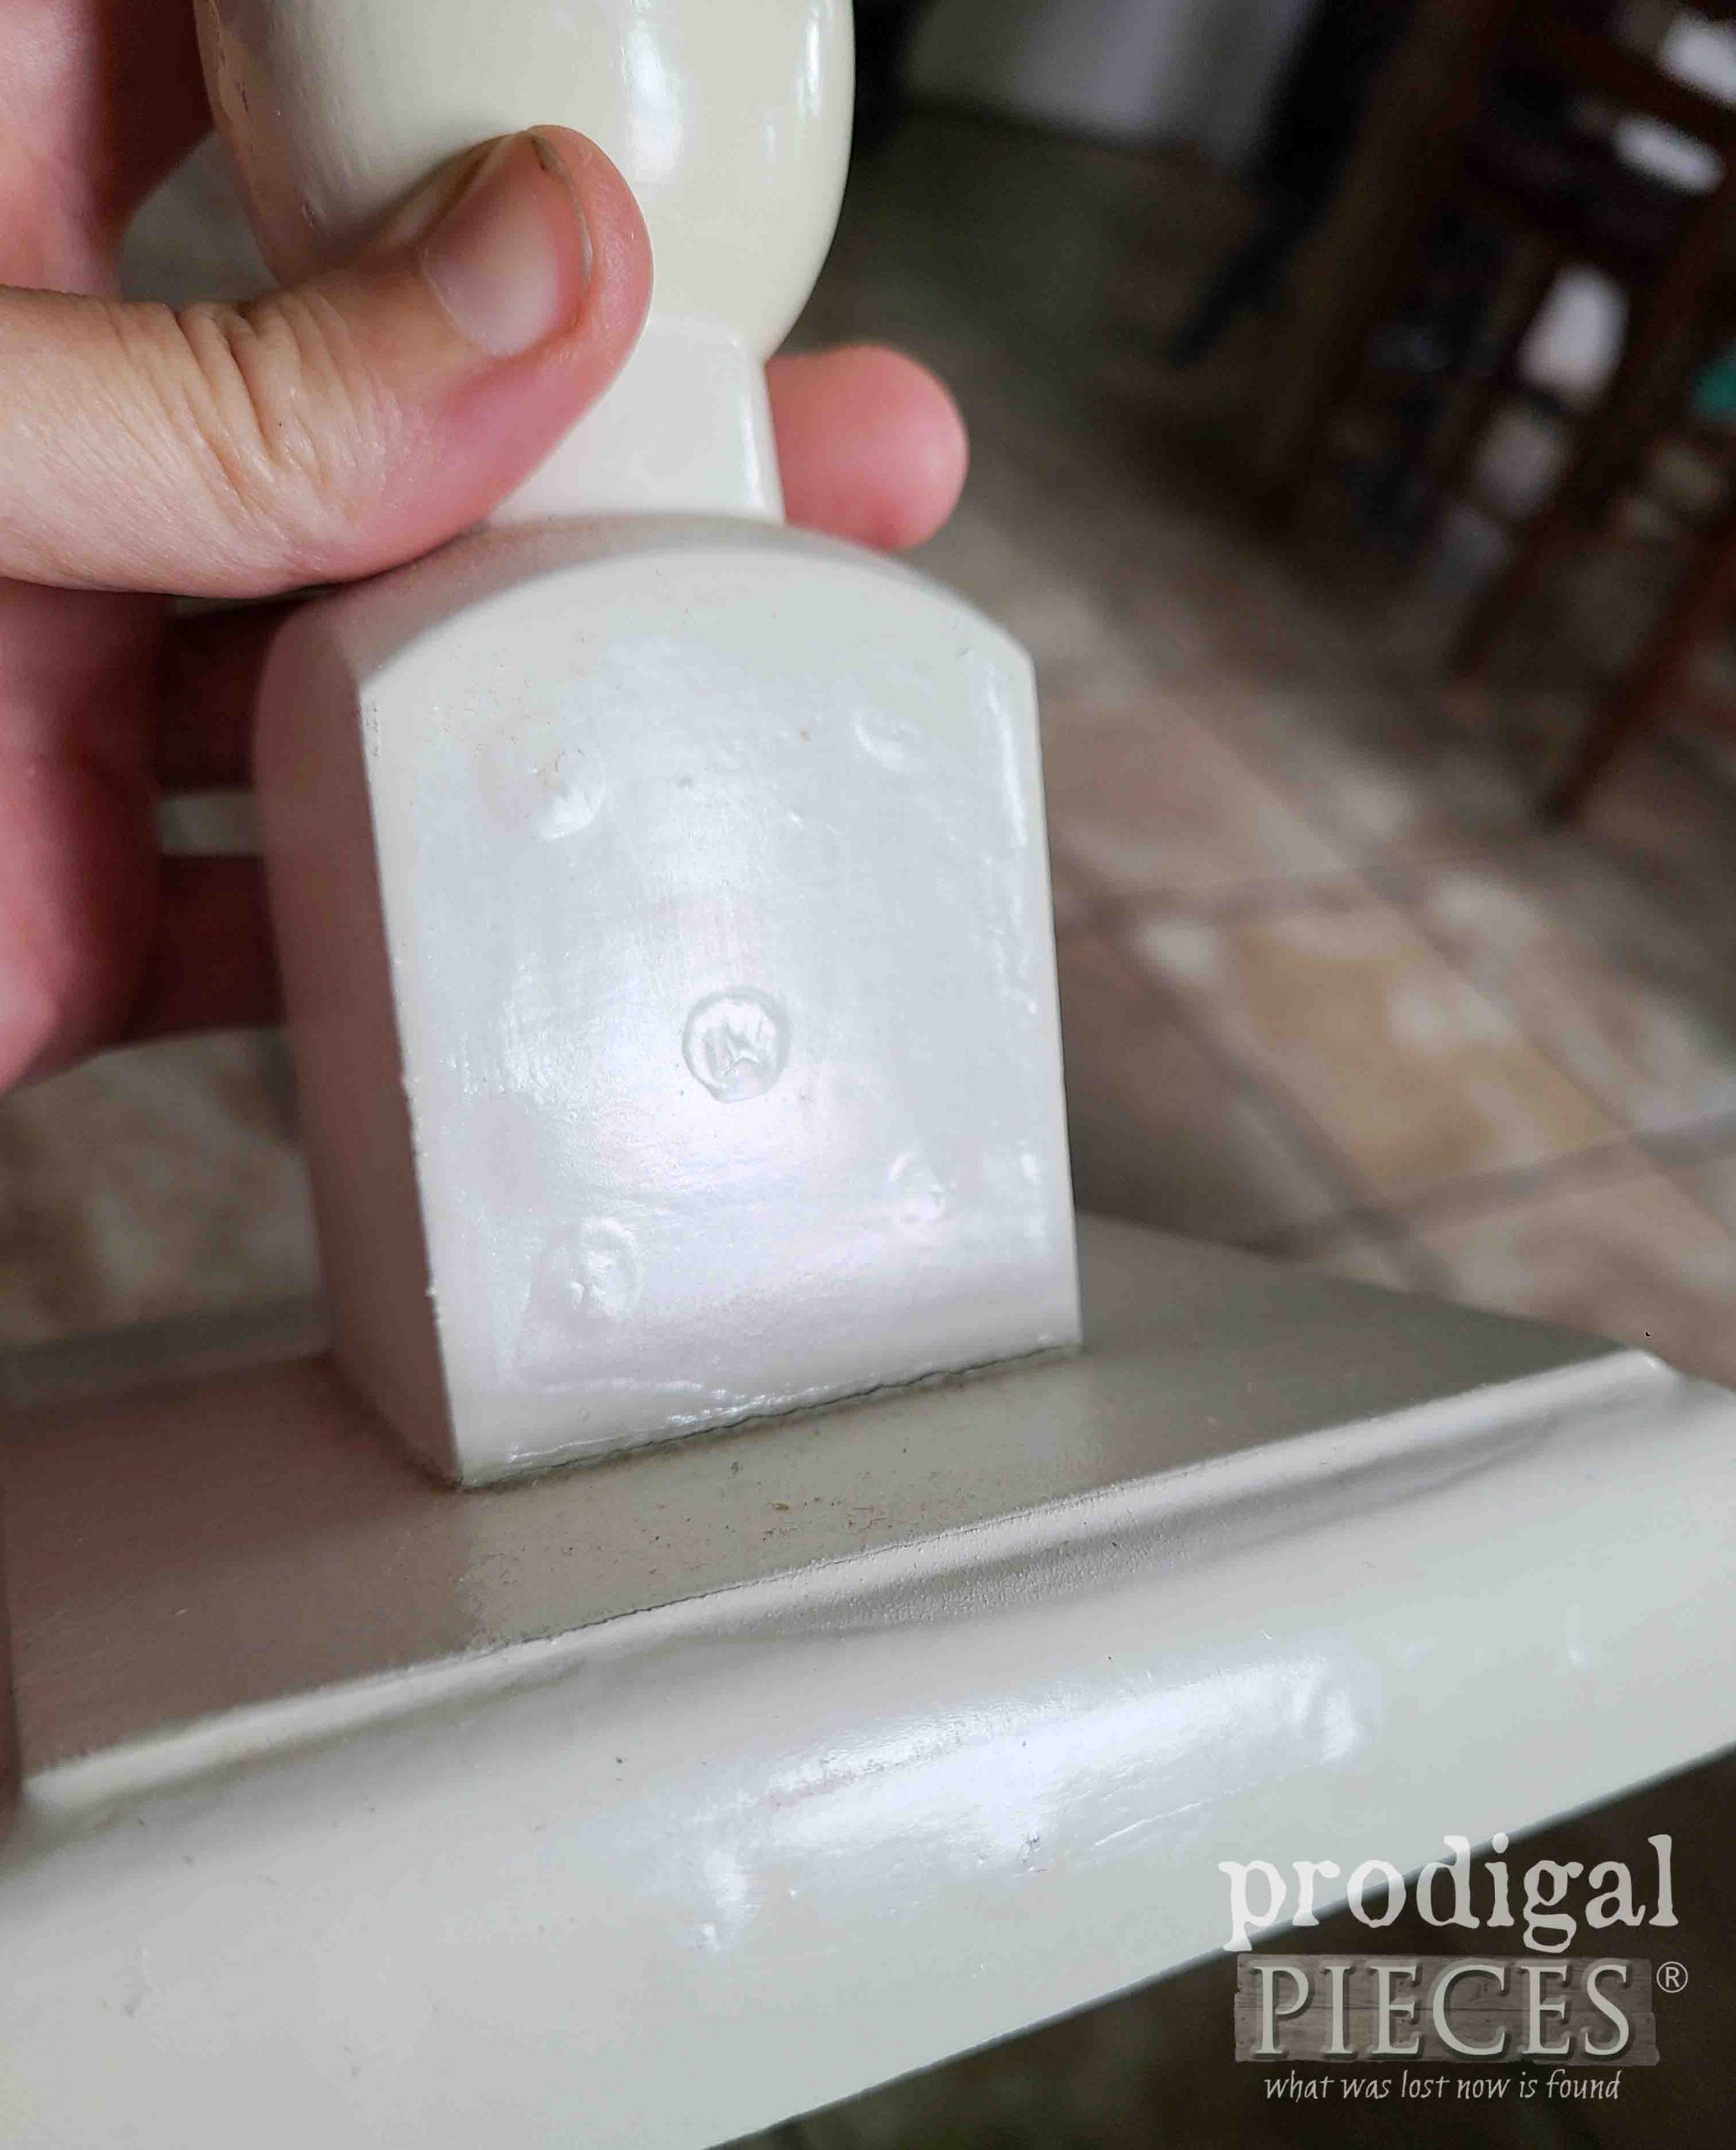
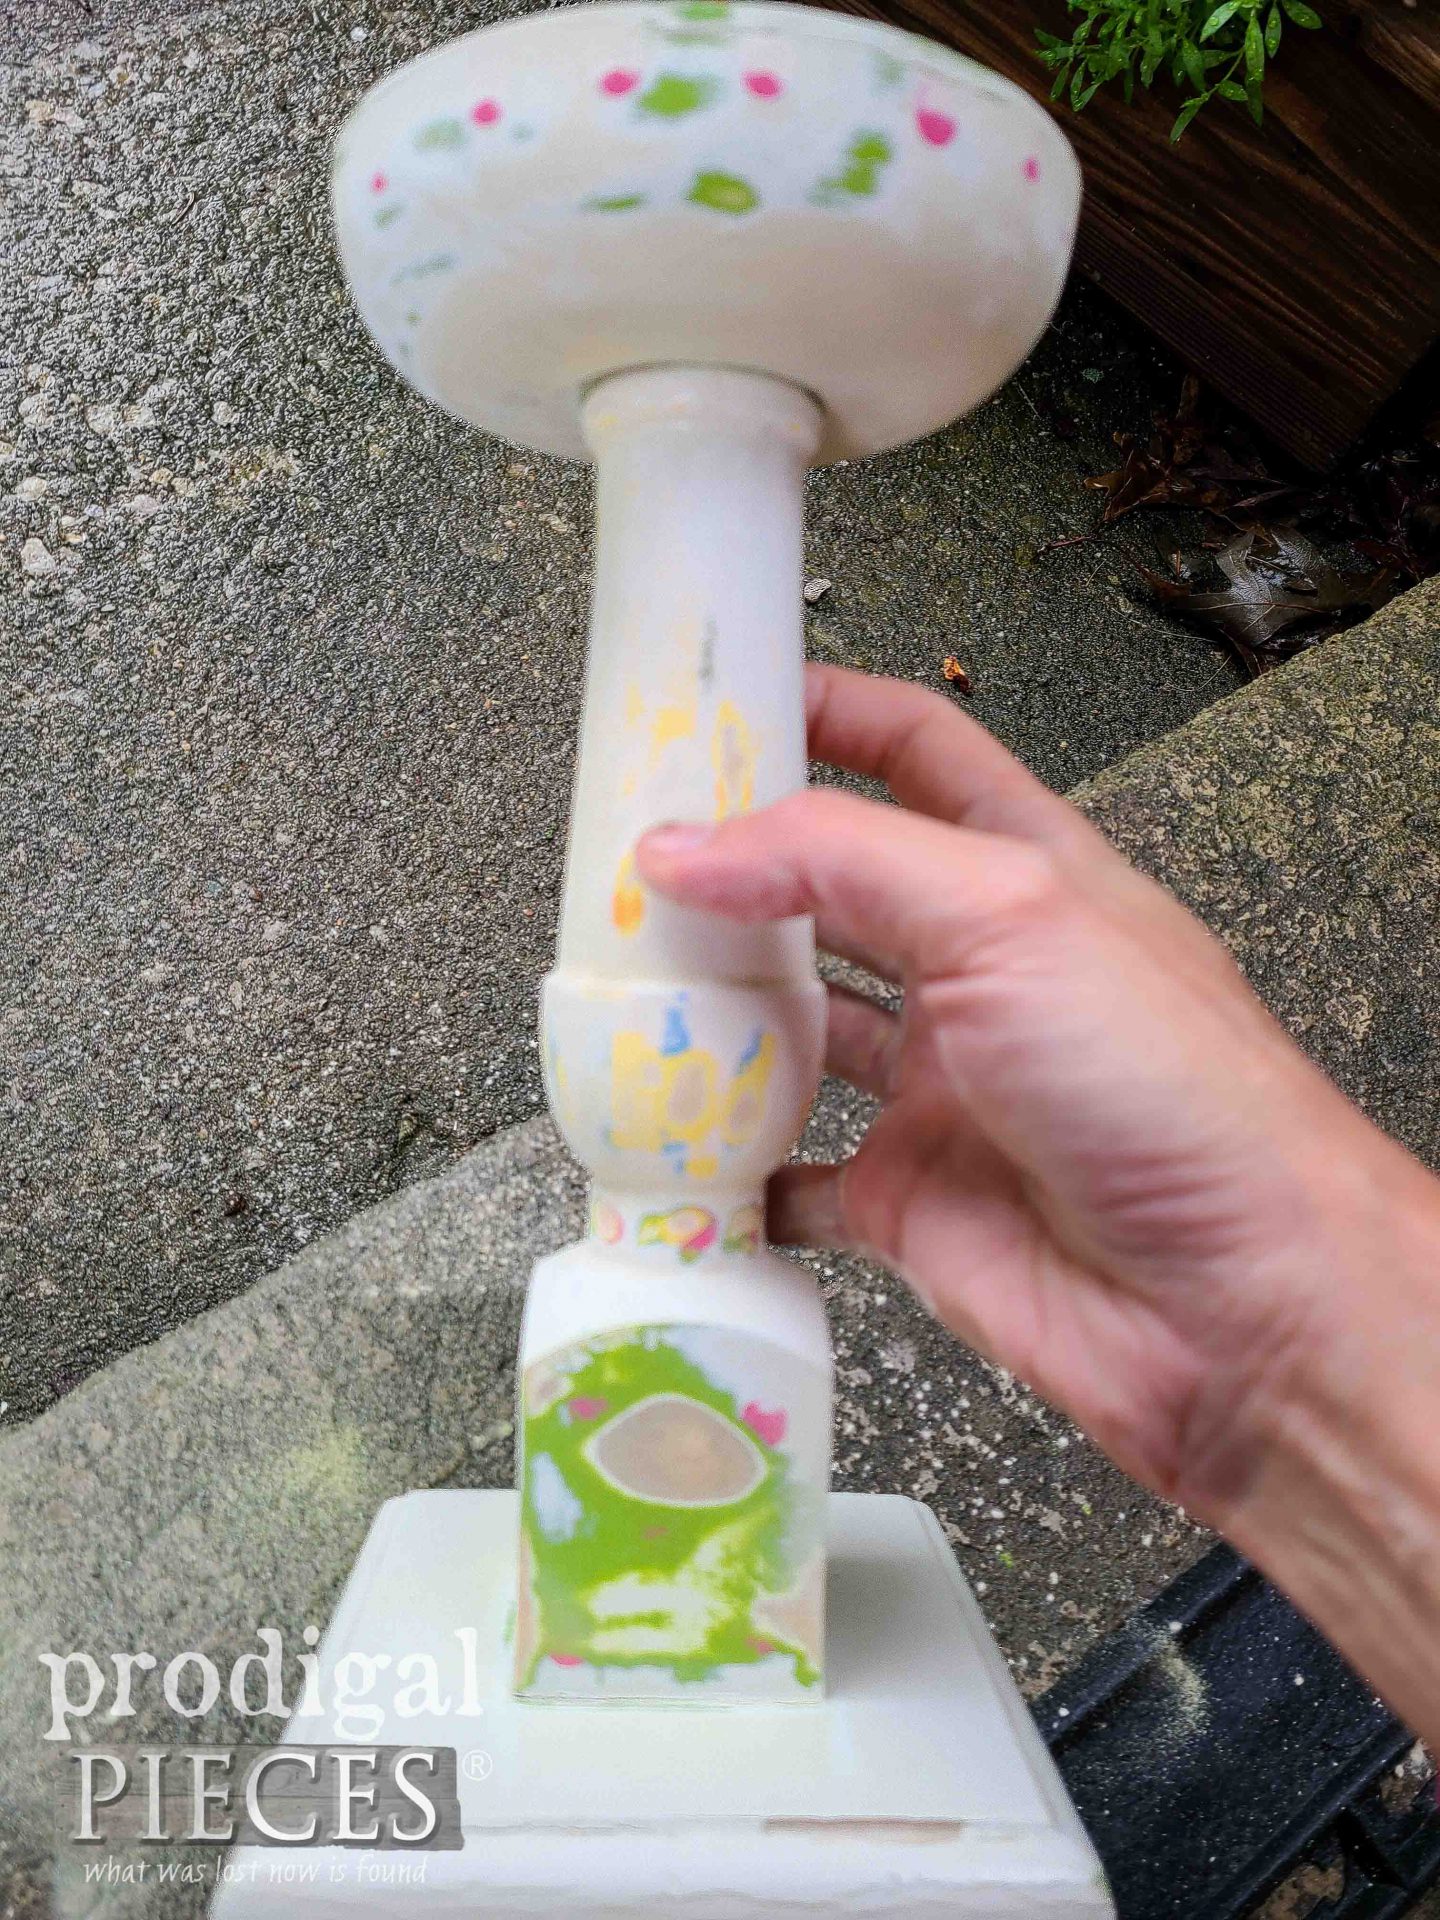
If you look close, you can see the drips from the glossy paint job the previous owner gave them. However, upon closer inspection, you can see the polka dots and stripes hiding underneath.
Dare I say it’s makeover time? mwahahaha… If you’re wondering, I do have a thing for ambient lighting whether it’s a fireplace, lanterns, DIY reclaimed sconces, or a few candles here and there.
SIZING UP…OR DOWN
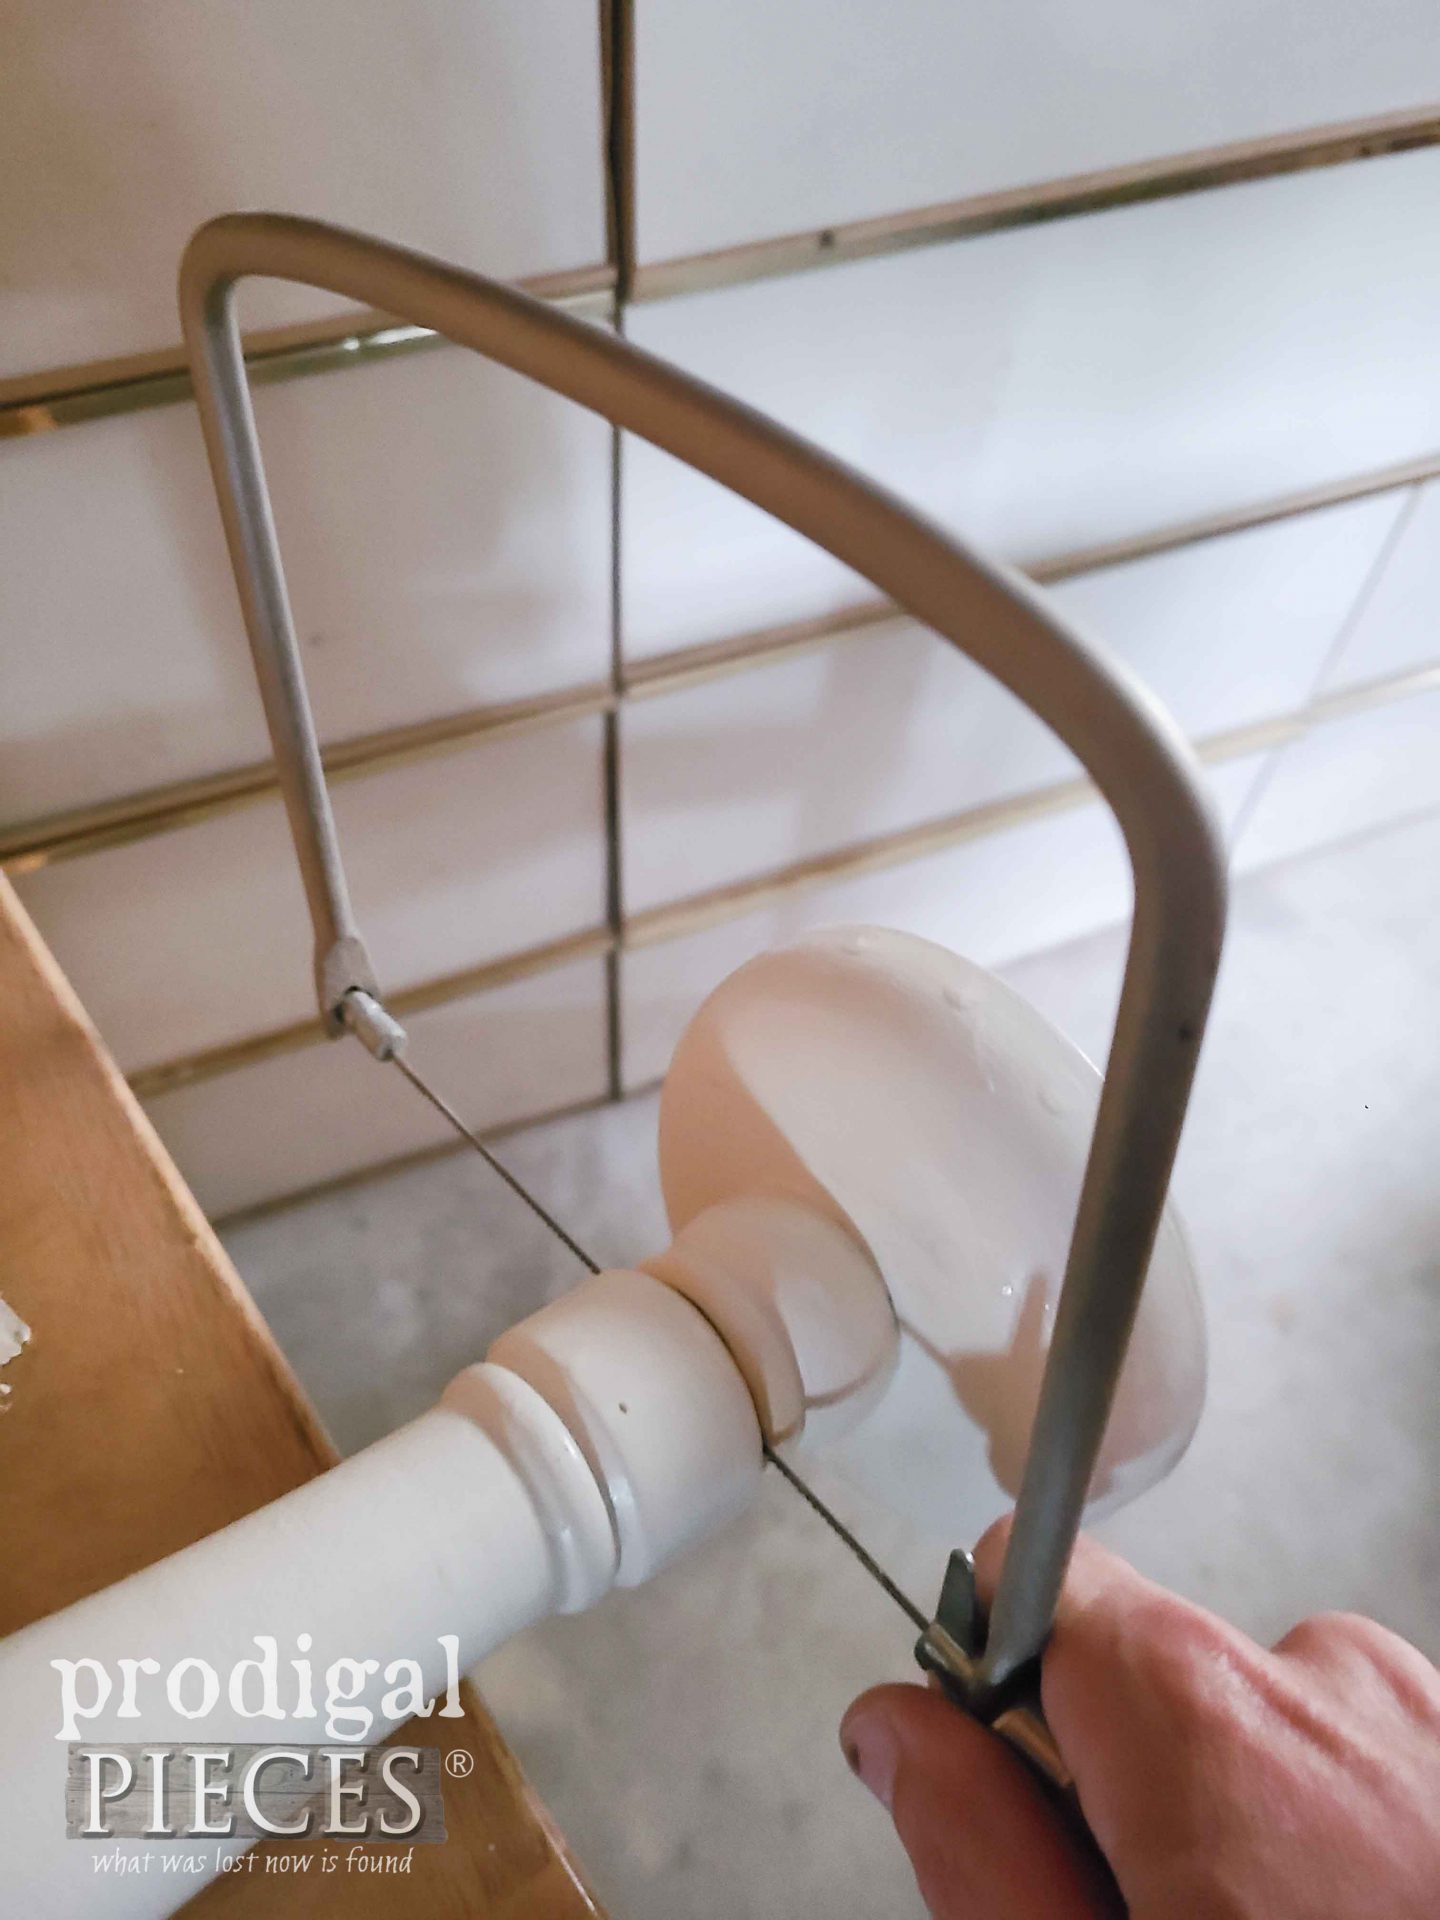
First, I want to make these in a different height for contrast. With that, I take my coping saw and cut one of them shorter. This saw is great for intricate cuts and leave a fine line, whereas a hacksaw is hefty, but rough.
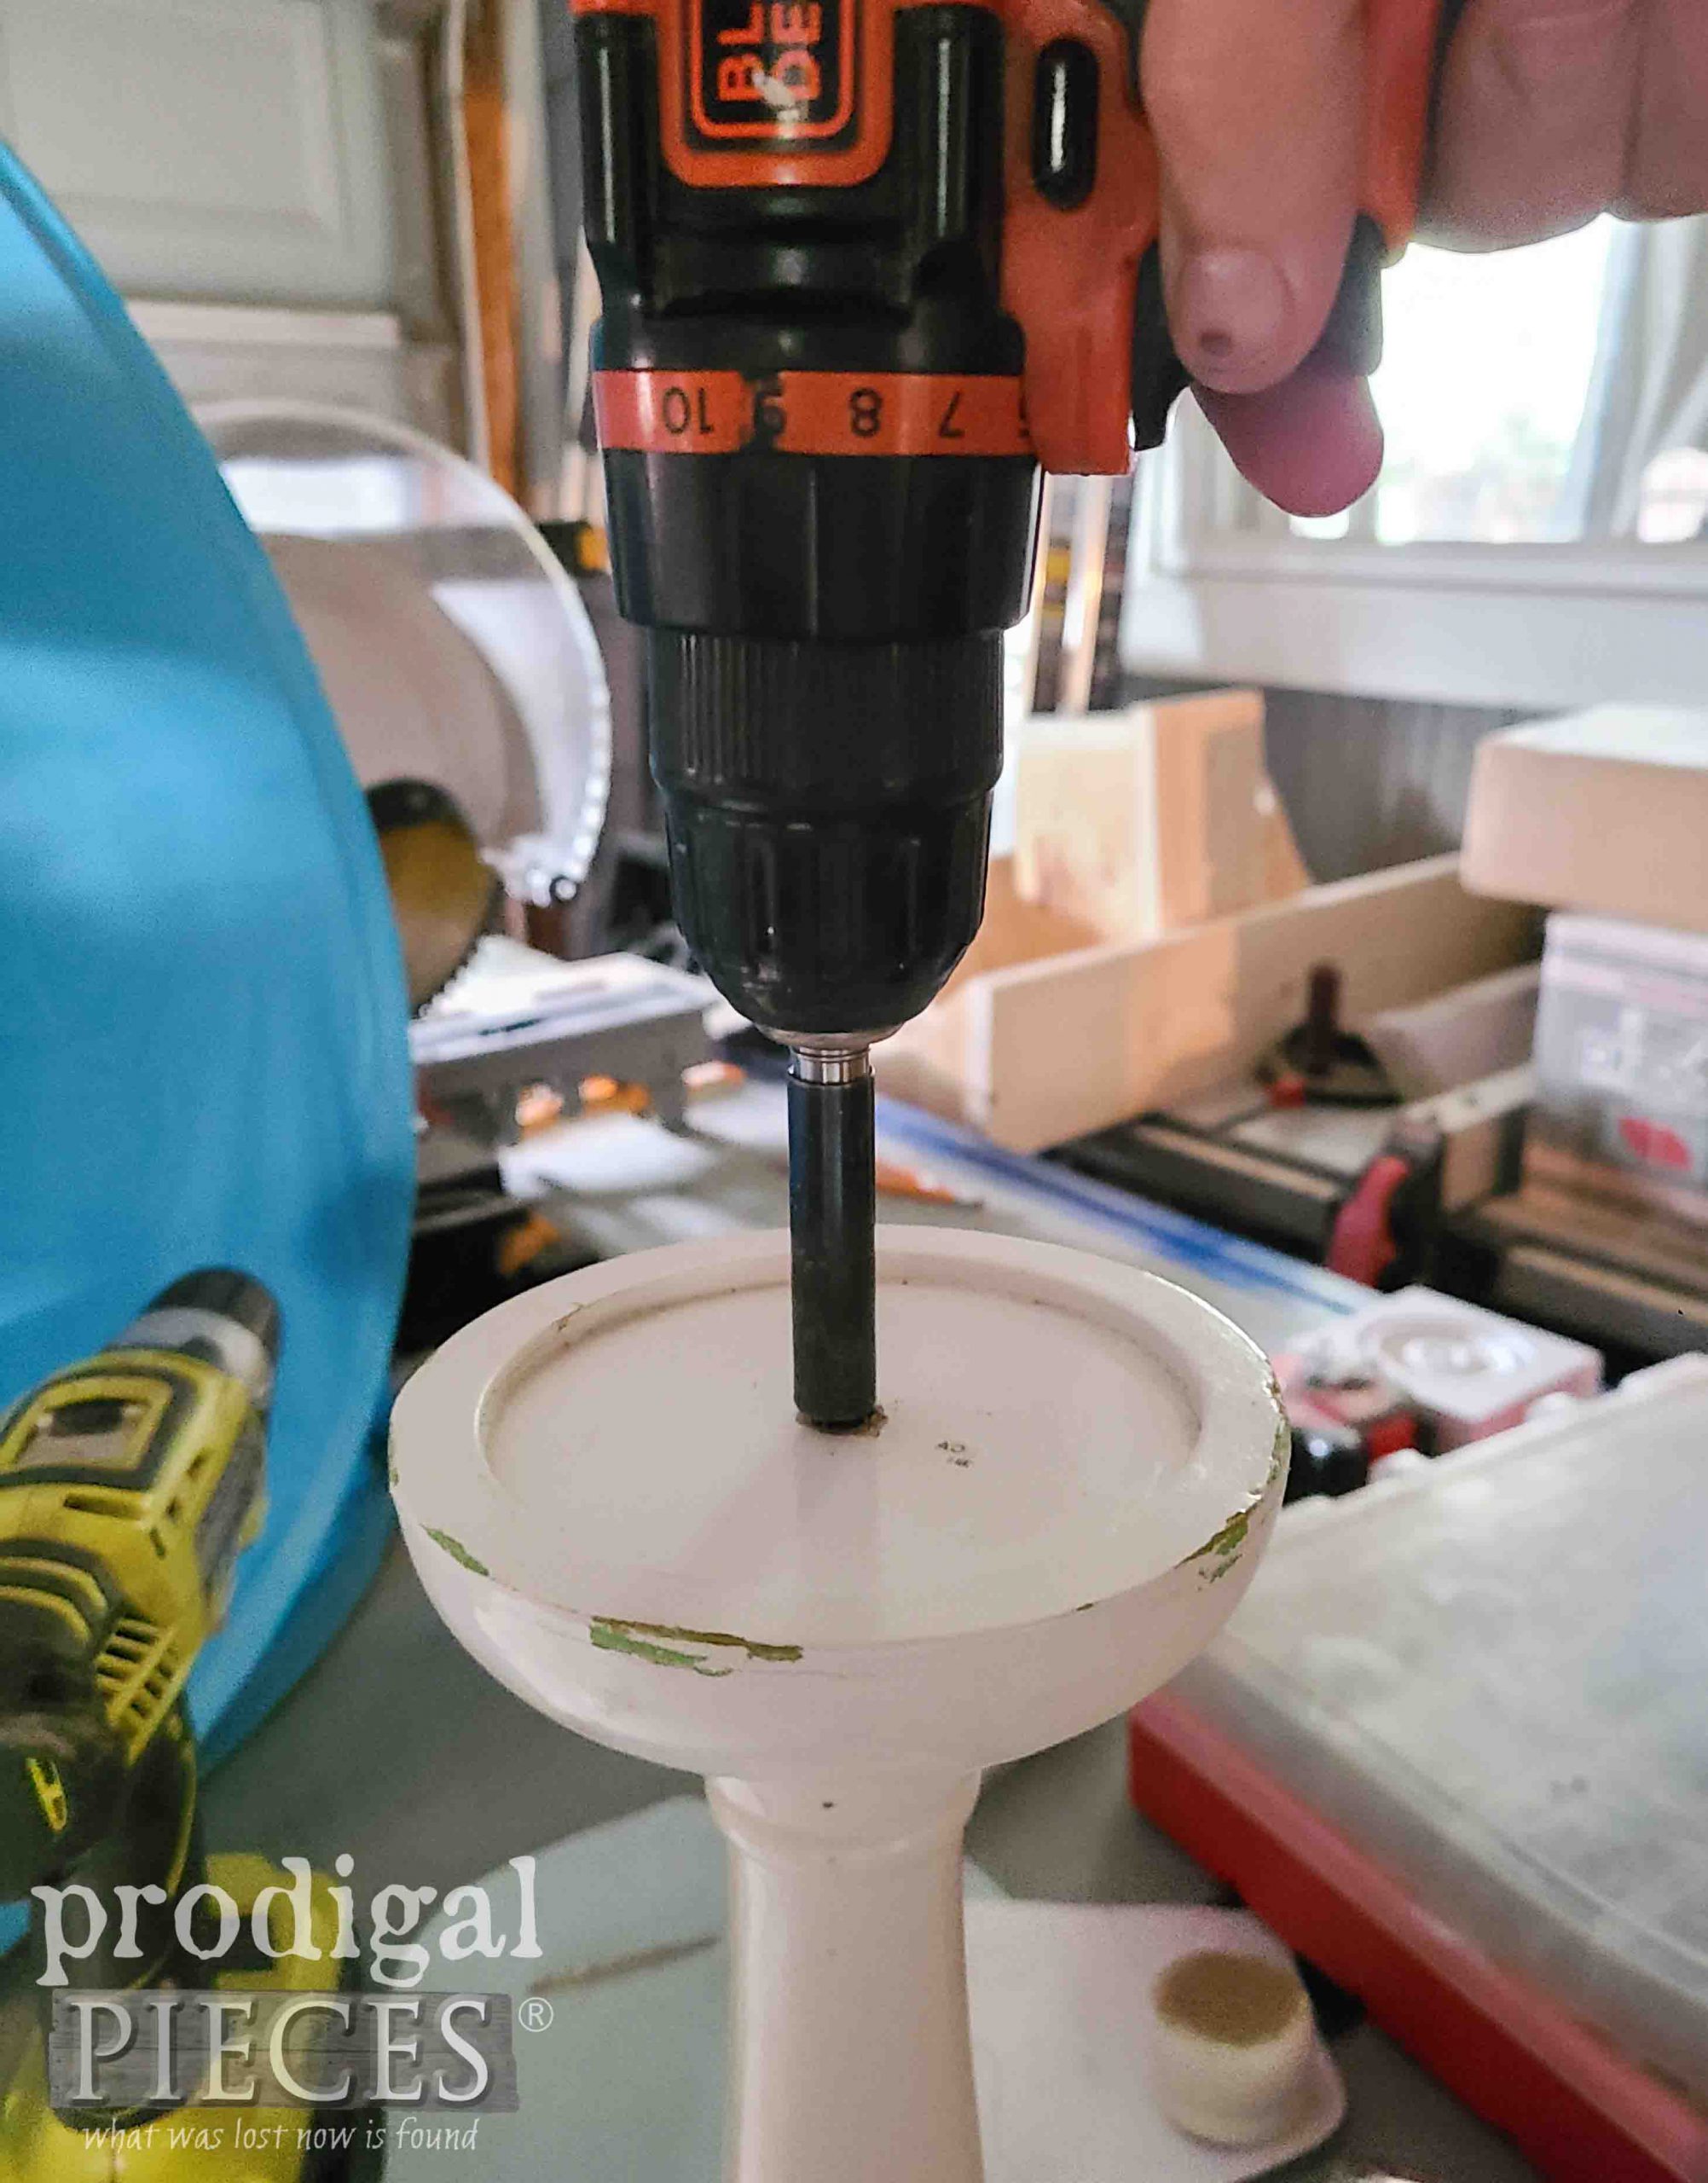
Once I cut off as much as I am aiming for, I reattach the pedestal top reusing the screw opening. Easy-peasy.
Then, once I have them in the size I want, I aim to get the finishing touches done. Okay…I’m a sofite, admittedly. My cat, aka. Killy Lily, has been after these adolescent rabbits. She took out two of them the last two days, and today she had another. I made her drop it and it is recuperating in my garage. Since I wanted it to rest, I decided to go outside to do my sanding. However, the problem is that it’s raining, so I end up under my awning trying to do my work. duh. Bad picture, but you can see the polka dots and fiesta color that someone tried to cover up. I don’t blame them!
PAINT TIME
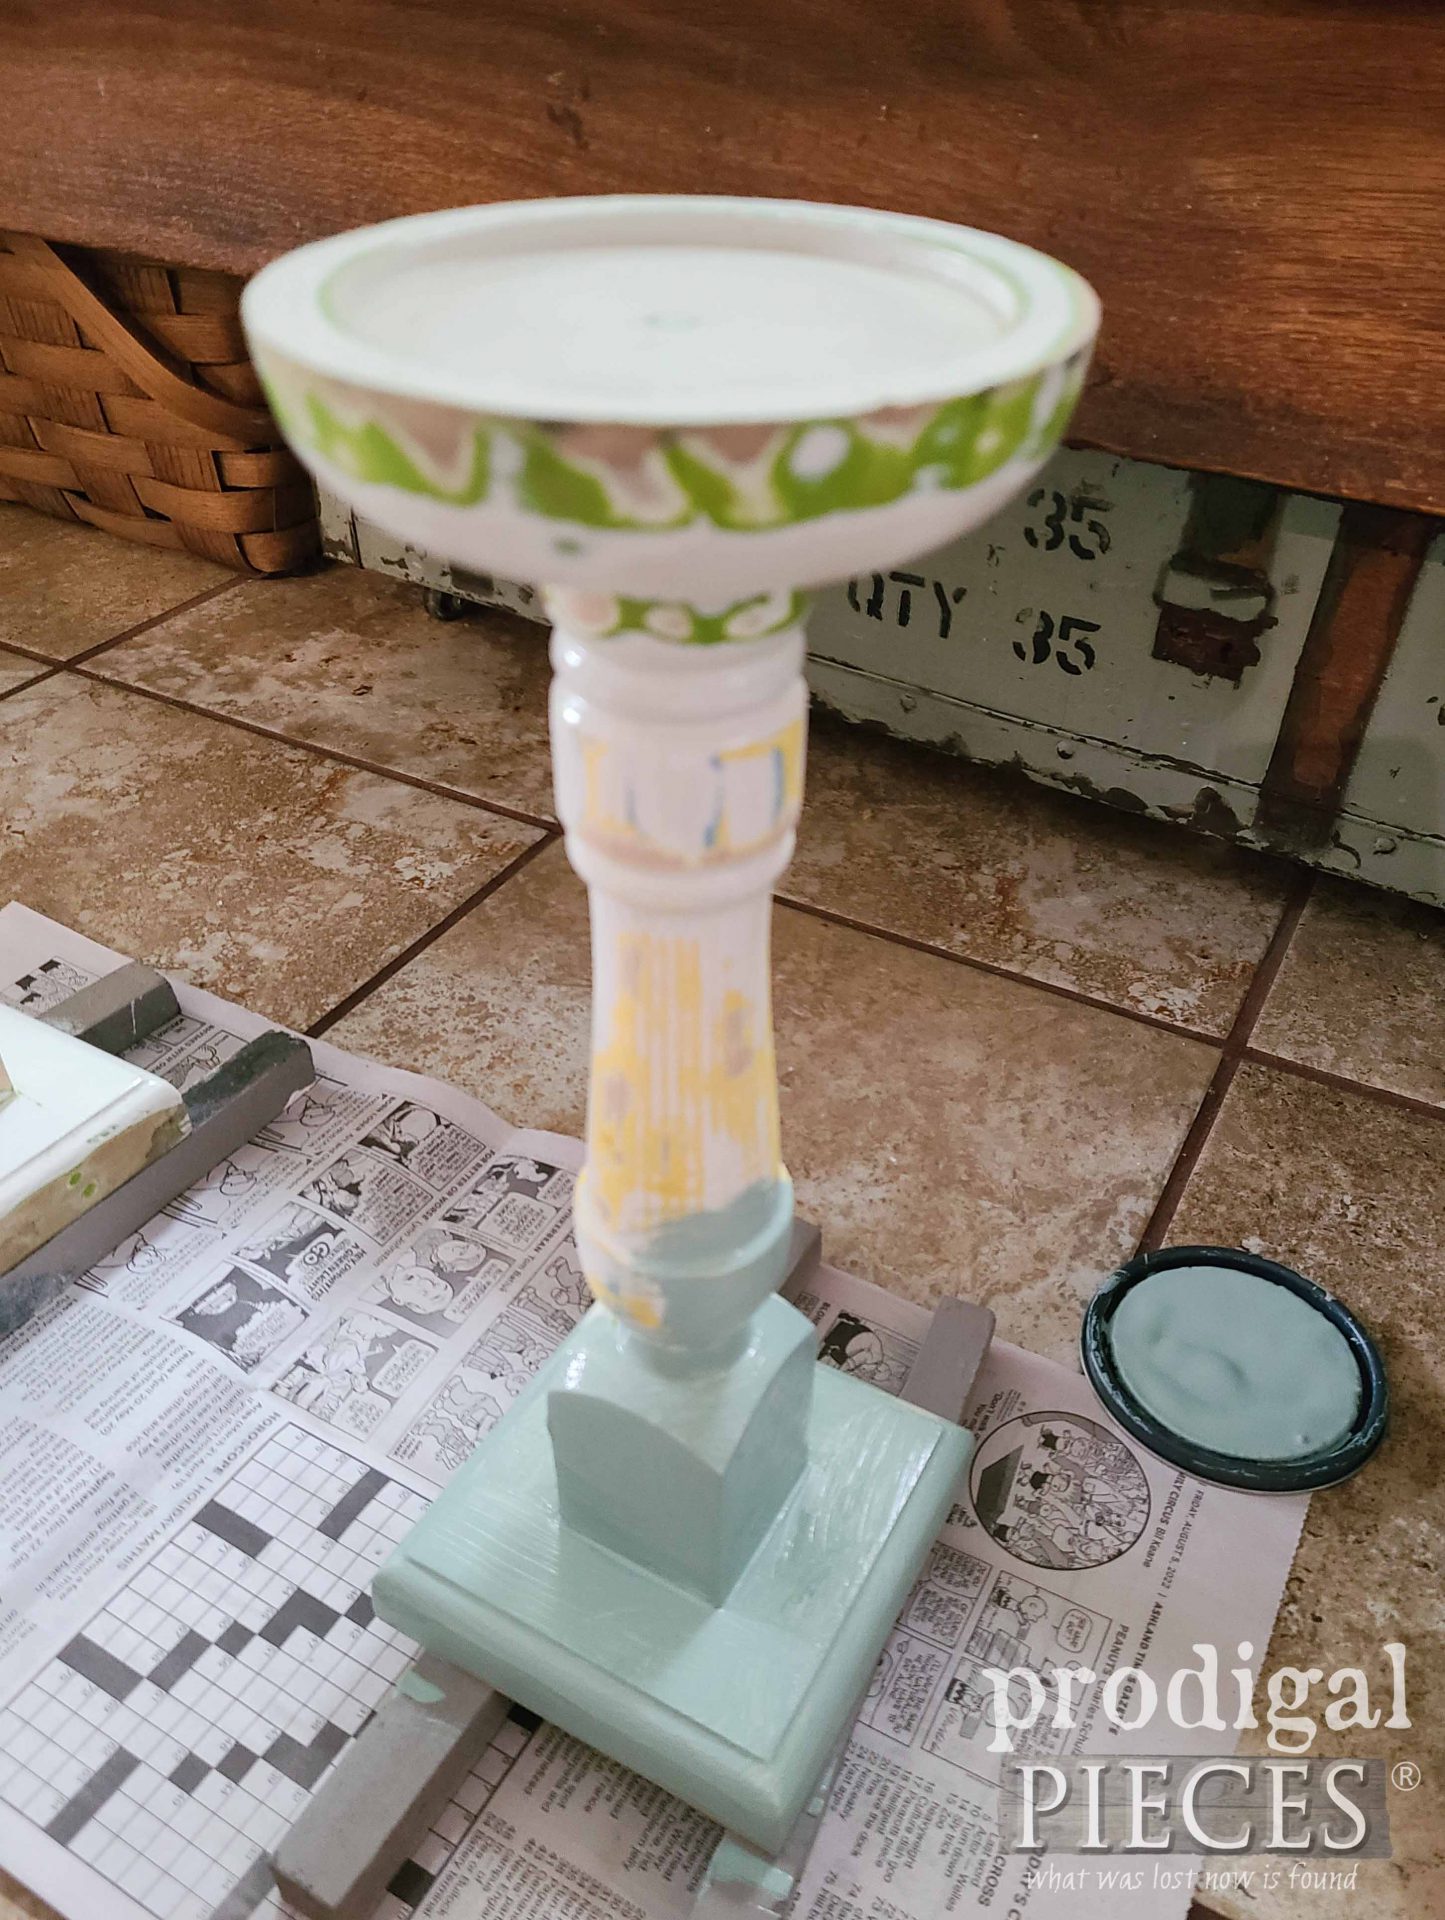
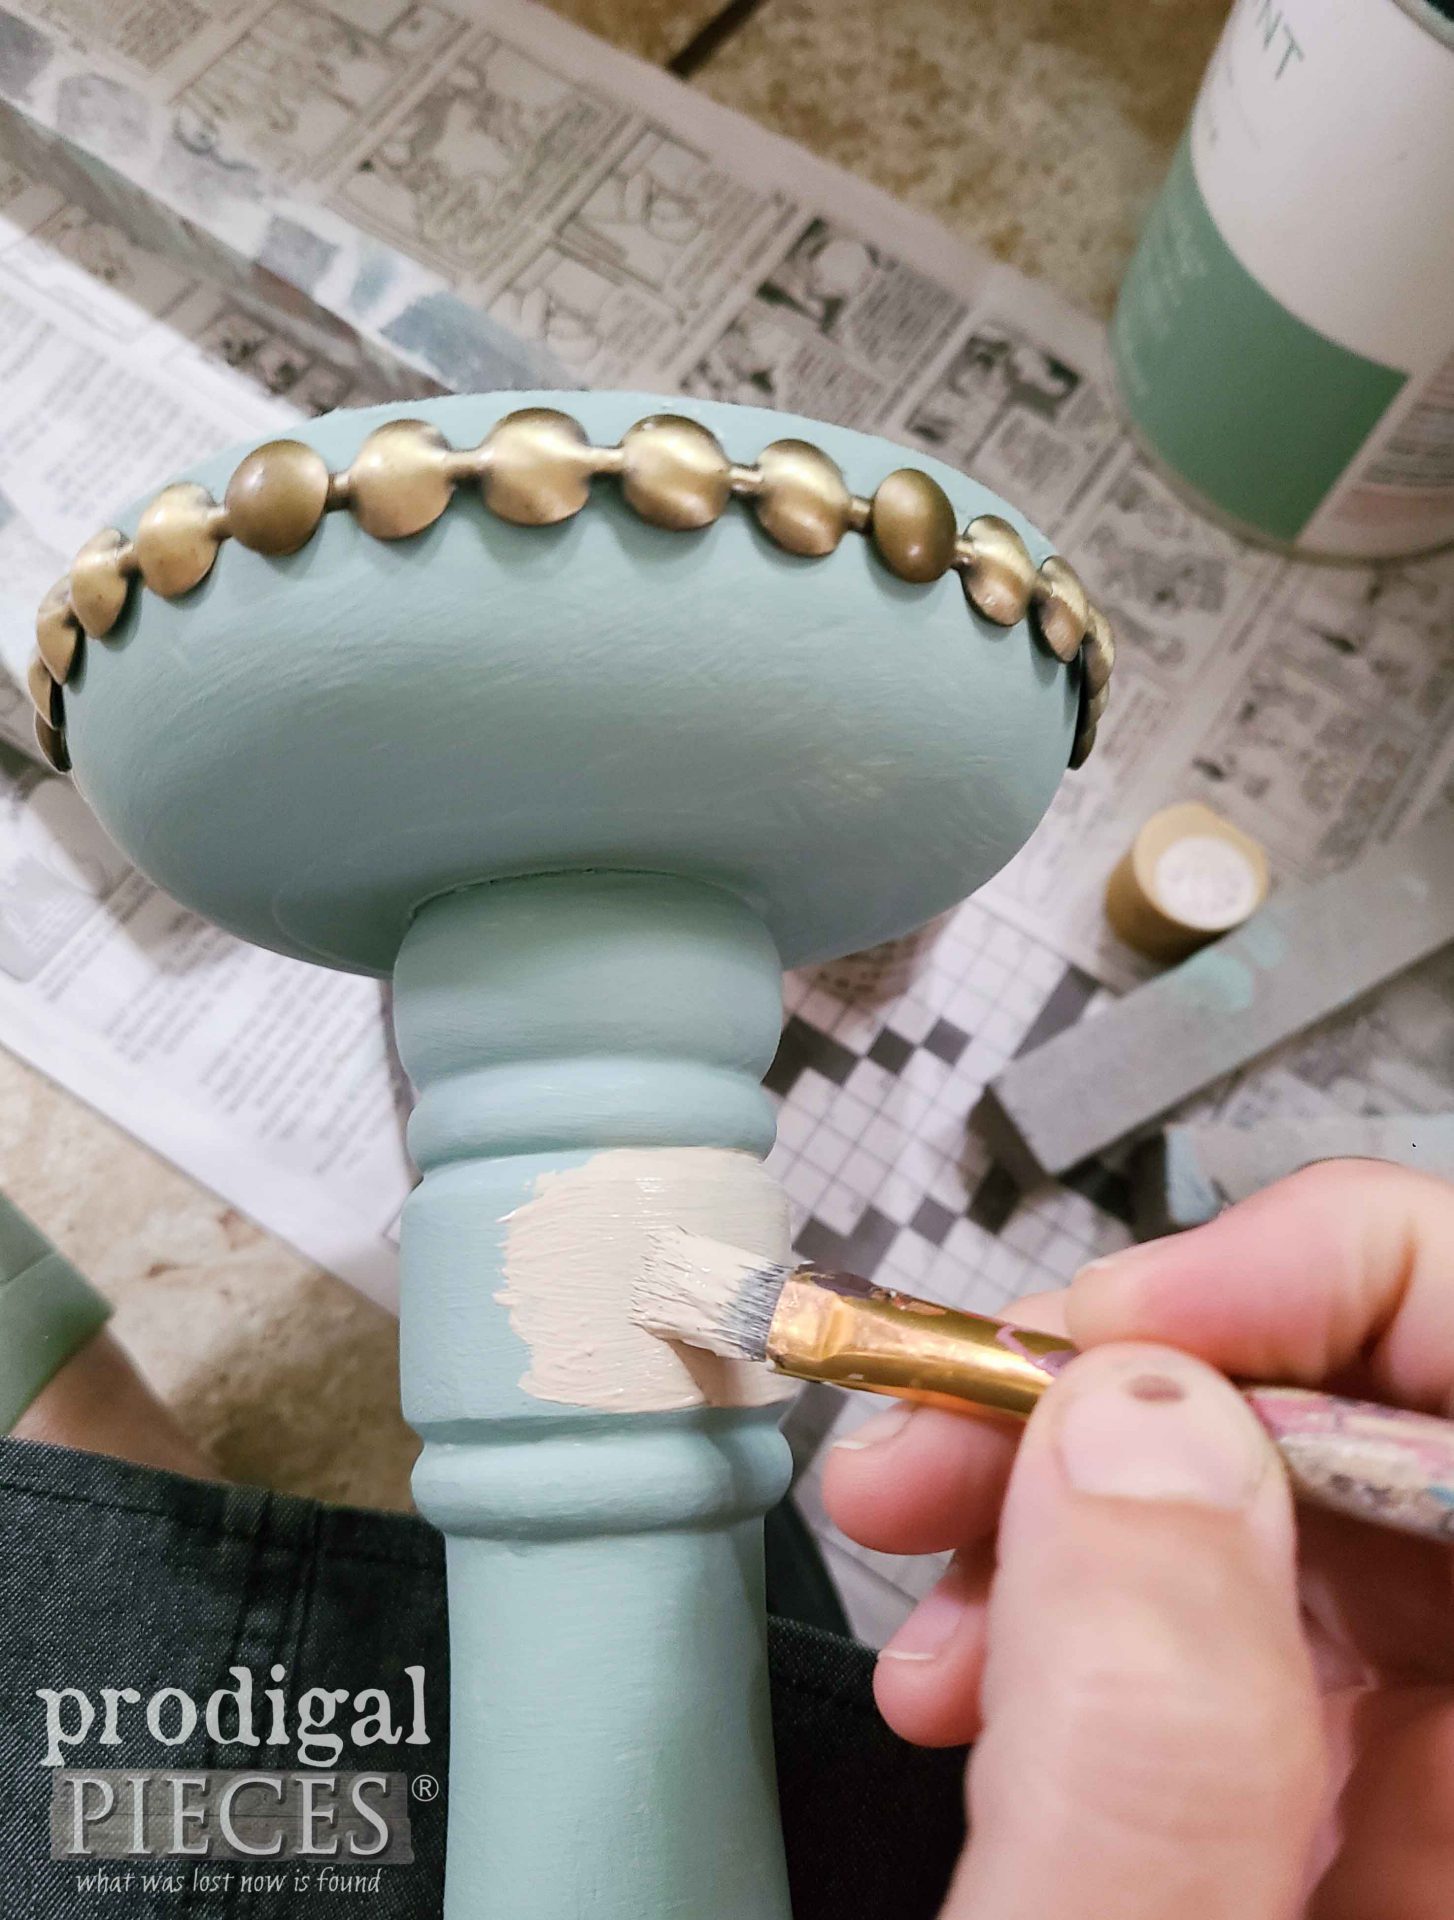
Next, it’s my turn to make these to suit my taste. It’s not that the white is a bad choice, but the drips and gloppy-ness are not my thing. So, I whip out my blue milk paint and give them a few coats.
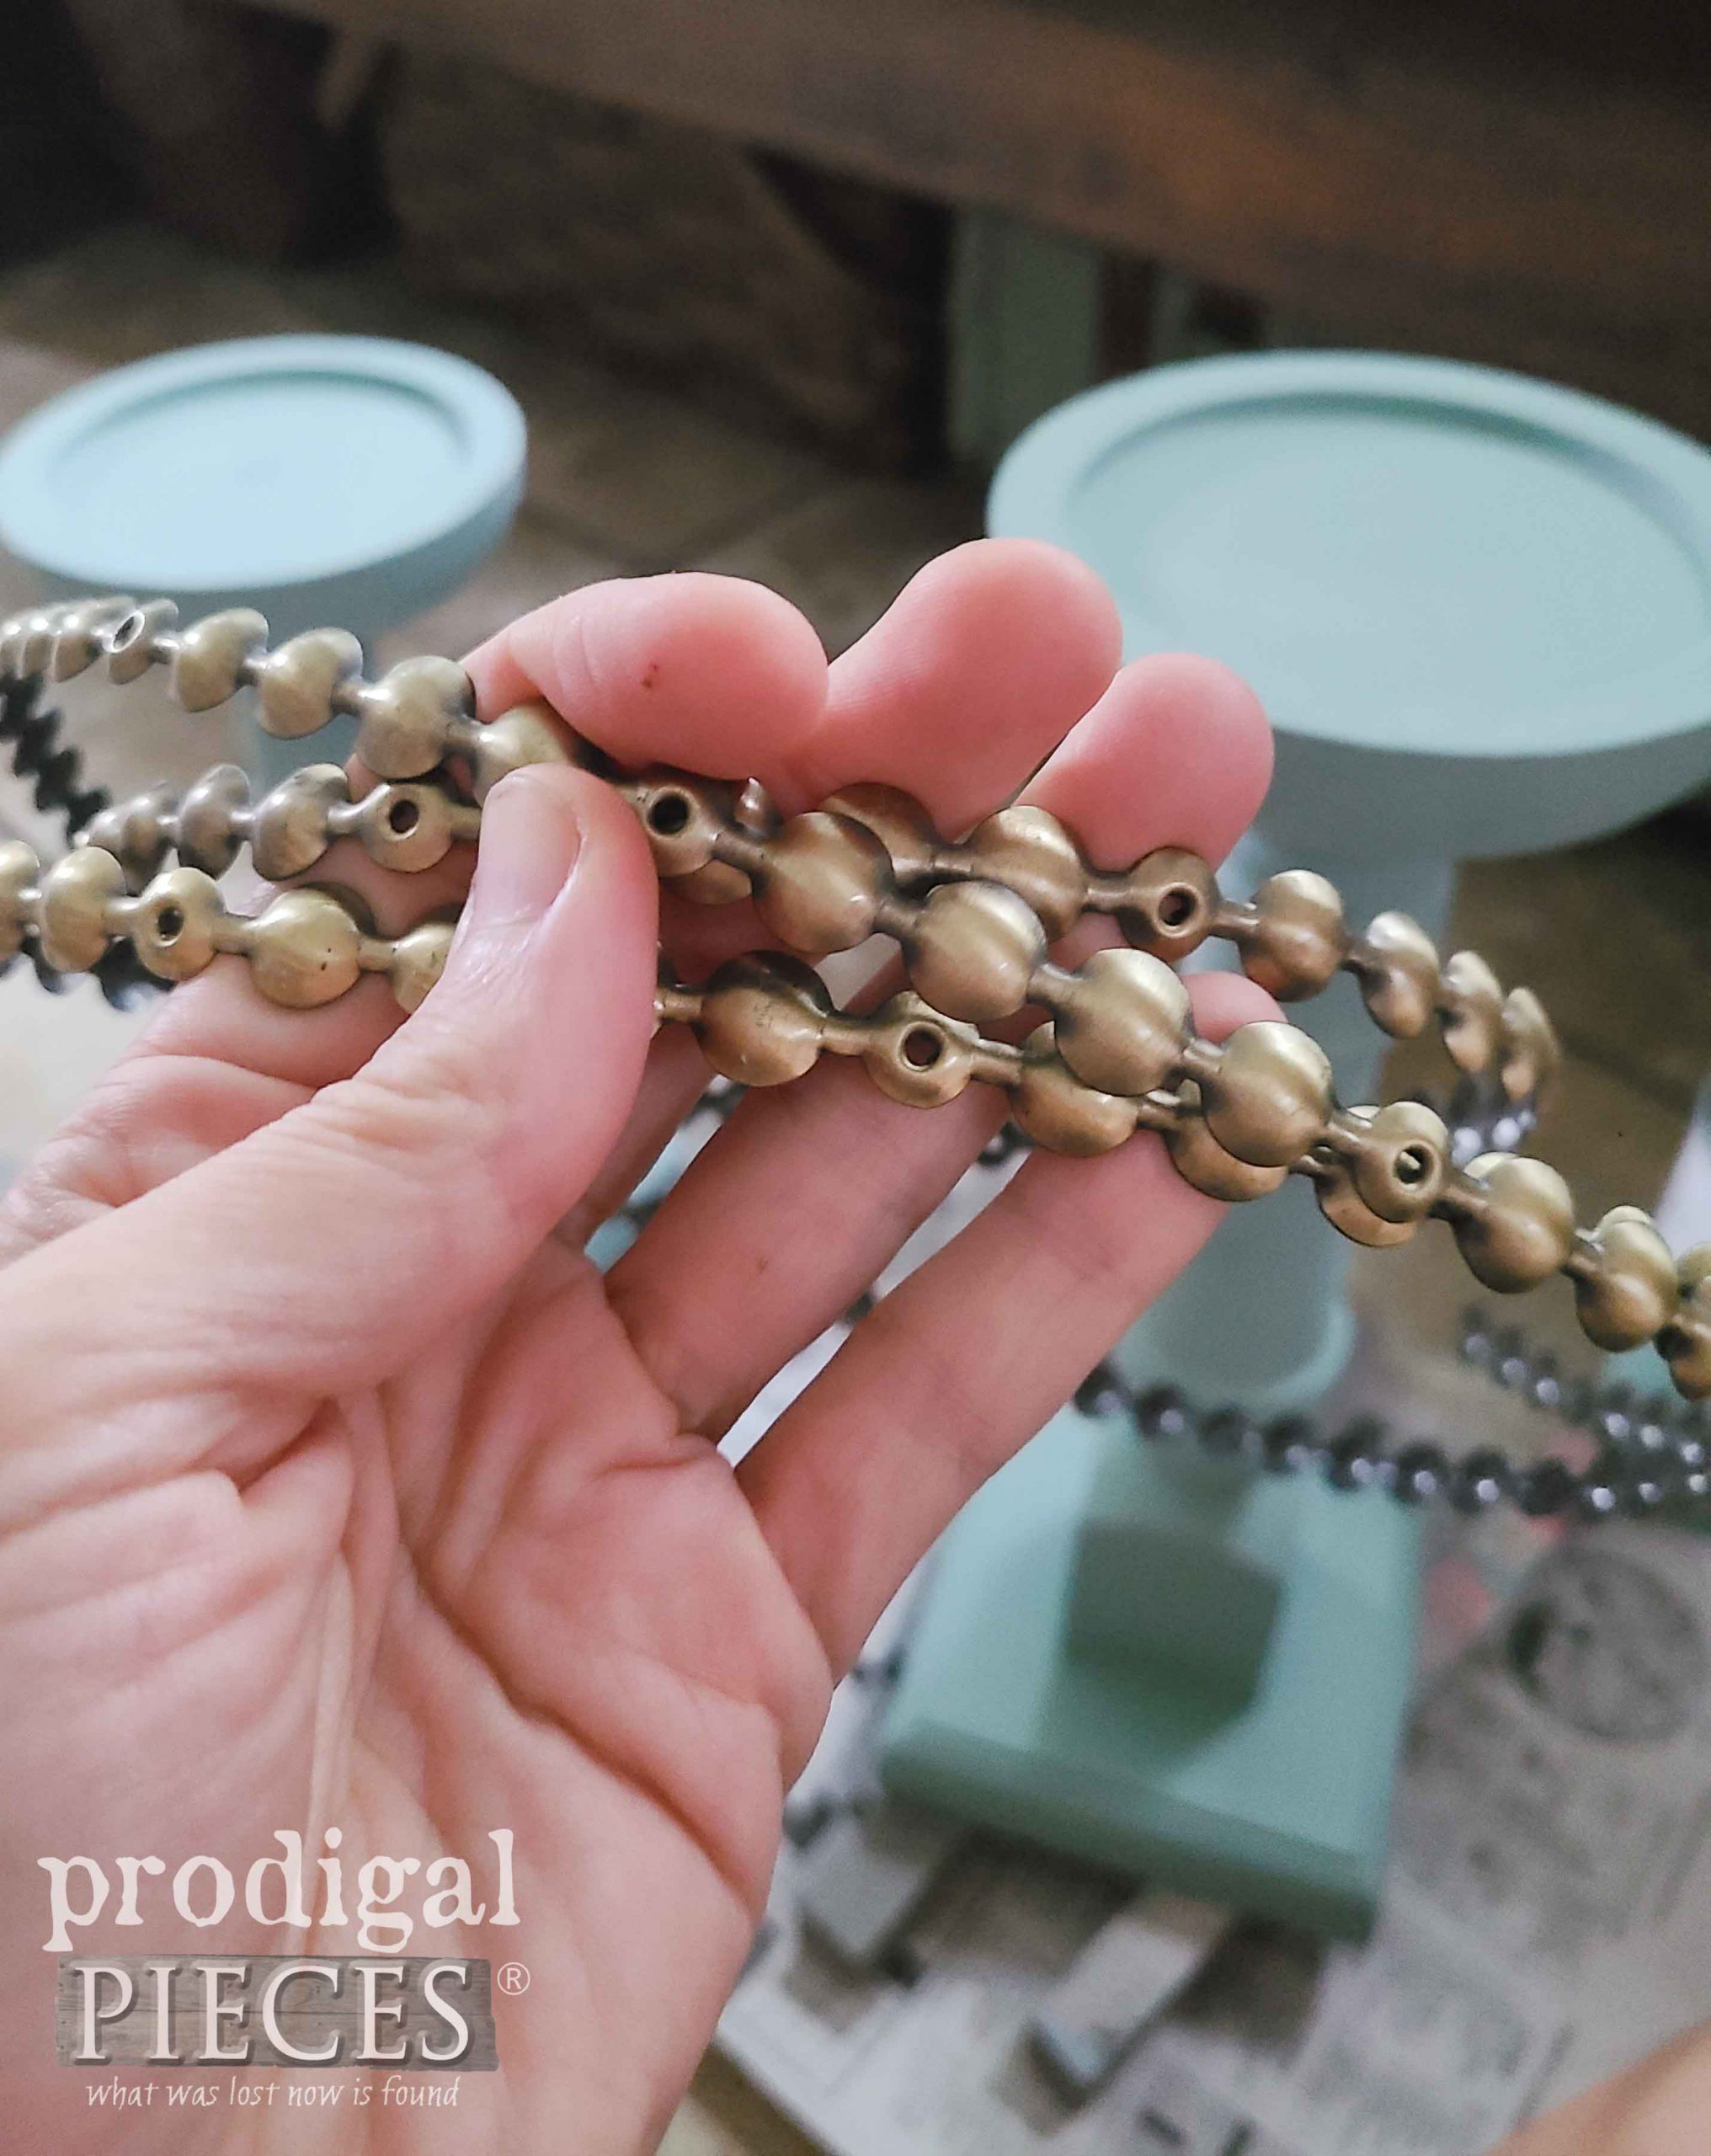
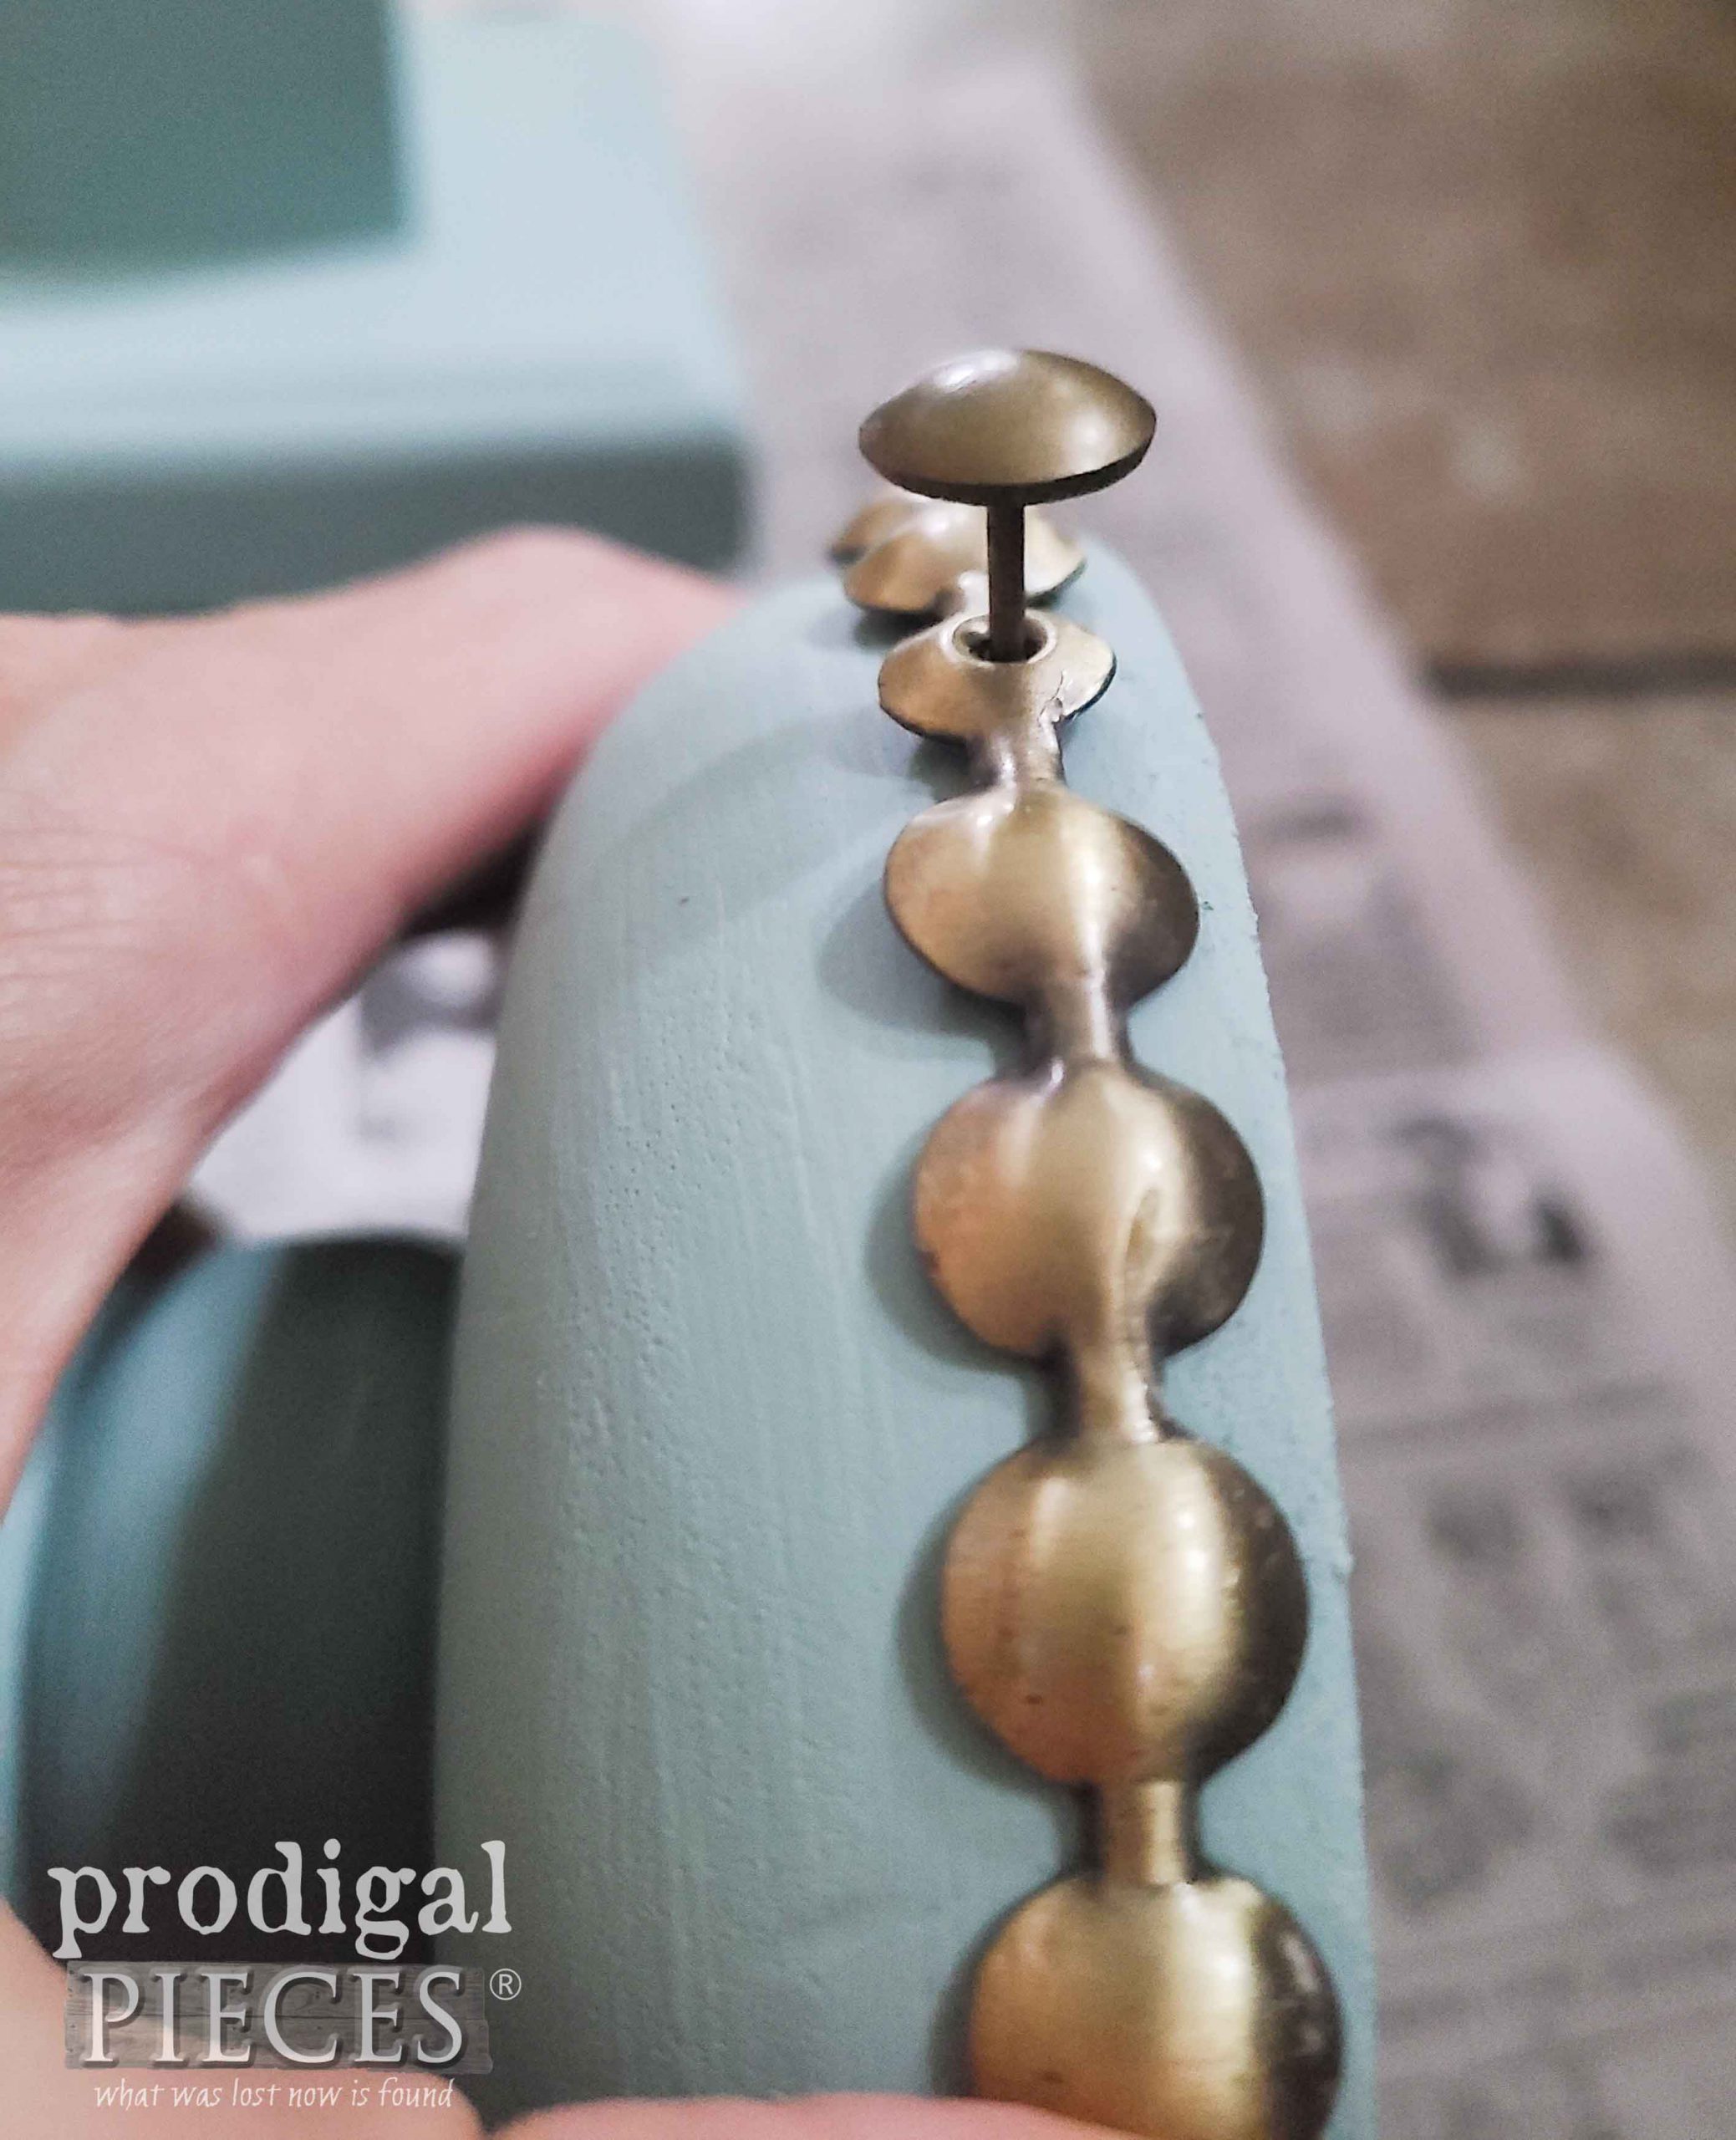
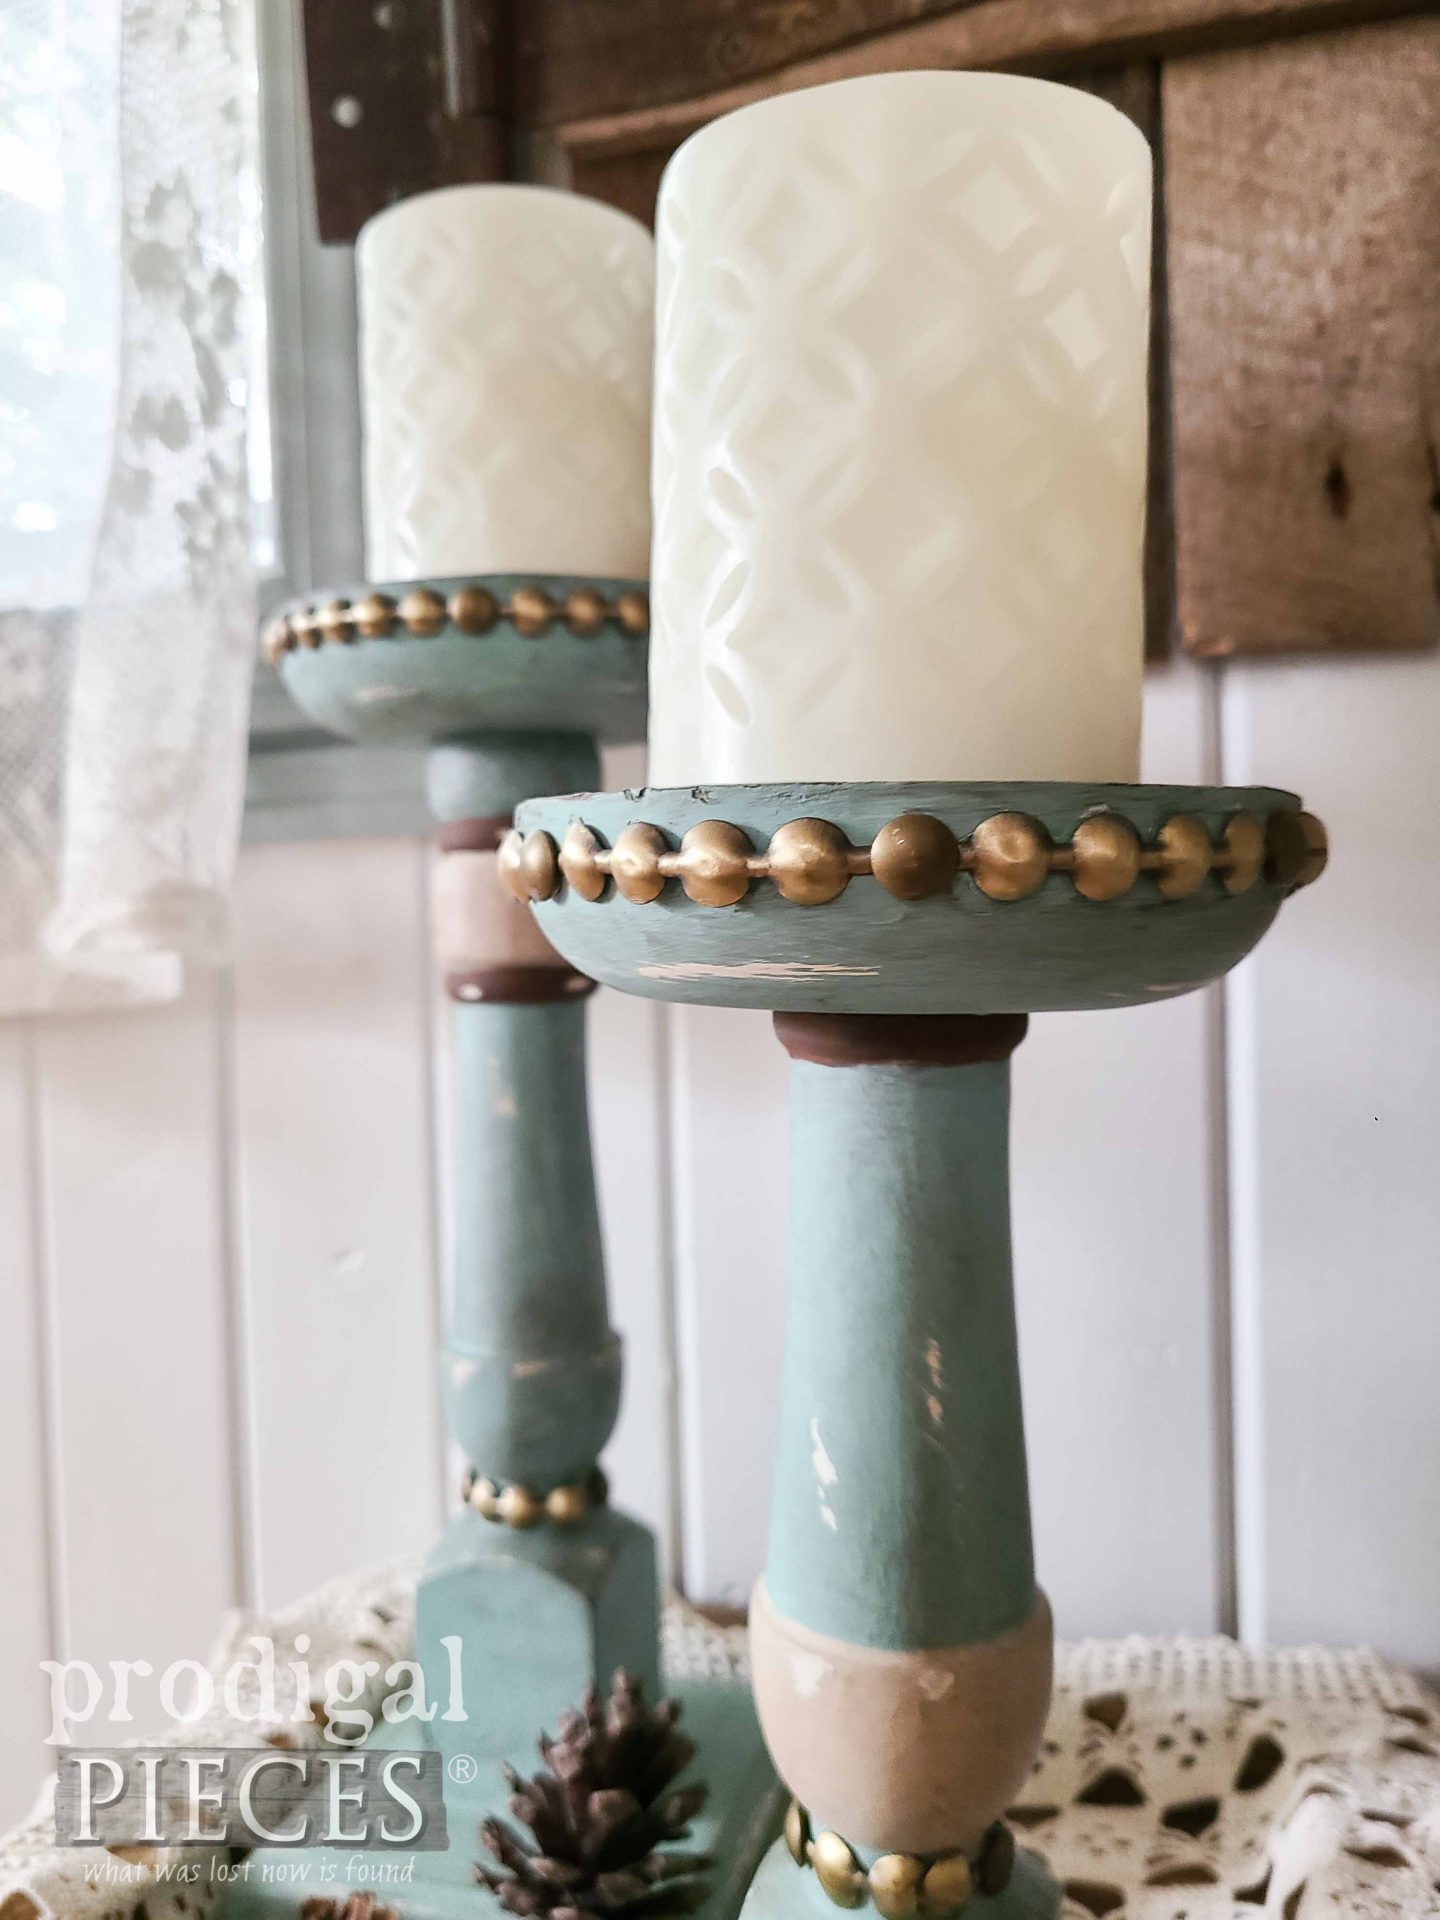
As soon as those coats cure, I begin to add accents. First, I start with this nail-head trim…
Just tap it in place where the spots are empty. Handy stuff! Much better than adding that by hand like I did for my PB knockoff.
Then, I add a few color accents as well using muted colors here and there.
DECORATING DONE
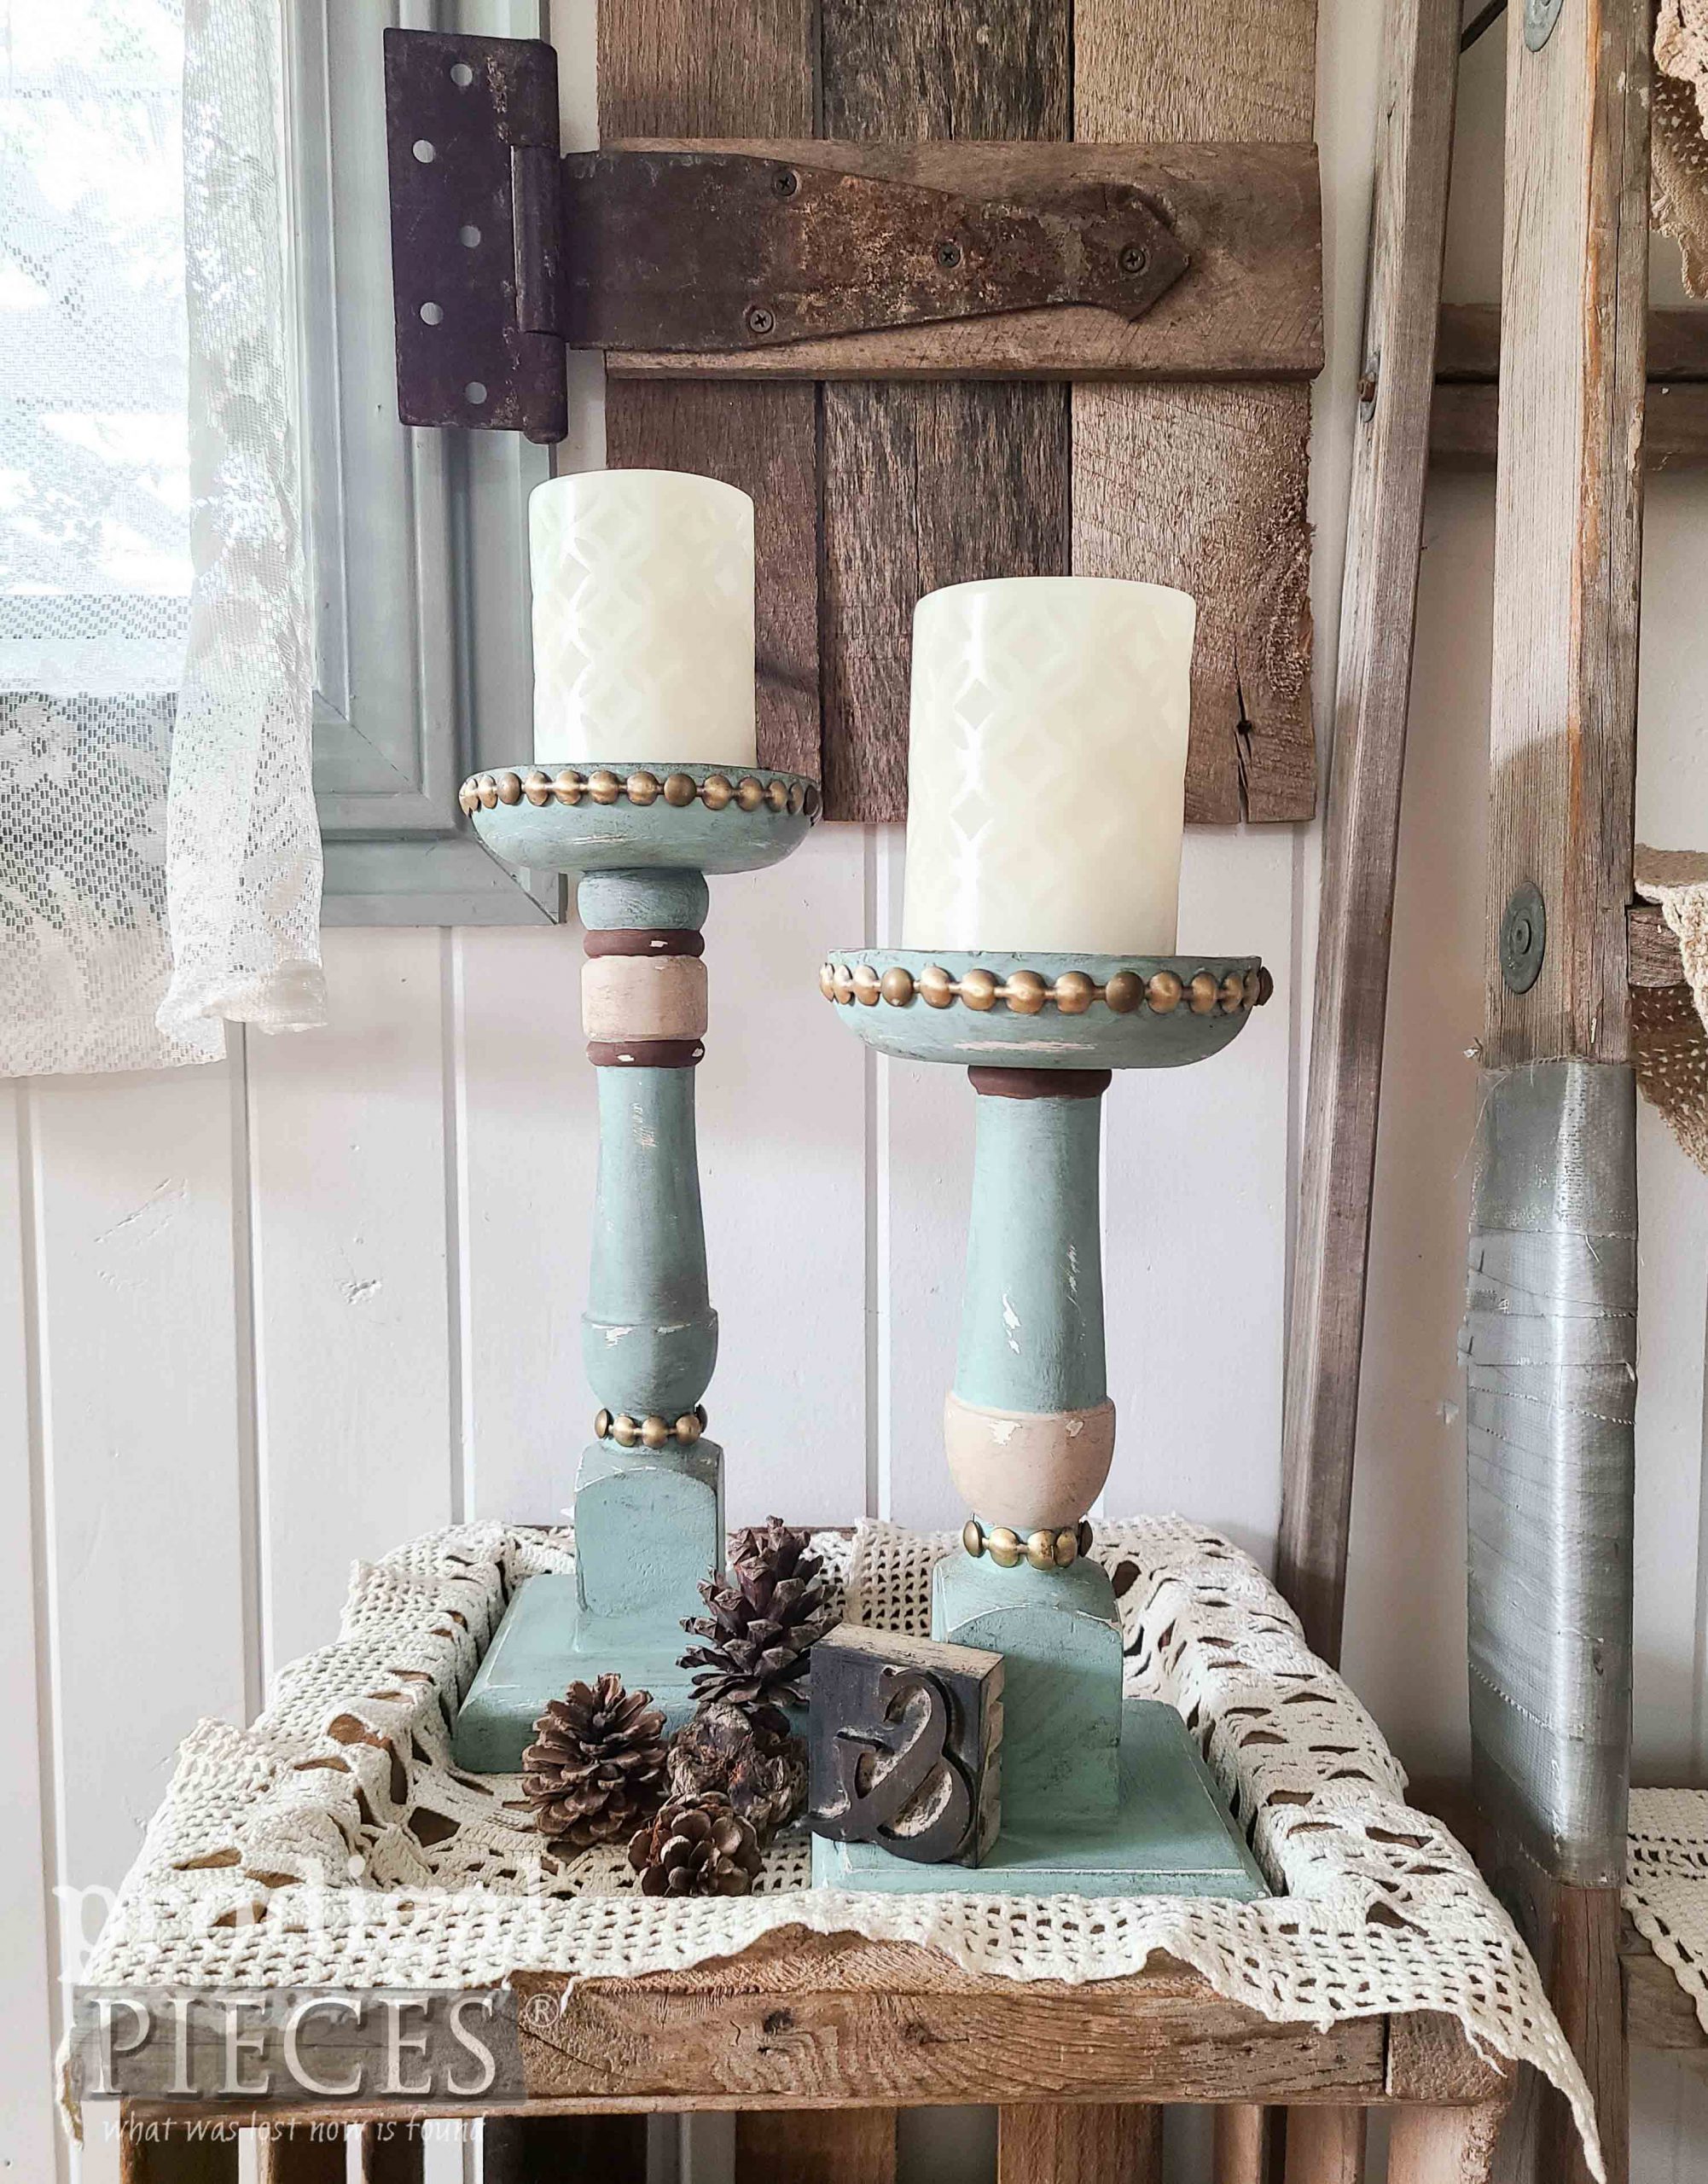
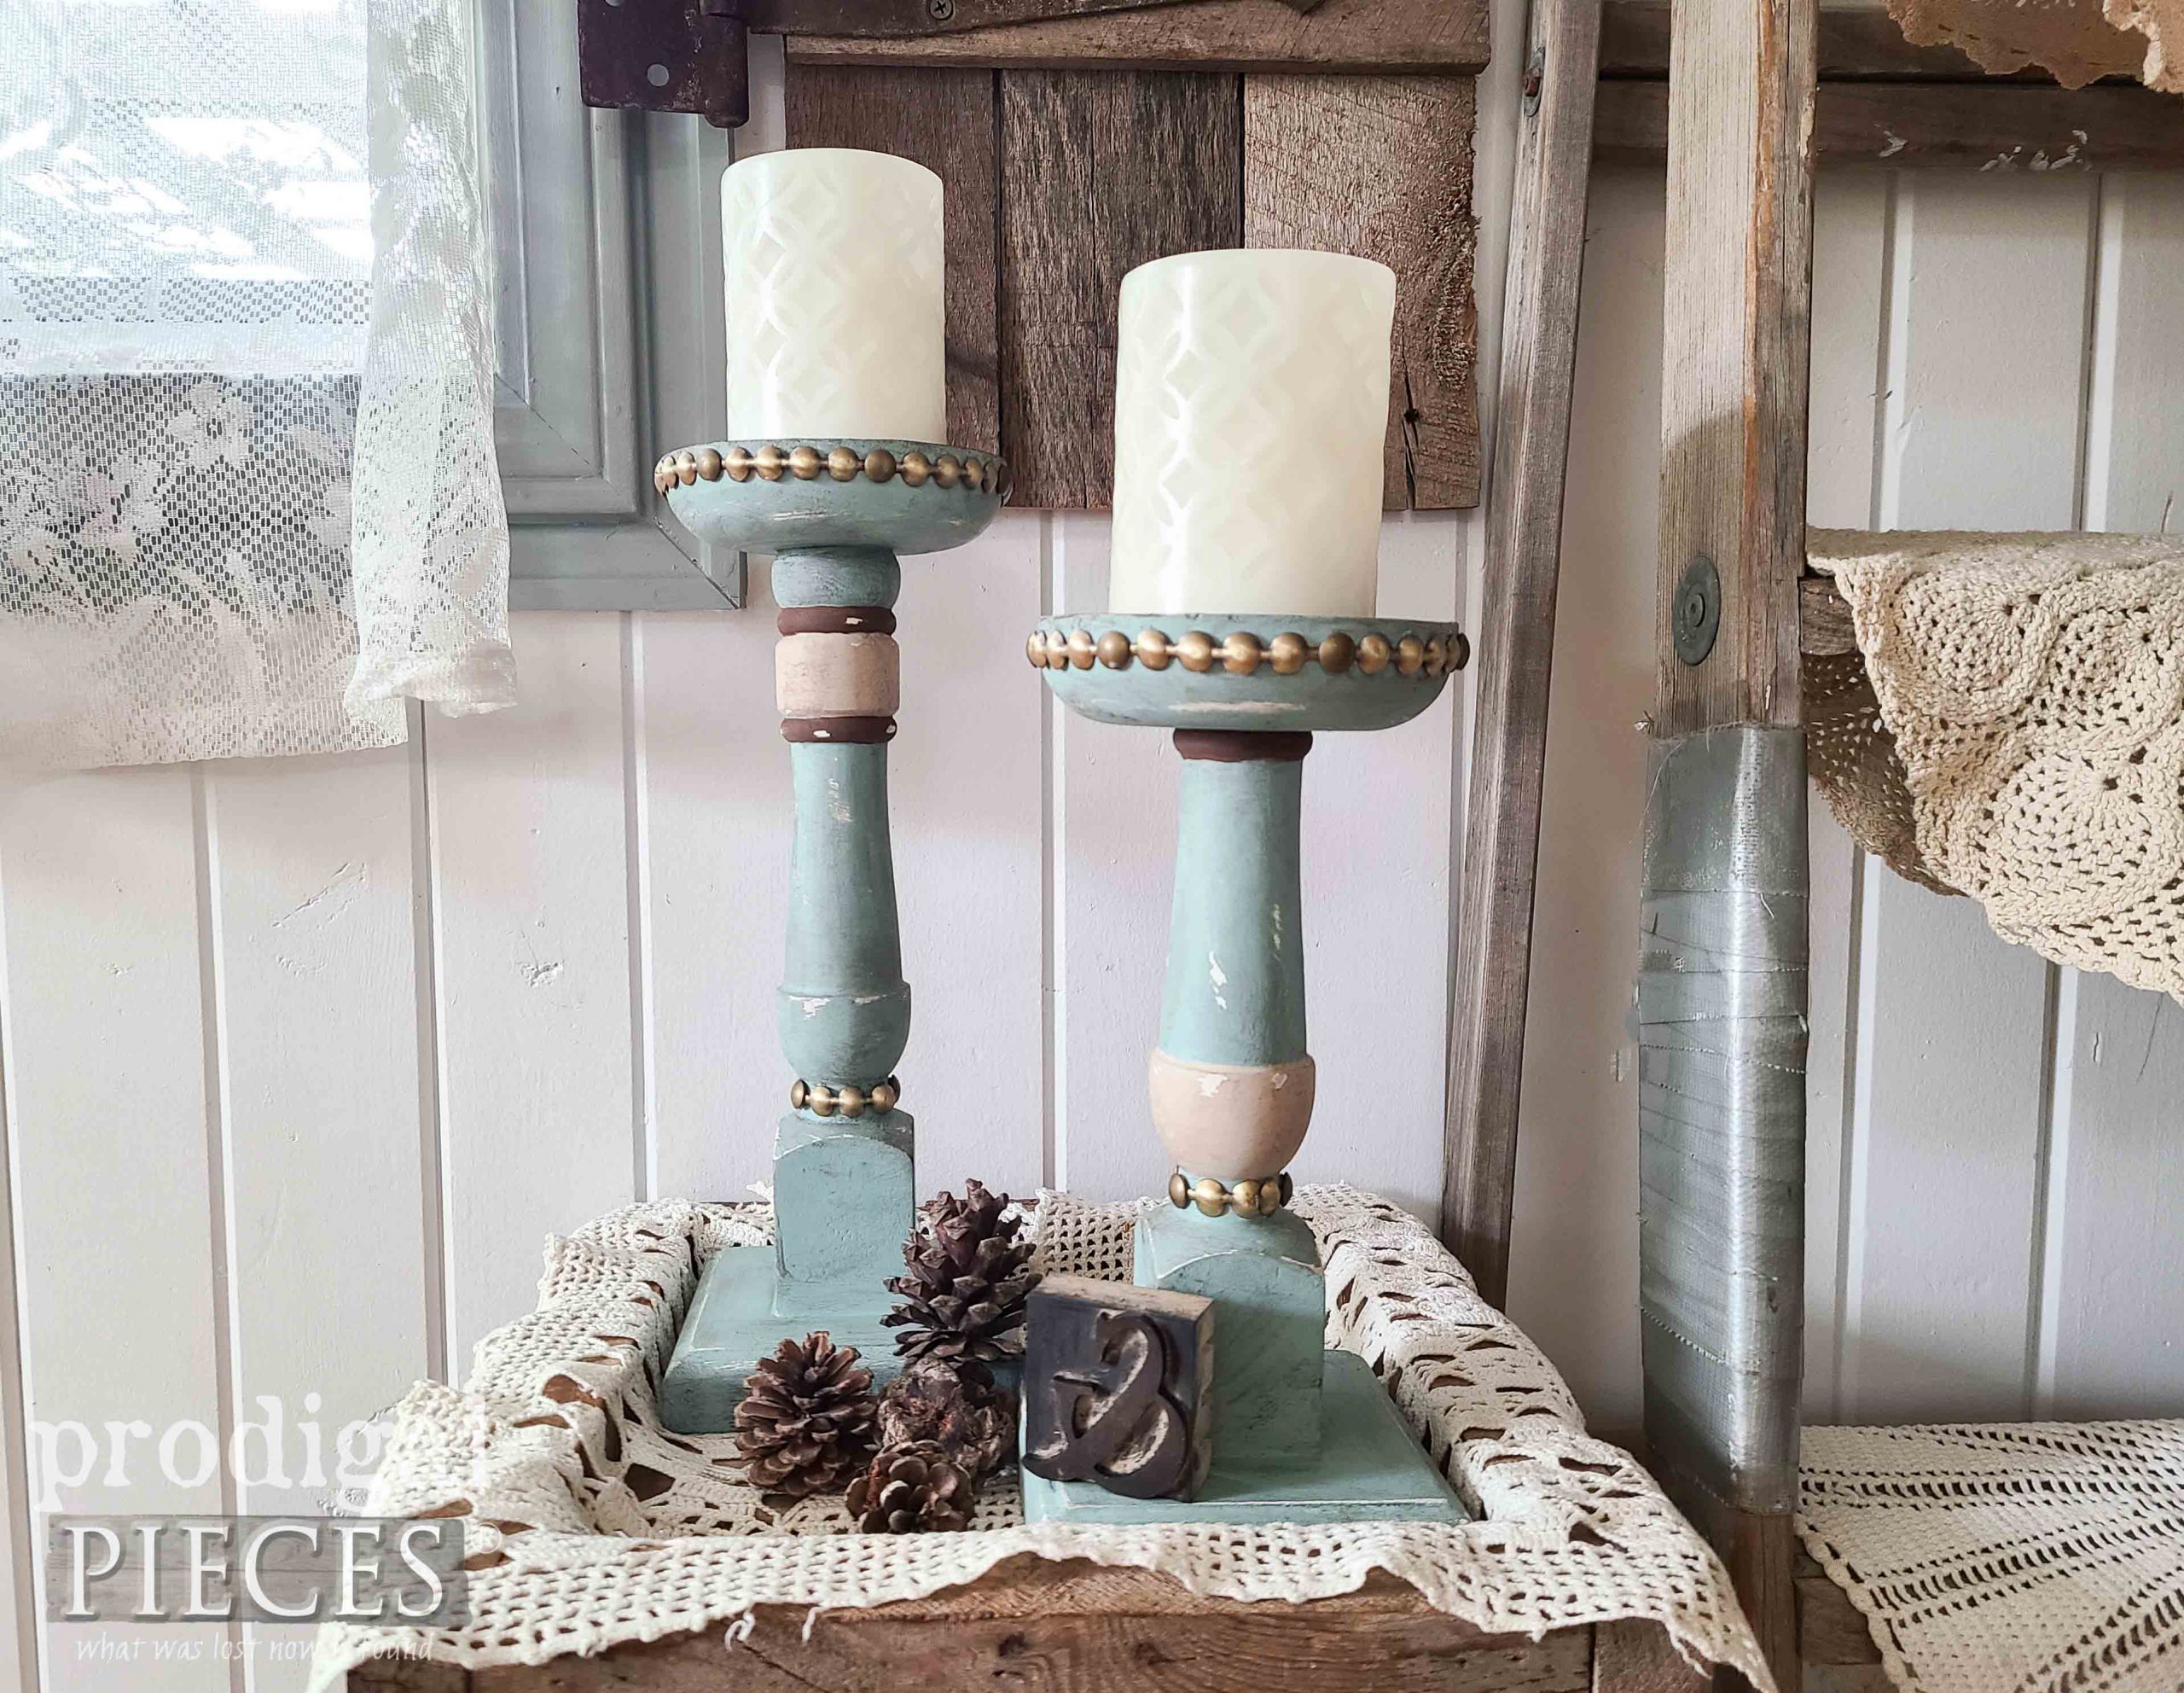
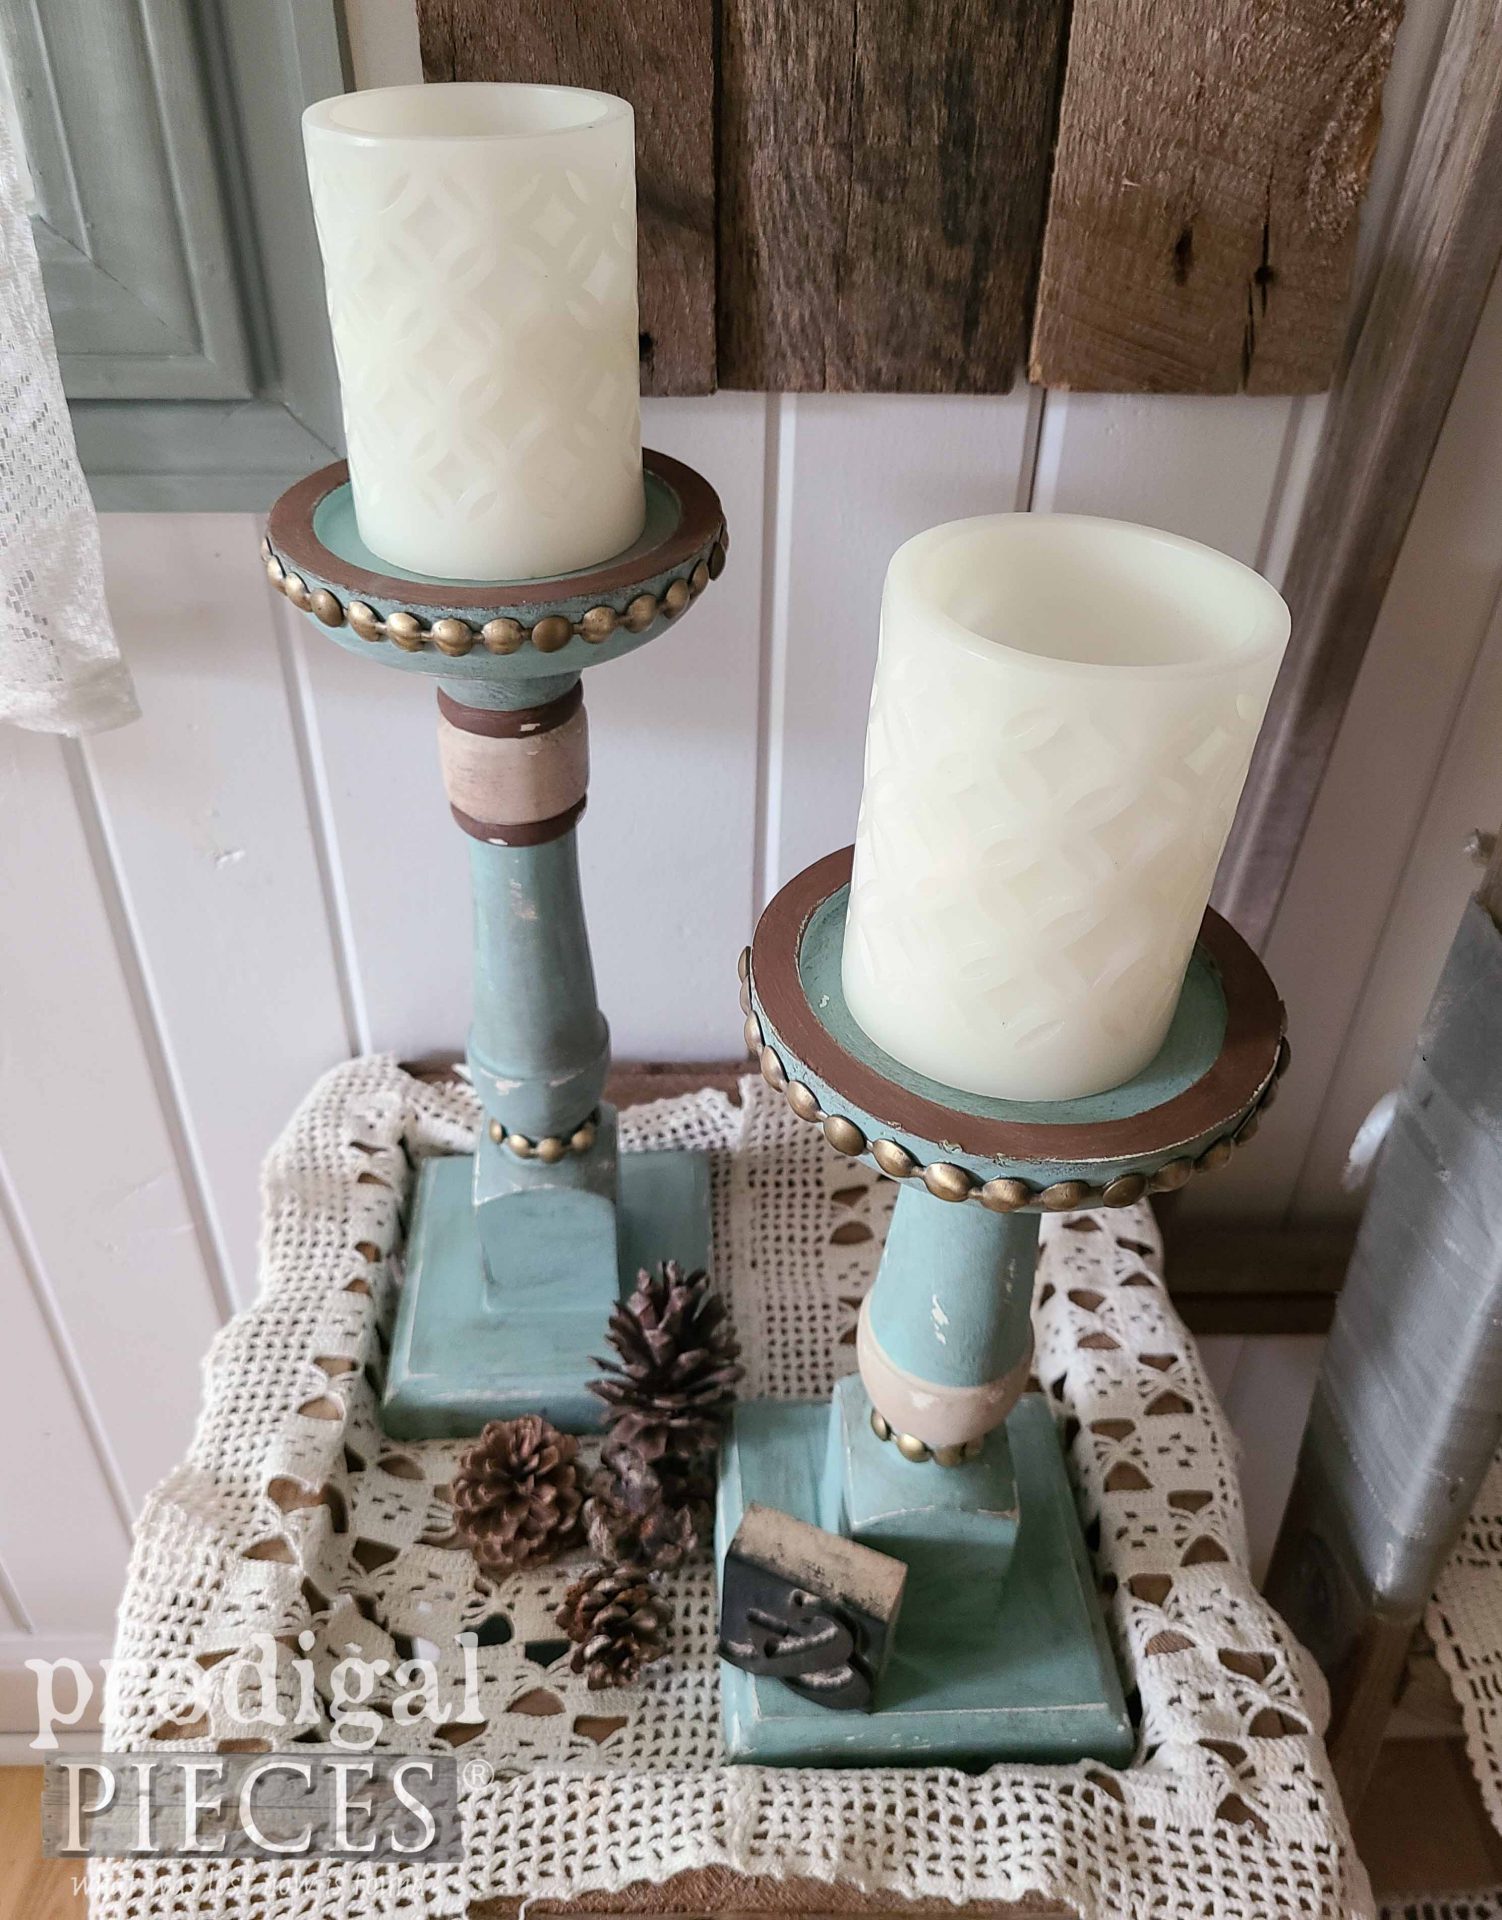
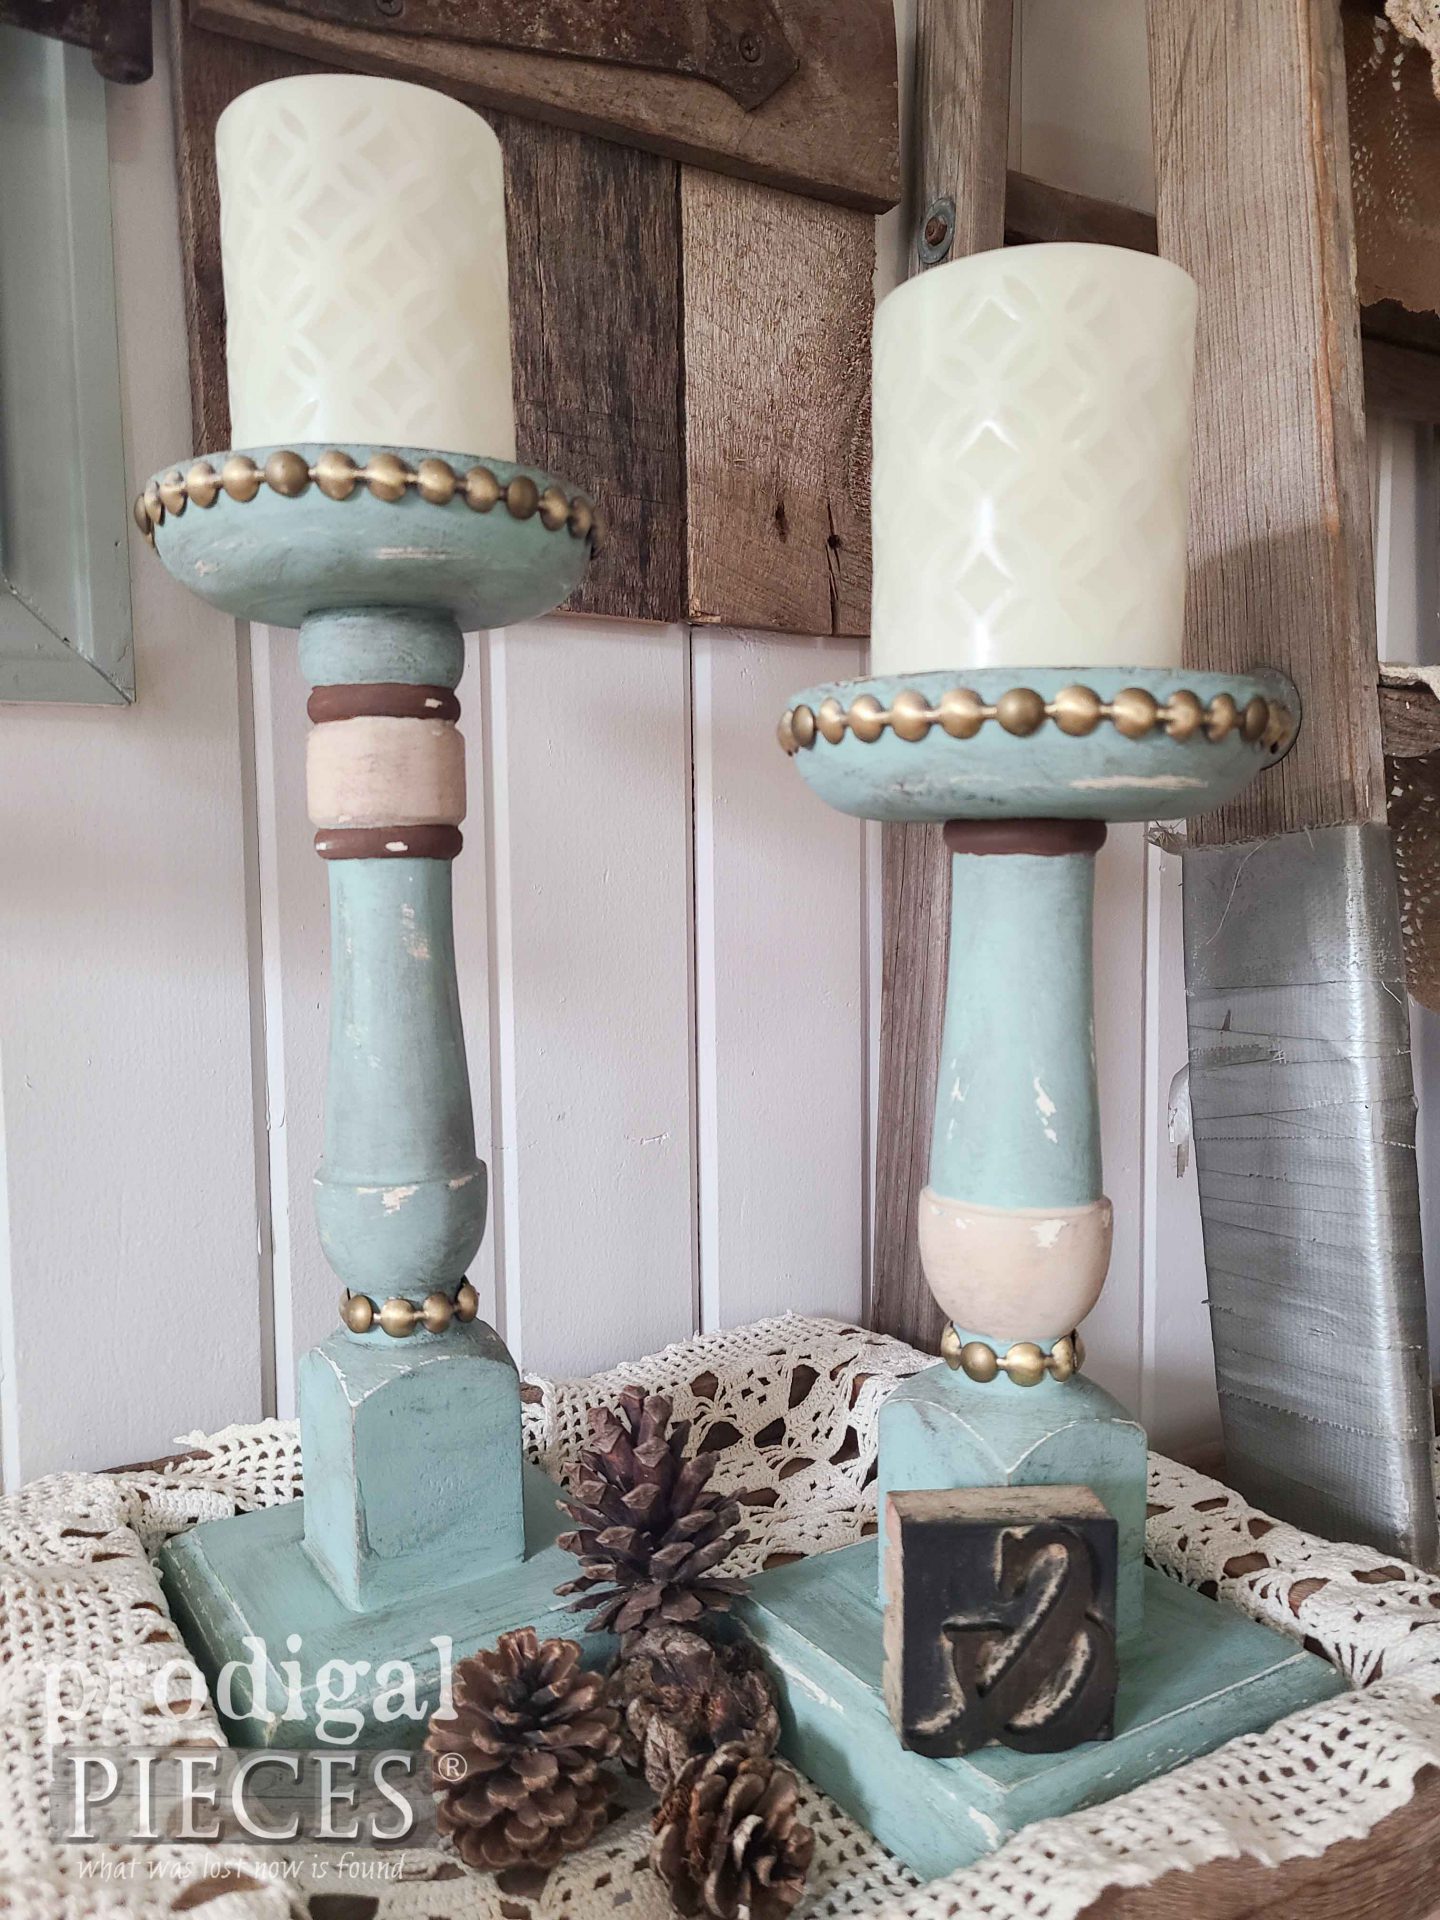
Finally, my upcycle candlesticks adventure is ready to reveal. Here they are!
My nail-head trim is a nod to those odd polka-dots in the undercoat, but much better, me thinks. tee hee. If you notice, I not only did a bit of distressing, but also a bit add brown wax for aged appeal. Likewise, they don’t have to be used for strictly candles. How about fun succulent planters, or maybe as pedestals for bird houses?
They almost make me wish it’s winter time so I can light up my fireplace and candles…but almost…not just yet. Do you love the change of the seasons too? Thankfully, in Ohio we have all four seasons. I just wish winter would trade lengths with summer. meh. Anyhoo, if you’d like to add ambiance with this set, you can find it and more available in my online shop.
SHARE
In addition to leaving some comment love below (I love to hear from you!), also pin and share how to upcycle candlesticks to inspire others. There’s nothing better than making your own home story and saving a few bucks too.
Up next, it’s the final furniture makeover from our girls’ bedroom remodel. See HERE. Be sure to sign up for my newsletter to see! PLUS, you will get your FREE Furniture Buying Checklist and special discount to my shop. Until next time!



I always learn something new and useful from you Larissa. This nail head trim would be a great accessory for so many projects! Thank you for sharing your talent?
Awesome! Yes, this trim is cool for upholstery and so much more.
Absolutely amazing! Your projects never fail to impress me in their creativity. I’m just beginning this “flipping” journey and get such inspiration from all you do. Thank you, Larissa!
That just makes what I do with even sweeter. Thank you for the love, Lisa.
I totally agree!! The nailhead trim is awesome! I’m looking around now to see what I can embellish with!!! ??? I always learn something new from you. Hope your bunny is better soon!! Poor Lily…. It’s tough being a cat… Mice? Bunnies? They all look the same…. ???
hahaha! Yeah, she’s just a brat in all forms. Gotta love pets! You will love the nailhead trim…totally fun to add to anything. 😀 Thanks, girl!
Hi Larissa!! These definitely turned out better. I love the nail thingy. ?. Love the brown wax too. It gave them so much depth. Great job!!
Hellllloooo!! Thank you for saying so. I just want to inspire folks to use what they have or at least give DIY a try because it can be so simple yet make huge changes in our home and our positivity. Hugs!
Creative for sure. I like how the nailhead trim is a nod to the polka dots. I think it the overall redo gives them a Victorian Vibe. I’m sorry Lily got into the bunnies and I hope the one recovers quickly. Have a blessed weekend my friend.
Thanks! Yes, a nod indeed. I don’t mind polka dots, just not so many. haha.