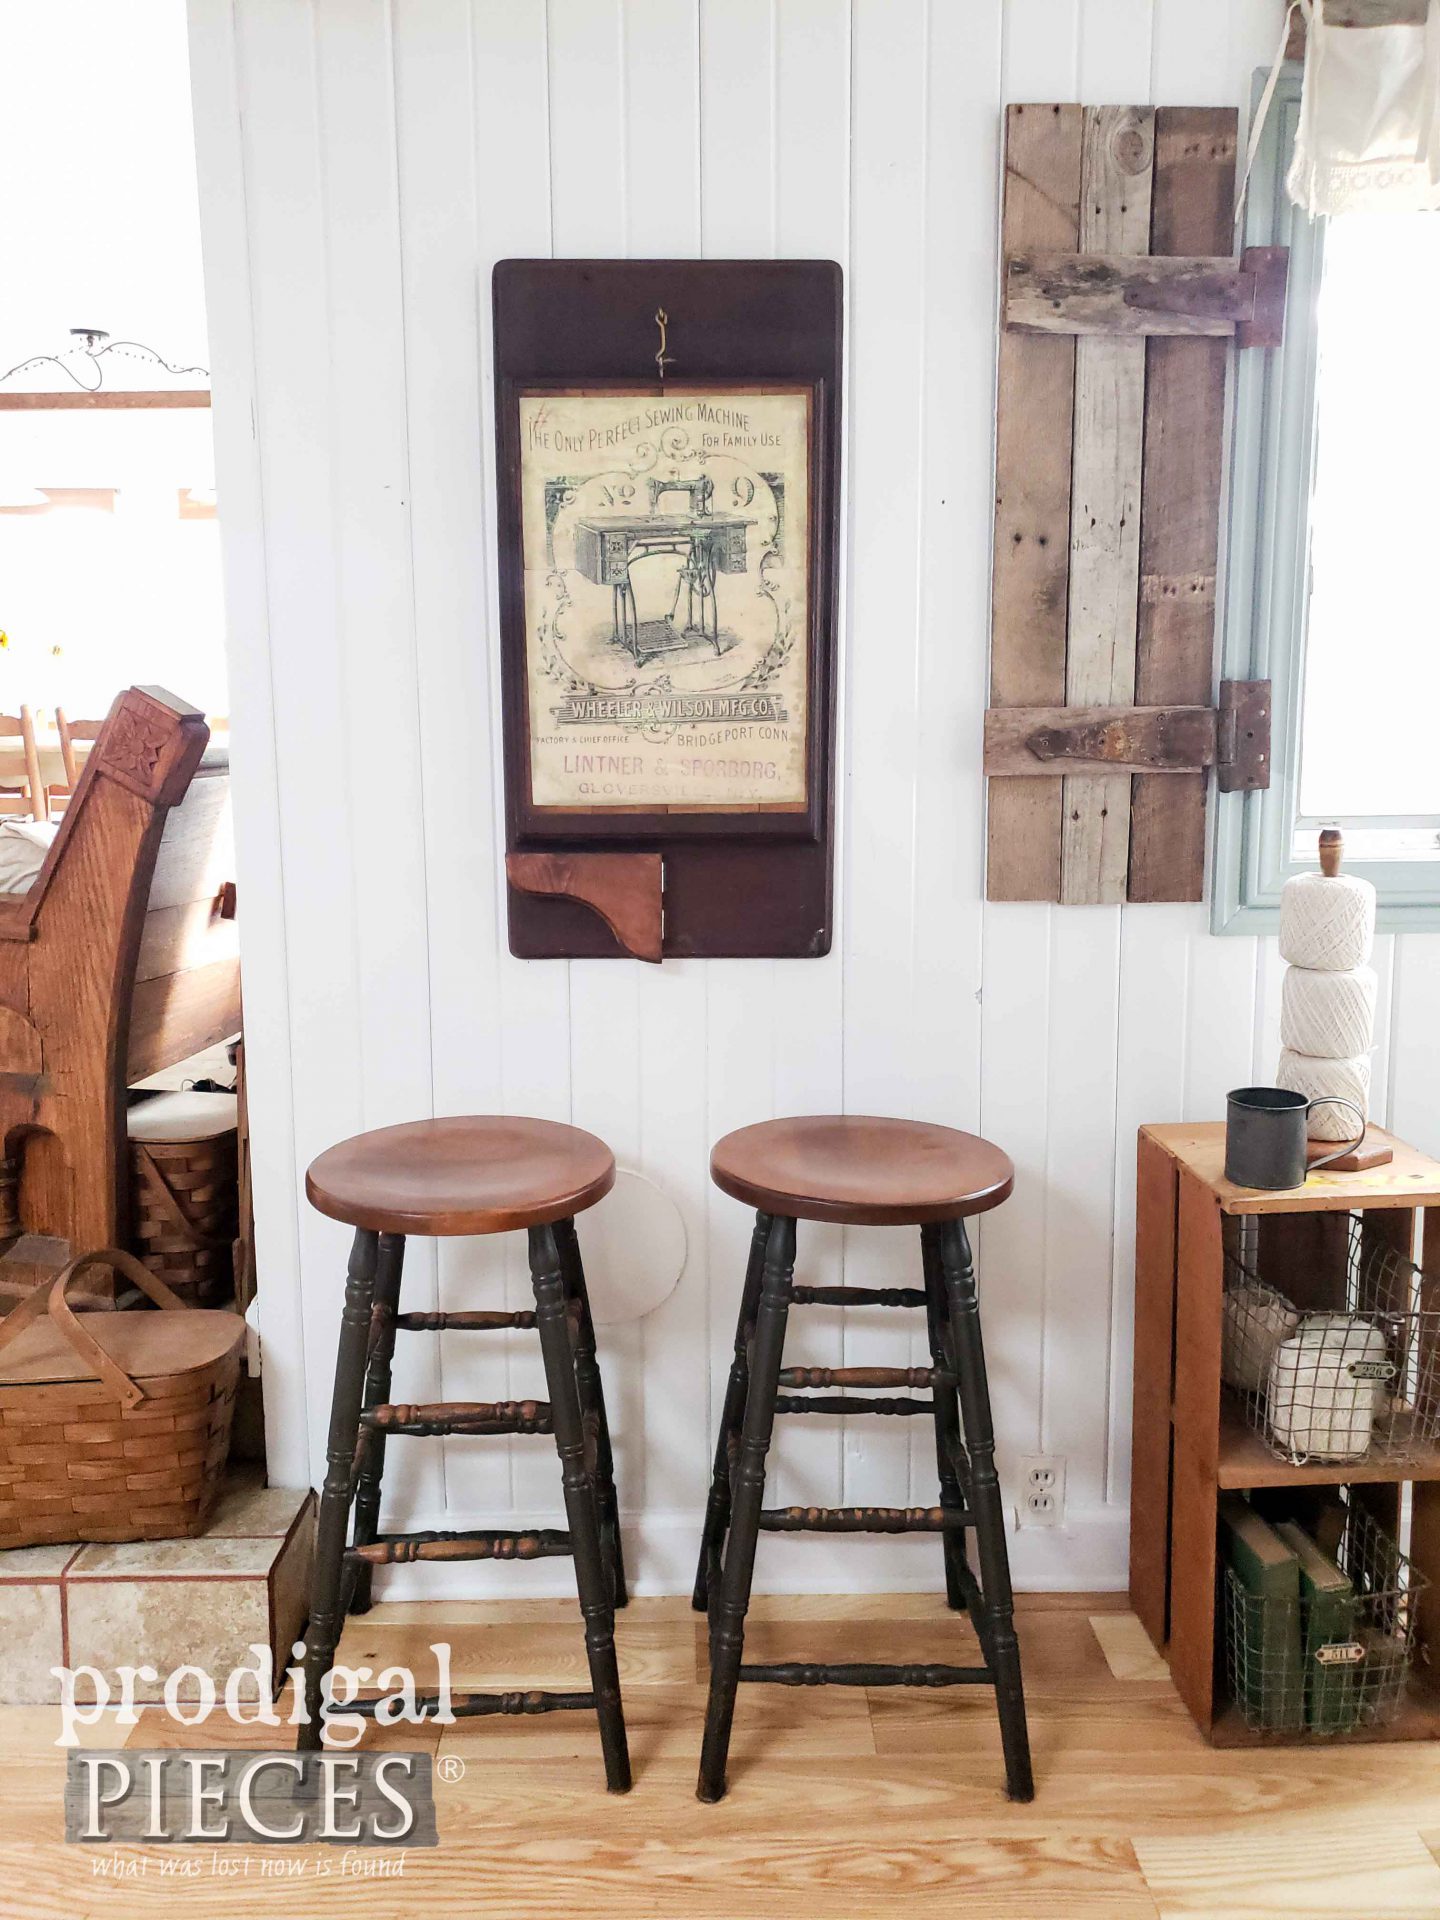
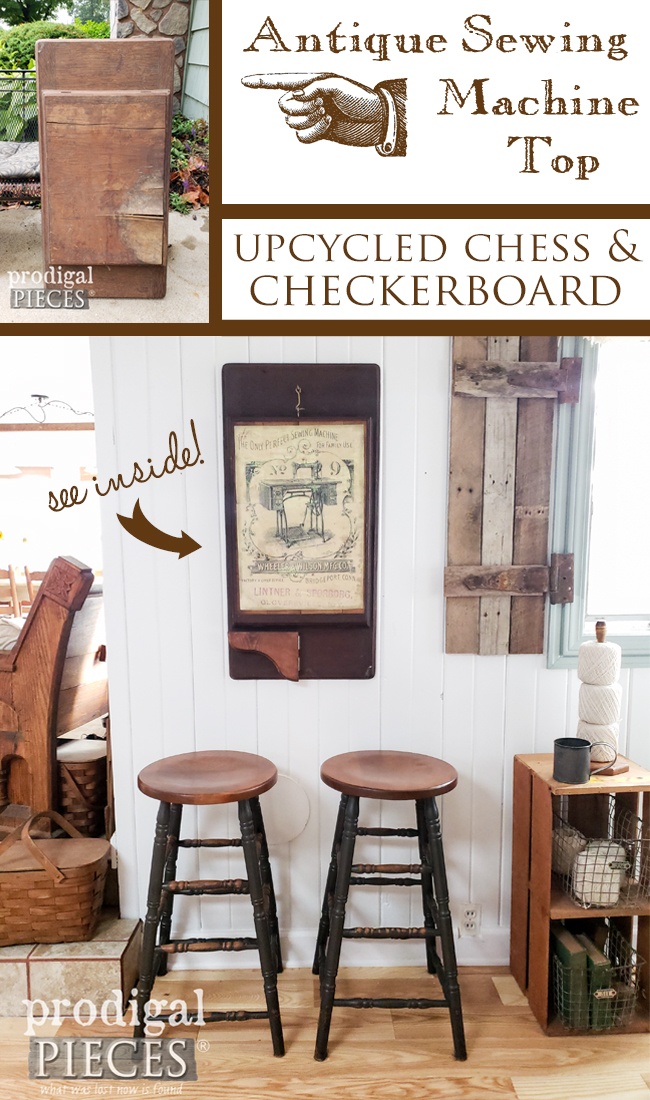
It’s that time again! Trash to Treasure Tuesday is upon us and I’m excited to have my blogger friends joining me for another month of fun. You’ll see their projects in a bit, but check out what I have for you. It’s been a few years coming, but I’m finally getting to my vision for this upcycled antique sewing machine top. {{happy dance}}
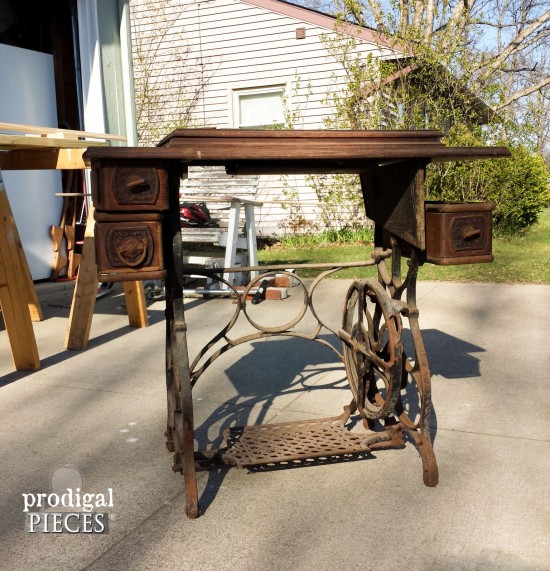
Maybe at first when you see this you’re like…um…what is THAT? Well, let me show you a picture for the original antique treadle sewing machine I acquired over 4 years ago.
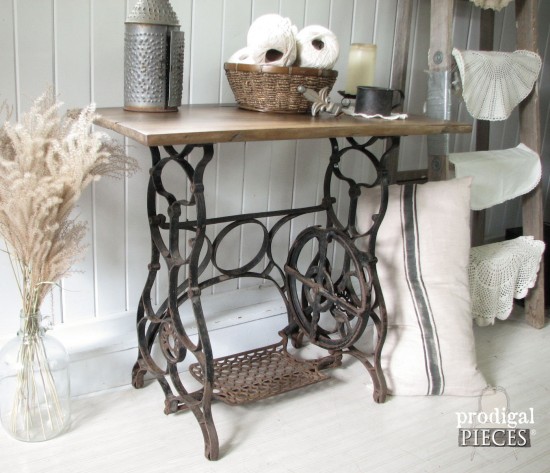
If you’ve been hanging with me for that long you deserve an award! I took it apart and made few things with it. One of them is a reclaimed wood table using the base seen HERE.
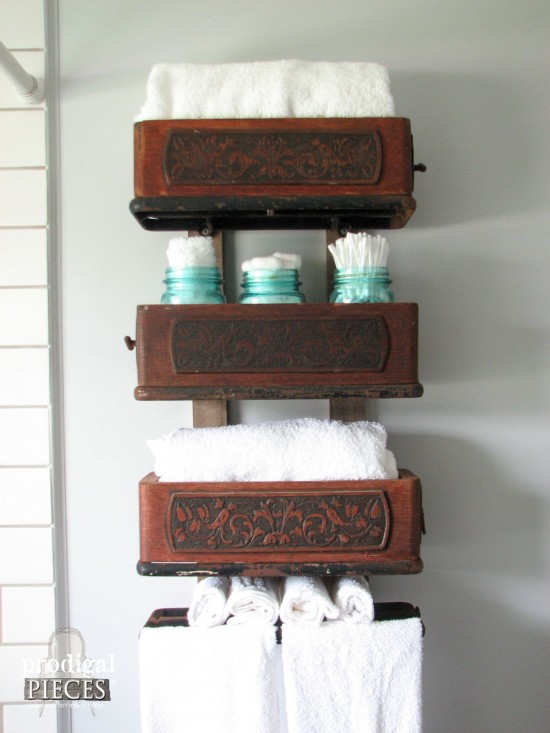
The other project was taking the drawers and frames to make my bathroom storage in our remodel HERE.
I have been relentlessly purging my workshop (aka. garage) for the last few weeks and refuse to take on more work until it’s done. I’ve been saving this particular piece to make an upcycled antique sewing machine project for my garden shed makeover. However, since that won’t be happening anytime soon because of the magnitude of junk (detailed in the last few posts) we were served this summer, I’m taking it on now.
THE BEFORE
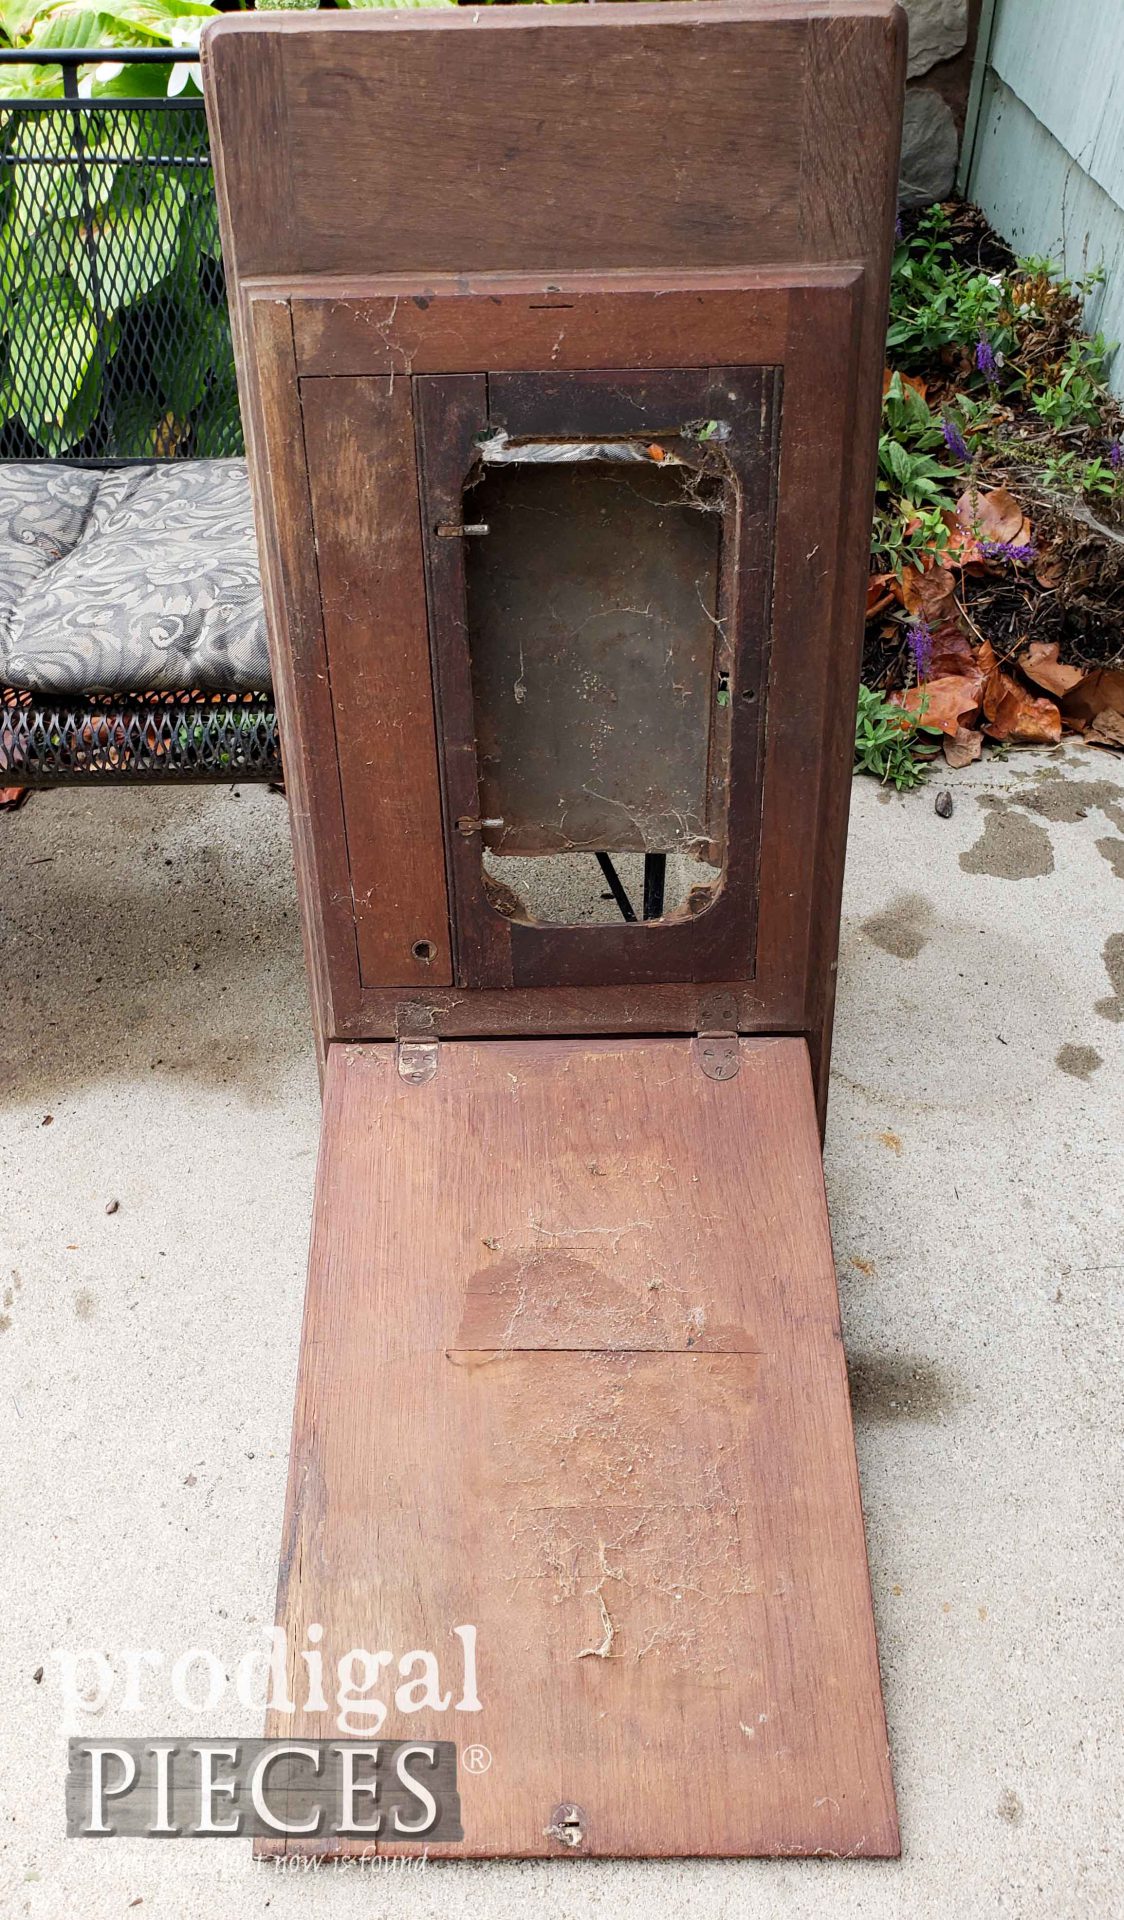
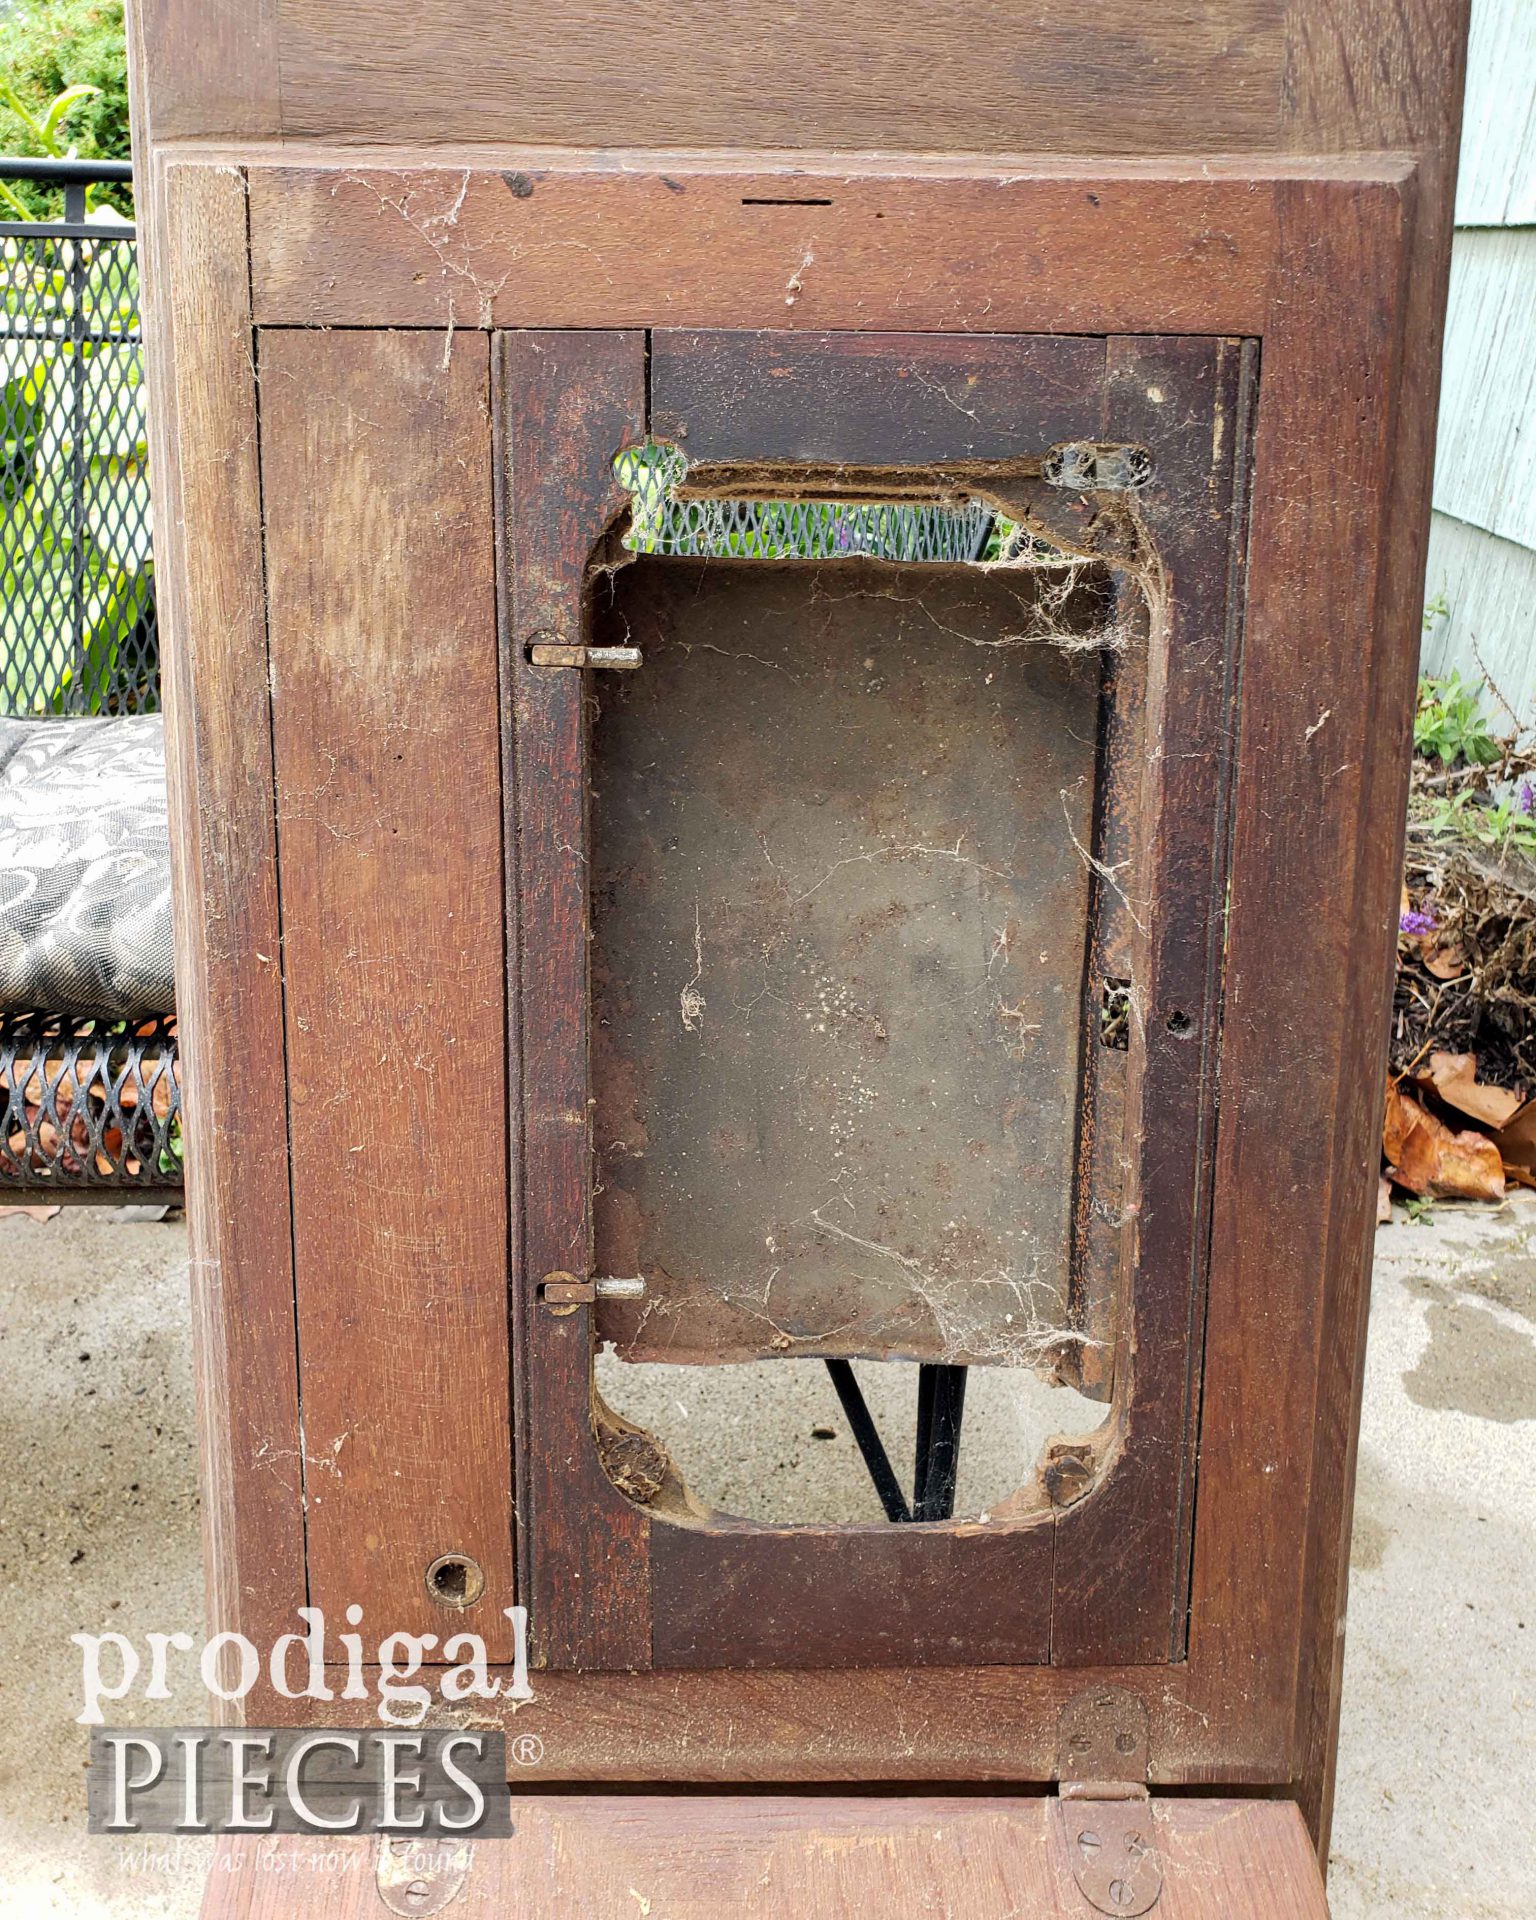
Here’s a peek of the inside and what I’m up against to transform this once gem.
TIME TO UPCYCLE
Now you can see I have really weathered wood, rust, webs, and oh so much goodness! Yes, I am not normal…but who’s normal? tsk.
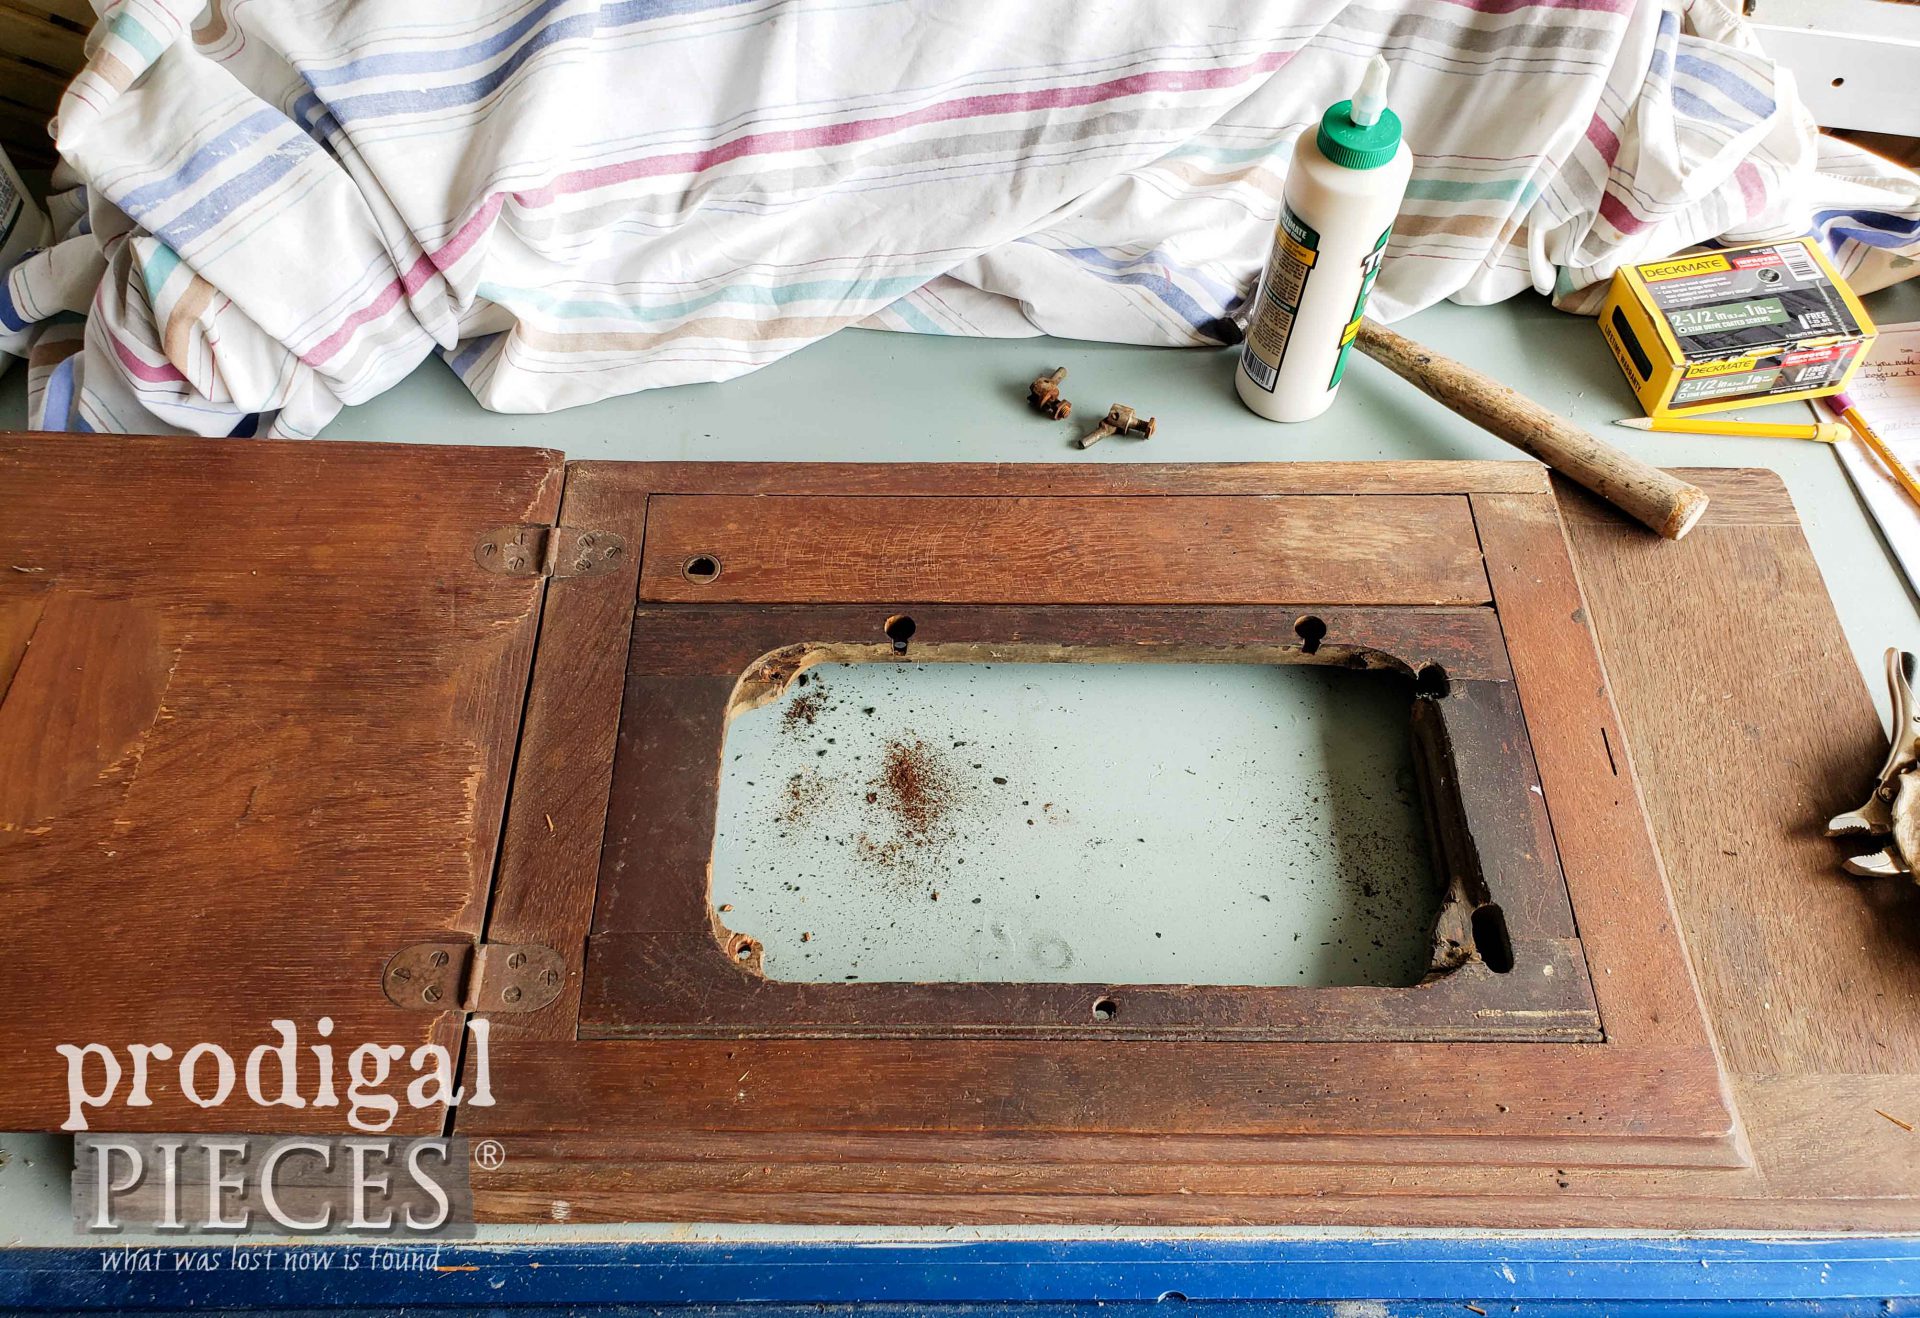
First order of business was to take apart what I could. I removed the mounting hardware, and metal sheet at the back of the opening.
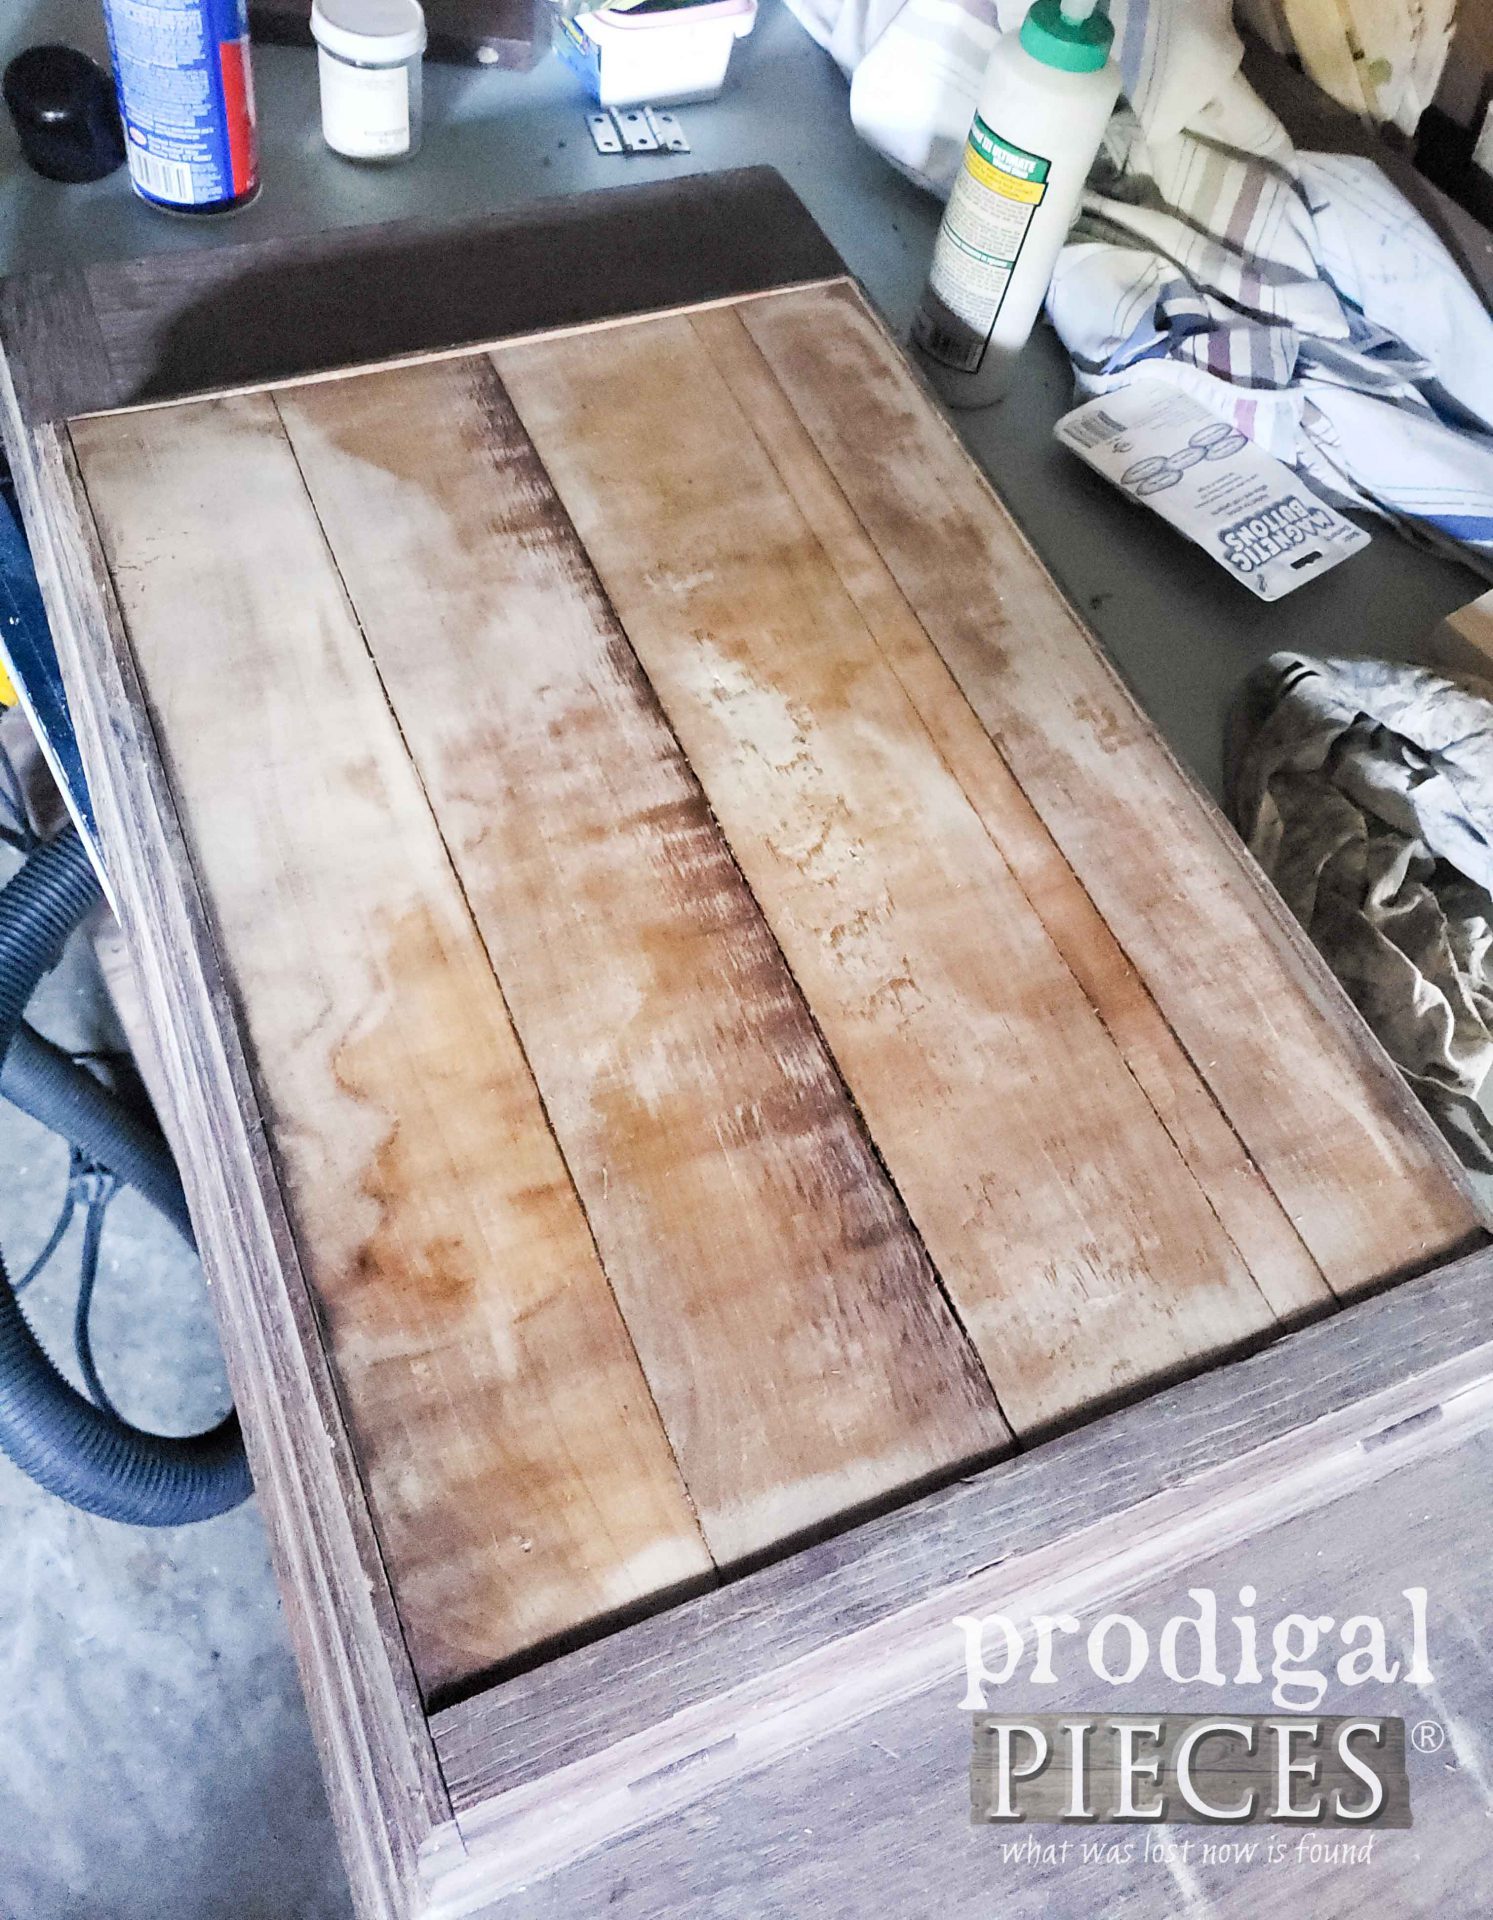
Then, I used wood glue and my nailer to tighten up joints here and there. I also needed to removed the veneer on the front/top of the table and sand the surface underneath.
Once I had the veneer removed I used a stain to let the wood age naturally to draw out the patina. Since I was aiming to mount this to a wall, I wanted everything to stay where it should. I locked the inside opening in place with screws, and added a few button magnet closures to the top surface and lid with my drill and forstner bit.
Next, in order to support that heavy lid I needed to add support. I pulled out one of my thrifted corbels from my stash. It was a bit too long on one side, so I cut it to length with my jigsaw, and used my sander to mock the routed edges.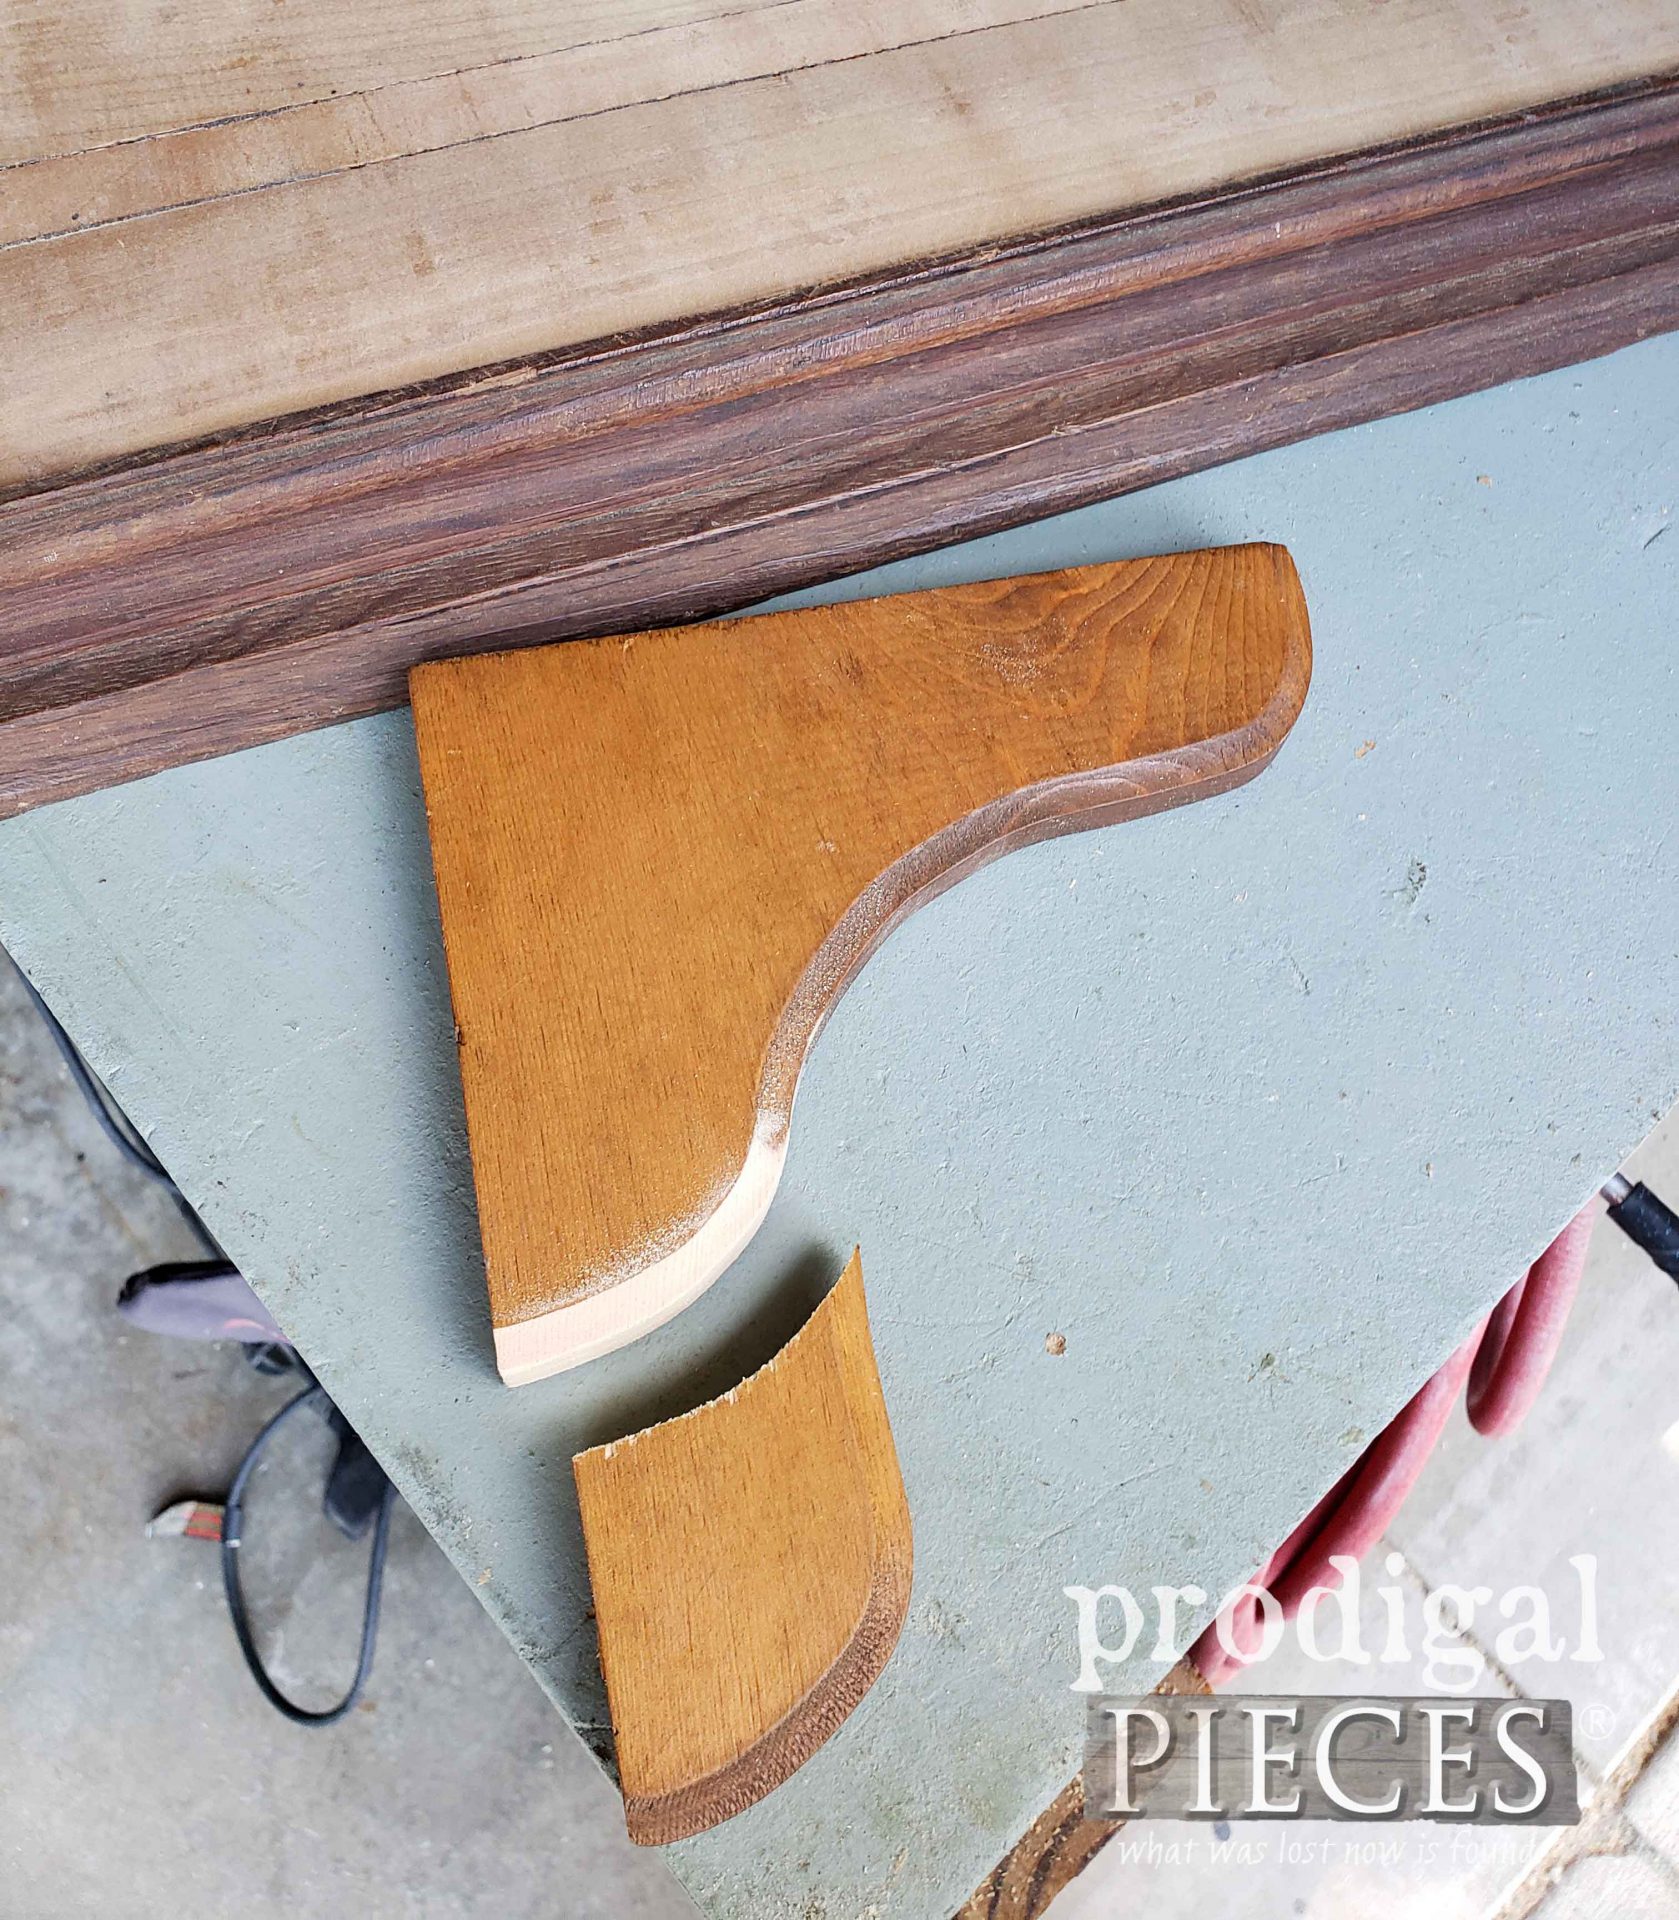
Then, I sanded the entire corbel and gave it a new stain with a hickory gel stain to age it a bit.
FINISH WORK BEGINS
Finally, I finish all my prep for assembly and I can now begin my finish work. Here’s the front of the upcycled antique sewing machine top I’ve prepped.
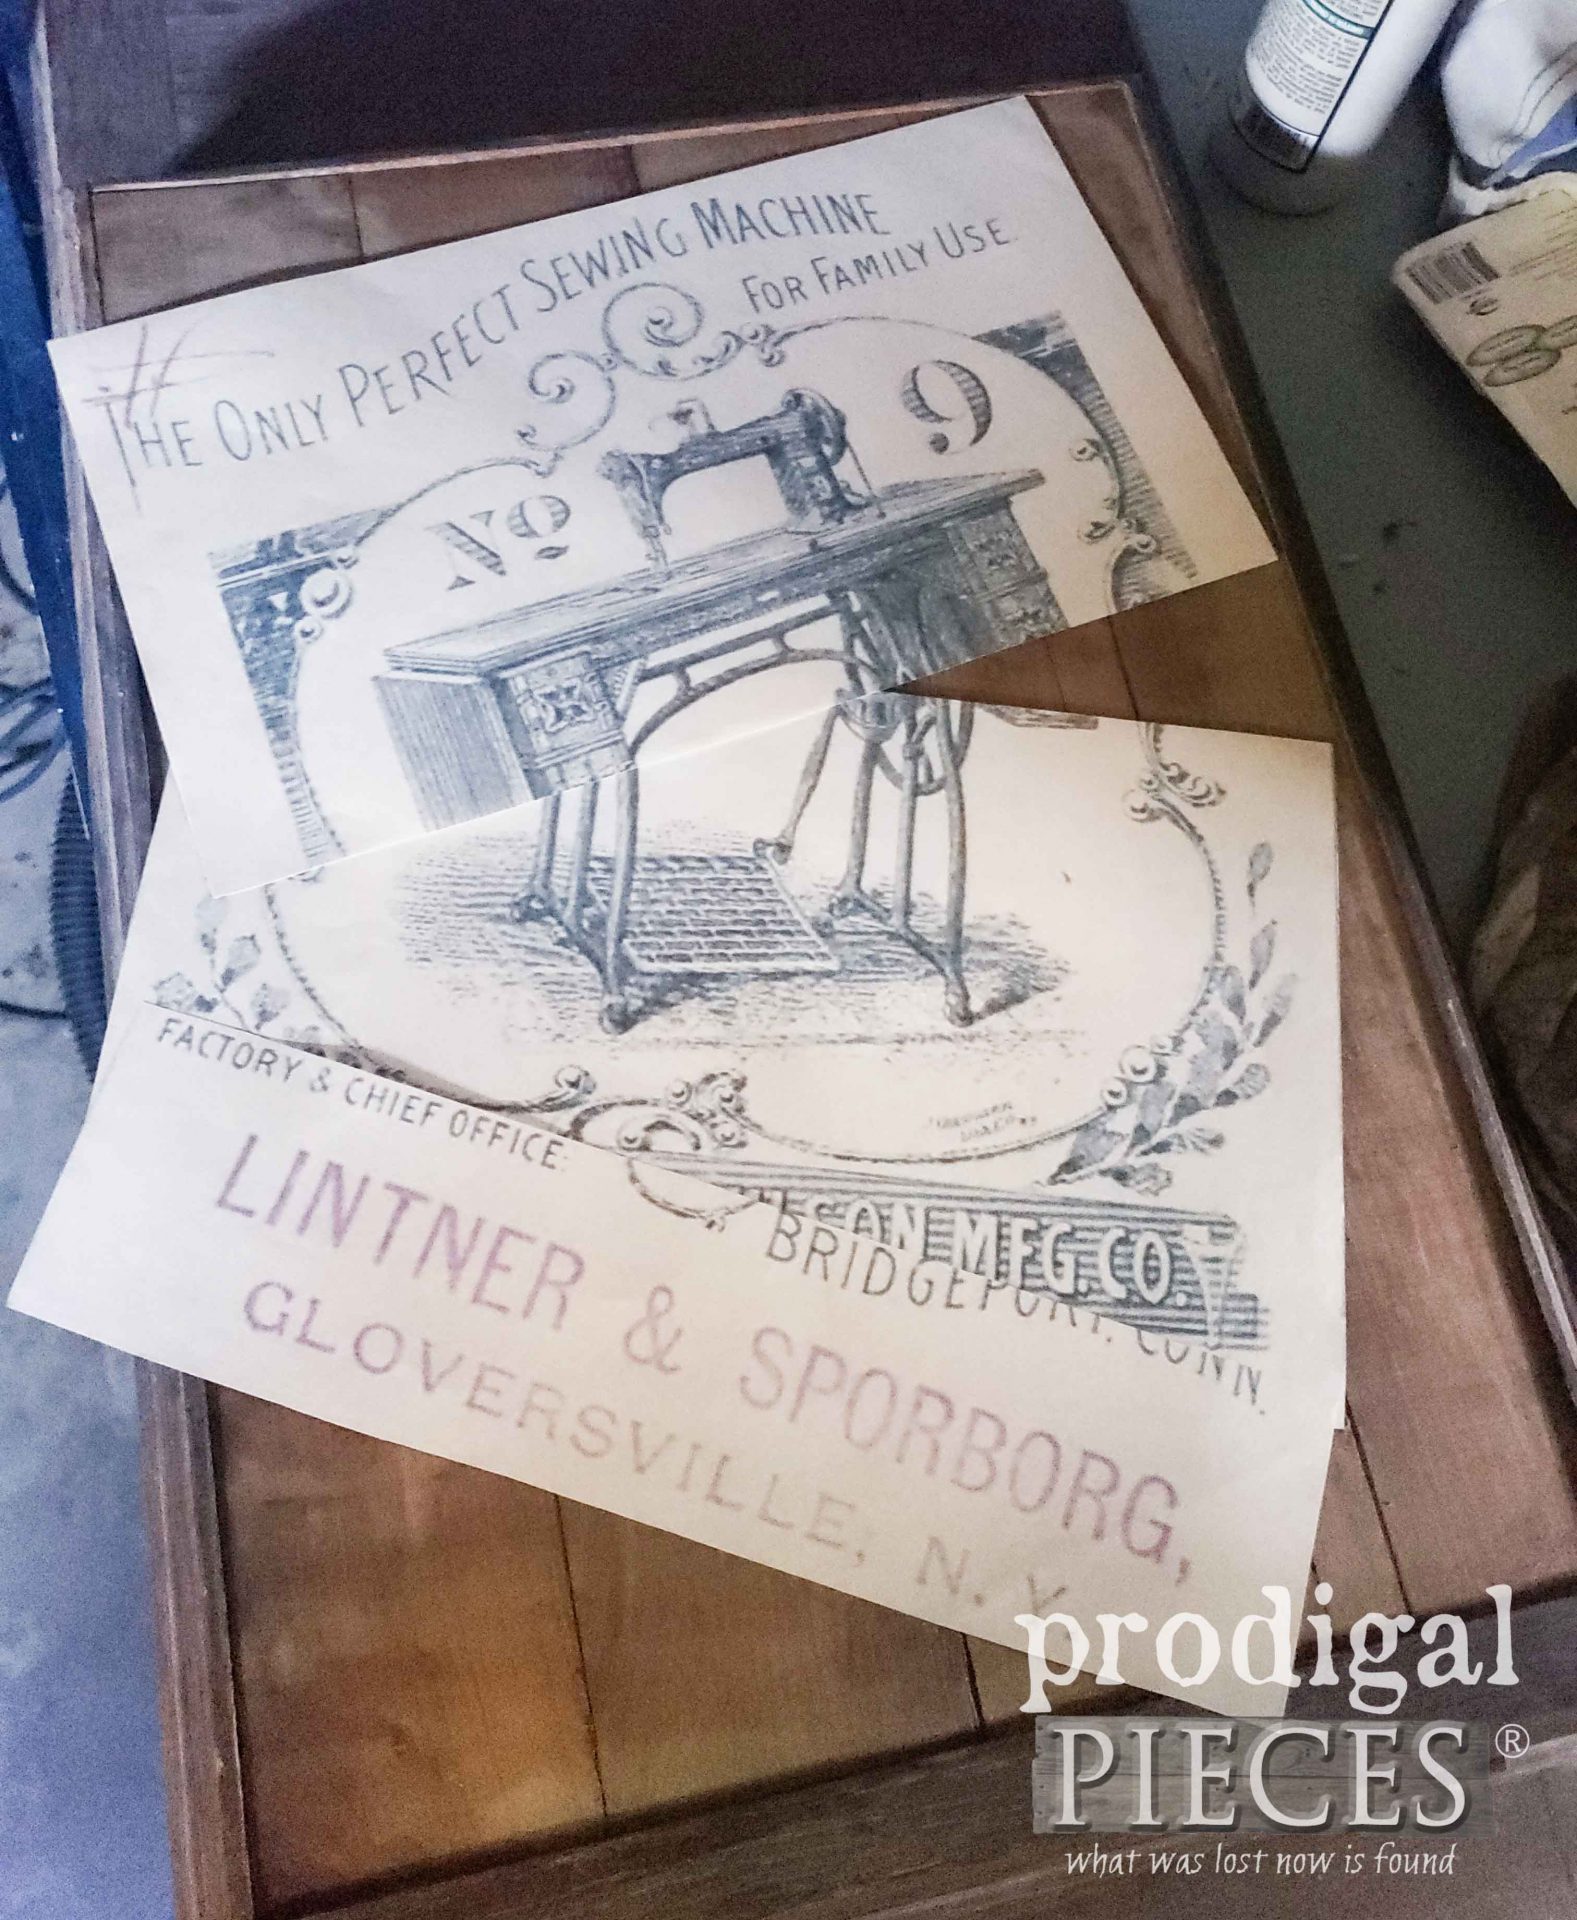
Next, I am using this graphic I found and enlarged to fill that center space and add typography that I adore.
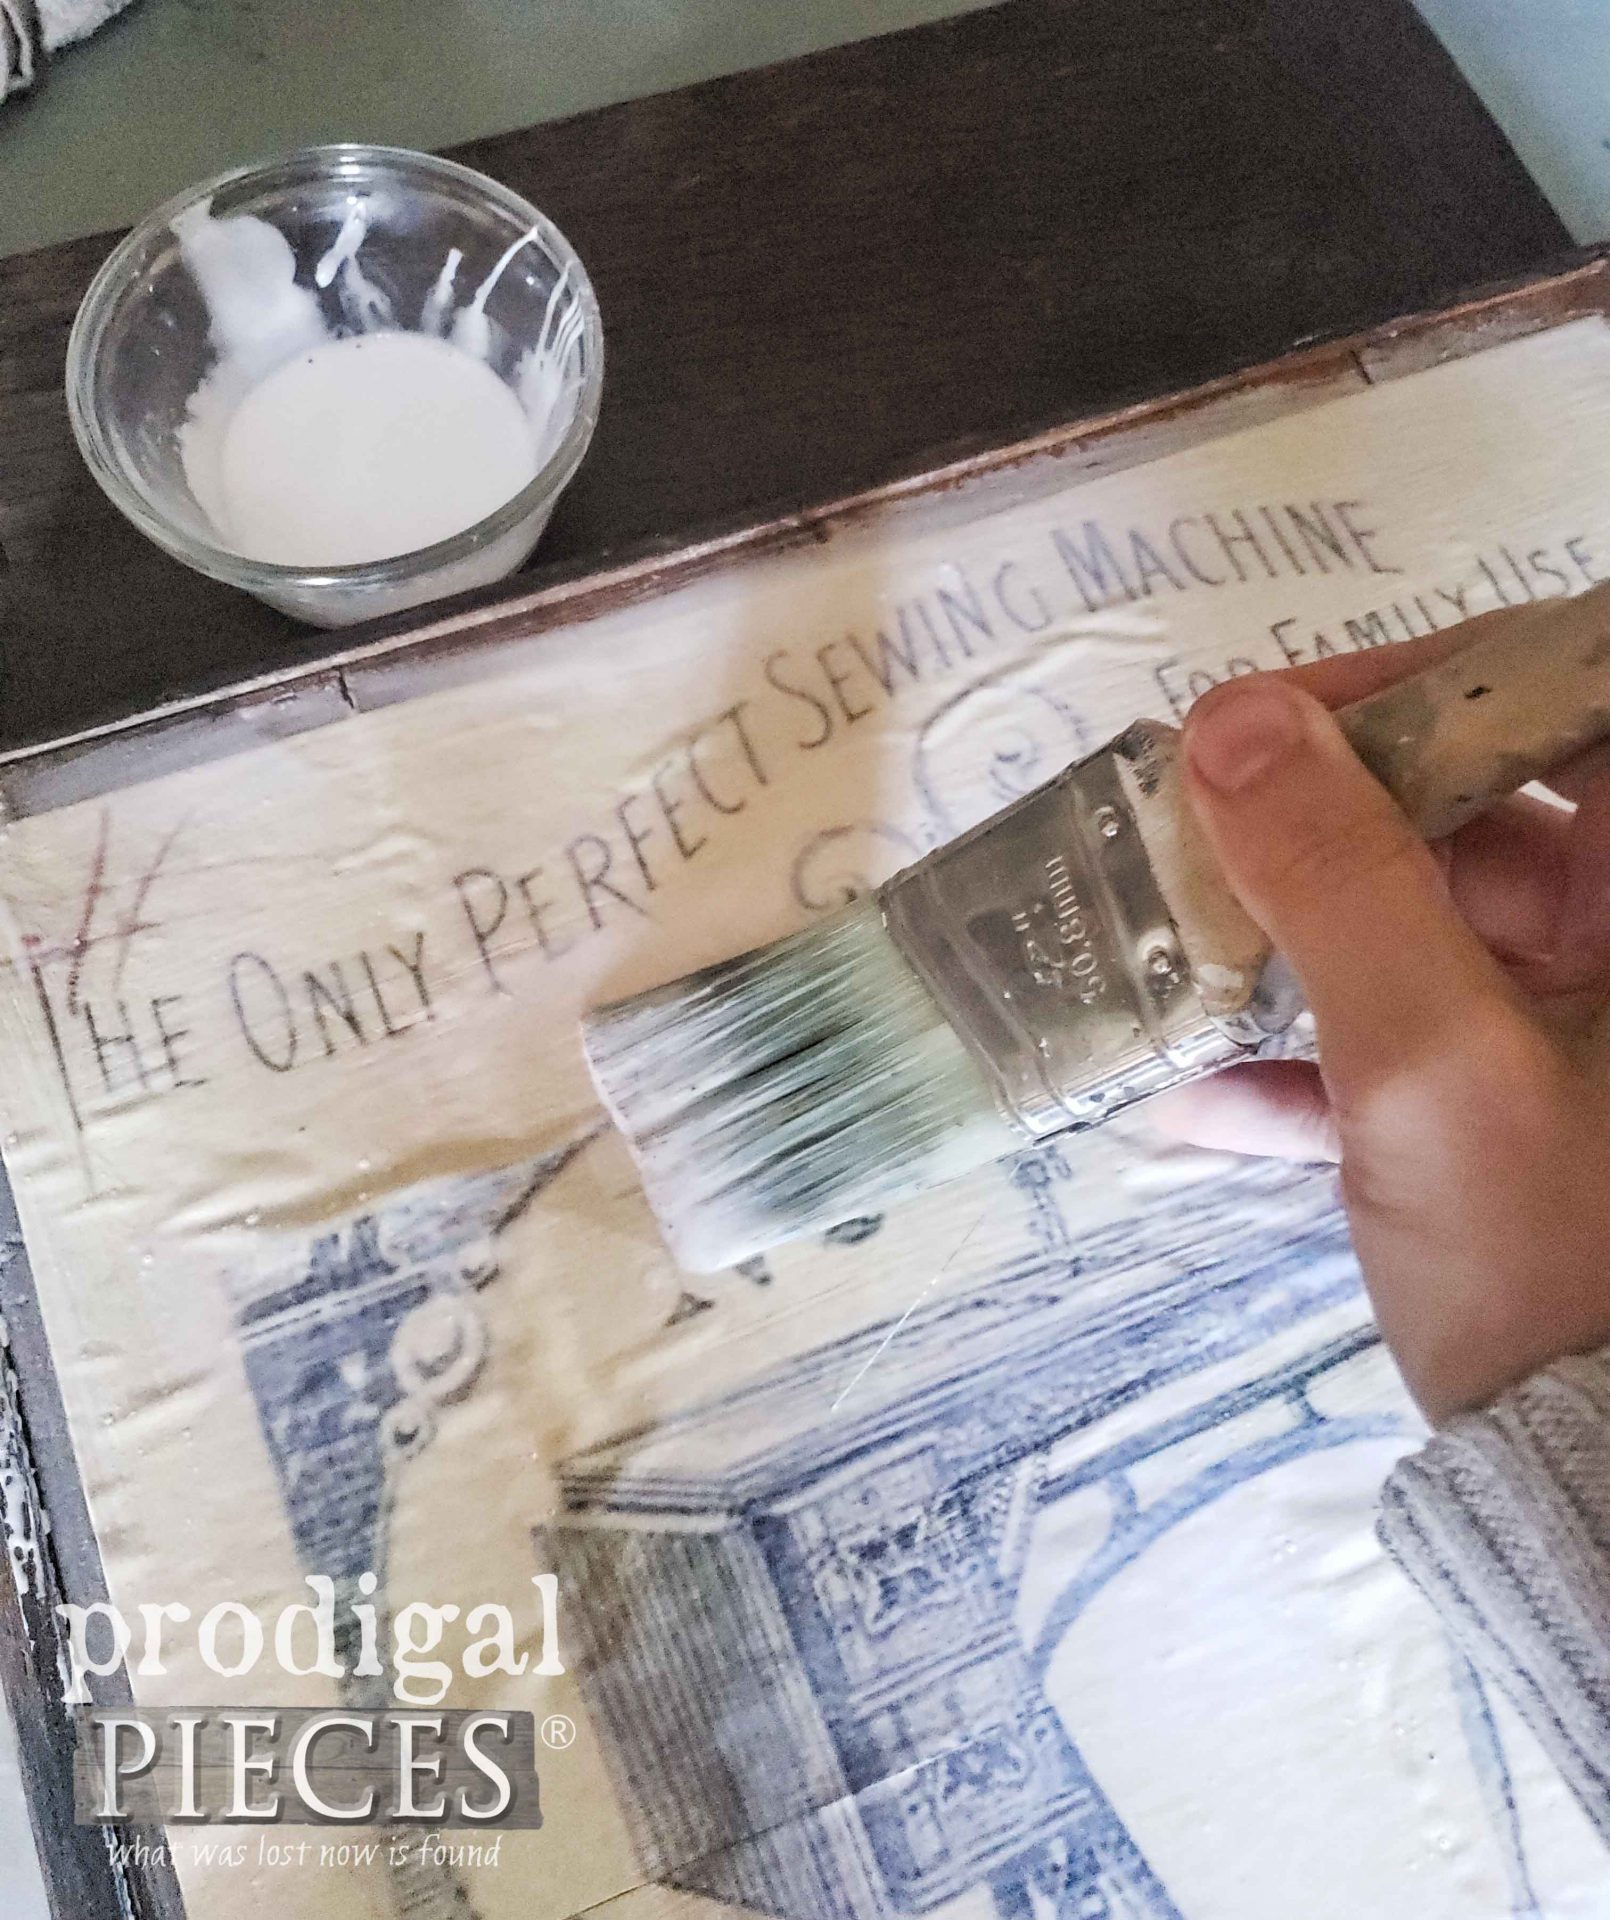
I simply printed it on legal paper and then decoupage it on with a thinned school glue. Notice it is bubbling a bit…no worries. Those will all lay down as the decoupage dries. Plus, I don’t mind a bit of aged appeal since this entire project is full of stories already.
THE NEXT STEP
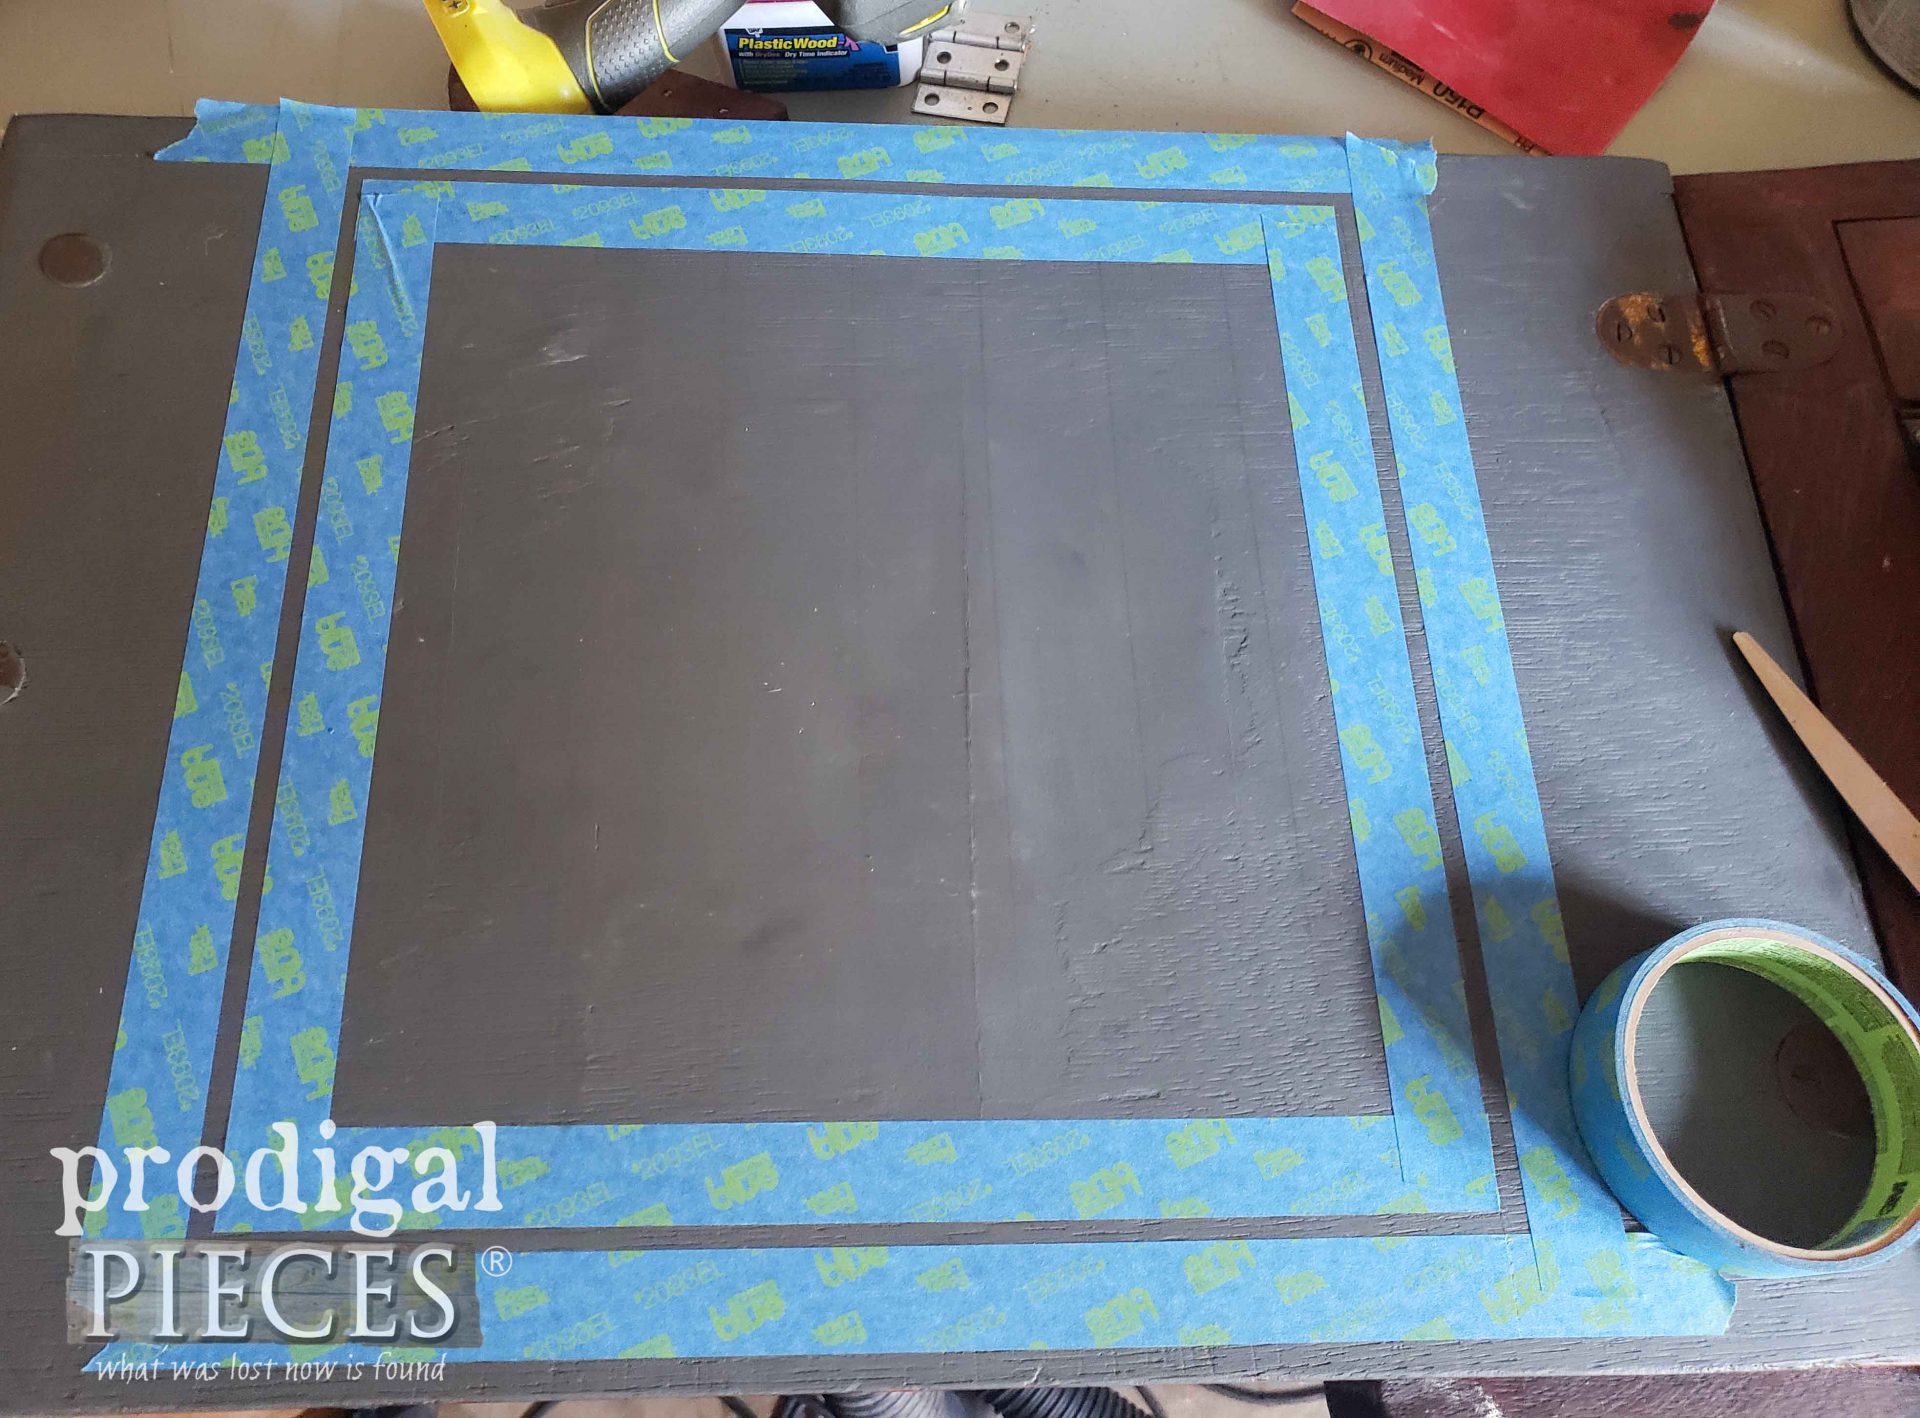
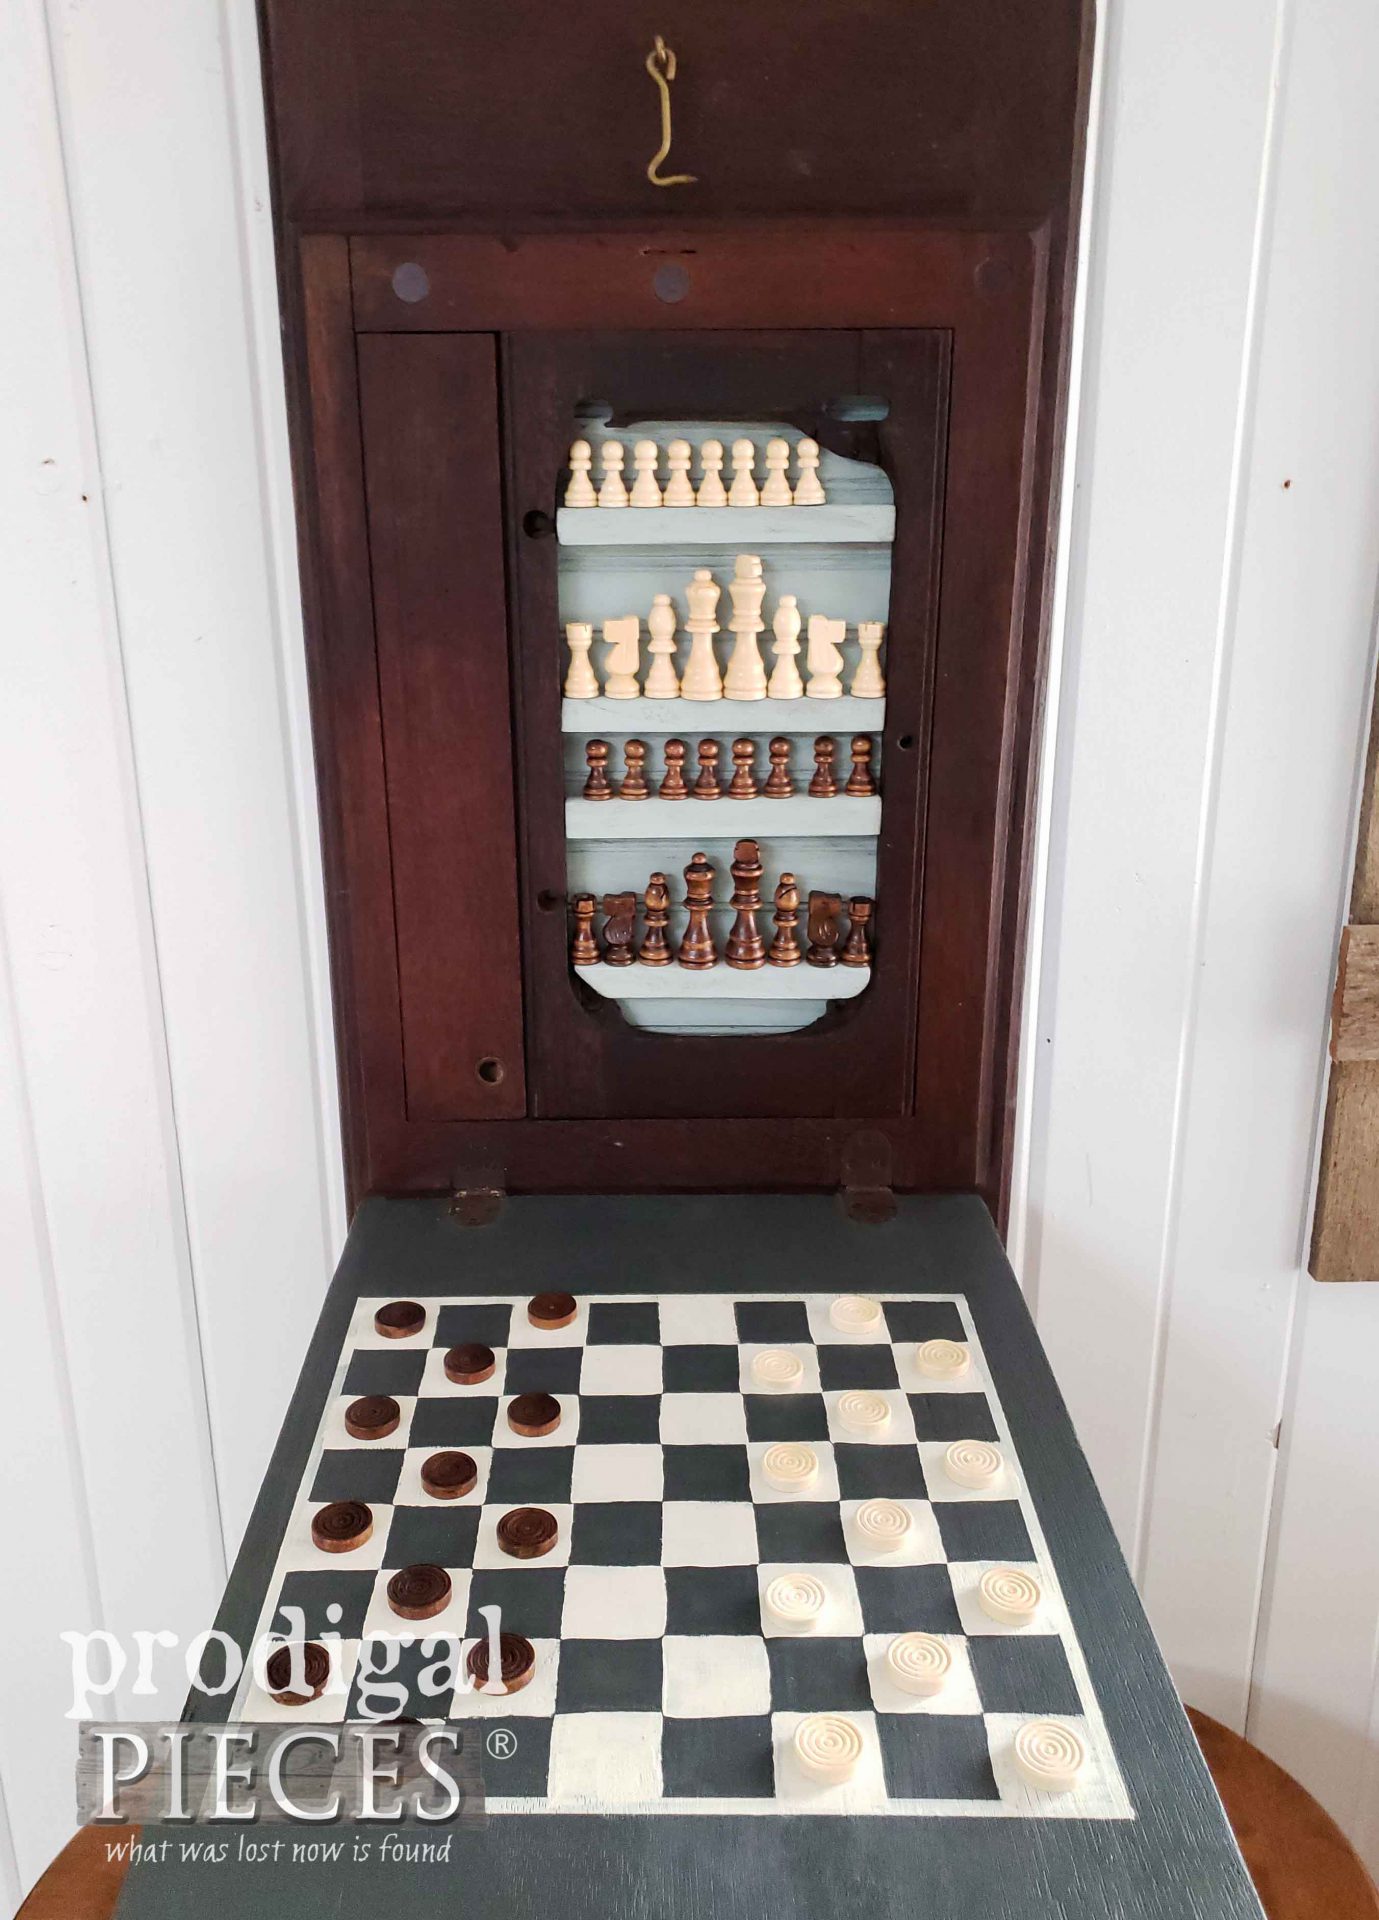
As soon as the decoupaged cured, I begin the process of finishing the interior. I painted two coats of a custom mixed gray to the inside of the top panel. Once that is ready, I tape off a section for the checkerboard I marked and measured.
I use an antique white paint to hand-paint in the border and squares. When cured, I apply two coats of a matte poly to seal and protect it.
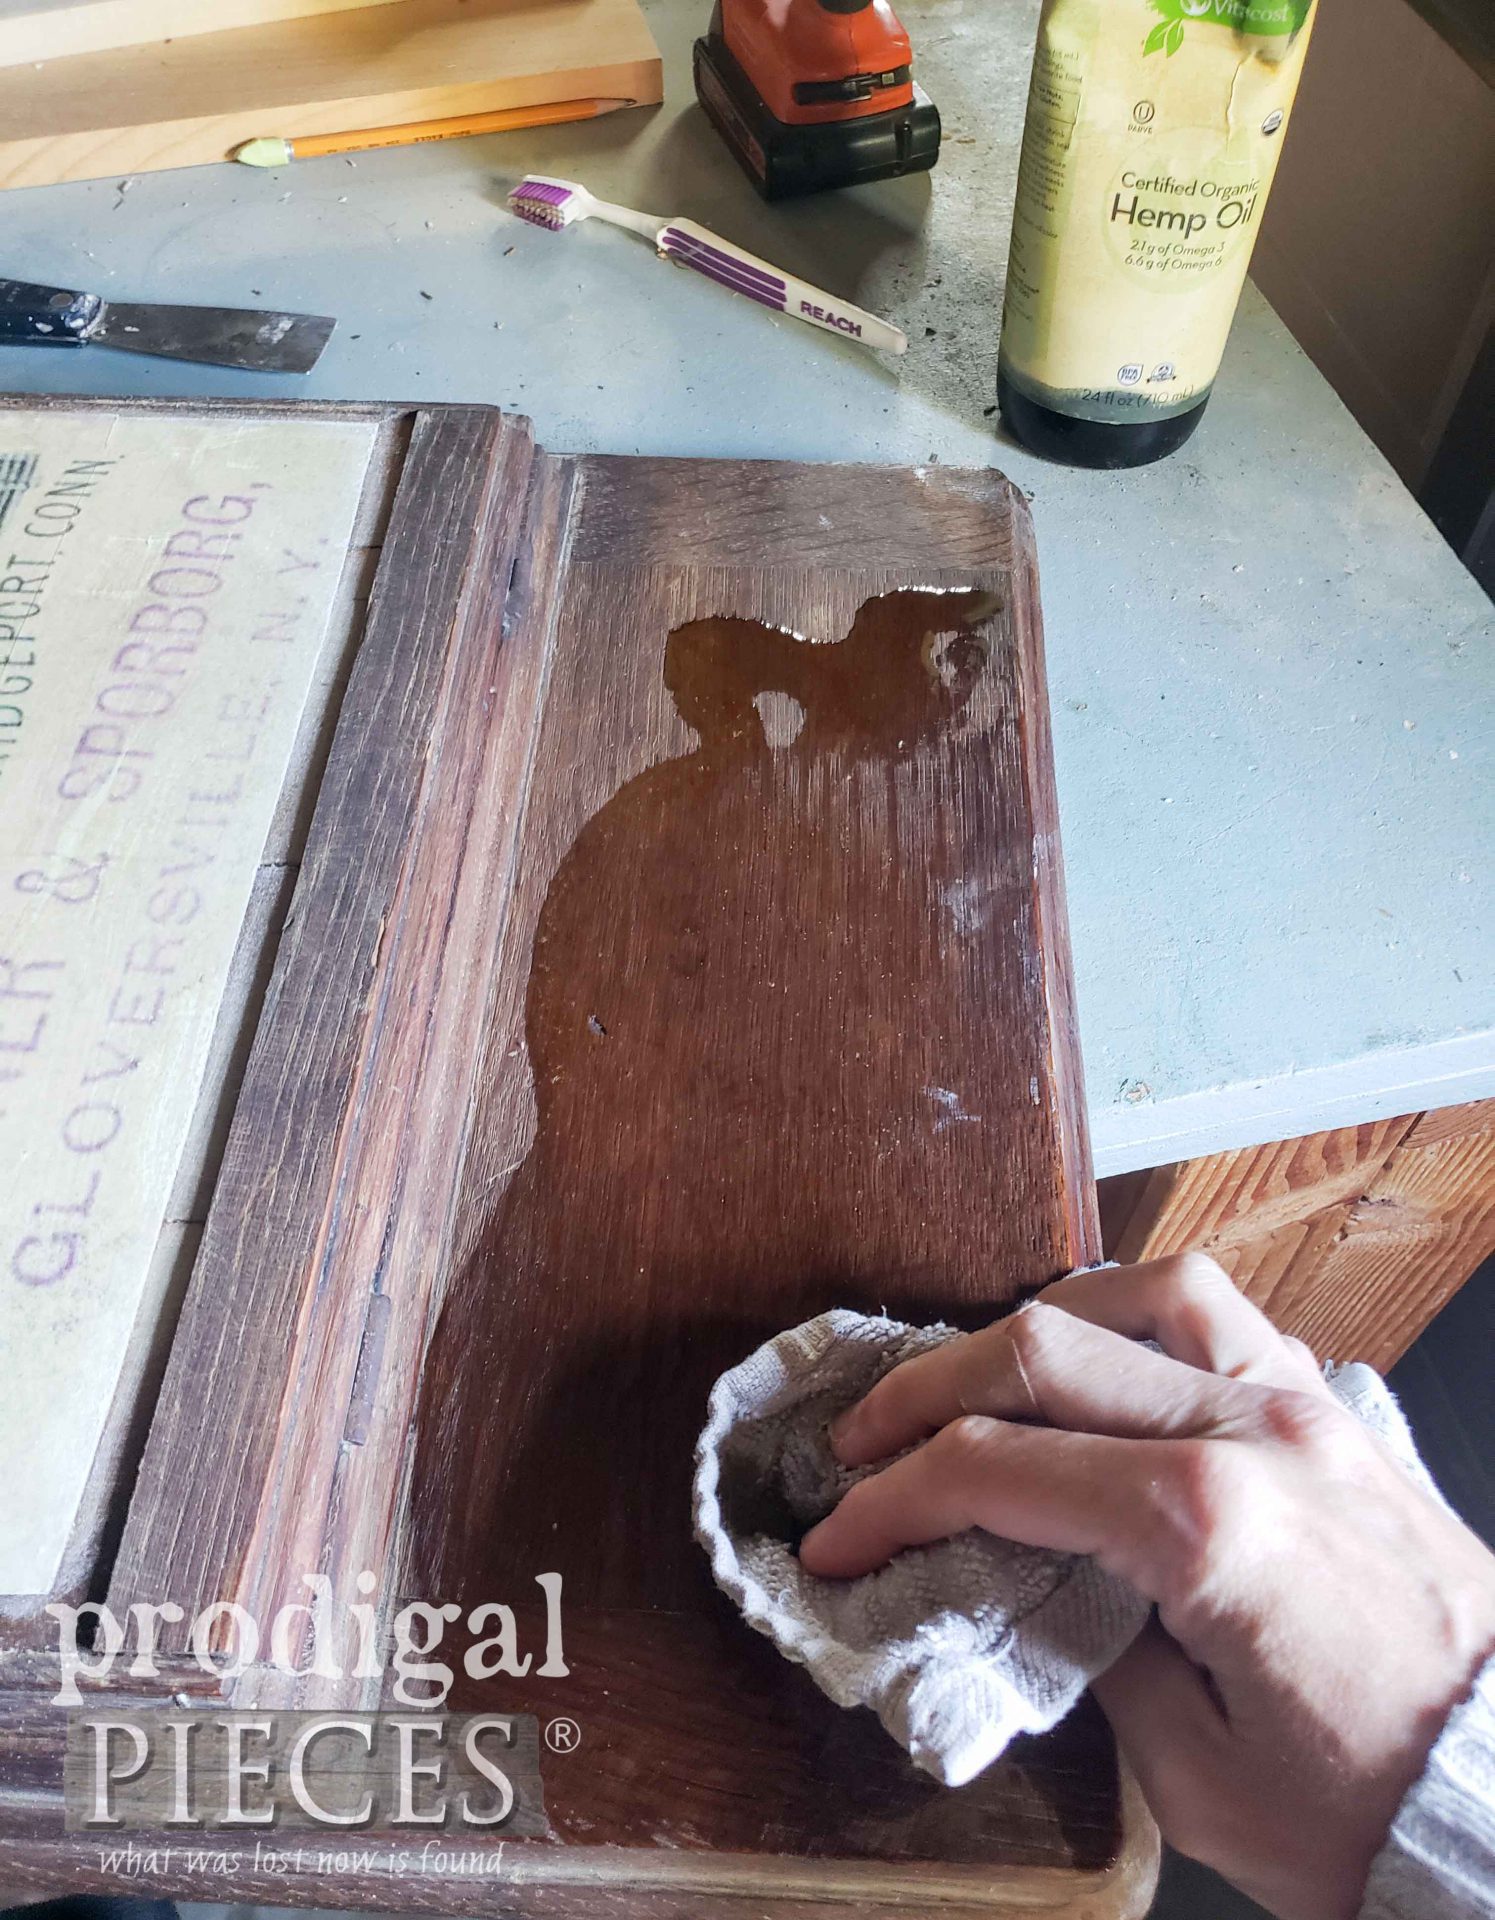
Last, but not least, I use my hemp oil to nourish the wood and let that gorgeous patina shine. The wood is so parched that it soaks it right up.
To make this game board wall-mount worthy, I then add keyhole hardware to the back. This will allow it to hang flush and sturdy. You could also use a keyhole jig and router bit too.
ALL DONE
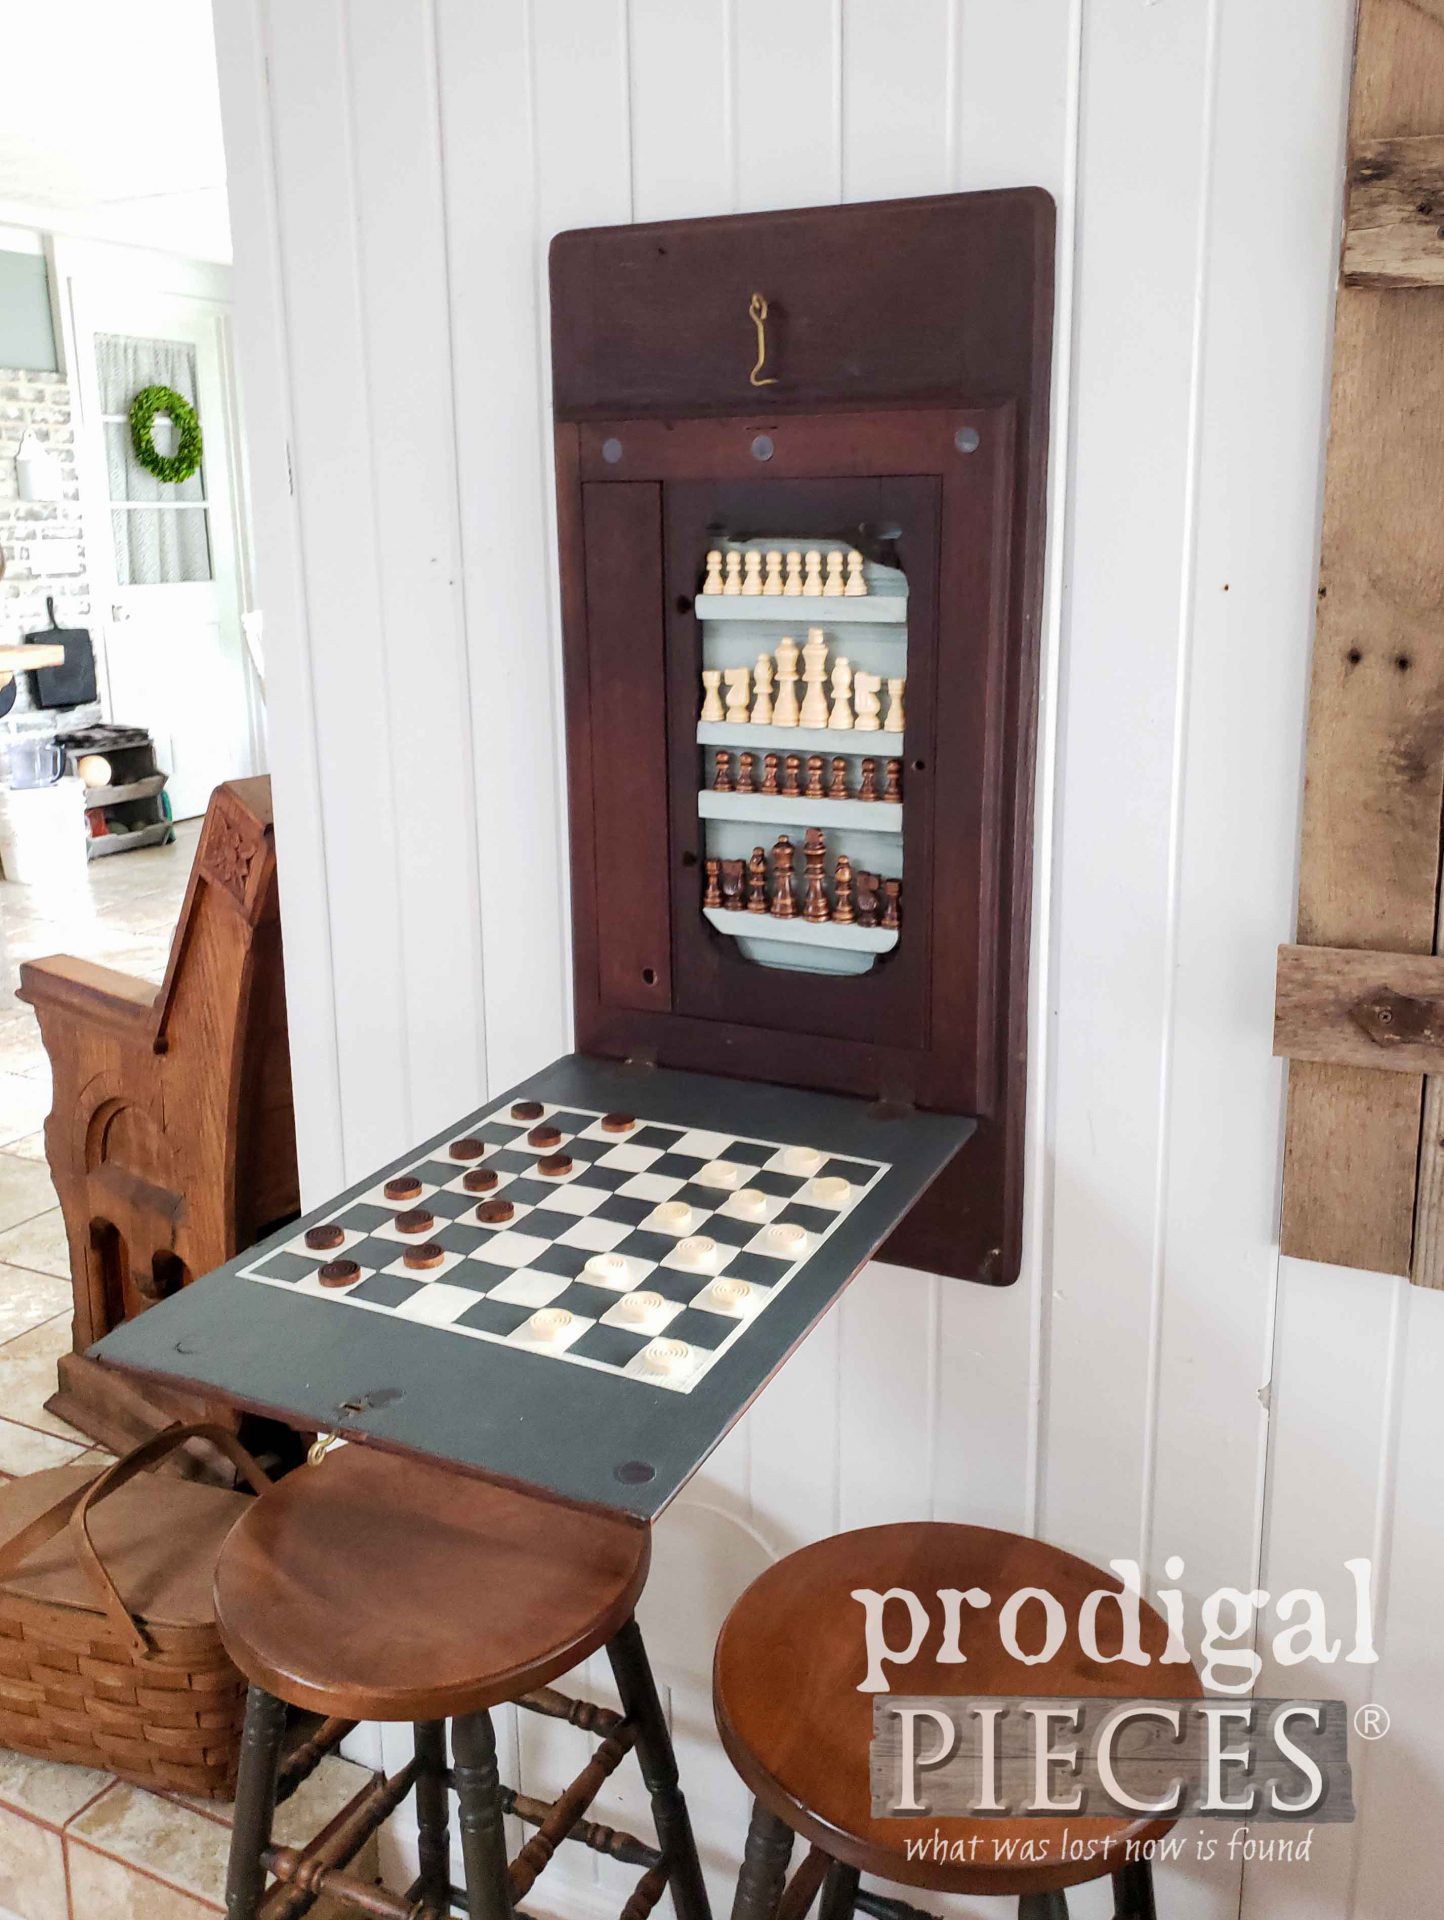
Let’s take a peek at my finished work, shall we? I love it!
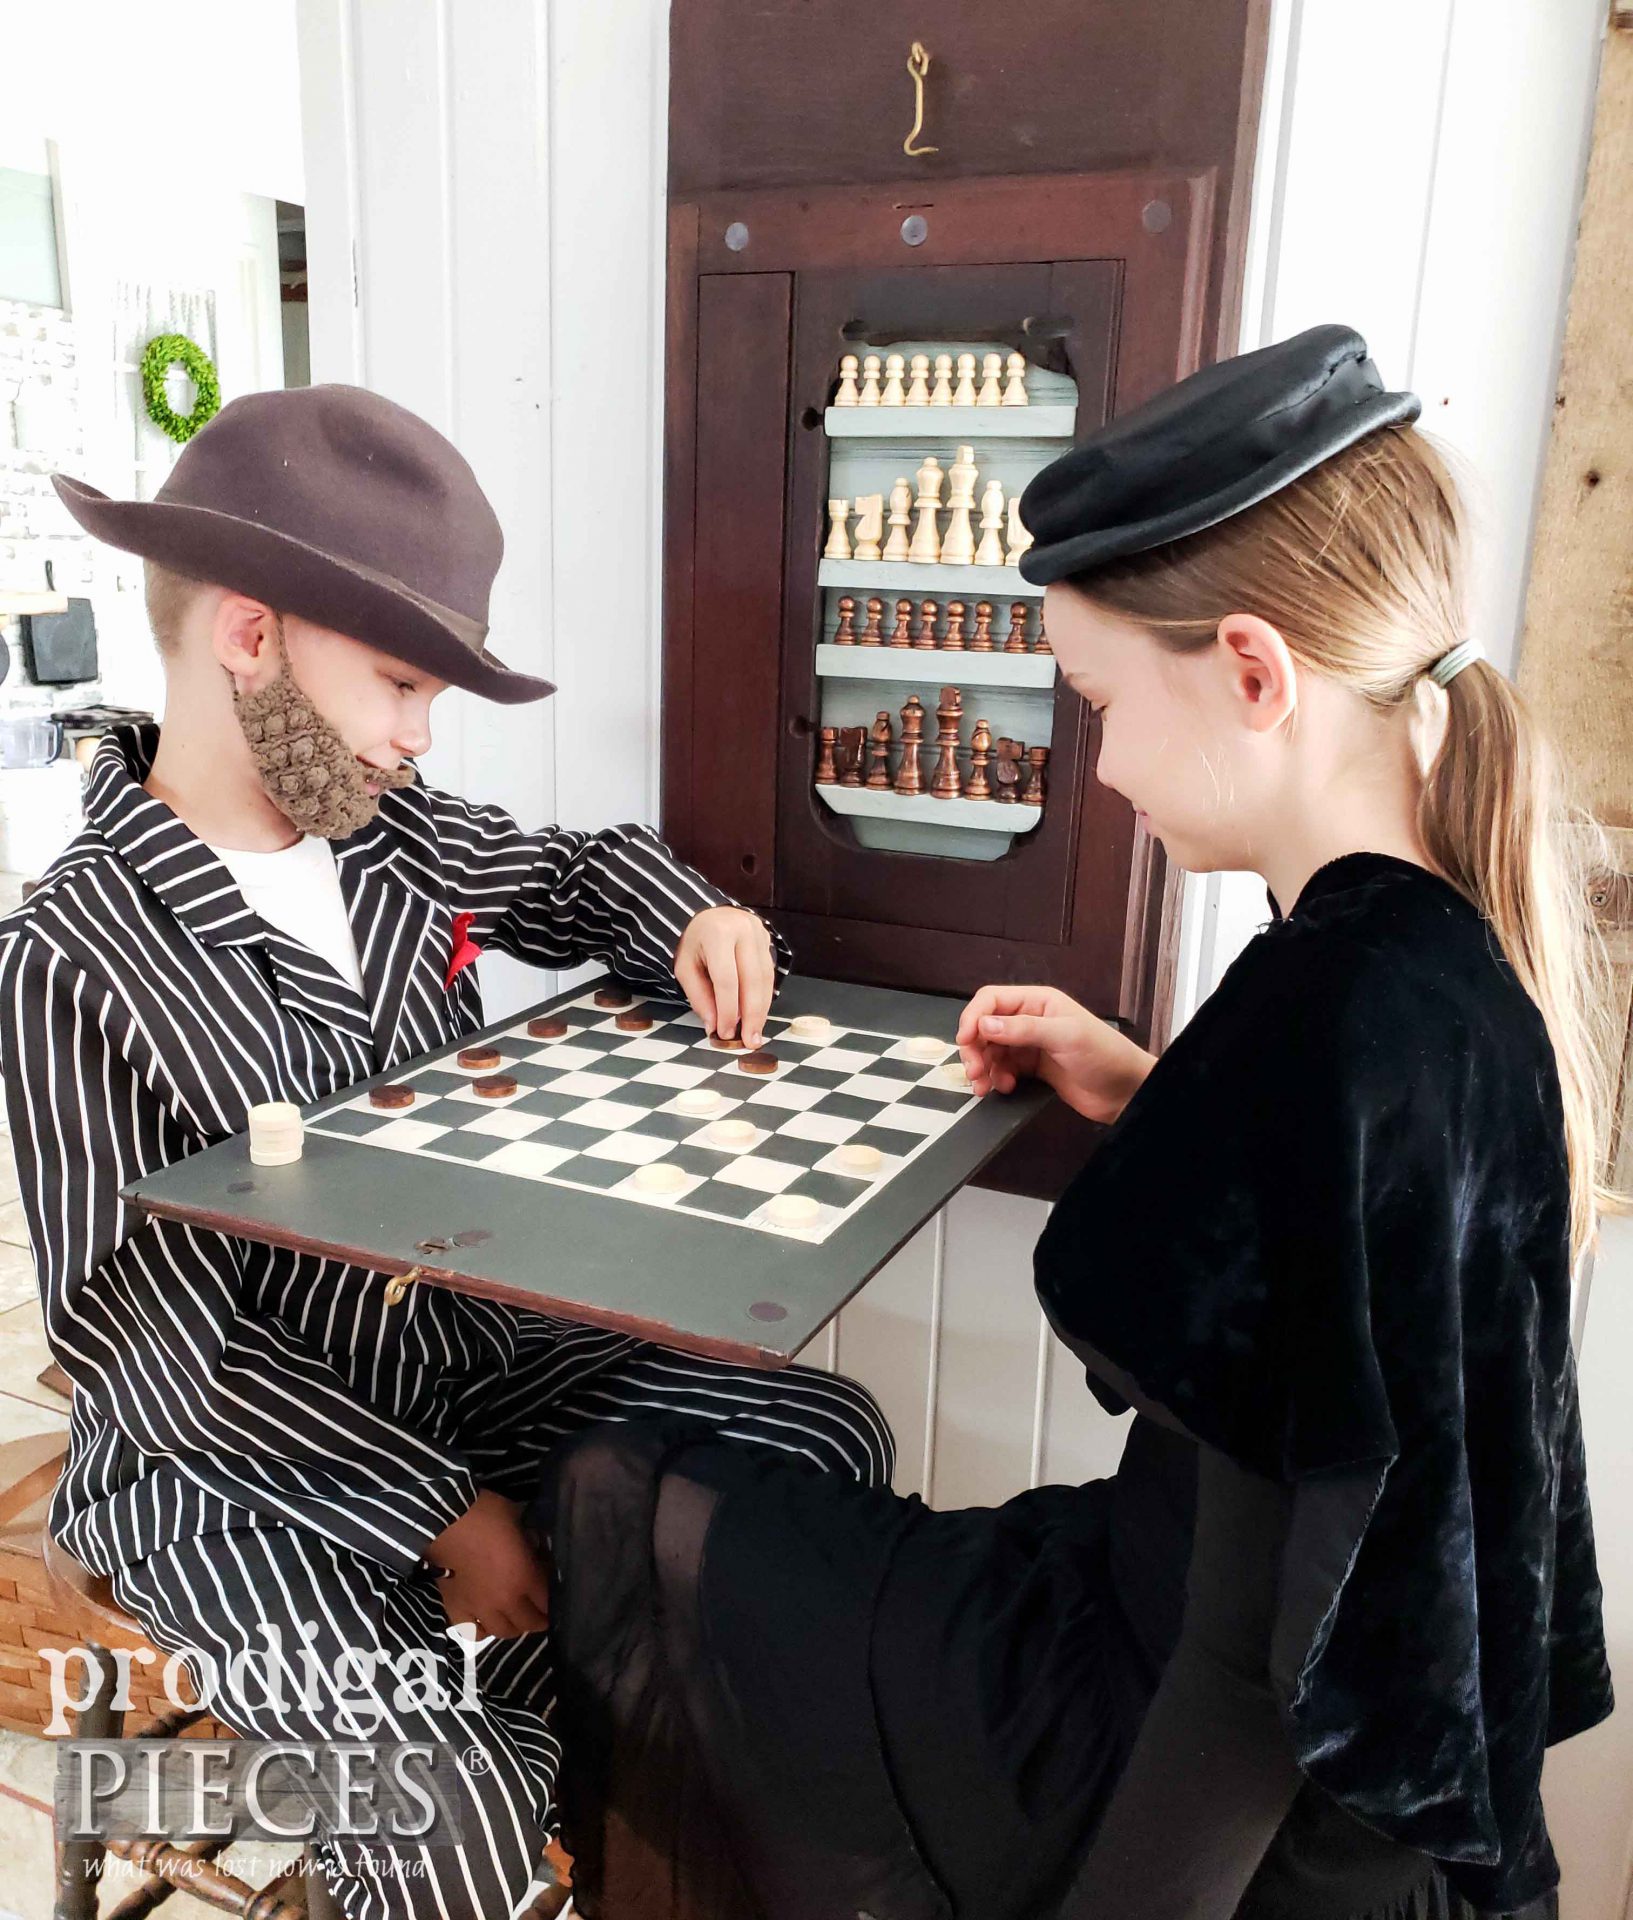
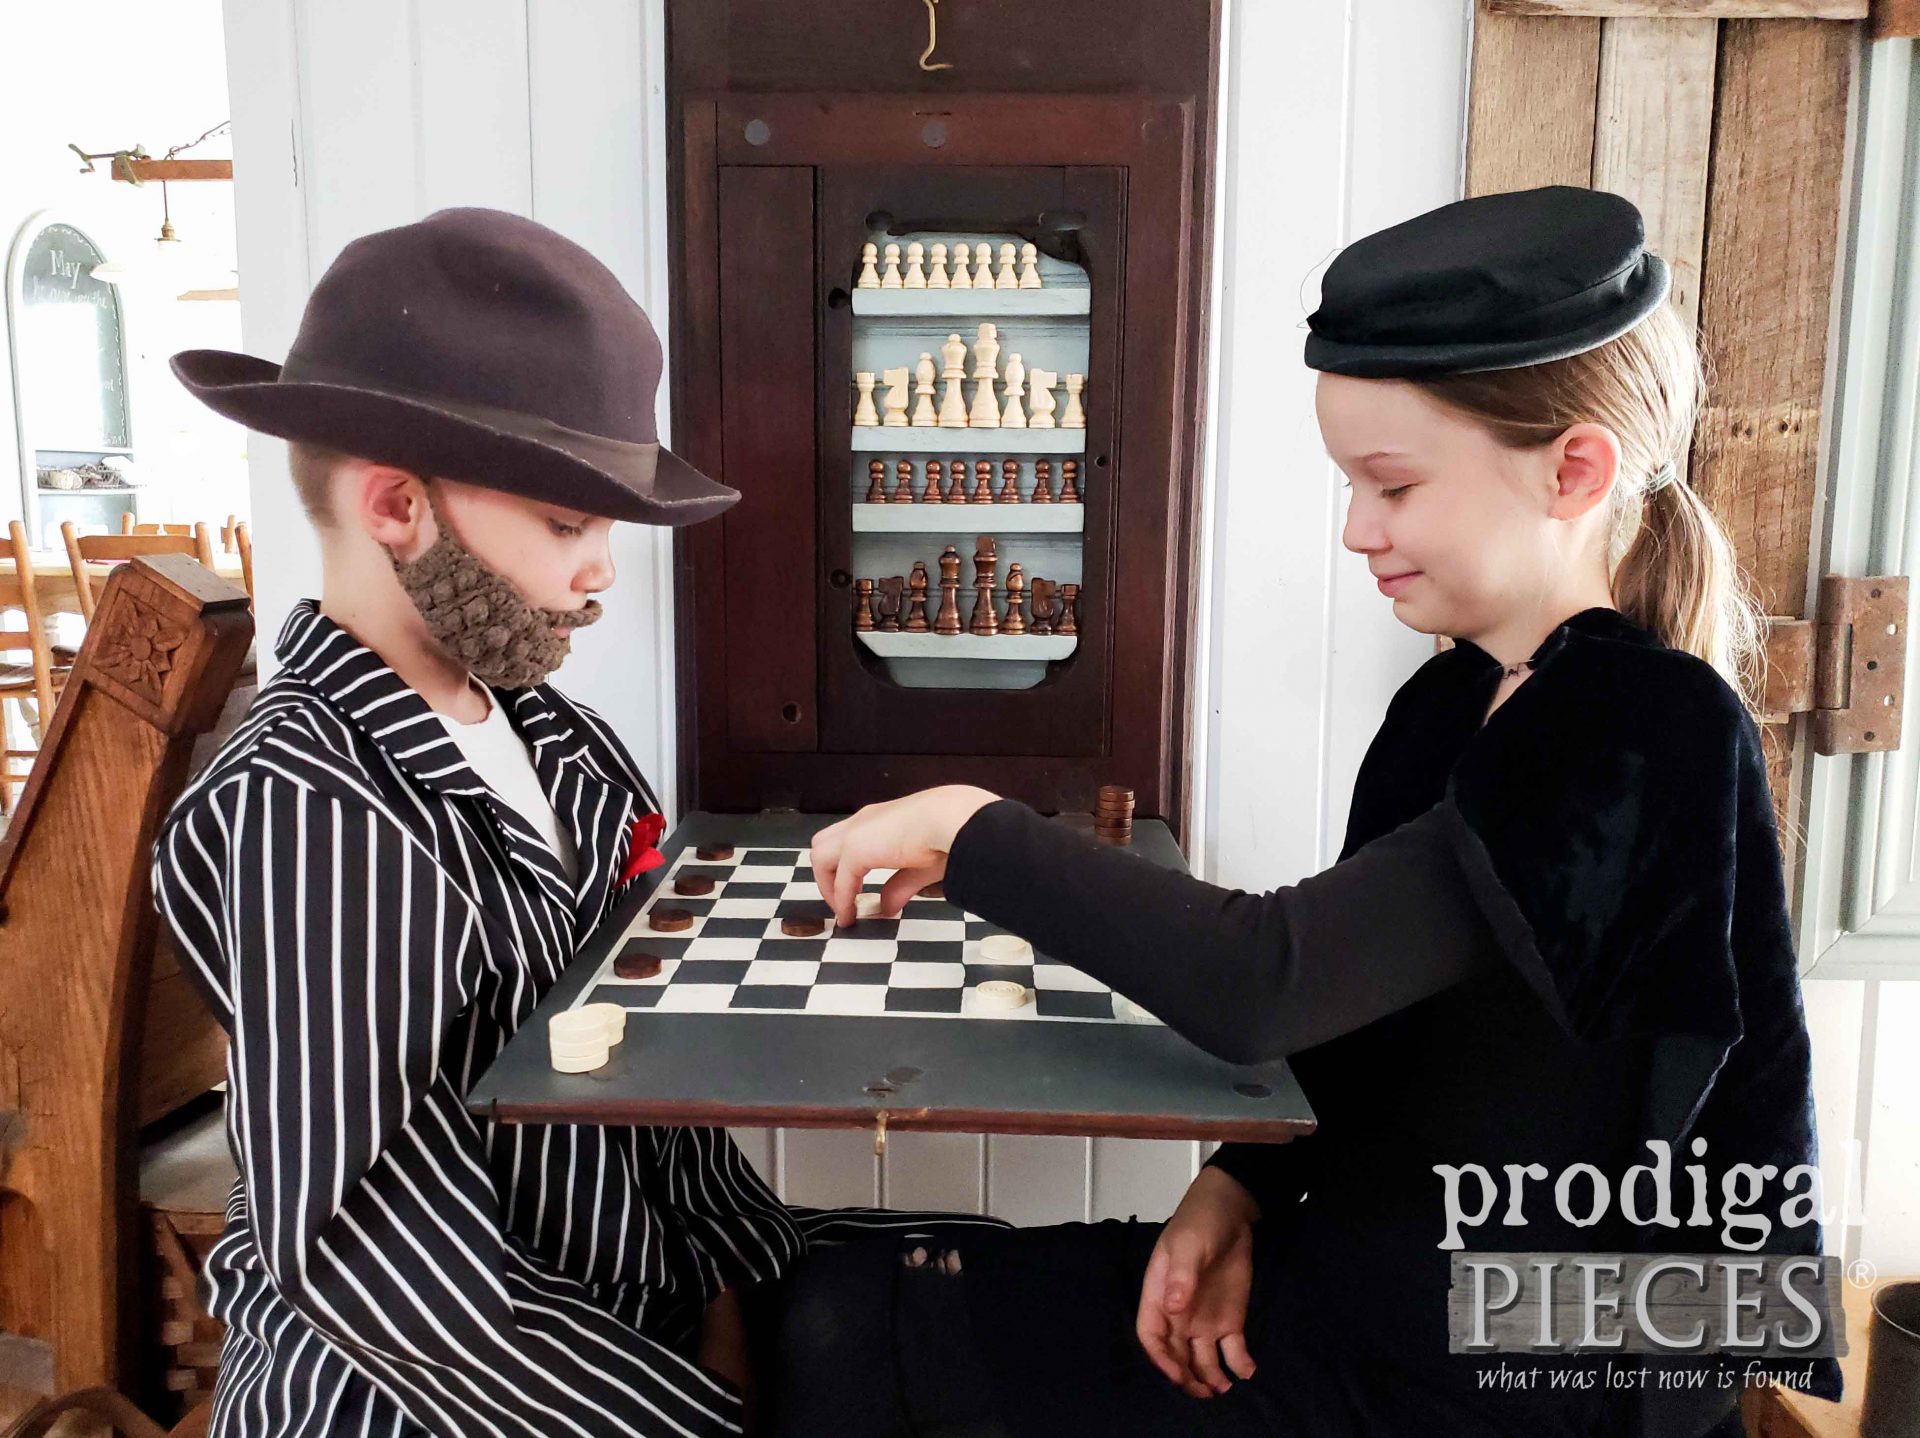
It came out just as I had envisioned for all these years, so I can definitely say I’m smitten. If you notice, you can see I added a hook to the top for extra closure. The corbel swings out and gives full support to the chess/checkerboard.
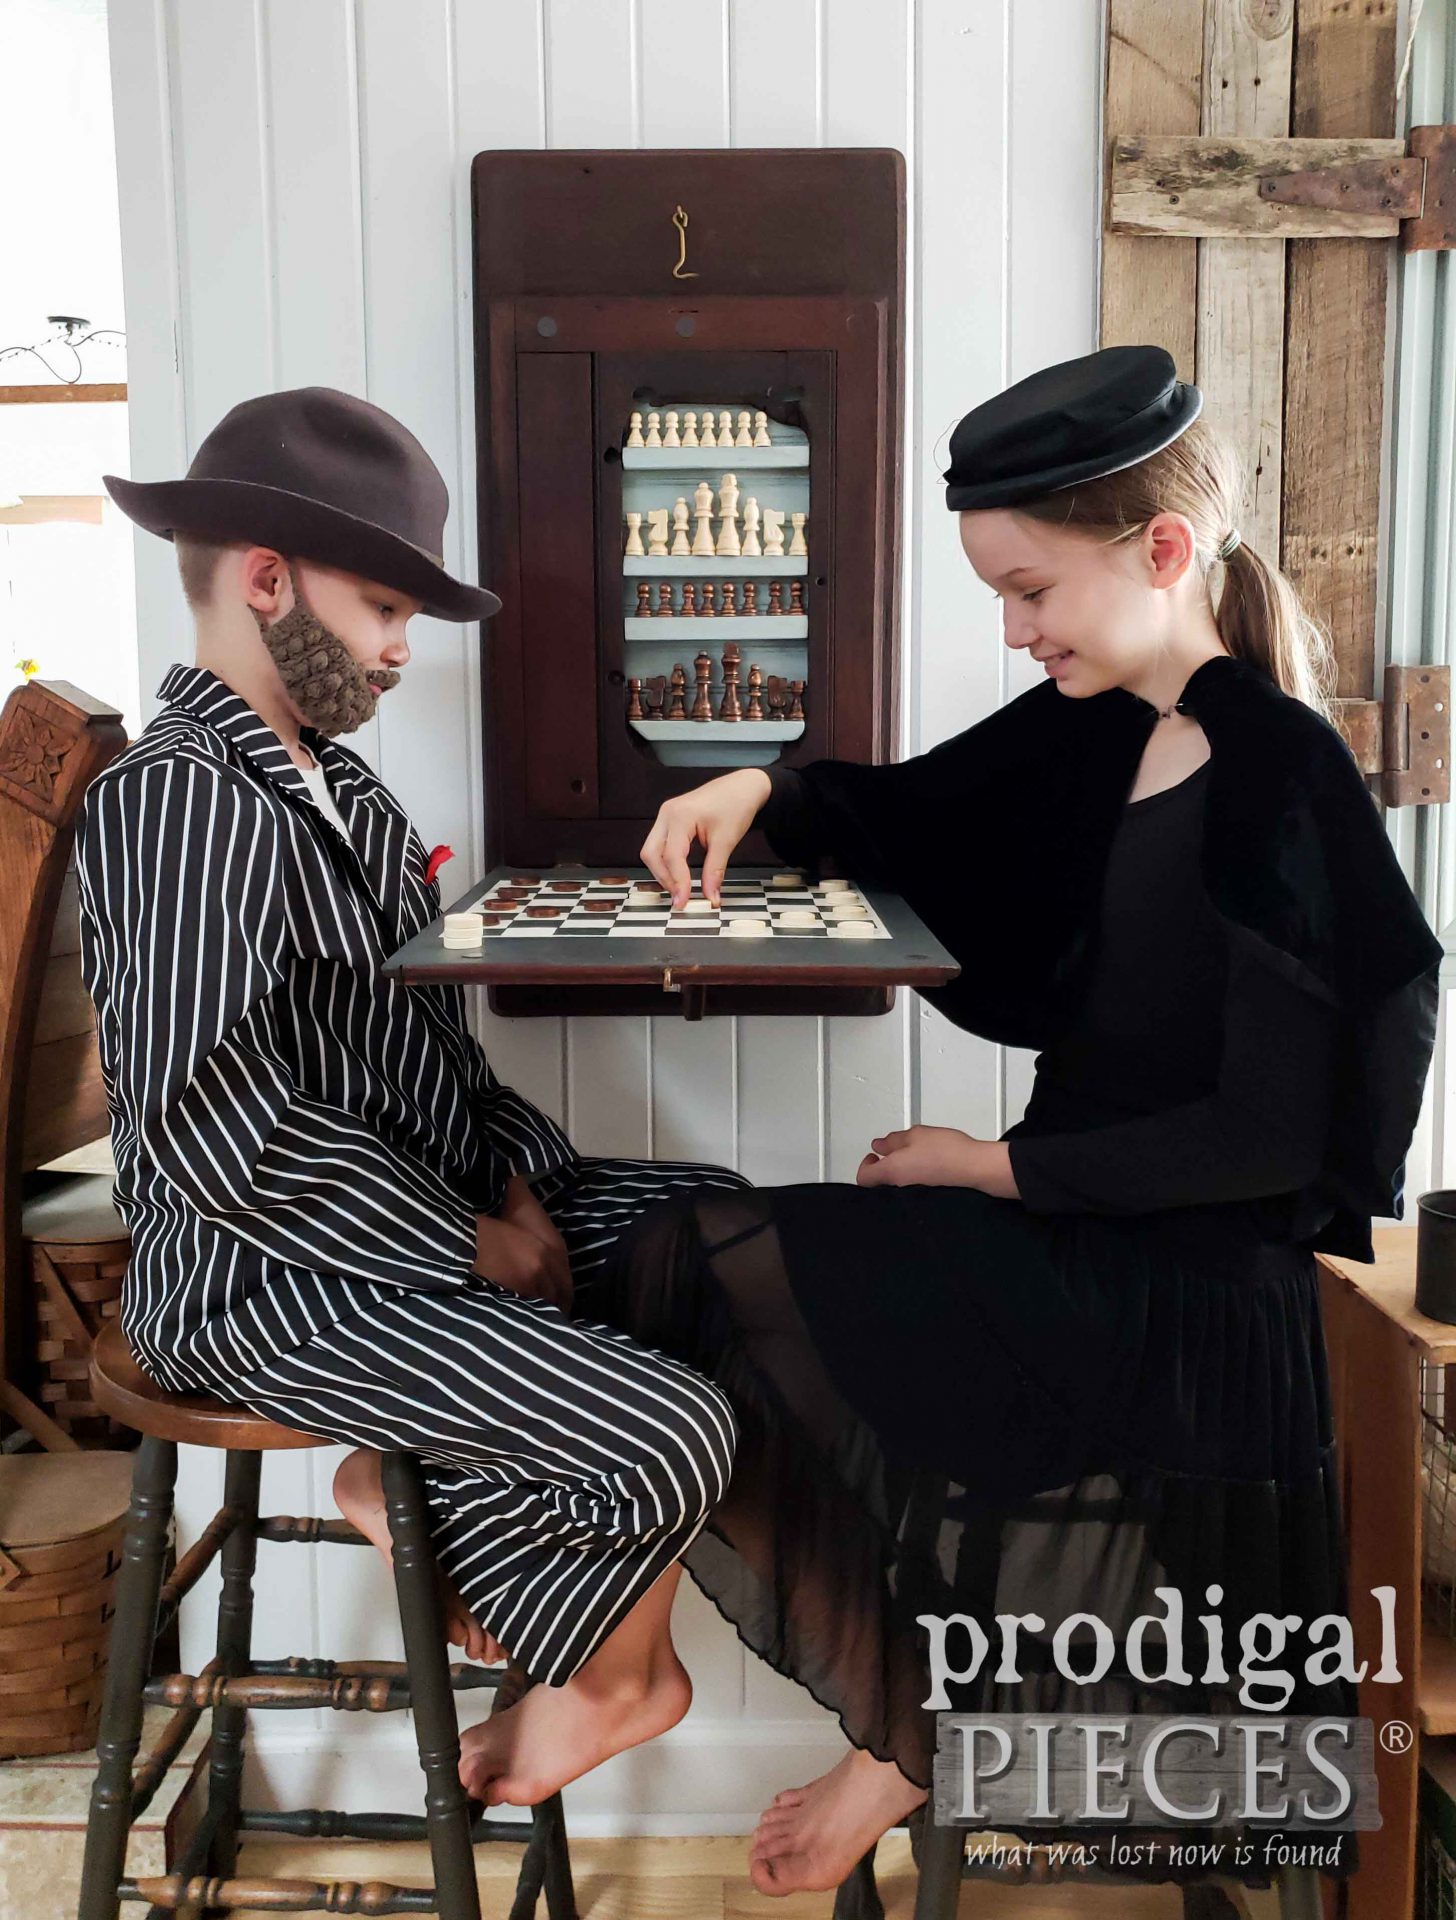
Isn’t it fun?!? Two of my six kids were more than eager to give my creation a test run. This same duo helped me stage my rocking chair turned horse project too. And yes, this is their normal way of playtime with their vintage clothing. My kids rock, just sayin’.
Bonus is that every part of this creation came from my stash, hardware and all. The only new thing is the chess/checkers set. I debated on making an edible set as we do around here. I have a chocolate mold for a chess set and make them so you can eat the opponent when you capture them. mwahahaha.
My junk lovin’ self is delighted with the outcome. It is functional, but also decorative as most would never know what hides inside. I’m eager to hear if you have been inspired. If you’d like to own this game board, it’s now available in my online store.
WRAP UP
Do pin and share my upcycled antique sewing machine creation. You just never know who may have a similar one sitting around for four years or so. ahem.
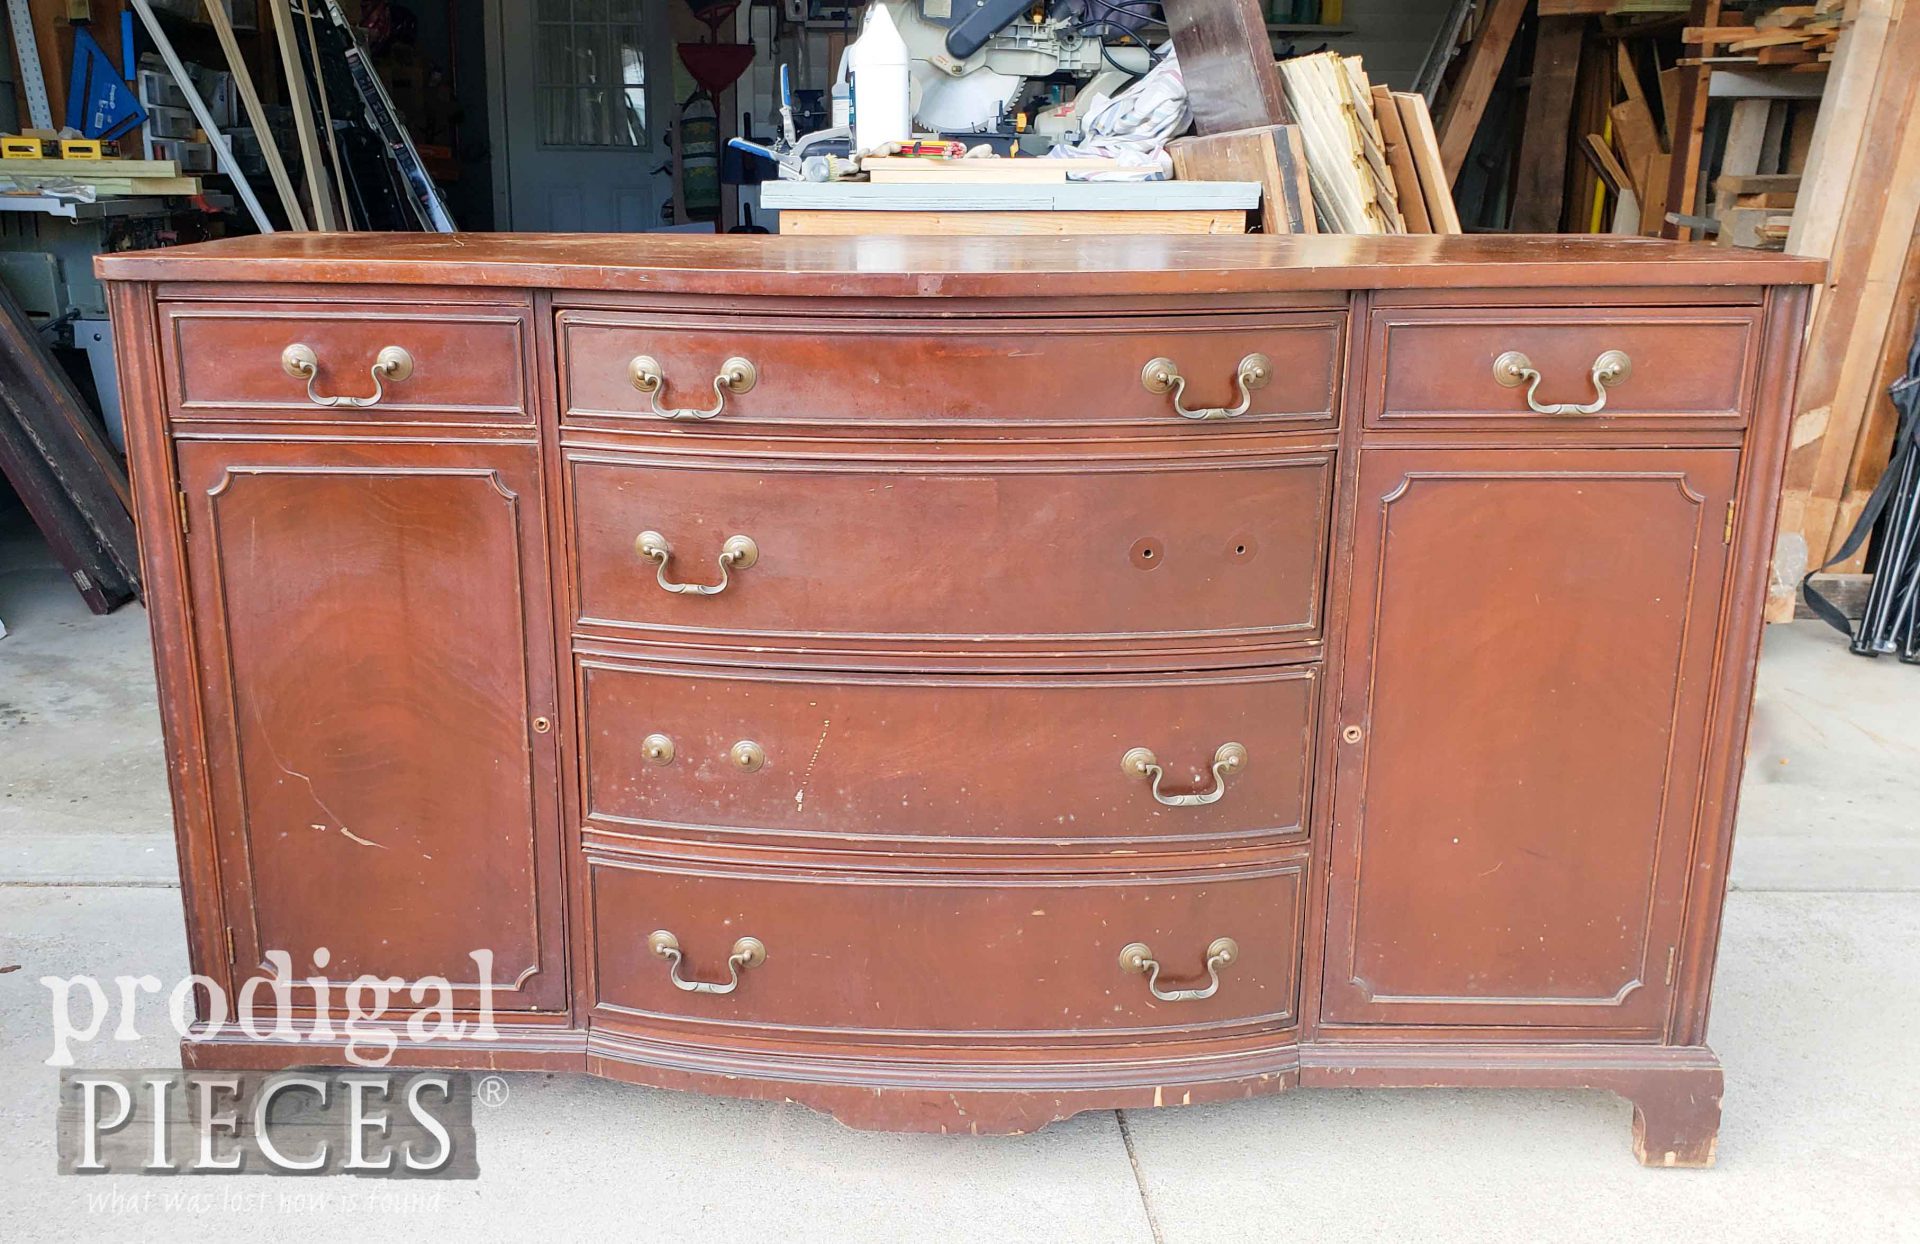
Up next, I aim to tackle this buffet. See the new look and lend a helping hand HERE.
To get these DIY tips & tricks in your inbox, be sure to sign up for my newsletter. Until next time!
Check out these funtastic DIYs to inspire YOU.





The Antique sewing machine top WOW
Just moved and this has really inspired my creative juices for my new home.
I do have one question and maybe I missed it.
Is it possible to show the back side where the chess pieces site when not in use.
Did you use the original backing and the little sheves for the pieces to rest on.
Many Thanks for all that you do
Congrats on the new move! 😀 I simply added a piece of beadboard with a few piece of scrap as shelves added.
This is one of the most ingenious up-cycles I think I have ever come across. 10/10 fantastic.
karel [Ashurst Wood, West Sussex, UK]
Hooray! That is so fun for me to hear. Thank you!
Oh my goodness, this is just fabulous, Larissa!! You seriously rock, and so do your kiddos! Love it!! XOXO
You know I had a blast with this. Thanks, girl! I just wish we could get our shed done. Looking ahead to new things.
Wow, this is so beautiful Larissa! Totally out of the box – beyond what I thought you were going to do (I try to guess where your mind is going on these makeovers). I adore the work that you do with these unique pieces. You’ll have to excuse me now while I go into the garage to be inspired. Hugs!
You are excused! hee hee! You are so fun, Karen. Thank you for the love!
WHOA! You have the wildest imagination EVER. That is amazing!!! Well done!
I hope you don’t think I’m crazy! haha! Thank you for the awesome love, Beck. 😉
That’s just an awesome idea!!
Yay! I’m delighted you think so, Marianna. Thank you!
Larissa, has anyone ever told you how brilliant you are? Who in the world would have come up with this idea? I know i wouldn’t. Great job.
aww…you made me blush! Thank you, Cheryl. I do, however, need you to convince my husband of such things. tee hee.
Wow is a wonderful transformation and recovery…perfect!!!
I am so relived it’s done. Thank you!
Oh my word, this is such a clever idea and so well executed. Perfect for small home living too! Your models are ADORABLE too!
I kinda wondered if folks would think I’m a bit looney. haha! I finally got it done and that’s all that matters. Thanks so much for the love, Marie. 😀
That is just brilliant!! And oh my gosh, how cute are your kids! xoxo
I always try to figure out what you’re going to do before I scroll down to see the completed project, but I NEVER get it right lol! You have such a creative mind and this project is just so perfect! And I absolutely love your children’s attire and how they willingly posed for you. They are adorable and made your project come alive ♥♥.
You are such a fun gal, Barb! 😀 I love that you do that as I do the same with my blogger friends. Makes it fun and even more surprising. Thanks for the love too. My kids couldn’t wait to join in the fun. 😀
What a wonderful upcycle ! So creative. I am wondering where you found the graphic you used? I would love to frame it for my new sew room.
Thank you, Mary! I found it online and have it pinned to my fonts and ephemera board on Pinterest: https://www.pinterest.com/prodigalpieces/
This is soooooo creative and amazing!!! What an imagination you have! You are inspiring me to make things!
Wahoo!! That’s the DIY spirit, Robin! 😀
Wow Larissa, I don’t think anyone on the planet could ever guess where you were going with this sewing machine top! This makes such a pretty piece of “functional” art! I loved seeing your kids in this post too!!! Well done my friend!!
I’m that kinda crazy girl! 😀 You should know that by now. haha! Thank you so much. I had a blast and they did too.
Genius. Genius I say. Seriously amazing, Larissa! I don’t know how you do it!
Aw shucks! 😀 Thank you, Jeanette. I can’t believe I finally got it done. My workshop is emptying out fast!
I love this and I HAVE a vintage sewing machine cabinet! I also have an etched glass chess board that needs a home and maybe the ideal place to hang it! Thanks again for the inspiration!
Awesome! I’d love to see what you do with it.
Awesome, awesome, awesome! And I love the beard!
hee hee! My kids just love dressing up in vintage clothes. It makes me smile from ear to ear as I did the same as kid. Thanks, Susan!
Sooo creative. From what looked like a piece of trash after salvaging all the best pieces you definitely turned it into a treasure…. errh trashure. I look forward to your posts every week. You’re inspiring.
P.S. Your helpers are adorable.
Yay for trashure! 😀 I’m so glad you enjoyed it. I had fun creating and sharing.
LUV this!!!! I have an antique treadle sewing machine that belonged to my great aunt who came over from Italy at the beginning of the last century. I kept all the old thread spools and sewing needles from the 1940’s still in the drawers!
Oh my goodness! That is an amazing treasure you have. Enjoy!
I’m speechless… fantastic creation Larissa!
That means so much to me, Olga. Thank you!
Larissa that is such a fun surprise to see it opened with the checkerboard inside. I bet the kids must love it.
Fun! They do. We have so many sets and each one makes it fun. This one will find a new home soon. 🙂
Amazing idea, so clever.
Thank you bunches, Lori. I had a blast! 😀
This is awesome! You always come with the best ideas. Who would’ve thought of that? YOU!
Now, those models… the cutest!
I know I’m a nut. haha! Thank you for giving me a giggle, Cristina. 😀
Great idea and save, Larissa! Very clever. Your kids look like mini versions of you and your hubby sitting there. 🙂
It was finally time for it to shine. Thanks, Jen. 🙂
I love your “outside the box” thinking. I just dismantled my first piece of furniture to make something else out of it. I hope it comes out half as good as your chess table.
That is awesome!!! You will have a blast. It’s fun no matter what you do. Thanks for the love, Janet.
Oh my goodness Larissa! It takes SO much discipline for me not to flip to the end of your posts to see the finished product, but I make myself follow along with your processes as you create each of these one-of-a-kind creations, because process is so important. This is just amazing! You have inspired me to think out of the box with my sewing machine tabletop stored forever (in my stash :)! I have been wanting a place to fold clothes in my laundry room for ages, and can’t put a shelf over top of the washer/dryer cause top load, but this, this idea would work! Mounted on the wall! Woohoo! Thank you girlfriend for the inspiration! P.S. I recently made a little drawstring bag from a hood I cut off a shirt – also due to your creativity and inspiration. Thank you, thank you for sharing your gift with us, and with those precious children of yours too <3
You are so absolutely sweet, Mary! Your words are why I do what I do. I so want to inspire others and help folks enjoy the art of making their home story and blessing others. Thank you for the blessing! 😀