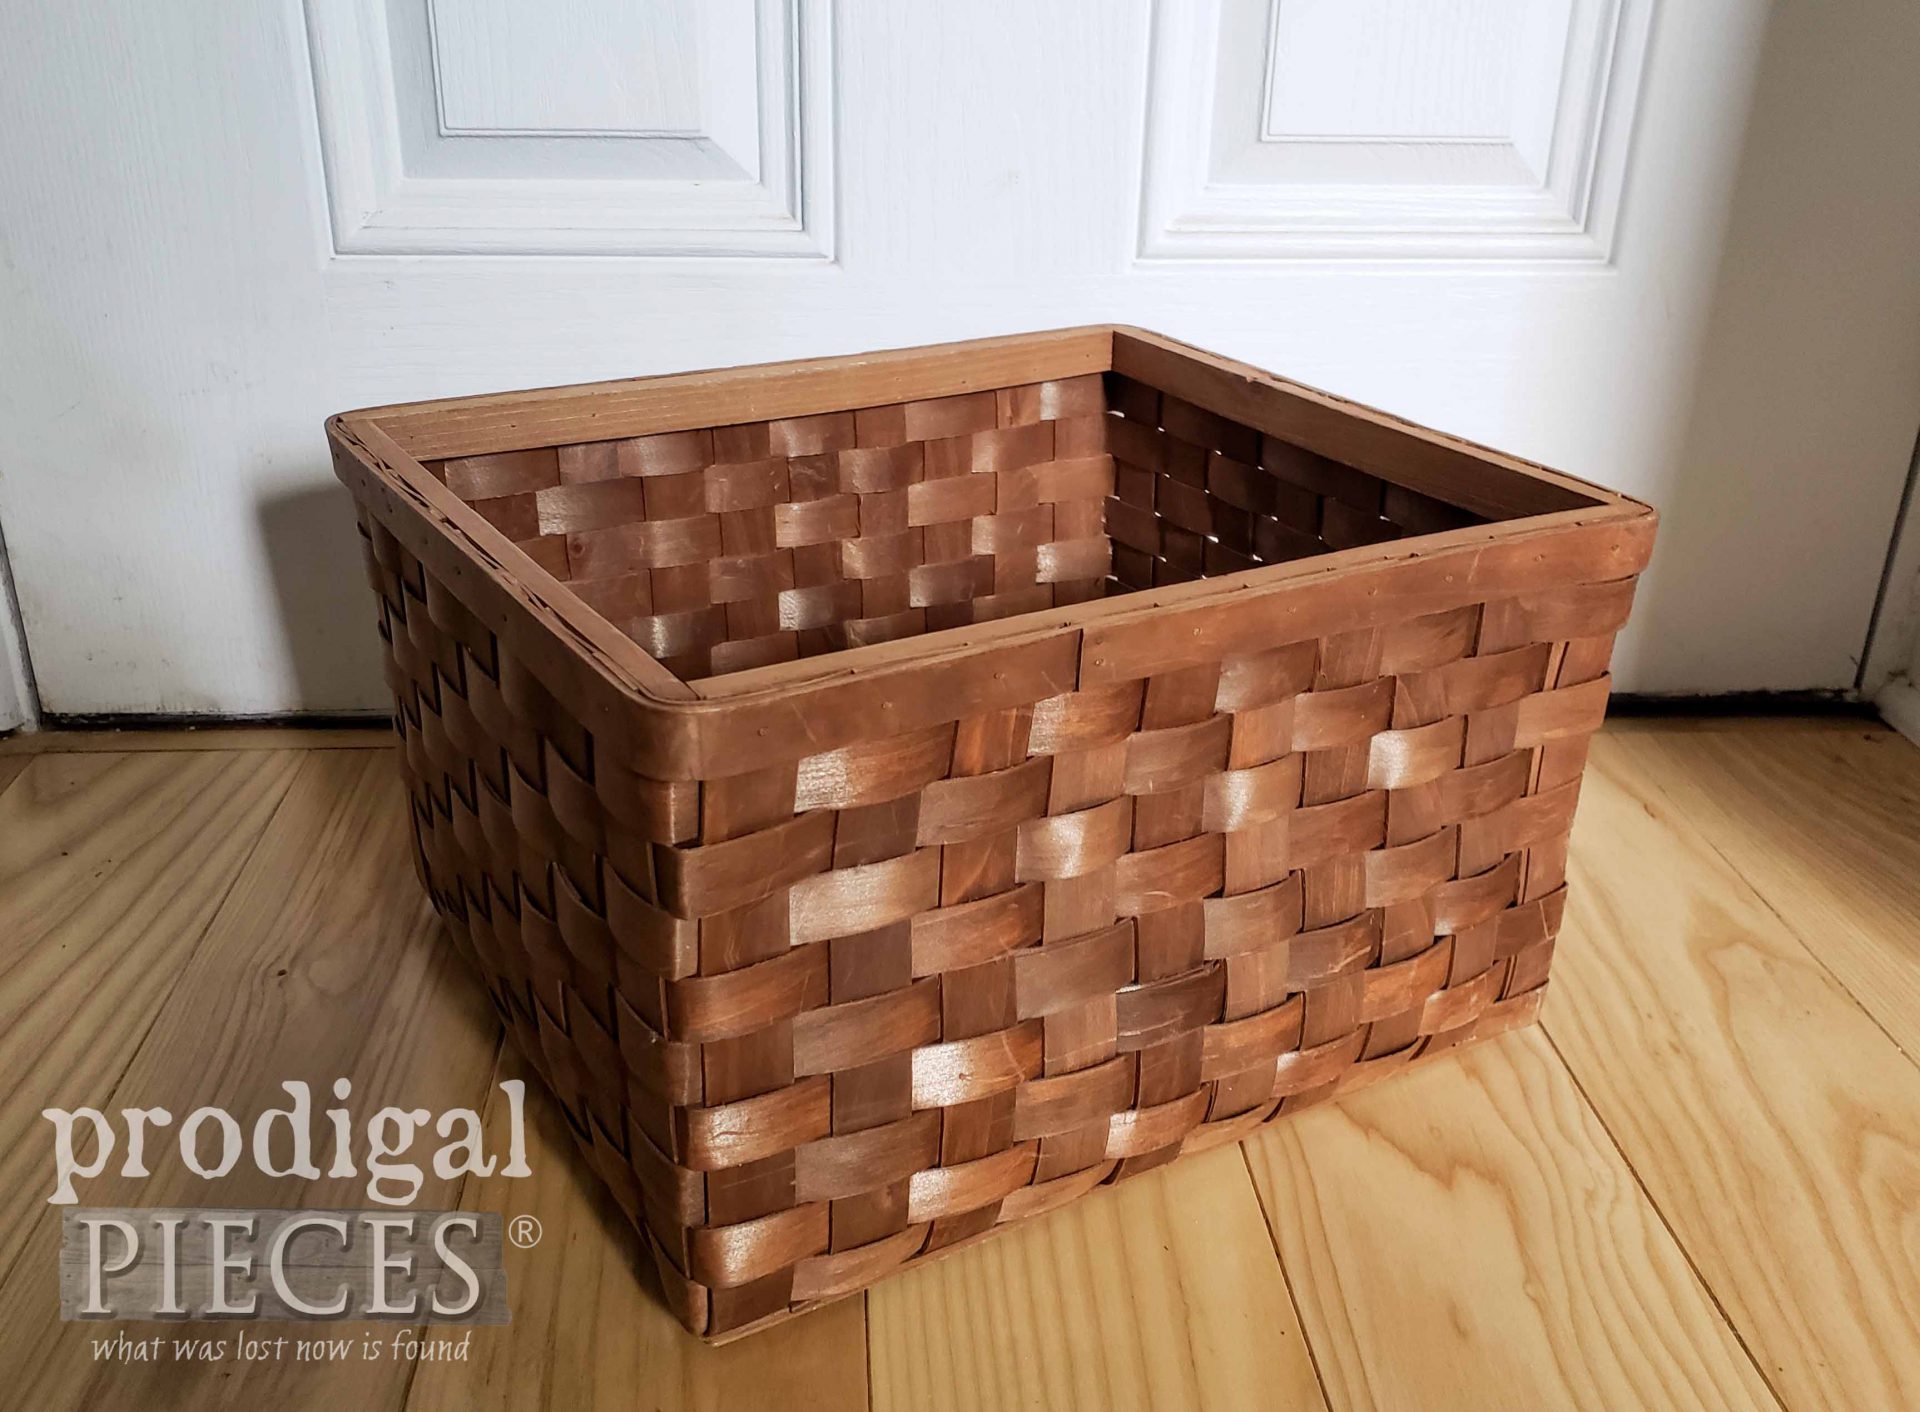
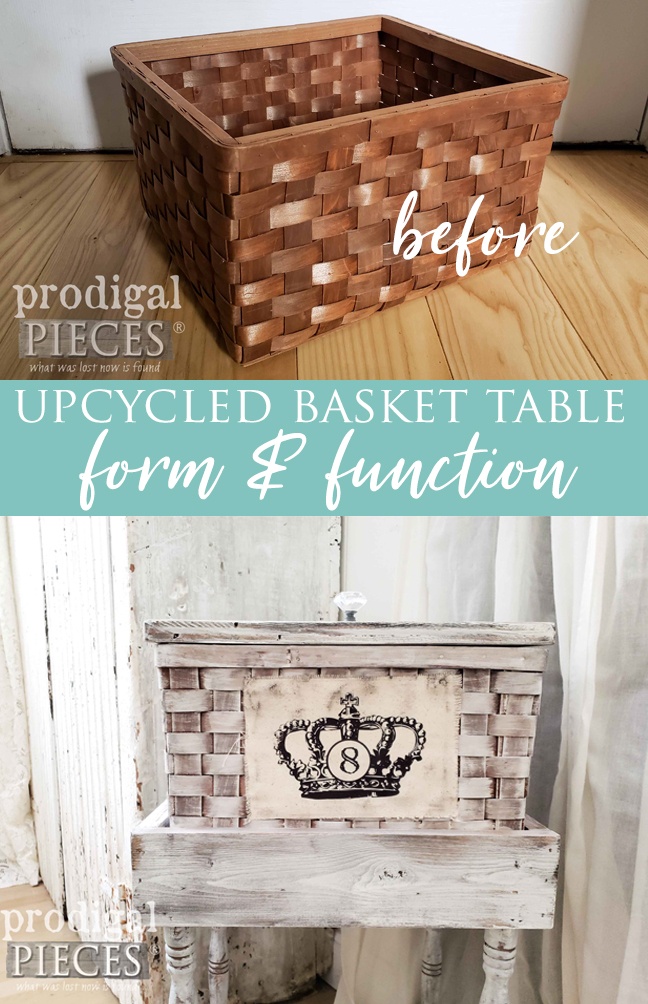
You know you’re a basket addict when…haha. I have always confessed my love for all things baskets, so that’s nothing new. So, today is about this lovely basket I found at the thrift store. It’s about to become an upcycled basket table with extra storage. Sound fun? Let’s have at it.
A junker gal is a true junker when she has a stash (that goes for guys too!). So, of course, I have a junk stash that I love to dig in and see what inspires me. Here’s what I pulled out to play with.
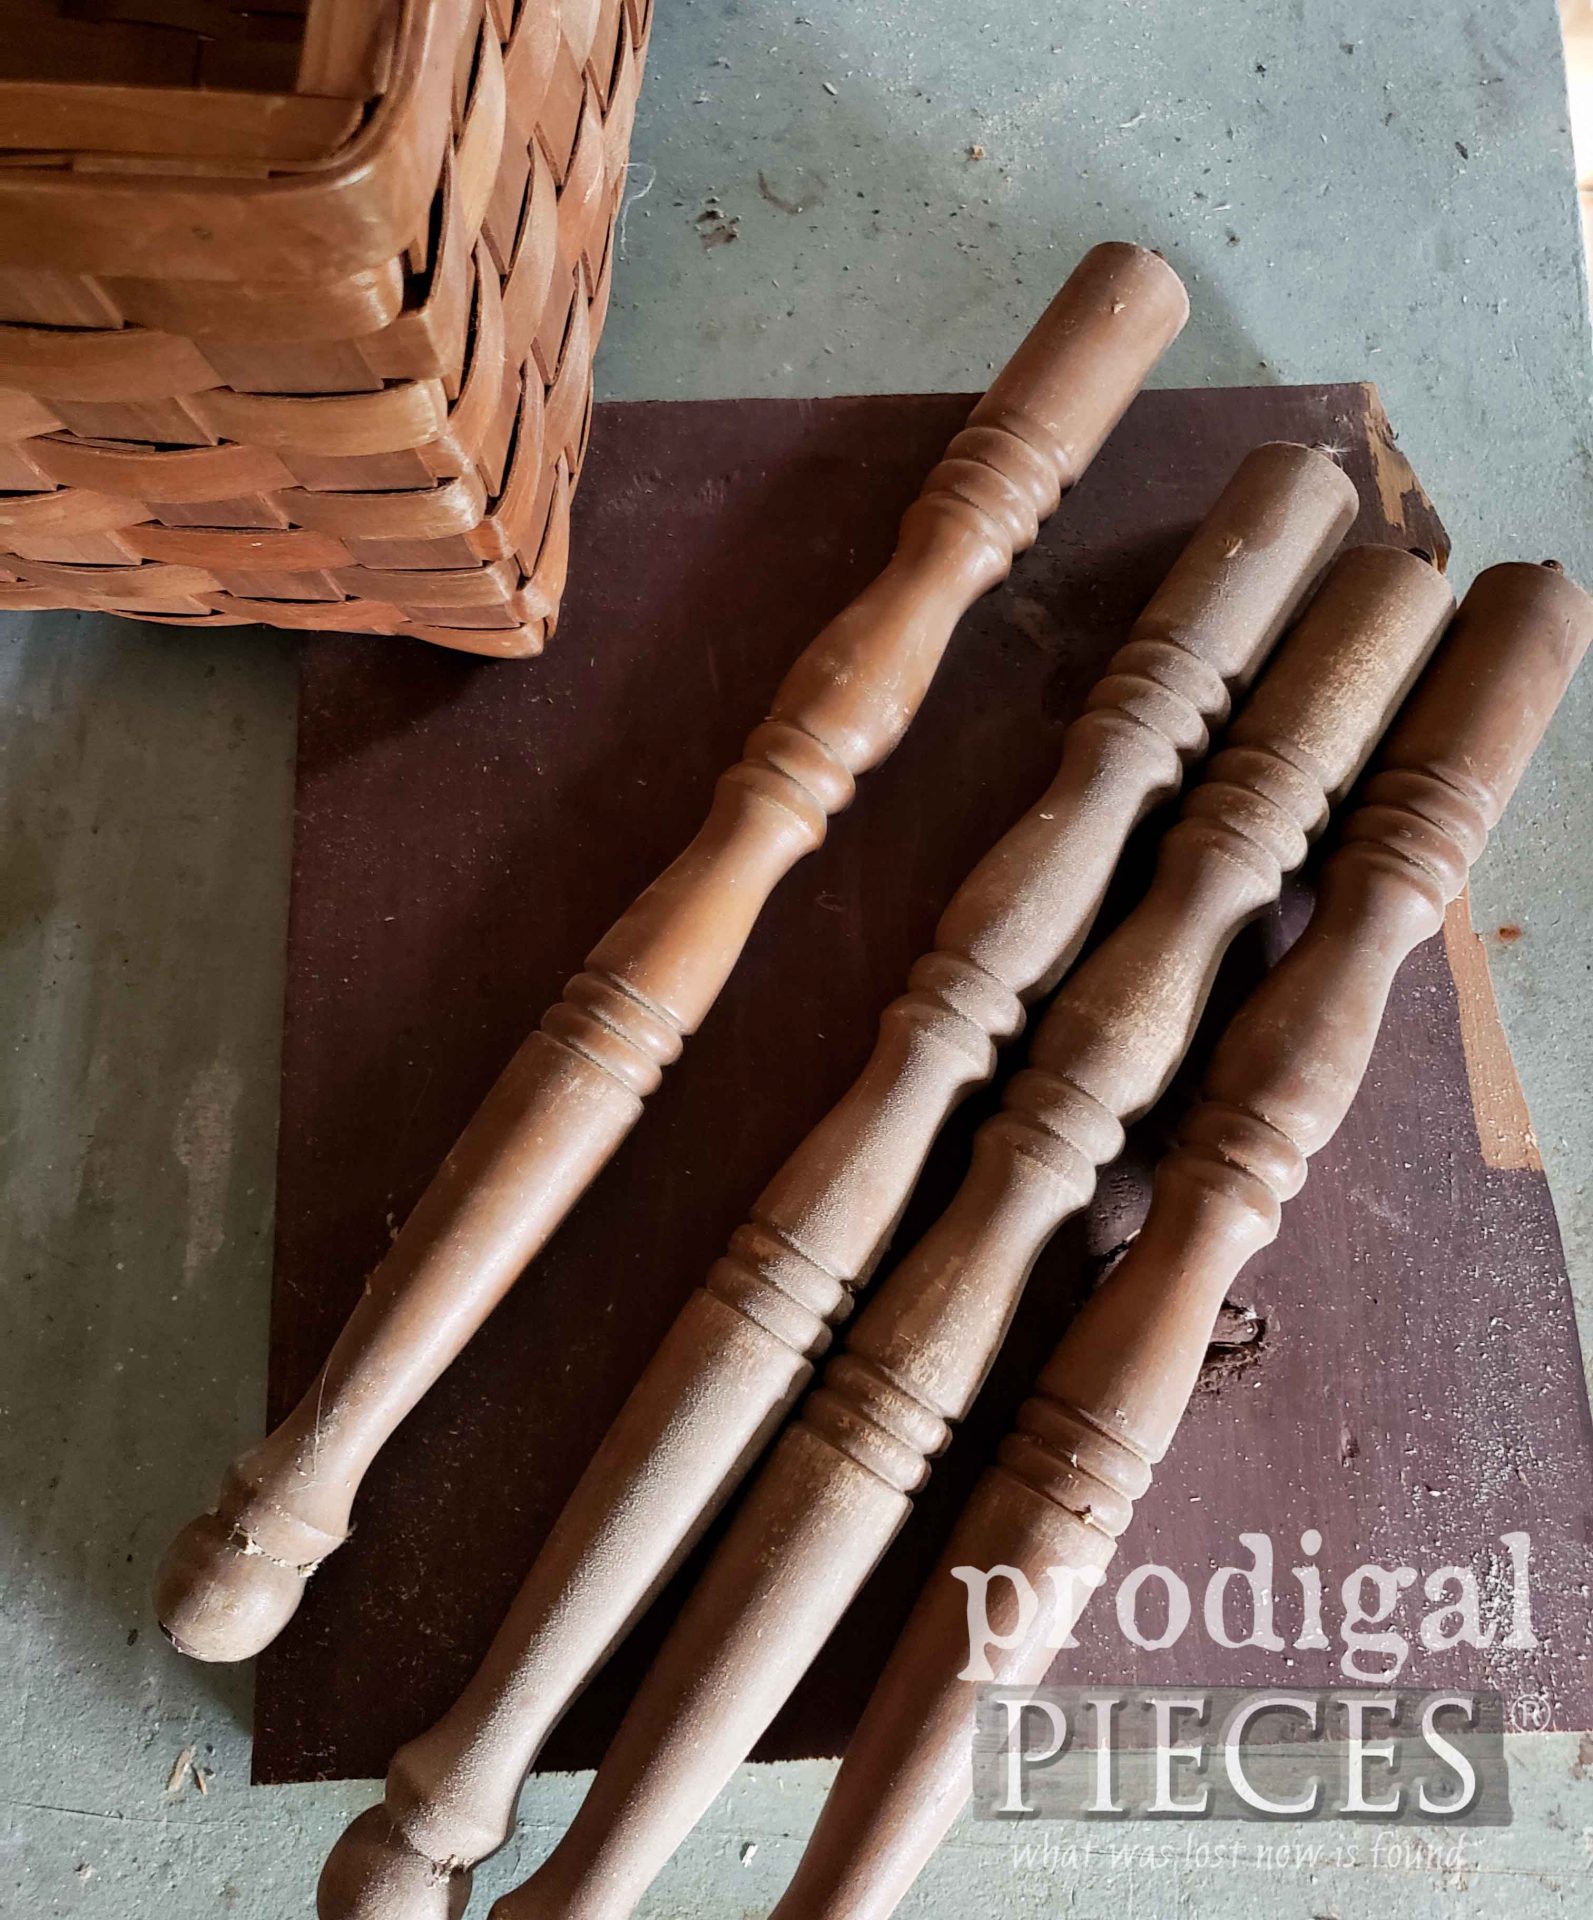
Additionally, I have these spindle legs and scrap wood that will do the trick. Do you see the potential? Plus, I also have this board from my recent shed remodel. You can see my son and I busting up the shelves in there. woot!
DIY TIME
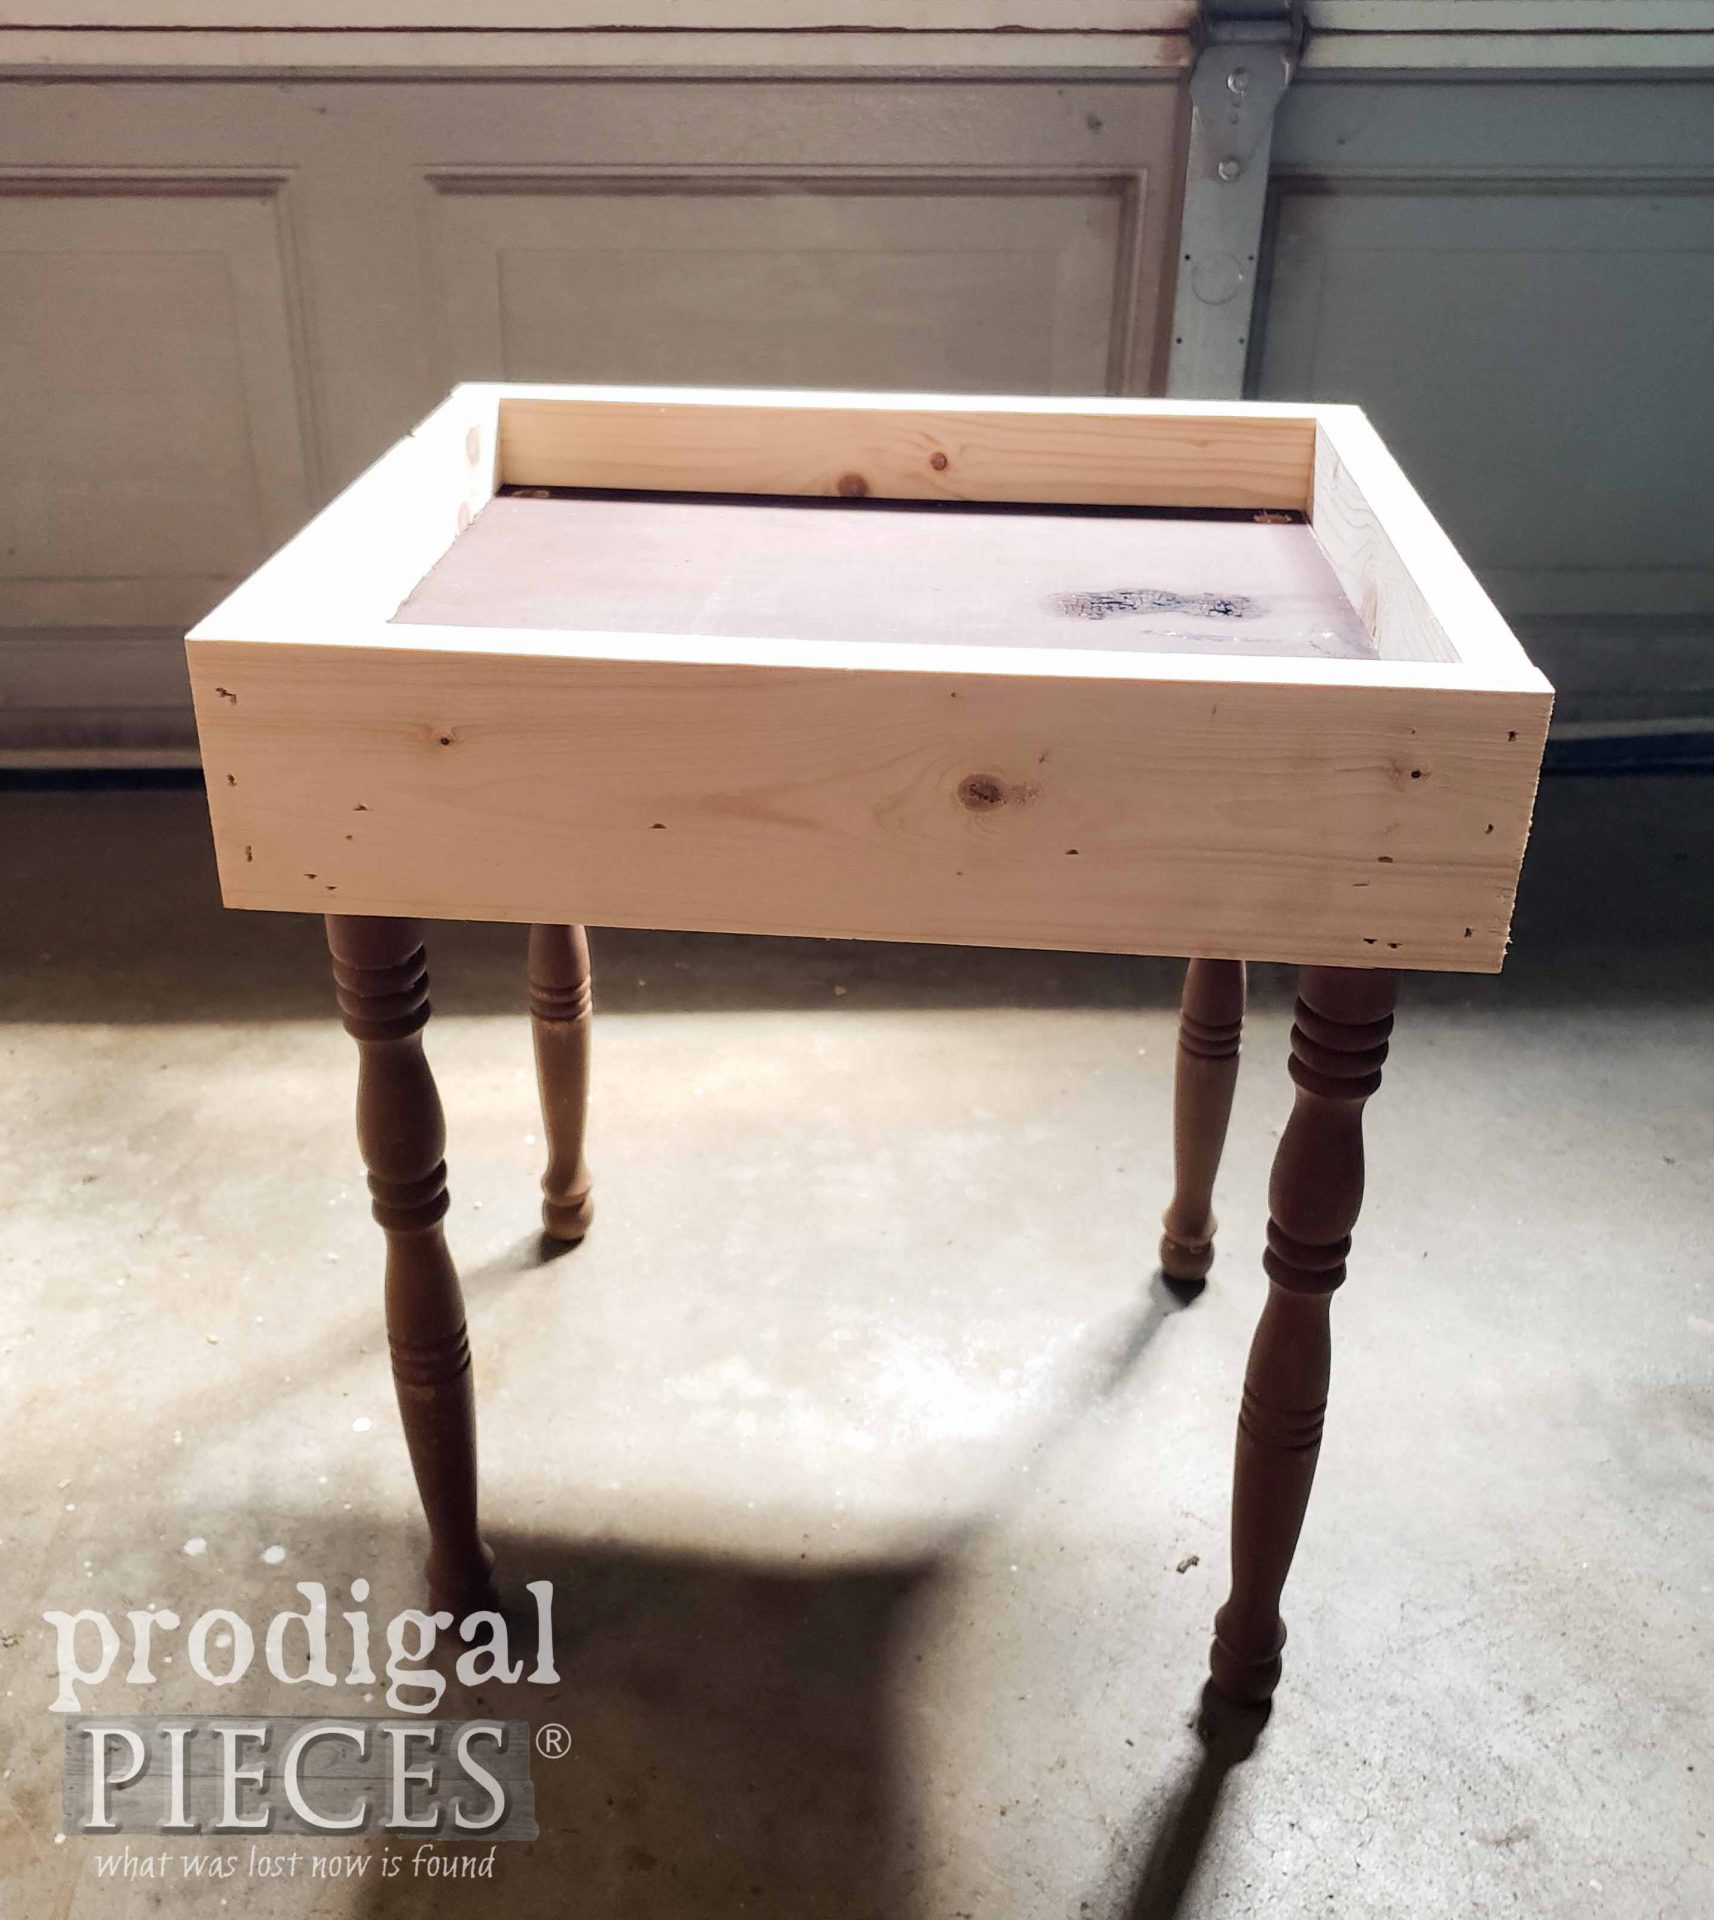
First, I use my miter saw to the the board to length. Then, I attached a few pieces of 1″x4″ board to make a recessed platform for my basket to rest in. Afterward, I added the spindle legs. I’m a sucker for turnings!
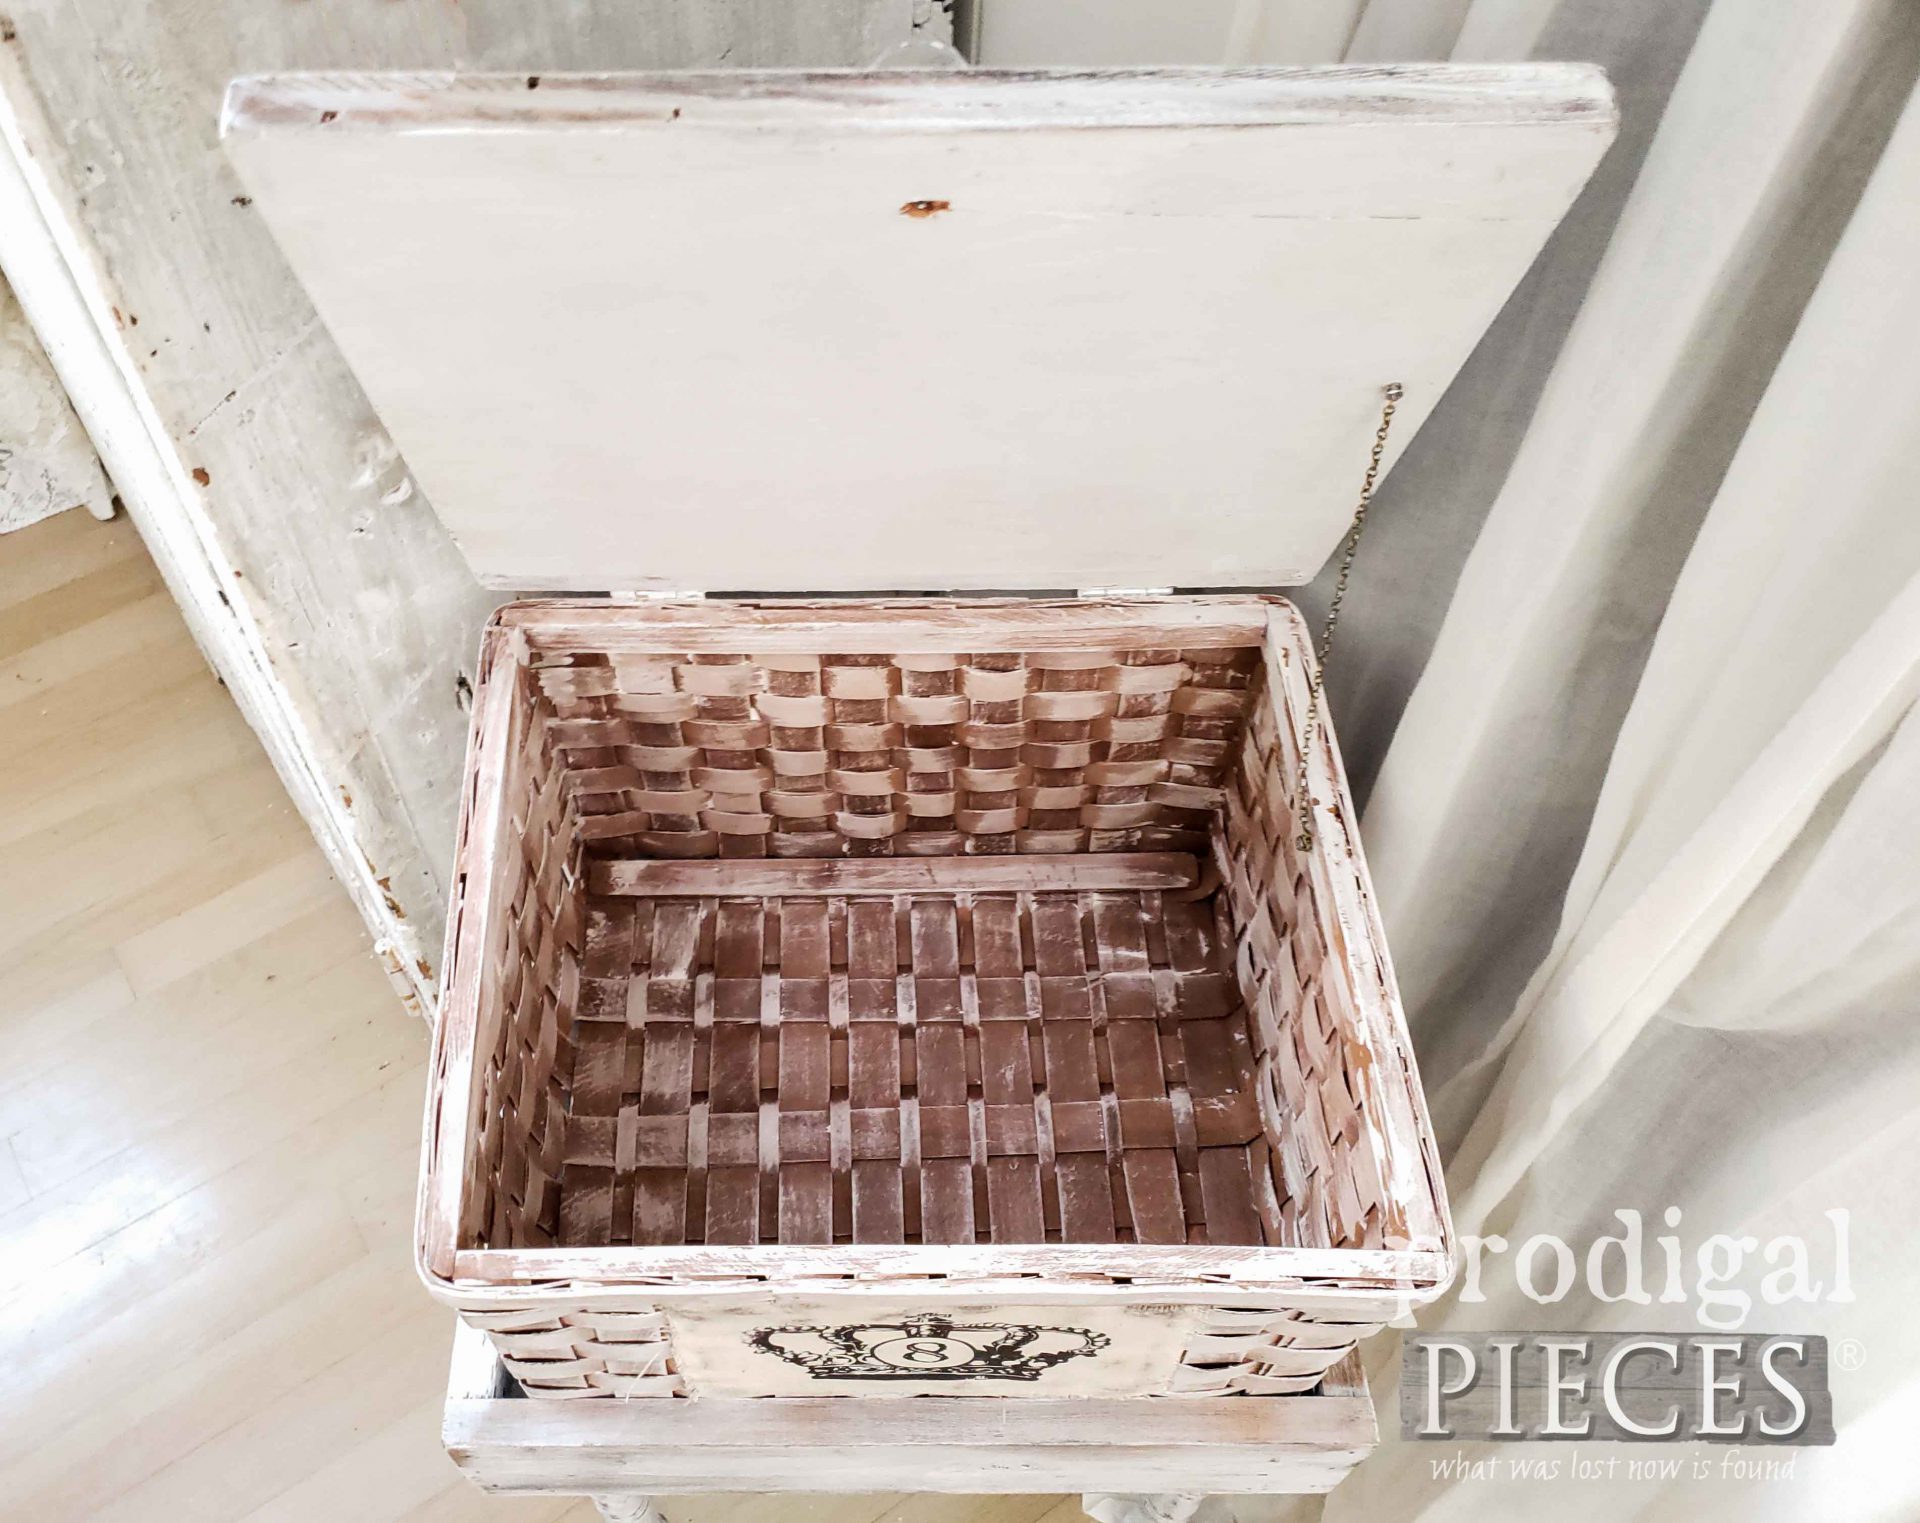
It may not look like much now, but there’s more fun to be had. With this in mind, I want this upcycled basket table to have the function of a side table, but also have added storage. To make that happen, I built the table to allow the basket to be portable. However, I also added a hinged lid to the basket to give it even more function.
NEXT STEPS
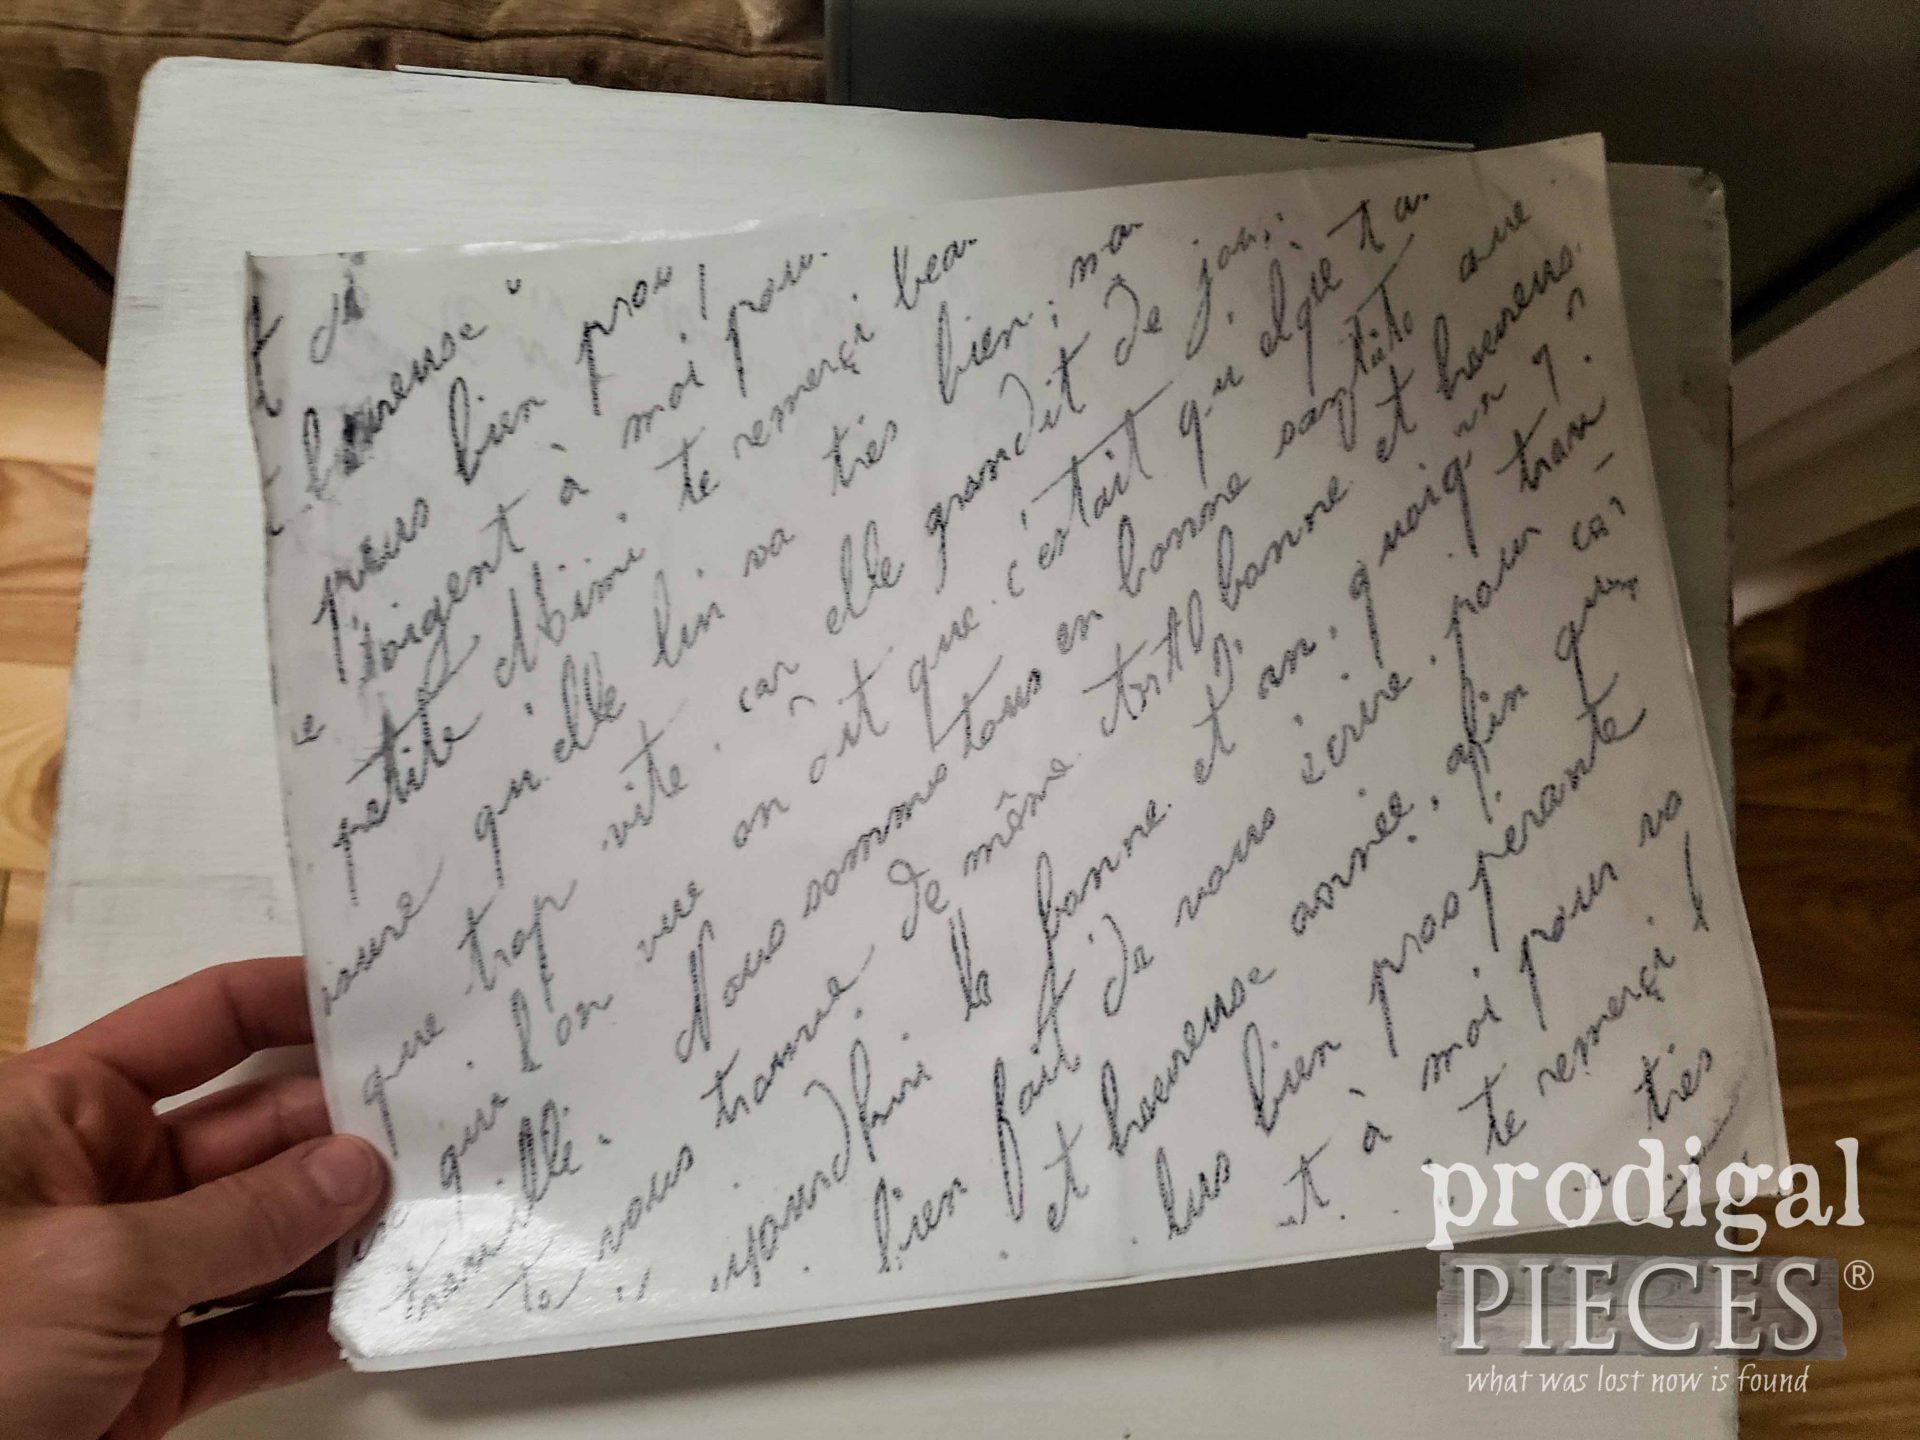
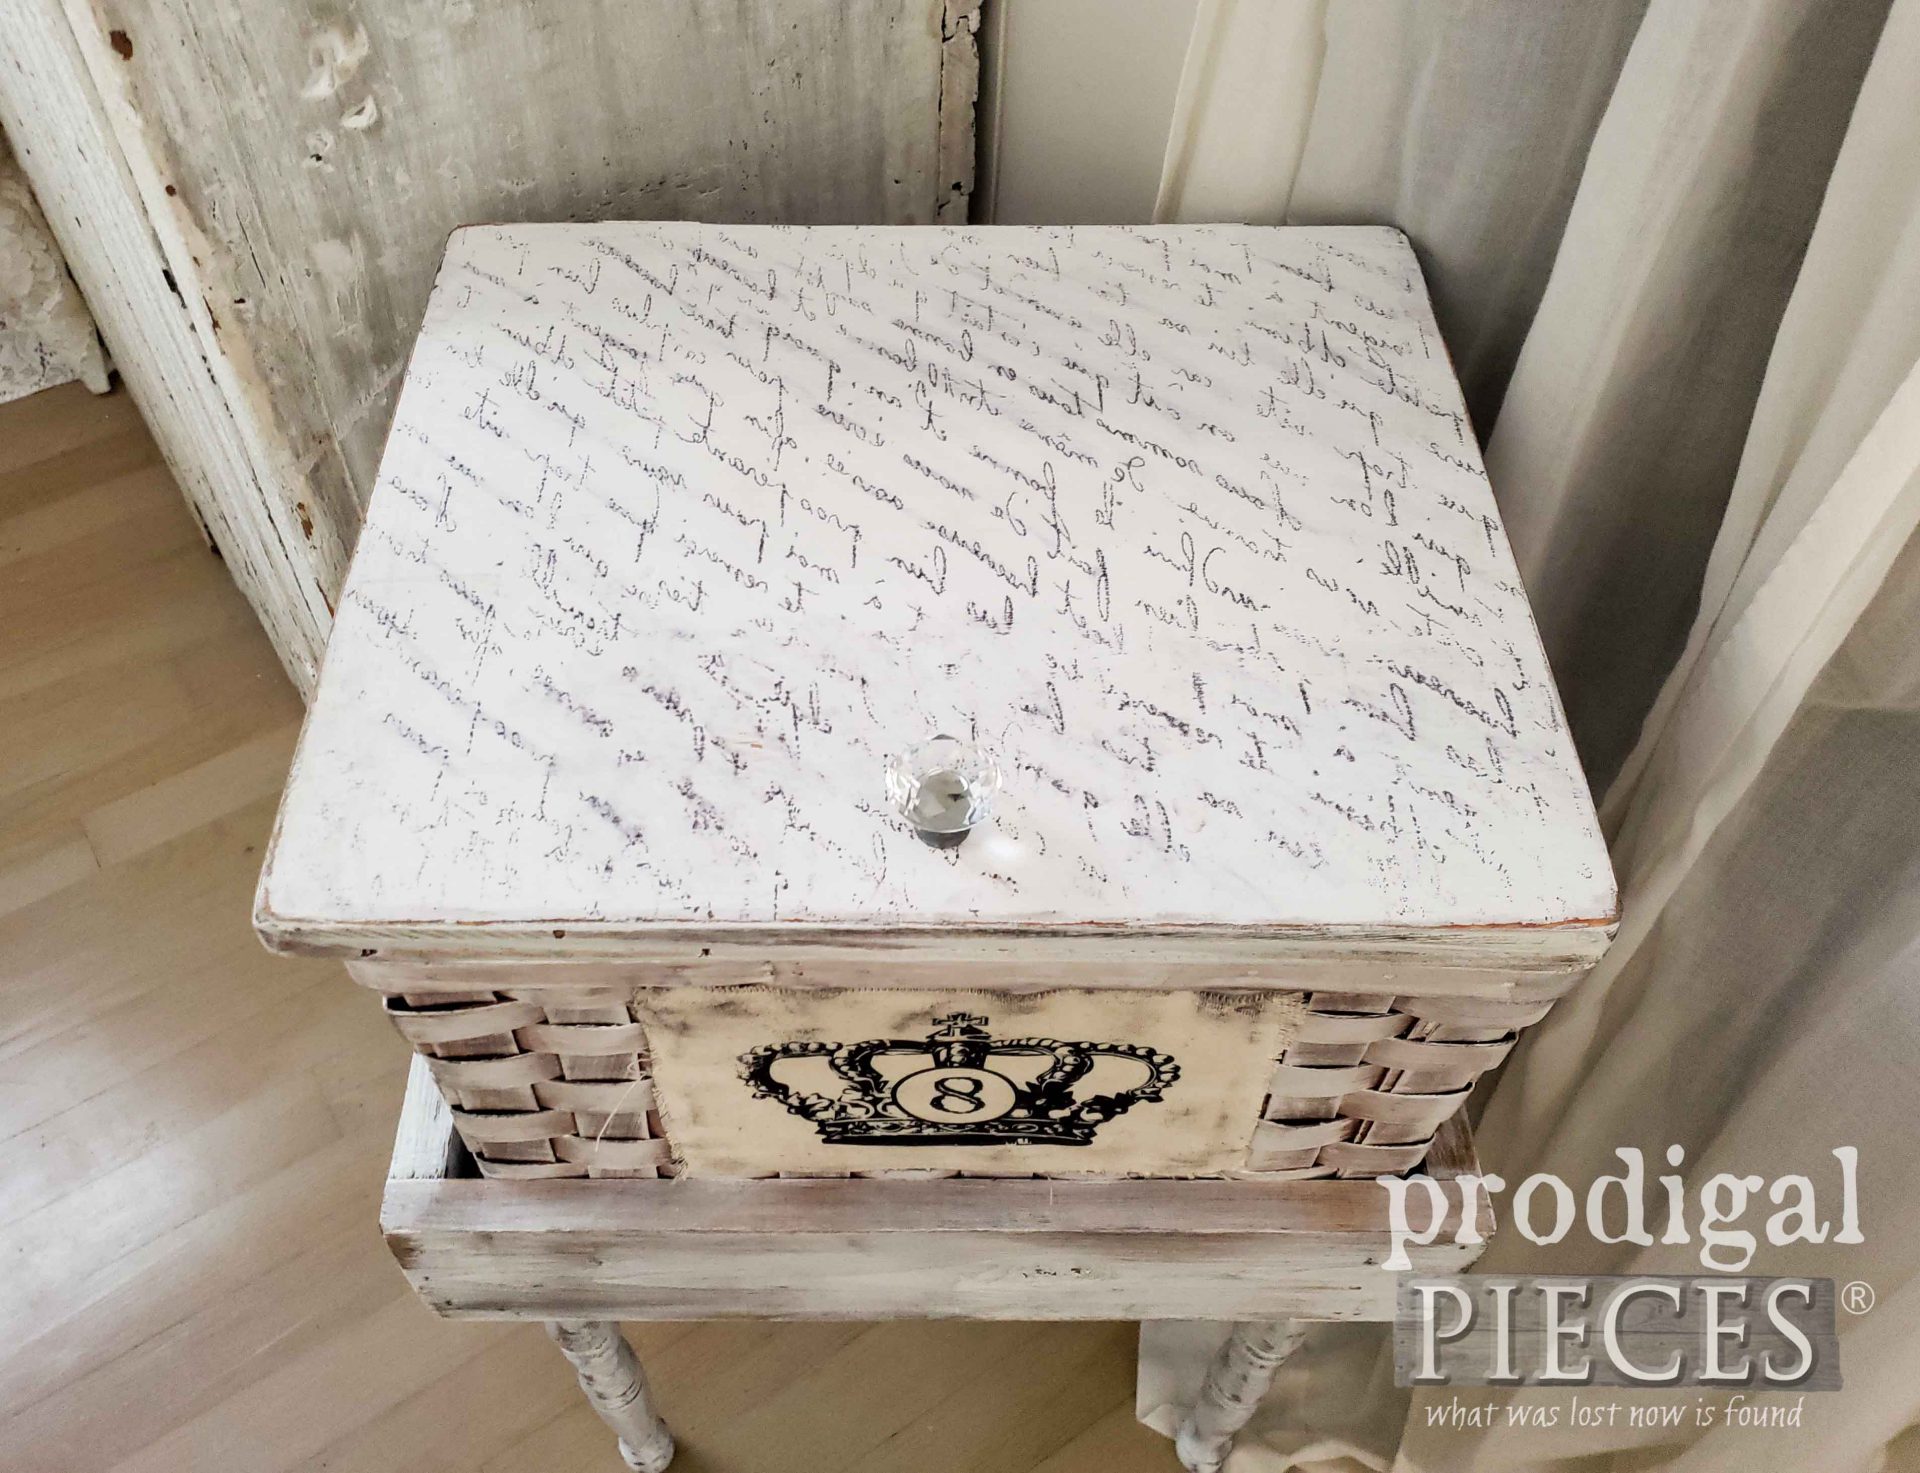
If you know me, I’m not going to just paint and be done. Oh no…I have to add whimsy and a bit of charm. So, of course, typography comes into play. First, I paint the entire set in a soft white. Then, I’m using this French Script to add texture and dimension to the top.
In addition, you can see the demo of how I applied it in my video below.
After that, I made a few touches to dress it up and add function to it all.
THE REVEAL
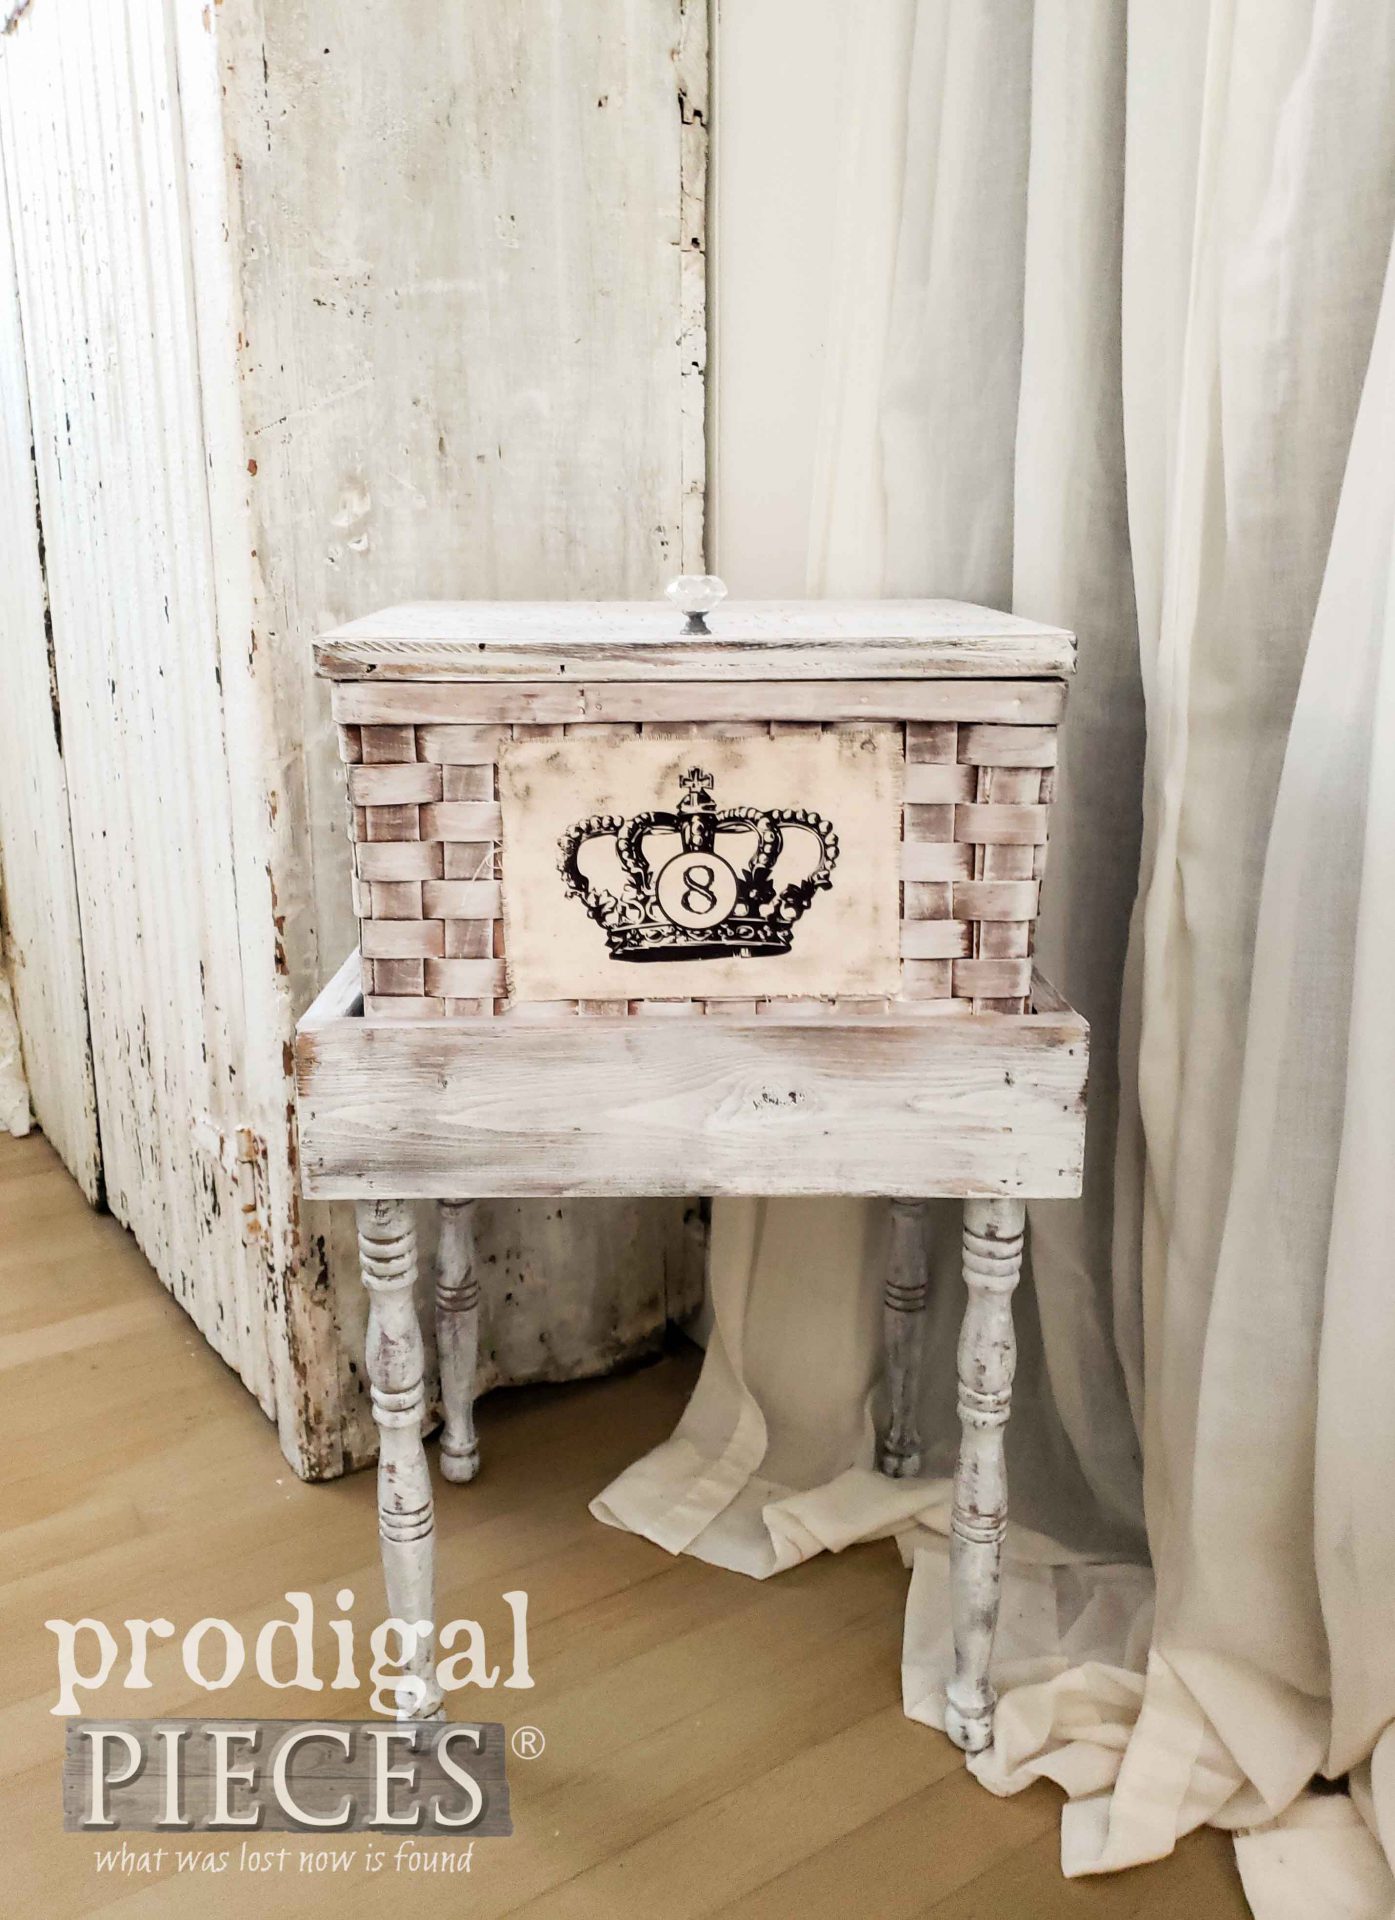
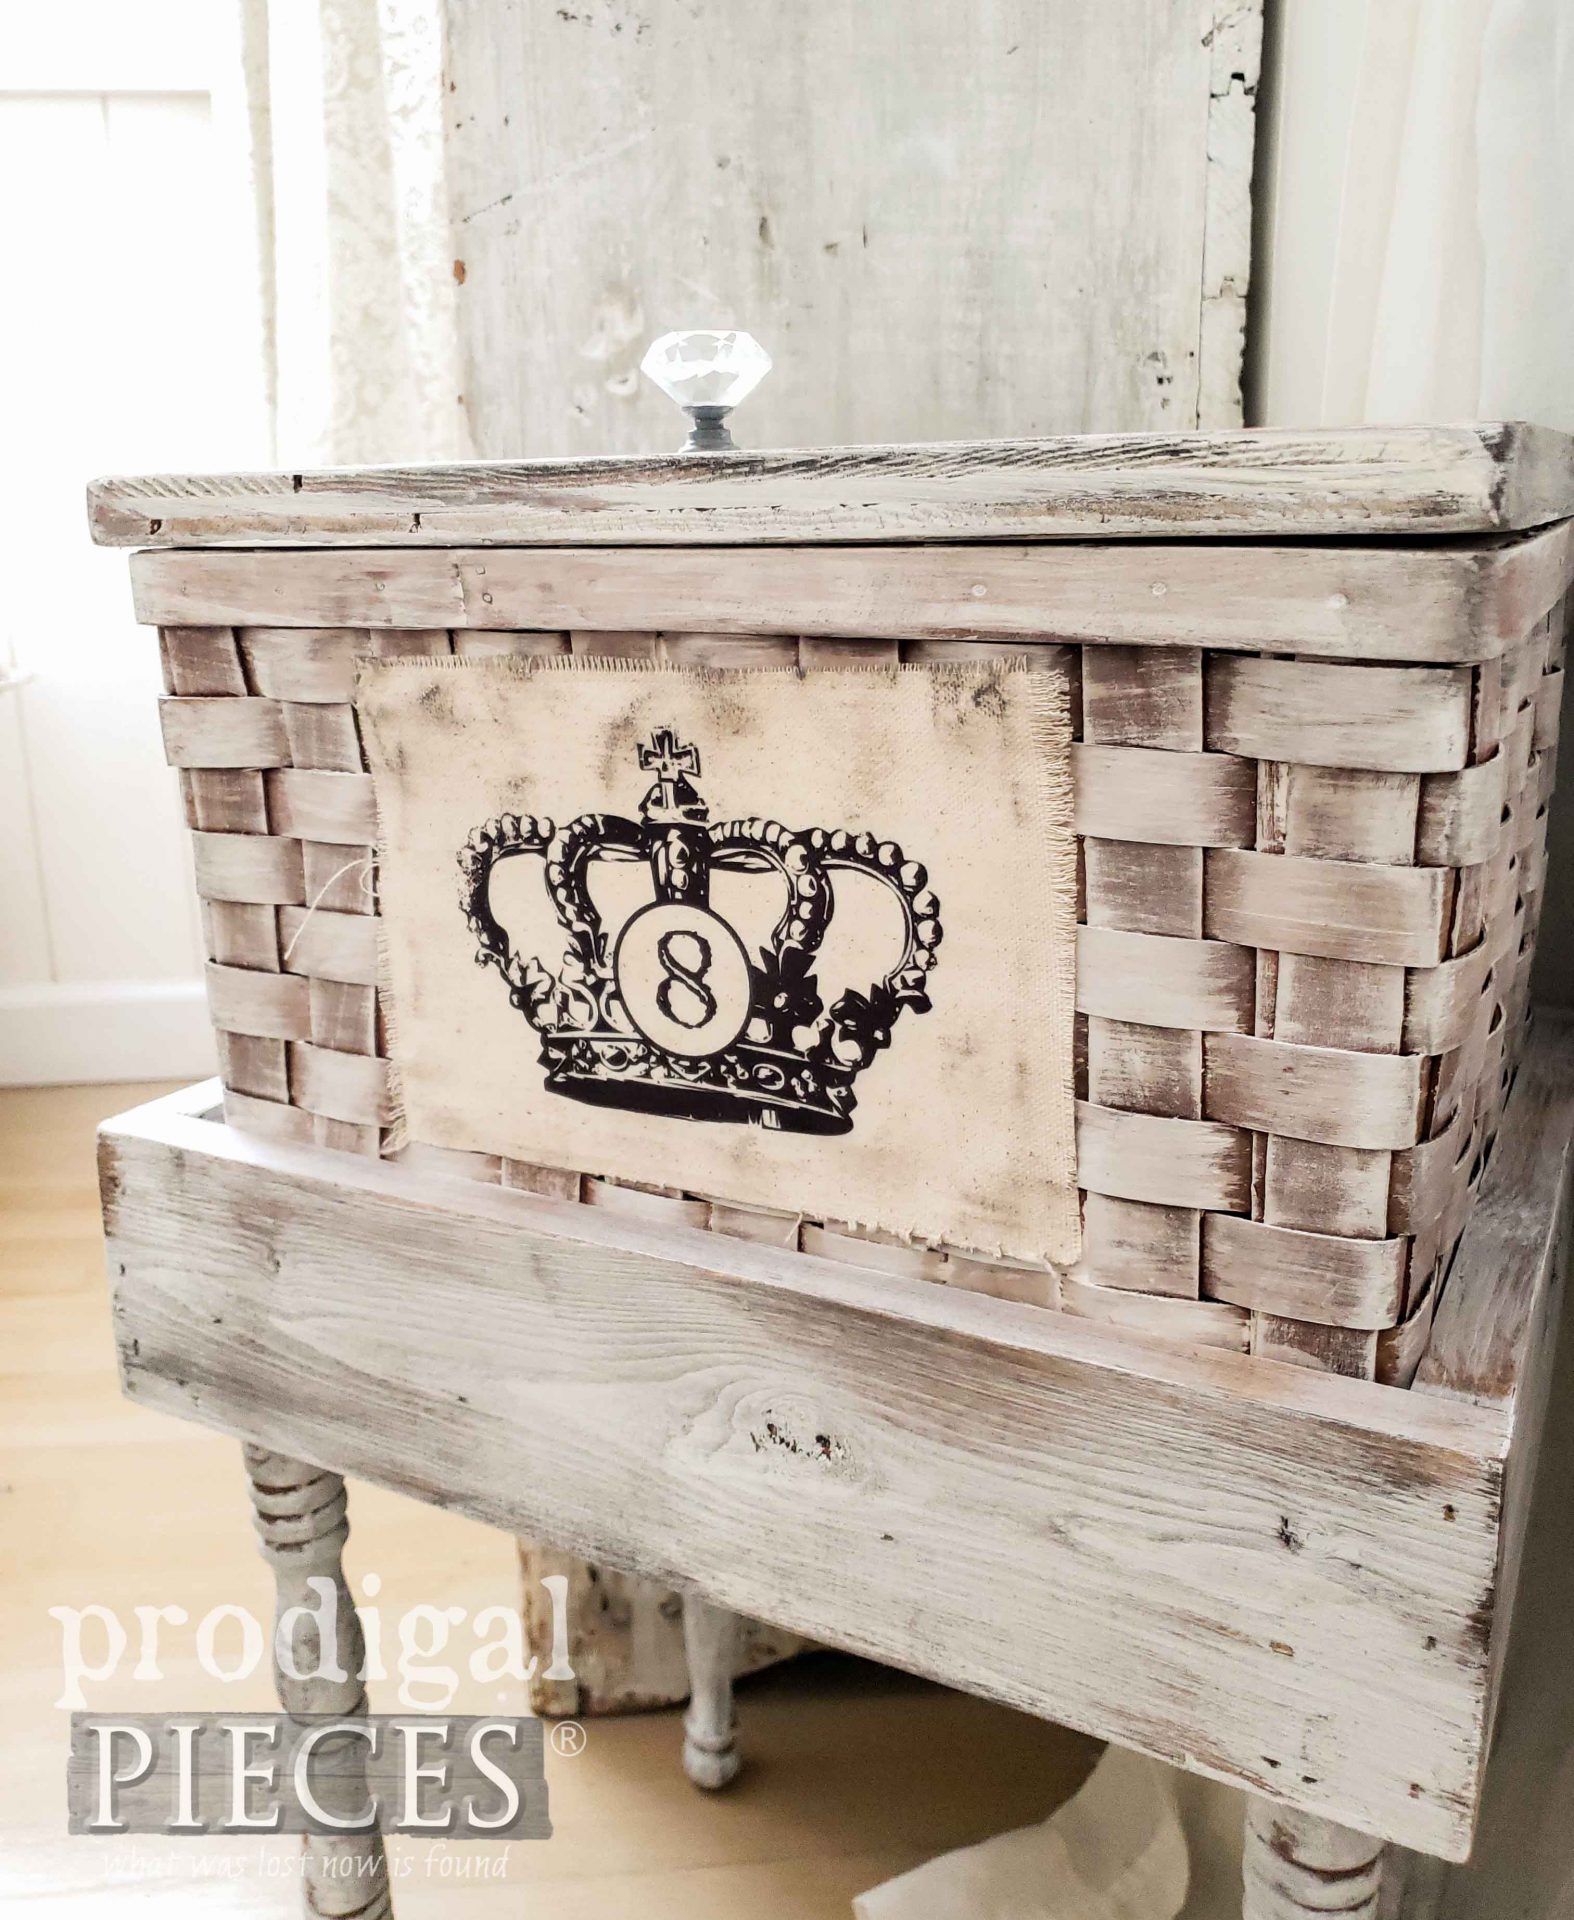
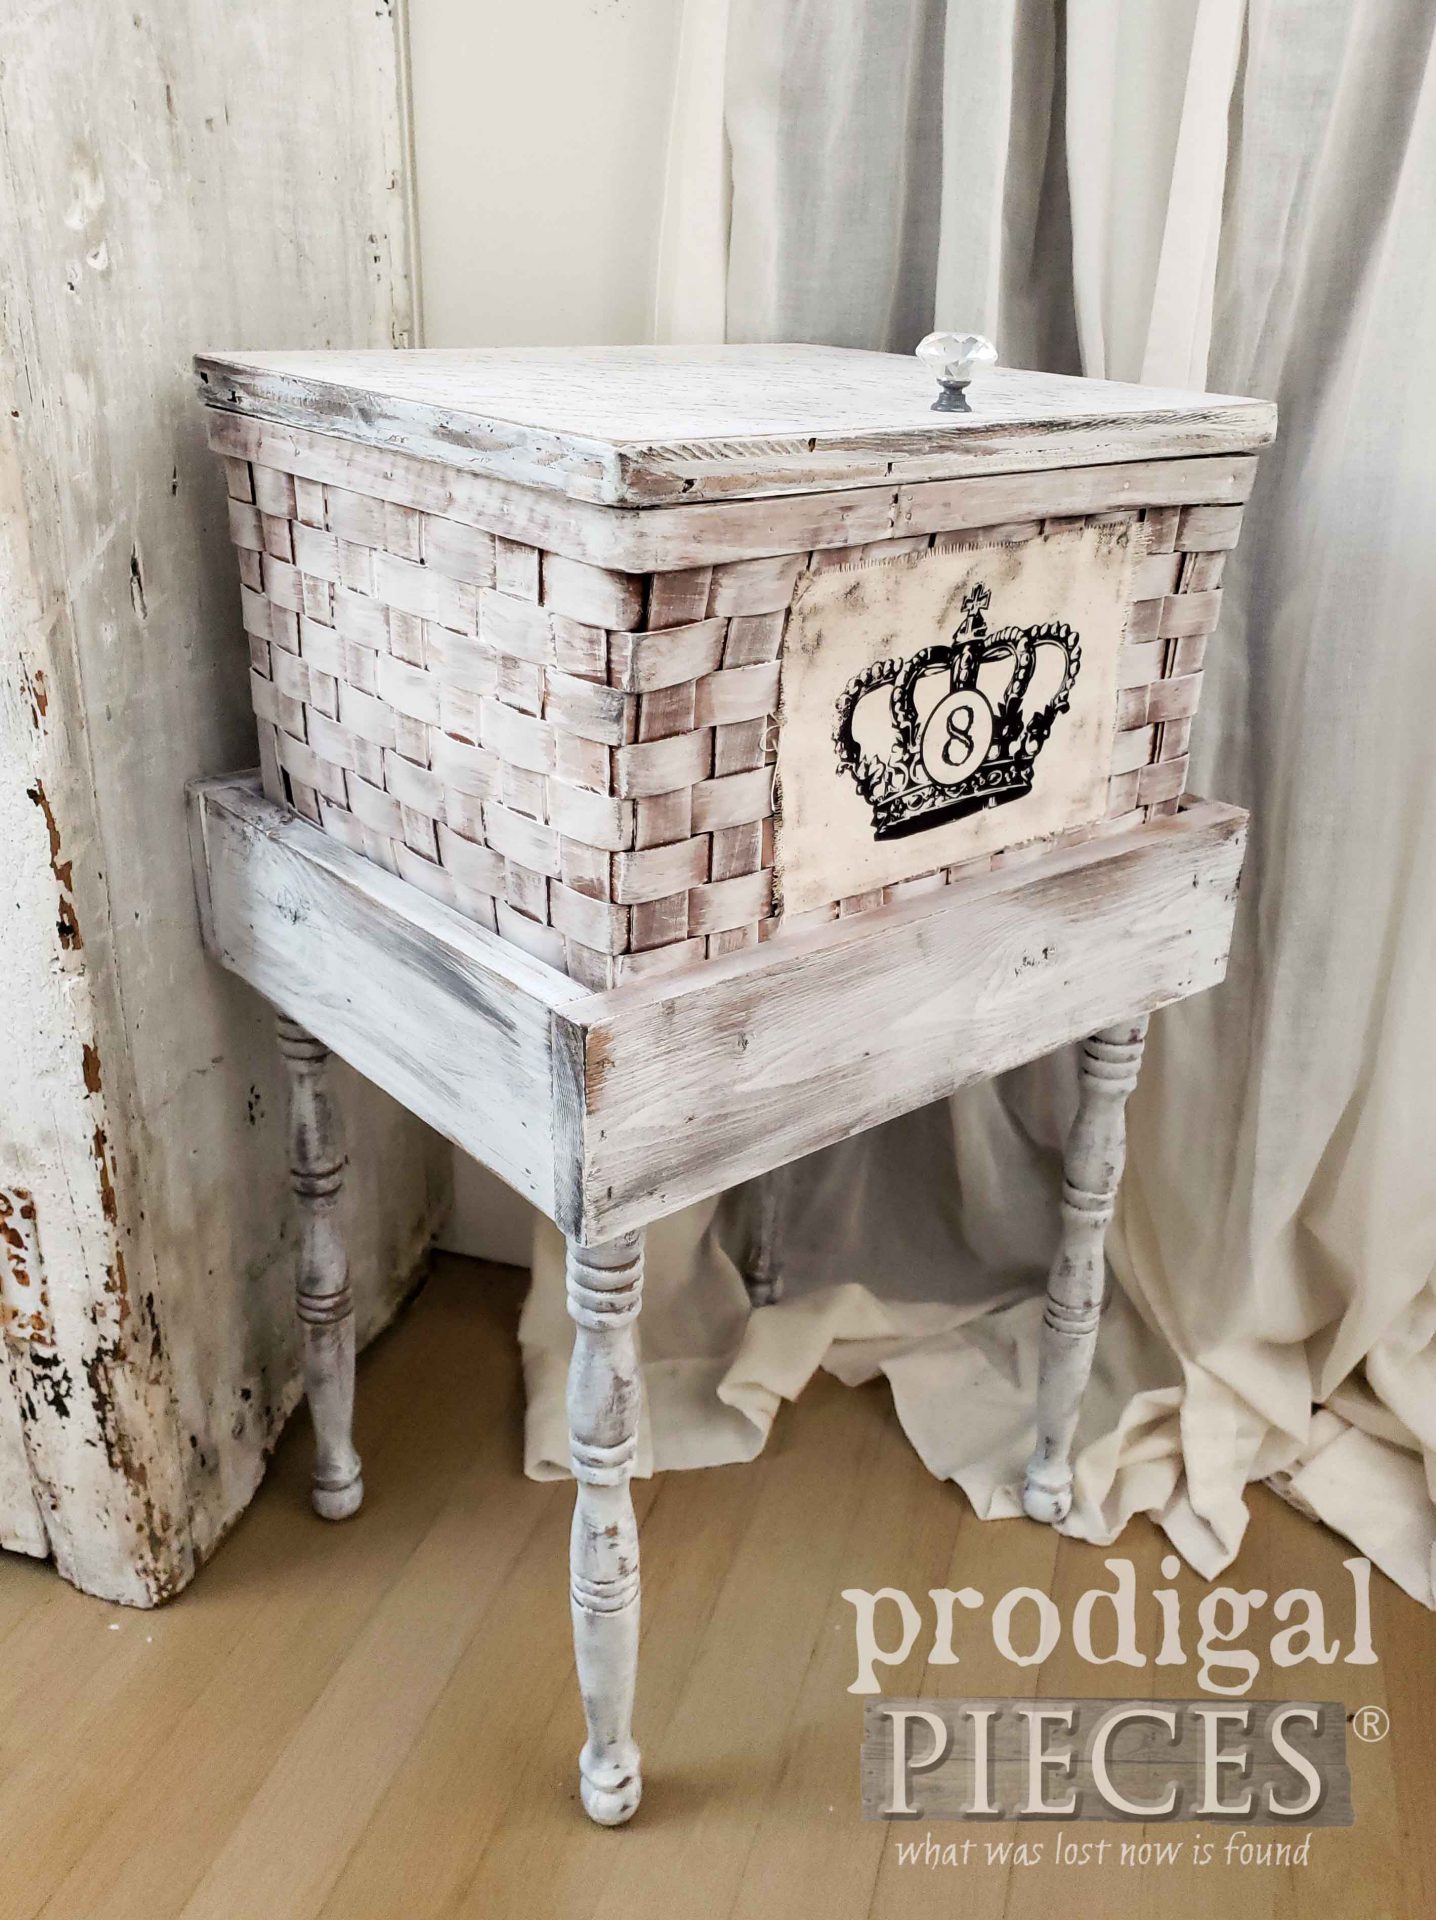
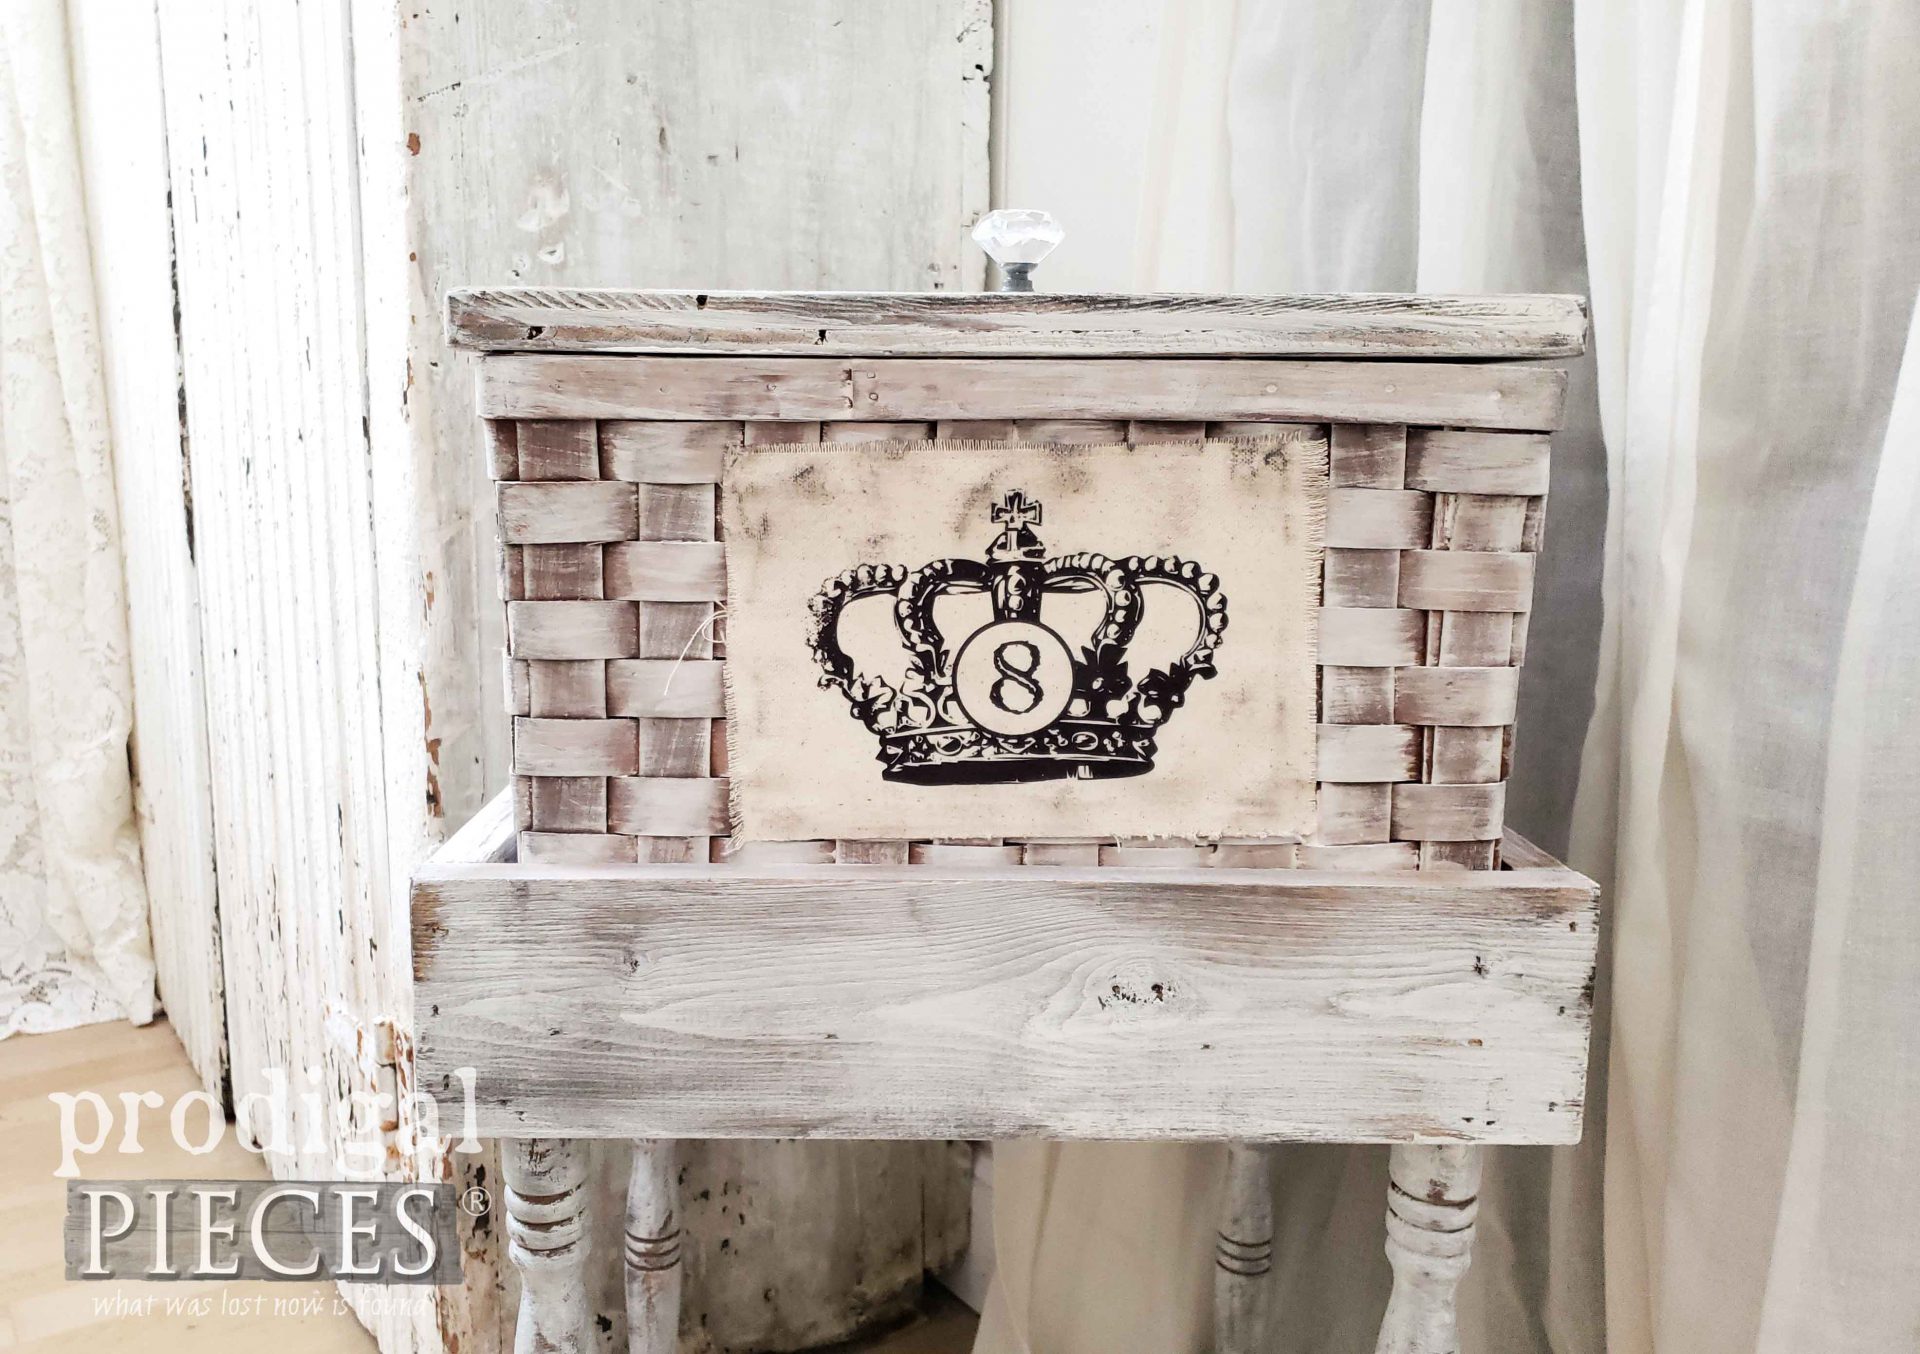
Finally, here’s my new, upcycled basket table with some French farmhouse flair.
A little bling, a little whimsy, and a whole lot of function. Do you love it? I do! This was fun for me to create with my scraps and supplies. I created the crown graphic using my software and the image from The Graphics Fairy.
And so my goal is to inspire you to grab some tools and play around with design and building. Not only have I never took classes on building, but I’m willing to try, to learn, and have fun. If you’d like to make this table your own, you can find it in available in my online shop.
Likewise, pin and share this upcycled basket table to inspire others to see past the basket and the potential that lies within.
UP NEXT
Up next, I’ll be taking this thrifted find and giving it a brand-new look. See the table’s new look now HERE.
To get these DIY tips & tricks in your inbox, be sure to sign up for my newsletter. Until next time!



You are so clever!!! What a transformation!!!?
tee hee! Thanks so much, Rebecca! 😀
I love how you are able to take something that looks new and beautifully give it an age and story. And I always love your typography. I’ve used a couple of your techniques for transfer a number of times and always pleased with the results. Thanks for your constant inspirations!
Thank you, Judy. I had this idea in my head for quite some time and it felt good to see it come to fruition. I’m tickled to hear you use my techniques too!
Hello, my name is Shelley, and I’m a basket addict. LOL
Larissa, I cannot IMAGINE passing up that basket, and what you’ve done with it is inspired. Fantastic job!
bwahaha! I knew I wasn’t alone. Thanks so much!
I love the style of that basket, along with what you done with it. Very clever idea.
My hubby would absolutely love this to hold his candy stash in. Yes, he does share his stash when the grandkids come over.
Now, find a galvanized container that would fit inside, add ice and he would have a nice cooler sitting beside his chair or to take out to his workshop.
Keep them unique & wonderful ides flowing.
Enjoy your day.
Pouring down rain here. In fact, we have rain in the forecast for everyday this week and this all started Friday evening. Thus far we have received over 3 inches of rainfall.
Your husband sounds like a guy after my own heart. Love it! Thank you so much for the love. We have rain yesterday and today too. Trying to do my inside work before I head back out tomorrow.
Hi Larissa! I think this is one of my favorite makeovers. How did you attach the top? That is what i would like to know. Oh, and how did you make the Crown paper look aged? Love this!
Hi Cheryl! I just used hinges from my stash and attached them with screws. The crown is on fabric using a transfer. Thanks!
Nice project. How did you attach the spindles to the bottom of the box? Did the spindles already have a screw?
Thank you. They are legs that already had the double-lag screw in them, so I added them that way and reinforced with my nailer.
Very clever! I was pawing through part (eek, only a PART!!!) of my stash yesterday, thanks to a sudden violent cloudburst that flooded my storage room, and determined that I . Have. A. Basket. Problem. …along with a few other issues. ? Ugh. Nothing like having your “valuable property” (ever read Carolyn Haywood’s Eddie books? Everyone NEEDS TO!) drowned to make you regret having it in the first place!!!? Time to get creative and empty it out! (Before my cruel-and-usual husband throws it out! Haha!)?
Too funny! I was there when I was put on bedrest with my last and I couldn’t work. It was suffocating me in a sense and I gave it away. That felt so good!!
I love this! It would be great to hold a crochet project next to my favorite chair. I may have to go look for baskets! You always amaze me with your creativity!
You are such a kindred spirit, Janet! Thank you!
Hi Larissa, you have actually been an inspiration to me and my best friend. We are opening a shop, THIS WEEK, and when we are out thrifting we often say……..what would Larissa do? We are beginners, but we have jumped in with both feet, or all four, technically! So can you help us out with an idea for a quilt rack project? Lovely wood, not sure what it could be. Our stash is in it’s infancy, but with a great idea, we could seek out specific things. Tara my business partner is your recent contest winner, so thank you,. The brushes will be a huge help at the shop. So thanks for the inspiration and any ideas you could share. Linda K.
How fun to hear, Linda. Congratulations on the shop! 😀 I have a quilt rack I built a few years ago: http://prodigalpieces.com/diy-quilt-rack/ Is that something you mean? Feel free to email with questions. I hope you like today’s fun too! 😀
Drab to fab upcycle for sure! It’s so pretty, Larissa. and I love the stand idea for it too. At my age, not having to bend is a good thing (as Martha would say) ?
haha…truly is a good thing. My aching body agrees! 😀 Thank you, Marie.
Wow! You gave basket a whole new look, purpose and beauty. Great vision!
Thanks so much! Baskets are definitely fun to upcycle. 😀