Don’t you just love that feeling when you get together with your friends to share an activity that you all enjoy? Today is our Reduce, Reuse, REFASHION time where I share with you my latest upcycling fun. For my project, I’ve chosen to show you how to take upcycled belts and turn them into home decor.
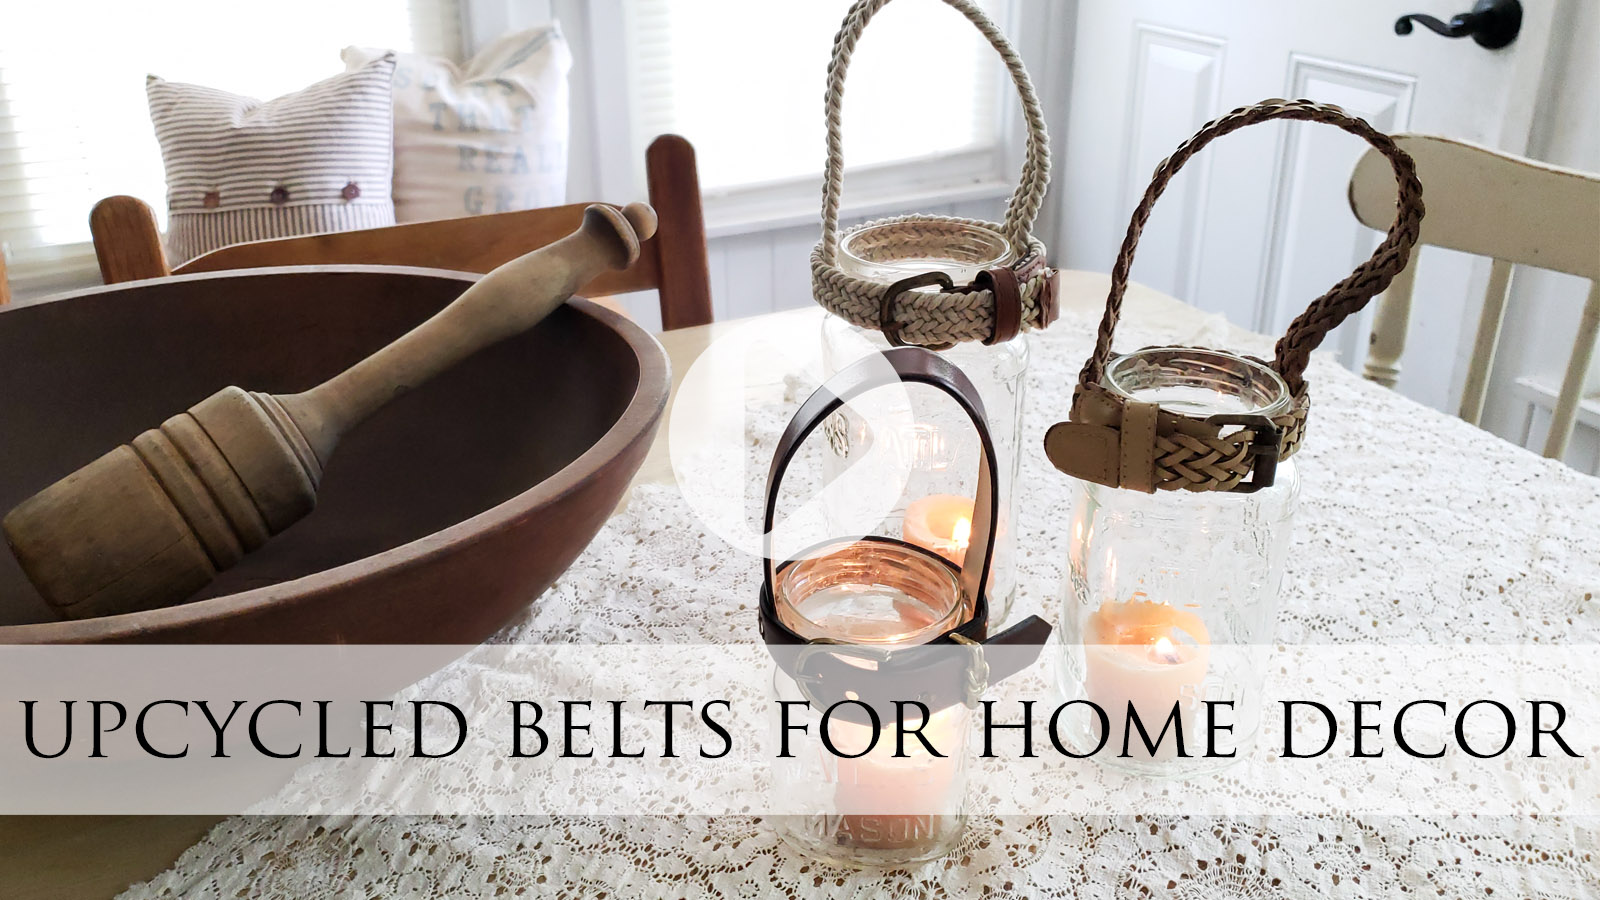
Maybe that piques your attention and maybe you also think, “no way.” haha. Either way, let’s have some crafty fun! I’ve written all the steps out for you here, but also provide a video tutorial below for your viewing pleasure too.
THRIFTY FUN
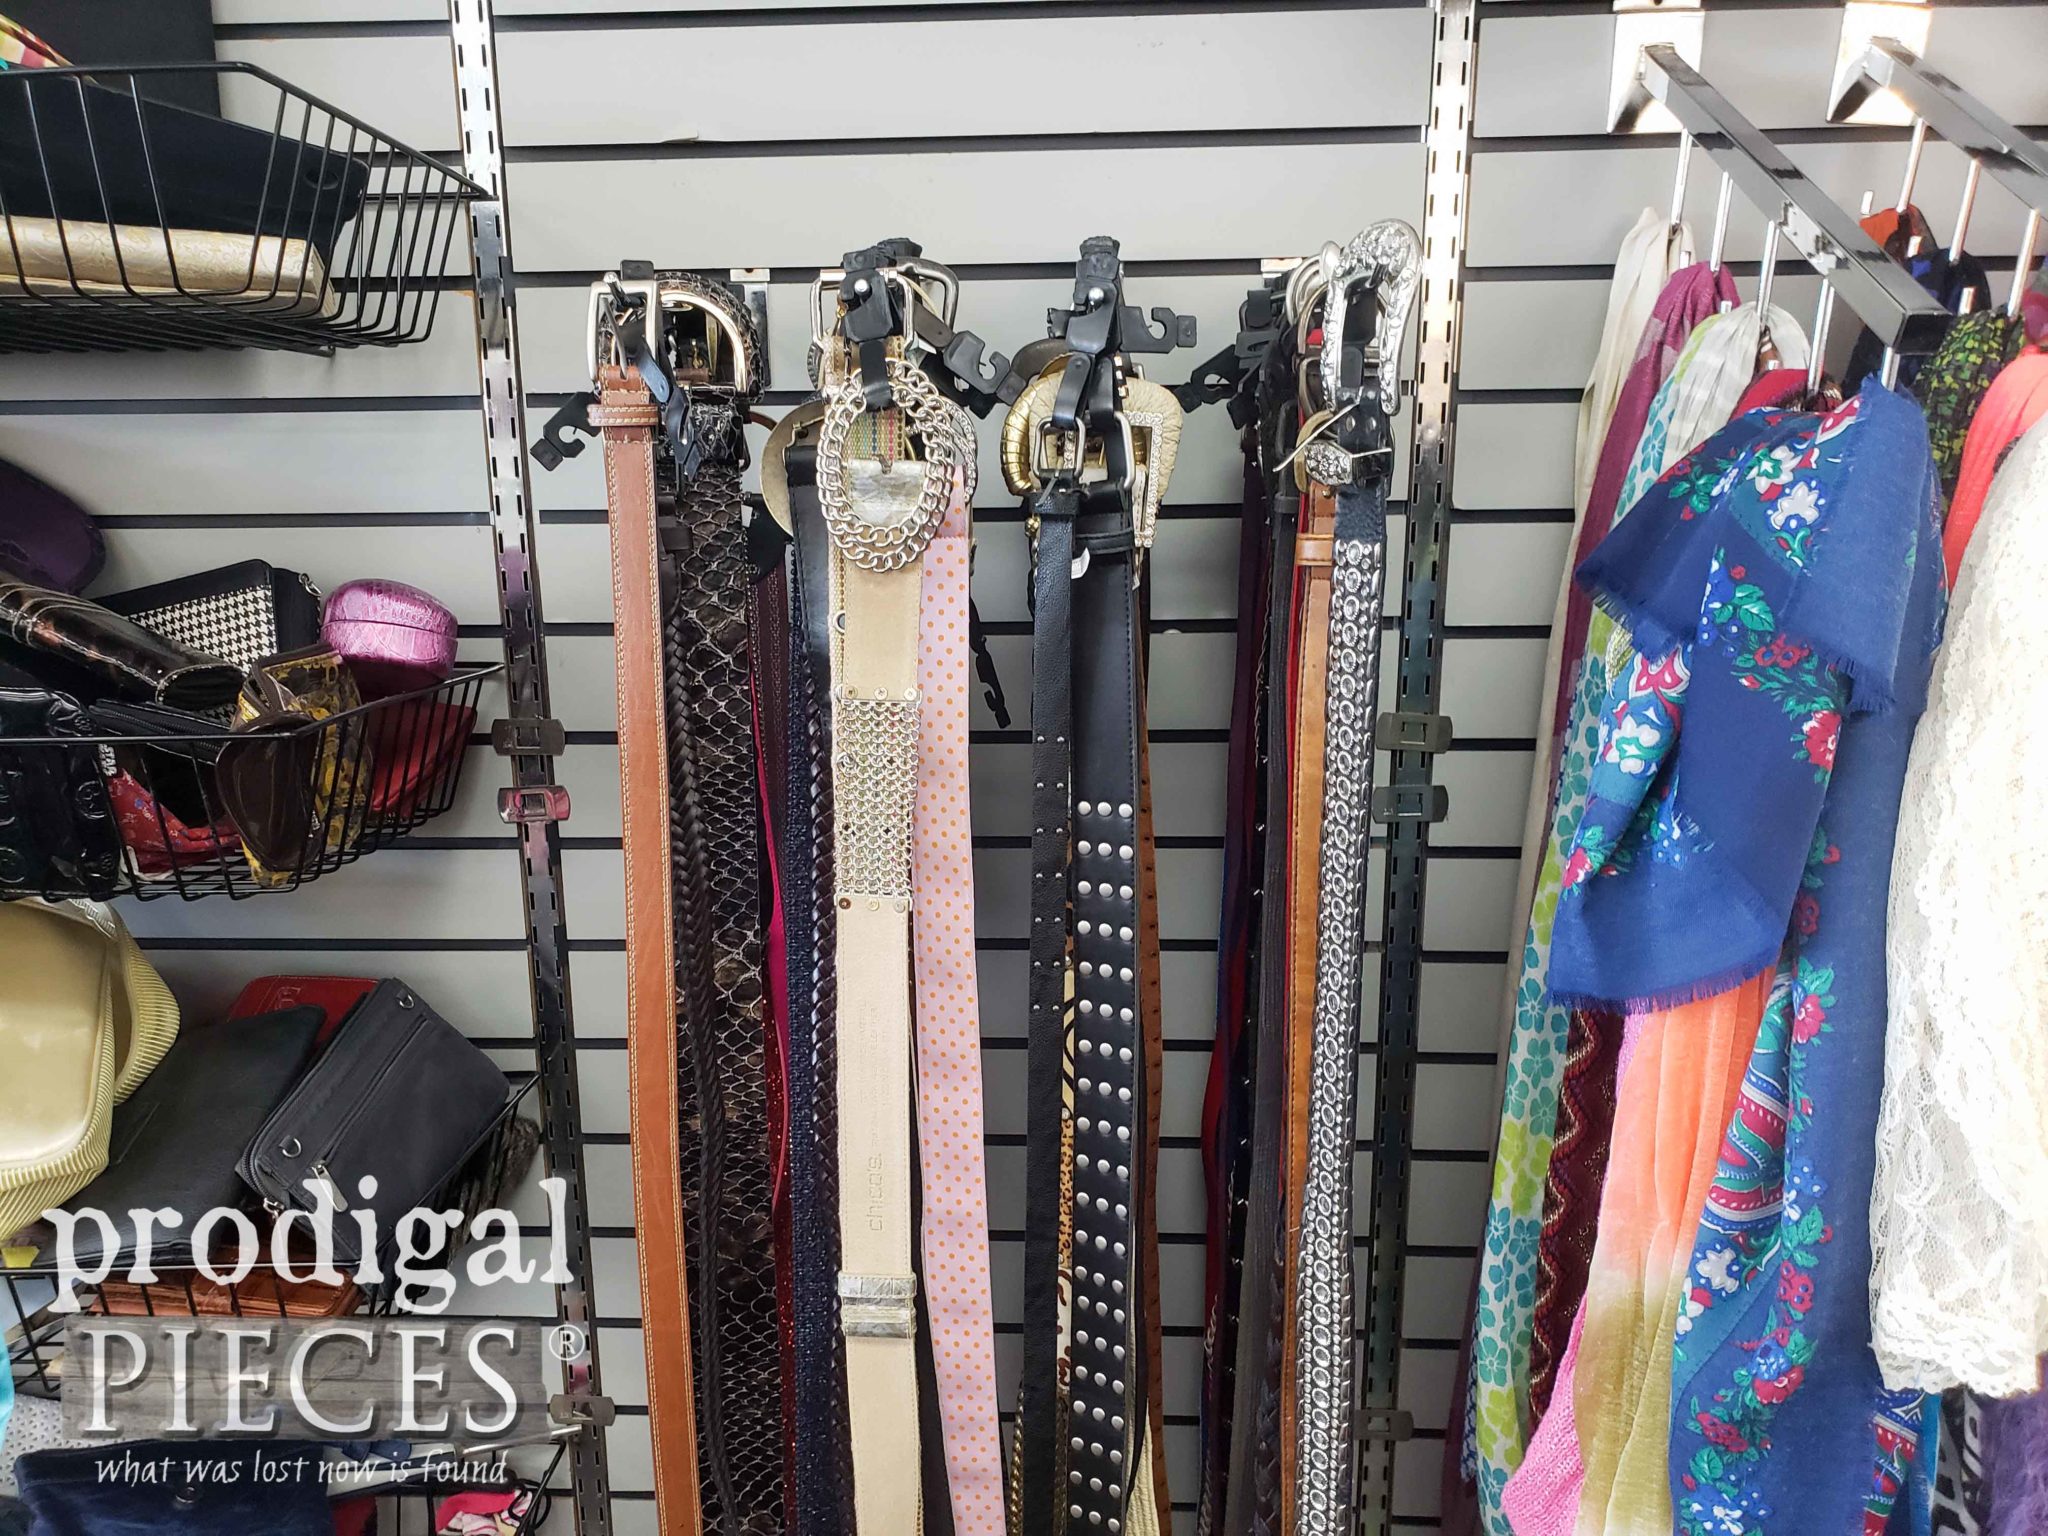
I don’t know about you, but when I head to the thrift store, I don’t just shop for myself. Being a mama to 6 and needing items for my family of 8, we also look in each section as the needs arise. It is no surprise that when I head to the ladies section there is always a bounty of shoes, purses, scarves, and belts. Accessories for the win!
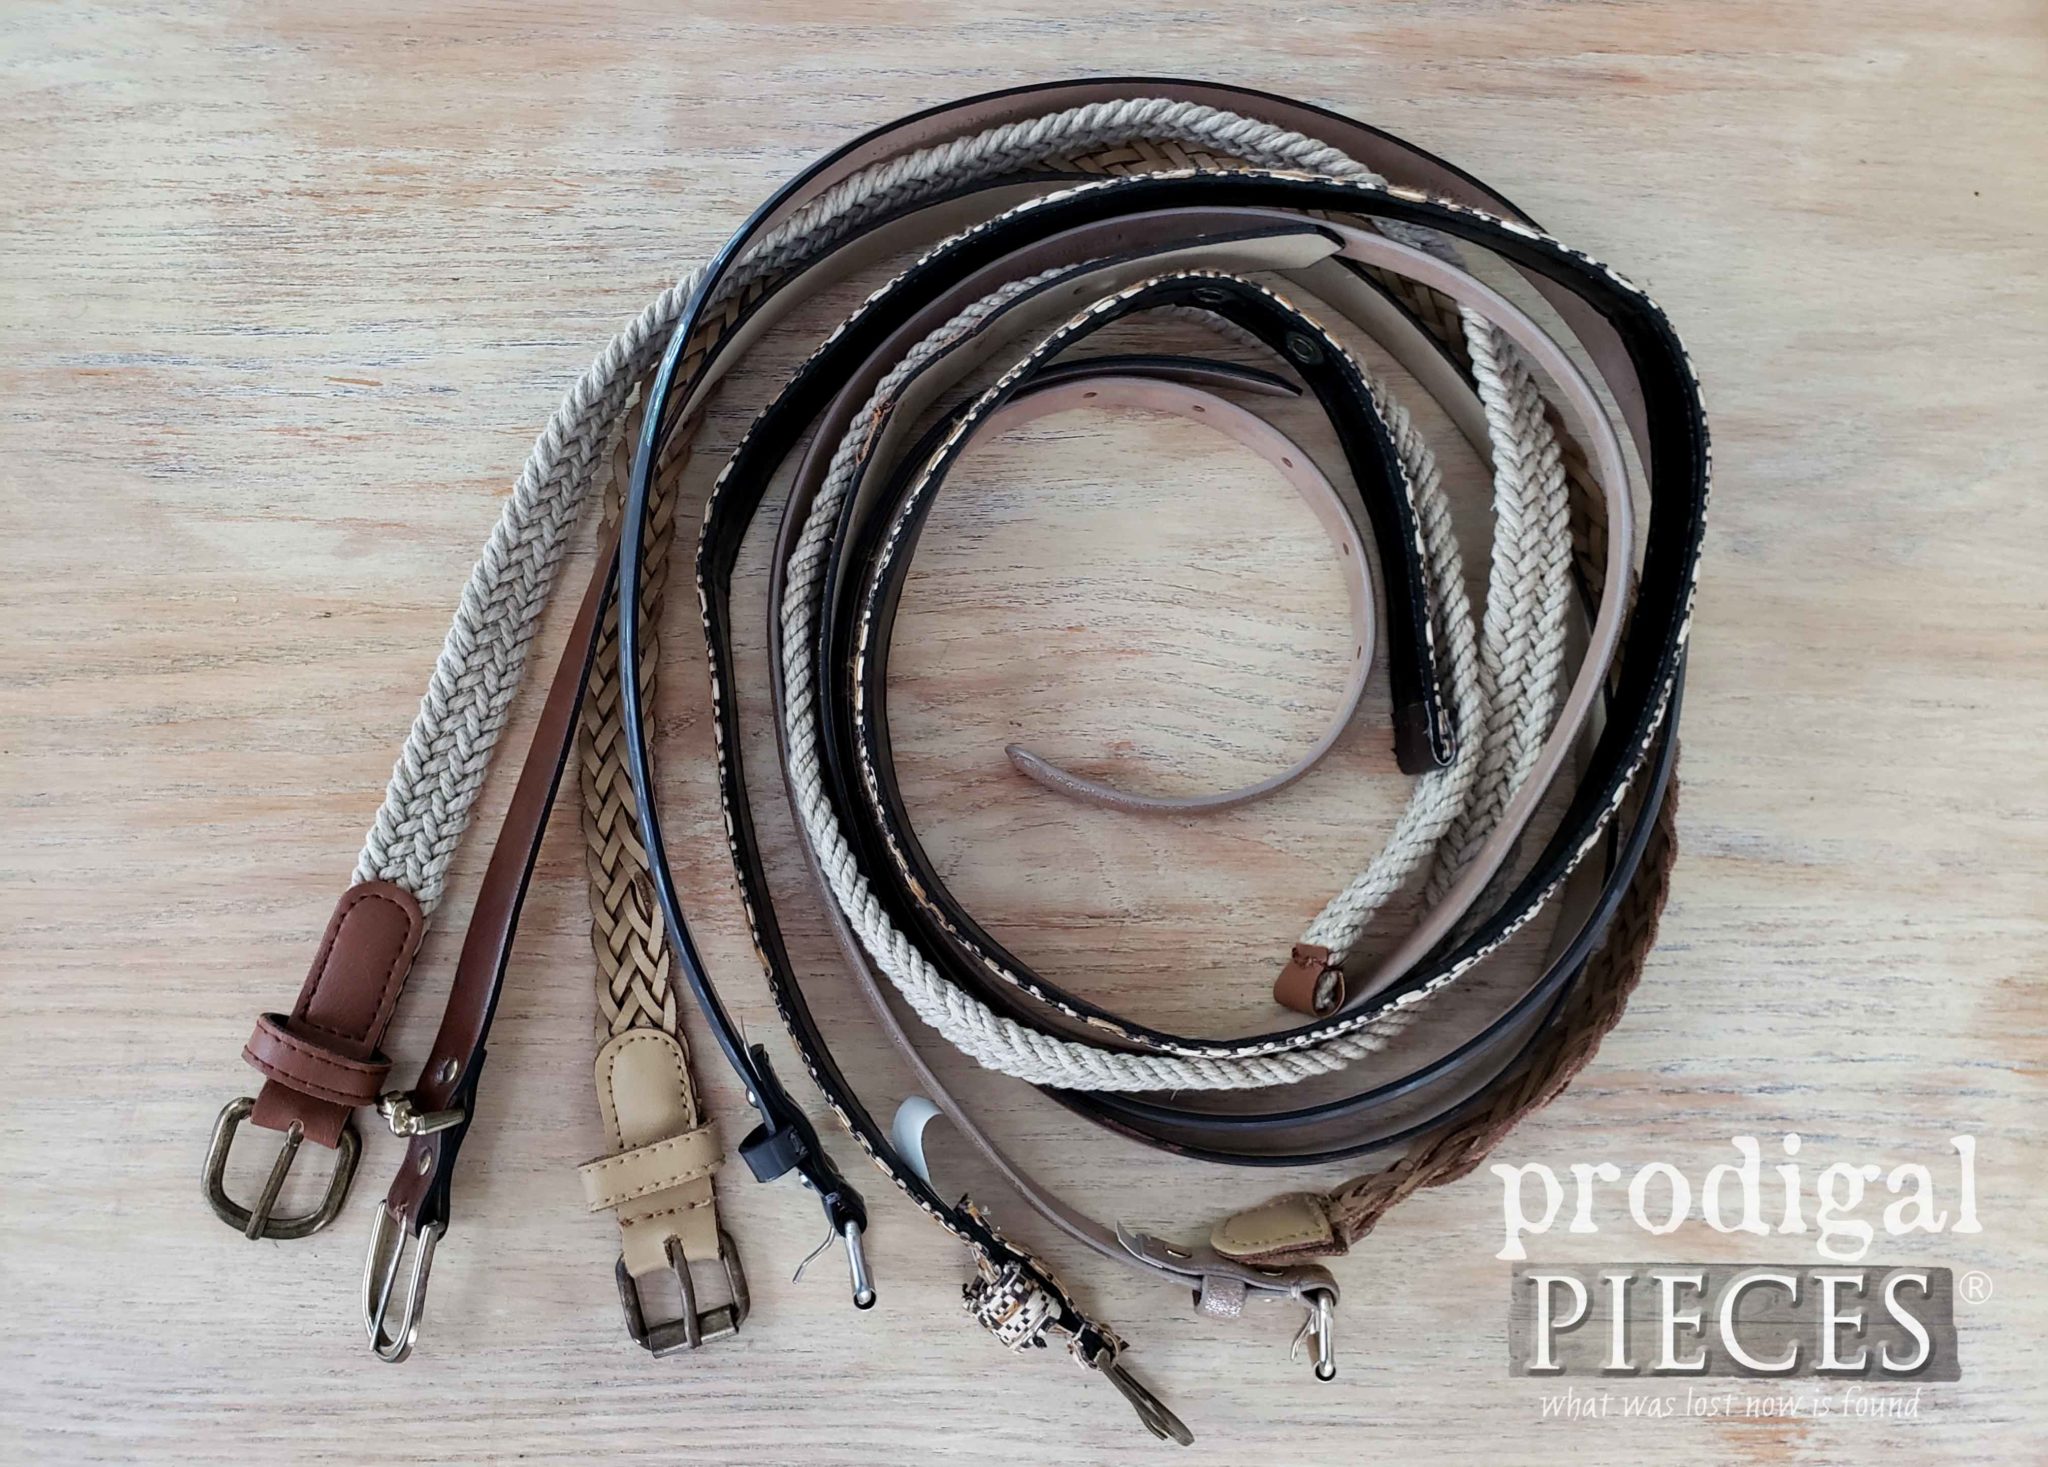
So I began to ponder that an assumption could be made that often times maybe an overabundance of belts deems them trash-worthy. That would be sad, wouldn’t it? It was then I said to my crafty ol’ self that it was time to whip up something to make use of this plentiful stash. And I know I’m not the only one who has kids that outgrow their belts, or even have damaged belts myself, right?
TIME TO FIND A MATCH
Right after that I took a spin around the rest of the thrift store. My eyes feasted on this virtual goldmine.
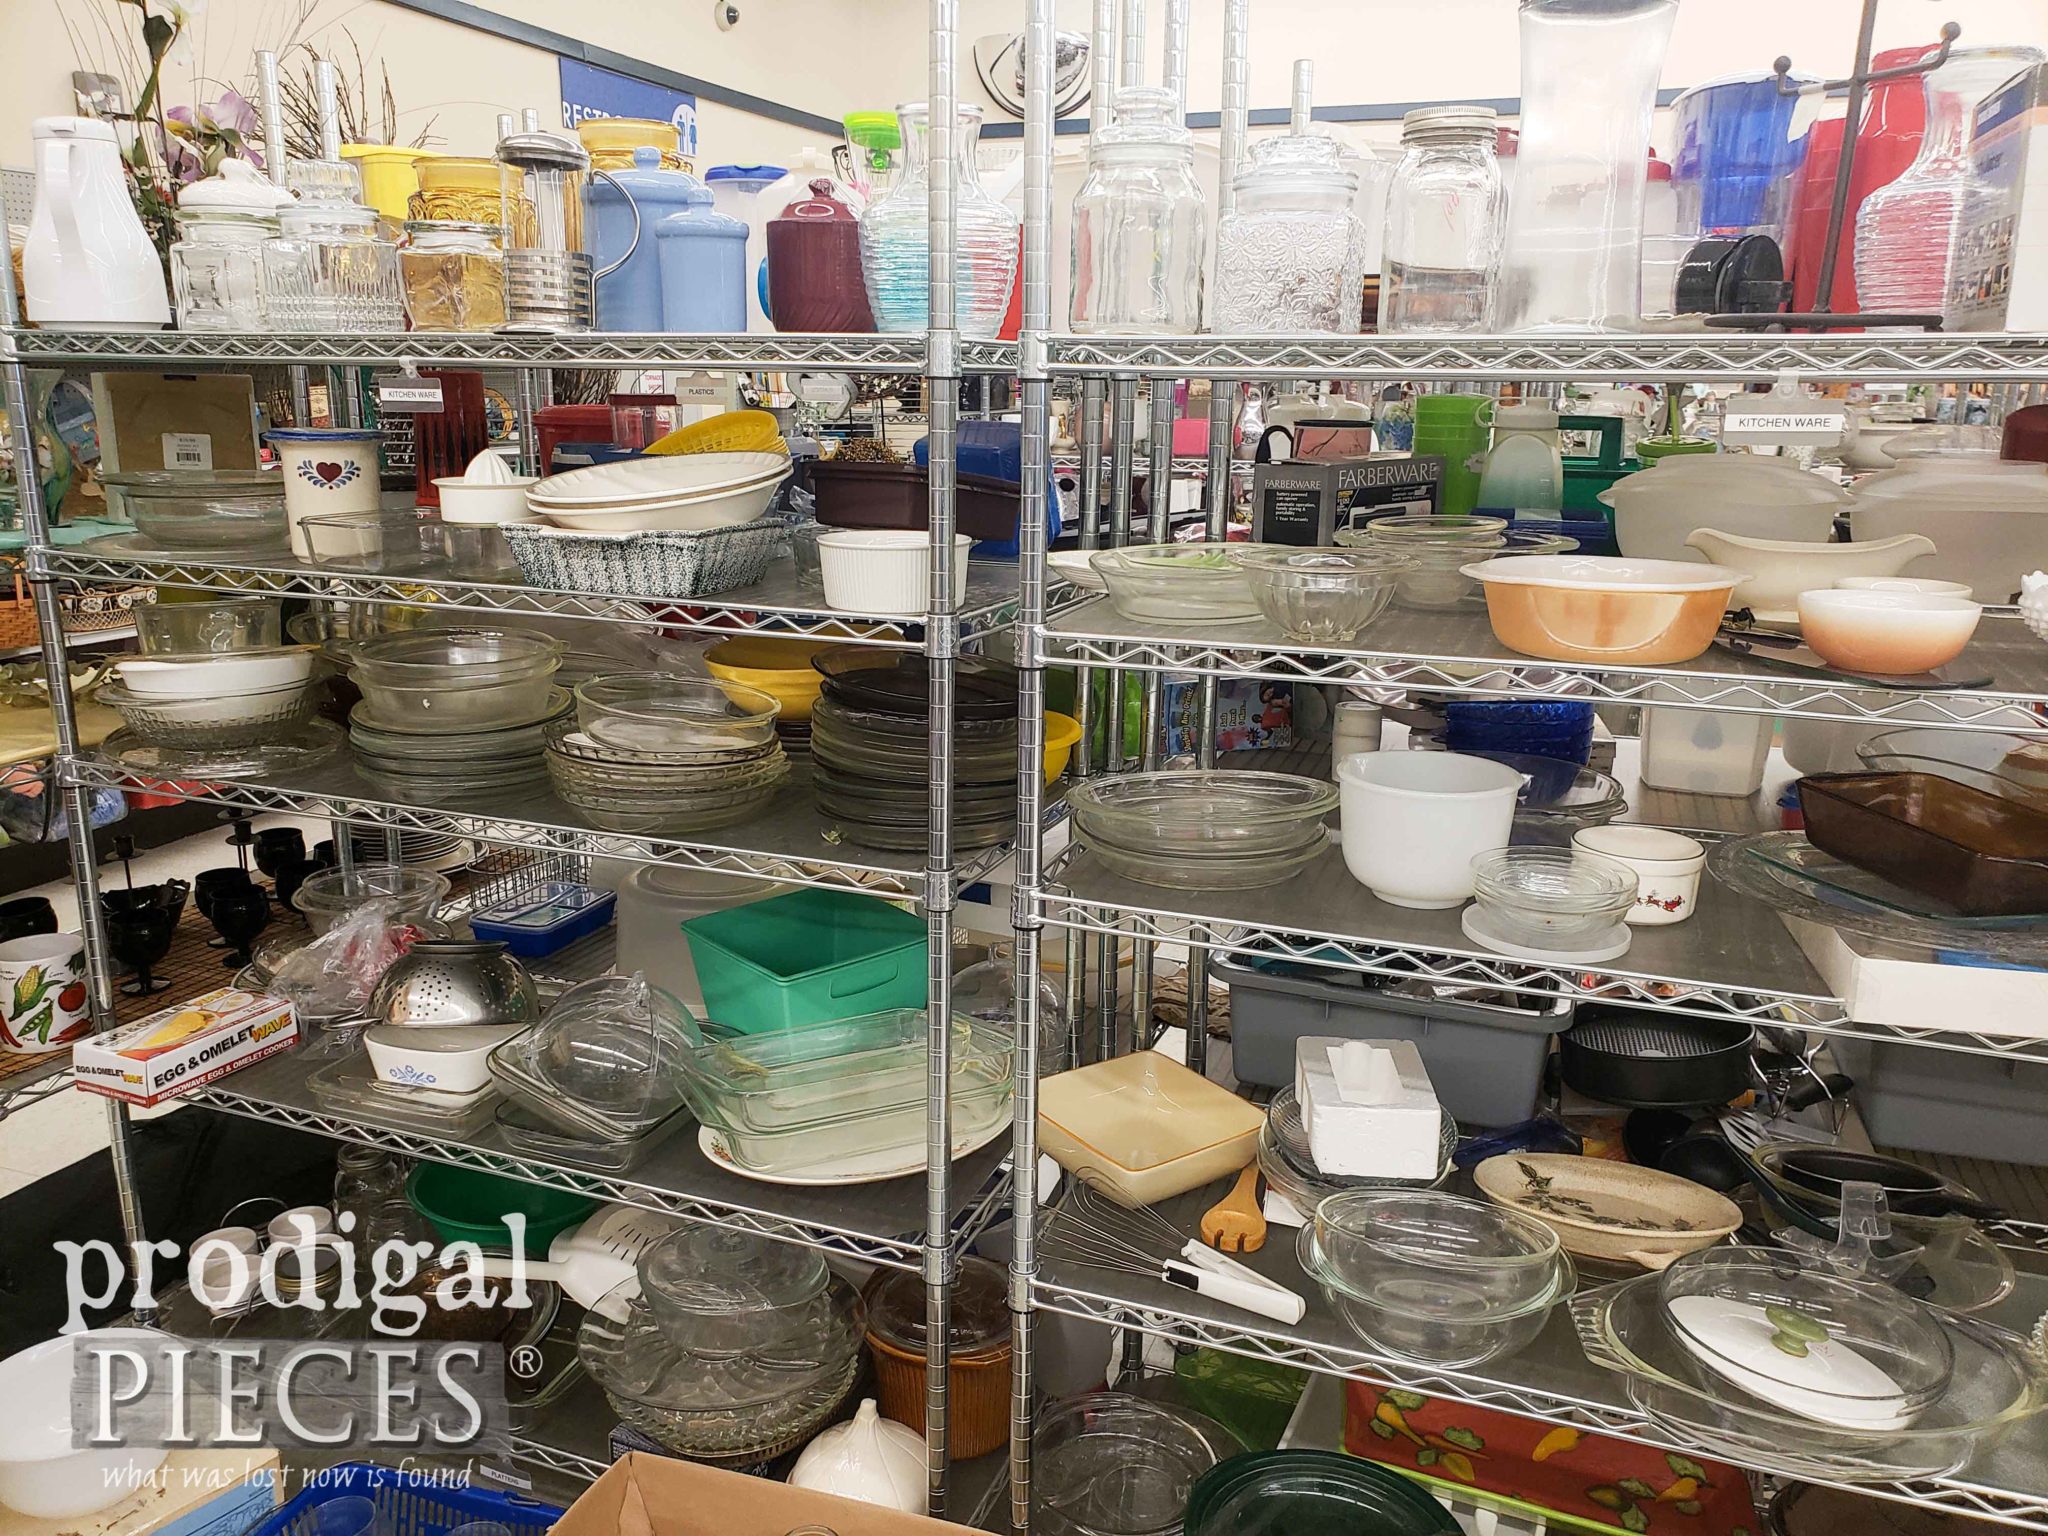
GLASS. Oodles of it! I’ve mentioned before how many will overlook this section (probably because it looks like under a typical kitchen sink…pffft). However, there is fun potential. In older project posts, I’ve shown how I’ve made use of it HERE – take a peek to see.
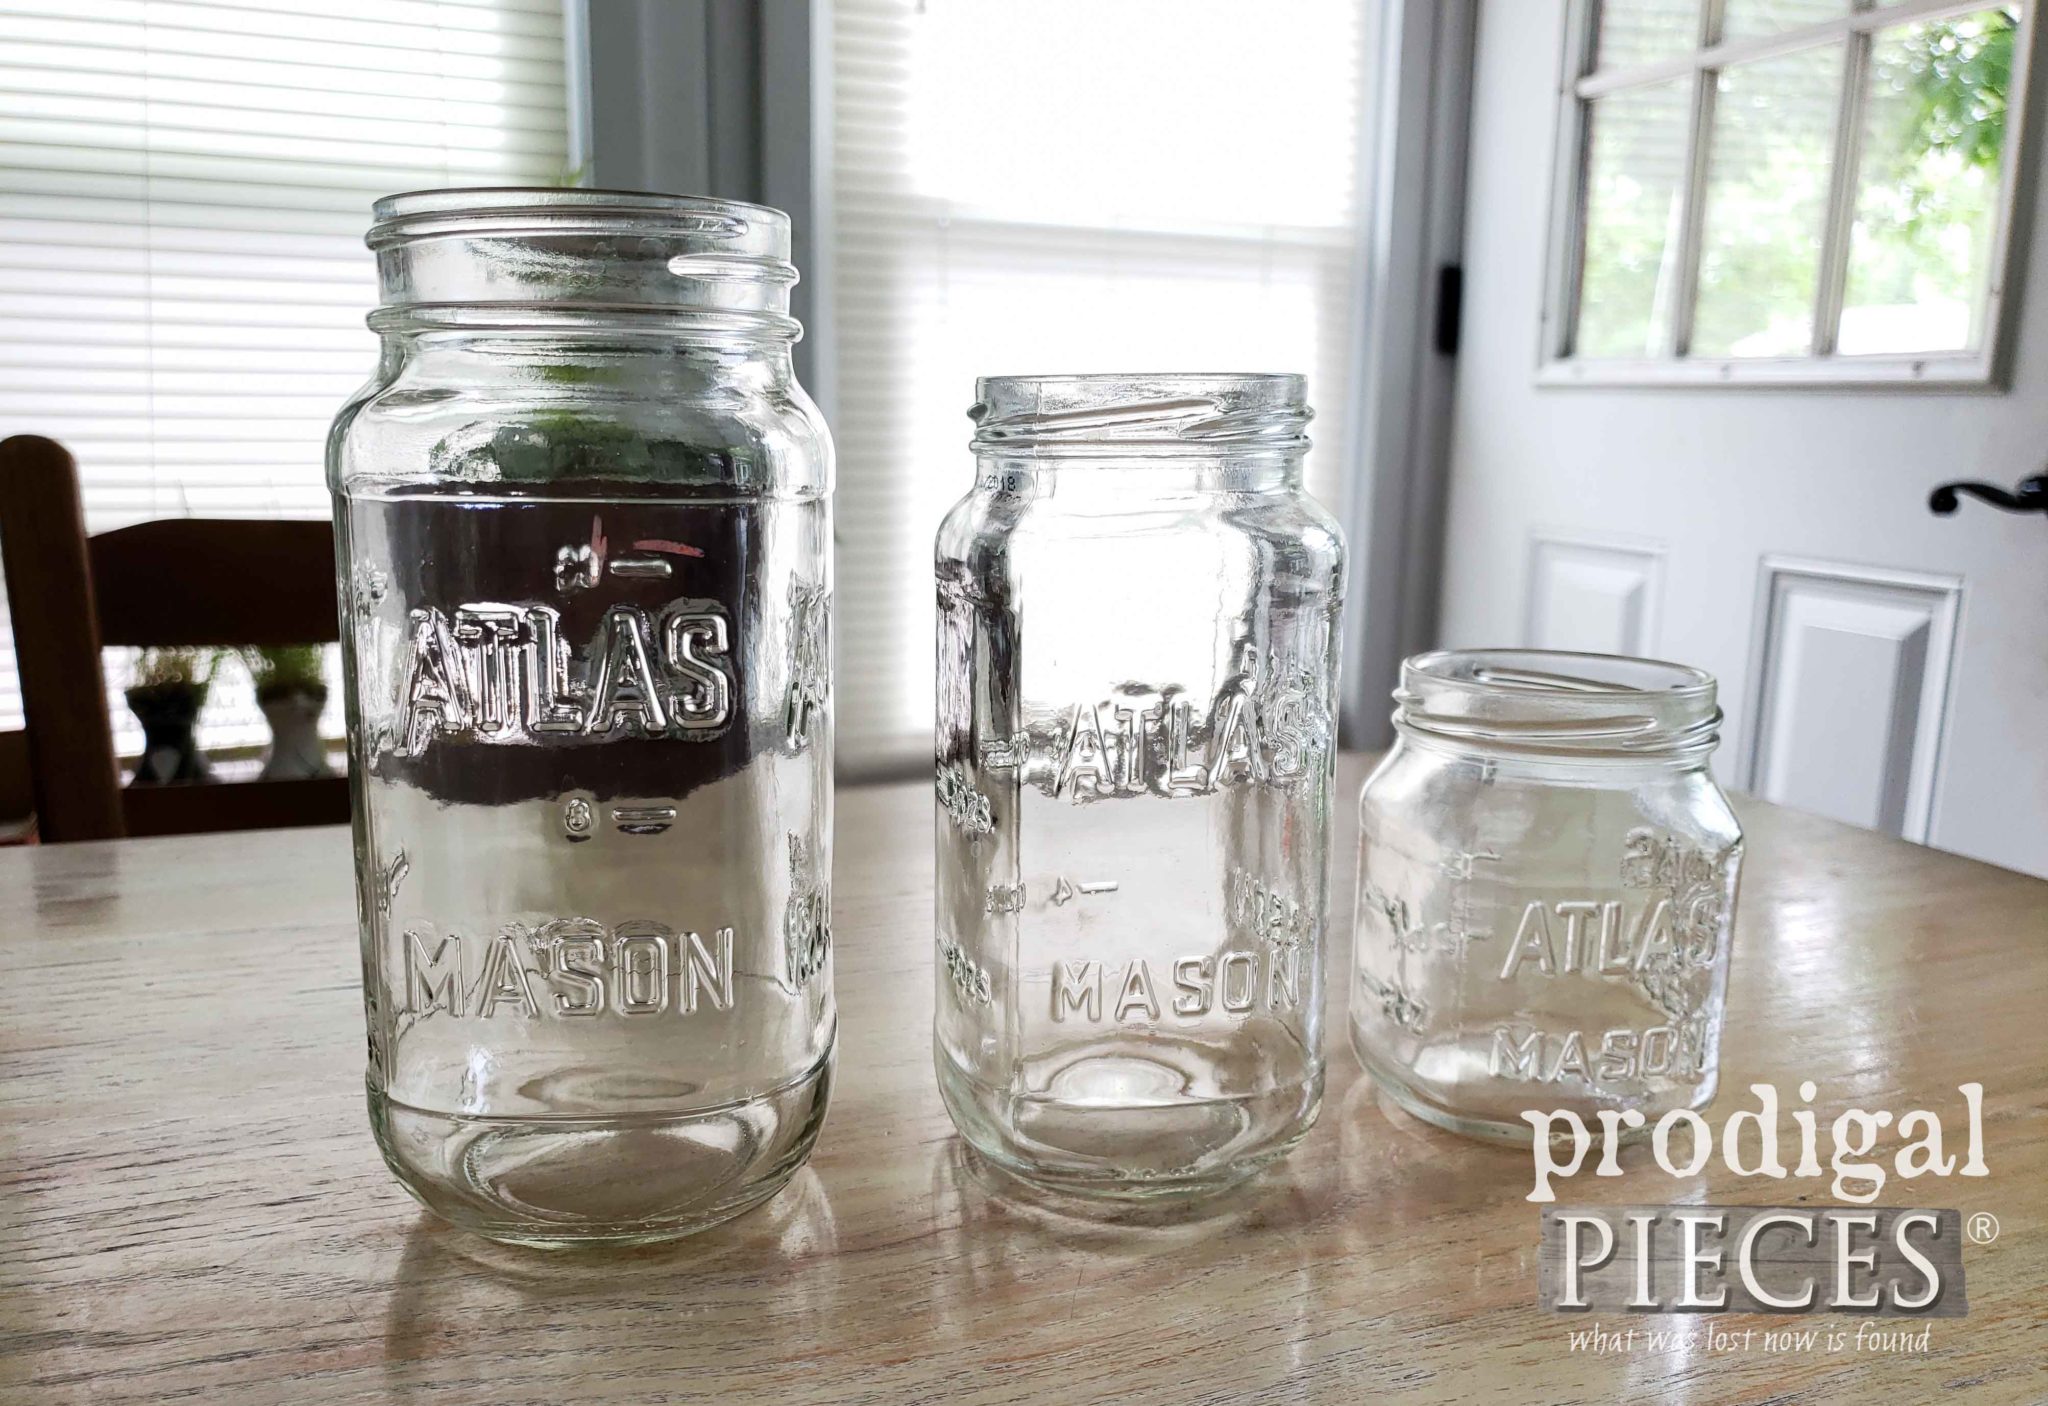
I took a quick scan of the assortment as I approached. My eyes fell adoringly onto a box of canning jars on the floor. The adorable half pint jars are what caught my fancy first. Then, I loved the square shape of the larger ones. This sealed the deal that this would be my subject for my upcycled belts project.
LETS GET THE FUN STARTED
TERMS OF USE: when you create these upcycled belt projects you agree to the following: it cannot be shared or distributed for monetary gain in any way, it may not be modified in any way, and you may not claim the work as your own.
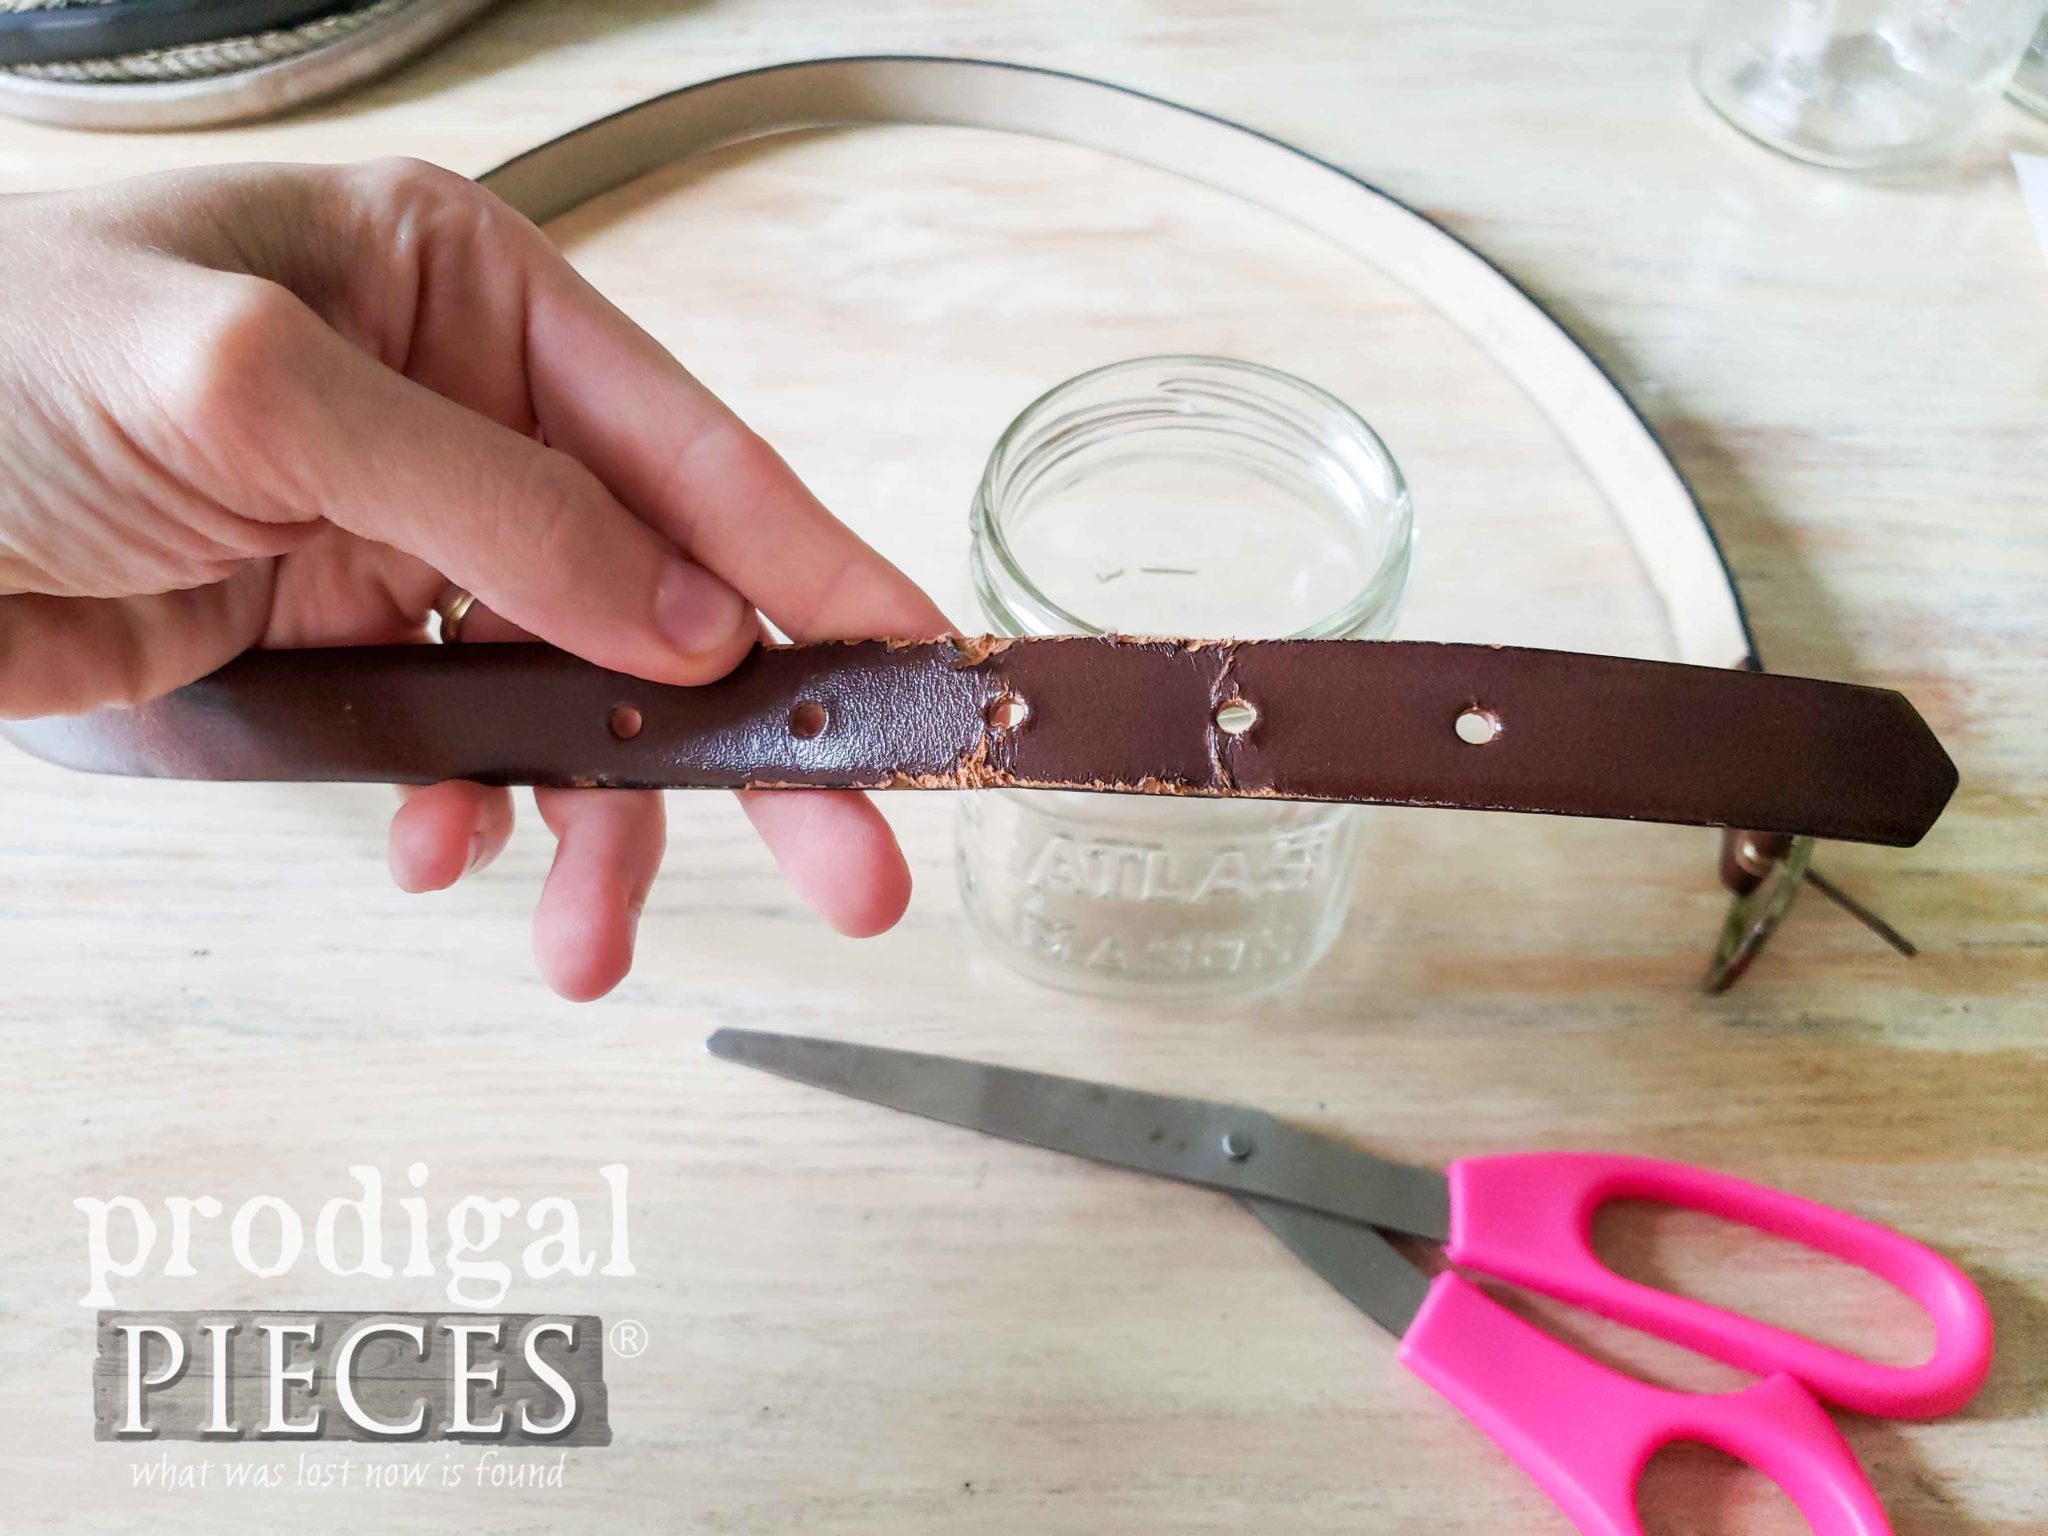
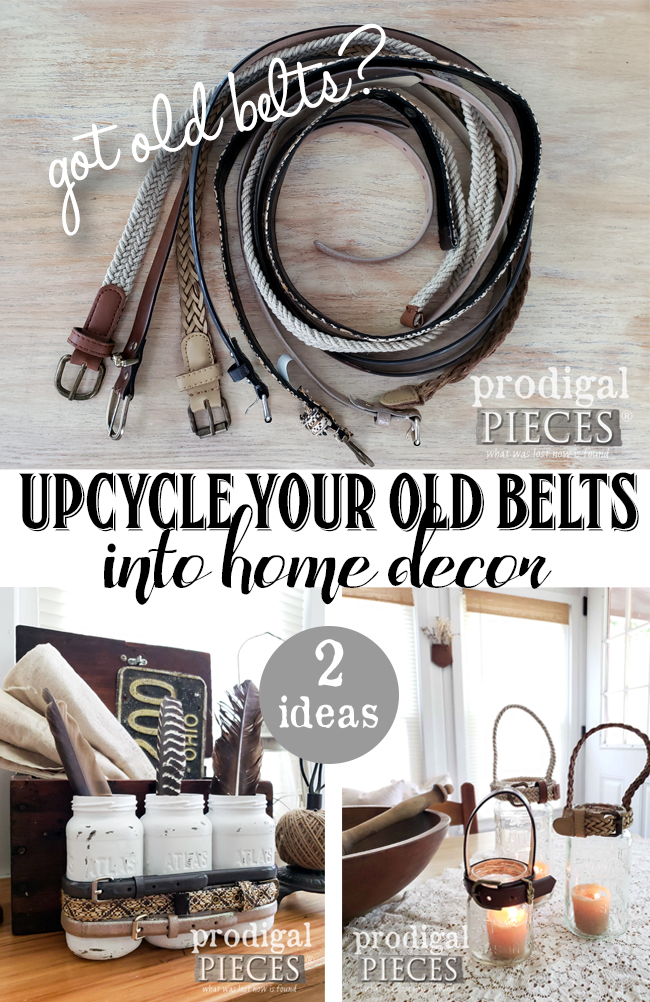
To get my upcycled belts projects started, I picked out a few that were either made of leather or rope (both are my preferred style for the first project). Or have a fun color combo (for my second project). For my first demonstration, I chose to use the leather and rope versions. This one in particular had damage and would be perfect for what I had in mind.
DIY TIME
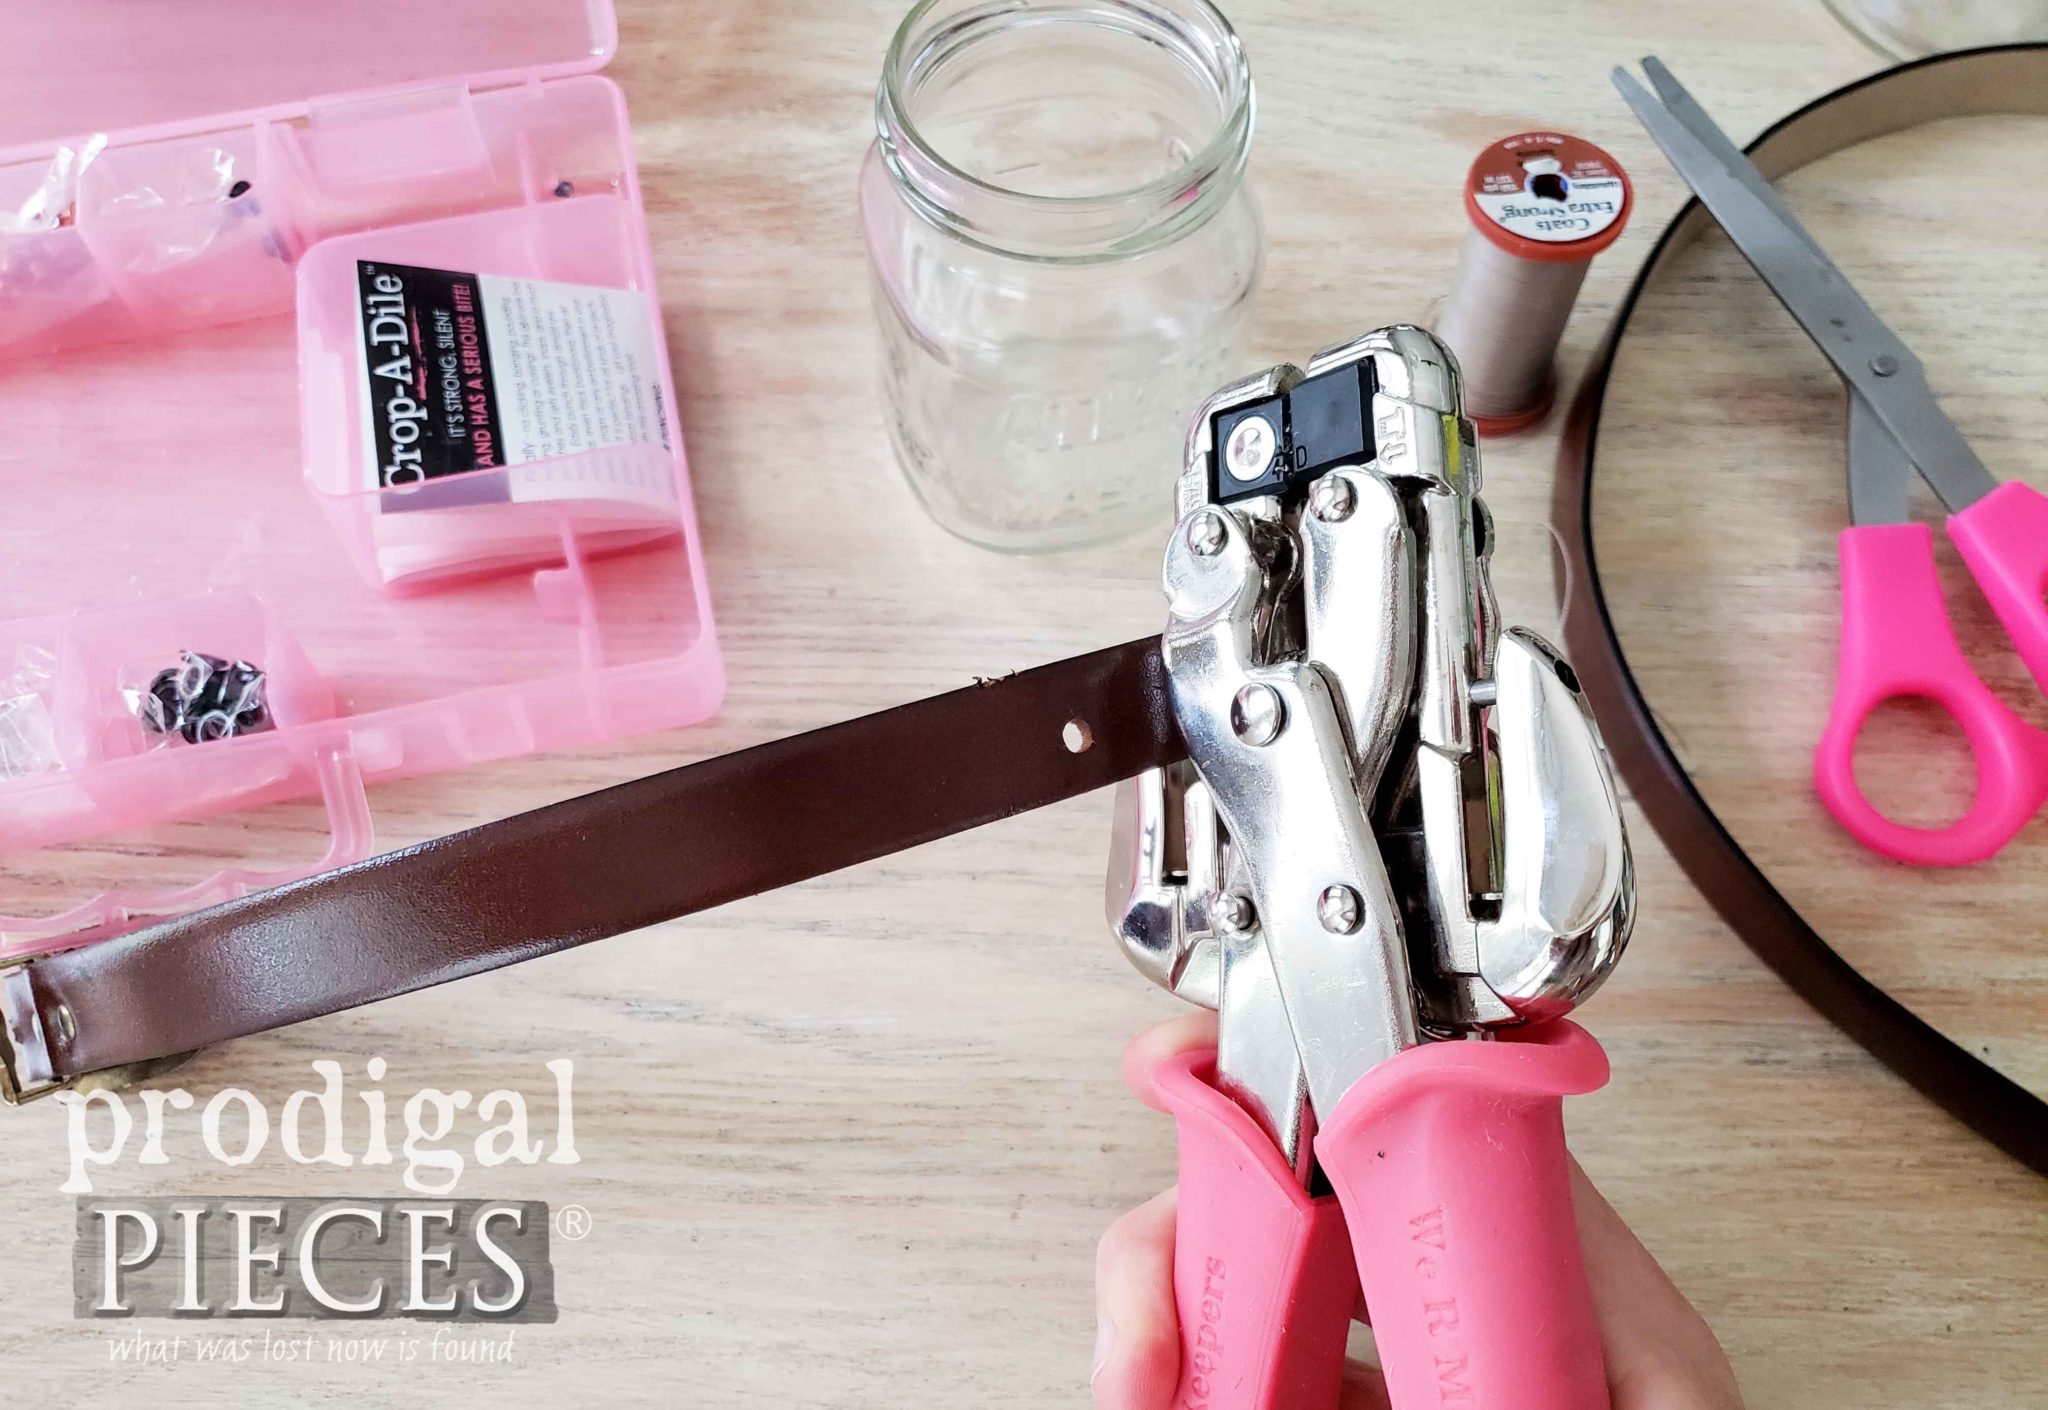
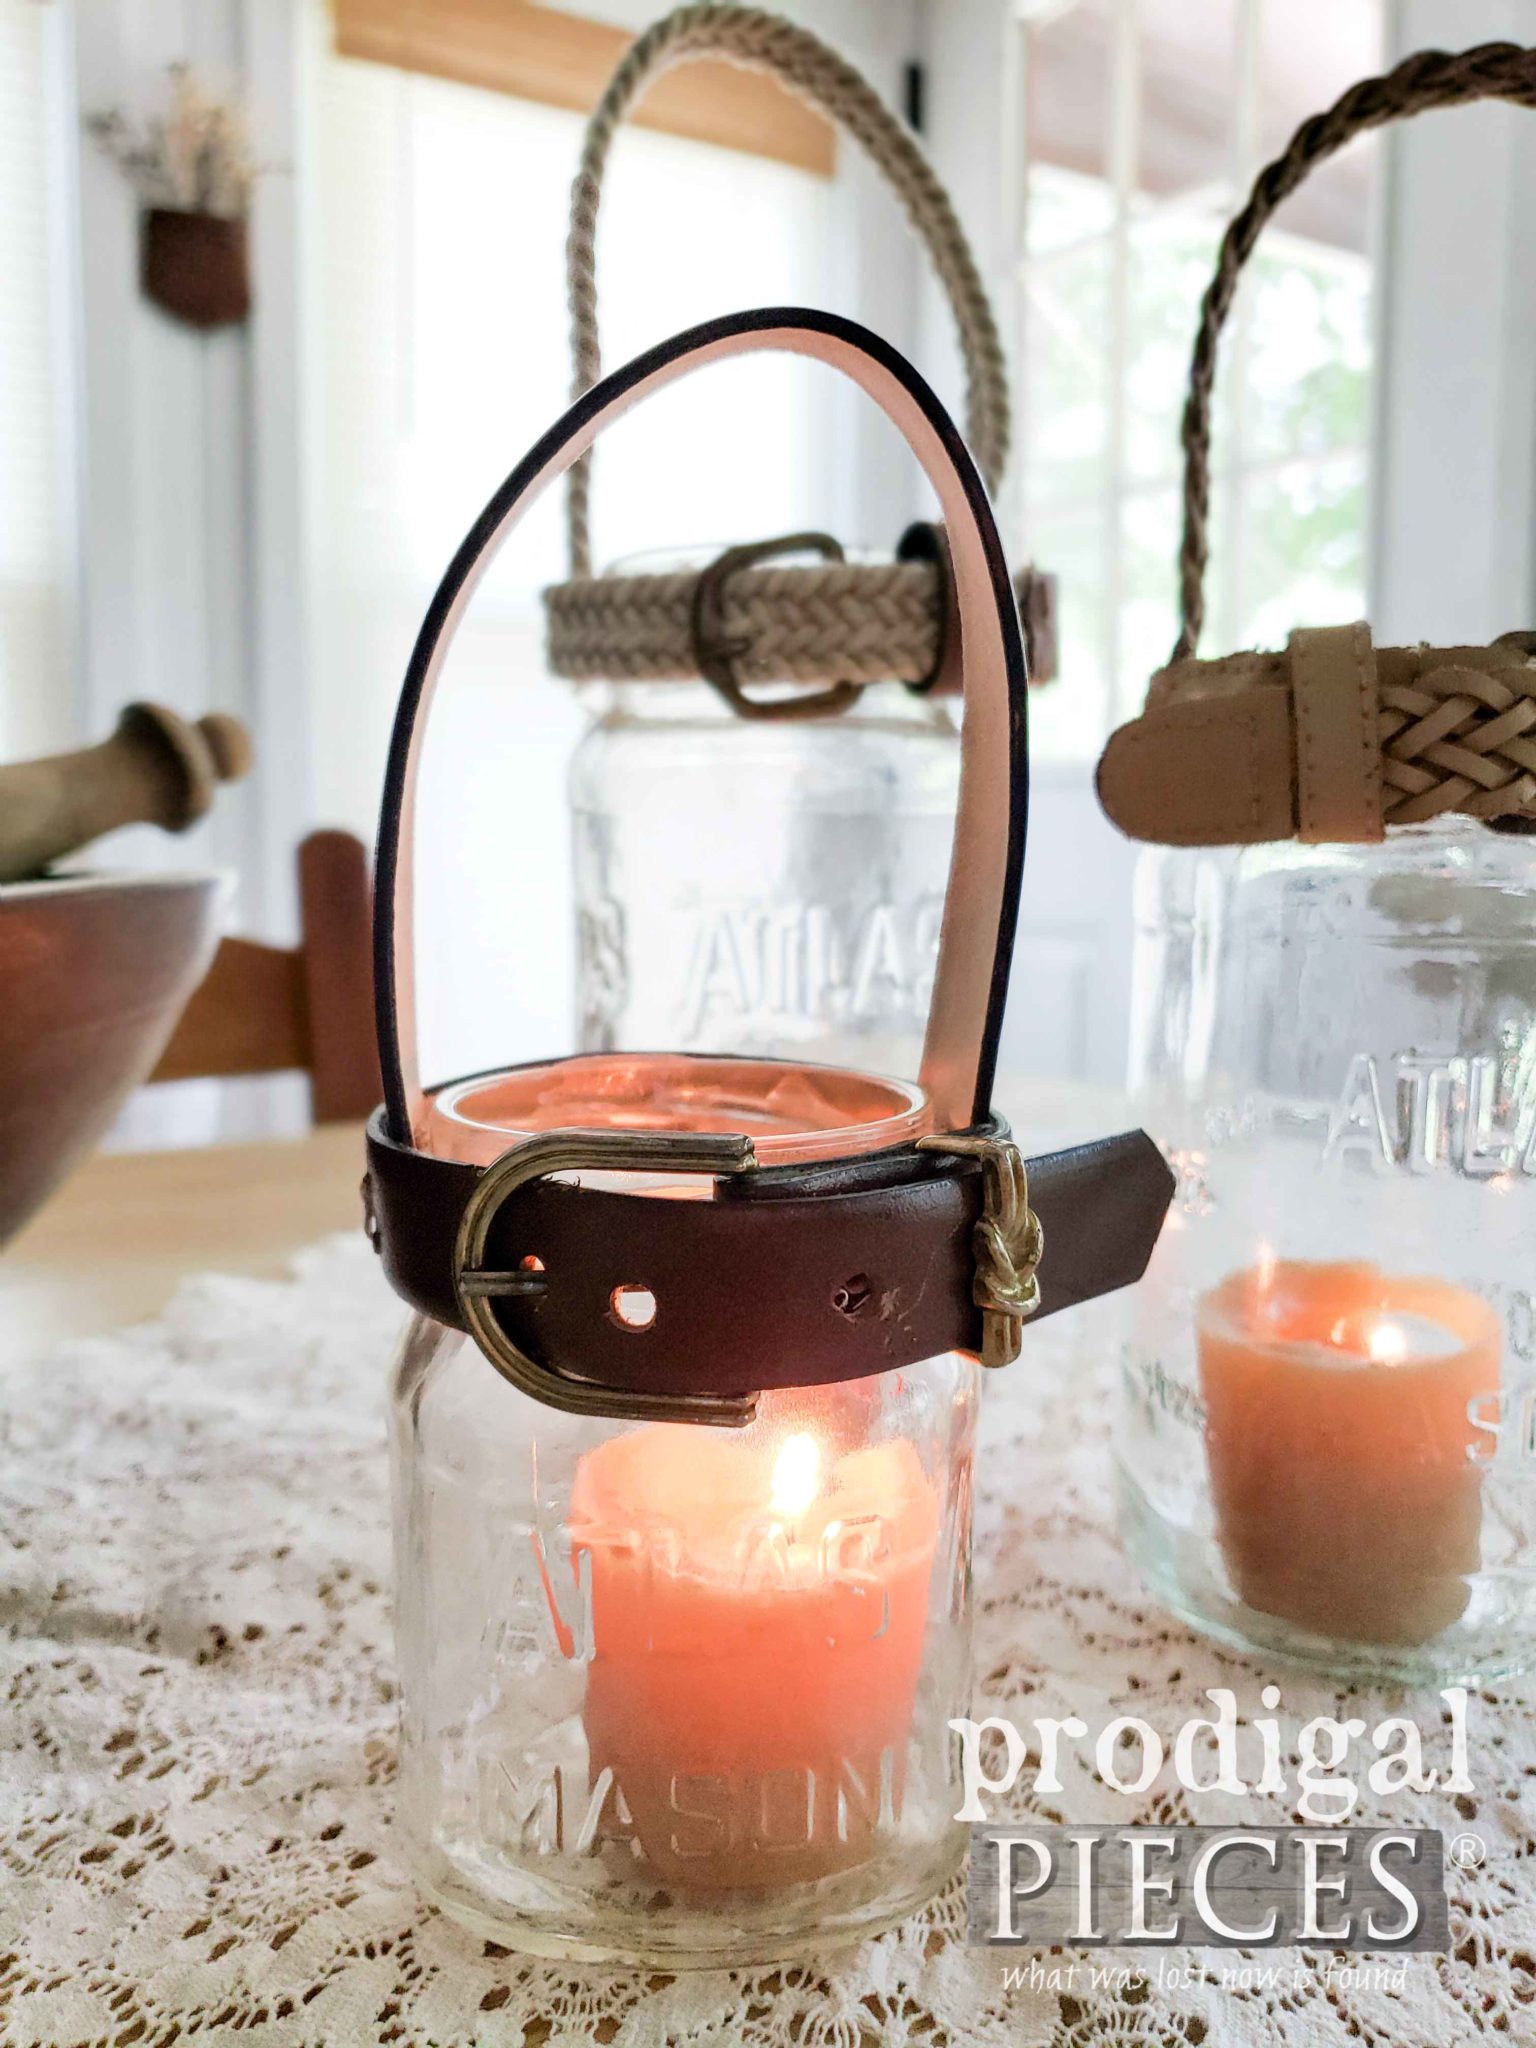
As I demonstrate in the video, I wrap the belt around the threaded top of the jar to size it to fit tight. Then, I cut off the excess belt. Because I want the belt to be snug, I mark where the buckle pin would need to go through. Mark the spot, and then either use an awl or a tool like this Crop-A-Dile to make new holes. I just love this handy thing!
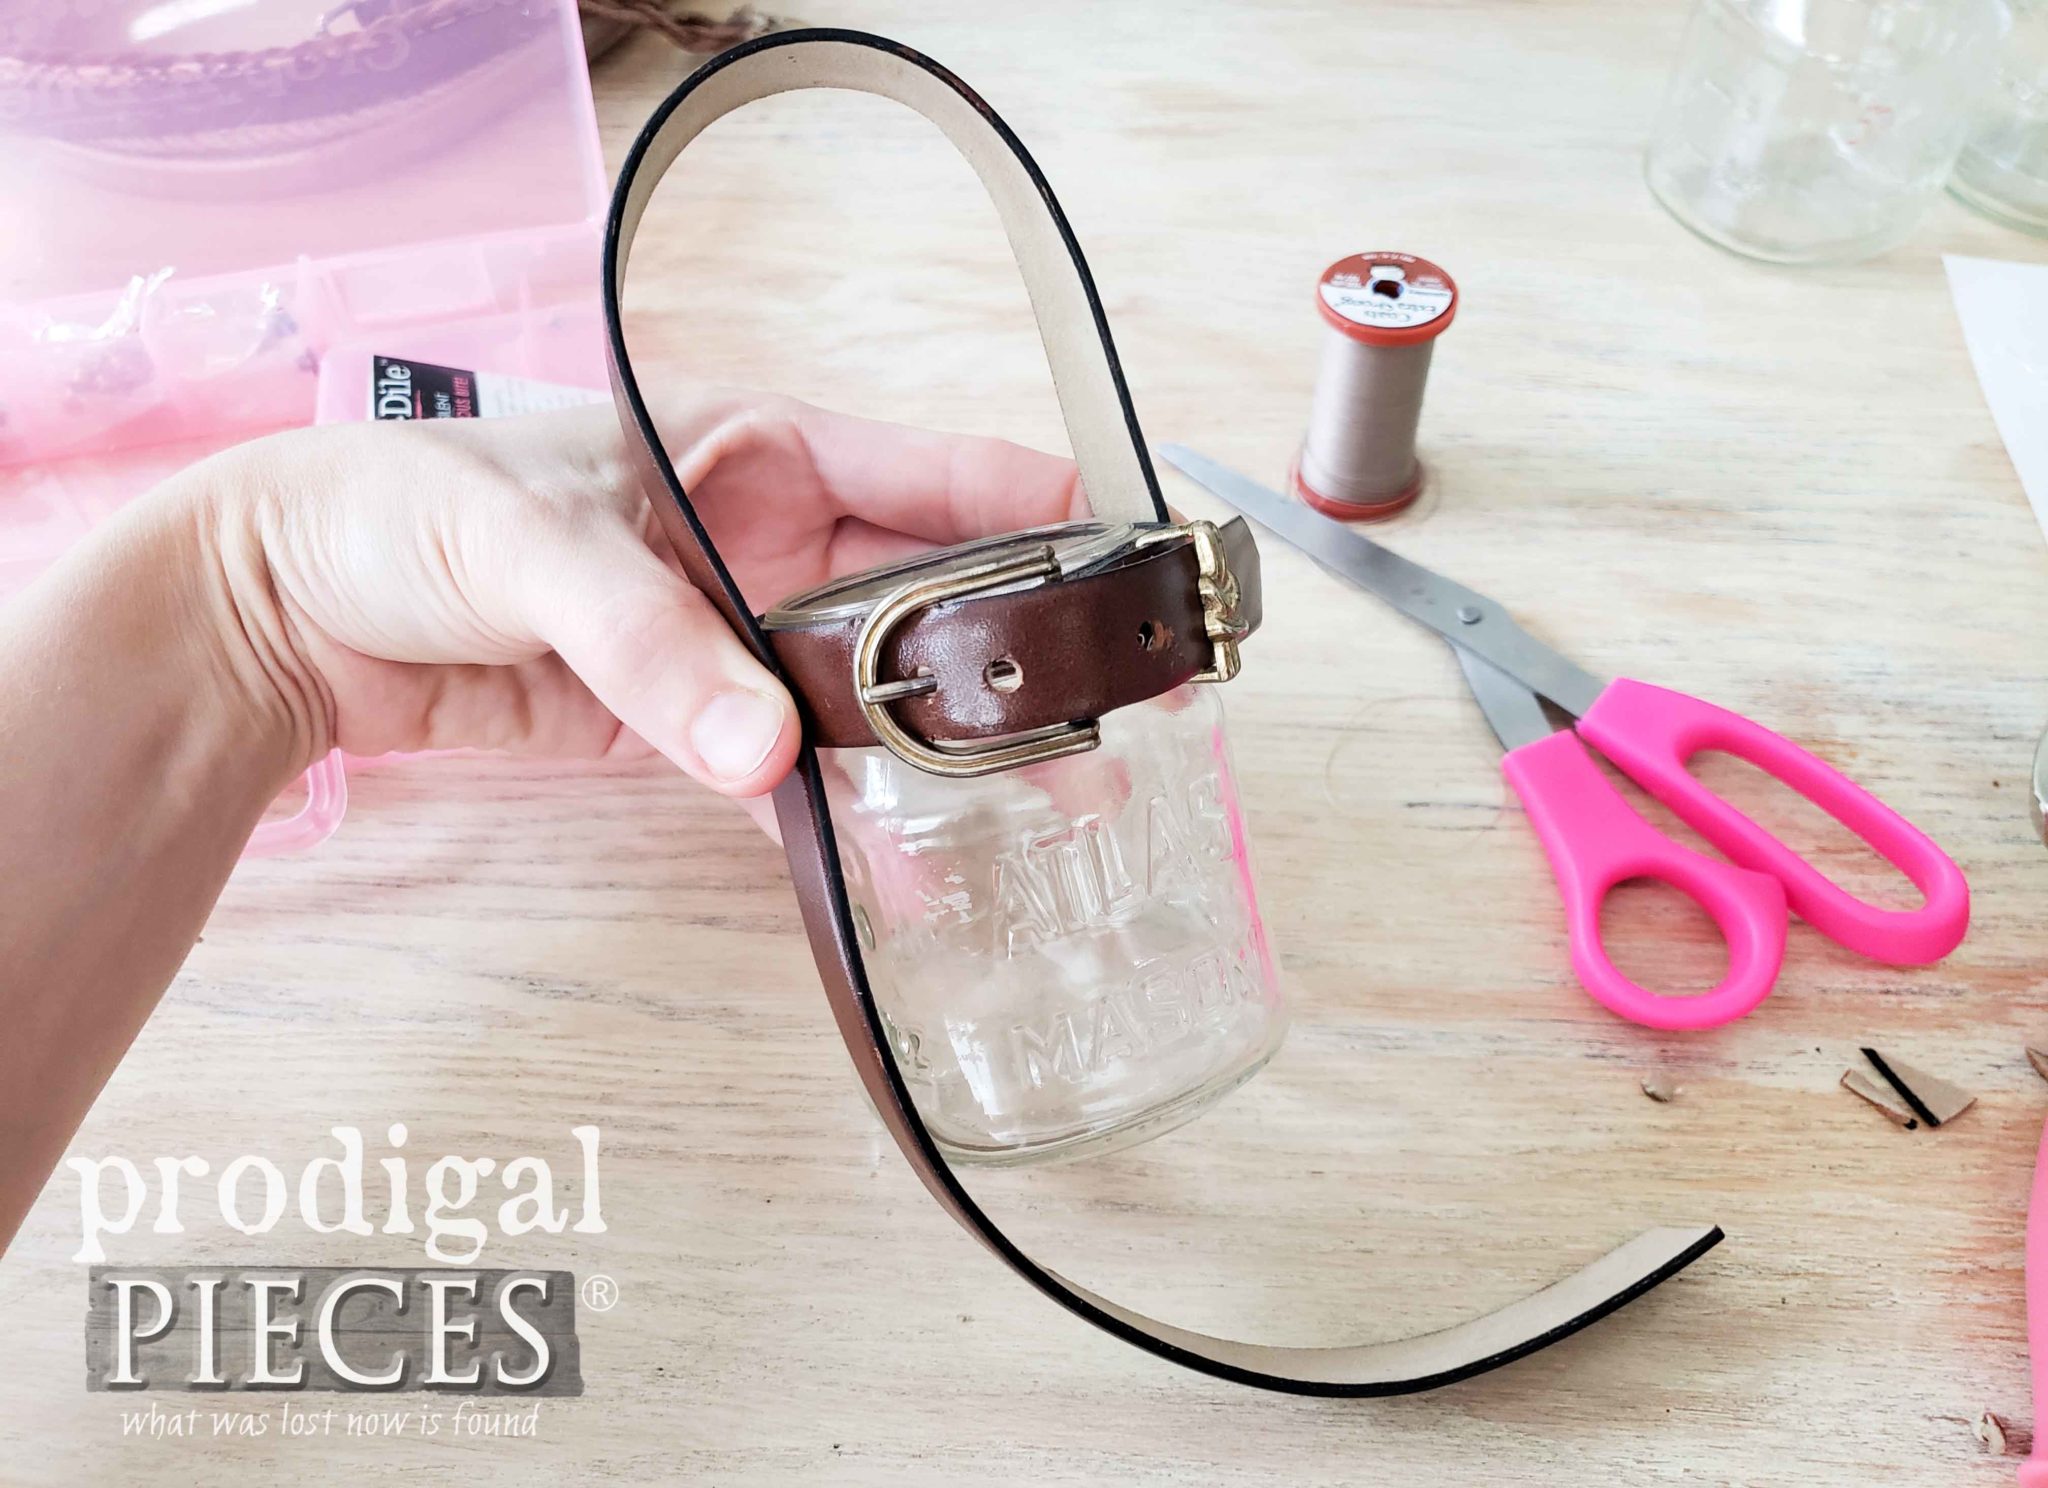
Now that my mini belt is ready to go, I buckle it around my jar. I use the remnant piece of belt to create a handle and cut it to length.
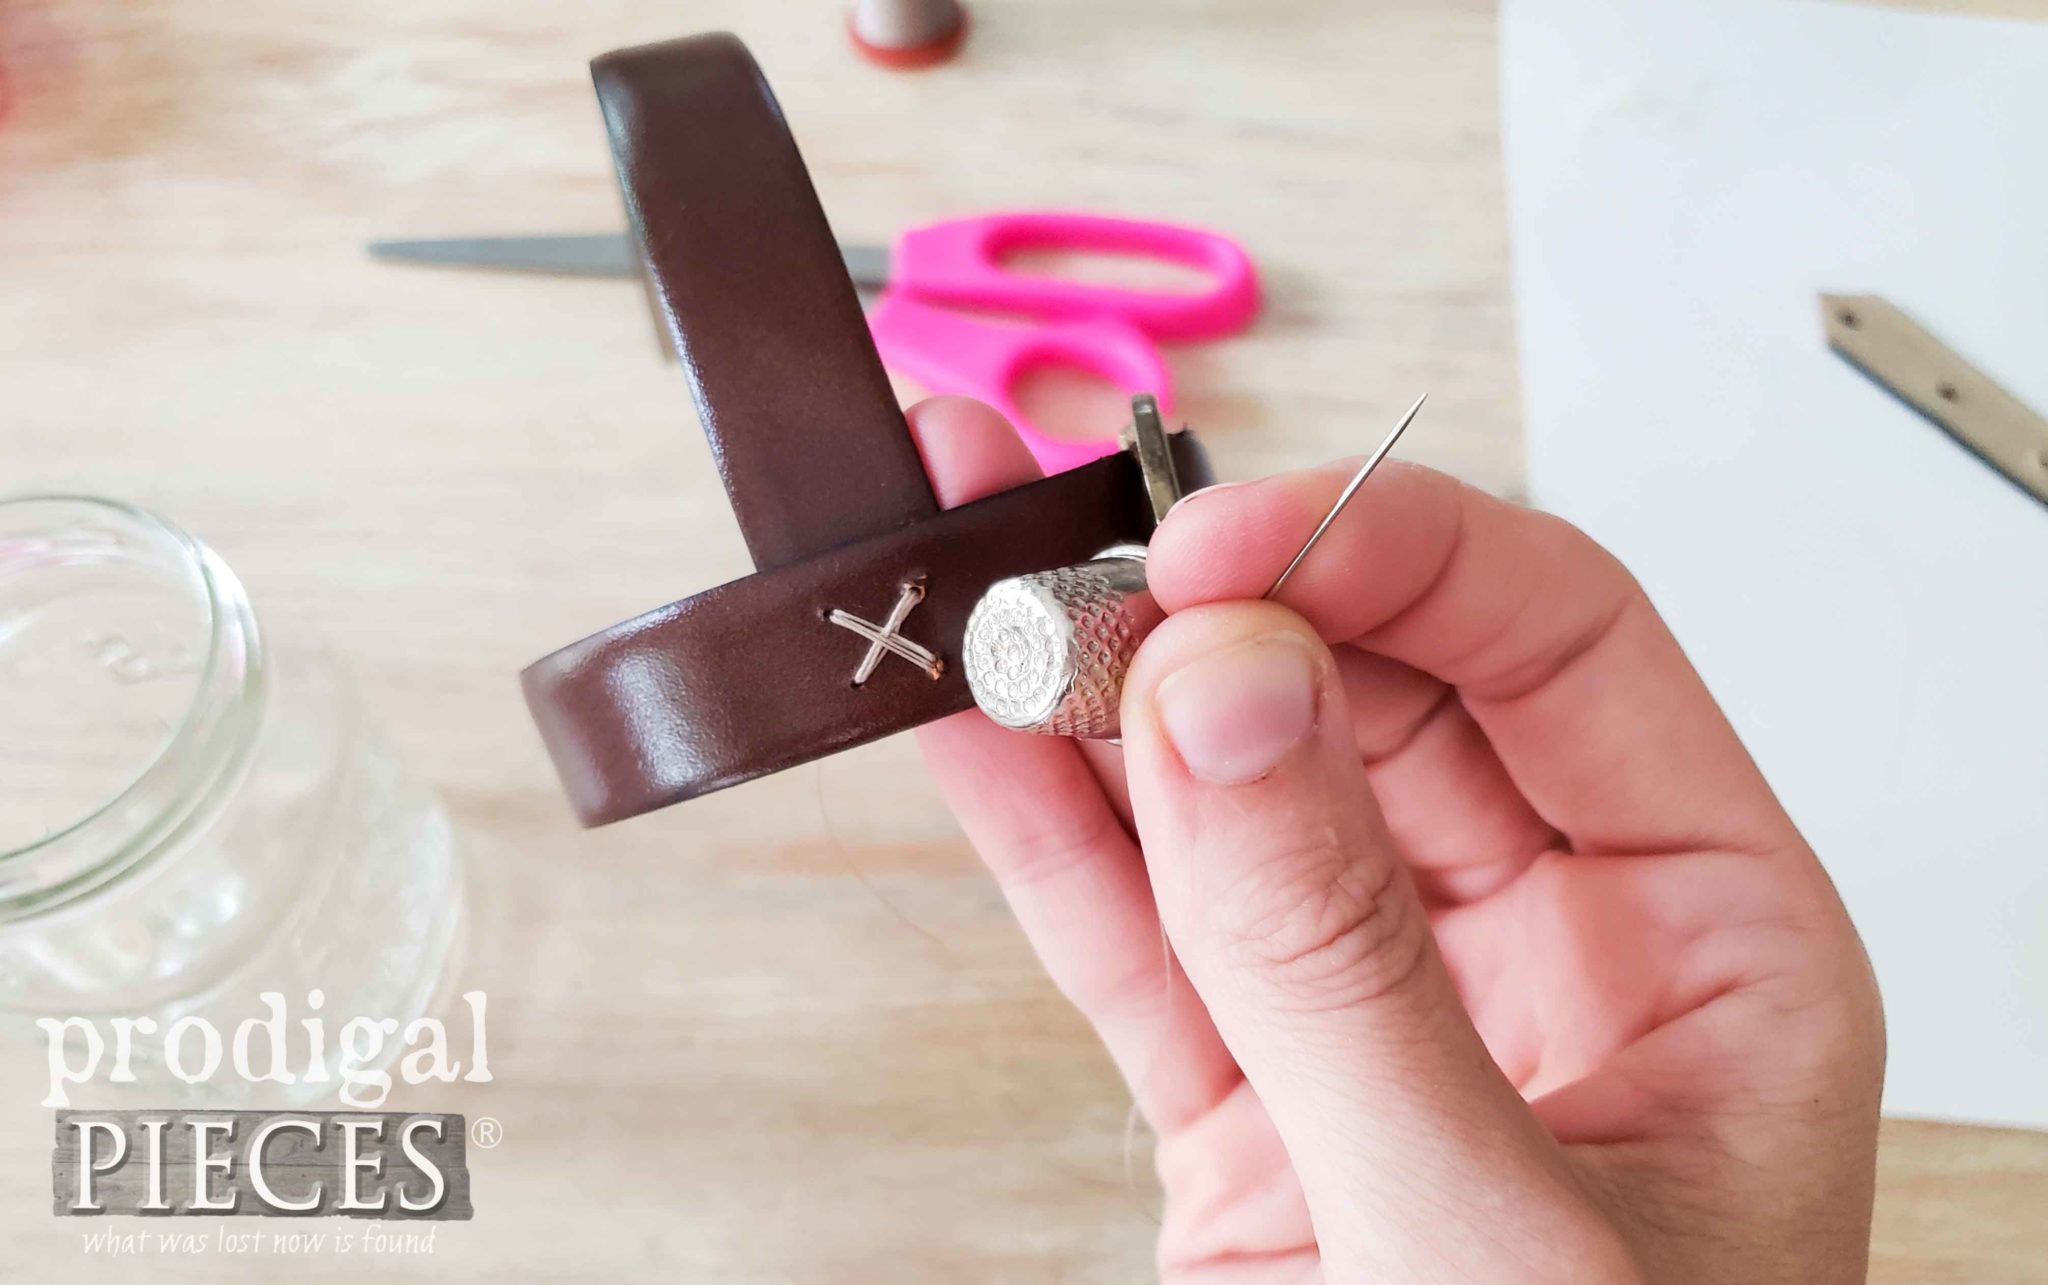
To mark where to attach it to the mini belt, then remove it from the jar and hand-stitch the handle on. I used upholstery thread, but you could also use embroidery floss, yarn, jute, etc. note: you could also use the belt excess to go around the bottom of the jar to create a holder if you want a more stable hanging sort of jar.
Next, I use my hot glue gun and glue stick to put a heavy bead around the threaded top of the canning jar and put my leather holder on it it. Again, the video shows this best.
FIRST PROJECT REVEAL
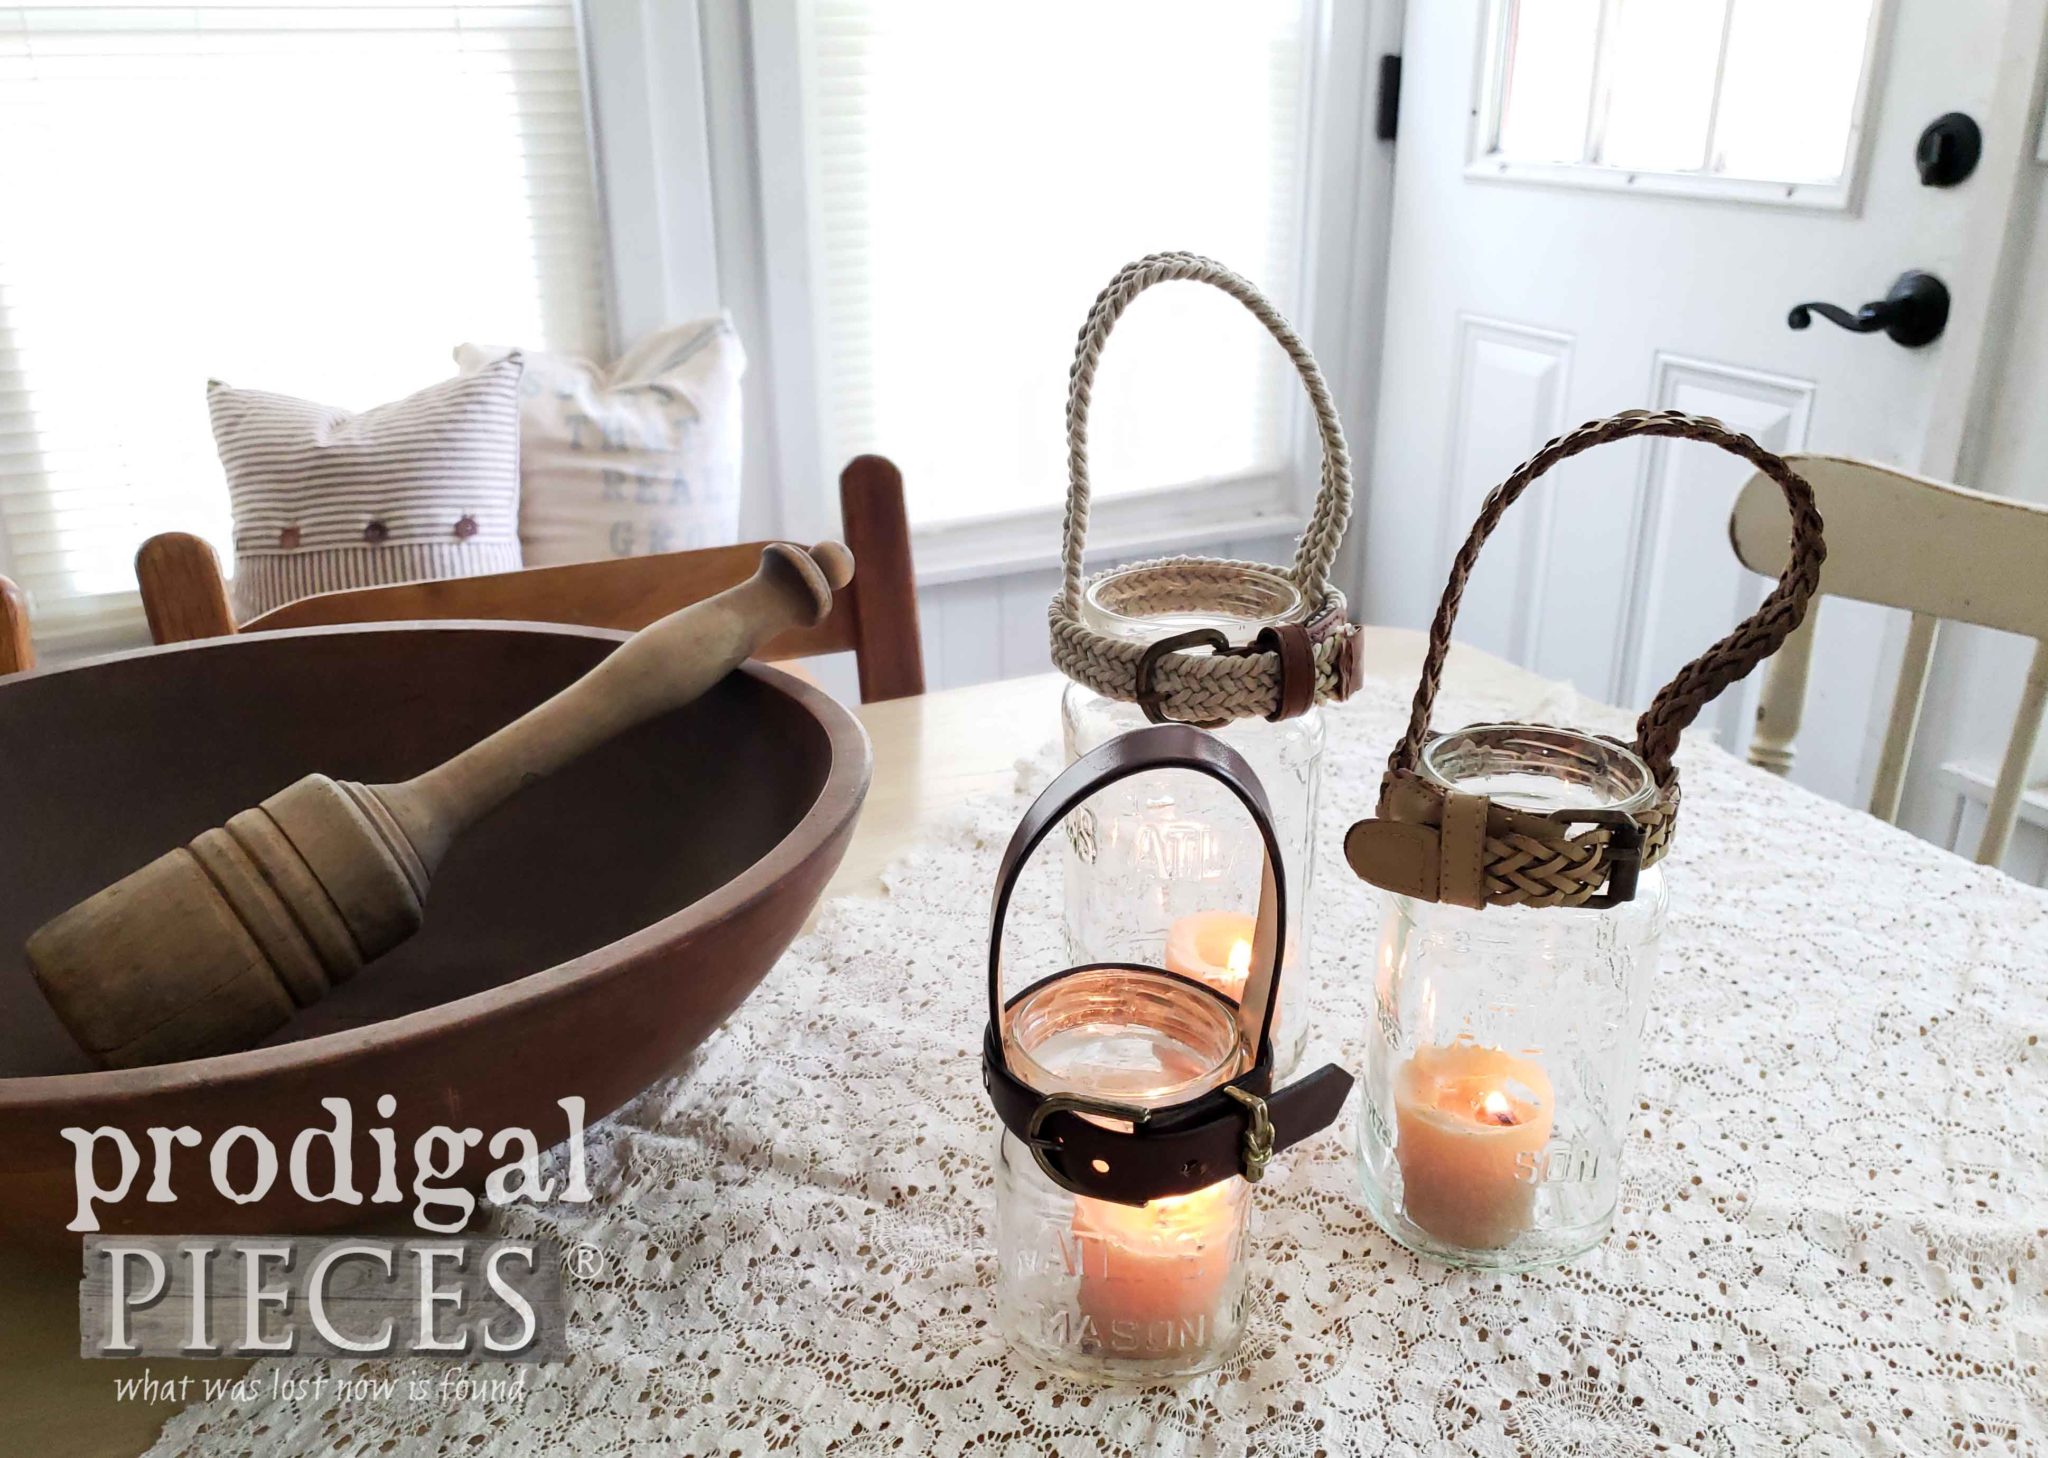
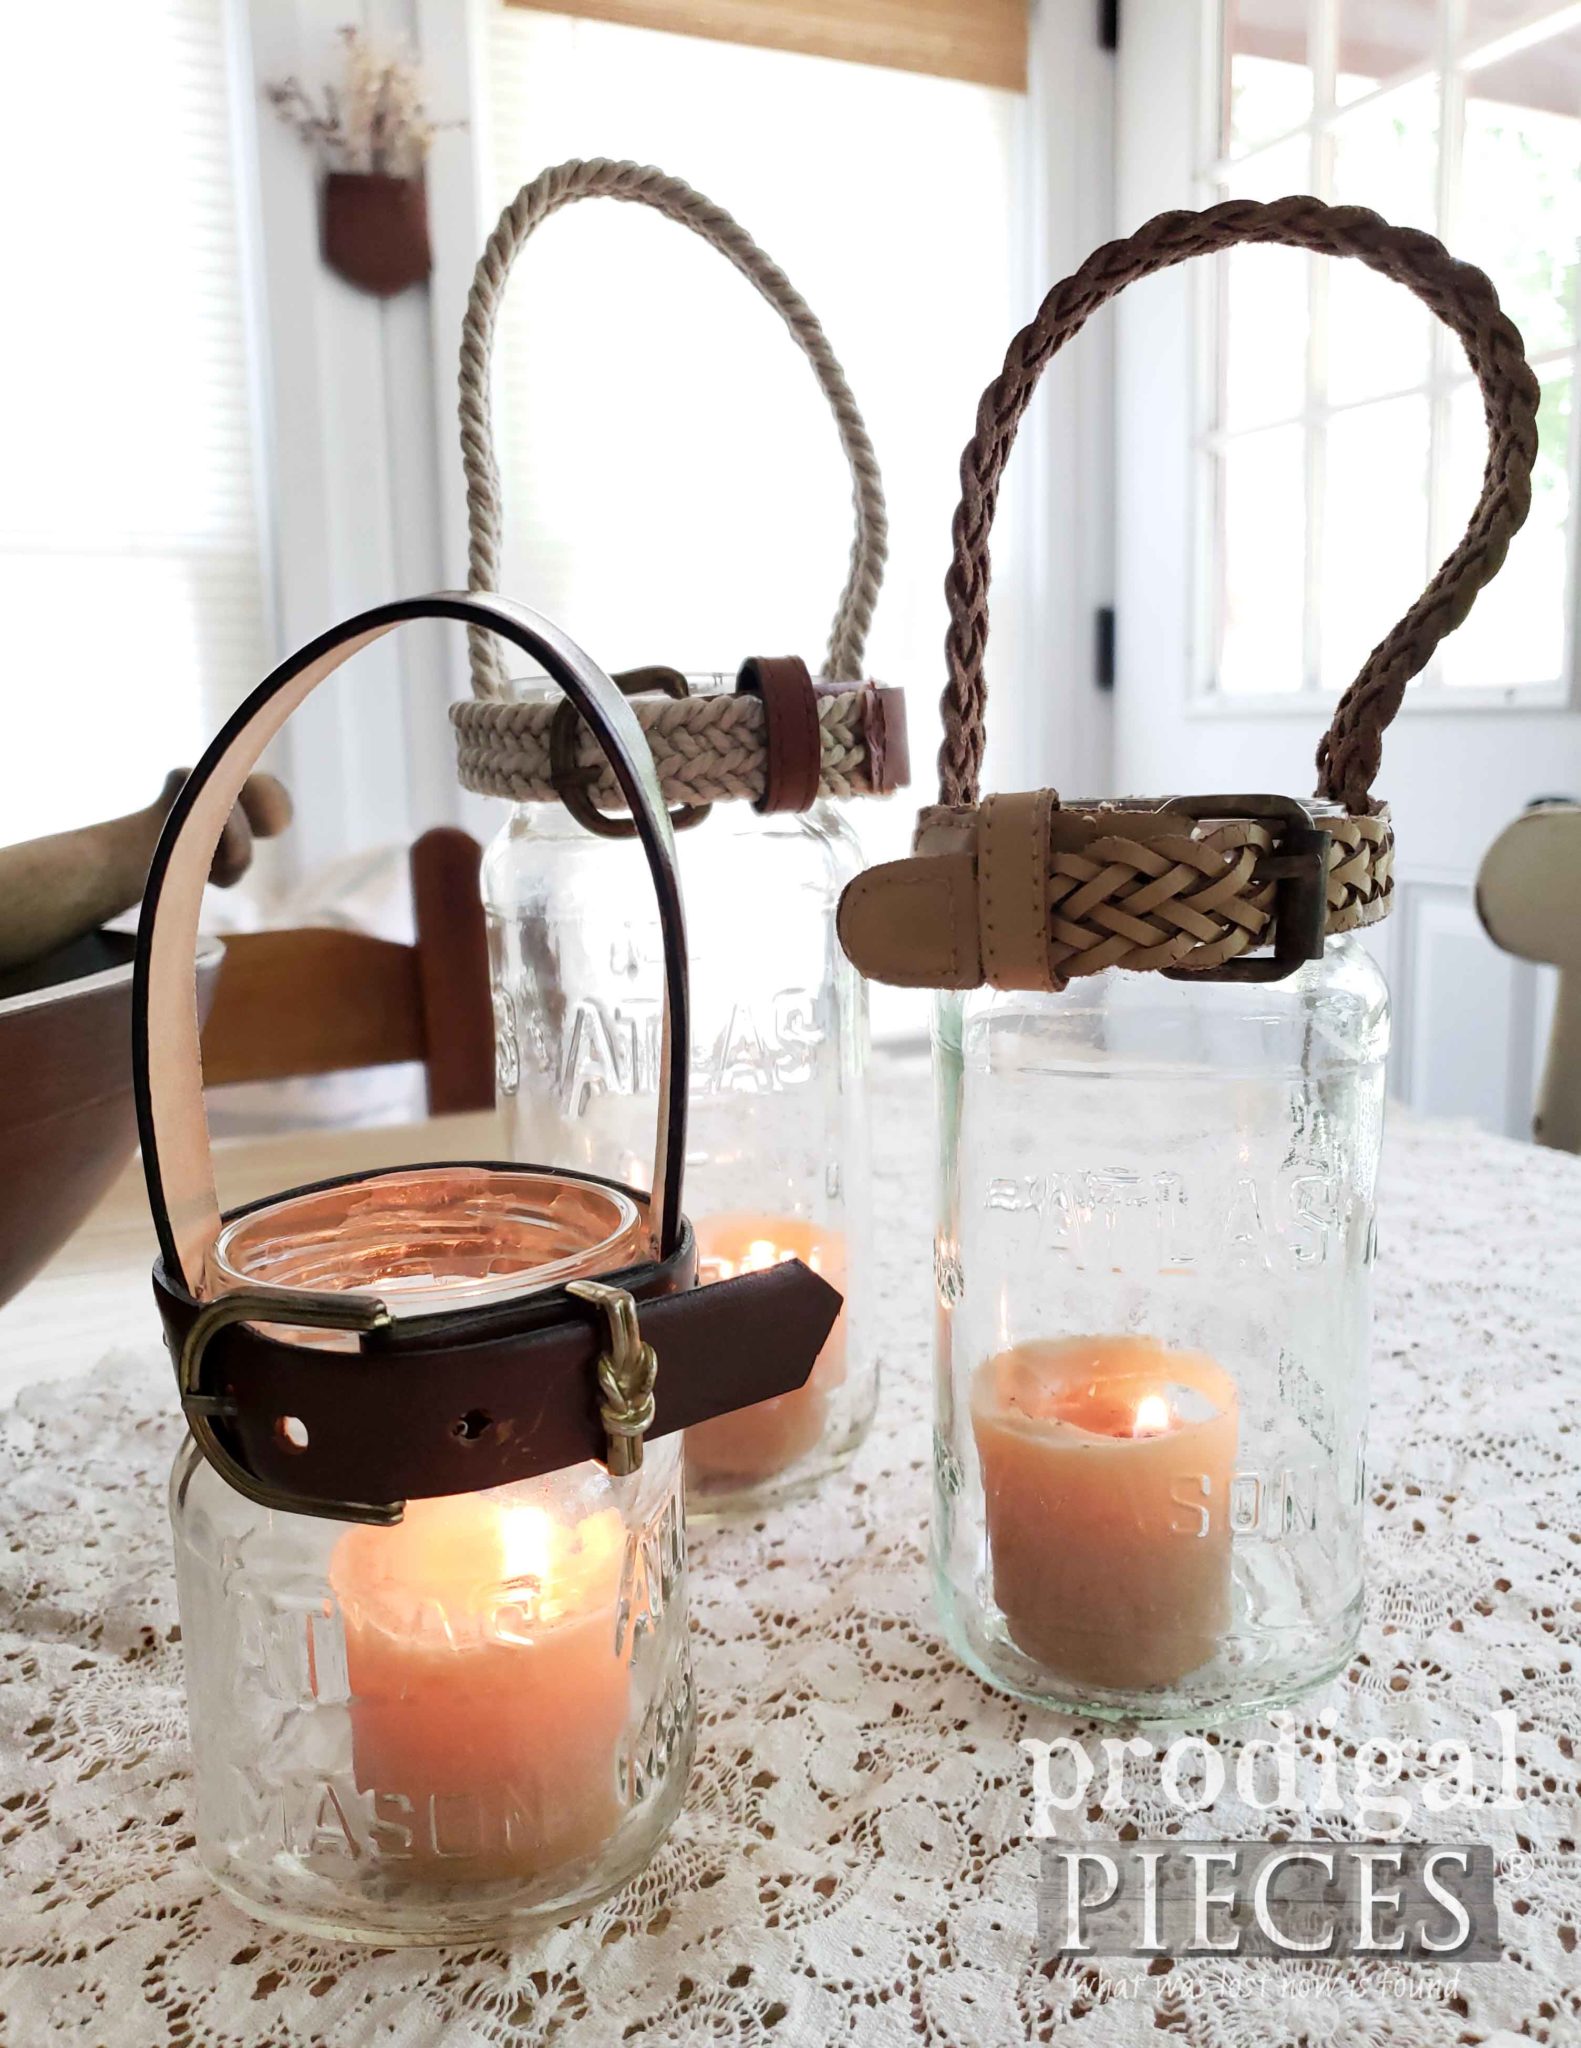
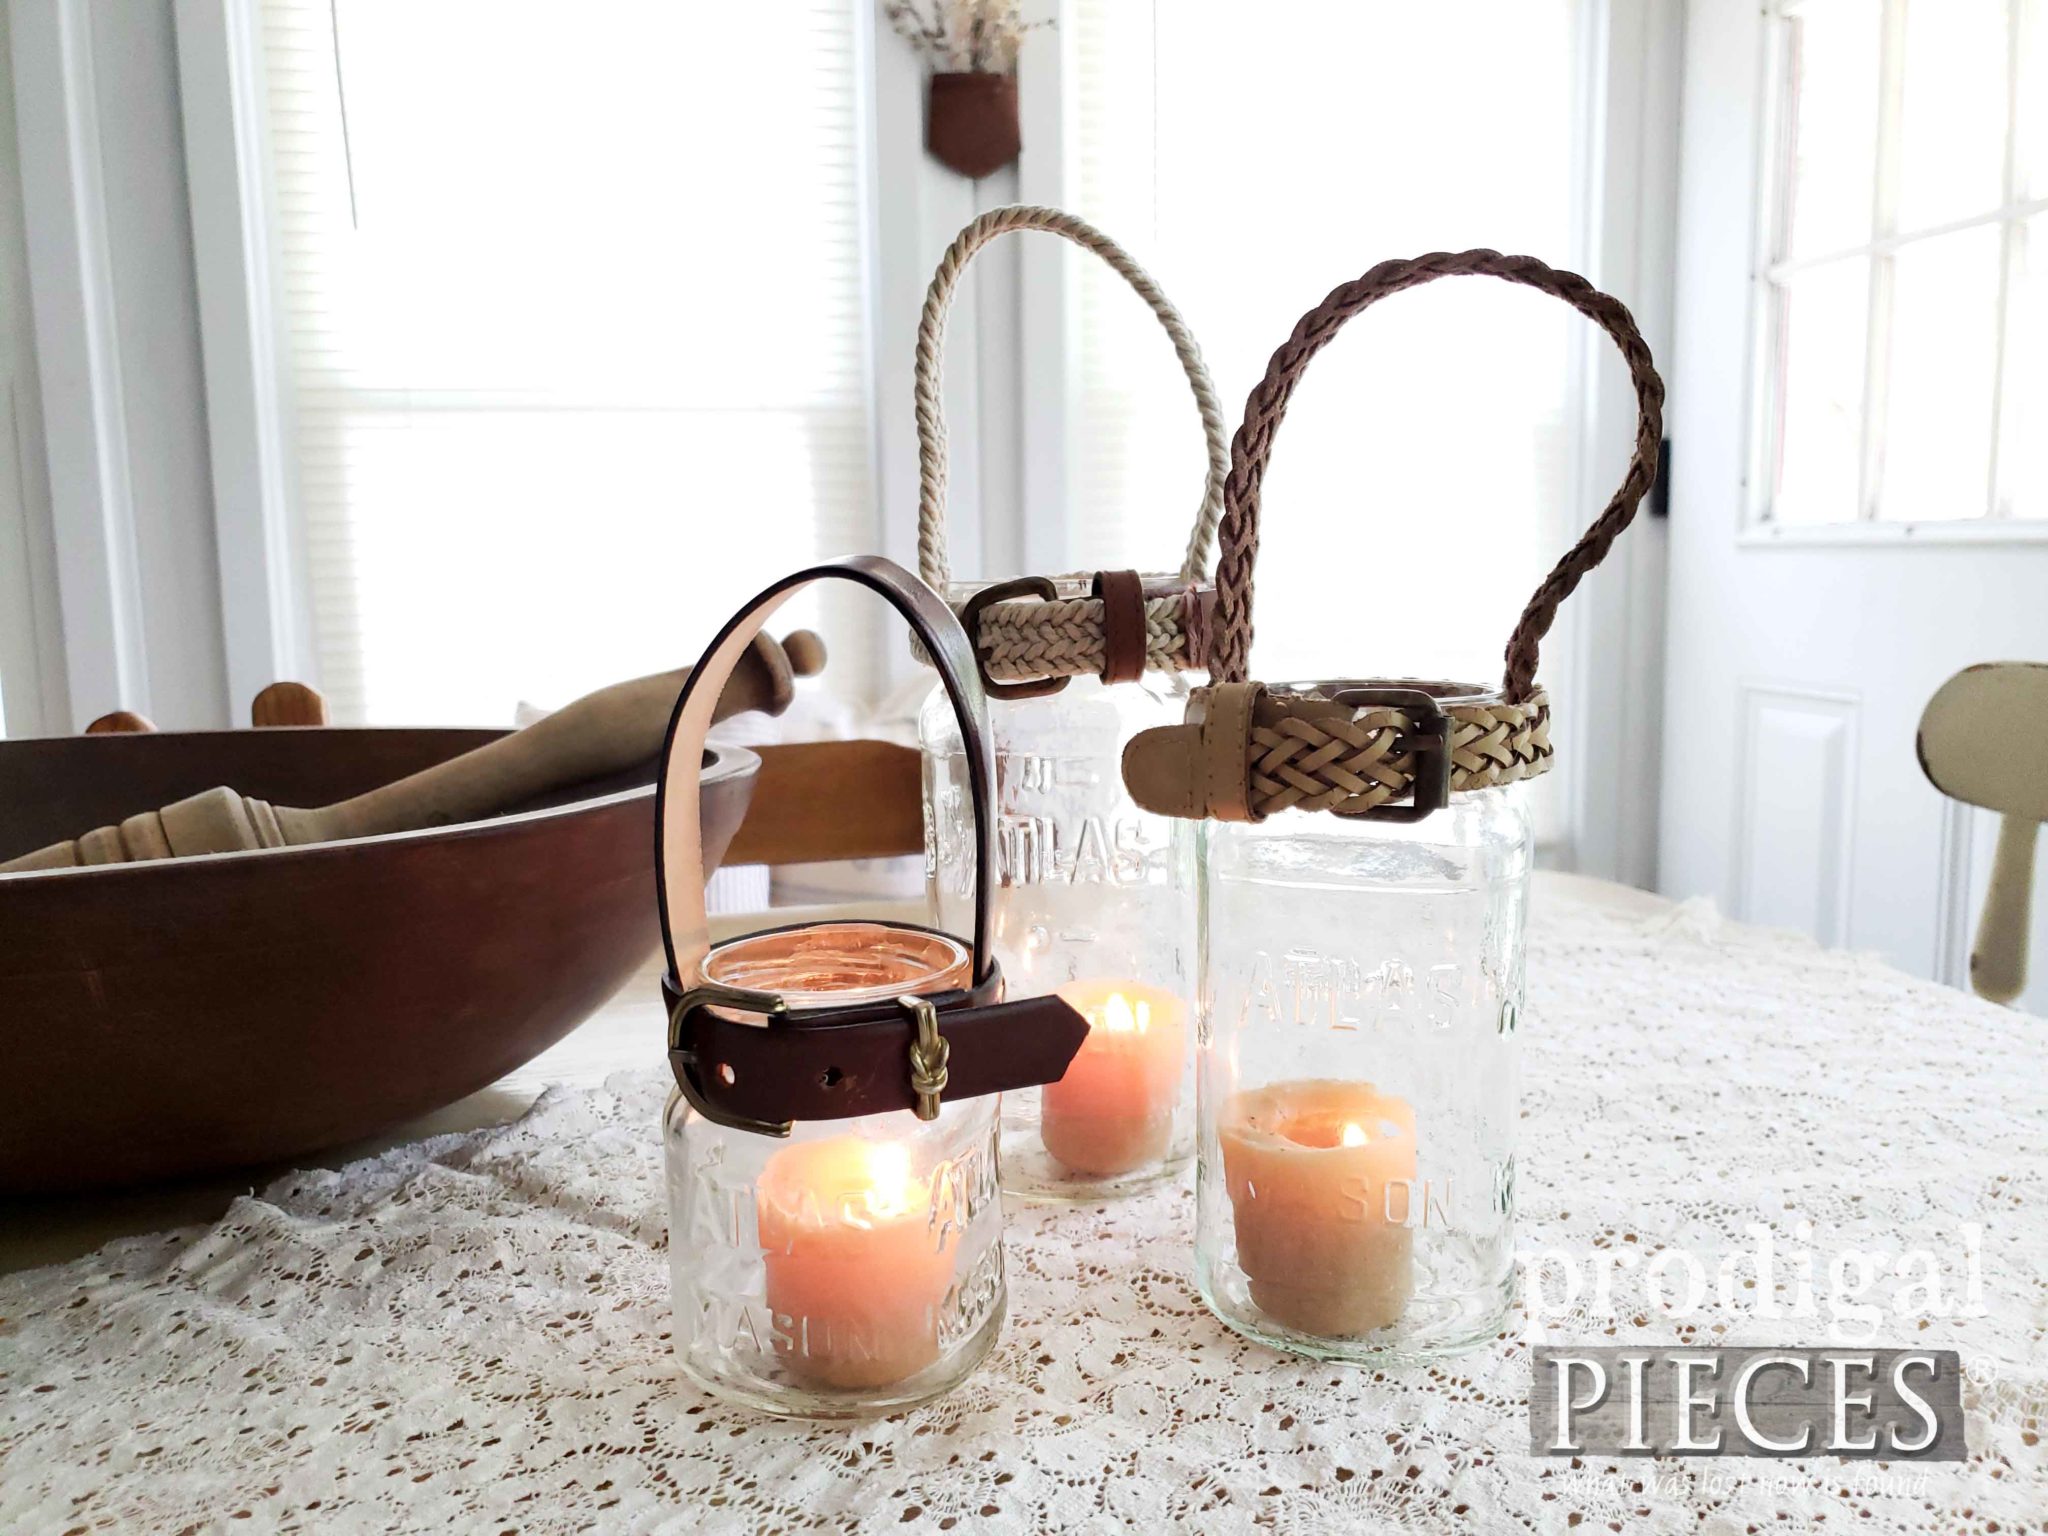
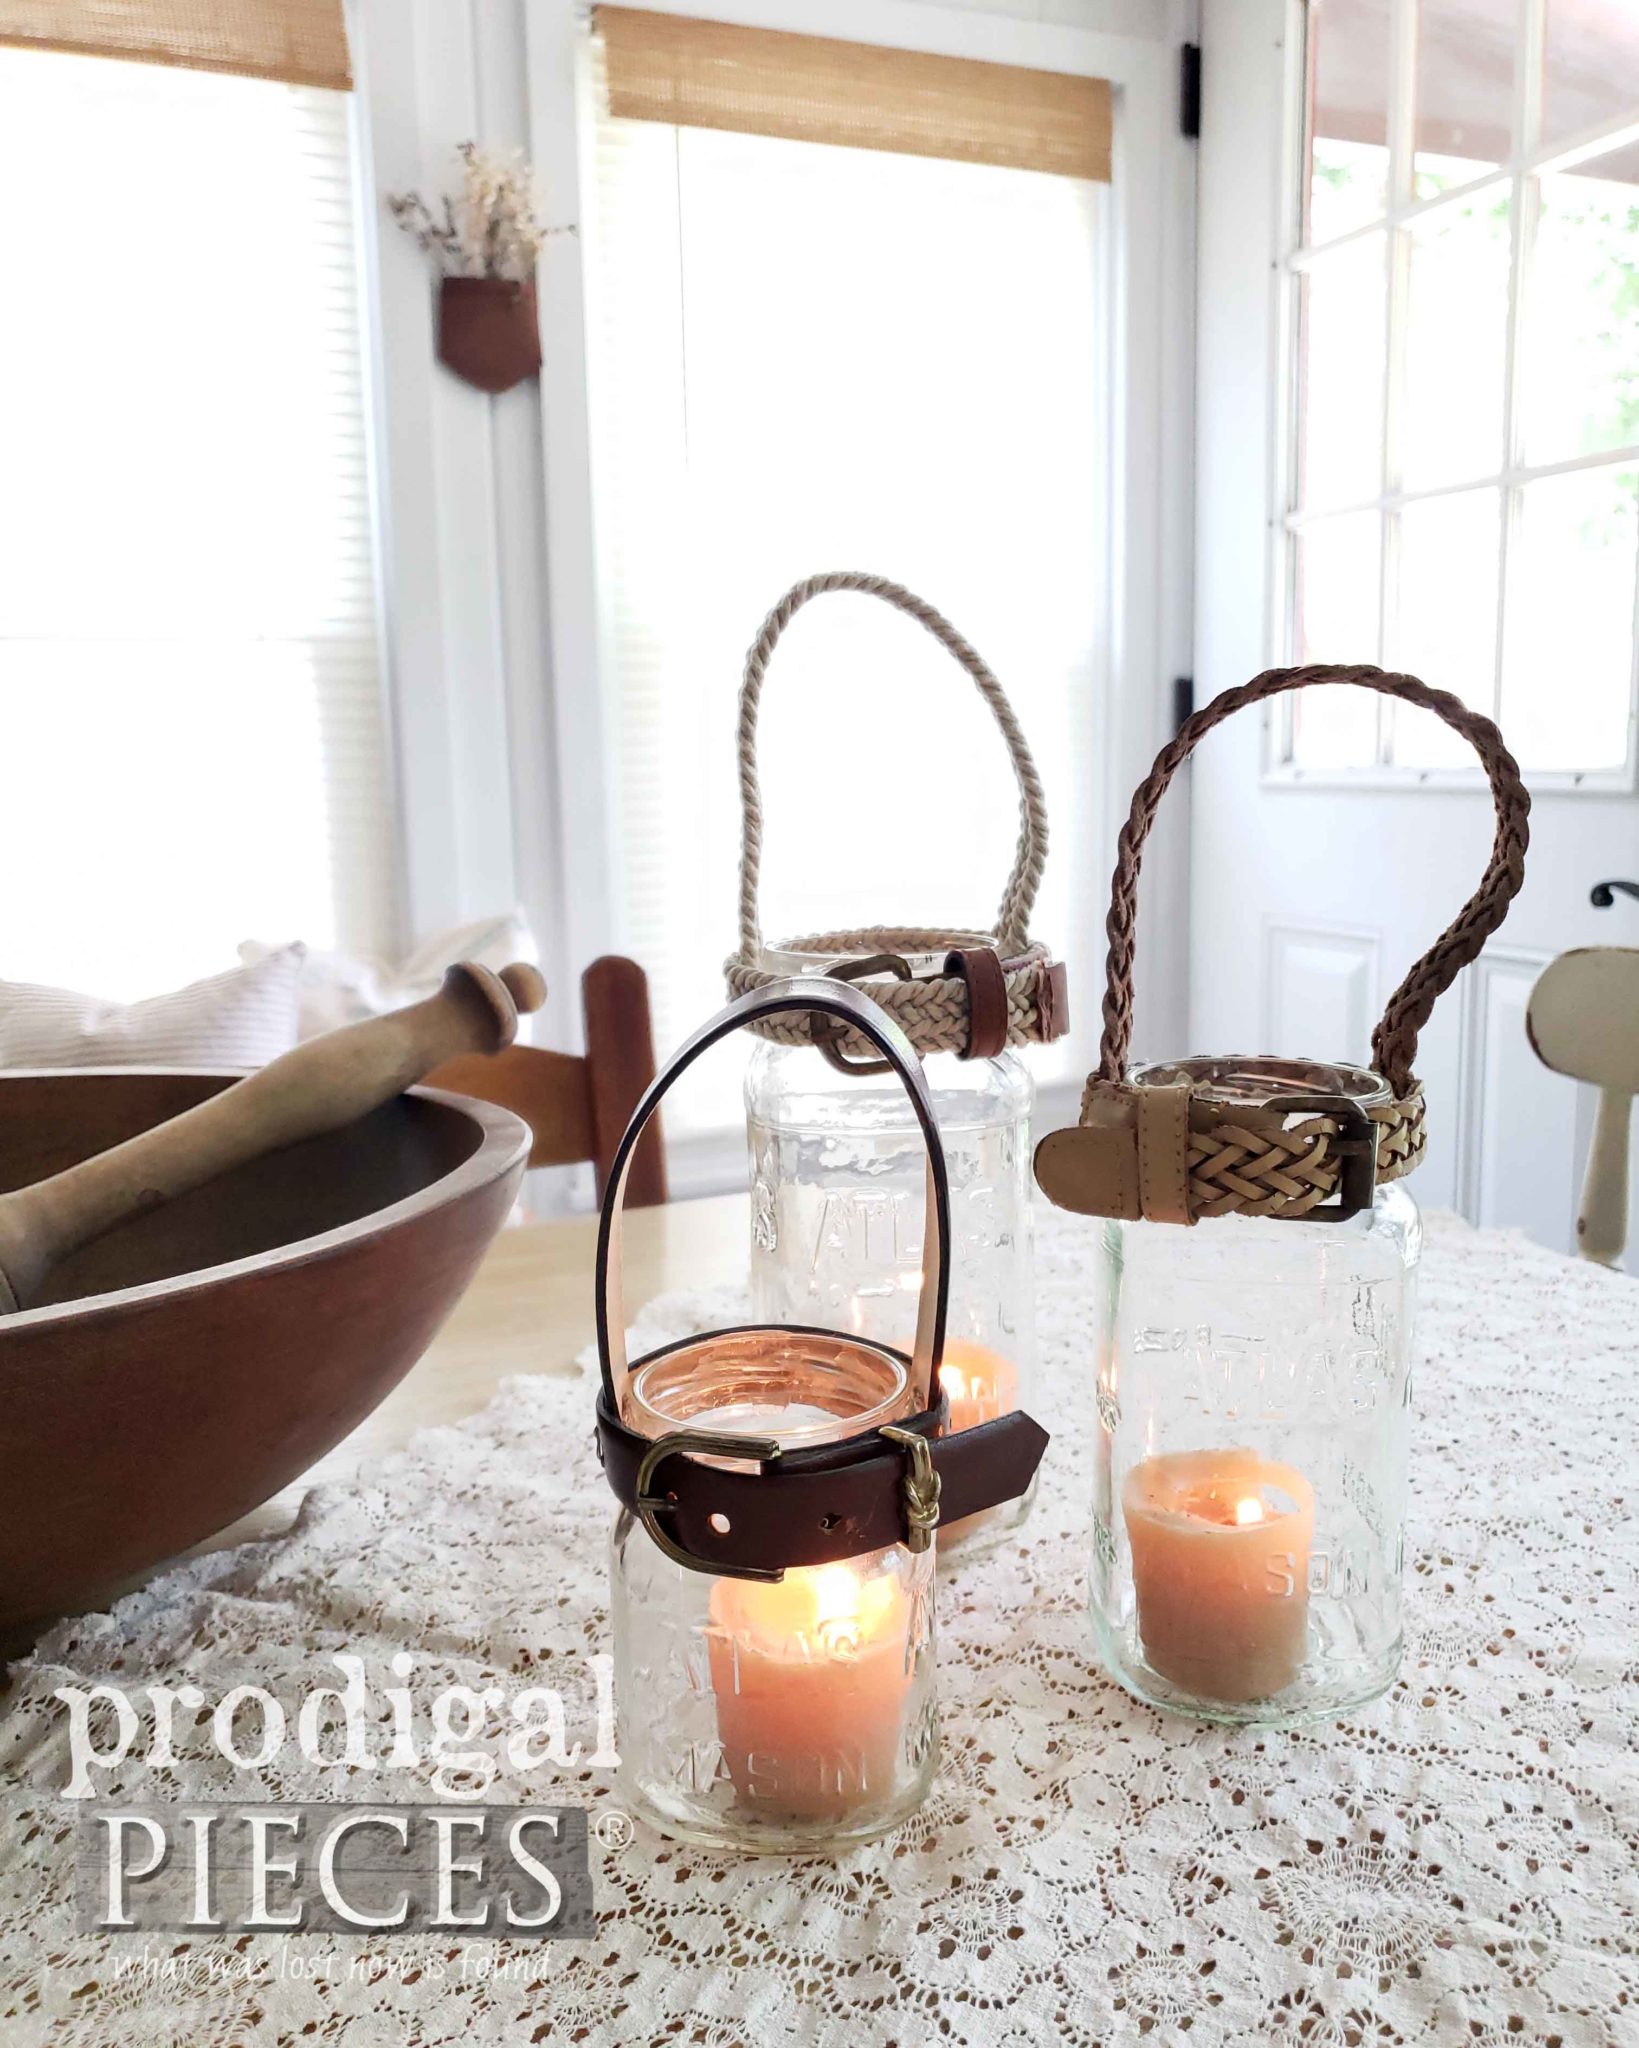
Now my first upcycled belts project is finished. woot! I’m happy to say that it came out as I’d planned and even cuter than I hoped.
Aren’t they fun? I can’t decide if I like the solid leather, the rope leather, or the rope belts best. I say they look awesome paired together.
TIME FOR PROJECT #2
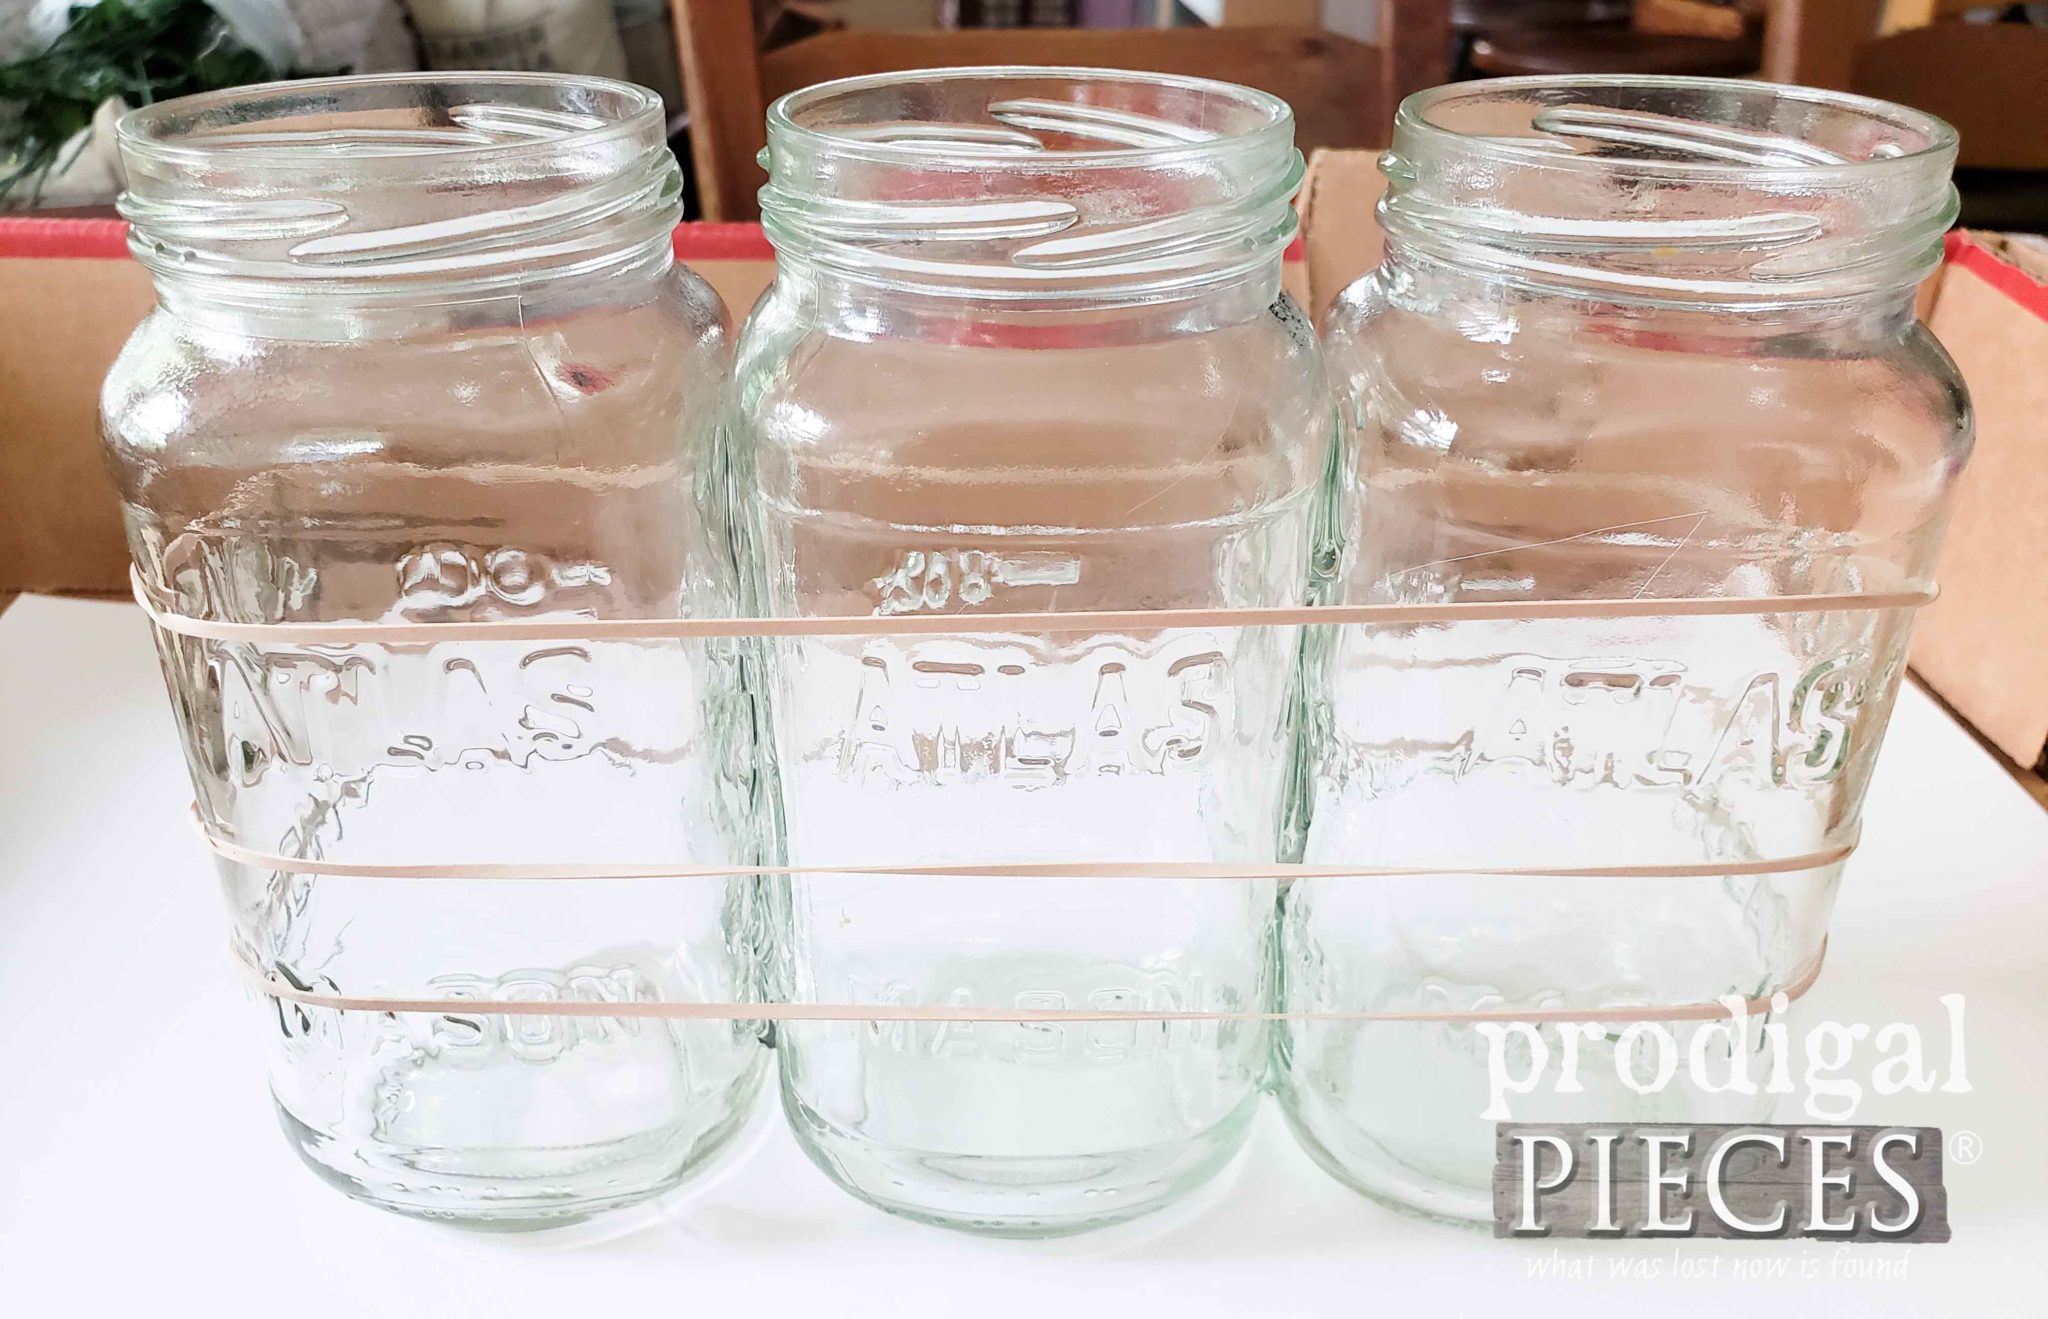
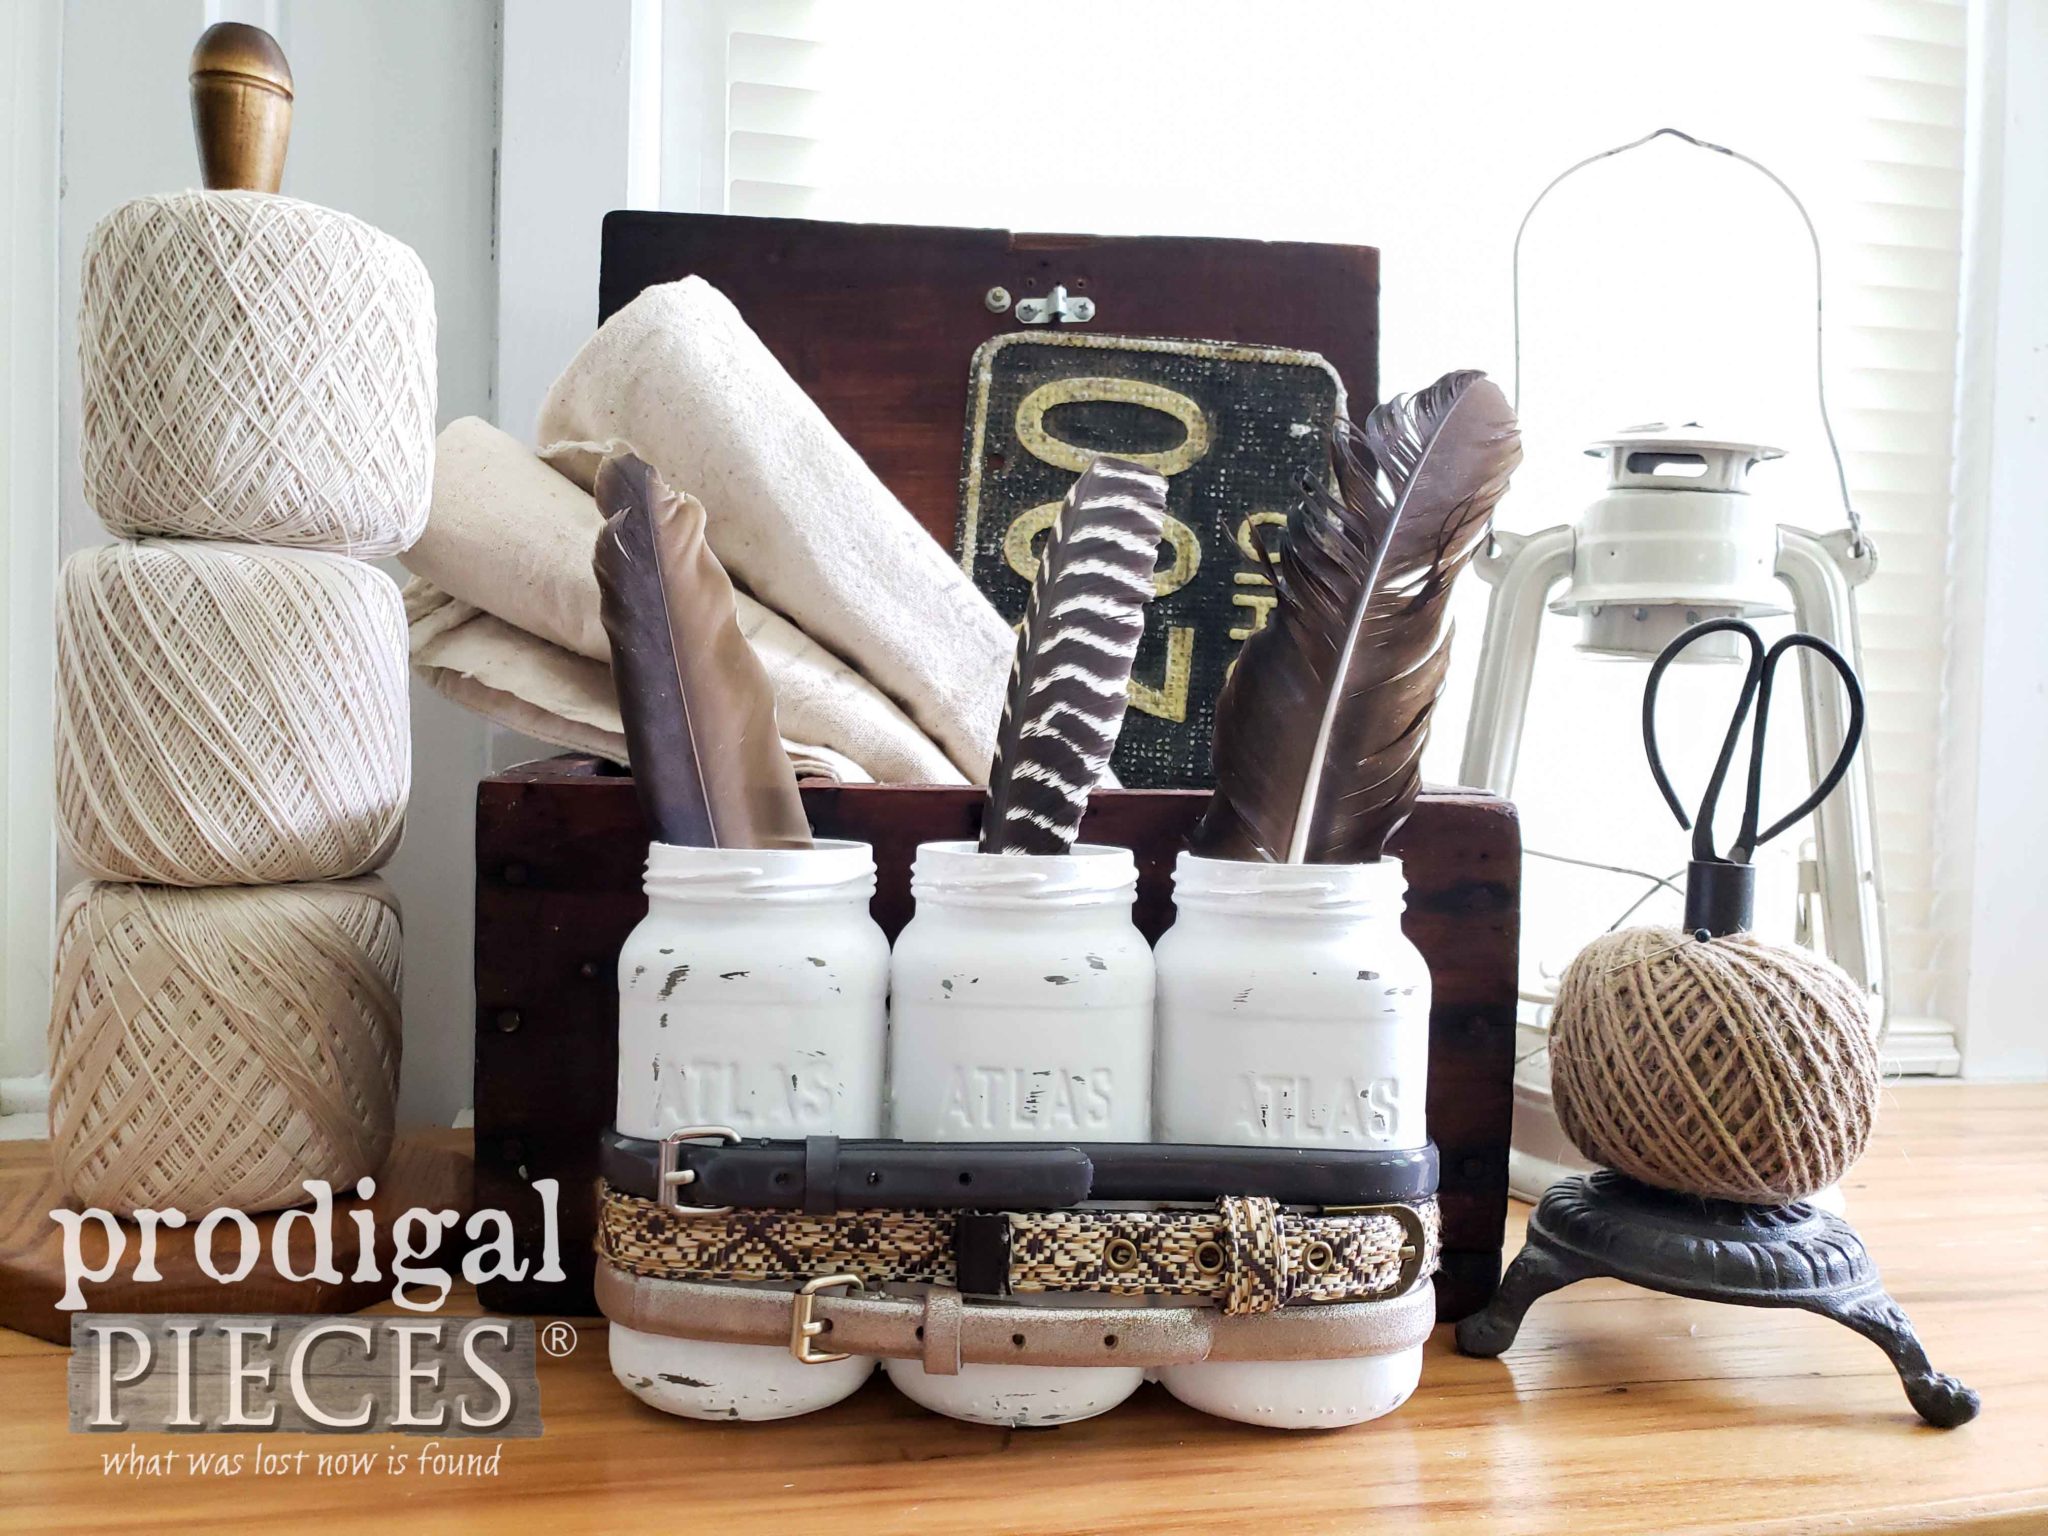
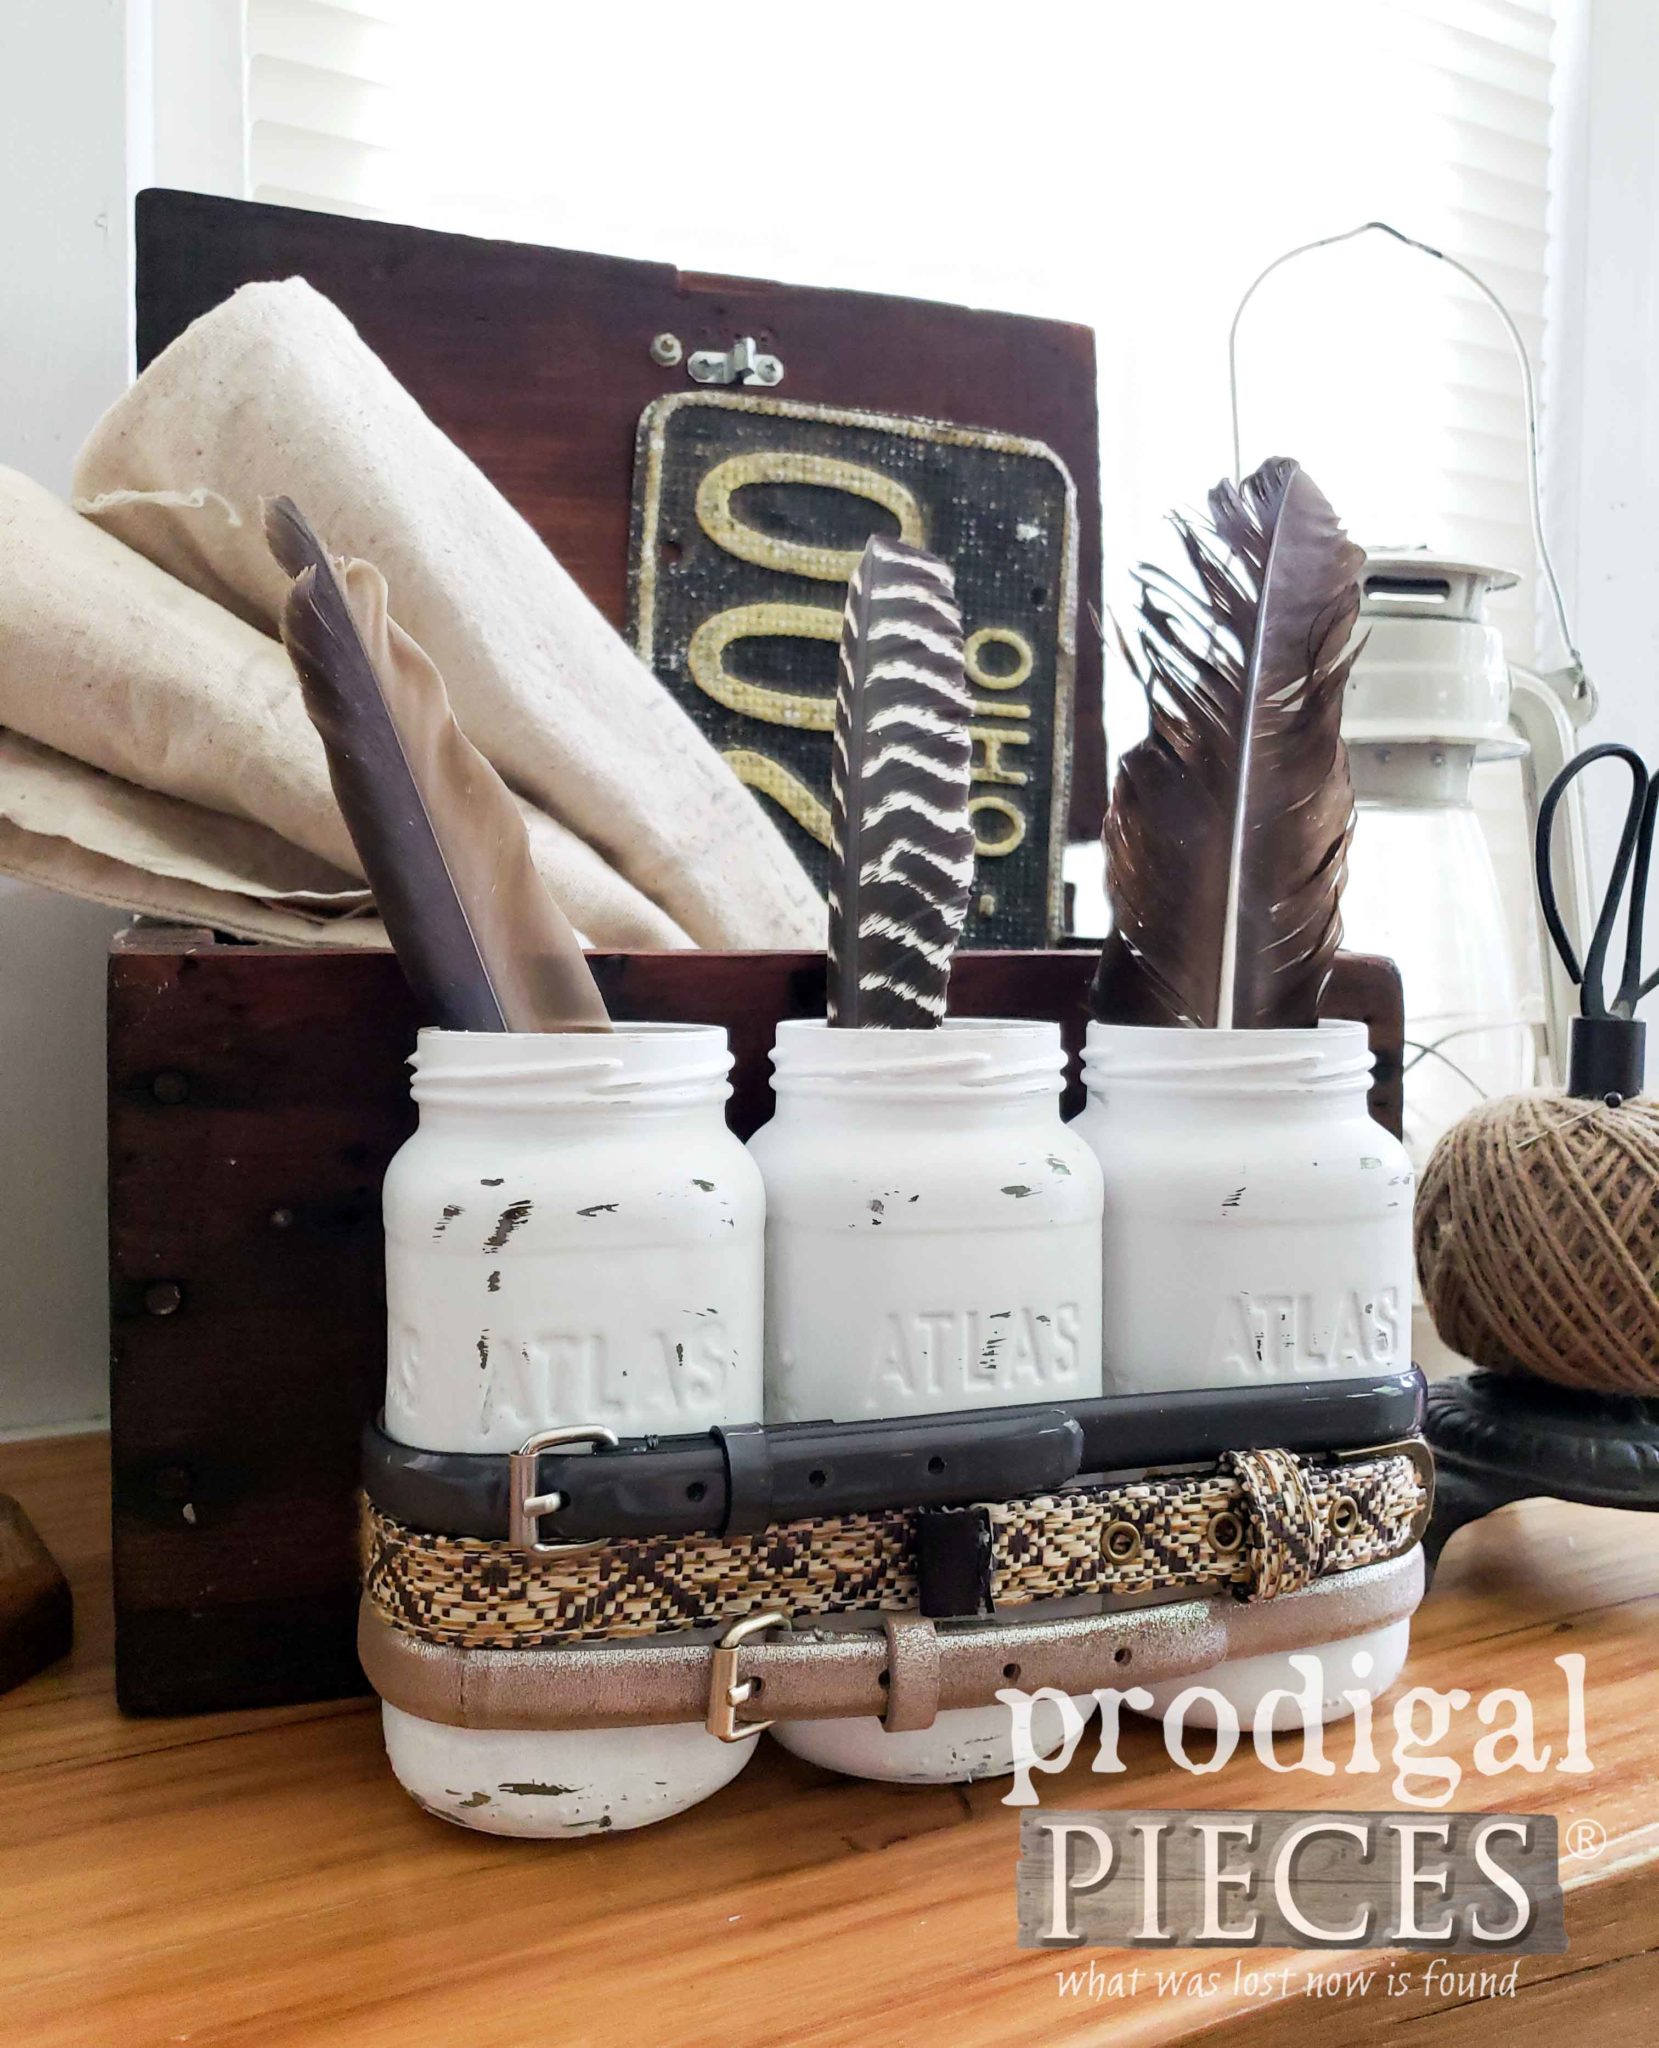
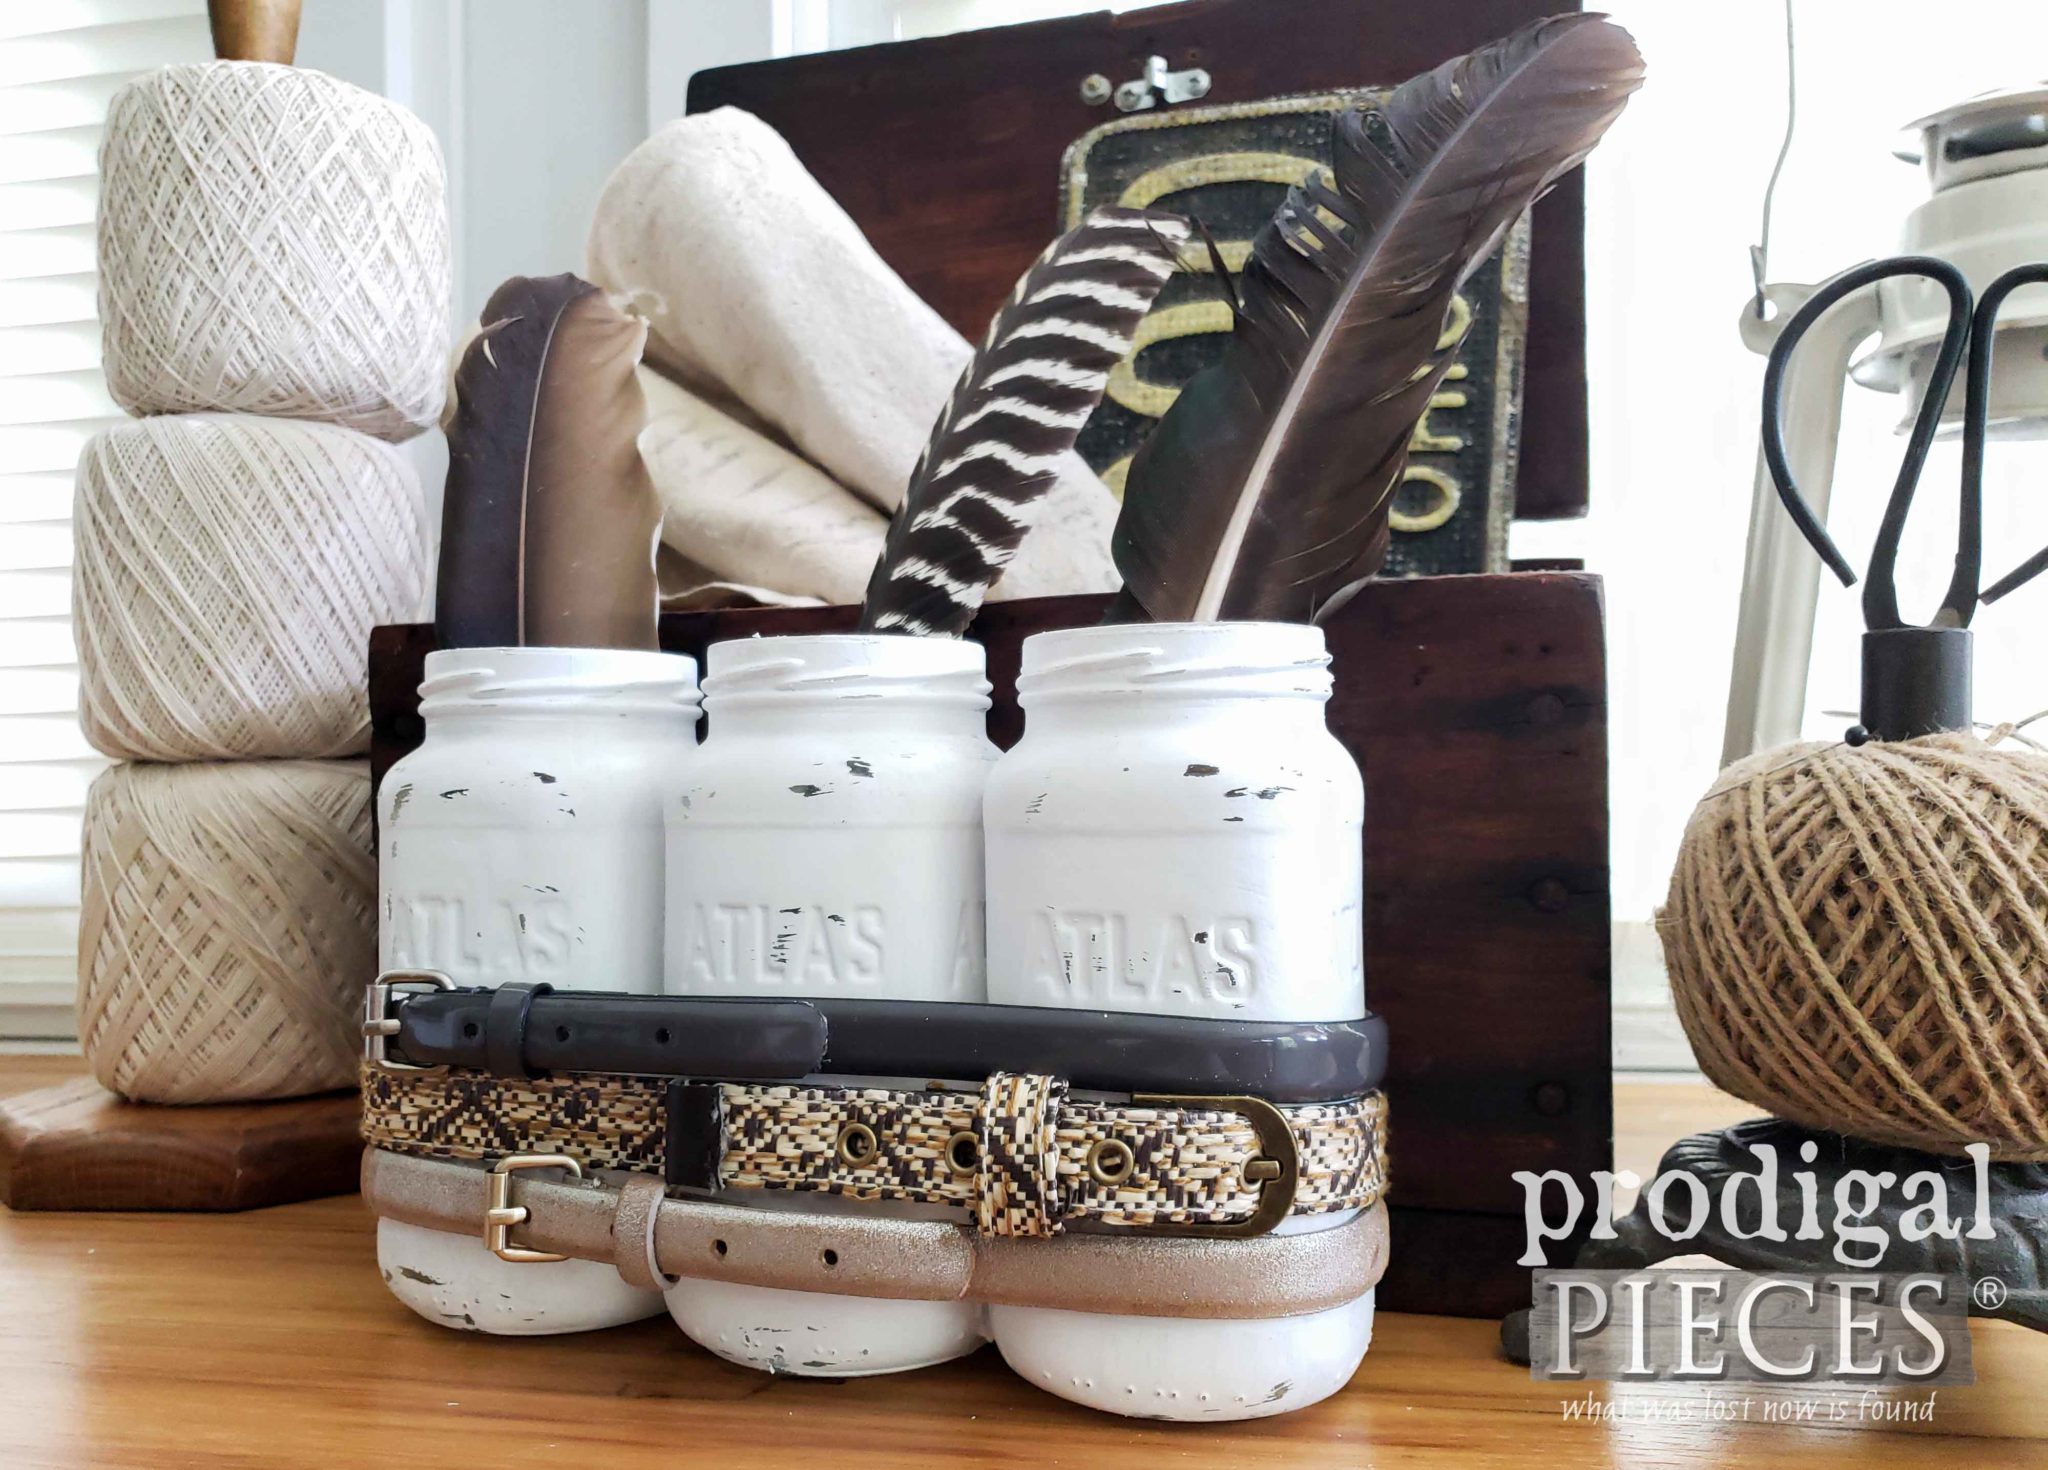
For this next DIY upcycled jar project I am using 3 of the pint-sized jars. I placed a large bead of E6000 adhesive glue between them, then held in place with rubber bands overnight.
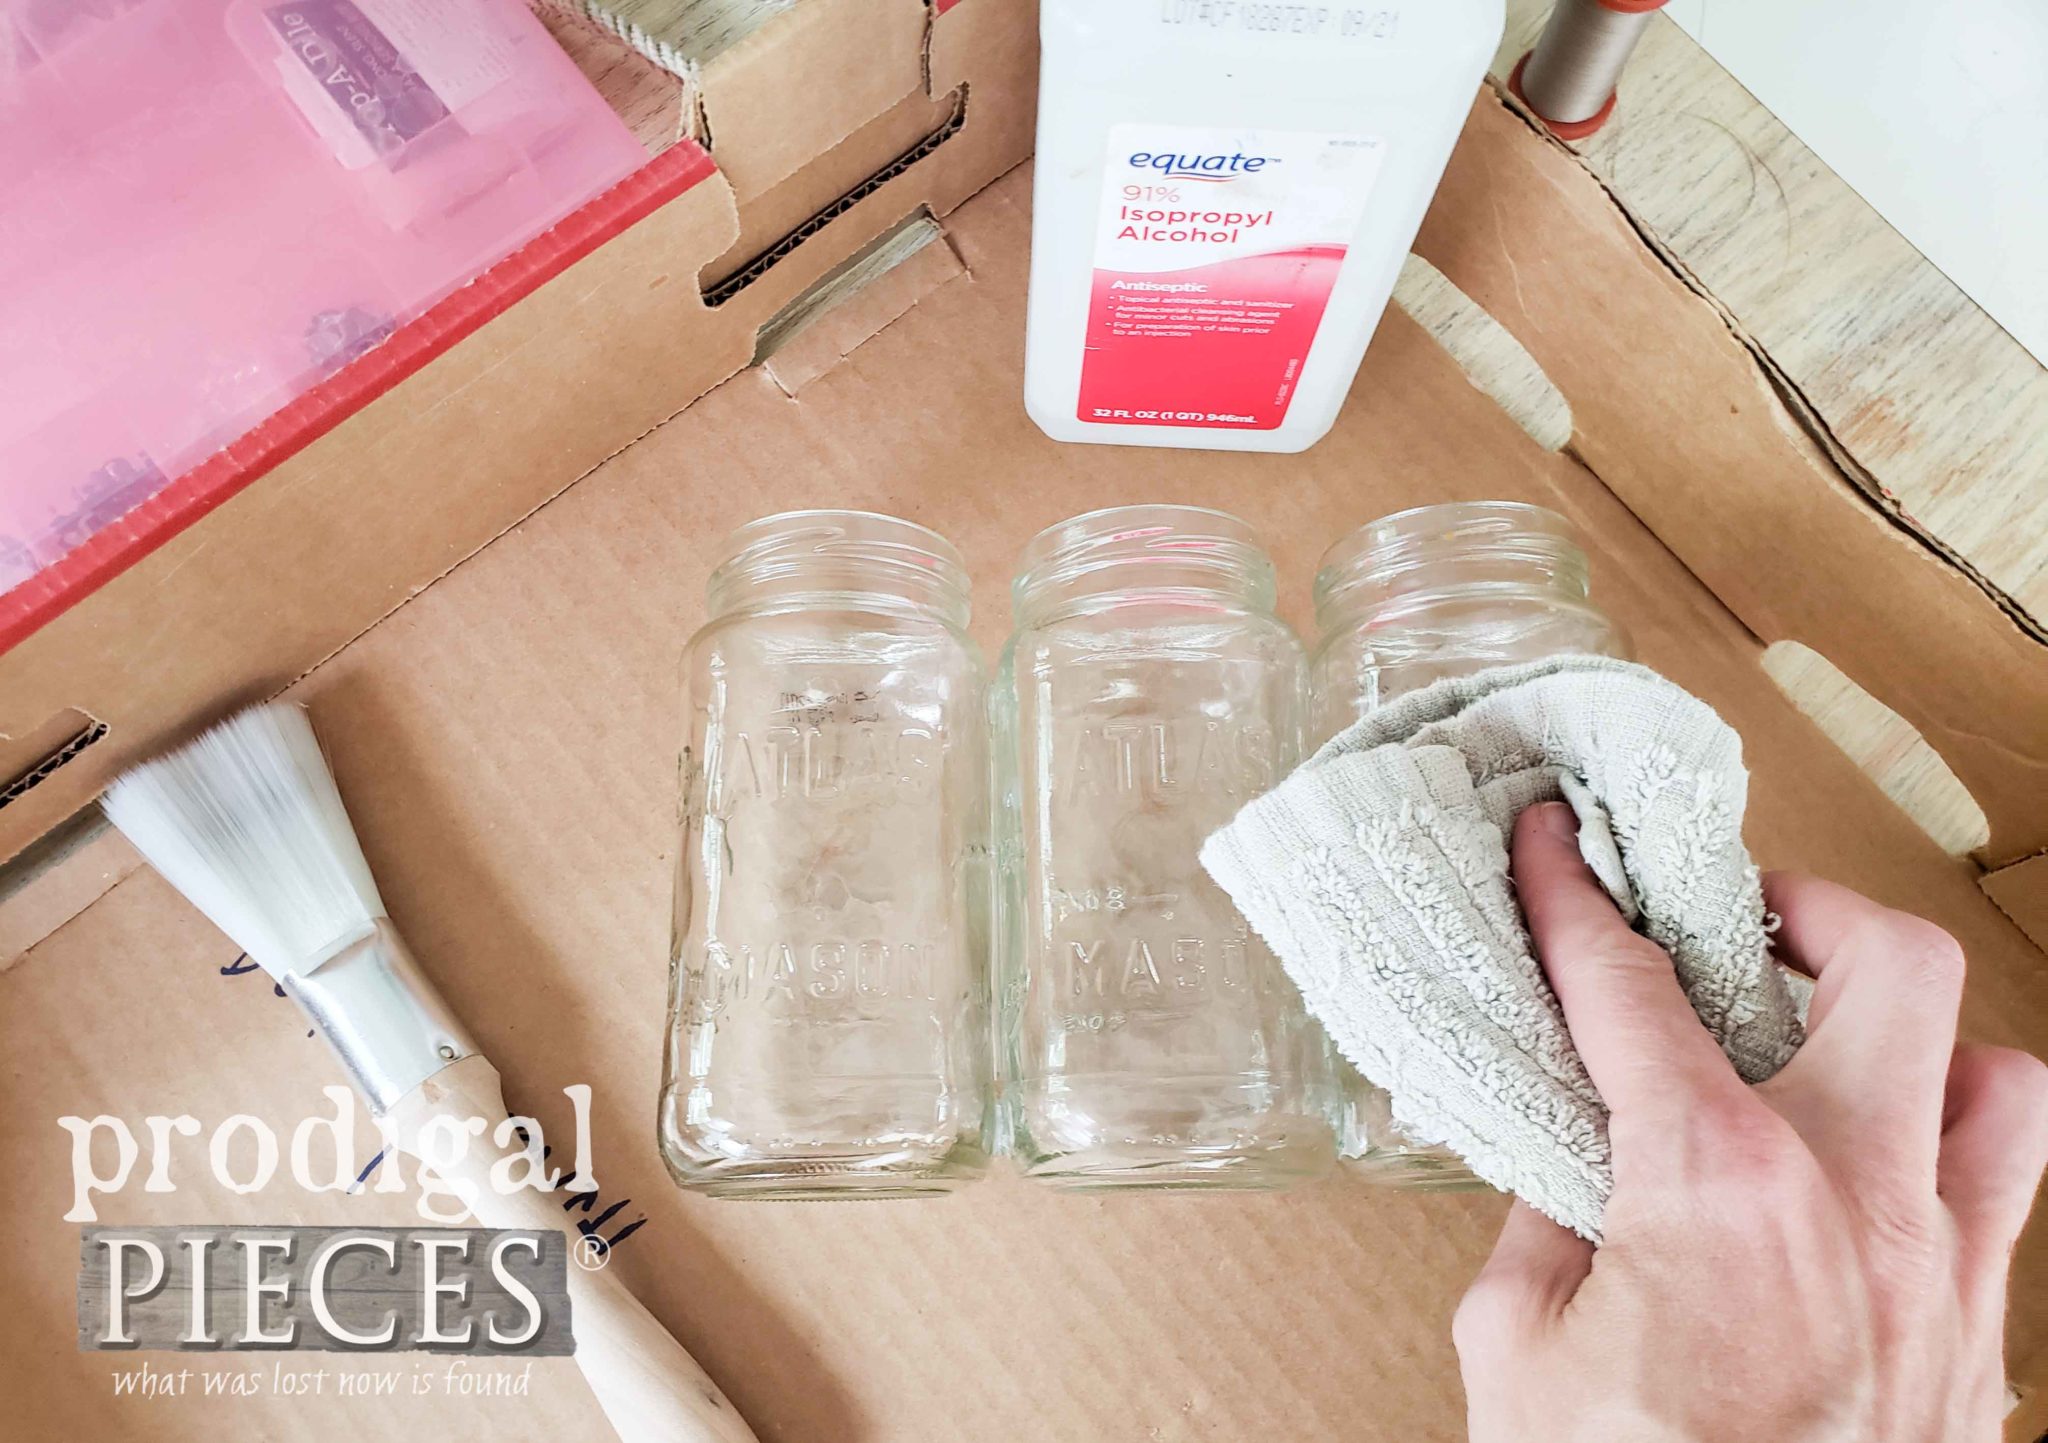
Then, once the glue has cured, I clean them up with a bit of rubbing alcohol. This will remove any residue or grime and promote adhesion of the paint I’m about to use.
TIME FOR PAINT
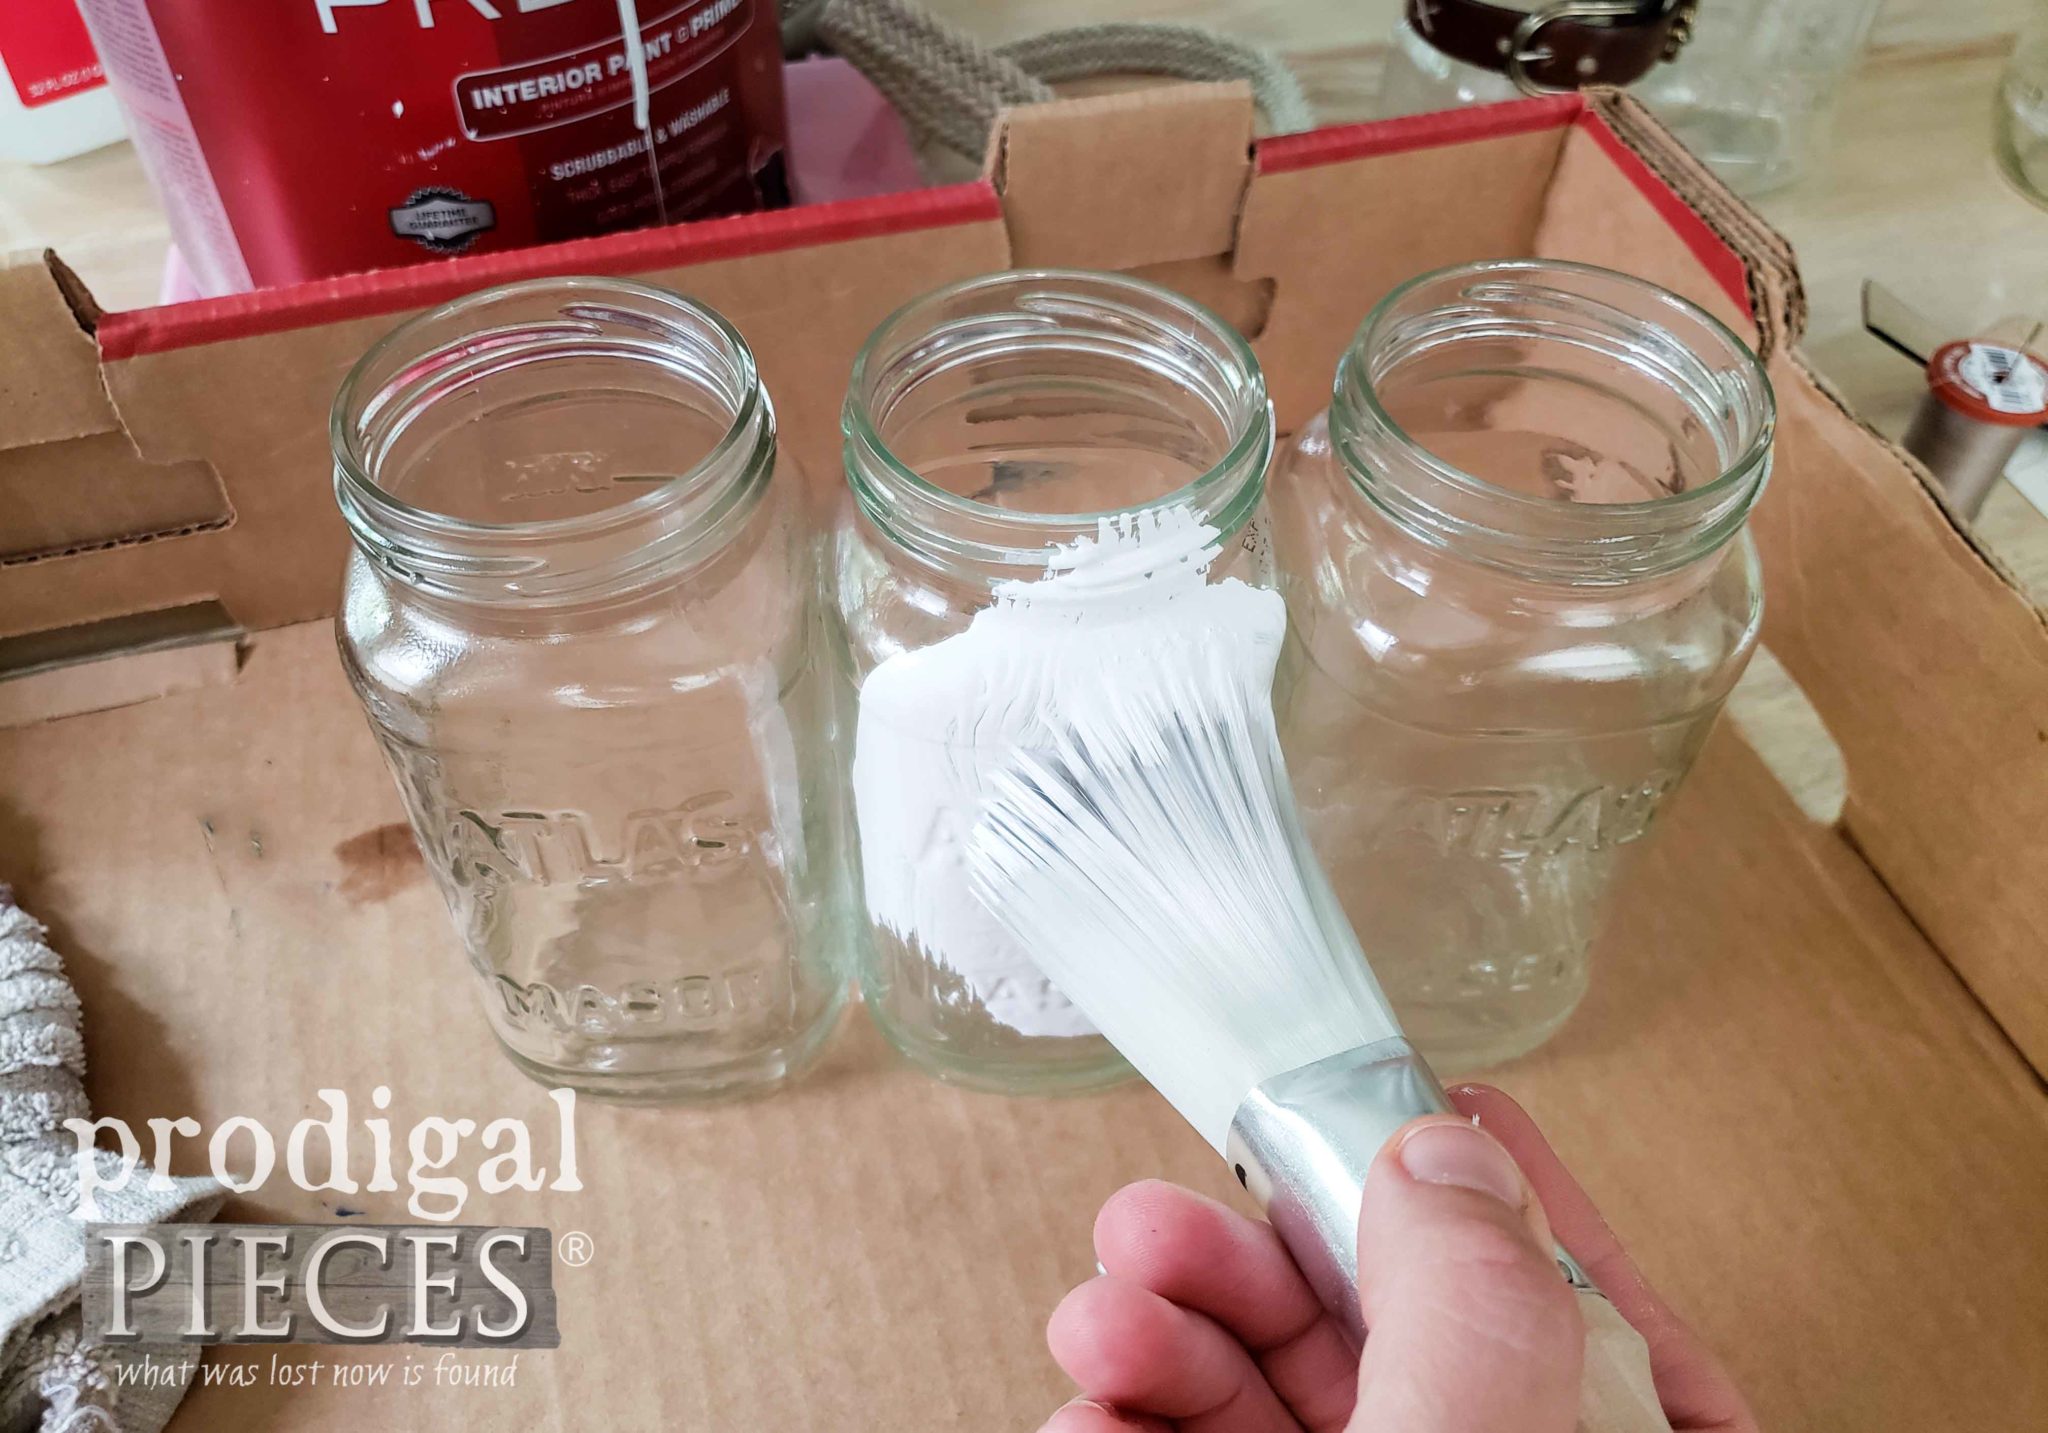
Next, I used my paint brush to apply 2 coats of a white paint, letting cure in between. You could use any color you like, of course, but my goal was to stick to a color that would showcase my belts.
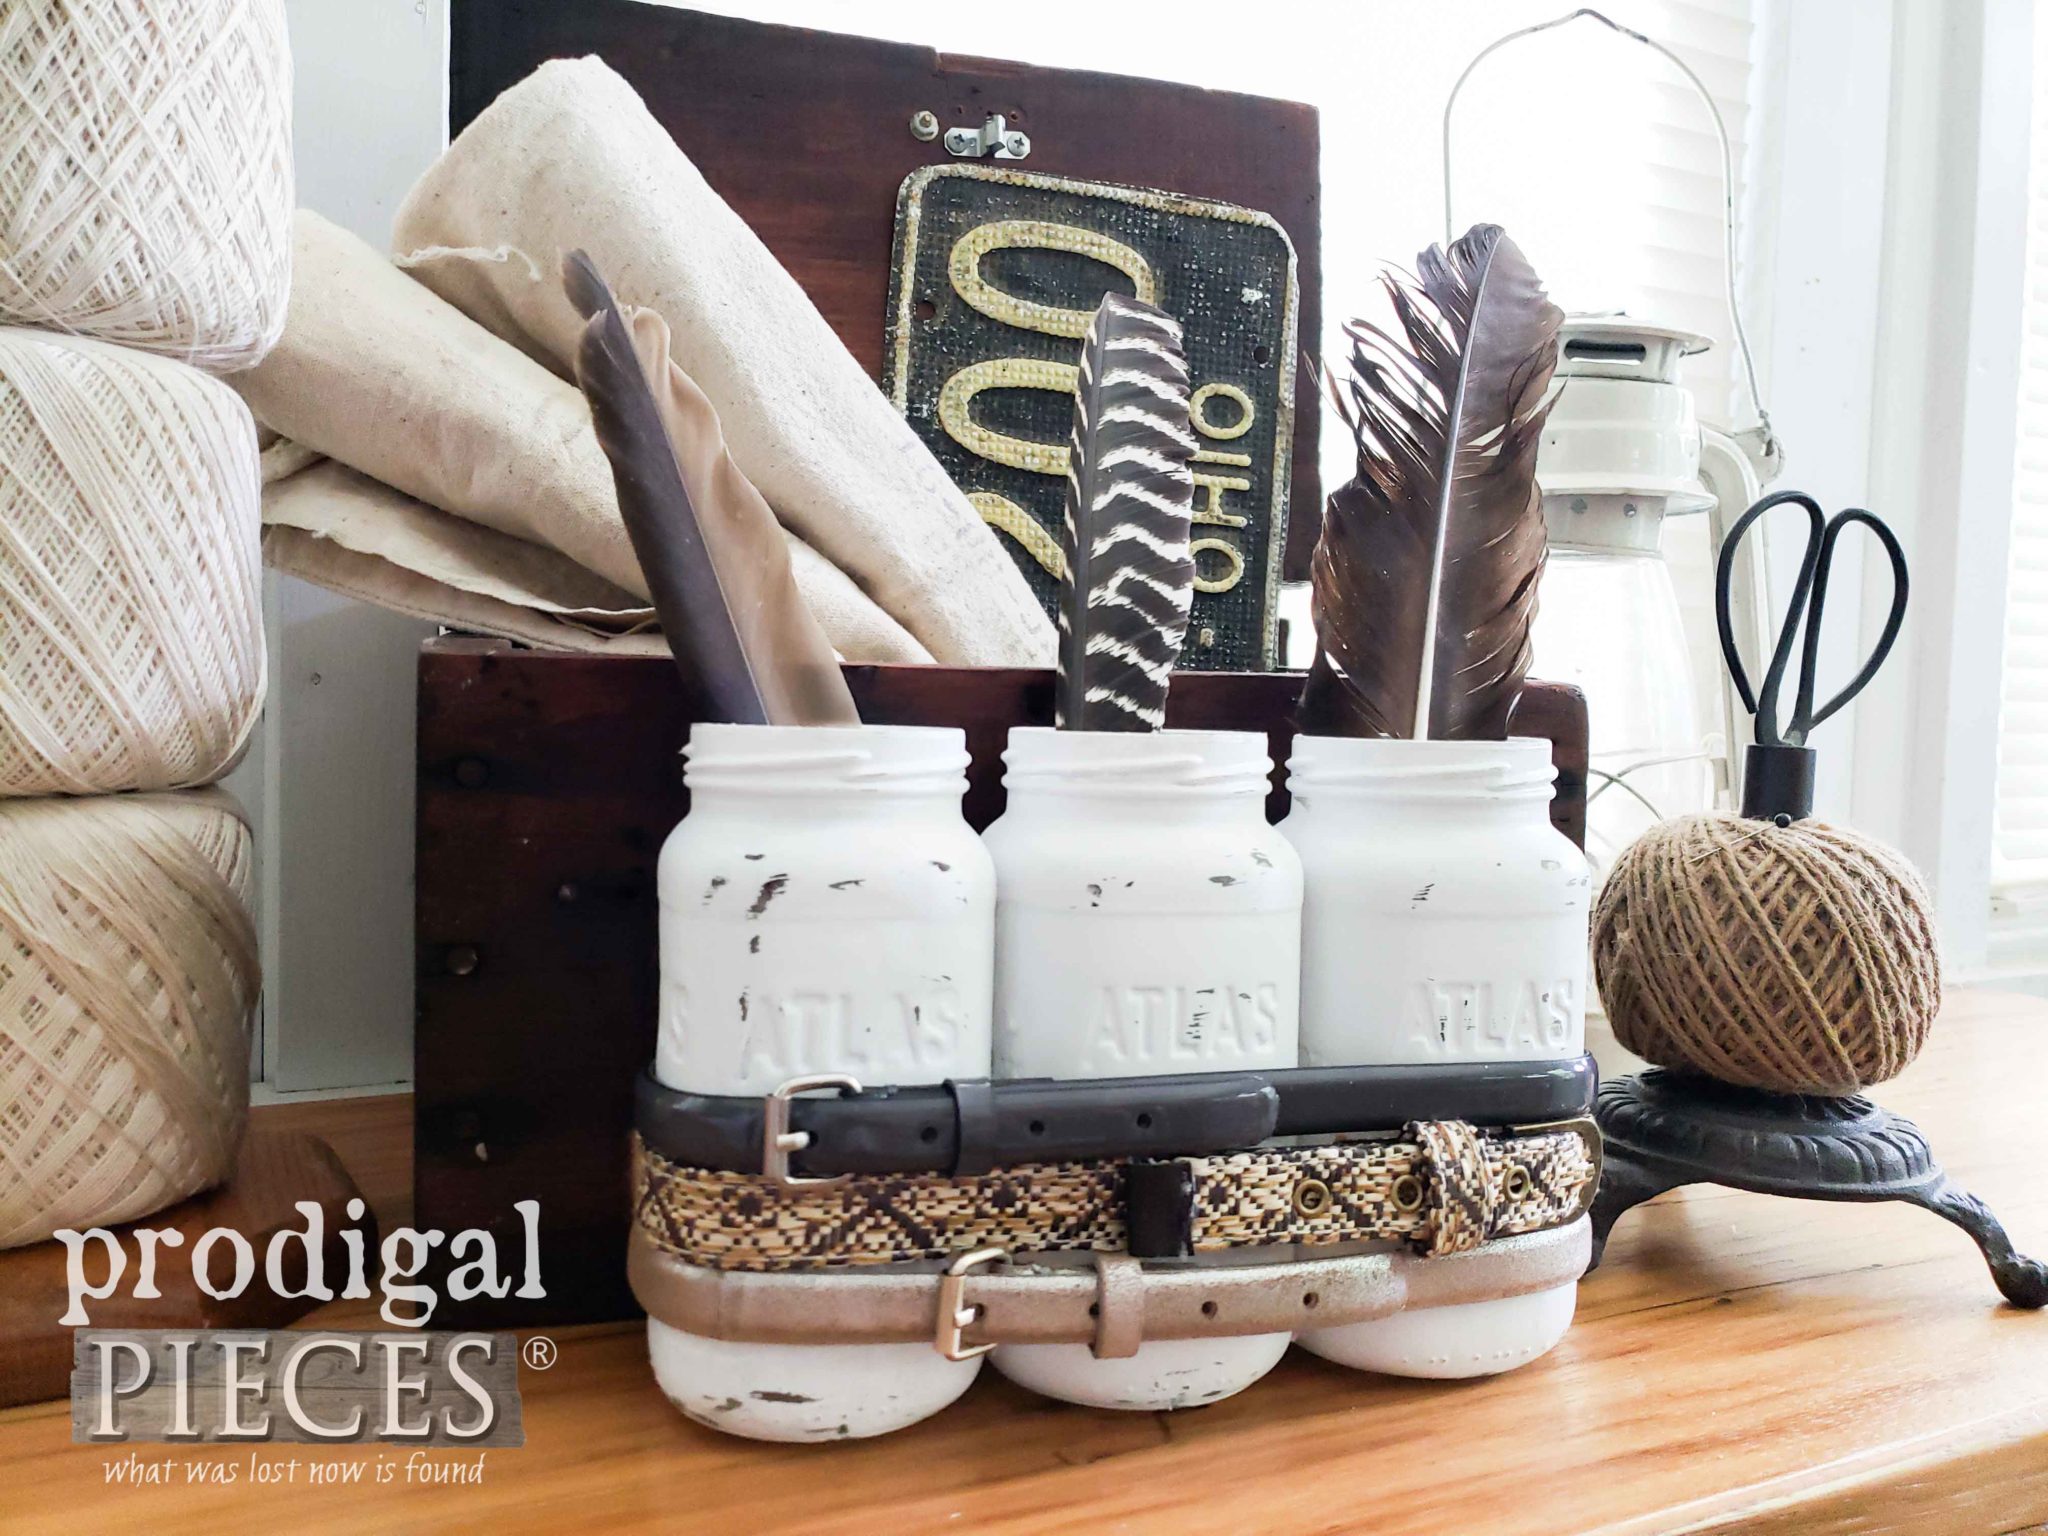
Last, I simply wrap my selection of belts that I shortened around the jars in a fun design. Notice the patterned one I used my Crop-O-Dile to add grommets just like the original belt had. I repeat… I love that tool!
SO MUCH FUN
This was such fun with this, can you tell? Not only does that old garage box I pulled out of the trash, but also the paper towel holder make for great twine storage. Plus, the feed sacks I purchase for a dollar at a local flea market, and the license plate belonged to my husband’s namesake, his great-grandfather. Furthermore, there’s no need to break the budget on decorating, right?
Additionally, I hope you are inspired to grab your in-house supplies and create your home decor. It is so enjoyable for me to share and also hear feedback from you. So…I have to ask…which project is your favorite?
For me, I love them both for different reasons. And I think I’m slightly smitten with all things belts. hee hee. You might have to fight me for the leather ones at the thrift store.
SHARE
I invite you to pin and share my upcycled belt creations to inspire others to reduce the waste footprint on our society and create beautiful decor for their home. It’s fun!
Stop by to see what’s new in my onlin store.
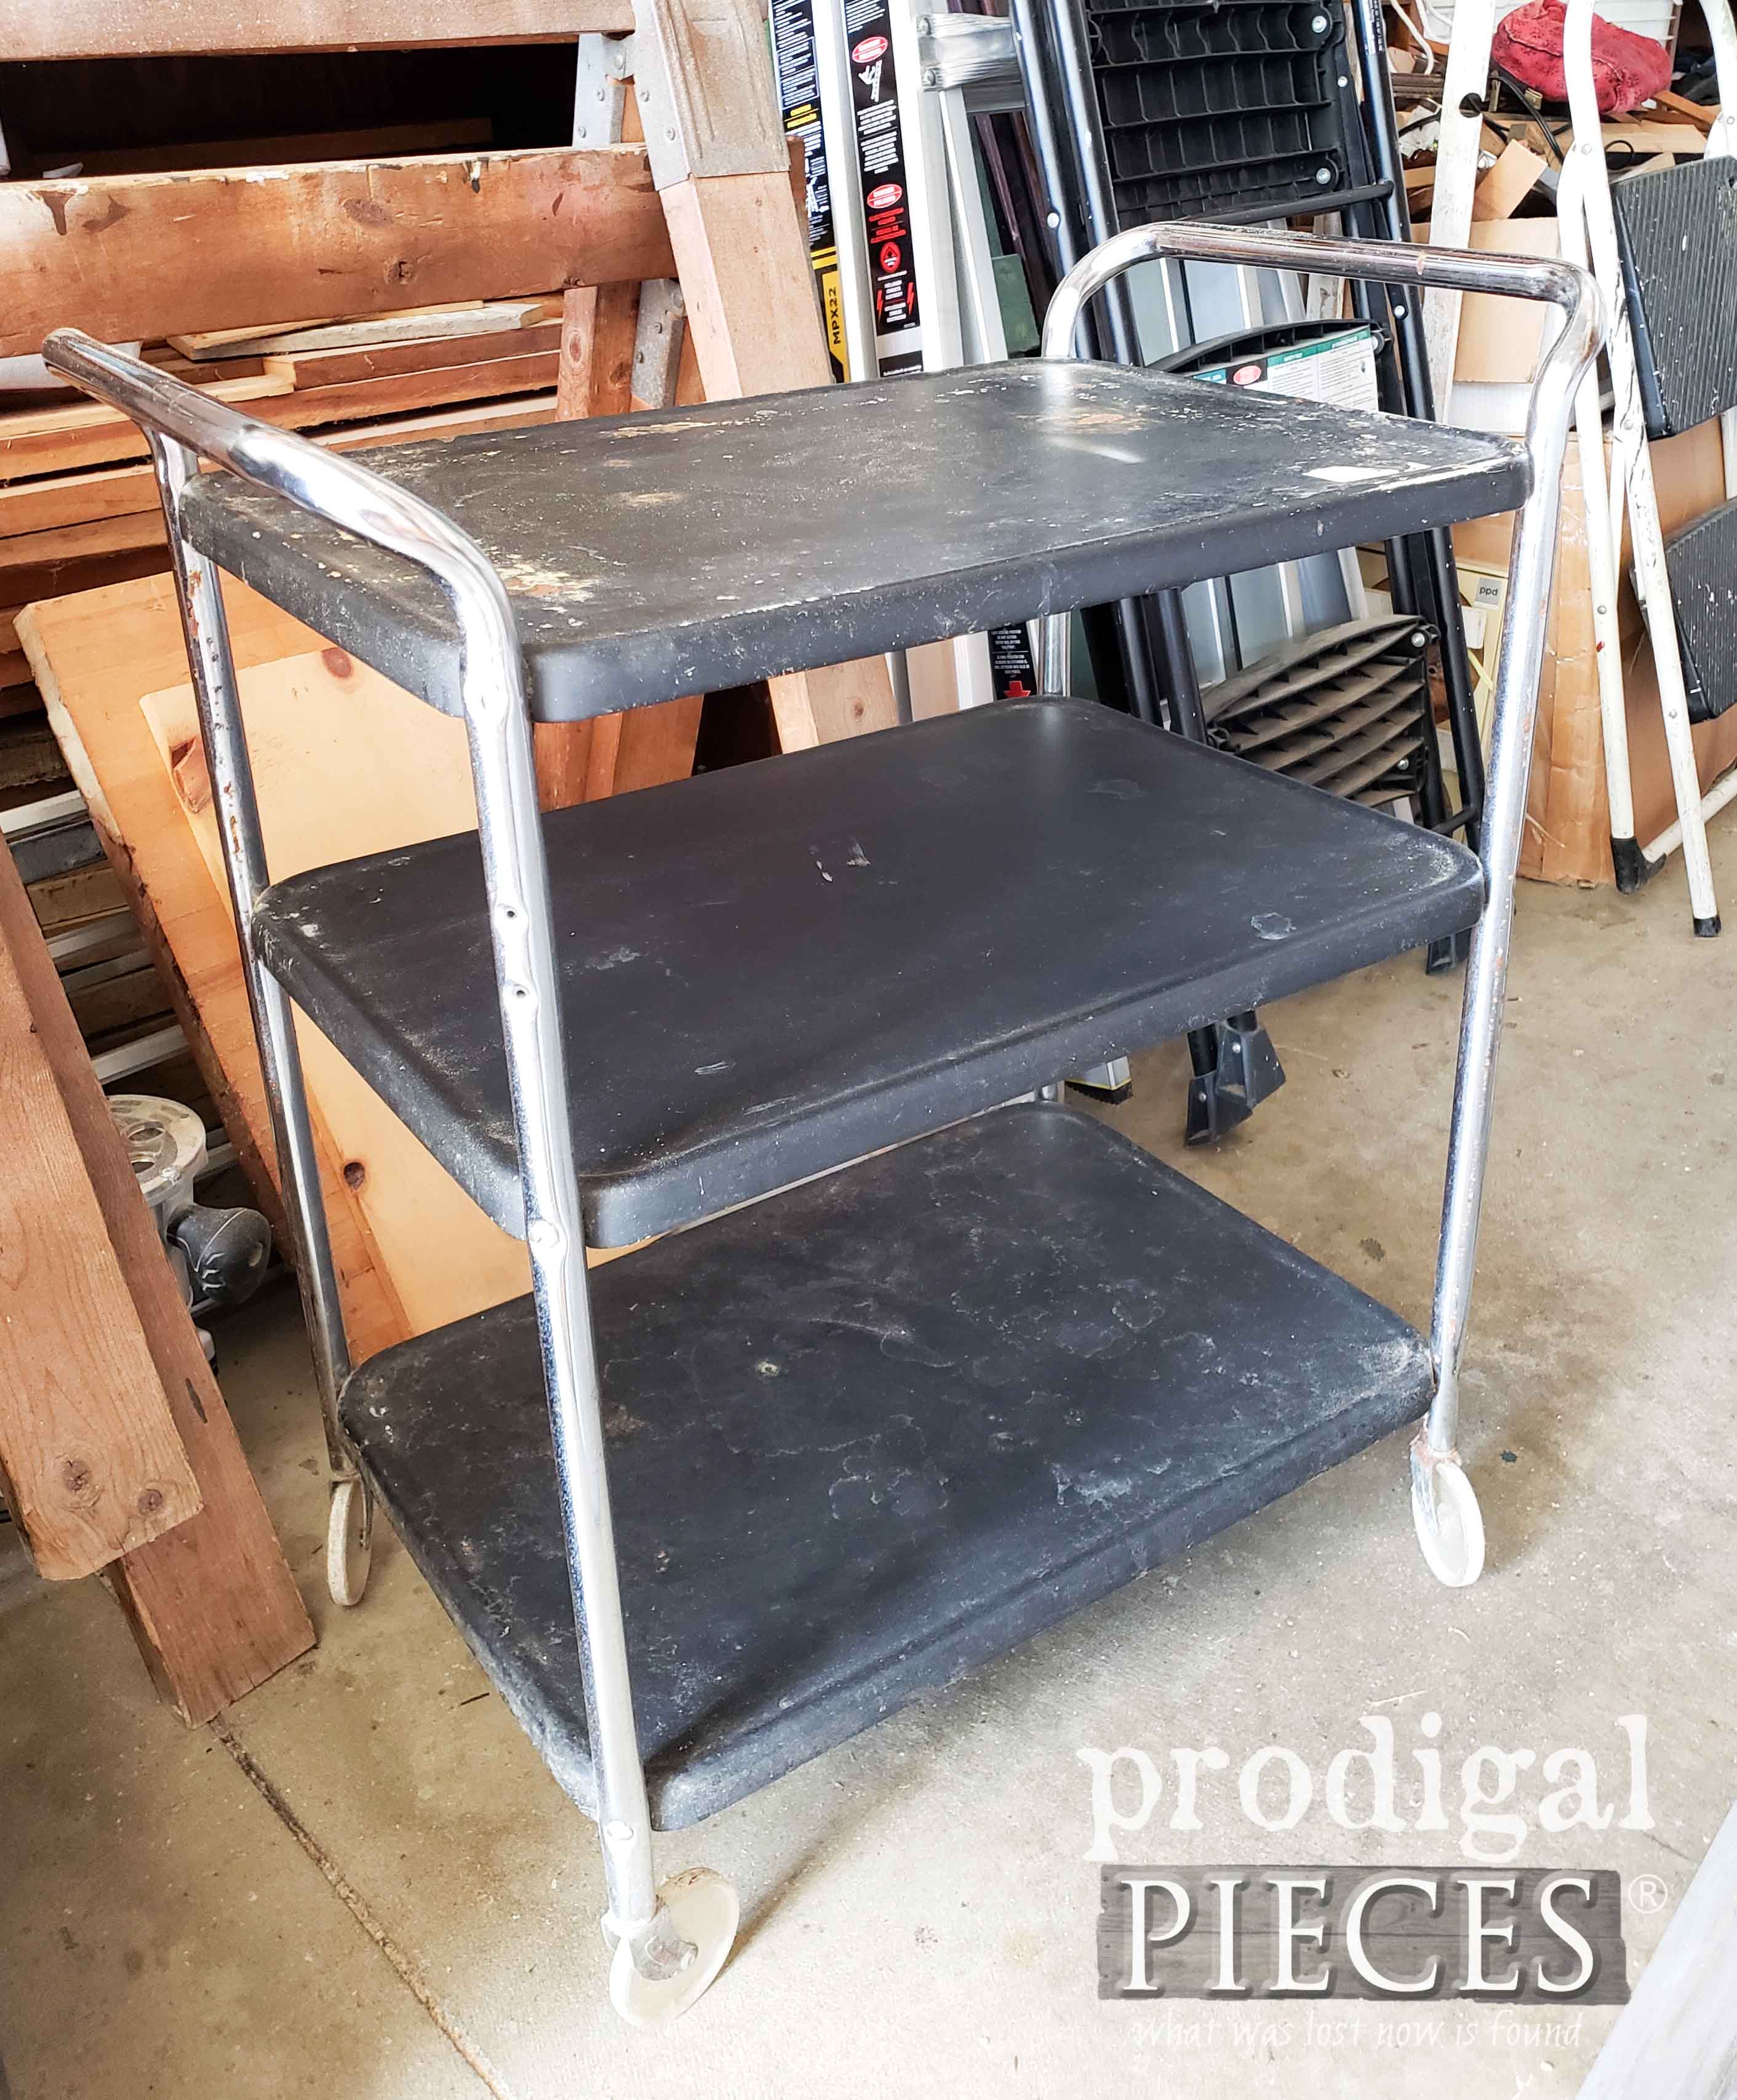
Up next, this vintage serving cart is about to get a retro vibe. See the new look HERE!
To get these DIY tips & tricks in your inbox, be sure to sign up for my newsletter. Until next time!
What is more, here are other projects like my DIY Upcycled Belts refashion:




Super cute idea, Larissa! Dang, I just donated a bunch of old belts and I have a box of canning jars in the basement. Regretting that donation now.
Thanks! Isn’t that always how it works. 😀
Very unique idea for reusing the belts. I would like to see you use those belts on a purse or bag, especially around the bottom where the bag always seems to show wear. It would probably enhance a printed canvas or carpet bag by using a faux leopard/crocodile/snake print belt and really help save the bag.
Also, if you ever want to do a tutorial, could you do one with pop-rivits? Those things are so useful but I just can’t get a good feel for how they work. Thanks
That sounds like a great idea. I usually just add leather to mine or canvas to reinforce the bottom.
Hi Larissa,
This is an awesome idea for upcyling old or unused belts! Being from New England, I already have a love of braided leather and rope belts! So your project is the perfect extension of the nautical vibe for my summertime decor! I love them all!
Hi Kaycee! Thanks so much for the smile. Yes, I just love those braided ones for many reasons 😀
Great ideas, Larissa! I can’t wait to see what you do with the cart, as I have one sitting in my basement as I speak !
Sounds like fun! 😀
Those are really cute. I wanted to let you know that if you have a Bargain Hunt store in your area it is also a great place to find belts cheap. I recently bought several genuine leather belts for .35 each. They had great brass buckles on them too that I can use for projects as well. I cut one up to replace the handles that were tearing off of one of my wicker laundry baskets. It turned out great. They are good for lots of projects. Their belts are usually about $1 each but these were on clearance.
Thanks for the tip! 🙂 We don’t have those, but I’m sure many will love to hear the advice.