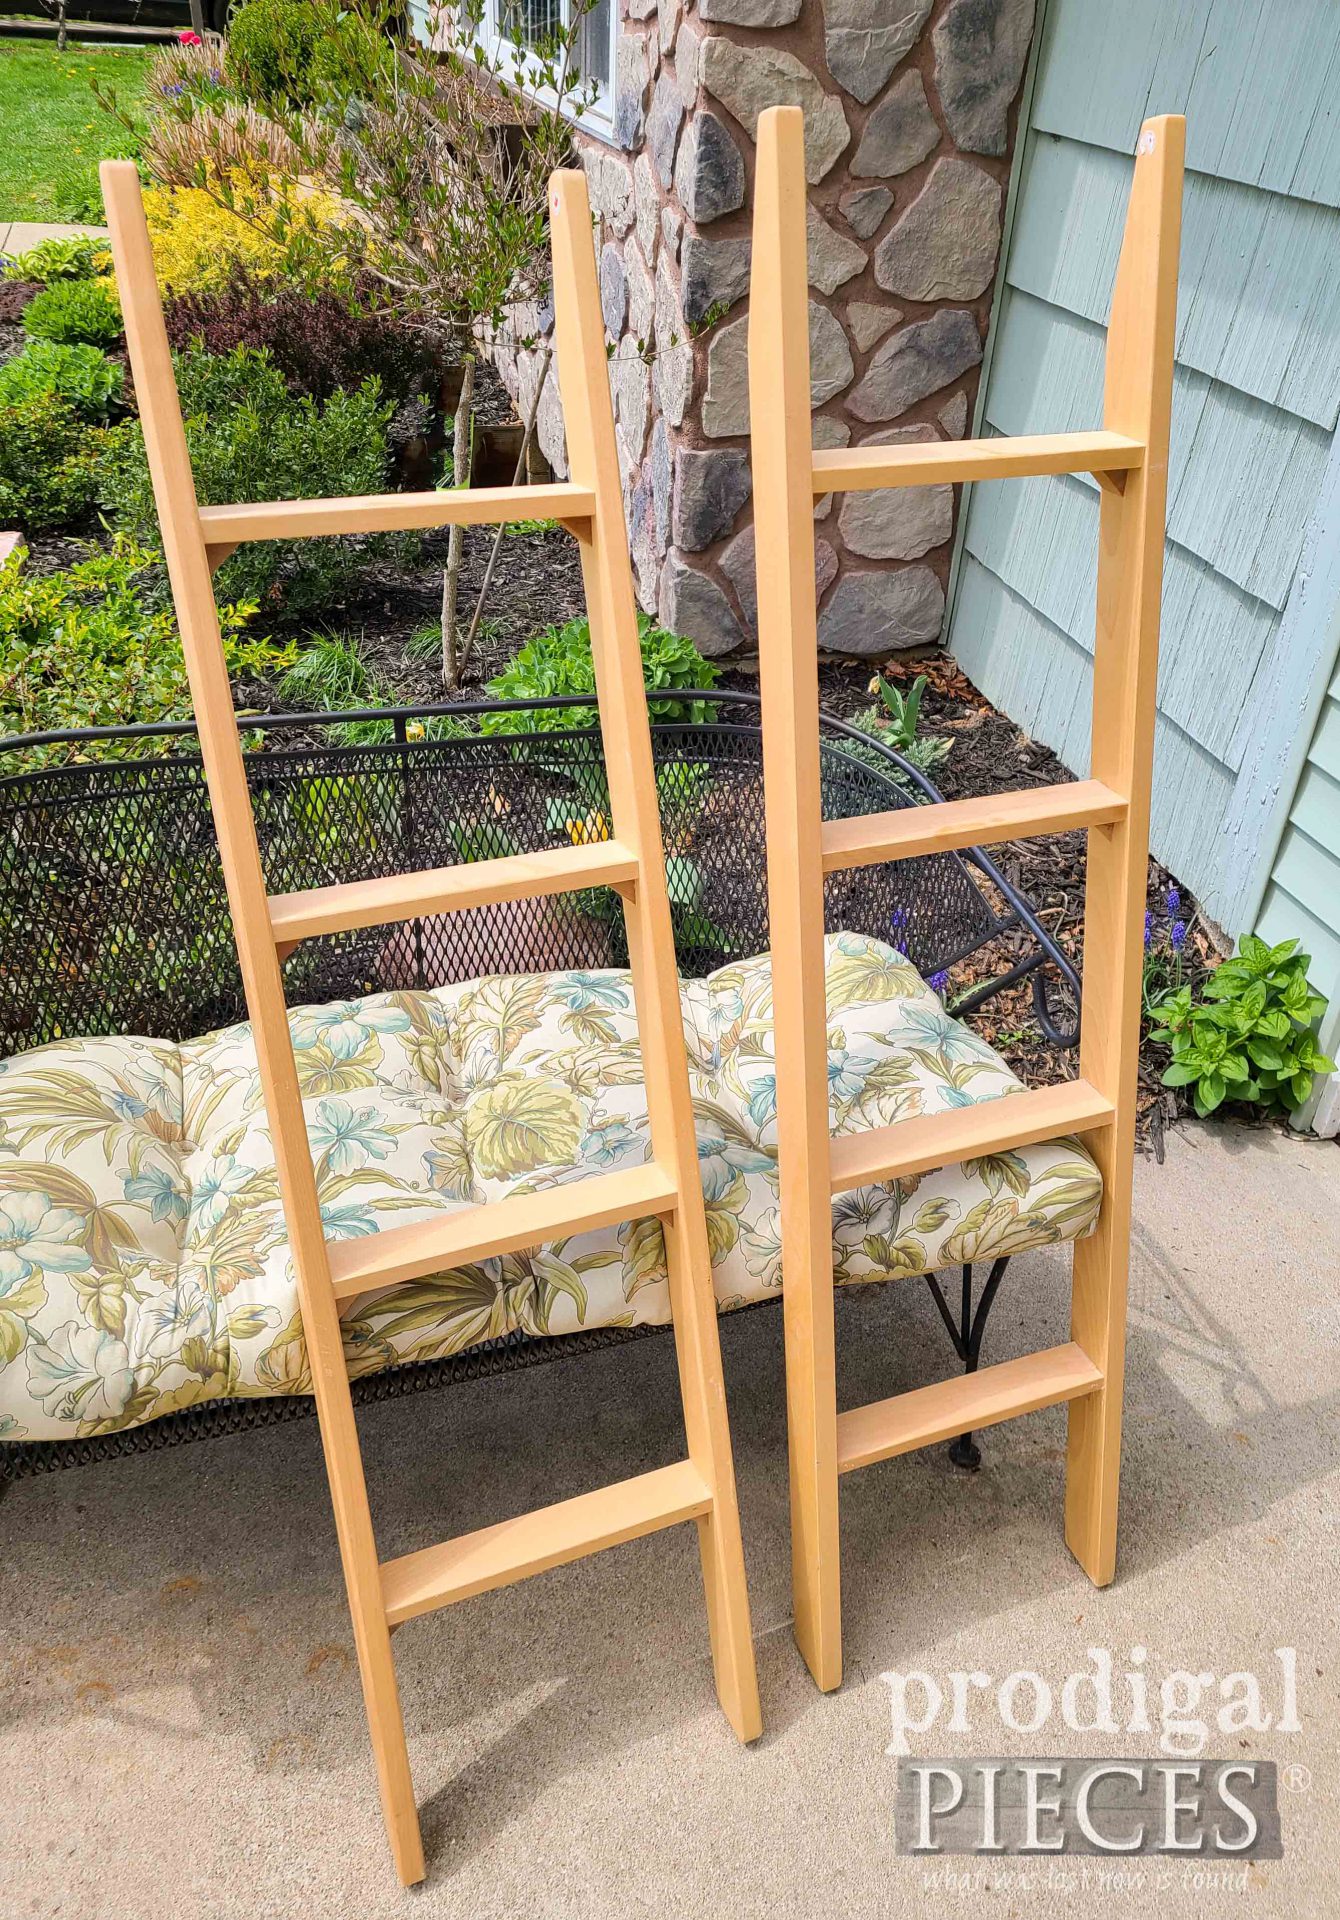
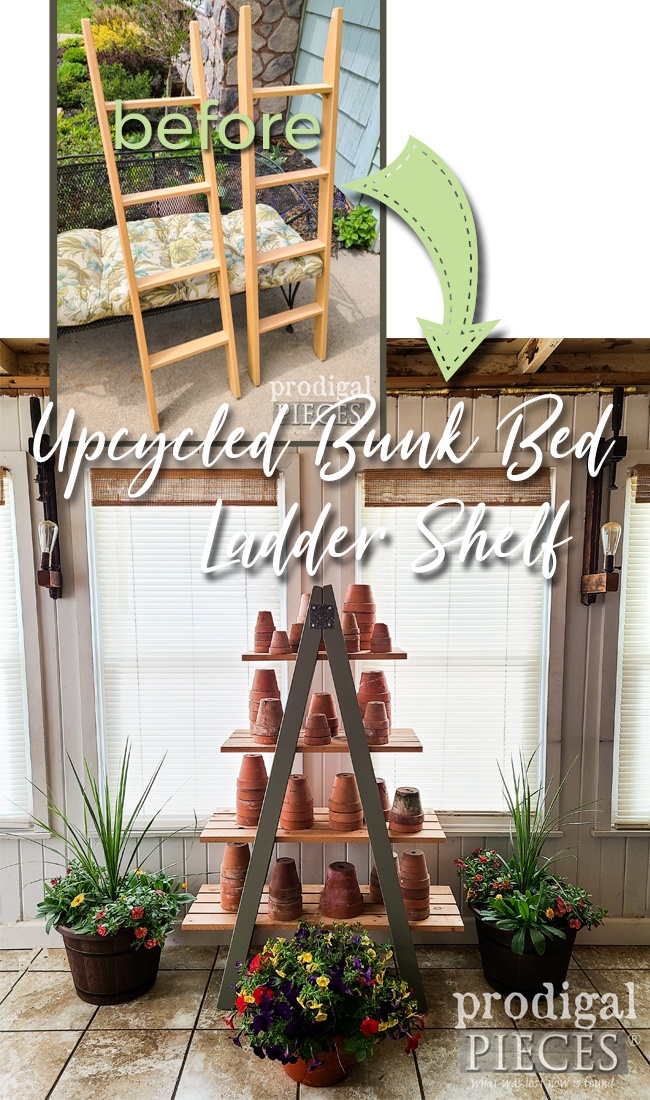
It’s often assumed that if it is set on the curb, I’ll take it. Not so much in the last 5 years or so. I’ve had to become picky, if you will, because I have little room. And, let’s face it…I’m only one woman. As much as I’d like to take in all the rescues, I can’t. That’s why I write these blog posts…to encourage you to be the other guy or gal who takes on the unwanteds and gives them new life. Take, for instance, this duo. Let’s create an upcycled bunk bed ladder project, shall we?
These are solid wood, made by Stanley in a honey finish, absolutely nothing wrong with them other than they just need a new purpose. While I could just lean them on the wall and toss quilts and afghans on them, I want to give them a bit more function (& fun).
TRASH
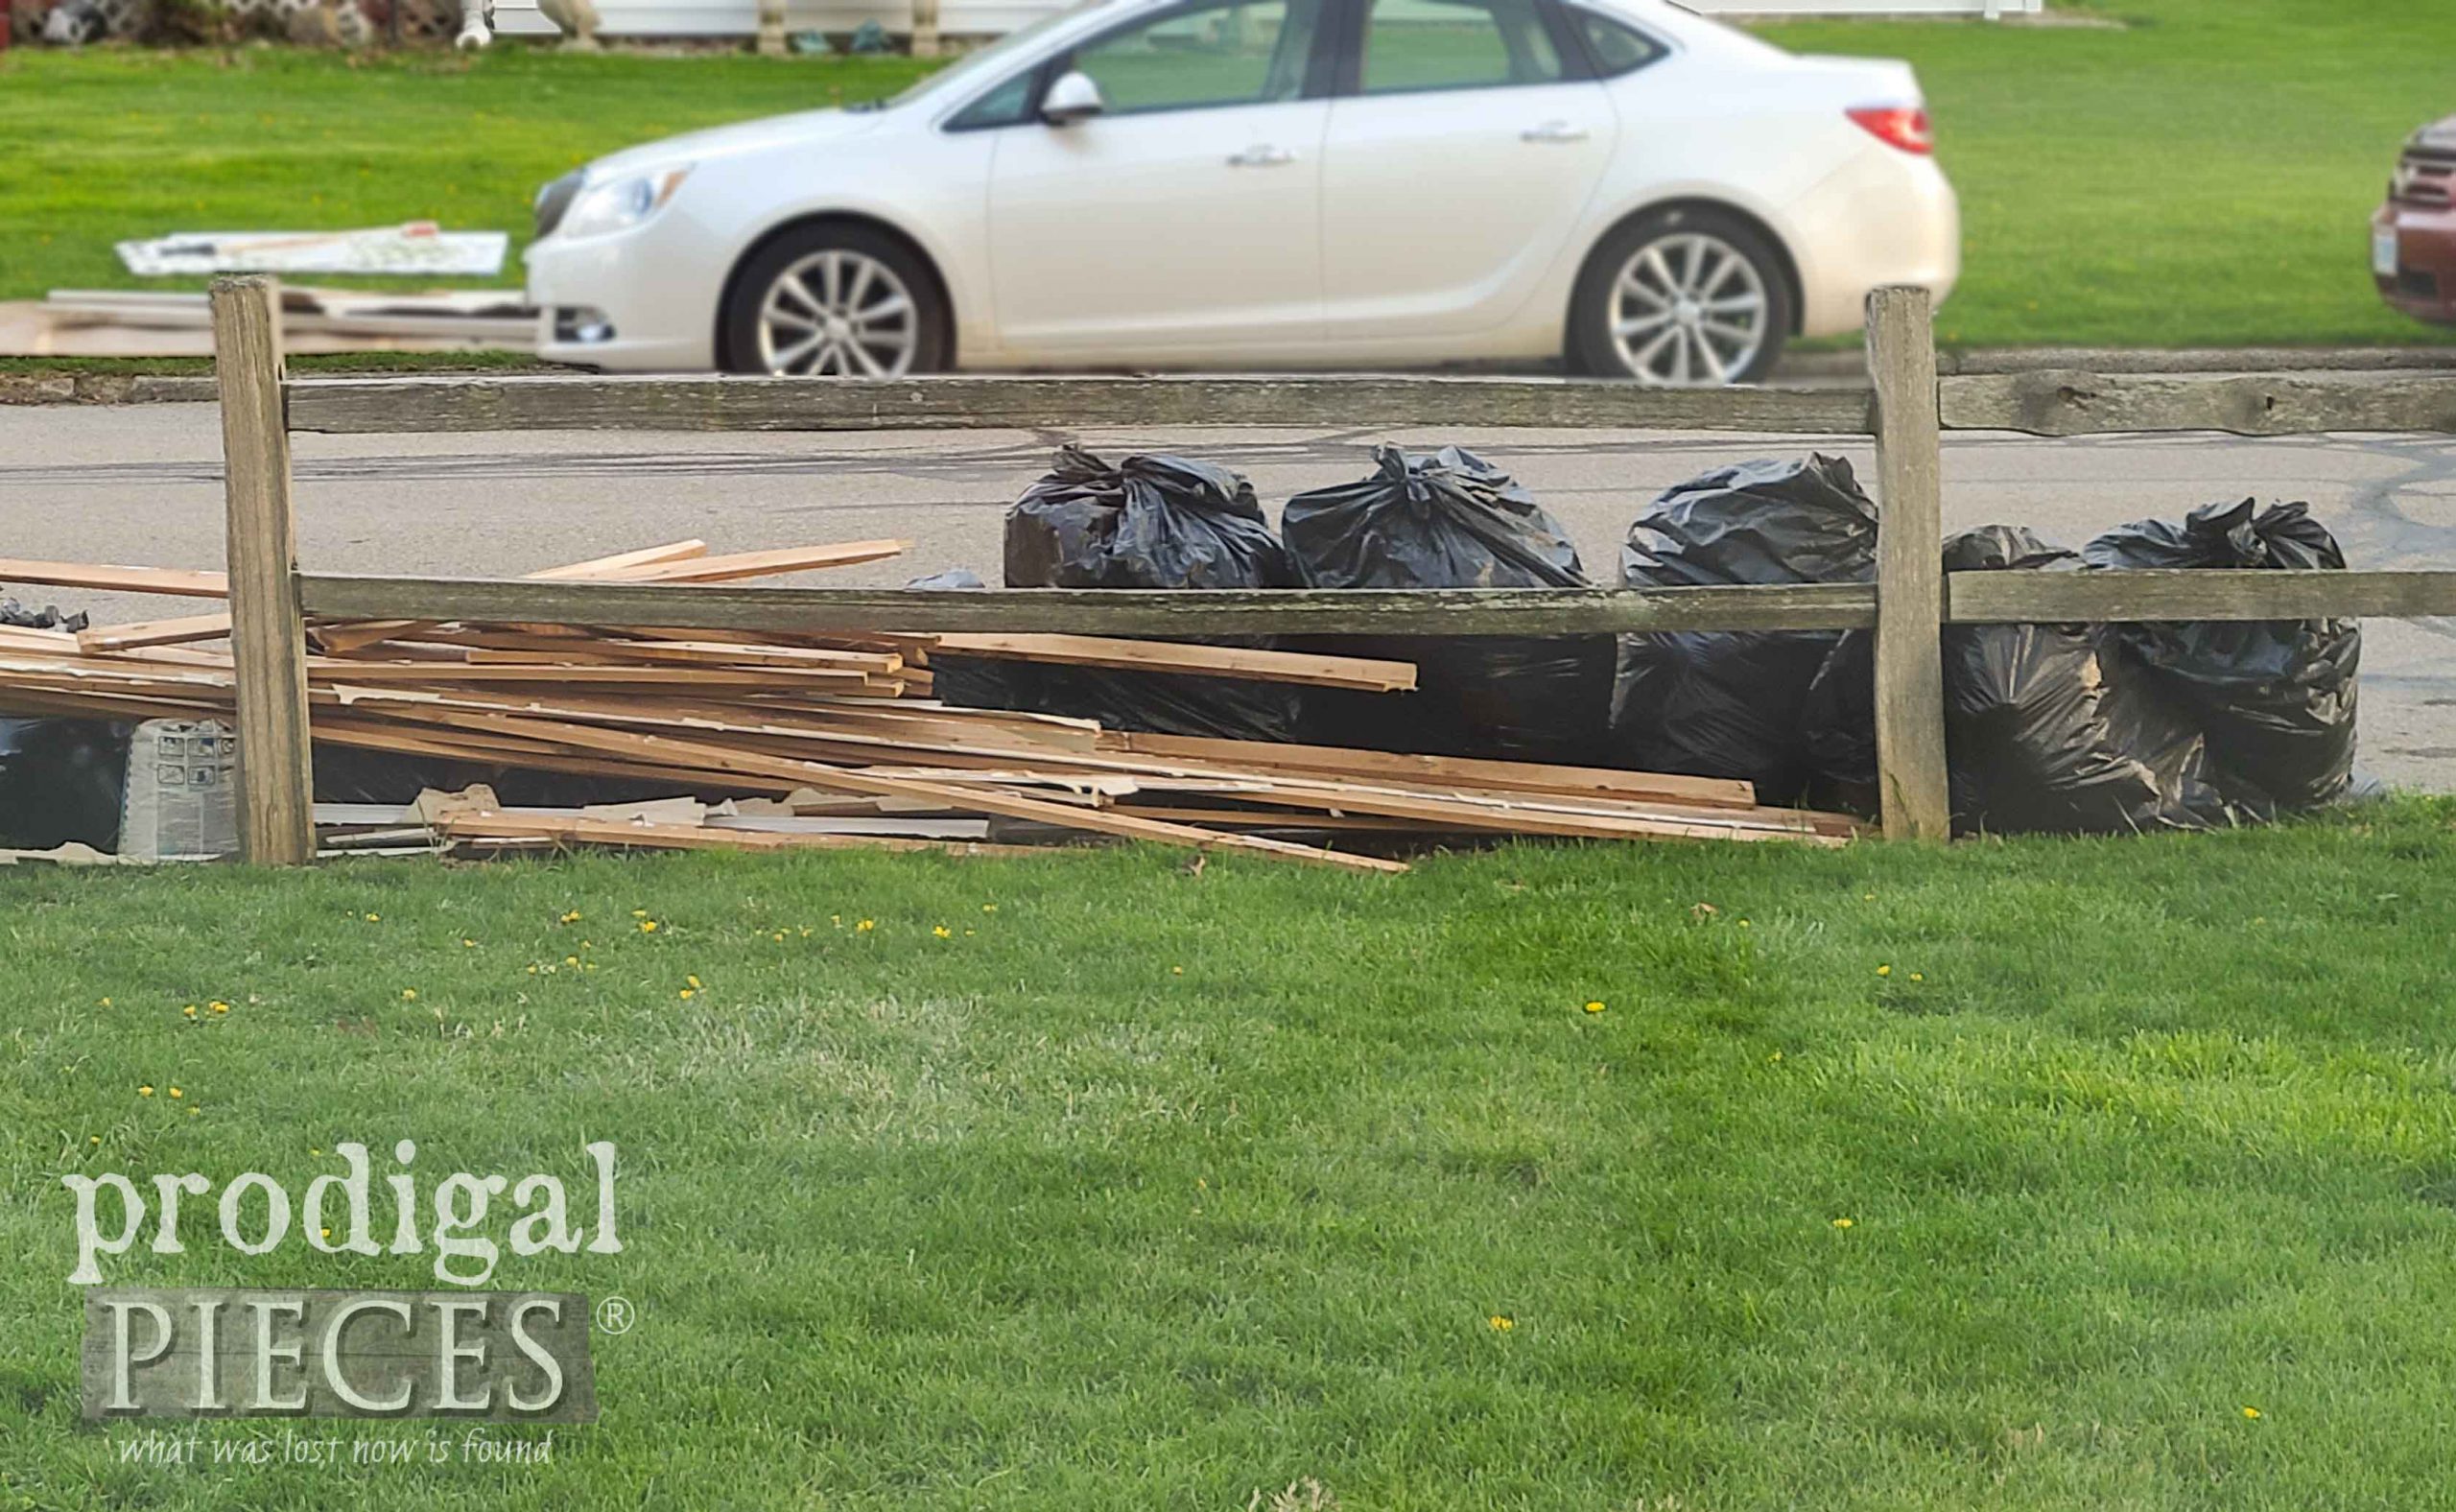
First, before I dive into my idea, I needed to dive in to my own curbside pile. Yes, it is city spring clean-up time, so if you were to drive thru my neck of the woods, you’ll see oodles of stuff piled on every lawn. I often feel bad for those that come to peruse what I set out because, trust me, it’s really trash. haha.
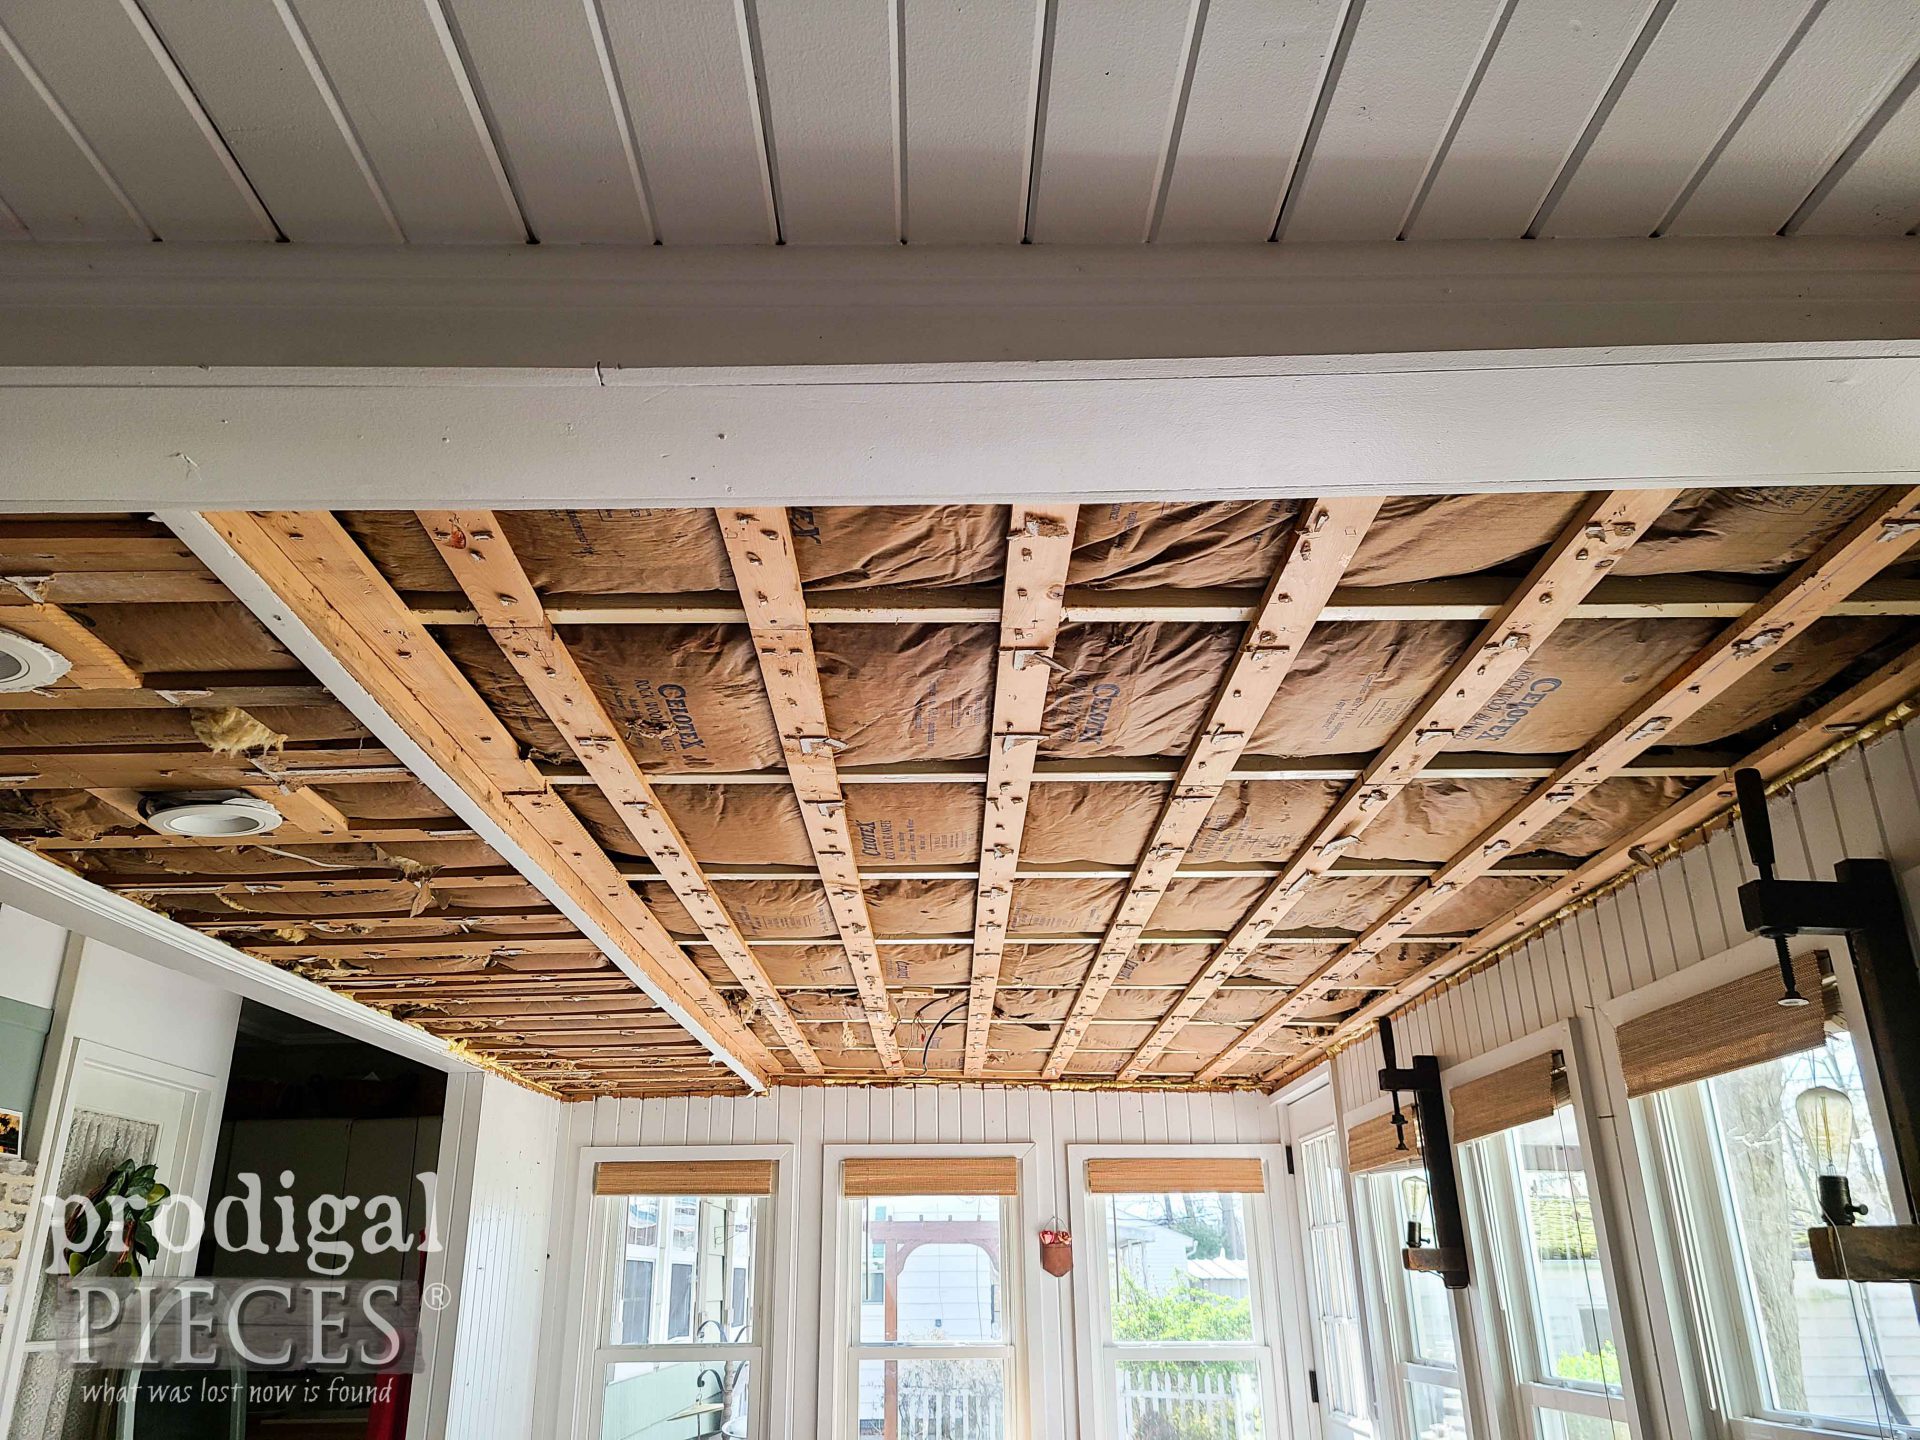
However, each year, I do make a point to do a remodel project so I can make use of this service and skip paying the fees to haul my demo trash away. This year, I tore down our dining area ceiling. Yup. This is halfway there.
There it be sitting in bags on the curb when I am done. More on the reveal soon.
Each year I make 3 piles: one of metal scrap, one of nice things I know someone will want, and my actual trash pile. That way, the pickers won’t toss my stuff all over the place and I’m sure they appreciate the loot. My scrap metal was taken in less than 10 minutes, and the goods were taken within the hour. Love this time of year!
DIY TIME
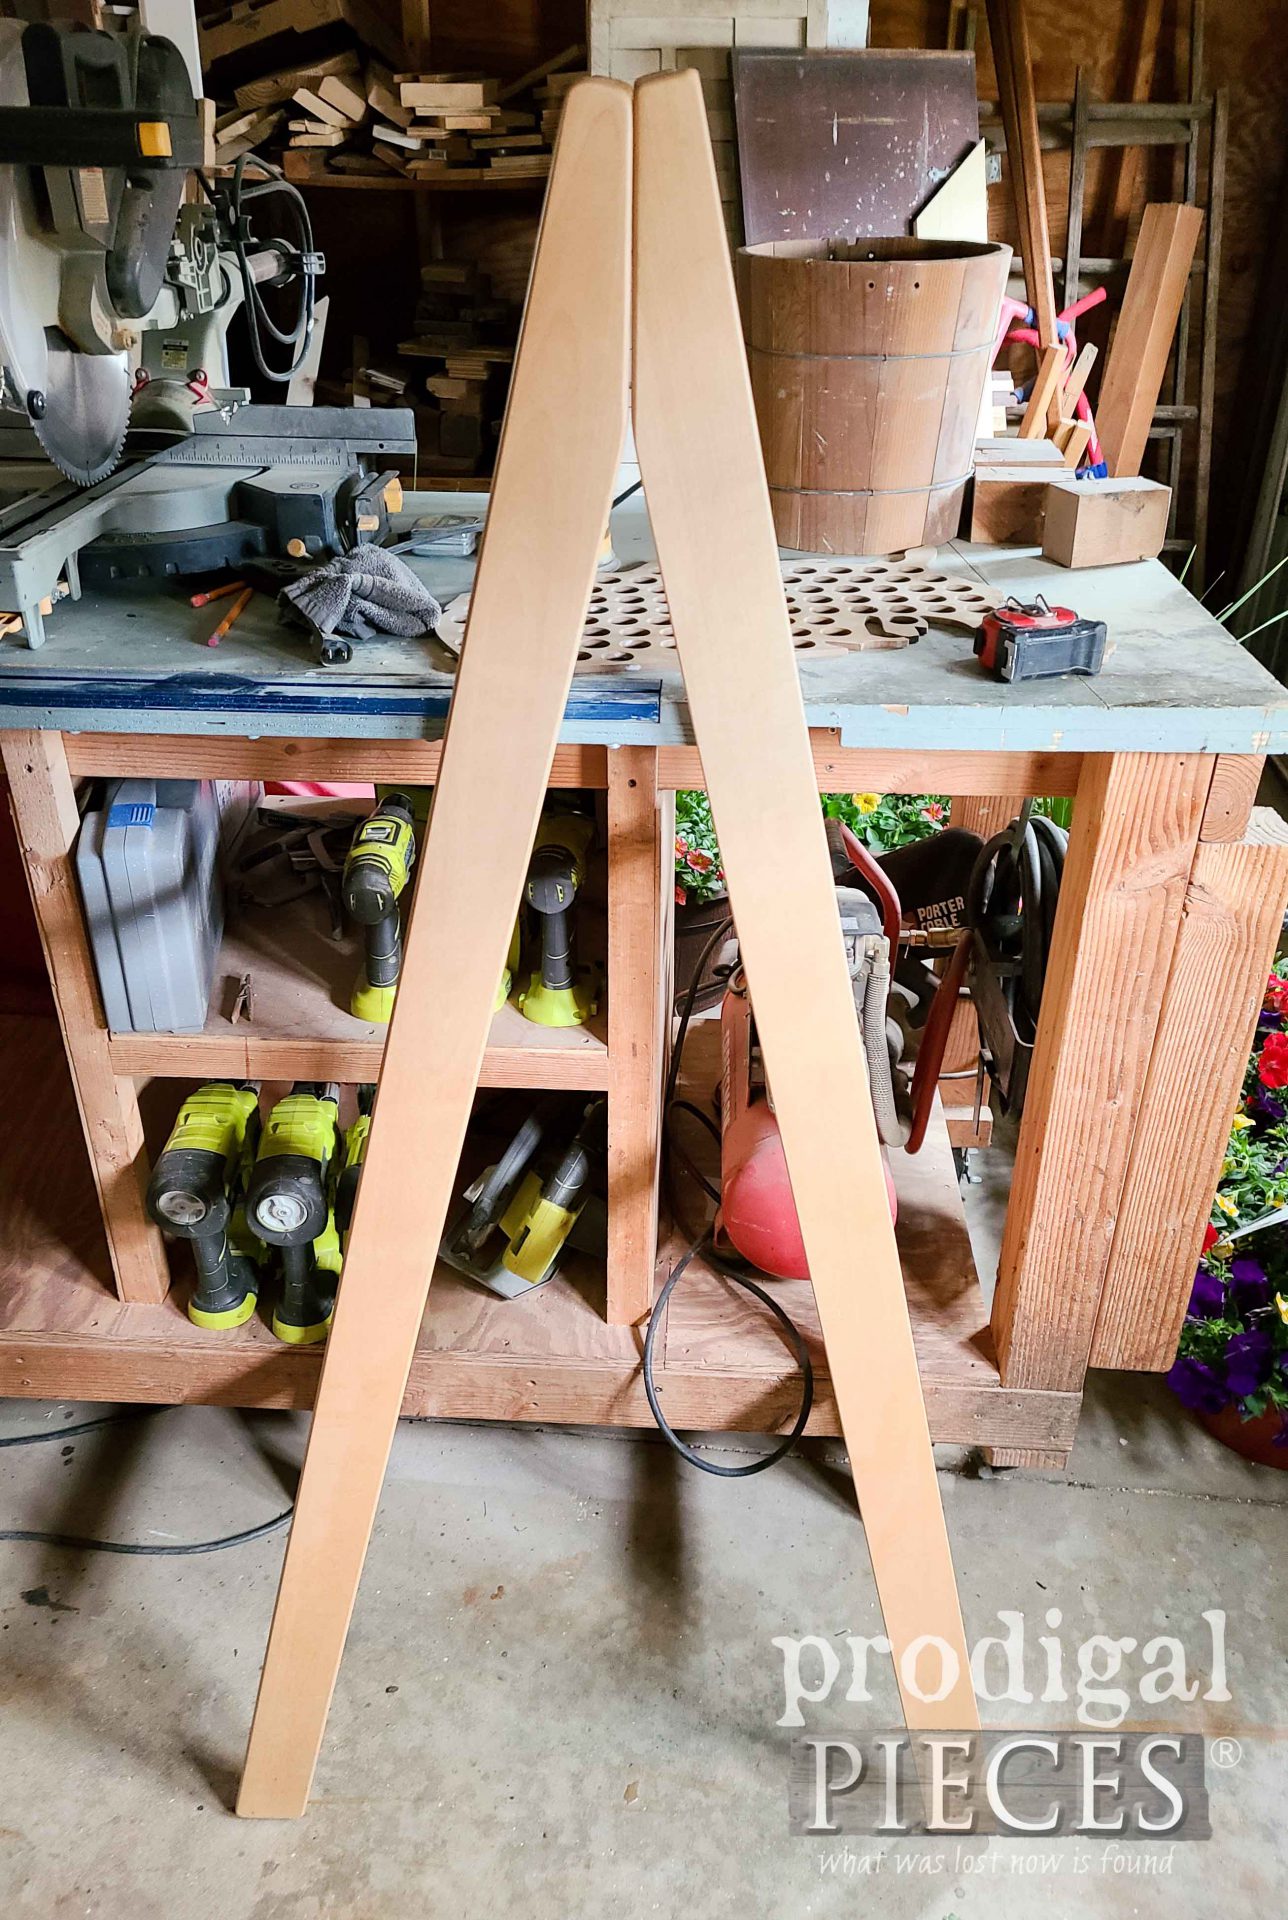
Now, let’s get back to this upcycled bunk bed ladder project. It’s obvious after standing them together that they make a sweet display. At this point, they’re not even attached yet, but already are standing together.
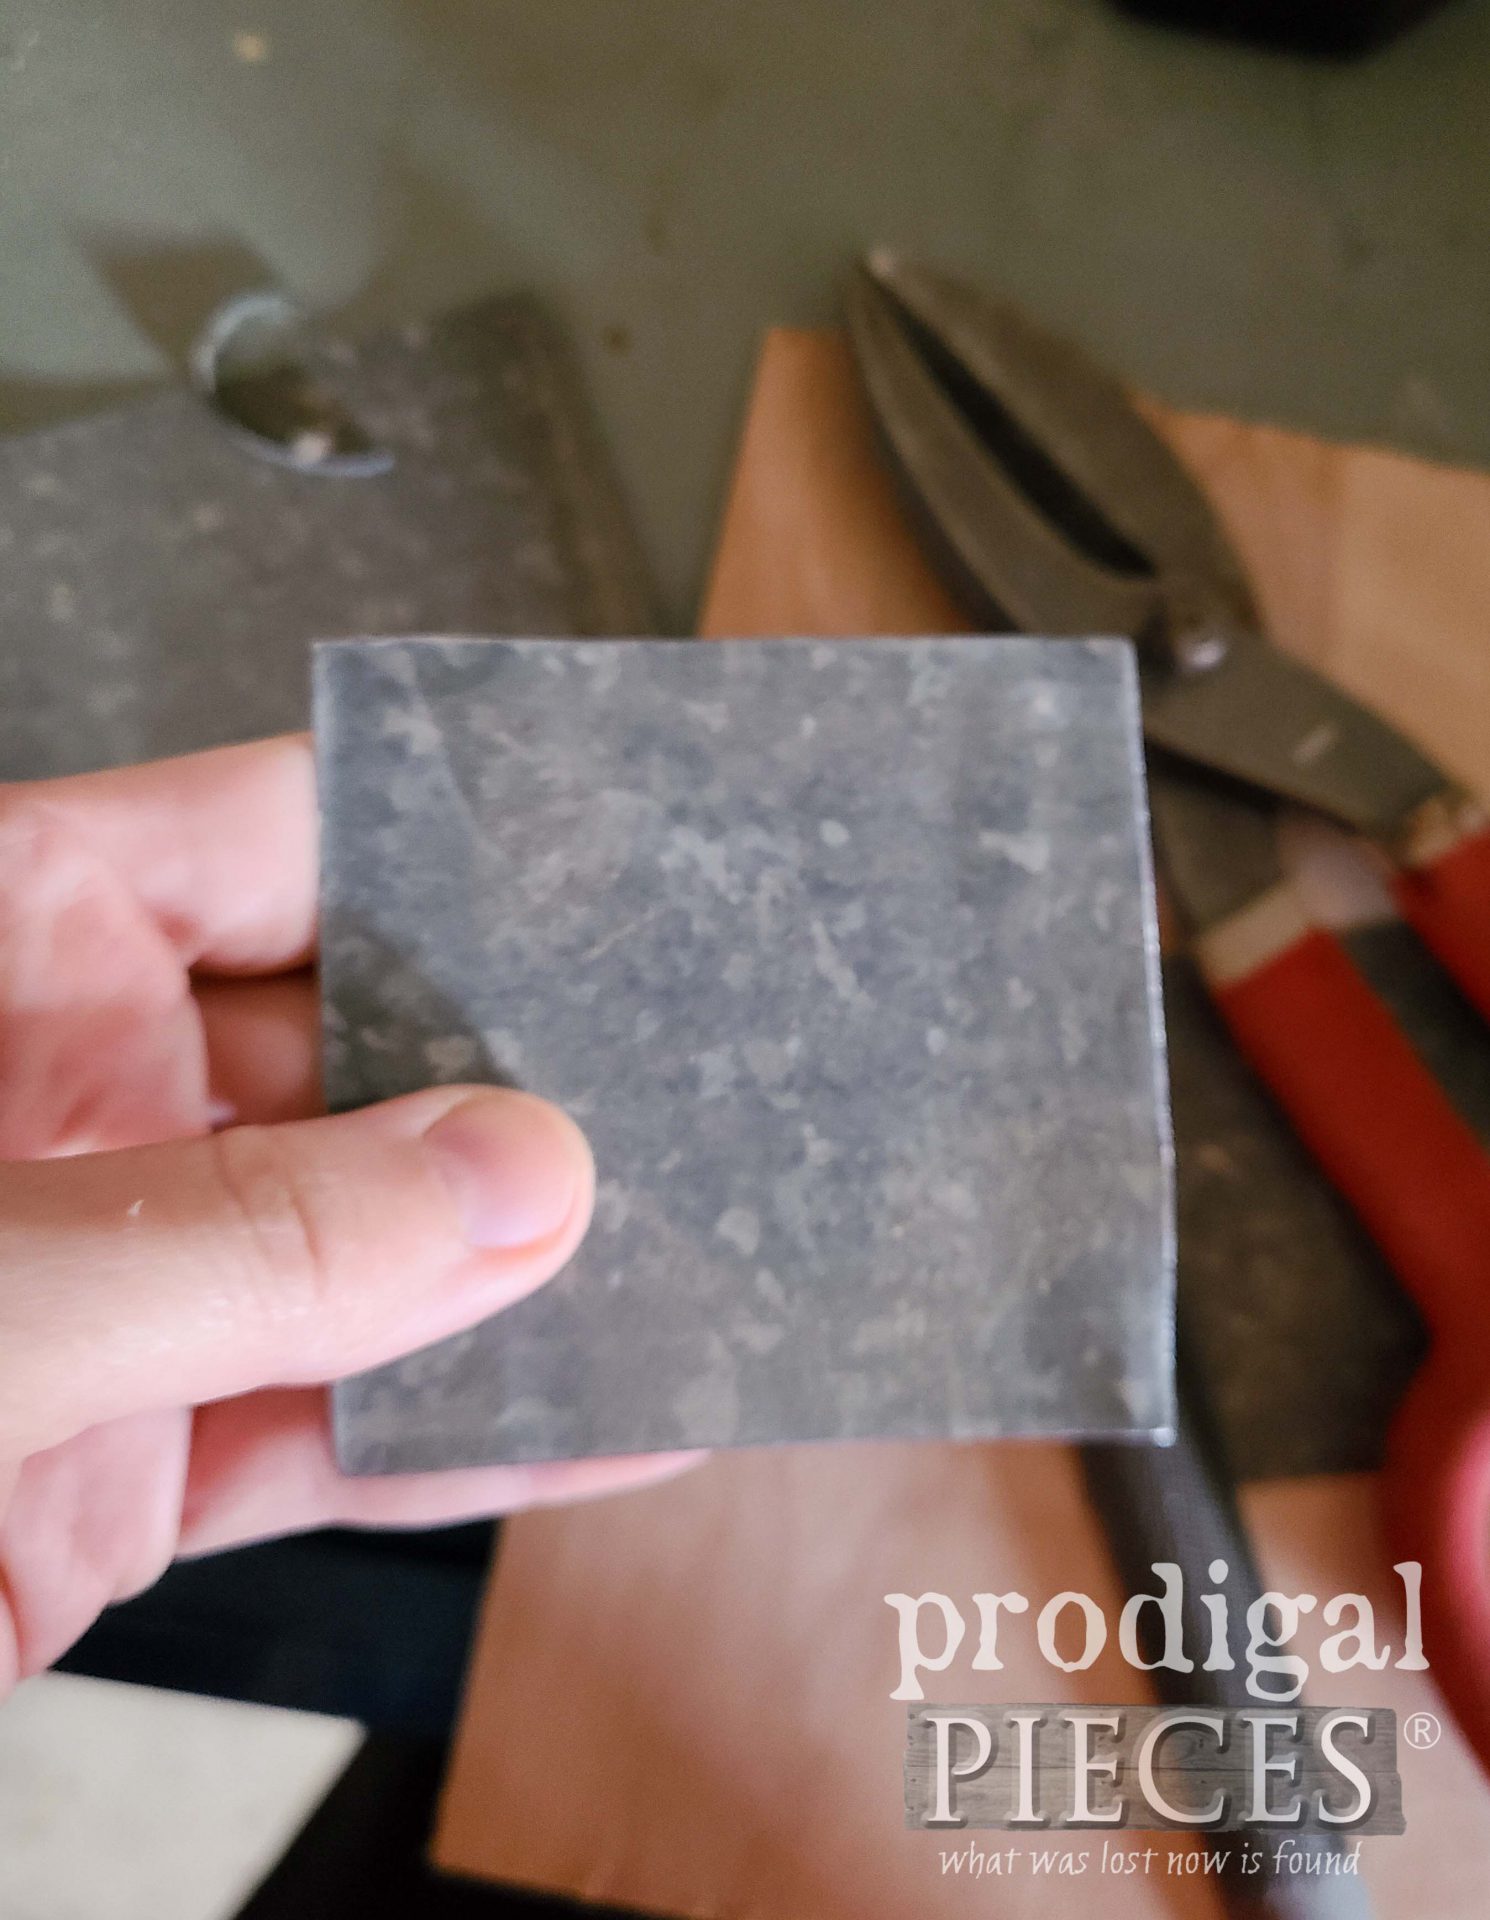
Next, I need to find attach the two ladders together. I did into my stash of heating duct from our kitchen remodel and use my tin snips to cut two squares. You can see how I use this same metal on my salvaged junk bird houses HERE.
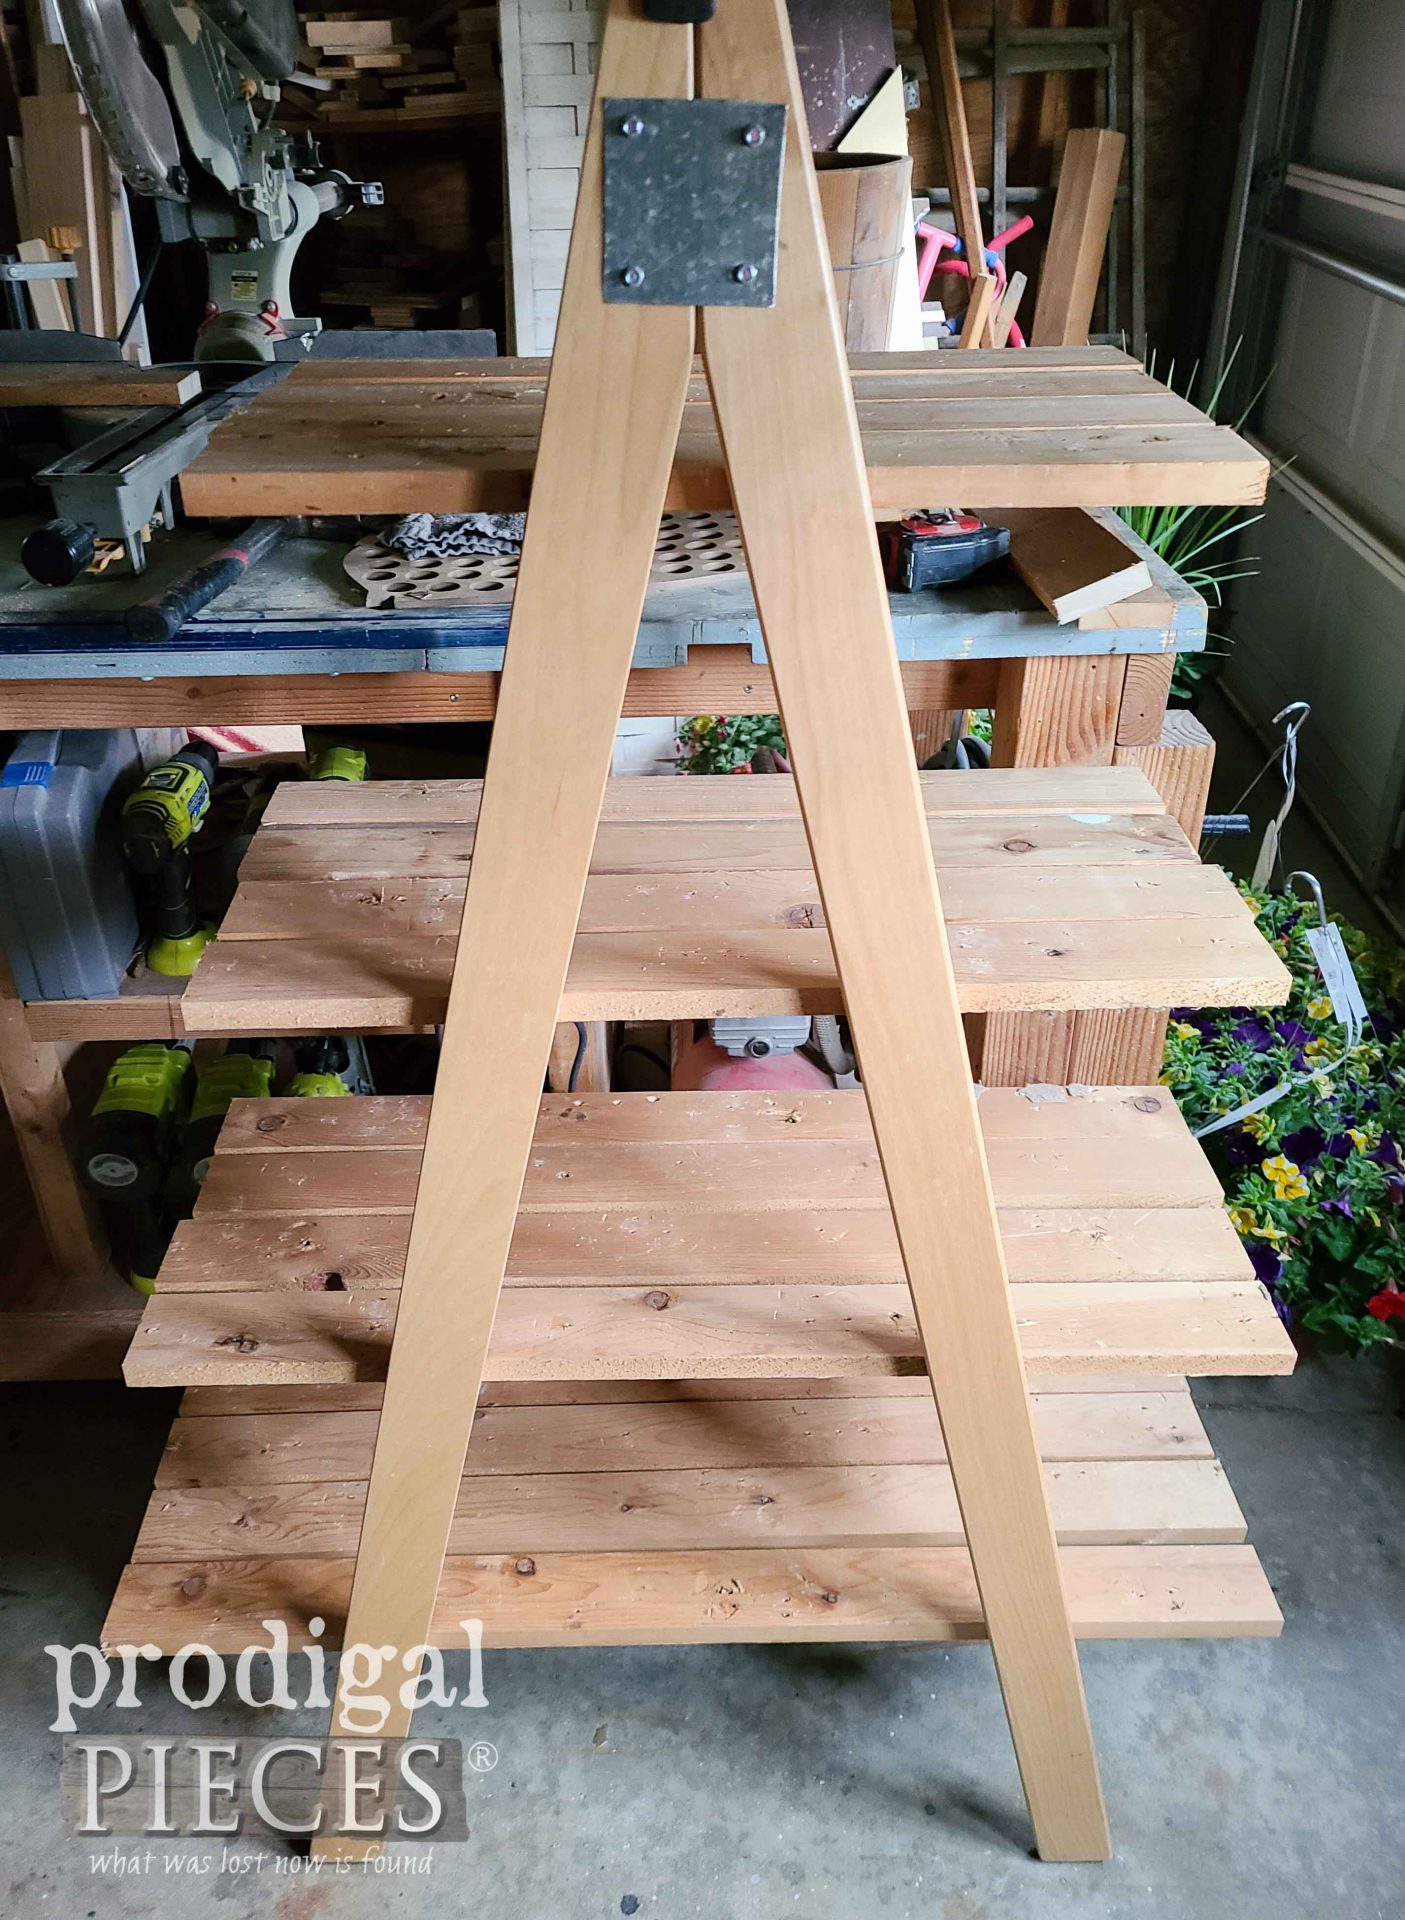
Then, I need wood to lay across the ladder steps to make shelves. You’ll find this funny…I told my son we’d go out to shop Curb le Chic for some wide plank boards. However, like a lightning bolt, when I walked out my front door I realized I needed to shop my own pile. haha! {{head smack}}
After oodles of staple and nail pulling, I cut my boards and here’s the dry fit.
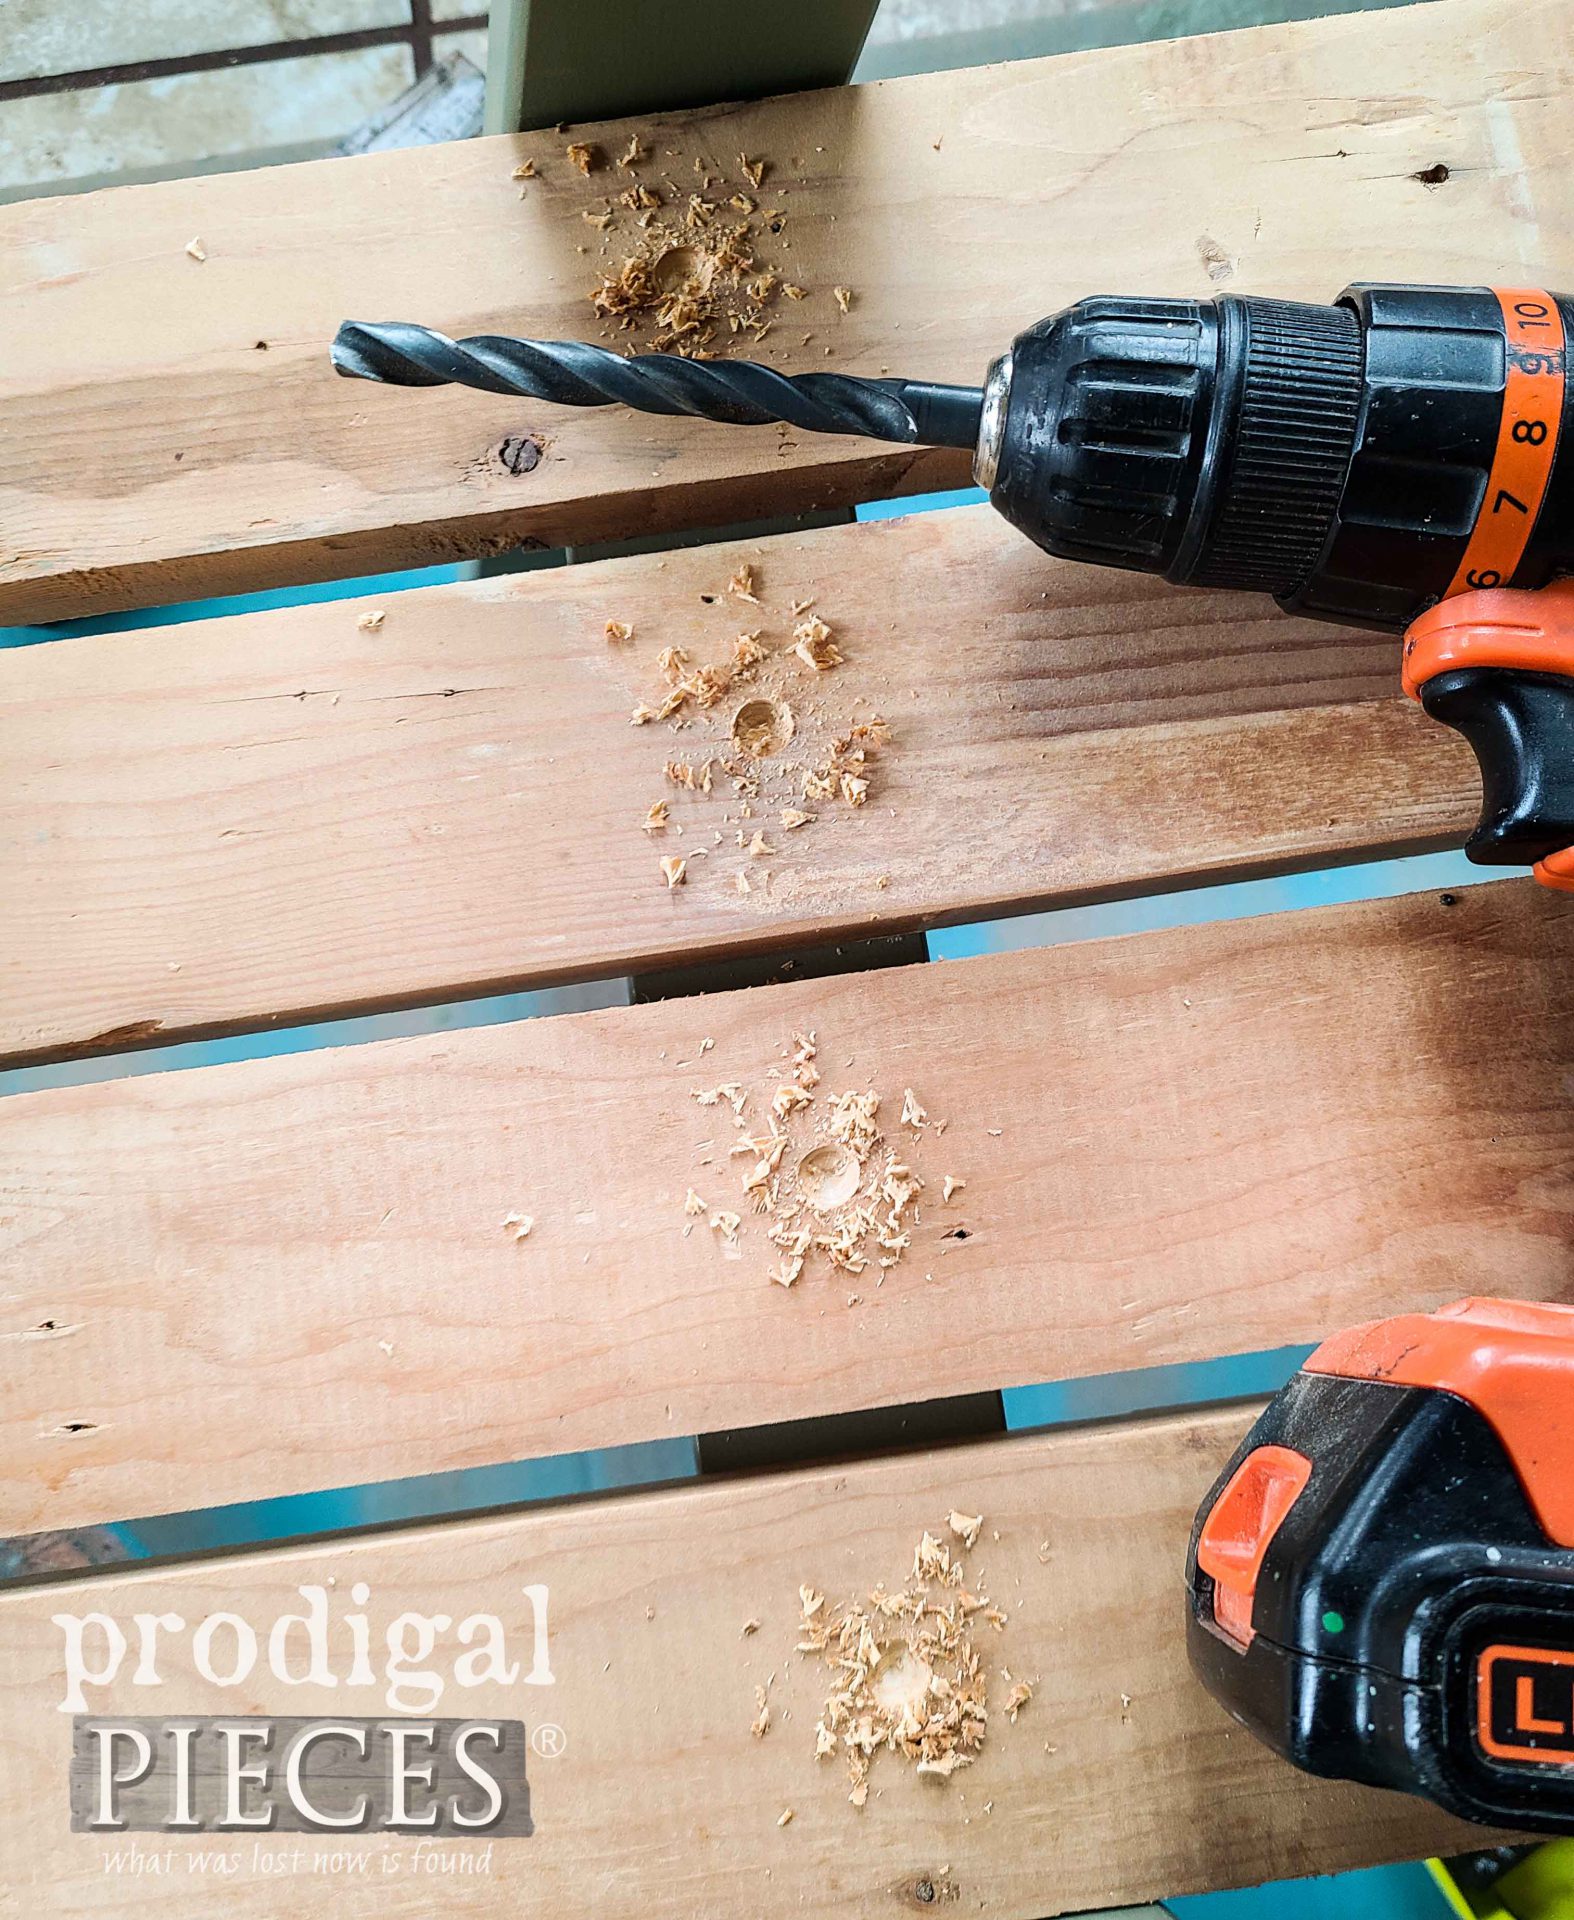
Last, I paint the ladder in a fresh color and then attach the slats using my drill bit to counter-sink the screw heads.
THE REVEAL
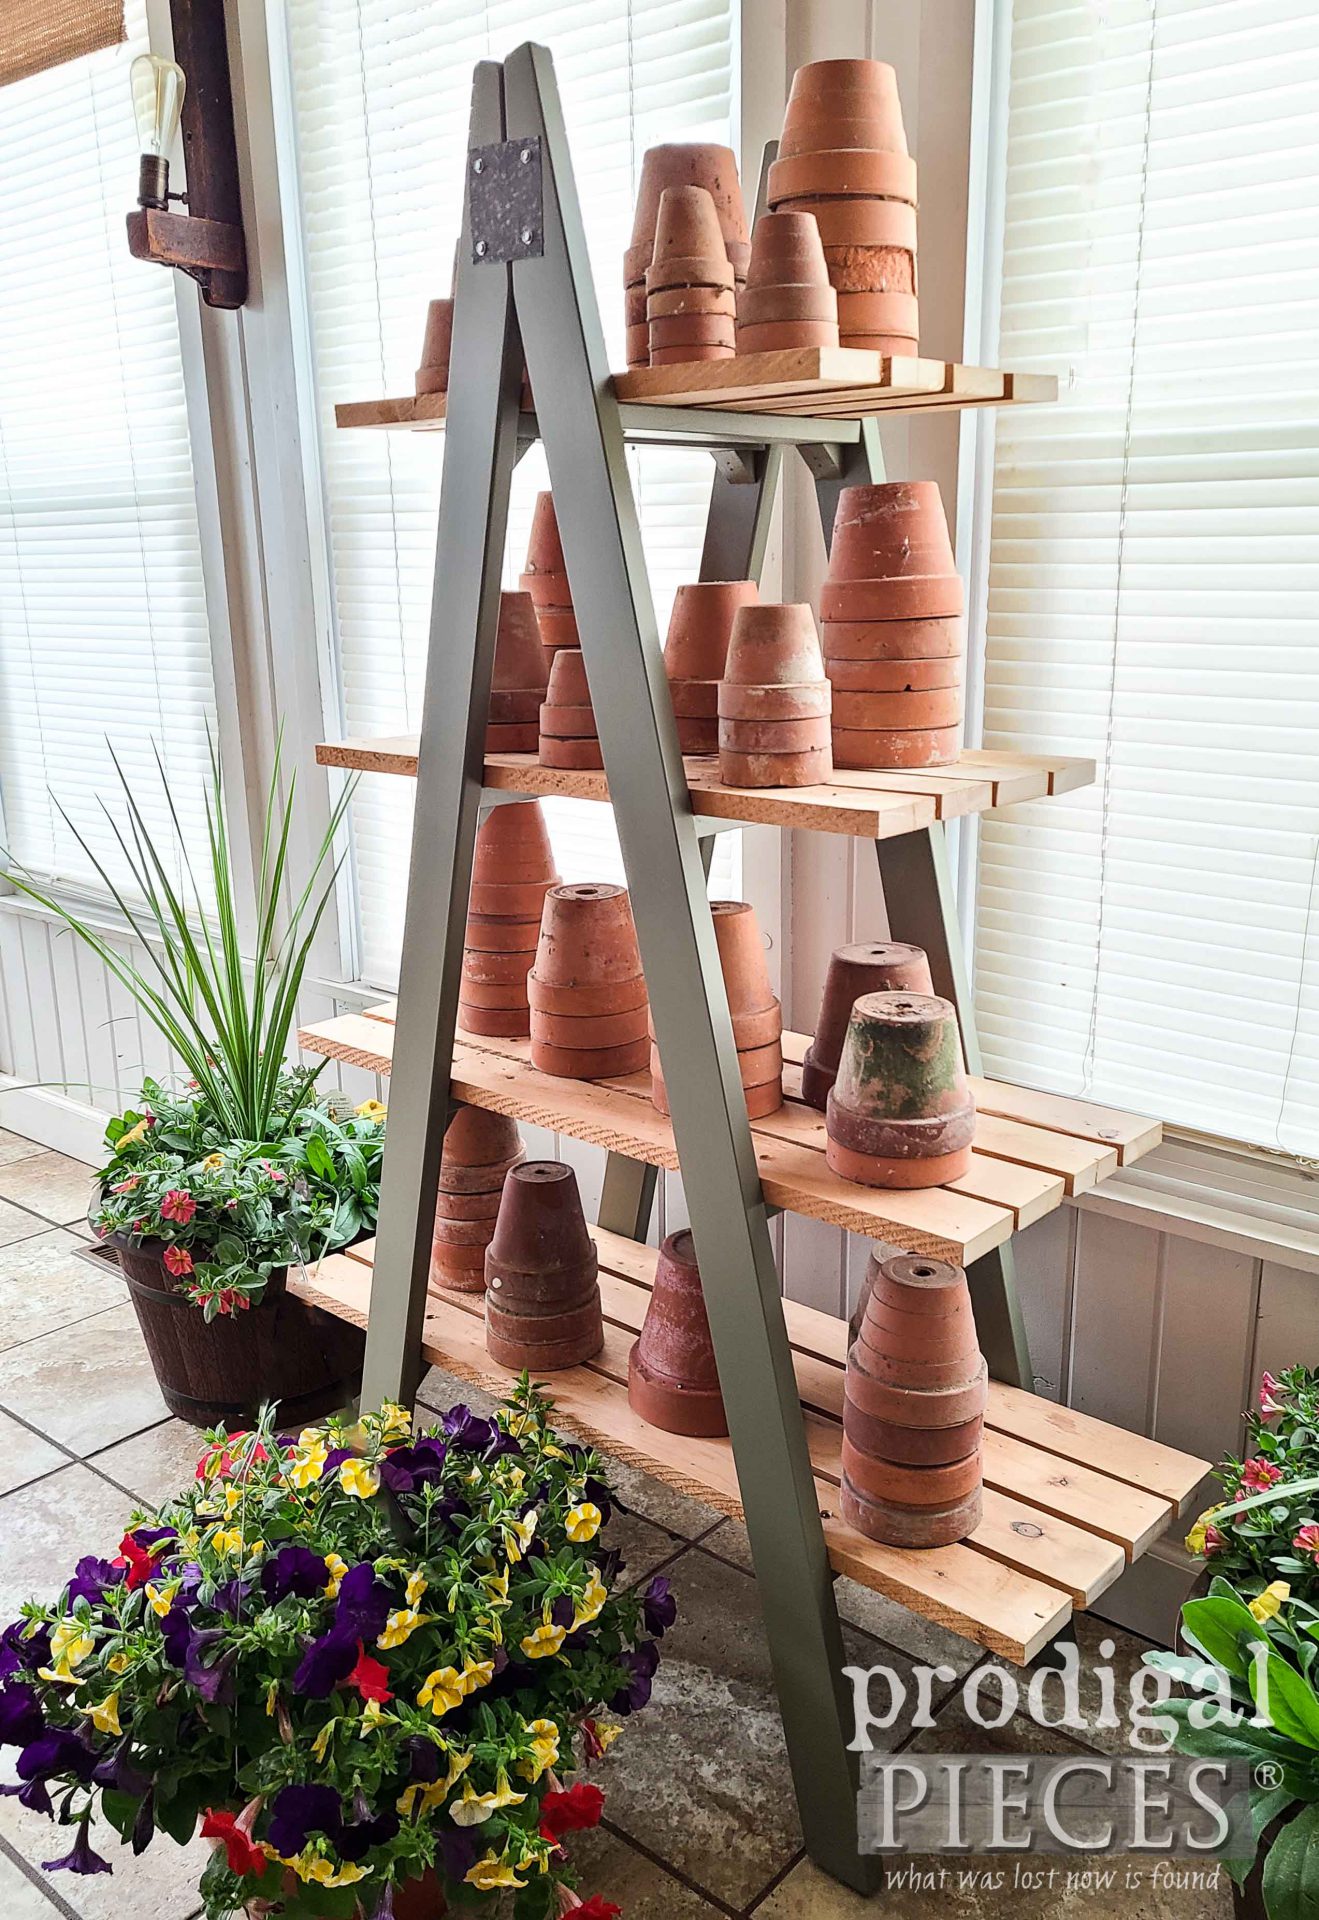
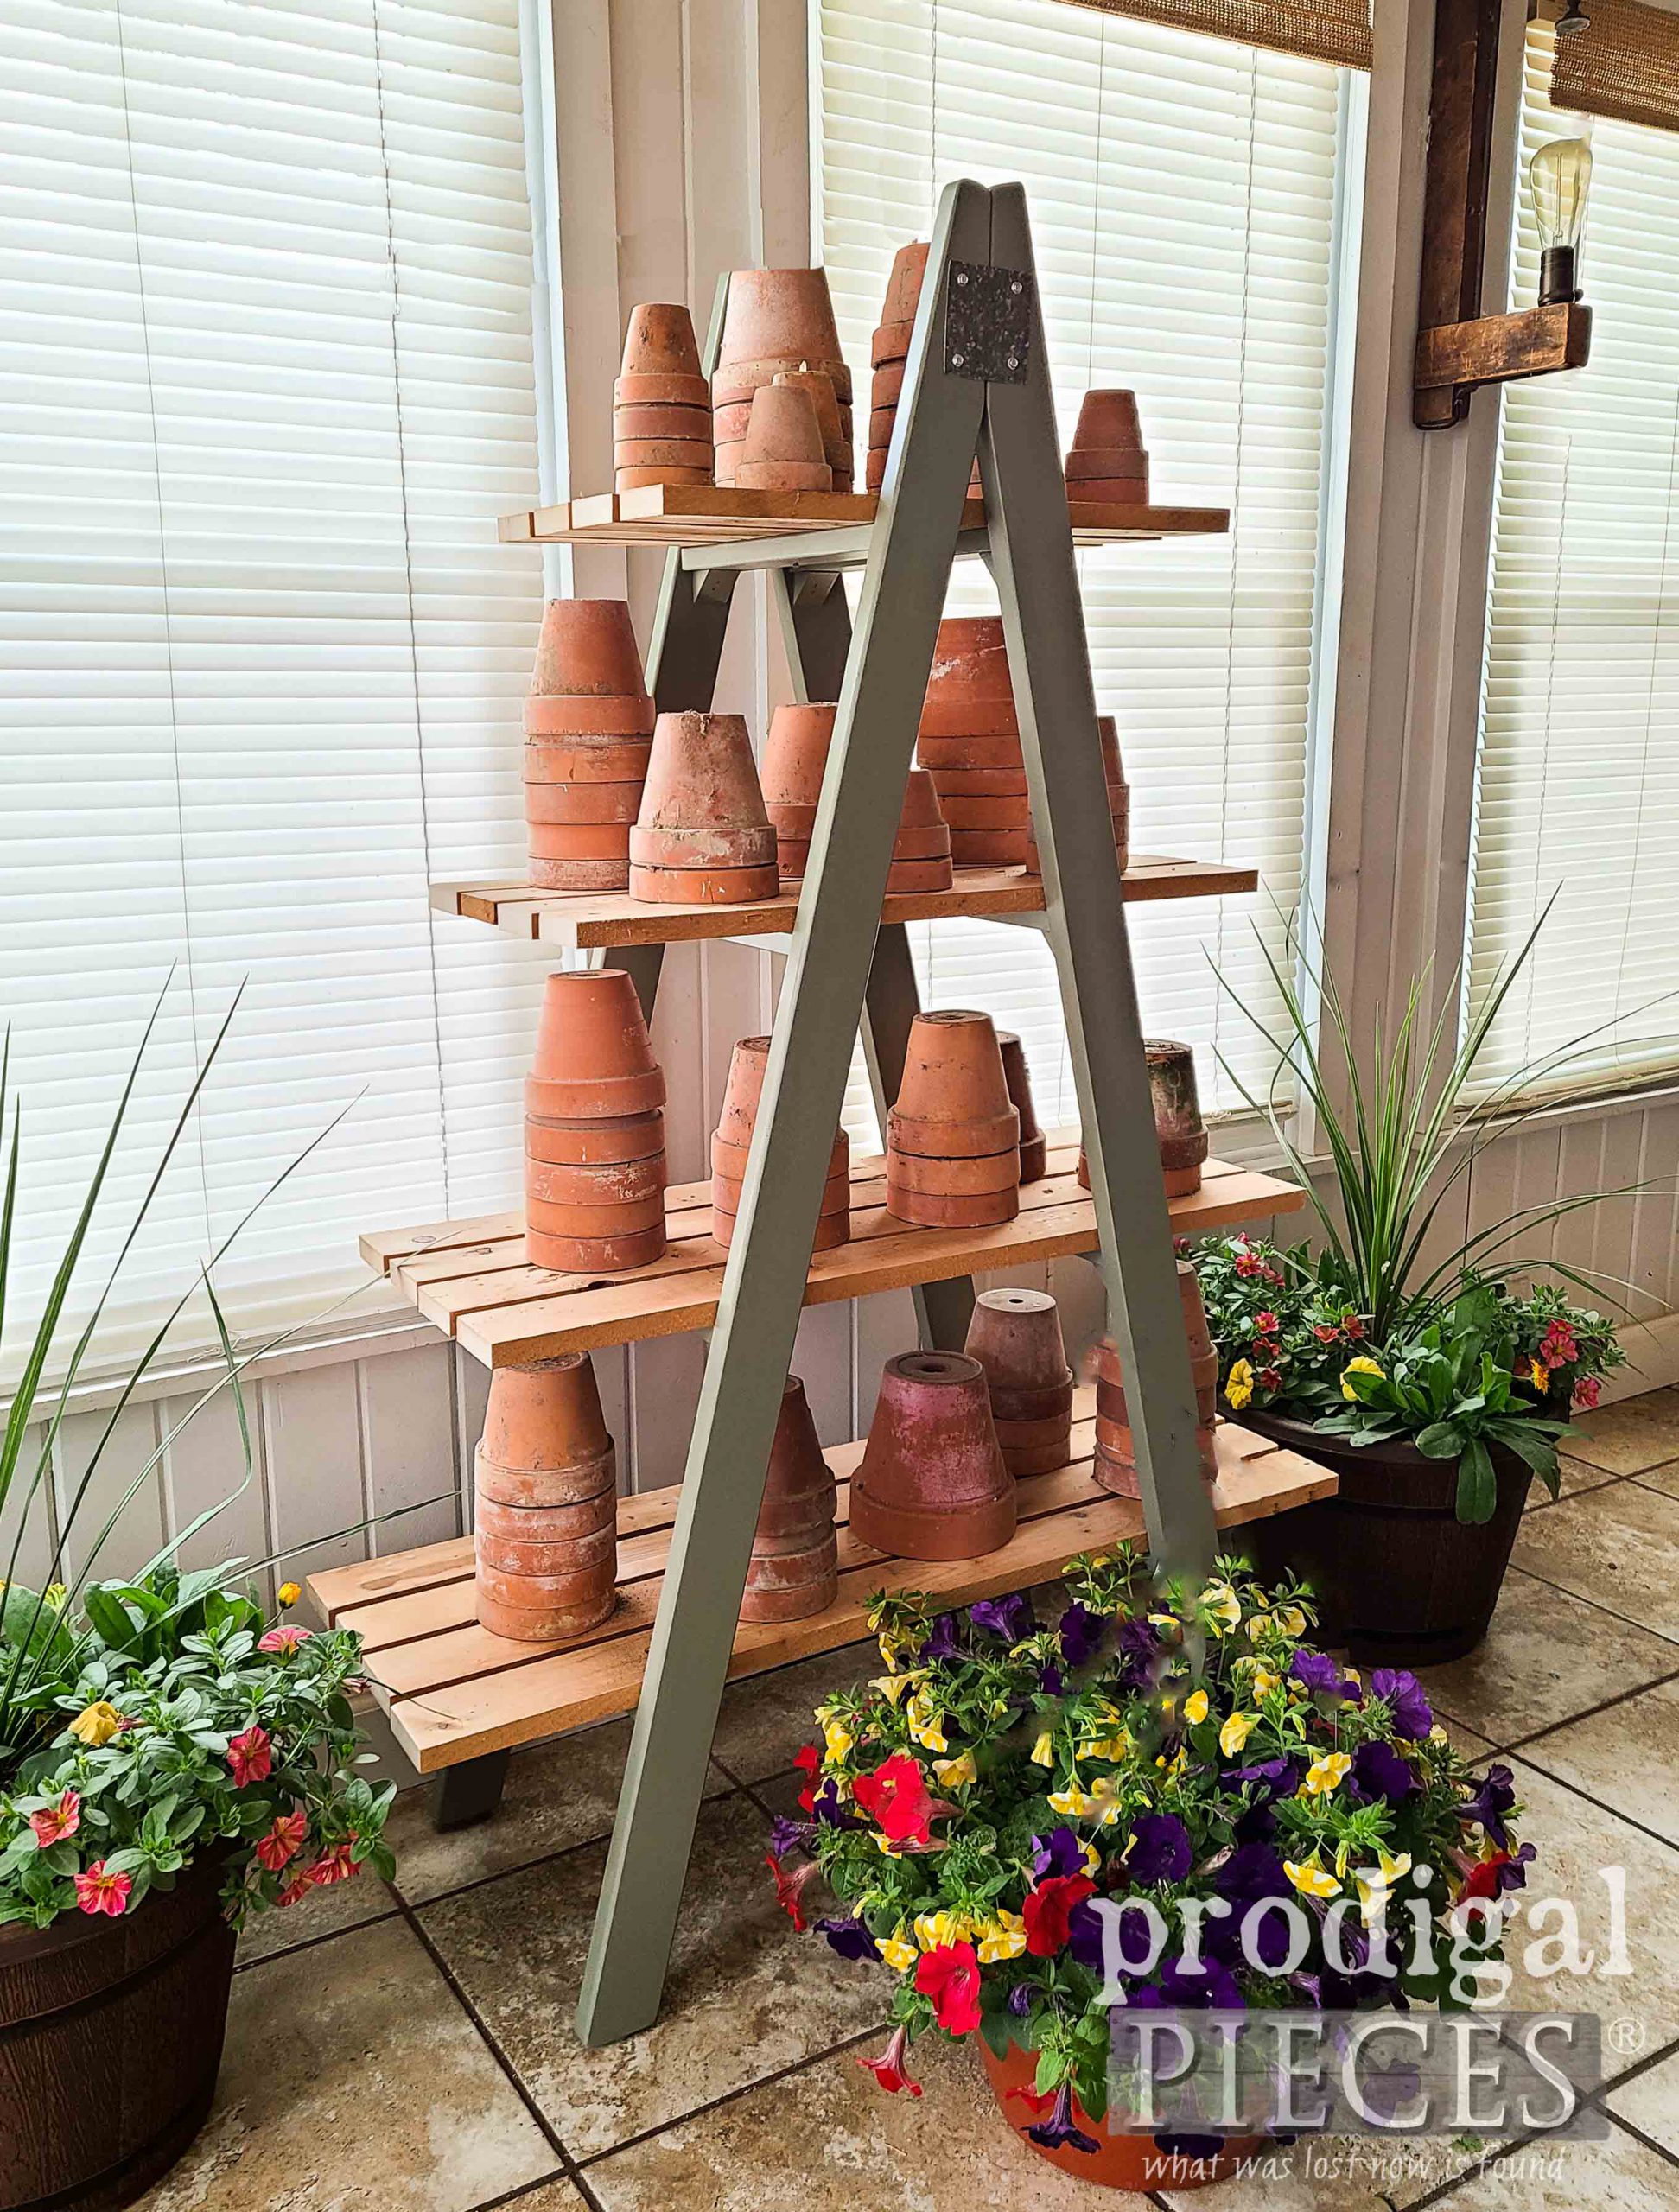
Here’s my upcycled bunk bed ladders turned tiered stand. eep!
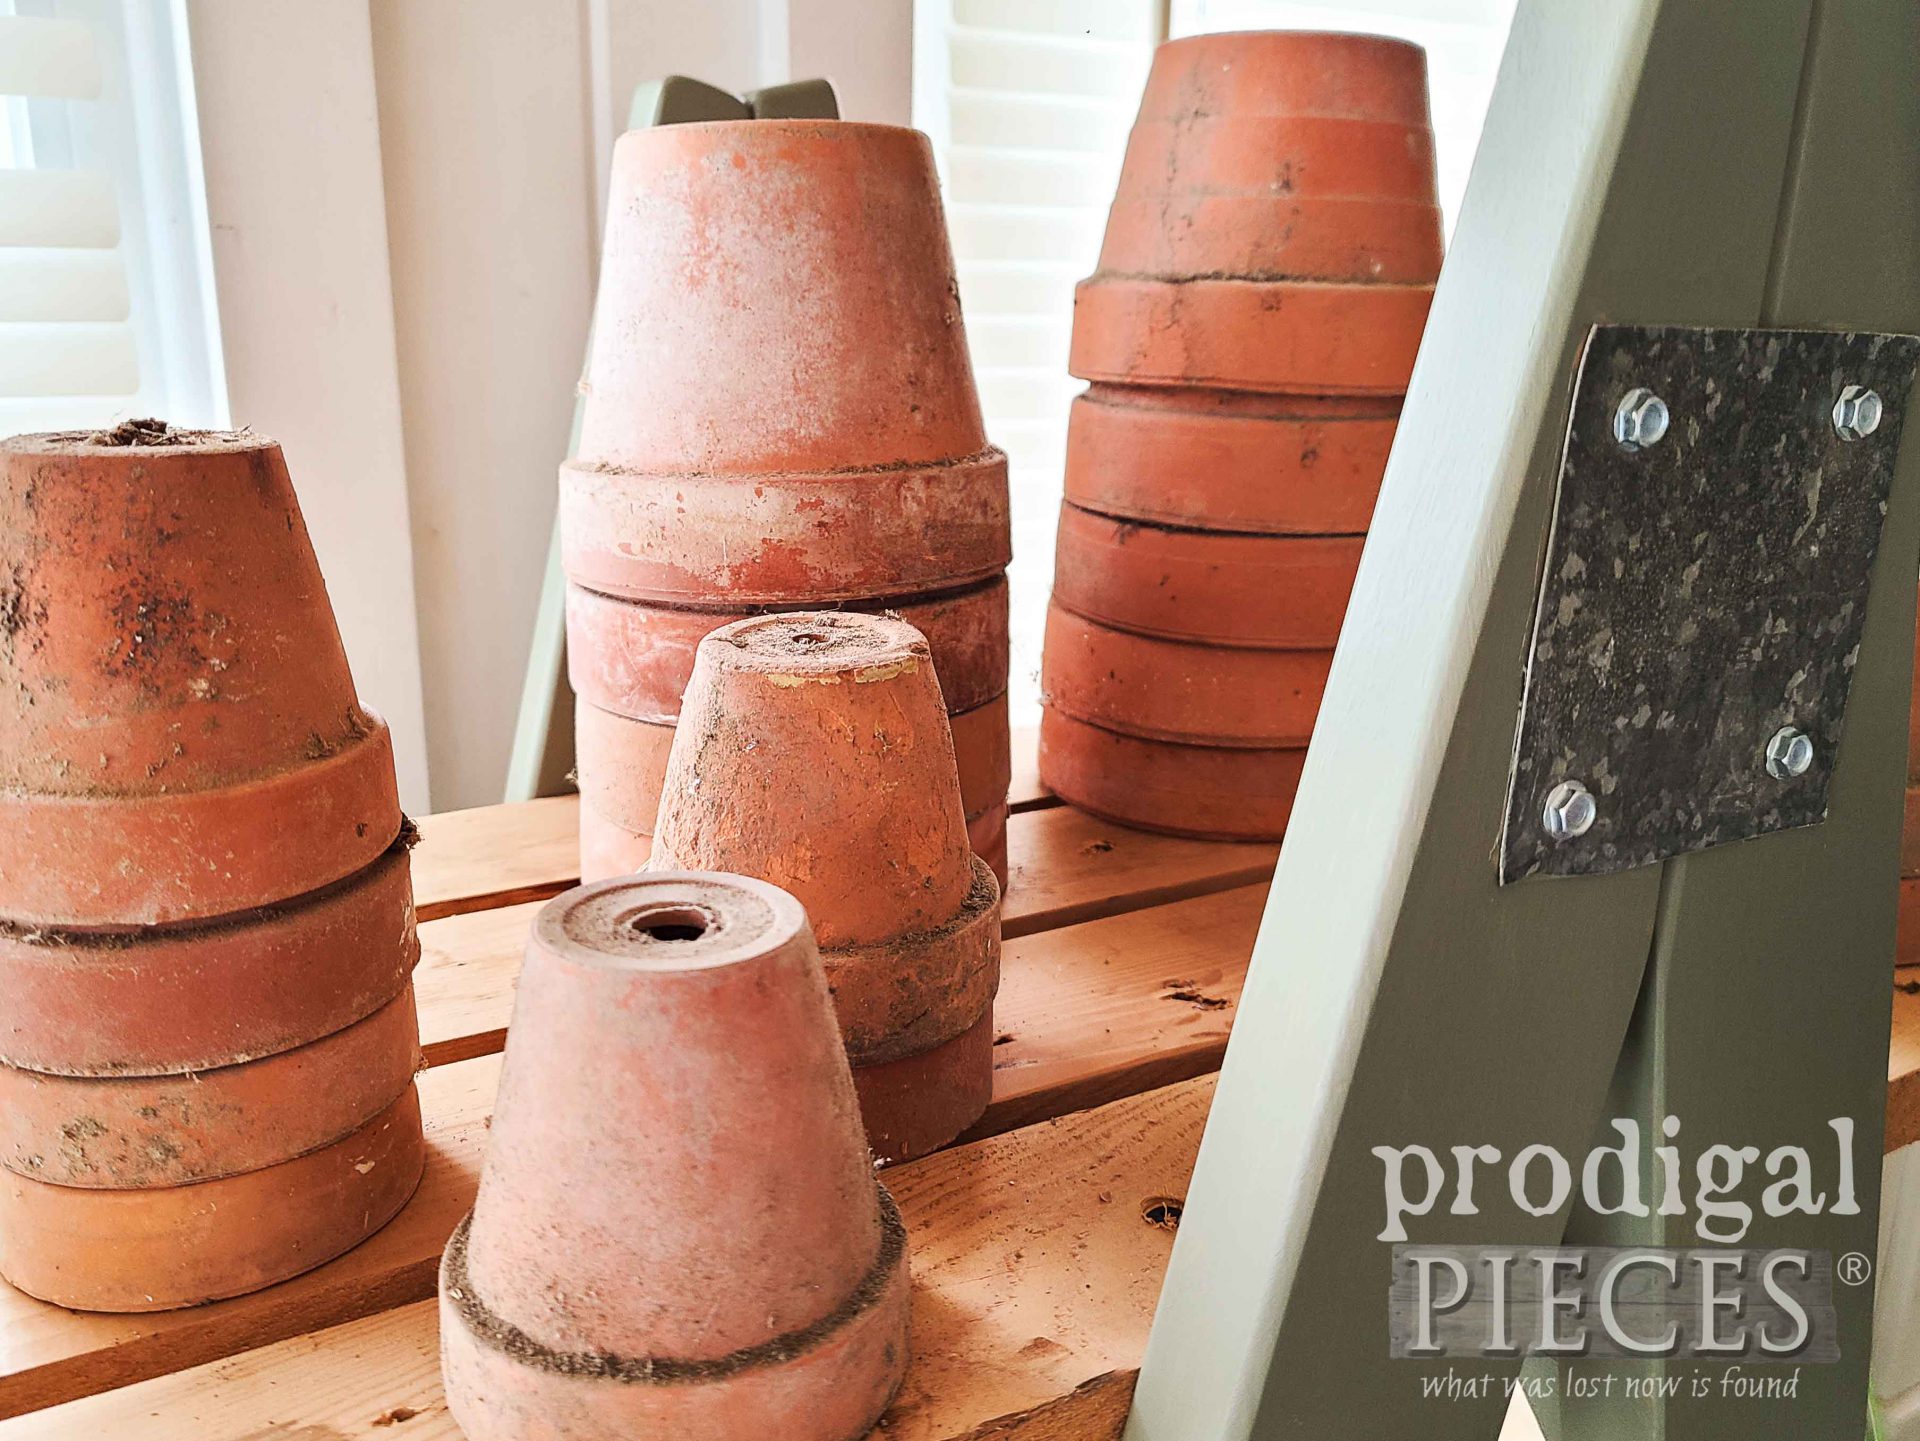
Who knew a bunch of “junk” could come together to look so good? Me! haha! I truly love to take the obvious misfit and make new. In addition to the ladder, I also want to send a HUGE hug to my friend, Billie. She invited me to come to her farm and rummage through her barn loot. These antique terra cotta pots are just one of the gems. She offered more, but I had to decline…for now. One day I’ll be back! Plus, she has a goats and hens I need to revisit for therapy while I wait for my own new home.
So tell me…what would you use this for? Obviously, I used it to stage my pots. However, I could also see it holding kitchen essentials, rolled towels, or bedside as a nightstand. Or, in a shop showcasing a bunch of awesome wares.
If you’d like to own this tiered stand, you can find it and more available in my online shop.
Likewise, pin and share to inspire others to have a little fun with DIY too!
NEXT
Up next, it’s Reduce, Reuse, REFASHION time. Stay tuned to see!
To get these DIY tips & tricks in your inbox, be sure to sign up for my newsletter. Until next time!







Love this project and what a great shelf unit to use to put your planted herbs, etc. on Or decorating for the holidays.
Thanks! I truly would love to keep it, but still waiting for that new space someday.
Love, loVE, LOVE!!! That turned out so adorable and with your pots??? My heart fluttered!!! ❤️?❤️ I sure wish I had room for this. Somebody will snap this up. It’s also so substantial compared to what is commercial that it could hold anything!!! I probably say this every time, but my FAVORITE yet!!!! ?
haha!! You are so fun, Rebecca! I wanted to keep it so bad that I just took it out of my shop. hee hee. Maybe I’ll put it back up at some point. Still hoping for land! 😀
As a Corningware reseller, I can see vintage matched with vintage:)
I thank God for your gift.
That’s the spirit, Janet! I just love whimsical pieces like this. Thanks!!
Genius!!!
So clever!! ?
Aww…thank you, Little Debbie!
You never run out of ways to inspire me!!!!
Well that just made my day, Maria. Thank you!!
How did you get the “shelves” to stay put? Did you use small wooden pieces inside the frame? Very nice job and a GREAT idea!!
The boards are resting on the steps and I used counter-sunk screws on each board on each end. Thanks!!
Yesssss, my garden shed could really use one of these! Great upcycle Larissa. Now I need to find me some wood ladders.
You and me both. I had to keep this one…for now. Happy ladder hunting and thanks for the love, Marie. Garden season soon!
Hi Larissa, this really is a great project! This shelf is so versatile for indoor and outdoor use. It could hold so many things. I love this one.
Hey Kaycee! Thanks so much. It was fun to build and see my stash getting lower. 😉
What a fantastic idea Larissa! Gonna keep my eyes peeled for these. 🙂
You really should! There’s so many around here. Hope you find some!