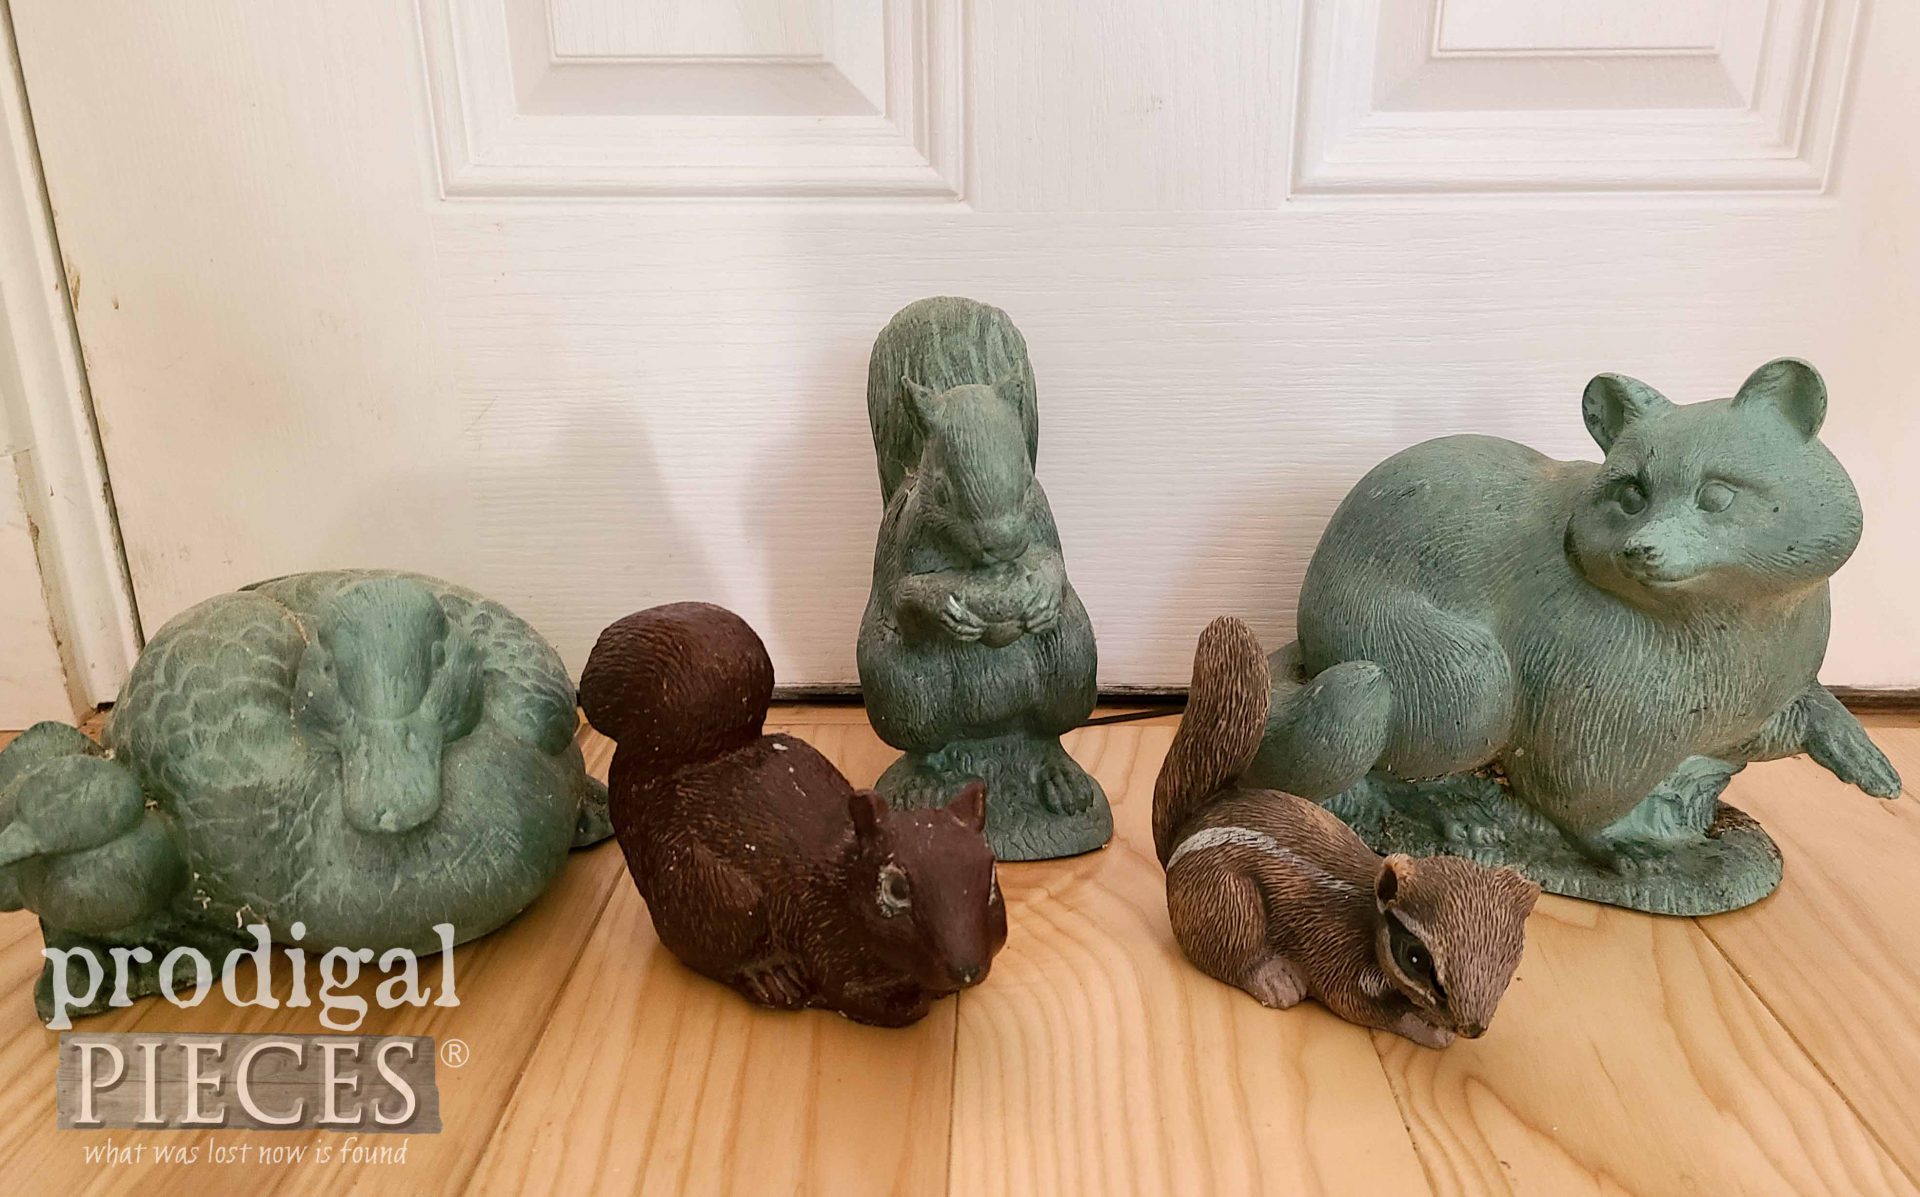
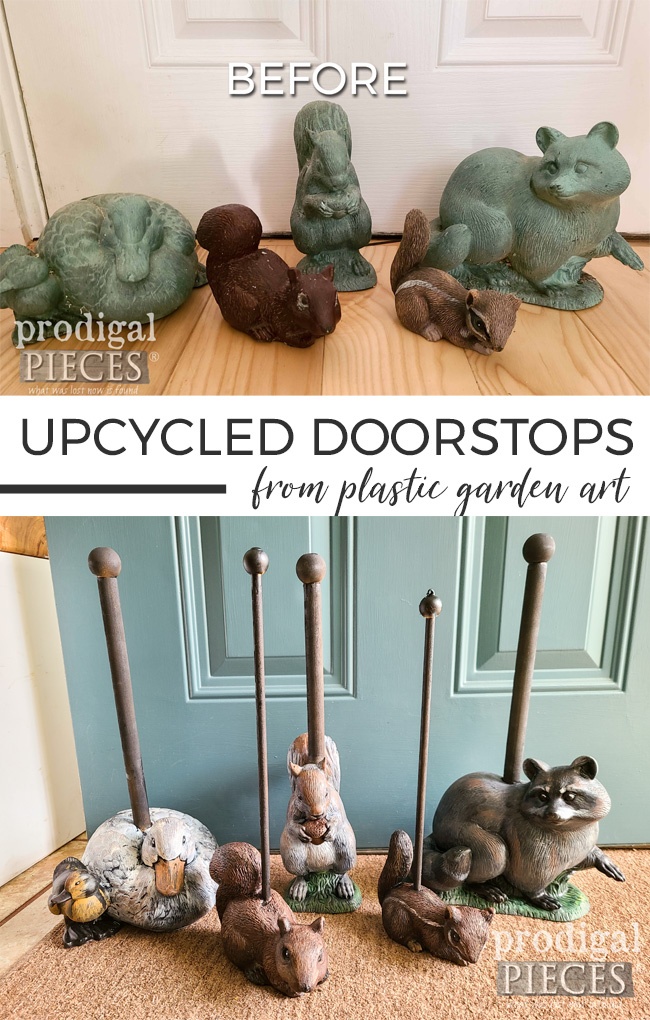
I can’t believe another month has passed and it’s already Trash to Treasure time. Yay! It’s a fun time of the month where my blogger friends and I get together to corporately share our latest DIY fun with you. However, you’ll see their projects in a bit. Today, I’ve got this motley crew of plastic garden sculptures. Do you see potential? I see an upcycled doorstop just ready for a makeover. In addition, you can see my upcycled baby bib doorstops in this post.
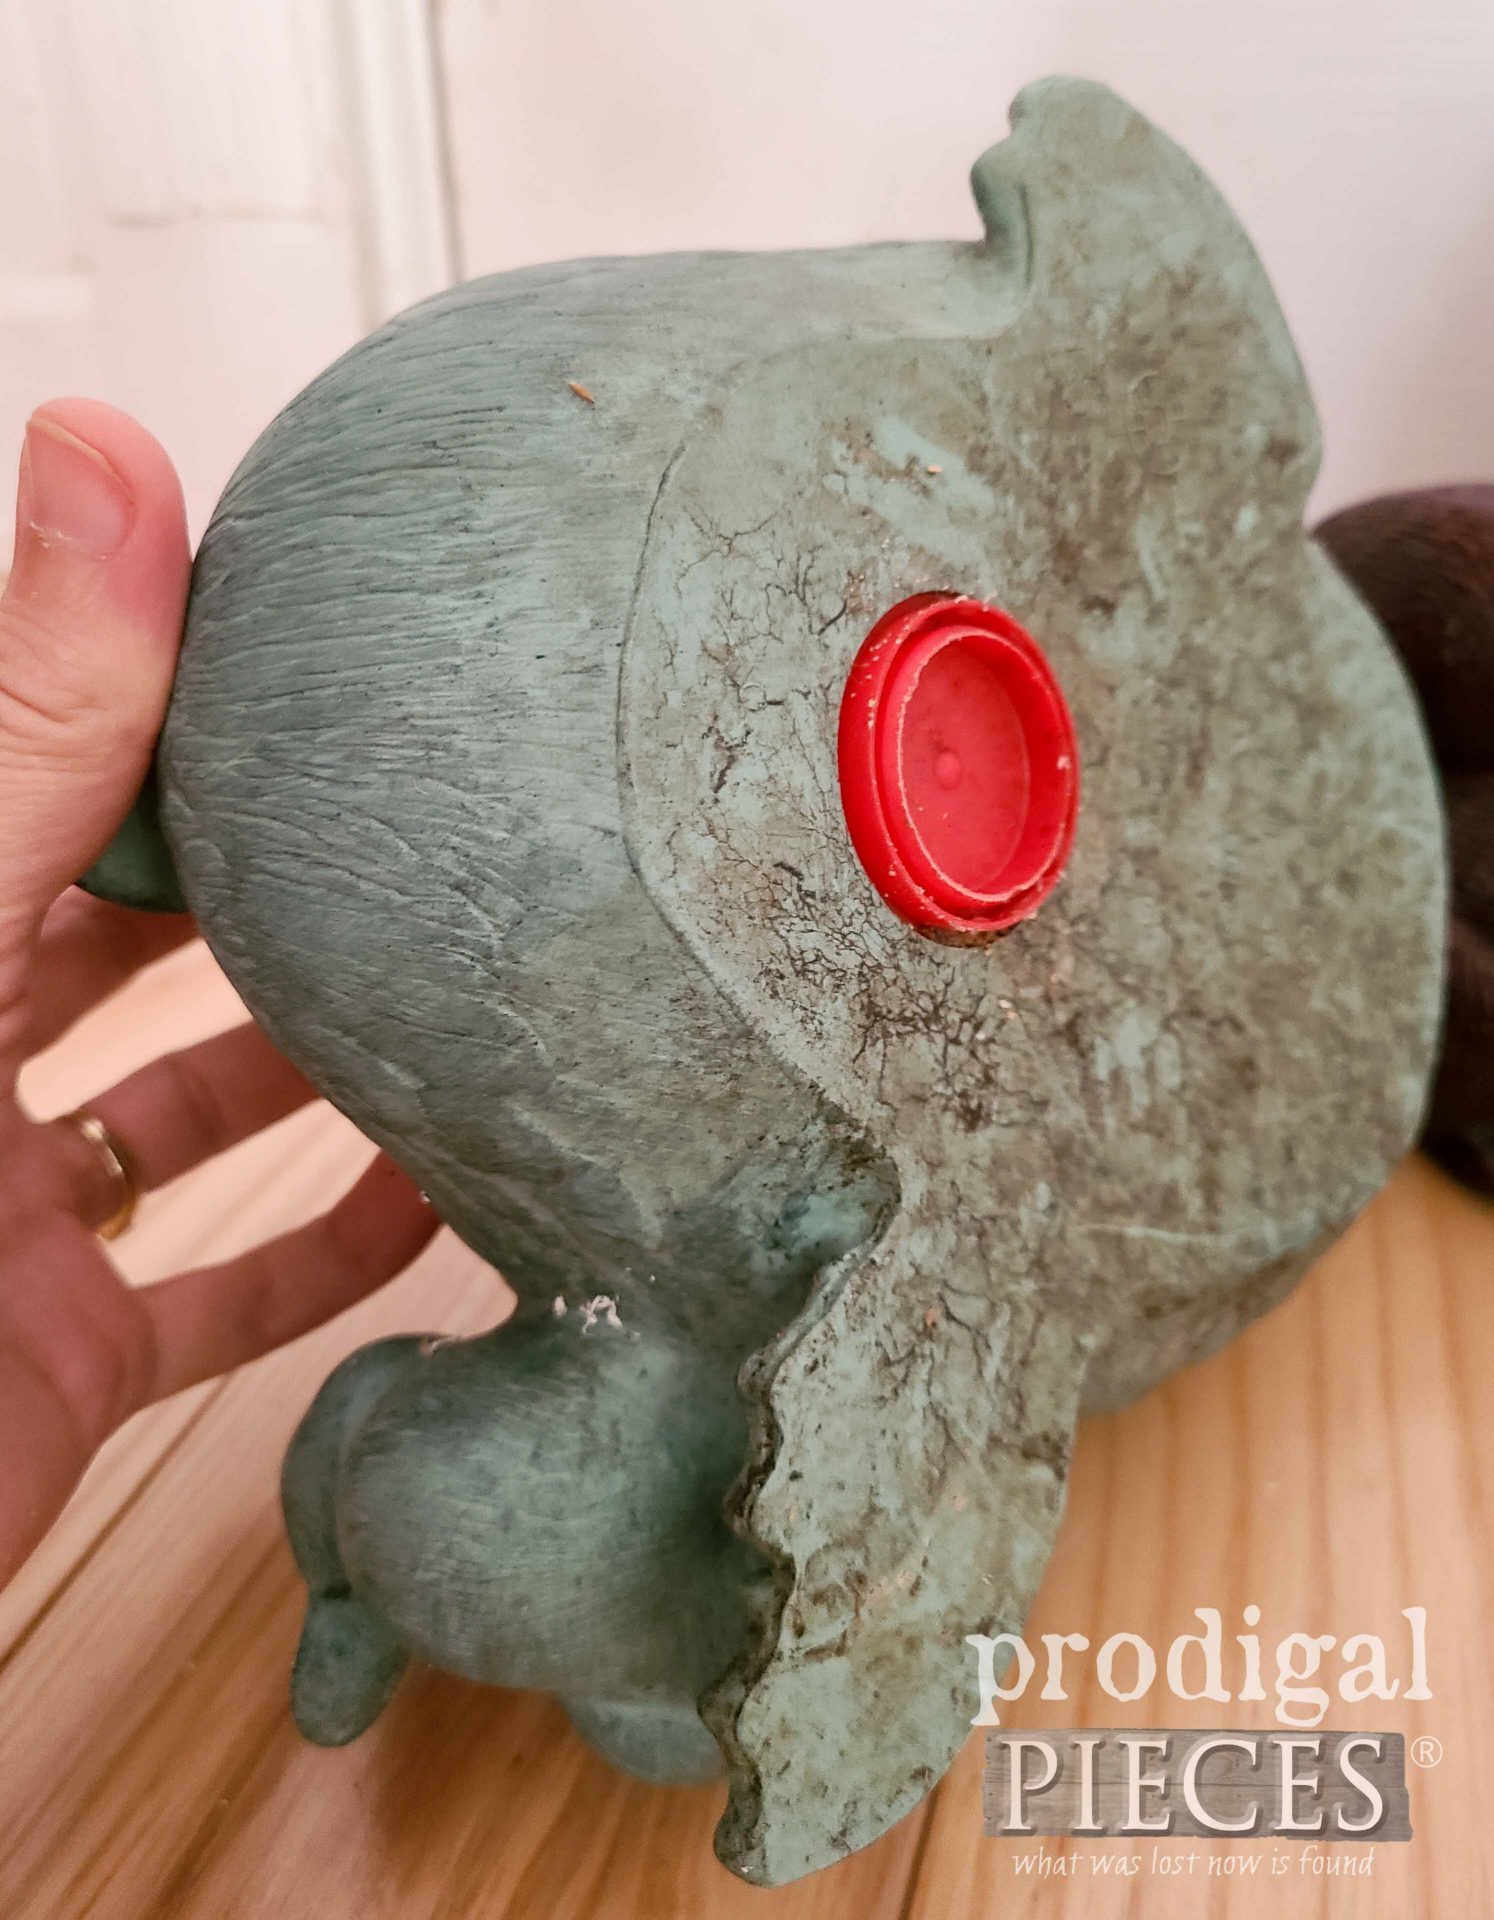
Maybe I’m crazy, quirky, or am just a fun gal who loves to DIY. I’ll claim all three titles. ahem. I inherited this set of farm or wild animal toys or concrete sculptures. I found the one concrete squirrel at a local store, but the green set is straight outta Rubbermaid circa 1992.
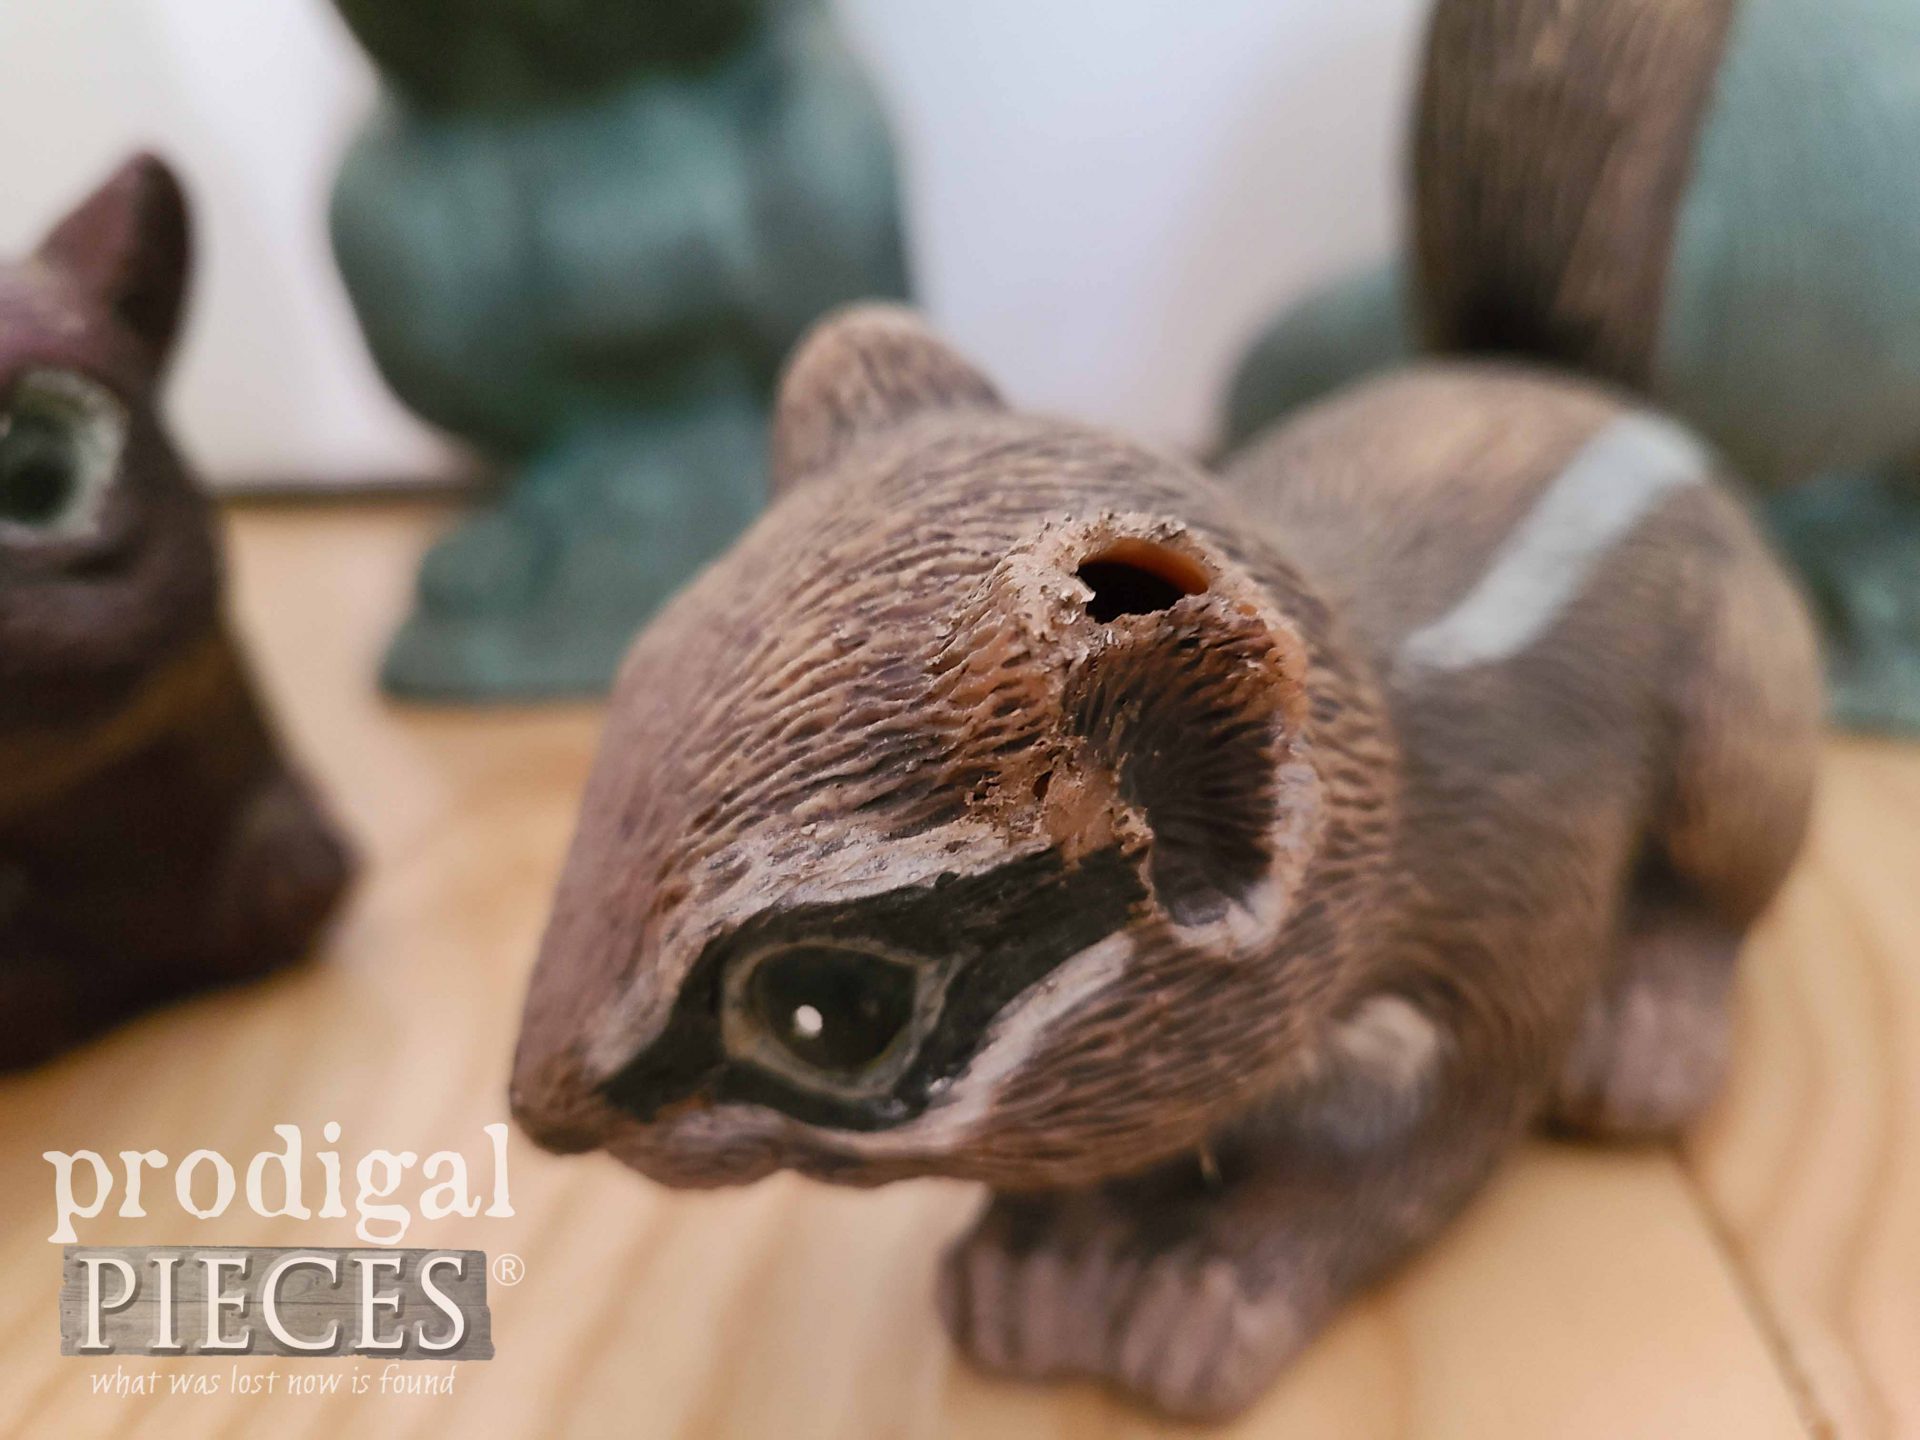
One little one she provided was was this chipmunk with chewed off ear and hole in the face. She asked if I wanted it anyway. In other words…well, you know me…
DIY TIME
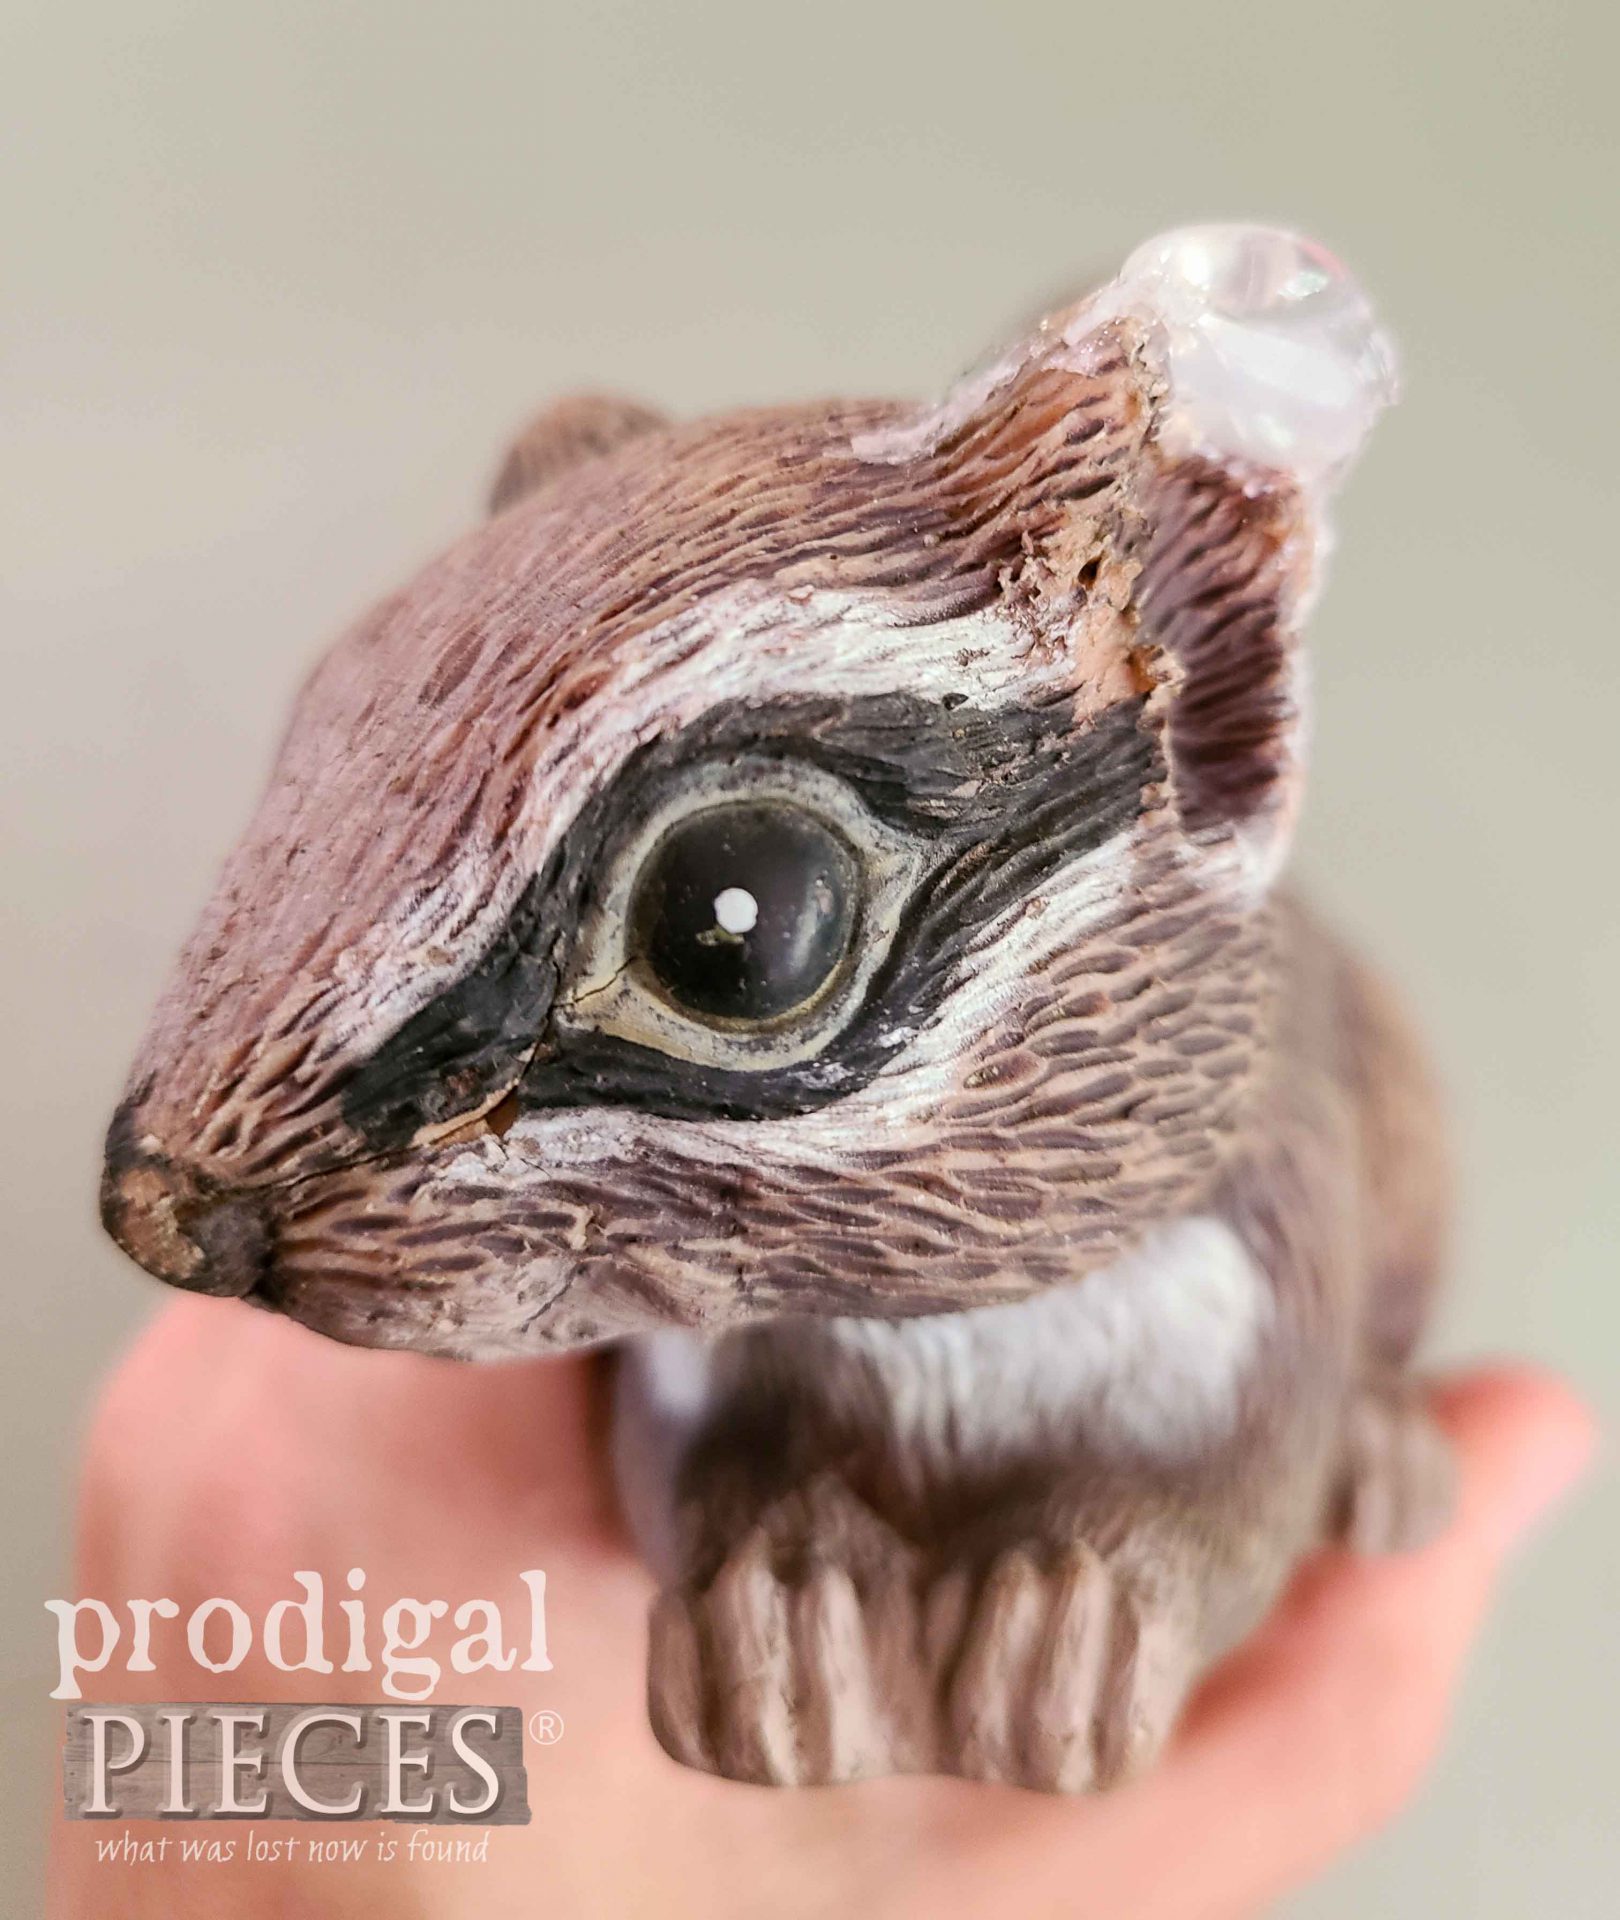
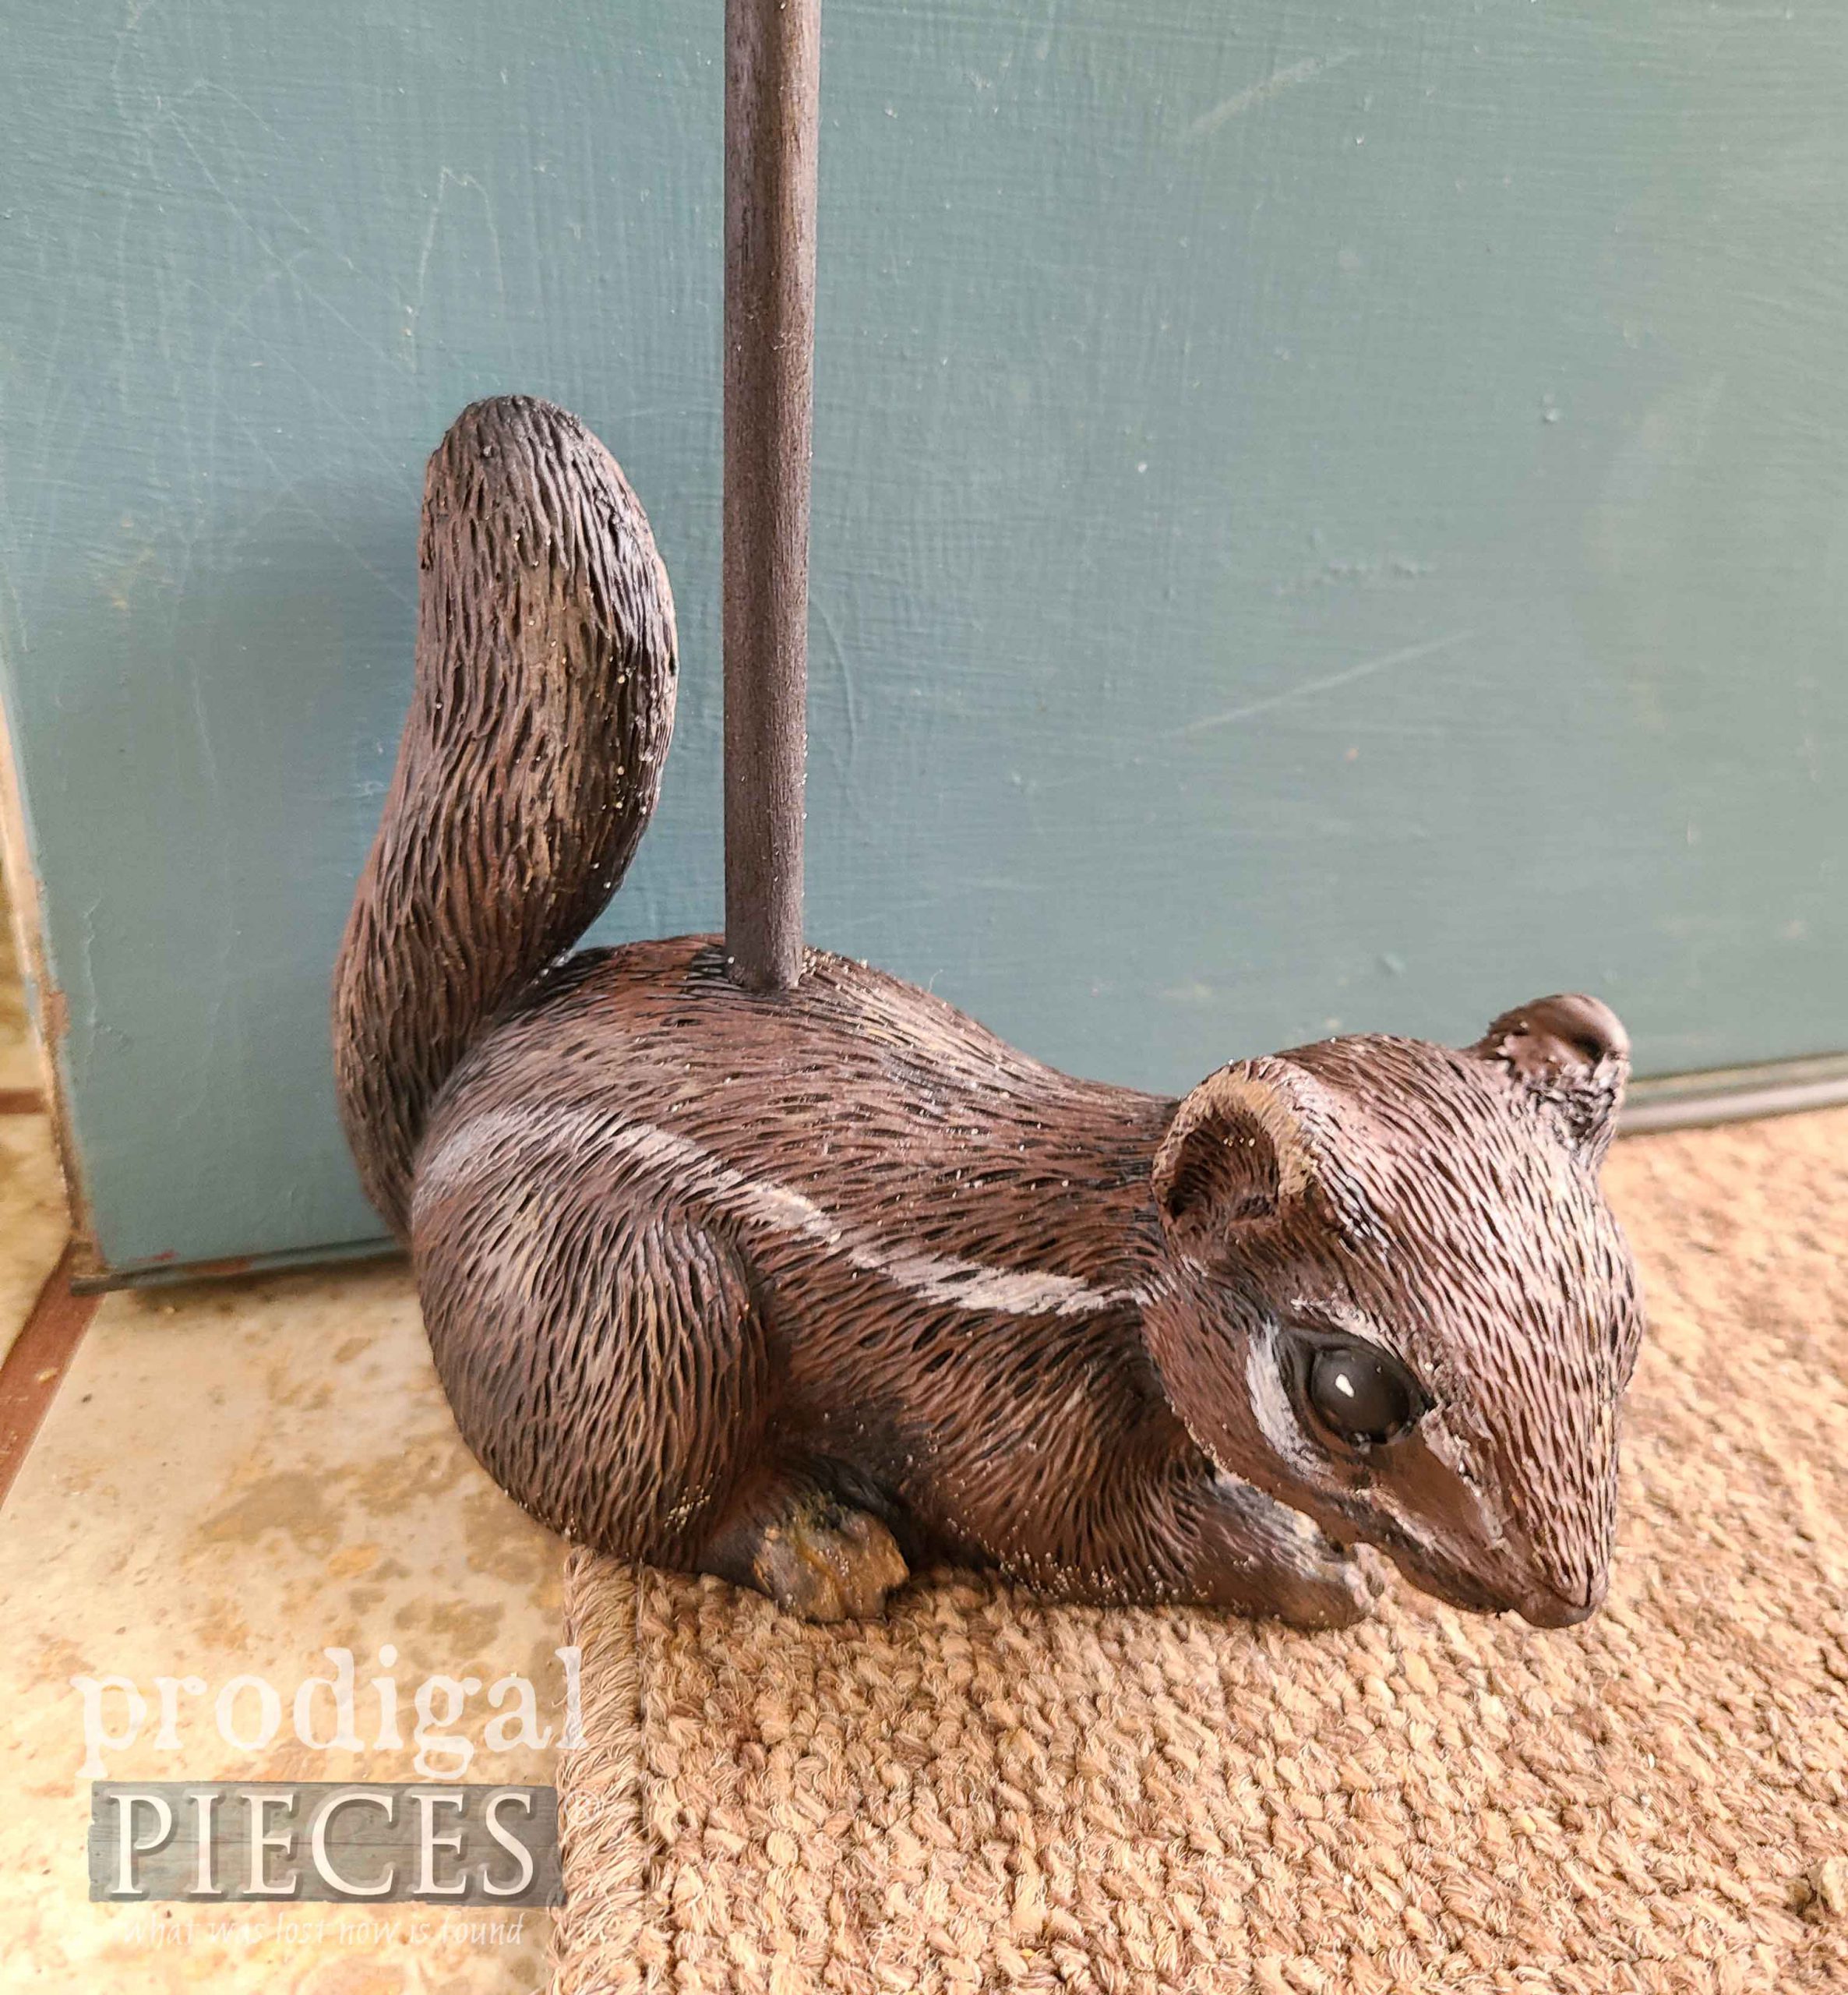
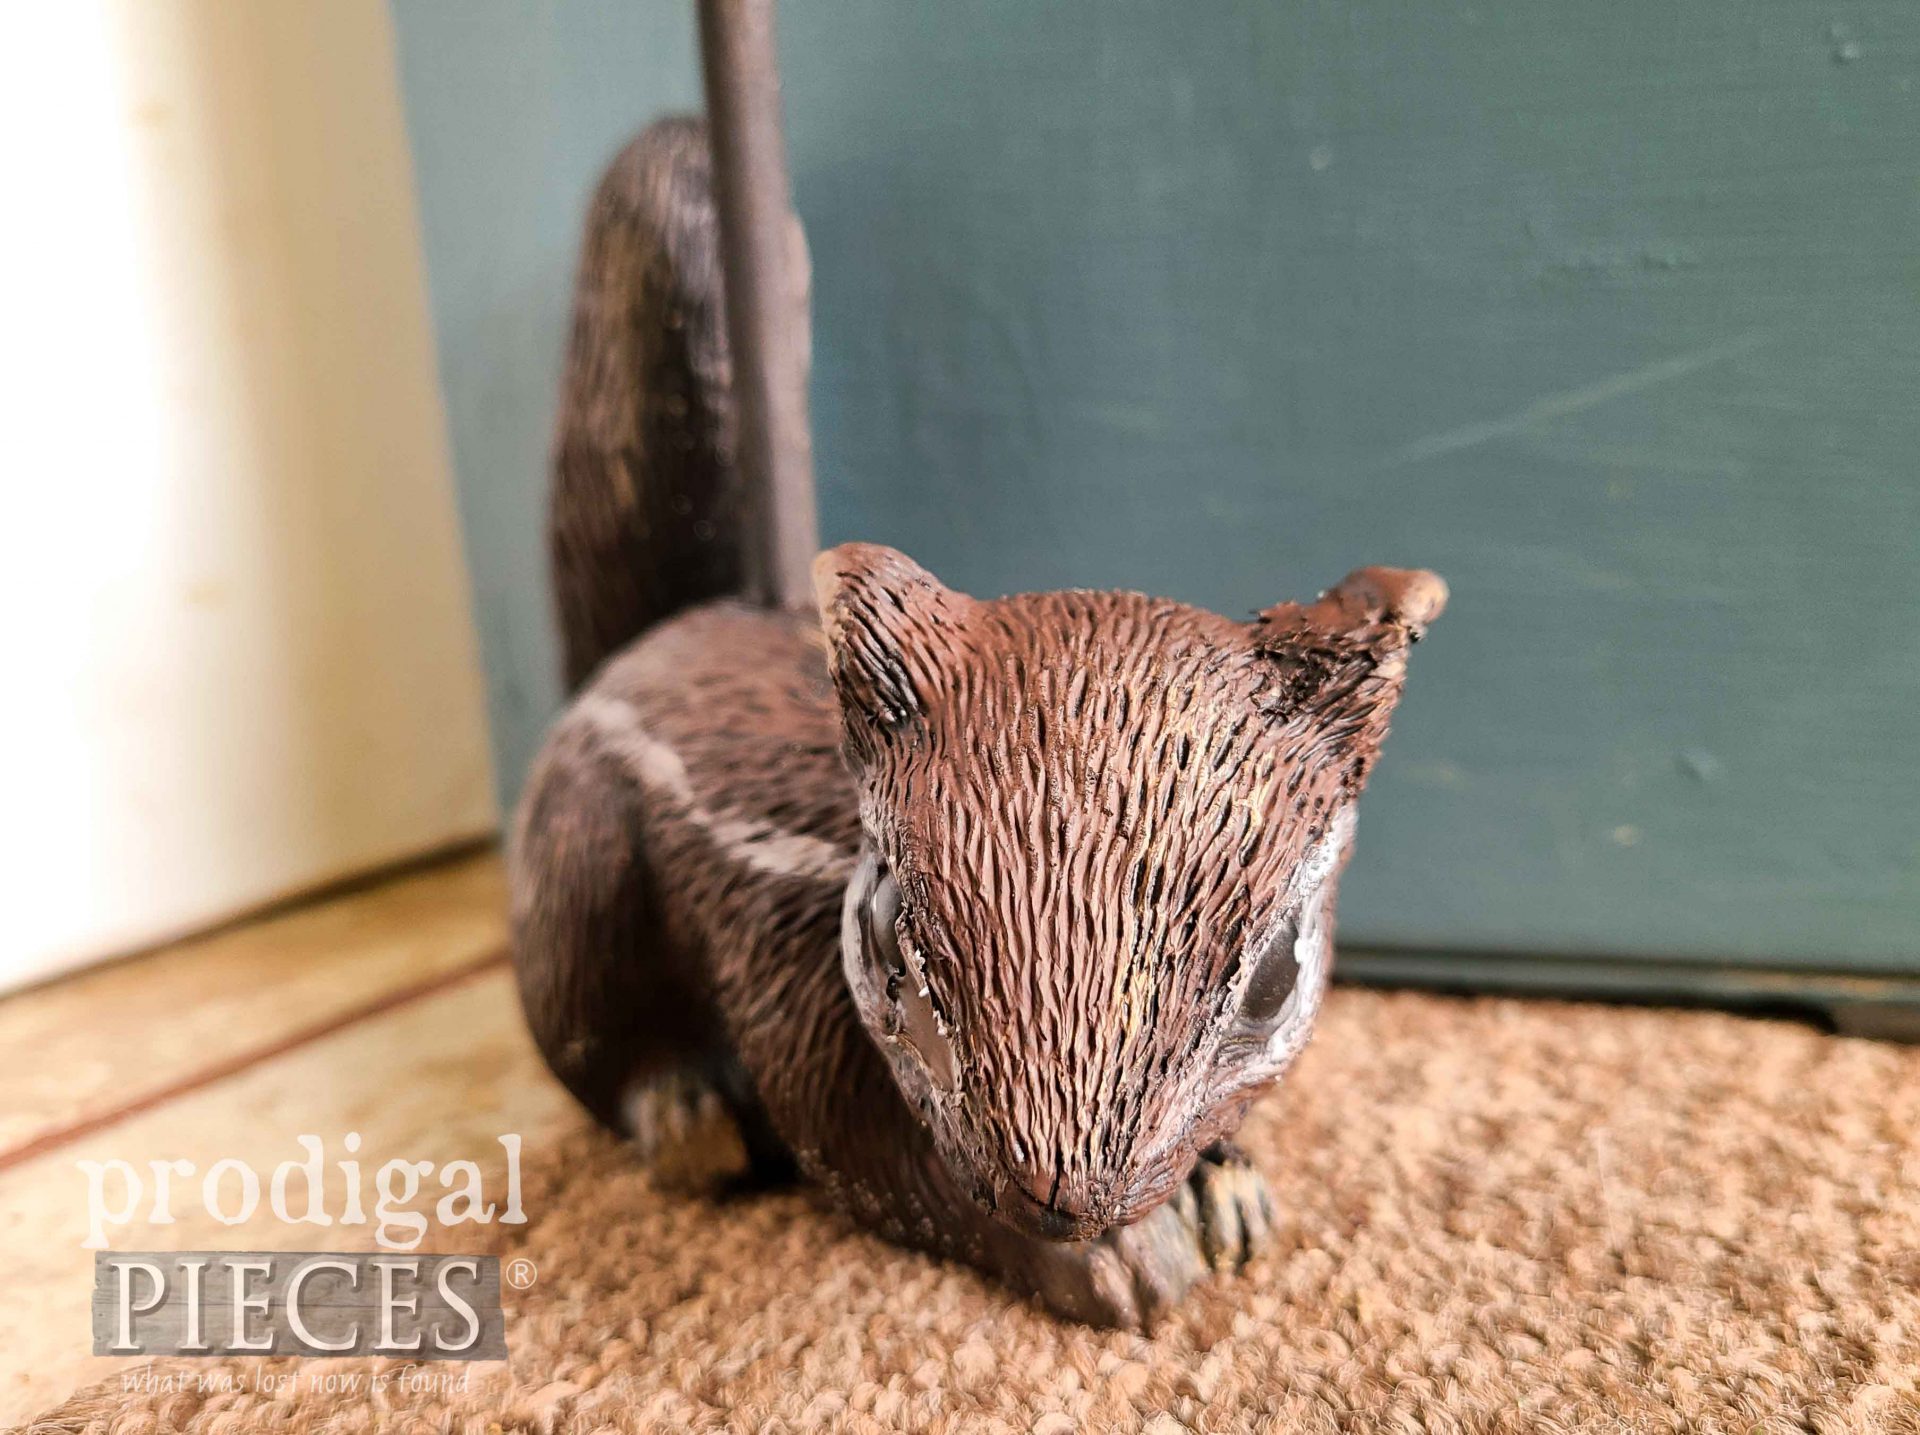
Yes, I’m a sucker for the broken and derelict. Let’s get this makeover party started, shall we? {{happy dance}} First, I begin by fixing that little chipmunk. I used my hot glue gun to fix the hole in the face as well as build up the ear layer by layer.
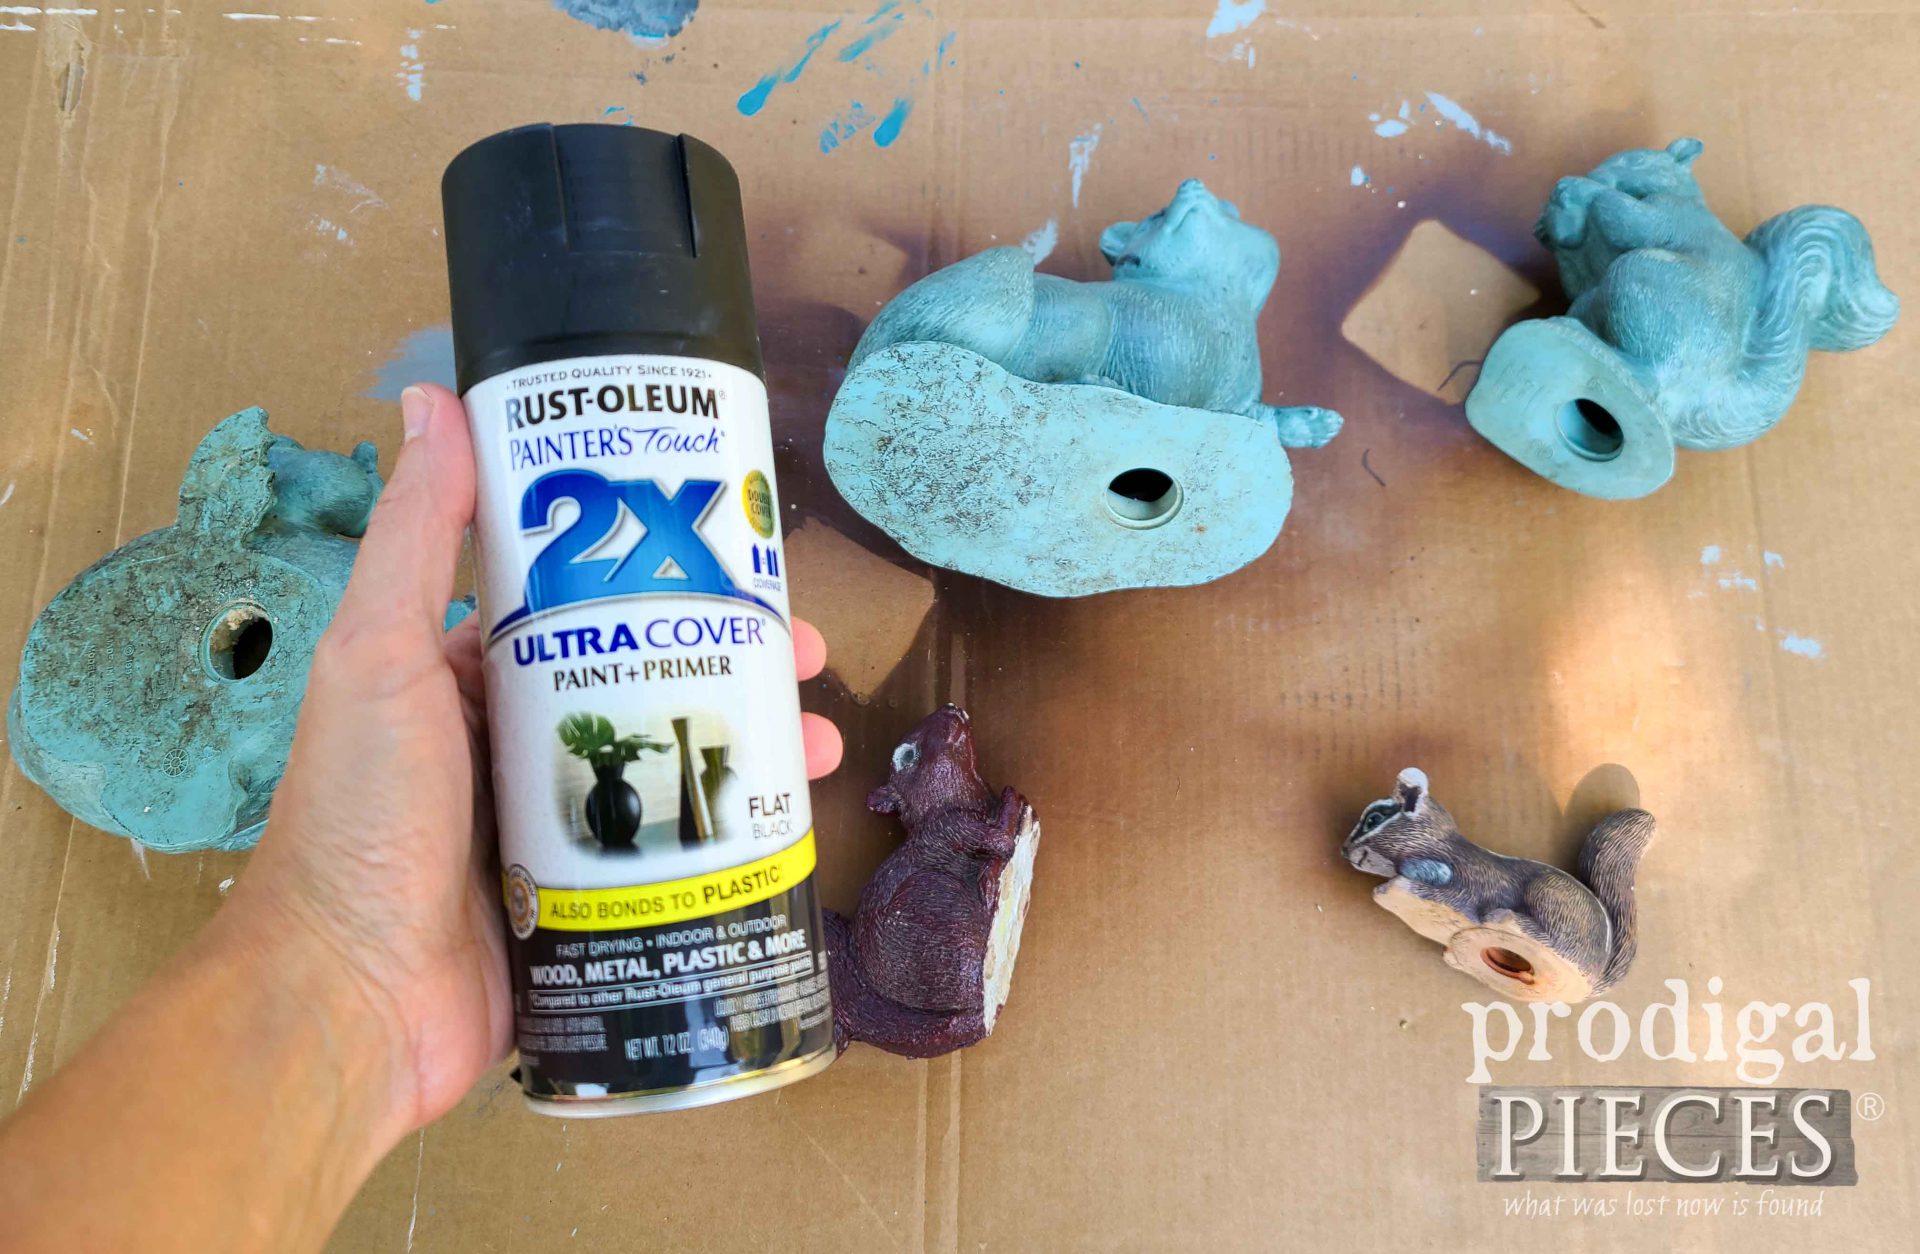
It’s not perfect, but done. Then, I use a flat black spray paint to give them all a fresh start. Because this is my base coat, I’m not super picky.
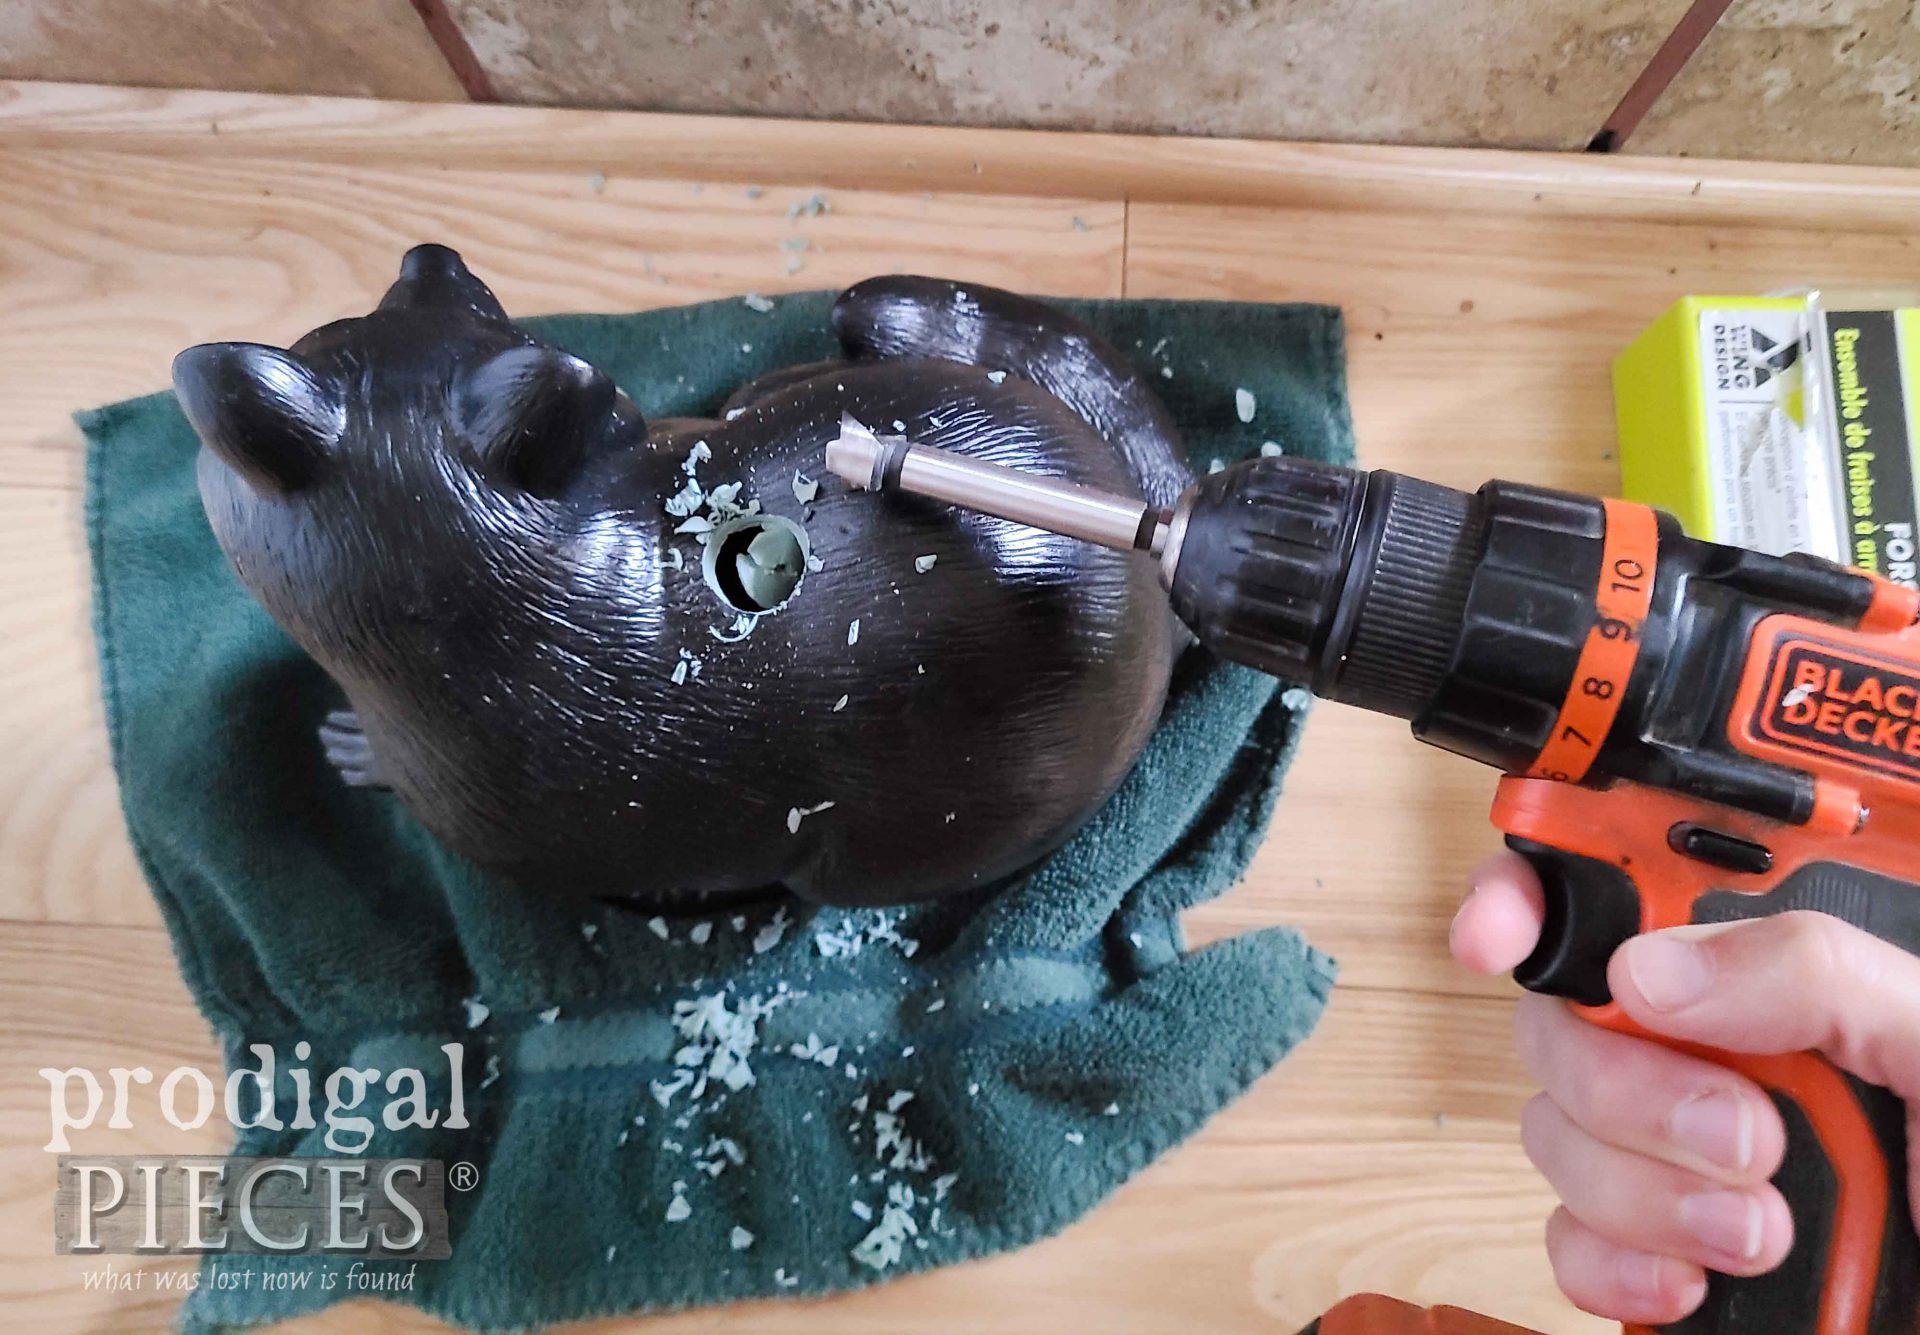
Next, once they’re painted, I use my drill and forstner bit to make a hole center top.
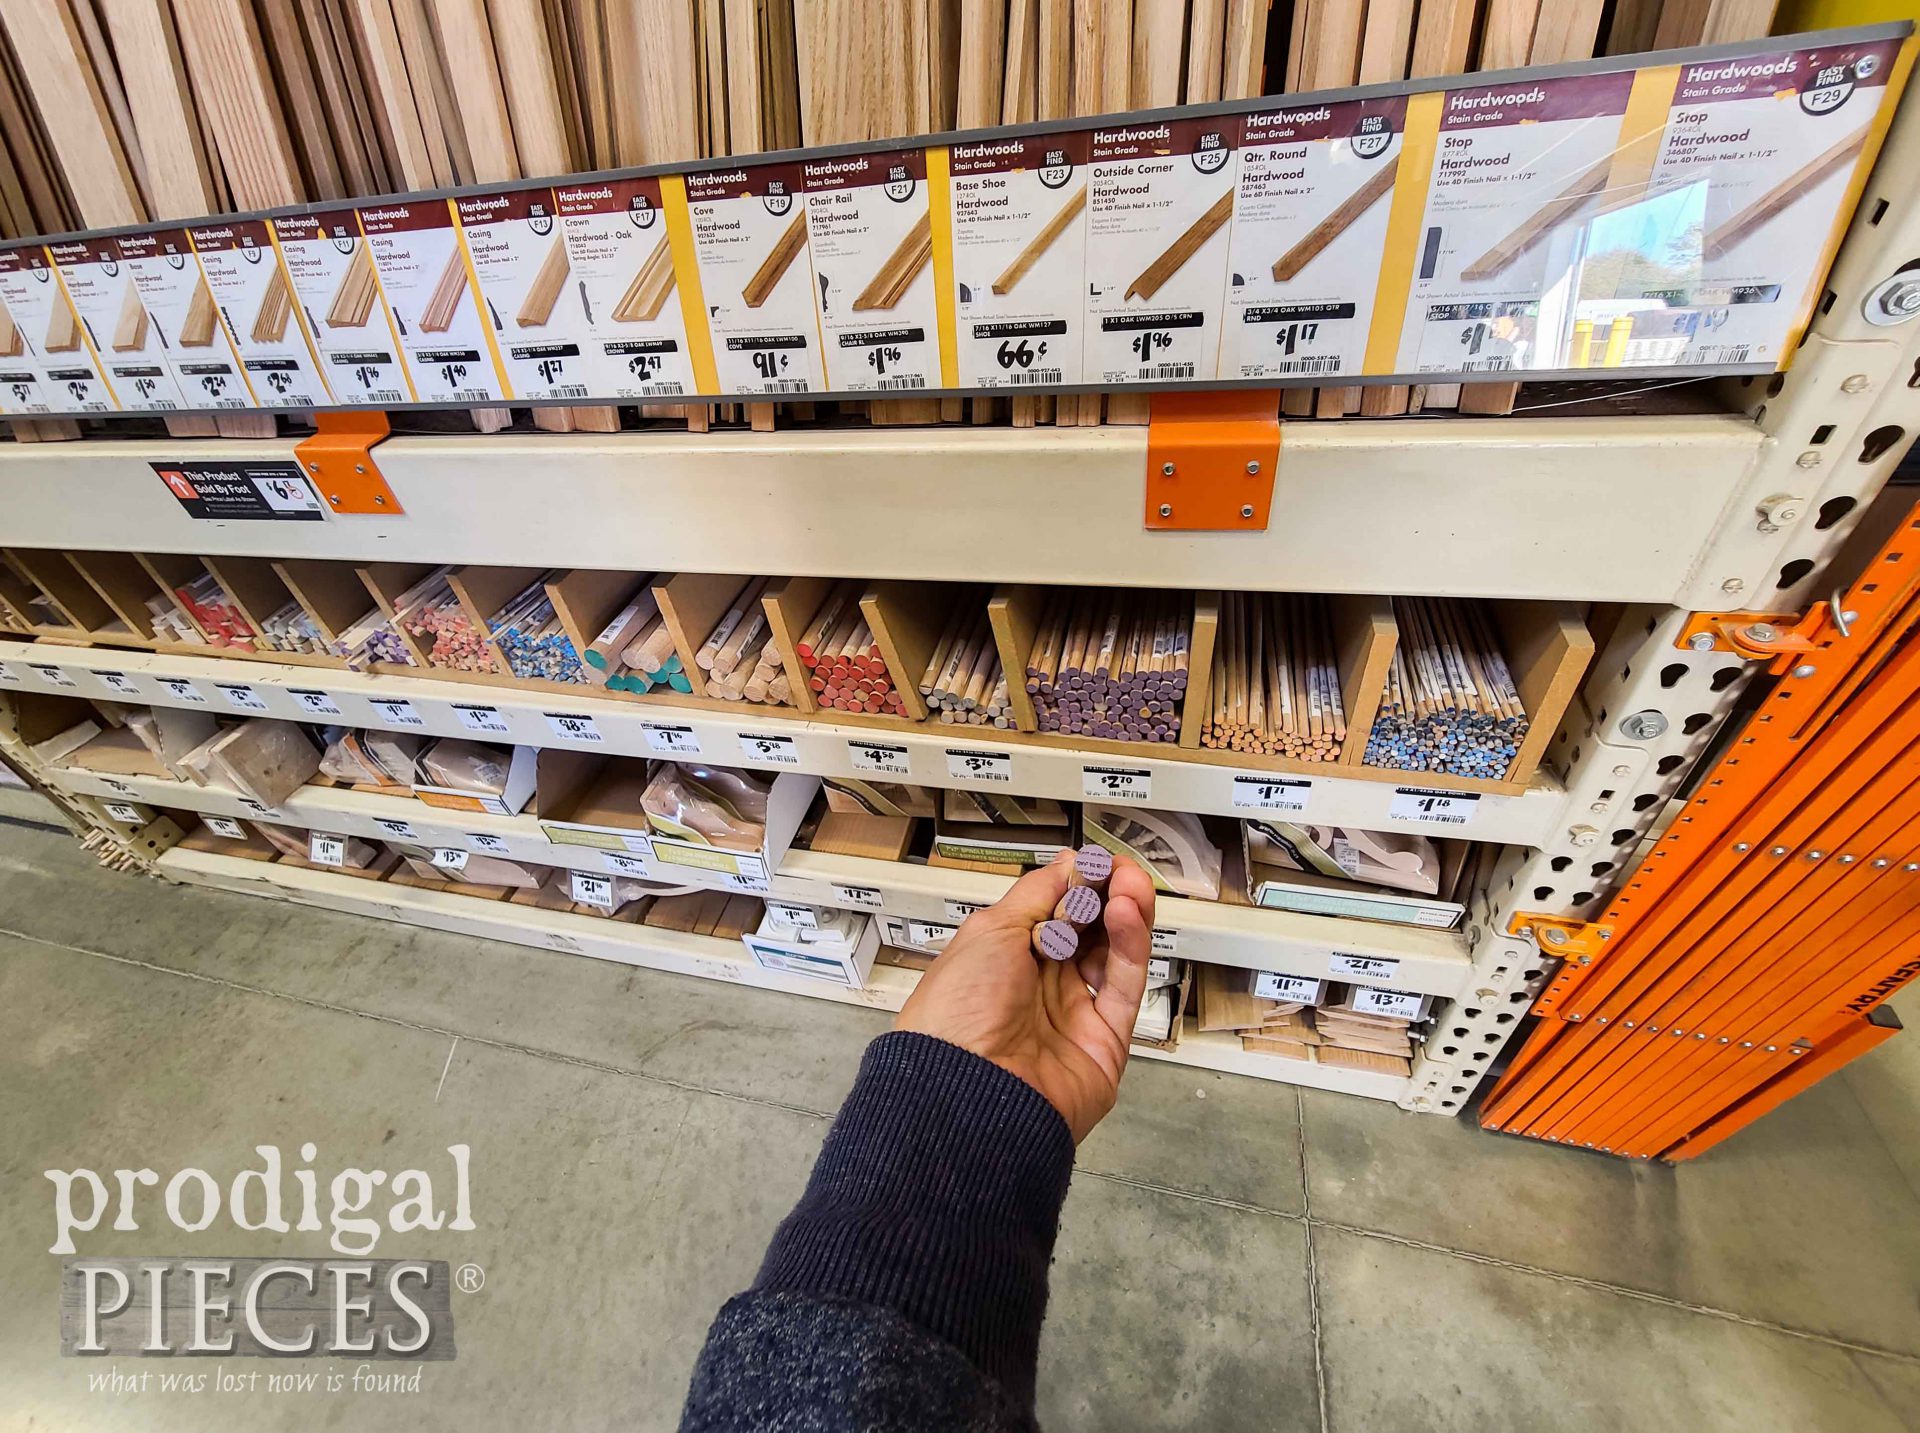
Finally, I head to the dowel section of the home improvement store to get a few pieces to suit my needs. In the end, my goal is to create a Victorian twist to my upcycled doorstops.
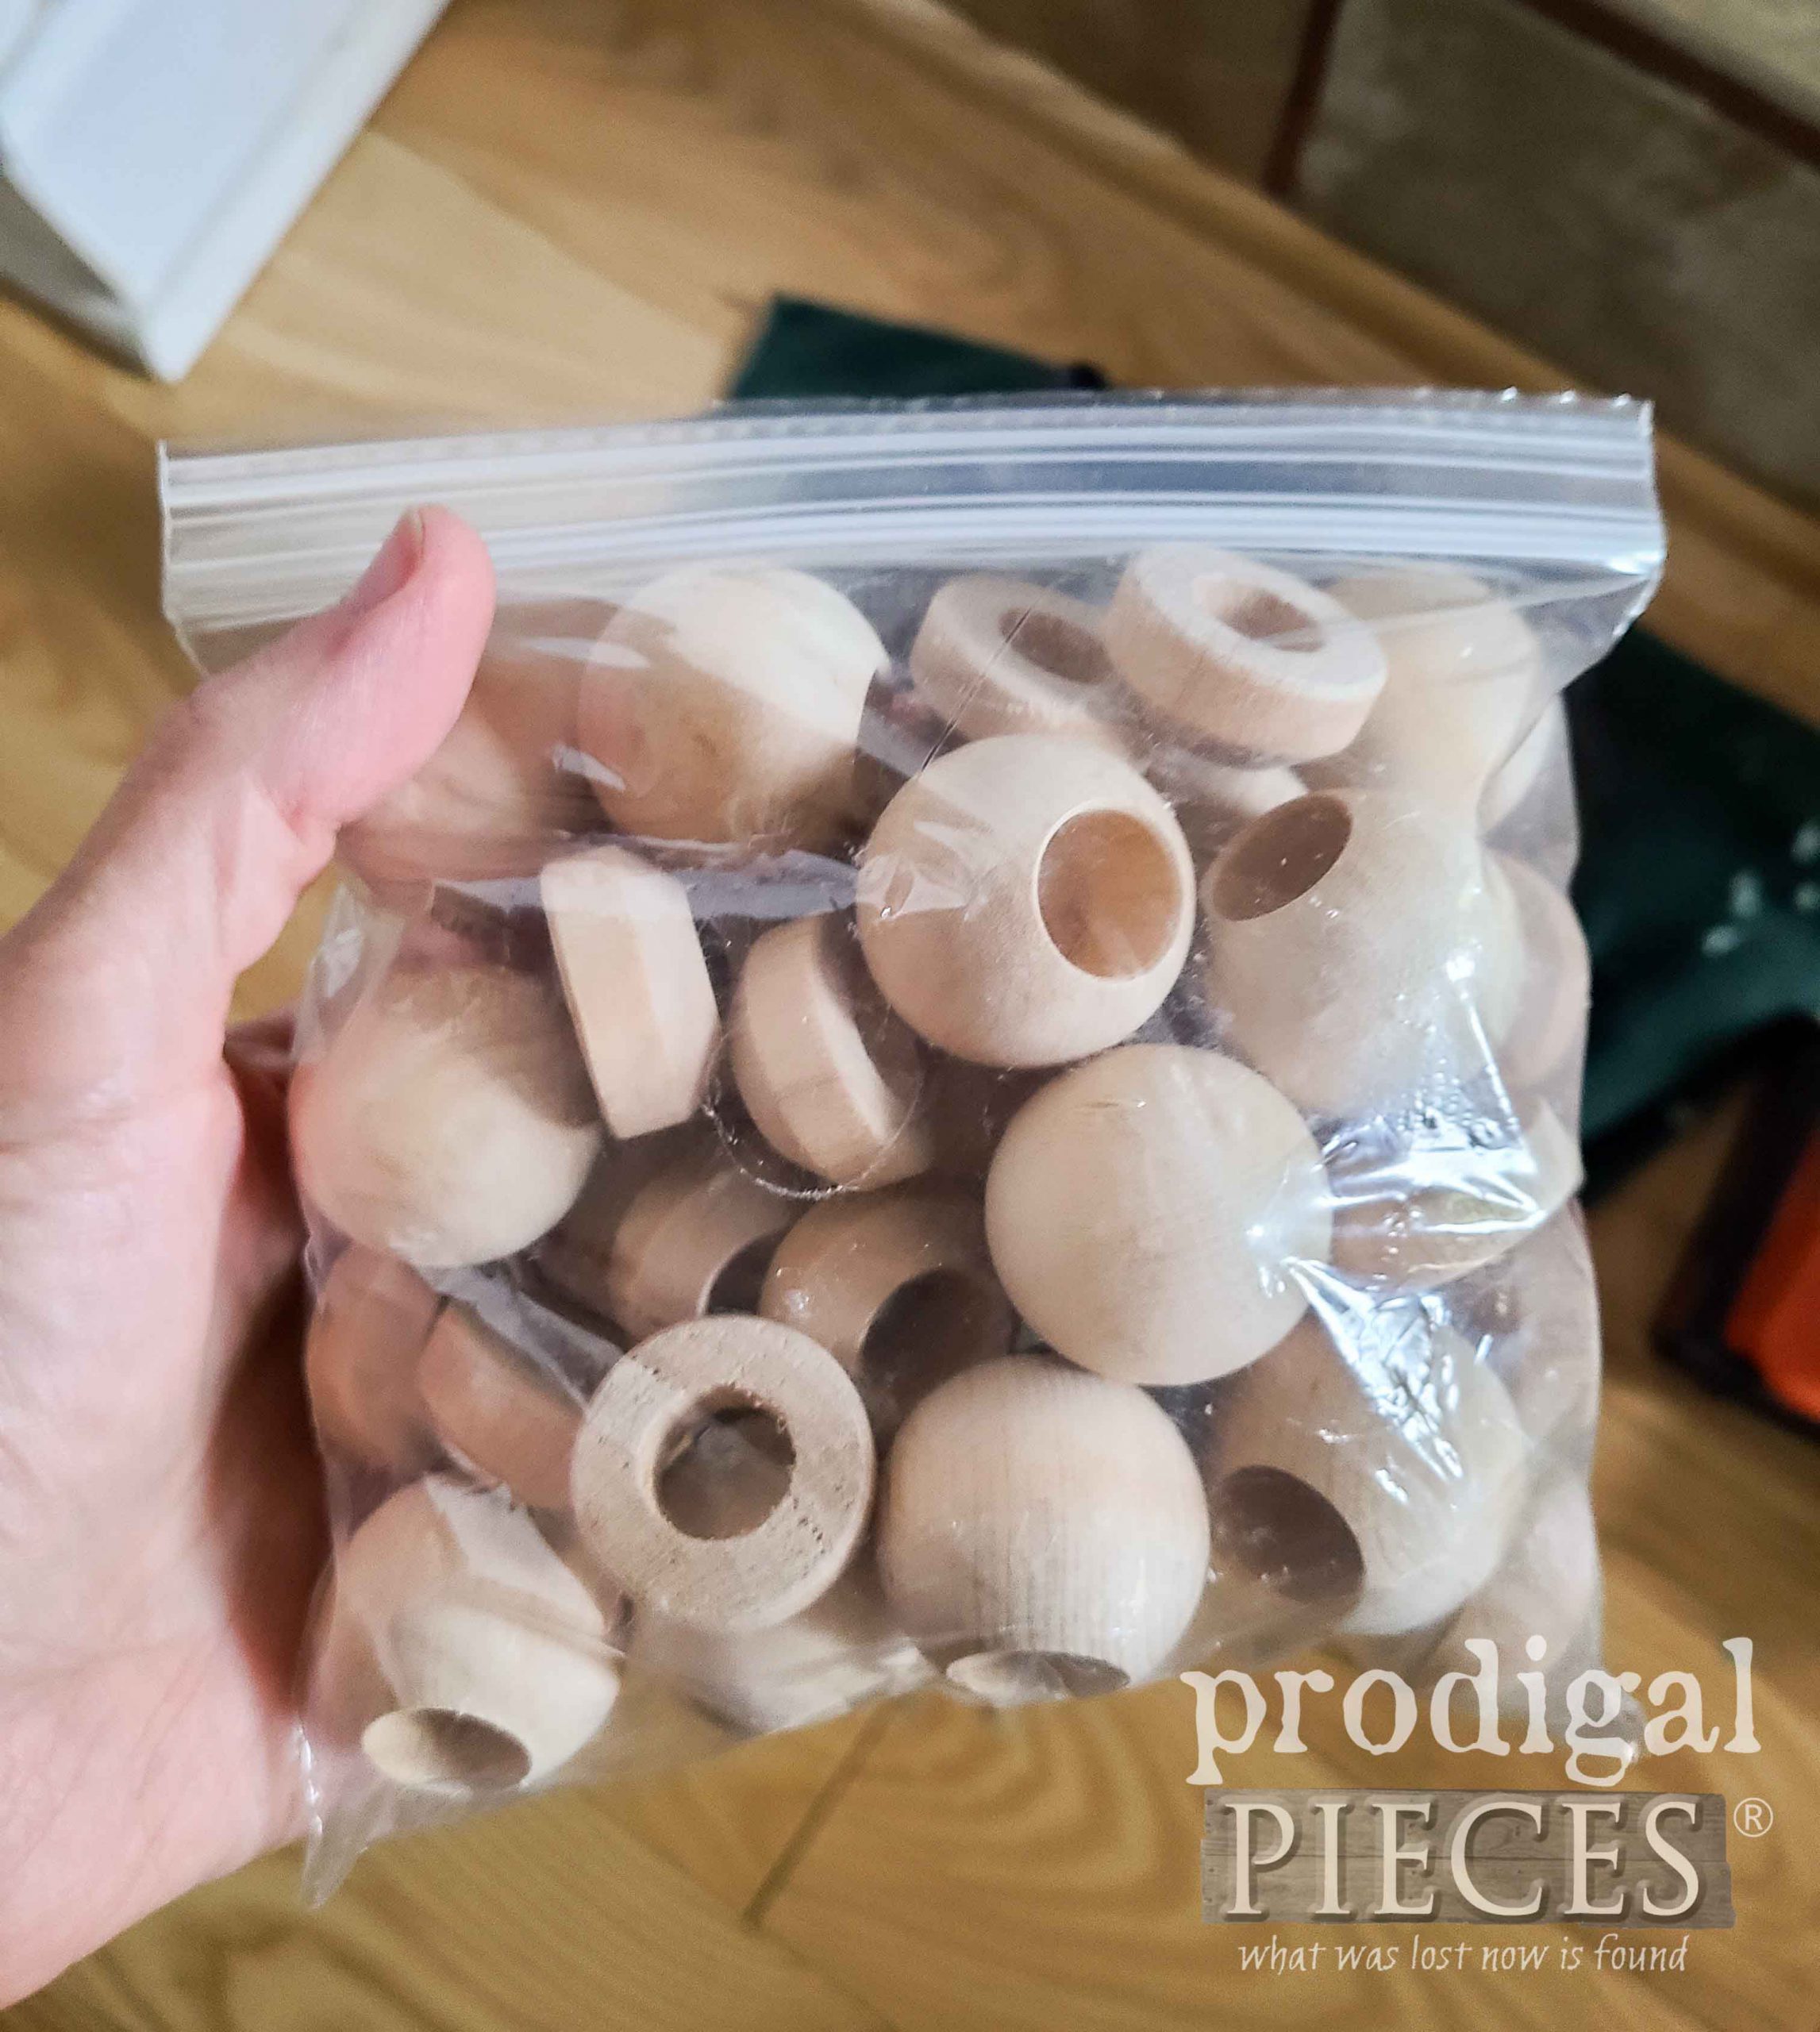
This dowel and clothespin doll parts will help me achieve that. In this bag are heads and bases so you can take round clothes pins and turn them into dolls. Admittedly, I love to create for my kids.
NEXT STEPS
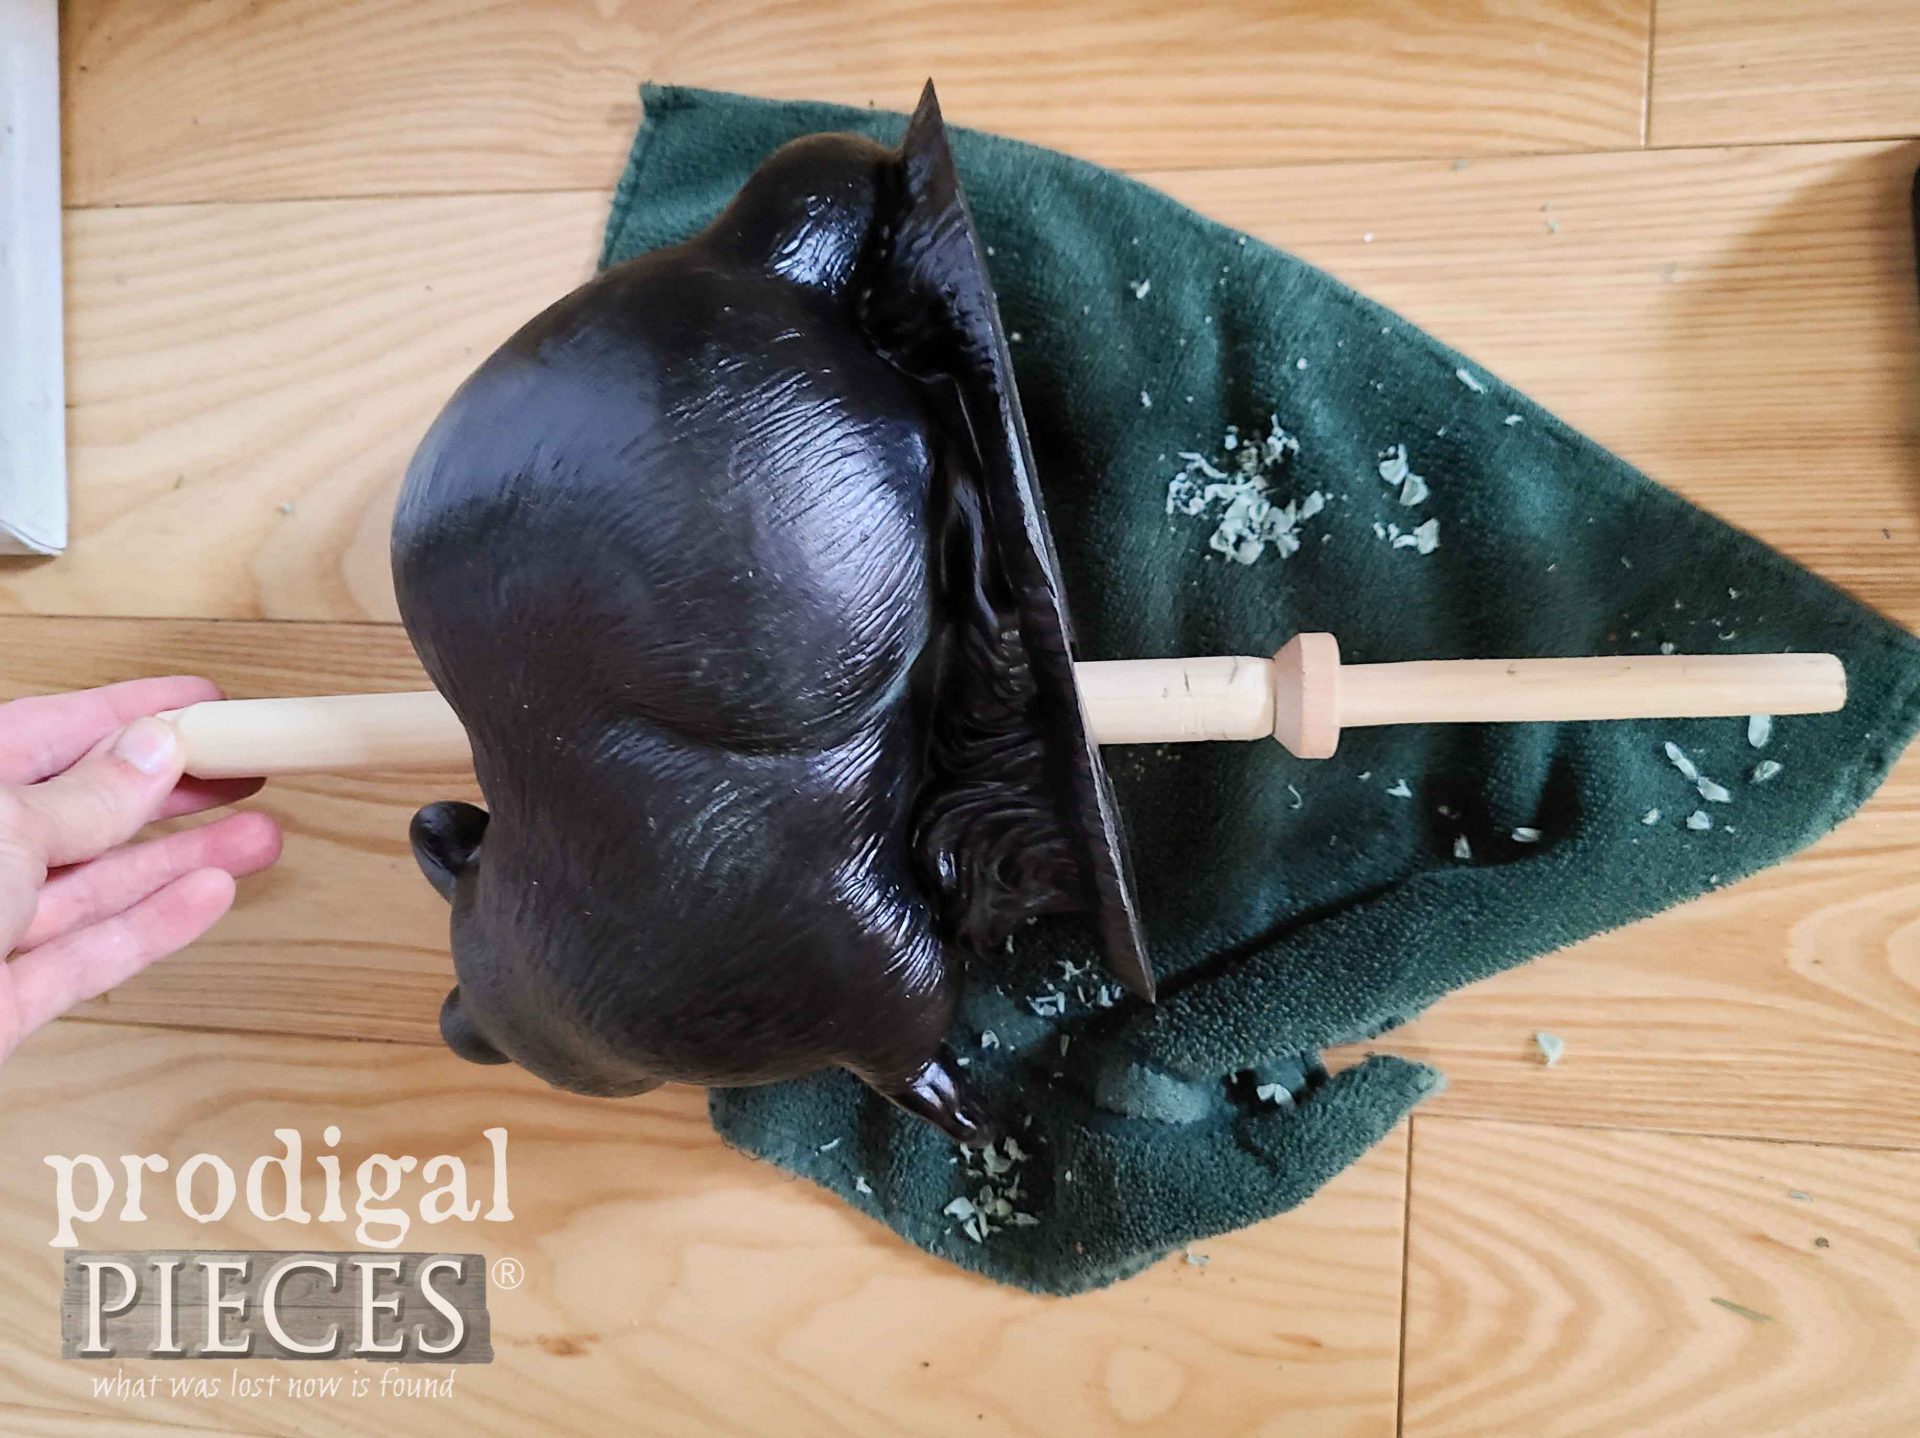
At this point, I’m looking to add a “handle” as you would see on a cast iron doorstop from the Victorian era. My creation will have a more farmhouse, rustic flair, of course. However, fun to make it my own. First, I cut a length of dowel that will be the handle. Then, I insert it into my upcycled doorstop and mark where to add the wooden ring.
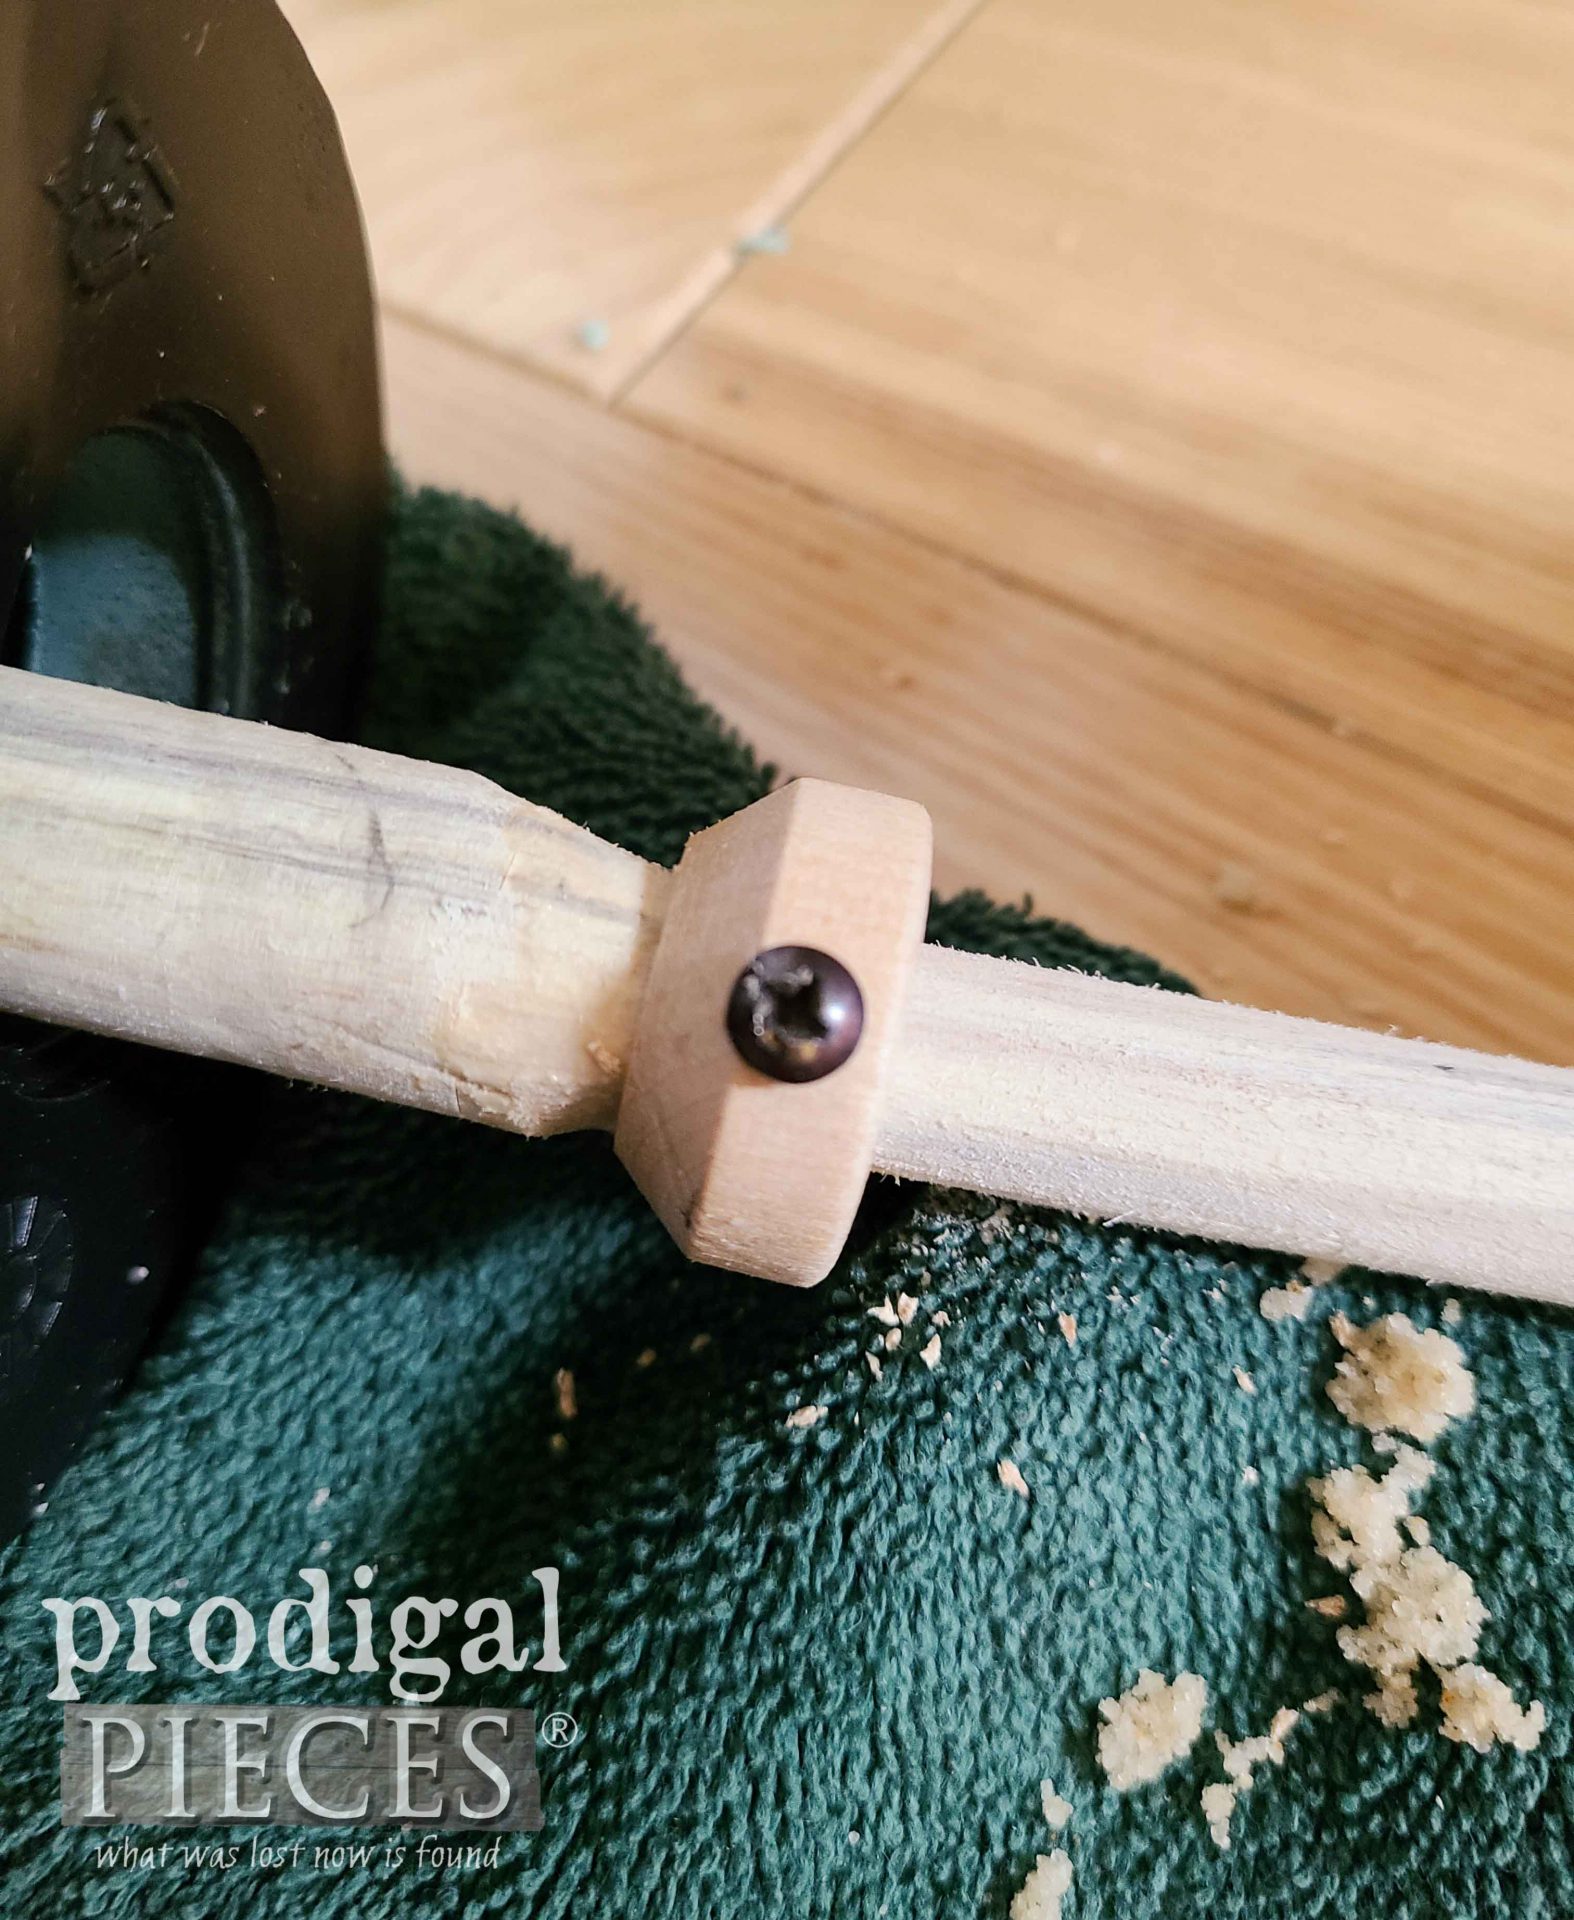
Then, I pre-drill and add a screw to keep the dowel from pulling out when lifted.
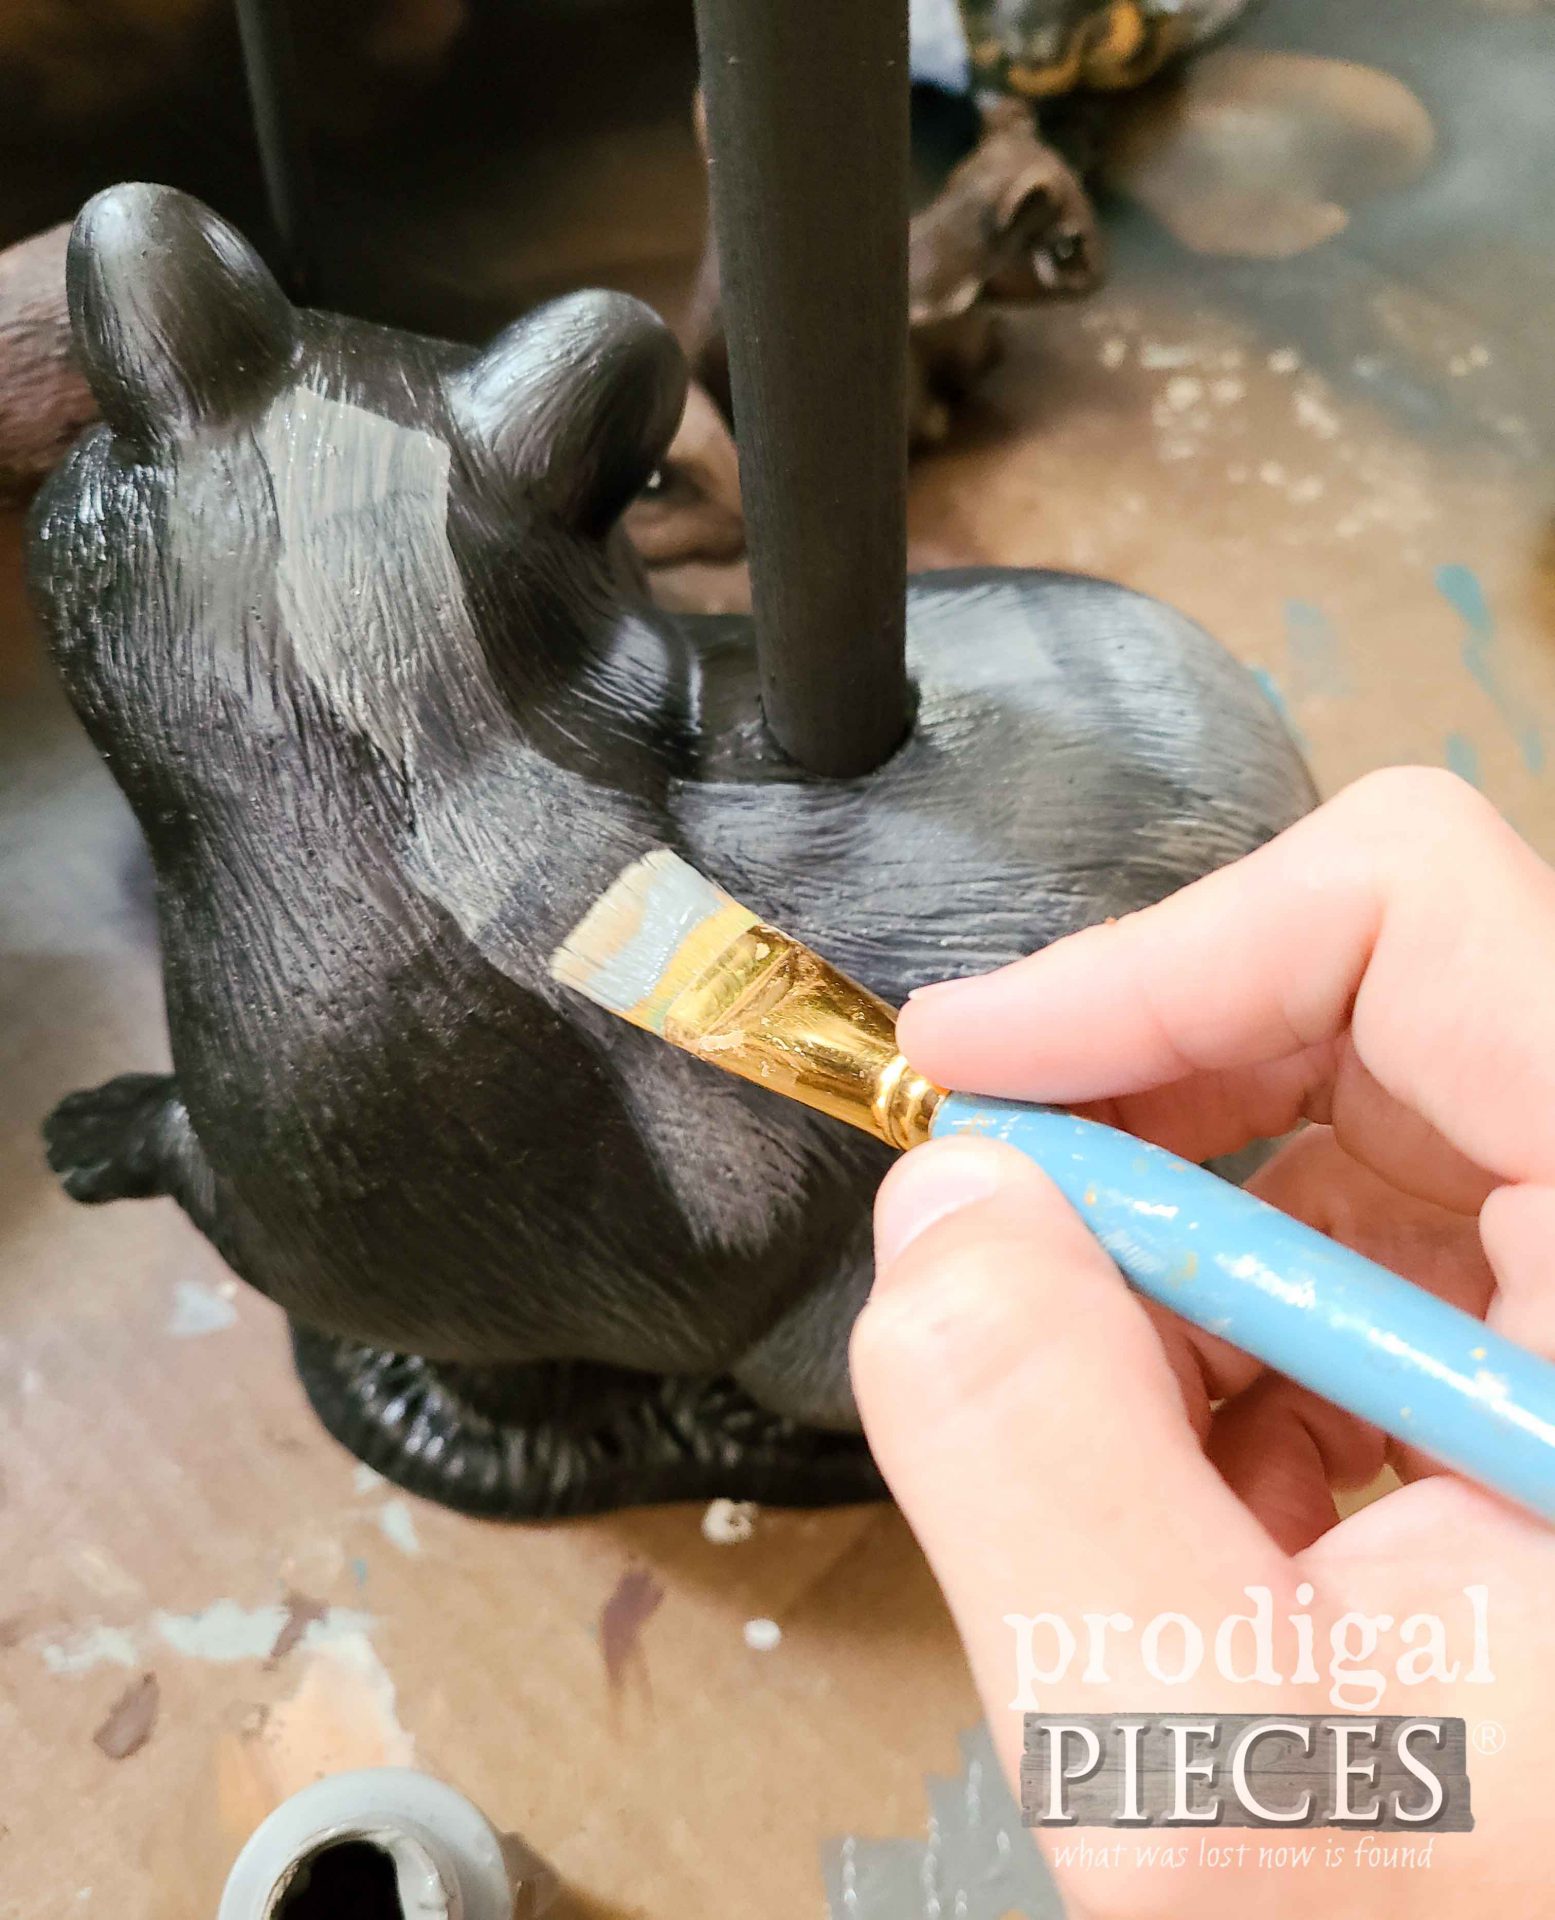
Last, but not least, I decide to add my own artistic touches to each piece. This part is easy to get carried away…tee hee.
THE REVEAL
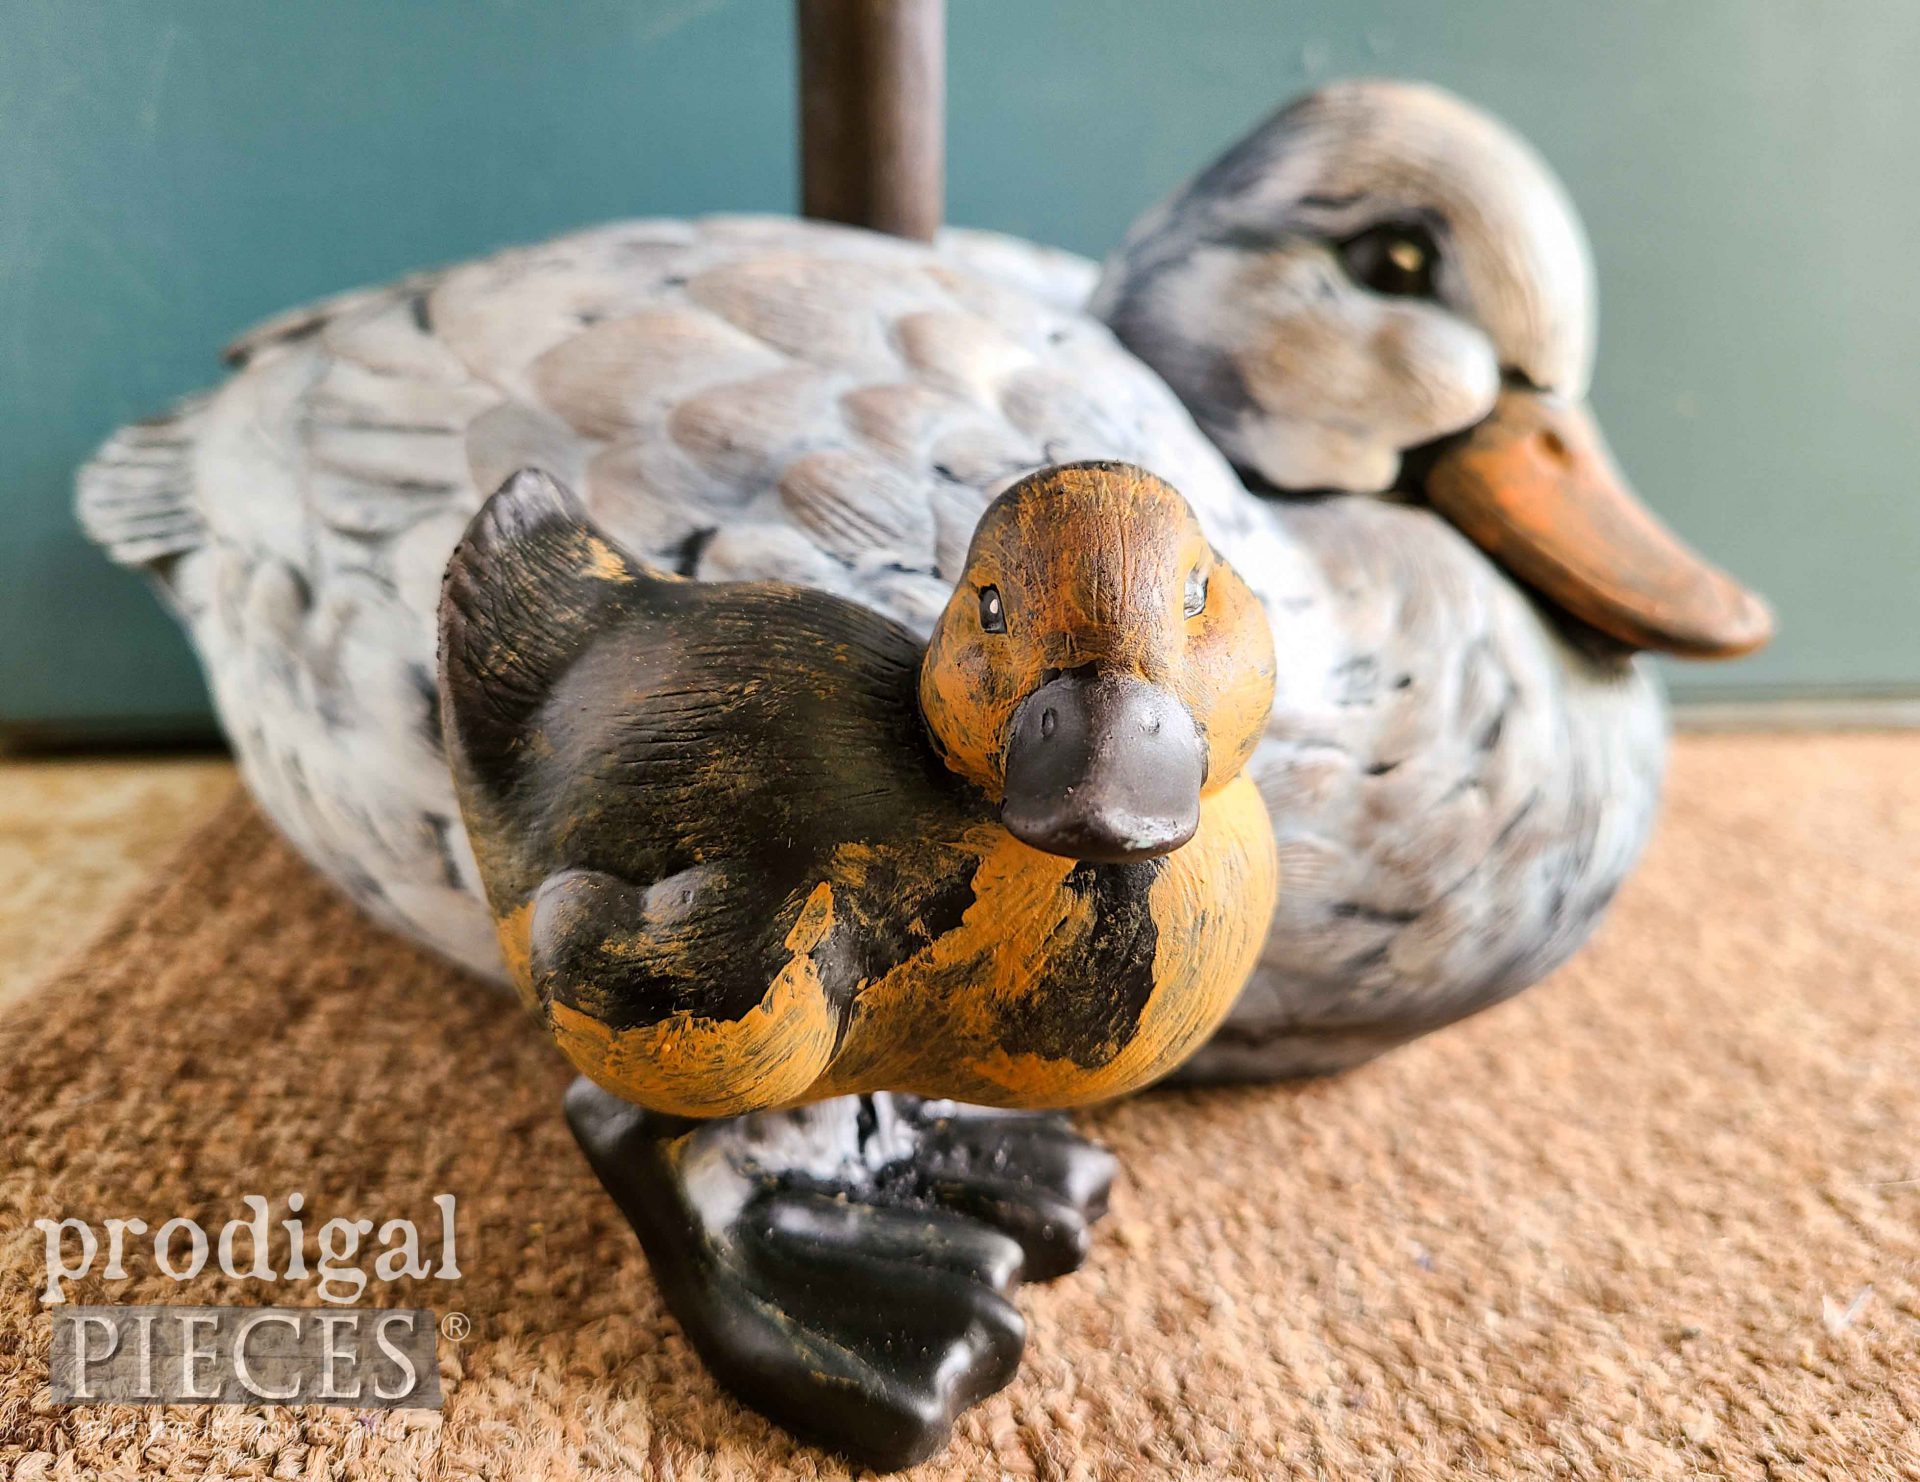
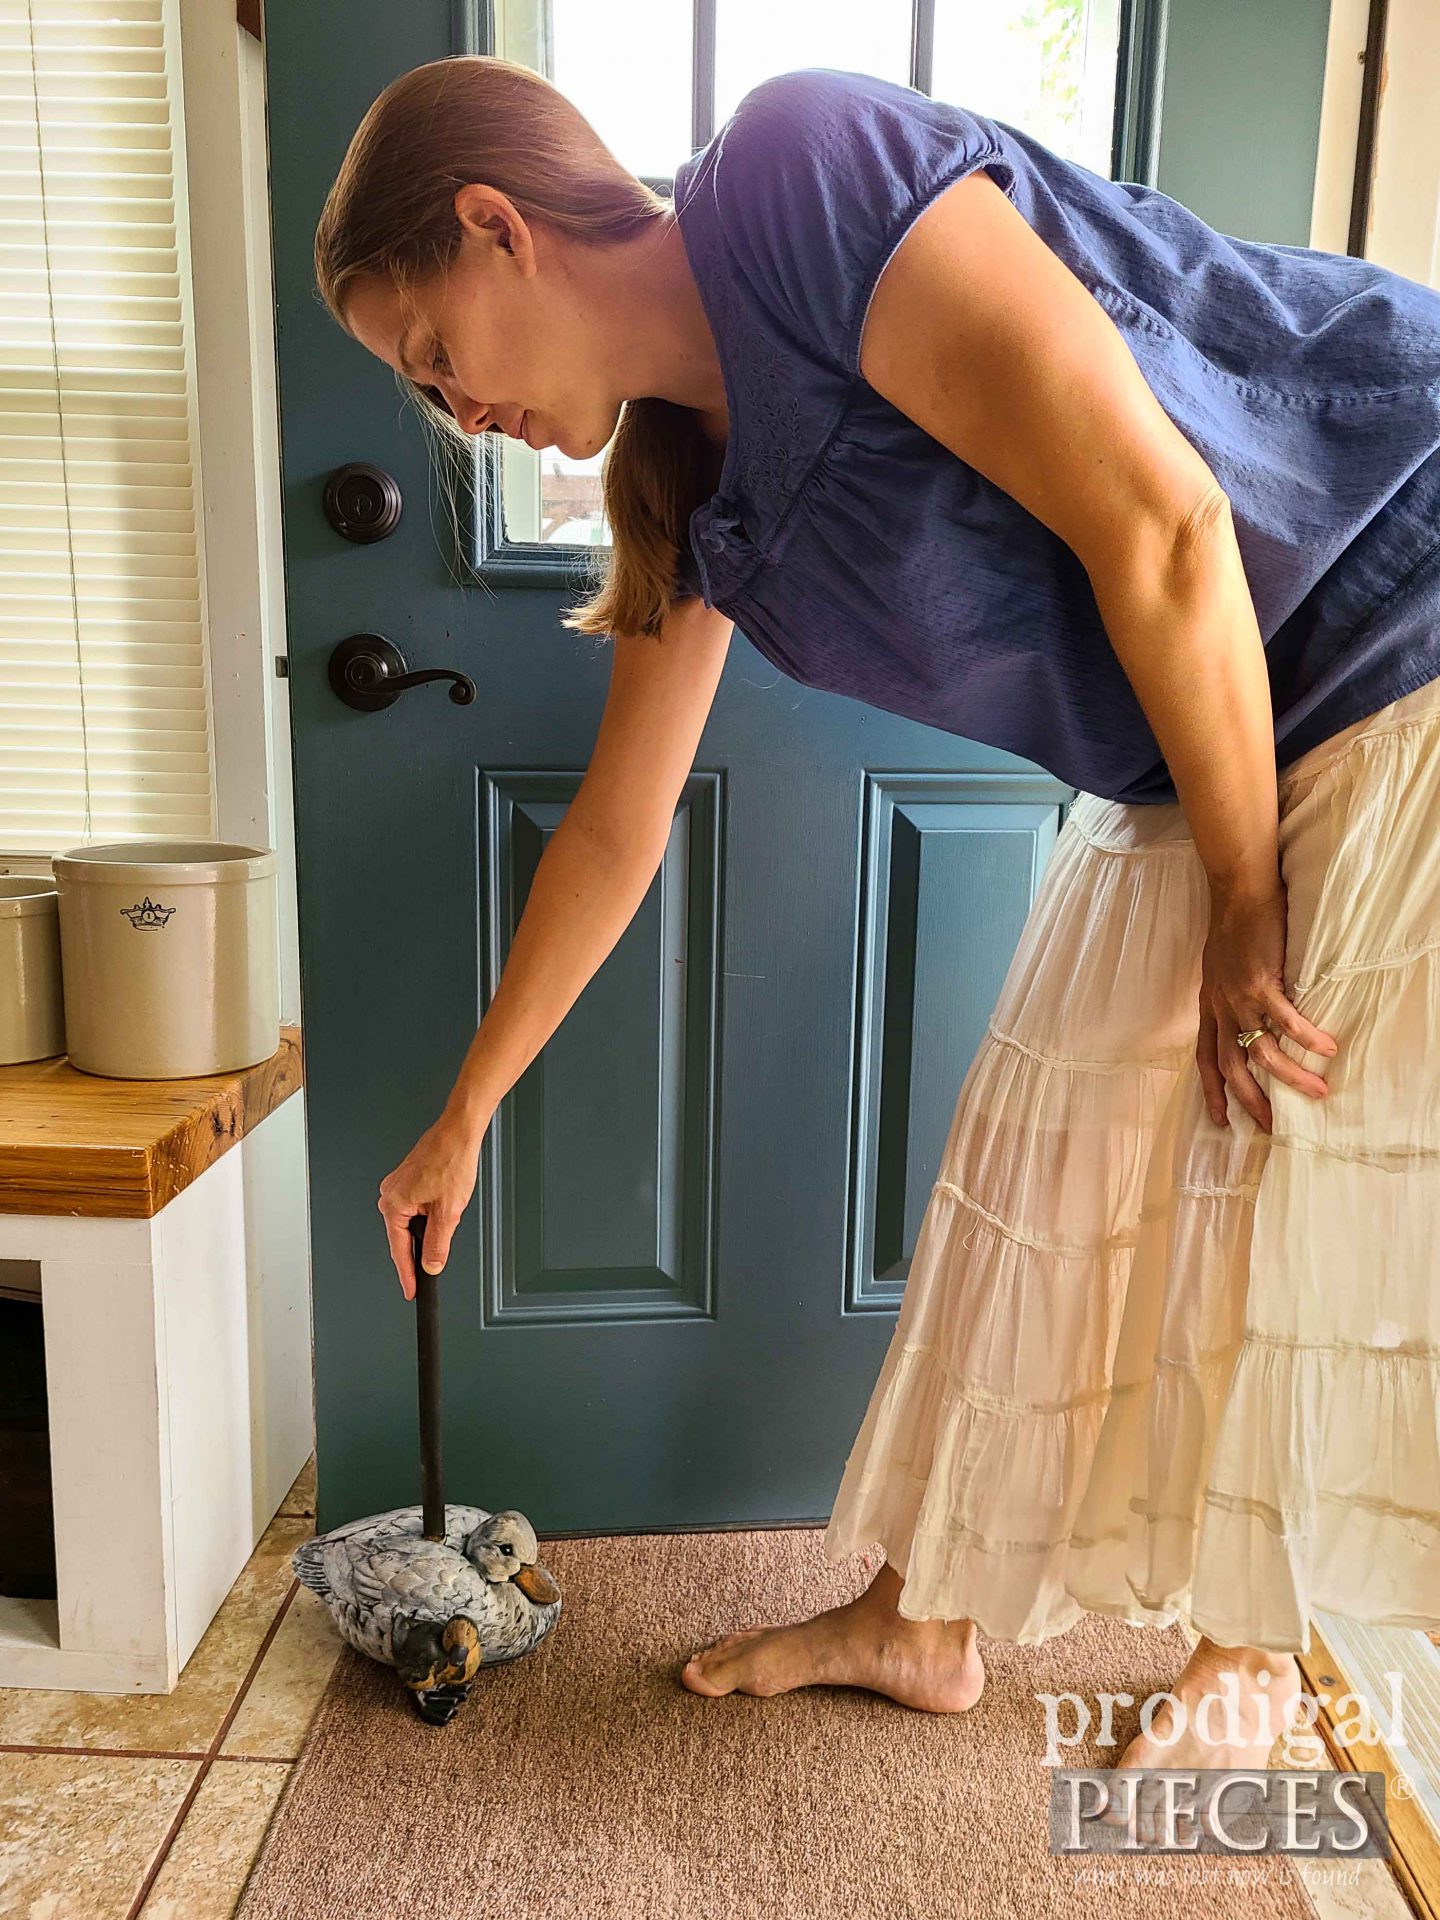
Here we have my upcycled doorstops complete with handle and a whole load of whimsy. First up, this mama duck and duckling stole my heart.
I modeled this set after a book series I love to read to my children by Jane Simmons. It features a little duckling named, Daisy, and her wild adventures. In one of the books, her sibling, Pip, hides under his mother’s wing.
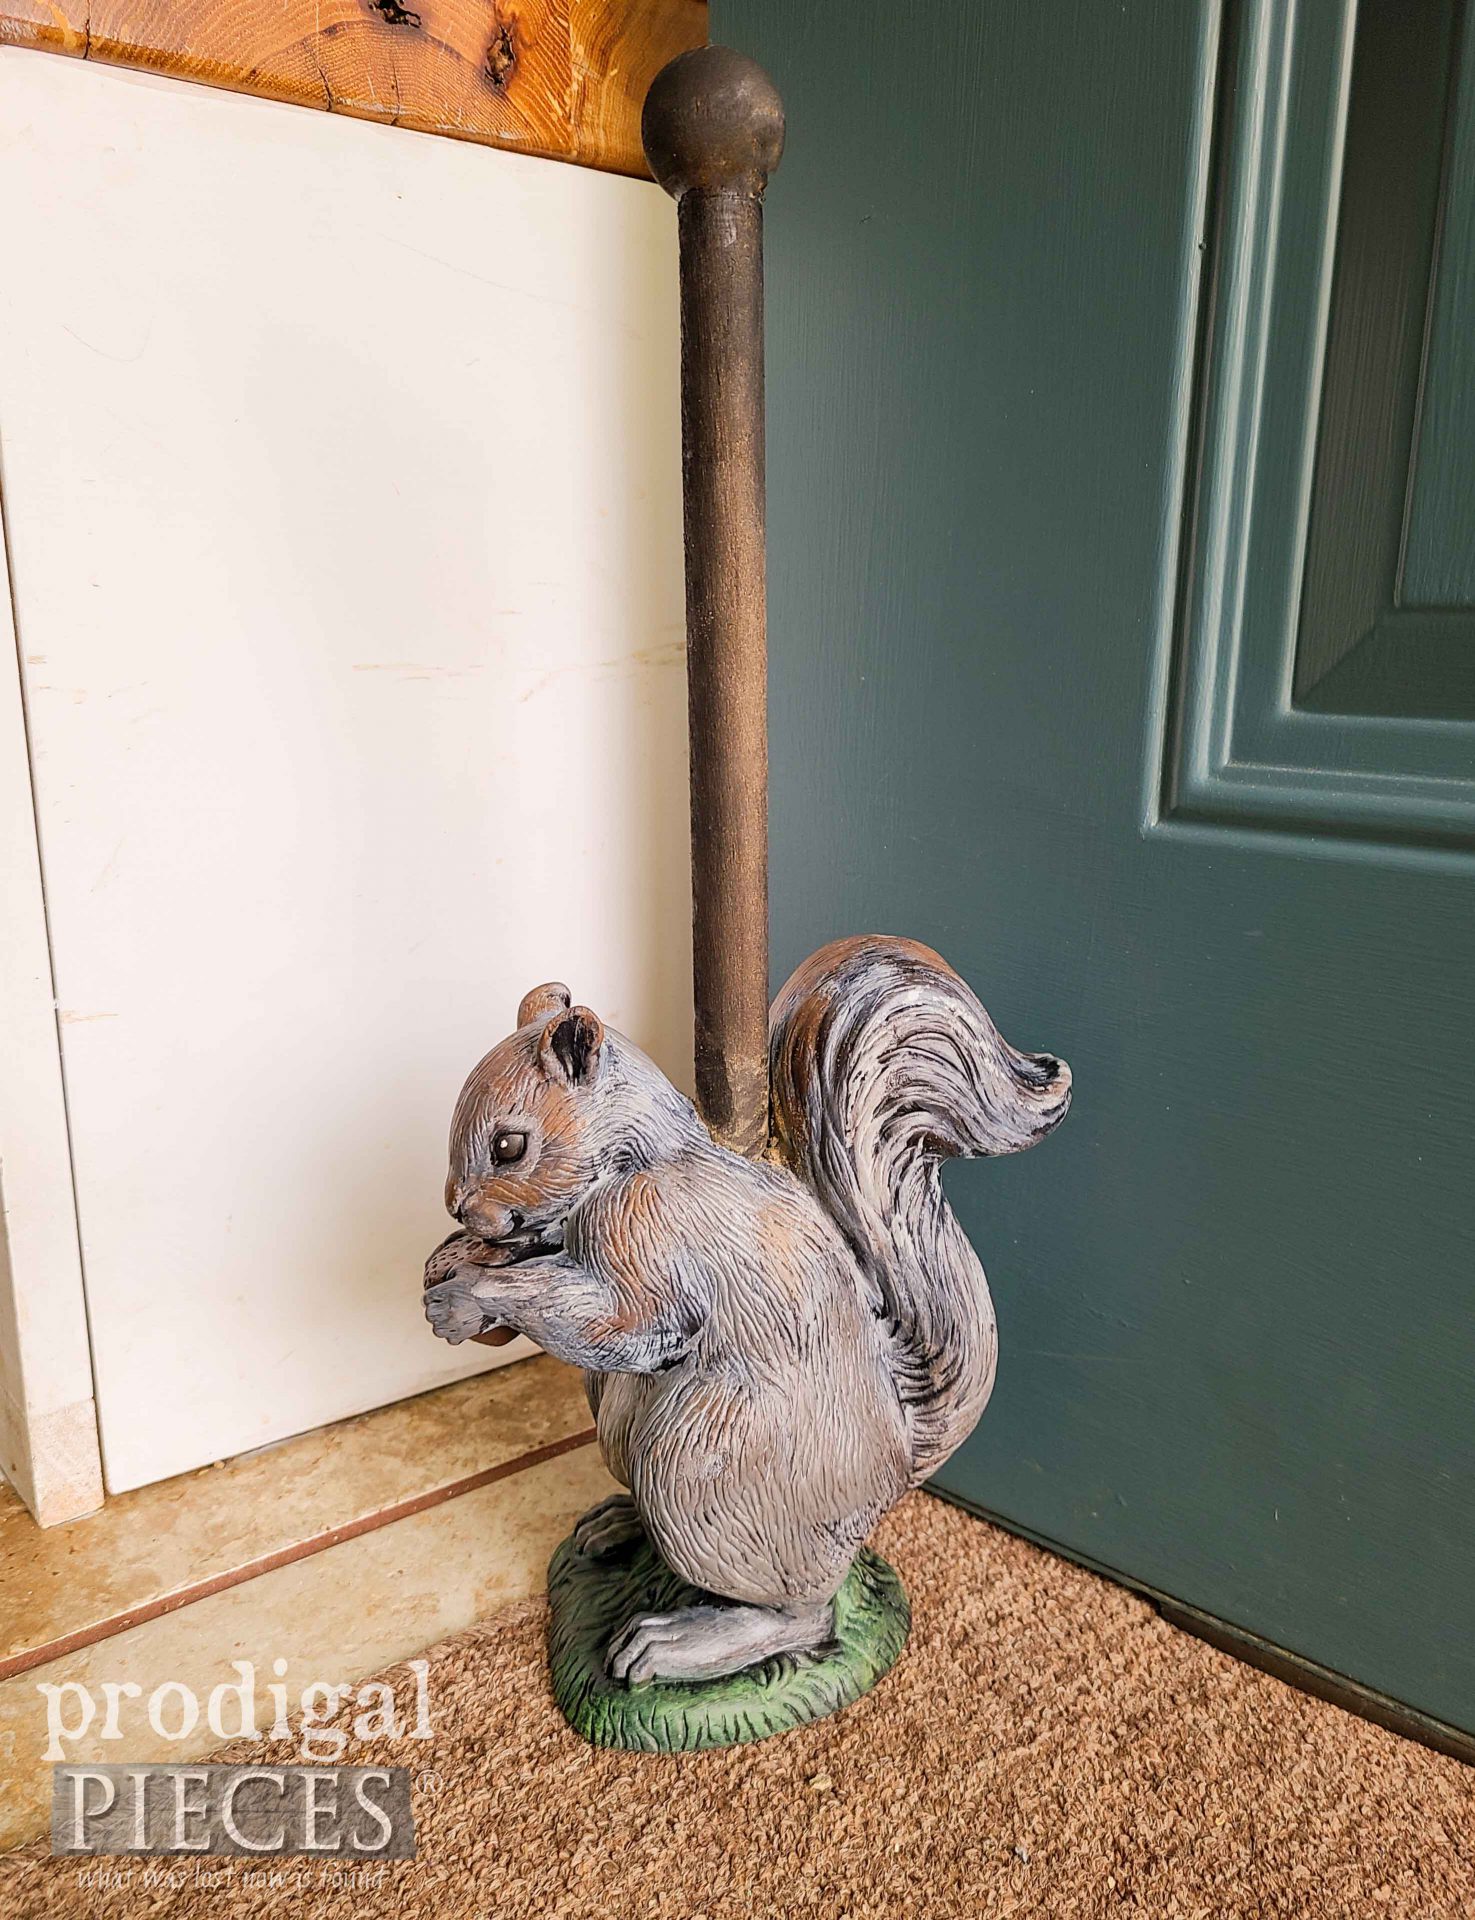
For the rest, they’re not so much tied to anything, but rather my experiences in growing up in a state park forest. Next, here’s the plastic squirrel made into a gray squirrel with a tasty acorn.
It doesn’t look as though he’s willing to be share – do you think?
Or how about this little concrete fella?
He’s about to skedaddle out the door. tee hee! Off you go!
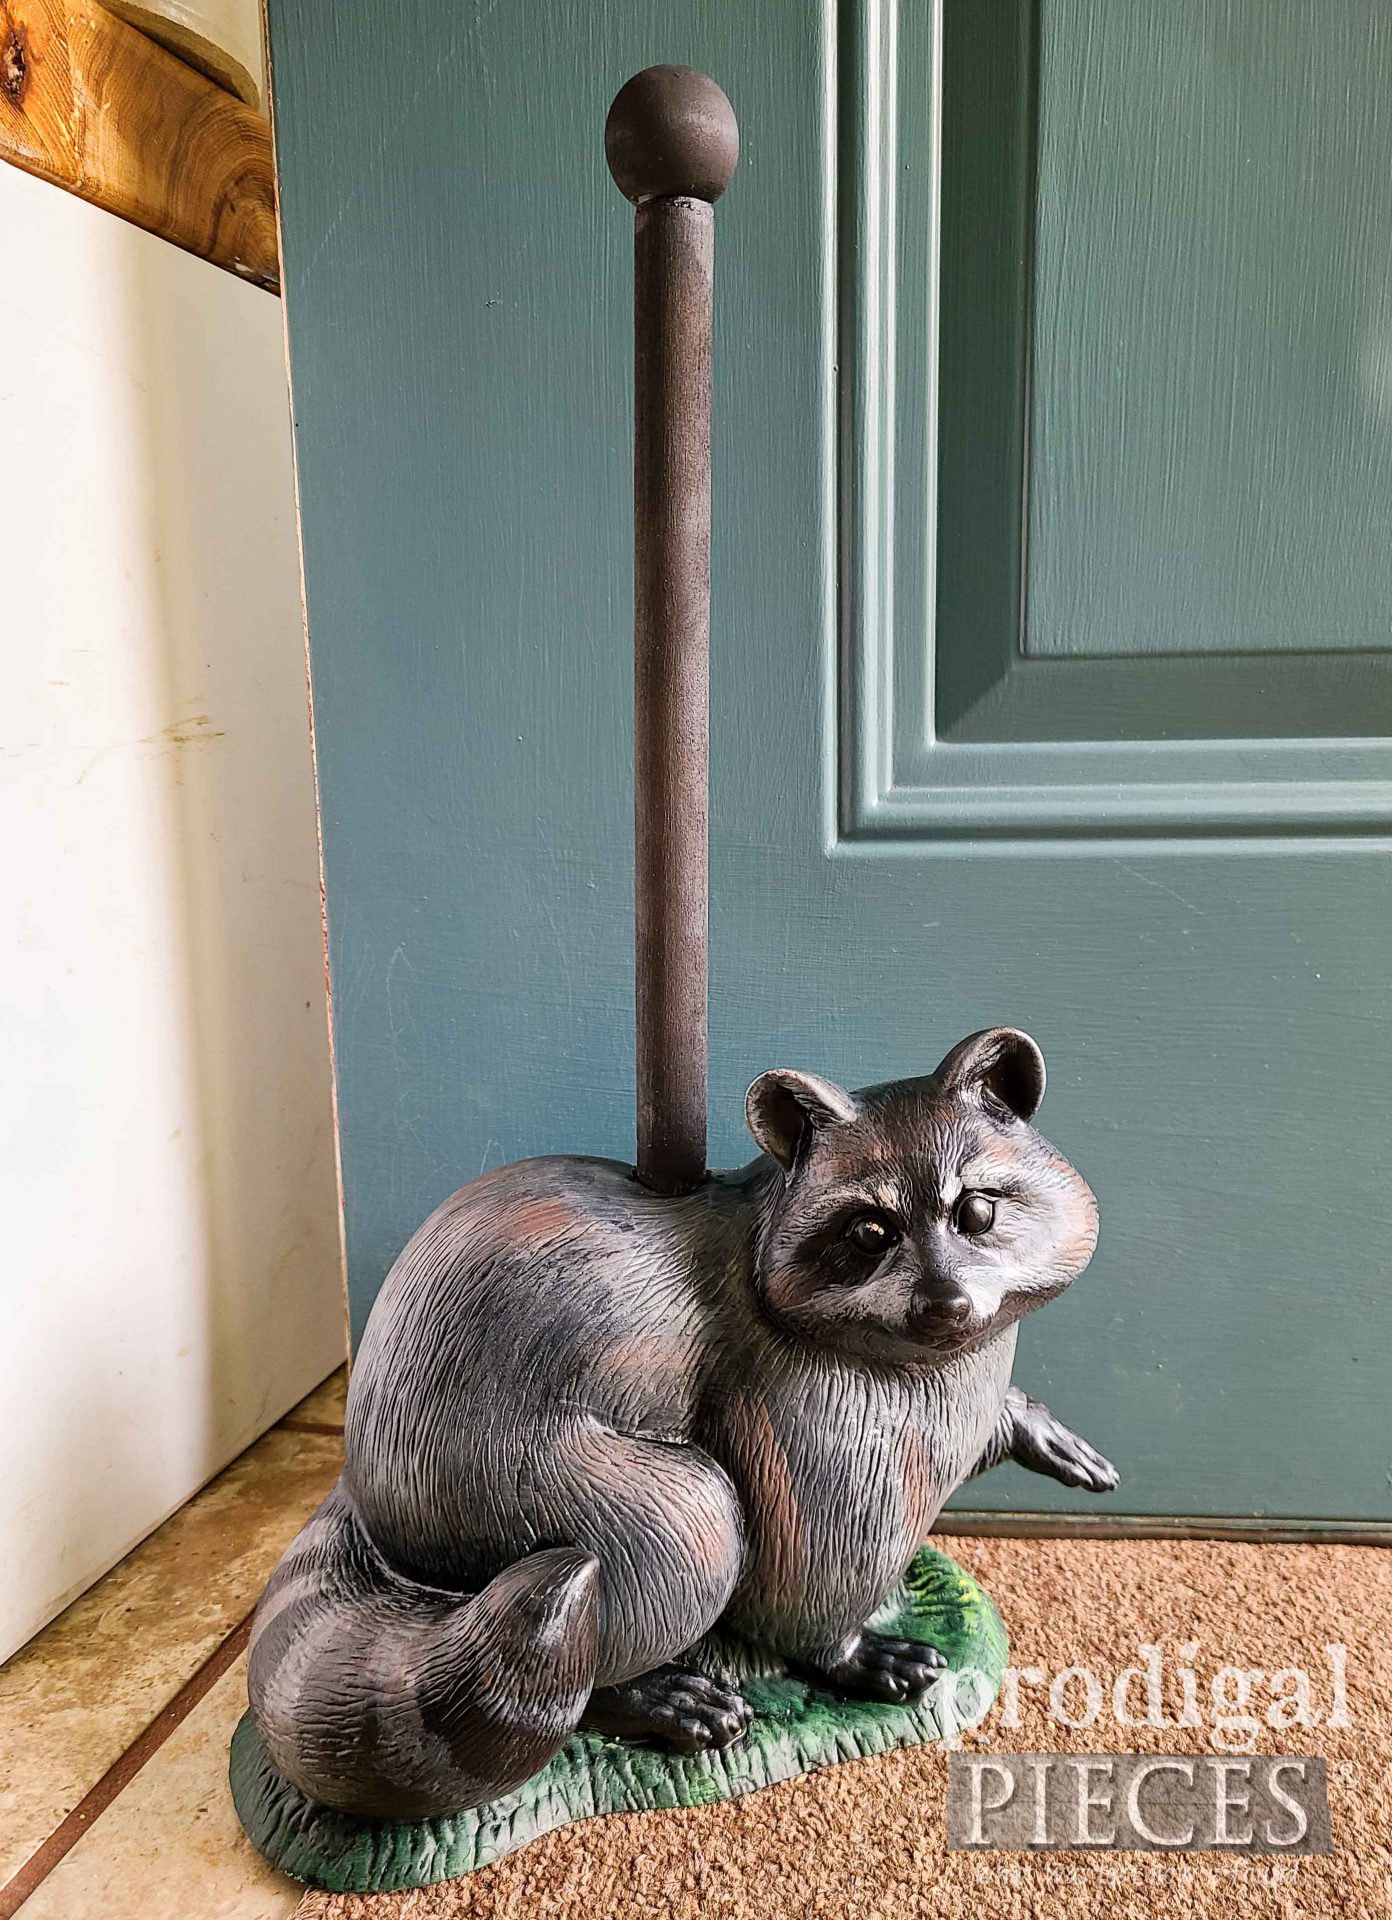
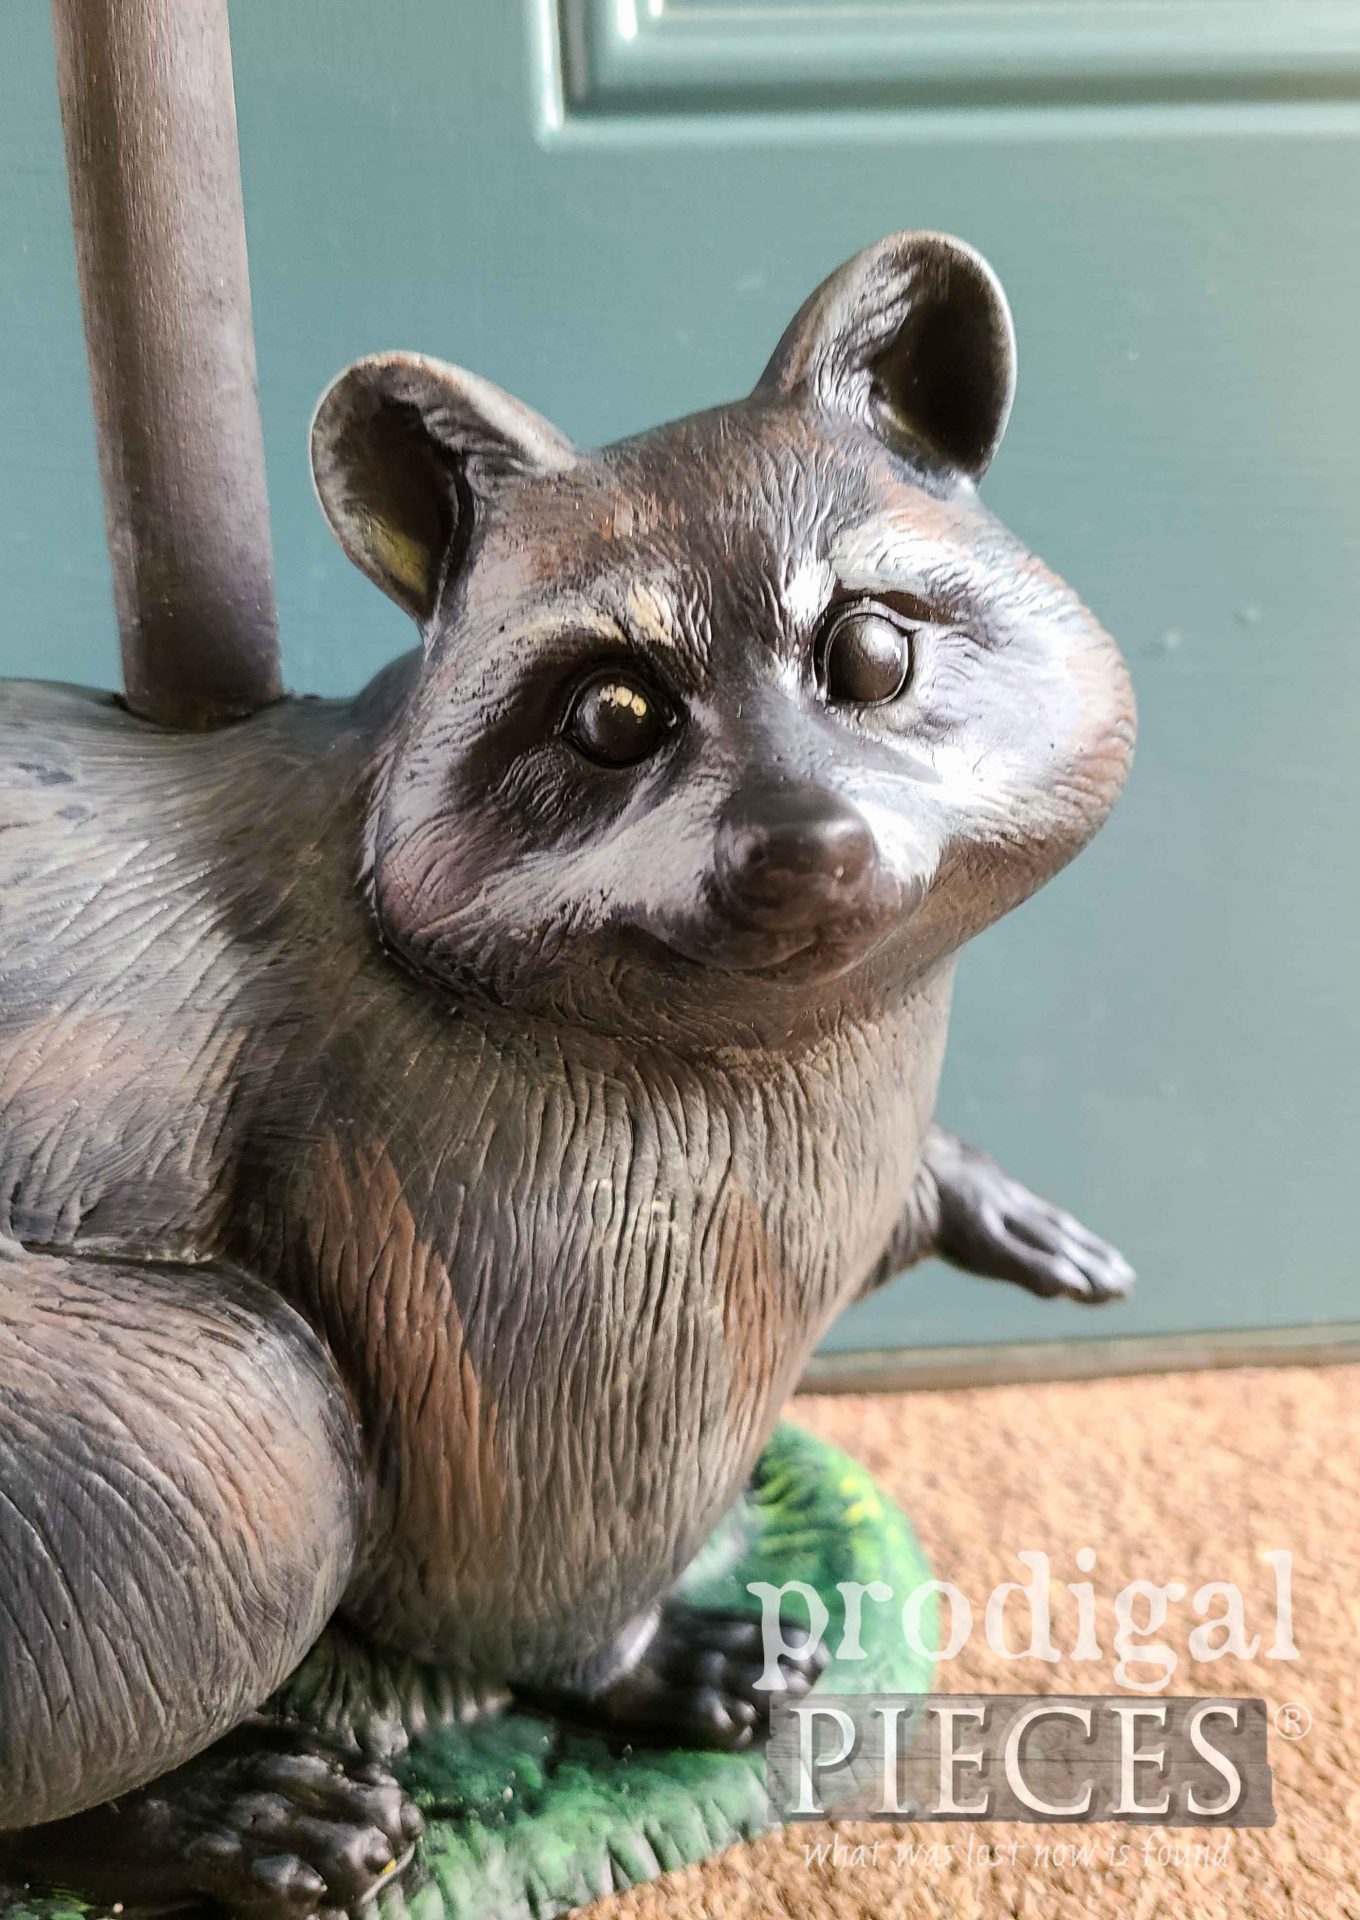
In addition, one of my kid’s favorites is this masked bandit with a smirk to match.
He’s like…I just ate your dinner…tsk. When I was living in my childhood home, we had a raccoon who would sneak in thru our screen door and get all our cookies and crackers out of a canister set on the counter. He wouldn’t leave a crumb. haha.
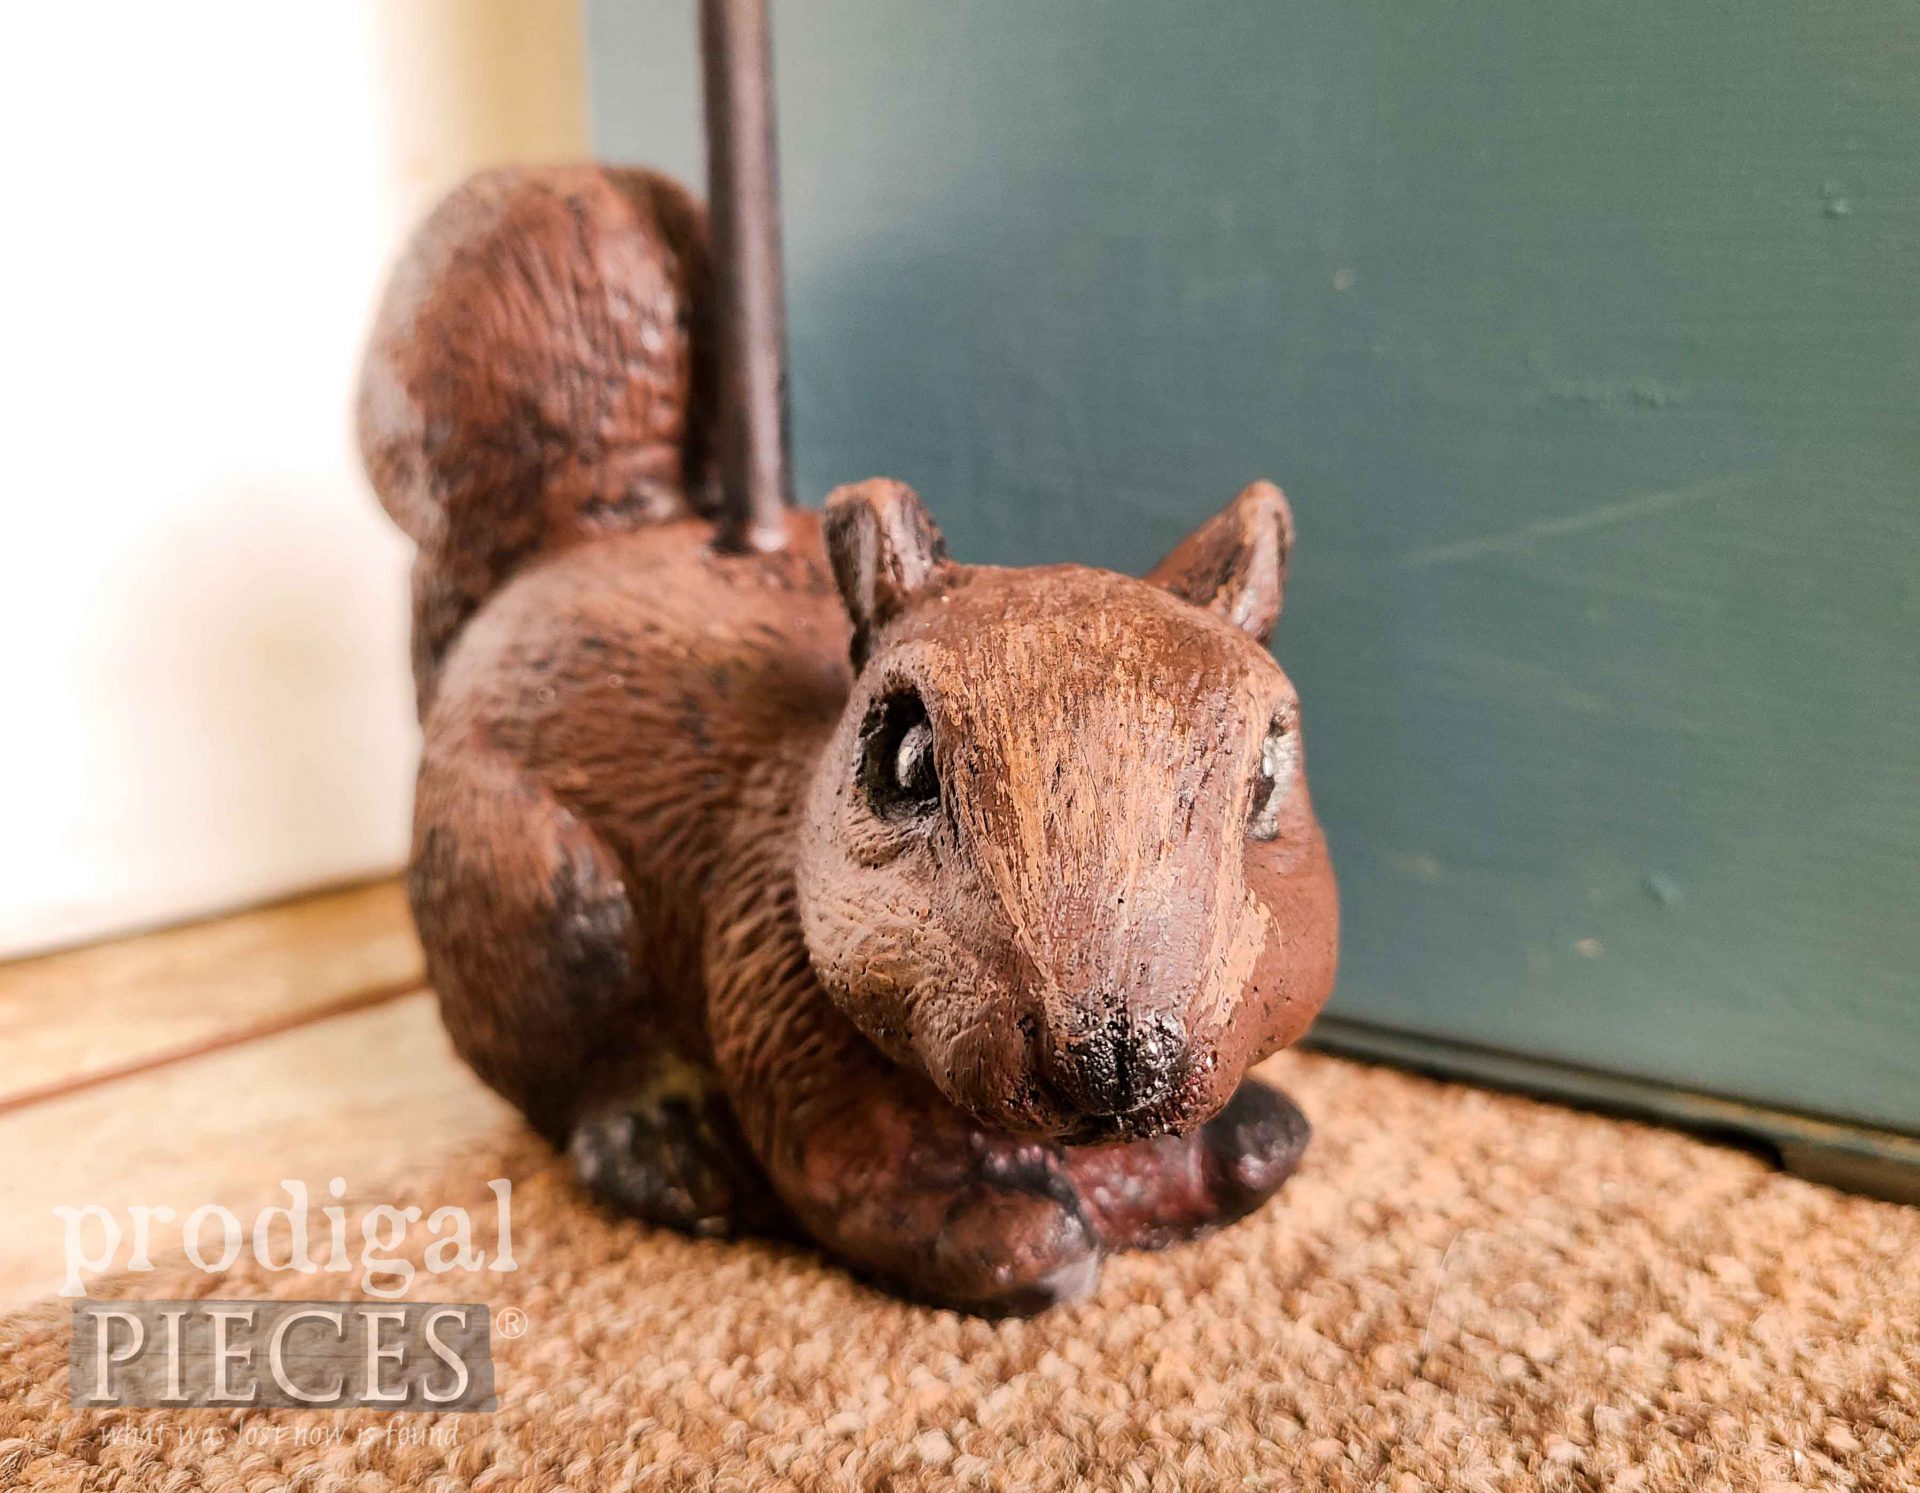
Last, but not least, the sweet chipmunk is now fixed and ready to go.
WRAP UP
Now, you have to tell me which is your favorite? I’m smitten with them all. Also, why do you suppose the Victorian doorstops had a tall handle? It makes sense to me. Who wants to bend all the way down to pick it up and move it? Most likely a servant would have had to make sure they were in the proper place. Likewise, here’s a fun read on the era’s etiquette.
I so hope you’ve enjoyed my creations. Also, if you’d like to make one your own, you can find them available in my online shop.
Likewise, do pin and share my upcycled doorstop makeovers. I know I’m not the only one who will find these sculptures secondhand. Plus, who couldn’t use a whimsical doorstop?
Up next, I’ll be taking this awesomely versatile cabinet and giving it some fun as well as purpose. See the after HERE.
Before you go, be sure to sign up for my newsletter. It’s time to see what my blogger friends have for you!
Are you ready for more DIY fun? Check out these funtastic makeover done just for you.








So cute. You said these were plastic, that doesn’t seem heavy enough to me. Could they be resin?
Thanks! They aren’t heavy and have to be filled with sand.
Cute. Cute. Cute. They are all just adorable but I love that racoon. I have a cement racoon which is great need of a new paint job, along with a rather large dog that is caring a fruit basket is in need of painting.
Like you, I love all sorts of them little garden / yard critters. I even have a few gnomes.
I’m still looking for a fox, large goose, cow, pig, horse; all them neat and cool farm / wild-forest animals
Enjoy your day.
Stay safe, stay healthy and keep smiling.
They were so fun! 😀 Thank you. Sounds like you have a whimsical spot to enjoy.
How cute!!! I must say, the chipmunk is my favorite. I’m a push over for a second lease at life.? Well done!!
You and me both. Tis my life story! 😀 Thanks for the smile, Rebecca.
They are so cute. I’ve seen similar in the museum. The handle was more to deal with the weight than to save bending. The originals were generally made of cast iron and so heavy that you needed the leverage the handle provided to move the things at all, and of course doors in those days were made of heavier and more solid wood than most are these days so the doorstops had to be that heavy. I do like the vibe a handle adds – it’s a lovely old-fashioned touch, and sort of elegant at the same time
Thanks! Yes, I figured as much and why I painted mine black to mimic cast iron. Such fun to recreate, isn’t it?
So cute and fun! How did you drill through concrete to attach the handle?
Funtastic to hear, Terri. Thank you. Yes, drilled with a masonry bit 3/4 down and then used e6000 to adhere.
Thanks! It was easy with a masonry bit. Then, I attached with e6000 adhesive.
I was skeptical initially to be honest. Those are cute!
Me too! 😀 haha. Thanks, Diana.
These are all so cute…hard to pick a favorite! Your painting skills really brought each one to life! XOXO
It’s just so fun for me to take time away from crazy to paint. Thanks, Christy.
Larissa, you never cease to amaze me… I never would have thought to bring these plastic little critters back to life lol. Super adorable my friend!! ???
haha! I’m a nut like that. 🙂 Thanks so much, Denise.
Hi Larissa, what a unique idea, creativity is certainly your superpower girl! I would say the ducks are my favorite. I love how each animal is painted and has personality now.
Thanks! They were fun for me and my kids to create.
Hi! These turned out so adorable! I think that darling raccoon and his smirk is my favorite. You really brought lots of life to this bunch of rag tag critters. I love the clothespin dolls too! I might just have to order the heads and stands and create a few this winter. Maybe for my young nieces and nephews. Maybe for Christmas. I better get on it! Thanks as always for your inspiration. Have a lovely week!
You’re too cute, Deanna. The dolls are so fun to make up in oodles of ways. You will love it as much as they!
You clearly had a vision from the beginning. These turned out cute and very lifelike! 🙂
Thanks so much, Jen!
They are the sweetest things ever. So darn cute, love em! xo
Thanks, Nancy! 😀
Well now, this 60+ gal says yay to the handle! Great idea for upcycling little garden critters. I have a couple of rooms in this house that could use a cute door stop.
Right?? I got enough bending over…haha. Thanks, Marie! 😀
Oh, I love these and your painted details are so perfect! What an awesome use for the little critters! I have to say though, that you’ll want to keep your feet away from them as much as possible. I had a resin frog sprinkler I used for a doorstop in the laundry room and ended up stubbing my bare toes on it so hard I broke bones in my foot! Not foot-friendly at all, ha. 😀
Thanks so much! I’ve broken toes on couches and such before, so it just takes that right swing of the foot no matter what. ouch. 😉
I’m thinking a curtain rod with a nice end will make it very pretty too.
That would work for sure as long as it’s solid enough it won’t bend carrying the weight of the sand.