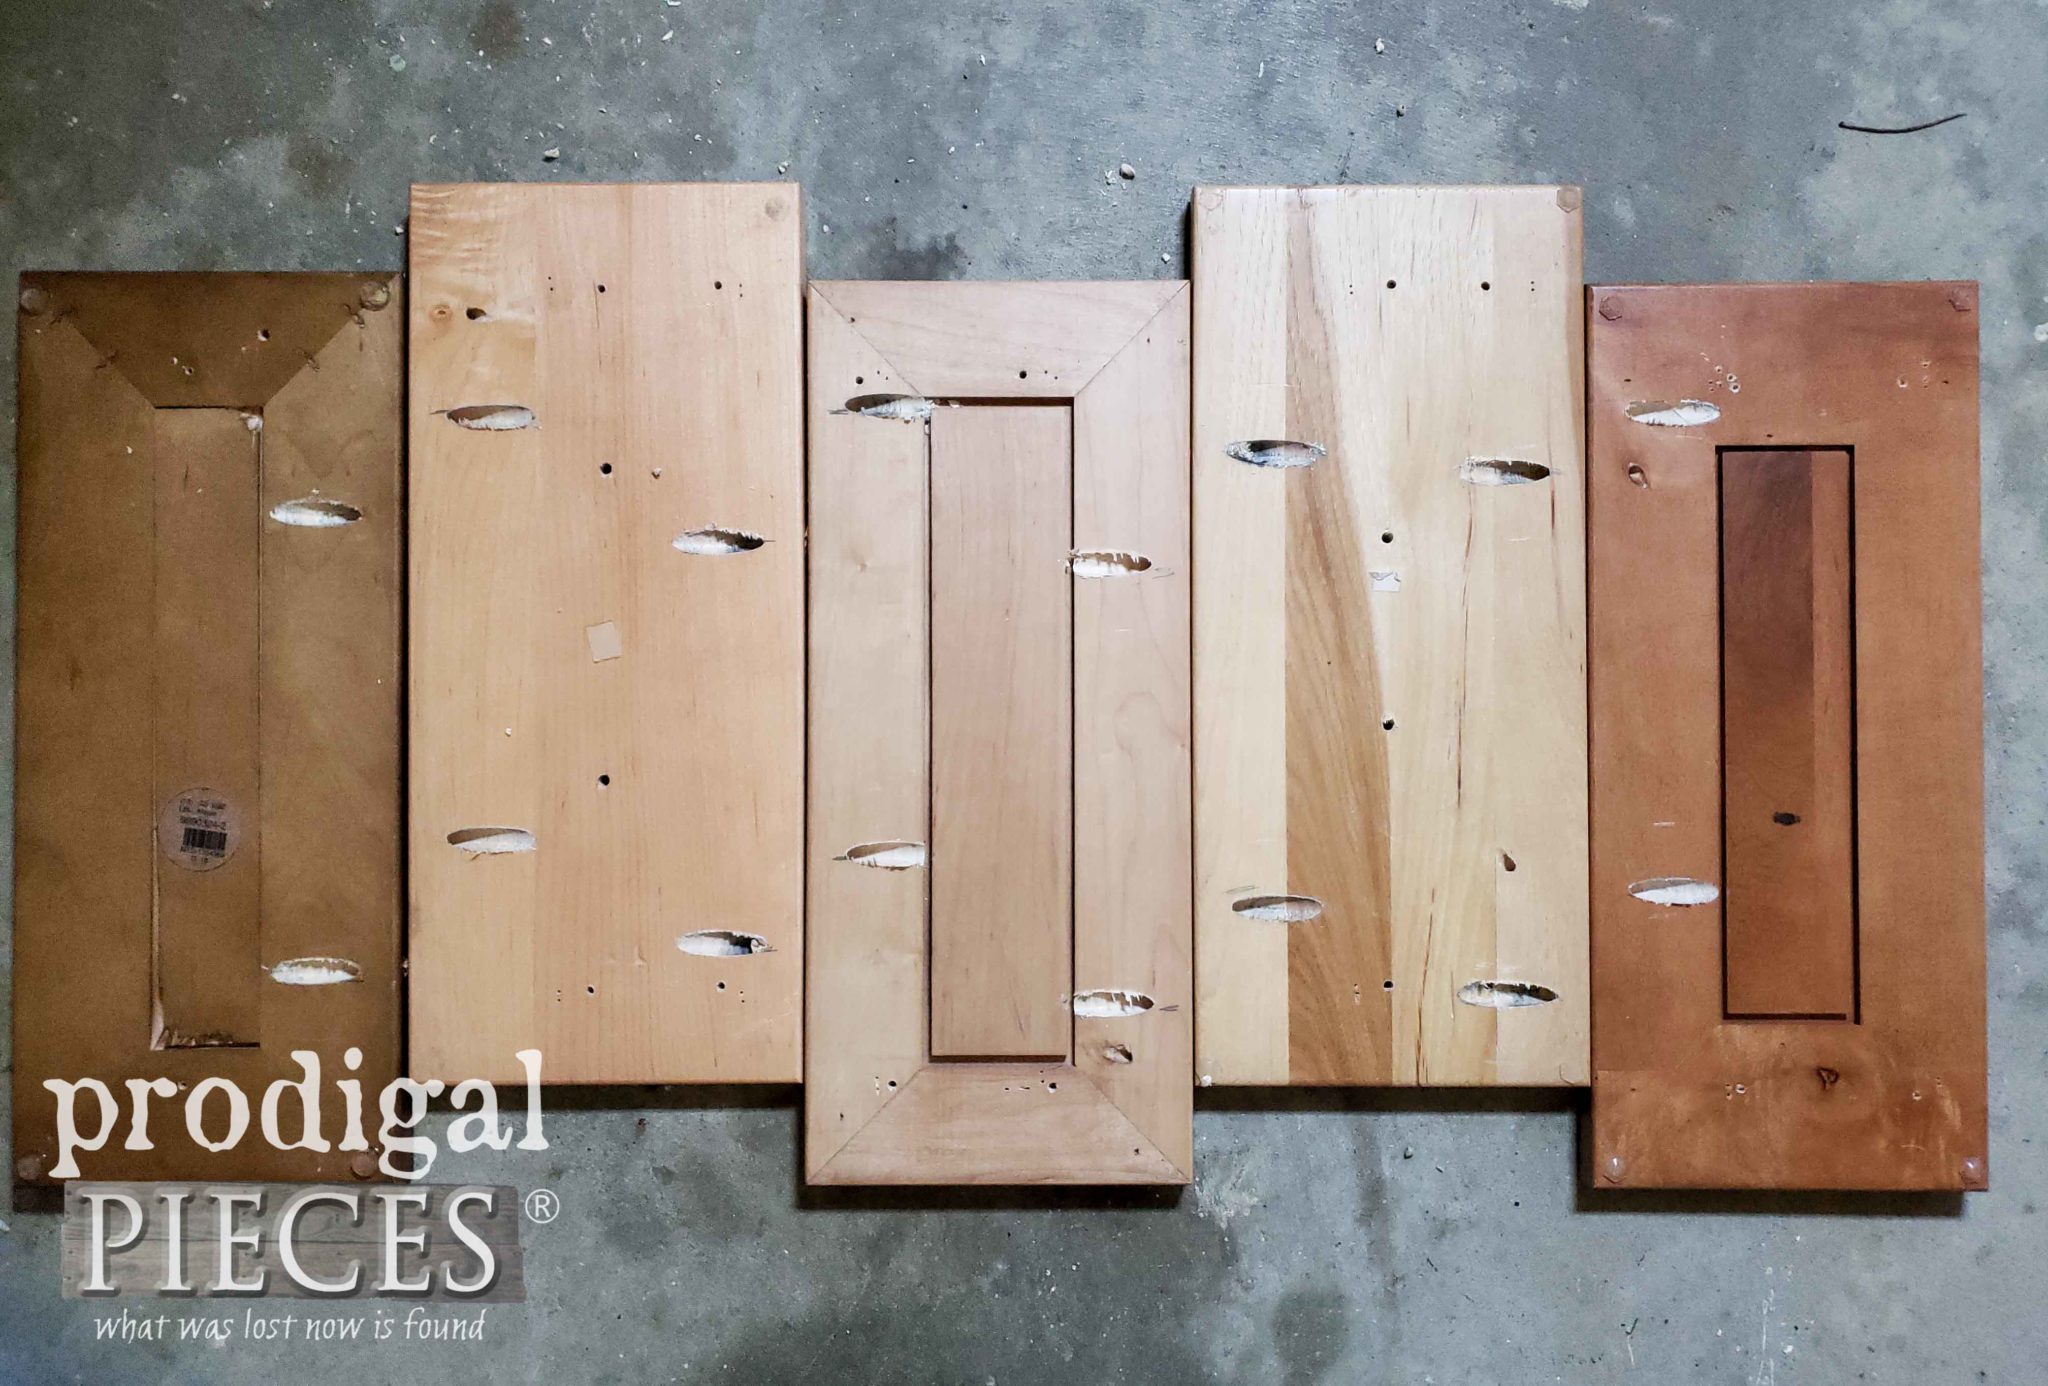
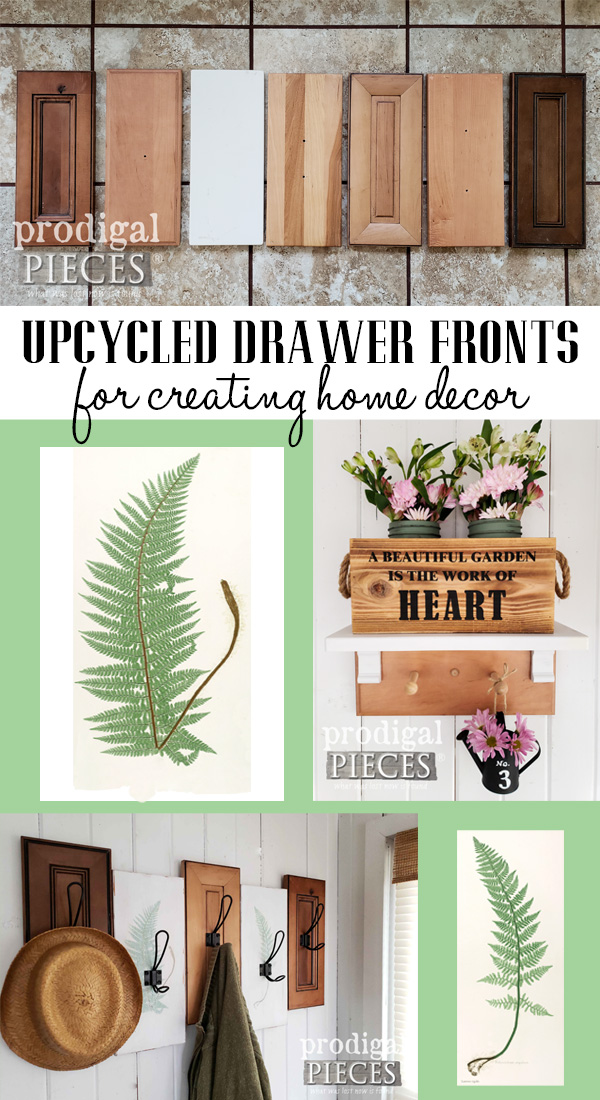
If you have been following along with me over the last few months, you know I have the stash to end all stashes in cupboard doors. Well, at the same time I acquired the doors, I also received this dandy pile of drawer fronts. They totally have potential, don’t they? I mean, they’re good wood and perfect for making something fun. I’d like to show you how I chose to use my upcycled drawer fronts.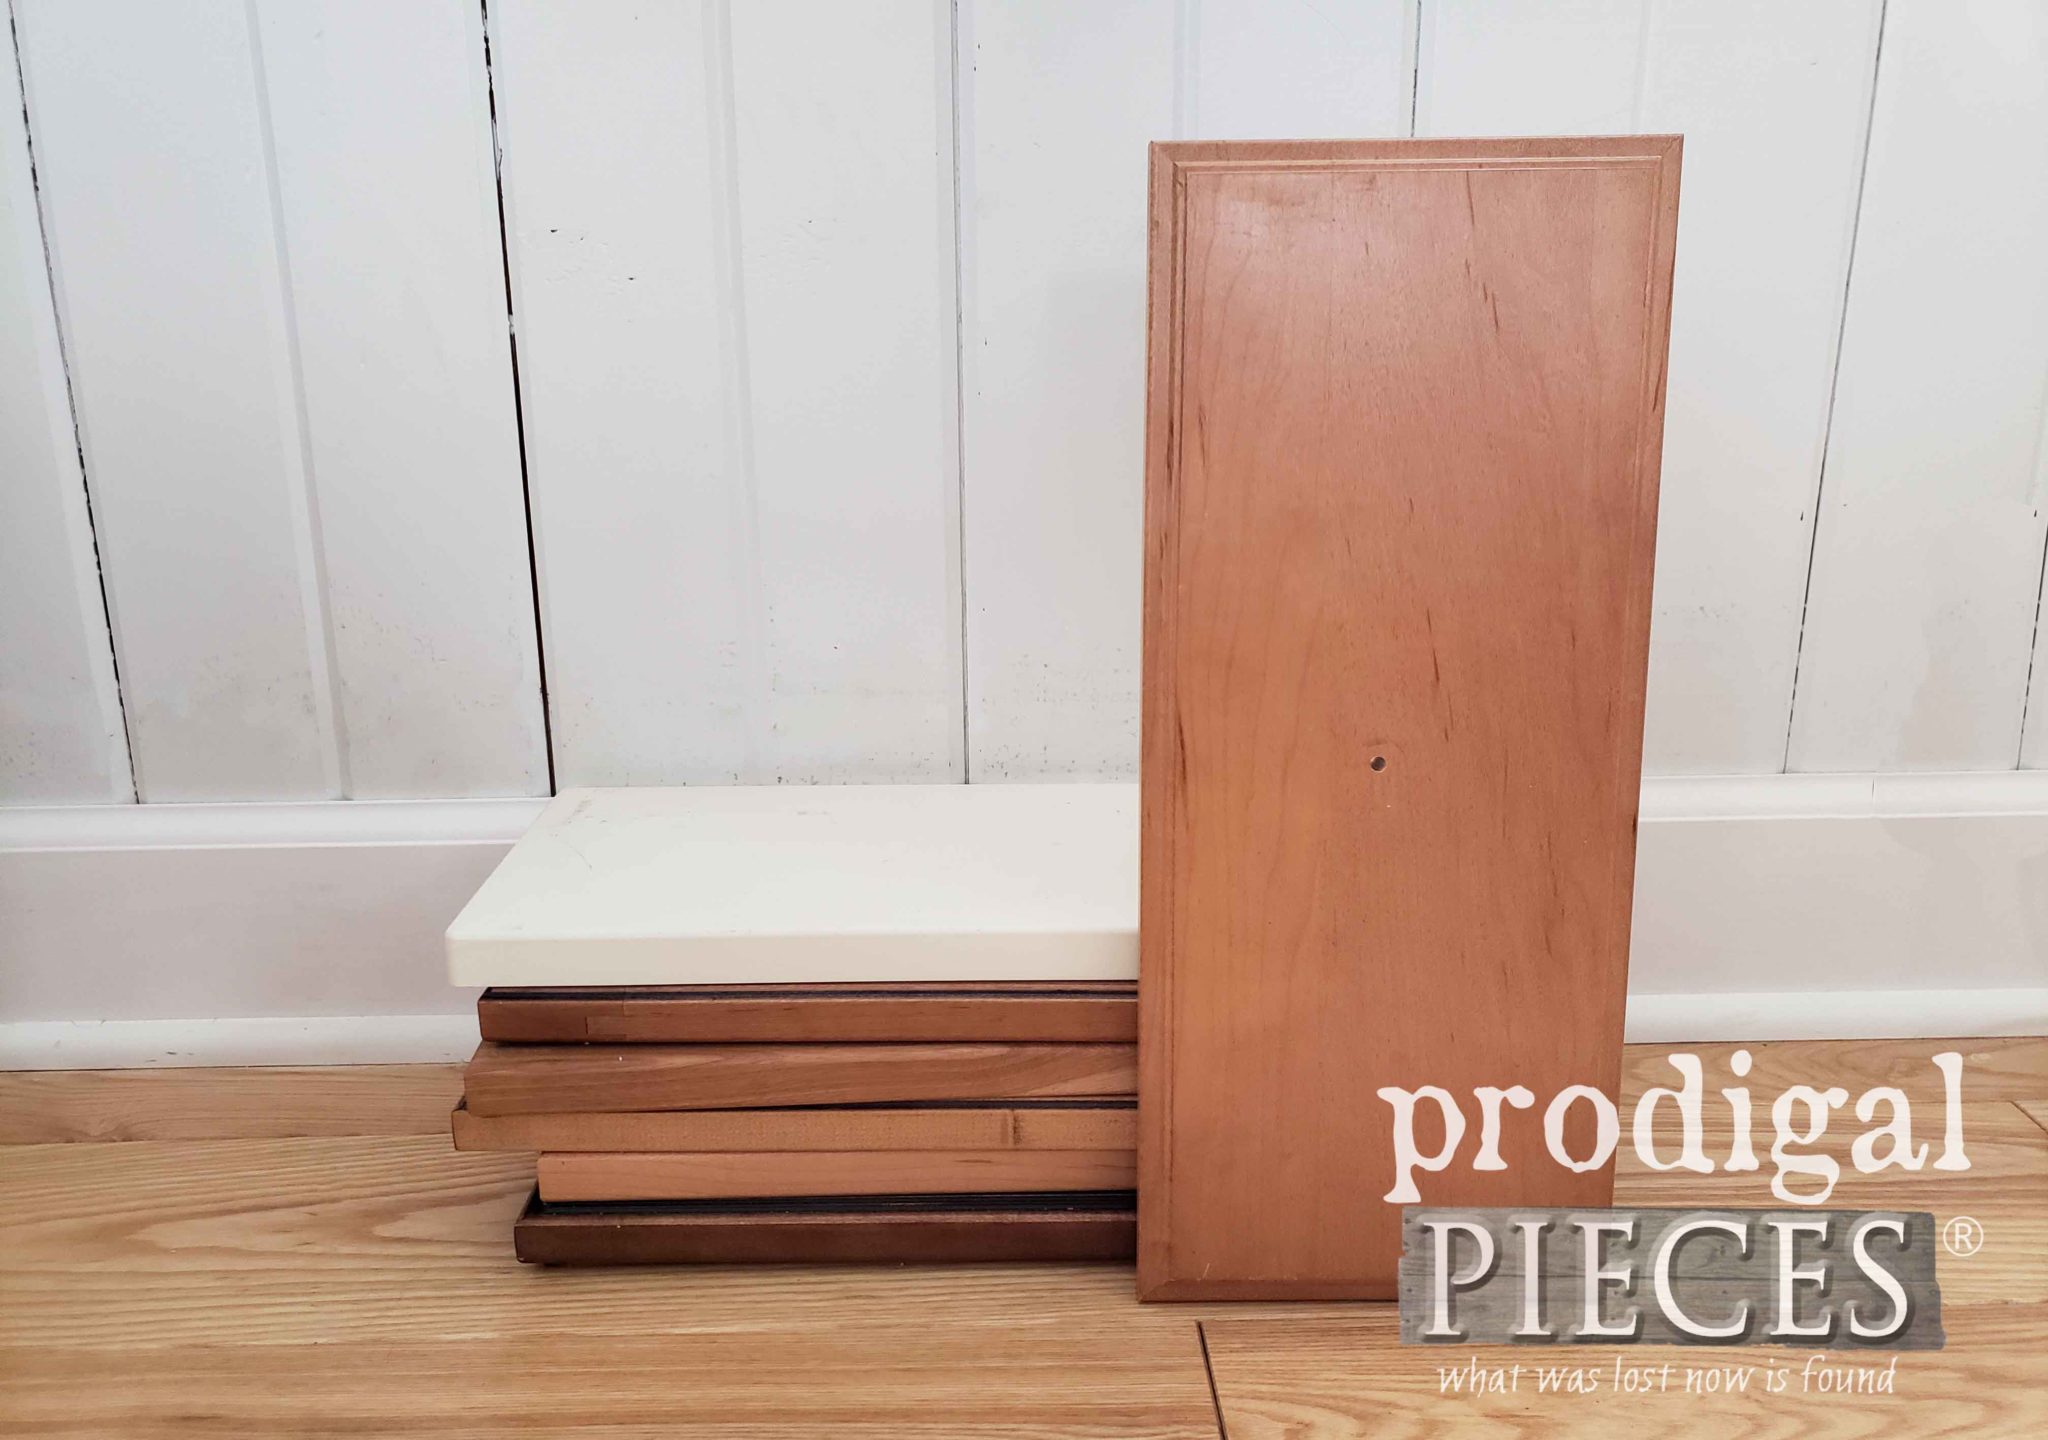
What you’re looking at is a pile of mostly solid wood with one MDF drawer front (the white one). My self-inflicted goal was to make use of them all at once. I felt it was a worthy challenge and one I was up to…I think. haha.
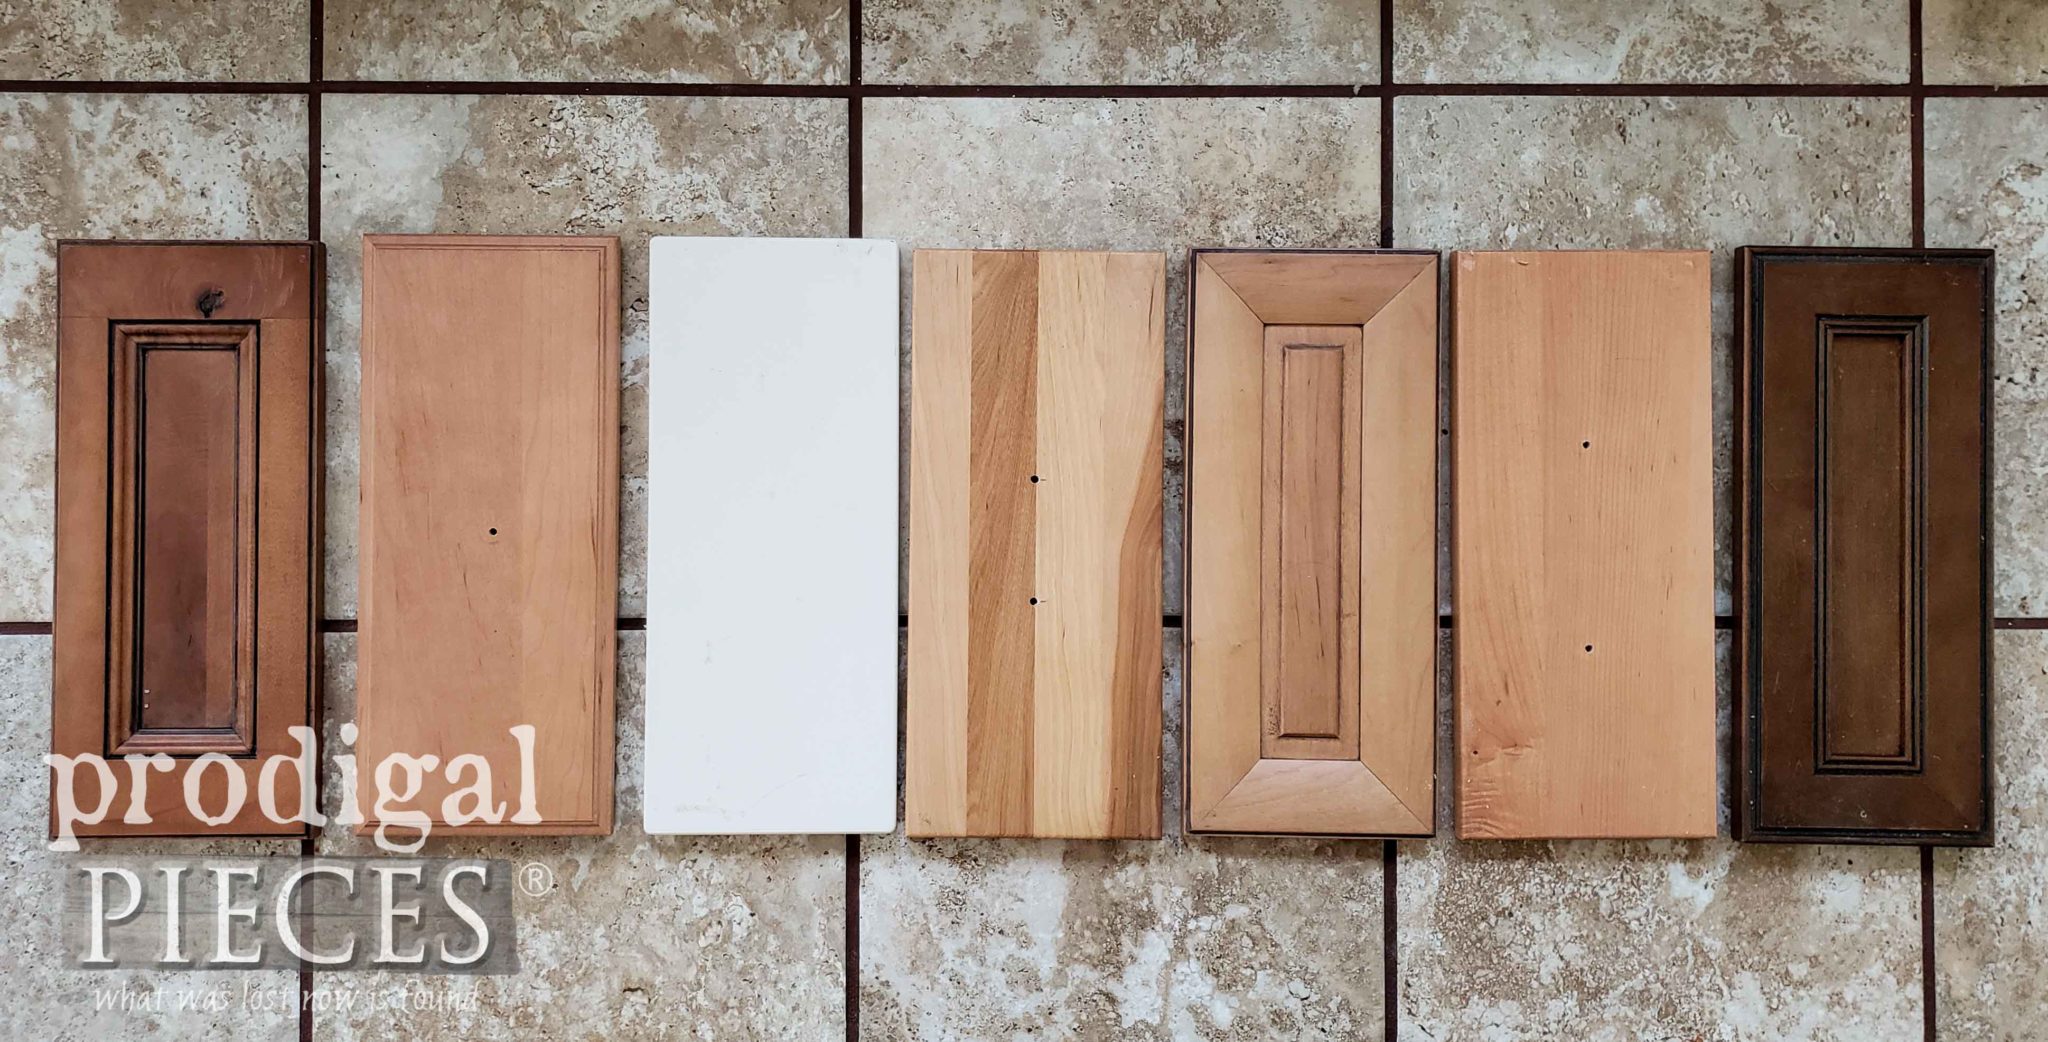
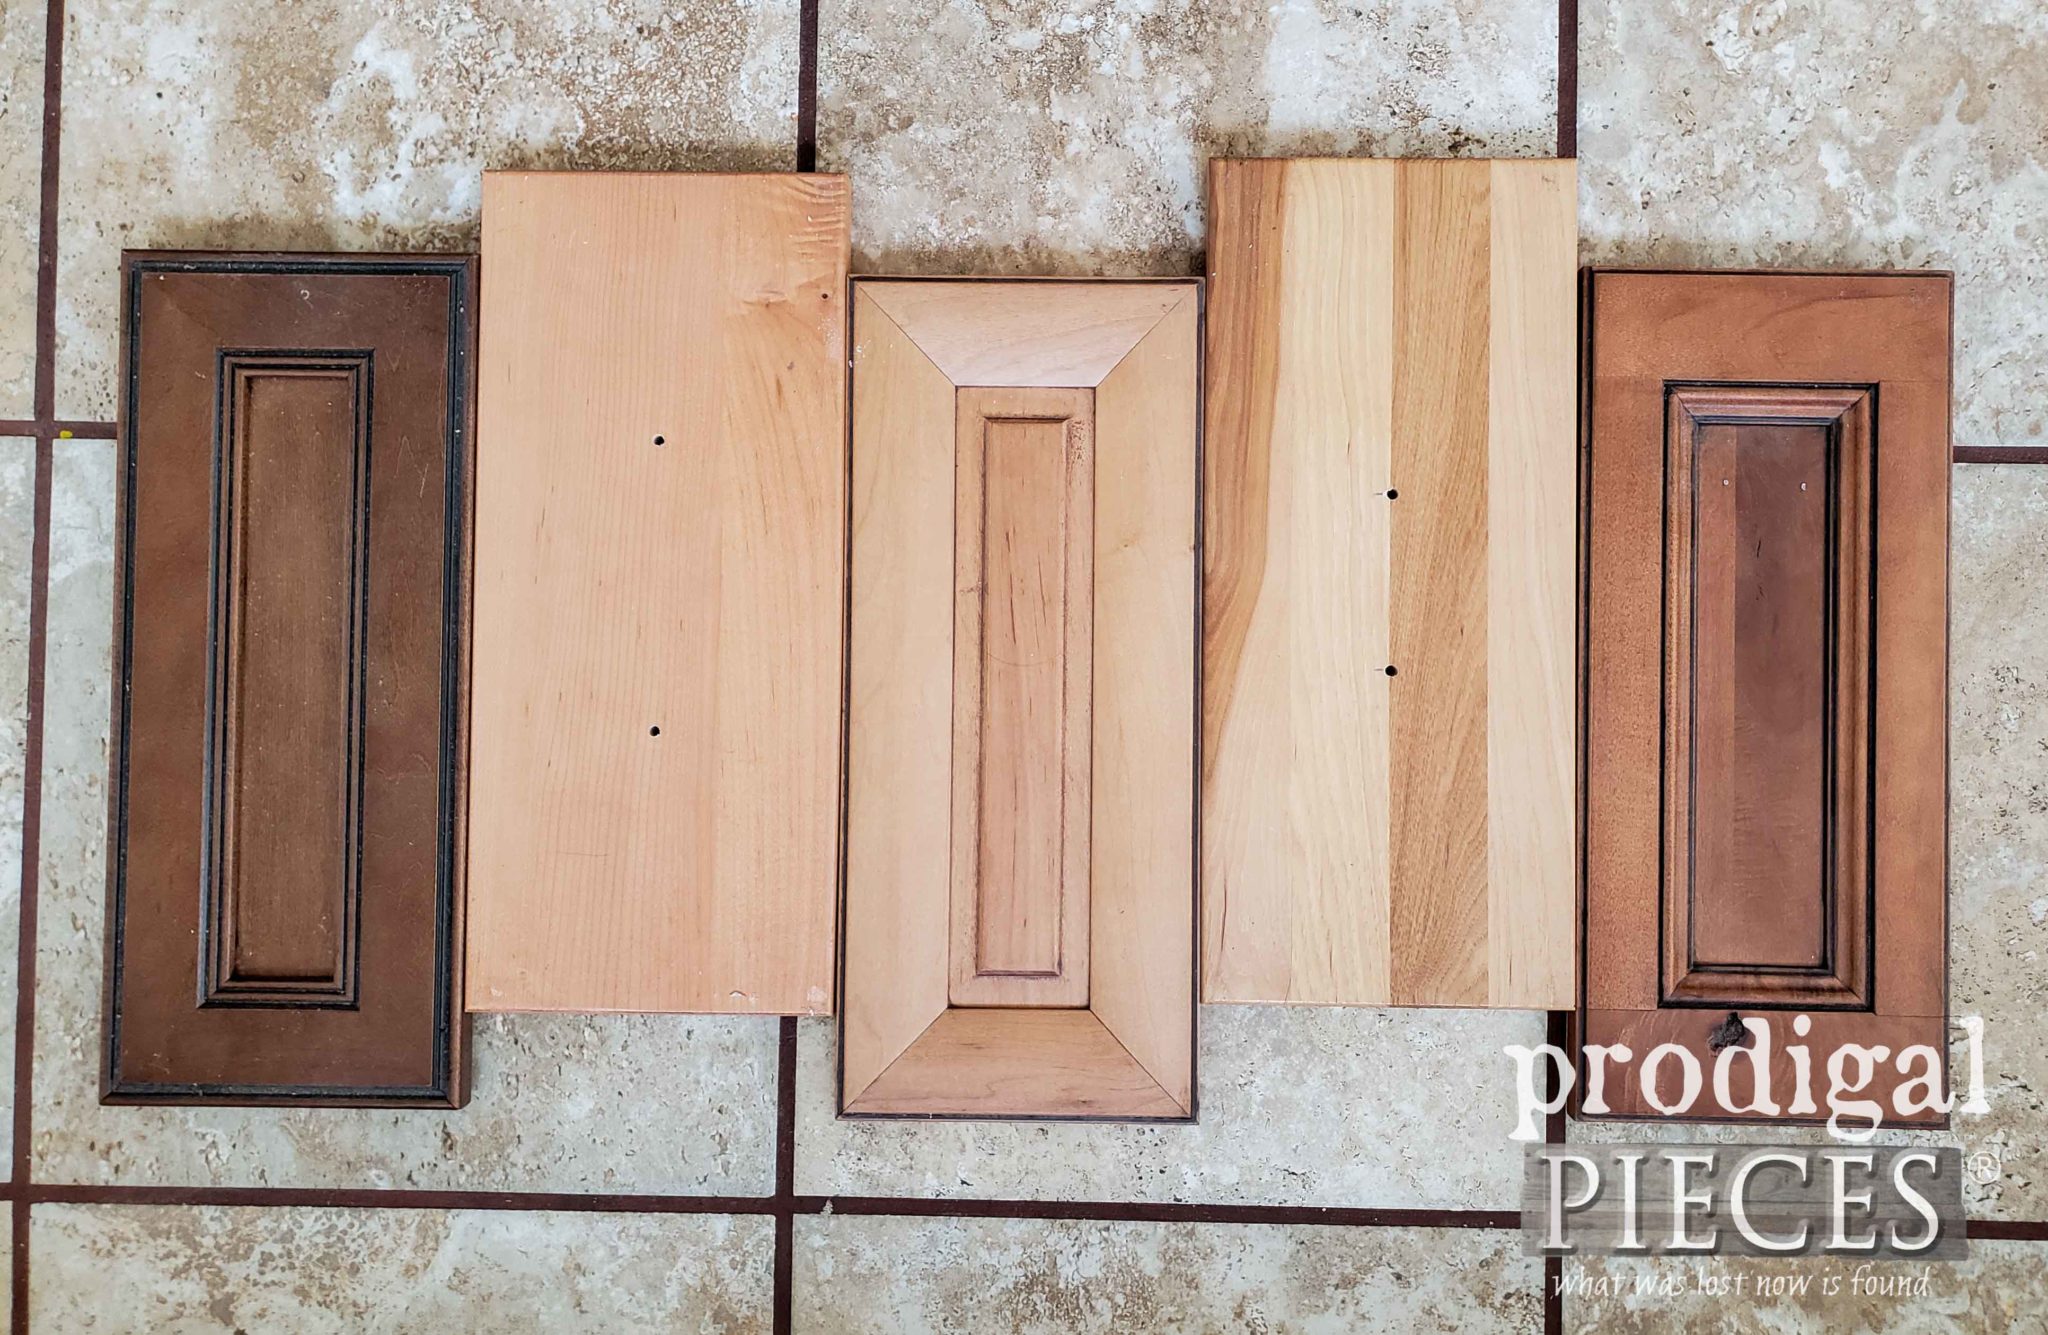
First, I place them on the floor to kinda stare at them, if you will, to see how they would spark my imagination. At first glance, the ones to stand out to me the most were the similar ones. I pulled them aside and decided they looked good fashioned in this shape.
What would they possibly become; you say? Well, I’ll work through my crazy notions to show you where I went with this. I saw this funky conglomeration as art, as well as a functioning piece in an entry, bathroom, laundry, or bedroom, etc. All I needed to do was join them up and add some hooks. You know I love me some hooks! tee hee!
DIY FUN
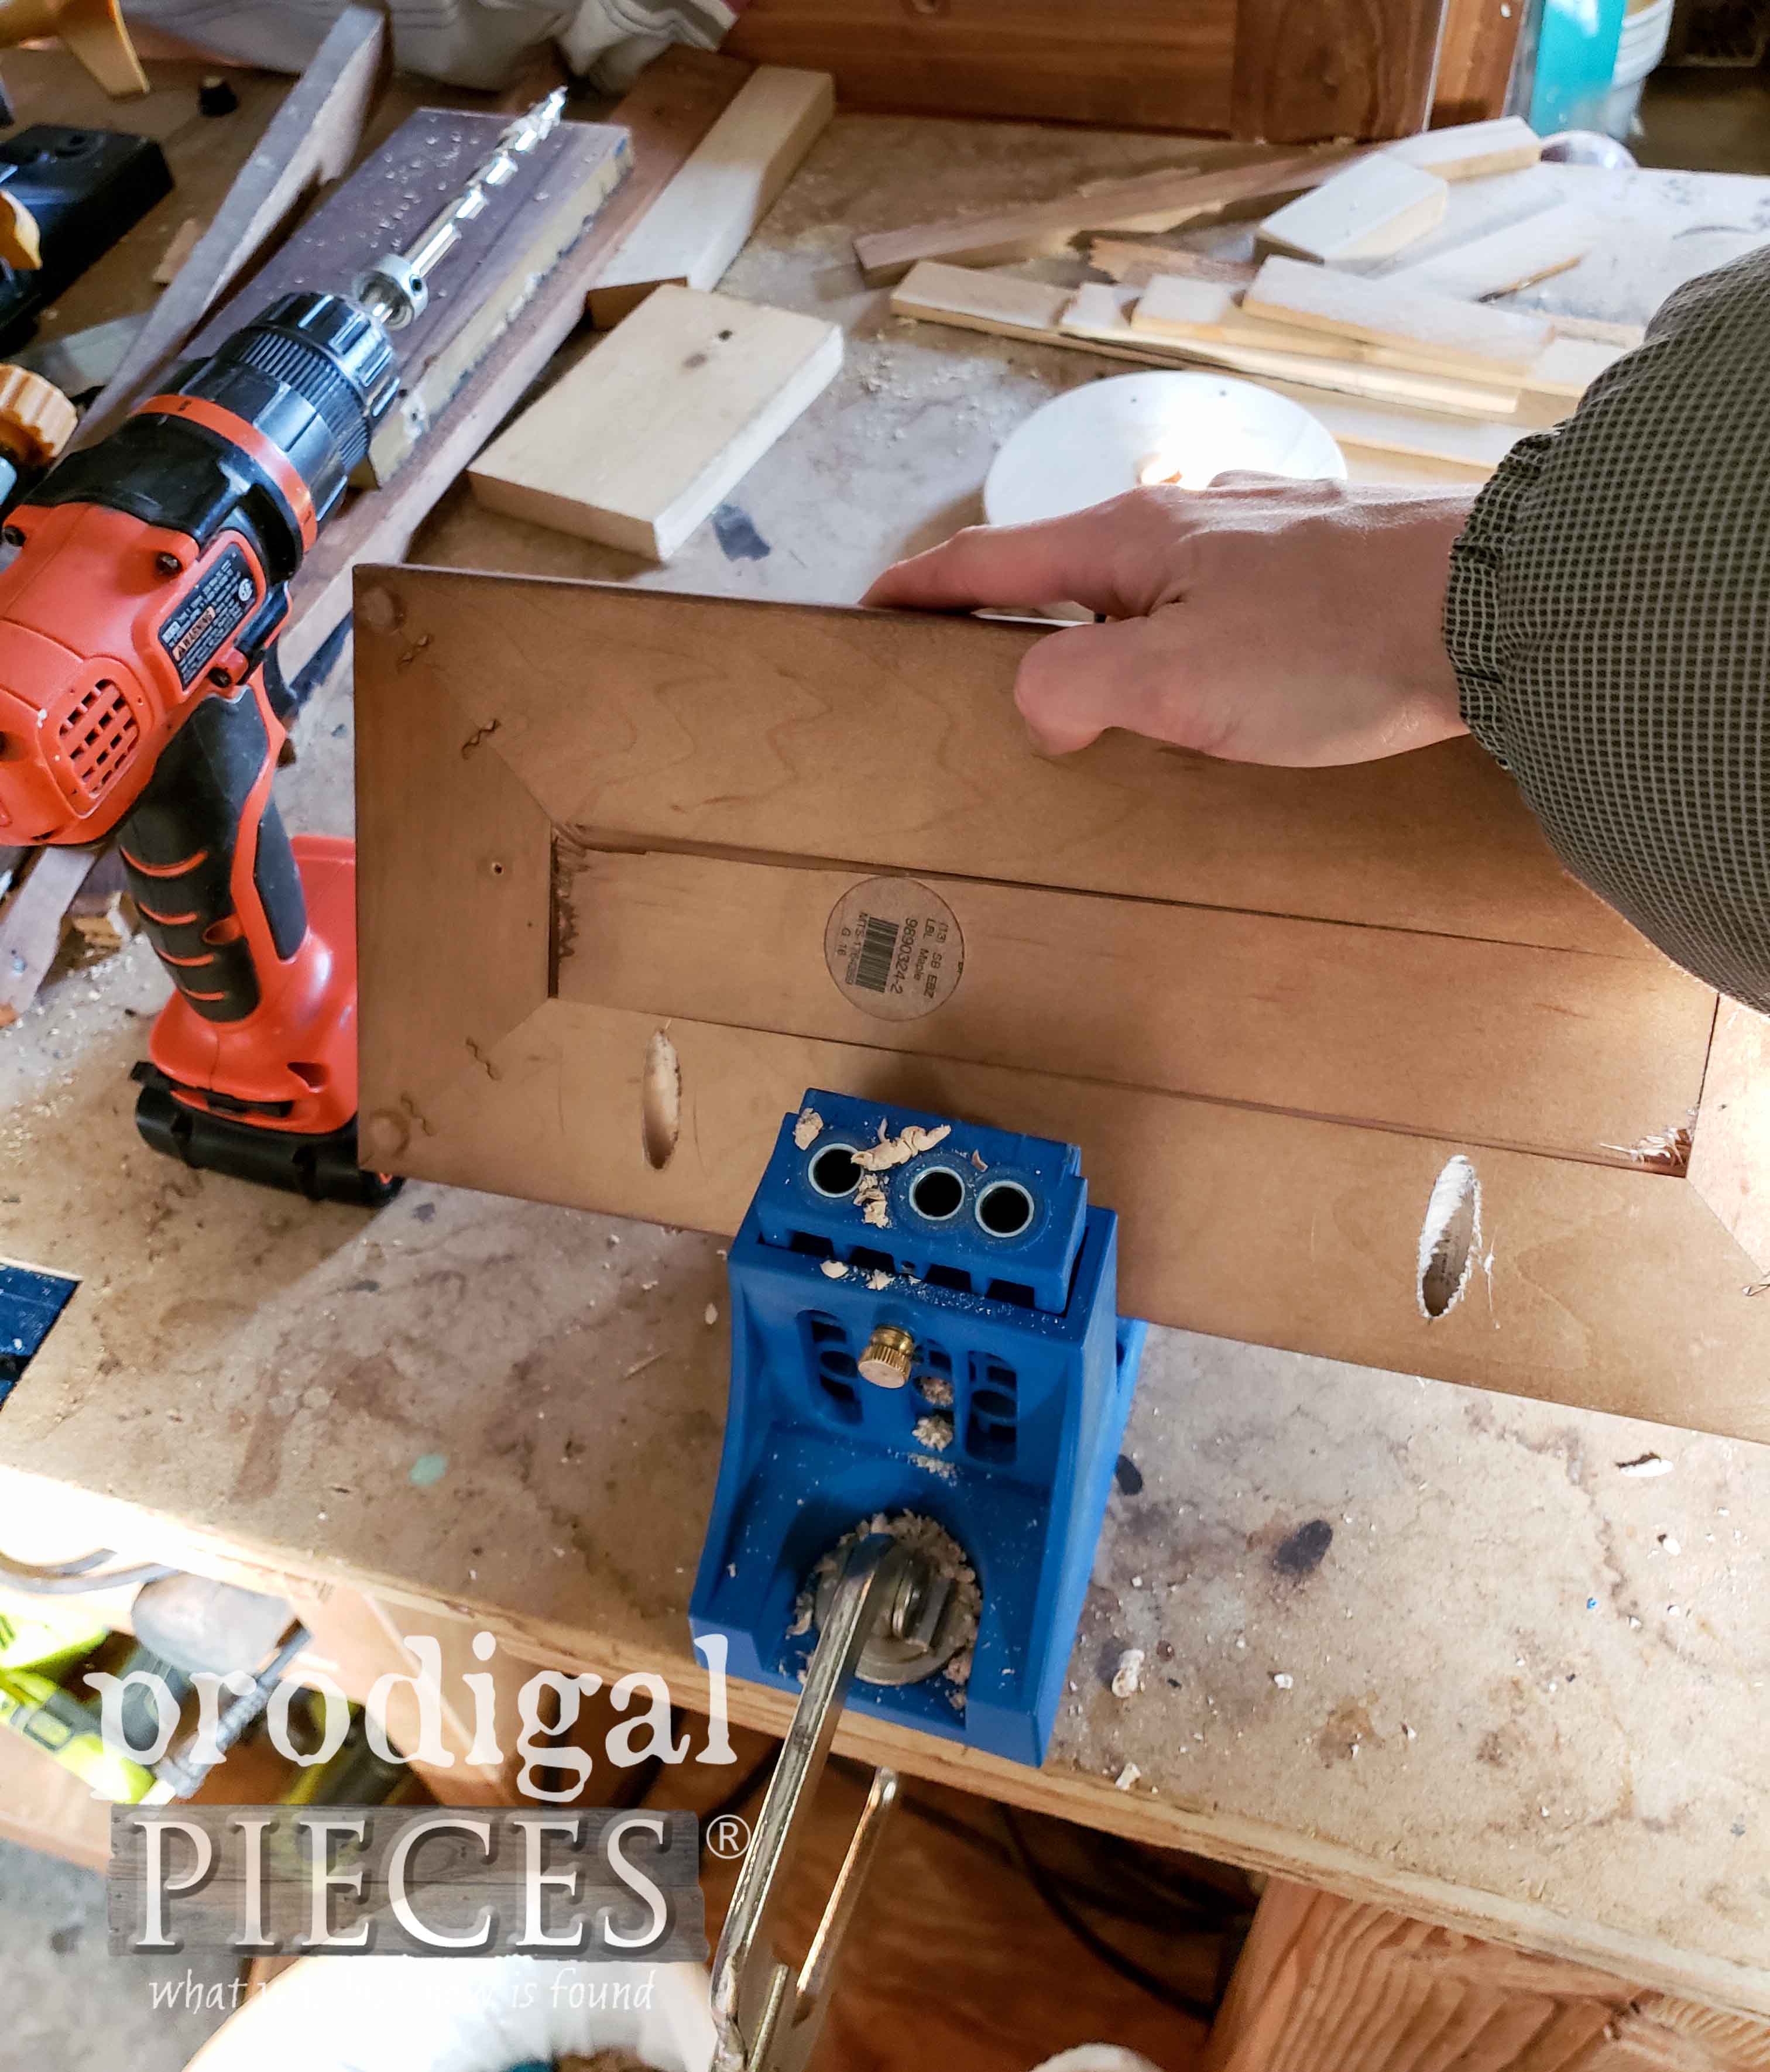
First, I used my Kreg Jig to add pocket holes to the back side of these upcycled drawer fronts.
See my configuration on how to make them sturdy?
Once connected, I added a few thin strips of poplar to make mounting them to the wall easier.
TIME TO FIX
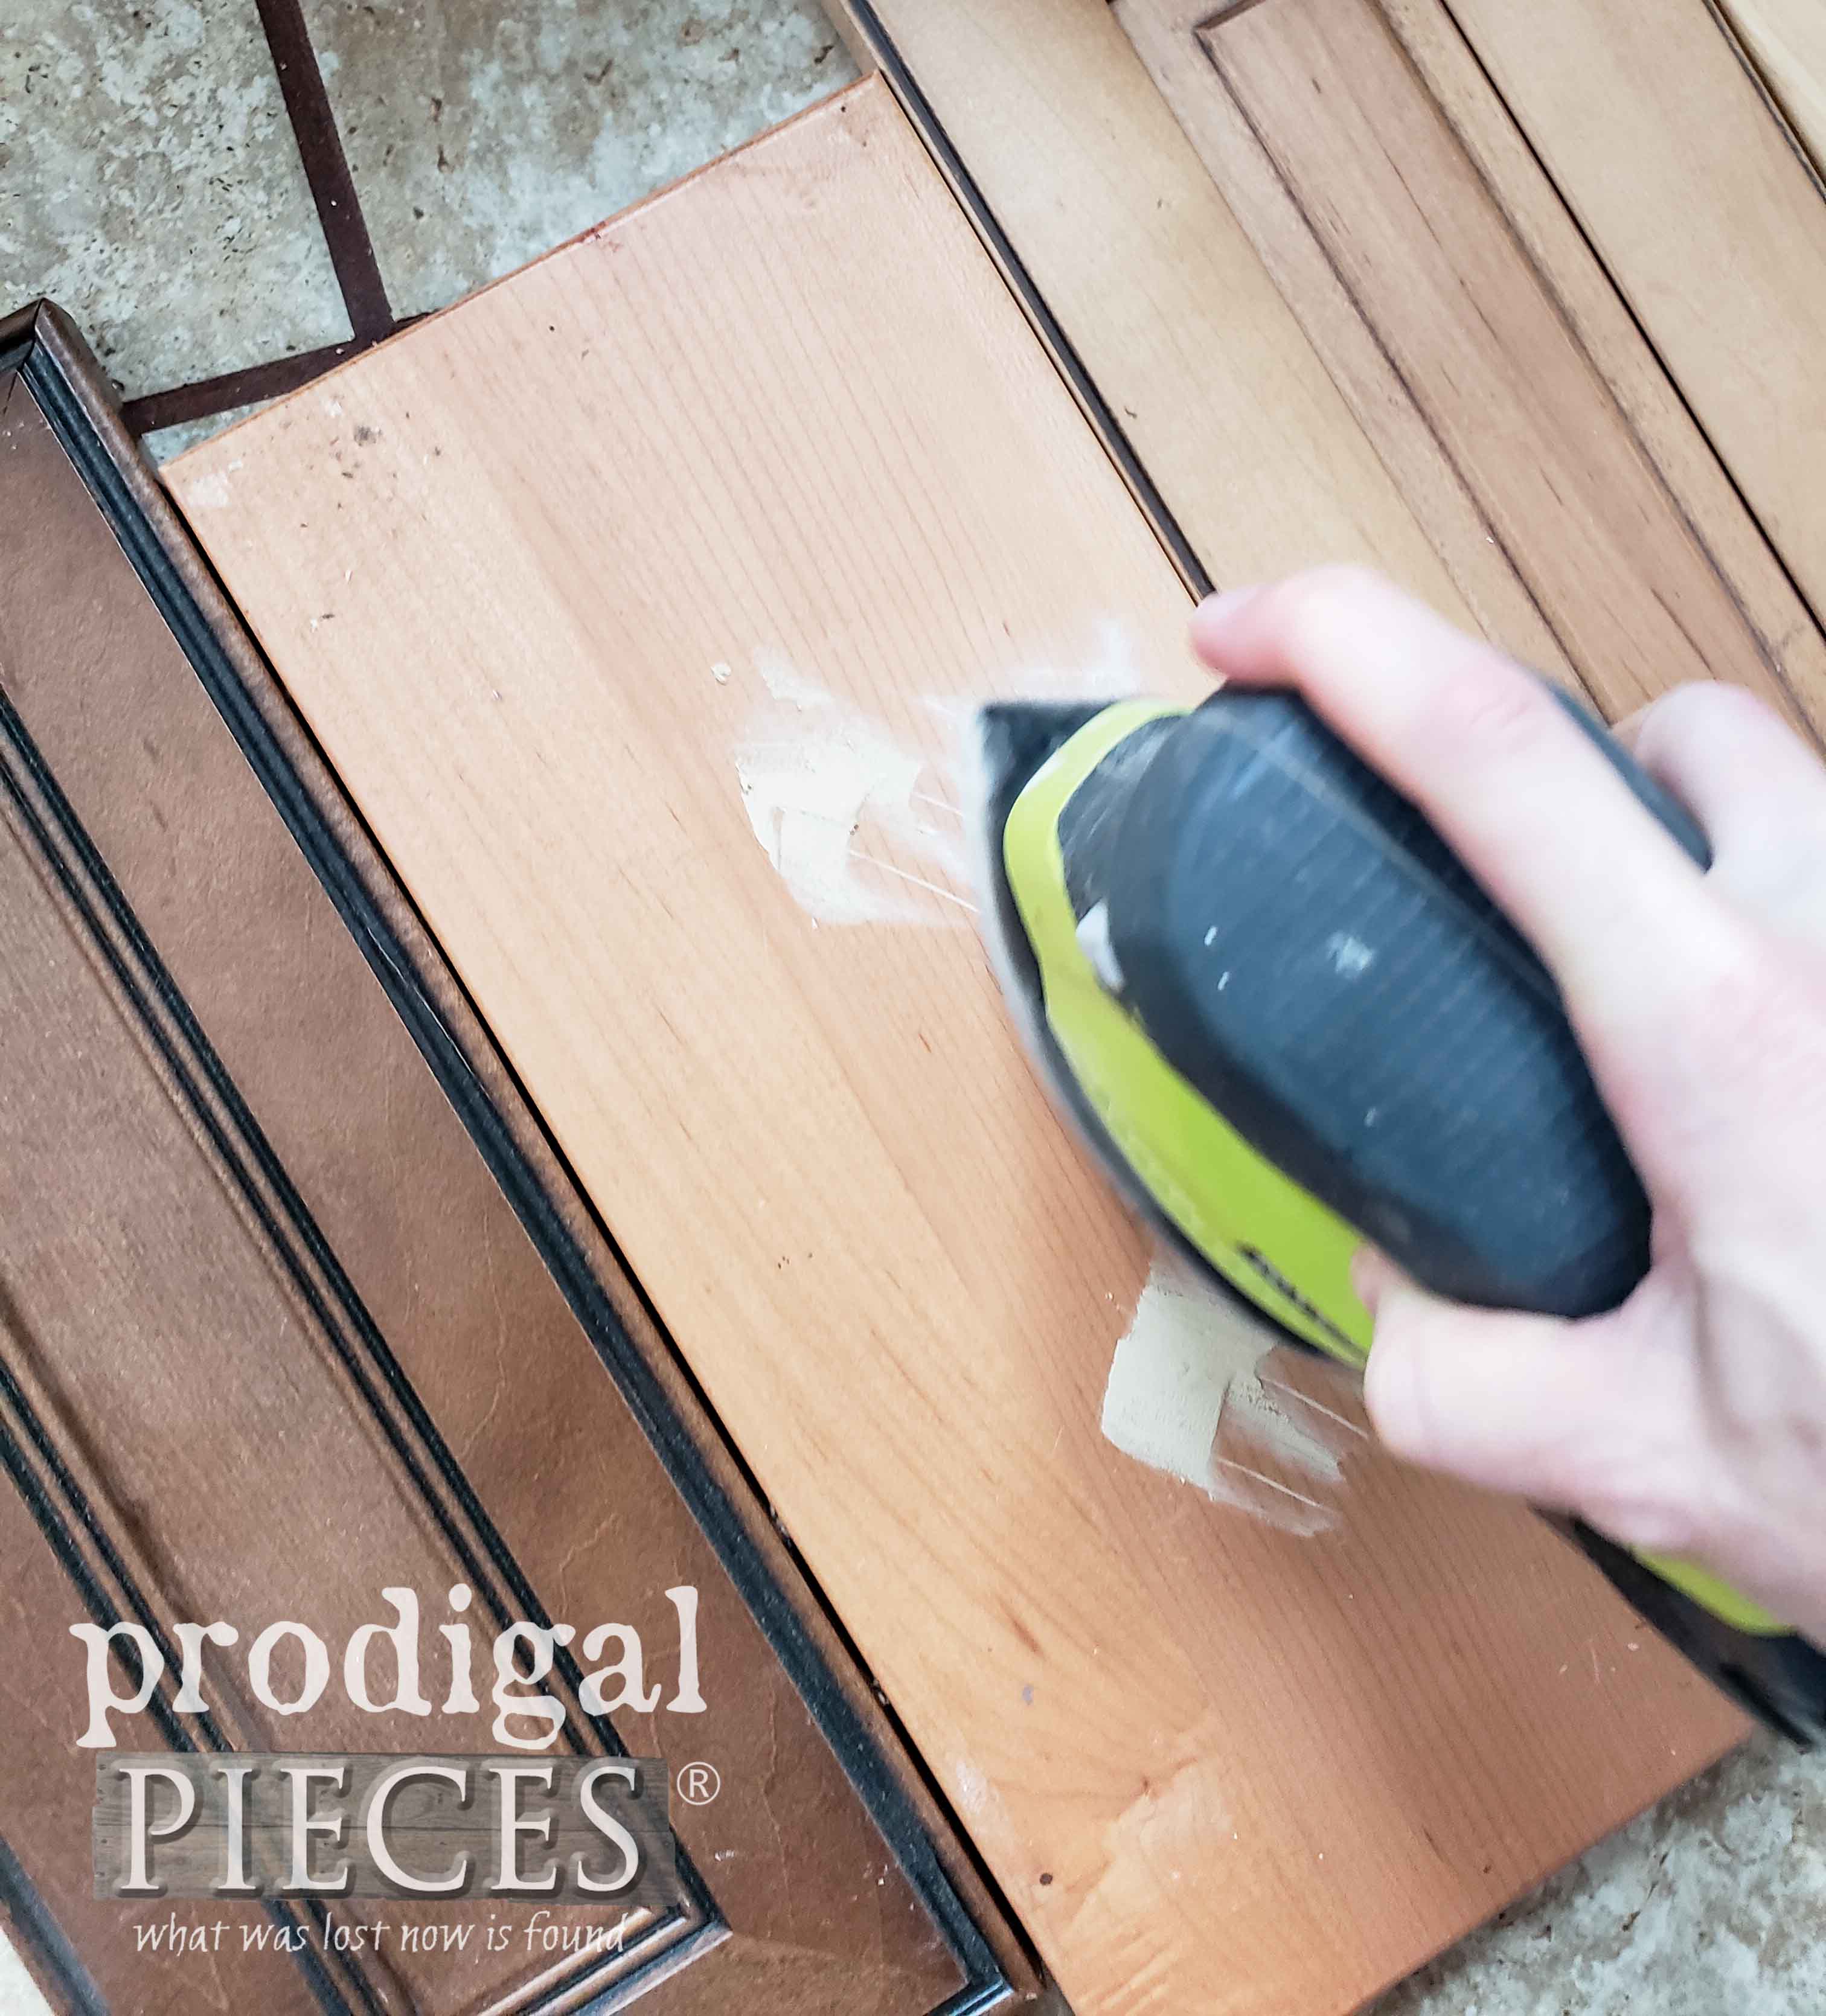
Okay, so now I have the assembly figured out, but the need a little design fun too, don’t you think? I filled the handle holes on the two basic fronts with wood filler and then sanded down with my sander.
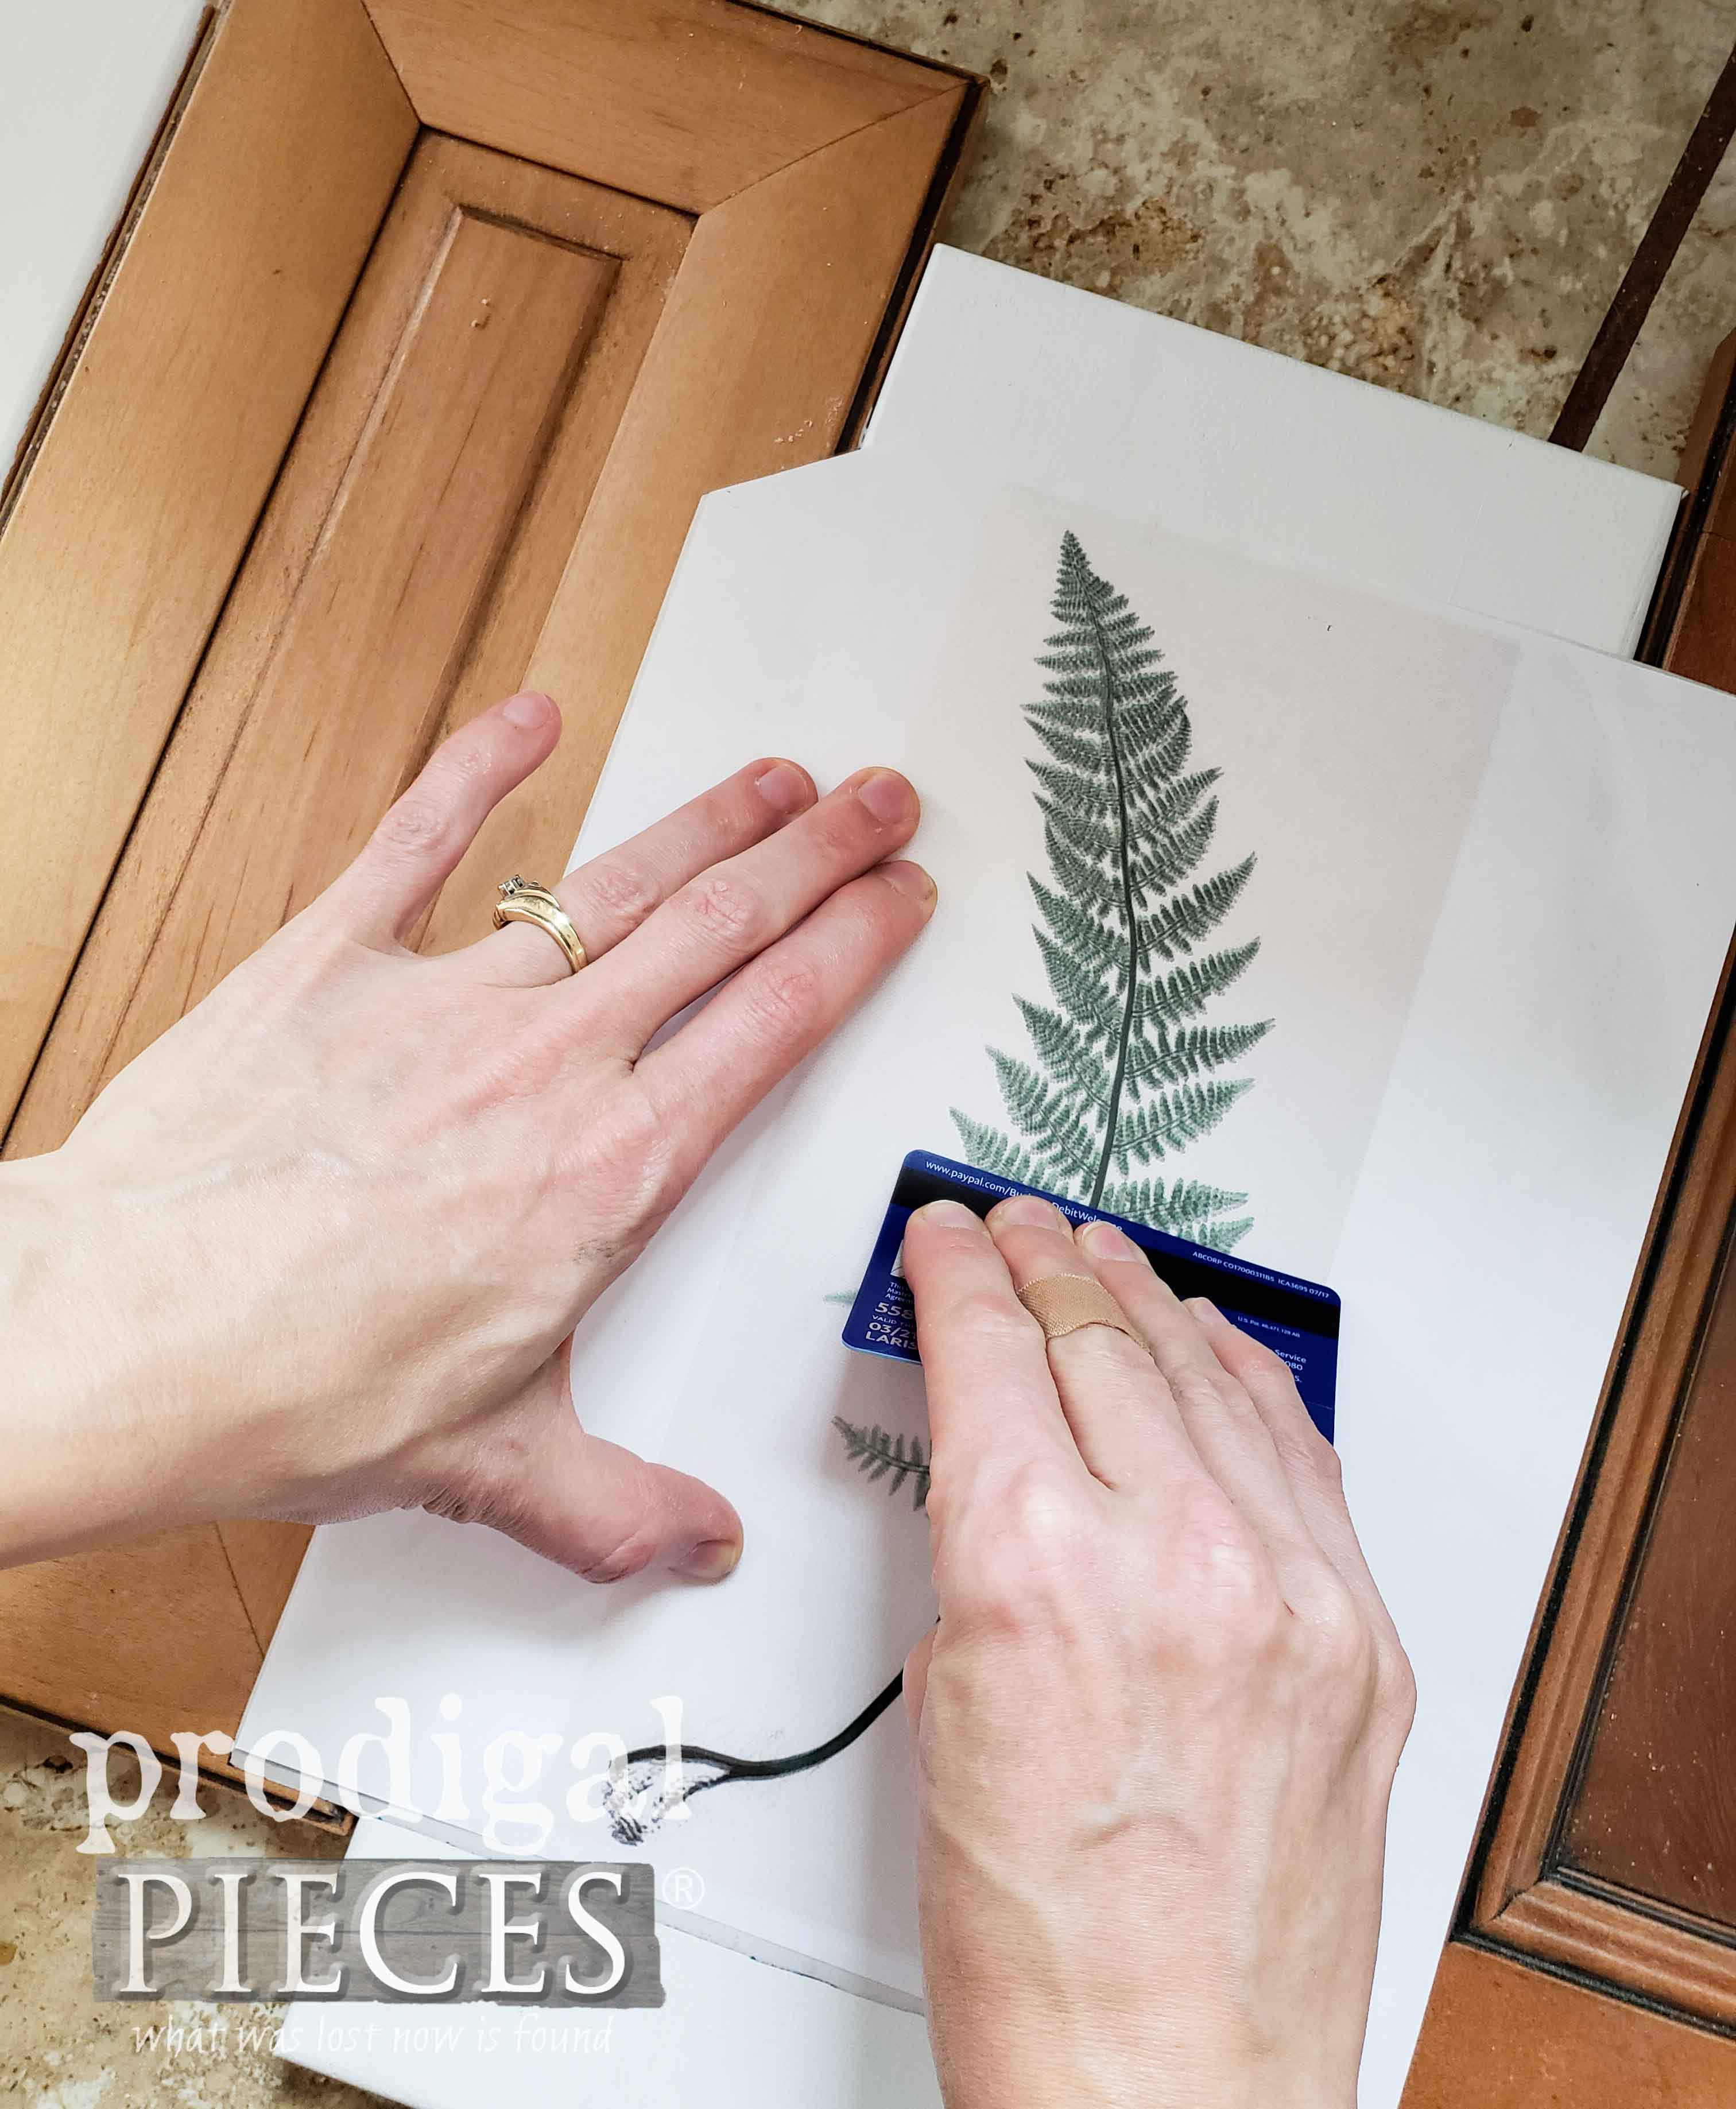
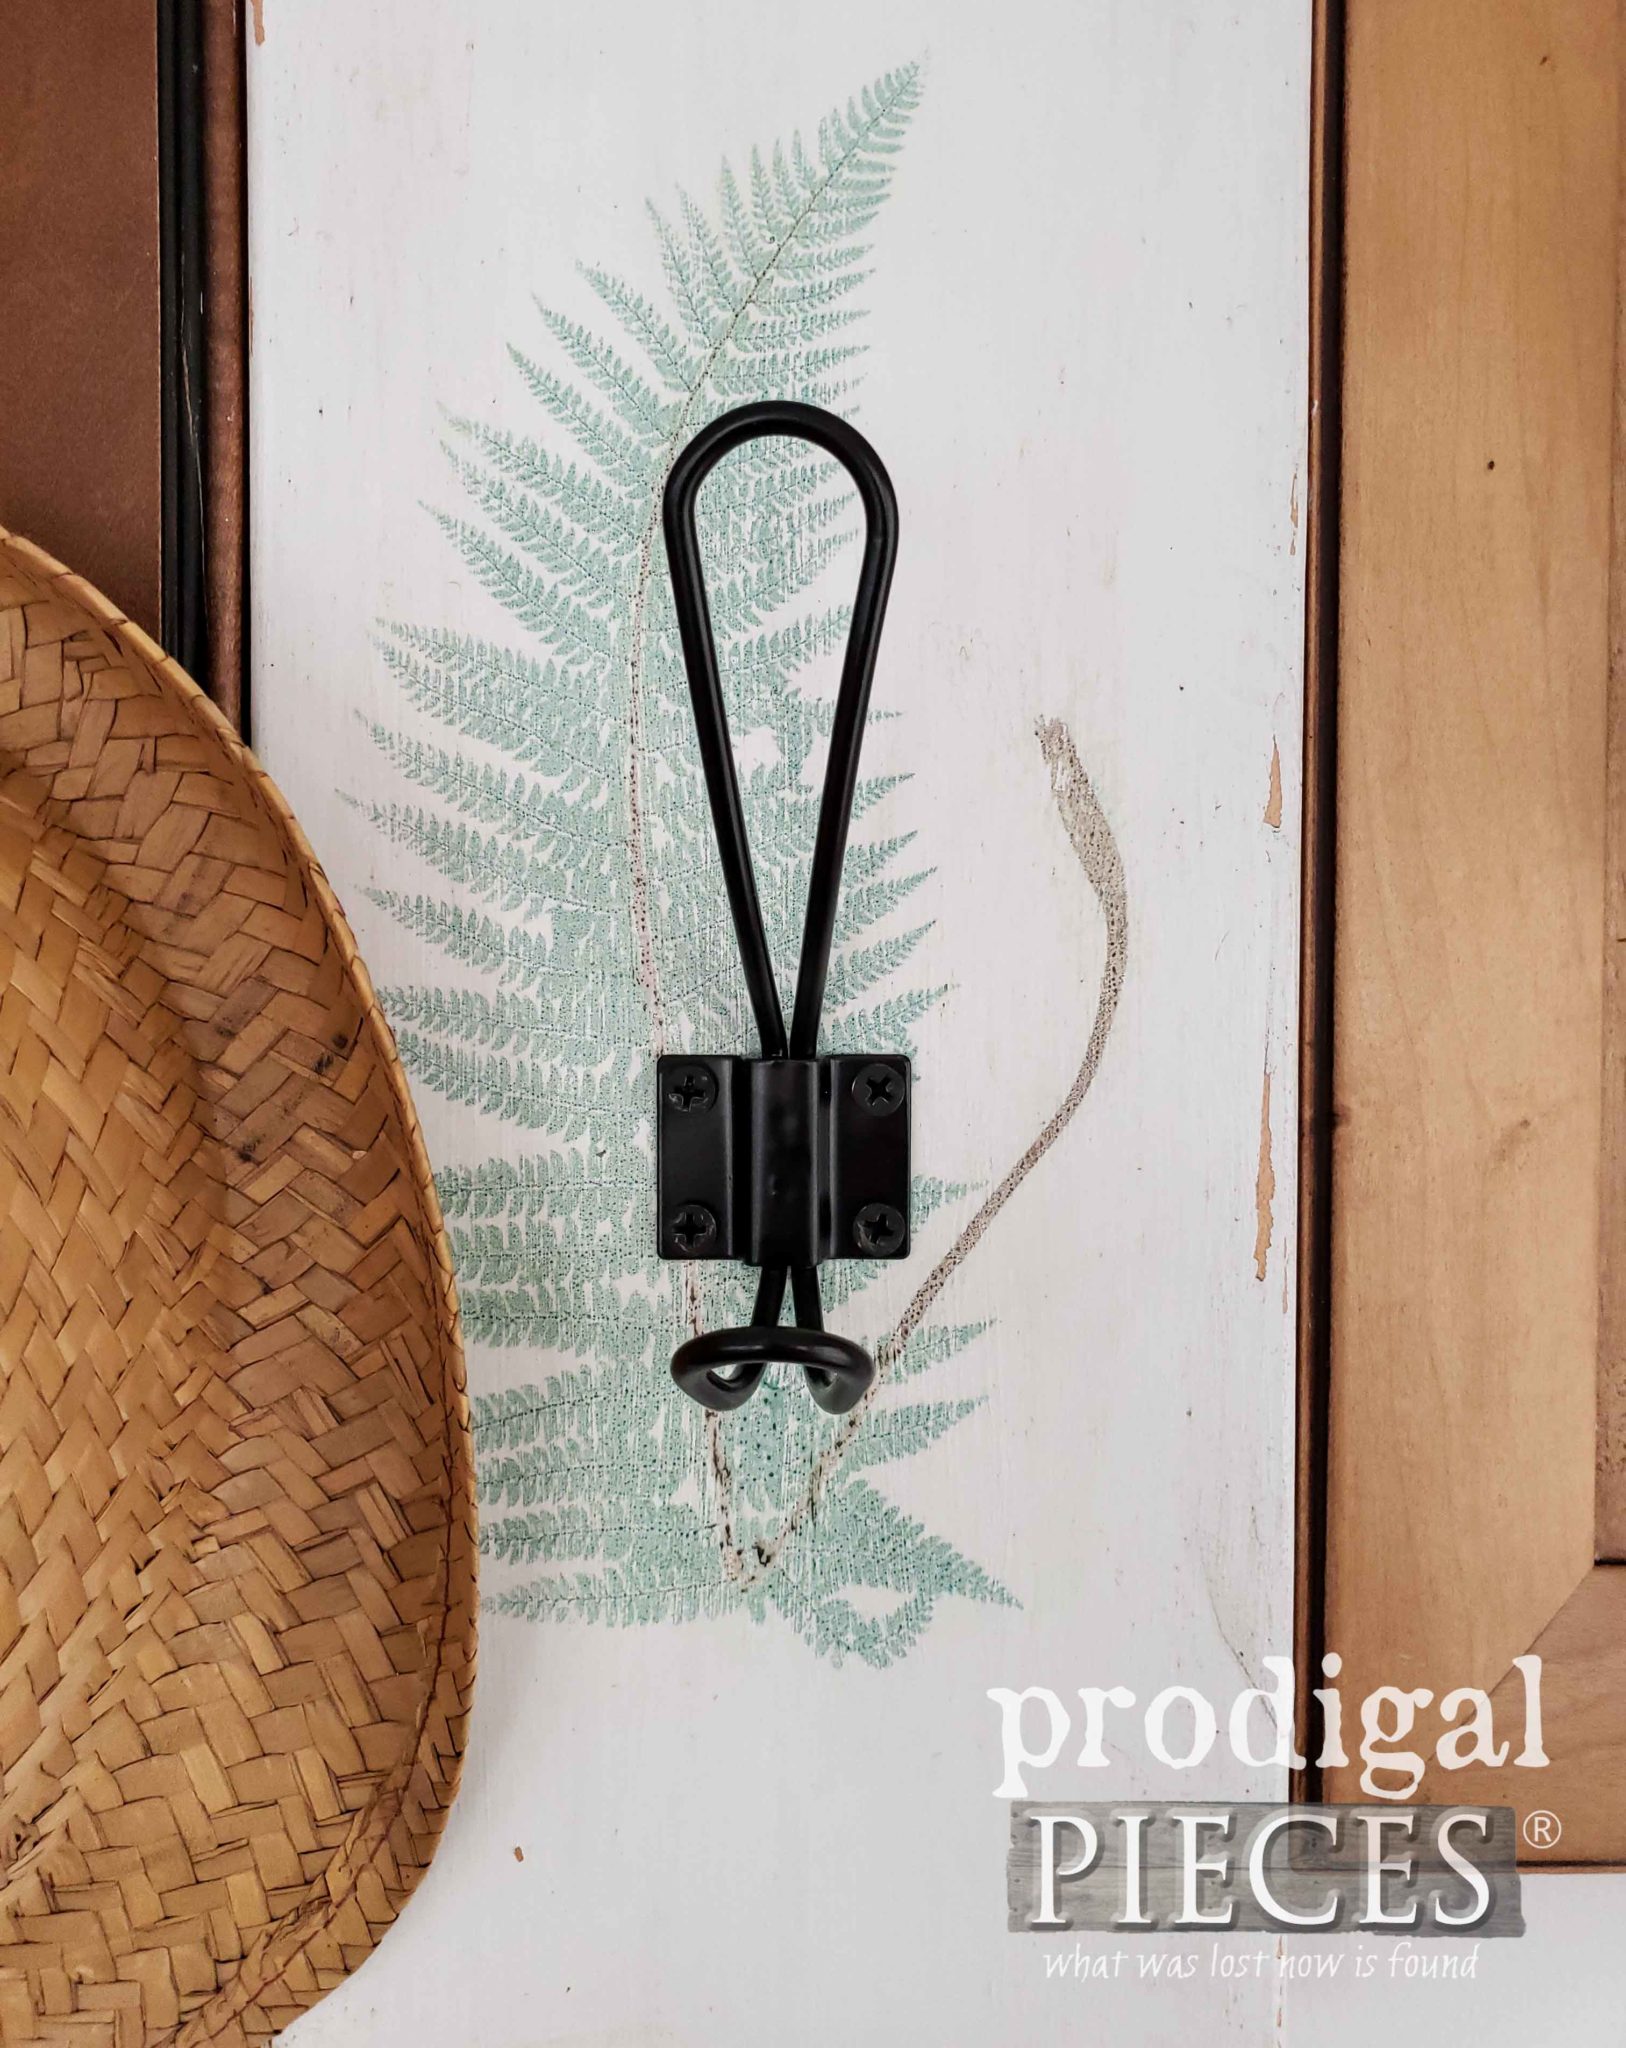
Next, I painted them both white for a nice contrast to the remaining upcycled drawer fronts I’m leaving in their beautiful wood state. Once the paint cured, I added an aged botanical graphic to the faces. One of my go to methods for this technique is using wax paper to print on, though you can use freezer paper or the back of a sheet of printable labels, etc. You can see my steps of the how-to in this post.
GRAPHIC TRANSFER
For this project, I wanted to use ferns. They give a fresh feeling and would fit the tall space I had to fill. Thankfully, my friend, Kristine at The Painted Hive, had all these wonderful free botanical fern printables I could use.
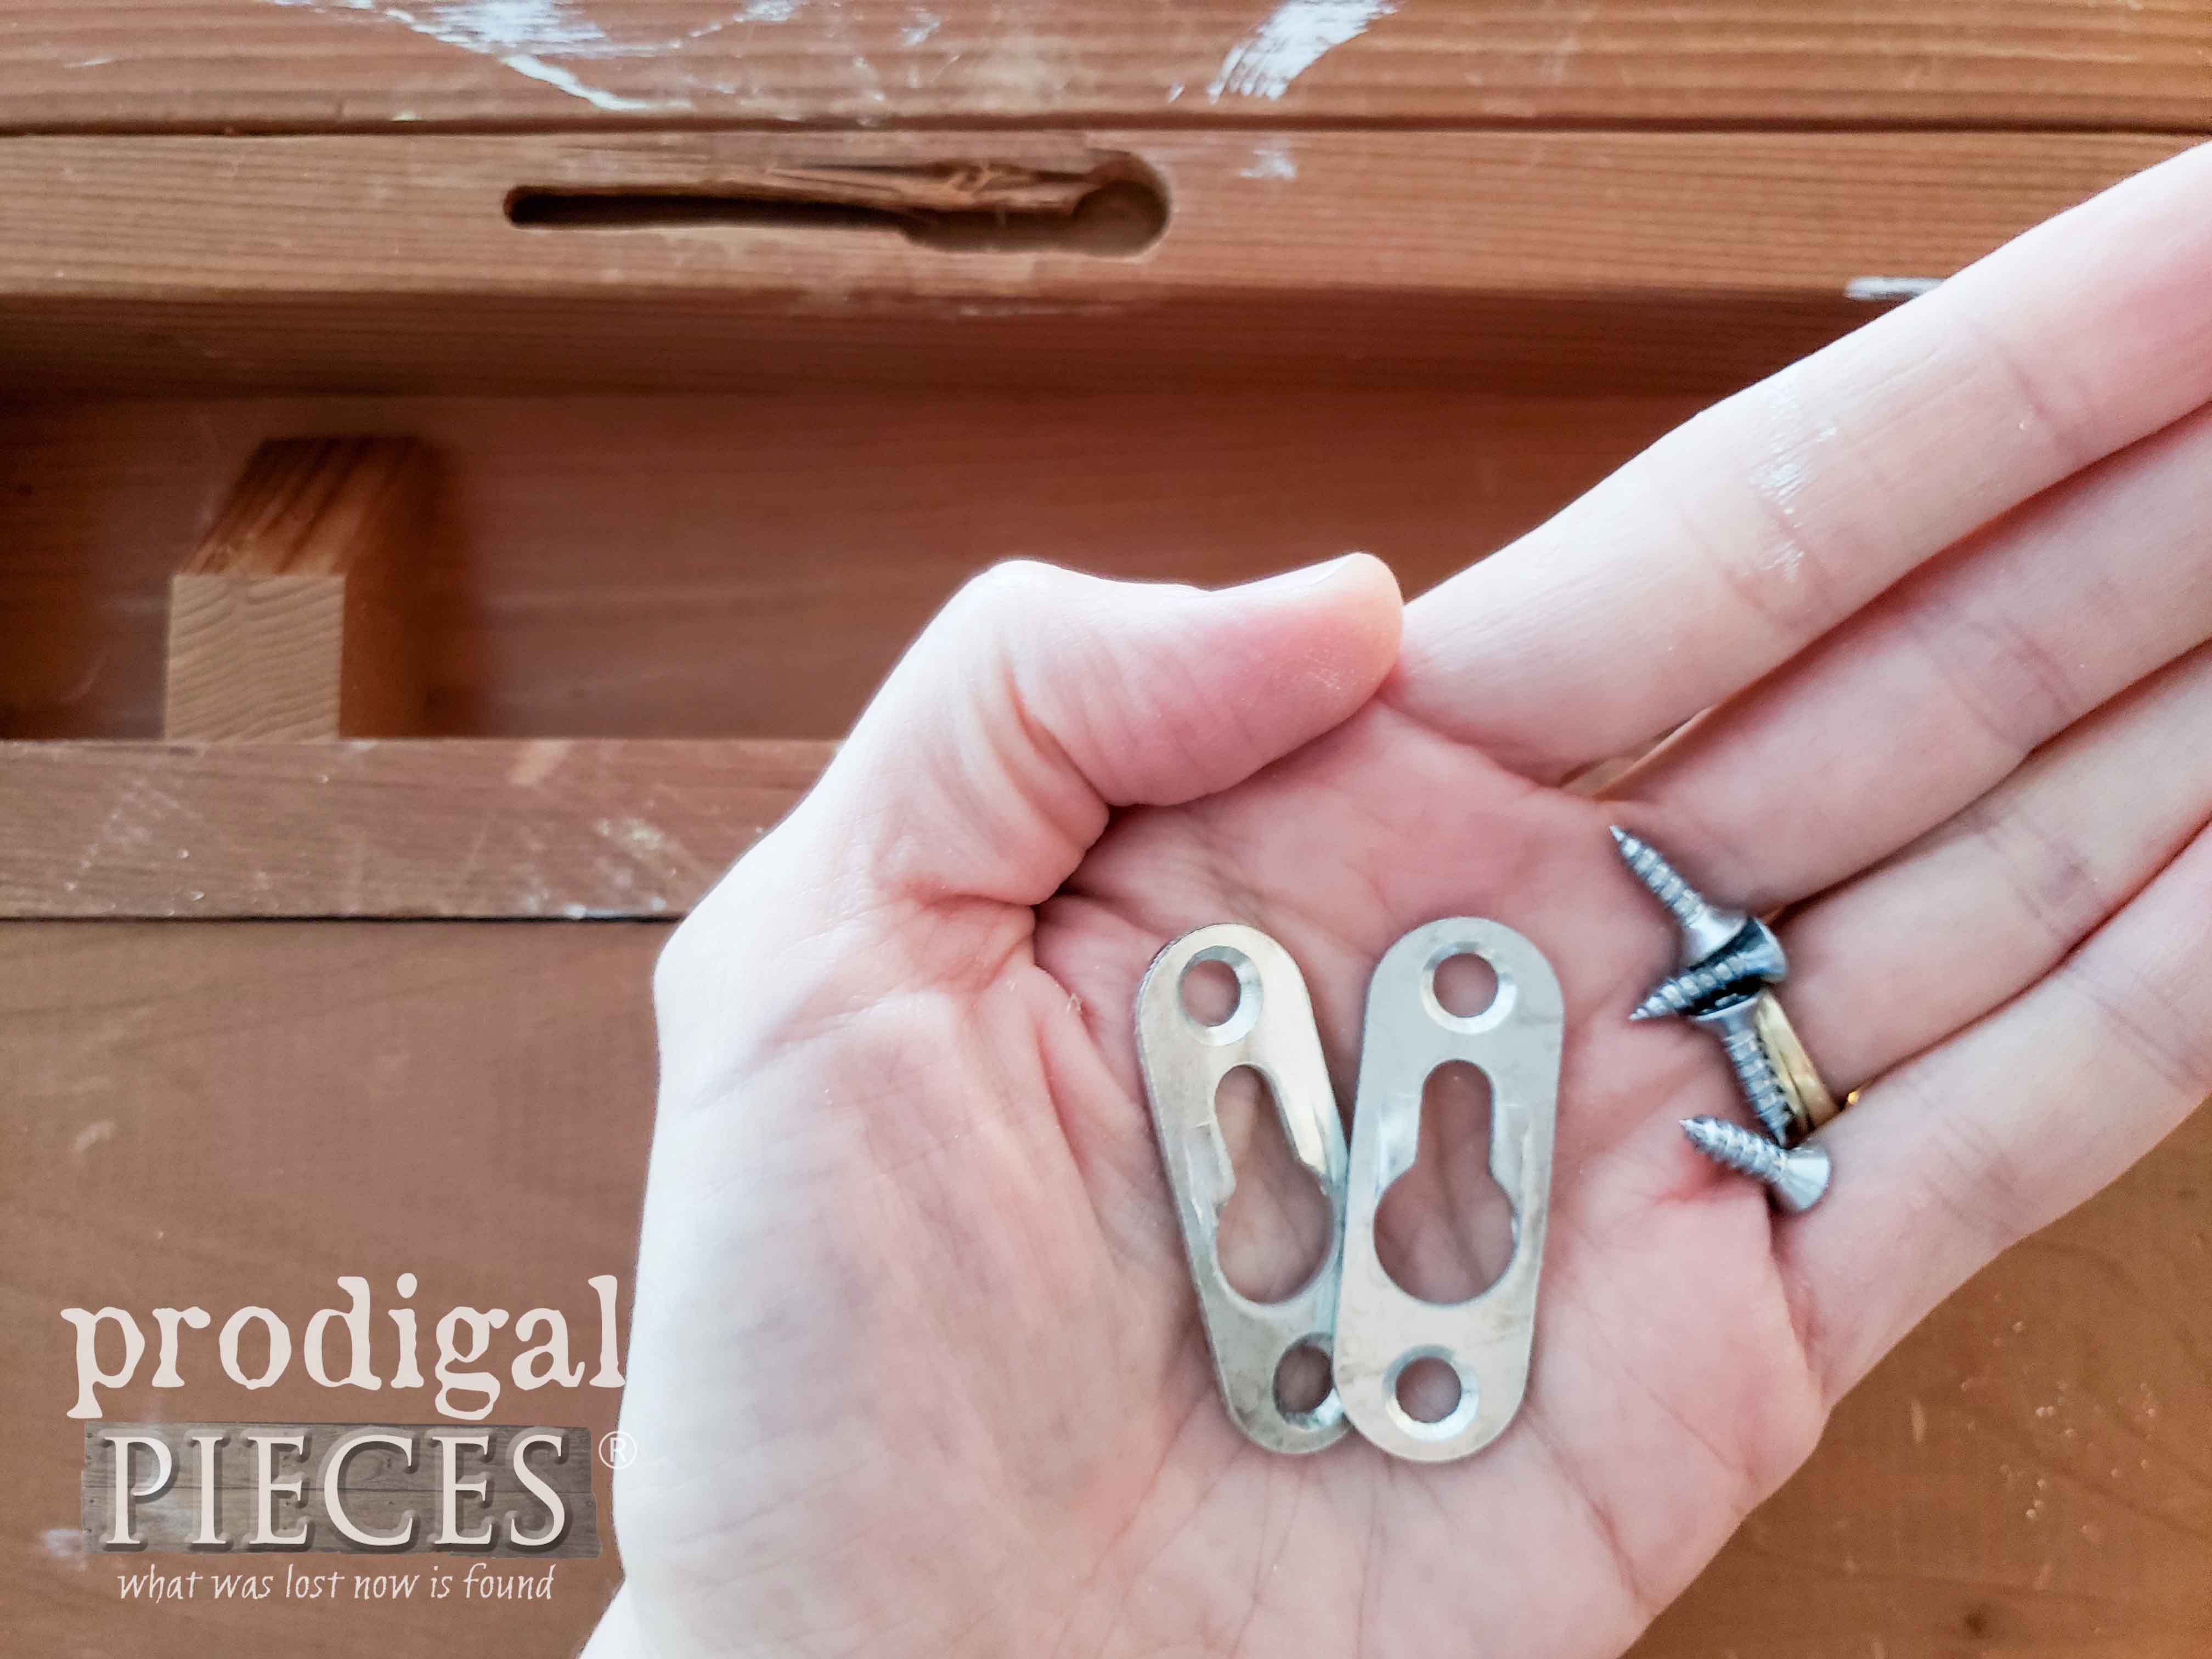
Now the image is on and once it was dry I sealed it with a poly spray. Then, all I need to do is add my favorite hooks, that I used in this post HERE to the back (these are great for holding much weight).
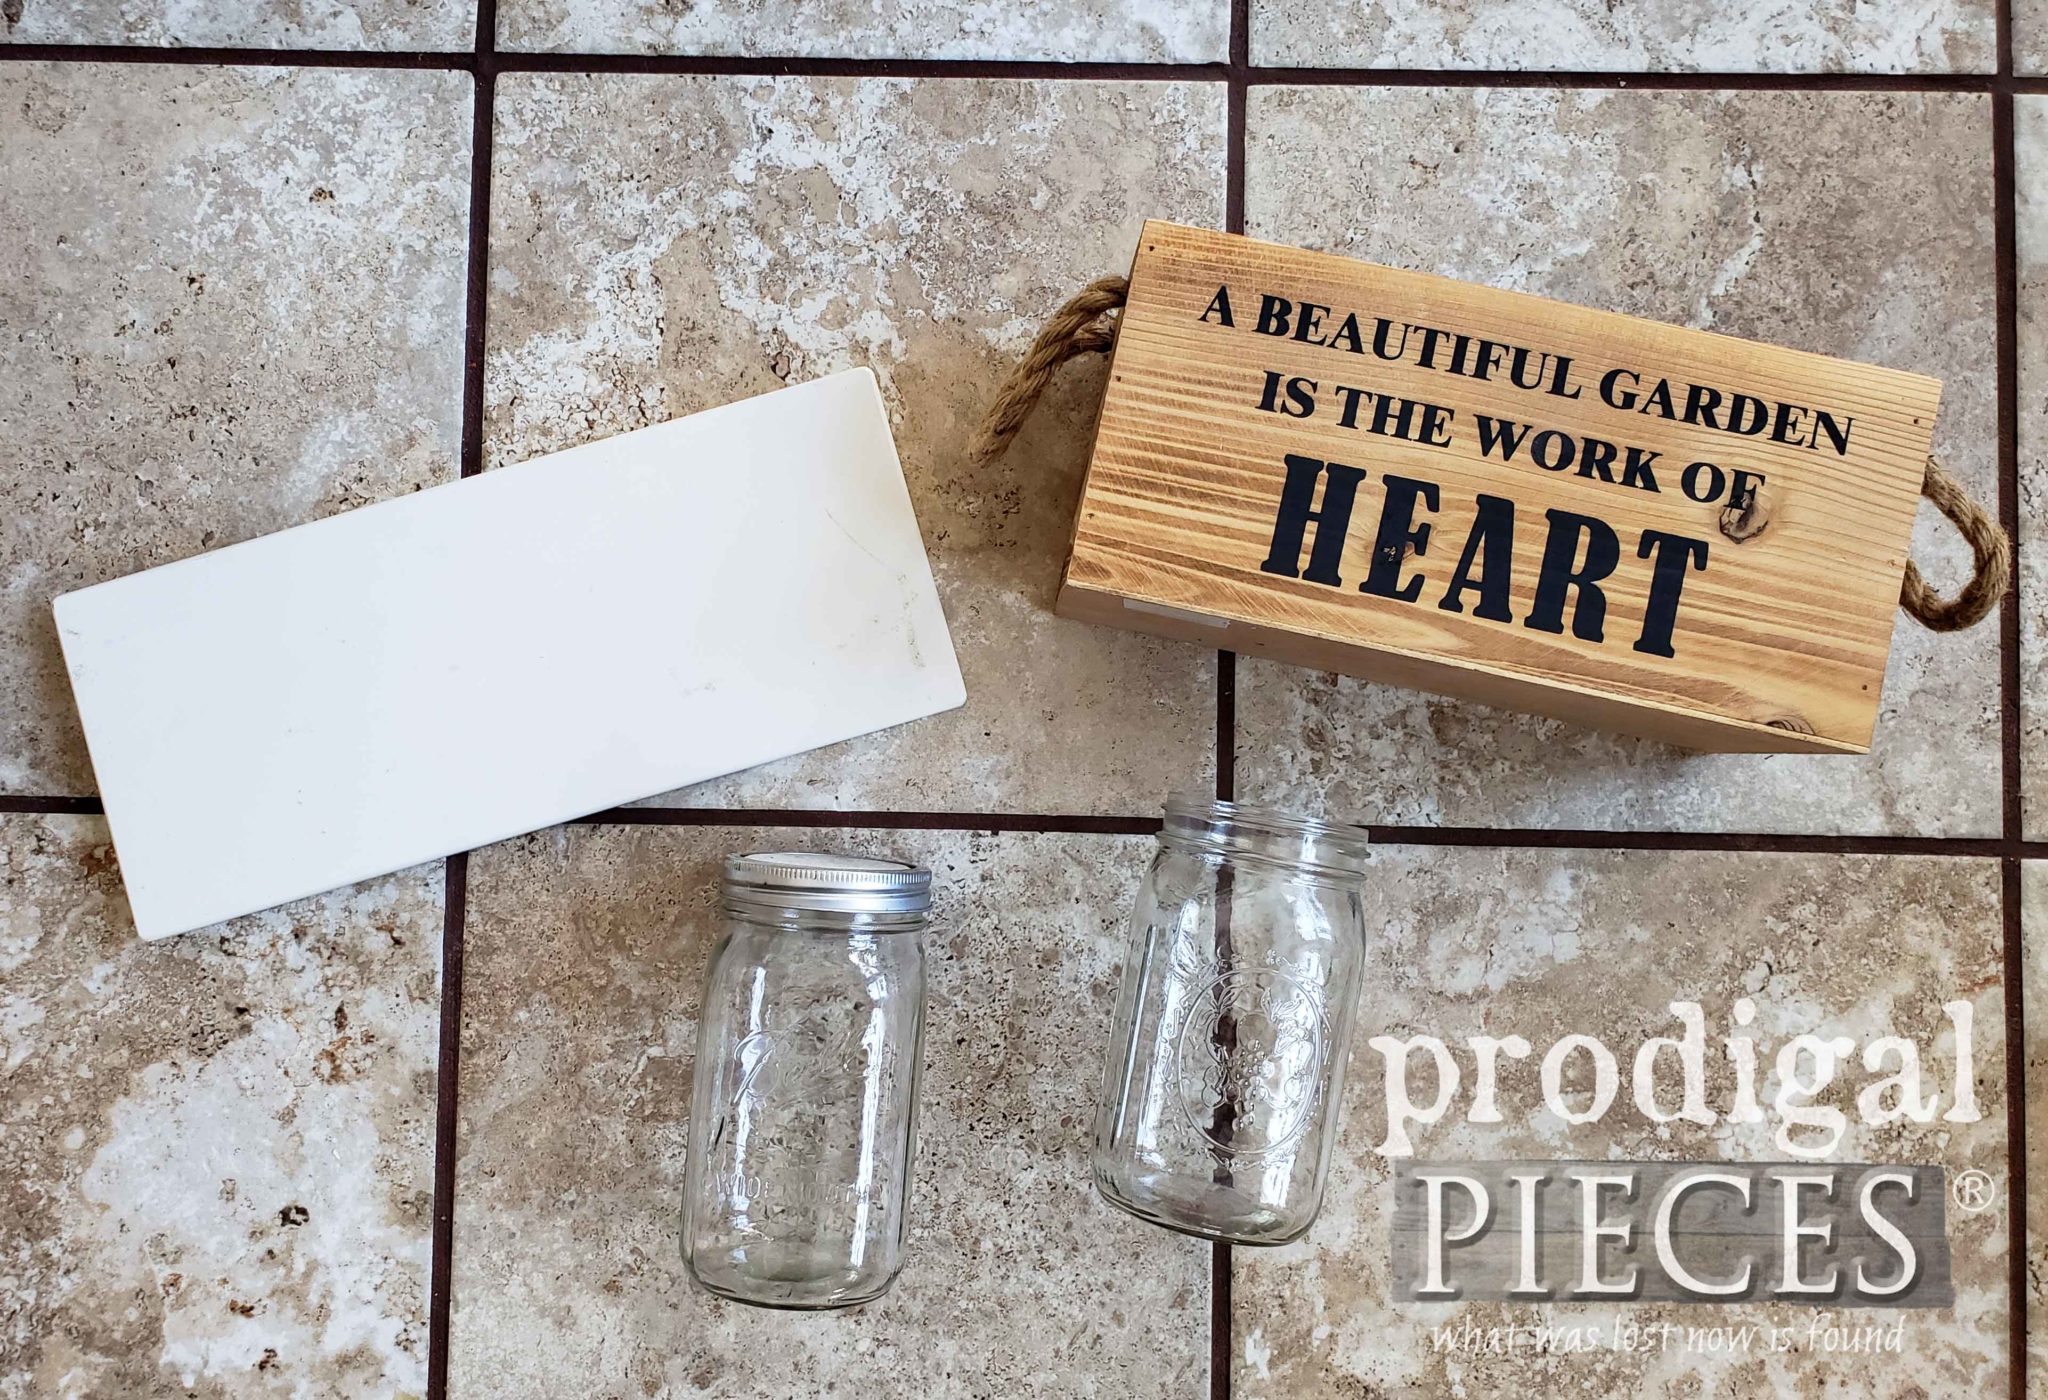
I’ll show you the finished result in a minute. Before I do that, I want to show you what I did with the other upcycled drawer fronts in my stash. Next up is this white MDF drawer front. I found this mini crate and two wide mouth canning jars at the thrift store and knew they’d be perfect for creating my vision.
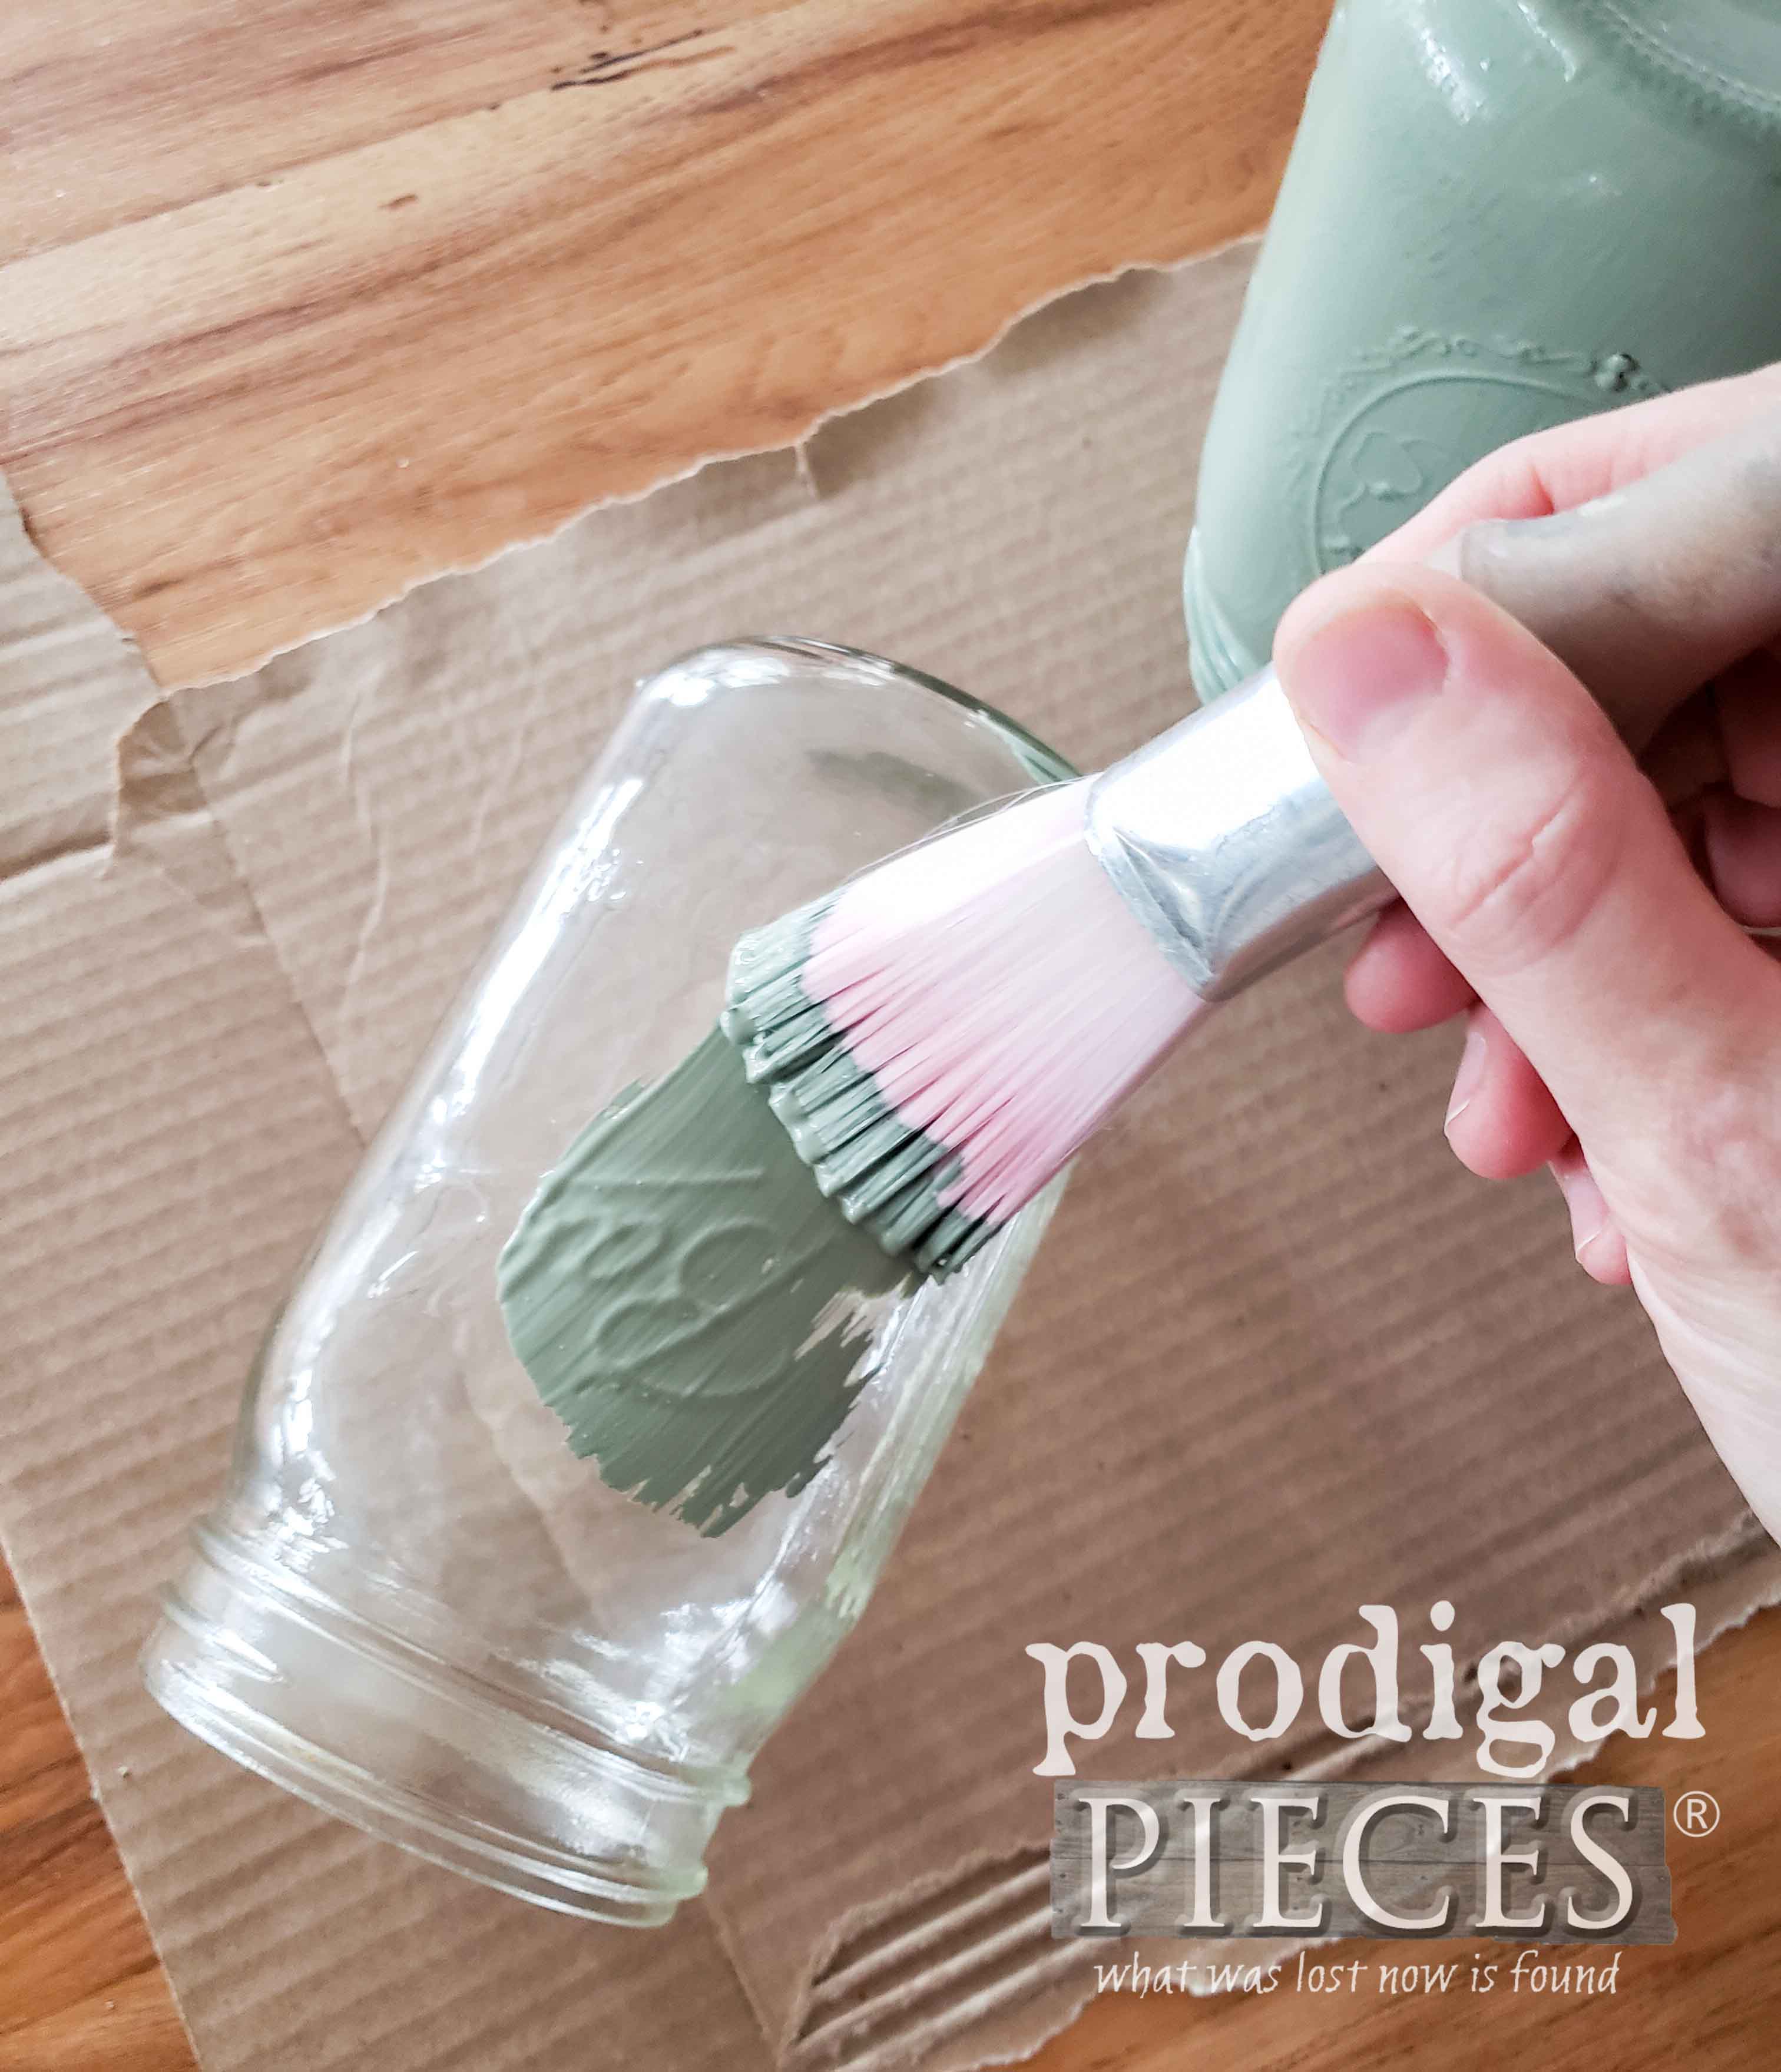
The crate has that “Made in _____” look, but it will suit what I’m after. First, I apply a coat of paint of the same color I custom mixed for this upcycled chest of drawers.
After the paint cured, I distressed it a bit and set them aside to work on the drawer front. In order to make this into a shelf, I needed a wall mount and a couple of corbels added for support.
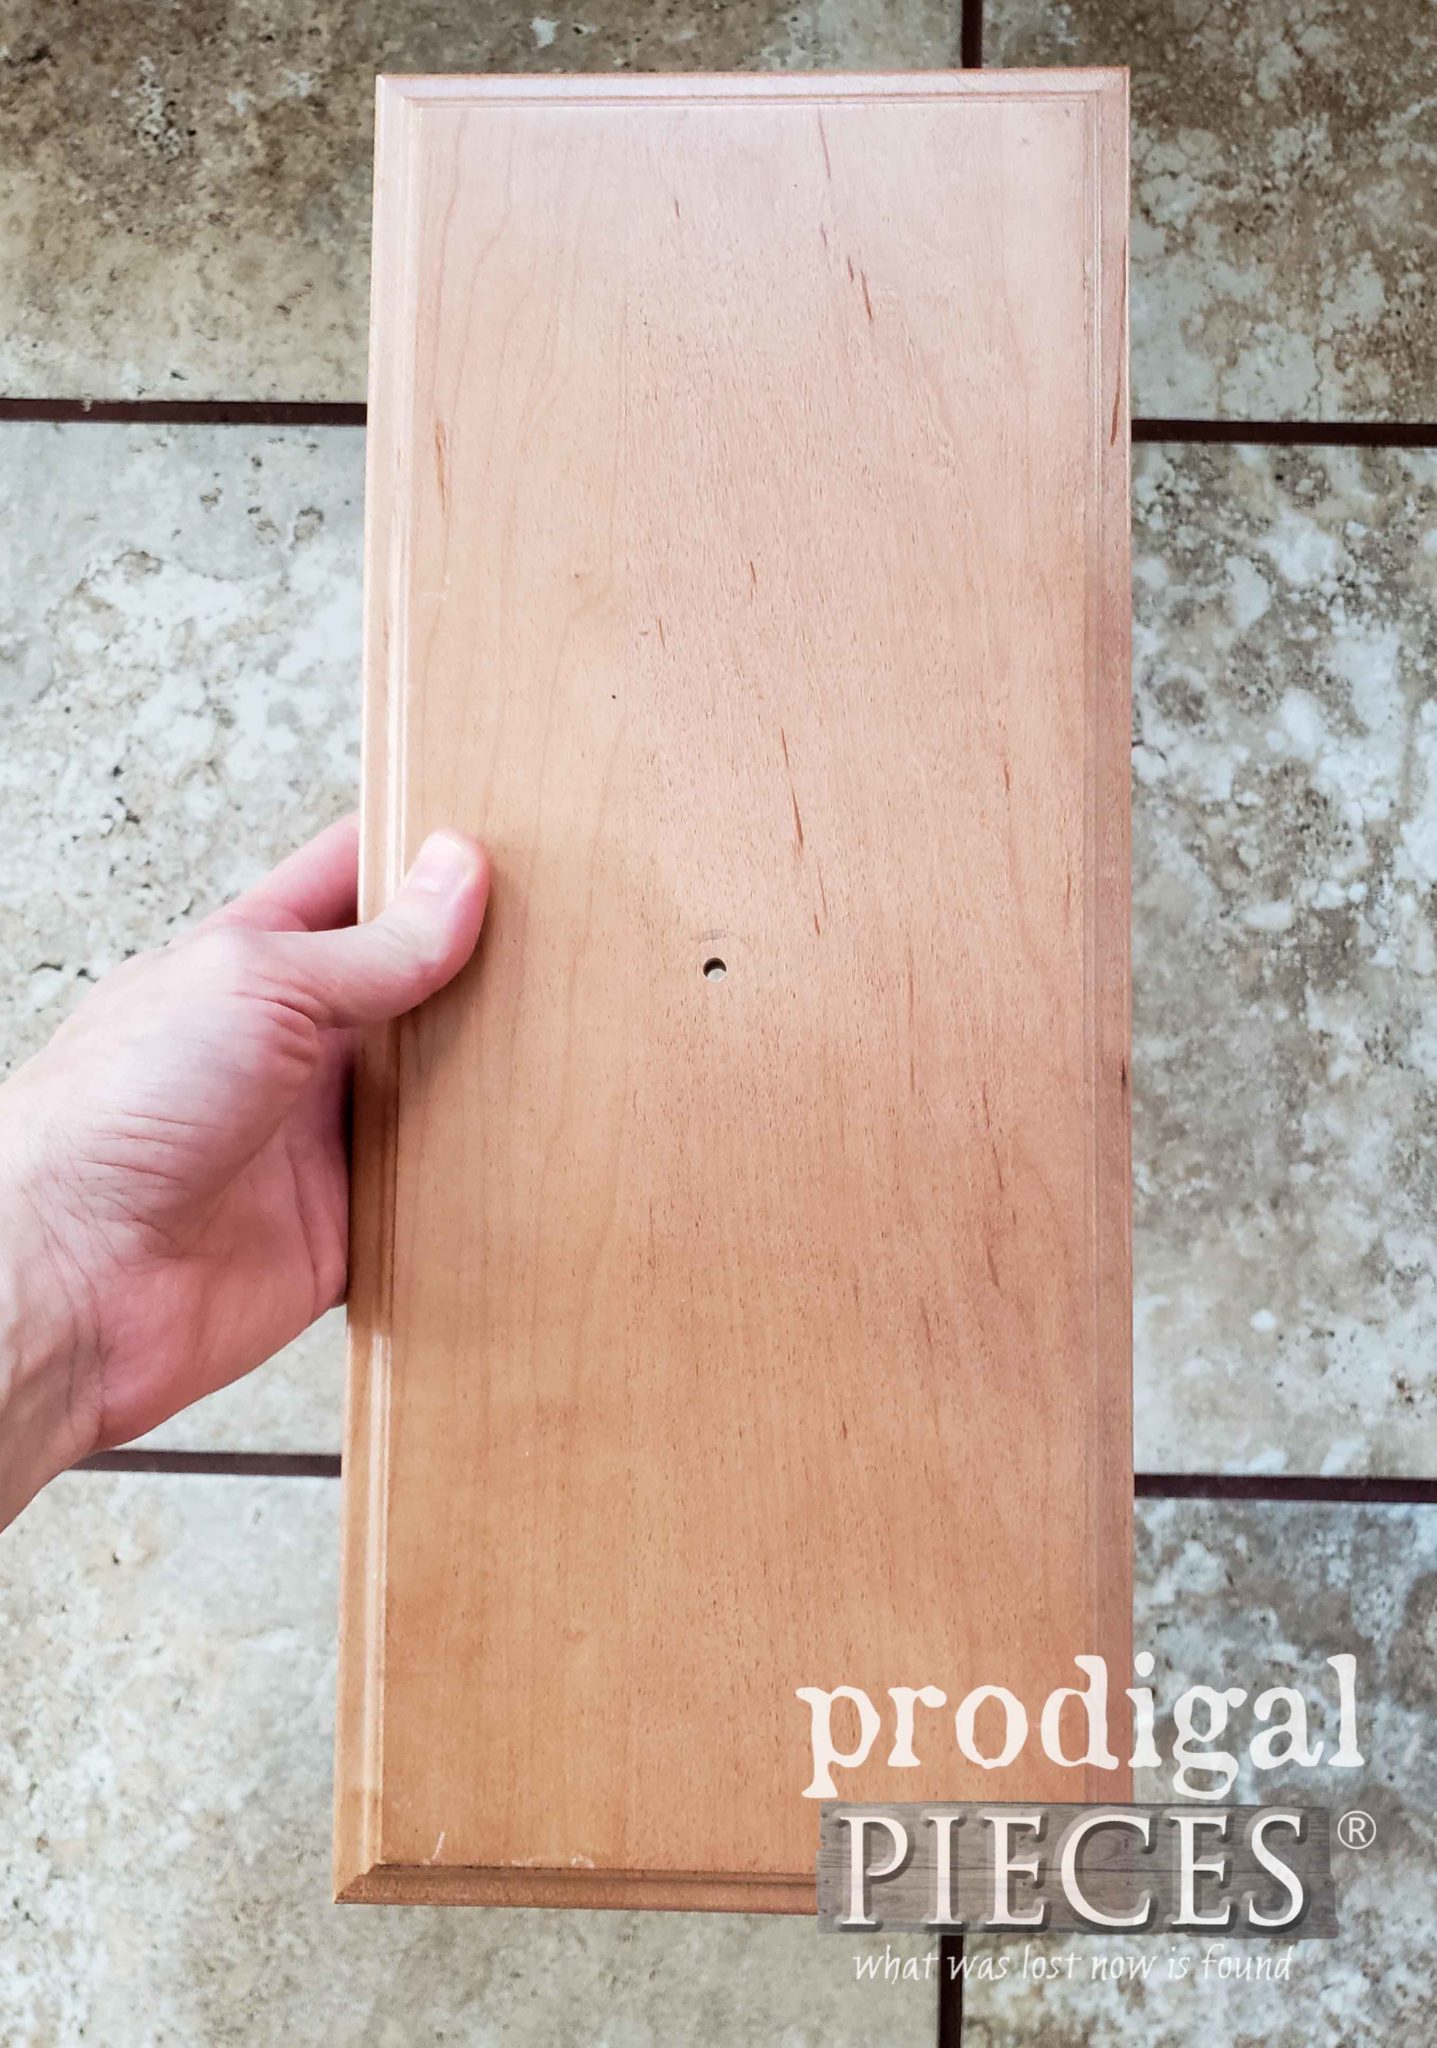
For the wall mount, I used this last one of my upcycled drawer fronts by simply drilling pocket joints and attaching the white MDF drawer front on top. Then, I added a couple of mini corbels I created by cutting our scrap door trim. They are affixed with wood glue and a few brads using my nailer.
THE REVEAL
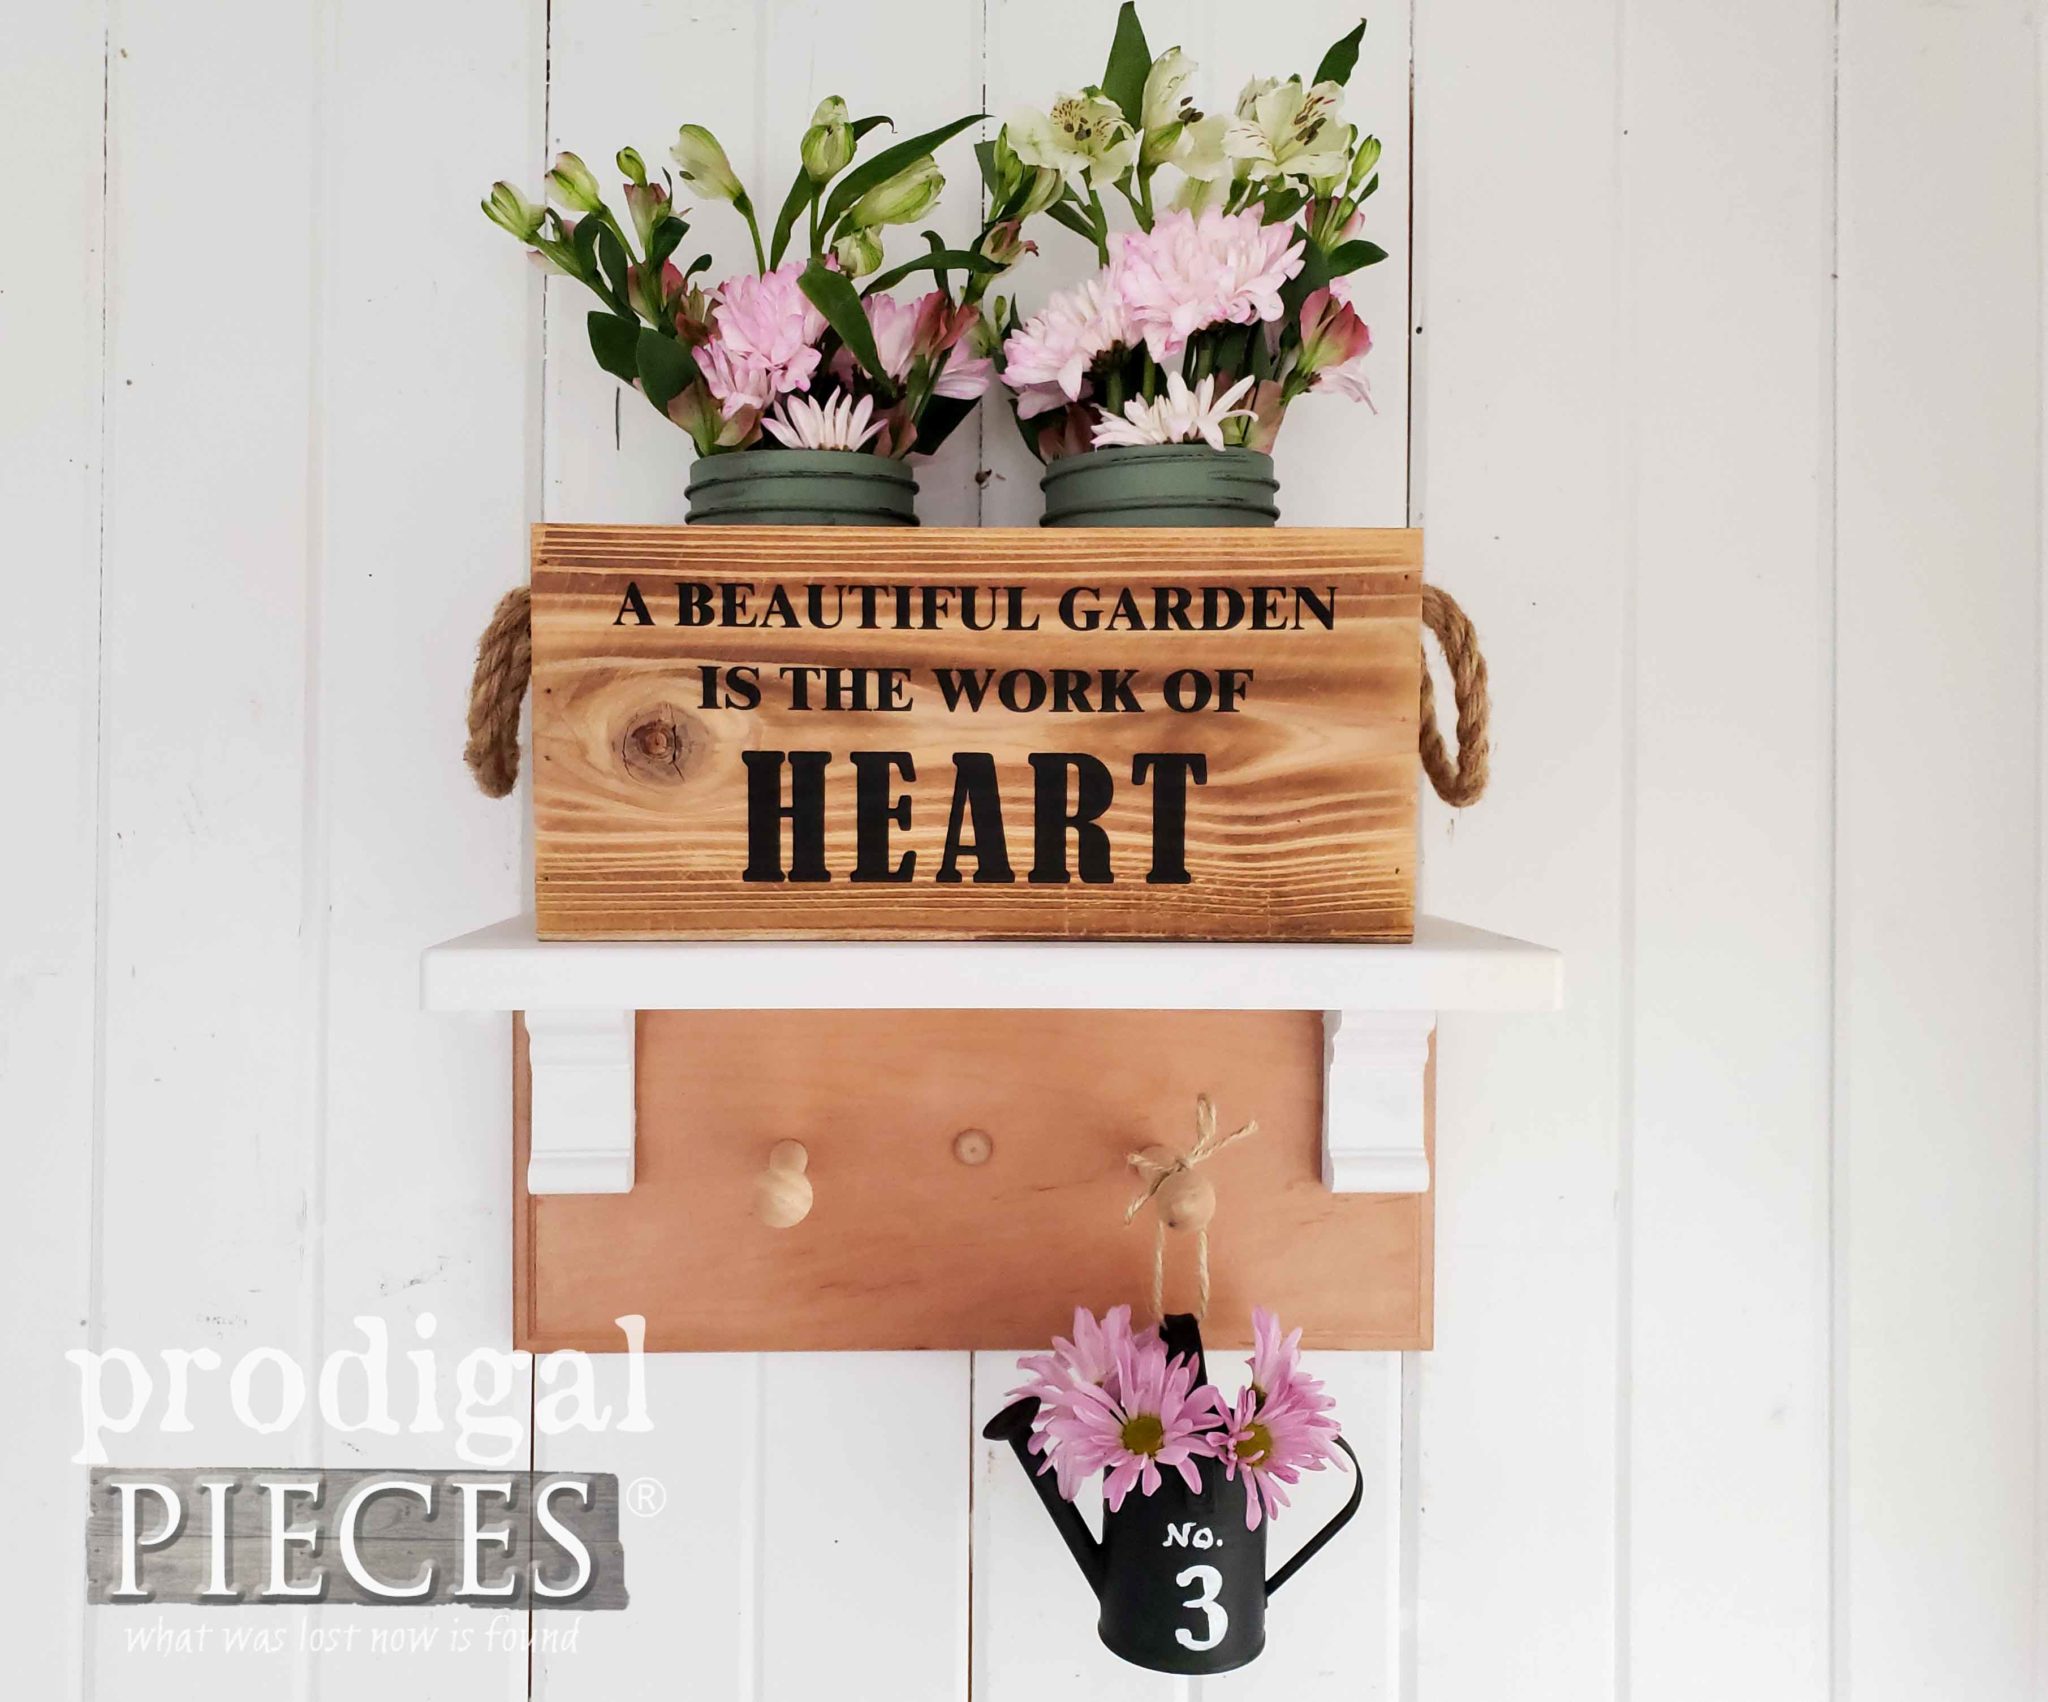
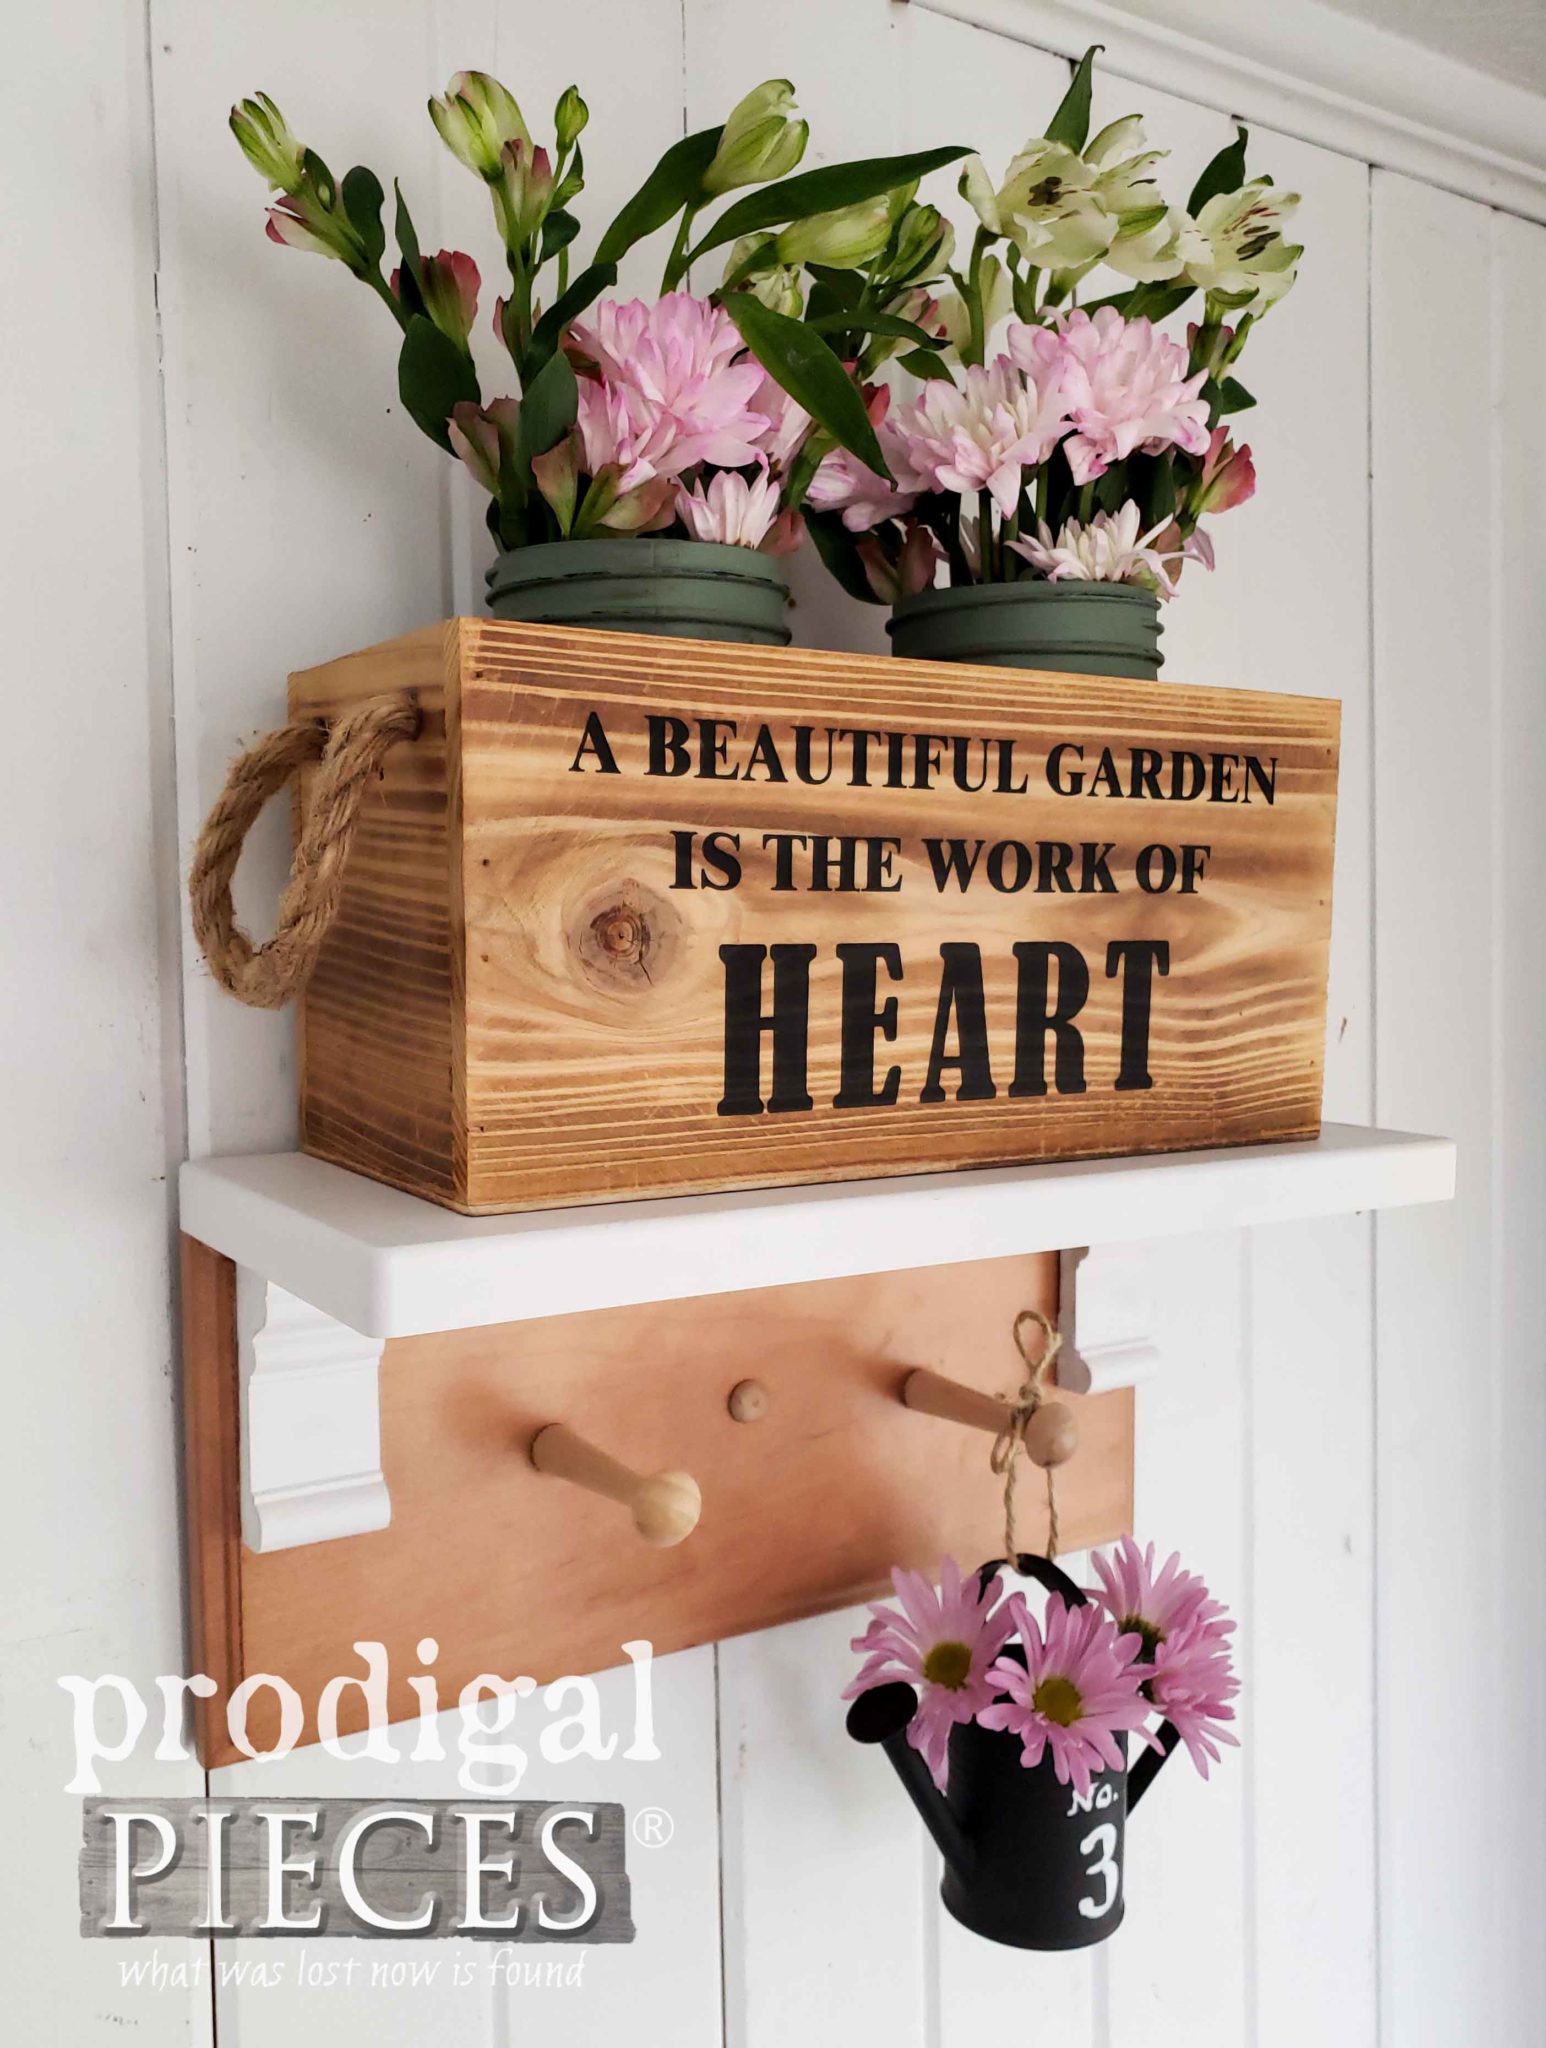
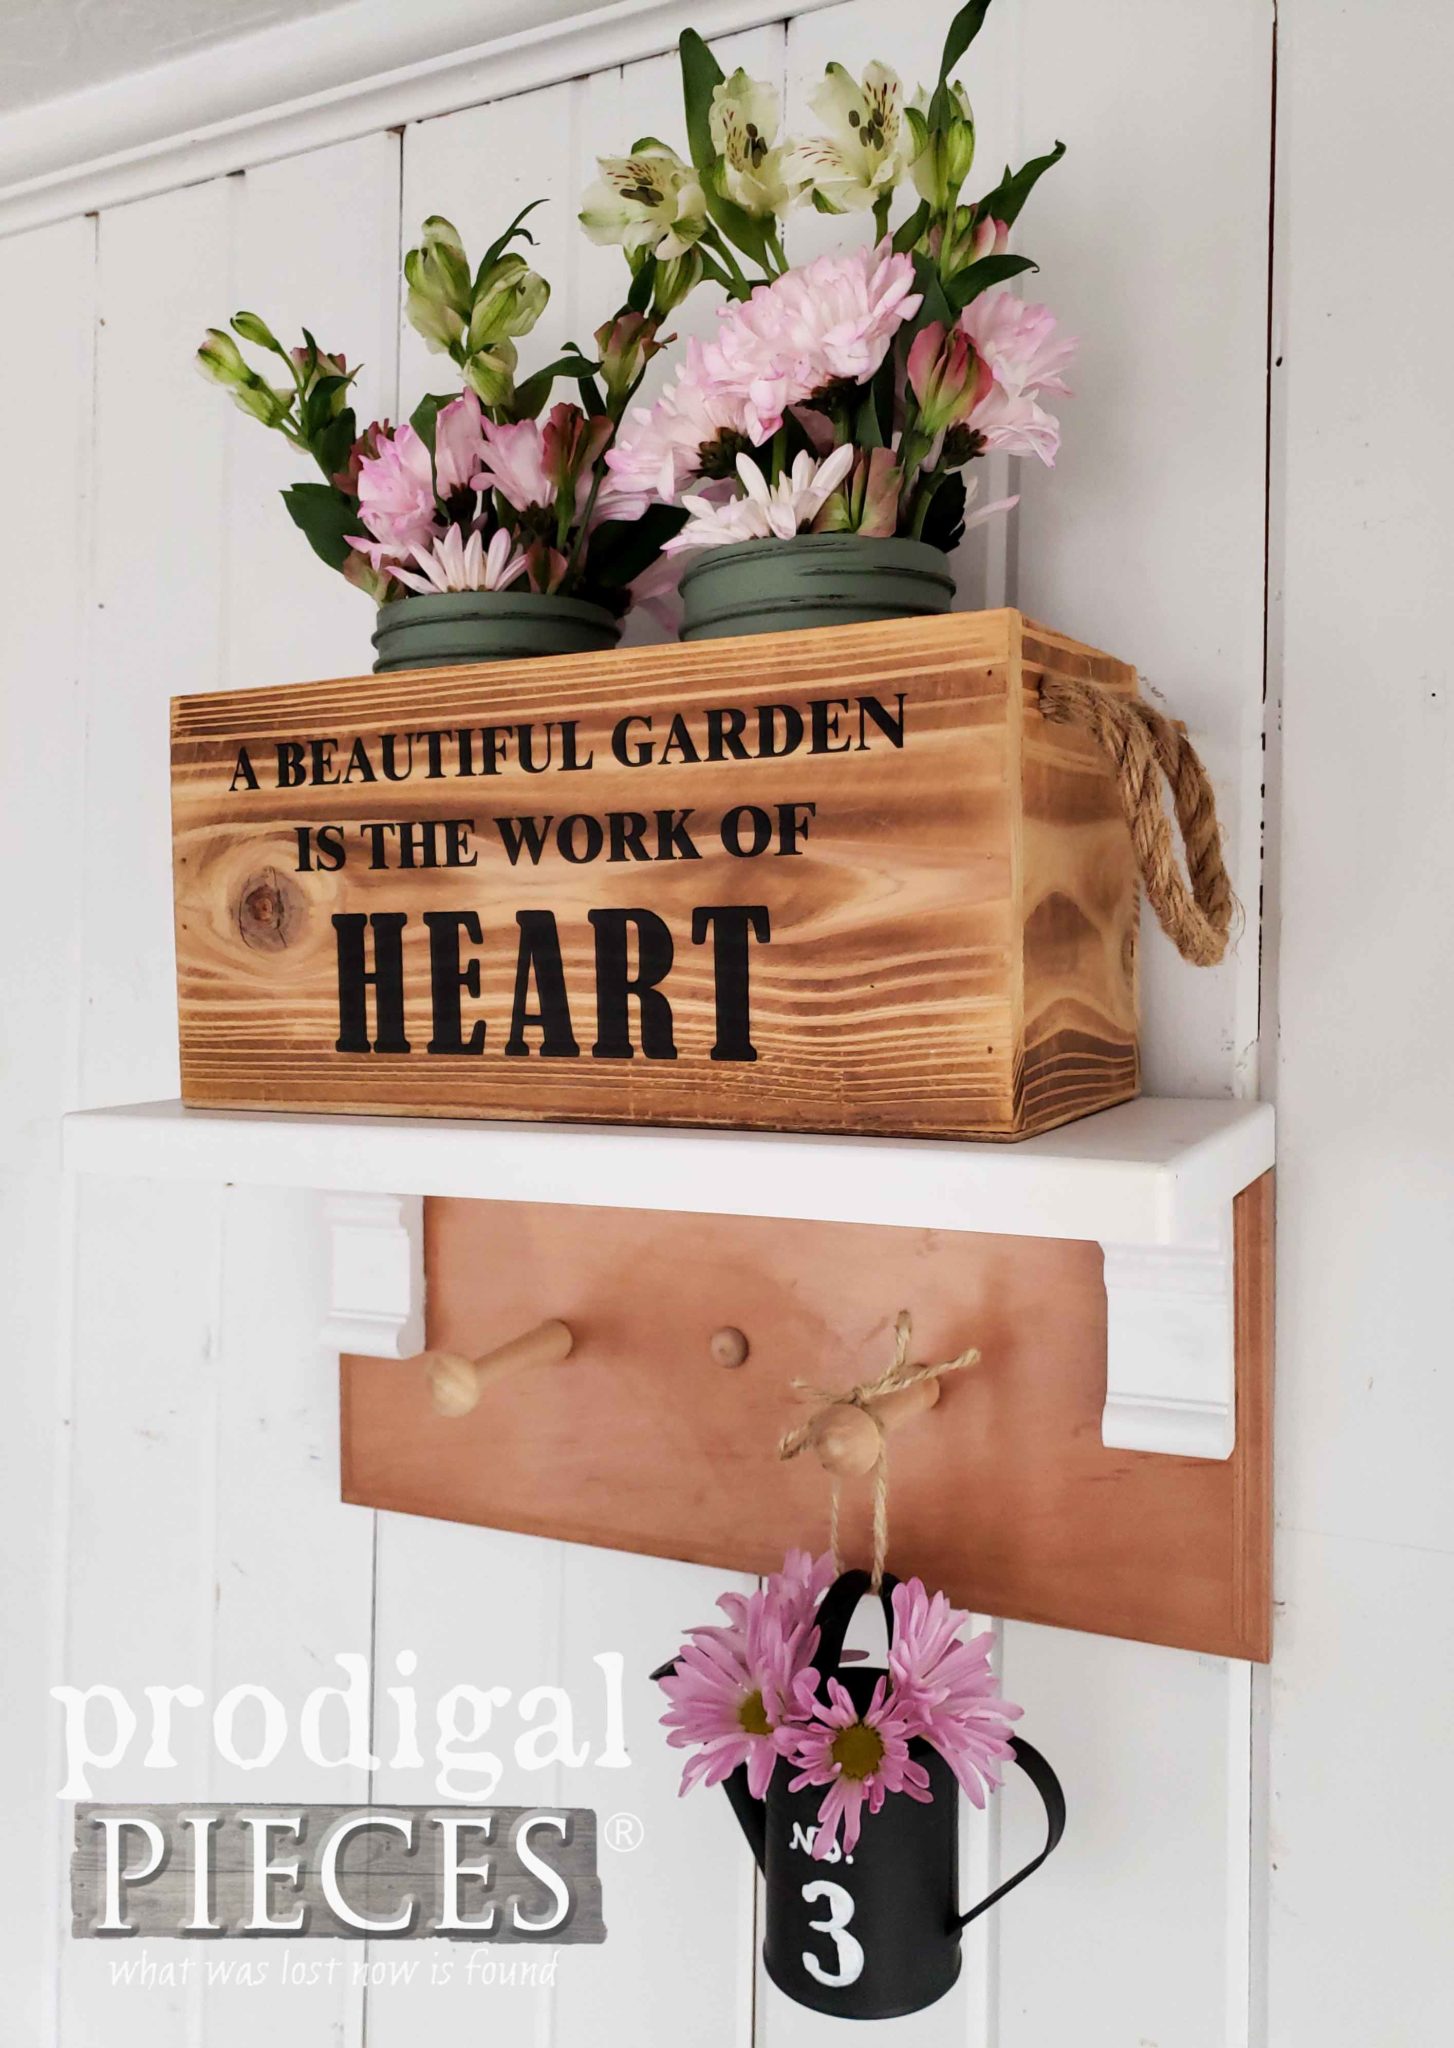
Here is my upcycled drawer fronts shelf all finished and ready to go with a new life.
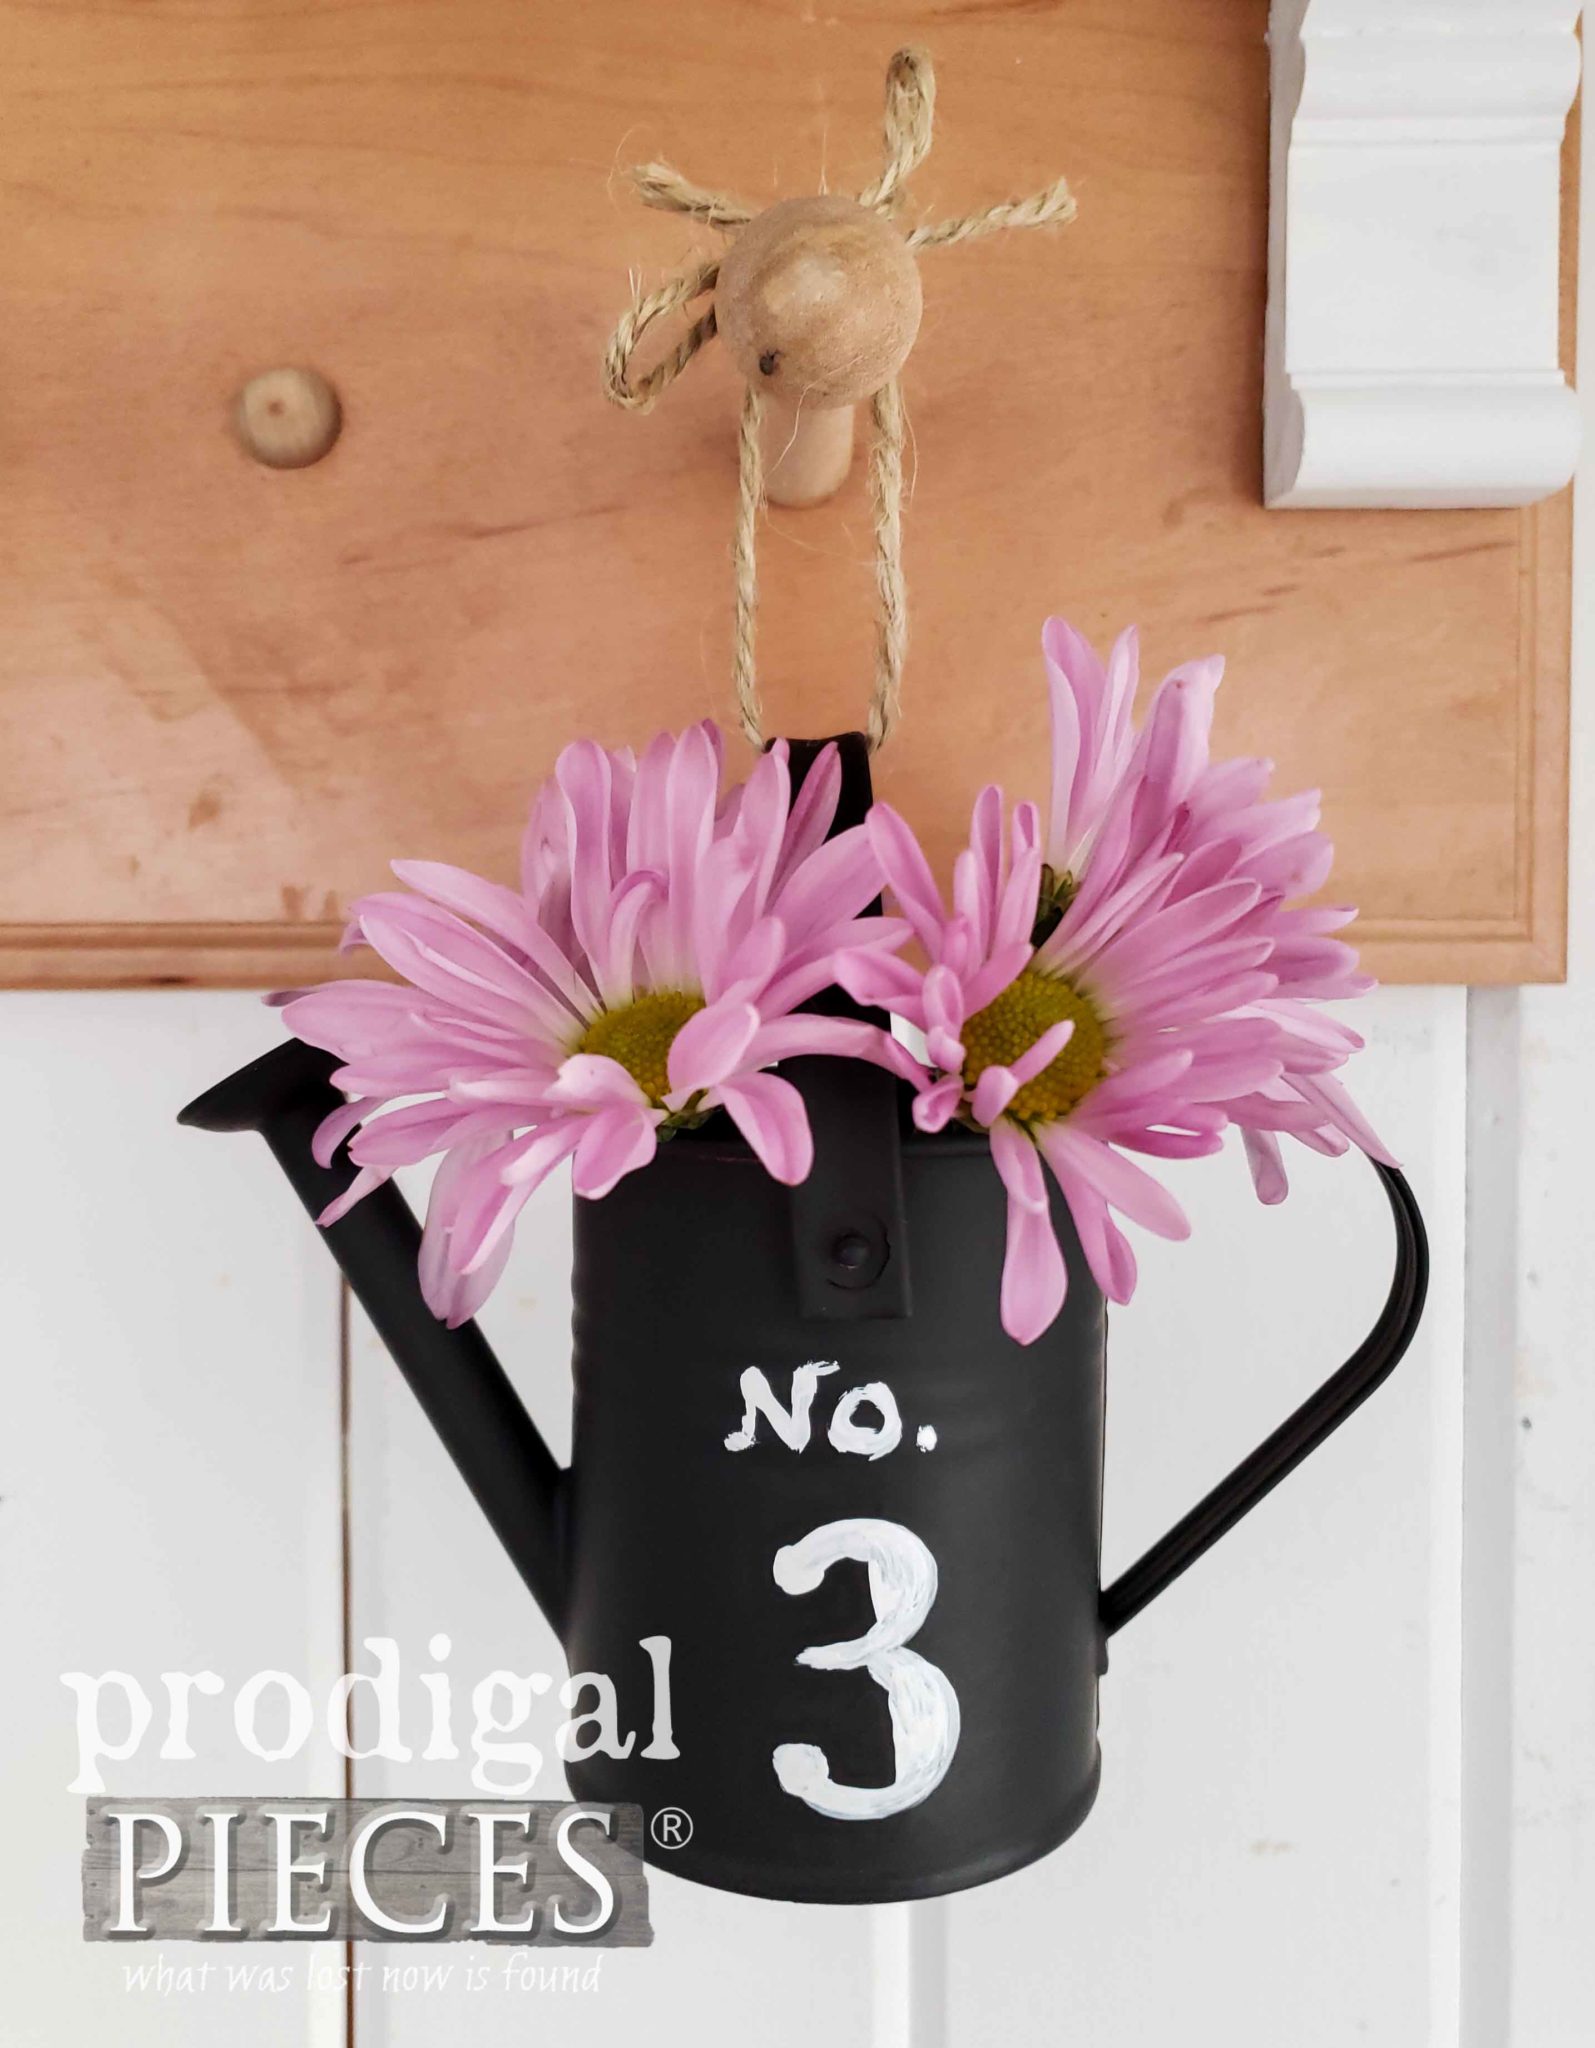
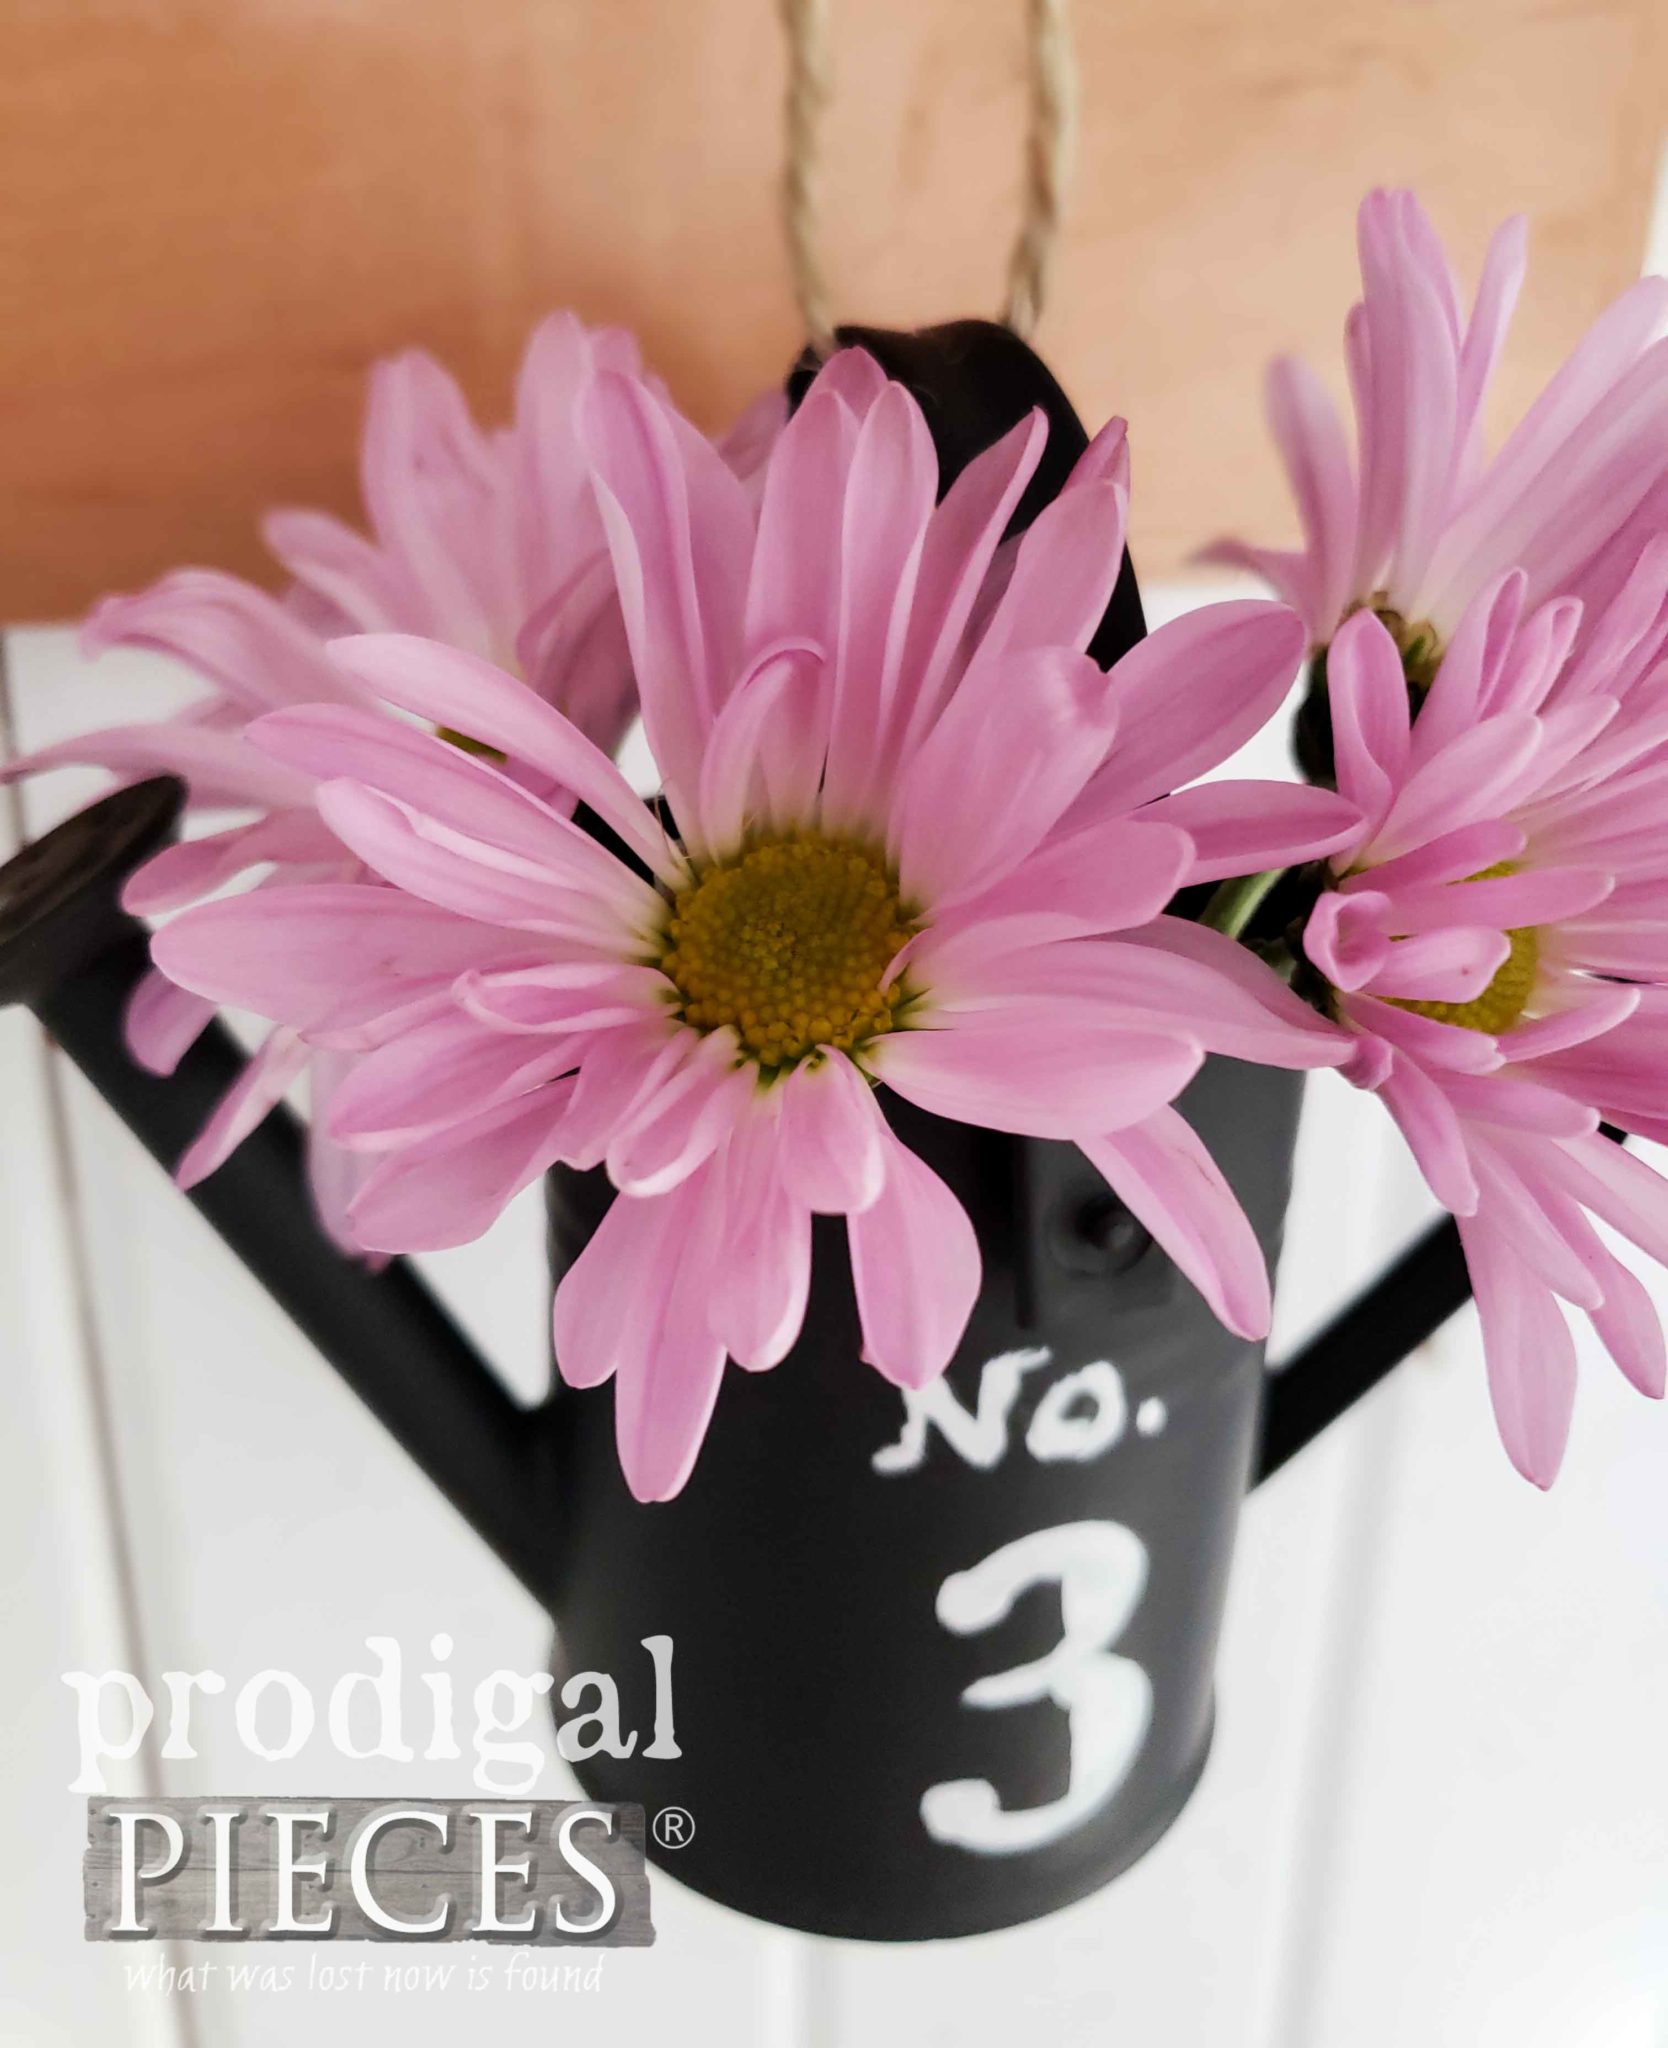
It all came together with such a fun feel. I’m excited! The shaker pegs add more function for towels, coats, garden tools, etc. I even spruced up a mini watering can I nabbed on a recent thrift store run. It fit my theme perfectly. Who doesn’t love flowers tucked in here and there?
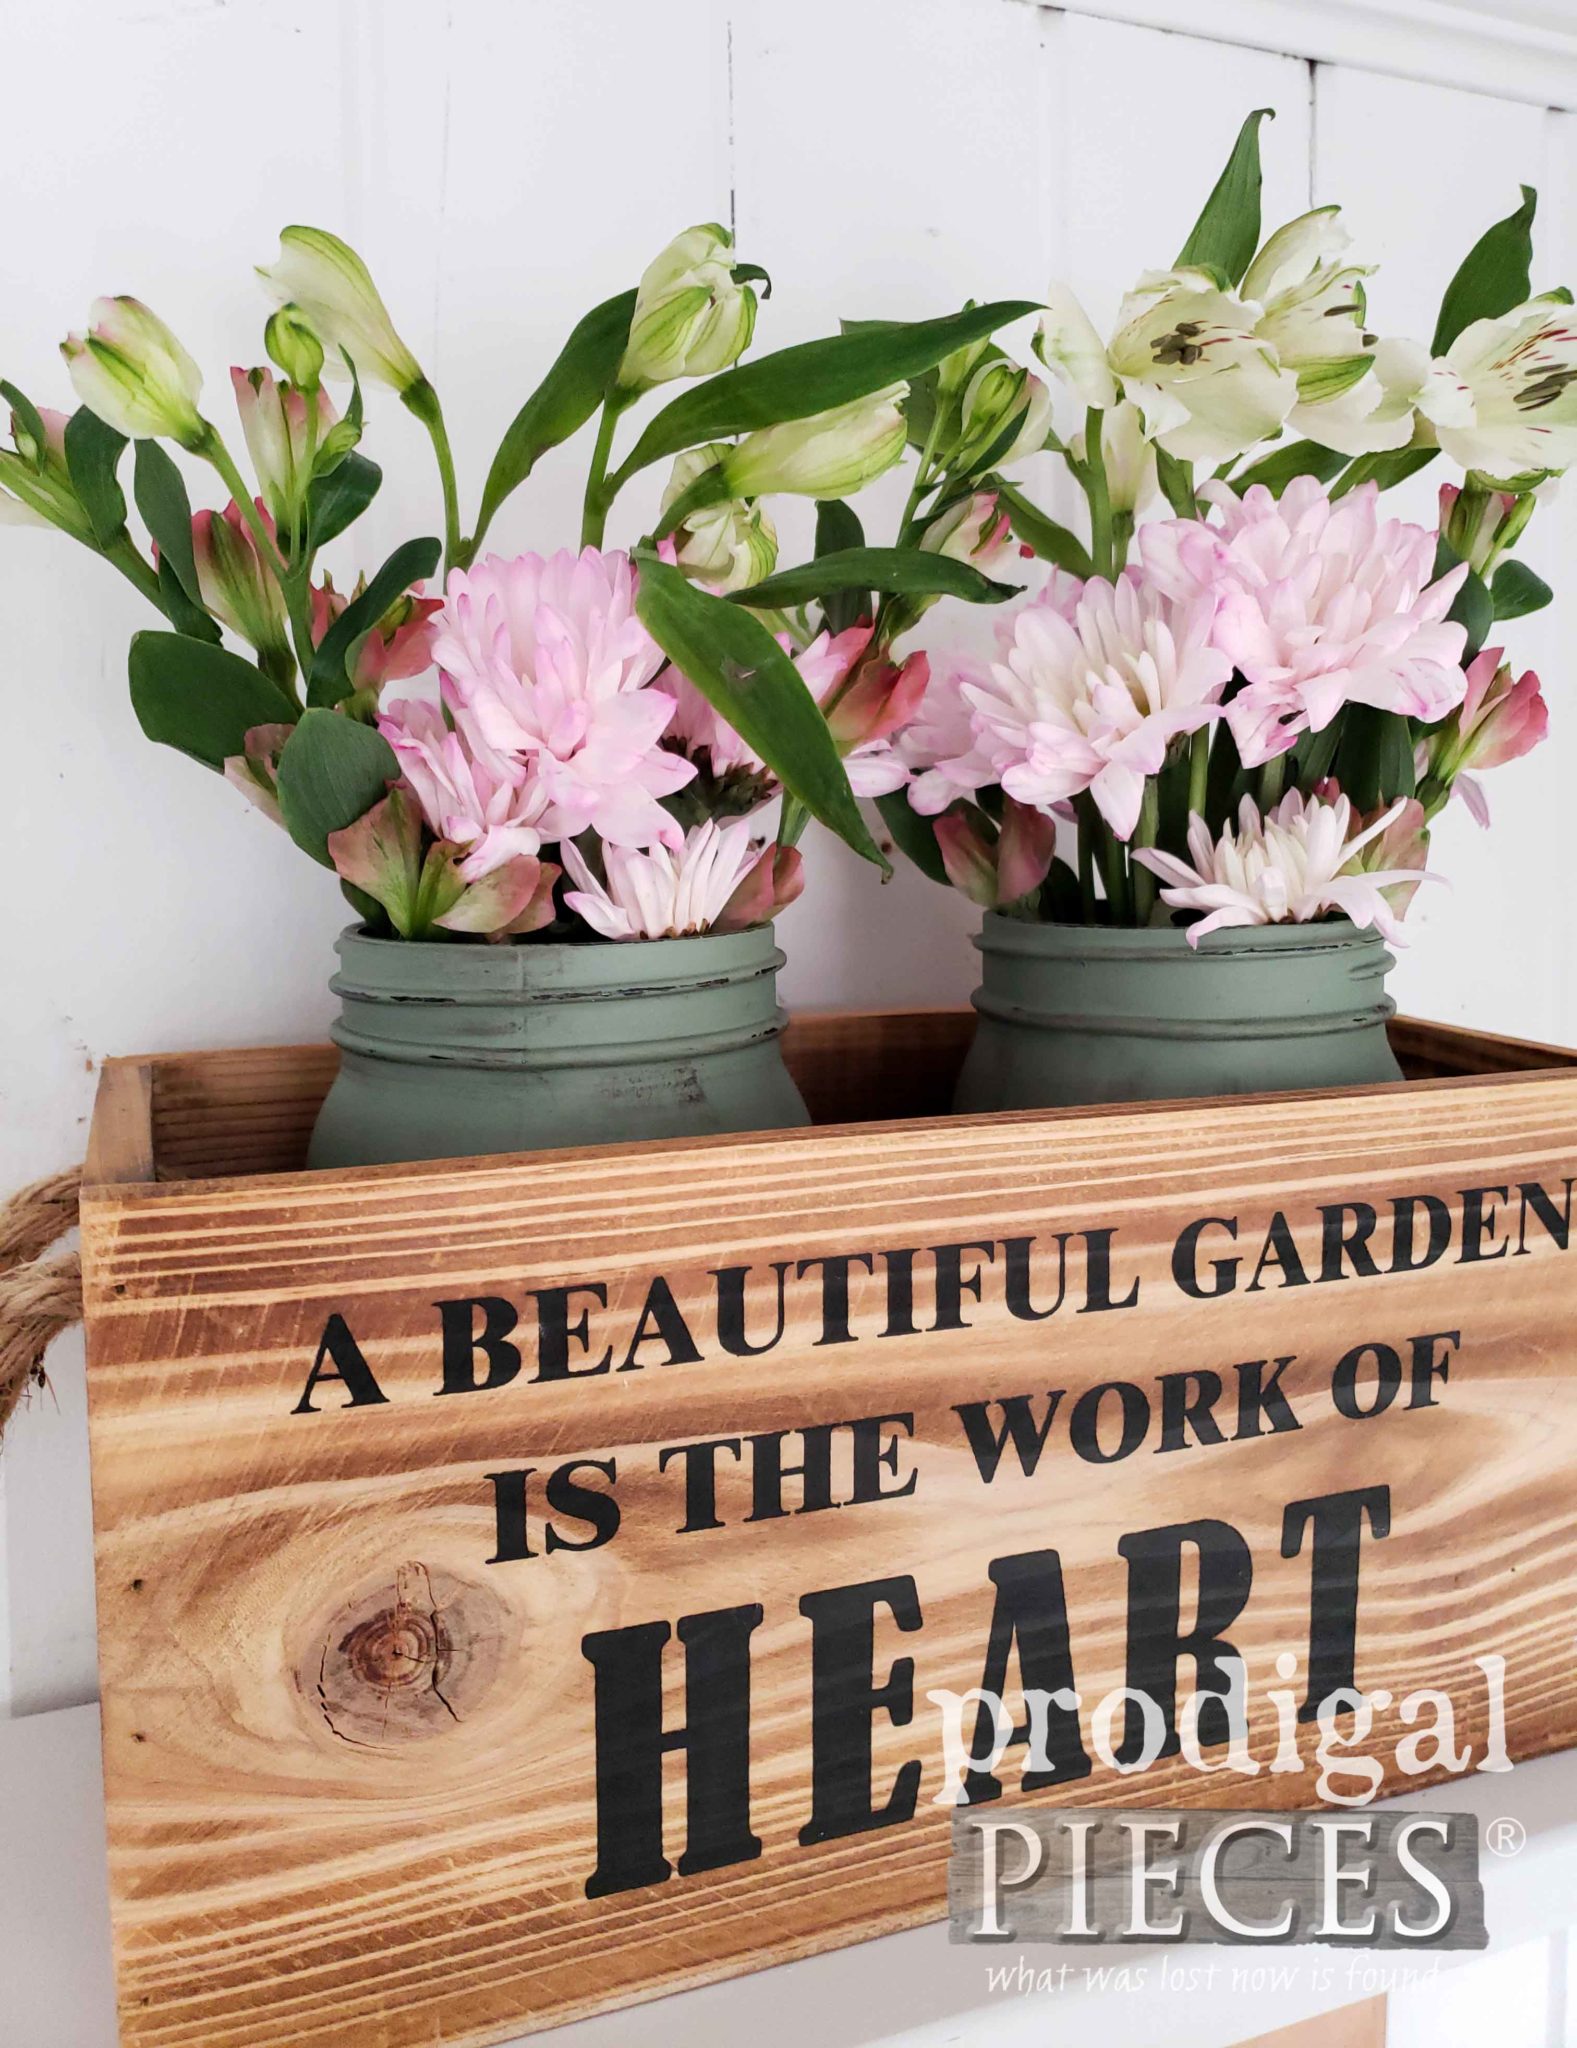
Meanwhile, up on top the crate is filled with more beautiful blooms contained by my painted canning jars.
Truly, can you help yourself from smiling when you see such pretty blooms? My green thumb is itching for some action. I just had such fun with this!
MORE FUN
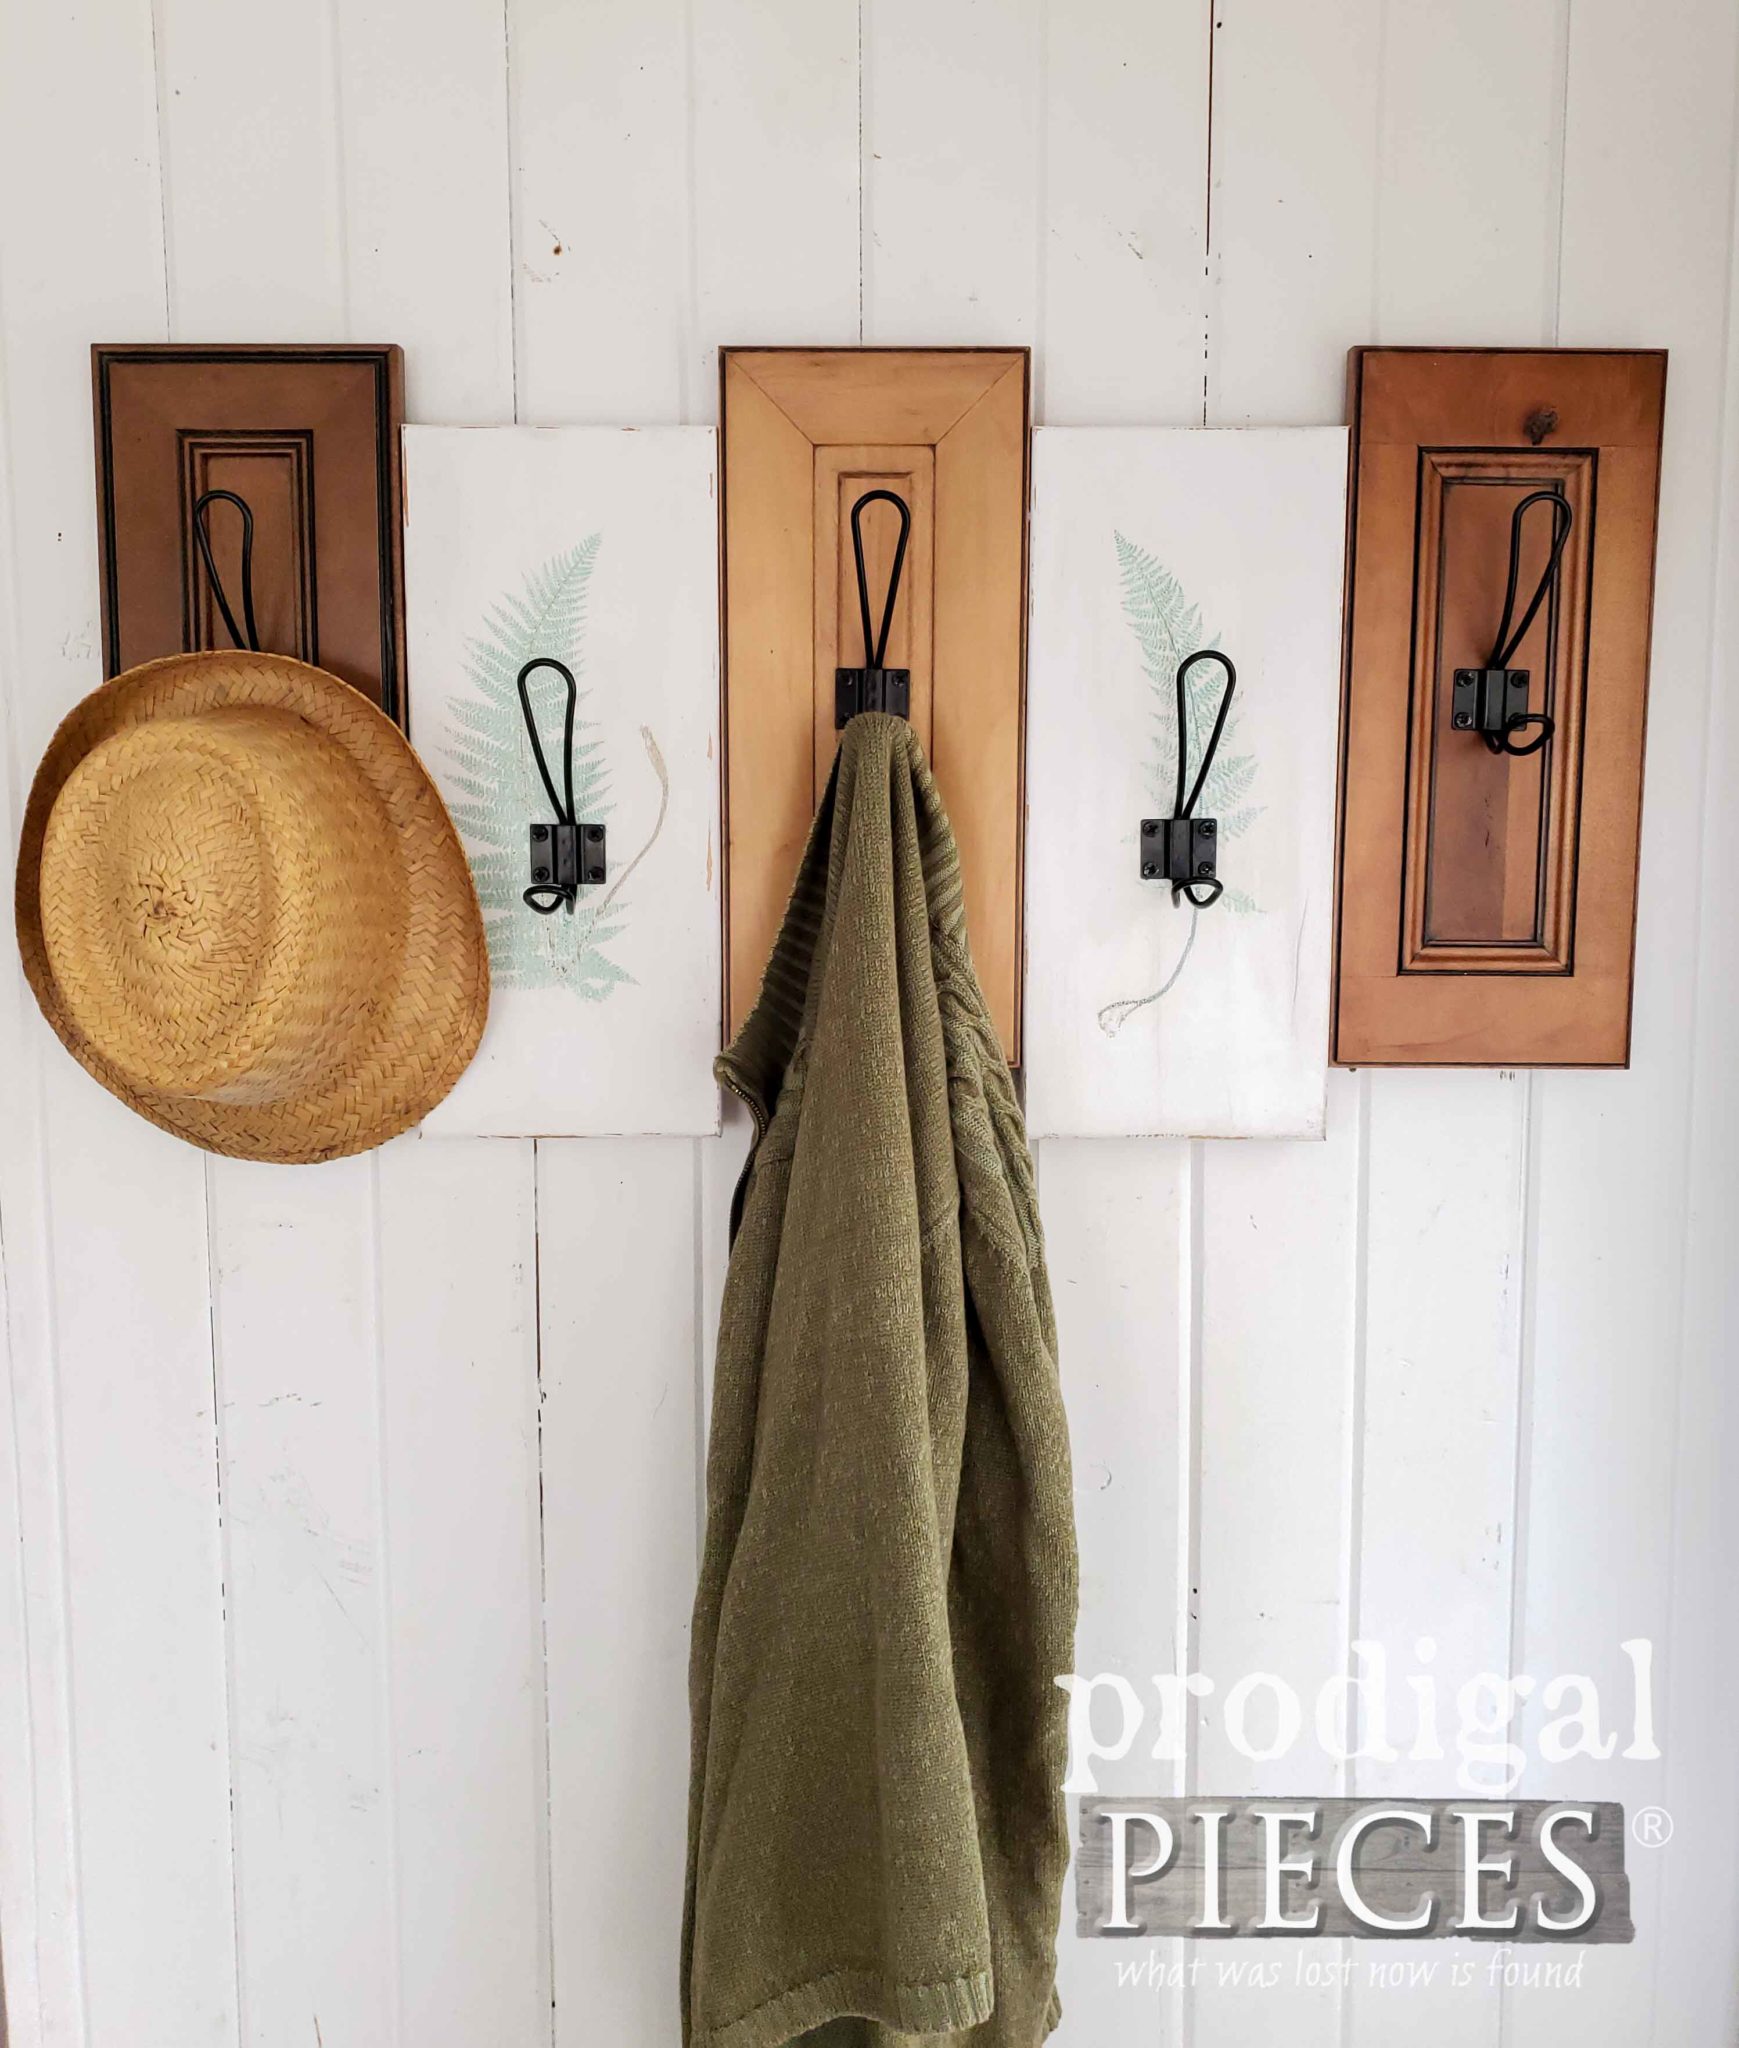
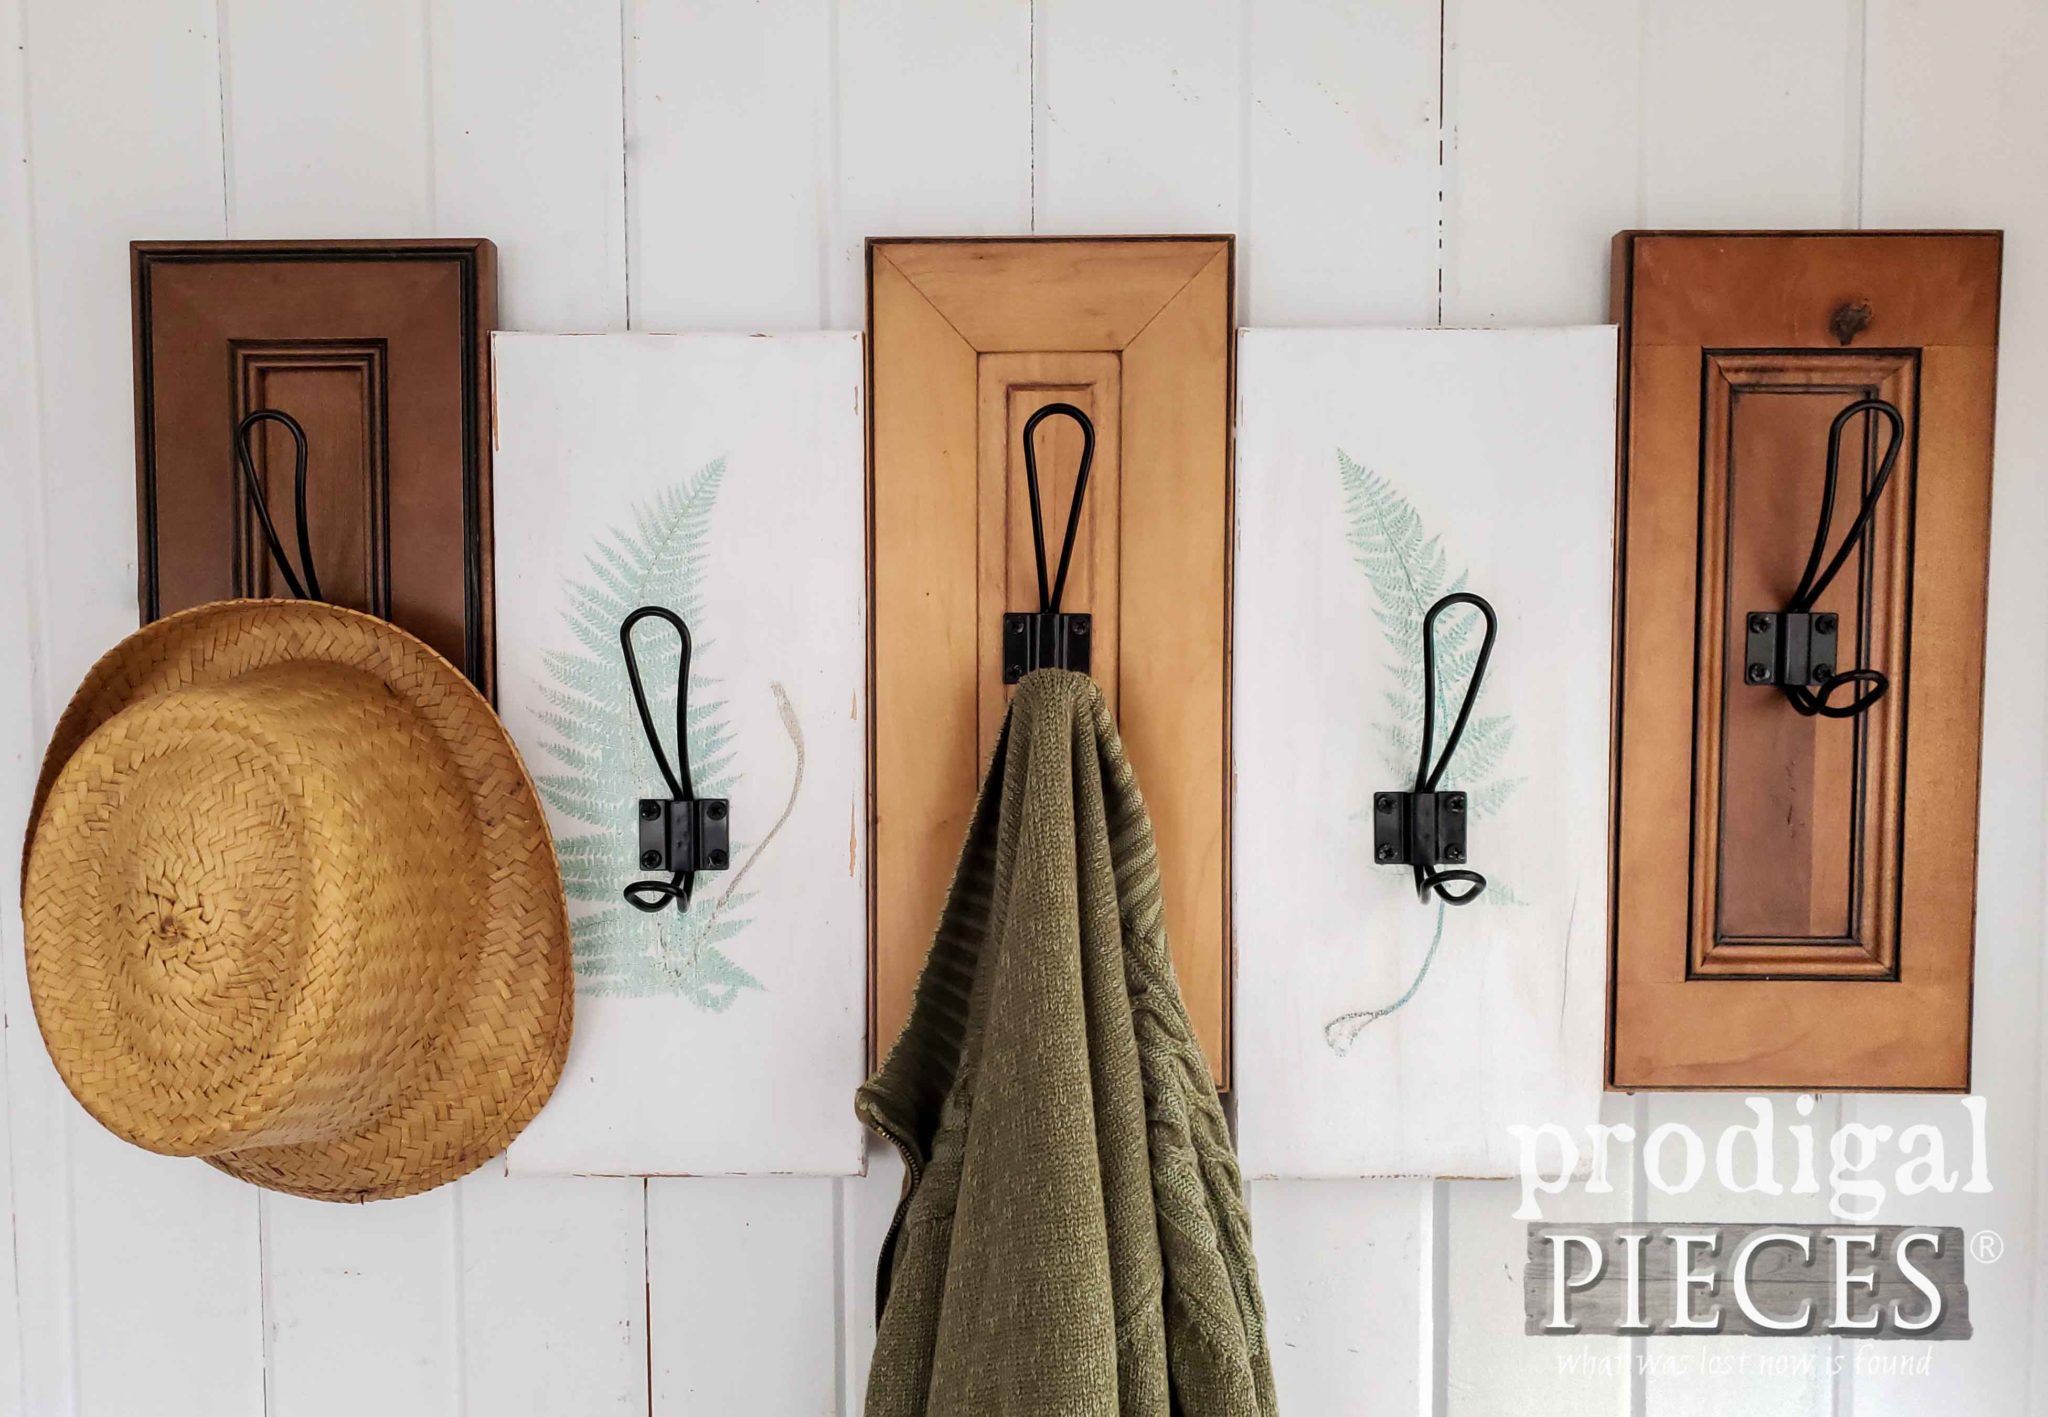
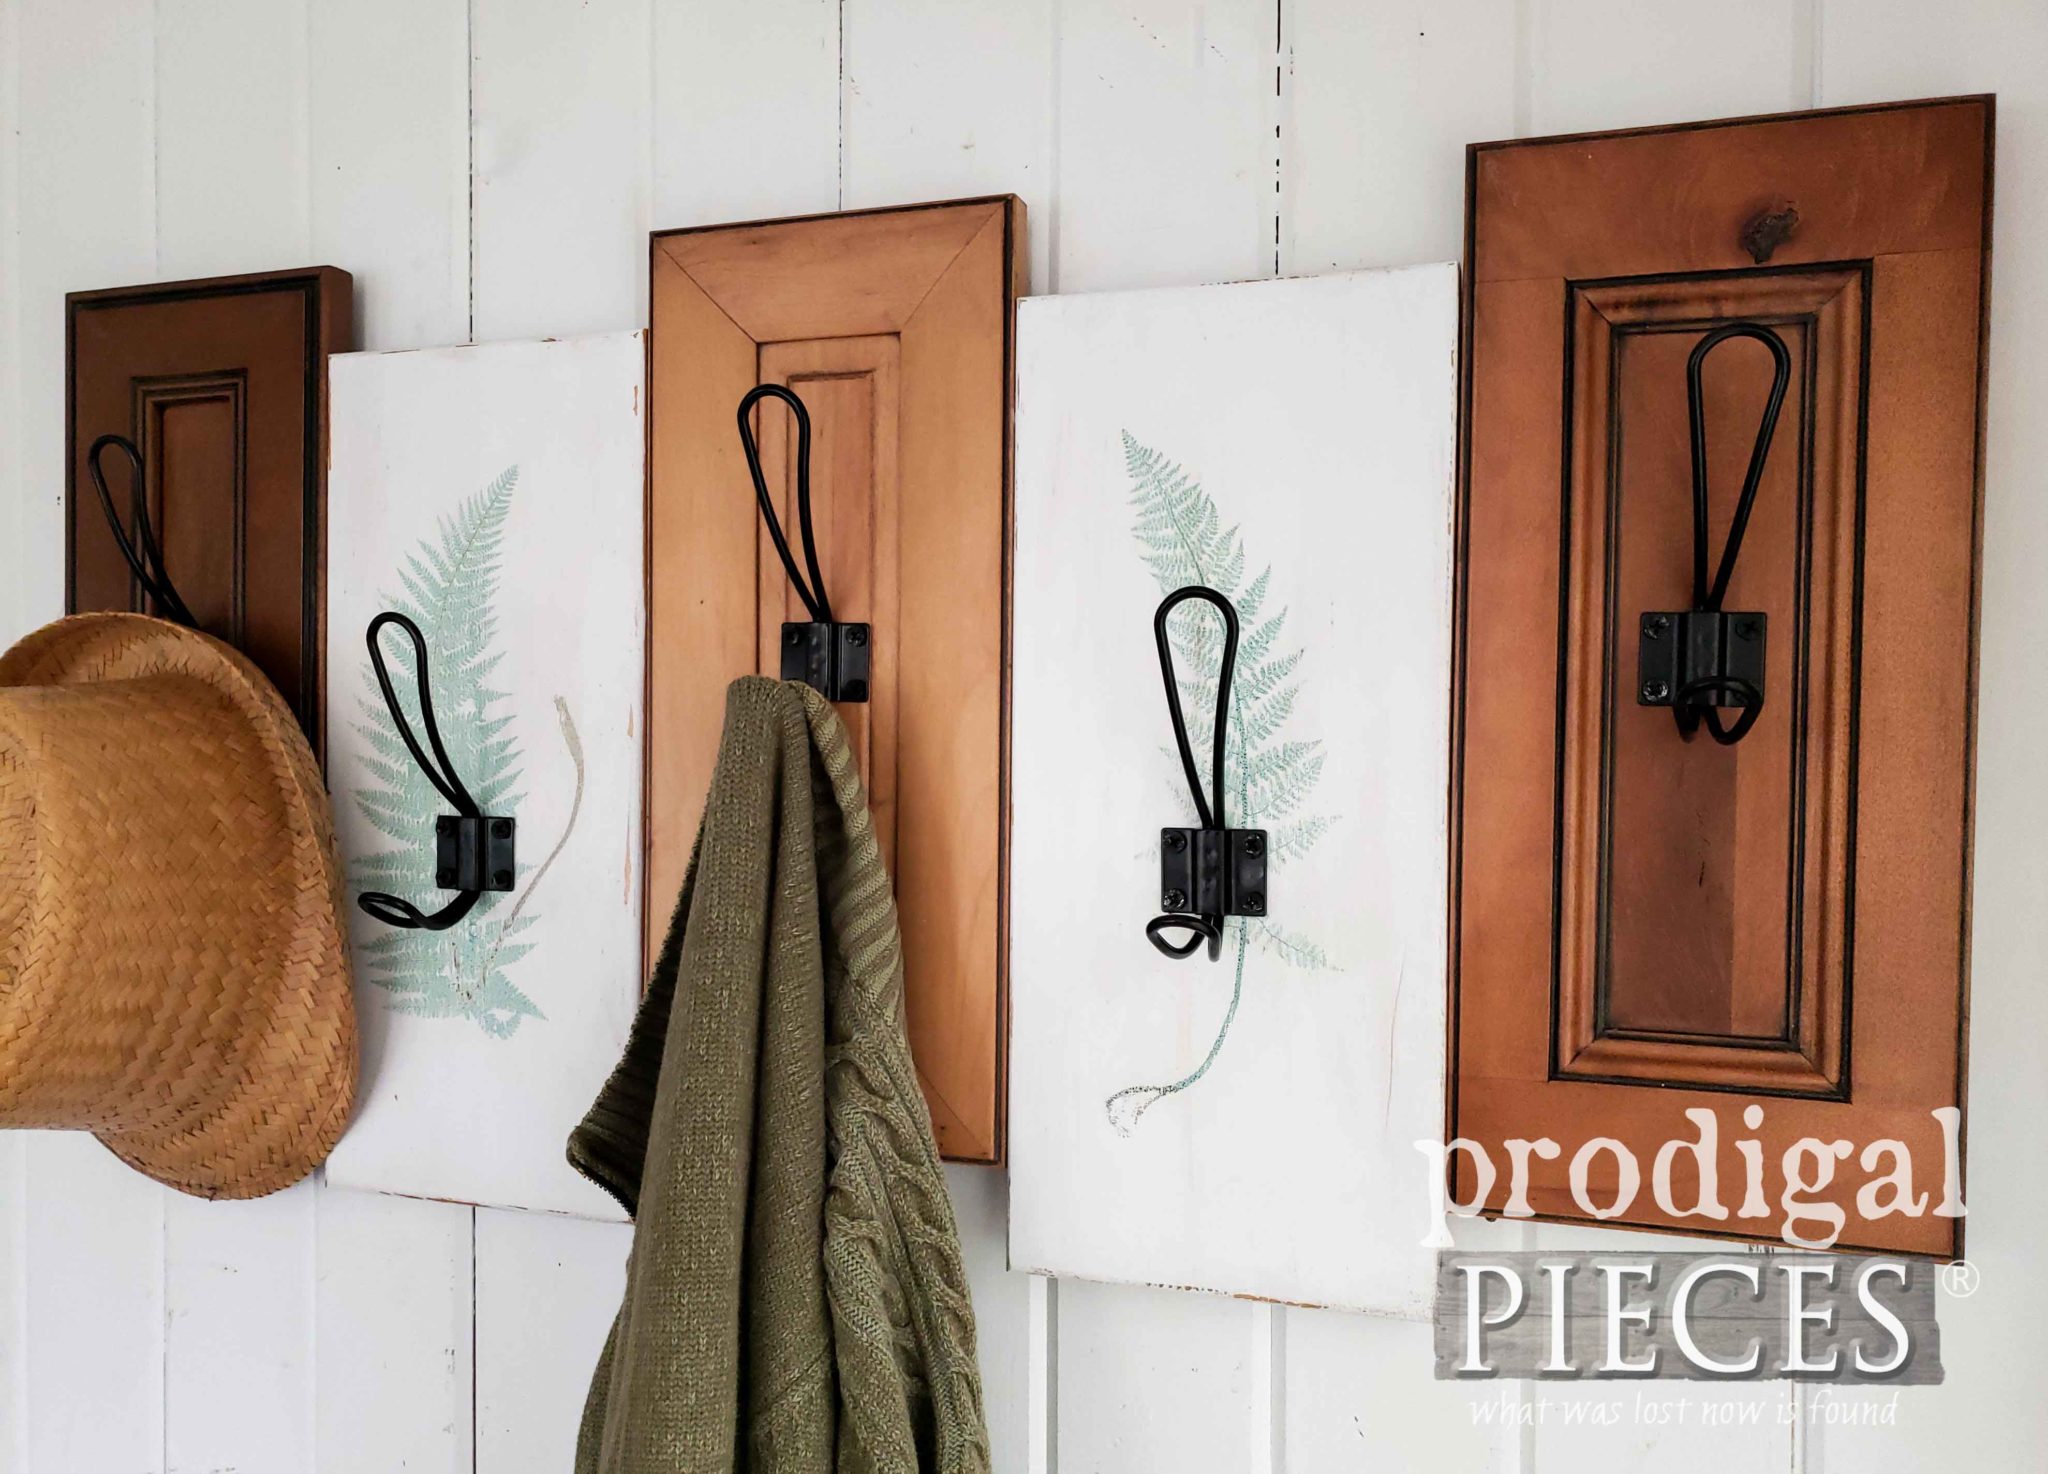
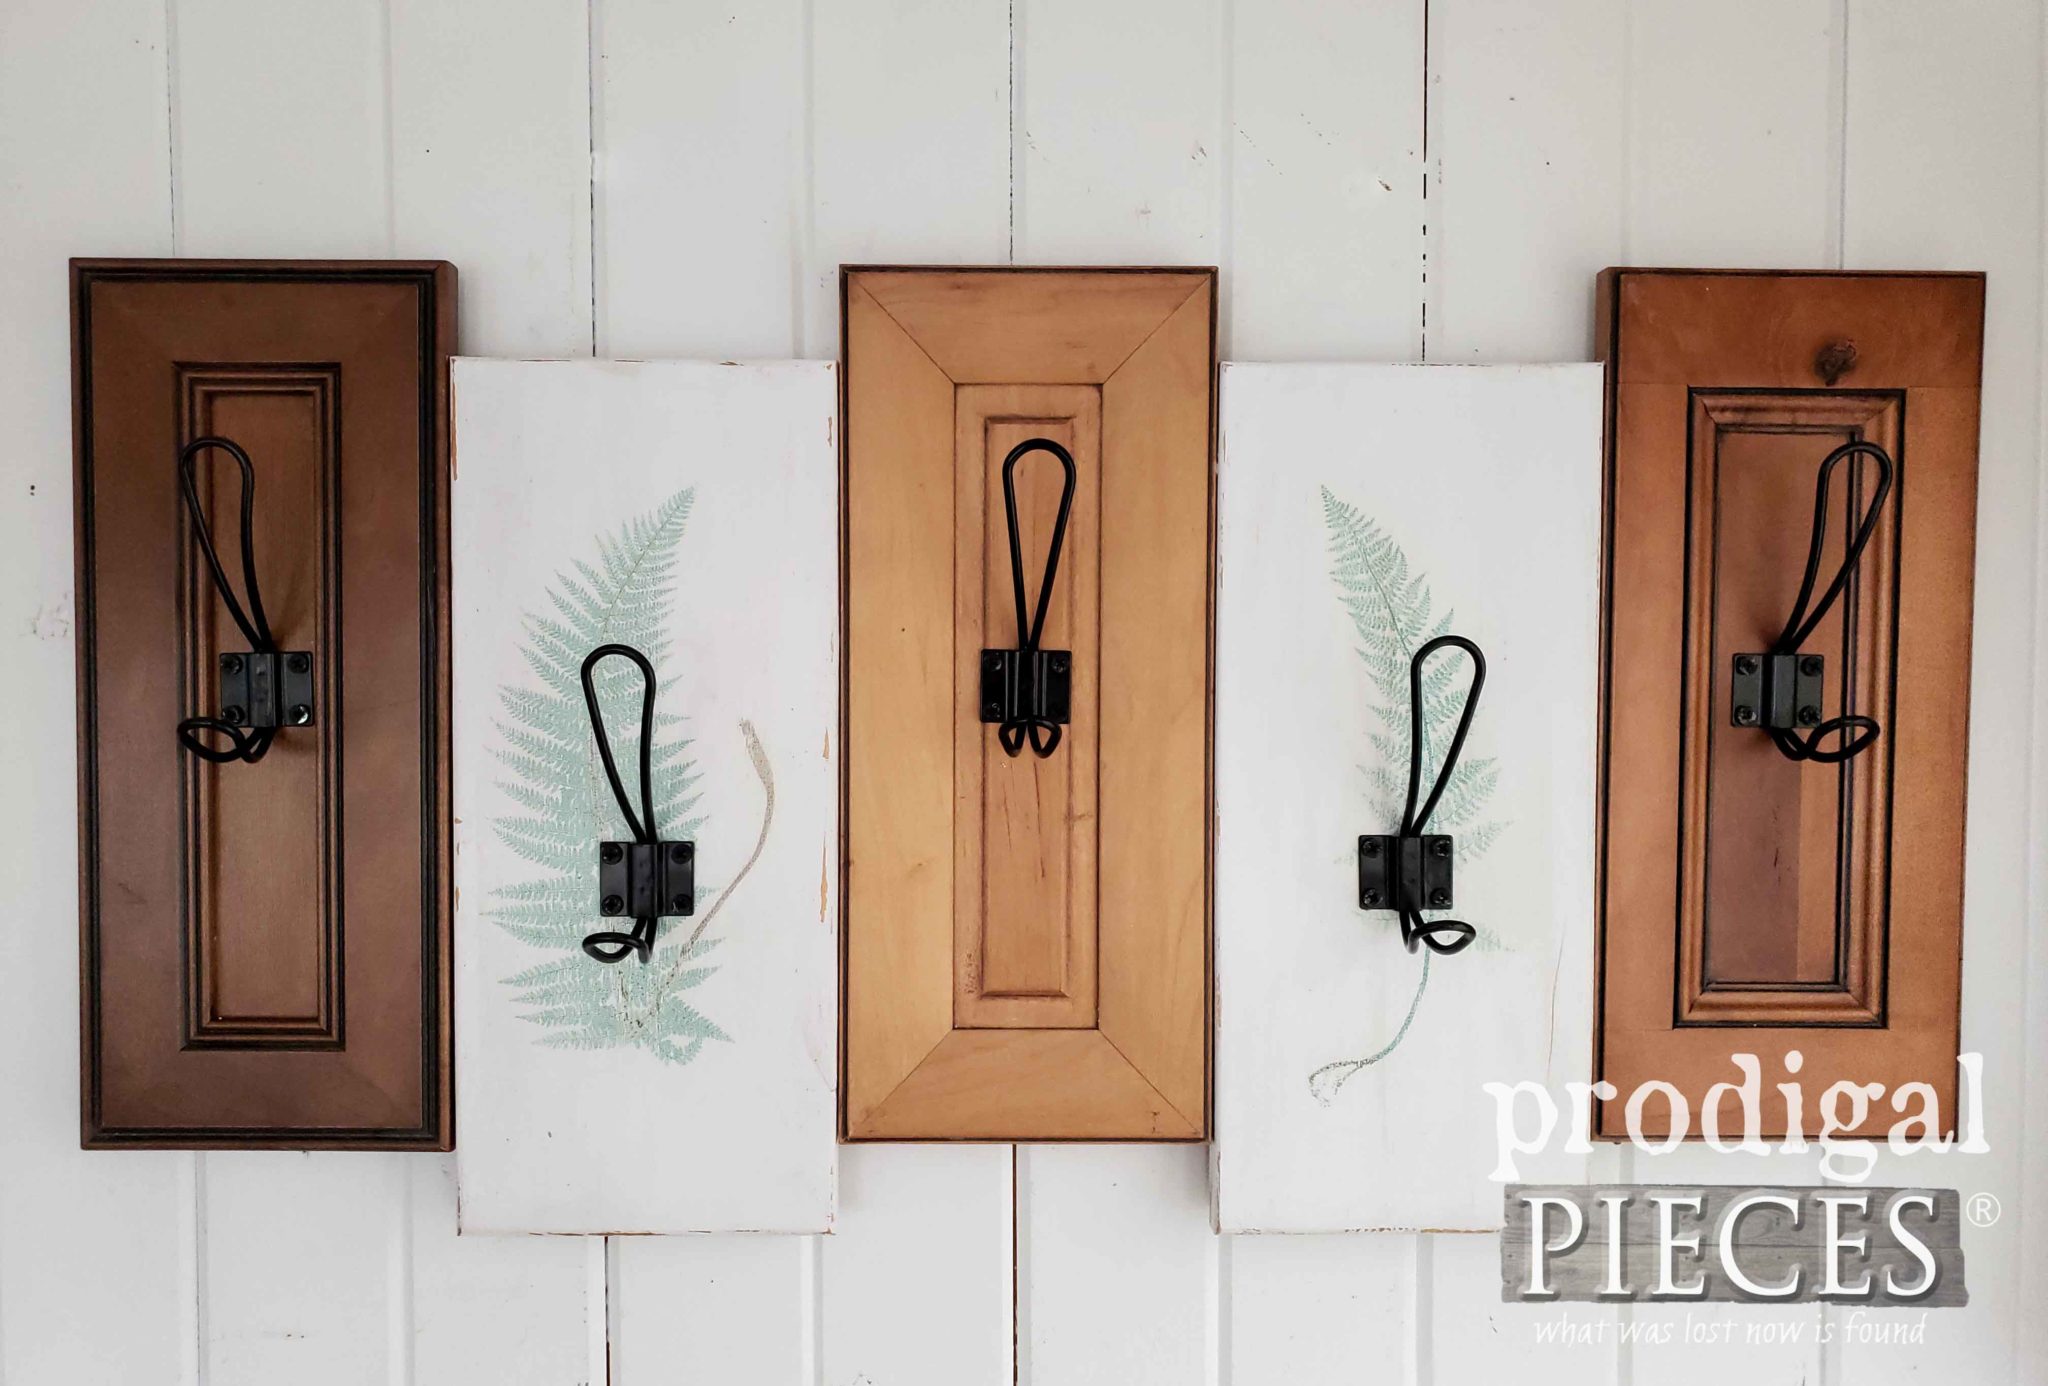
Last, but not least, I’ll show you what that first project I completed with my upcycled drawer fronts. Here is my whimsical coat rack/towel rack ready to go.
It has a modern farmhouse feel and truly a soothing feeling with the wood tones and fern graphics. Don’t you agree?
Truthfully, I’m stoked with how both projects have turned out. They now have a function and are also great decor art too.
Both the coat/towel rack, the garden shelf rack, and so much more are available in my online store. Sign up for my newsletter below for some freebies and a discount to use towards your first purchase.
HOME DECOR
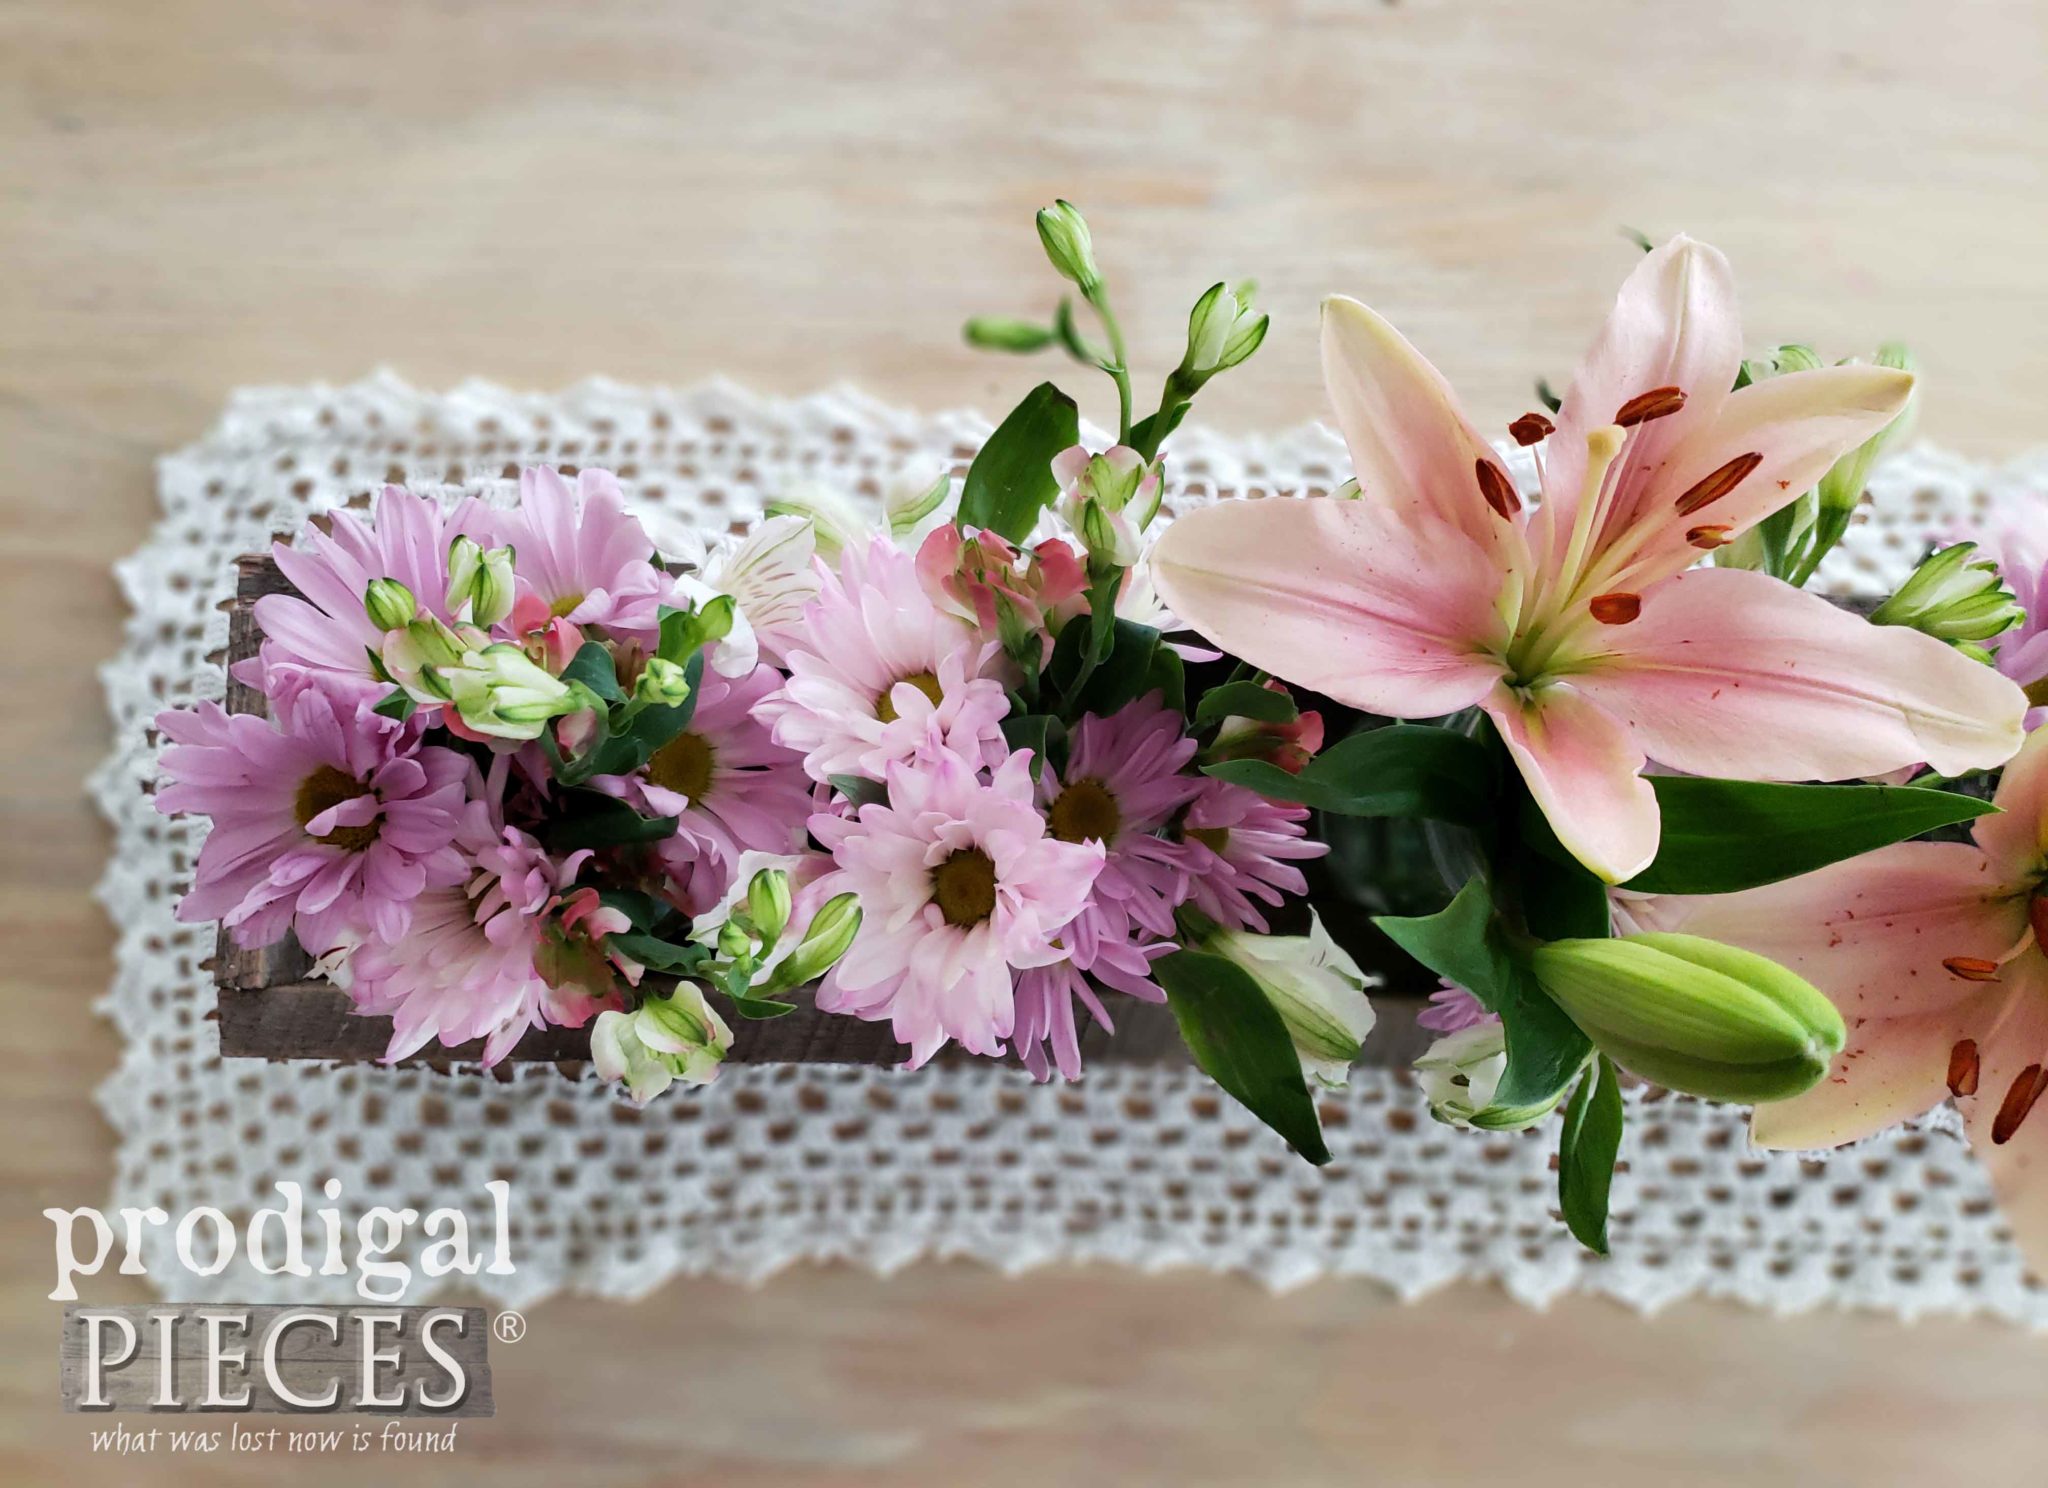
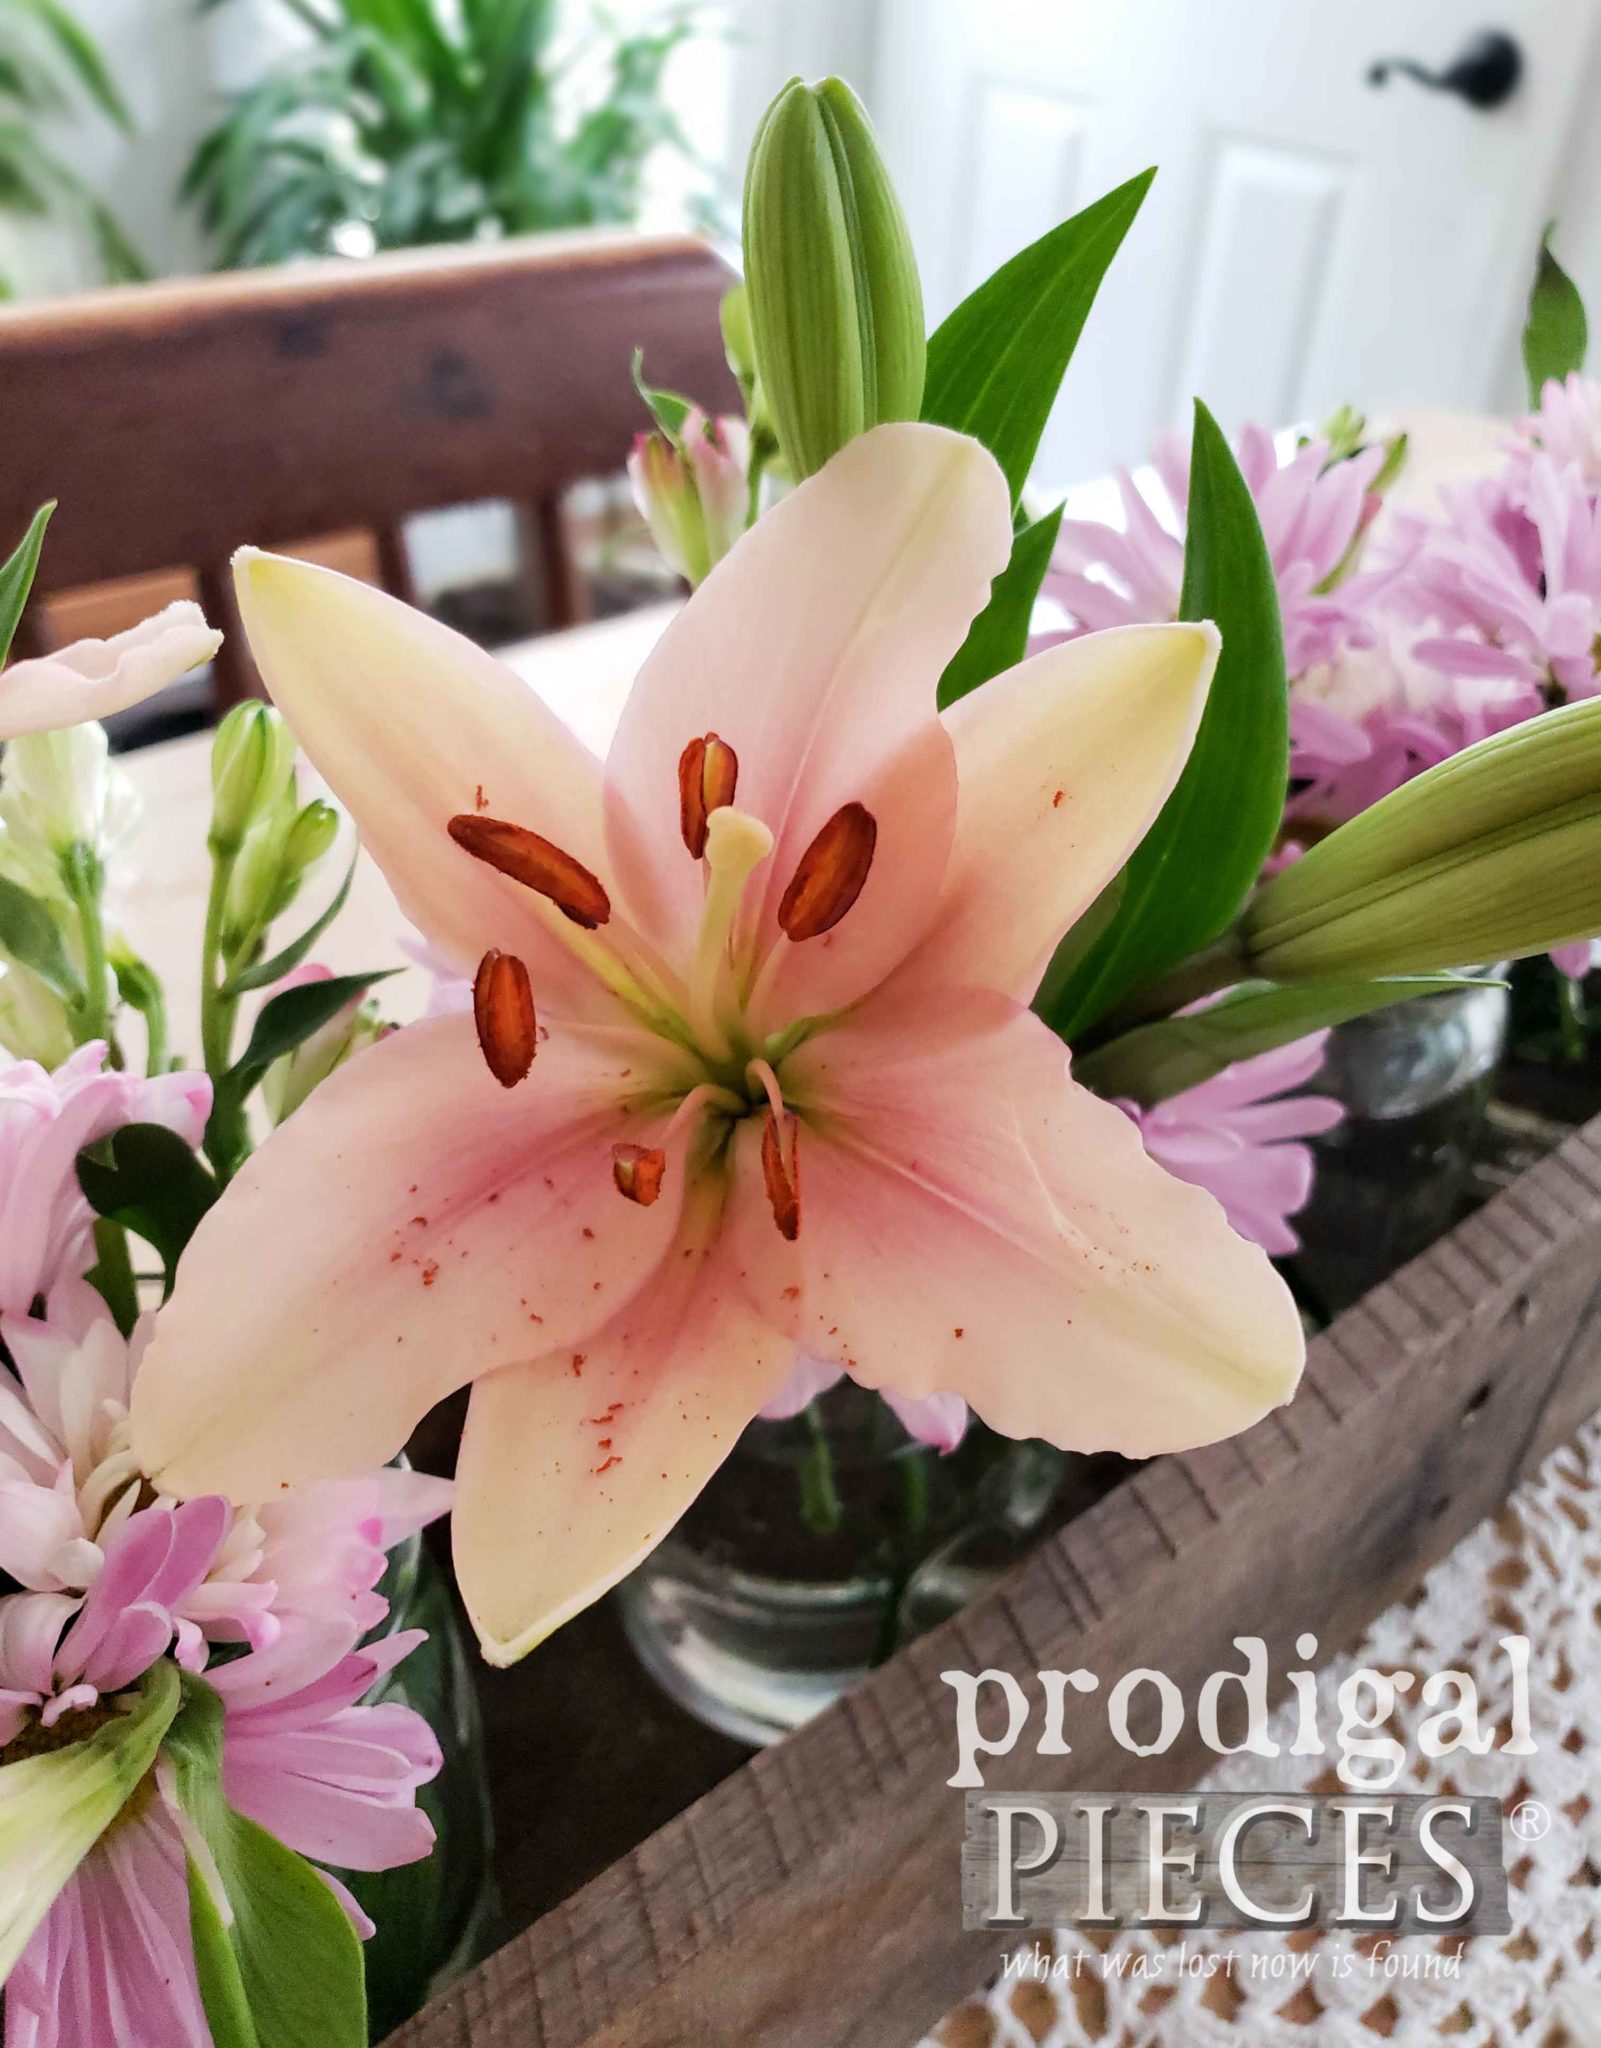
Since I’ve been aching to fill my house with beautiful blooms, I couldn’t resist filling up my pallet center piece trough with them. Likewise, my two youngest daughters cut and filled them and I think they did a wonderful job.
Additionally, pin and share my set of upcycled drawer fronts projects to inspire others to try DIY. It’s fun and so rewarding.
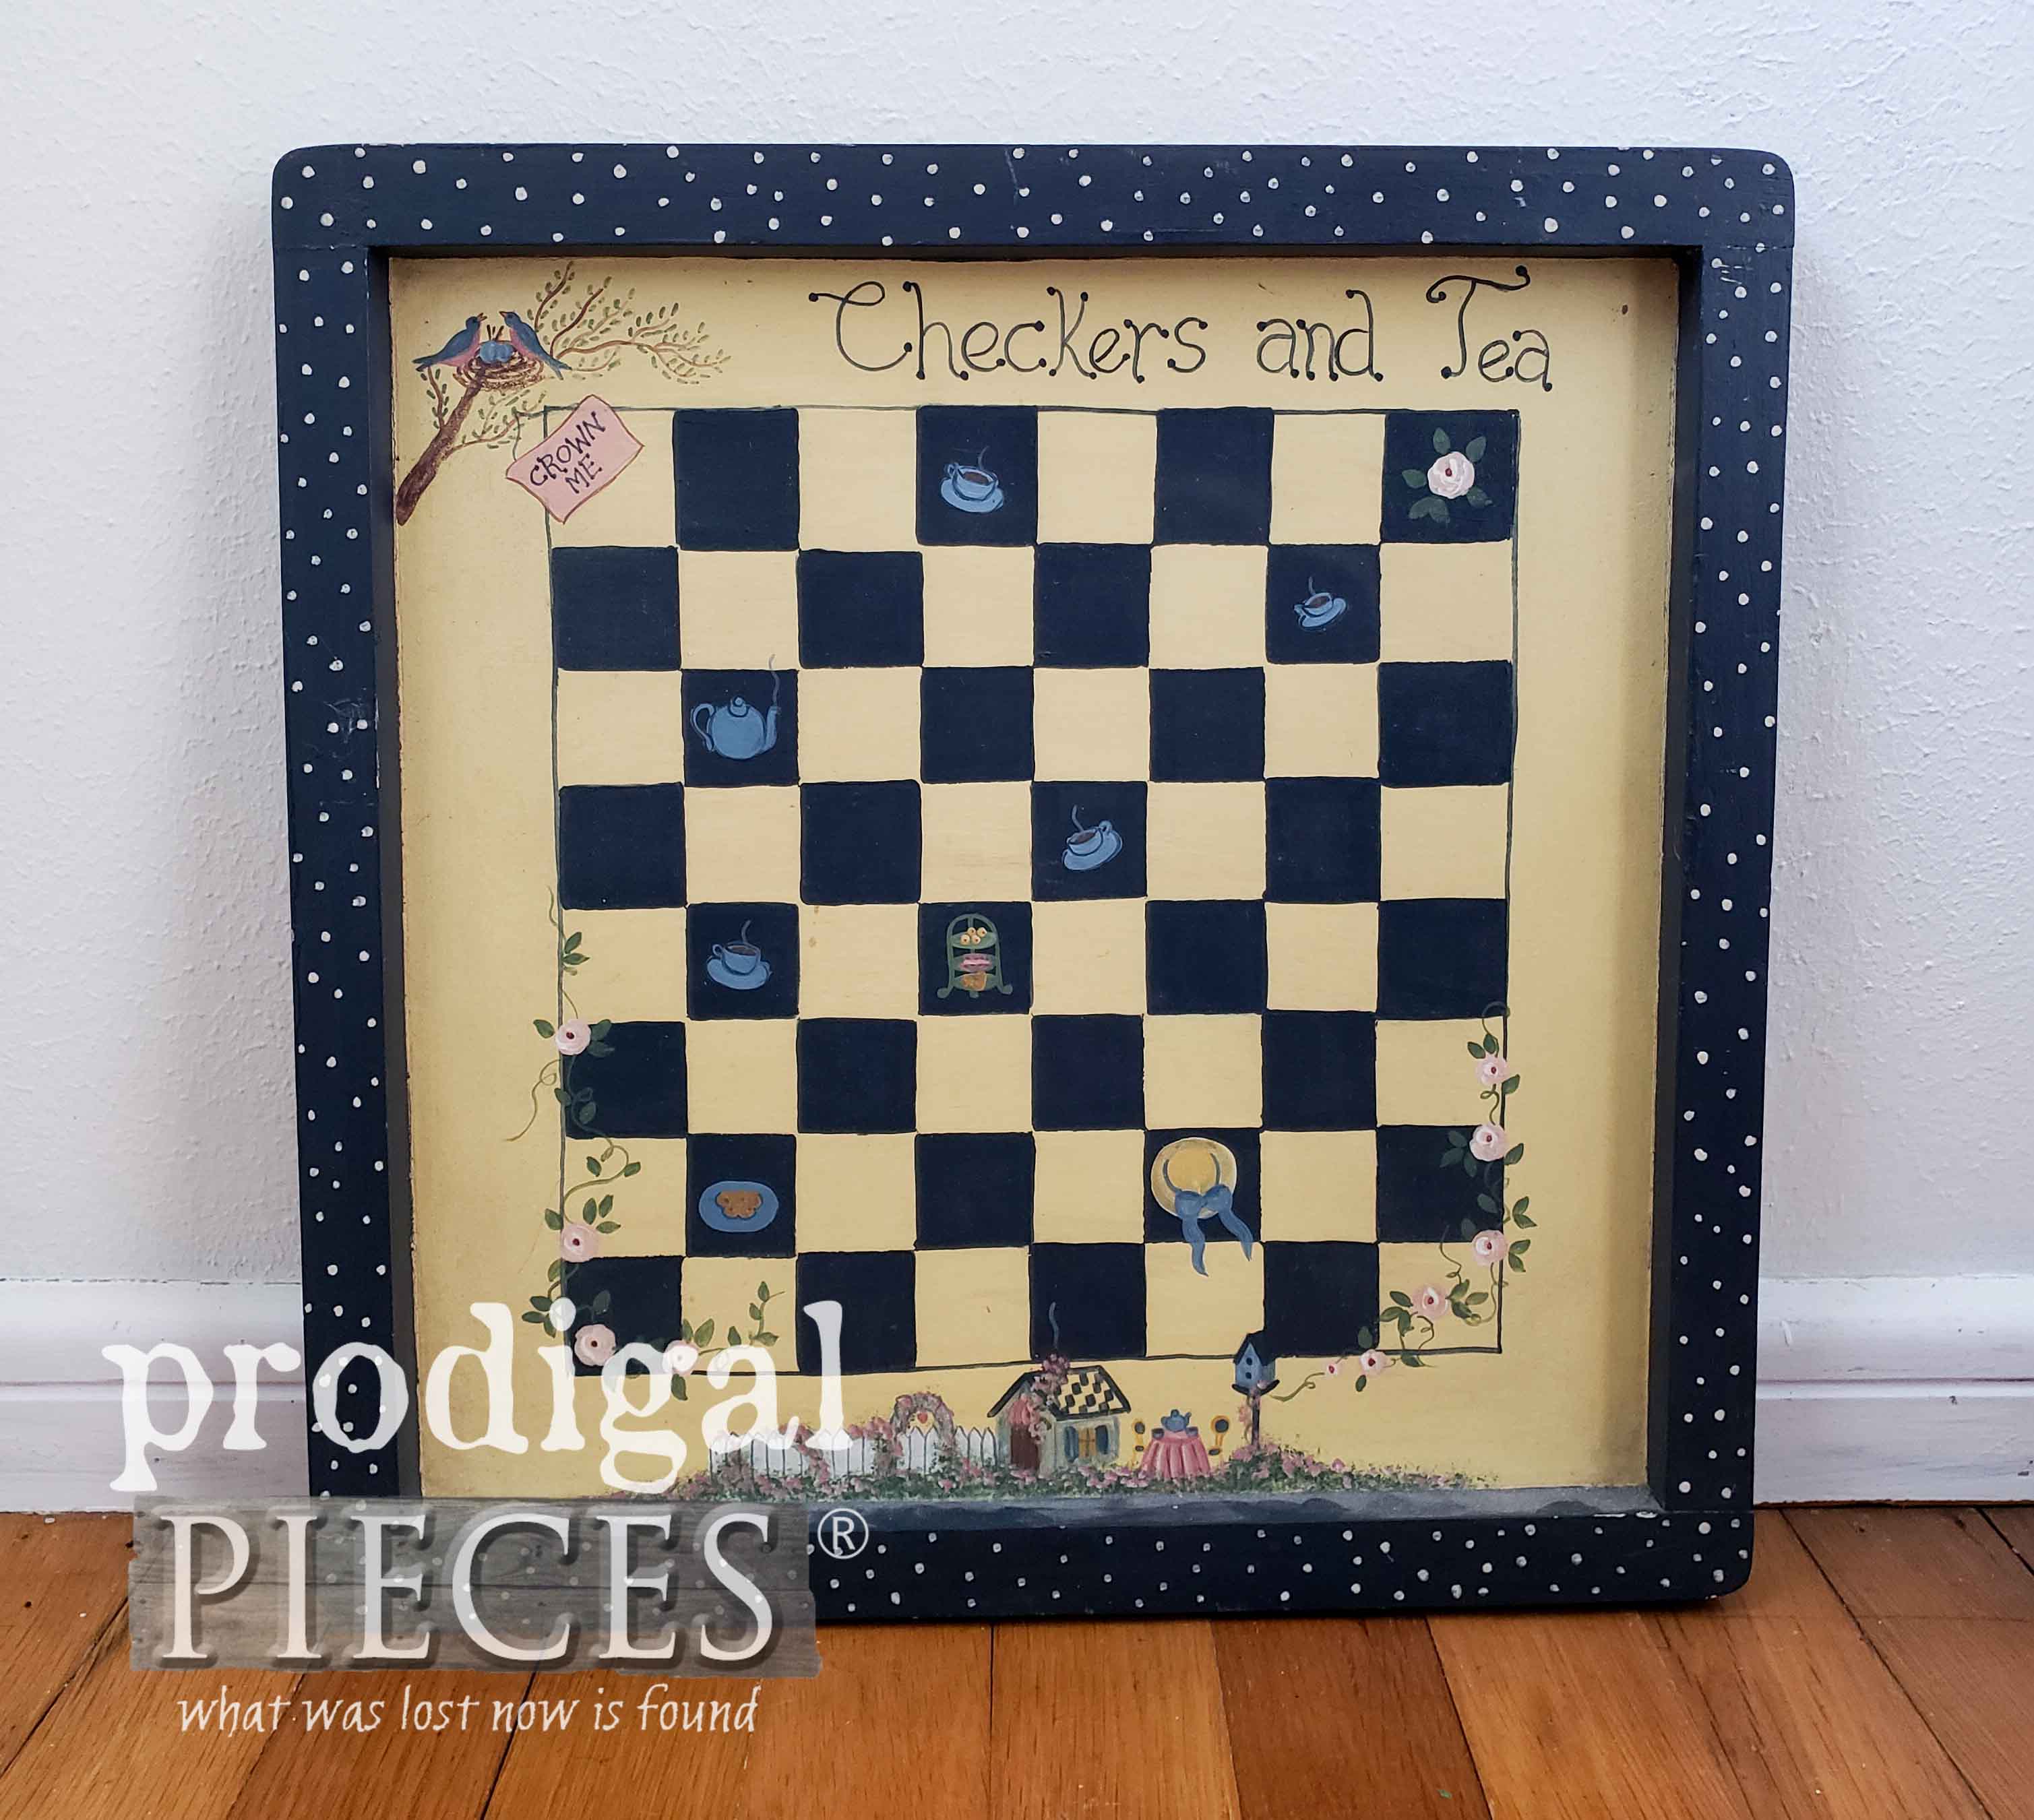
Up next, I’ll be taking this thrifted wall art and giving it a brand-new life and purpose. See the AFTER HERE.
To get these DIY tips & tricks in your inbox, be sure to sign up for my newsletter. Until next time!






Larissa the hangers with the greenery stenciling has stolen my heart. It was such an unexpected idea!!
Yay! That made my day, Mary. Thank you!! 😀
How were you able to get drawer fronts off the drawere without the drawer backing it was attached to? TIA
They were given to me like this as they were new of a fresh install. Most often you can break them off and sand down the remnant too.
Larissa, did you ever reveal your family room and your kitchen renovations? I am a faithful subscriber, so I don’t think I missed it, but sometimes there are email glitches and miss “episodes.” You put in a new ceiling, working on fire place, new flooring in family room. I would like to “see ” it! Thanks.
You are awesome, Sherry! I have one the kitchen here: https://prodigalpieces.com/farmhouse-kitchen-remodel-reveal/ AS for the family room, we are still working on built-ins and such. Hopefully we will be done in the next month or so. I’m excited!
Great transformation. Love the ferns on the coat rack. They give a tranquil feeling to it.
I felt so too. Everyone can use a little tranquil these days, right? 😀
OH WOW! How I love your coat, hat / towel rack.
What an Awesome idea. Well done.
Habitat Humanity here I come 🙂
Thanks! haha…you sound like me.
Fill your home with the best thing about spring: flowers! Whether fresh or faux, these DIY flower ideas will bring the botanical beauty of a spring garden into your home all year. From seasonal floral wreaths and gifts (hello, May Day and Mother’s Day!). Love all the colors and flowers ,you pictures are always very colorful.
Thank you for the smile. 😀