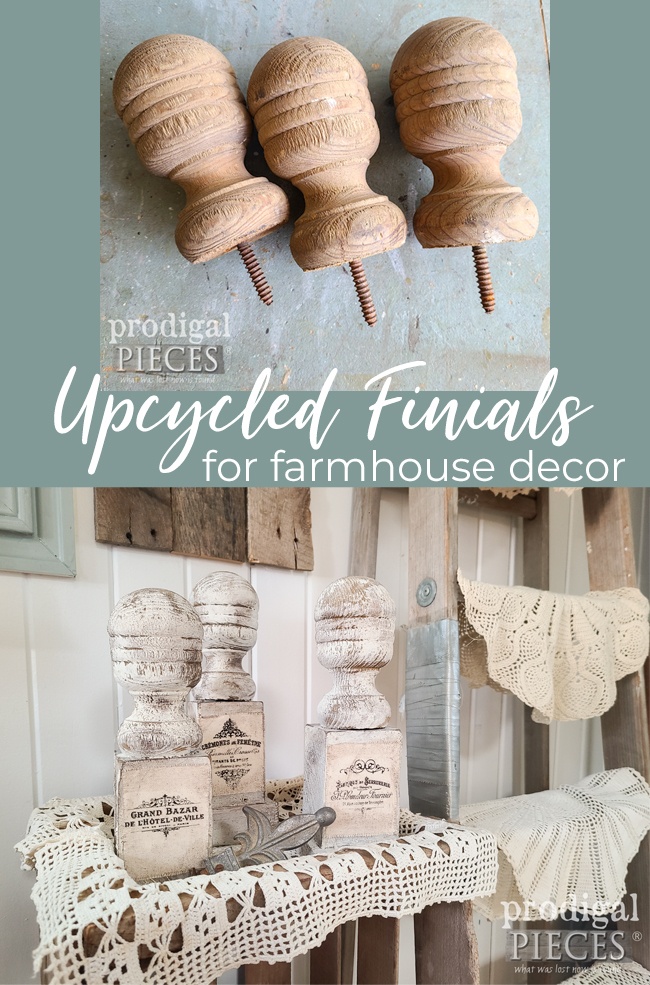
Things that are aged speak volumes to me. Maybe it’s because they’ve earned their stripes…they’ve survived, they’ve stood the test of time, and they have a story to tell. We just need to appreciate the character and charm they exude, and same goes for people. Likewise, they can need a little help and creativity to offer a new story. These misfit pieces are becoming upcycled finials into farmhouse decor.
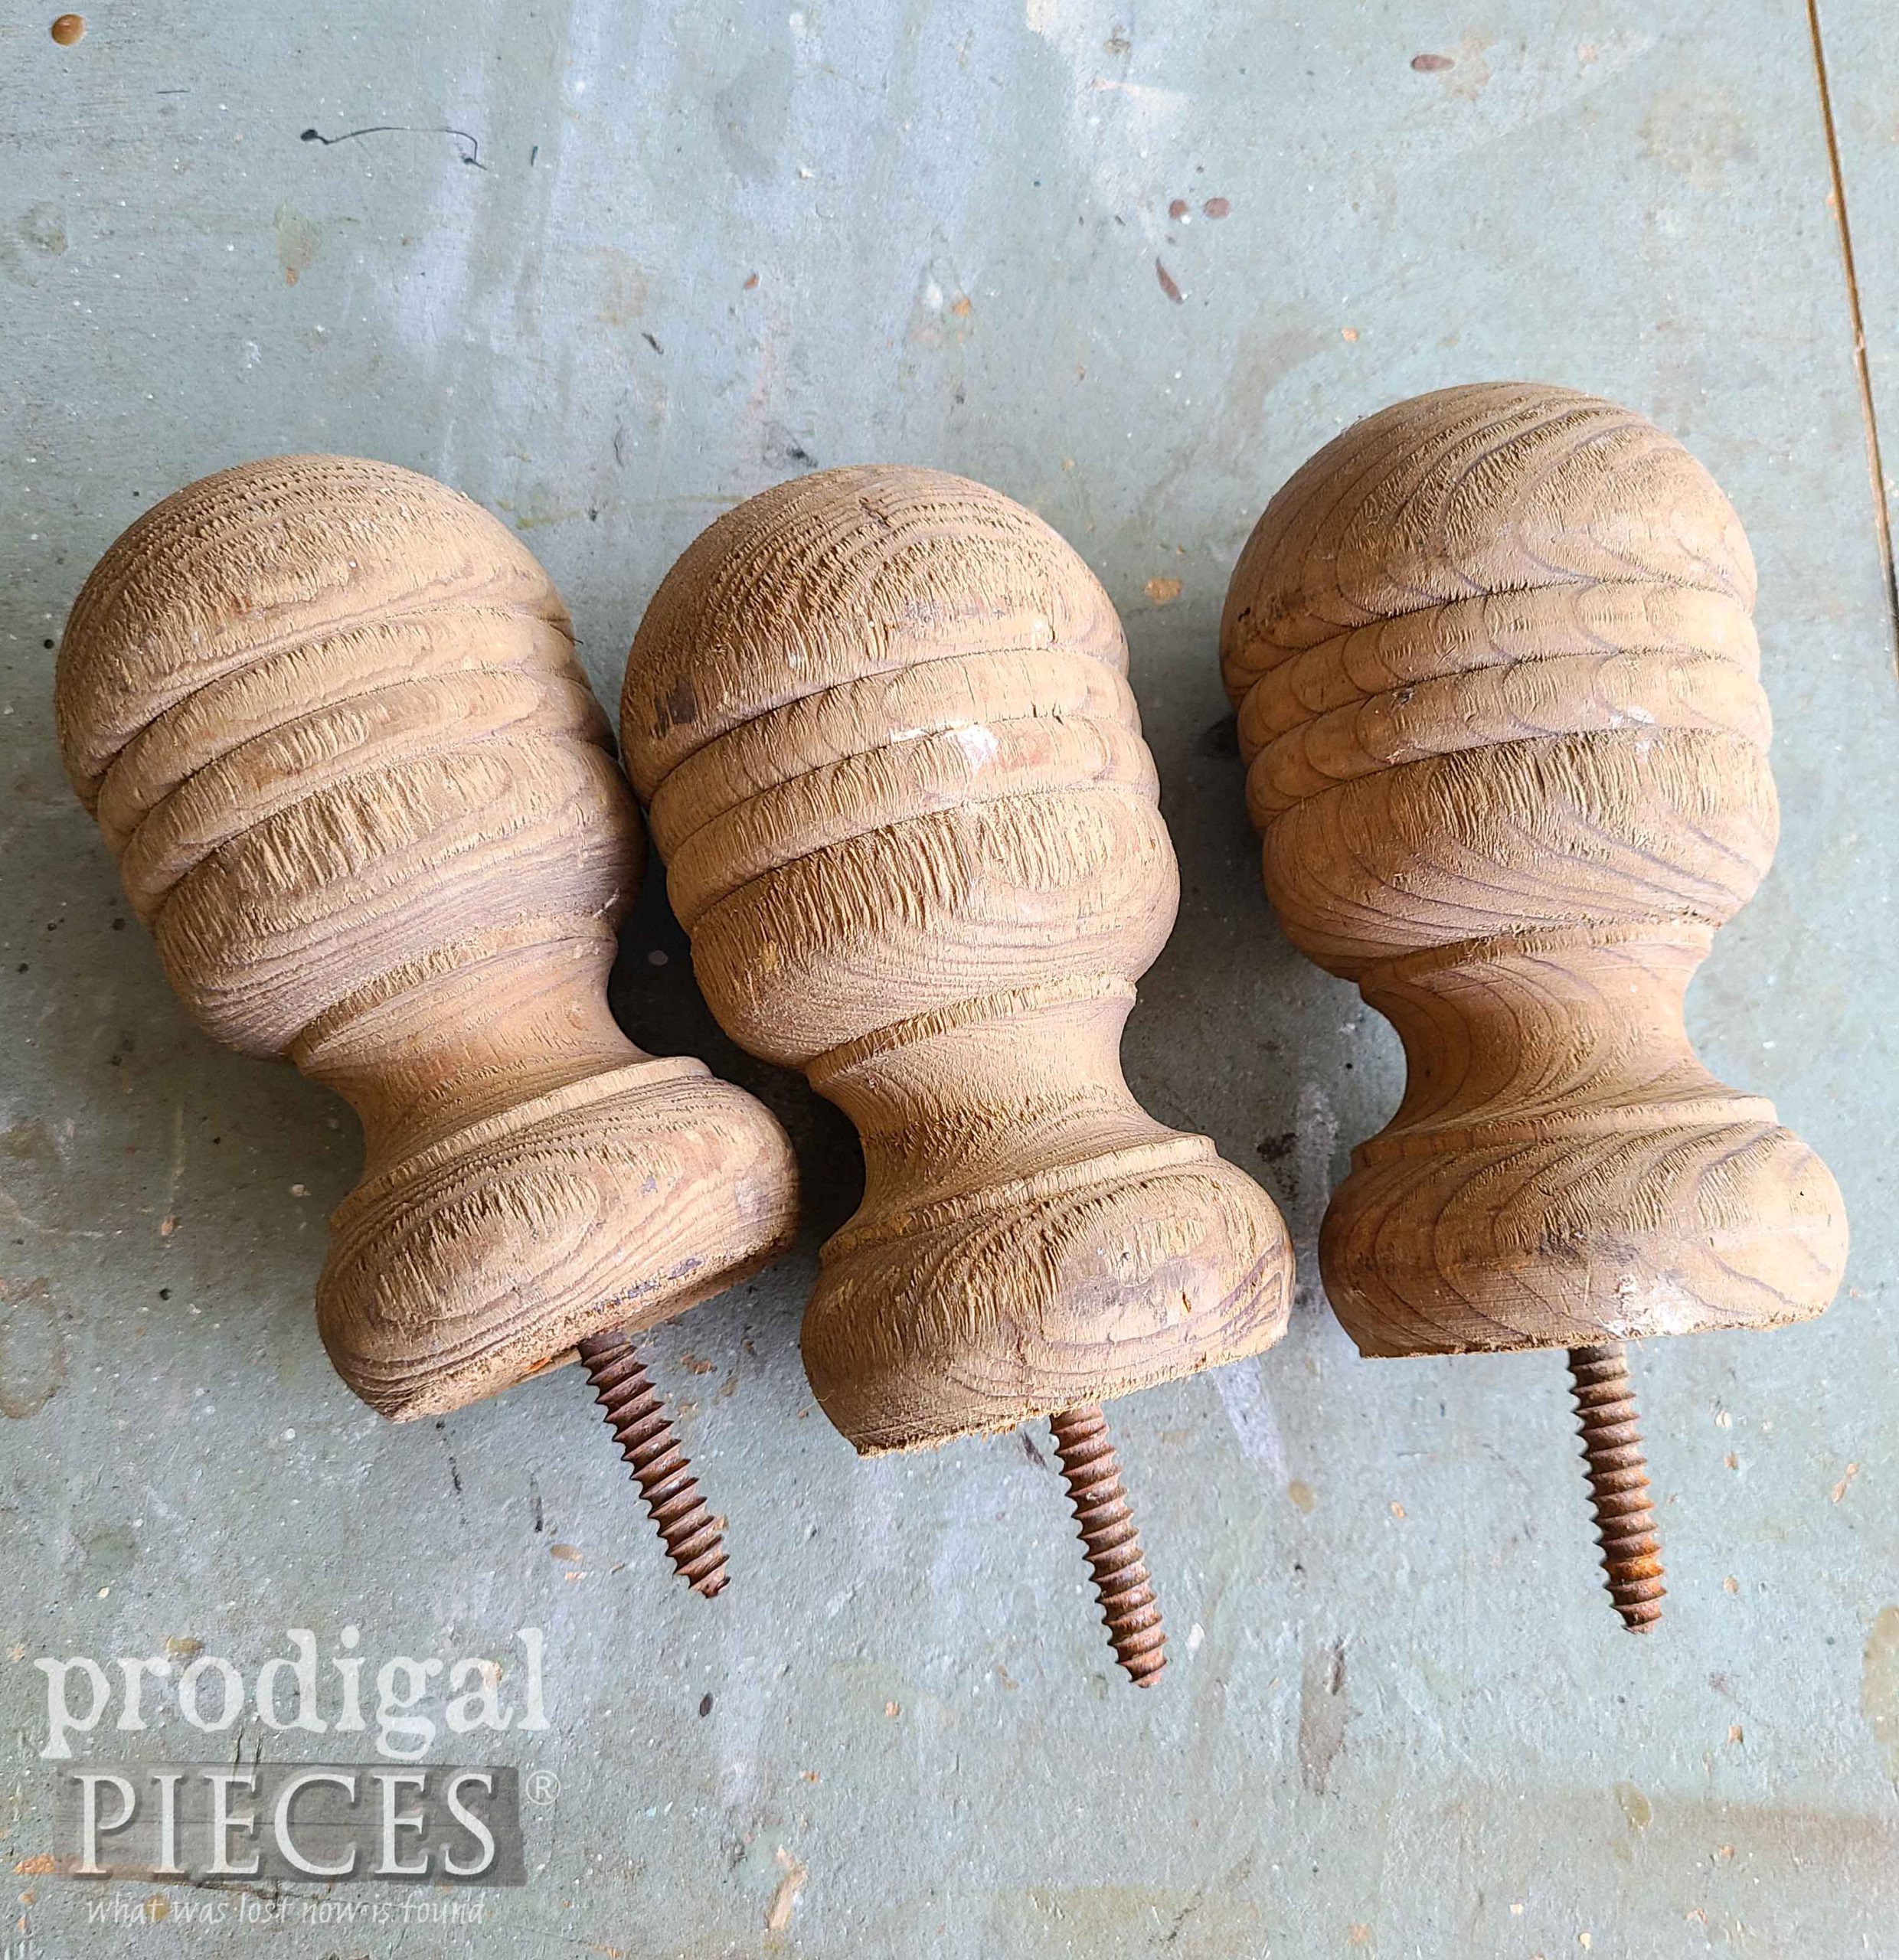
A friend offered these to me and I eagerly accepted the gift. My first thought, being an avid doll lover/maker was that I saw doll heads. However, I figured many of you would be creeped out if I used them as decor. tee hee! Instead, I wanted to make something simple that you could replicate on your own DIY adventure.
LET’S BEGIN
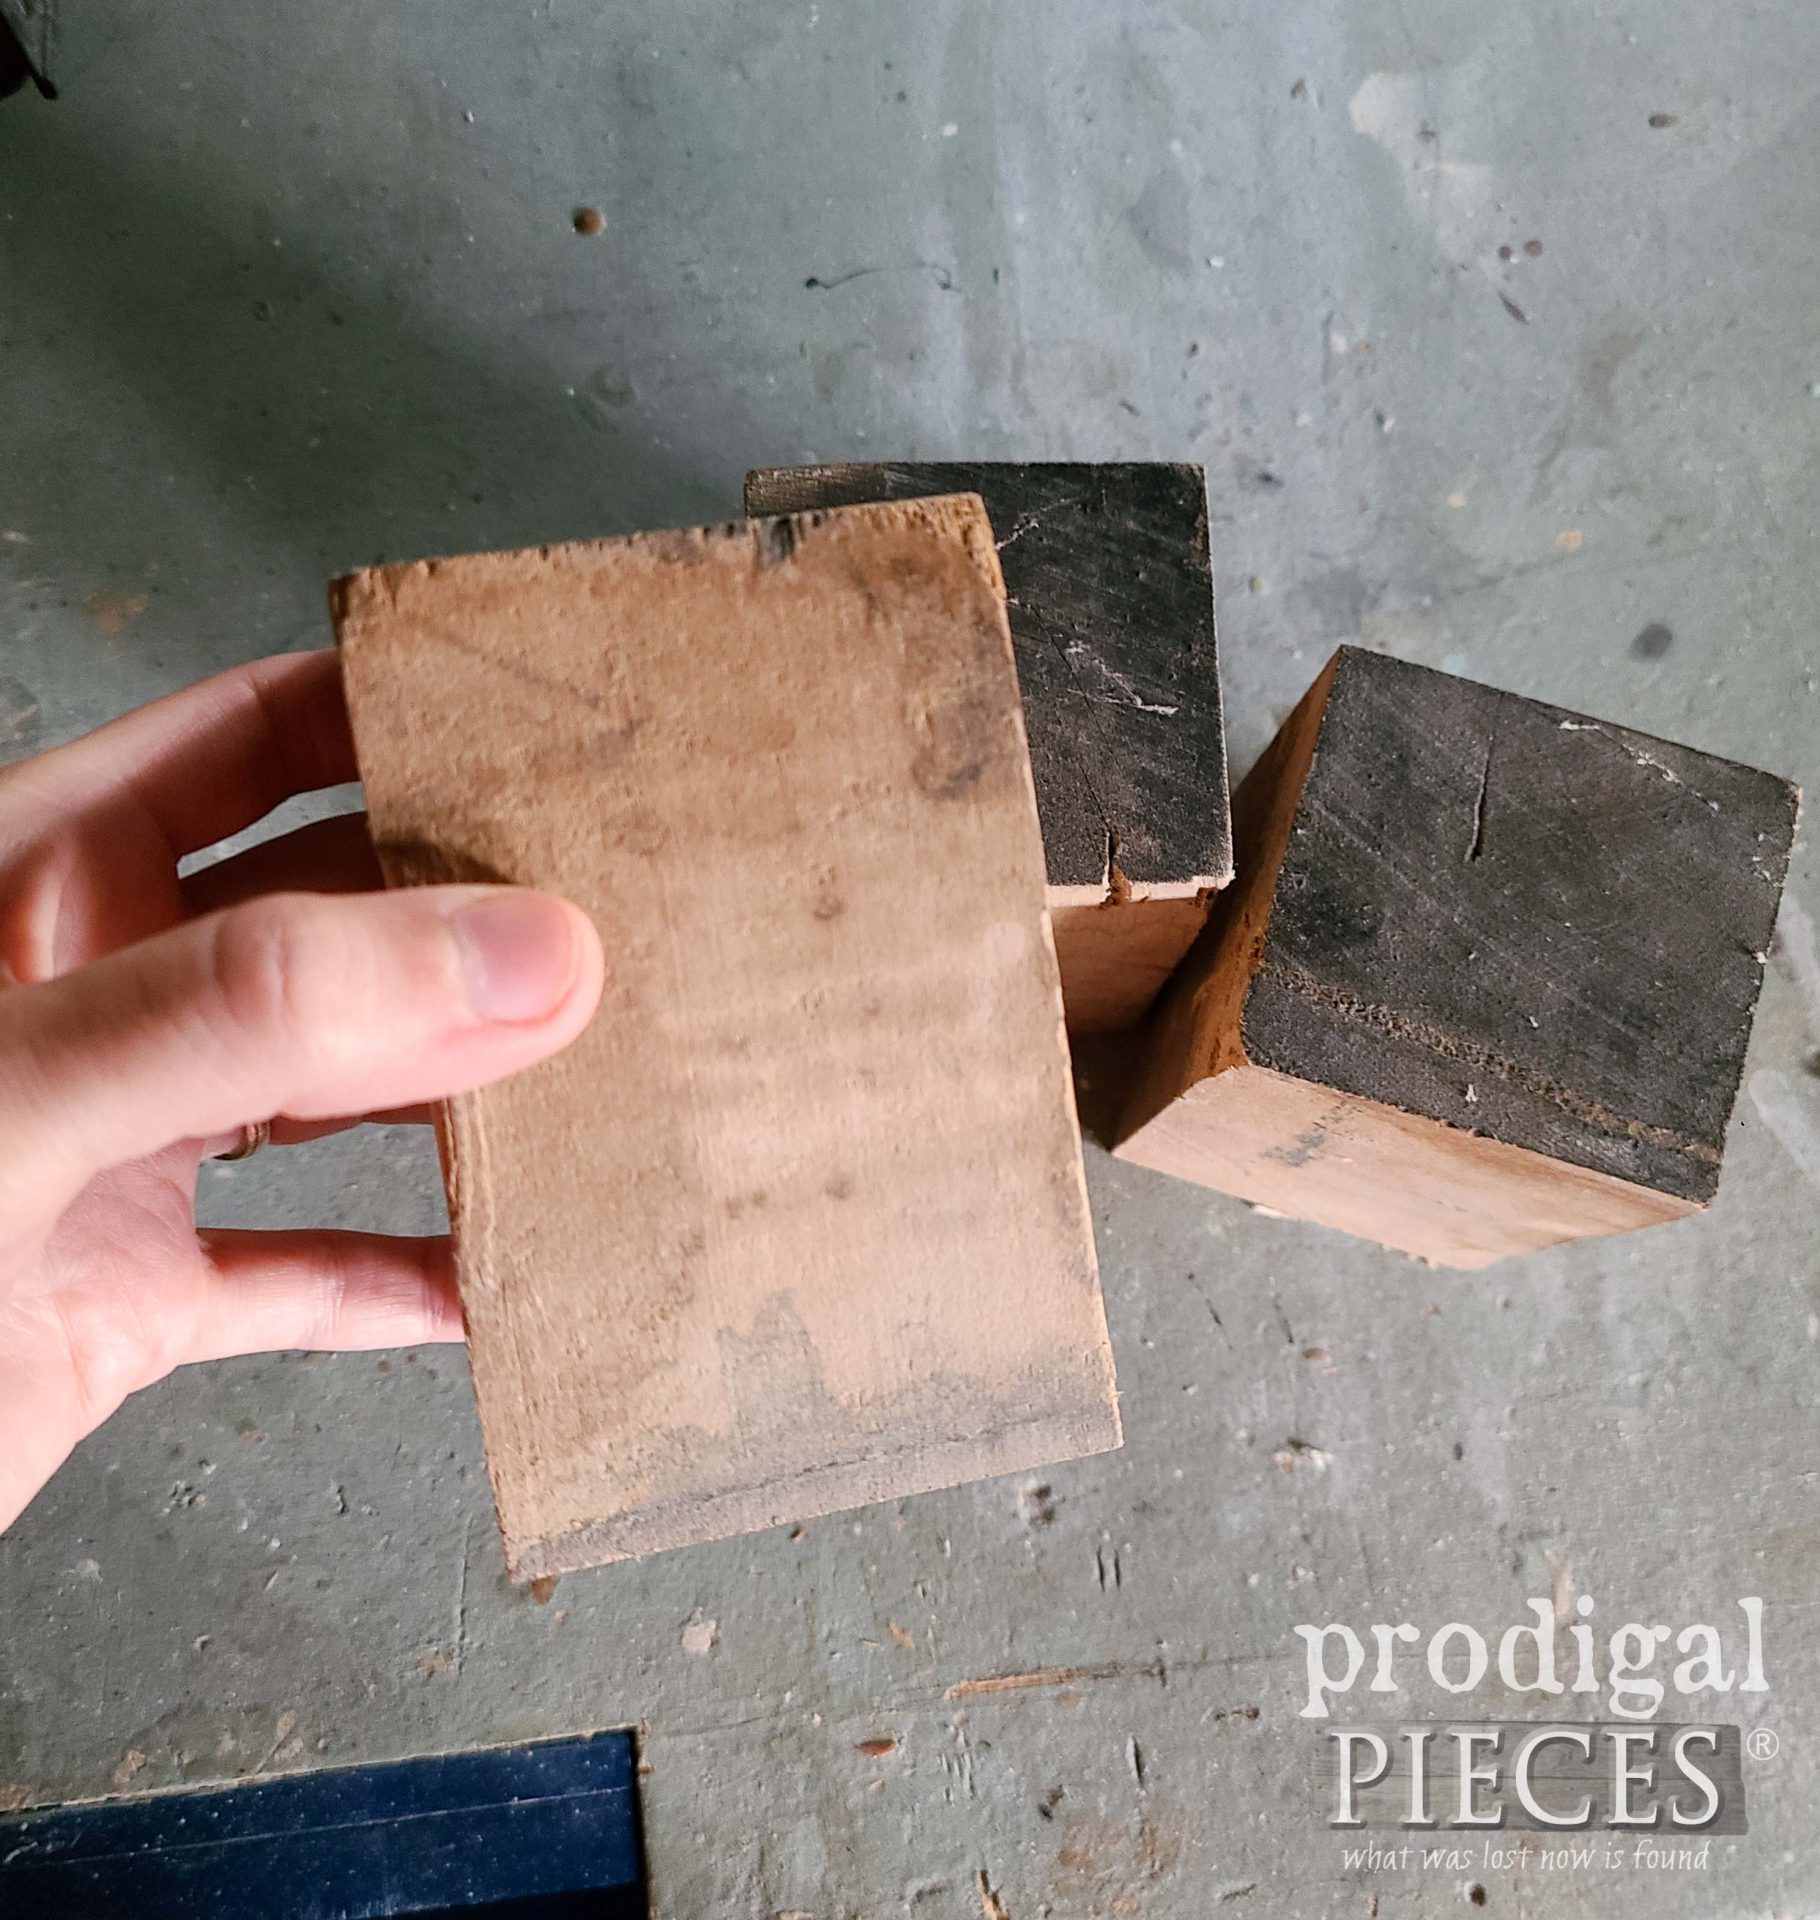
First, I dig into my stash and pull out a set of remnant pieces from an upright grand piano that was beaten into pieces and left for dead on the curb. I make use of the salvaged bits from time to time, like in my coffee table builds and this bench. More to come!
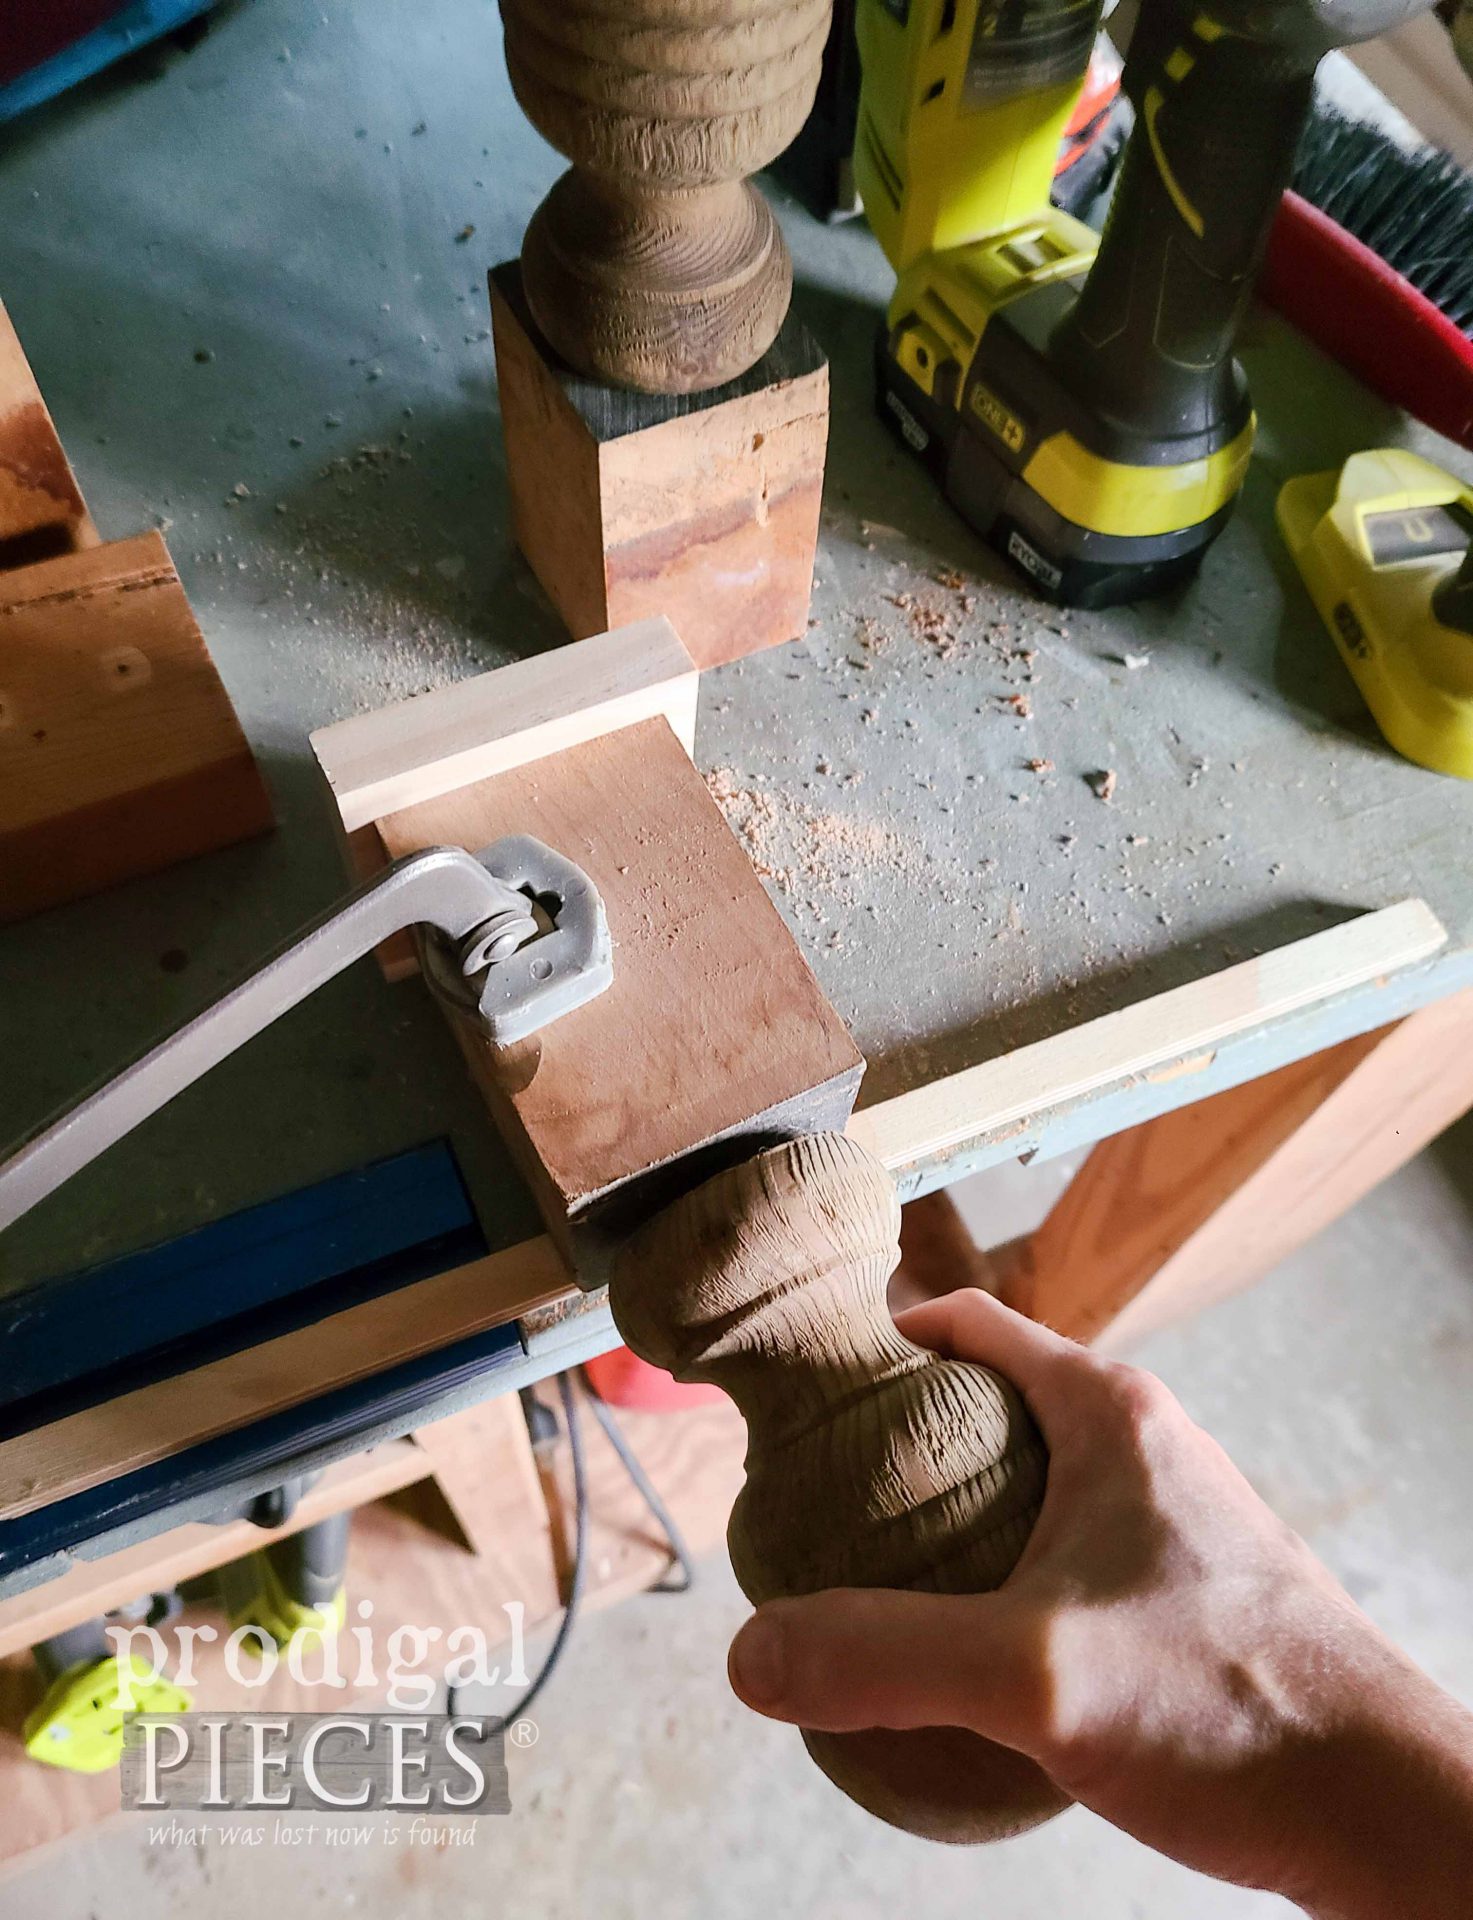
Since there’s only three finials, I decide to make a set for a shelf that has even more of a story to tell. In order to do that, I add a bit more scrap wood to the base of three of them. Then, I drill pilot holes and attach the upcycled finials.
NEXT STEPS
Next, I need to make the wood look as if it is all similar, so I apply a reactive stain that ages the wood naturally using the tannins in each piece. You can see how I use it in these past posts.
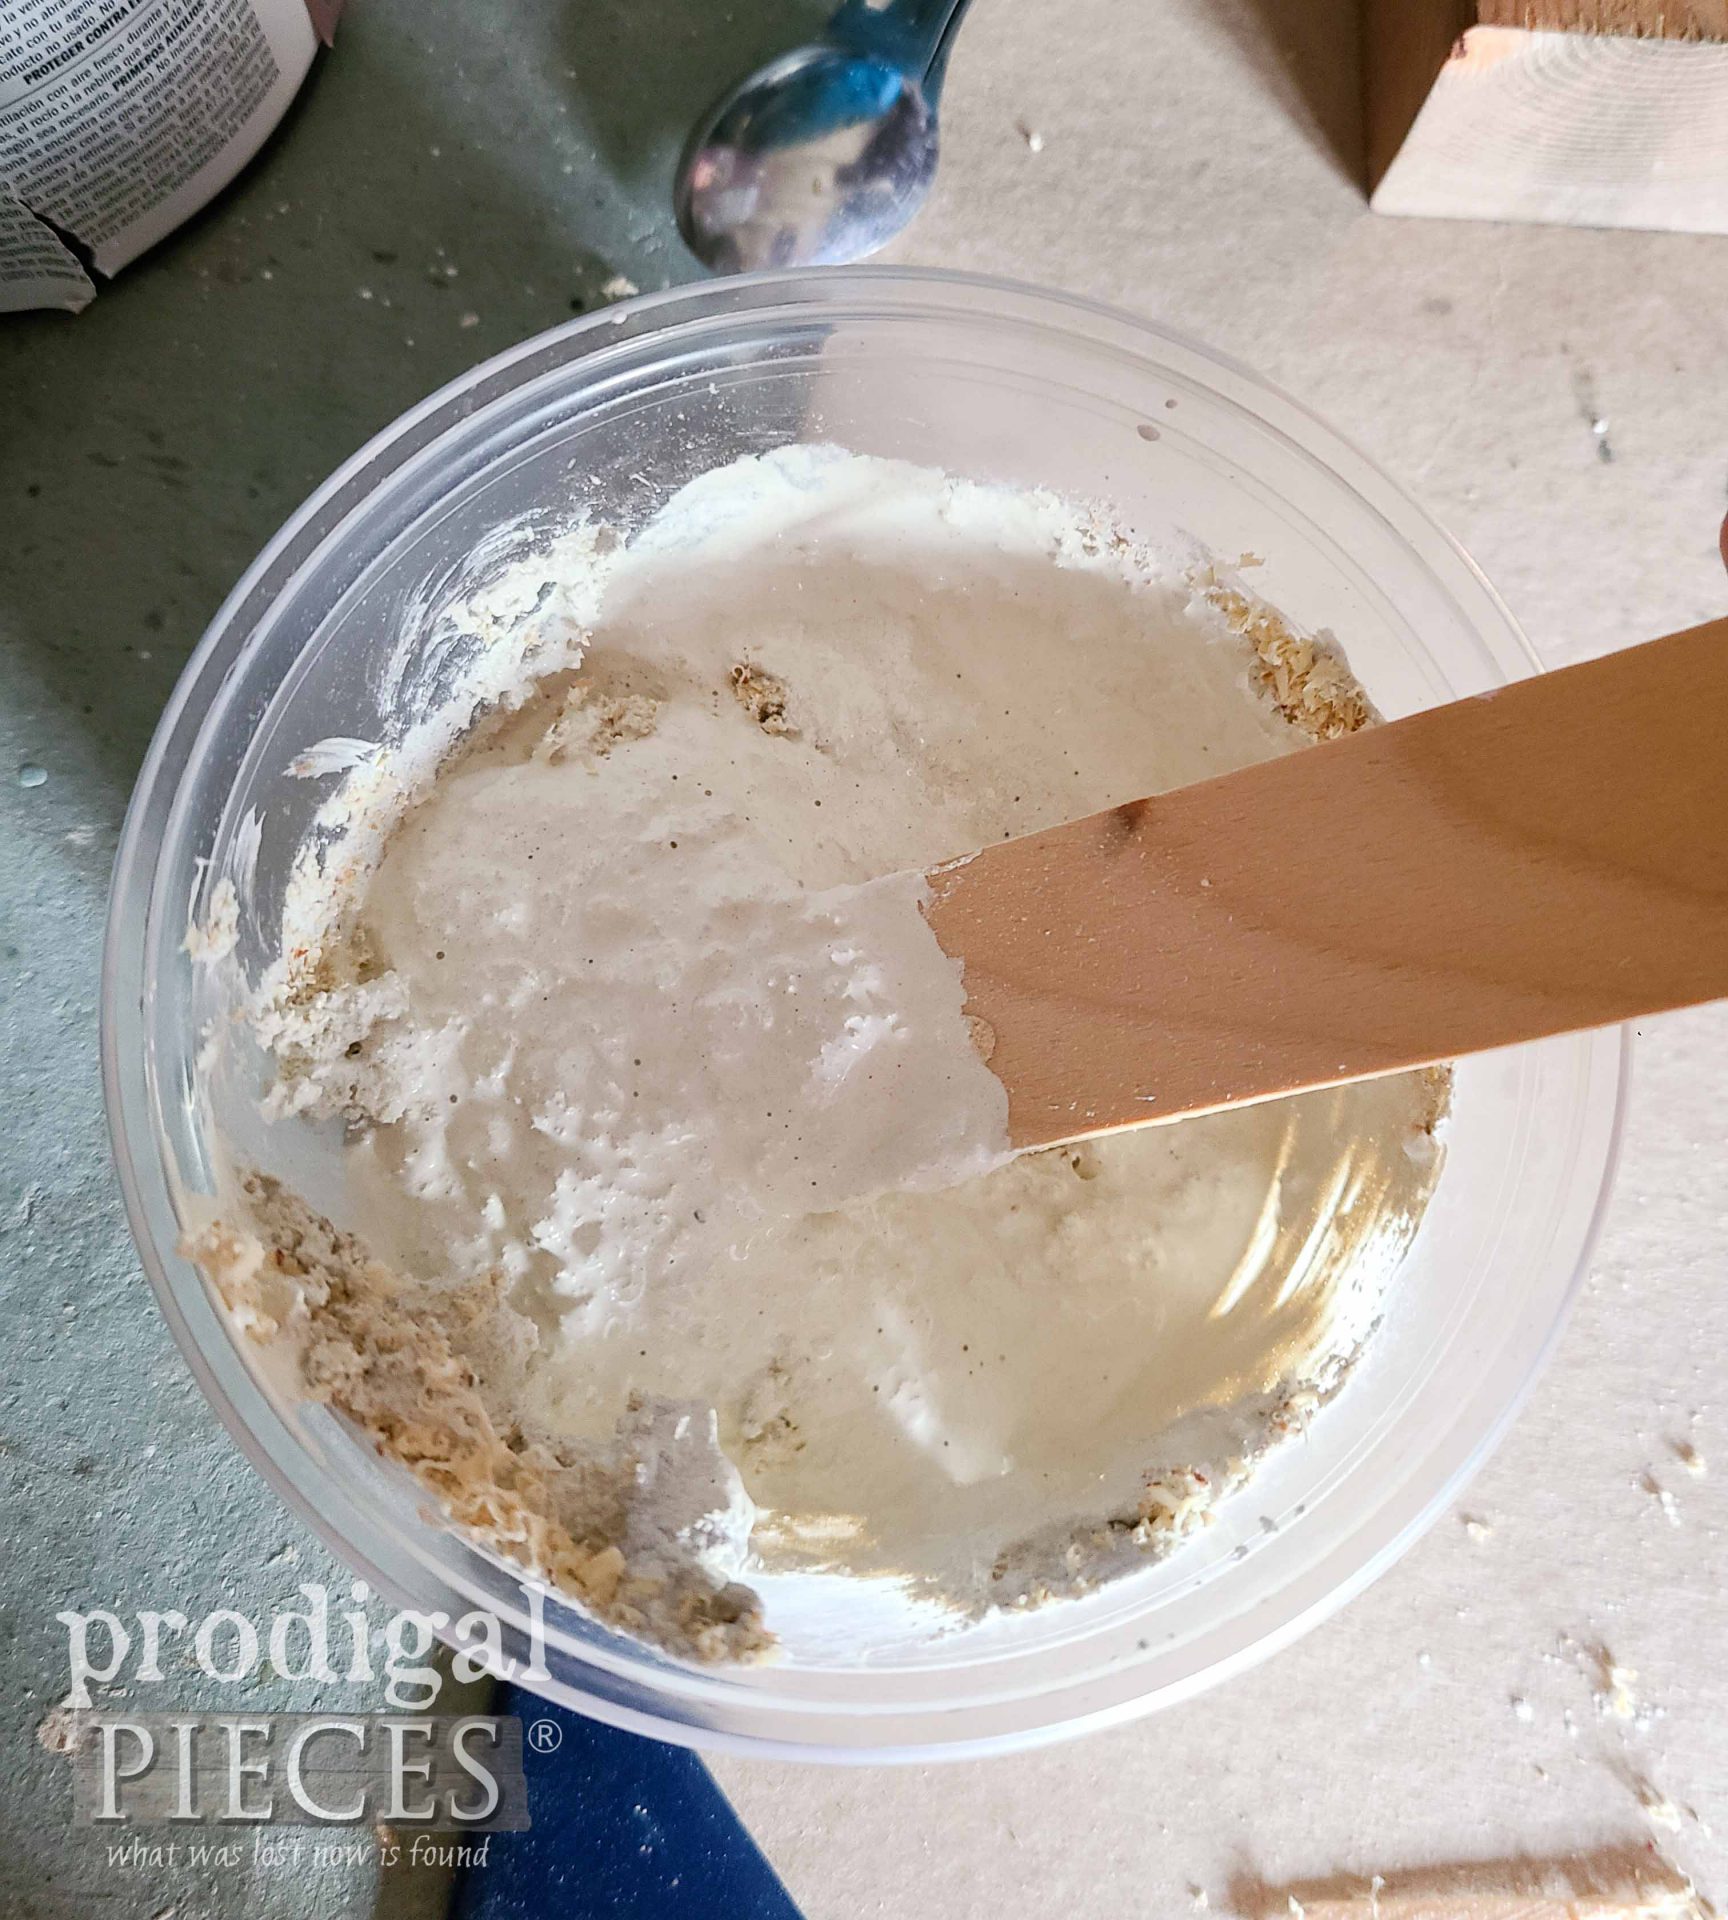
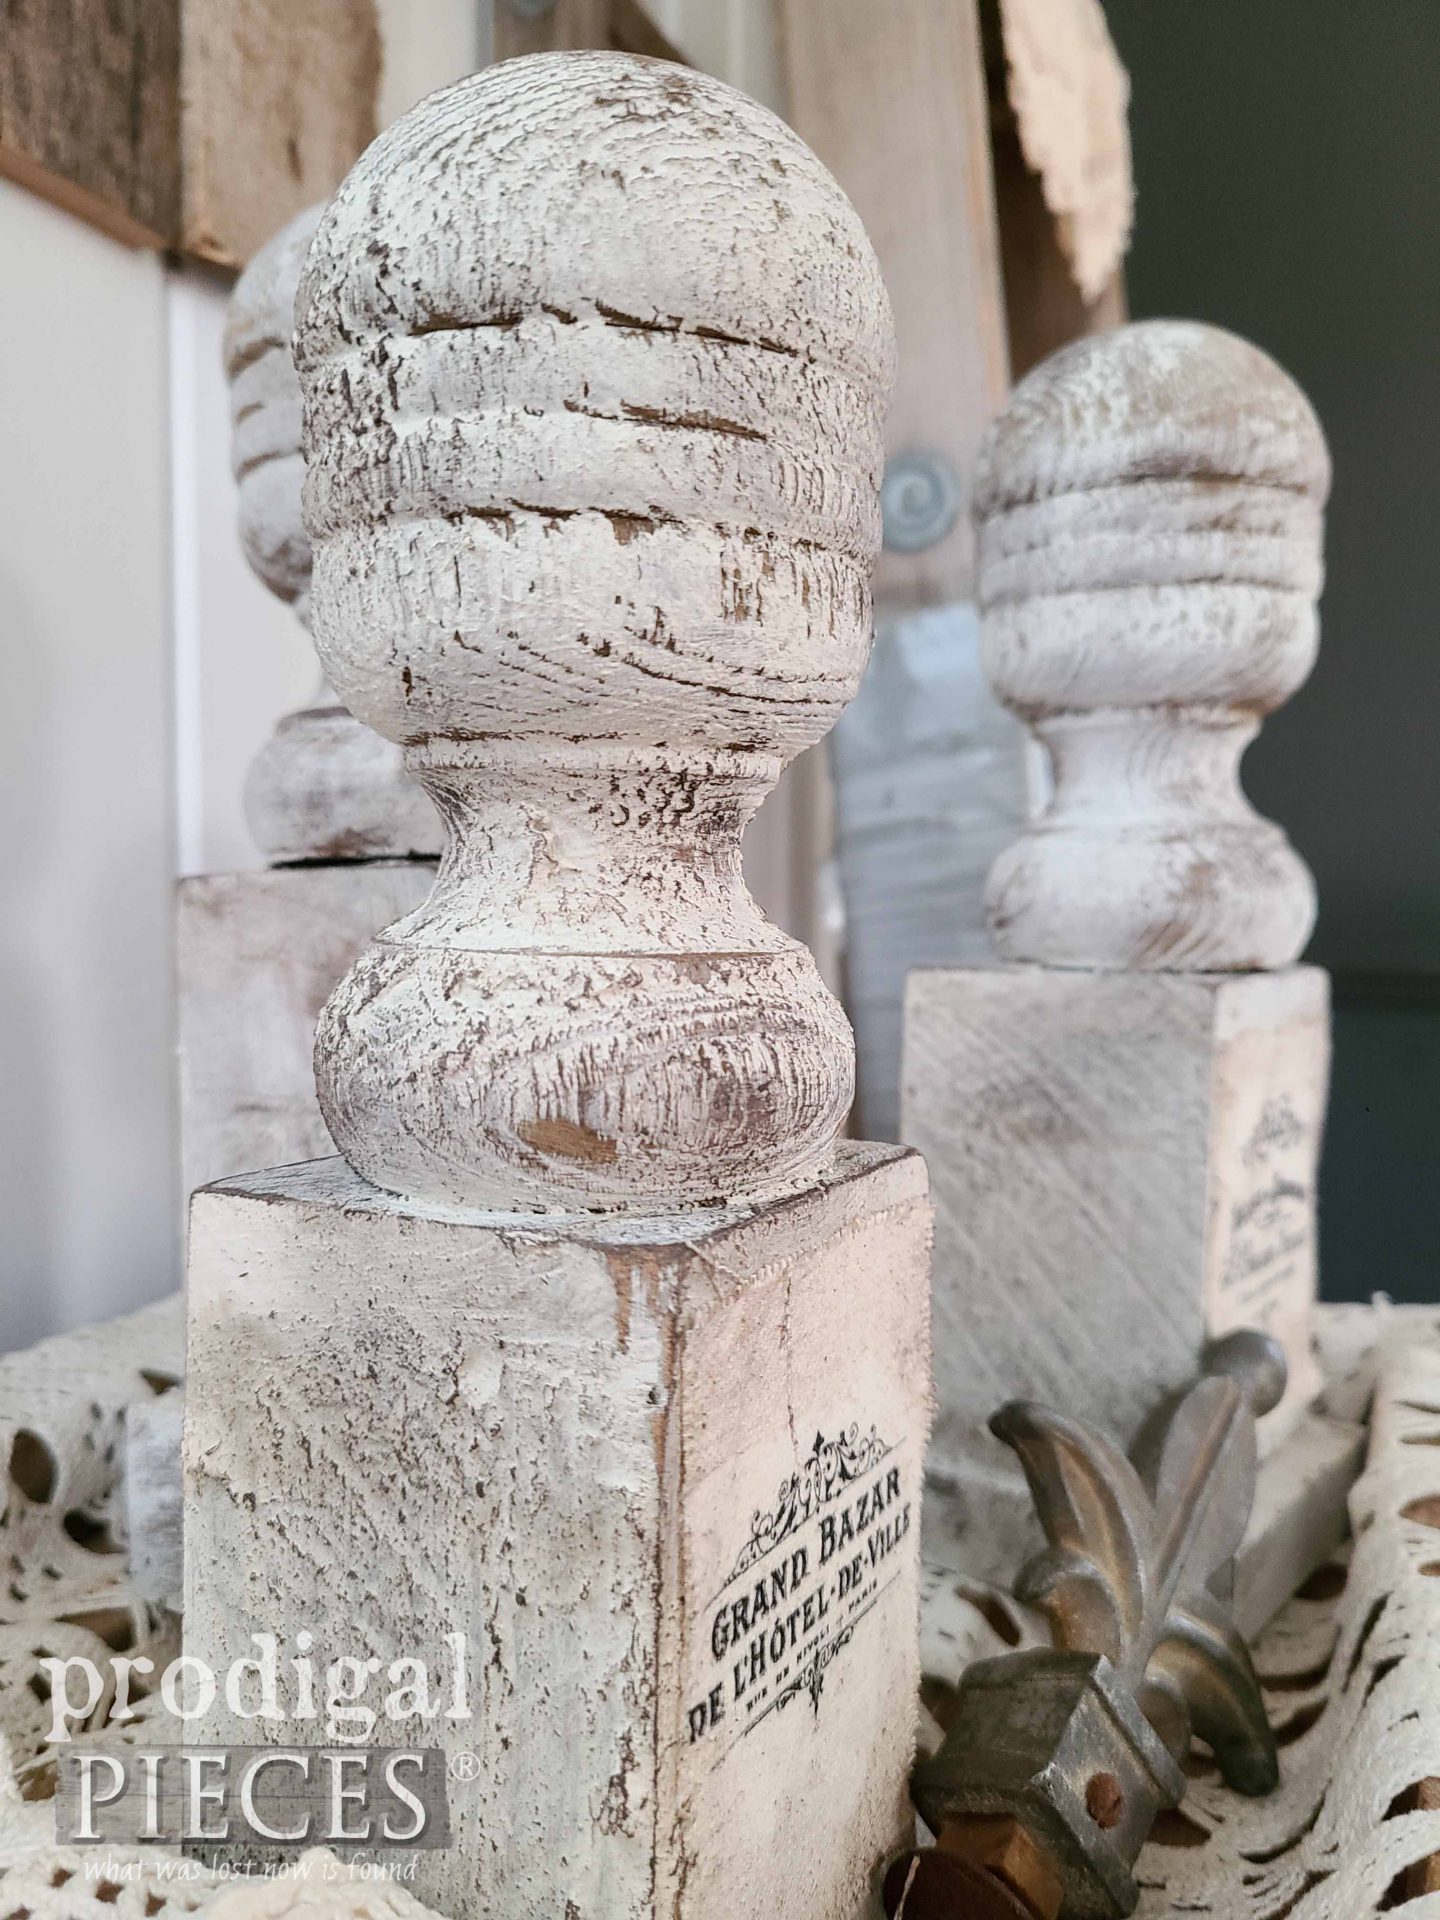
Last, once the stain cures, I need to finish up with a layer of paint. However, this paint needs to have an aged appeal. In order to do that, I make a sawdust paint. The recipe is simple…
SAWDUST PAINT RECIPE
- ½ cup of plaster of Paris
- 4 Tablespoons of water
- 2-4 Tablespoons of acrylic
- 2-3 Tablespoons of sawdust
Place the plaster of Paris in a mixing container and add 2 of the 4 tablespoons of water and combine. Continue to add 2 more tablespoons and mix until smooth. Add 2 tablespoons of paint and mix. Last, add the sawdust to get a thick consistency that has a chunky appeal.
THE REVEAL
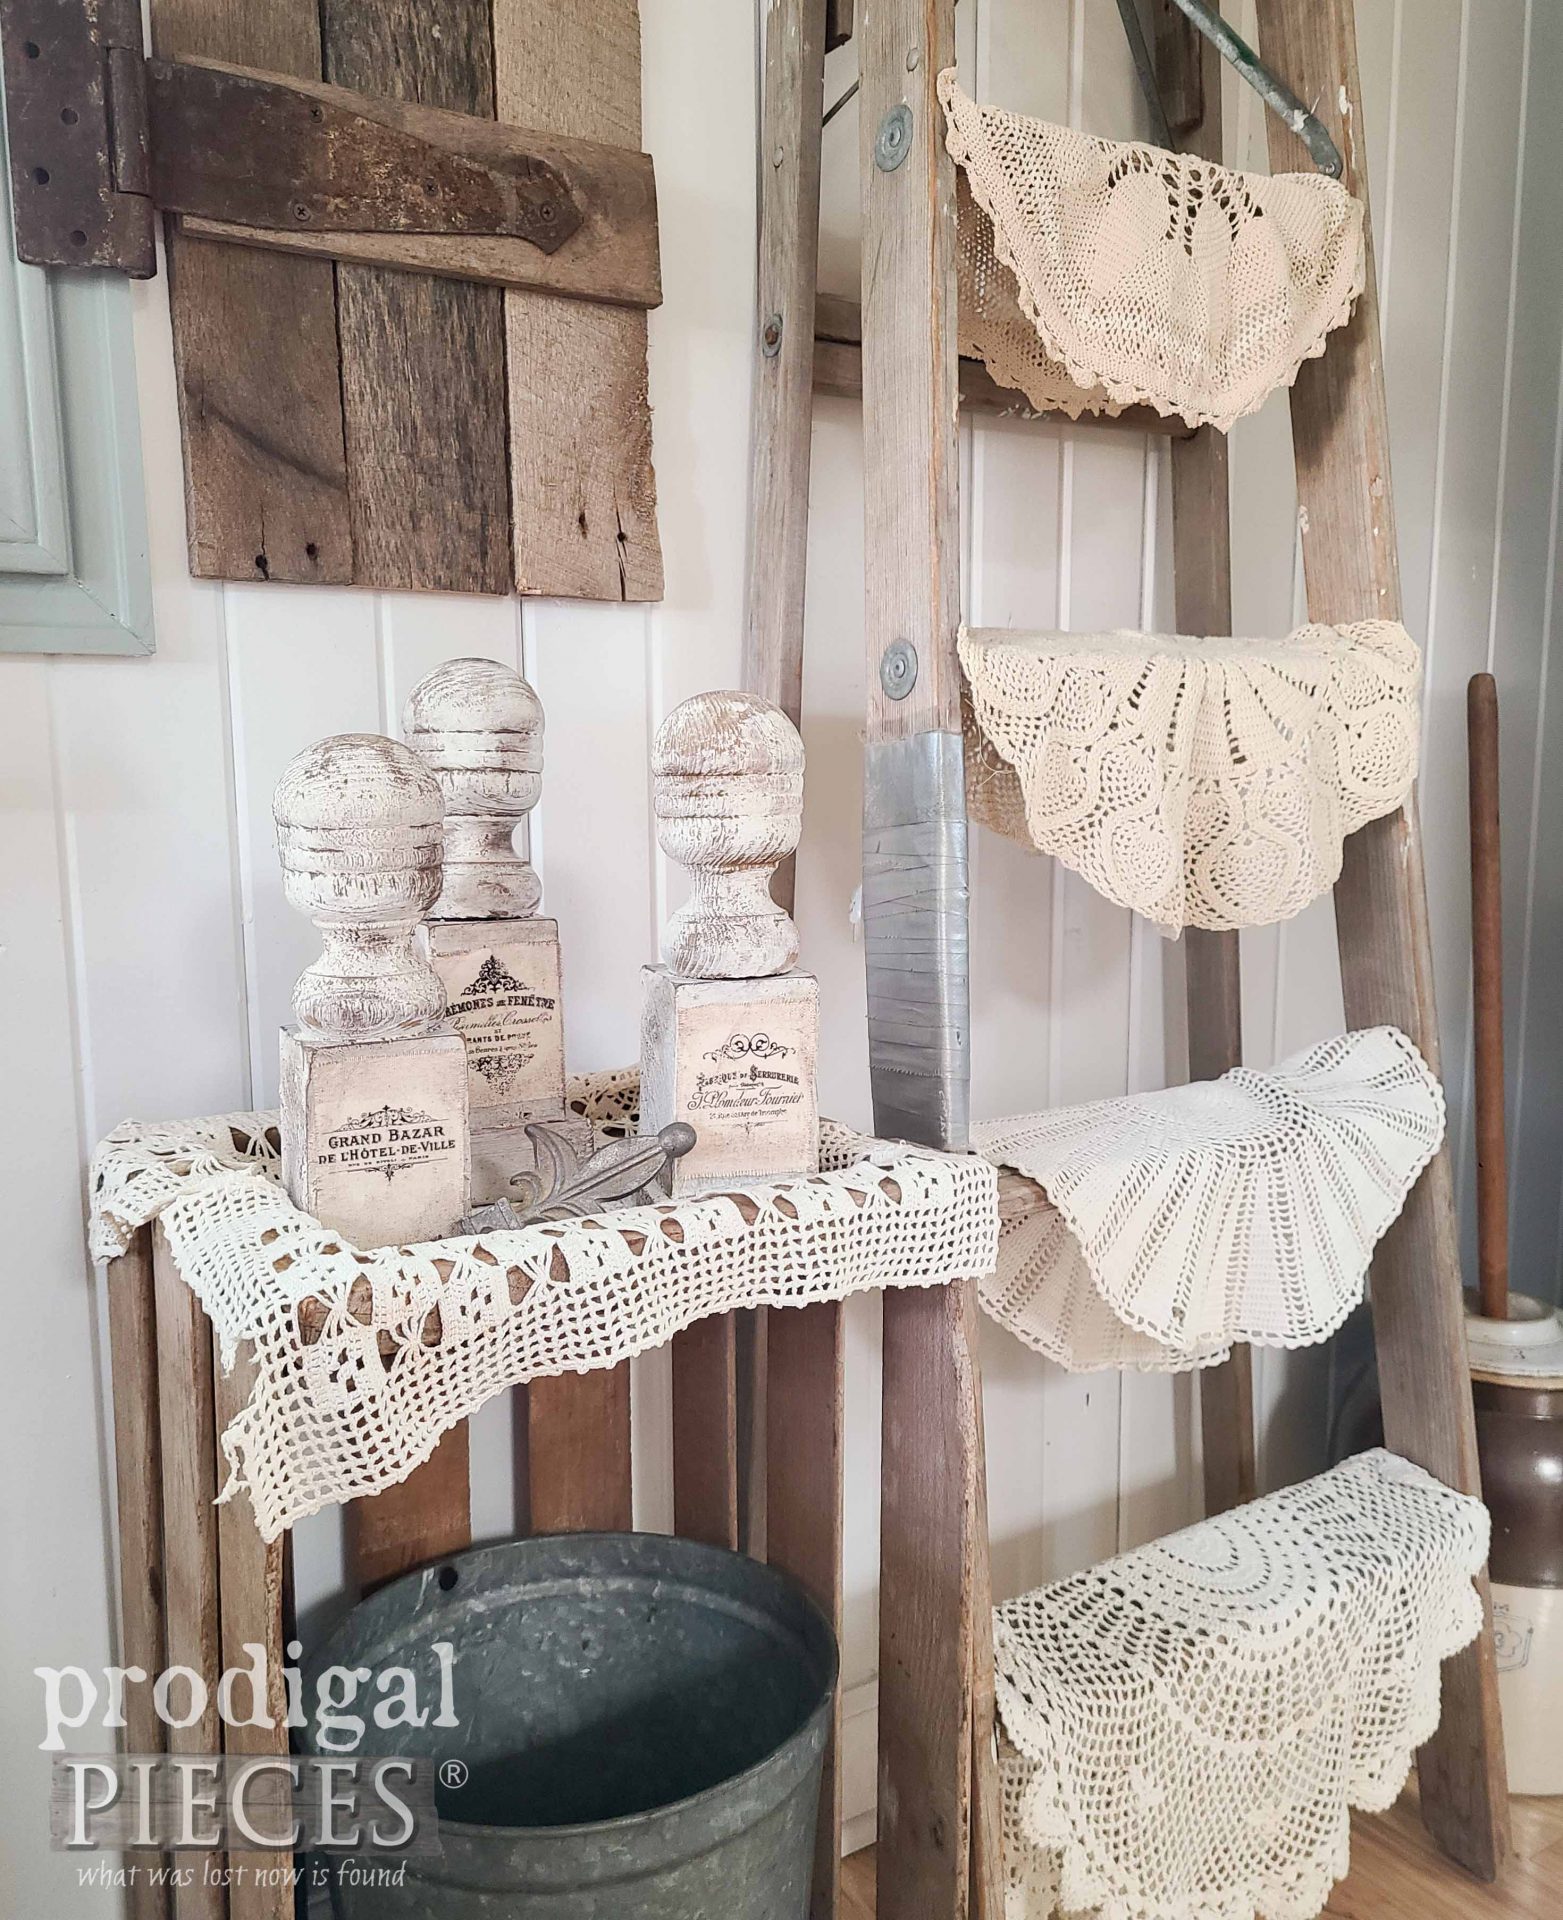
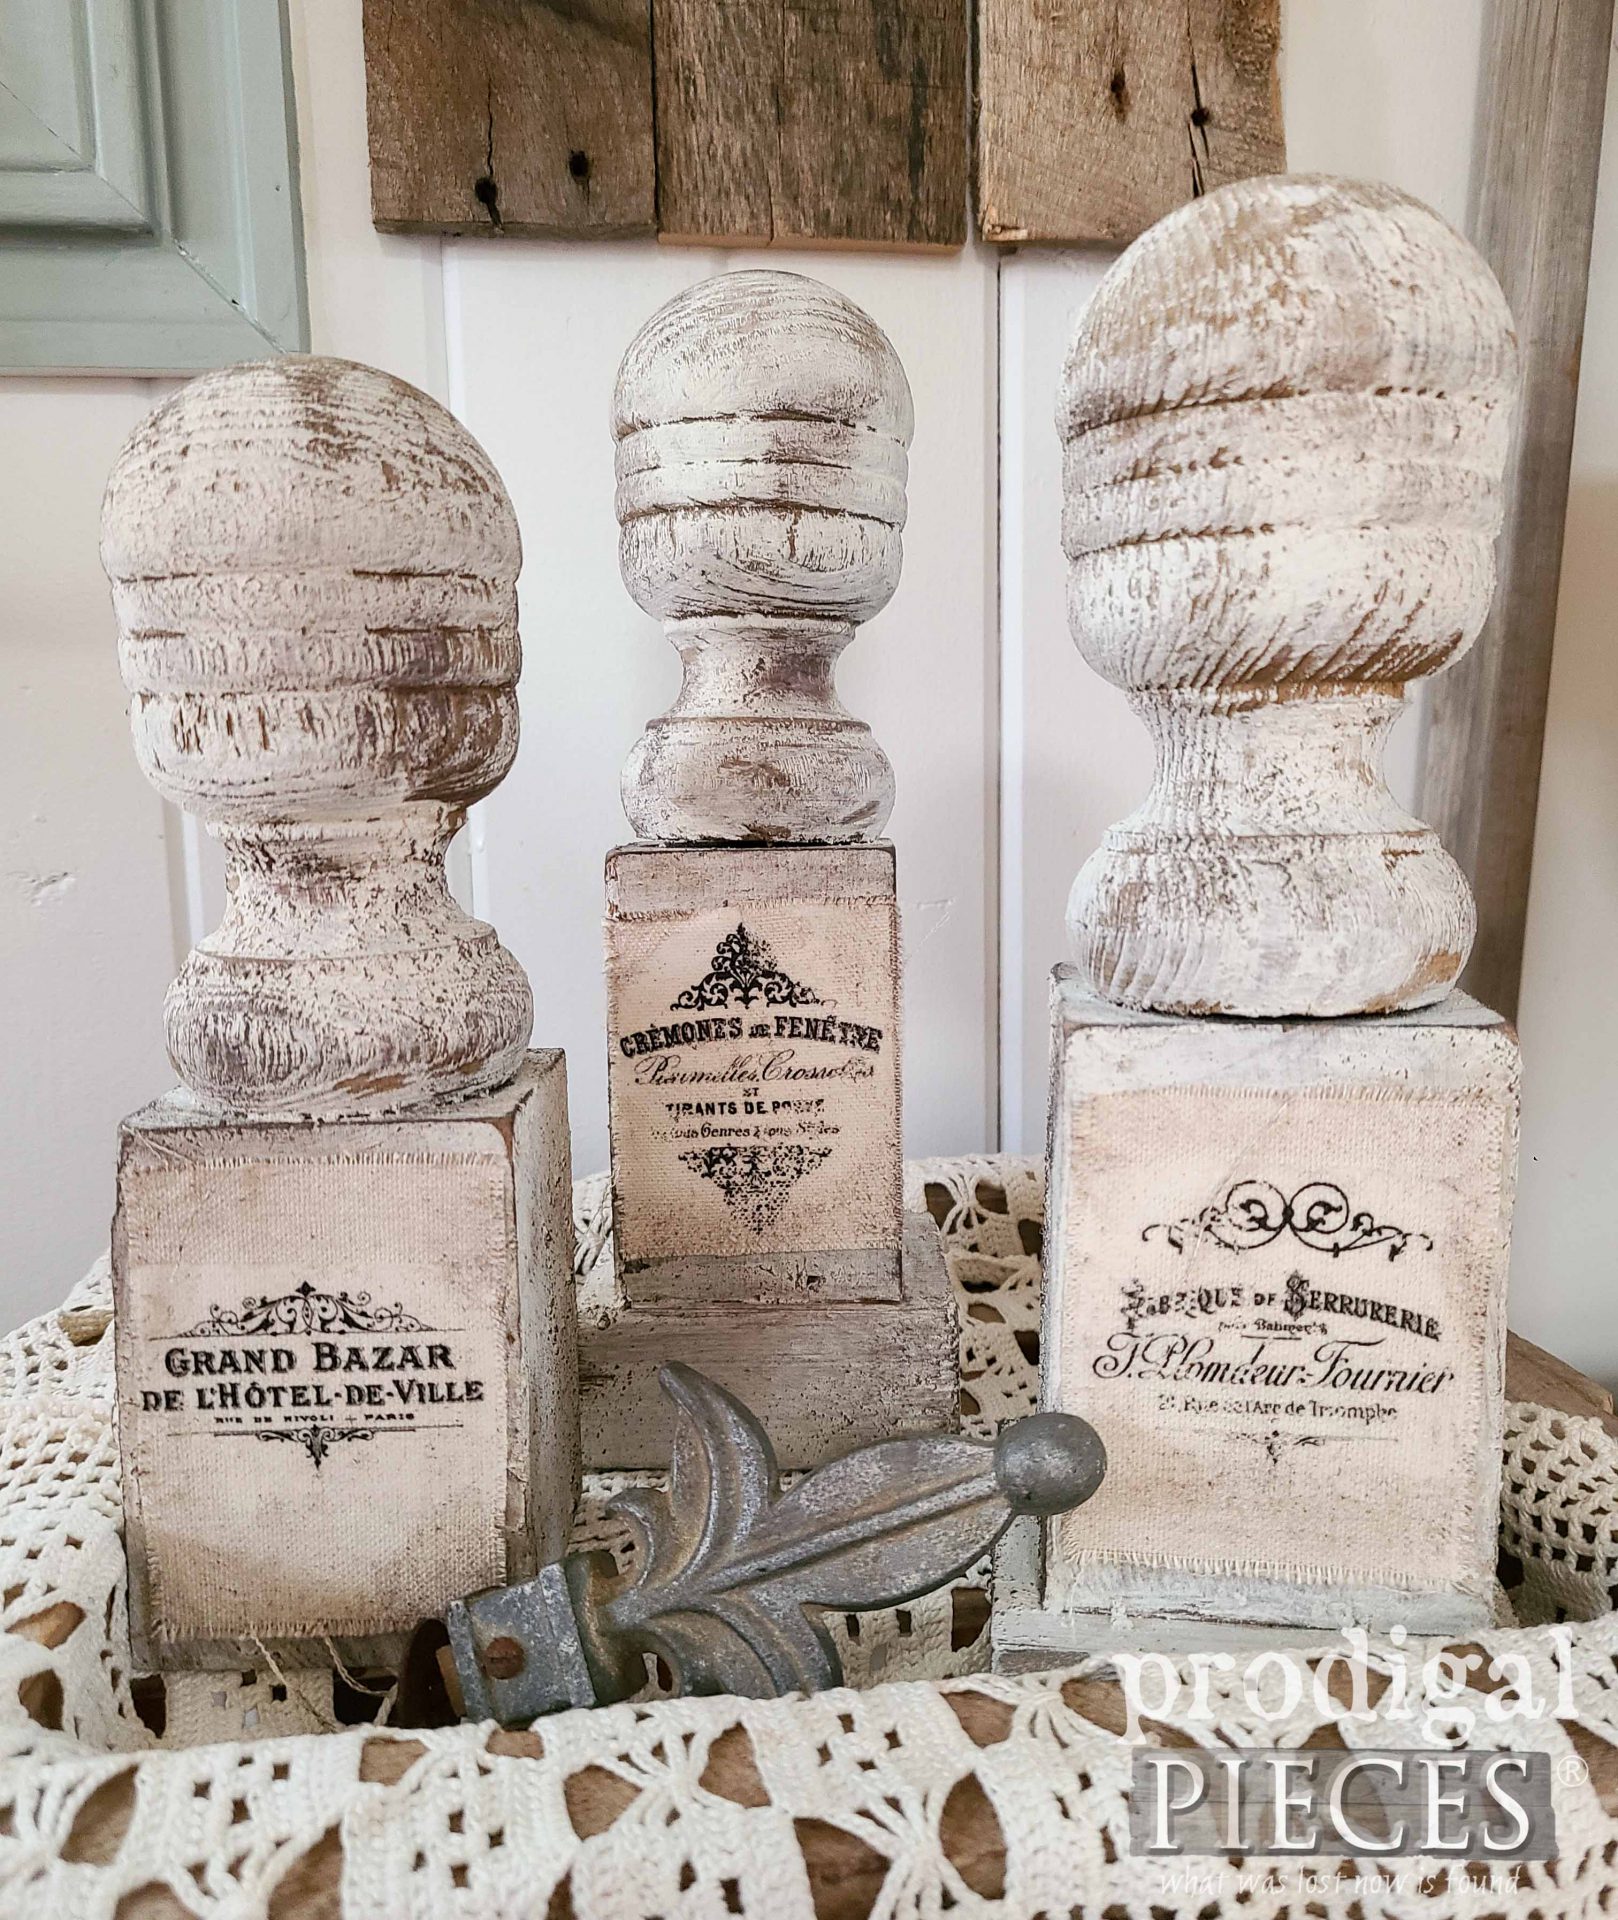
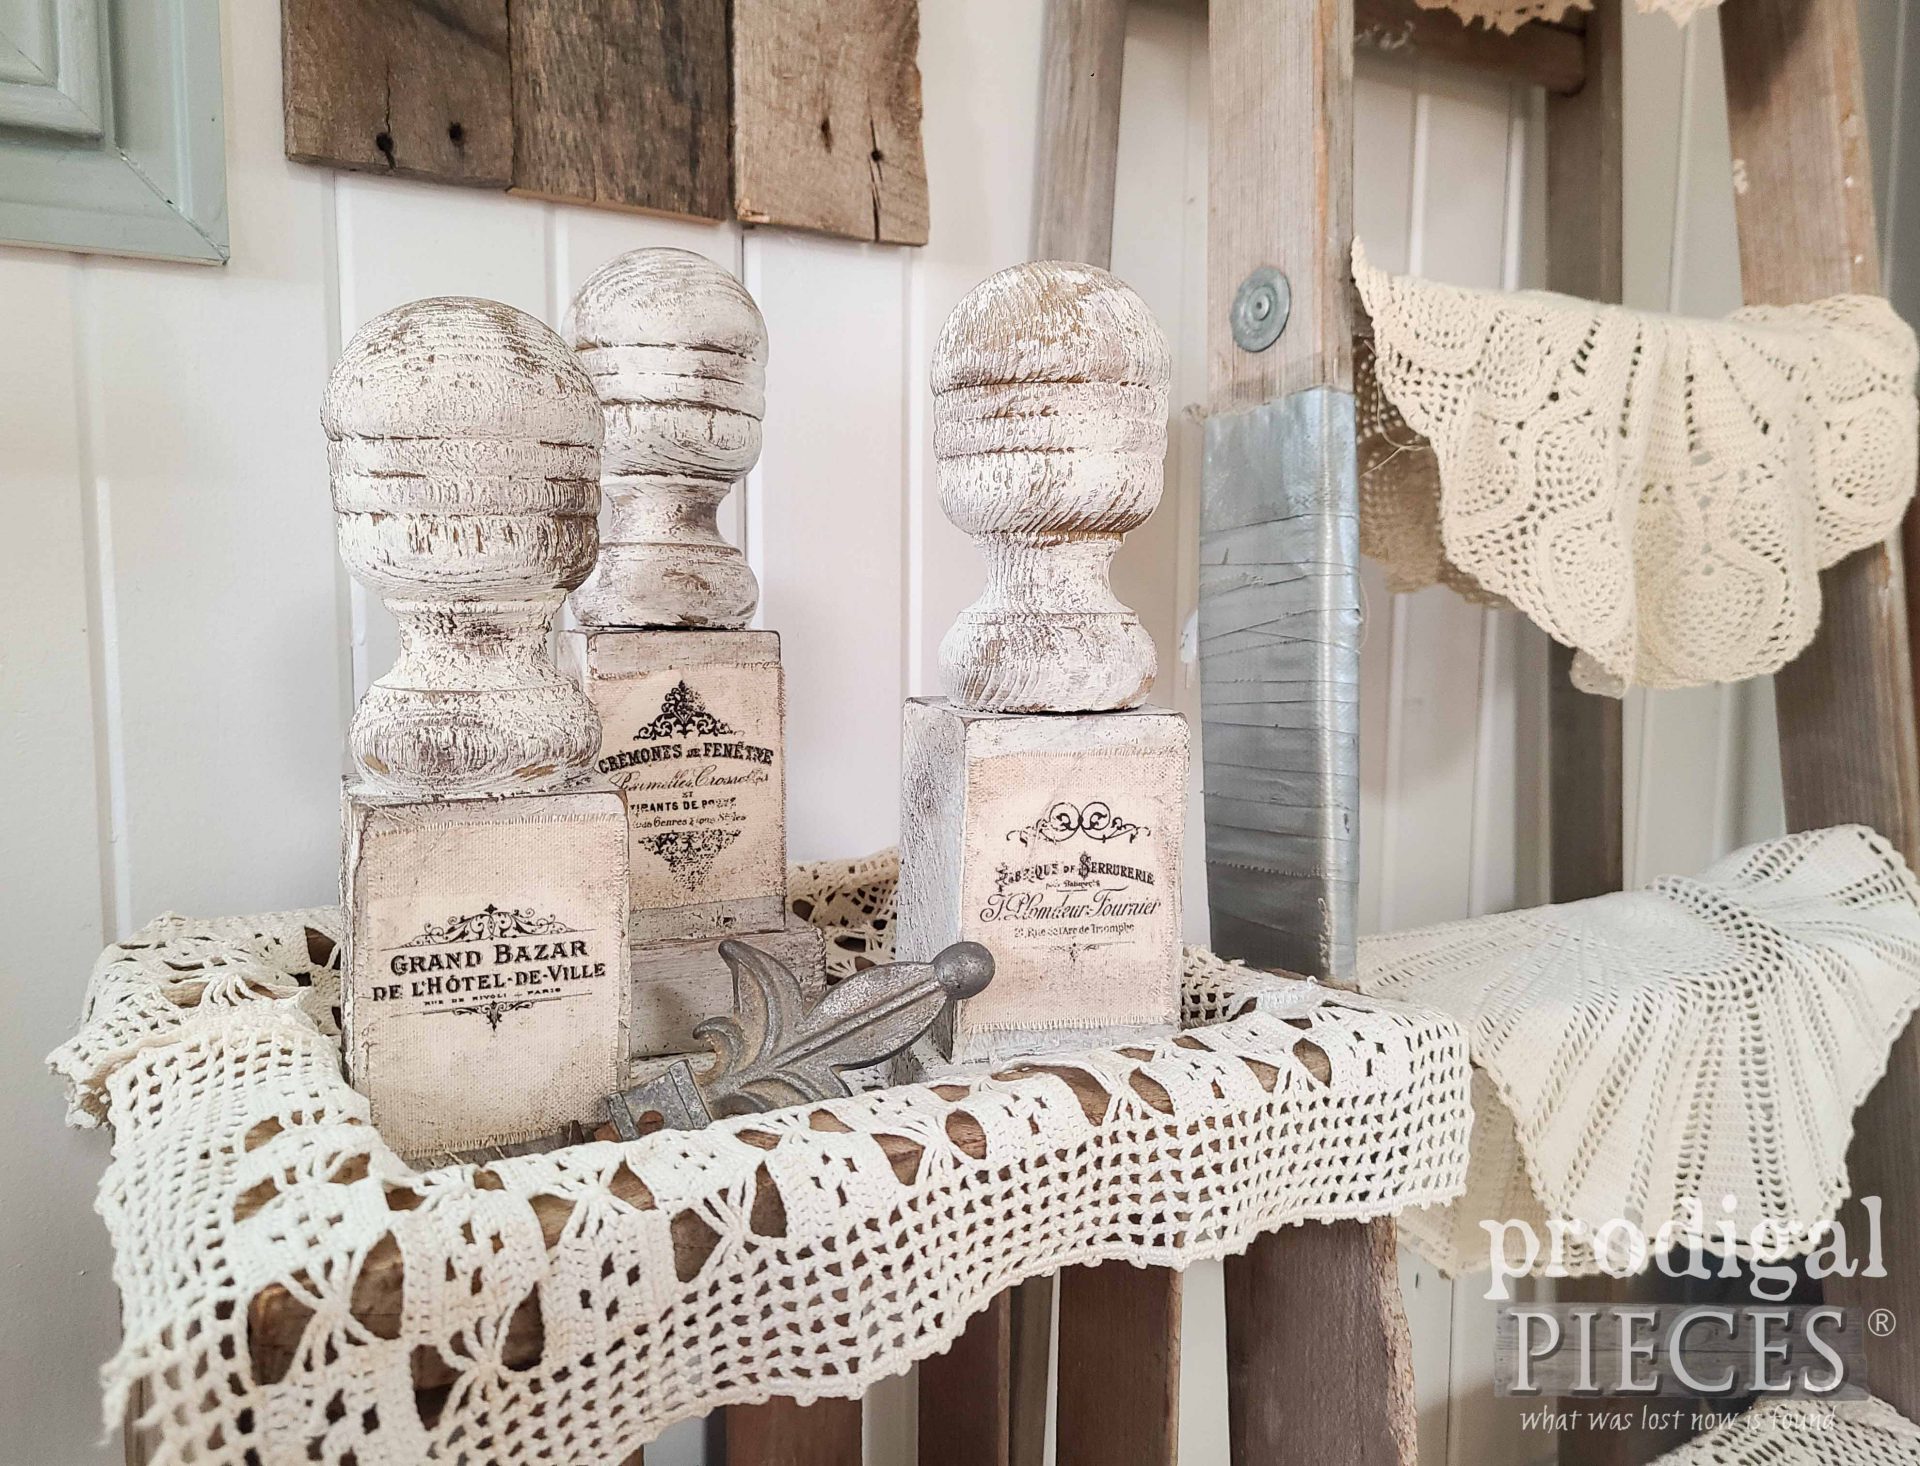
After my mini DIY adventure reaches this point, it’s time to show you the end result. Here’s my dynamic trio of upcycled finials into farmhouse decor.
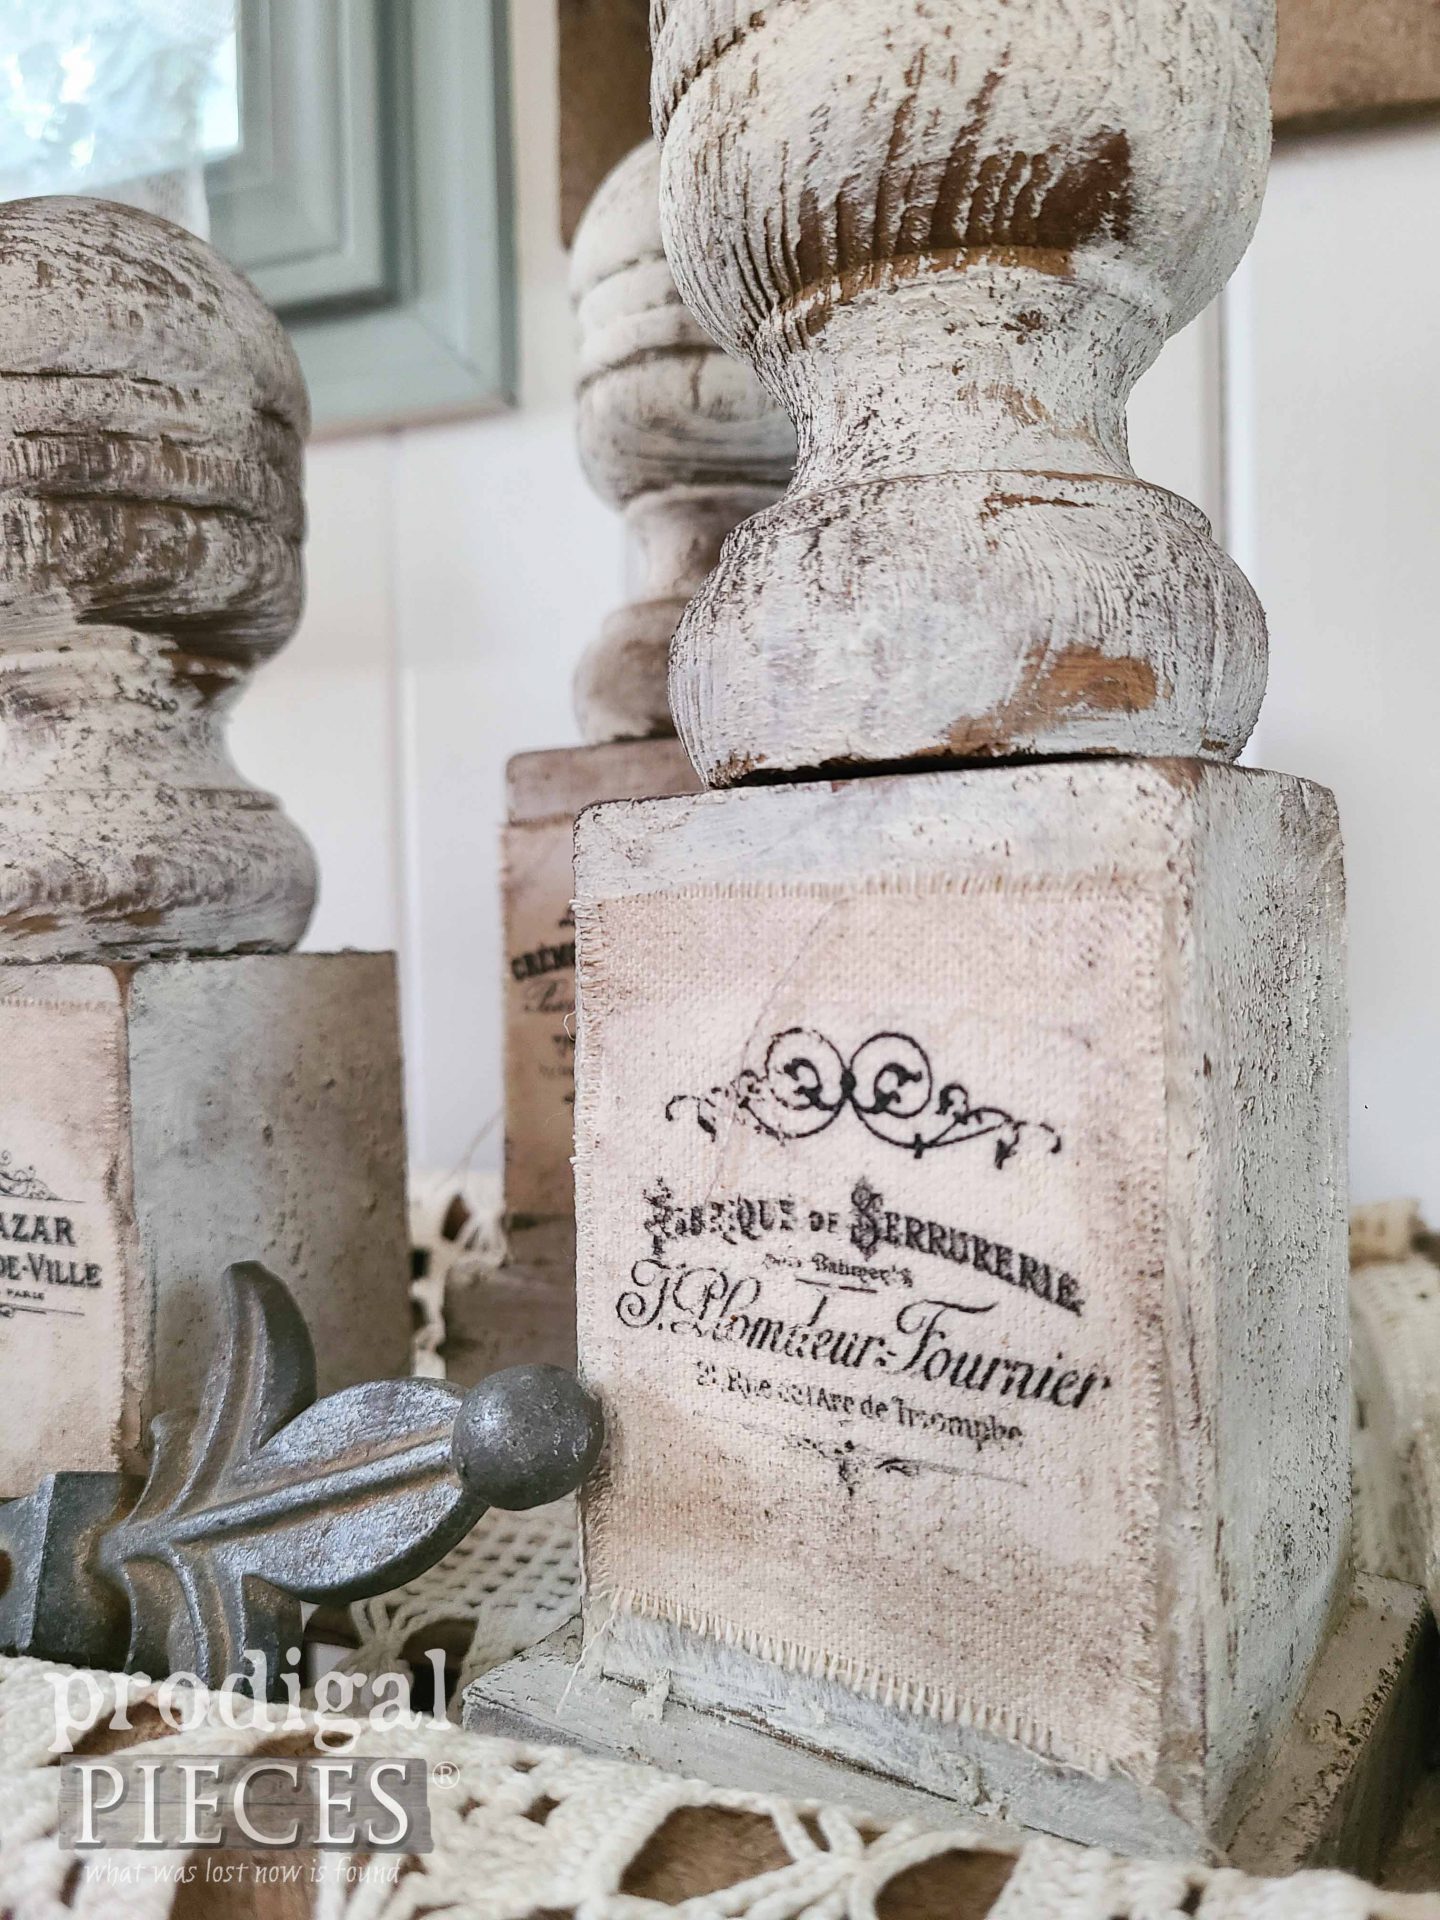
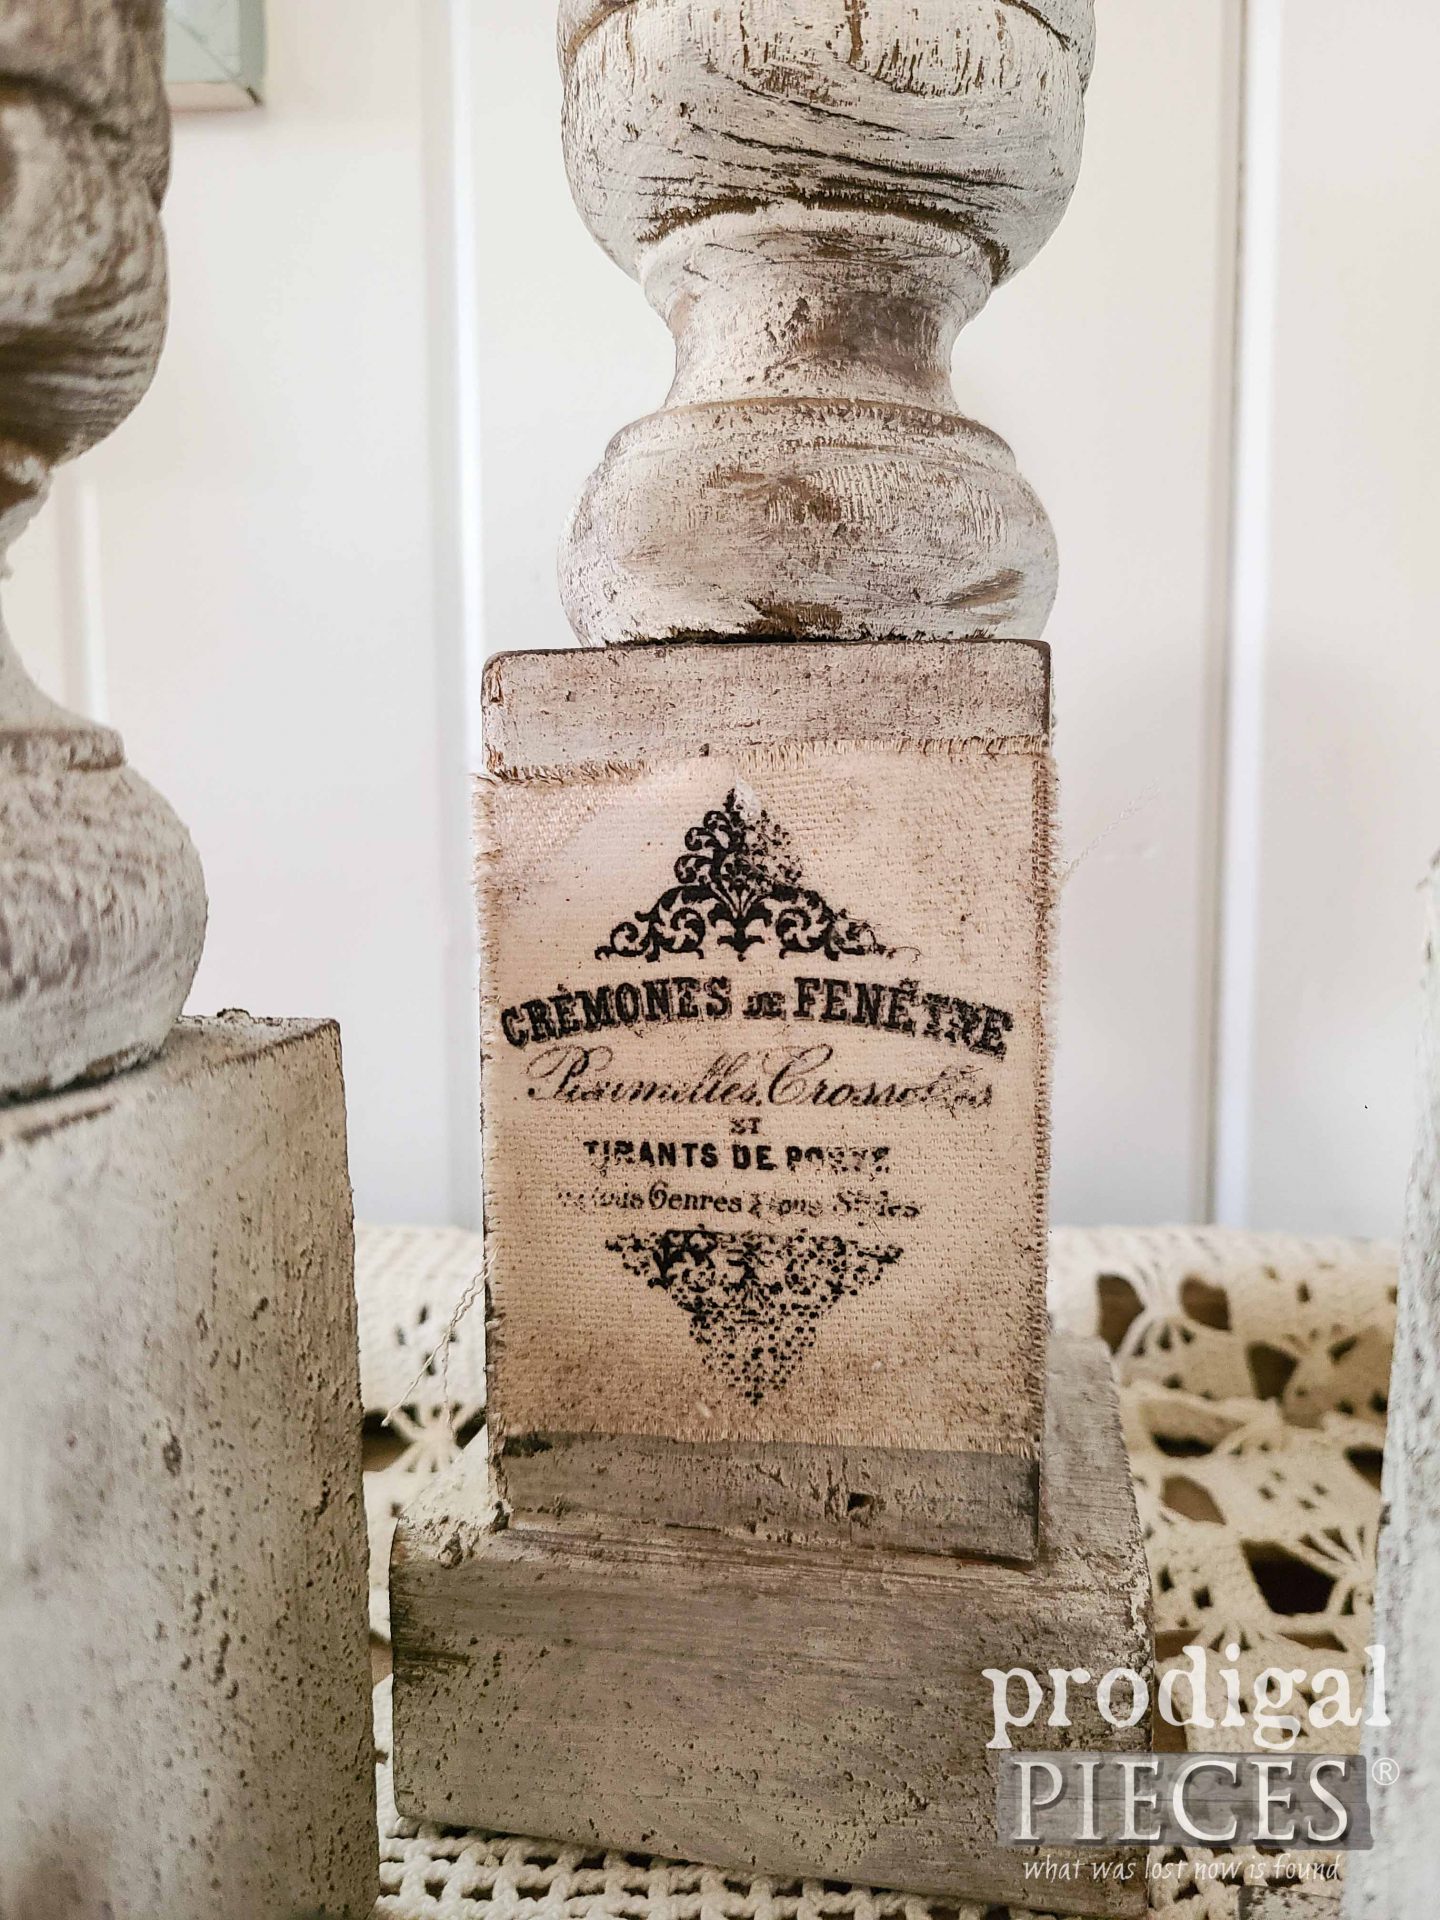
My many thanks, as usual, to my friend, Karen, at The Graphics Fairy for always having just what I need to make these fabric labels. I simple used a printable transfer sheet (iron-on) and made canvas labels to dress up the finials. Then, I applied the same waxes to age them a bit.
So tell me, are you inspired? I sure hope so! These were a fun find to work on using what I have on hand, and even more fun to make them available in my online shop. woot!
In addition to leaving a comment below, do pin and share. Inspiring others is a beautiful thing to do!
Up next, it’s Trash to Treasure Tuesday! This lil’ cabinet will get a brand new lease on life. See it’s new life HERE.
To get these DIY tips & tricks in your inbox, be sure to sign up for my newsletter. PLUS, you will get your FREE Furniture Buying Checklist and special discount to my shop. Until next time!





What a great idea! I would have done the obvious and used them as feet or something….. ? But, as usual, you see beyond the novice or ordinary mortal!! ?
Thanks! If there were a set of four, I would have used them for a build. You crack me up, girl! 😀
They turned out soooo cute! So creative!
woot, woot! Thank you!
I really love these rustic farmhouse finials, especially how you created canvas labels for them. Of course, anything with a French vibe makes my heart go pitter-patter. So I understand the plaster of Paris to make homemade chalk paint but help me understand “sawdust paint”? Is it to add texture or is it for color pigment? Or both? I’ve never heard of sawdust paint before and I’m intrigued. Also, I would assume you stay away from redwoods like cherry or mahogany with the sawdust that you use, yes?
I thought for sure that you were going to do critters or peeps with them. What you did though, is tres chic and elegant. Very nice! Perfect graphics as if they came from a historic French hotel’s banister. Thank you for saving them and sharing!
tee hee! Thank you, Paula. I wanted to do something functional and true to the vibe. Though, I still see doll heads as I make dolls often. haha!
Oh how cute, Larissa! I thought you’d use them as a trio of legs/feet to make a small stool.
Your end results are very artistic and pretty! Thumbs up!
It did cross my mind, but those piano pieces kept calling me. haha. Thanks, Michele!
Love them Larissa! My kind of decor! I might have used them as angel heads 🙂
You sure would! They are perfect for that. Thanks so much, Kim. 😀