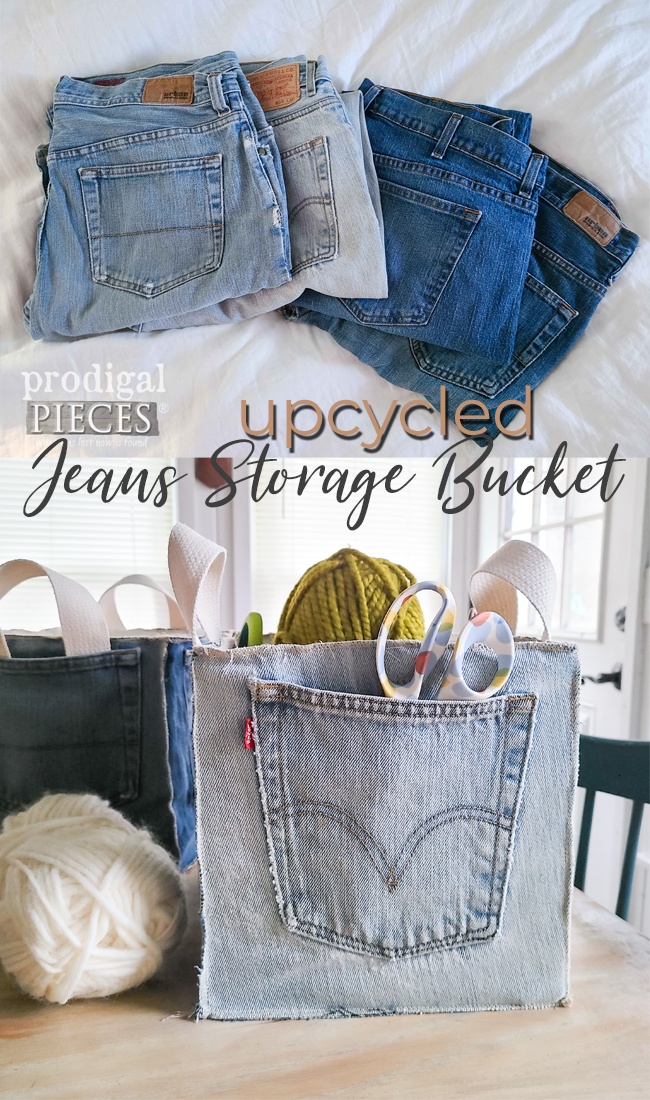
Would you believe it’s already the last Tuesday of the month? Boy, does time fly! At times I’m afraid to blink because I’ll miss another day. However, I do try to cherish each bit. That includes sharing with you yet another Reduce, Reuse, REFASHION project for you. This time around, my husband is getting rid of his old jeans that have seen better days. Let’s create an upcycled jean storage bucket, shall we?
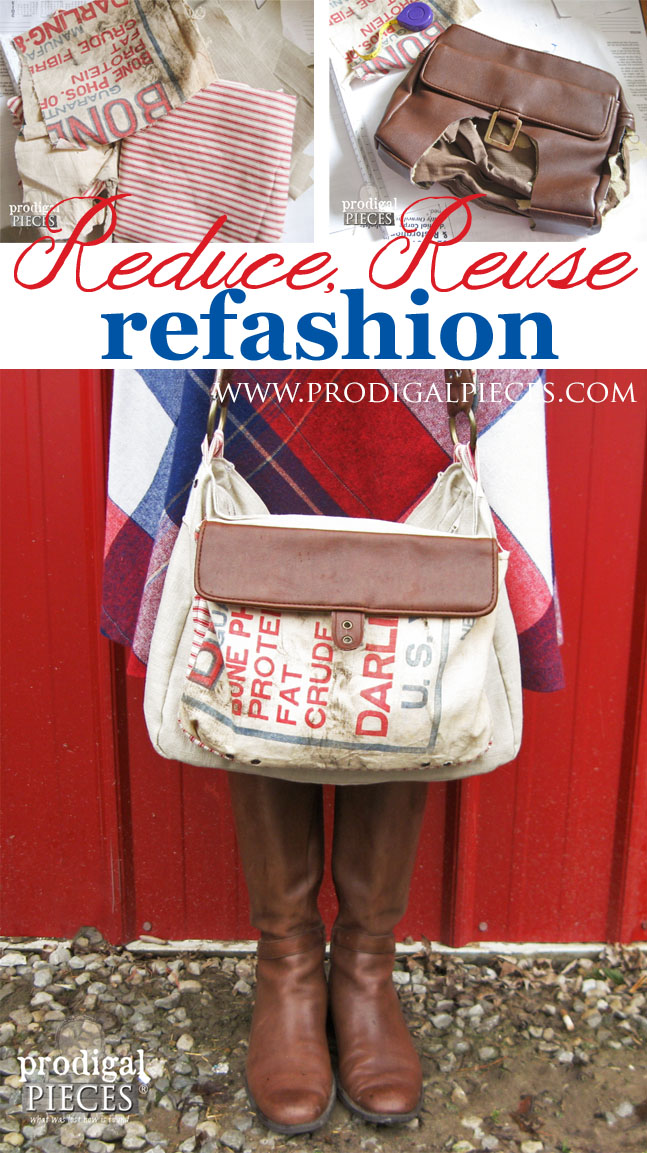
If you recall, the last Tuesday means I share a new project with you making use of unwanteds. Feel free to click the image below to see all my past projects.
There’s nothing like a worn-in pair of jeans that feel like a hug from a family member. So, of course it’s hard to part with them once they’ve reach the end of their wearable life. However, I’m not one that’s quick to say goodbye. That pile of jeans lends itself to some refashioning adventures. I mention making a storage bucket, but really the options are limitless. For instance, I made these pocket purses a couple years ago.
DIY TIME
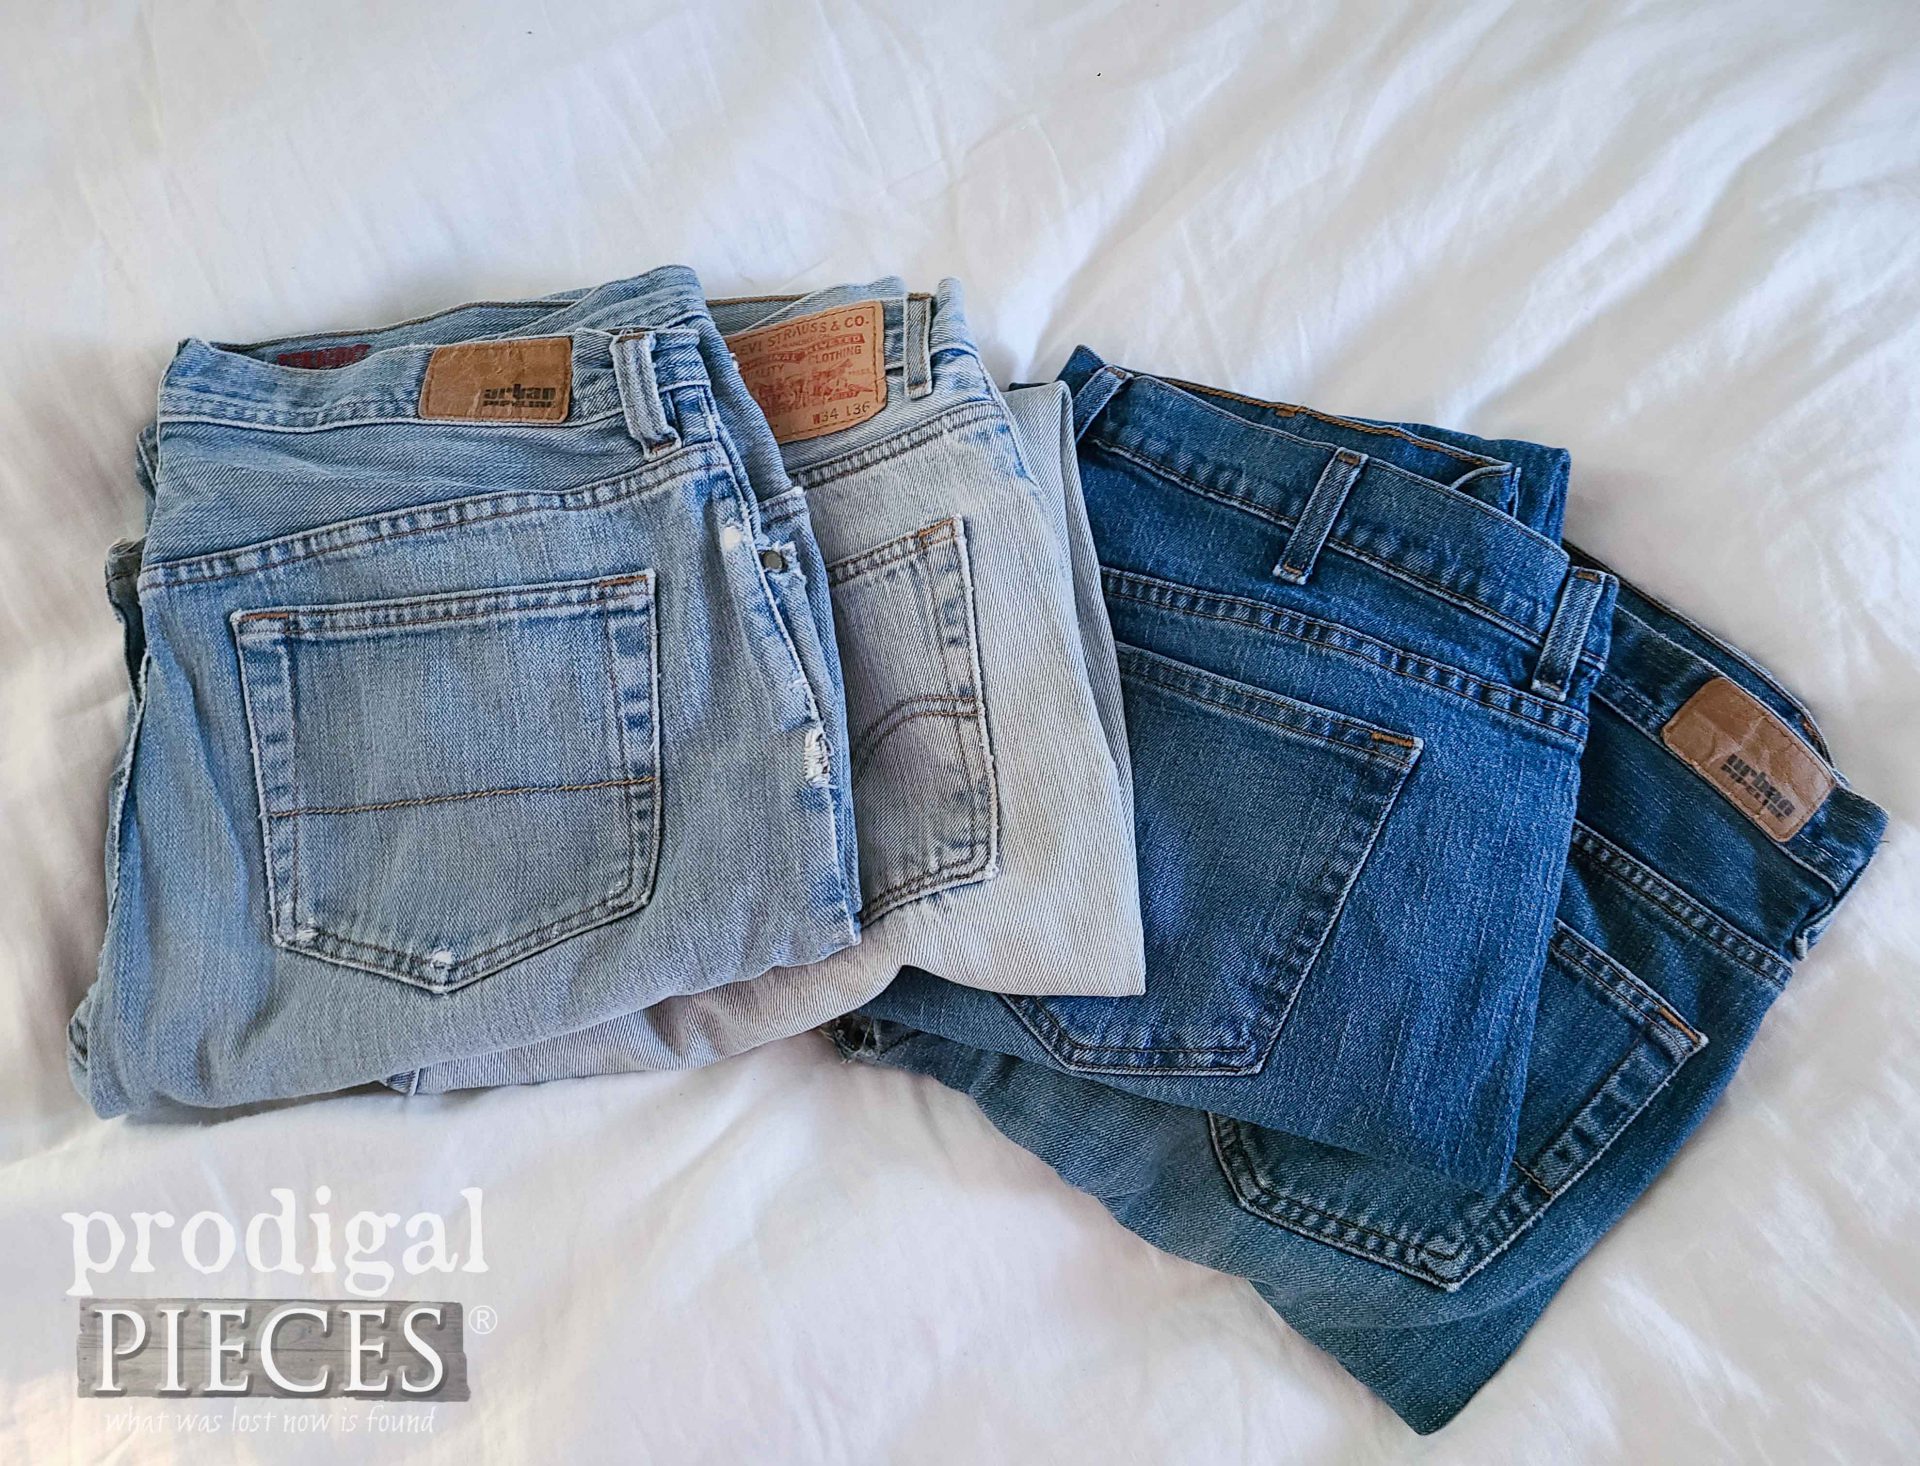
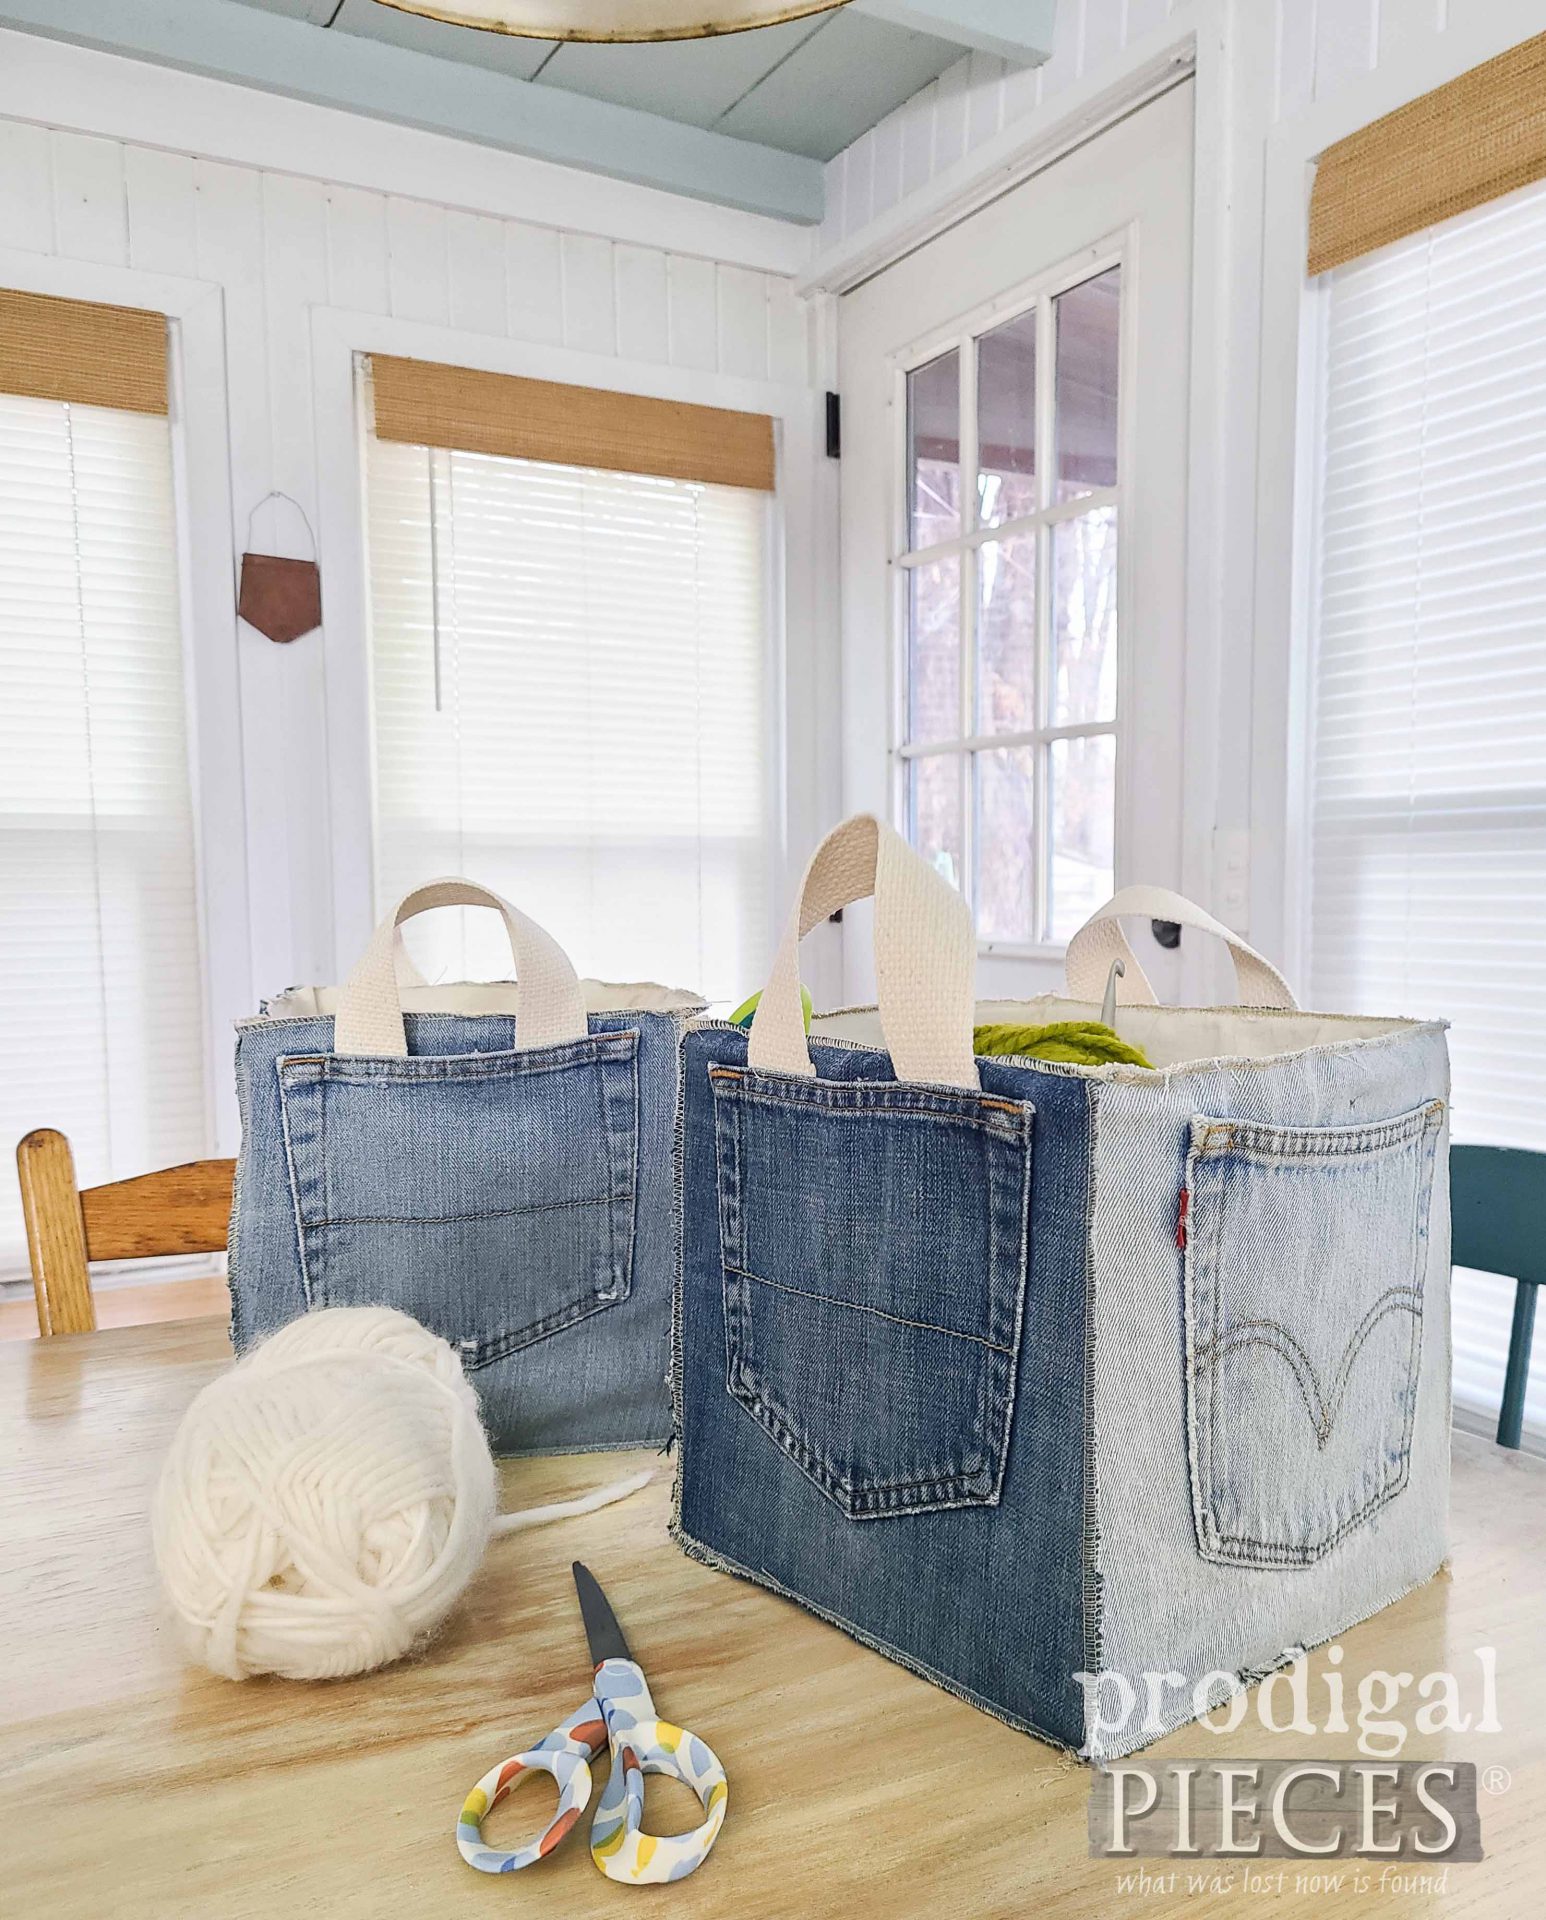
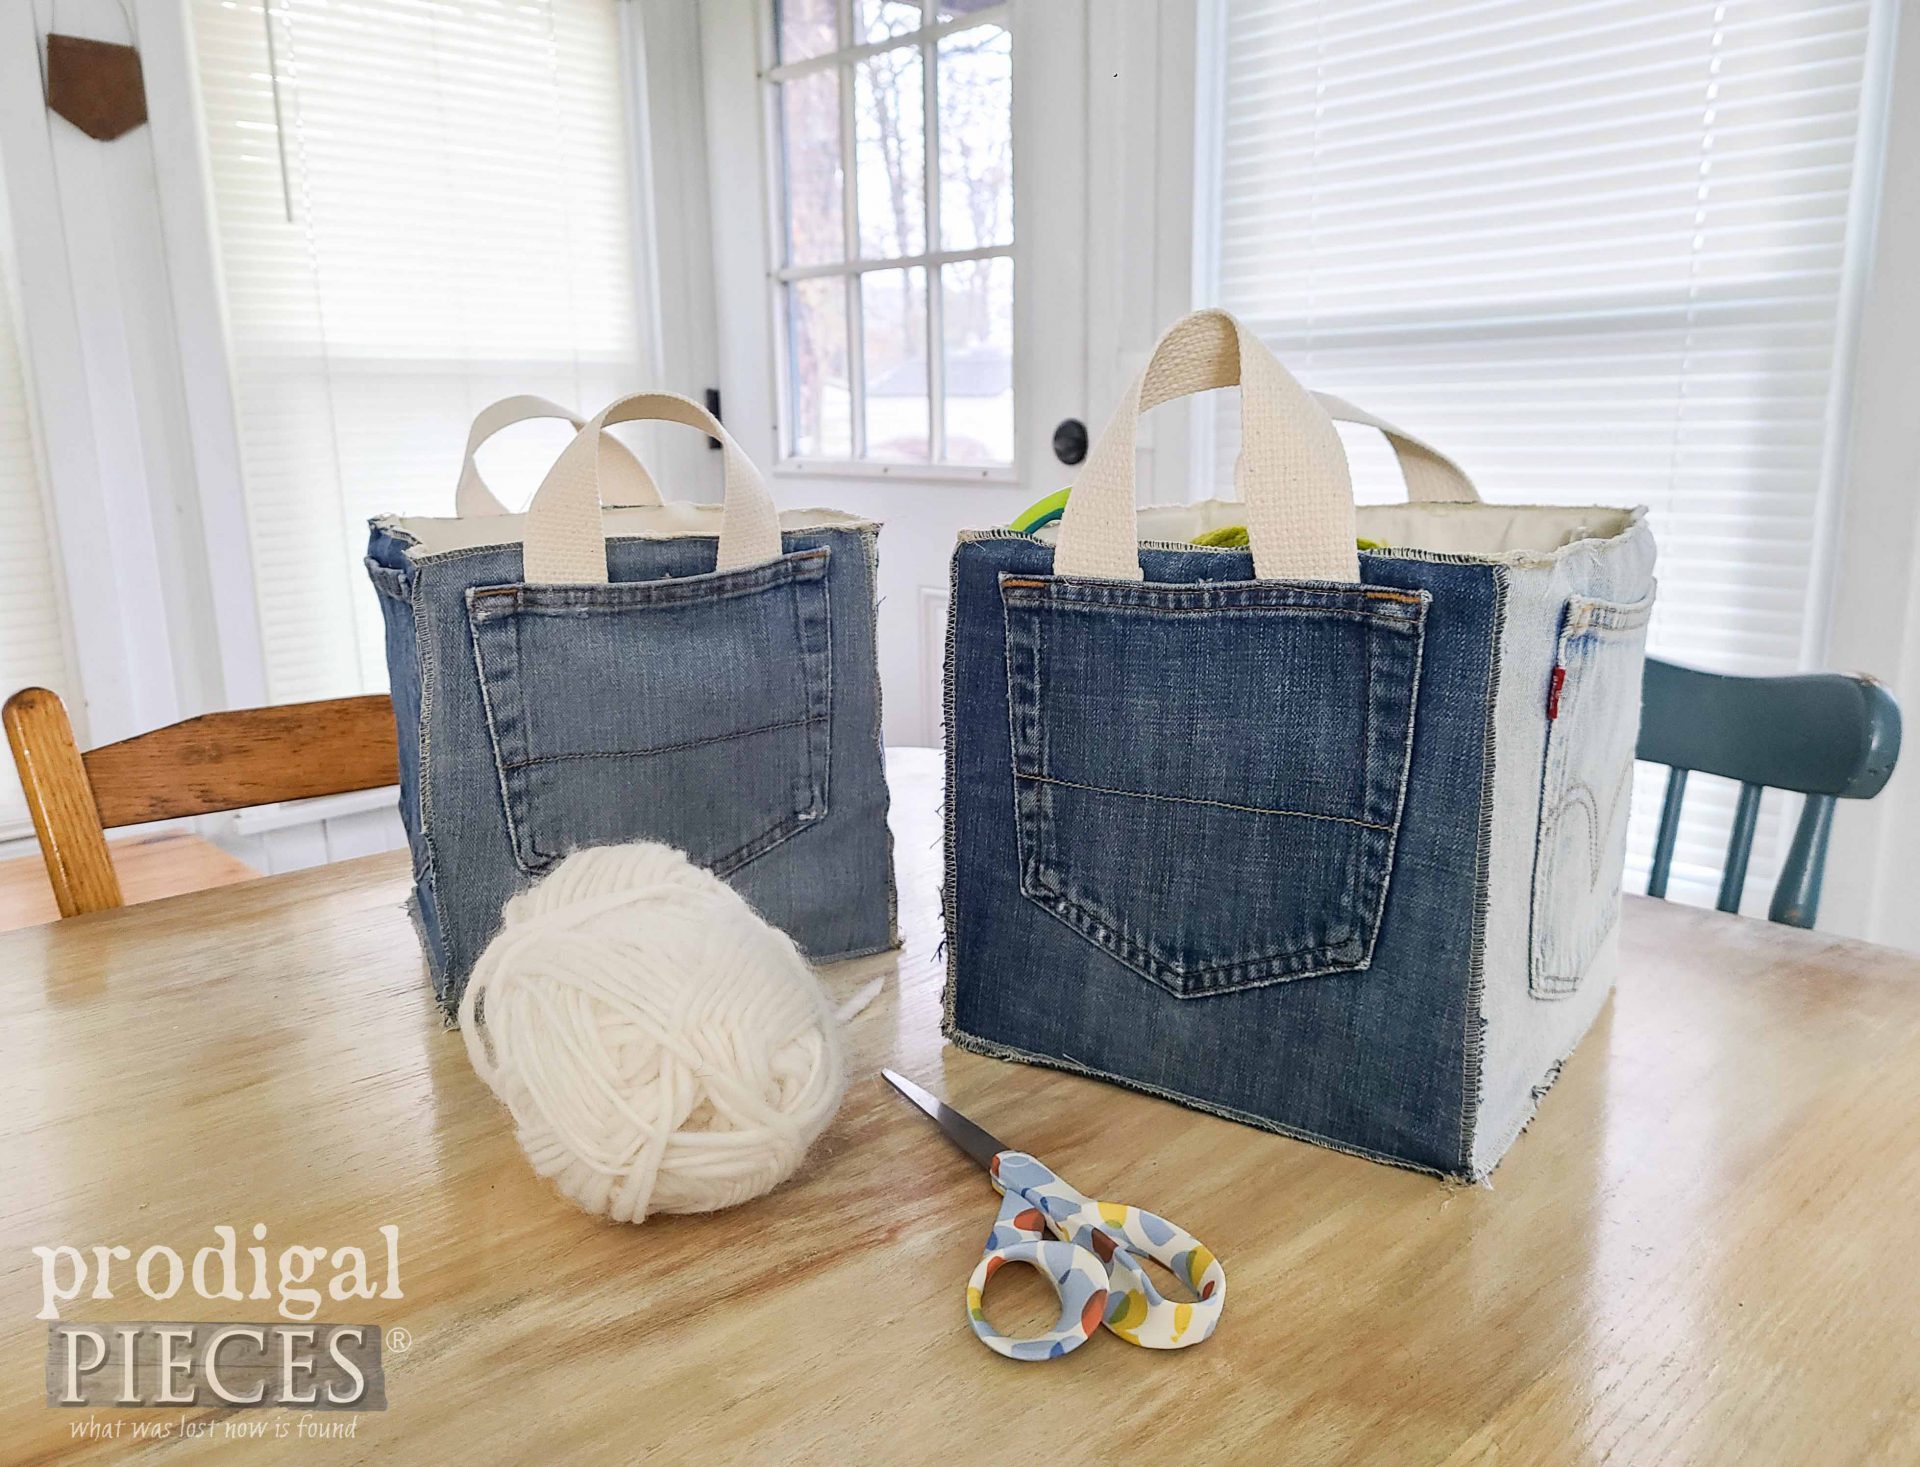
Let’s get this upcycling party started! First, let’s take a look at what we’re making. With the four pair of jeans, I am able to make two buckets.
If you’d like to make your own, here’s what you’ll need:
Tools & Supplies
- two pairs of old jeans (contrasting colors makes it fun)
- fabric lining – I’m using my old heavy curtains (more refashioning)
- sewing scissors or rotary cutter
- sewing machine (or serger – my preference)
- measuring tape
- plastic canvas (plastic mesh typically used for embroidering) – enough for 5 – 9″ squares EACH
- worsted weight yarn/yarn needle
- elastic – optional
- material for handles, if desired
STEP 1
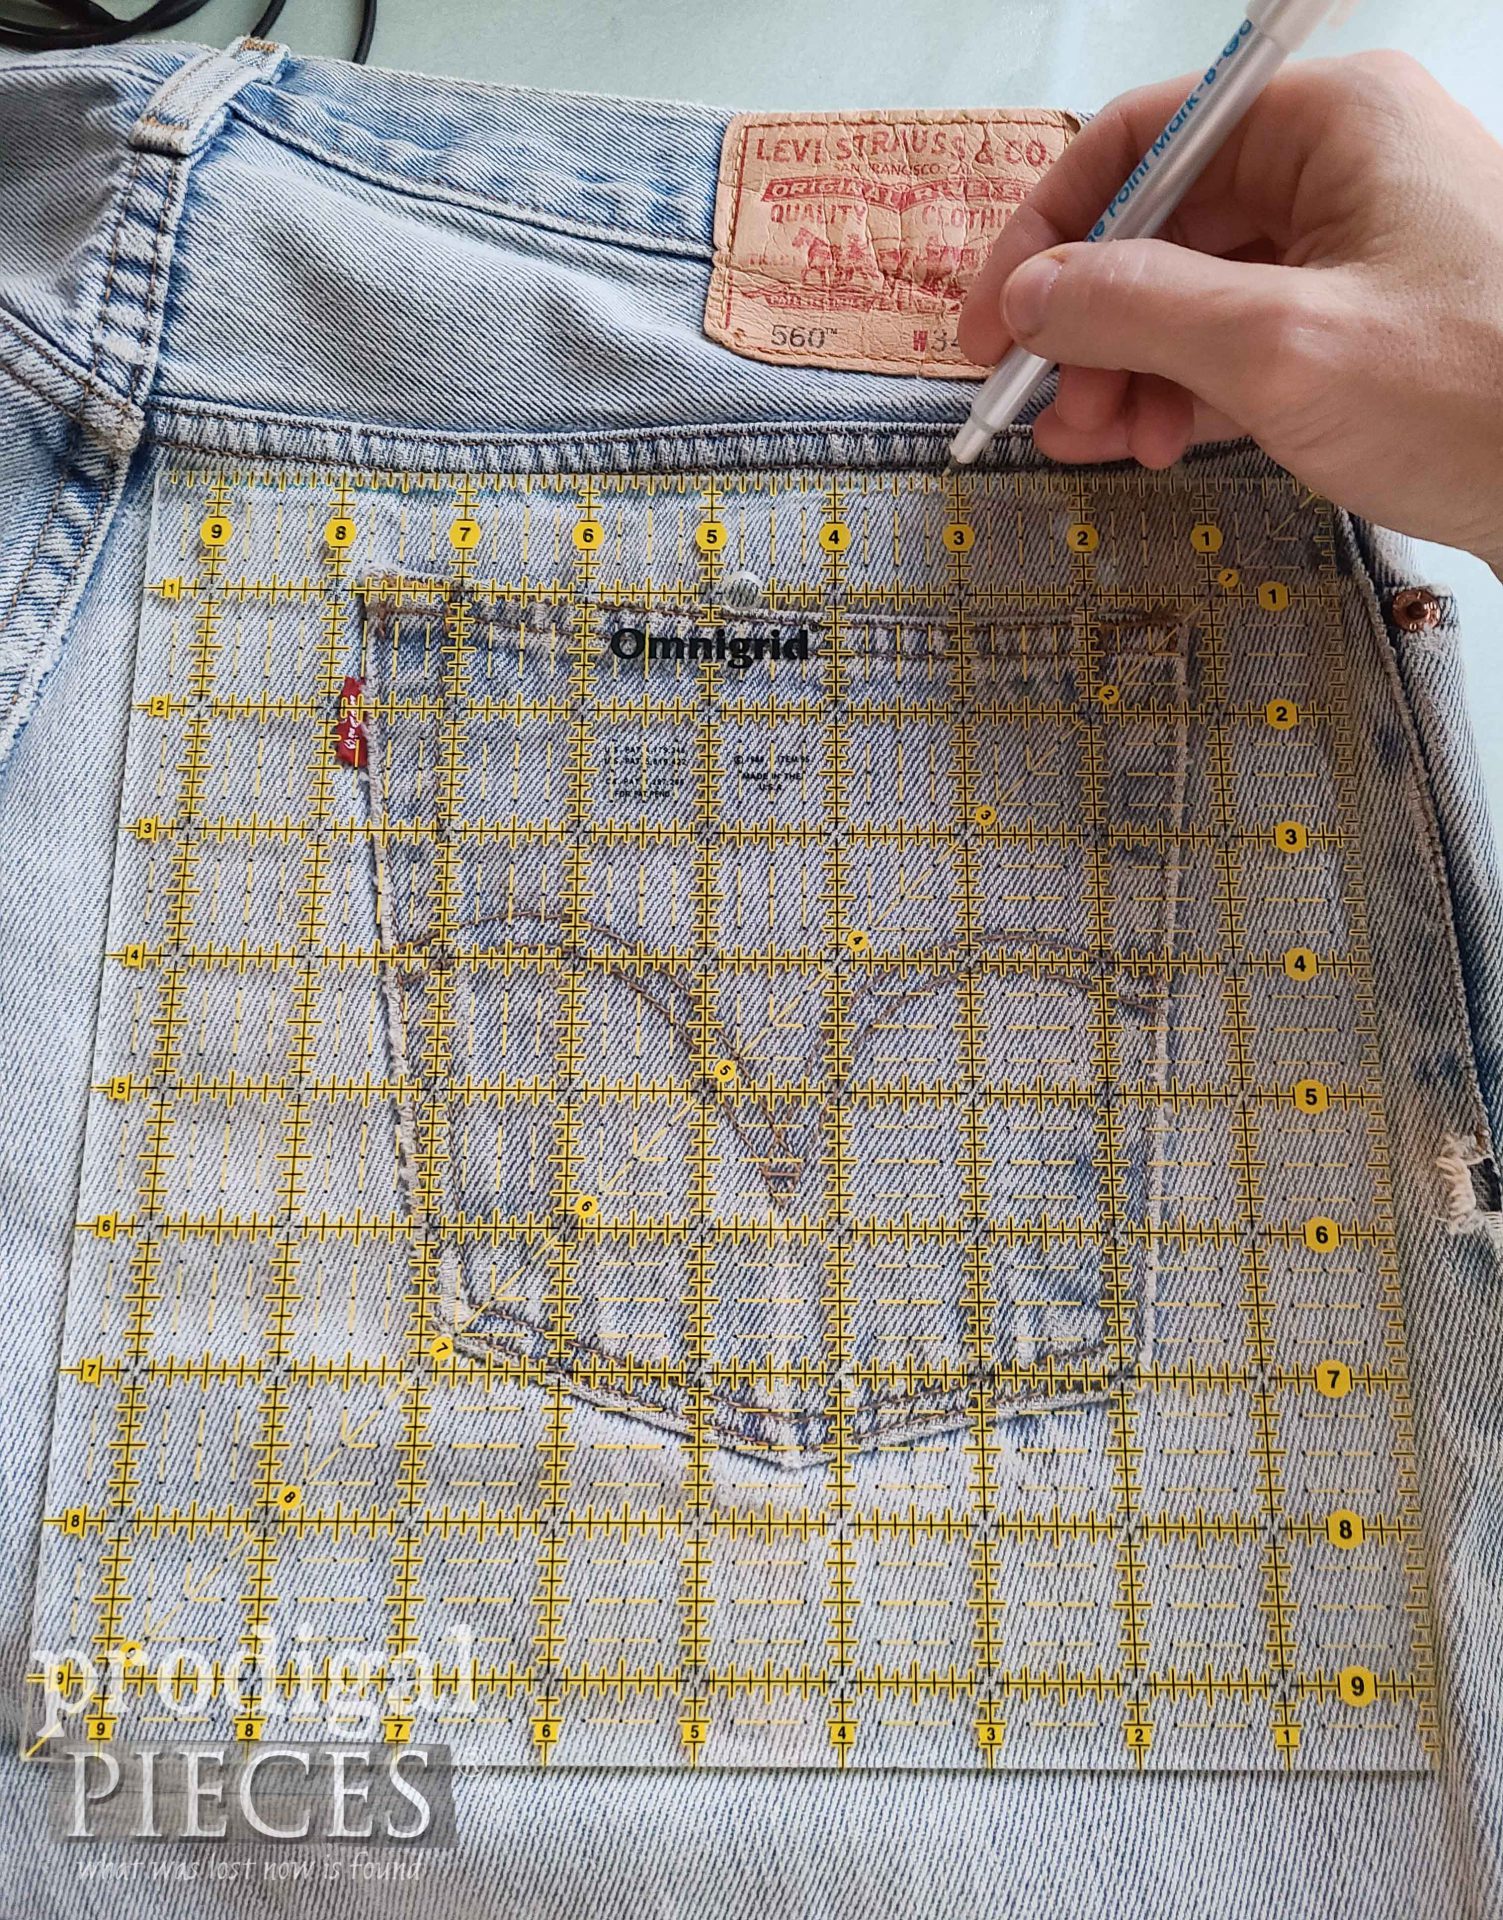
First, we need to cut the pockets out. In order to do that, I use my 9 ½” square template to trace and cut. Do note, however, that I’m aiming for a 9″ square, so I’ll trim once cut out. You can make a template from a cereal box, or piece of paper even and create any size square you want. Obviously, the bigger the bum, the bigger the bucket. ahem.
STEP 2
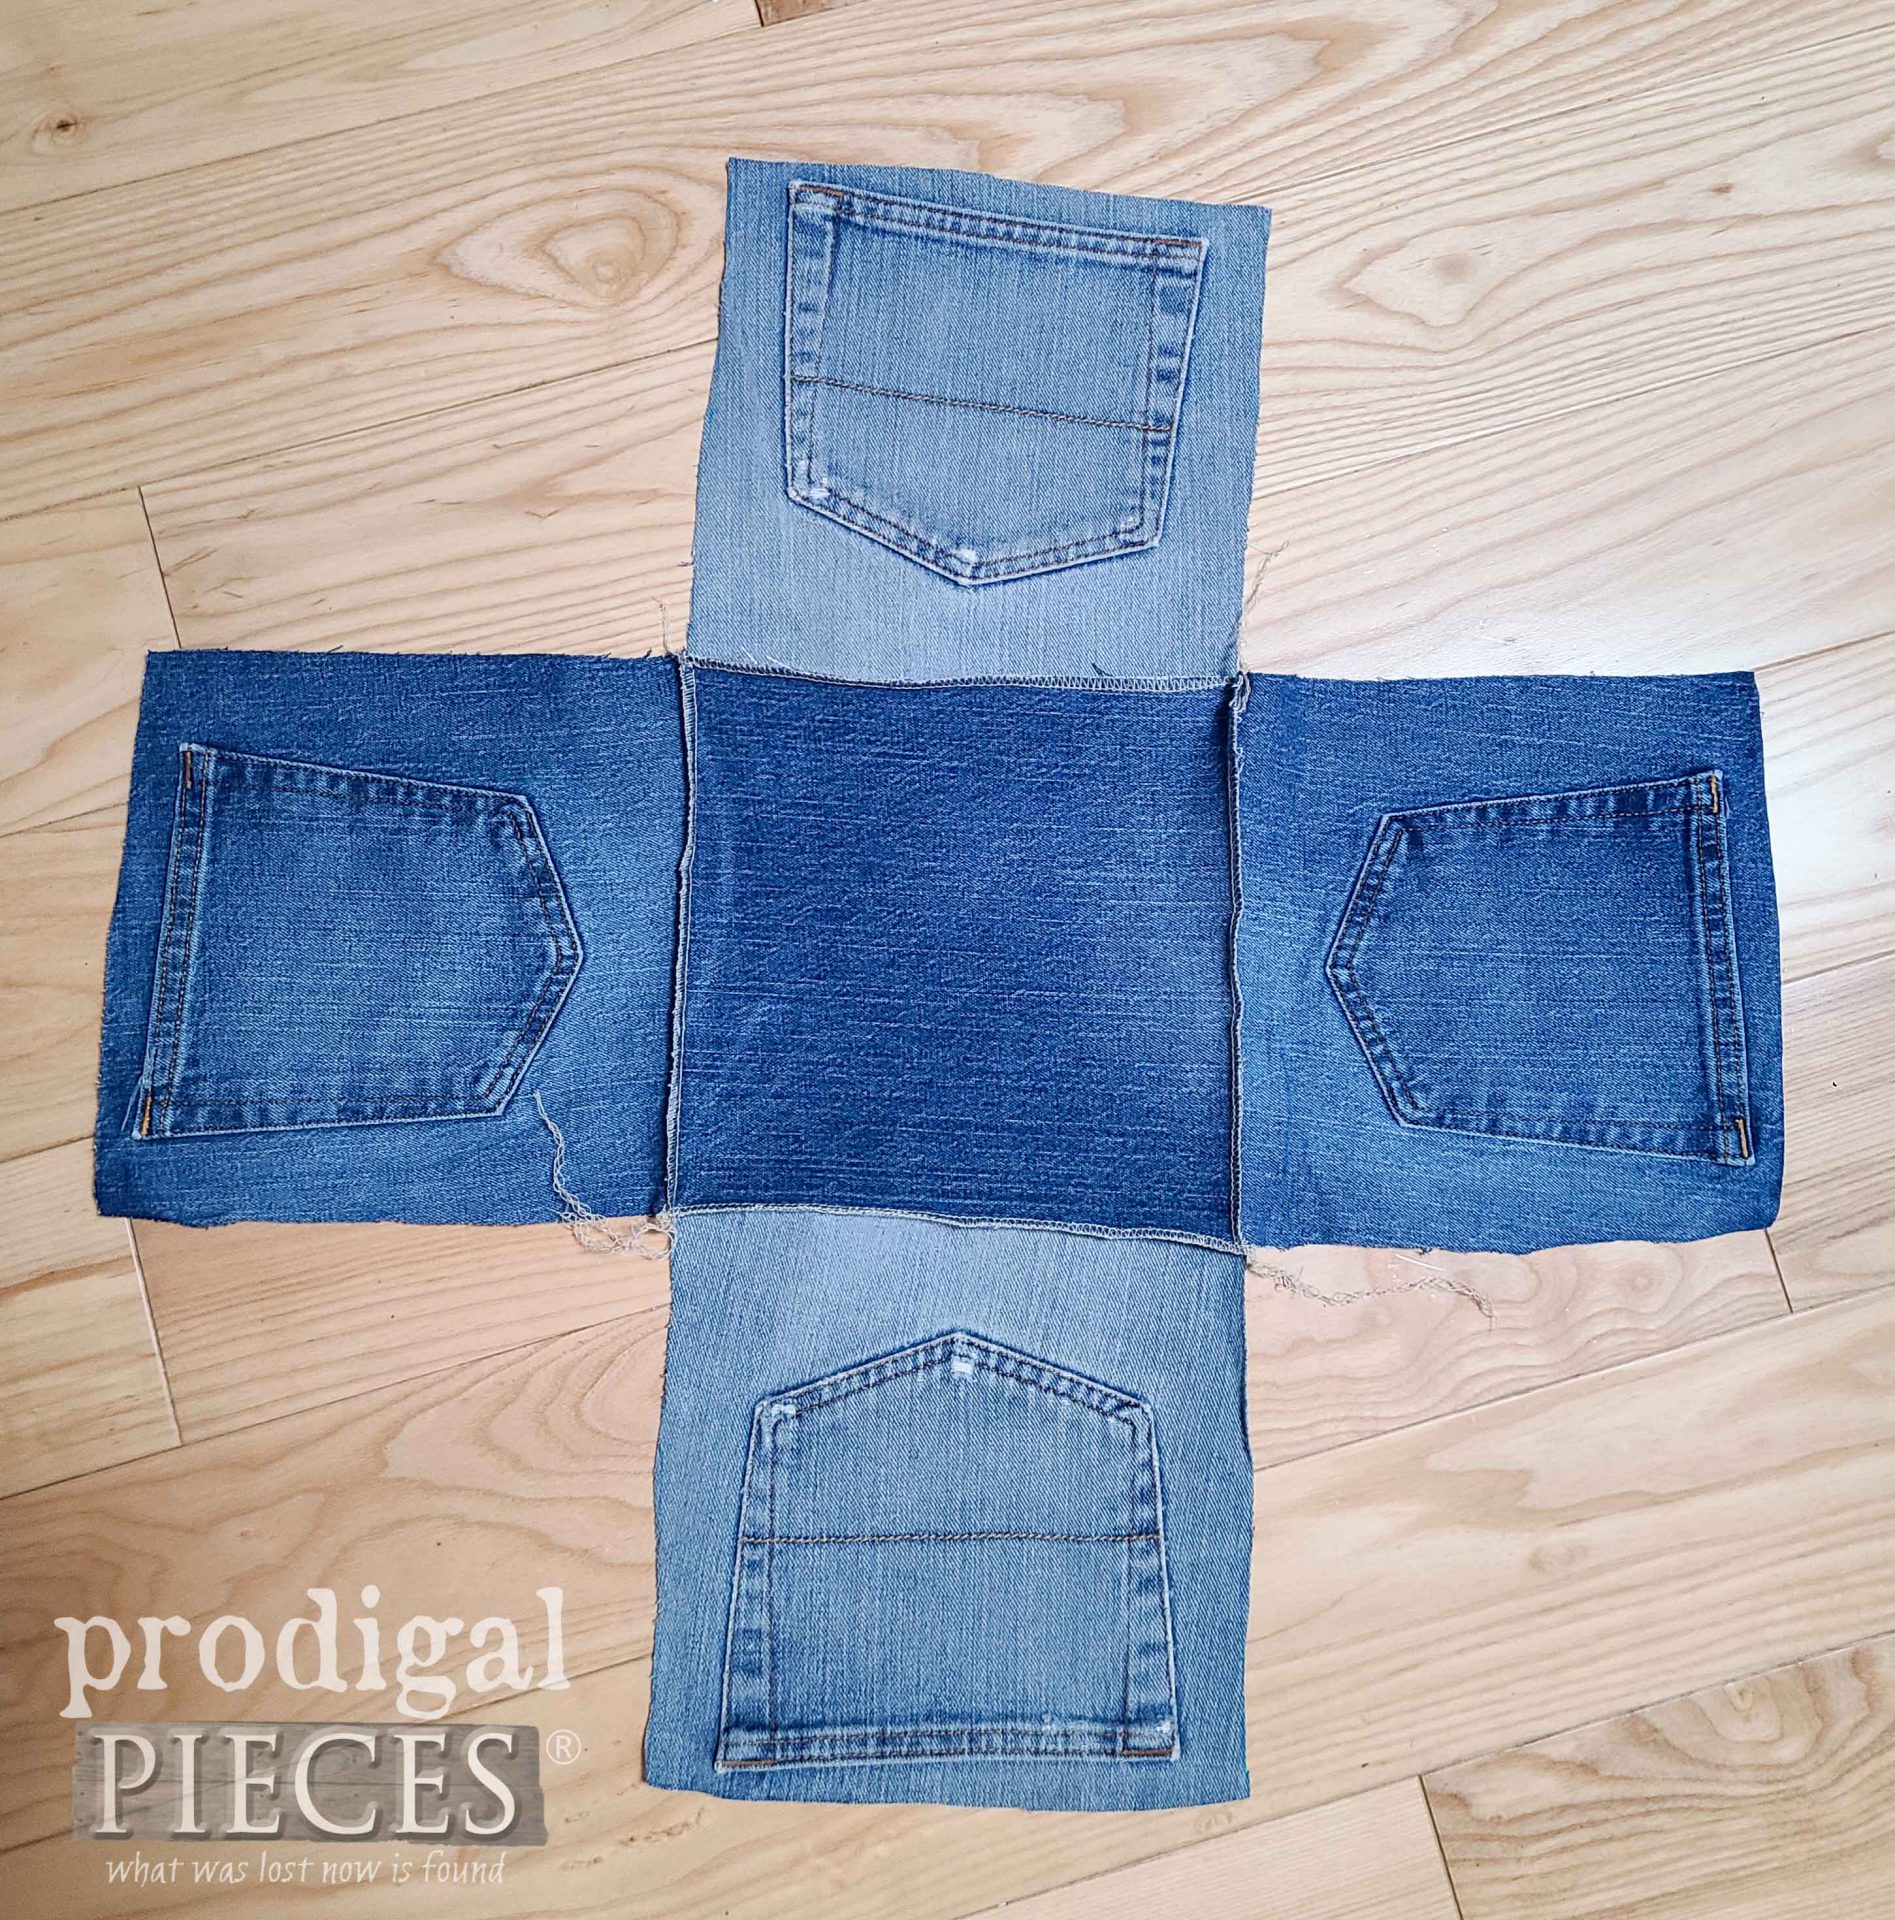
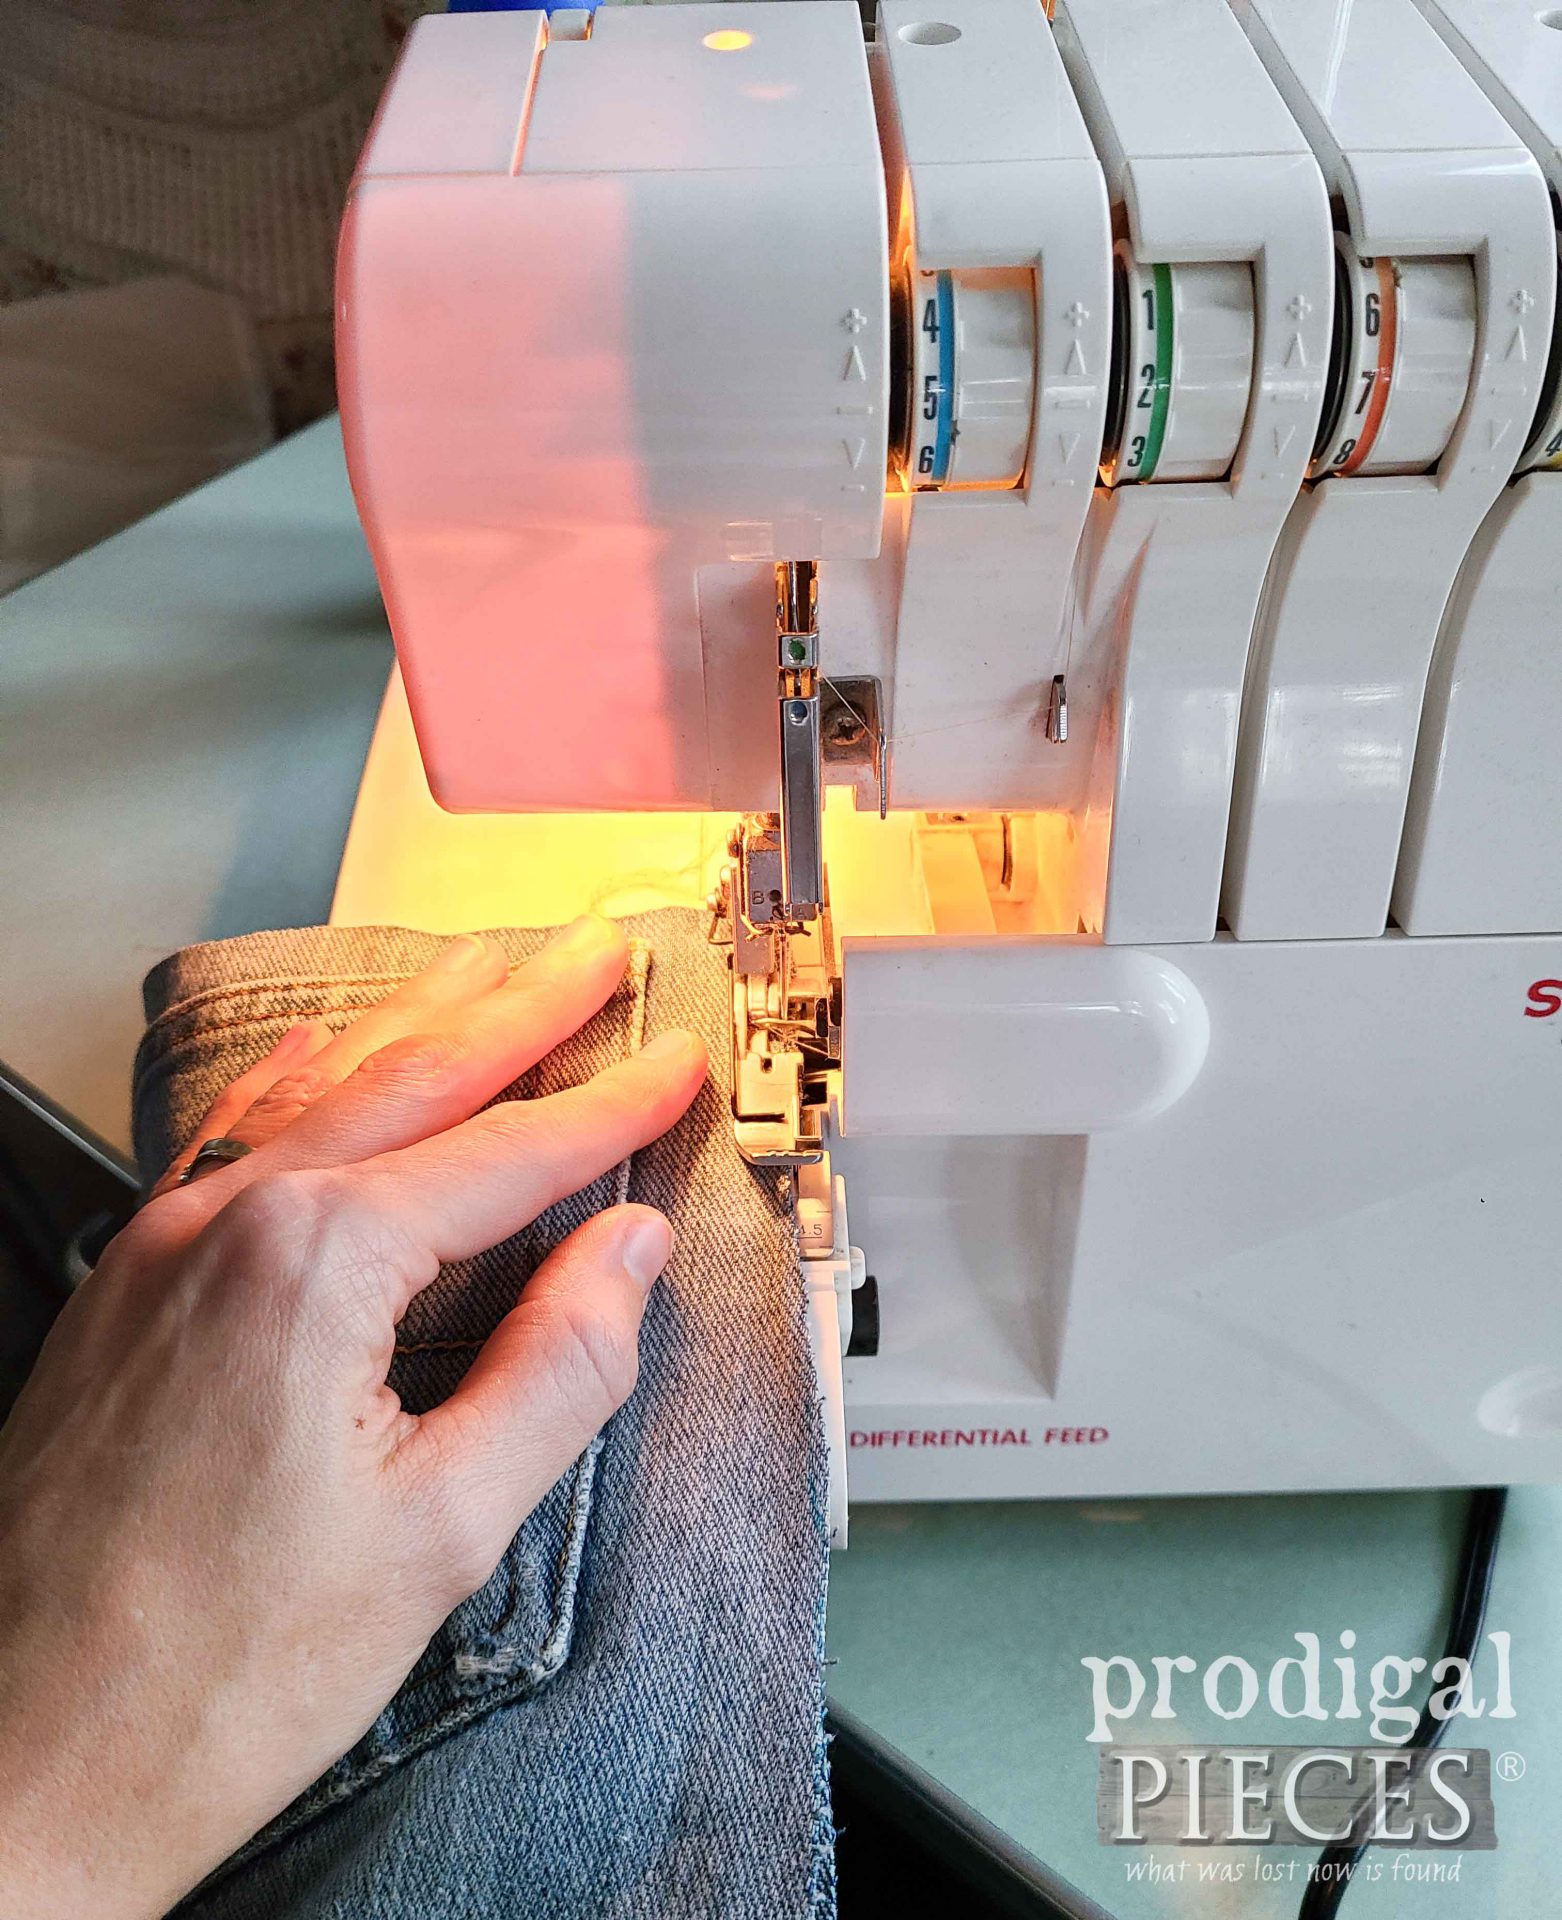
Next, we cut four pockets out and also an extra square for the bottom. No worries as I’ll use up the rest of the jeans for next month’s post. Then, I assemble using a rolled hem stitch on my serger with wrong sides facing. By serging the wrong sides together allows the seams to be on the outside creating a stance for the bucket to sit upright. No serger? No worries, you can use a zig-zag stitch or even hand-stitch with a blanket stitch.
Once you have this assembly, then serge the corners together.
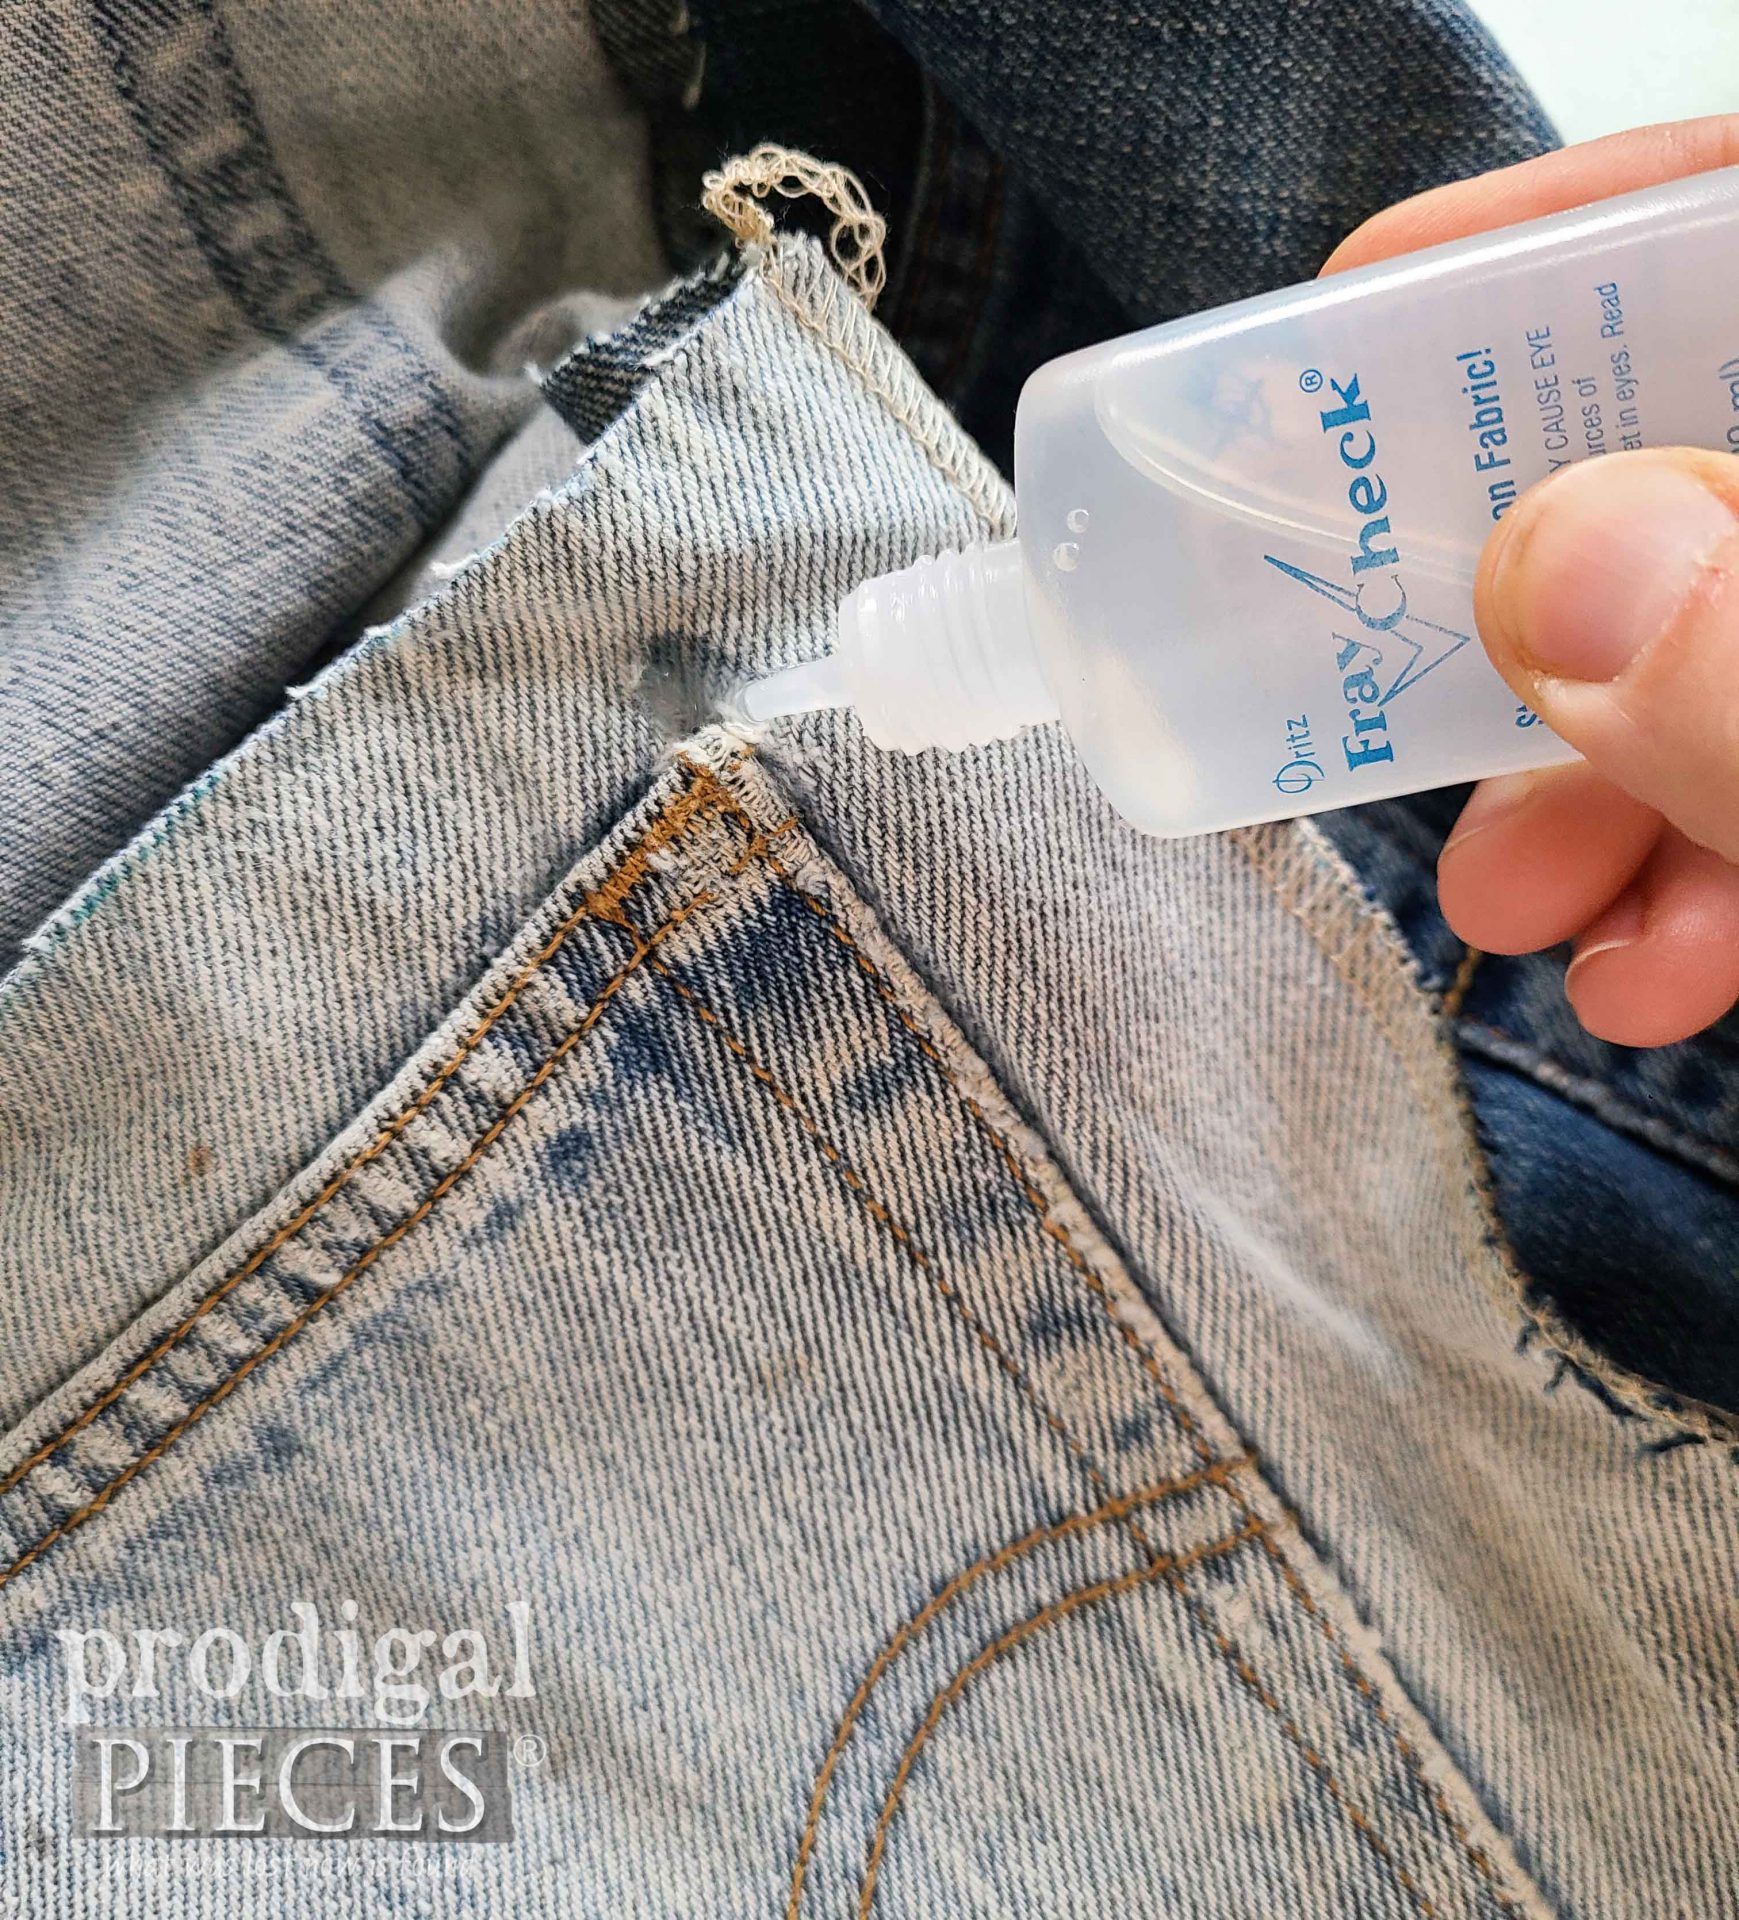
NOTE: Being that we’re using old jeans, you may run into a bit of fraying or wear like this corner of the pocket. I use Fray Check to keep it just as it is. Also, you could embroider over or patch it.
STEP 3
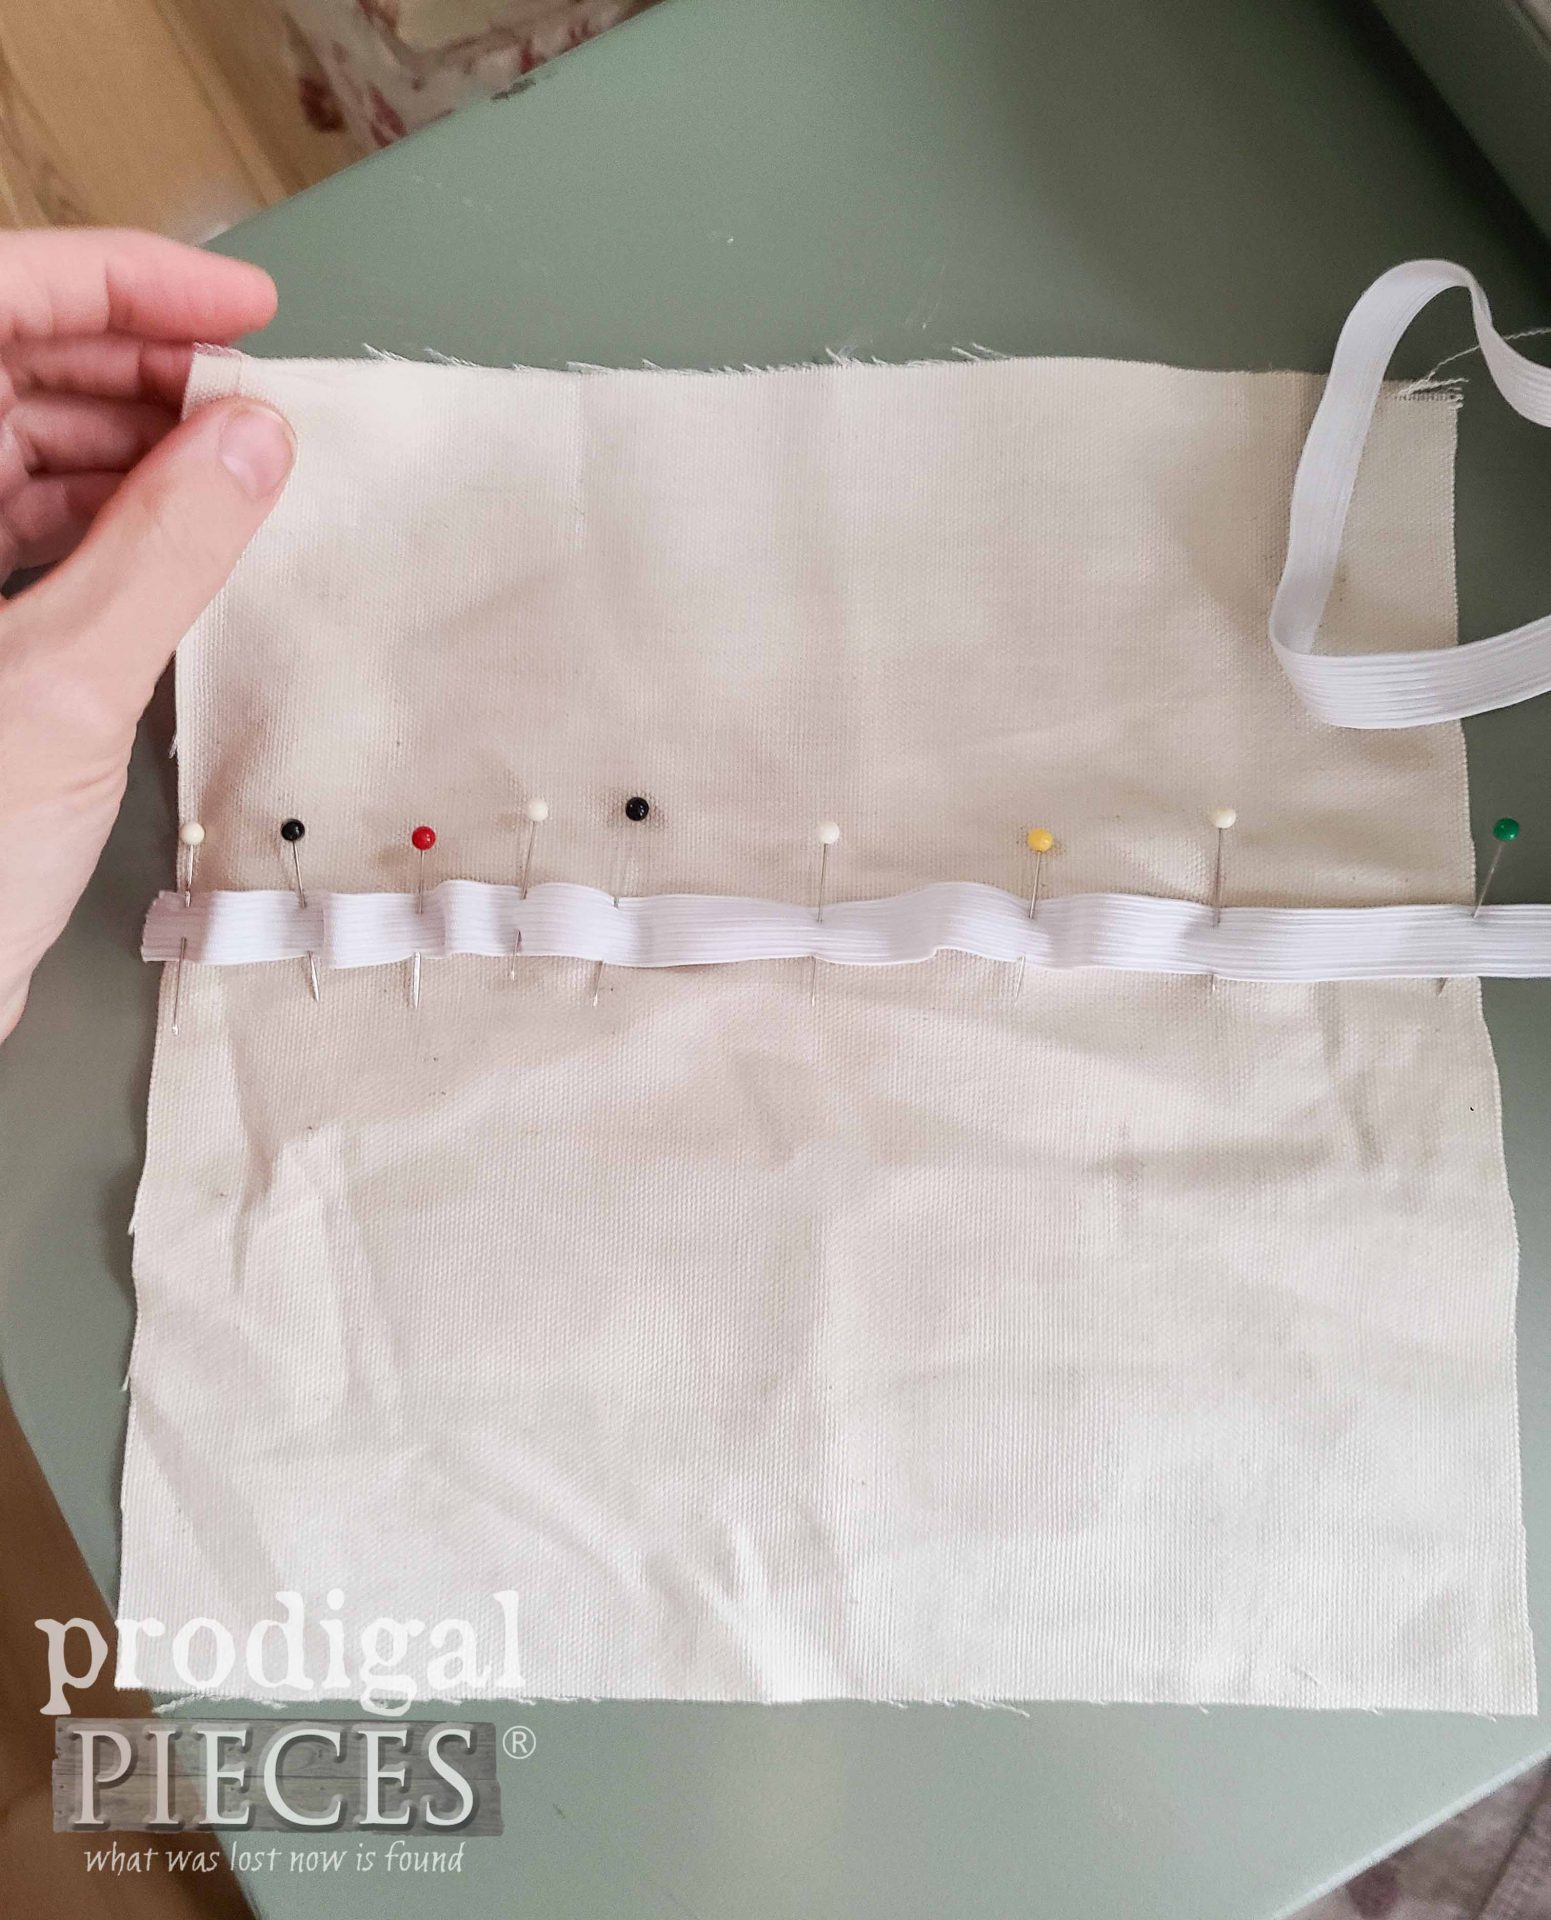
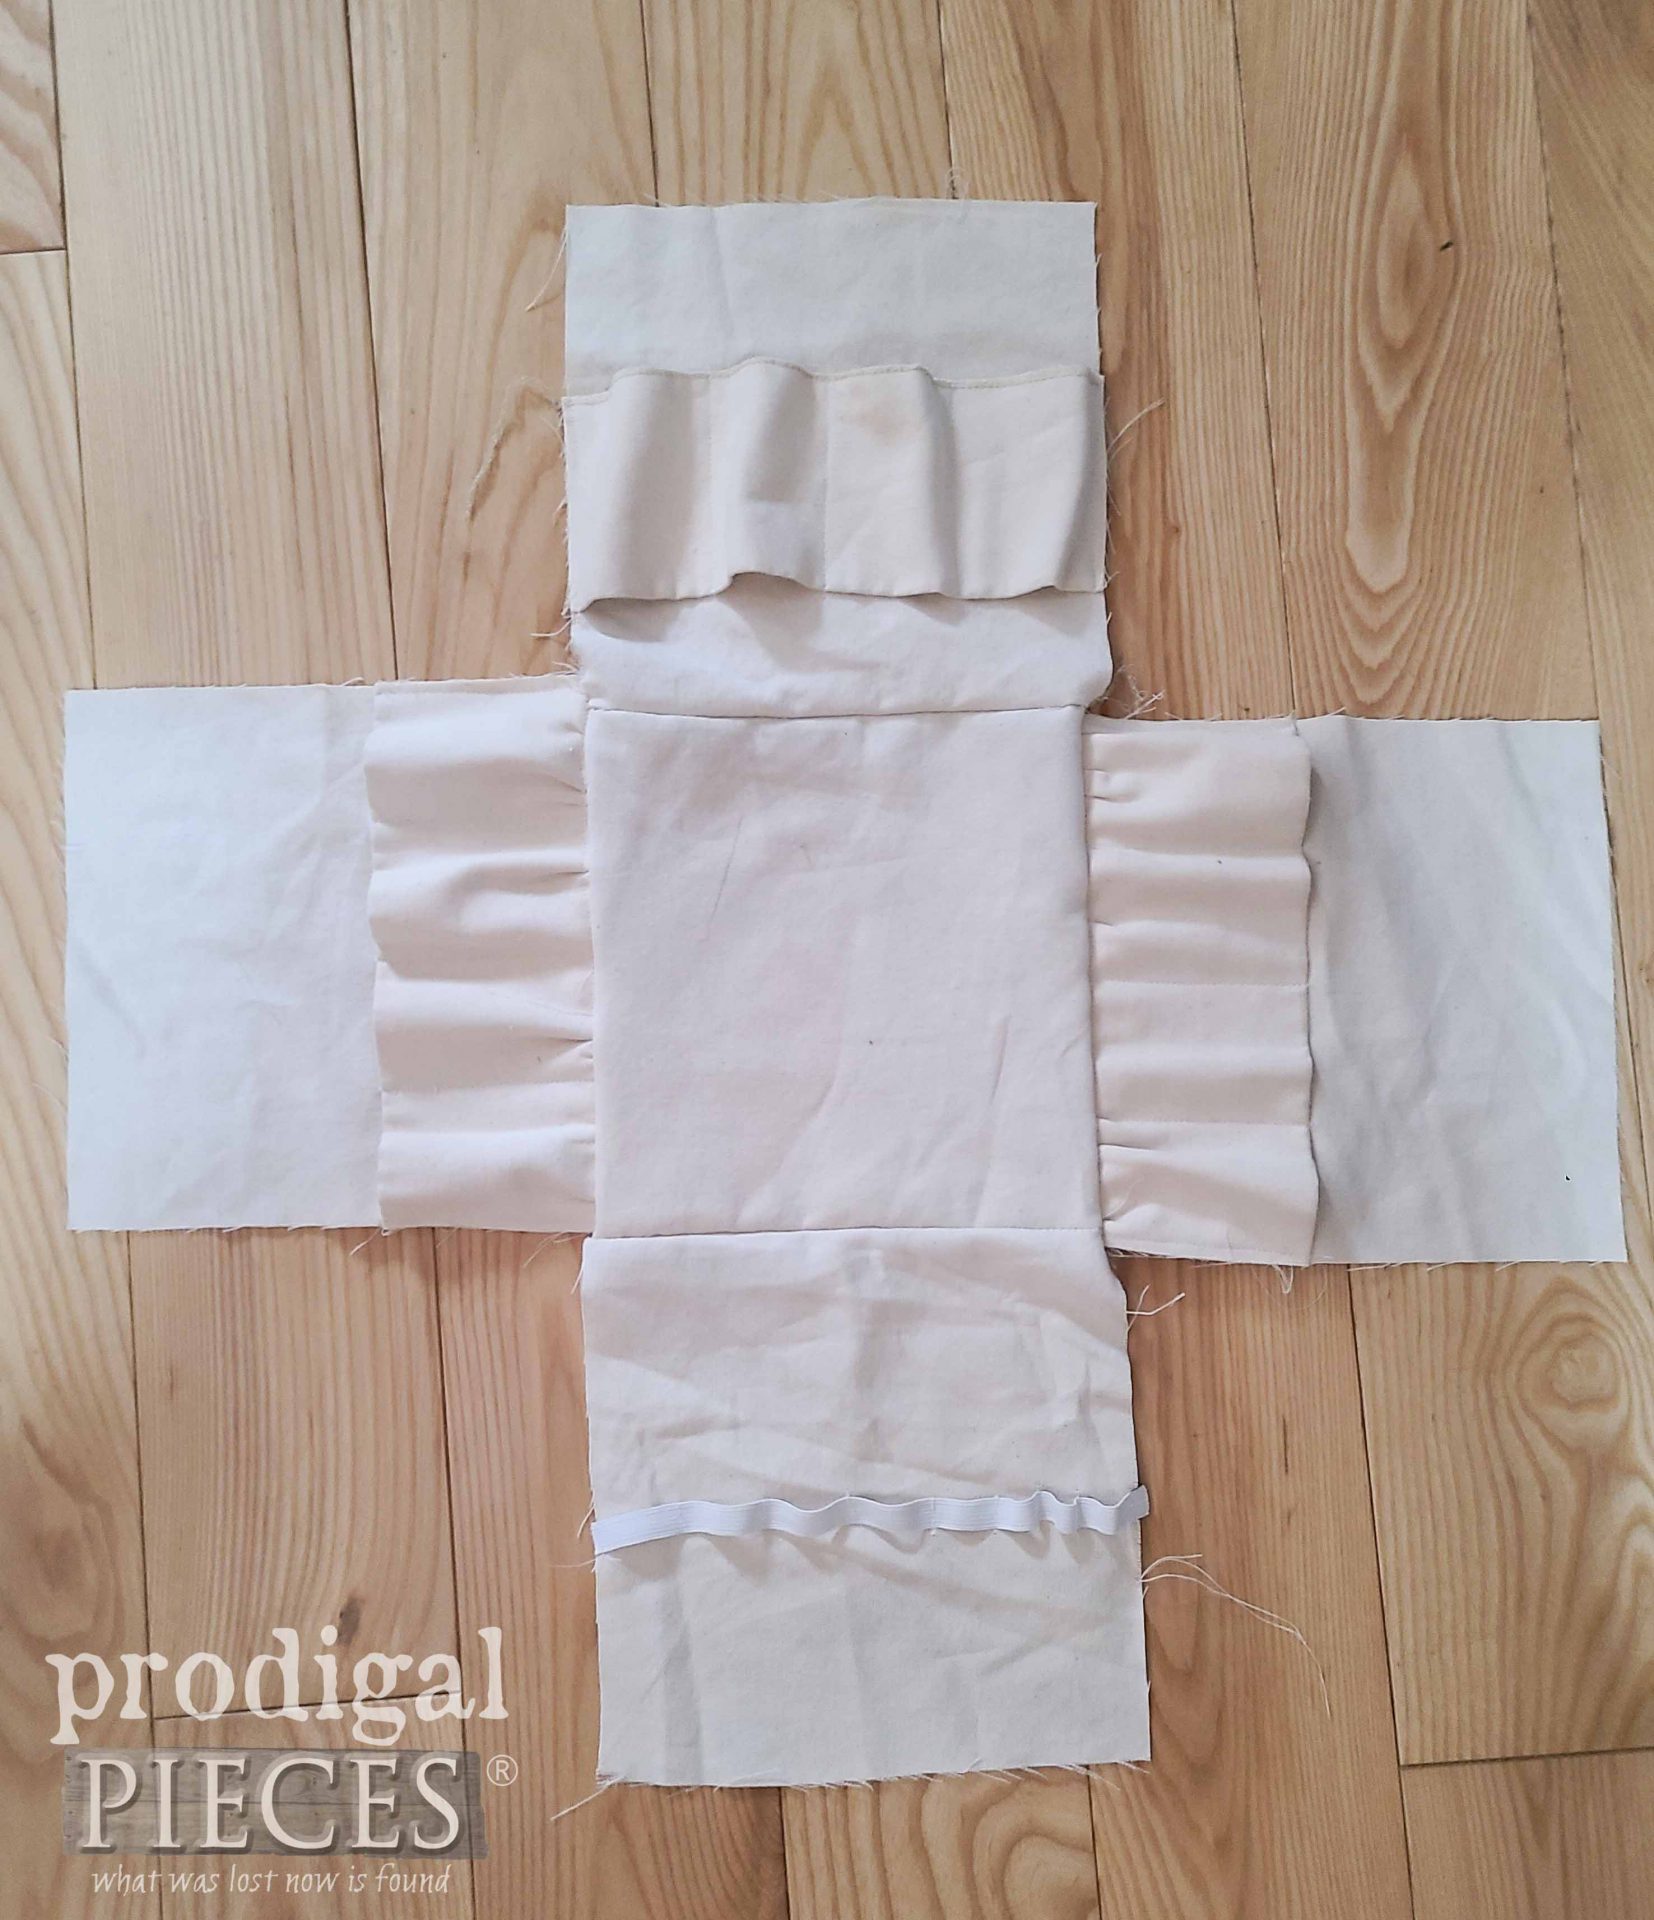
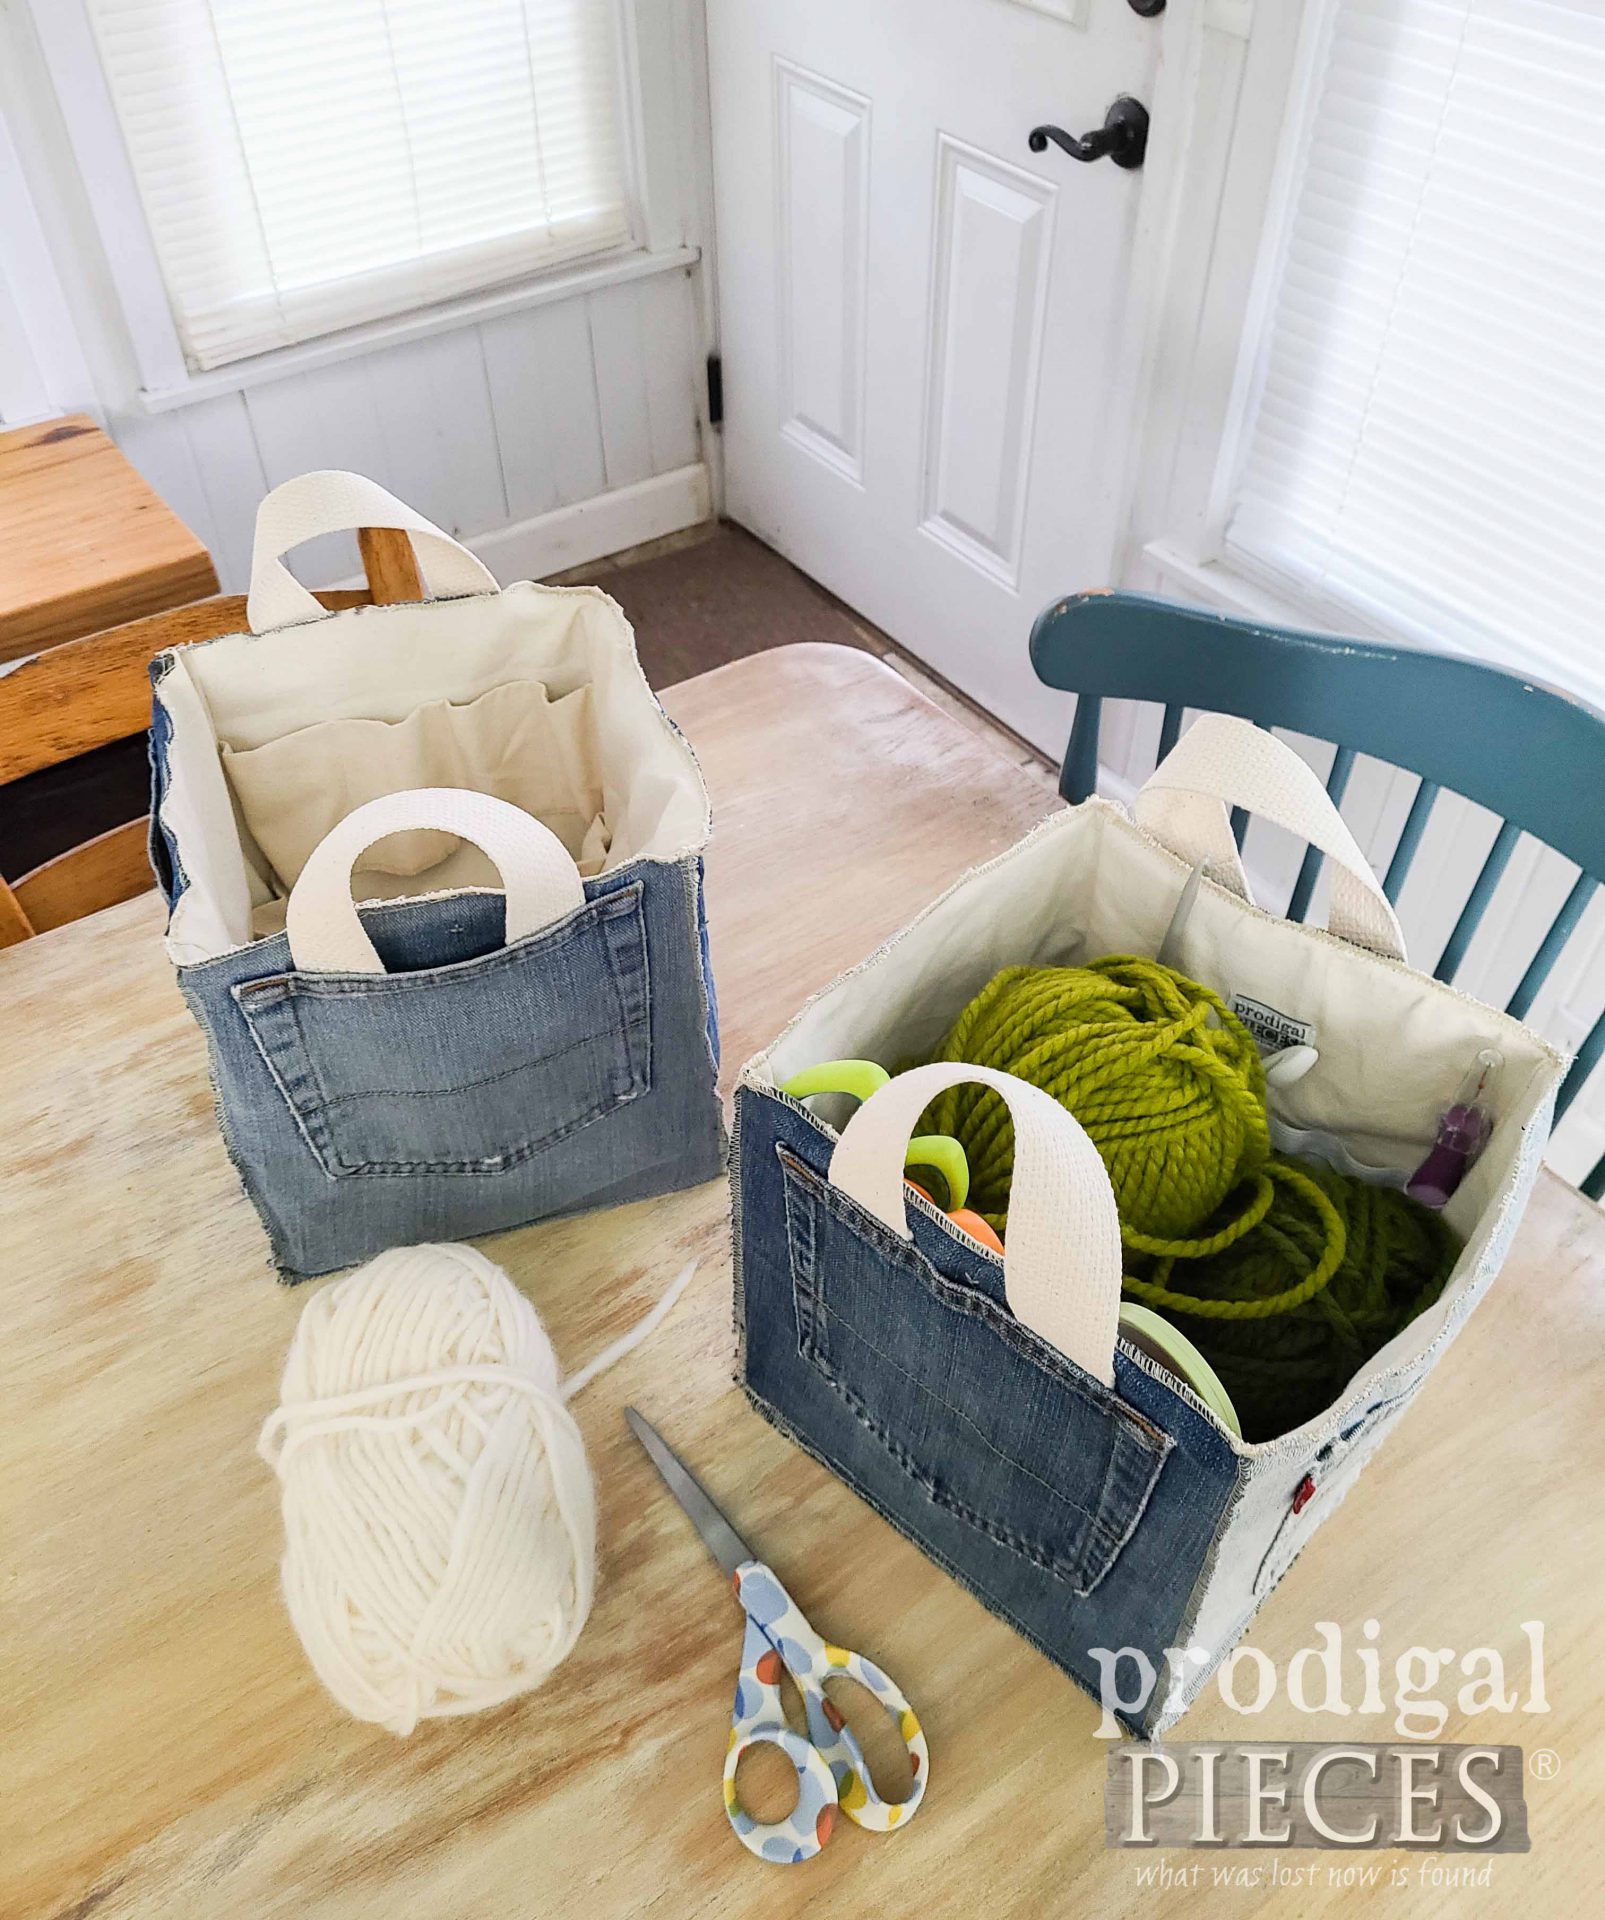
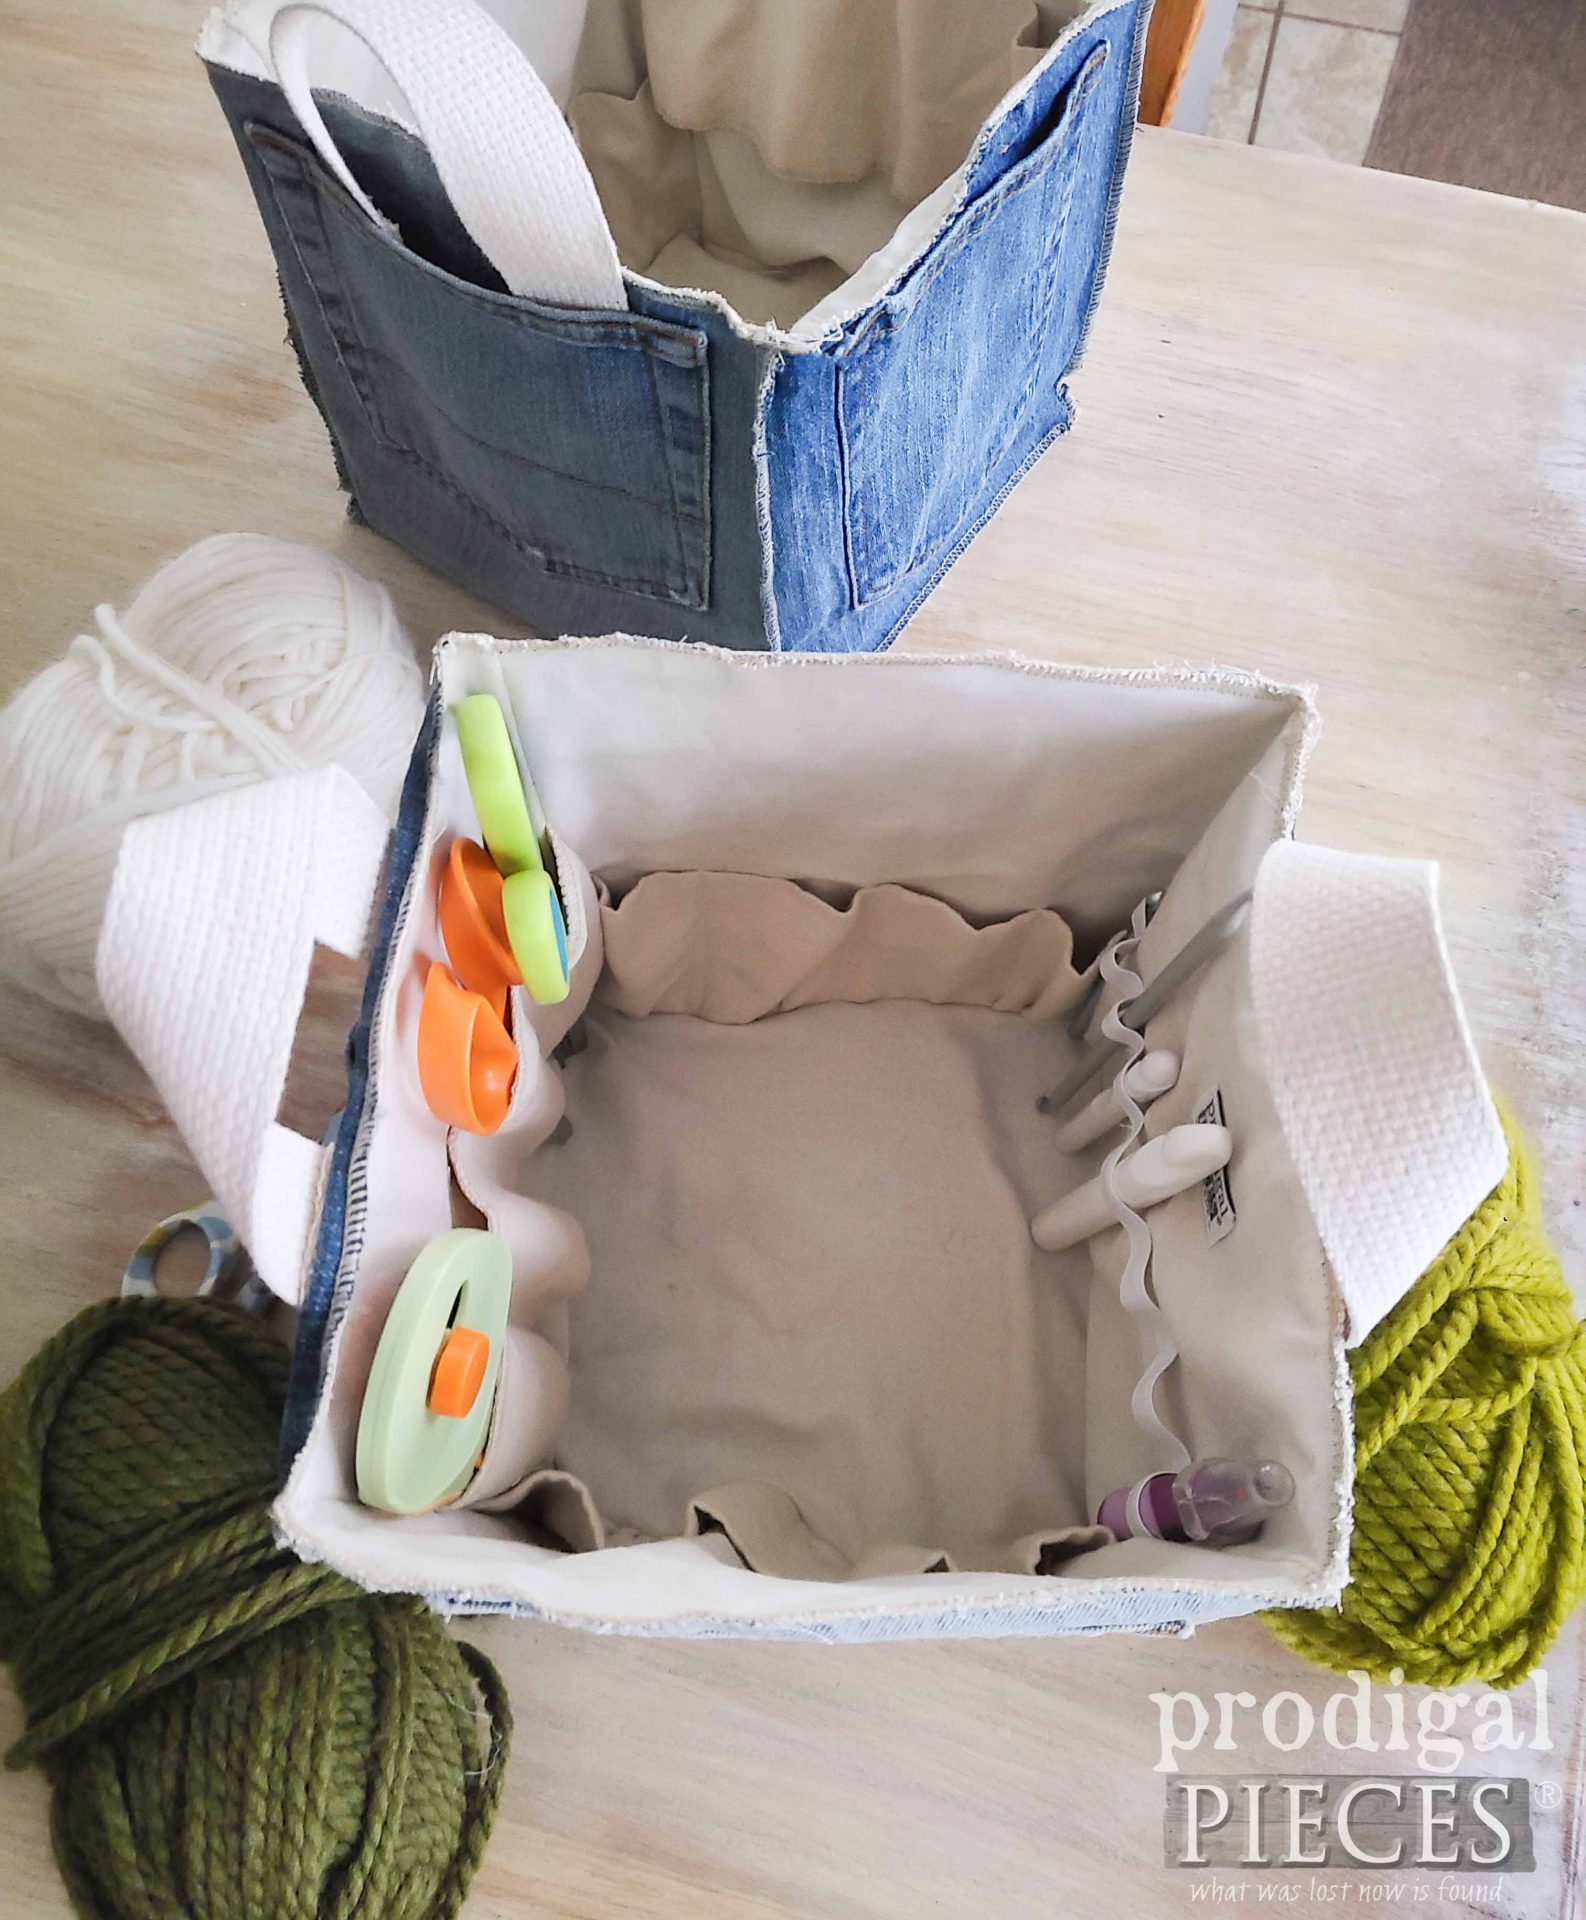
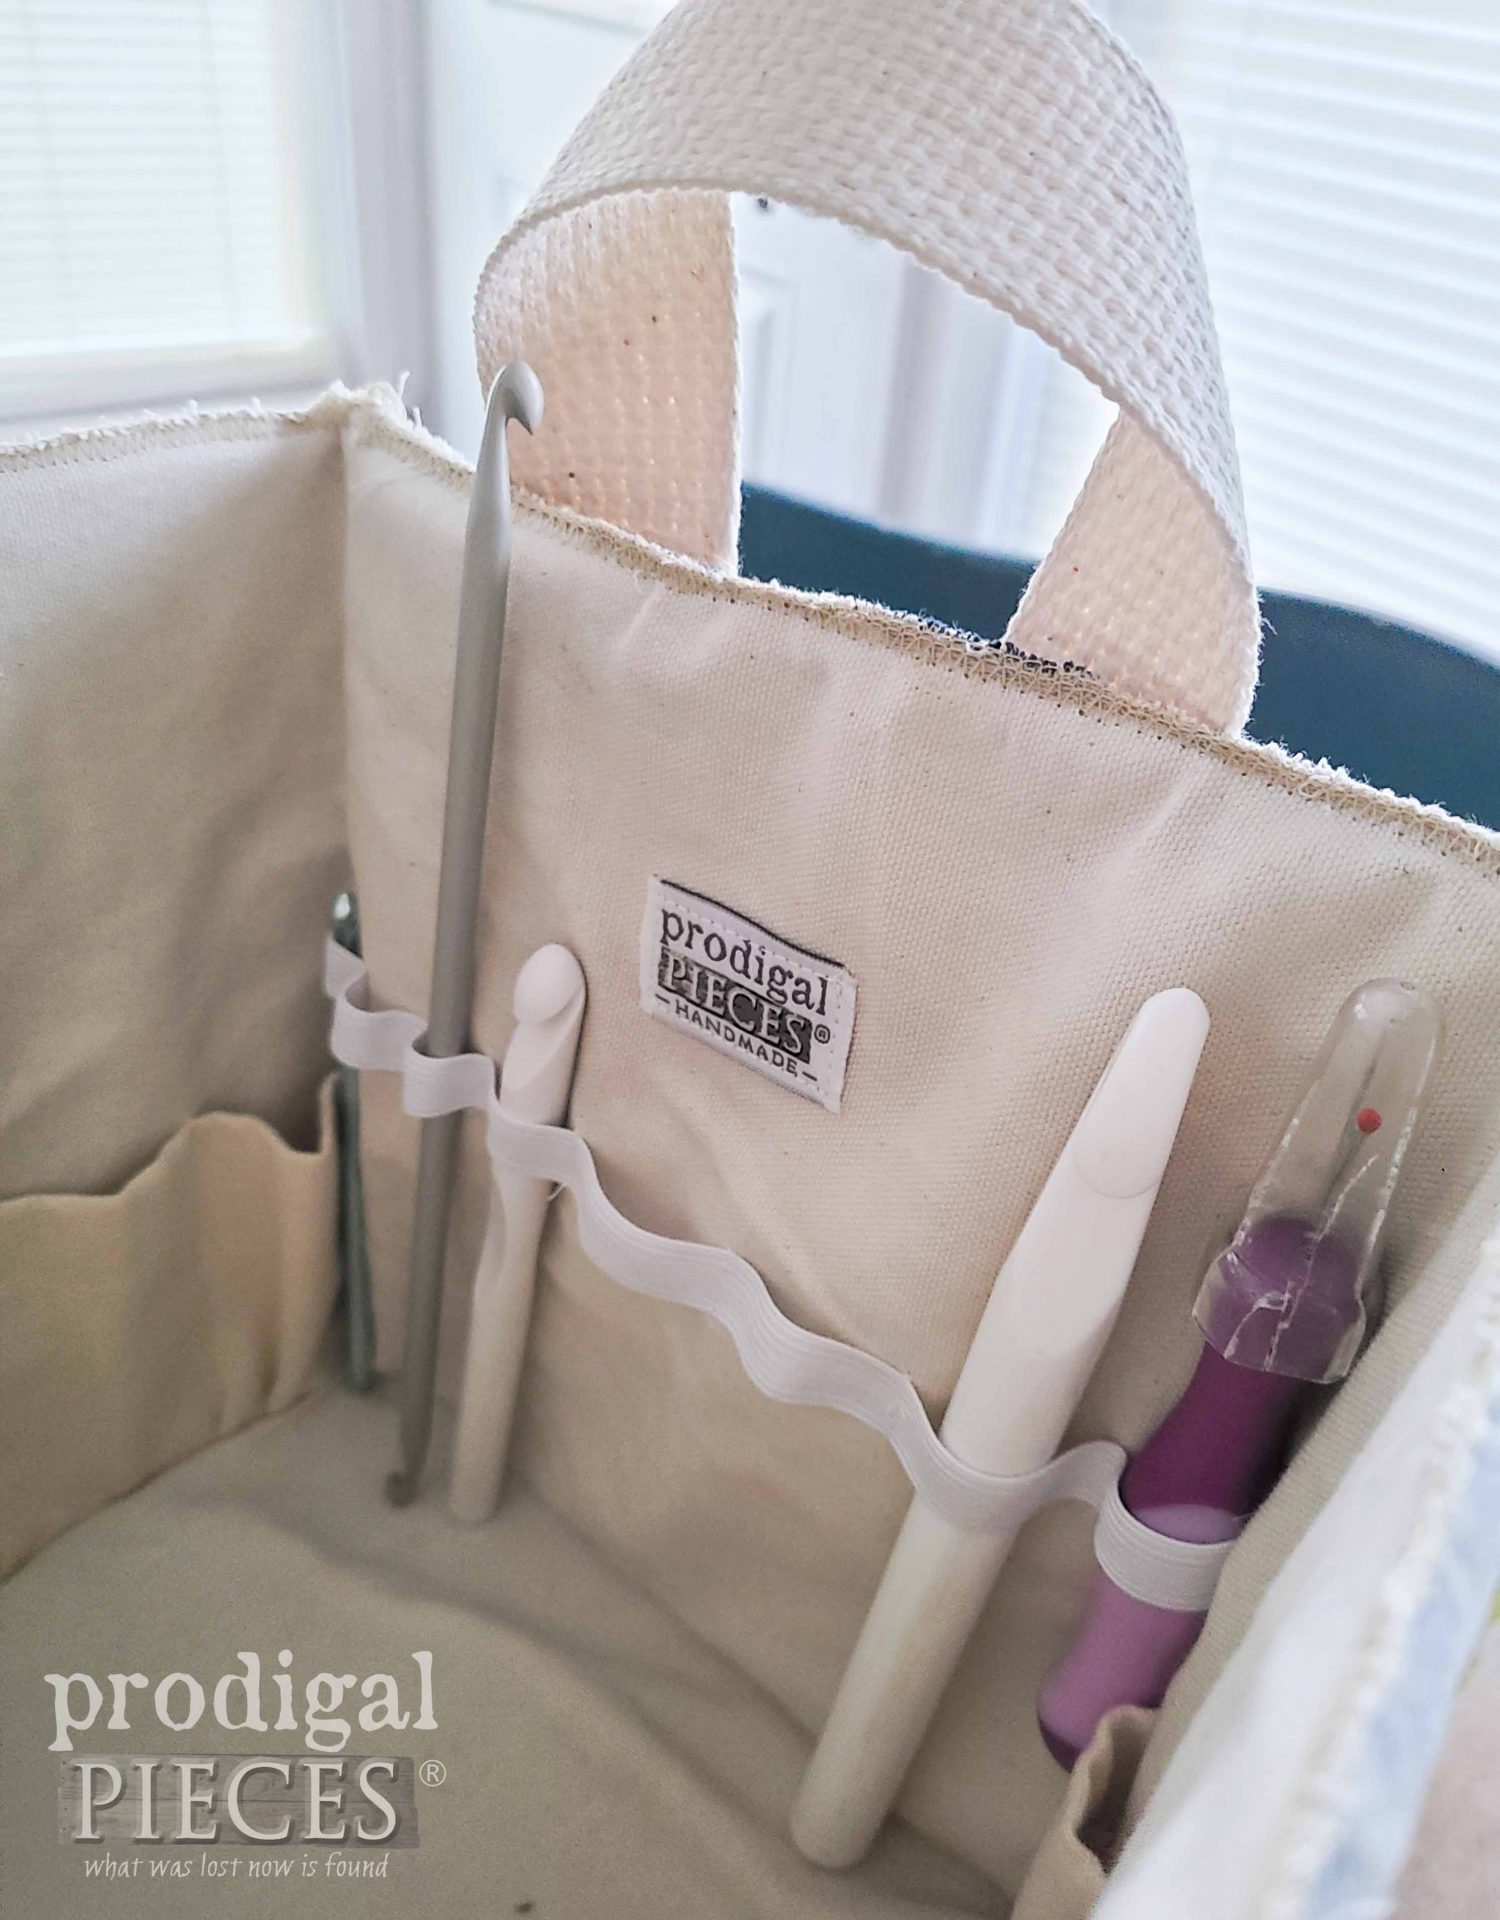
Meanwhile, we want to create 5 more squares from the lining fabric and assemble in the same manner except you will assemble with right sides facing with seams to the inside. Also, this is where you can have fun with it. In addition to my lining square, I’m also cutting 11″ x 9″ squares then folding in half to make pockets on three sizes of my bucket. On one side, I add elastic stitched into loops for different storage options.
Then, once I have all my panels with pocket or elastic, I stitch them up like I did my outer jean fabric.
STEP 4
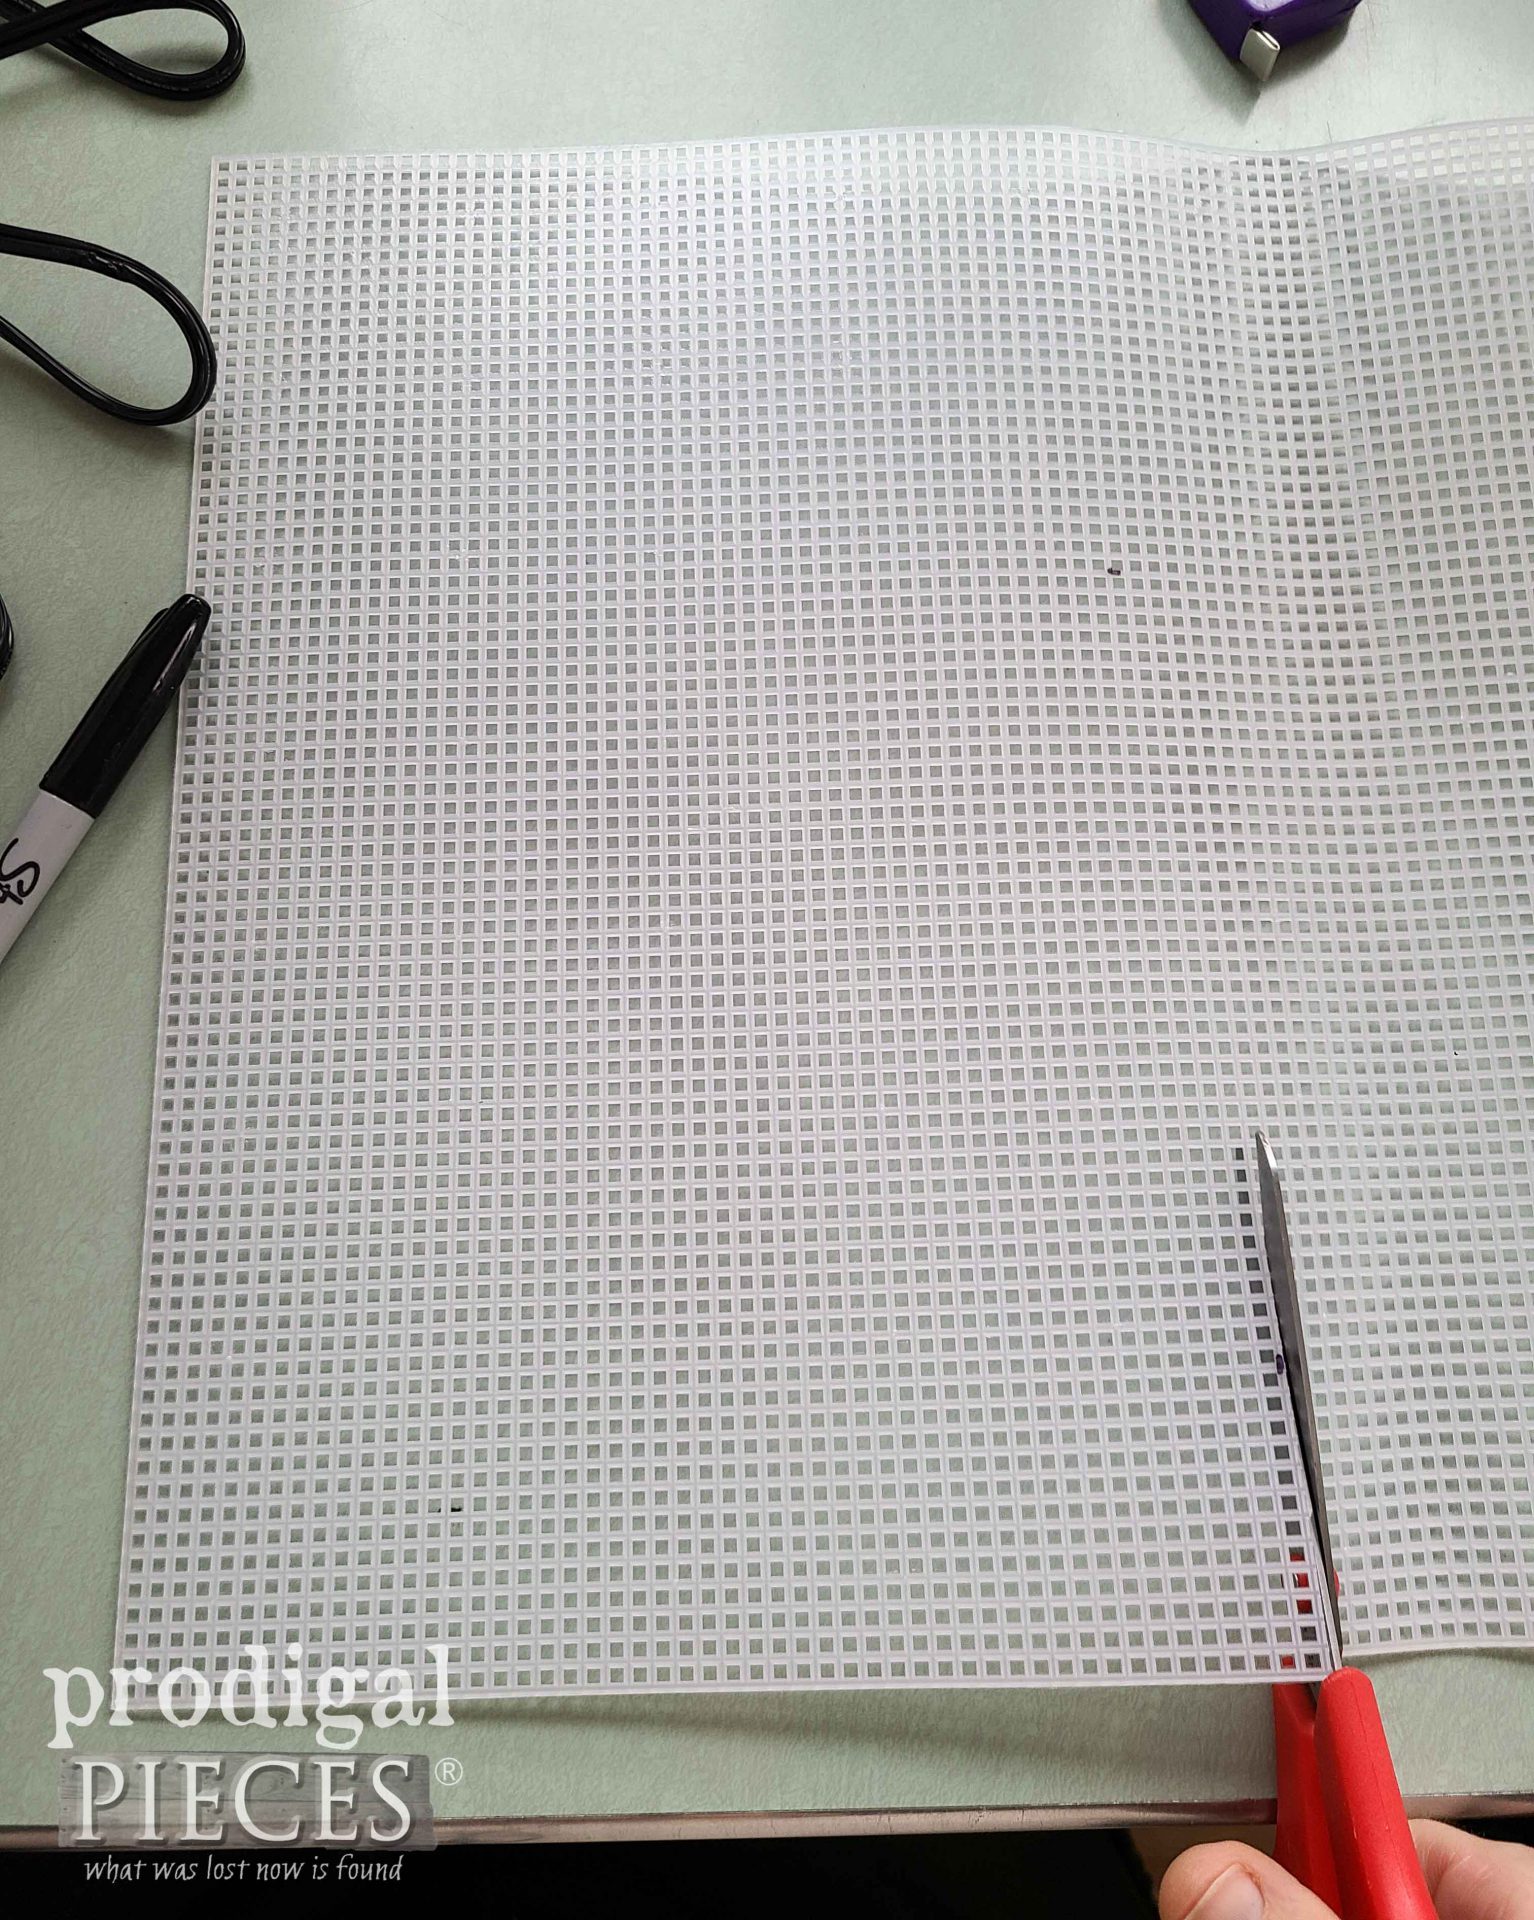
Additionally, we need to cut 5 plastic canvas squares. Before cutting, check your interior measurements of the jean bucket to make sure the size. The square should run about 8 ¾” to 9″ depending on seam allowance. Then, cut your plastic canvas pieces. You can see where I use it to upcycle a vintage embroidered tea towel in to a stand-alone bag.
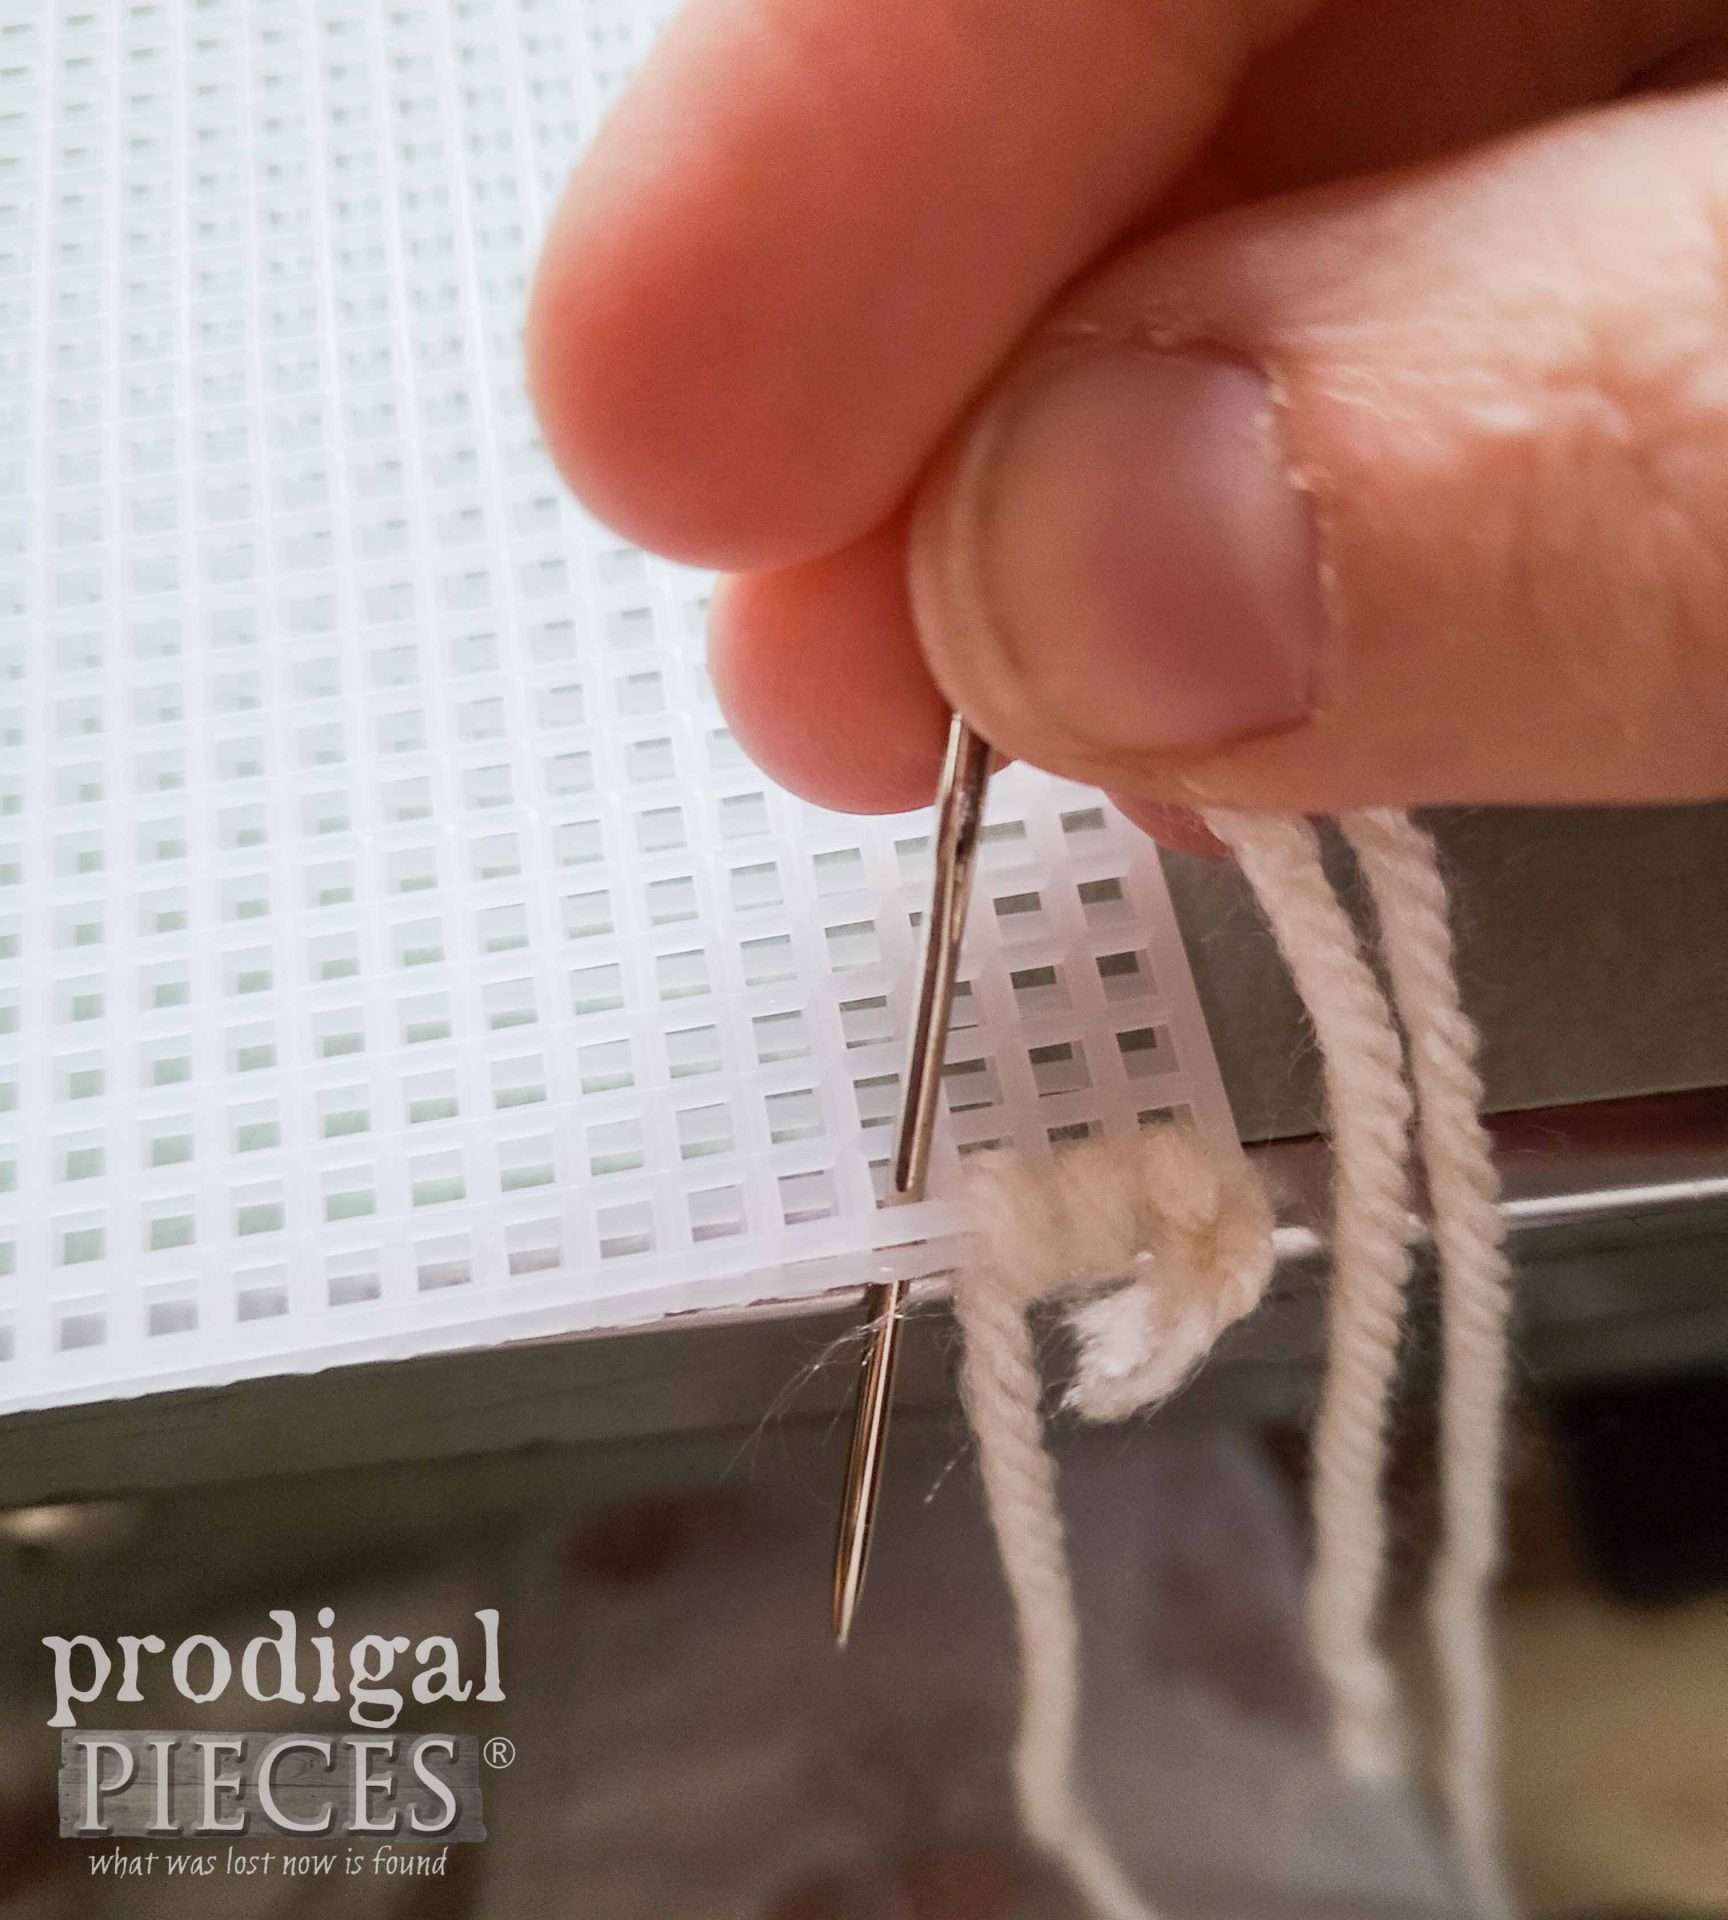
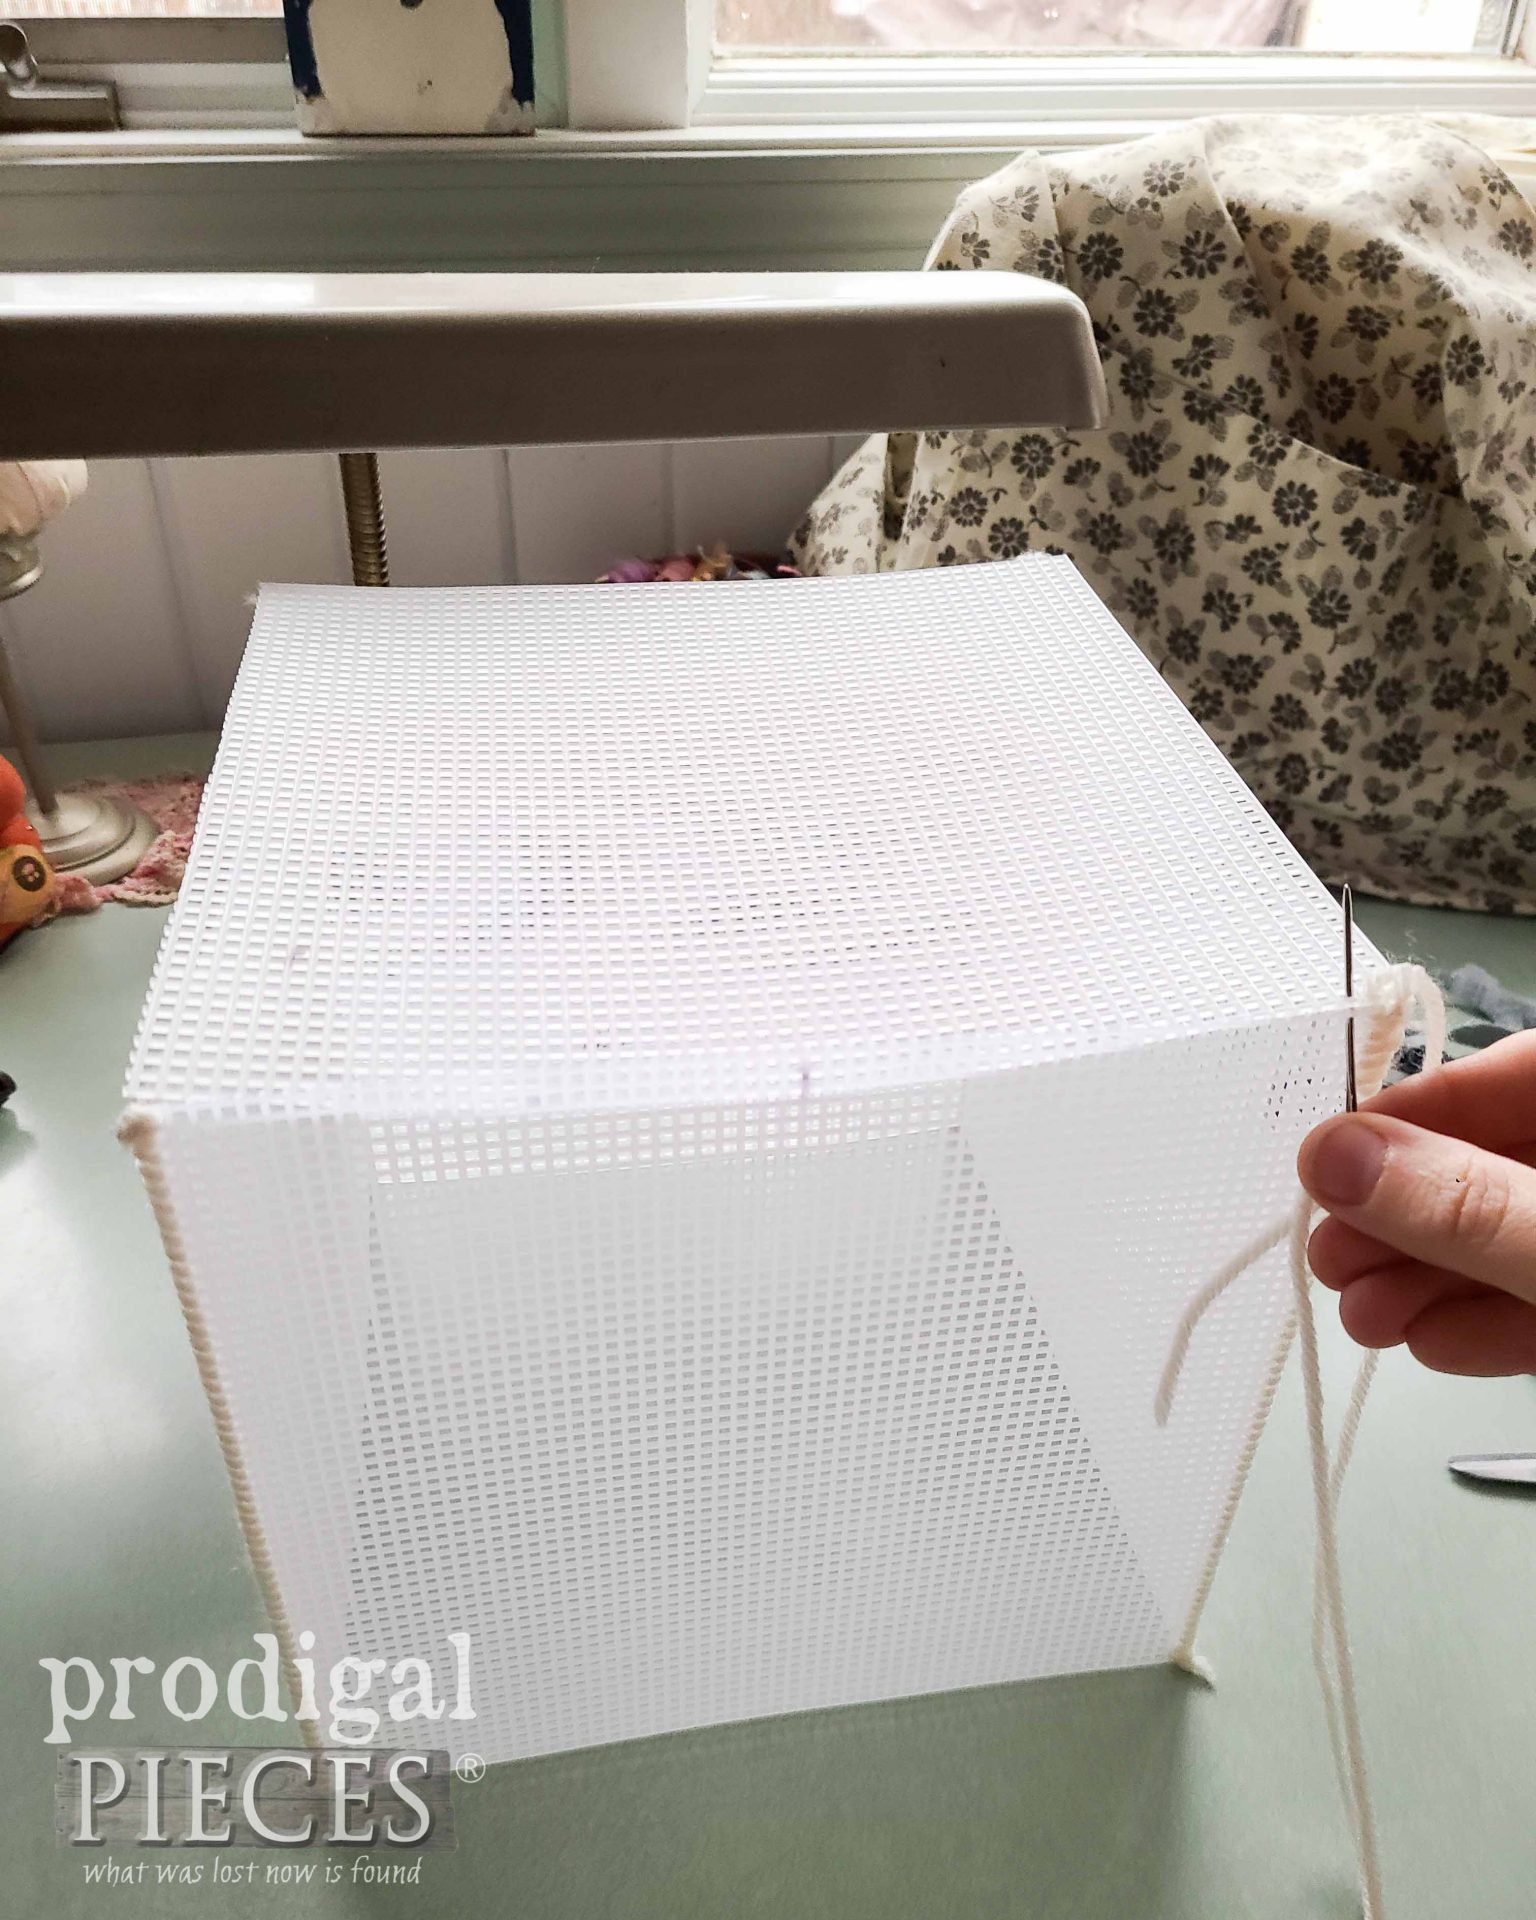
When you have your five pieces, you’re basically going to assemble them like you did your outer and lining fabric pieces. However, to assemble, you’ll use yarn to stitch up the seams with a yarn needle and whip stitch.
STEP 5
After that, the finish is really up to you. I drop the plastic canvas in and tack down the side to the outer jean shell with 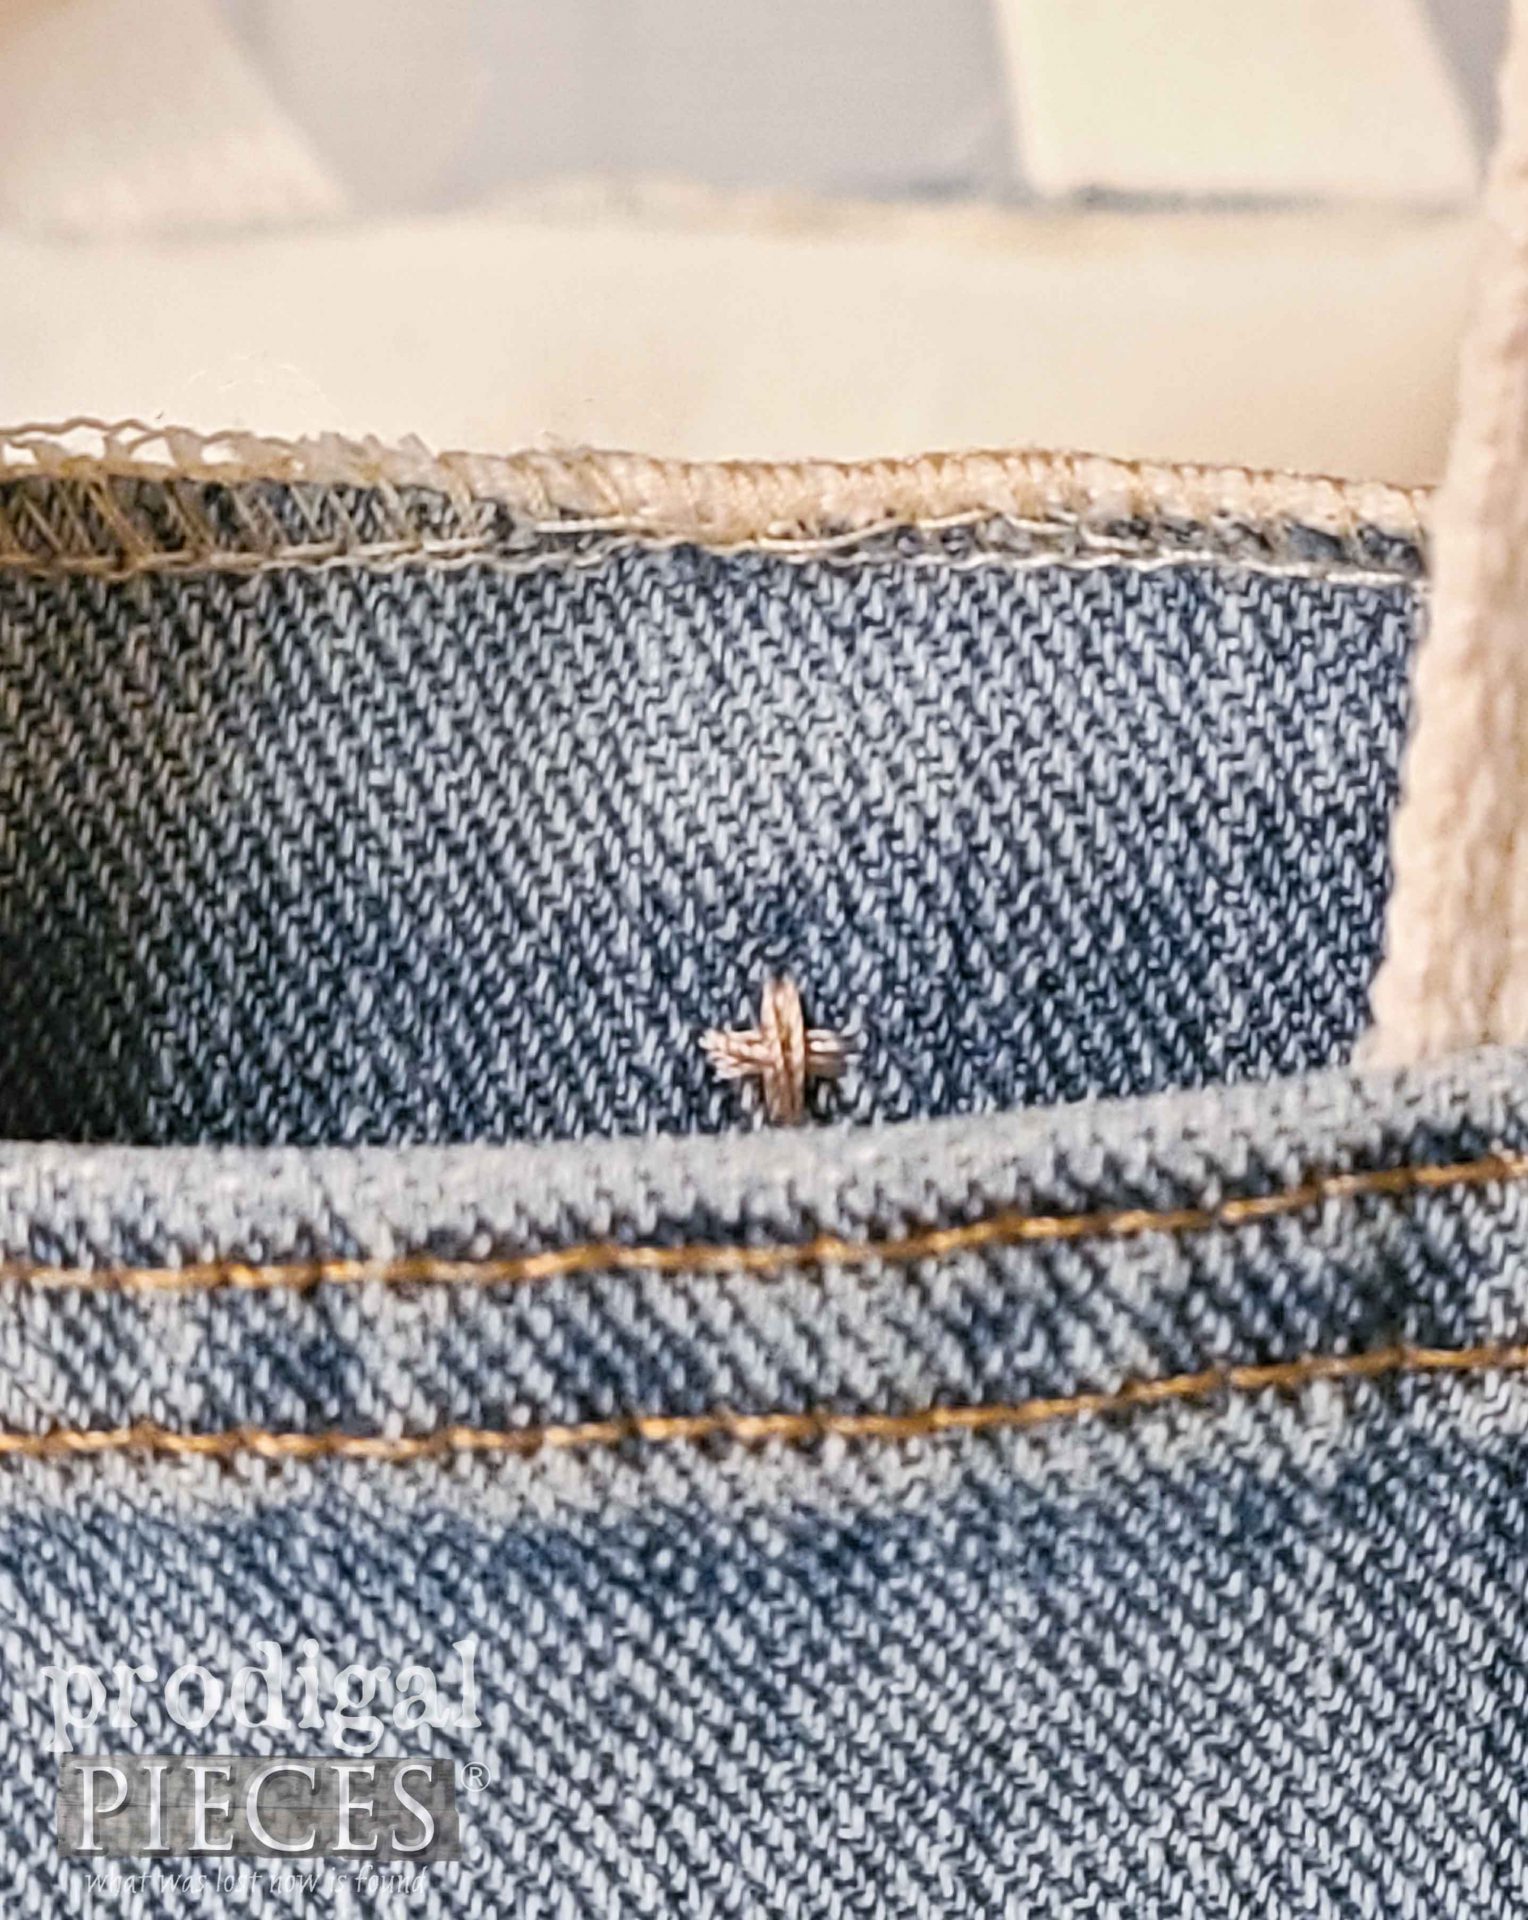
Then, I drop in the lining and serge around the top. Instead of serging, you could use a bias tape and hand tack it down, blanket stitch the edge, or finish however you see fit.
THE REVEAL
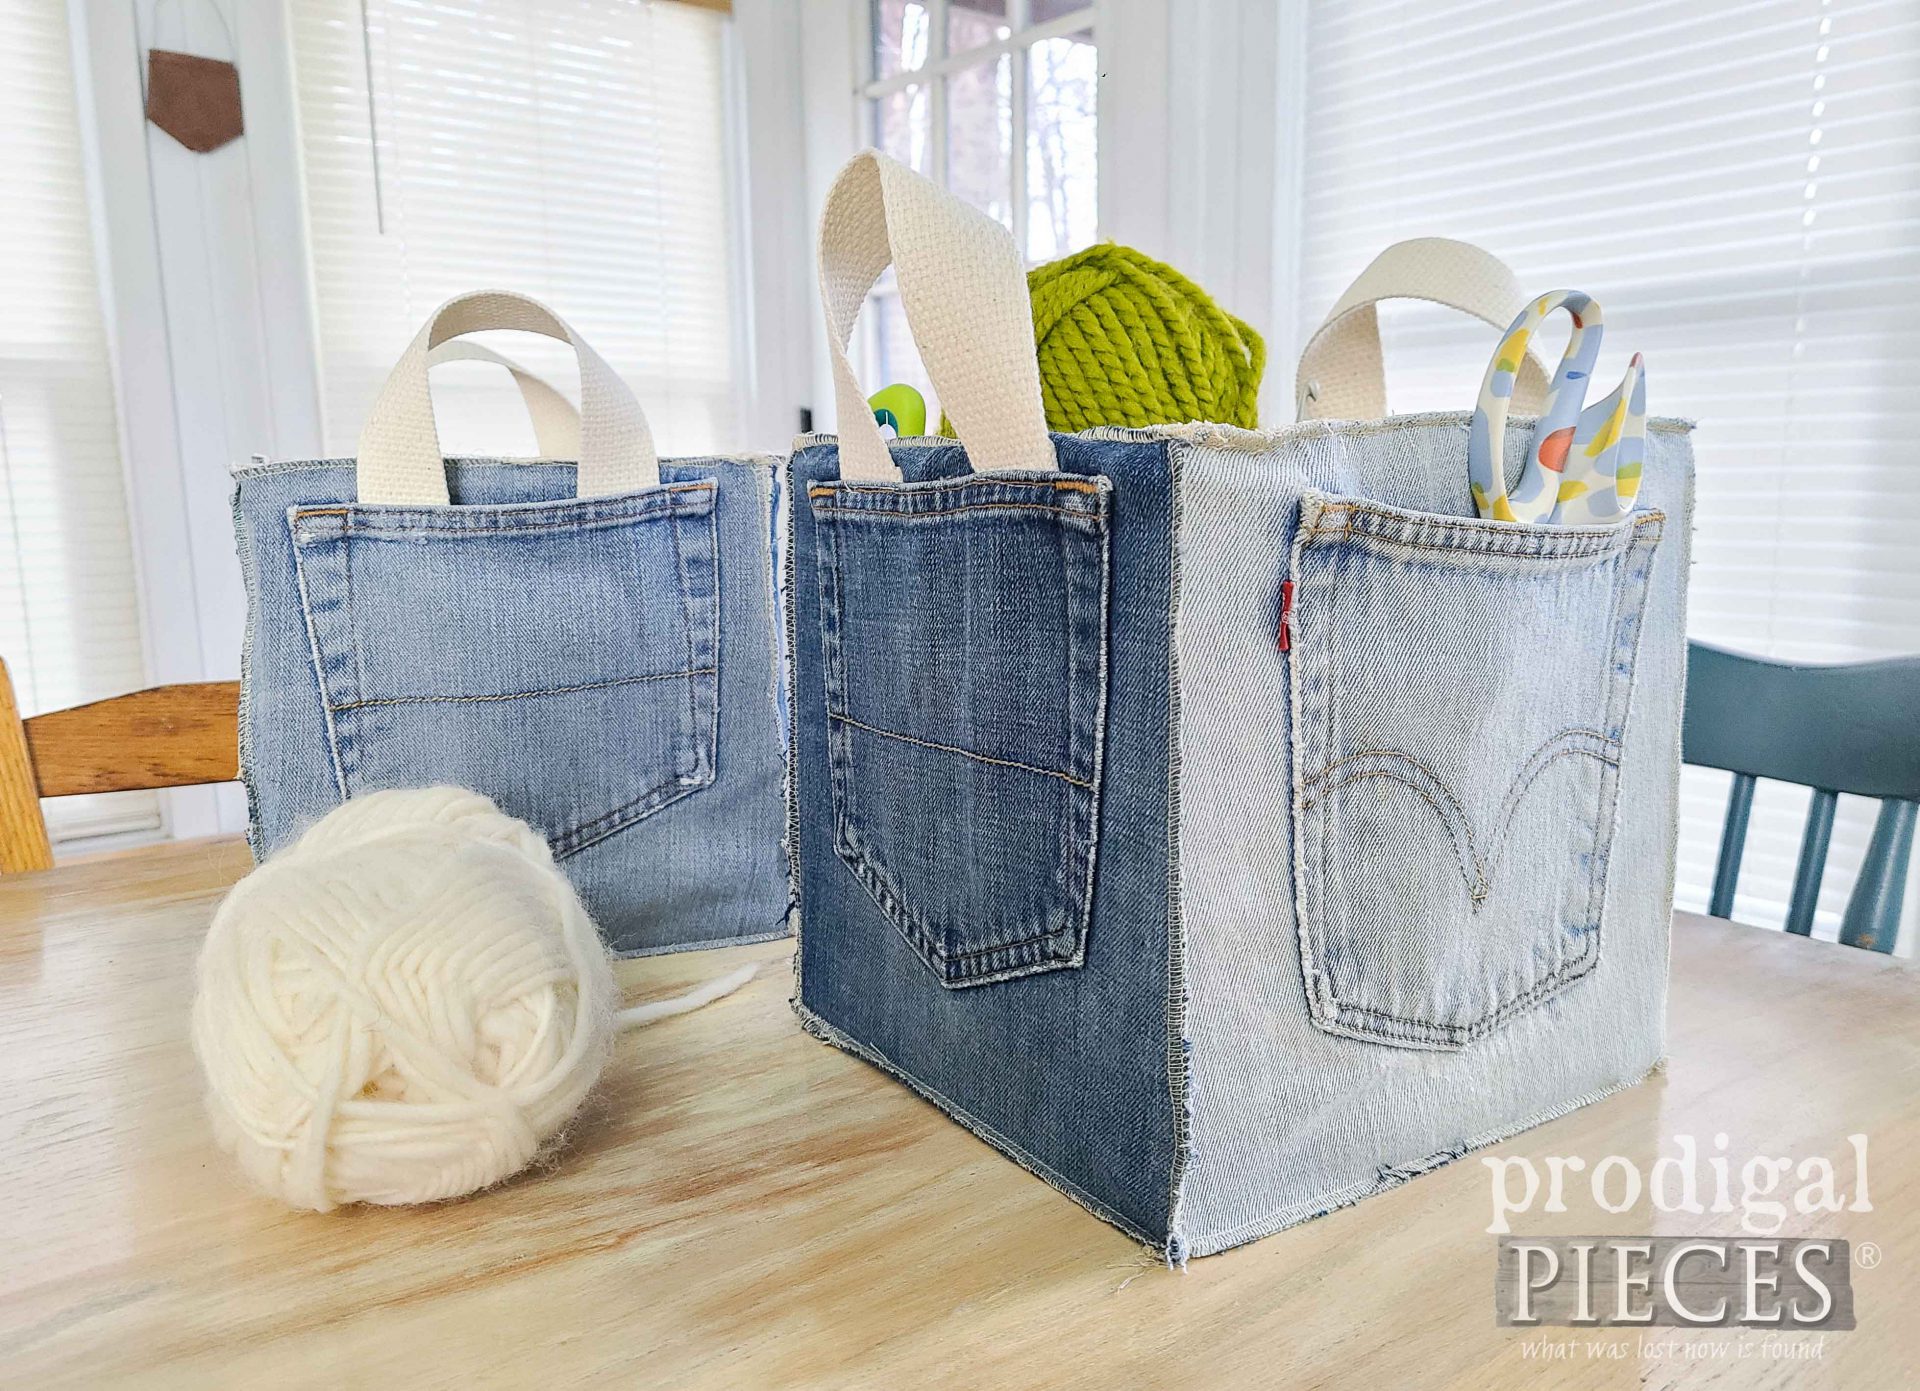
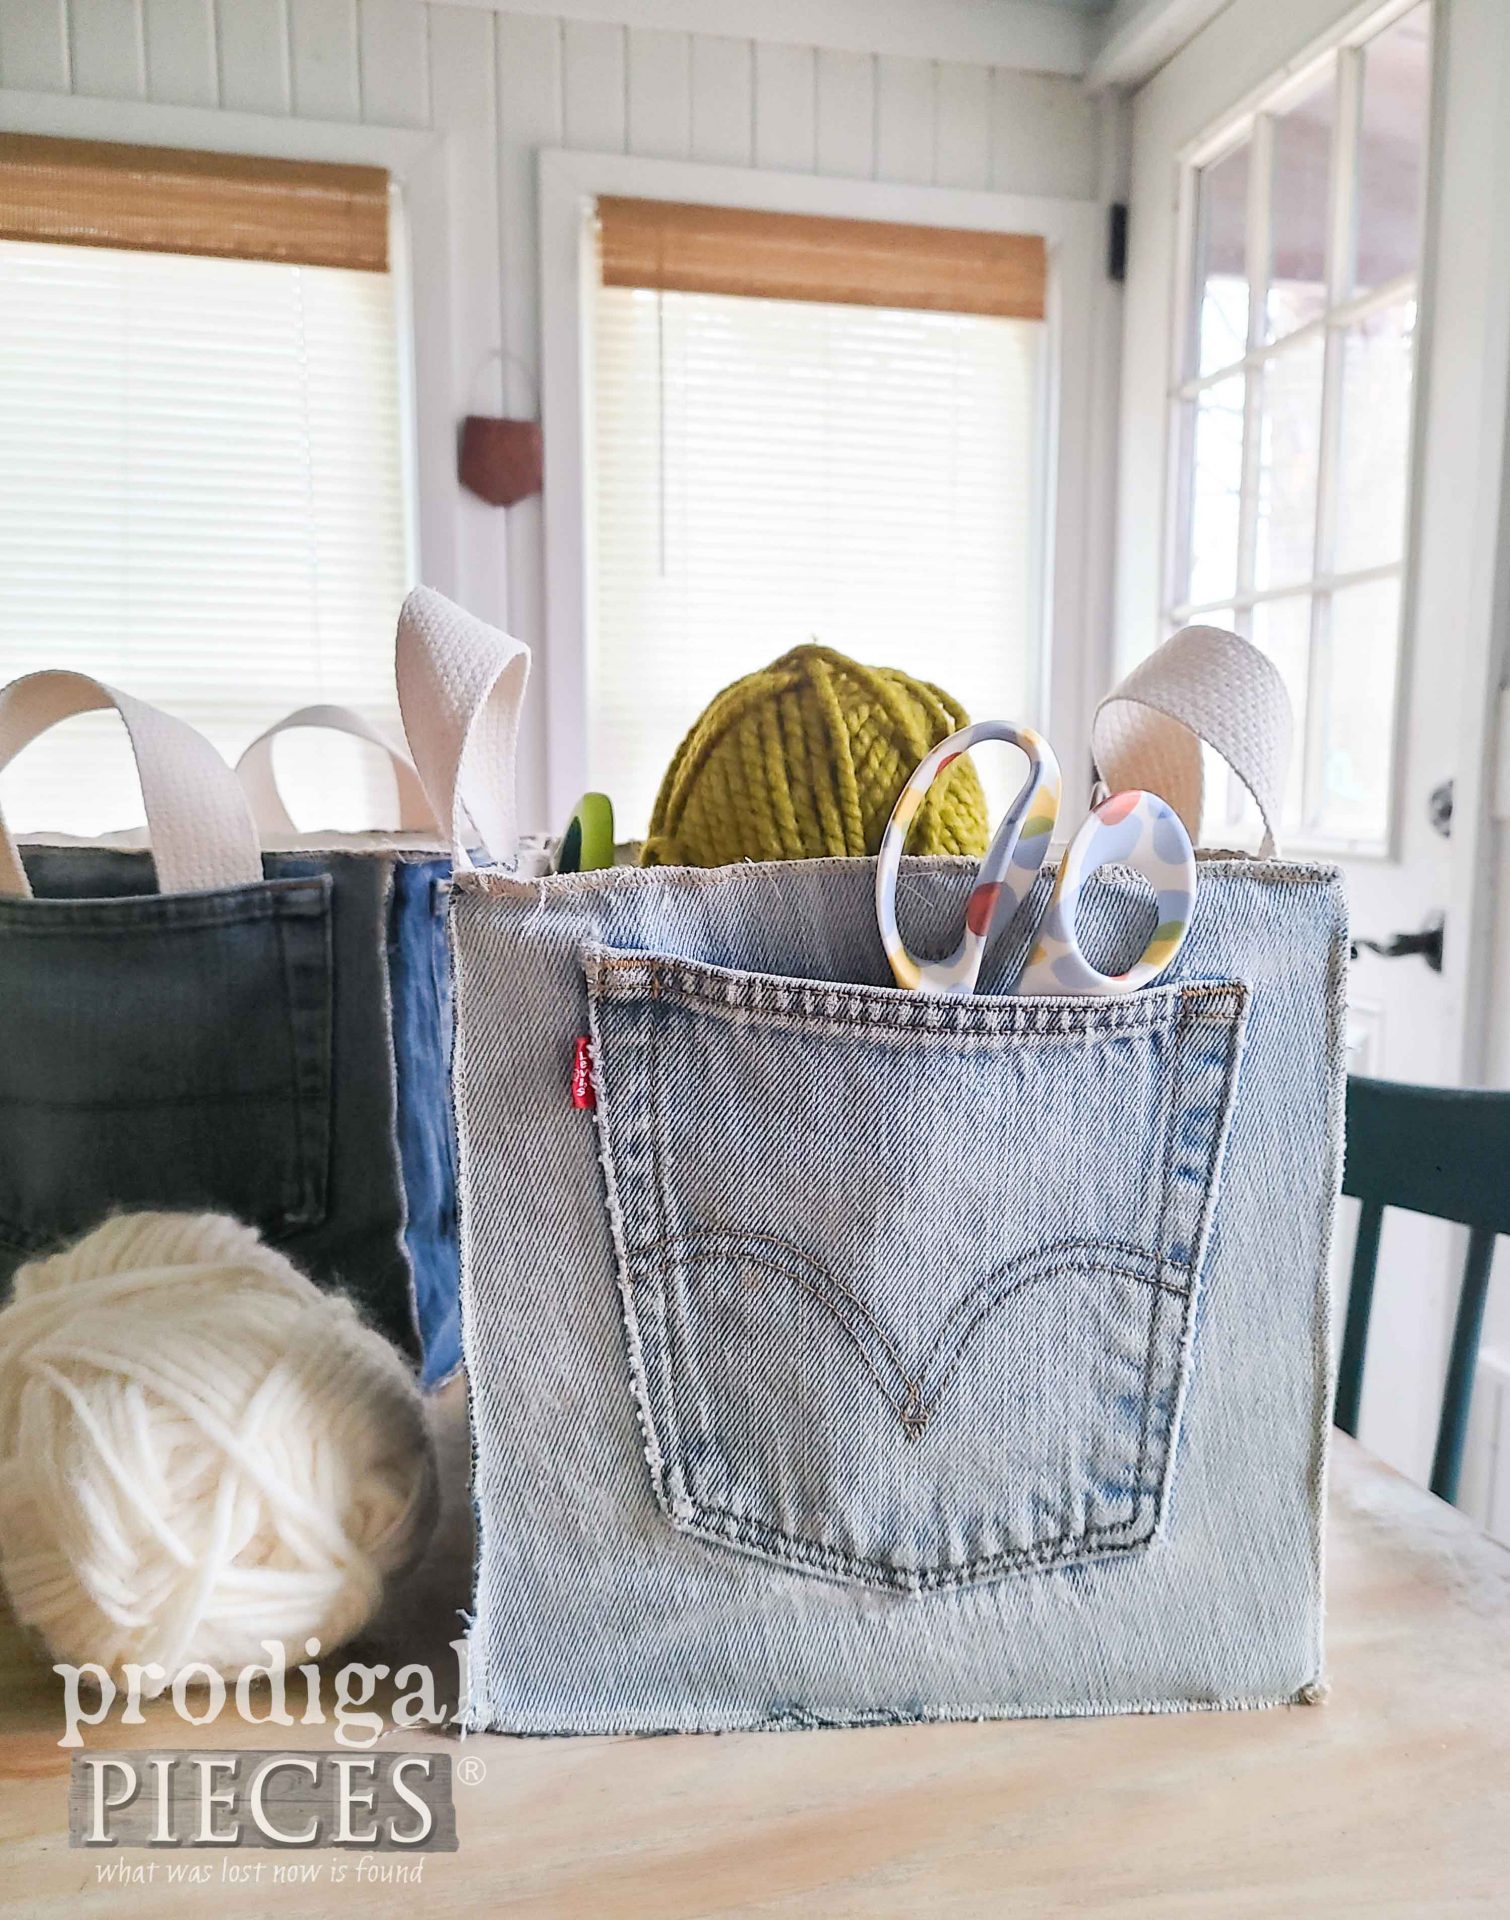
Here are my upcycled jean storage bucket creations in the final state. Notice the handles I added too just inside the pockets.
To stage mine, I fill it with a few of my sewing tools, yarn, and notions. However, you can fill it with whatever you want…kids toys, toiletries, anything crafty or daily grind you can think of – even a gift basket made from your loved ones jeans. What would you fill it with? Also, notice how they stand up nice and stout. No bumbling around trying to find what you need.
In addition to leaving some comment love below, do pin and share my upcycled jean storage bucket tutorial. It’s a great way to make use of old jeans and make a sweet momento to share with those you love.
To get these DIY tips & tricks in your inbox, be sure to sign up for my newsletter. PLUS, you will get your FREE Furniture Buying Checklist and special discount to my shop. Until next time!






You always come up with the most amazing designs!!! These are soooooo cute!!! Your creativity is only matched by your mastering ANY medium!! A true artist!!!! ?? ?
Gotta tell ya that I just finished these up just before dinner yesterday because I took the weekend off…eep! I’m so glad they came out as I’d hoped. Now to gift them to my kids and wait for my husband to give up more of his stash…haha. You are the sweetest, Rebecca. Thank you!!
Very clever and cute use for old jeans. There always seems to be old jeans around our house and like you I hate to toss them. I’ve never not been able to give them away, even the torn ones. But I really like your project and I intend to keep a couple pair so I can make a fun Jean bucket. Thanks for all your posts with the creative and inspirational ideas.
Right? Same here with 8 people in house. The fabric is so versatile that it’s hard to just pitch it. Have fun with it, Joanne! 😀