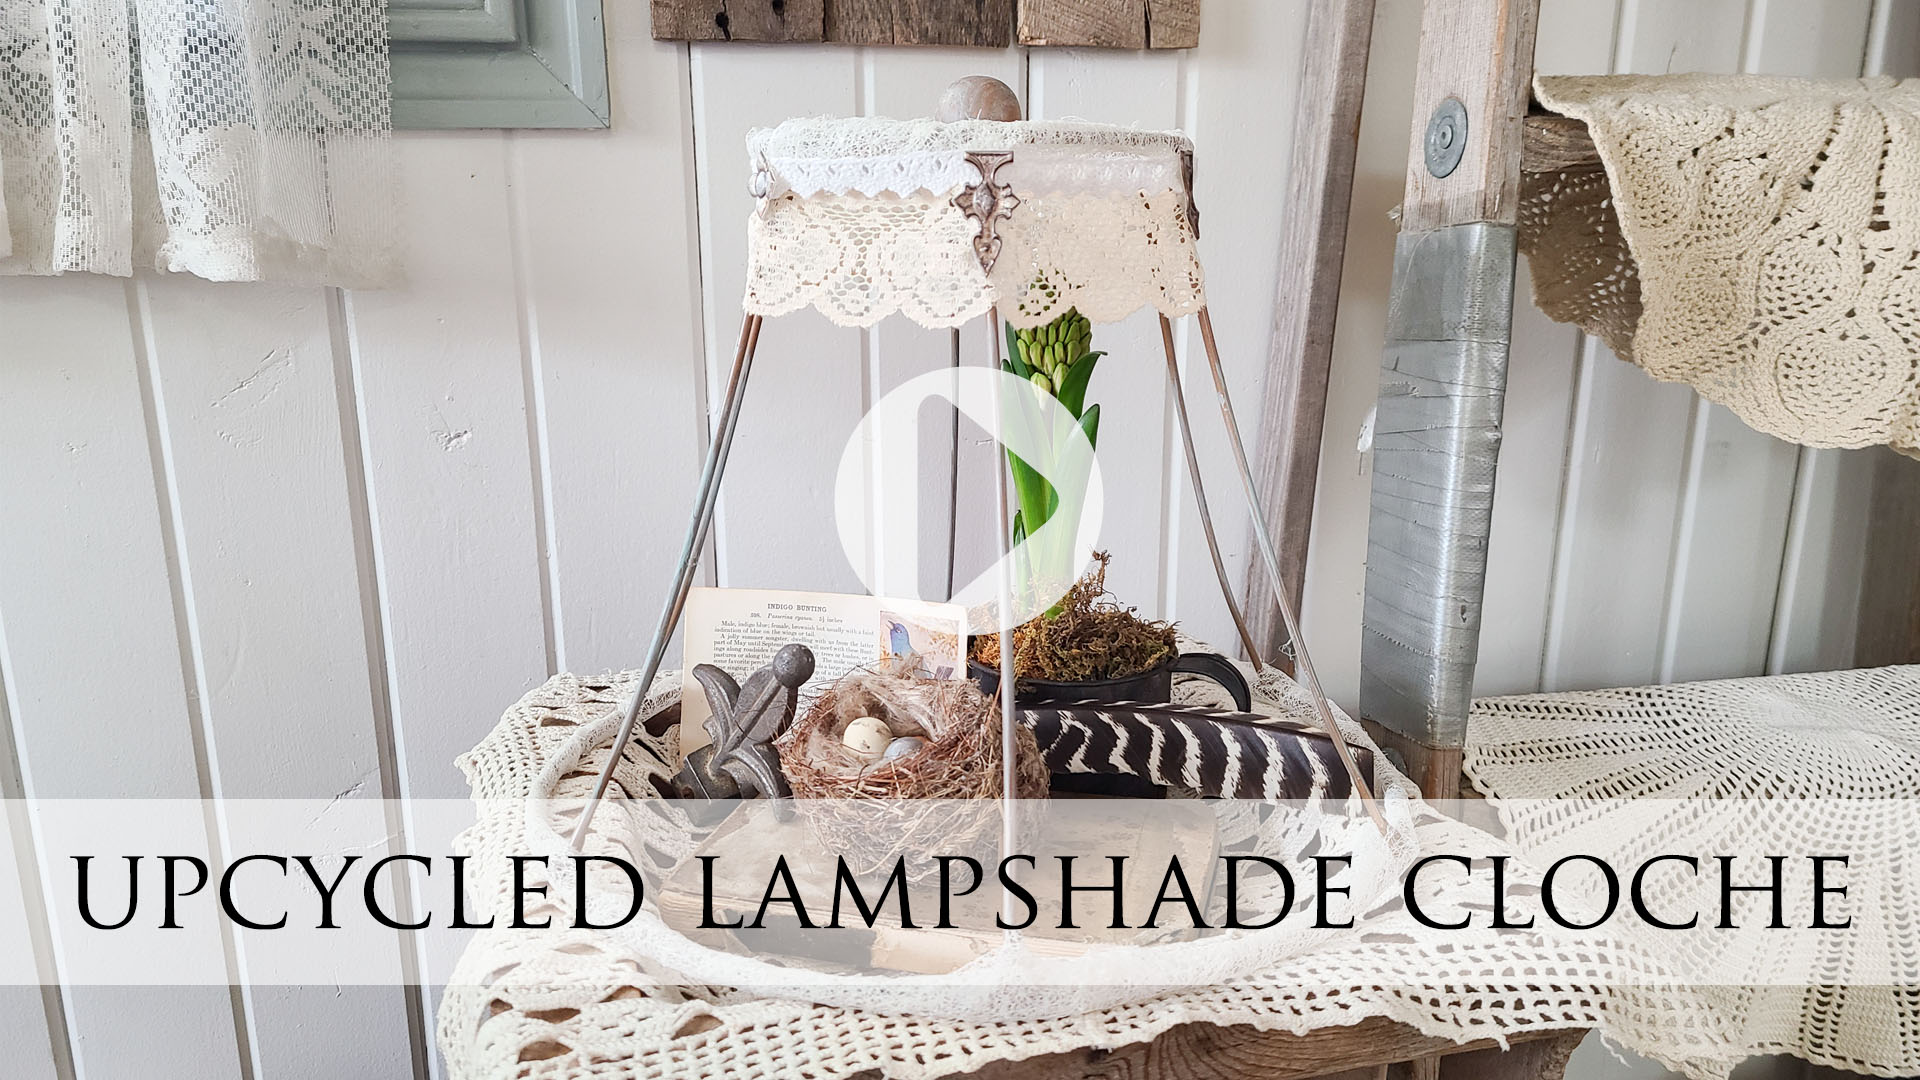
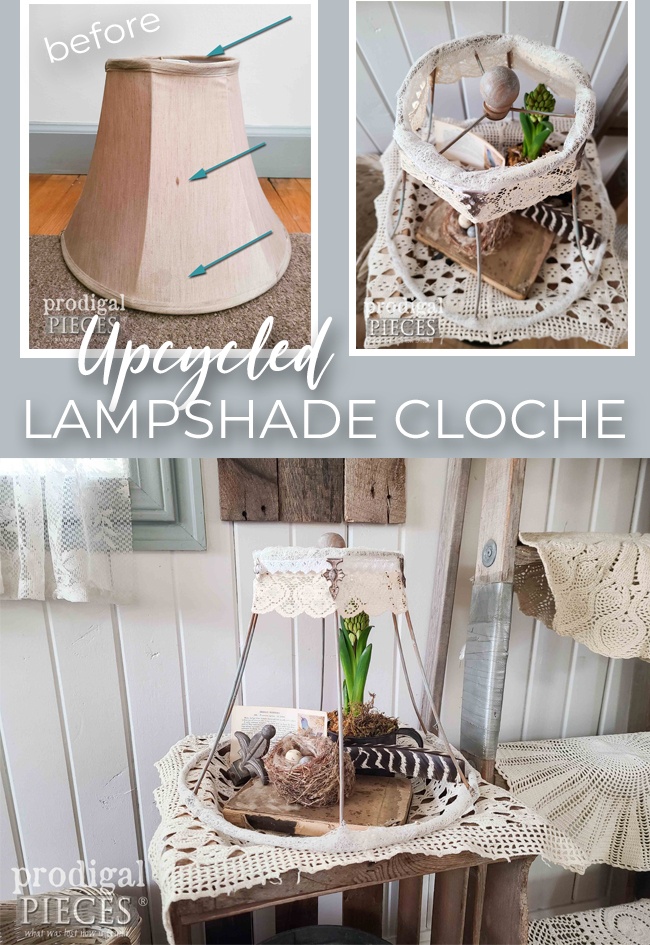
This little light of mine…I’m gonna let it shine… Did that get you singing? I want to kick today off with a fun recreation of something that I’m pretty sure all of us have in our home. You see, I have junker’s remorse from time to time, which I’ll explain in a bit. However, today, no remorse as I take thrifted find and turn it into an upcycled lampshade cloche. Are you with me?
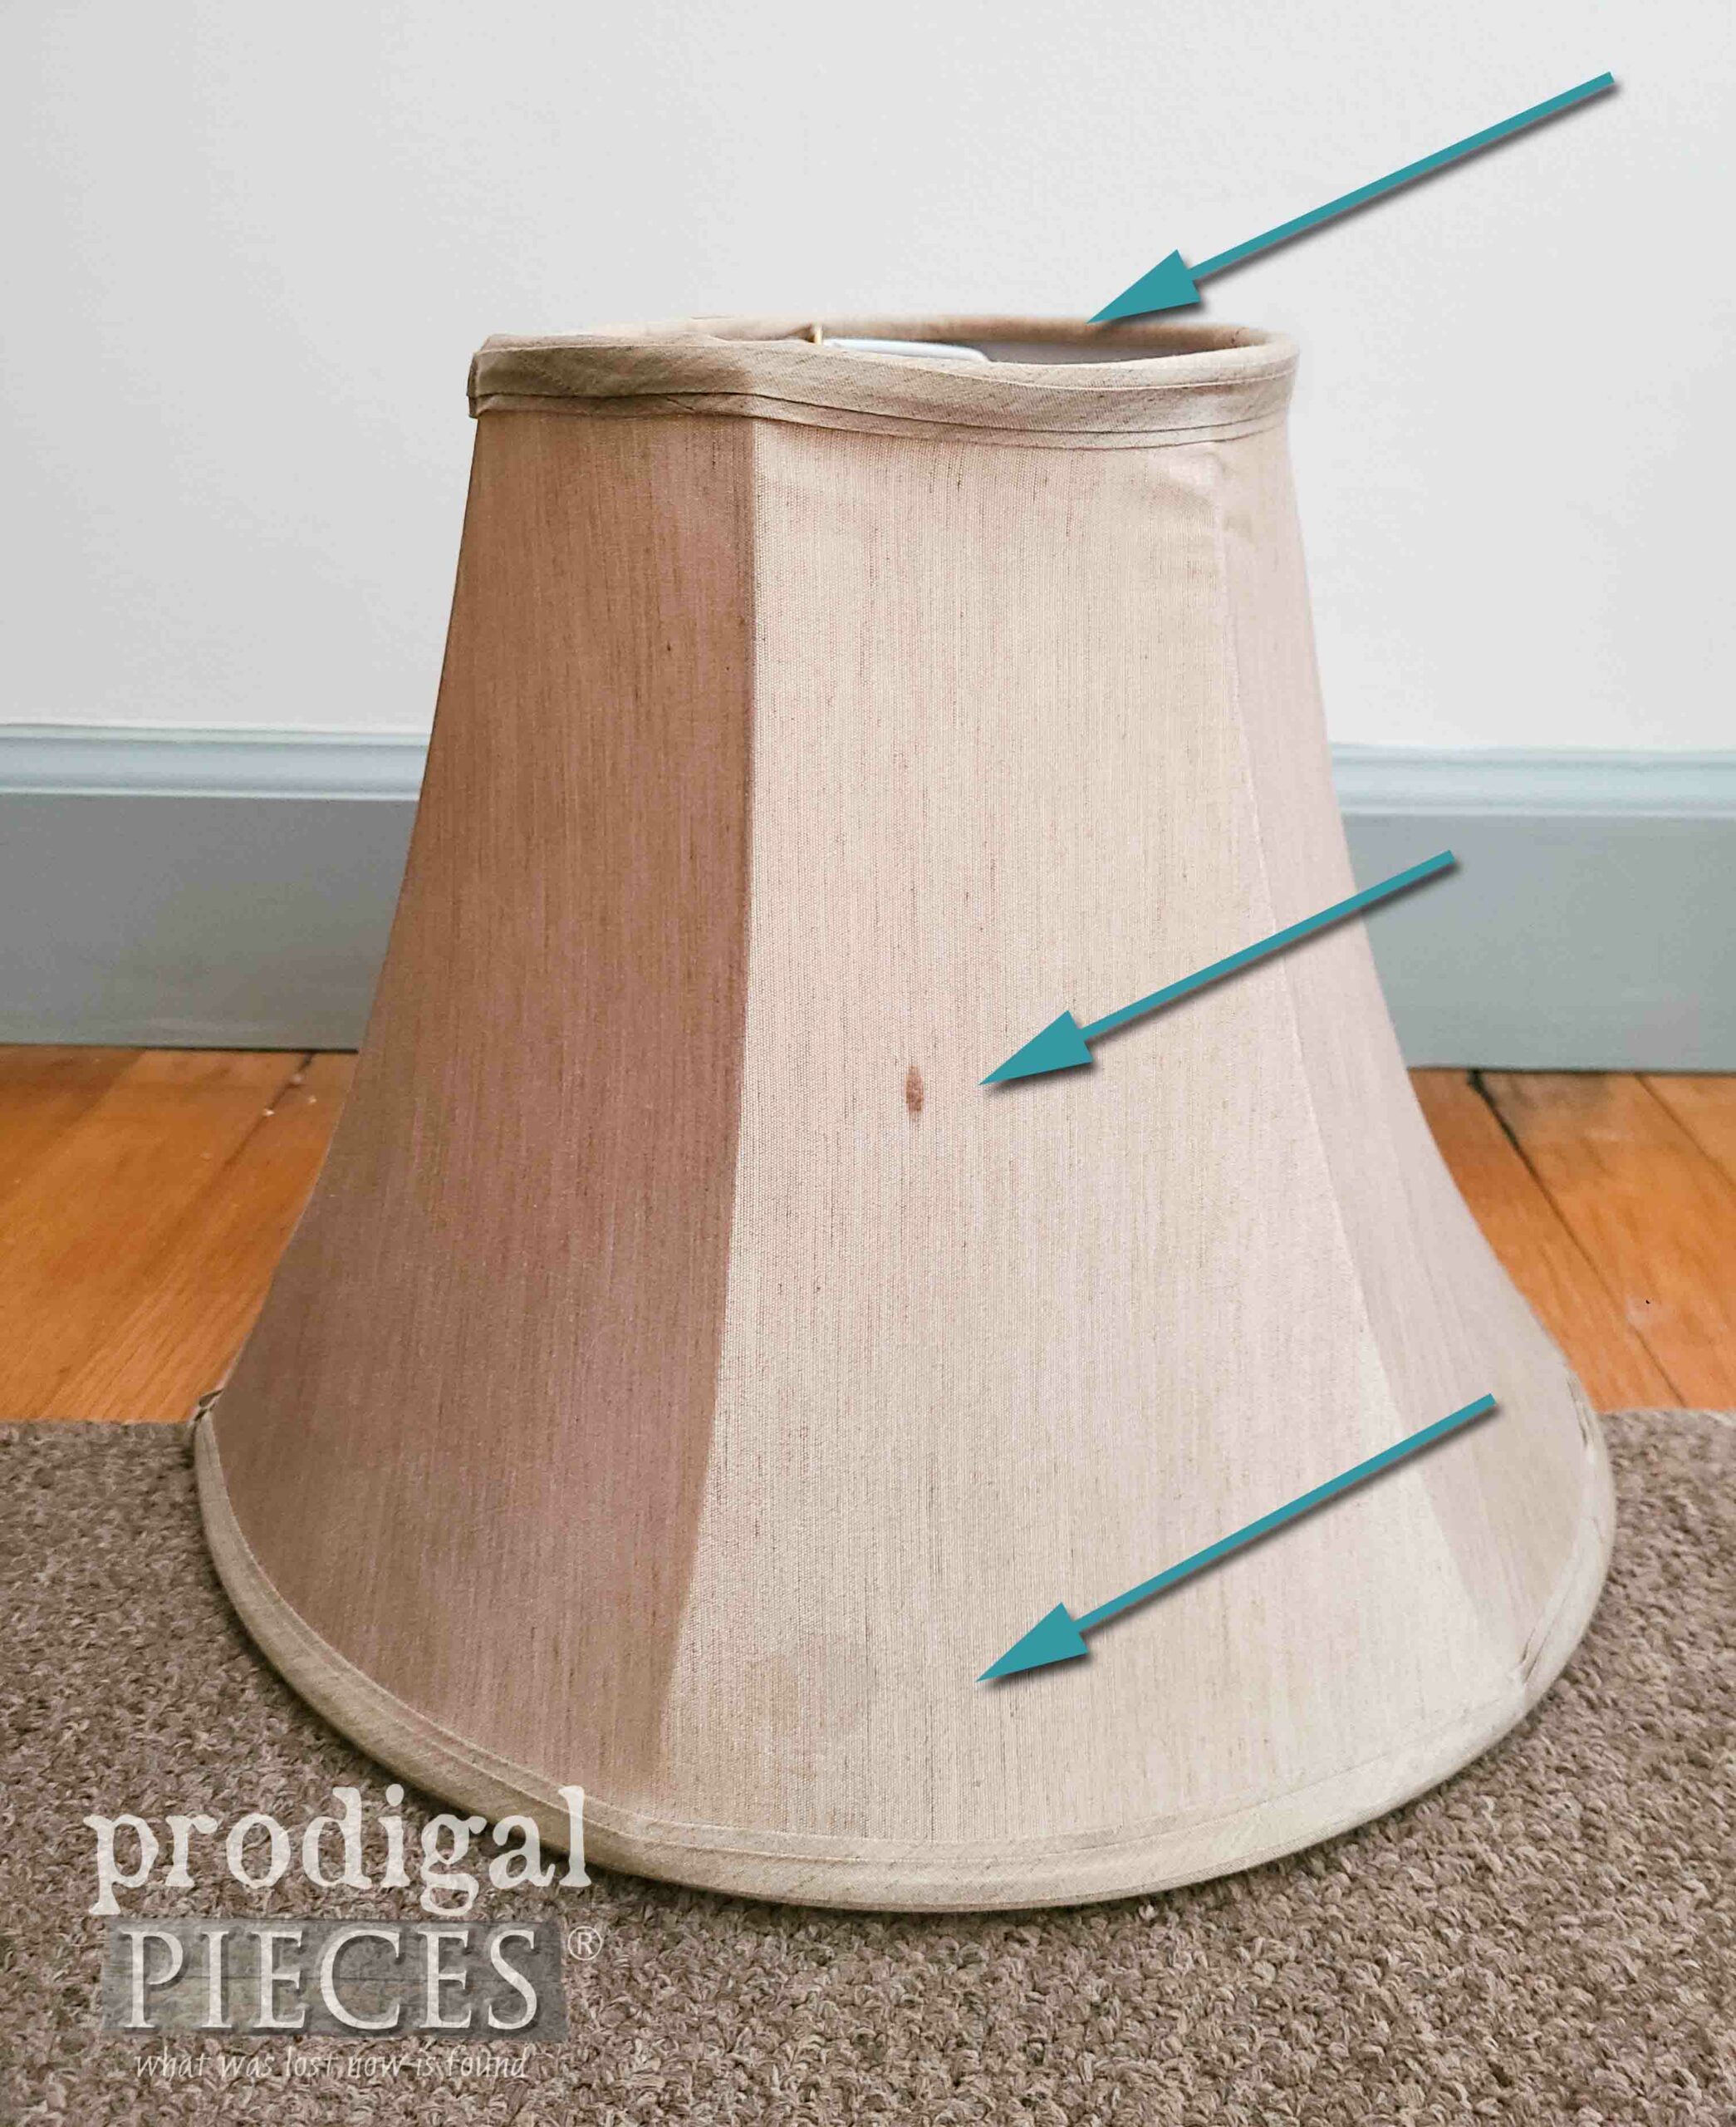
As you can see, I’m pointing out the flaws of this lampshade that I actually paid a few bucks for: a couple of stains, and curvature to the top trim. While I could get the stains out in traditional fashion, I have an idea or two I think you’re going to love along with a video tutorial to boot.
THROWBACK
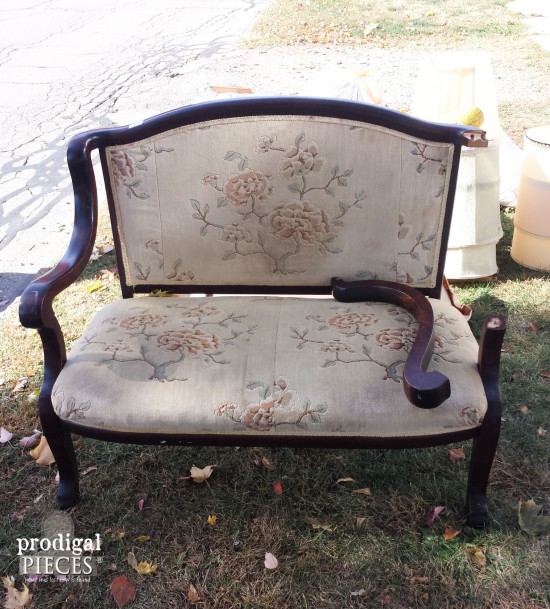
Okay, so I mention that I have junker’s remorse. Well, from time to time during junking season (aka. #trashure hunt) that occurs each spring during city clean-up or just on trash day, I see lampshades in the trash. With great intention, I’d love to rescue them all, but I’m only one gal. Take, for instance, this pile of vintage shades I left on the curb. Can you see them behind the antique settee I rebuilt and upholstered?
At the time, there stands a stack of around a half-dozen, huge lampshades. Ugh…I have no room in my truck to take them home, so I leave them. {{gasp}} I know, I know…I can’t save them all, but it still irks me what I could have done with them – even recycled the metal. Anyhoo, now you have no excuse after today to do the same, k?
With that in mind, I have oodles of ideas for these beauties being useful in a cloche form for garden, for bug protection over food at a summer party, to a decorative element I’m creating today. (I could go on!!)
CUTTIN’ IT UP
First, if you’d like to have a crack at this, here’s what you’ll need:
- a lampshade, of course
- scissors
- seam ripper, optional
- hot glue gun/glue sticks, or similar
- trims and accent pieces you like to decorate with (lace, velvet ribbon, buttons, etc)
- an old knob or other element to serve as a “handle” (finials, large beads, etc)
- spray paint, if desired.
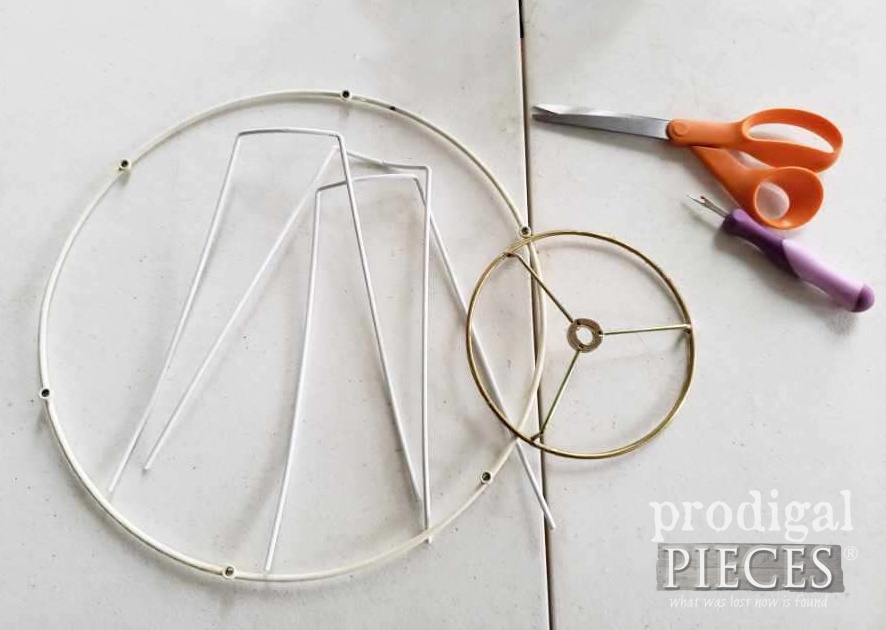
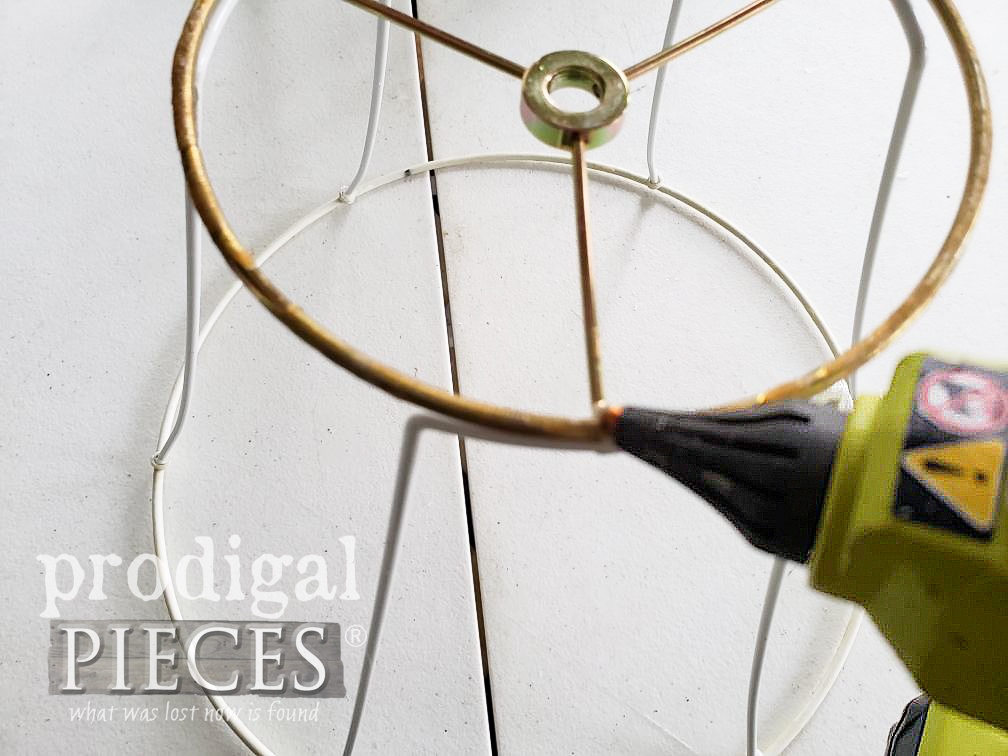
Then, once you have your tools and supplies ready, let’s cut off the lampshade fabric and see what type of frame we’re dealing with. In my case, this frame is held together by the fabric as show in disassembly in the video below.
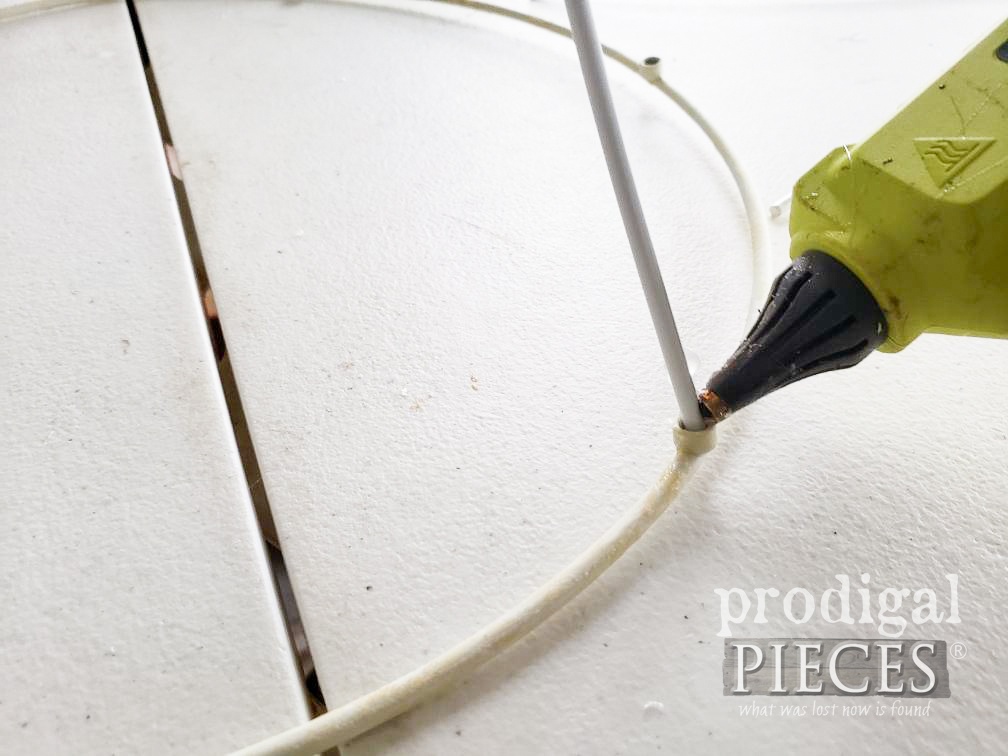
However, oftentimes you can skip reassembly because it will remain in one piece as you can see when I made my own lampshade cover for this reclaimed floor lamp I built HERE. For the purpose of reassembling my frame, I heat up my glue gun and use hot glue to reinforce the joints.
DRESSIN’ UP
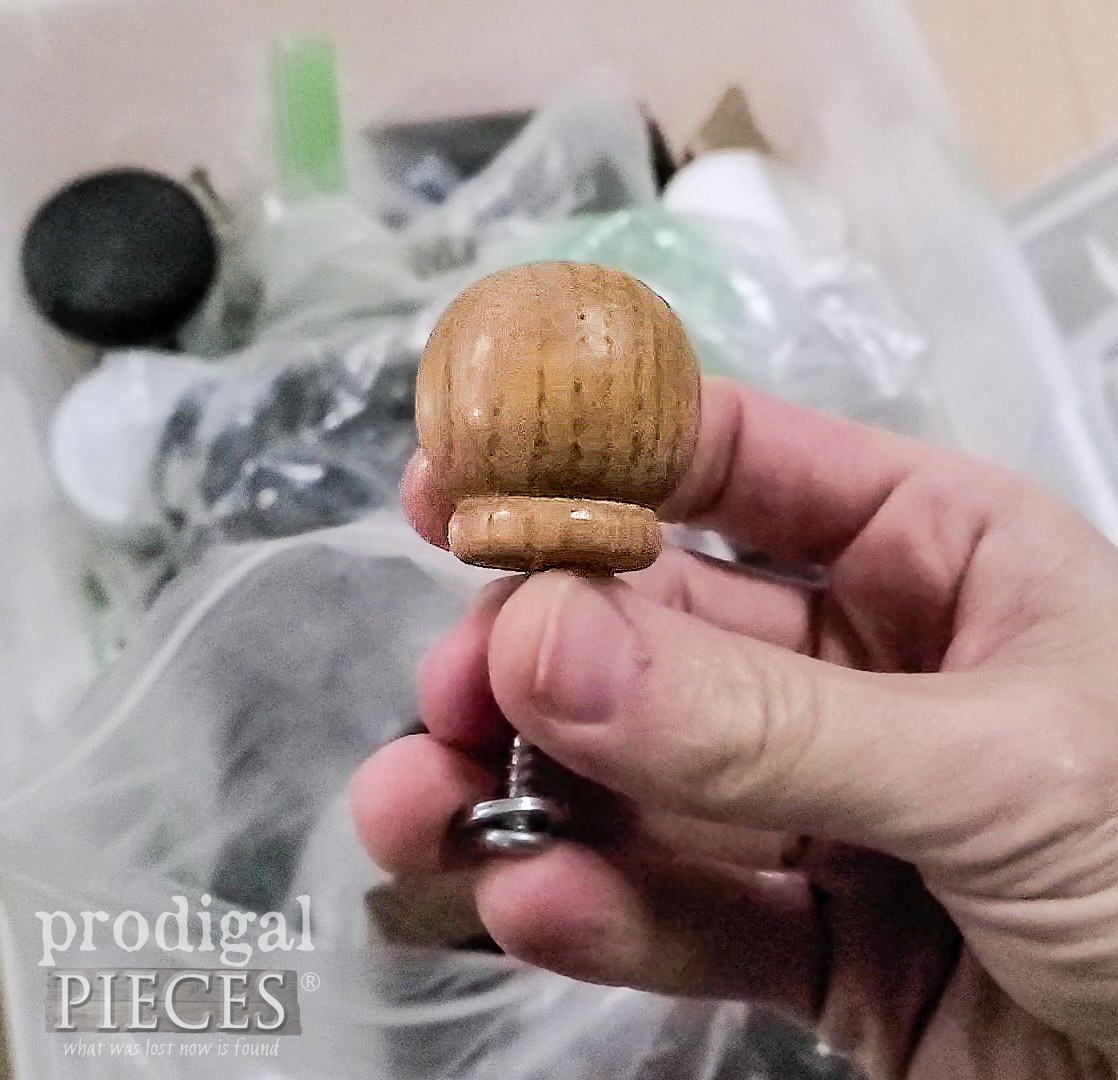
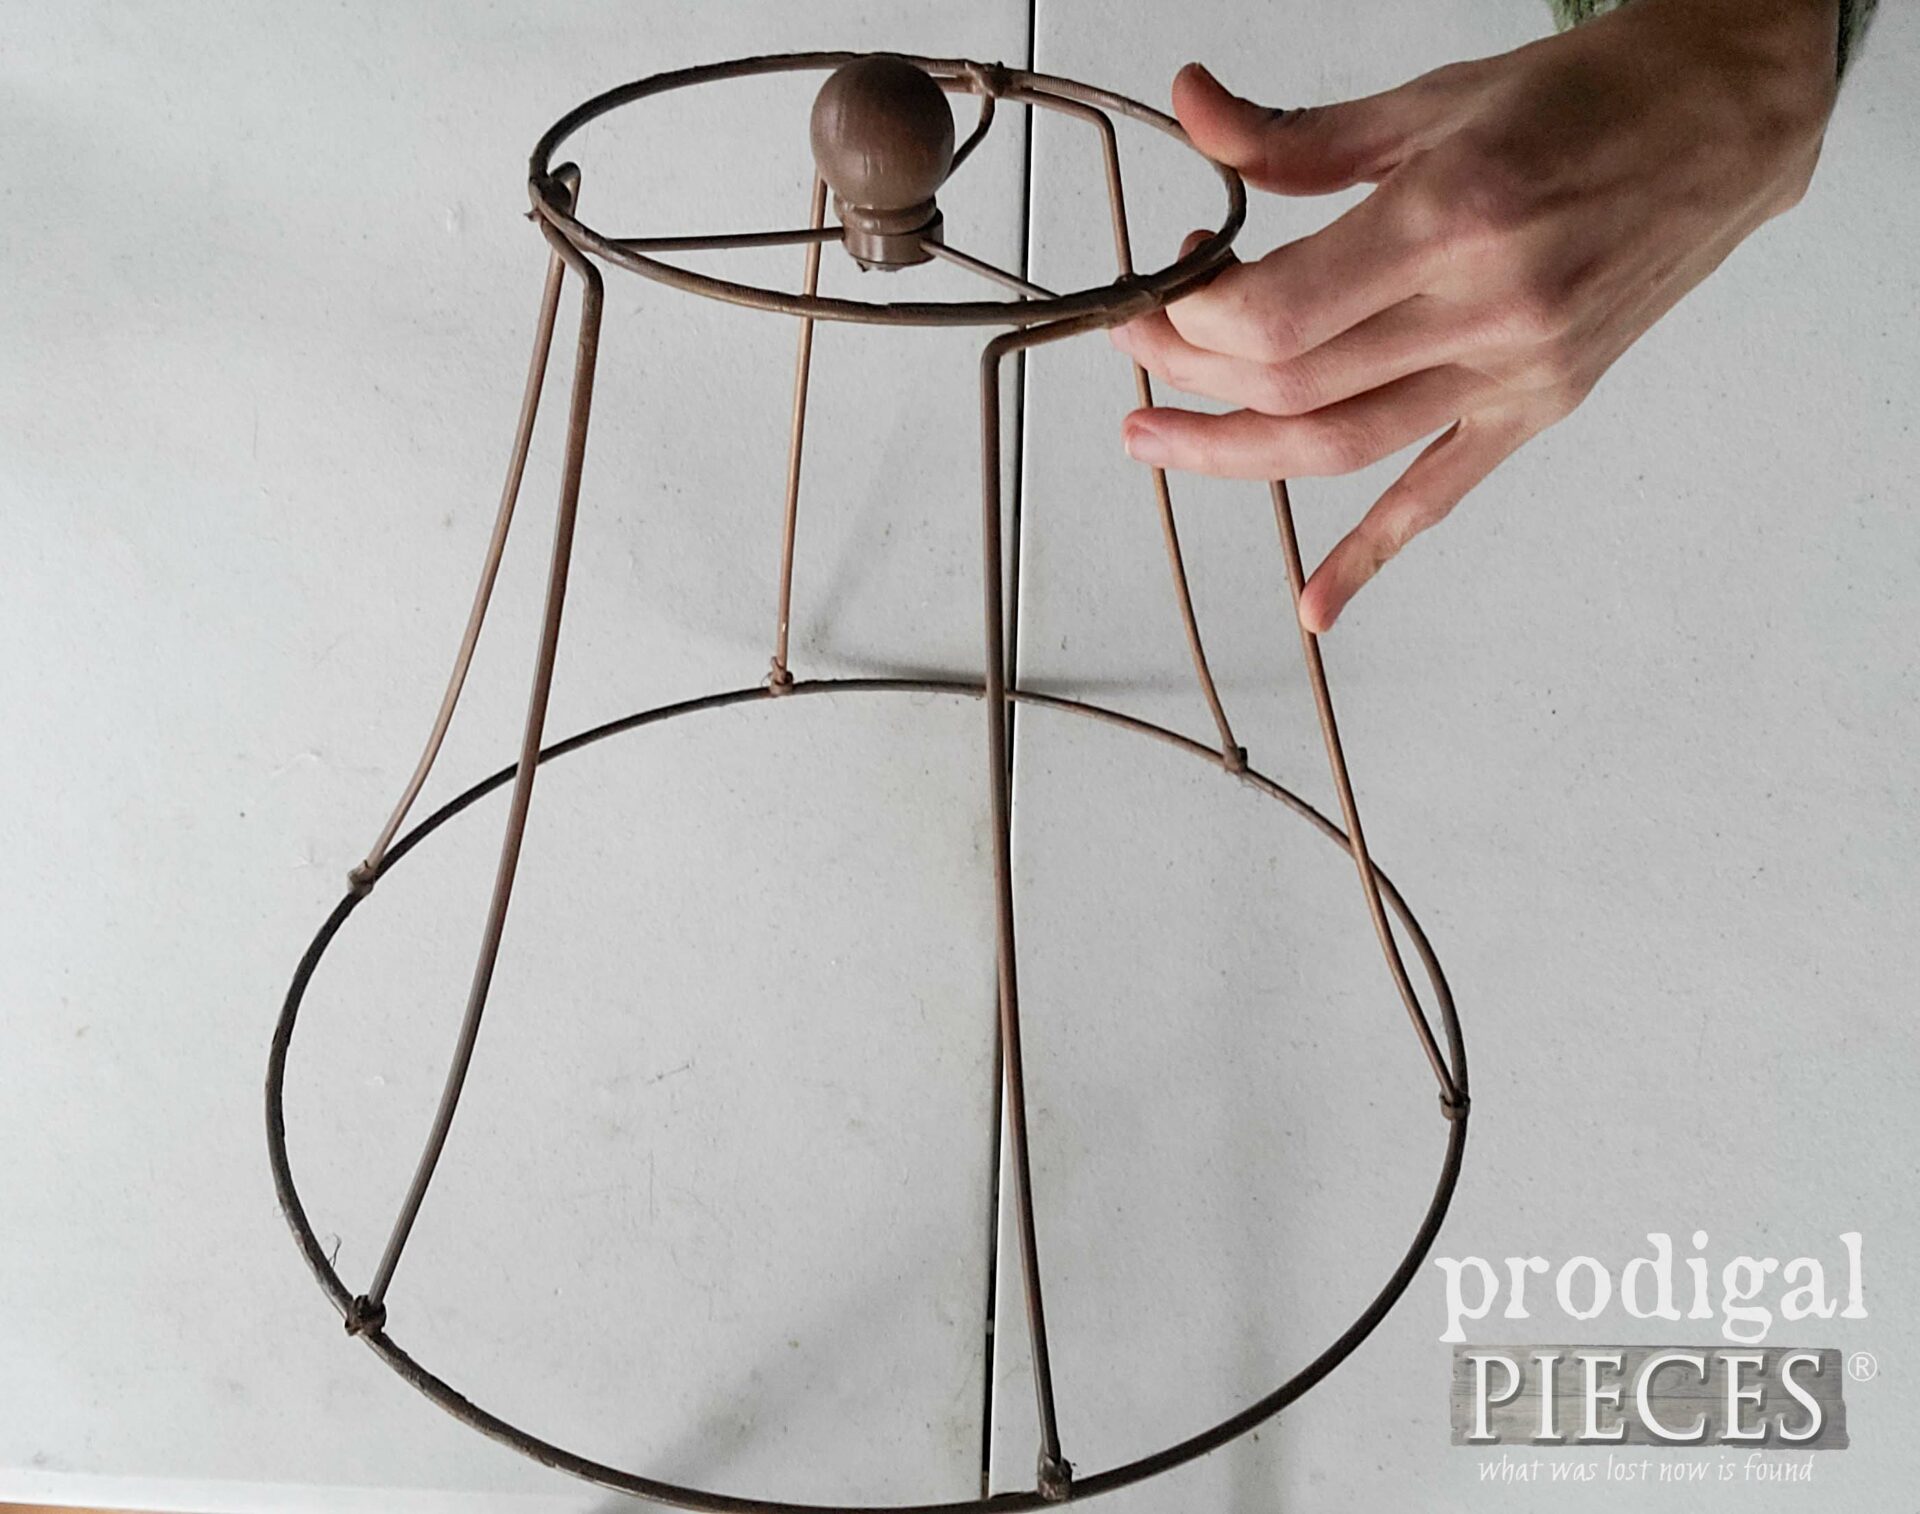
Next, I dig into my knob stash and bring out this fun round knob to use as a sort of finial or handle for the top. Just screw on or use glue to attach.
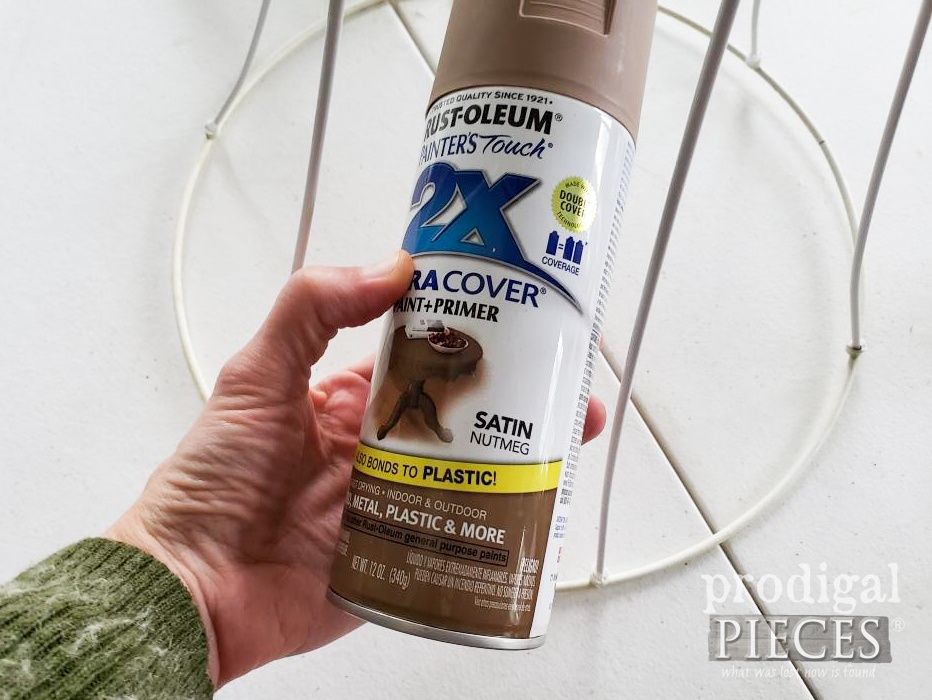
On the other hand, if you don’t have a spare knob, feel free to use whatever your heart desires. (a finial, a large bead, a turned piece of wood). Then, as soon as you’re ready, you’ll grab your spray paint, if desired, and give it a couple of coats. For me, I’m using this soft brown called Nutmeg that I’ve used on a few projects like my thrifted candlesticks.
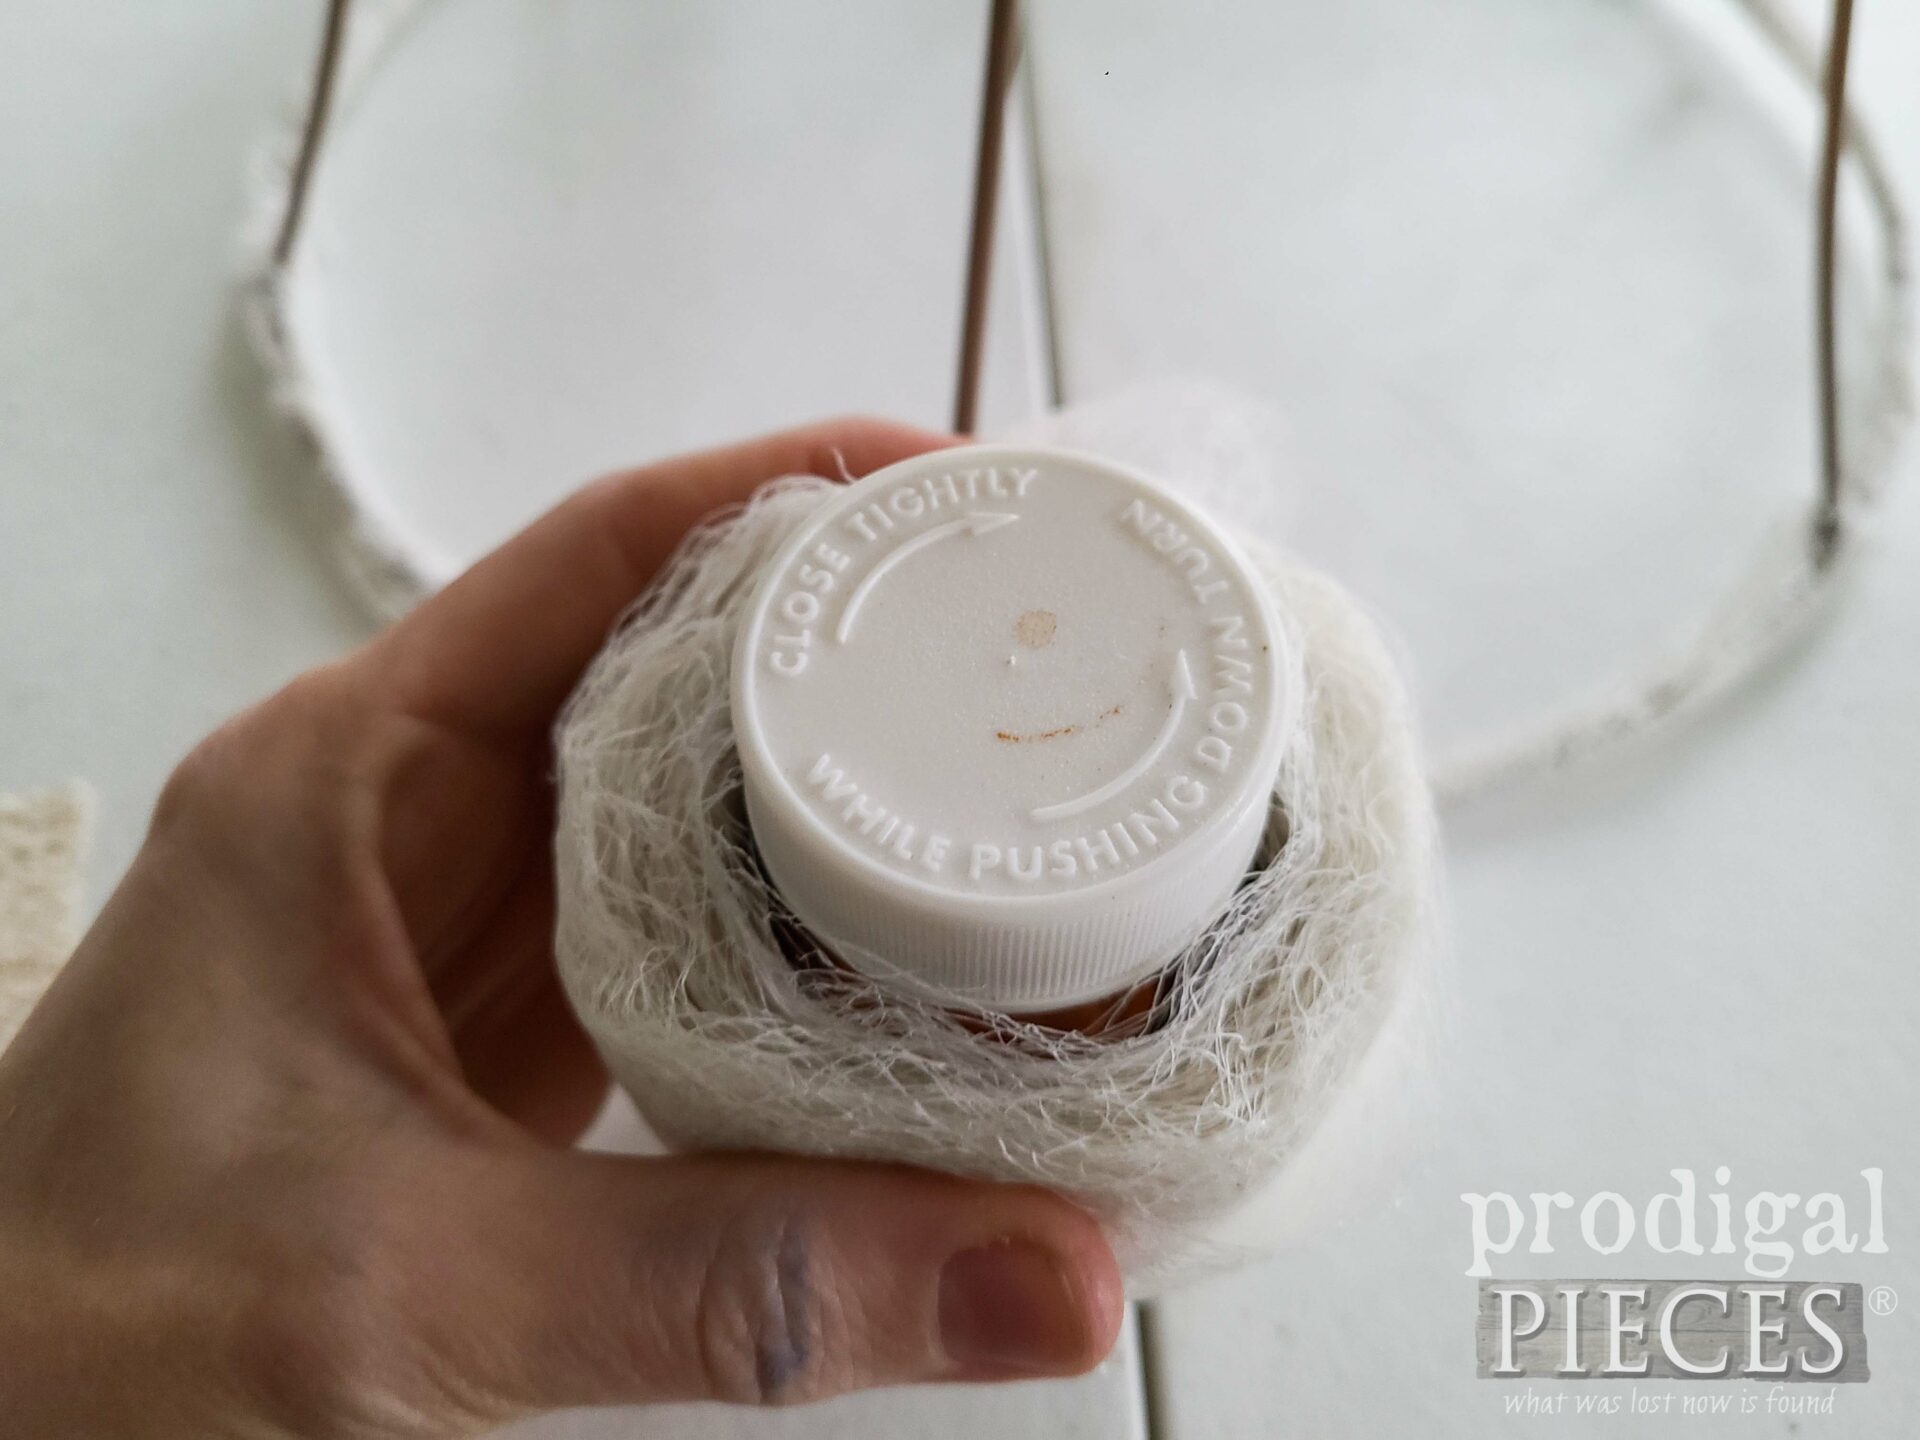
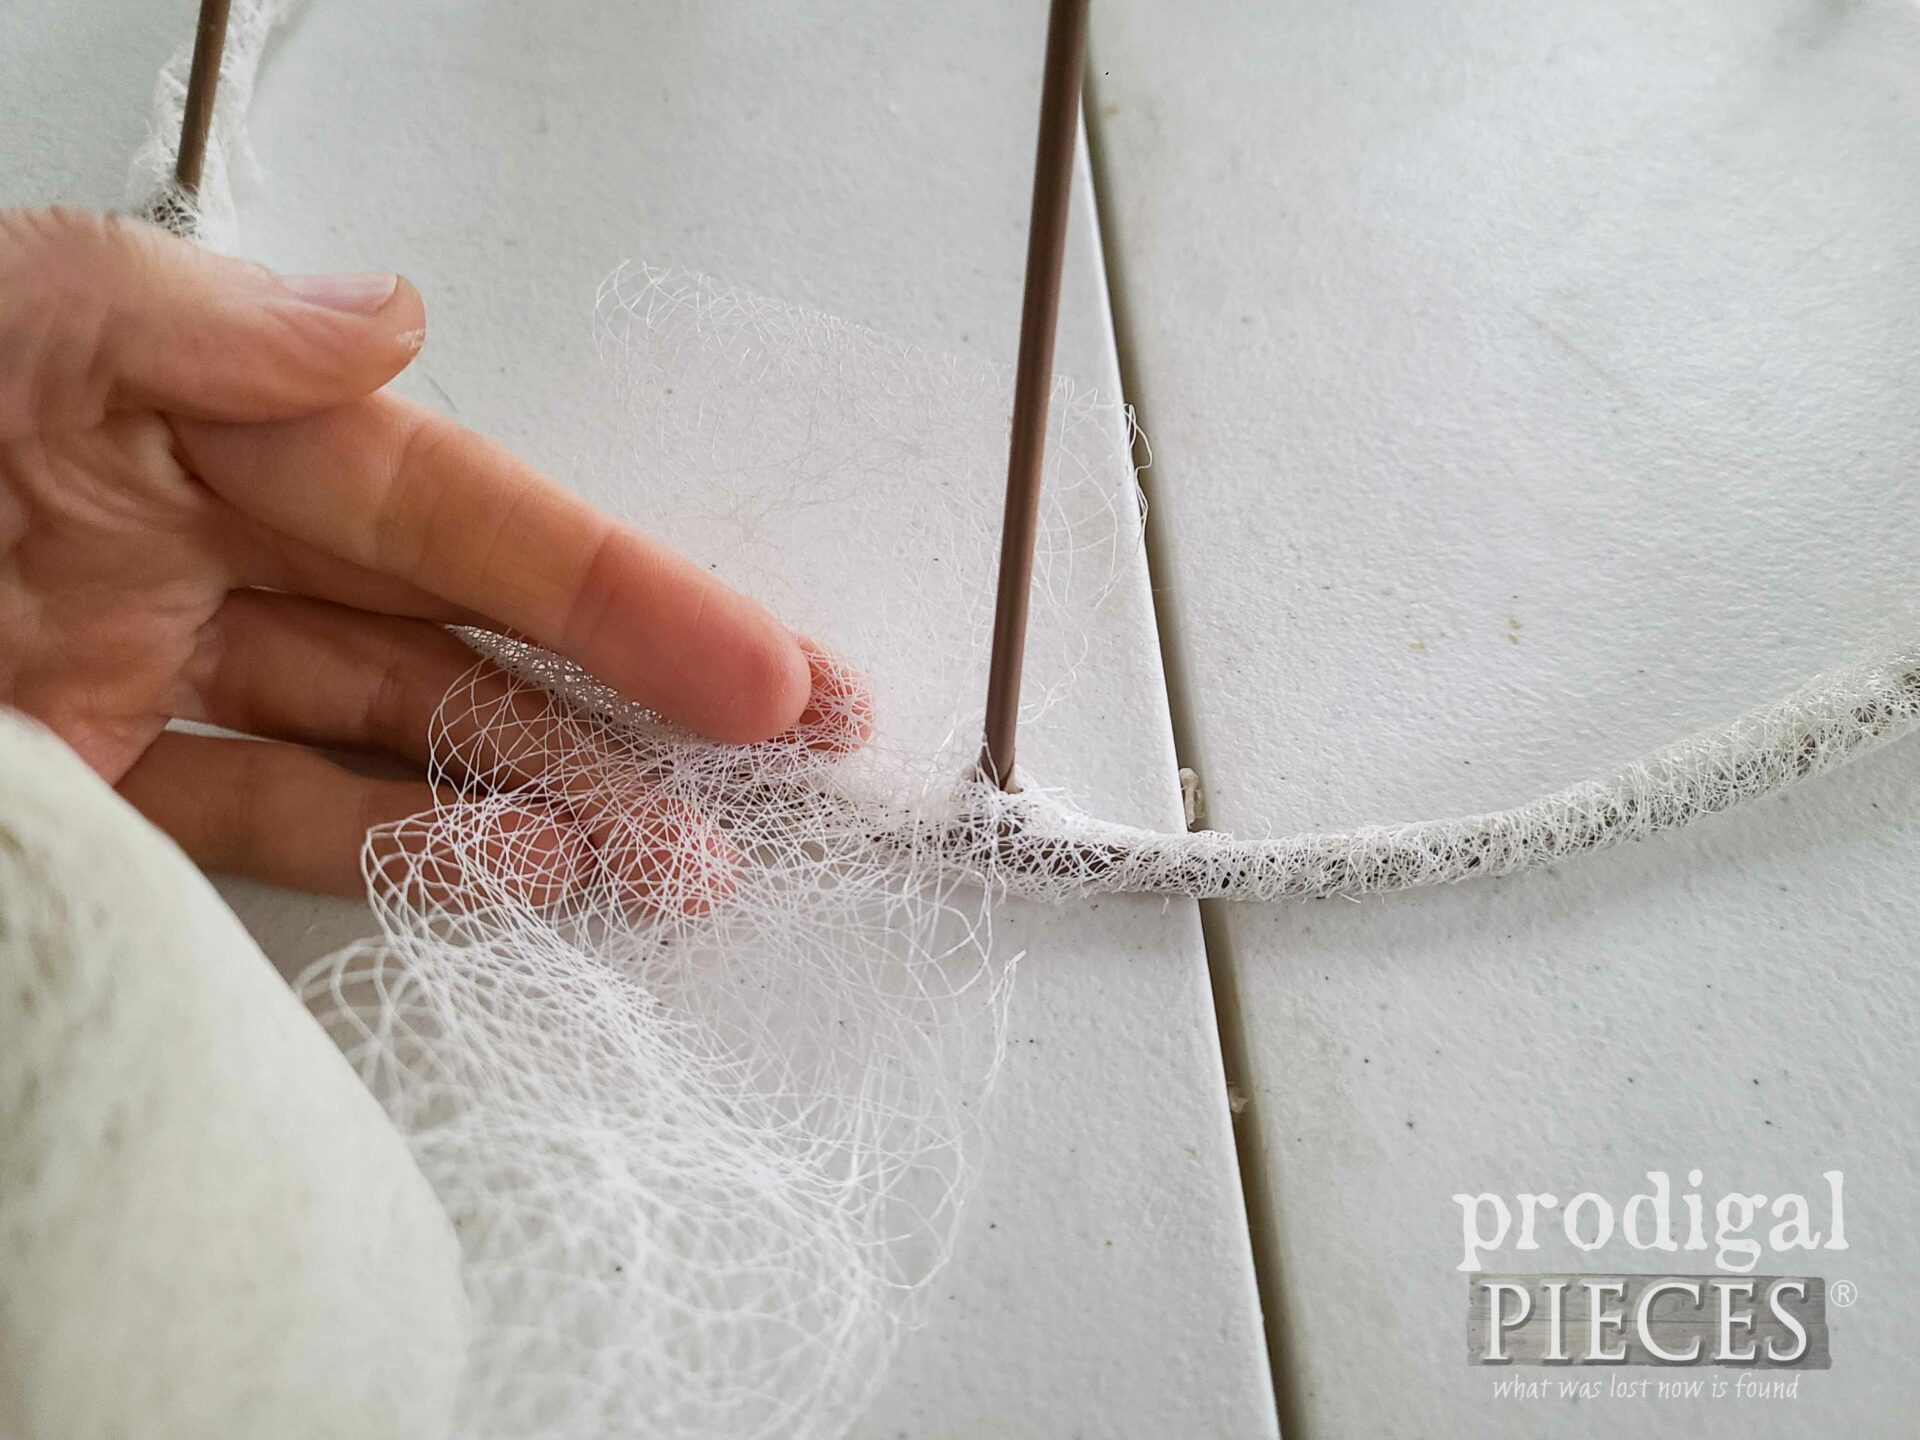
To tell the truth, this is the fun part. As soon as the paint cures, you can dress up this upcycled lampshade cloche into whatever style you prefer. My heart is always drawn to story-telling bits and pieces like vintage lace, buttons, notions…you get the idea. Last, after I dig into my stash, I find this seam interfacing wrapped around a medicine bottle – gotta love ingenuity!
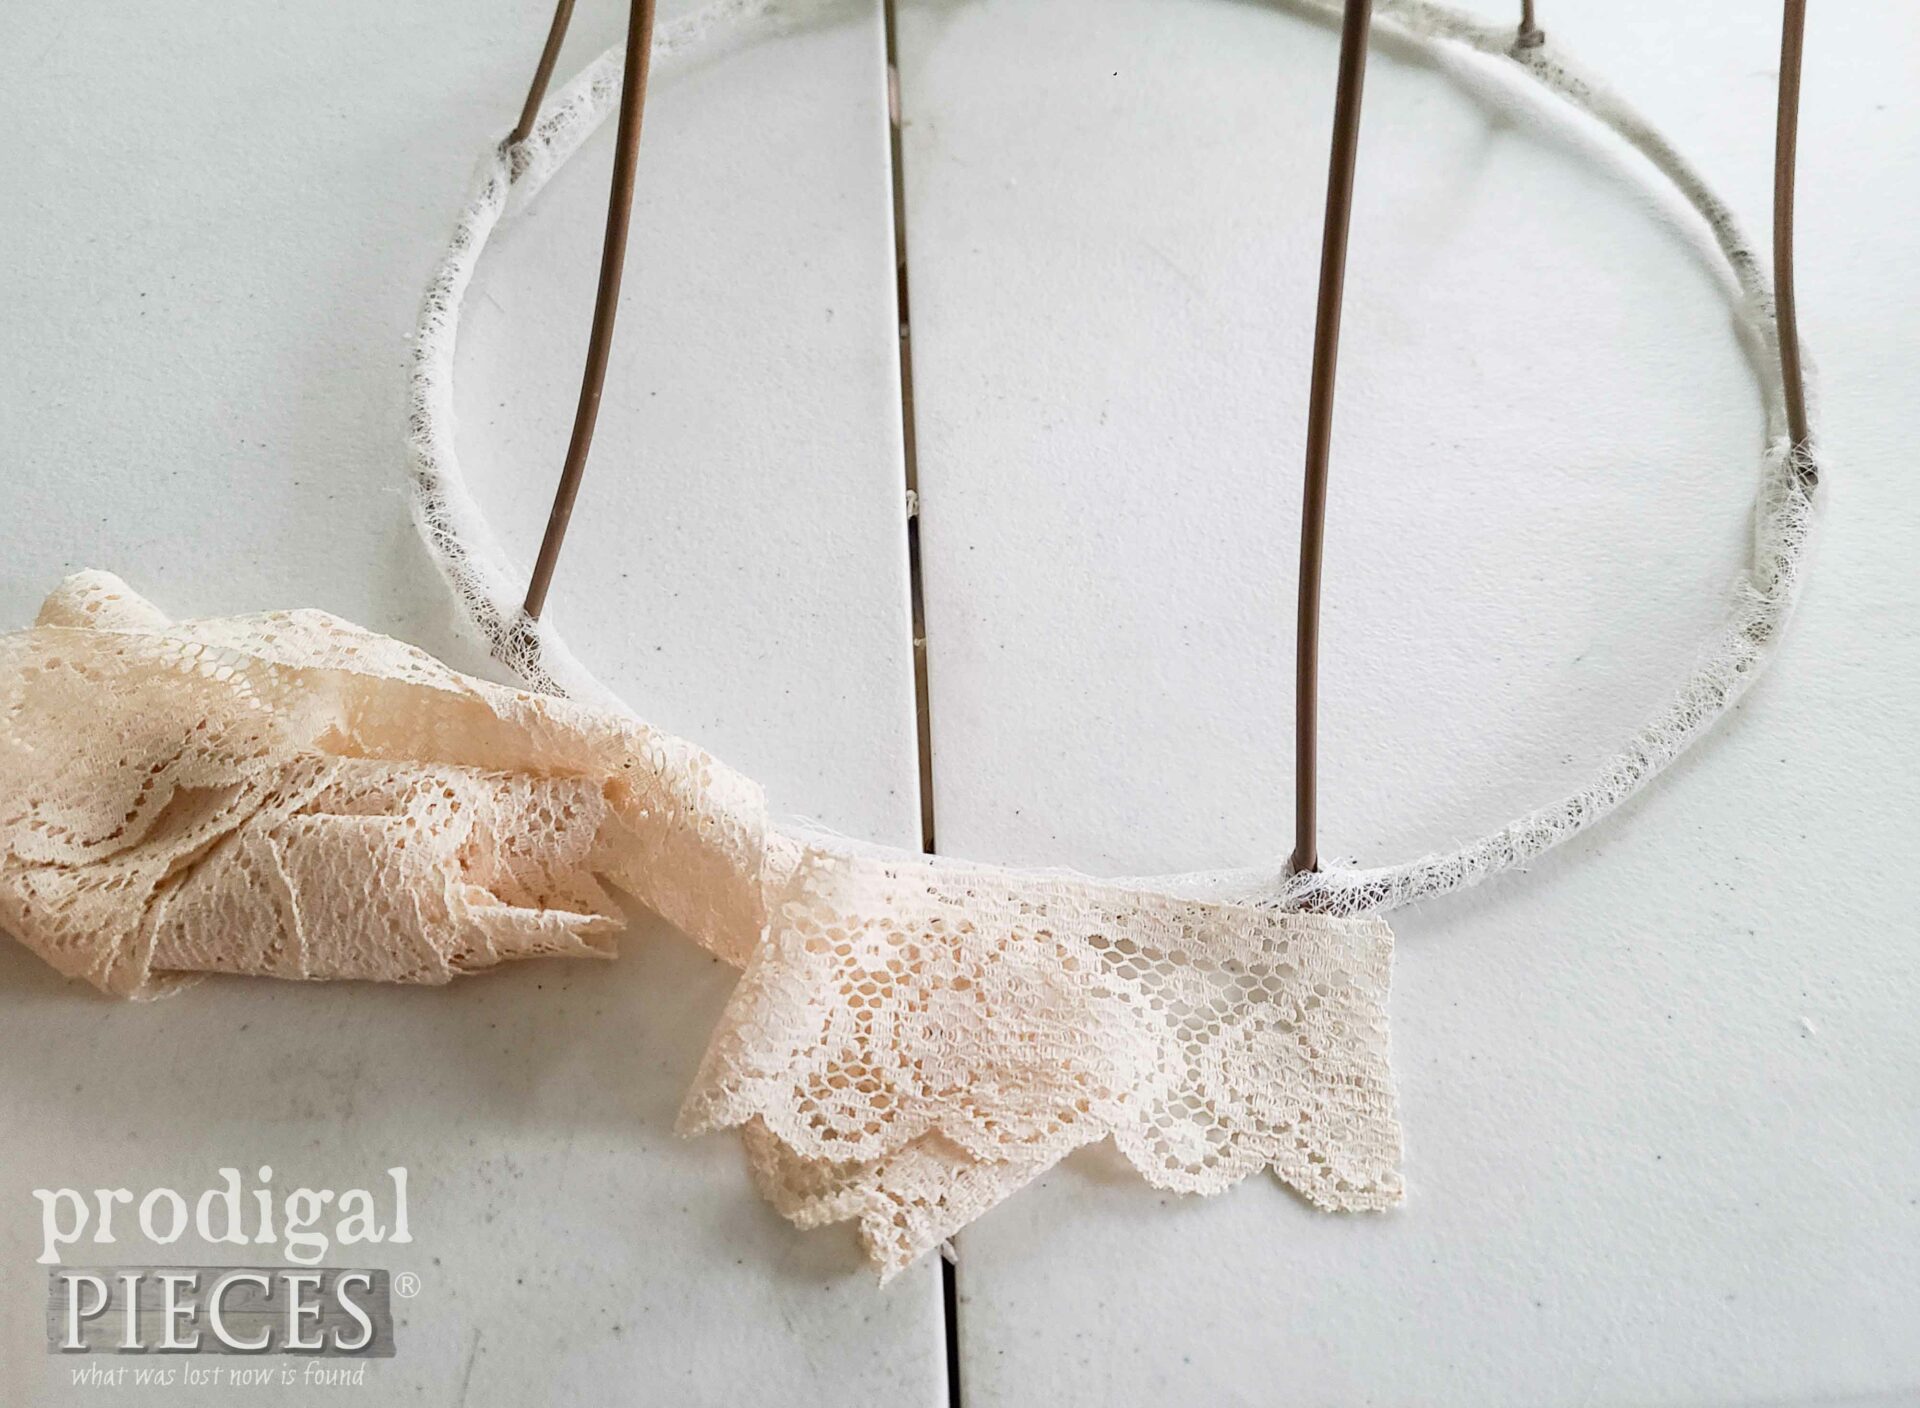
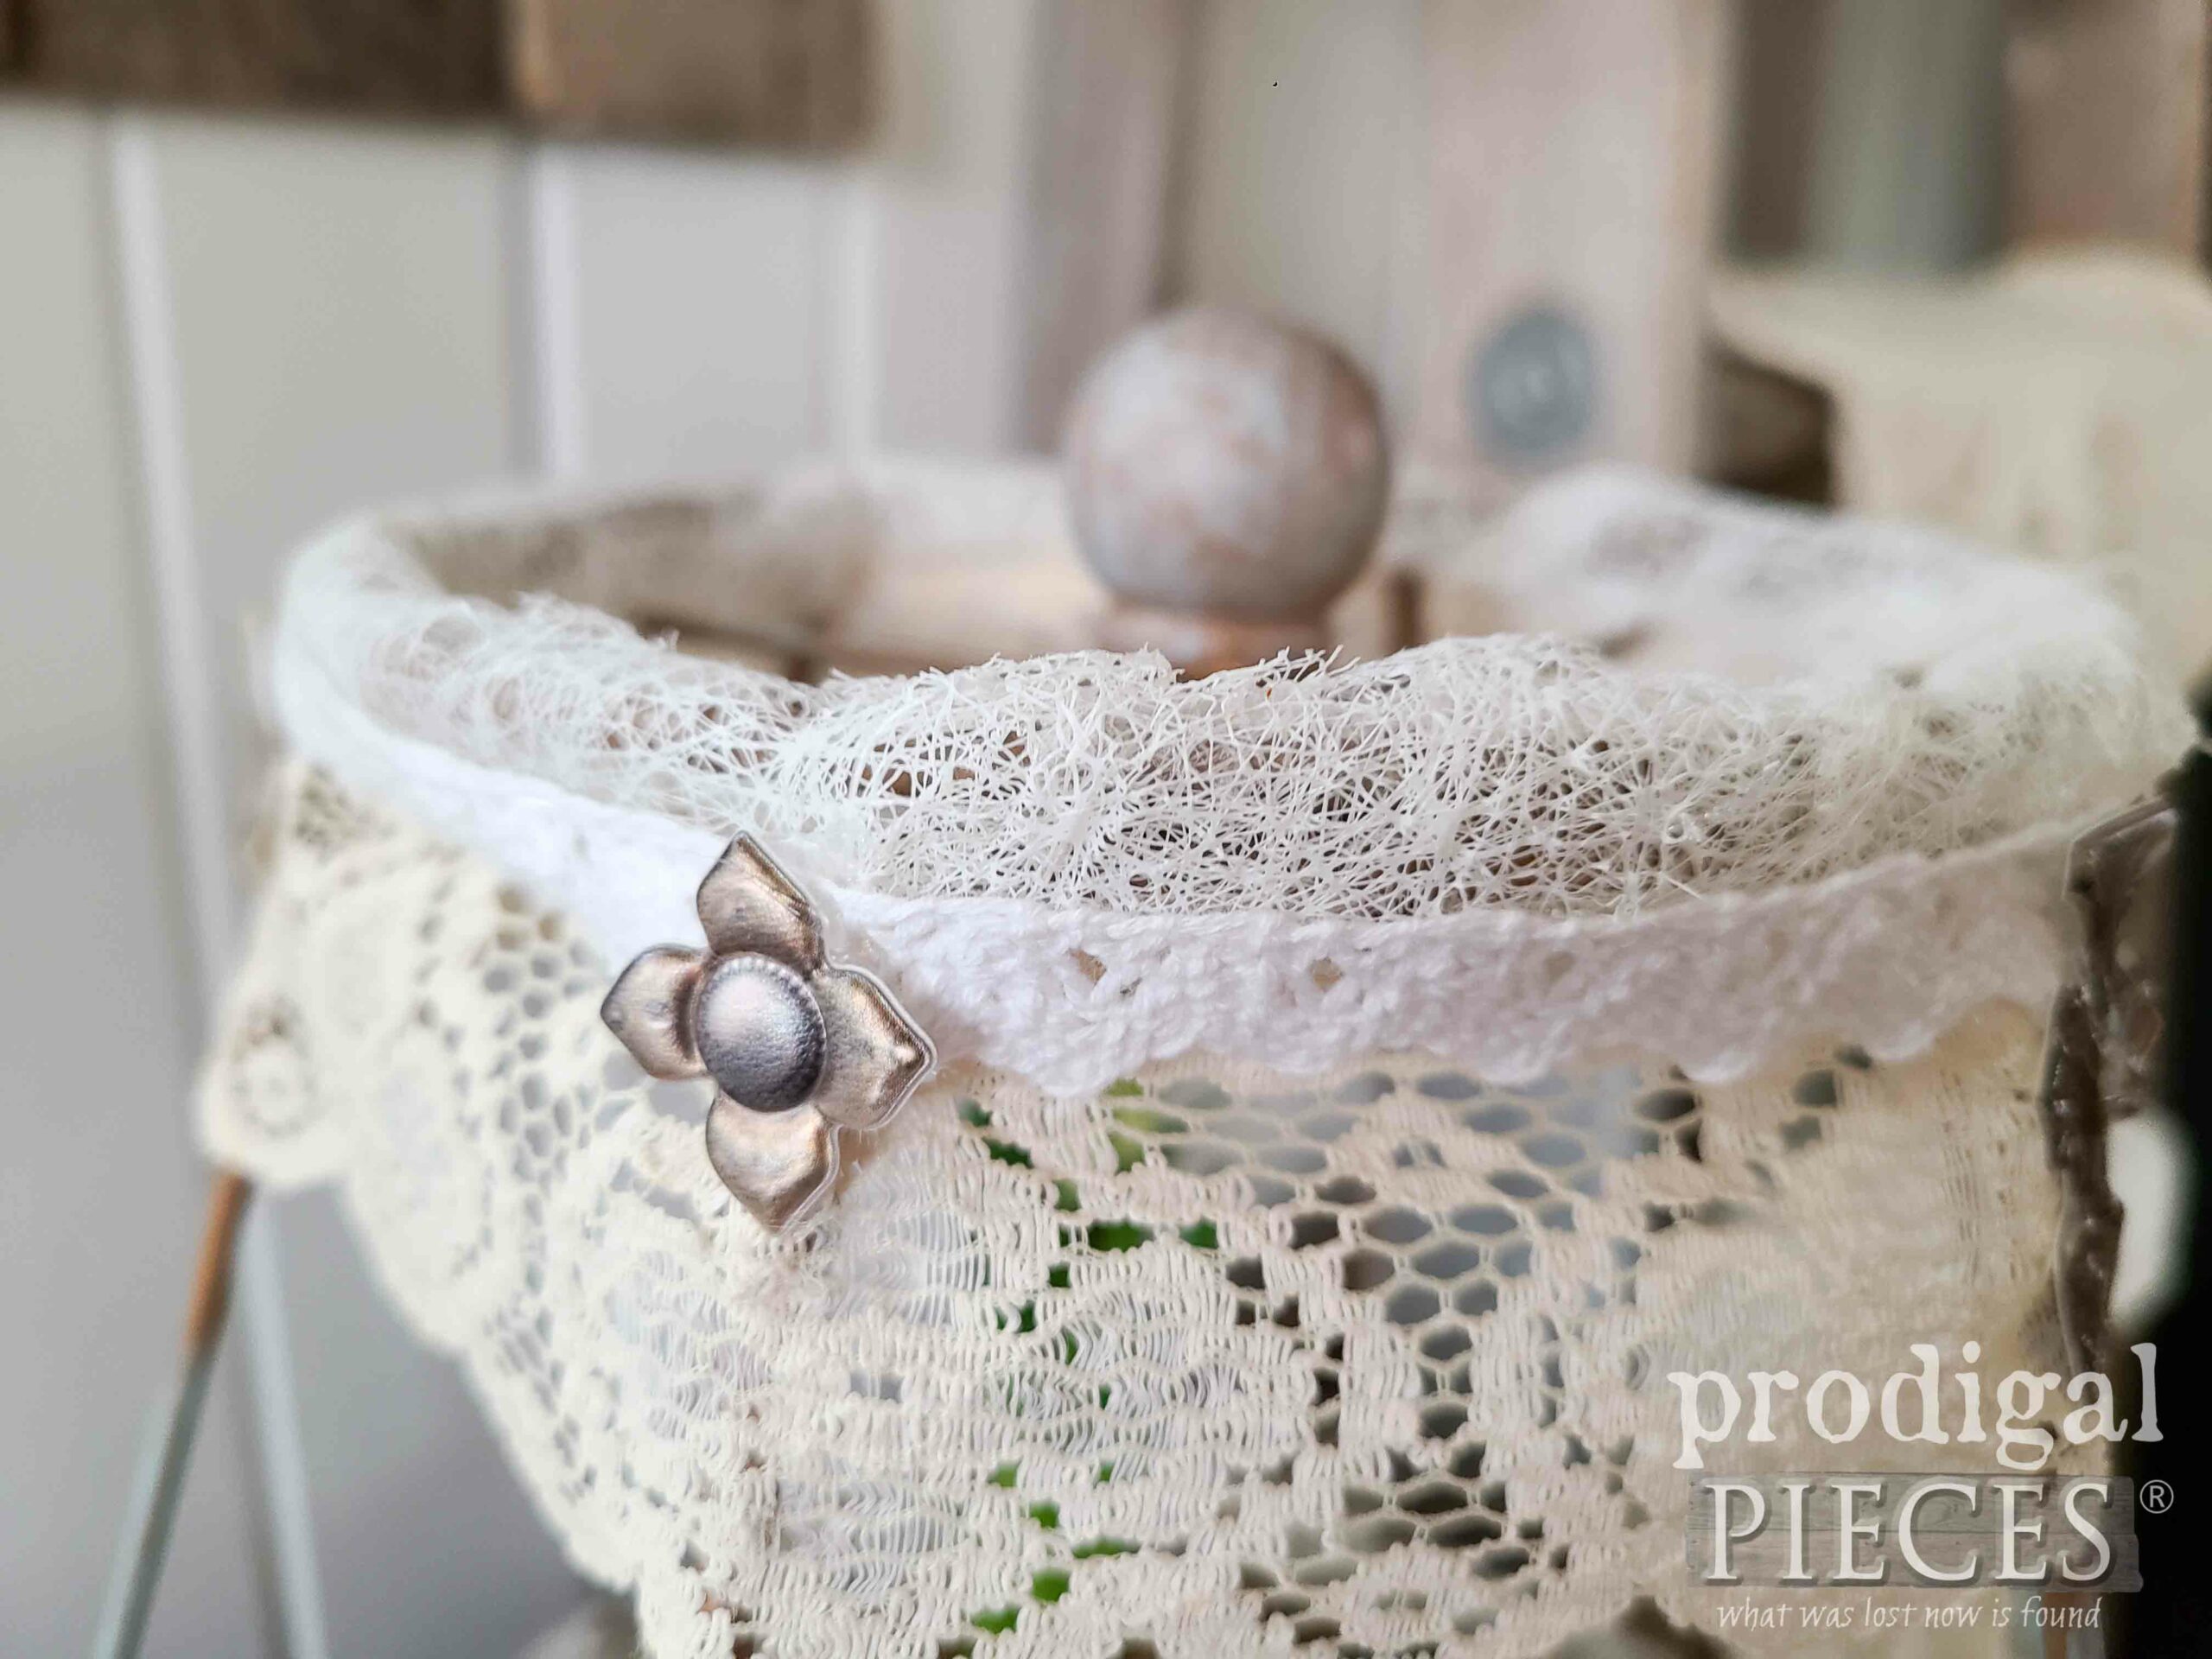
Not only will this allow me to add a lacey effect to my lampshade frame, but also use my up stash. It’s a win-win in my book. With that in mind, I add a bead of hot glue and then wrap the interfacing around the lampshade frame top ring and bottom ring.
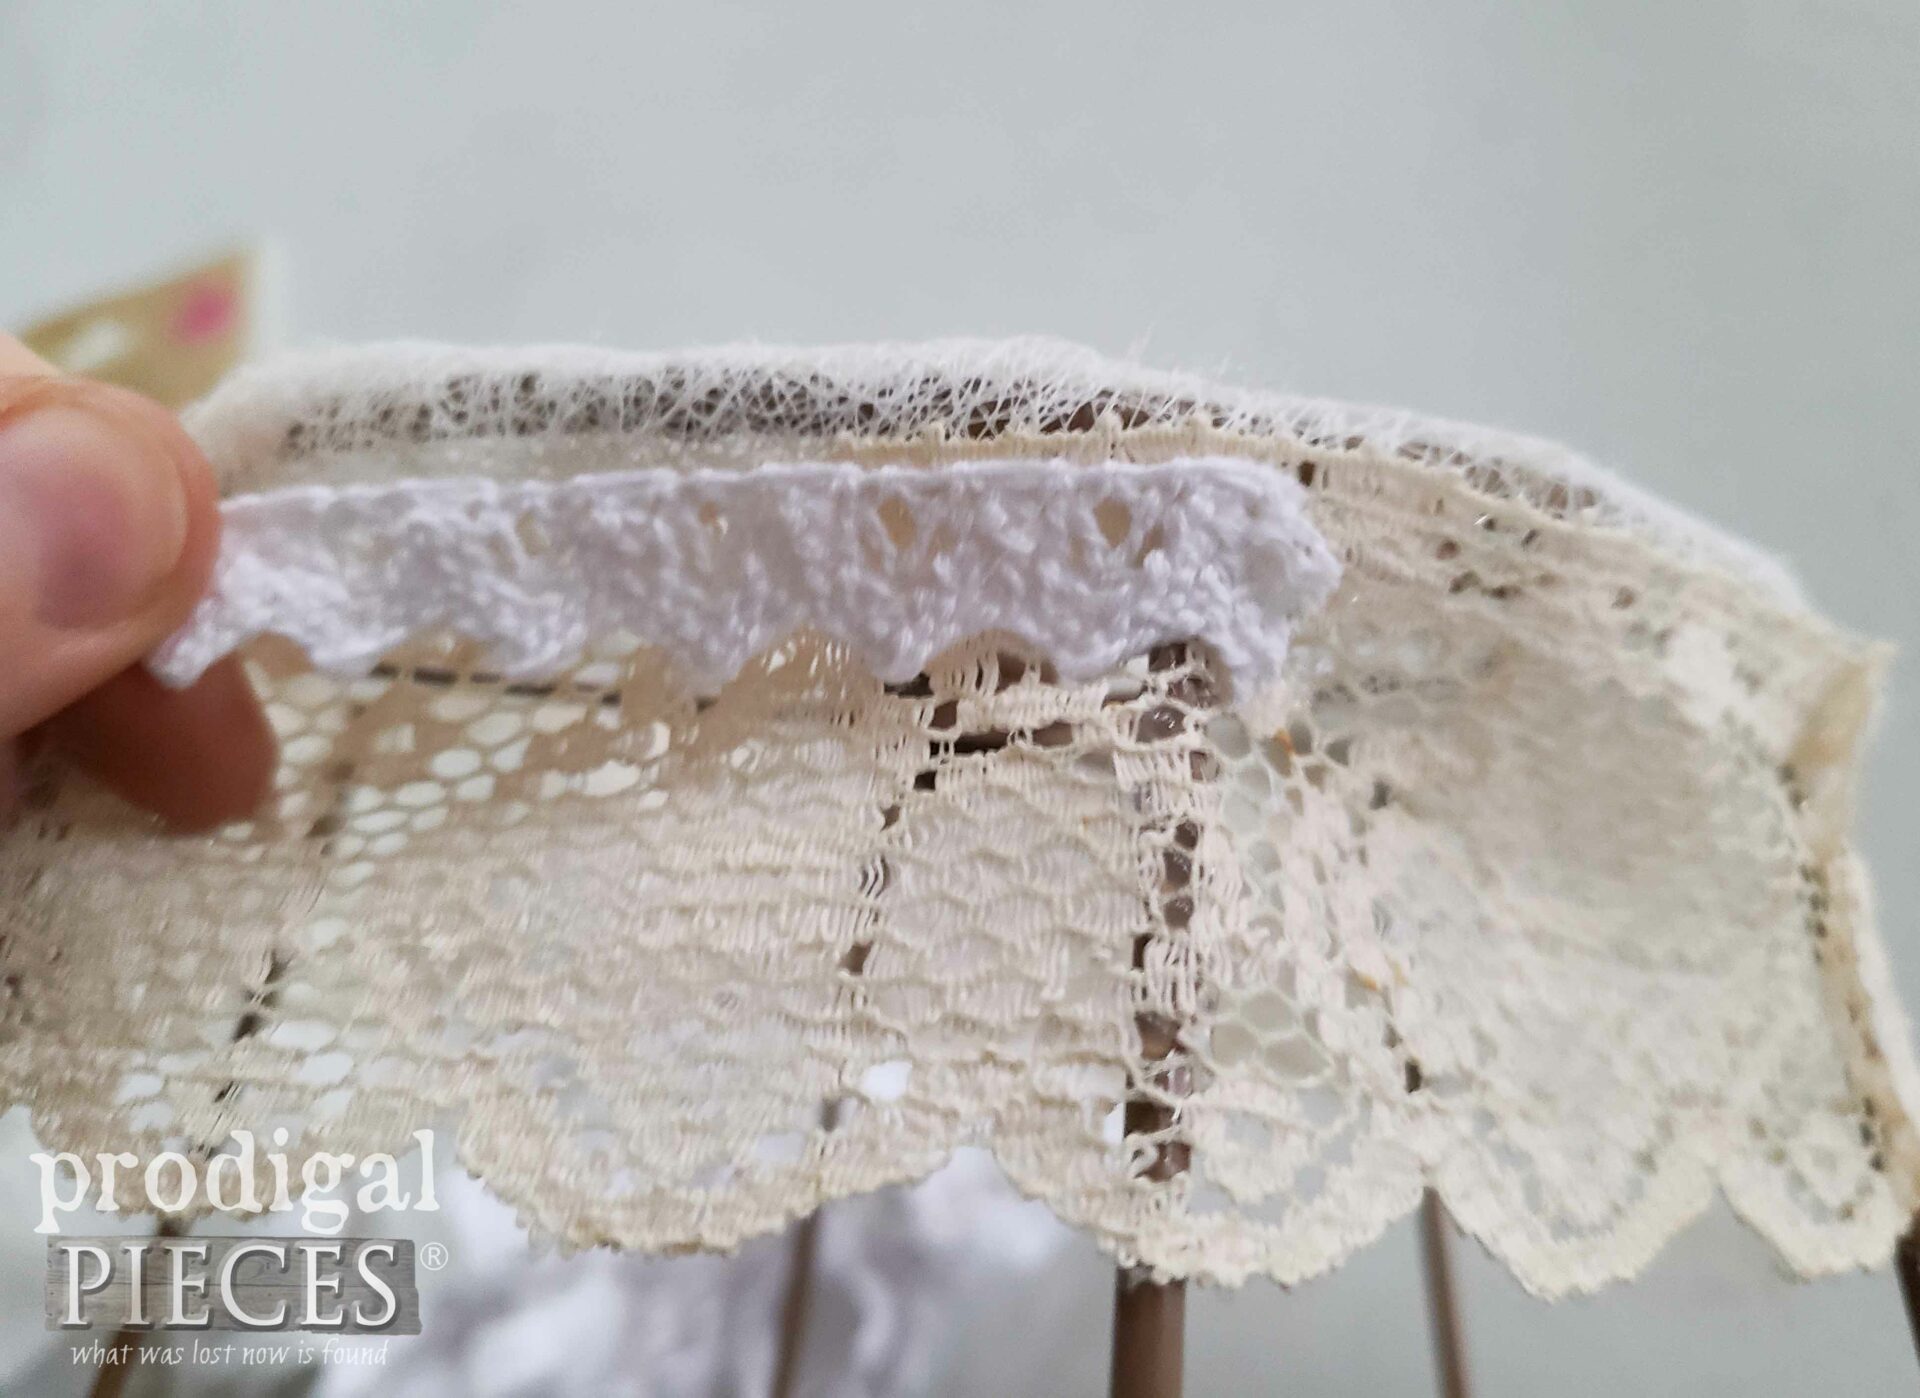
Likewise, I glue on this vintage lace trim to the top edge, followed by a smaller white lace on top of that. Admittedly, take a peek at the video because it shows this best for reference.
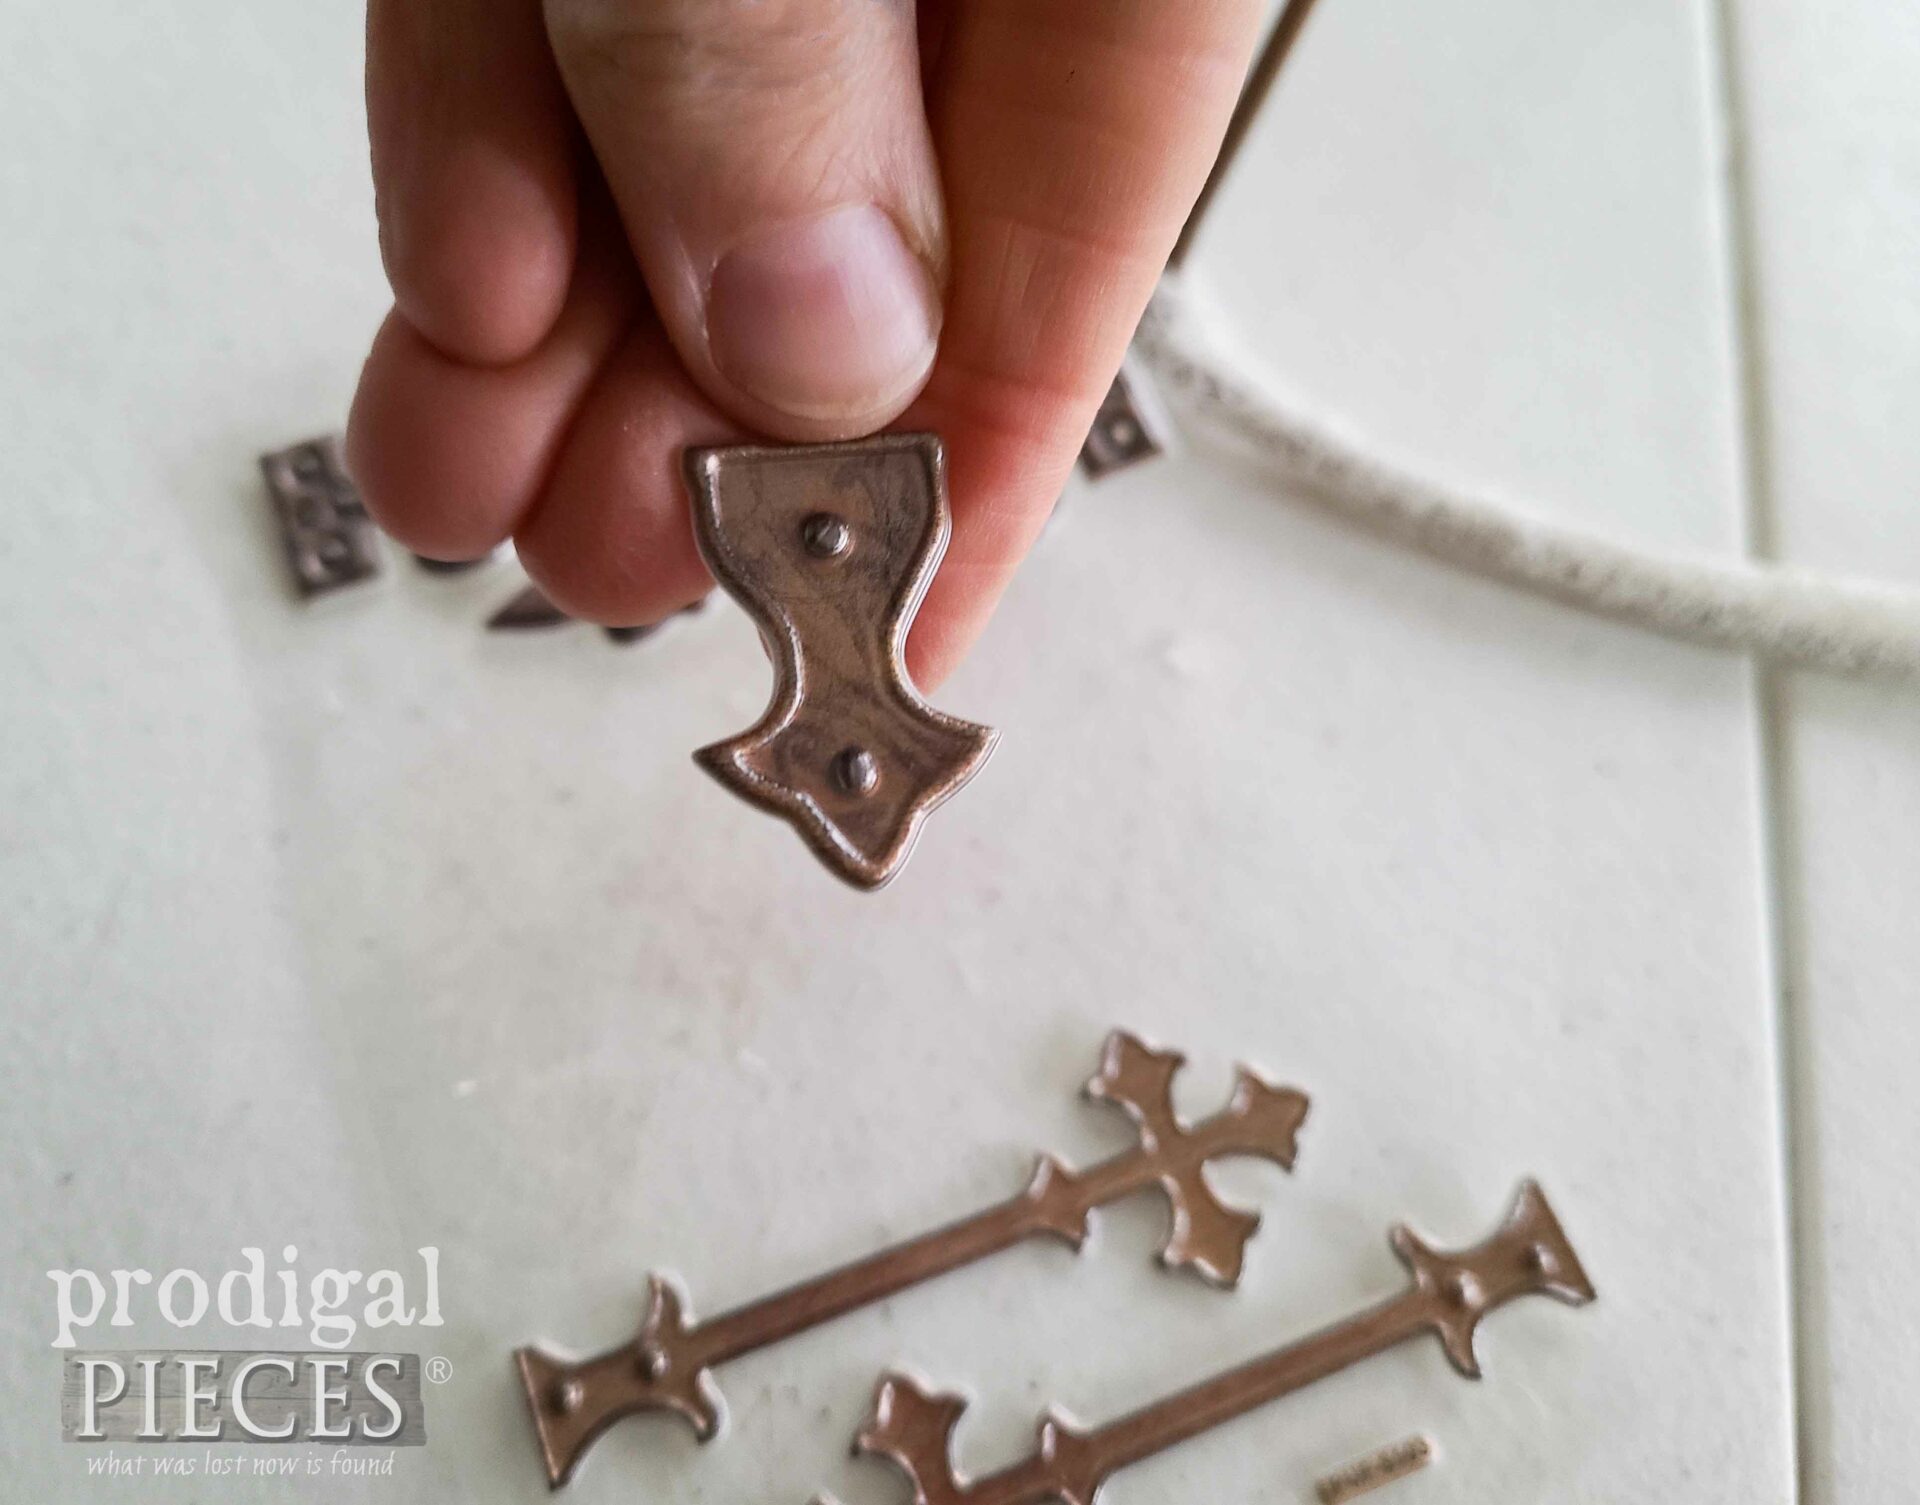
Last, but not least, I use these fun dollar tree embellishments my son and I previously use on our DIY birdhouses. In like manner, I glue them onto the frame to create a bit of architectural interest.
DECORATE
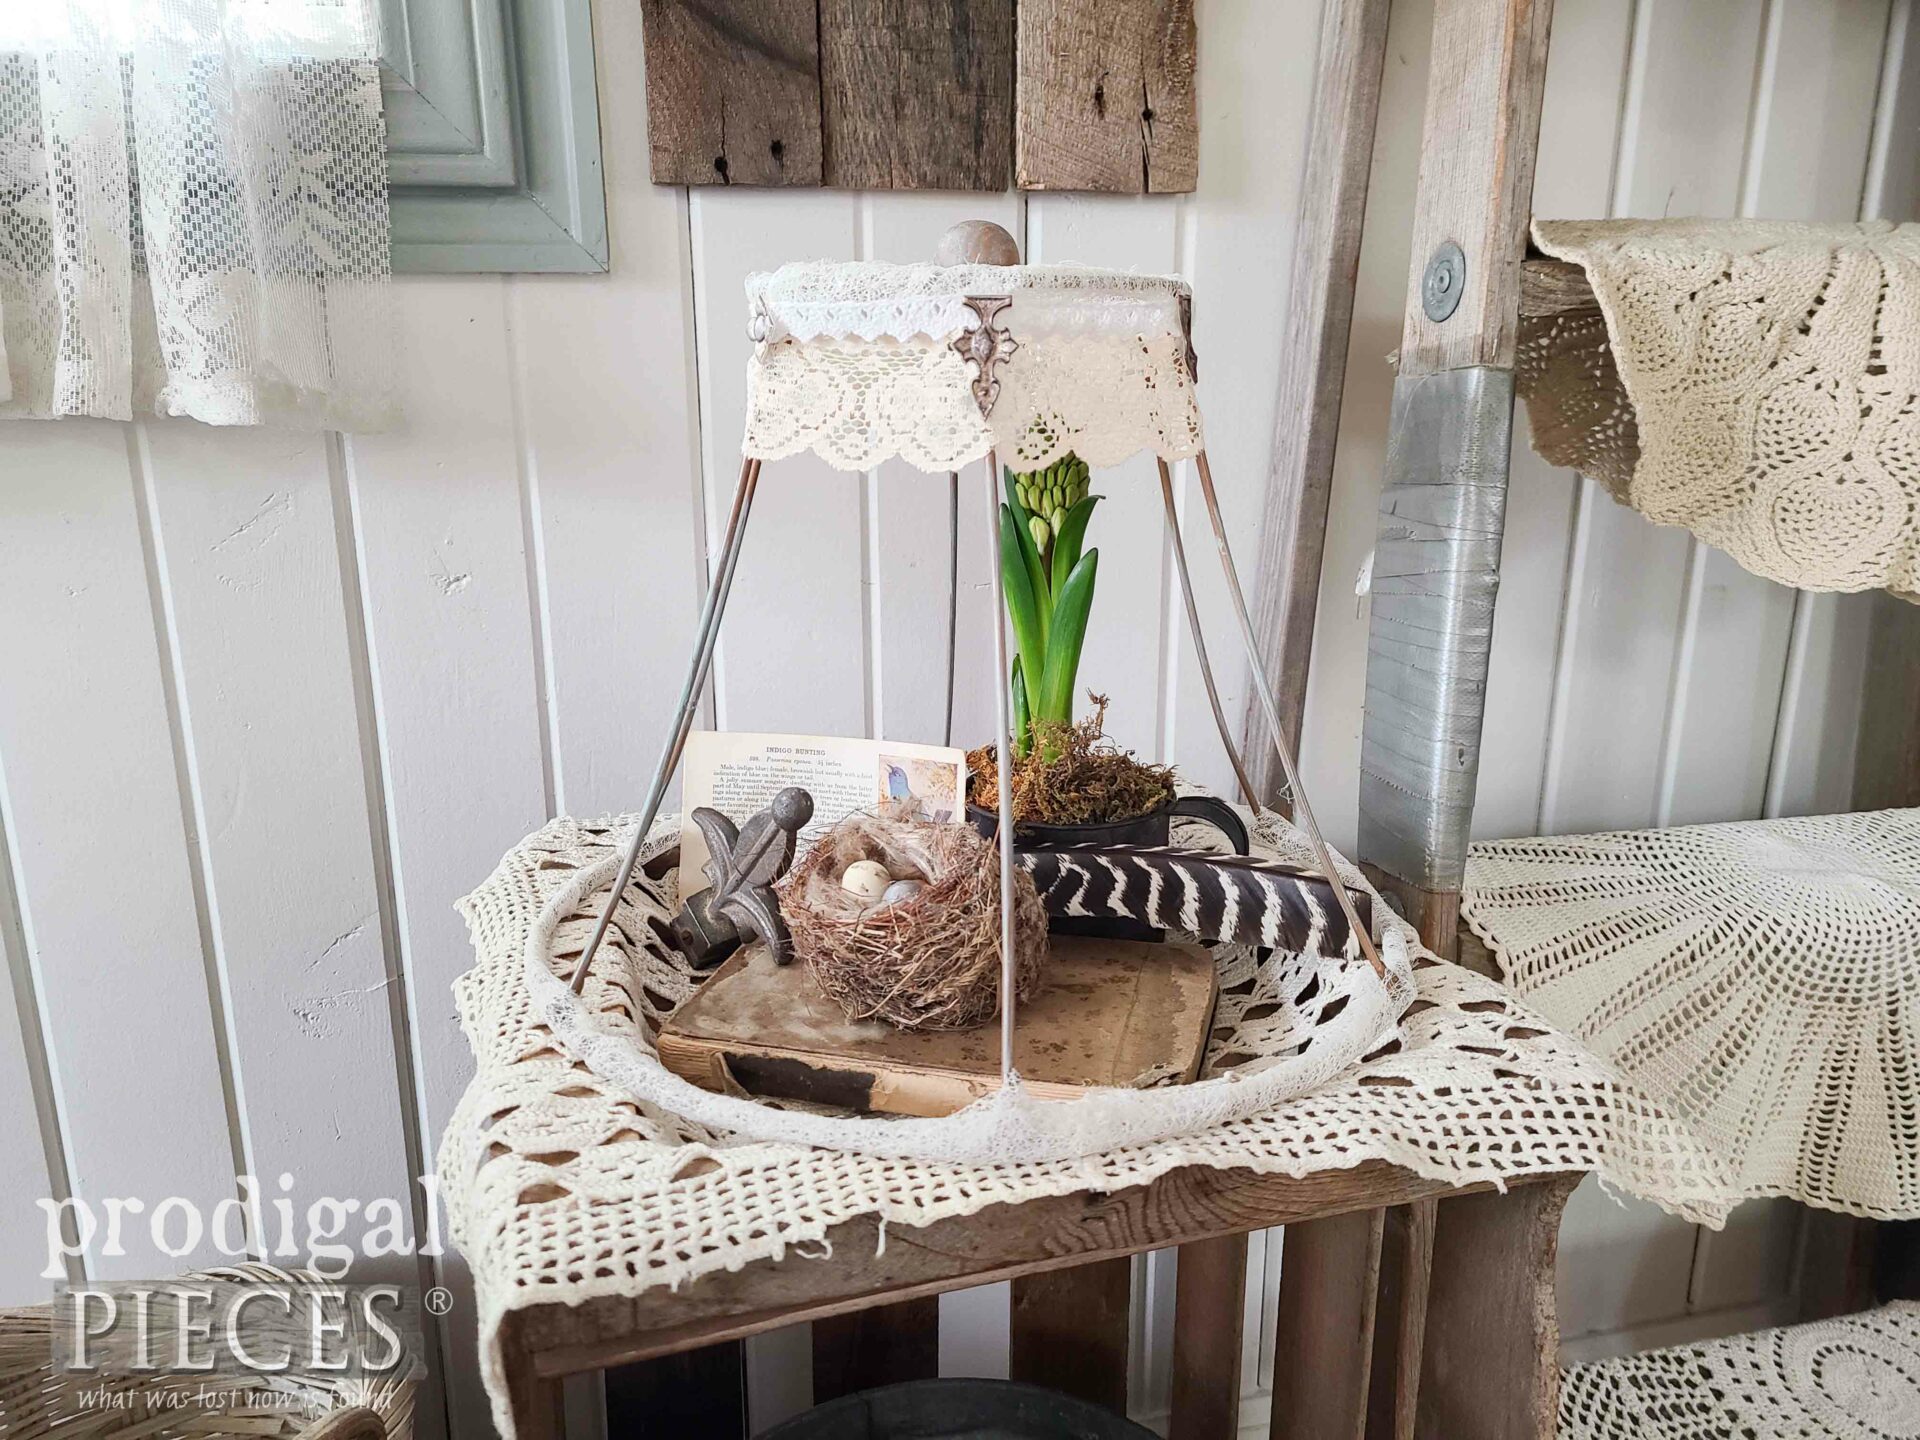
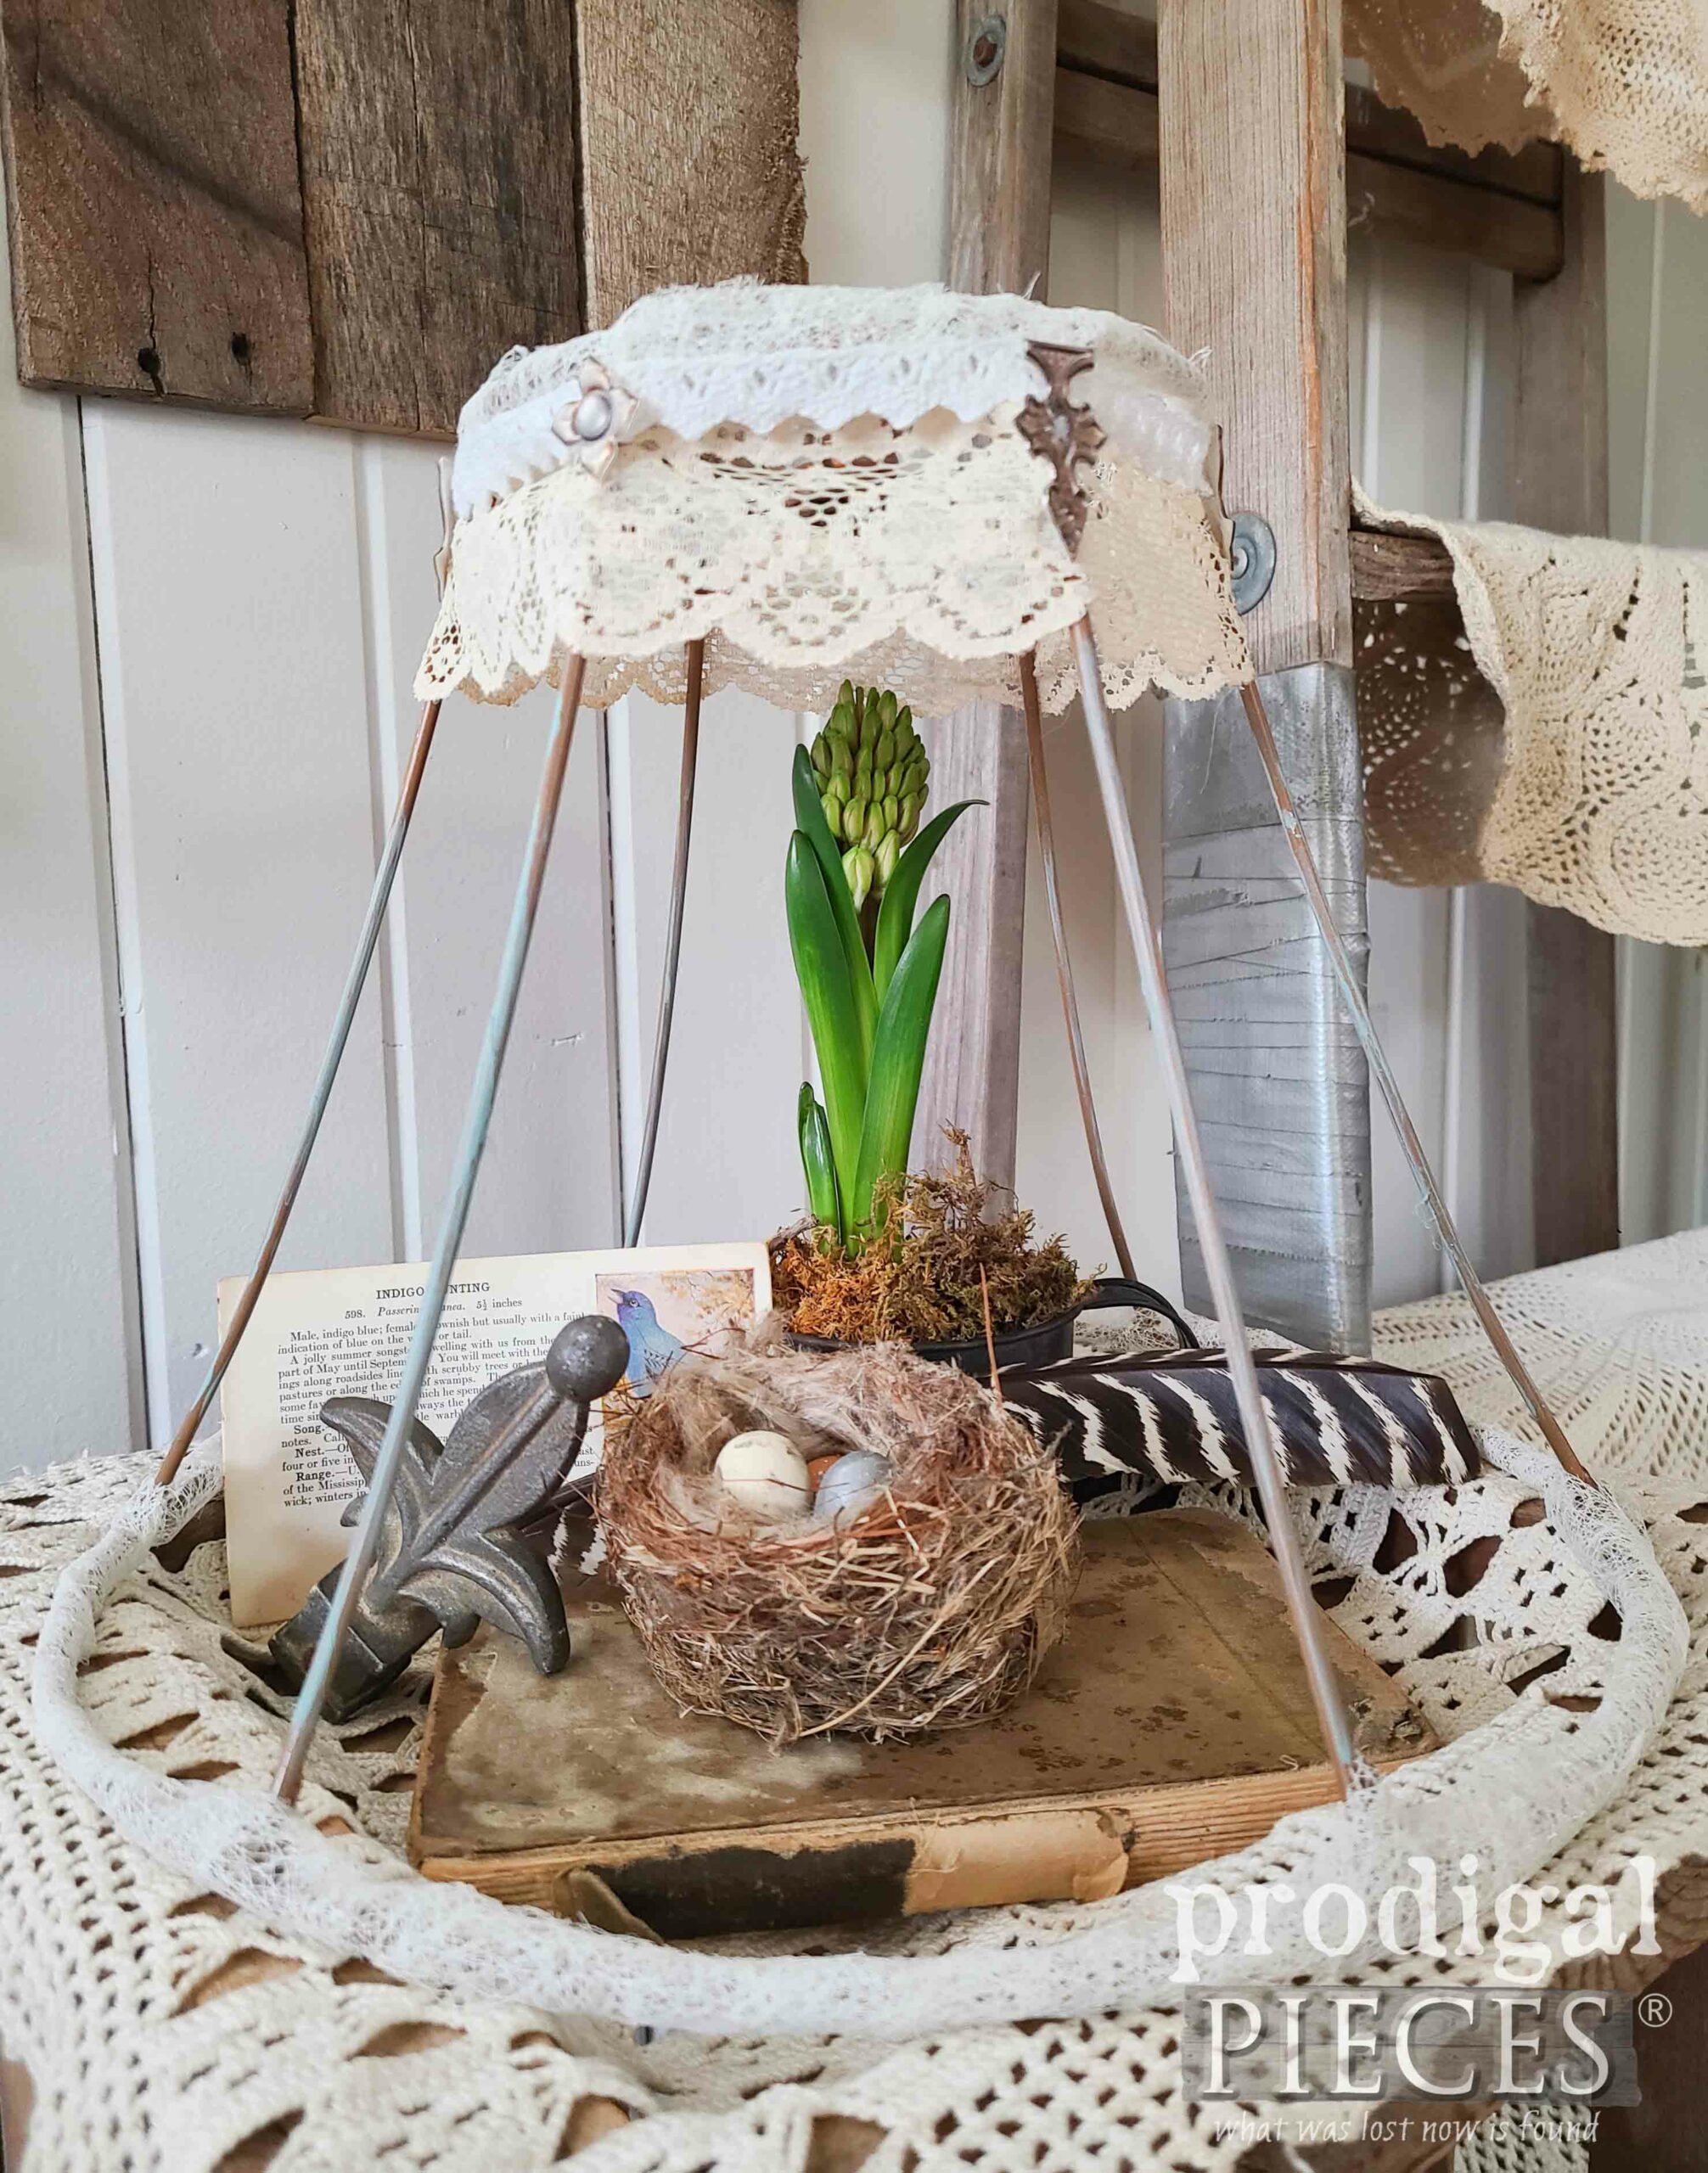
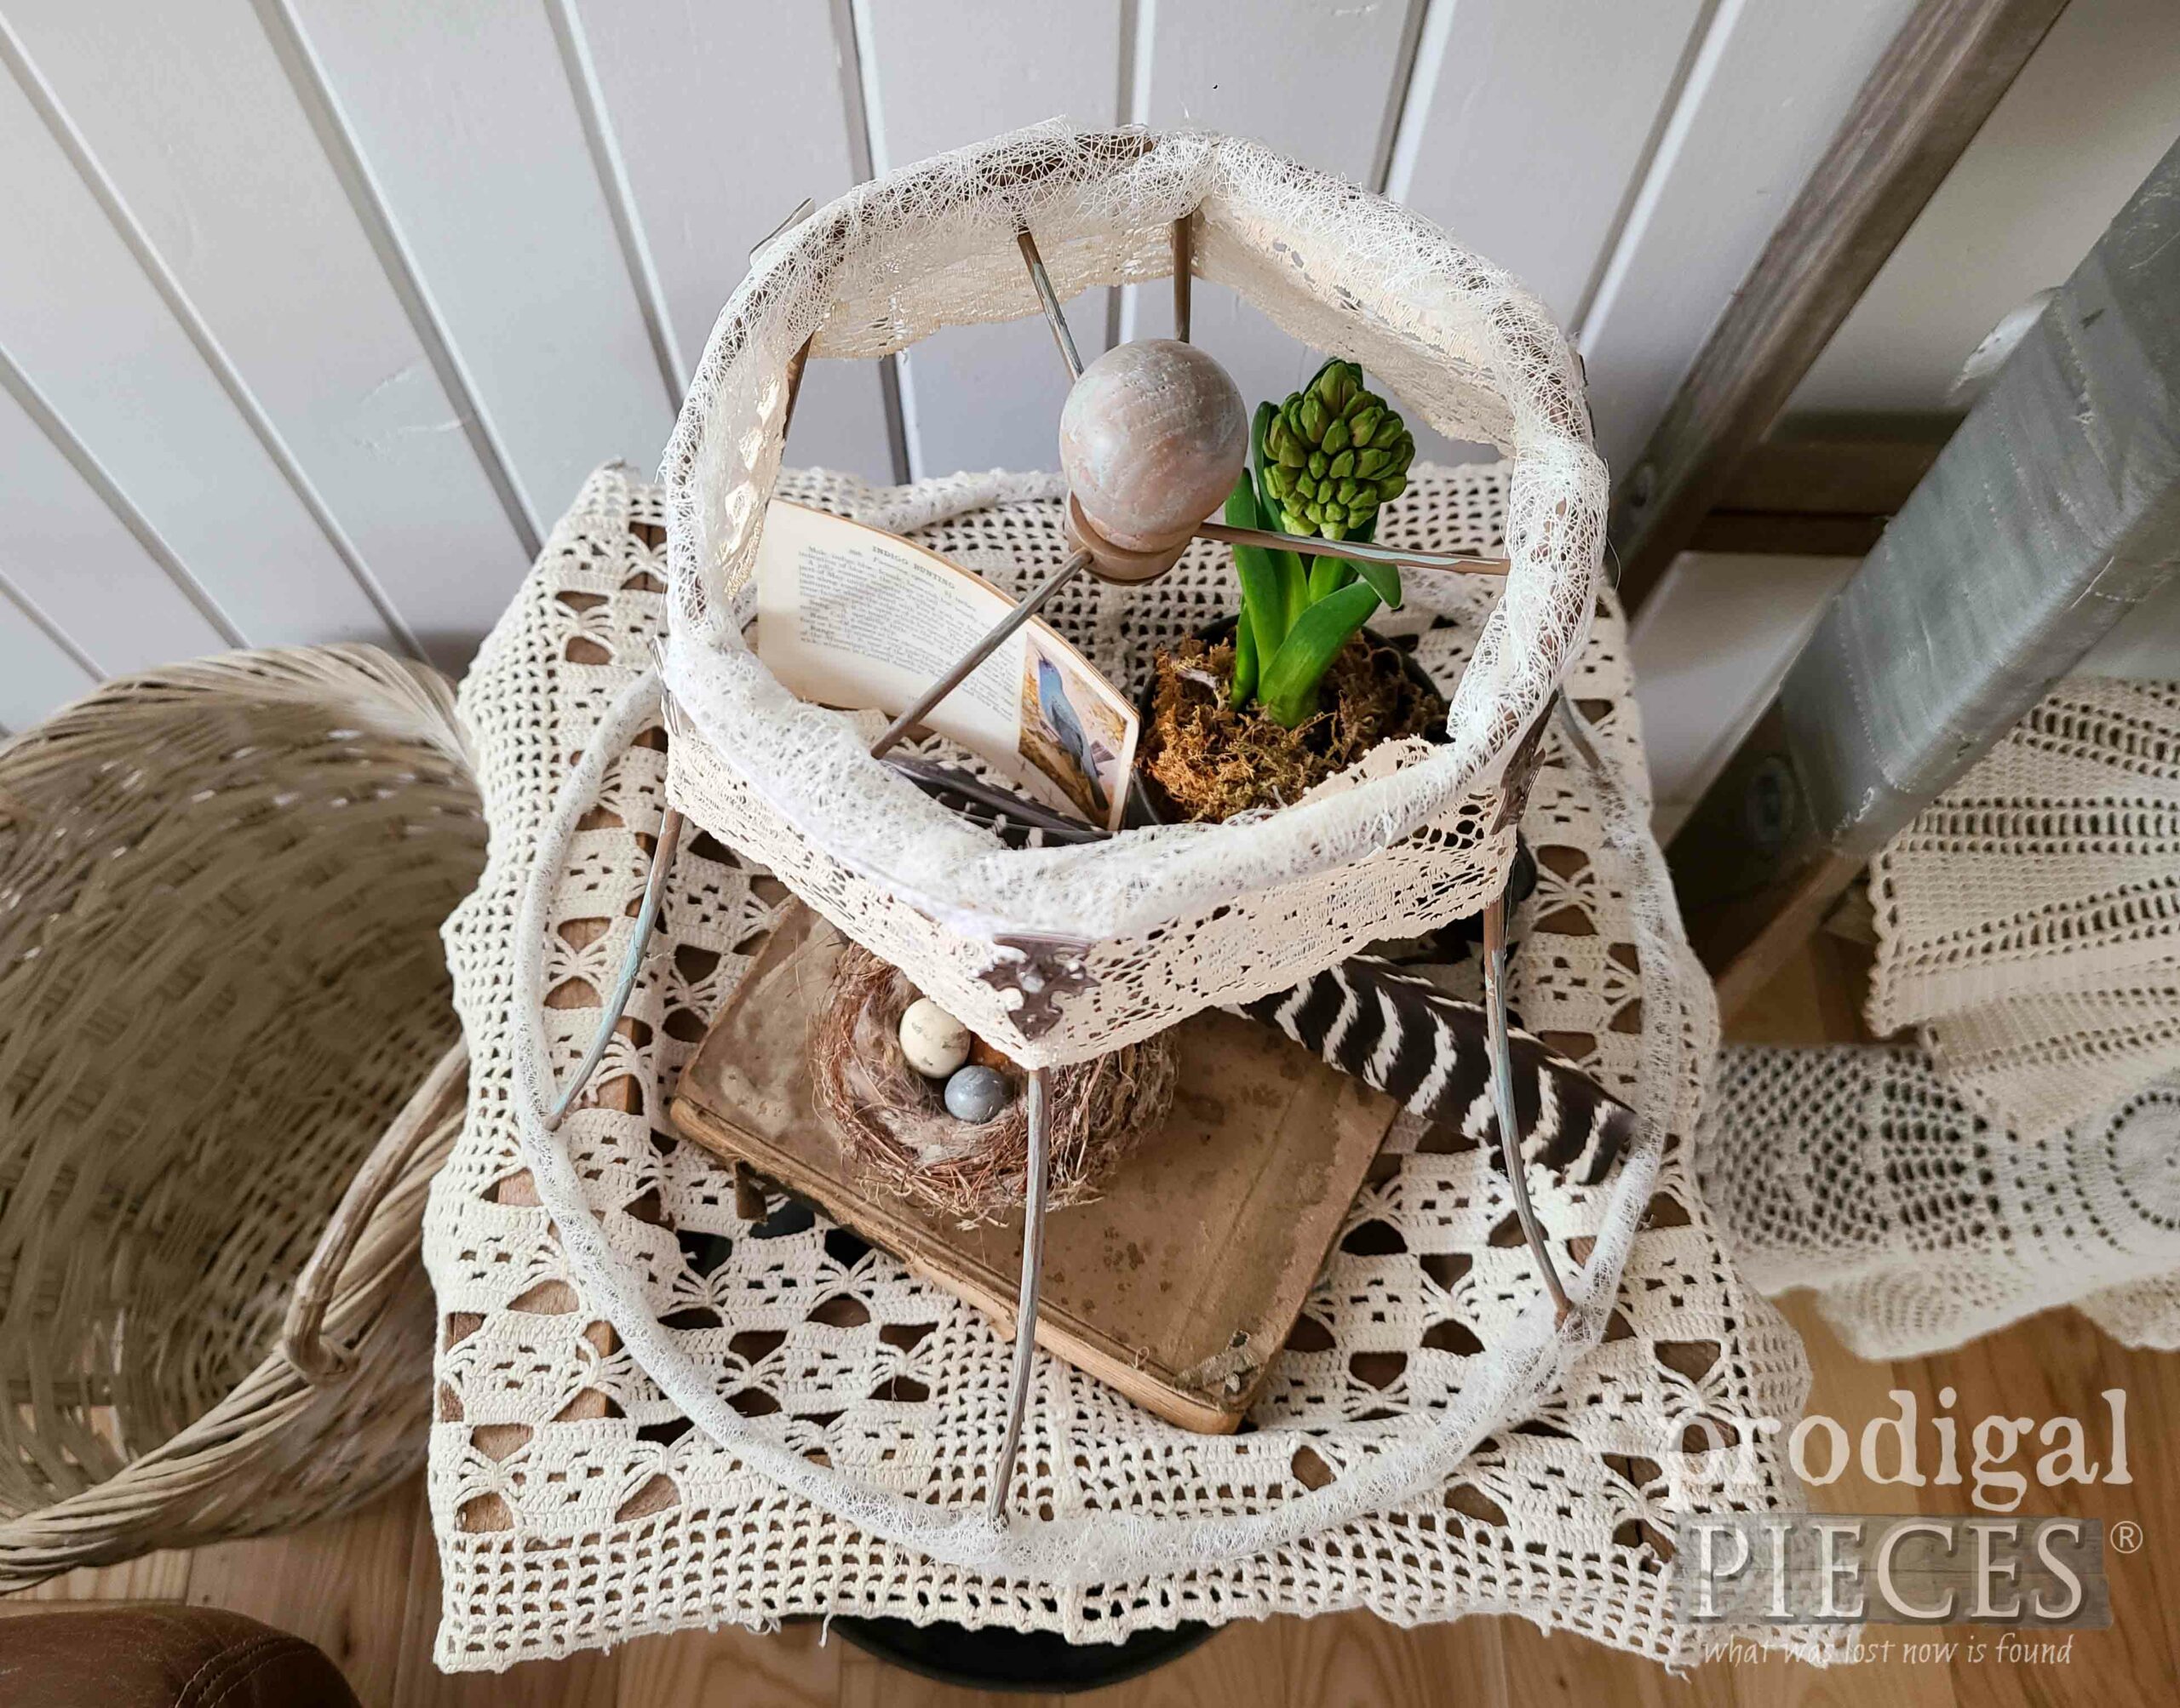
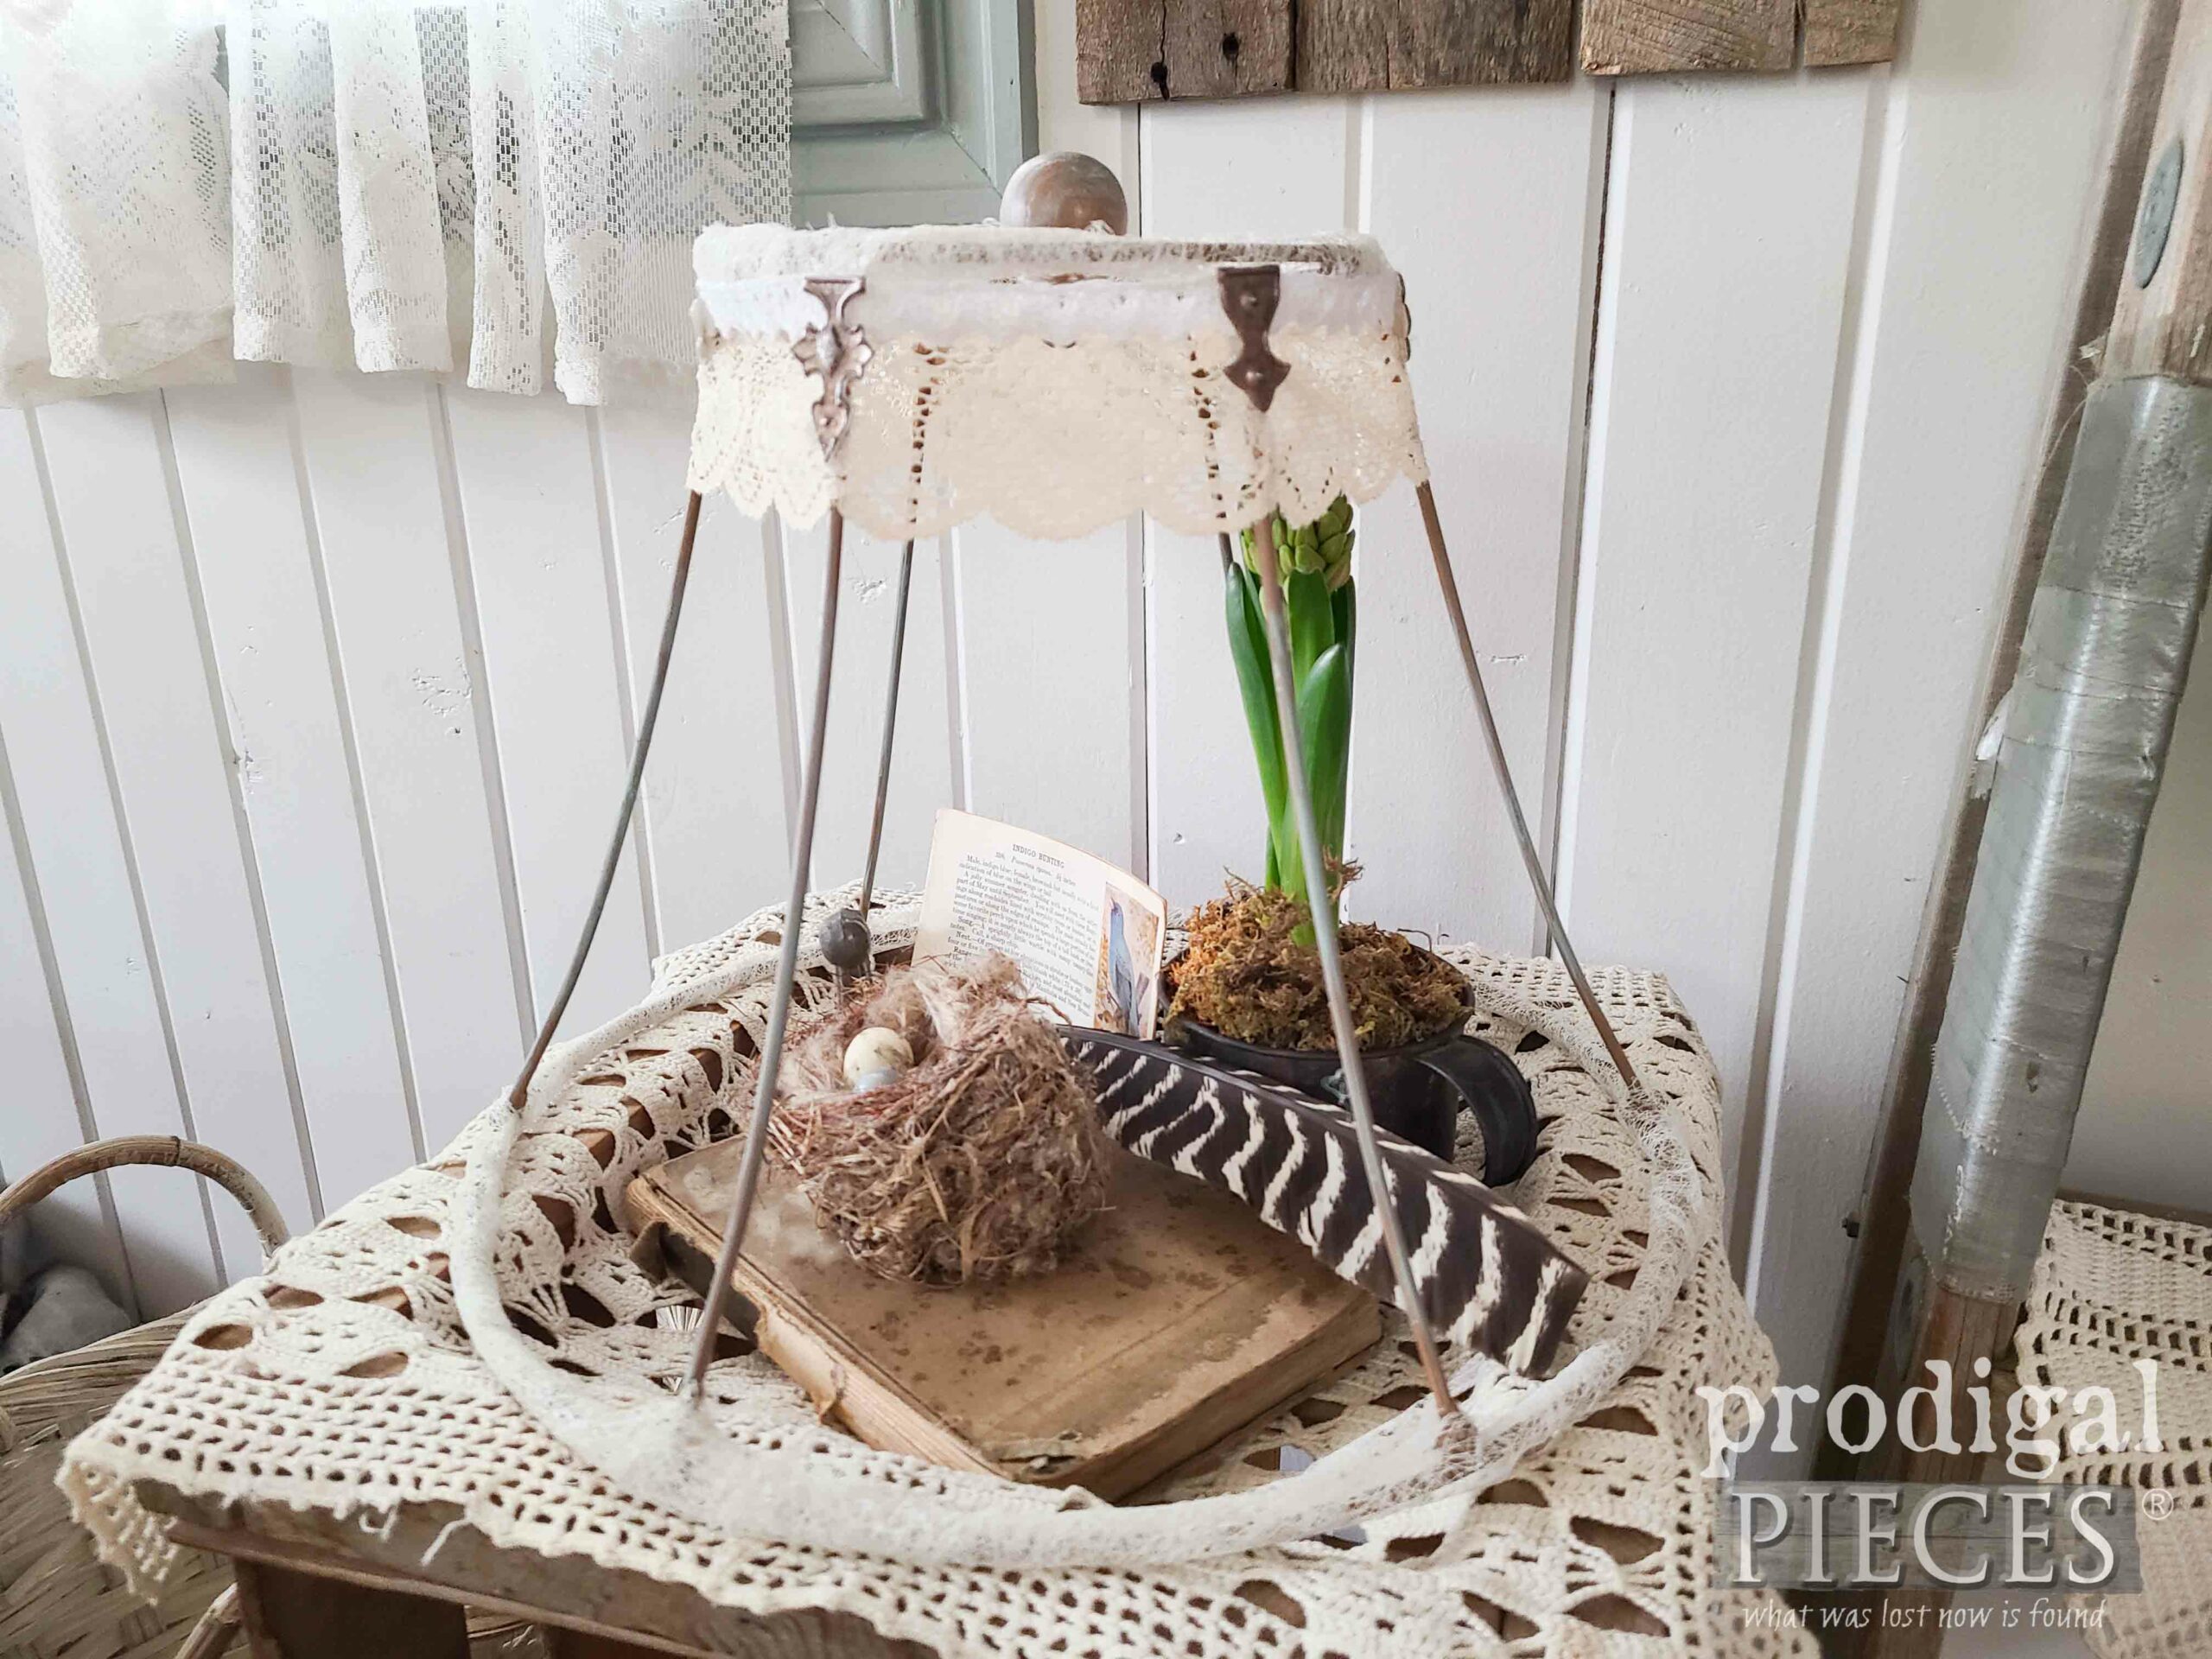
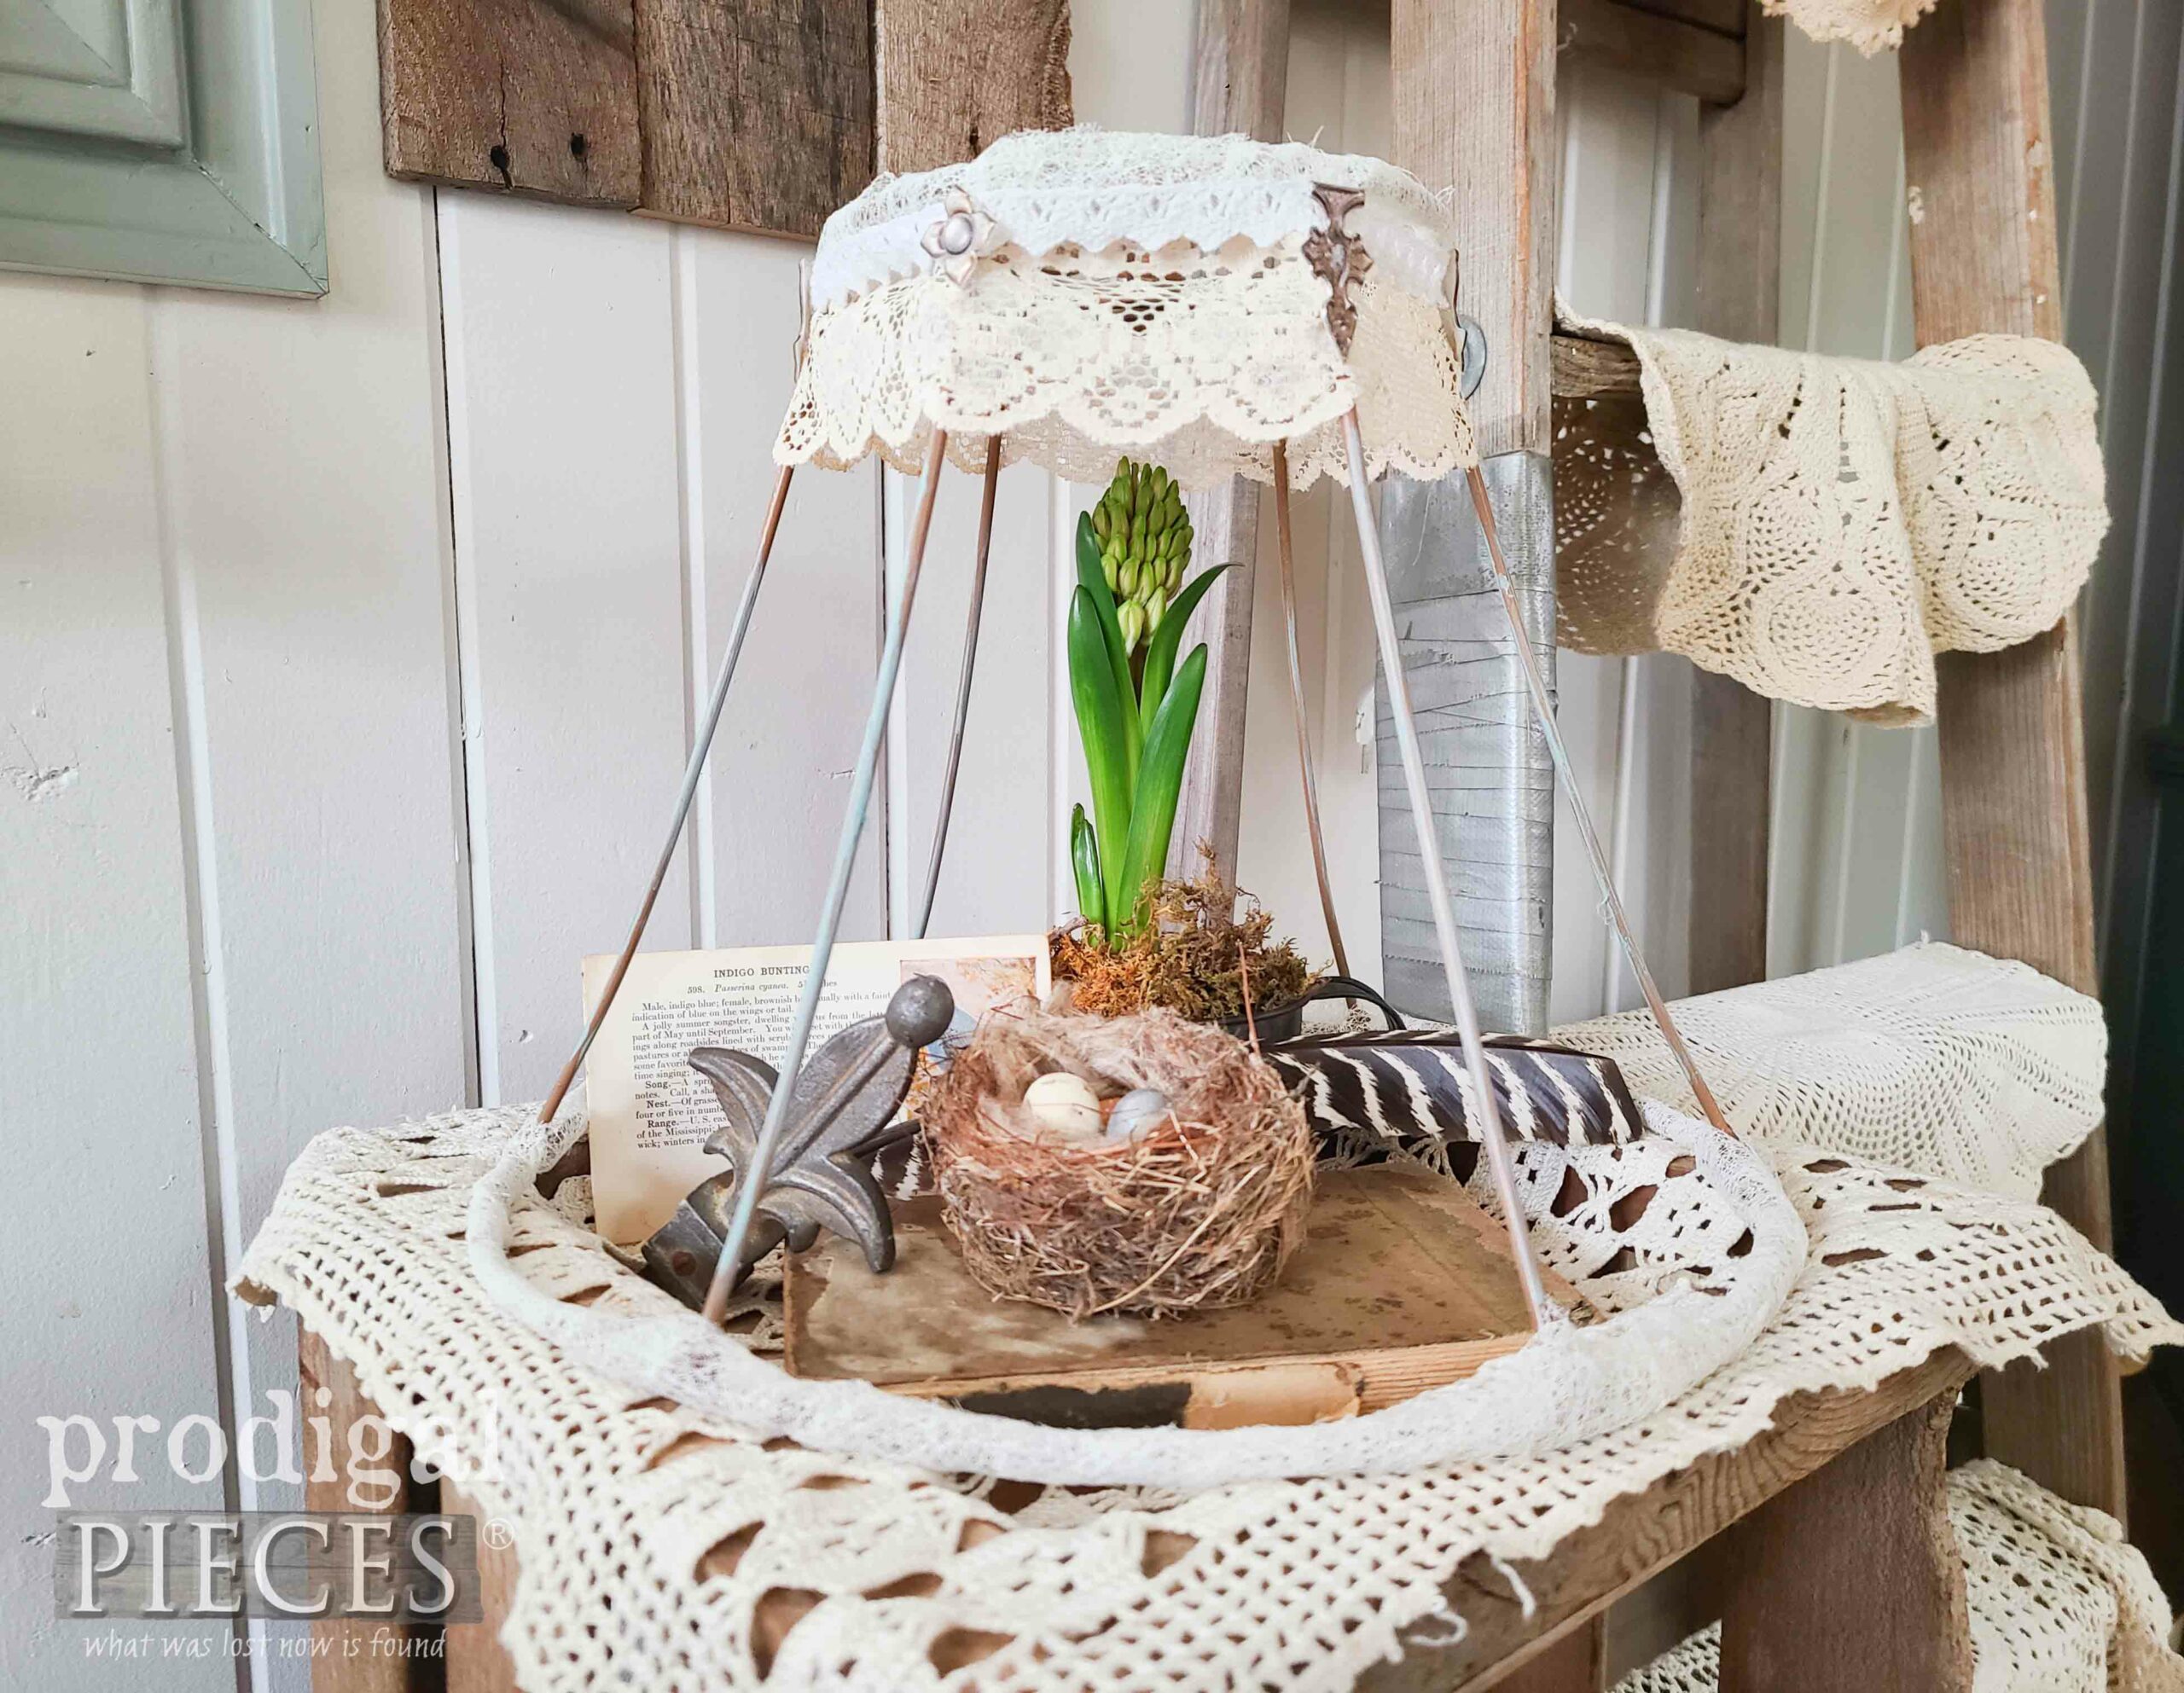
Finally, we have our upcycled lampshade cloche ready to add texture and style to any room in your home.
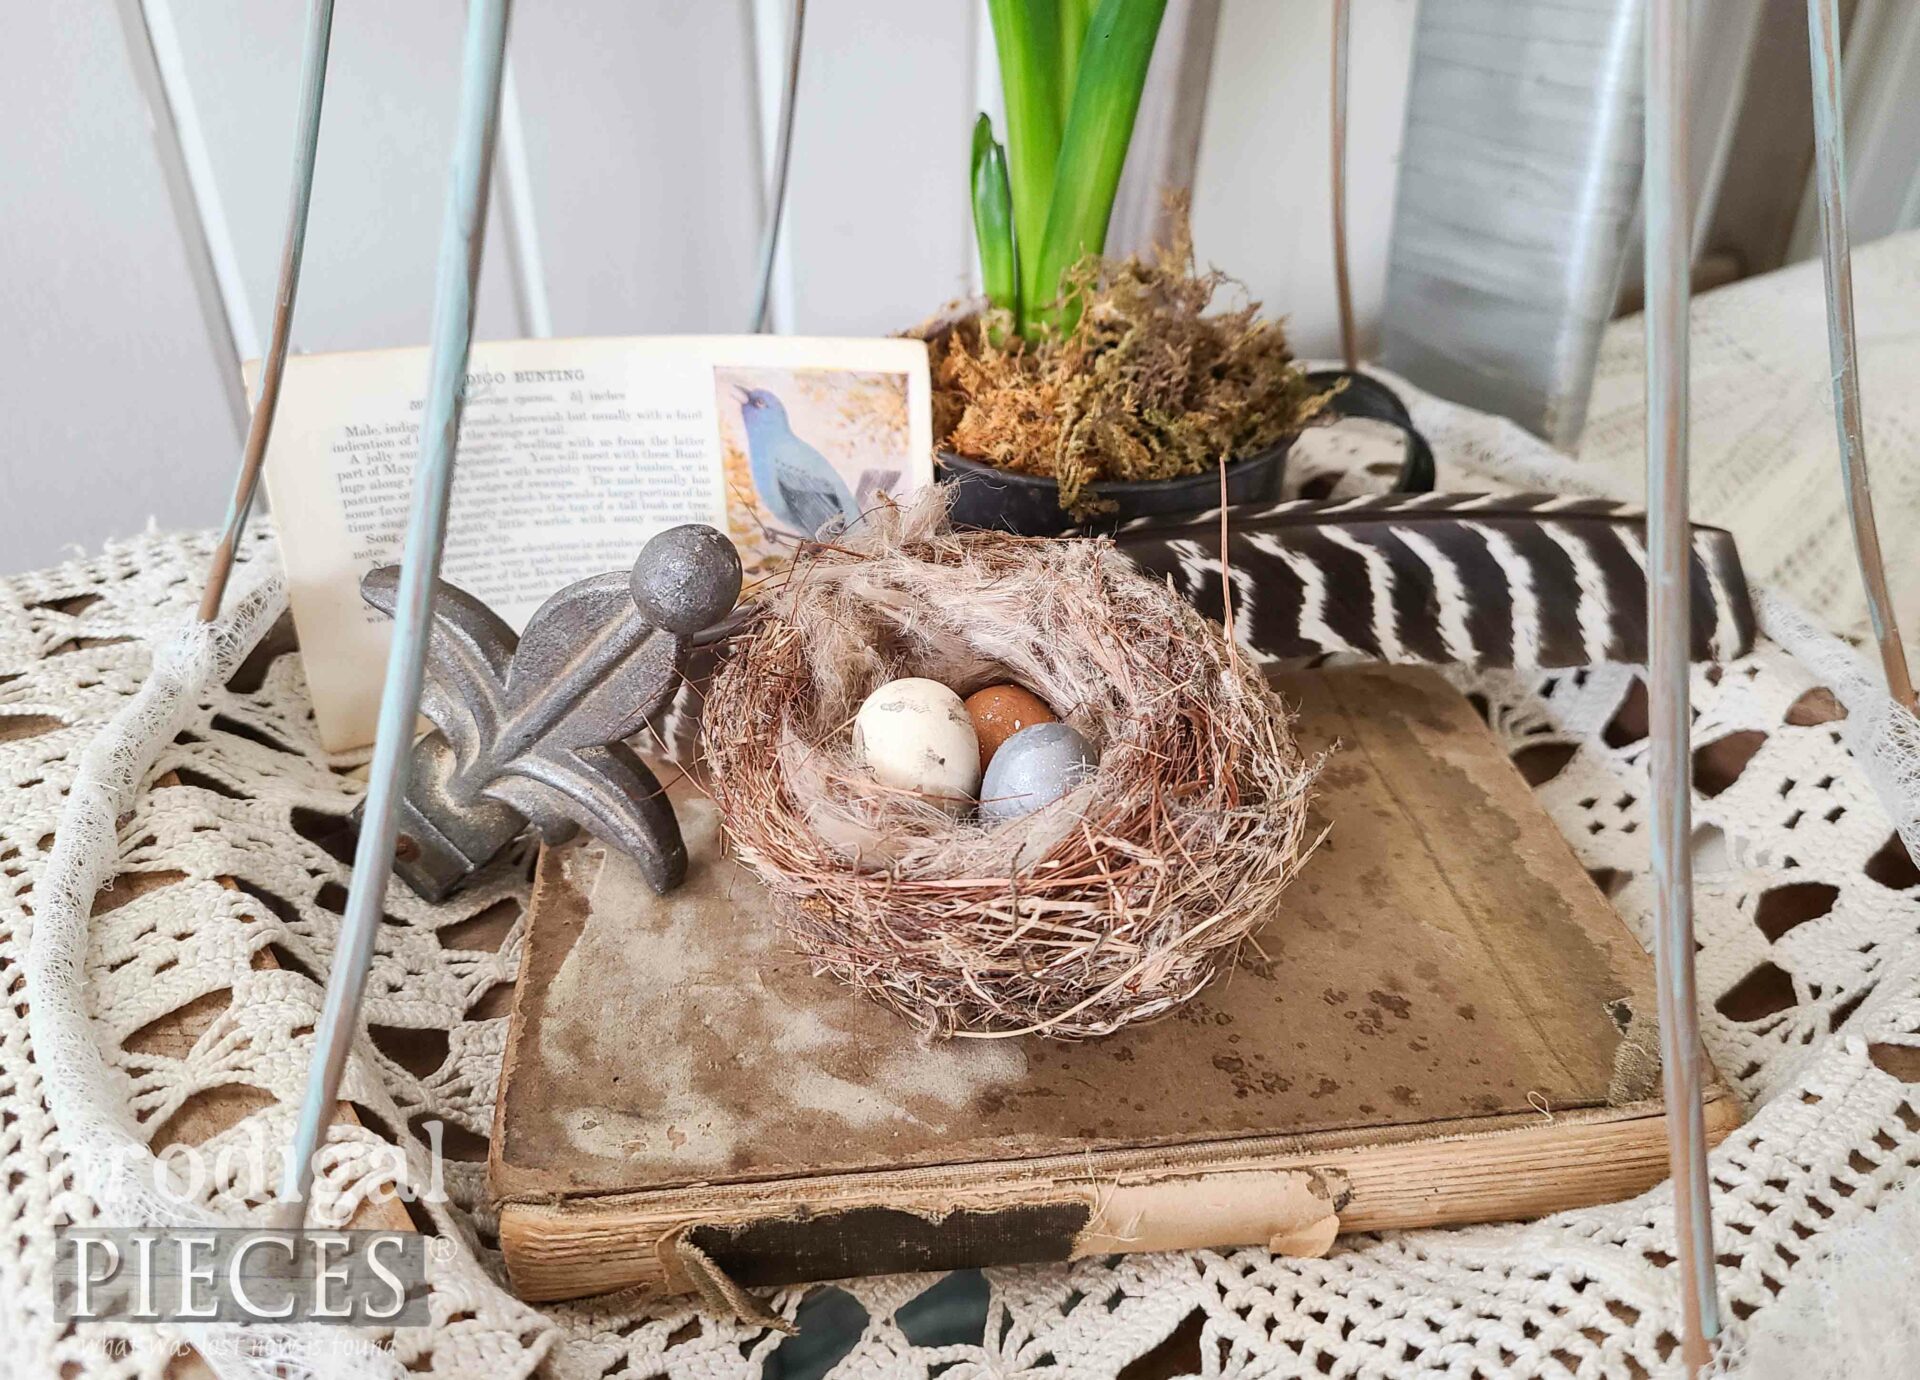
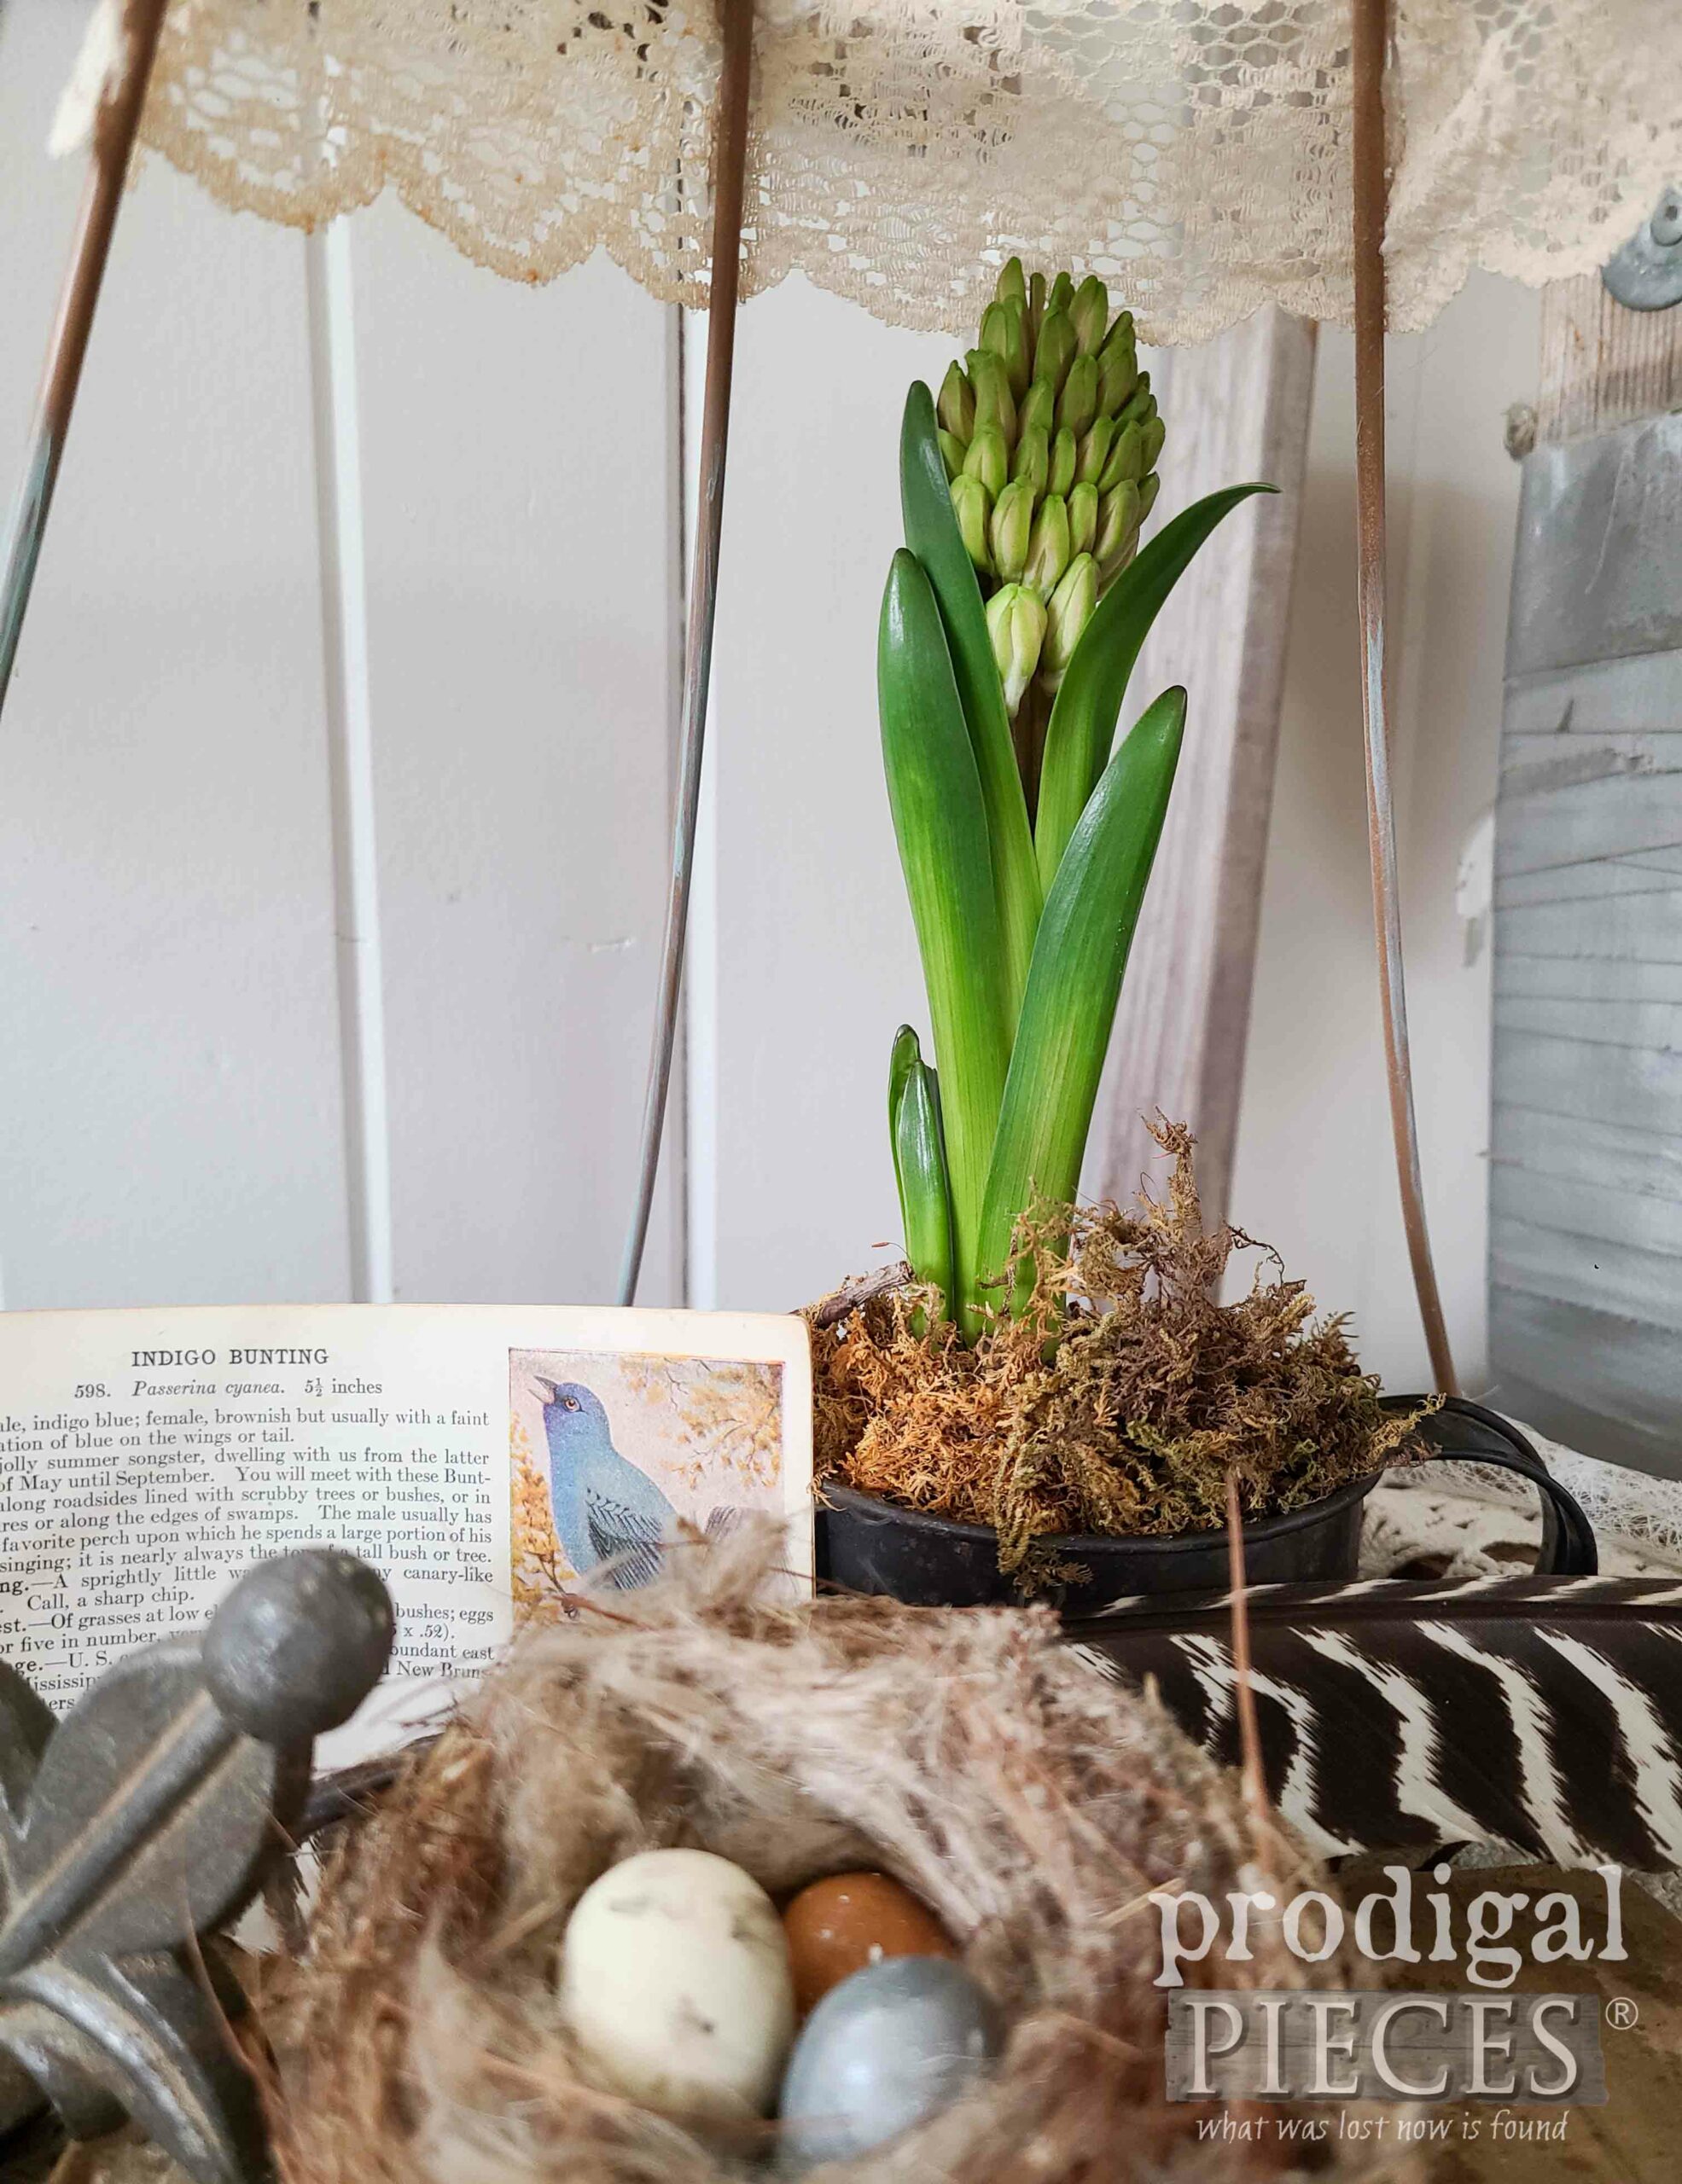
Don’t you just love it? As I have mentioned before, I have a case of cabin fever my cloche is filled with a vintage novelties, but also bits of spring.
Can you smell the hyacinth from there? mmmm… In case you’re wondering, I also have a use for those forced bulb vases instead of the landfill using them for wheat grass for kitties and family alike.
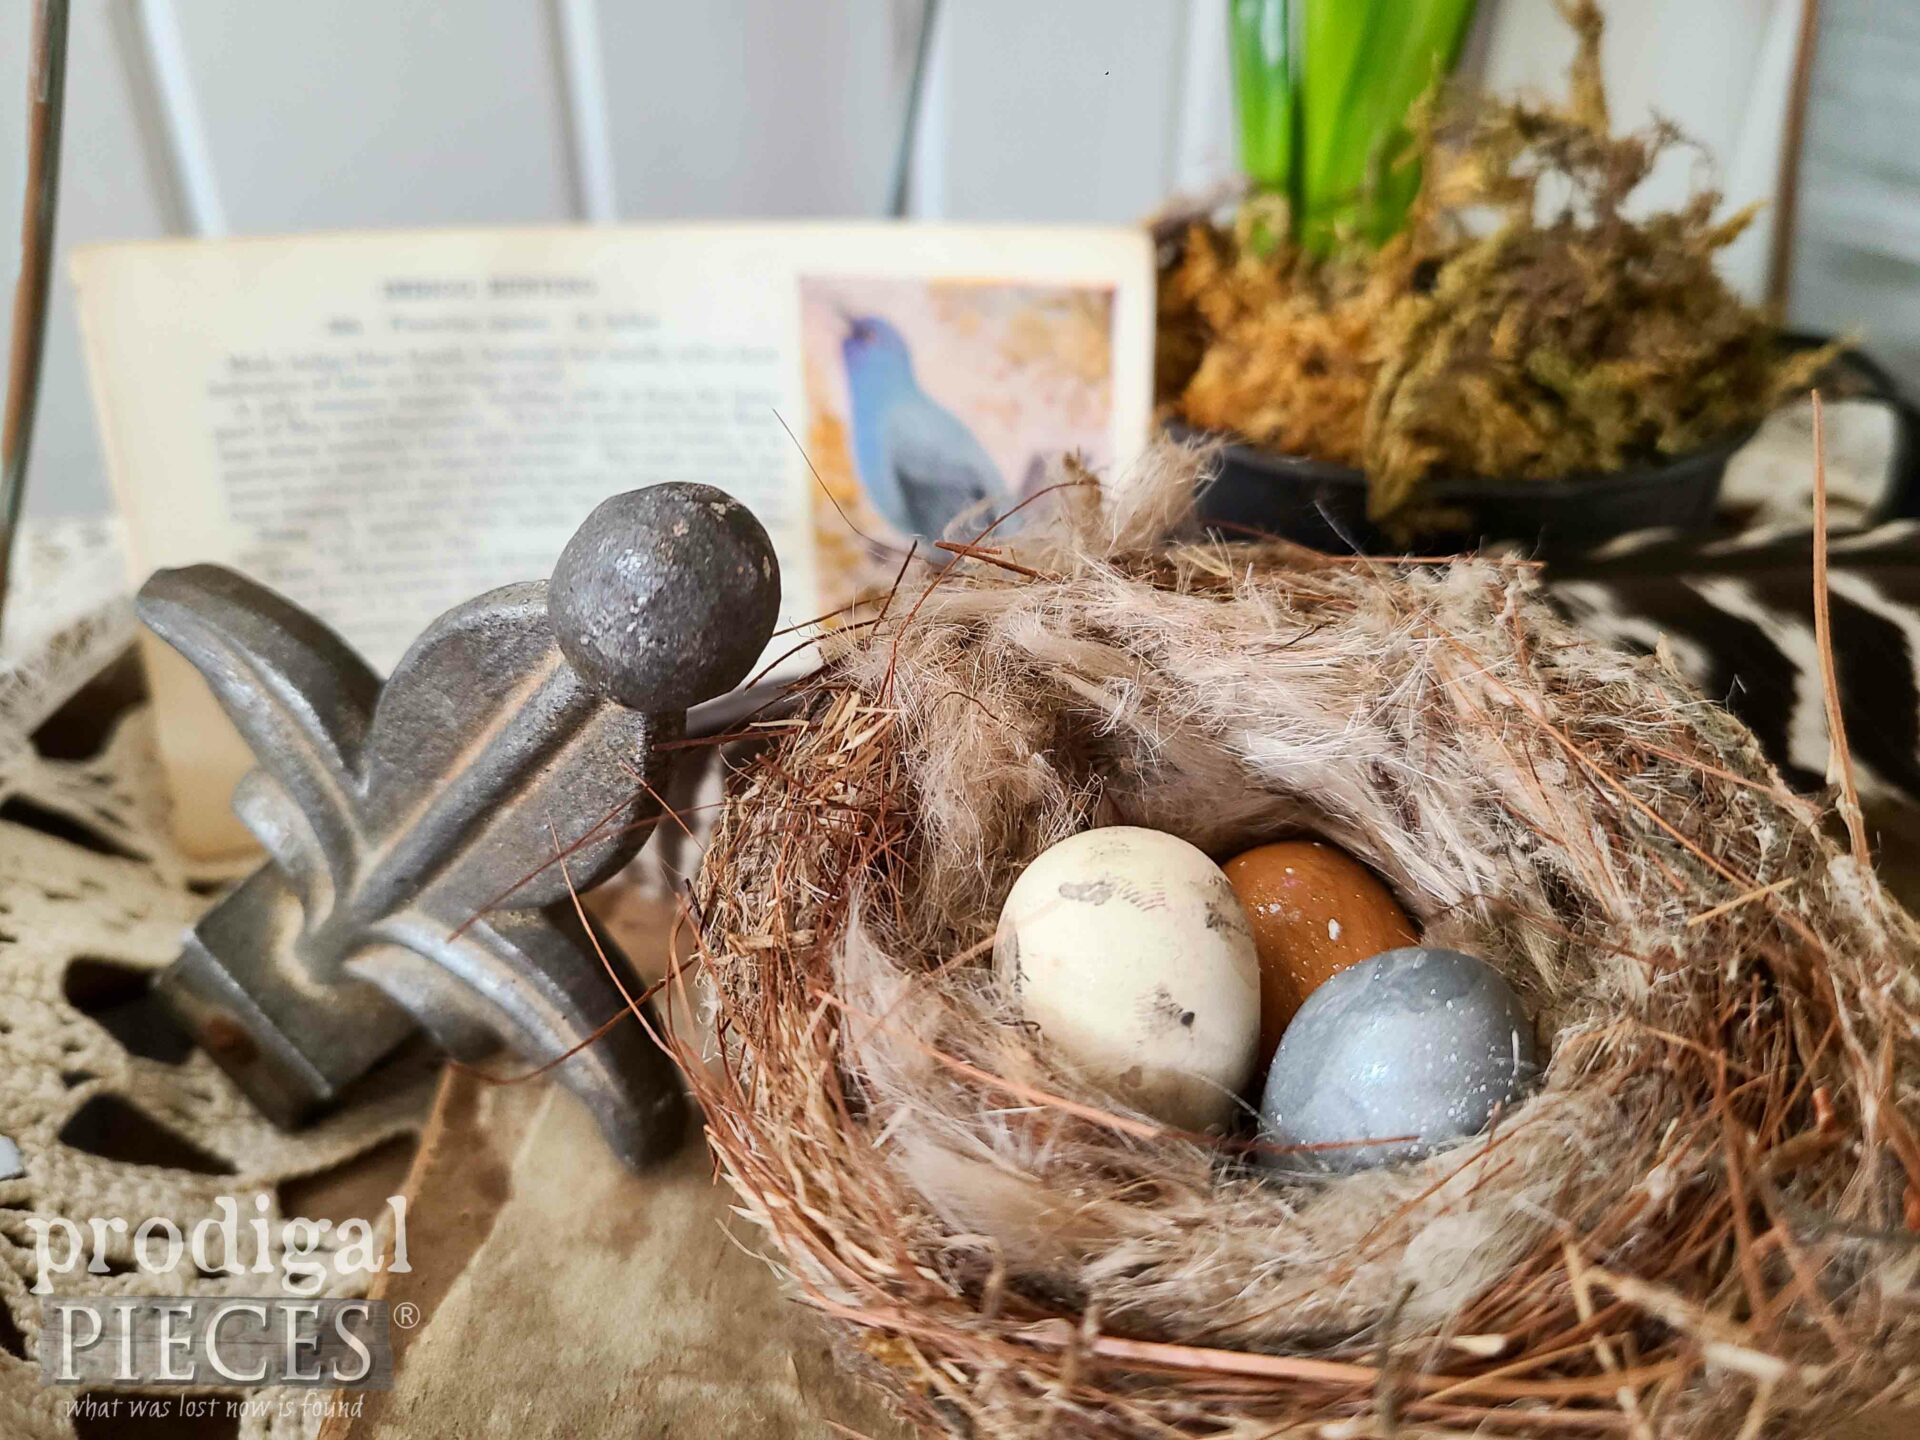
Besides, those embellishments add to the story-telling vibe, don’t you think?
That, my friends, is a fun way to add interest to your own home story. Likewise, I’m curious…what would you do differently to make your own cloche suit your style?
Additionally, if you want to create your own little nests using upcycled sweaters and make clay eggs, head HERE to this fun refashion project.
With that in mind, you can also find this lampshade cloche and more available in my online store.
SHARE
In like fashion, now it’s your turn…leave me some comment love below and also pin and share. I know we are not the only ones that love a good upcycle!
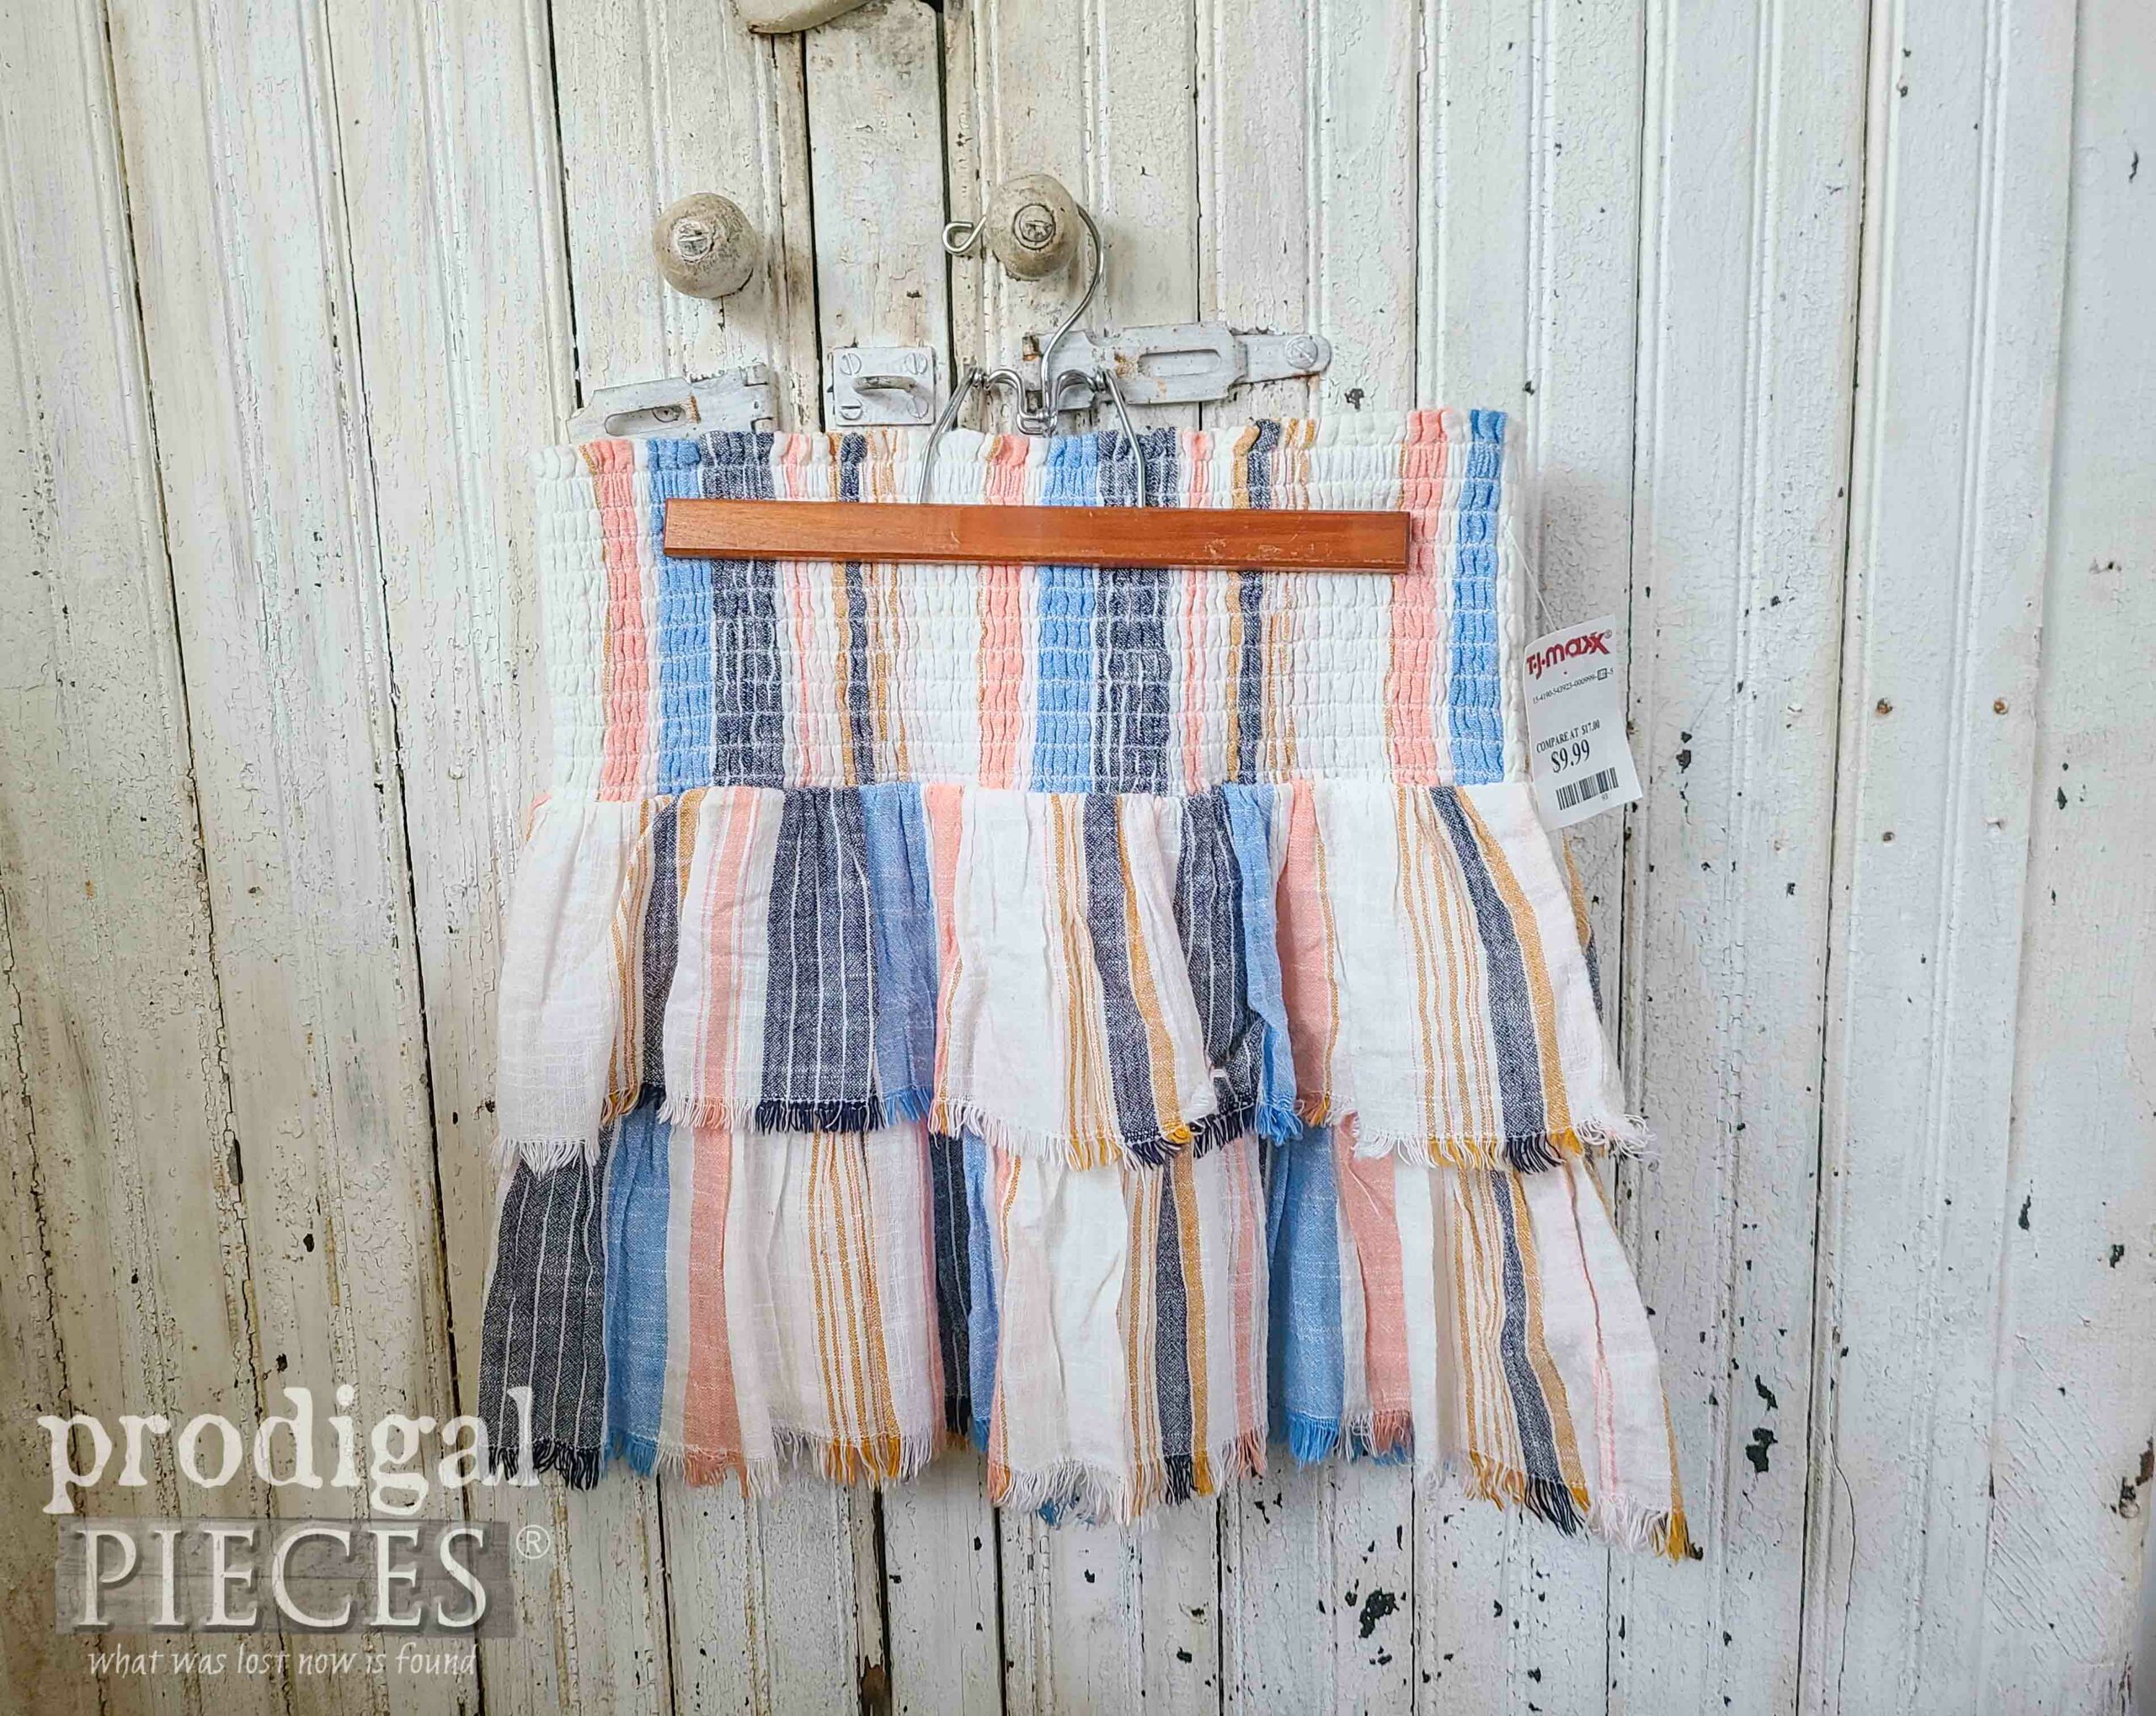
Before you go, up next is Reduce, Reuse, REFASHION time! This thrifted skirt…er…slip of fabric…is going to get a better lease on life, so be sure to sign up for my FREE newsletter, then HEAD HERE.



Who knew??? Your fun side definitely got a thaw out with this one!!! Love!!! 😎🥰
woot, woot! I sure couldn’t wait to work on it. 😀 Thanks!
What a great repurpose! I just cannot believe how similar our “stash” piles are 🙂 This is so cool, Larissa. I love cloches, just don’t see them much when thrifting anymore. What a great way to make one..something I did not think was possible until you created one! Thank you, thank you!
That’s so fun! Yes, they are very handy and you can make them out of any size. I had hoped for a mixed set, but was limited on time.