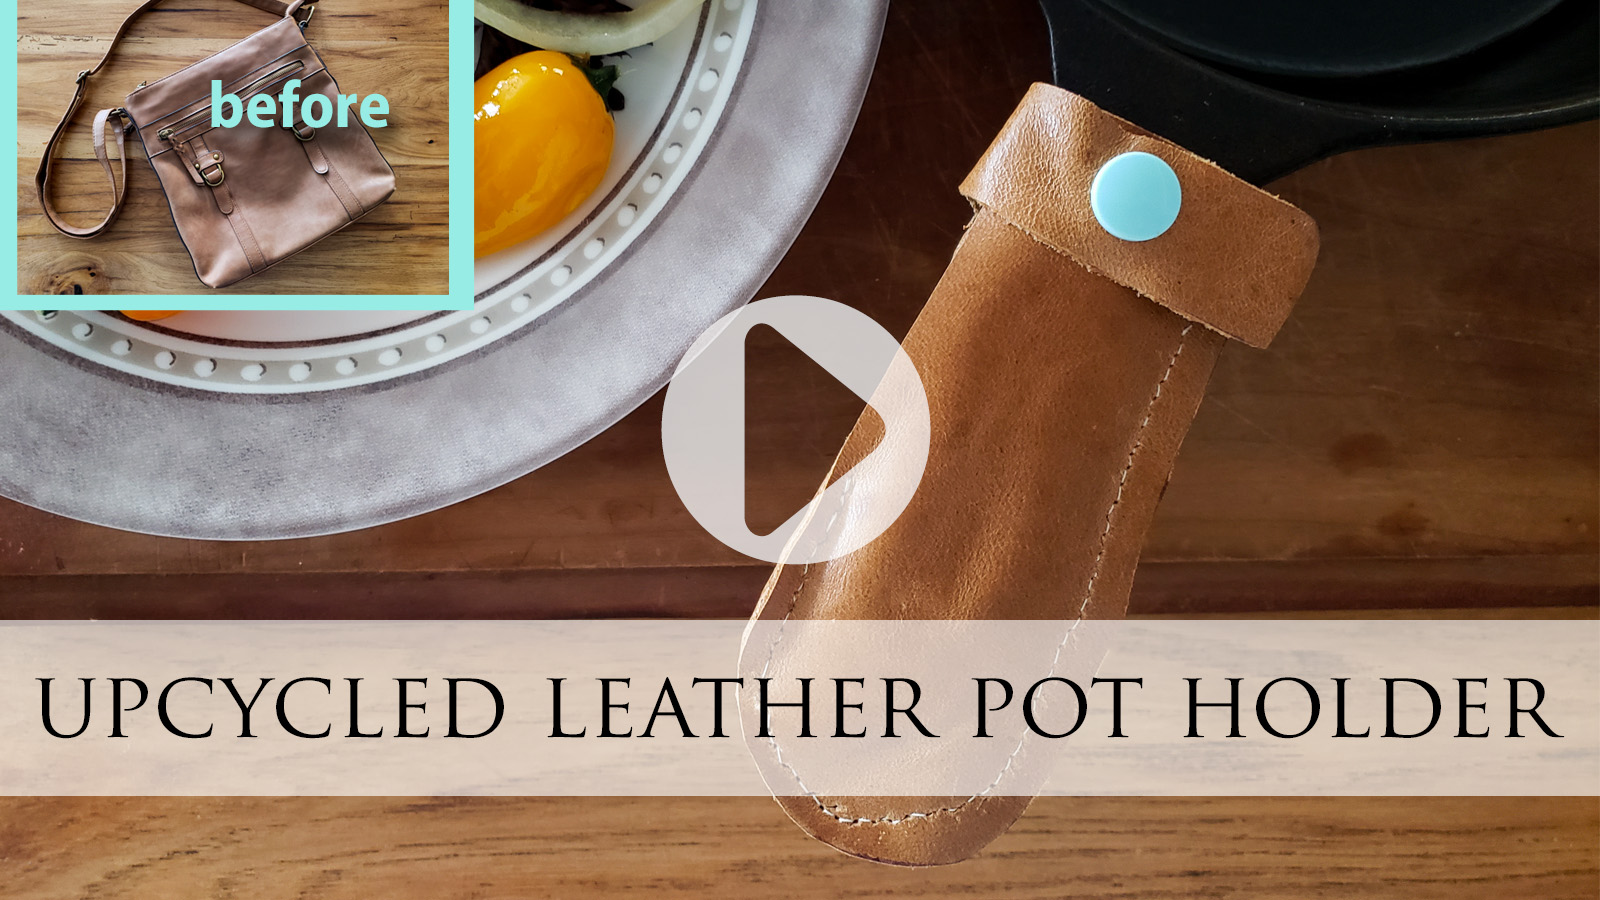
It’s Reduce, Reuse, REFASHION time today! Every last Tuesday of the month I share a new project making use of something we have in our home in a different way. Today, I’m taking an old leather purse and turning it into an upcycled leather pot holder. Check it out…
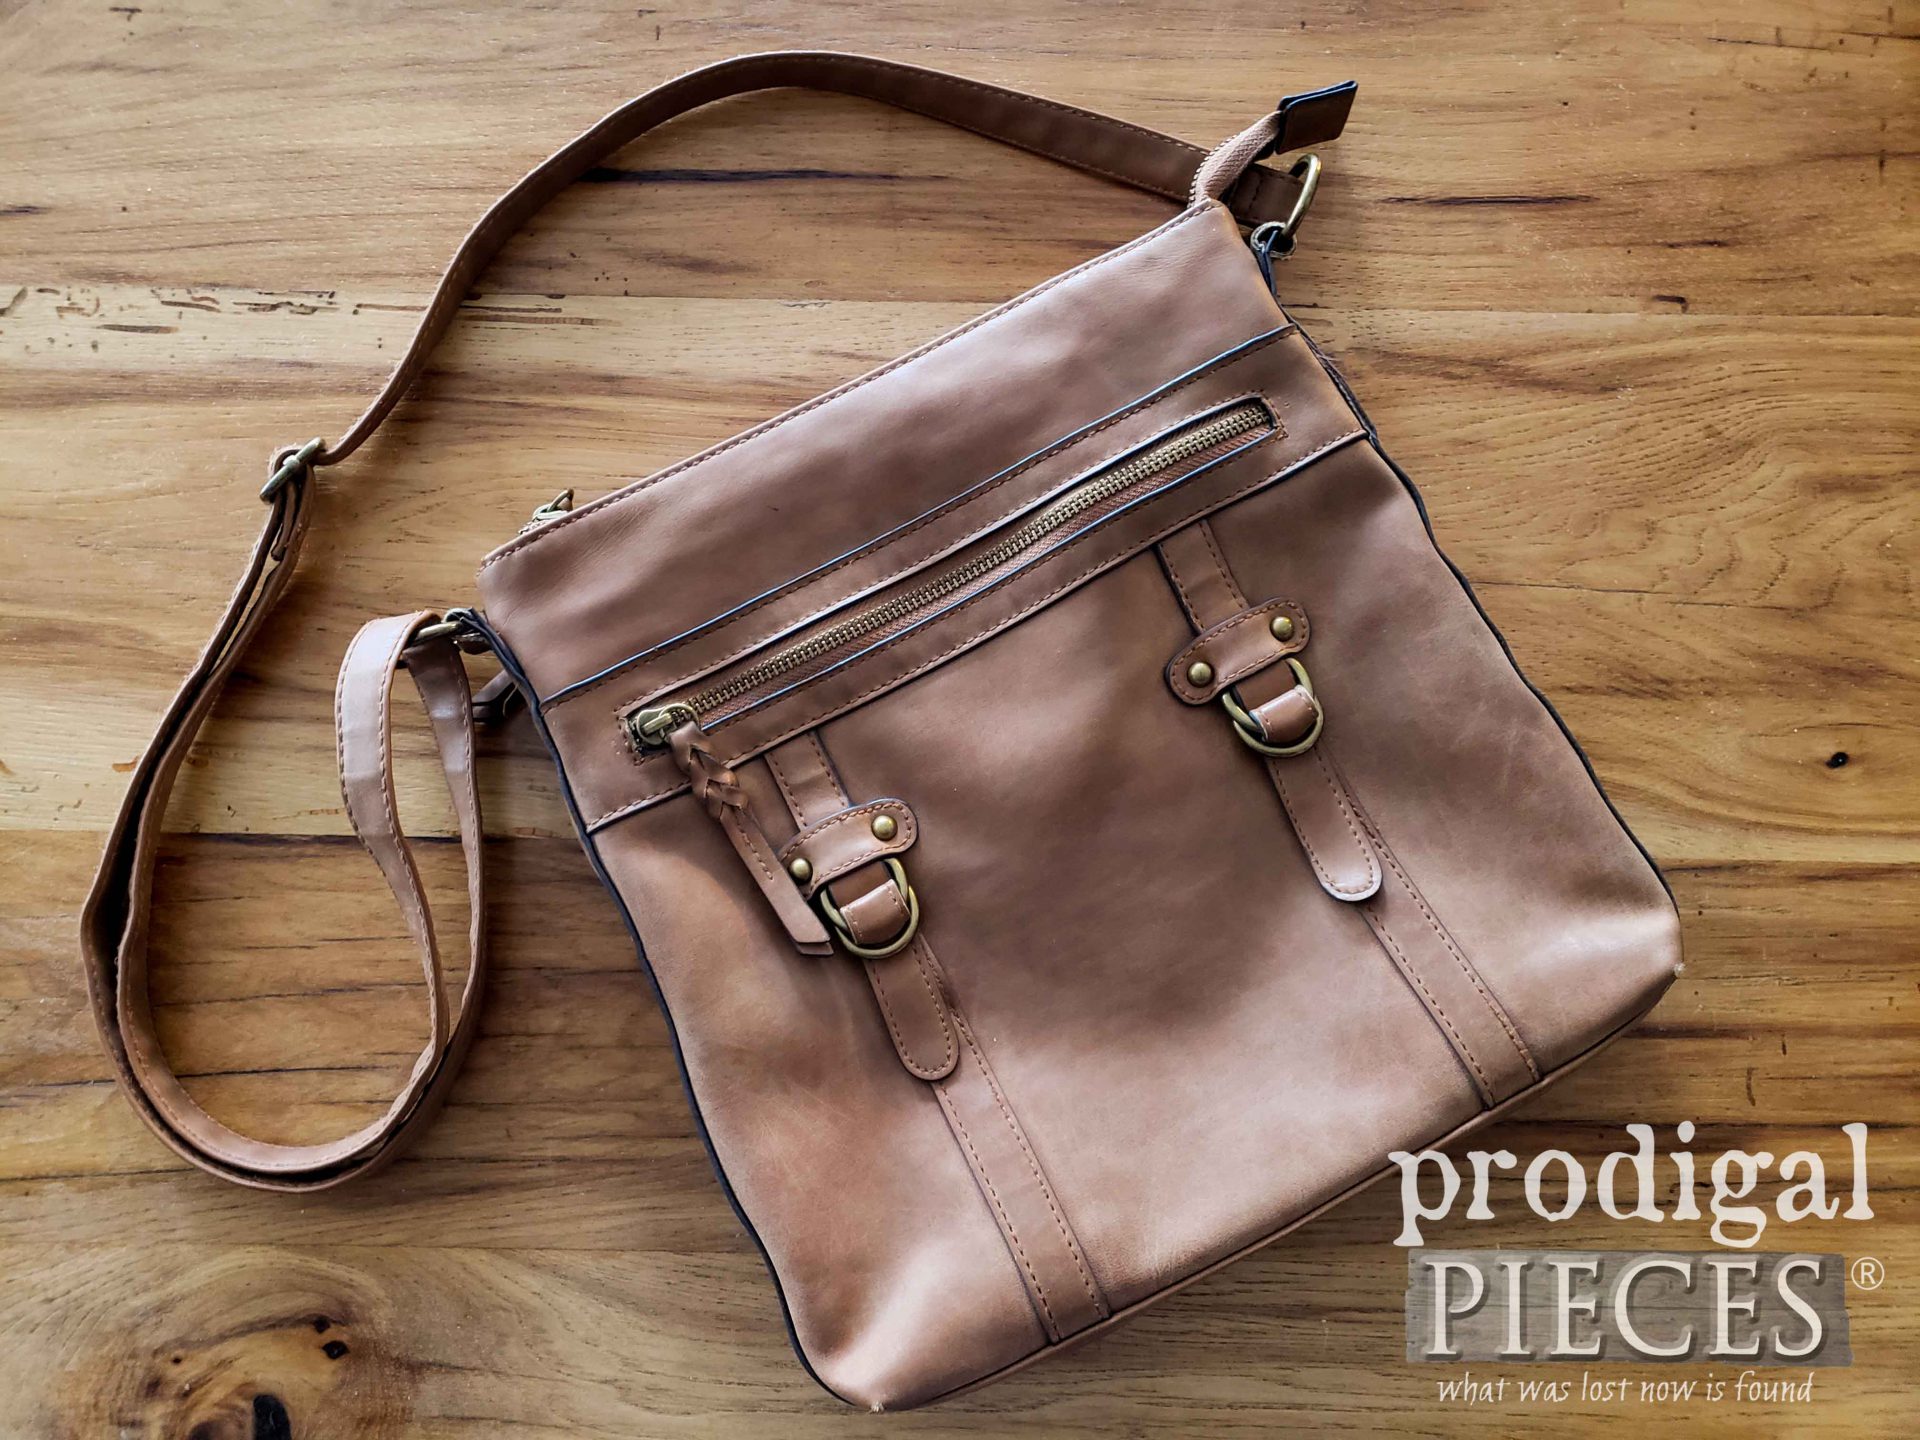
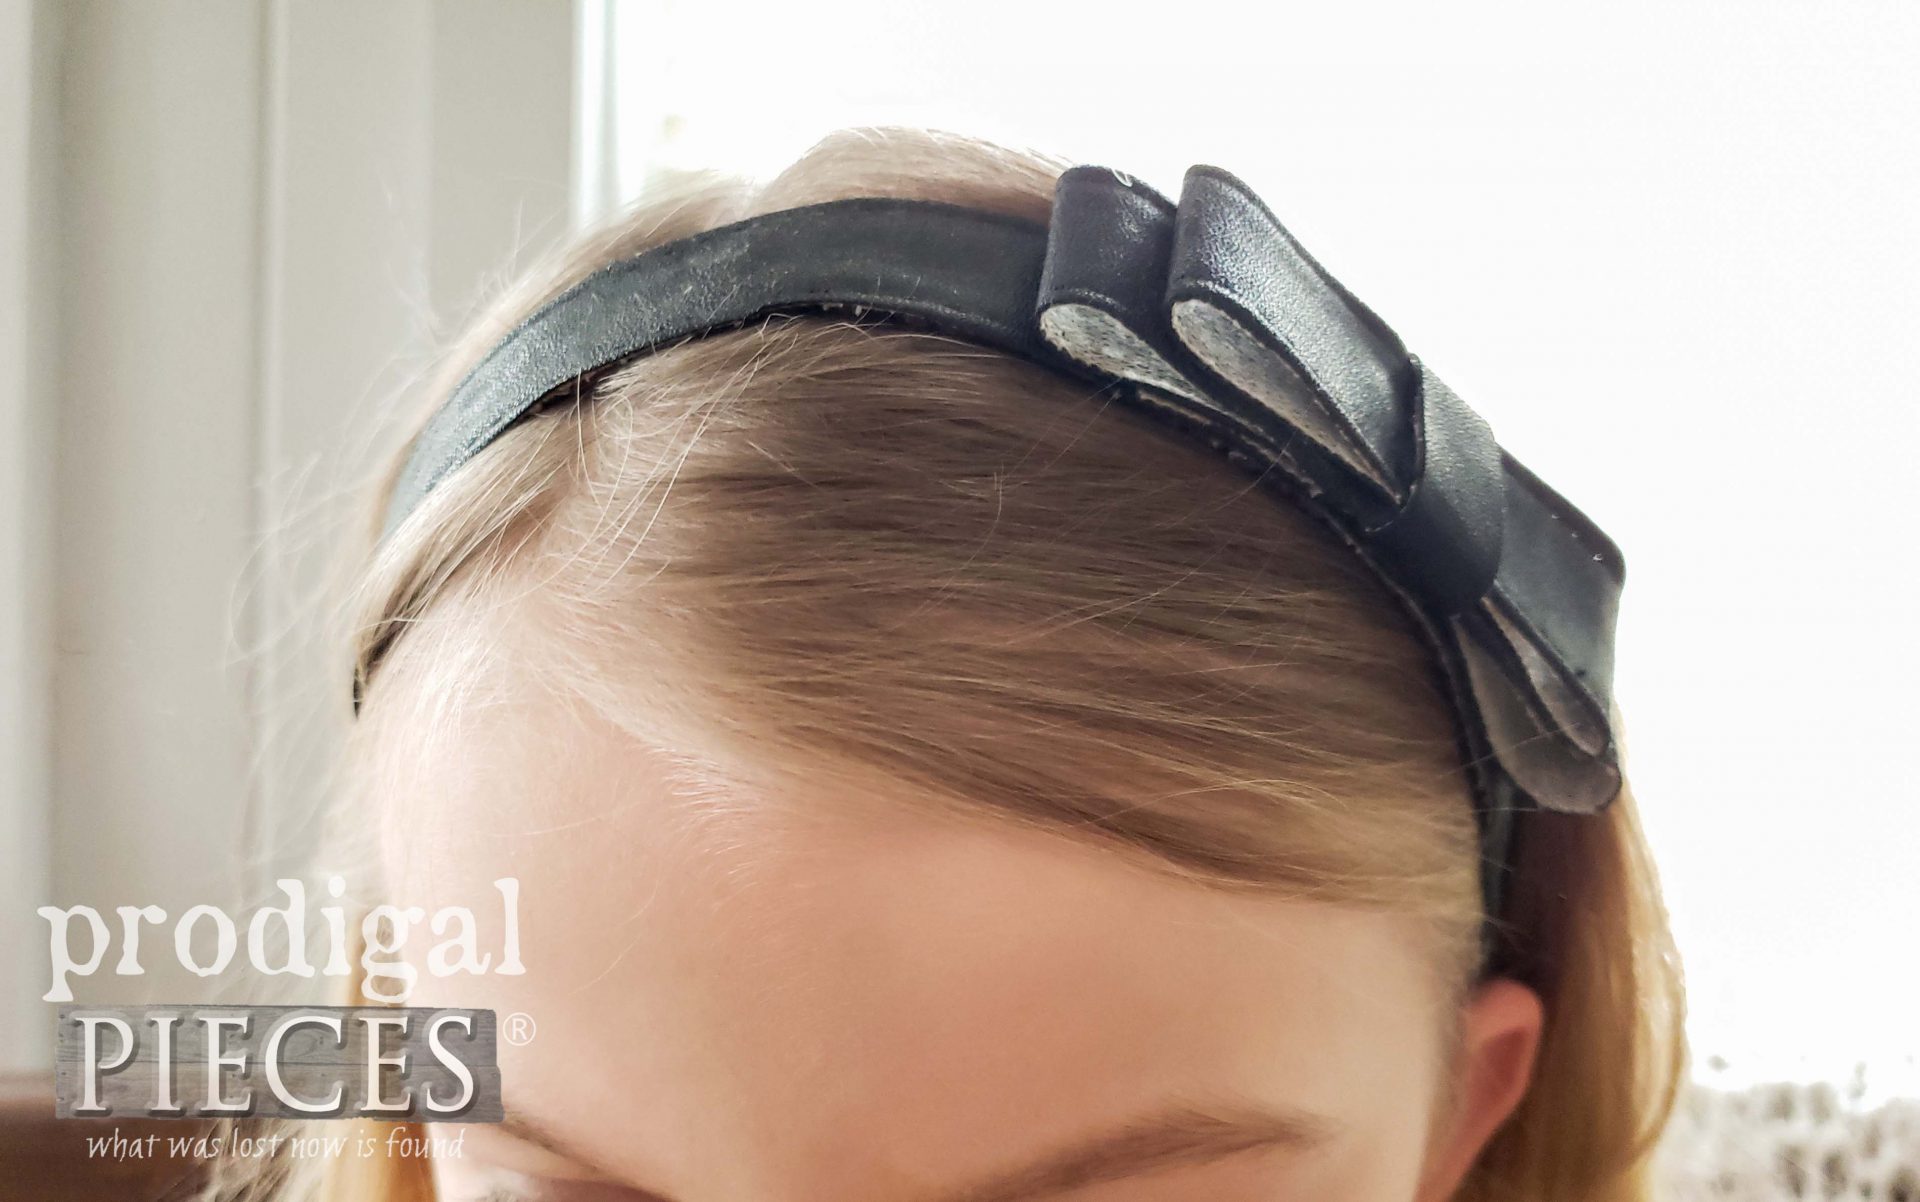
This is a purse I picked up at the thrift store. Yes, I scour the purse section for real leather so I can cut it up. haha. Doesn’t everyone? In the past, I’ve made headbands for my girls, toys, craft parts, and more from cast-off purses.
Not only purses, but you can use backpacks, leather coats, and even leather couches. Seriously, you find those leather couches curbside, you are seeing a whole lotta leather goodness just ripe for the upcycling.
GETTING STARTED
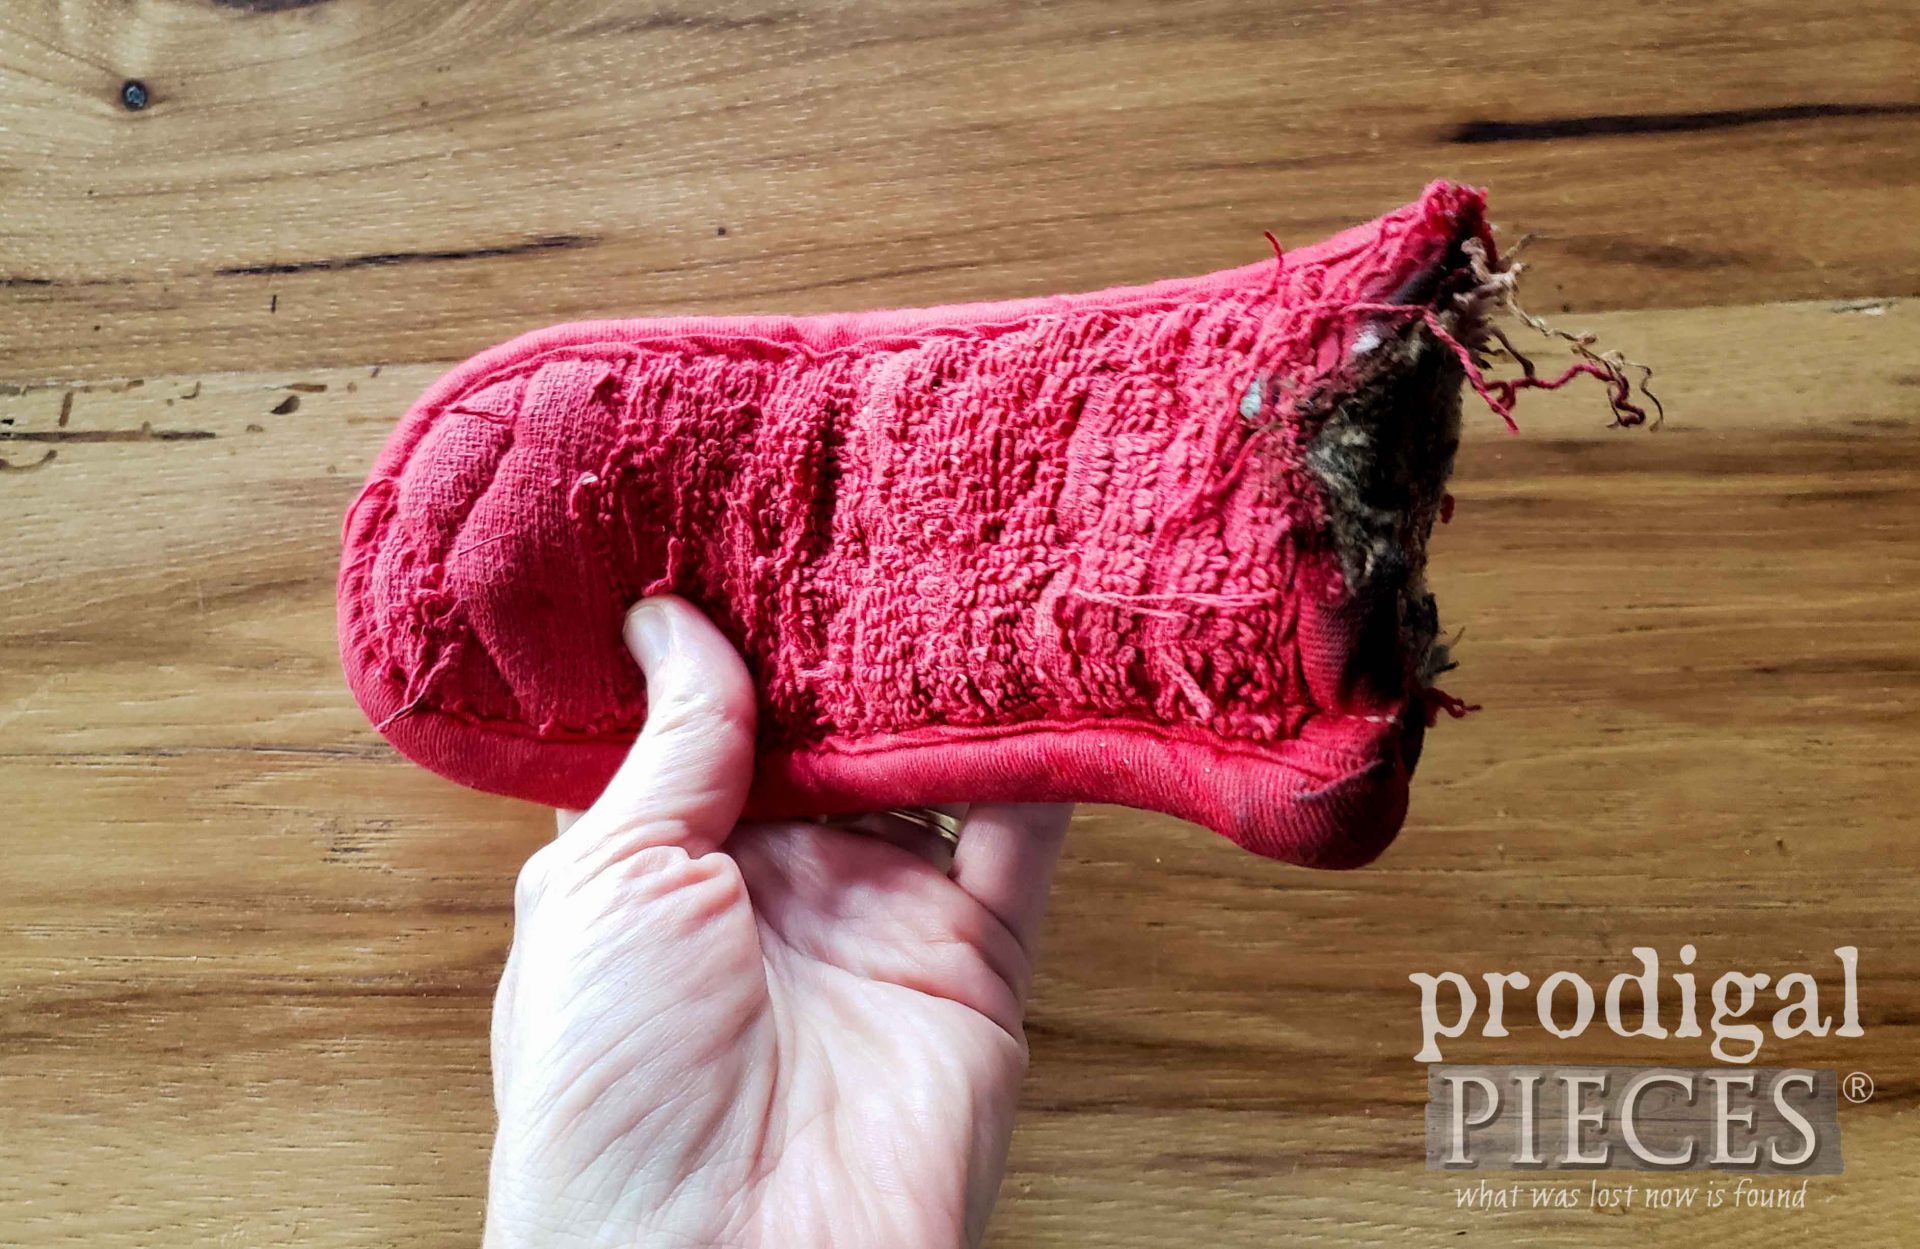
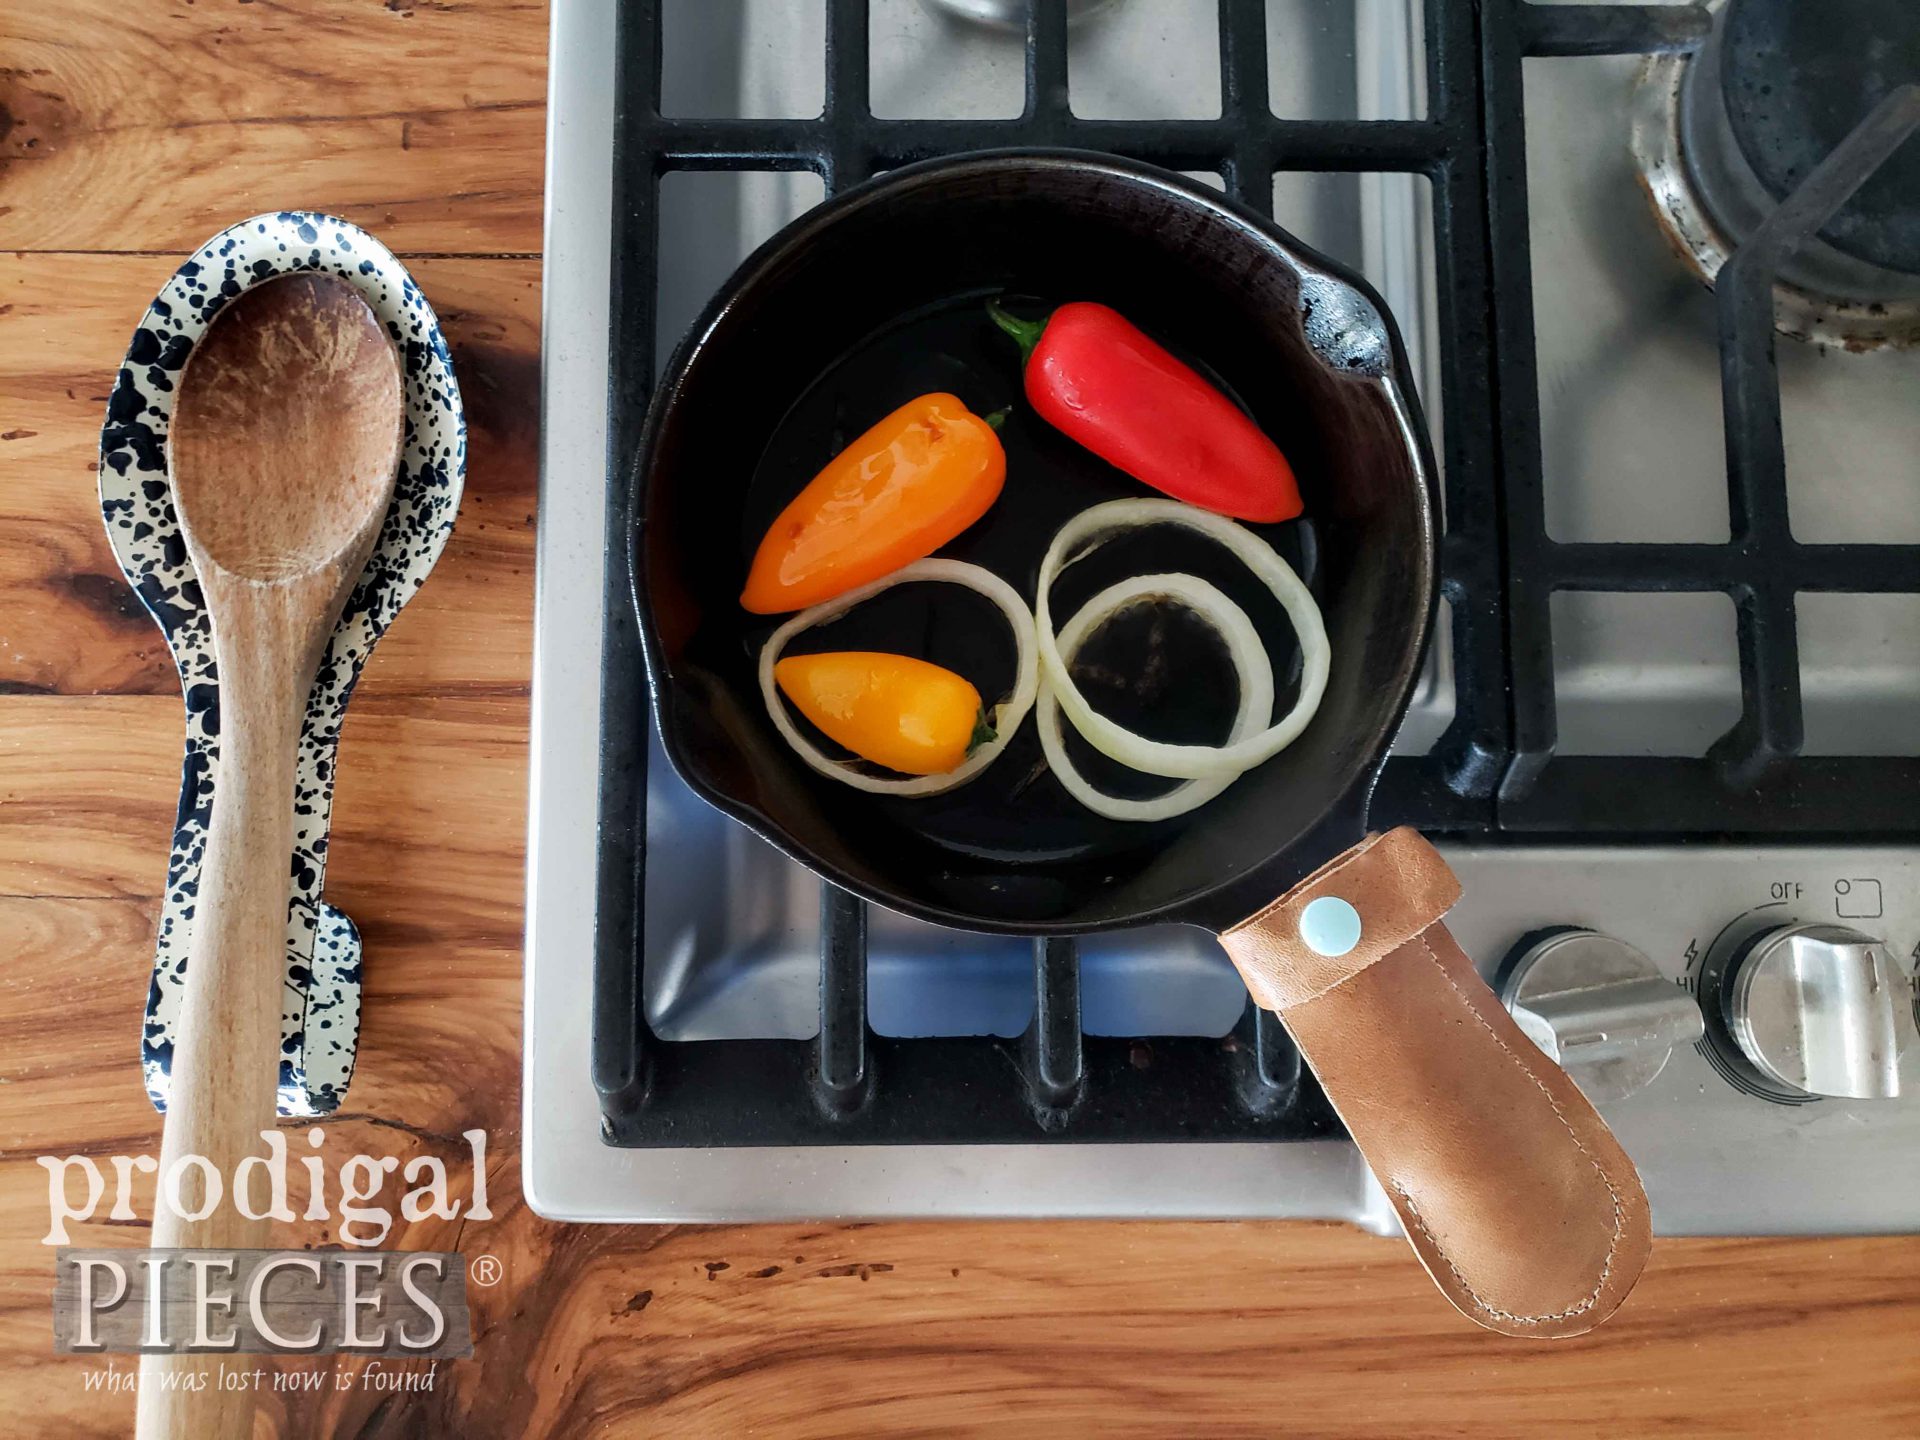
I’ve created my case for making use of a leather purse, so what do we do now? Today, I want to create something for my kitchen that will eliminate this old one-size-fits-none-well pot holder.
Ain’t it a sorry sight? haha. I don’t know about you, but I love to cook with cast iron. Cast iron is durable, efficient, and will even infuse iron as a natural supplement into your food. It’s time to get my DIY upcyclin’ skillz on and create a new and improved upcycled leather pot holder.
TERMS OF USE: when you make these pot holders you agree to the following: it cannot be shared or distributed for monetary gain in any way, it may not be modified in any way, and you may not claim the work as your own.
First, I’ve created a video tutorial below to walk you through the steps, but also have the step-by-step version here too. Here’s what you’ll need to get started:
- cast iron skillet
- leather purse – make sure purse has large enough section of leather
- fabric shears
- standard scissors
- heavy paper (construction paper, cardstock, etc)
- pencil
- marker
- heavy-duty needle
- leather thread
- awl or leather stitch punches
- snap kit or head button
- glue stick
Time to start! 🙂 We’re going to begin by creating a template for our own specific skillet or pot. Each one is different, so I can’t just share a template I’ve created. However, no fears, it’s easily done.
STEP 1
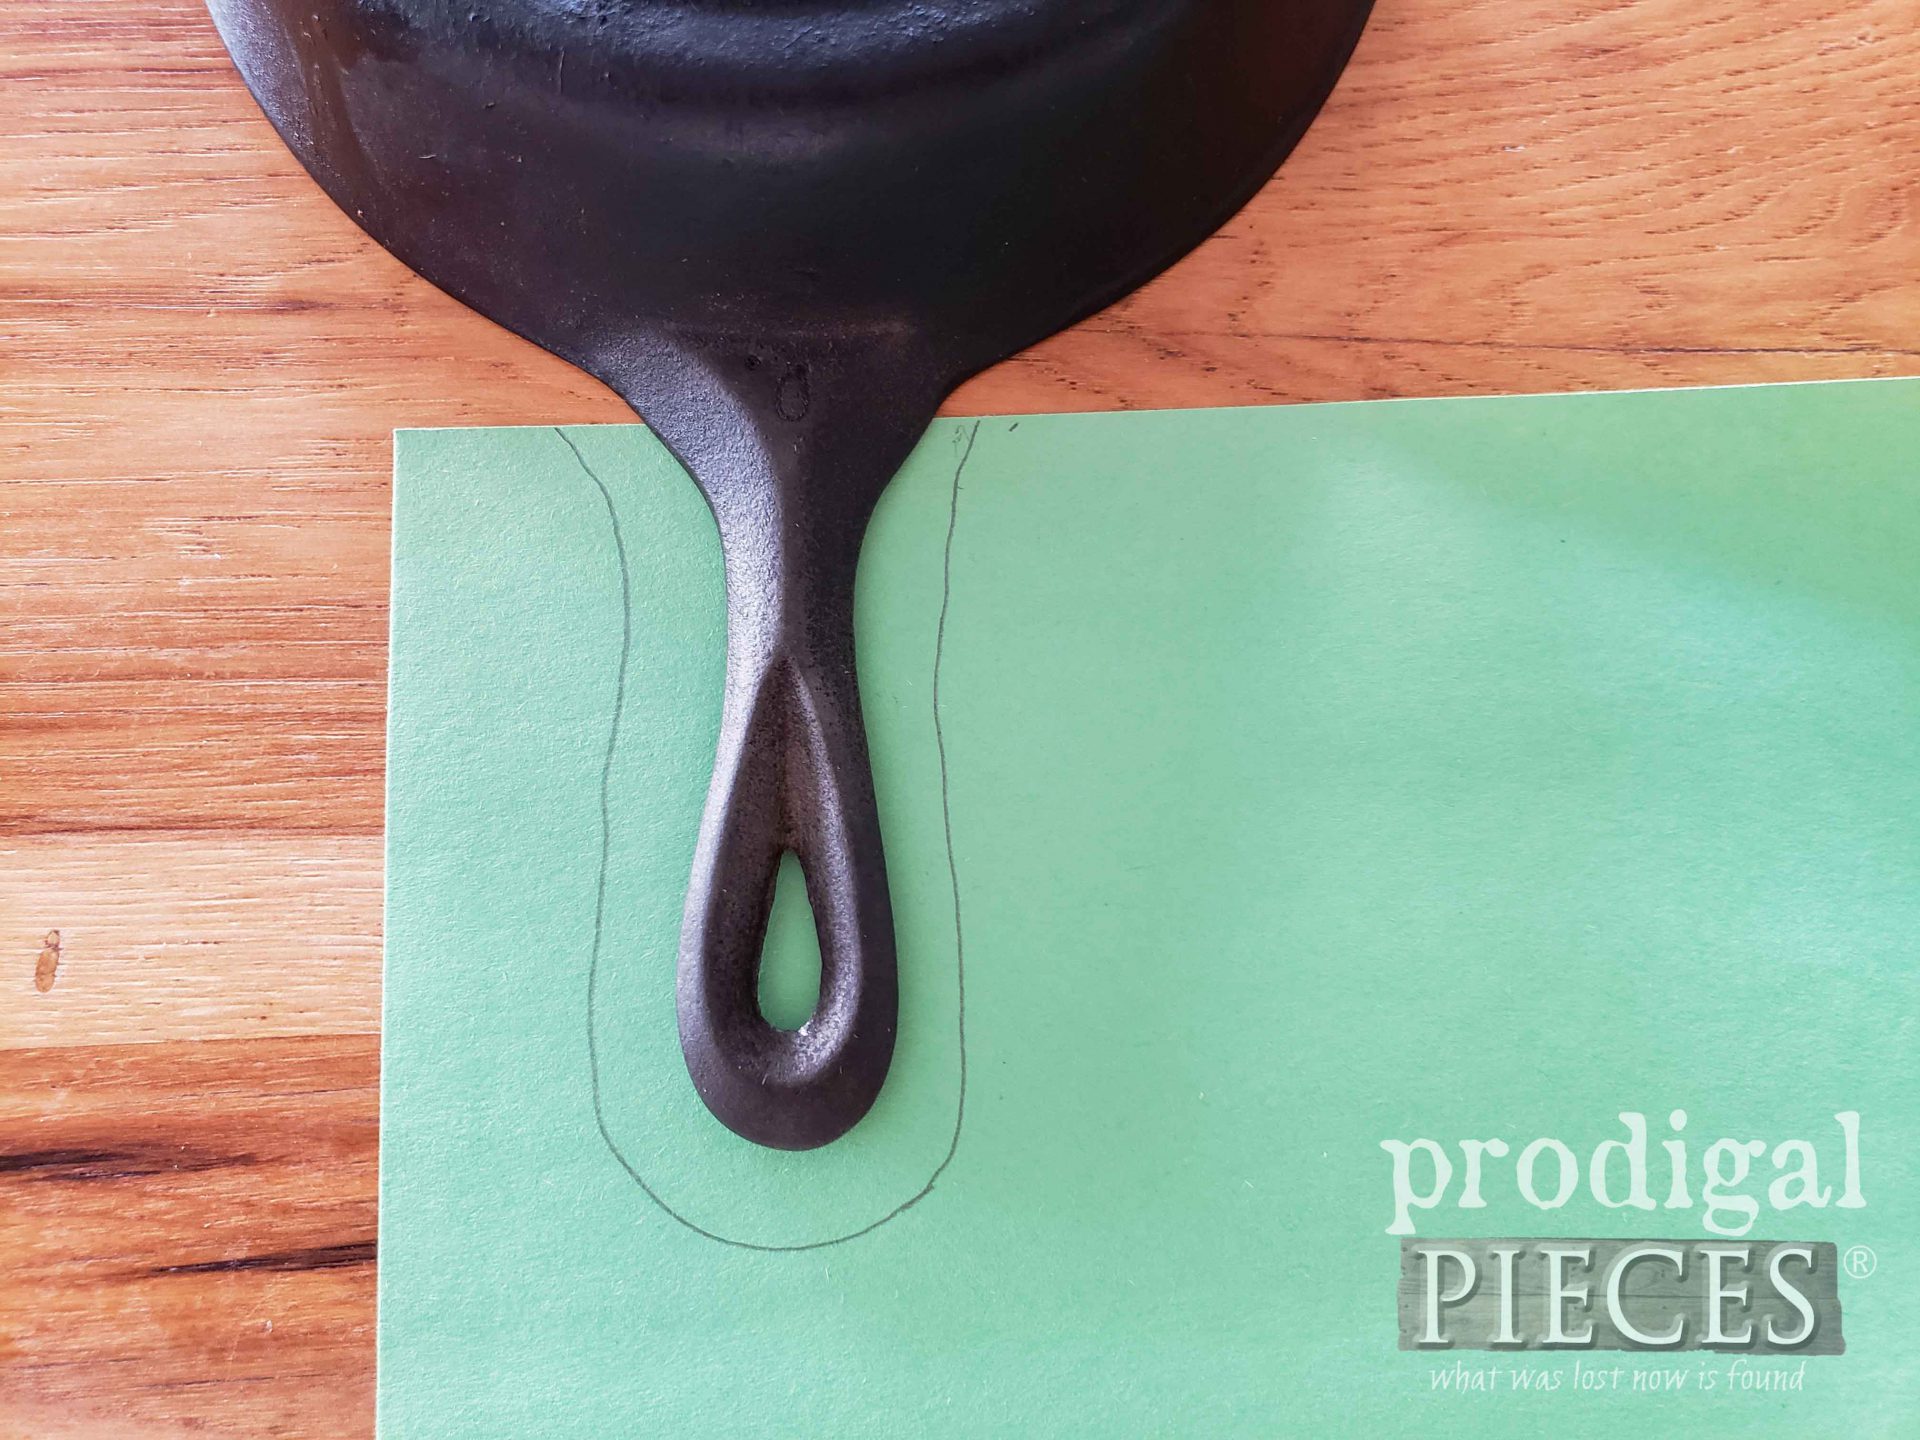
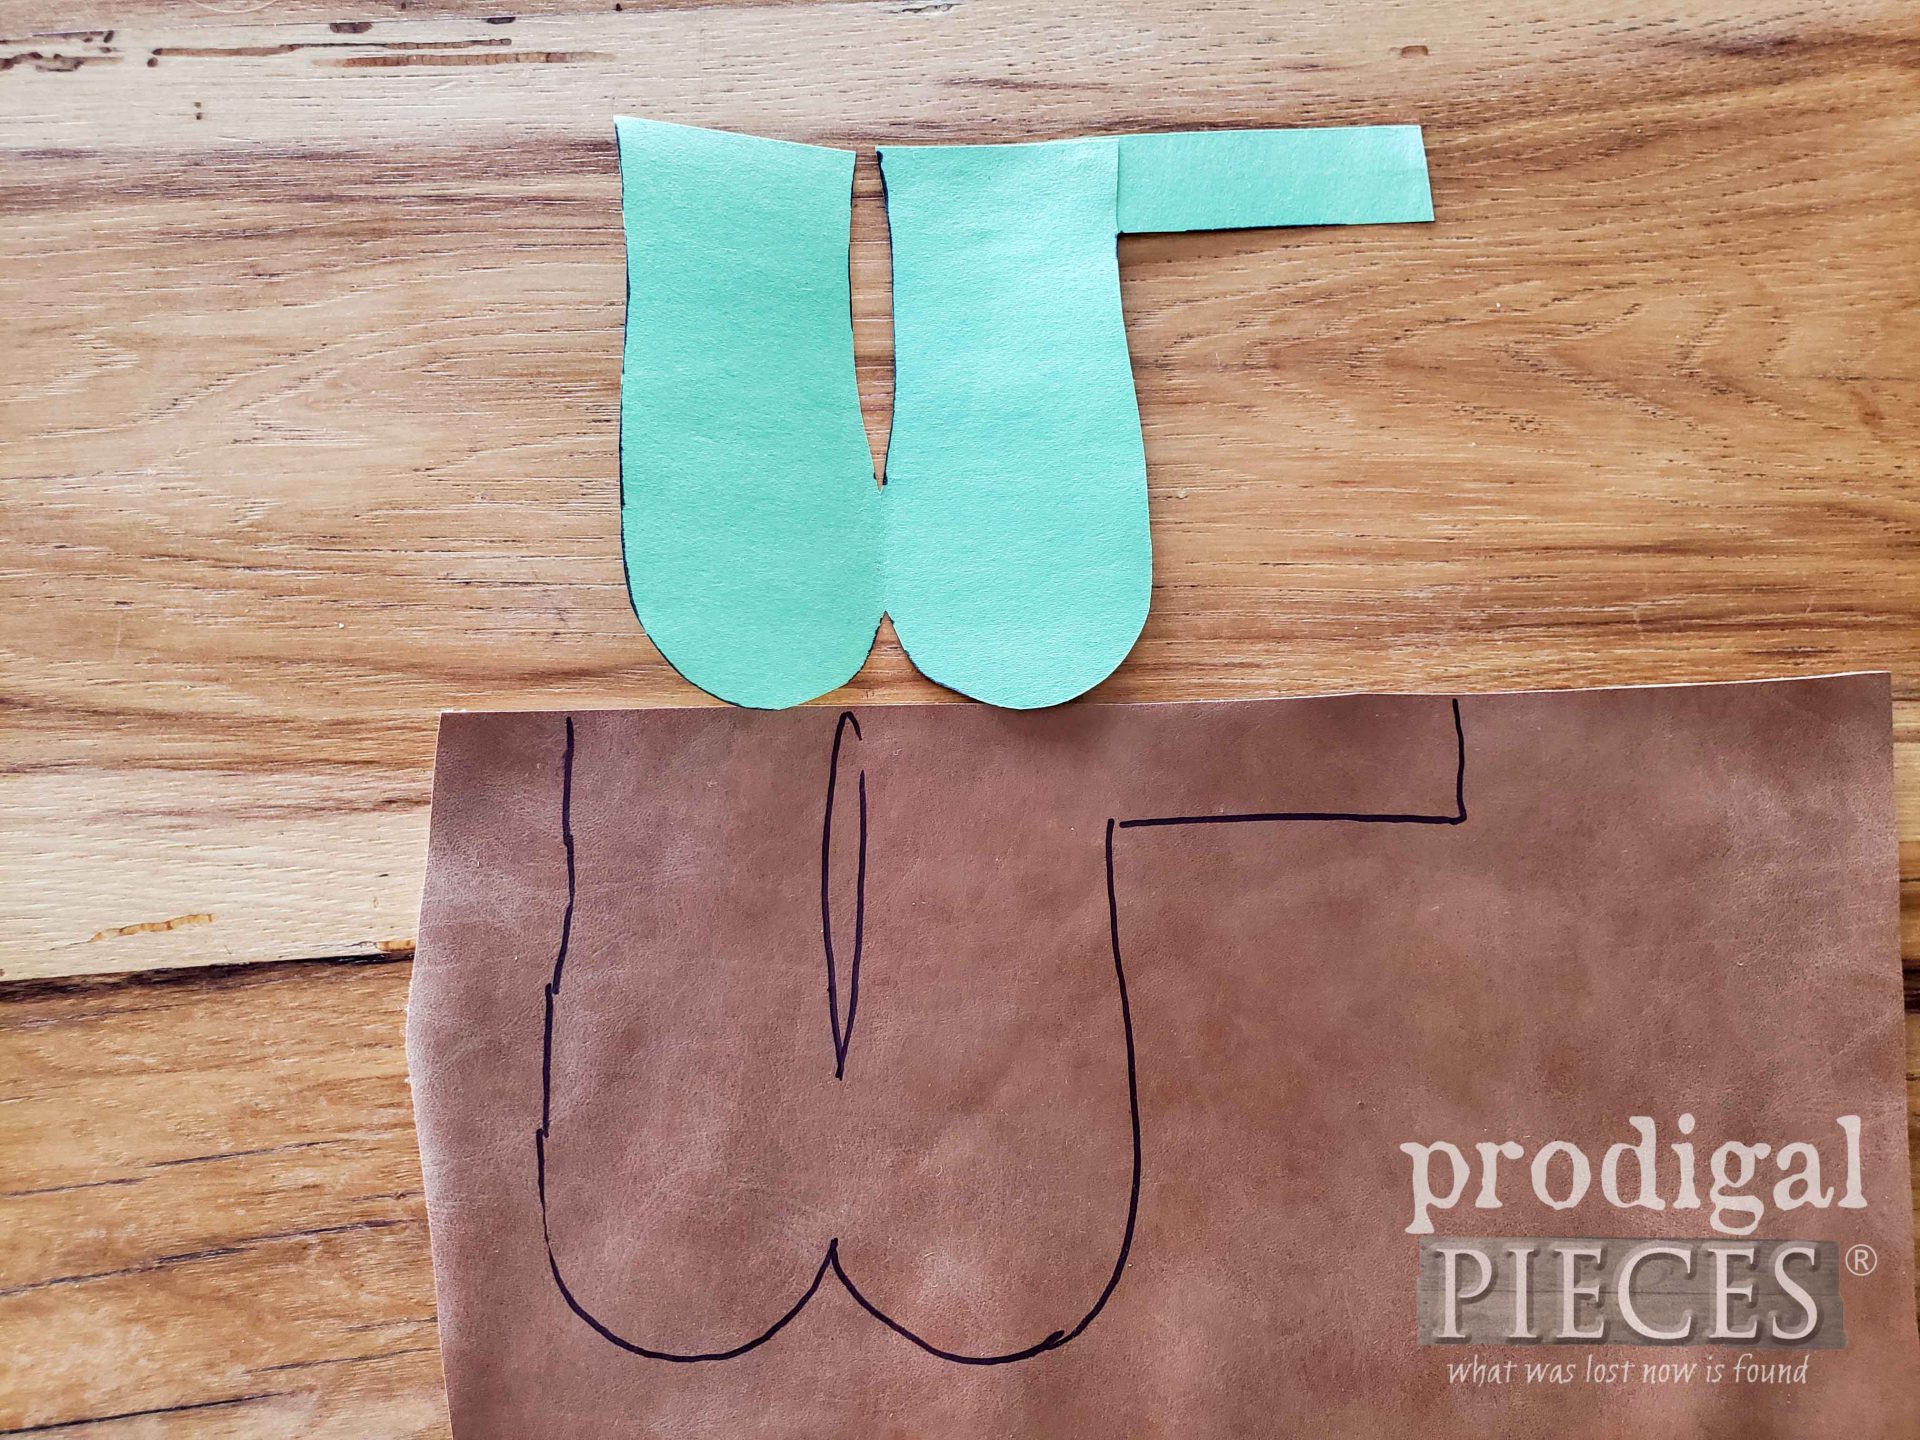
First, place your skillet upside down on your paper and trace the handle with a seam allowance of at least ½”.
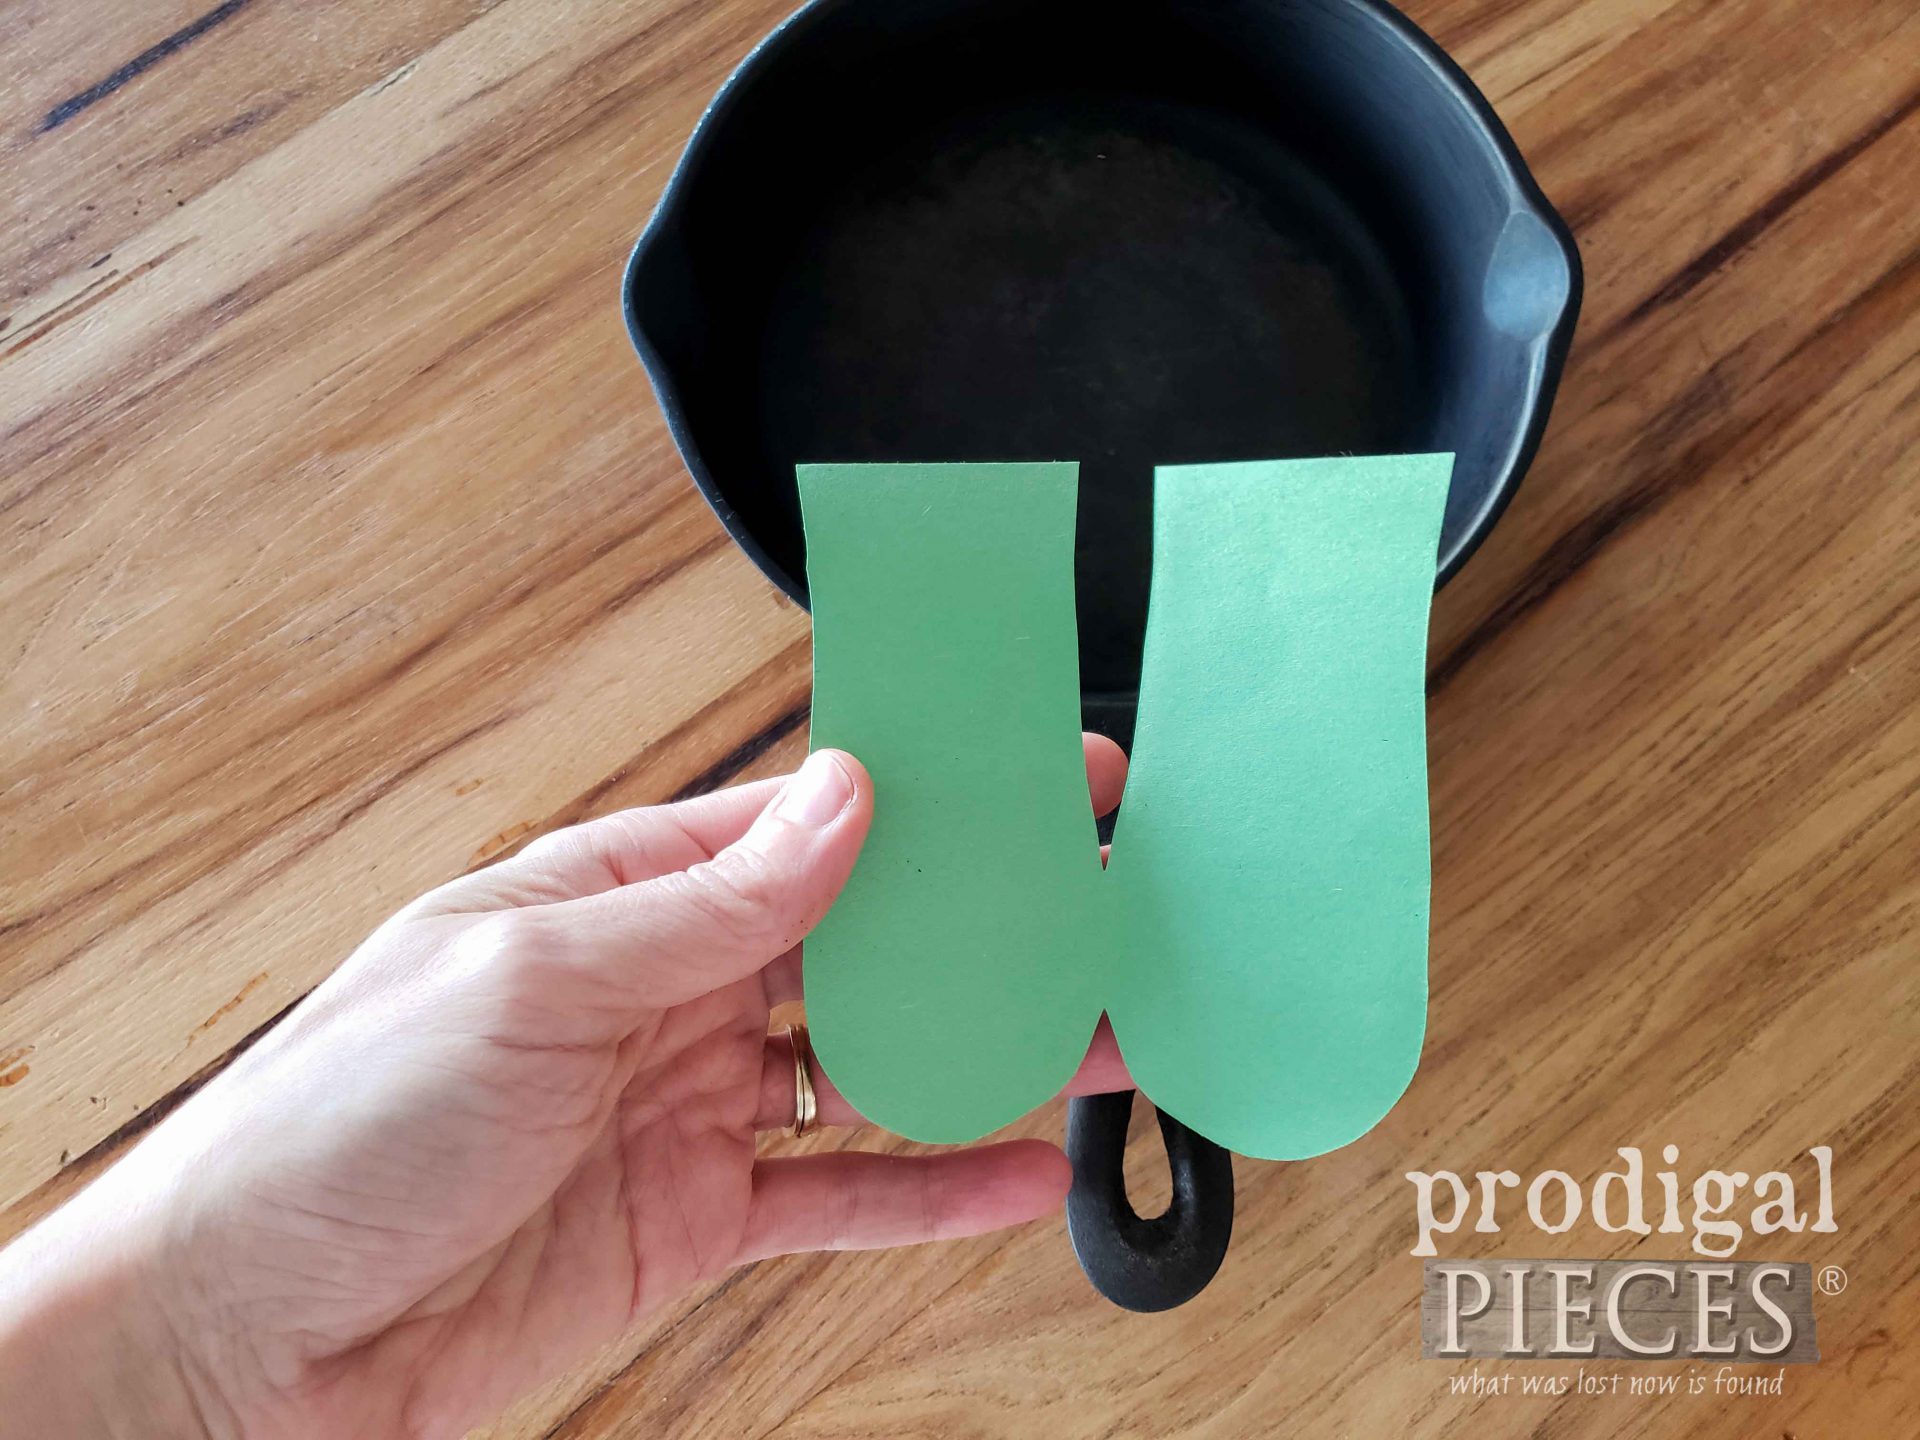
Fold your paper on the side that is larger. In my case, it’s the right side shown. Fold on the line like you’re making a heart back in grade school. (see video) Then, cut out leaving the folded side in tact.
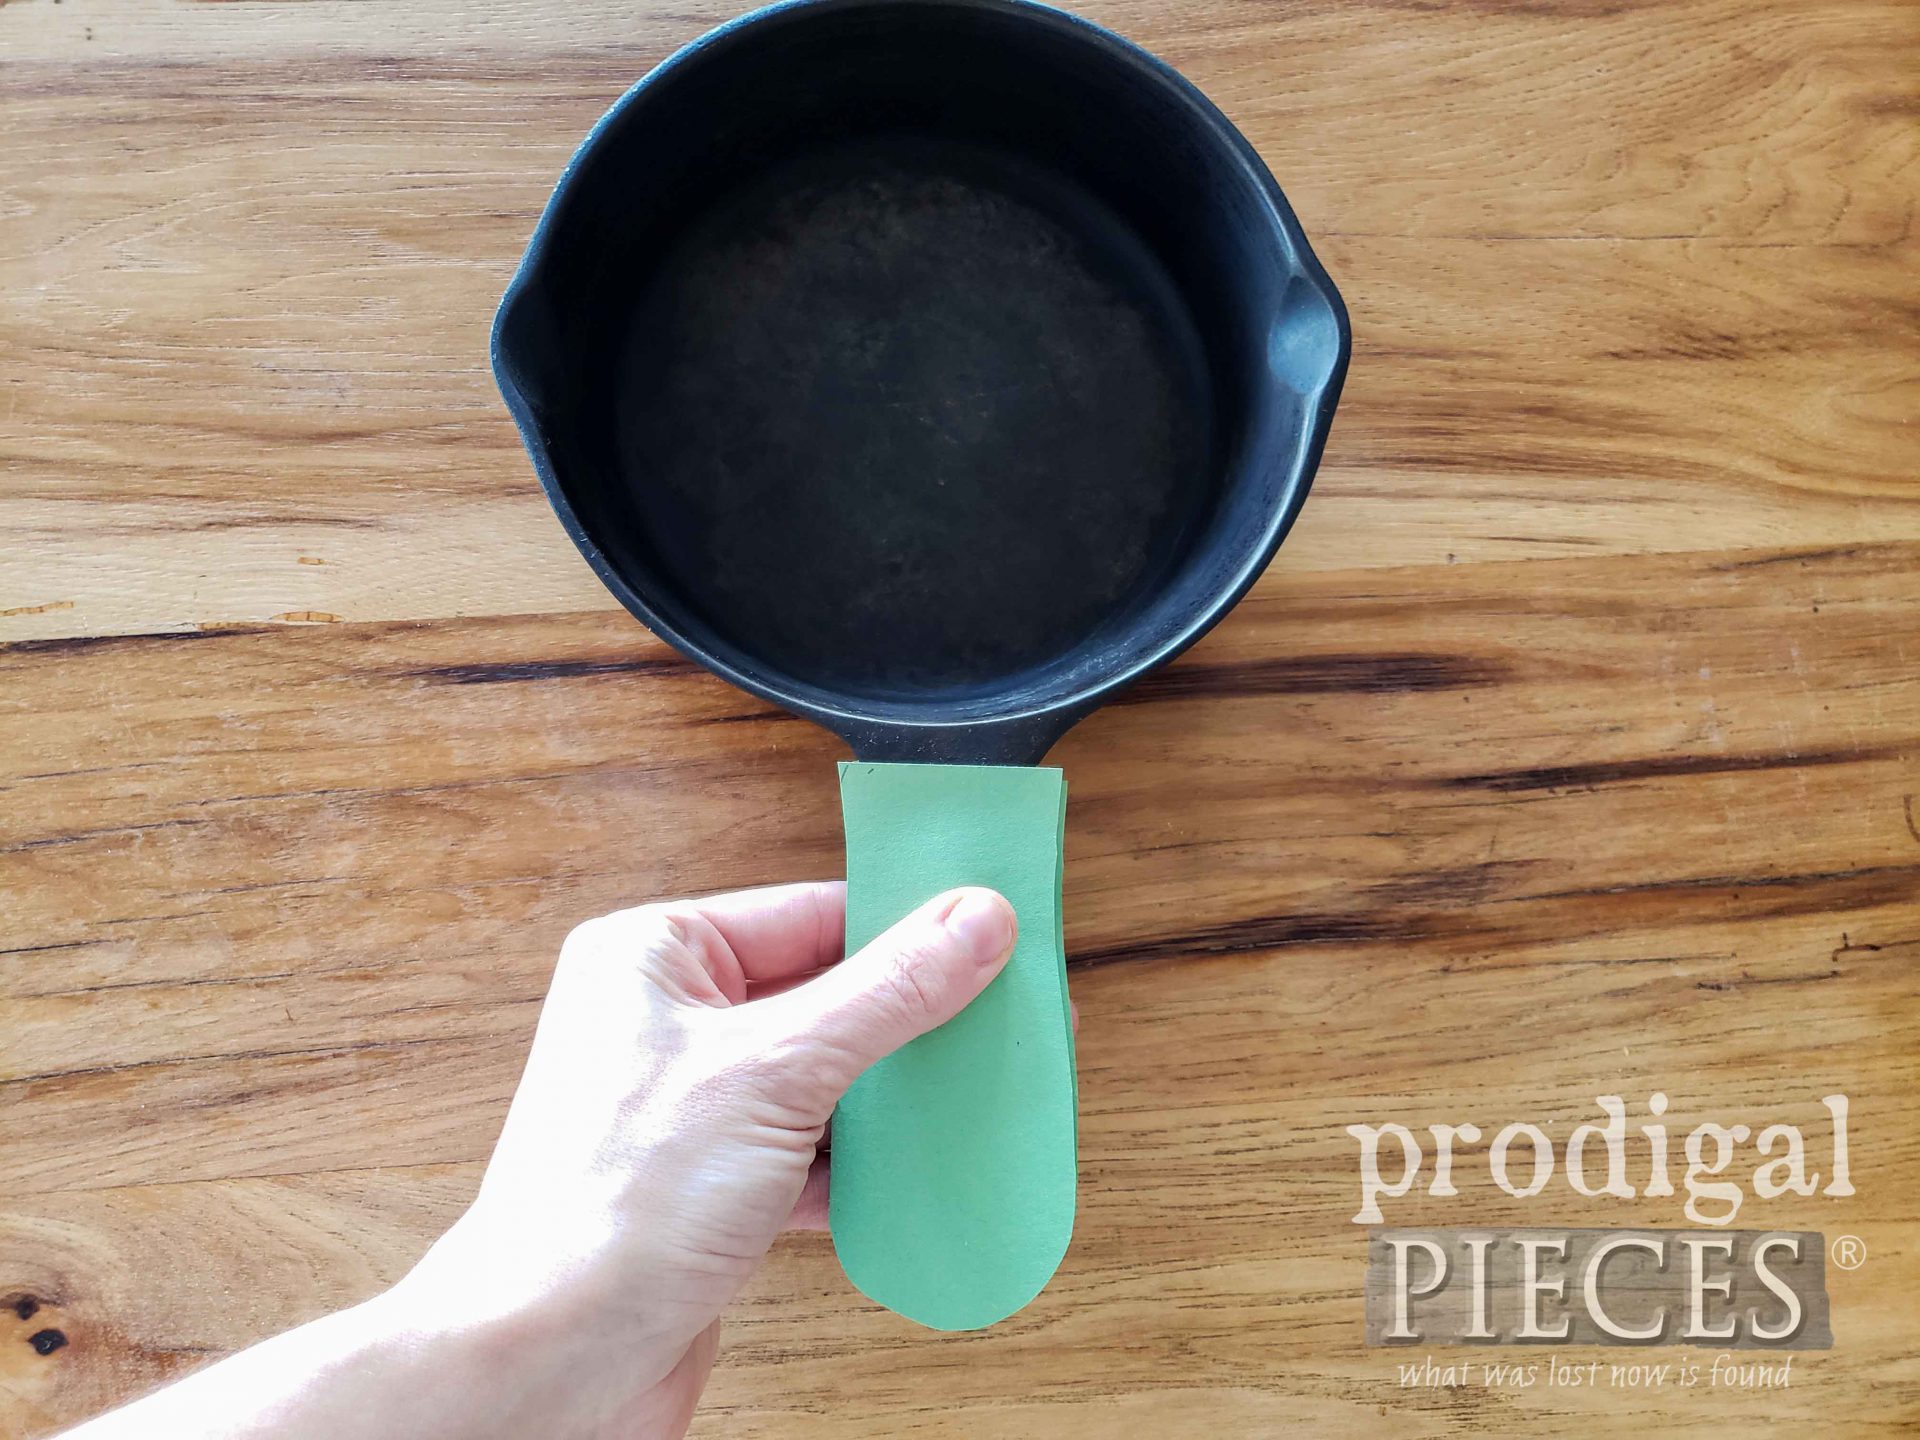
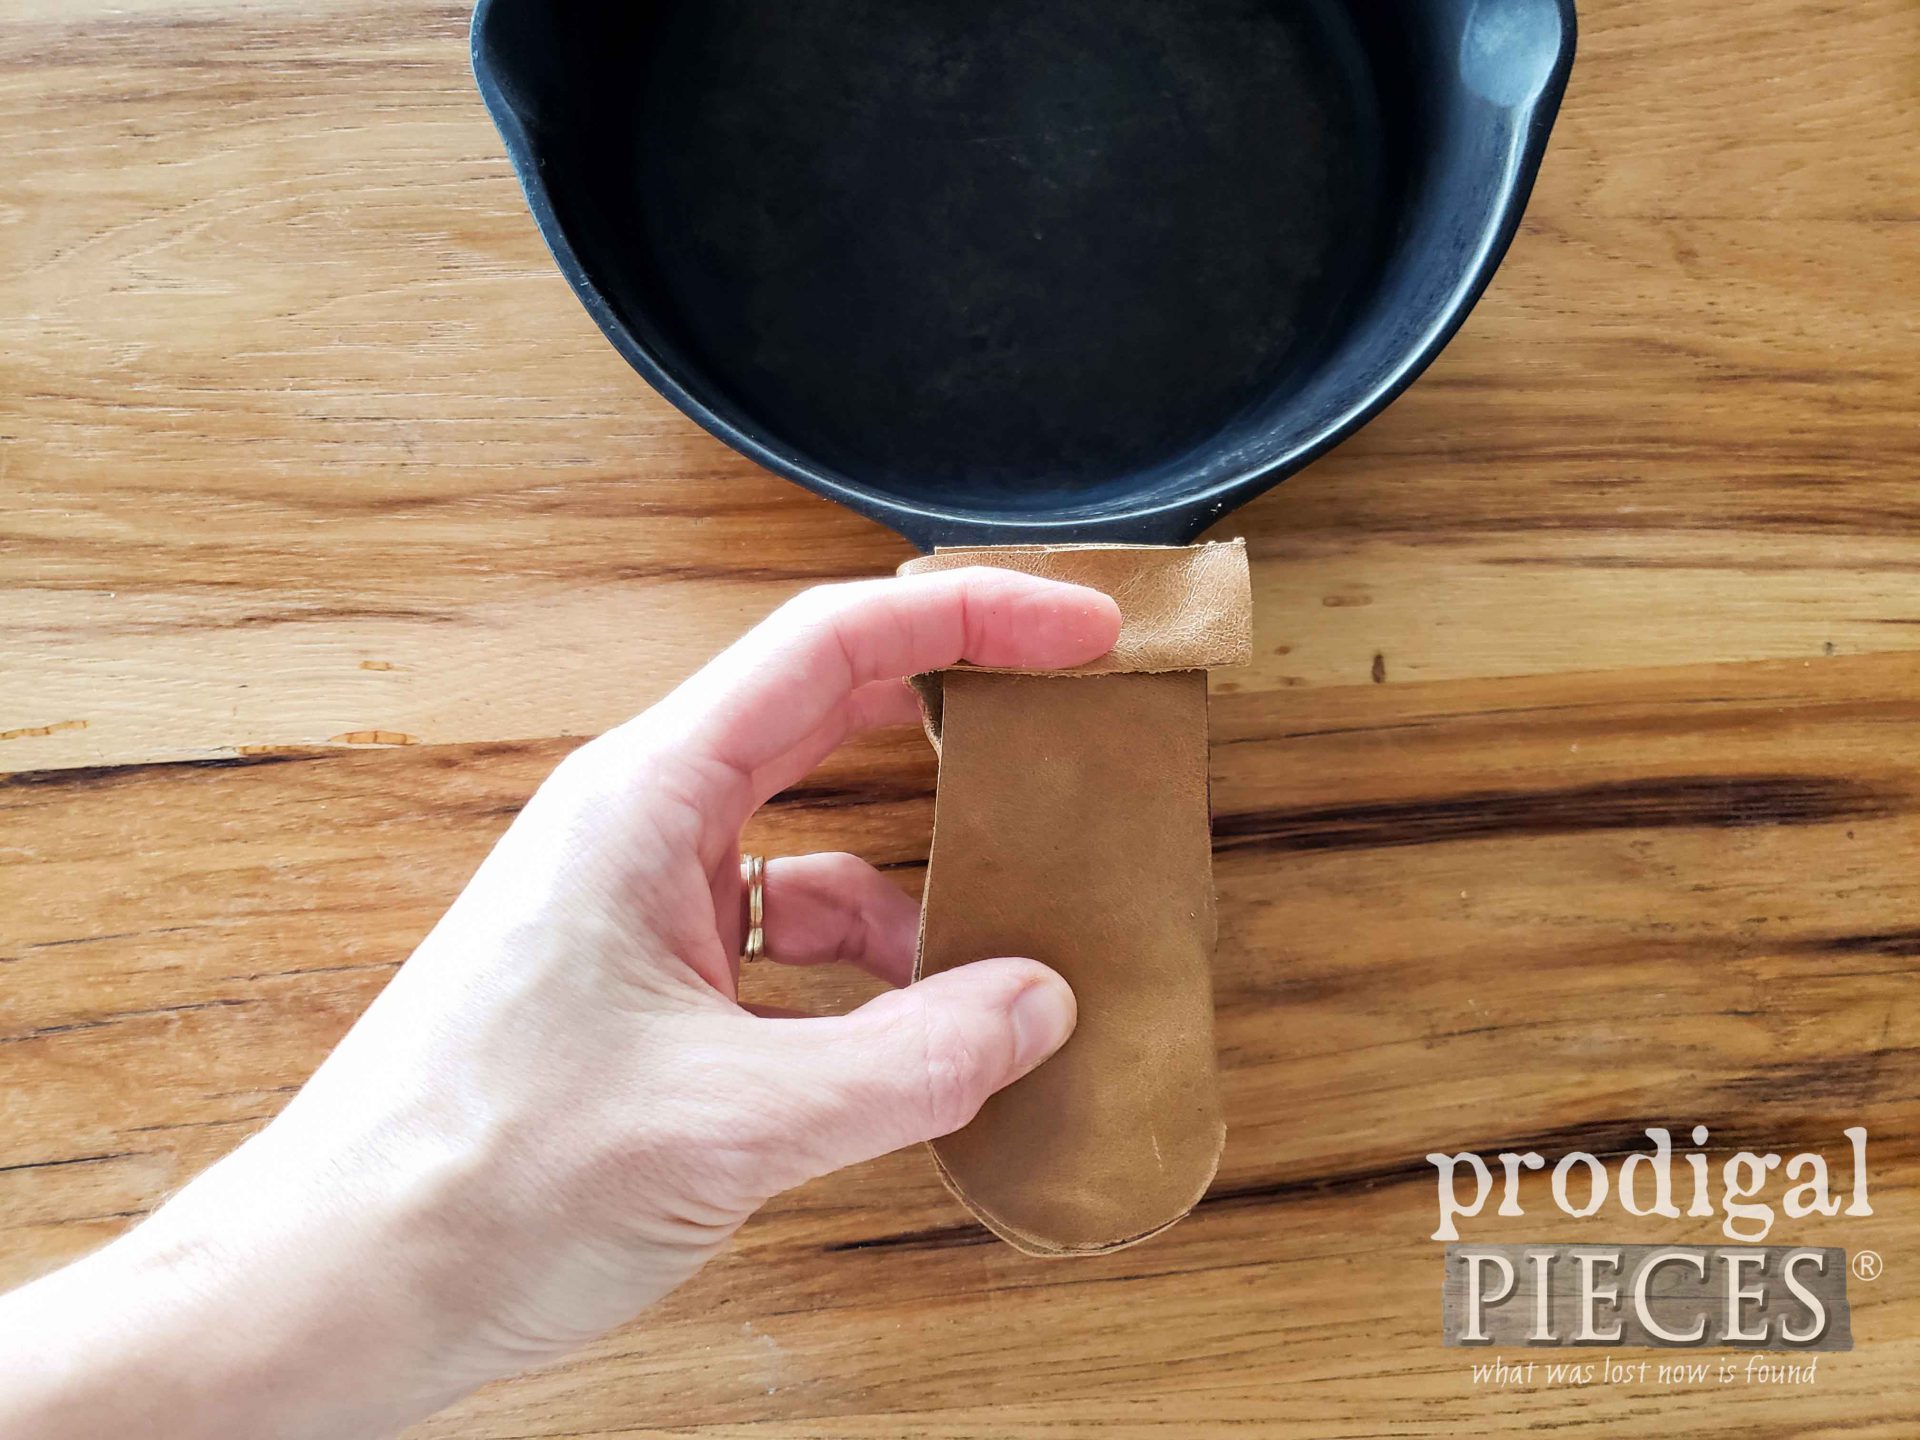
Give your rough template a test run to see if it fits right. Make any necessary changes or trace again, if need be.
STEP 2
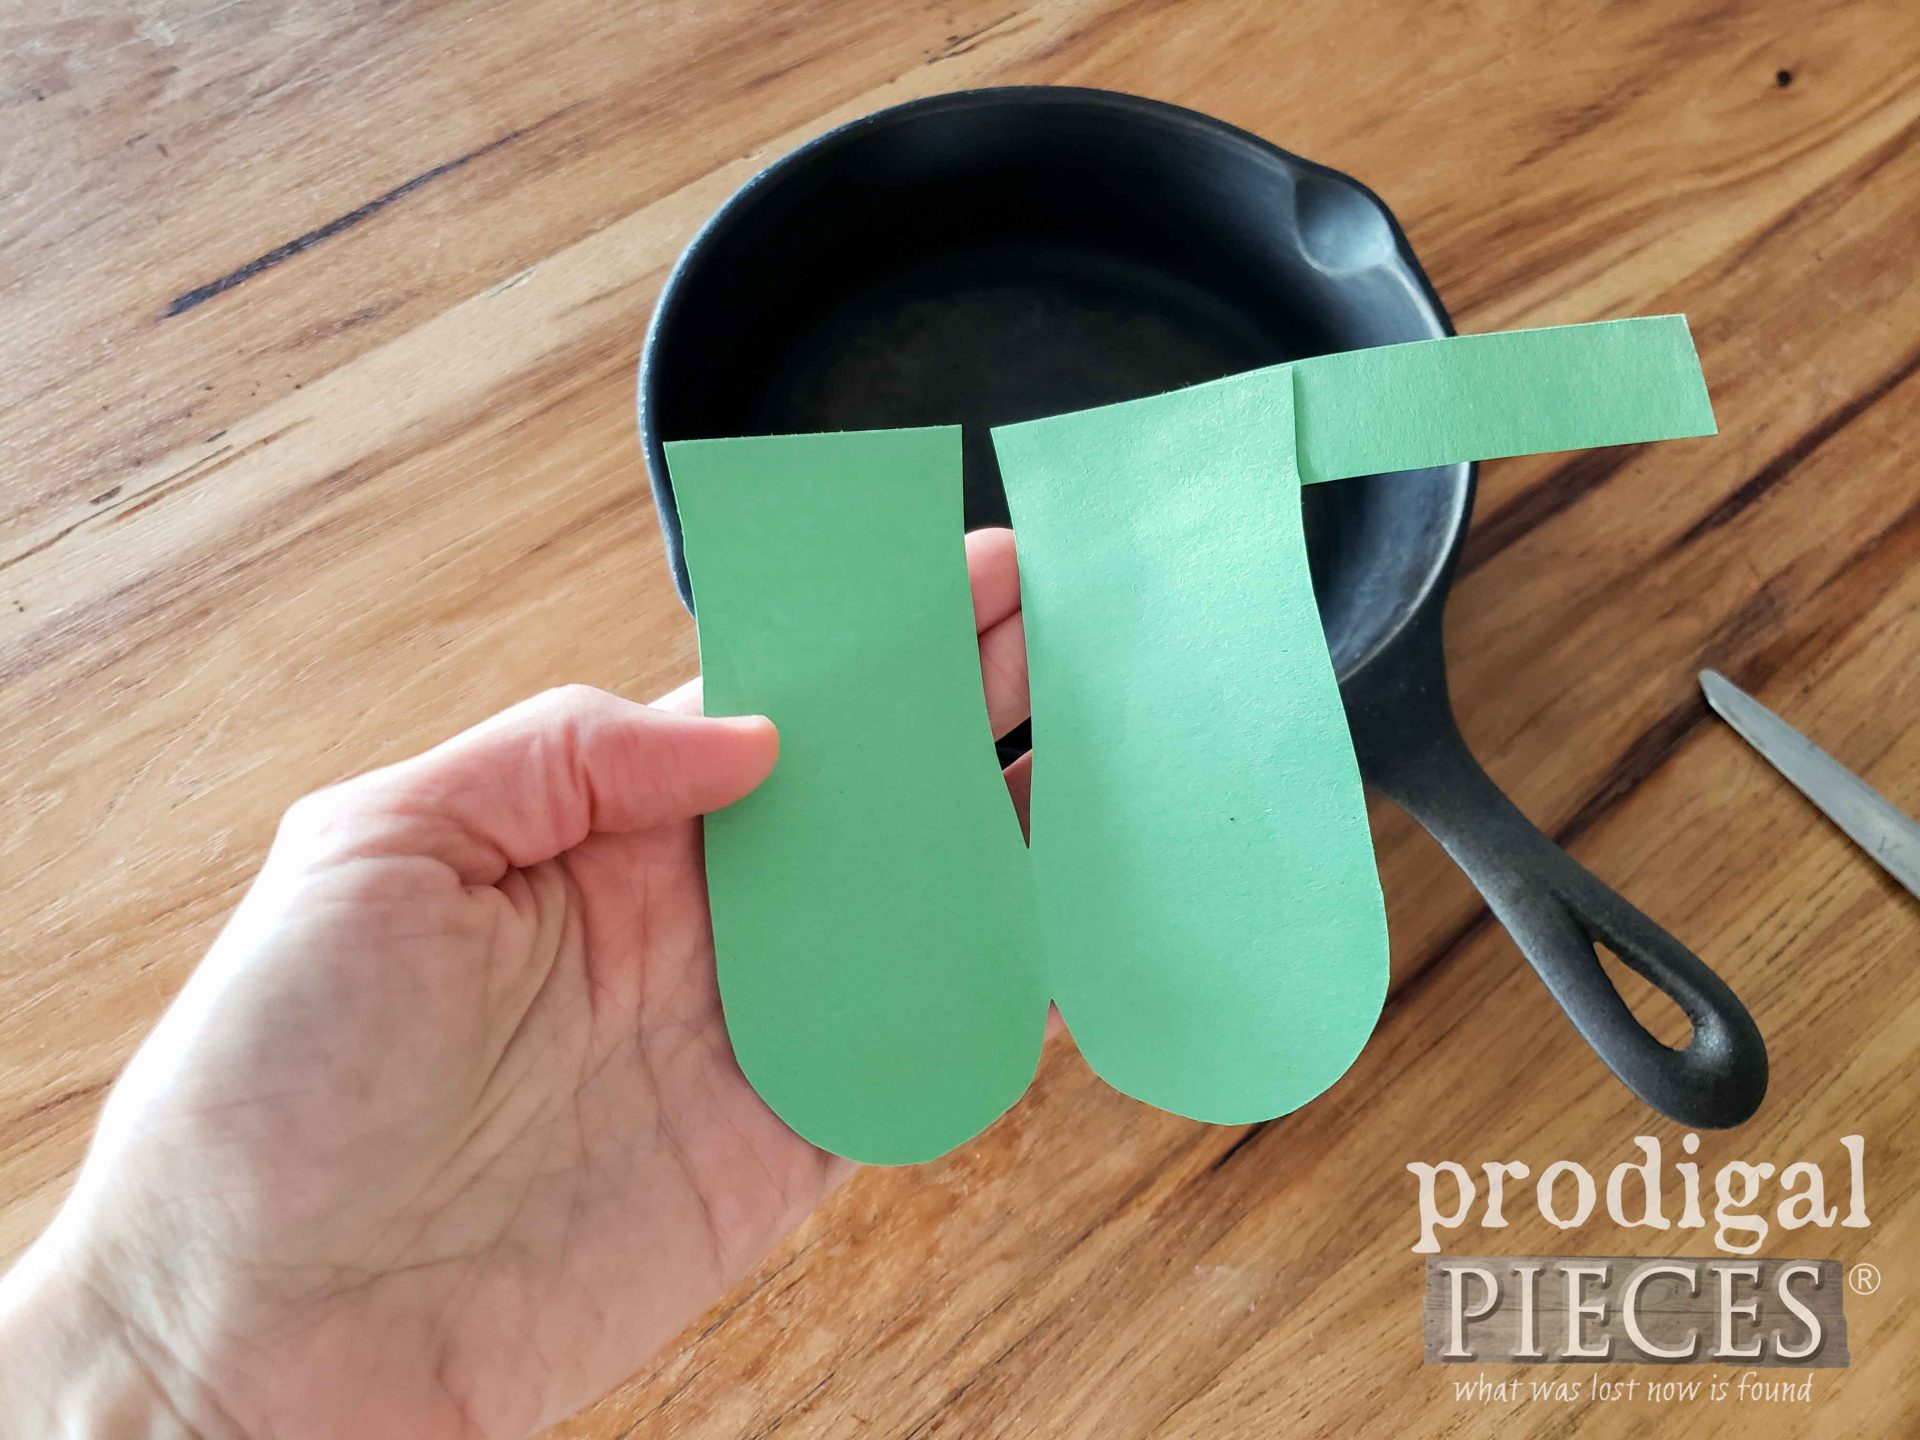
While doing the test run, cut a strip about ¾” – 1″ wide and plenty long. This will be to make a strap to secure the pot holder. However, I demonstrate this best in my video. Hold the strip on the back side flush to the edge. Next, wrap the strip around the pot handle and cut it to length on the opposing top side.
Glue the cut strip to the one side of the template.
STEP 3
Then, cut your purse with fabric scissors into a large enough section that you can trace your template. After that, trace your template and cut out.
Again, do a test run and tweak your leather cut-out if need be. It should follow the lines of the handle so you can stitch.
STEP 4
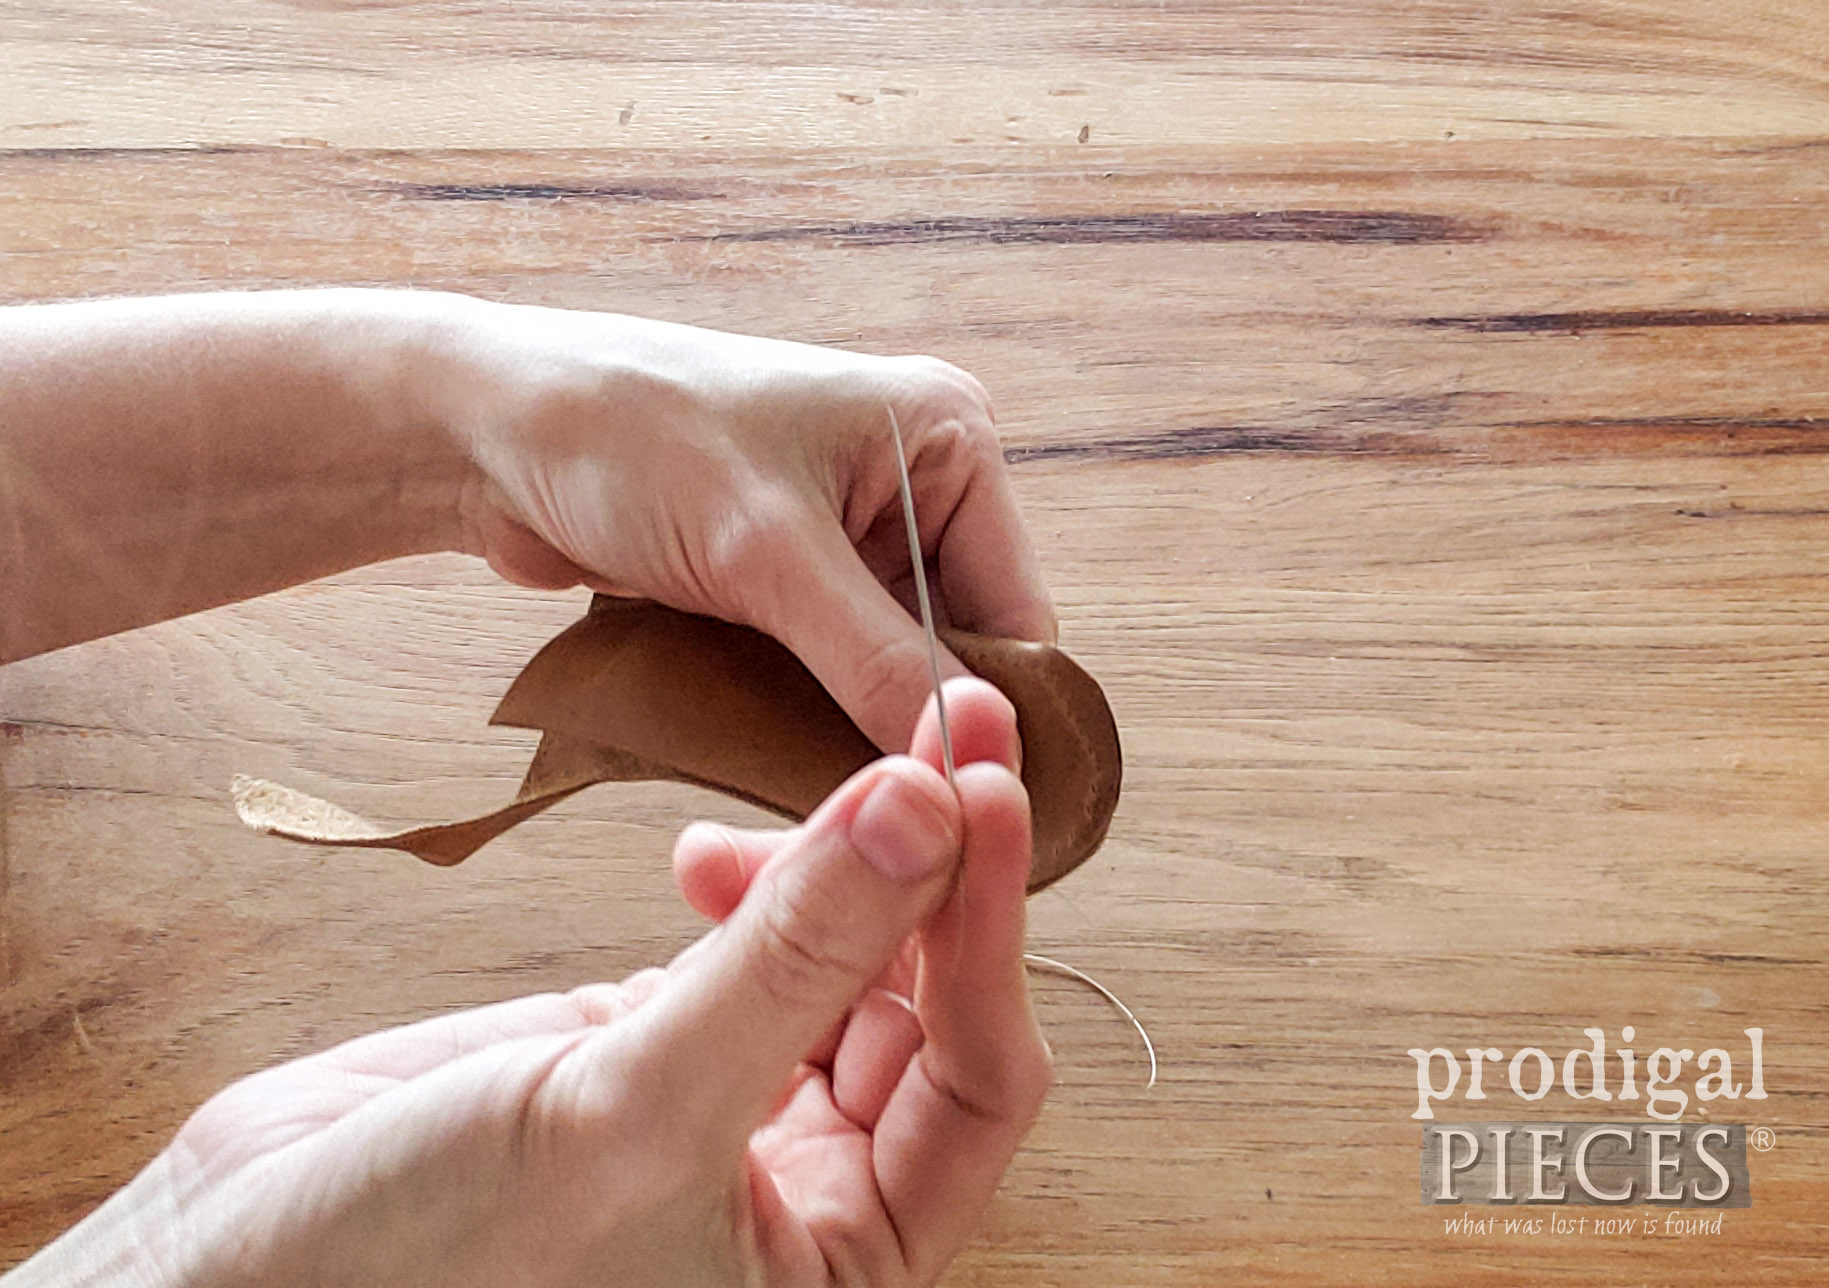
Next, grab that awl or leather hole punch and prep the pot holder for thread. (see video) In addition, you can also use a leather needle in your sewing machine. The easiest thread by hand is leather thread. However, you can also use upholstery thread in your machine too.
Stitch the pot holder shut, but leave open about 2″ on the opening side so that pot handle can slide in. What is more, check it for fitting and make any adjustments necessary.
STEP 5
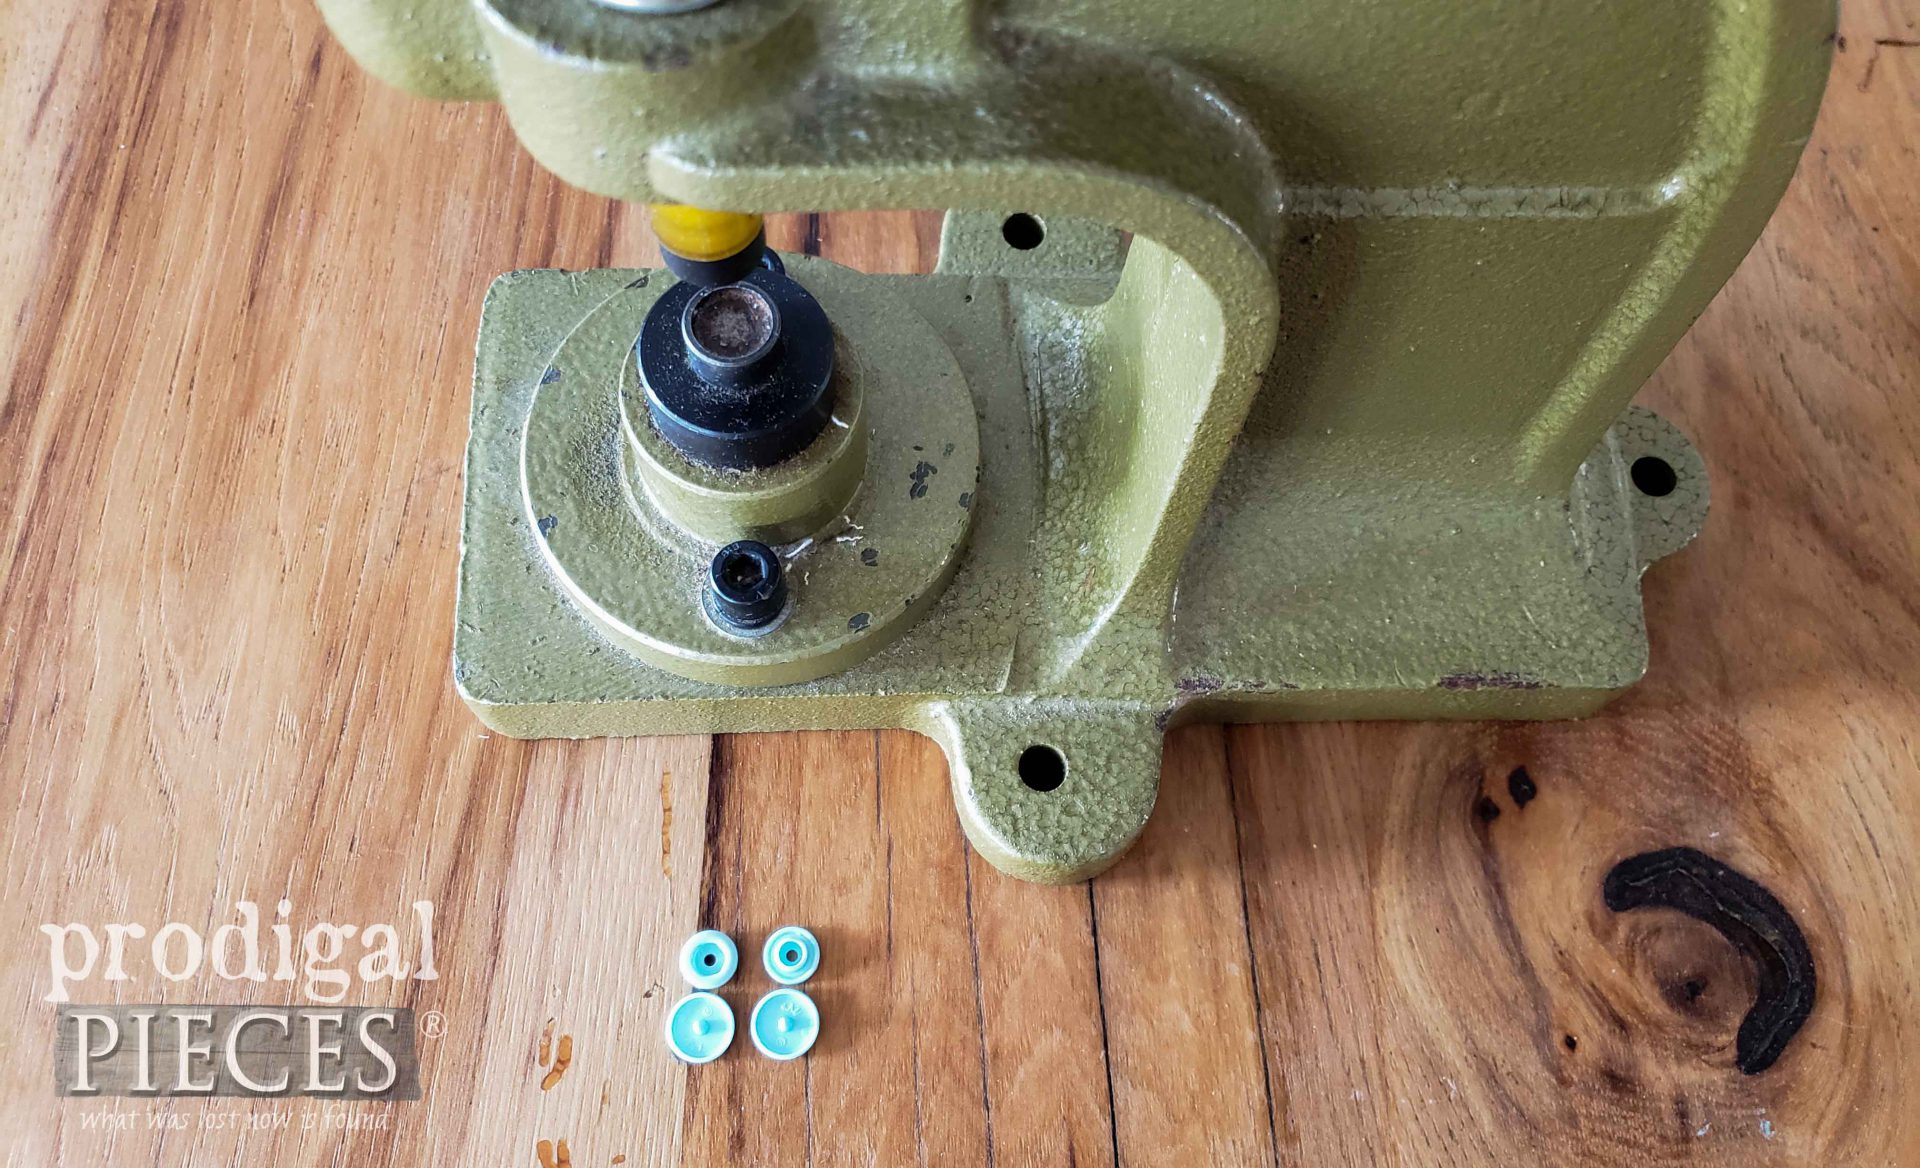
Last, but not least, we need to add a closure. I already own a KAM snap press, but you could use several tools to do the same. (I’ve used my press to make cloth diapers, bags, toys…so much!) There’s a hand-held press, a snap kit, or even just use an awl and a head button. (see product list above)
Finally, check to make sure the snap rests securely. And you’re done!
WRAP-UP
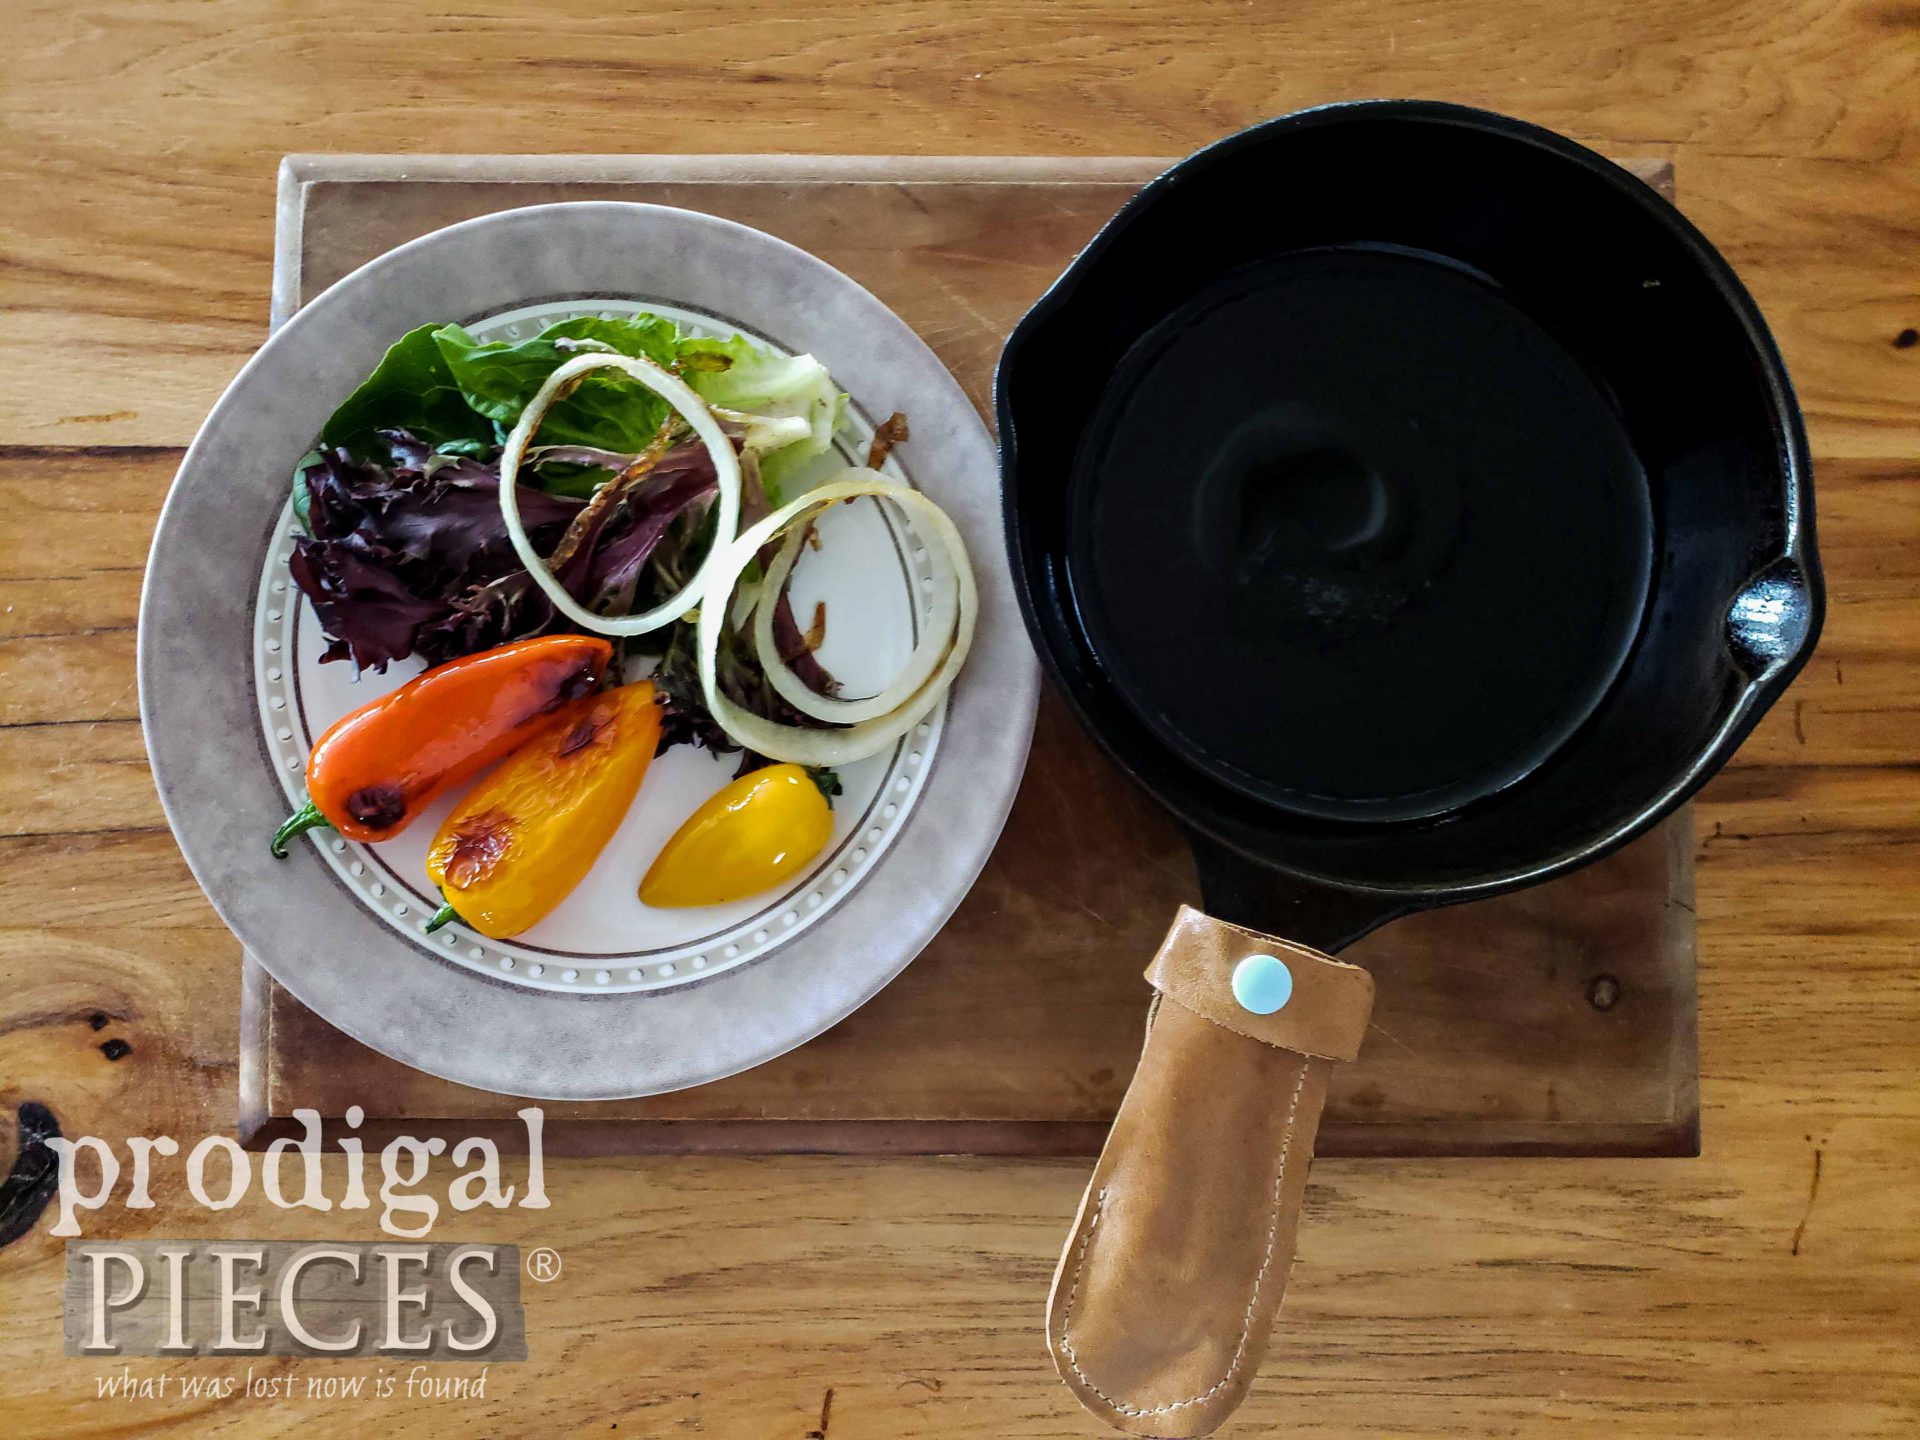
Wasn’t that easy? Likewise, the best part is that you can make them to fit any pot in your kitchen arsenal. No more slipping or problems with the one-size-fits-all holders.
Not only did I have a blast sharing this with you, but I hope you are inspired to not settle for mediocrity when it comes to your home. If you have a willing spirit, you CAN DO IT.
In addition, pin and share my upcycled leather pot holder. There are more folks out there who need inspired to not only give DIY a try but save items from the waste system.
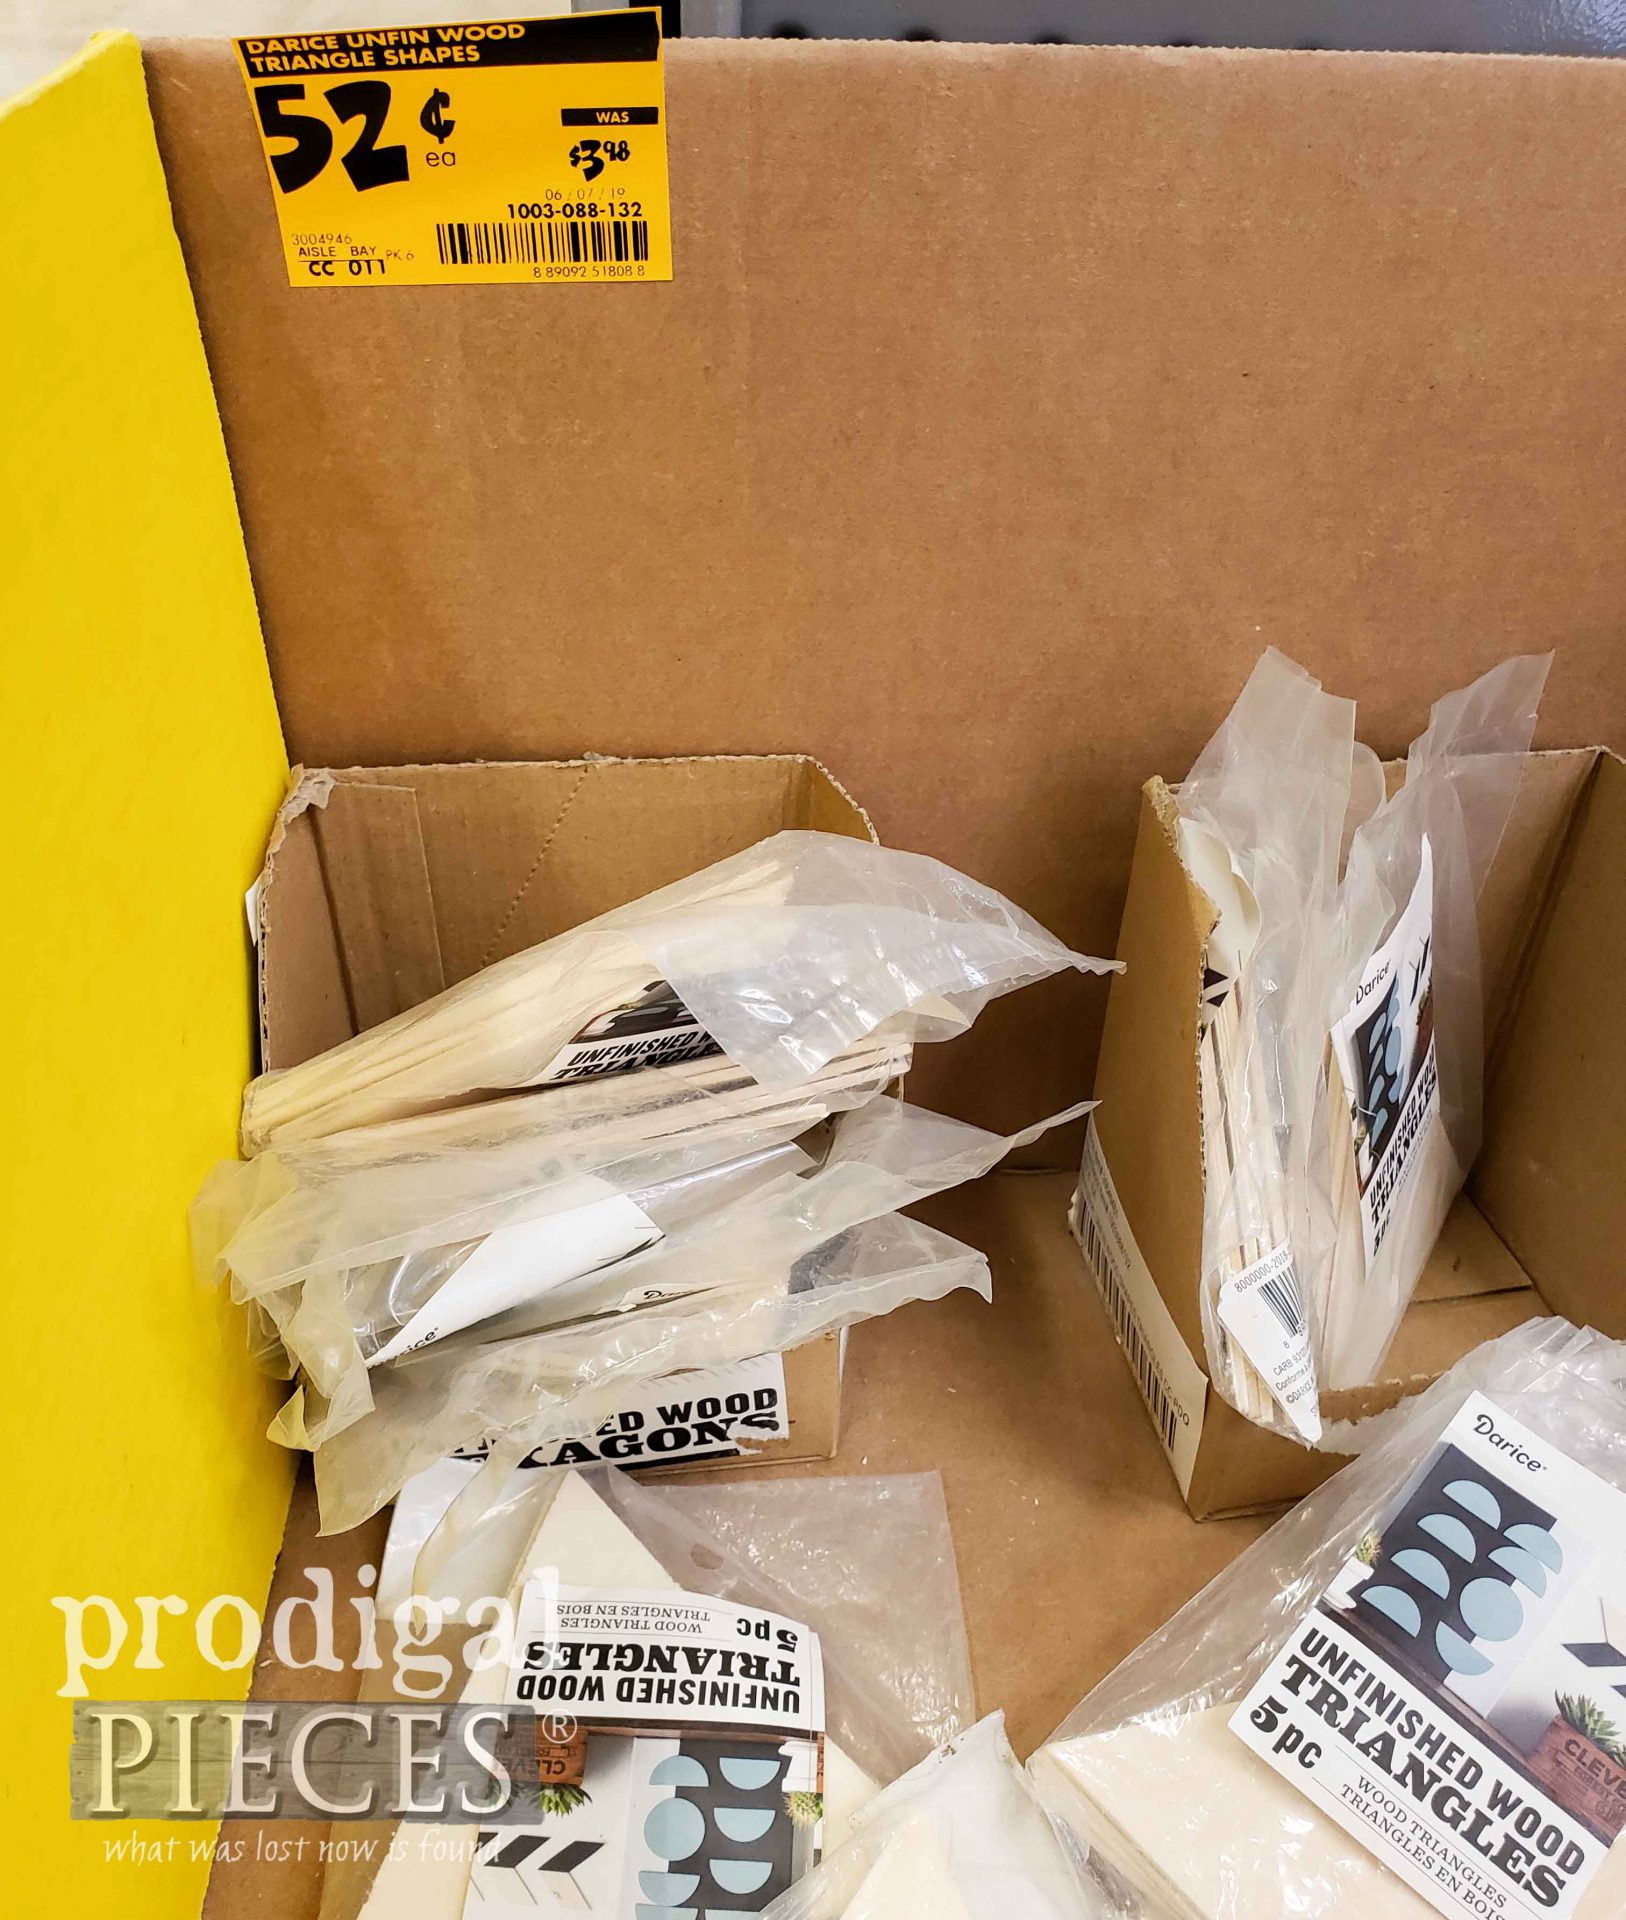
Up next, I know I’m not the only one that goes ga-ga over a sweet clearance find. See the fun HERE.
Before you go, be sure to sign up for my newsletter. Until next time!



Nice! I’ll have to keep my eyes open for some leather! ?
Now what are you going to do with ‘practically free’ wood triangles…??? Can’t wait to see!
Thanks! Yes, so many uses for it. 😀 I’m so excited to share what became of those.
Nice! And I bet my grandmother’s 1935 Singer sewing machine will sew right through my leather! thanks for the idea!
I second that nomination for her machine. Awesome!!
What a clever project Larissa! That’s a perfect reuse.
My husband is a master leather craftsman and offers this advice. When working with medium weight leathers and smaller projects like this purse, many of the older sewing machines (I personally have 3 sewing machines but prefer my Mom’s 1950s Pfaff) will probably work well. But if you’re working on a project using lighter weight leather or running longer seams, you might want to take the project to a leather shop or try the trick below. You see, a normal sewing machine has the single lower set of teeth called a “feed dog” which pulls your usually pinned fabric layers through under the needle. But leather specific sewing machines also have a “walker foot” which also has those teeth which advances the upper layer of leather at the same rate. Otherwise the lower layer tends to get pulled through and advanced quicker because the leather is both sticker and less flexible than most fabrics.
So here’s the trick: contact cement. You use a skinny paint brush to apply a thin layer on the inside of both of the leather pieces ONLY where the stitching will go. Let it dry, then carefully align and press the pieces together. Voila!
Thanks, Shelly! This is definitely a newbie project and I knew all that info. you mentioned. I’m jealous of your husband’s skilss. 🙂 I do have a walking foot and love to work with tanned leather for tooling and such. I was just trying to keep it simple in this regard. Gotta love that contact cement. So handy and brings back ol’ school days! haha! Thanks for the suggestions – always fun to learn more.