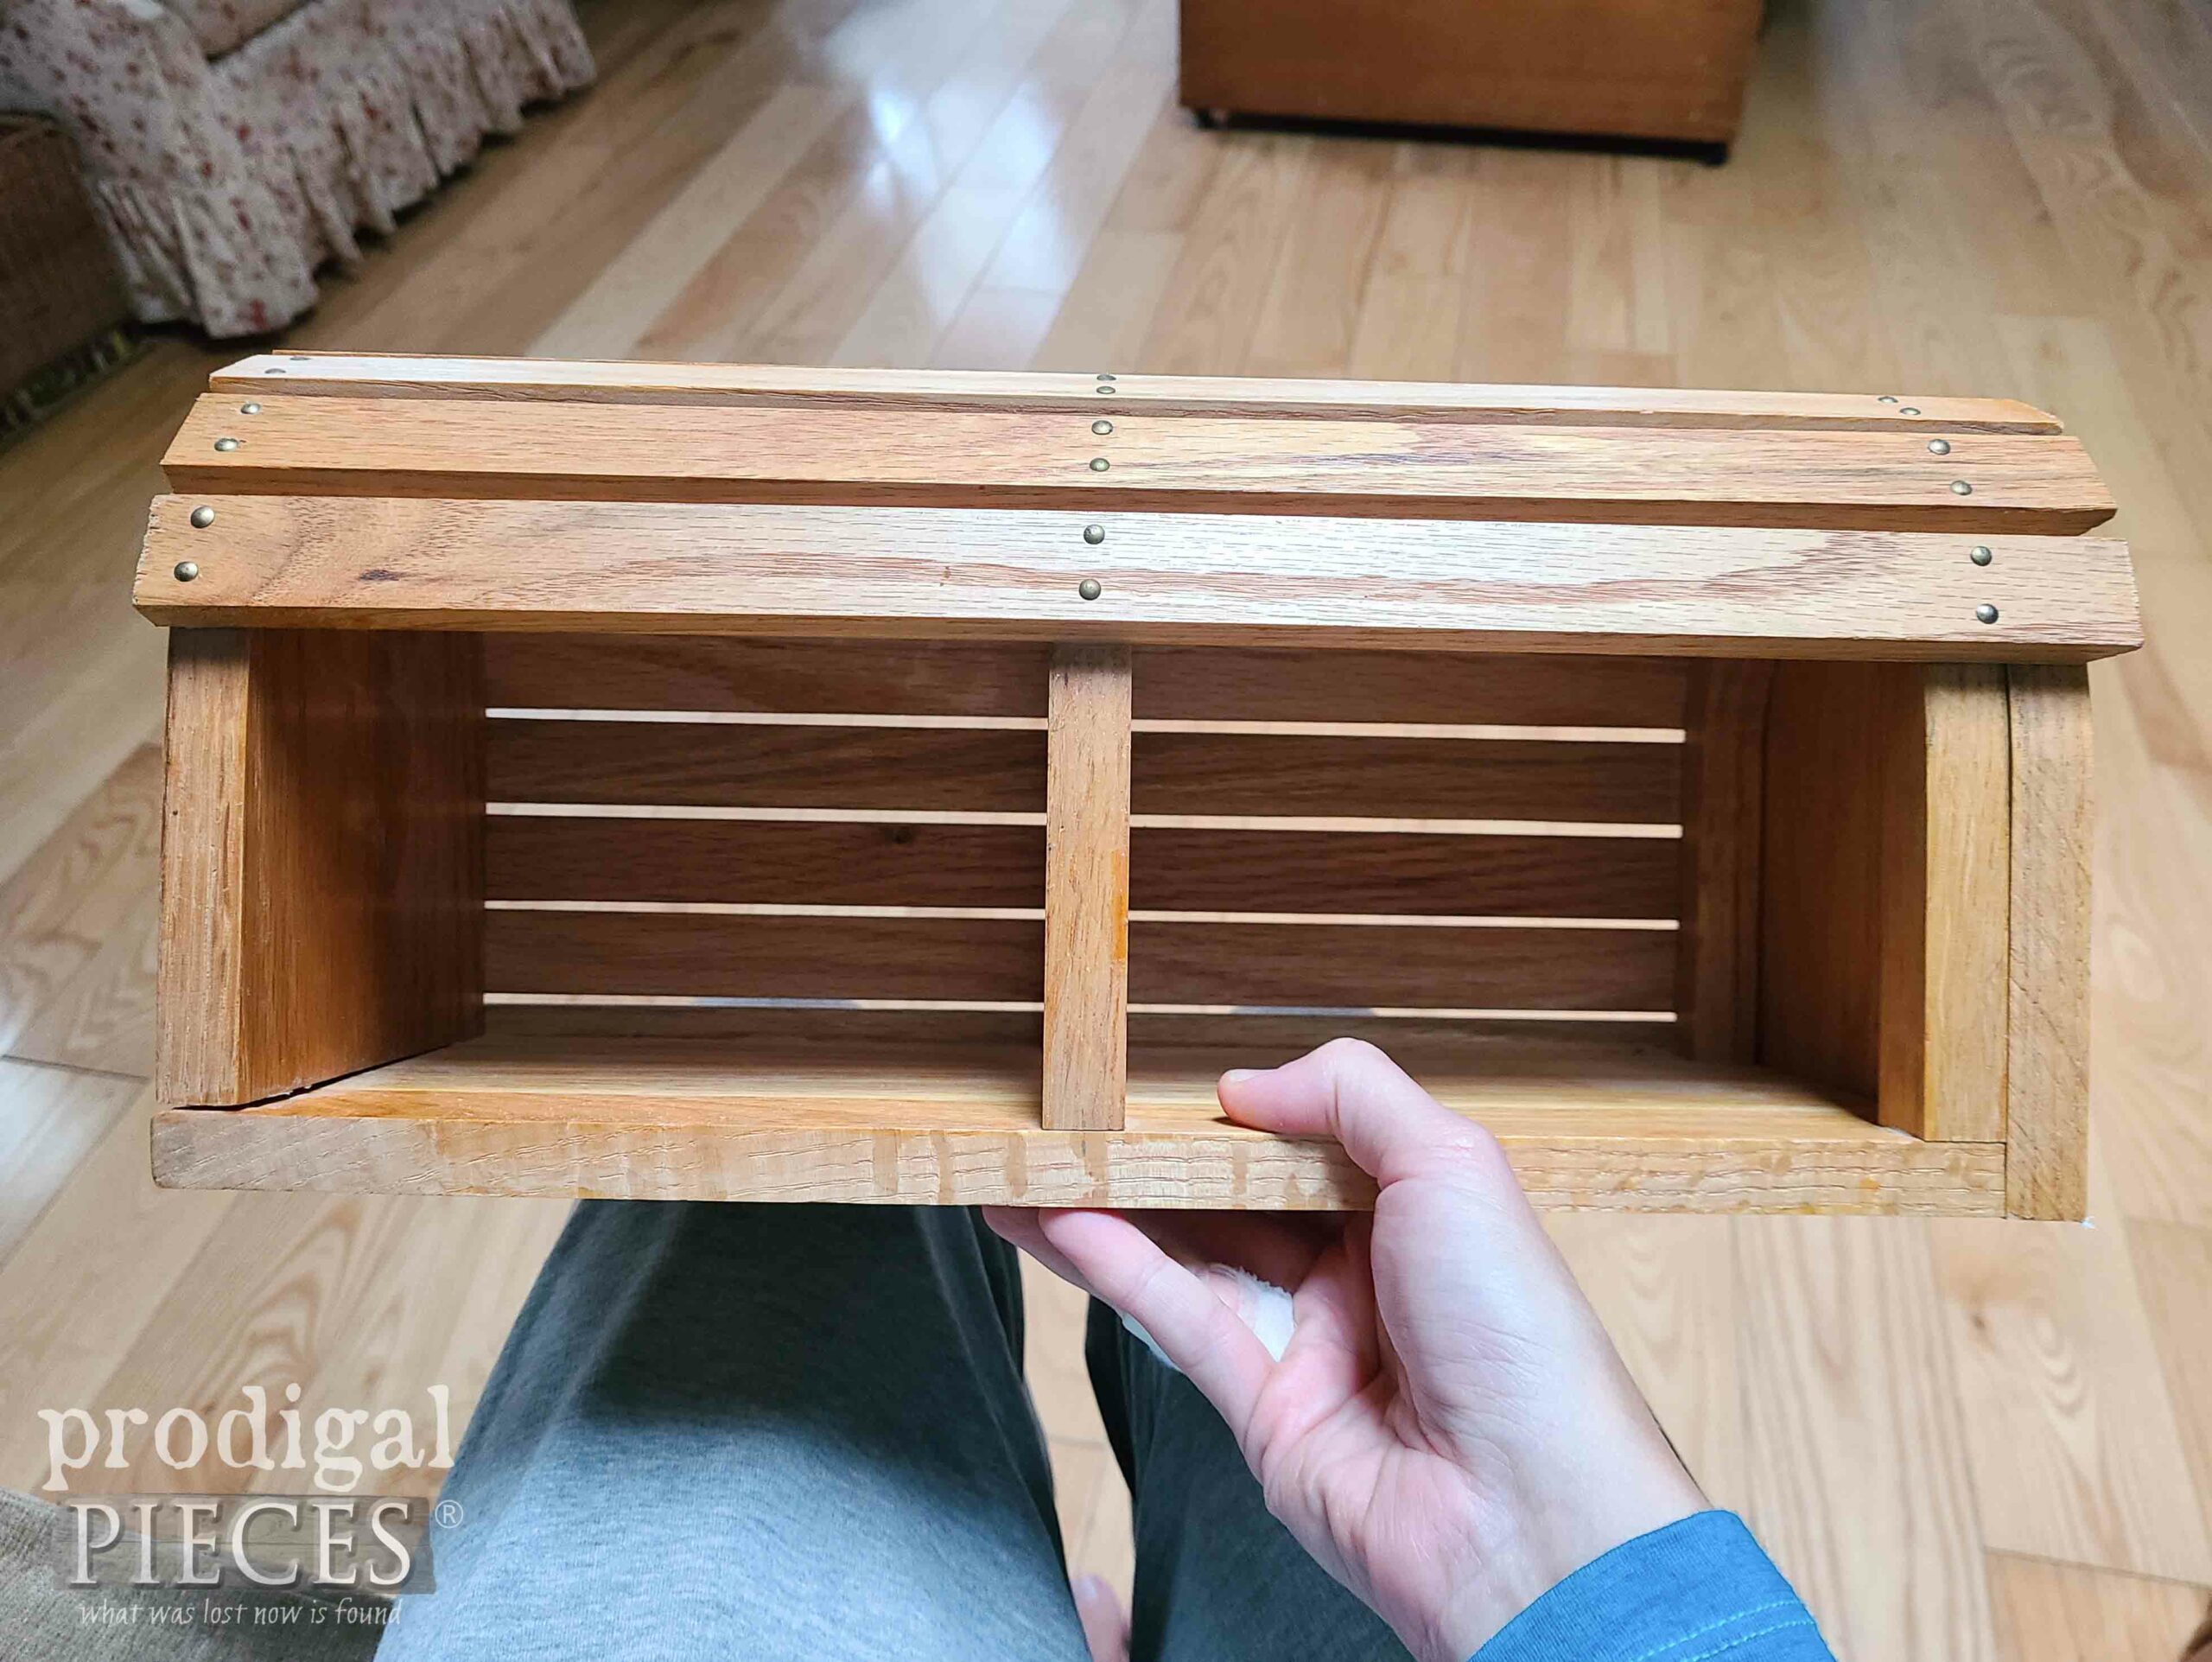
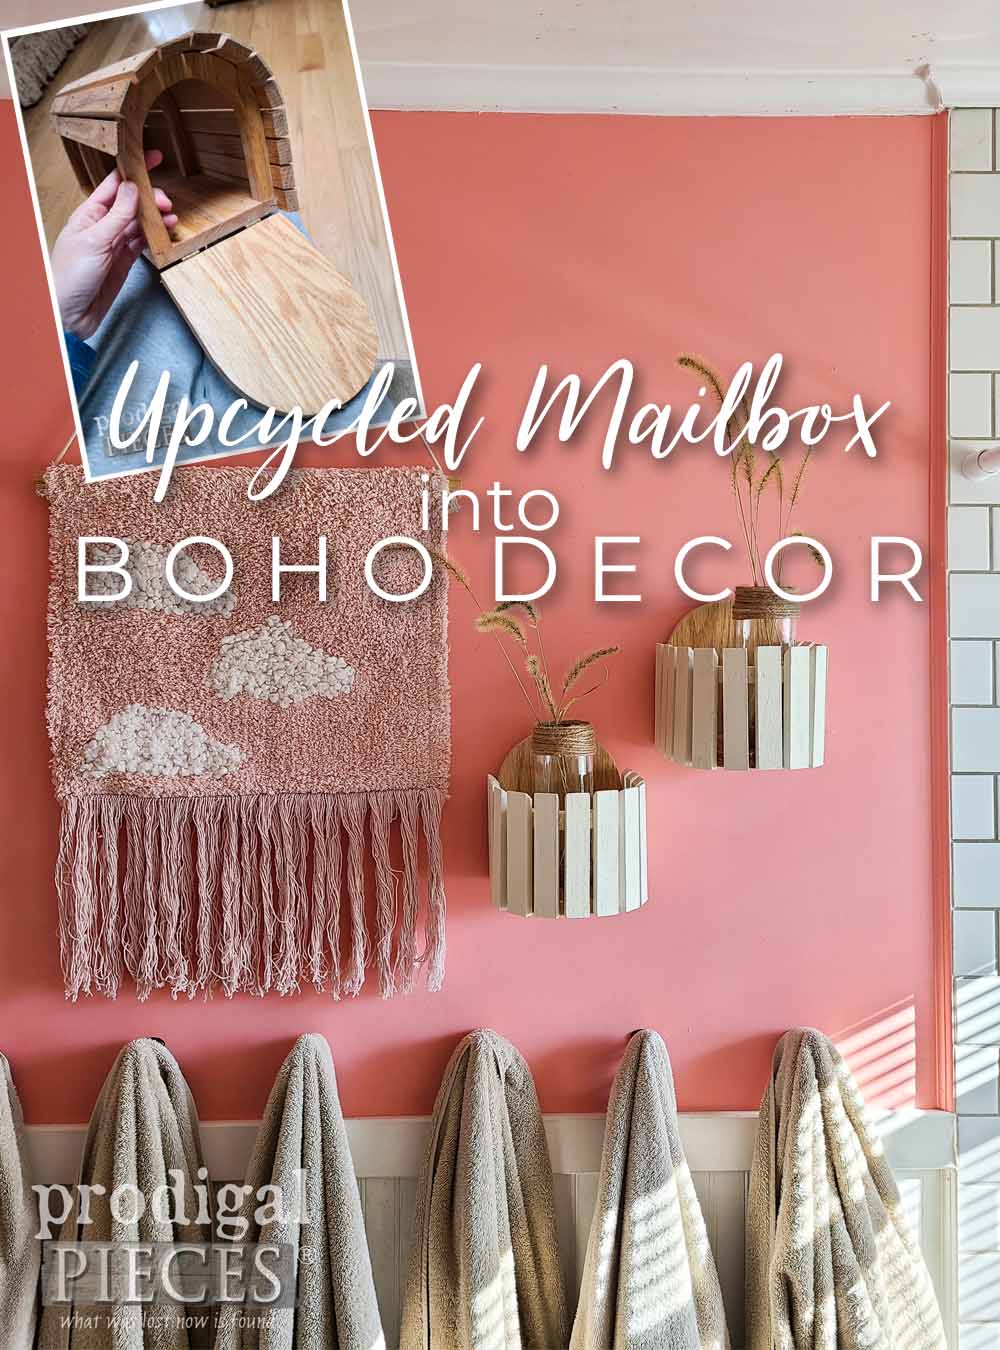
As a gal who peruses “junk” for a living, there are times I find the funkiest stuff (aka. #trashure) curbside, thrift stores, or random spots I haunt. Sometimes I know what it is and then there are times like this. This is what I saw sitting on the shelf. Now, would you know right off what it is? I pick it up, turn it around, and put it in my cart. Little did I know it would lead me to an upcycled mailbox project.
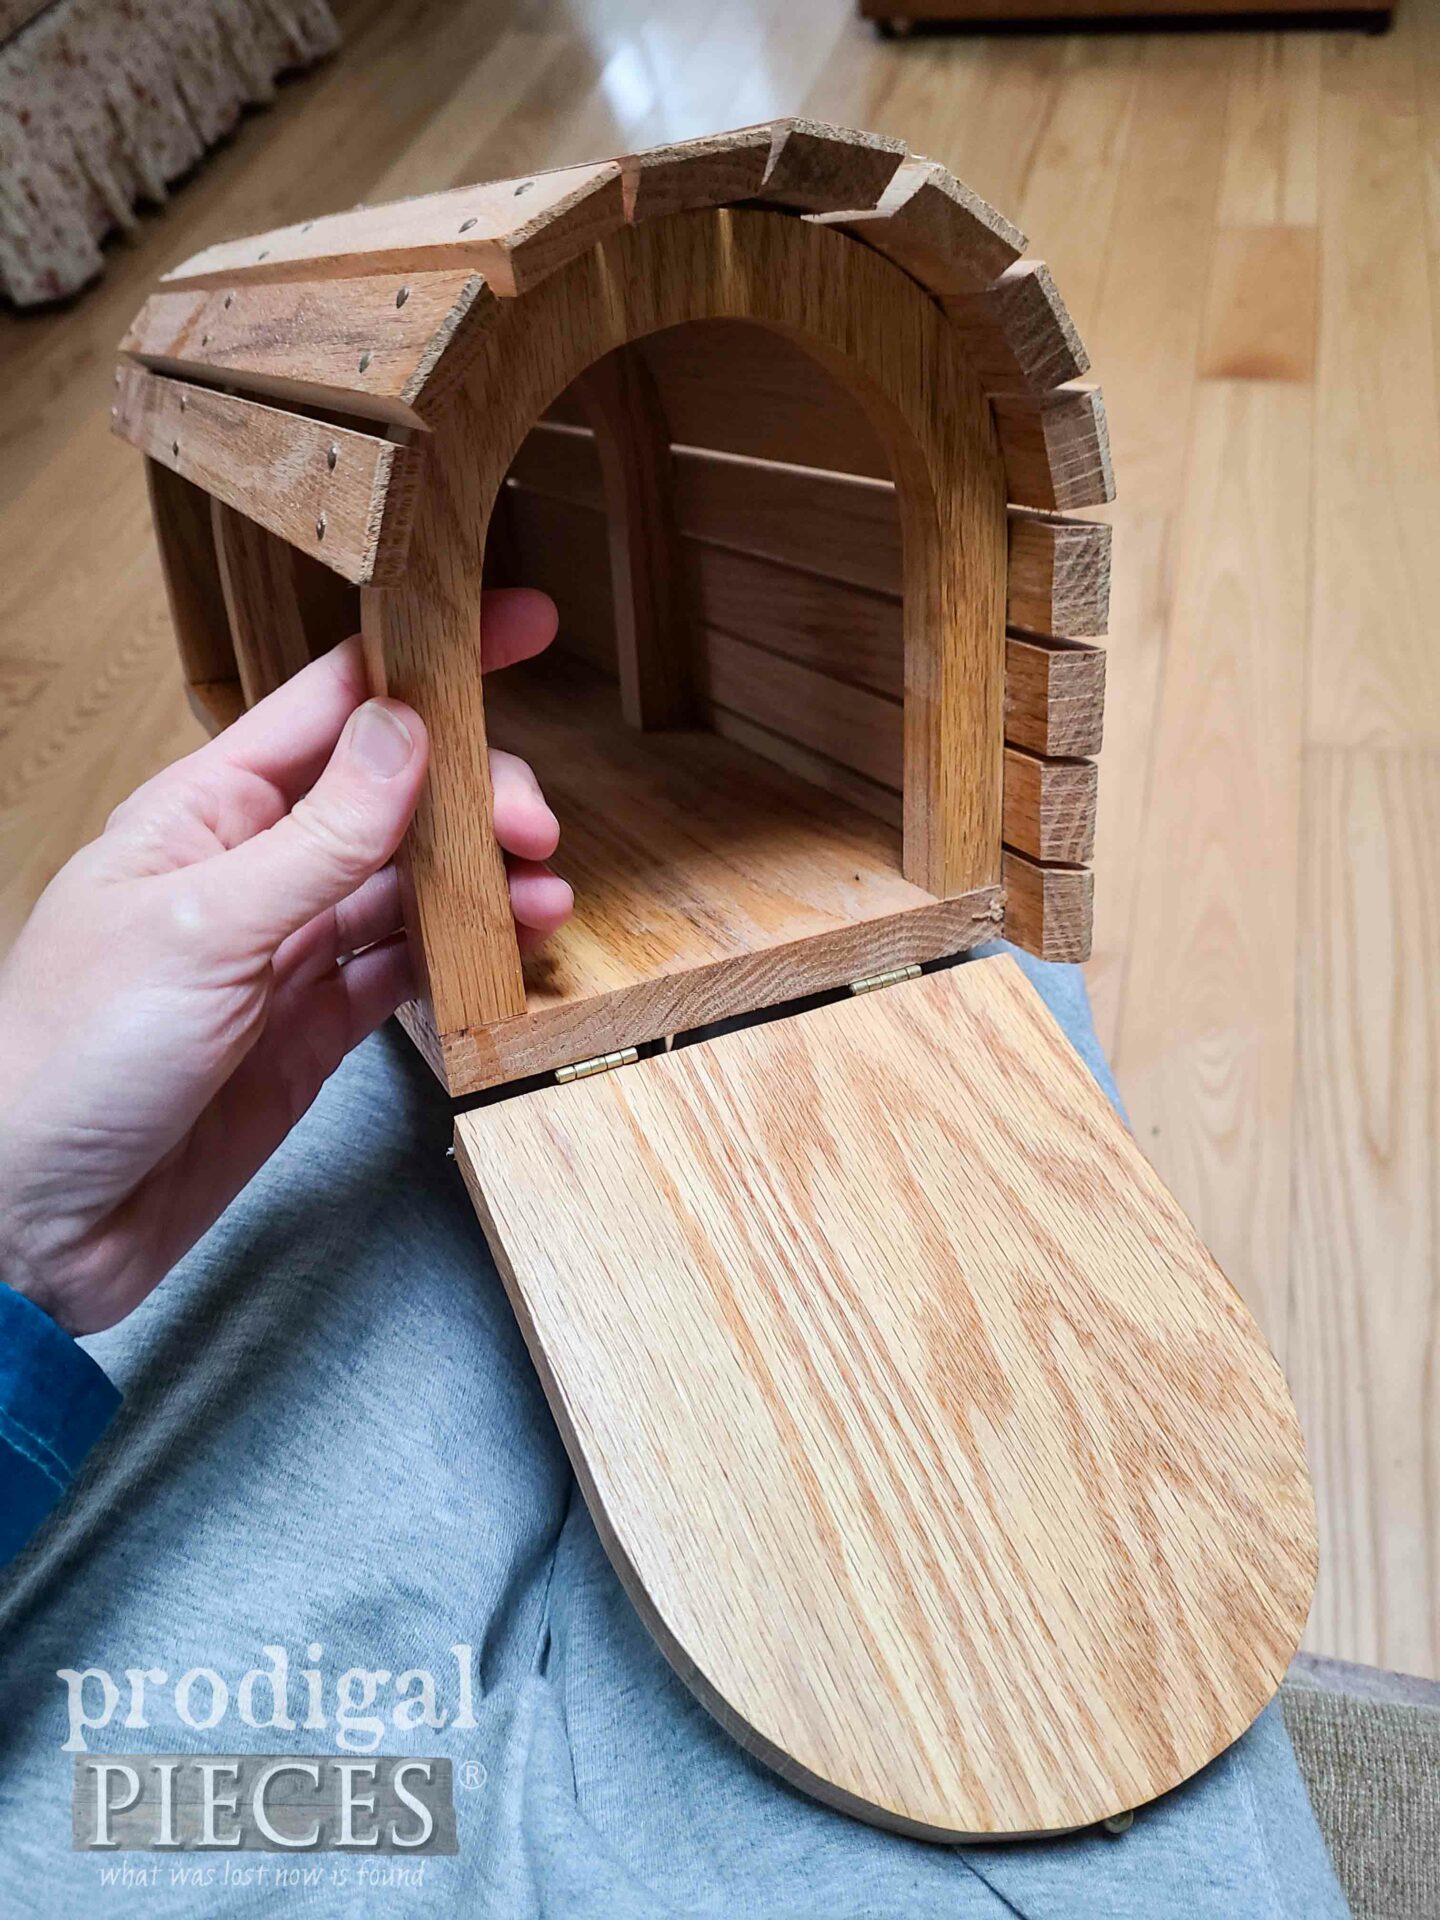
You see, when I get this handmade oak thing, I find that one end is hinged and shows me what I bought.
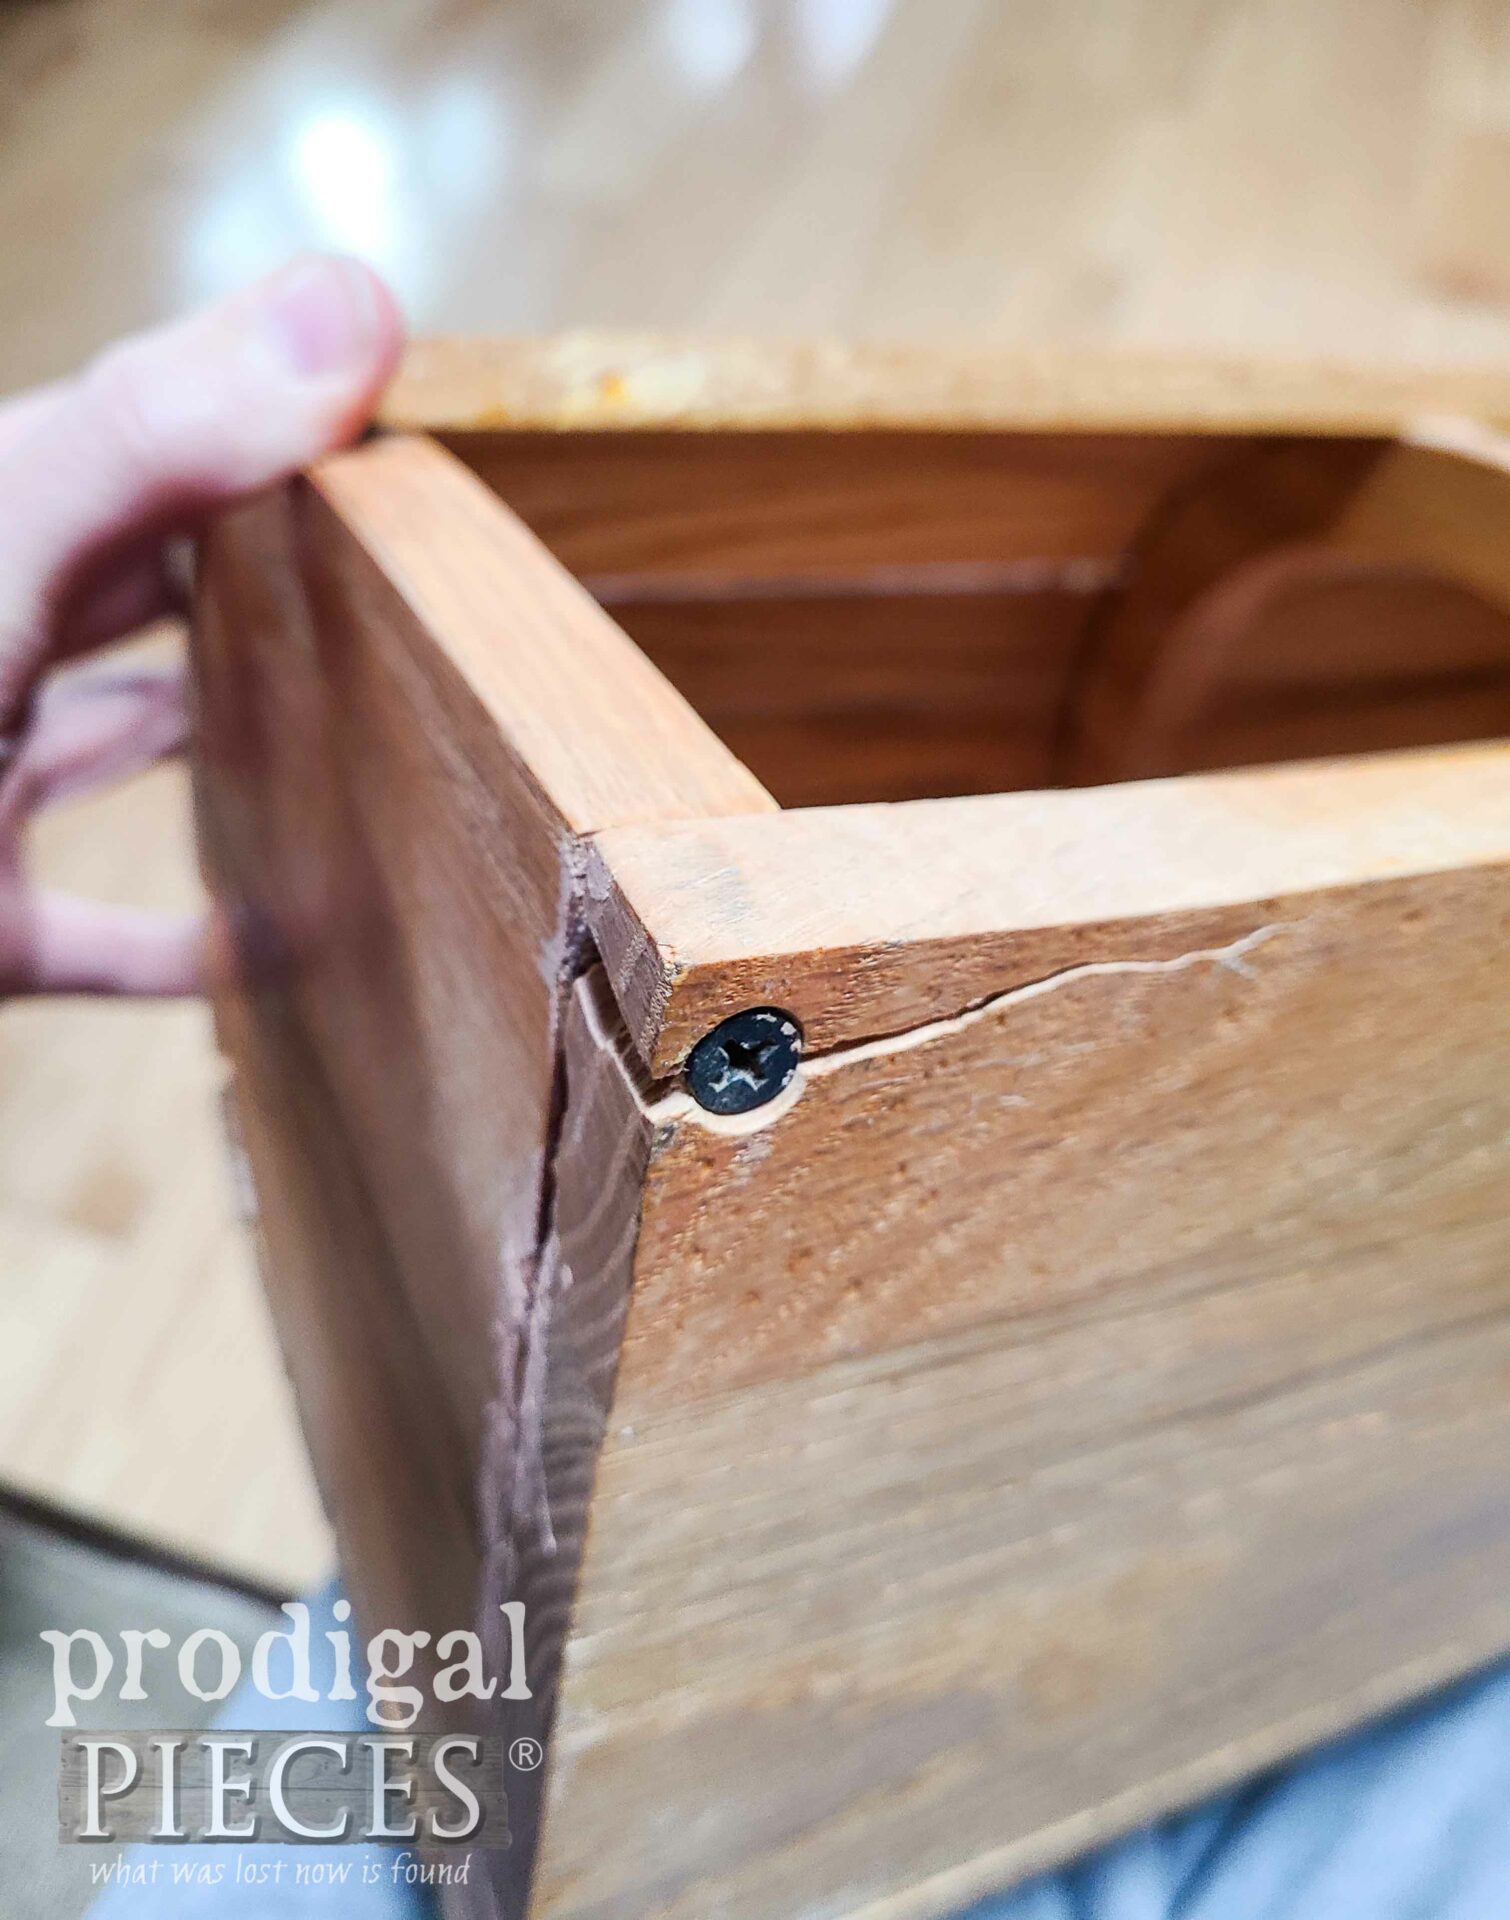
I’ll be honest, I mainly grabbed it for the potential of that oak. At first, I wondered why it wasn’t finished. Then, I saw what I first missed…
Me thinks the craftsperson gave it up when the corner split. There’s loads of remnant glue and I’m hopeful I can make something out of this hot mess.
DIY TIME
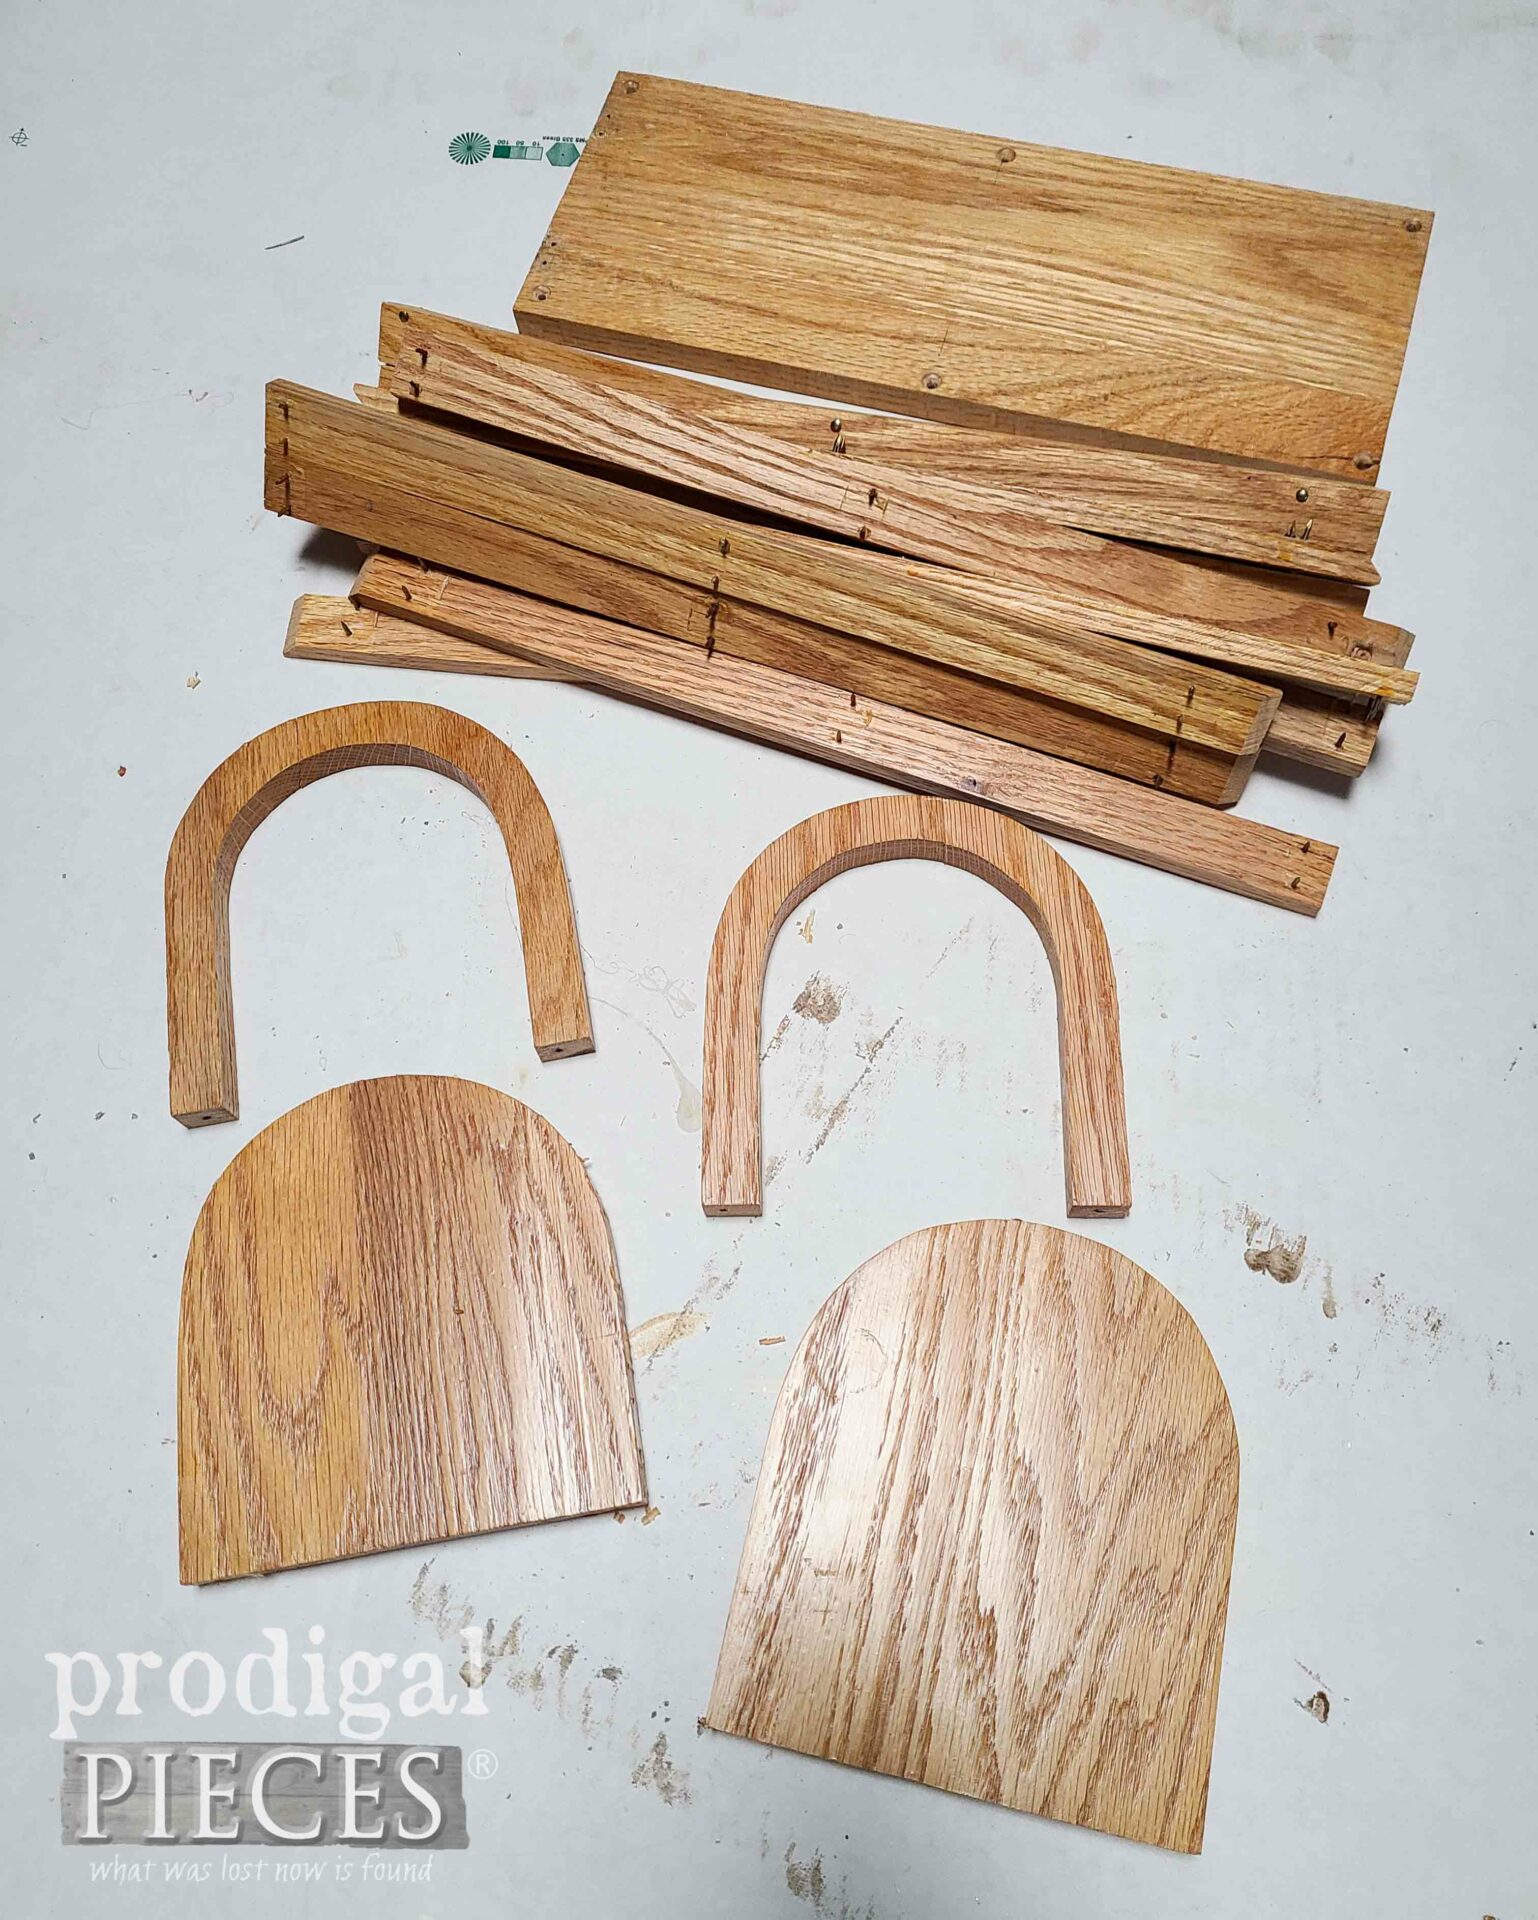
Are you ready to upcycle? First, let’s take apart this mailbox to see what pieces I can work with.
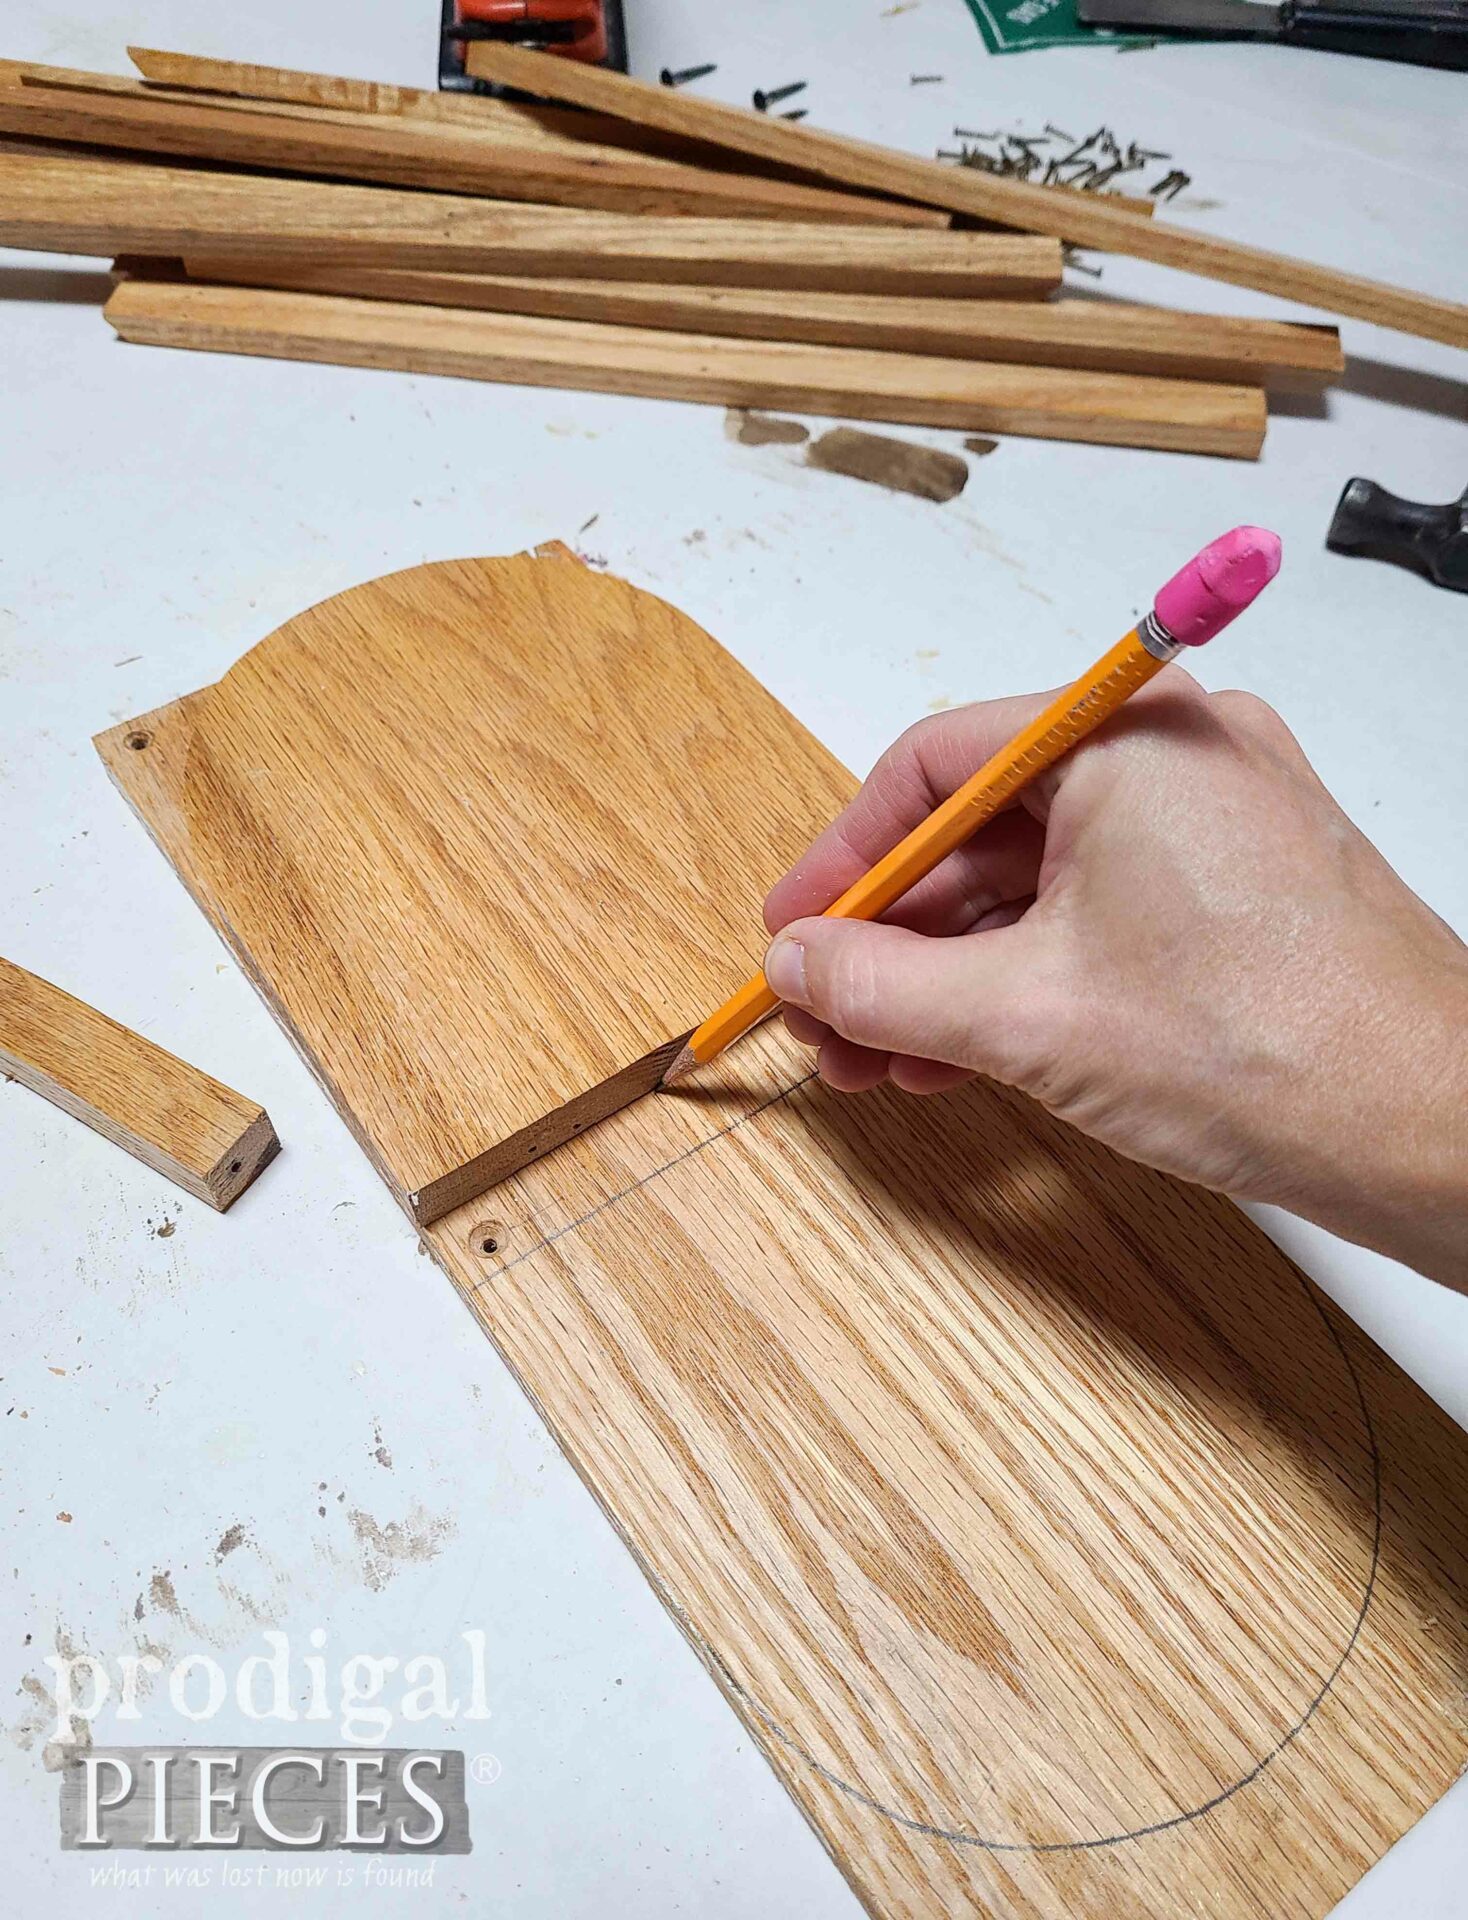
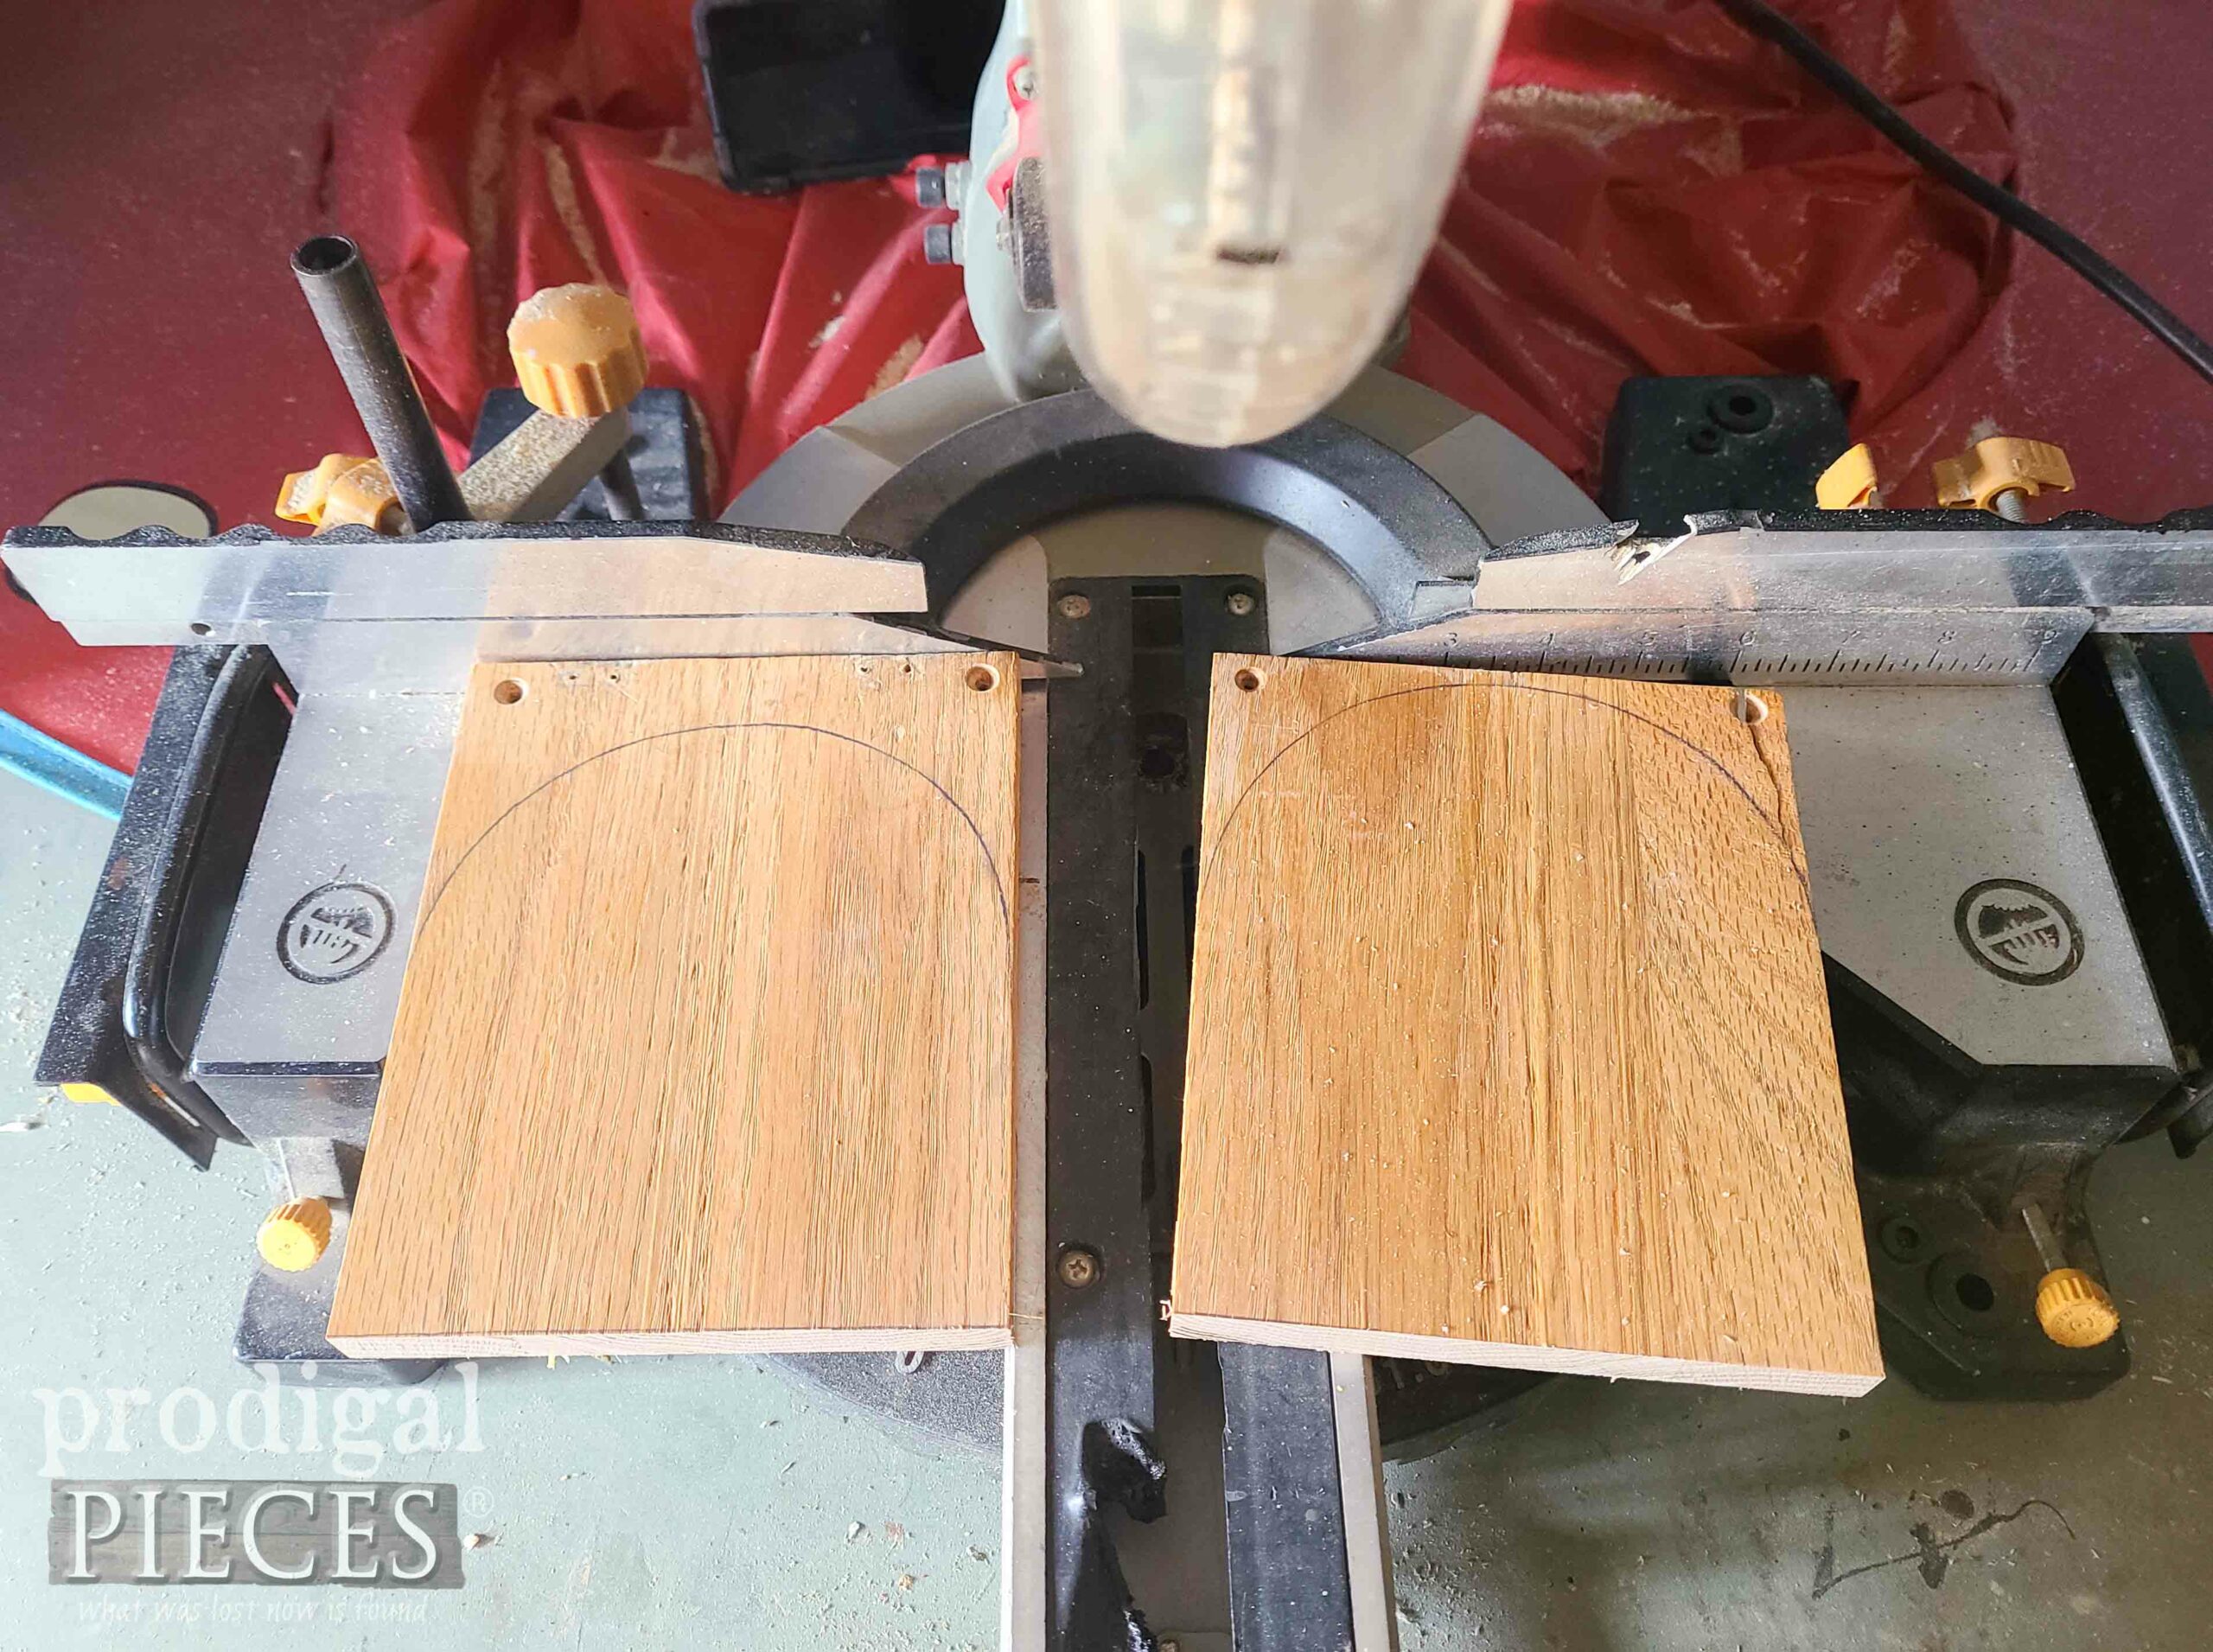
As you can see, I have some fun to work with. First, I take the arched ends and use them as a template to cut two more out of that cracked base.
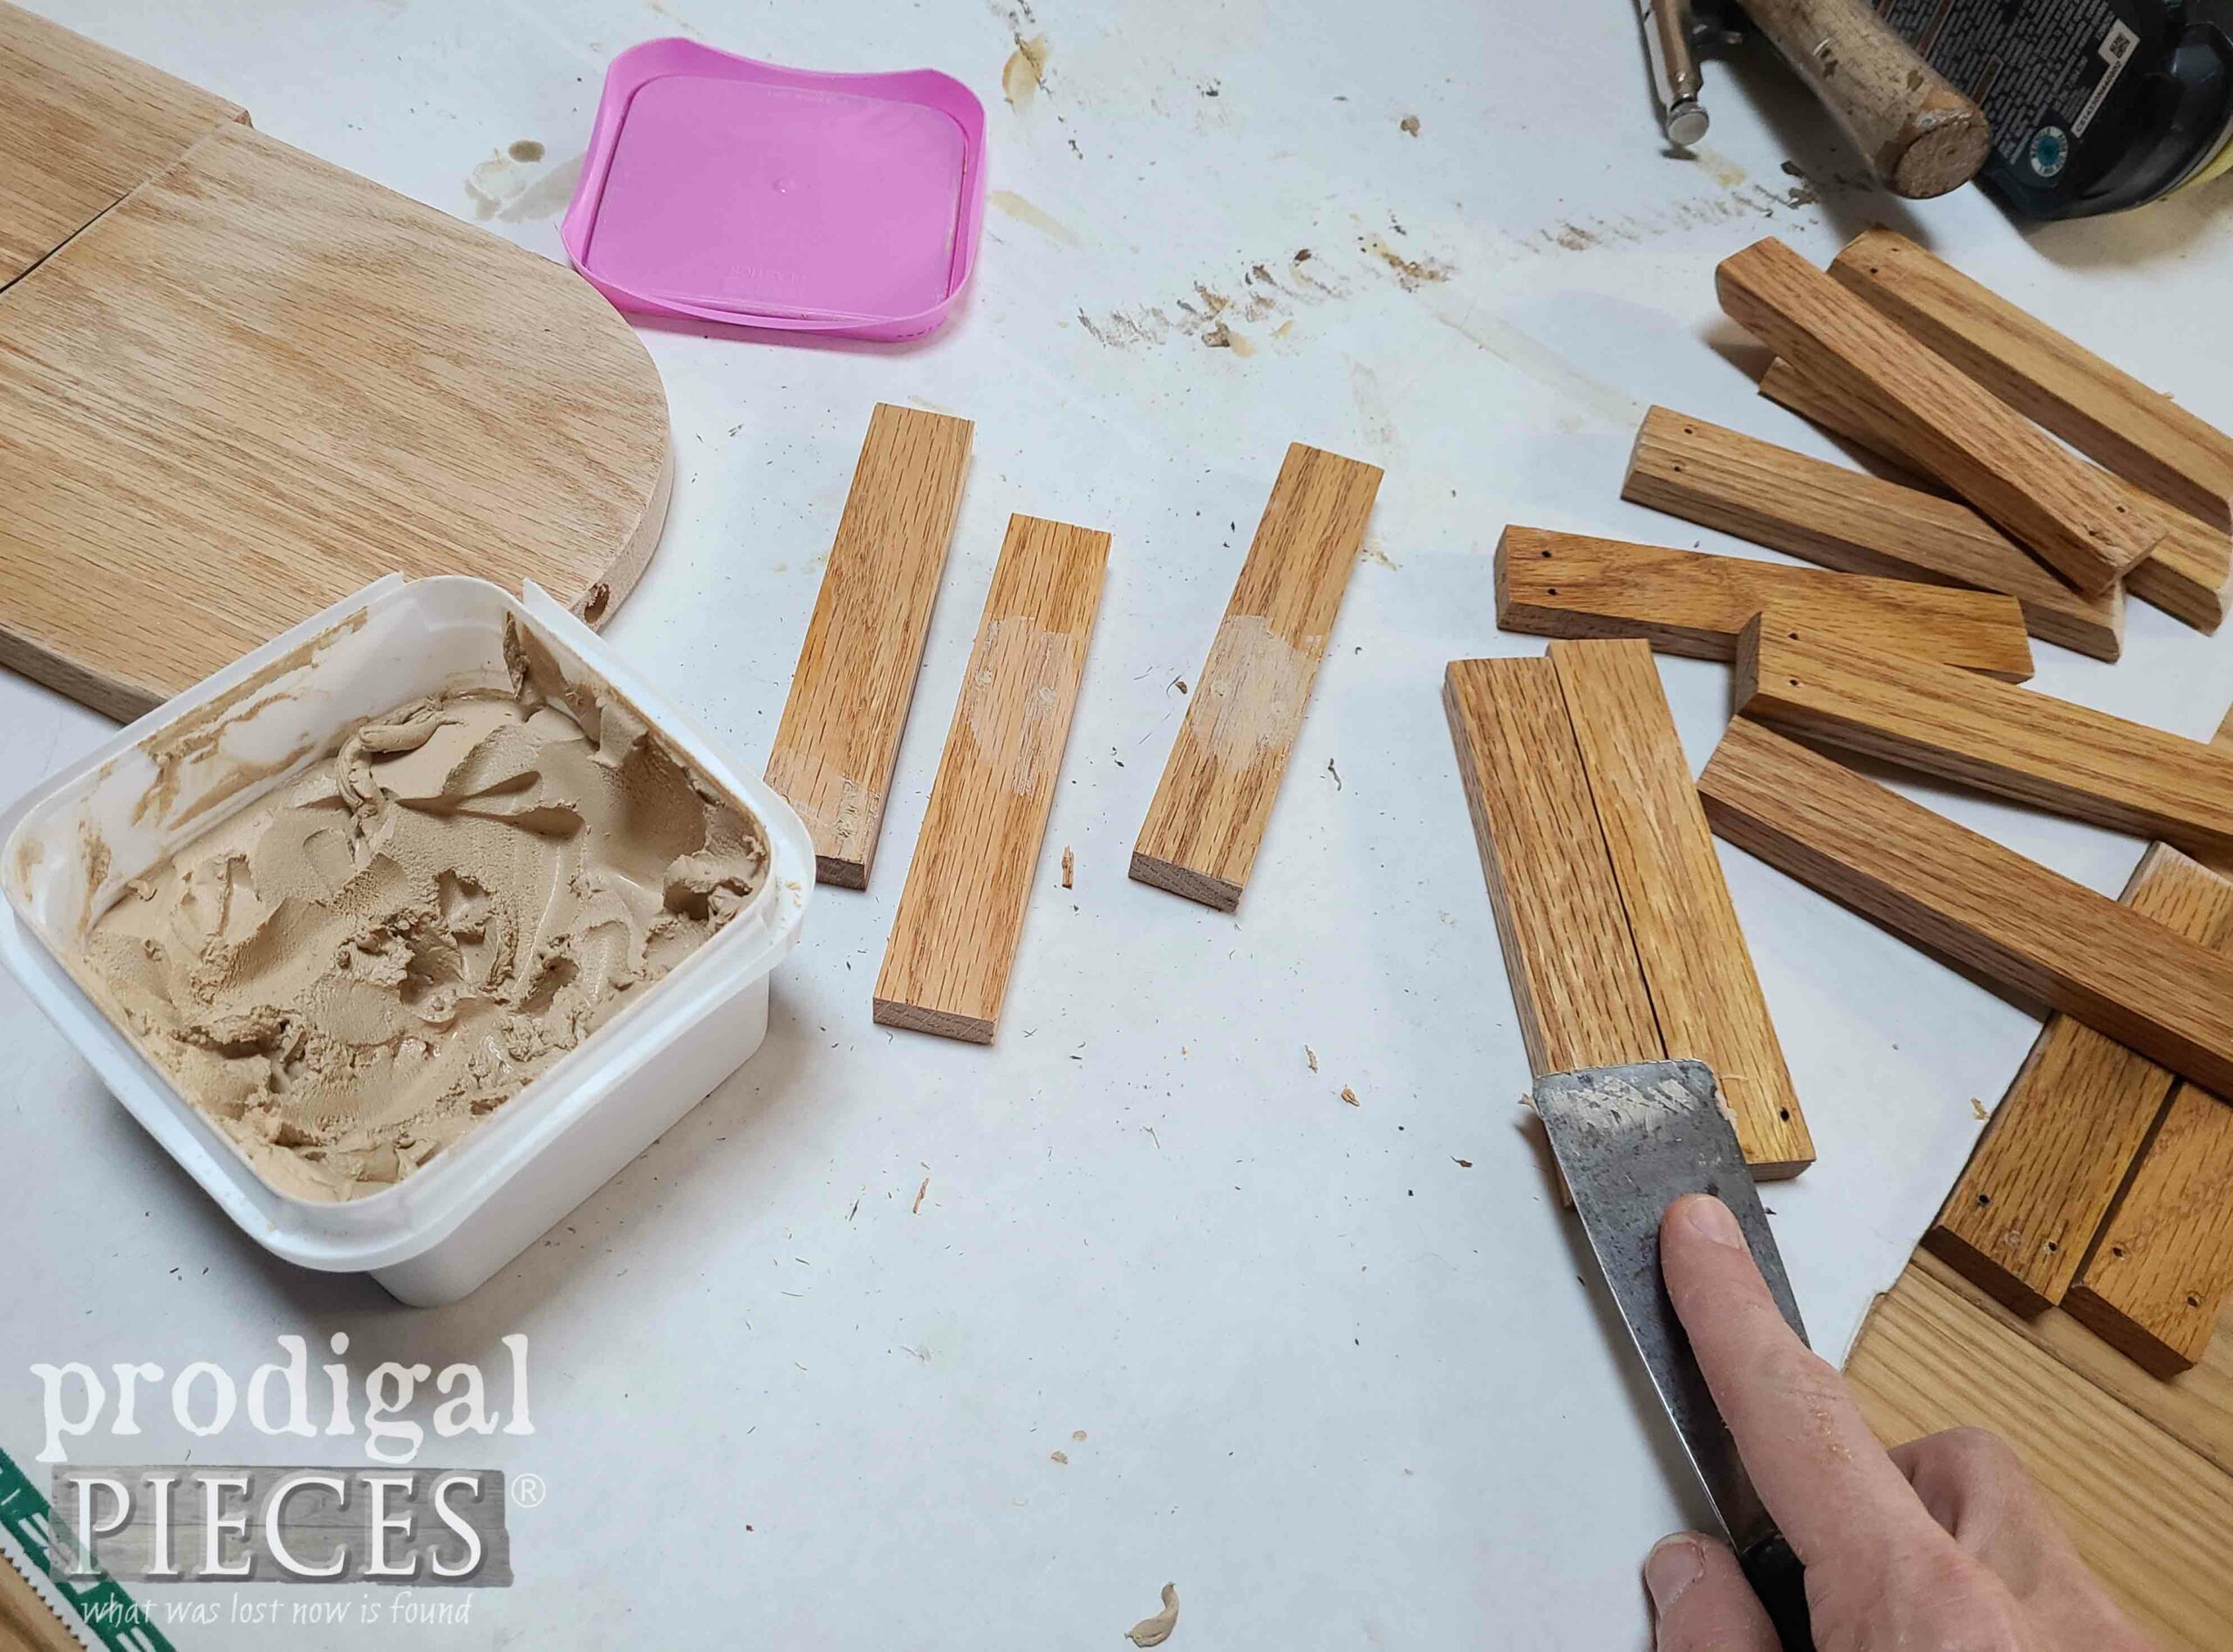
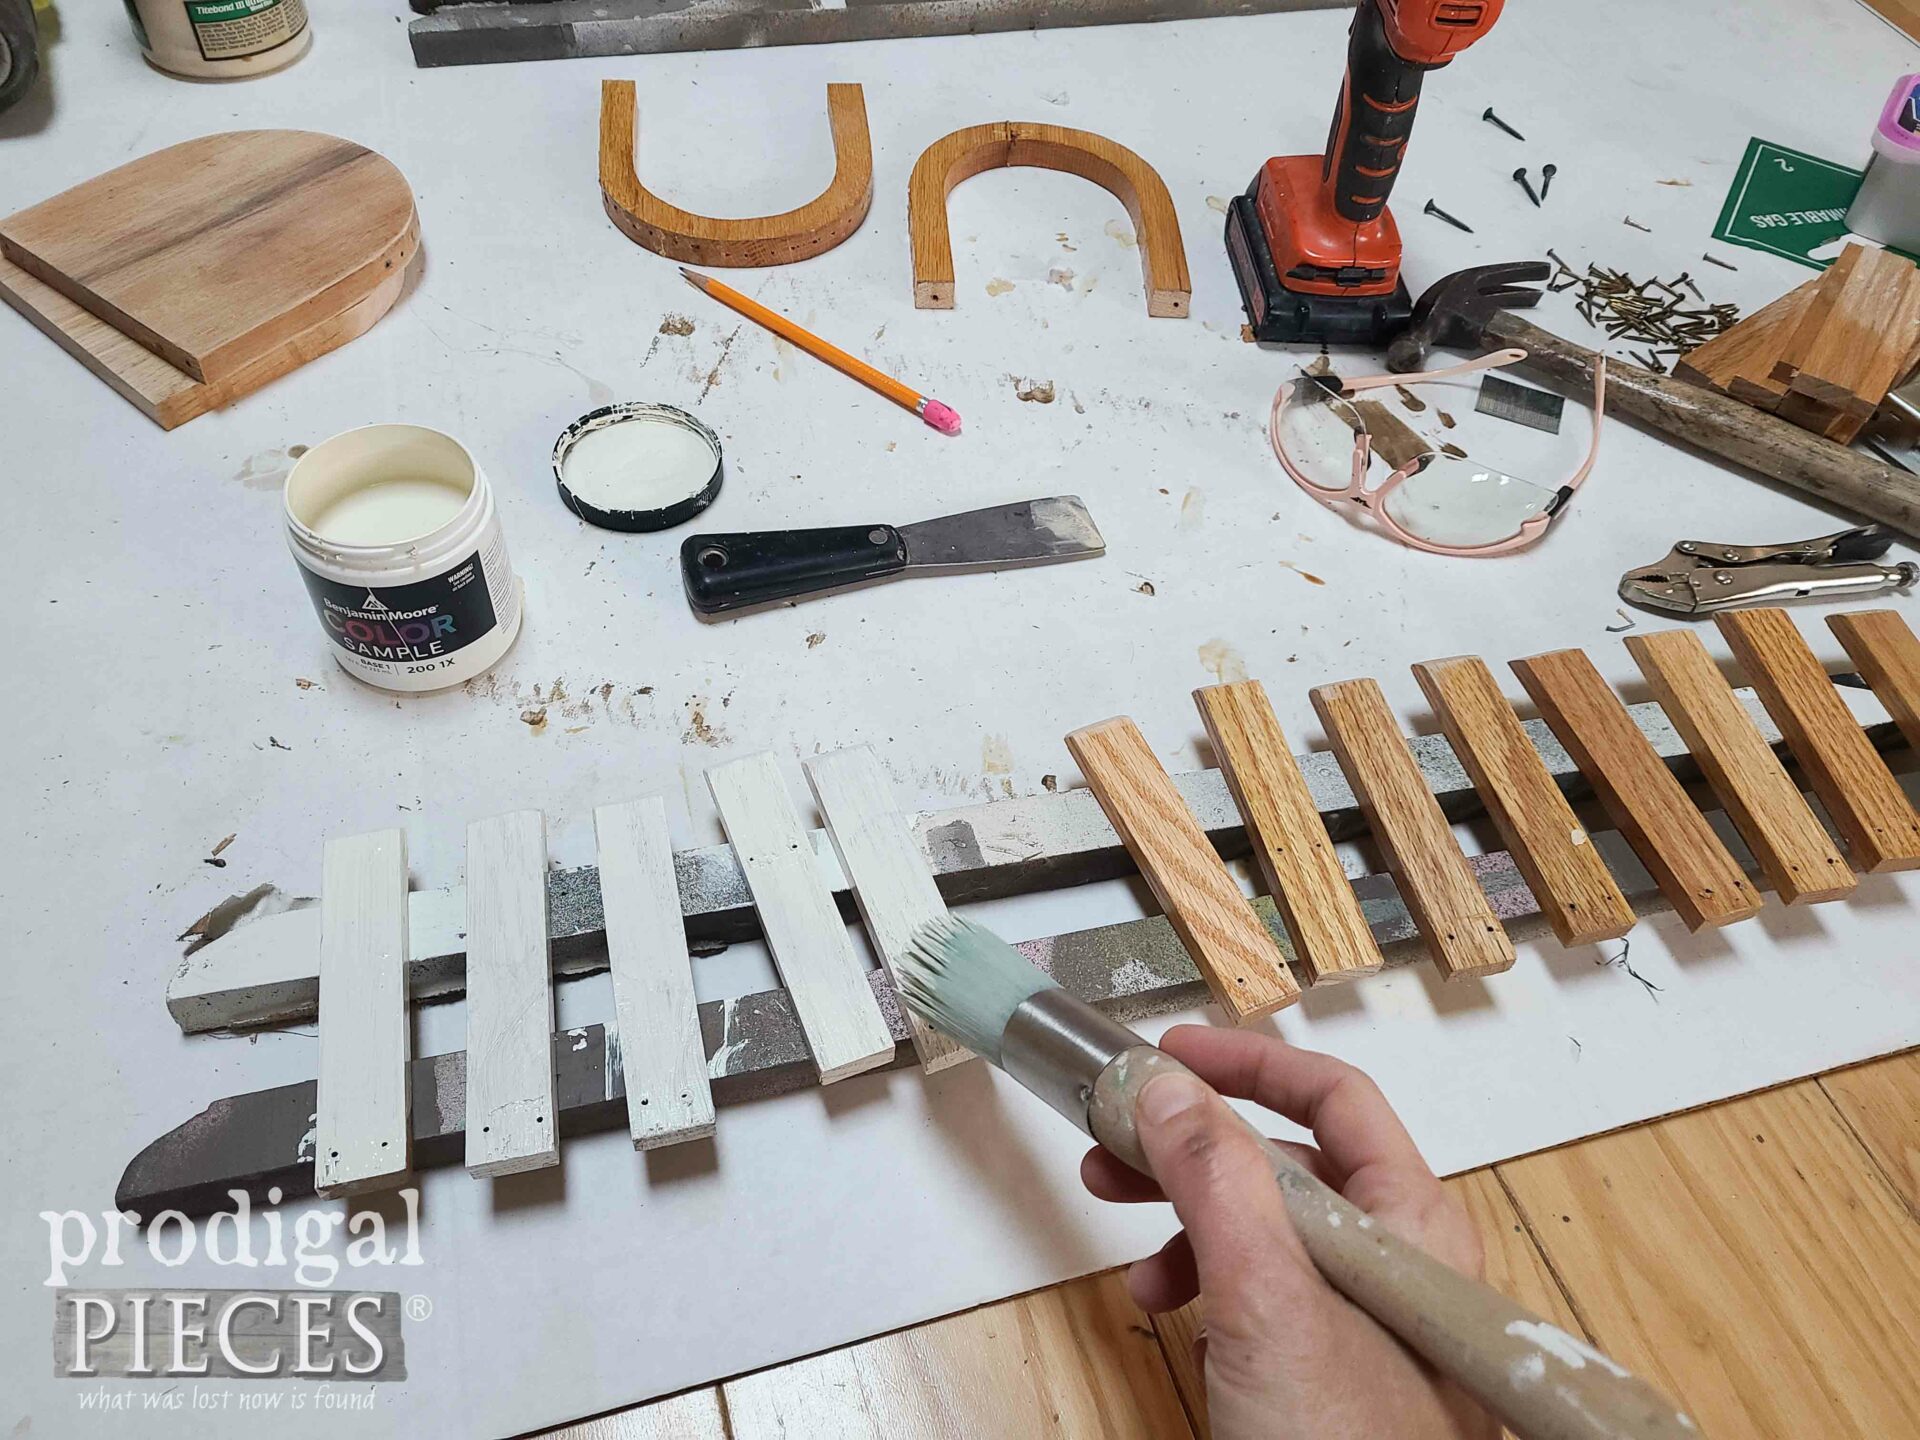
Then, while out freezing my tootsies off in the 17-degree workshop, I also pull out all the tacks and cut those slats with one end a slight angle to match the original. After that, I fill the holes with wood filler and sand smooth.
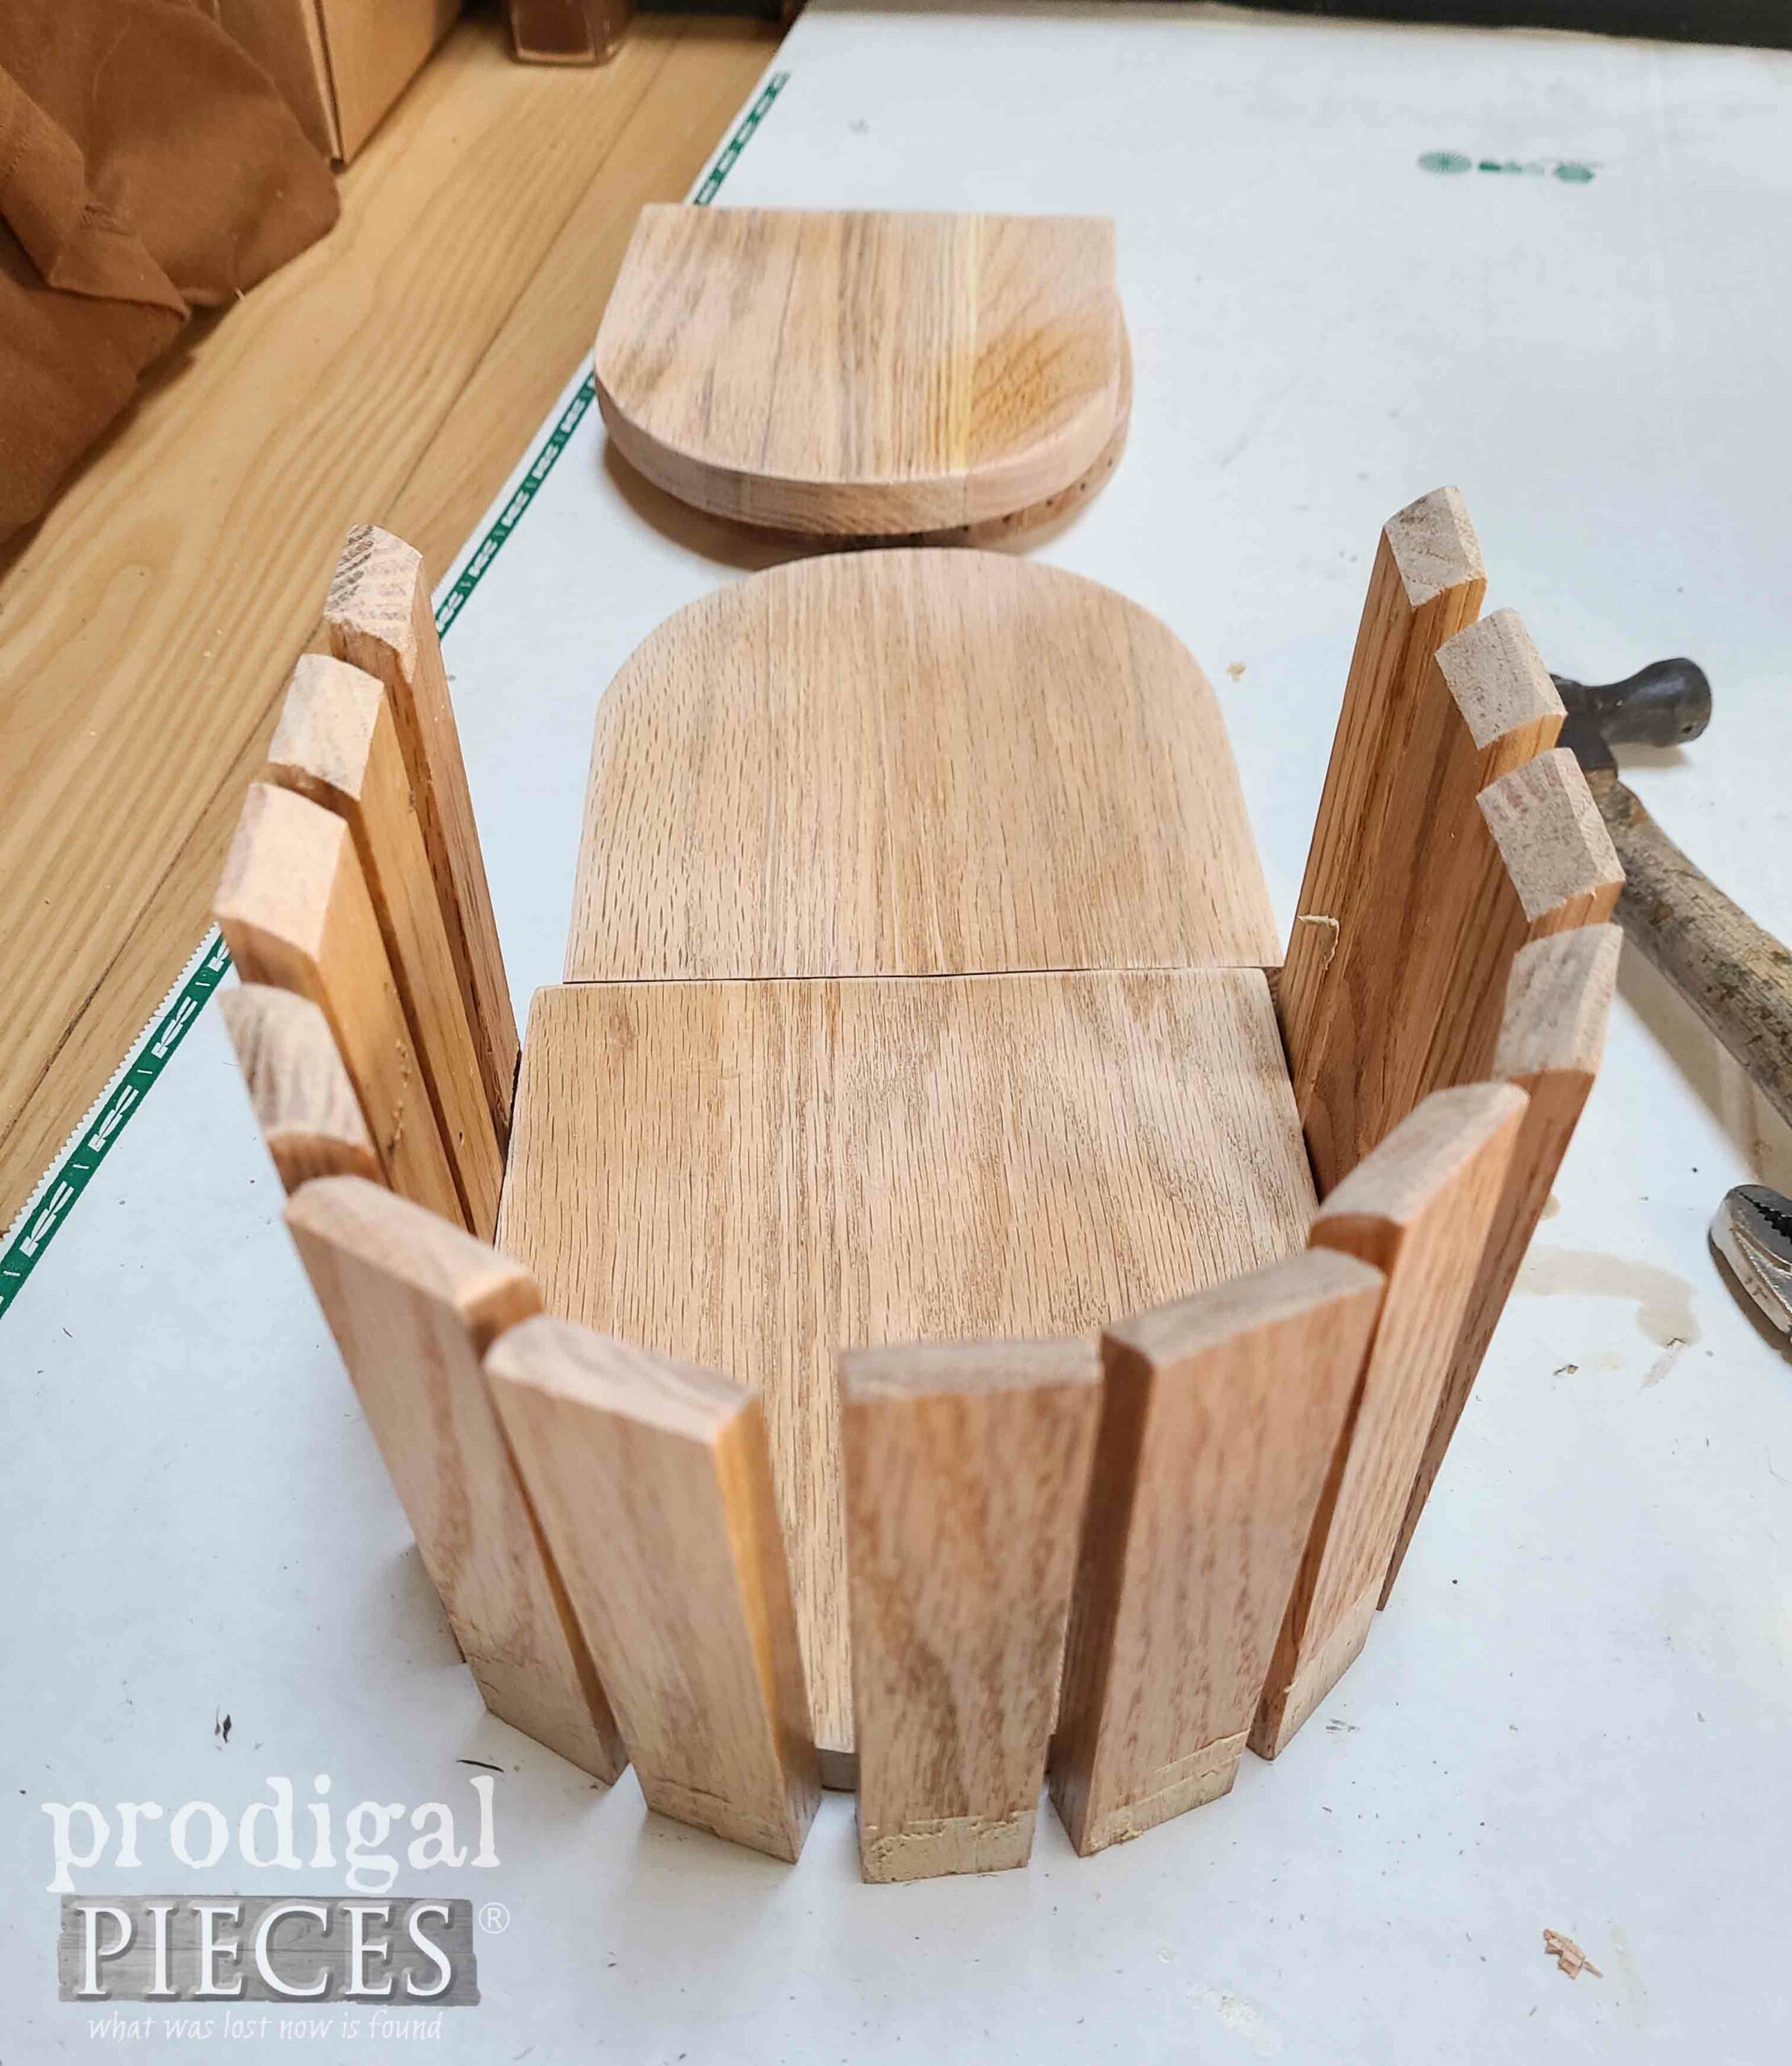
Here’s a look at a dry fit to see how this upcycled mailbox project is shaping up. Not bad!
Once I feel good about my setup, I apply paint to the pieces because the hole marks and other flaws just stuck out too much for what I was after.
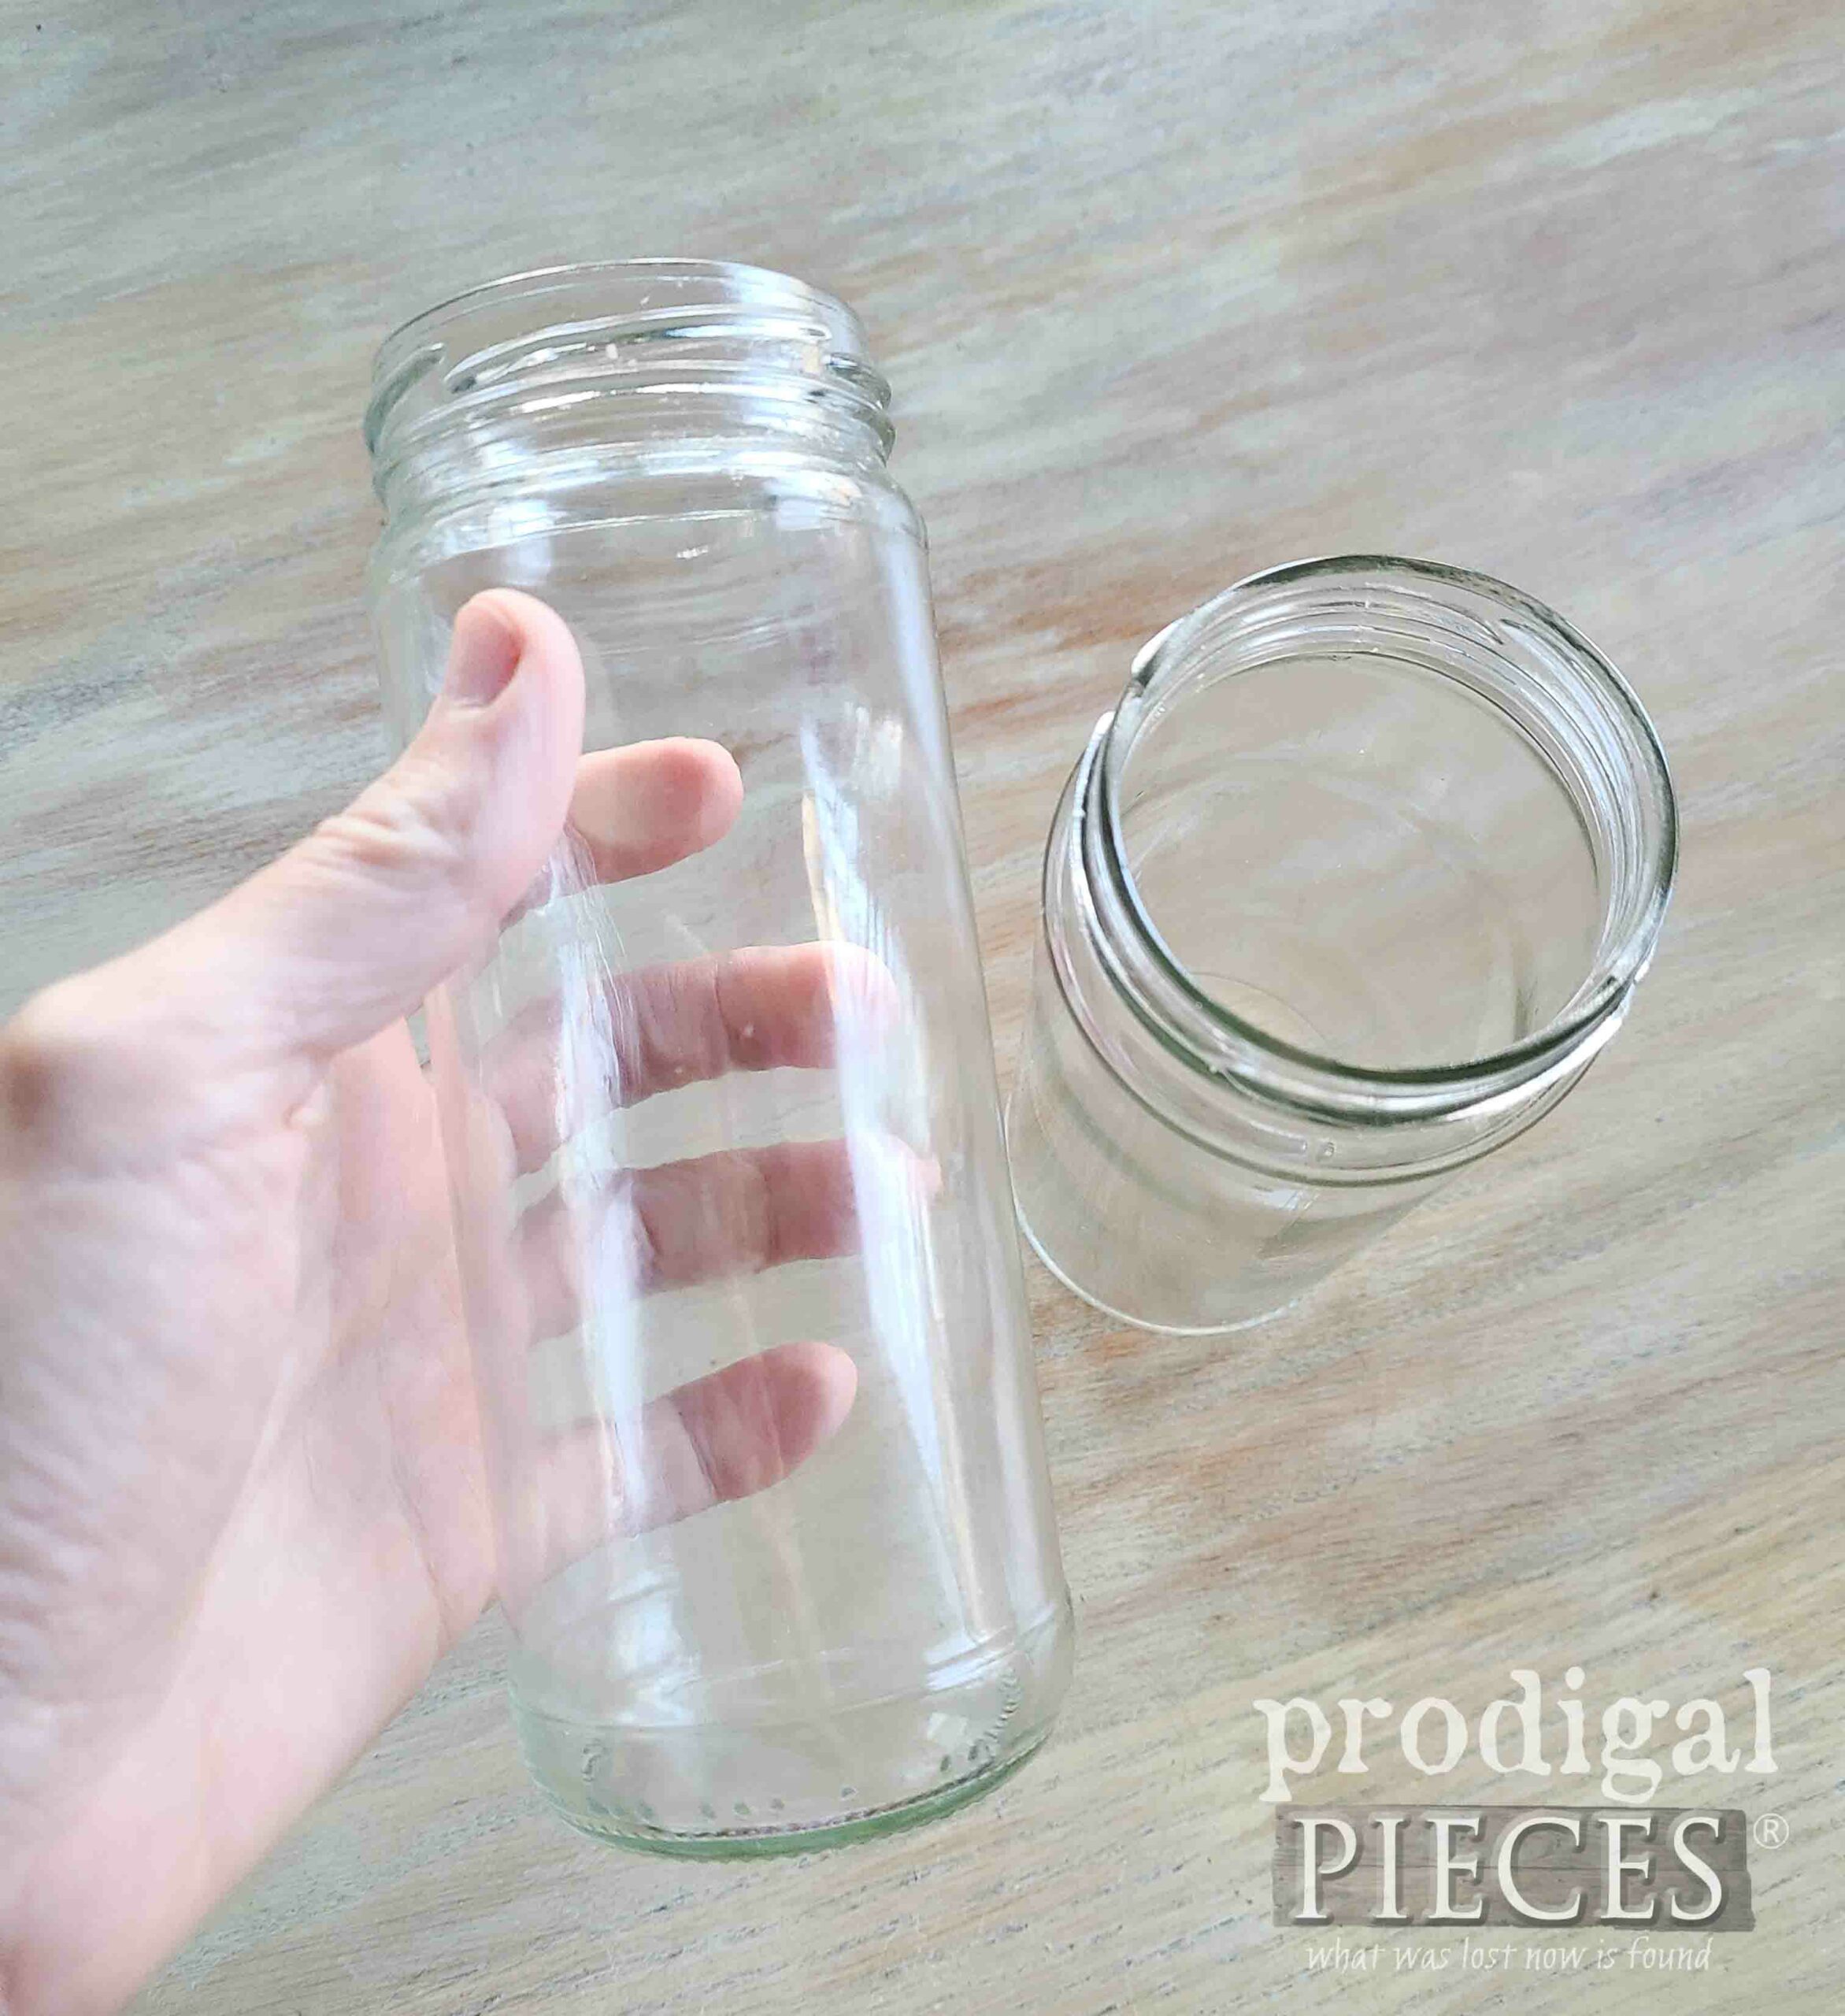
This was, by far, the most tedious part of this is painting. It went like this… paint one side, cure. Paint other side, cure. REPEAT. But… totally worth it when you scroll down and see what I also did with these glass jars.
HANGING WITH STYLE
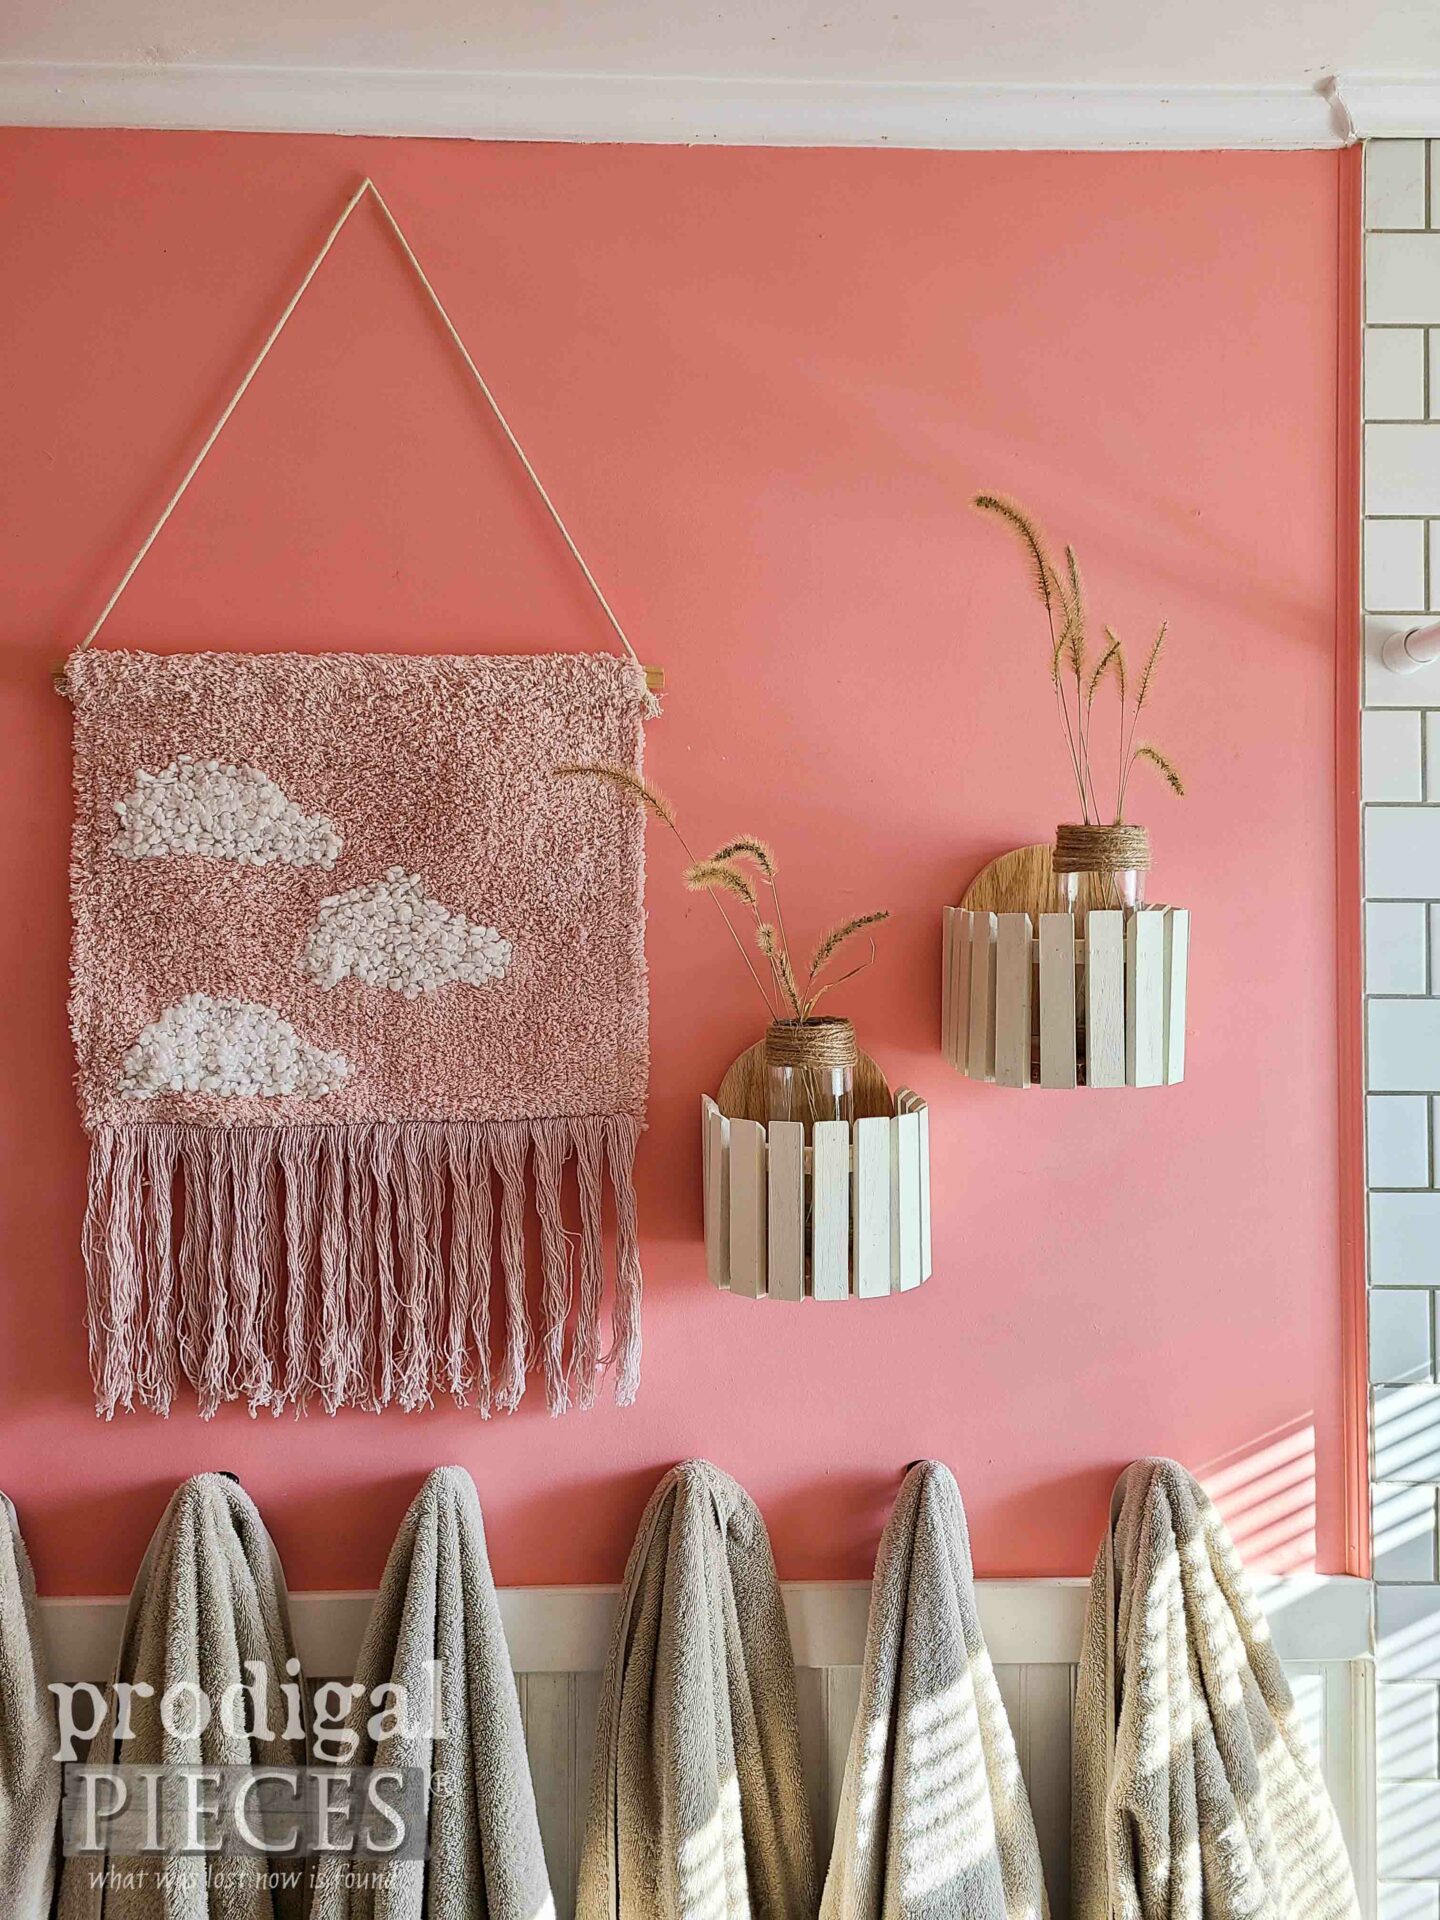
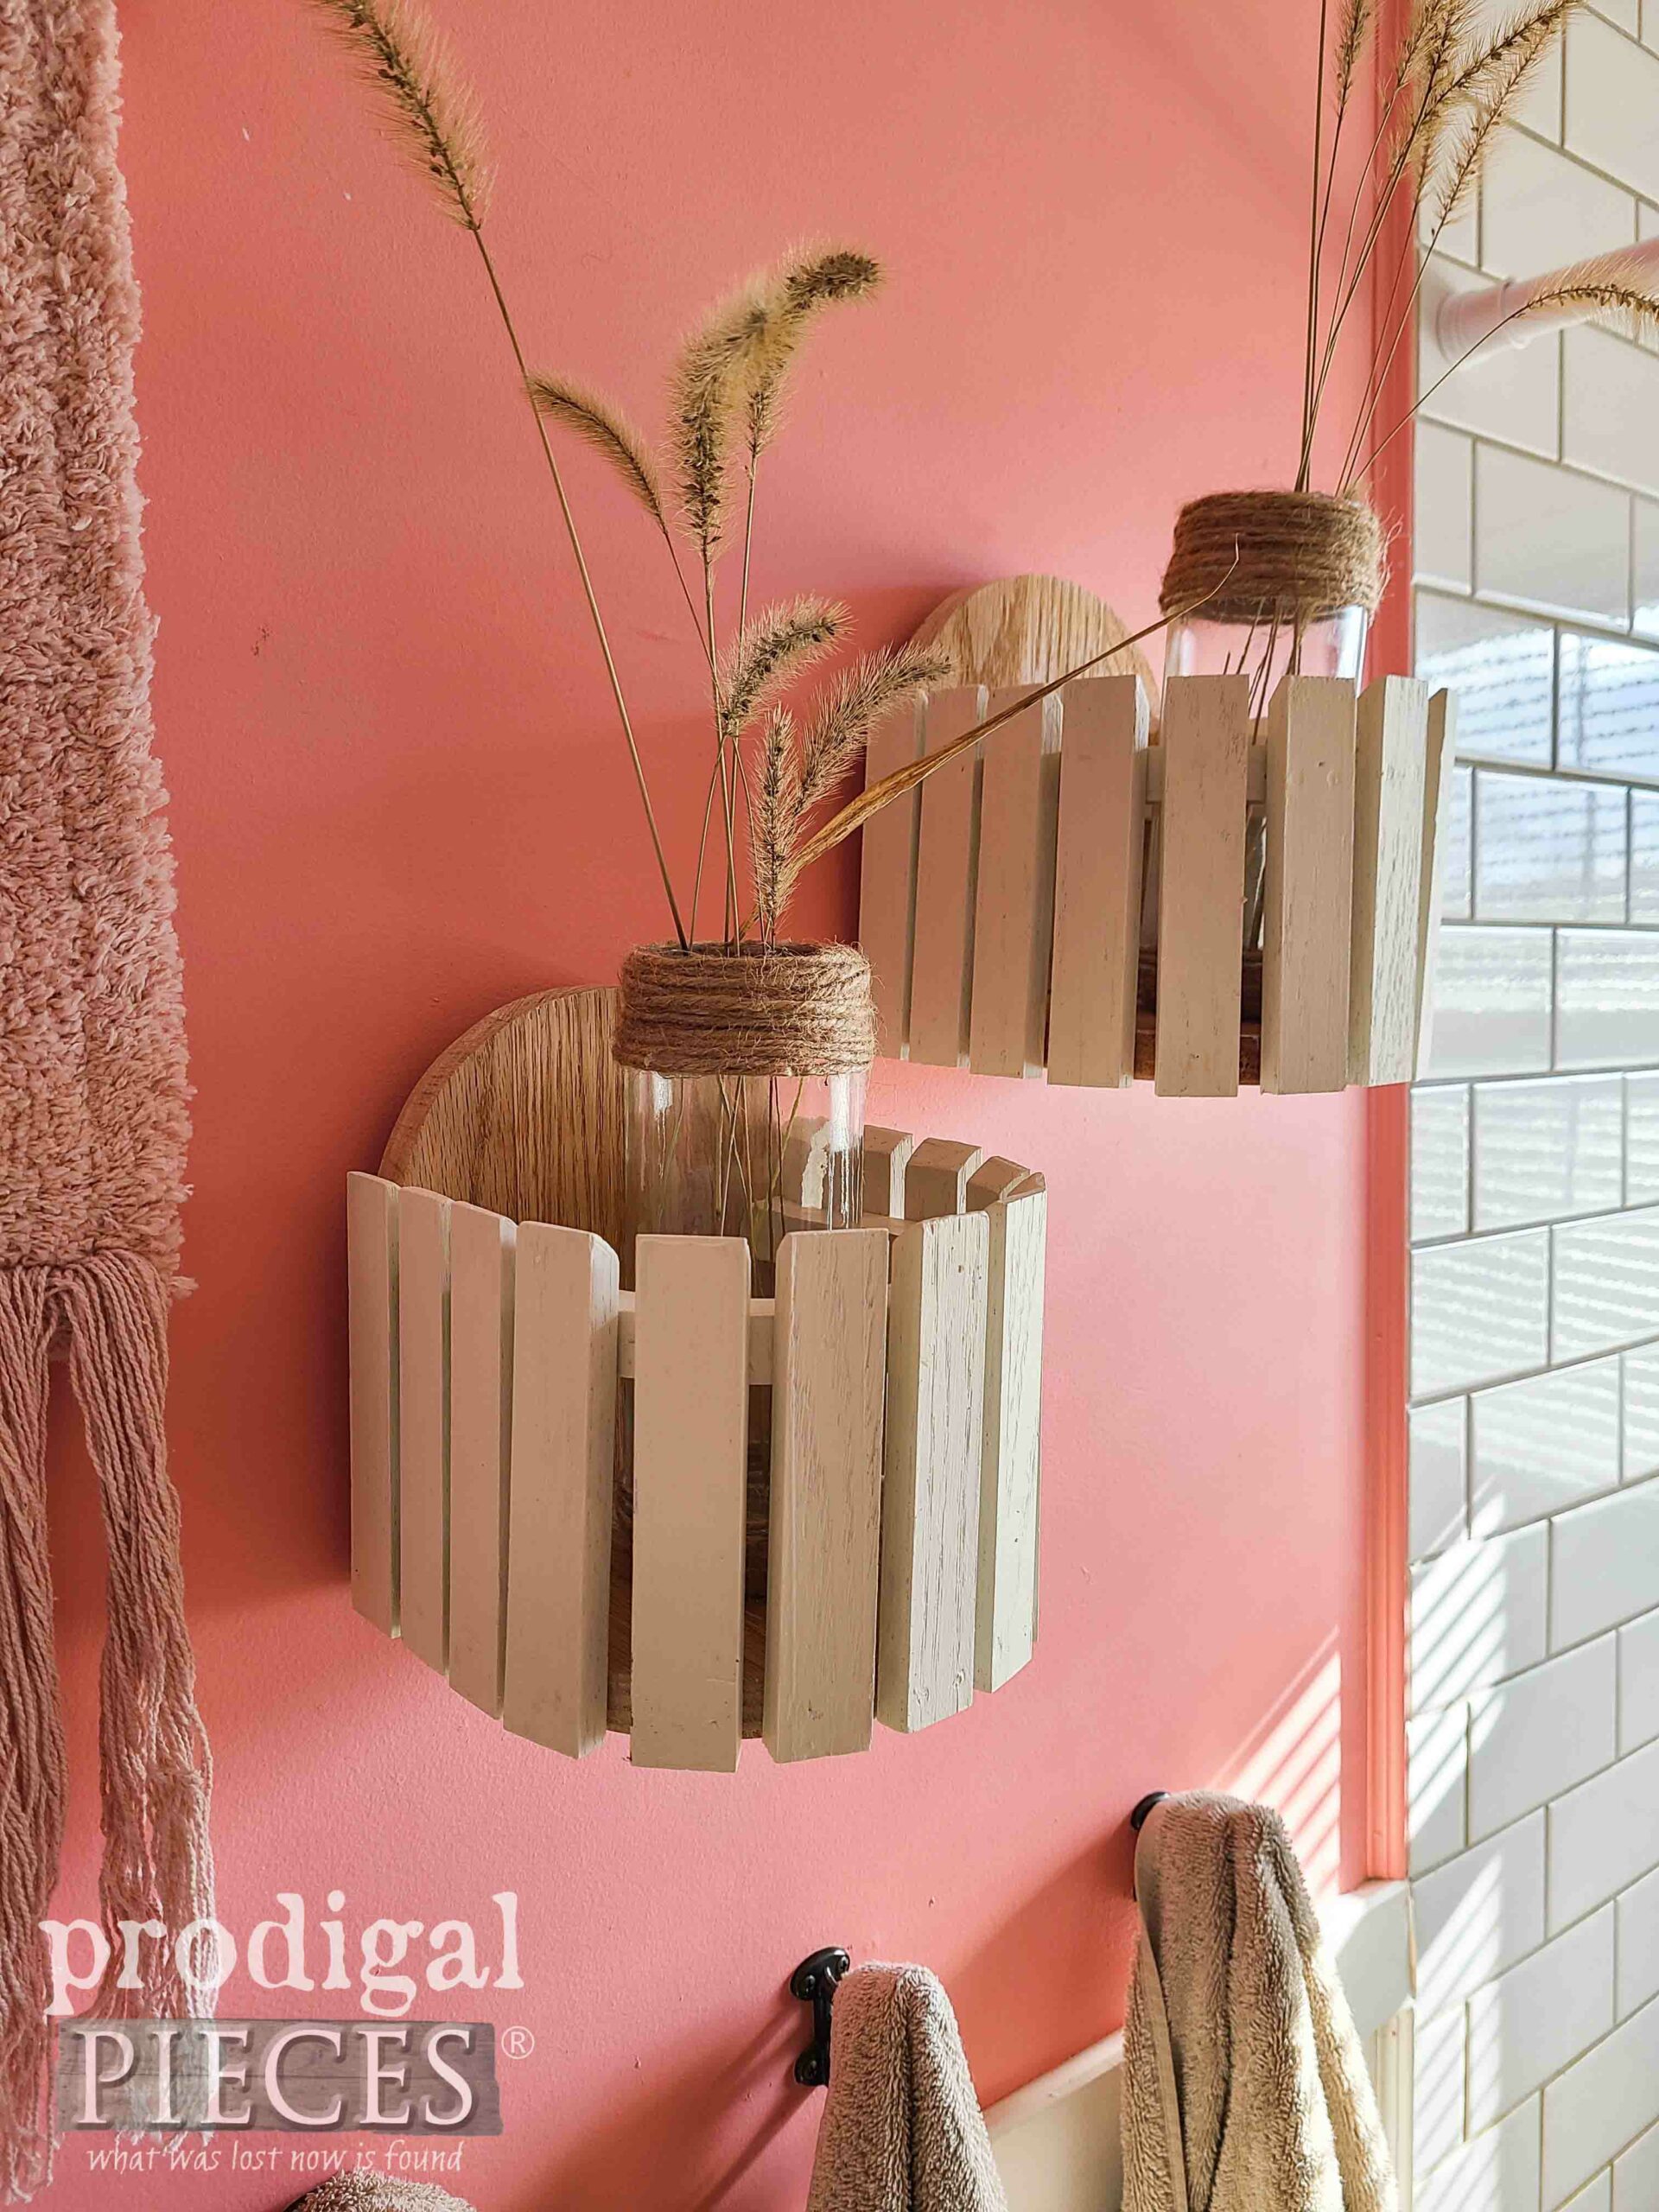
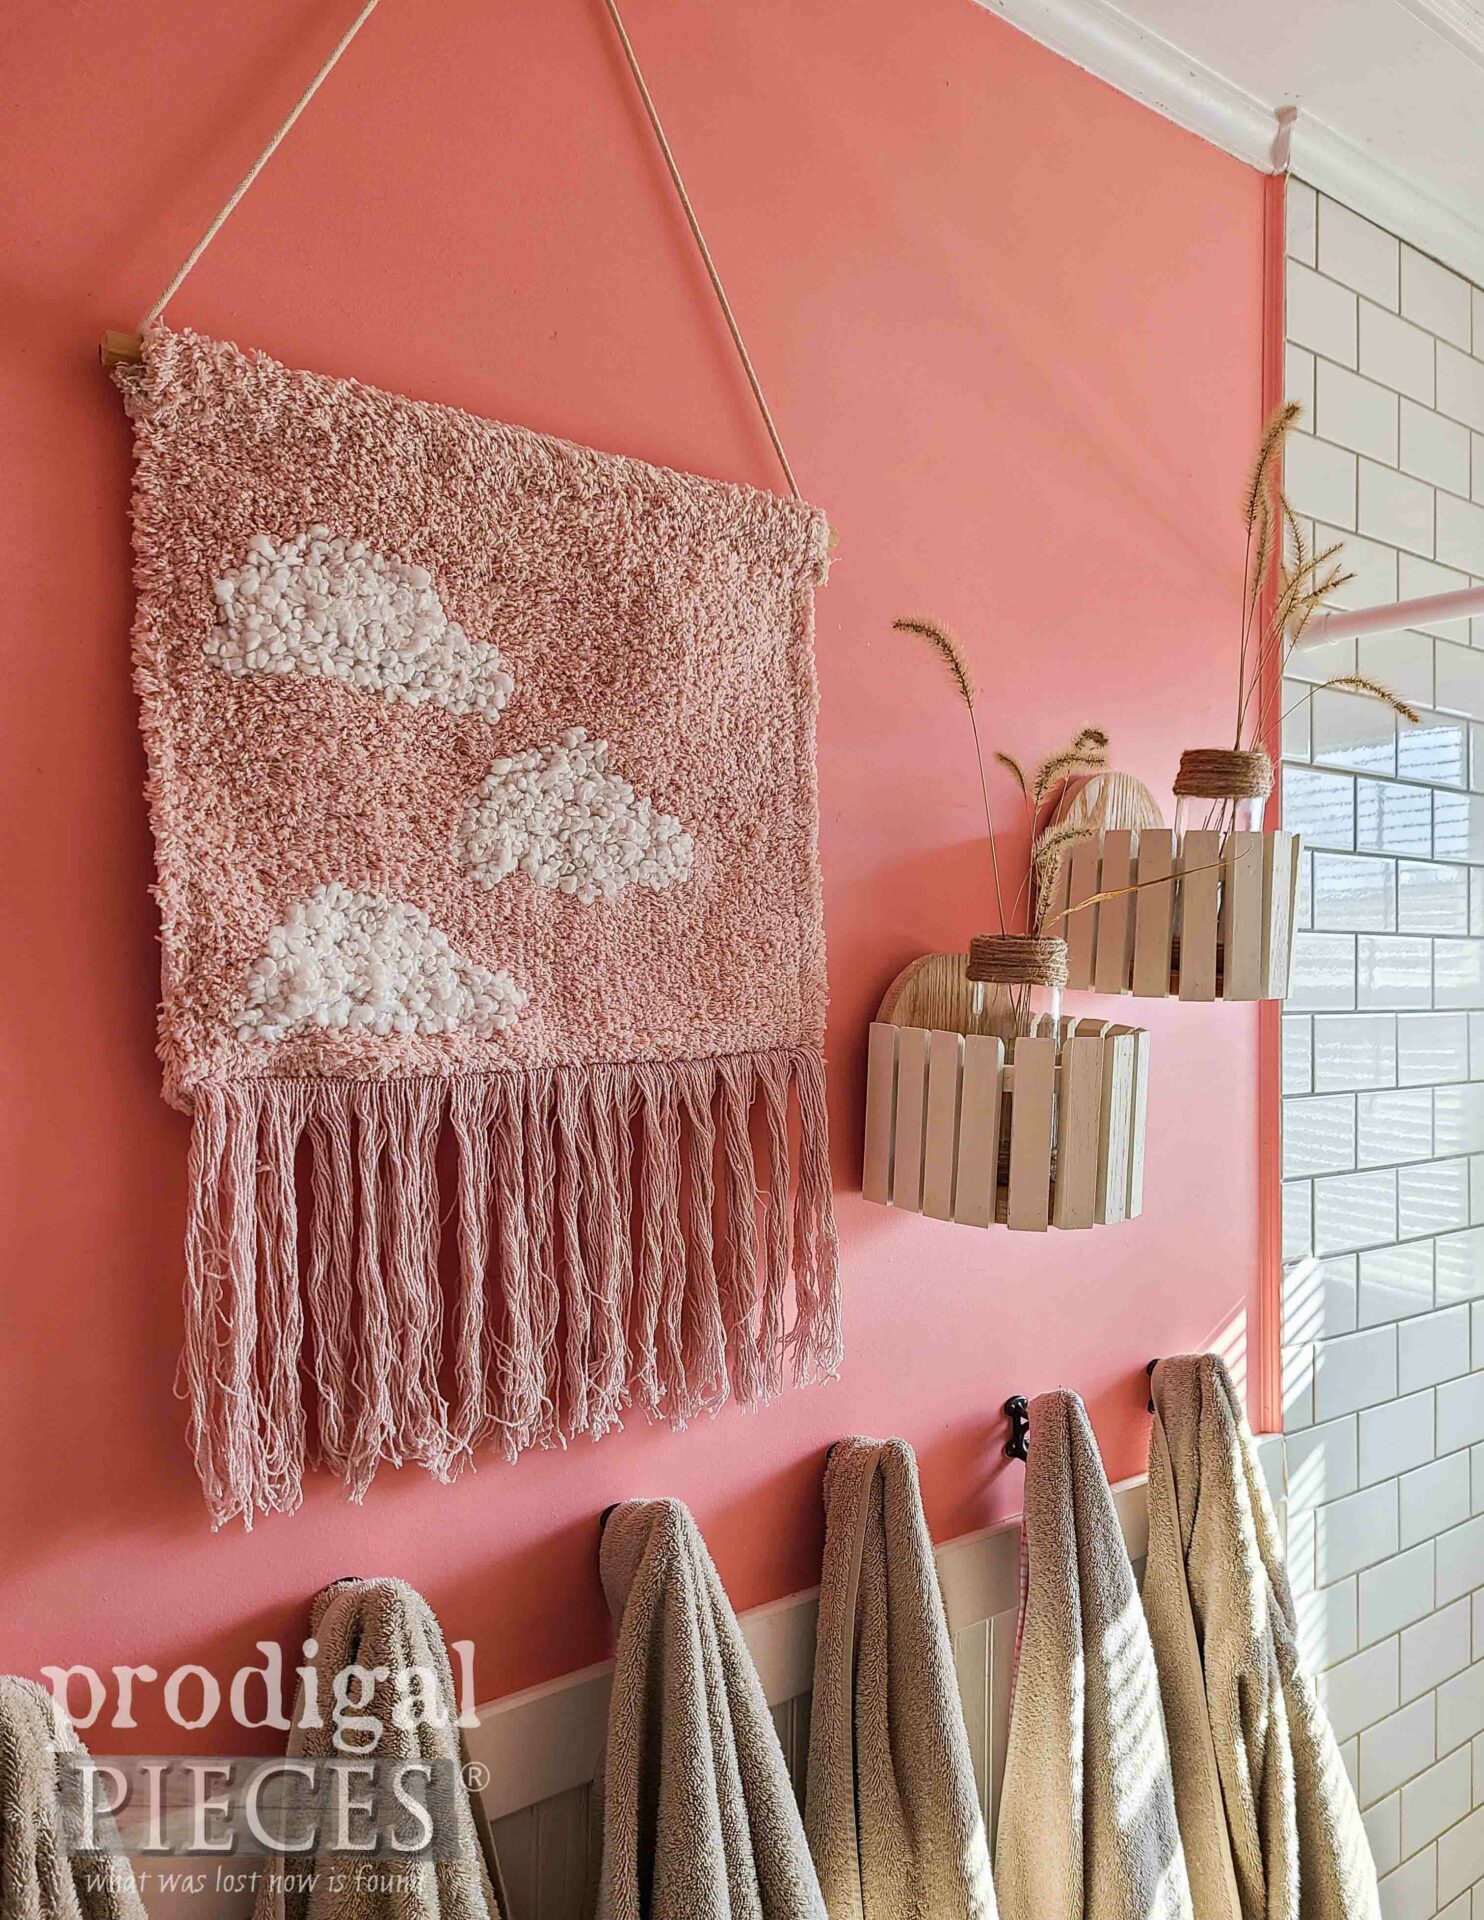
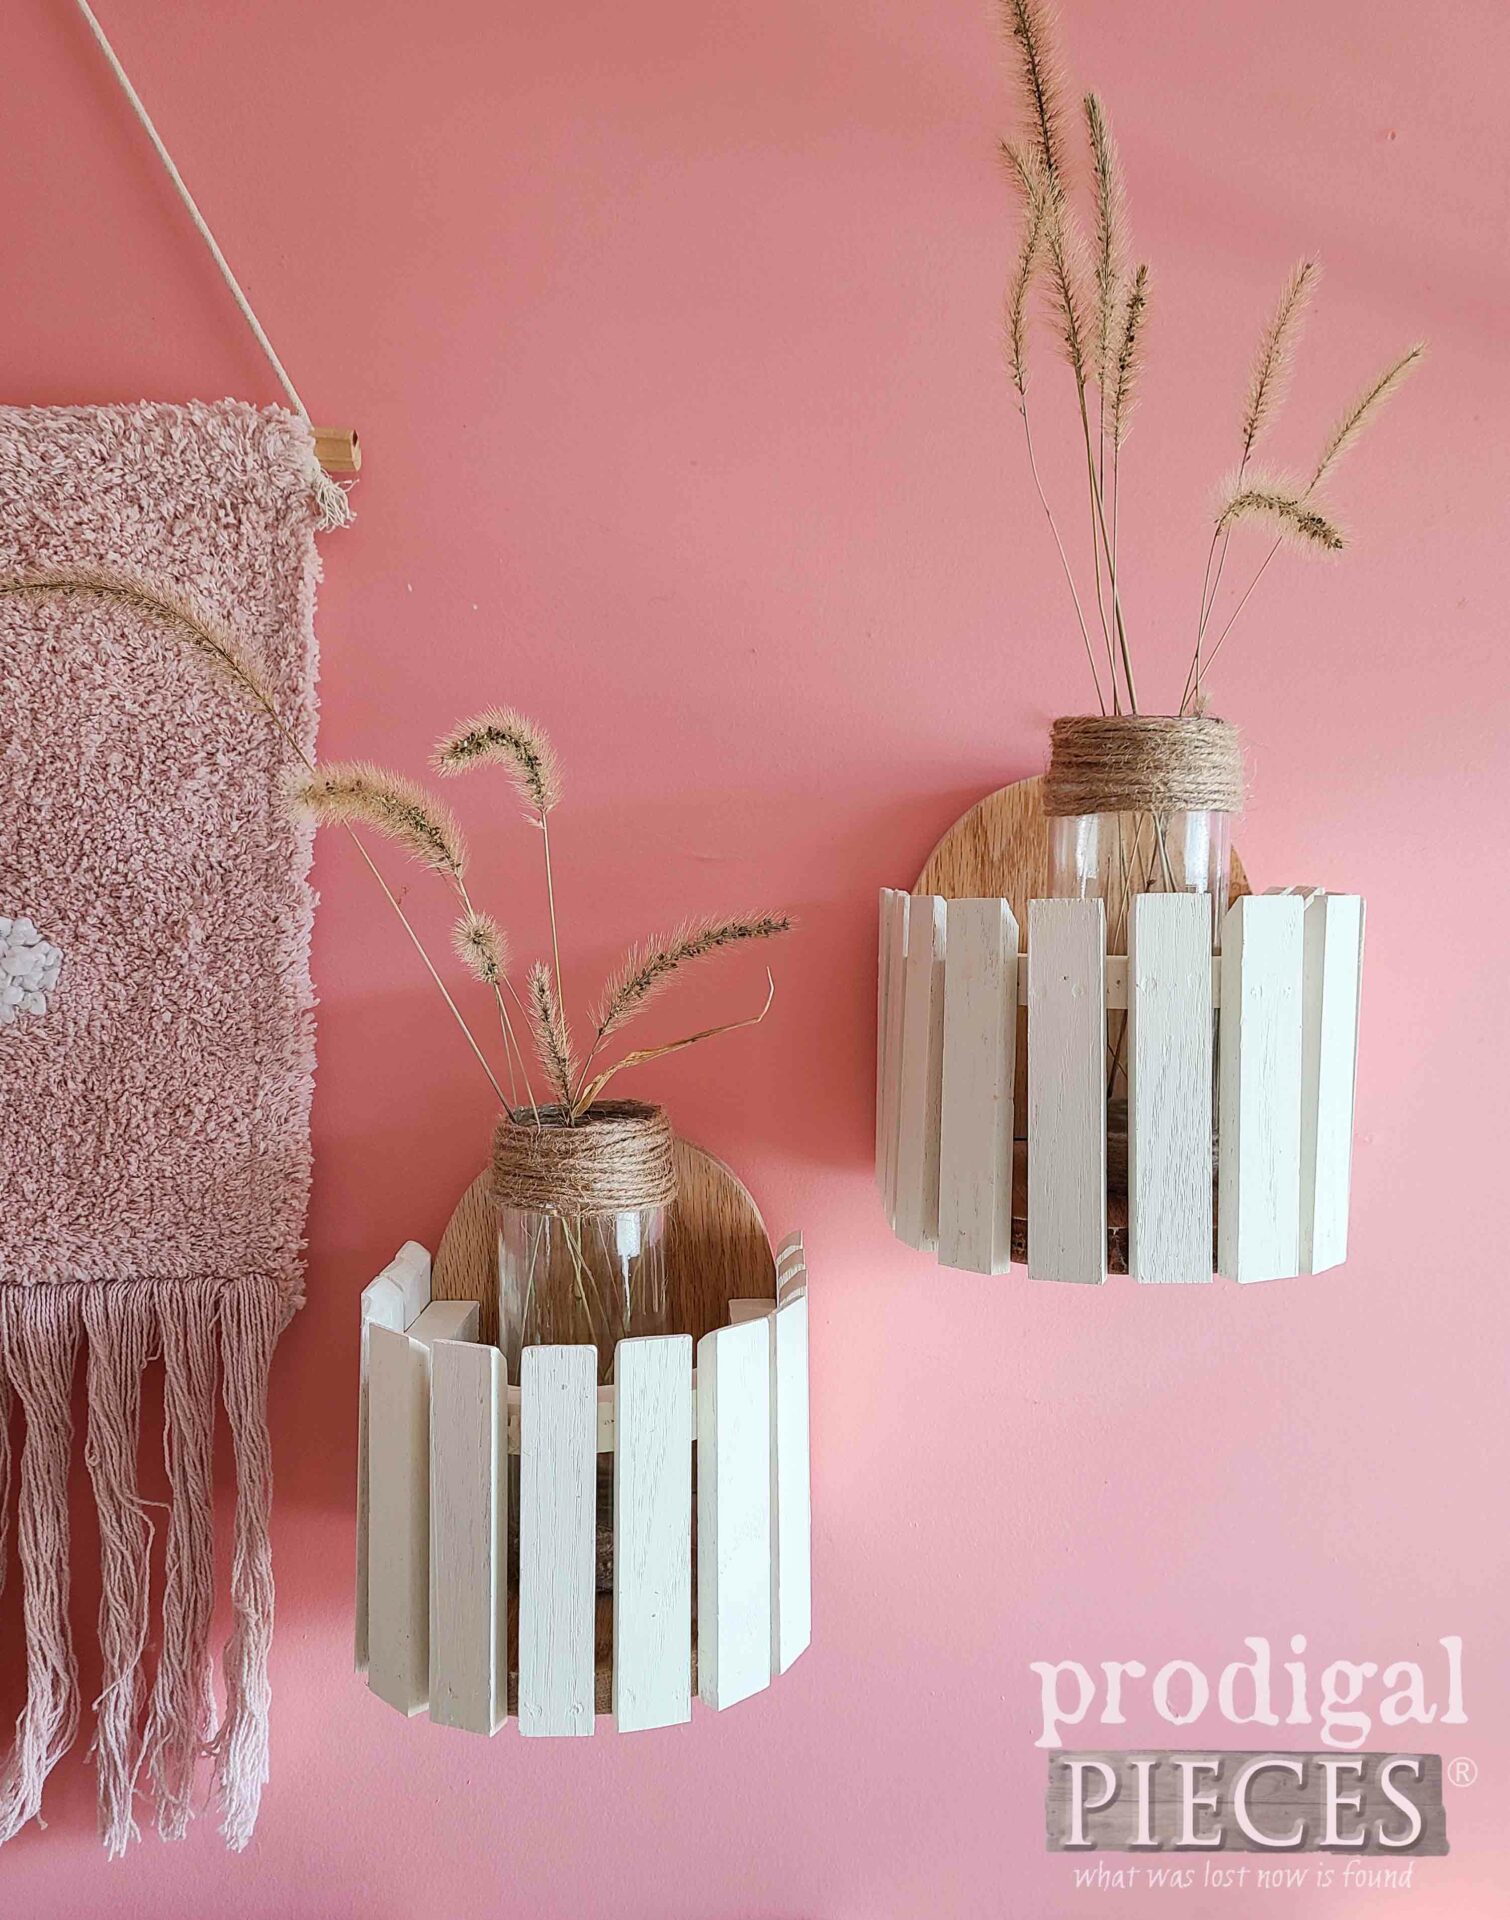
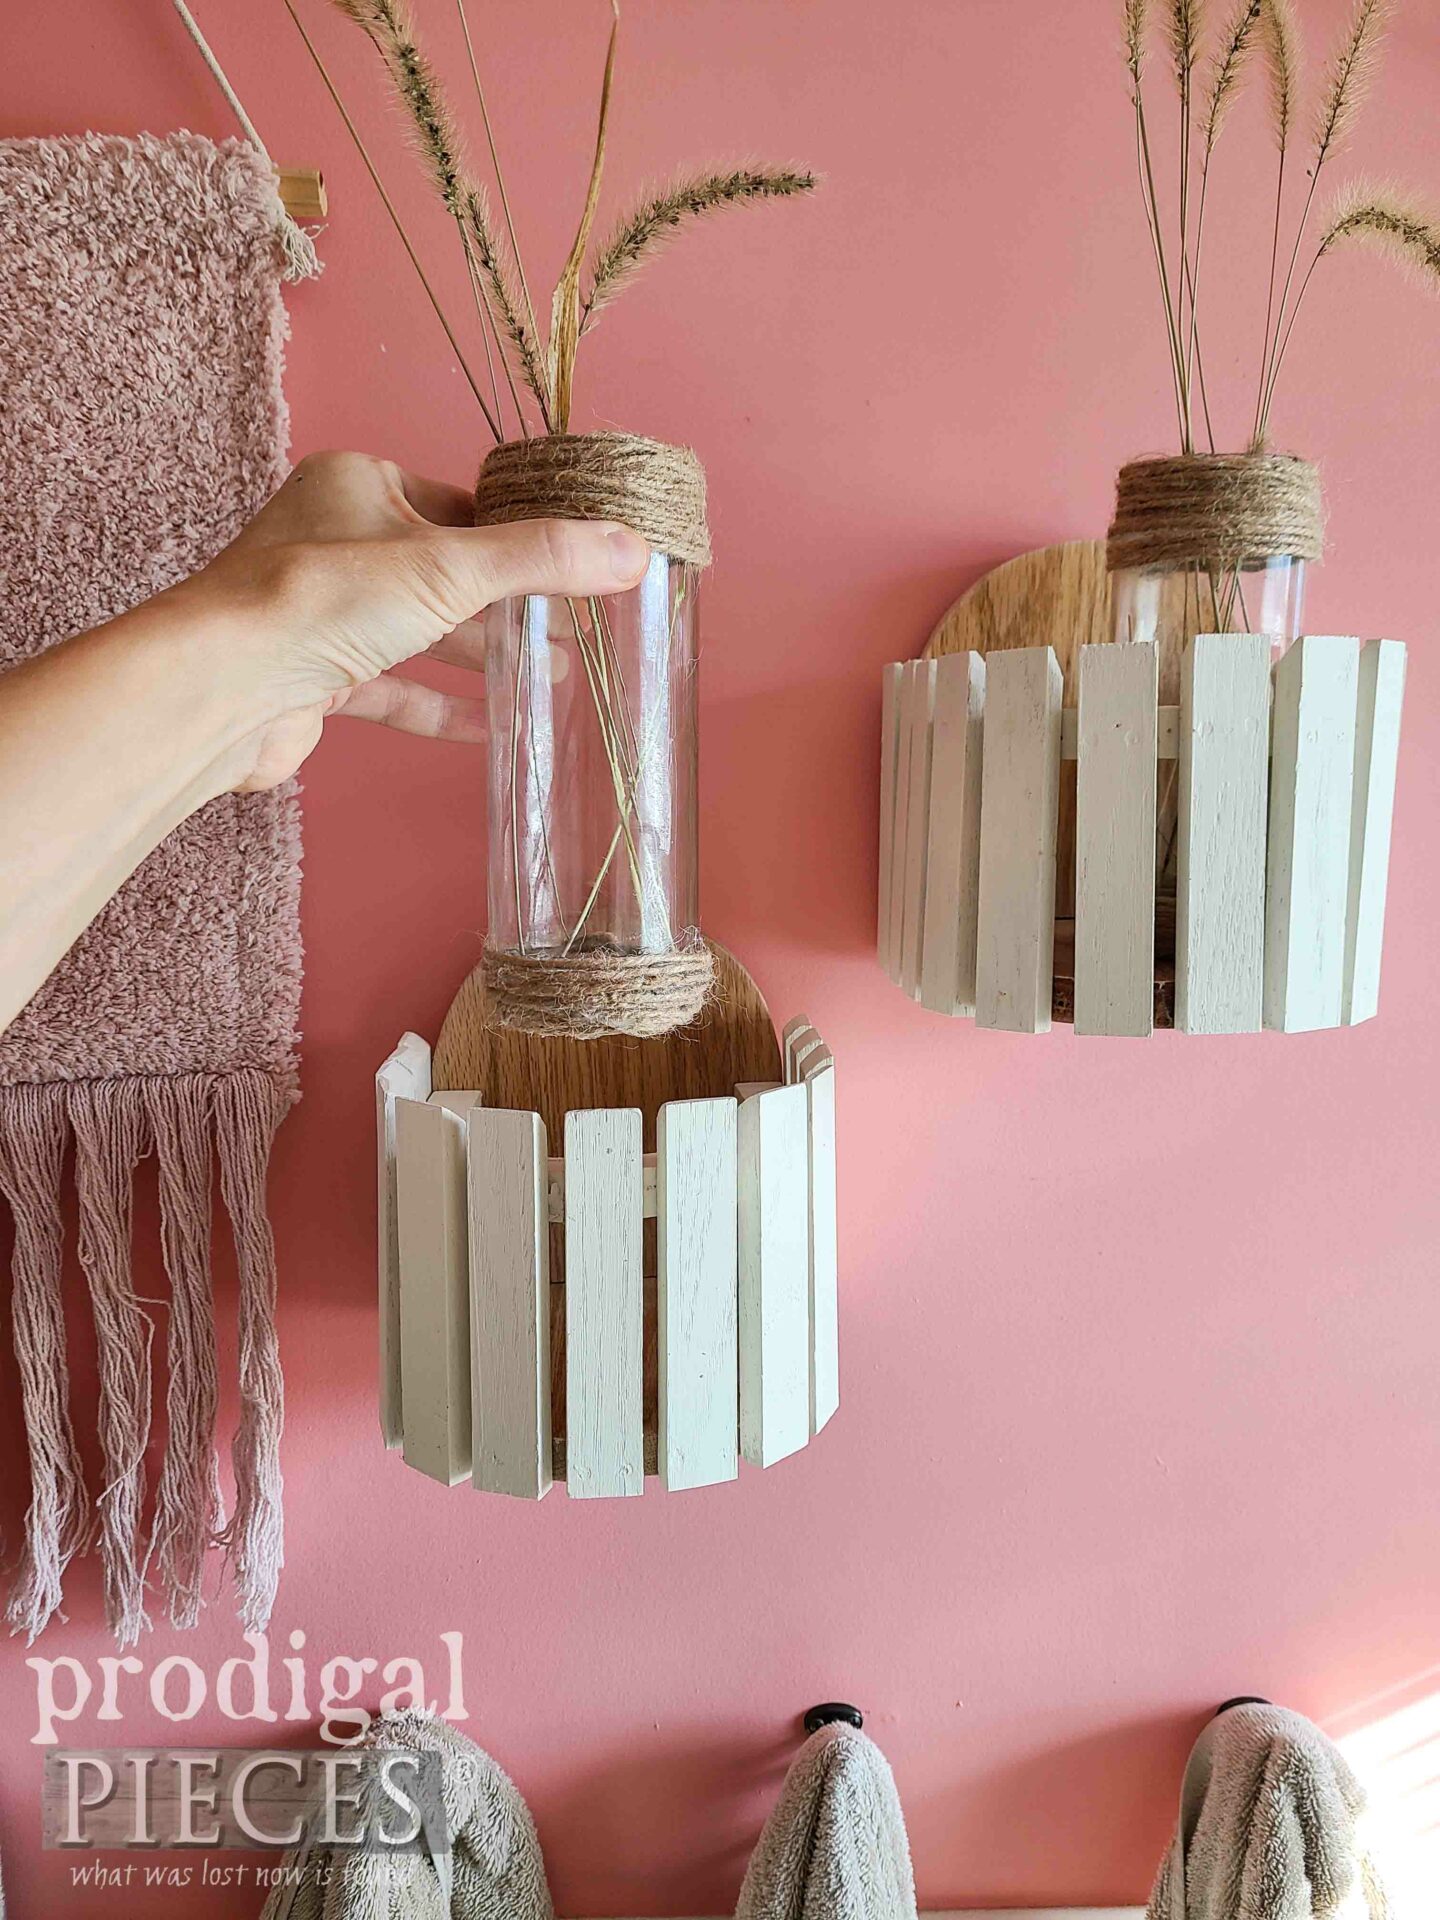
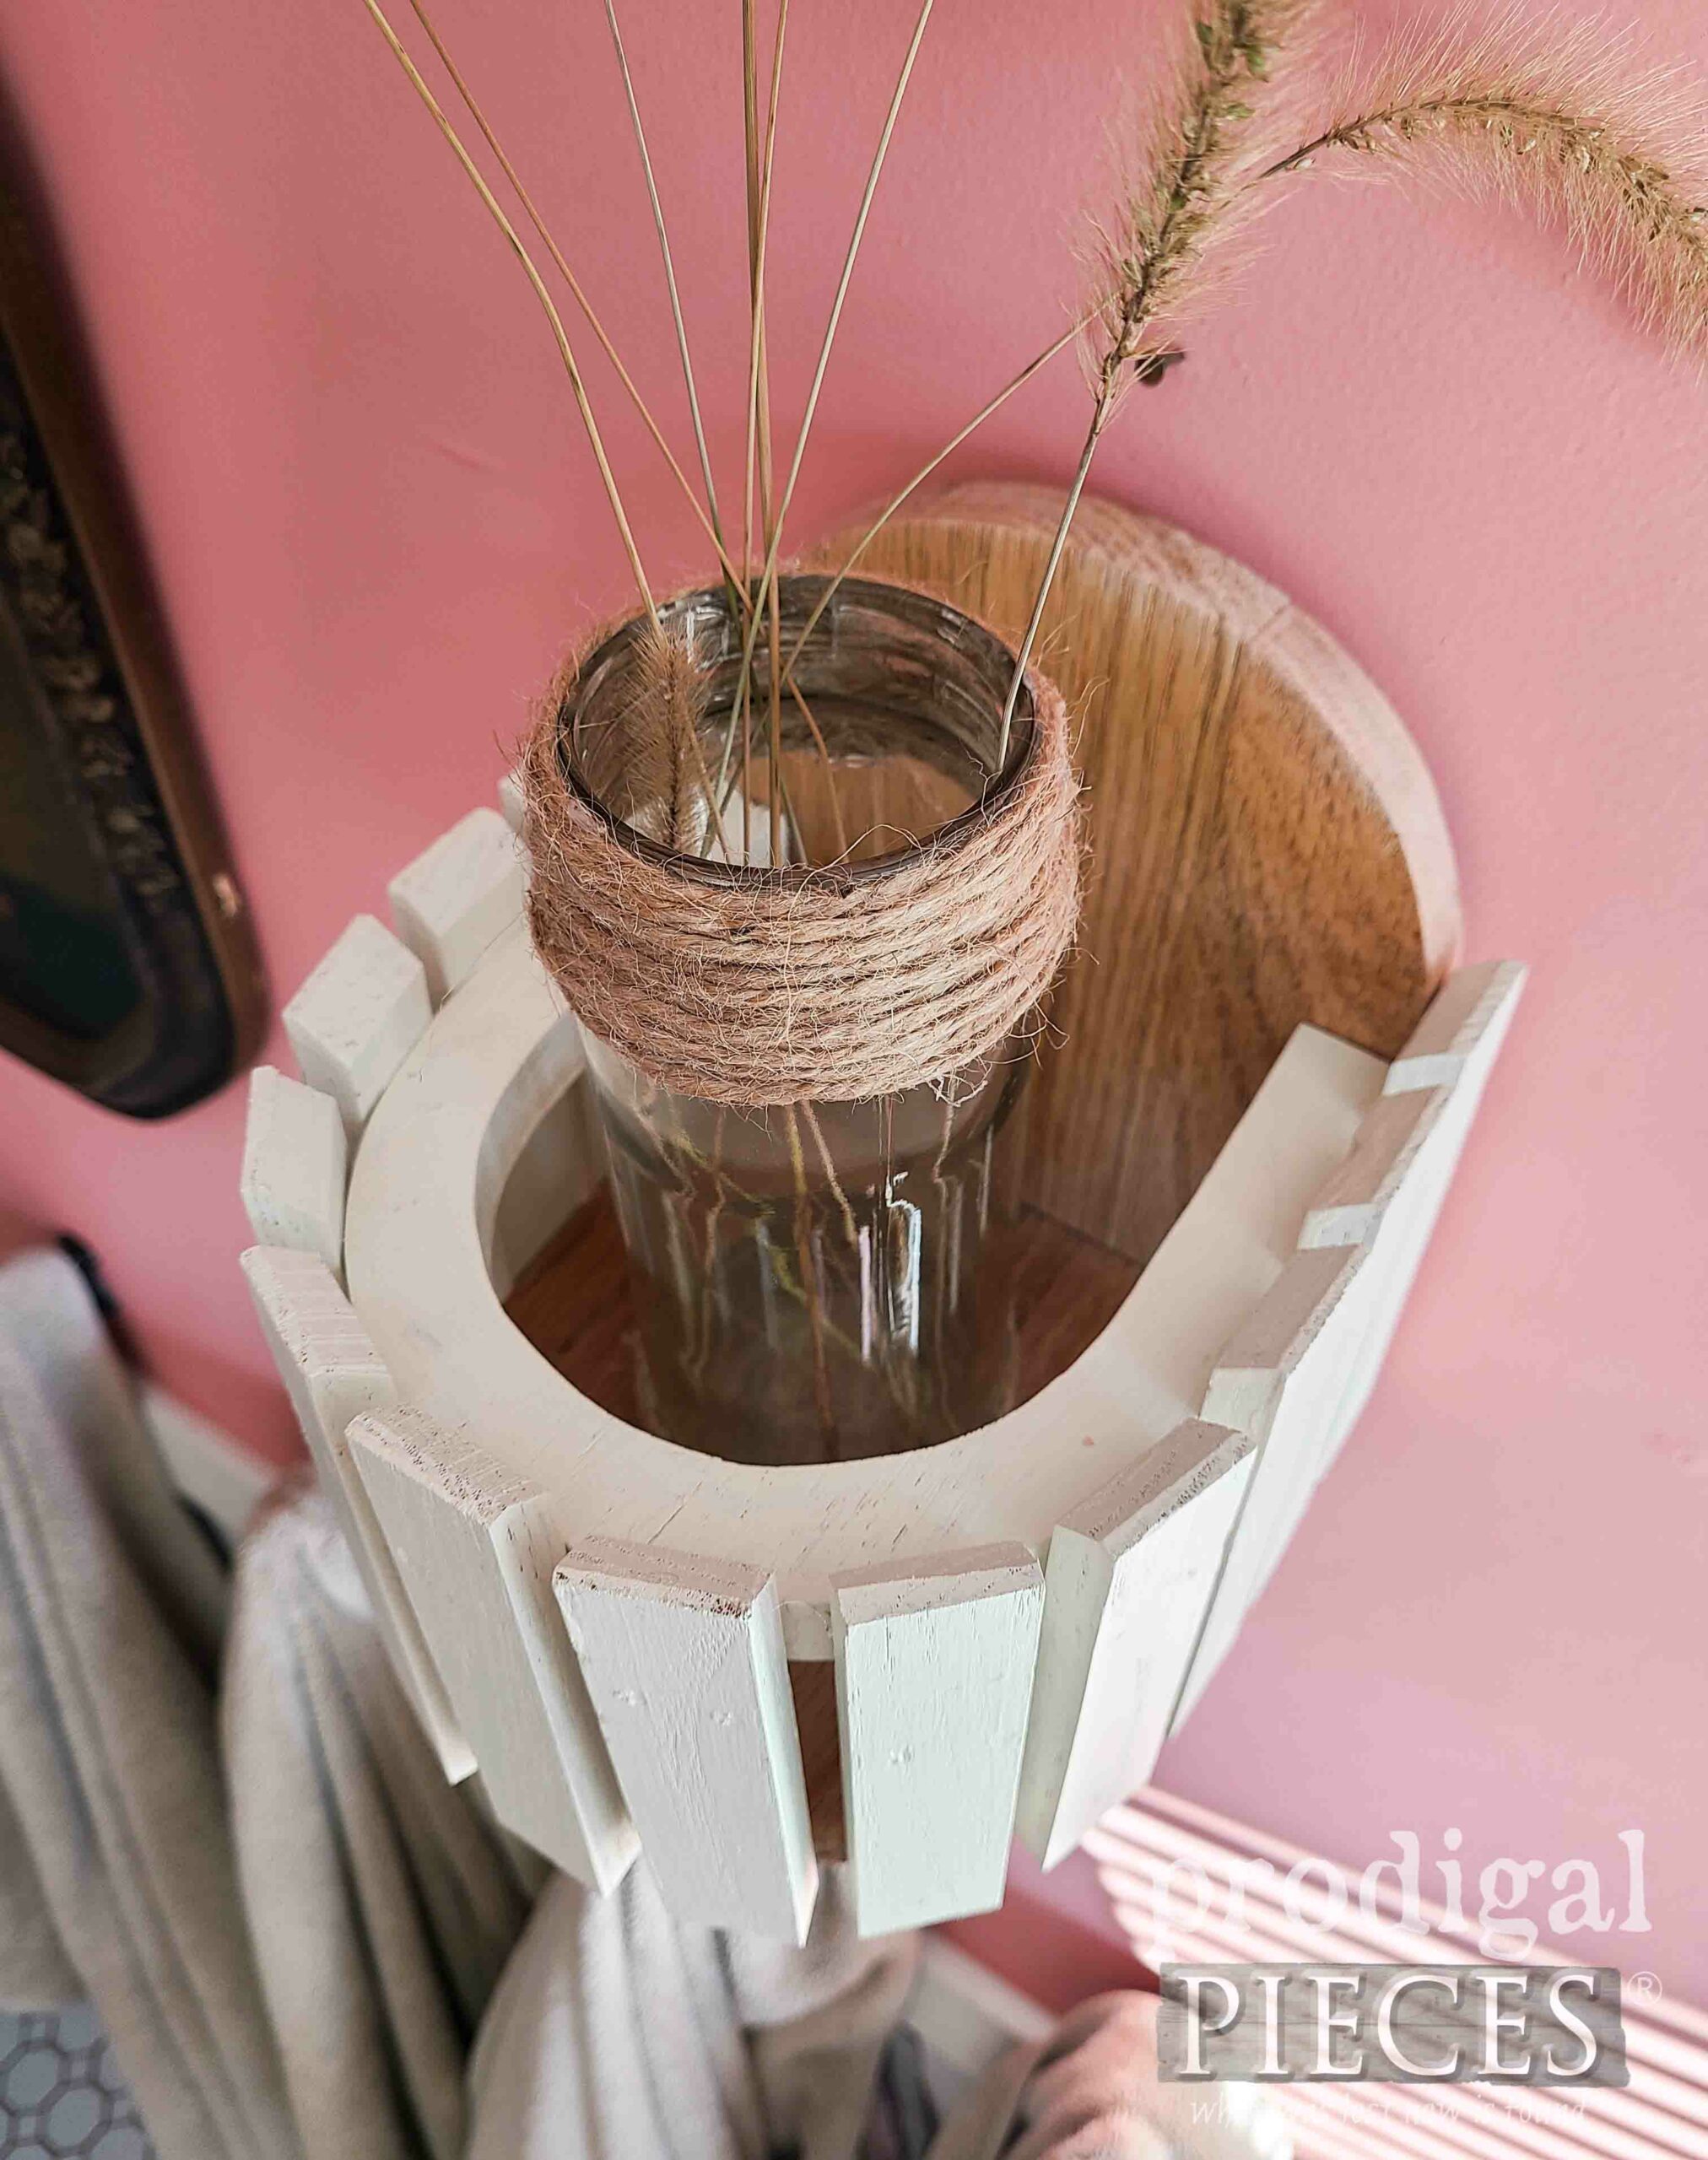
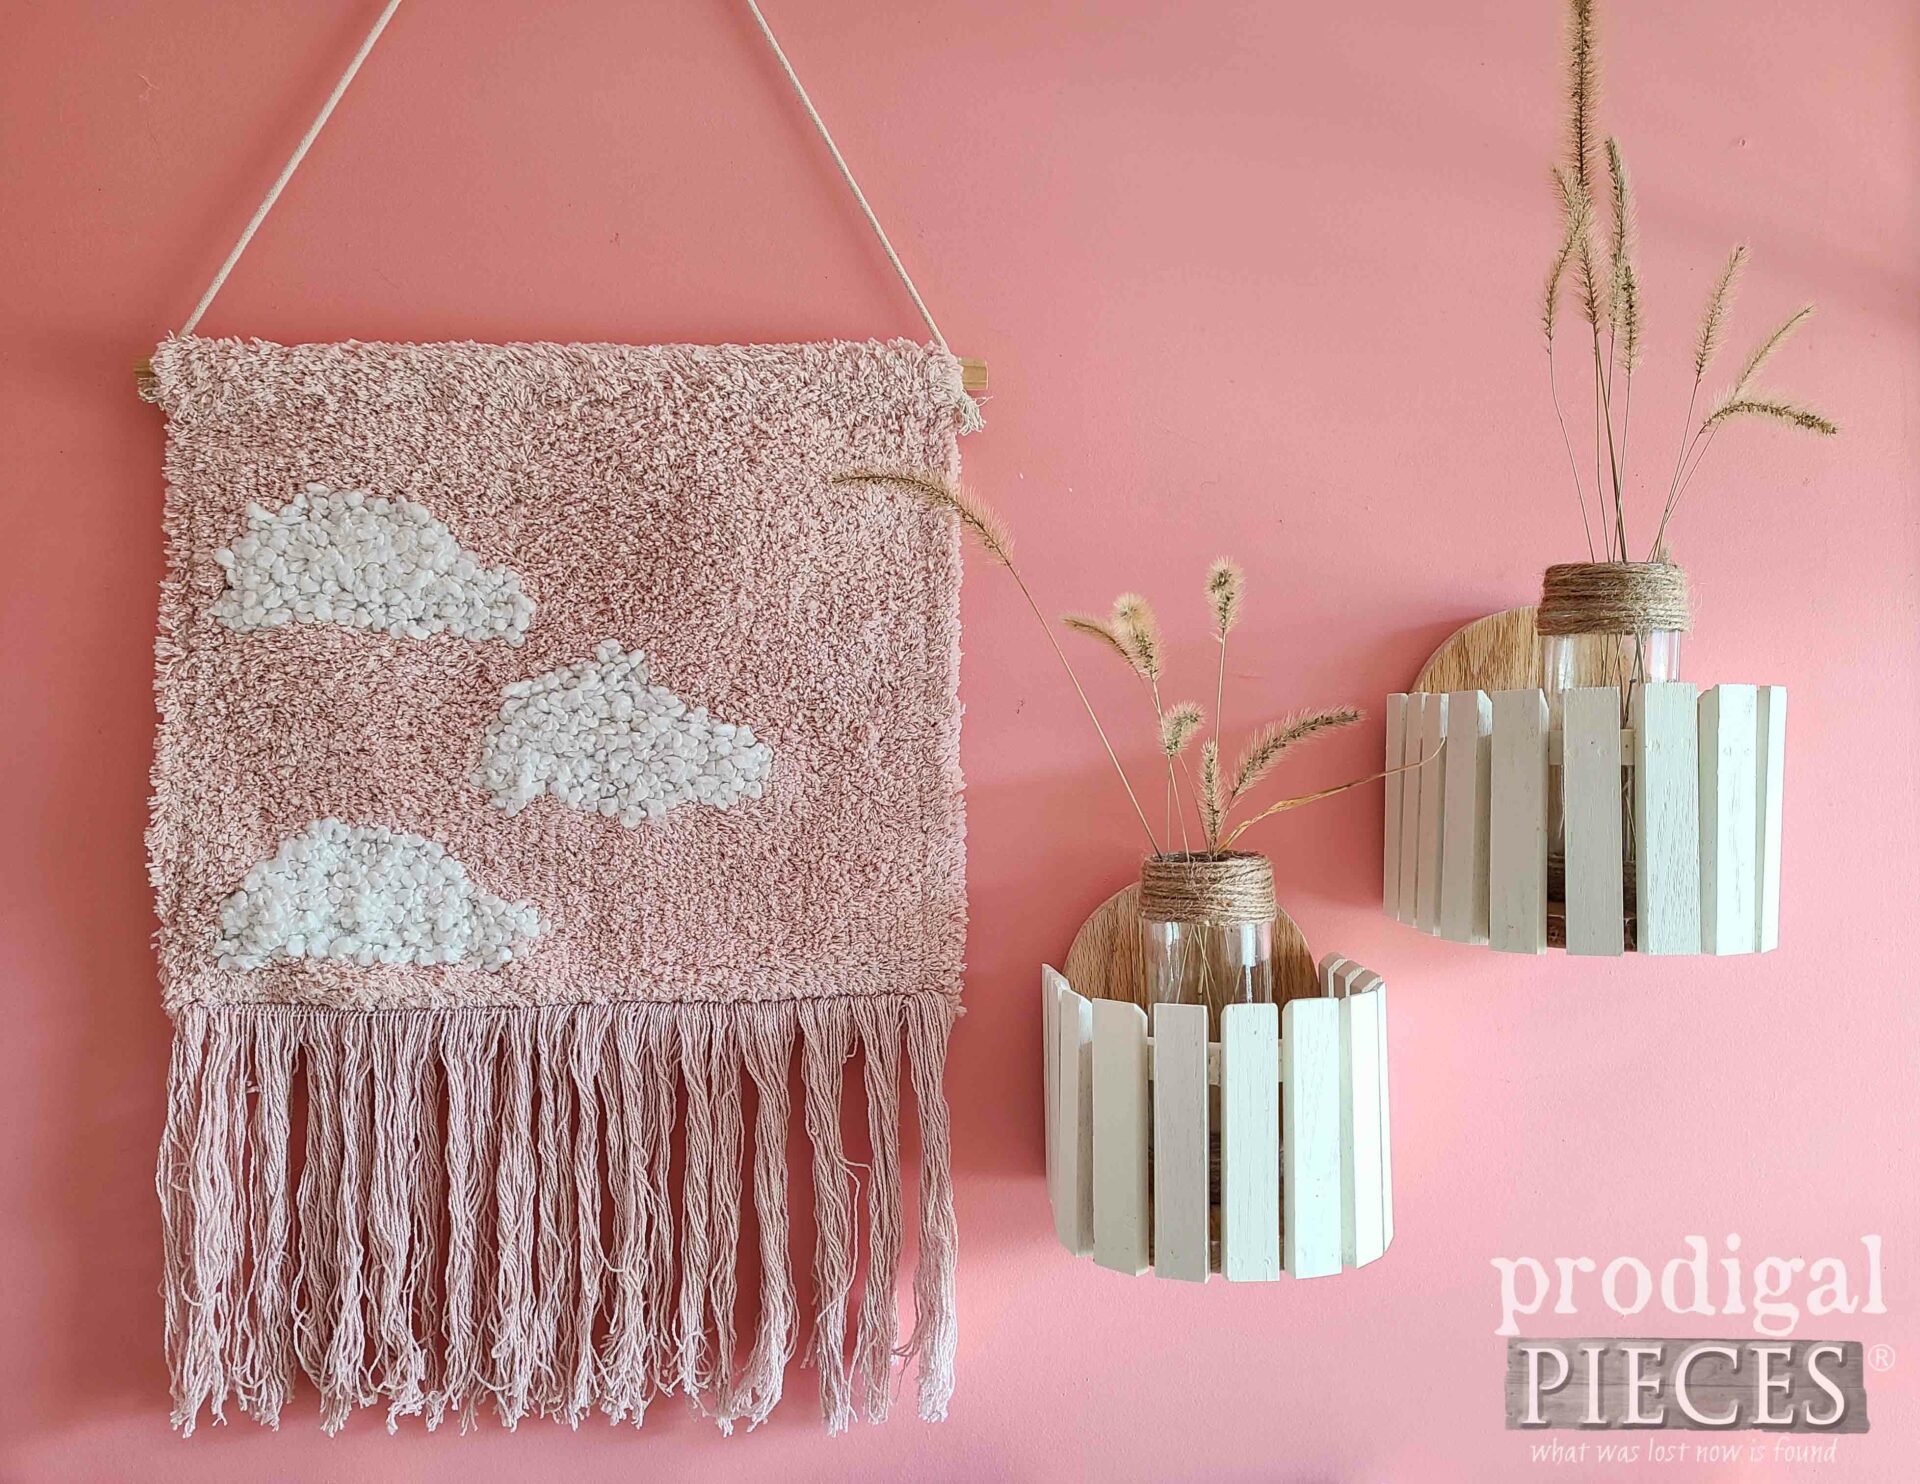
At long last, here are my upcycled mailbox turned Boho wall sconces/shelves hanging with flair in my blush pink painted bathroom. tee hee!
If you can’t tell I had fun with these, then scroll back out to do a double-read. {{wink, wink}} They’re fun, useful, and easy on the eyes, don’t you think?
What’s more fun is having the twine-wrapped jars to add these grasses from my garden. Loula just loves to eat couch grass all summer long, so I grow it for her.
Not only do I have a passion for upcycling, sewing, cooking, barefooting, etc., but also woodworking in any form as well as you can see in my project gallery with free build plans. At any rate, I’m glad I nabbed that mailbox and had fun recreating it into something new.
If you’d like to make them a part of your home story, you can find these and more in my online store.
SHARE
Now it’s your turn! I want to hear from you… would you have brought that before box home with you? Leave some comment love below as well as pin and share to inspire others too.
Before you go, be sure to sign up for my FREE newsletter. Until next time!


You have the MOST creative mind, talent and energy!!!!! You never cease to amaze! Take care of yourself and you and the kids have a wonderful and meaningful Christmas and New Year!!! ❤️
It’s so sweet of you to say. Yes, under the weather, but feeling better today. Thanks so much.
They look really nice in your bathroom. Great job!
Thank you, Judy. 🙂
Very creative. they look great in your bathroom.
Thank you, Kimberly, They’re made for any room in a home. 🙂
Your creativity never ceases to amaze me. You are definitely an artist with a funky vibe. I don’t have your woodworking skills or tools, but can see you have created a warm and lovely home for your family. Great project!
You just made my day, Fran. I’ve learned much over the years just by trying my hand at it. It’s been a blessing I’ve been able. Thank you.