I don’t wonder if I should rename myself the hot mess mama. Not be
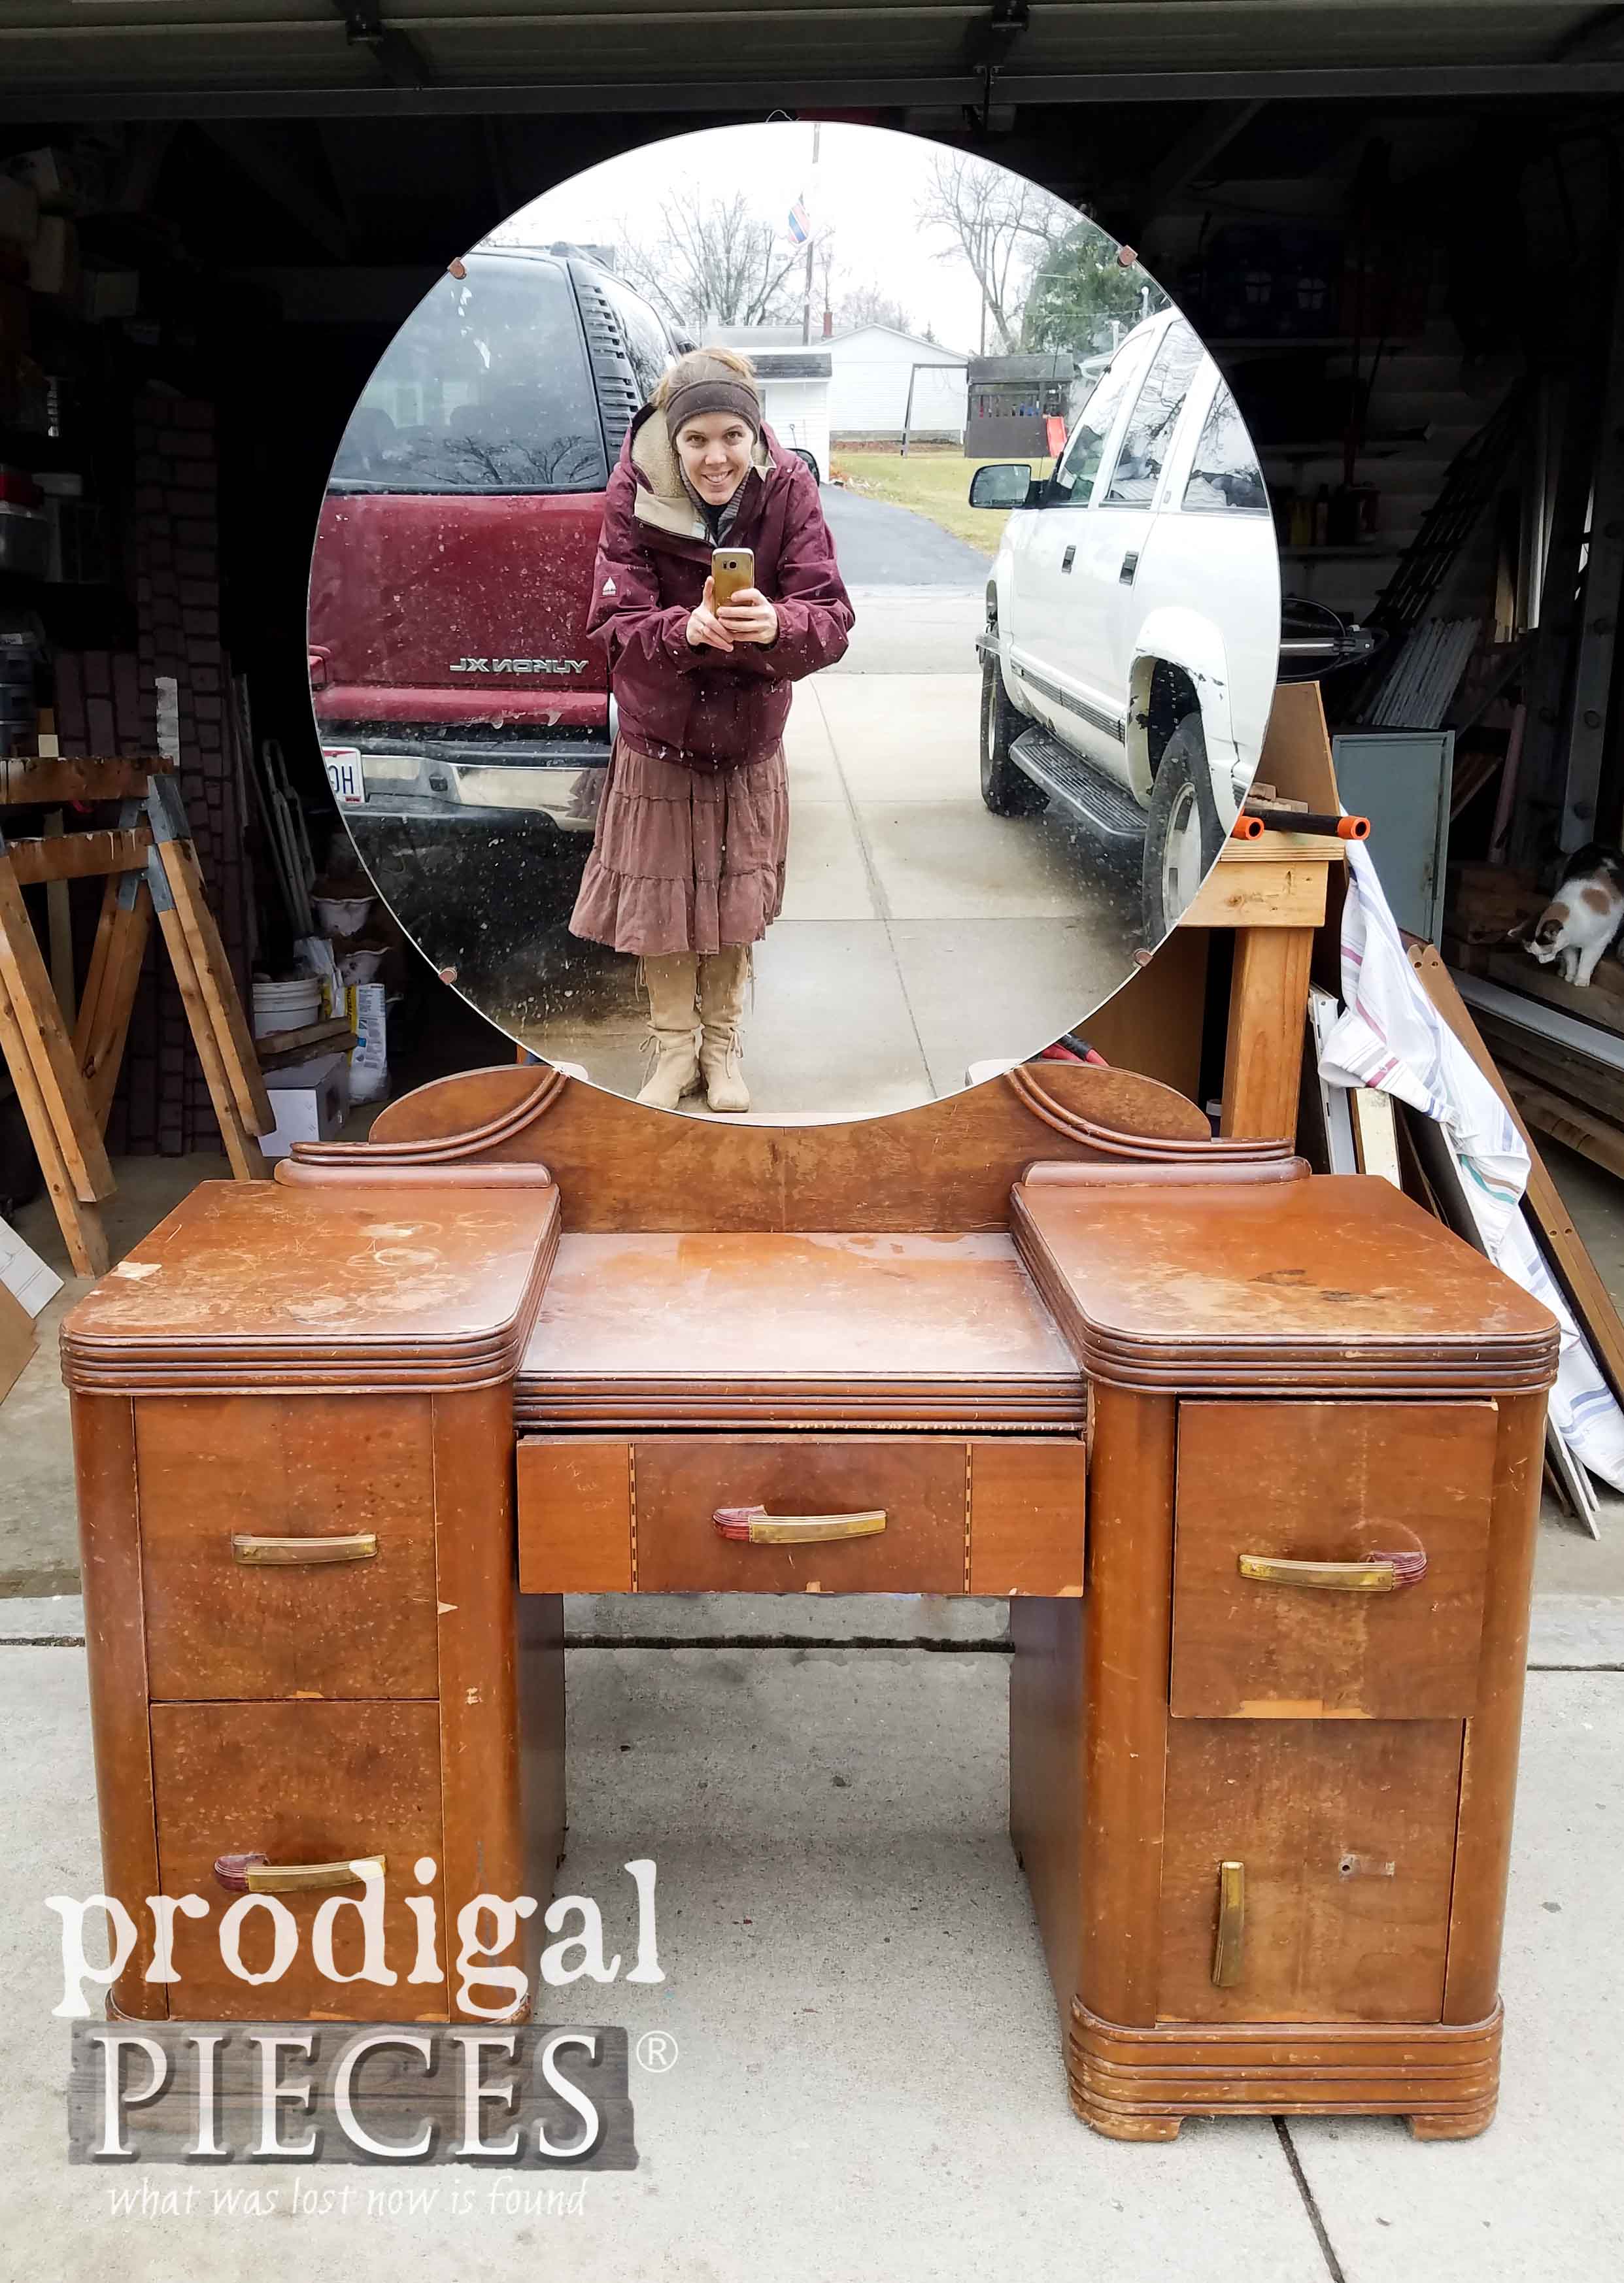
cause I myself am a hot mess (though I can be at times – aren’t we all?), but because of these crazy pieces I bring home then ask my self…why did you do this?! hahaha!! Being a sucker for the worn down, dilapidated pieces is my calling and this Art Deco vanity is one that gave me a run for my money.
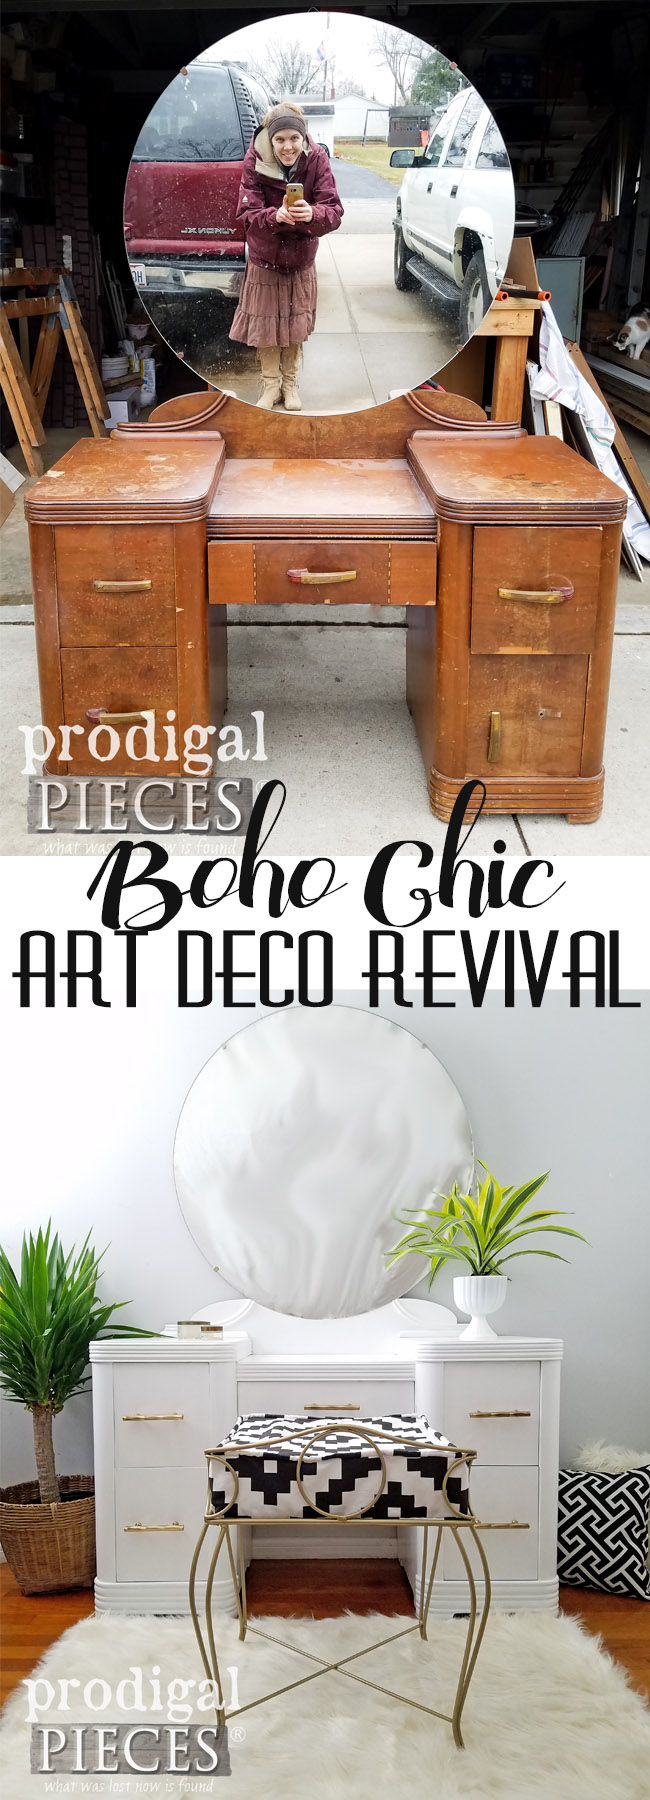
You see in the before picture here I’m smiling like a kid in a candy store. However, during the middle of working on it I don’t know if I was smiling quite so big…still smiling, but the fun wore off a bit. Why, you ask? Well, it was a whole lotta work that was totally doable, but I was running out of gas and getting frustrated. Let’s look at it in more detail.
I’ll run through what is needing done so, hopefully, you can learn a few tricks too.
THE GOOD, THE BAD
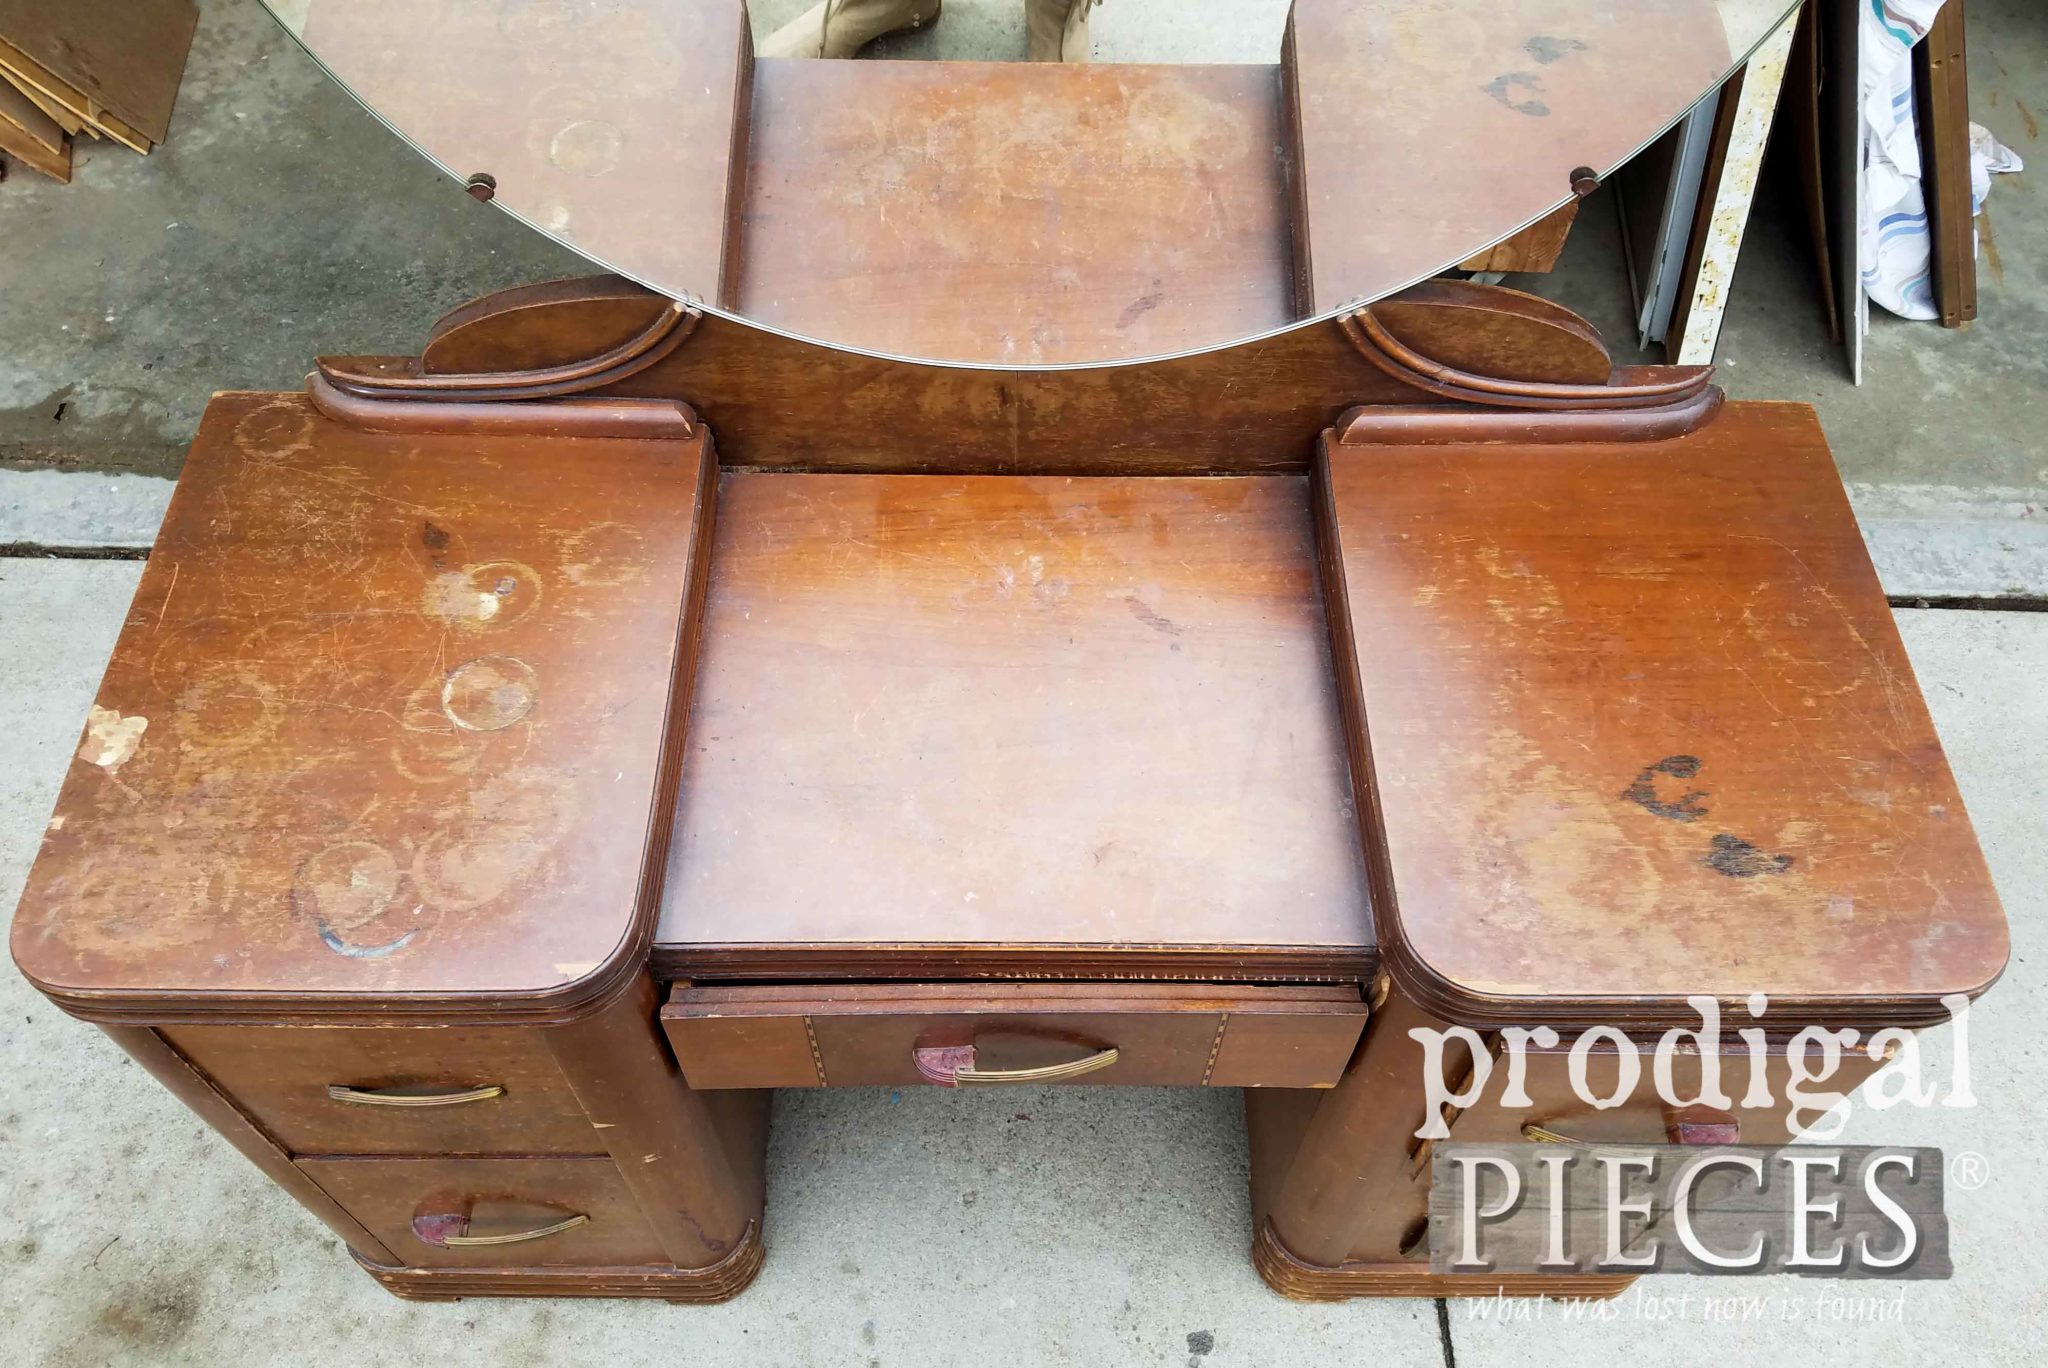
The obvious wear is not much of a concern. We have oodles of scratches and dents, water marks, chemical stains, hammer dents (where someone actually beat it with a hammer), and overall wear.
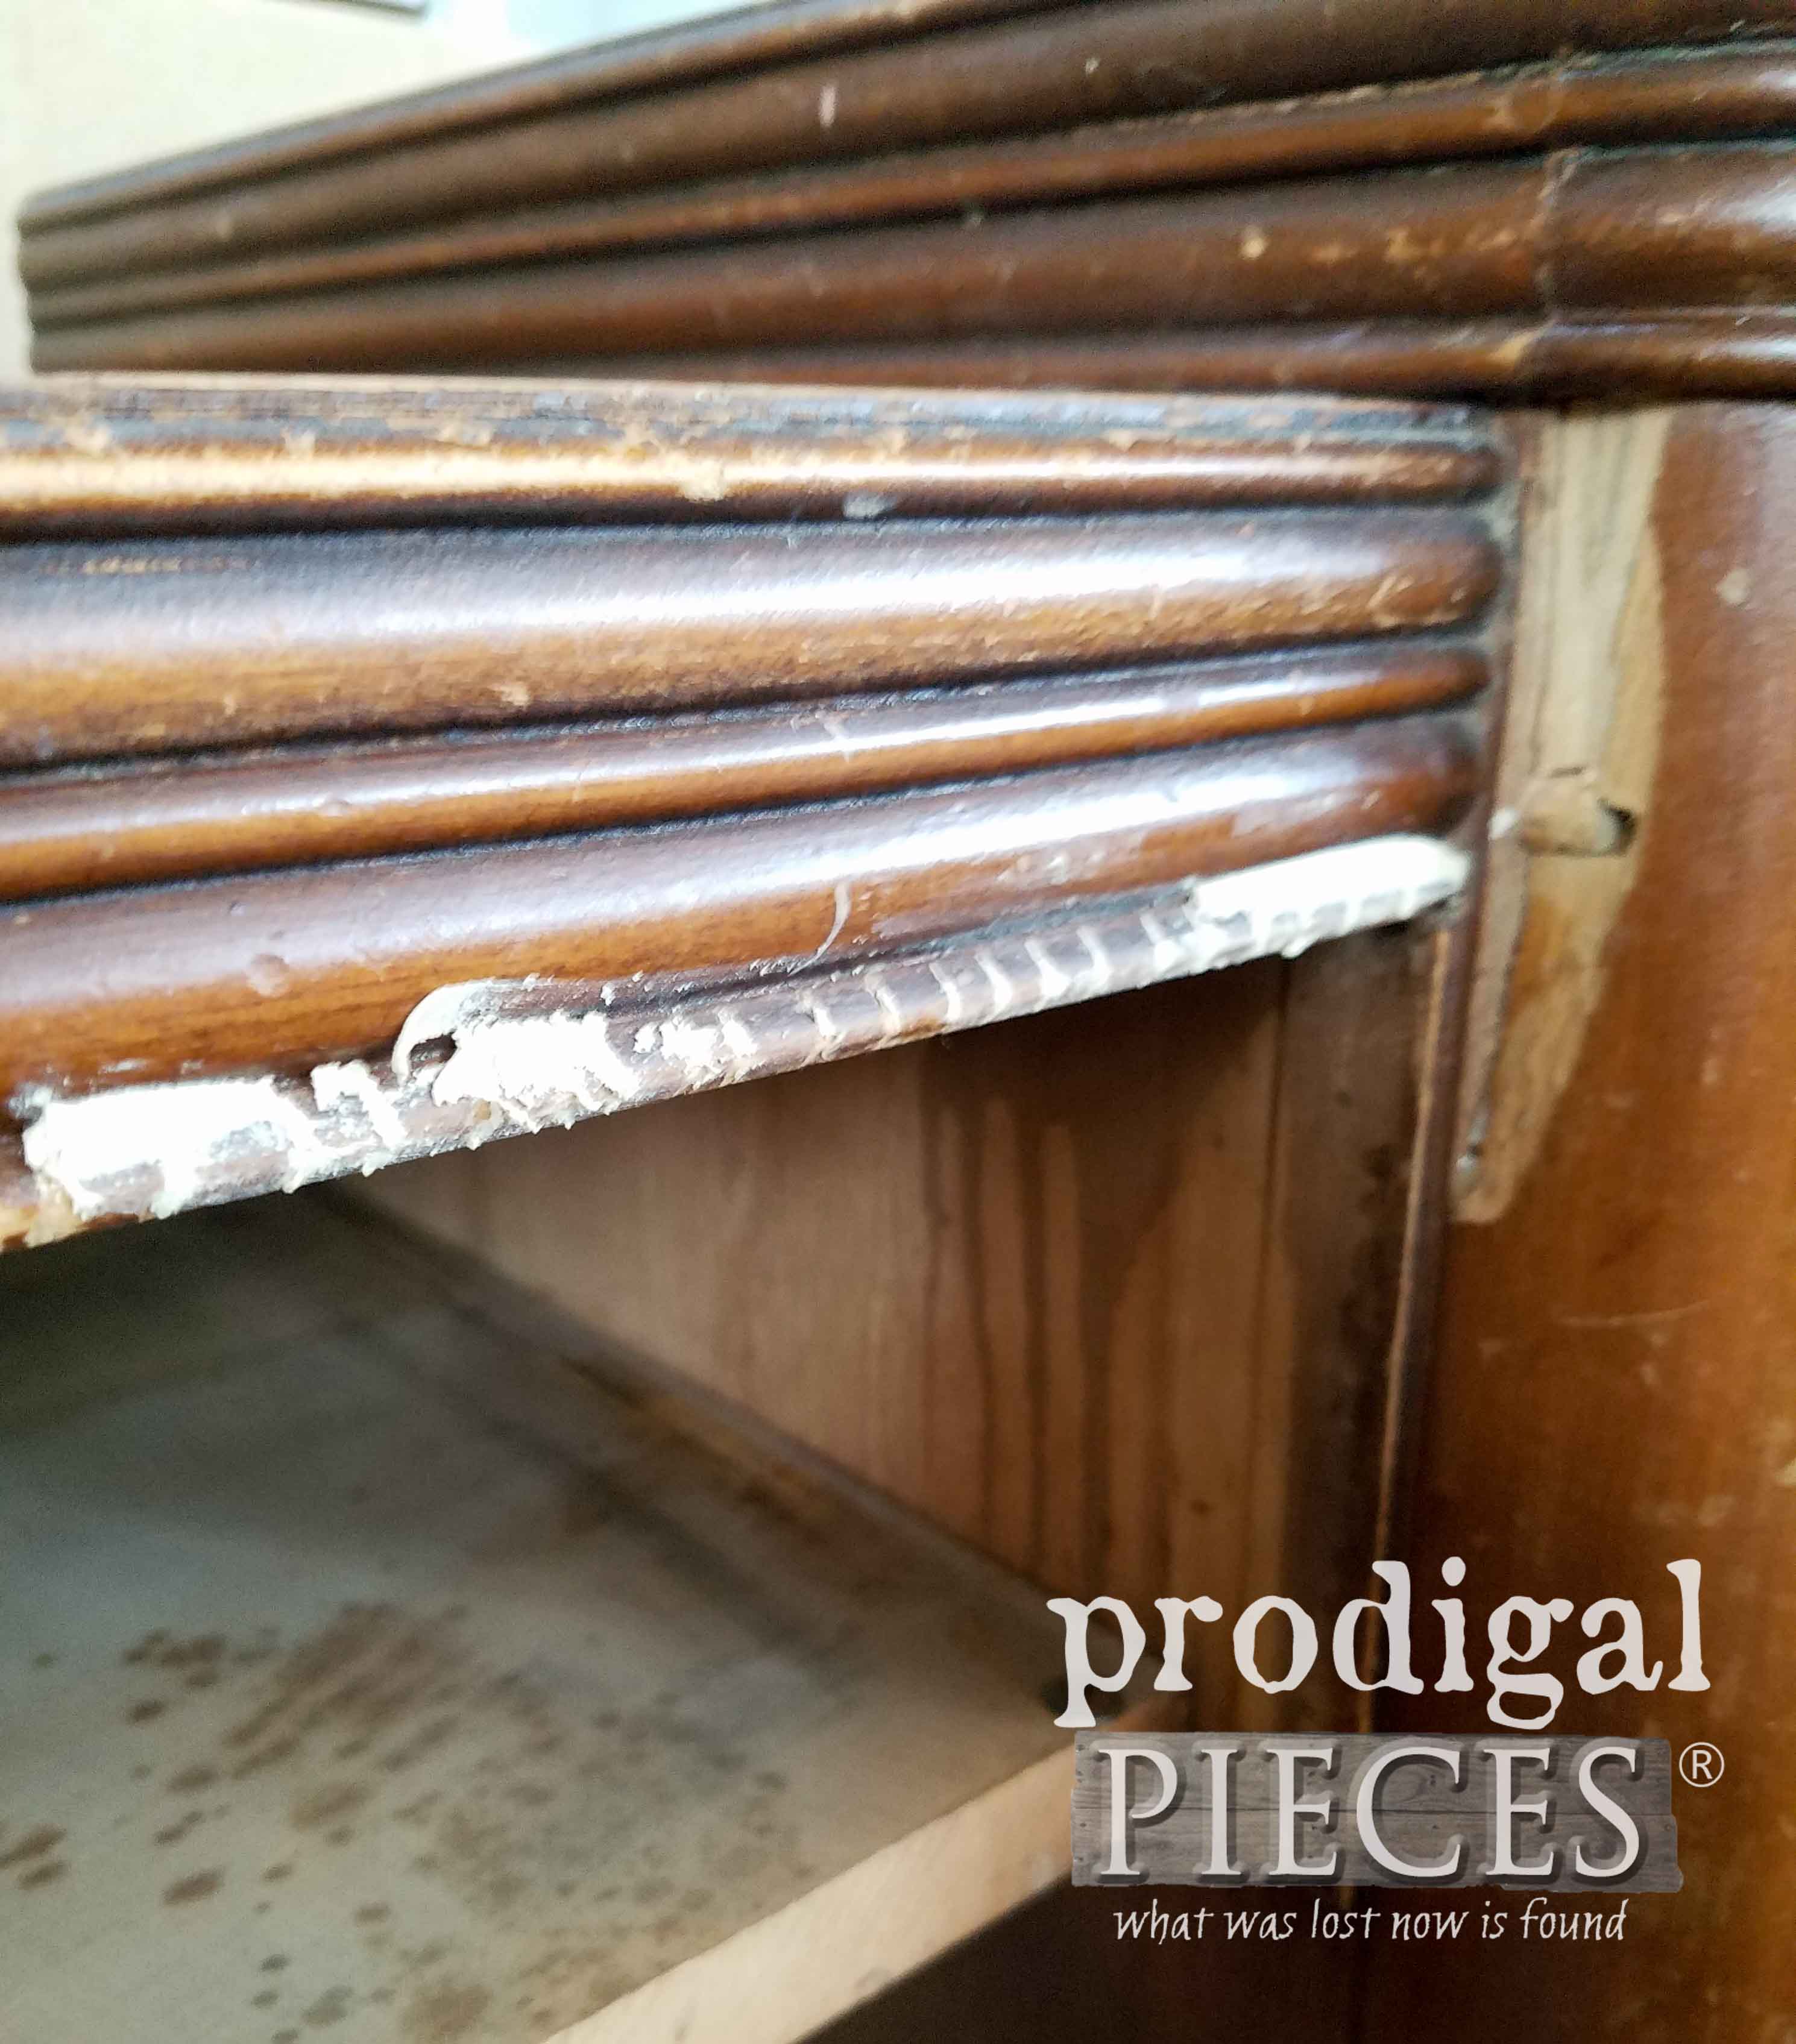
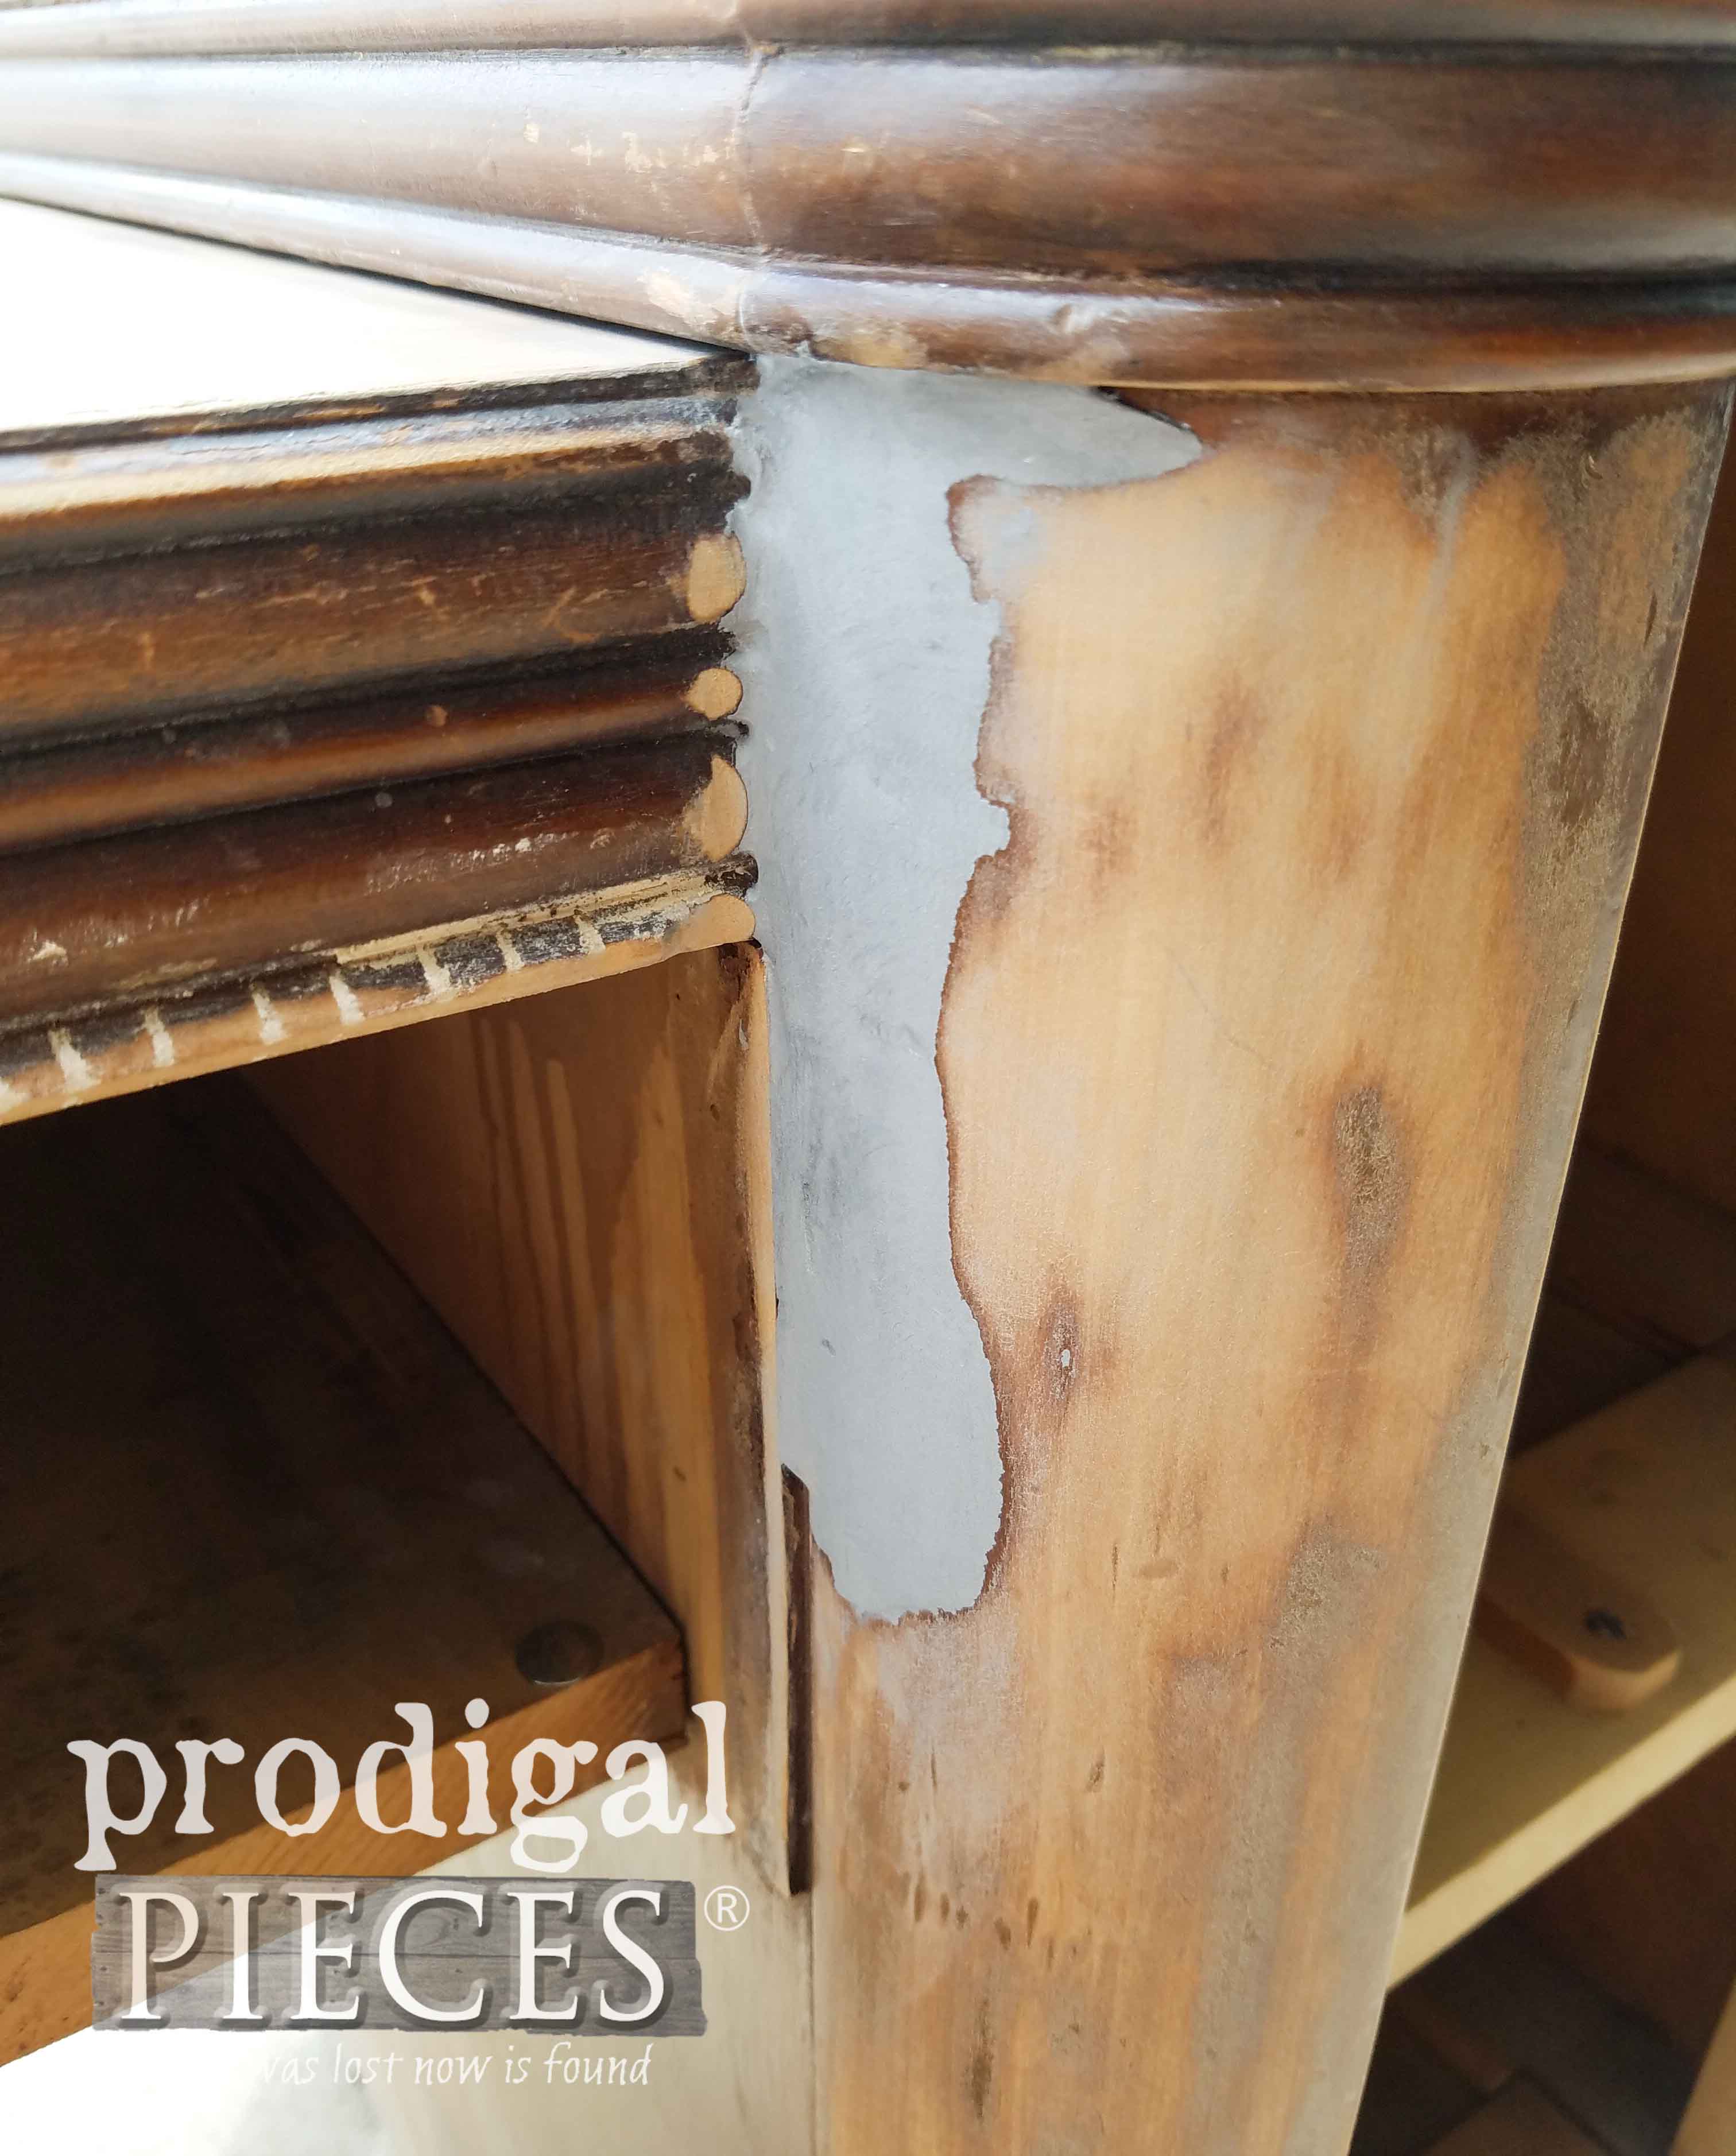
It’s one of those things that as you look closer you’re like…oh my. Then there is missing veneer on all side surfaces and on each drawer. The pulls are broken and need replaced, and then I saw this. Someone had taken it upon themselves to carve notches in the drawer opening edge, which I began to fill with wood filler, AND…see that huge chunk missing?? Oy!
Needless to say I kept feeling like the waves of oh-no-ness were hitting me, but I’ve honestly had worse to deal with. Time to pull up my big girl panties instead of getting them in a wad and deal with it. Woot!
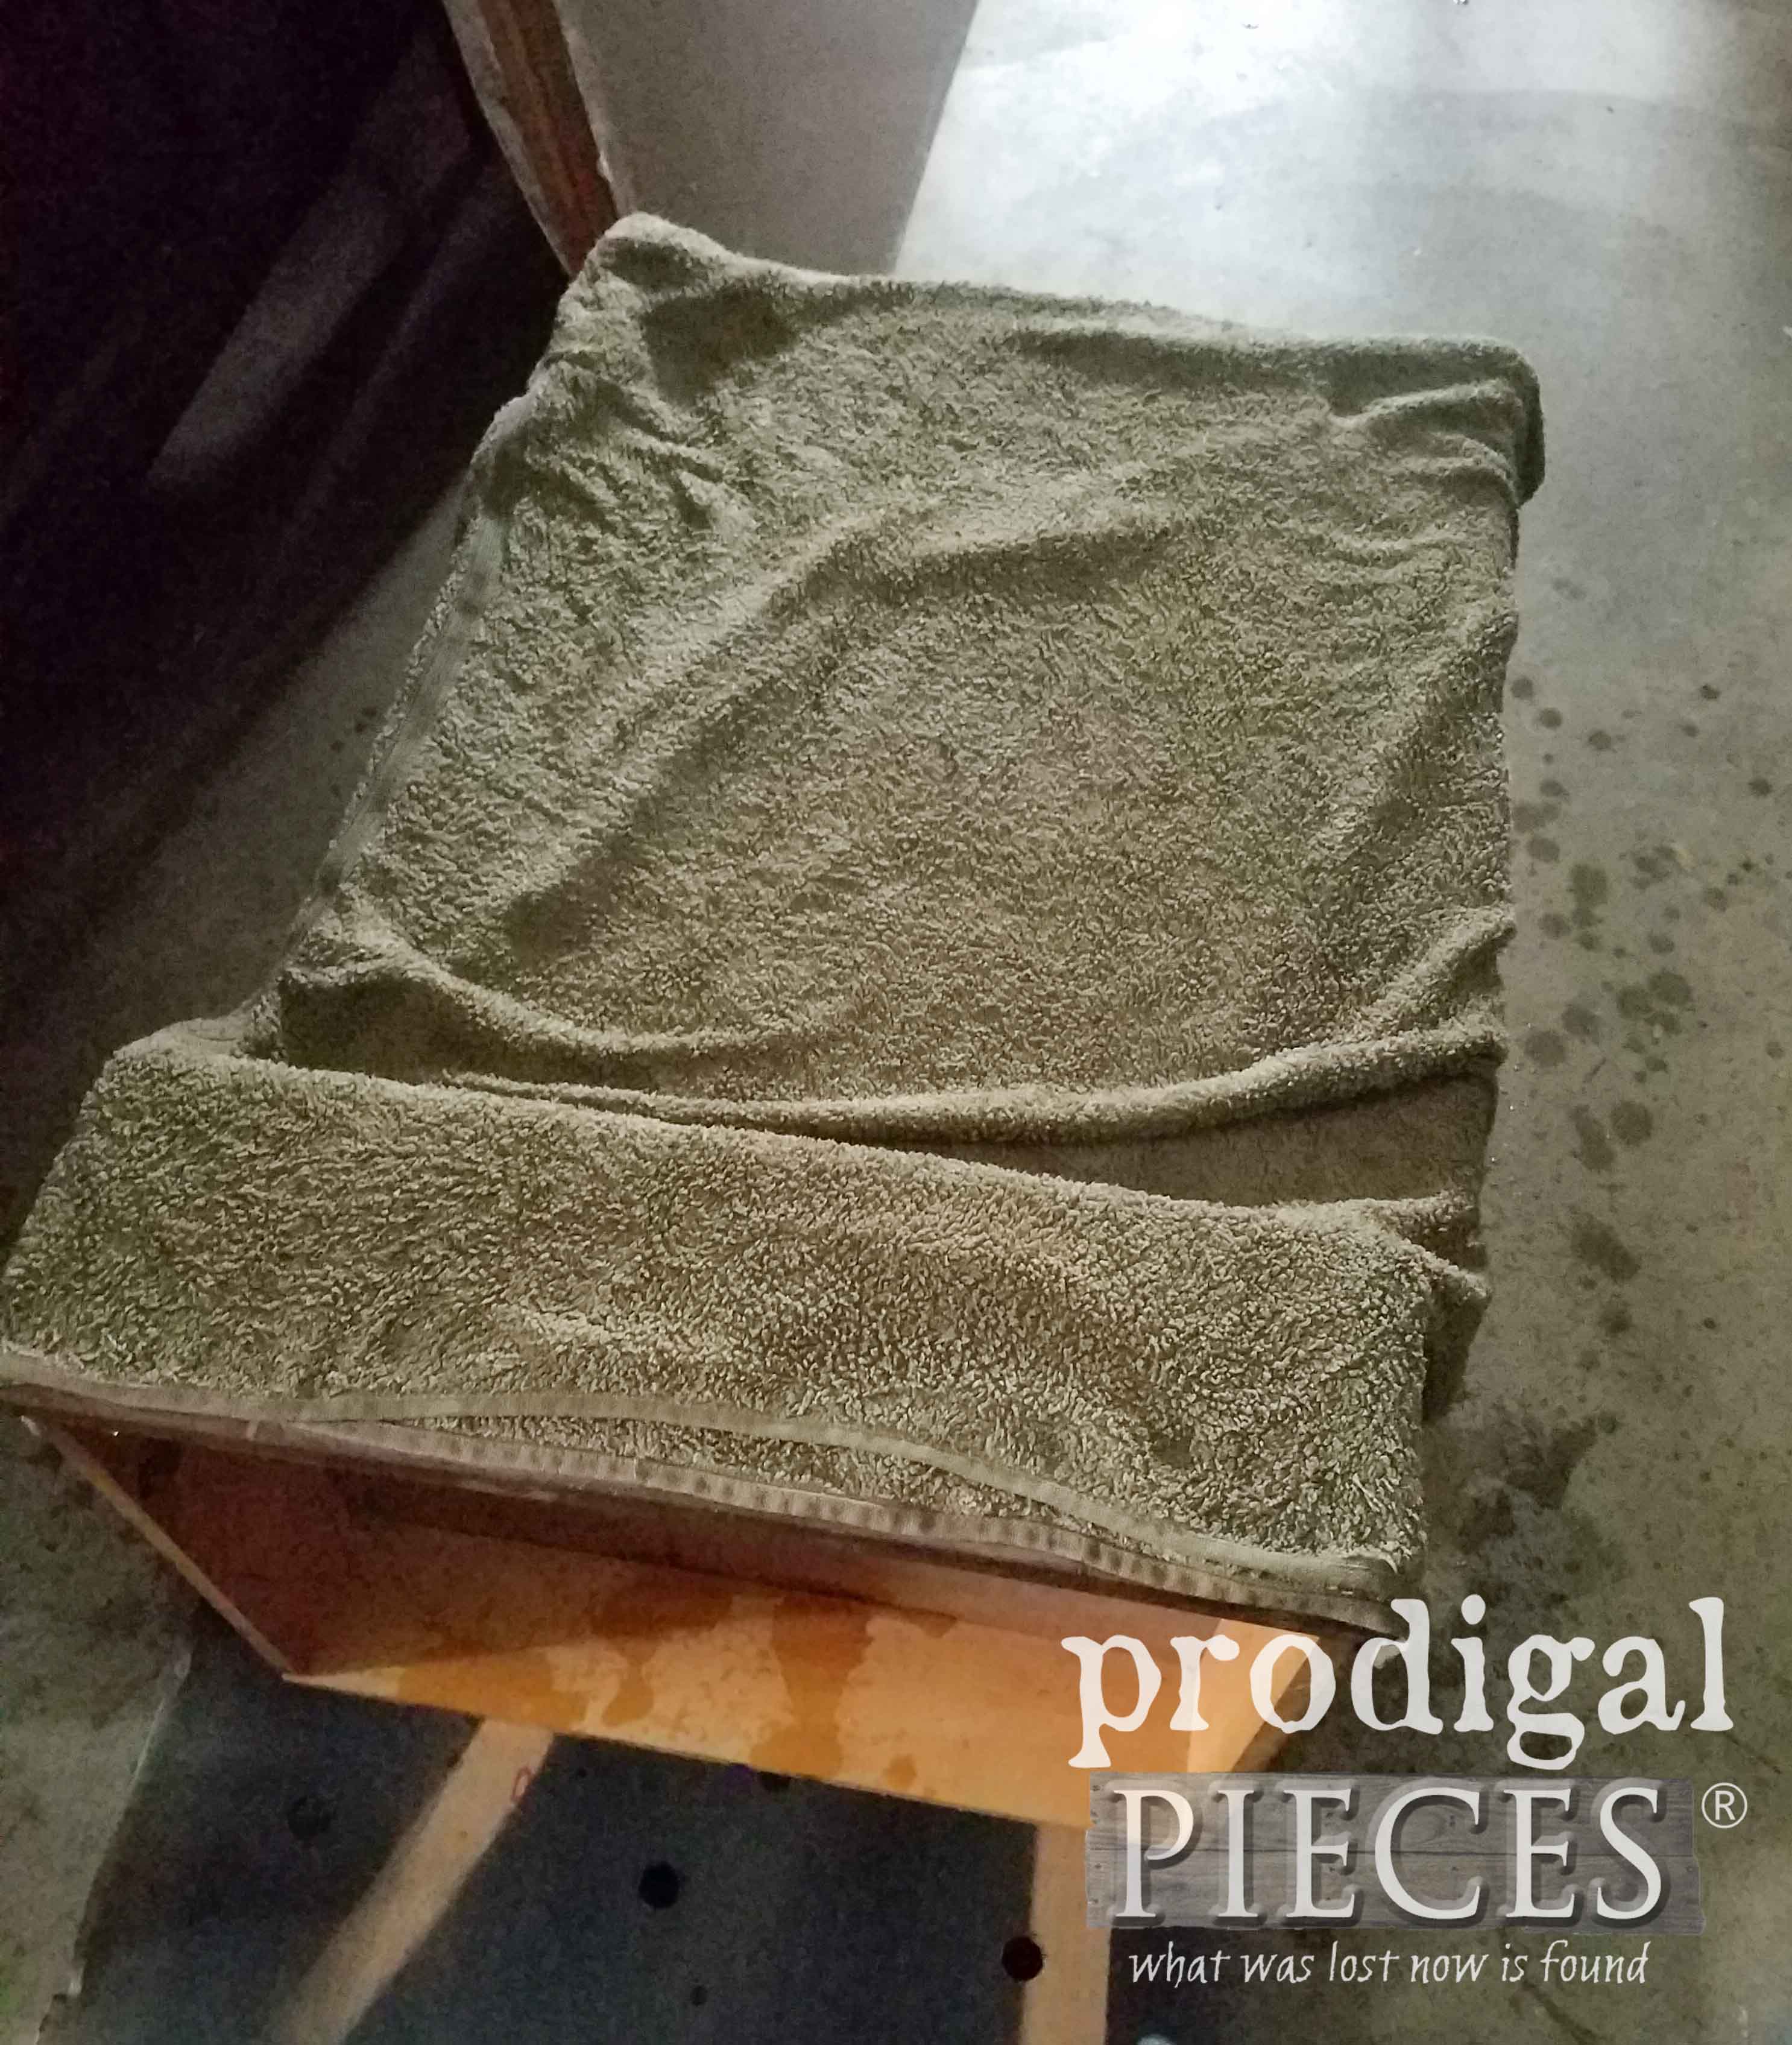
First, I placed all the drawers in a stack with faces pointing up and used my towel soak method to remove the veneer. It’s my go-to for pieces like this and does wonders. I’ve only had one fail in dozens of times using it, so I continue. I literally soak bath towels, lay them on overnight, and even pour more water on top. SOAKING it.
The next day I use my putty knife and gently slide it off. Sometimes it’s more like driving it off if it didn’t soak enough, but it still comes off easier than any other way I’ve tried in the past.
FIX ‘ER UP
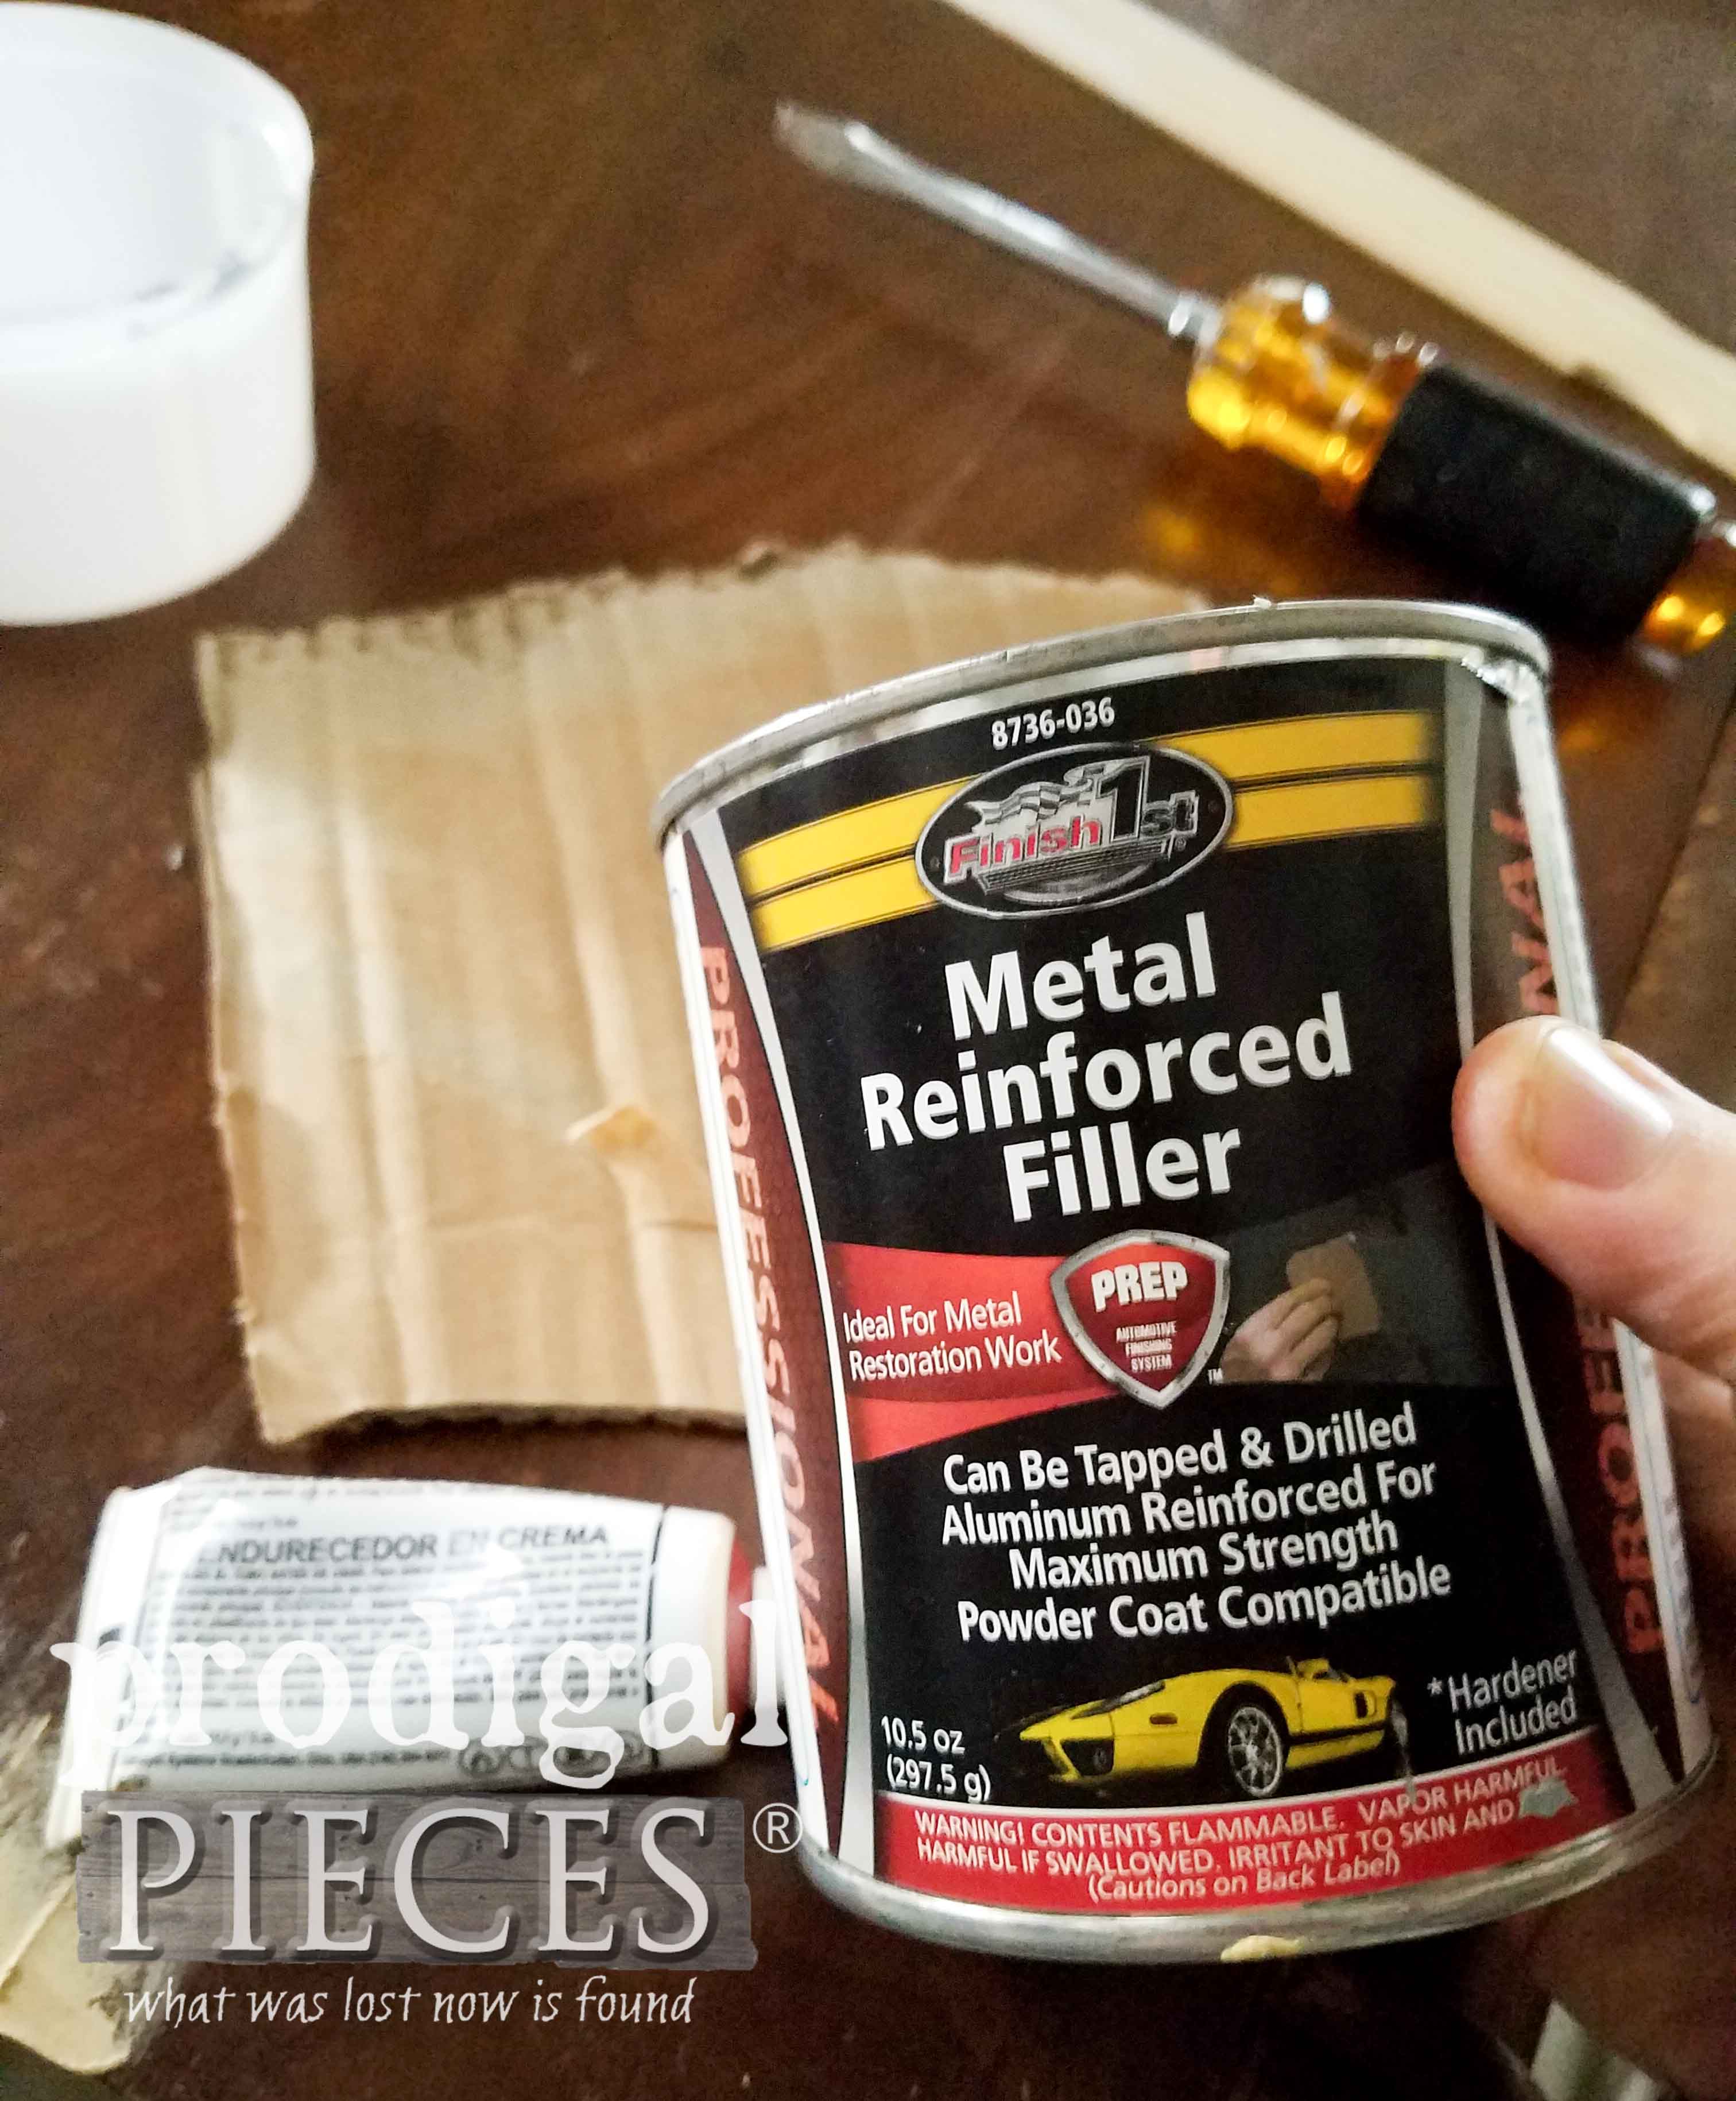
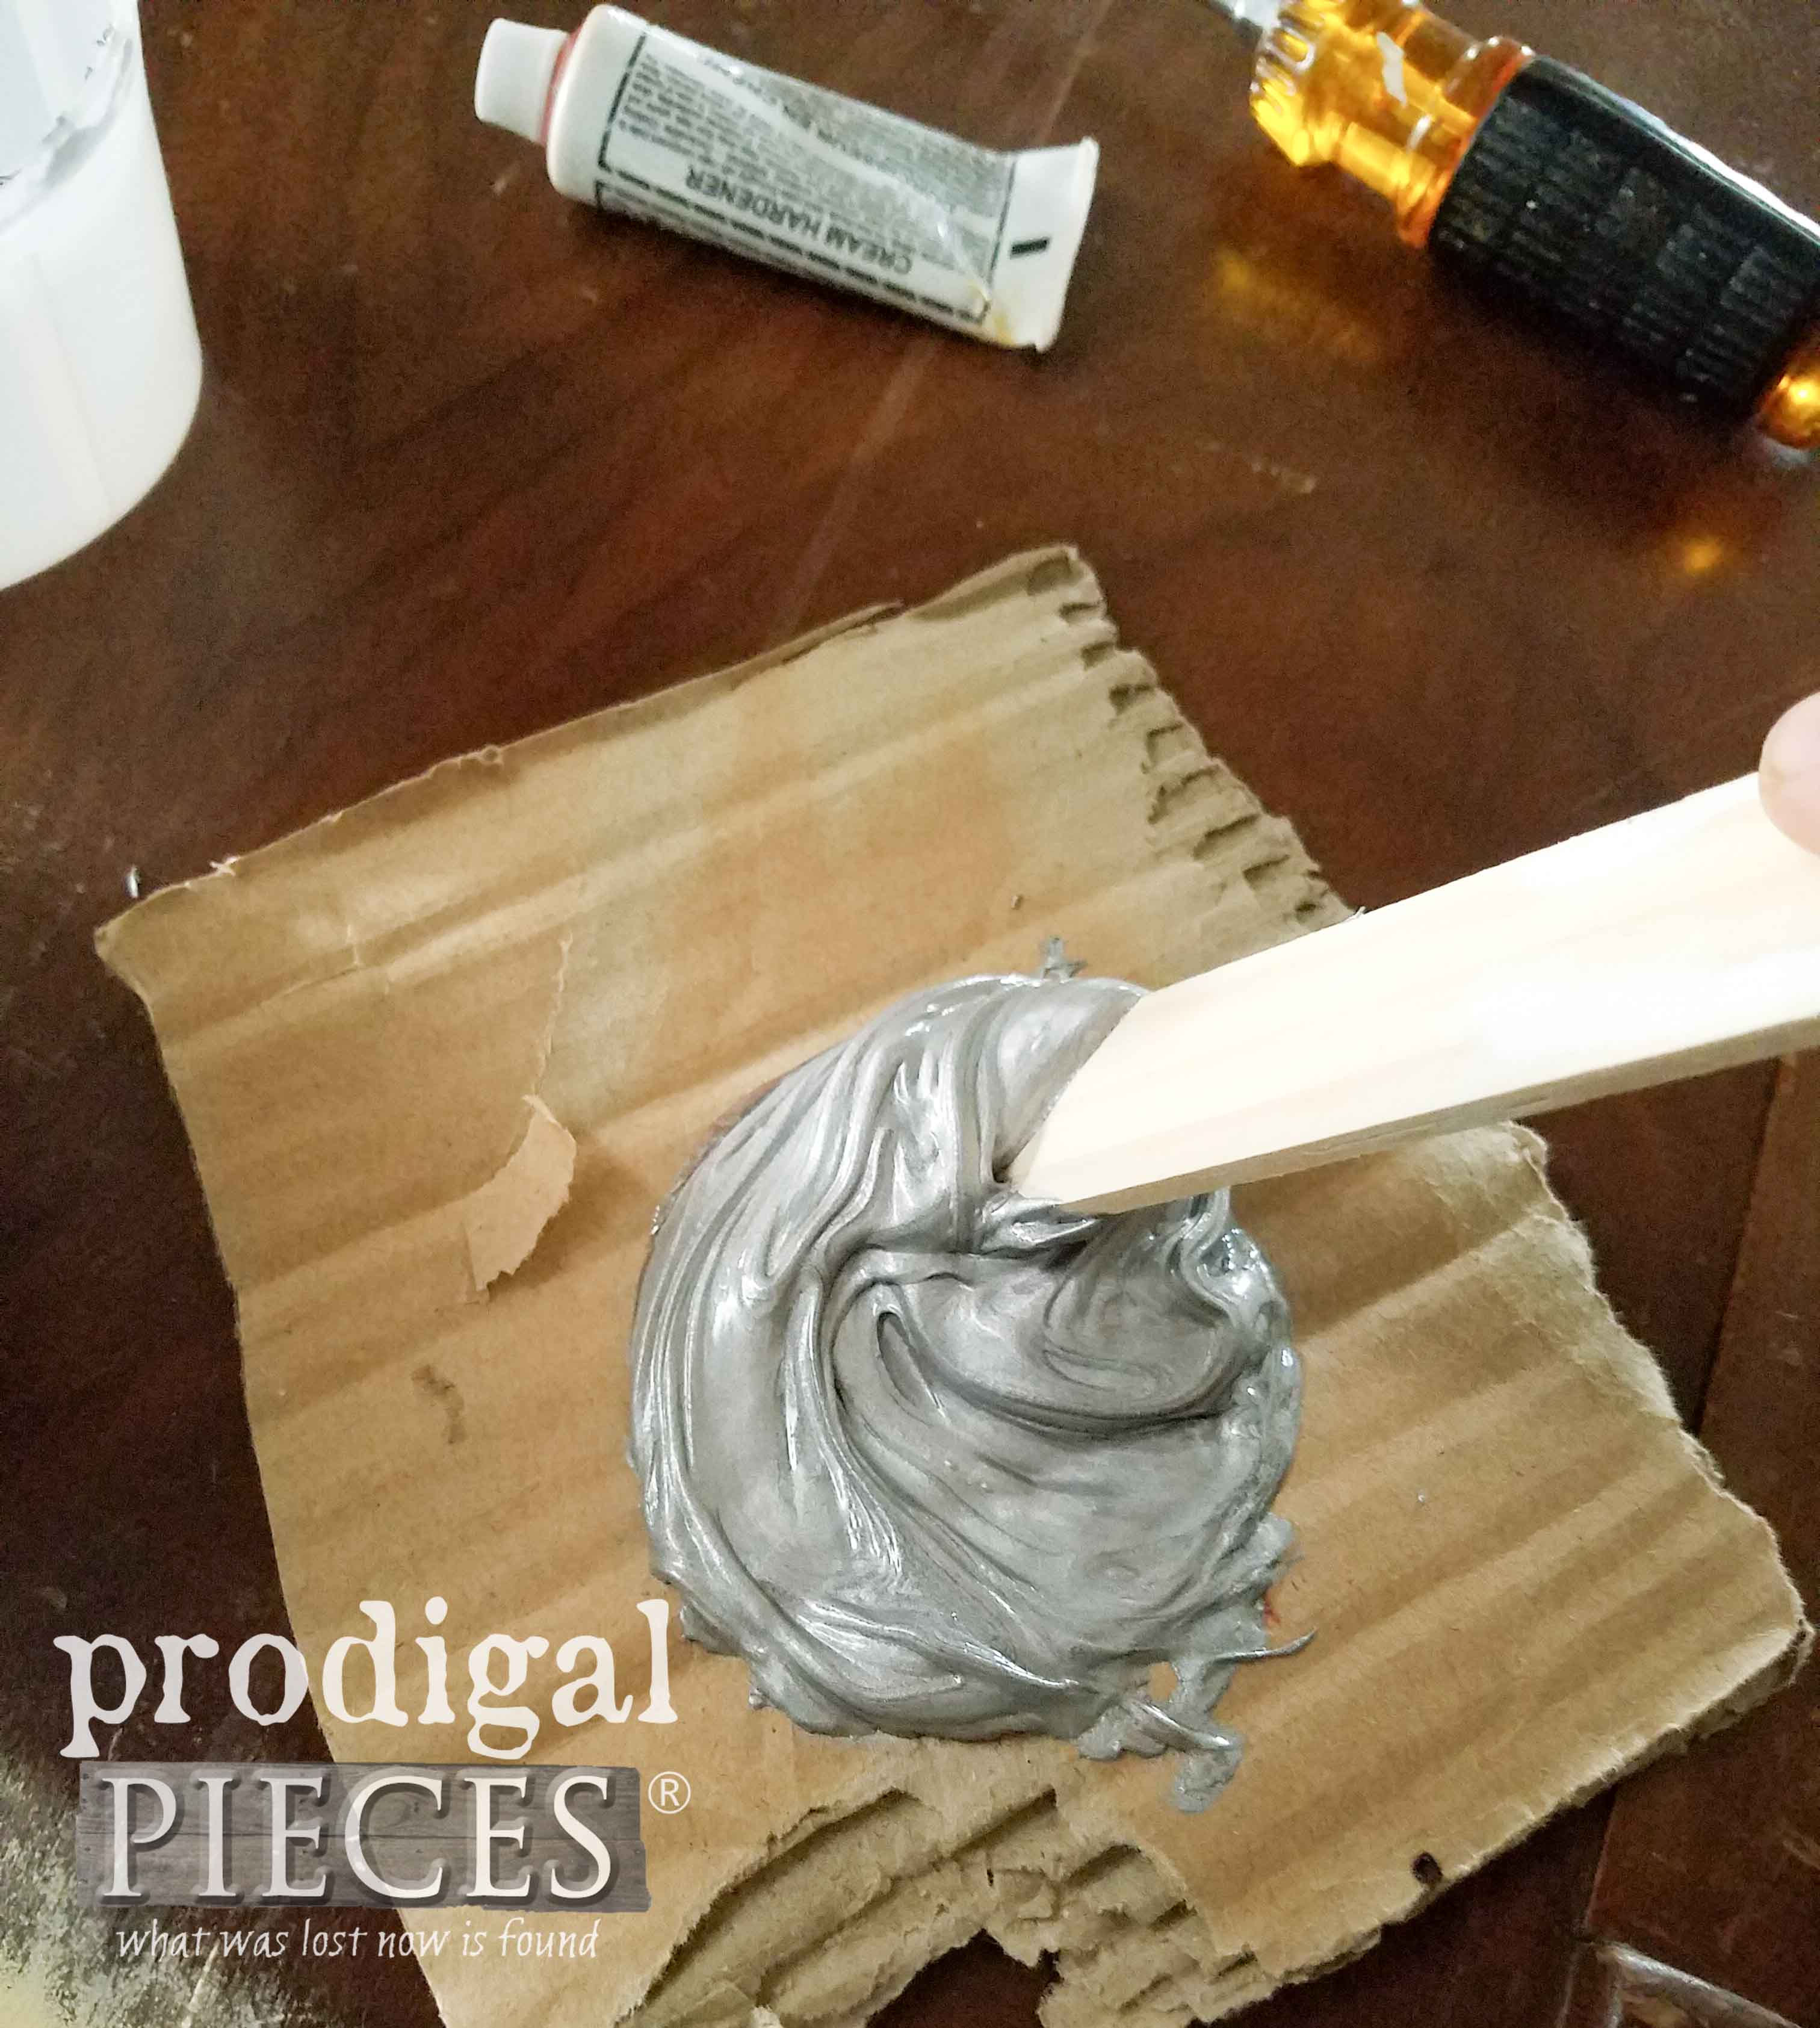
Next, I use wood filler and wood glue to fill and repair all that damaged veneer. I needed all my clamps to get it done! whew. For even more fun I have to pull out the BIG GUNS to to tackle that deep gouge in the vanity side. I’ve used this Bondo before on this dresser and it works awesome. I chose this over wood filler, because unlike wood filler that sits in a hole, this actually bonds and reinforces the damaged area. They do make a wood and all-purpose version, but I had this and have only used this, and it works.
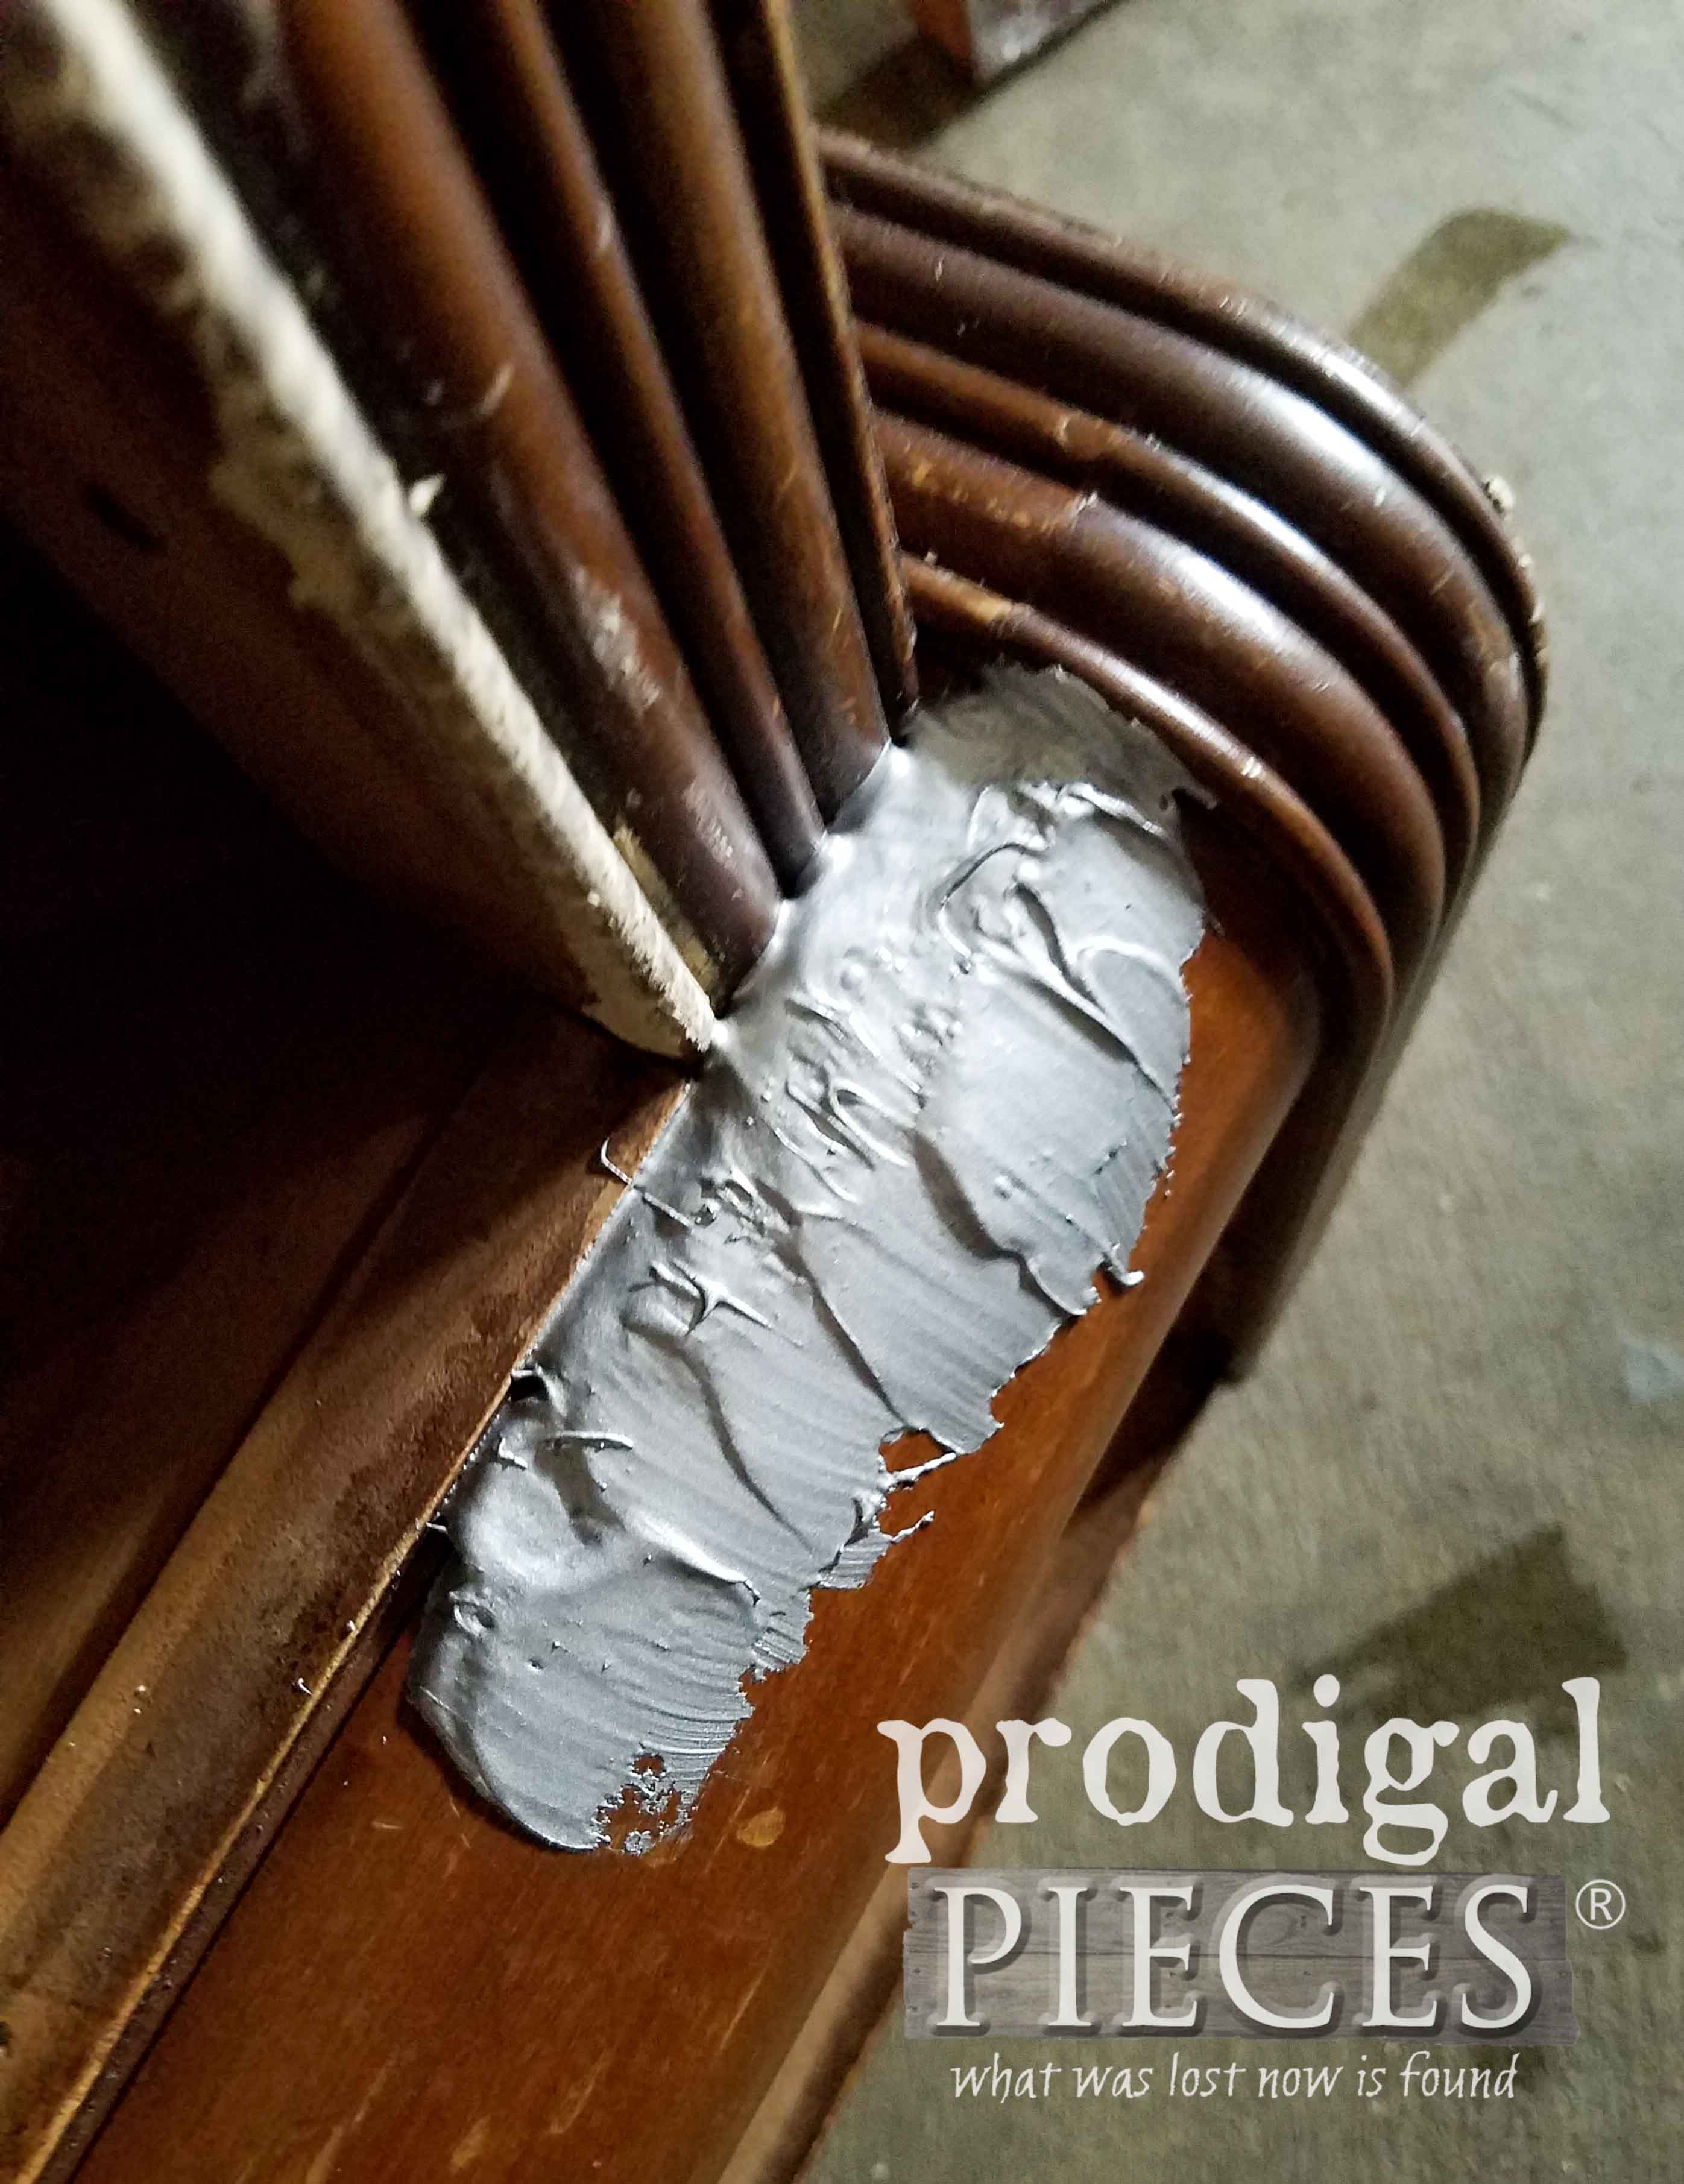
I simply mix it up following the instructions and slather it in the hole in layers.
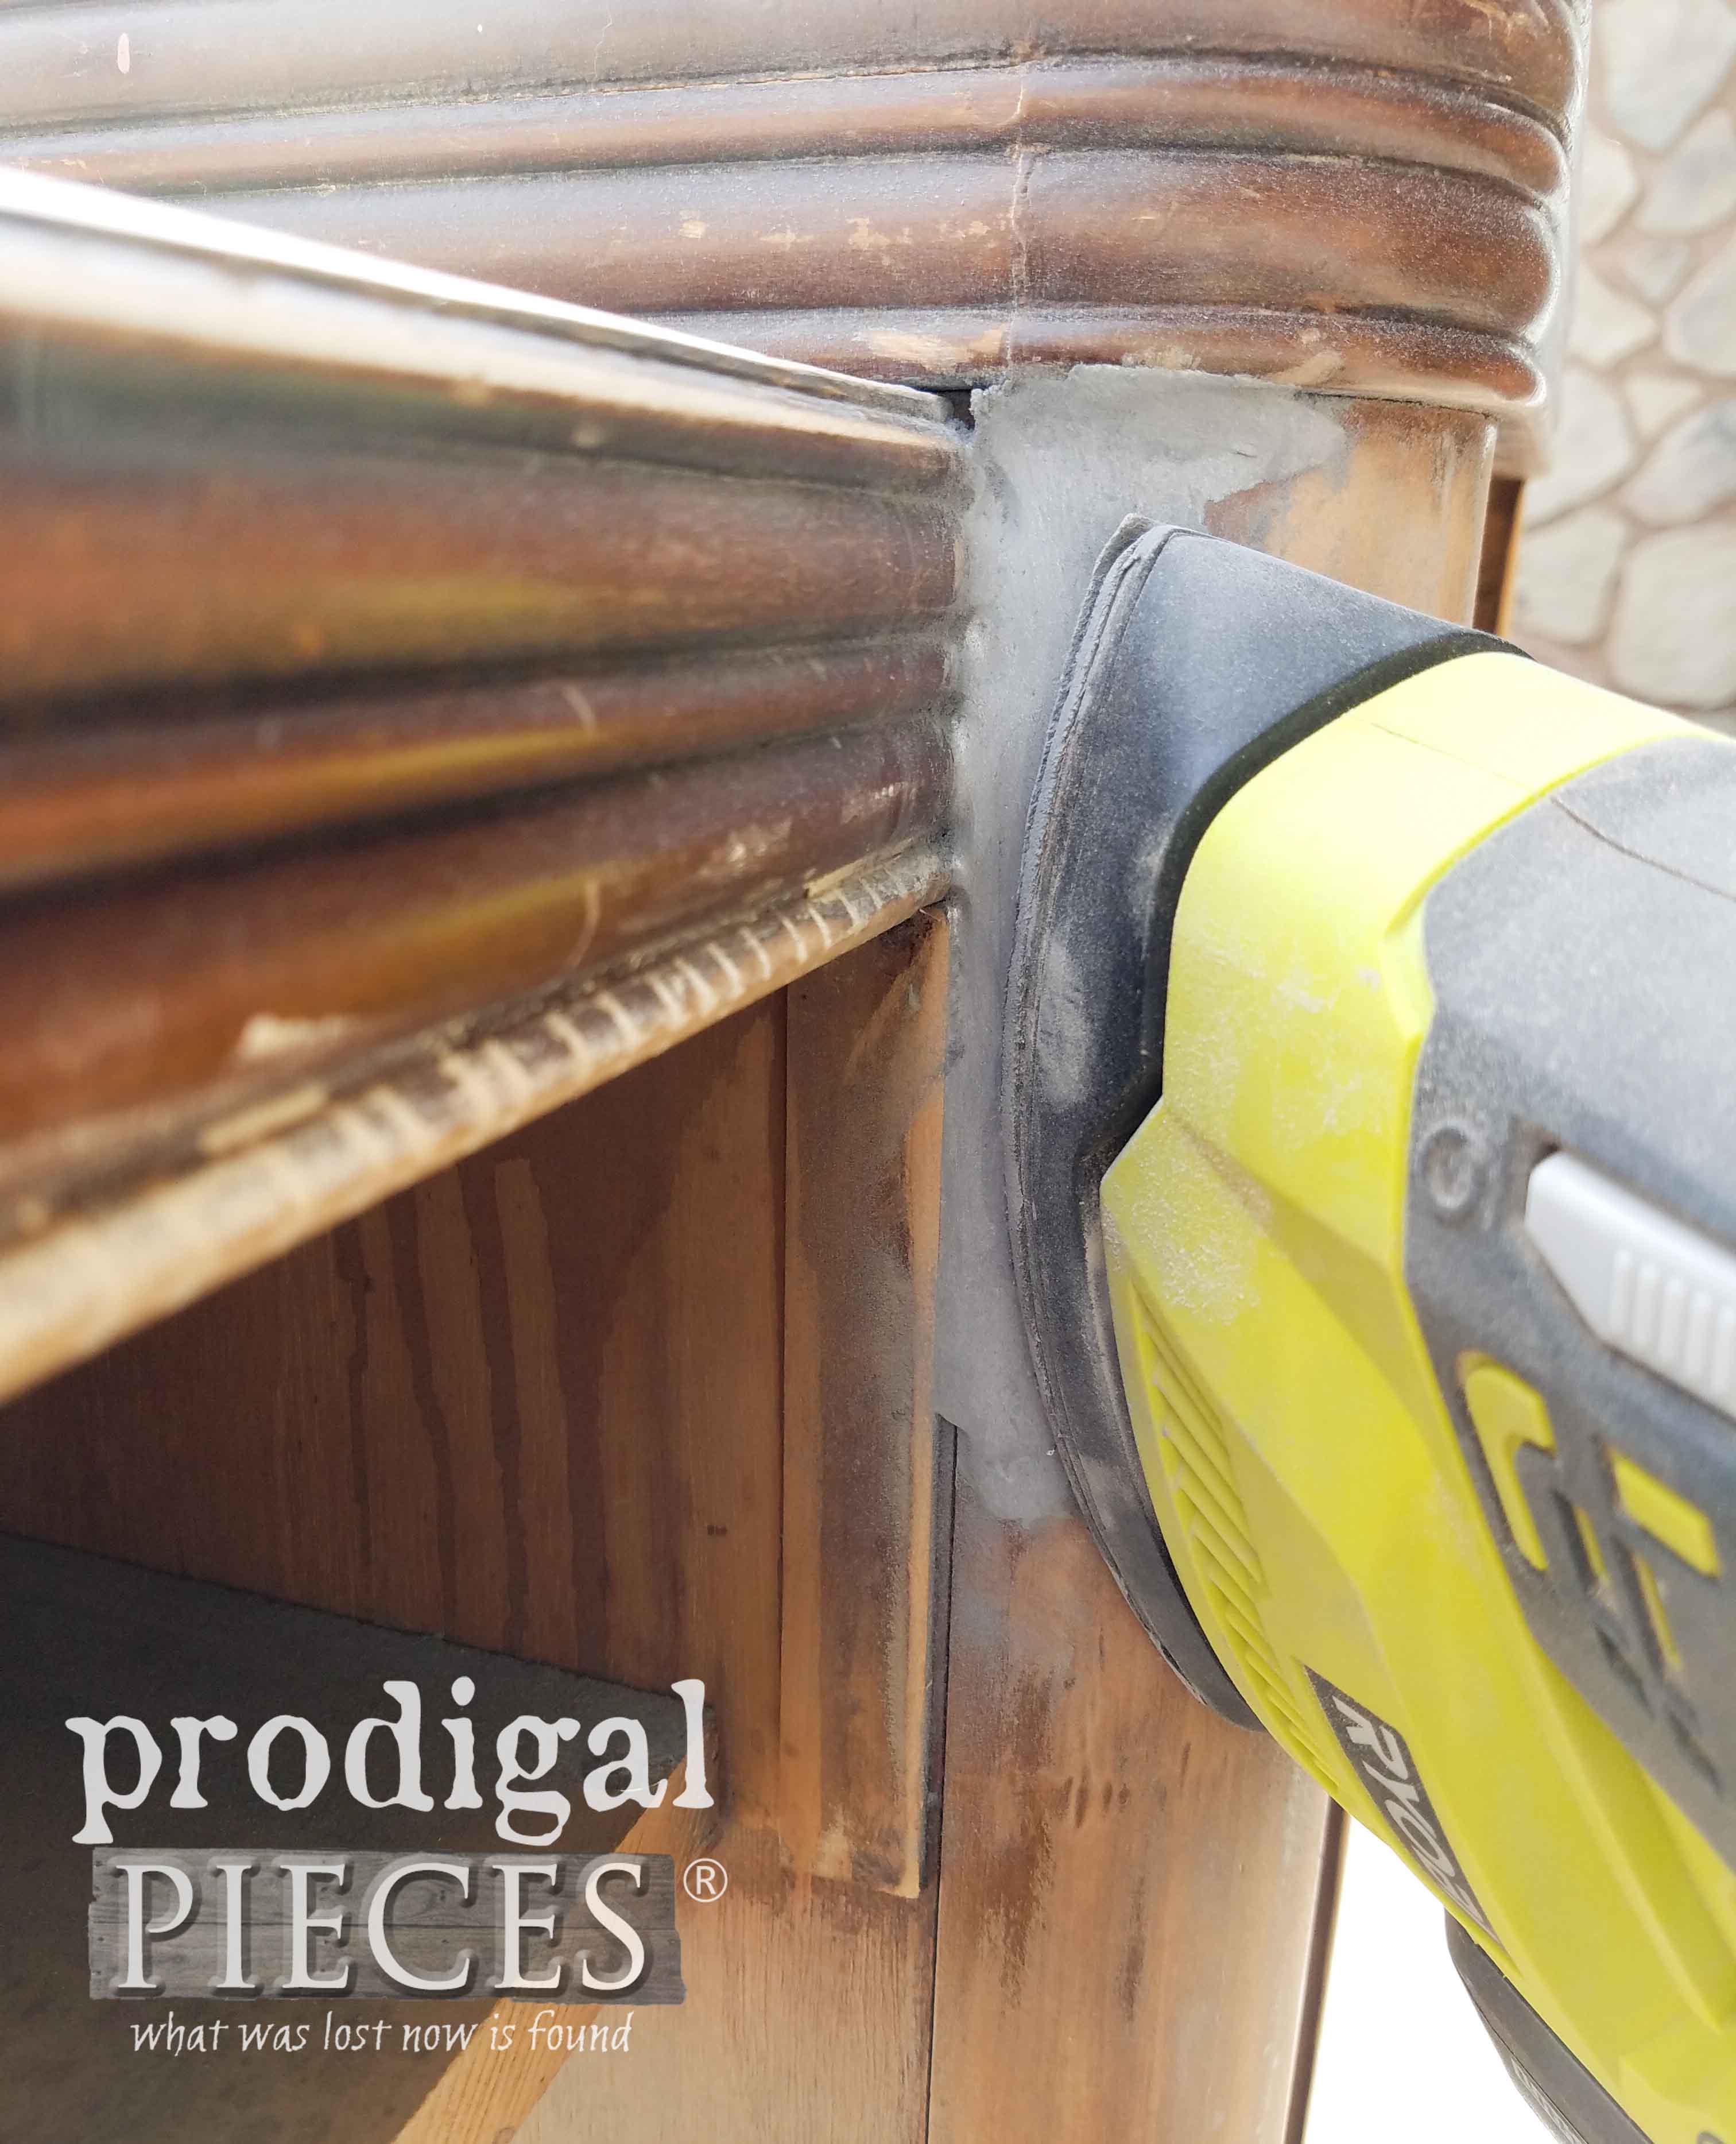
It’s okay if it’s not smooth on the onset, because after it cures for about 20 minutes, I’m able to sand it smooth. This is a tricky spot to get into, but it’s a breeze with my Corner Cat sander. I love this little battery-operated thing!
And it’s as good as new. Amazing, isn’t it? {{happy dance!!}}
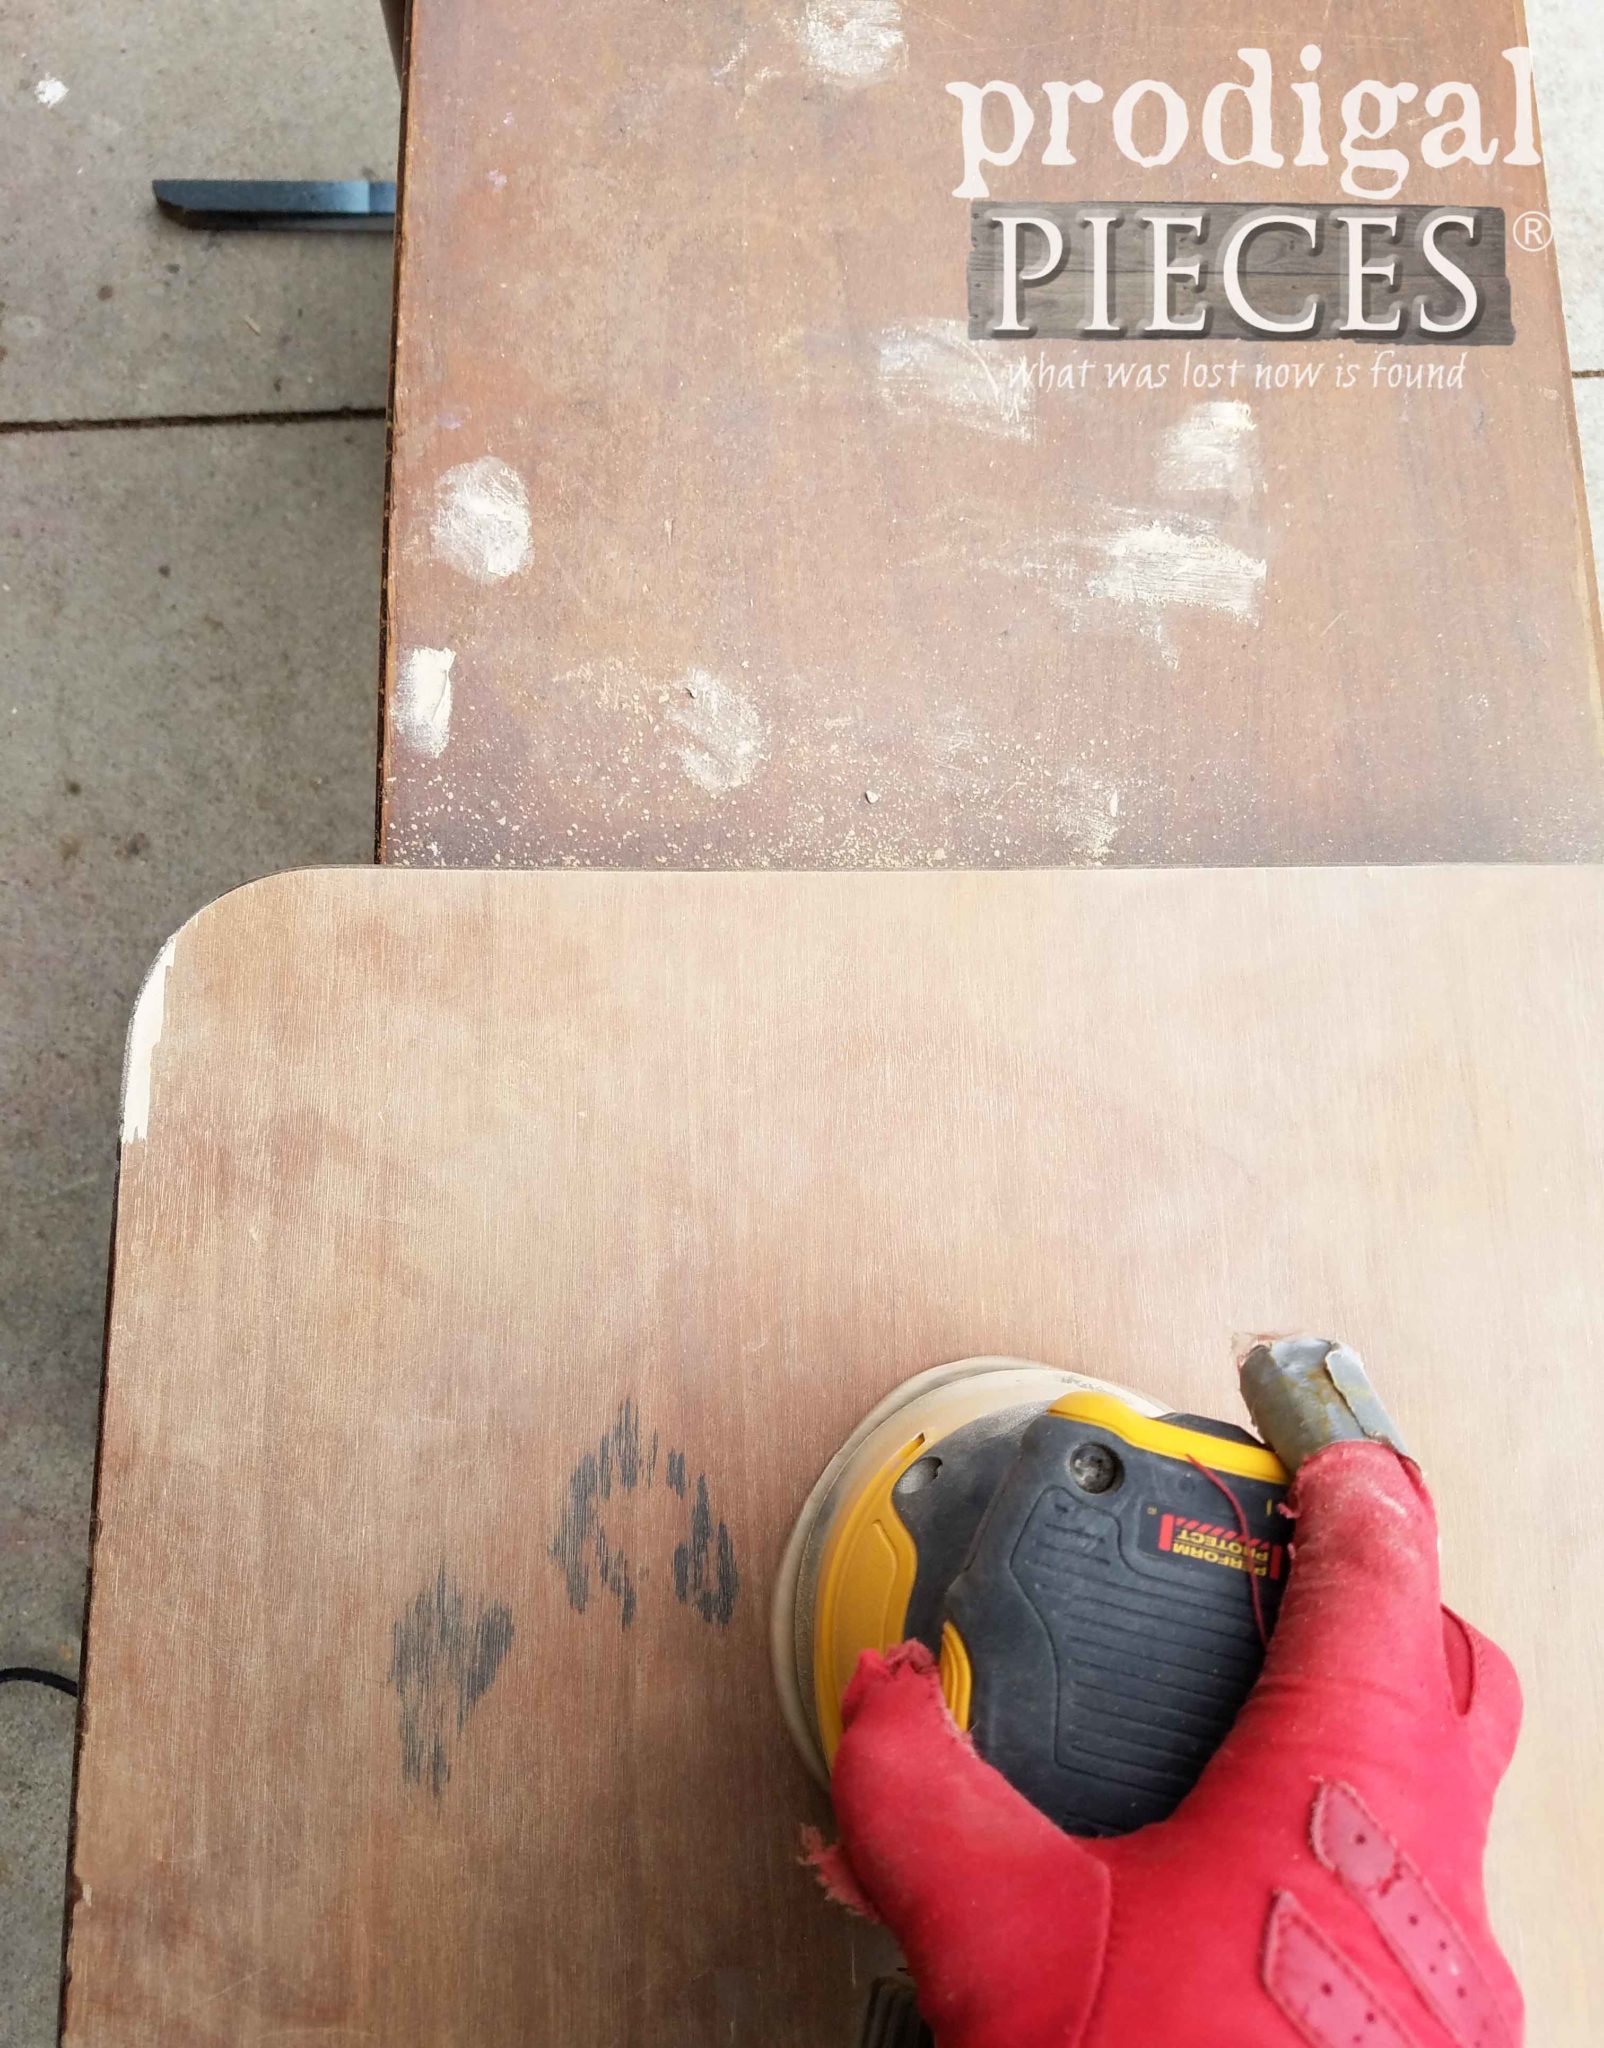
The rest of the vanity got a good sanding as well with my orbital sander – notice the stains preside. Now we’re ready for the next steps.
TIME FOR PAINT
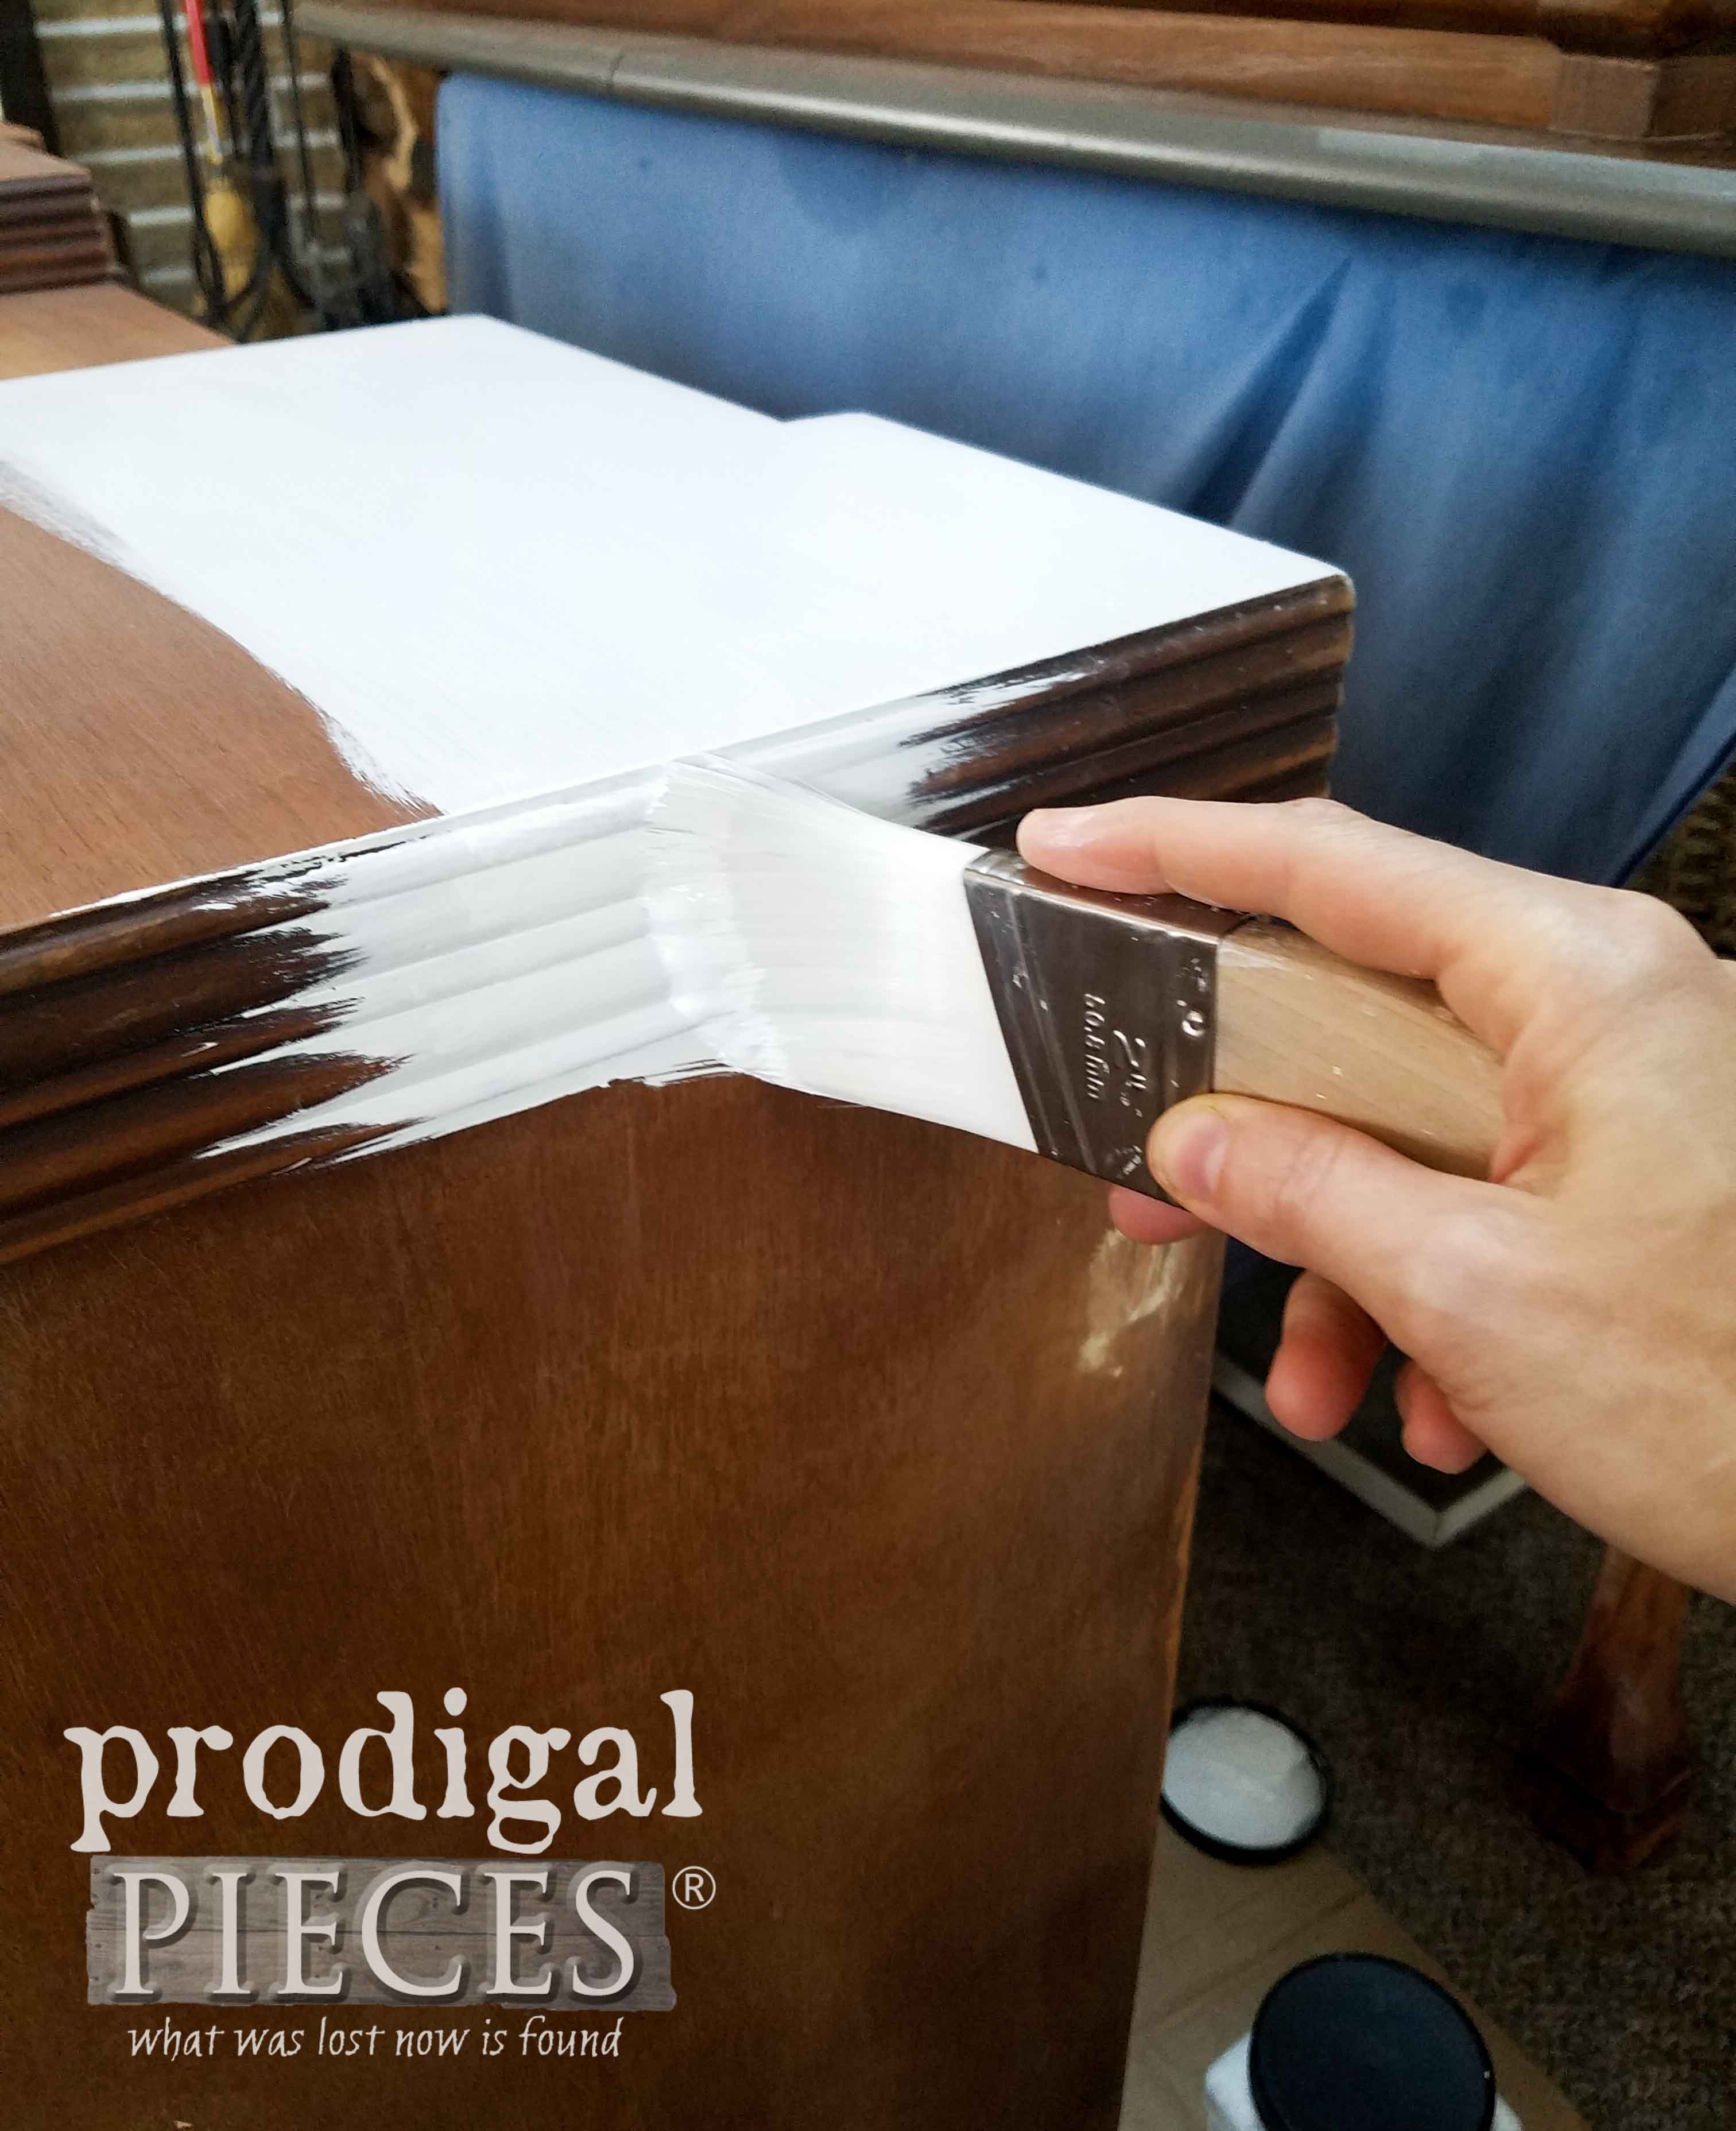
With all the stains and damage this piece had, the only option was paint. To hide those stubborn stains and block them from bleed-through, I use my brush and primer.
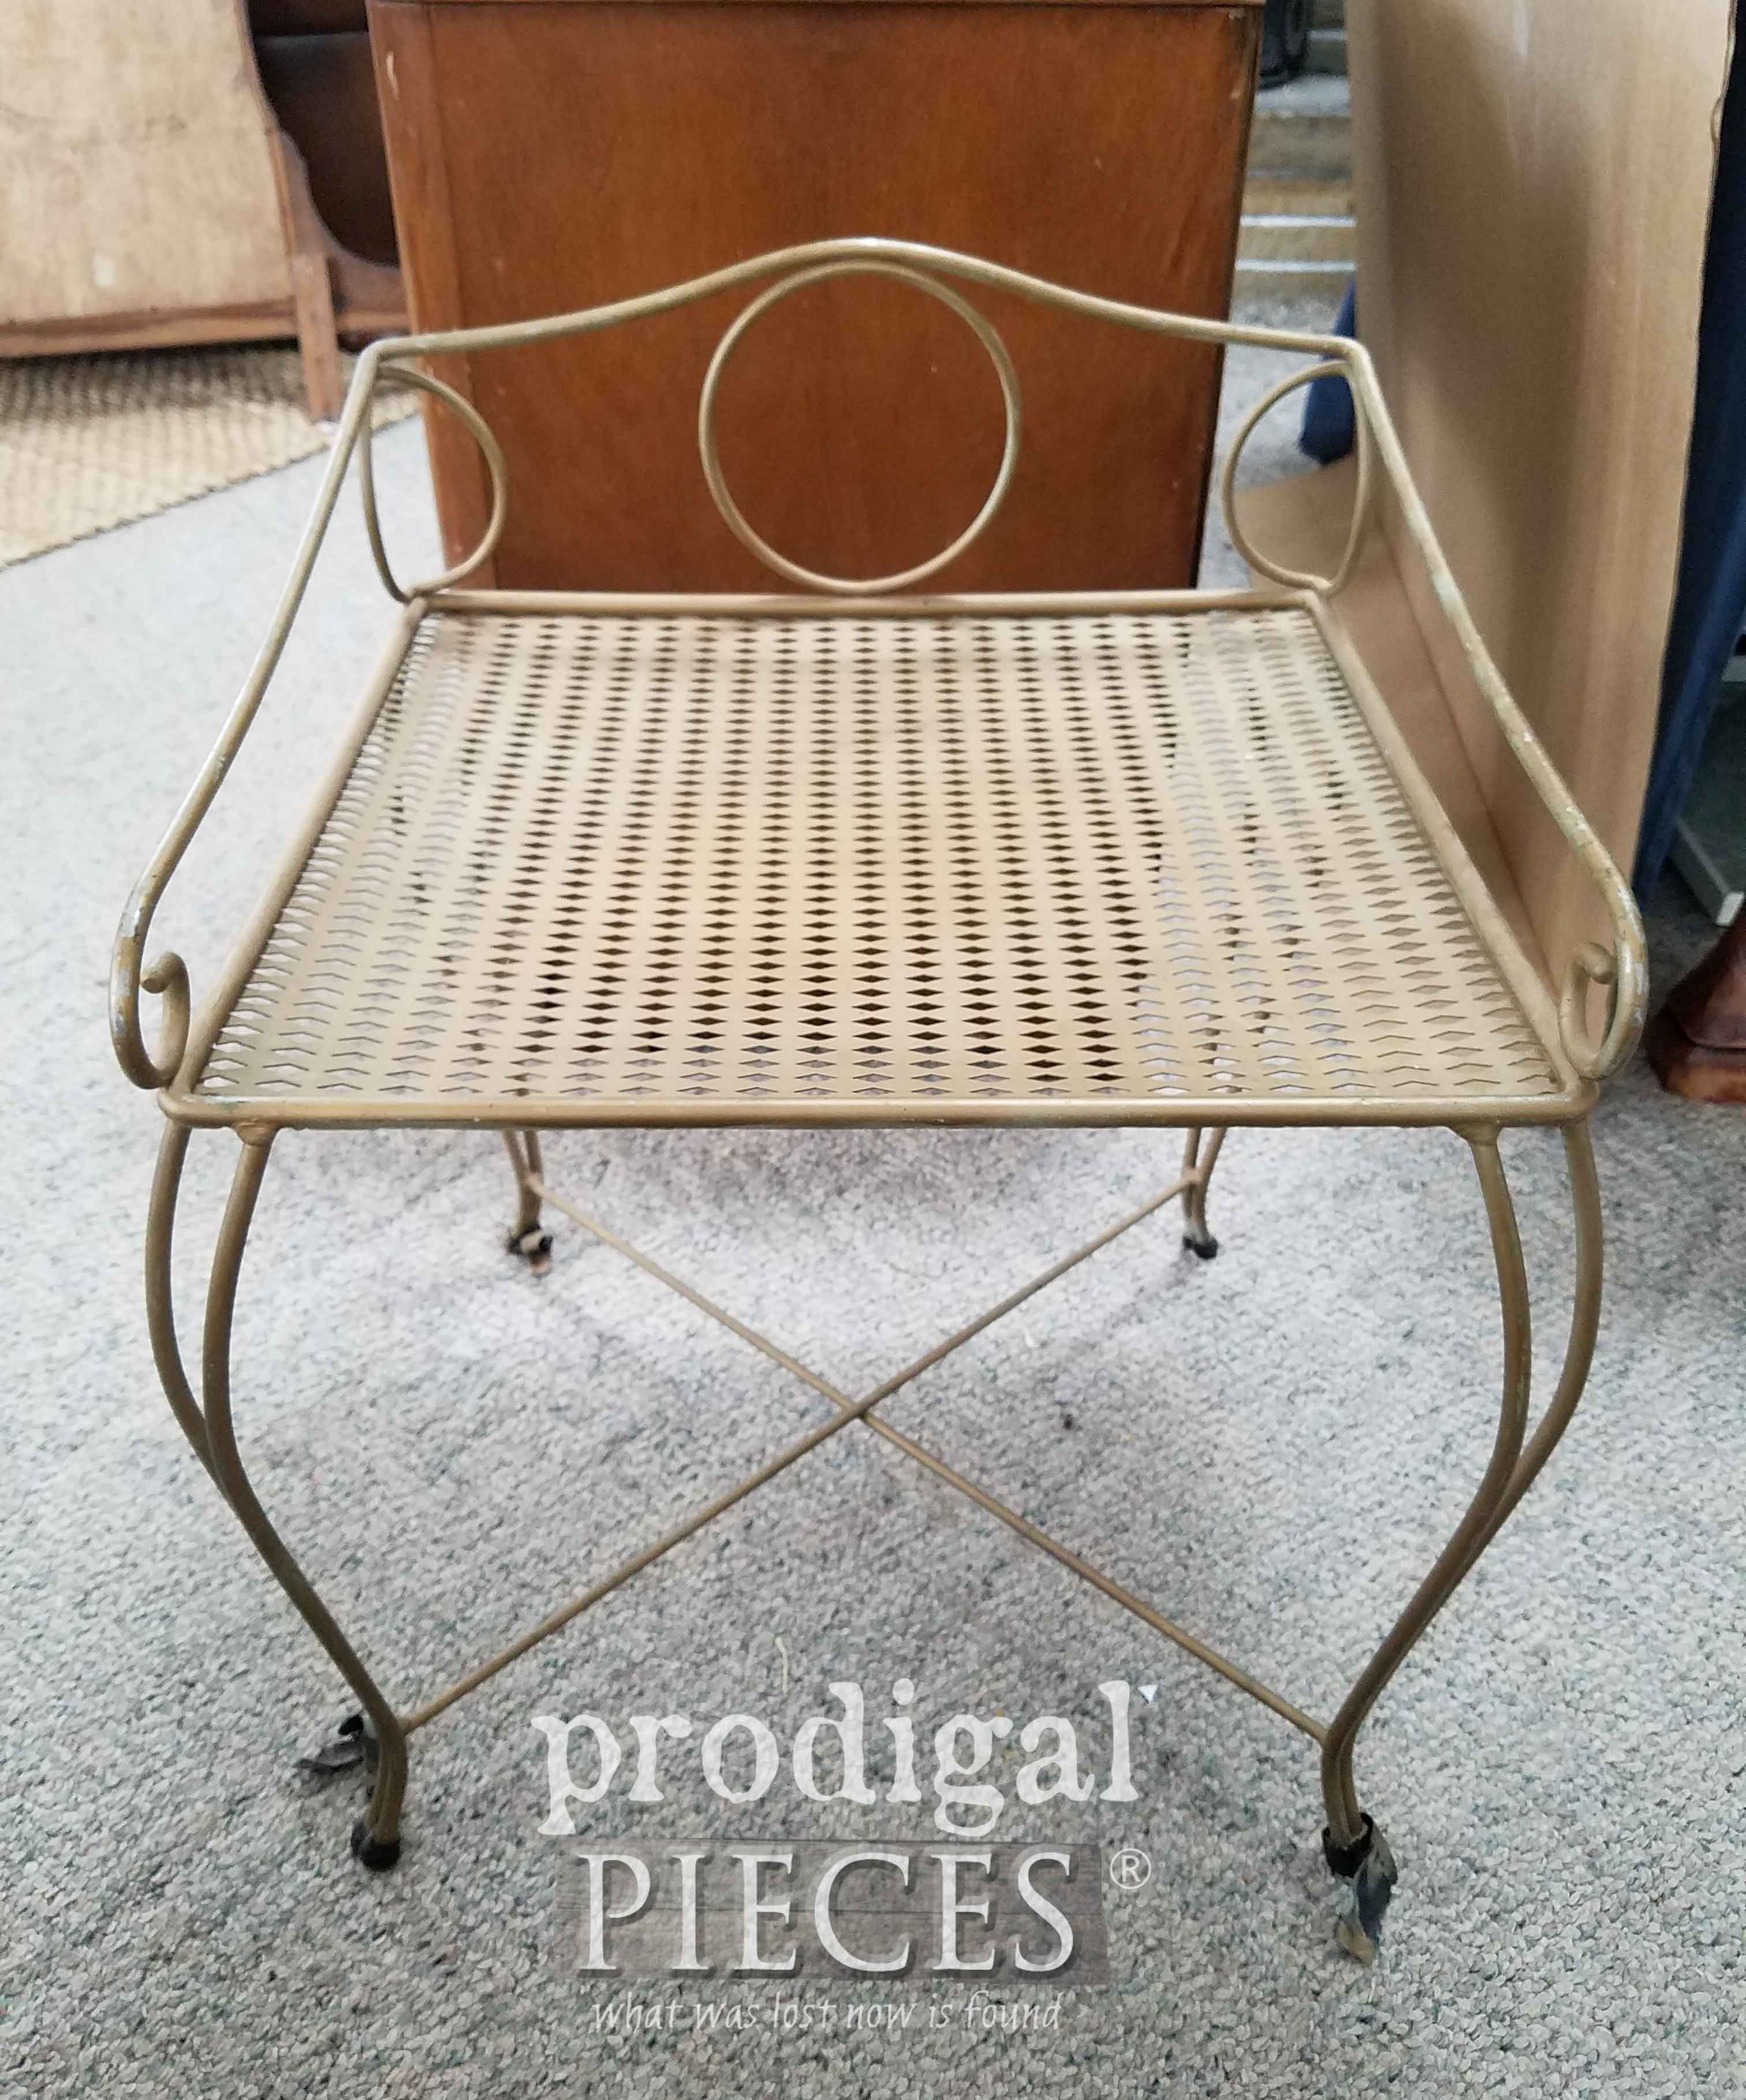
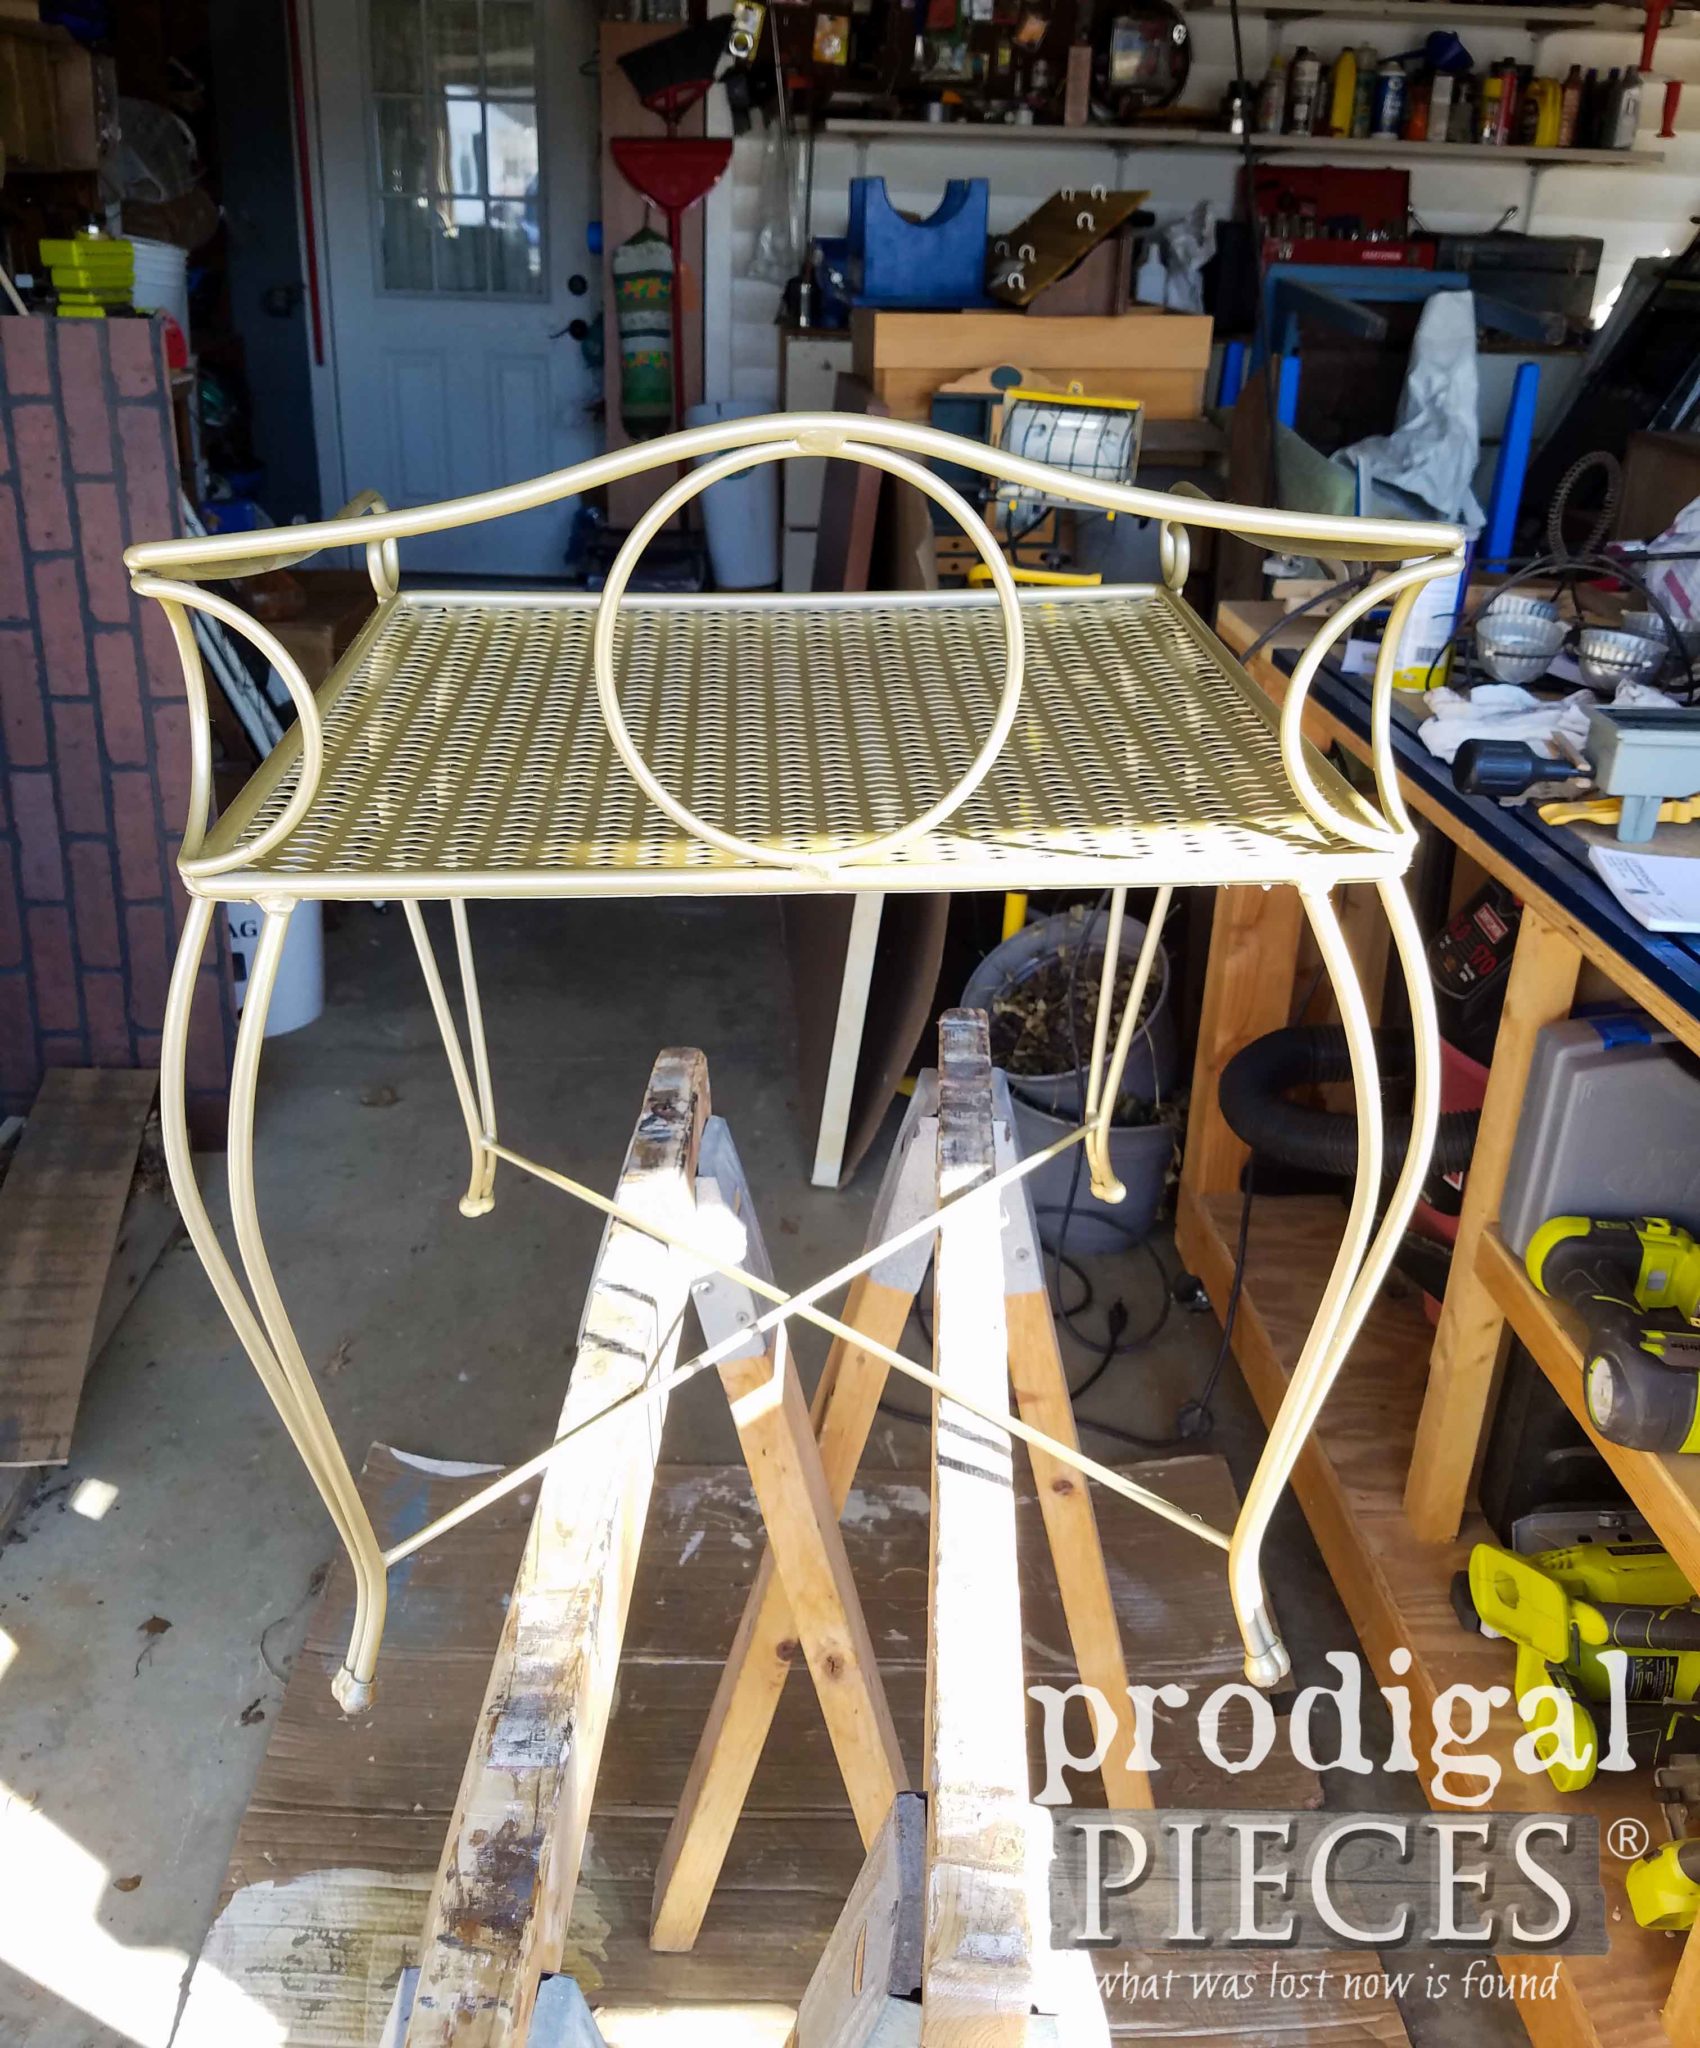
While the primer is curing for about an hour, it’s time to meet my next patient. This Art Deco vanity chair was at a garage sale last summer for a couple bucks. I can’t tell you how many times I get a vanity without a bench or chair, so when I see them, I buy them. This one is PERFECT for my vanity!
MORE PAINT
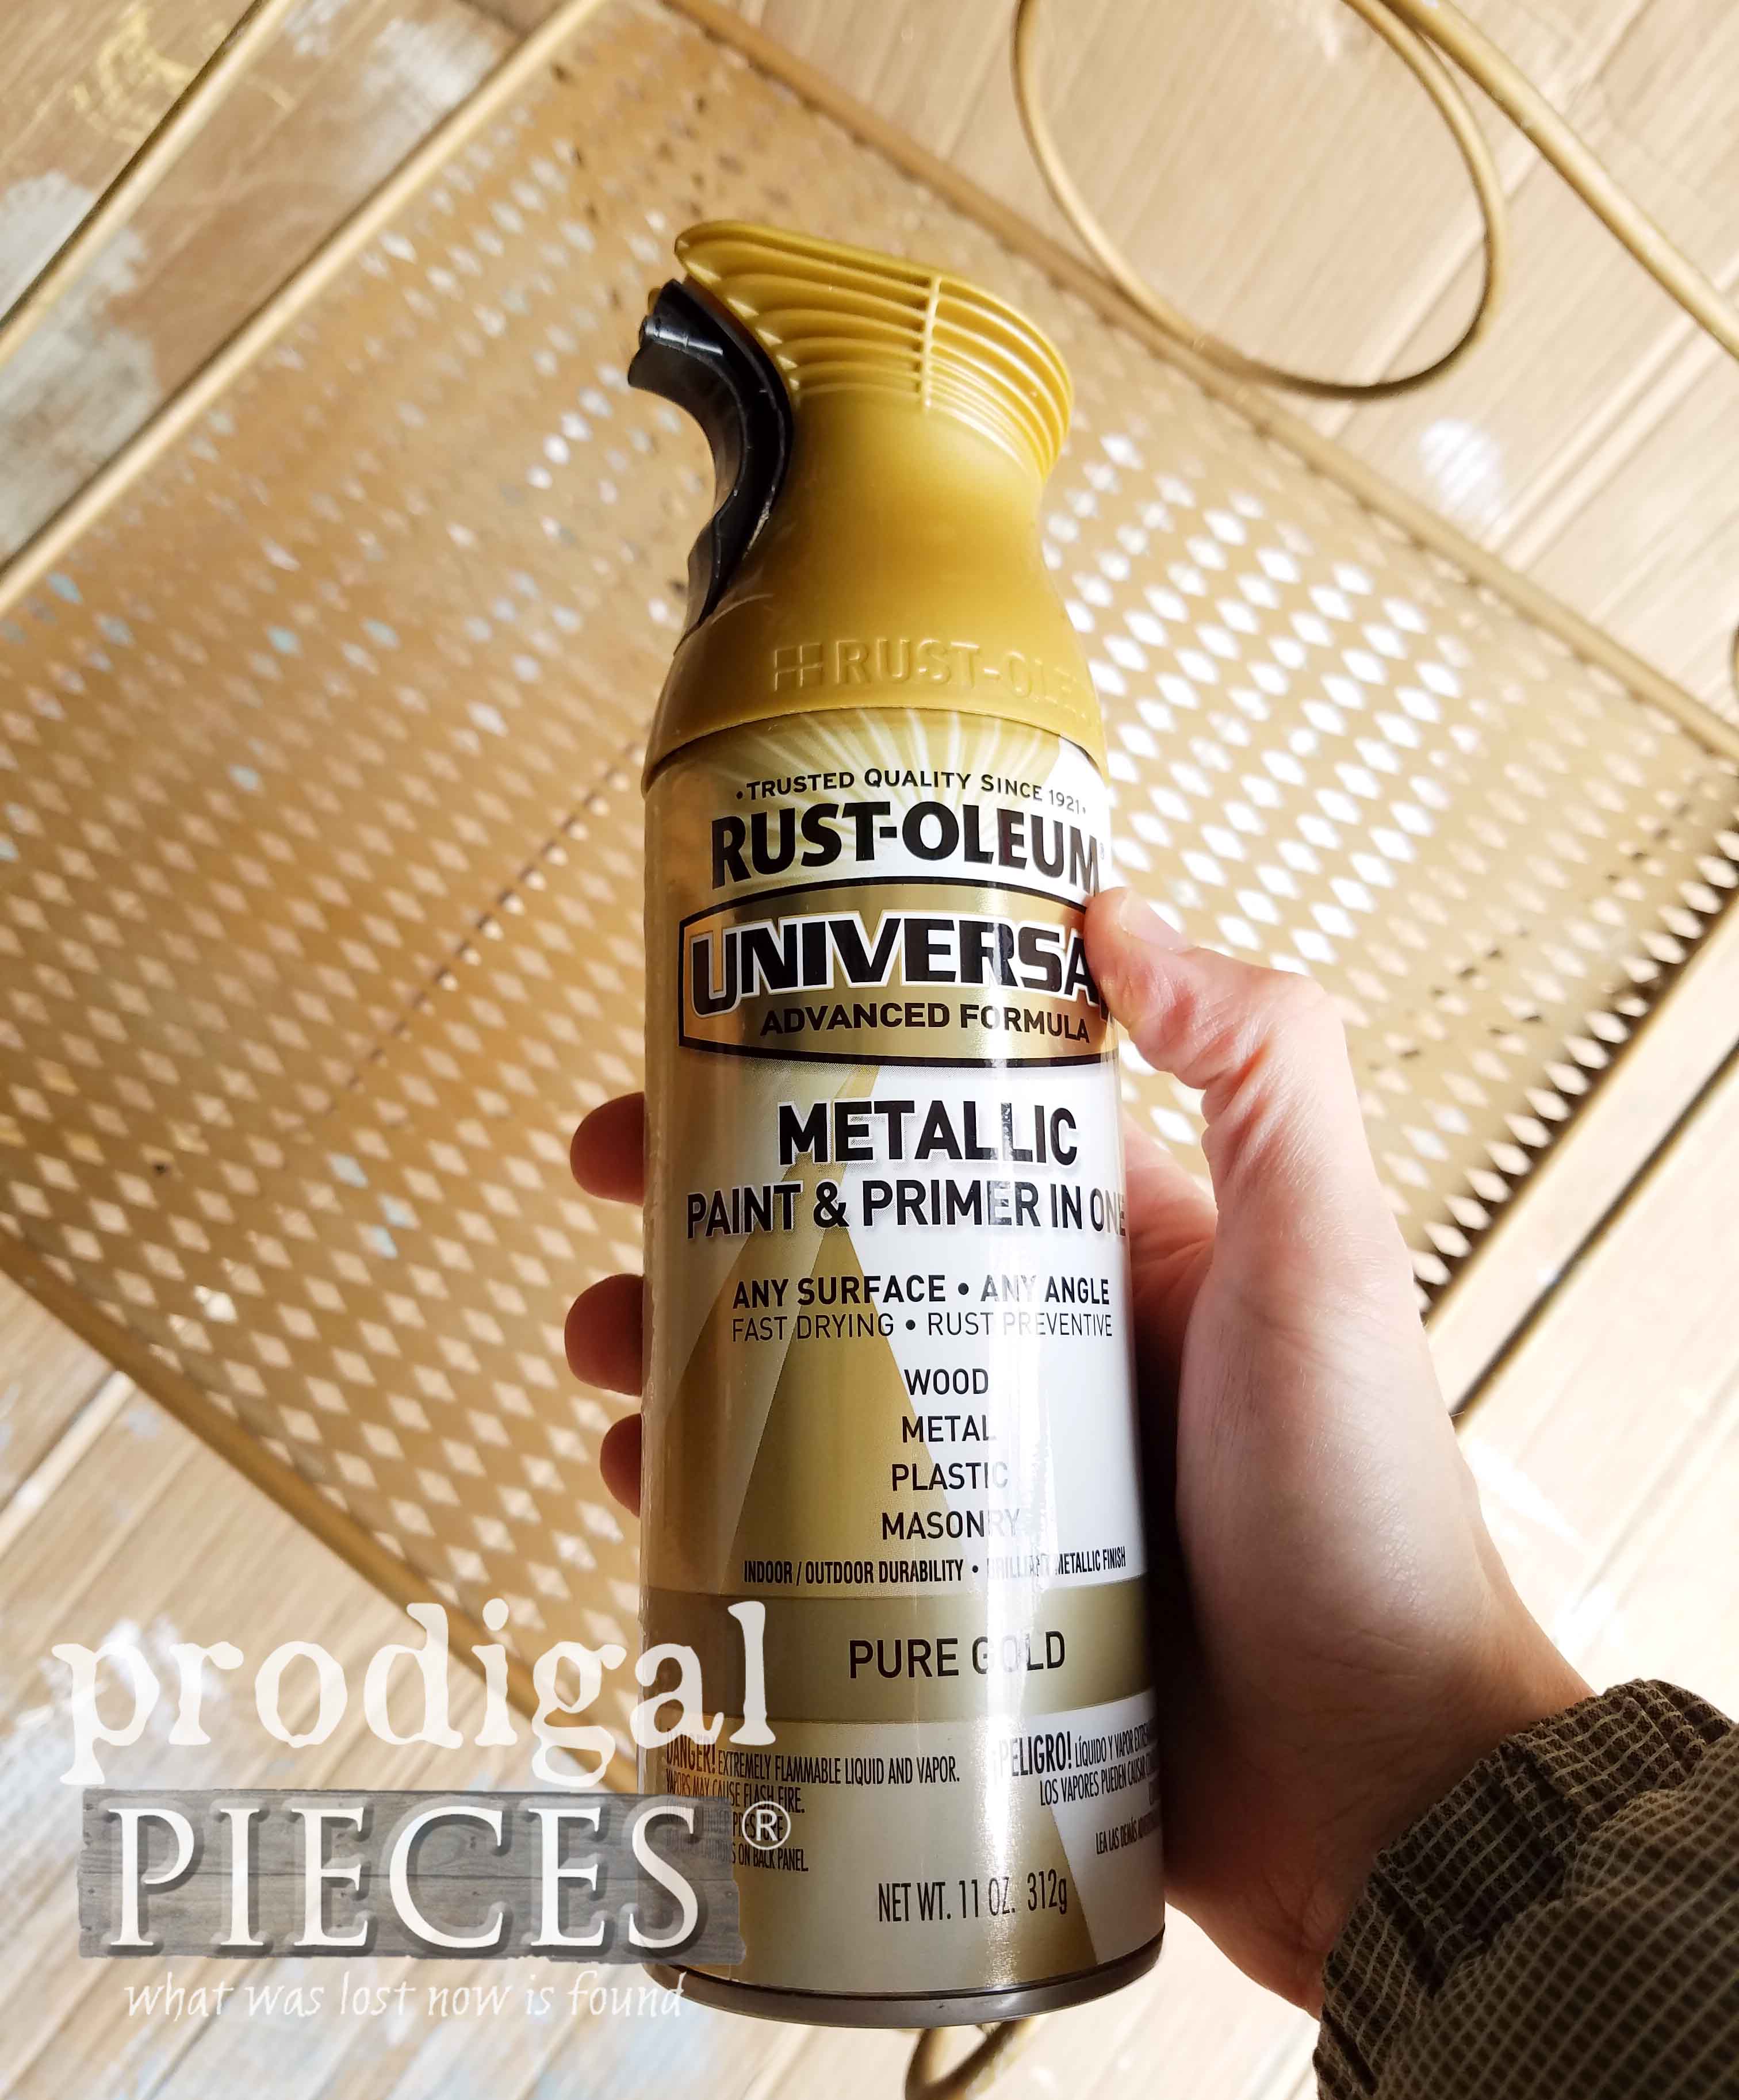
However, it needs some lovin’ too. The finish is chipped and worn in not-so-pretty ways, and the feet are needing repair, plus it has no cushion. No problem. I grab on of my favorite metallic spray paints, Pure Gold, and have at it giving it a few coats.
While that is curing, I get my sewing skills on and start working on a cushion with welting and all. Let me just say it’s been a few years, like a decade, since I’ve done that and I was a little.bit.rusty. ahem.
Back to this Art Deco Vanity itself. I chose to go with a beautiful white for a nice fresh look. Also, this stays true to these dynamic pieces. Again, painting two coats, allowing 2 hours cure time between.
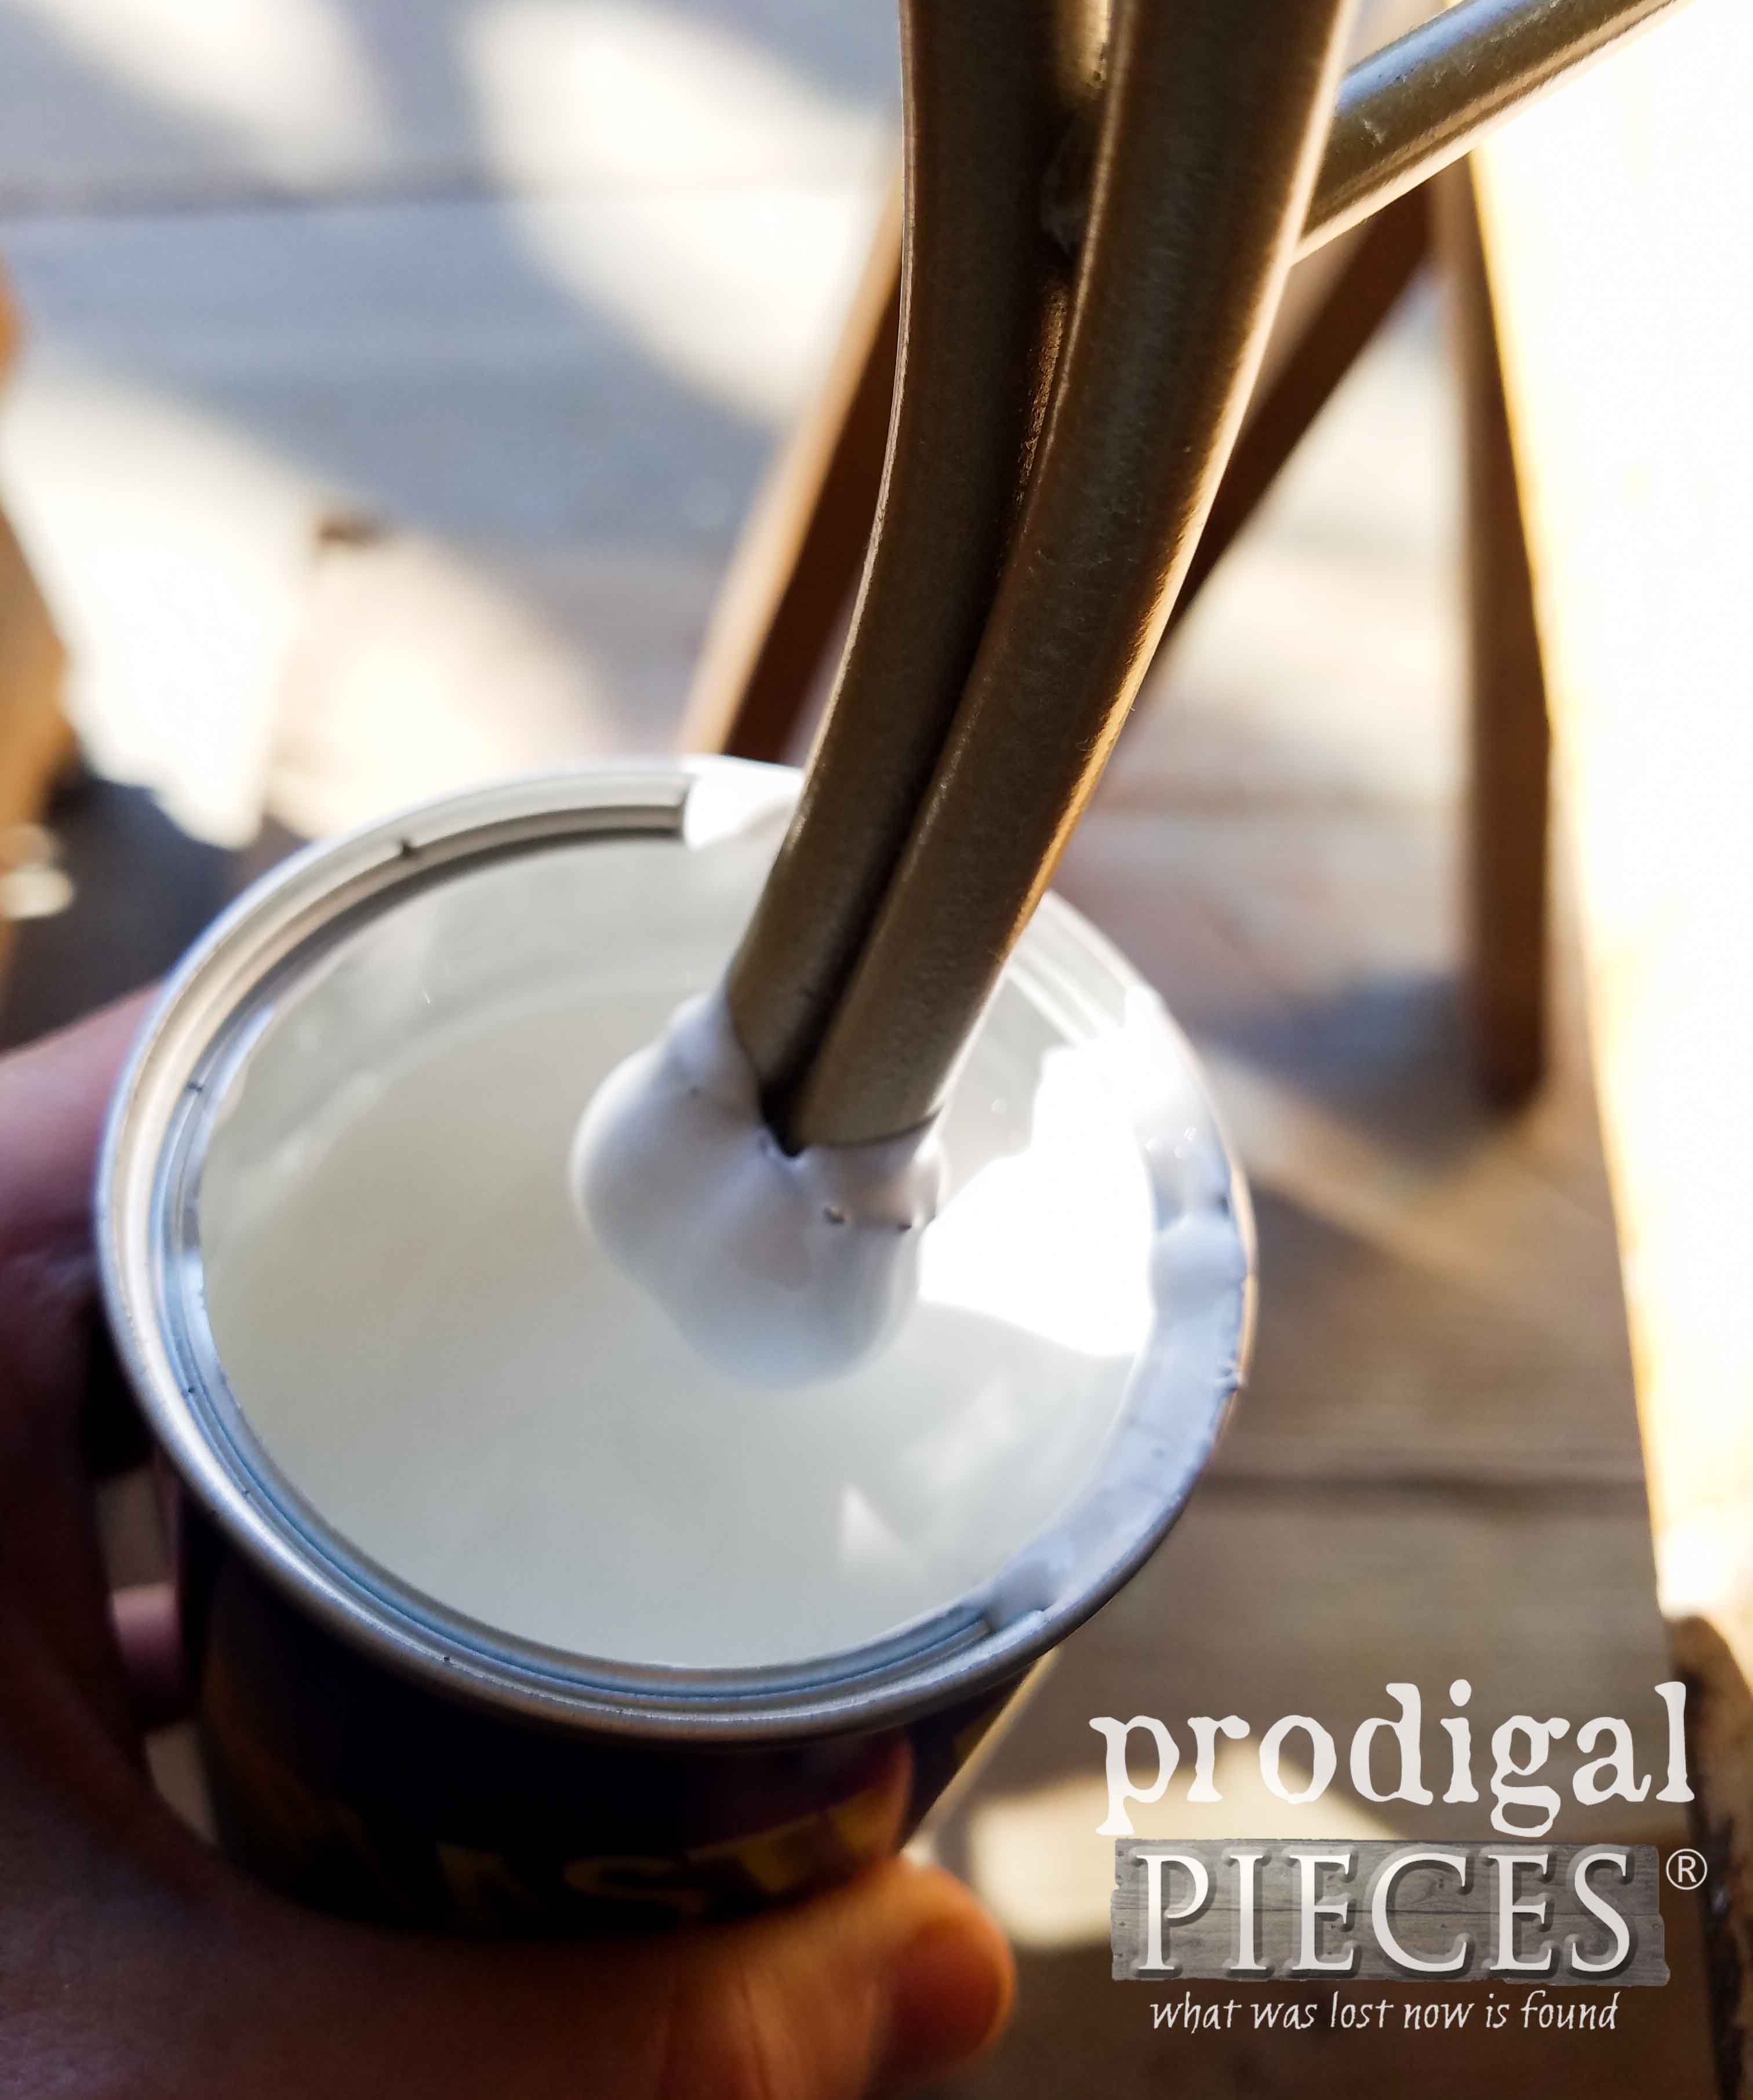
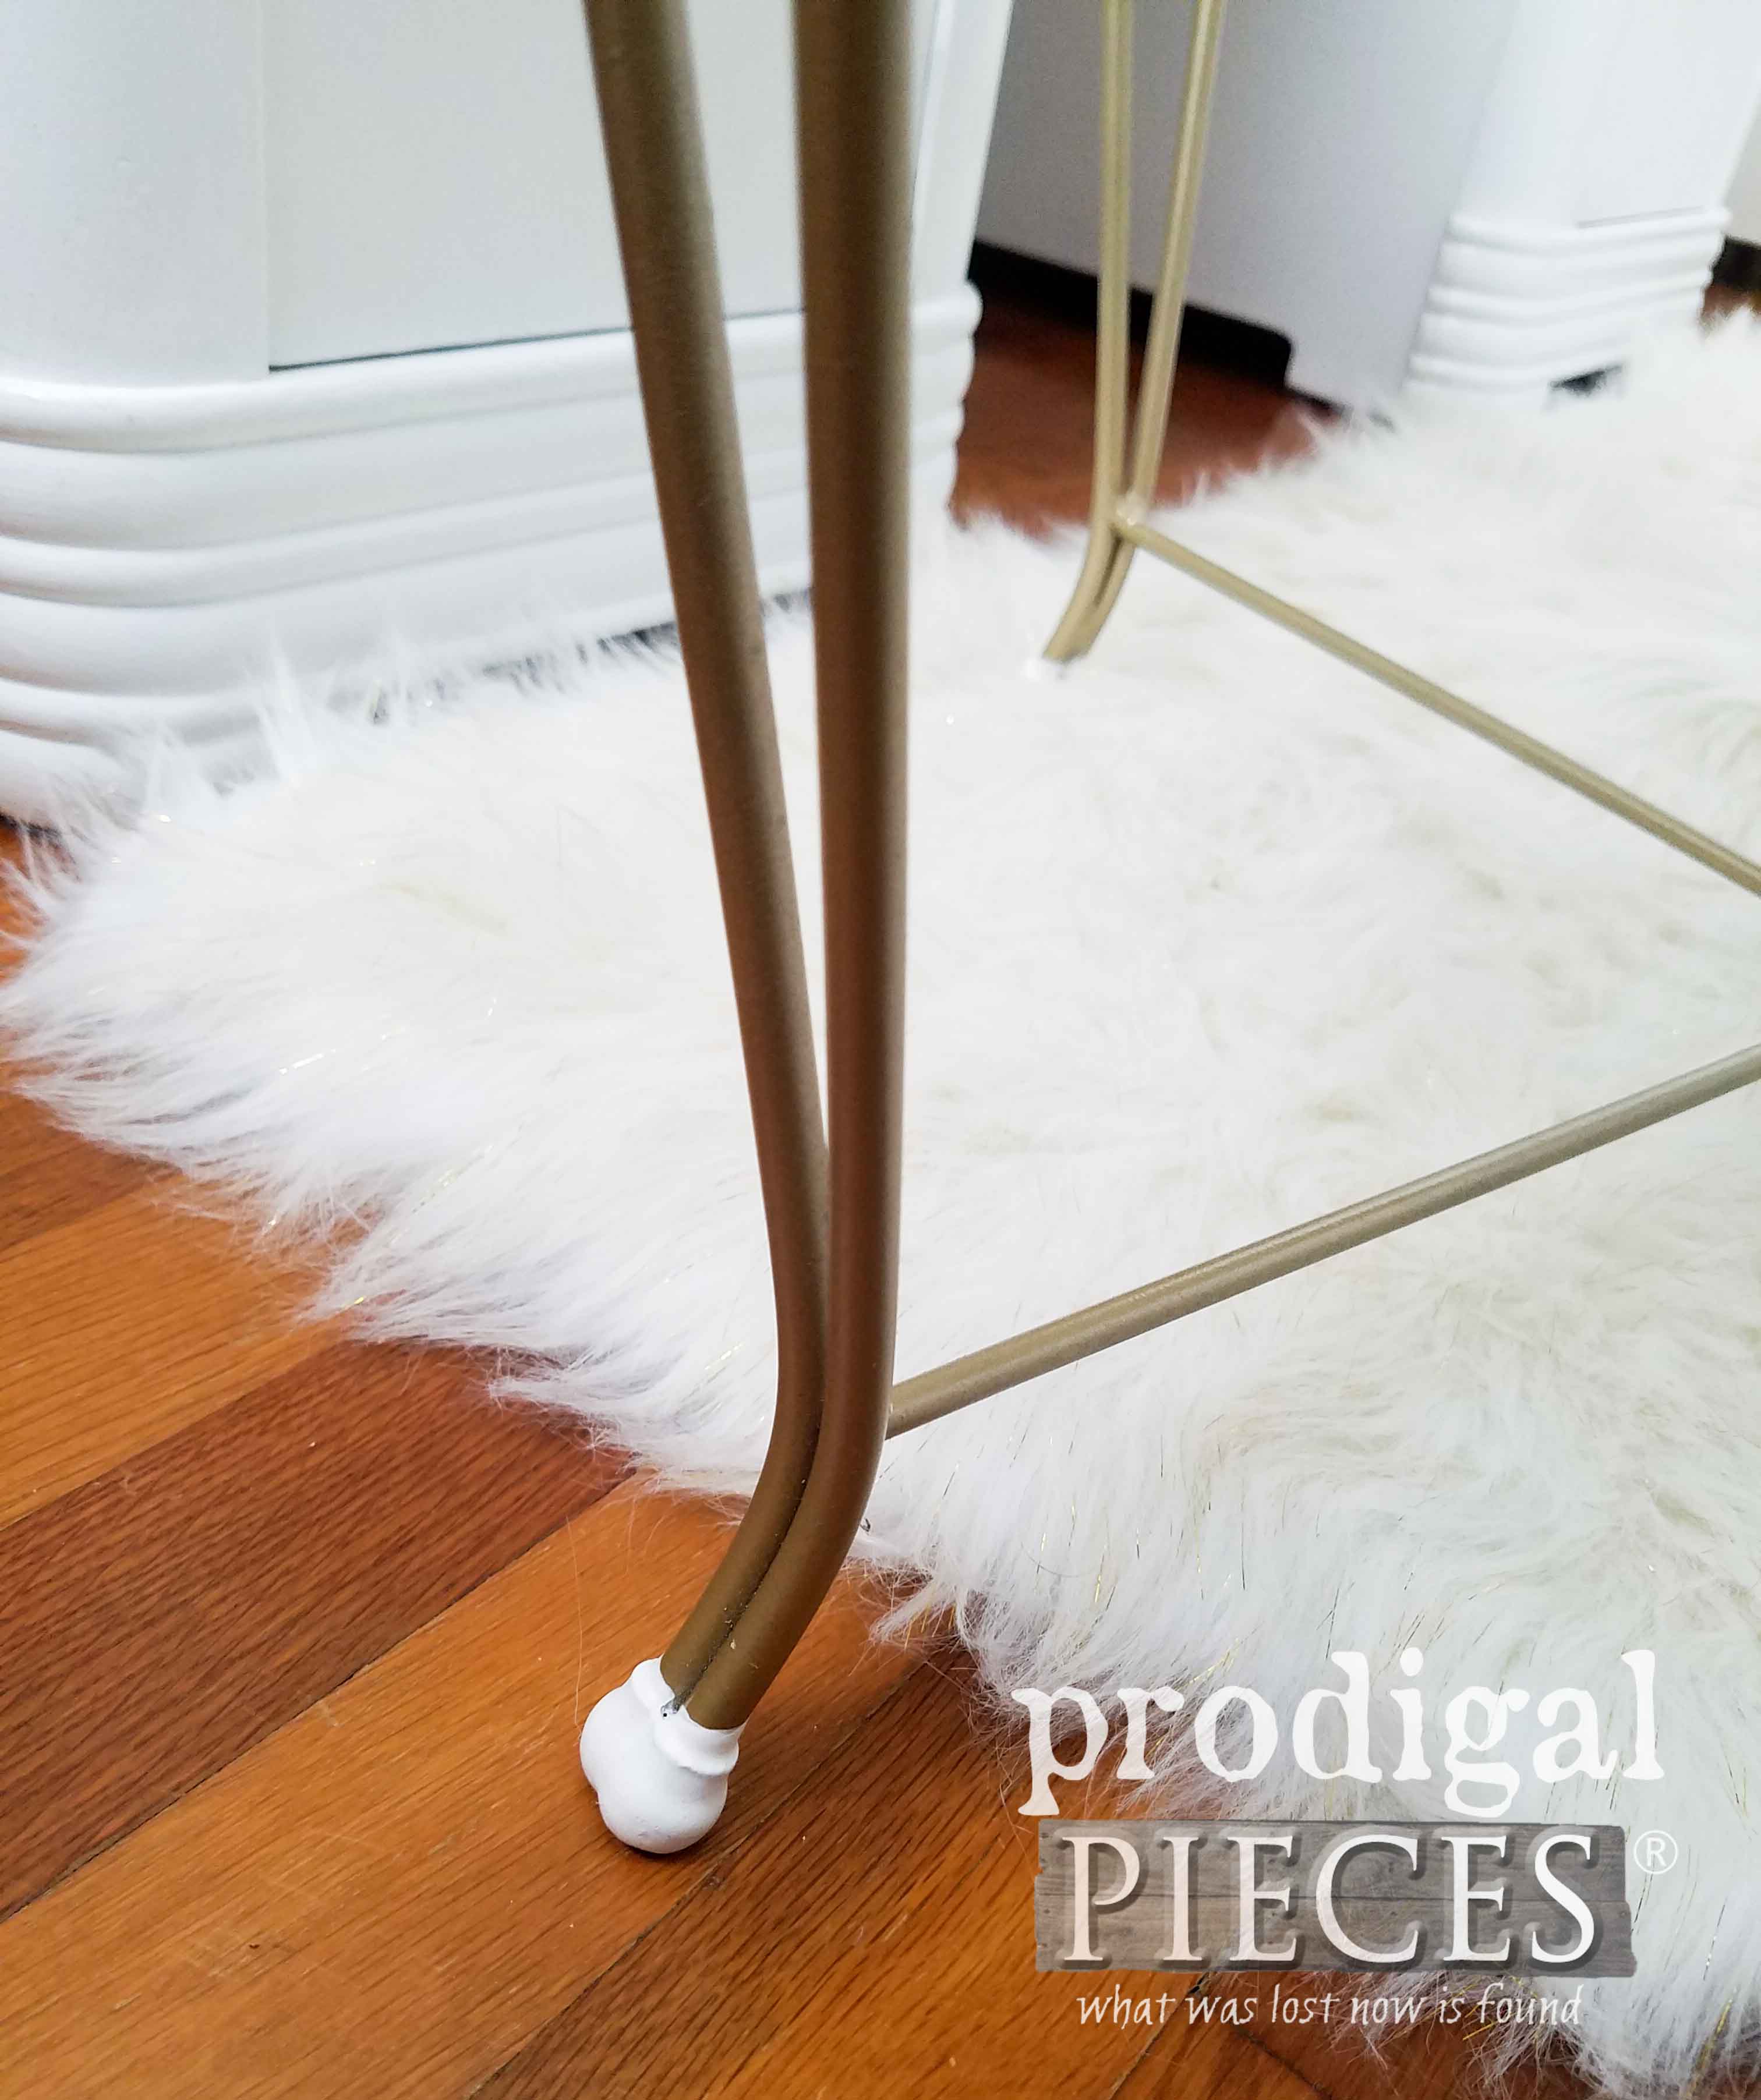
While the first coat of paint is drying, I head outside to revisit my vanity chair. The painting was done, but those feet had damage. No problem with this stuff, called Plasti Dip. Ever heard of it? It is SO COOL. It comes in oodles of fun colors and will have you coating everything you can get your hands on with an awesome rubber coating.
It’s some serious chemicals you don’t want to mess around with, but it will have you giggling with how easy it is to use. Check it out. I propped up my vanity chair onto saw horses with a piece of cardboard to catch drips beneath.
You see, the little black rubber feet were worn and even cracked, but this stuff will cure all. I simply dip each foot in working slowly in and out at the same pace and voila!
ONE LAST THING
I let them cure for 30 minutes between coats – I only needed two coats to get the coverage I desired. I just love this stuff! You should have seen my face when JC saw the can sitting on my desk and he says, ooh, we can use it on this and this and this… I just looked at him like, no, it’s mine. haha!!
Okay, so between coats of the Plasti Dip, I went back to painting the second coat of paint, and while that was curing, back to sewing the cushion. See…I told you I was a hard workin’ mama.
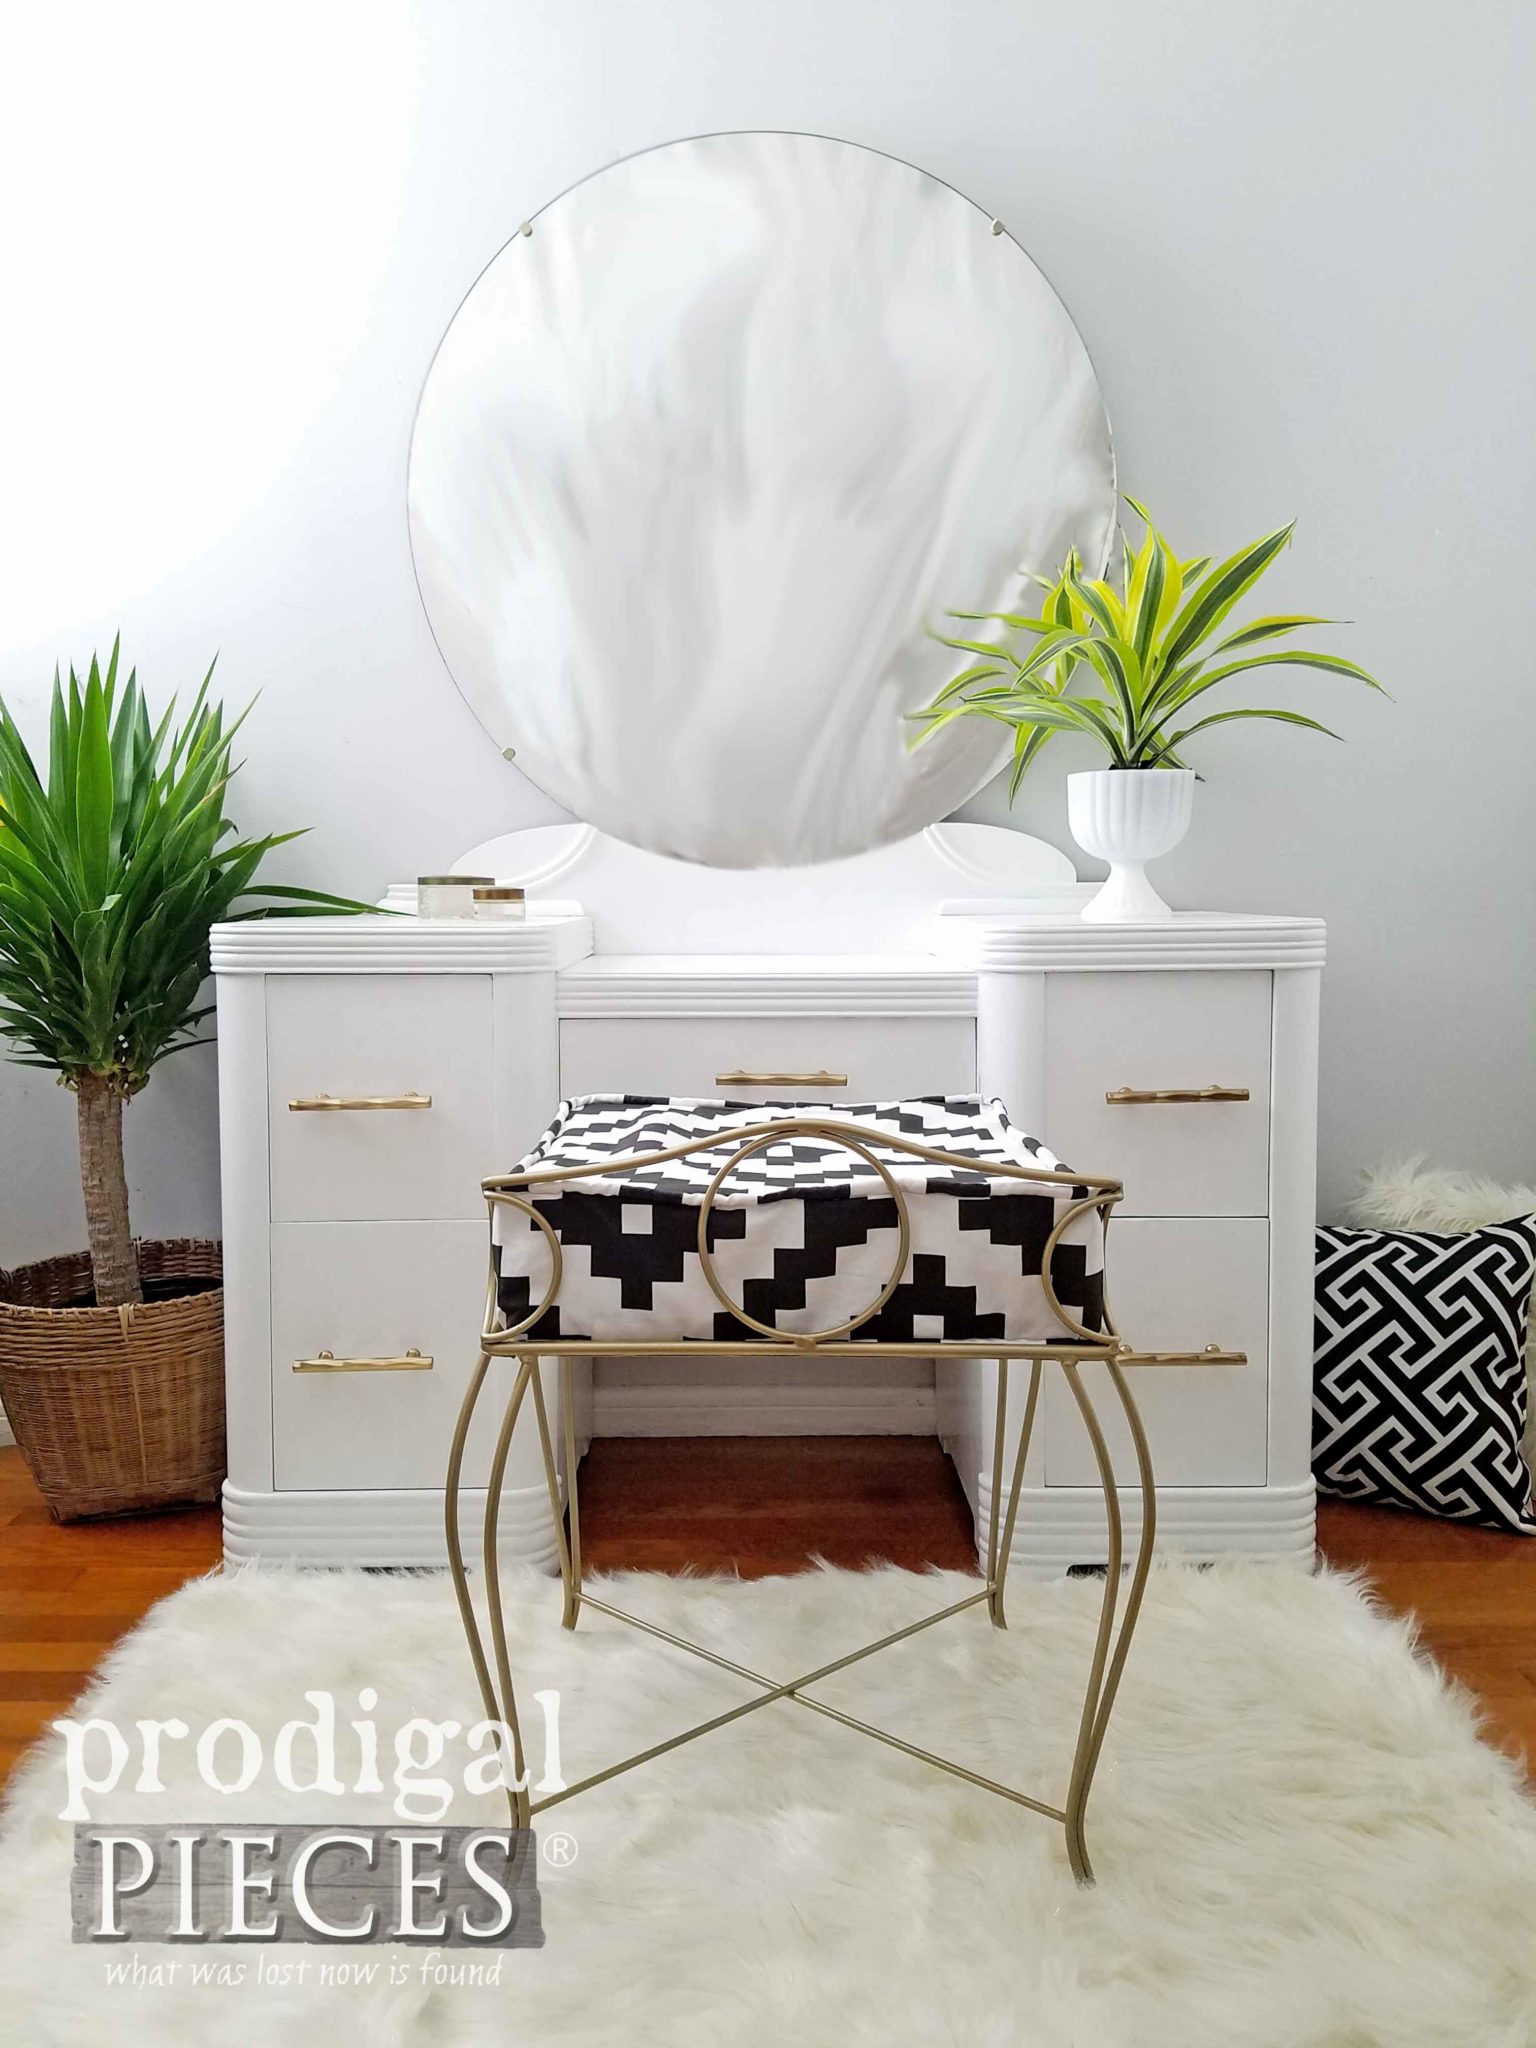
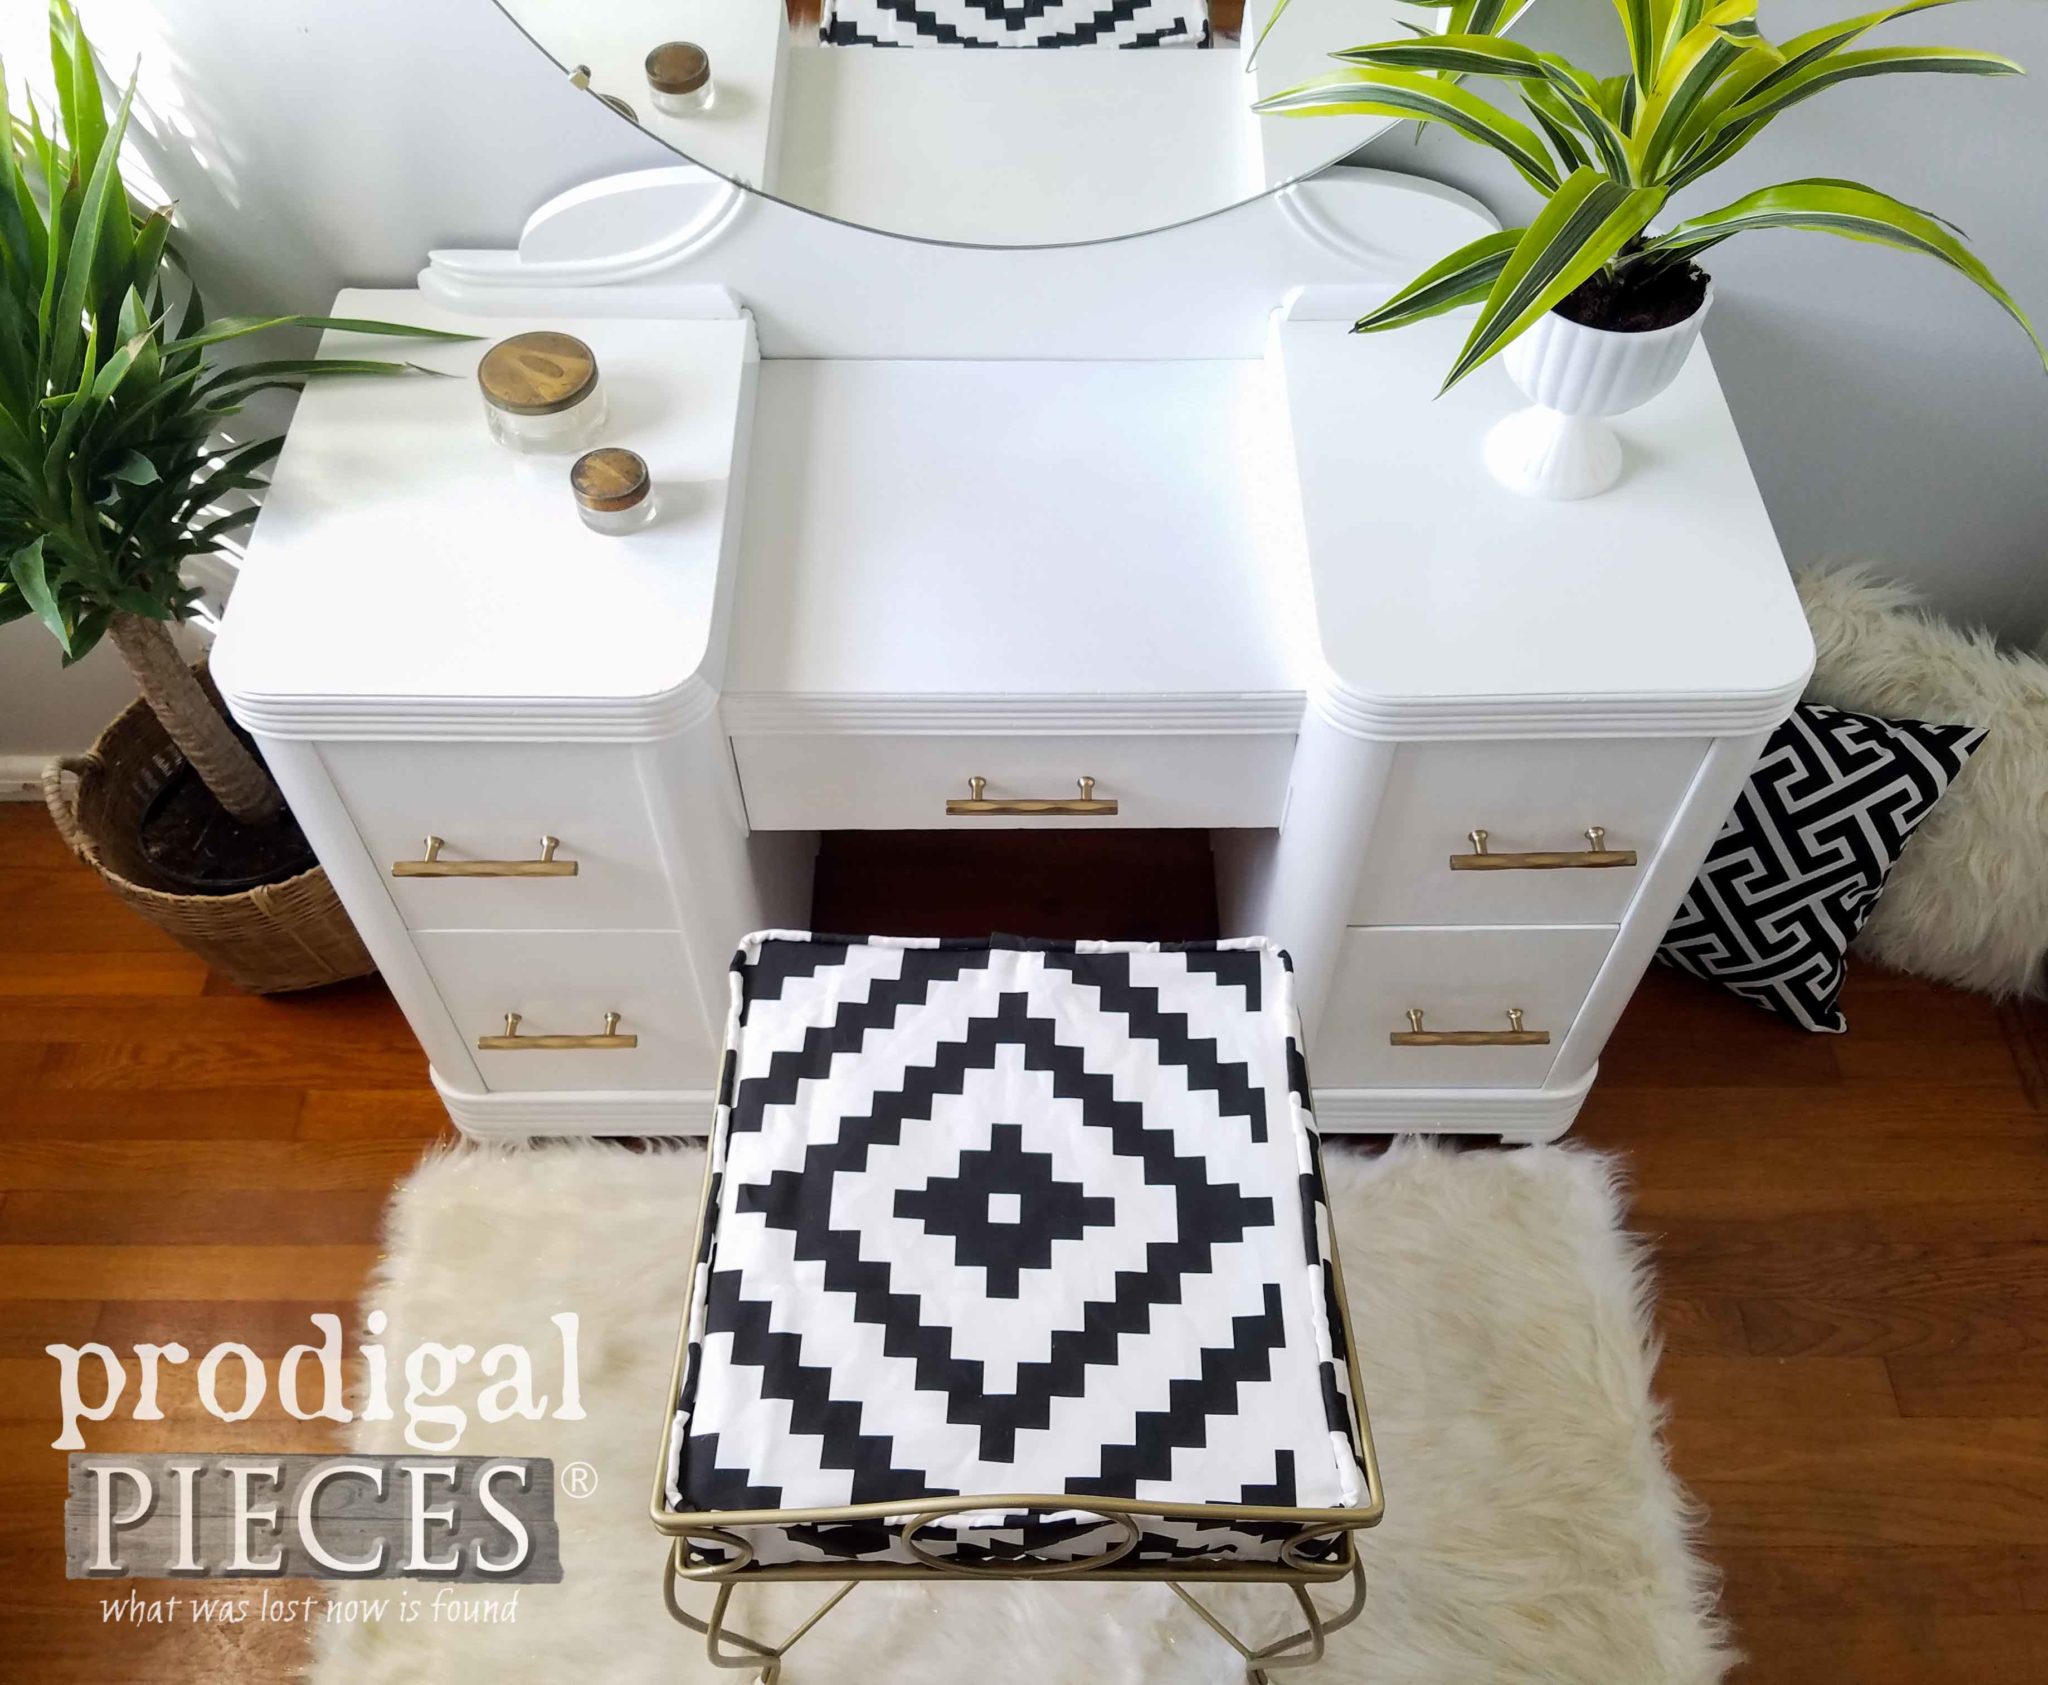
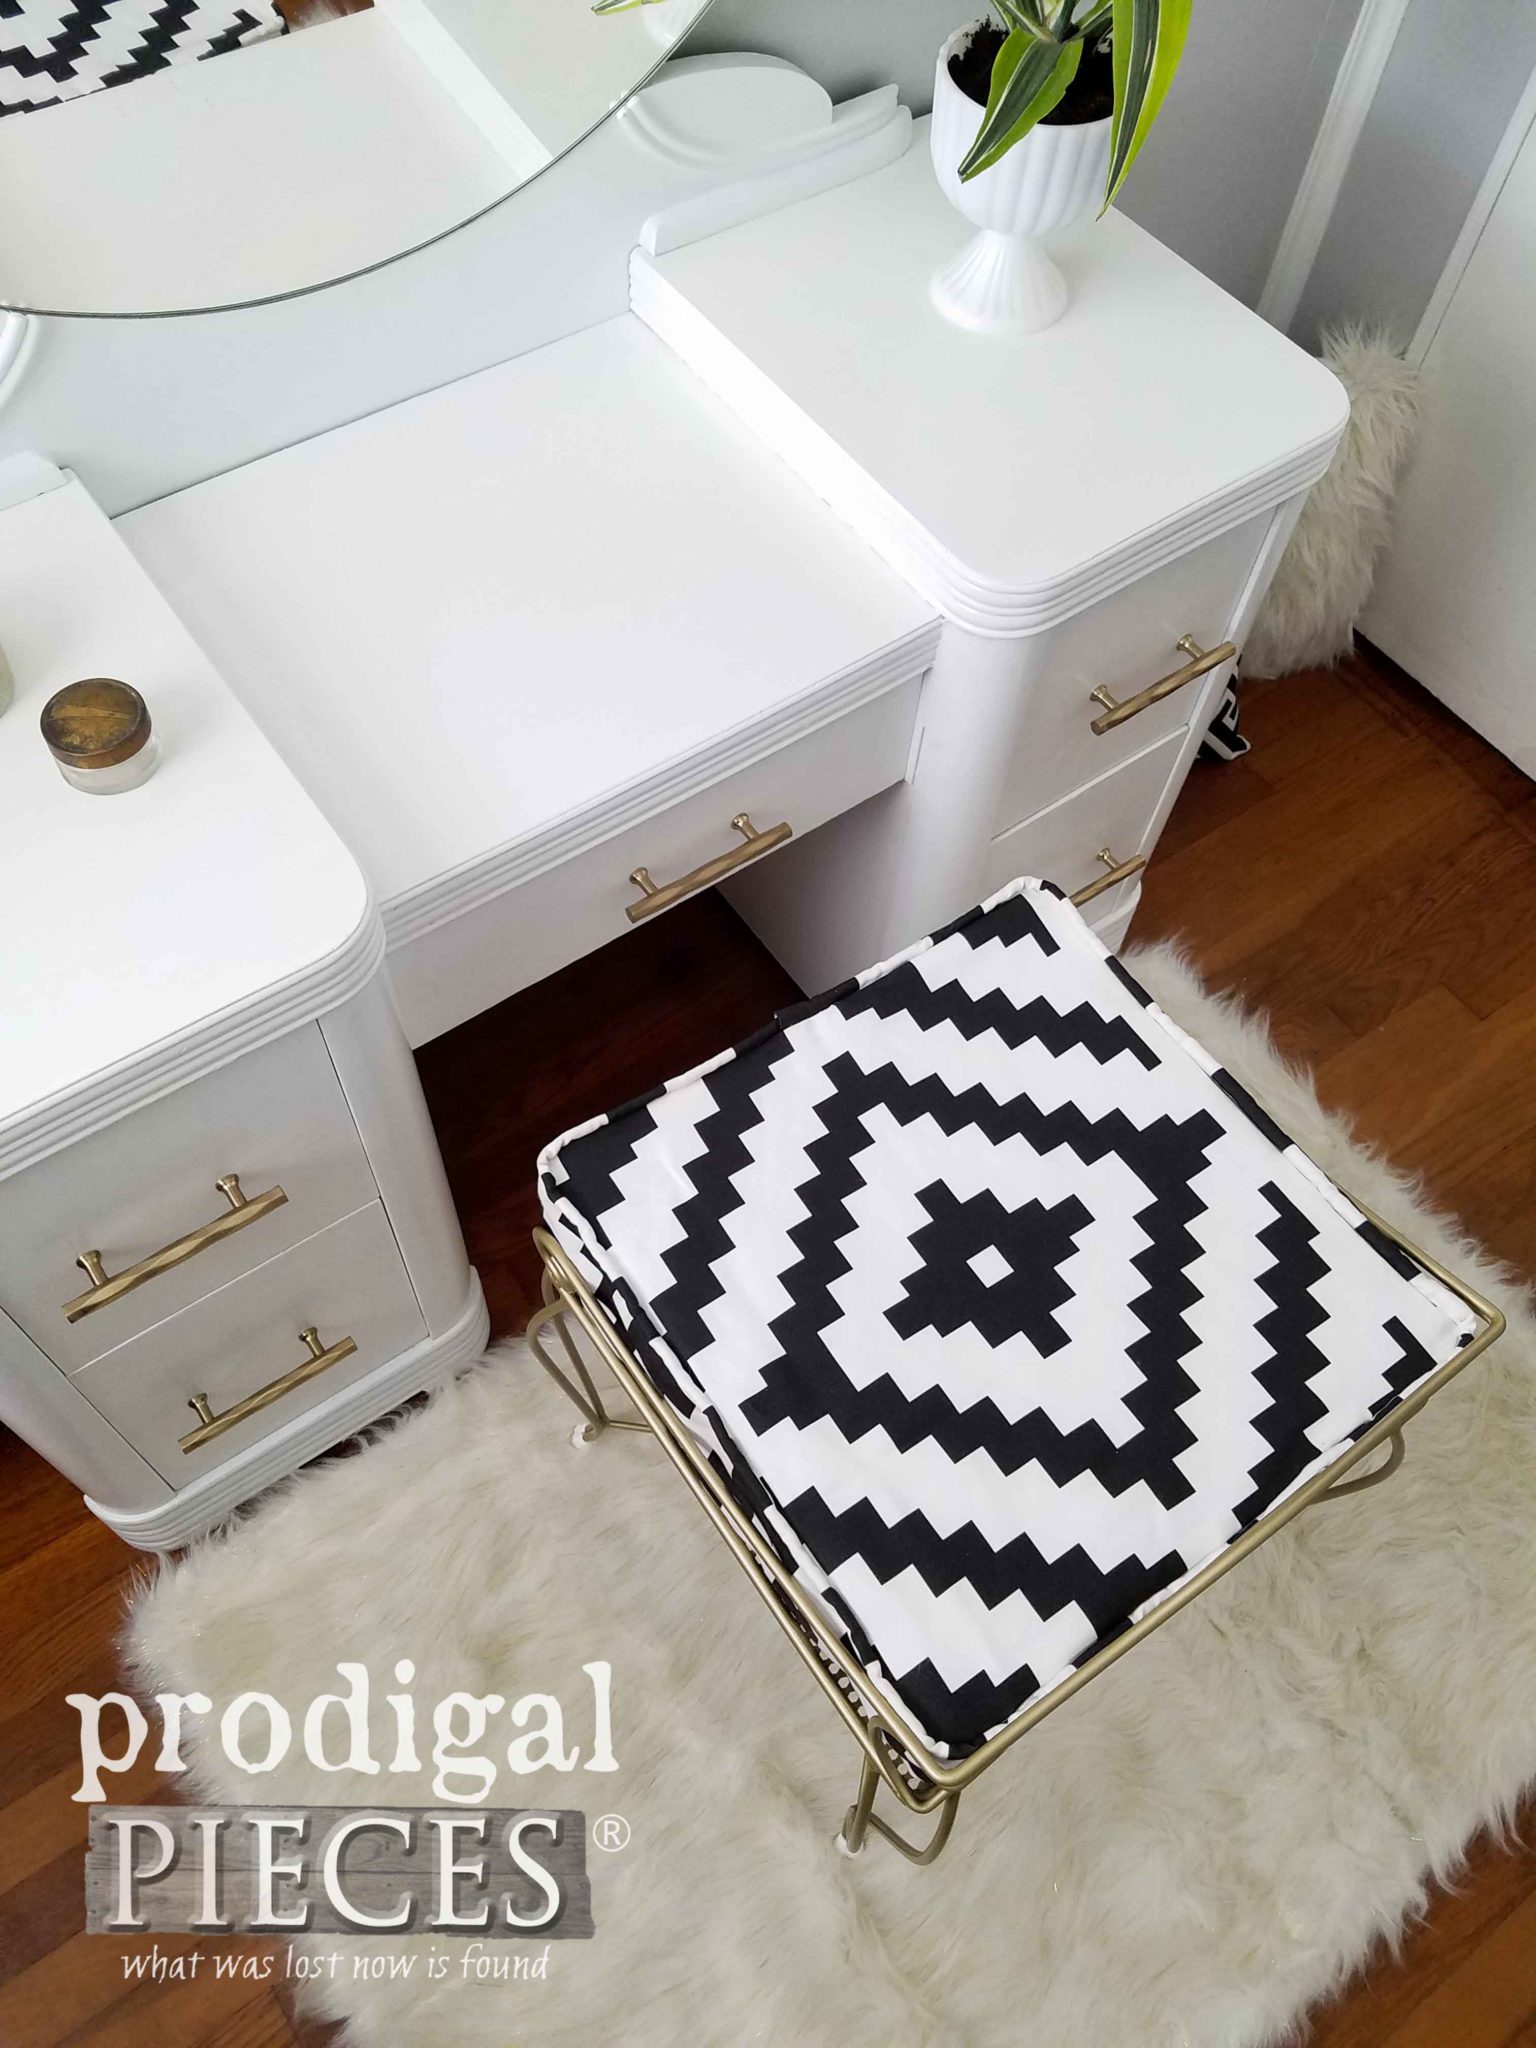
Are you ready to see this set complete? You can bet I am. Here is my Art Deco vanity meets Boho chic style.
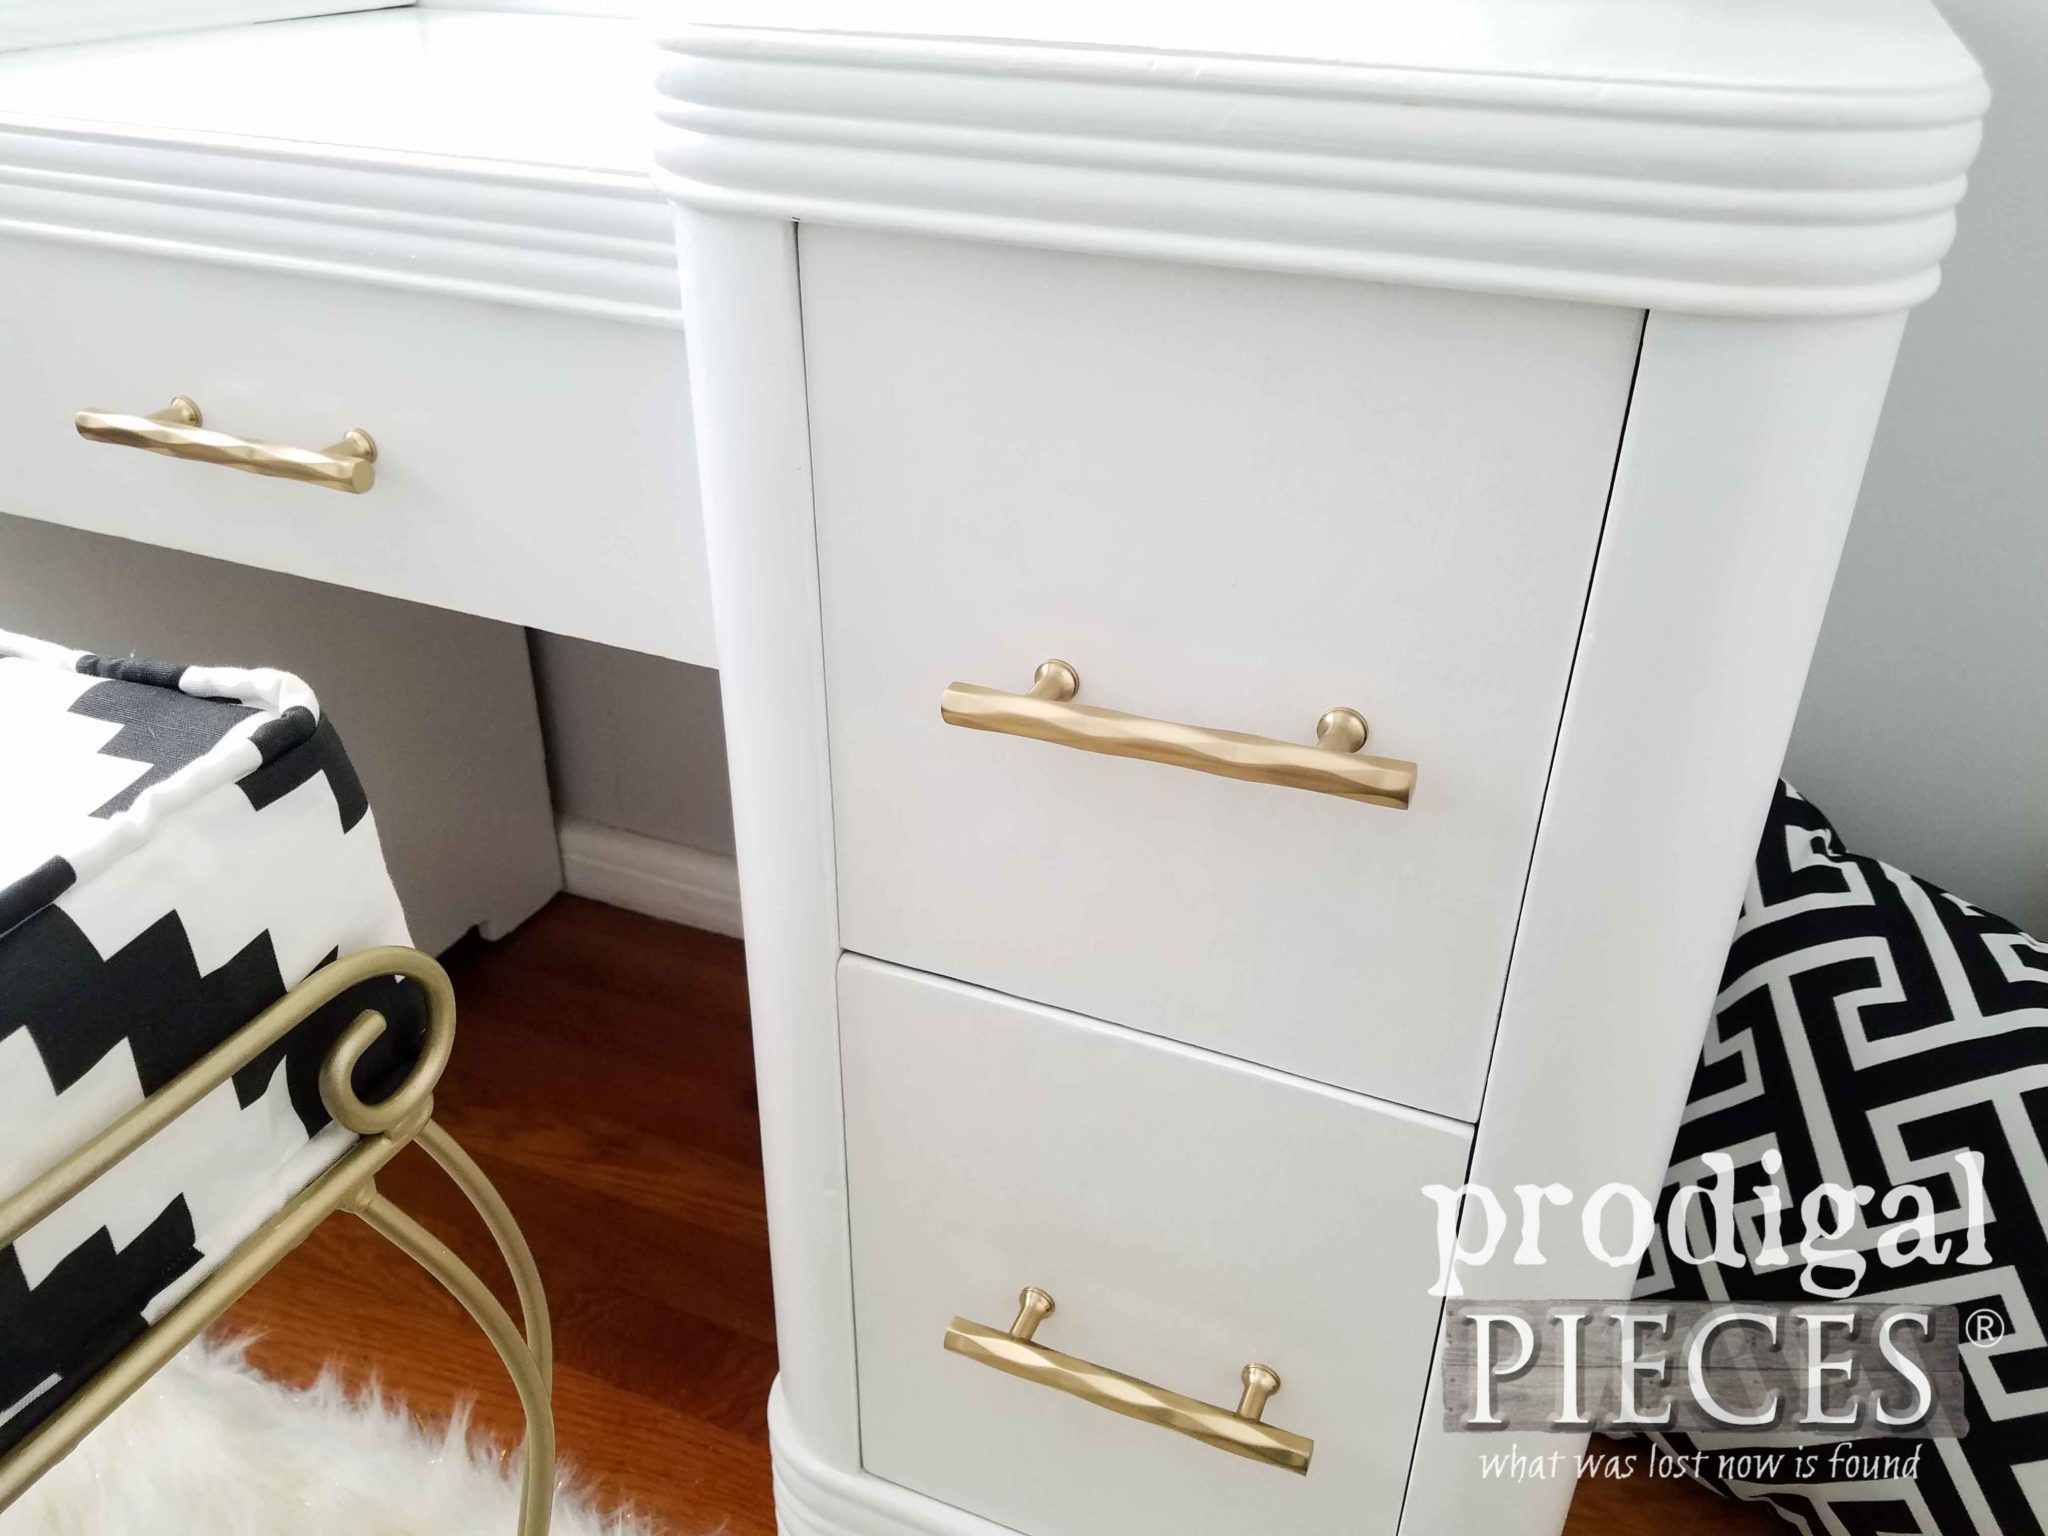
Now, isn’t that much better? We have a fresh new look with new pulls, and a whole lotta style. Plus, it’s even got a couple coats of poly to protect it all. I can’t say enough that this was a fun project to see come together.
The funky style these Art Deco vanity sets have just make me smile. You can’t help but want to sit down and just feel the immensity of it all.
ALL THAT GLAM
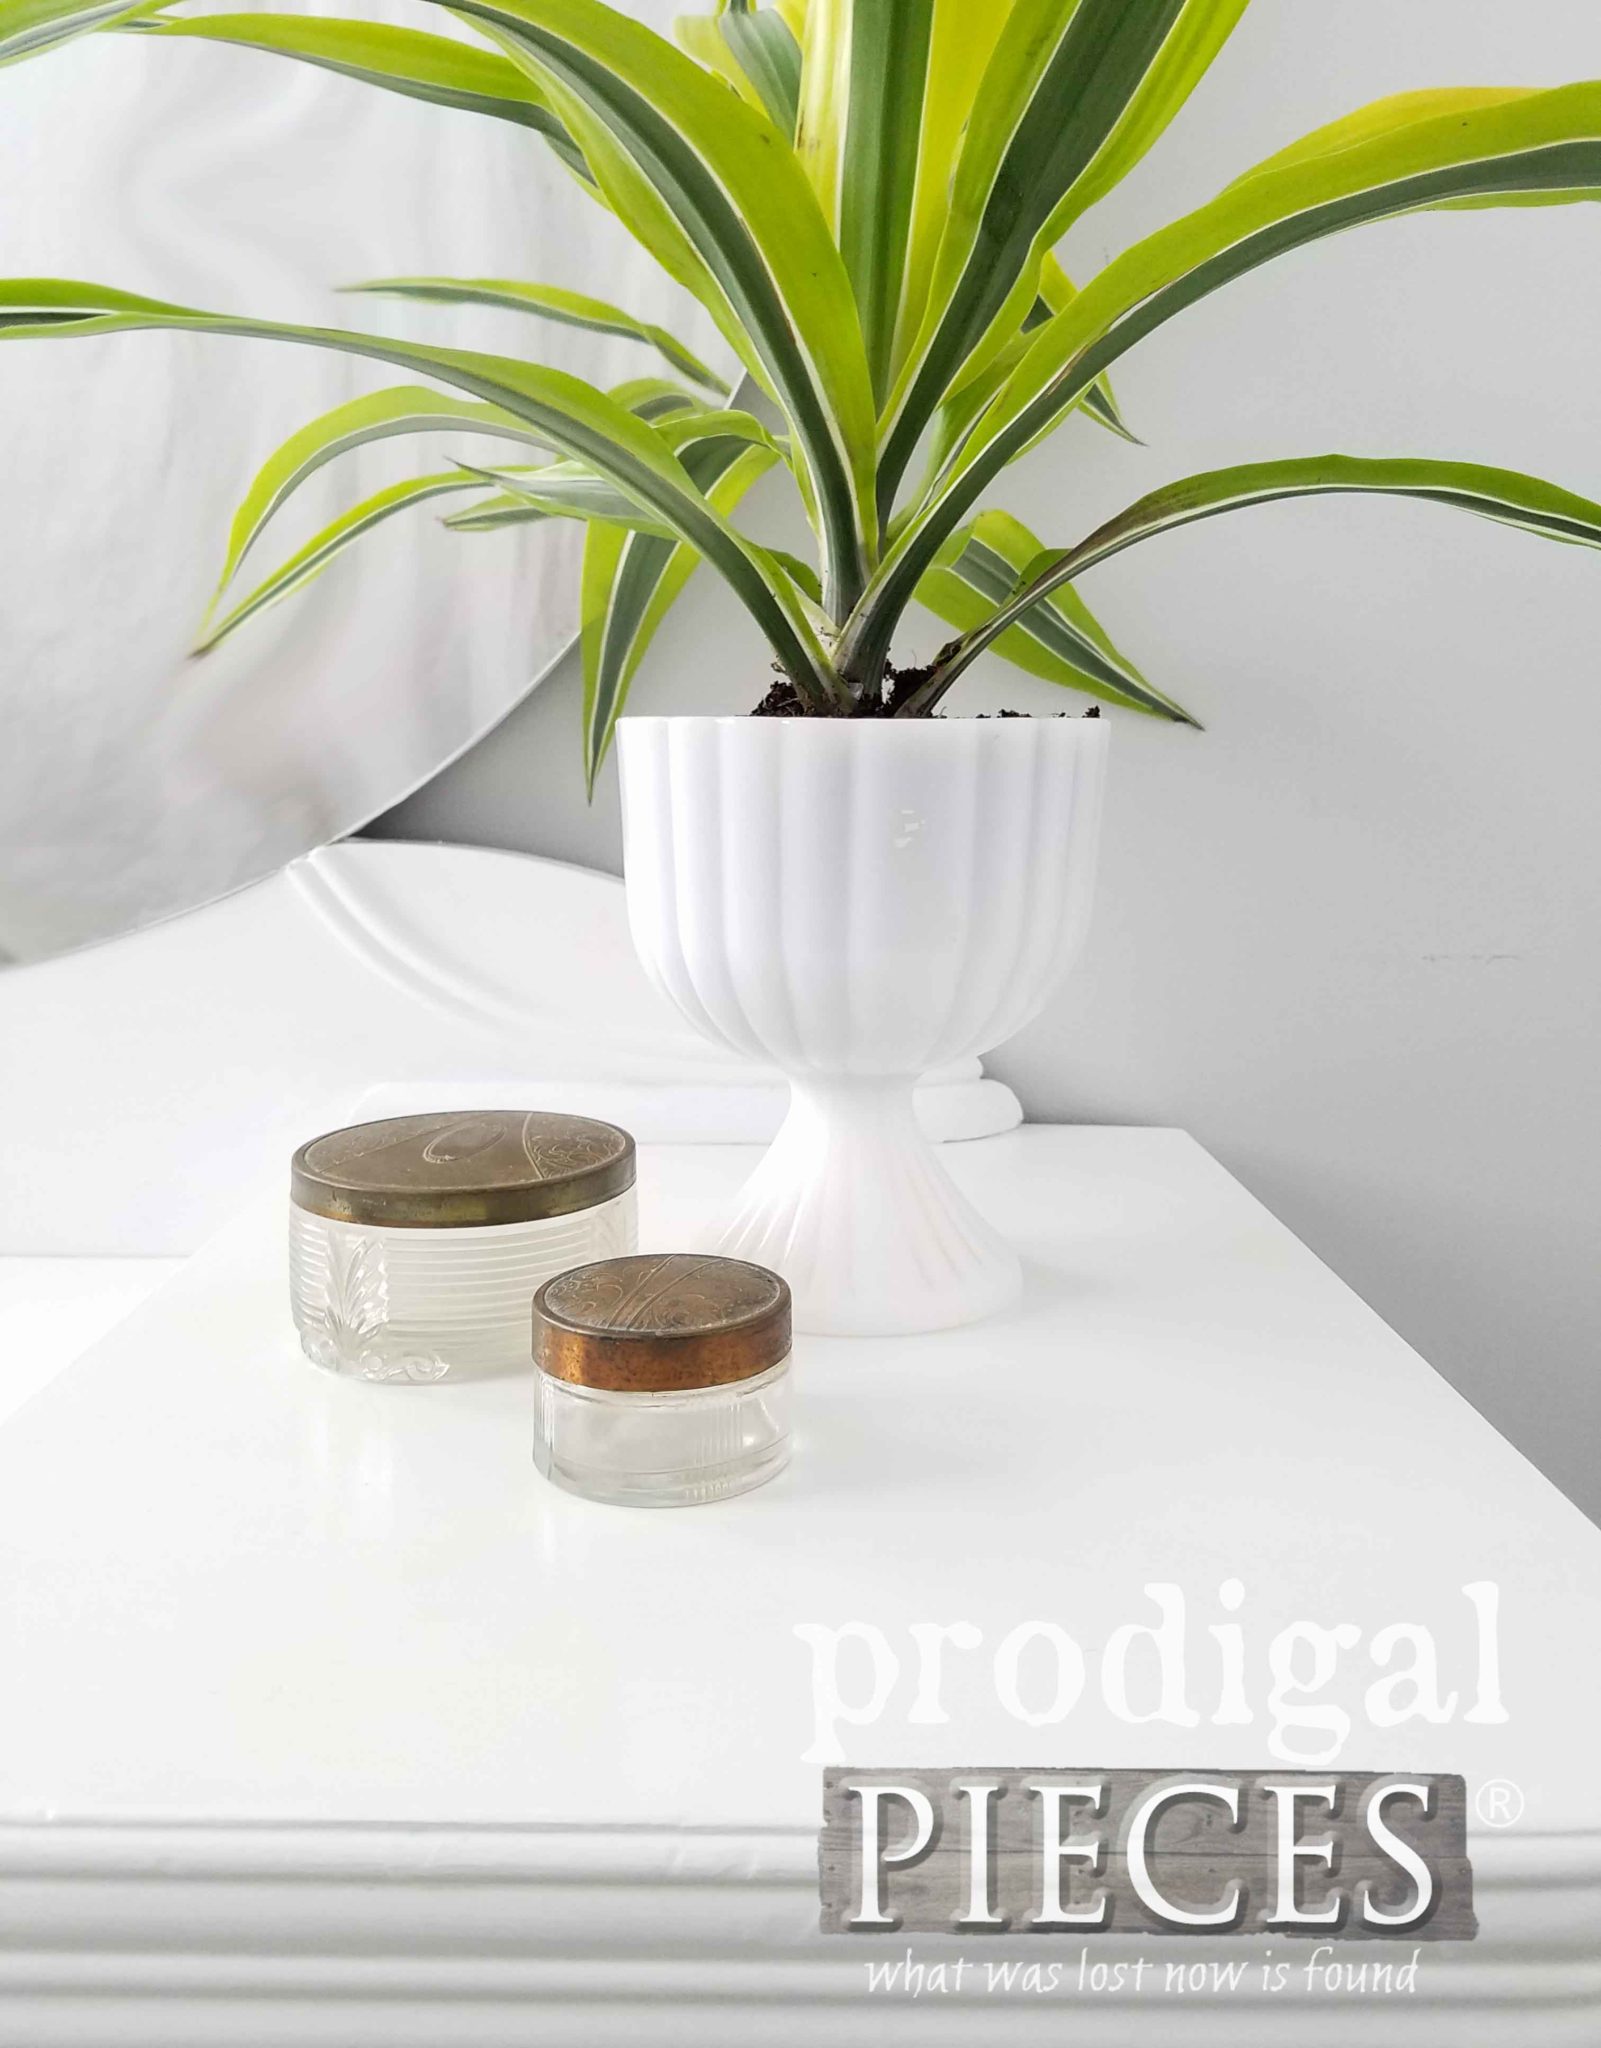
I had to stage this in my boys’ bedroom, so I hung up a sheet to hide their hot mess and blurred the reflection a bit. Kinda looks like a giant marble sitting on there, doesn’t it? The mirror is in excellent condition with no chips, only a tiny bit of wear. It’s a whopping 33 ½” diameter! I love it.
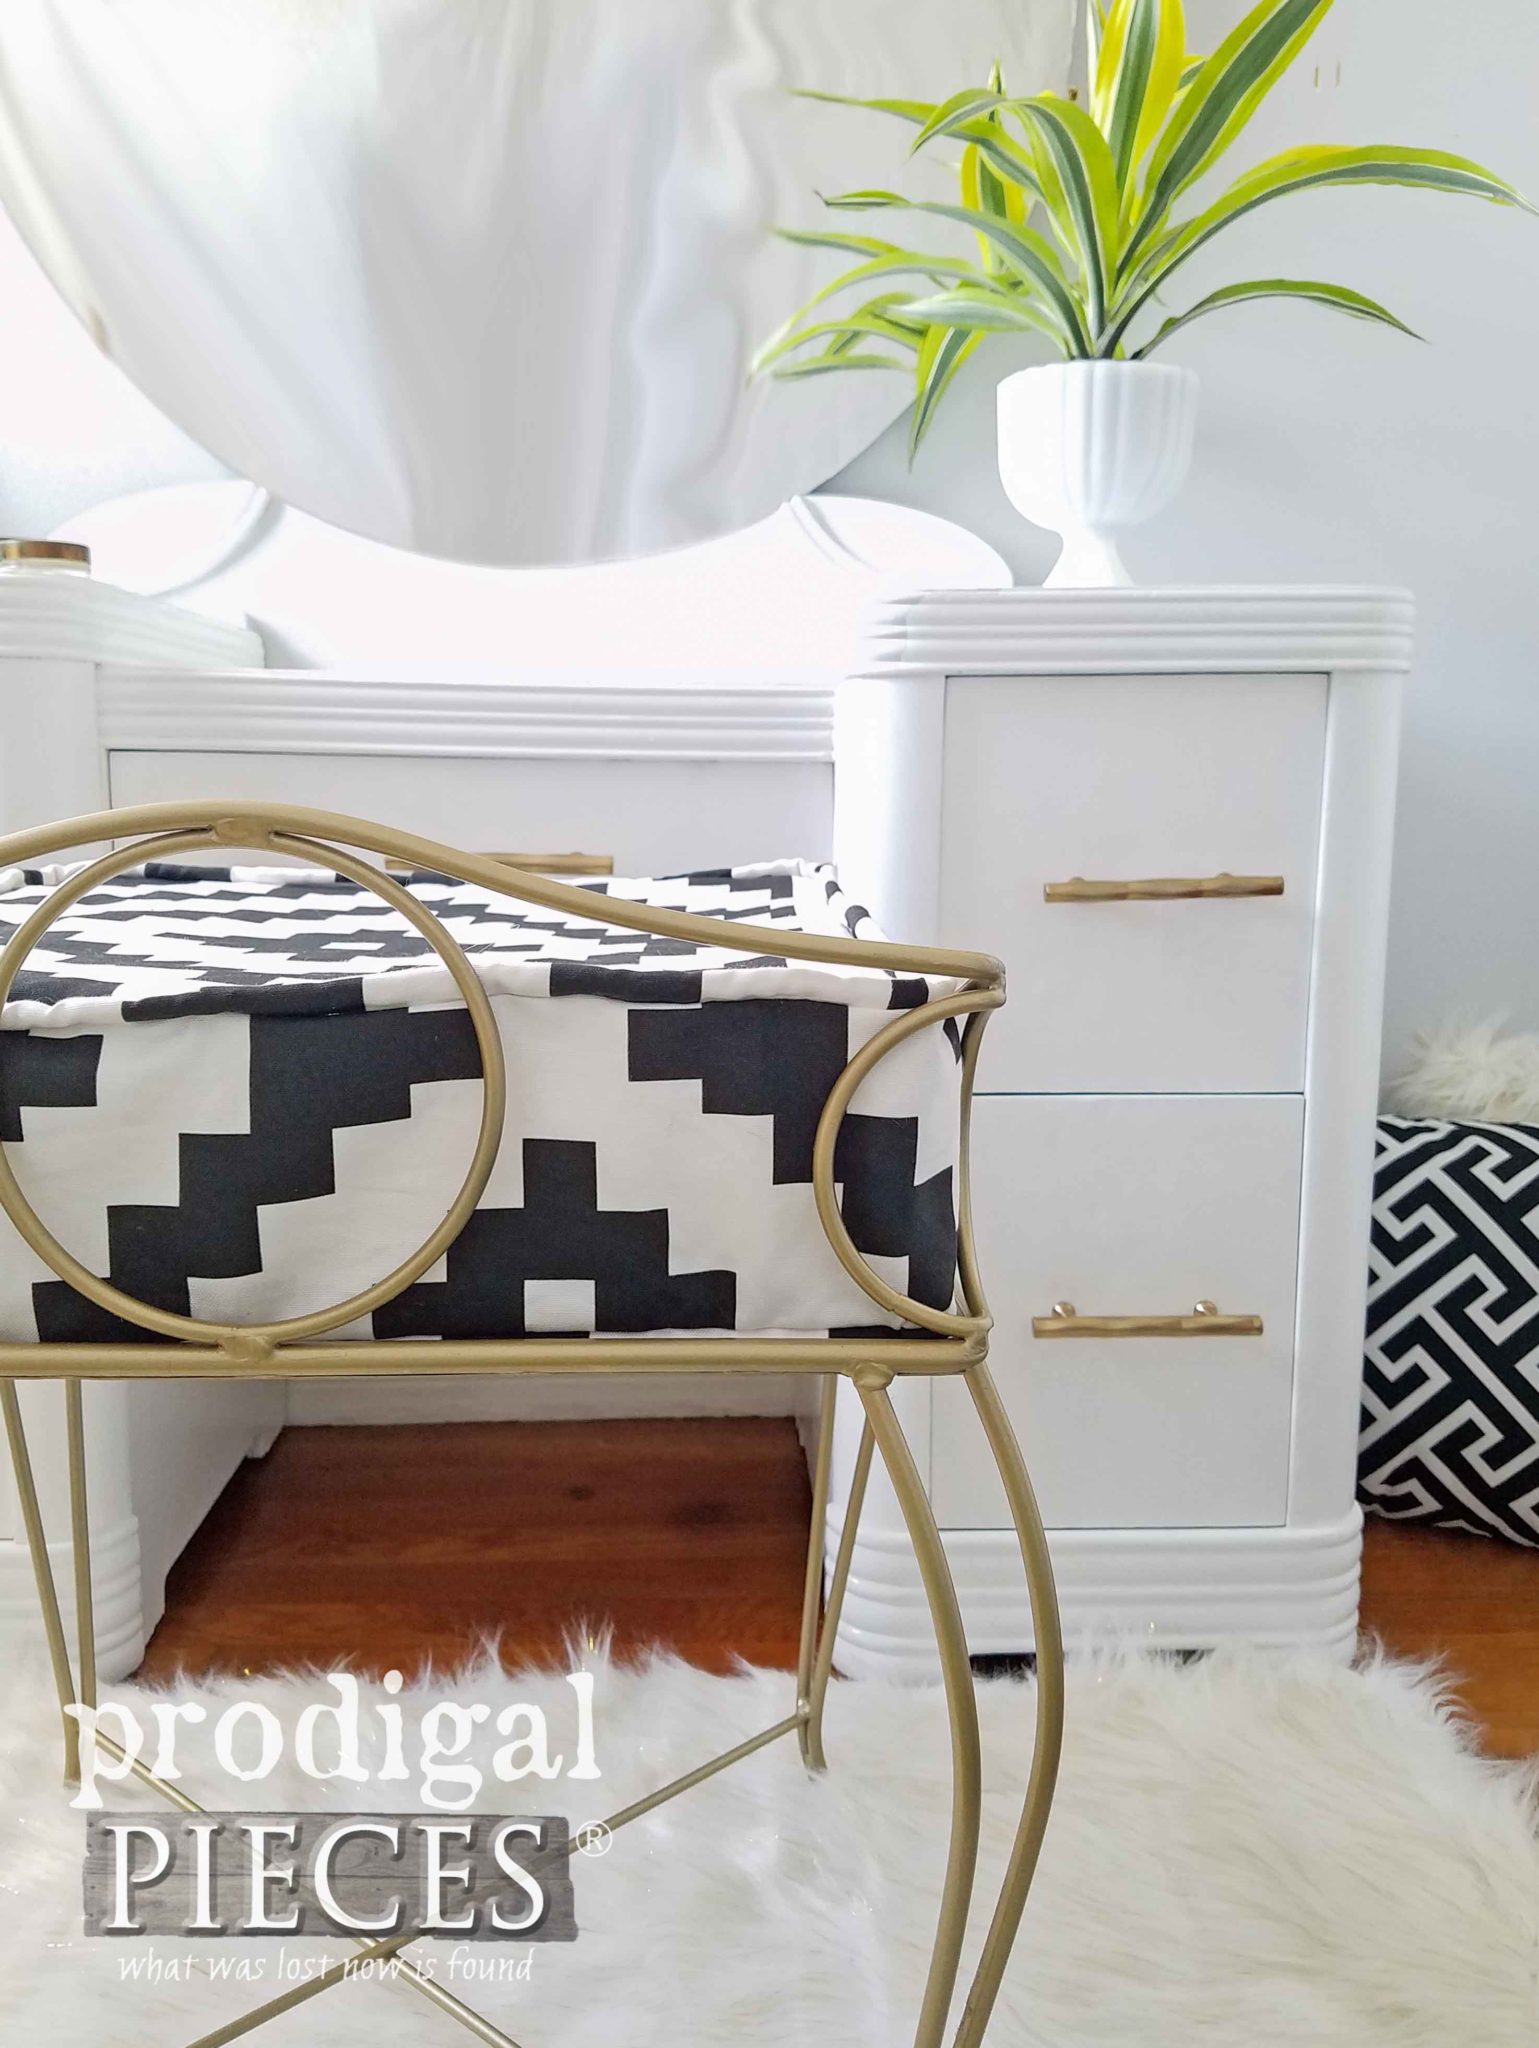
I went with a bold Aztec Print in Eco Canvas for the cushion because…why not. It’s a striking statement to be made with this set, so I think it contrasts nicely, don’t you?
NEW FEET
Oh, and I can’t forget those feet. See how nice that new rubber protects the floor and looks fresh too?
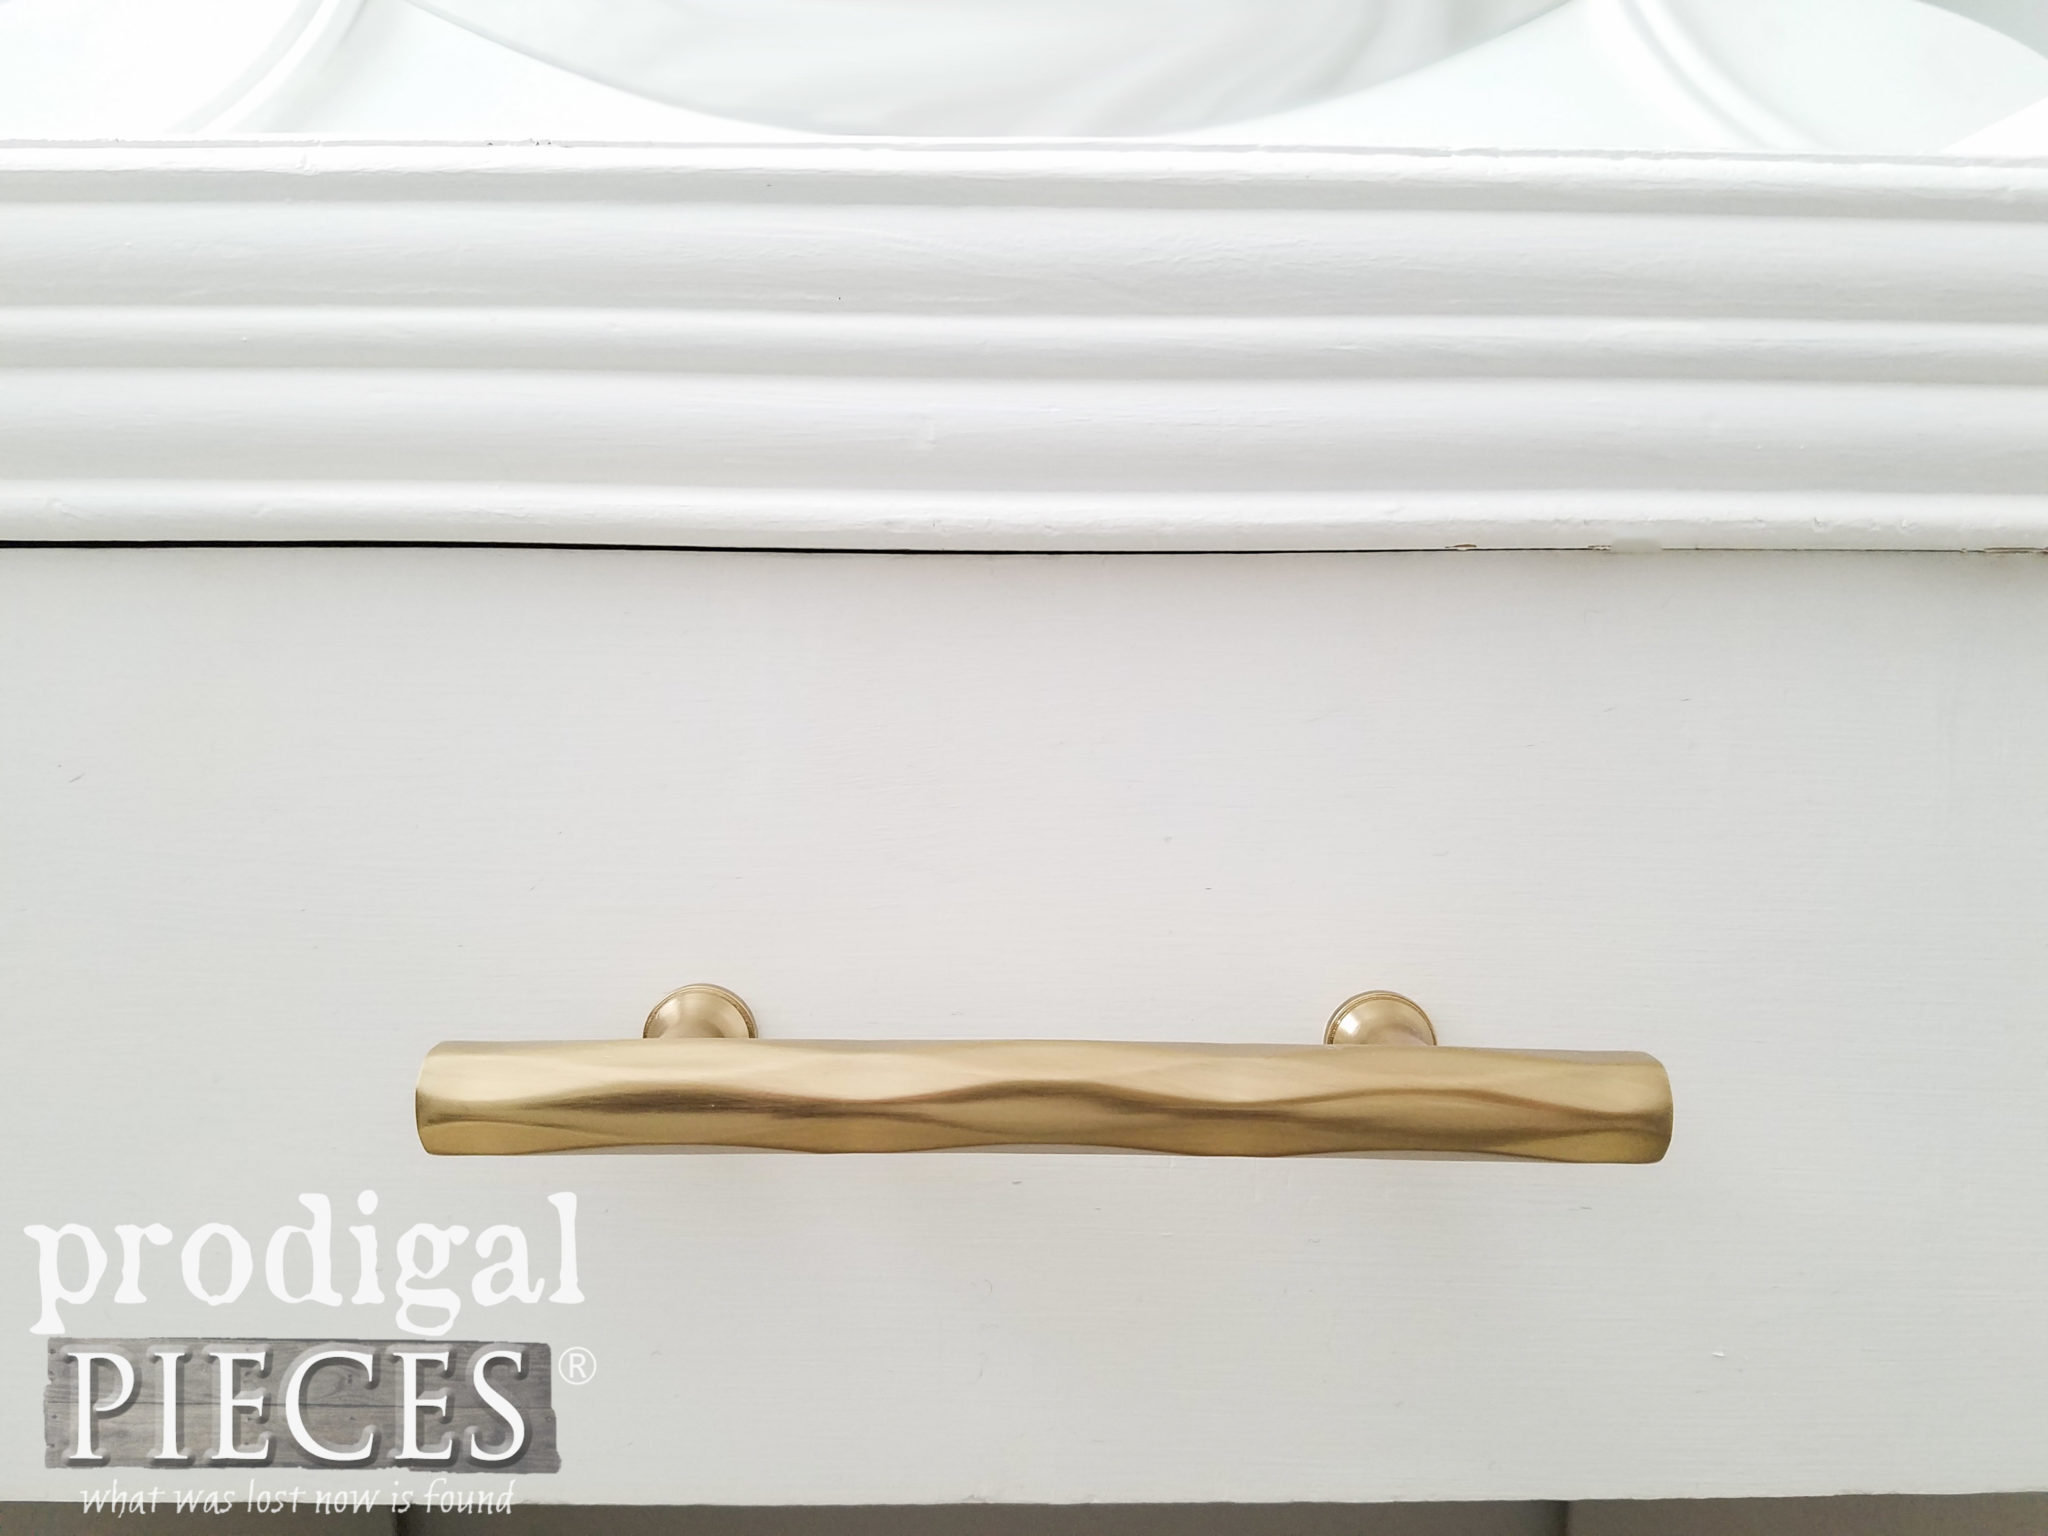
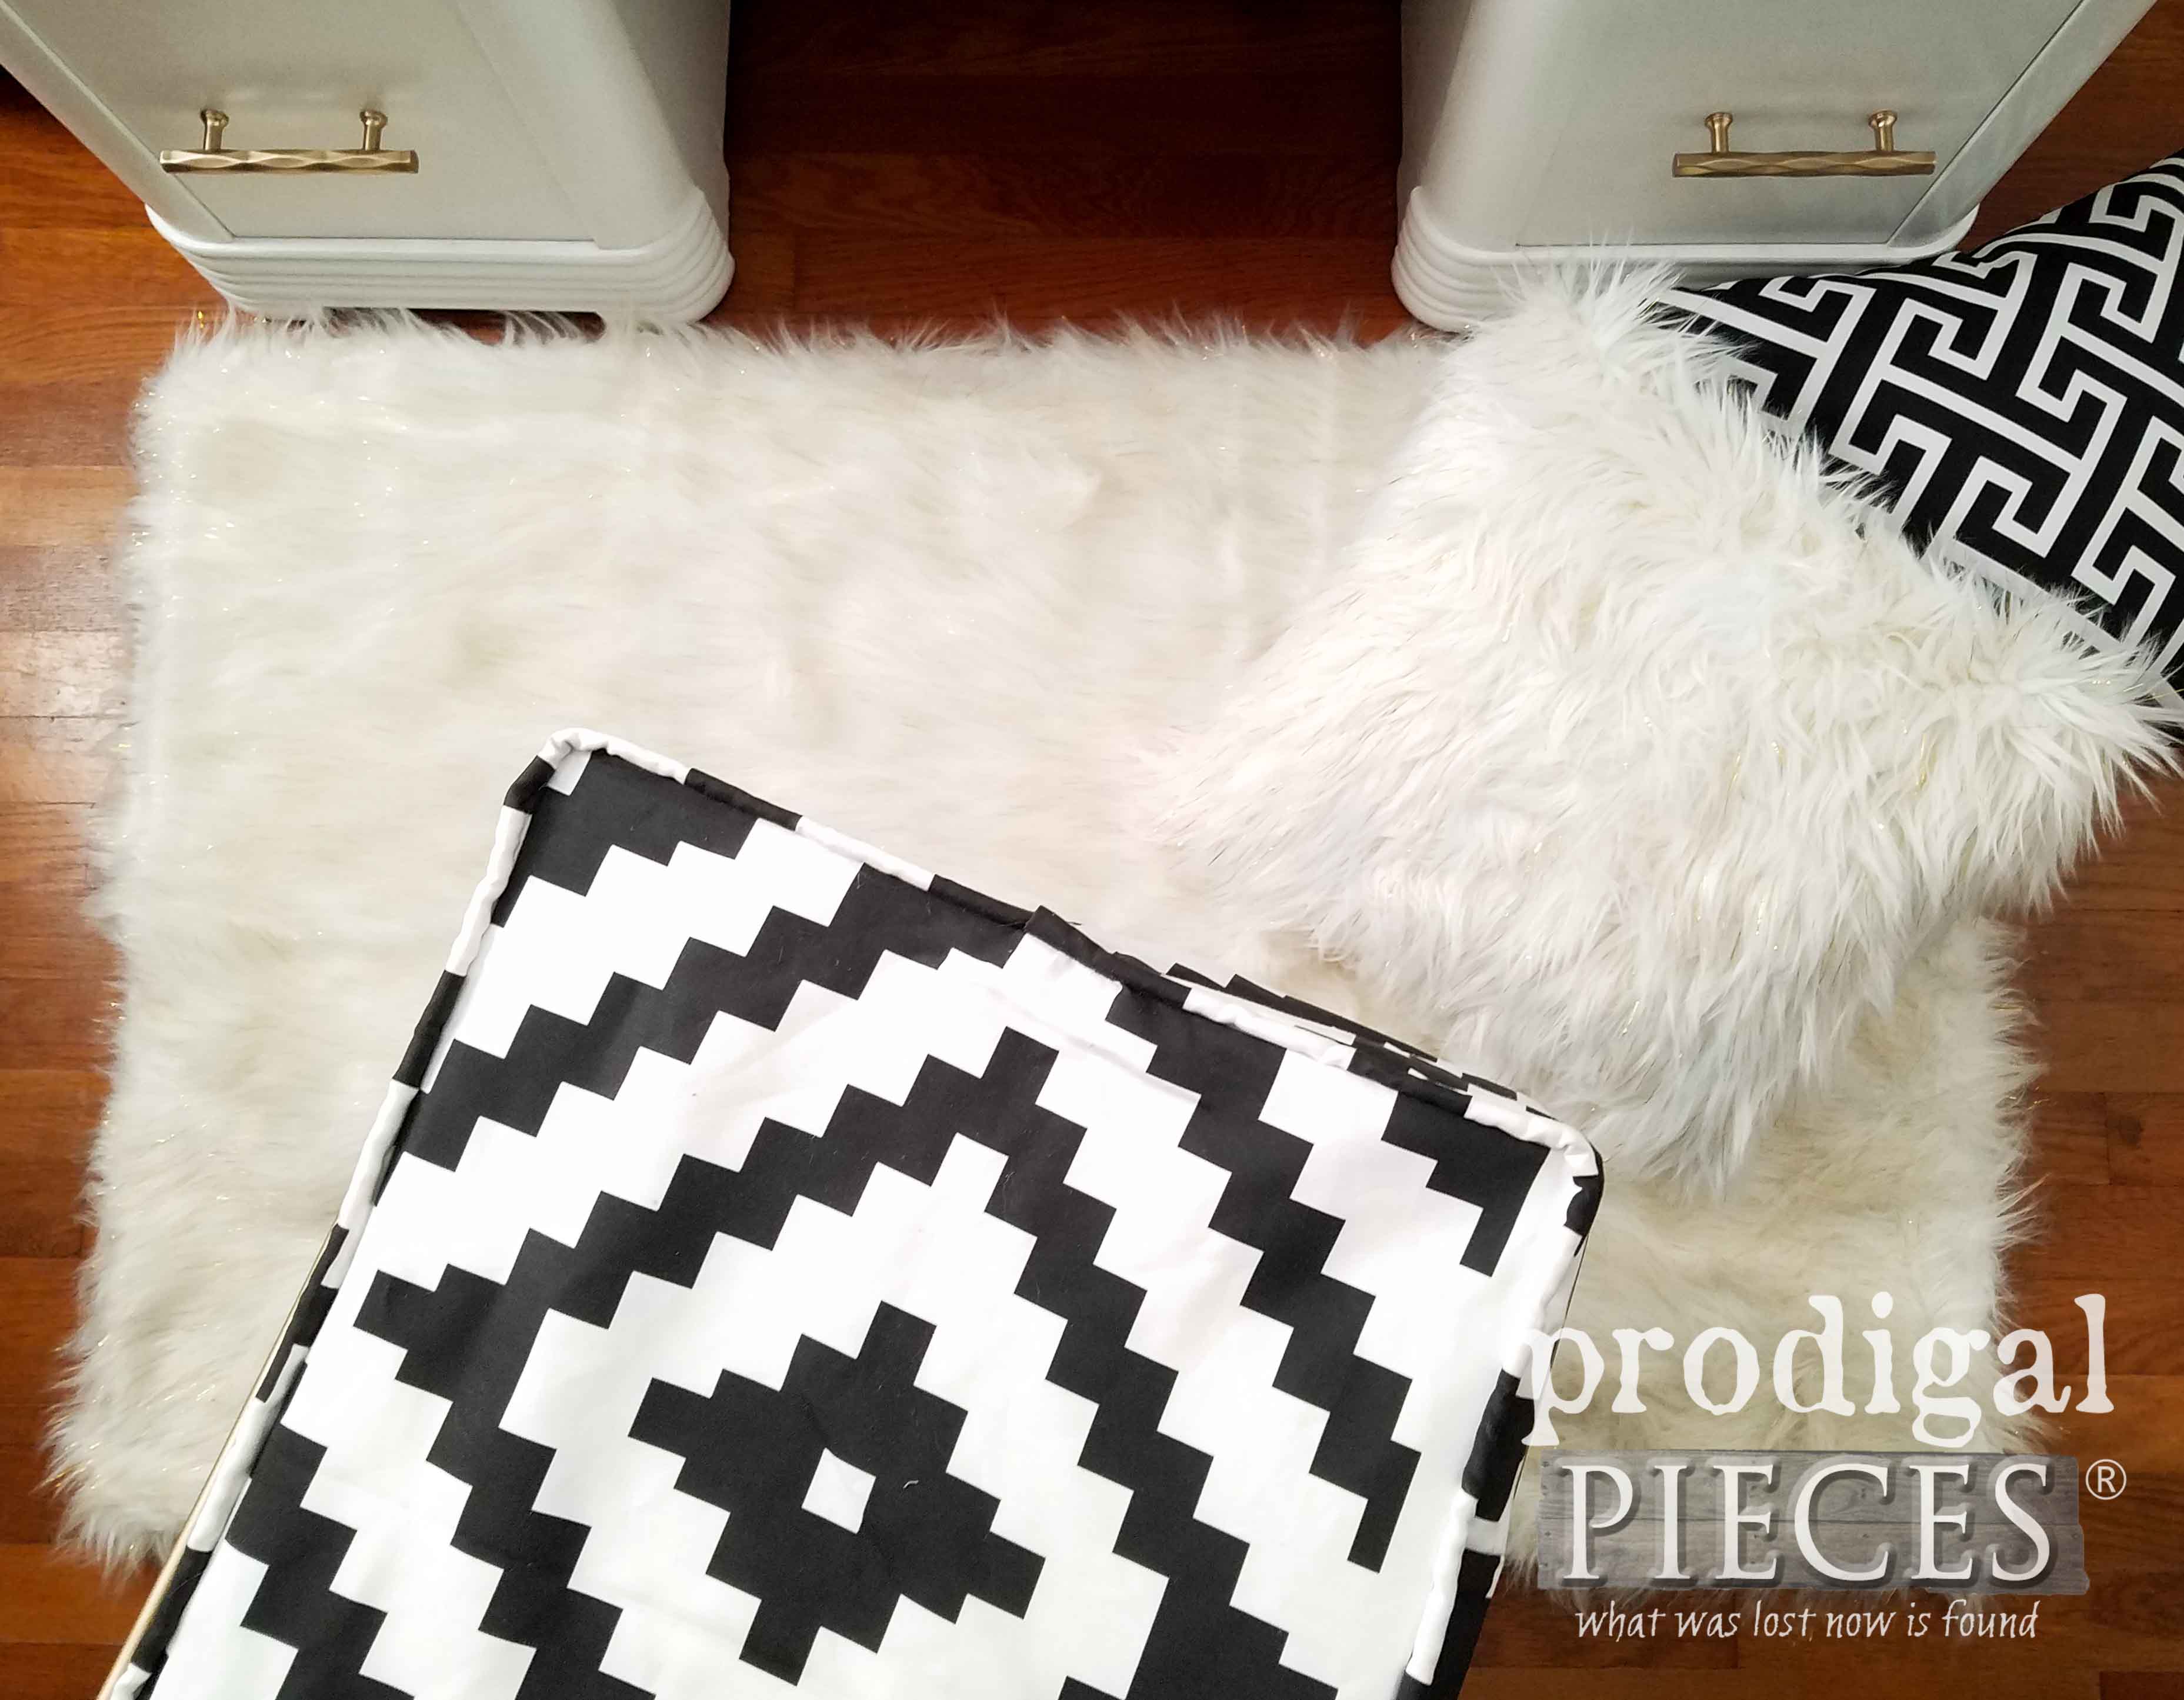
The pulls are brass and have faceted faces, called the Tribeca, that add a little bling and tie in the vanity chair. Even the faux fur rug has strips of gold peeking out here and there.
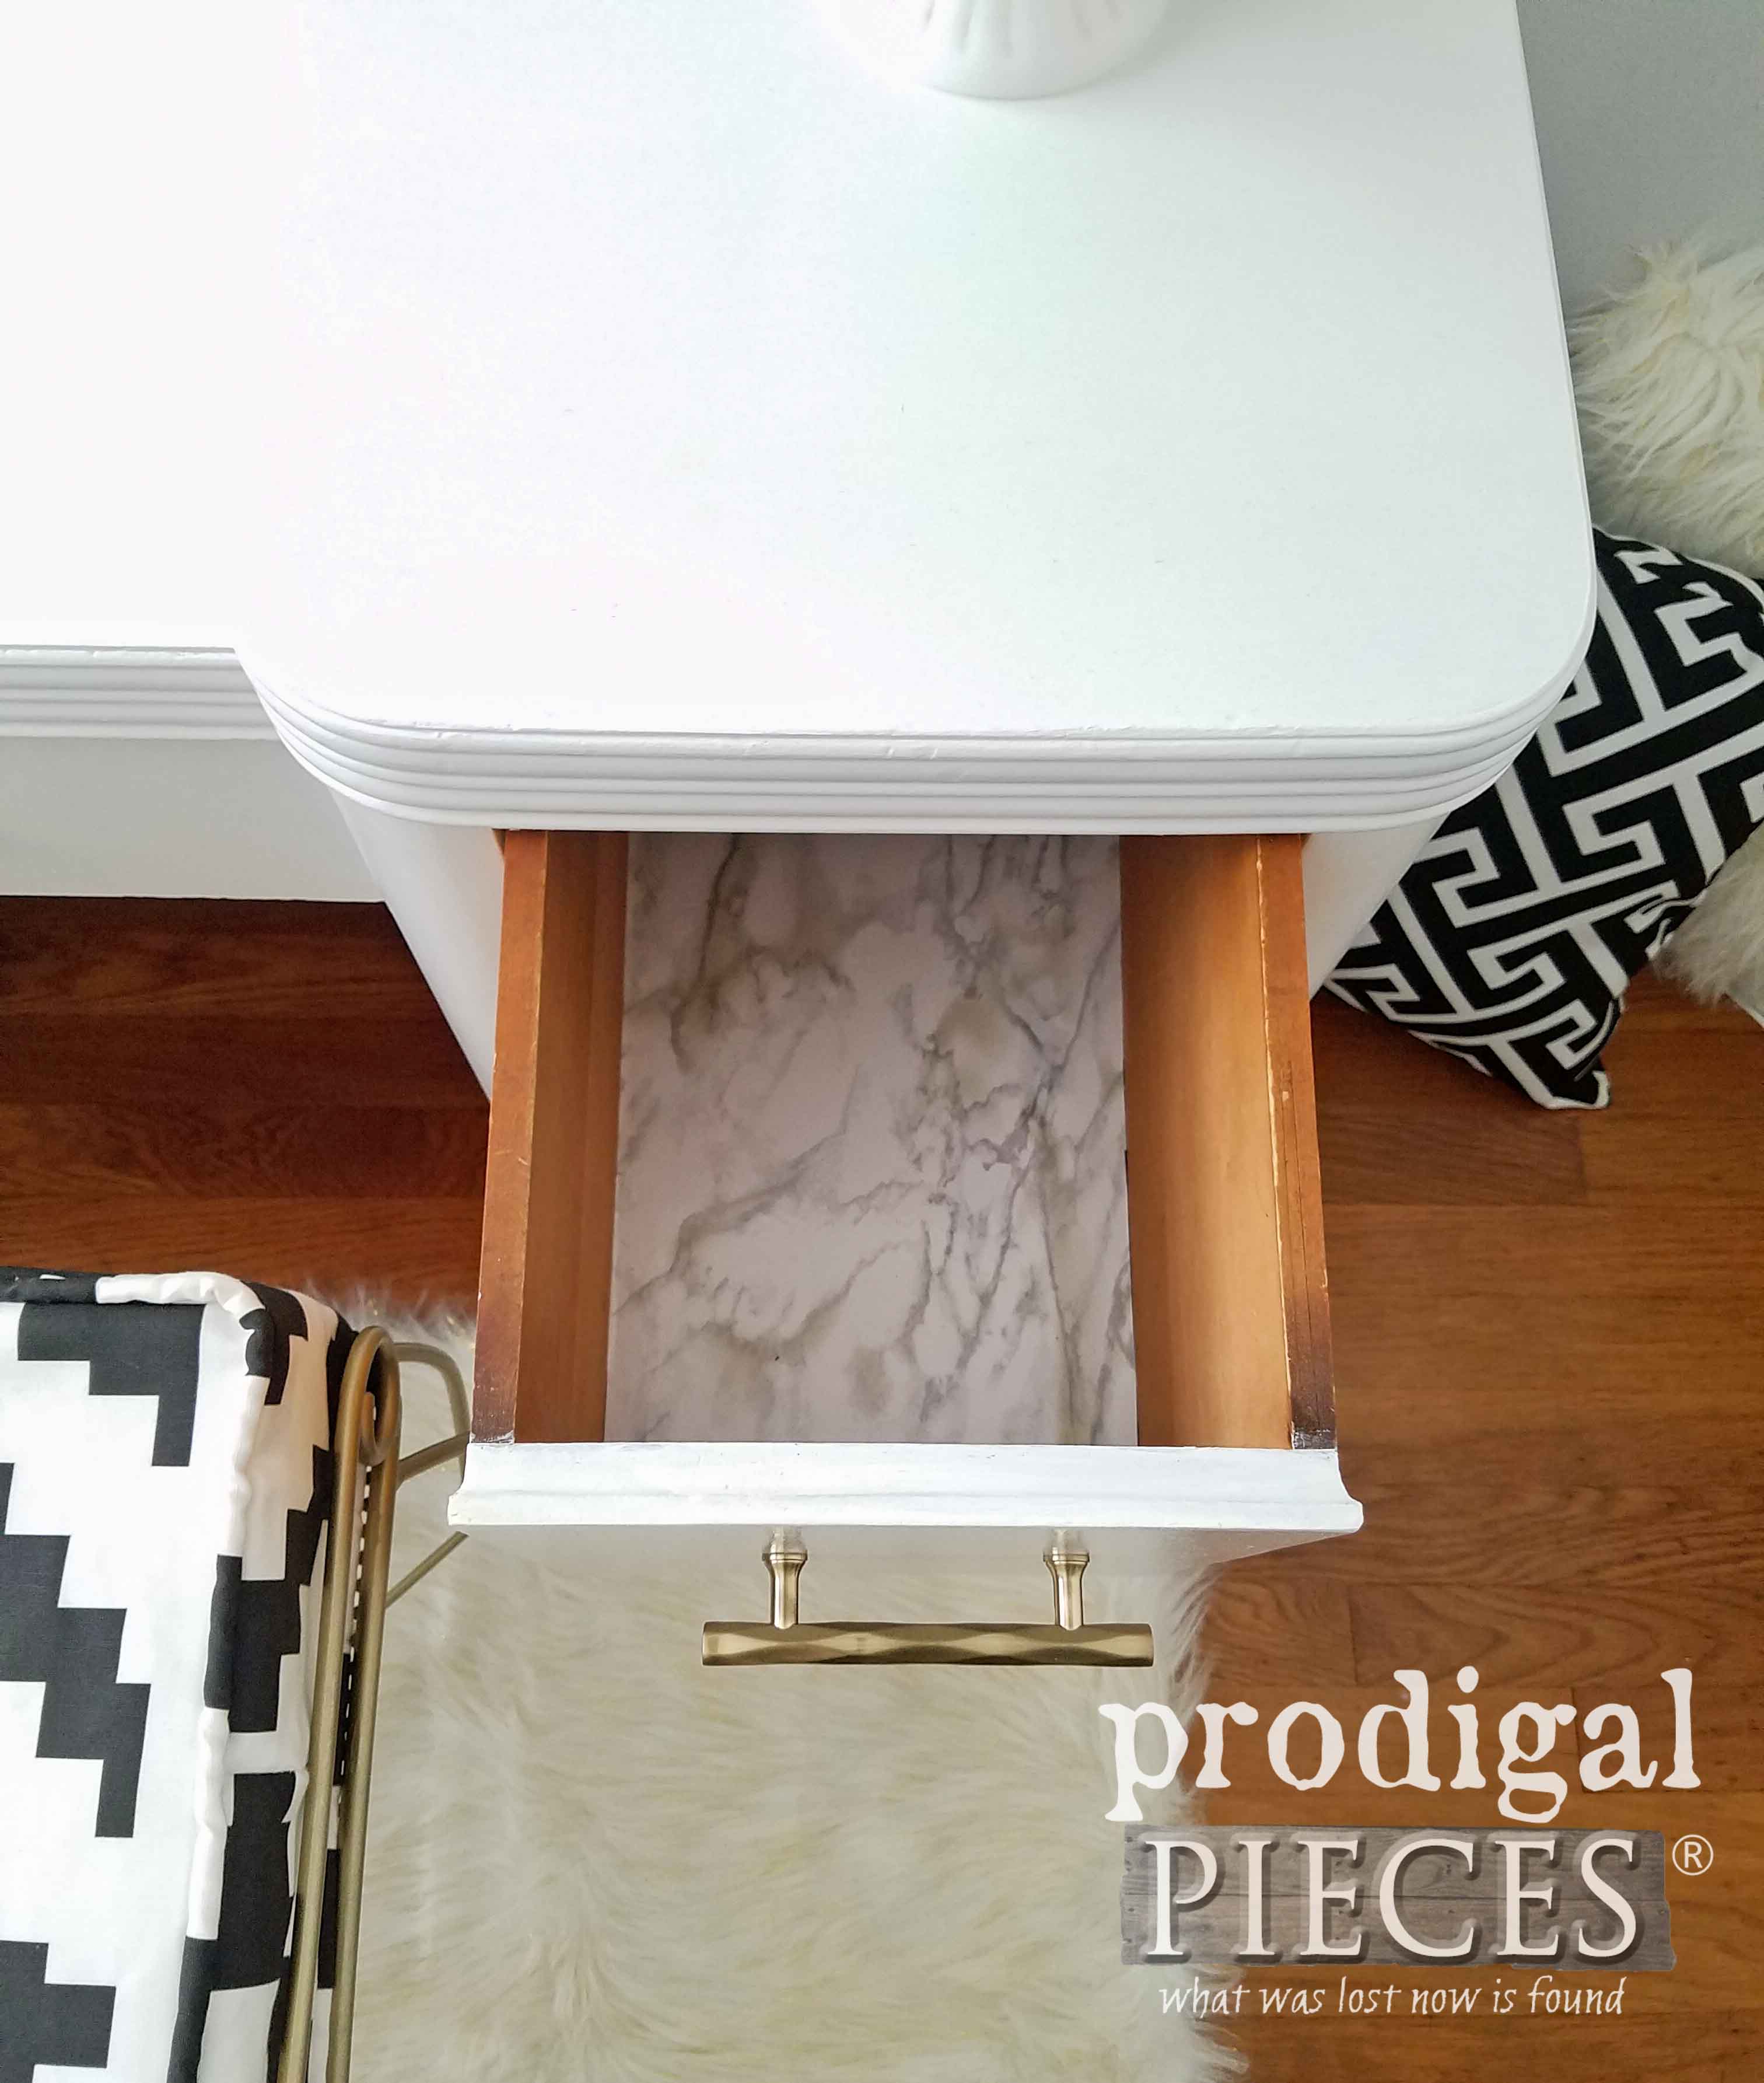
The interior of the drawers even got some lovin’ with a marbled paper. Those kinds of things make it fun to peek inside.
So, did you enjoy this labor of love story like I did? It truly makes you appreciate when people work on old pieces giving them new life. It’s more than just slapping paint on and calling it done. Restoring them to a new glory is what it’s all about.
This set is available for purchase in my shop. We ship anywhere, so check out all there is to offer. When you sign up for my newsletter you get an instant discount on your first order. See details below.
SHARE
Do pin this Art Deco vanity refresh so that others can be inspired to update those cast-off pieces too and make their house their home.
To get these DIY tips & tricks in your inbox, be sure to sign up for my newsletter. Until next time!






That vanity is Awesome. Really love make-over; face-lift along with the cute little sit-e chair.
Plastic Dip; Looks like pretty Great stuff
I have been wanting a set of them brushes for so long. I sure could use them to paint the 2 bar stools that have been waiting for a few months now for a new make-over.
Thank U 4 this giveaway opportunity
Thanks! It sure is. Your bar stools will be a breeze with these! 😀
I totally agree with Colleen B…That Plastic Dip is going on my list. It does look like pretty great stuff! I have a Mid-century console in the garage that has been waiting for a nice day to get a makeover and these brushes would do the trick marvelously! Thanks for hosting this giveaway and sharing your ideas!
I love the vanity and im obsessed with the plasti dip
Thanks! I am too. I use it on everything. haha!
This is gorgeous! Beautiful and inspirational:) Purchasing some plasti dip today for a similar stool!!!
You’re so sweet to say so. Thank you! And have fun dipping! (be sure to wear a respirator, and not just a dust mask, k?)
Beautiful Vanity. I have one similar to that and you have given me an idea and inspiration. I have a barstool that needs painting as well as a credenza.
Thank you.
Boy what an awesome makeover. Great job. Thanks for the plastic dip info. I never thought about using it for that kind of thing. I have an old metal stove That has missing parts on the feet. I need to get some. Sure could use the brushes. Thanks
Happy to hear it, Karen. It is so handy!
Vanity looks great as do all of your pieces. You have so much energy!!
Thanks, Doris! I come by it honestly. 🙂
Looks beautiful!
Thanks!
I love hearing about the products you use. I painted an Art Deco desk and wished I’d used better products. It’s getting that chippy look that I did not intend! If I won the brushes I’d use them to redo my desk.
Happy to hear it on the one account, but oh no on the other! Hope you can remedy the issues. 🙂
Thanks for a chance to win. I love to see your creative makeovers!
You bet! I wish I could get some to everyone. They truly are the best!
This I sent beautiful! The hardware is perfect and looks like lovely furniture jewelry.
Thanks, Sandi! I love me some blingy goodness. 🙂
Wowza! I j’dore this. One of my most favorites ever and the fabric is awesome on the cushion as well as clever foot coverings. I am SO glad you painted it white. It was the perfect choice … once again. Great job Larissa! Kudos!
How wonderful, Sally! Thank you for the smile. 😀
Love the Art Deco with a modern flair! Fun! Next up in my arsenal of projects are nesting tables, and a Zibra brush will be used. Love them but need more 😉
Totally fun and much work. So glad you liked it! 😀
I love that you didn’t distress the dresser. It goes perfect with the way you styled it!
Distressing only goes with the style I’m after.
I so agree! Love both looks, but in the Roaring 20’s, distressed was just–an old vanity! Any flapper would love this!!
The vanity is gorgeous! The seat is perfect with it, too. Where did you find the drawer pulls? I’m trying to find “gold” for a piece I’m working on and having a hard time. Thanks!
Thanks, Michele. I got them them at Emtek. They are awesome.
I’m not sure what my phone was trying to help me say, but it is beautiful.
Hugs, Sandi. I have a love/hate relationship with my phone. ahem.
Genius! Again! I appreciate how your prep makes the piece really shine. I am grateful that you show us all those painstaking steps so that we can know how to fix our stuff. I’ve learned about so many products from your site that I’d have never looked twice at. Speaking of which, I have a cottage style table, that I’ve wanted to make into a vanity but it needs major repair. I’ll get to fixin’ and maybe a set of brushes will show up in time for painting. Oh and I bought a chair for it a while back, one of those curly metal chairs with a back and a little round seat. I’ve been nervous about using it because of feet scratching the floor; now I know of plasti dip!!! Perfect! Thanks! (Will take safety precautions!) Thank you also for another chance to win Zibra brushes, but I already feel like a winner with all this DIY info!
That’s what I’m here for to make your job easier and inspire you to try. Thank you for the ginormous hug today, Paula!! 😀
Larissa, I love your blog and your makeovers! I get so many tips and ideas on how to repair pieces and get them ready for painting. I have a similar vanity in our storage shed that is awaiting its transformation, and that is the first thing I would paint with my new brushes should I win. Thanks for the opportunity, and thanks for the inspiration!
Wahoo!! Doing a happy dance here! Thank you, Linda.
I love it too, and agree I love the no distress look. Its a very beautiful rescue Larissa!
Thank you. Distressing is for a look, and this one, like many I’ve done, wasn’t what I was after.
Love your work! I have an old farm cabinet that i would use the brushes on painted.
Awesome!
Wow! Absolutely stunning! Thank you for the advice and your opinions on the various products. That is so helpful. I plan to work on our dining room table and chairs – stain and paint combo. Thanks for the chance to win these brushes!
Fun! Thanks for the smile. It’s my pleasure to share.
Gorgeous transformation!
Excellent to hear! Thank you!
That vanity is gorgeous! I have a cute little antique cigar table lined with copper that has swans on the ends and chipped veneer on the too, and it definitely needs love! I should upload a picture and get your advice! 🙂
Thanks, Lee! Sounds like an interesting piece.
Wow, what a Beautiful transformation! I Love it! Thanks for sharing all your tips and the products that you use! I would paint an old sewing machine cabinet that I have in my basement. Thank you for the chance to win !
Sandi
My pleasure to share. Thank you! You will love these brushes.
It is a incredible transformation from an ugly duckling to a swan. You are amazing!
You’ve made me smile, Cheryl. Thank you!
Larissa, you never cease to amaze me! Who’d ever think to use Bondo on furniture? Now we know! The vanity turned out so beautifully! The drawer paper is a perfect touch. Love how you blurred the mirror. It matched the marble drawer lining! Beautiful as always! (I love your super cute selfie in the mirror!) ♡
haha!! Only a nut would think of it, right? tee hee hee!! Thanks so much for all the love, Staci.
What a beautiful fresh look!
I’m so happy to hear it, Kimberly. 😀
Larissa it looks as if it has risen from everyday life and gone to the heavens! That’s how beautiful and ethereal it is. And your repair skills are also out of this world. I got tired just reading this. 😉
Mary, you always know how to make a girl blush!! Seriously, you have given me a hug. Thank you.
I am still in awe that by simply painting a piece of furniture, one can totally change the entire look of that piece. Amazing what you do with paint and those wonderful brushes .
It sure makes what I do fun! Thank you, Mary.
id paint my vanity ive been working on love your project
Sounds good!
I’ve been waiting on warmer weather so I can paint some unfinished side tables.
You and me both.
Wow Larissa, that turned out gorgeous!! You really are amazing. That plasti dip tip is priceless, I’m sure it’s in my future for something.
Thanks! I am kinda crazy for sure. haha. 😉 That stuff does cool things.
I feel I have to tell you that I have learned so much from your blog! I frequently get asked “How did you learn all this stuff, do you check You Tube and Pintrest a lot?” I reply” nope just one blog!” Thank you for teaching me something new every time!
I’m so glad you did! Those words just made my dad. Thank you for that, Kristina, really.
WOW!! You did it again ❤ I have a hot mess waiting for me in my family room. I keep looking at it and think “what was I thinking” lol! You can never have to many Zibra brushes ?
haha…gotta love a hot mess! 😀 Thank you for the smile, and I do know you can tame your own beast. Yes, nevah too many brushes. Woot!
You have done some beautiful makeovers and this is no exception. I think it is one of the best remakes I have ever seen. I also learned something new – I never heard of Plasti Dip before. Always enjoy your blog.
Your words mean so much as I truly try to share how to restore once beauties back to beauty again. Thank you!
I have 2 nightstands just waiting for a make-over! Can’t wait until the weather cooperates so I can get to work. 🙂
I hear ya. 🙂
I have never seen that dip stuff before & you’re right- I can see obsessing over it & wanting to try it on everything! Lol. And good info about how to fill in that large missing chunk. I’ve done plenty of painting, but the repairs are new to me now that I am wanting to do more furniture pieces. Right now I am trying to repair some broken drawer corners(little chunks missing!) with wood filler & it’s just not happening! Bondo? Cool. I love the Zibra brushes too, but still need to get that Palm Pro! Fingers crossed??for the giveaway!
It is addictive! tee hee! Yes, those corners can be a bear. Bondo to the rescue! Wish I could send everyone some brushes. They are the best!
Nice job on a mess of a piece. You would never believe it’s the same piece. Thanks for showing products I didn’t know existed!
Woot! Thanks so much for the encouragement, Hanna. I had fun!
Just bought 10 more wooden jewelry boxes this past weekend. Zibra brushes would sure come in handy!
Score!
I have got to try the plasti dip! I have a handmade wooden outdoor swing and the bottoms of the legs have seen better days. I would imagine this would work on wood. As always your work is fabulous ?
Sounds good! Thank you for the love.
pretty
thank you
I would paint an old record cabinet I bought at a garage sale for $5.
Perfect project piece. 🙂
Another beautiful project, Larissa! The crisp white paint is perfect to make this a modern beauty! I’d paint a few old picture frames with my new brushes.
It was a fun project to tackle. Thanks so much, Kathy.
Wow it looks great. My mom had this exact (or very similar) dresser. I inherited it and we repainted it many years ago. It looked nothing like this. Now you’ve inspired me to have another go at it. I think I would use the brushes for that.
Ooohhh…that’s what it’s all about. Yay! So happy to hear it. Thank you.
Beautiful work, thanks for sharing your ideas♥ I have a few pieces I need to rehab and appreciate the tips and products you like to use.
My pleasure.
Really love the vibe of this piece!
Awesome! Thank you, Michelle.
Wow, beautiful job! Love the outcome. Will need to find one of these dressing tables for my granddaughter. Thanks Larissa for more great ideas and inspirations!
That would be wonderful. She’d love it! Thank you for the kind words.
Awesome as always, Larissa!
Thanks so much!
Great job on the vanity!
Thank you.
Love the makeover! You have once again taught me something new today with the Plasti Dip. Thanks for the giveaway. I could really use some quality brushes for my projects.
Happy to help! 😀
Larissa once again you have worked your magic! You never fail to impress and inspire me! BTW, I took your advice and bought several zibra brushes. I love them! I think my husband was a little surprised when I explained that they were MY brushes, not OUR brushes! Ha!
That is hilarious!! I love it.
Larissa, what a beautiful transformation on this “hot mess” of a vanity! My Aunt had a gorgeous Art Deco Bedroom Set in her guest bedroom that I adored growing up! Like so many others, thank you for sharing that Plasti Dip information, I’ve never heard of that either.
haha…thanks! They are amazing pieces to have.
Wow! Thump! (That’s the sound of me falling over, LOL). I can’t believe that is the same piece… Awesome makeover!
You made me LOL!! hahaha…So glad you like it.
Love the vanity, especially the pulls. White & gold… so classic !!!!!!
Fantastic! I think so too. They look so good together. Thanks for the love, Charlene.
Oh wow, I’ve never seen an art deco vanity painted pure white and I have to say the look is stunning!! Especially paired with the gold pulls that replicate the metal chair. This isn’t going to last long in your shop.
Leave it to me, right? haha. Thanks so much for the kind words, Marie. I appreciate all the love.
You breathed new life into it!
Thank you so much, Debbie!
Oh, Larissa, that is absolutely gorgeous! You AMAZE me every time!
So awesome to hear. Thank you!