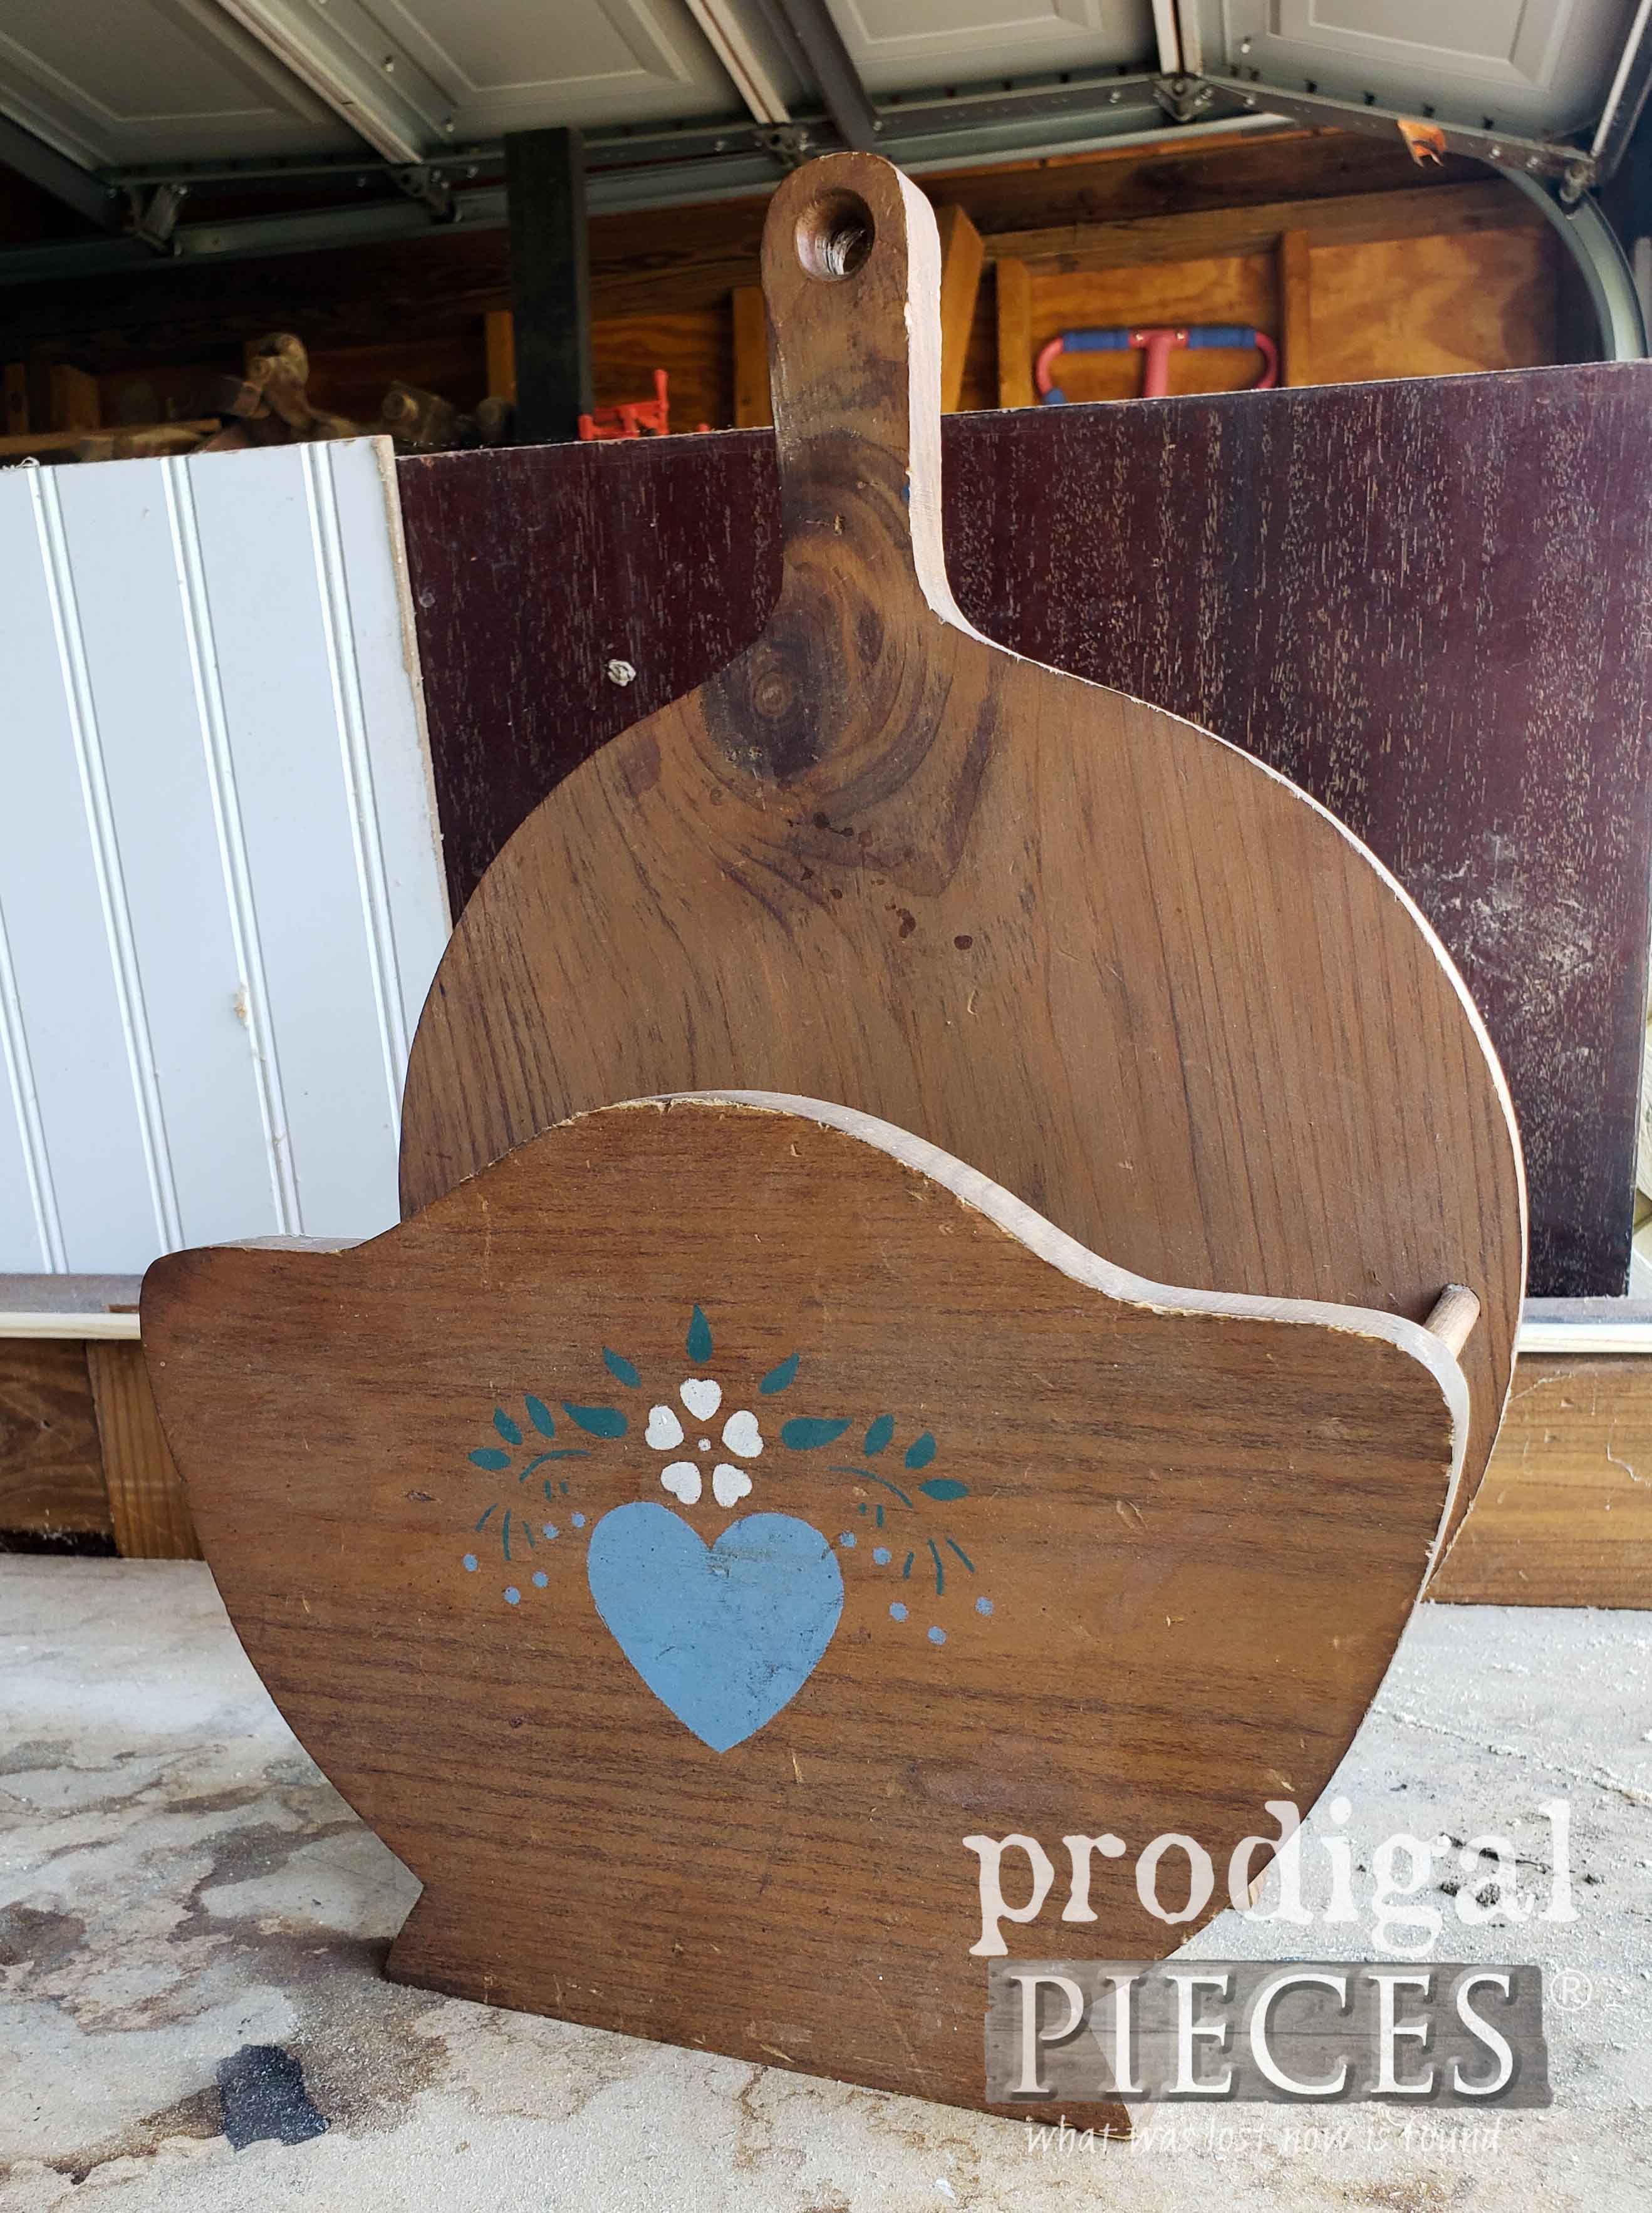
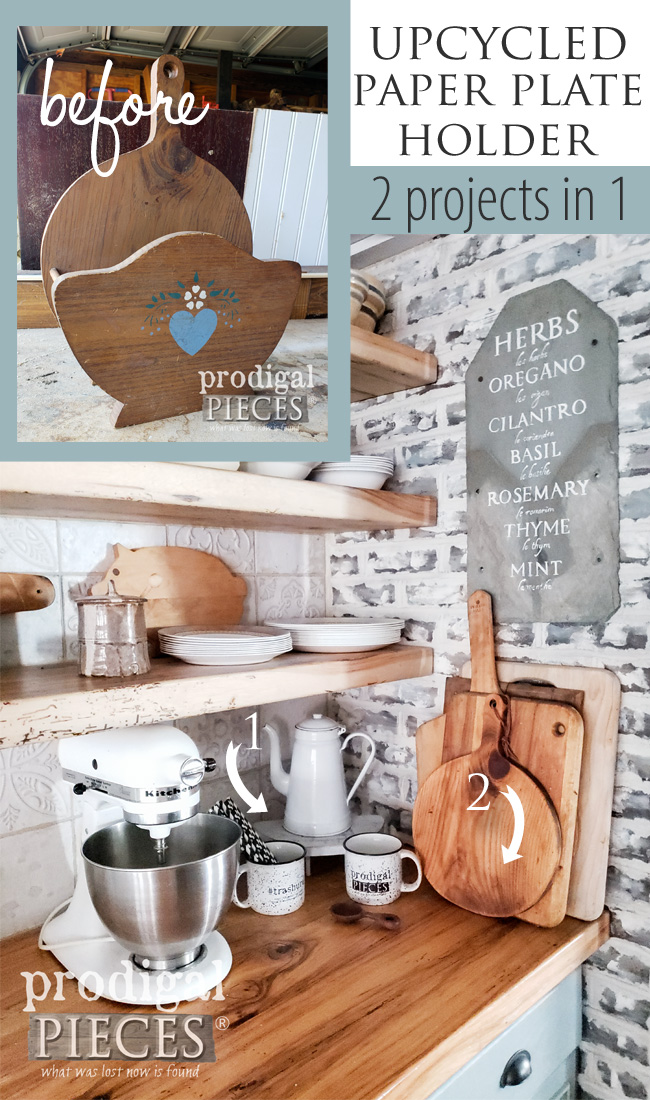
Would you pass up this little gem? I actually didn’t find it at the thrift store or a garage sale. However, it’s passed it along to me with all the other wooden treasures I’ve been working through over the last few months. This will be my first upcycled paper plate holder. I’m ready for some fun!
Doesn’t it look like a good candidate for a makeover? It sure couldn’t hurt to give it a try. Nowadays our society is more “green” and hopefully out of the country blue prim look. tee hee.
Finally, after twisting and turning it around a few times I came to a couple of conclusions: (1) I could just paint it up, stuff it with flowers and use it as either wall decor or a door hanger. (2) I could have even more fun with it by taking it apart. Taking it apart is more fun, and filling with flowers too easy. Yep, I’m a nut like that. {{she giggles while grabbing her tools}}
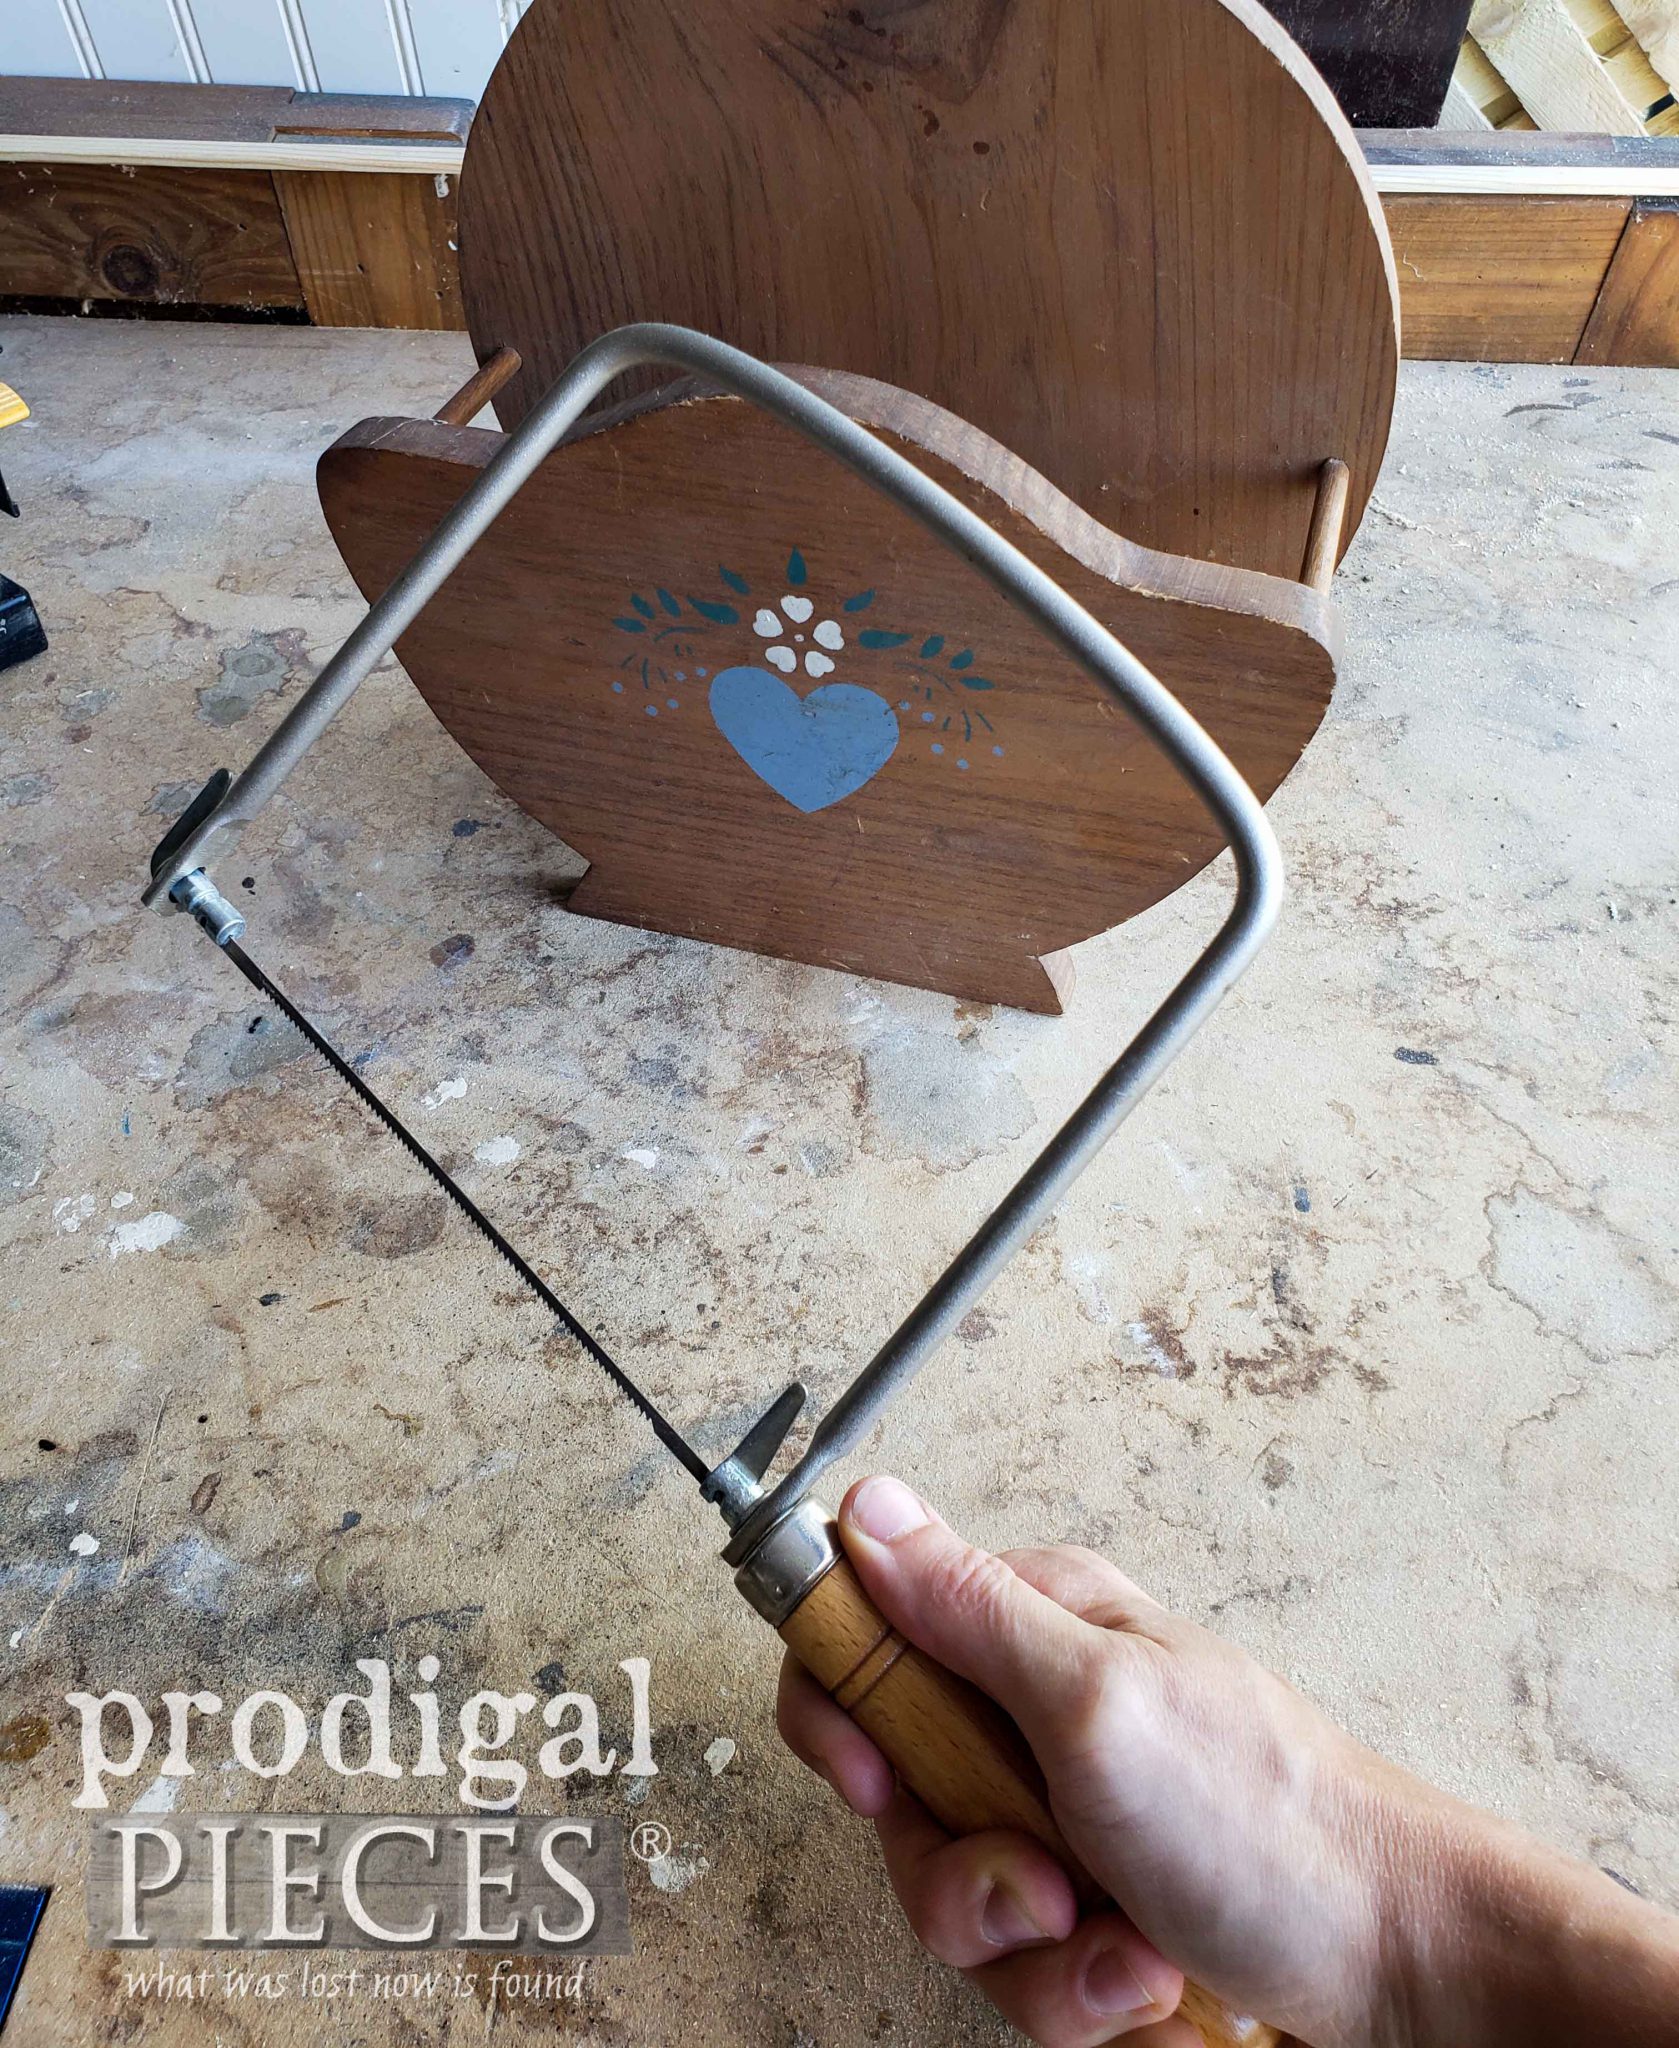
Actually, let me introduce you to one of my favorite simple tools, a coping saw. Have you ever heard of it? It does the most intricate cuts and gets into places that other saws can’t.
LET THE FUN BEGIN
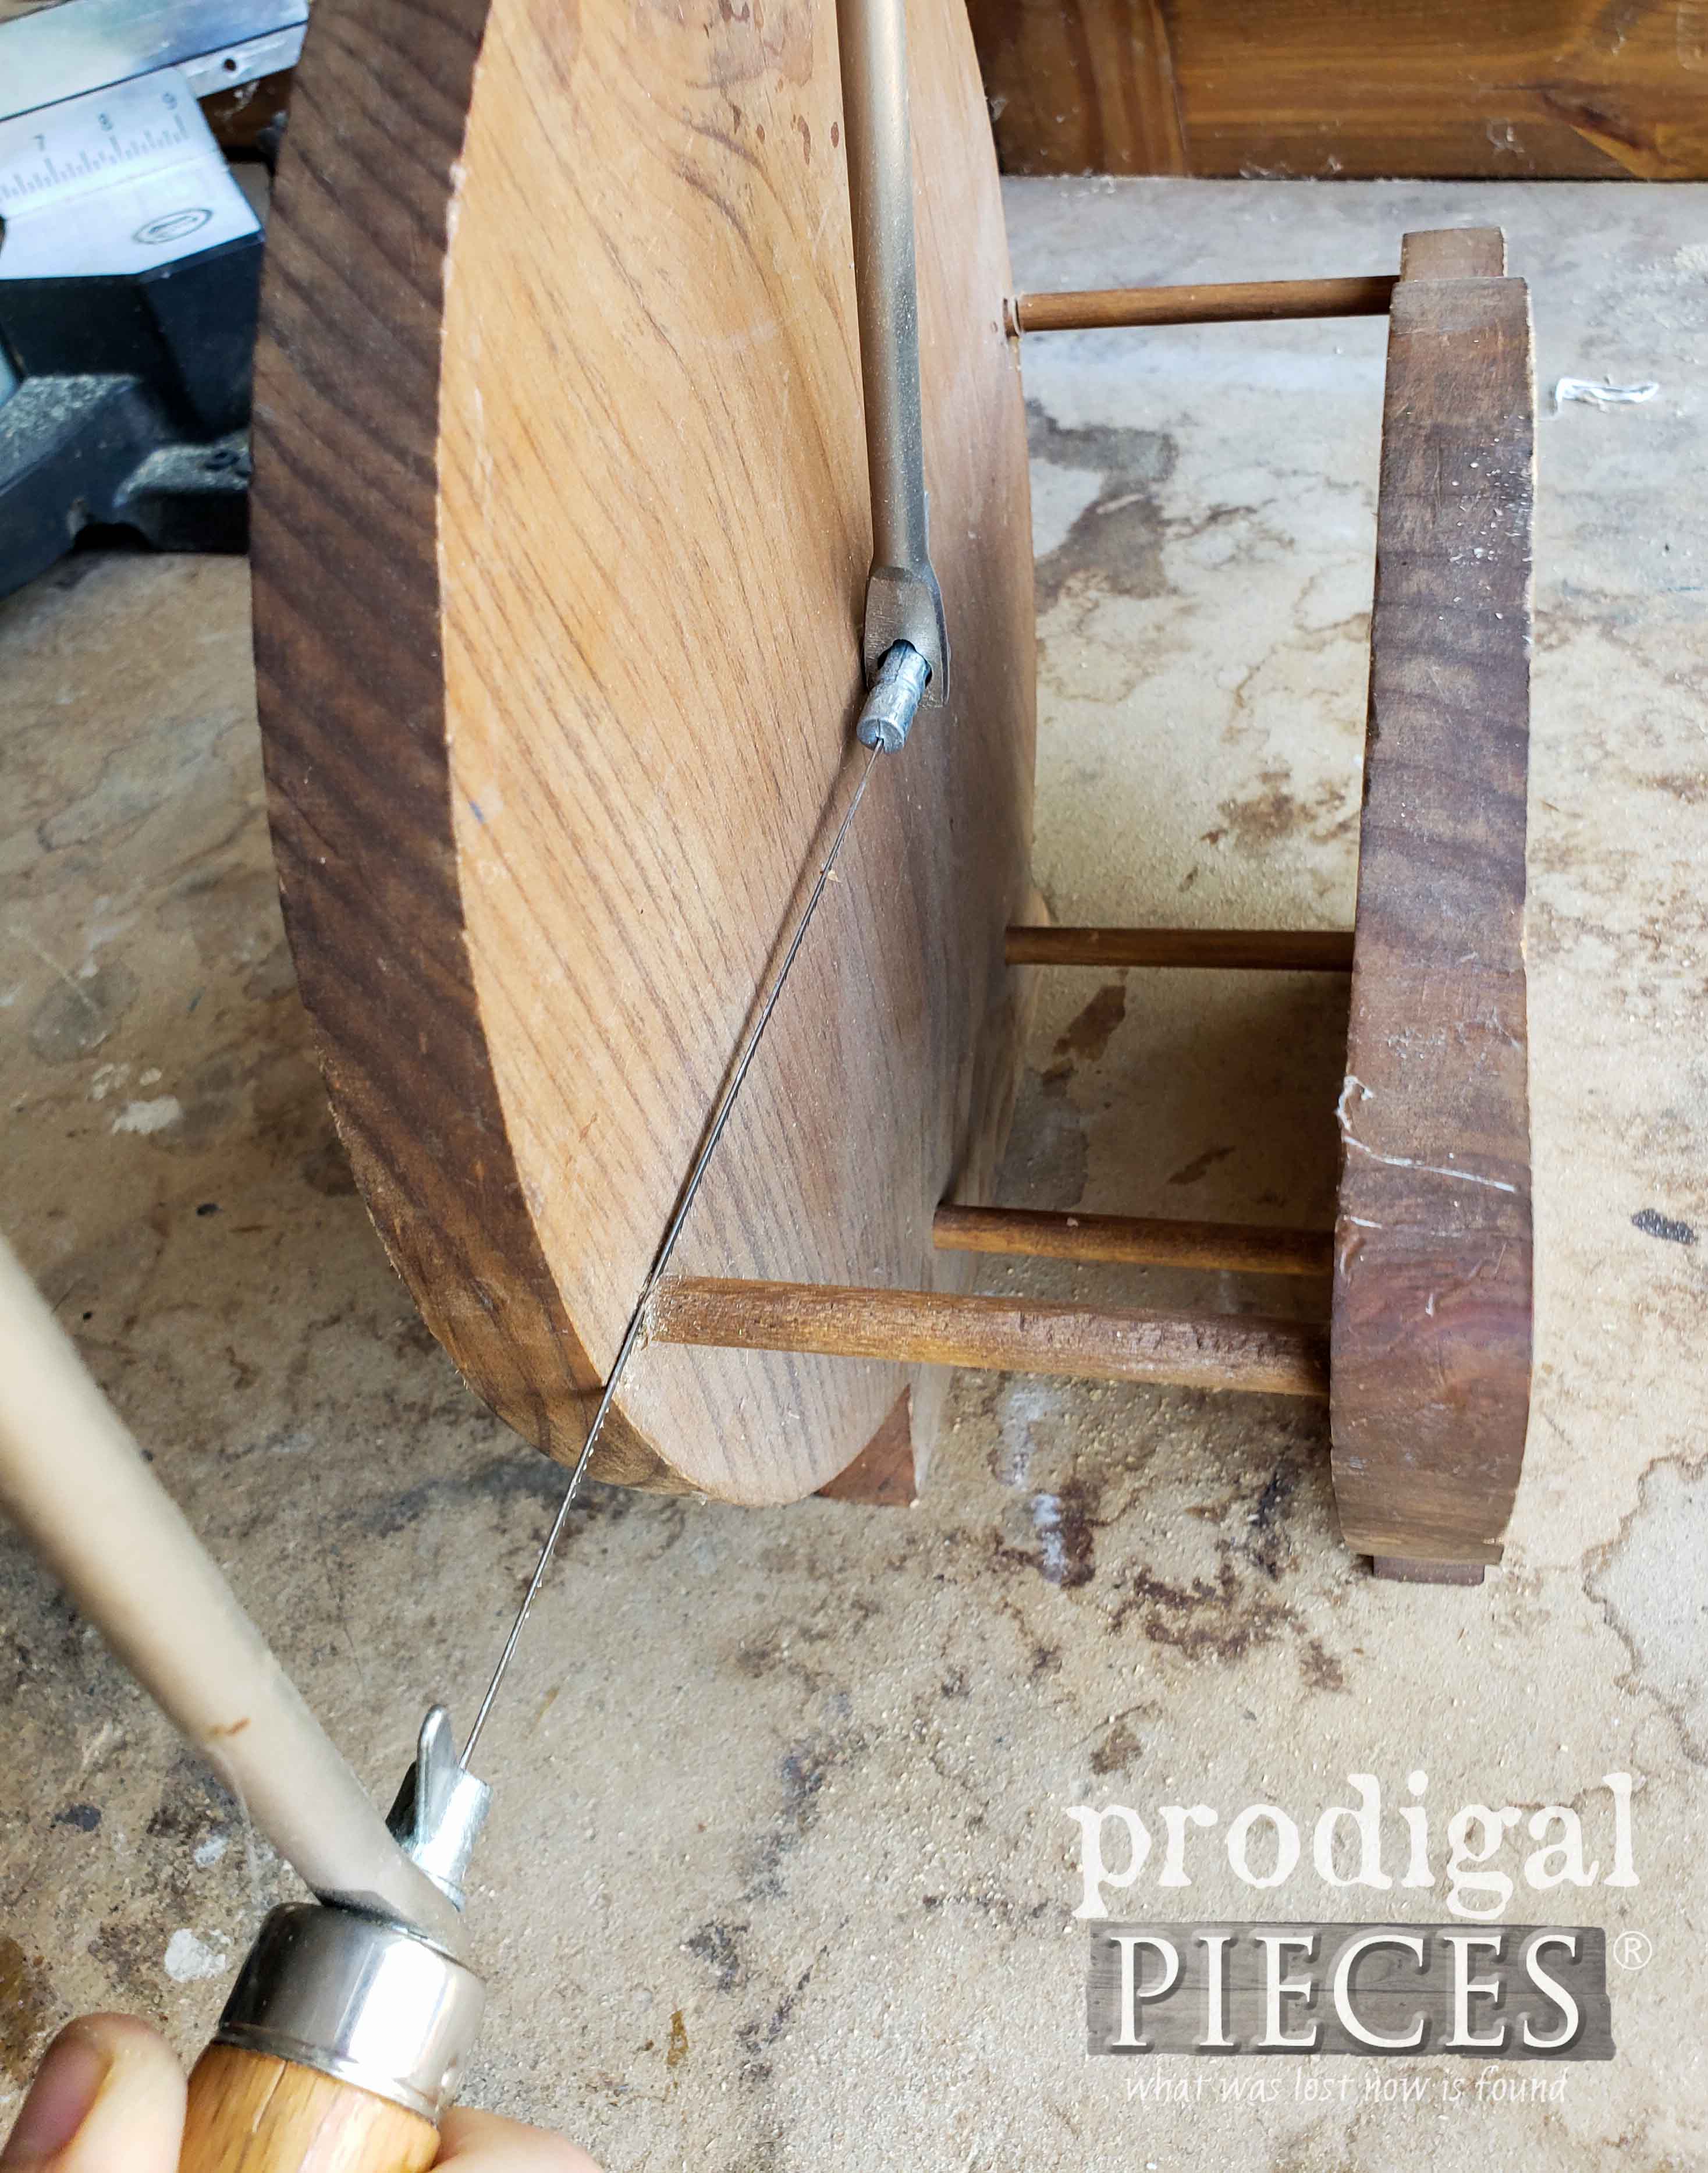
First, I simply cut the dowel off at the back side leaving the dowel in the front of the paper plate holder.
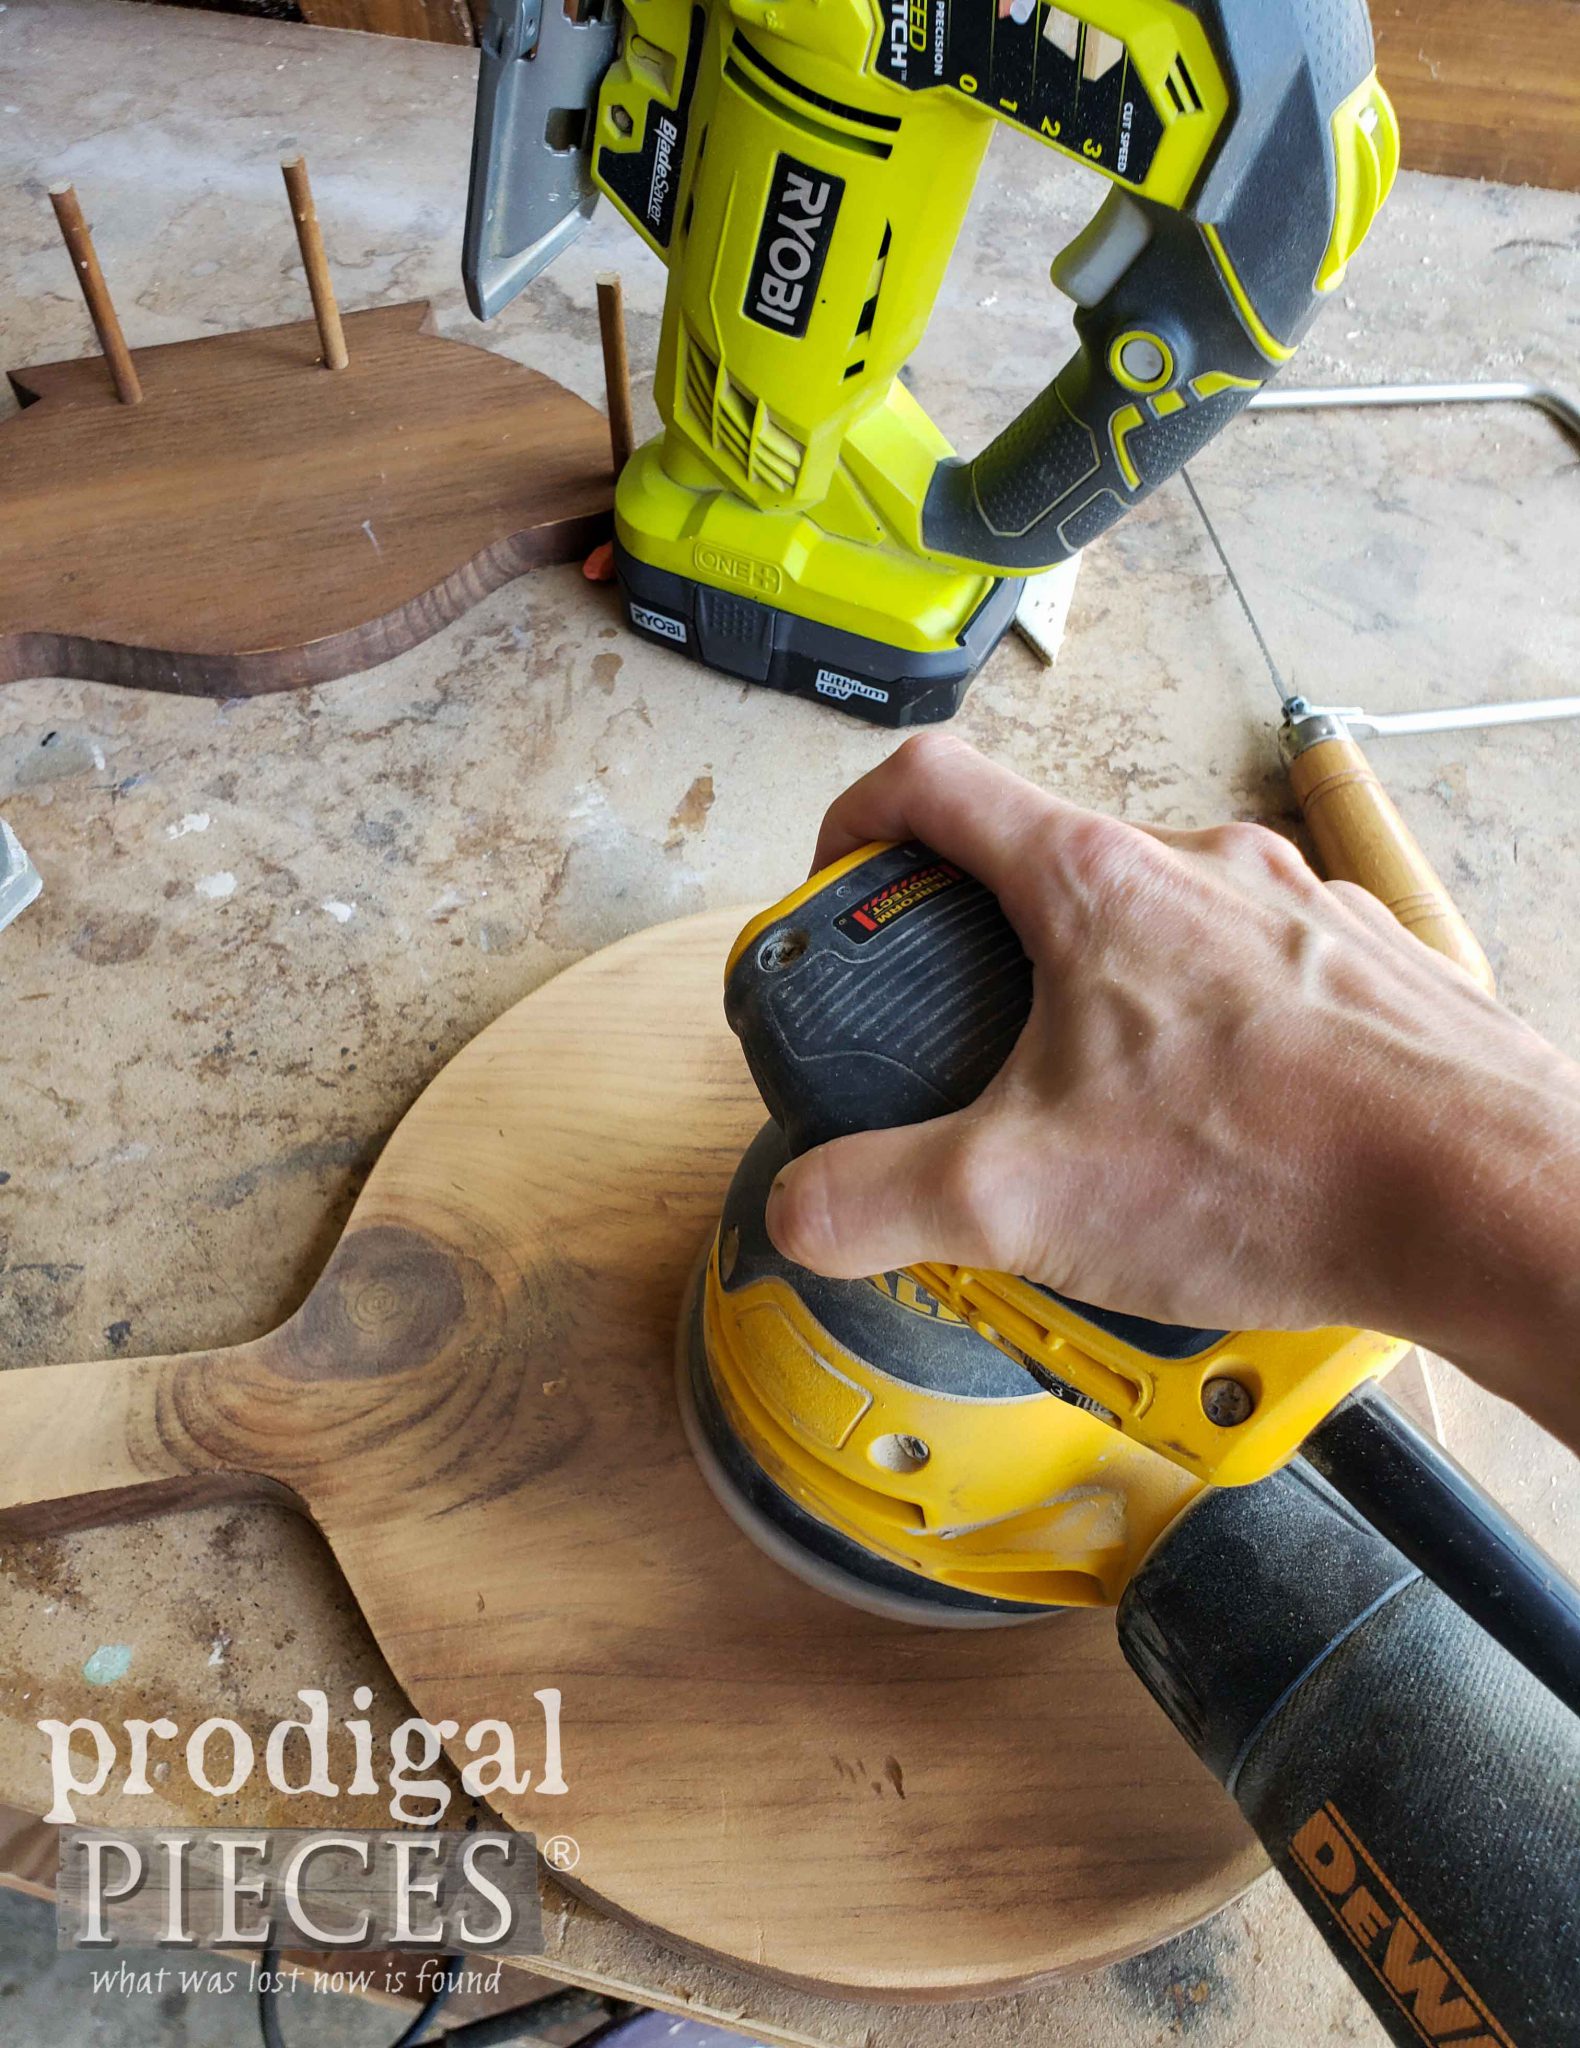
I don’t know about you, but once removed I think the back part looks like a cutting board. Before I go on, I use my jigsaw to cut off the squared bottom. Further, I use my sander to knock down the bit of dowel left and give the entire pieces a good cleaning.
In either event, I’ll get back to what I did to finish it in a bit.
TIME FOR THE OTHER PIECE
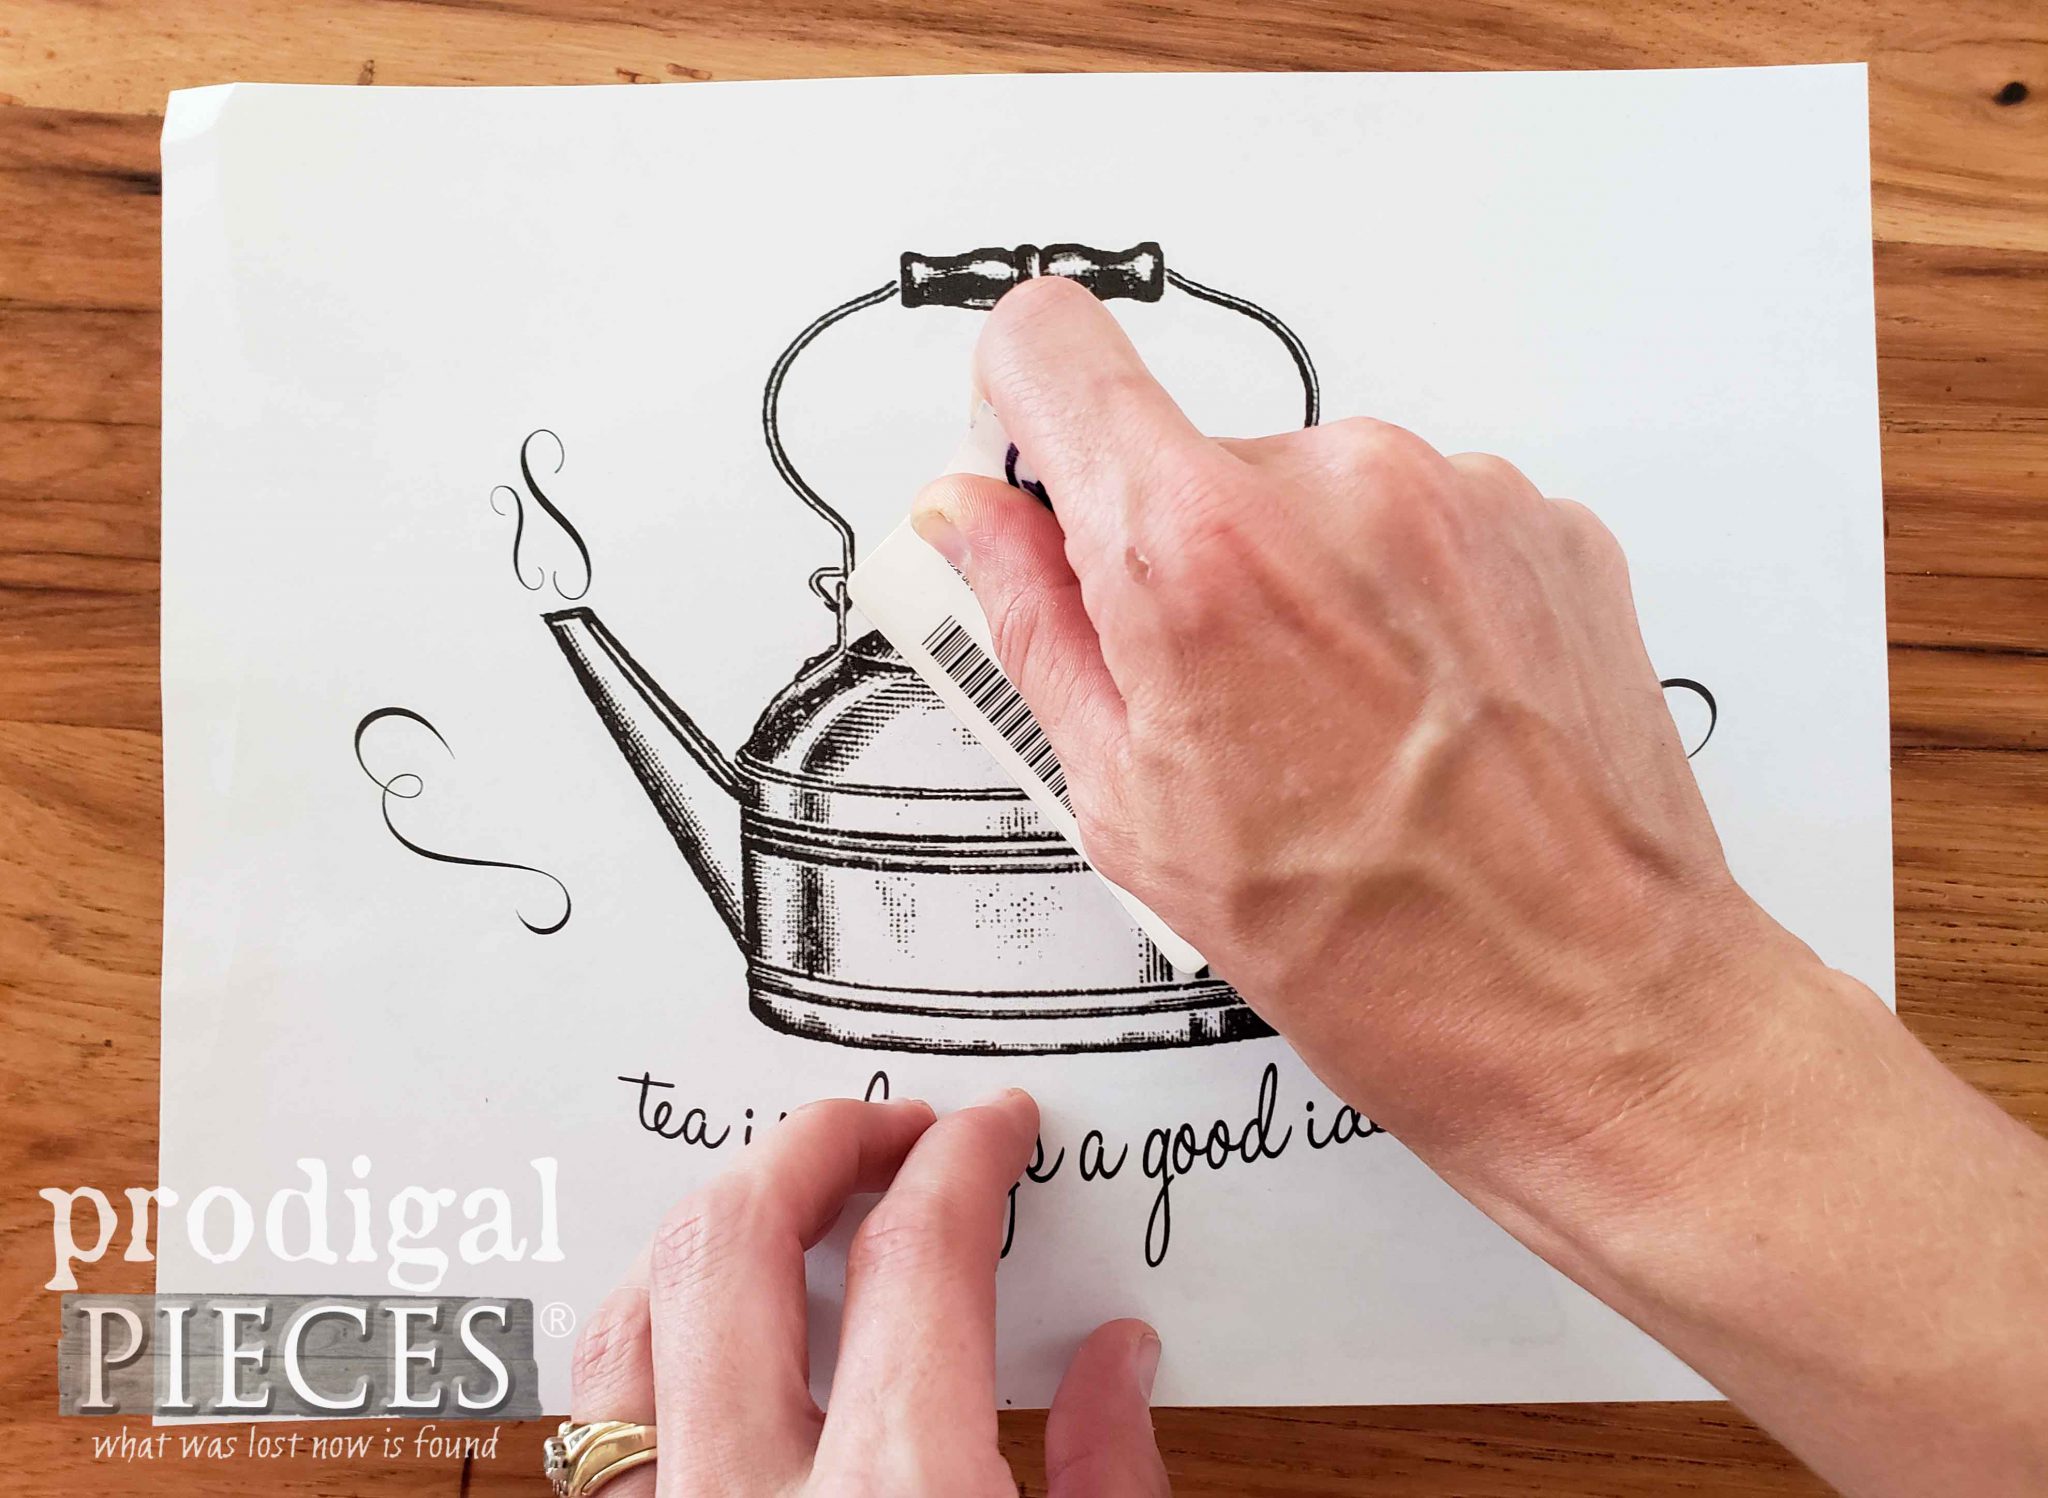
As for the front piece of the paper plate holder, I cut the dowel leftover a bit shorter. Then, I spray painted it a white to revive that dated wood design. Last, once the paint cures, I used my freezer paper transfer technique (described in these posts HERE) or as shown in the video below to apply my design to the front of it.
Last, I use a spray poly to give this piece several coats of a topcoat to seal and protect the graphic I just applied.
ALL DONE
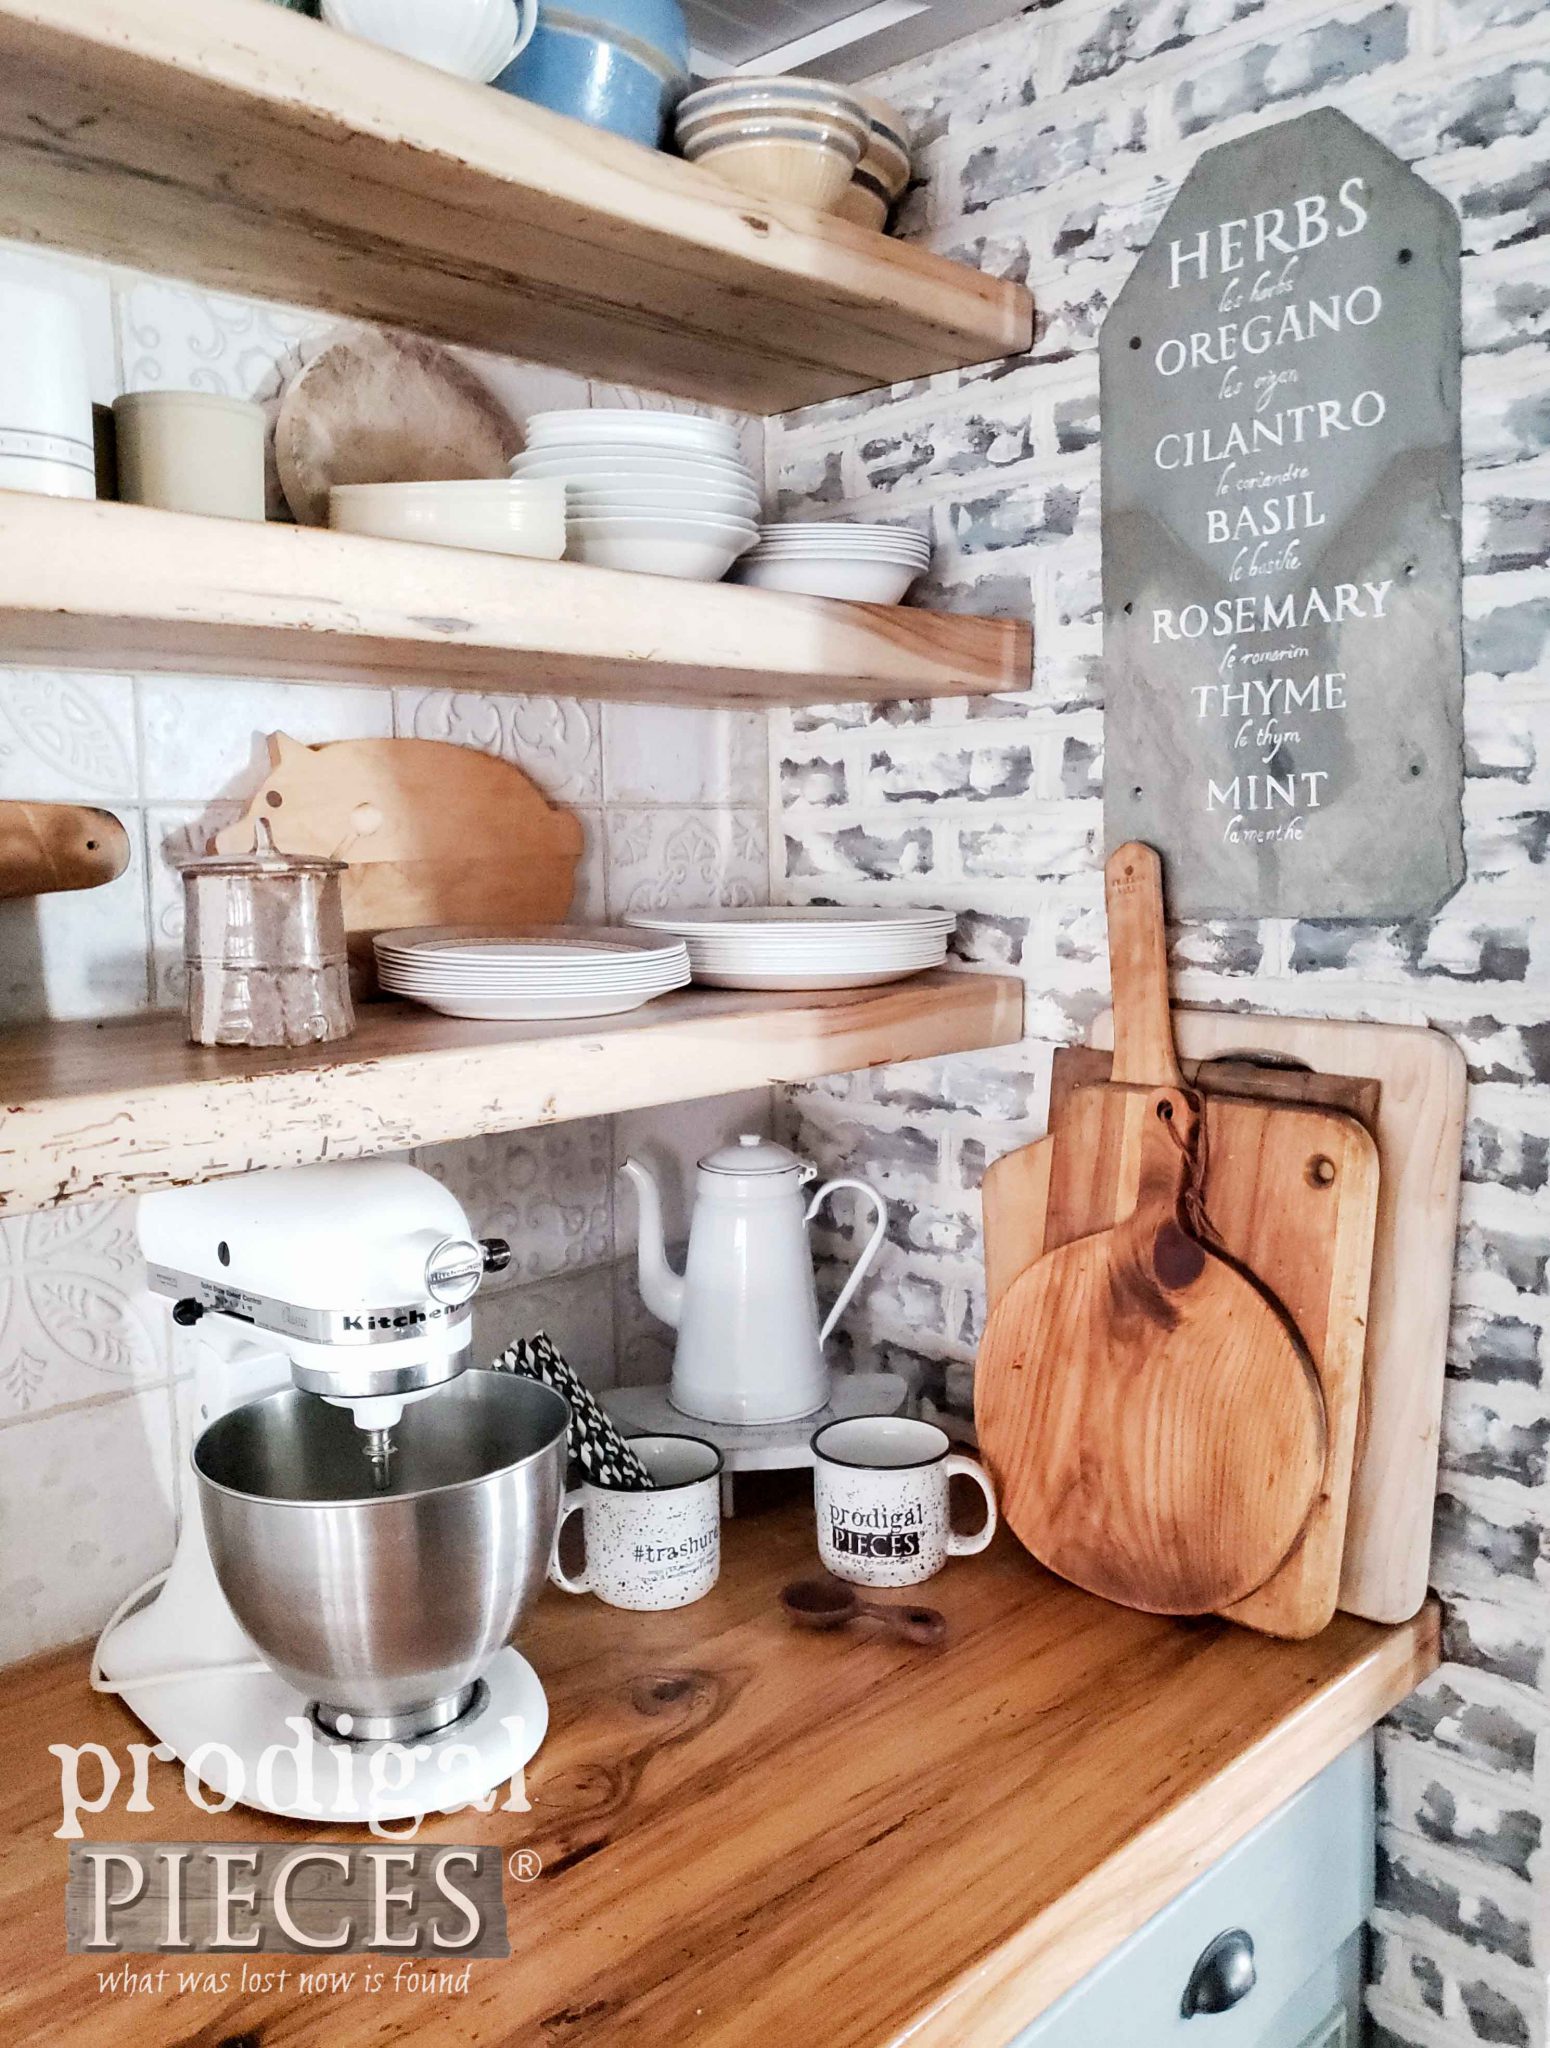
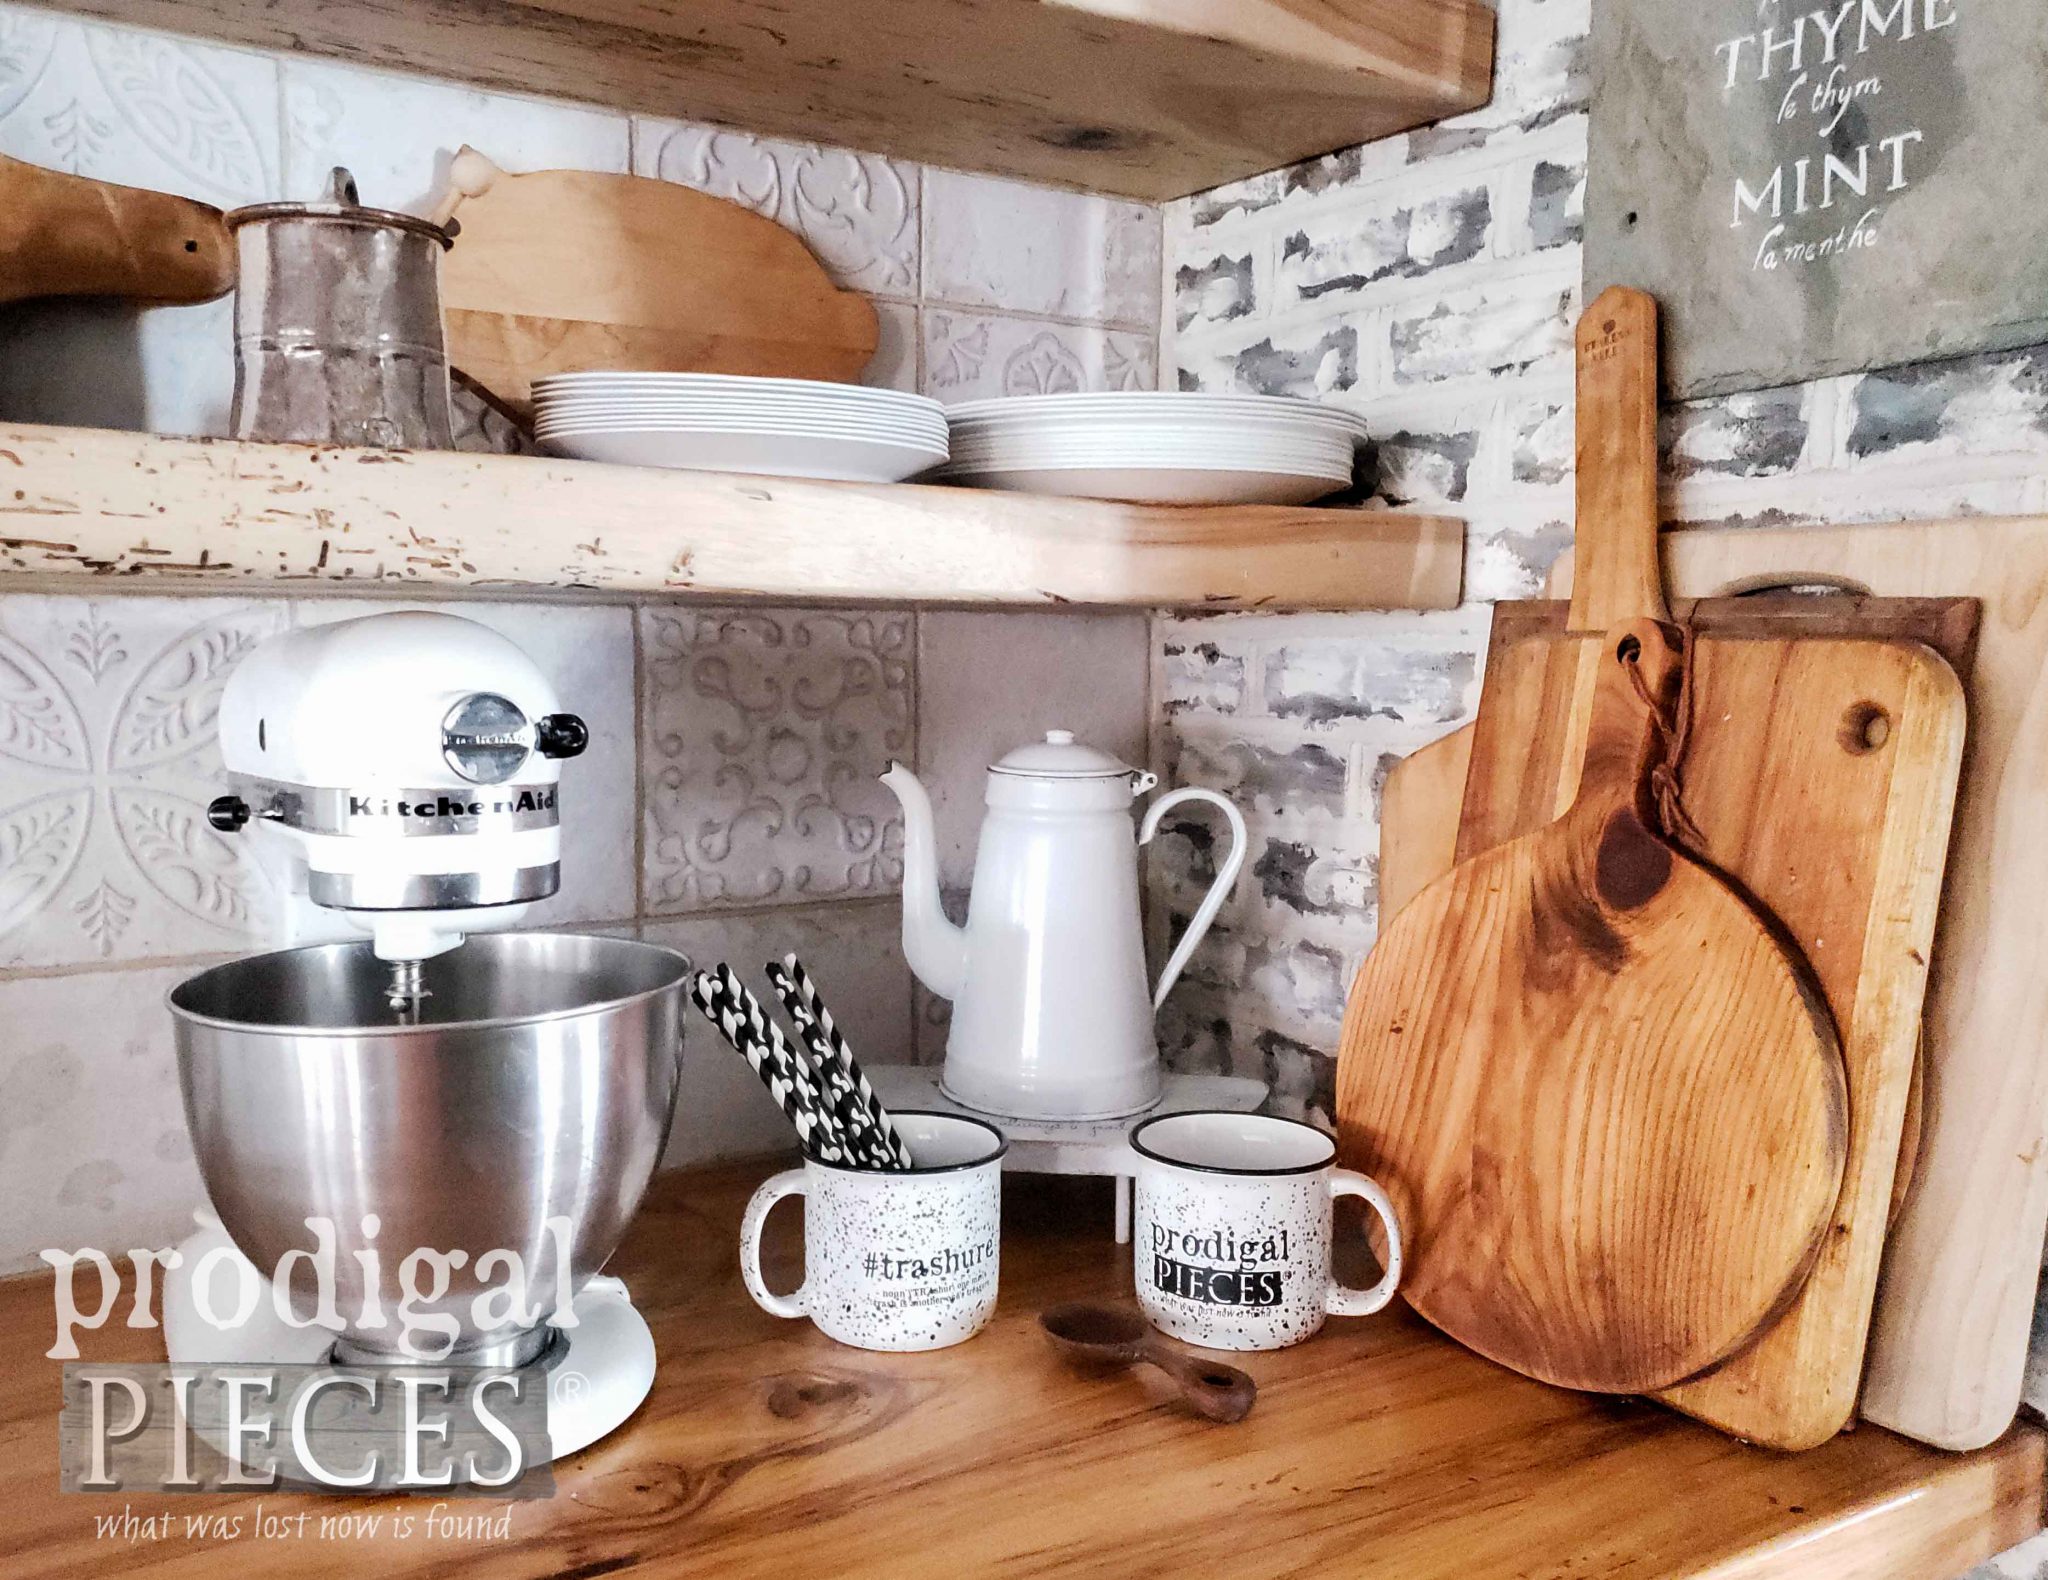
My upcycled paper plate holder project is complete and I’m loving the results. Can you find both of my projects below?
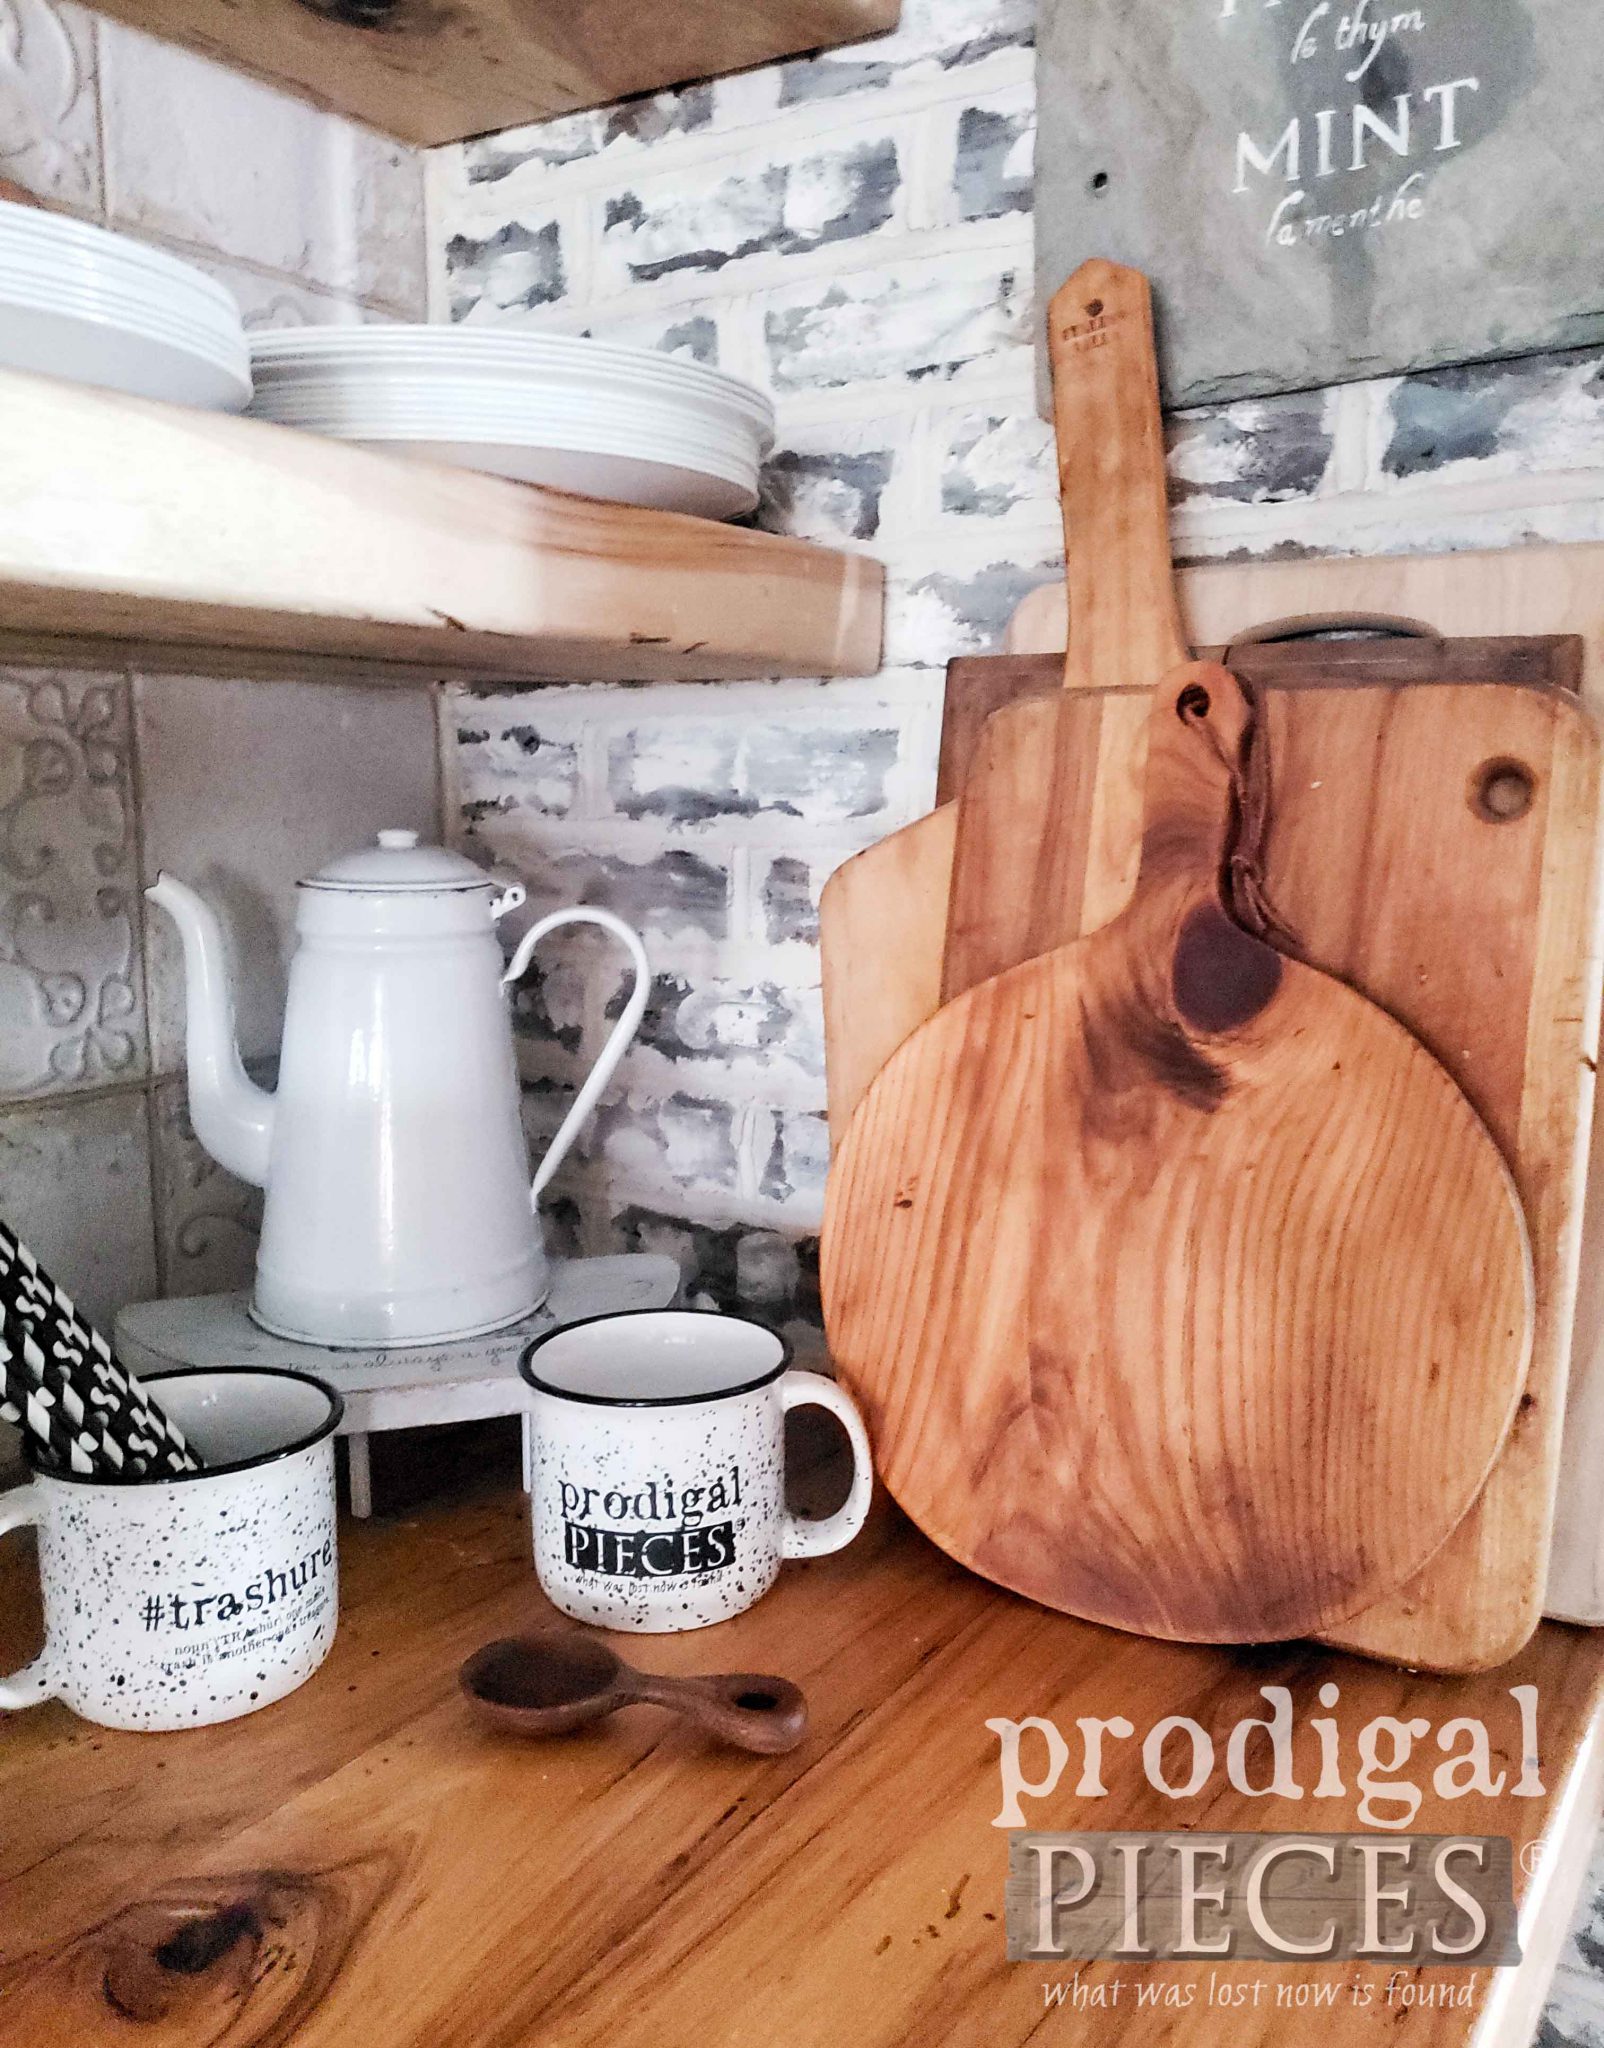
Initially, the “antique” cutting board is front and center. Doesn’t fit right in with my collection? Sweet! Then, as for the other redo…it’s tucked in behind.
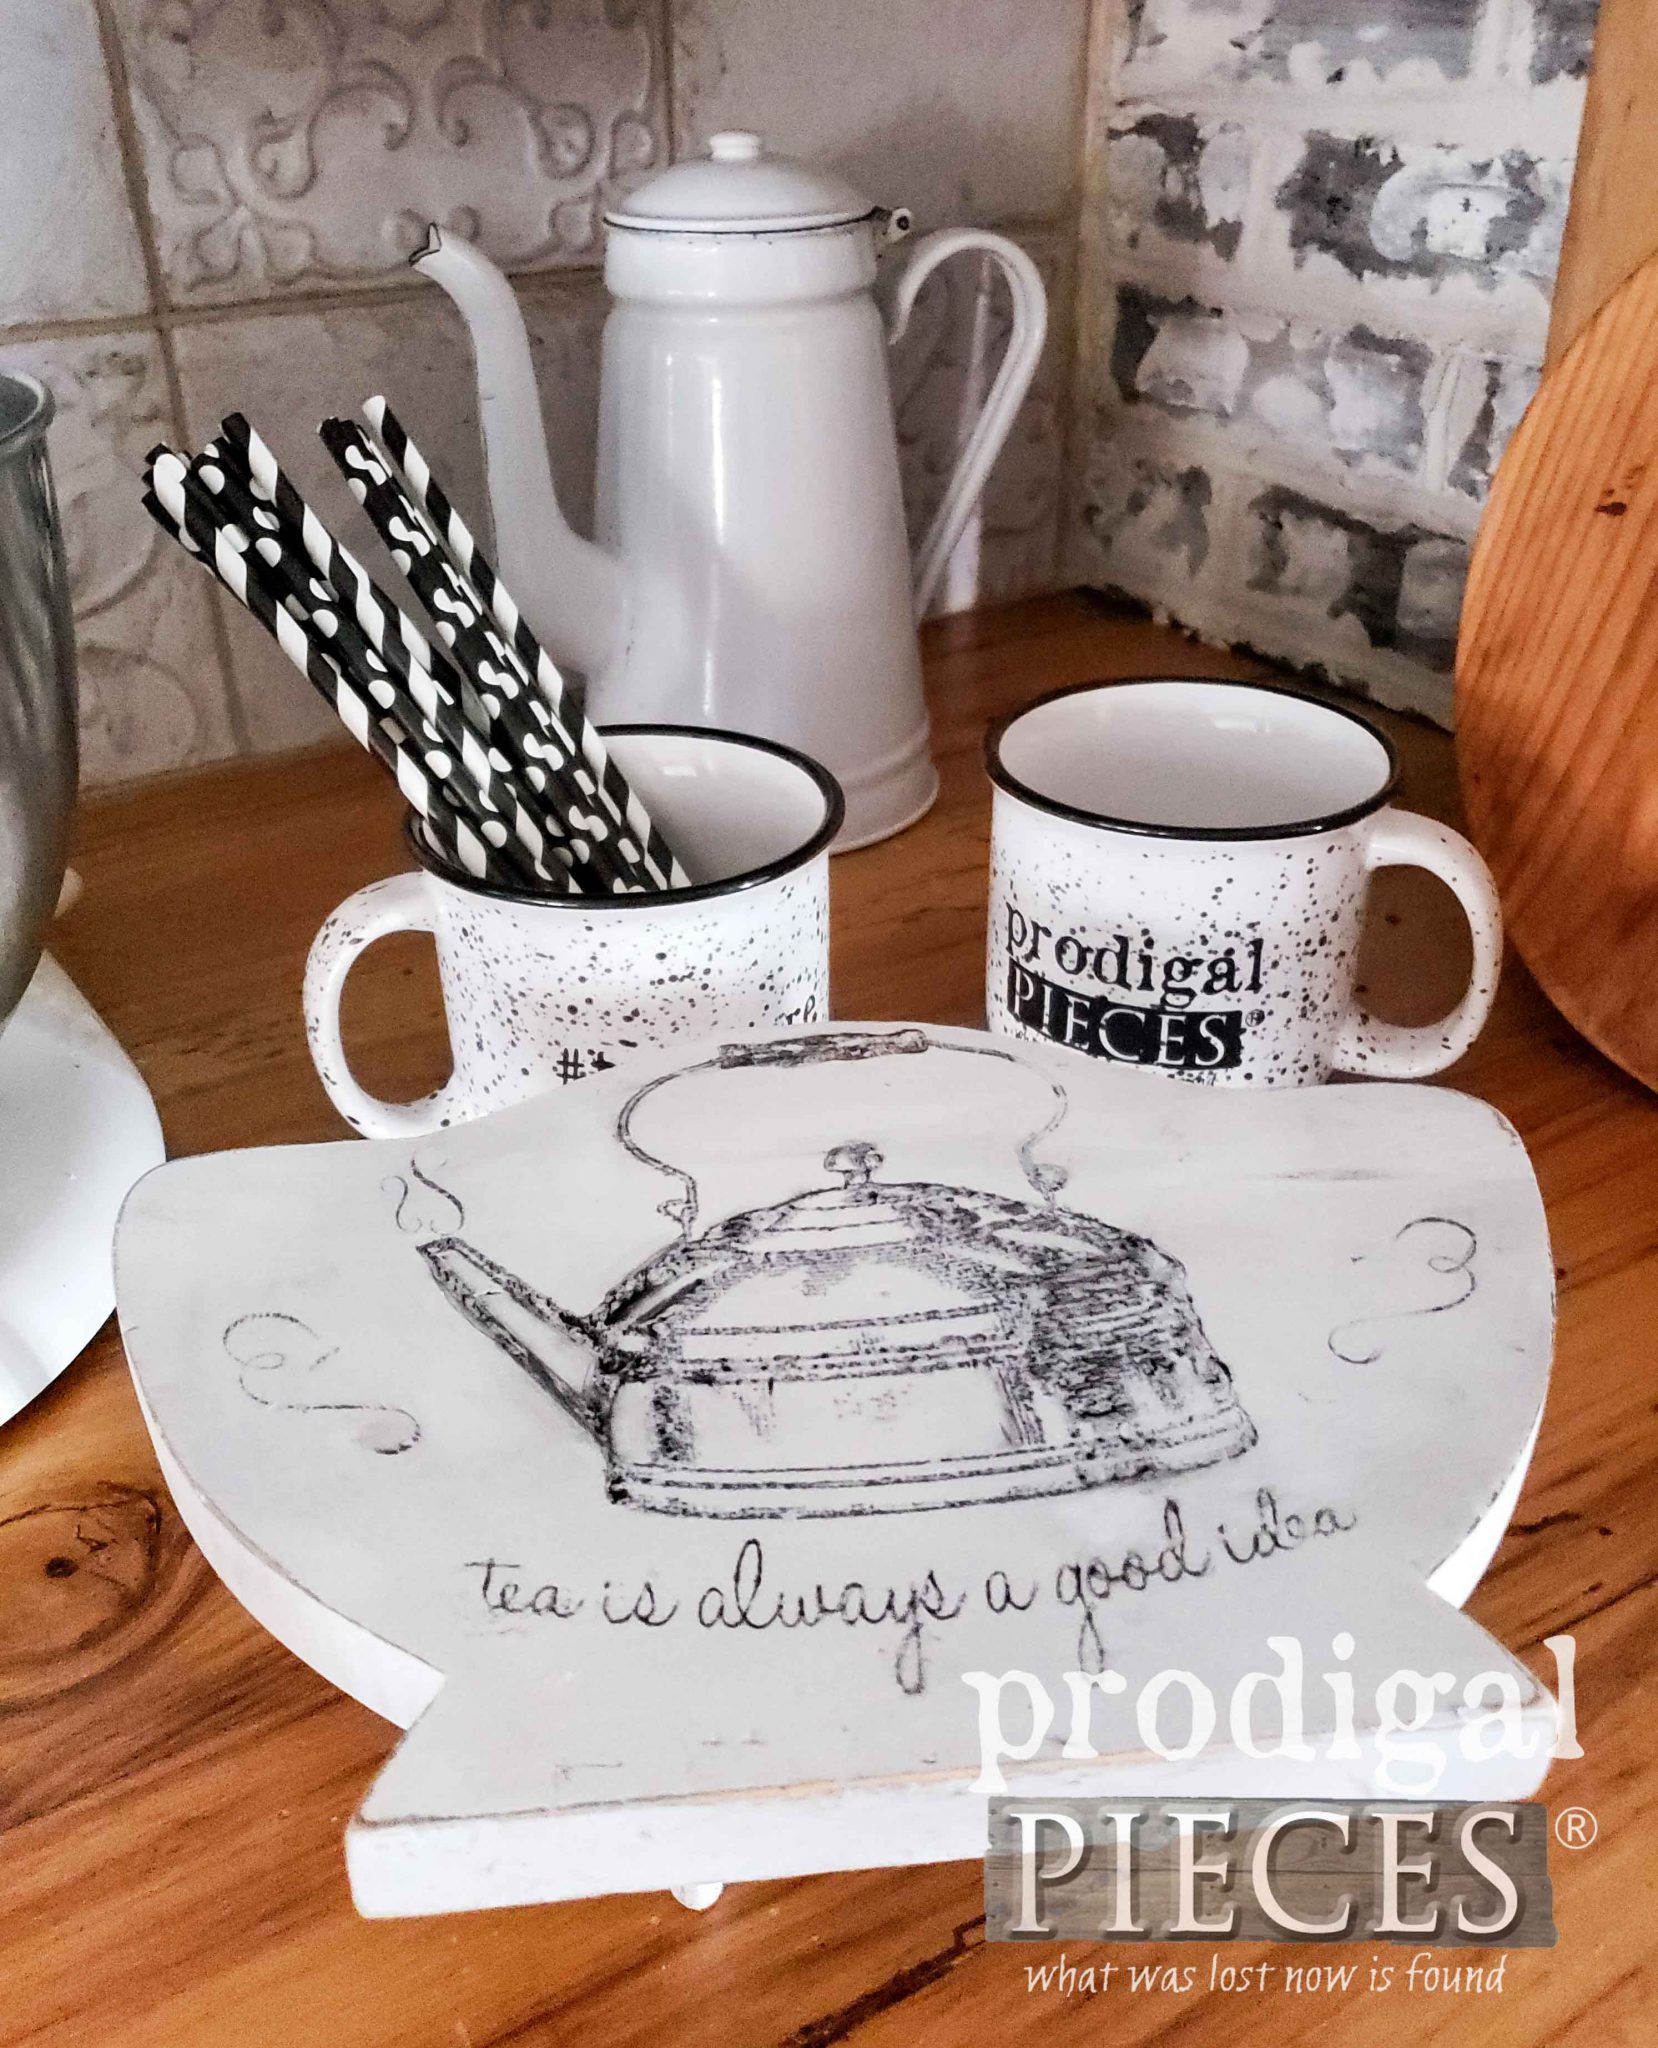
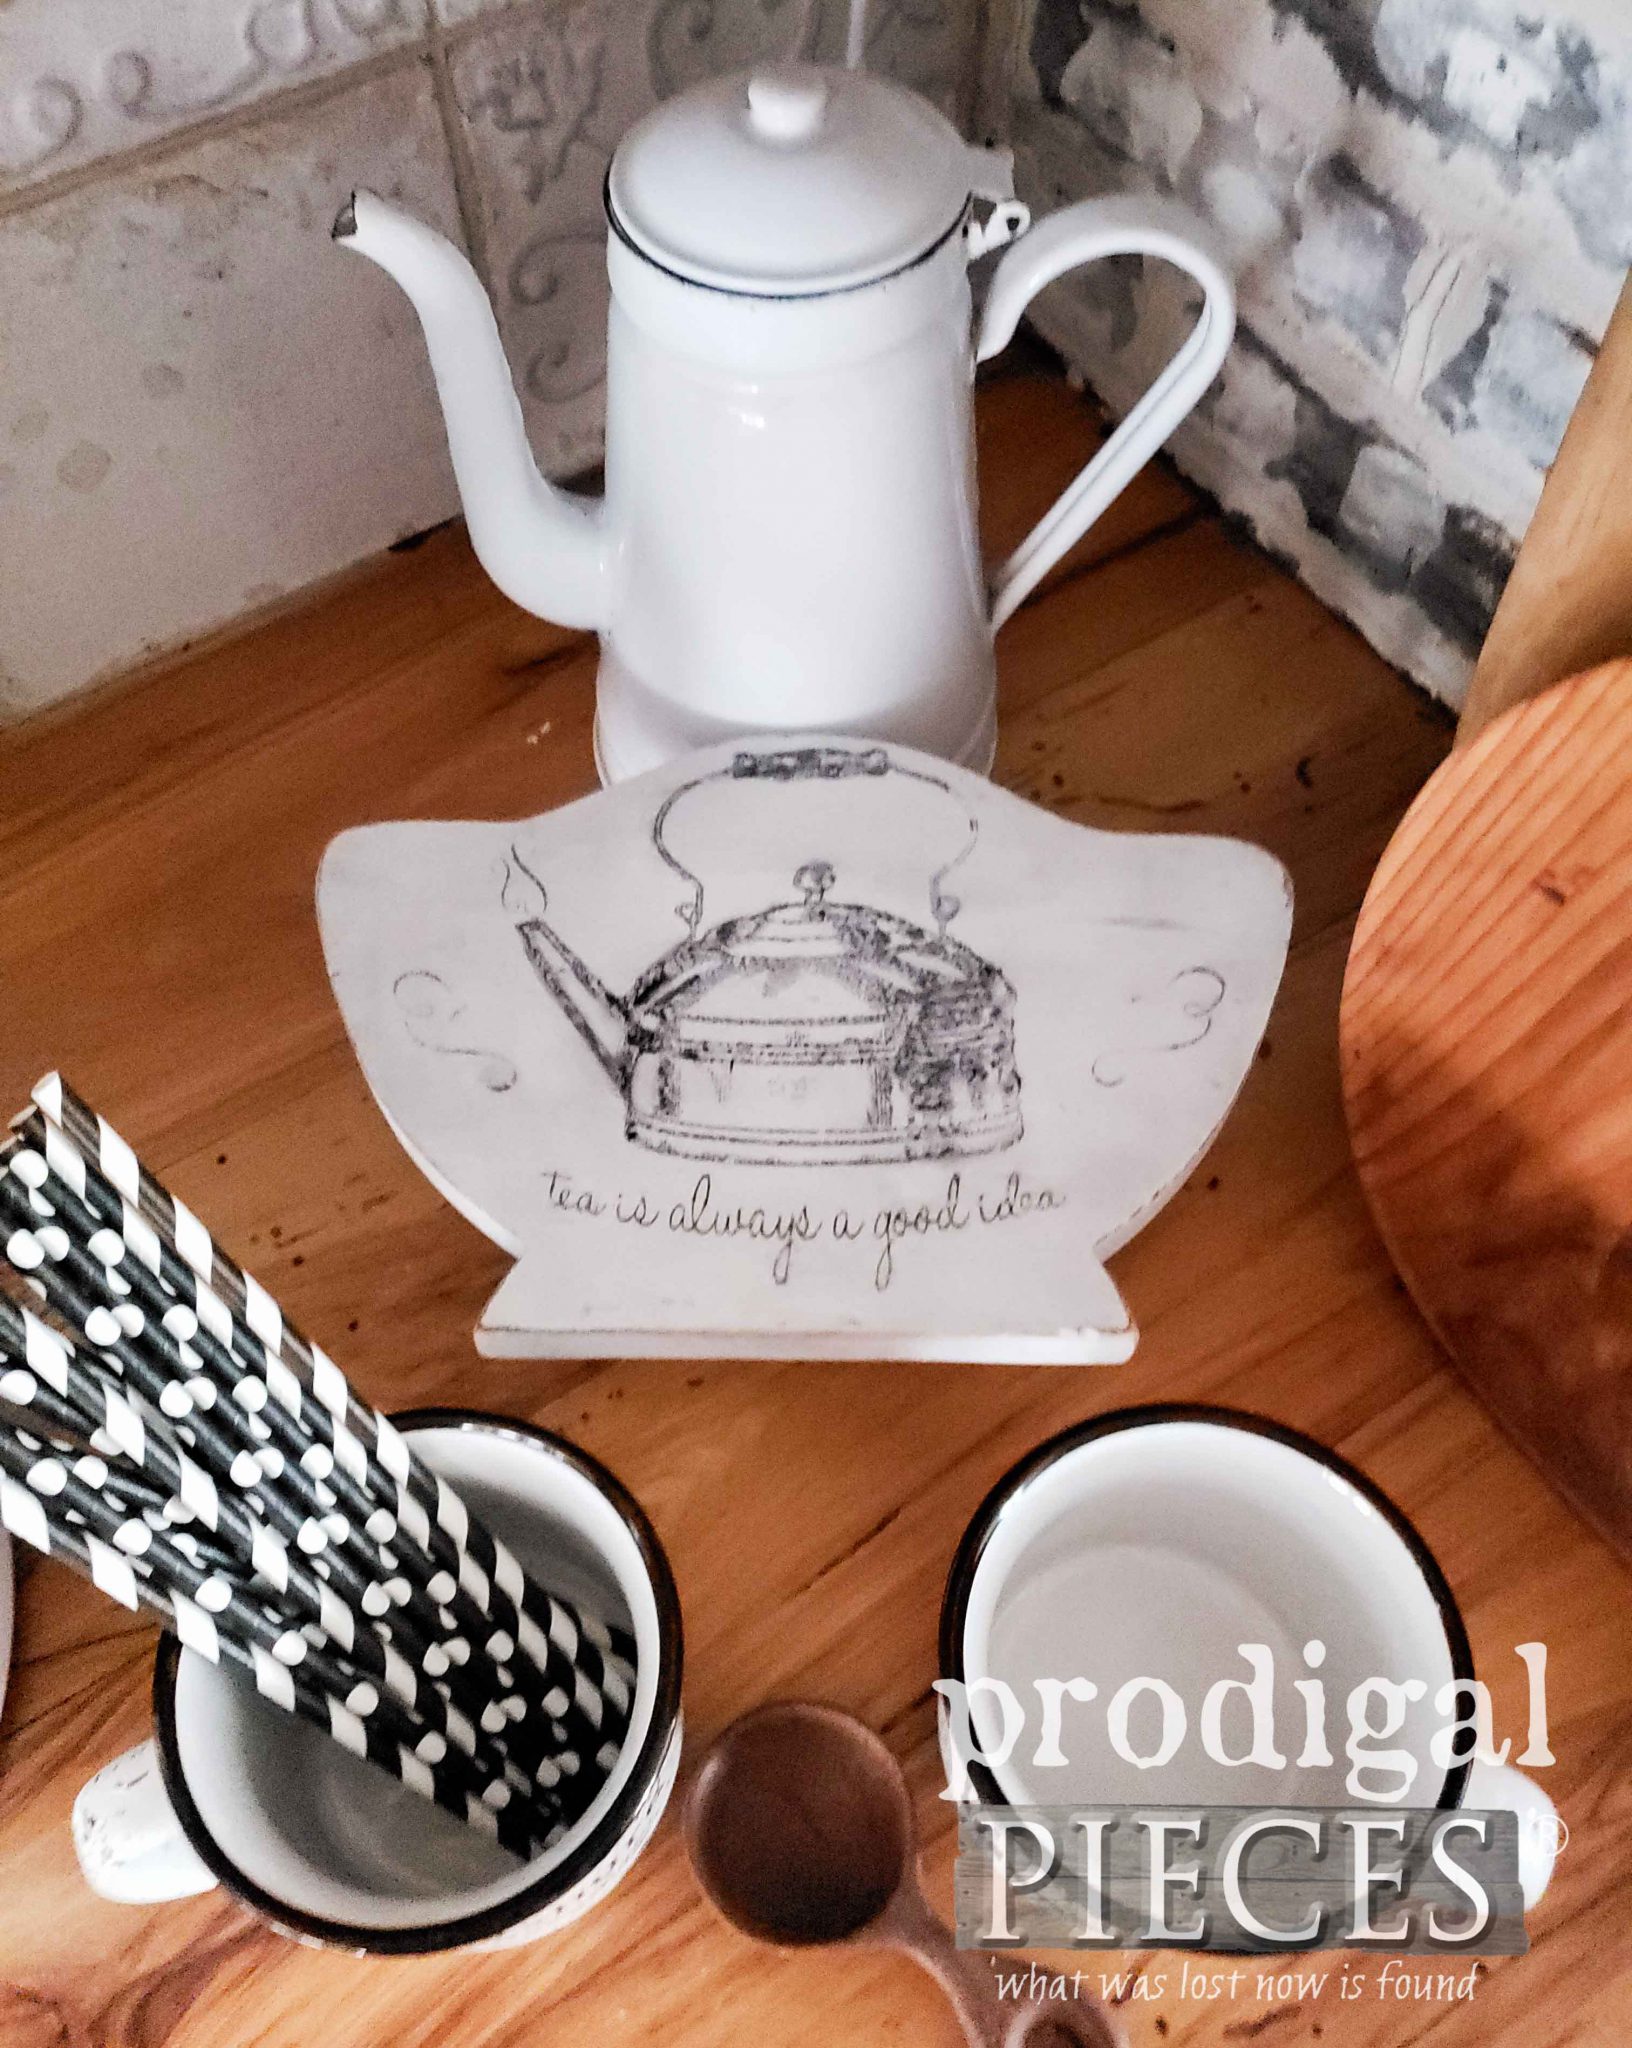
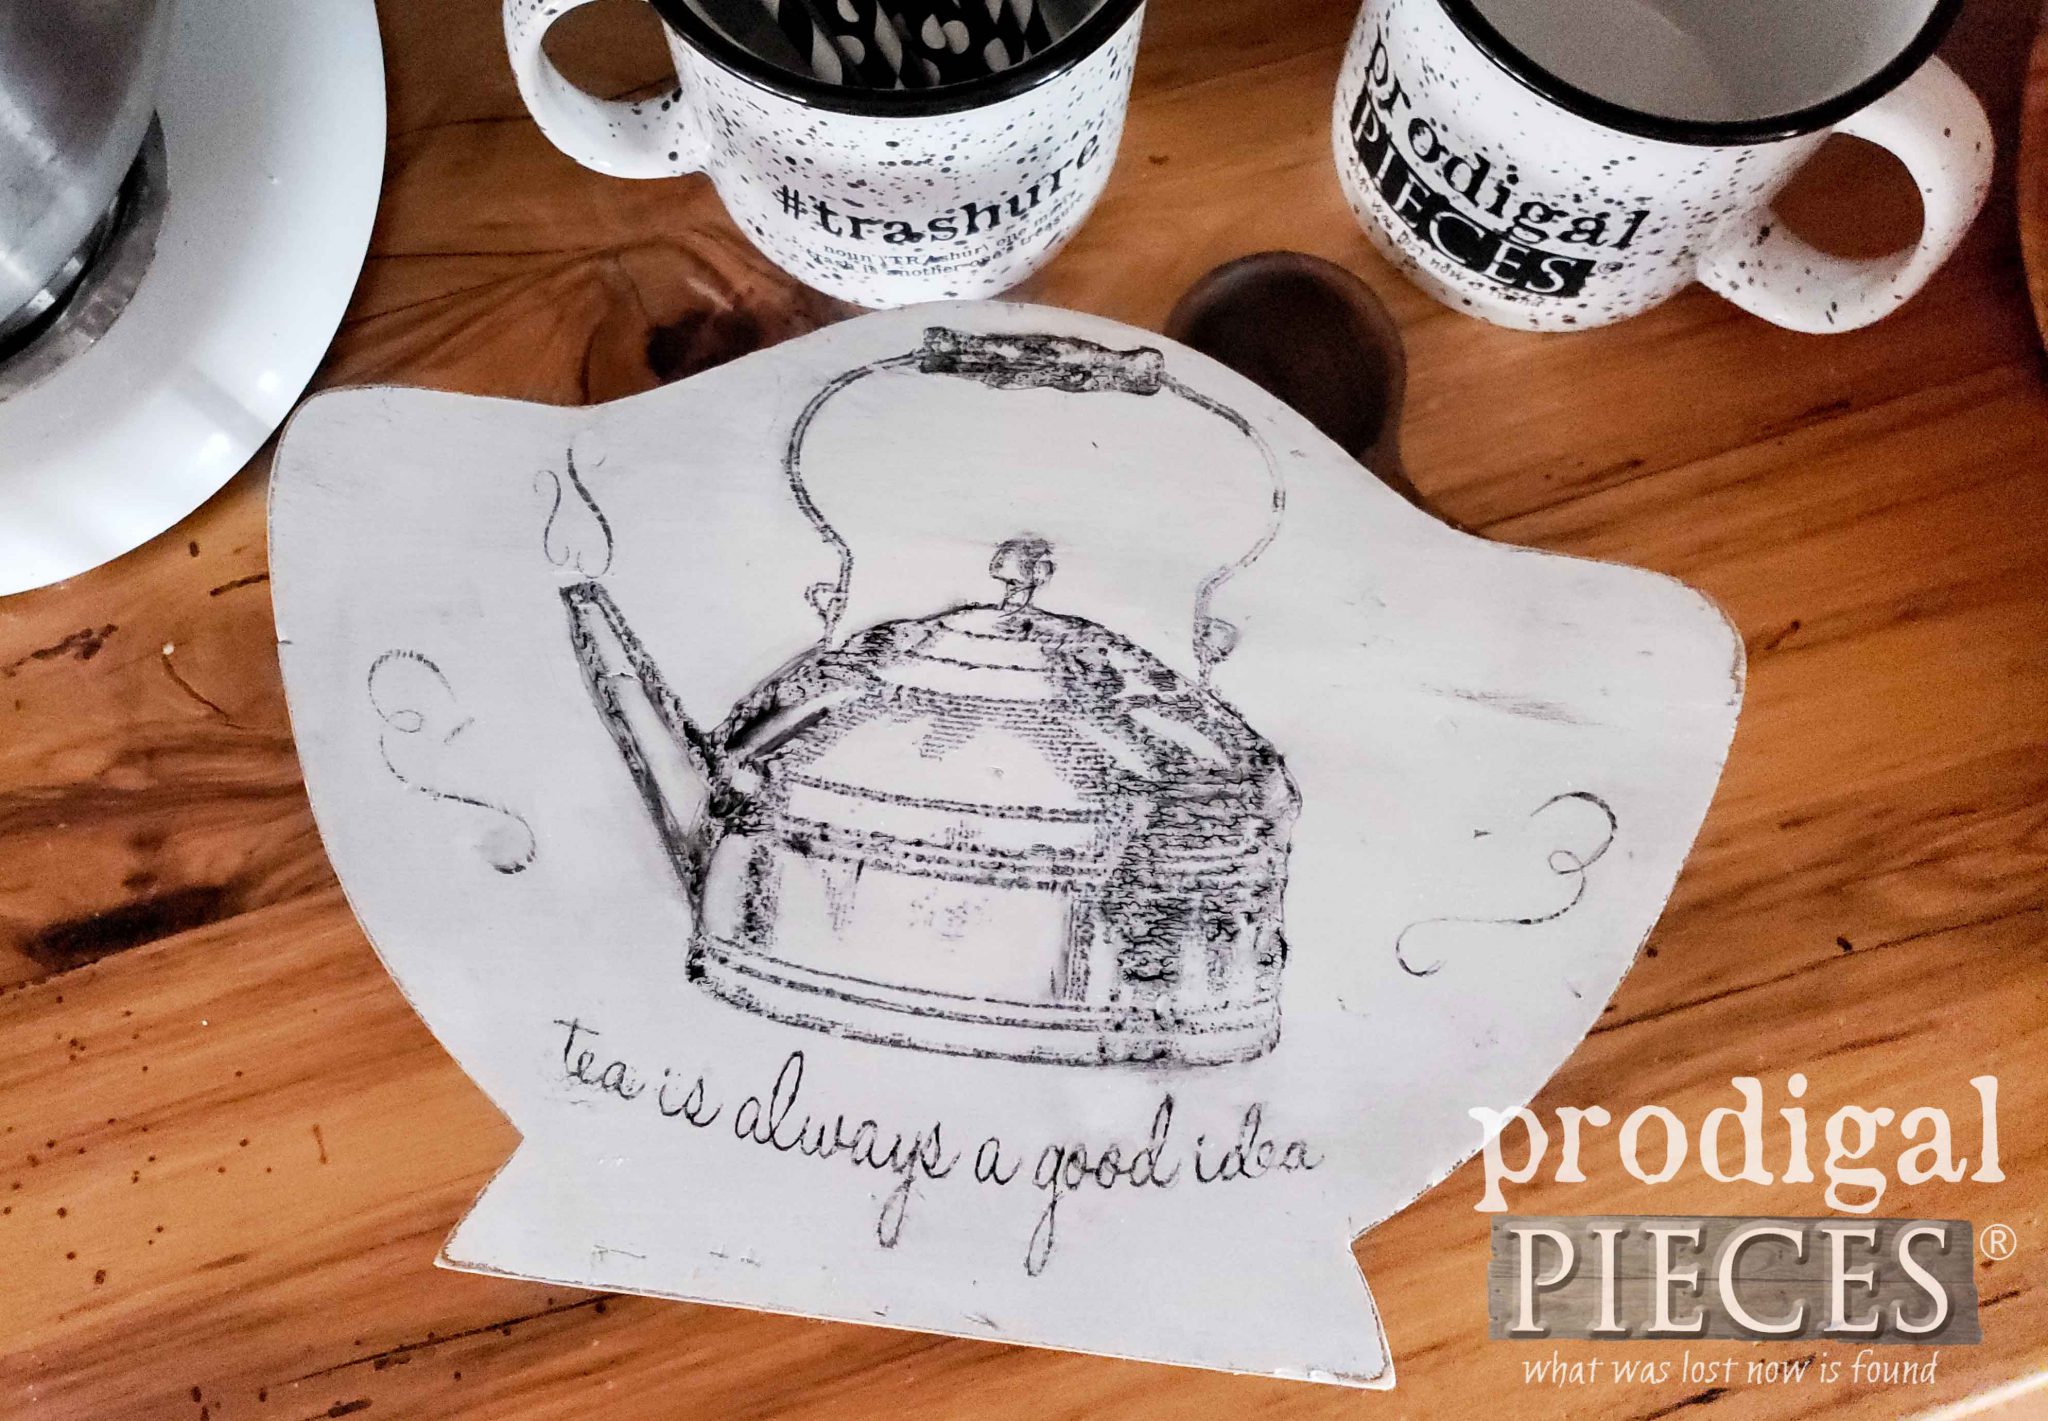
I created a little riser or trivet for my teapot. Isn’t it fun?!
Subsequently, I wanted to graphic to look old and worn, sorta like a vintage advertisement. The phrase I added made me ready for a cup of soothing goodness. Funny as I don’t regularly drink tea – only in winter or when ailing.
Are you inspired? I sure hope so. This was a fun project for me to recreate the obvious into something new. Likewise, both projects are available in my online store, as well as my #trashure mugs. 
Additionally, pin and share this upcycled paper plate holder because you know there are more floating around out there.
UP NEXT
Up next, I will be sharing what we’ve done to update and upgrade this space in our back yard. Come over and take a peek HERE.
Before you go, to get these DIY tips & tricks in your inbox, be sure to sign up for my newsletter. Until next time!


I so love this idea! I love the dual purpose so that nothing is wasted.
Thank you so much for sharing this and your talents.
I am of the same mind. I couldn’t resist giving them both new life. Thanks, Lisa.
Larissa this turned out great. I love the cutting board looks great with your collection.
Cindy
I had to give it a try. Thanks so much, Cindy!
Love the tea idea. It’s so cute. Where did you get the graphic tea kettle from. Did you stencil it or hand draw and paint it on.
Thanks! I created the graphic and applied it using my transfer technique mentioned in the post and video. Super easy.
Hi Larissa, I saw the cutting board potential right away, but not the trivet/riser! I love the way you come up with the unexpected and useful items you create with these cast off pieces.
Good eye, Kaycee! Just too fun not to try. Thanks so much for awesome encouragement.
I have one of those paperplate holders! I just couldn’t throw it out as it was a gift. Maybe I’ll do what you did. Thank you!
Ooh…that would be fun! 😀
Larissa- I love this remake! Tge tea kettle looks perfect on that “kettle stand”… It’d make a great sign too! That was the motto in our house growing up… Tea is always a good idea, whether you’re sick, hurt, sad, need to talk, celebrate, whatever- a cup of tea will always help.
Thanks for taking me back there! ?
It sure is fun! Thank you. Yes…tea is one of those classic must-haves for any old reason…warm or cold.
what great uses for an otherwise dated piece! love the teapot portion especially!
Yay!! This was just too fun. Thanks!!
Cute cute cute!! You are so clever! XOXO
I had a blast. I’d love to see what you or the other T2T gals would have done too.
You are so creative Larissa! Reading you gives so much inspiration- thank you for sharing!
Great ideas!!
You are so sweet to say so, Olga. Thank you!
I love the repurposed look. I decided to use it to make some patterns. Refinish the original. Going to be a win, win.
Thank you for sharing your wonderful idea.
You’re welcome. 🙂