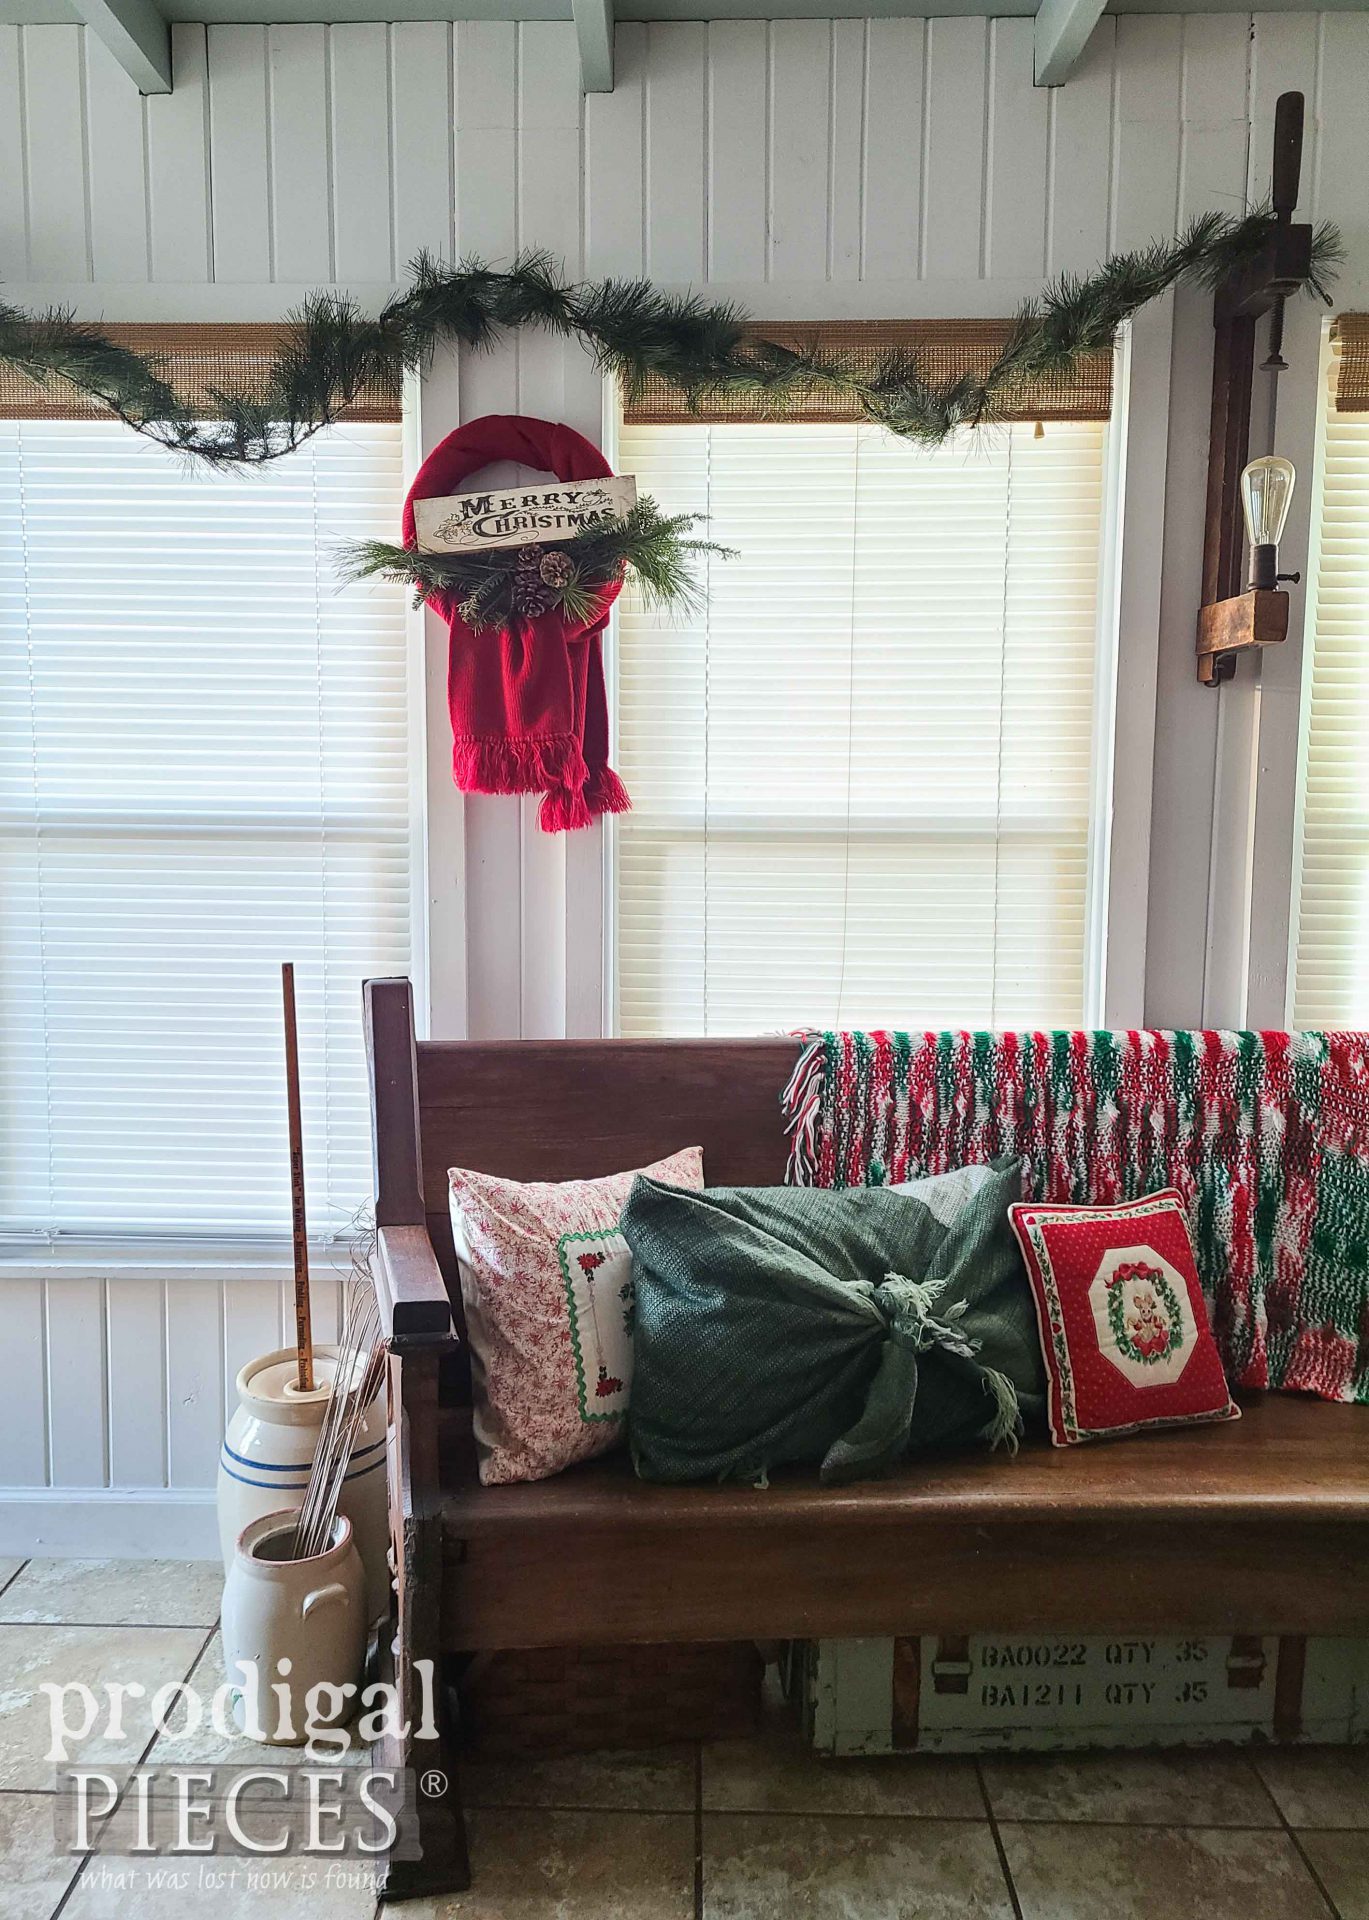
Fa, la, la, la la, la, la, la….it’s the last Tuesday of the month (gasp…already??). That means it’s Reduce, Reuse, REFASHION time. woot! Since the holiday season is fast approaching, I want to take a minute to share an upcycled scarves creation that keeps on giving. Won’t you join me for some non-sewing fun?
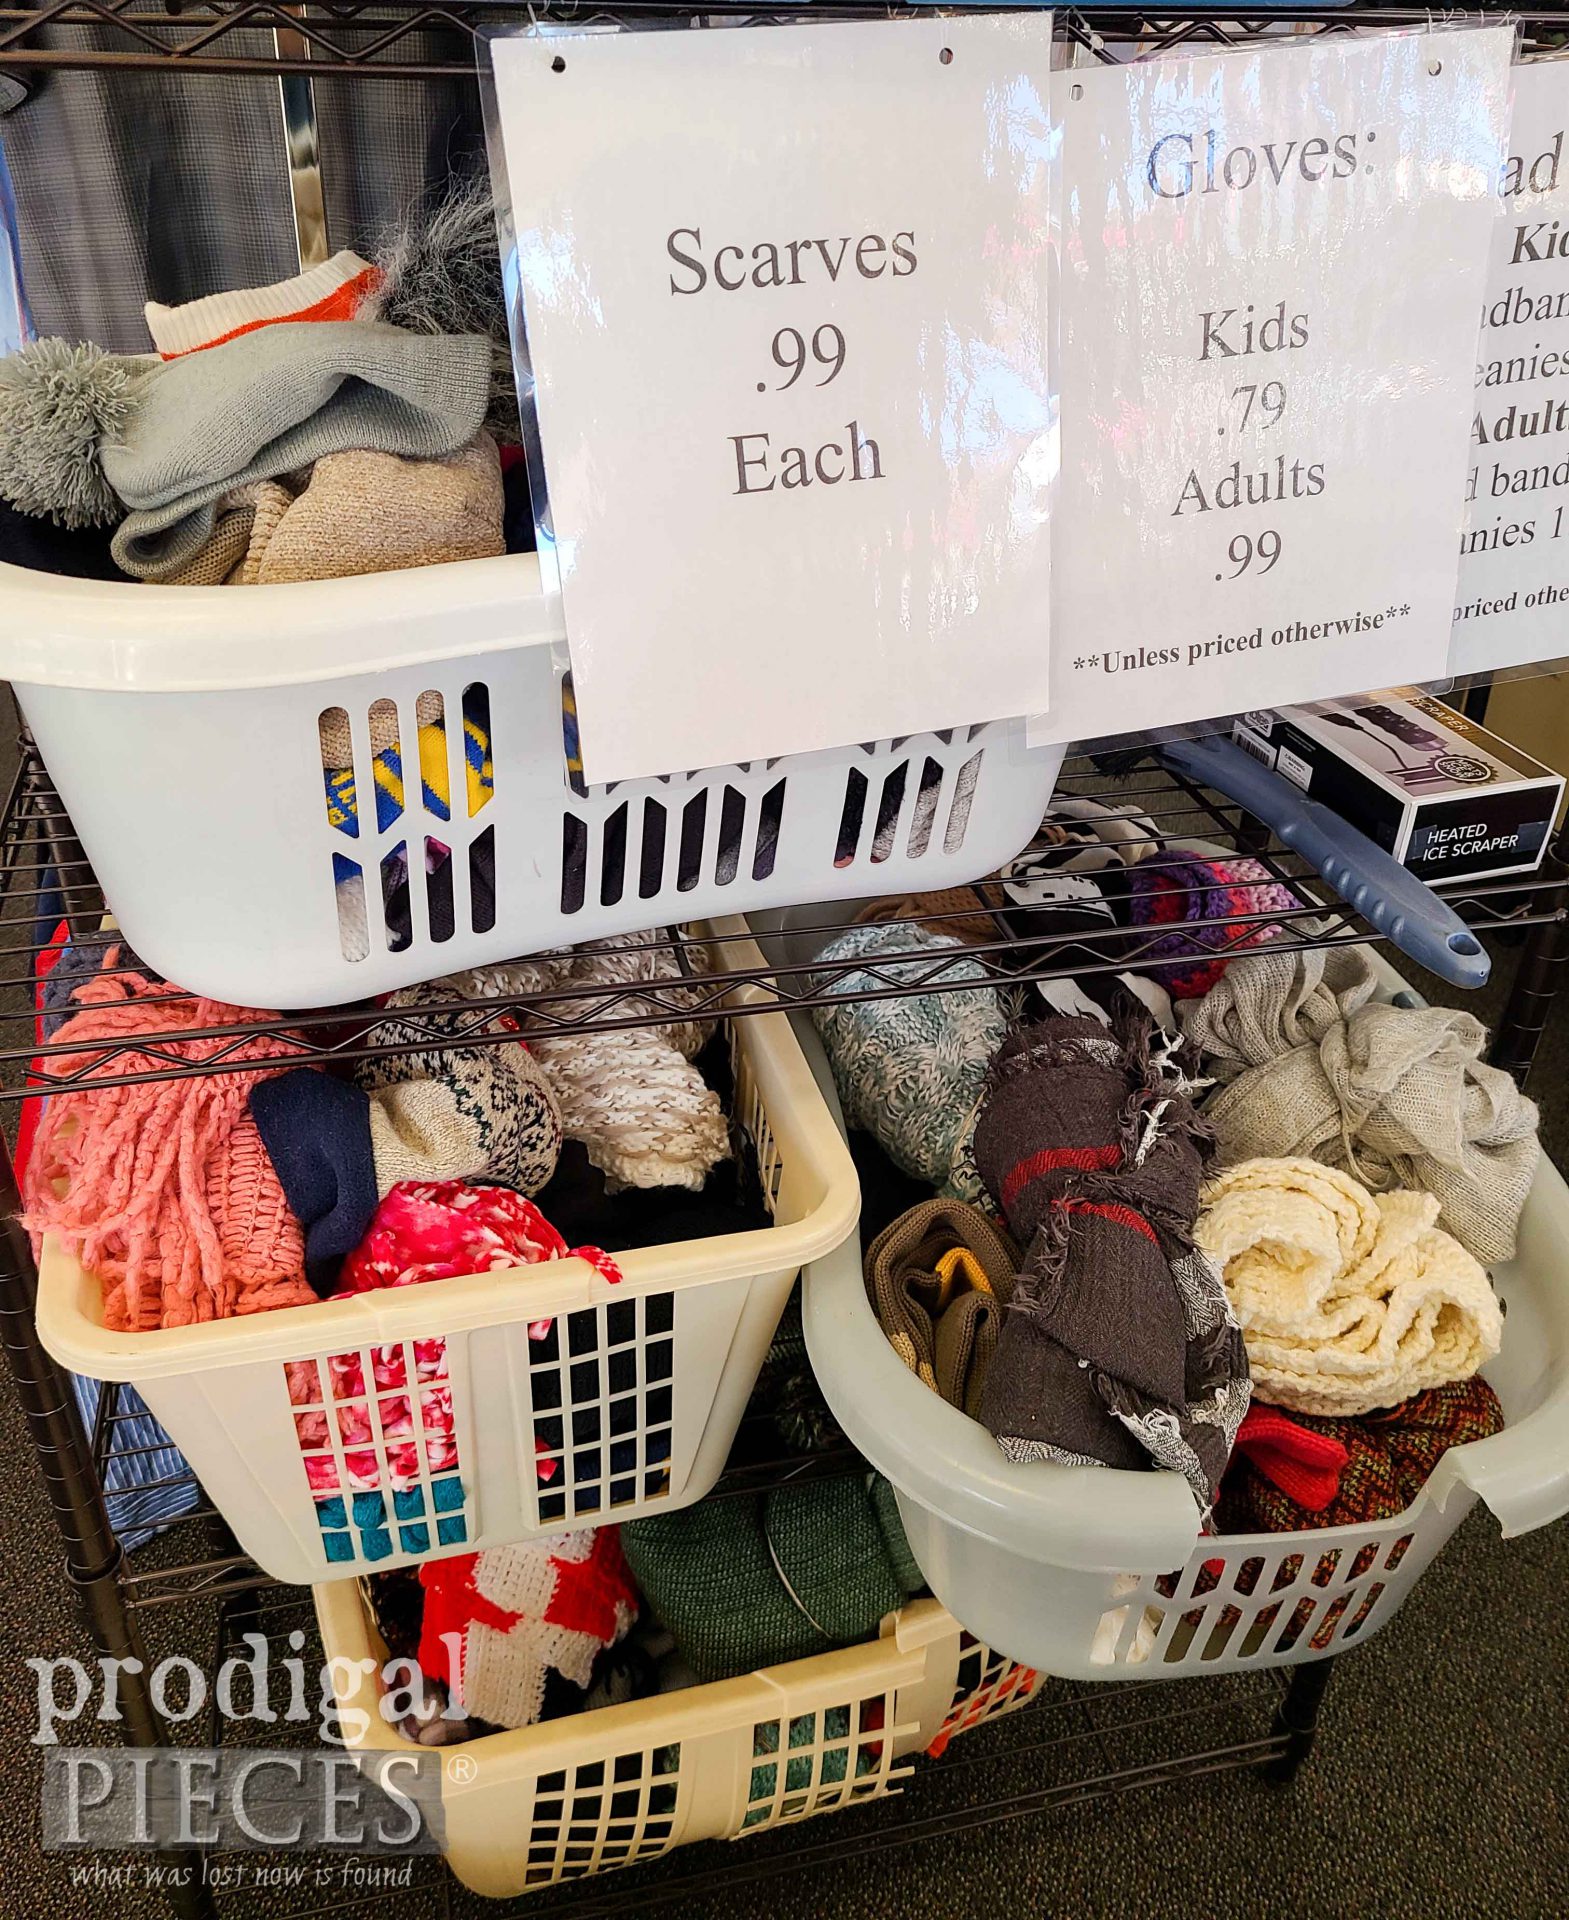
My goal today is to show you how to create affordable and super-cute decor for the holidays (or actually, any time) that you can use to keep the spirit of giving going. Check.it.out. In my neck of the absolutely frigid woods this time of year, hats, scarves, and gloves are a MUST. So, I love to head to the thrift store and see this…
Not only is that oodles of potential for creating, but also giving. So, with that I’m grabbing a few to use to refashion into holiday decor and then will donate to a local ministry. Win-win!
DIY TIME
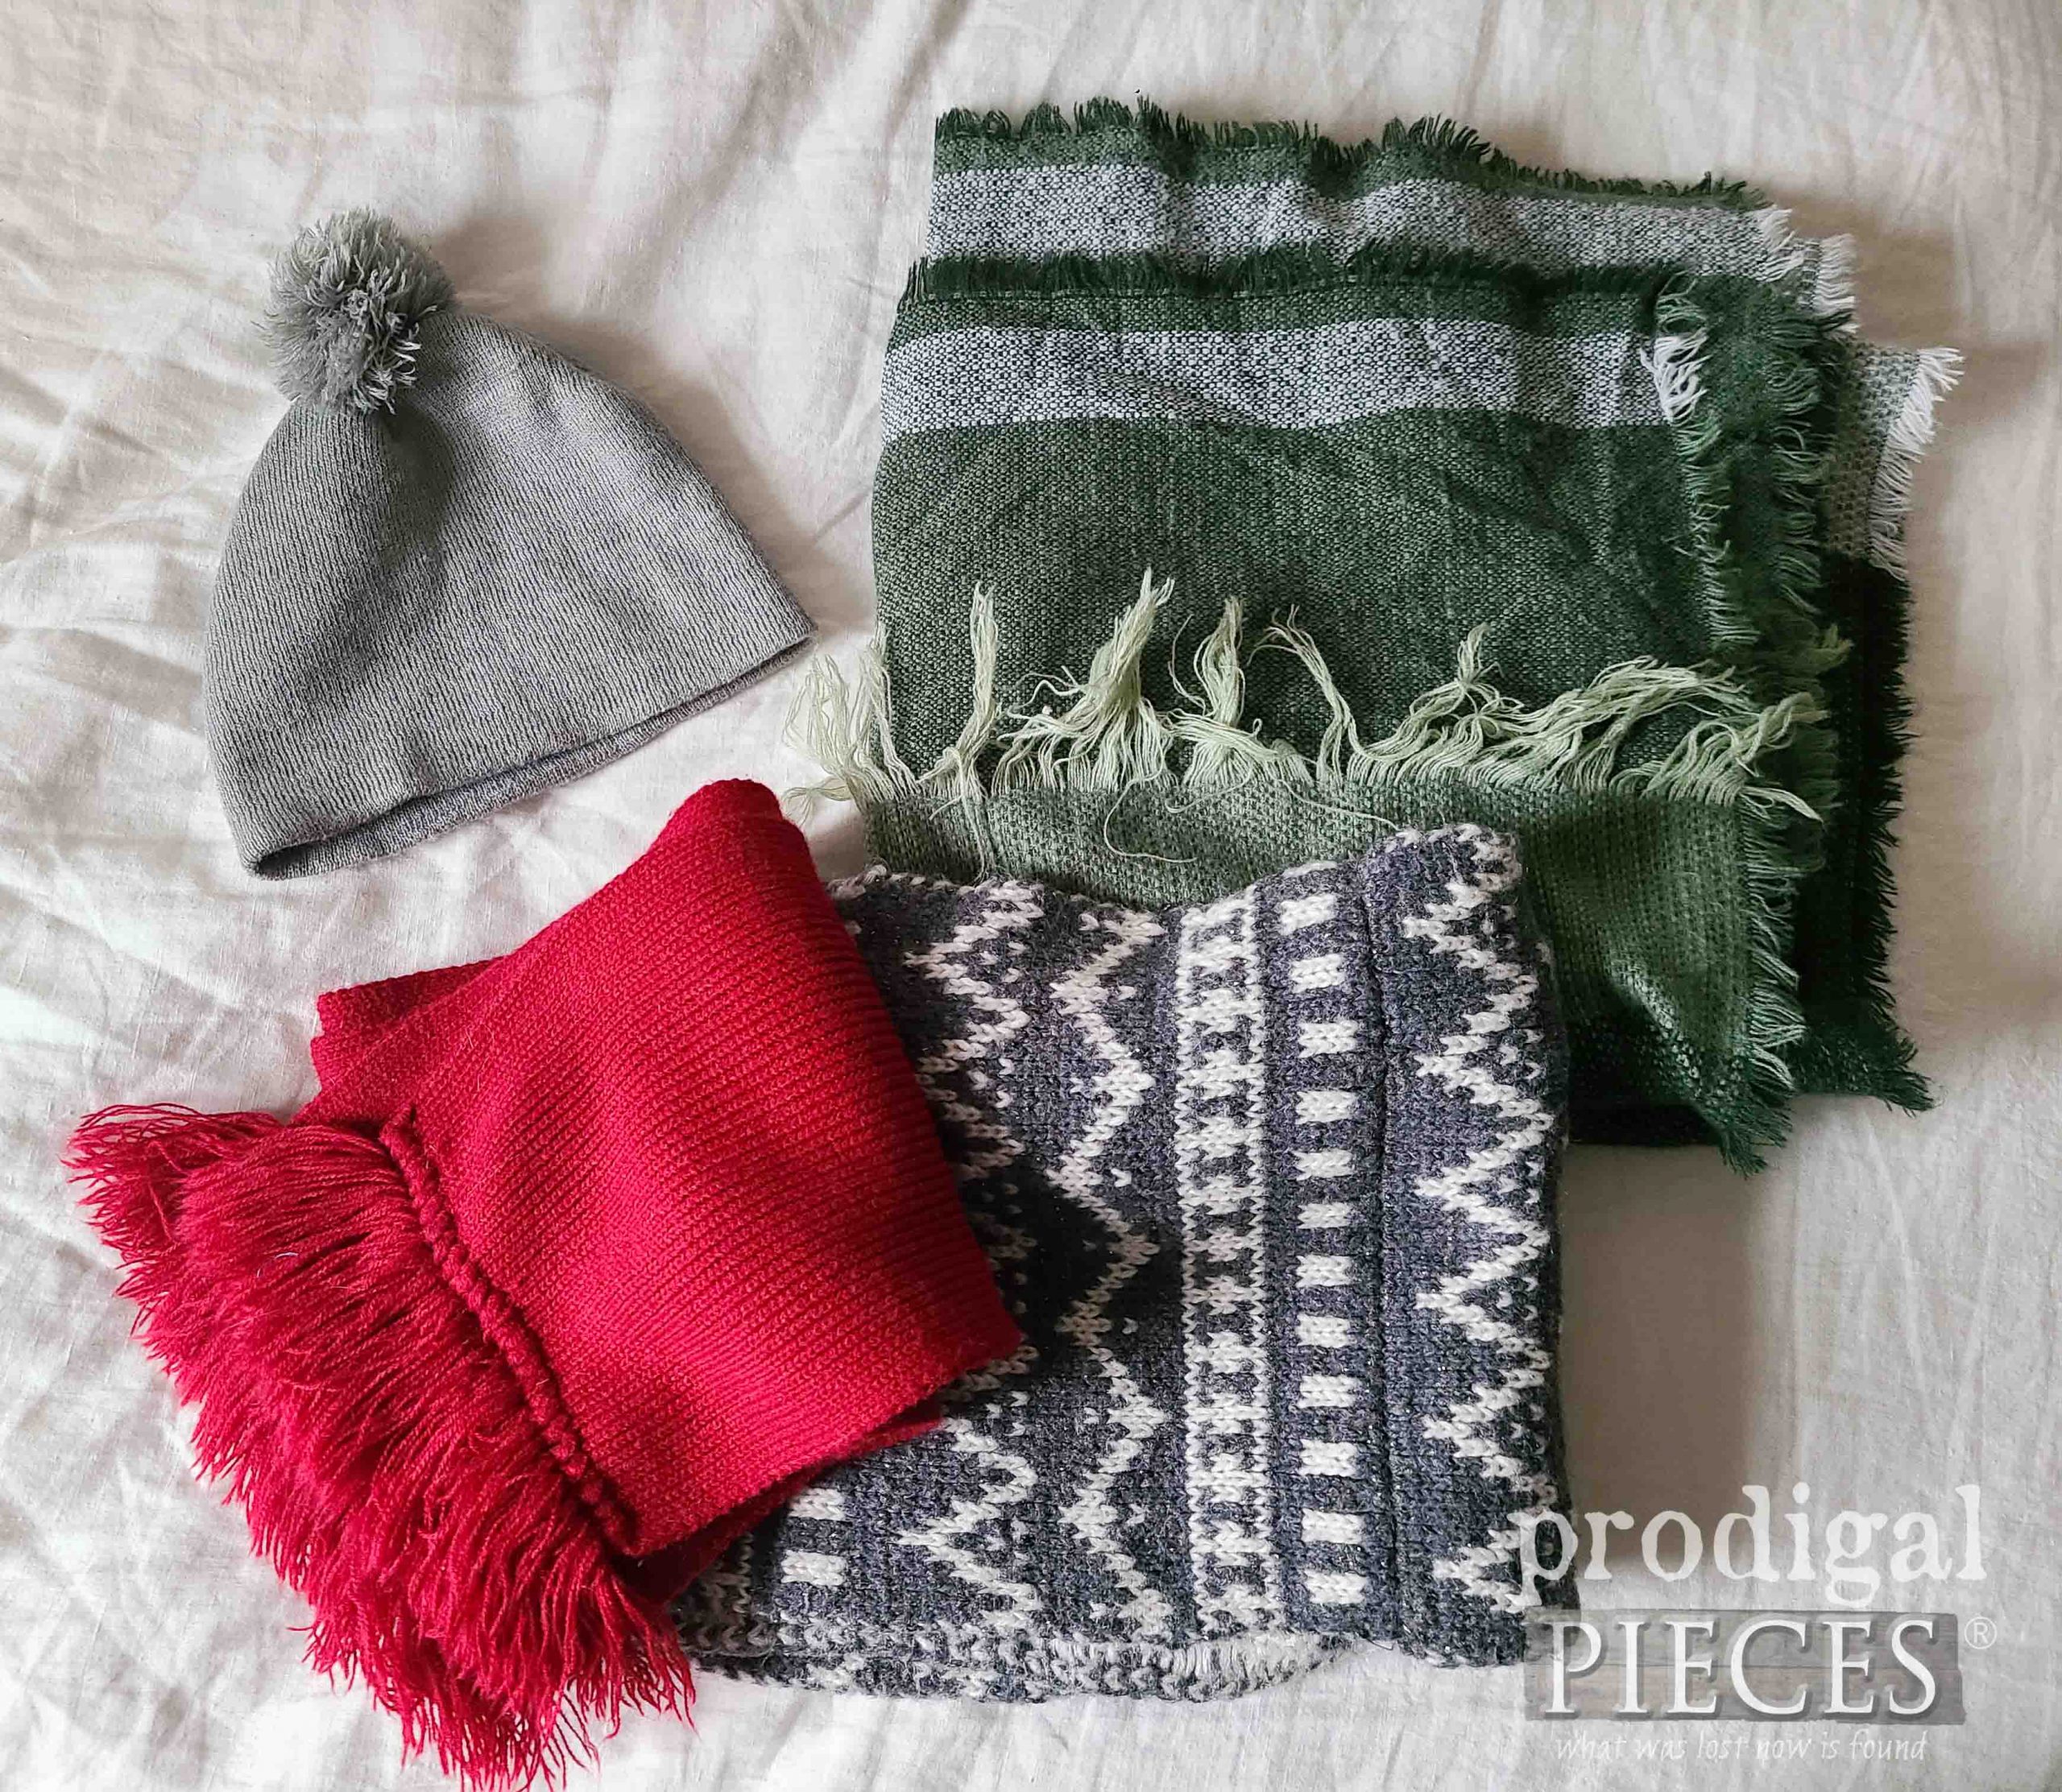
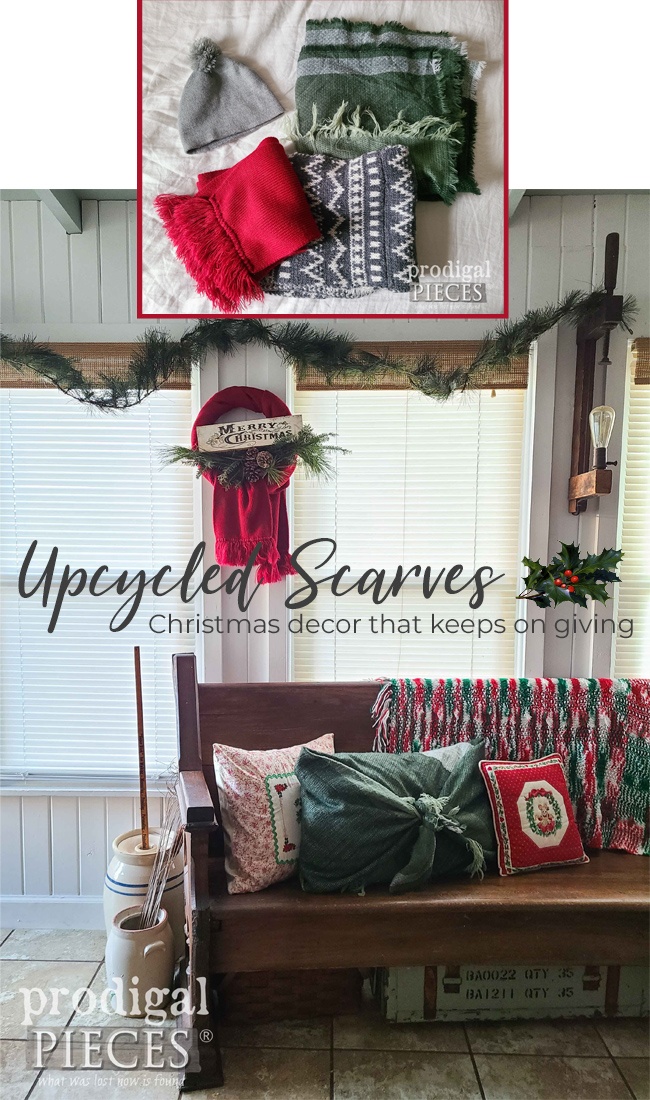
First, take a peek at what I picked out. A gray hat, an infinity scarf, a red scarf, and a large green scarf. Gotta love ladies and their accessories!
To be completely honest, I had a totally different idea in mind when grabbing these. However, I decided to just stare at them for a bit to figure out the best way to make use of them without cutting or altering them so that I can donate them when I’m done. That way I’m not only blessing someone (hopefully), but also not having as much to store in my basement. Yay!
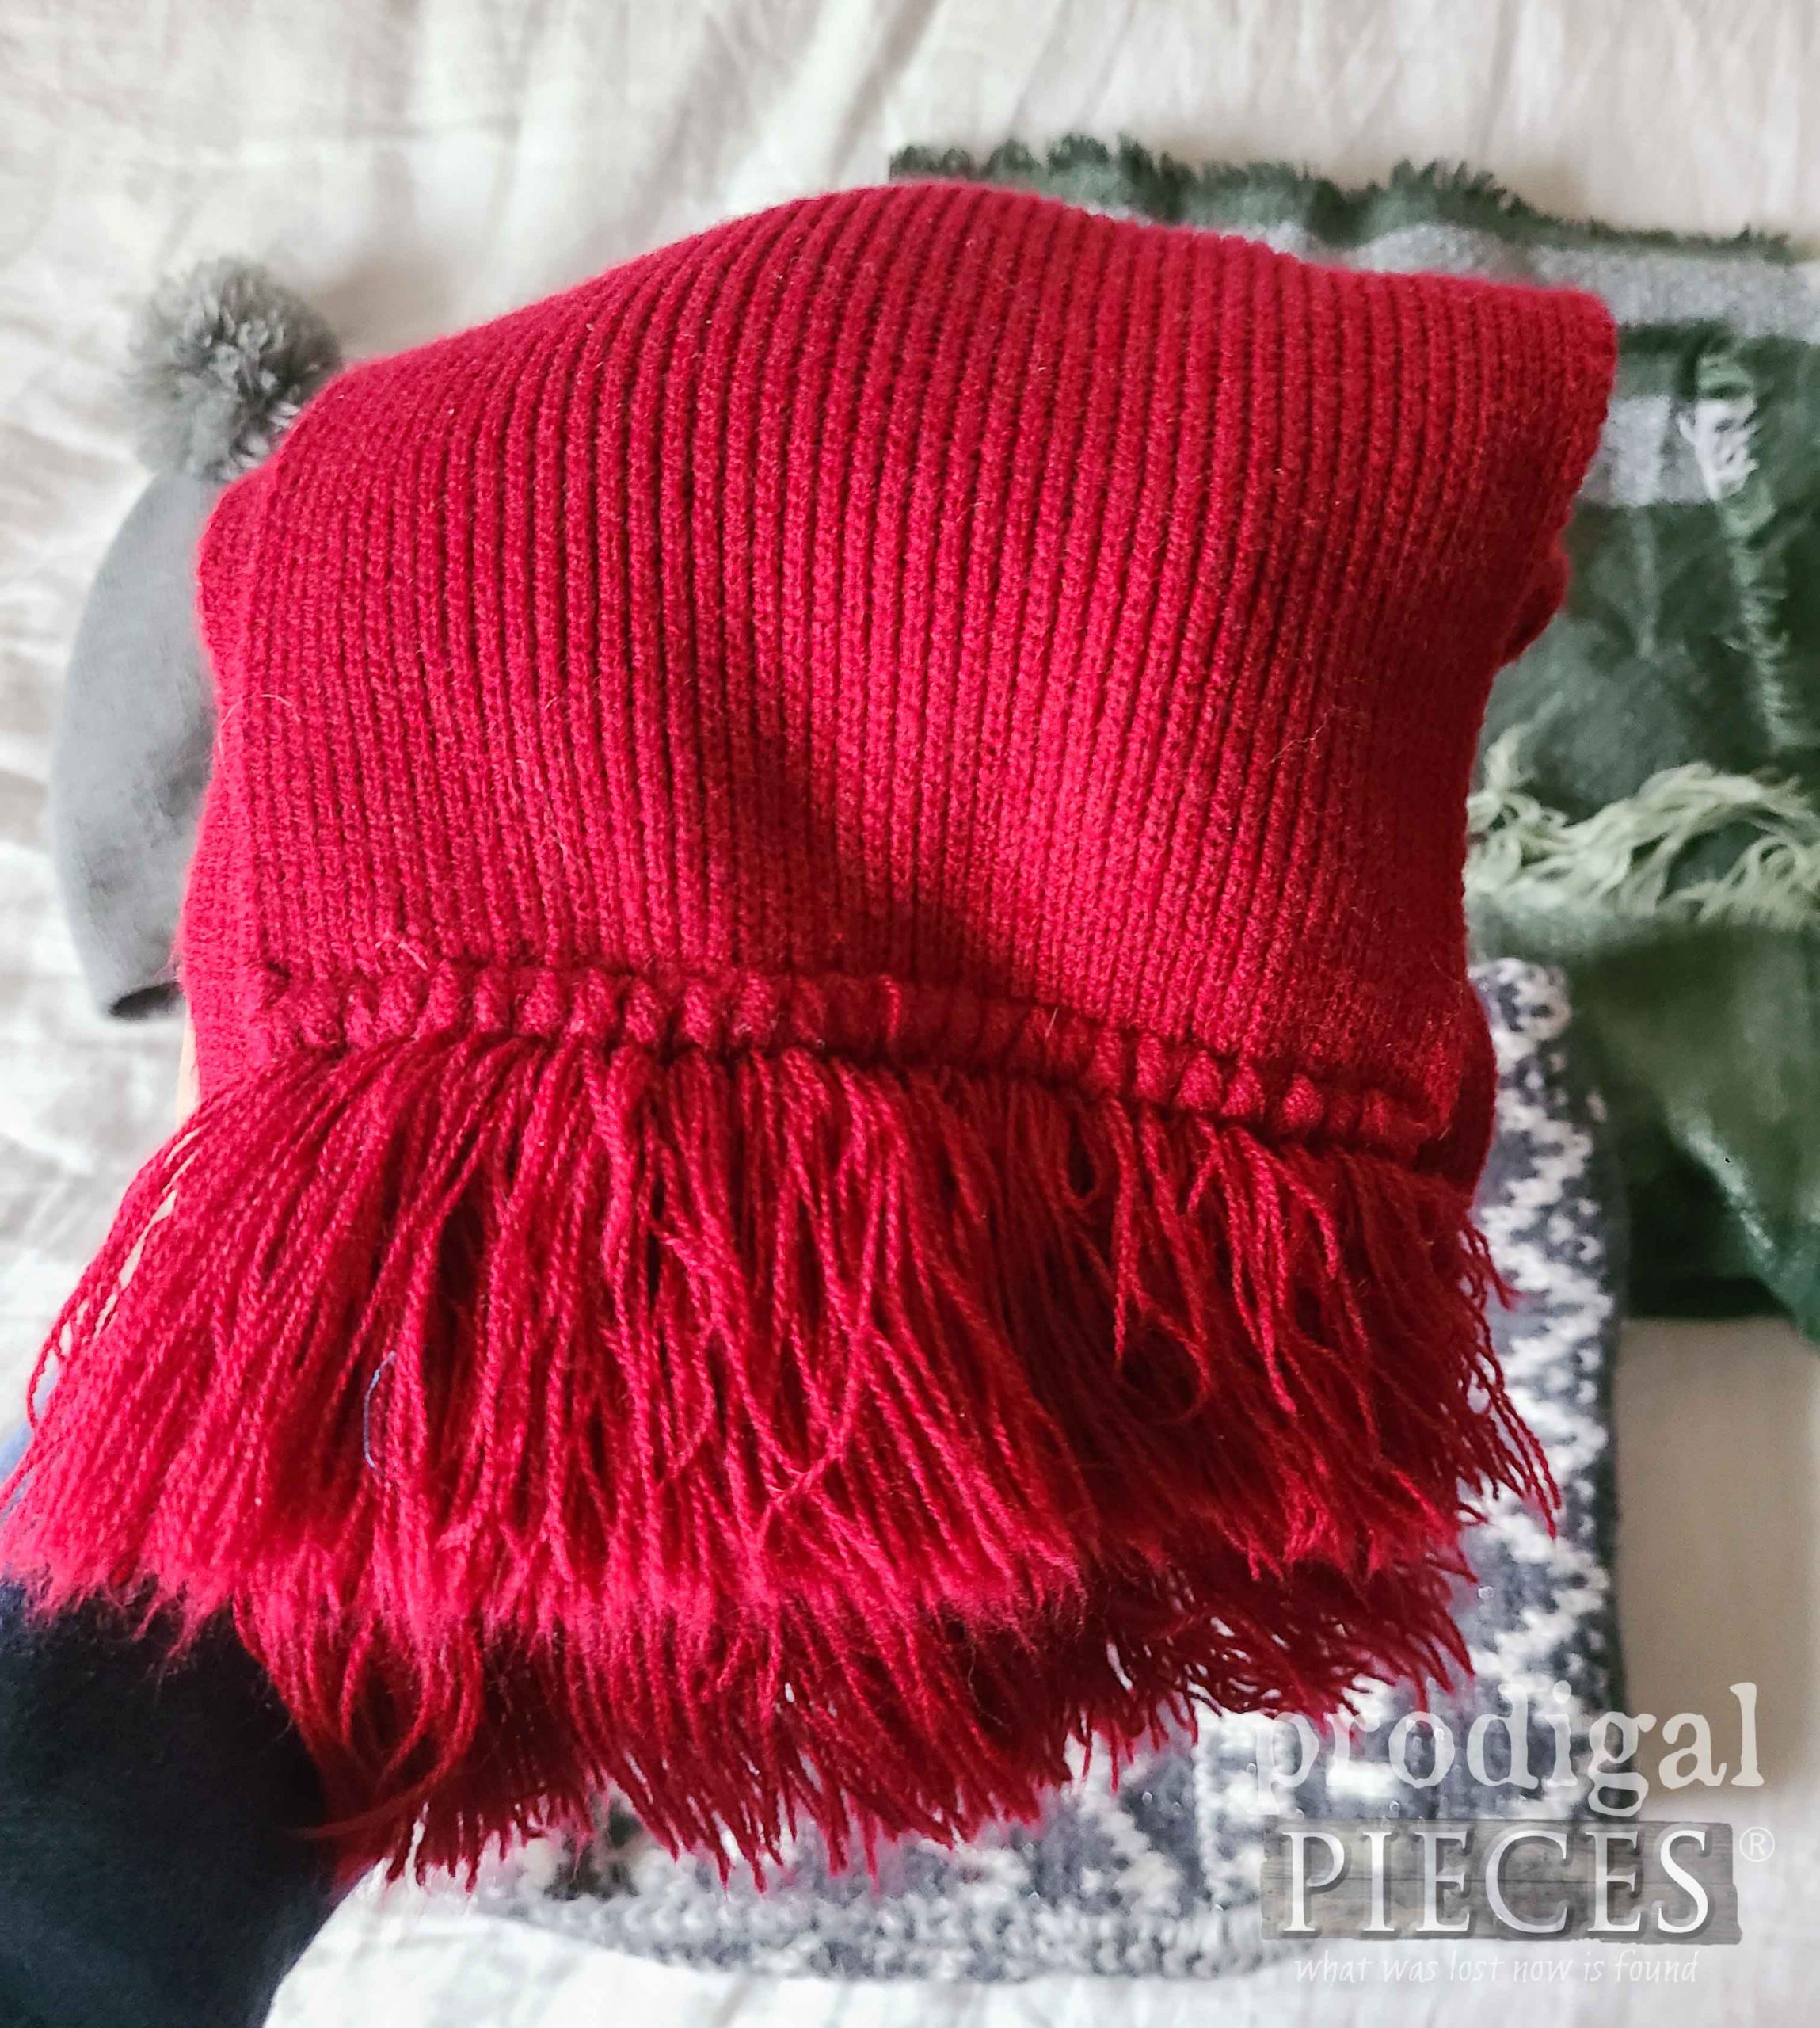
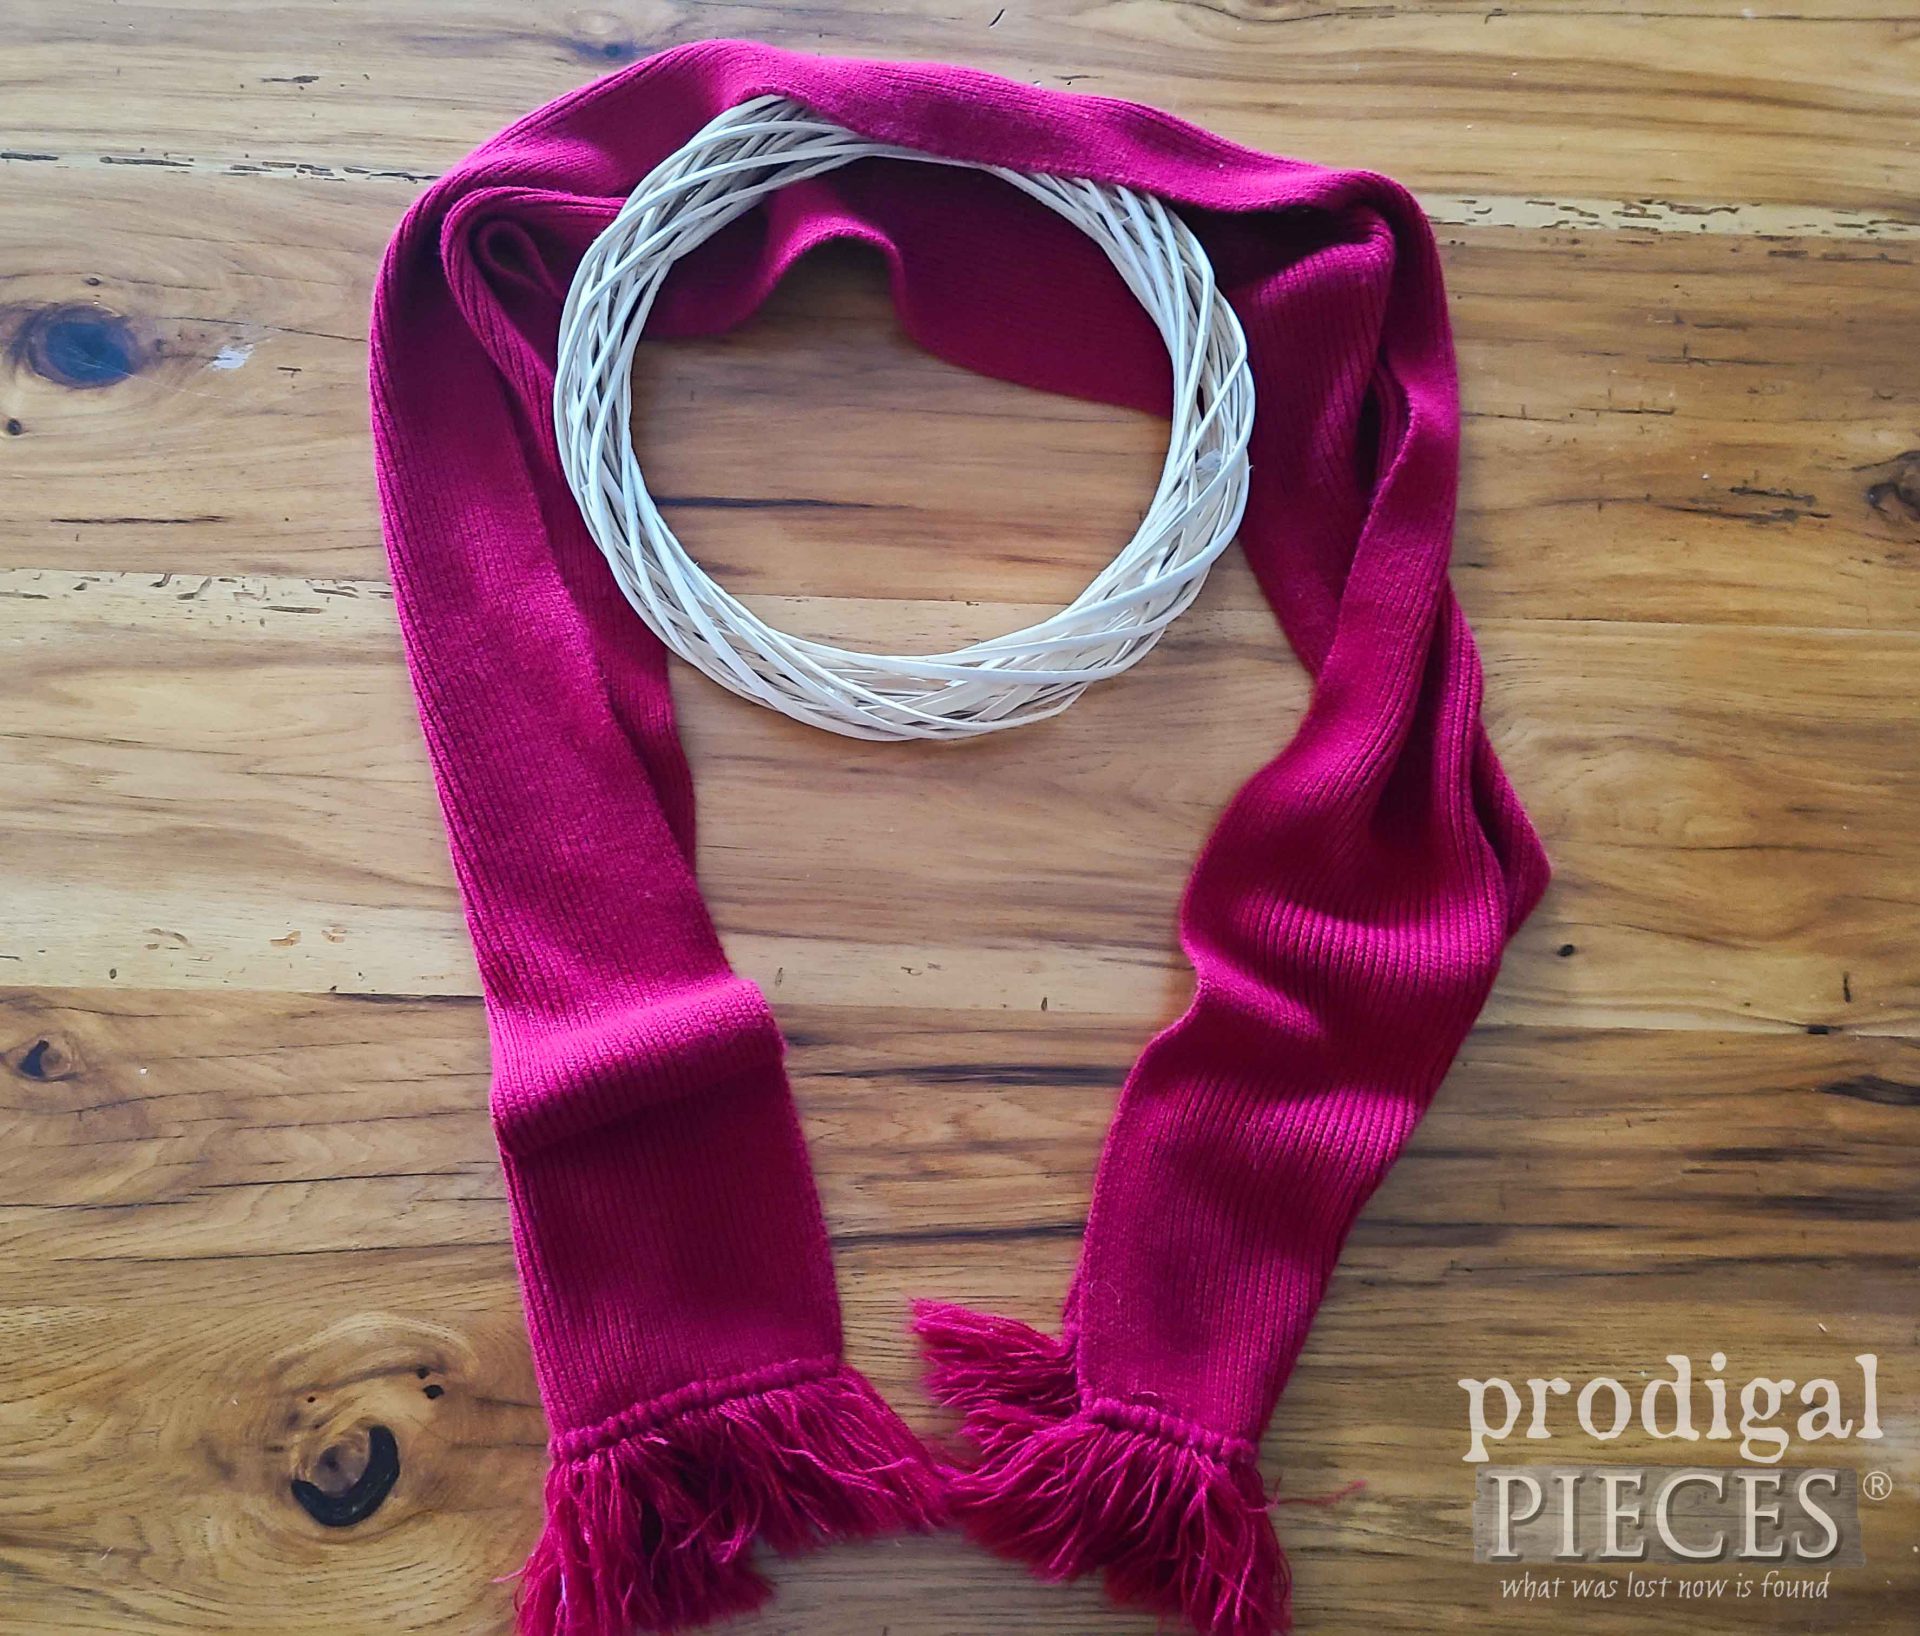
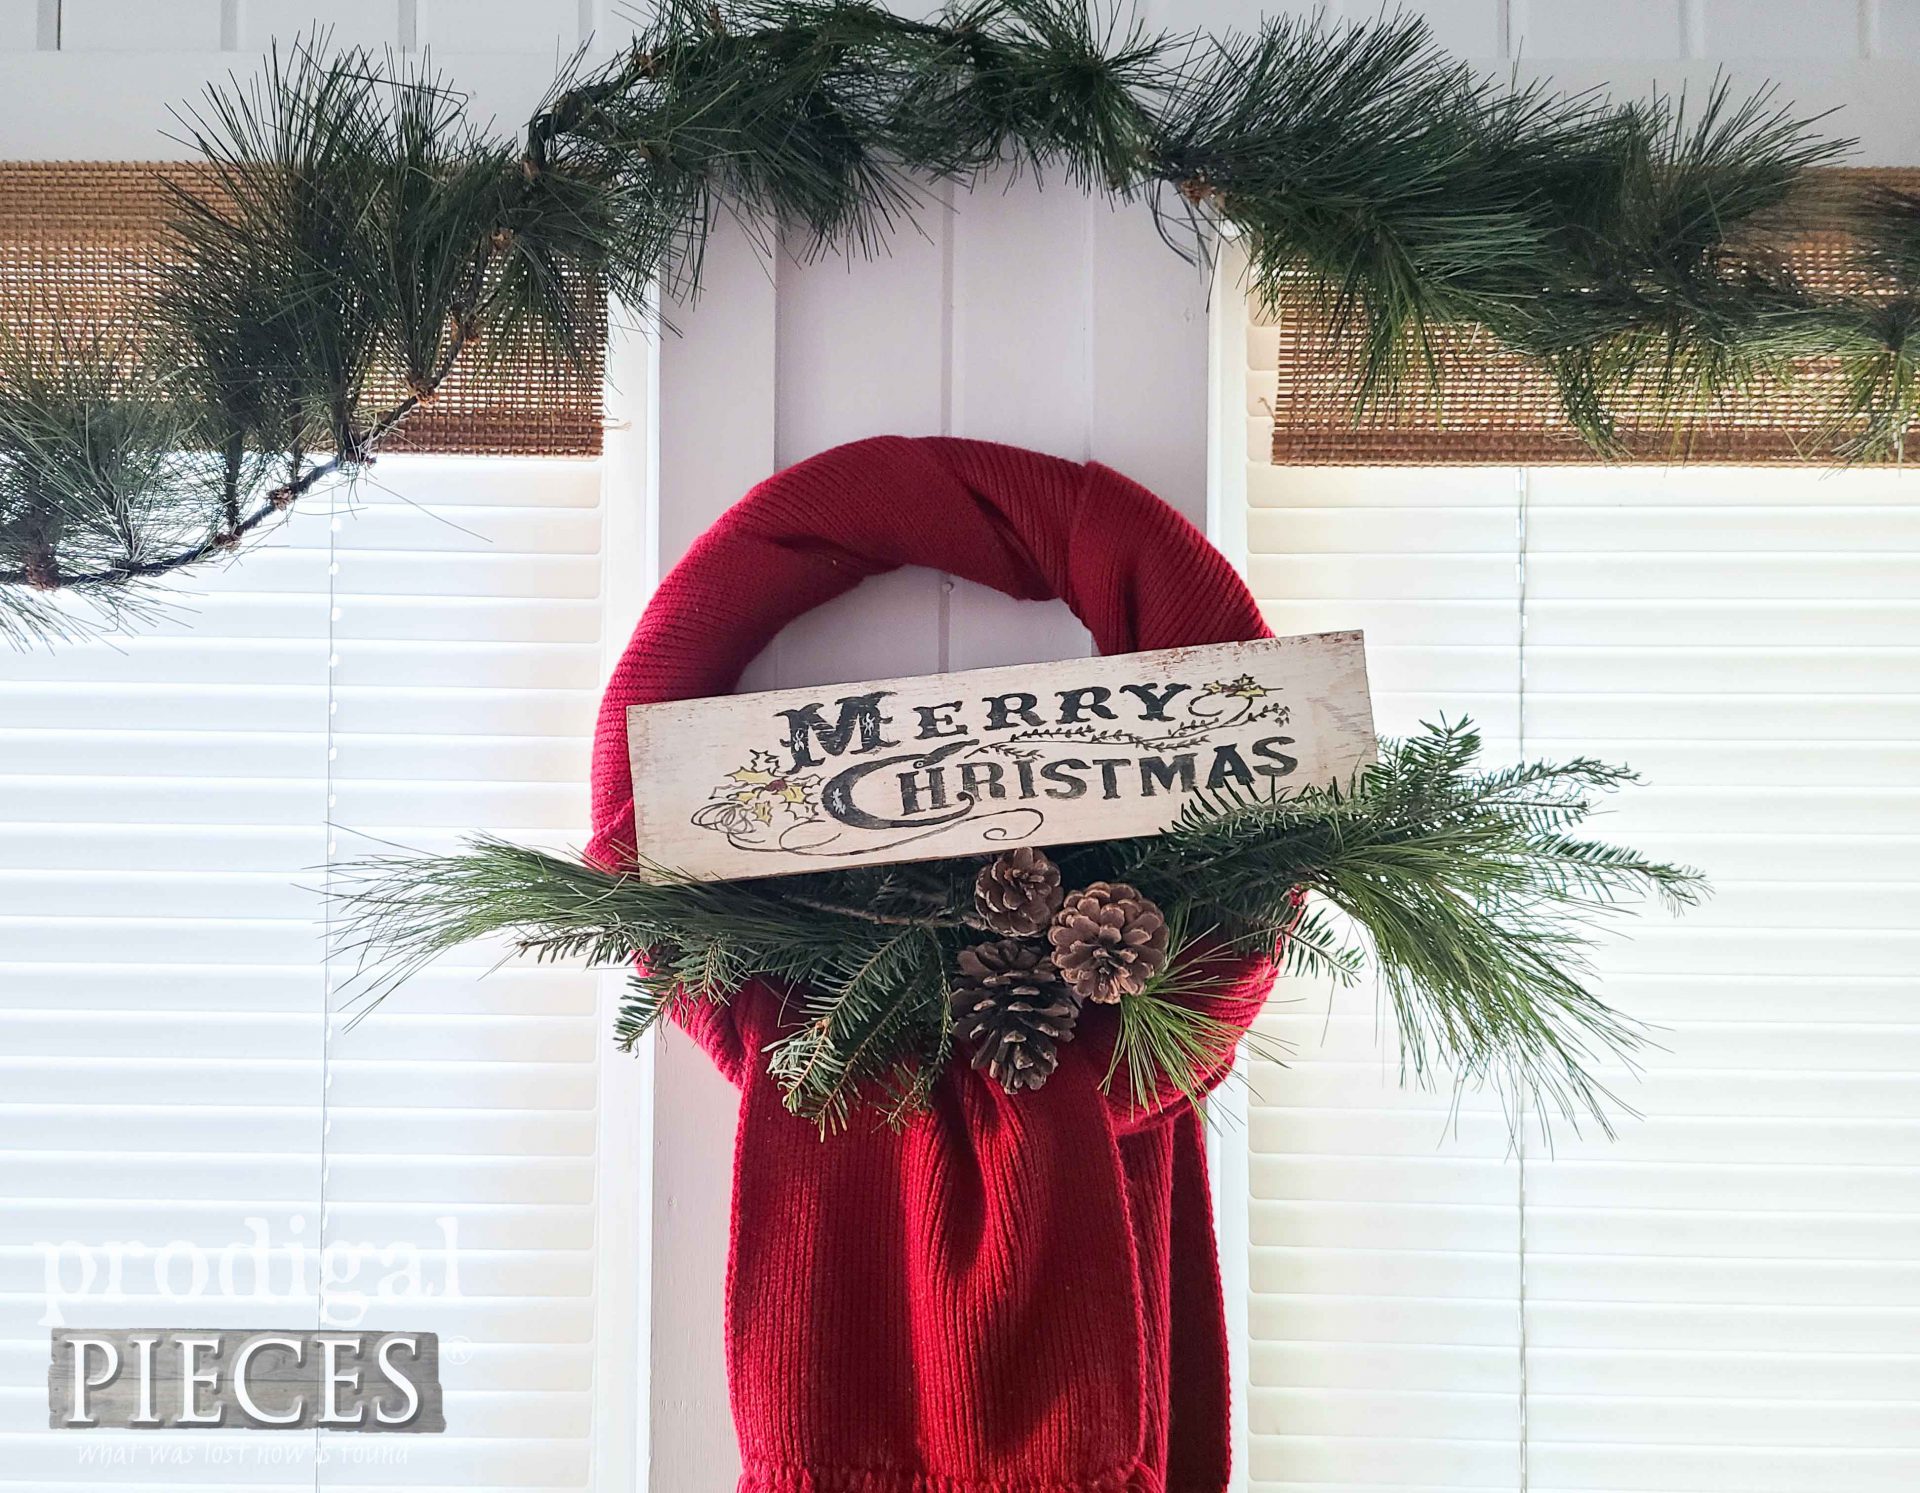
Let’s begin with the knit red scarf. It’s beautiful as-is, but I want to make it more.
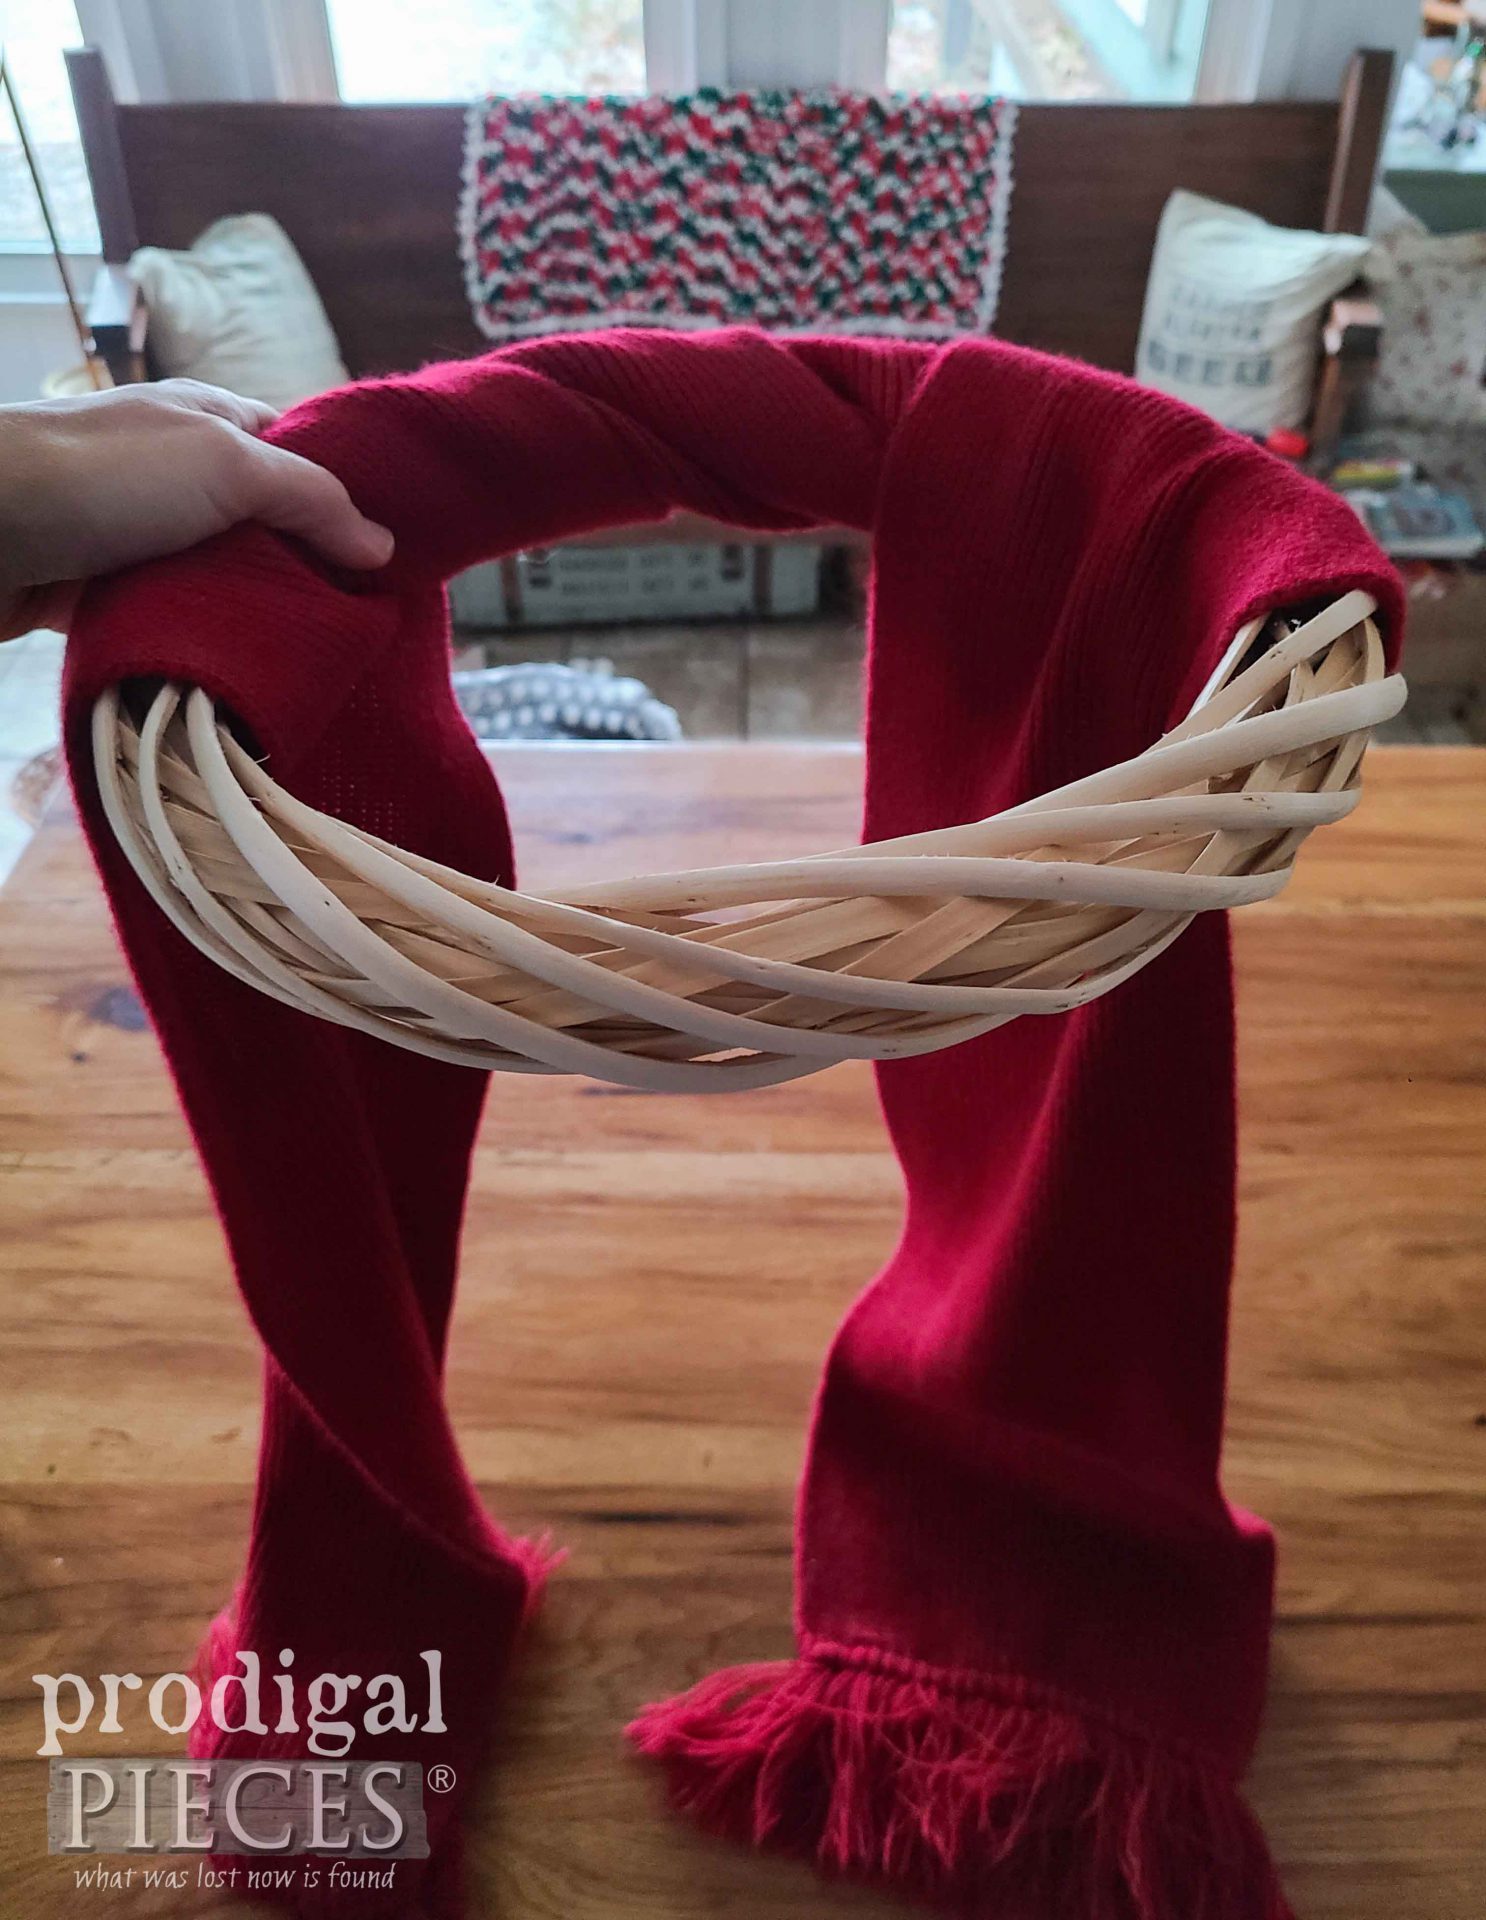
Next, I’m pairing it with this wicker wreath. Find center of the scarf and begin to wrap each length of the scarf around.
Holding the wreath as shown makes it much easier. Feel free to call in reinforcements – the more the merrier!
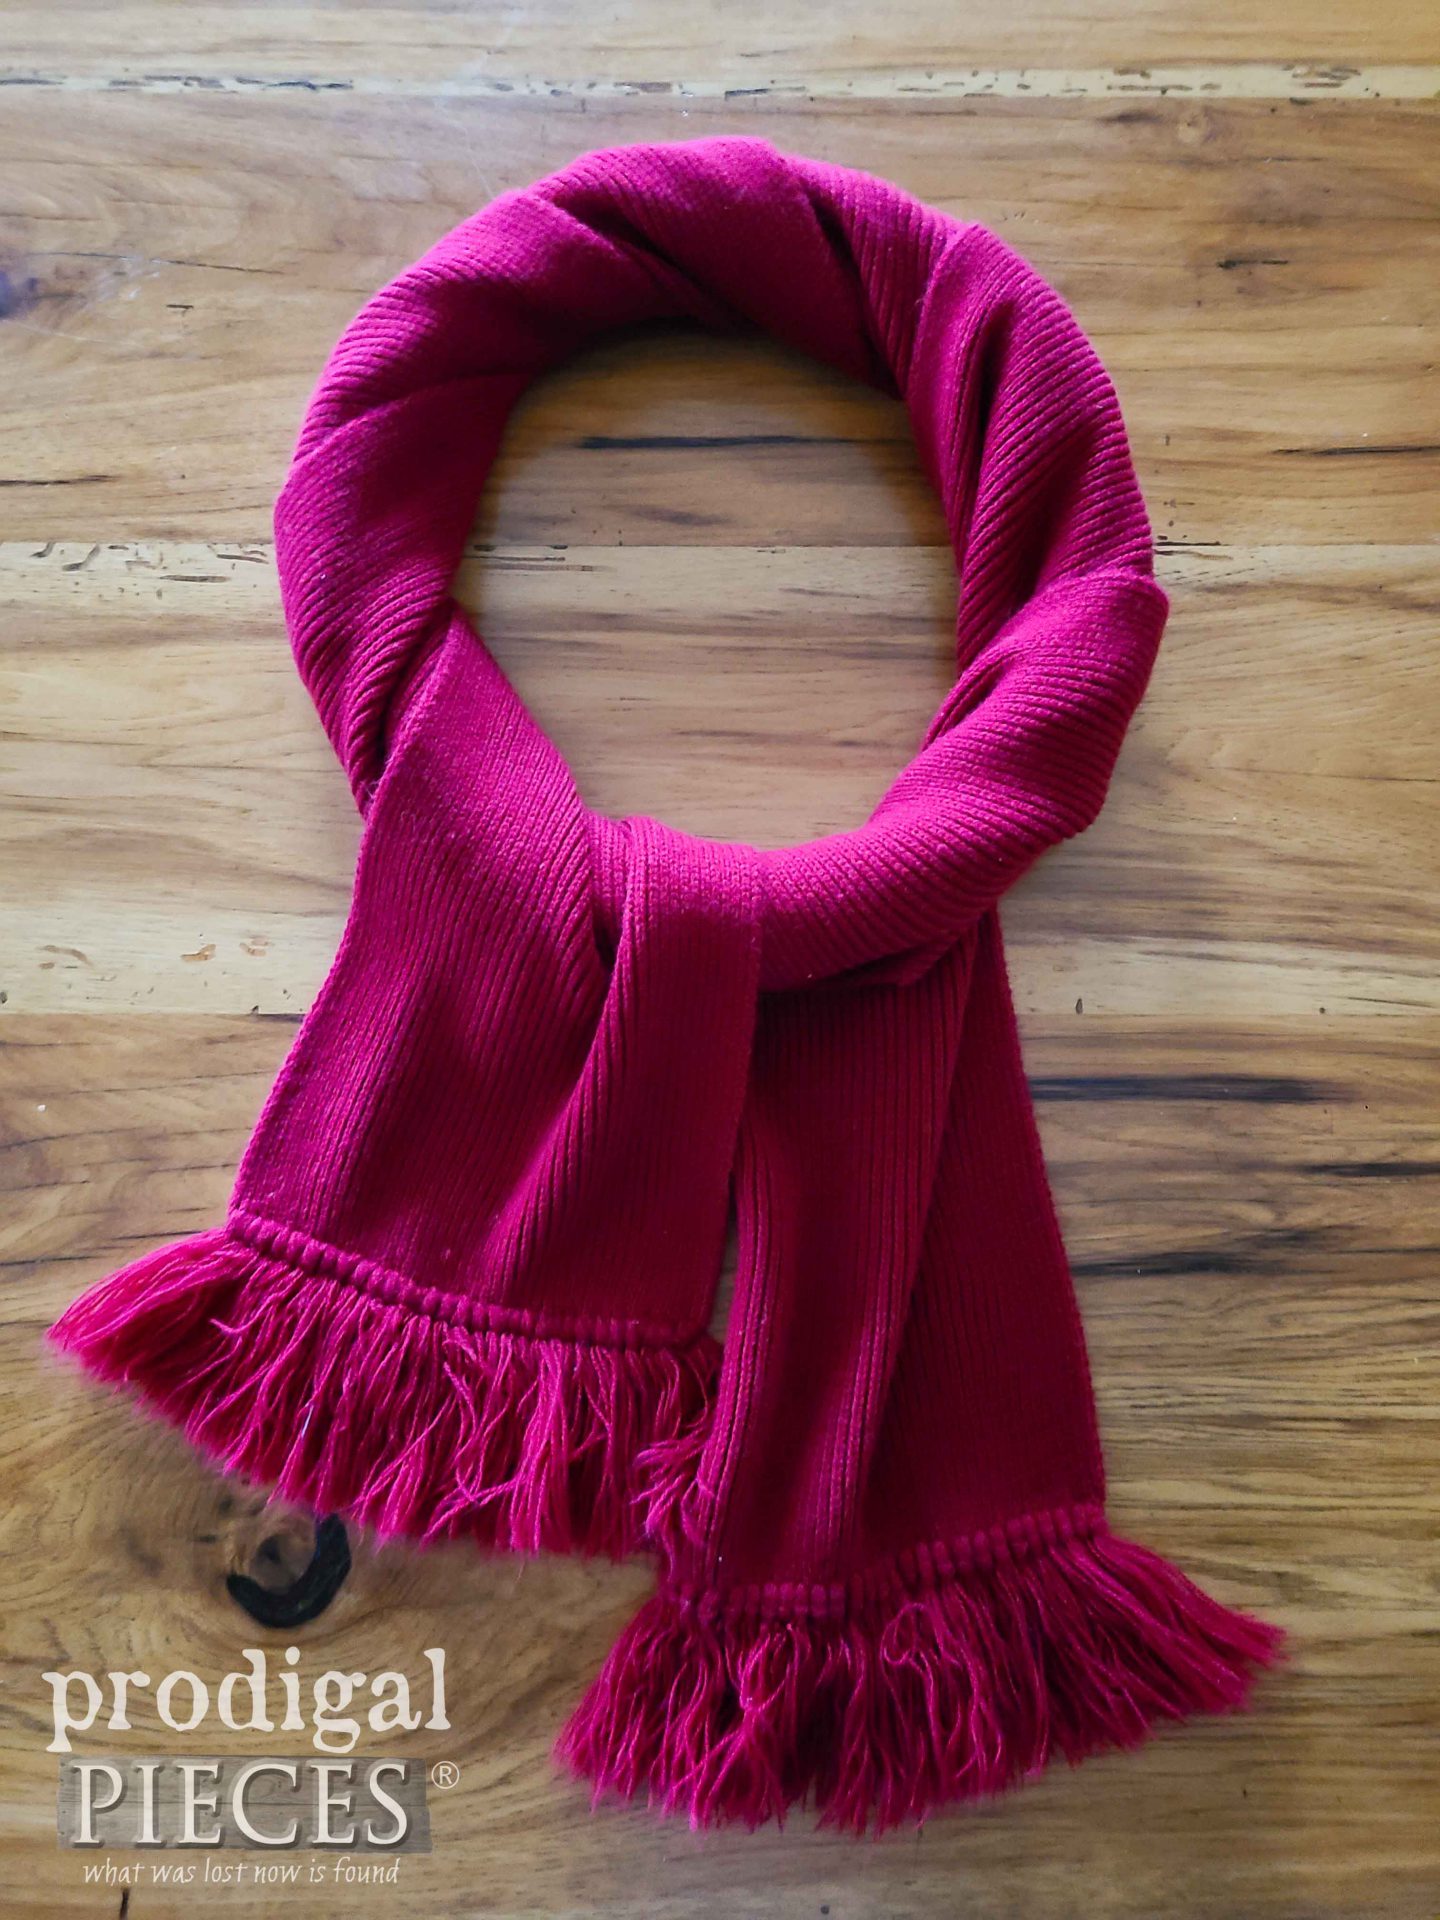
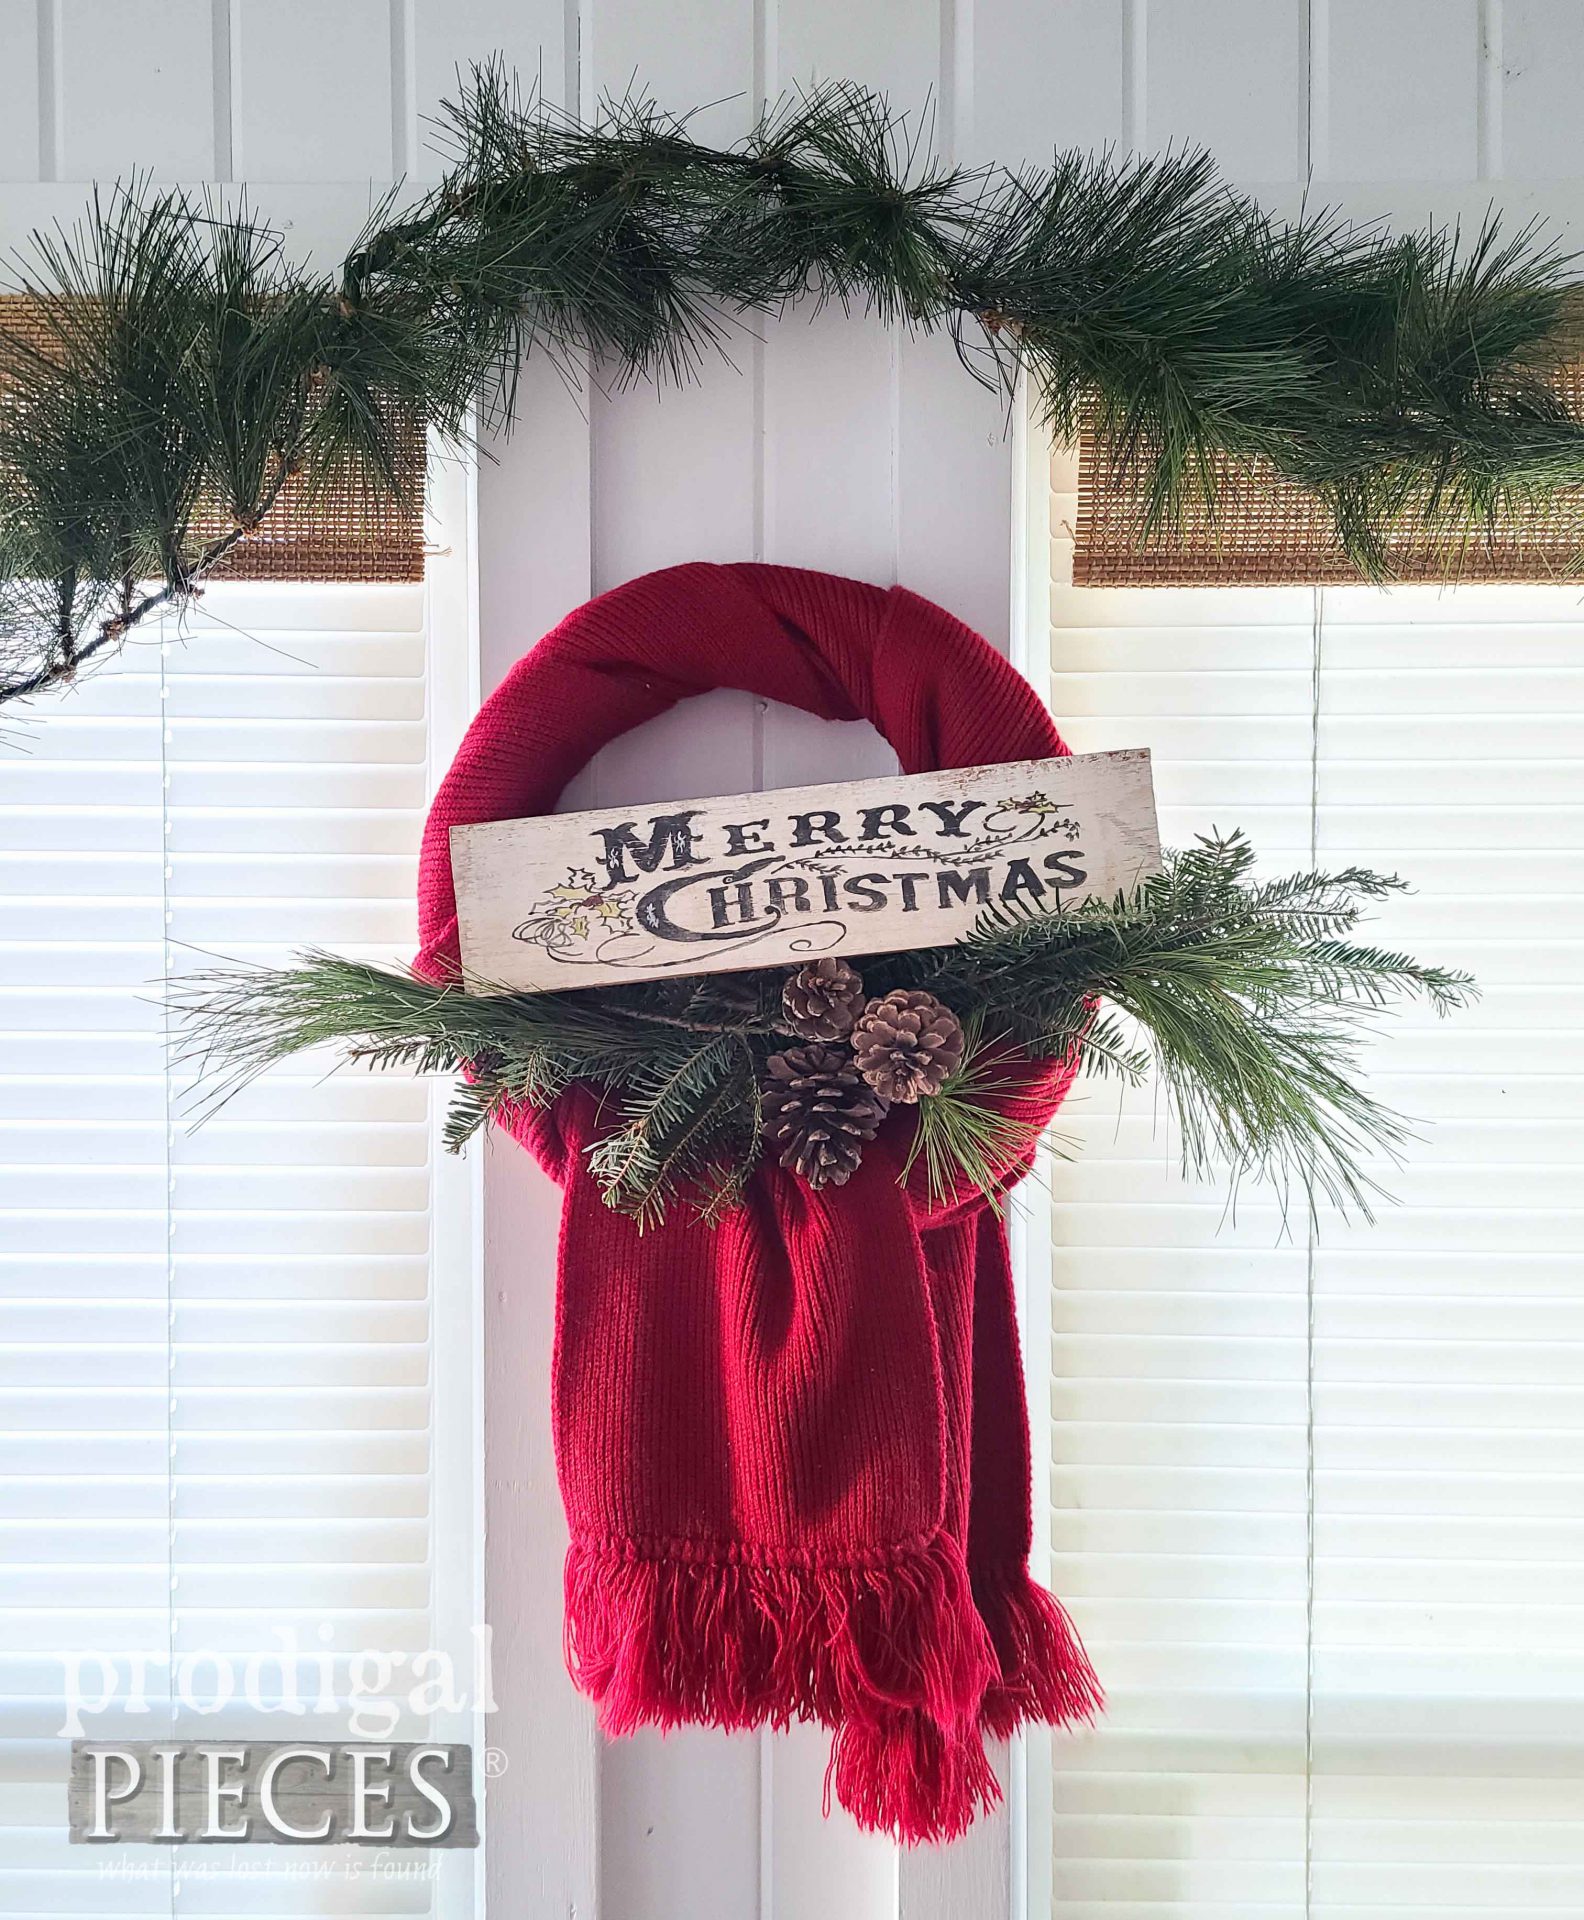
Last, we have our cozy upcycled scarves wreath! At this point, feel free to embellish to your heart’s content. However, because I’m wanting to gift this when done, I use wire to attach a few fresh greens and pine cones along with my hand-painted sign.
NEXT PROJECT
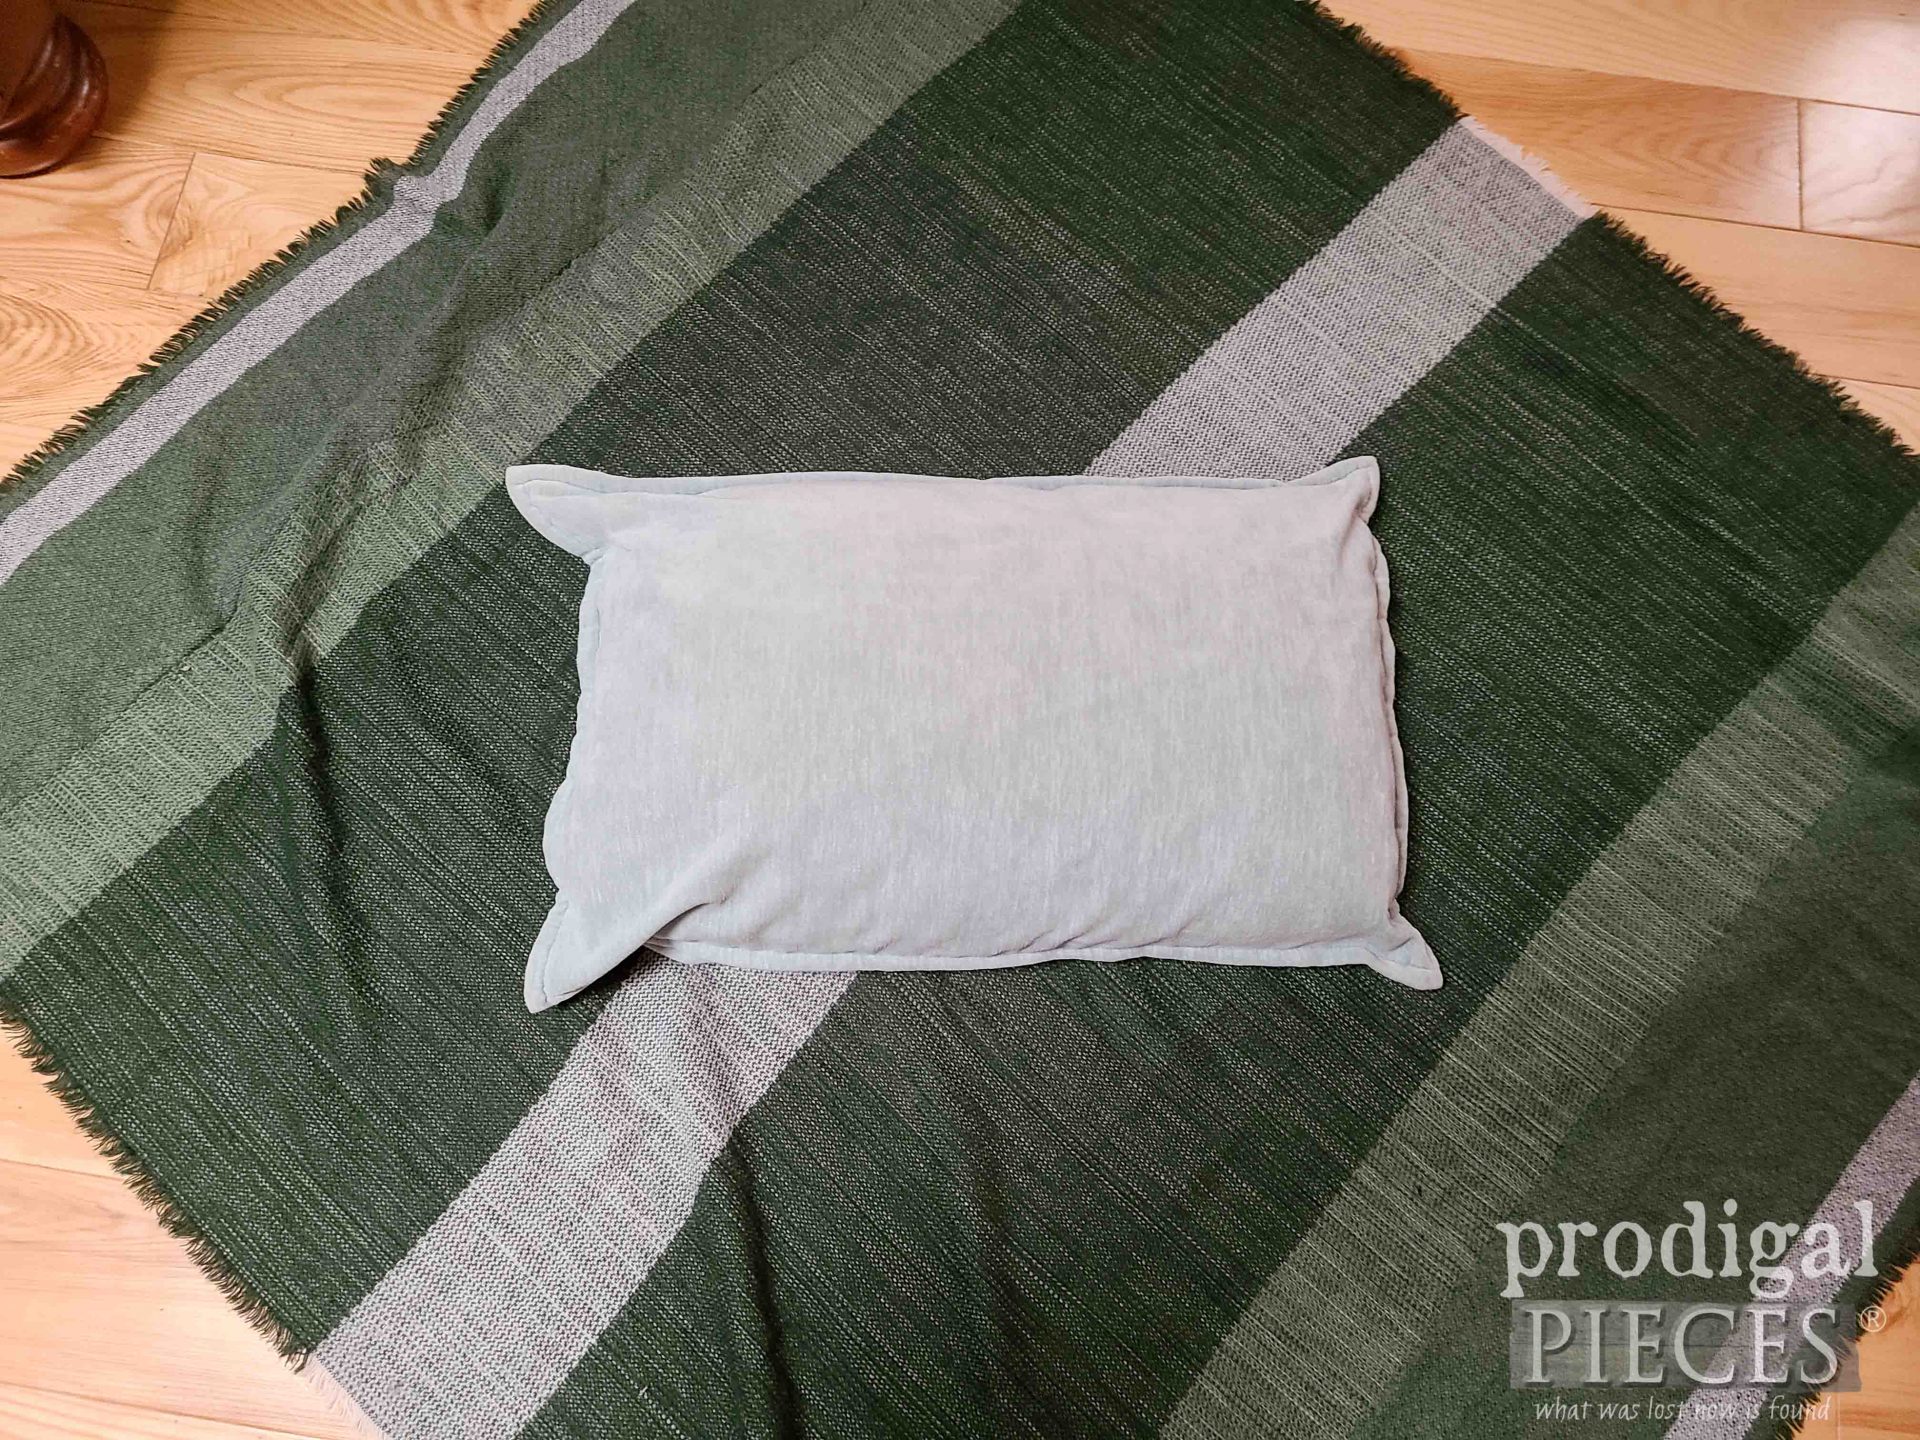
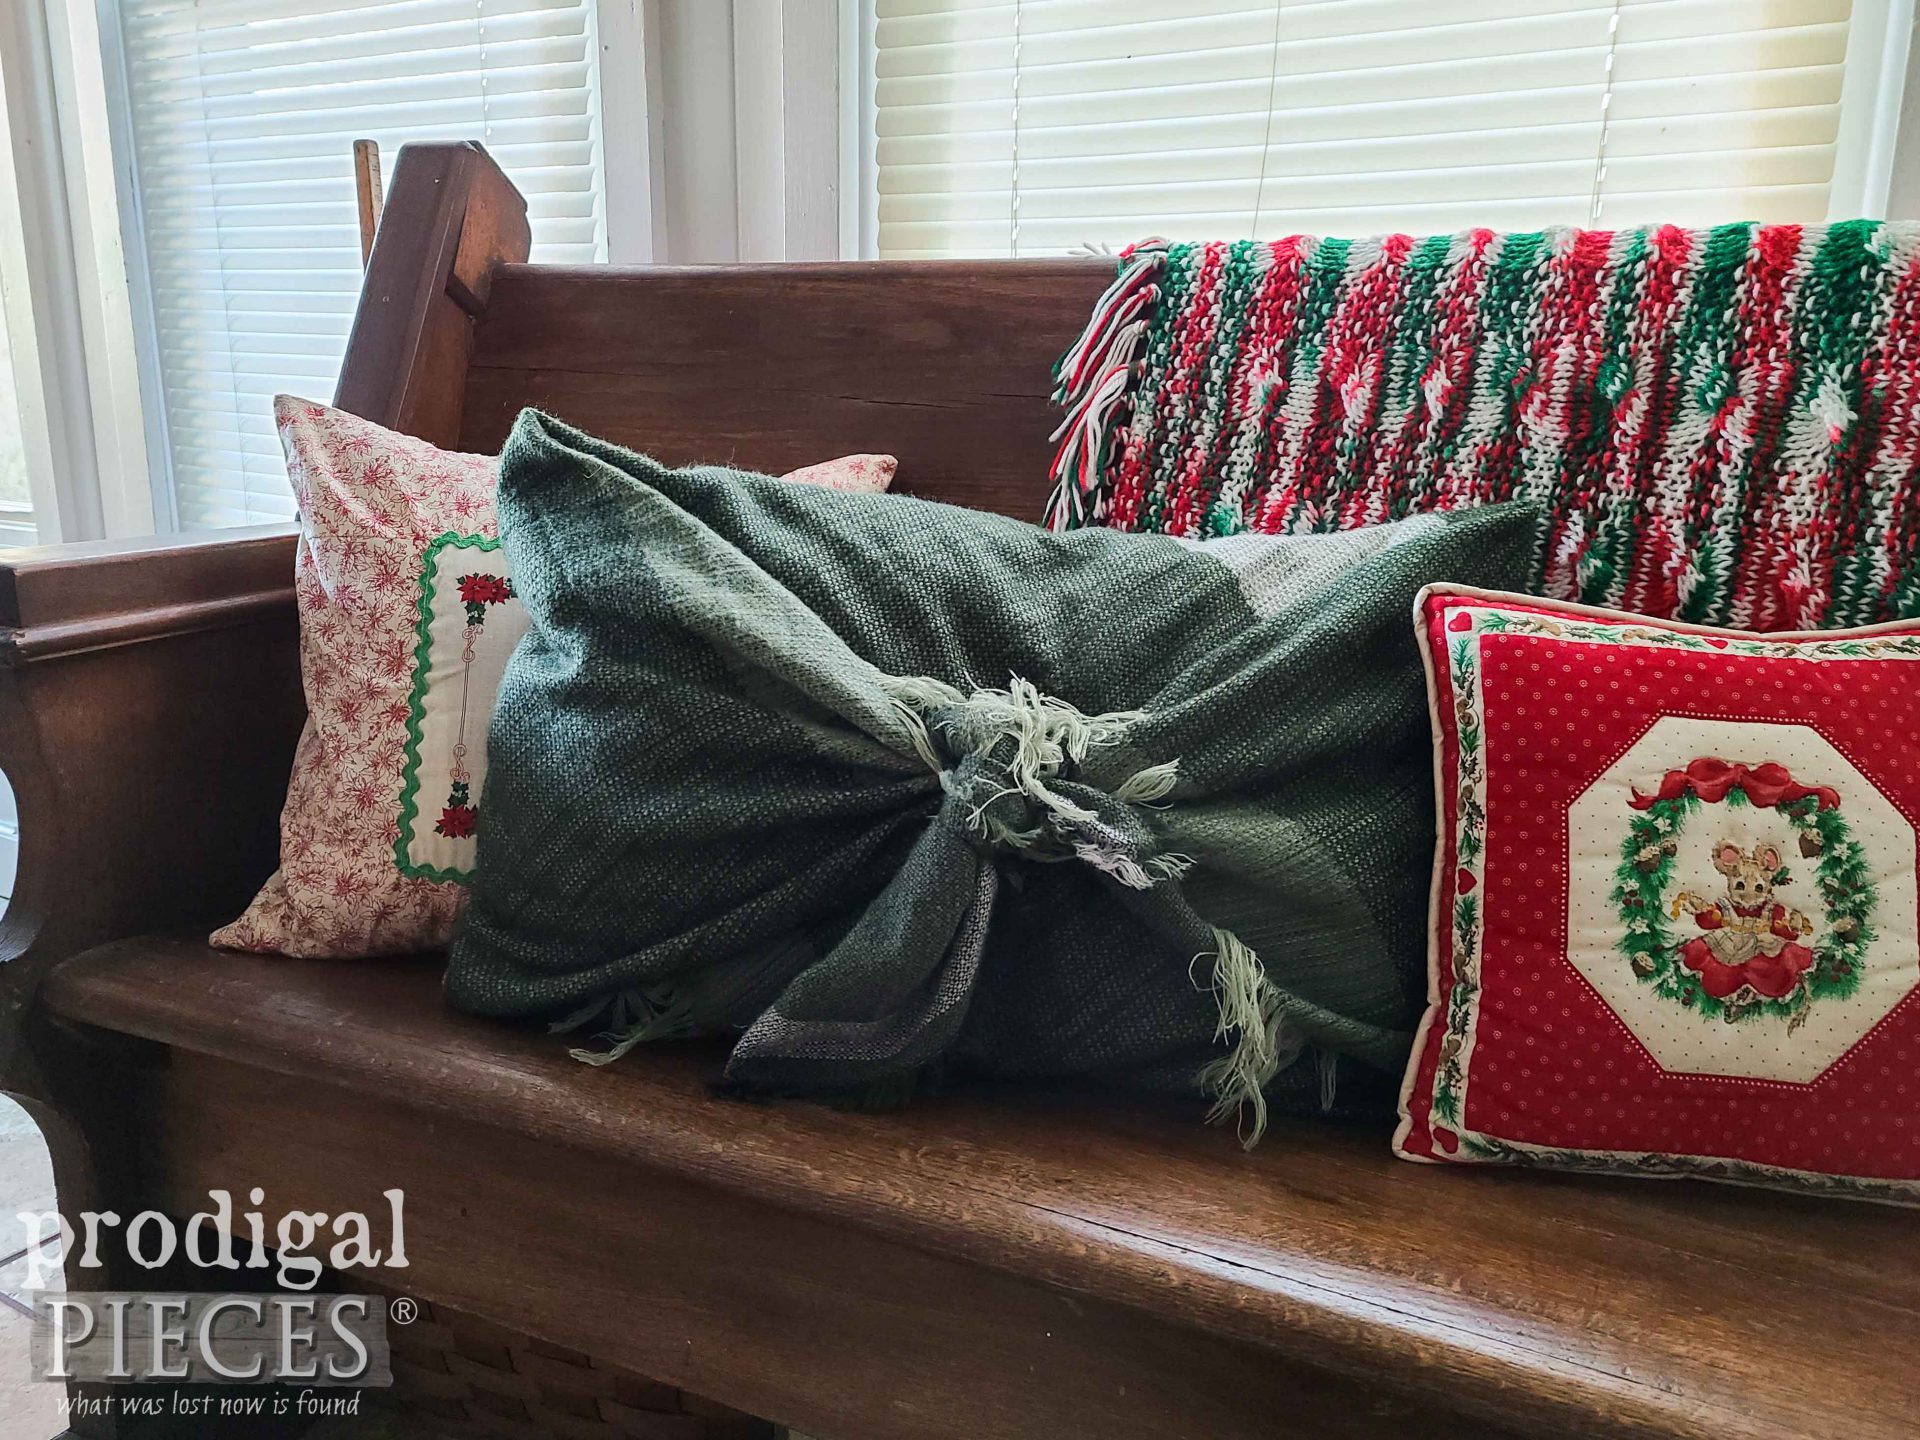
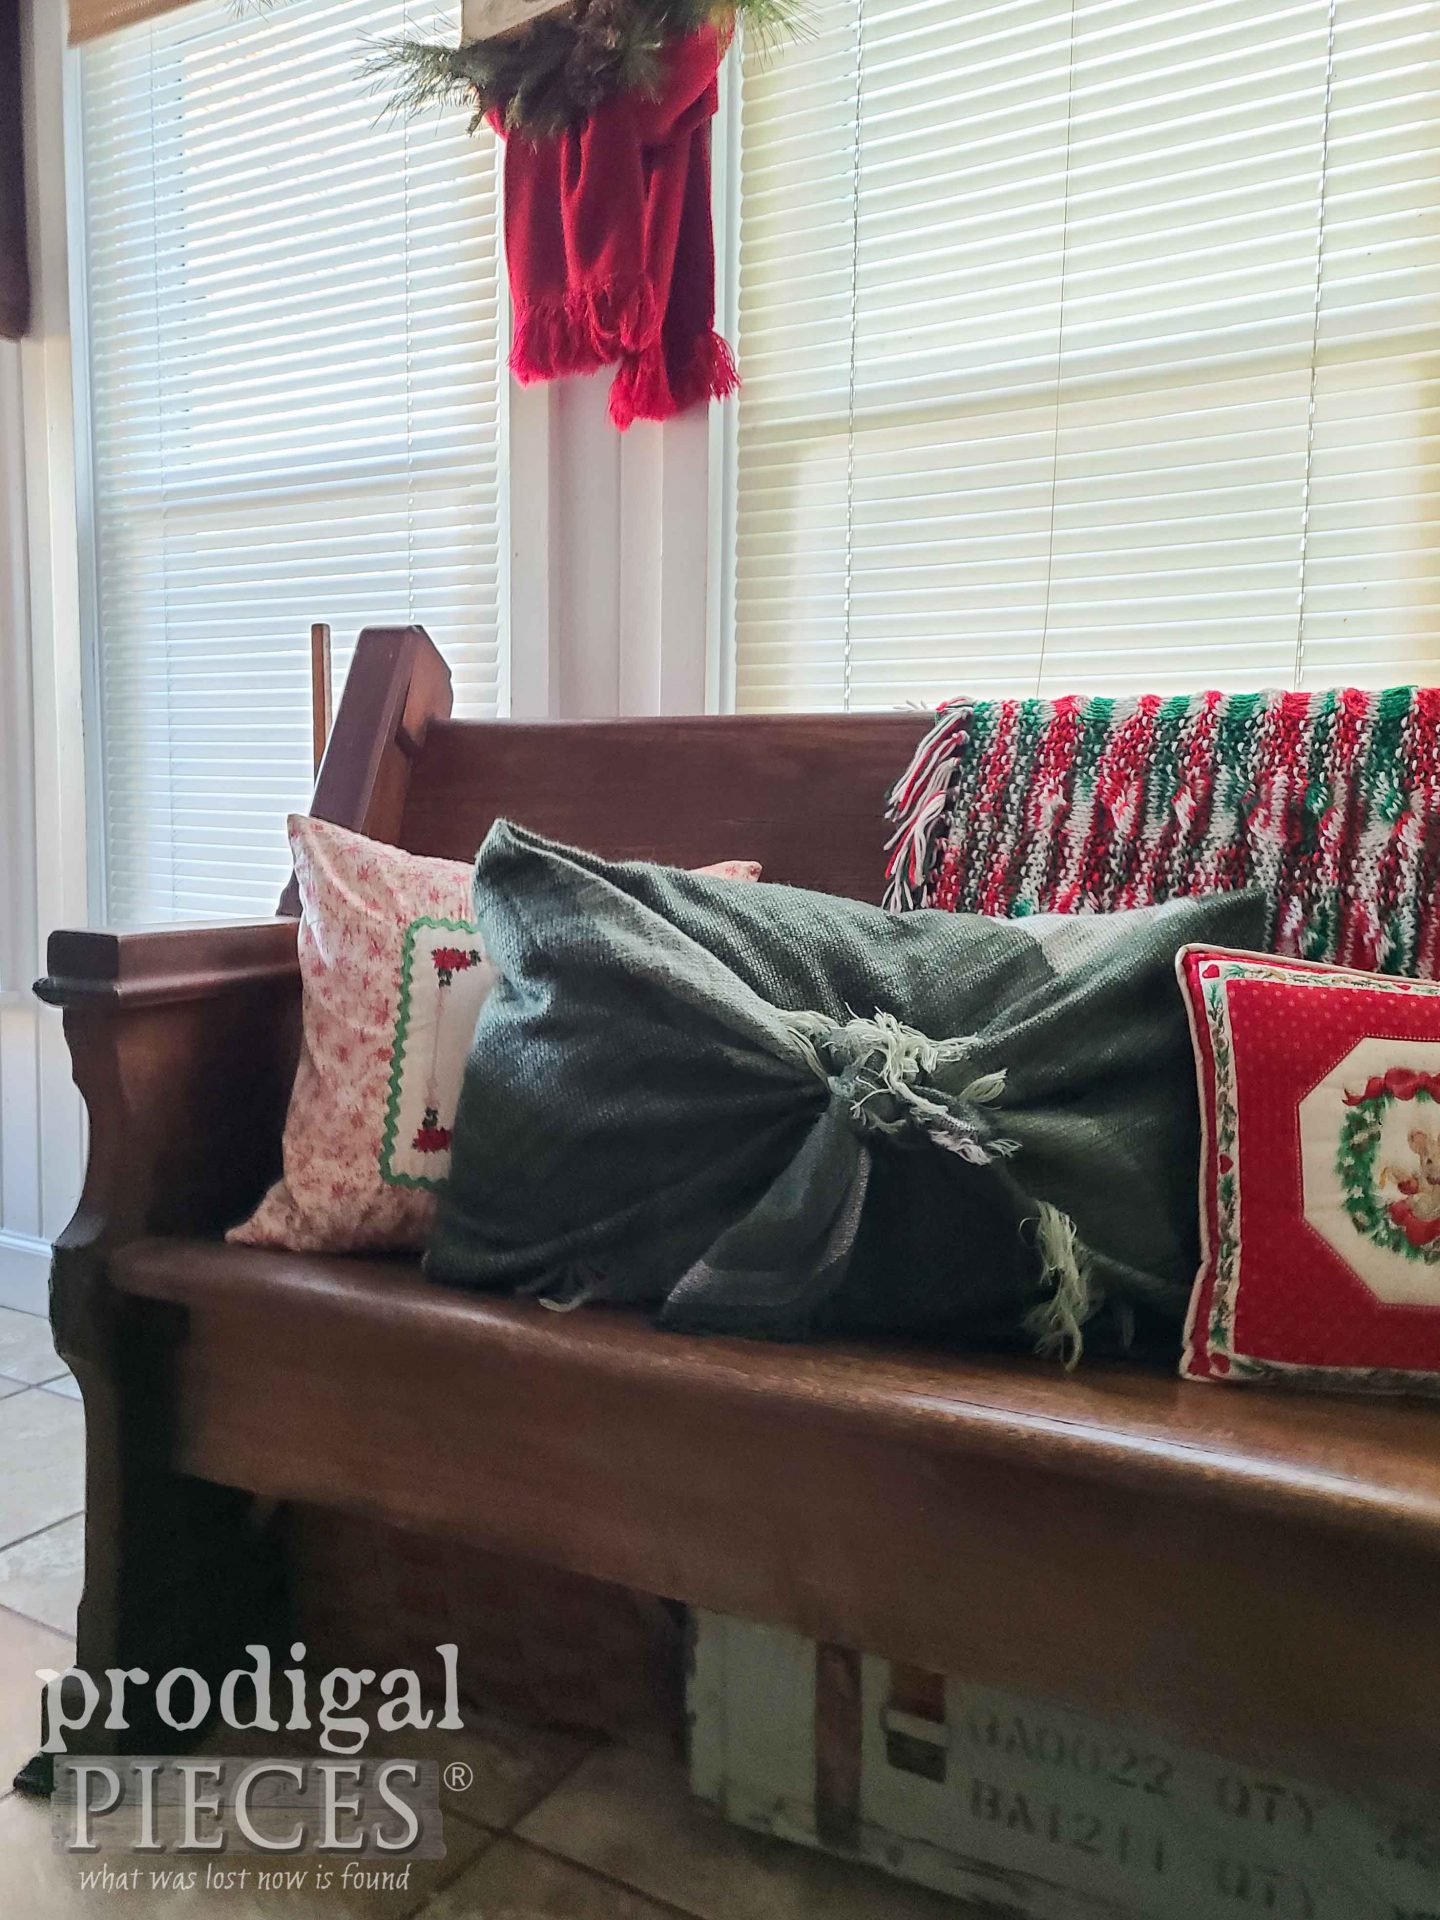
Next, lets make use of that beautiful green scarf. Again, no-sew and keeping it lovely so that I can gift it when done. Keep in mind, you can do this for any time of year, not just Christmas or winter. I place my scarf on my clean floor…ahem…and set my pillow in the middle.
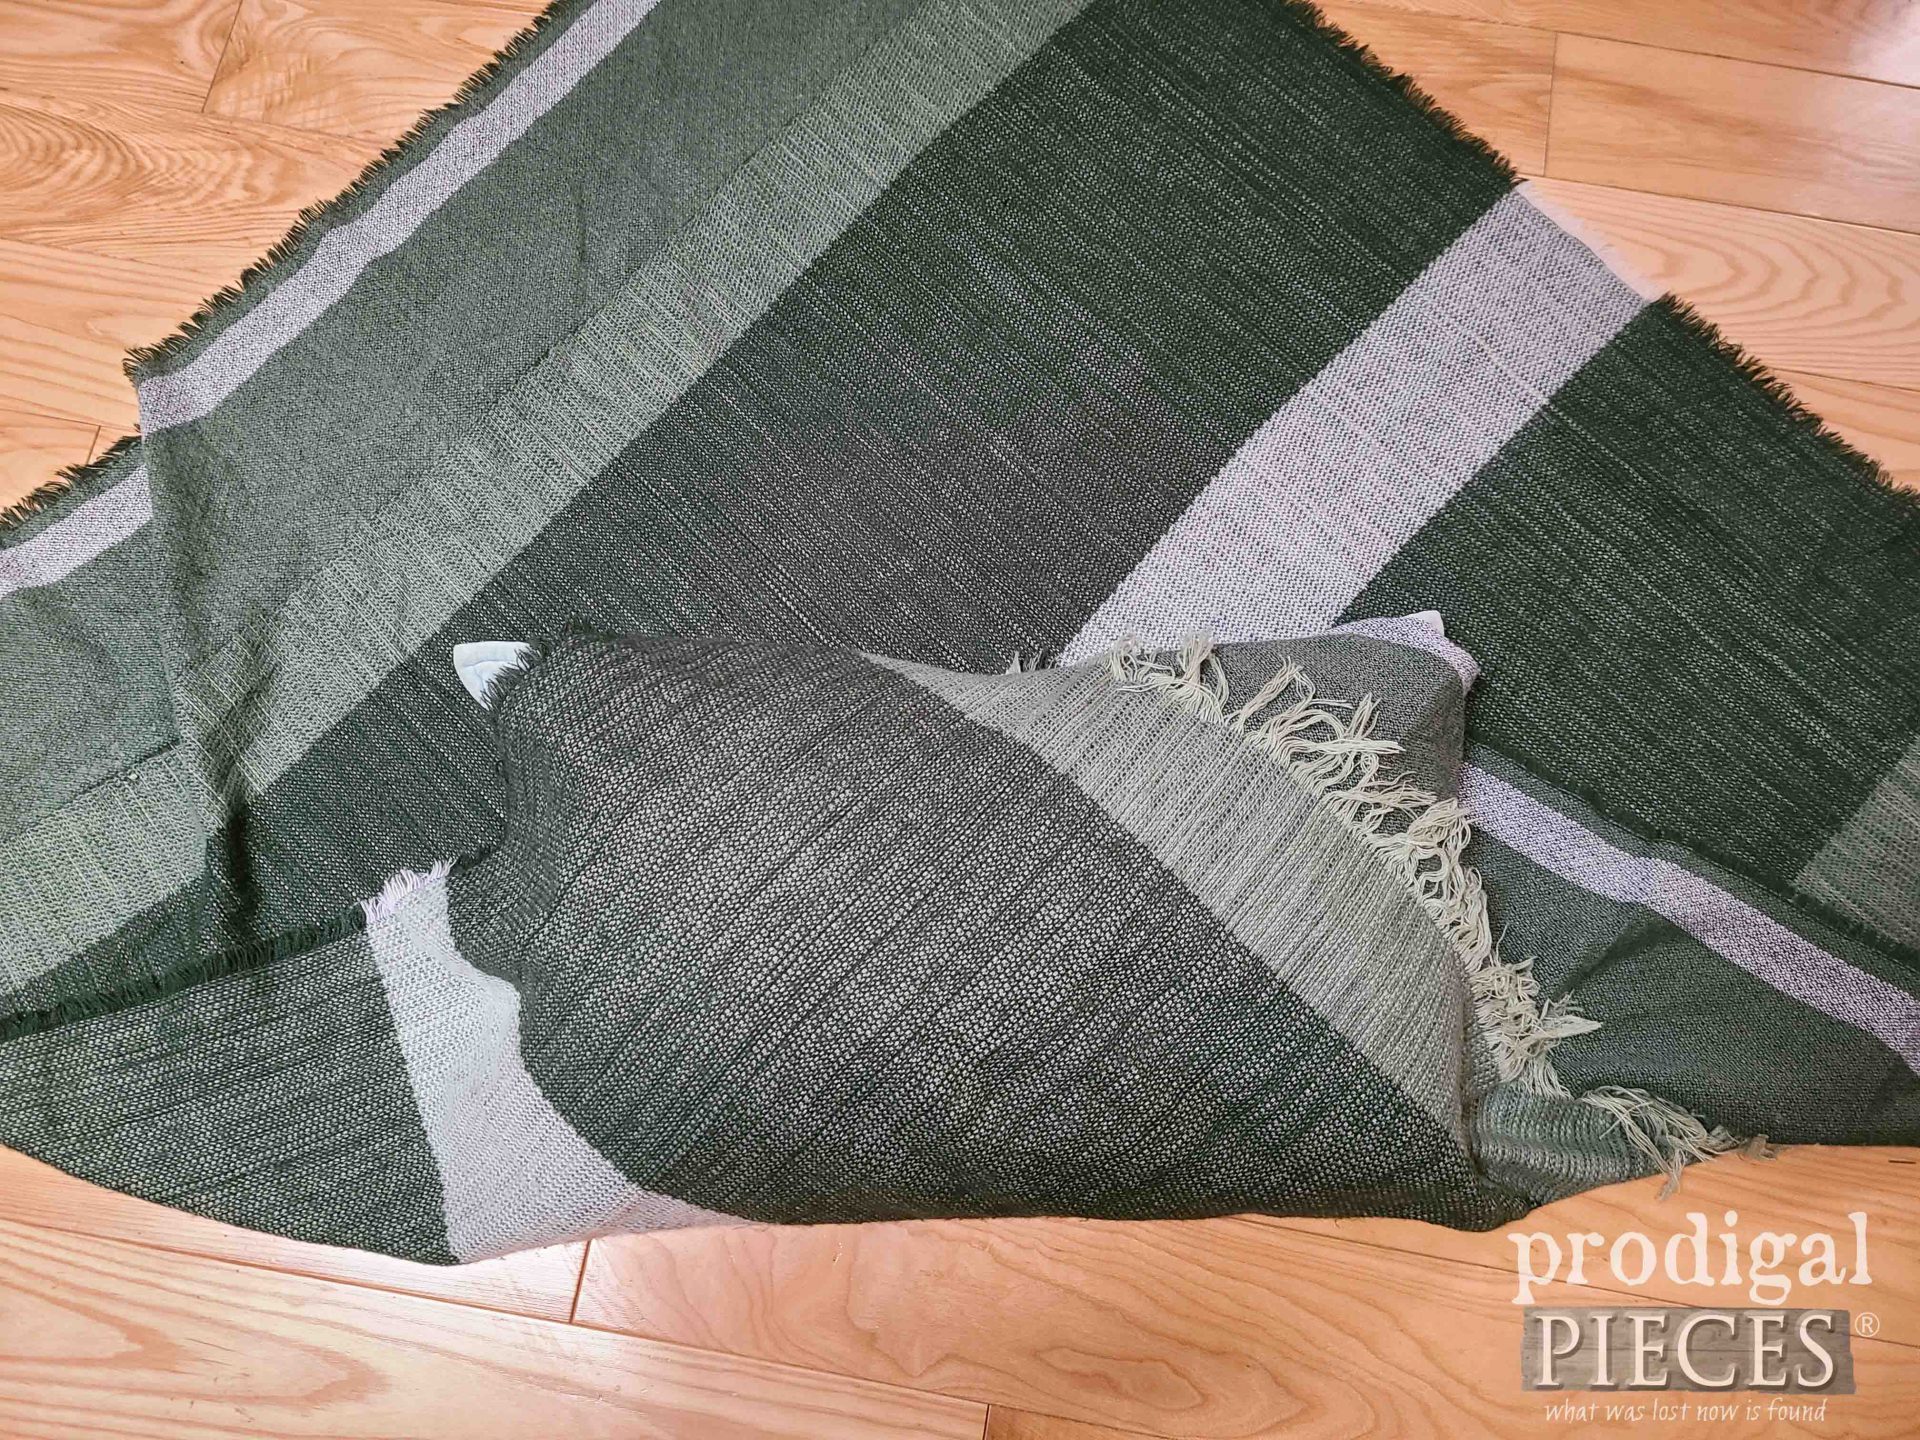
Then, using a tuck and wrap method, I bring up the bottom corner and tuck it around.
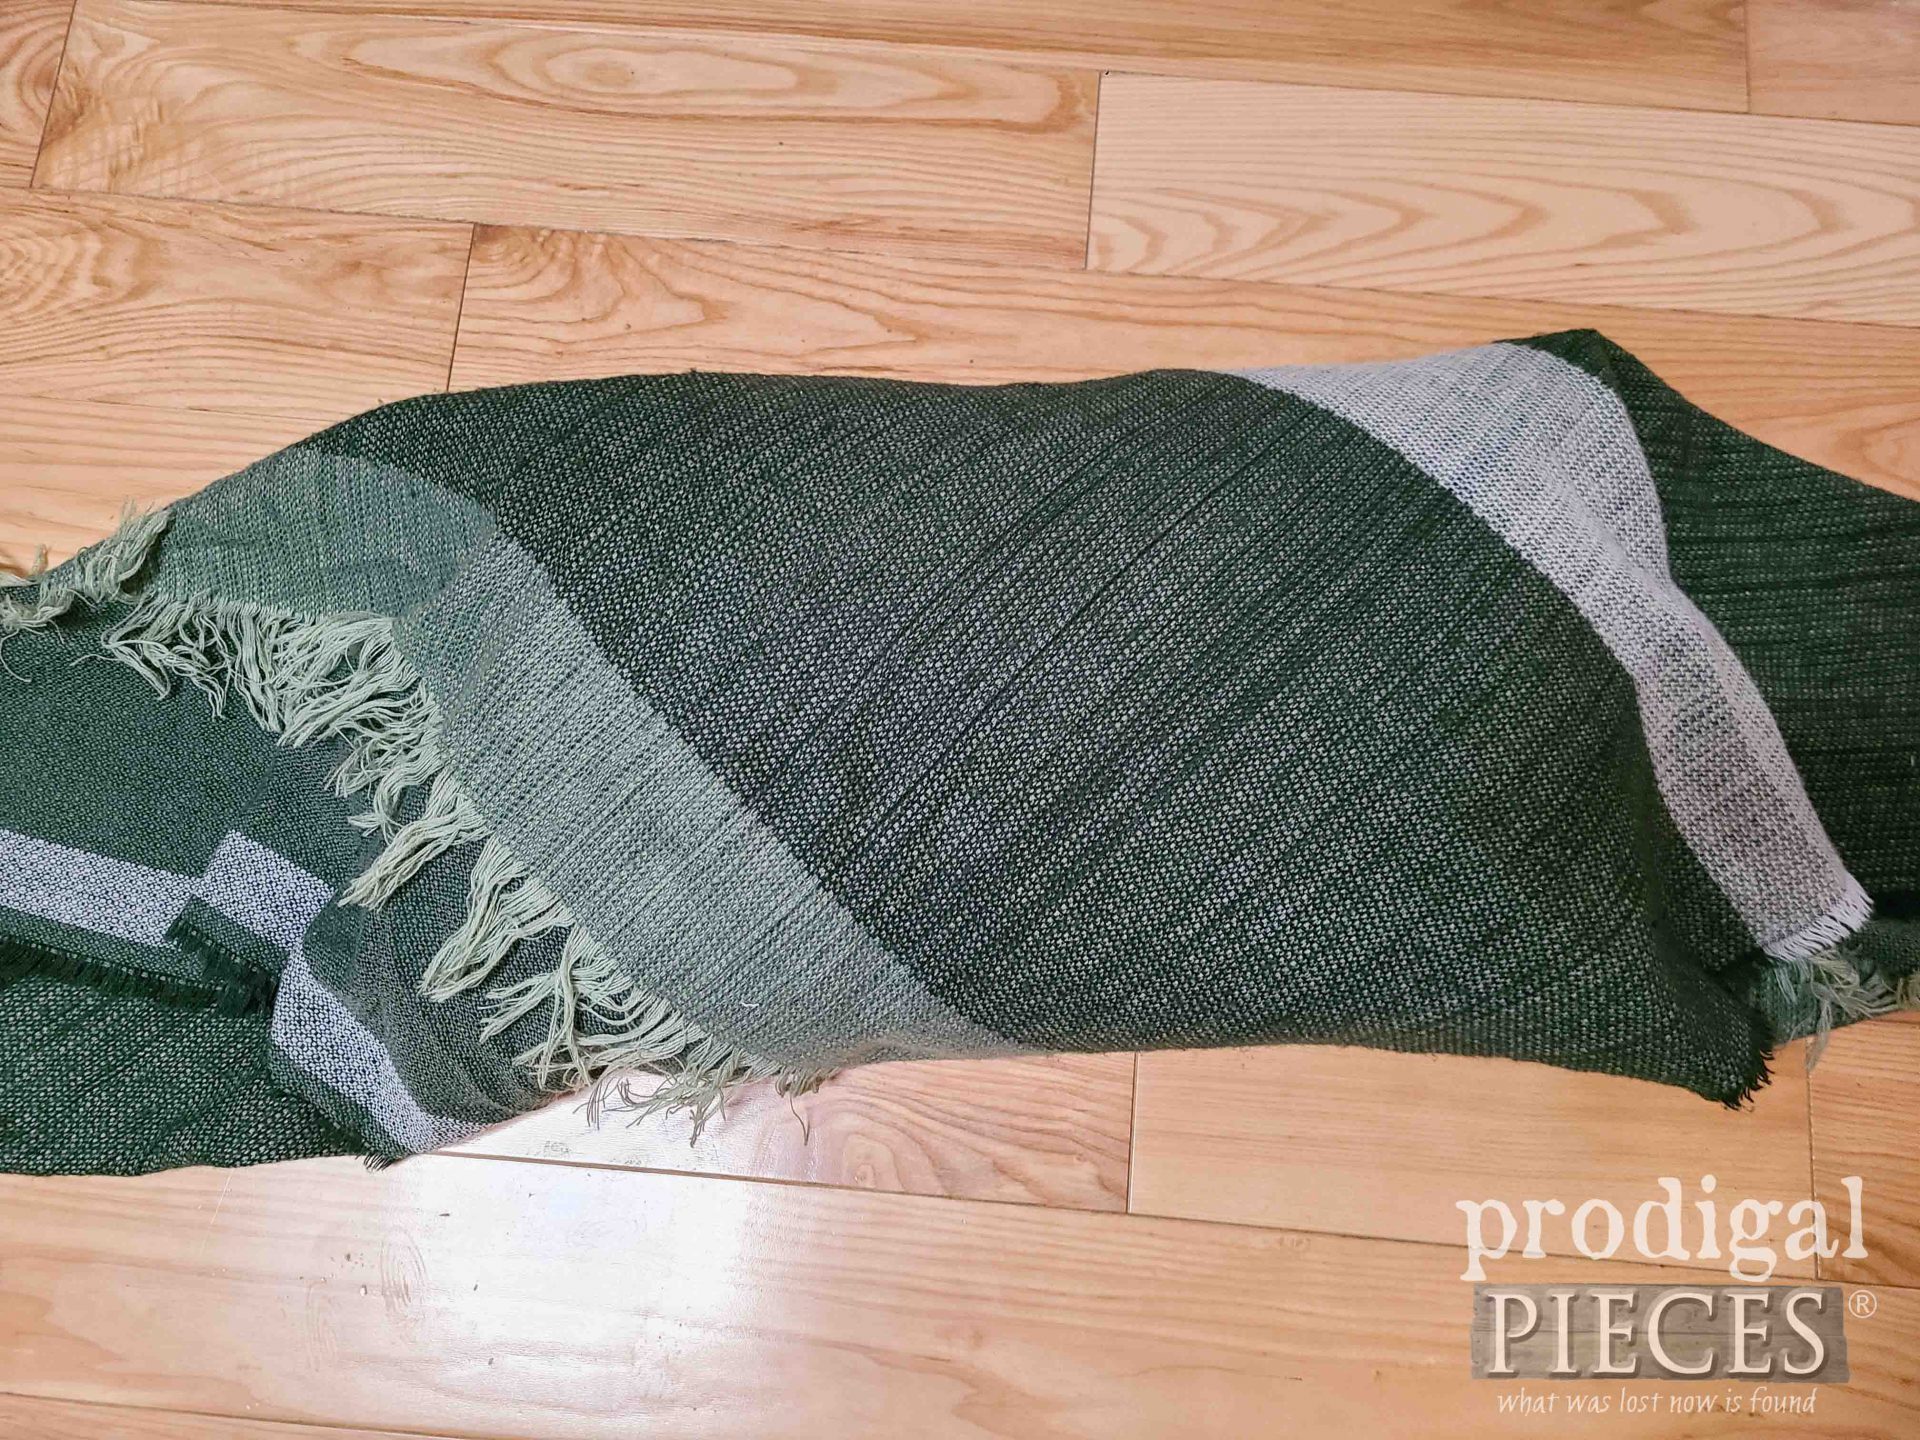
Second, do the same with the top corner. Bring it down and tuck under. You can use a safety pin to secure it from the underside of the back of the pillow.
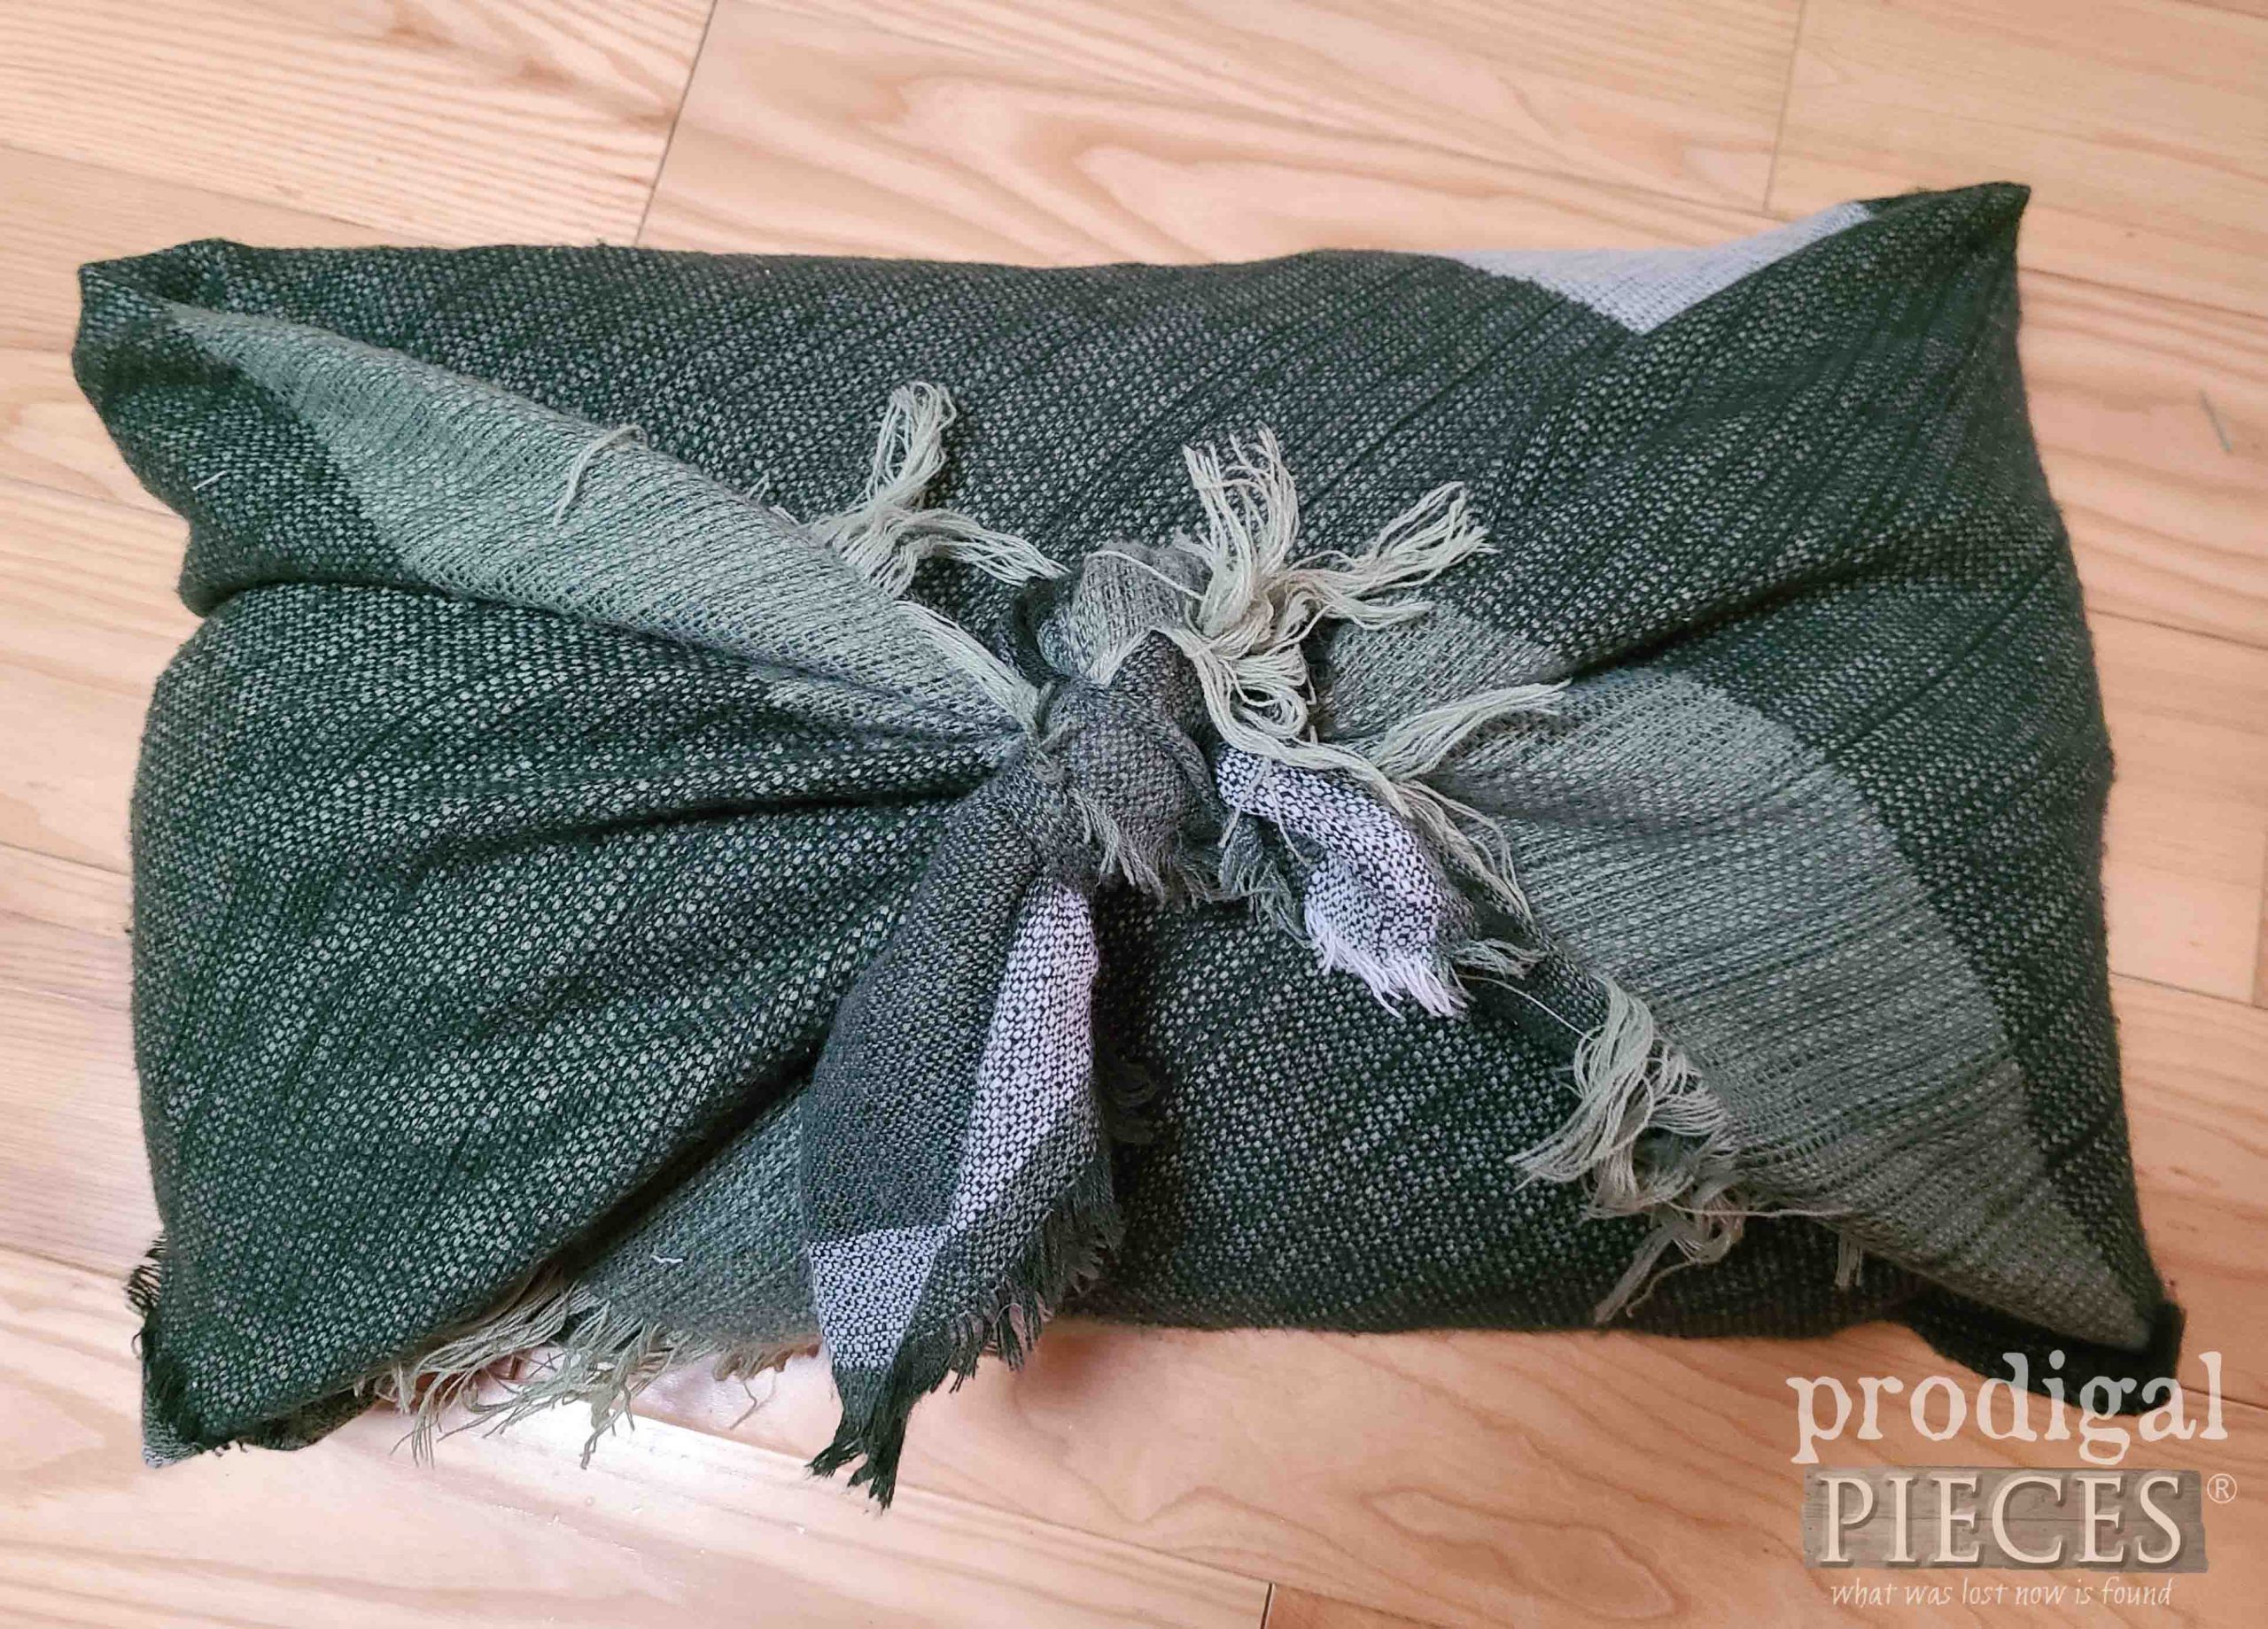
Finally, take the two long ends and bring to the center. Tie a knot to secure. Voila!
Isn’t that fun? I’m definitely smitten with all the ways to use these.
LAST, BUT NOT LEAST
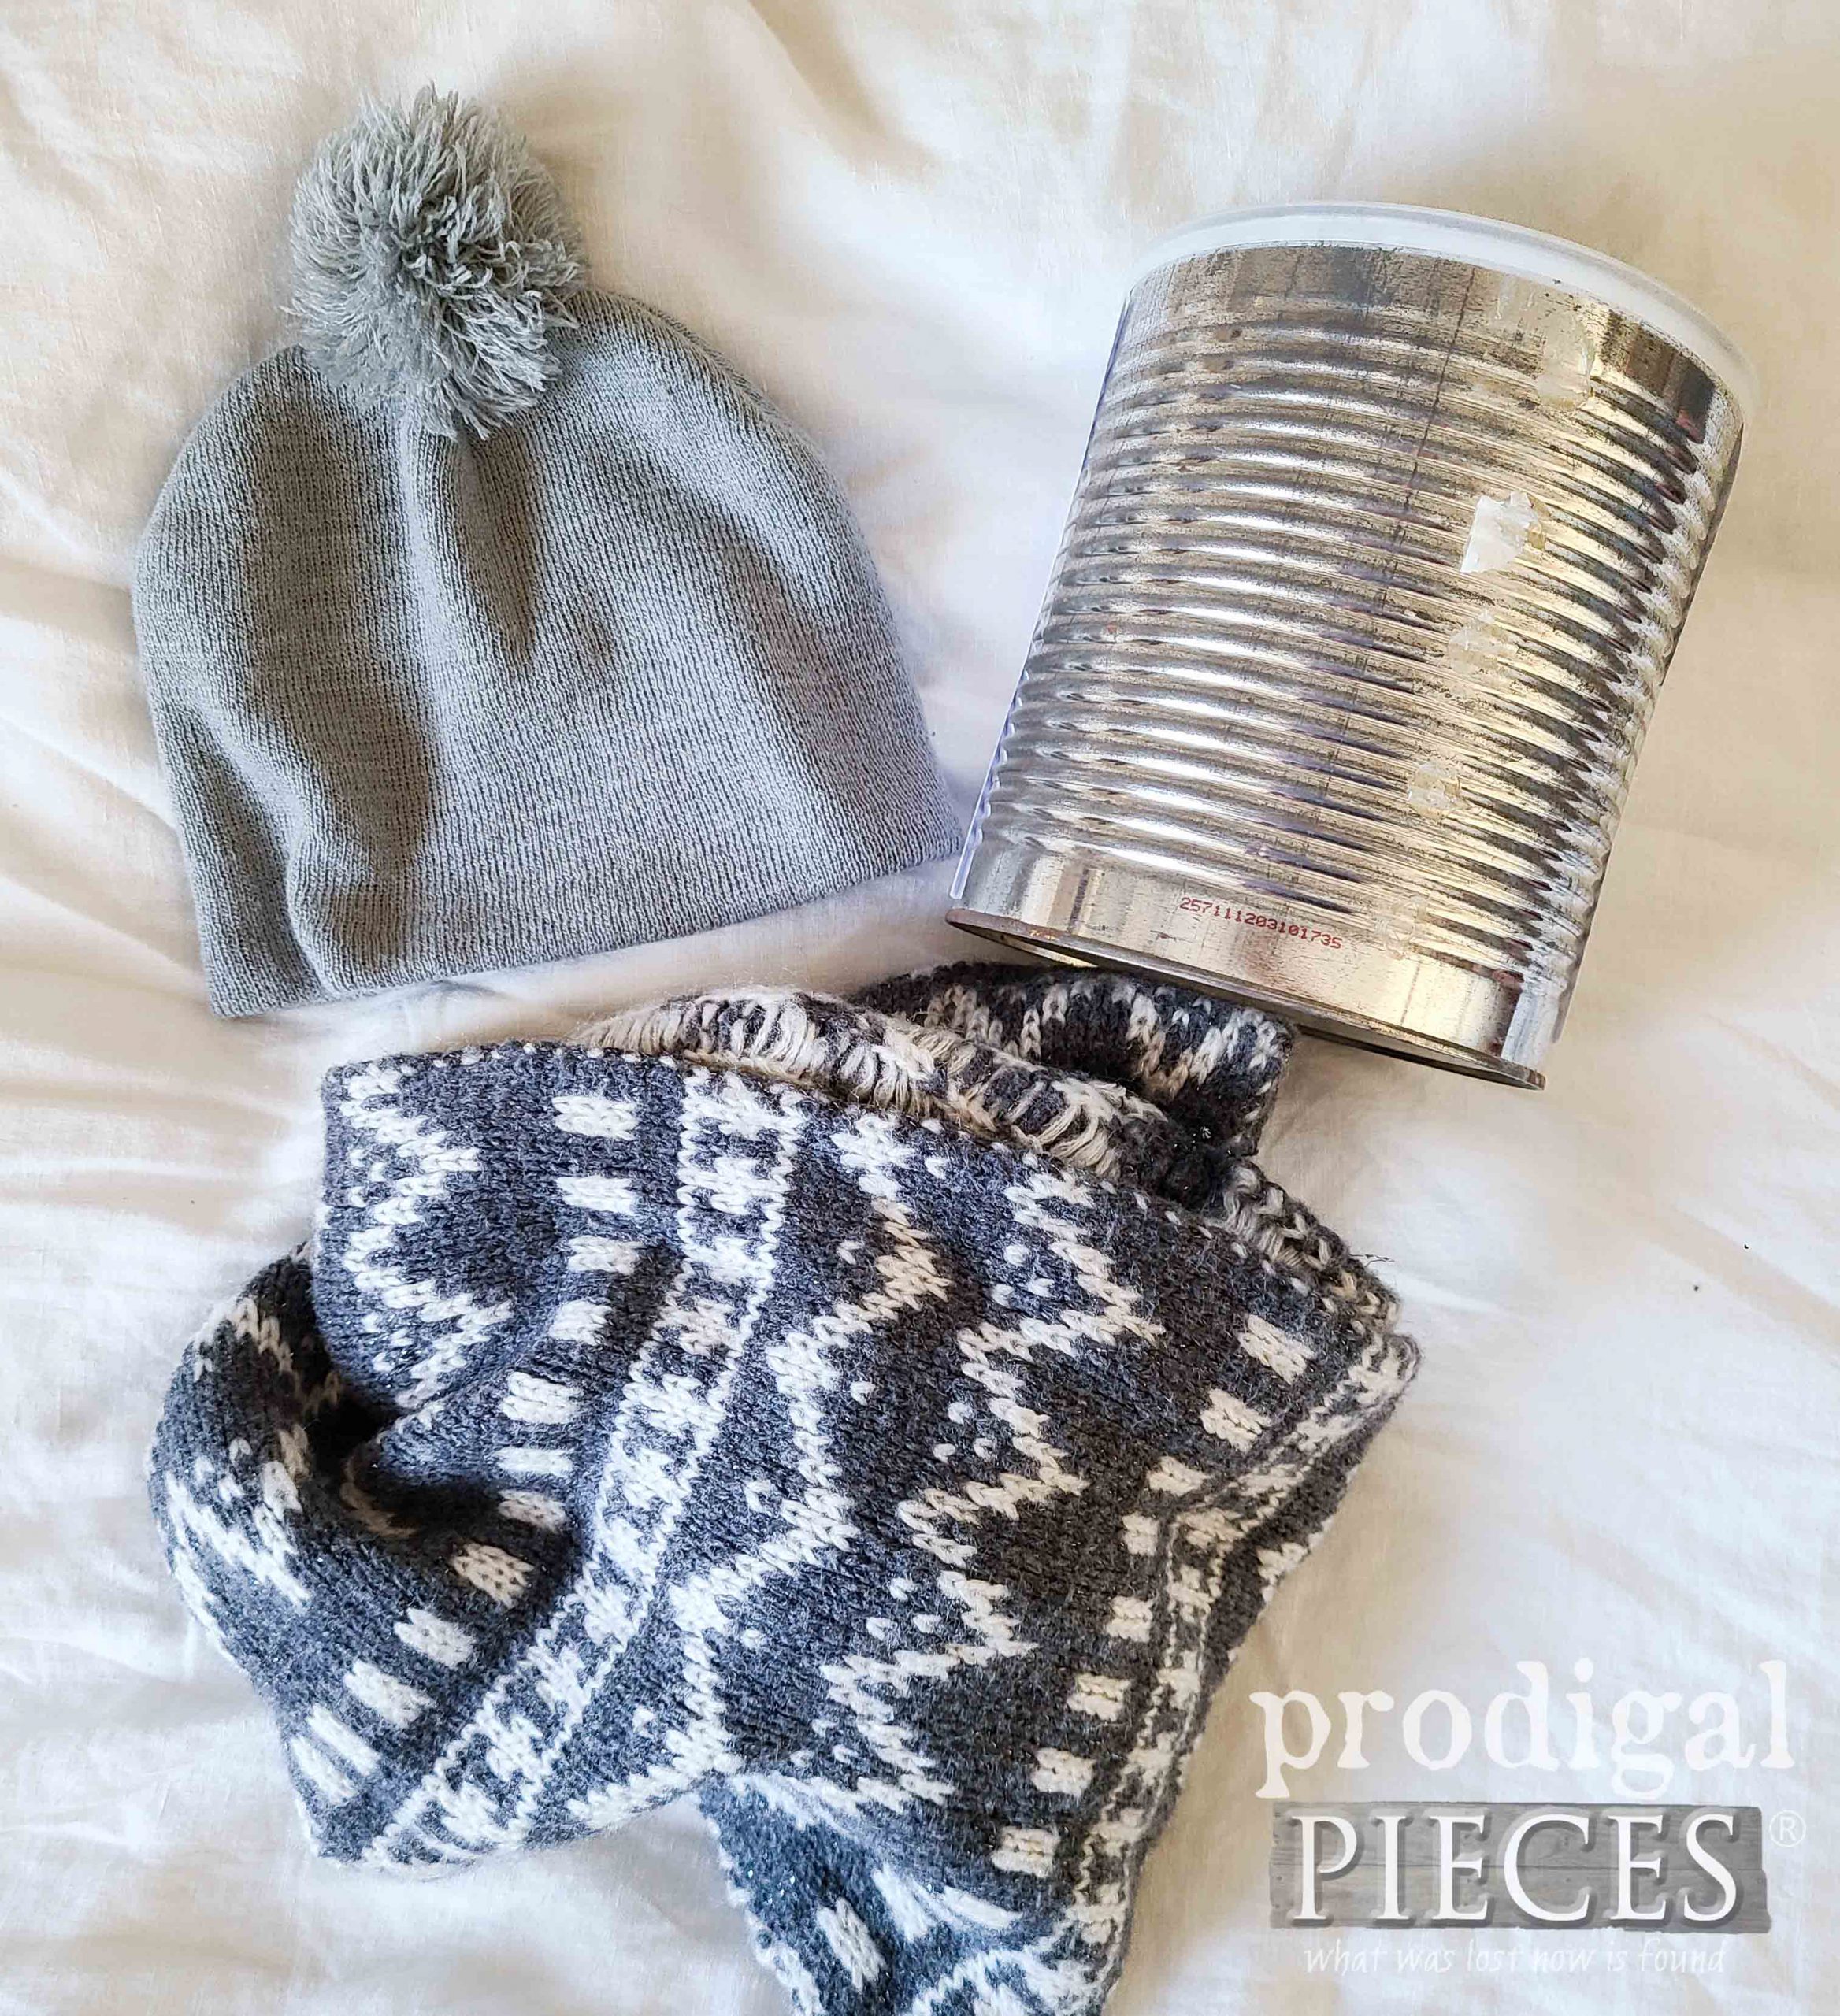
In case you’ve forgotten, I still have that hat and infinity scarf to make use of. Game on!
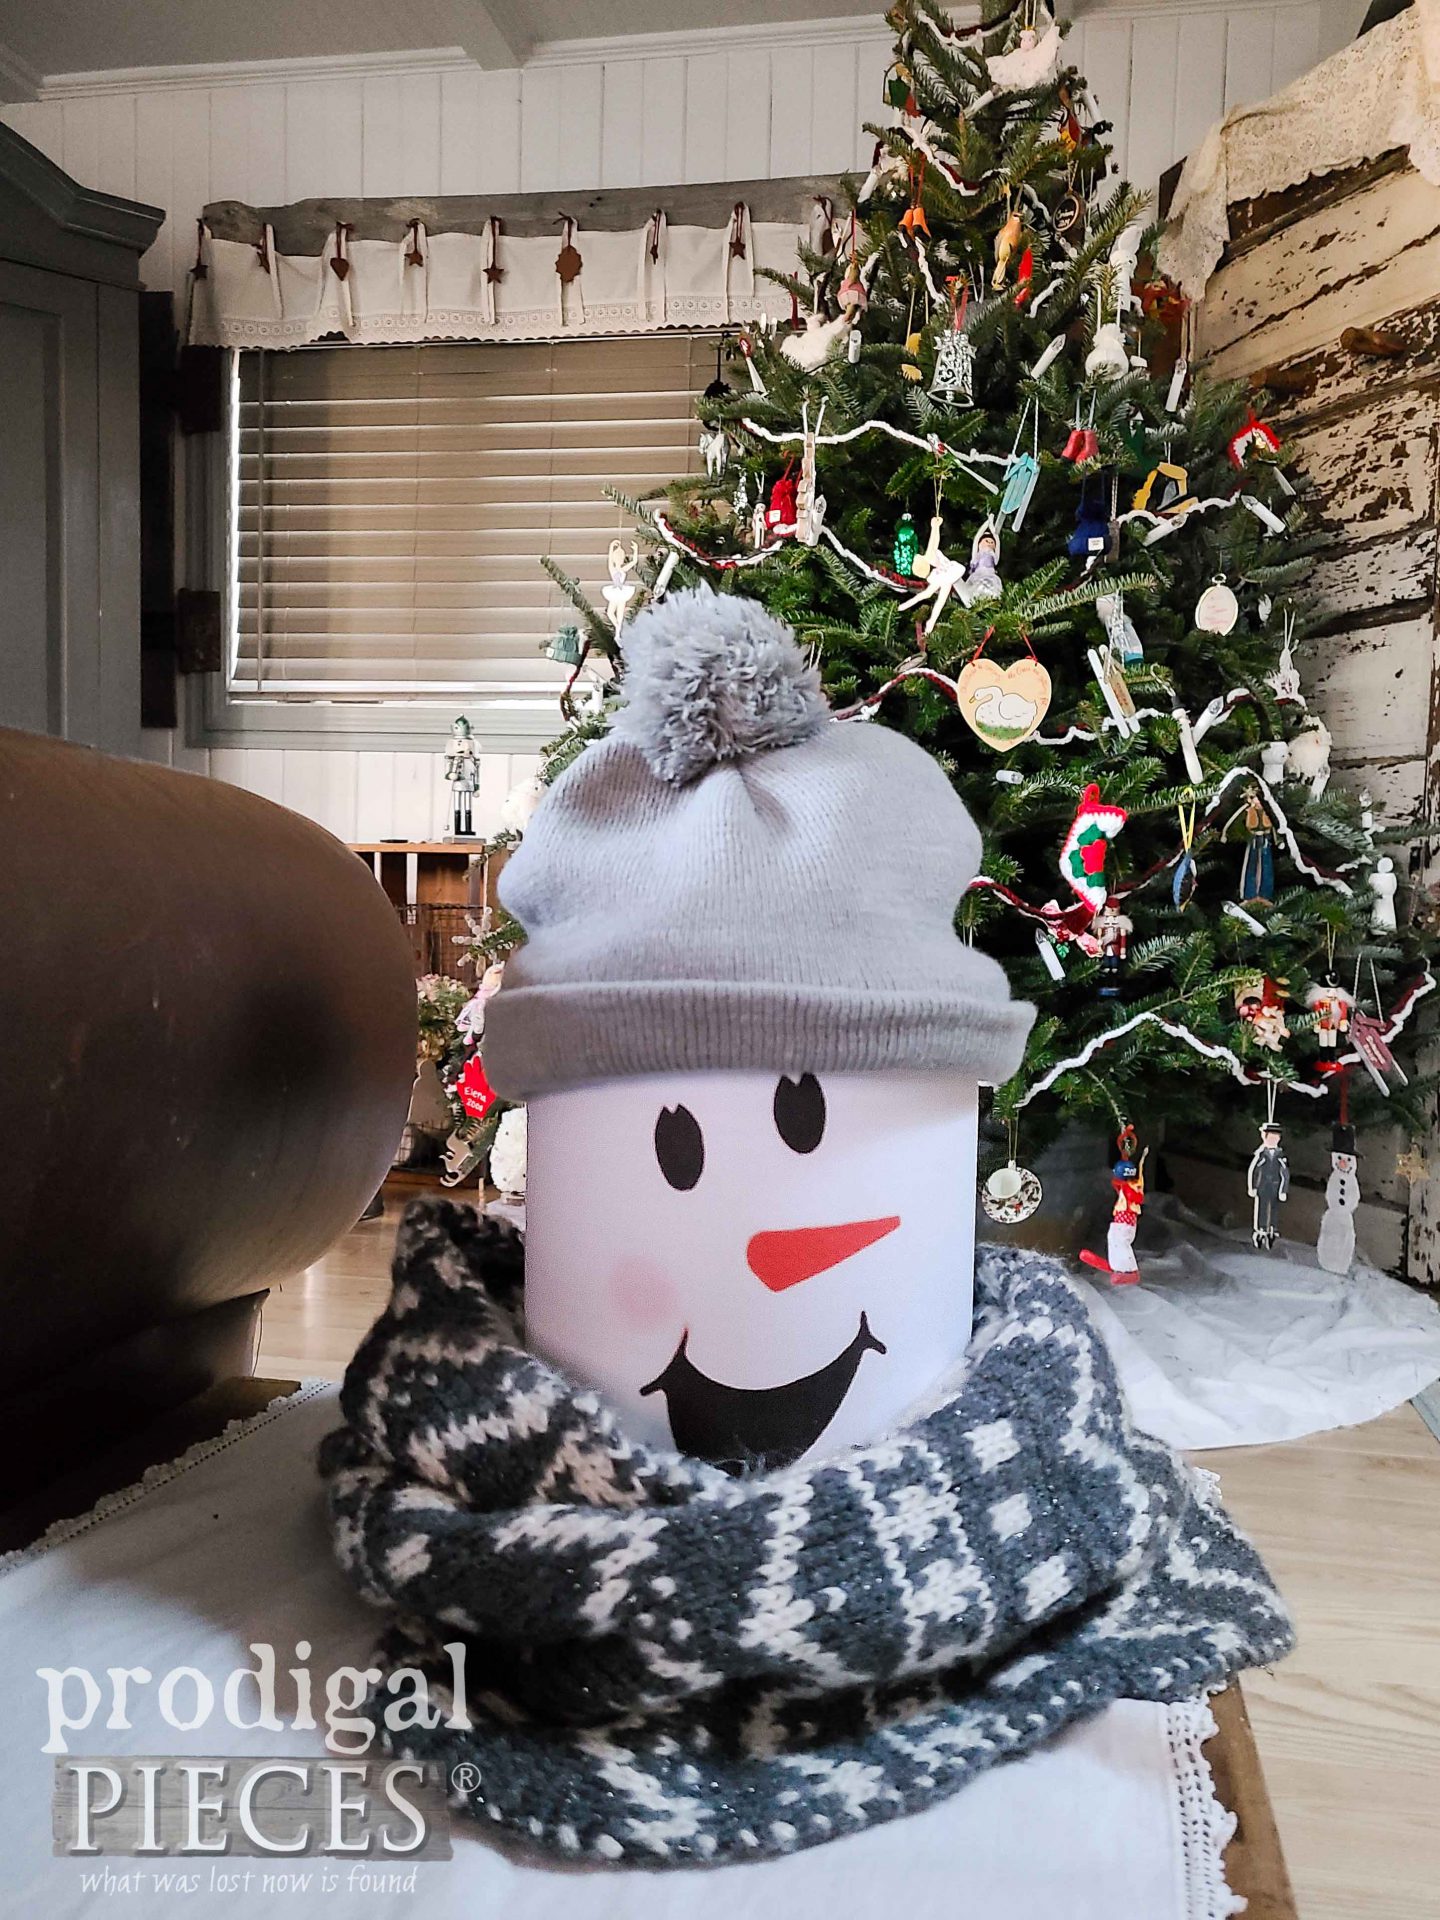
This isn’t brain science, but all I could see was this cute lil’ guy. tee hee!
I seriously just sat the scarf down, taped on a snowman face to a coffee can, and plopped on the hat. I love it.
In years past, I take coffee cans and hand-paint them with a snowman face, add a scrap fabric handle, and then make a black felt top hat. Then, I fill them with gifts and gift them at Christmas. It’s fun for me and the receiver always loves it.
So, do tell…which upcycled scarves project inspires you? I have more ideas but ran out of scarves. Time to go shopping! When done, I will launder them and head to my local ministry with a prayer for those who will receive them.
SHARE
In addition to leaving some comment love below, do pin and share to inspire others. Again, these ideas can be used for making decor for any time of year or season.
To get these DIY tips & tricks in your inbox, be sure to sign up for my newsletter. PLUS, you will get your FREE Furniture Buying Checklist and special discount to my shop. Until next time!




What a great way to have amazing holiday decor, no storage, and helping others!! Genius!!!!! ??❤️
I’m all about the scarves as of now. haha! I’m excited to do this. Thank you.
I love them! They are great ideas, and the colors and textures are perfect for Christmas decorating. Thanks for the inspiration.
Thank you for the smile, Kimberly. 😀