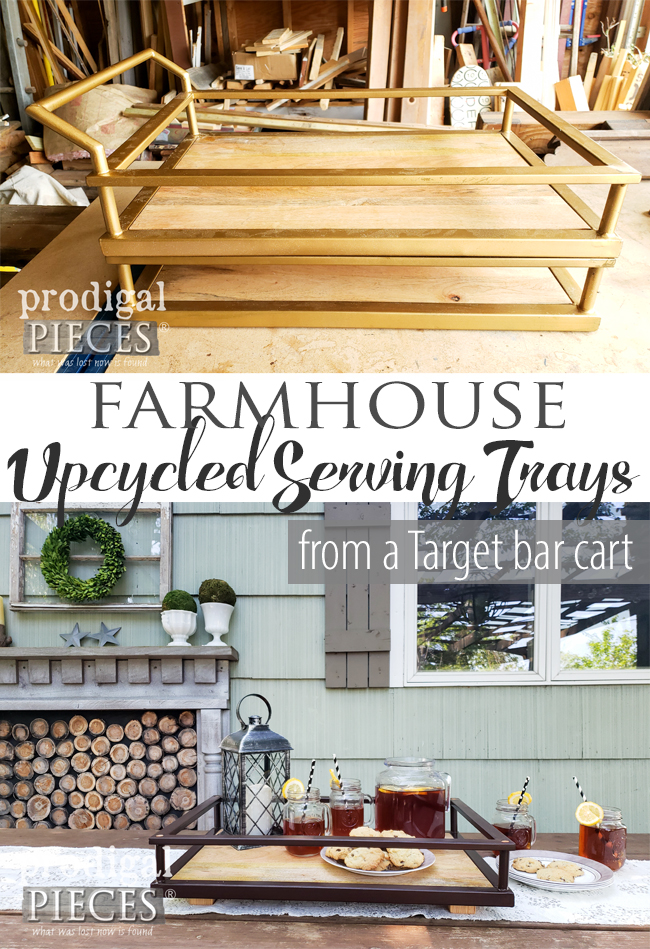
I just have to say I have the coolest friends and family. Not only do they know my #trashure lovin’ heart, but also my vision for other people’s unwanteds. This time around I am sharing how these cast-off Target bar cart parts get turned into upcycled serving trays. It’s Trash to Treasure Tuesday too, so you’ll get to see what my blogger friends have for you too. Hooray!
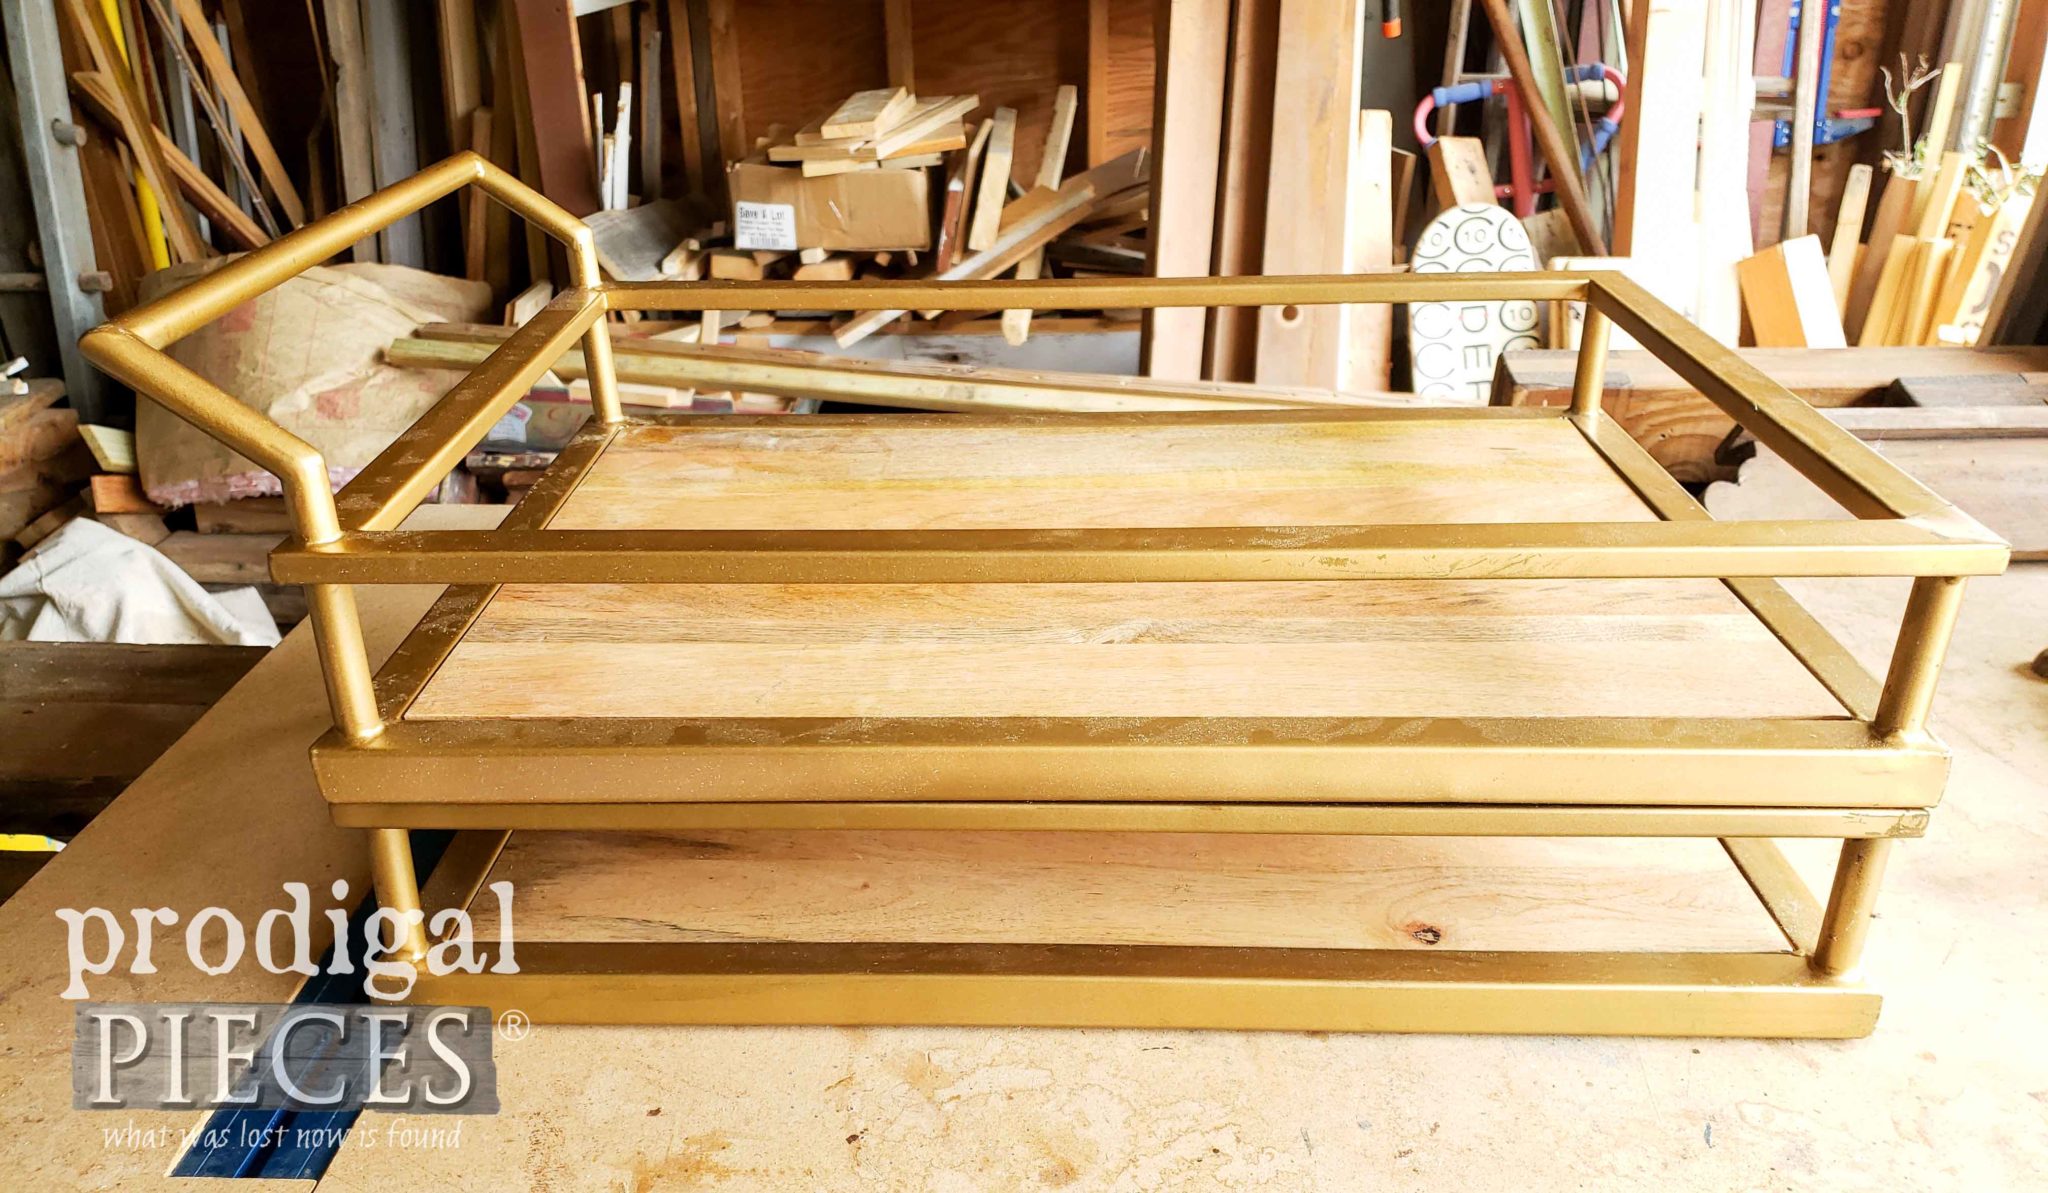
Would you have passed up these bar cart pieces if offered to you? When I see the picture of them, I was kinda like…fun! Most often I am up to a good challenge. This caught my interest because I adore carts. You can see all my makeovers of them in these posts.
LET THE FUN BEGIN
First, to get these upcycled serving trays started, I first decided to use my hacksaw to remove the handle on the top cart tray. I’ve created a video tutorial of my steps below in addition to the steps in this post.
Next, I used the hacksaw to cut off the threaded bolts that extended out of the bottom of the top tier. Those bolts are where the legs would have been attached to form the cart. I also demonstrate in the video that I added holes to one end of the top tier. That’s because there were holes at the corners in both trays except one end. You’ll see my reasoning in a bit.
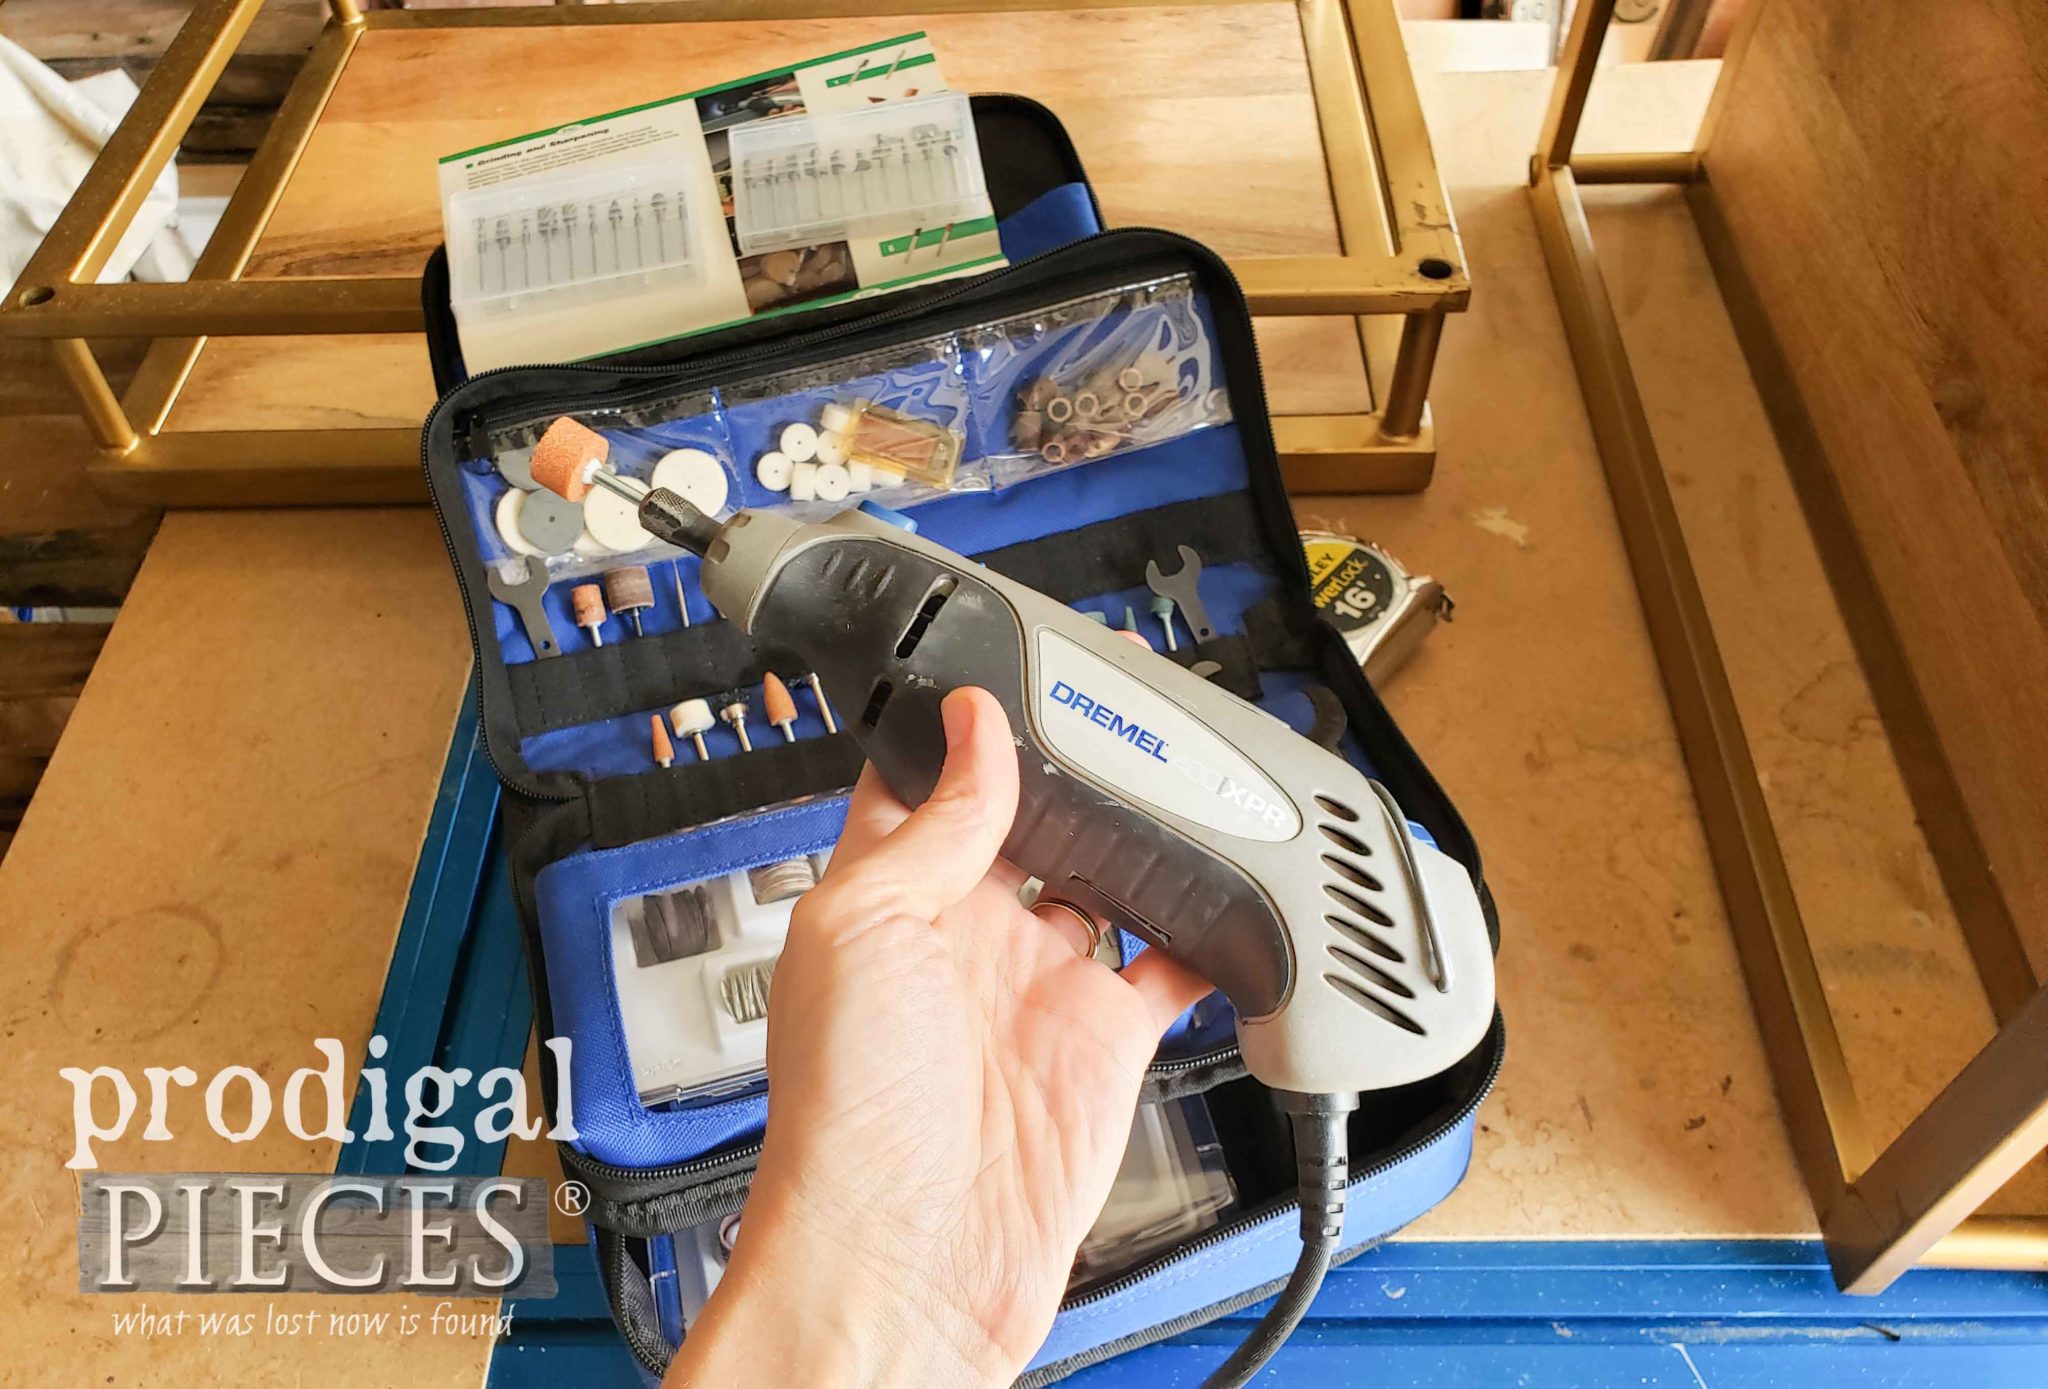
Since I cut the metal, I need to grind it down to make it safe for fingers and hands. Out comes my favorite Dremel Rotary Tool to play. I requested this as a birthday gift nearly 12 years ago and I hoard it to myself I love it that much. JC has to have special permission because he can be rough with tools! tee hee!
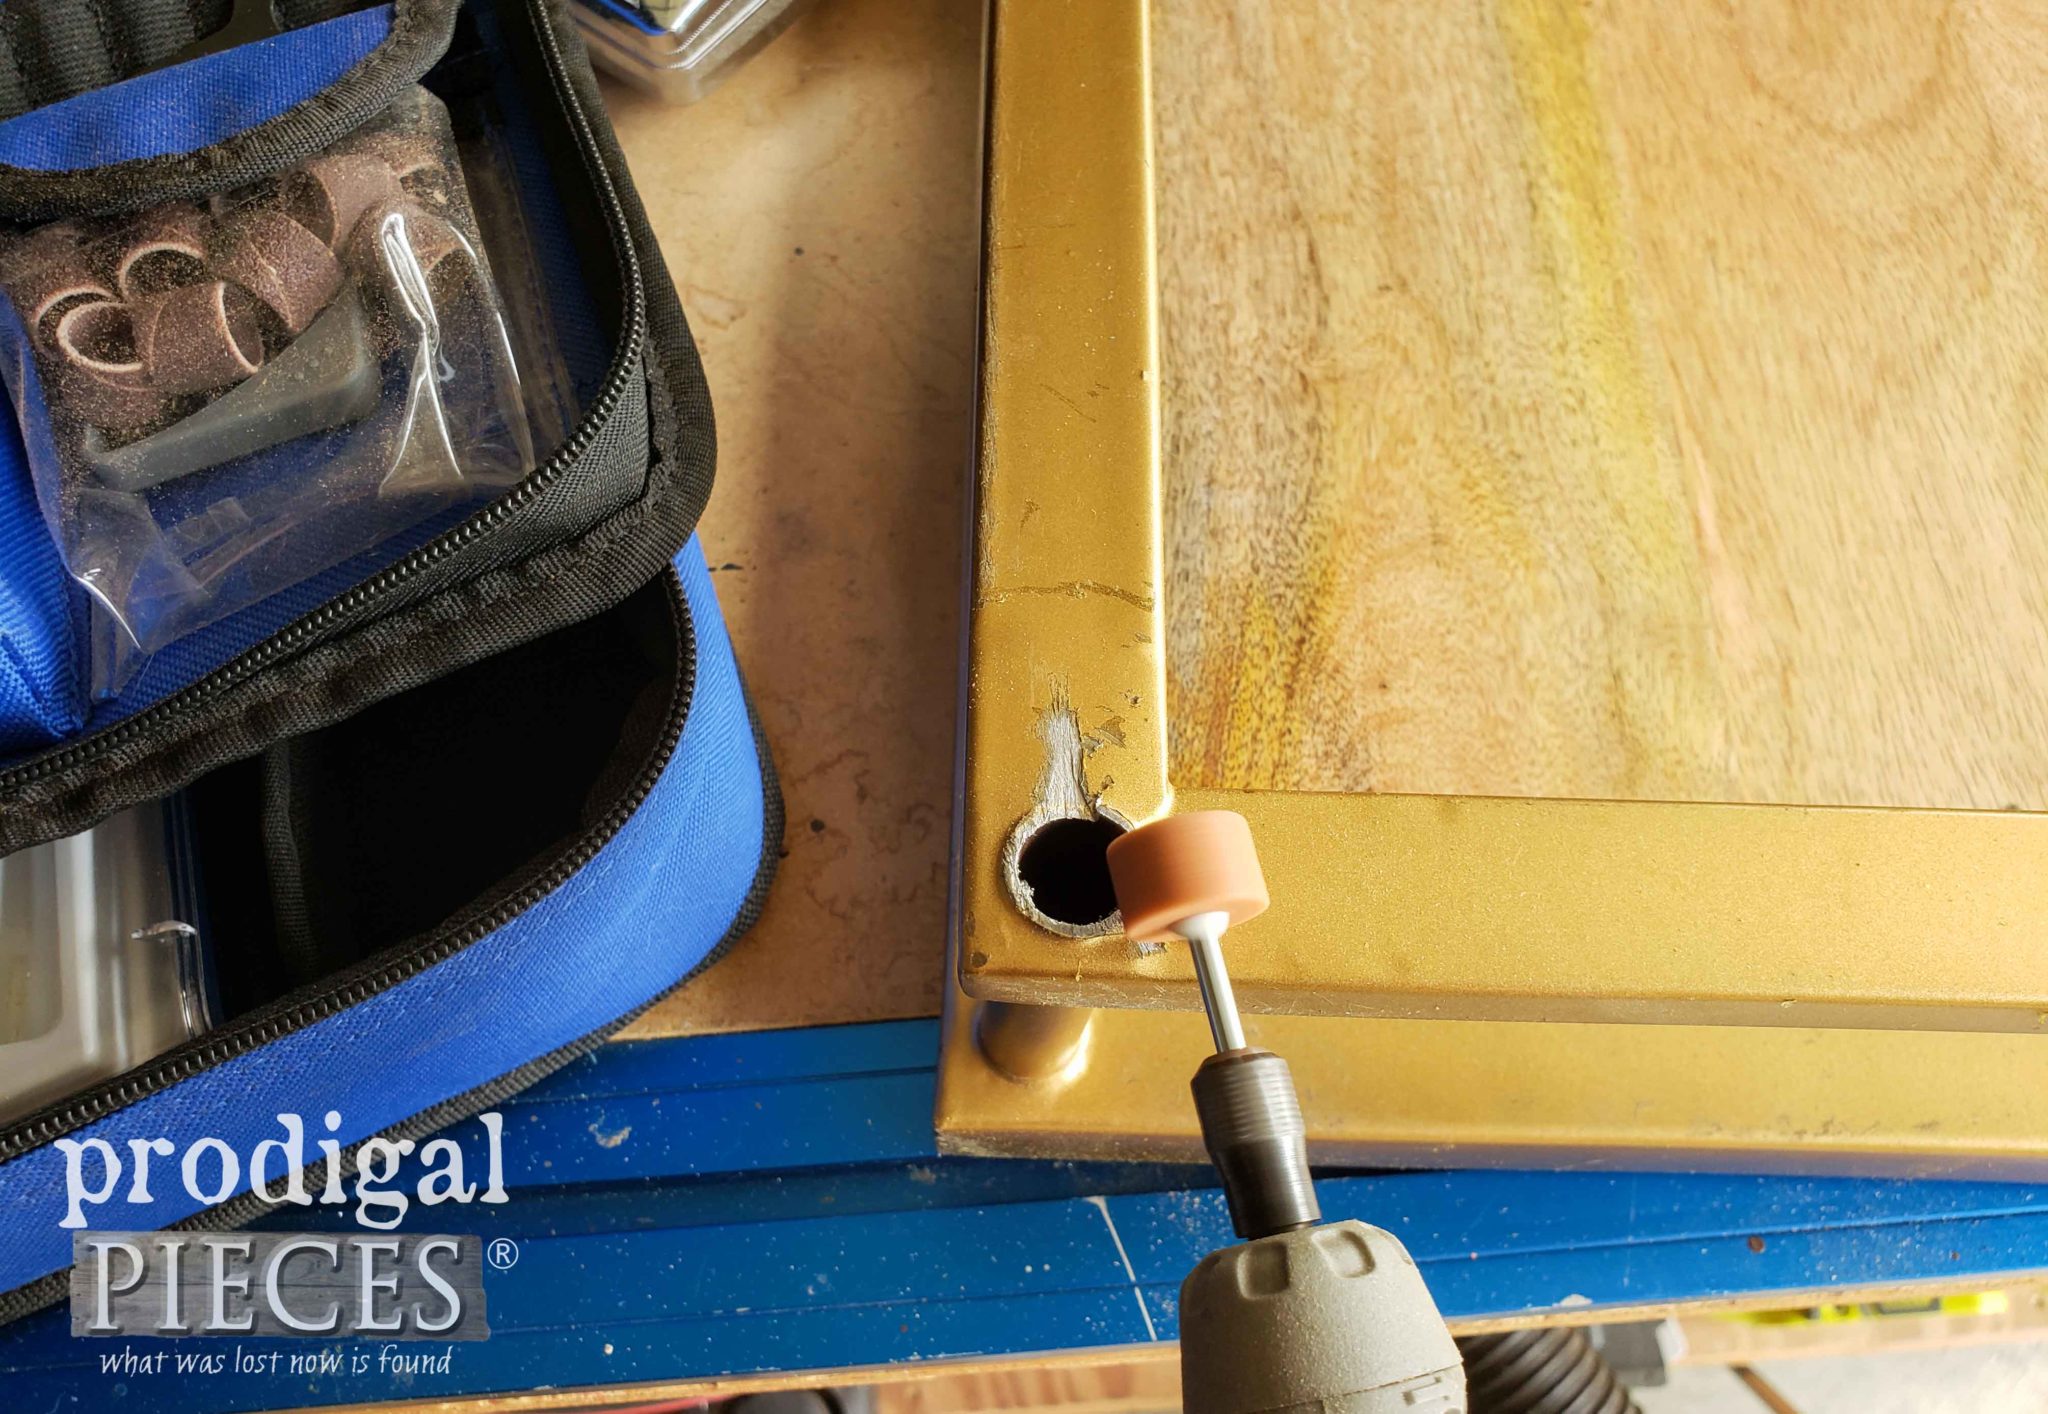
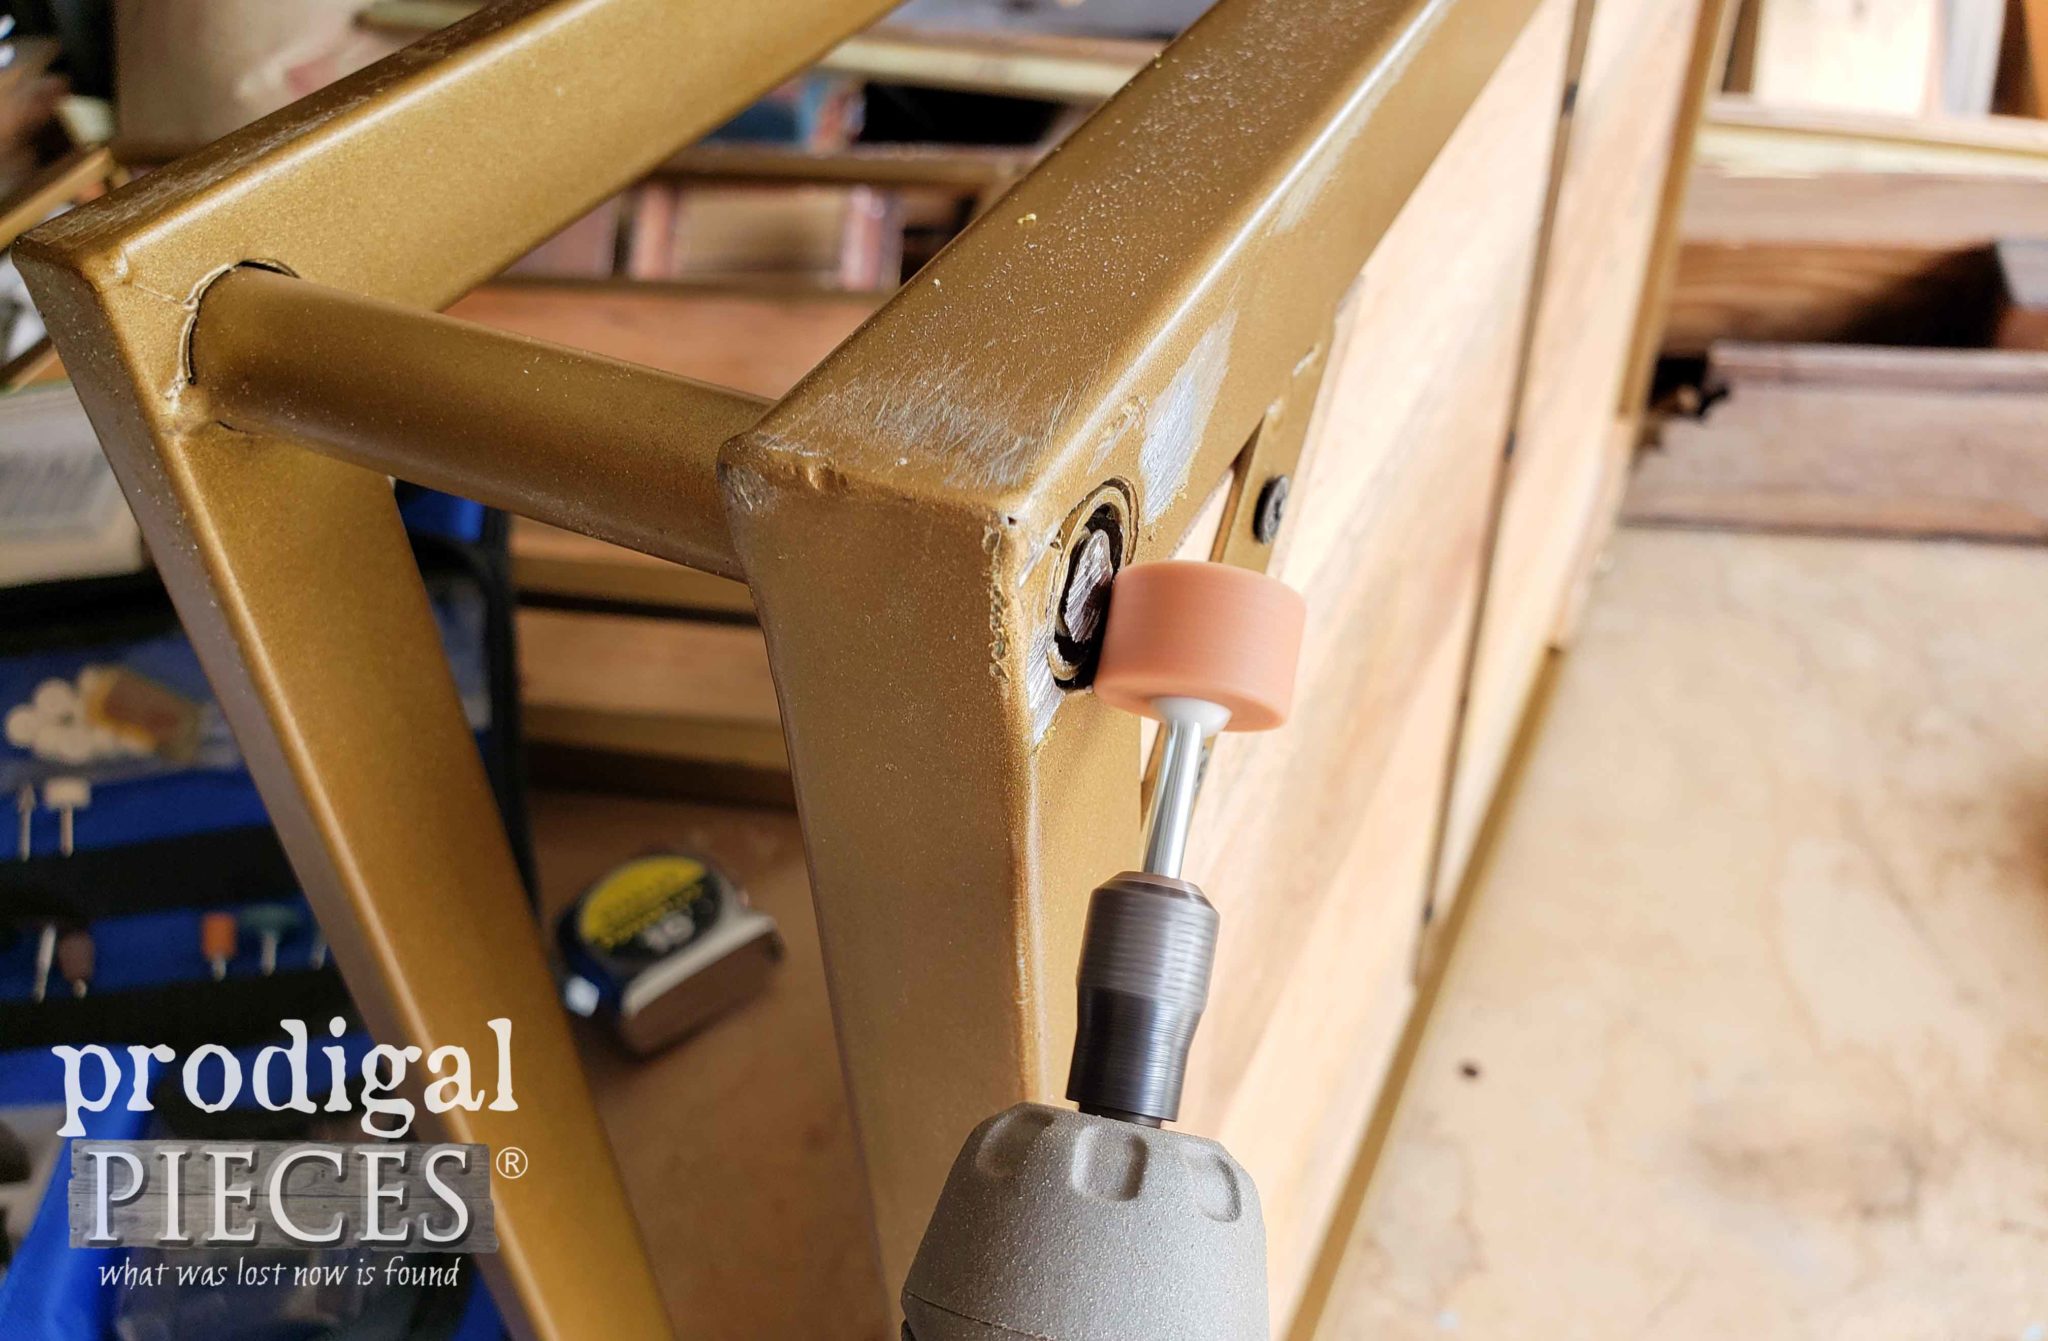
Notice I’m using the grinding stone attachment. This allows me to safely, quickly, and easily get rid of those metal burrs and get the surface smooth. Take a peek at the video to see how easy it really is.
First, I grind down the top where I removed the handle, then I tackled the threaded bolts on the bottom. *note: I could have used my Dremel with a cutting attachment instead of the hacksaw, but I wanted to show you that it could be done without power tools. I could also have ground down this metal by hand with a steel file too. I did use some of those as well.
FINISHING TOUCHES
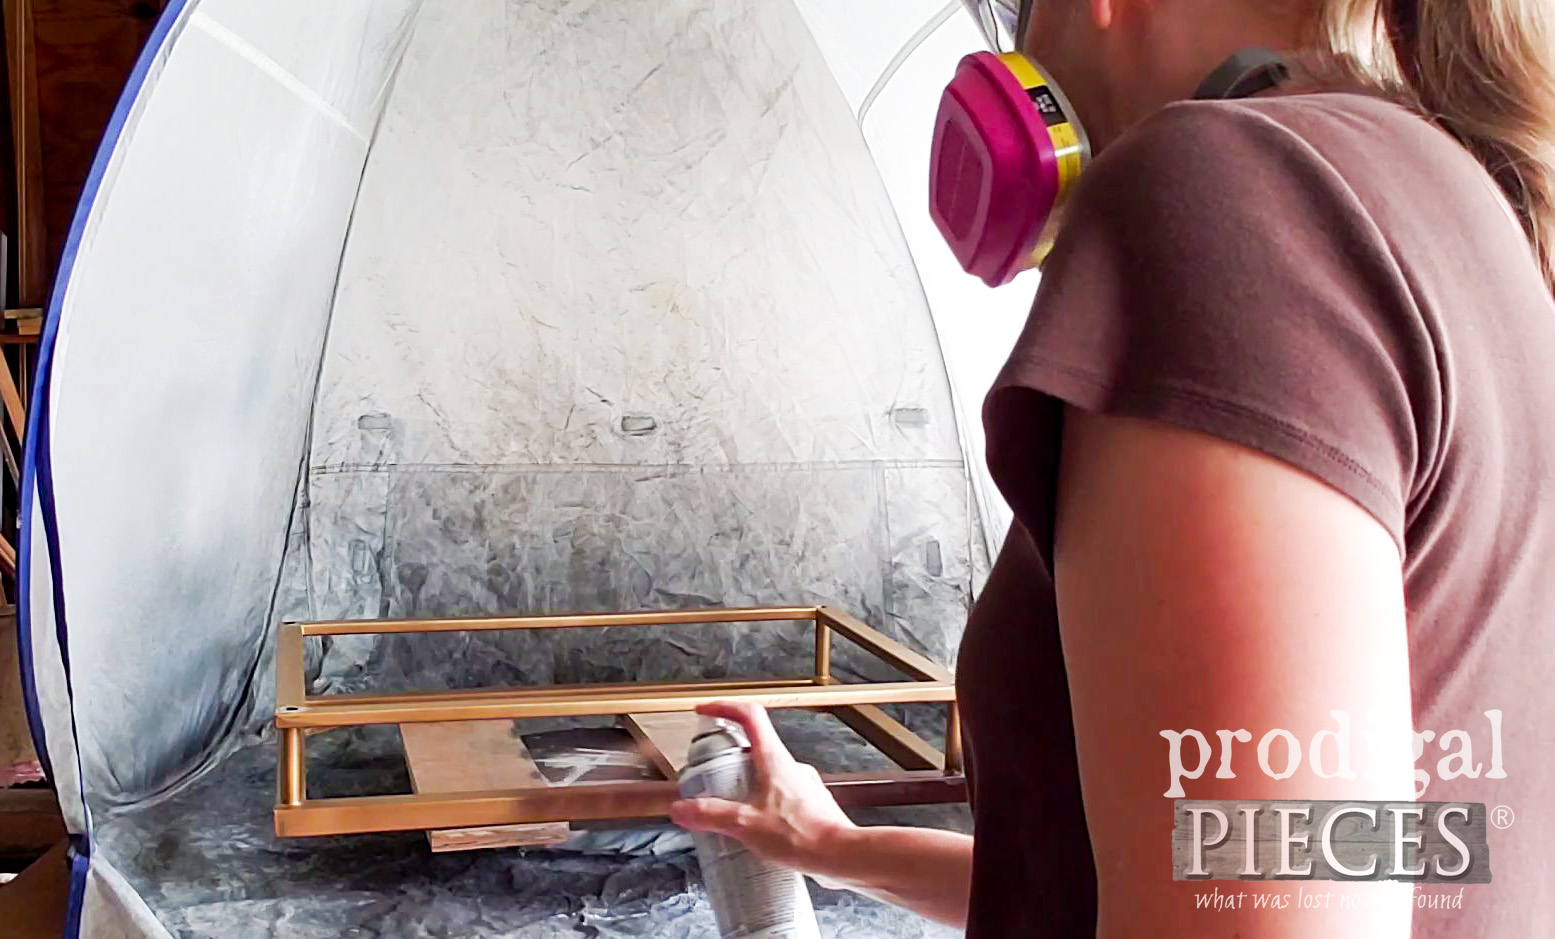
Once I got the metal prepped, I removed the wooden insets and set up my small spray shelter and turn table to get ready to paint.
I chose to use a satin paint in Espresso to accent the wood insets. Not that I didn’t like the gold, but I wanted to make this more of a rustic set rather than a Mid Century vibe.
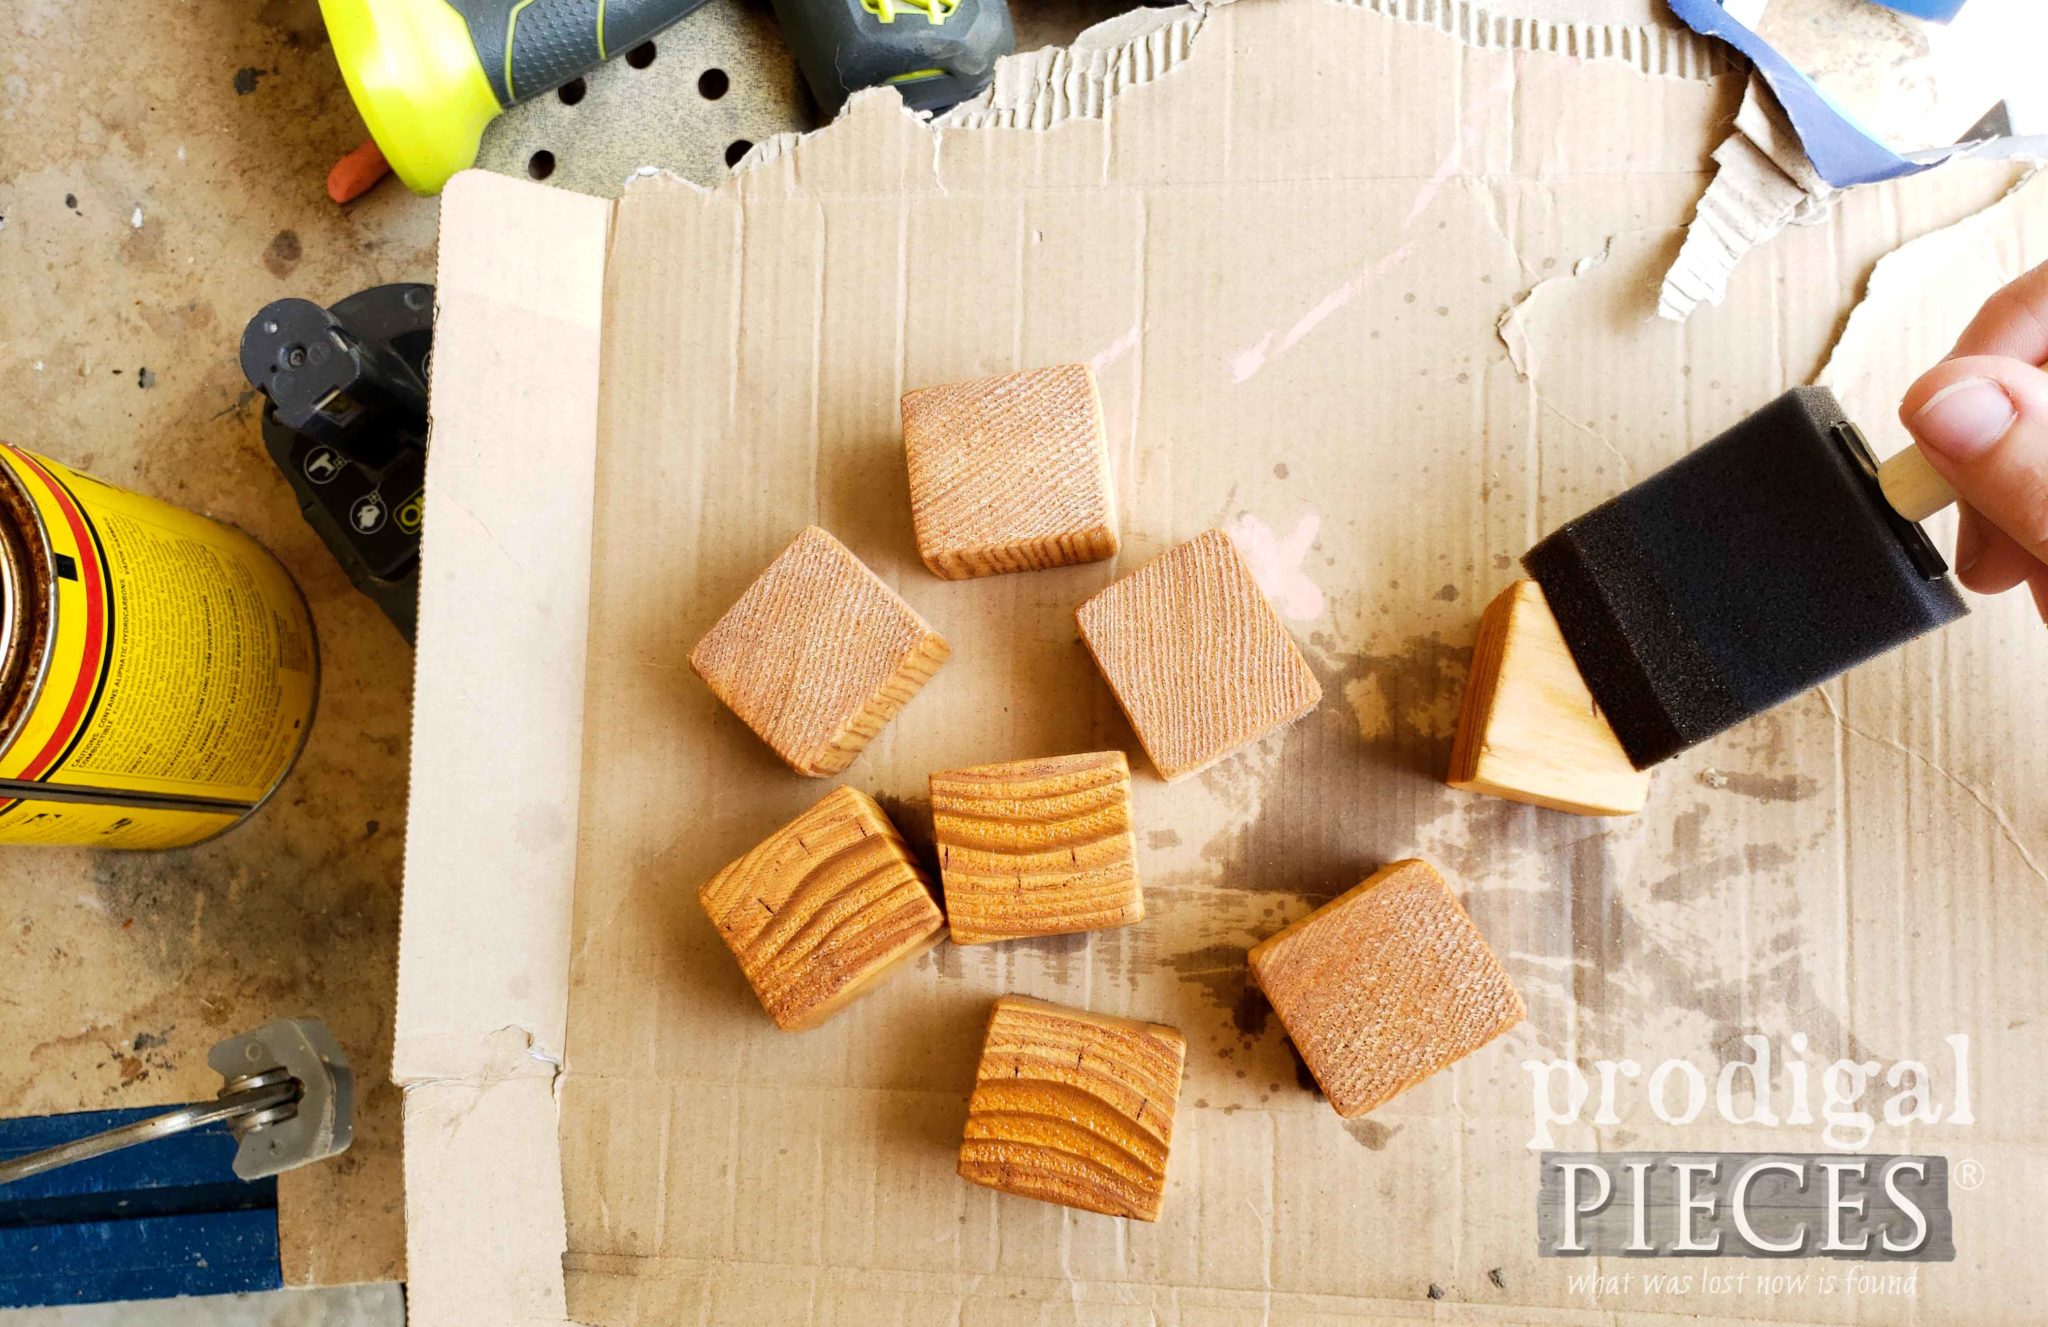
Then, after two coats of the paint (letting cure in between), I cut wooden feet to take these upcycled serving trays to a new height…literally.
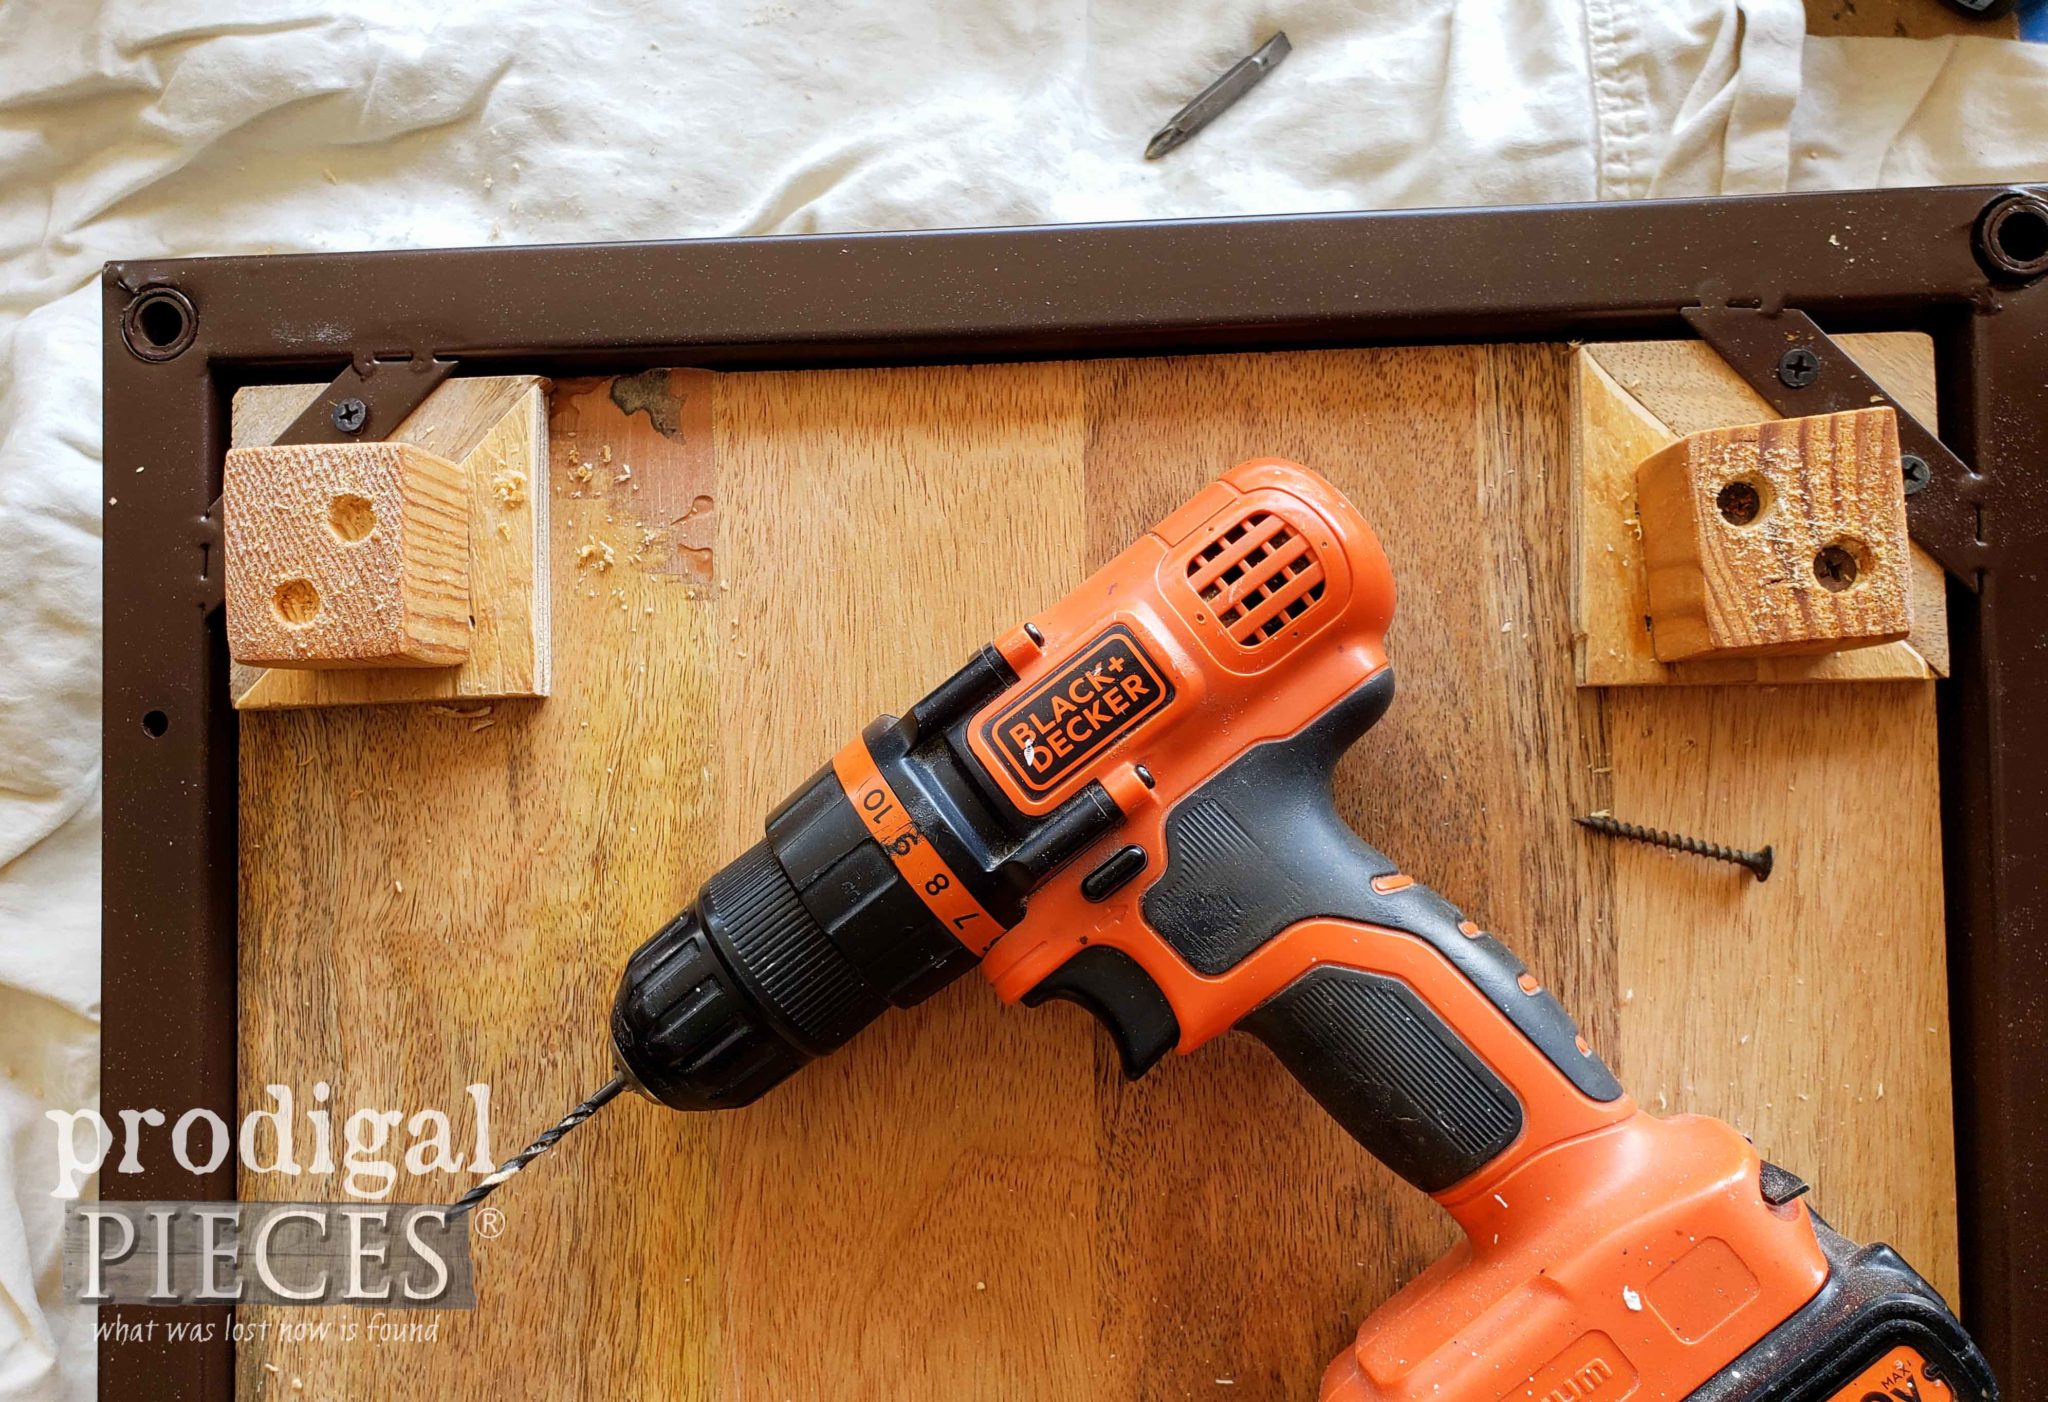
Notice I added a few triangle pieces of scrap using my jigsaw to cut them out, and my nailer to attach. This gave me the proper base for adding the feet. Again the video gives the best idea of how this worked out. Finally, I attached the feet using a countersunk screw with my drill.
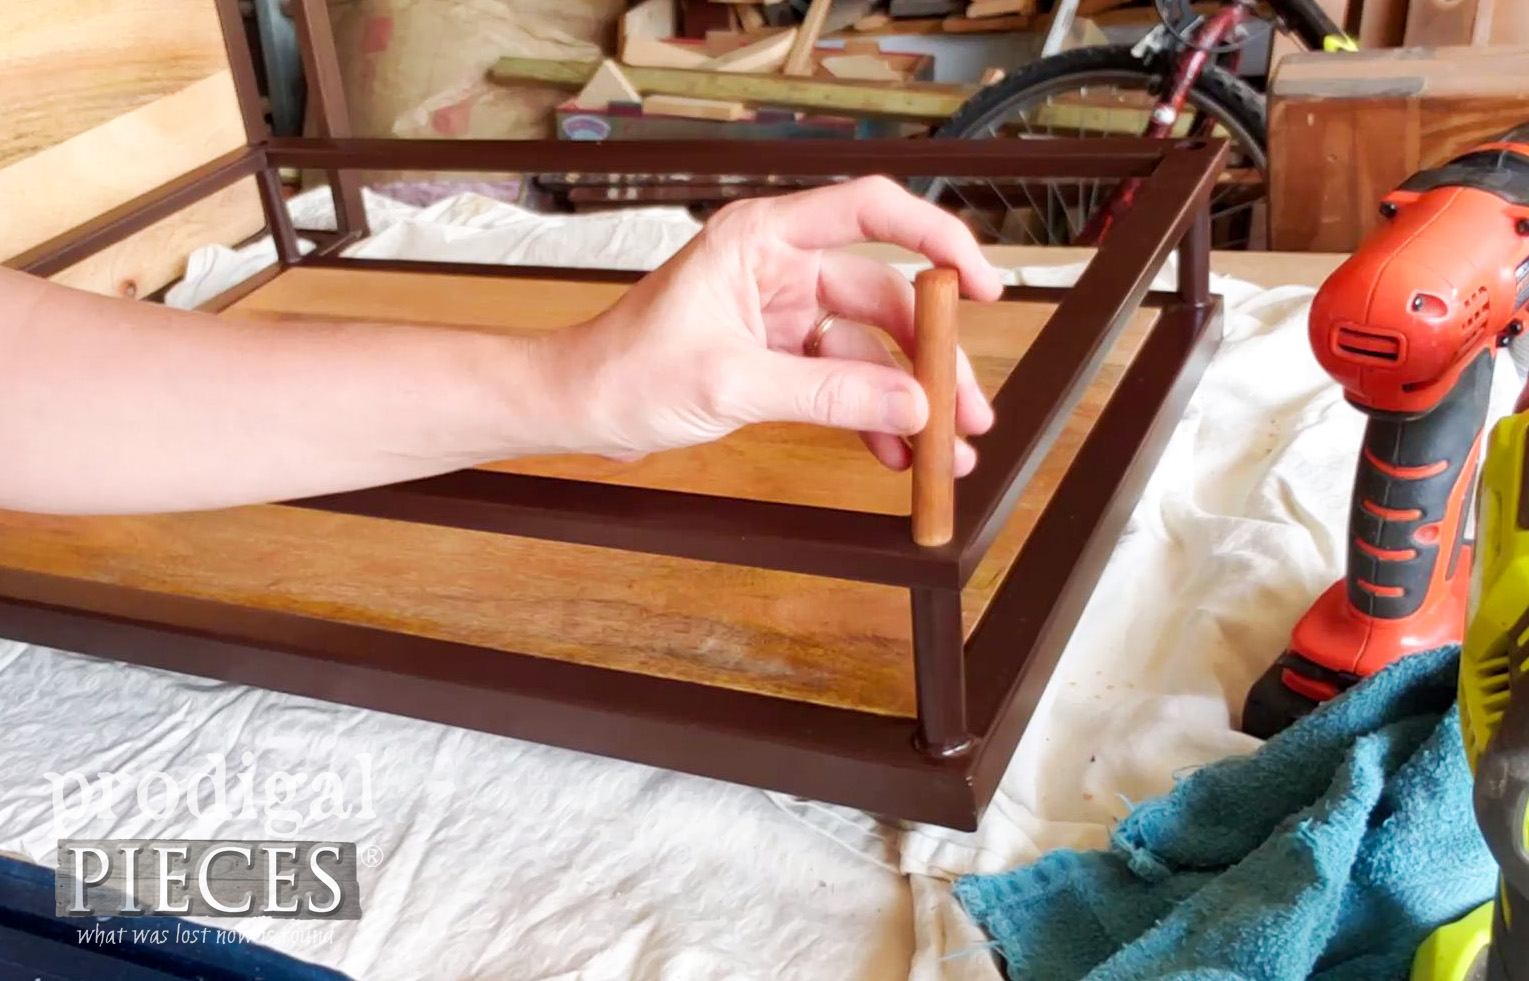
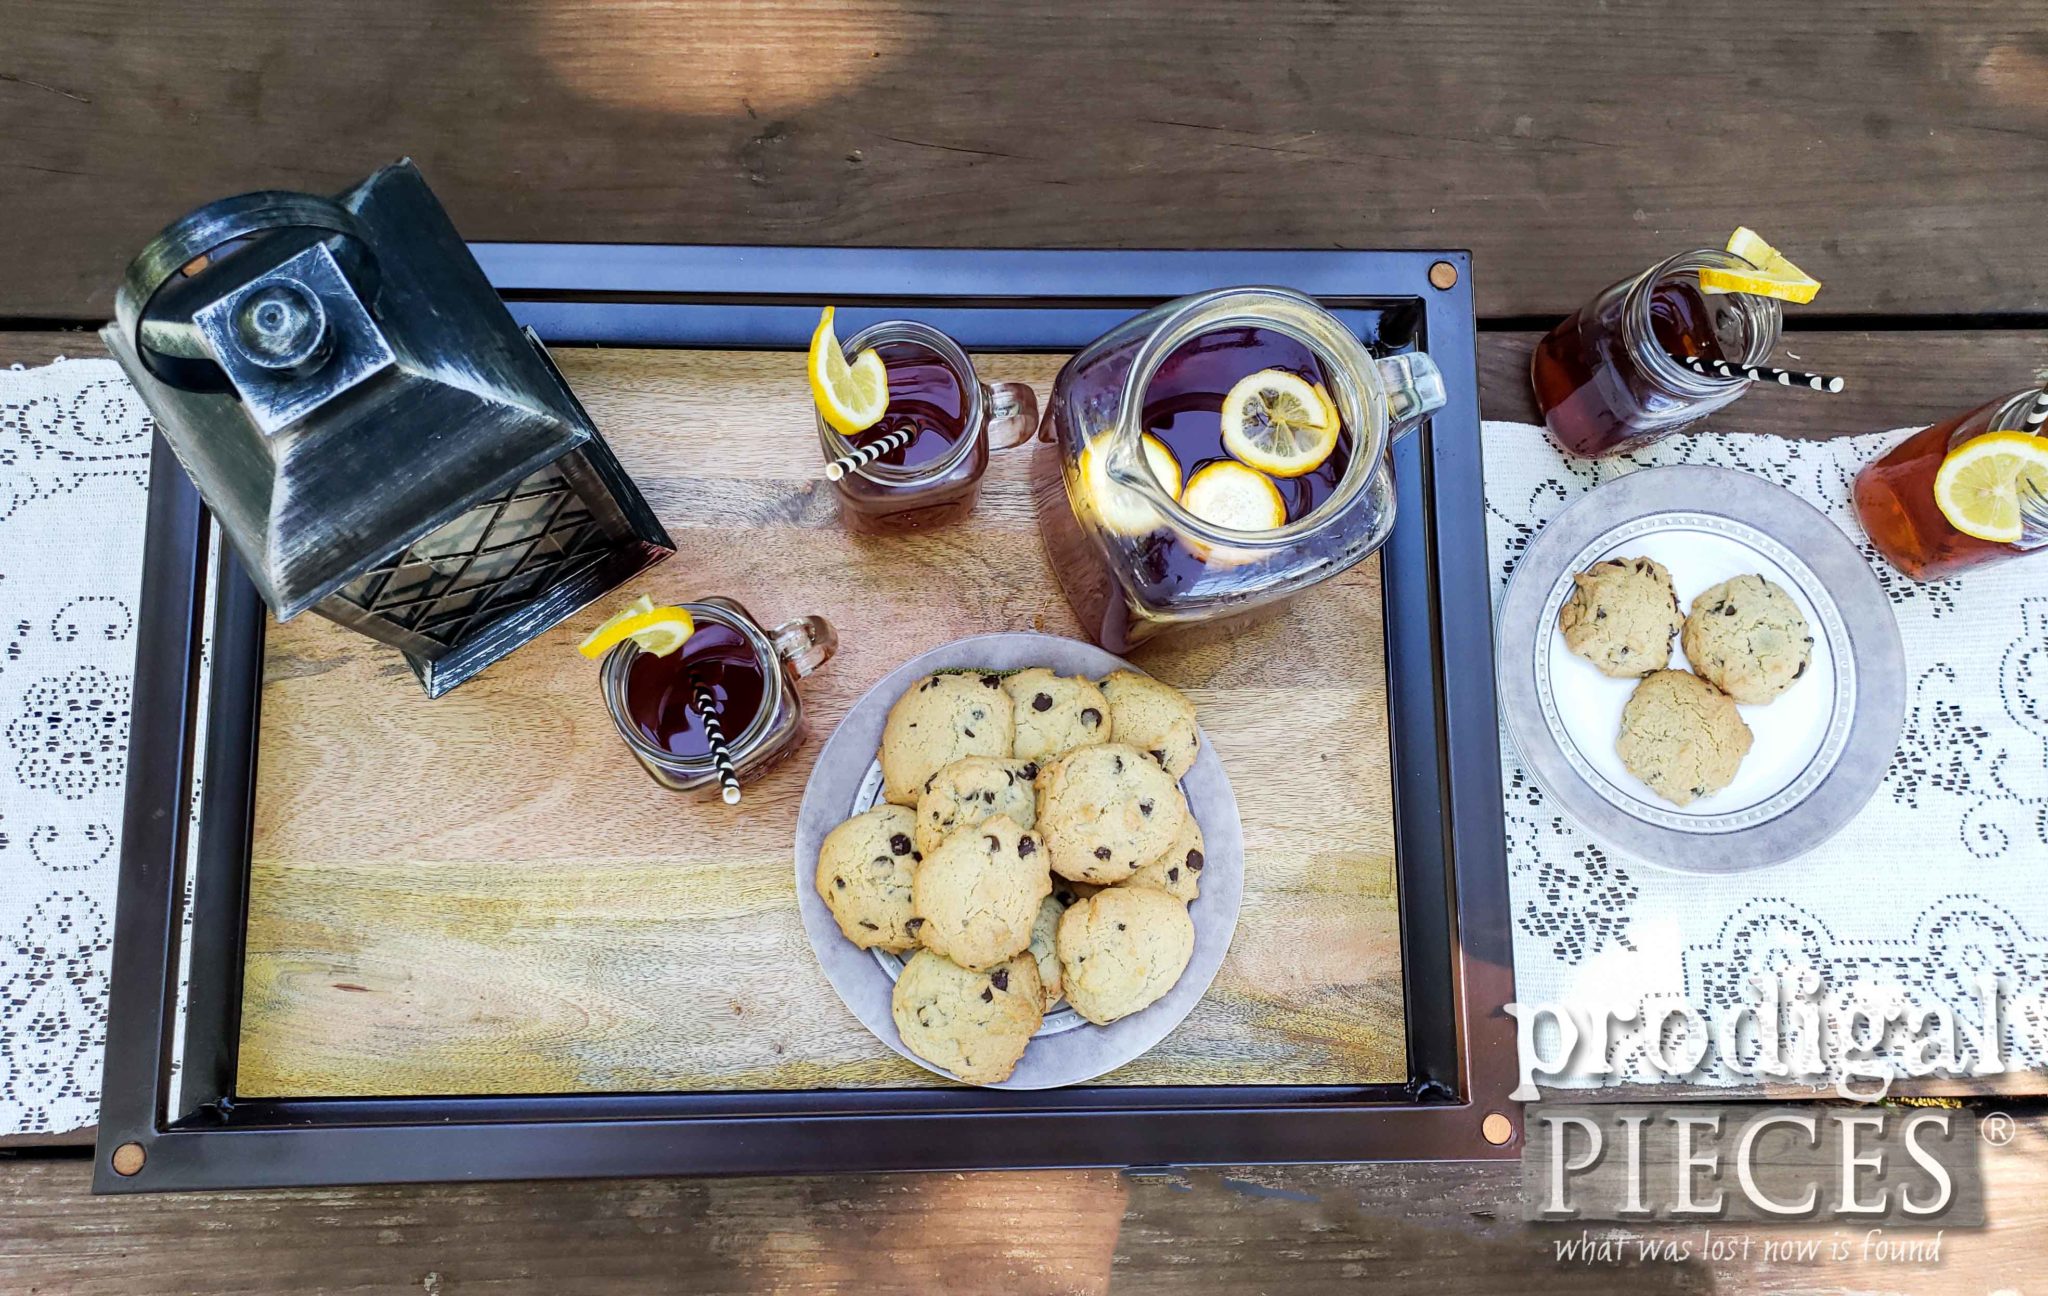
However, before I can call this project complete, I added lengths of dowel to each hole that existed to add a wood accent touch, but also prevent fingers from getting stuck. We all have that child that likes to poke fingers where they don’t belong. tsk.
TIME TO REVEAL
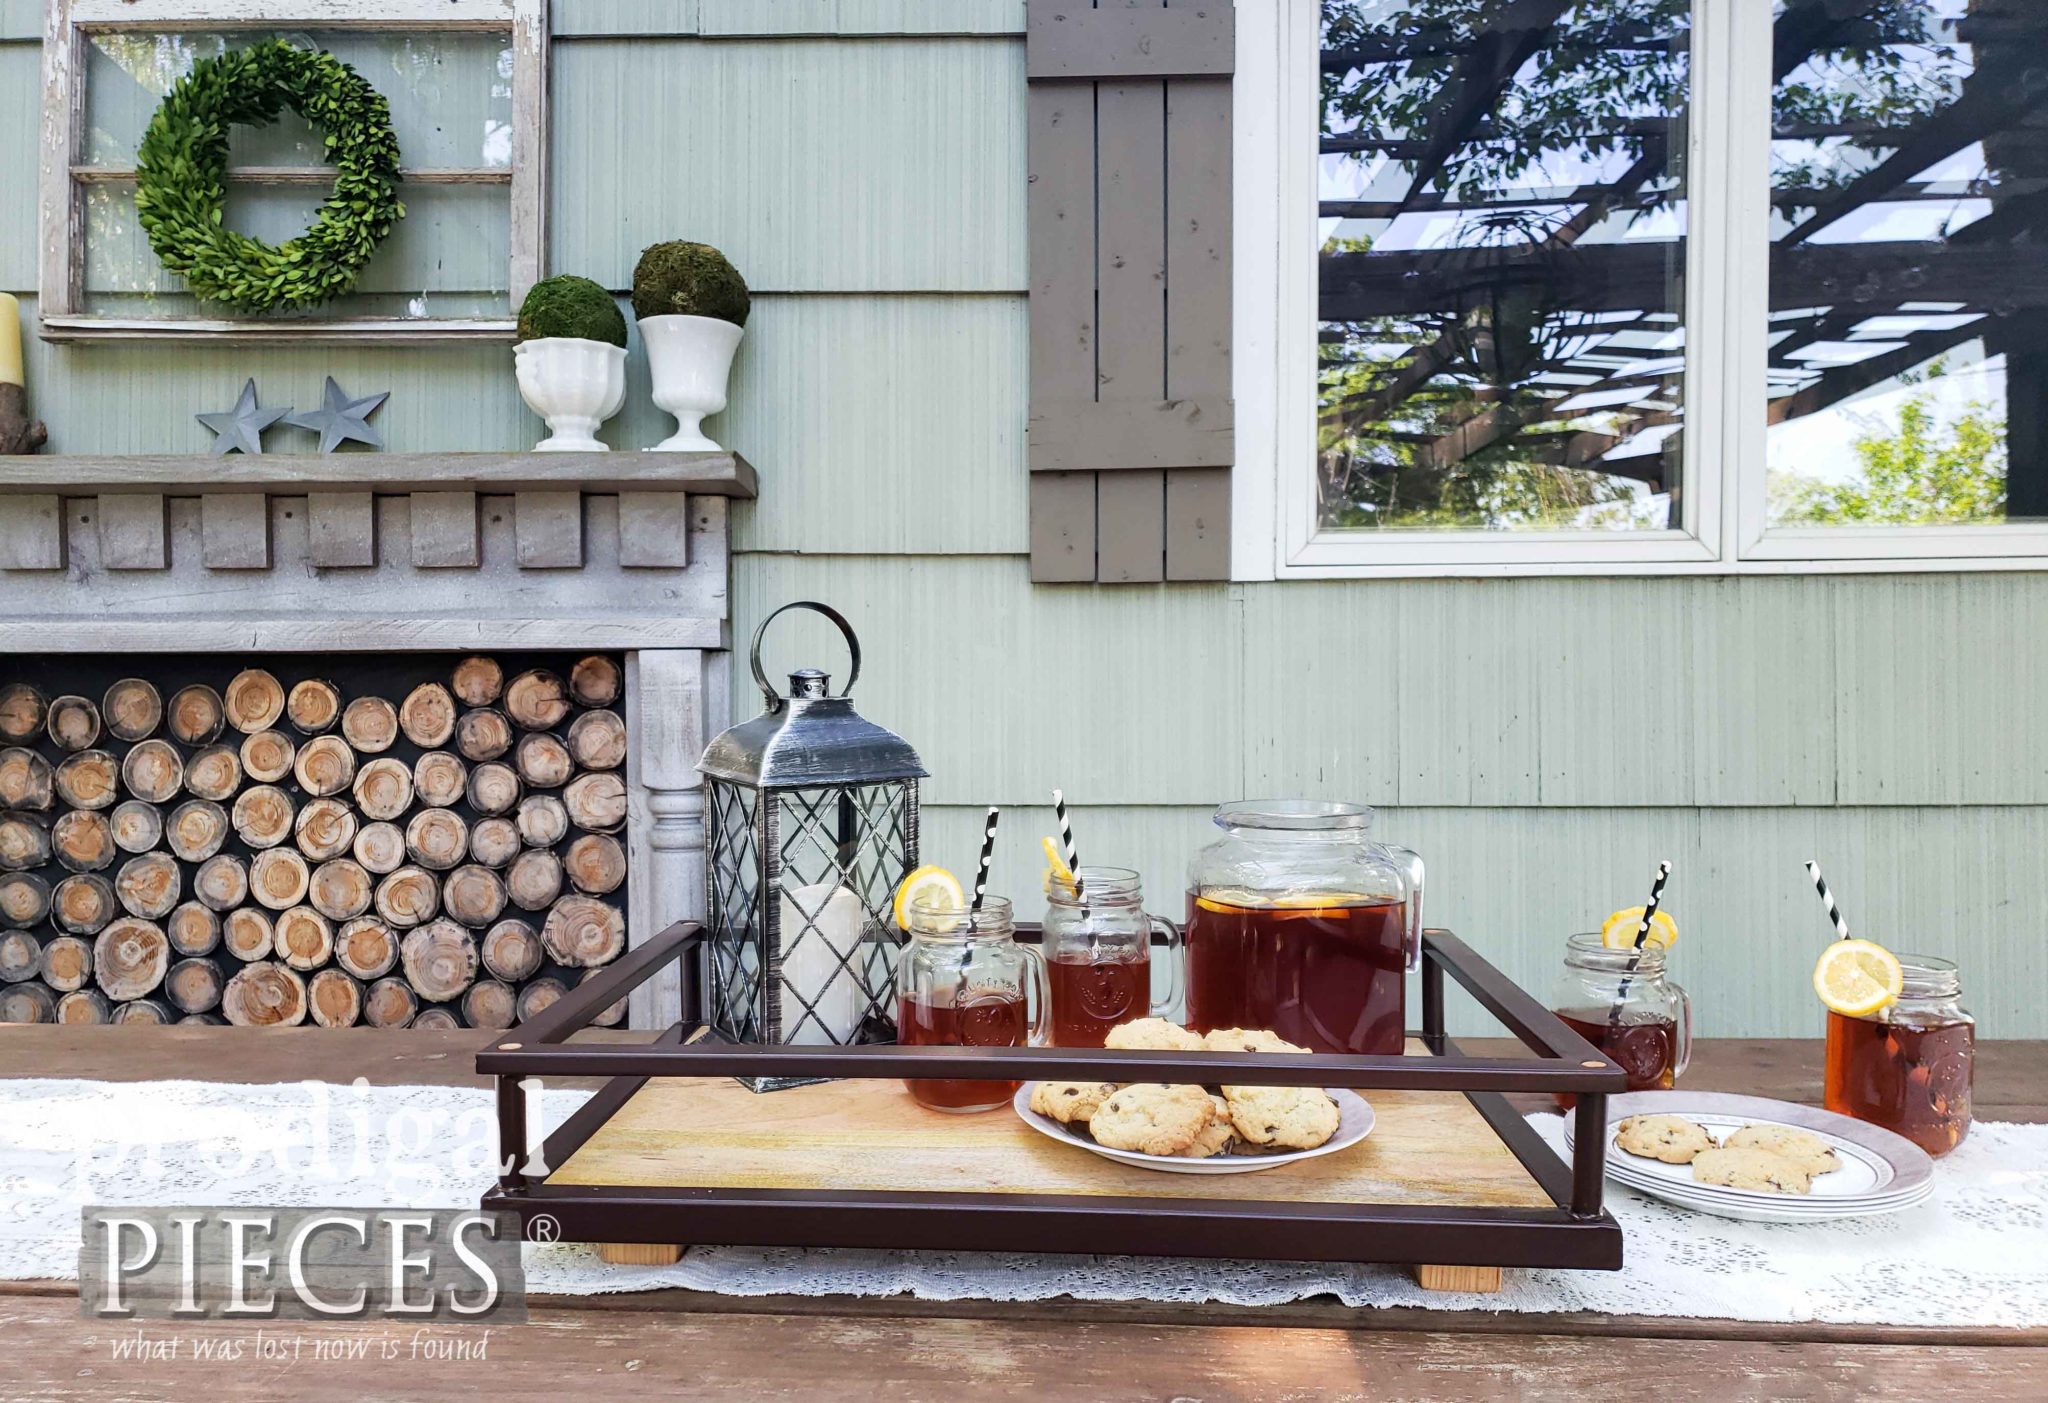
Last, but not least, it’s time to show you how these upcycled serving trays came to fruition.
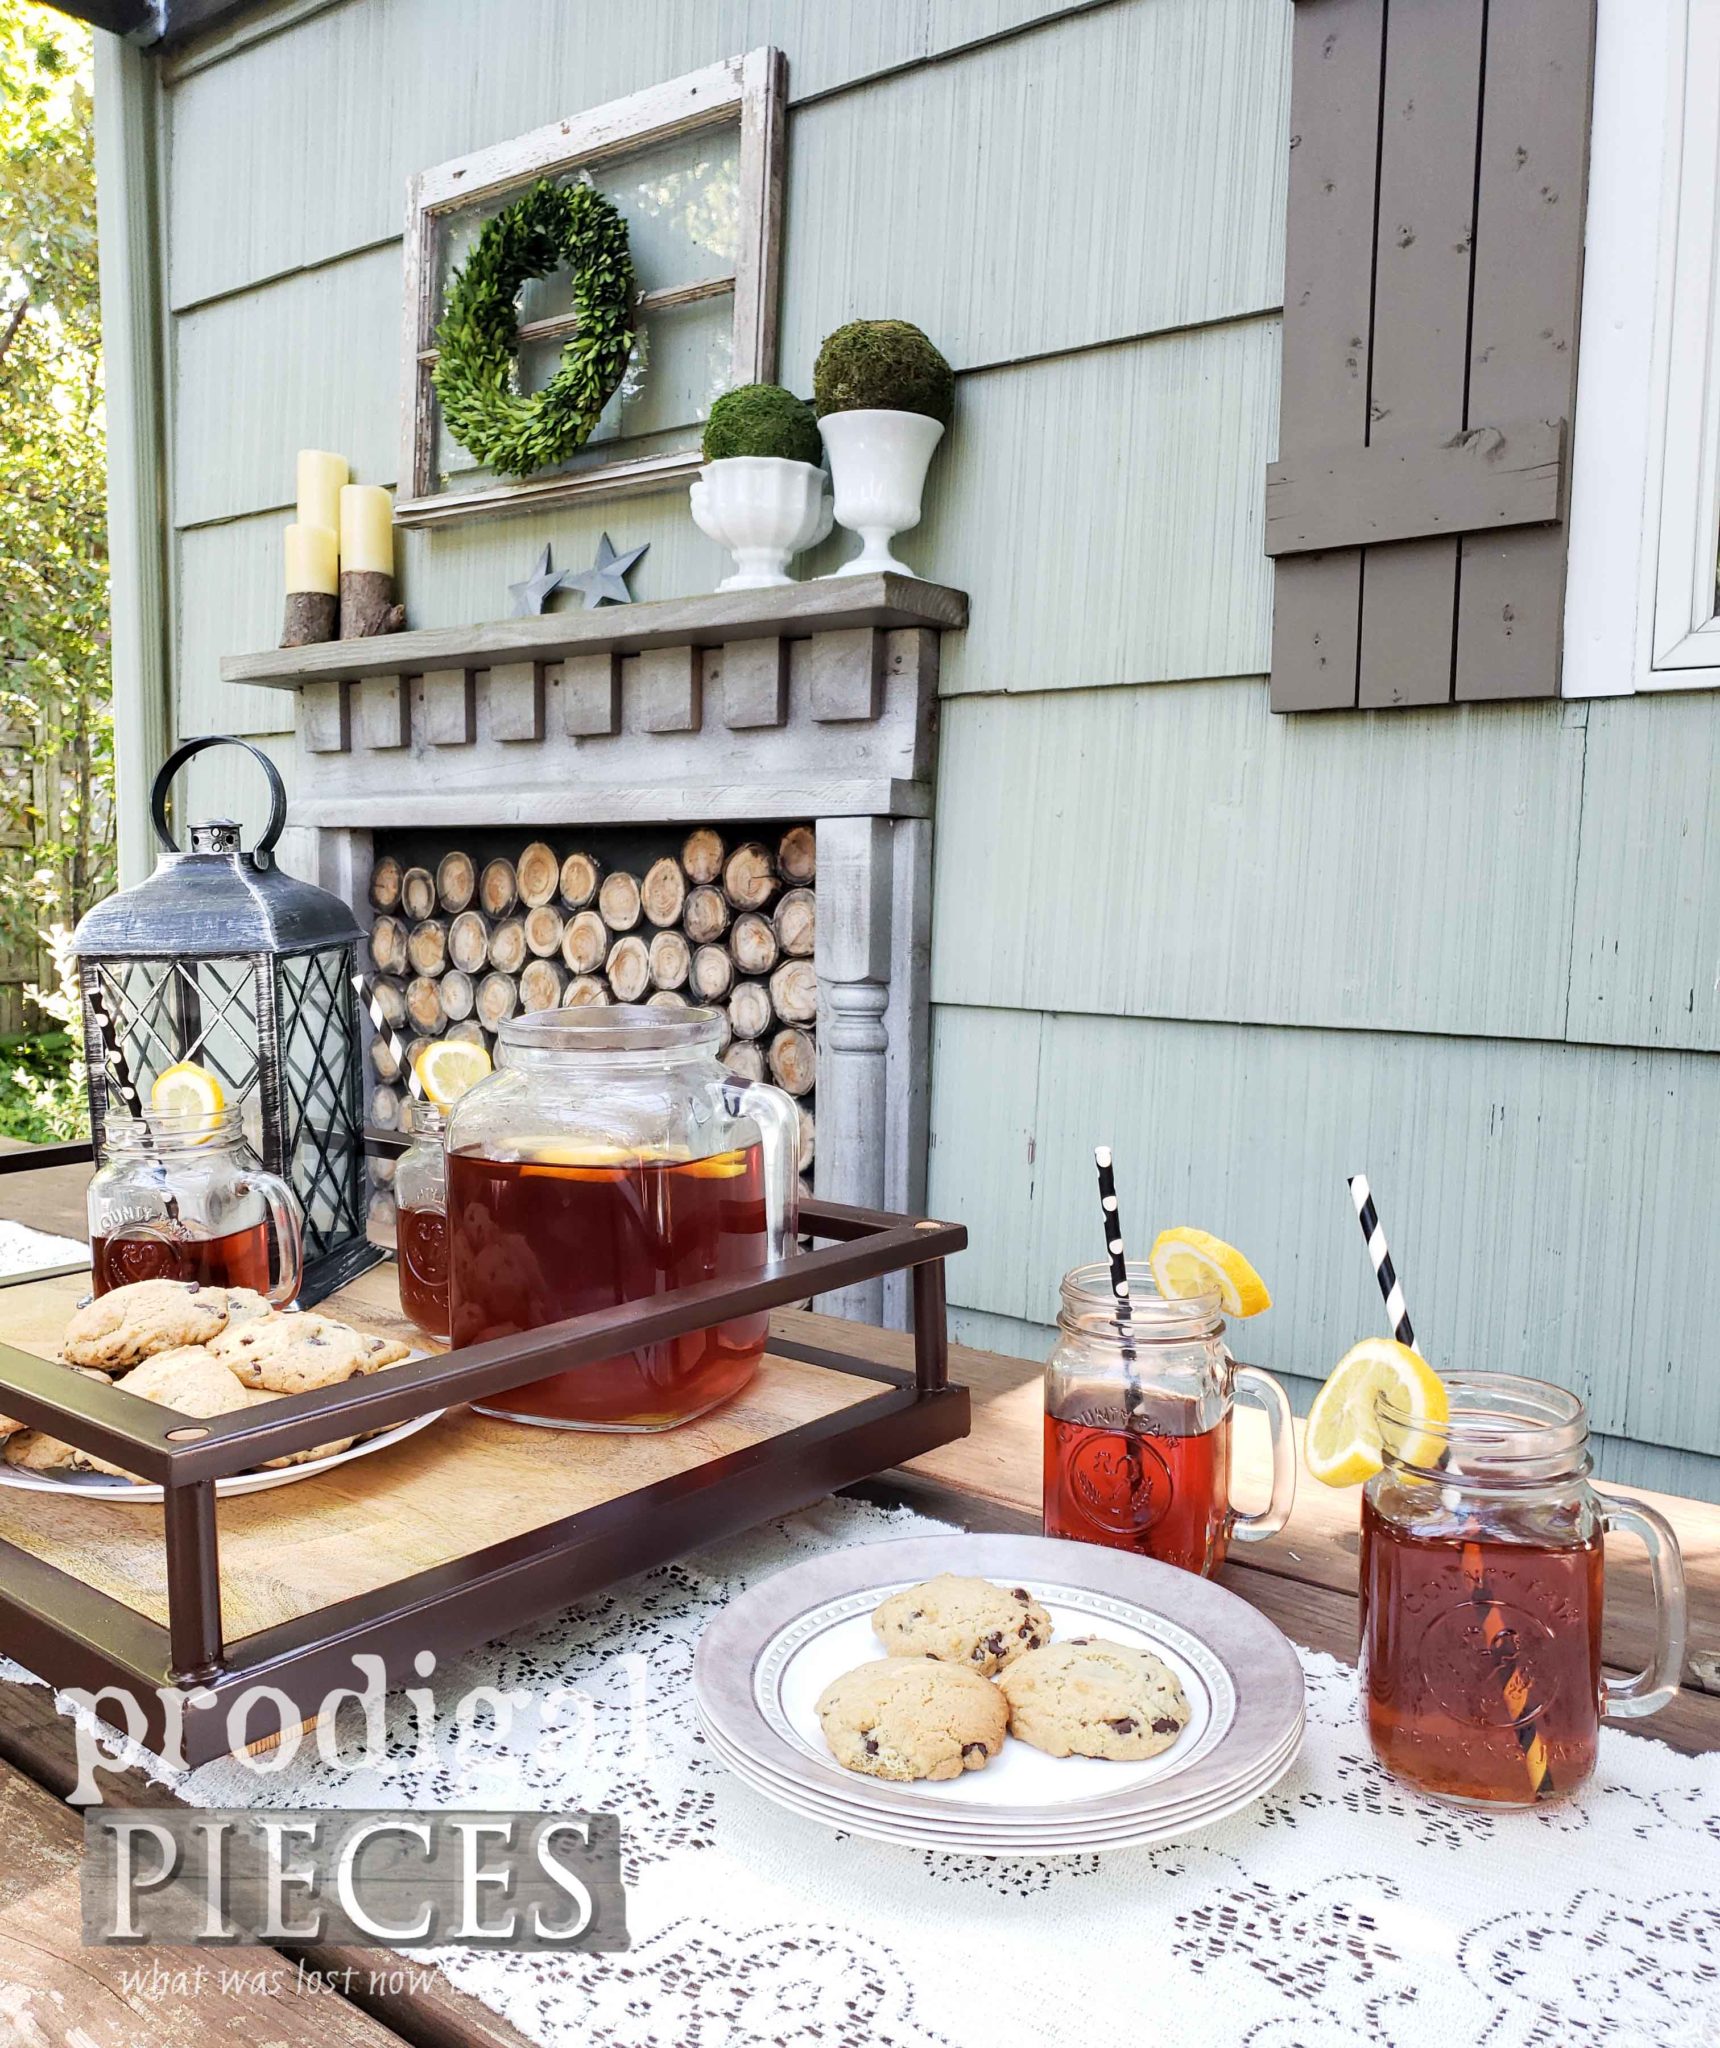
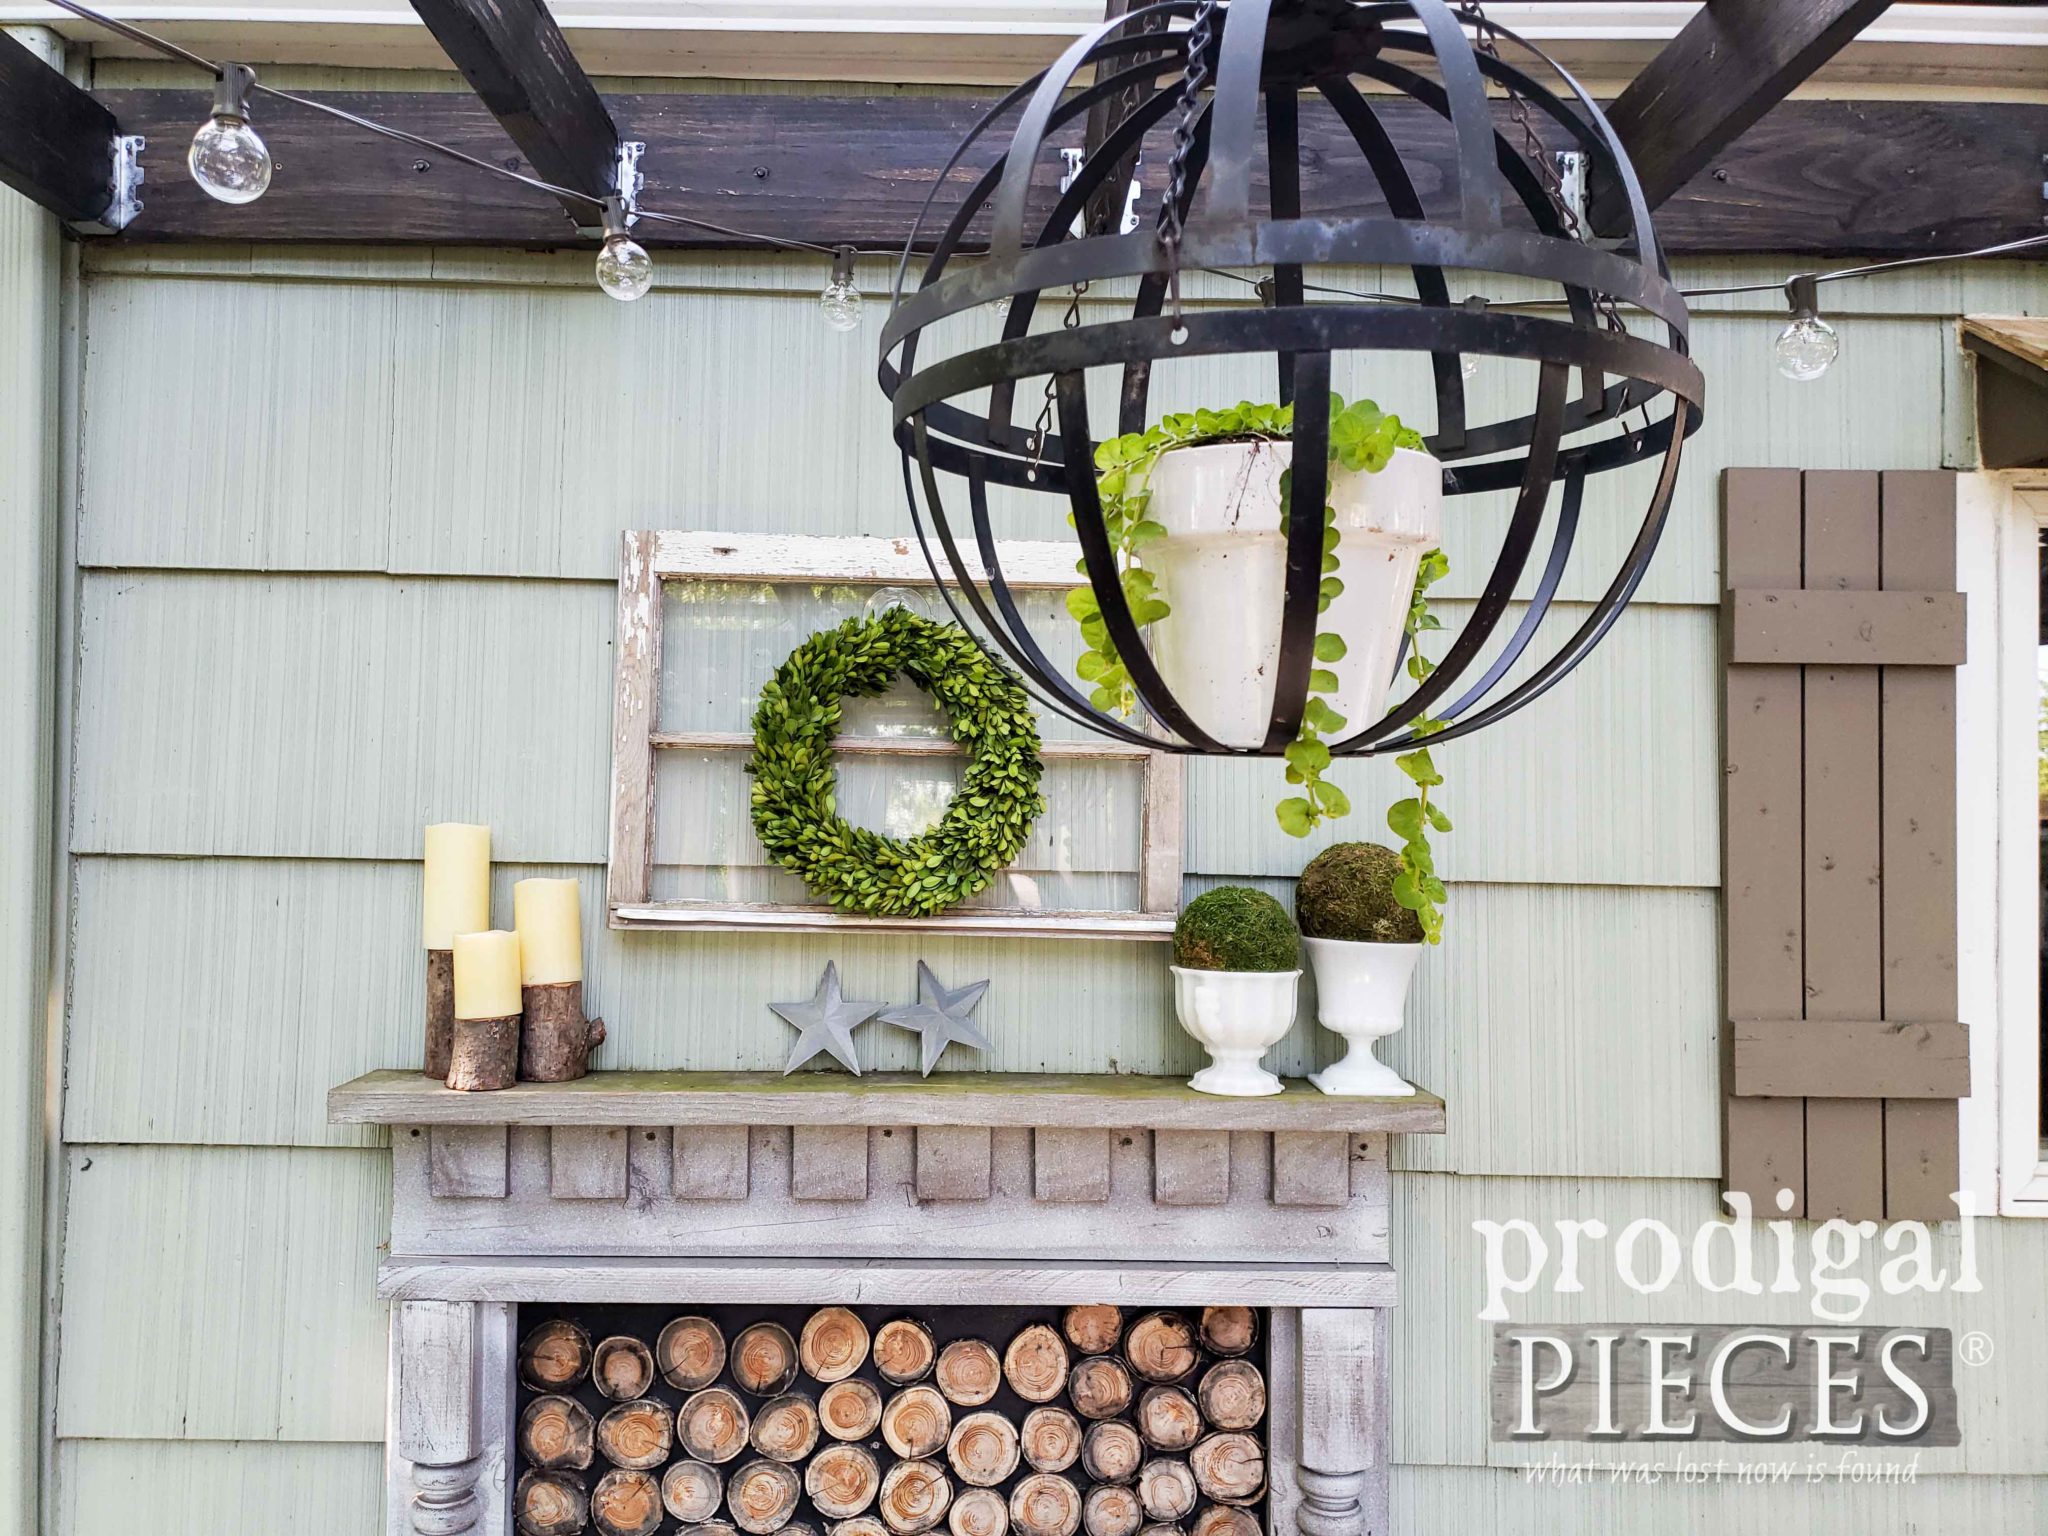
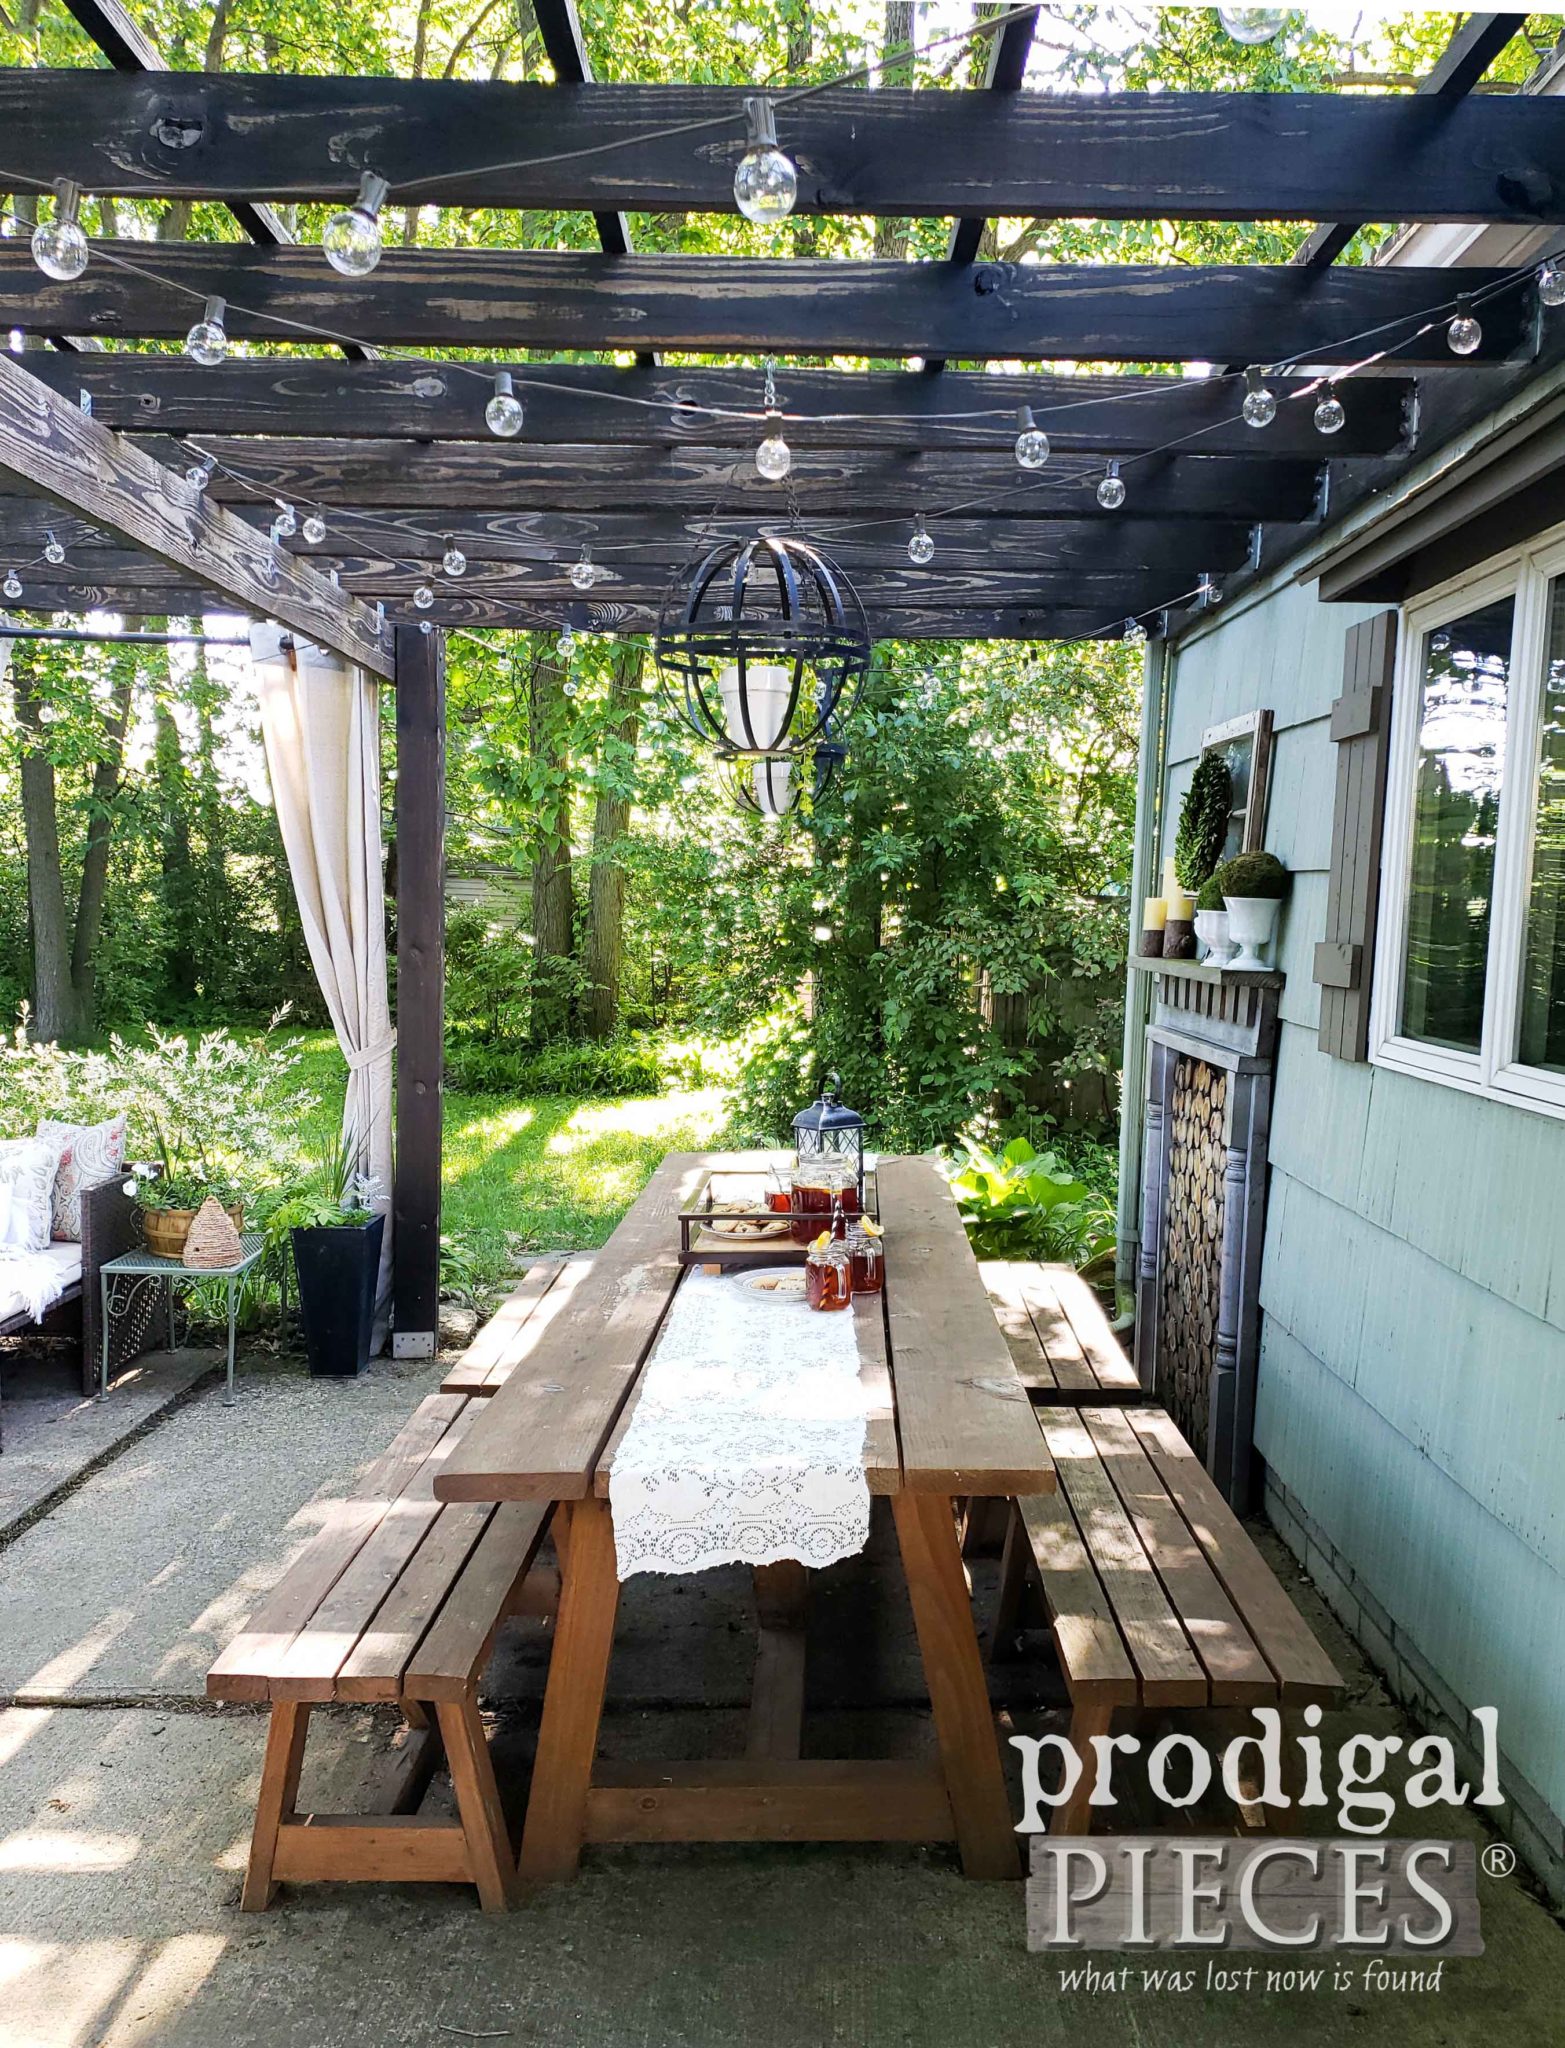
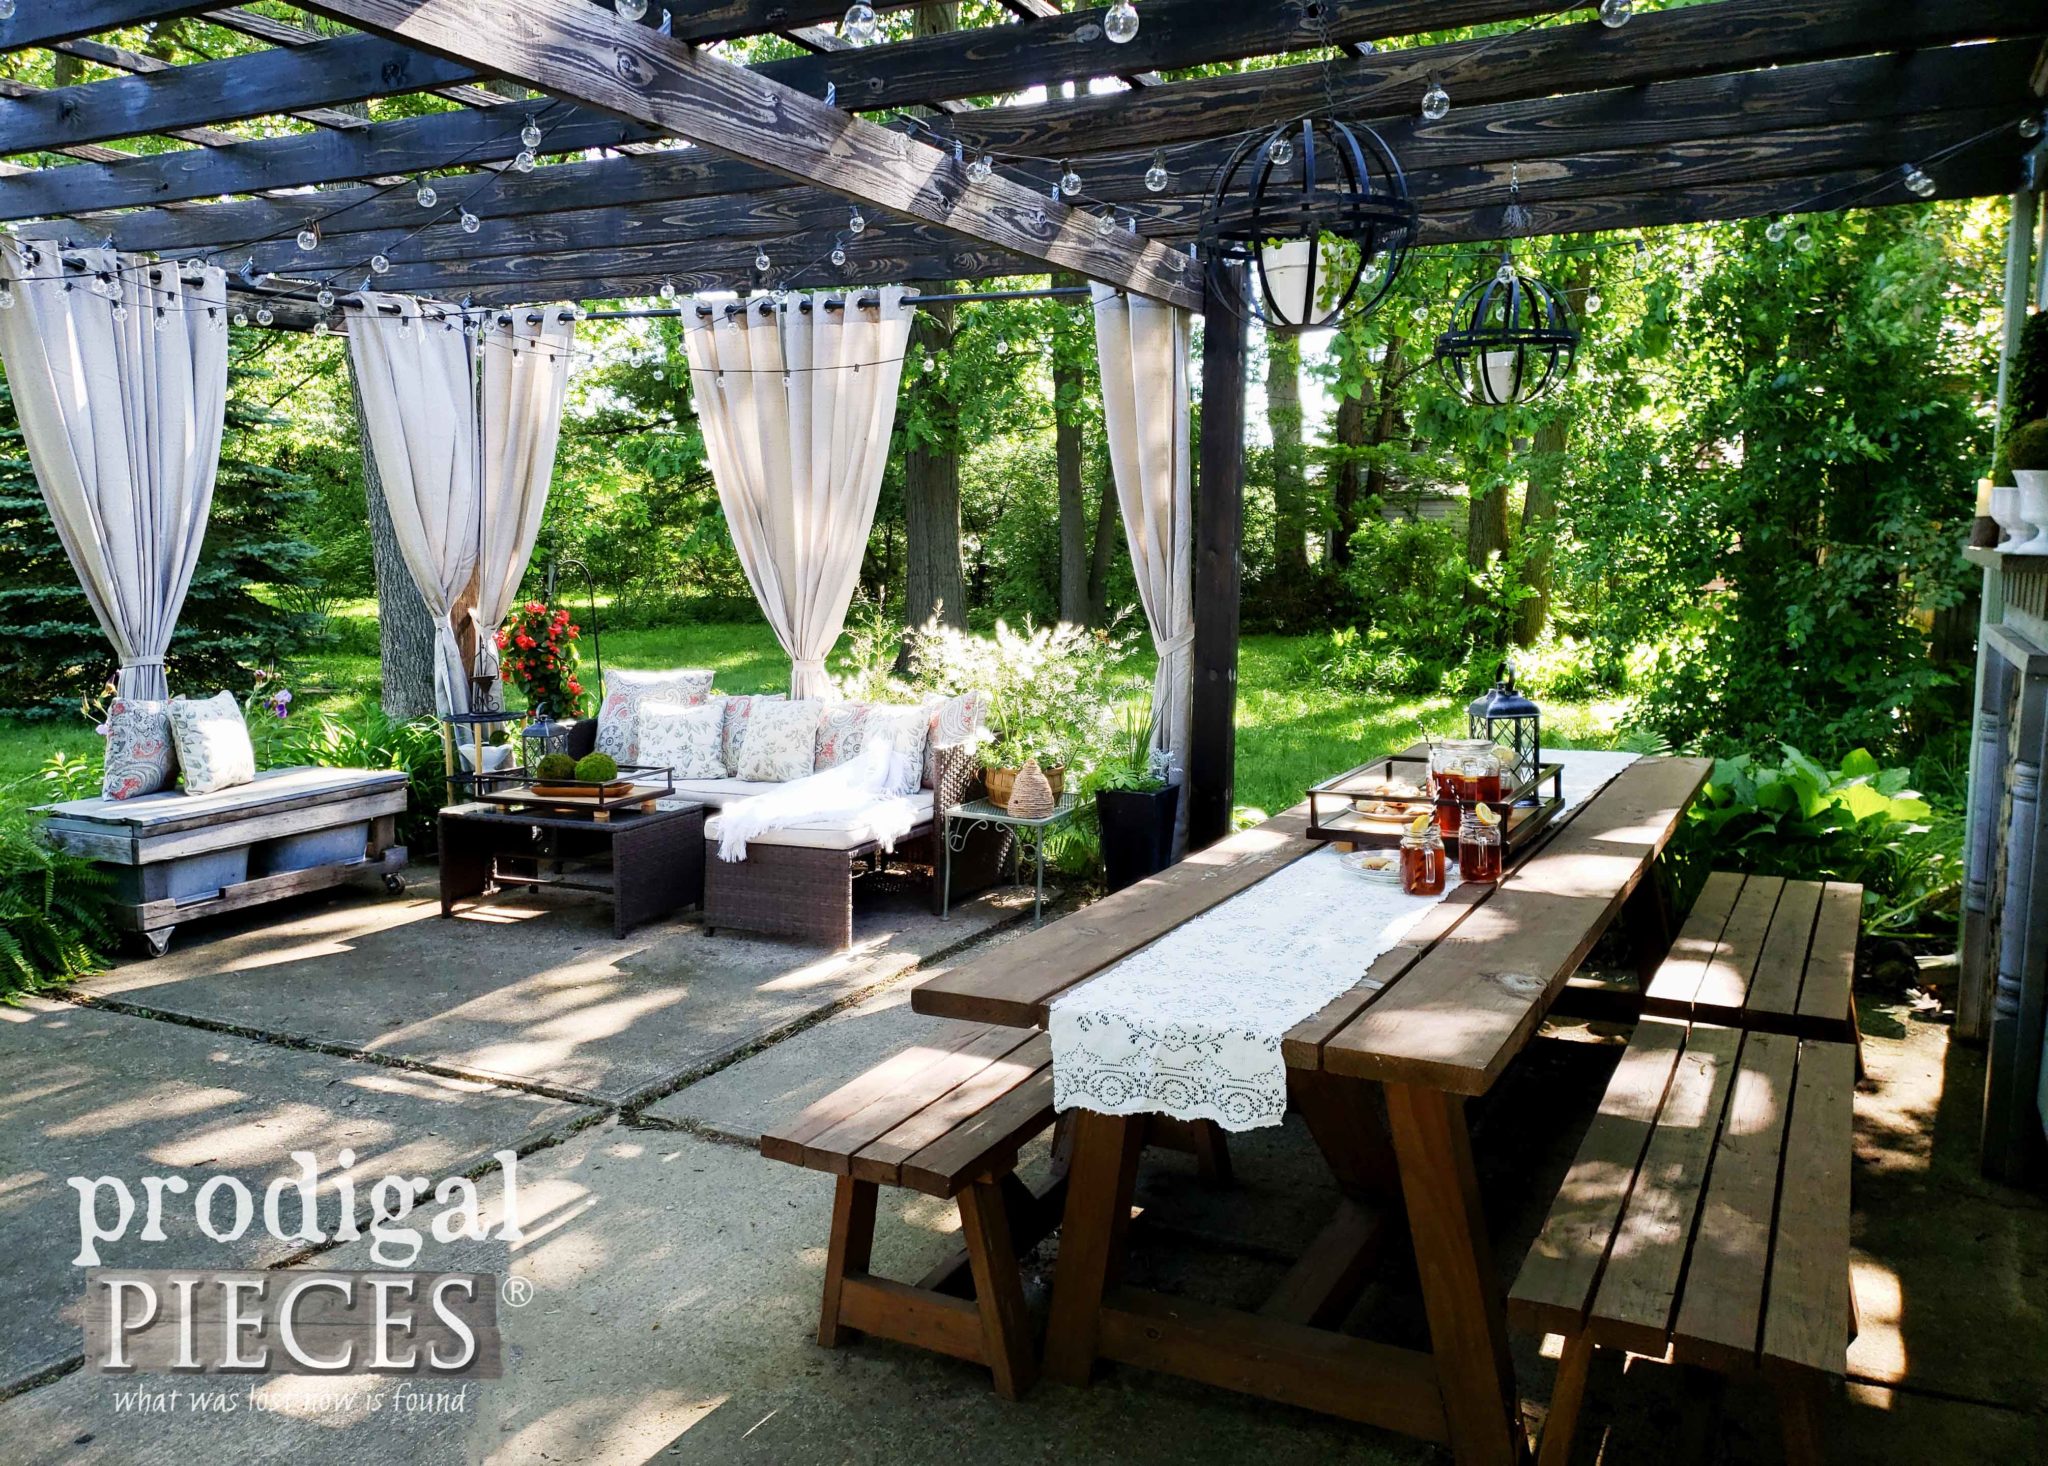
I’m so delighted with the outcome of these upcycled serving trays. One looks good on my patio dining table with my DIY faux fireplace as the backdrop.
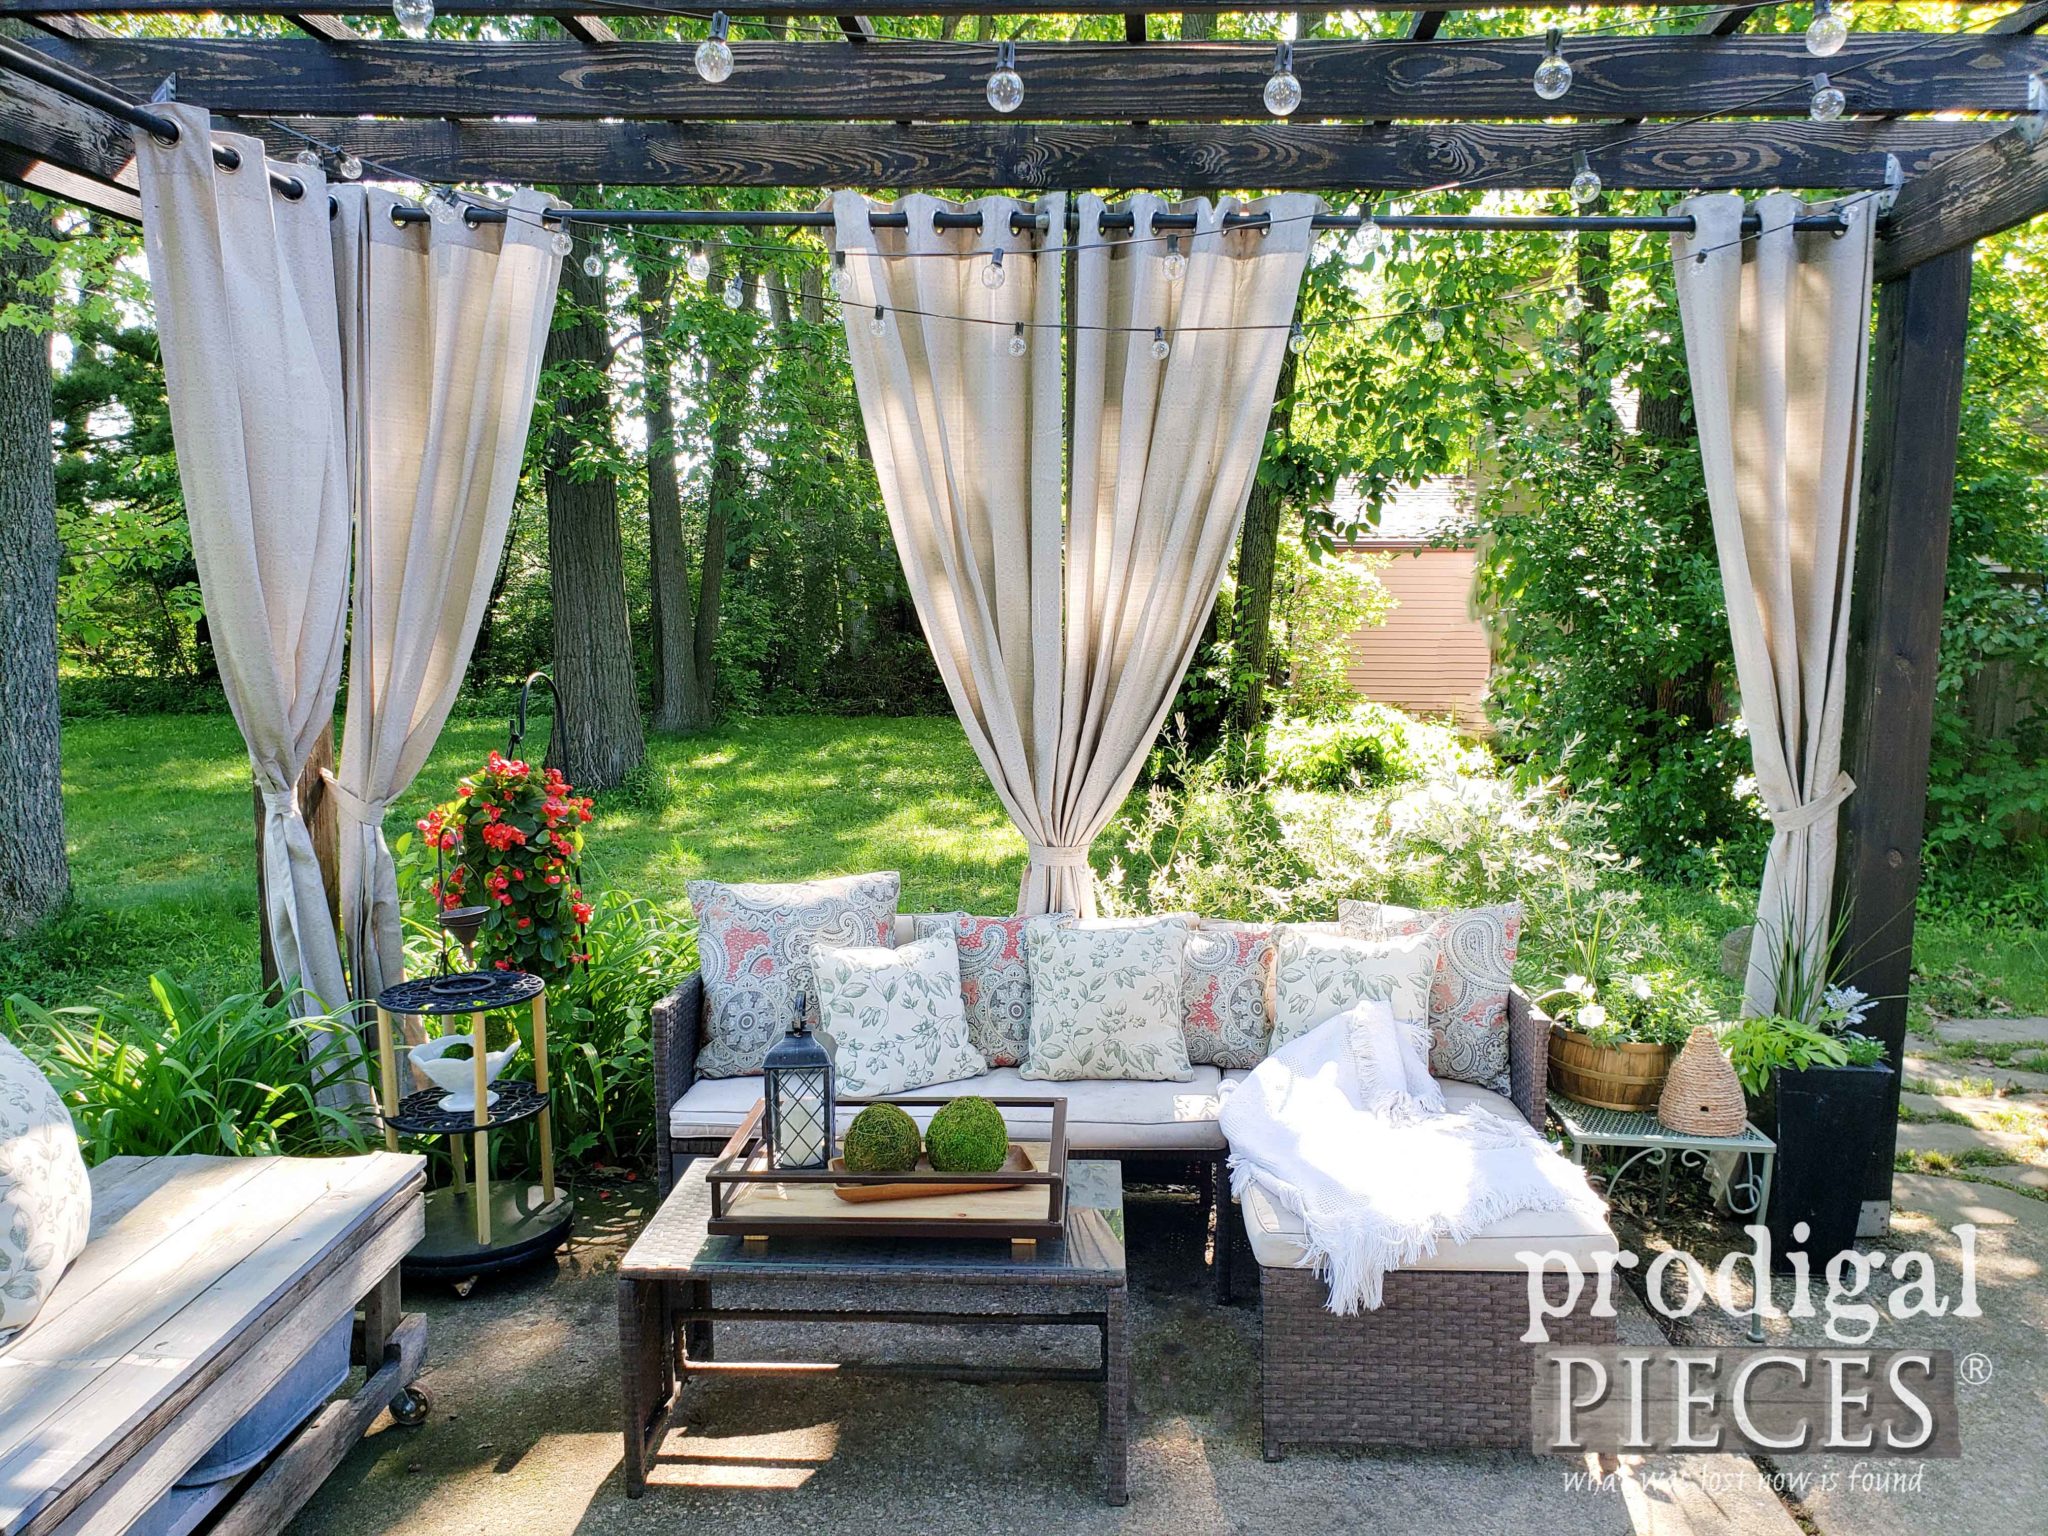
Truthfully, I literally think just about everything on my patio is handmade or found at the thrift store or from Curb le Chic (aka. #trashure)
I’ll add the links below to all my tutorials for this space. It’s hard to believe we did all this by ourselves and on a very tight budget. Here’s to DIY!
The second tray works as shown on my coffee table. I just love having accents like this to decorate, but that also serve a functional purpose.
Likewise, you can see all I have to offer from redeemed furniture, to vintage finds, to handmade goods.
In addition, do pin and share these upcycled serving trays to inspire others to see past the obvious (missing parts) to the potential.
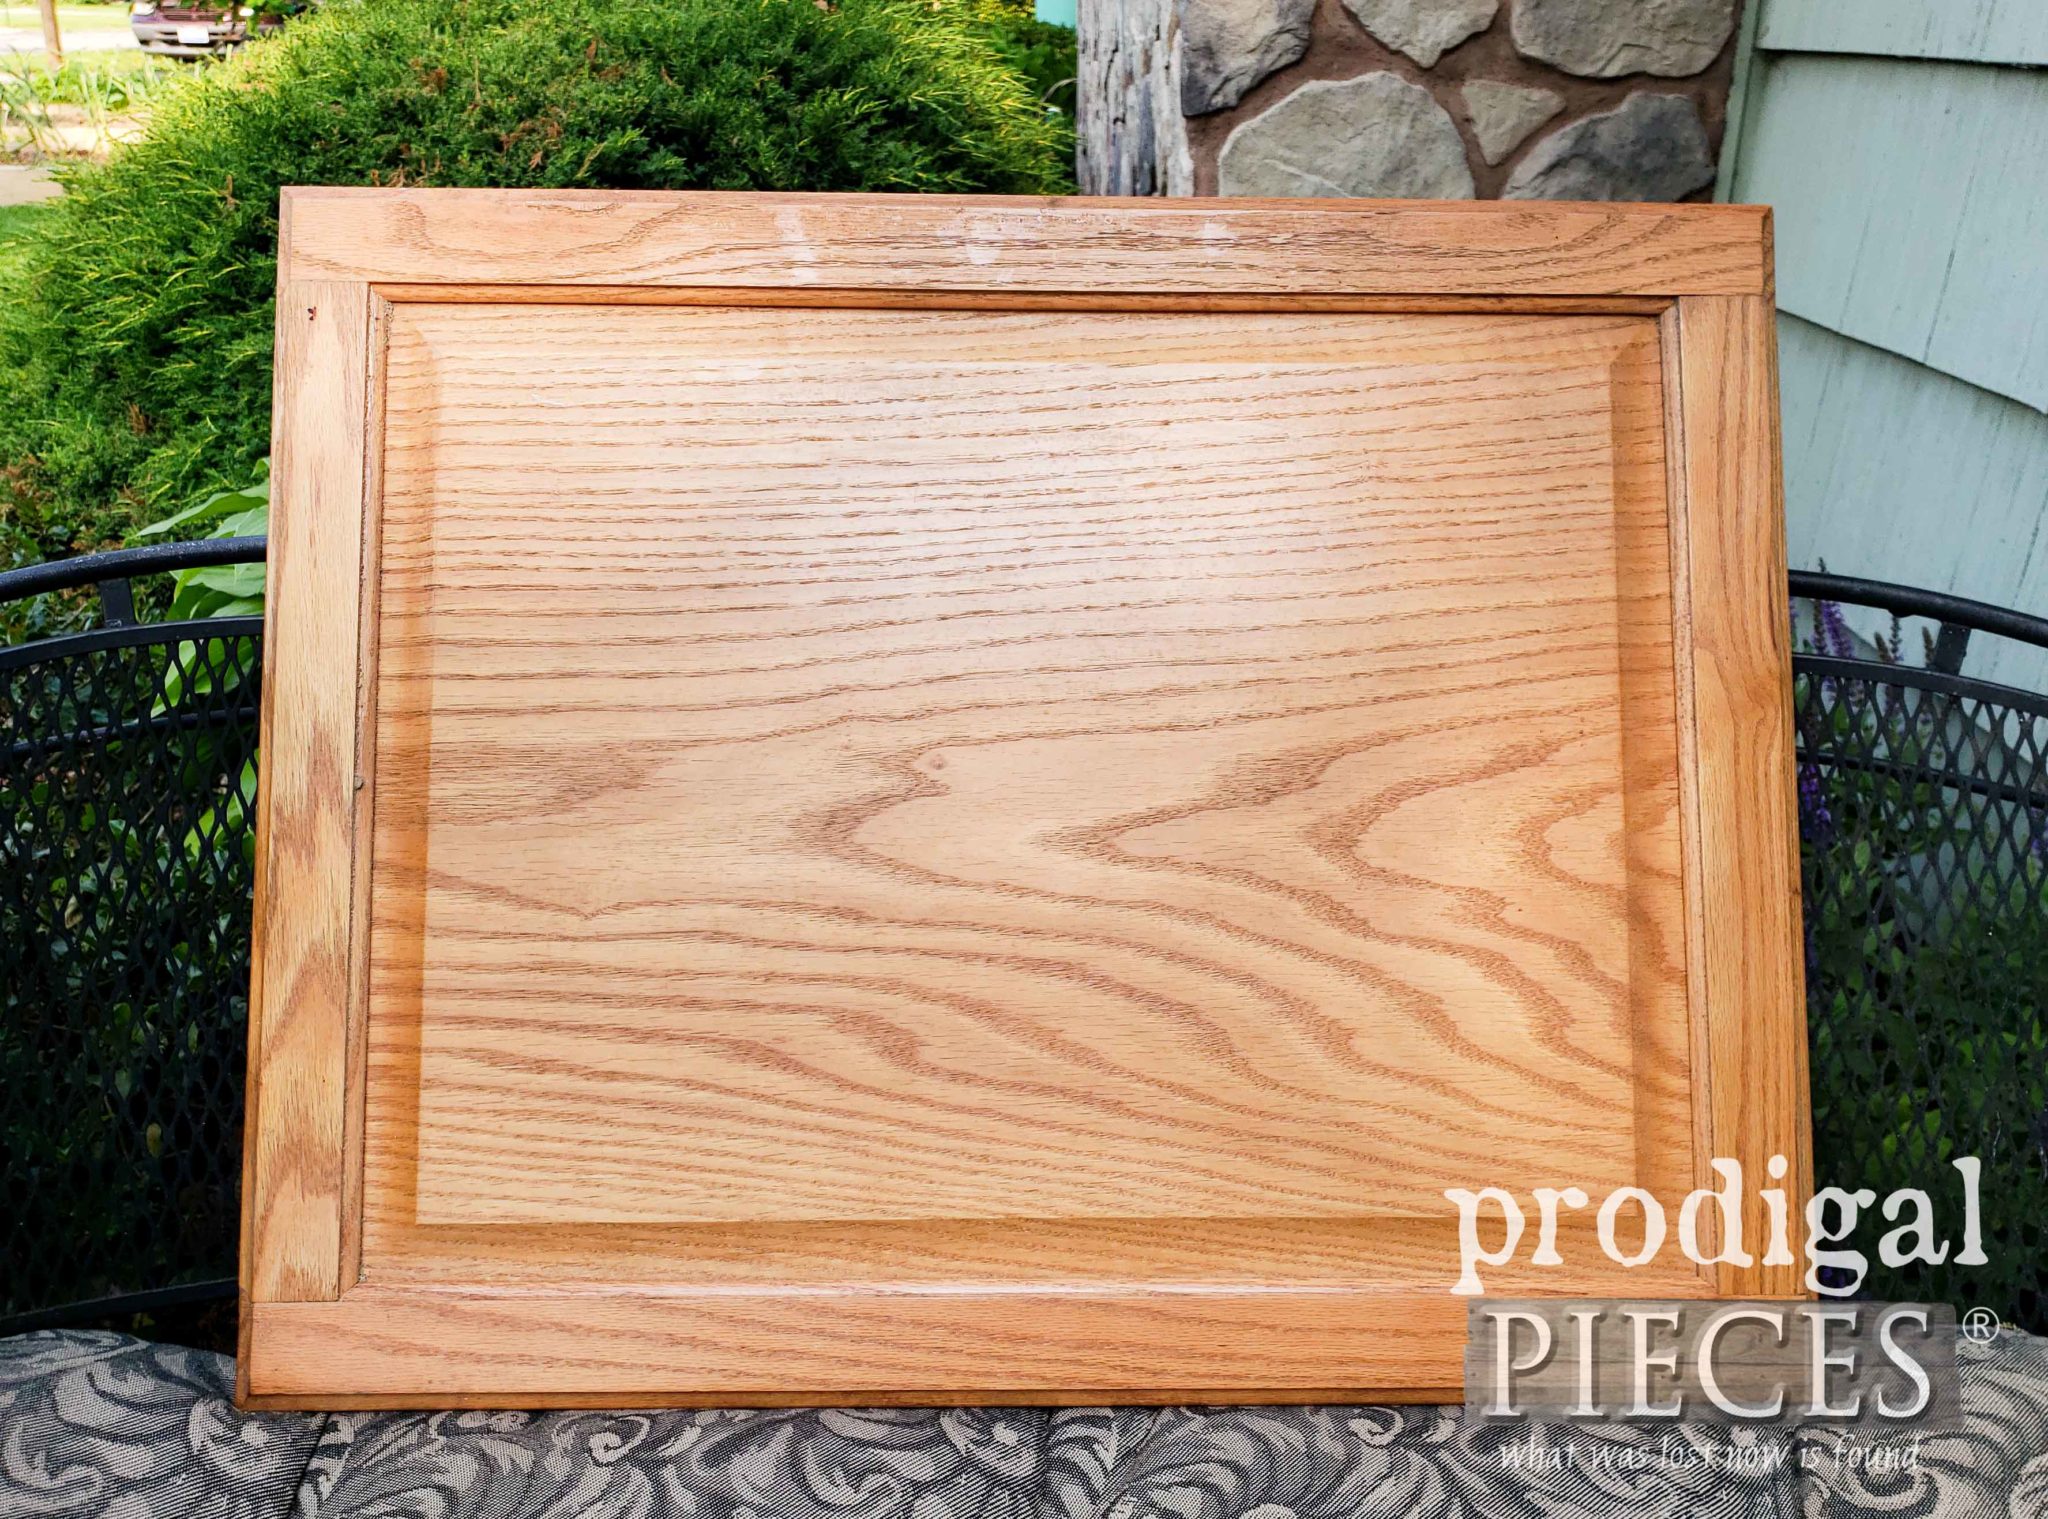
Up next, I’m pulling this large cupboard door out of my stash-to-end-all-stashes of cupboard doors. Any guesses as to what it will become? Come on over to see – head HERE.
Before you go, be sure to sign up for my newsletter. Finally, it’s time to see what my blogger friends have for you below.
What is more, check out these awesome Trash to Treasure Projects by my friends…






What an awesome save!! You sure are the queen of repurposing. The serving tray looks right at home in your beautiful outdoor space.
Yahoo!! You made me smile from ear to ear, Sam. I’d love to have you over for some tea! 😀
Larissa these are great. Many uses for them around the house. I love your outdoor space too.
Cindy
I think I’m addicted to trays. tee hee! Thank you, Cindy.
Great repurpose as always, Larissa! SO many would have just tossed them in the trash, but you turned them into something functional and beautiful! XO
I had really hoped to revive it, but am glad my vision worked out. Thanks so much for the love, Christy.
Very cool Larissa! I would never have thought to do that. Thanks for the inspiration!!
My pleasure to share, Cate. Thank you!
How cute is that?? Great as always!!! 🙂 xo
Thank you, Nancy. 🙂
I love your way of thinking! It’s so perfect as a tray.
Thank you! I’m just glad you don’t think my nutty. tee hee! 😀
Larissa, you’re amazing! Only you would see serving trays in an old bar cart. Fantastic repurpose, as always and they look great in your gorgeous pergola space.
Or you could call me crazy as these were a bunch of work. haha! Not too hard though, thankfully. Thank you for the everlasting love, Marie.
What a great find! I love how you repurposed those bar cart pieces into trays Larissa.
Thank you, Jen. It was fun to try to remake them.