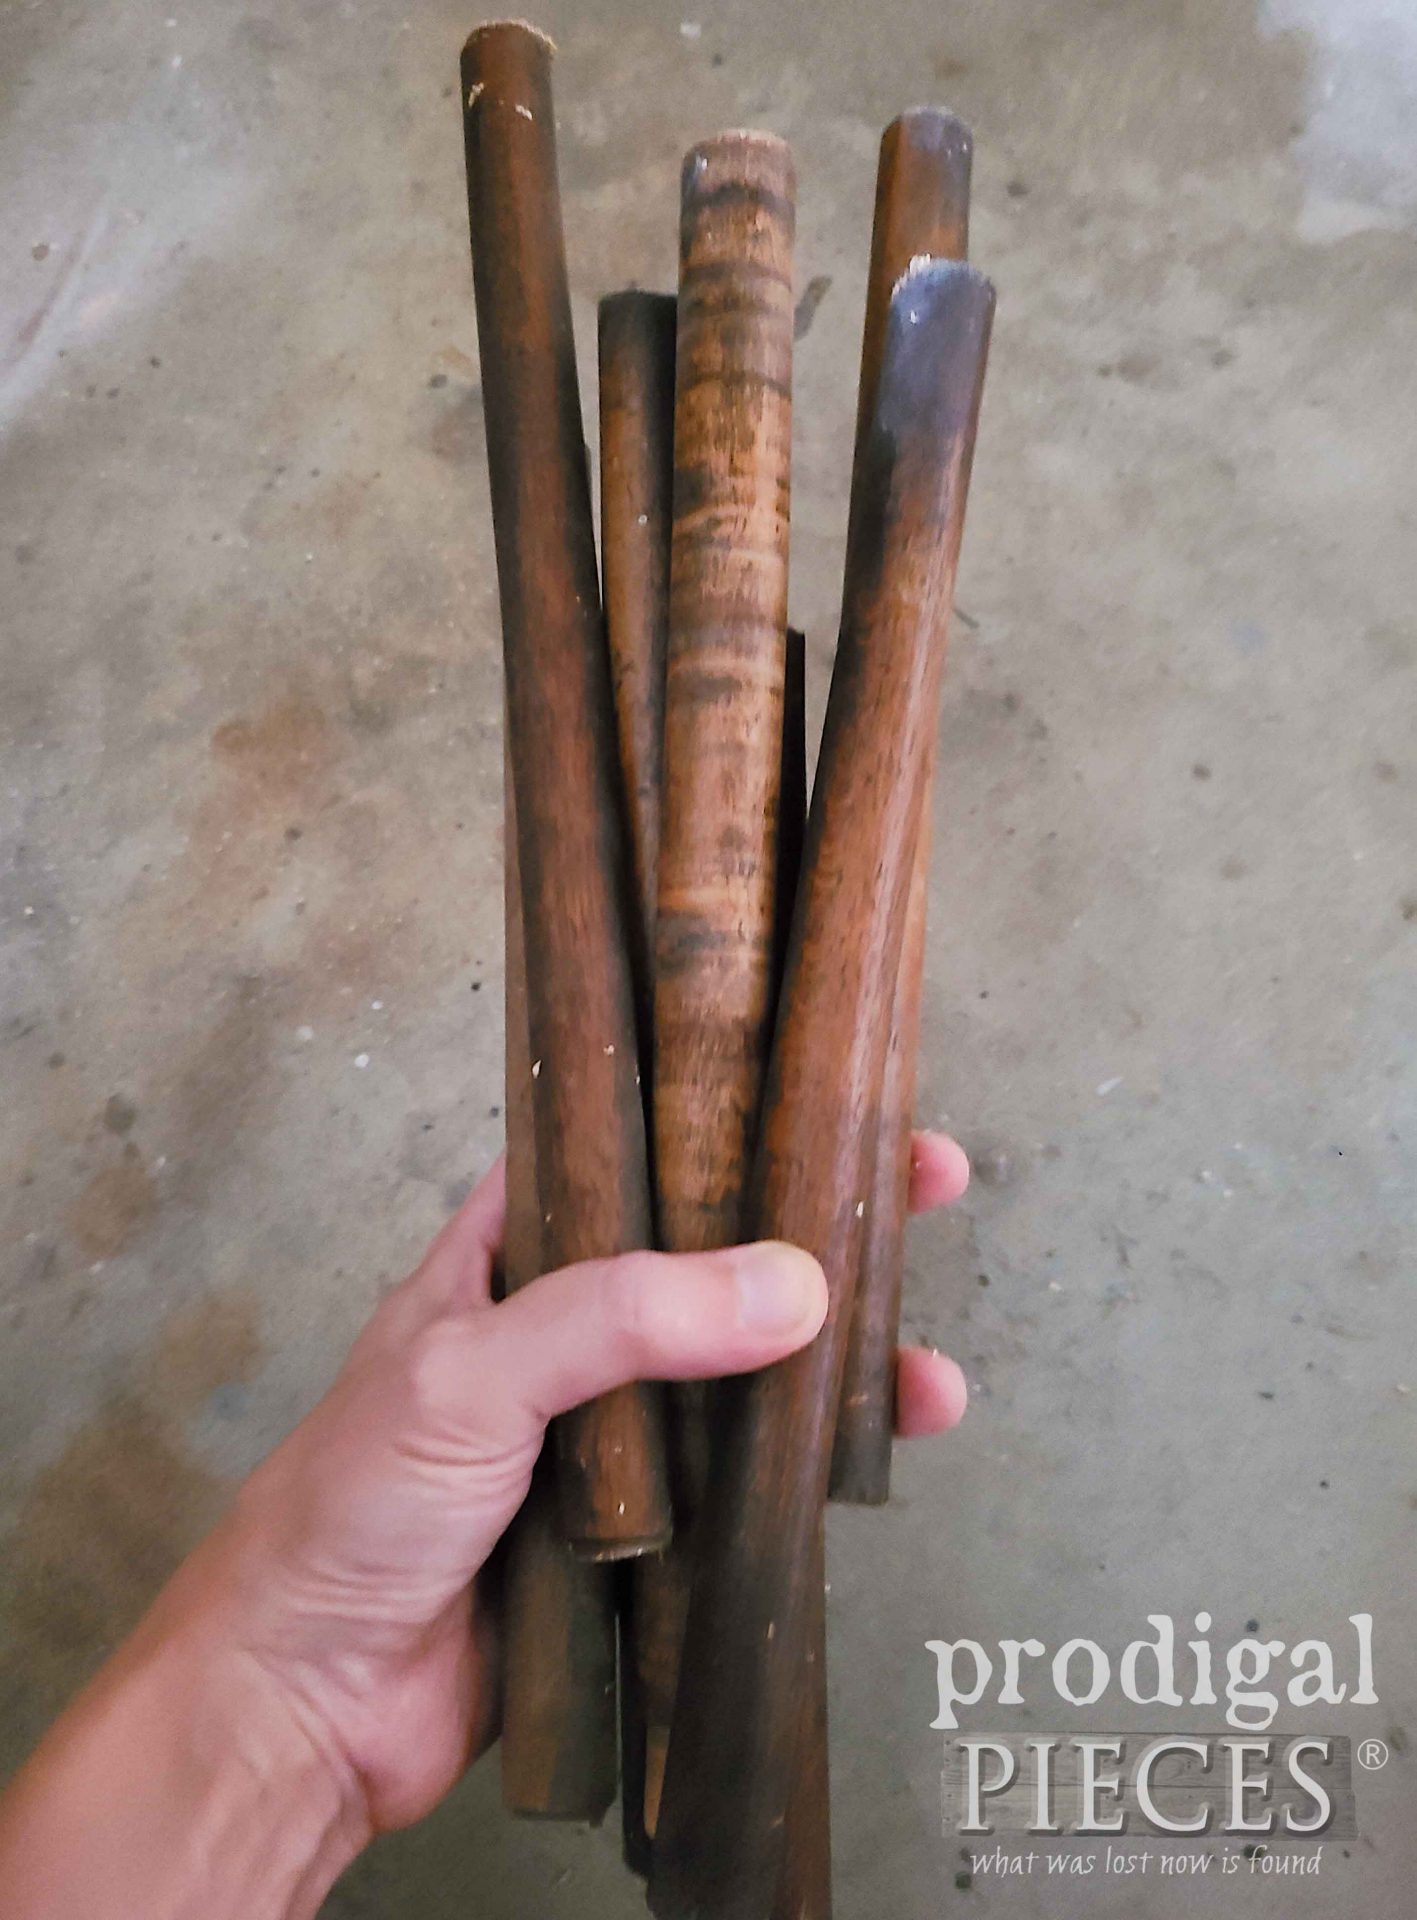
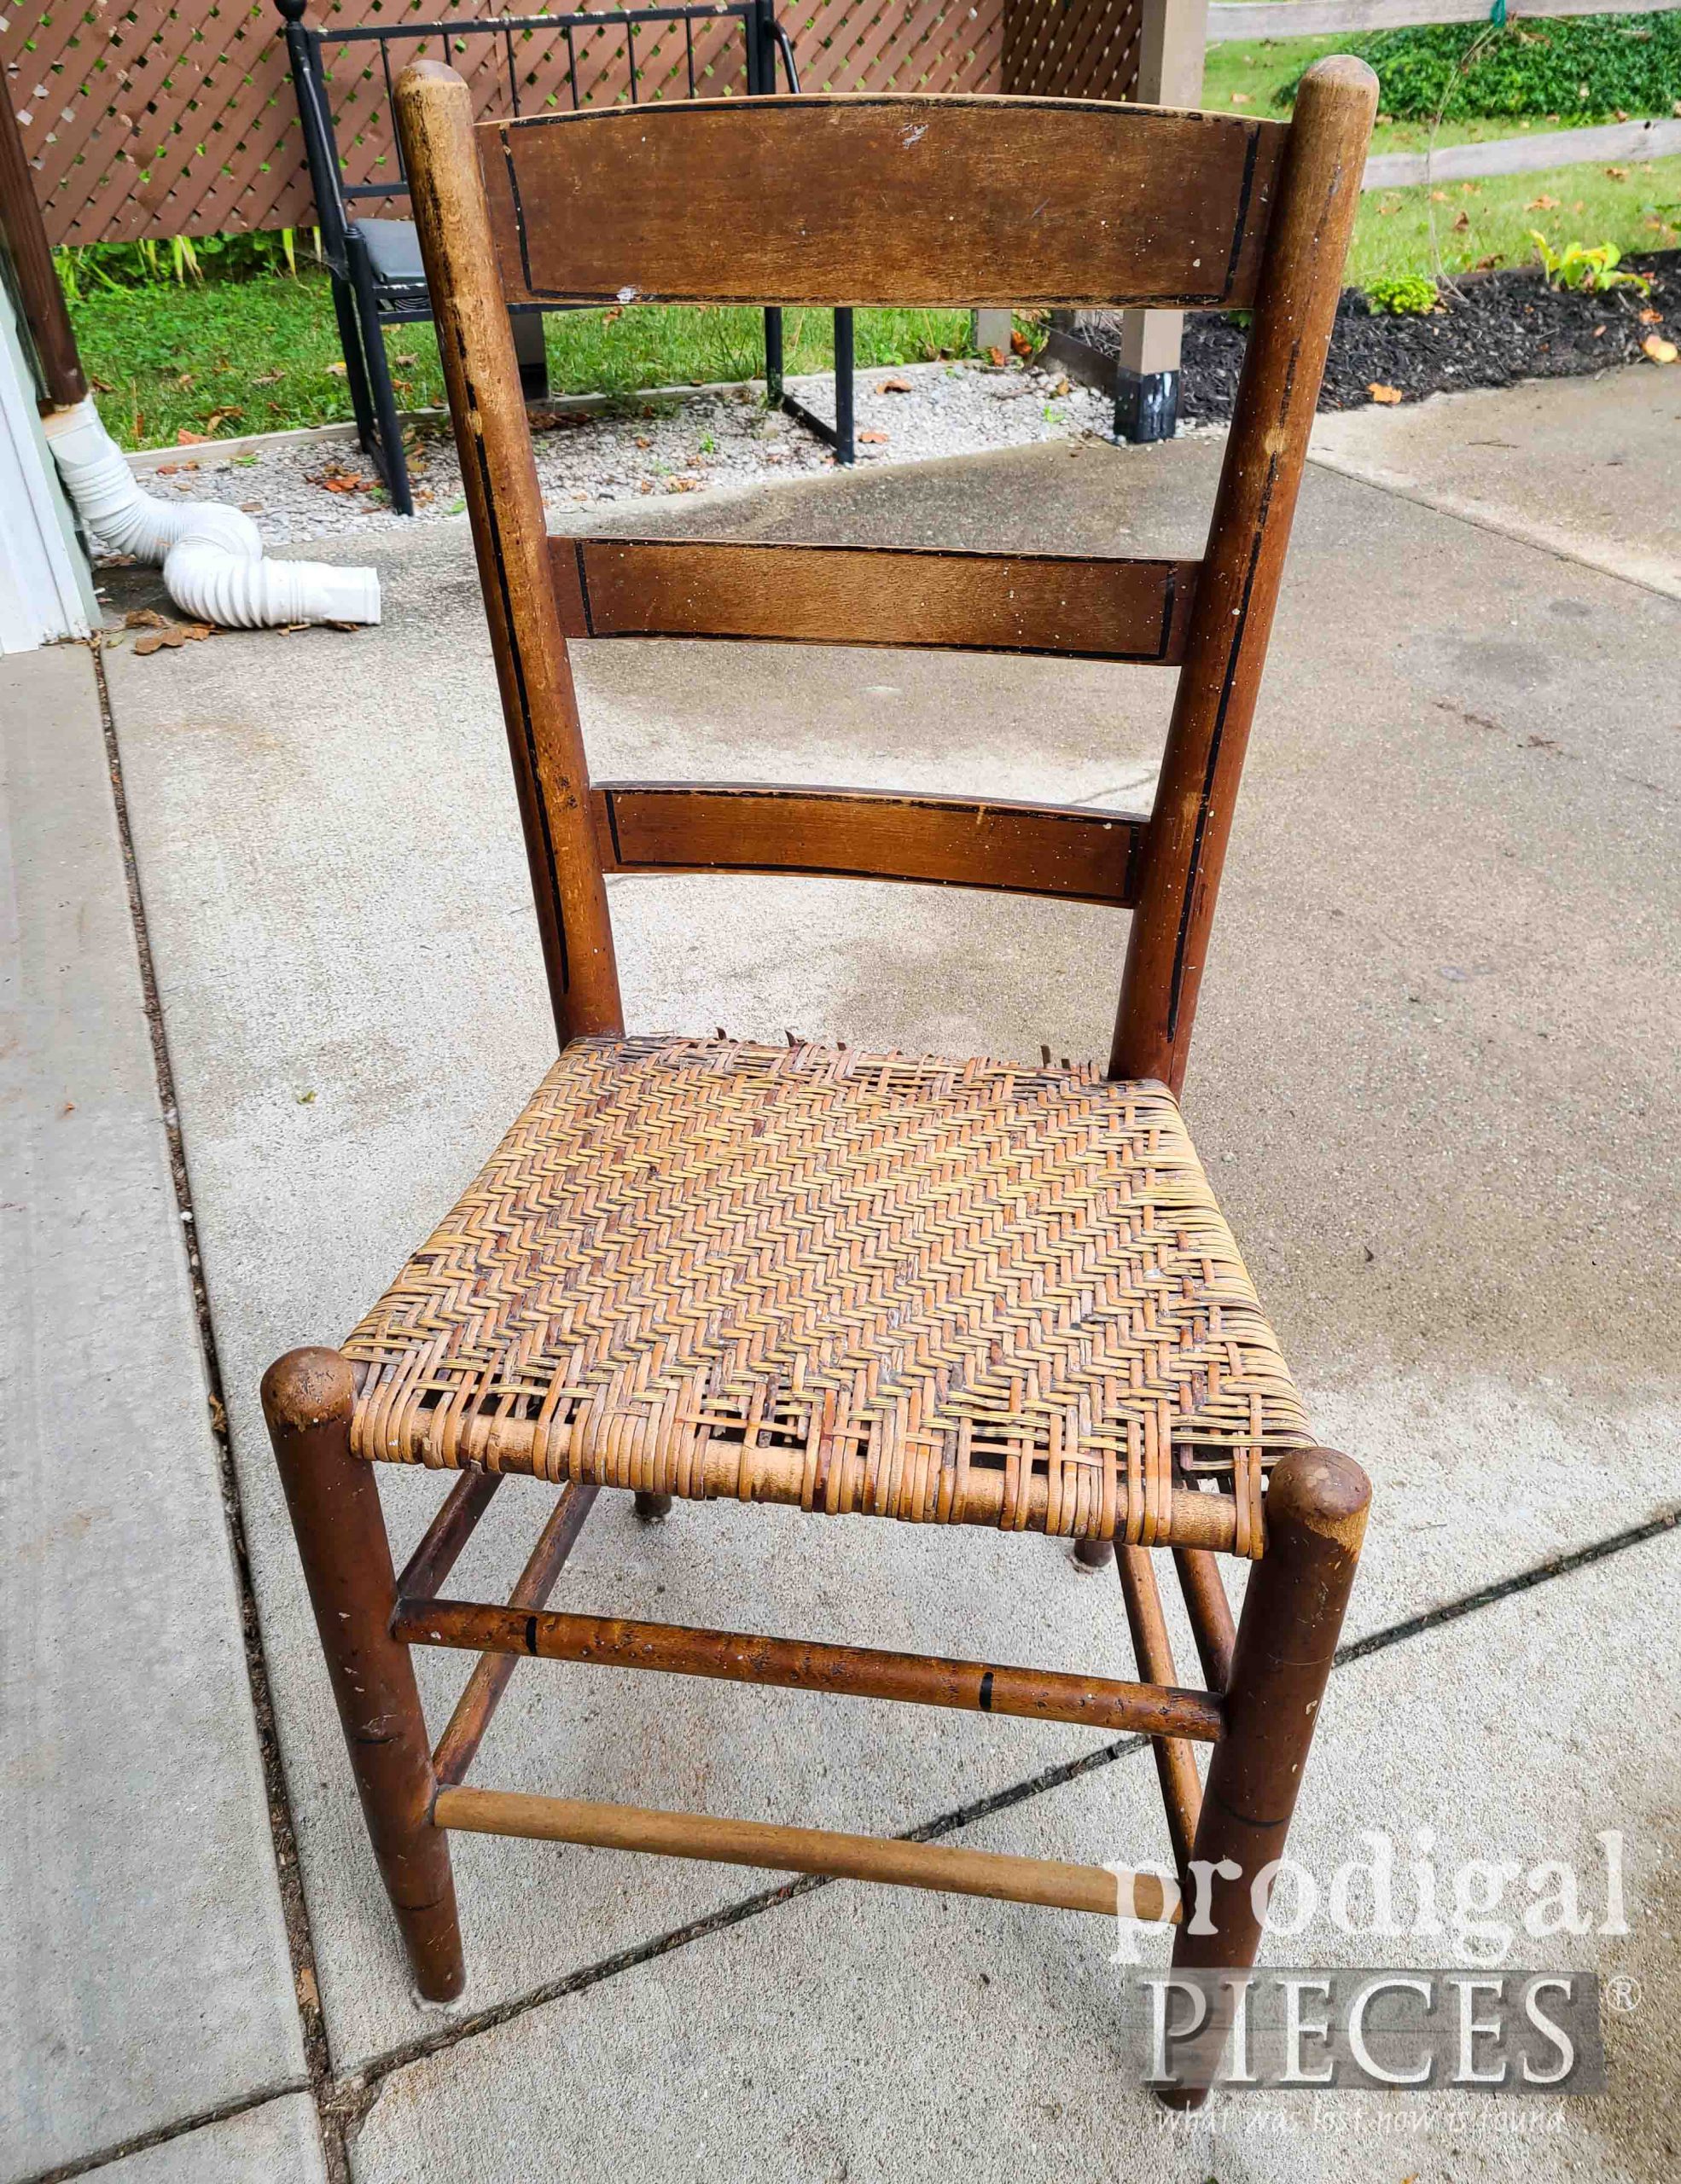
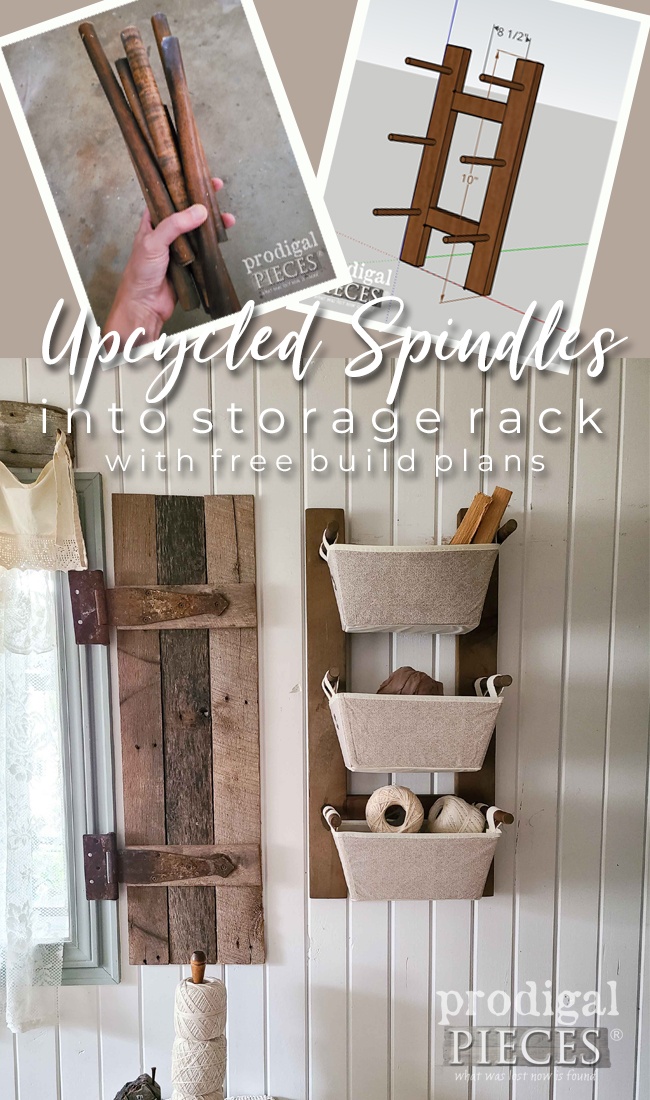
You’re only as good as your word, right? Well, I’m here today to keep up my end of the written commitment I made to you when I first began the vintage caned chair upcycle. While I’m happy with what became of the main part of the chair, I totally couldn’t let the dowel spreaders go to waste. Let’s have some upcycled spindle fun!
Since one of the dowel was originally split lengthwise, leaving me with only have seven spindles left. For this project, I’m making use of six of them and am saving that one for a future purpose. My mind went to many ideas because…hey…what can’t you do with upcycled spindles? In the past, I’ve created butterflies, wooden totes, and other fun decor.
GETTING STARTED
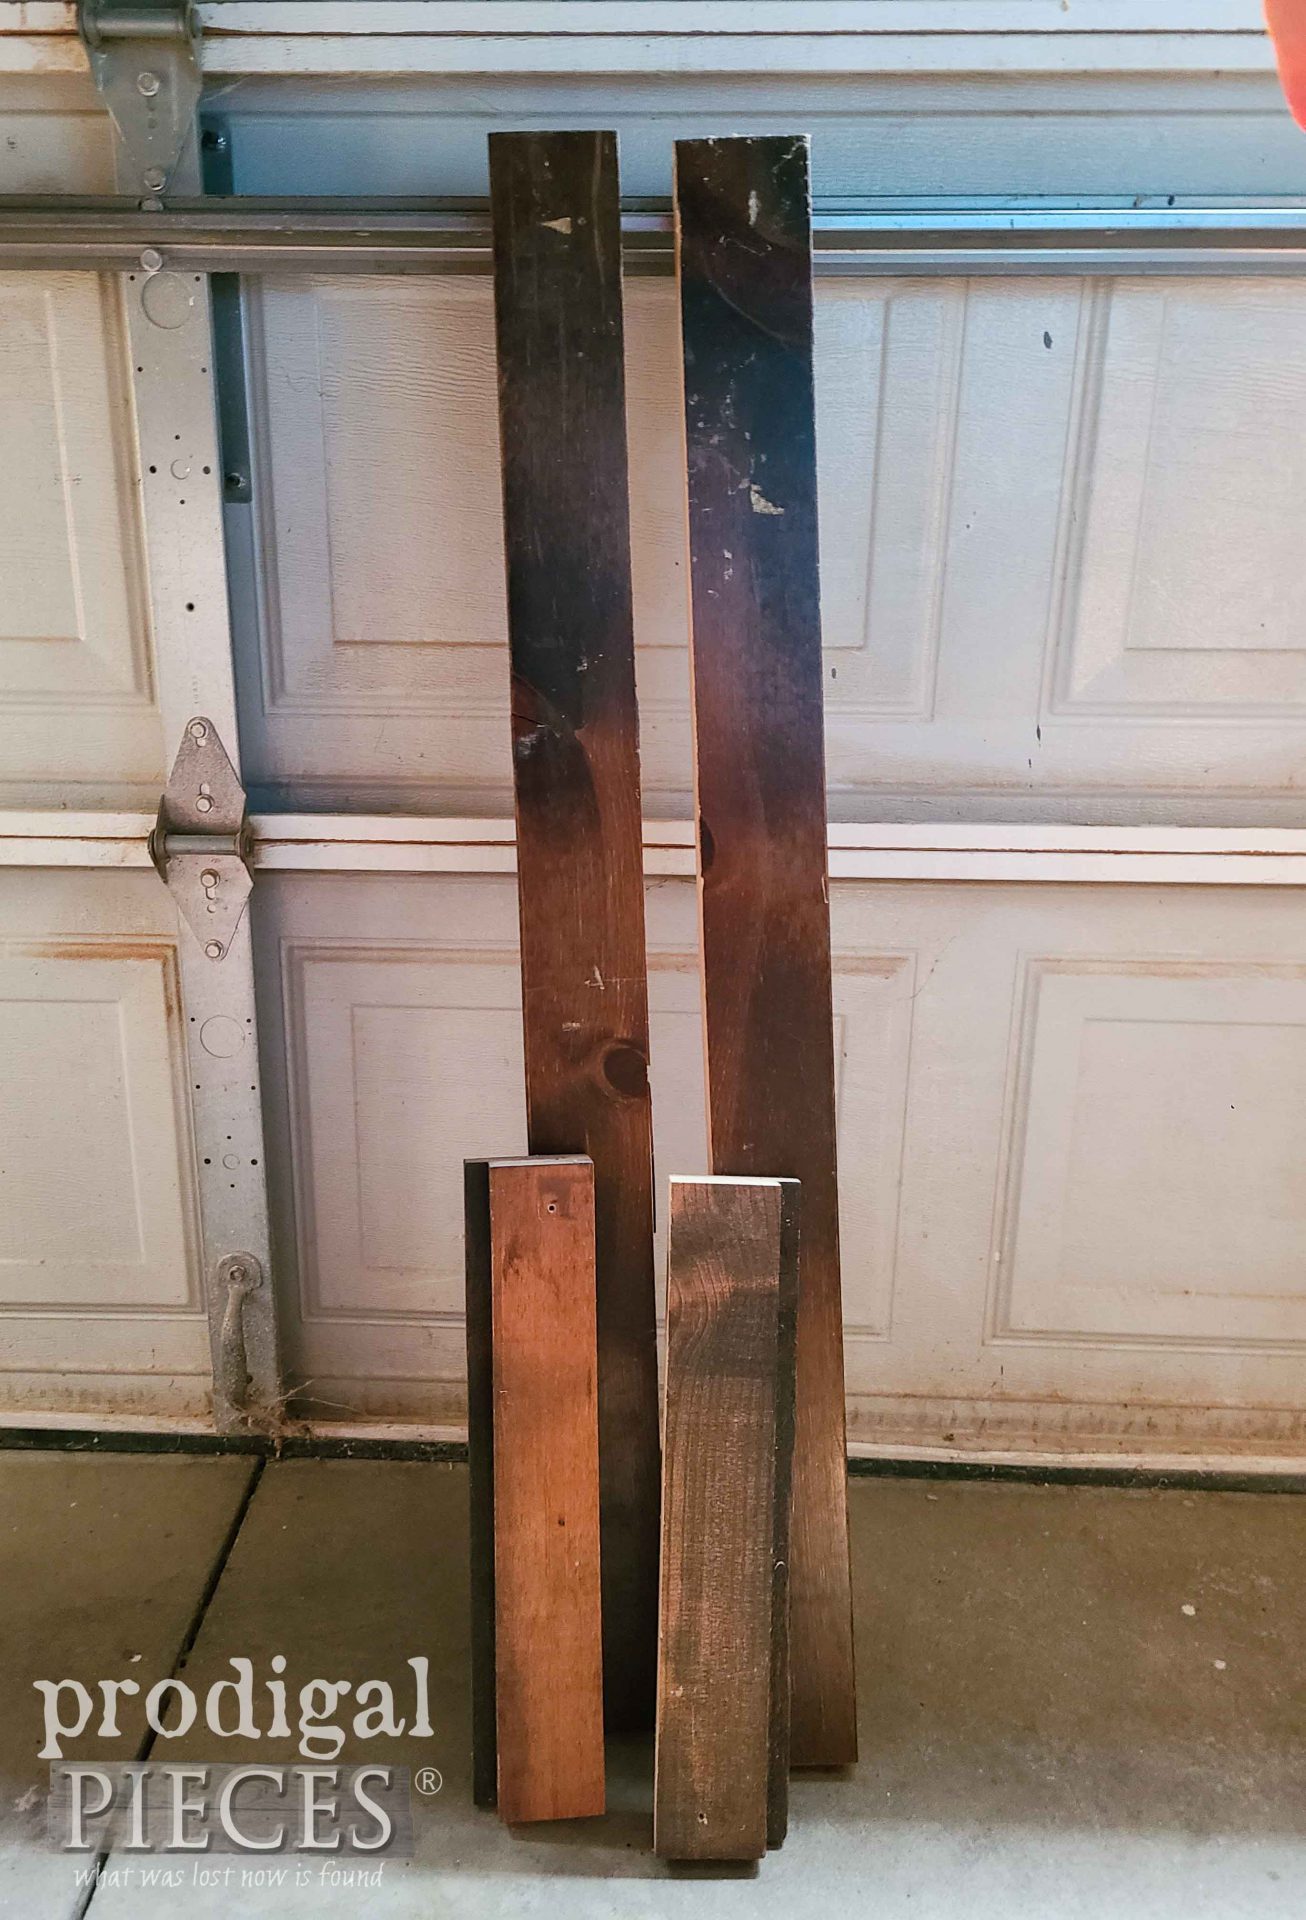
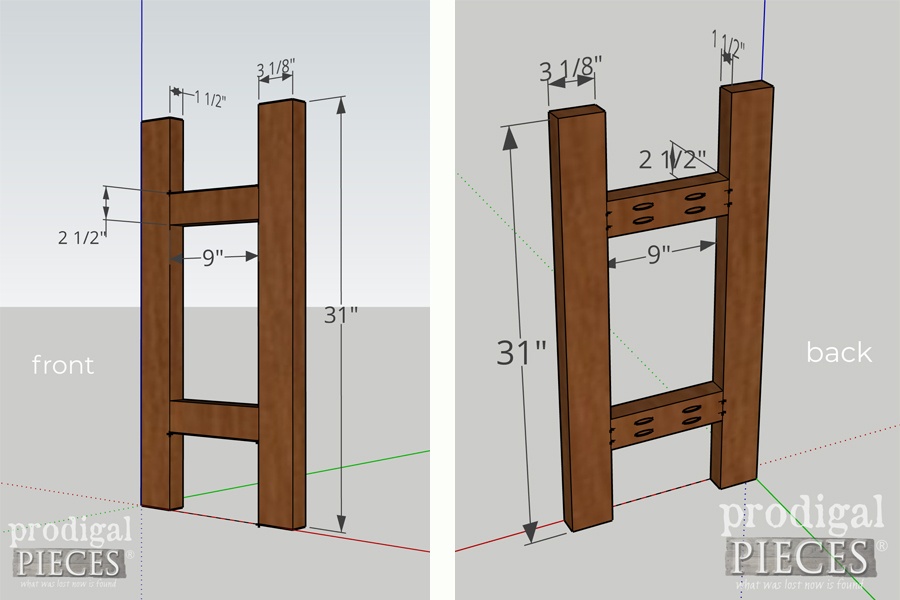
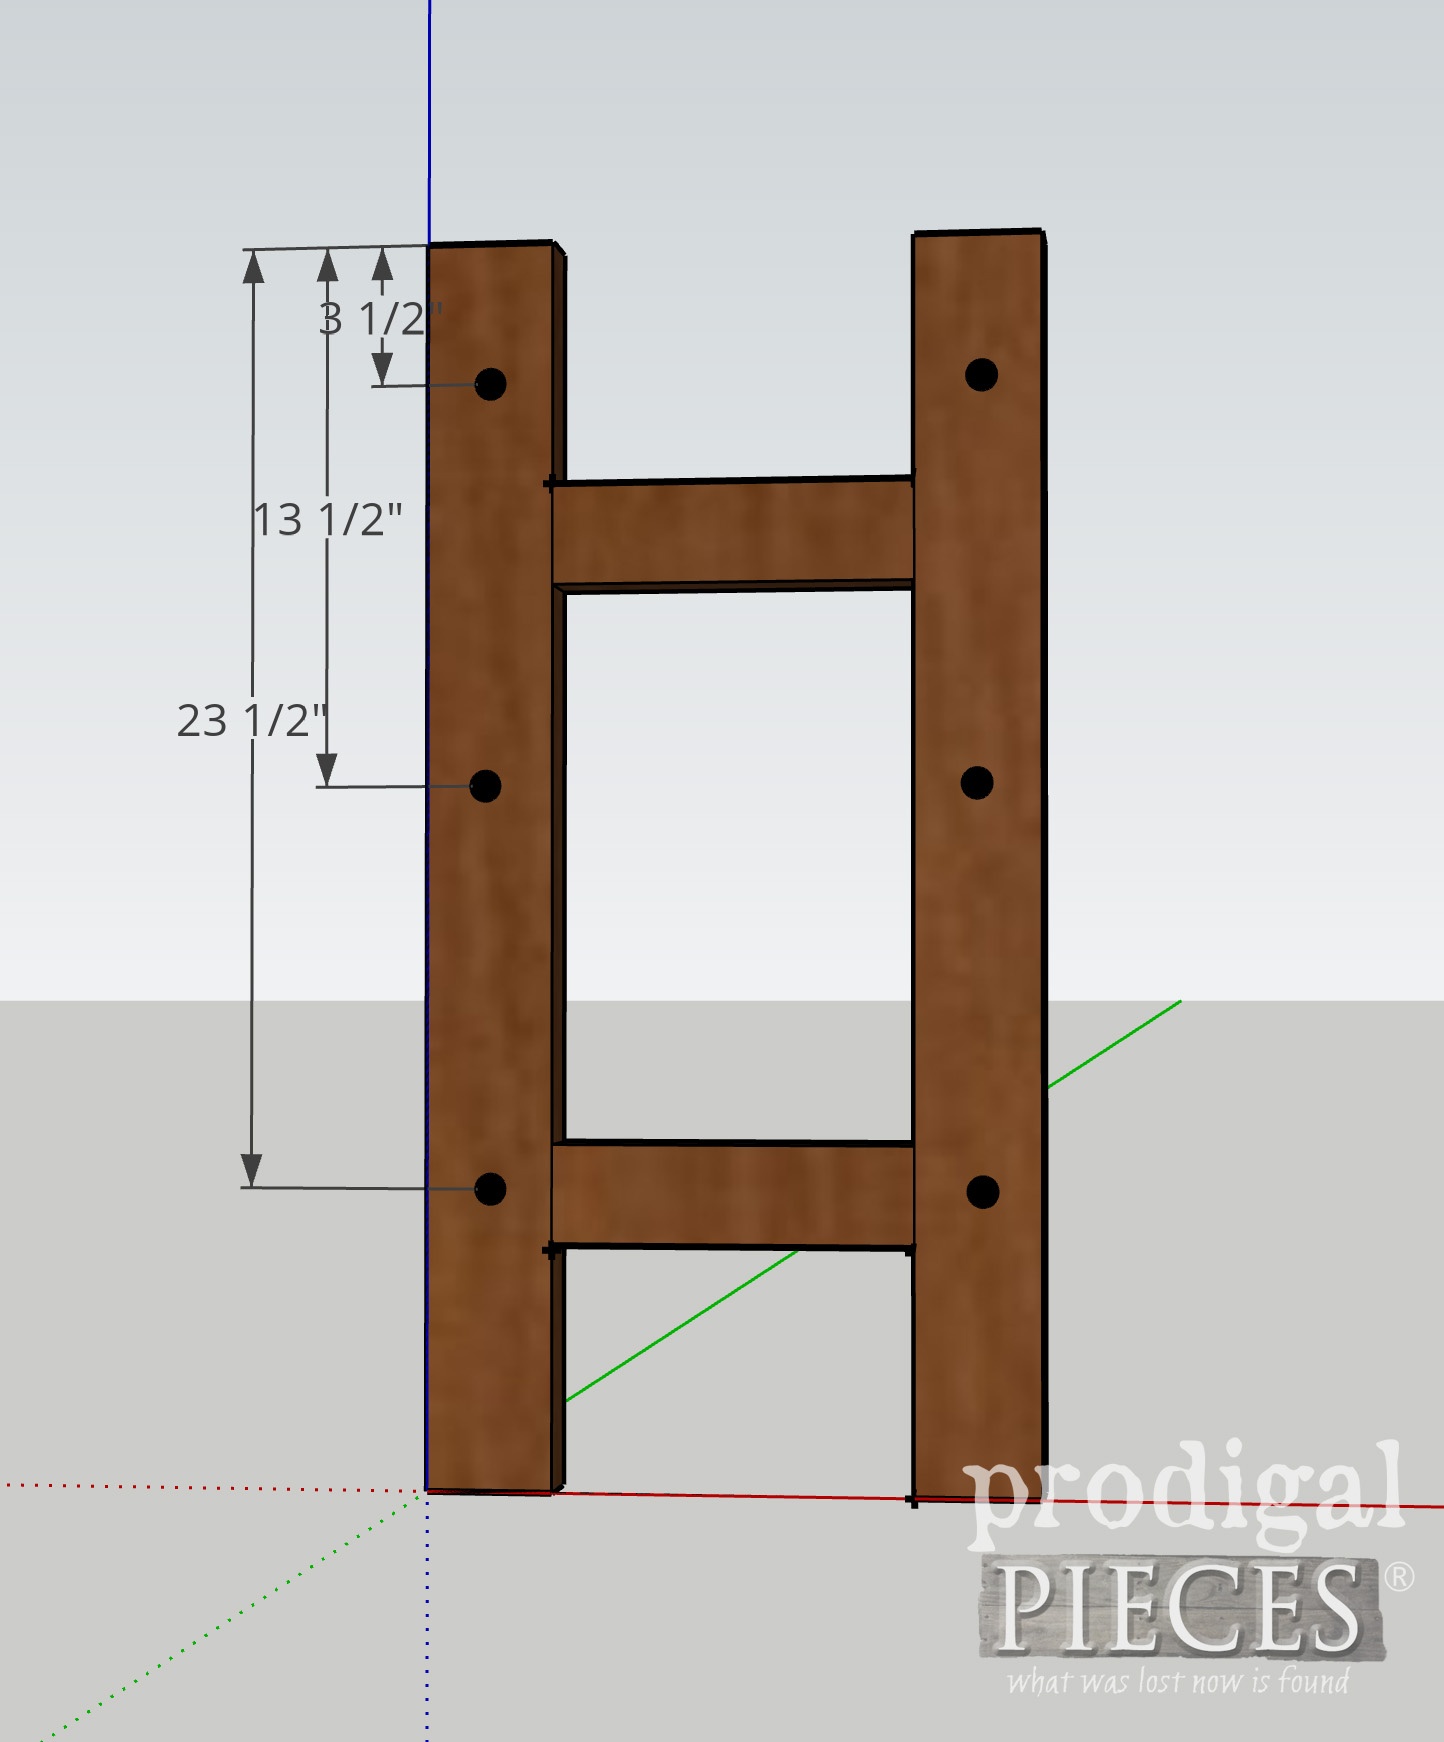
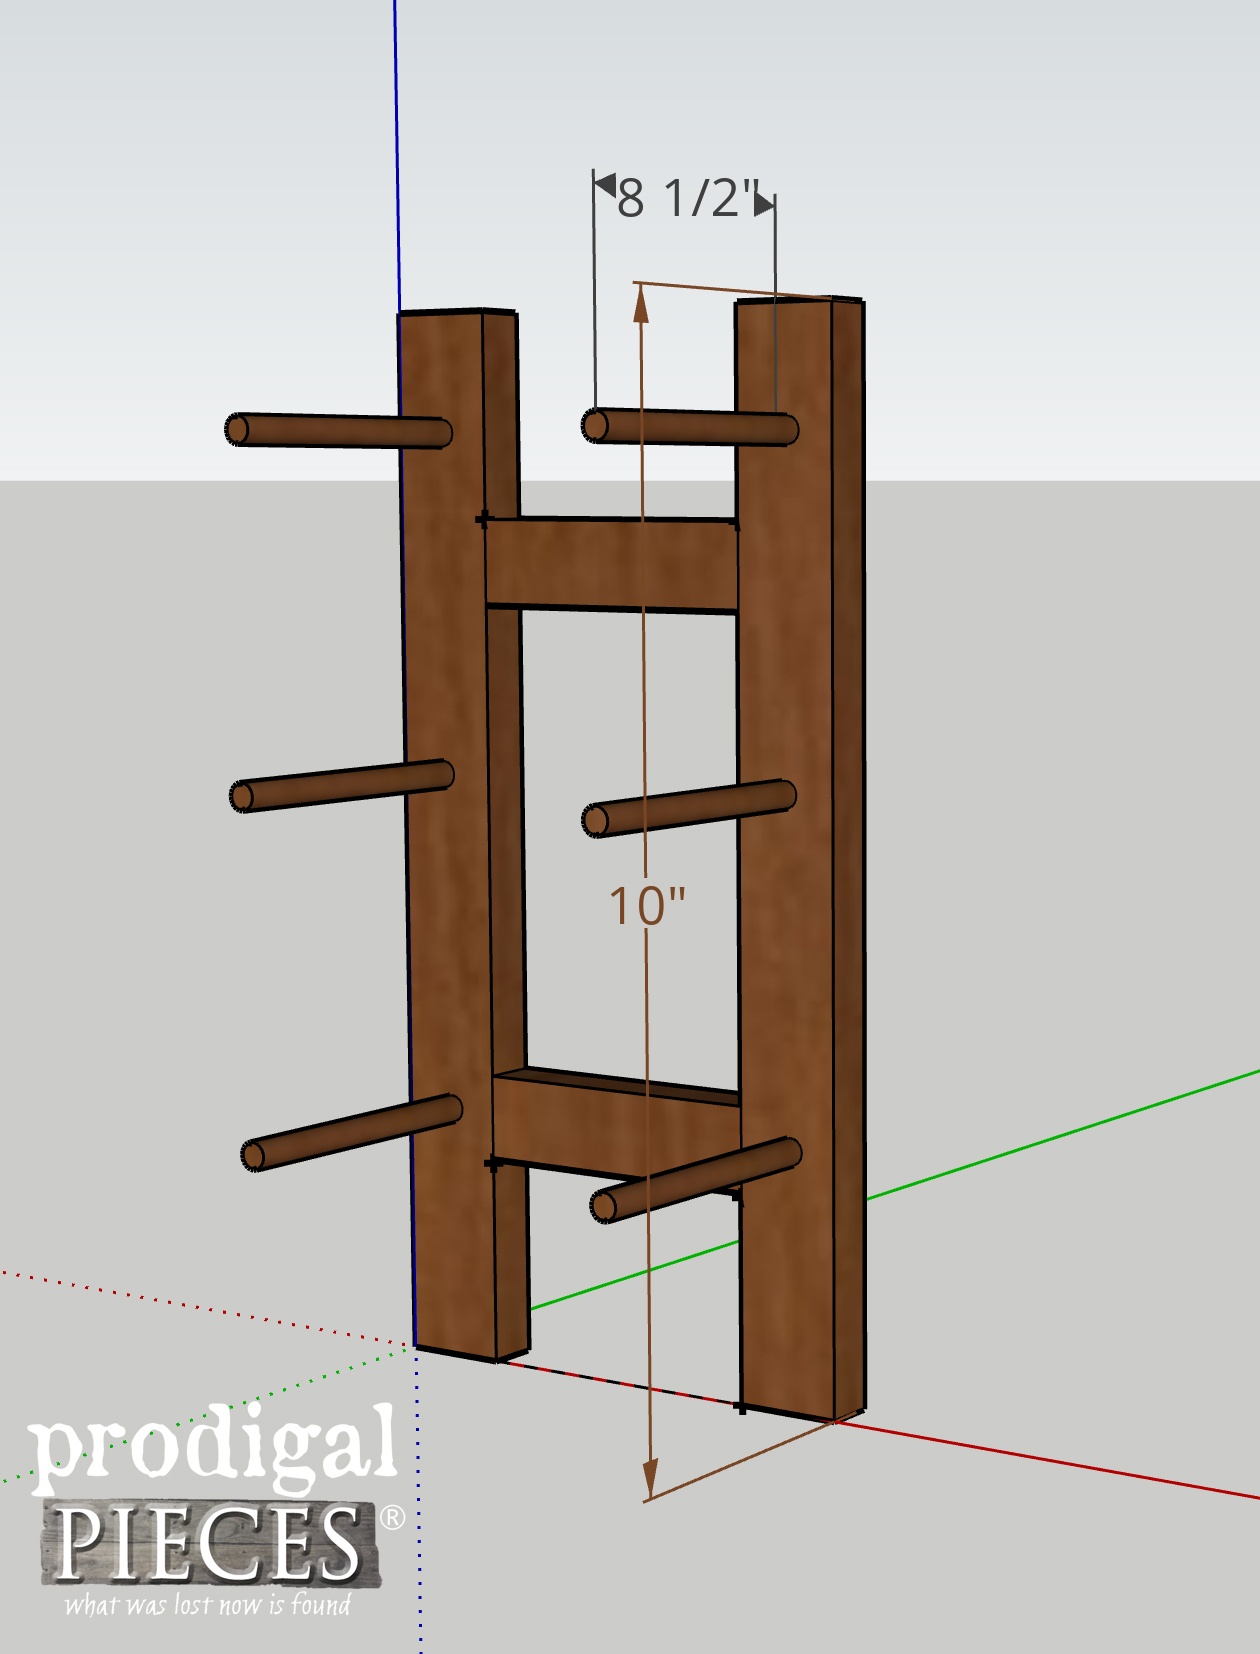
Just in case you want to create this too, I’ve created an easy-to-follow tutorial with diagrams for you. While I’m using everything from what I have in my stash, feel free to change the dimensions to suit your needs. This wood is originally from a vintage pine waterbed left curbside. Most of it went to build my weight rack for my workout space (seen HERE). It’s basically 2″ x 4″s that just need tweaking.
First, here’s a list of what you’ll need:
- 2 – 31″ x 3 1/8″ x 1 1/2″ boards (or equivalent)
- 2 – 9″ x 2 1/2″ x 1 1/2″ boards (or equivalent)
- 8 – 3″ wood screws
- 6 – 10″ x 3/4″ dowels
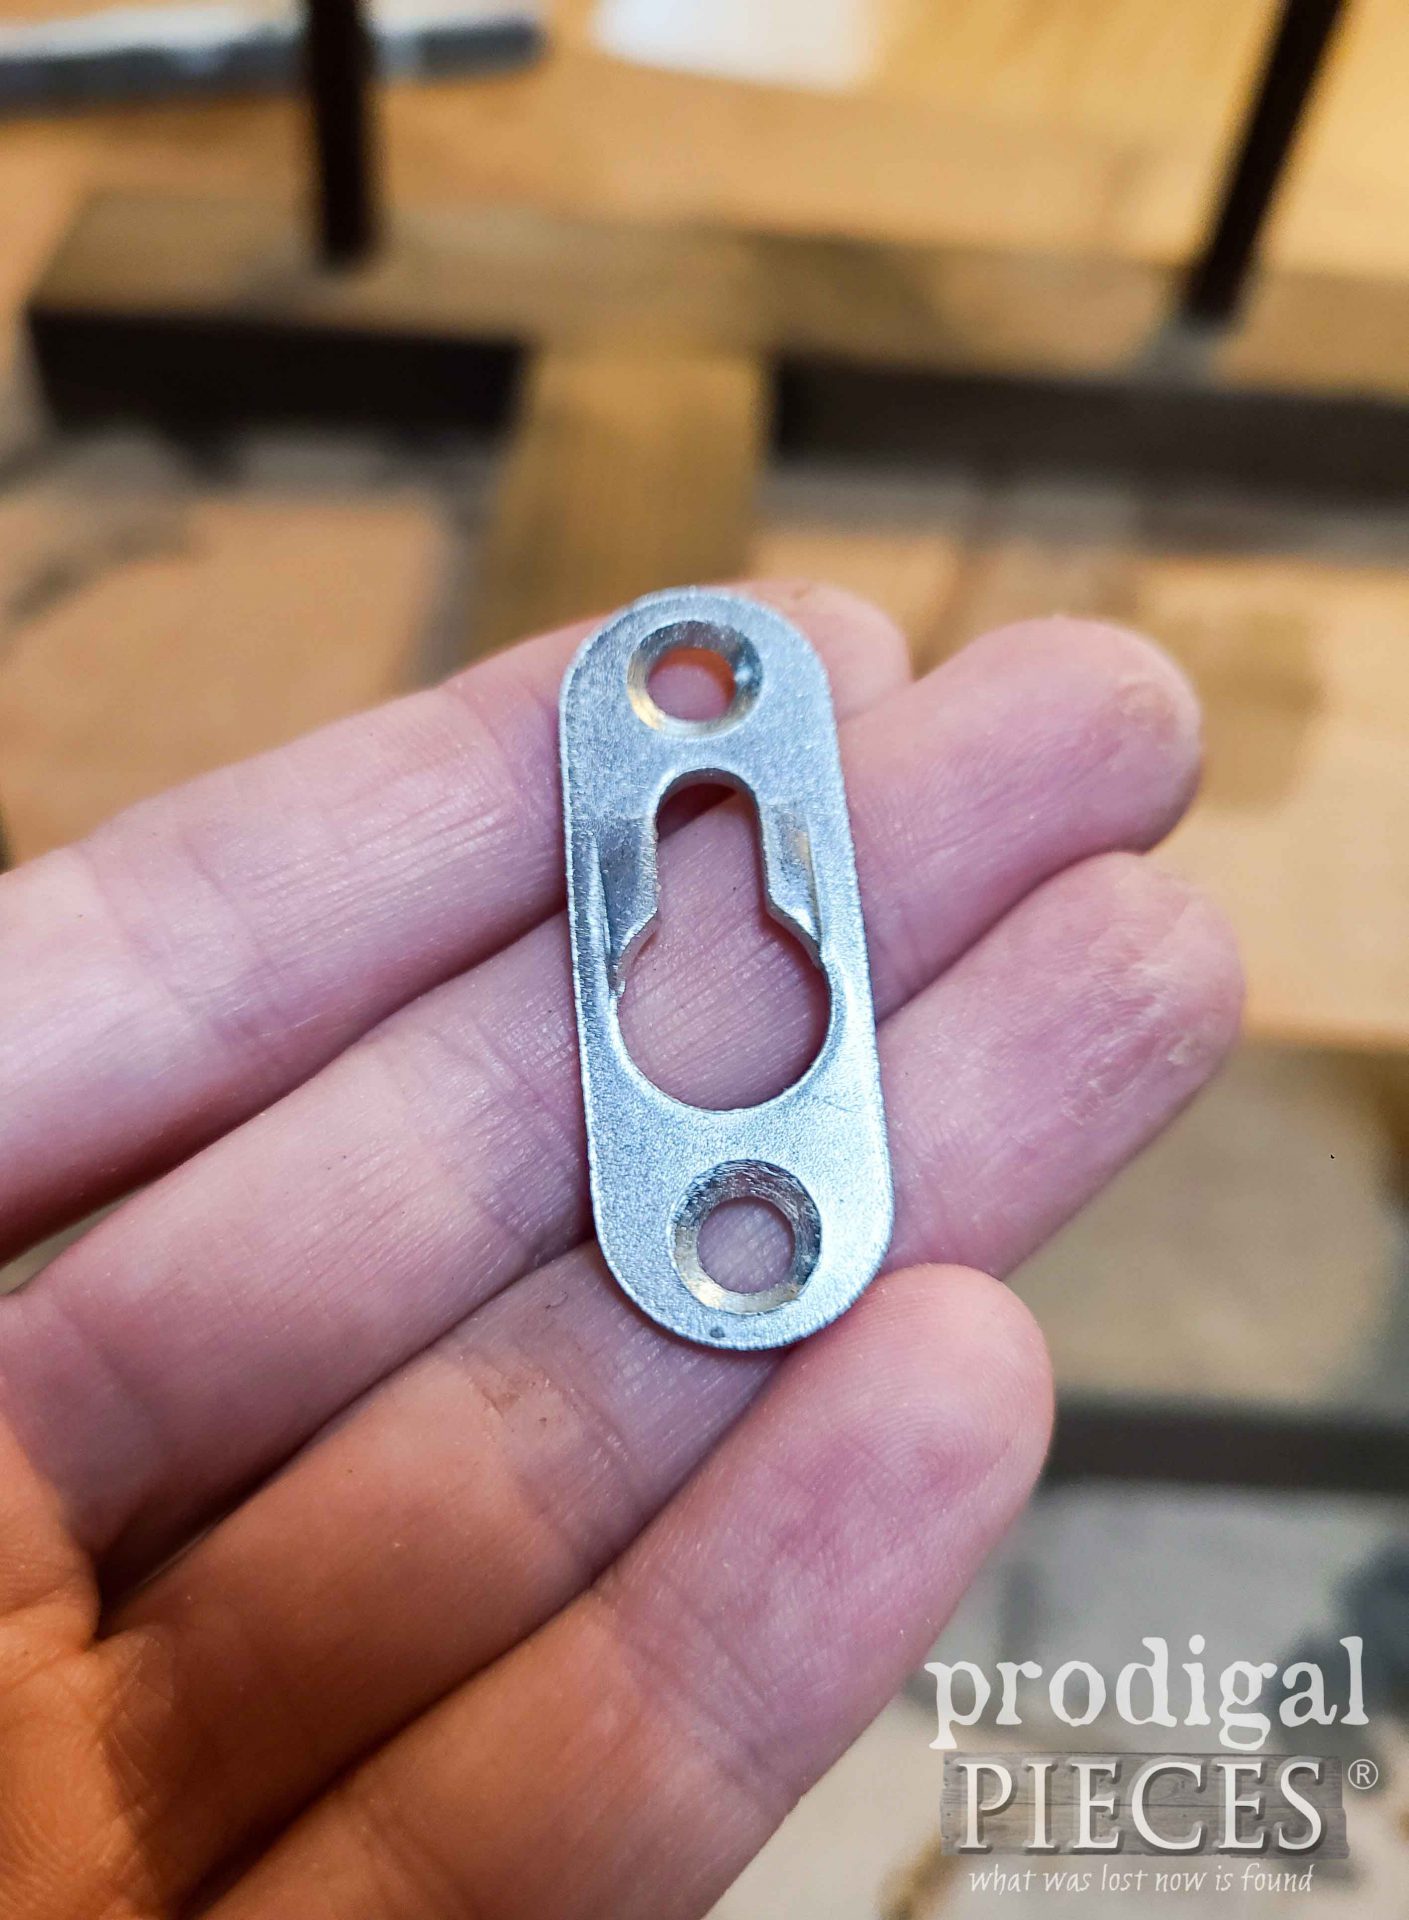
- 2 – keyhole hangers or similar
- wood glue
- miter saw or circular saw
- drill
- 3/4″ forstner bit or spade bit
- sander or sandpaper
- pocket hole jig (optional, but wonderful)
- stain or paint
- polycrylic or wax (optional for longevity)
- 3 – fabric, wire, or wooden bins (or make this larger for more bins)
- scrap fabric, webbing, or metal hooks
STEP 1
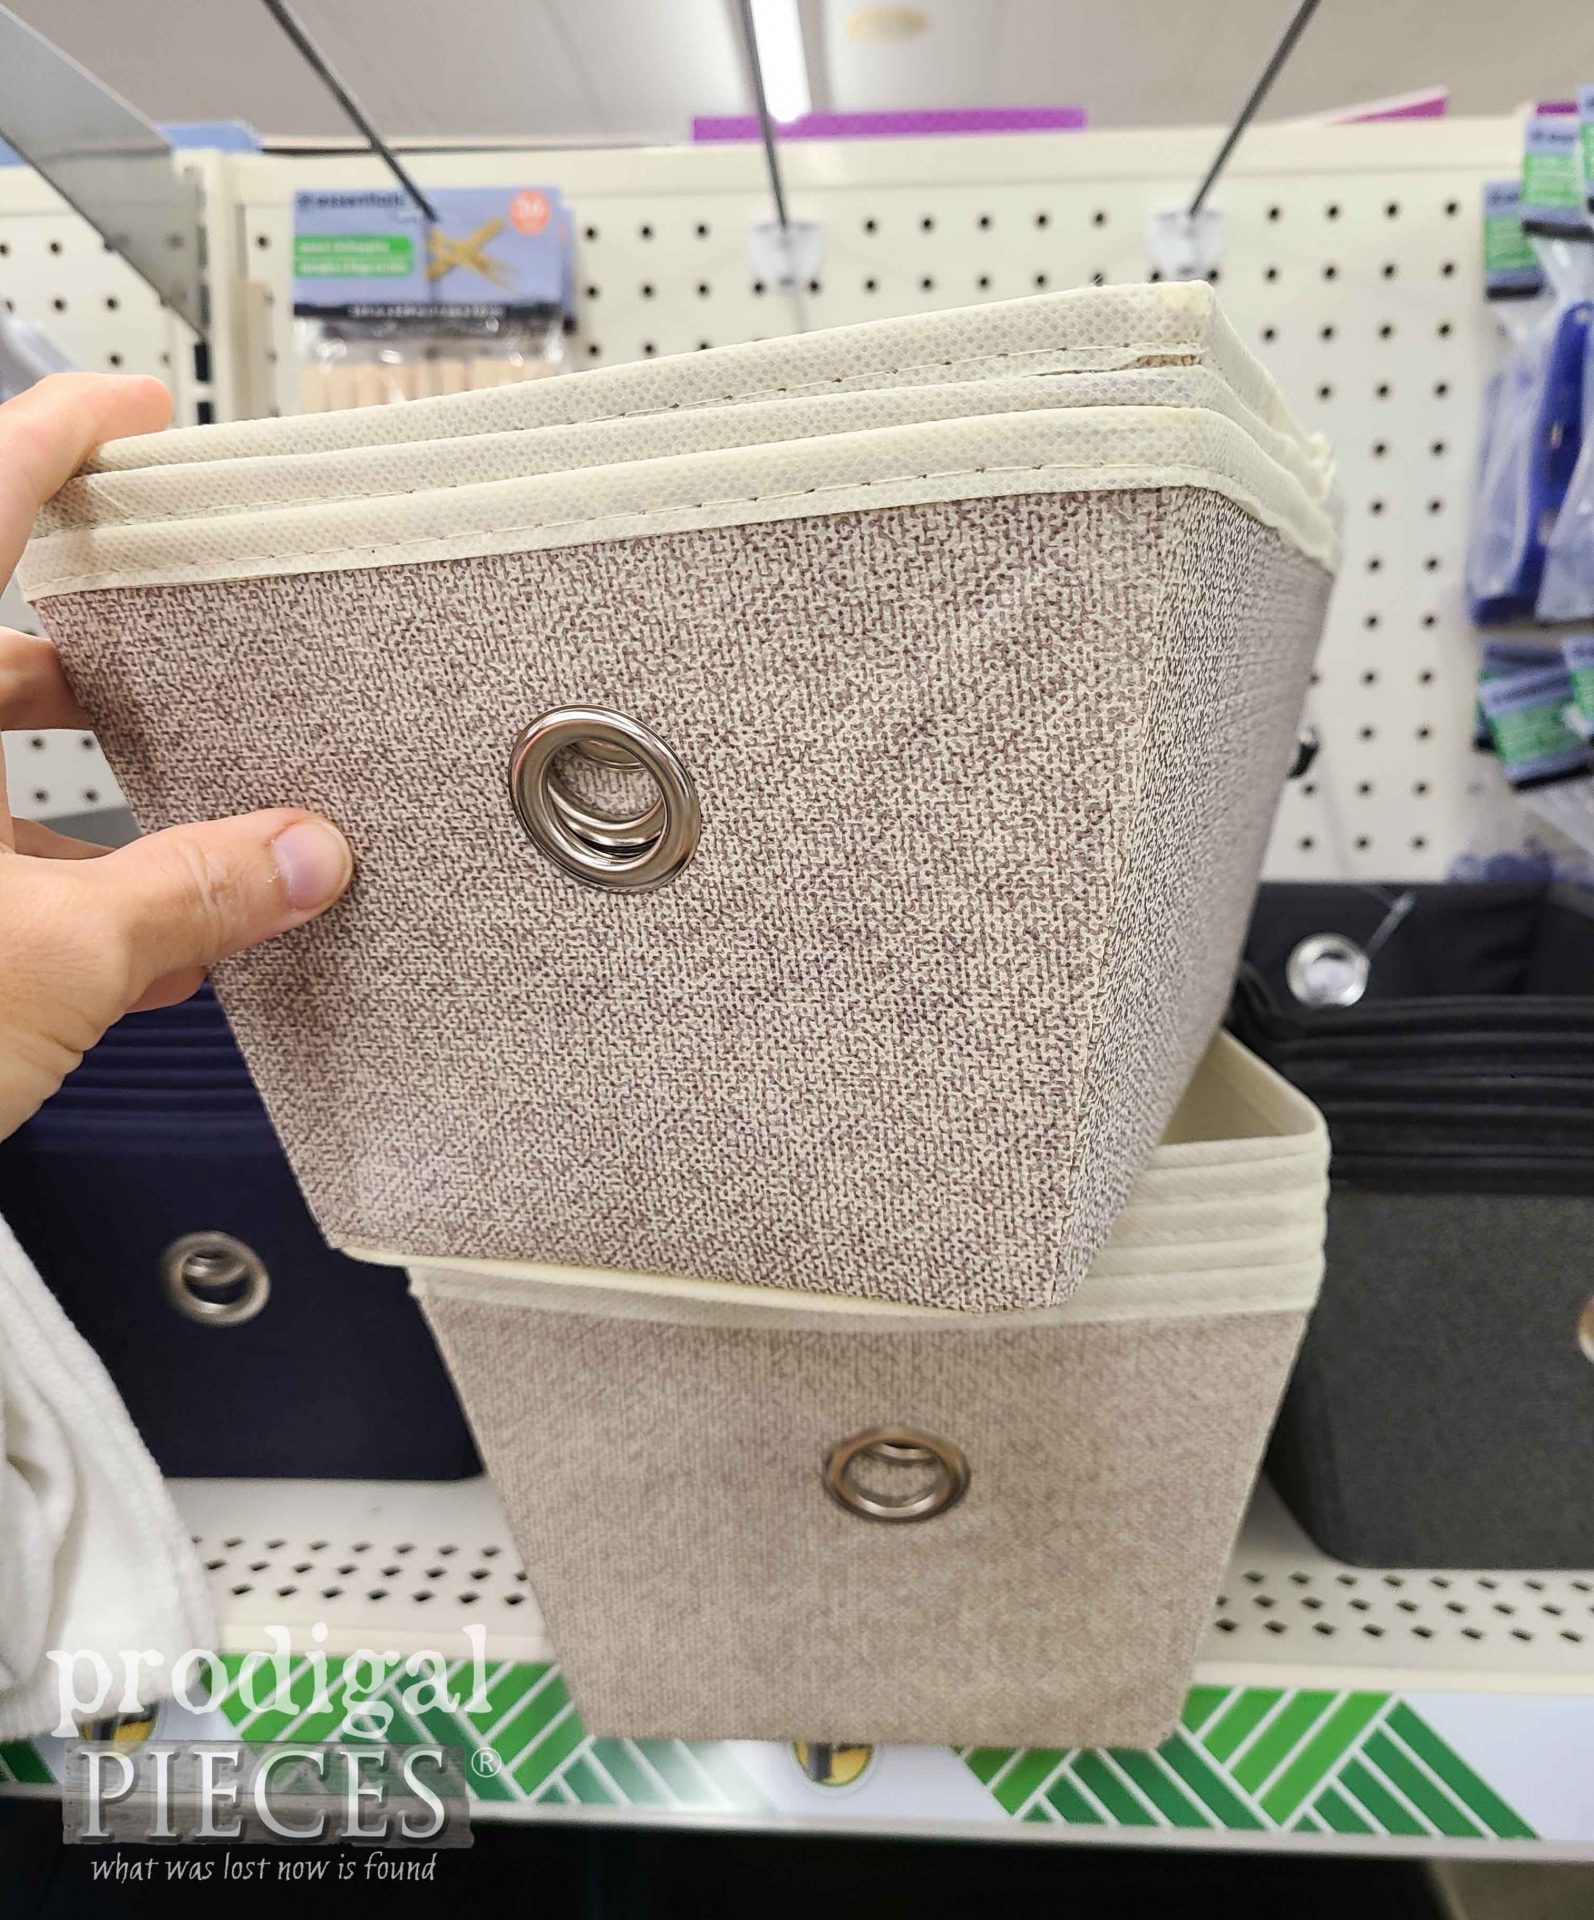
To get this build started, I need to decide on bins. Initially, I was going to build them from scrap wood or sew them myself. However, I decided to keep it simple for you instead. Remember the K.I.S.S acrostic? I found these at a local store that suit my need in size, though I’ll need to add some hangers. Stay tuned.
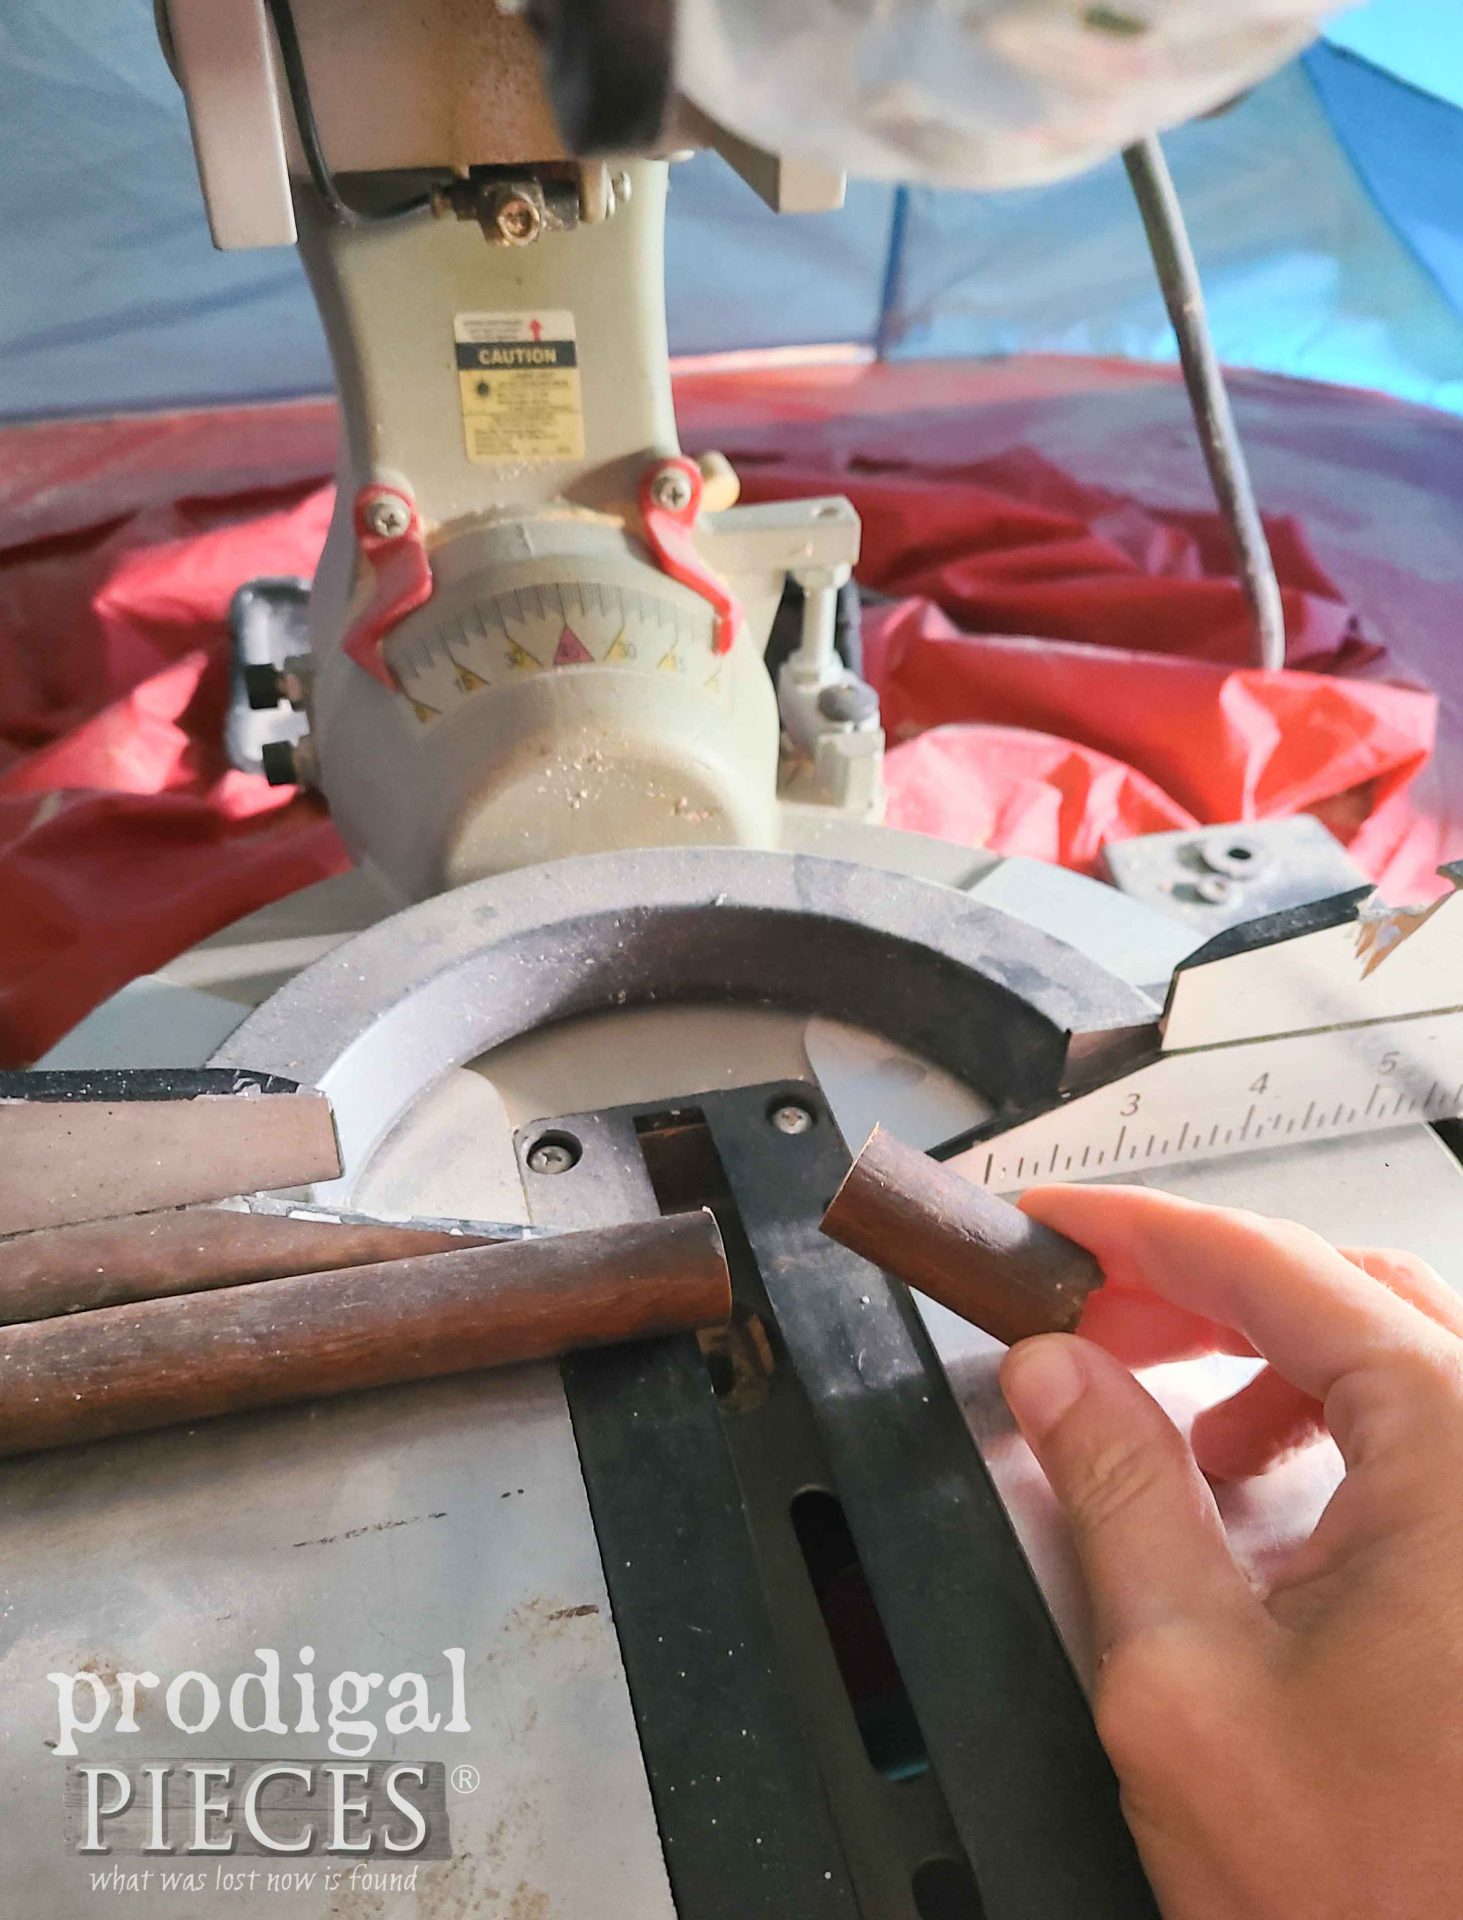
Then, I use my miter saw to cut the spindle dowels to length, as well as the boards.
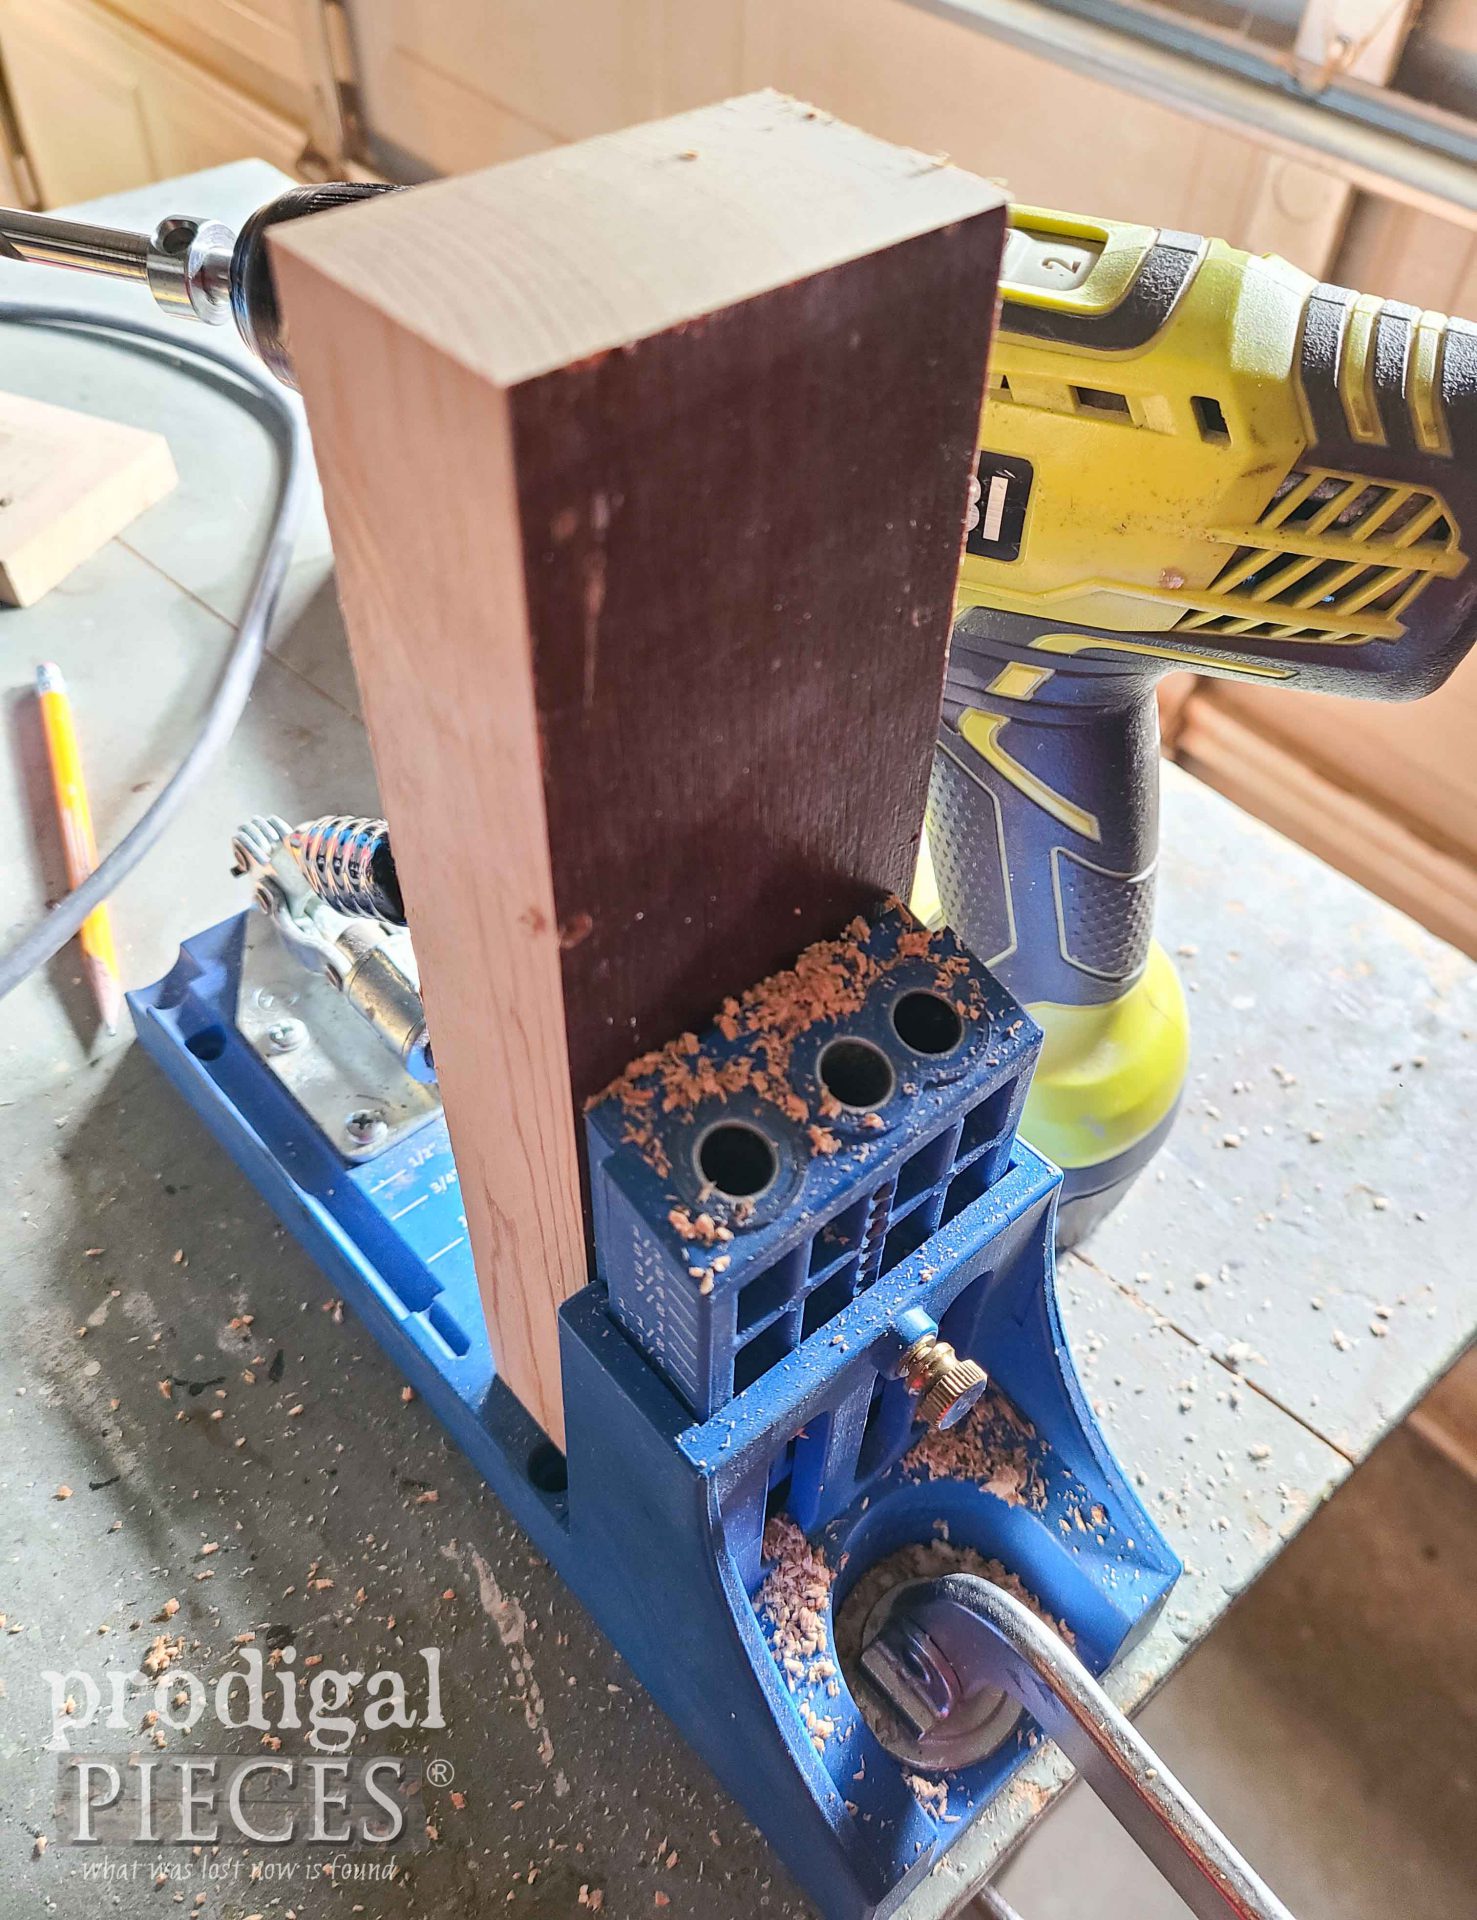
Okay, once you have your pieces cut to the right size, you’re ready to assemble. Also, my pieces had a dark stain and I need to remove that after I get all my pieces ready. In order to assemble, I use my pocket hole jig to add pocket holes to the two short pieces on the short ends. Likewise, if you don’t have a jig, you can pre-drill holes from the outside of the upright supports and attach the braces that way.
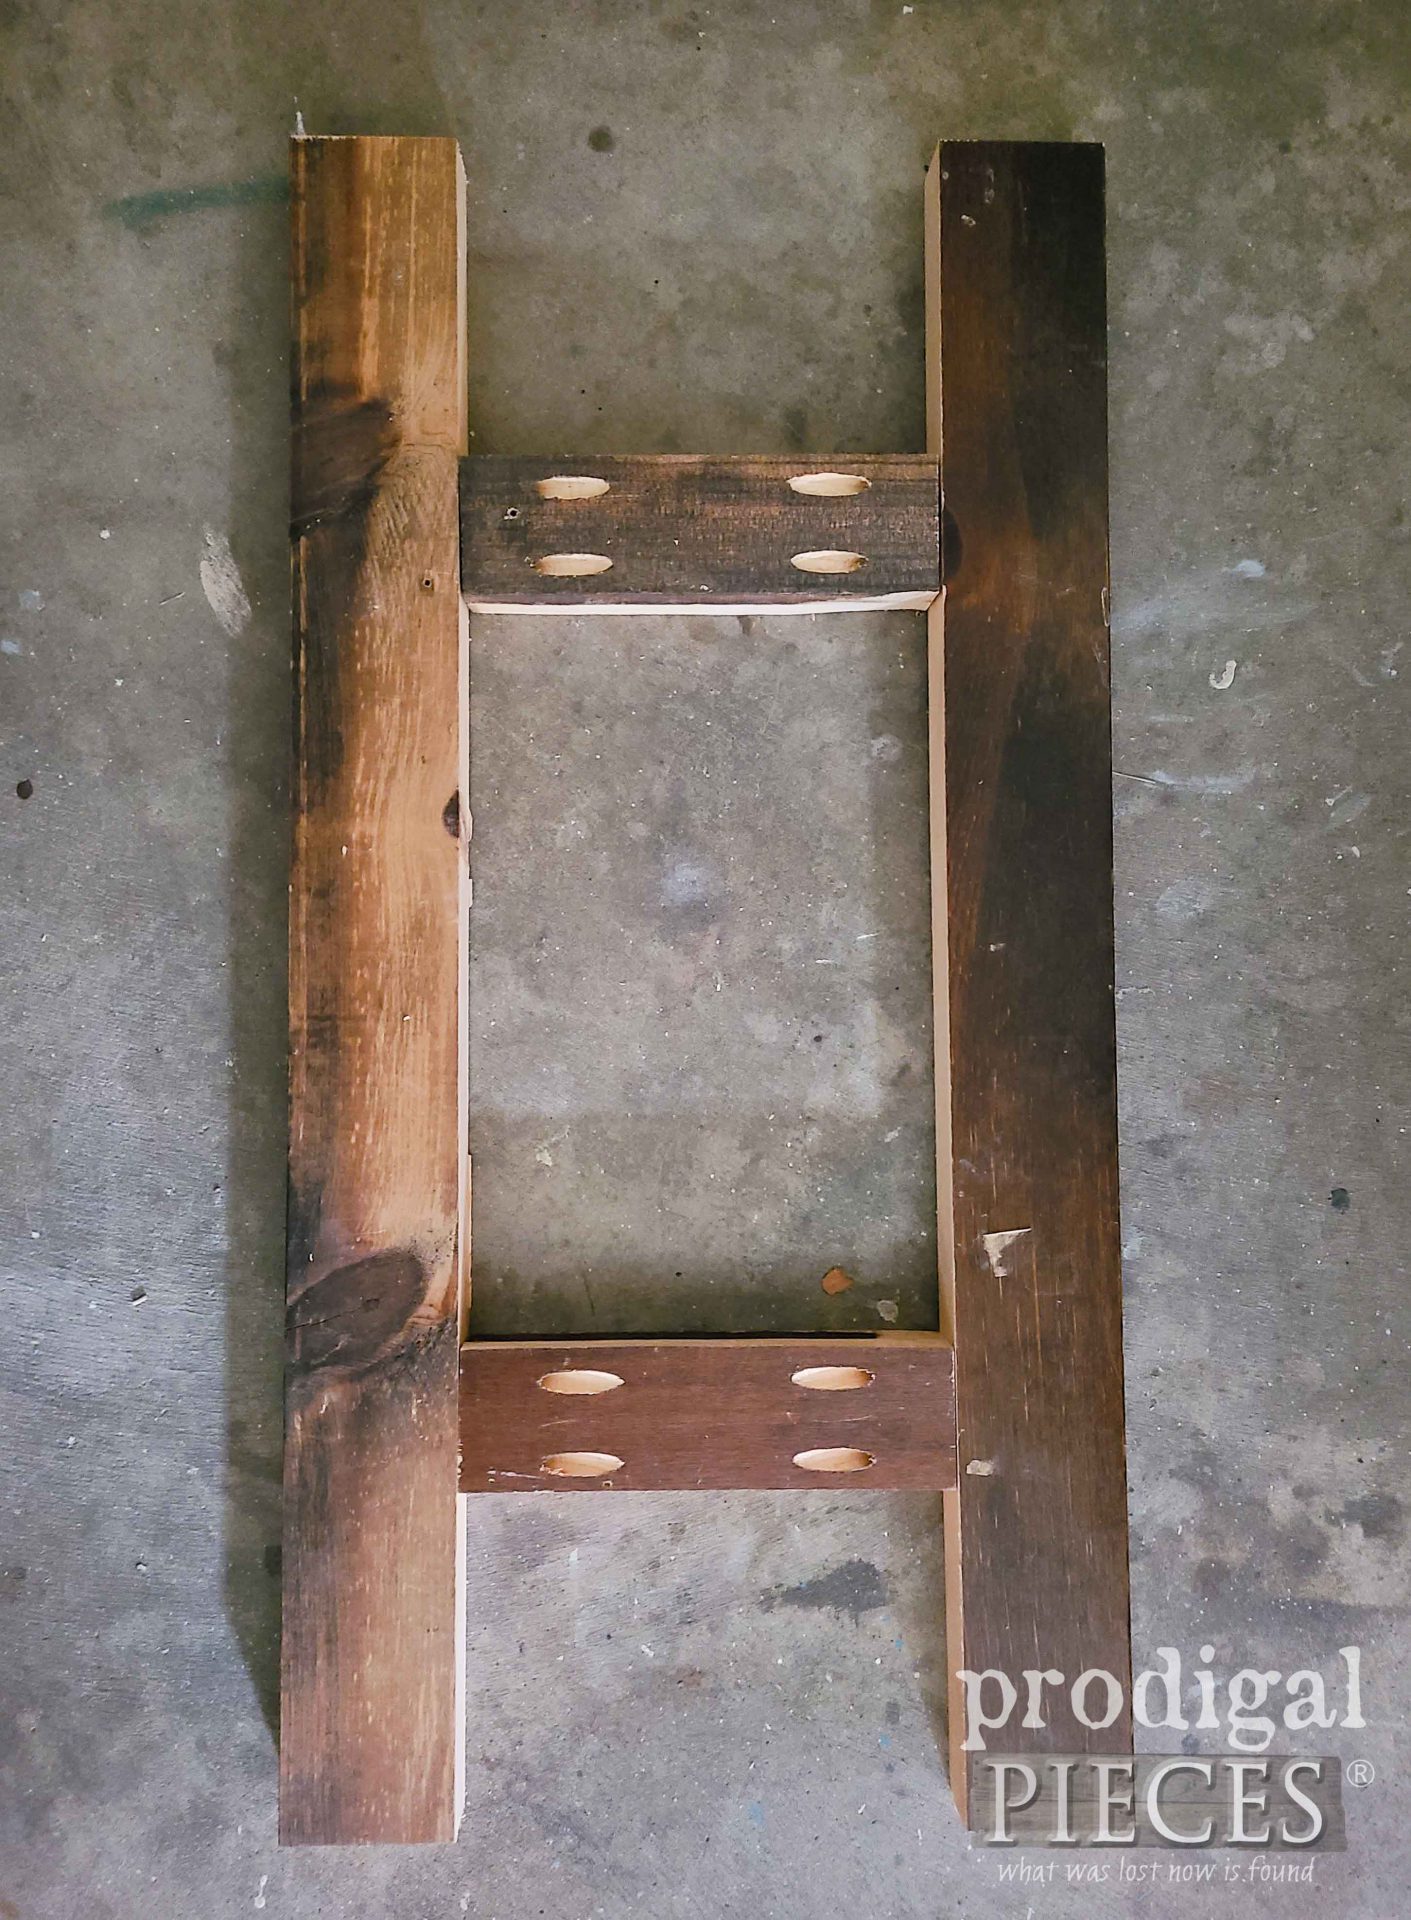
Here is my dry fit before assembly with glue and screws. Looking good, I must say! When you feel the fit is ready, apply glue to joints and join with wood screws.
STEP 2
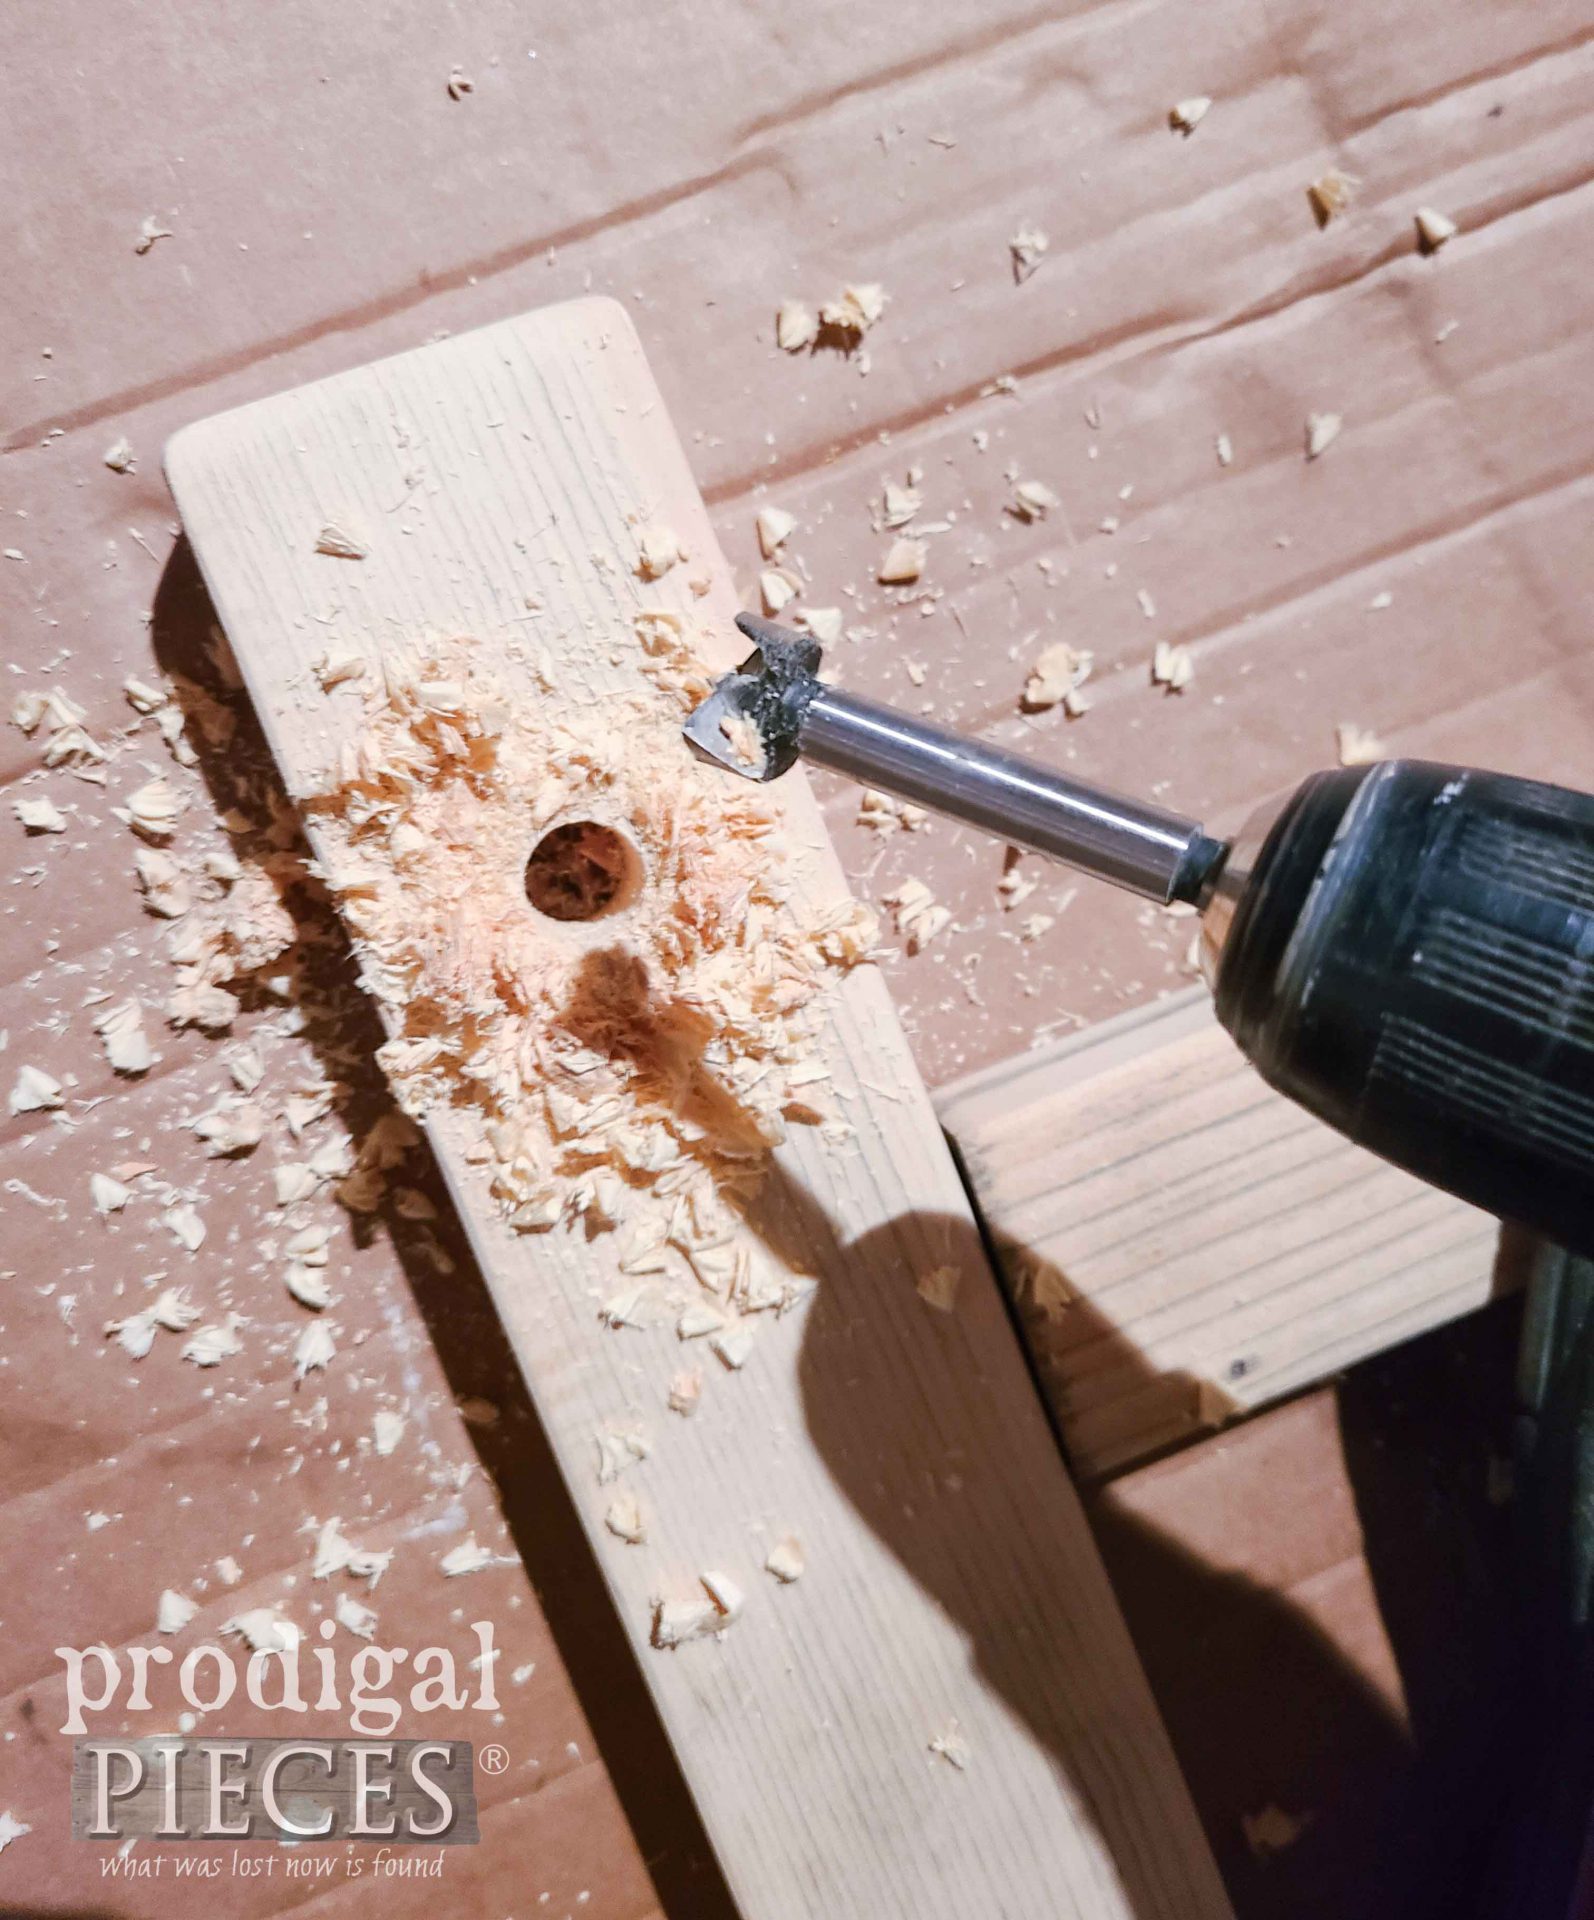
Next, after you assemble your rack, drill holes for your dowel on the front of your rack using your 3/4″ forstner or spade bit. Make sure to drill all the way through so that your dowel spindles will have plenty of support. In order to prevent tear out on the backside, drill just until the point comes out the backside. Then, flip it the rack and drill from the backside in using the point hole as a guide.
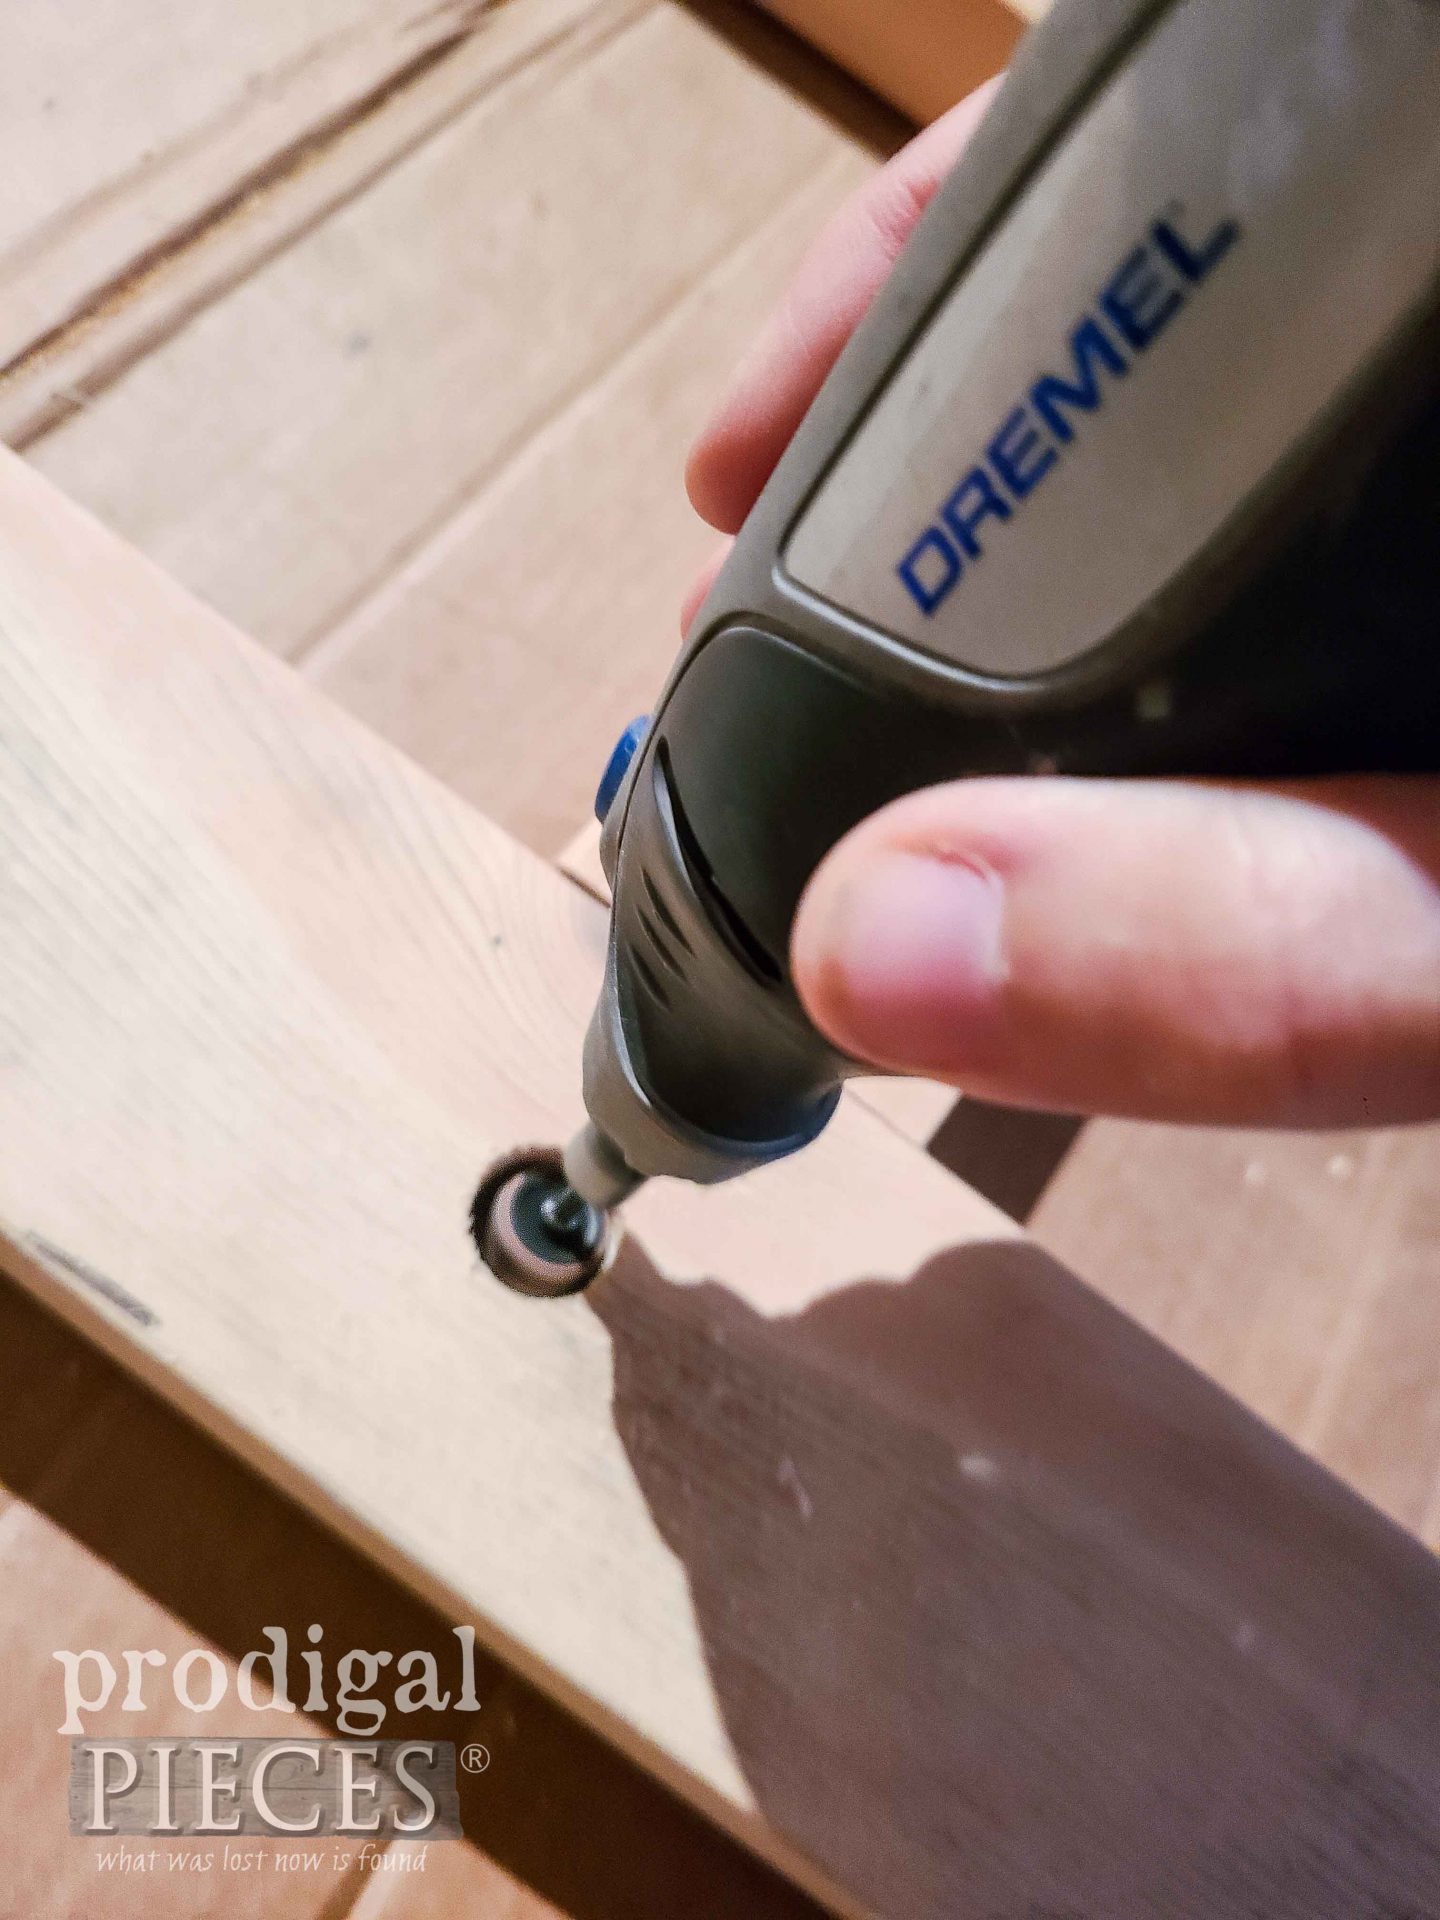
After that, sand the holes either using a tool like my Dremel, or wrap sandpaper around a smaller dowel.
STEP 3
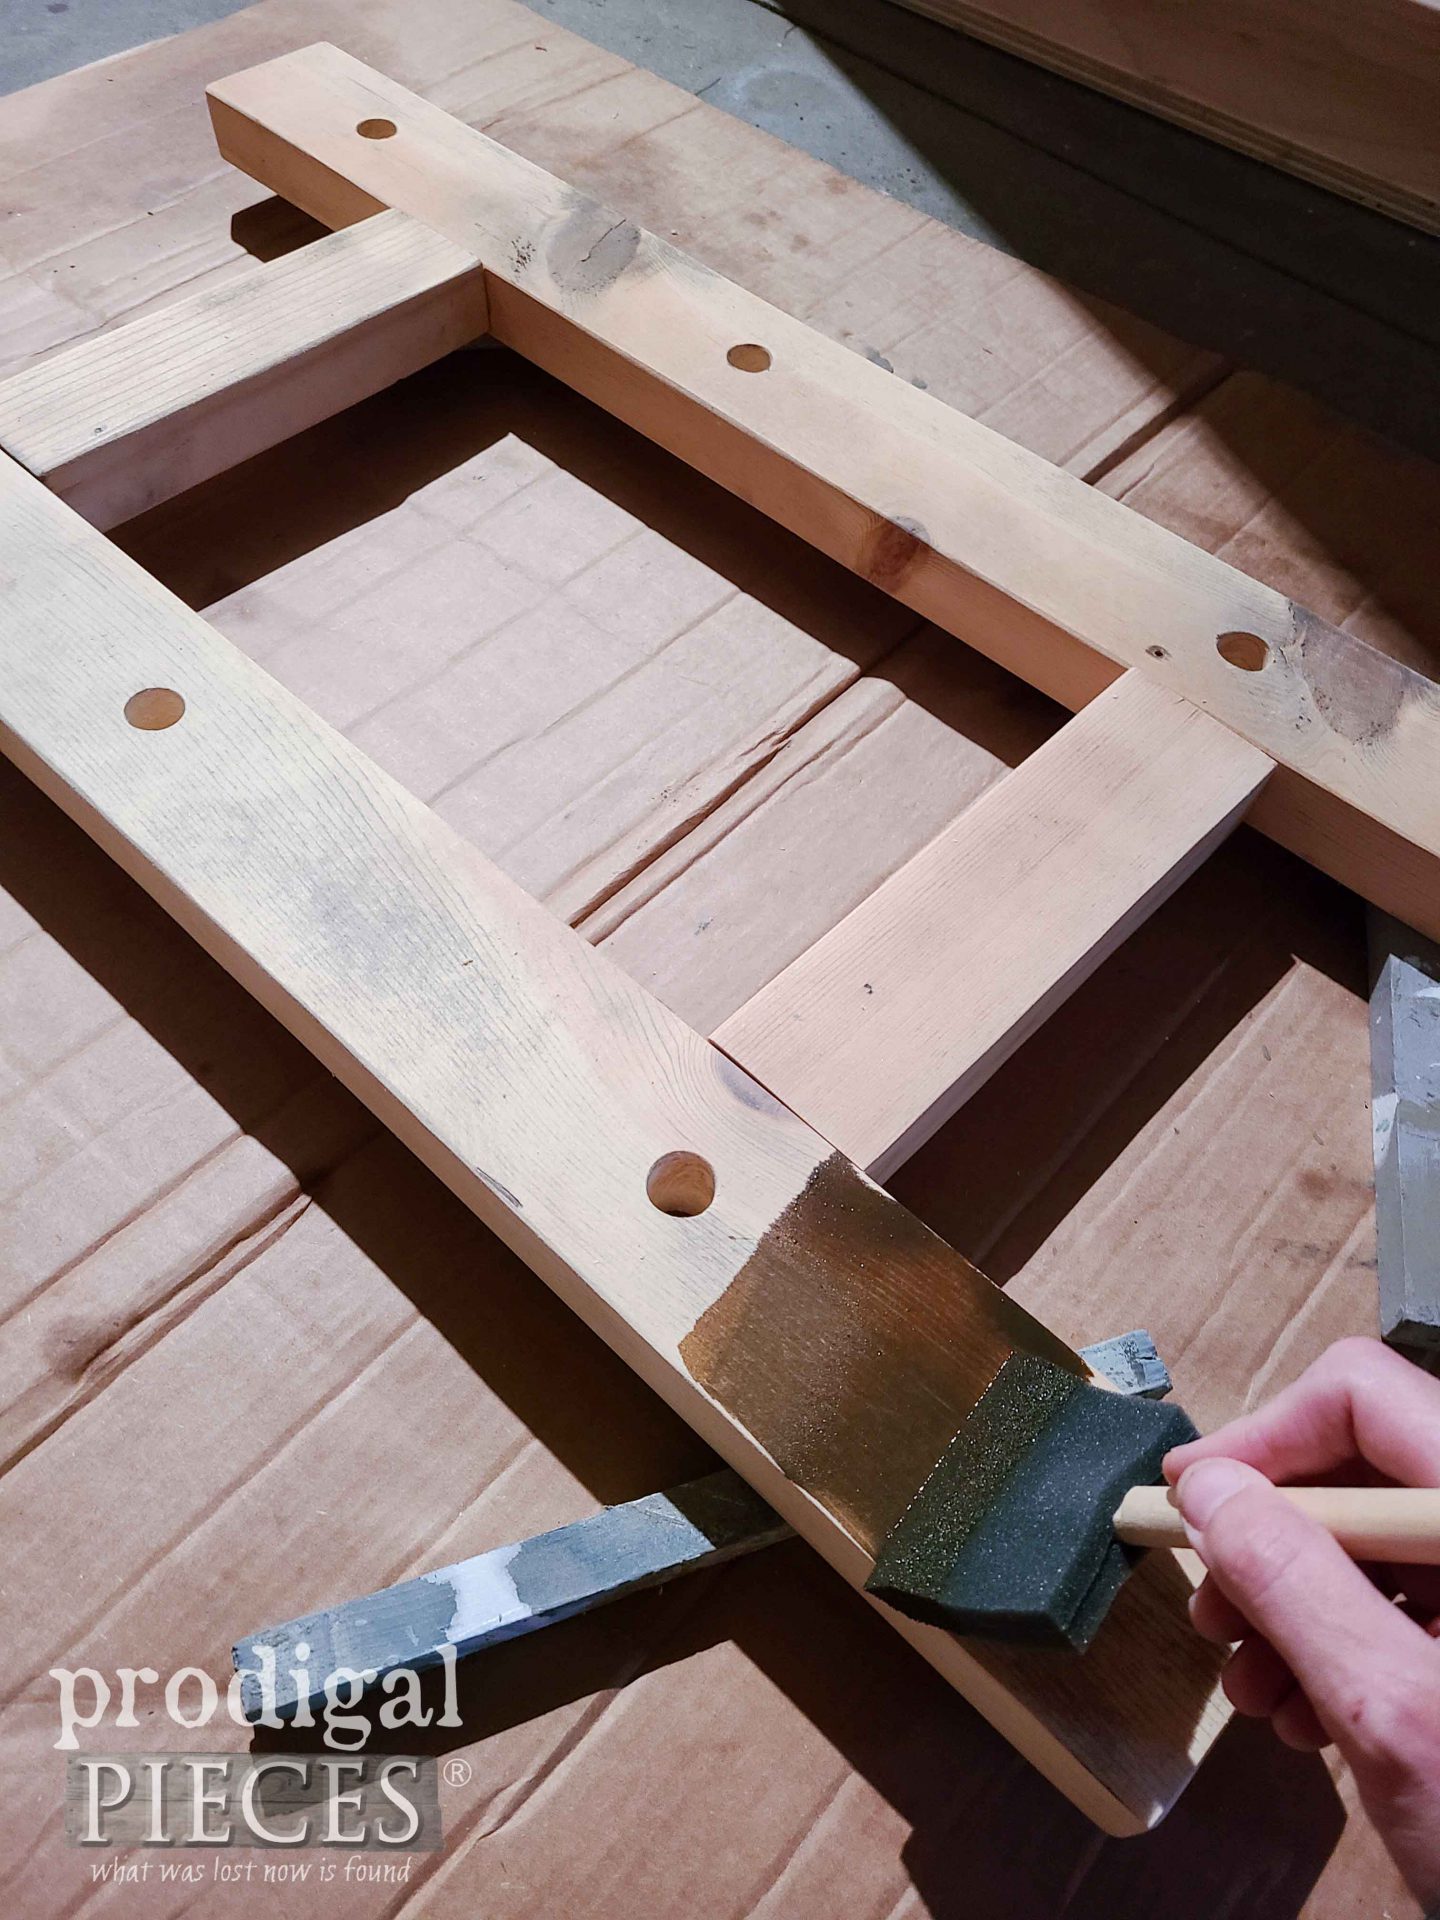
Last, since my upcycled spindles are already stained, I stain the rack and refresh the stain on the dowels.
Then, I glue in the dowels and let cure.
Finally, after the stain has cured, you can either topcoat with a poly or wax depending on your preference. Last, in order to be able to mount our DIY rack to a wall, we need to add keyhole hardware. Typically you add them near the top edge on the side rails, but feel free to attach wherever you want.
STEP 4
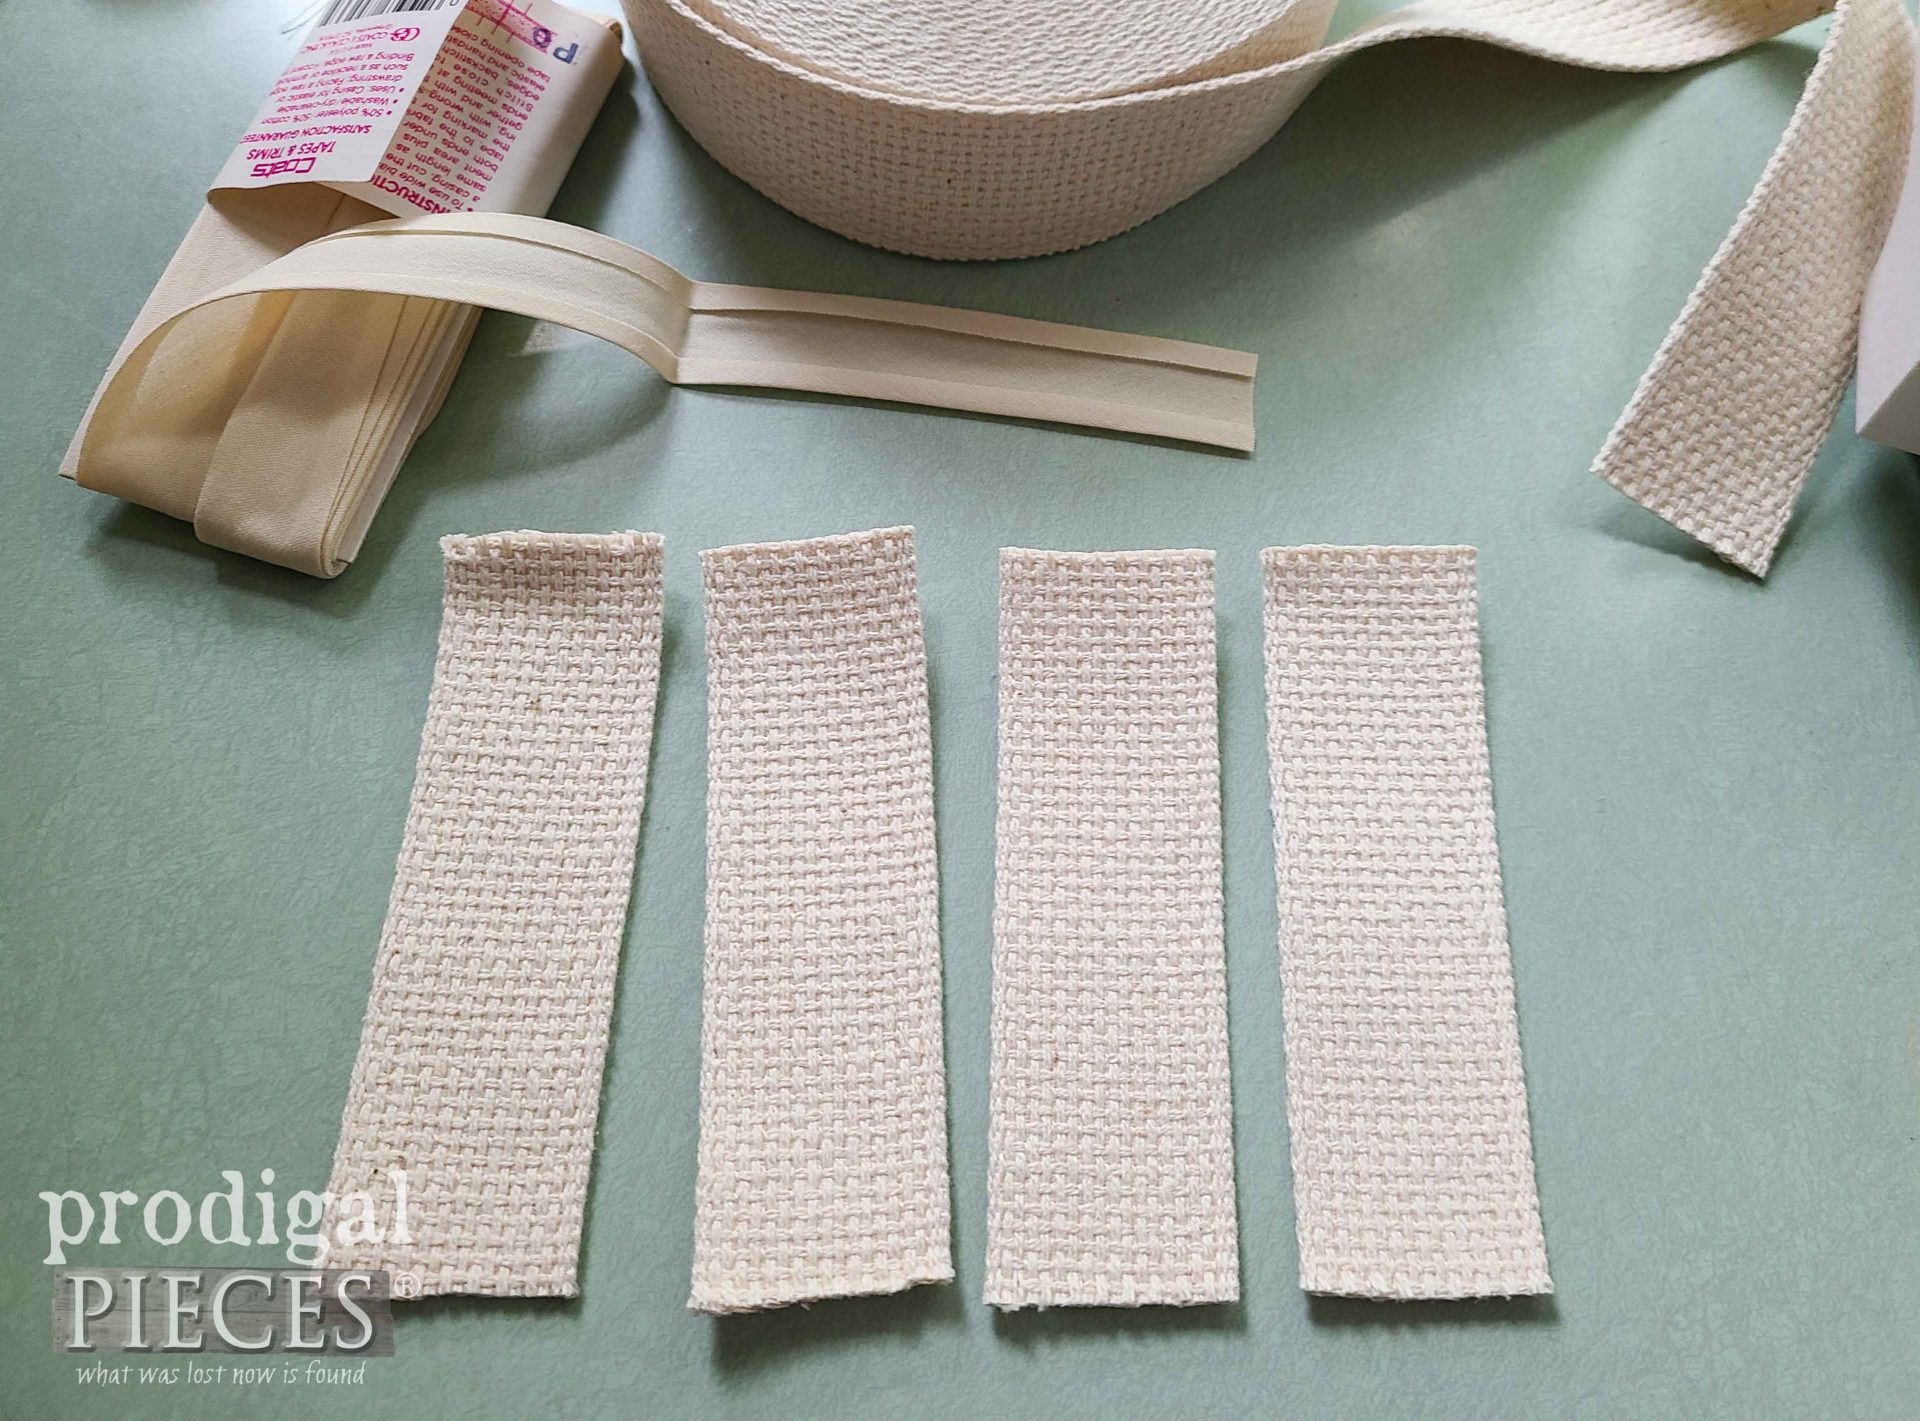
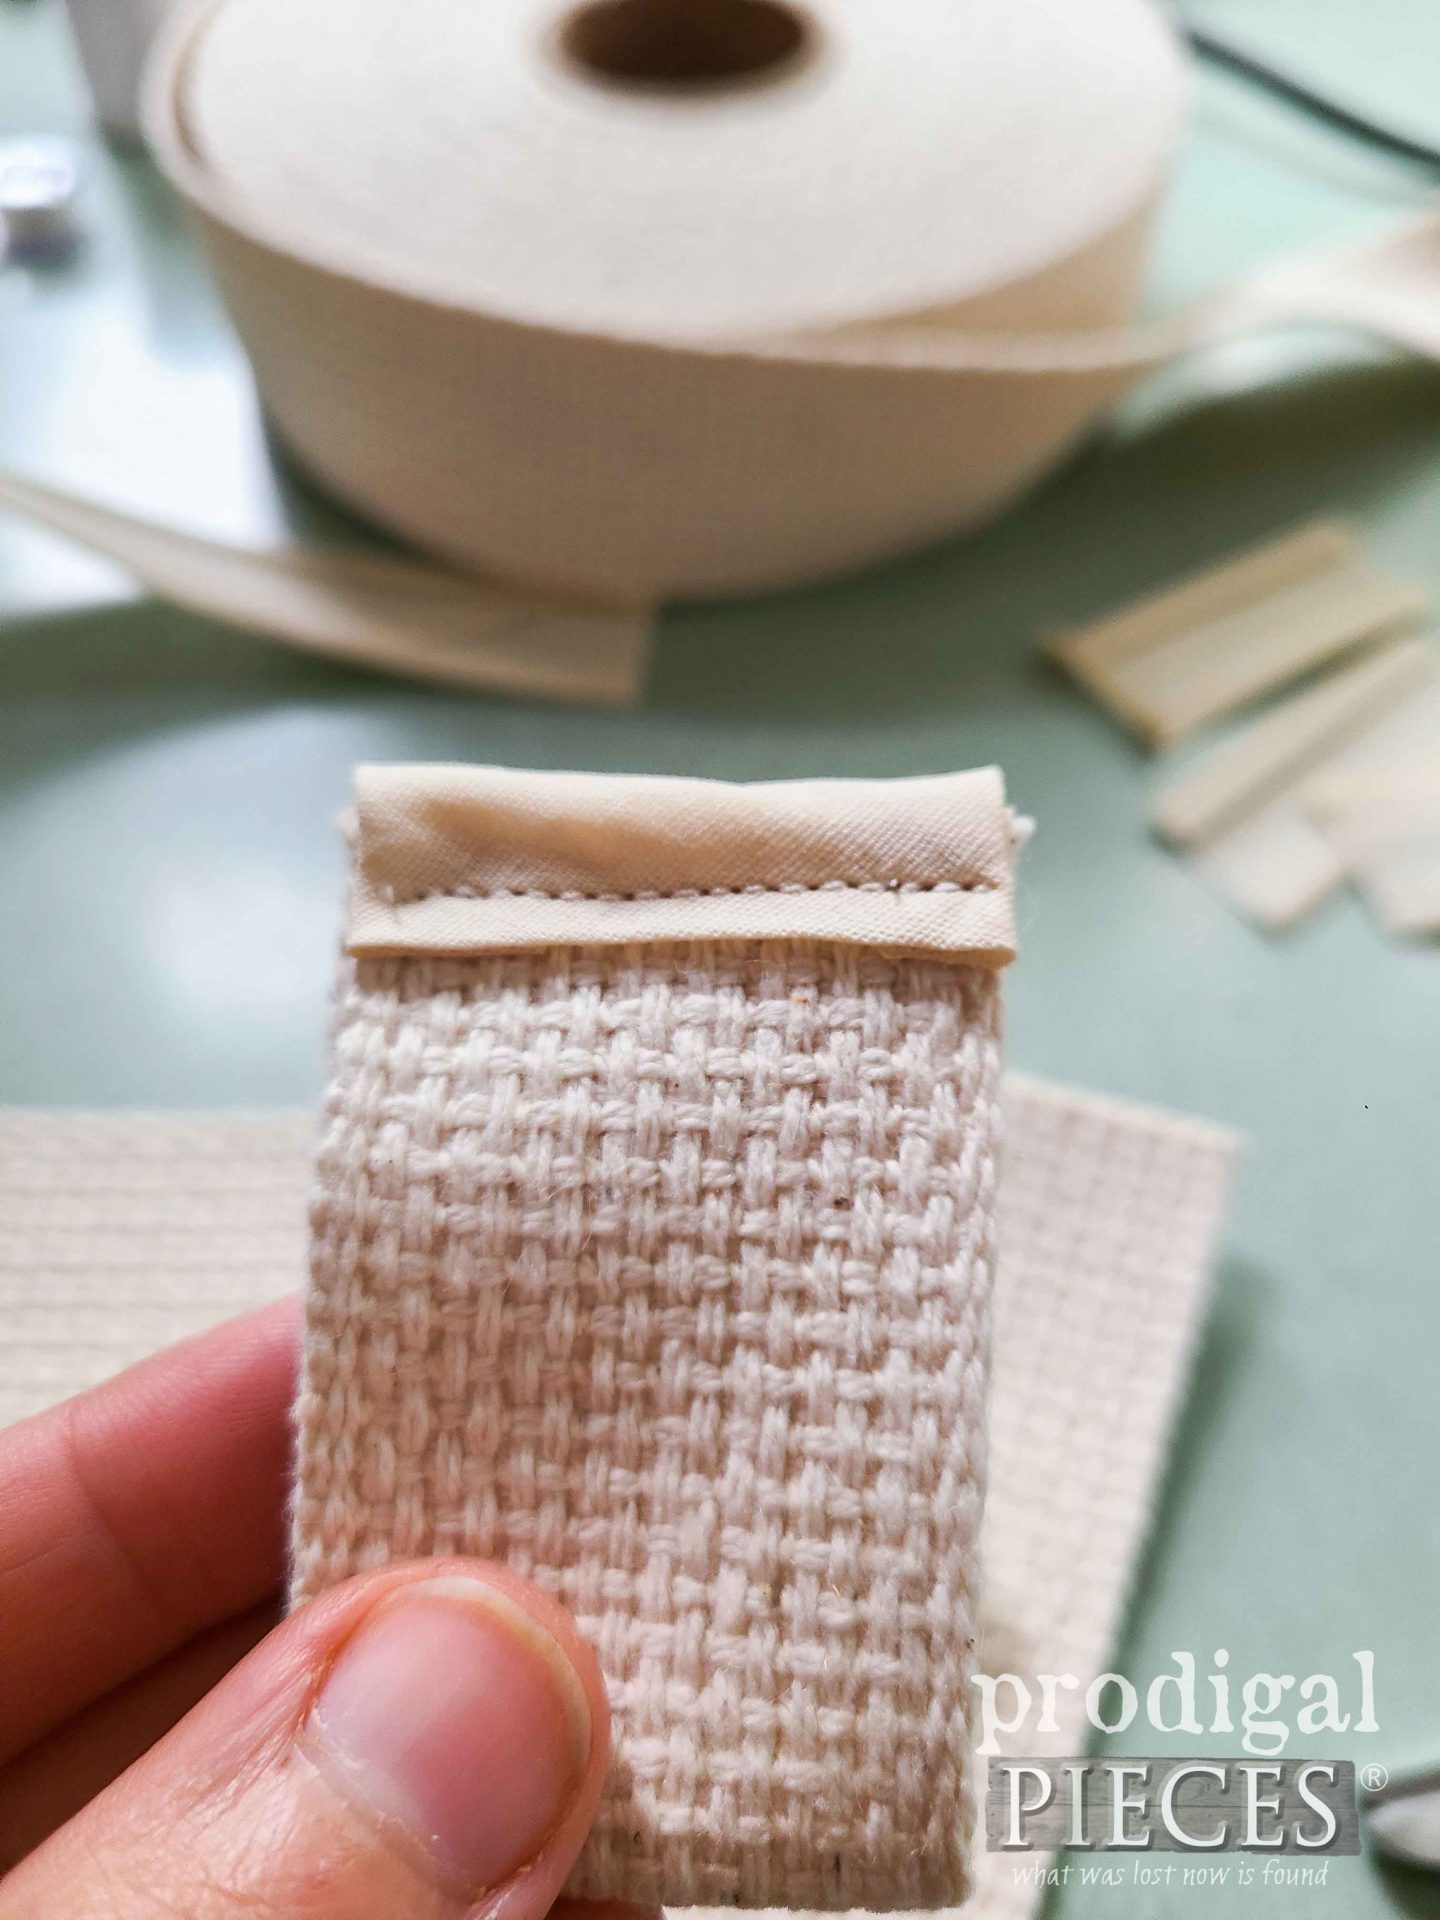
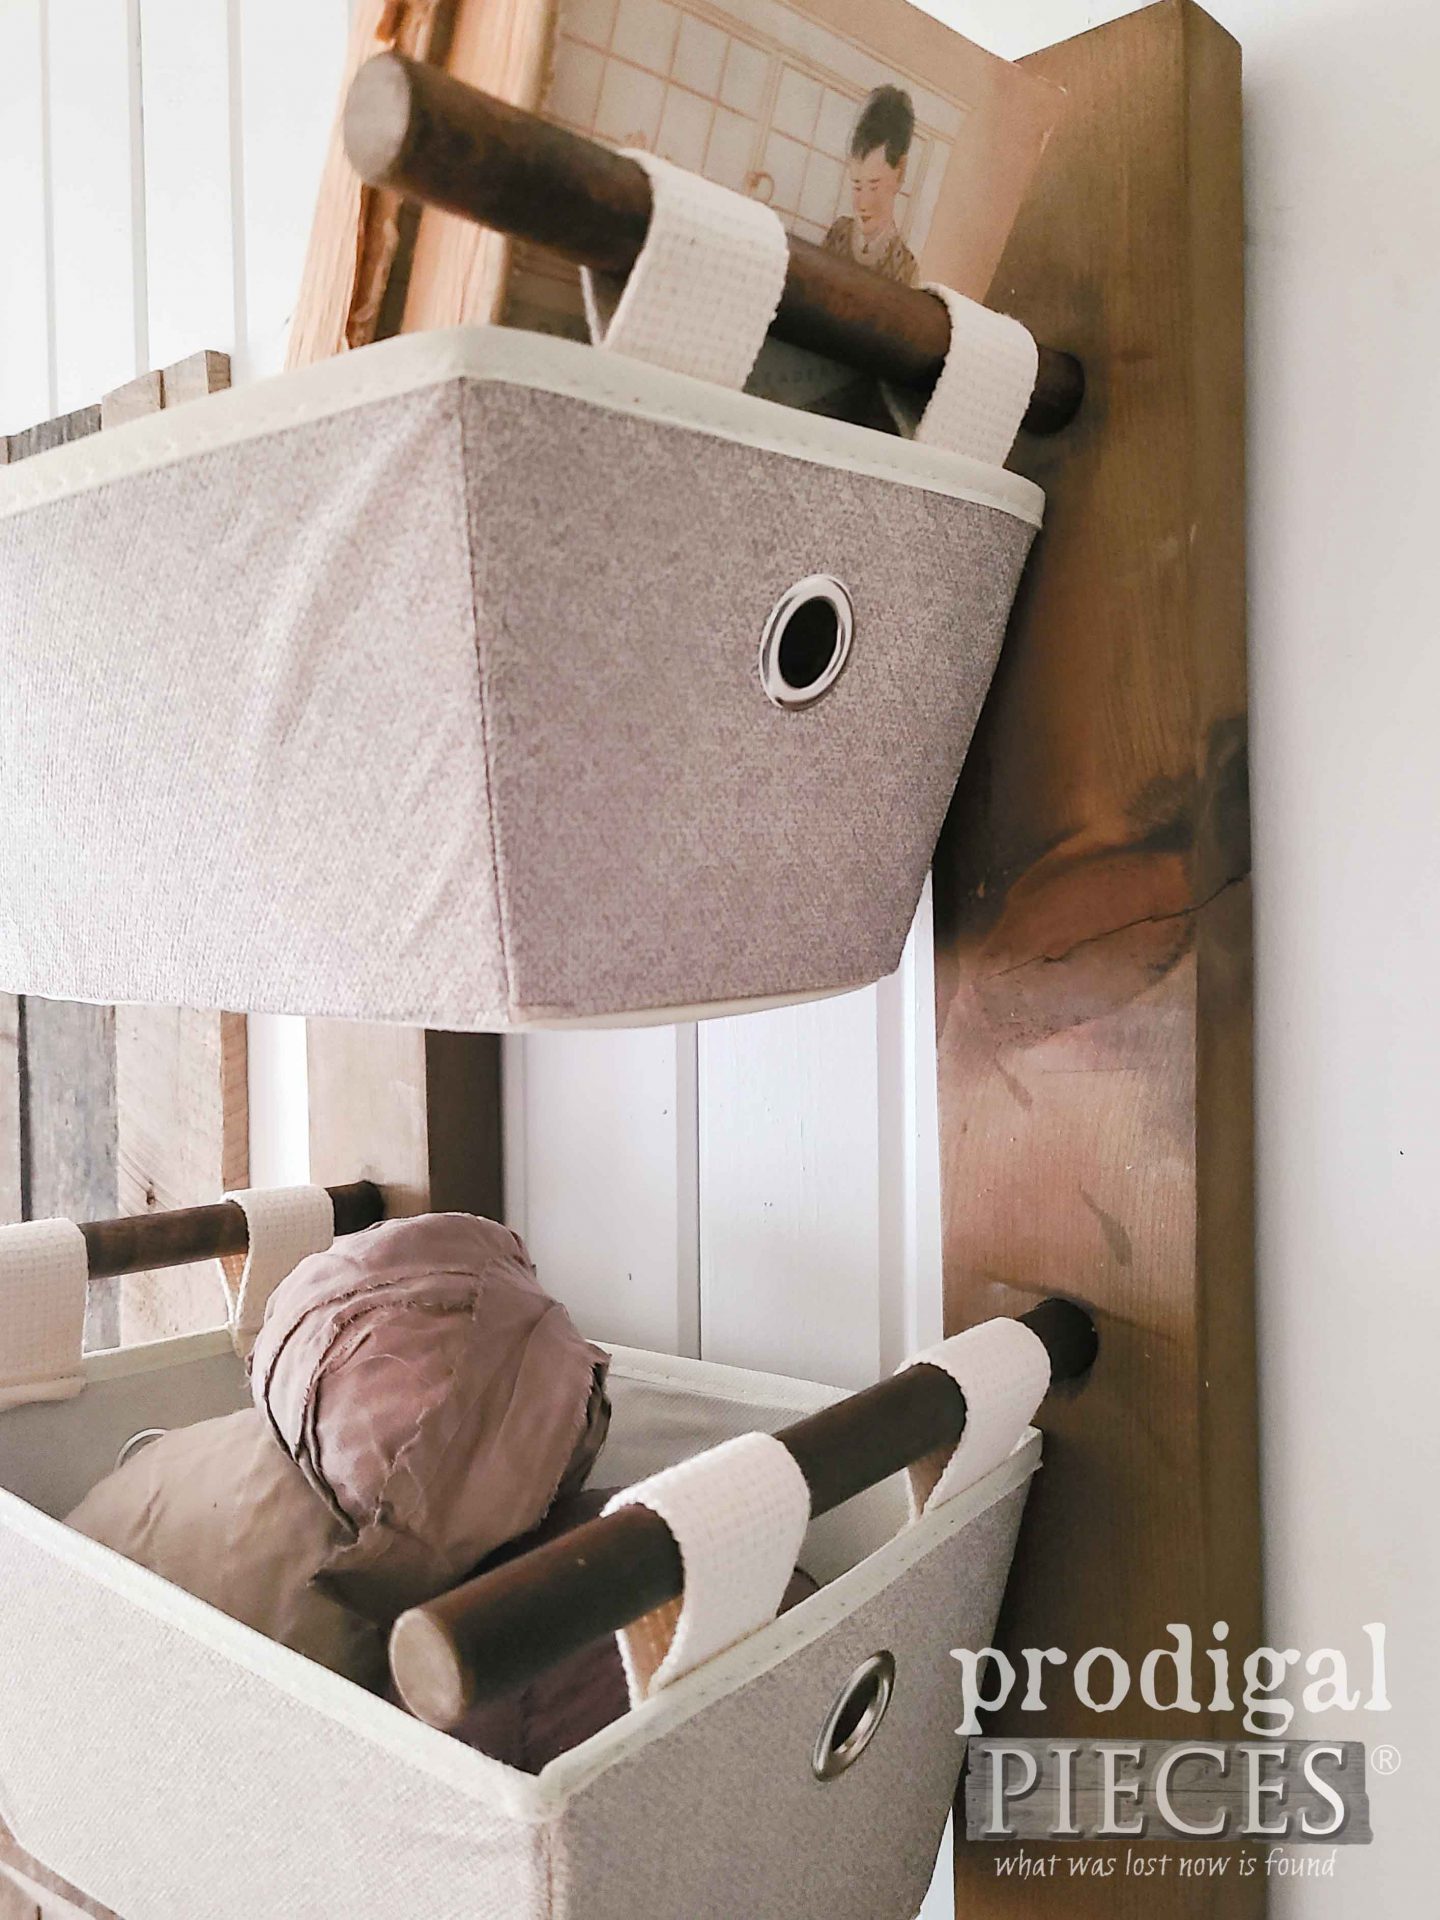
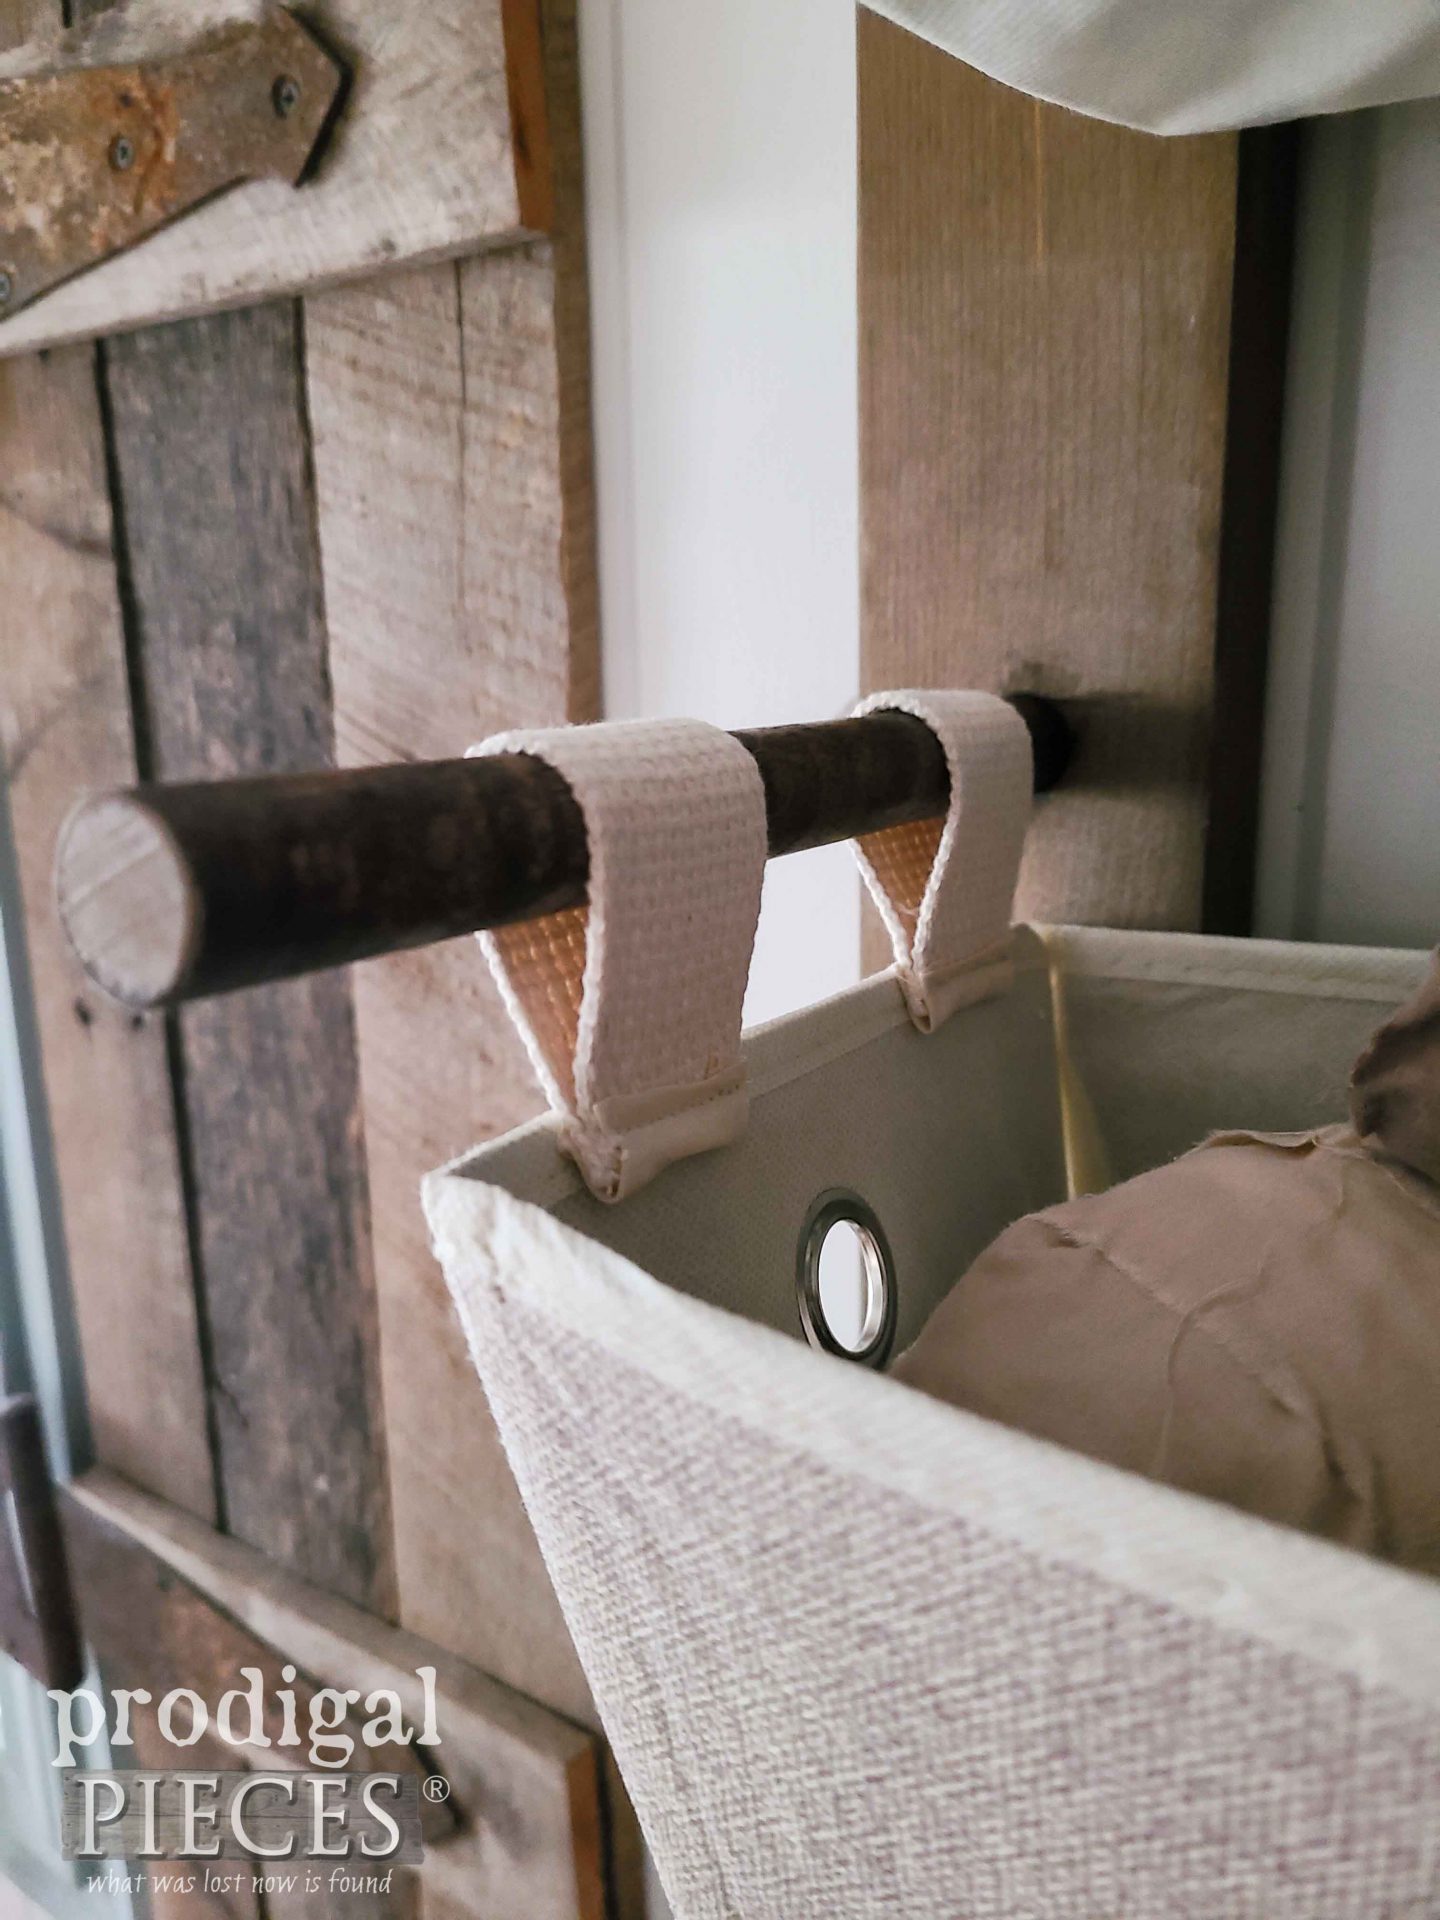
Earlier, I mentioned that the fabric bins I found need a way to attach to the upcycled spindle rack. This is where your fabric scraps or webbing come into play. Since my bins are fabric with a thin wall, I can attach pieces of webbing to hold my bins onto the dowels. I cut 4 – 5″ pieces of 1 1/2″ cotton webbing. You can use anything you want to make this happen (as mentioned in the supplies list). Also, notice, I have bias trim as well. It’s the same stuff I just used in my DIY sling bag.
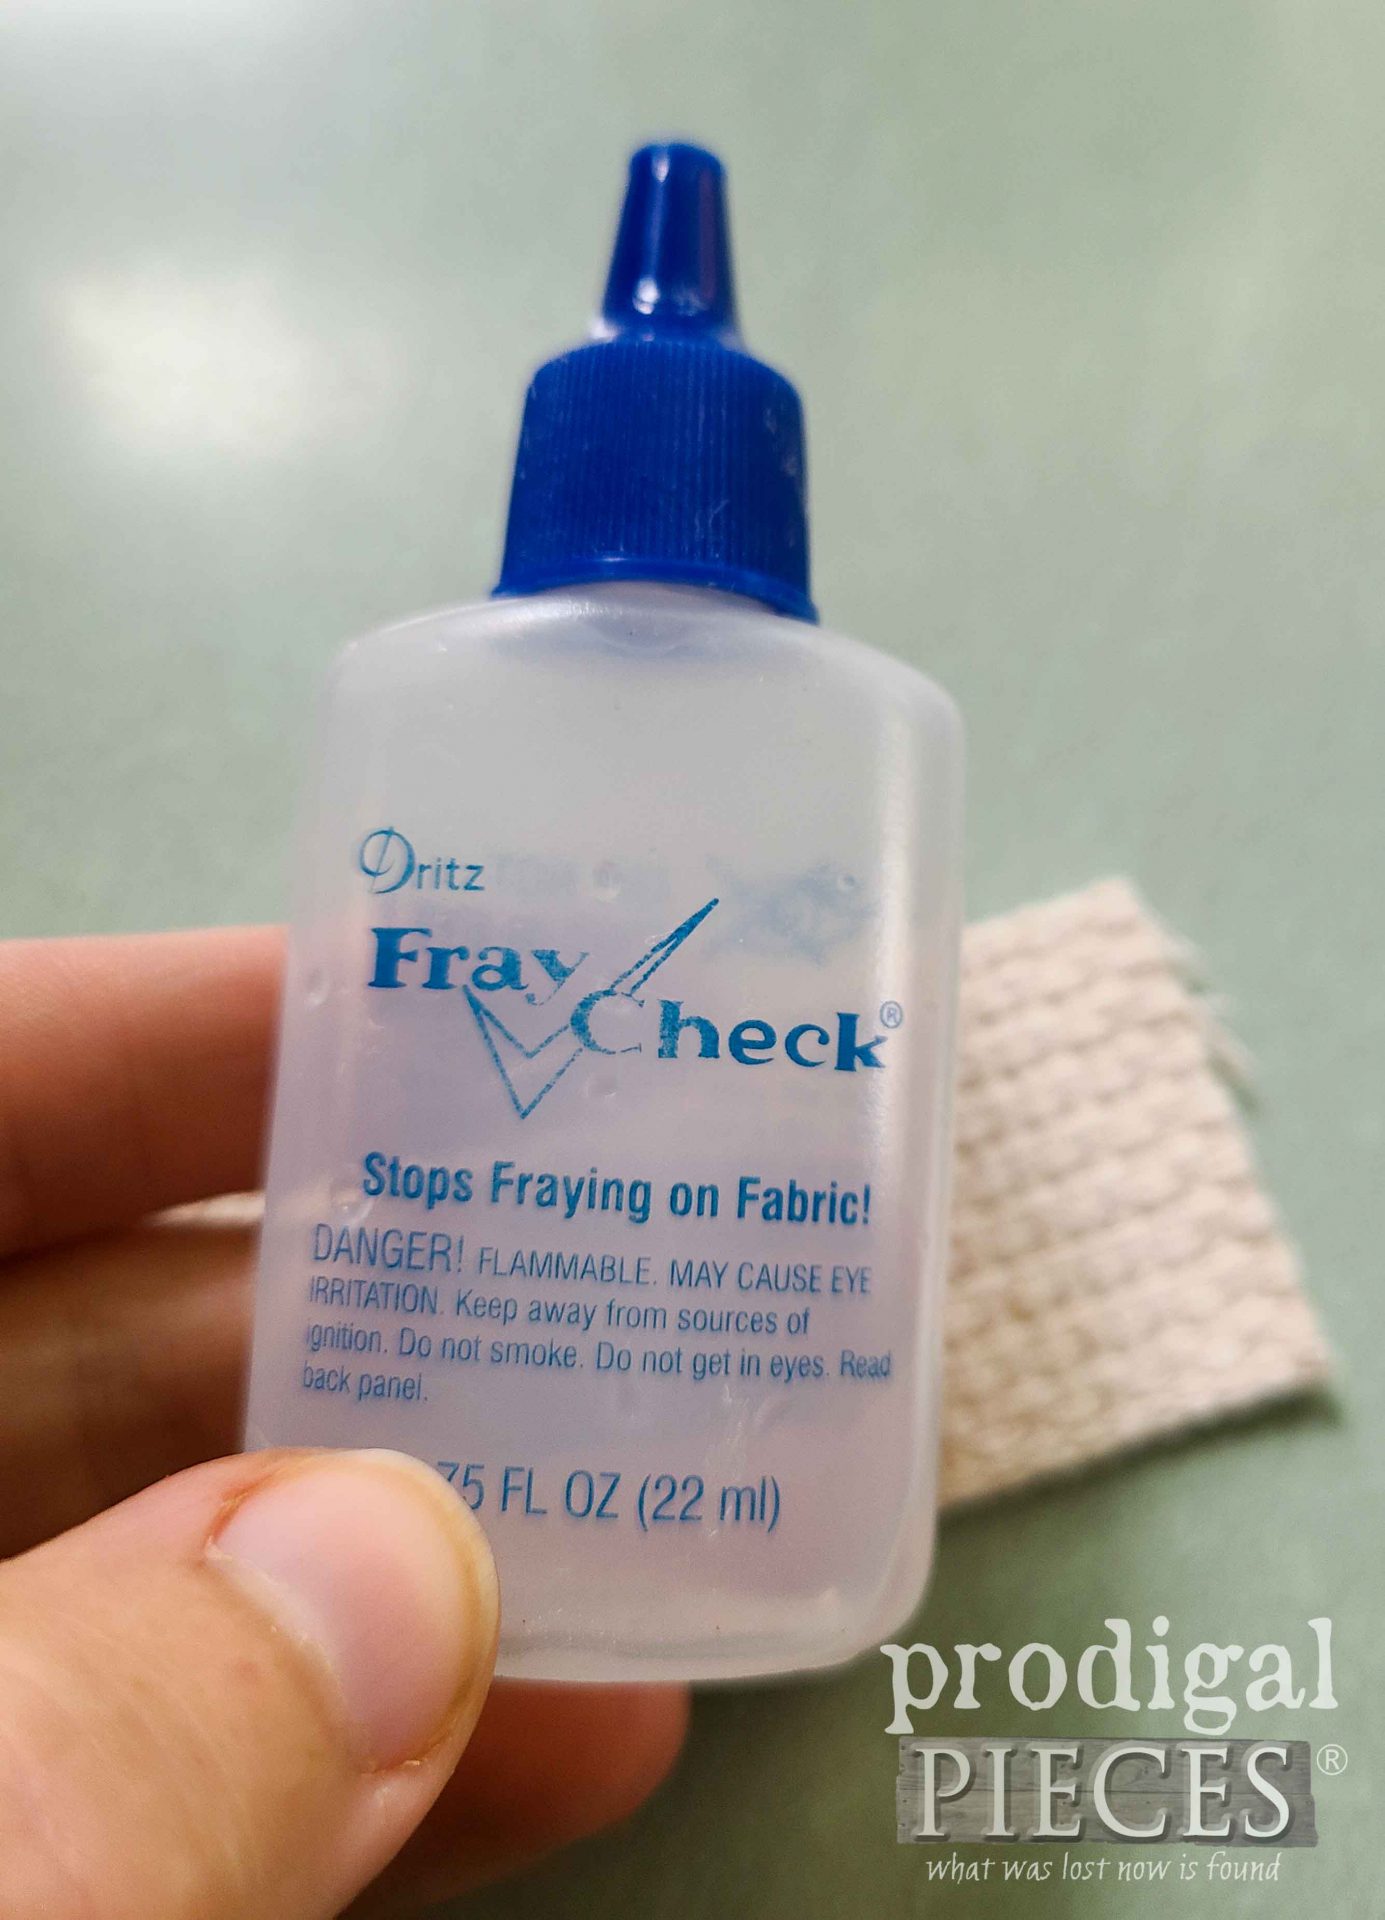
To start, I use Fray Check on the ends before adding the bias tape. Then, fold the webbing over so short sides meet and stitch together.
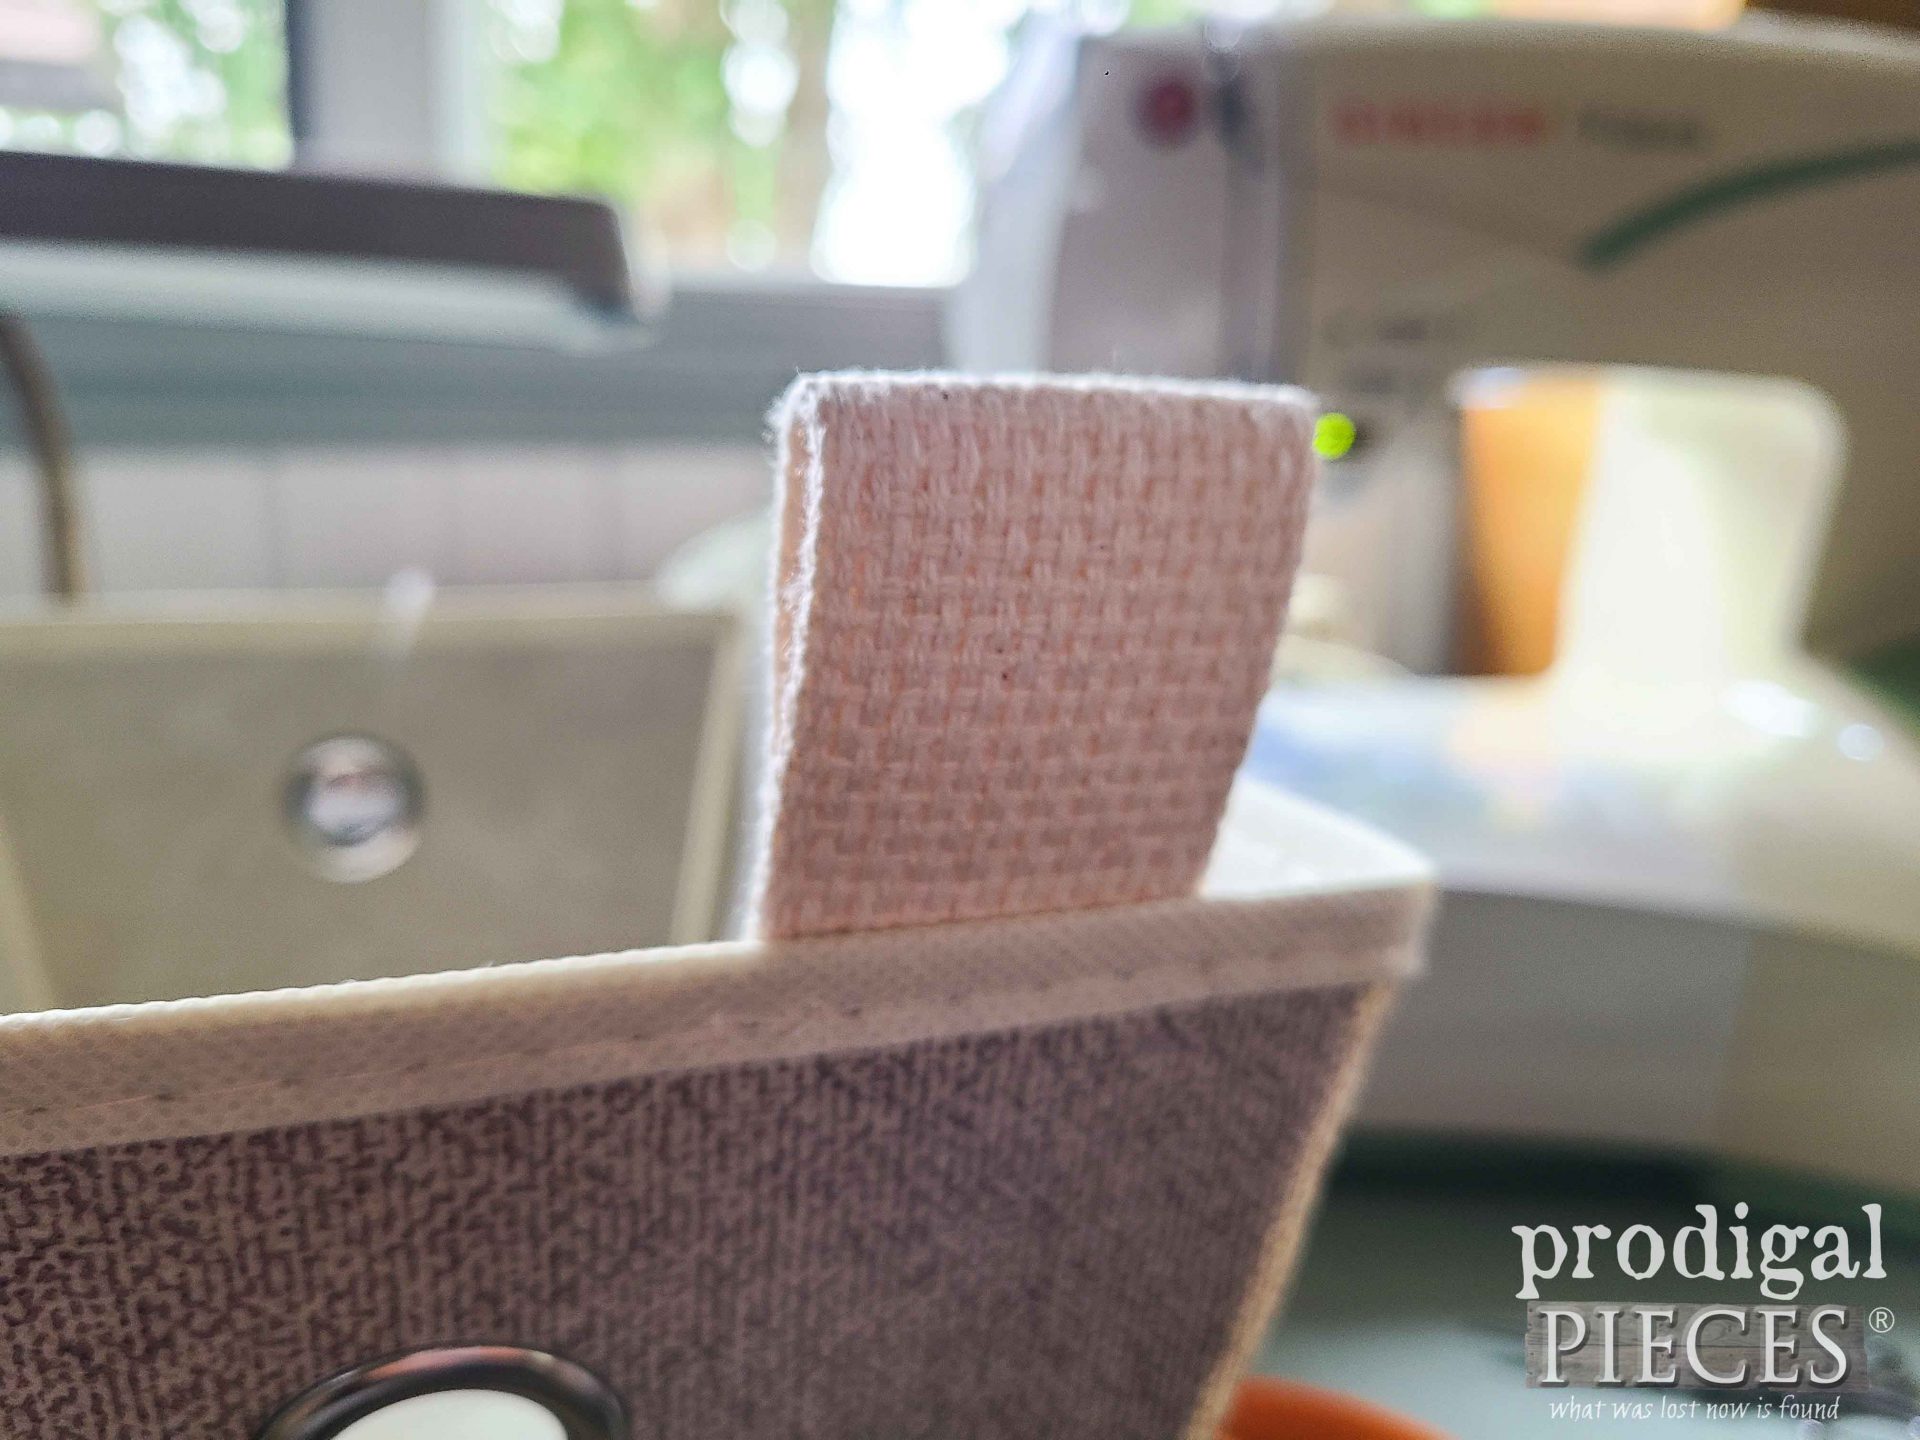
Next, once I have the tabs assembled, I use a heavy duty needle on my sewing machine to attach them to the bins. If you want, you could use rivets or snaps…go for it.
STACKING UP
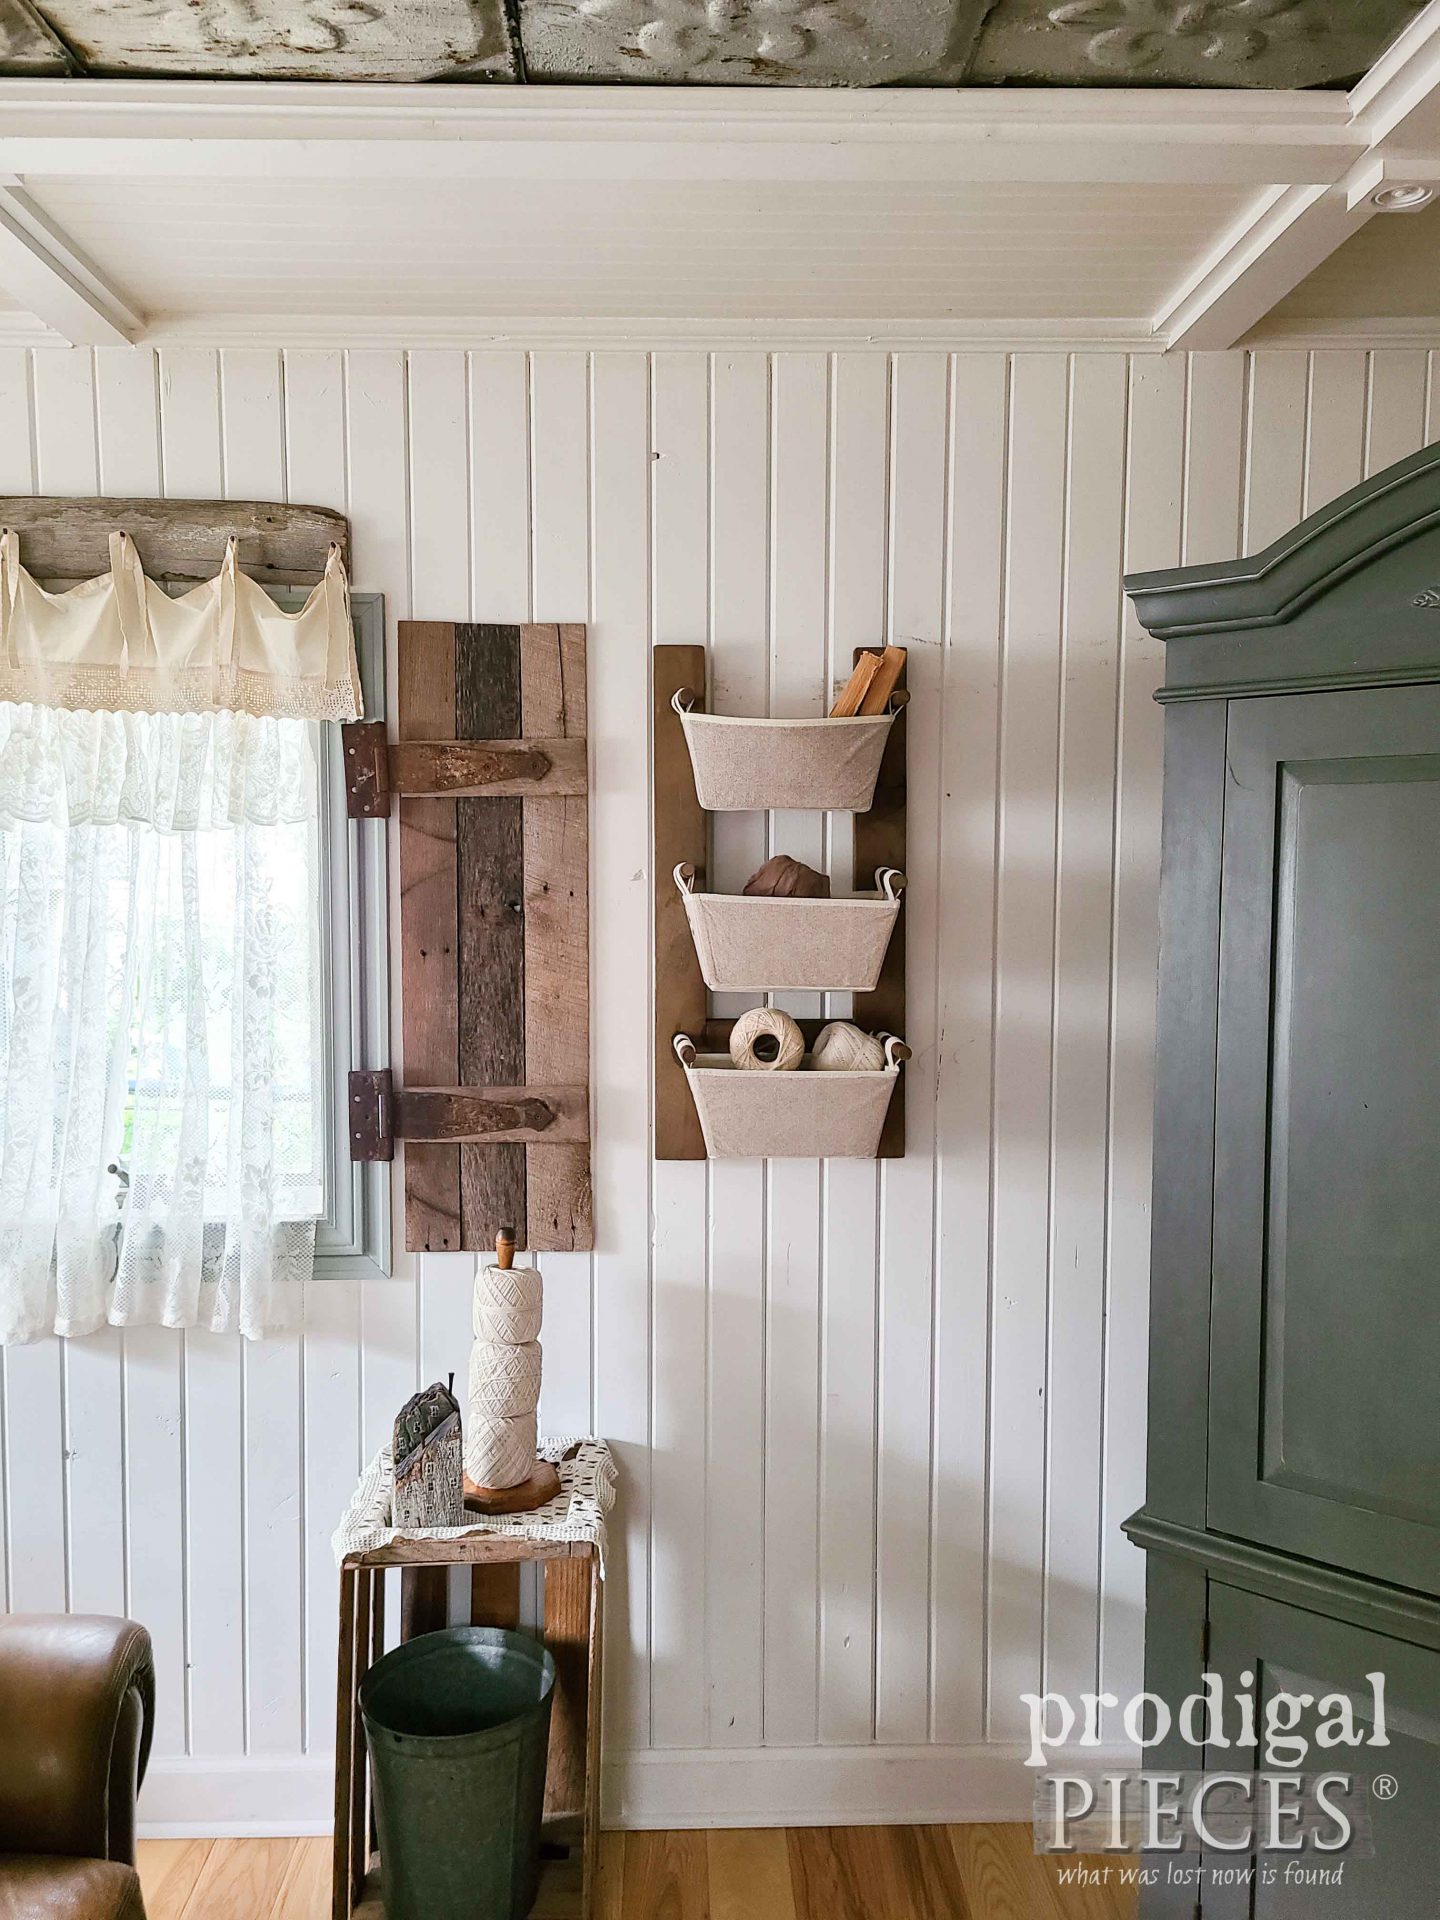
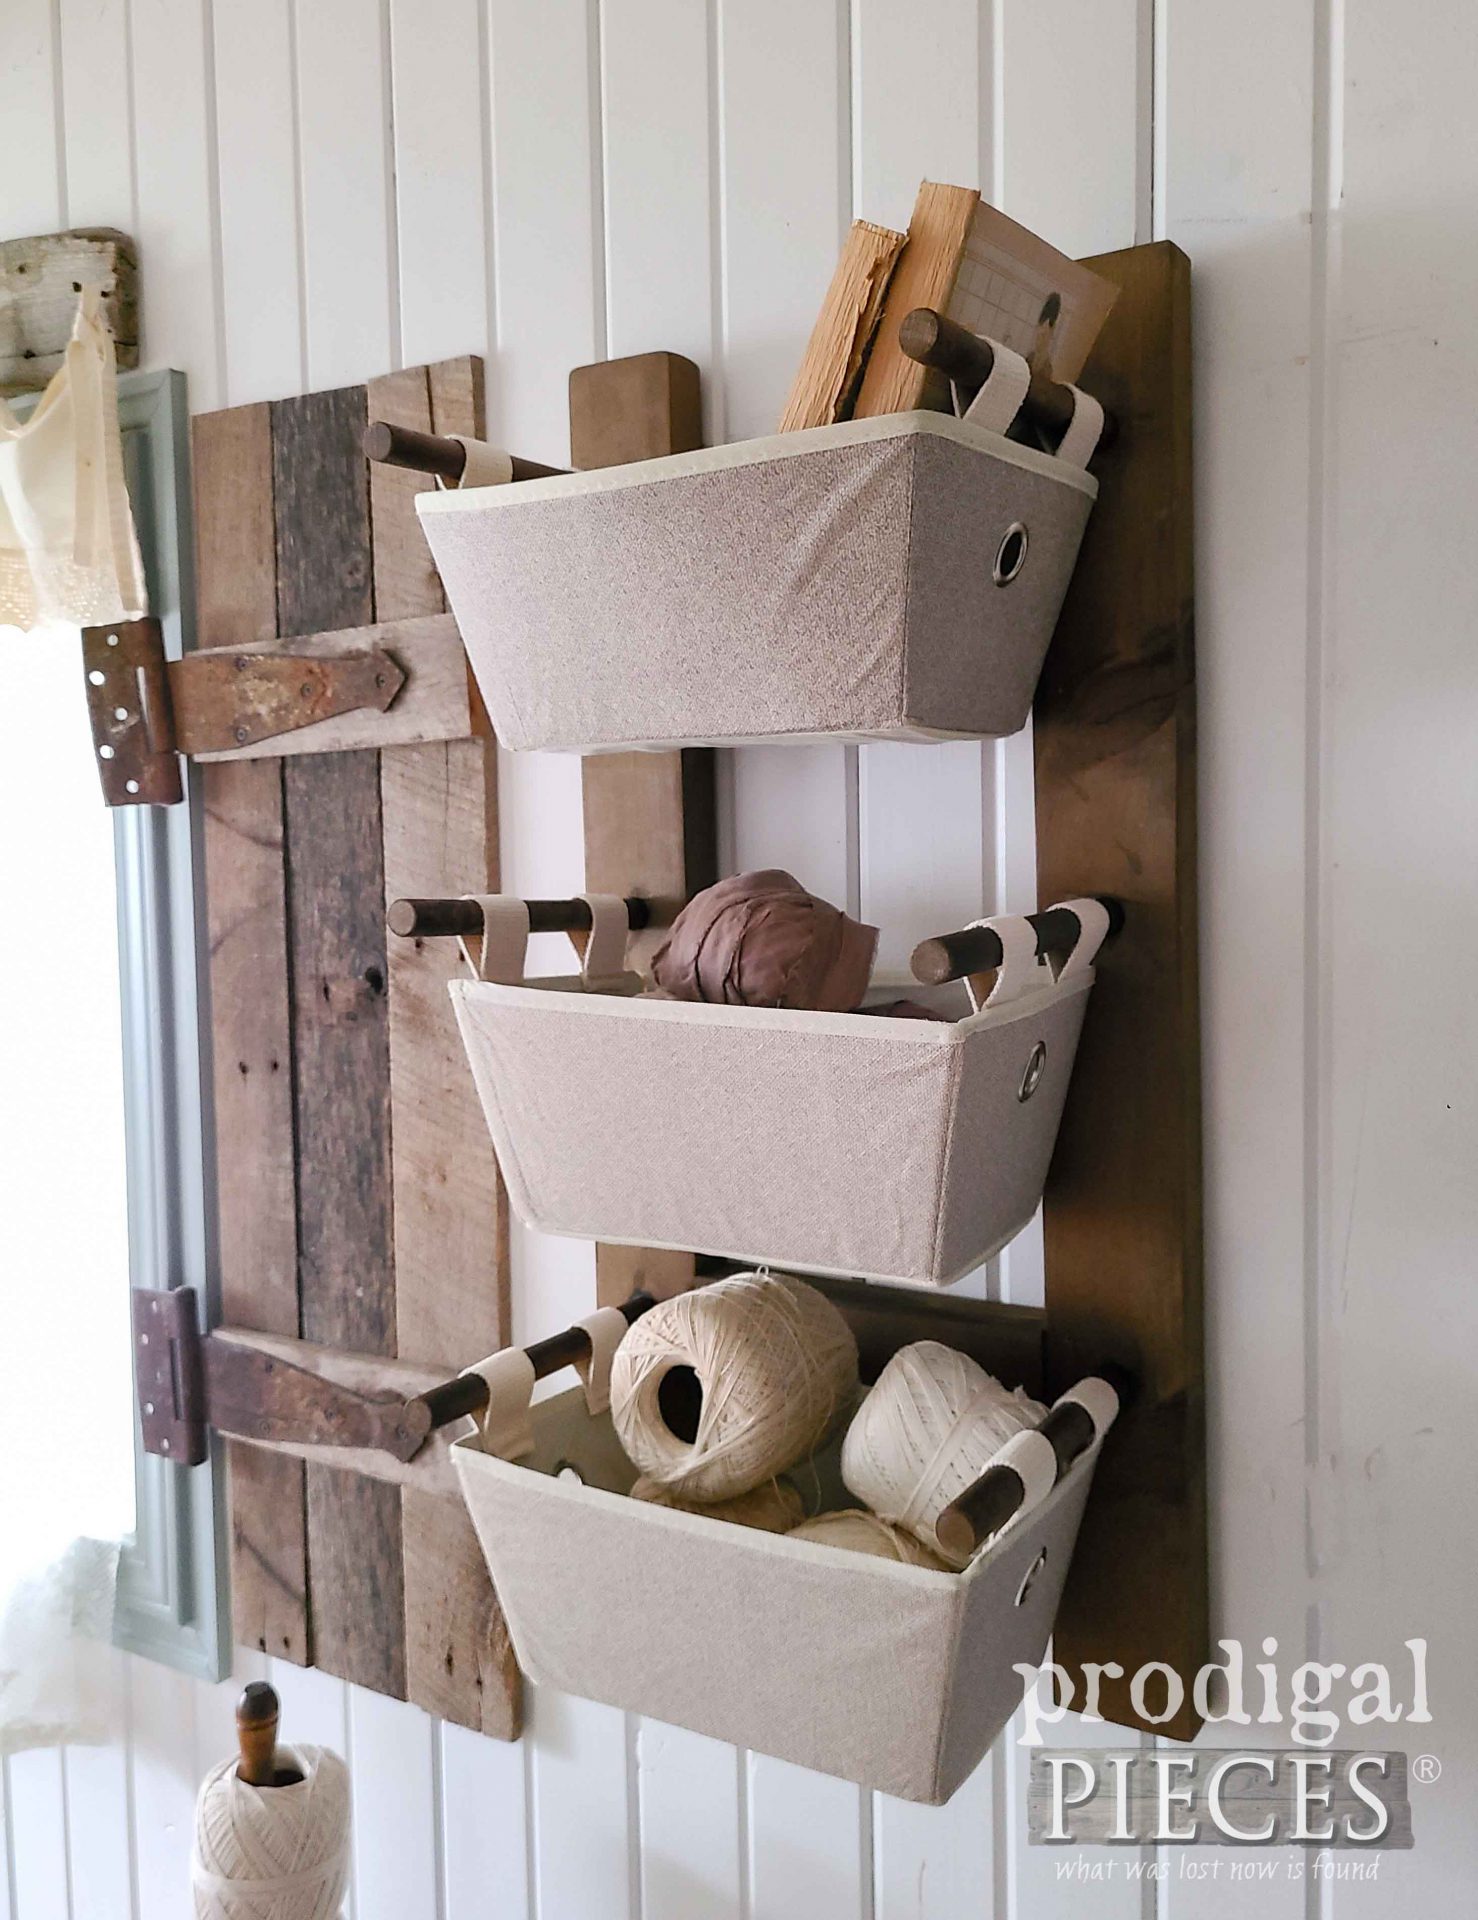
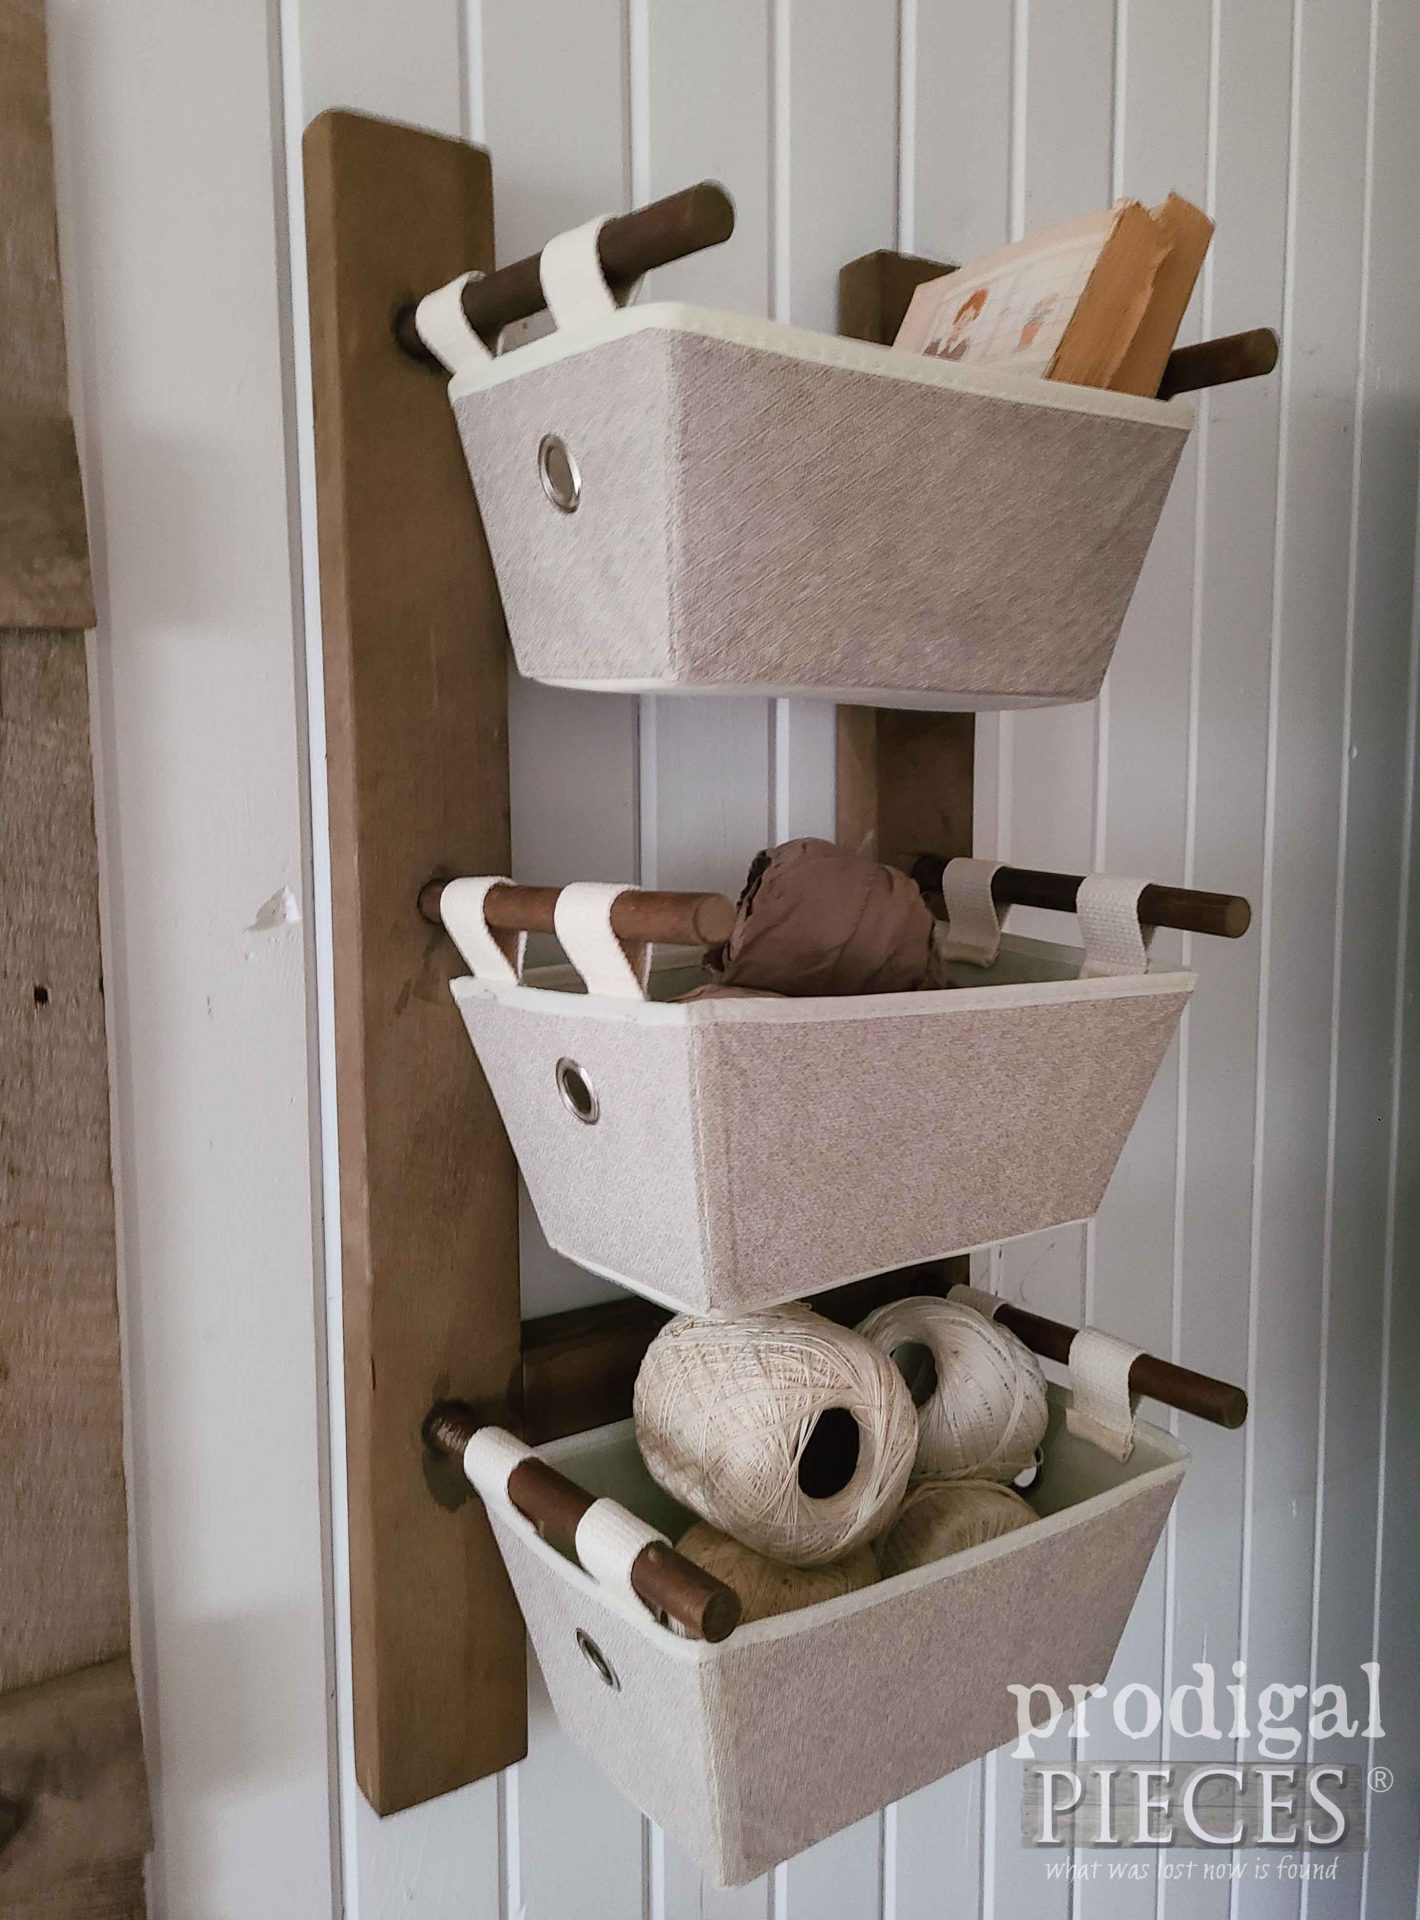
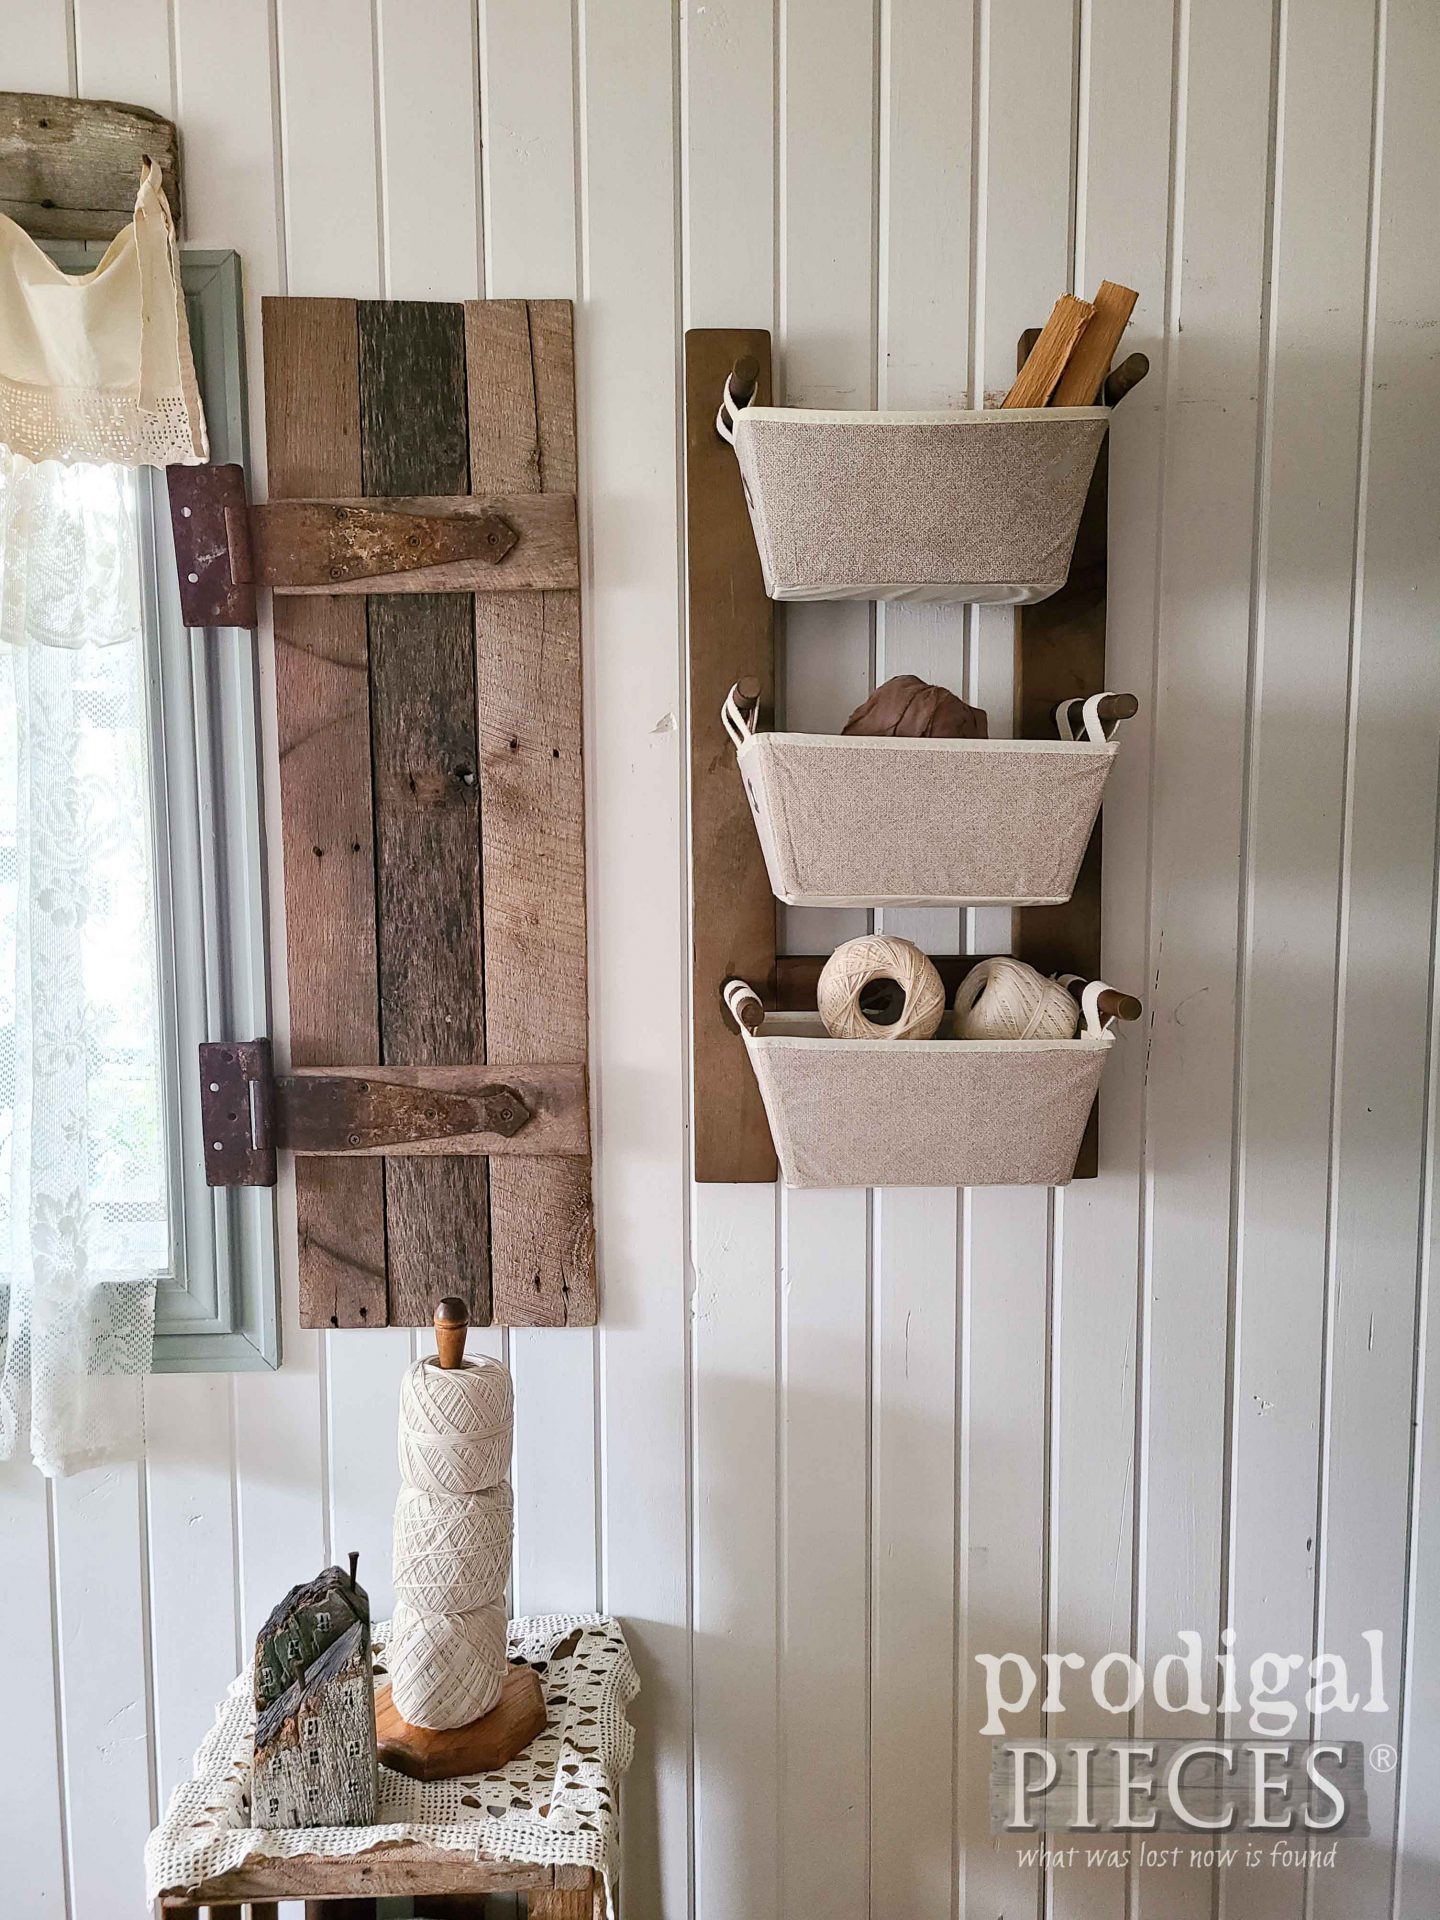
At long last, our upcycled spindle collection have a new purpose and, I daresay, looking better than ever!
Isn’t that fun? I am so stoked with not only the function, but the style. The dollar store bins are perfect for this, and they are removable too.
Okay, so…tell me what you would use this storage rack for? I see it in the bathroom with towels or toiletries, or in a bedroom for books and such, or kids toys, or even in a craft room for notions and supplies.
As with most of my creations, you can find this and much more available in my online store. Sign up for my free email newsletter to get an instant discount.
SHARE
After you pin and share this super fun and easy upcycled spindle rack, do leave me some comment love below. What would you fill your bin with or where would you hang it?
Likewise, don’t miss out on what I create with this wire basket. Any ideas? Check out the “after” OVER HERE. Sign up for my FREE newsletter to get updates. Until next time!

Also, more fun creations like my upcycled spindle storage rack:


I’m so happy to hear that your health continues to improve!!! I too have been focused on a health mission. Like you, weight loss wasn’t my primary goal, but what a great by product!! ? And as usual, your creativity is off the charts with this adorable storage piece!!!!! ?
Applause to you, Rebecca. It truly is worth it’s weight in gold (pun intended). An ounce of prevention…
Thanks so much!
I like this spindle shelf the way it is. I think it turned out well and can serve many purposes. Also so glad your health is improving and the strength training is adding muscle. Having a health focus/goal is a great thing. Weight it my focus so maybe someday I’ll get to share a success story with you. But first off to the Dr to see if I broke my ankle.? God is good all the time!! Have a great weekend Larissa!
Oh goodness! I sure you hope you didn’t, though sprains feel awful as well. Thanks for the love. I am looking forward to updating my decor slowly and surely.
how inventive!!! love love the look!!! keep up the great work!!!
Thank you for the sweet words of affirmation, Gillian. I sure have fun creating and sharing.
as always, love the creative use of the spindles!!! more power to you for taking better care of yourself! God’s best to you!
You are such a sweetheart, dodie. It’s always a treat for me to share. Thank you for the well-wishes!
As usual, you surprised me 🙂 I thought somehow the dowel was going to go through the grommets in the cute baskets. And I couldn’t figure out how that was going to work. What you did was ingenious! I love it! Such a great way to store bits and bobbles that doesn’t take up floor space – Awesome repurpose Larissa! Thank you for the inspiration. And I was just thinking I wish I could talk to you about some health stuff because our journeys have been somewhat similar and you addressed it in the post! Now, if I wish we were neighbors what will happen? ?
I love hearing what folks envision too. It makes creating fun and a for a more interesting world. I think I may make some of these for my daughter’s room if wall-space permits. Feel free to reach out to me via email if you’d like. It always helps to chat! 😀
The spindle storage rack has a great look. I really really like the look with the three baskets. So functional for in a sewing room, craft area, or even a bathroom. You have a way of sparking creativity
Congratulations on your health journey and the success that you have had.
Thank you oodles, Joanne. Yes, I think my girls could use these for hair things, my boys for their socks, and me for sewing. Sending hugs!!