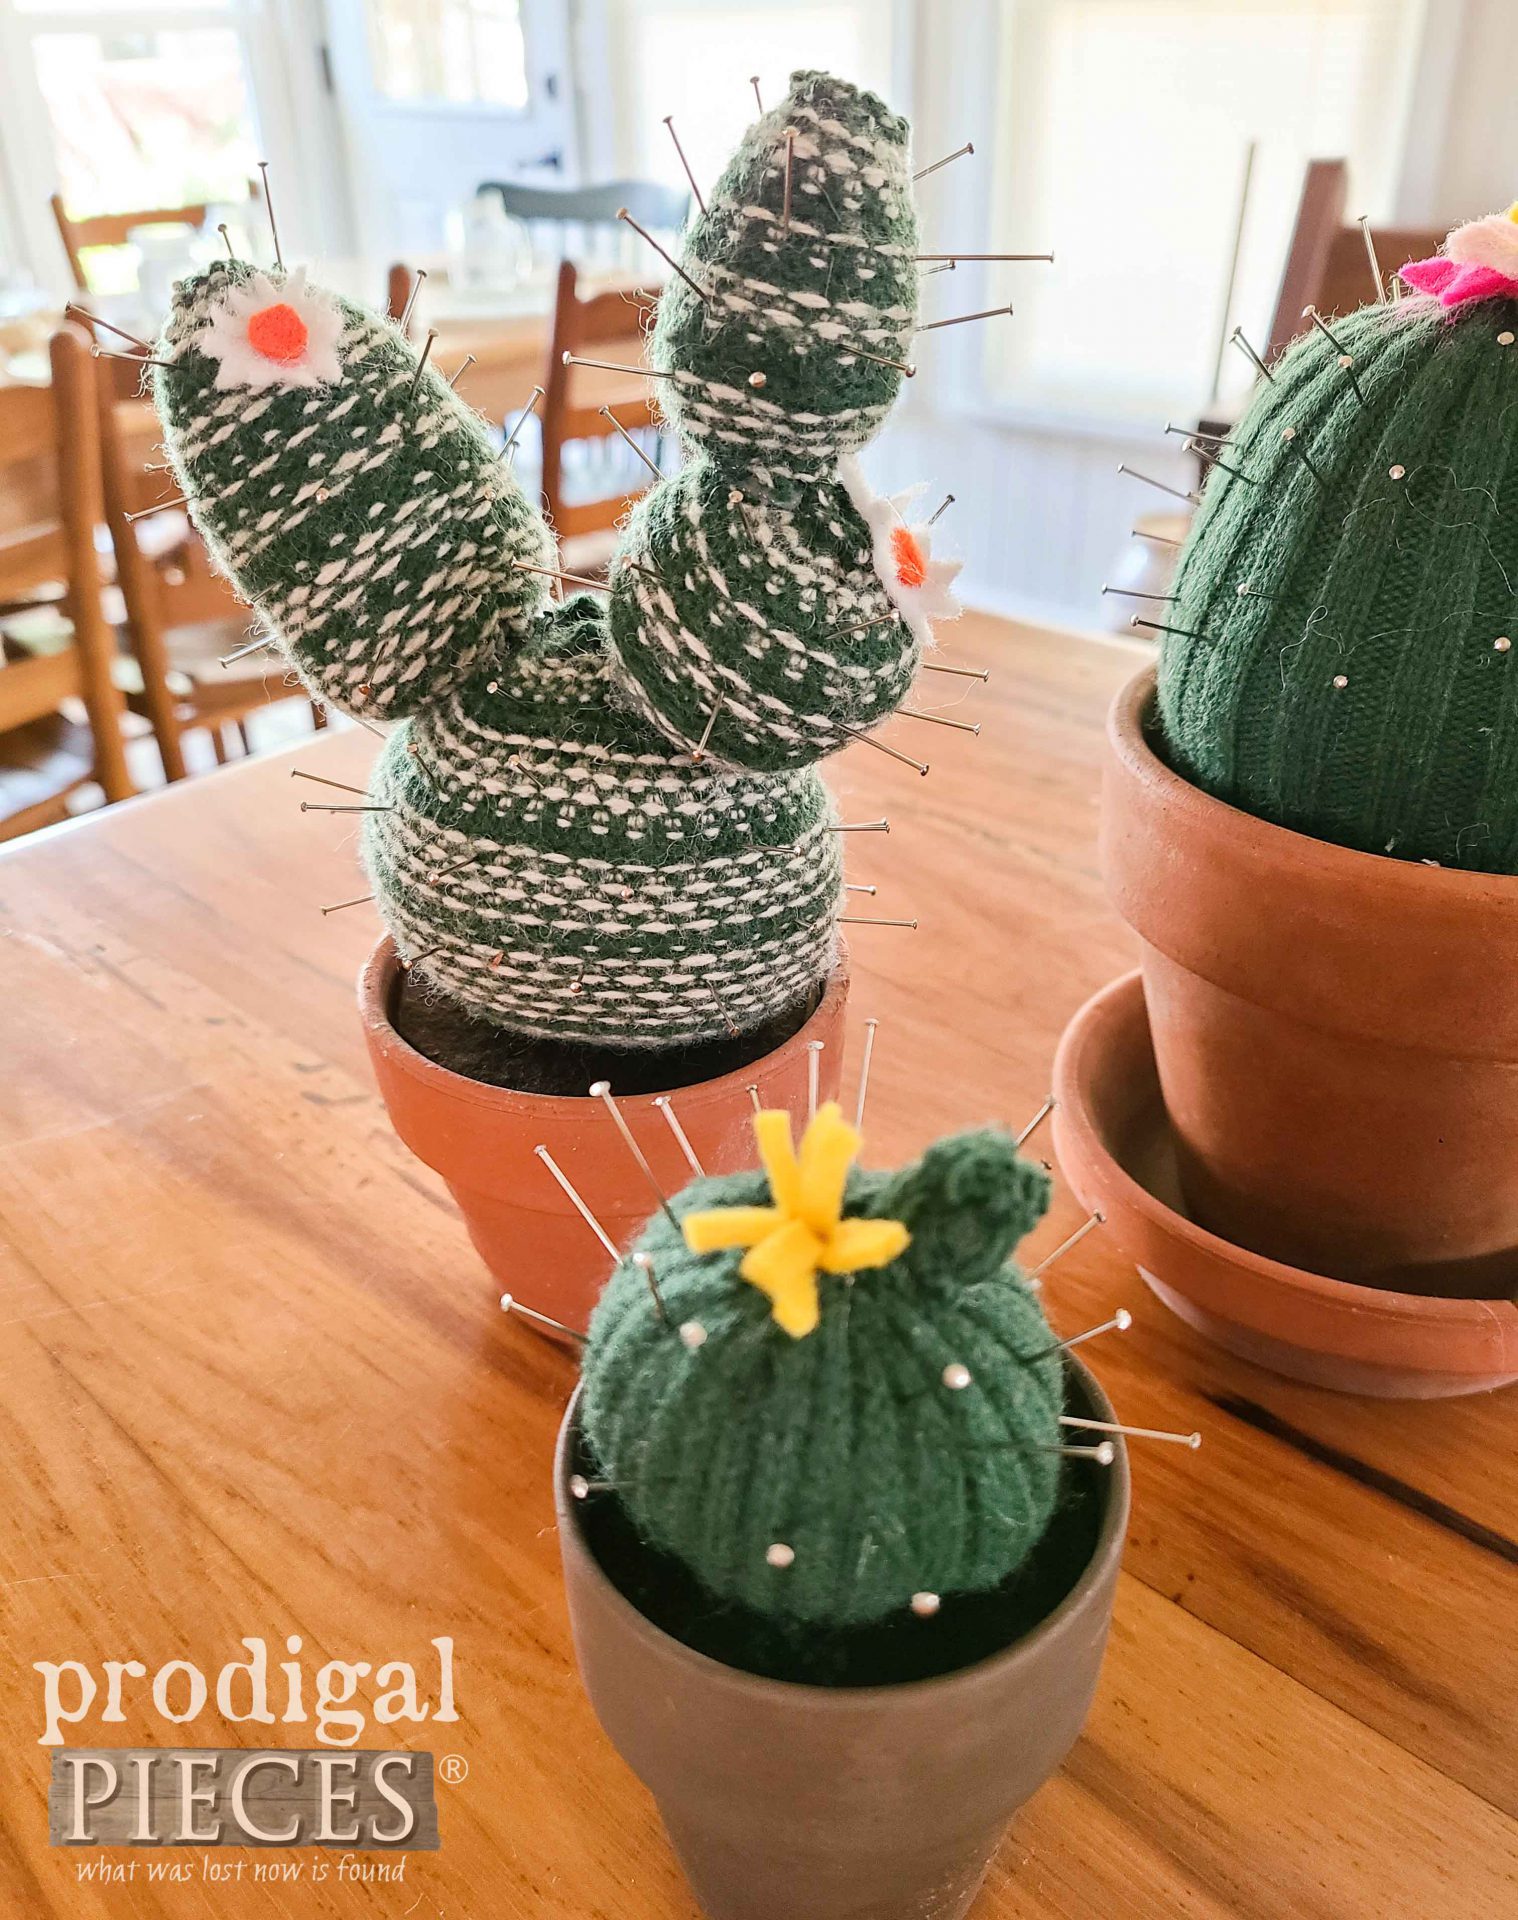
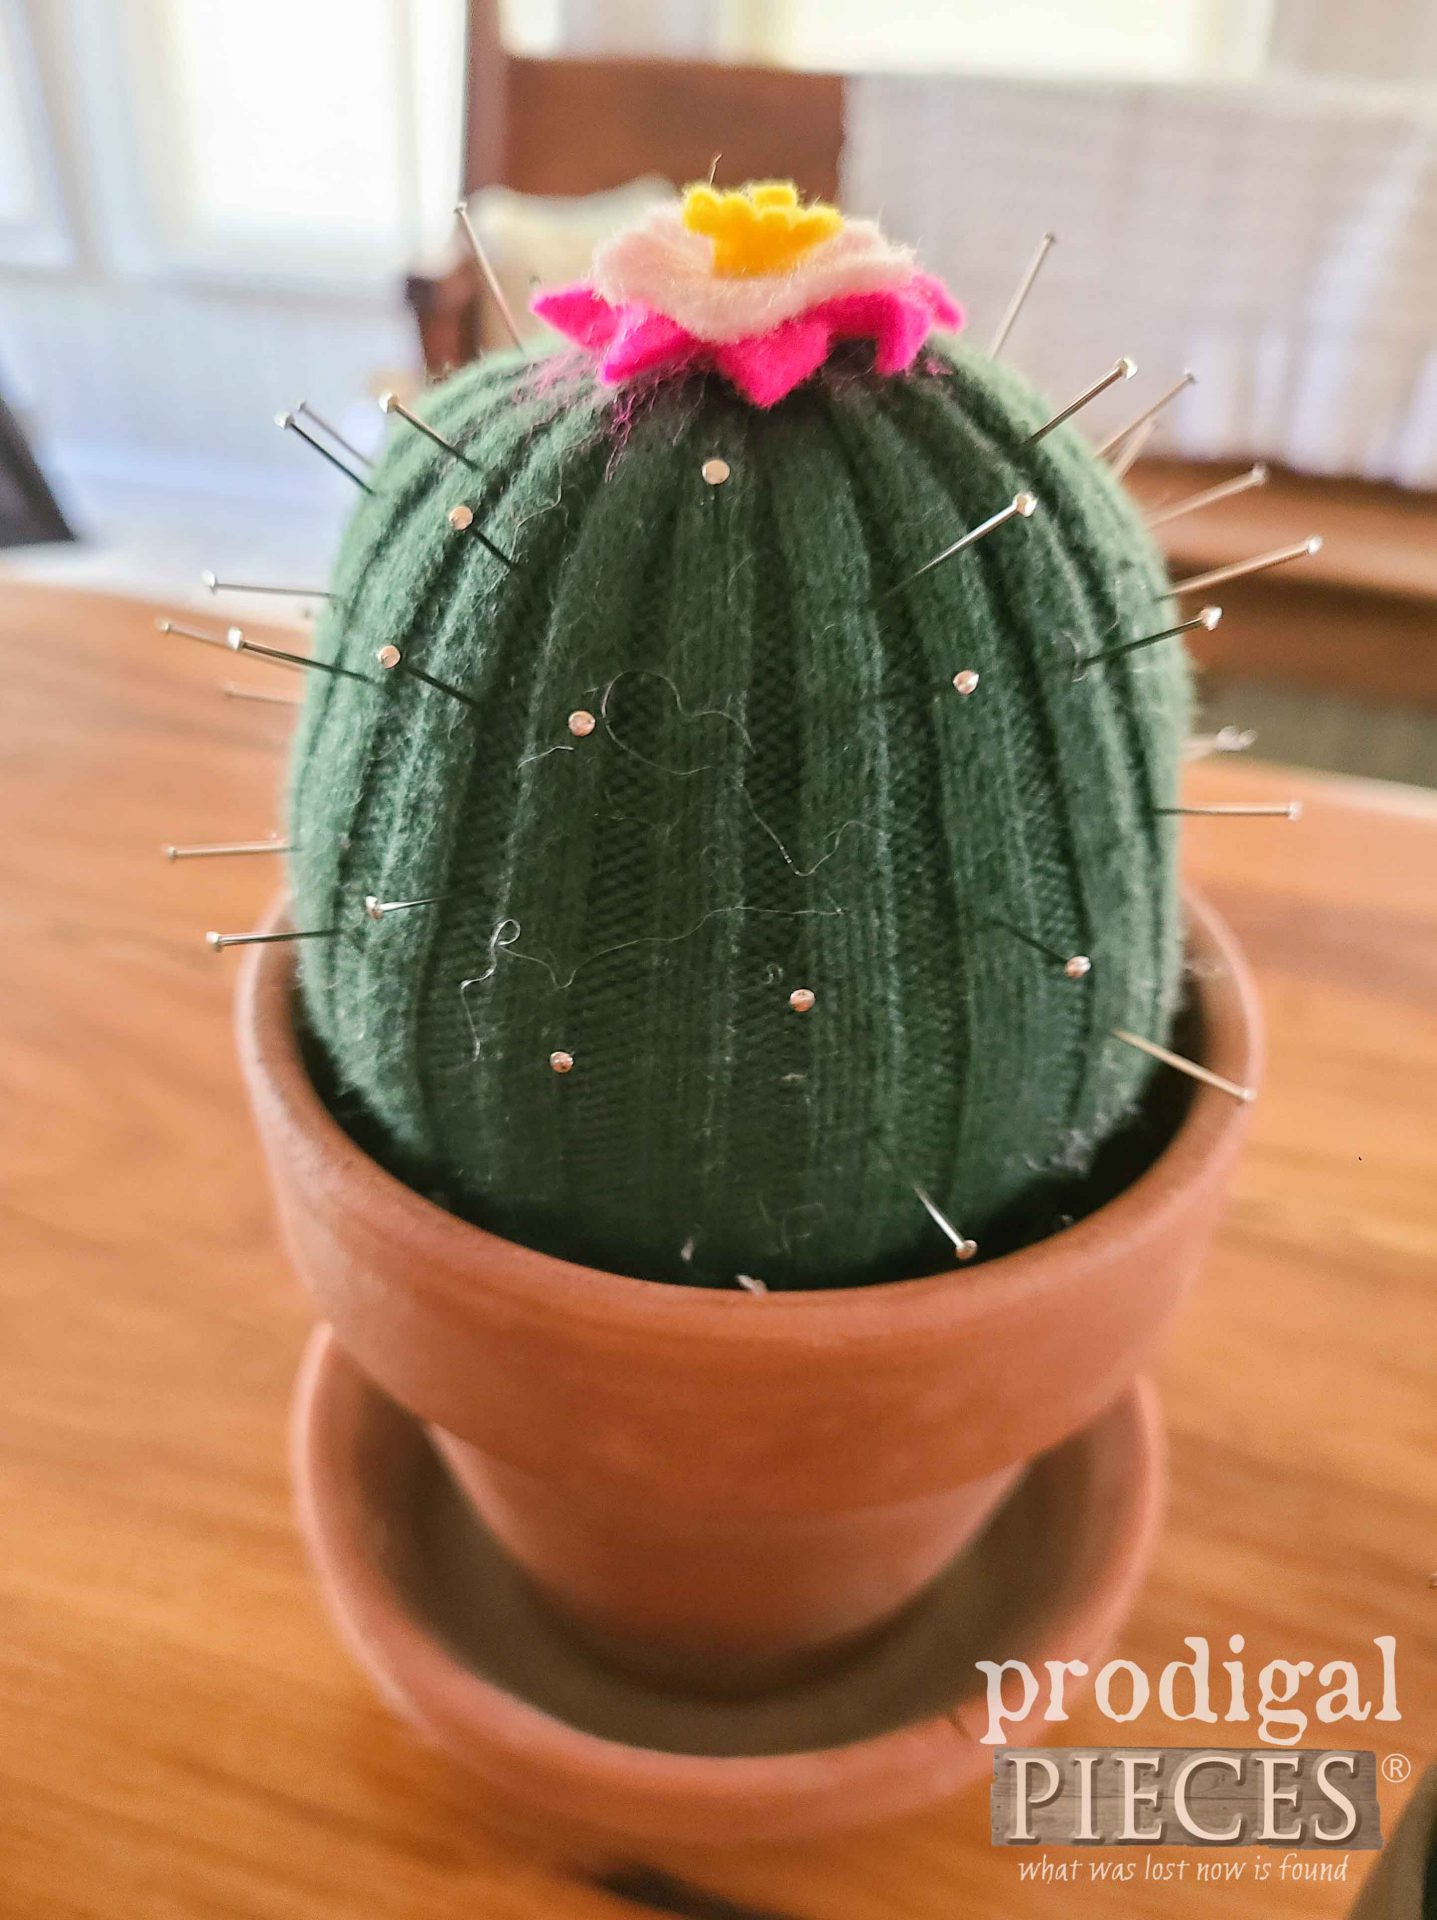
When it comes to the last Tuesday of the month, I get a tad excited because it means that Reduce, Reuse, REFASHION time. That means it’s time to grab those cast-offs that need a new life. This month I’m headed to my sweater stash since the cooler weather is rolling in. I’m excited to make a cutie upcycled sweater cactus pincushion. Do you see it?
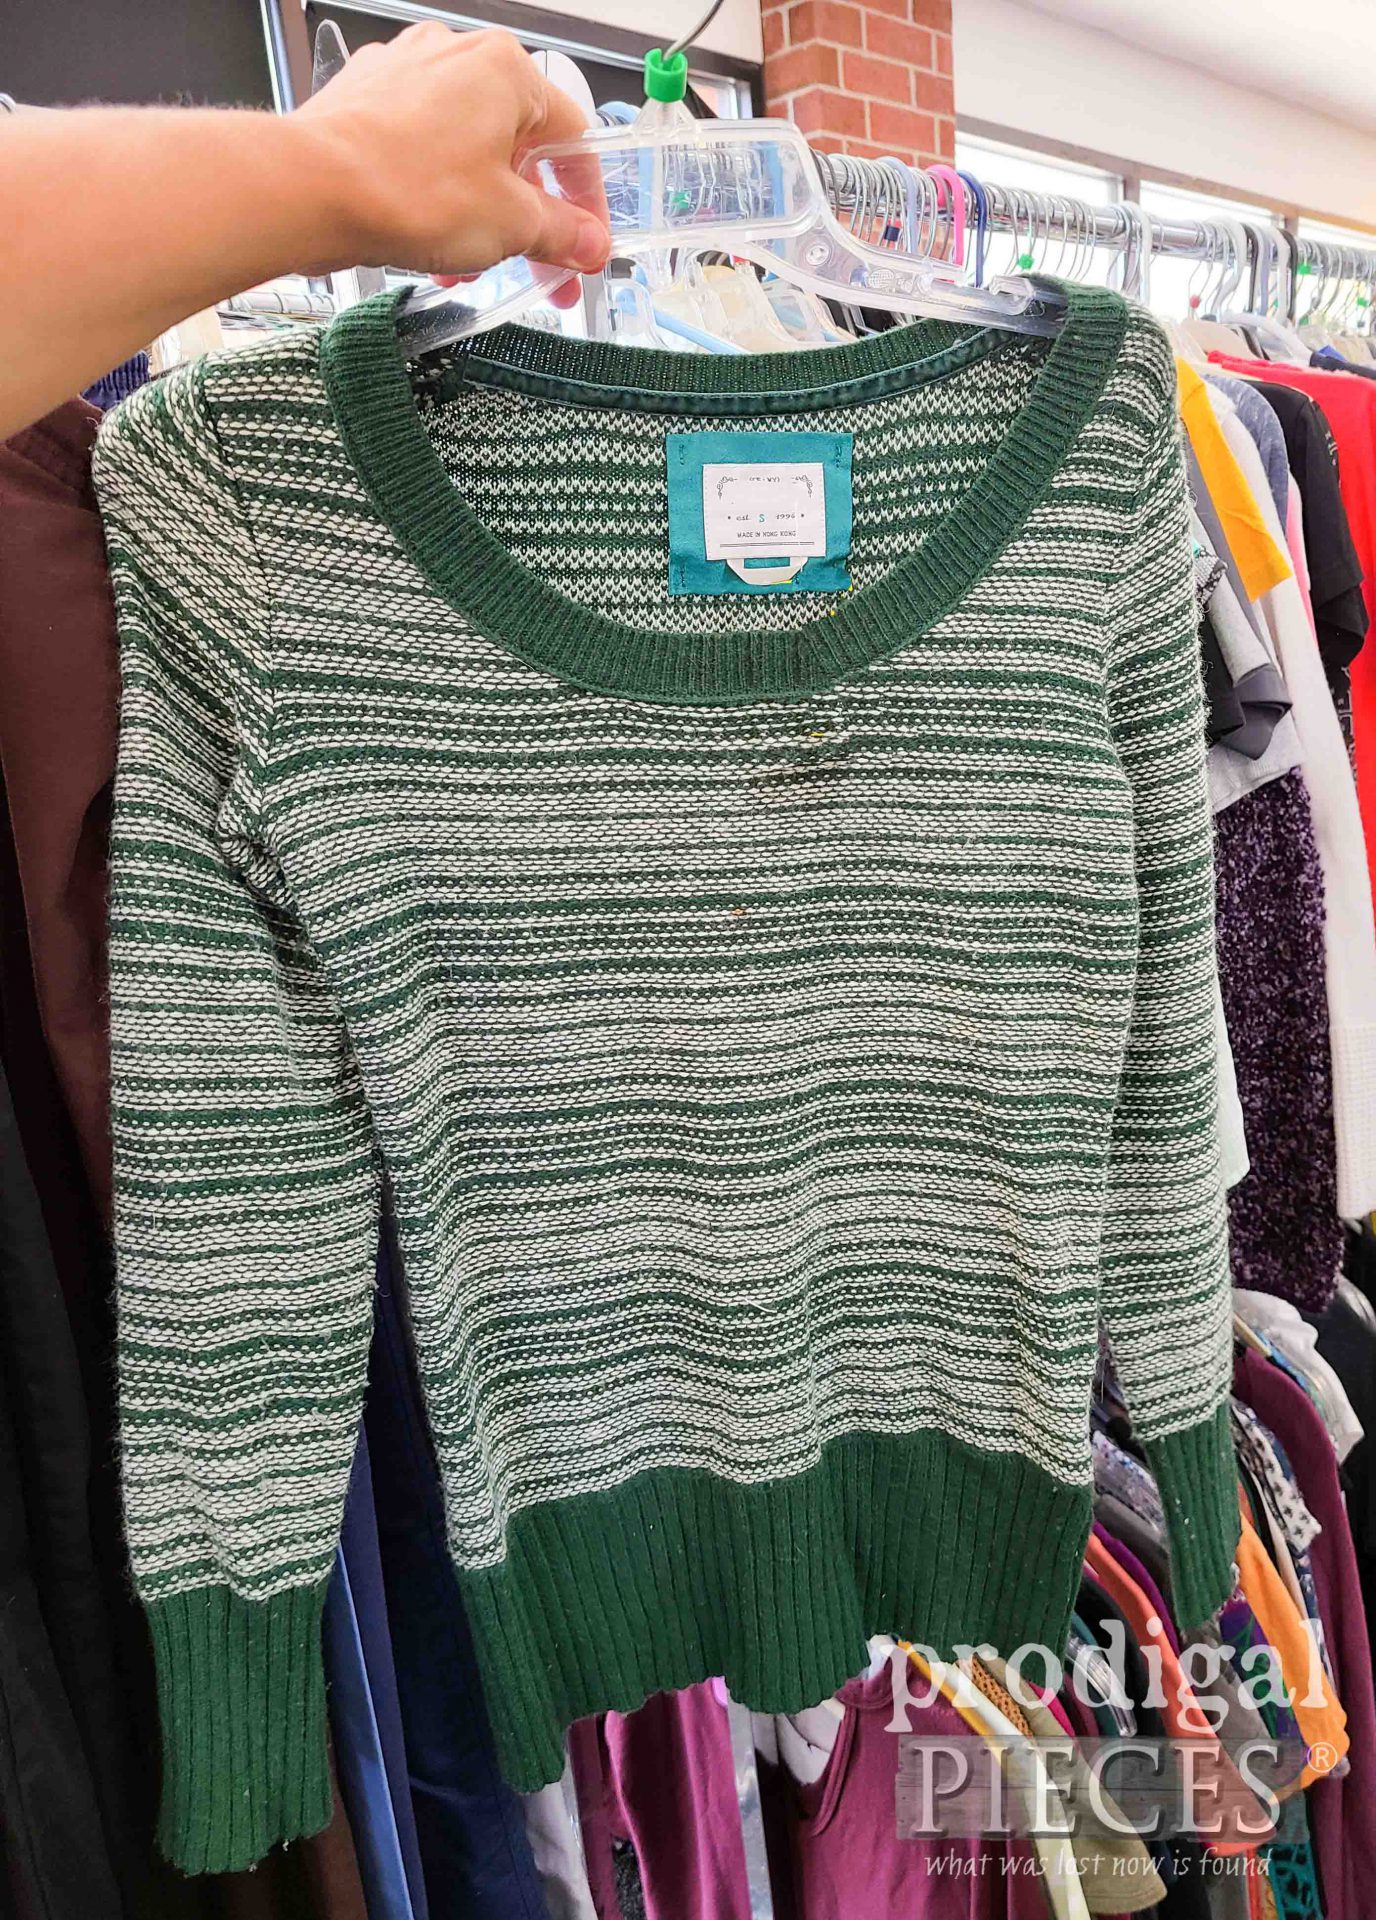
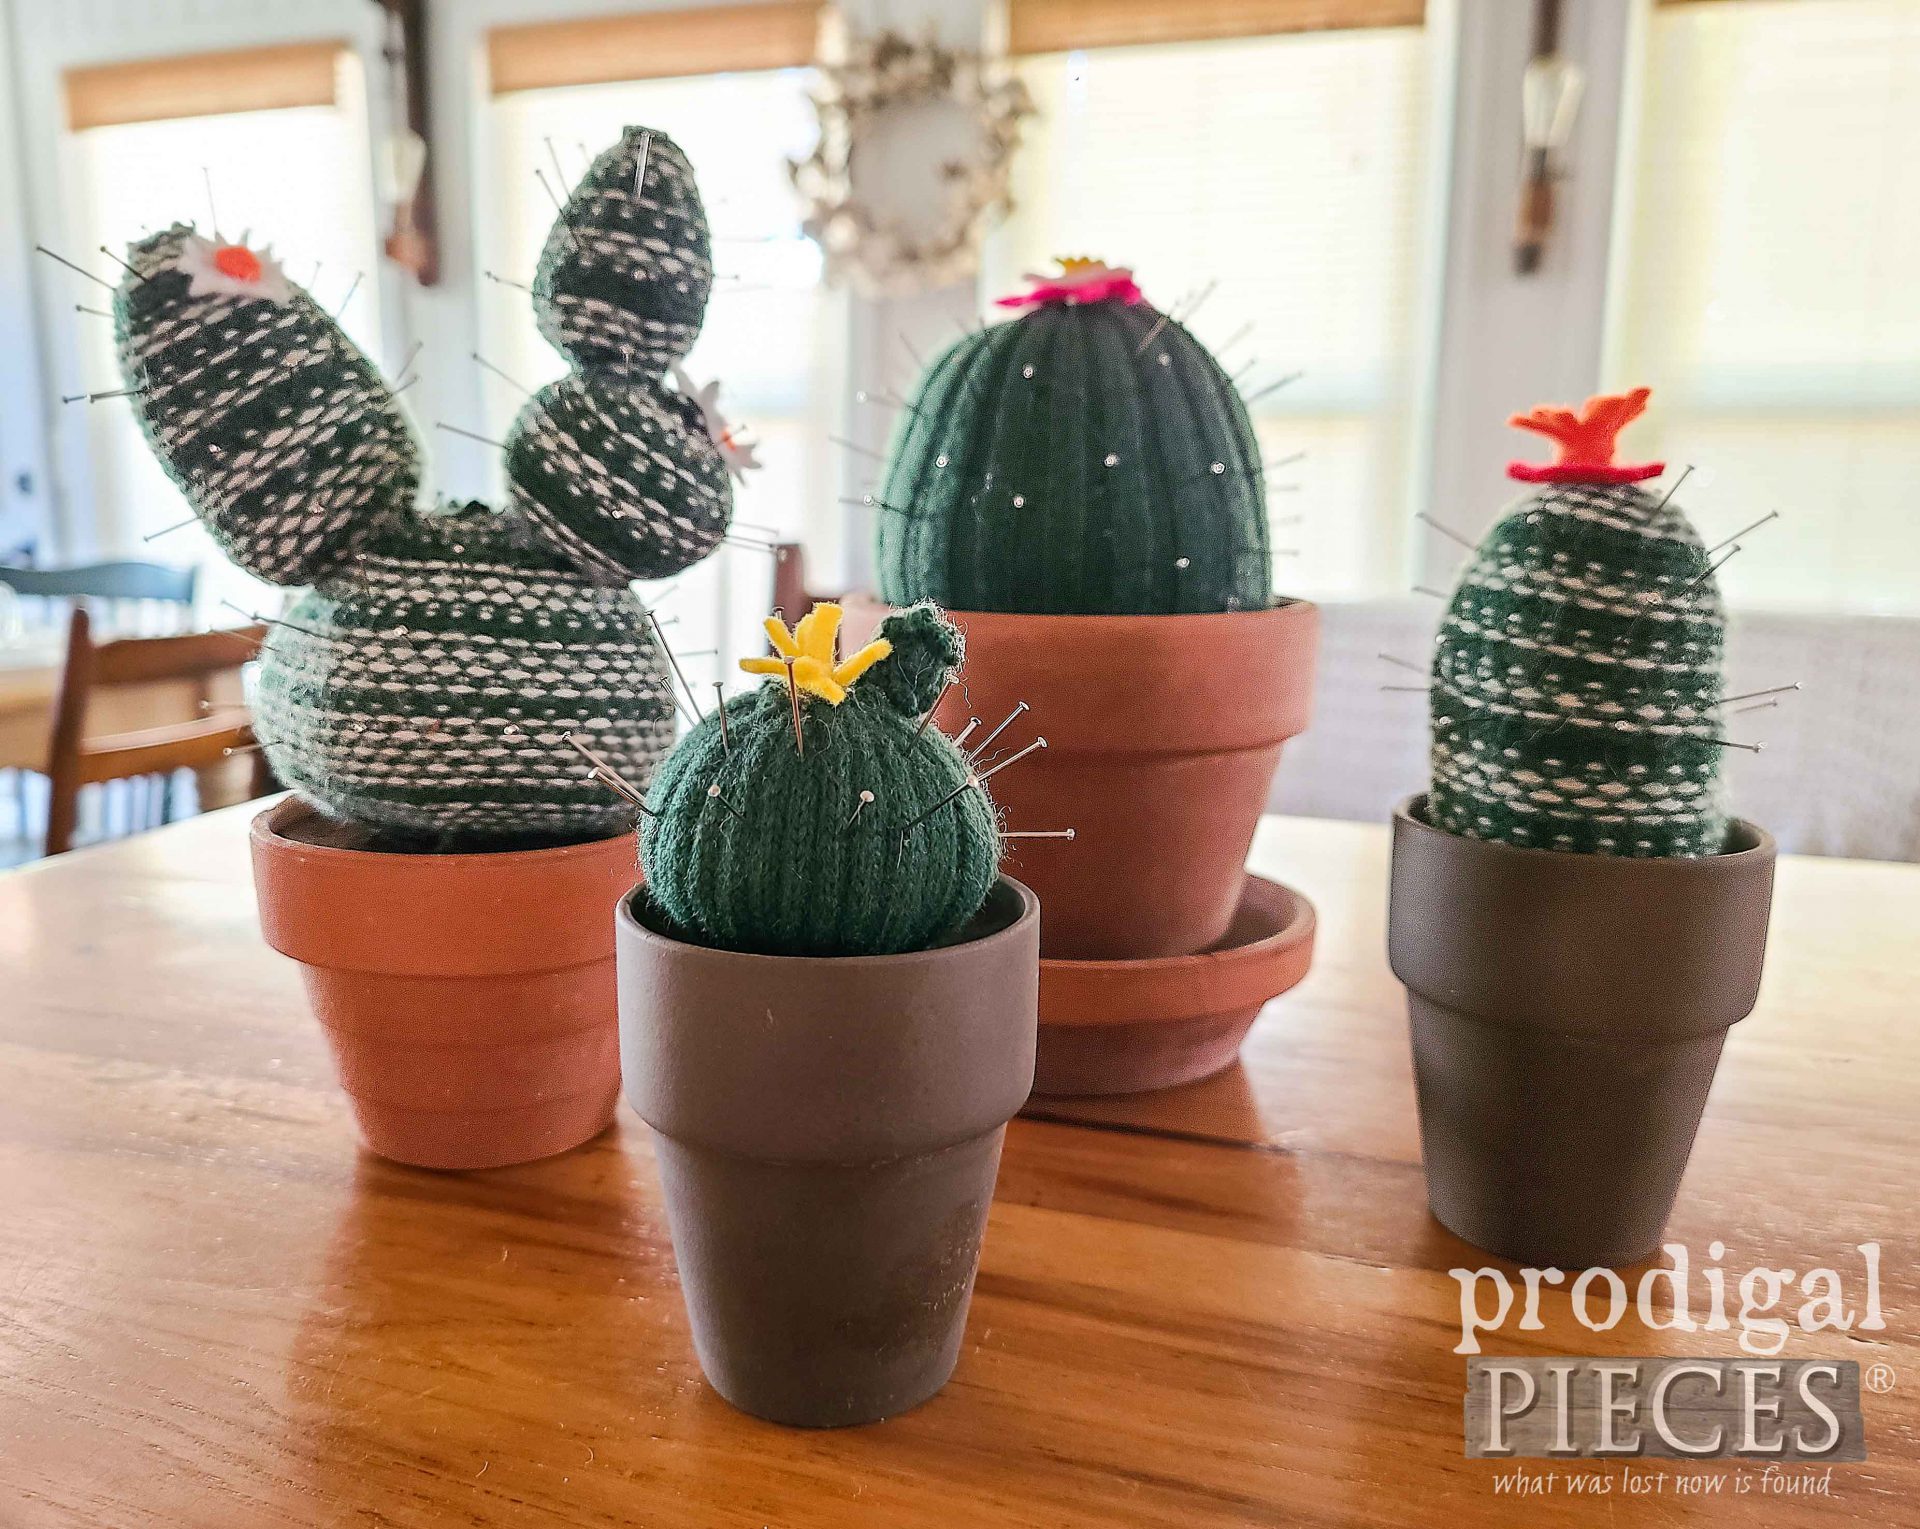
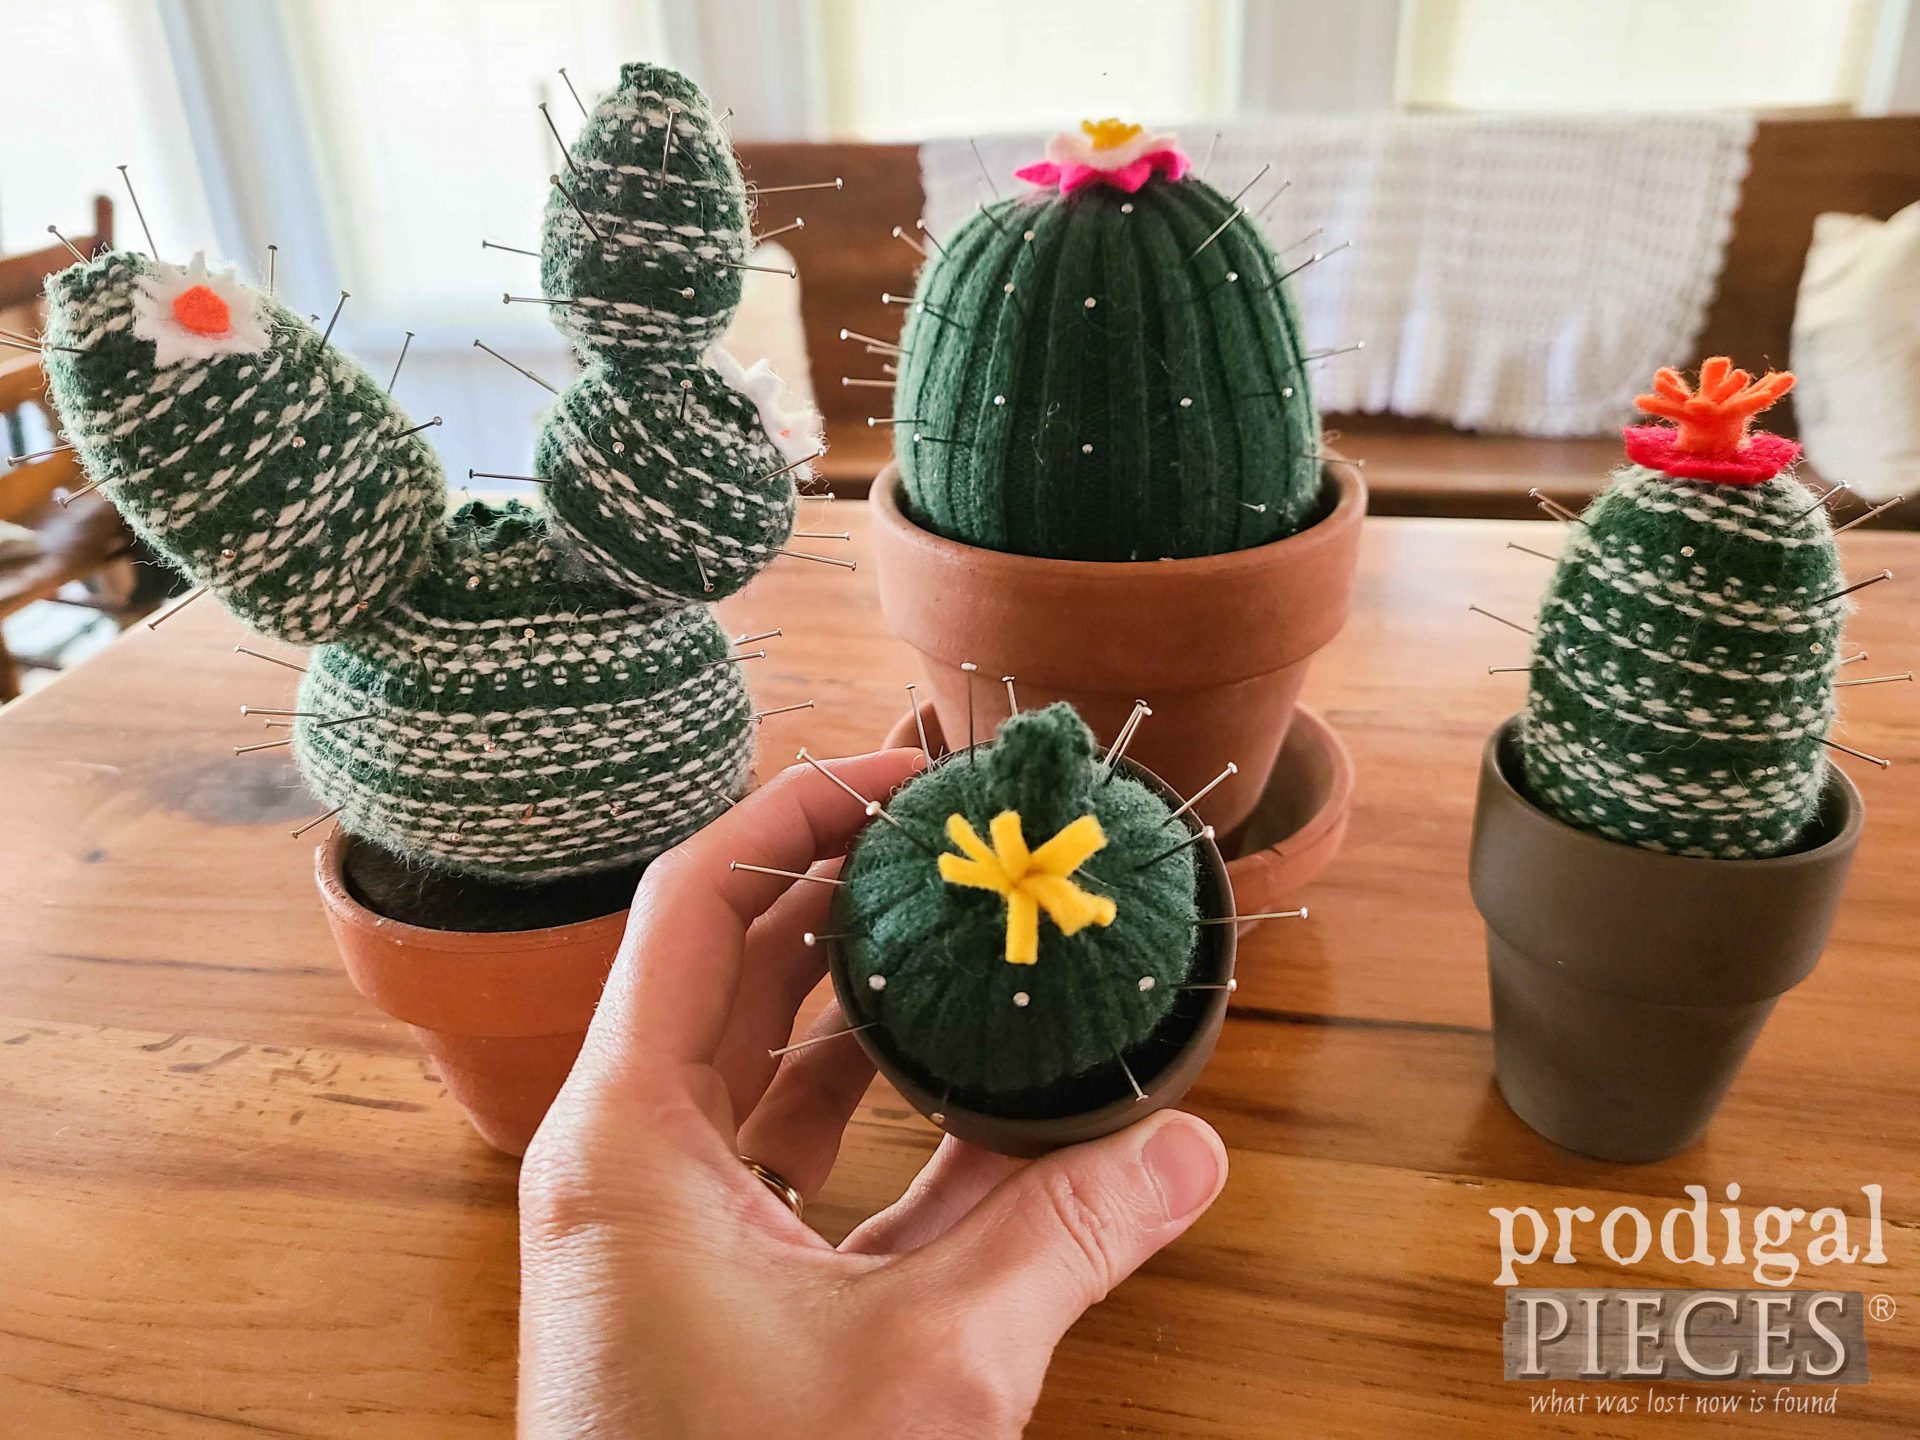
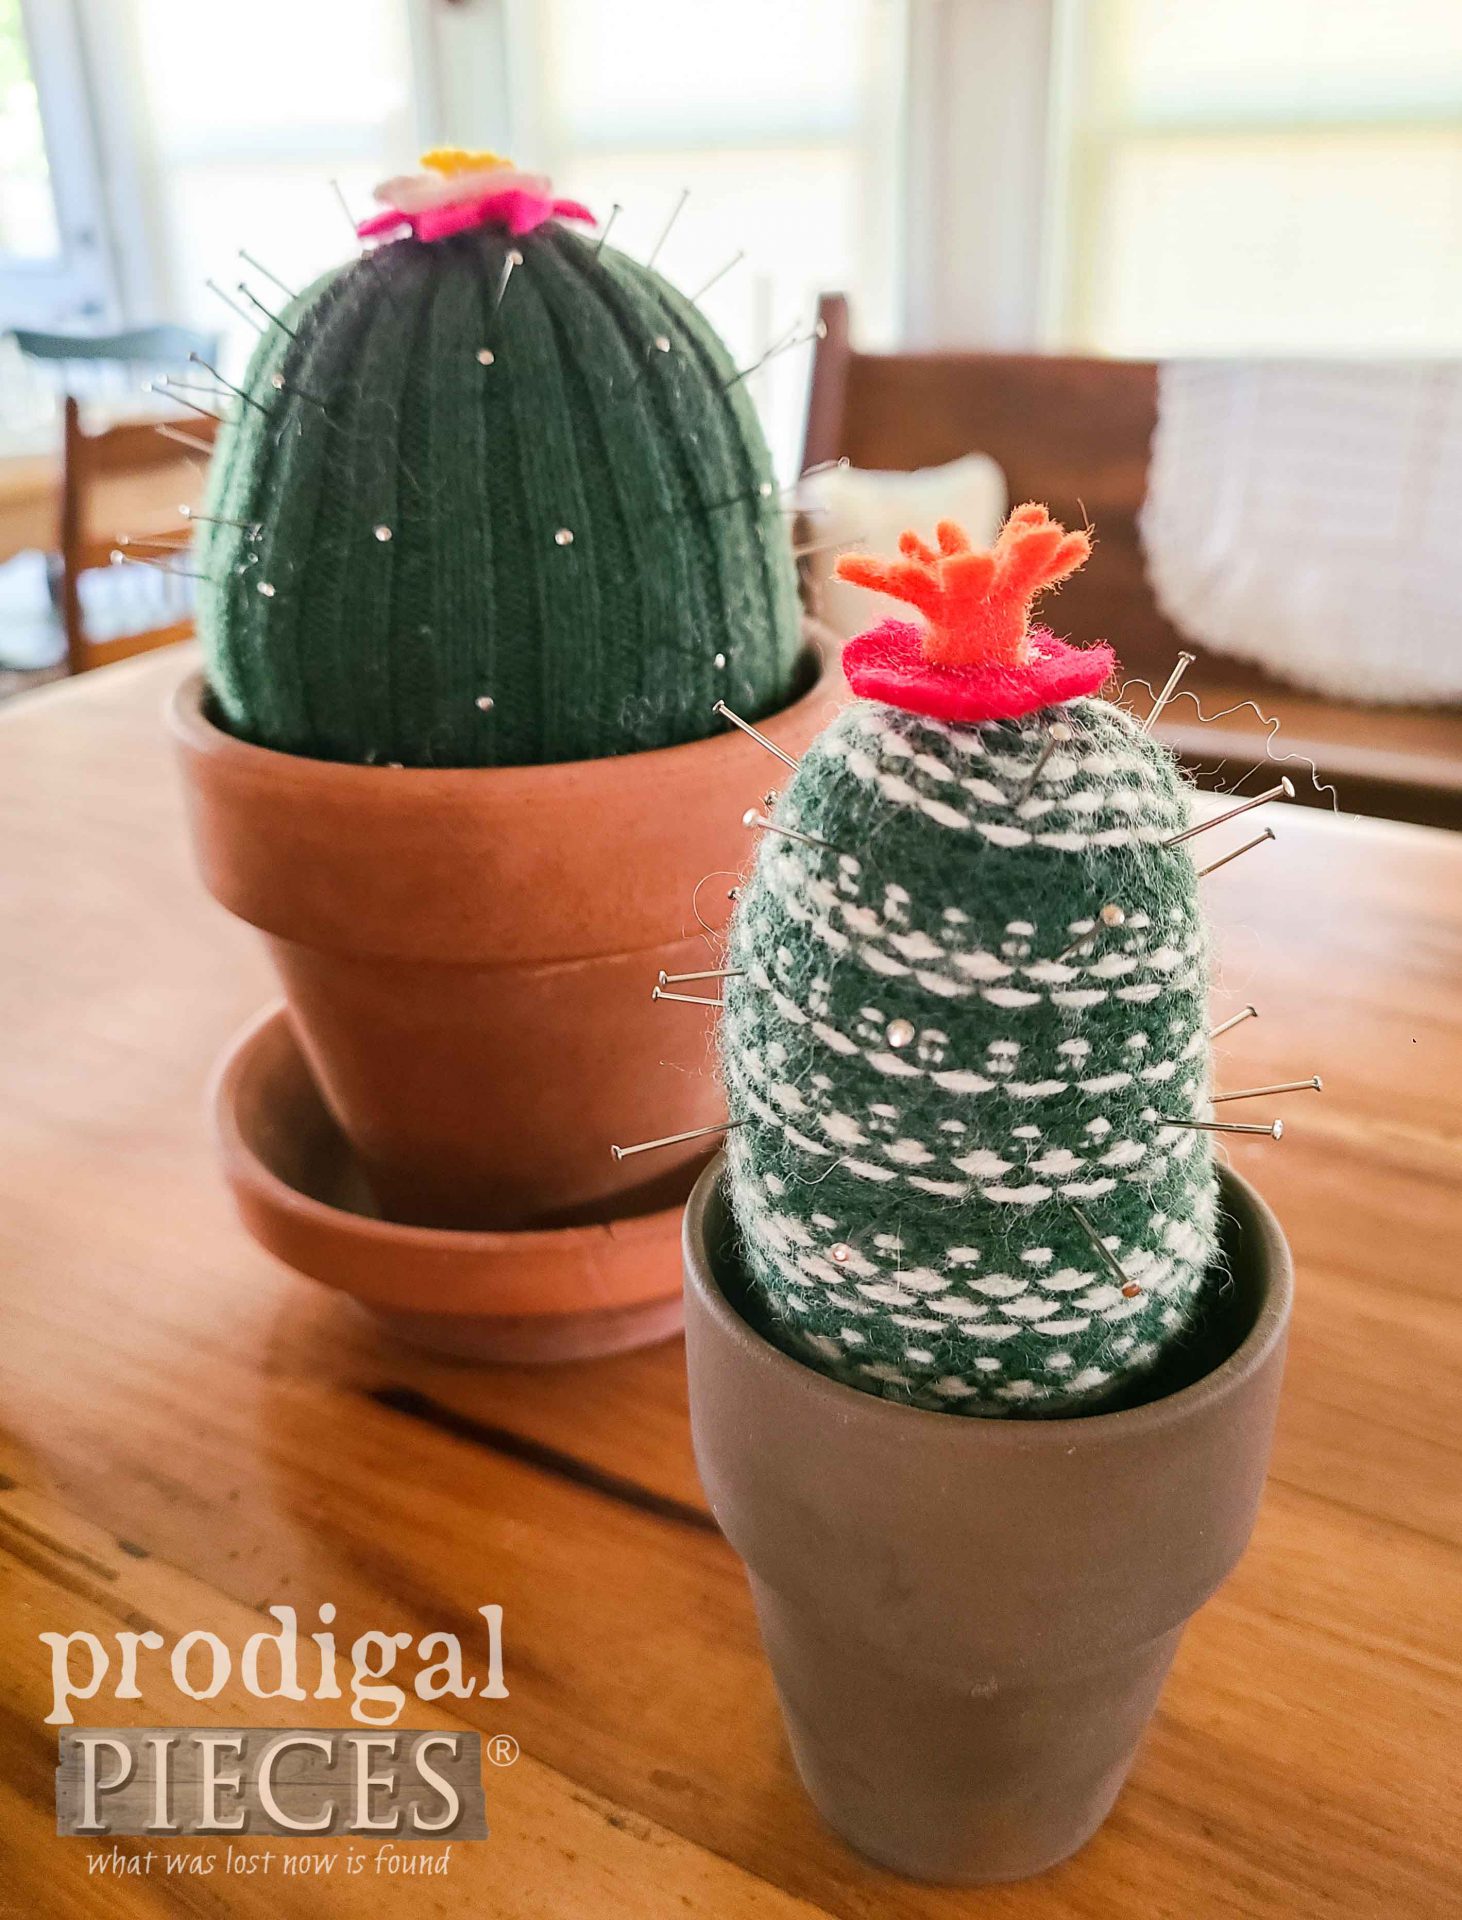
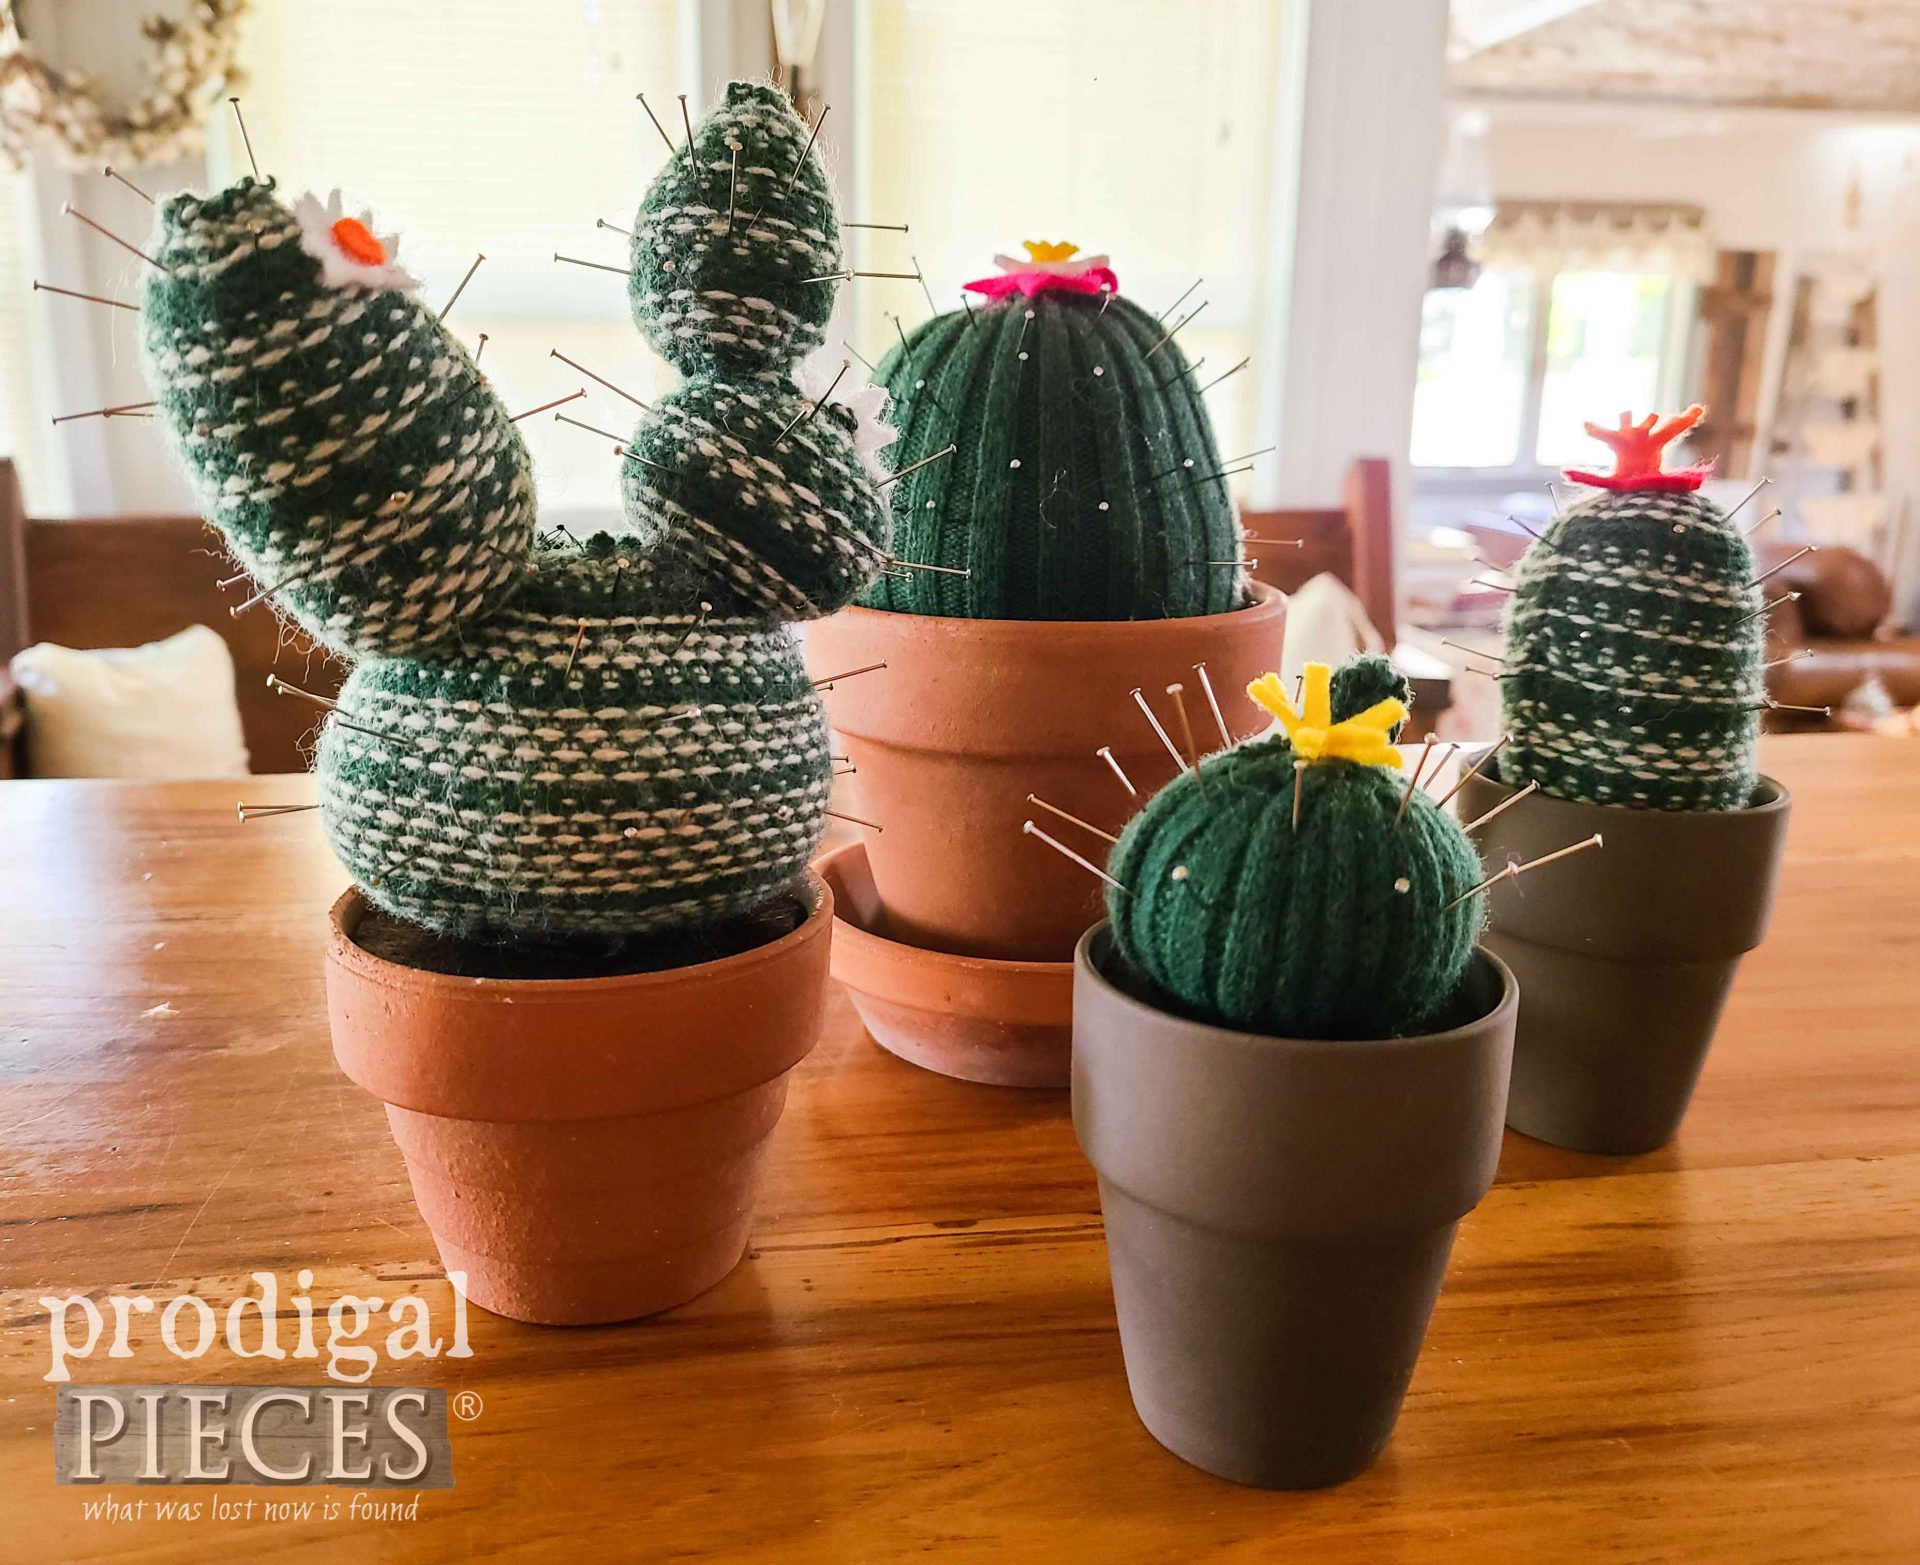
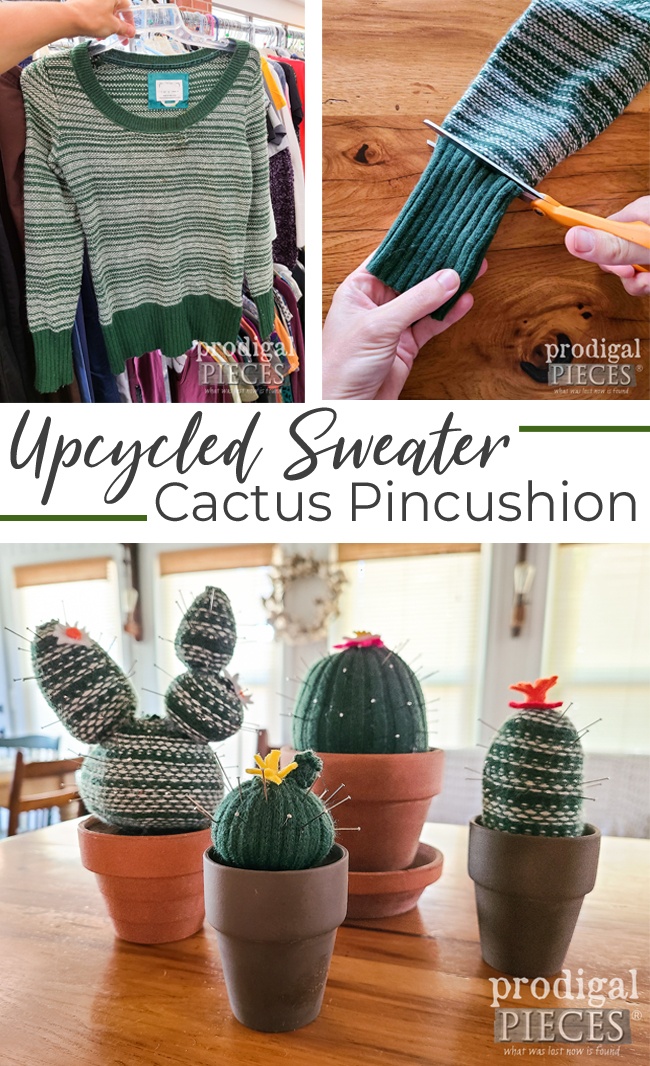
While I didn’t have a suitable candidate in my stash of damaged sweaters, I did, however find this one at a local thrift store I like to haunt. I particularly paid attention to the cuffs for the ribbing and the design on the knit. Here’s what one of my refashioned spikey cuties looks like…
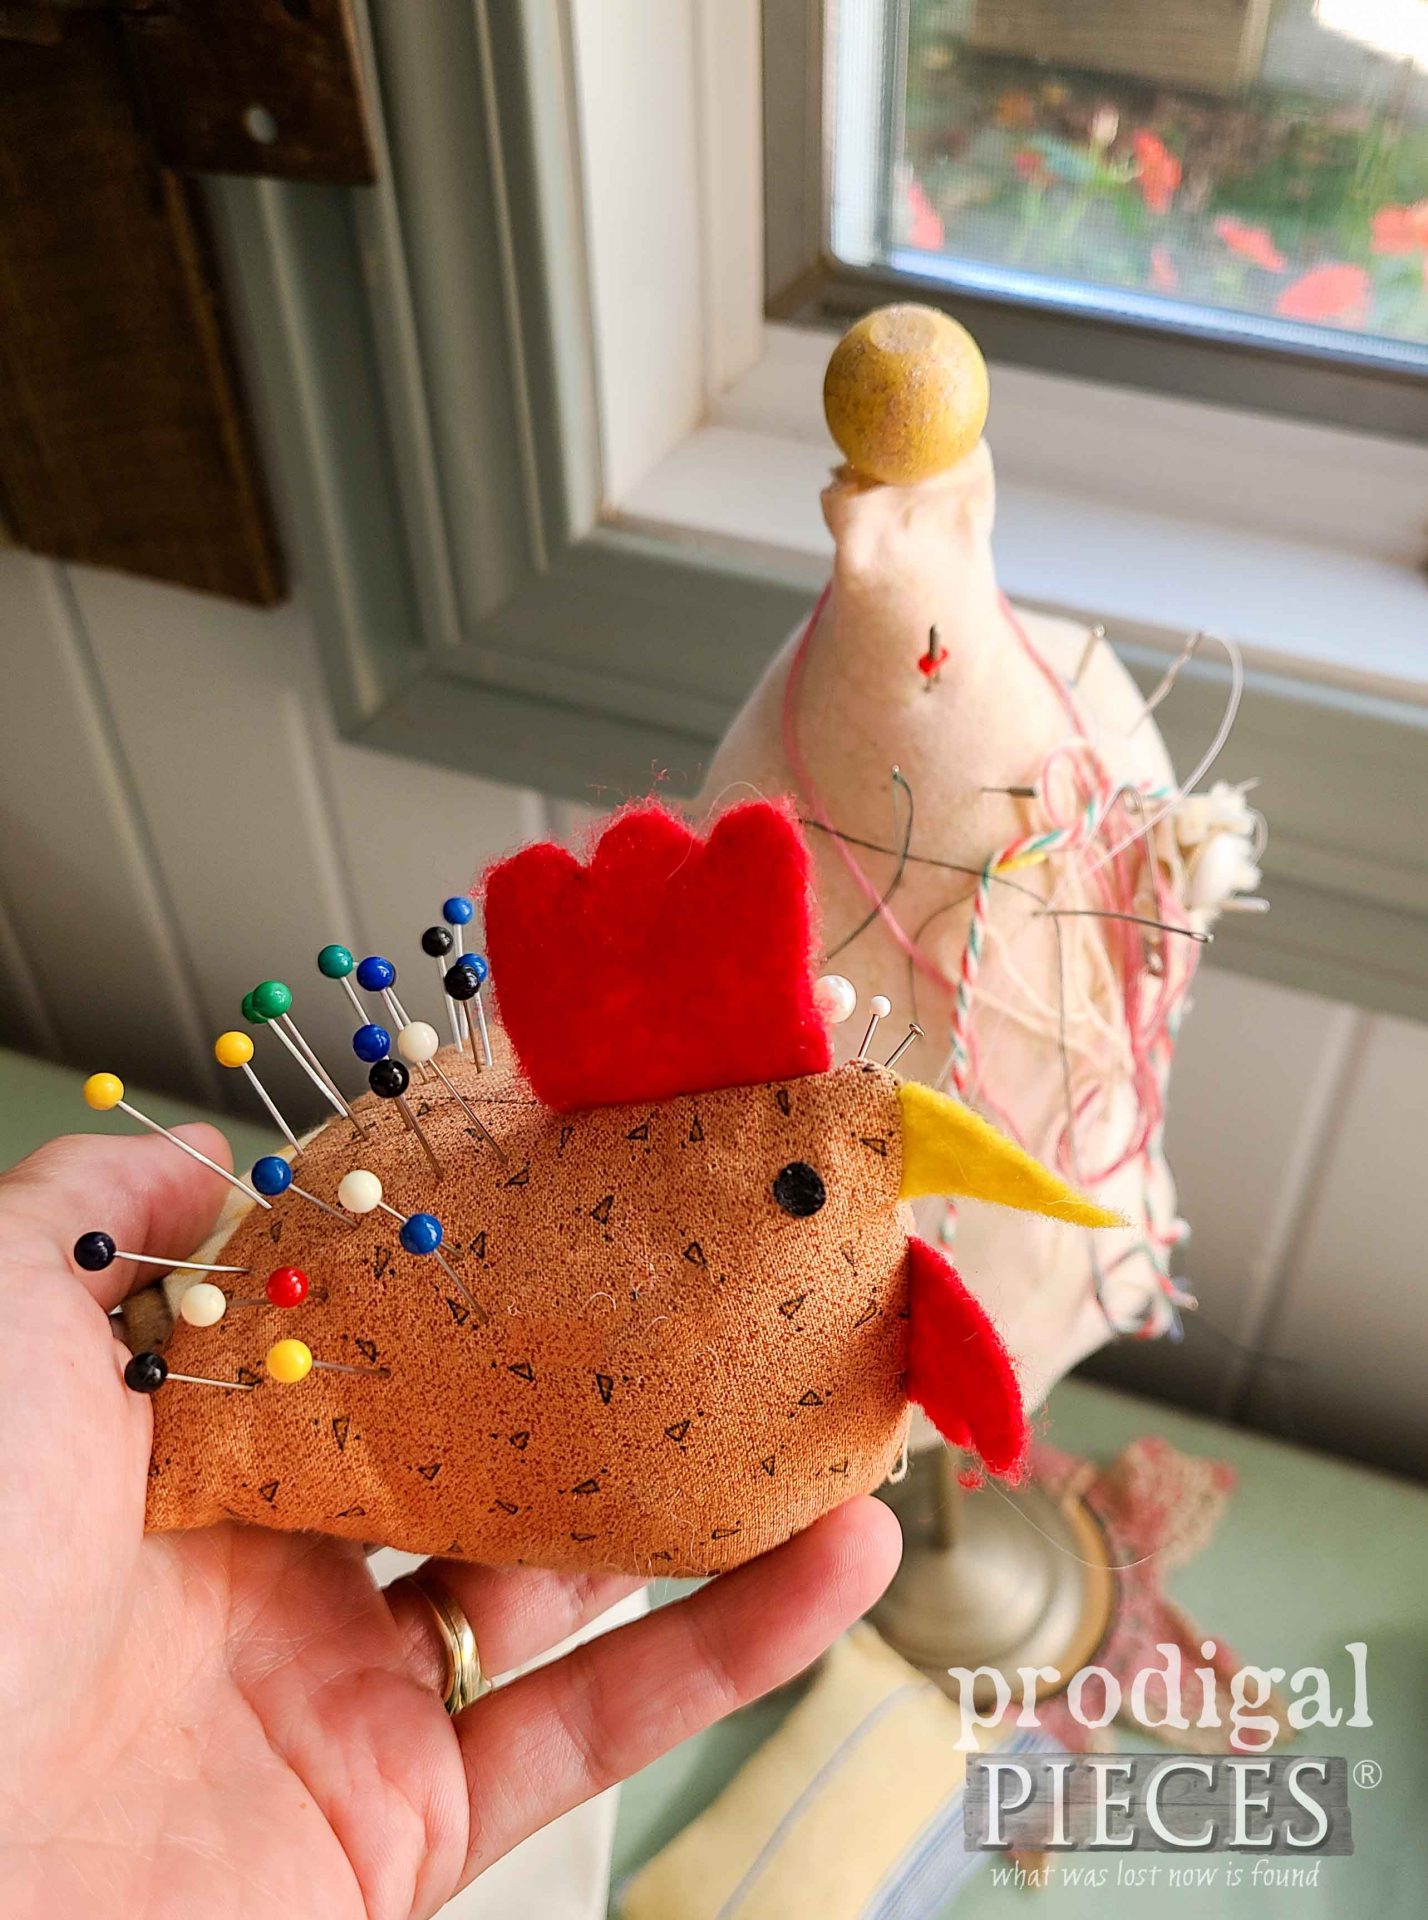
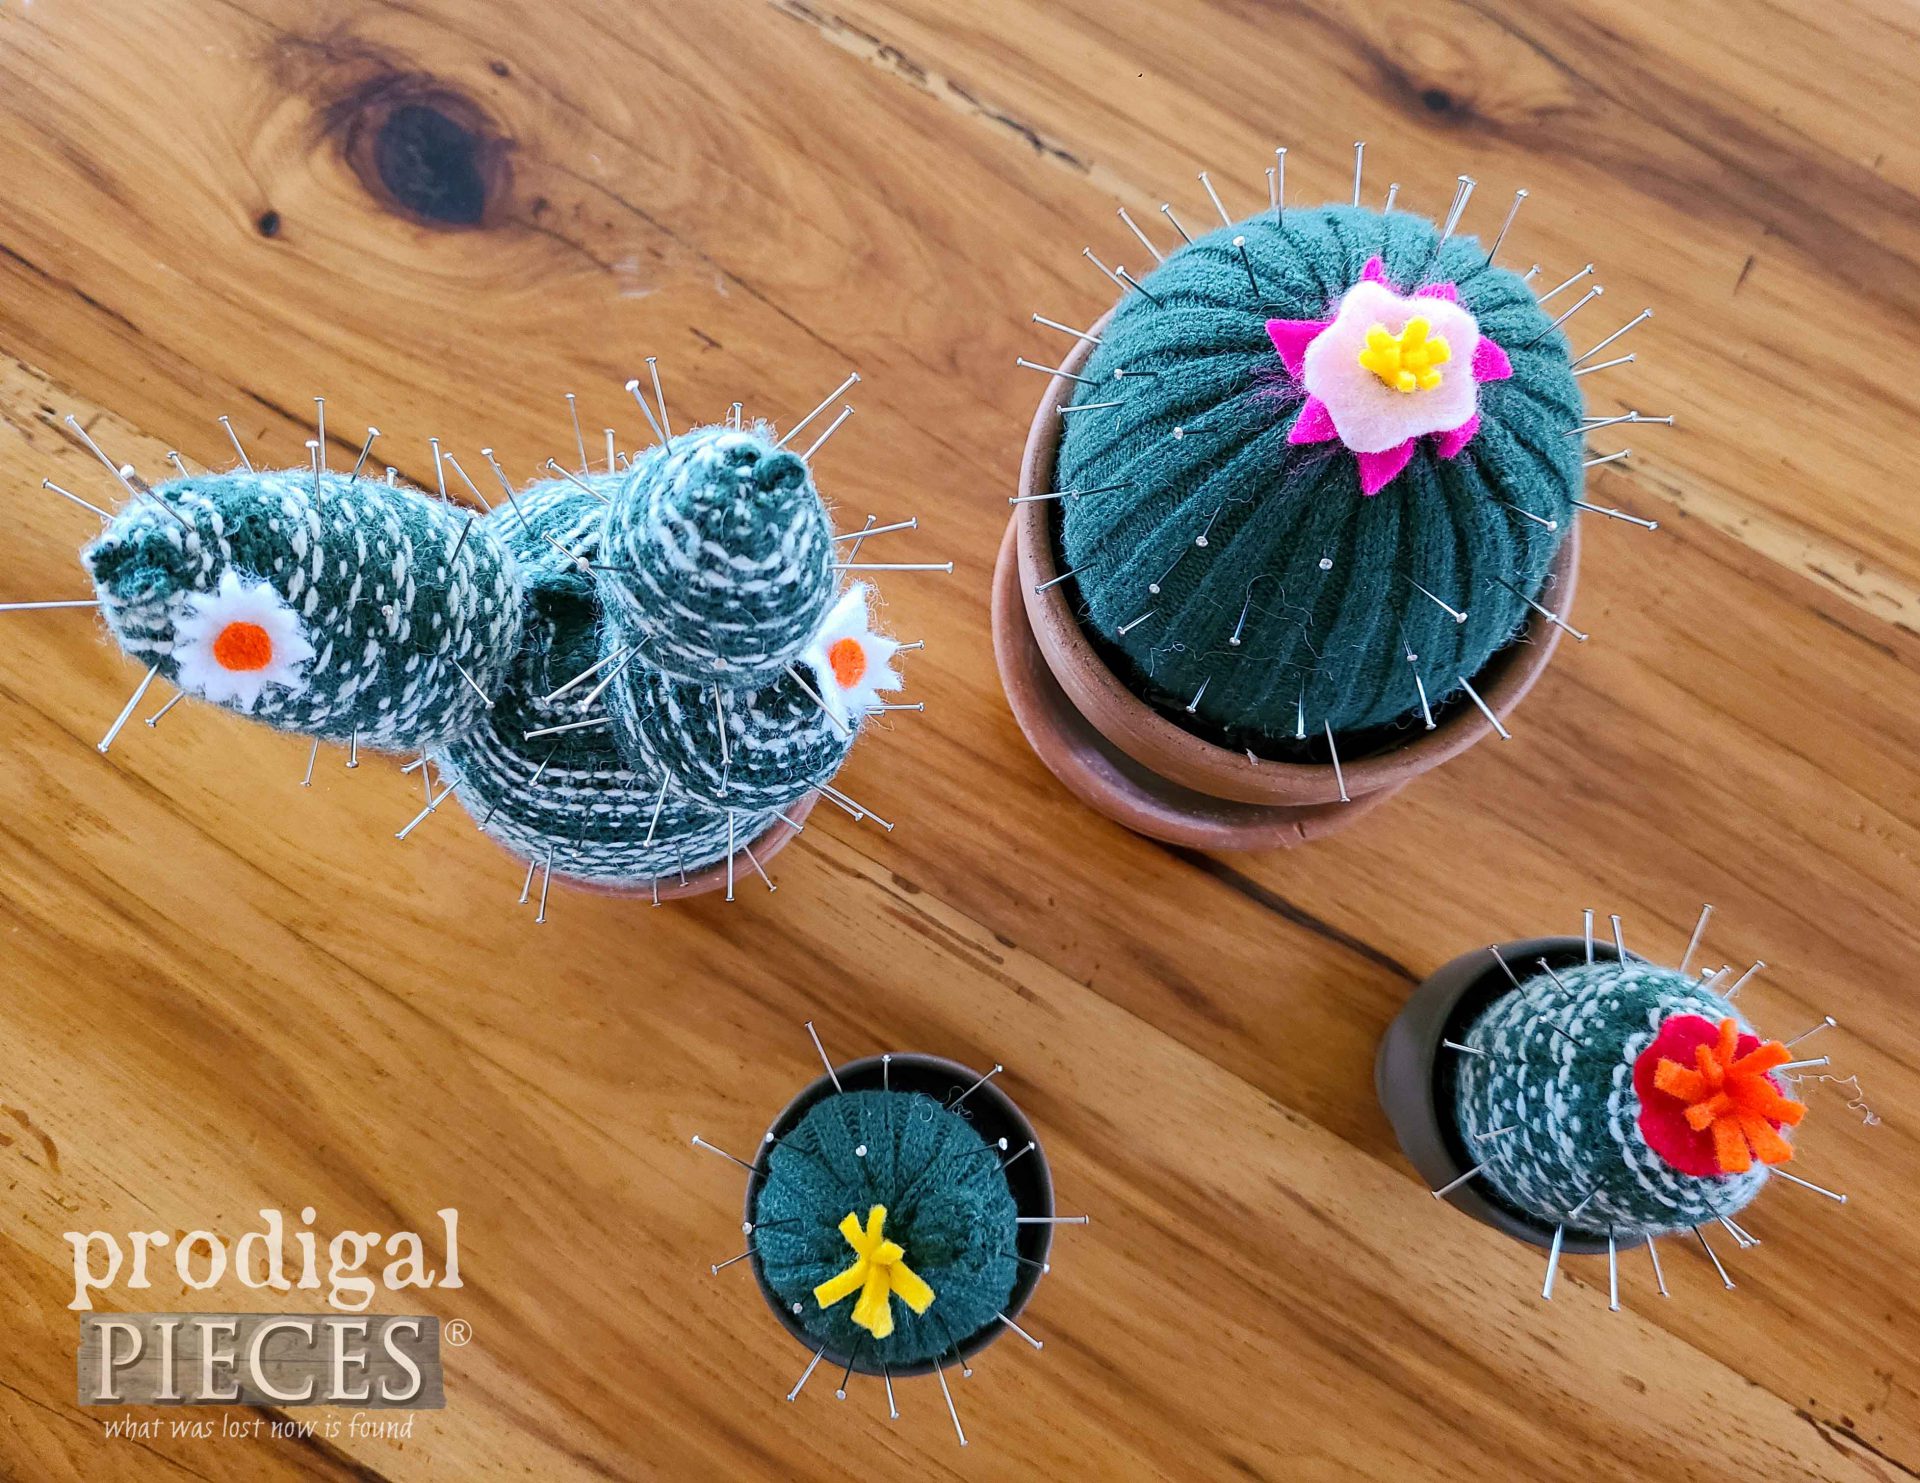
Aren’t they adorable? Not only are they perfect for Christmas gifts, but also as teacher gifts, housewarming gifts, etc. I’m a pincushion addict of sorts as I have my handmade chicken pincushion and a mini dress-form pincushion I made with a candle stick. They look like they’ve seen better days, but that’s because I love on them all the time. tee hee.
DIY TIME
Let’s talk about what you need to create your own upcycled sweater cactus pincushion. First, here’s a list of supplies to gather:
Tools & Supplies:
- knit sweater
- sewing scissors
- coordinating thread & needle
- steel wool (either 000 or 0000)
- batting
- hot glue/hot glue gun
- small pot (terra cotta makes it more realistic)
- dry beans or small rocks, etc.
- scrap hard-board
- brown felt for soil, colored felt for flowers (if desired)
- craft glue
My tutorial is a basic framework for creating one of these of your own. However, feel free to mix it up and have fun with it!
TERMS OF USE: If you want to create a cactus pincushion of your own, you agree to the following: it cannot be shared or distributed for monetary gain in any way, it may not be modified in any way, and you may not claim the work as your own.
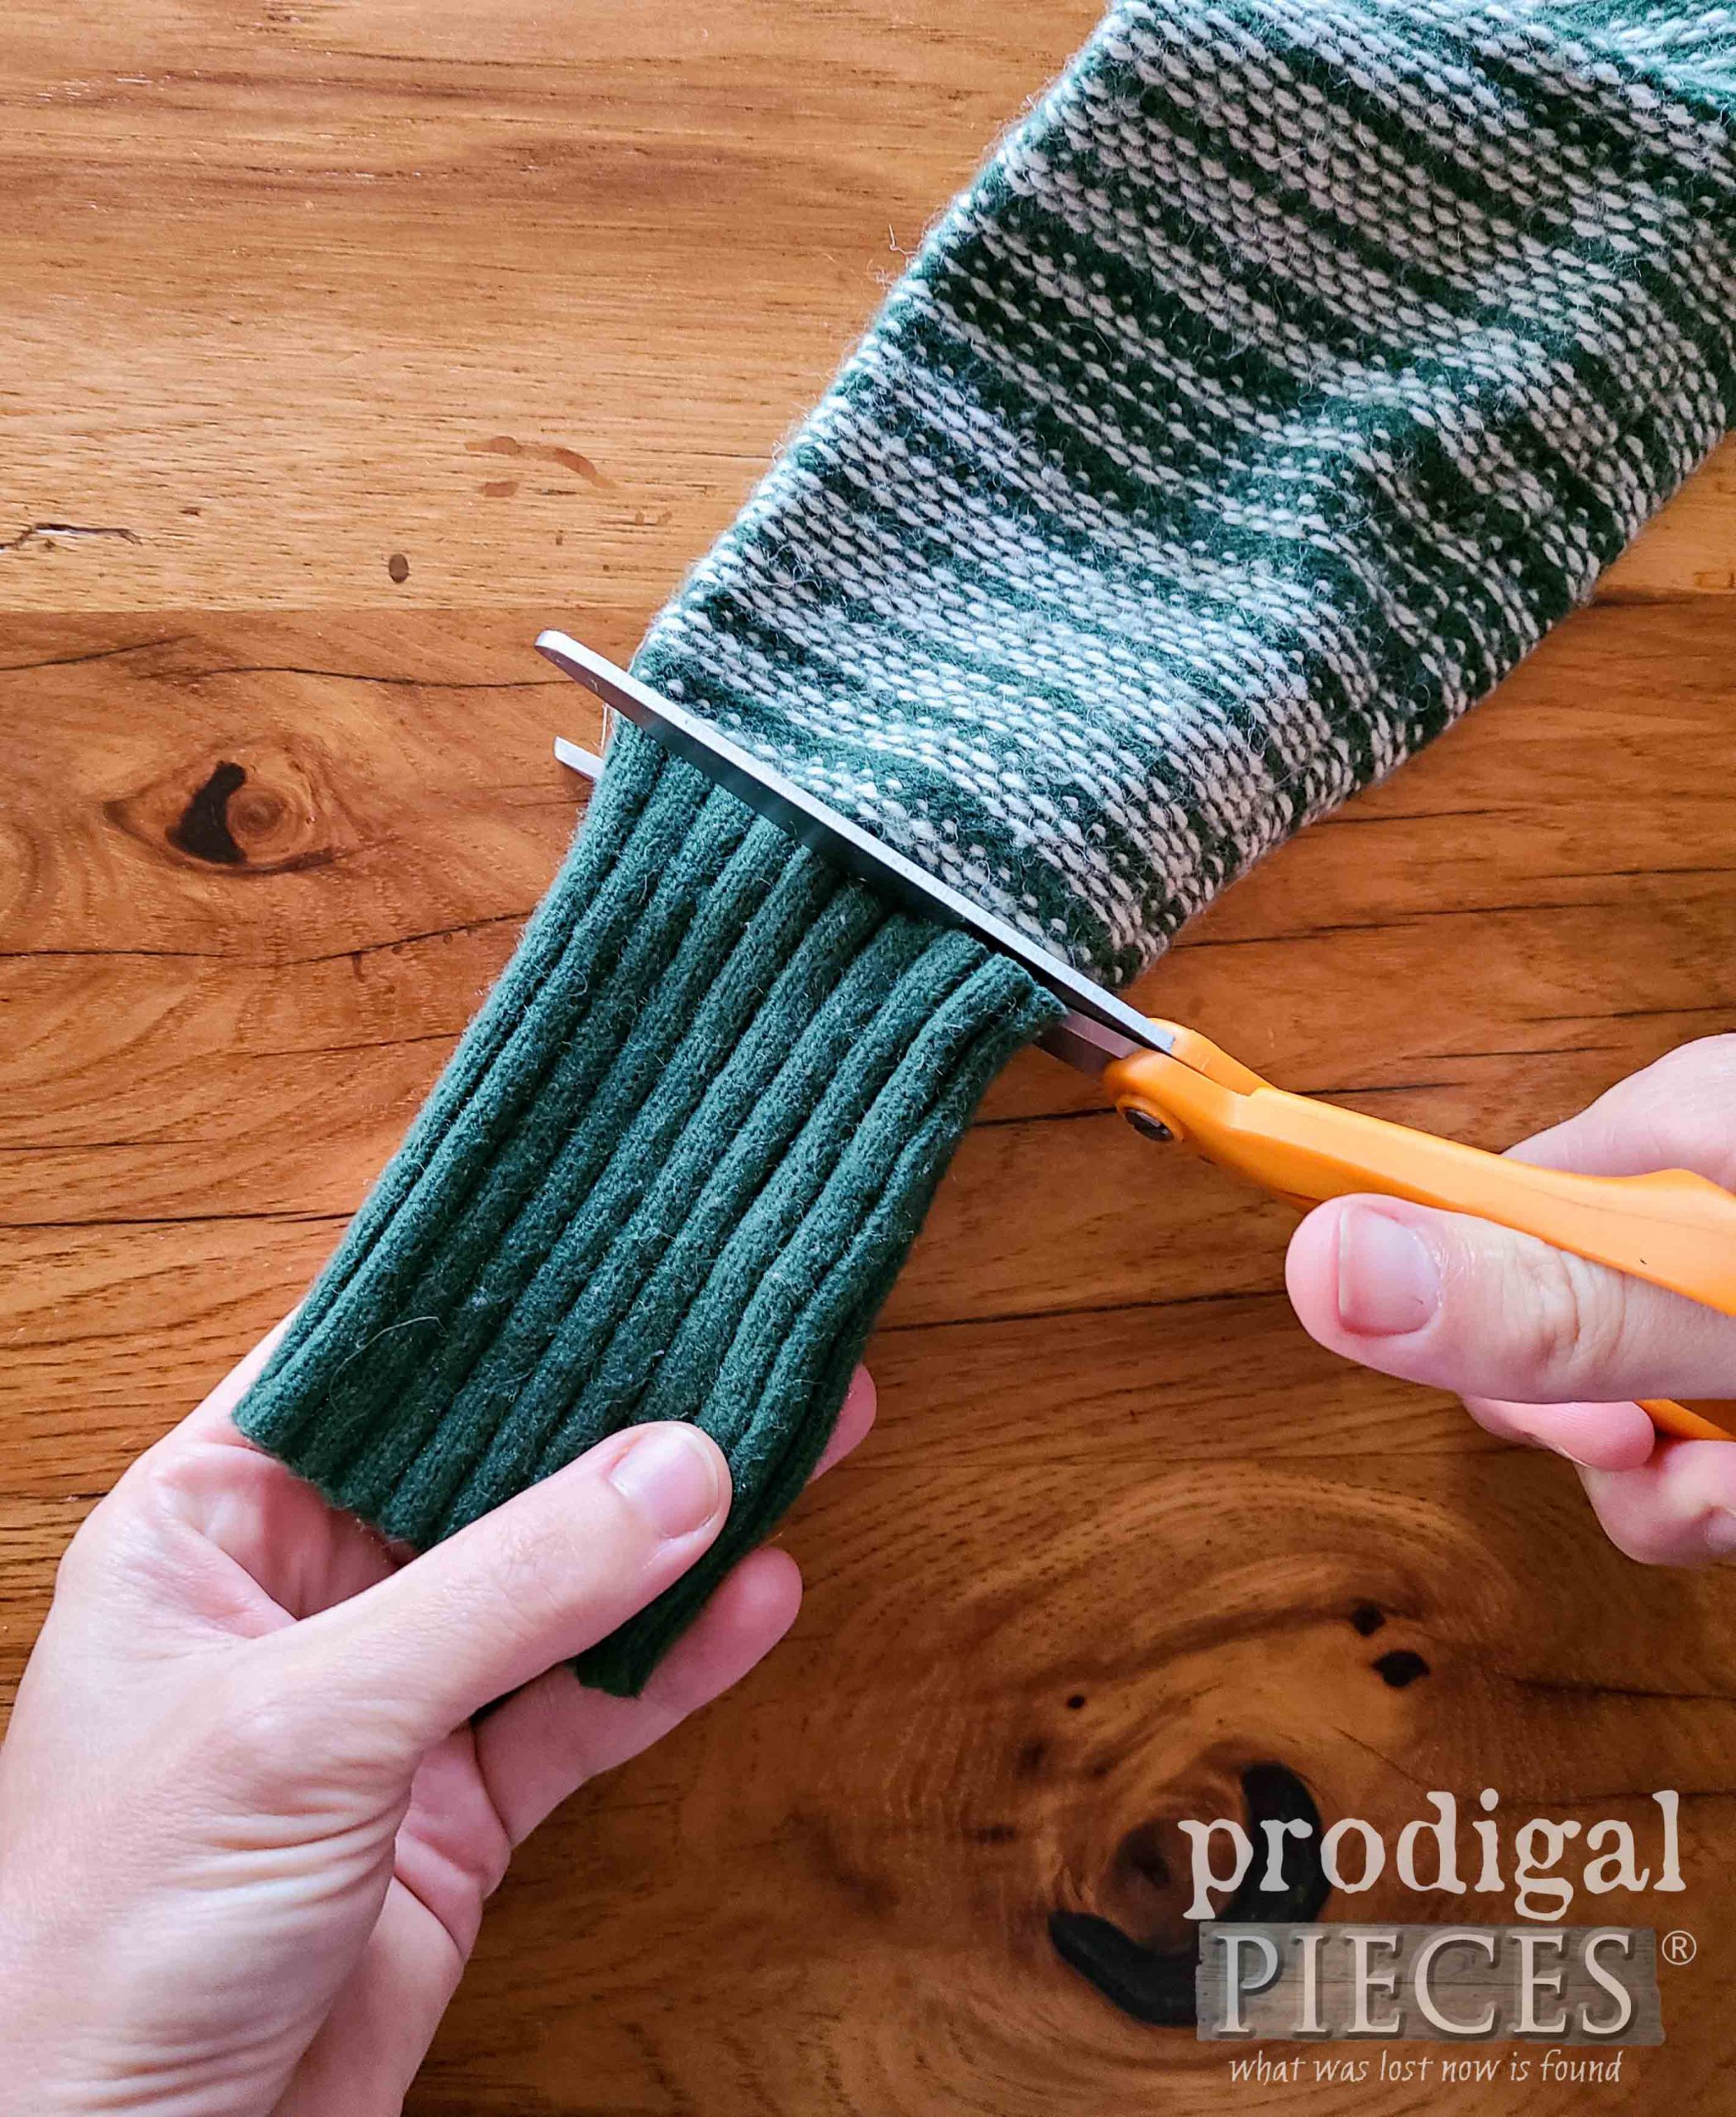
STEP 1
To begin, we use our scissors to cut a portion of the sweater. I’m starting with the ribbed cuffs because it’s already the diameter of what I’m using, which is a 4″ terra cotta pot. All I need to do is choose the height.
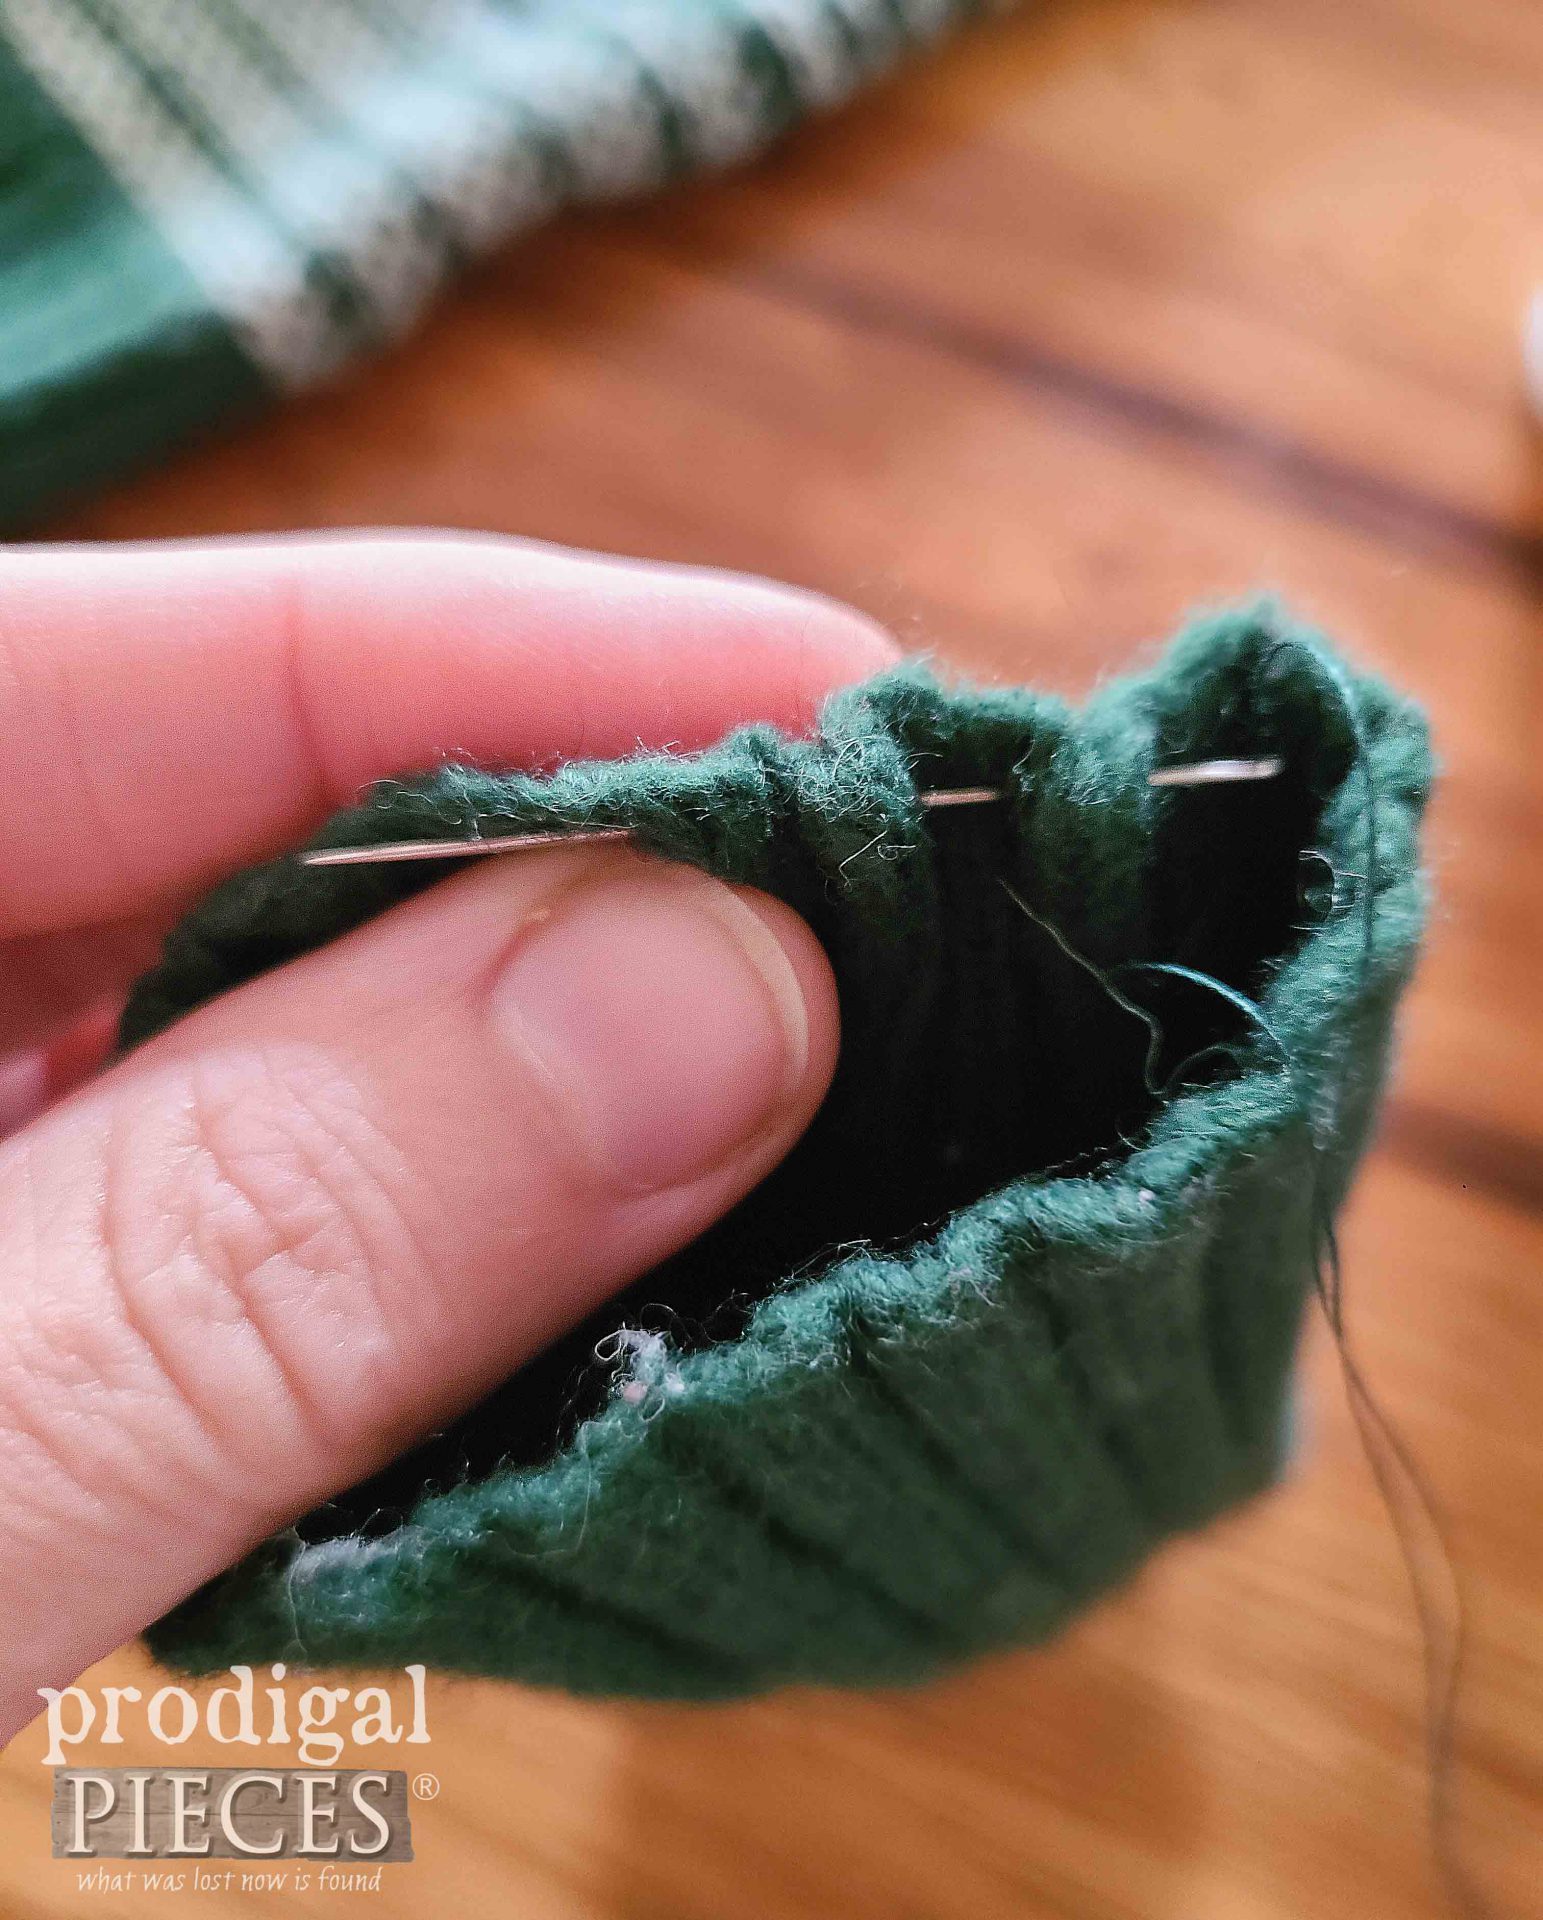
STEP 2
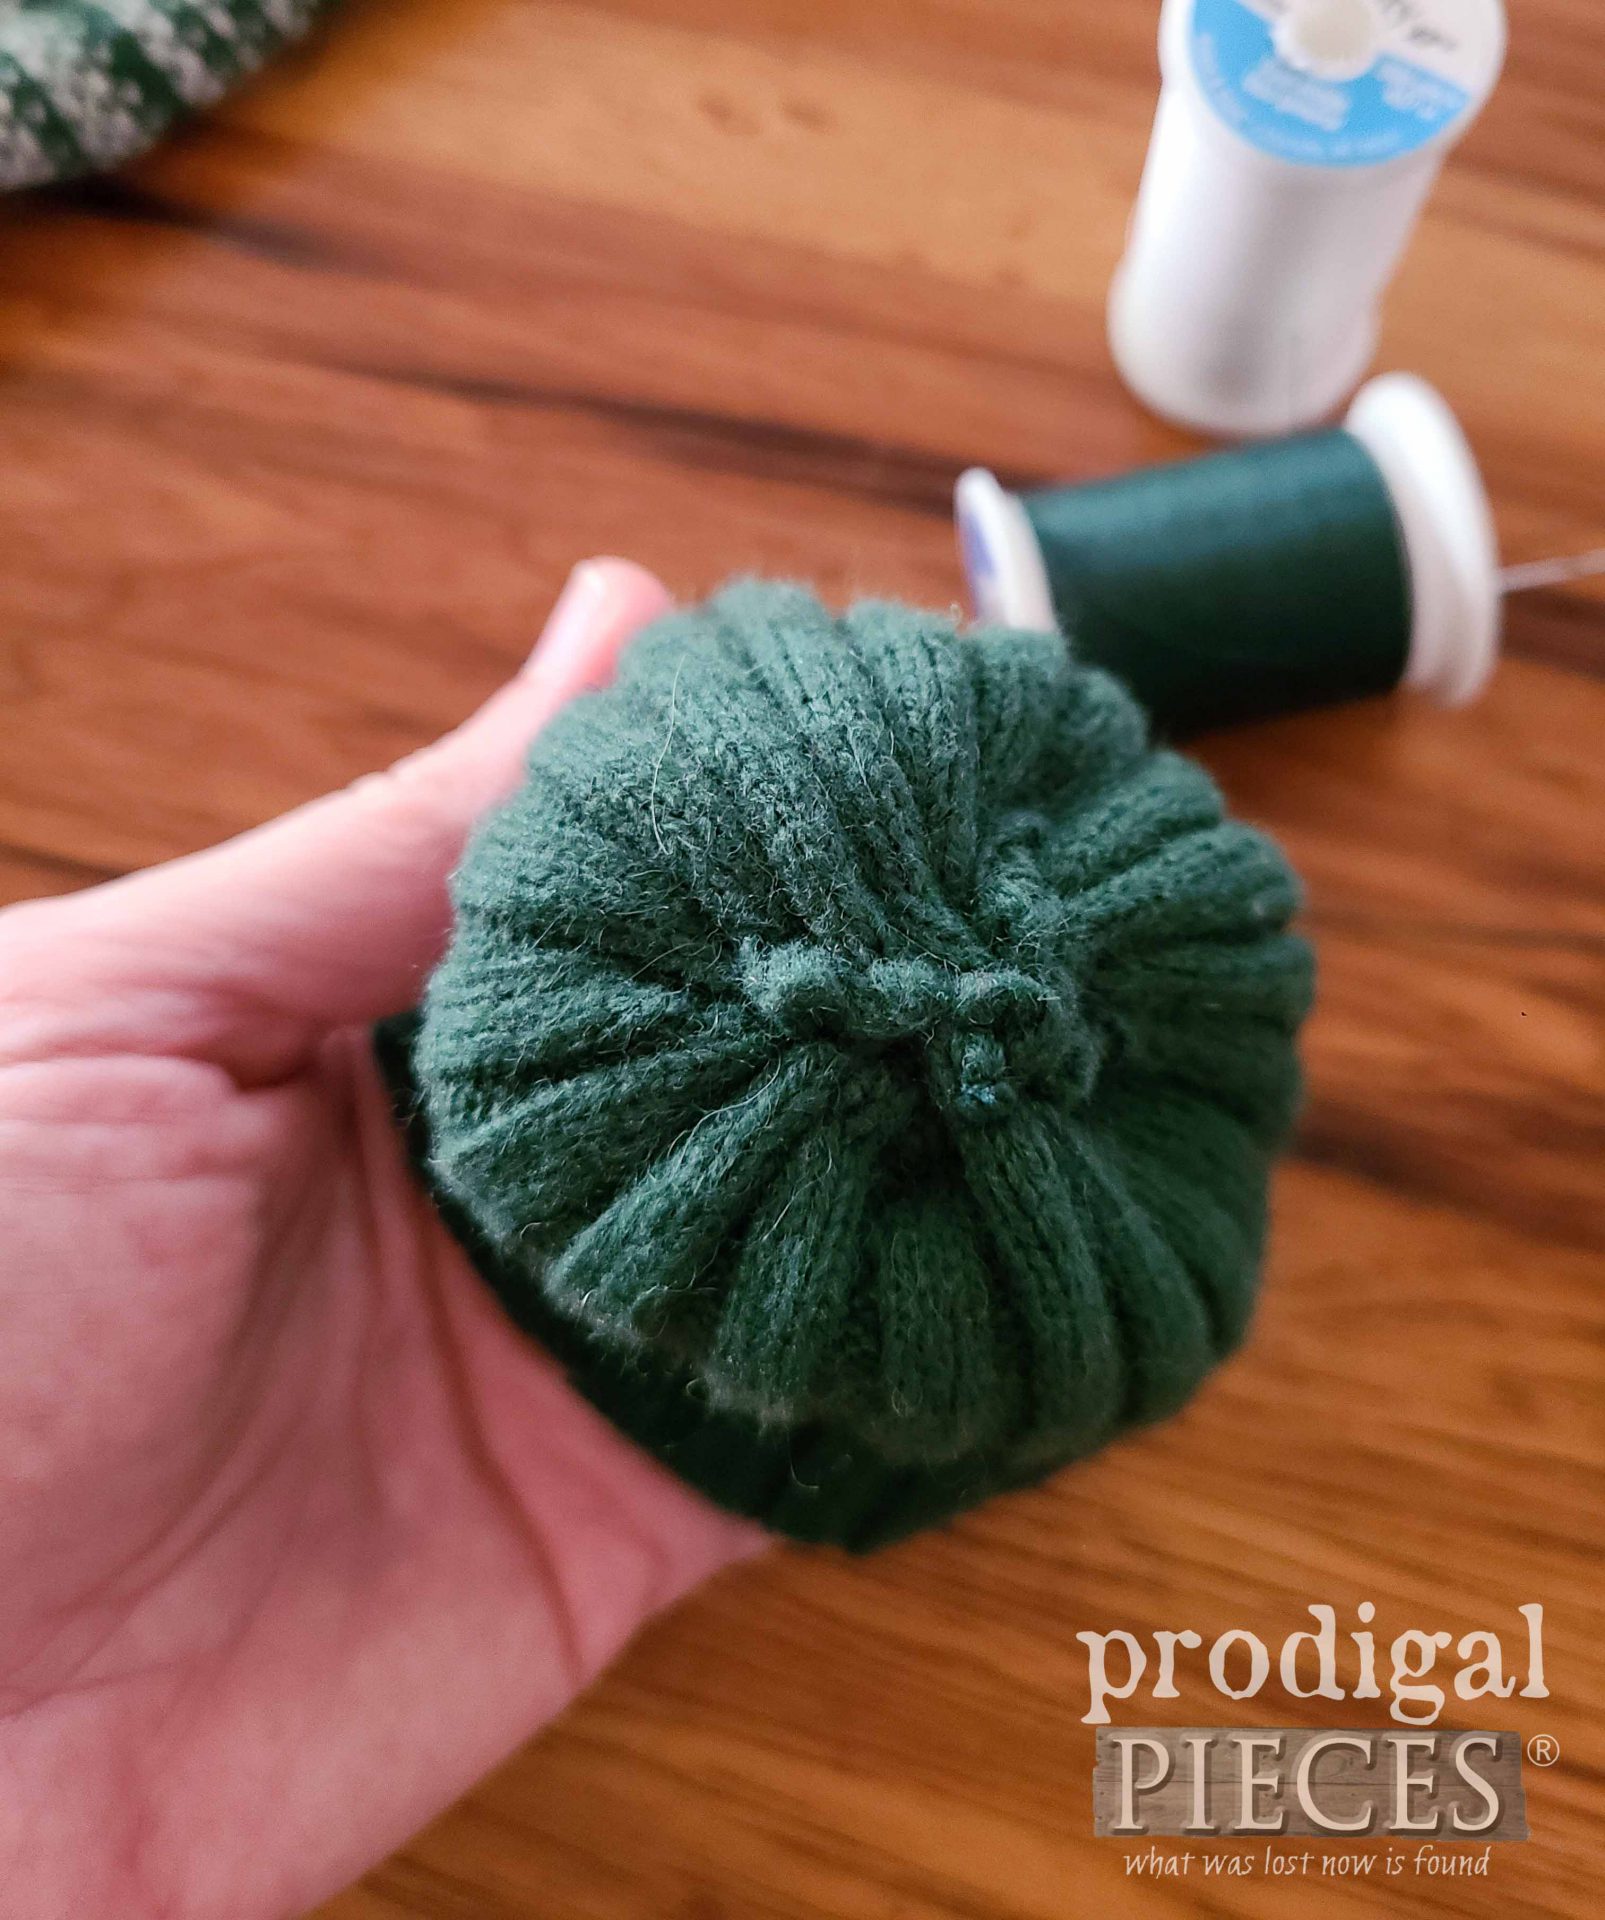
Then, we use our need and thread to add a running stitch to the top edge to cinch it up for stuffing. Pull the thread taught and anchor the stitch to close.
STEP 3
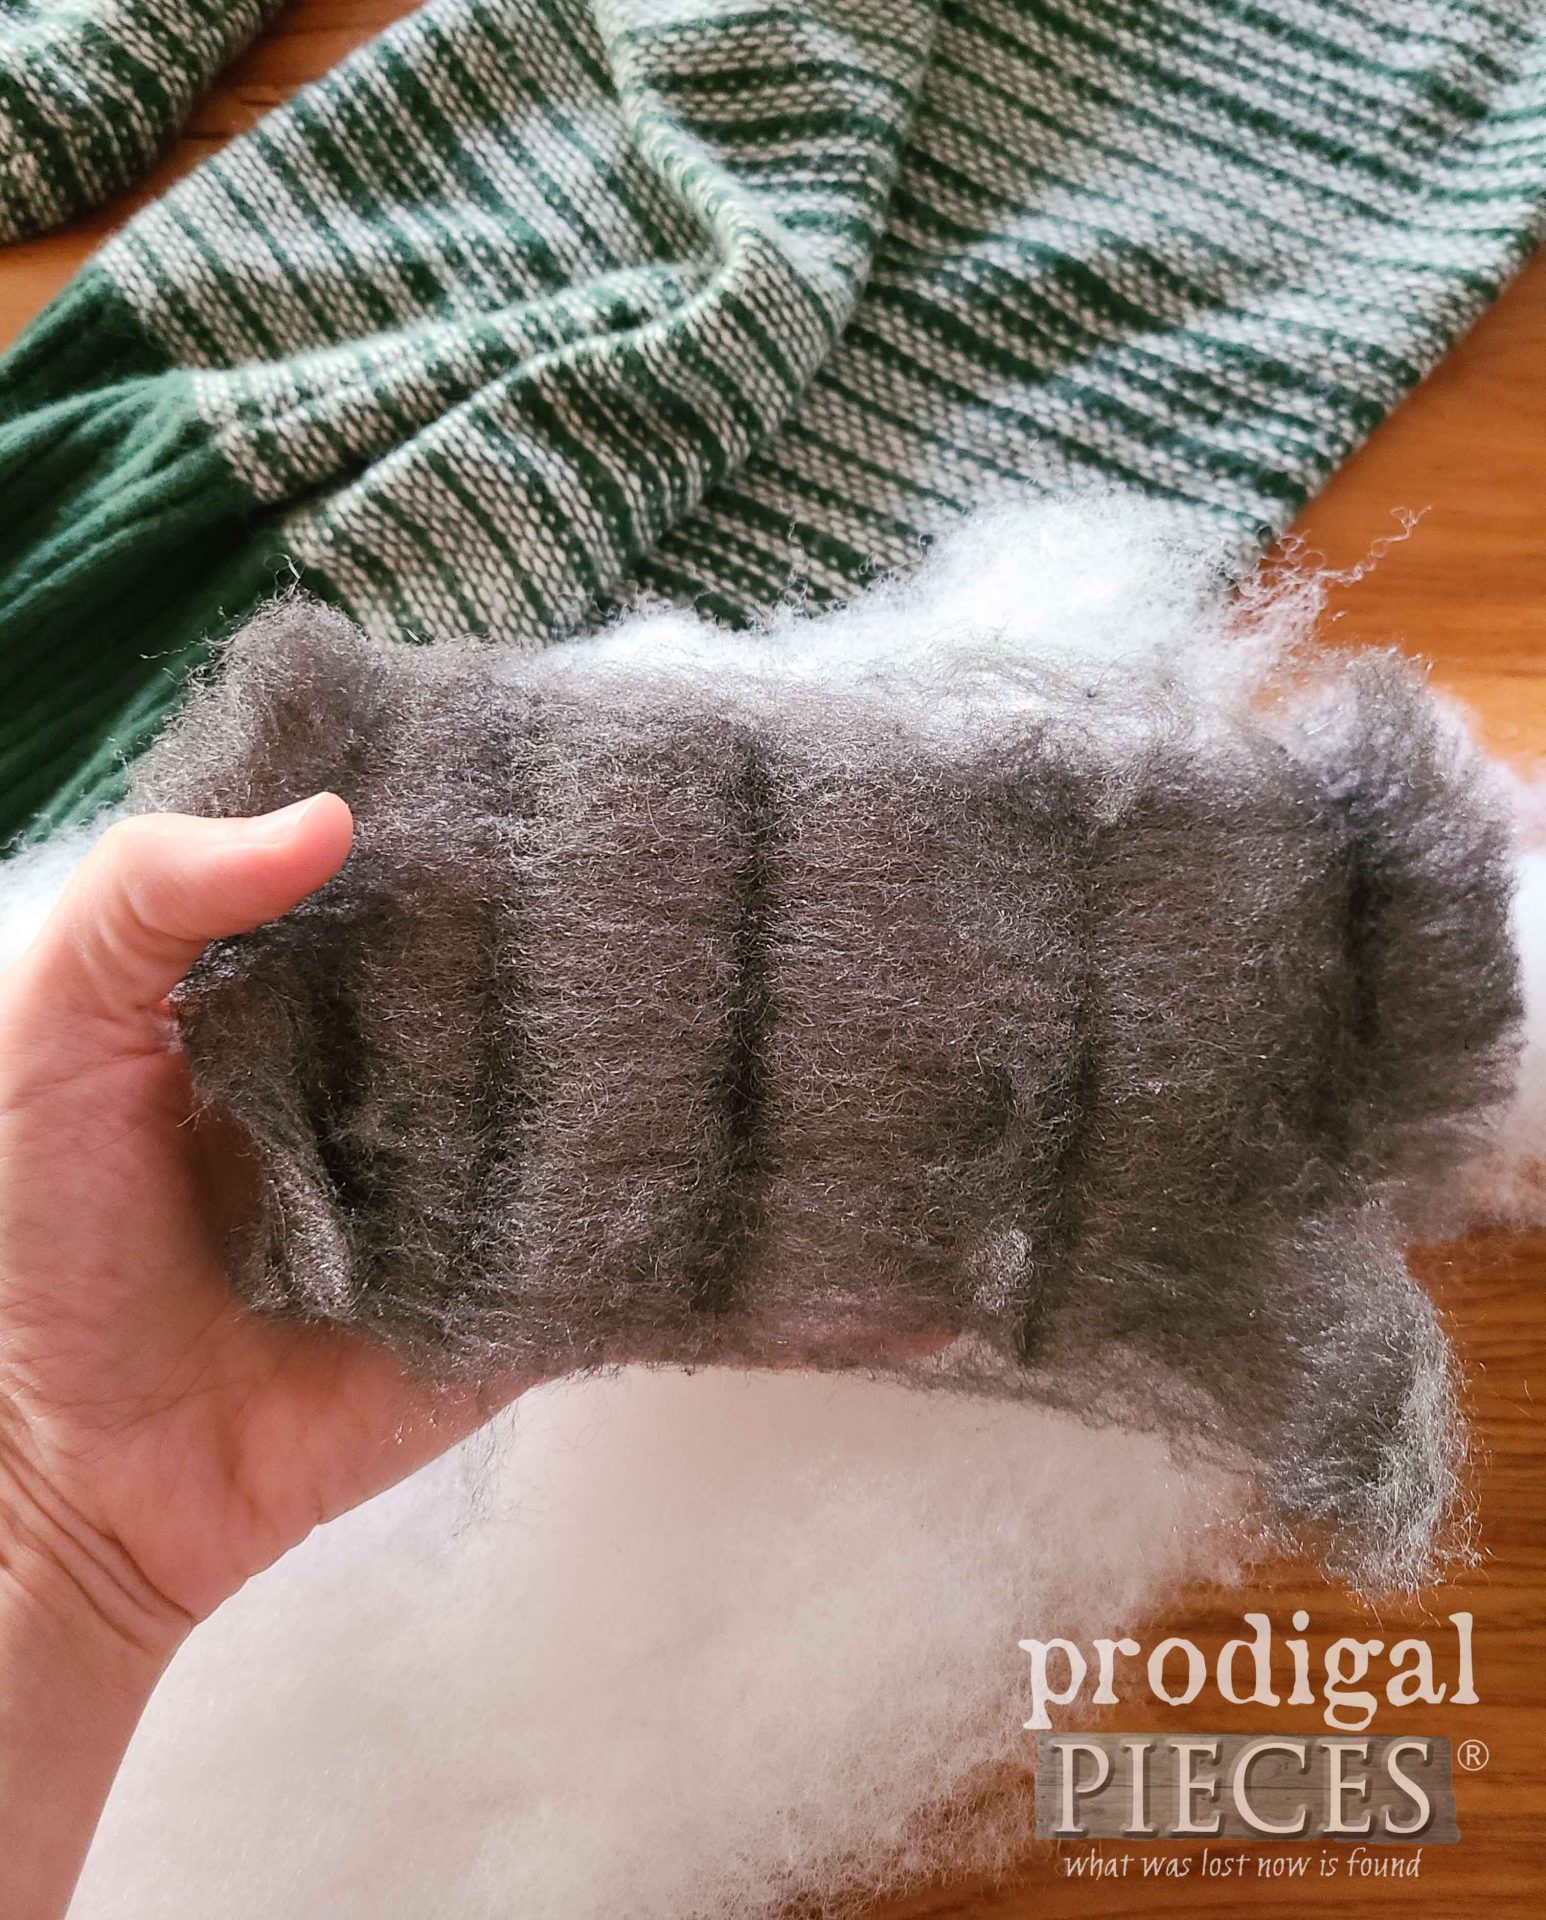
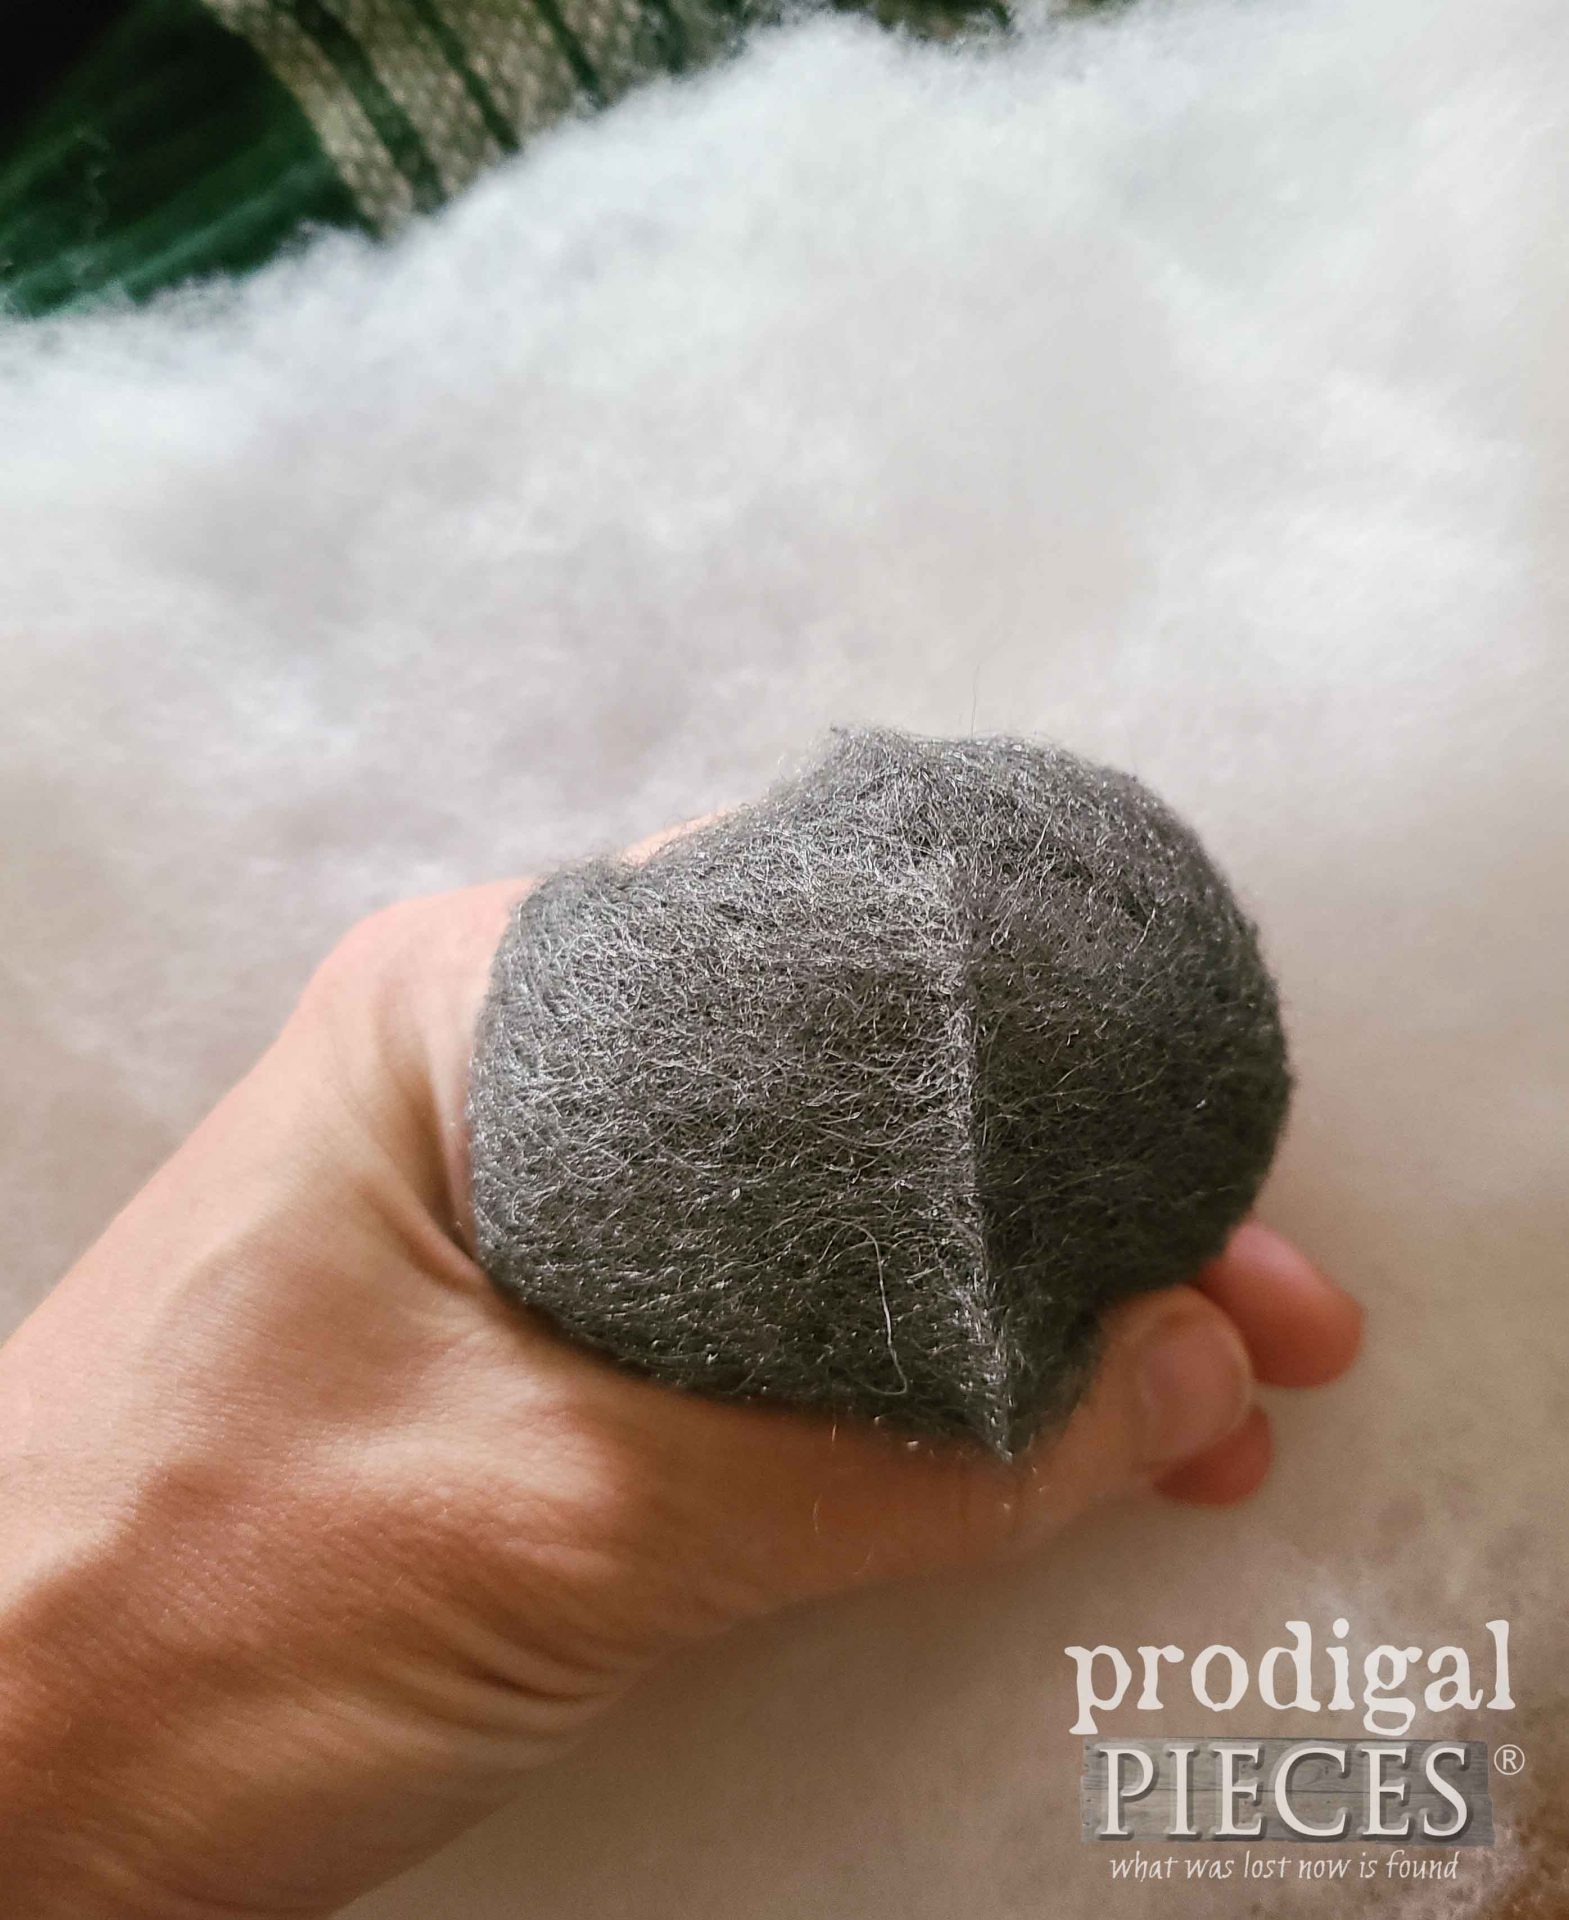
Next, it’s time to stuff our cactus. While you could use plain stuffing whether poly or wool, I like to use a ball of steel wool. When you use steel wool it helps maintain clean and sharp pins. In order to stuff, I take a wool pad and open it up…
Then, I start rolling it into a ball beginning at one corner.
However, before I tuck it into my cactus, I also add a layer of batting/stuffing to make it more plump and round. Once I have my cactus stuffed, I use the same running stitch to close off the other side. Set aside.
STEP 4
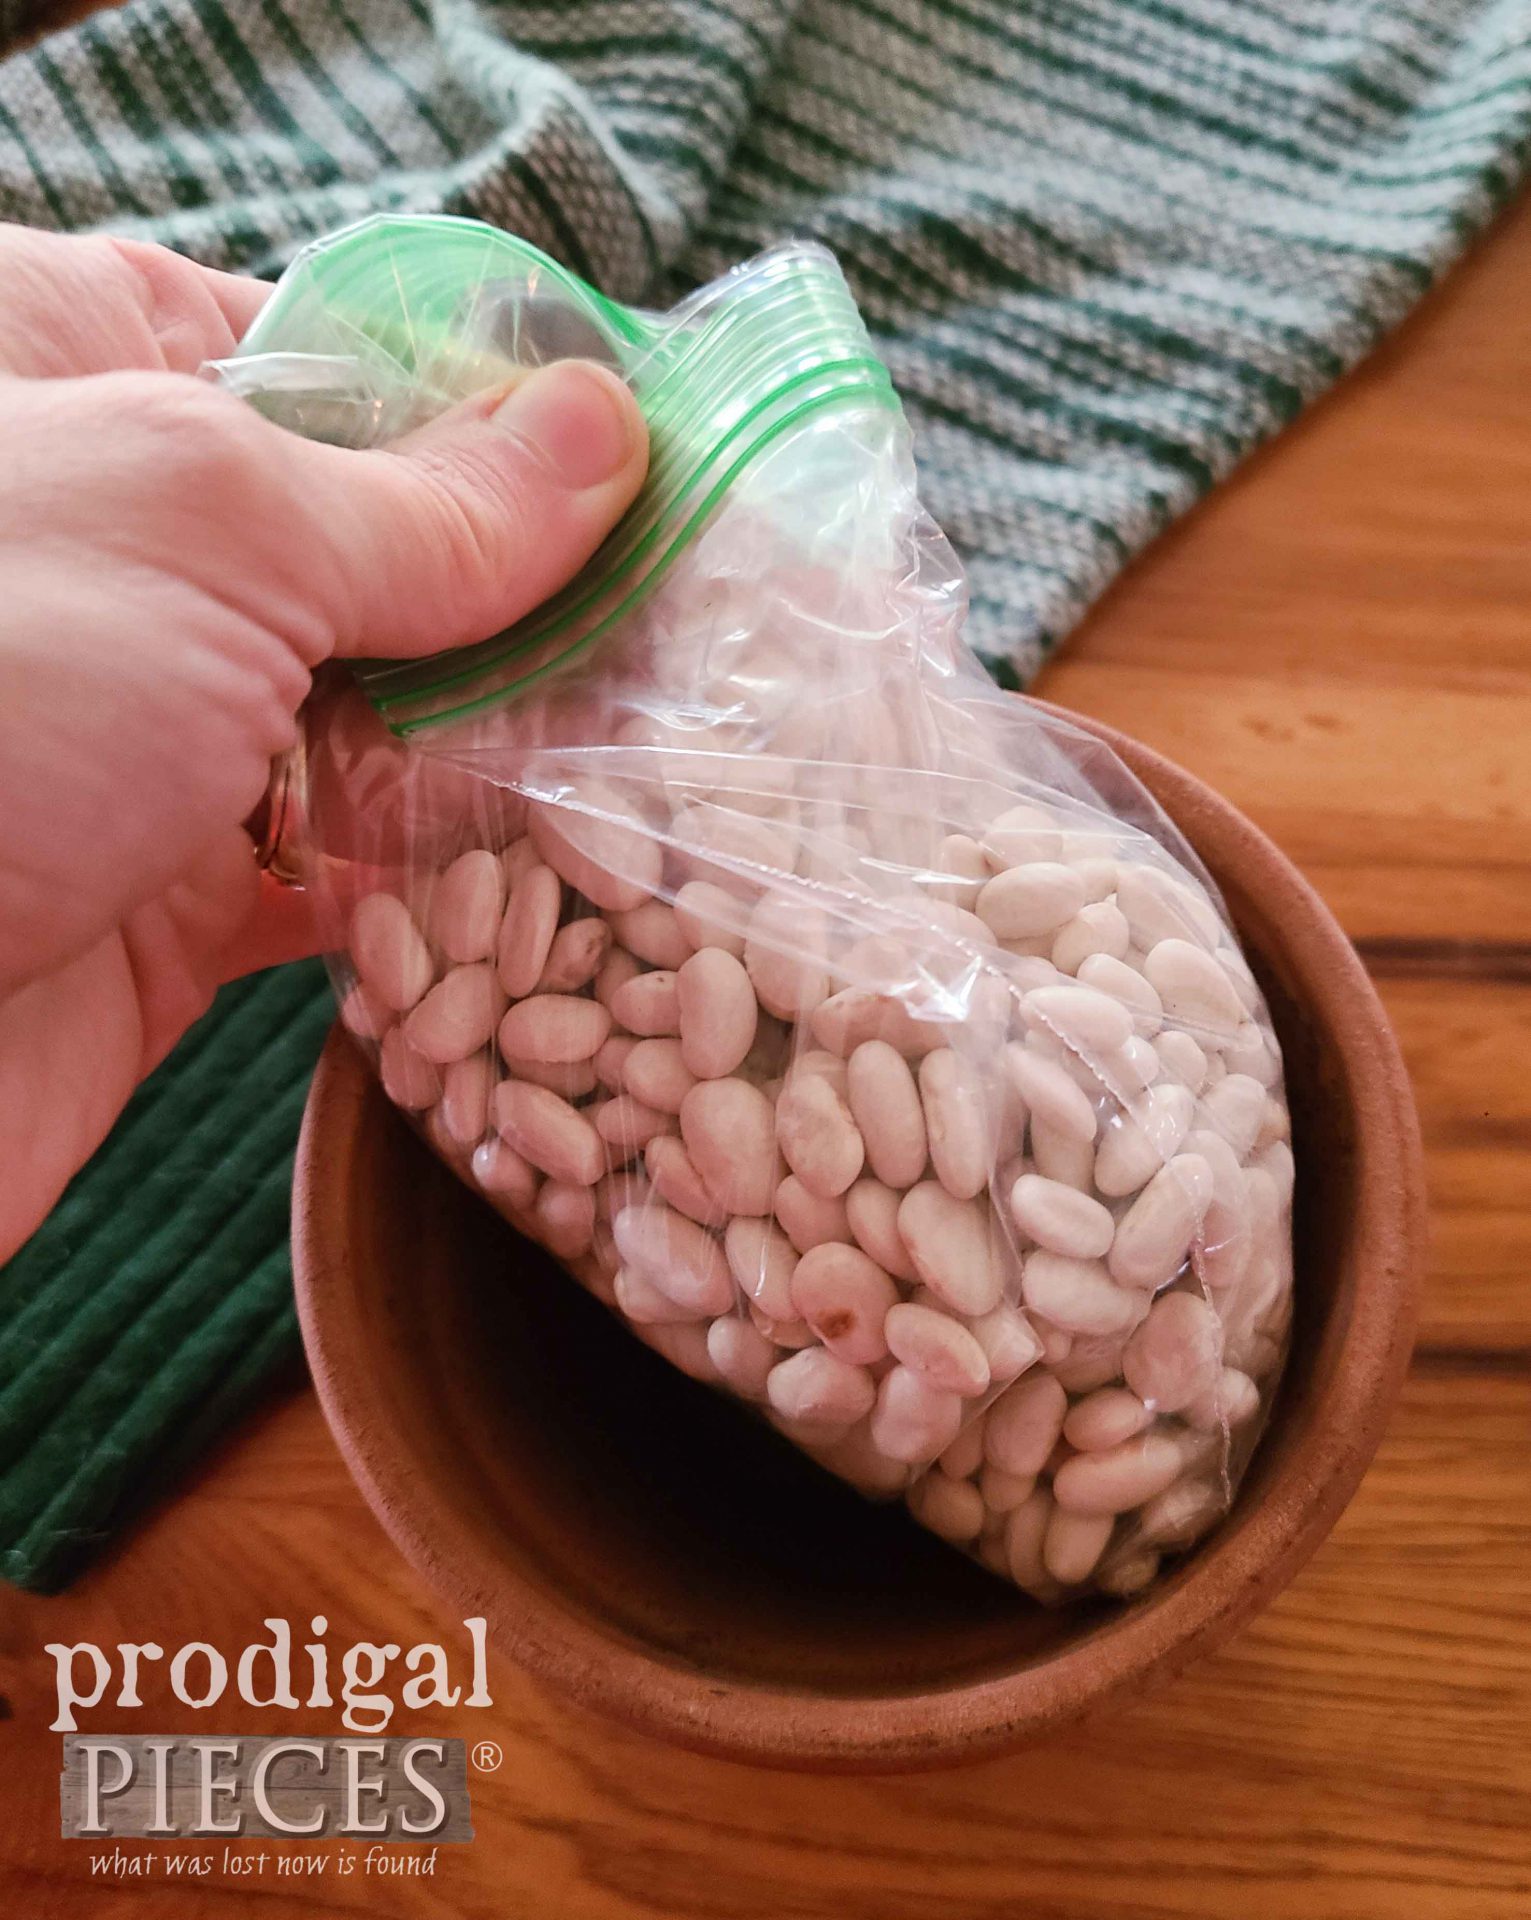
Now it’s time to fill the pot. Yay! First, I want to make a stable base so my pincushion won’t tip over. I fill a baggie with dry beans just enough to fill the flower pot. Also, you could use gravel or a large rock, even sand, as well.
STEP 5
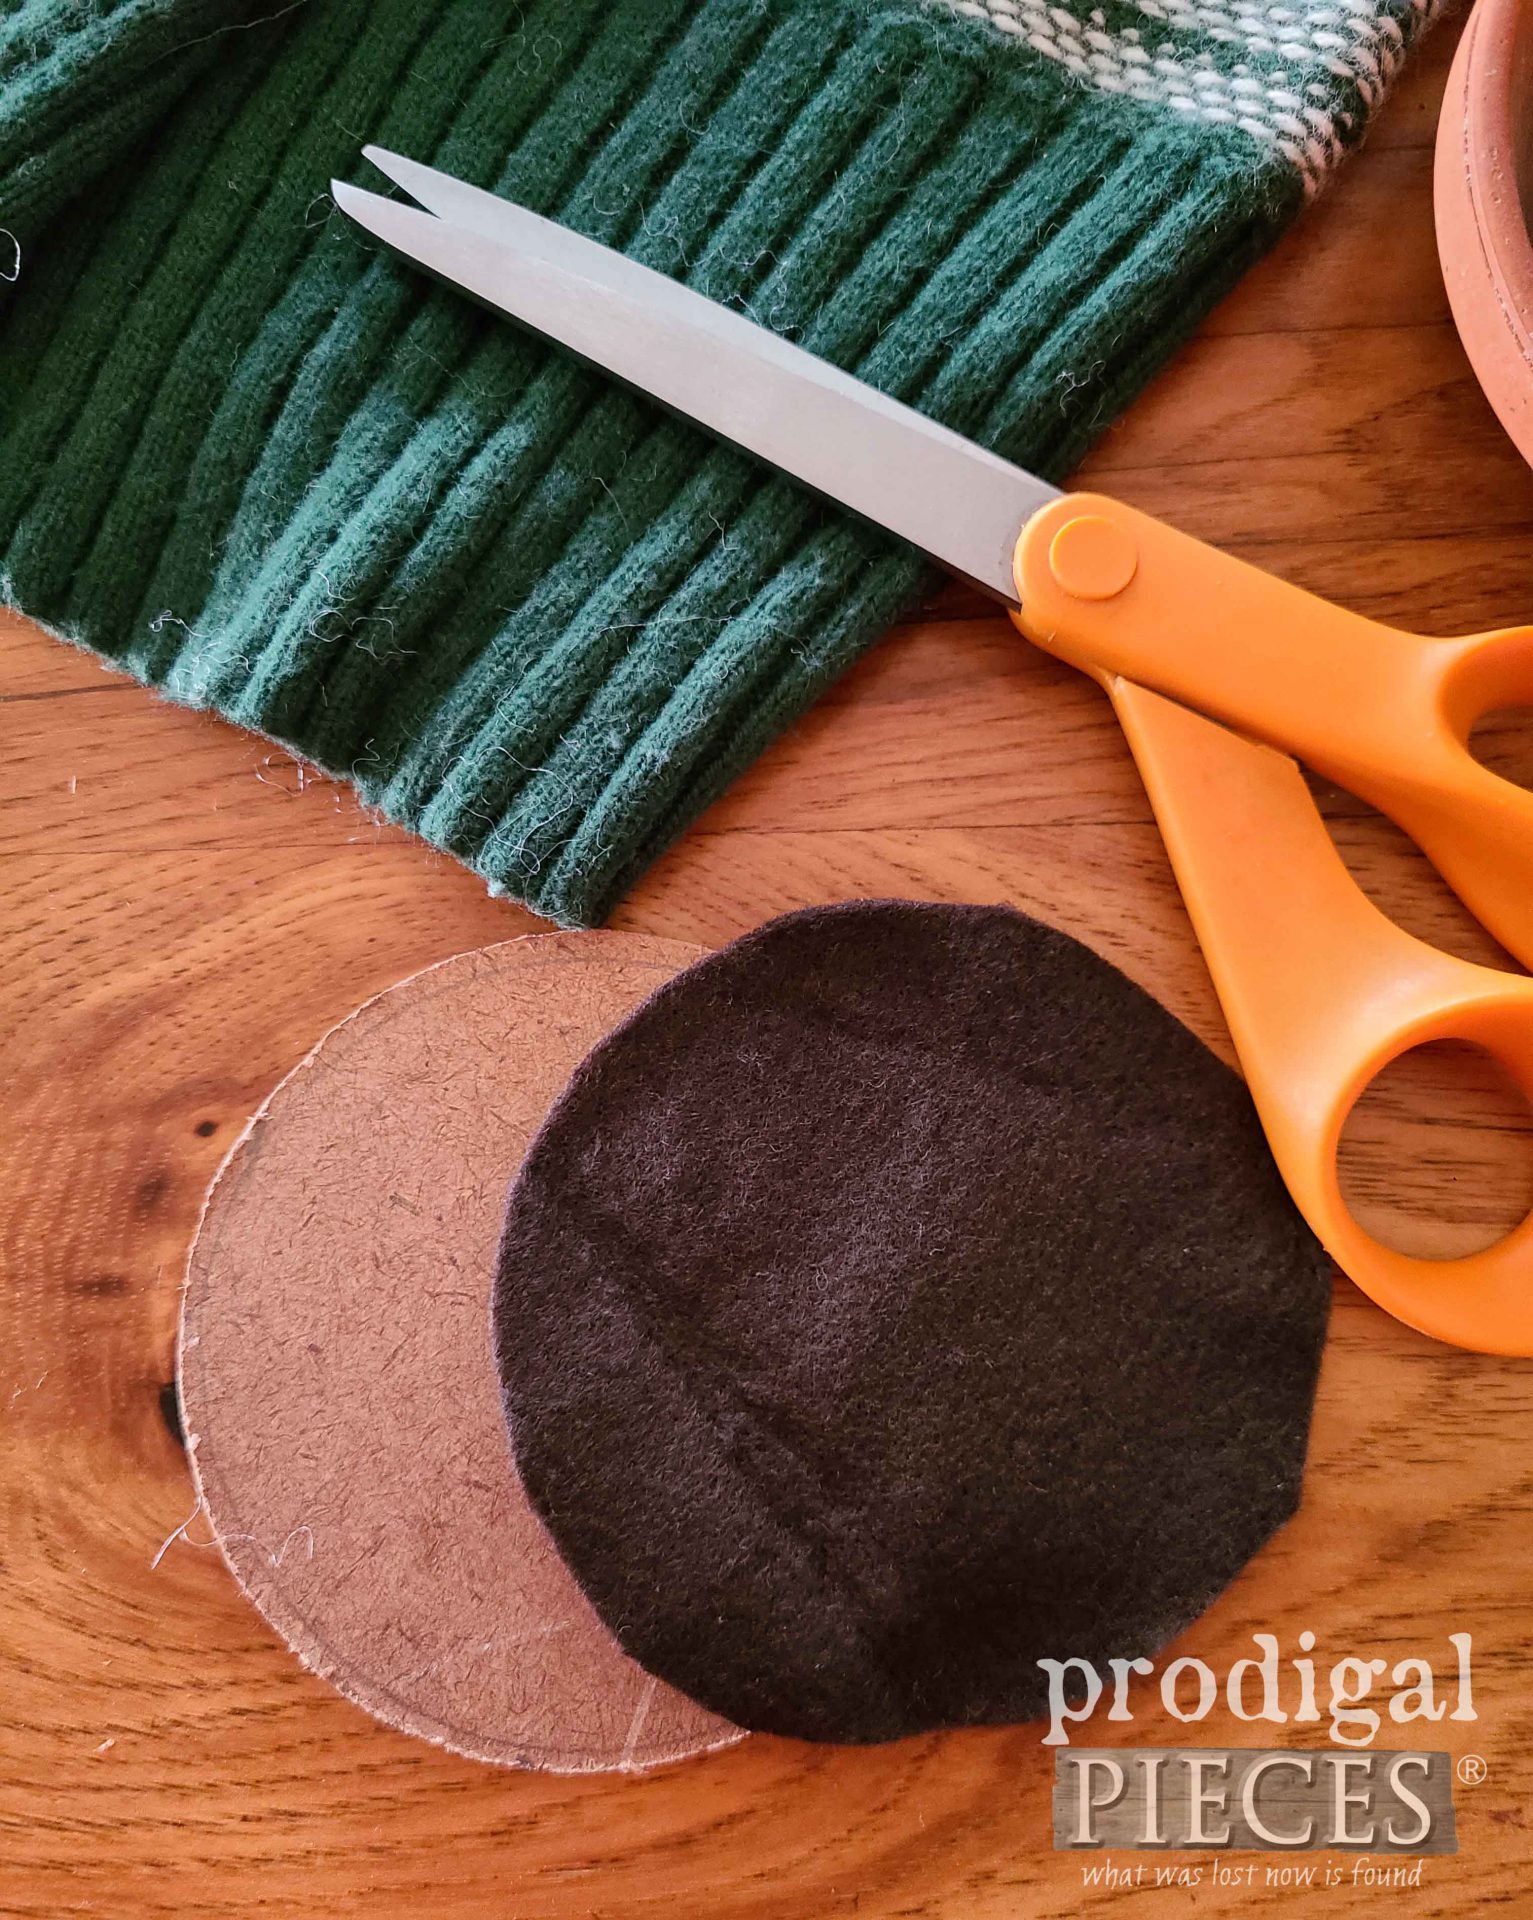
Before I can add my stuffed cactus to the pot, I need to create a surface for it to attach to. That’s where the hard board (or luan) comes in. I measure the inner top just below the edge and cut a piece of hard-board (the stuff that clipboards are made of) and also a piece of brown felt.
Then, I secure the felt to the hard-board with glue, and then adhere the board to the pot using hot glue.
STEP 6
Finally, I add on top the stuffed cactus and use hot glue to assemble as well. It’s at this point I add the accent details like flowers and pins, so feel free to finish off how you like. Have fun with it!
I’m curious, which one is your favorite? I like them all as a set, and I’m partial to any because they’re all so fun to make and make use of.
In addition to leaving me a comment below, also pin and share to inspire others too.
Up next, it’s Part 2 of my thrifted table trio (see Part 1 HERE) with the smallest one up for the makeover. See Part 2 OVER HERE and Part 3 in this final post.
To get these DIY tips & tricks in your inbox, be sure to sign up for my newsletter. Until next time!

Those are so cute!!! And so practical!!! There is nothing worse than sewing with dull pins…. You are soooooo creative! I think the cacti with the little flowers are my fave. ???
You’ve made my day! I’m so smitten with them as an avid lover of succulents. They’re addictive! Thanks so much, Rebecca. 😀
These are totally adorable! I like the big one with the flower on top and the one with multiple arms!!! Great repurpose!!!!
You picked my two favorite too. Thanks so much, Audra!
These are so adorable! You picked the perfect pattern on the sweater for this project! I may have to go on a goodwill run and attempt to make one of these 😉
woot, woot! All credit to my daughter for finding it for me. She has a good eye as it was the only one like it in the store. Thanks so much, Ginny!
These are adorable! I need to make one for each of my daughters 🙂 Thanks for the inspiration! Pinned
That sounds like fun! Thank you for the love, Susan.
Oh my goodness, Larissa, these are ADORABLE! So cute and functional to have on display in a sewing/craft room. I’d use these as decor on a bookcase or window ledge in any room too. Pinned 🙂
You are such a kindred spirit, Marie. That’s my goal for a studio one day…just a fun creative space. Thanks so much!
Well, aren’t those the cutest thing I’ve seen this week! You did a wonderful job! That big solid green one would fit right in here!
woot!! That just made my day. Thank you!!
“SOLID green” ? I have keyboard dyslexia. ??
hahaha!!