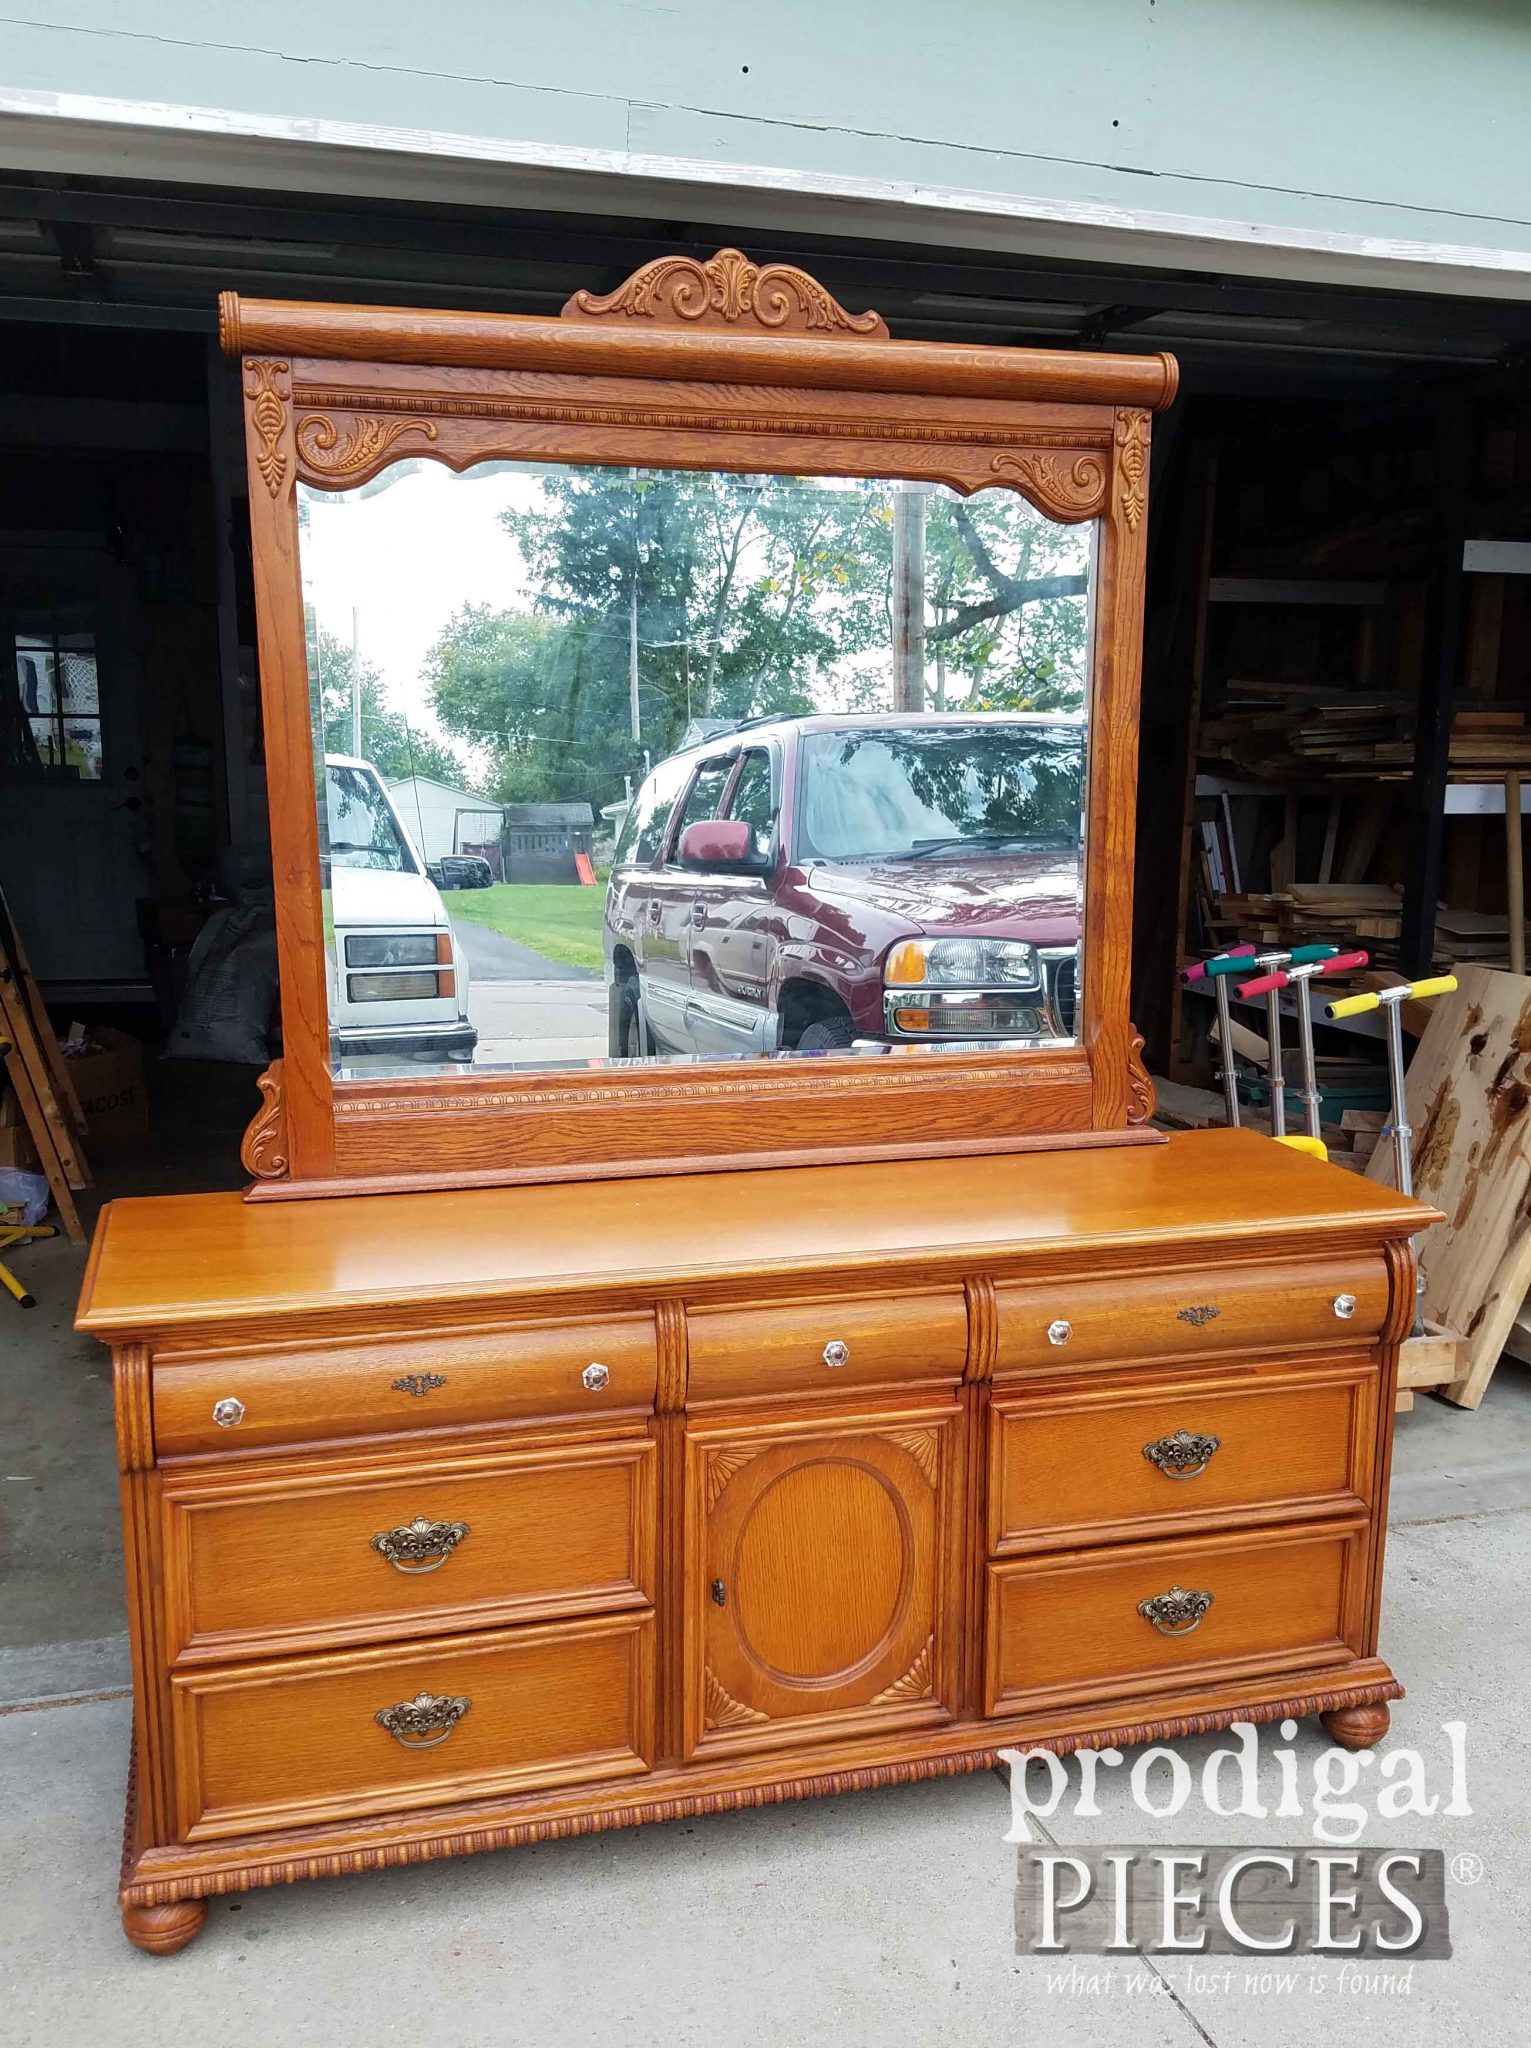
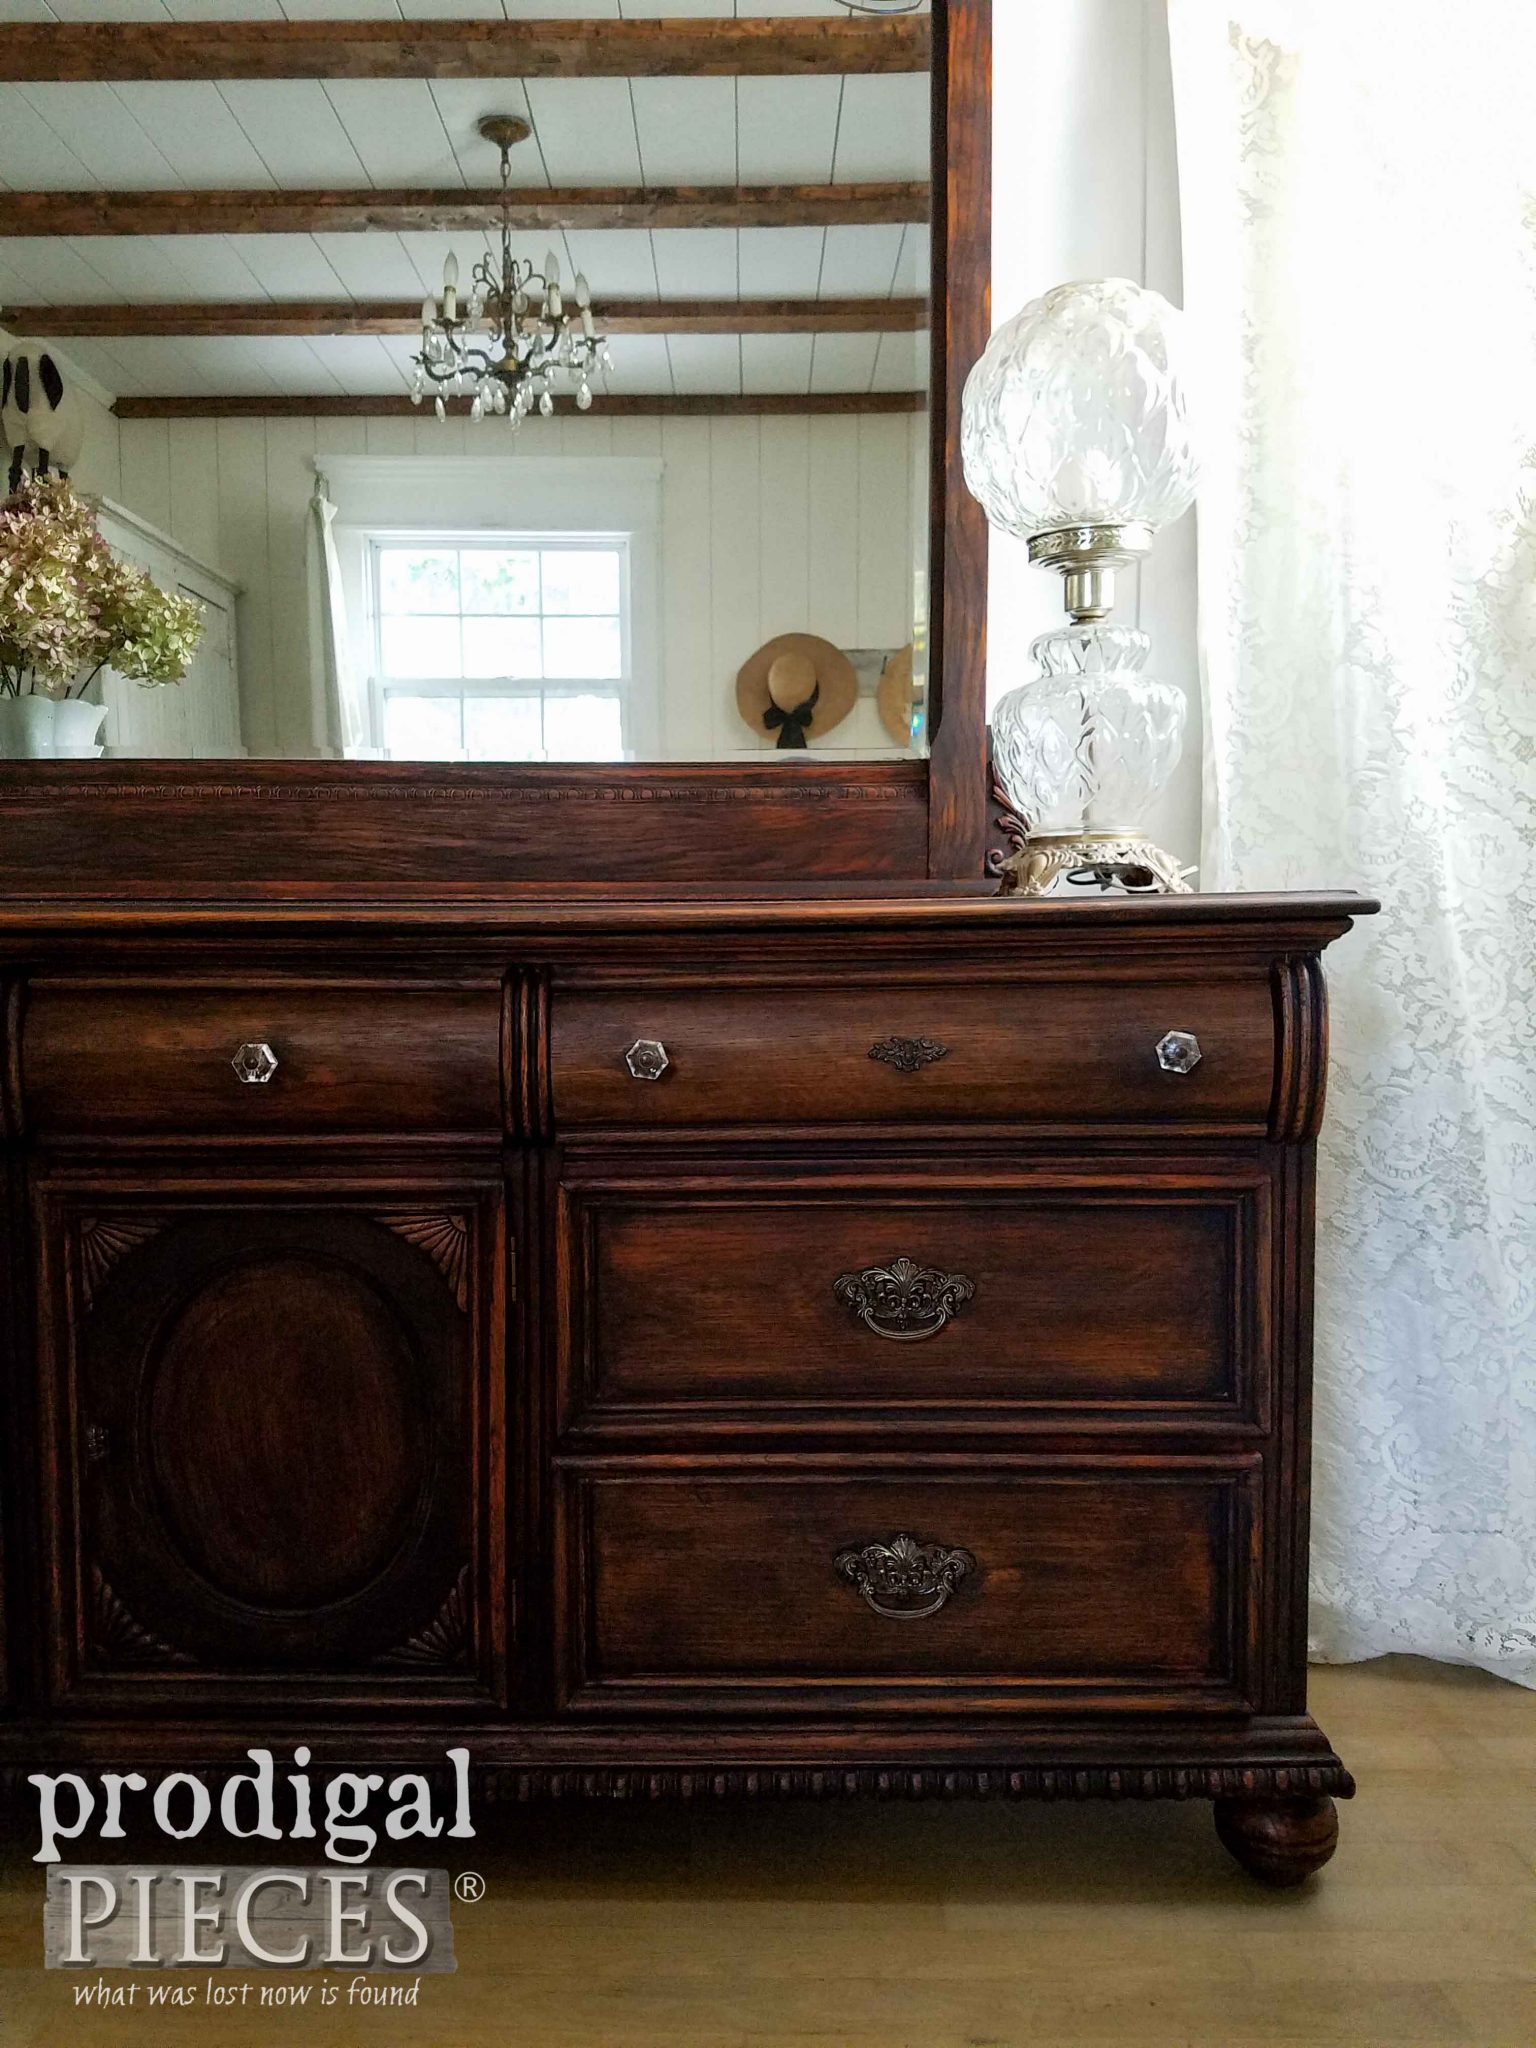
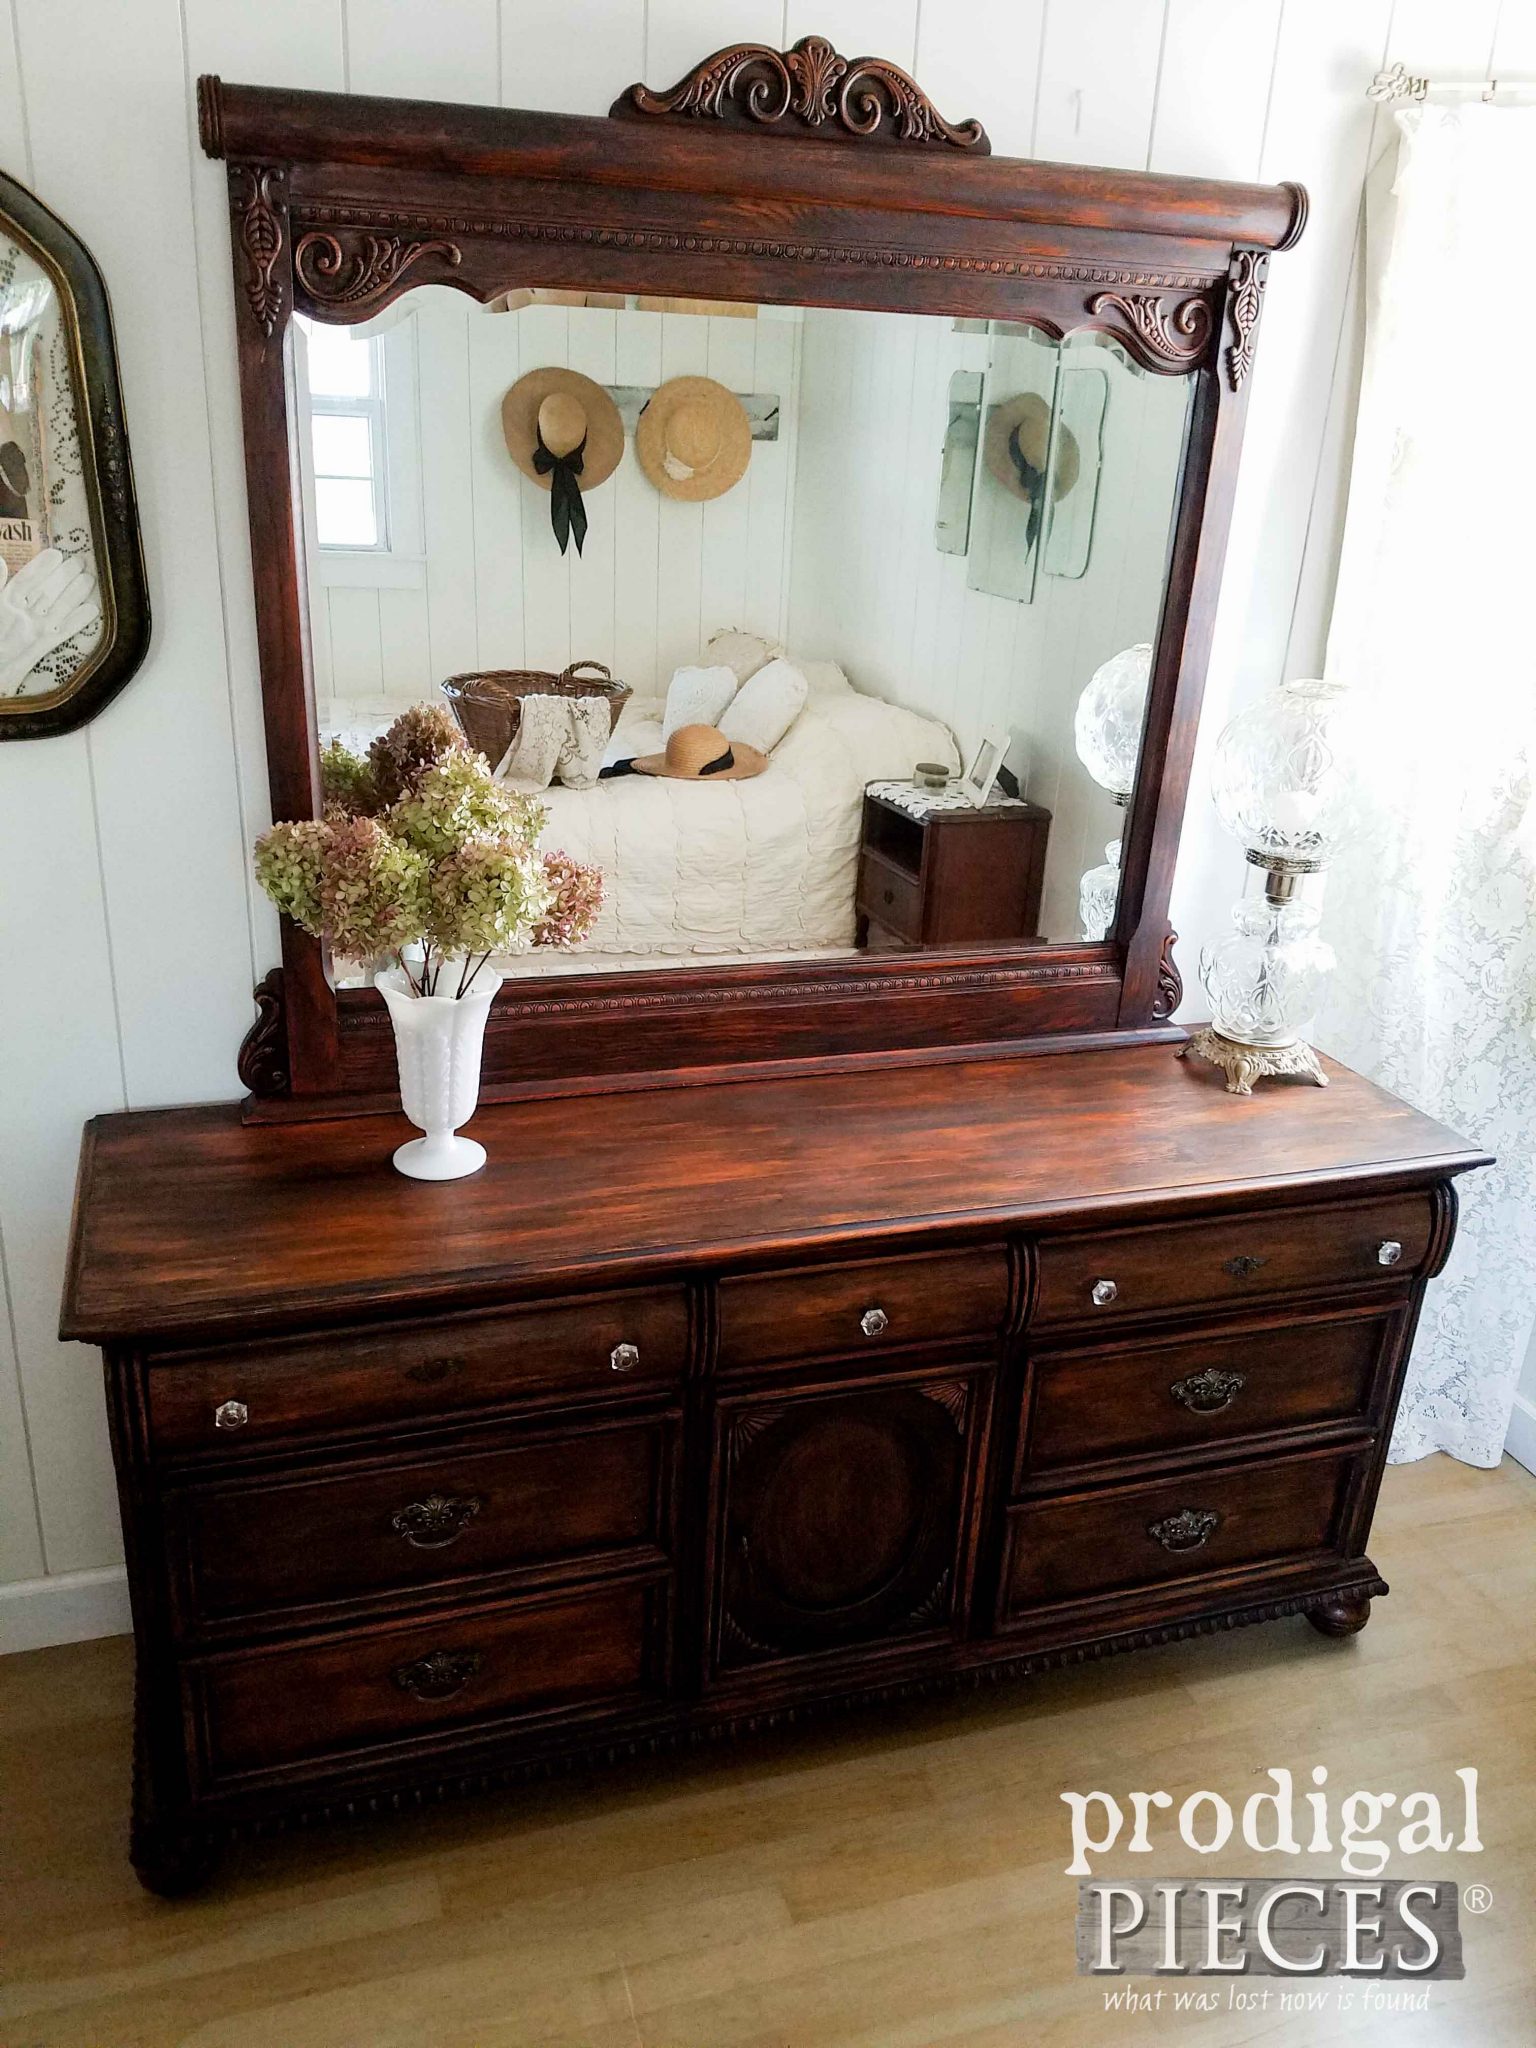
It’s that time again! Time for my friends and I to share our makeovers for Furniture Fixer Uppers Day. This is always a blast for me because I love to share a new makeover and show you what my friends are up to as well. You’ll see theirs features in a bit. Today, this beautiful Lexington dresser is going to help me show you updated furniture can be super easy.
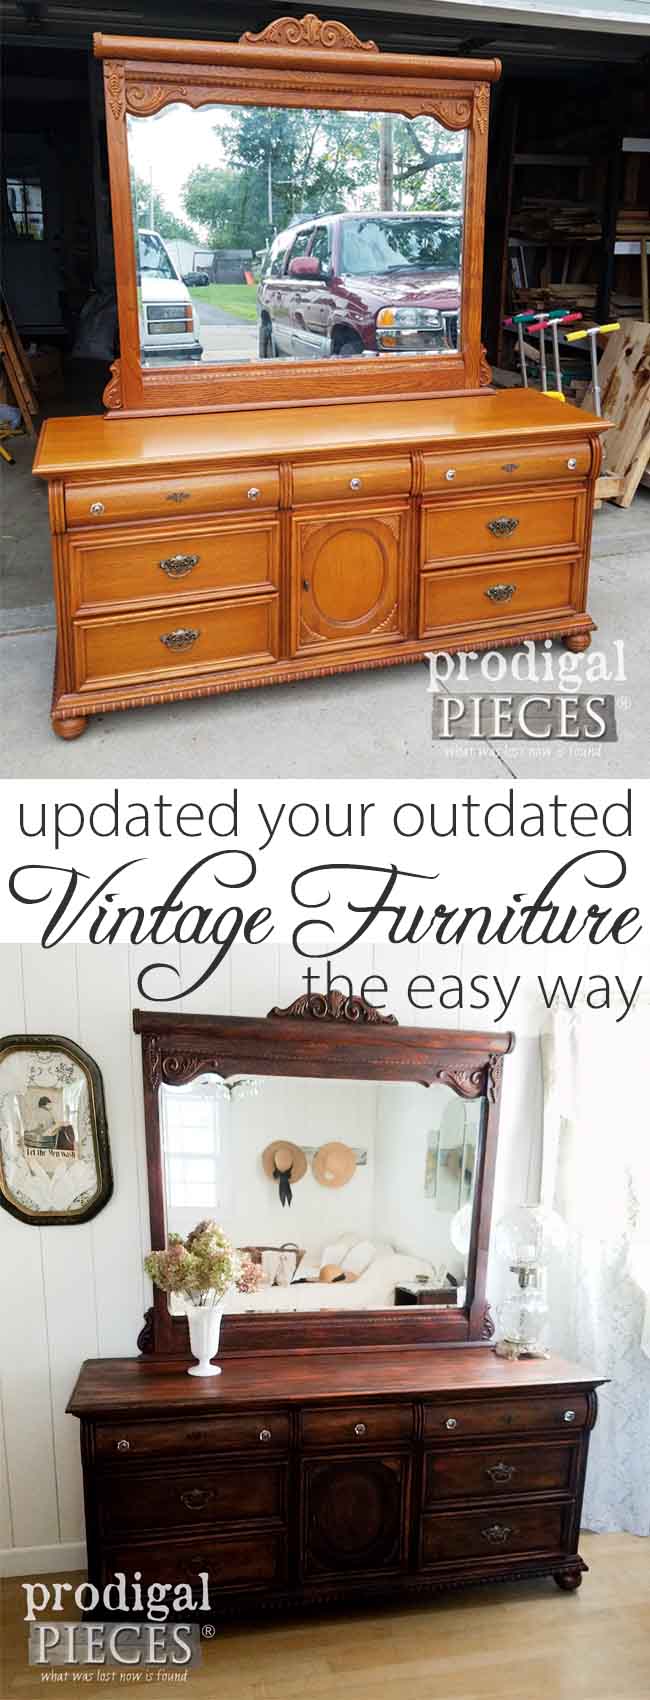
I will be perfectly honest that I really did NOT want to do anything to this piece since it’s beautiful as is. However, the fact that it had scratches and I had no interest in refinishing it since it is made of veneers and the stain color is so…orange, I had to do something.
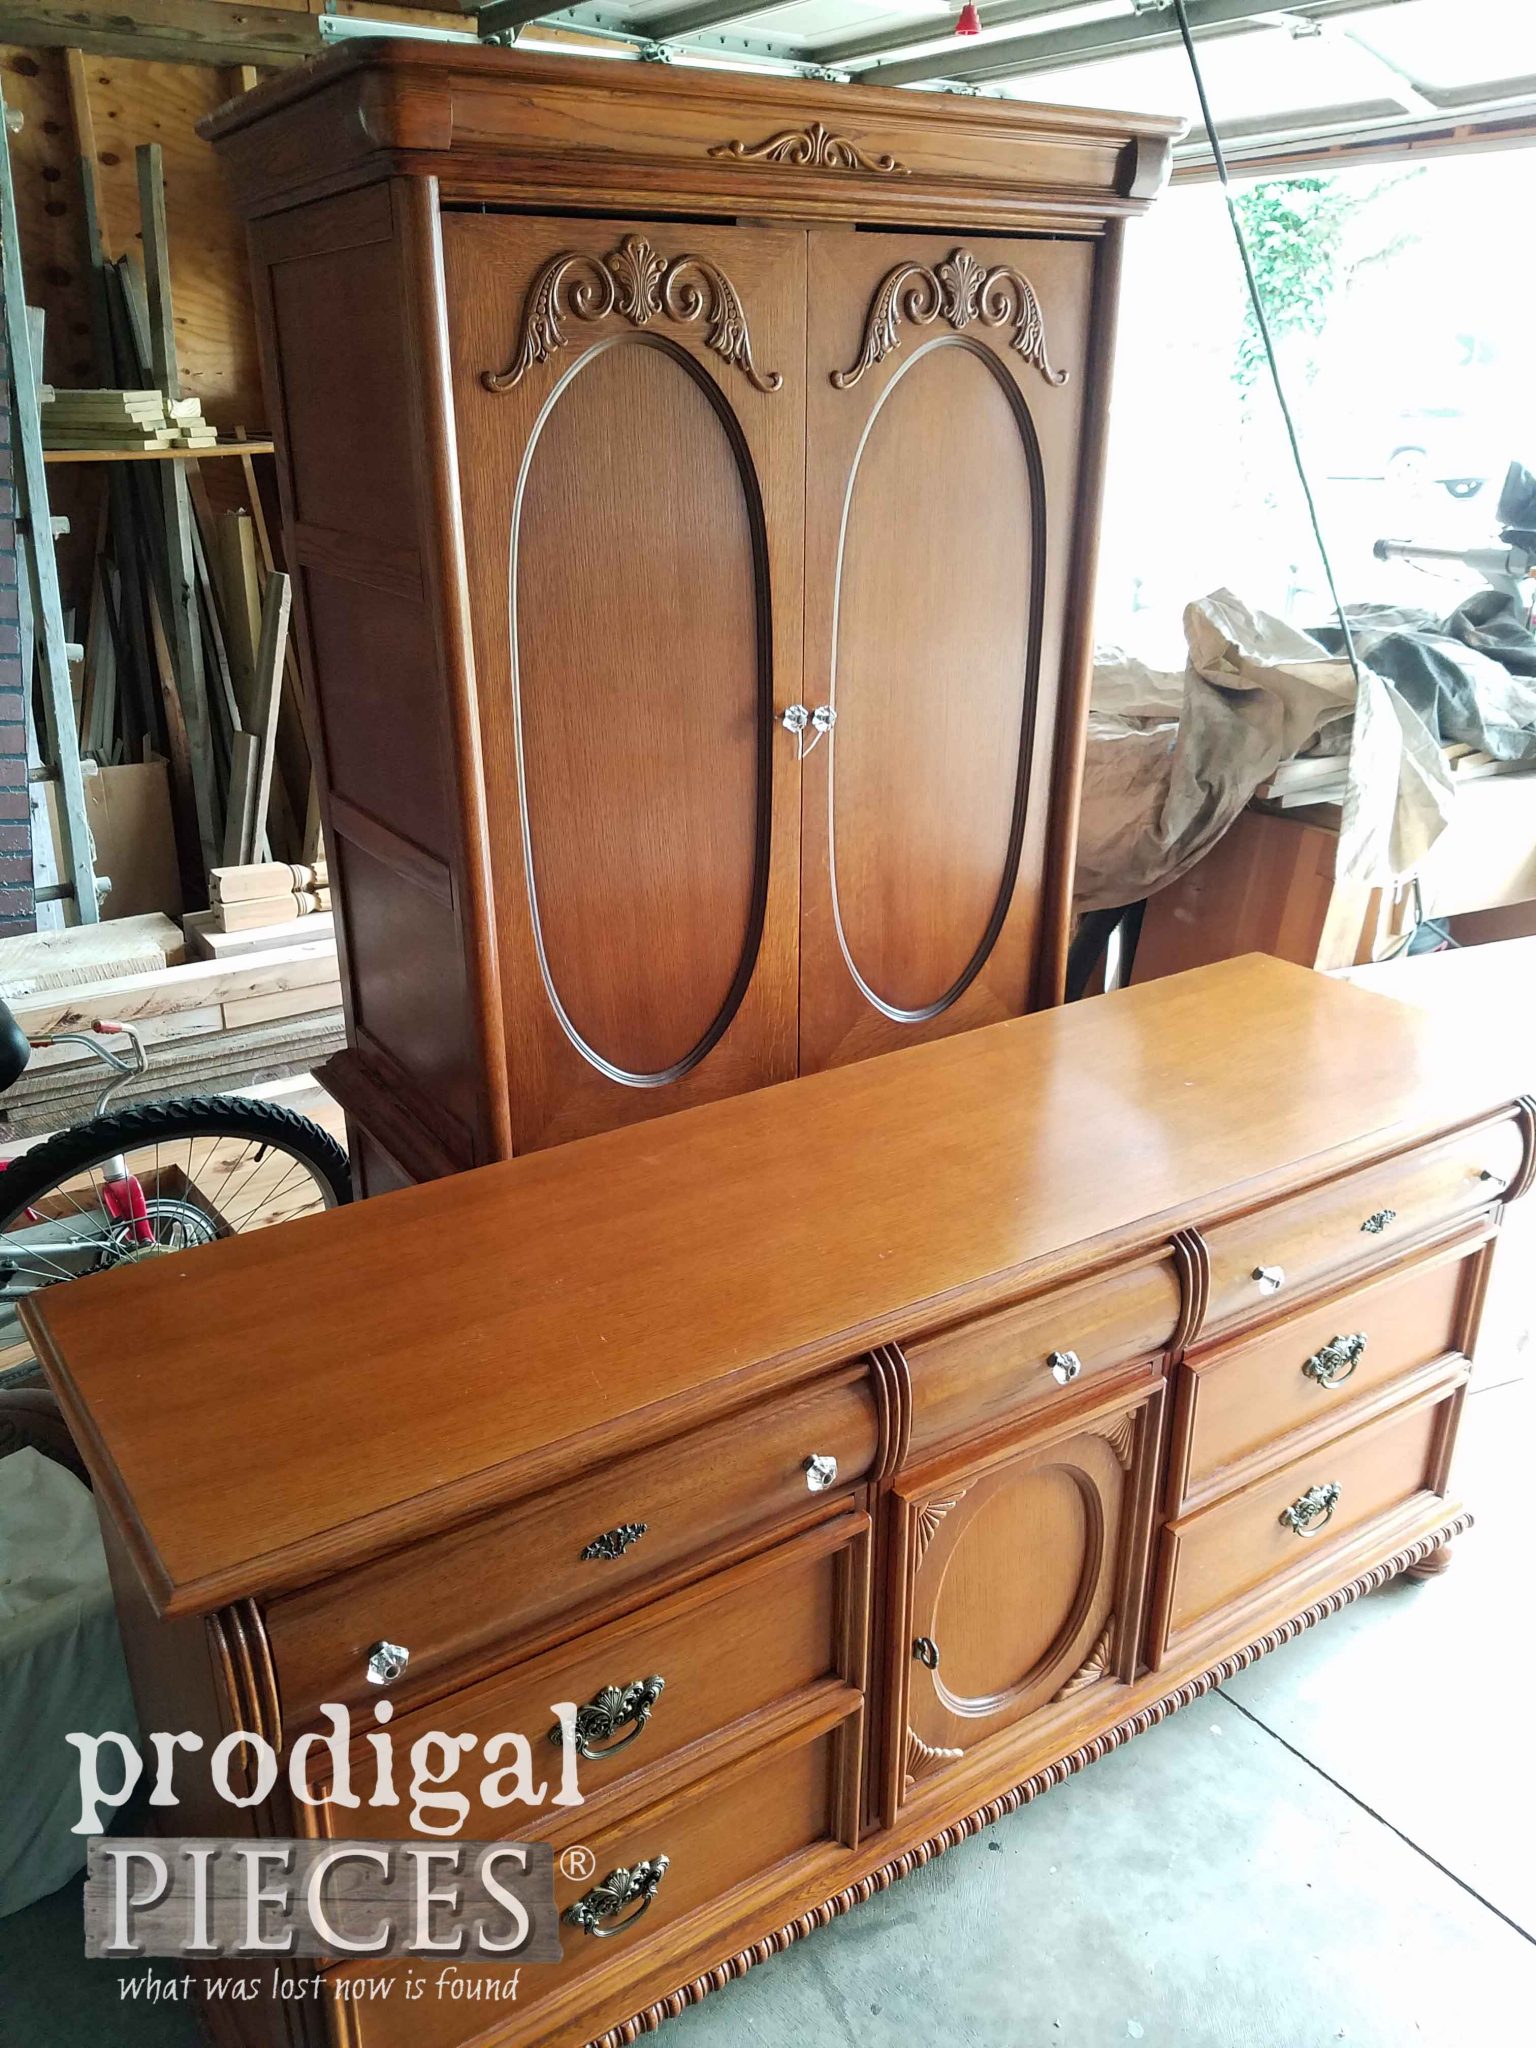
In addition, I actually got an entertainment armóire with it as well that has its own issues. In a later post, I will show you what that becomes, see it OVER HERE.
Not only is this set is huge, heavy, but it is also full of potential. Many of you ask me time and time again about pieces that you own and love, but aren’t happy with the current style it is. You are looking for a way to update without having to paint or refinish yourself. So, here is my goal: to take a perfectly fine piece in current condition that will not only create updated furniture, but make both those who love a new look and those who love wood happy. However, there’s no sanding involved, no removal of hardware or glass, all you need is the right tools. Stay with me here.
DIY TIME
Yes, this is paint and I intend to you use it. tsk. But, how I’m going to use it is key. With only one coat I will show you how to retain the wood presence but update it to a new look.
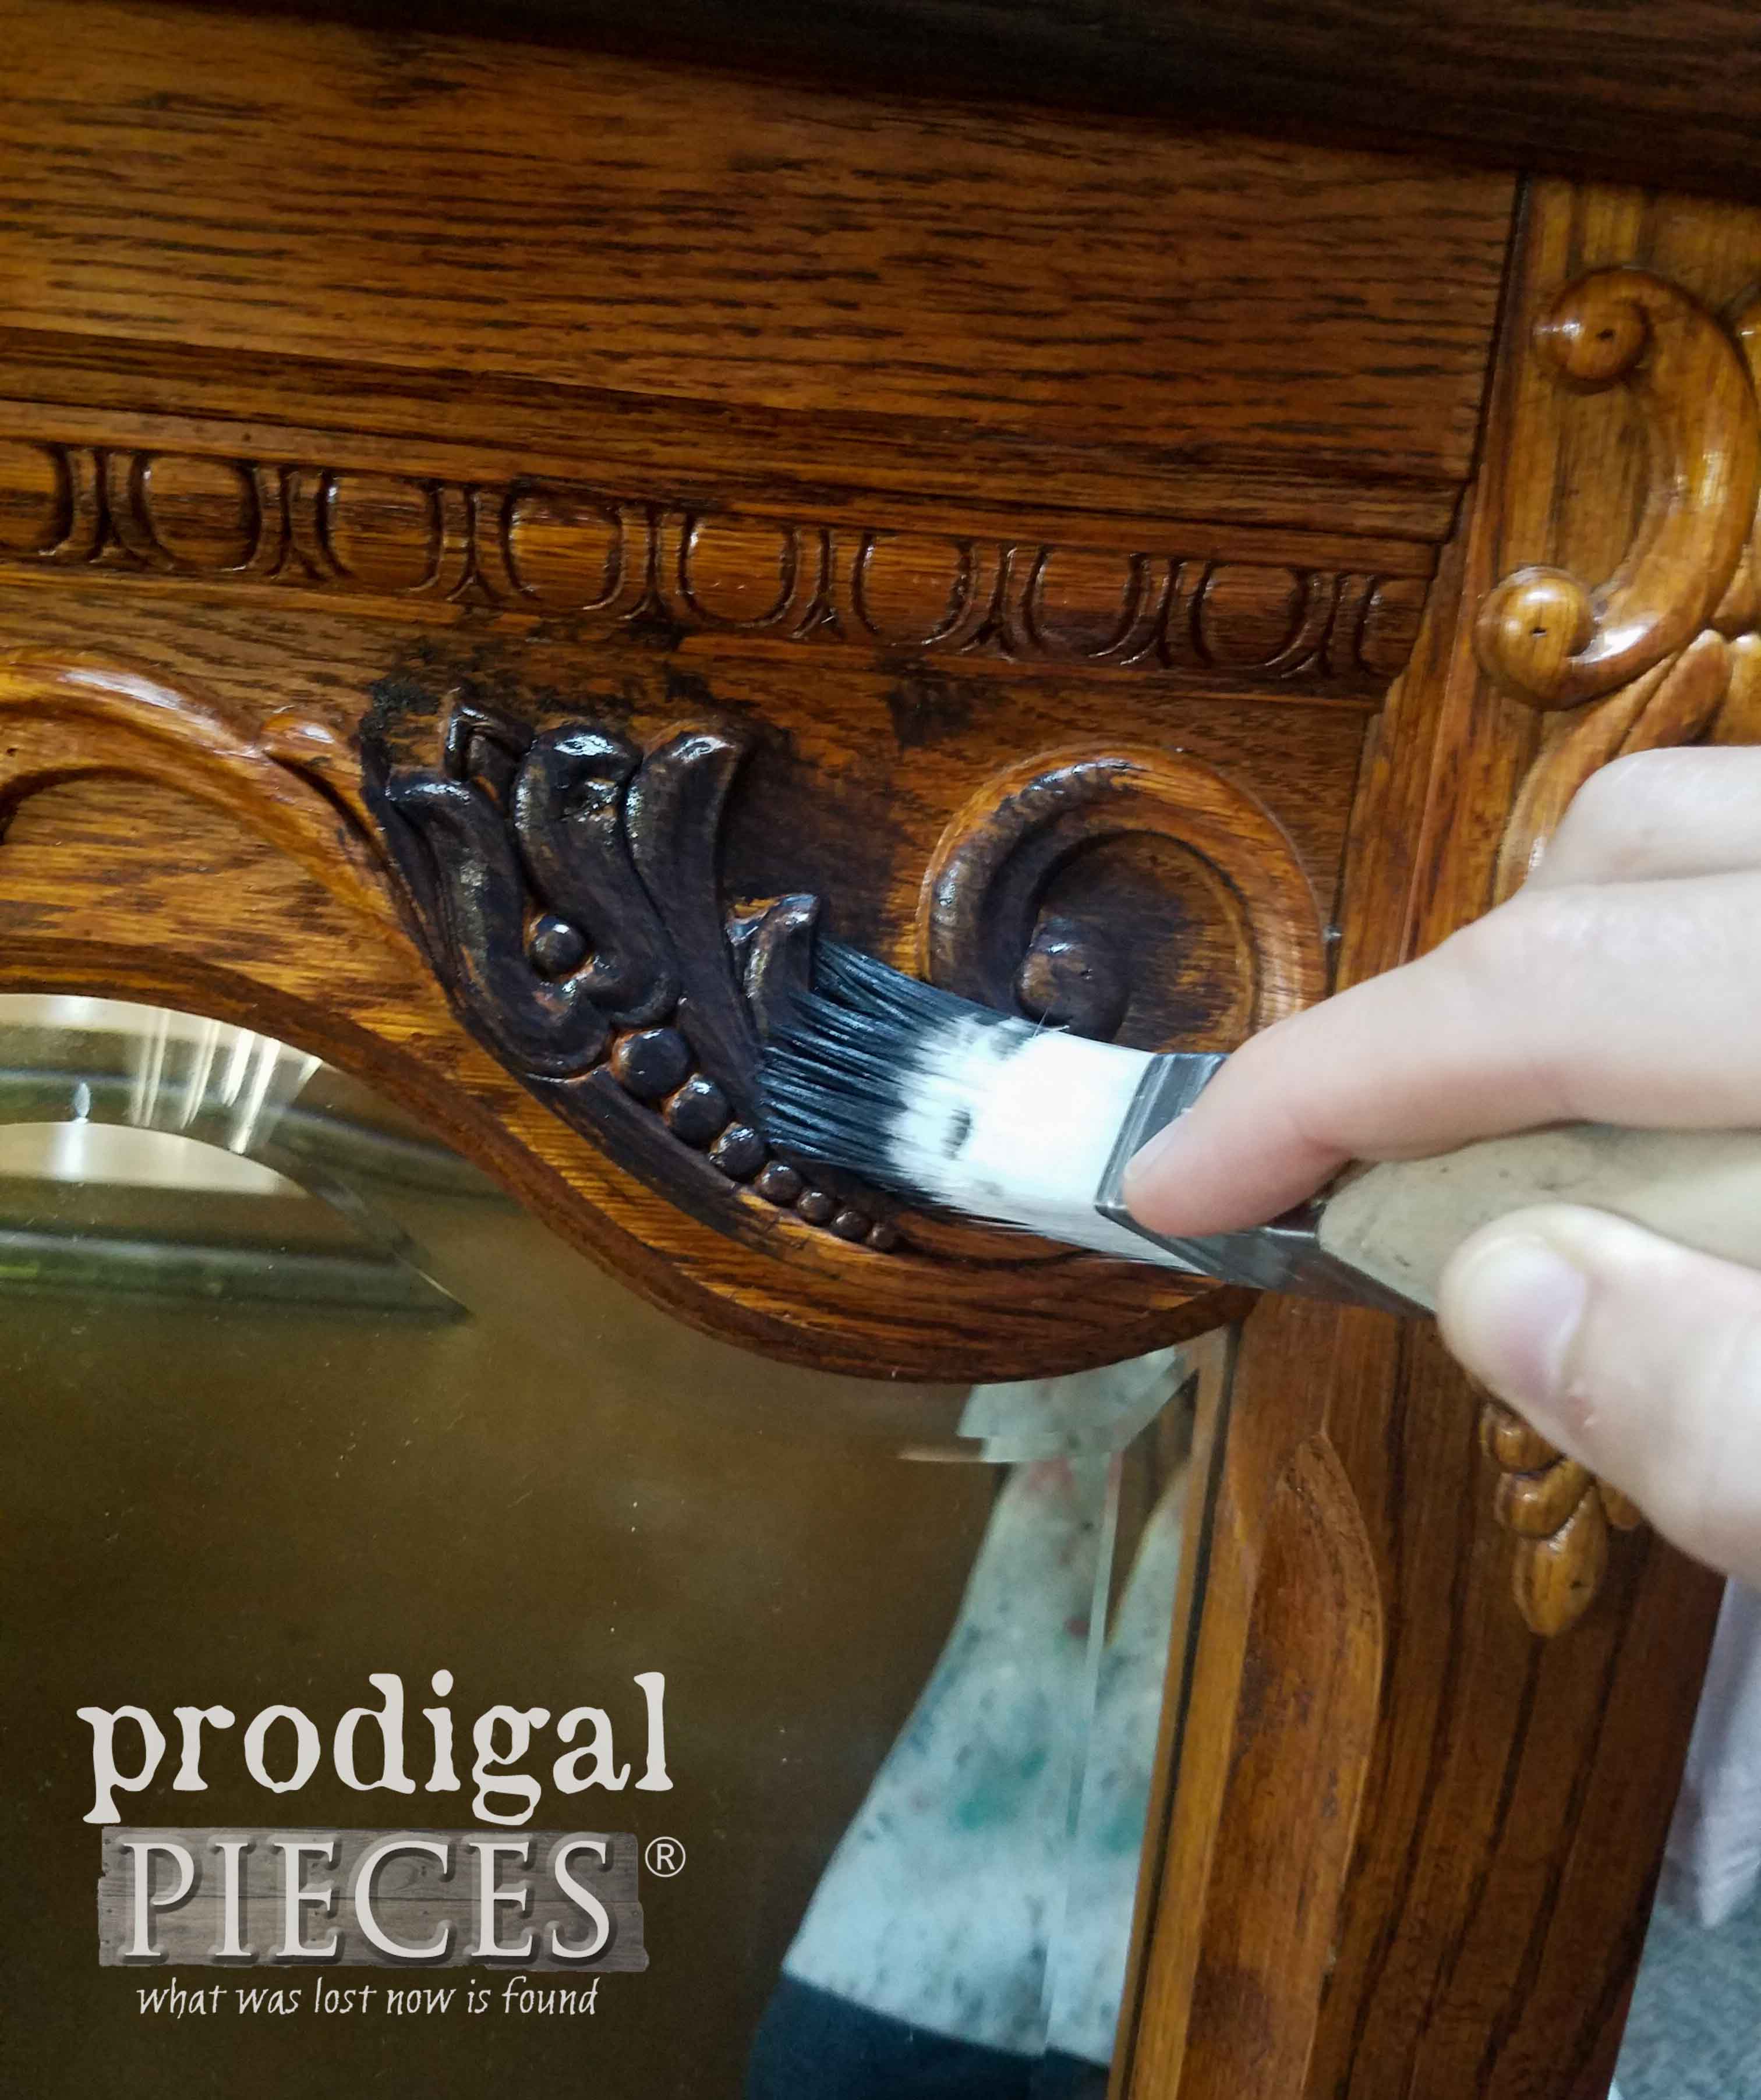
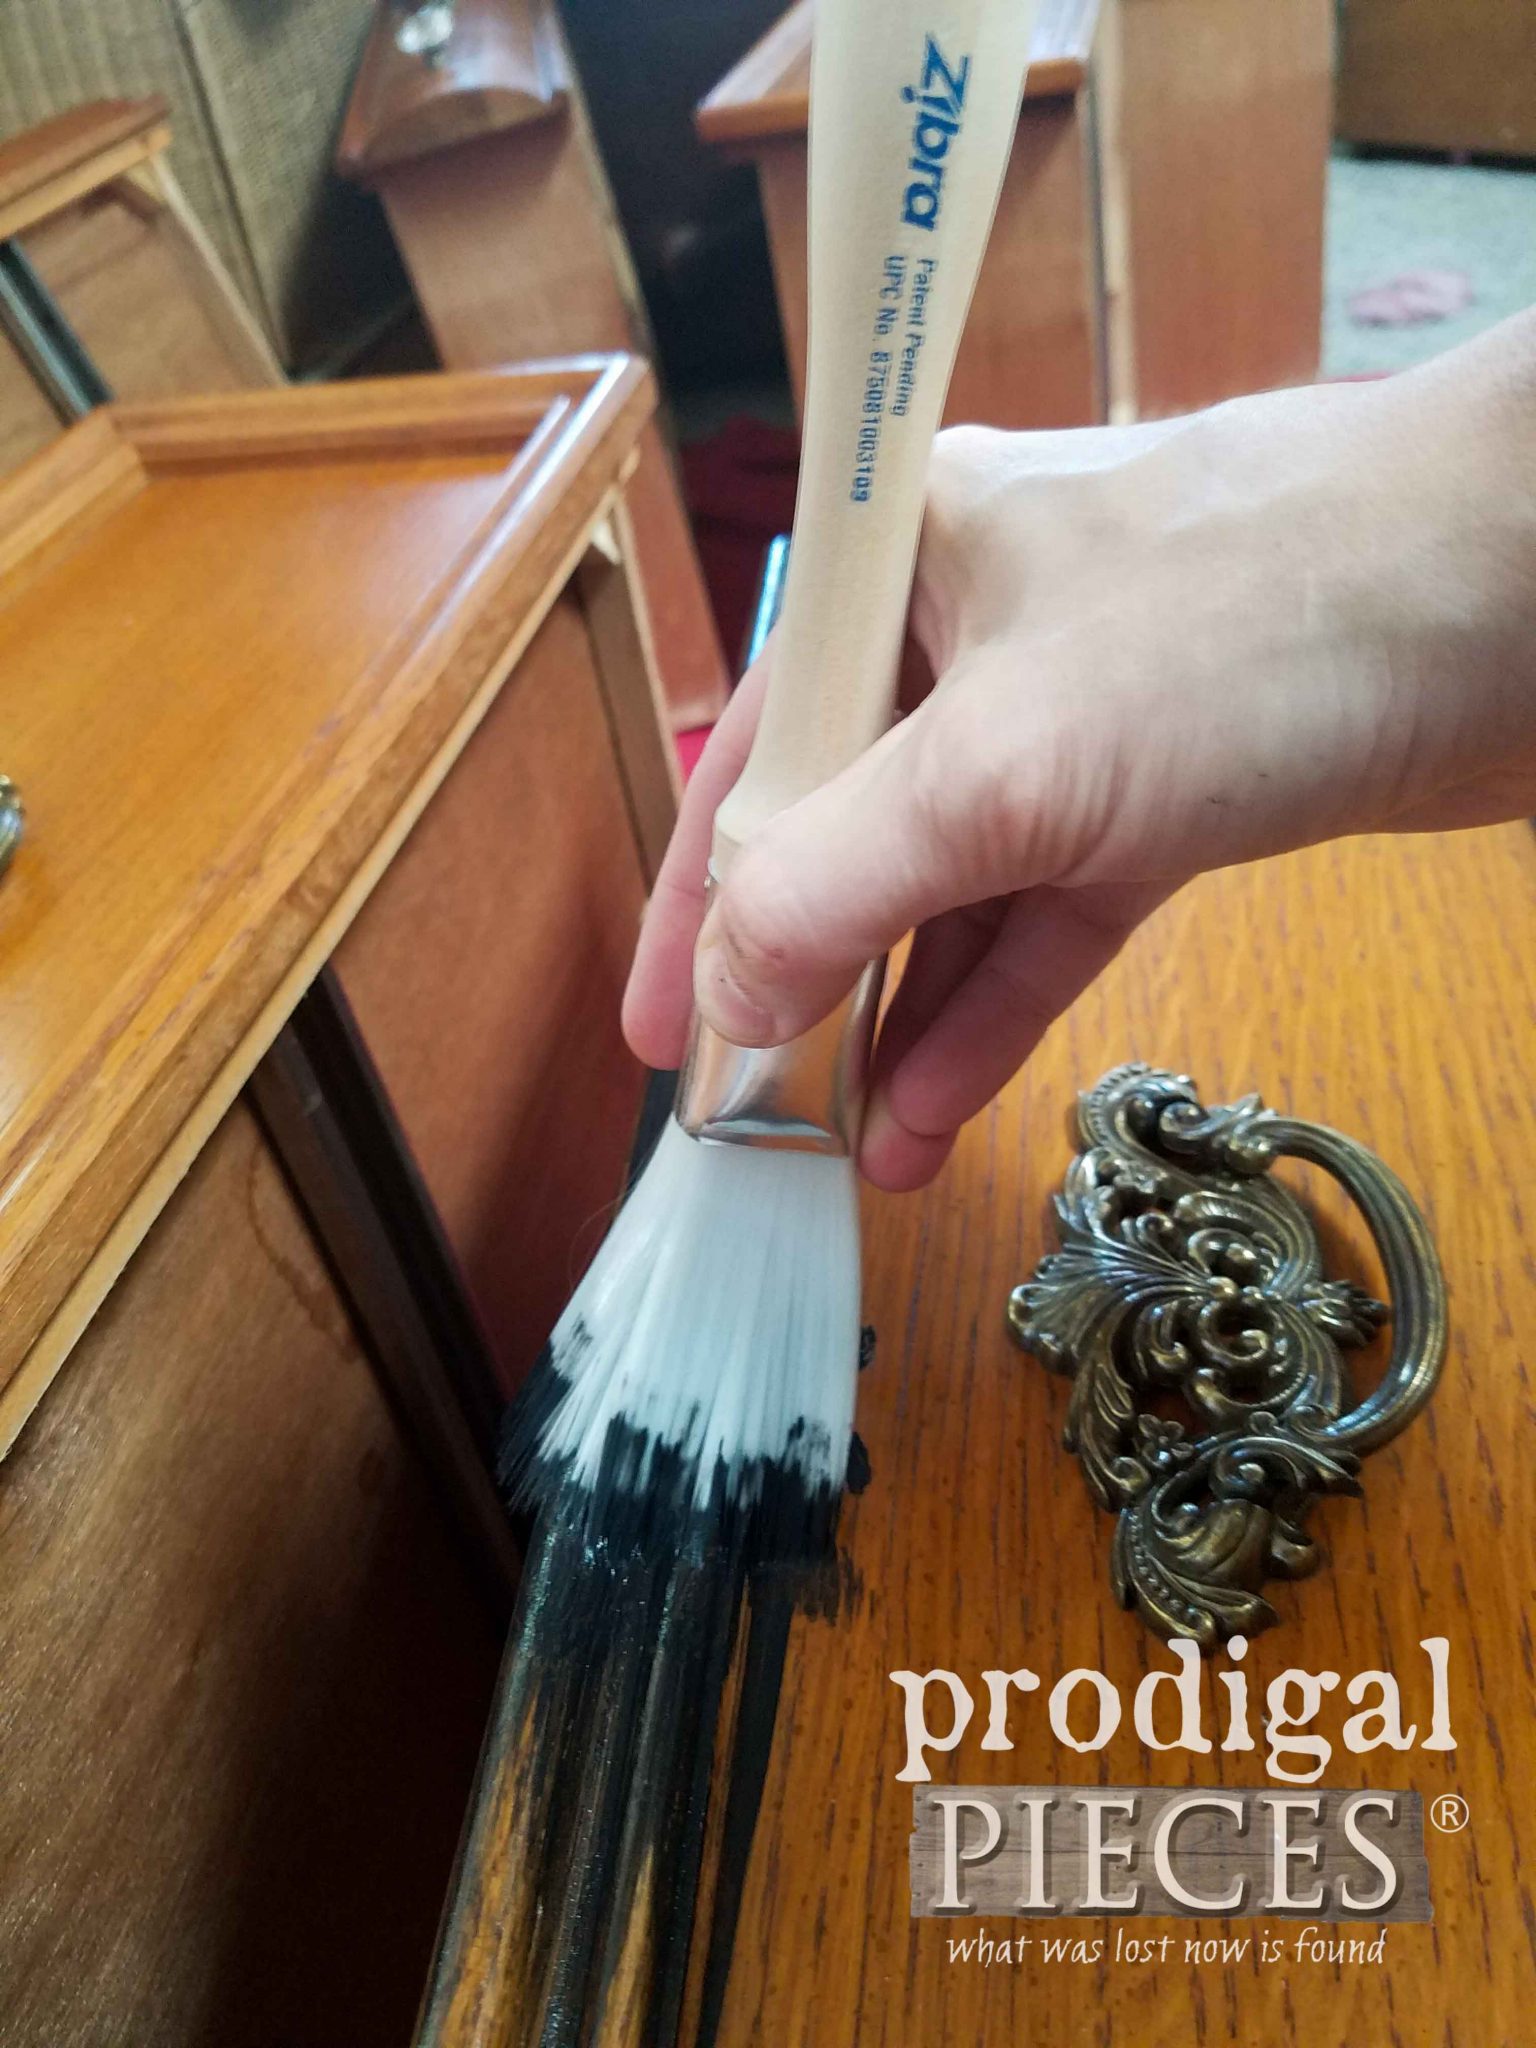
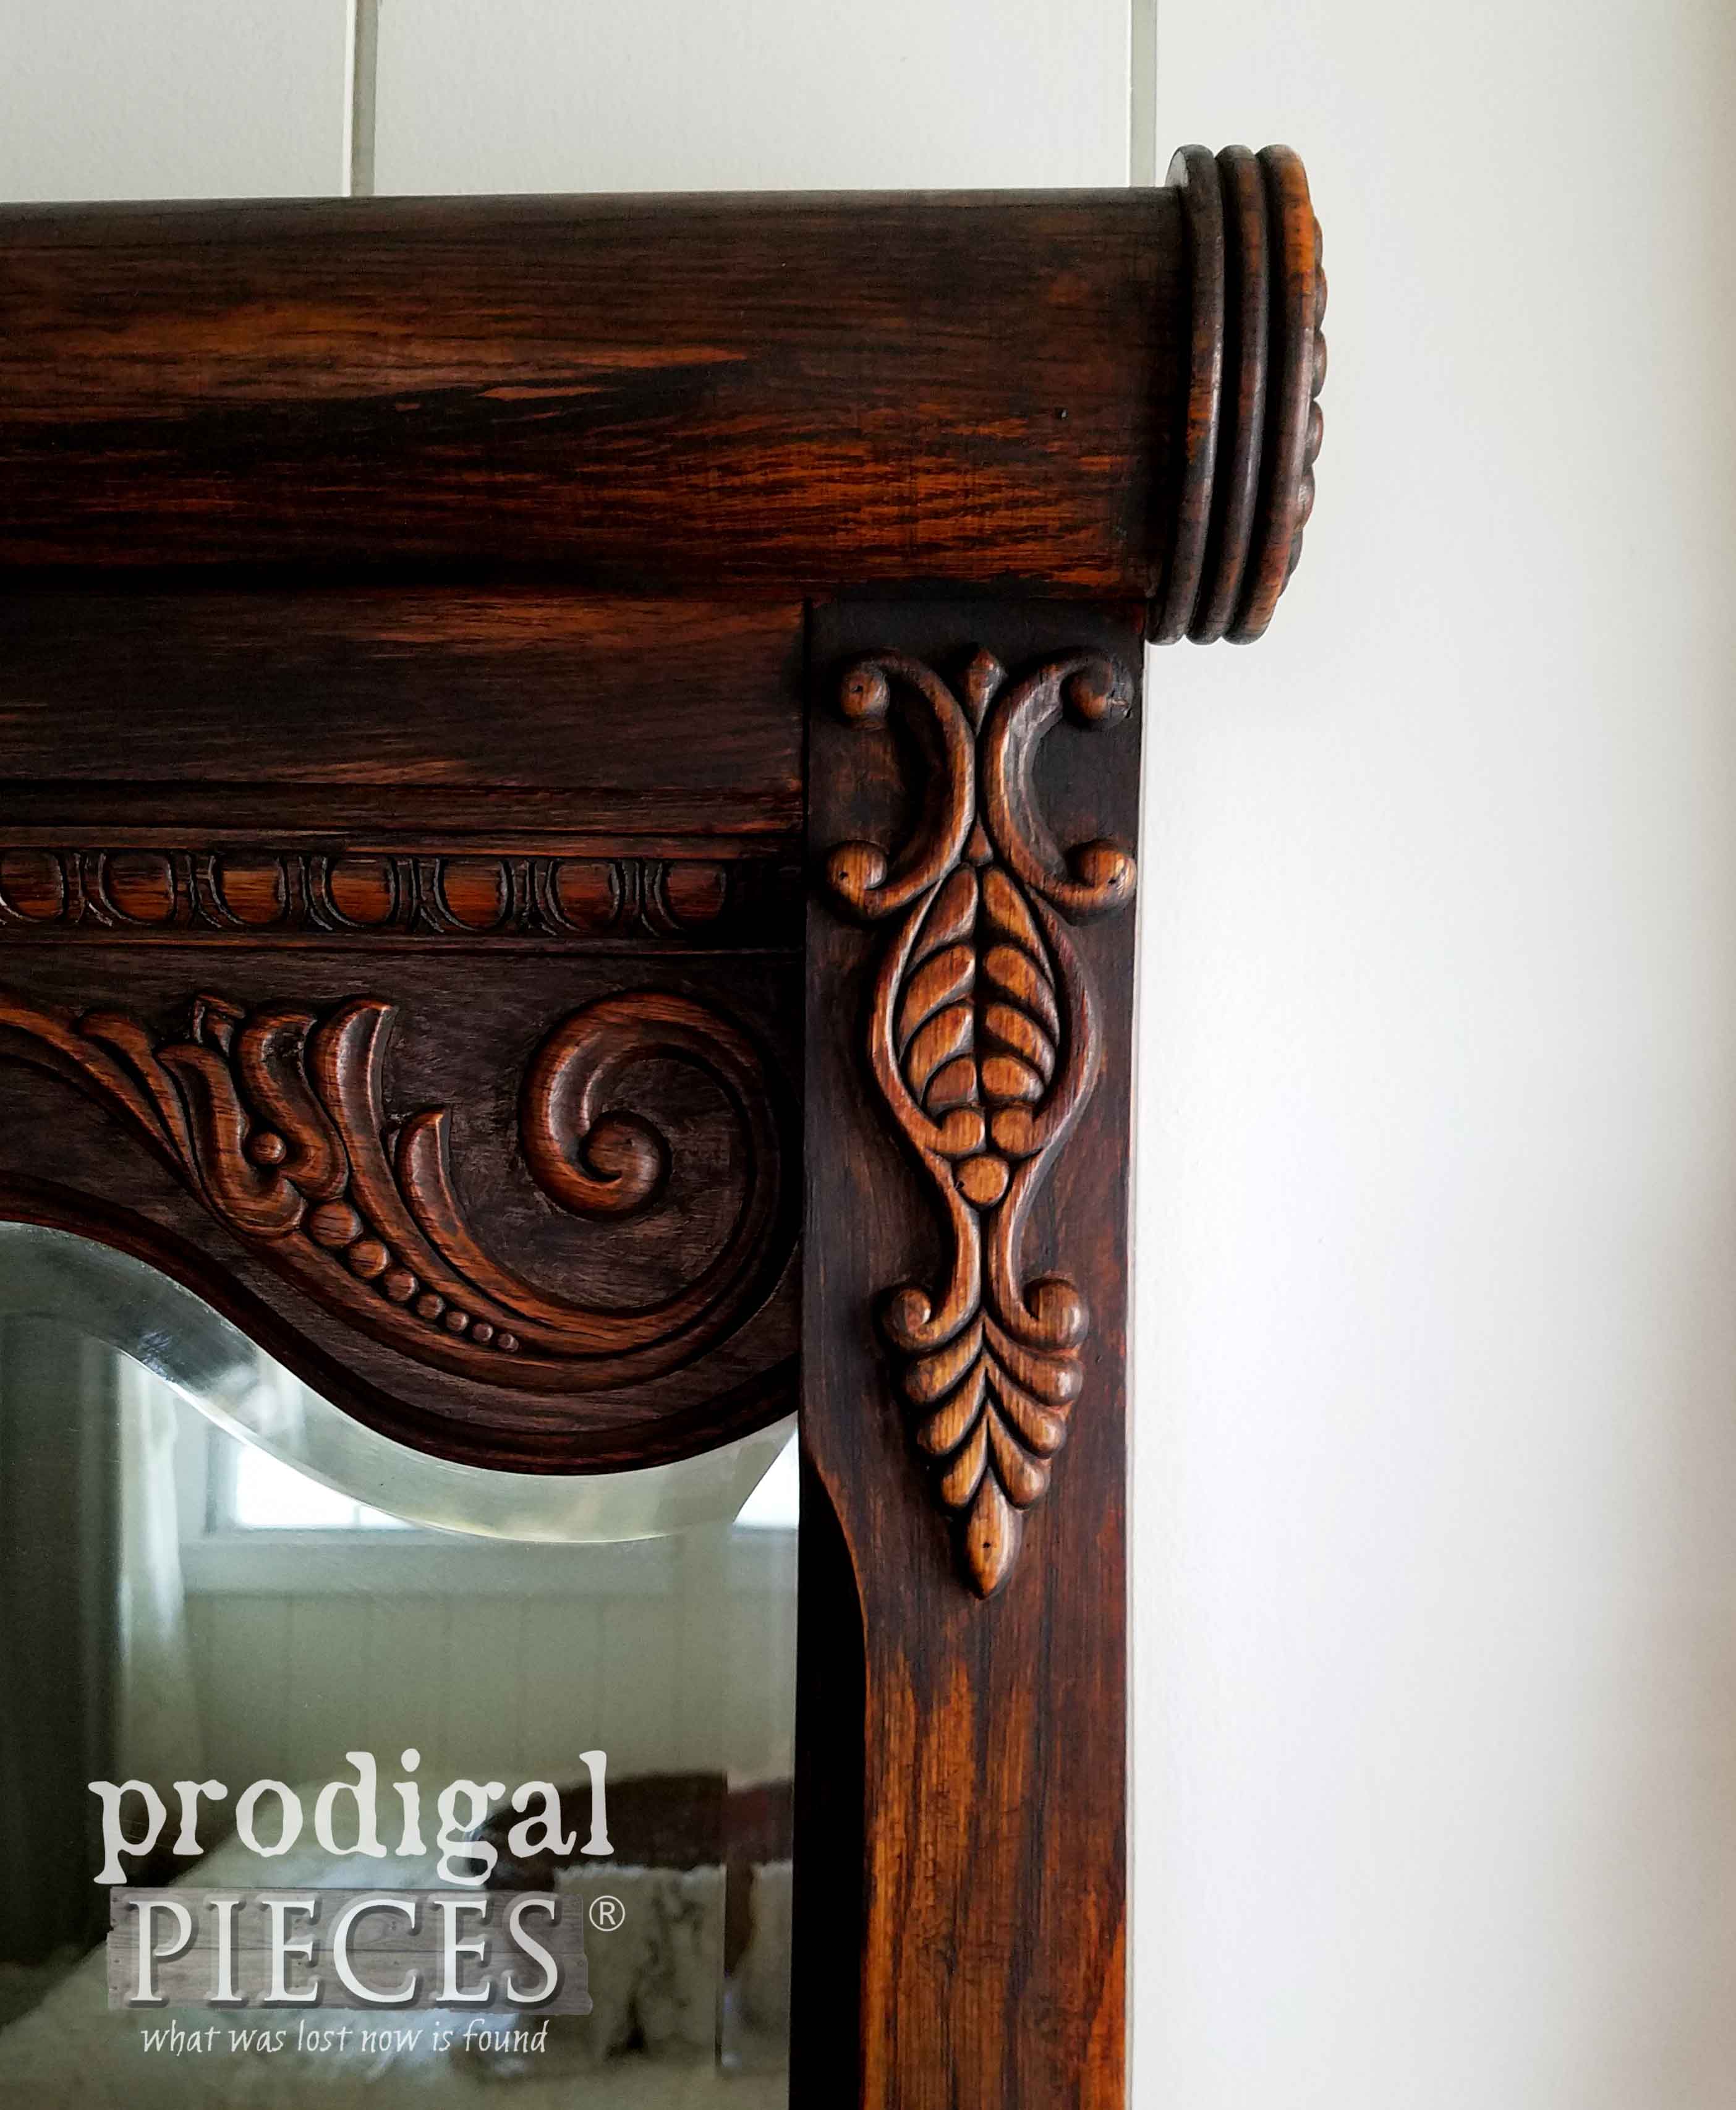
First, I begin by wiping everything down to get a clean surface to start on, then the fun begins! I tackle the mirror and all its ornate details. Why? This brush allows me to cut-in the mirror easy-peasy with no tape and fill in all those nooks and crannies.
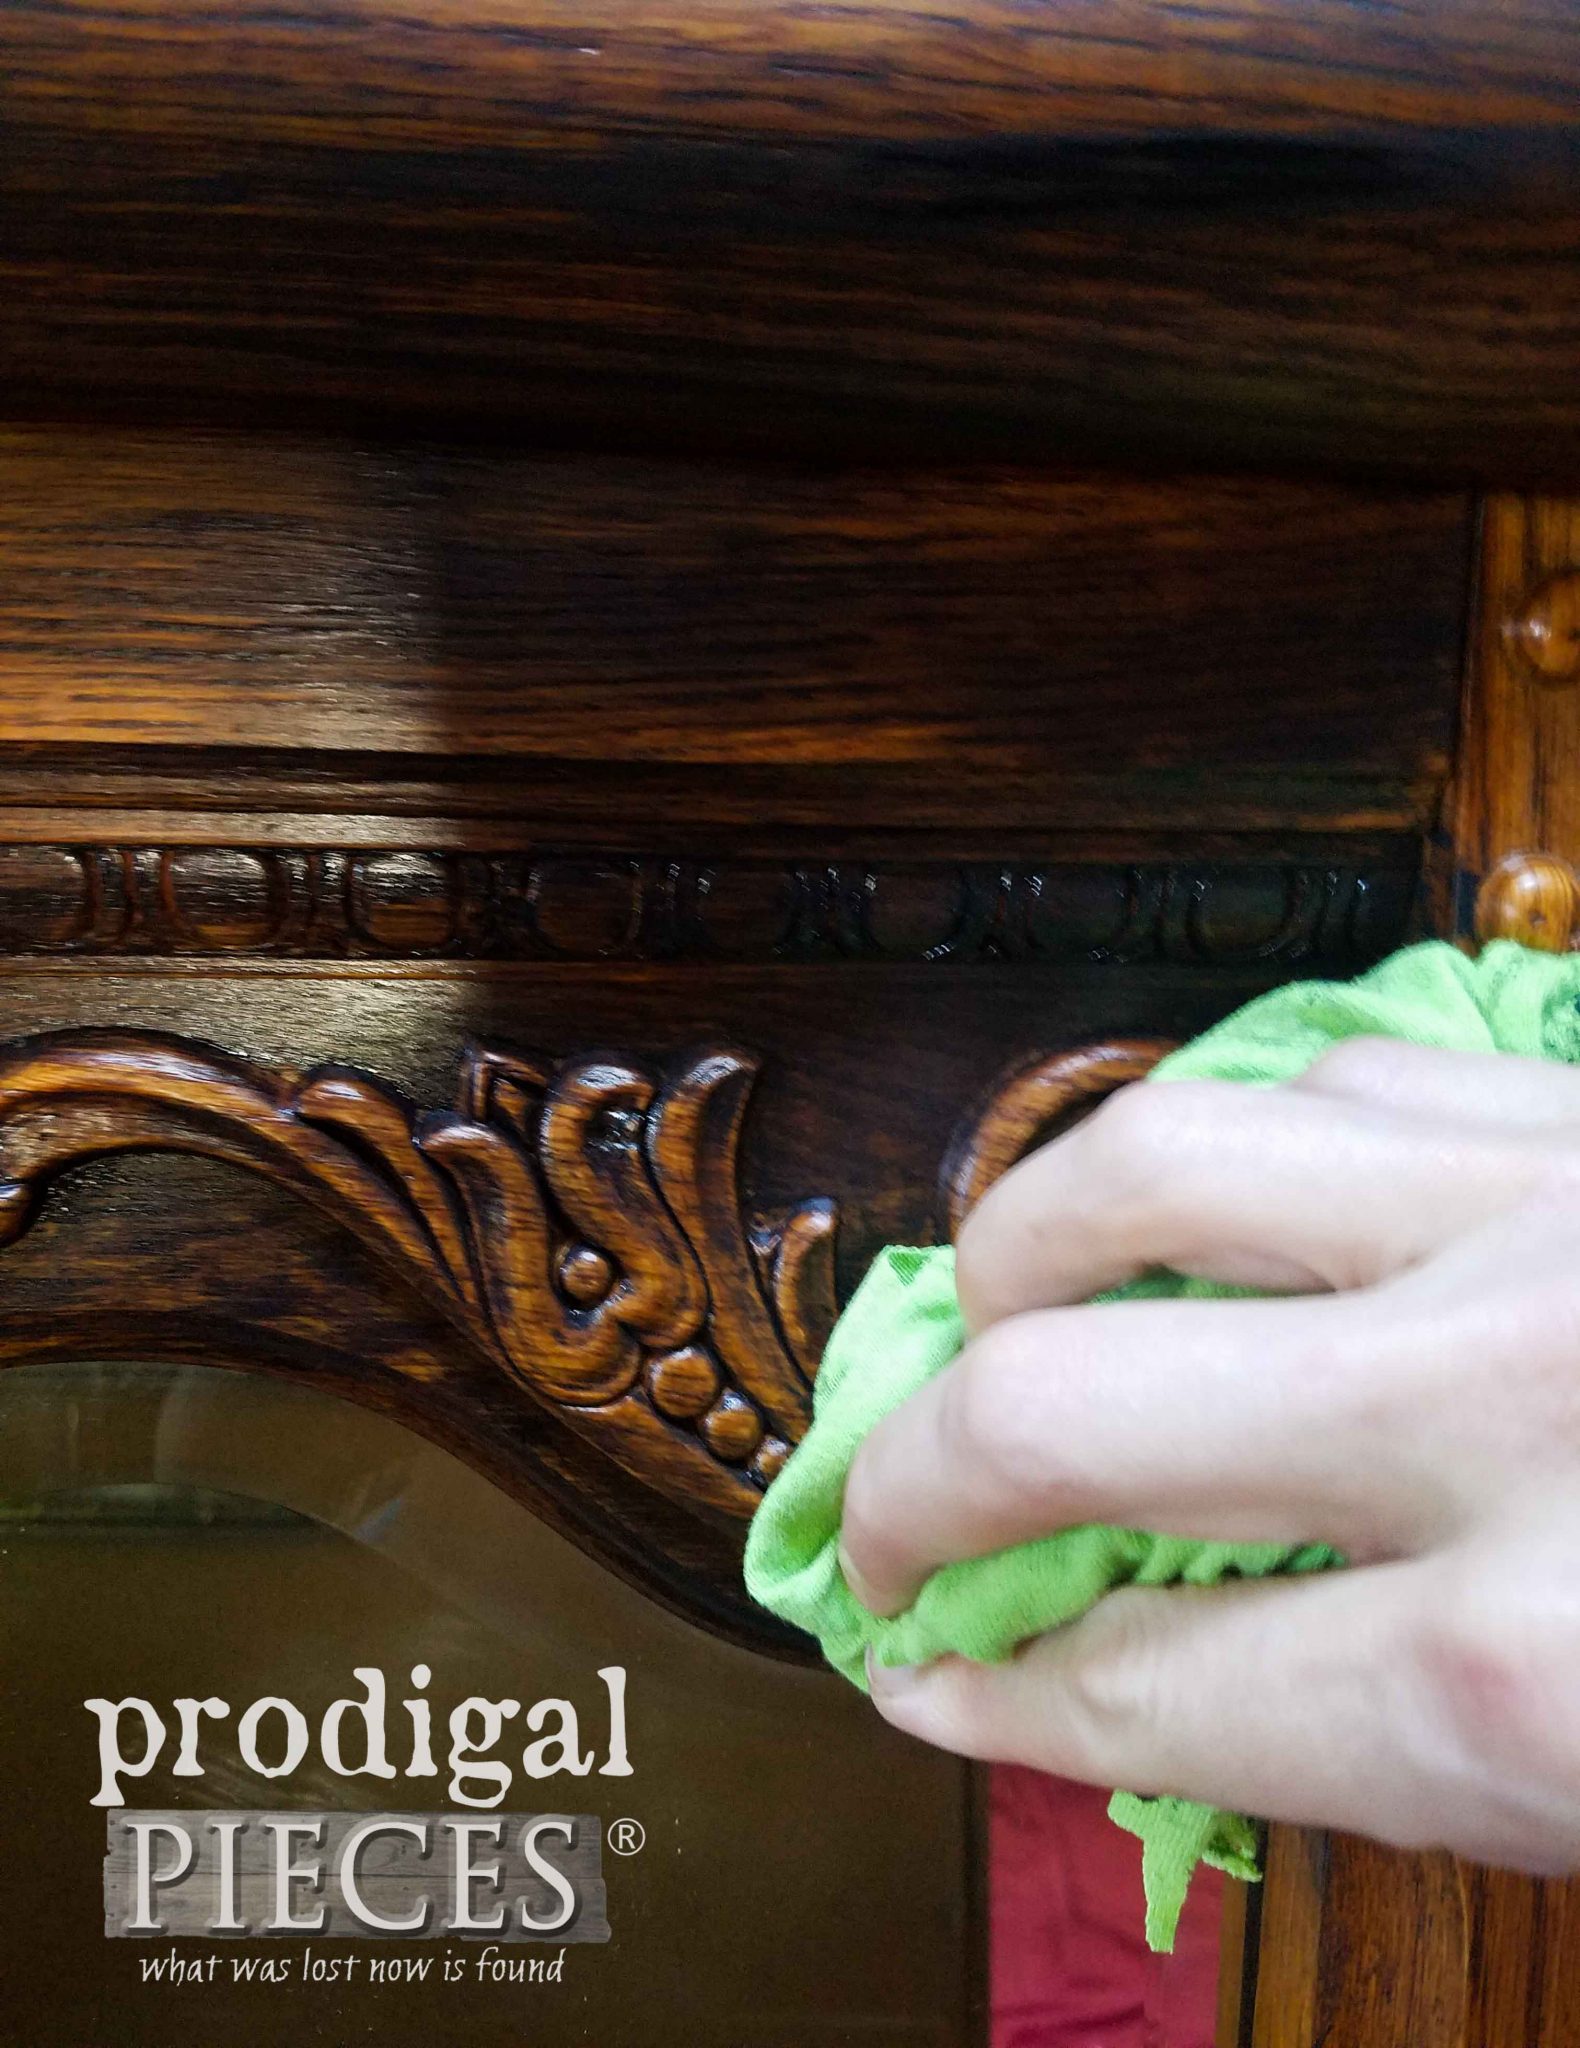
Then, working in small batches, I brush on a light coat and wipe off excess with a soft cloth. This leaves behind the black to highlight the wood. Kinda like a glazing as I’ve shown in these posts, but with more of a presence.
UP NEXT
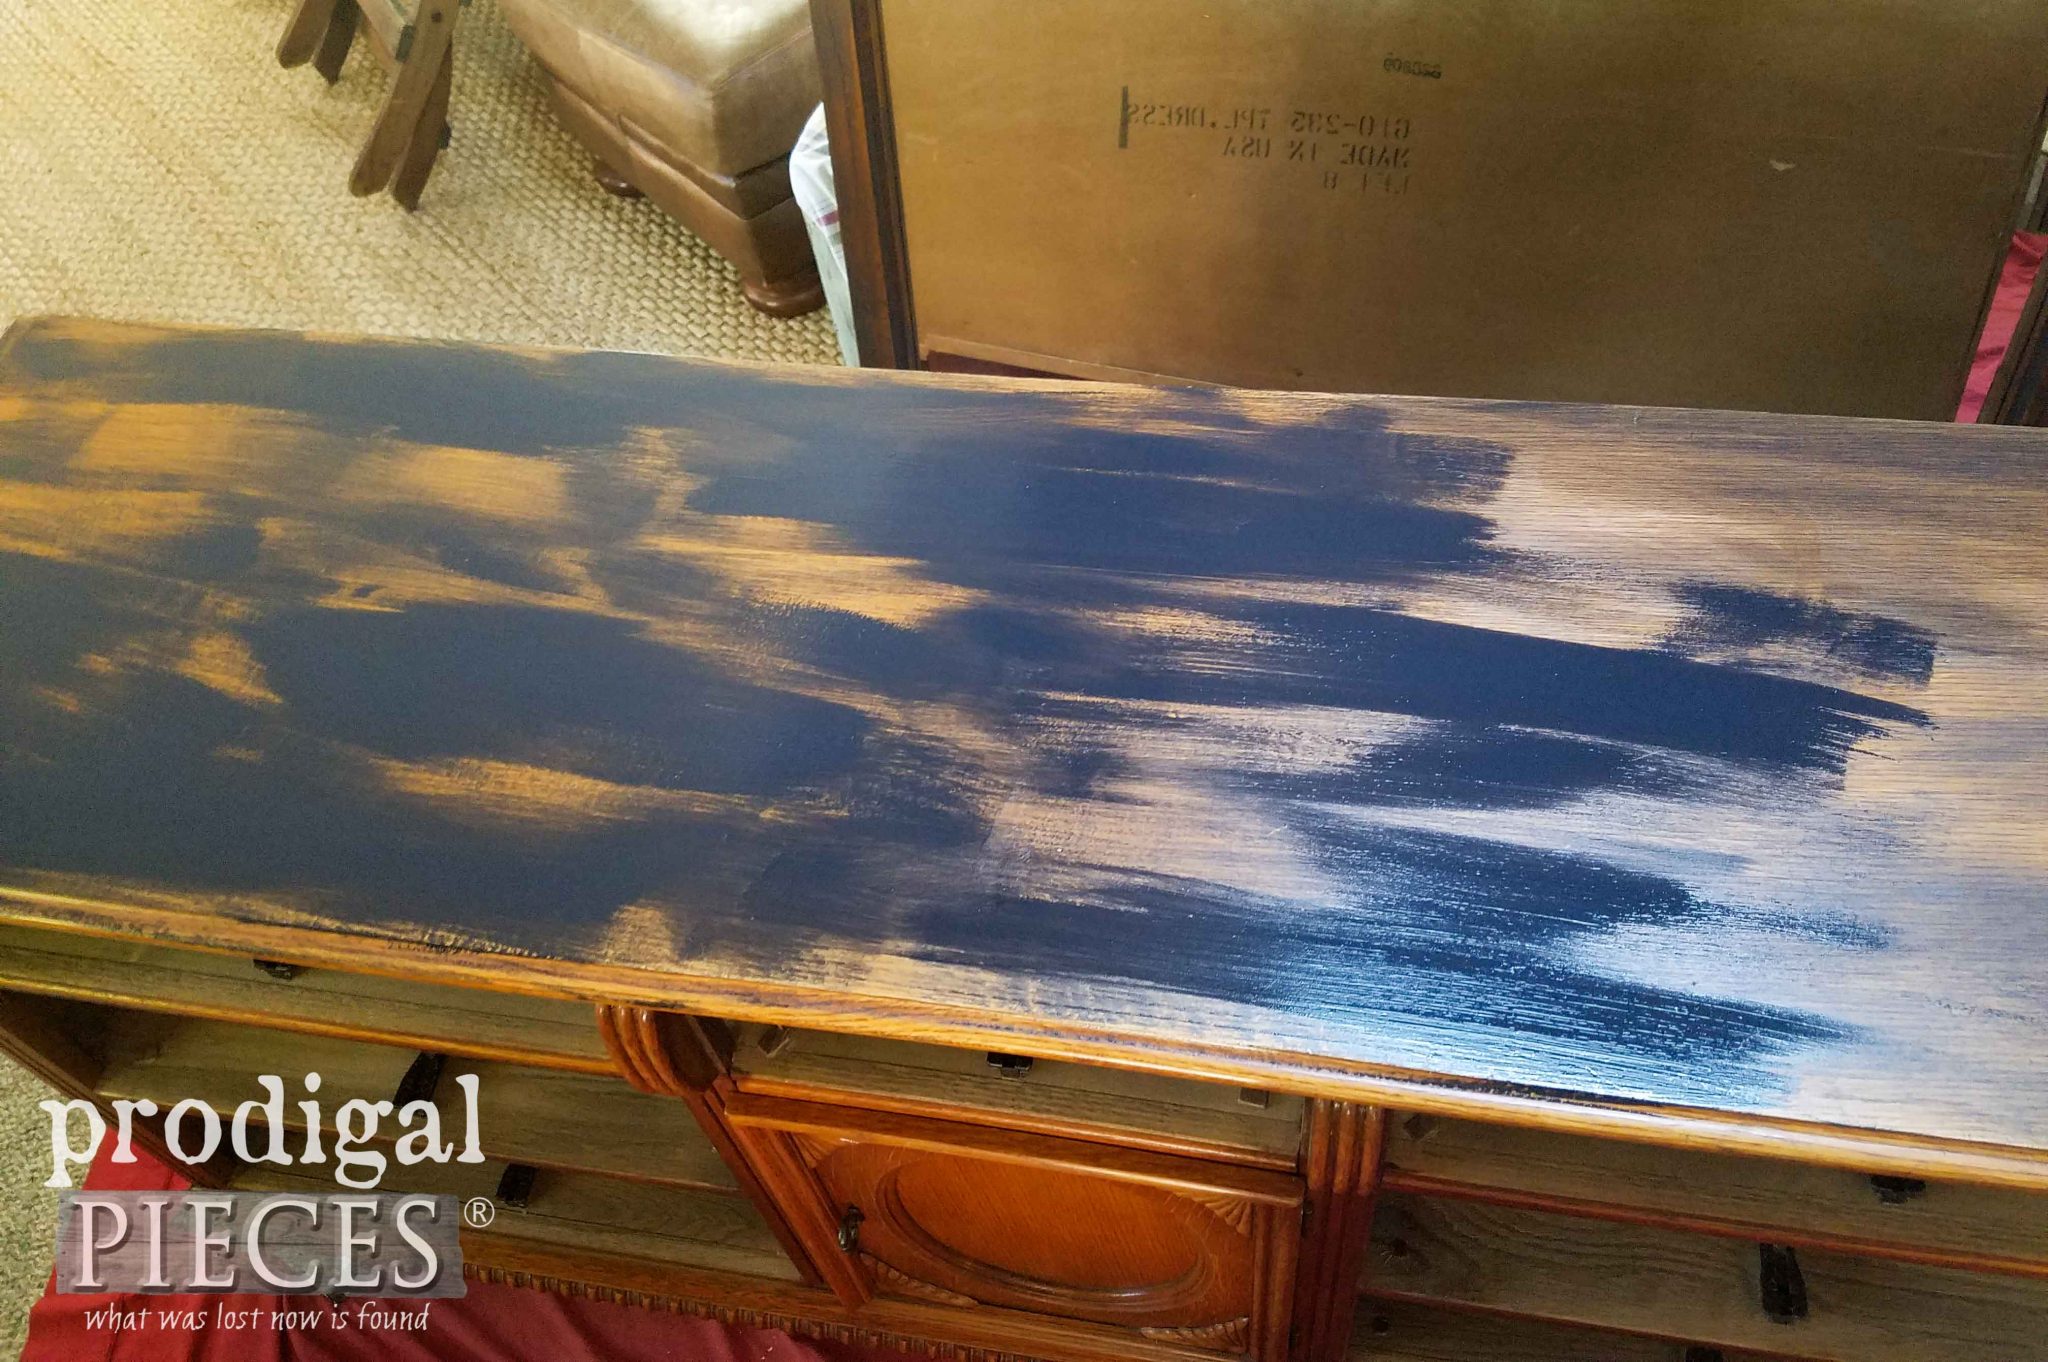
Next, you are going to continue this process over the entire piece.
Looking like a hot mess, right? Stay with me… You don’t want to coat the entire surface, but just get enough paint on that you can work it around. Again, work in small batches. Wipe in direction of the grain and blend until it all flows together.
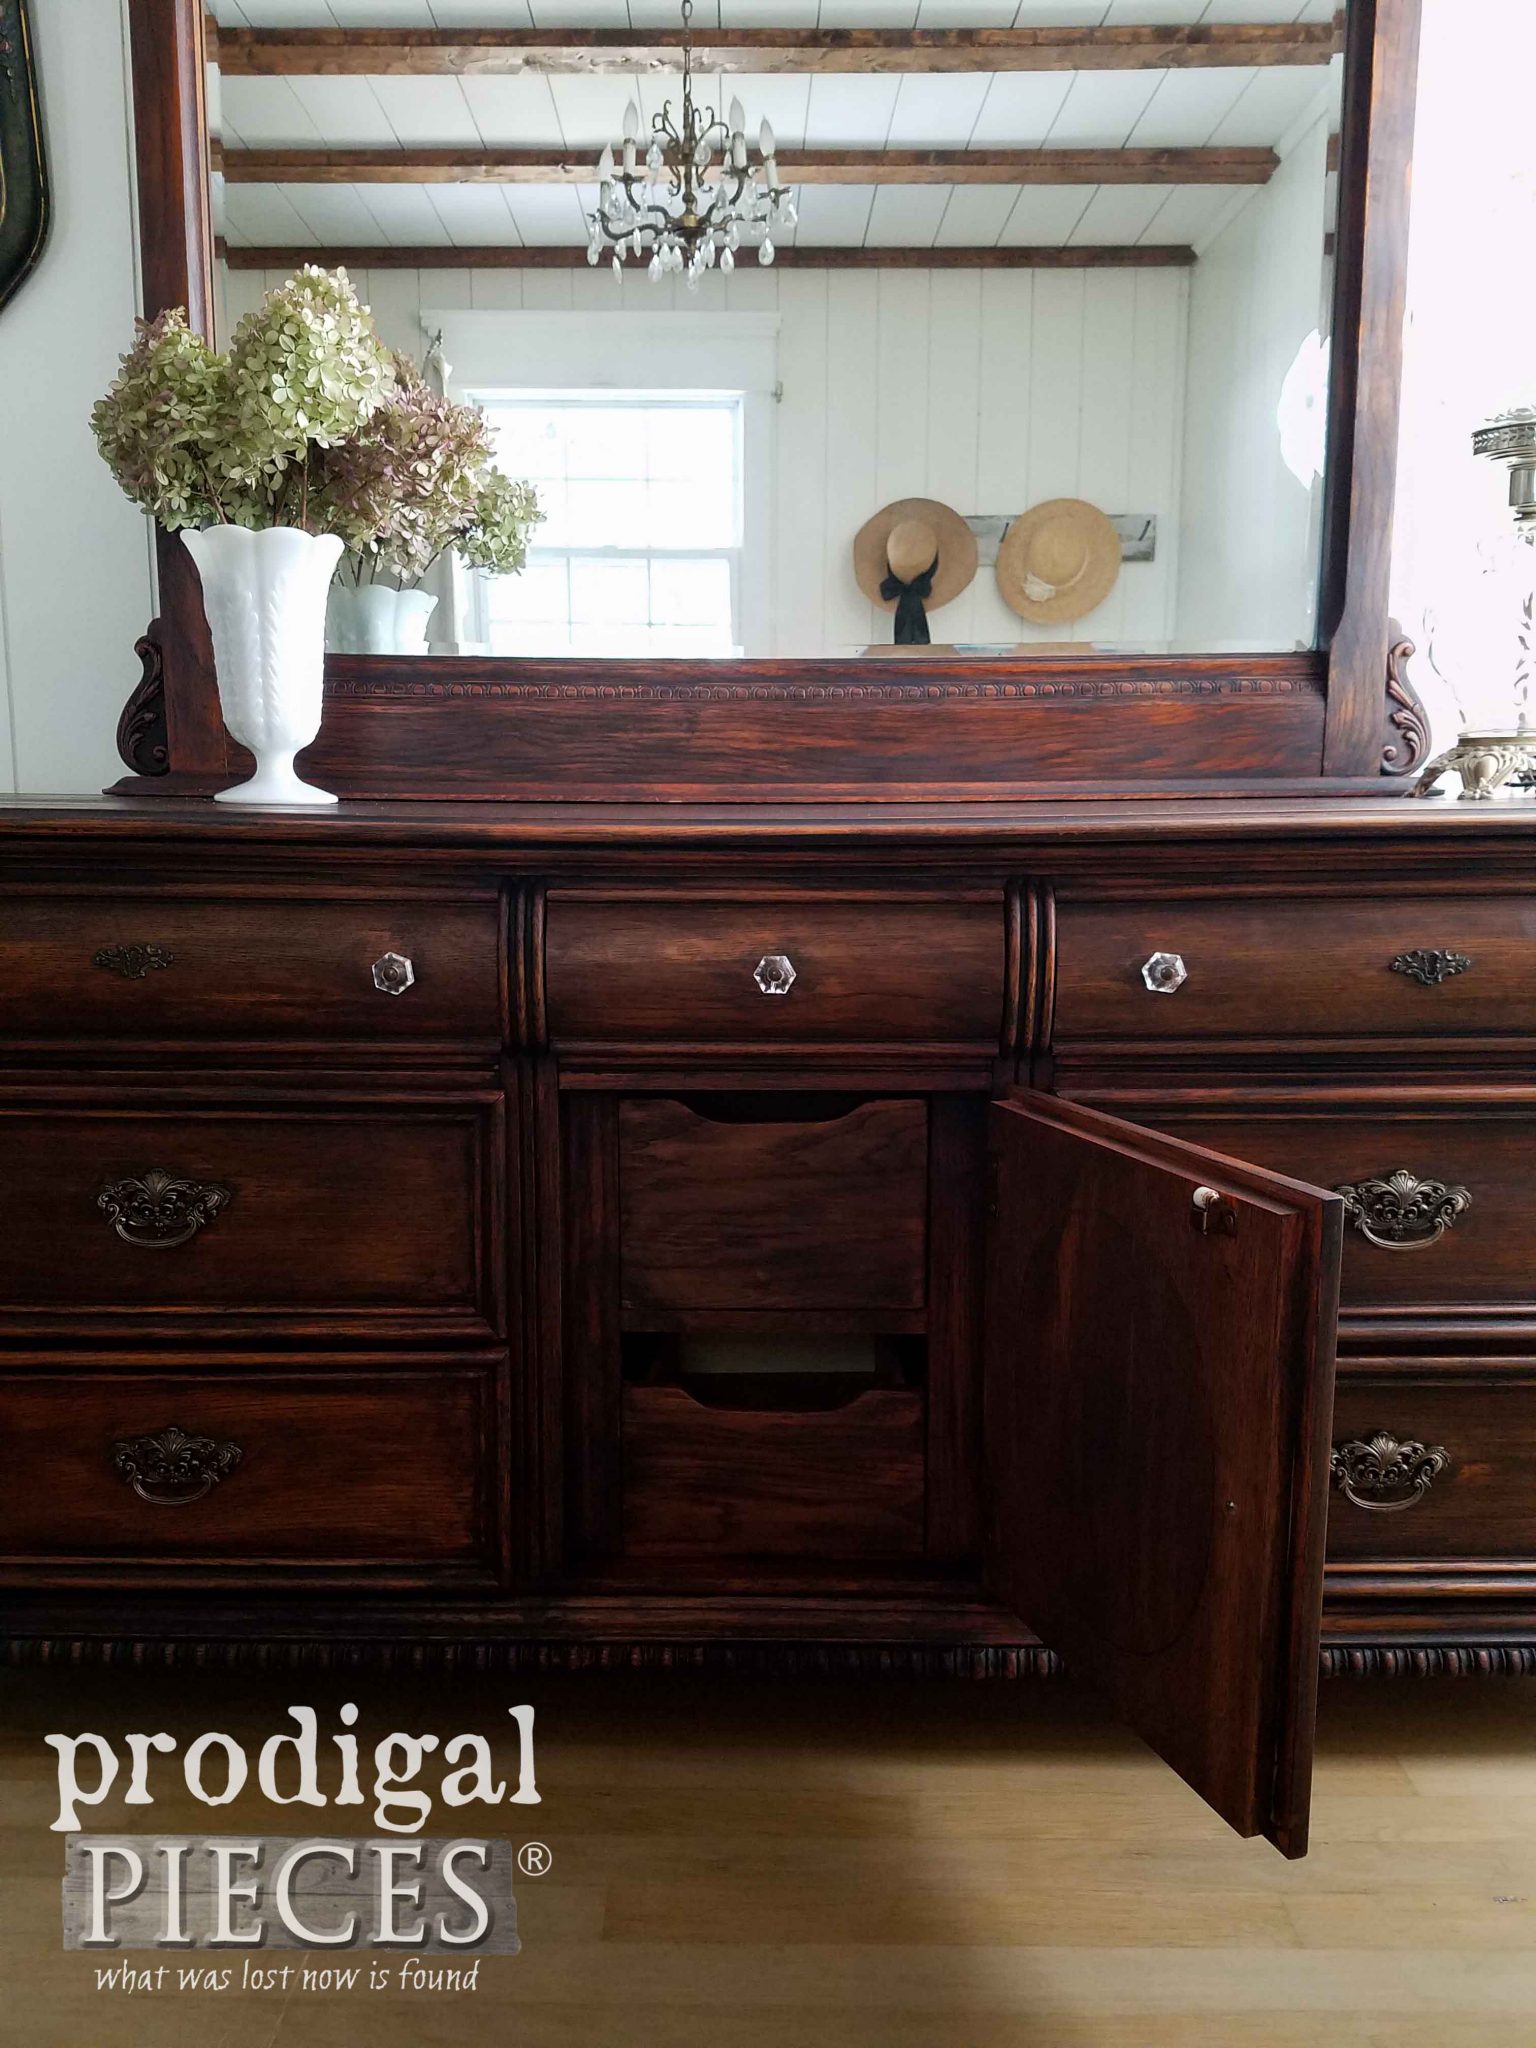
Now for the drawers. This set has a mix of acrylic and brass pulls and I leave them right where they are. Likewise, I tackle the drawer fronts. It allows me to catch the trim and fill in nicely around each pull. I work one drawer at a time, brushing paint on and then using the cloth to remove excess.
This all goes very quickly and I’m done in no-time. You could stop right there. However, if you prefer a topcoat like I did, you can use a black wax to seal it all in. Use either a soft cotton cloth to apply and remove excess with buffing. Finally, let cure and you’re done!
THE REVEAL
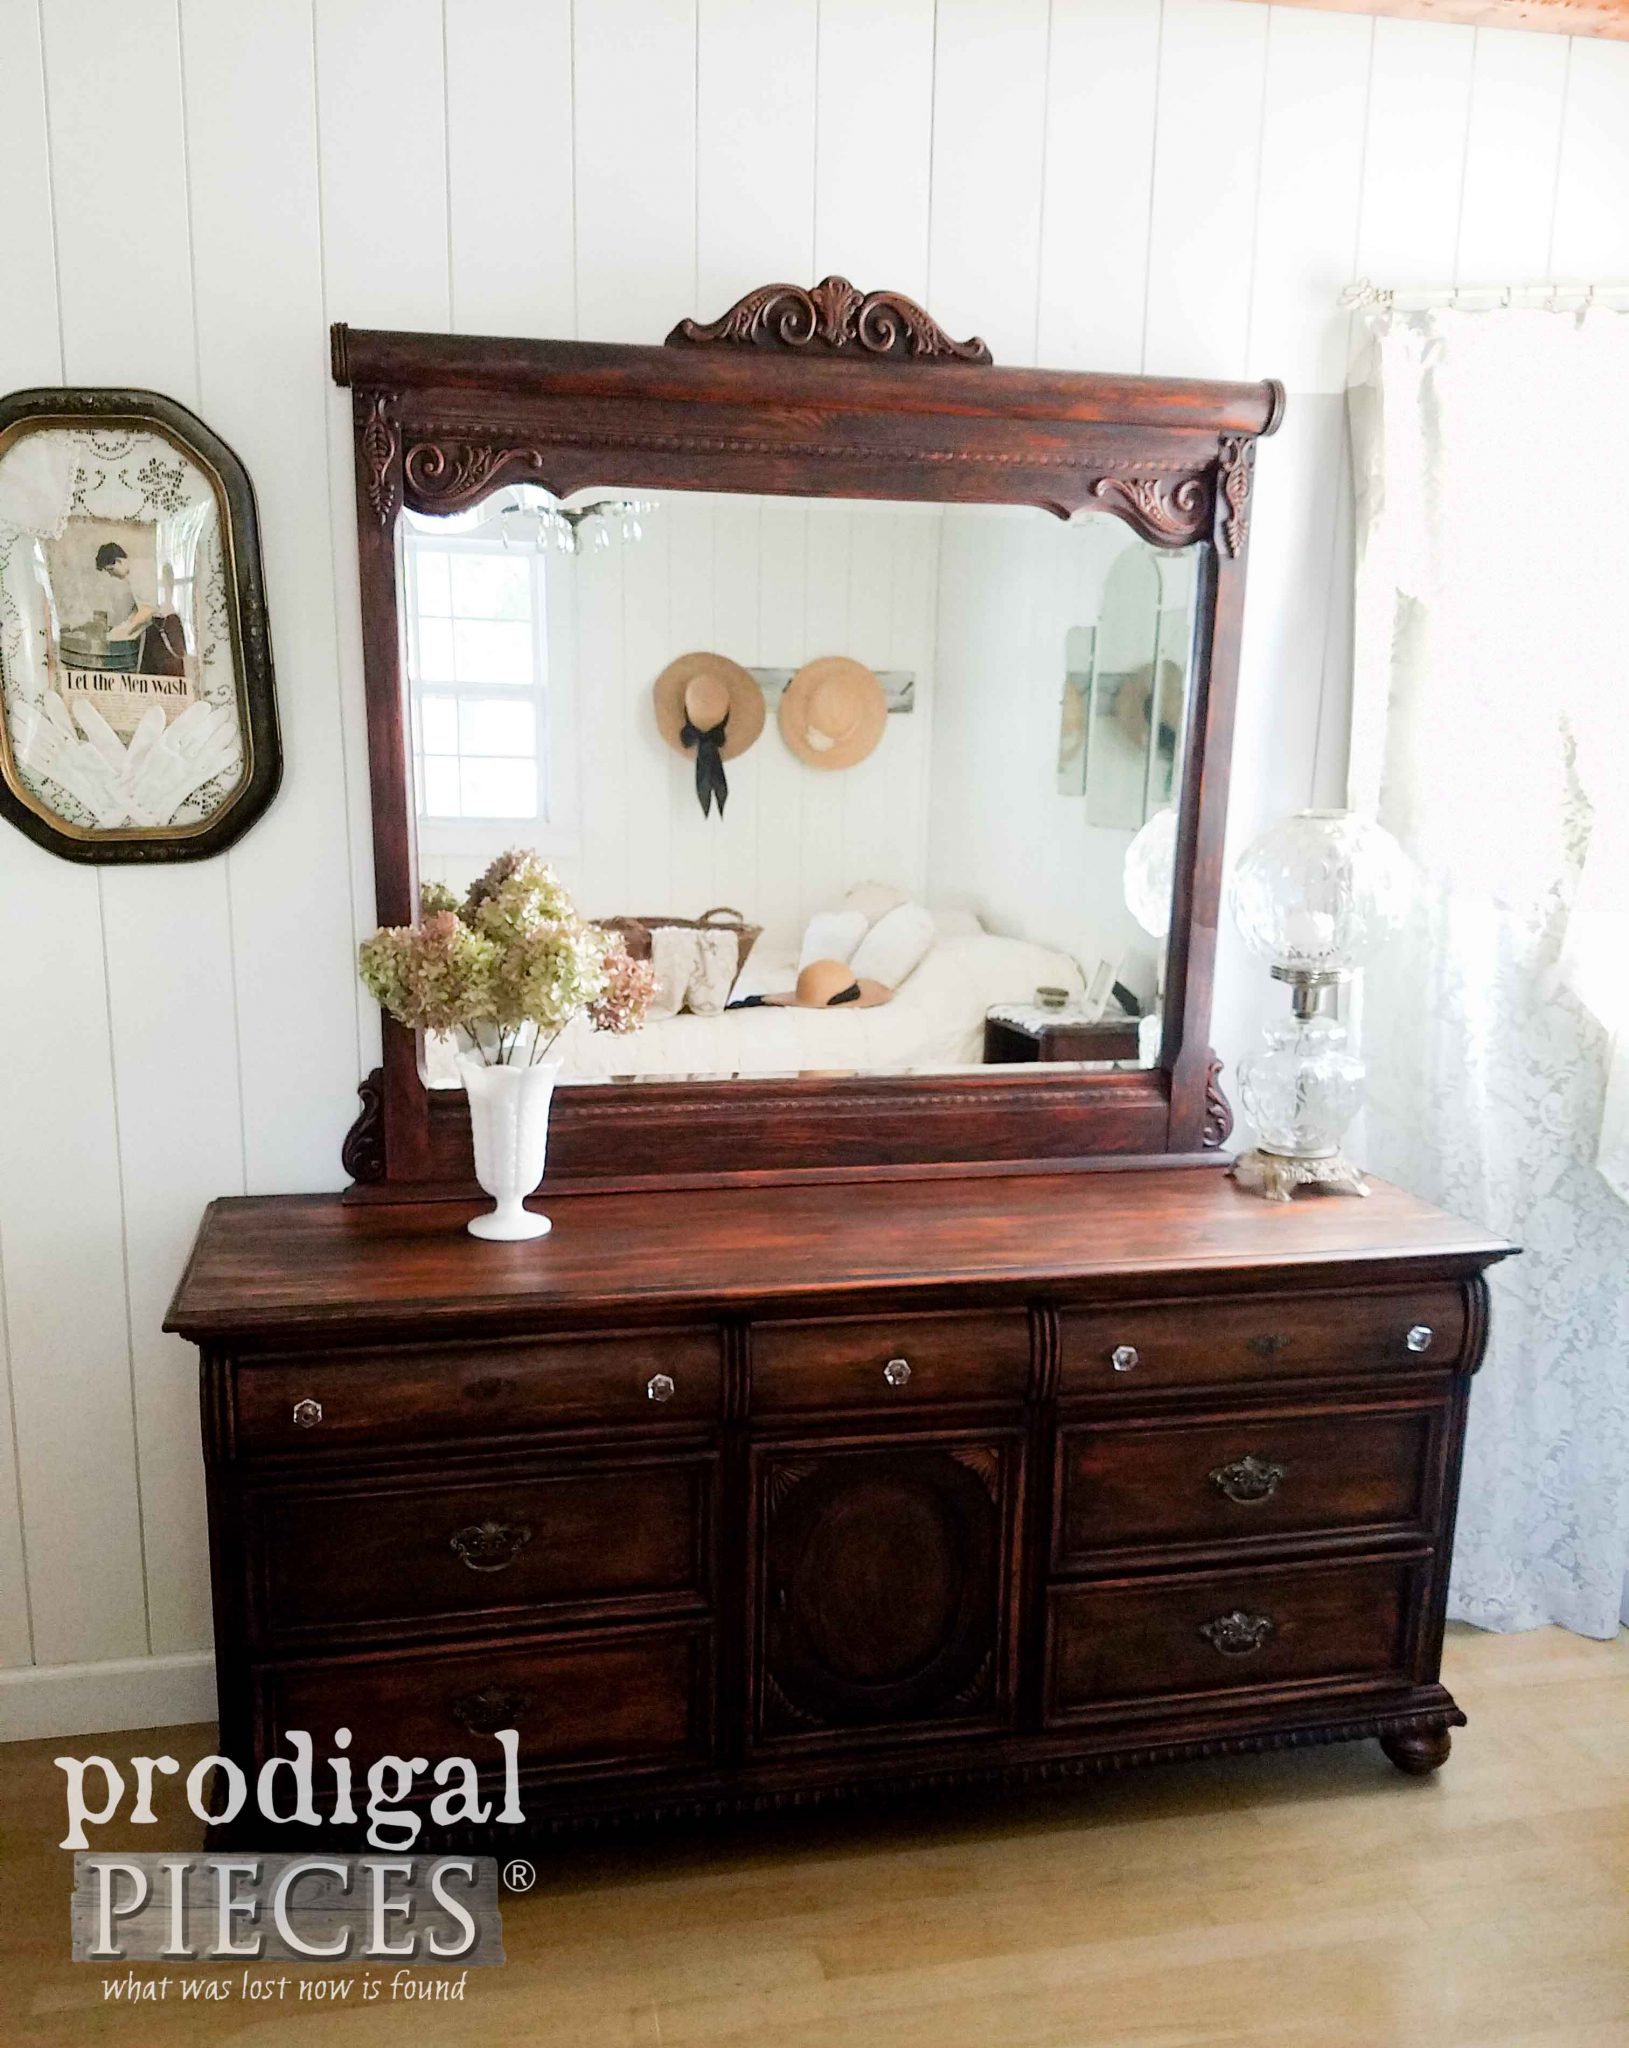
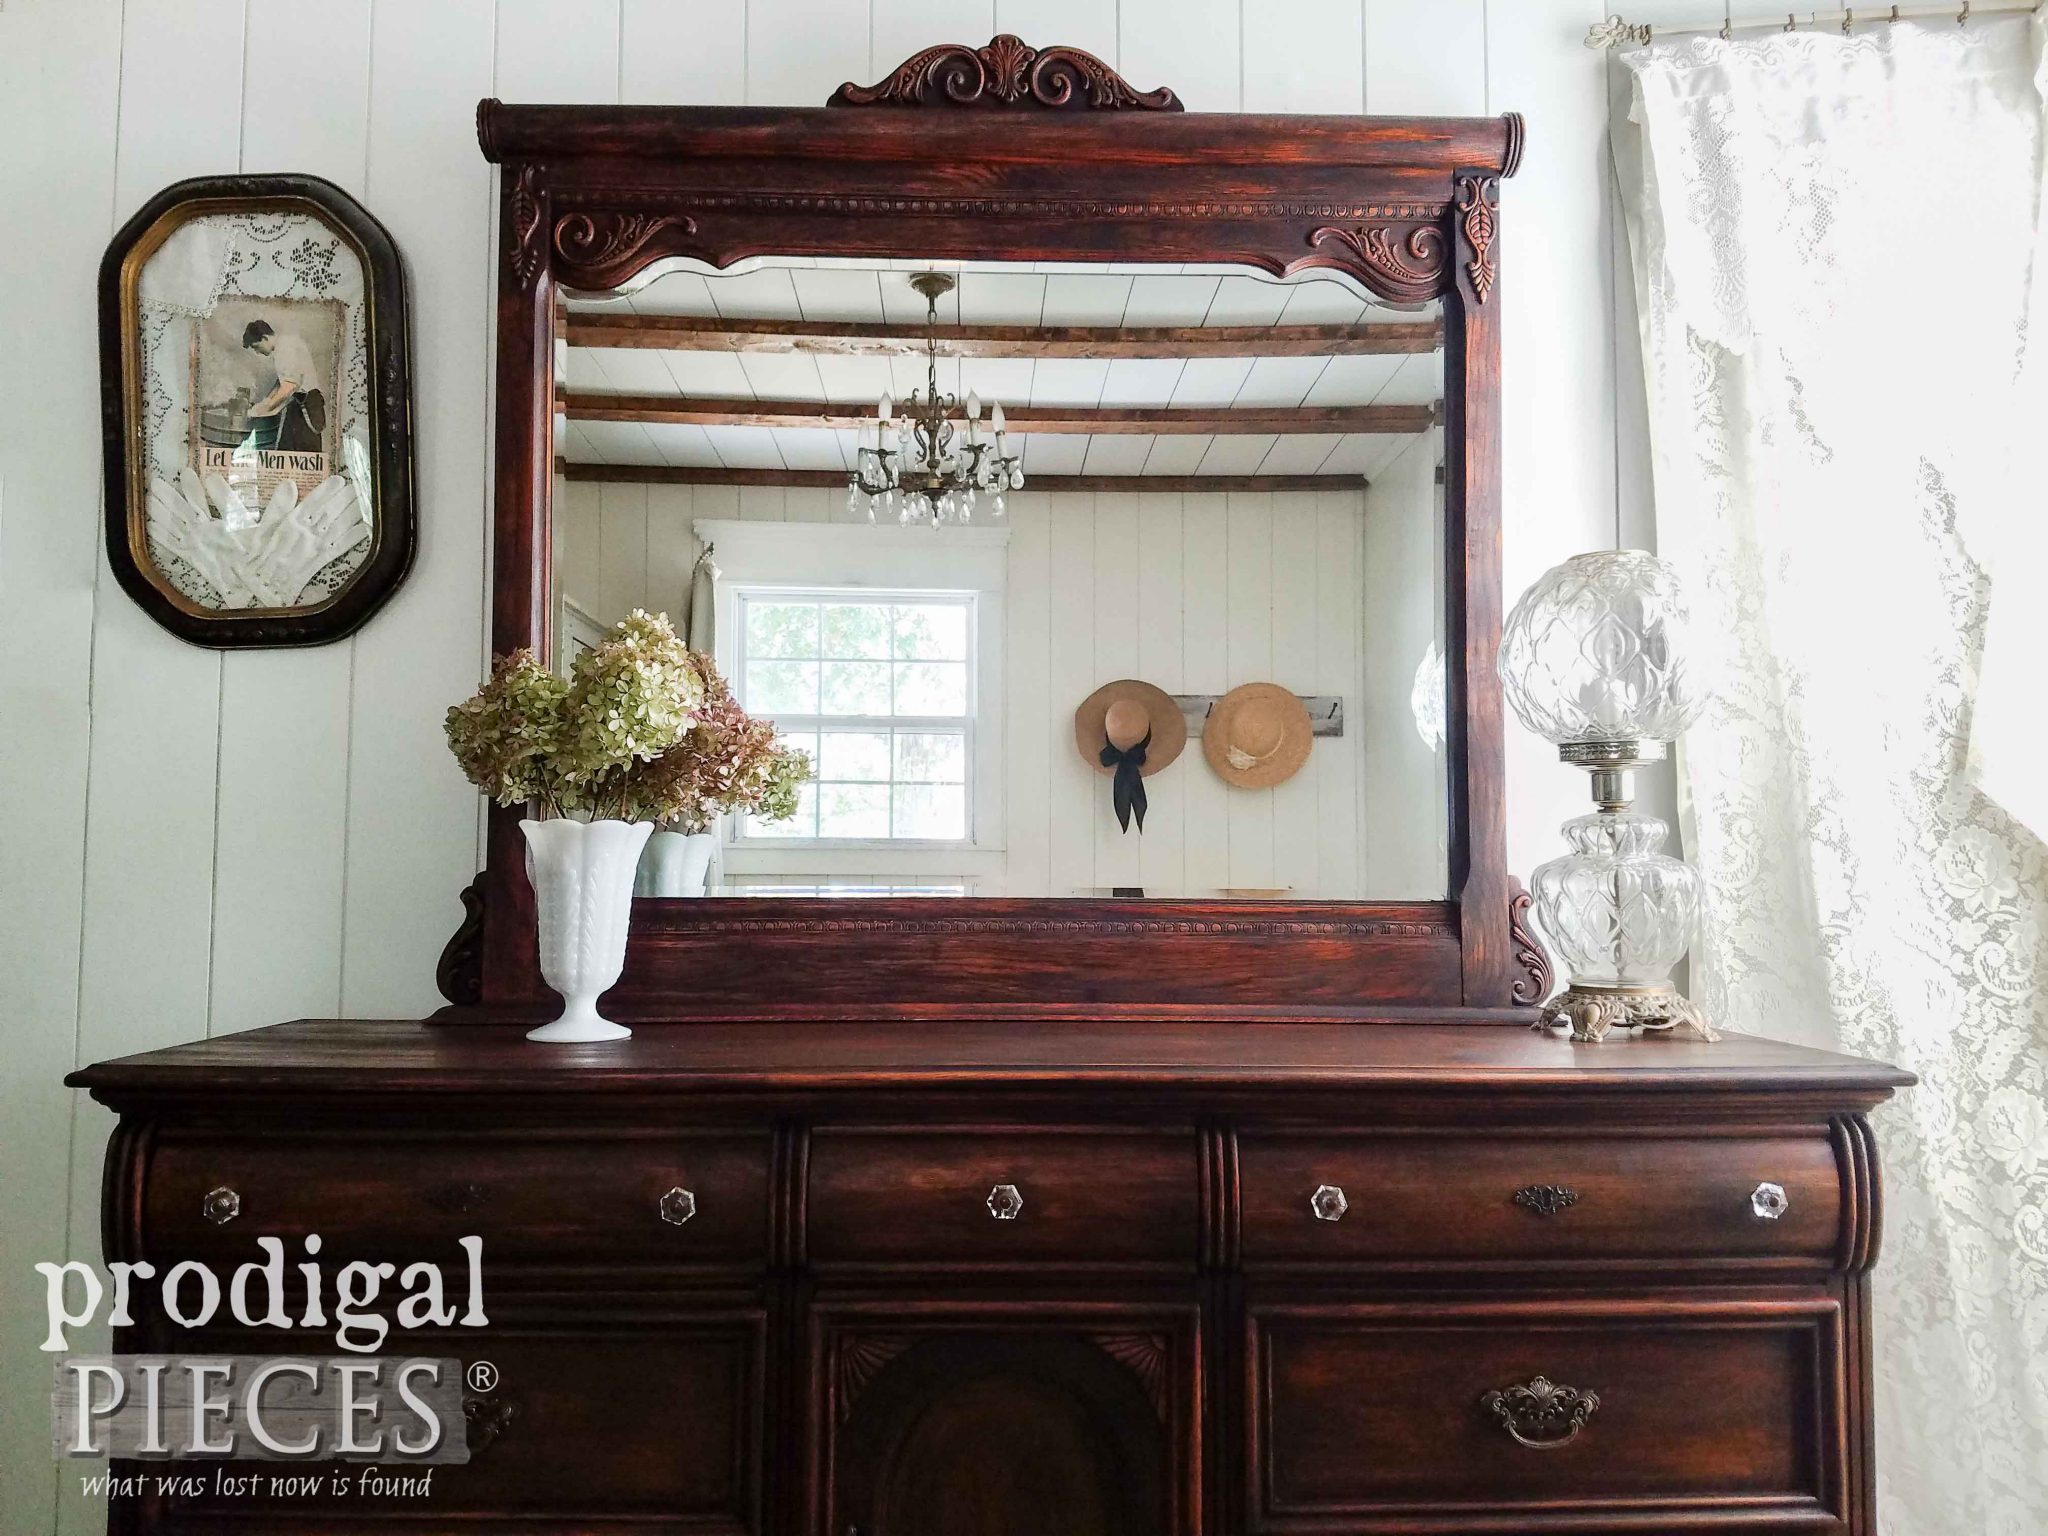
Finally, this piece now has a whole new vibe to it, doesn’t it? Besides, I didn’t have to do much to it at all.
No sanding, no removing hardware, and no prep work. Could it be any easier? I think not. In addition, and equally important is that you could do this with any color of paint for a washed effect. Needless to say, the options are limitless.
Consequently, JC even asked if we could keep it since he loves it that much. Well…that says enough in itself. As much as we’d like to, we don’t need this piece, so it’s yours for the taking in my online shop.
SHARE
Additionally, pin and share this technique for those that want to learn how to easily get updated furniture.
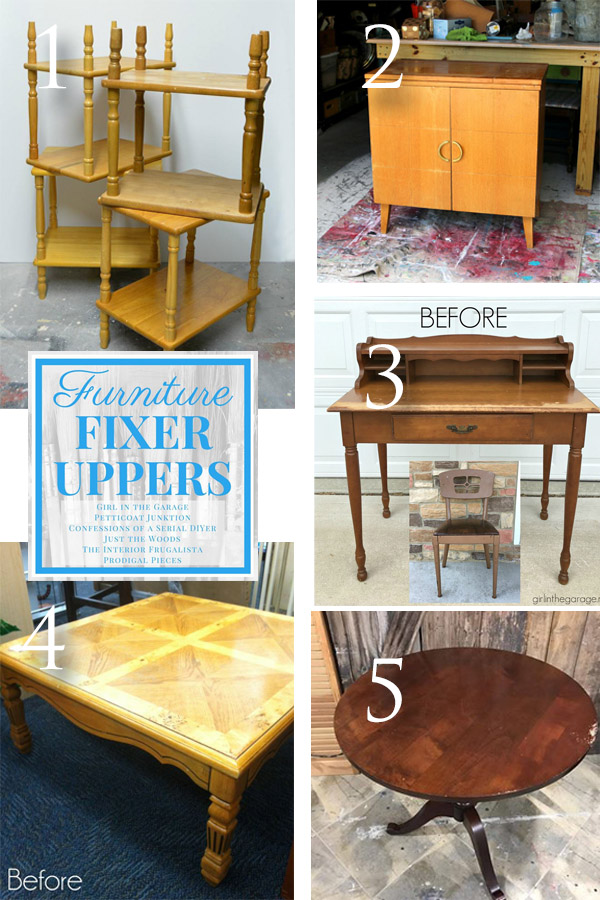
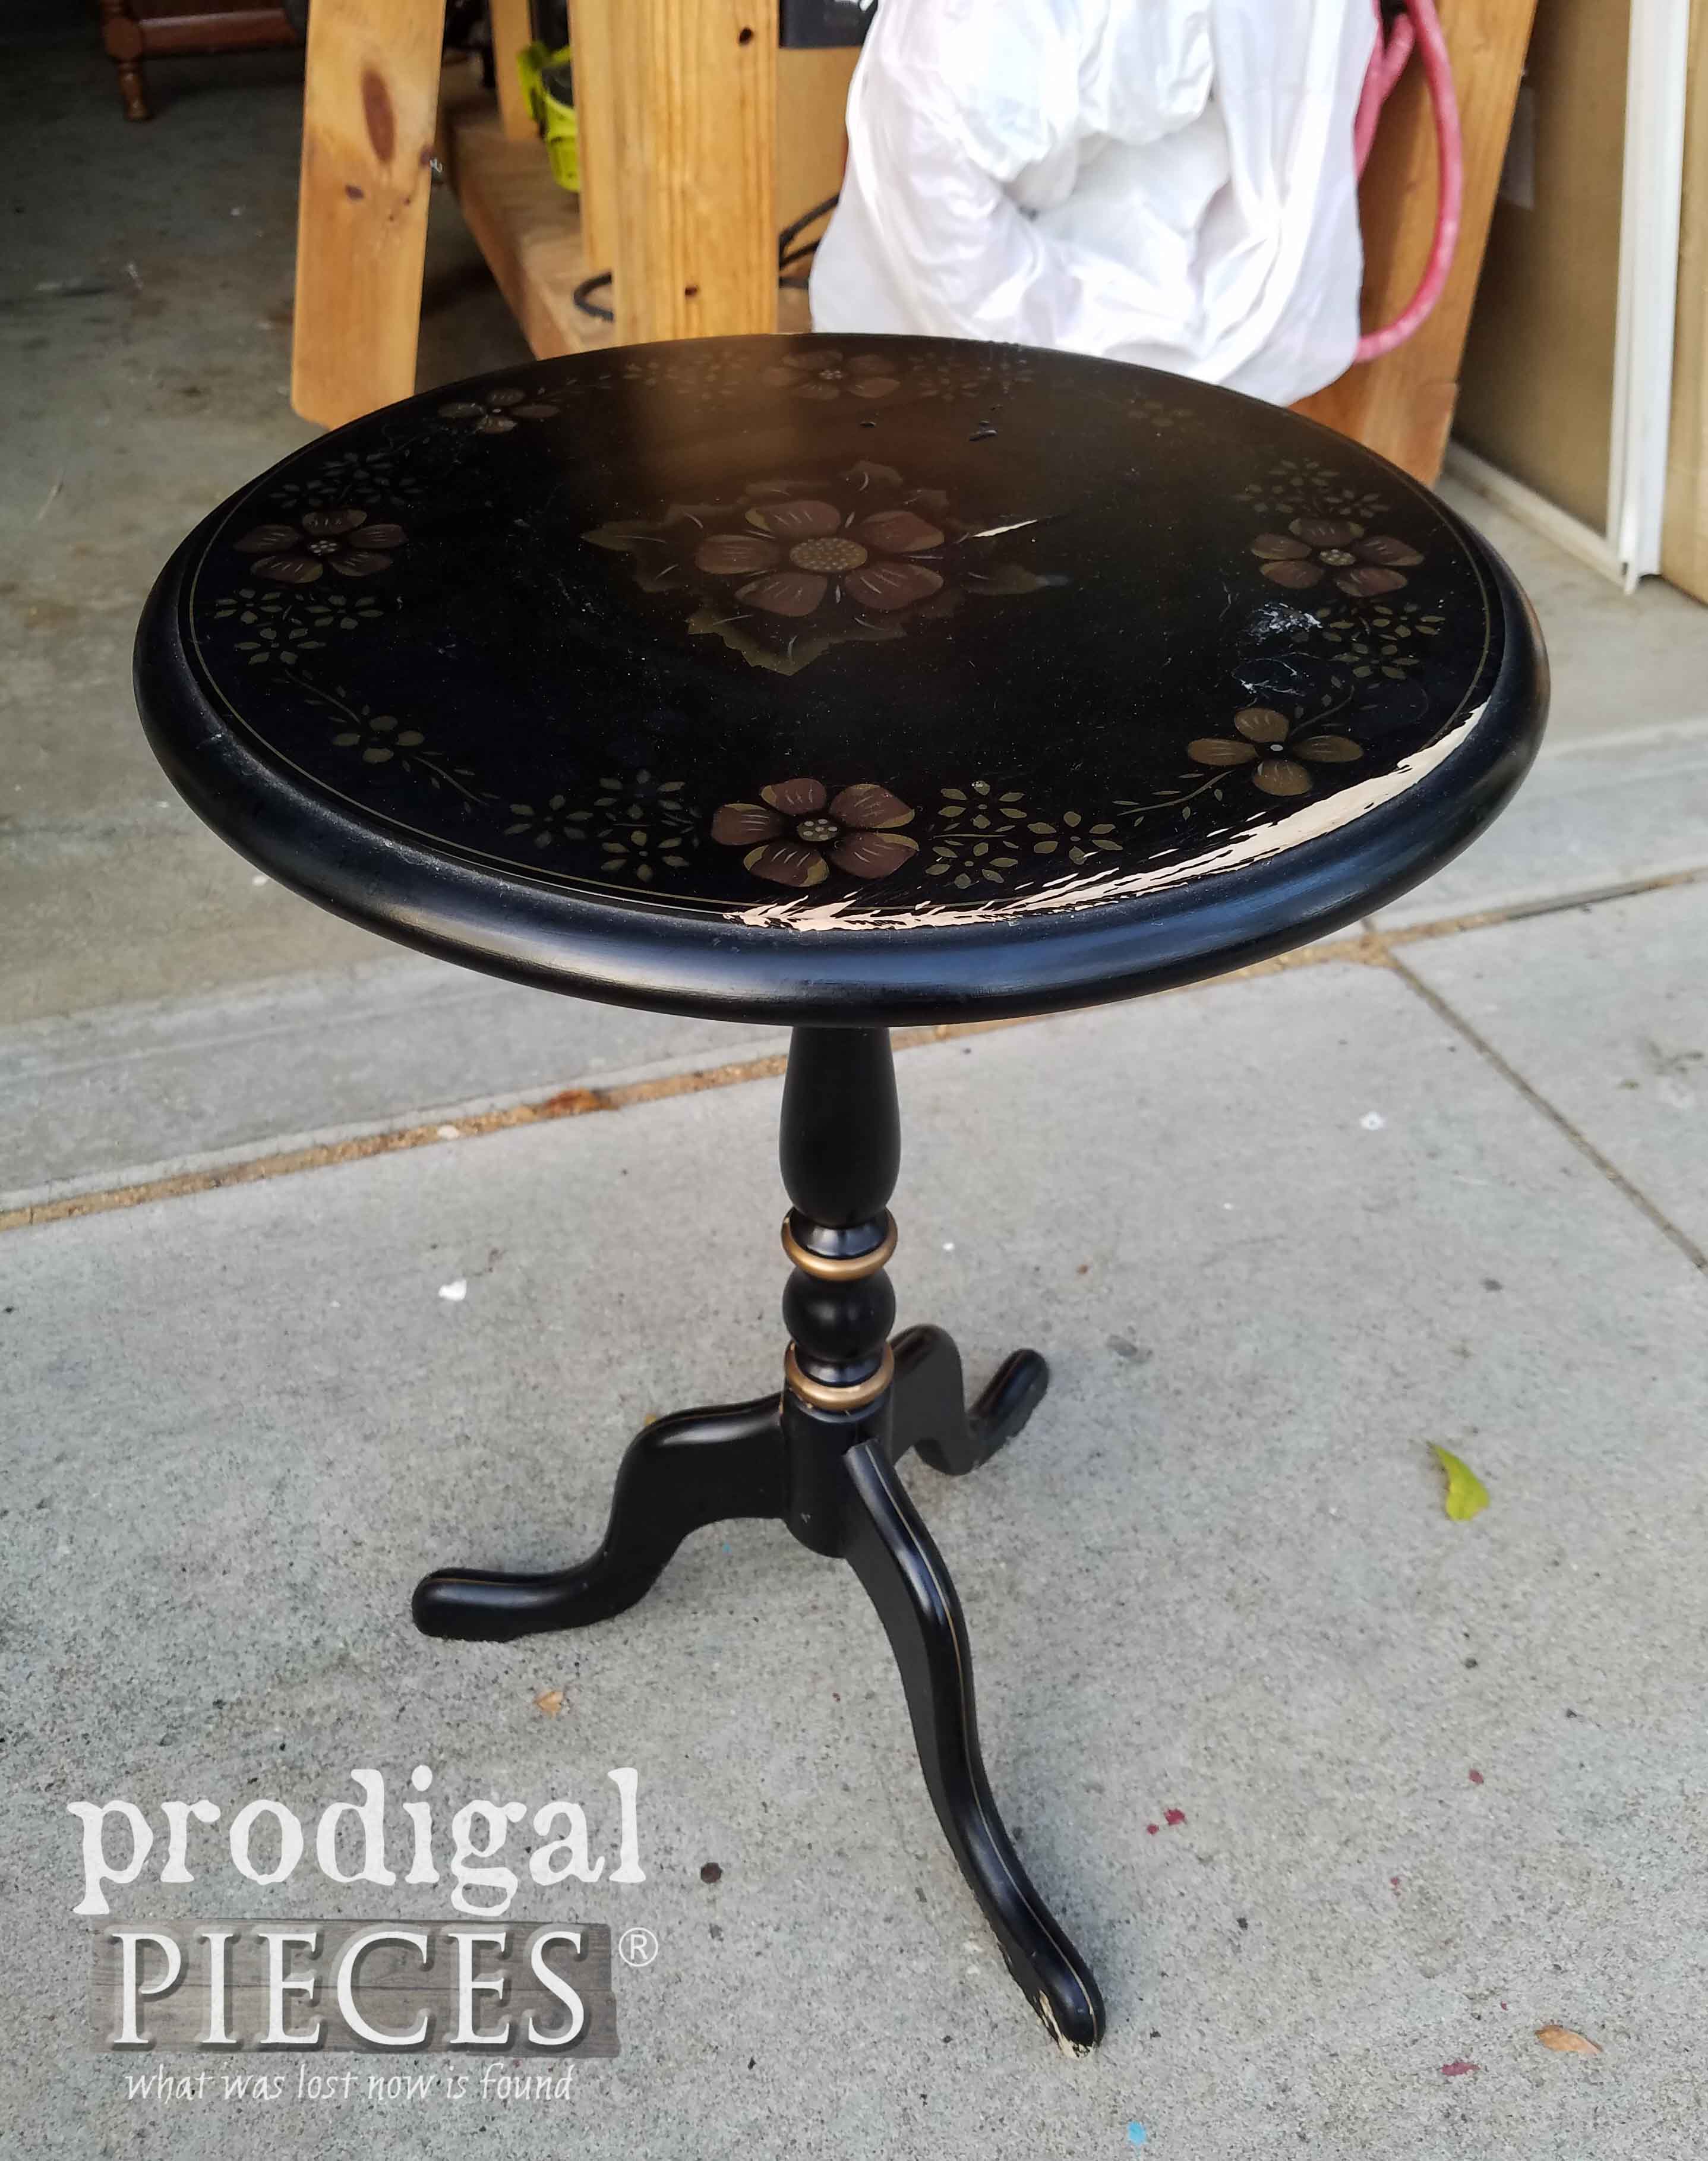
Up next, this plant stand deserves to get a fresh new look. See the after HERE in this post.
Stay tuned to see by signing up for my newsletter. PLUS, you will get your FREE Furniture Buying Checklist and special discount to my shop. Time to head below to see what my gal friends have for you!
- The Interior Frugalista
- Petticoat Junktion
- Girl in the Garage
- Confessions of a Serial DIYer
- Just the Woods


What a great look. I love the dark “glazing effect” on the wood finish.
Thanks, Karen. Using paint this way is so easy and effective.
Larissa, I love reading your messages as well as your super tips on how to get the best out of old/damaged furniture. I wish i could visit your shop BUT being in England that might be a little difficult. Anyhow I shall continue to read with interest and learn as I go.
Thank you for helping all of us budding furniture-do-uppers.
You can visit since I’m online only! 😉 We do ship to England too, just contact me with your postal address and items of interest for a quote. Thanks so much for the love!
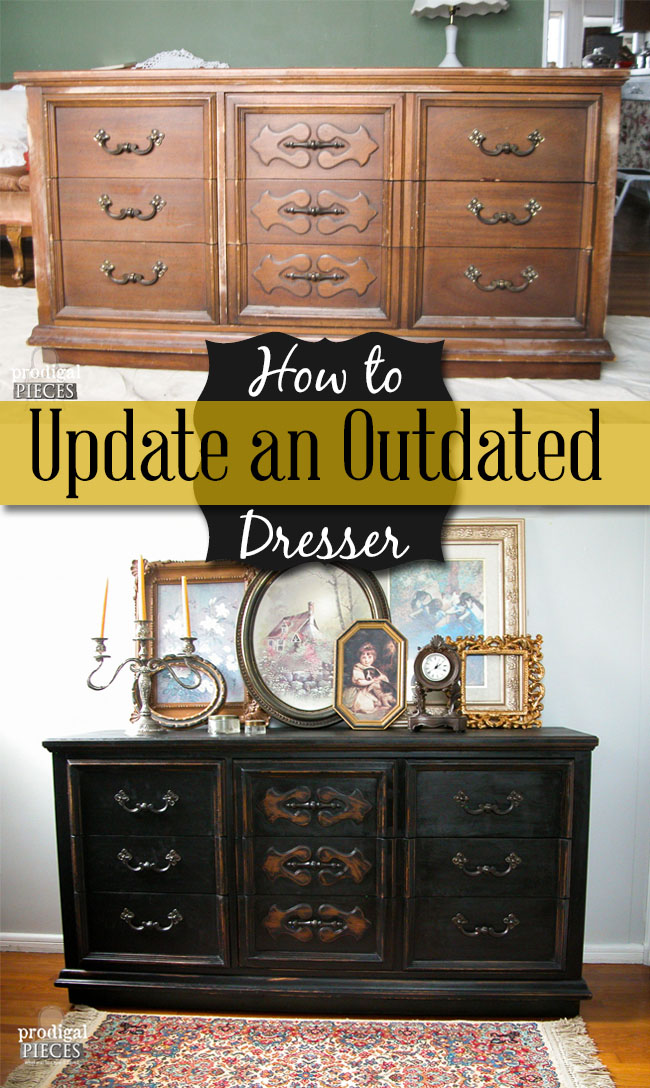
I’d paint an end table. Actually, exactly like the Interior Frugalista is featuring so I’m going to click over there.
Sweet.
This is such a beautiful redo! I just love it!
I’m so happy you think so, Deb! 😀
Beautiful! I would do my china cabinet.
Sounds good!
Beautiful work, as usual!
Thank you, Gina.
OMG! This is beautiful.
You are too cute. Thank you!
Love the update. Good work as always.
Thank you for the vote of confidence, Jewell!
Just stunning, as usual!!!
Hugs to you, Tina, for making my day!
Who but you could take an ordinary orange piece of furniture and transform it to such a beautiful piece! It looks so natural. Love, love, love it. As always great job and thanks for being such an inspiration.
Your words mean so much, Debra, as I truly try to honor each piece that crosses my path. Thank you!!
I love, love, love this! The paint really brought out the beauty in this piece.
I had a vision and wasn’t sure it would come out the way I had it in my head, but when I started I felt a wave of relief. I really wanted this piece to shine. Thank you, Michele!!
That is quite a transformation with so little effort! I love it! I will need to try this on a piece of my furniture that I love/hate!
Thanks so much, Lisa! Surely do try and I’d love to hear from you. 🙂
Yep- I gasped! This is gorgeous!
So awesome!! Thank you.
I love this! Question?? Do you think I could do this on my lovely orange oak kitchen cabinets?
Awesome! You sure could with the Dixie Belle paints. A basic latex would not adhere quite the same. You can even use a strong topcoat the offer as well – just depends on your finish preference.
I absolutely love this transformation! I really appreciate how you tell us which brush is best for which job, Larissa, thanks for sharing your knowledge! 🙂
Yippee!! That is so good to hear, Claudine. Thank you! I love my Zibra brushes.
Beautiful piece! If I won, I would use the brushes on an old display cabinet I have that needs some love.
Thanks!
Love it! It looks like a rich wood now! The ideas you come up with in your makeovers are amazing!
You are a fun gal, Elaine! Thank you for making me giggle. 😀
Larissa, girl this is amazing, I like how the Dixie Bell paint applied in is manner still lets the beauty of the wood be the star! It looks easier to apply with the Zibra paint brushes, and not having to tape areas off is huge. Thank you for the opportunity to enter.
Fist pump!! Thank you, Kaycee! I really didn’t want to hid that beautiful oak veneer and am so pleased with the outcome of this.
I Love how that turned out, it is amazing. Gotta love something that easy that turns out that beautiful!!
Totally fun for me to see this vision come to life. Thanks, Mary!
WOW. That is Gorgeous! My kind of technique; quick and easy. :}
Would love to win your brush set.
The new brushes that hubby brought home for me, I just wasn’t satisfied with their performance; loosing bristles in my painted project :{ His idea of good brushes and my idea are a world apart. He hates painting so he has no clue when it comes to good – semi good brushes for painting or staining brushes.
First thing I would paint is 4 chairs to go with my new painted table.
Thank You for the wonderful giveaway opportunity.
Pinned
Thanks!
hahaha…I hear that. They will learn! 😉 Thanks for the love.
All of your work is great! But I have to admit, that turned out way better than I expected!
Awesome!! hahaha…I think. 😉
Nice update. Love how you can still see the grain and especially the carvings – beautiful! The next thing I plan to tackle is an old cedar chest 🙂
Glad to see I’m not the only one that doesn’t like to wear gloves.
Yes, only when I have to. They get in the way!
Wow! You’d never know it was that orangey stain before! Love it!
Good to hear! Thanks, Susan.
I would have never thought of doing that. It is a new old piece and I love it.
That’s what JC said. I was so surprised he got what I was after! haha…
I love this technique. Thanks for all of your inspiration and tips. I would paint a hutch my Aunt gave me. Thanks for the giveaway.
Thanks!
I like that the orange got toned down, great technique to change that orange overload. What happens if you wax this, will it effect the paint?
It sure made me feel better that it was hidden. 😉 I waxed this as I showed above, so it doesn’t change it, neither would a different topcoat. Perfect for those orange kitchen cabinets.
Love the dresser!
Awesome!!
Love the way the black paint “dirties” it up enough to add interest.
Yes, it just needed that orange toned down. Thanks!
Wow, I can’t believe how easy (as compared to completely sanding and refinishing wood) it was to get such a “rich”, antique look on this piece of furniture. While I’ve seen plenty of whitewashed pieces, I never thought of blackwashing to get an antiqued look. Thanks for always bringing something new to the table (or dresser — lol).
Oh yes, so many ways to create texture. I love it! 😀
Great job on the dresser. If won II’d dig out my stash of picture frames and get busy.
Sounds good!
This turned out so beautiful! It gives me hope, for a very orangy China cabinet we have! Not to mention, all of those other project pieces, in the garage! So pick my name, already…I need those brushes! ?
haha…I wish I could send them to all of you!
Oh my goodness, it is beautiful!!
What a delight to hear! Thank you.
oops, I forgot to put that I would finally paint my coffee and end table.
No worries. I love the love. 😀
Love it!! I want to try this on my own dresser!!!!
That’s the spirit, Maria!!
Energy, imagiation, and enthusiasm are easy, but where do you find the time?!! Have used many of your ideas, styles, and methods and always look forward to learning more. Thanx!
hee hee. I truly work nonstop on many things. I think I’m wired differently since my grandma was the same way. We called her the energizer bunny!
I just love reading your Blogs and seeing how you can bring life back into old furniture 🙂
Your kind words mean much, Mary. Thank you!
Larissa I love the result! That dresser really has a presence now. I’m going to try this on some of my oak shelves!!! Thanks so much for sharing!
So cool to hear, Beth! I hope you have fun.
My dining room table needs a do-over and funny thing is I wanted this same look for that. thank you!
Excellent! Great minds create alike, I say. 😉
I have an entertainment center that I cannot stand that this would be perfect for.
Perfect project piece for this!
you are so creative and brave! I always worry that I will ruin something so it paralyzes me with my project. I would LOVE those brushes as I am going to paint a stained dresser for my guest room. I have had the dresser for 2 years and want to get it done before Christmas!!
Love the new look…it really accentuates all those beautiful details!! XOXO
Buh-bye orange!! hahaha… Thanks, Christy.
Hi! Love your makeover! Love the fact it was SO easy. Have you tried turning an orangey wood piece to a lighter color like gray or white? Would love to do this to my bathroom vanity.
Thanks!
Hi Joanne! Thanks for the love. I do it all the time. AND…I am doing that to the armoire to this set next week, so stay tuned! You can also see how I’ve done it in this post with wax: https://prodigalpieces.com/thrifted-farmhouse-decor/
I have the perfect piece to try this with!
How fun!!
Gorgeous! Gives me inspiration for my bedroom furniture
That’s what it’s all about! Thanks, Cathy.
Okay, I’m going to be totally honest here and say that I did utter, out loud, an expletive while reading this post. Are you (blank) kidding me! I can’t believe the difference a wash of black paint made on this fabulous but ugly orange dresser! I can’t wait to see what the Armoire is going to look like after you work your magic, Larissa.
bwahahaha!! You are hilarious, Marie. I told you I was wearing a target! 😀 Soooo glad you like it!
Love the makeover!! I would reprint my armoire in my bedroom. It needs it bad!!
Yay to hear, Sherry!
What a beautiful transformation!
Thank you for saying so, Susan. 🙂
Love this; would never have thought of doing it. But I have a similar piece and that is probably what I would repaint first with my new brushes.
Works for me! Thank you.
My husband recently made a beautiful bench from a headboard that I found at Restore. It has yet to be painted, so I would use these to paint it!
Go hubby! Sounds like a perfect piece.
You are amazing, Larissa! This turned out beautifully, as usual.
Thank you, Mary Beth. It was fun to see it anew.
The timing of this post is perfect! I just brought home an oak dresser, but wasn’t looking forward to spending a lot of time on it. Thank you for sharing your giftings and talent with us! Those brushes look wonderful.
Saweet!! My pleasure to share, Ann.
Very clever and great for a quick instant pick my room up and instant gratification.
Yes! That’s the best part for me. Thanks. 🙂
I absolutely love what you did with this dresser set Larissa…it’s both masculine and feminine all at the same time! I’ve been hearing so much about these brushes…excited to enter the giveaway!
Thanks! I think that’s why JC liked it so. Hope you win!
So Pretty!!!! I love the rustic feel 🙂
Thank you, Suzanne!
Wow, I’m impressed and I don’t know if you remember but I left a comment about how I have a dresser very similar and I’ve been wanting too update mine.
Thanks for sharIng this painting techniqu!
Cornelia
Yes, I do. My pleasure to share!
The dresser looks fabulous. I would like to see apiece completely covered though.
Thanks.
I can’t believe the difference in that dresser. It’s absolutely gorgeous!
I’m super happy you think so!
Nice transformation… So this paint works like a stain, as well. Interesting. 🙂
Thanks!
Yay! another chance at these brushes! I would probably use them for a table, since I have so many of those. Love this piece you’ve done with the black. Never would have guessed how good it could look as more of a stain.
That sounds like the perfect project!
I loved this post! The transformation was amazing!! I have some pieces I hate, but this just might “redeem” them for me!! Those would be the things I would paint firstborn if I won the brushes!! I’m addicted to your site and all the make-overs!!
You’re in the right mindset! Woot! Thank you so much for the love. It means much!
Very pretty, Larissa – I love the new look! Really made it more modern. <3
Thank you, Jen.
It’s so hard to decide whether to paint a beautiful piece like that or not. If it hadn’t been so orange, I would have voted no. Can’t wait to see the armoire makeover.
Paint can be easily removed if anyone ever desires. Armoire coming soon!
I love the new look. The details really stand out now. I bought a couple of Zibra brushes at Home Depot because I had a gift certificate. They are the best brushes ever.
Thanks, Debra! So happy to hear you love the brushes too.
WOW……what a big difference. Beautiful!
Thank you for the love, Terri!
I would have never thought of that paint technique. The piece looks awesome now. Great job Larissa. Now I have a new technique to try!
Thank you, Kathy! I hope you do give it a try as I think you’ll rock it. 😀
Gorgeous !!!!!!
Thank you, Charlene!
Really like how this dresser turned out. I was skeptical when I first started going through the pictures but was pleasantly surprised. Thanks for sharing.
It was scary, right? hahaha… Thanks for the love!
The first thing I”d paint is a stand for my TV. I need something long, like a credenza, and have been keeping an eye out for a used one.
Sweet!
Amazing transformation especially for a veneered piece. I would use brushes on some cabinet doors that I’ve been planning on turning into chalkboardsTo give as gifts.
Sounds like a wonderful gift.
I LOVE how this gives the look of a stain but is so simple to do. I am so curious to see how this technique would work with brightly colored paint!
I’ve used this technique many times in many shades and love the ease of it. Try it out and see! 😀
Can’t wait to see the armóire once finished.
Again; Thank U 4 this wonderful giveaway opportunity
Coming up next week!
Oh My Gosh! When I first began reading this post I thought, “How in this world is she going to improve on this dresser????”. WOW, I tell you this is one of my very favorite makeovers. You’ve always surprised me with your talent and creativity and I continue to be wowed. Thank you so much for sharing your brilliance with us!
haha…I’m so glad it made you think otherwise. Dee Dee. My pleasure to share what I love.
Just beautiful! The finish now looks amazing, I love the deep richness it gives to the wood and doesn’t look painted. I love visiting your site and seeing your makeovers. We are doing a fairly big, for us, is reno project. I would really love to receive the brushes, they would be very useful to us.
Thank you for saying so, Terri. The brushes would be so handy.
It is amazing how the wood still shines through! I absolutely love this piece!
So awesome to hear. Thank you, Kristina!
Love this dresser, beautiful work
Thank you, Janie. I enjoy sharing.
I’d paint Christmas gifts!
Fun!
Oh my goodness, I cannot believe that is even the same piece! It had such good bones, but the chalk paint really makes them “POP”! I think I would have to find room to keep that piece! Thank you for sharing! If I won those brushes I think I would have to start out with something a little less intimidating, but would certainly plan on working my way up to some bigger projects.
I seriously tried to keep it for my girls, but no go. At least someone will enjoy it. Thanks!
I really enjoyed this “new” application.
I would use these brushes to finally finish my kitchen cabinets!!! 🙂
Thanks!
What a beautiful update!!! I have a cabinet in the bathroom that needs that same look. Thank you for this post and great ideas. Can’t wait to try this product and brushes!!!!
Wonderful! You’ve made my day, Karen. Thank you!
I love this idea I could try on our 1990 oak bedroom furniture I am a little tired of. I didn’t see anything about the kind of paint to use though, besides the brand name. Can you explain more, thanks!
Thanks, Christy! It’s just a flat latex paint. Hope that helps!