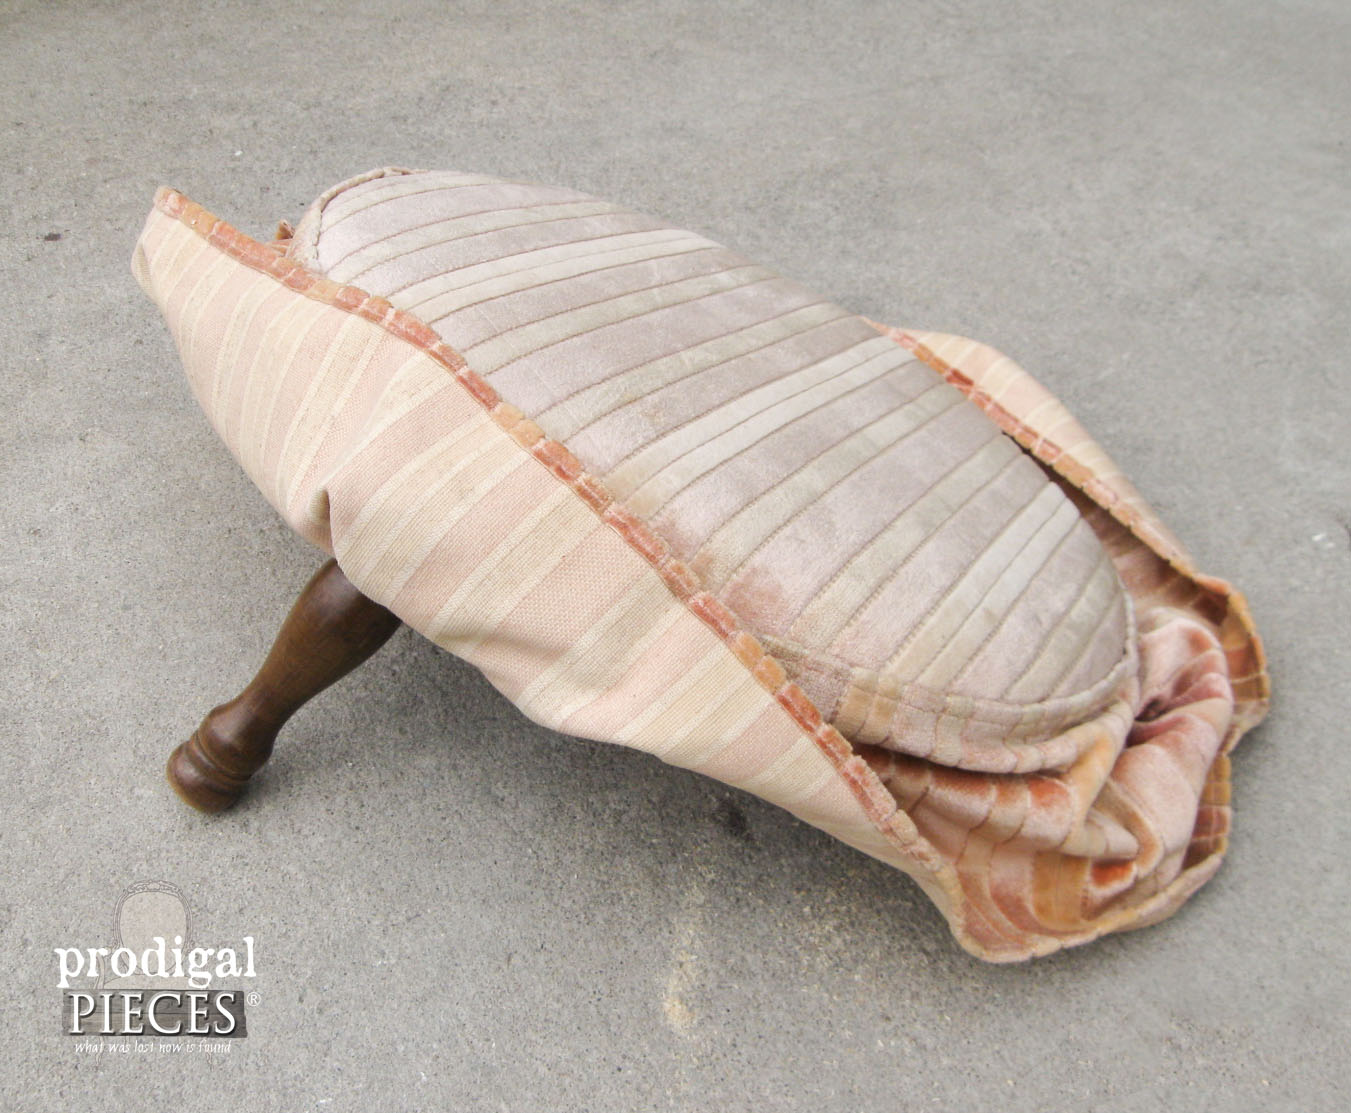
Last week in my kitchen remodel update (you have to see how we’re moving along!), I showed you that I would be giving this one-legged wonder a makeover. This was an upholstered footstool I found laying beside the curbside settee that got an upholstery makeover too, so why not this little guy, right?
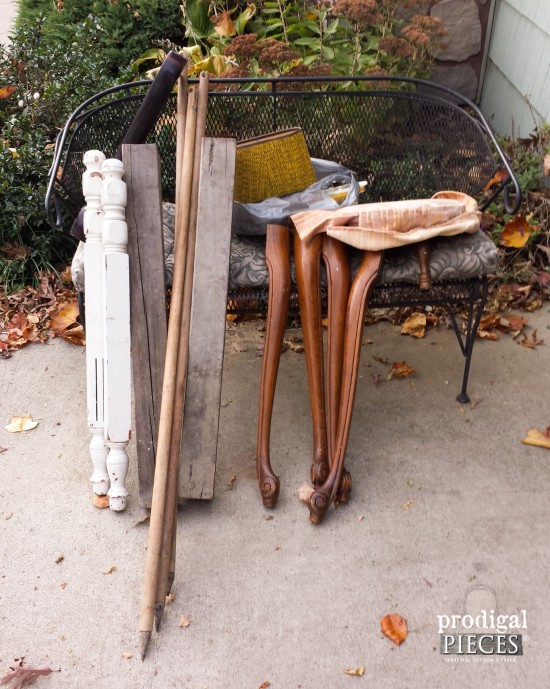
I mean, I couldn’t just leave it there looking dysfunctional and needing some love. I snatched it up along with that settee and the rest of this goodness. See how the tripod became something new HERE.
DIY TIME
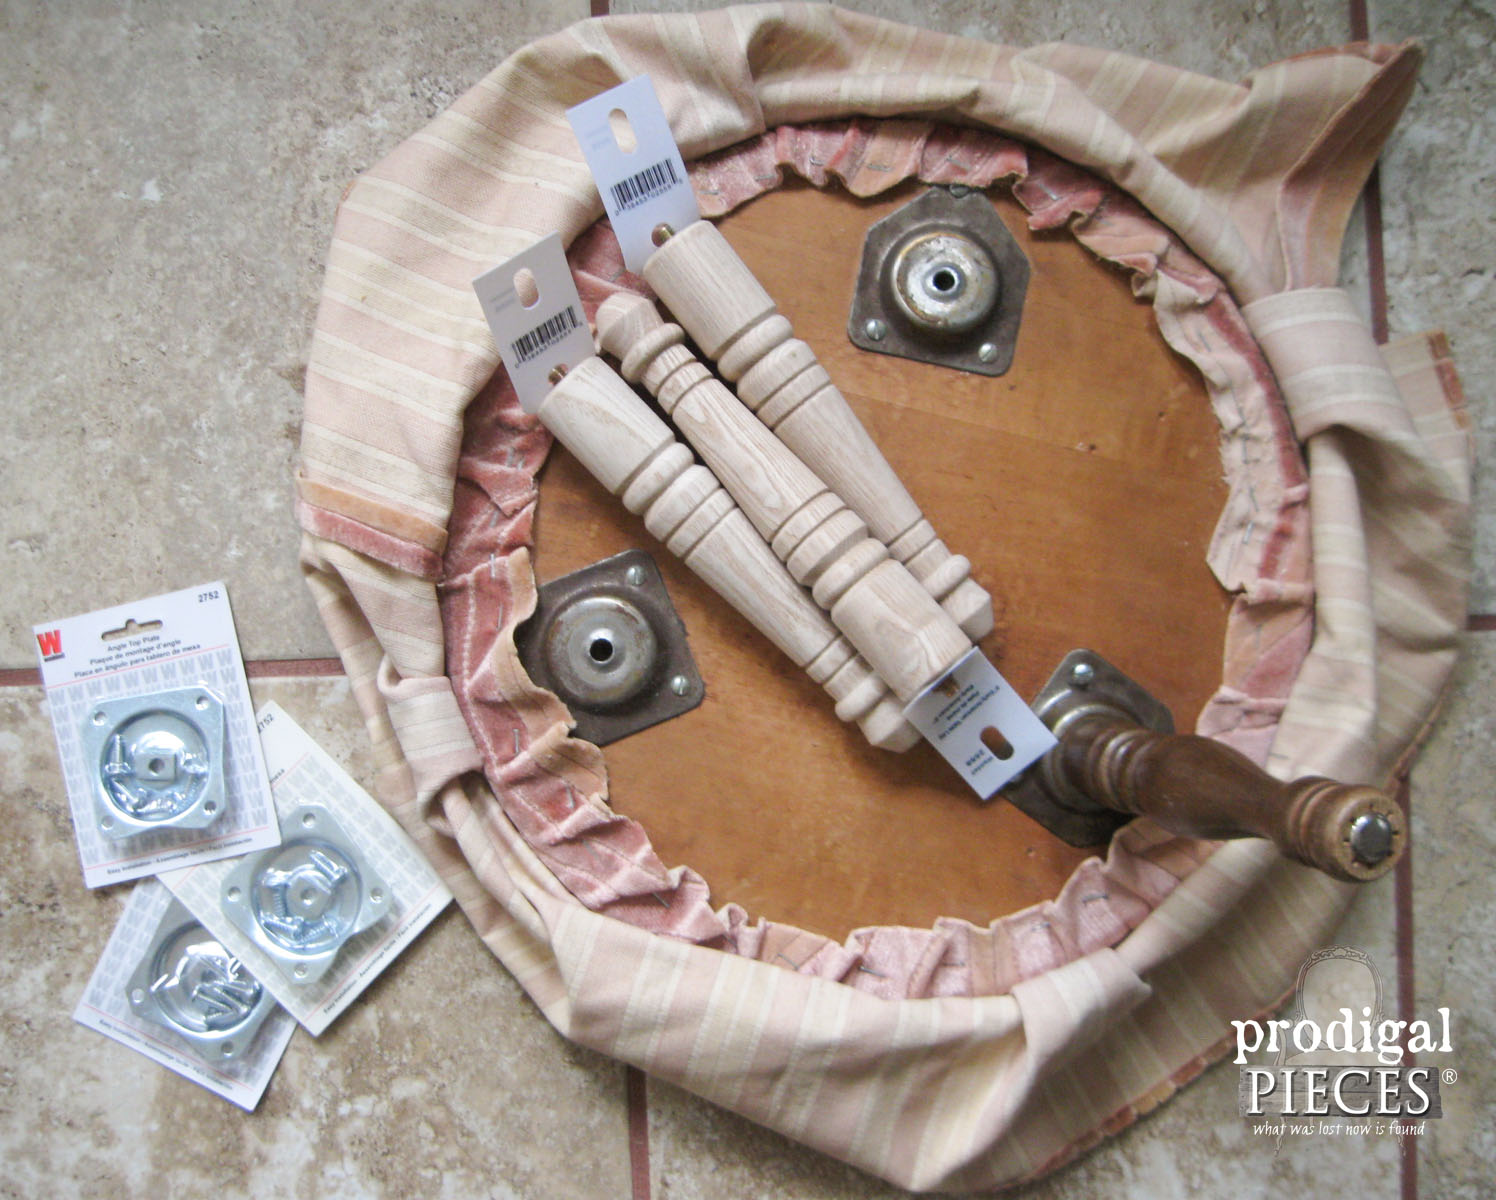
So, I headed to my hardware store and picked up some new legs and brackets and got to work.
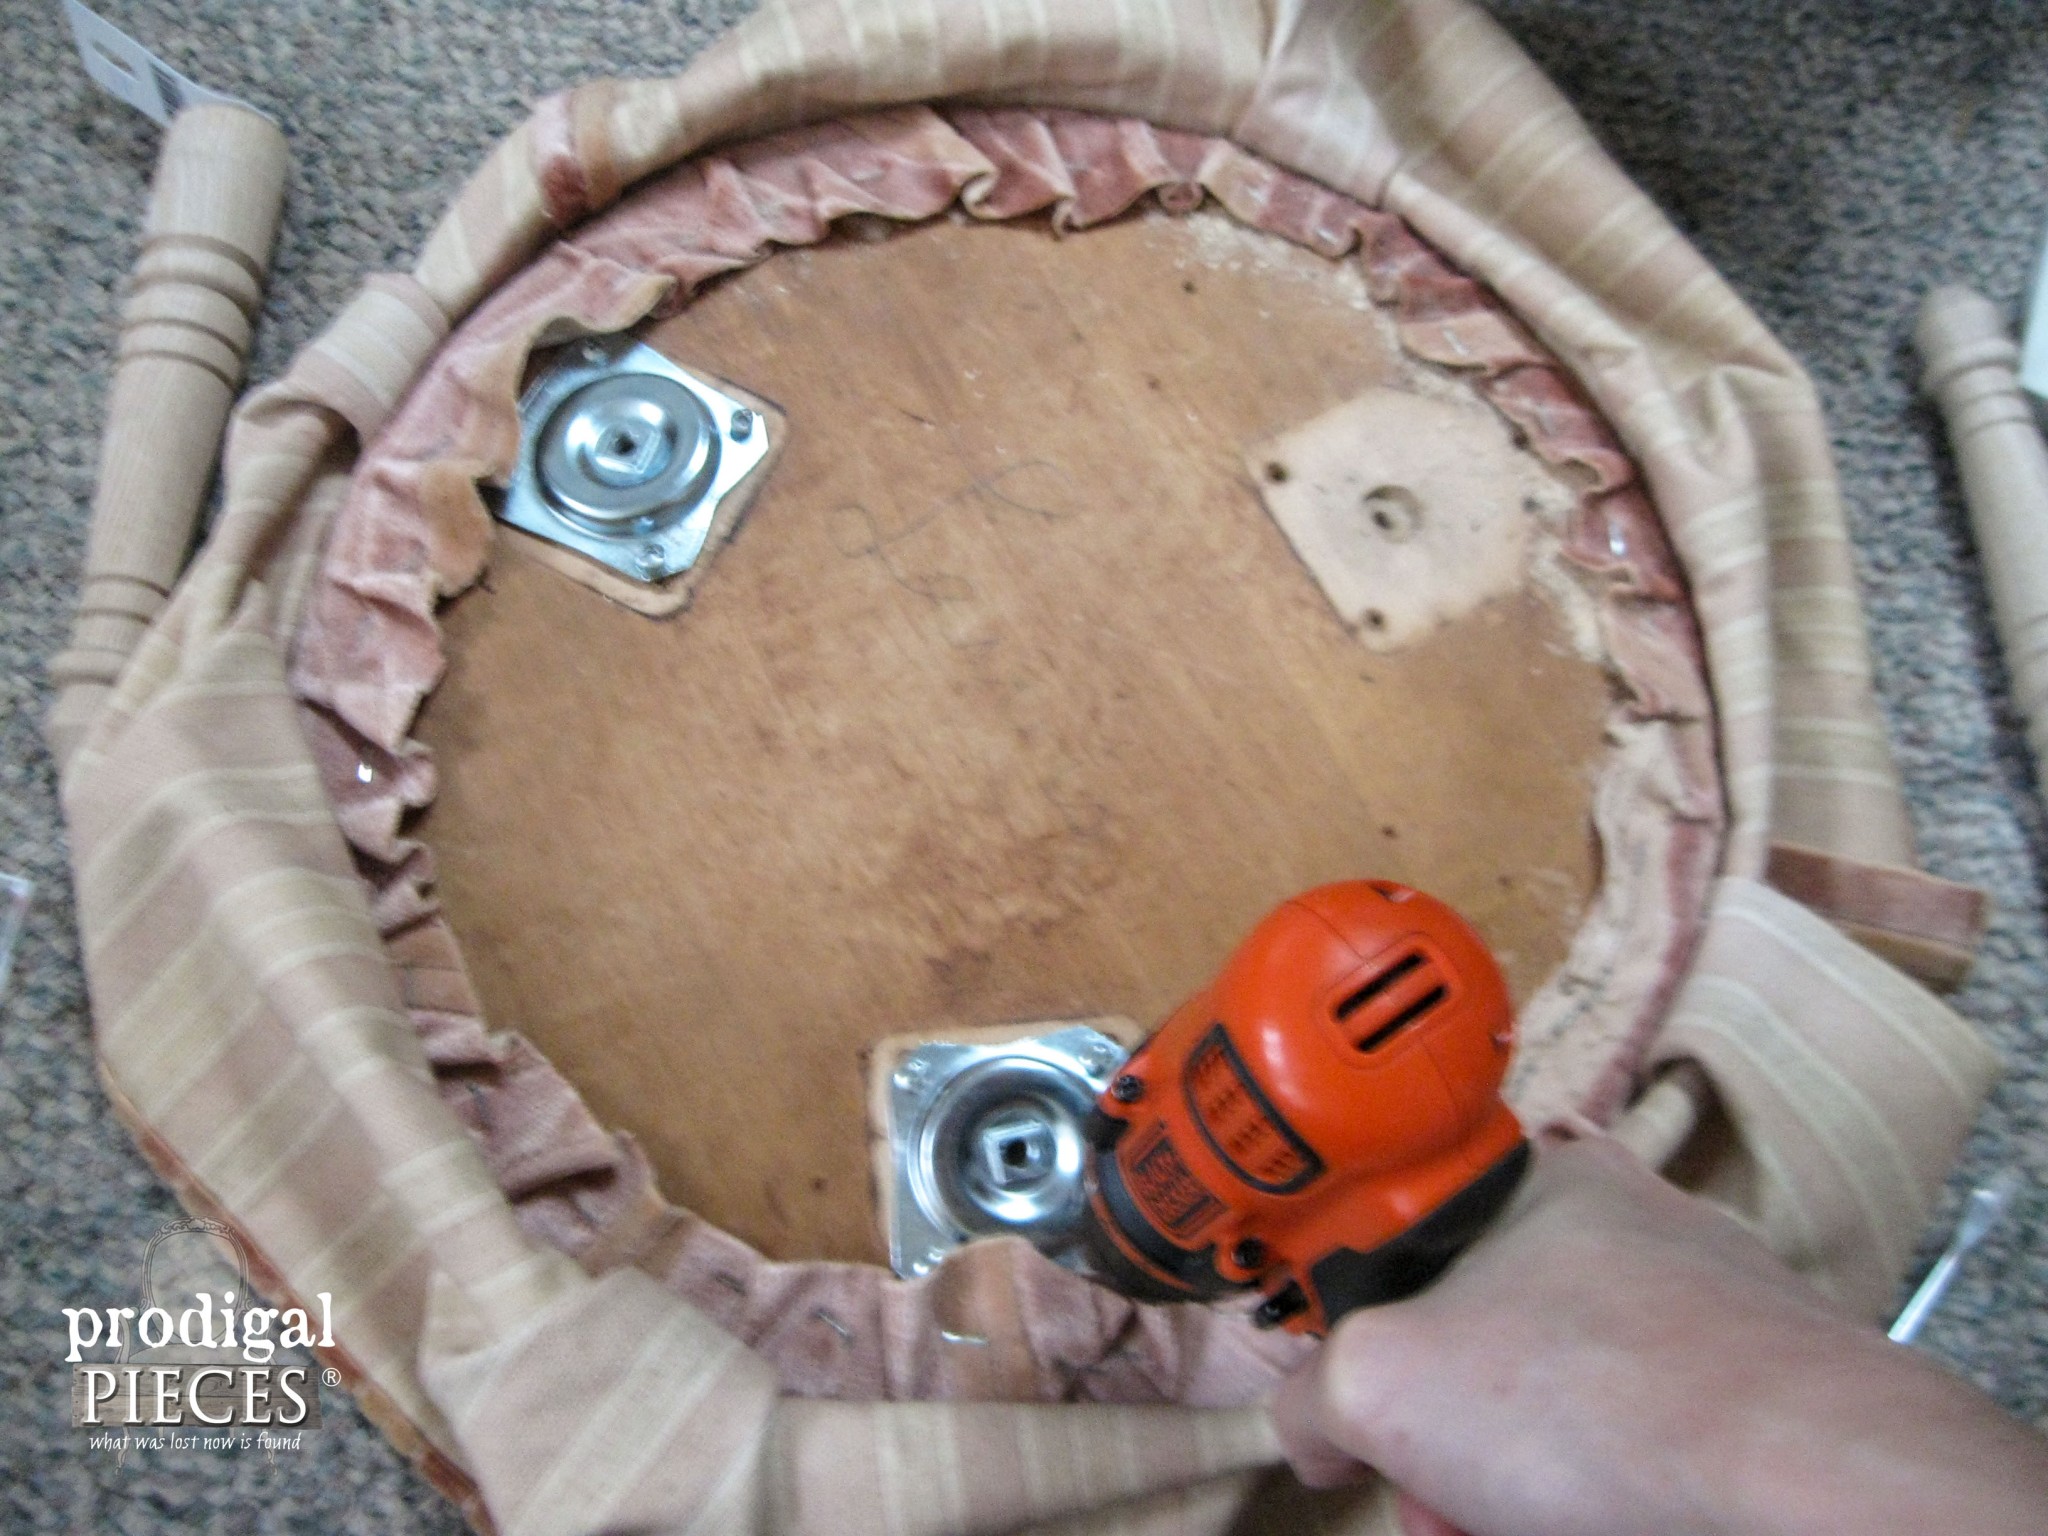
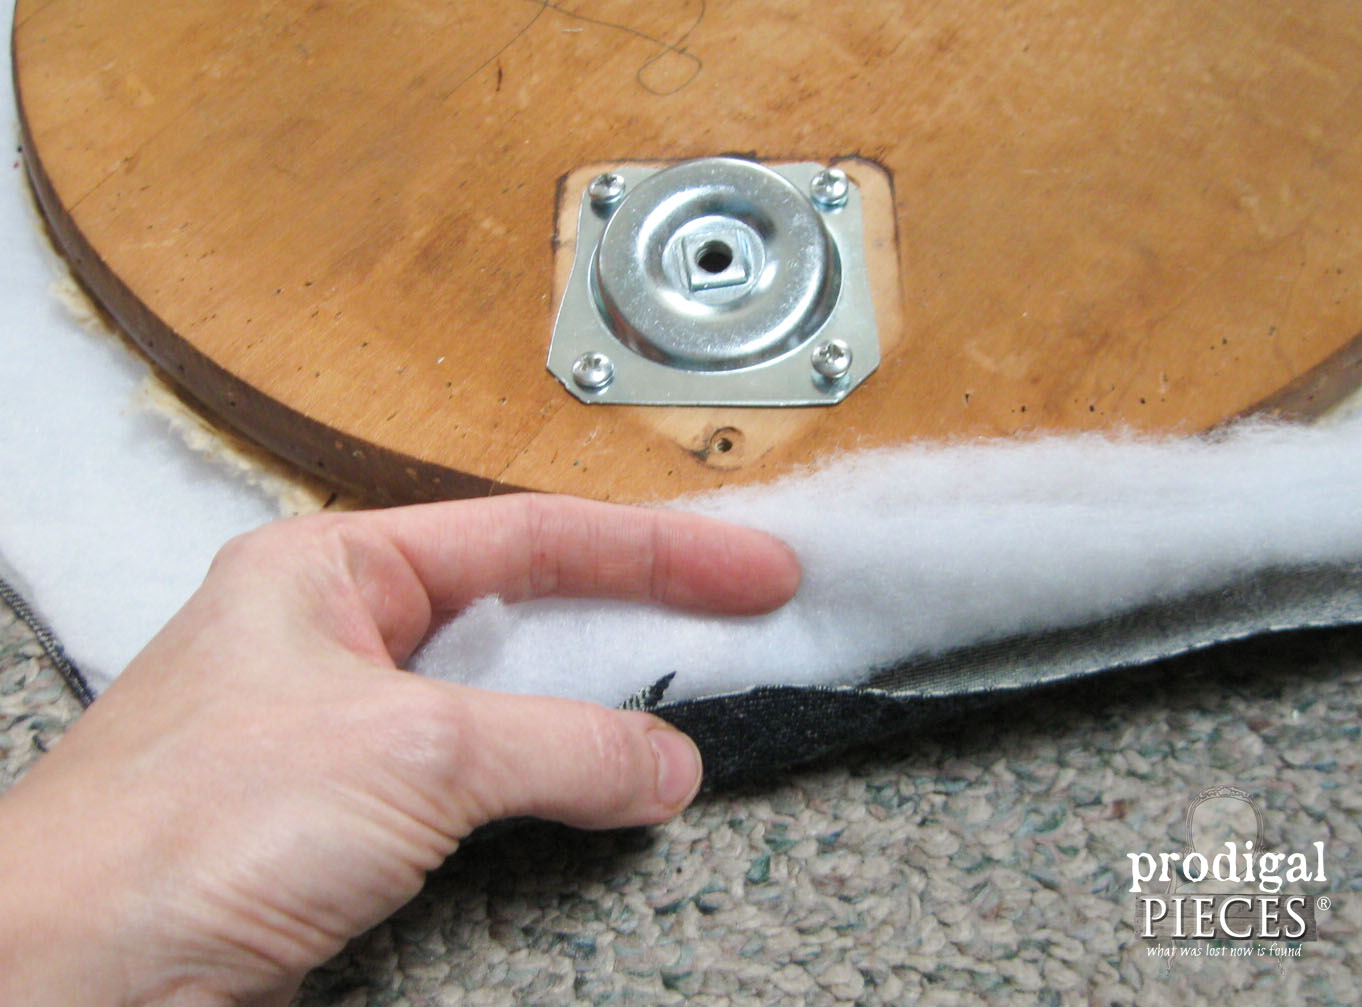
Since the old leg brackets had a larger diameter hole that the leg fed through, I removed those with my drill and replaced them with the new. Sorry for the fuzzy pic on this one – it’s sometimes hard to snap a picture of yourself one-handed!
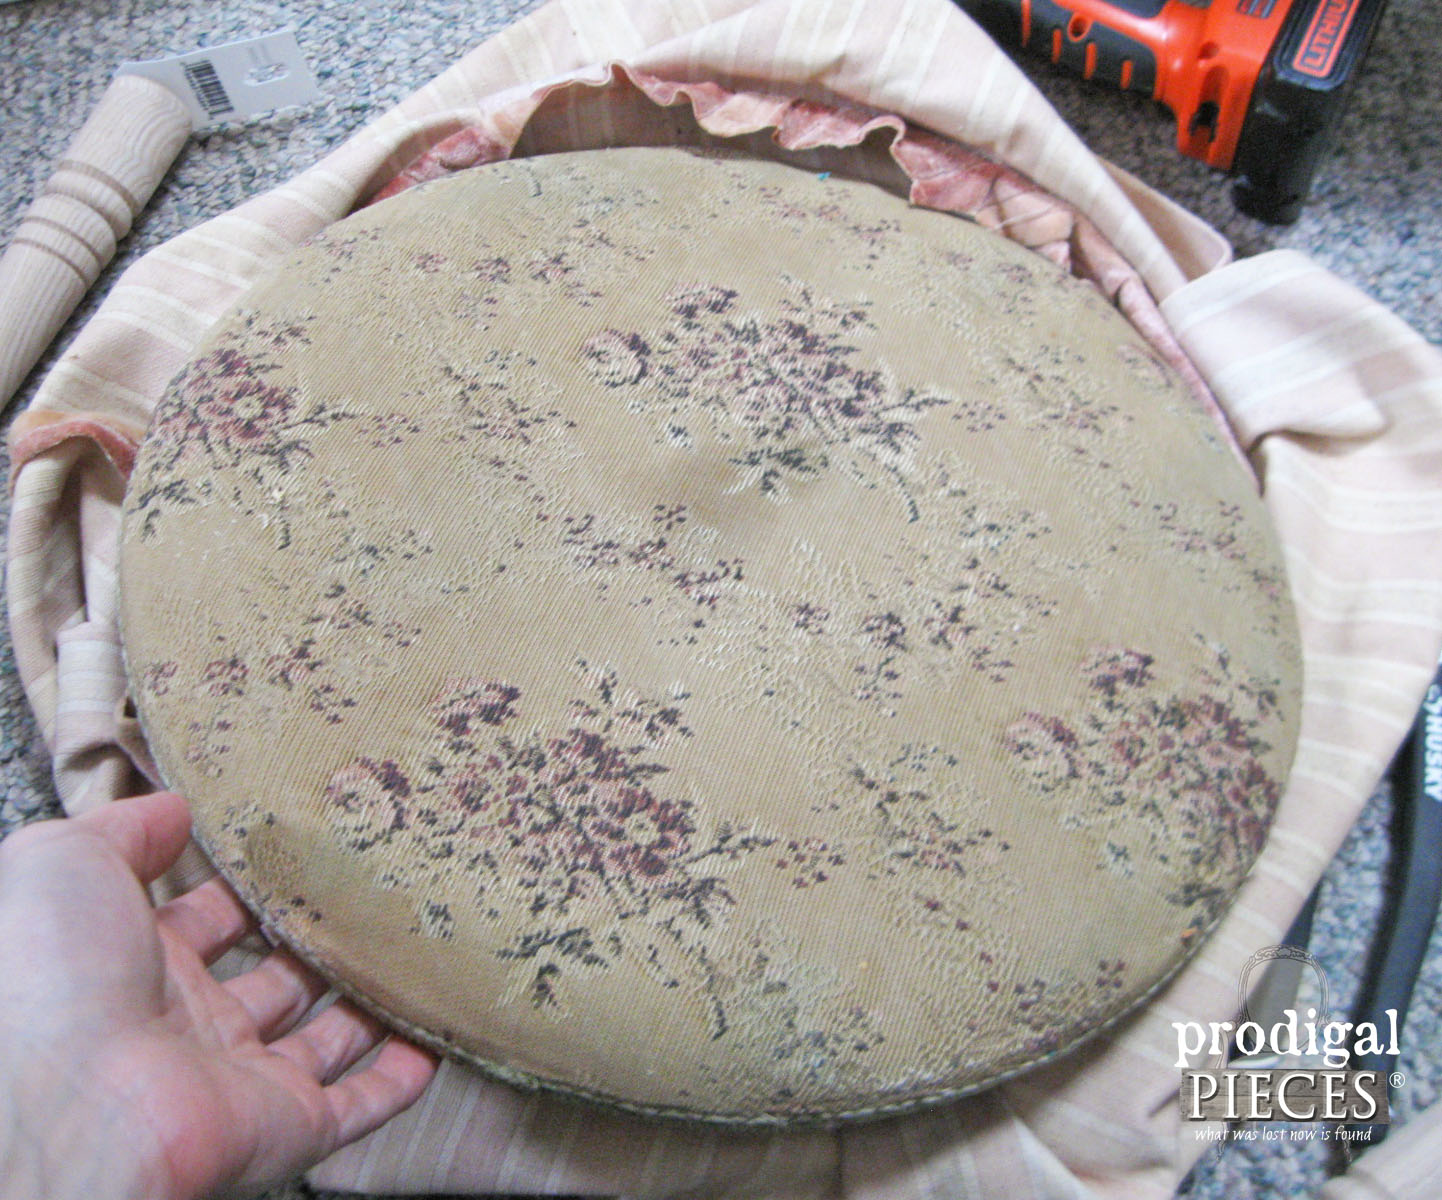
Next, off came the upholstery. It’s sometimes therapeutic to yank off disgusting fabric and get down to bare bones. Ever tried it? It isn’t uncommon to find layers of fabric, and the original must have been pretty at some point.
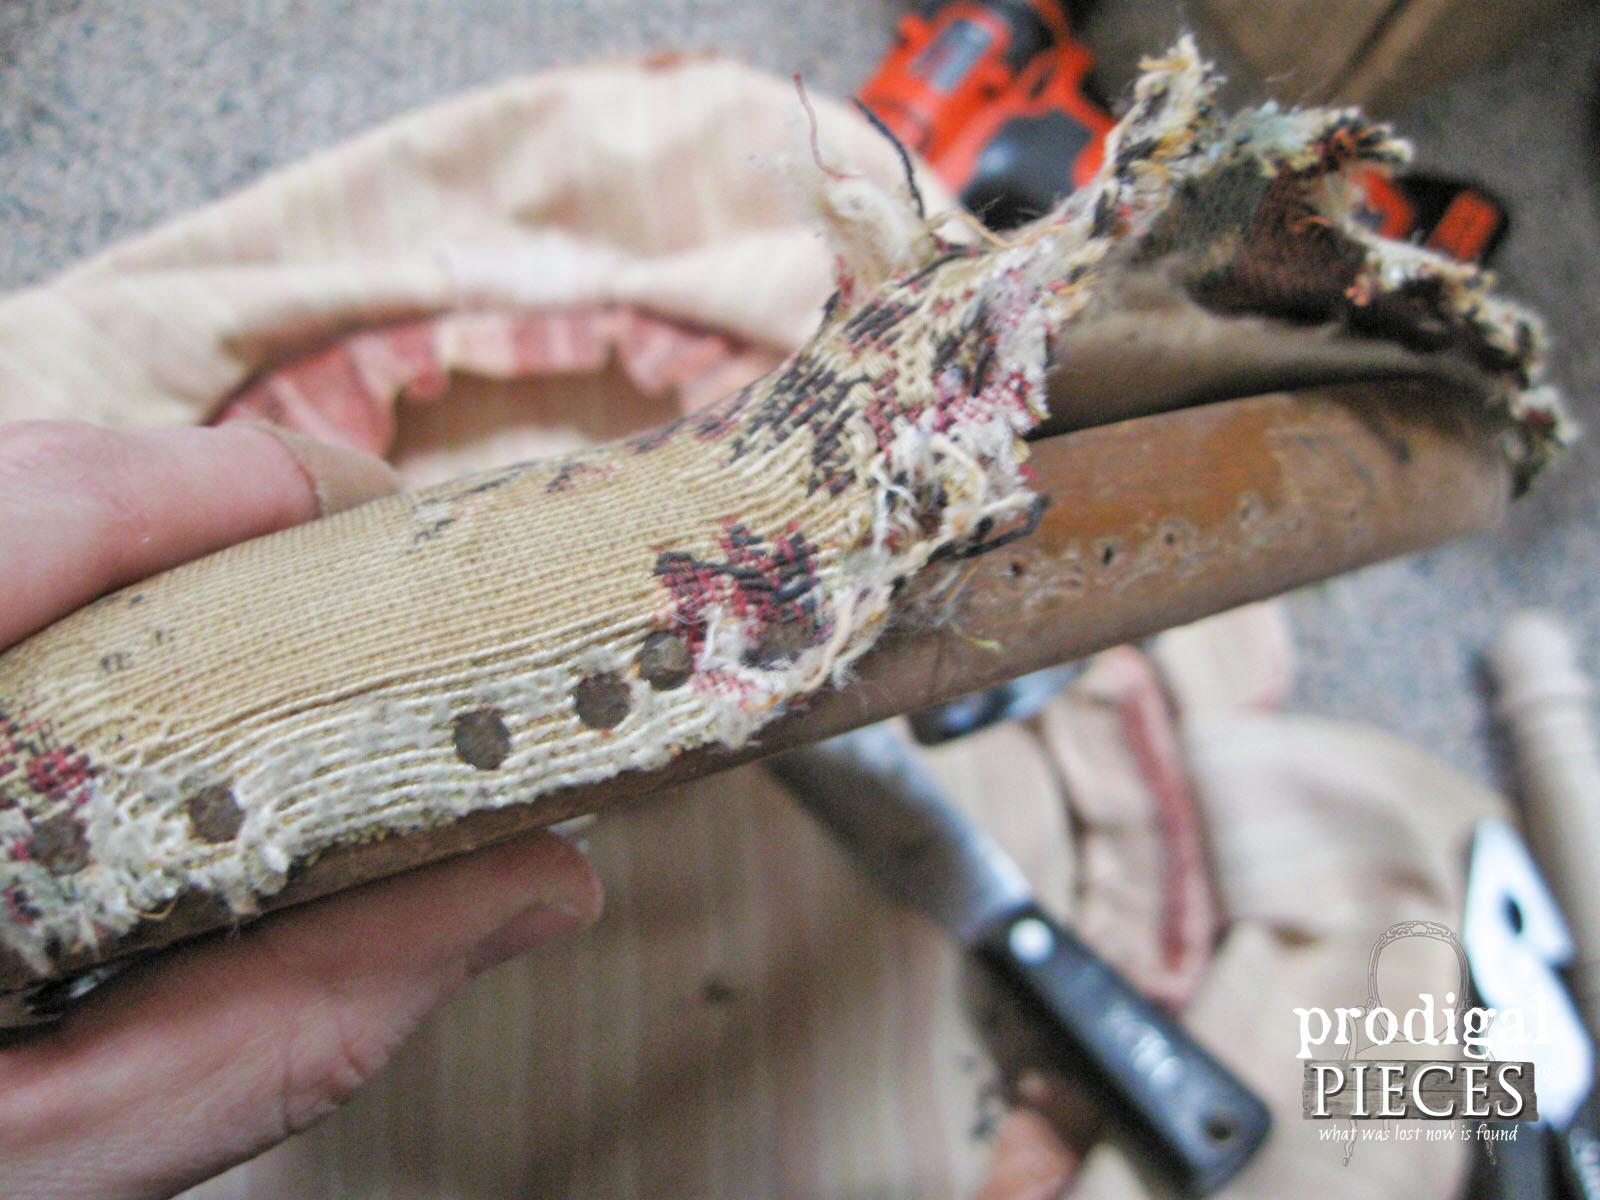
I was excited how fast it all was coming off until I ran into these…sigh…
Seeing those nails made my hands begin to hurt. So after what seemed like a hundred nails removed later, I finally got down to skeleton of this upholstered footstool.
NEXT STEPS
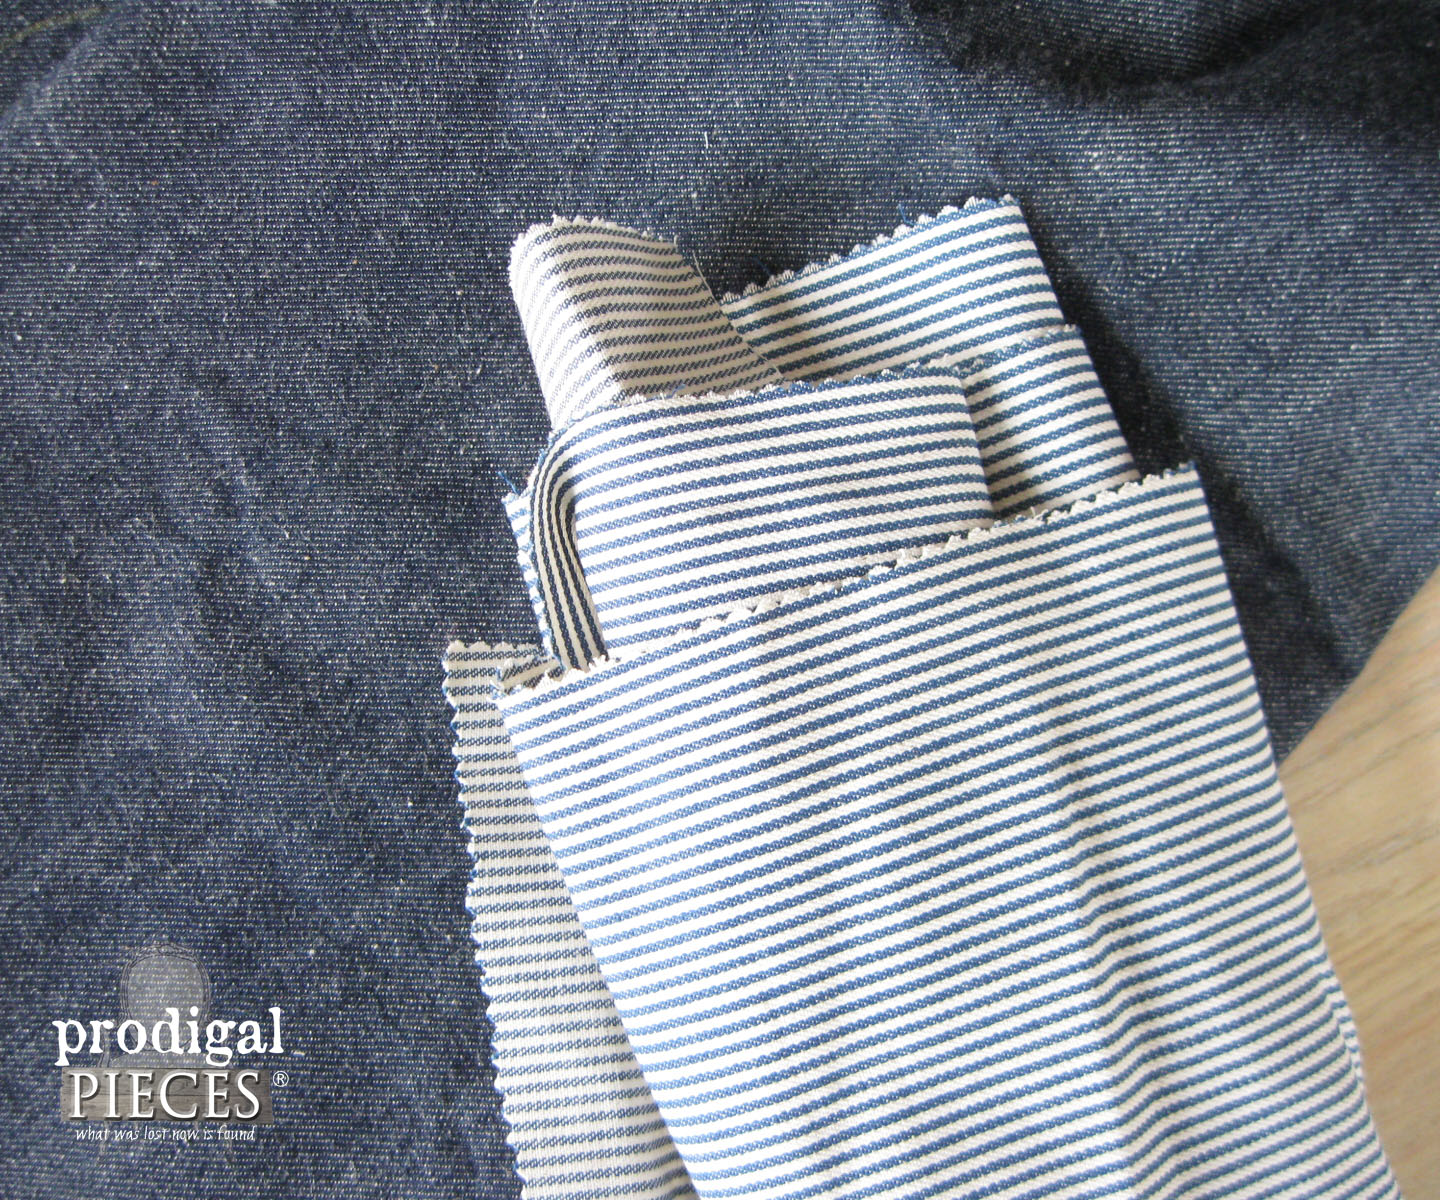
When trying to decide what style to go with, and whether it should be skirted or not, this color combo jumped out at me and I decided to run with it. It’s a heavy dark denim with a small blue ticking-type stripe.
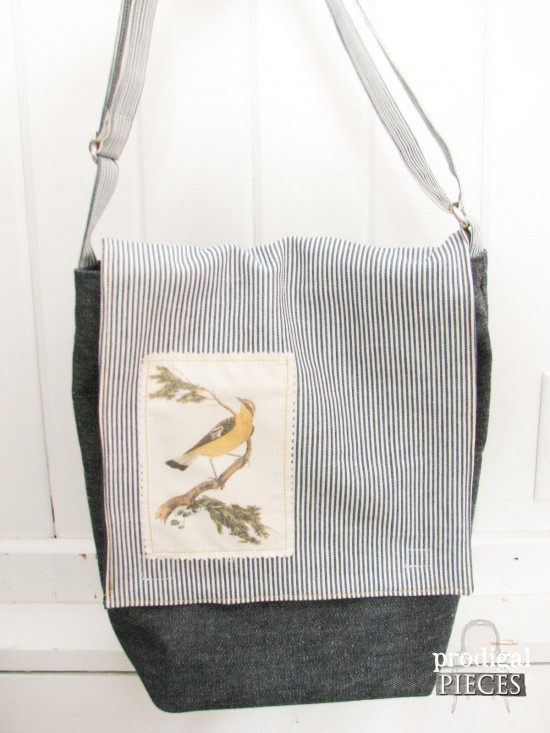
This is the remnant I have from making my son’s birthday gift – a messenger bag fit for ornithologists (bird lovers).
When recovering something as basic as an upholstered footstool, you just need to replace the batting and add about 2″ to the diameter of the stool when cutting your fabric.
To attach the fabric, I use my brad nailer / staple gun with staples and created pleats around the edge to make it lay flat.
Once the main denim fabric is on, I cut the fabric into a 1½” strip and a few inches longer than the circumference of my stool. sidenote: In case you’re wondering how to find circumference of a circle, the formula is C=πD (or 3.14 multiplied times the diameter of the circle). Homeschooling six kids comes in handy all the time. tsk.
LAST STEPS
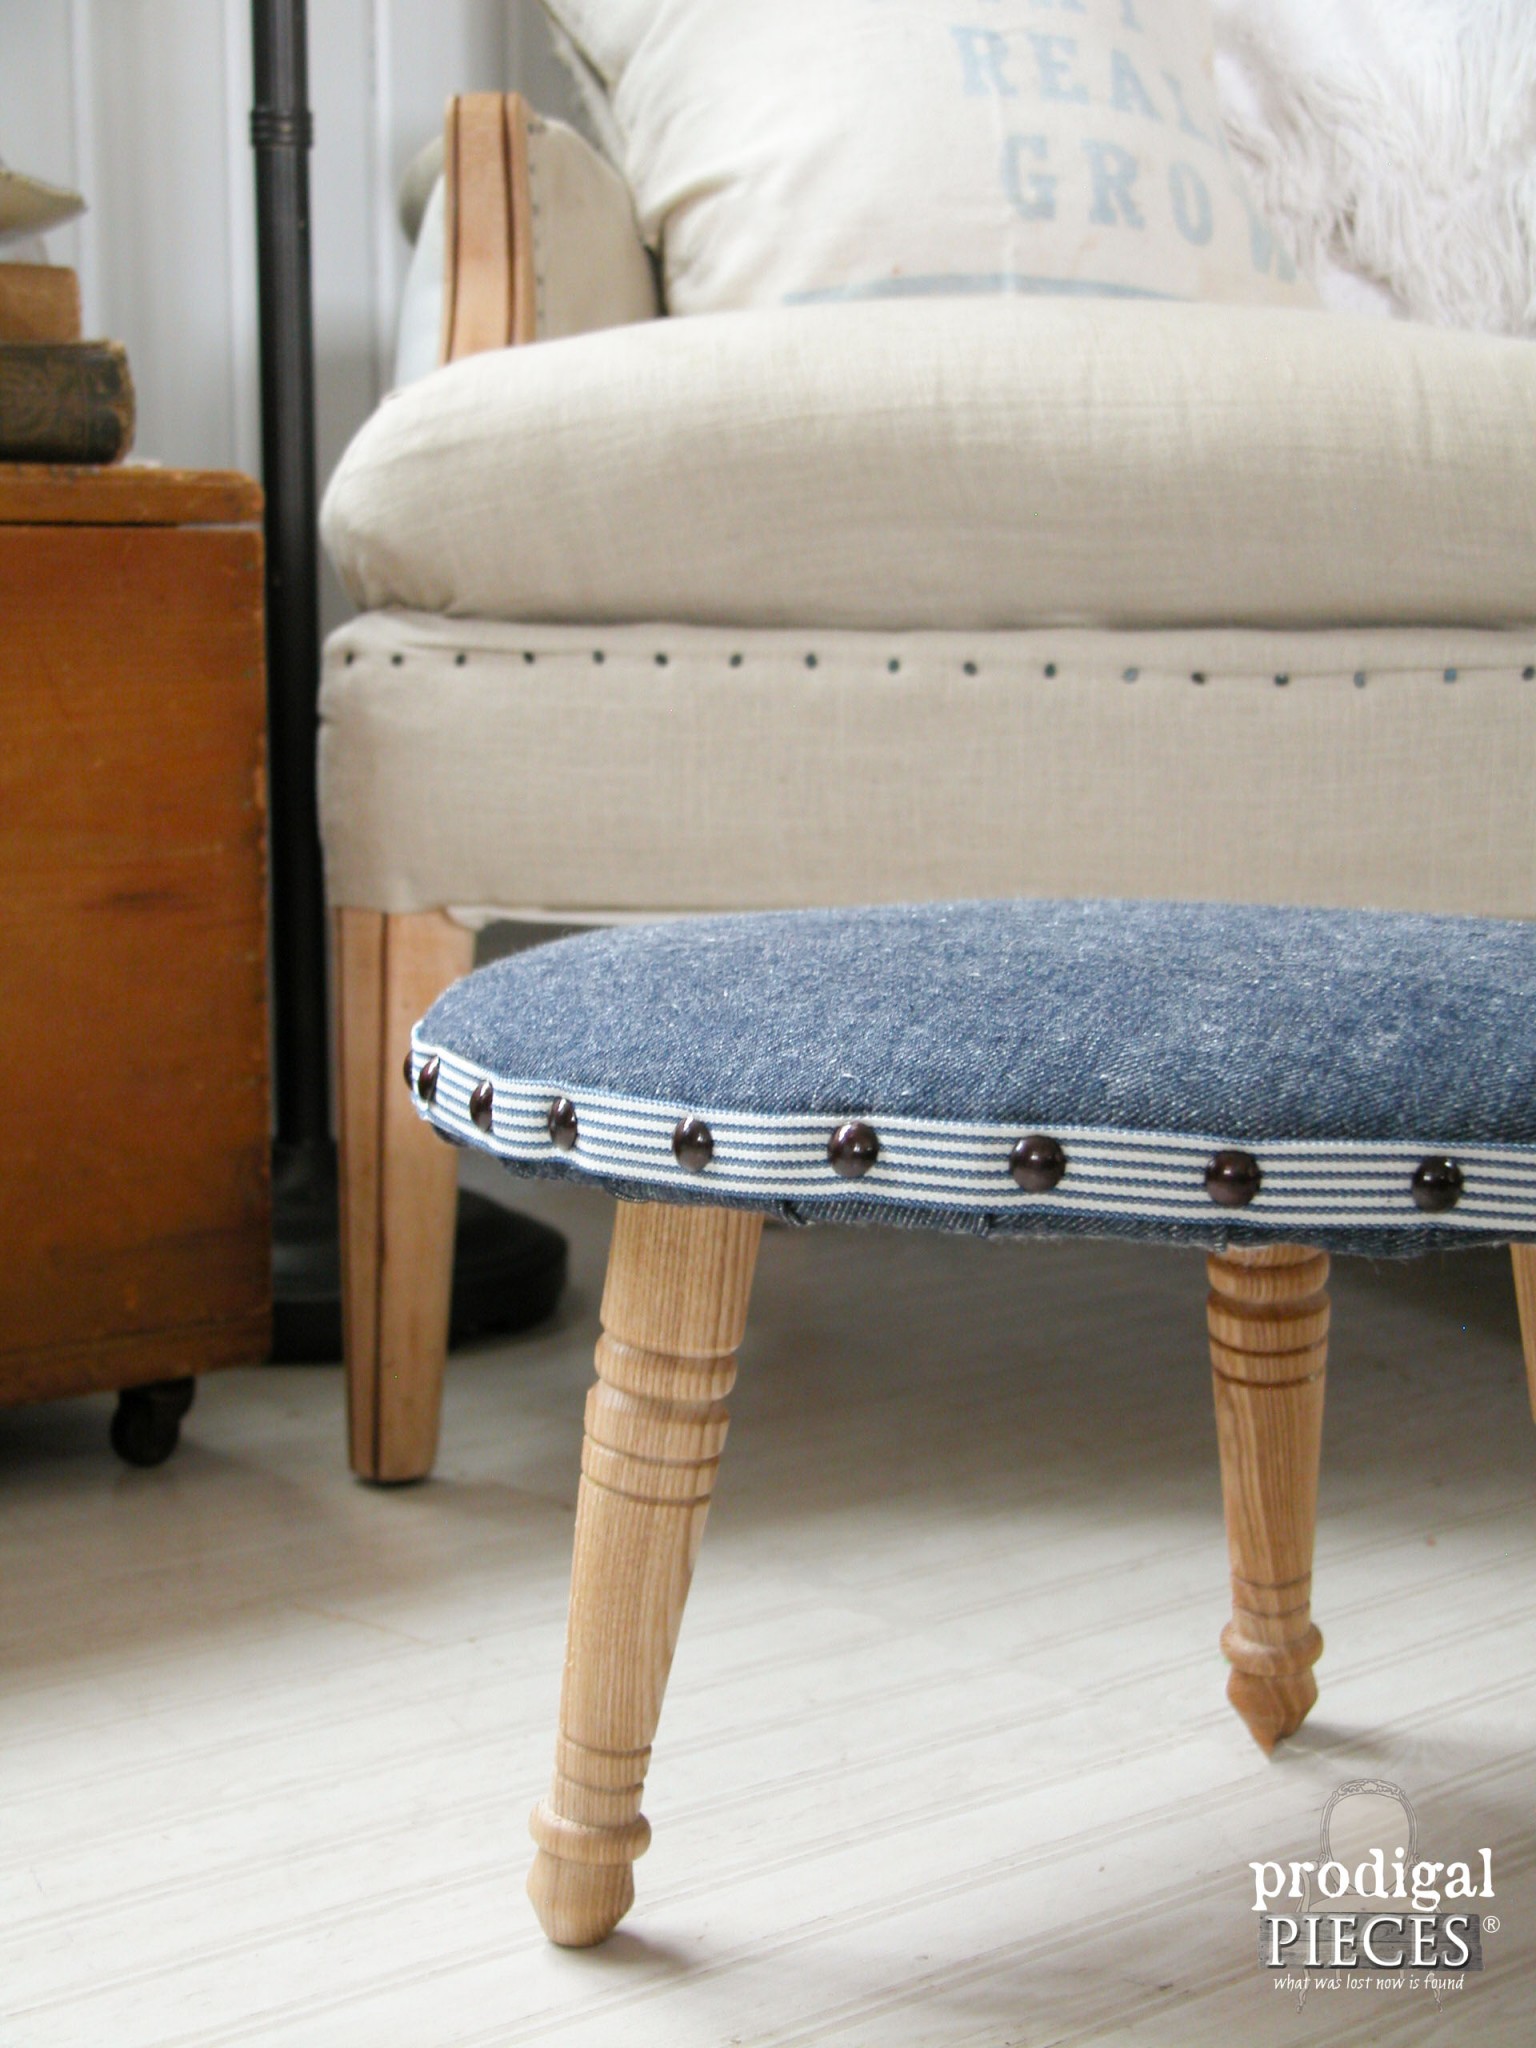
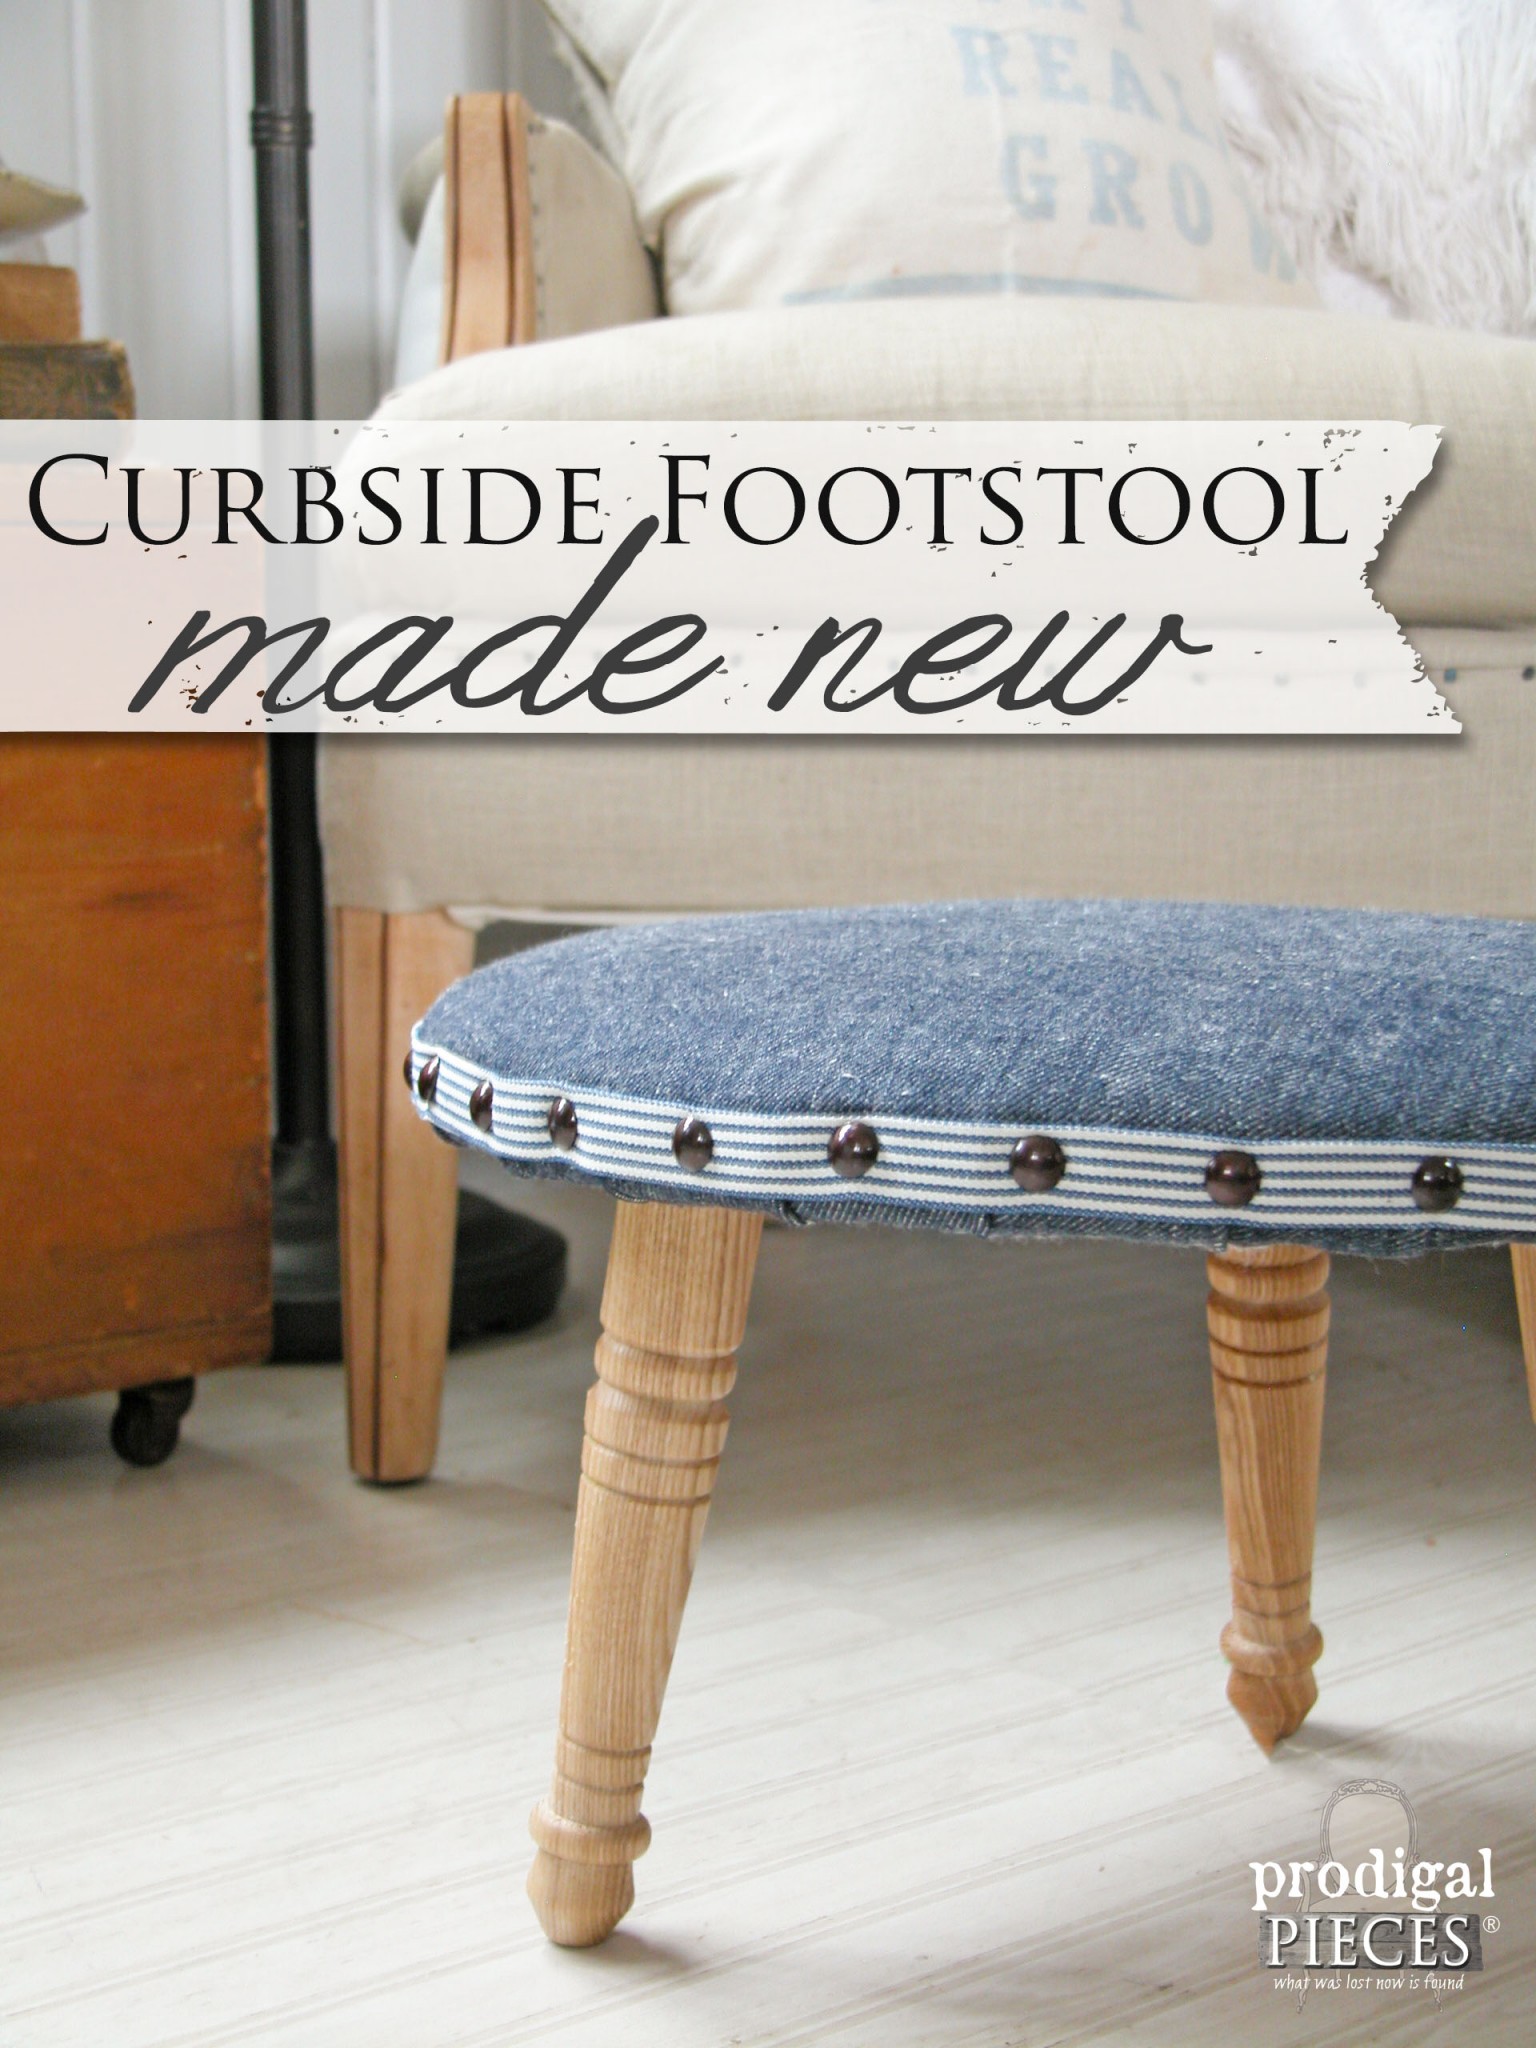
Folding the fabric strip into thirds creates a nice contrast around the diameter of the stool. I tack it on using some of my leftover upholstery tacks from the leather bench my husband and I built. You can see it HERE.
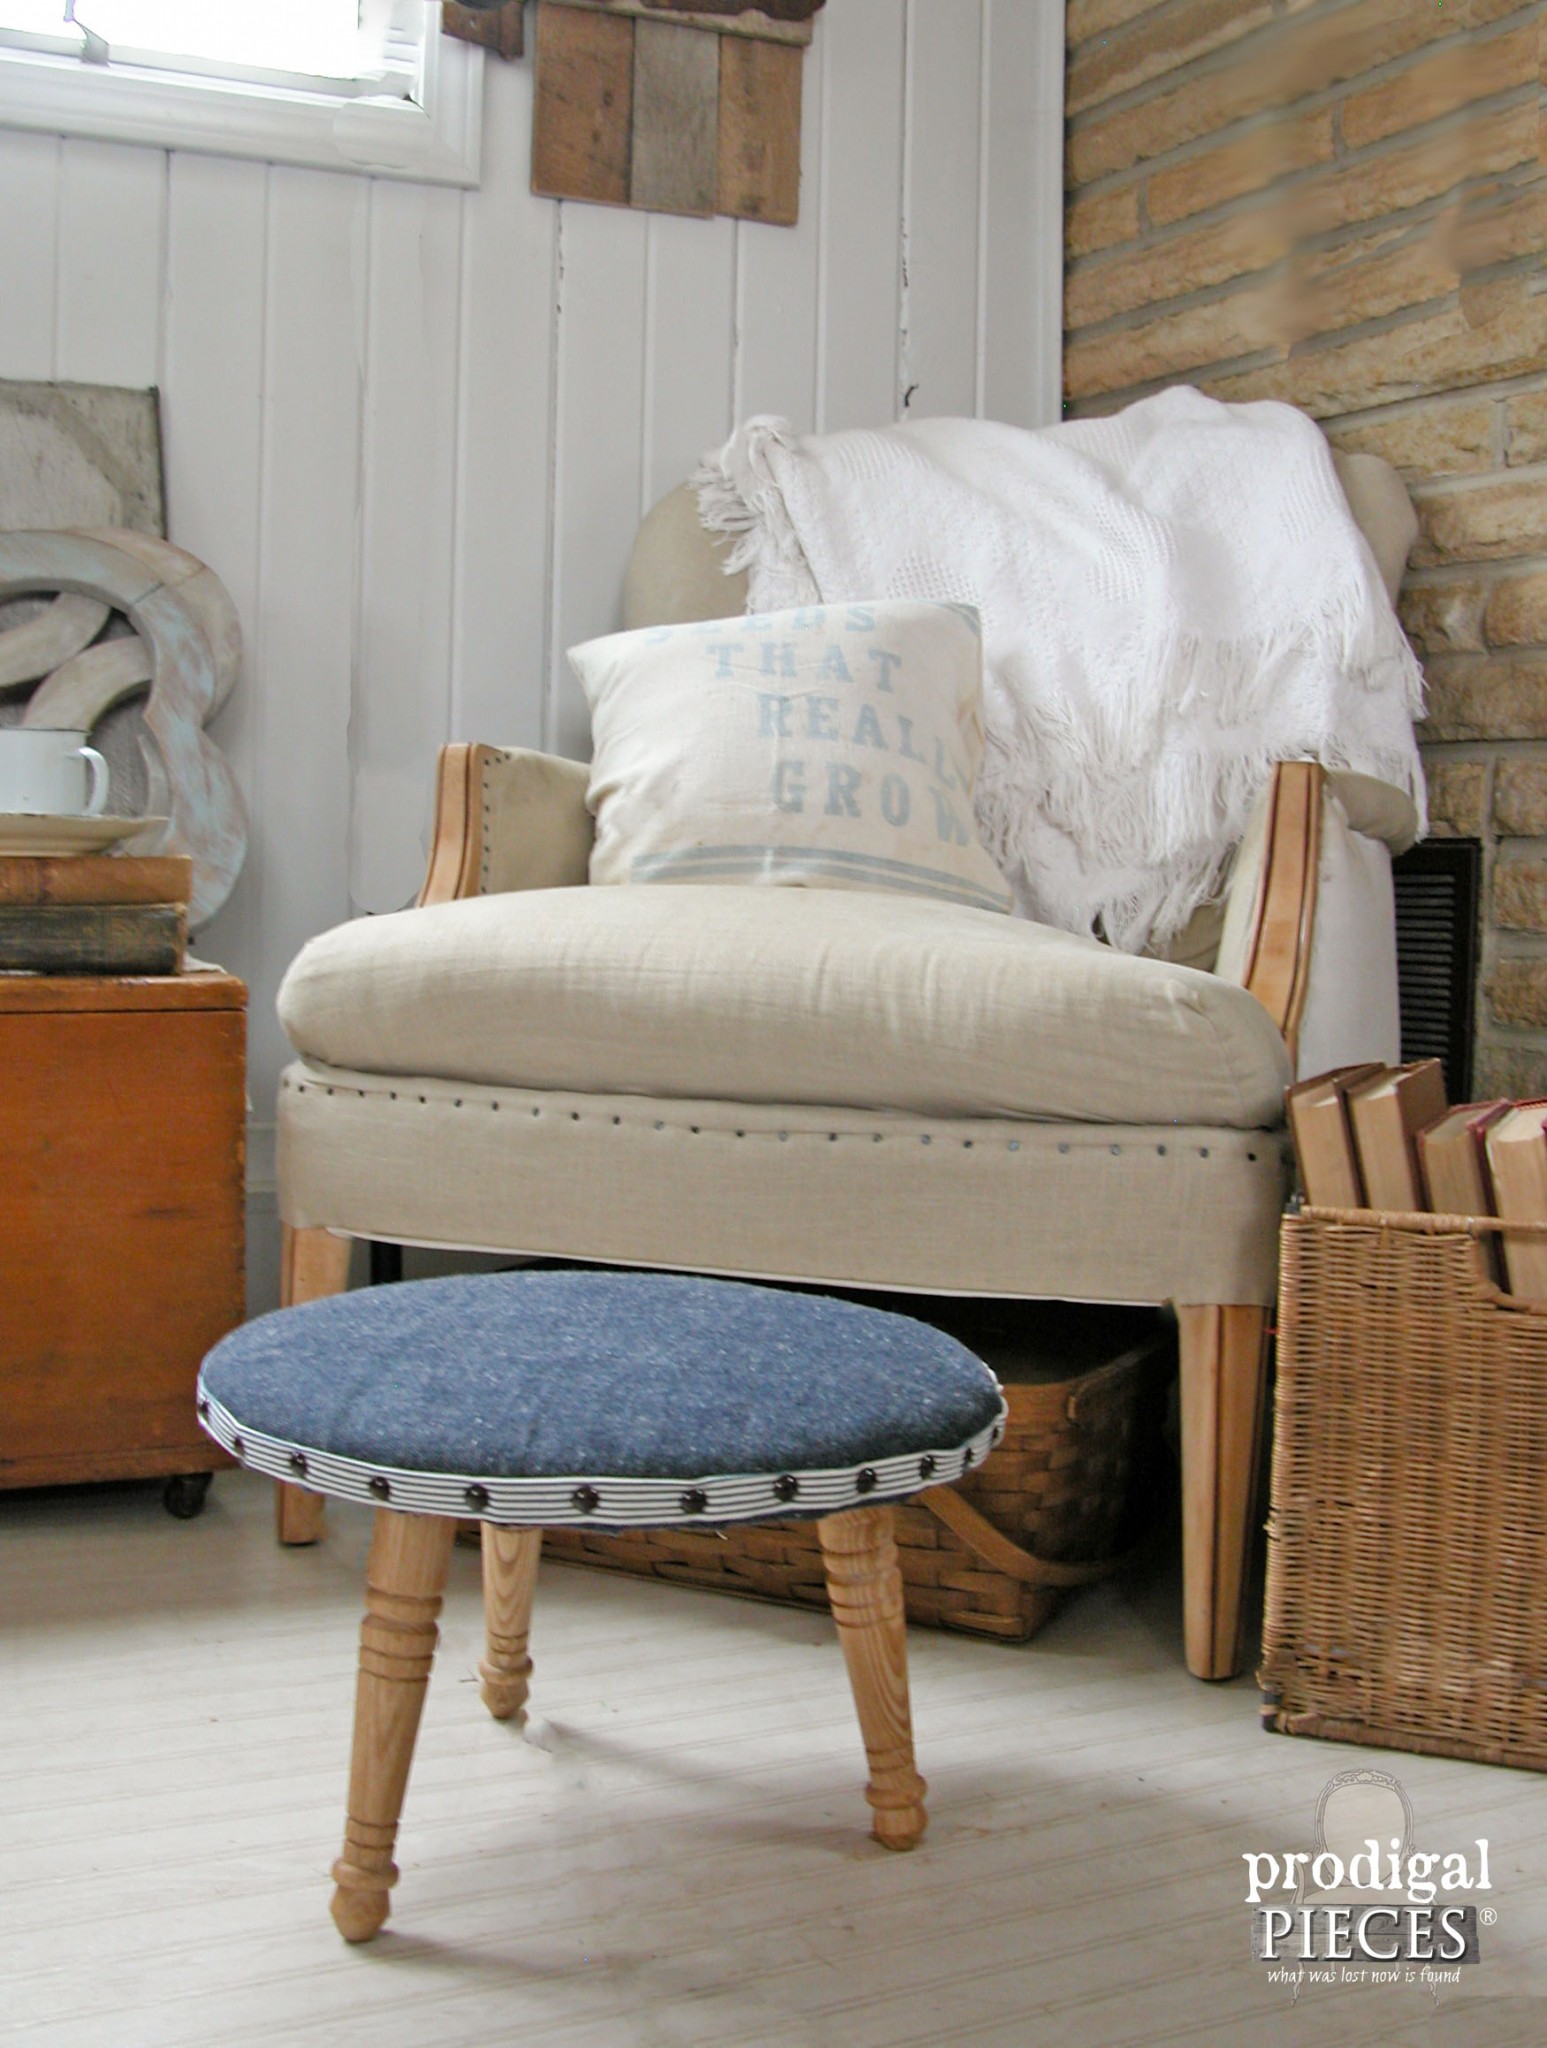
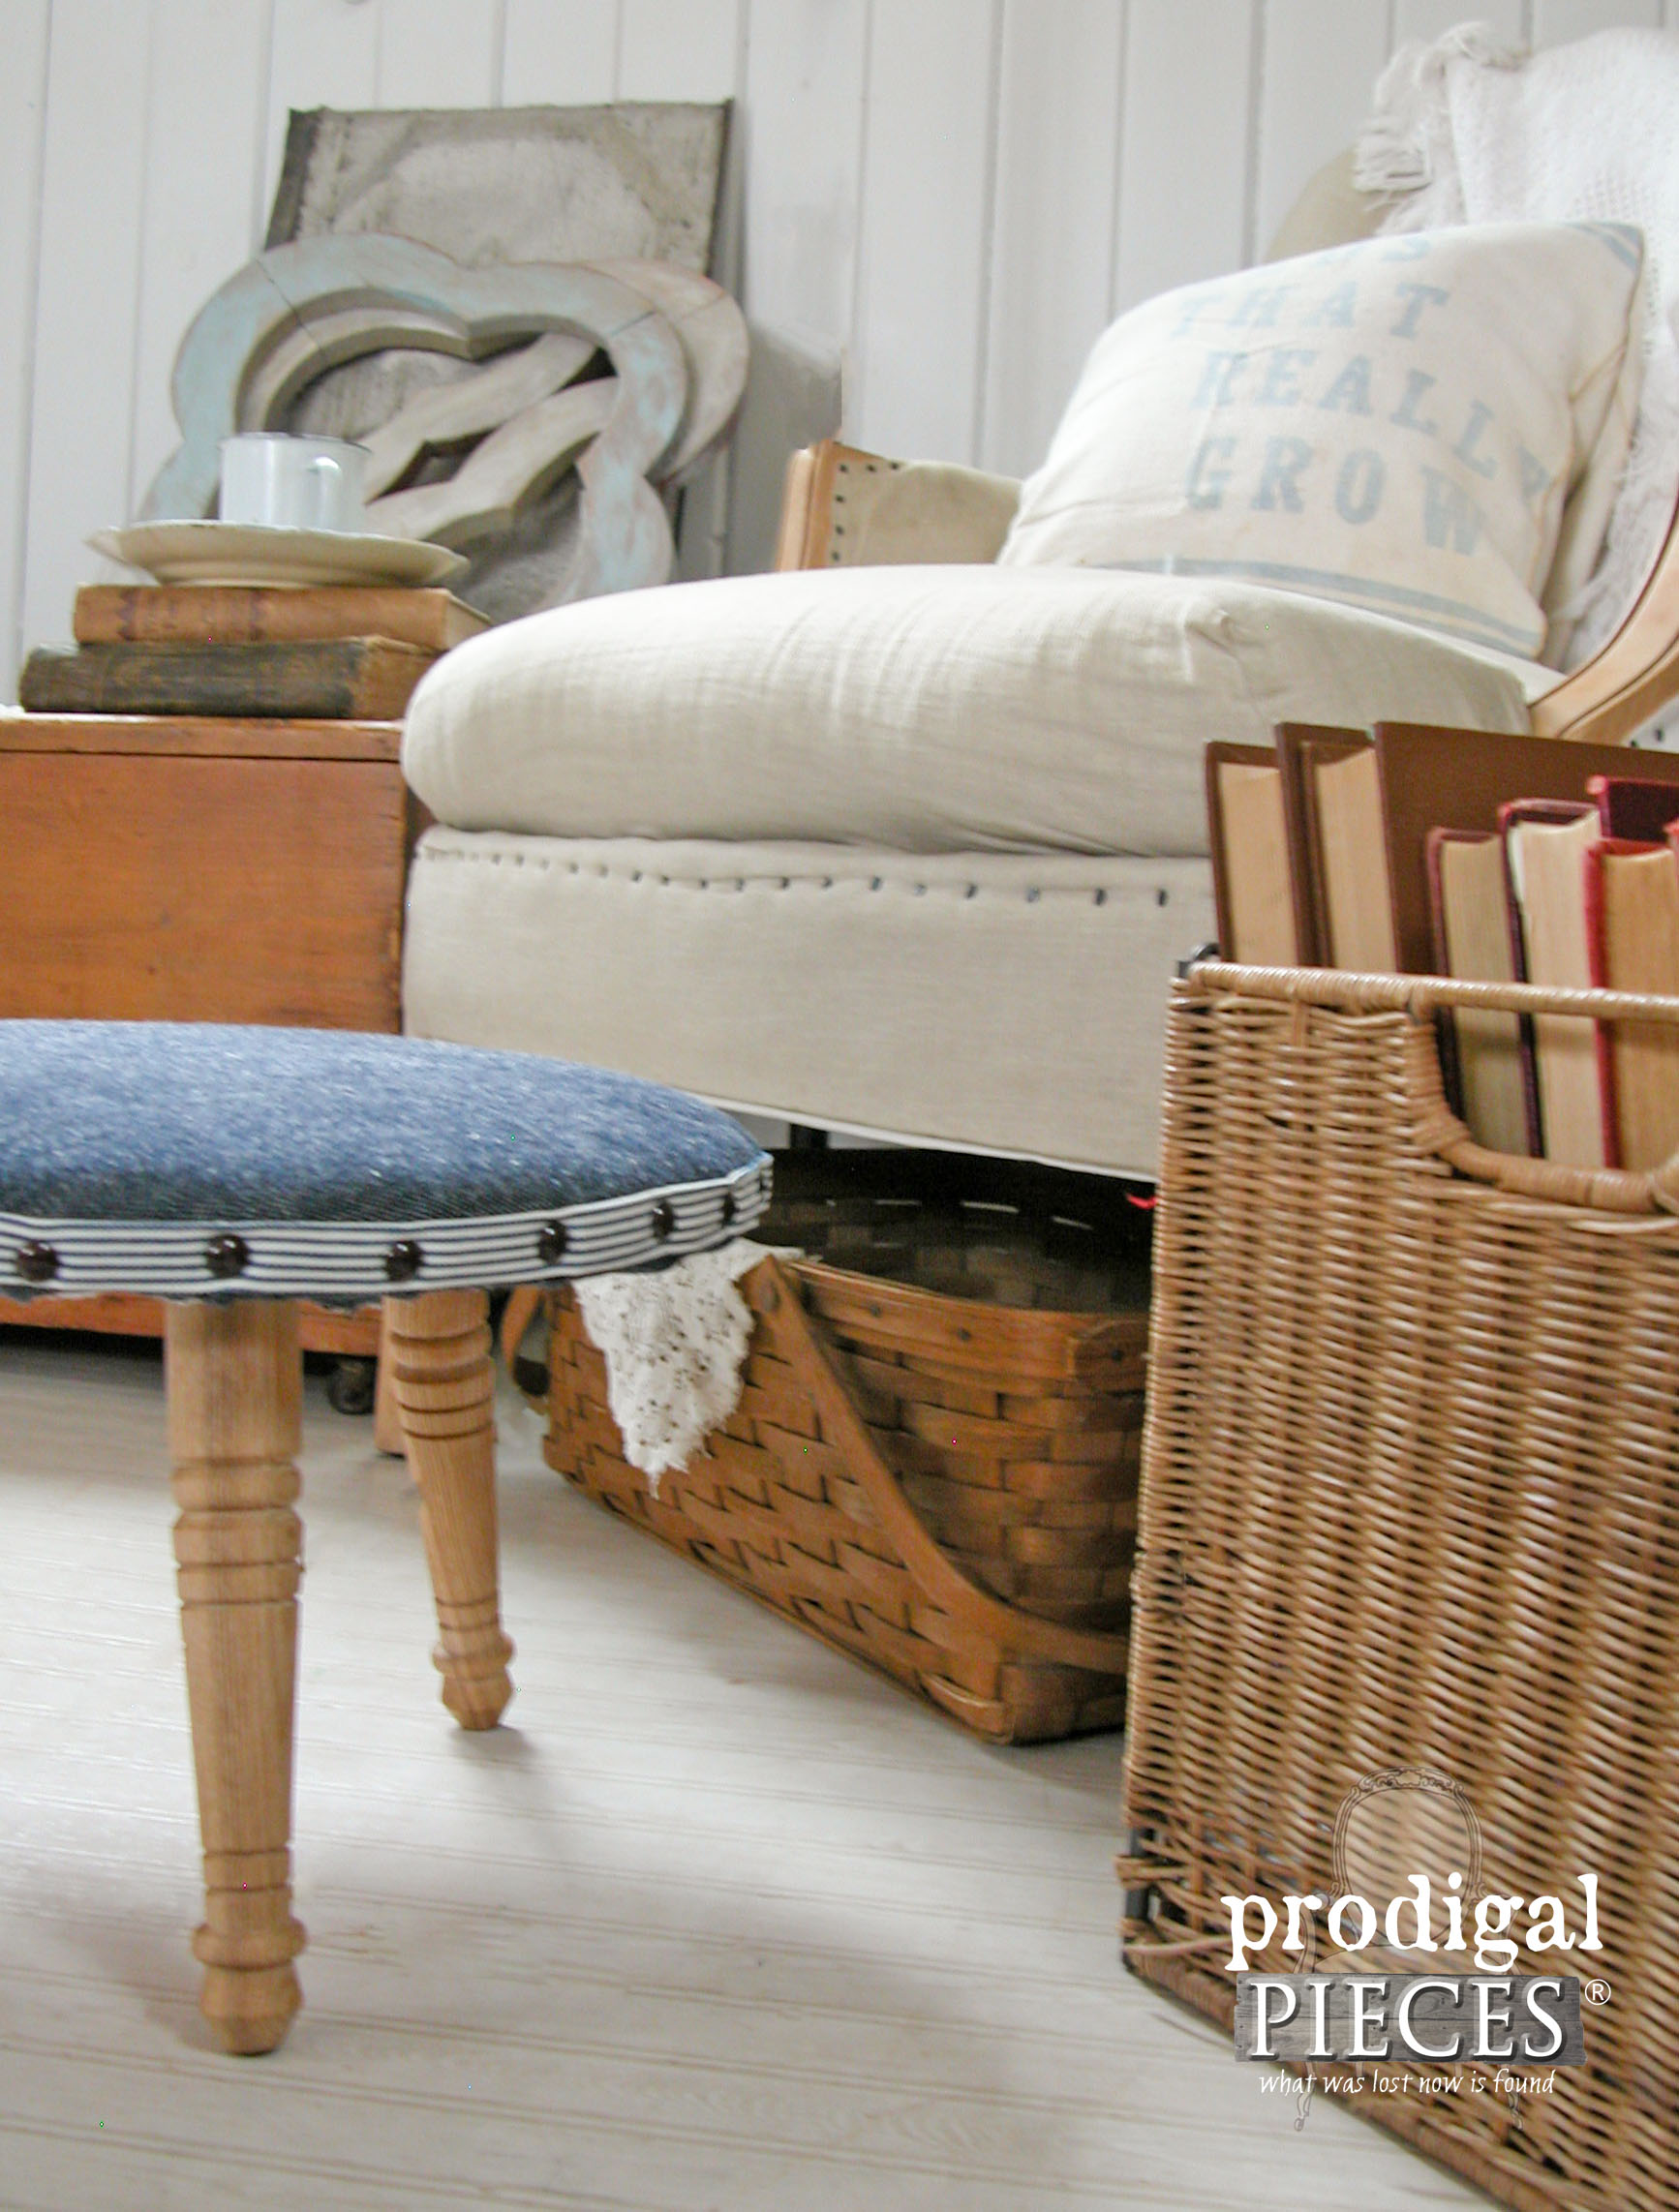
Now this once cast-off upholstered footstool has a fresh new look and is ready for its new home. This sweet piece is now available in my shop. (SOLD)
I love the sweet style of this little upholstered footstool and the classic lines it has. Perfectly suited to function in any setting with the denim fabric.
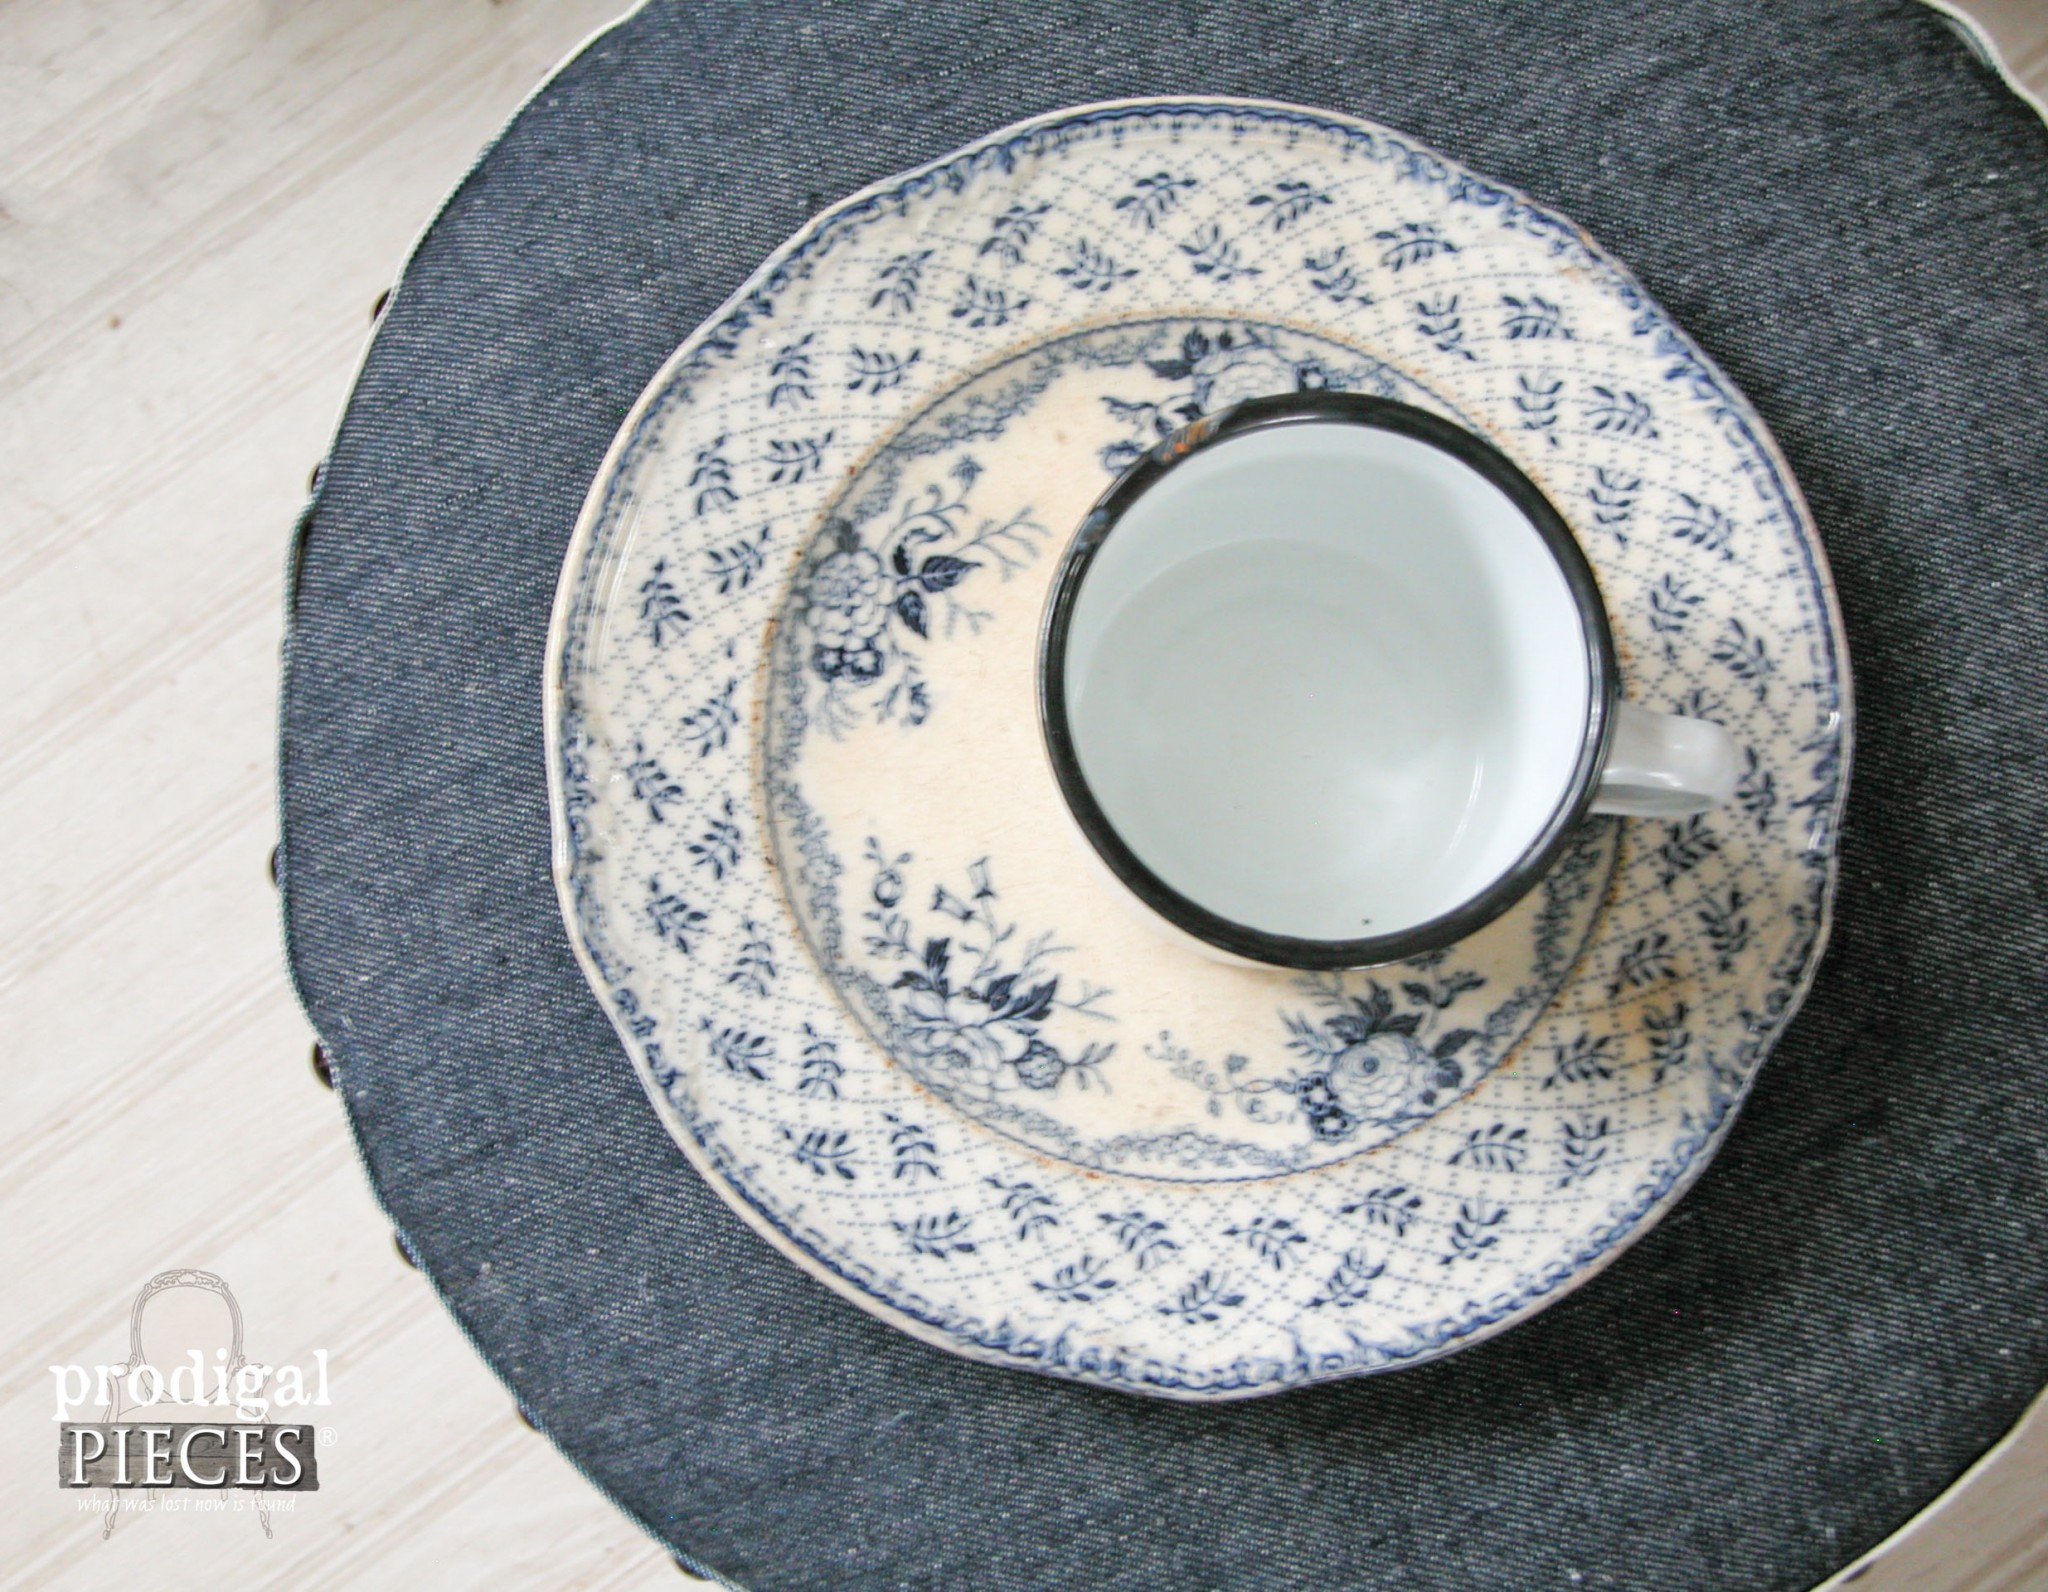
I had fun pairing this with a sweet gift from a reader who knew my passion for feedsacks and my linen chair. Isn’t that advertisement sweet?
My one-legged wonder has a happy ending and I hope it inspires you to see past the obvious ugly to see the possibilities of the new.
Do pin and share to inspire others to try it too! ♥
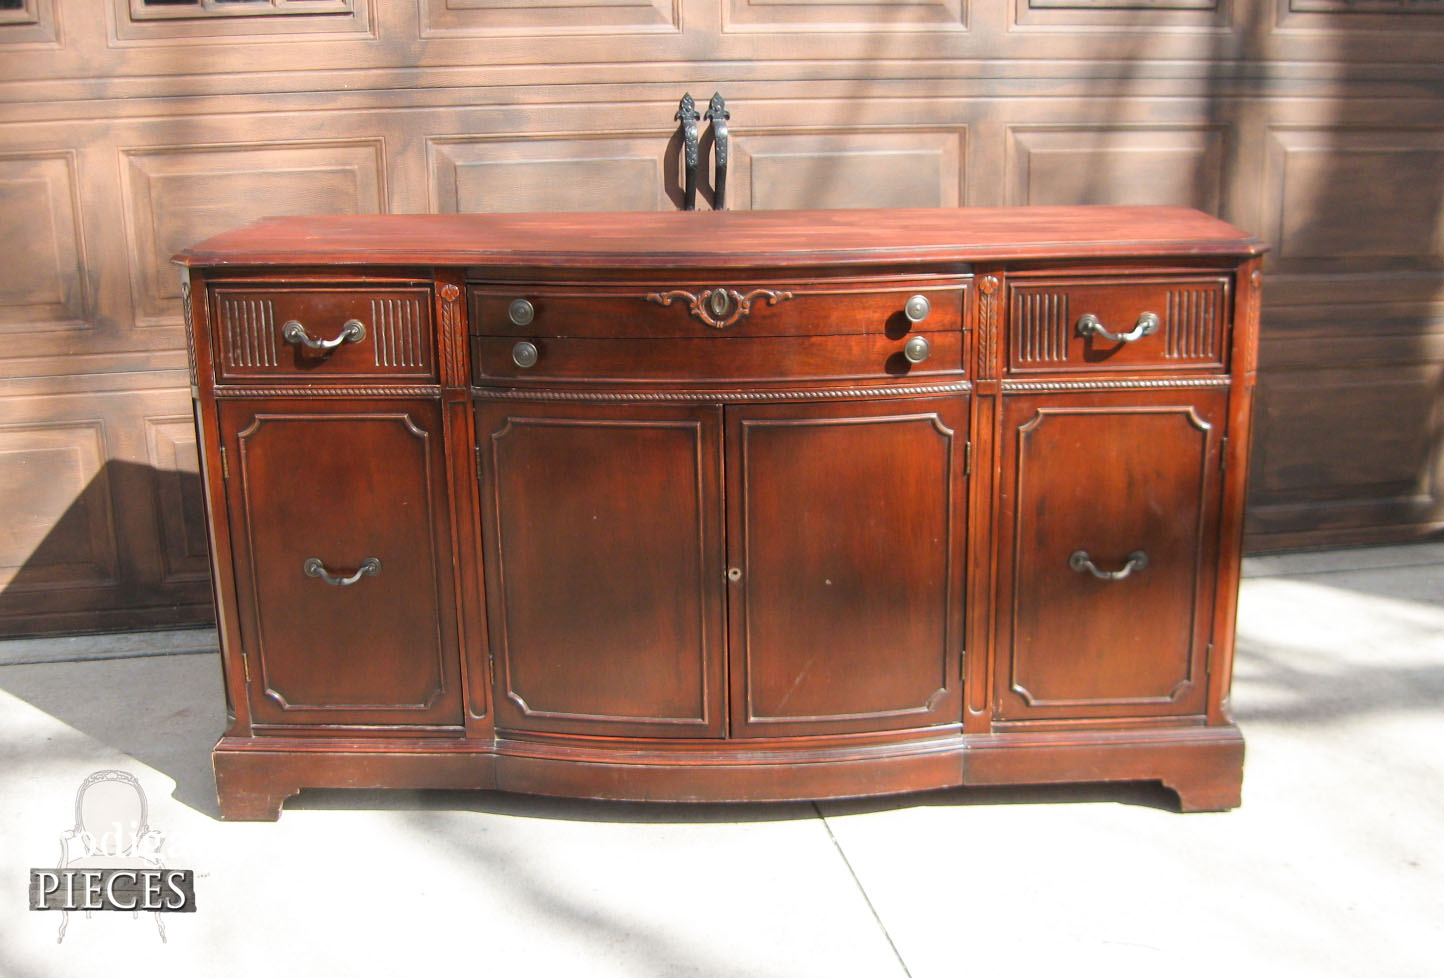
Ever since I refinished my own sideboard / buffet and sold it in my shop, I have had custom requests coming in for buffets. This one the latest for my recent order. I’ll be sharing the makeover in this post. Come see!
To get these DIY tips & tricks in your inbox, be sure to sign up for my newsletter. PLUS, you will get your FREE Furniture Buying Checklist and special discount to my shop. Until next time!




That looks just adorable. And now it’s legs can be shown off too! Not hidden under a skirt! Getting bold, are we?
ahem…YES. 😀
Little stools are so precious. This one looks so sweet with the denim fabric.
I think so too. They’re so fun and versatile. Thank you, Debra!
Really sweet makeover! I love footstools too! I had purchased a small bench to put at the foot of the bed in the master bedroom and I wasn’t happy with the ‘tapestry’ style fabric as it was an ‘ok’ match to my hand made quilt, but not ‘spot on’. I ripped off the tapestry and selected a coordinating fabric from my quilt fabric stash and got to stapling. I love the look now, it coordinates beautifully with the window treatment and the quilt. All in all the project cost under $25.00 as I already had the staple gun, staples, fabric and quilt batting. It also makes it much more personal than store bought.
How fun for you! Sounds like you’re a gal after my own heart, Barbara. 😉