It’s that time again! Furniture Fixer Uppers day is here and I’m excited to share with you this vintage accent table that stole my heart at the thrift store. I’ll show you what my gal friends worked on in a bit.
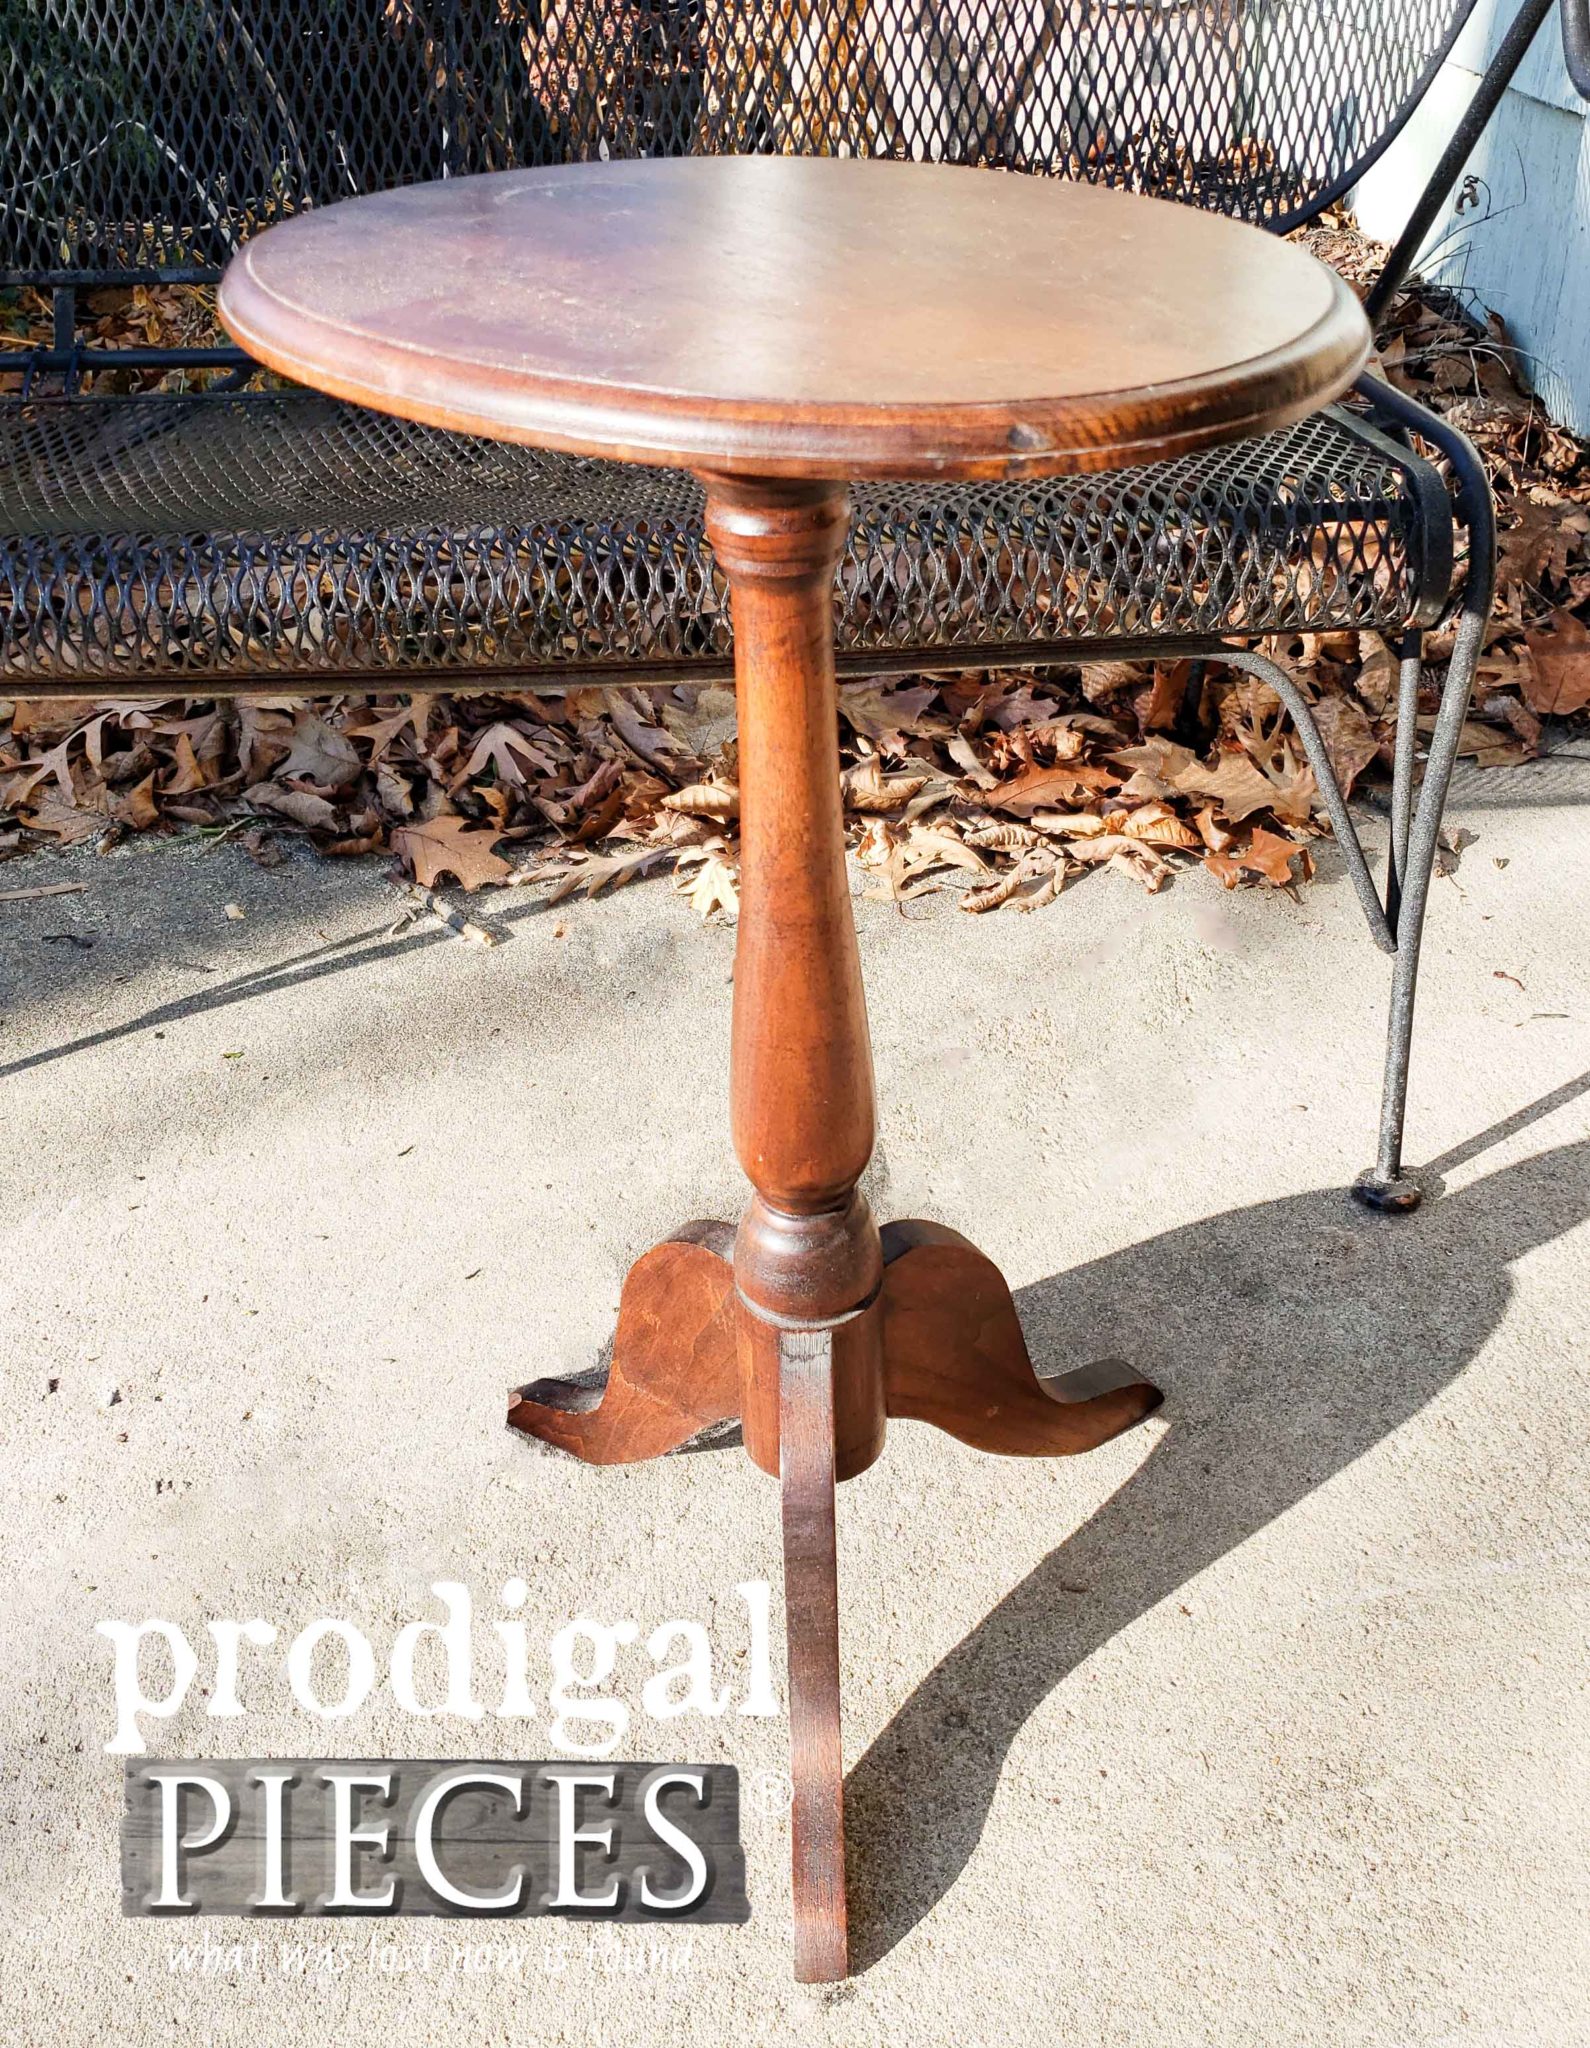
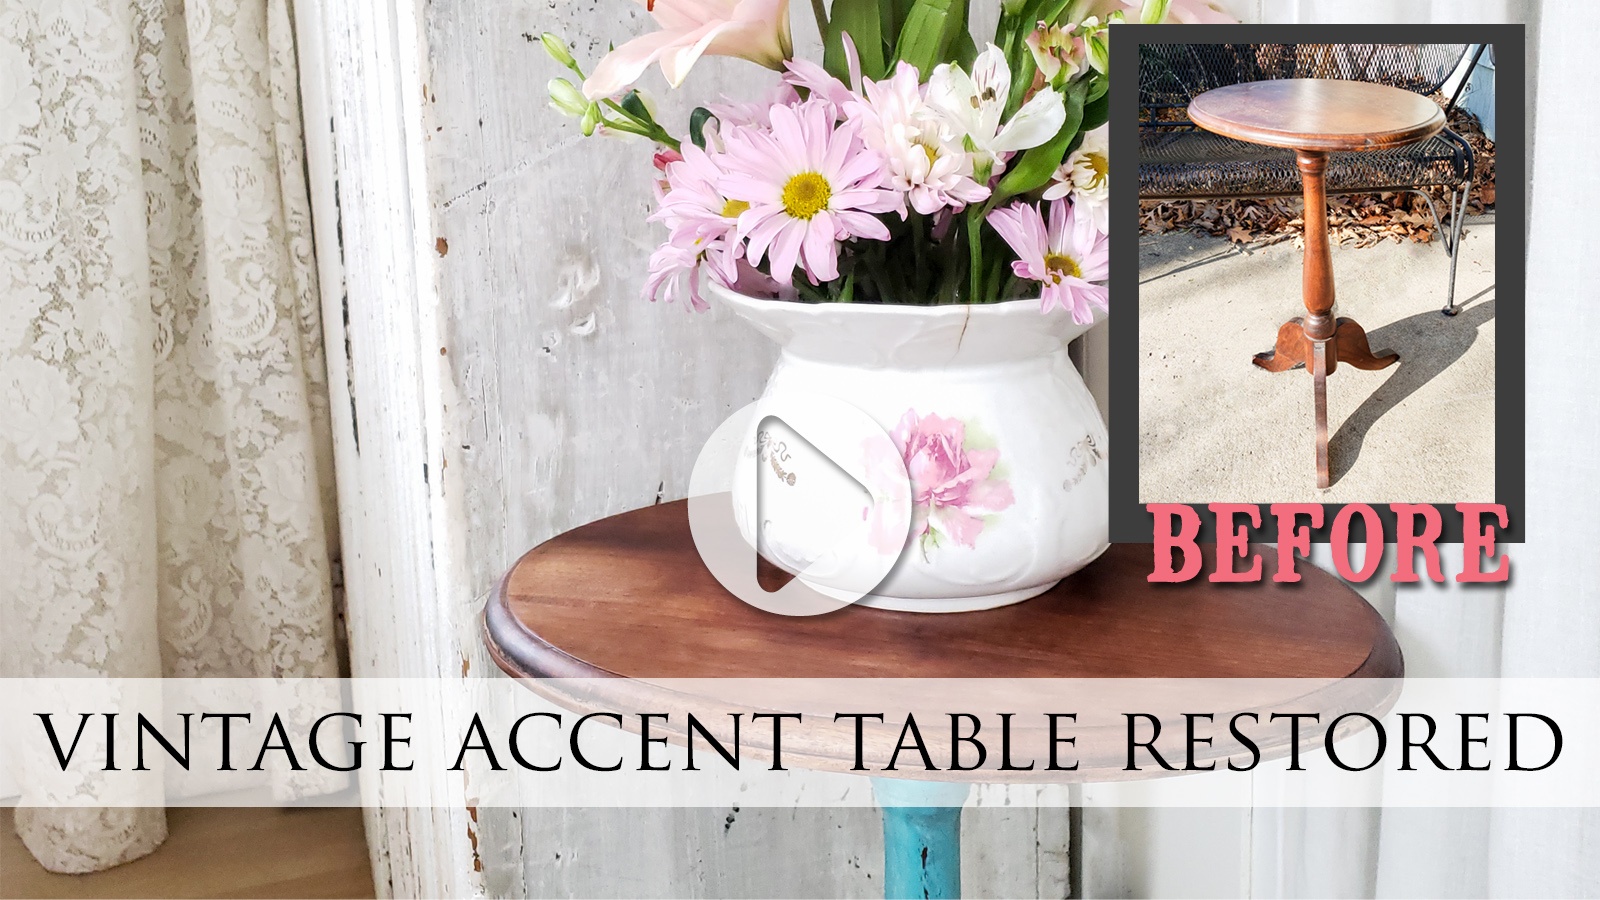
Why did it catch my attention? Well, it’s cute in size, but also function. These little tables can go in most any room and can add a bit of fun as well. This one, however, has seen some lovin’, and I want to remedy that.
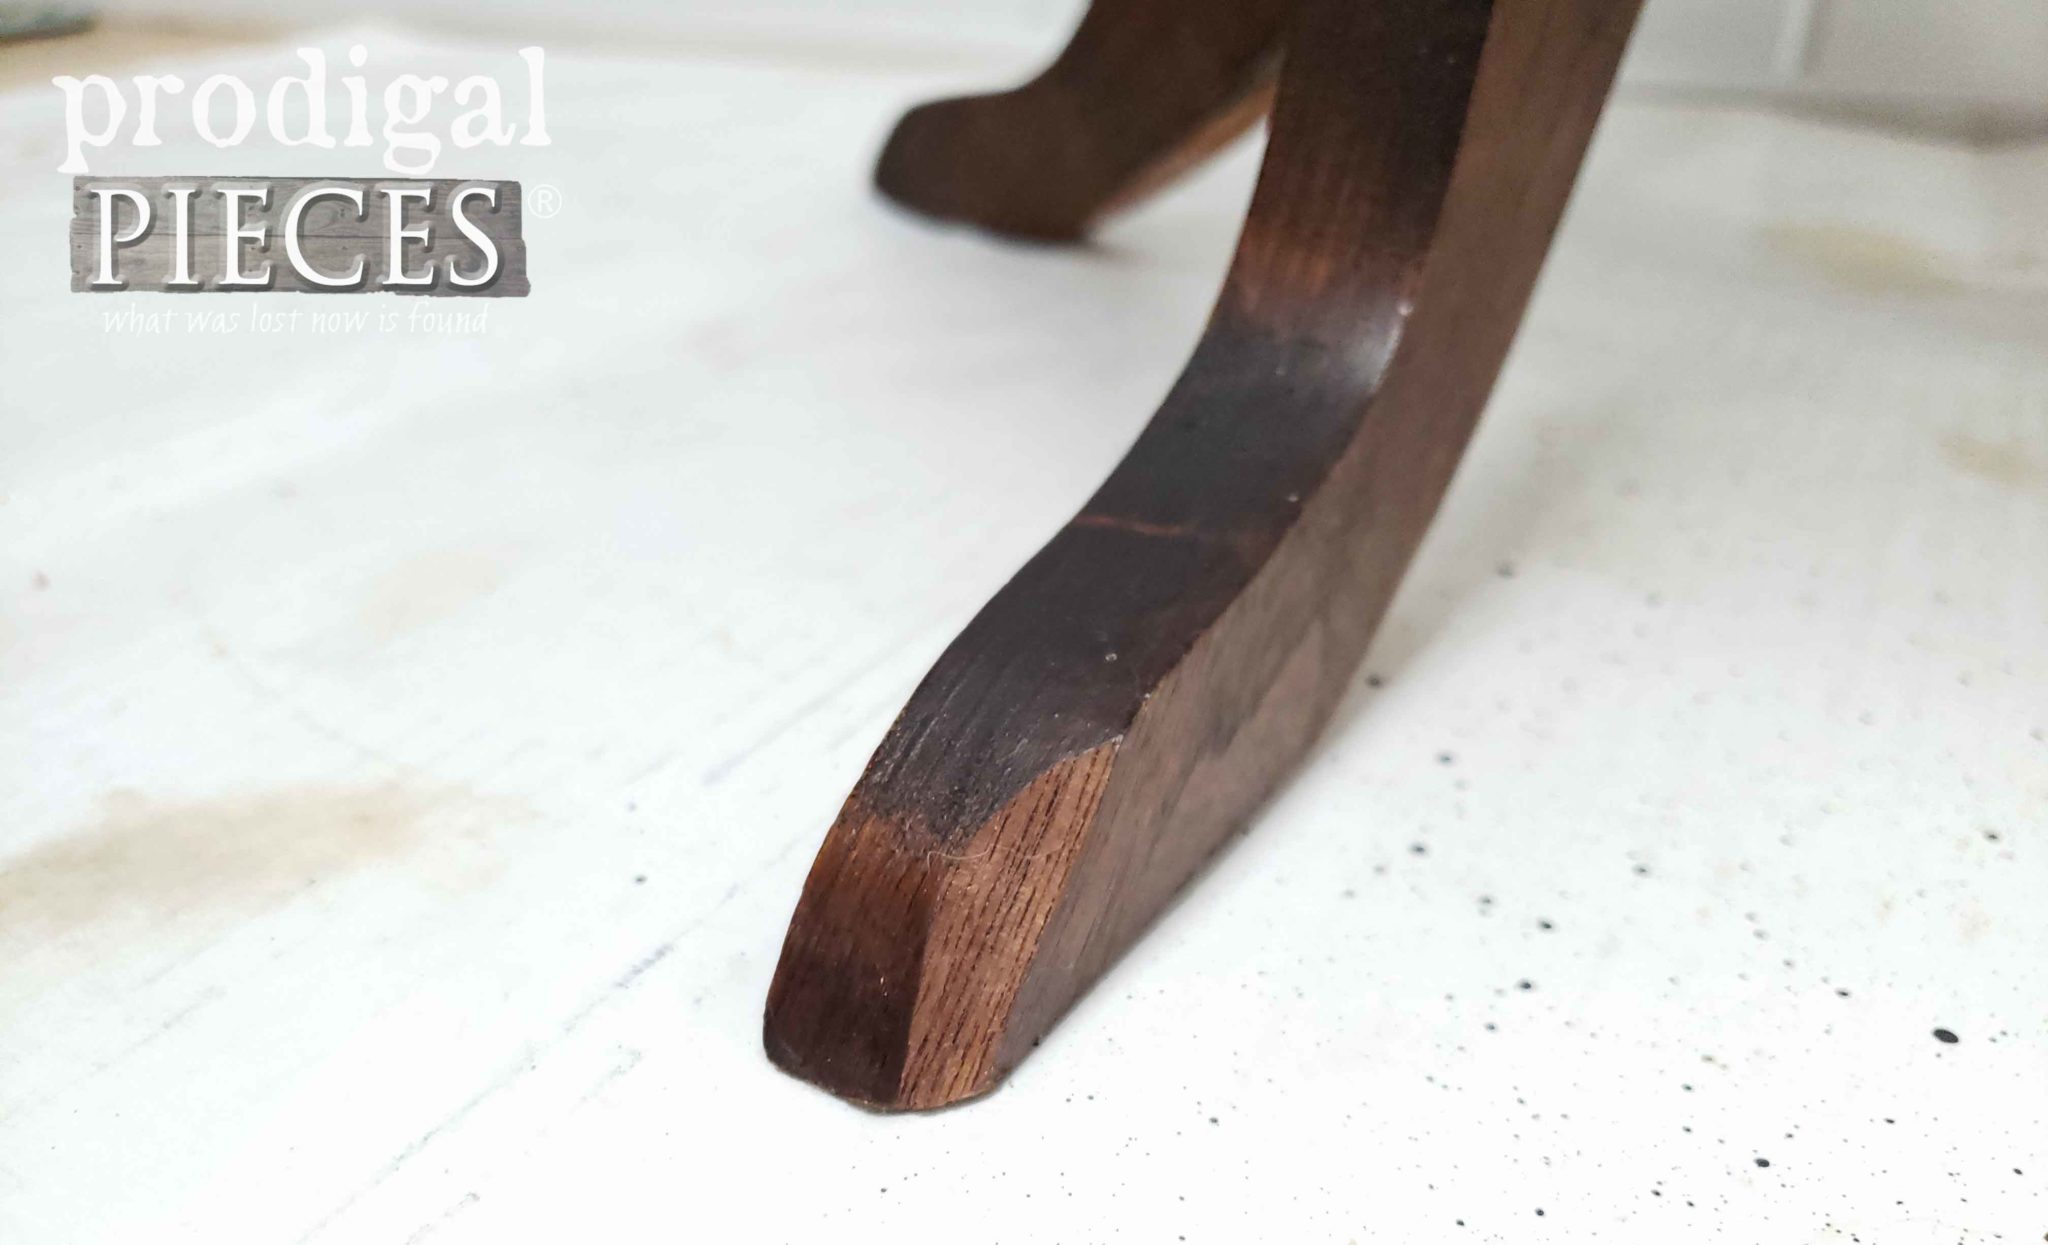
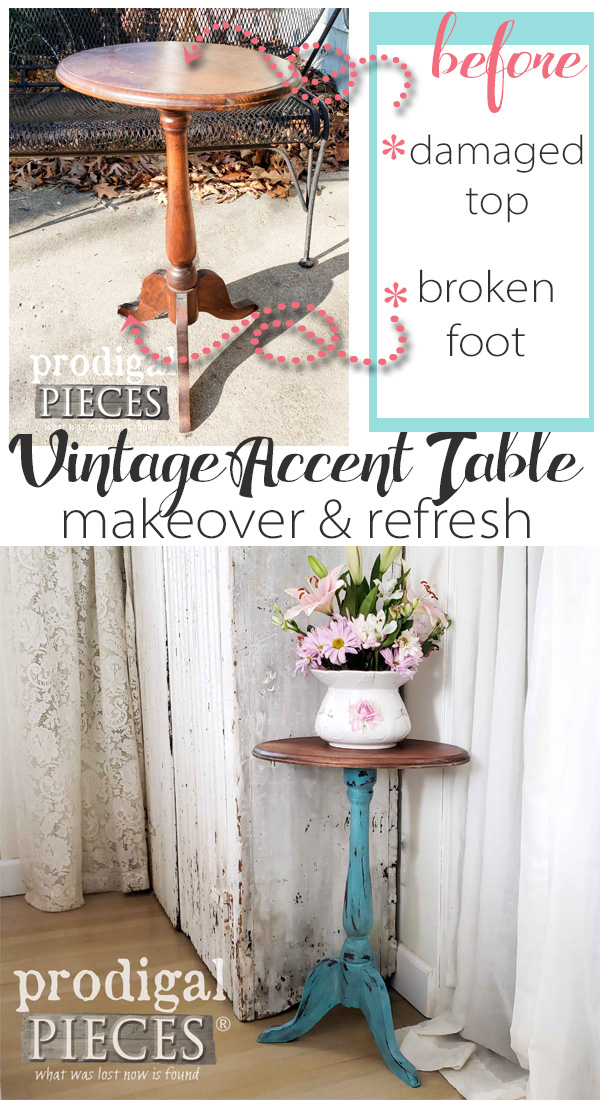
The top has water rings, some dings, and some staining. In addition, one of the feet has had a chunk taken out of it.
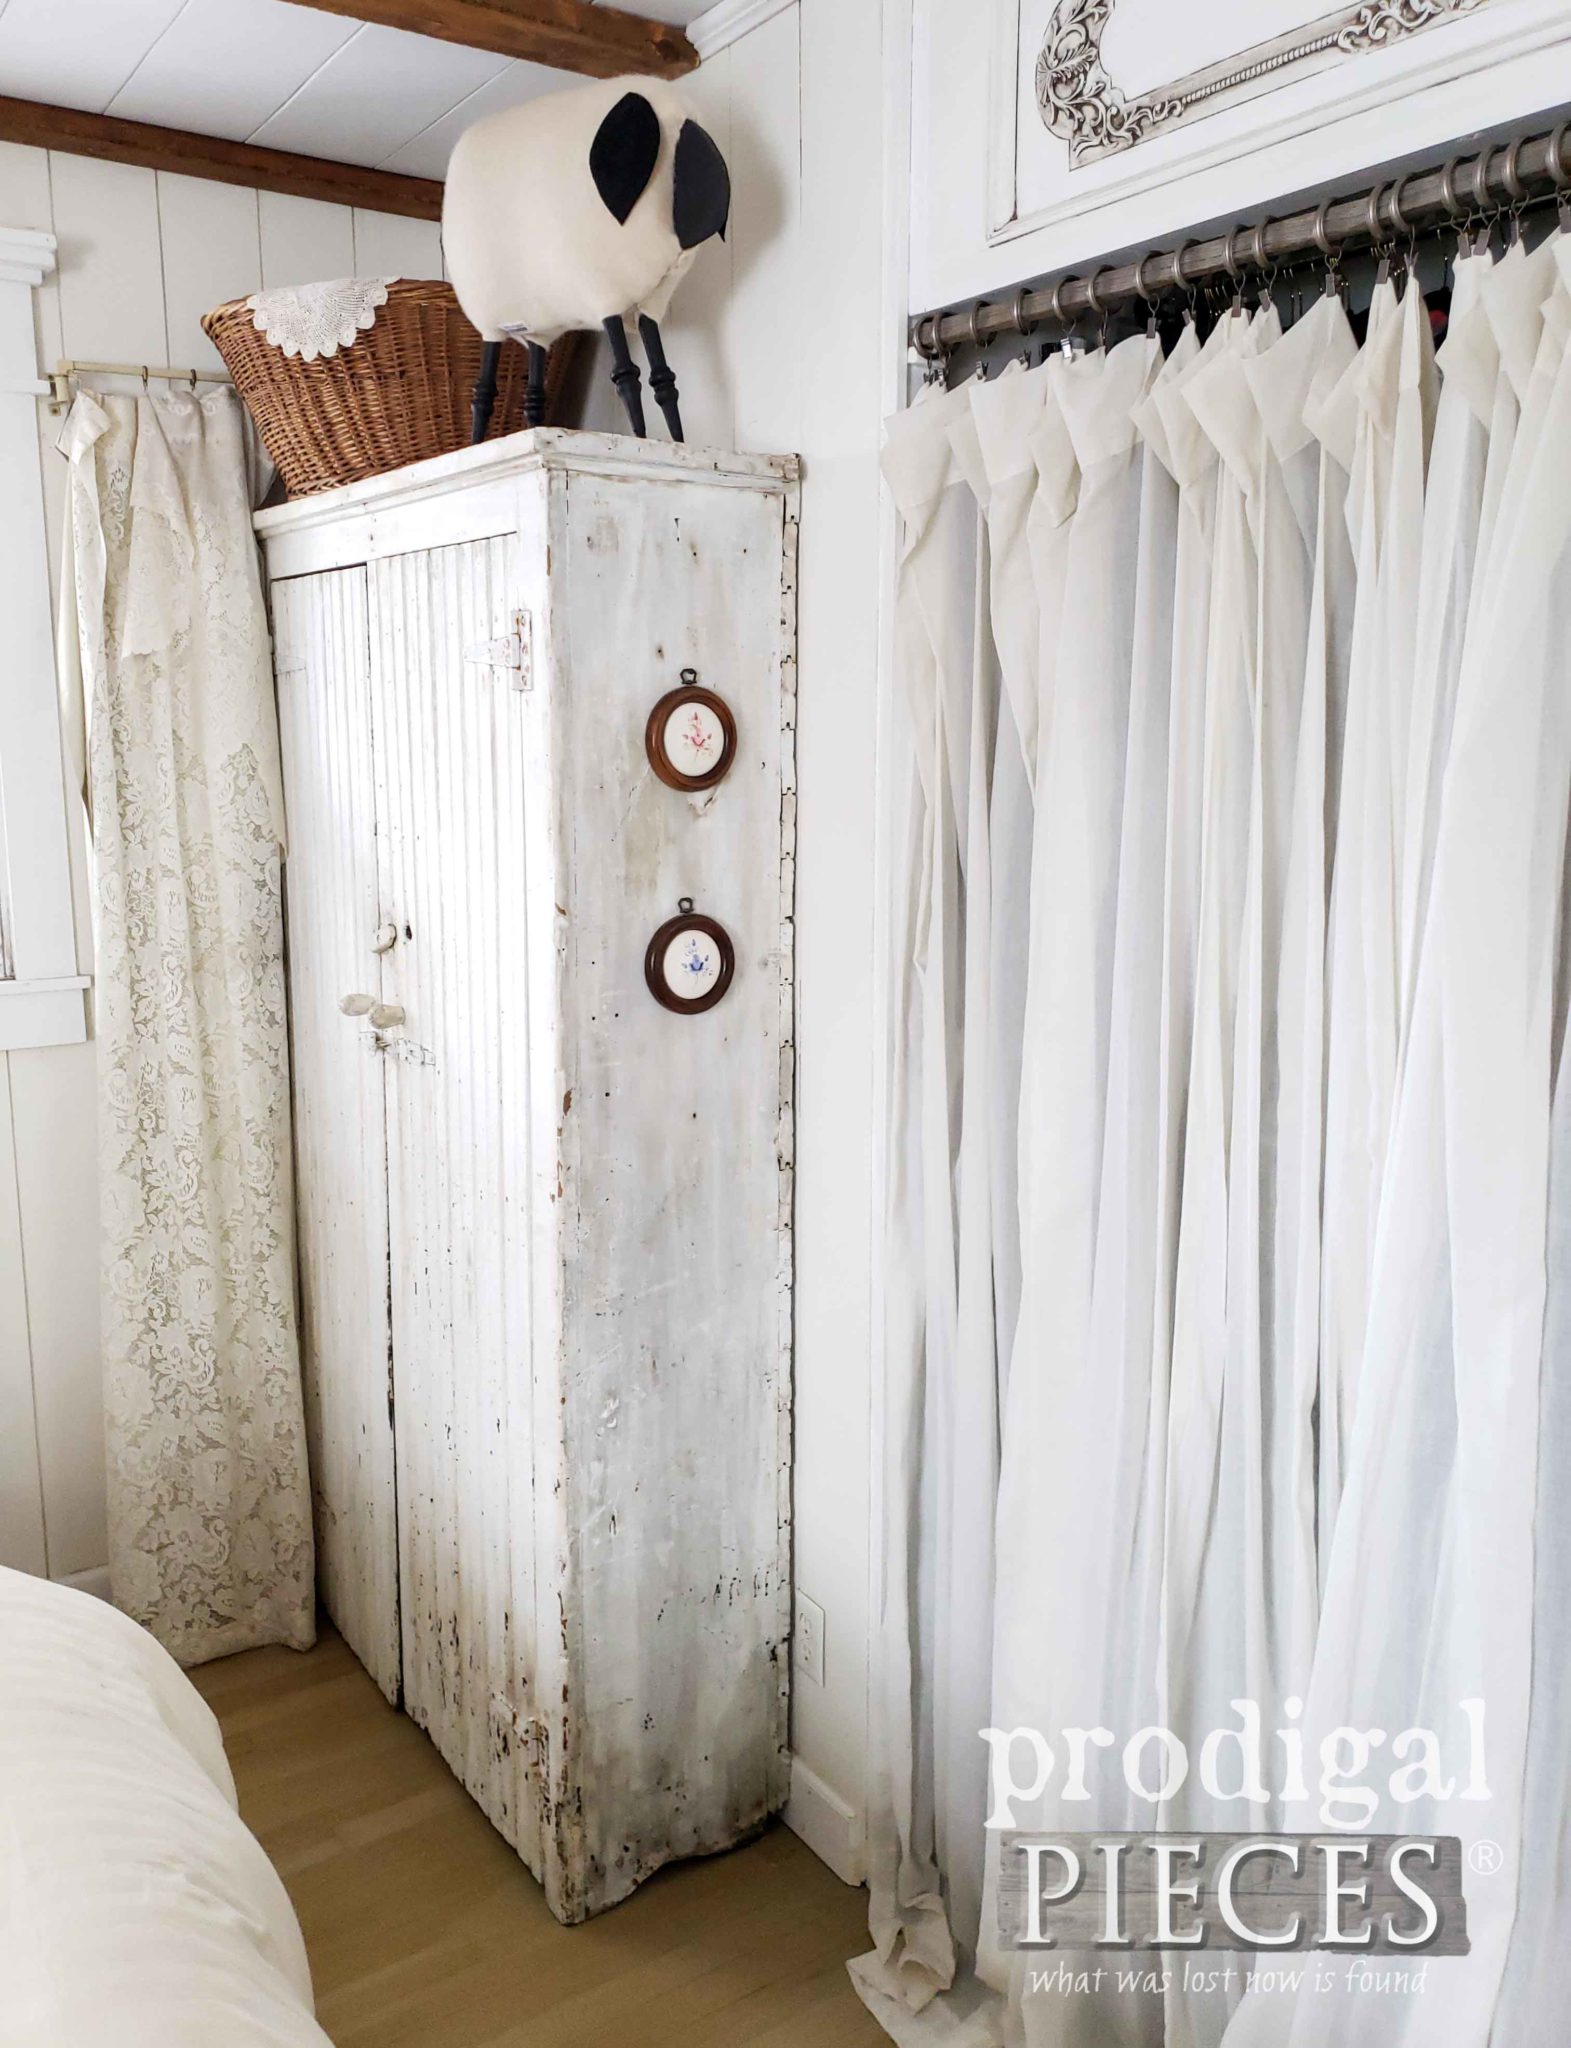
At first glanc, the fixes seem easy enough, don’t you think? I’ve created a video tutorial for you below. Also, I’m outlining the steps I took in written form too. My goal was to show how my neutral bedroom can be changed up with just the simplest change with this vintage accent table.
DIY FUN
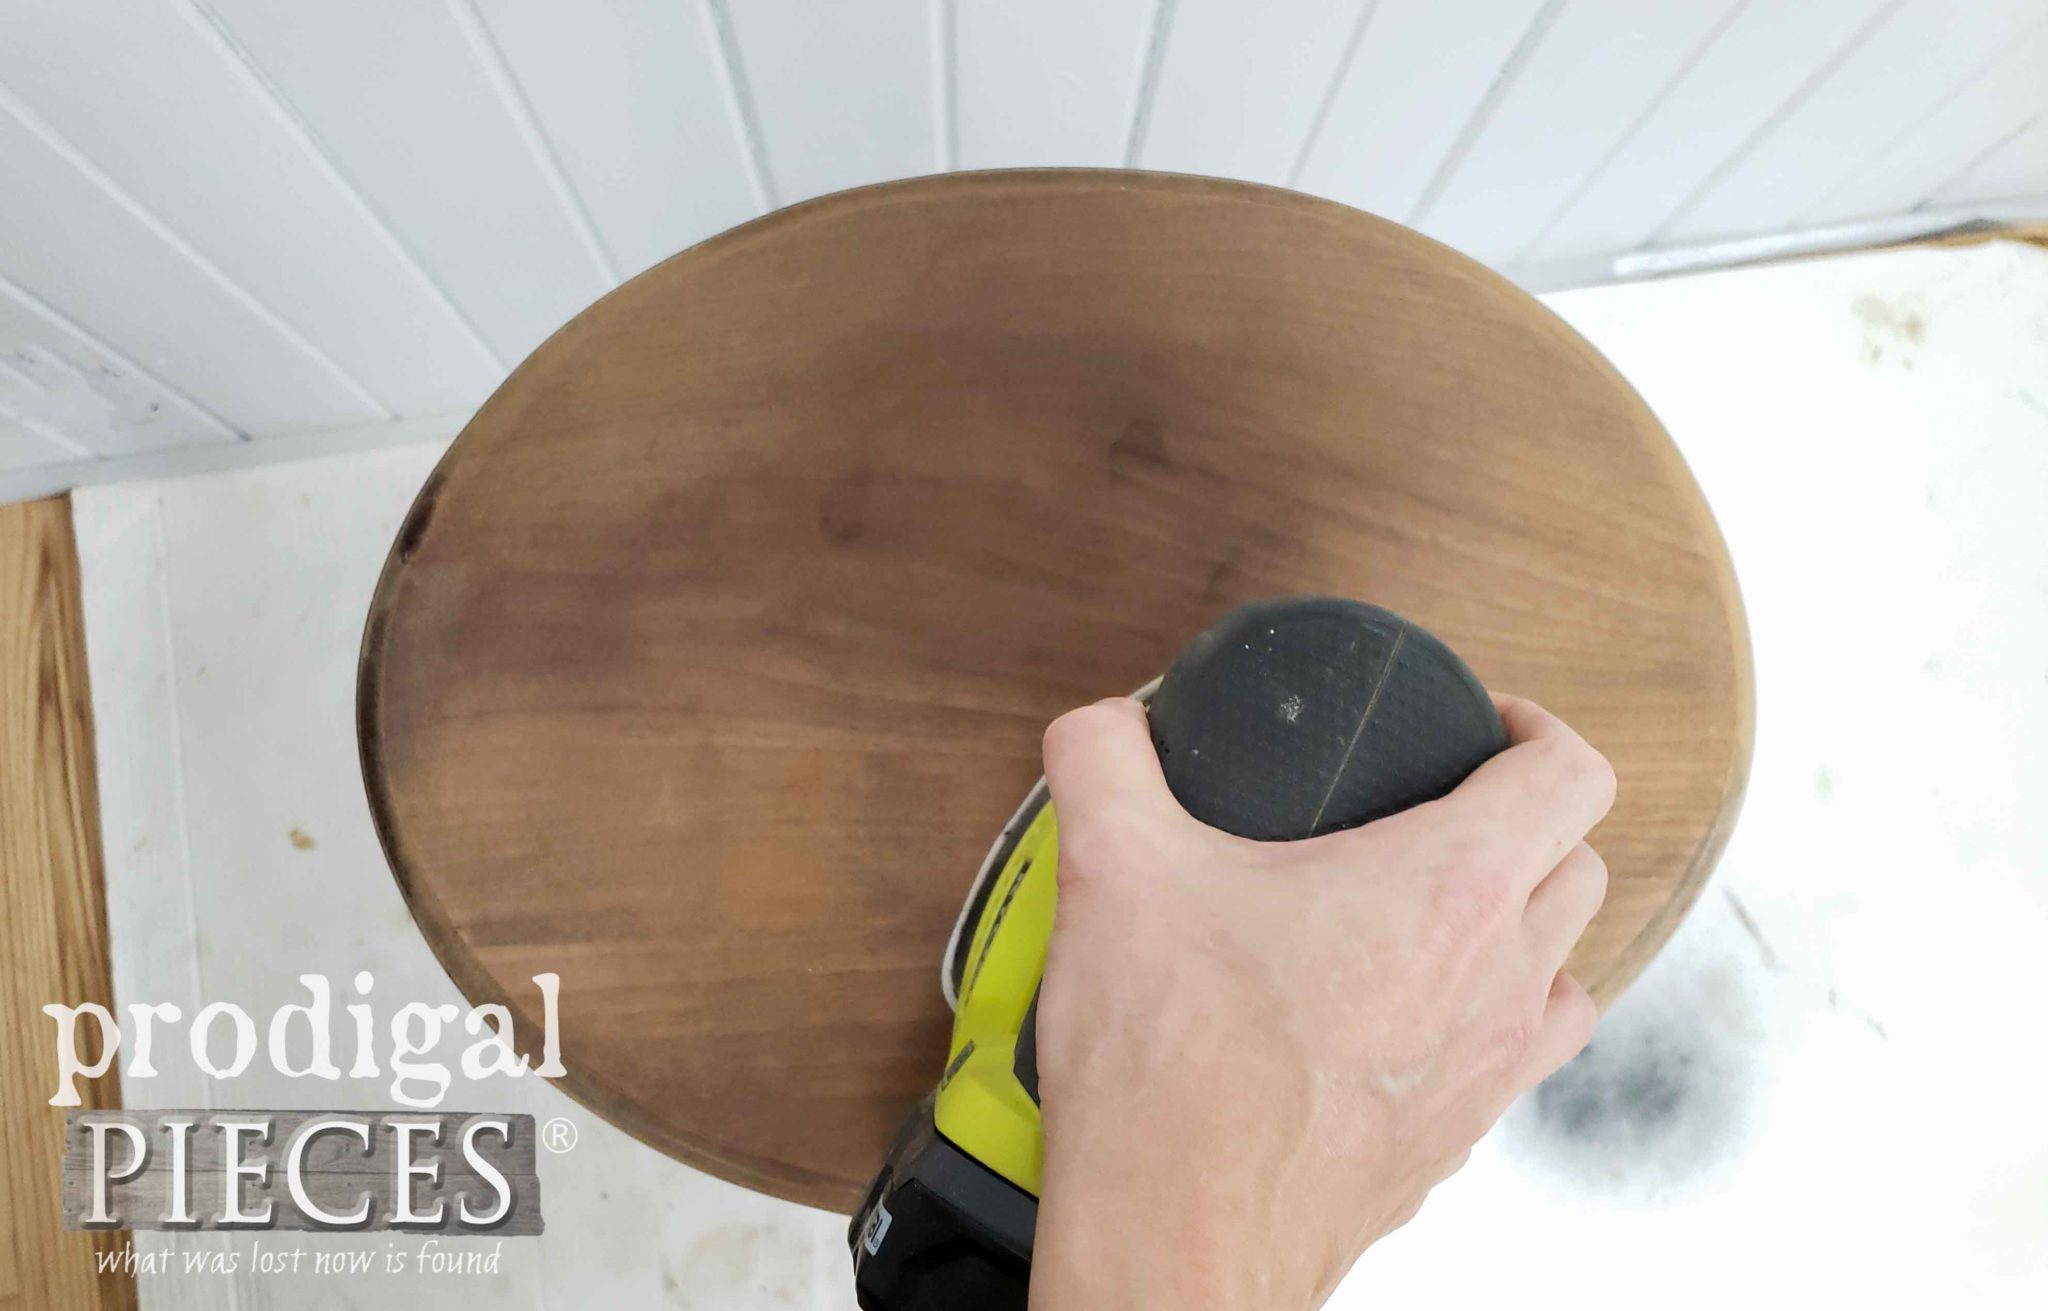
First, you know my sander came out to play. haha. I love that thing! In case you were wondering, this table is made of a beautiful walnut. It’s not often I get these gorgeous dark woods around here. mmmm…
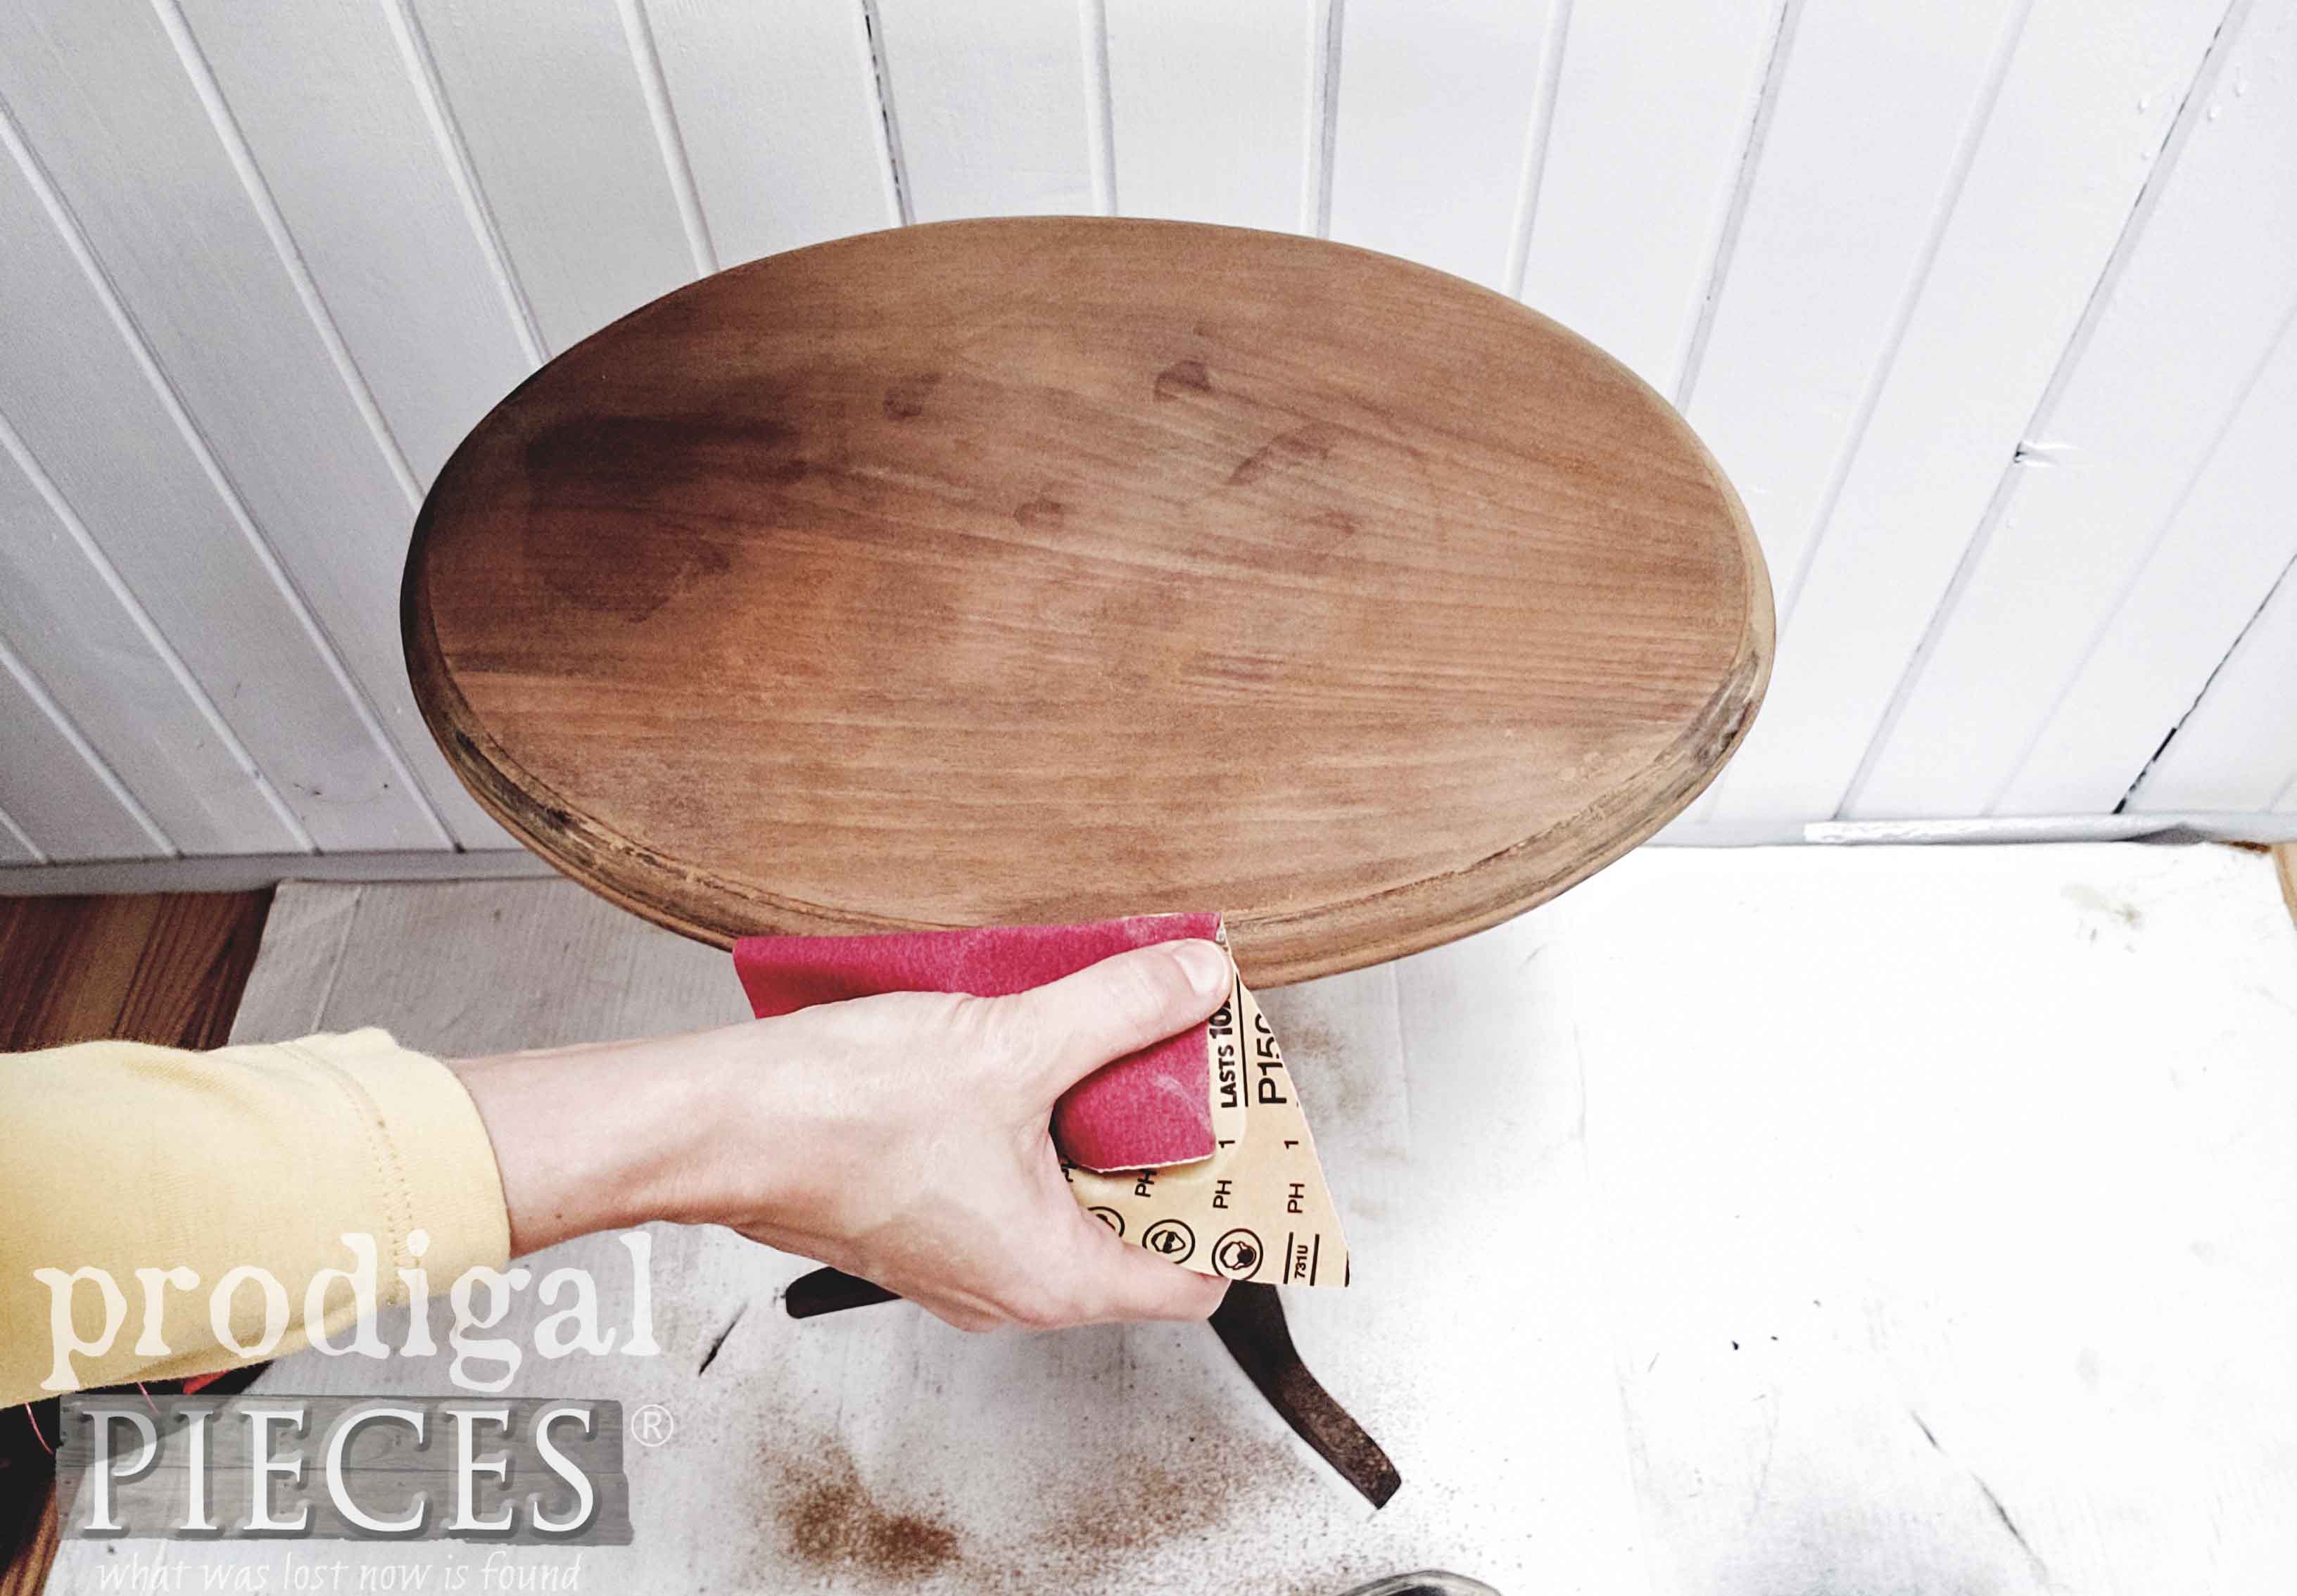
Then, my Corner Cat took care of the large surface areas. However, I still needed to do a bit of hand-sanding with a piece of sandpaper to get in all the nooks and crannies.
Next, once that was done, I wiped it down and applied a coat of wax to give a nice soft lustre finish.
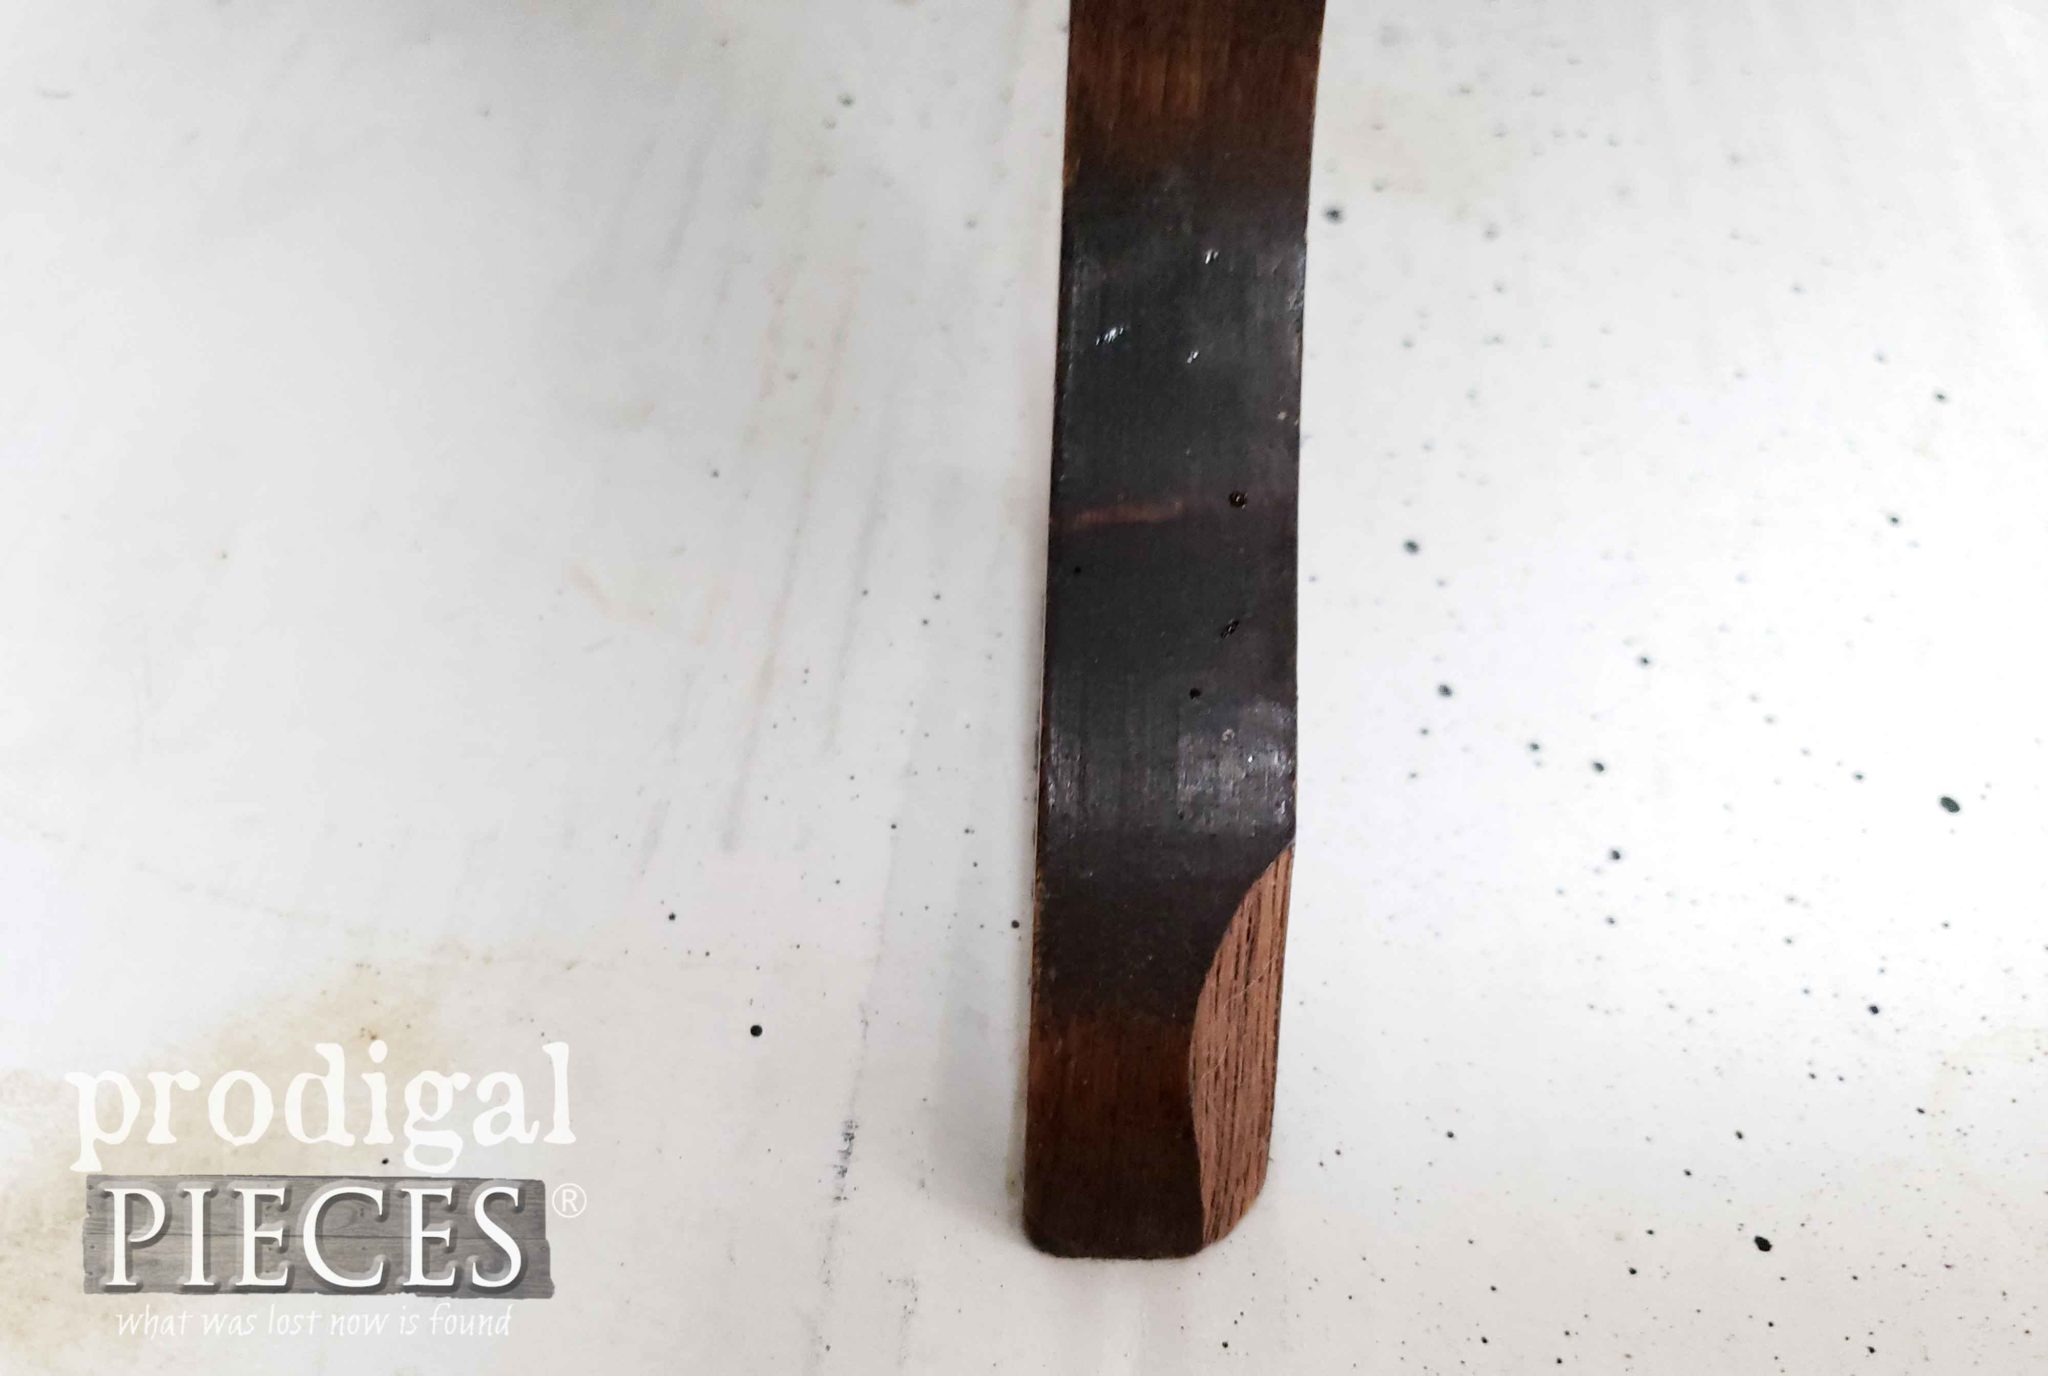
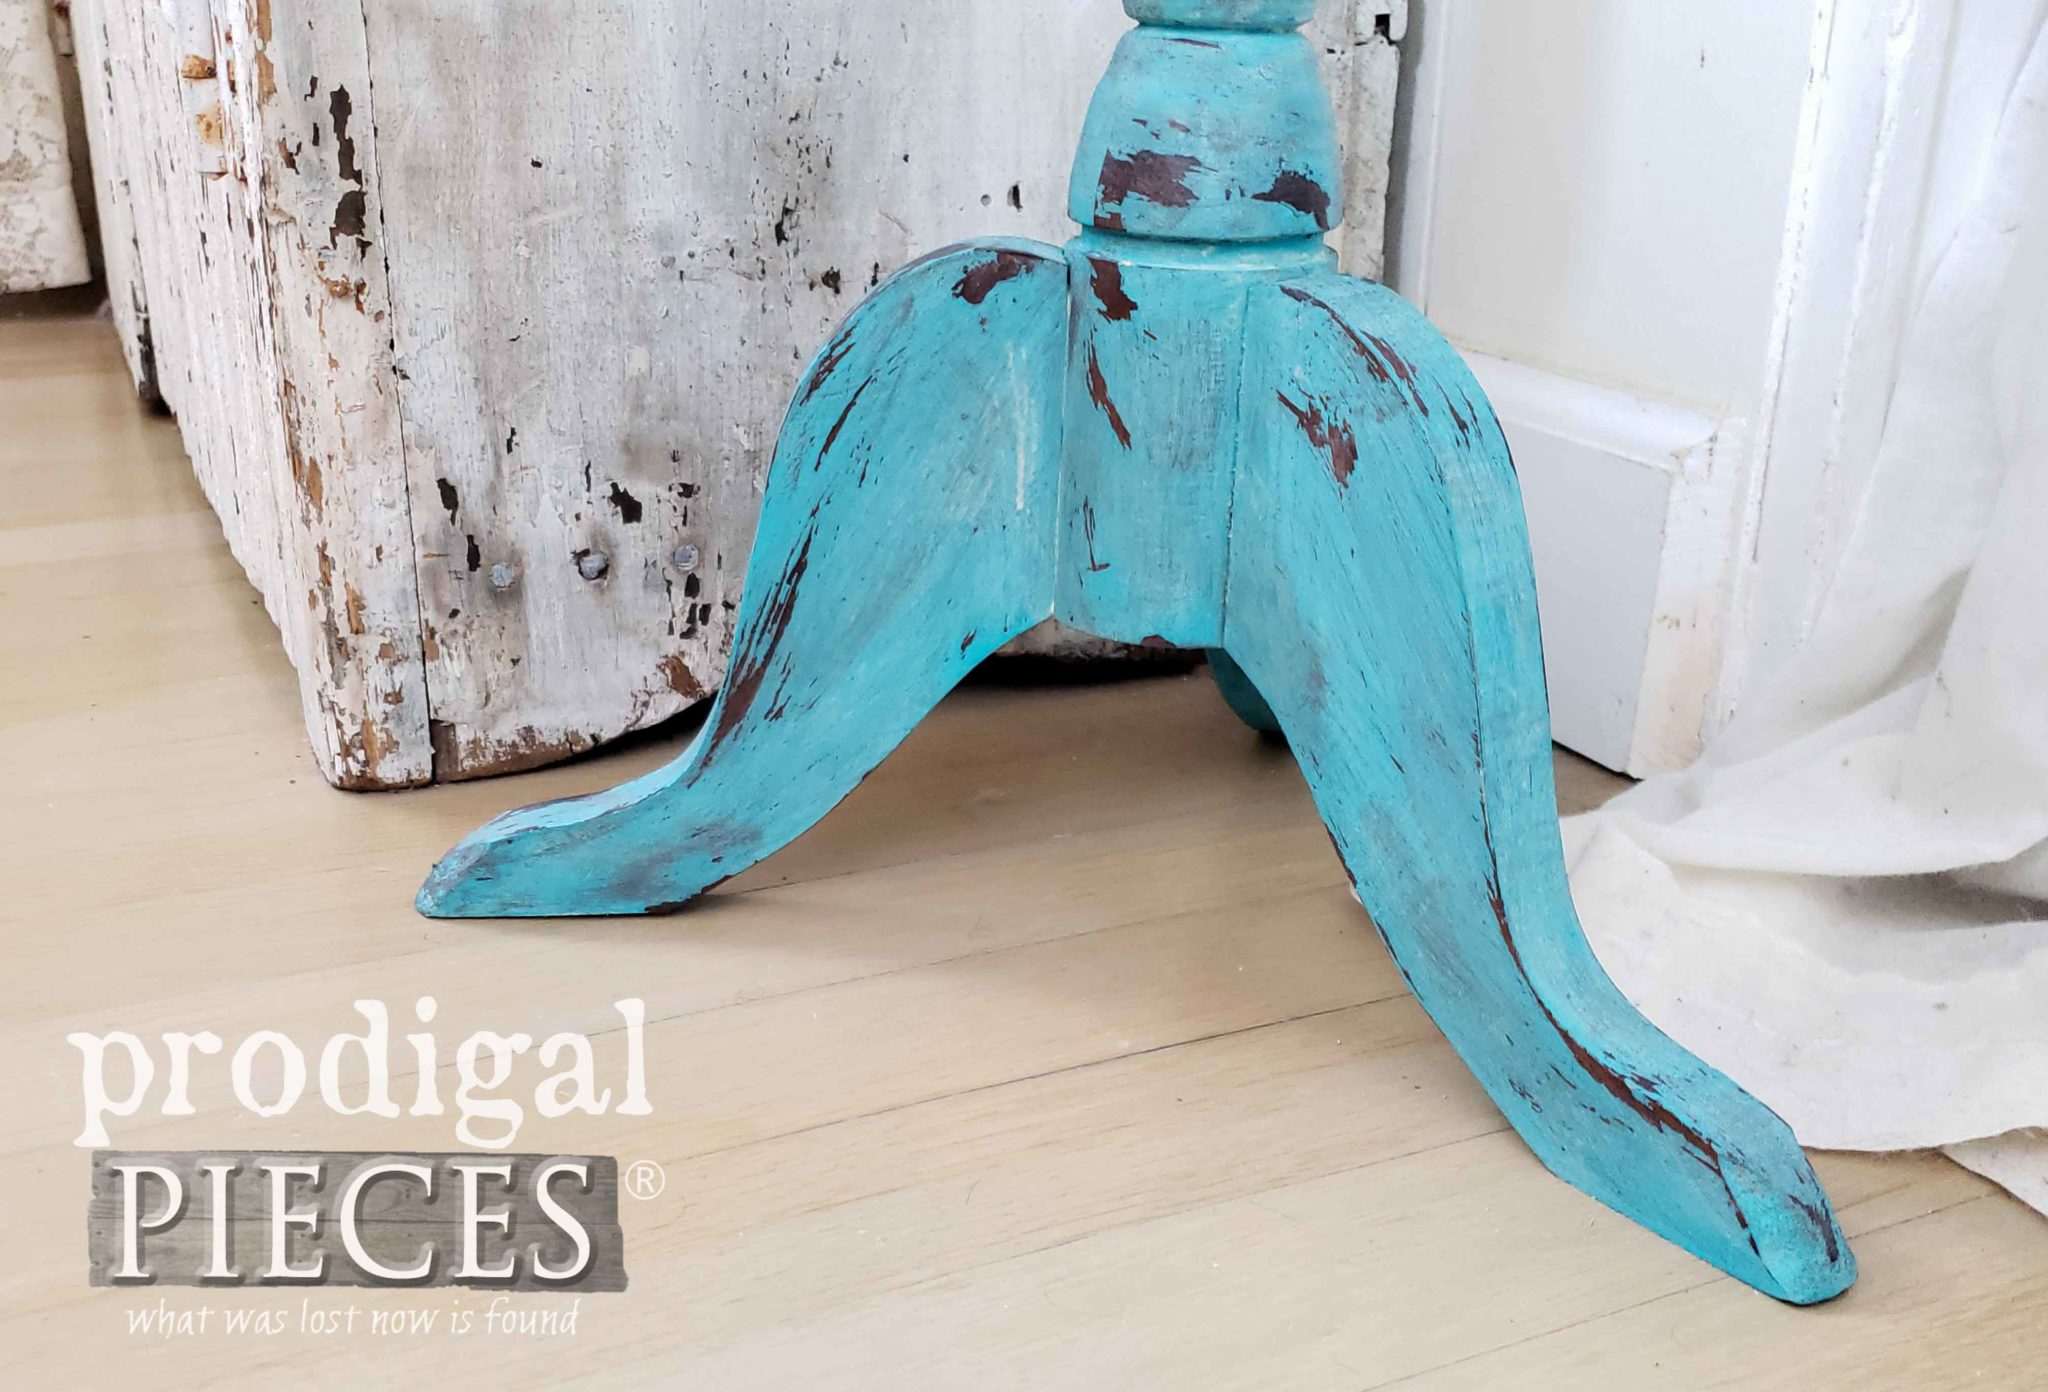
Now, it’s time to tackle that damaged foot. As you can see, it’s missing a corner edge on one foot. However, the gouge is not deep enough to accept wood filler or Bondo even. Both of those would just pop out eventually.
What to do? For this reason I pull out my Dremel with a tiny sanding attachment and make the other feet match the broken one. Likewise, my video shows this best. I love my Dremel! #toolsoverjewels has been my life-long motto.
PAINTING
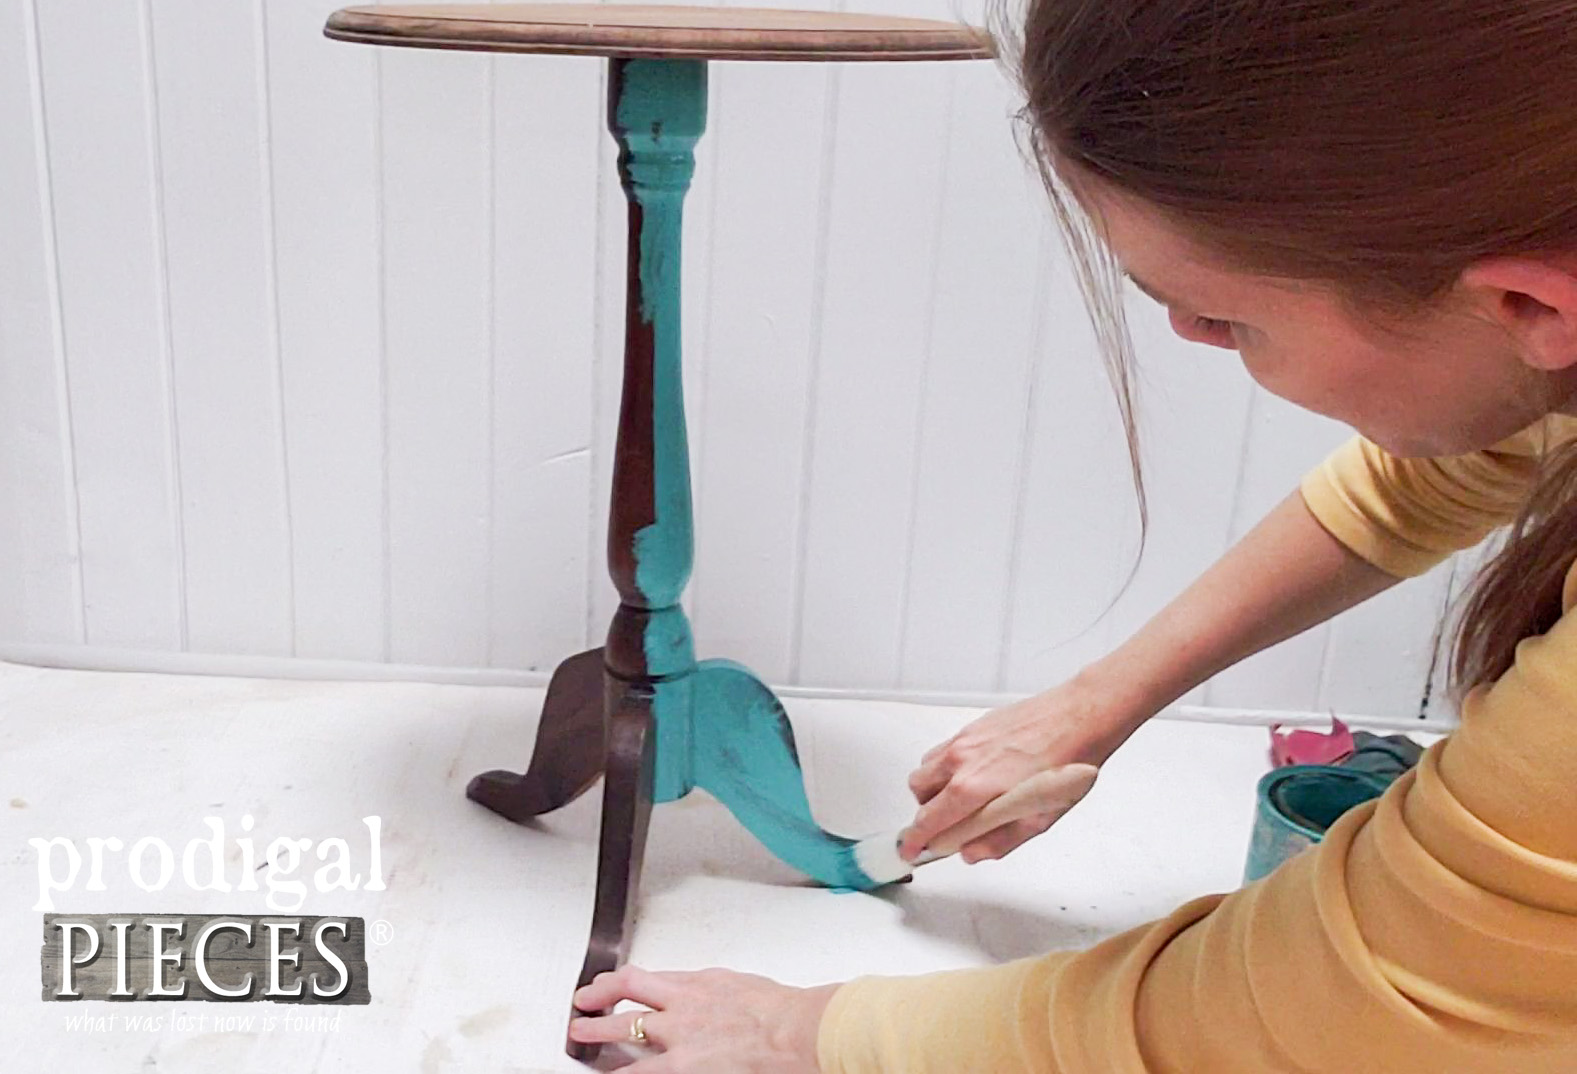
Next, with that repair made to all feet, I painted the pedestal and legs to make it cohesive.
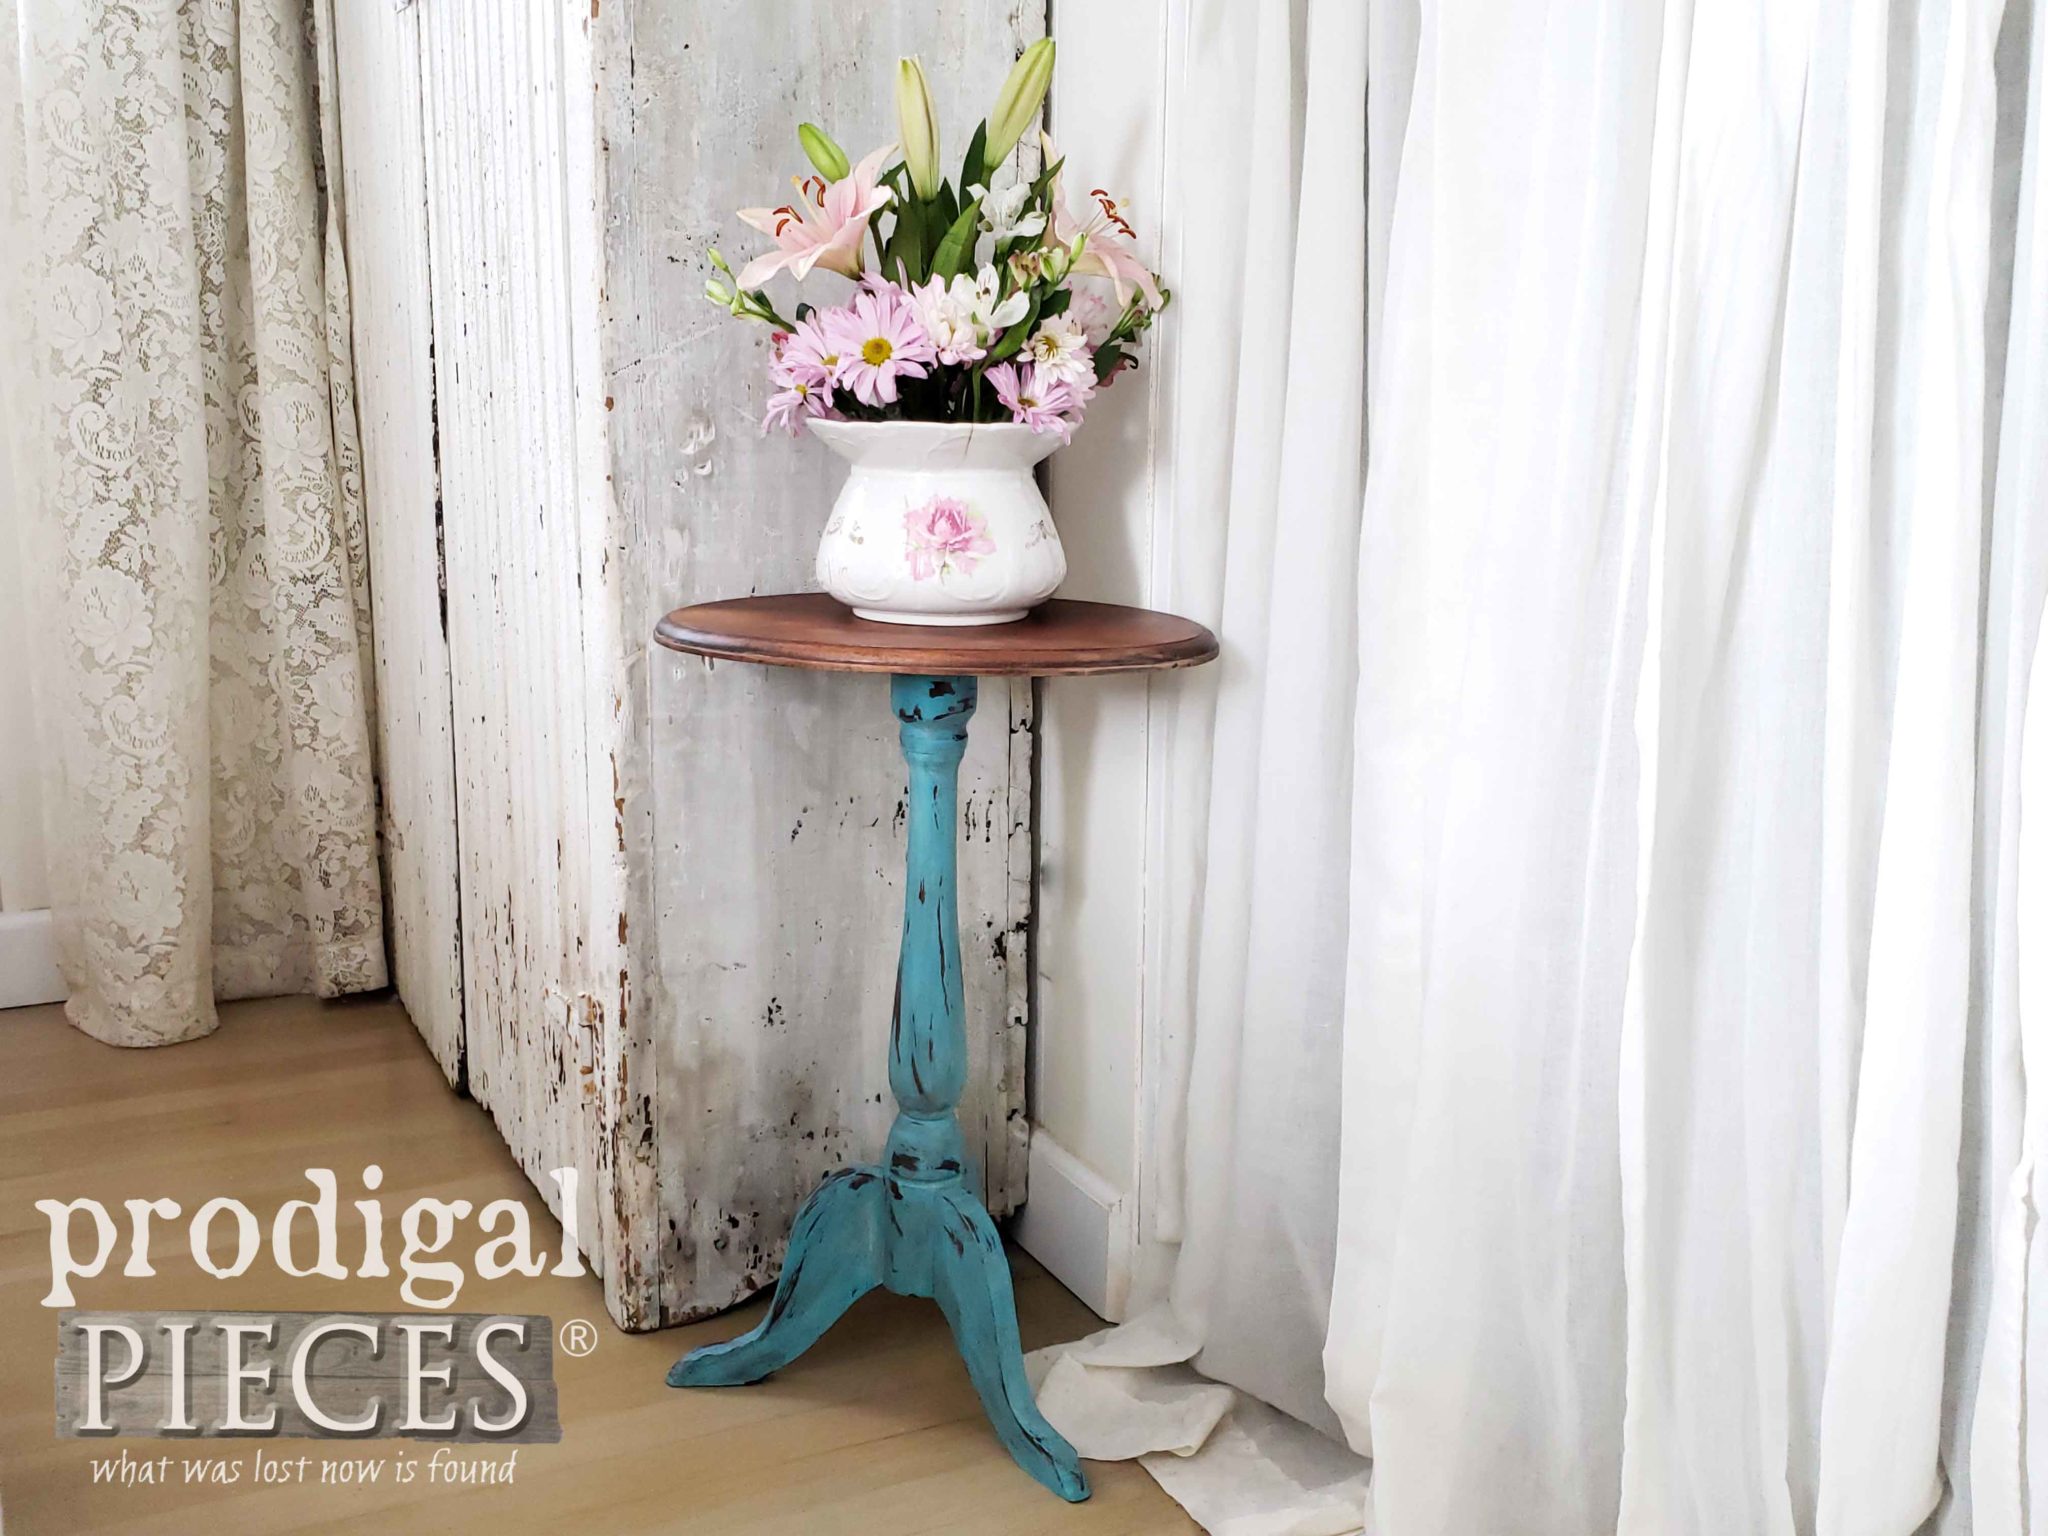
And how about that color? Sweet! Just perfect for adding a pop of color to any corner of your home. Regrettably, I don’t have a color name for you as it’s a seconds color I have yet to name. Thoughts??
Additionally, as you can see in the video, I added a wash of a soft yellow paint. Then, I used a damp rag to wet distress, creating that time-worn wear I love. Last, I added a coat of gray wax to seal it all in and add a bit more of the worn look I was after.
ALL DONE
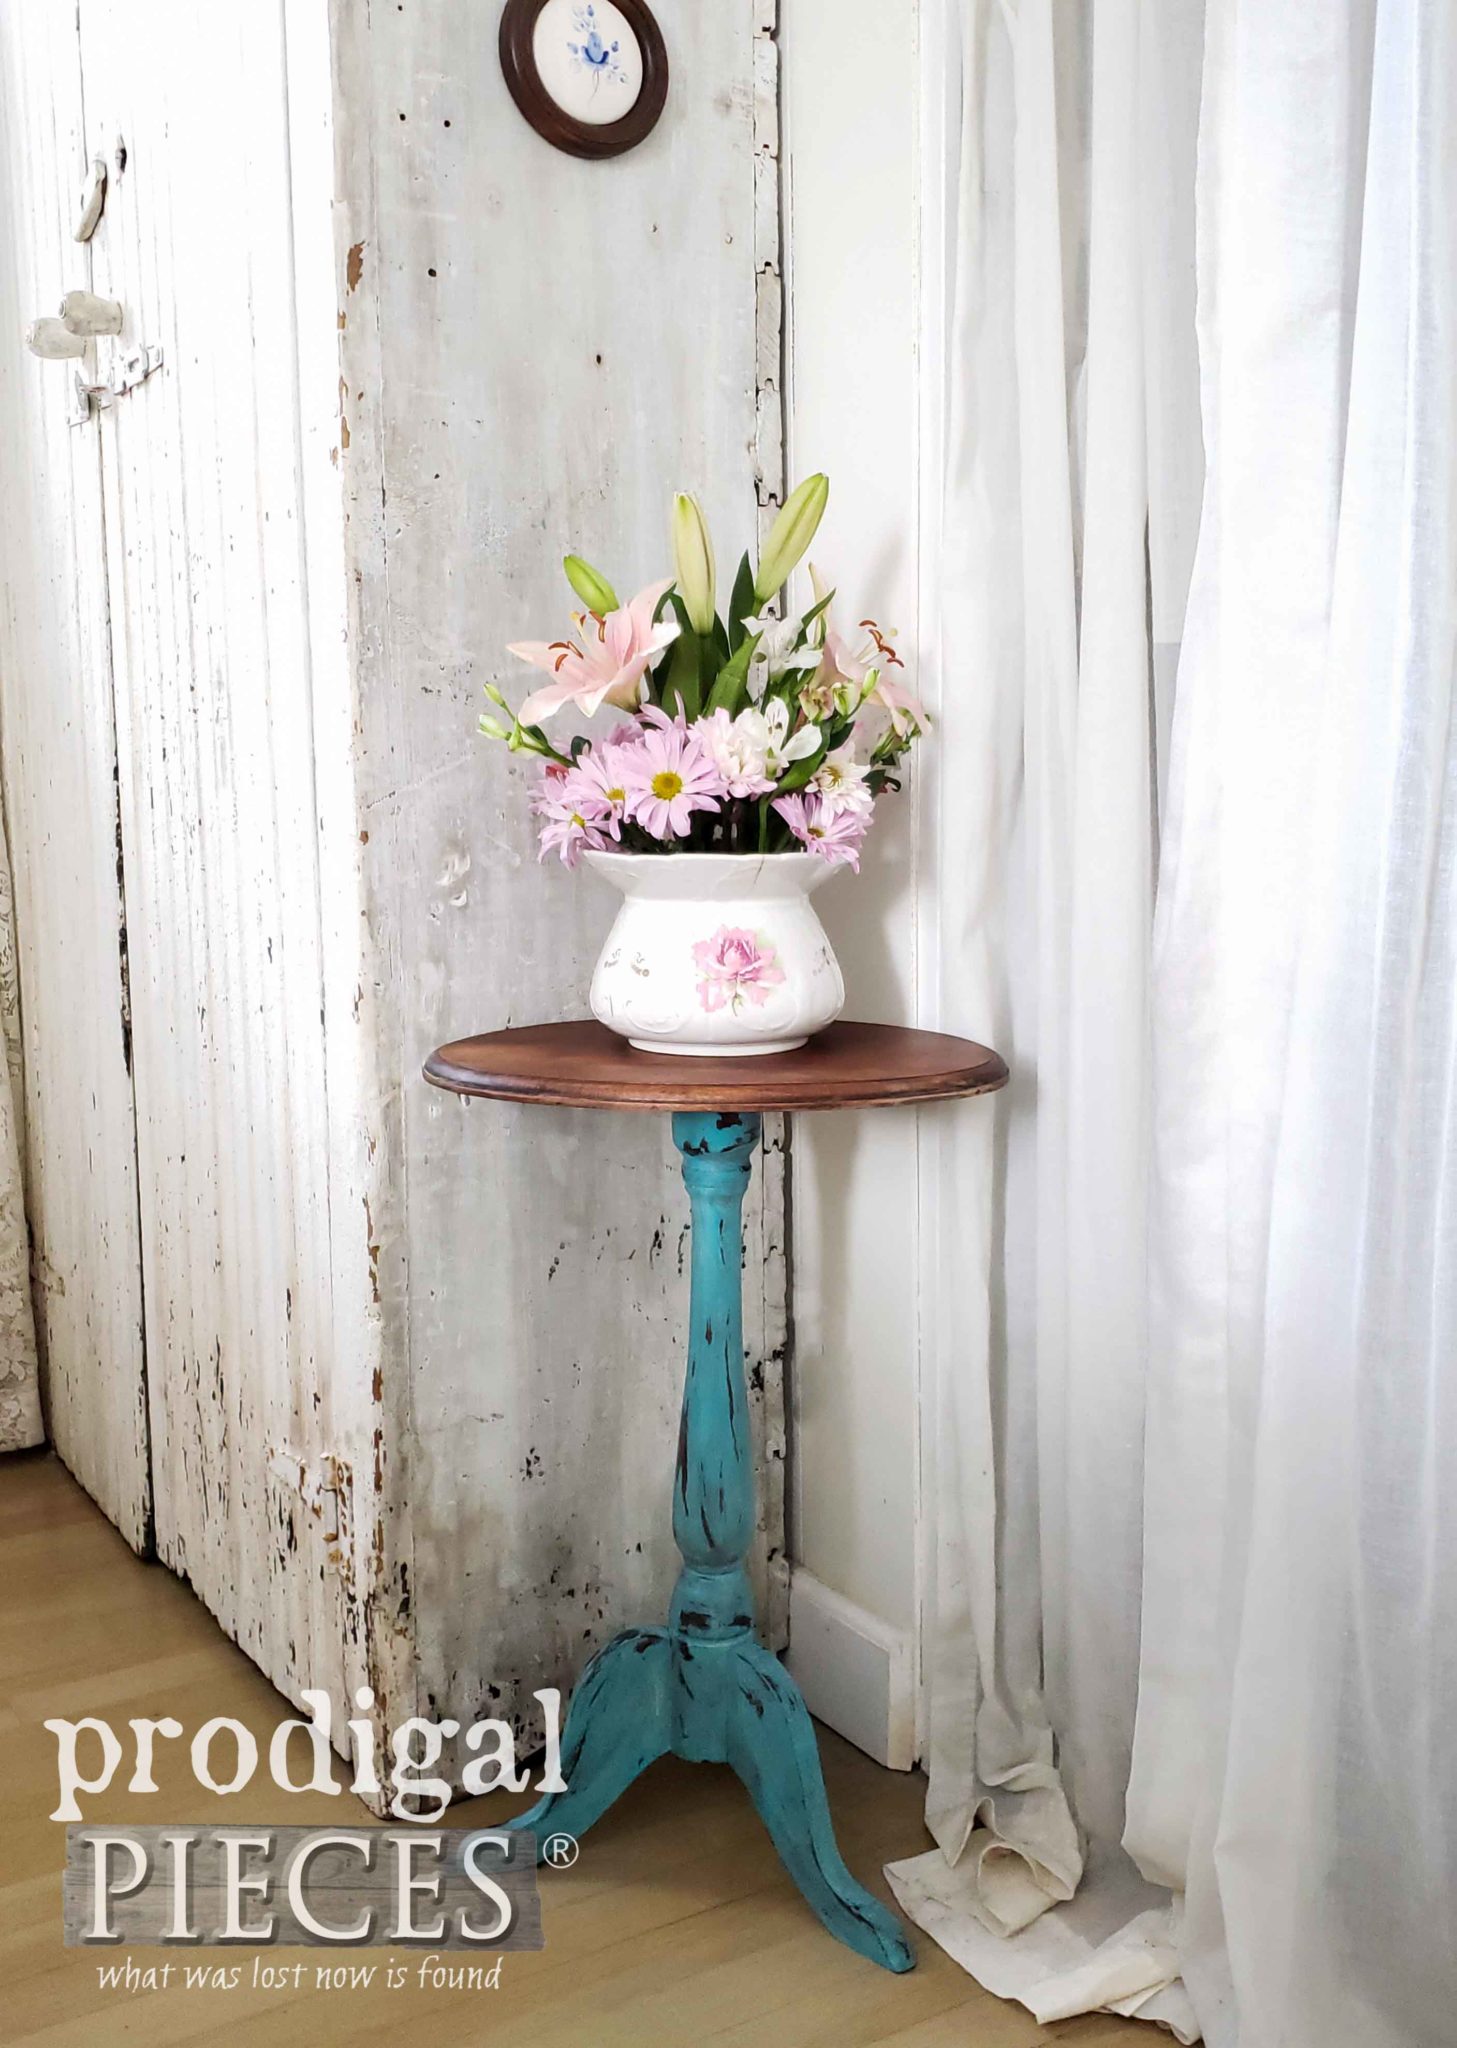
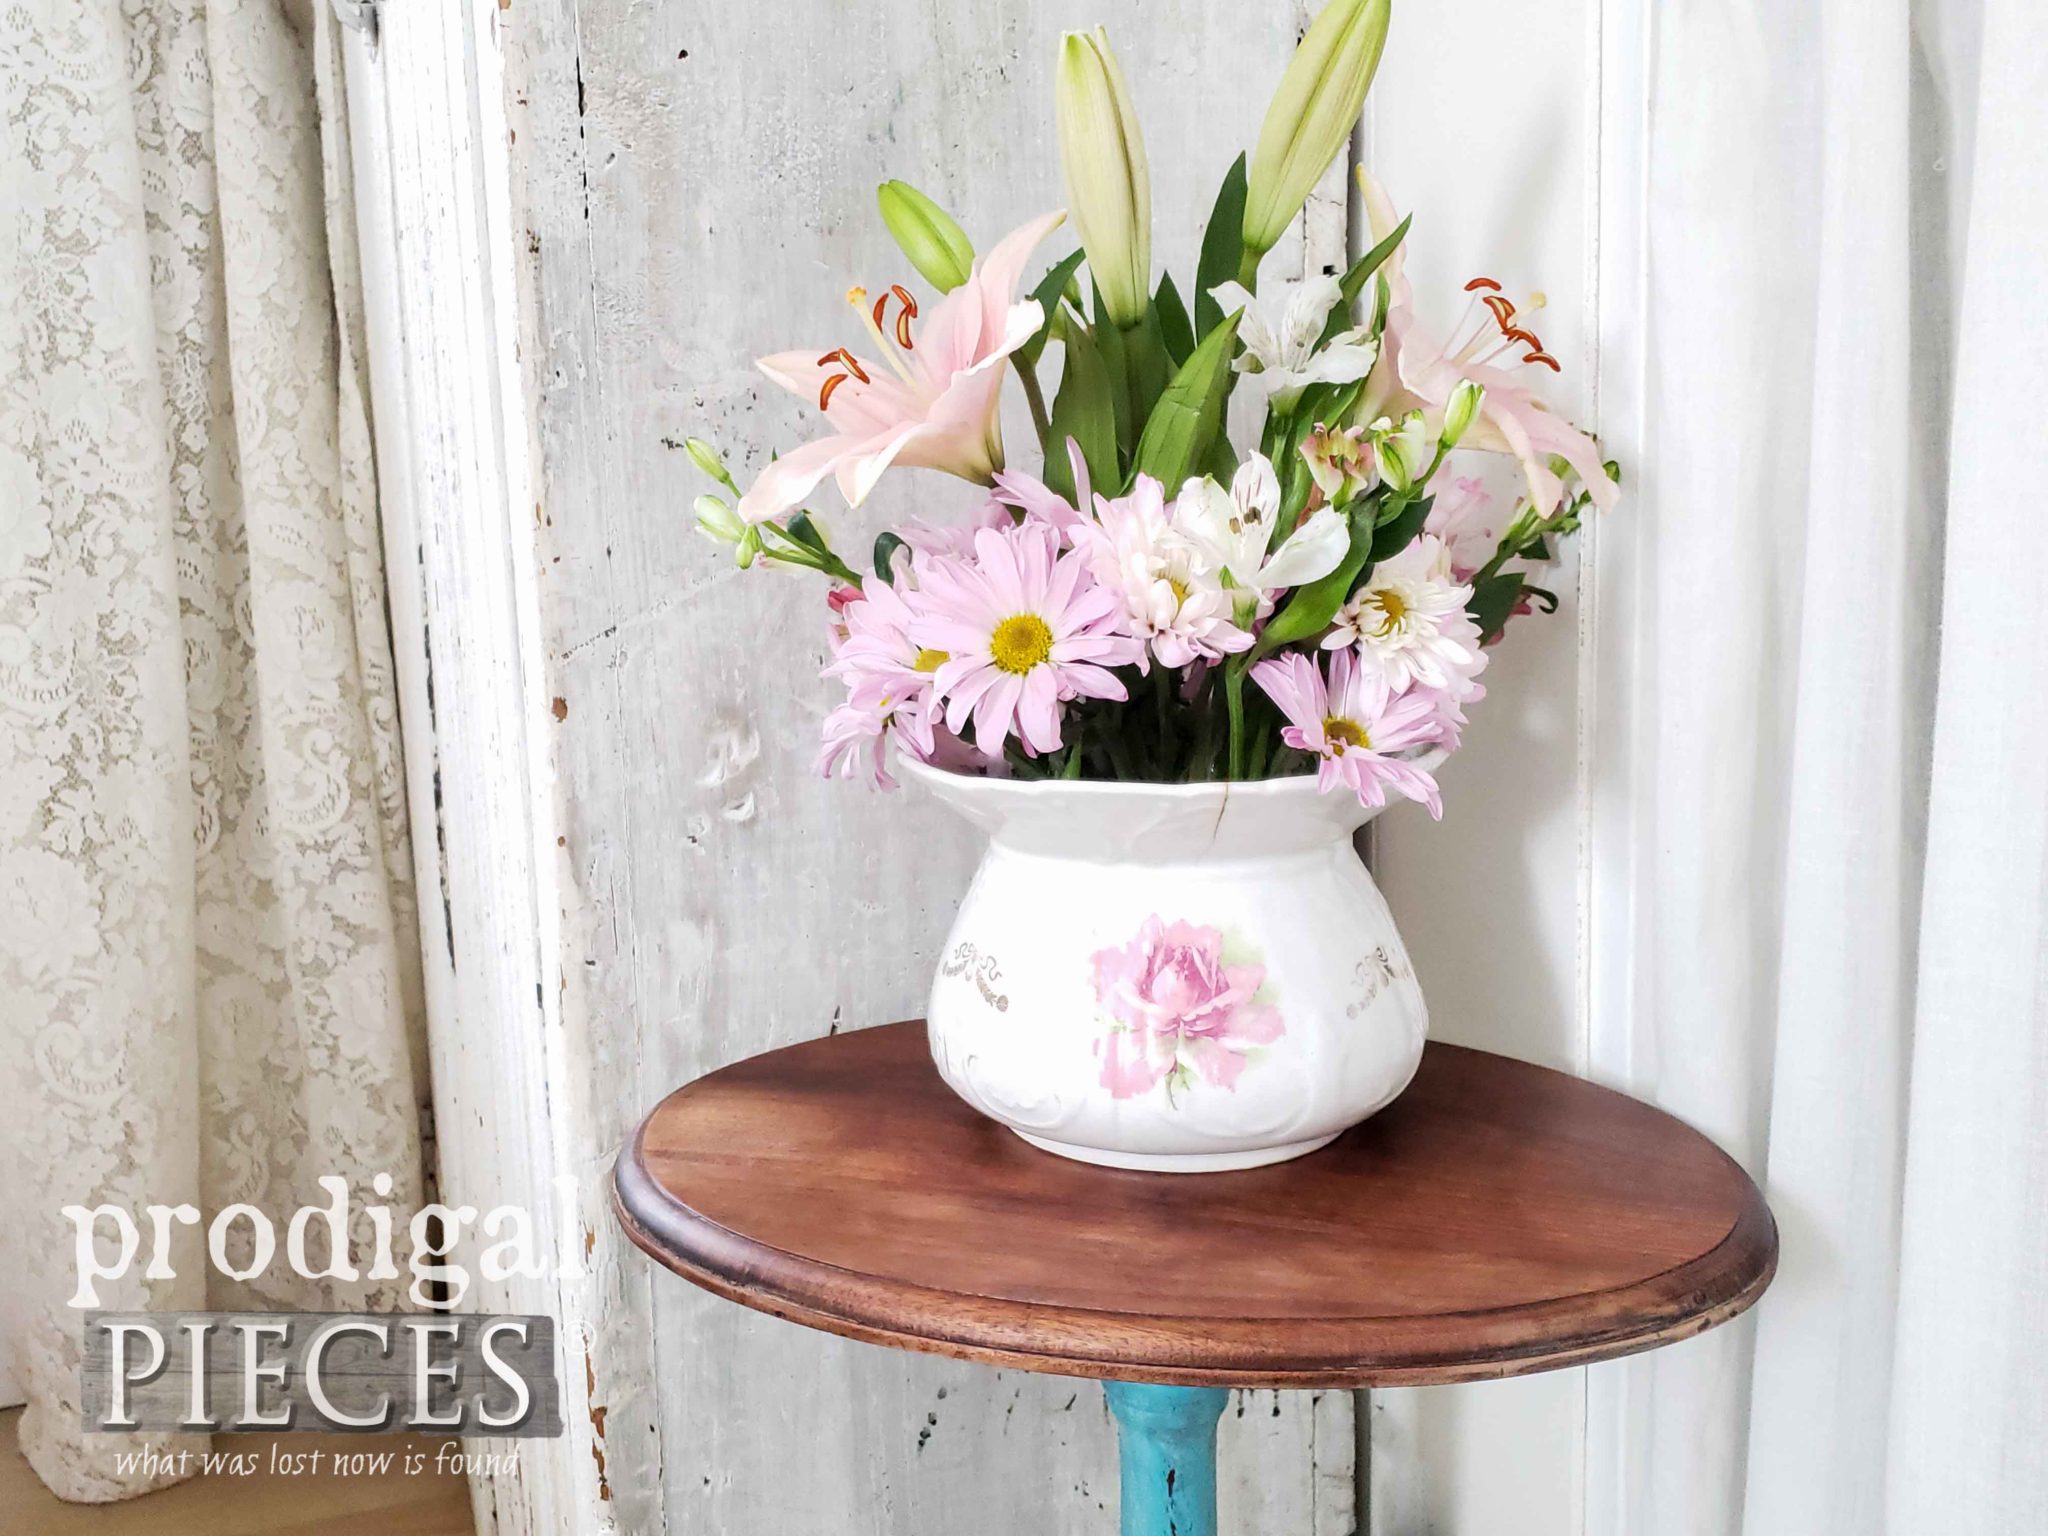
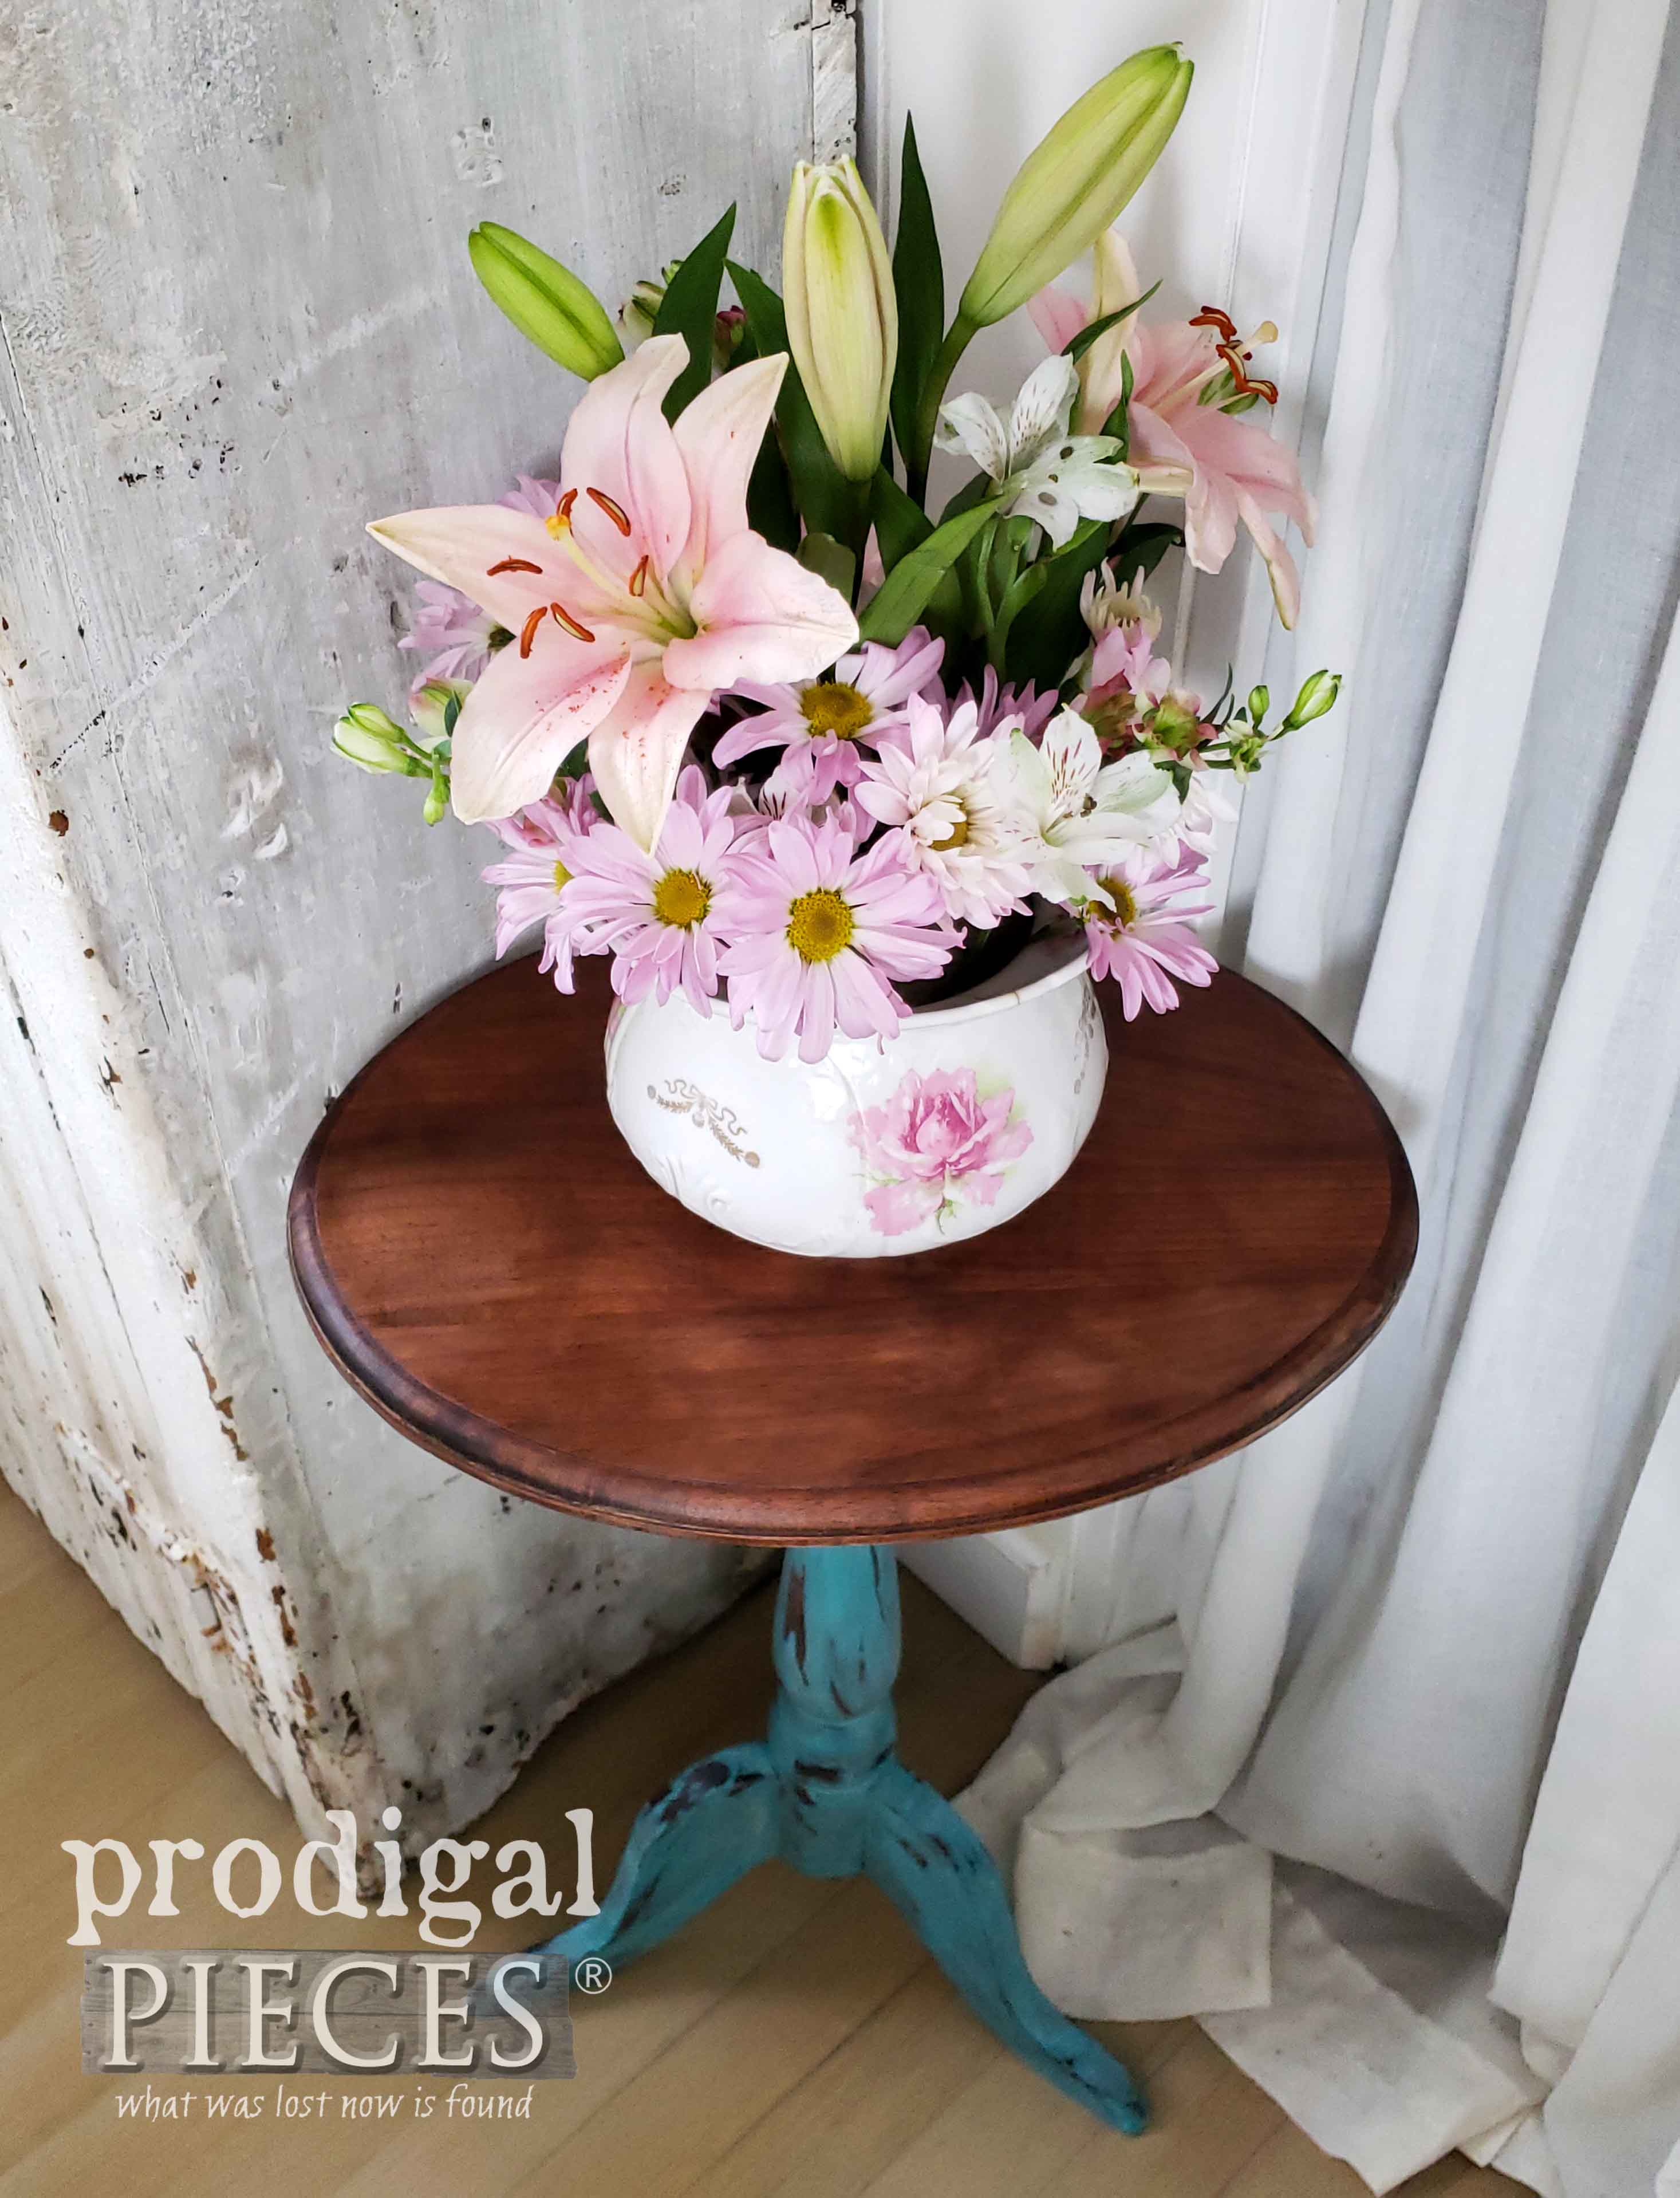
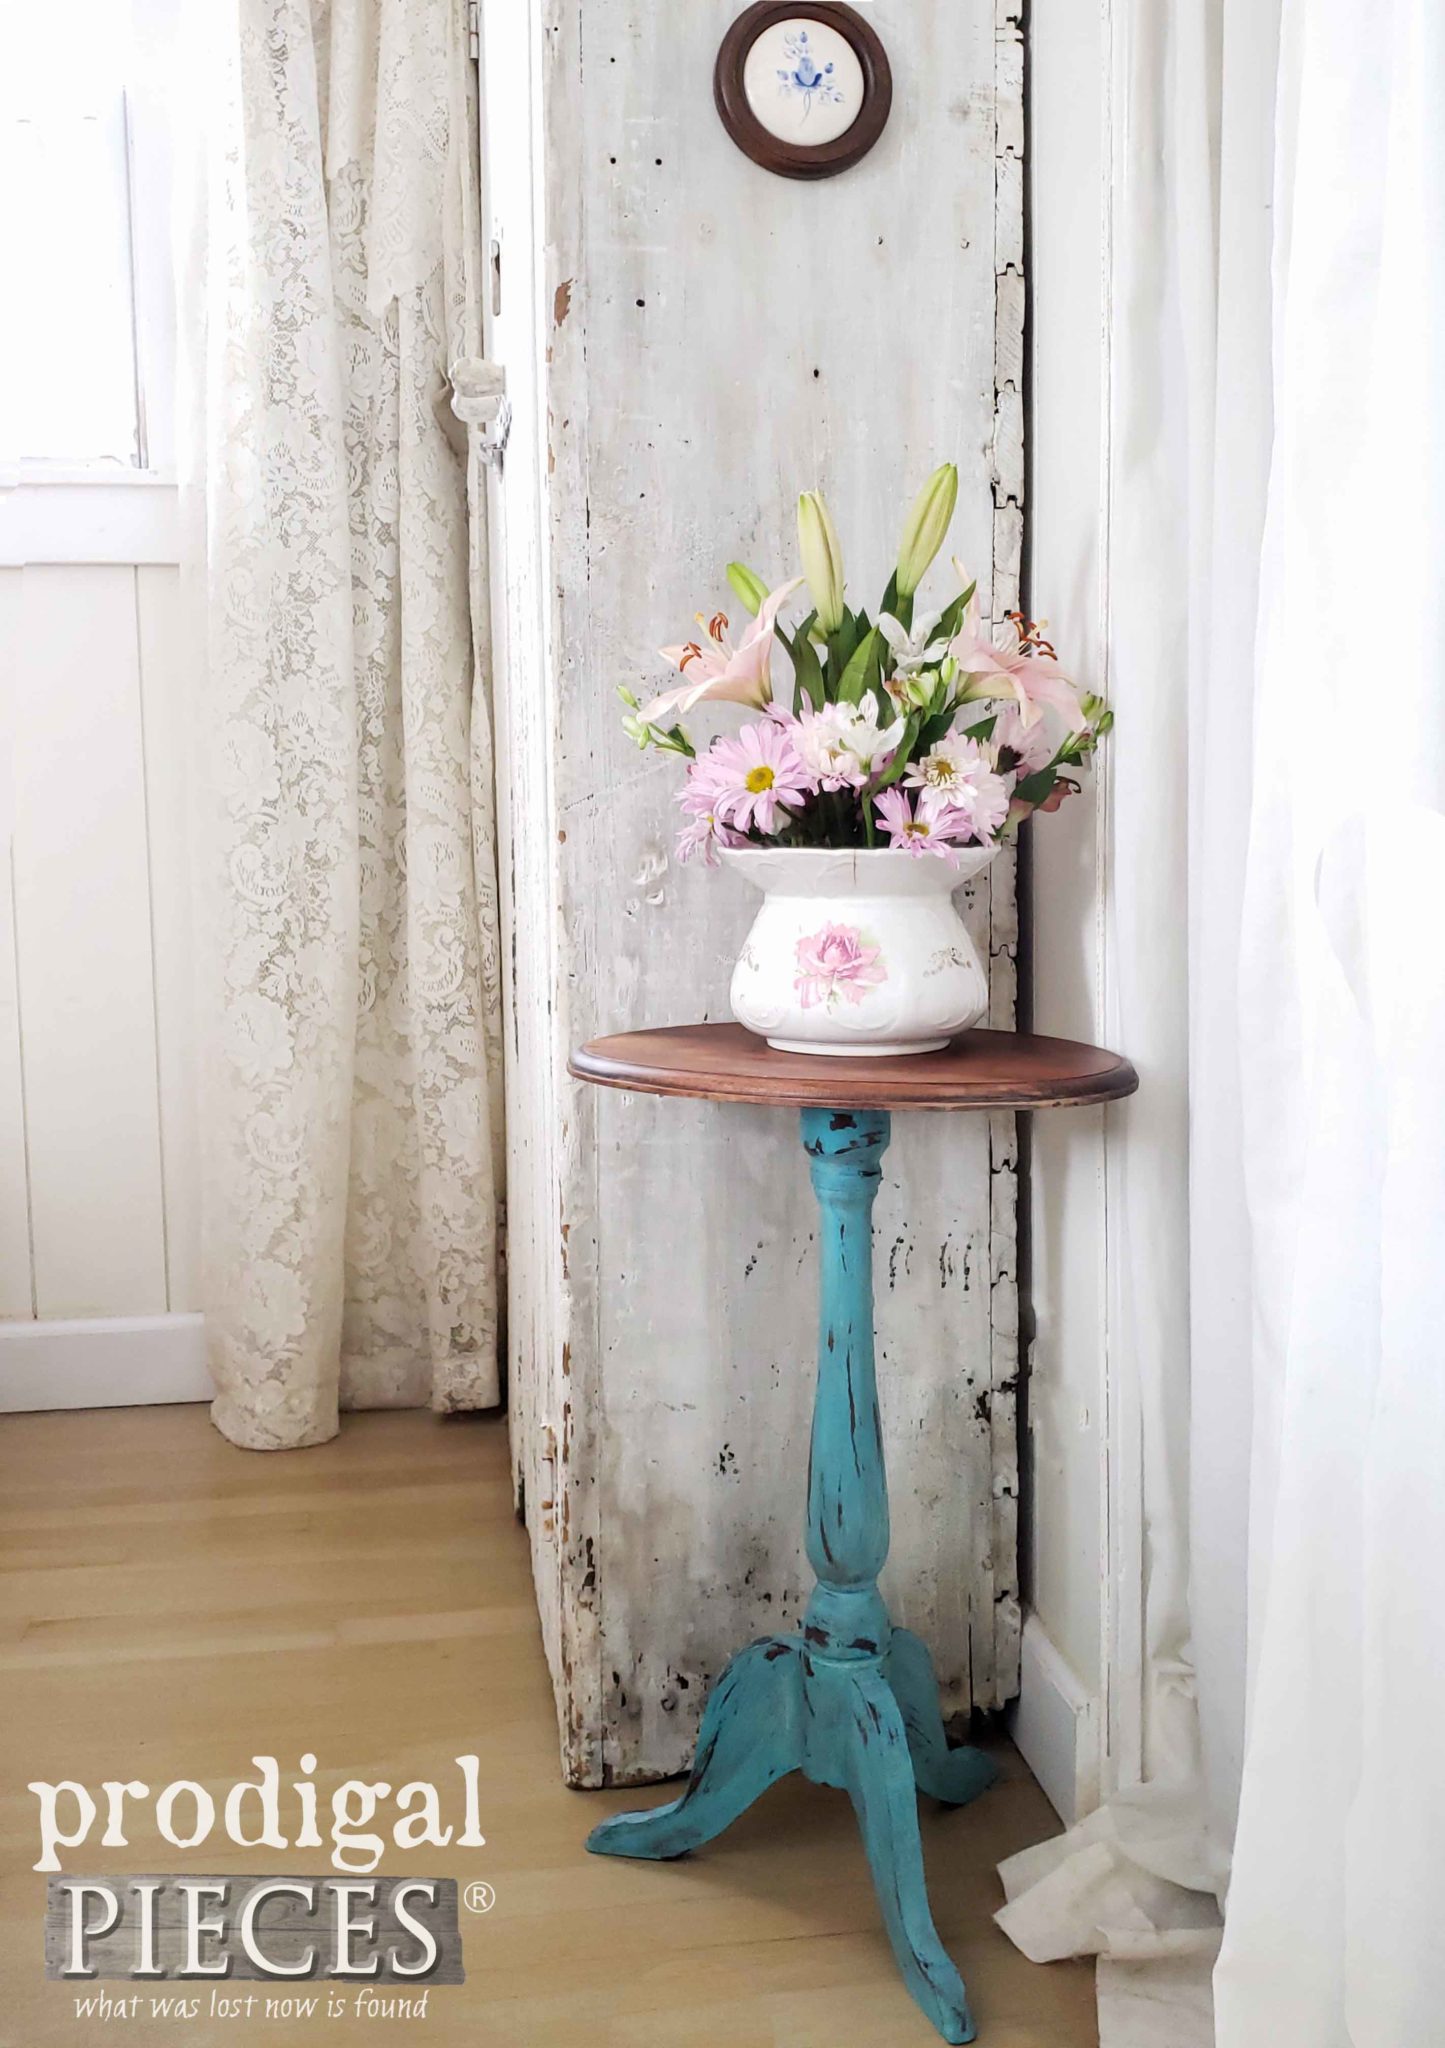
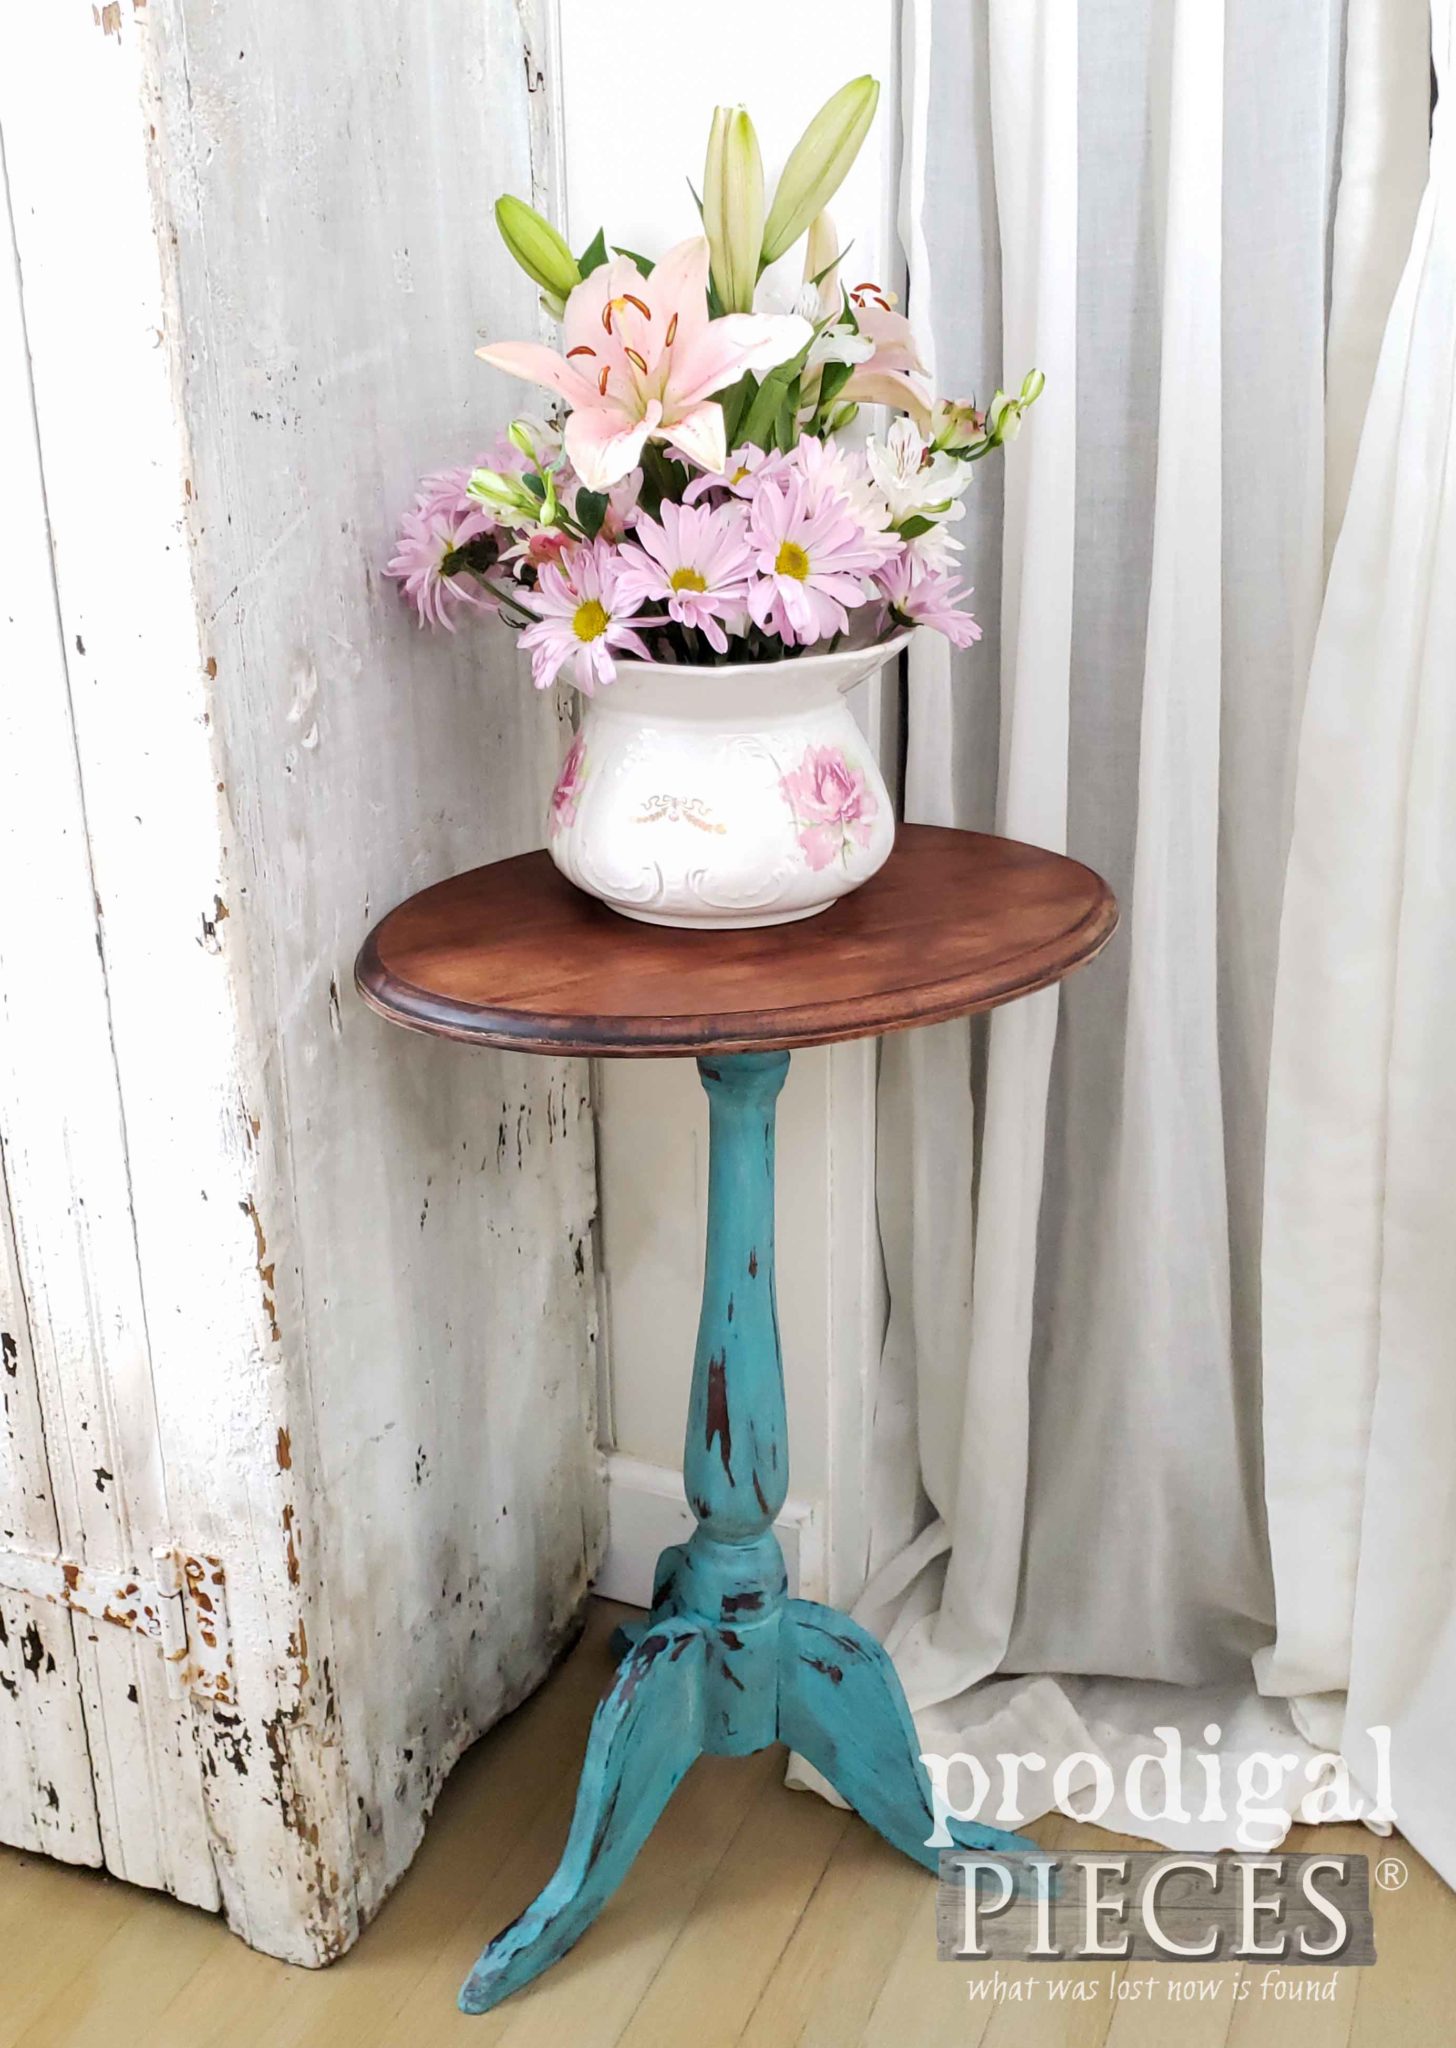
Finally, here is my vintage accent table repaired and refreshed. It’s perfect for my little corner.
All this needed was a little TLC and some color fun to dress it up. Do you like it? I sure do!
As well, the feet now look uniform, like they’re supposed to have a notch out of each side. Who would know, right? Meanwhile, the top is glowing with the natural walnut showcasing that beautiful grain.
As much as I love how it looks in my bedroom, I’m adding this sweet table to my online store. Besides, I know it will make a fabulous addition to your home.
SHARE
Above all, my goal is to inspire, and I hope I did just that. In addition, feel free to ask any questions as I love to help. What is more, pin and share to inspire others too!
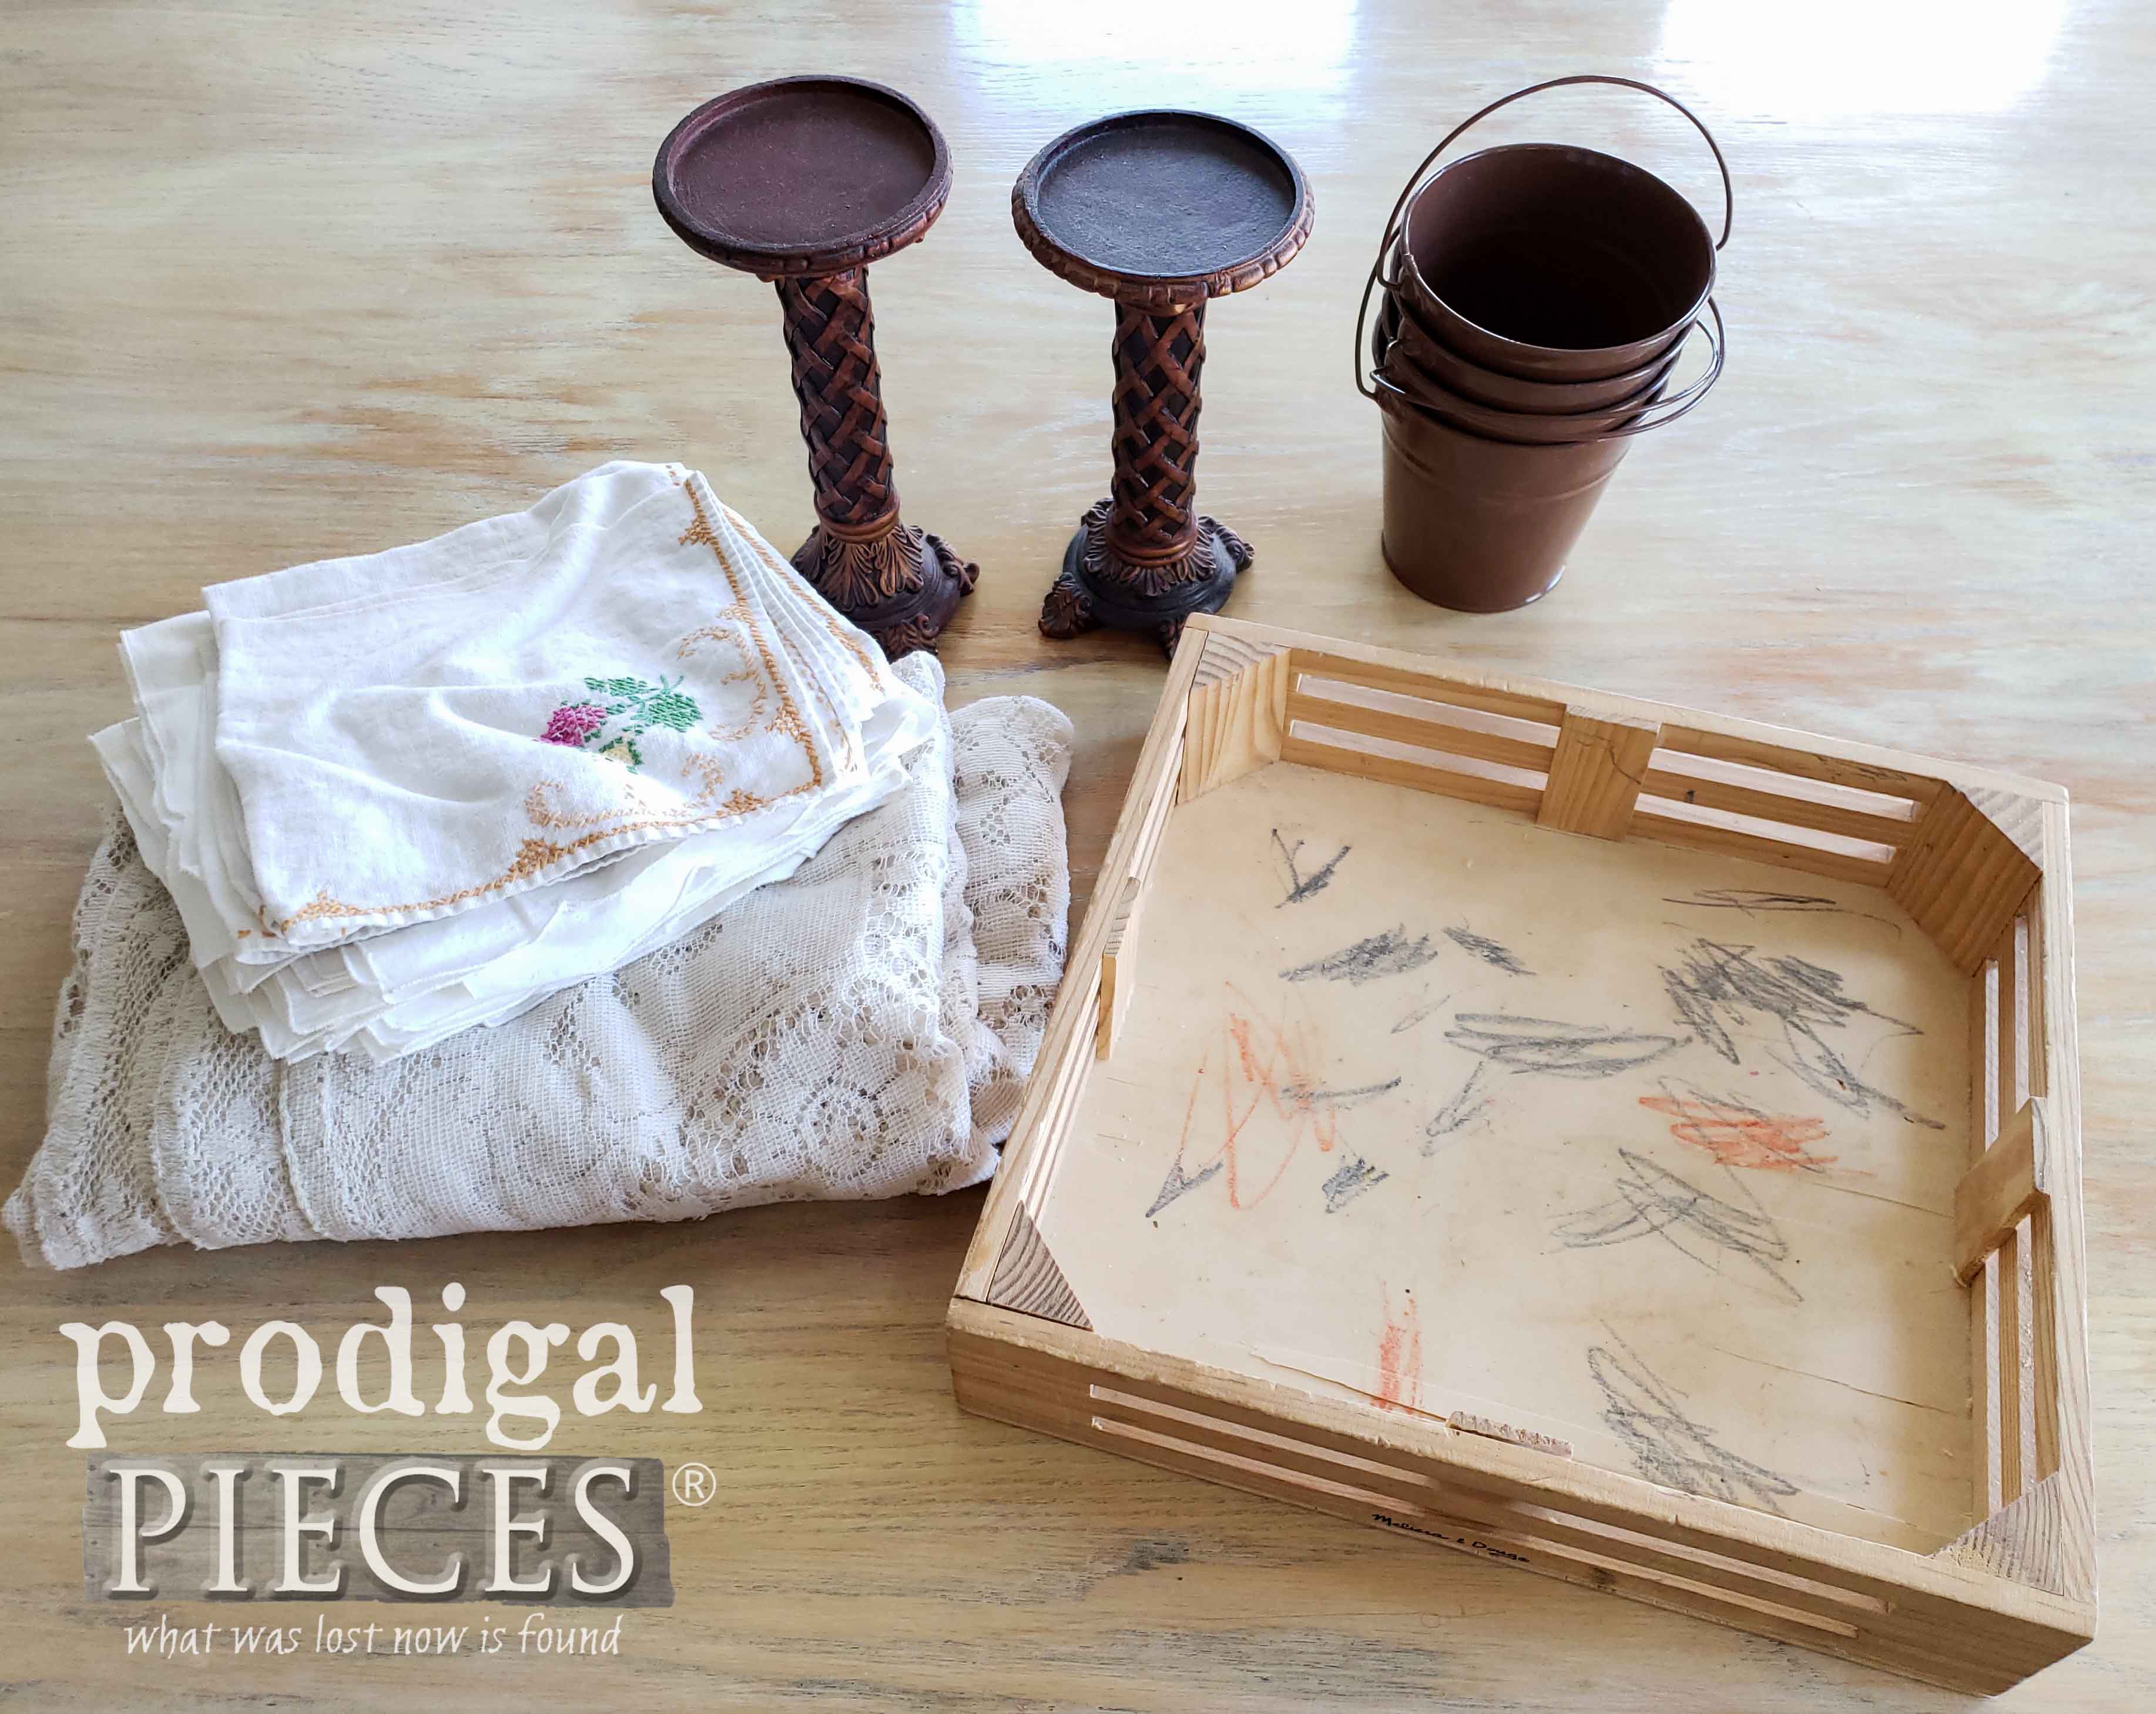
Up next, this pile of thrifted goodies will be helping me decorate my table. See what they look like now HERE.
Before you go, be sure to sign up for my newsletter. Time to head below to see what my Furniture Fixer Upper friends have for you!
 Likewise, check out these fabulous furniture makeovers:
- Just the Woods
- The Interior Frugalista
- Girl in the Garage
- Petticoat Junktion
- Confessions of a Serial DIYer





Such a cute table .i love the color
Gorgeous ?
Thank you! 🙂
Such a pretty blue! My furniture-fixer-son has a (very) weak spot in his heart for these little tables. He transfers a globe/map to the top and sells them faster than you can say “done”! ? Yours came out very cute!
I can’t wait to see what you do with your next pile of loot! I need some ideas. ?
Thank you!
Adorable Larissa, and love the pop of color…whatever it’s called. 😉
Thanks! Yeah, need to name my paints. I’ll do that when I get my own line. 😉
Love this color, and what a smart fix for the legs! XOXO
Thanks! It was either chop it off or repair. haha!
I’m so glad Christy posted this on FB! Thanks, Christy:) I have a table that is similar and just haven’t had an inspiration to tackle it….your mystery color and the stained top is beautiful! I appreciate the detail directions for achieving the antique effect. Glad I found you and will start following today!
Yay! Thanks, Christy! I’m so glad you stopped by, Cecilia.
Brilliant idea for saving the feet, Larissa! I love the pop of color and rustic charm you gave this little table 🙂
Thanks, girl! It was one of those things either do or die. eep! 😀
What a beautiful side table, and I agree it can be used anywhere you need a little pop of color! The natural wood and paint color look gorgeous together too.
It fills in those awkward spaces. I love these little tables. Thanks, Kaycee!
Love the color and the way you toned it down with yellow wash, then gray wax! Learned new things from you again with the feet and applying soft wax to the top. Didn’t know you didn’t have to stain the wood top after sanding down. Great job on the video tutorial. Thanks for sharing and for the inspiration!!
I try to let the grain shine whenever, and this walnut needed to shine. 😀 Thanks so much, Debra.
Larissa I love the bright turquoise with the dark wood top – and excellent idea making all the feet match with a Dremel. I wouldn’t have thought of that!
Thanks, Jen! I had to use a fun color and blue always wins my heart.
I love the two tone look with the stained top and painted base. The color is gorgeous!
You and I had the same aqua vibe this month. I love it!
what a perfect little table! I love that you left the top alone with the wood grain. It looks beautiful with the teal!
I was drooling over that walnut. So beautiful! Thank you, Kandice.