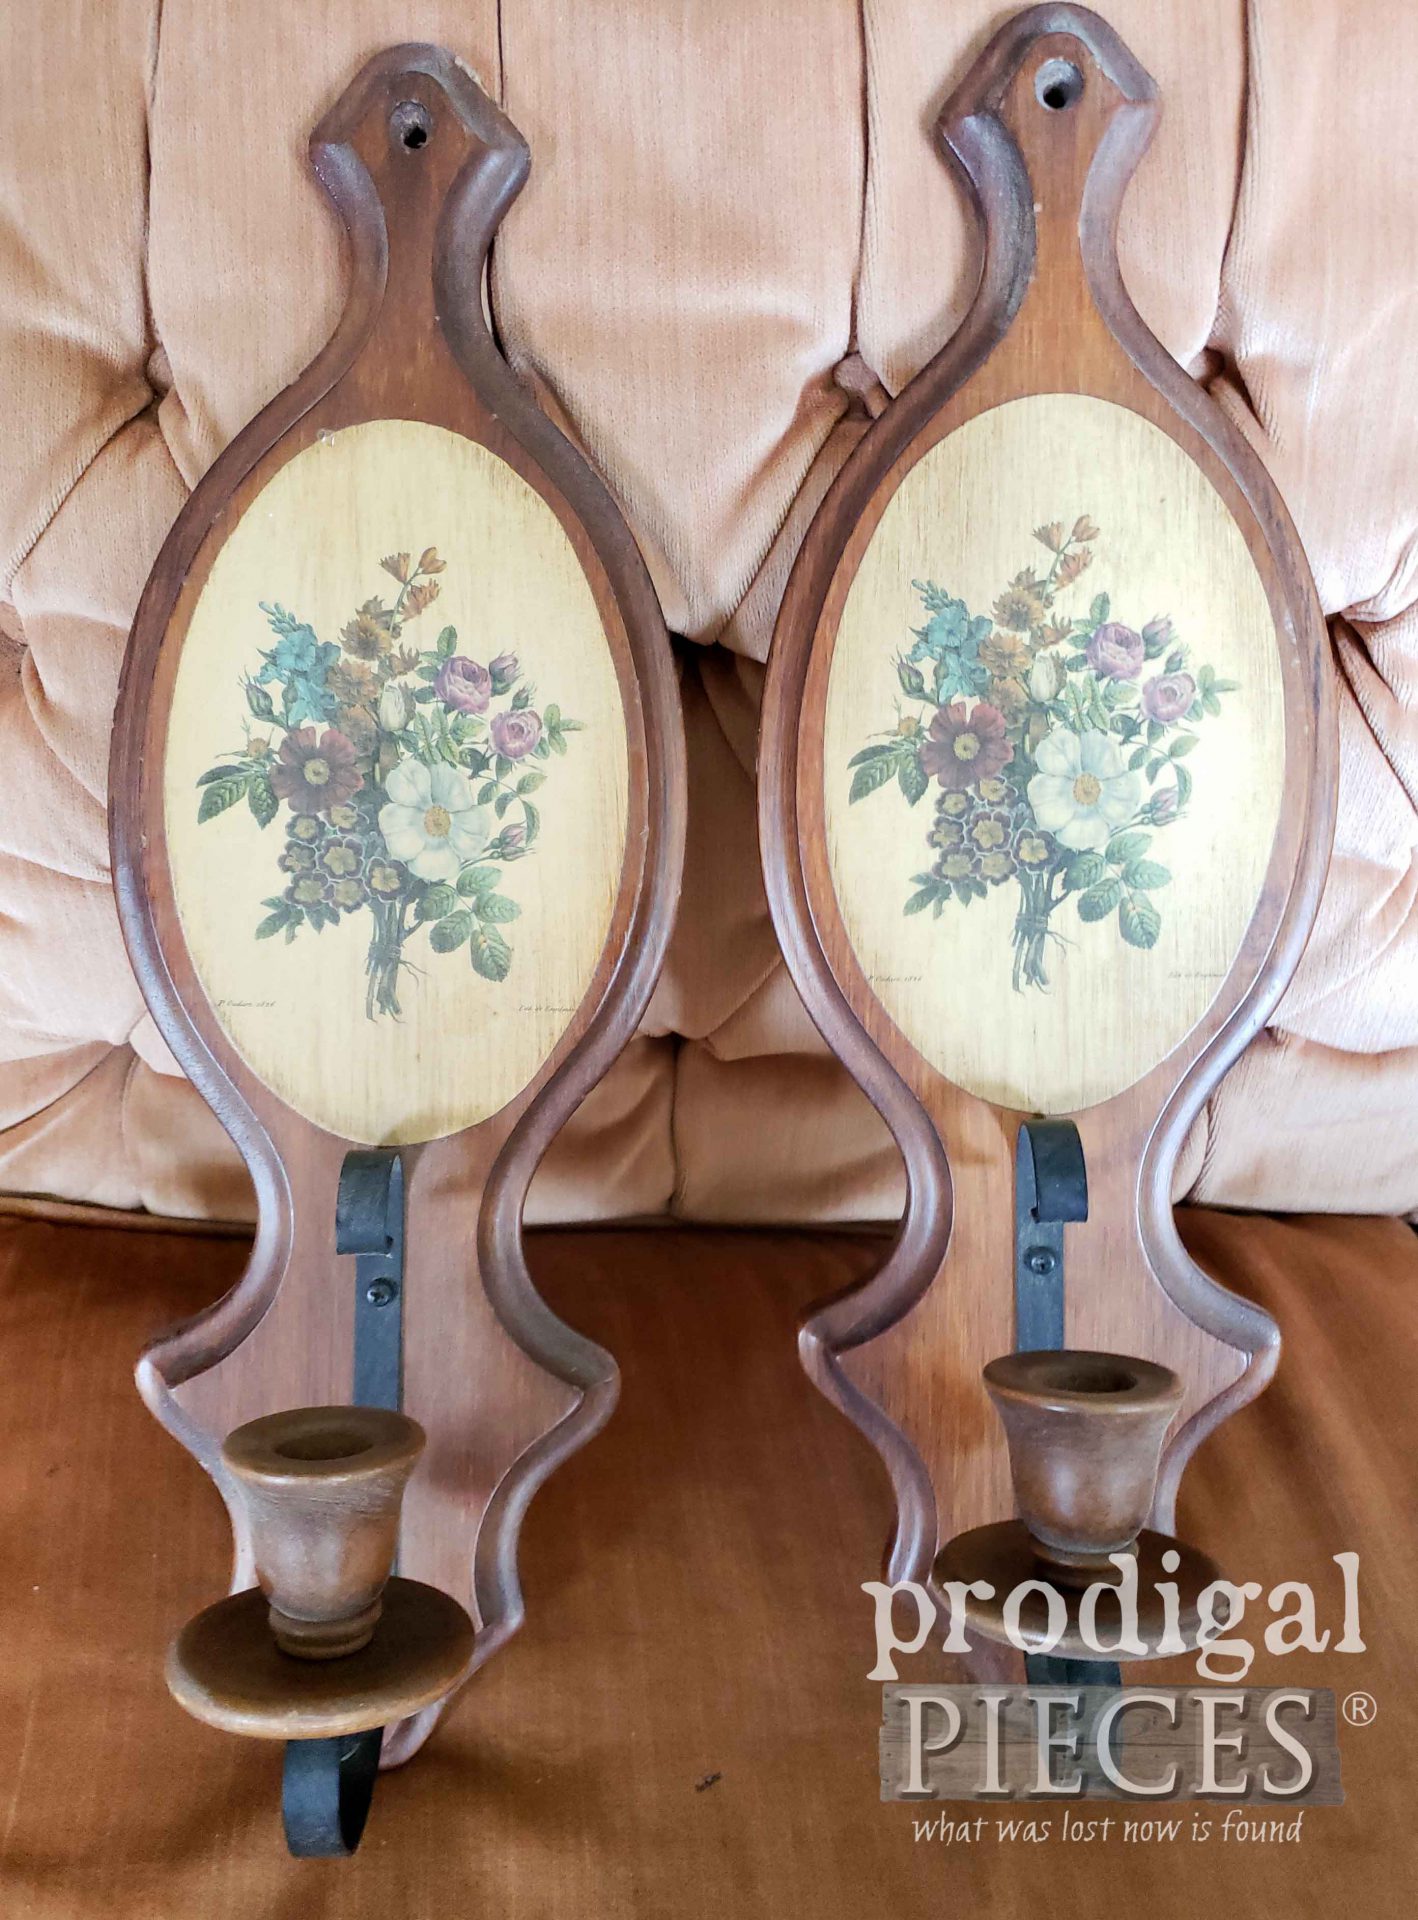
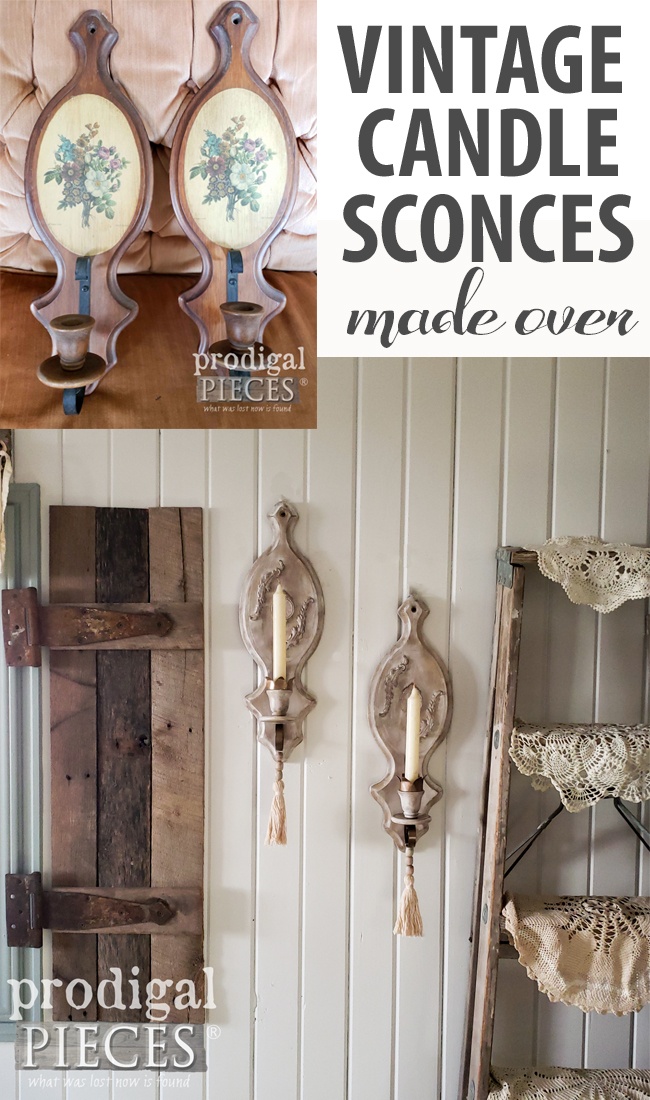
Hey there, friends! It’s a new day and I’m excited to be back here with you. Back about a year ago, a friend of mine gave me a large bin of items from a lady’s estate. Most all of the loot was thrifted wooden items that you guys know I love to play around with. This pair of vintage candle sconces is some of the last bit left of that haul. Now, they just need some jazzing up. Right?
Actually, I was first drawn to this set because of their simple, rustic look. However, I thought to myself, “Wouldn’t it be fun to take these to a new level?” So, without resisting my temptation, I am diving in to change this set up.
DIY TIME
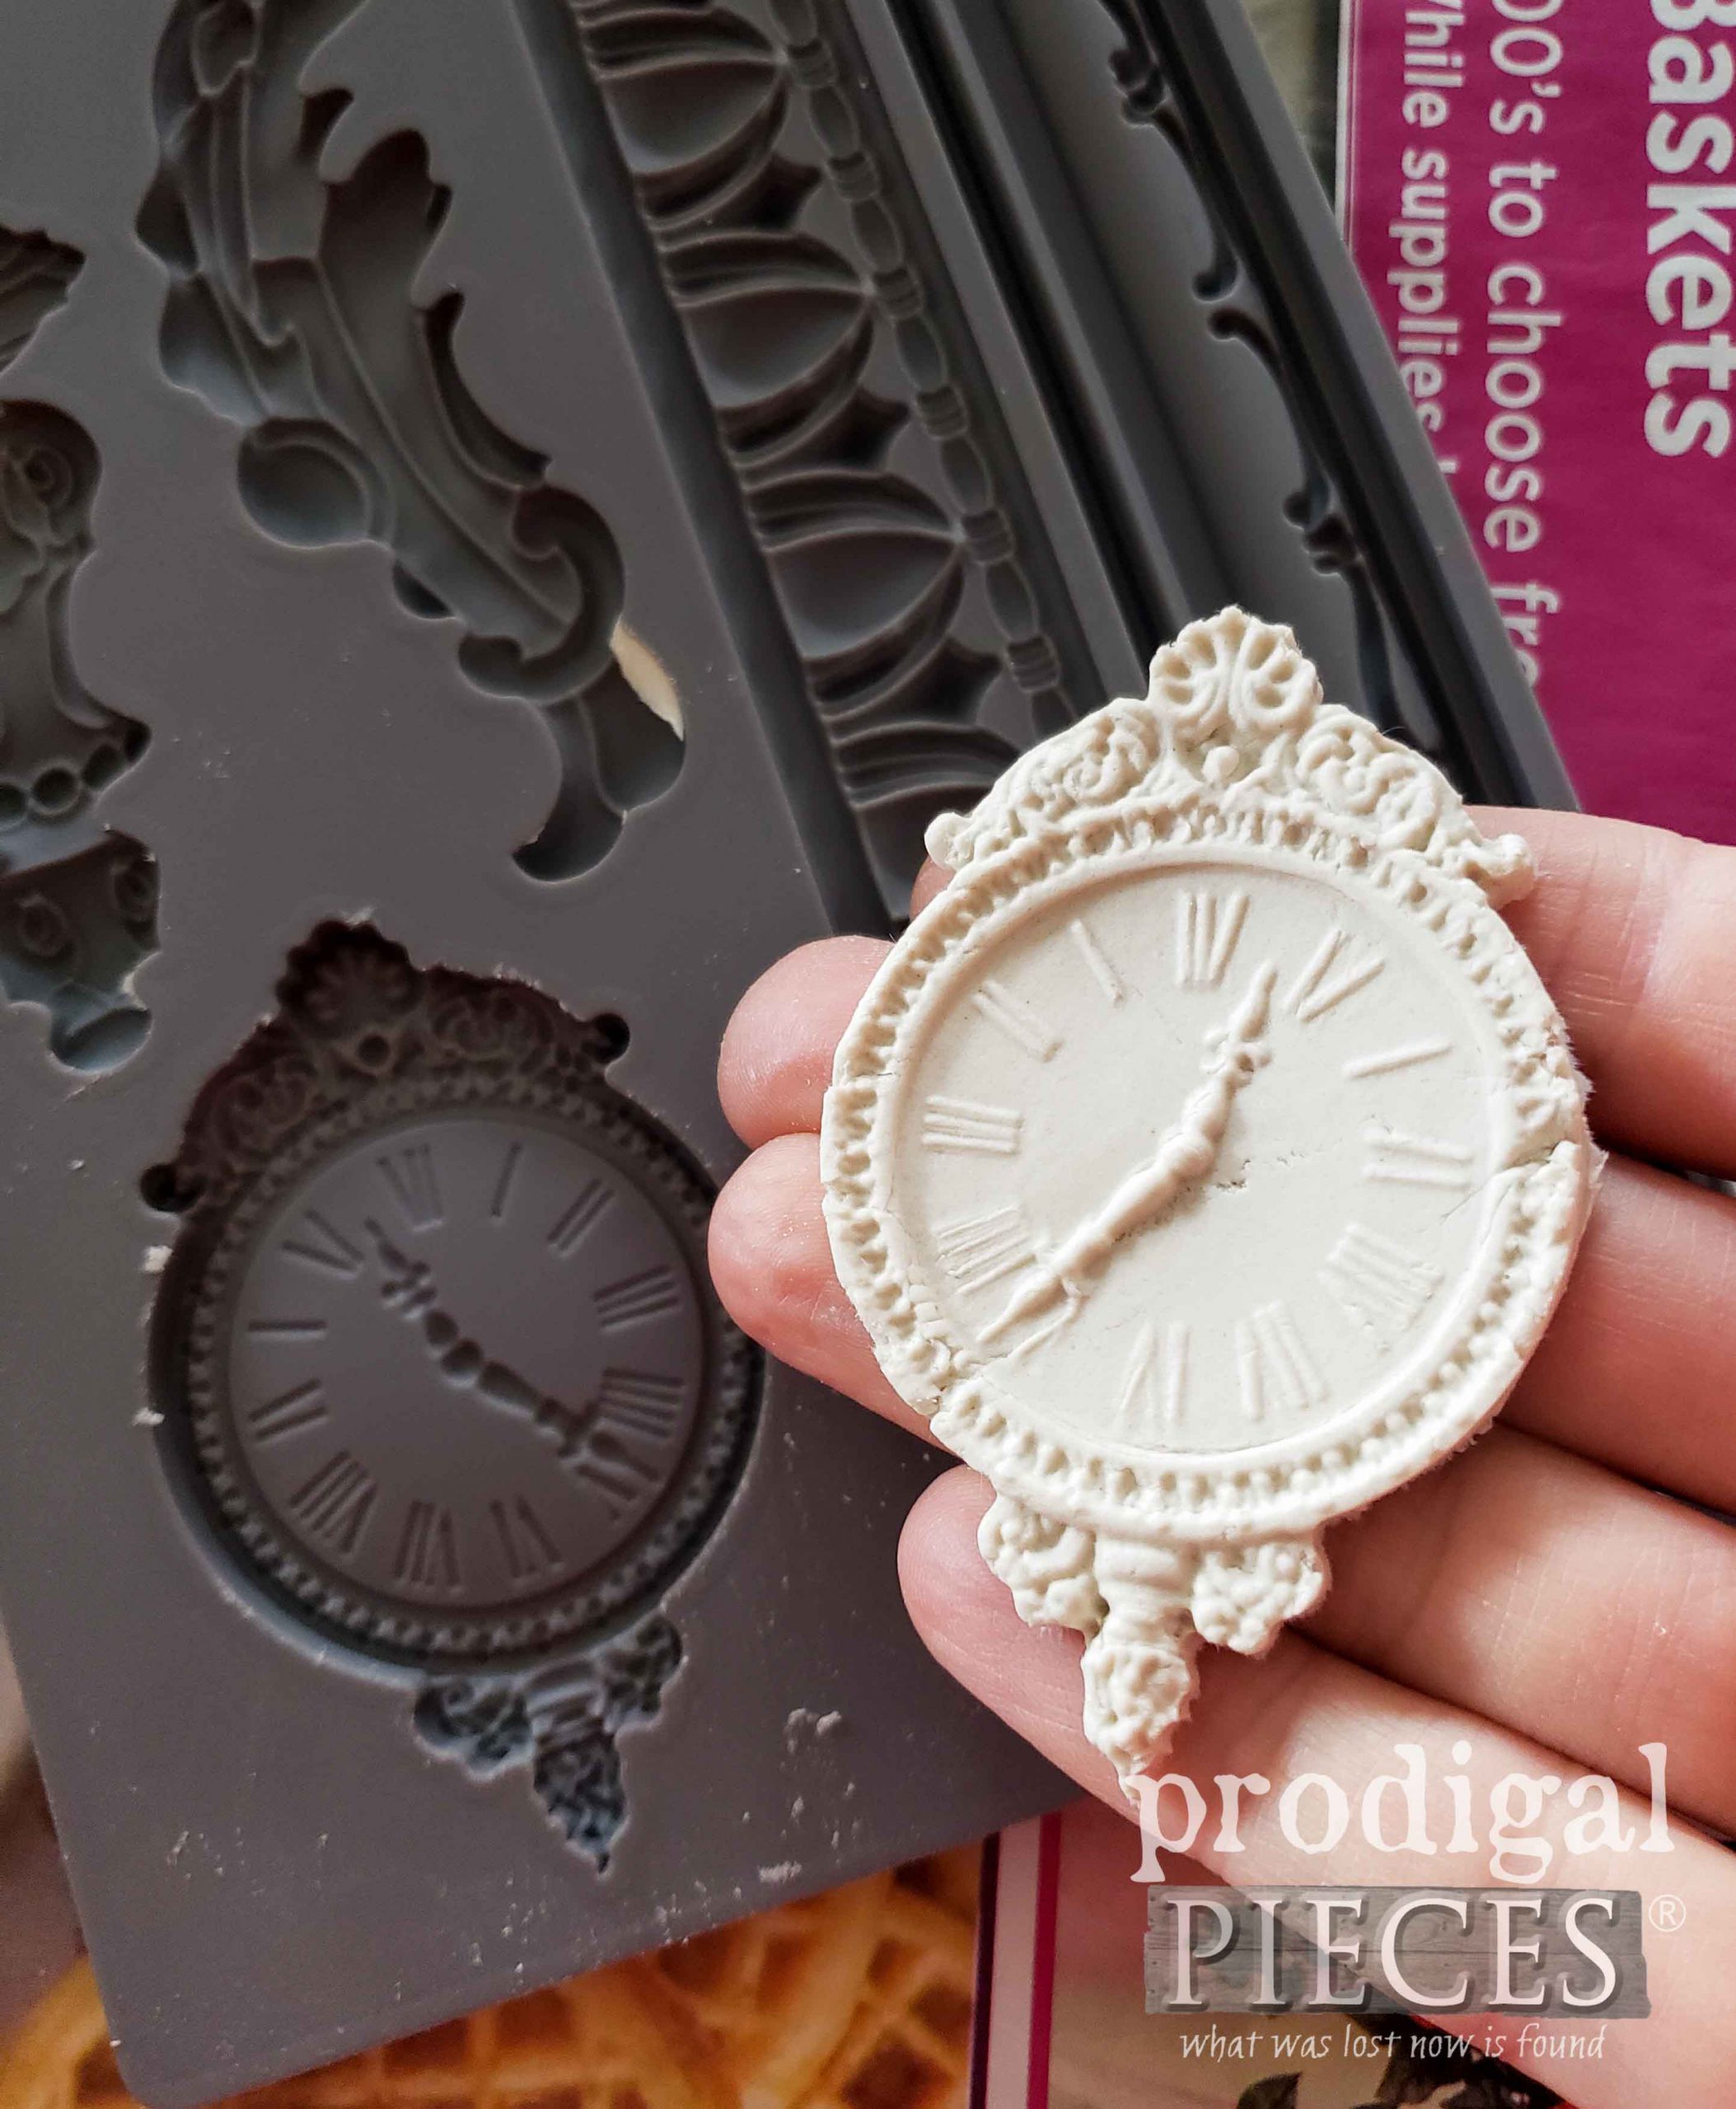
My goal is to show you how to take what you already own or find at a thrift store or garage sale and make it your own. First, I begin making my appliques. If you’ve not seen this type of thing before, you can see my past projects using these molds: HERE.
This time around, I’m using paper clay. However, I’ve used hot glue and they can even be used for food too. See the video demo below.
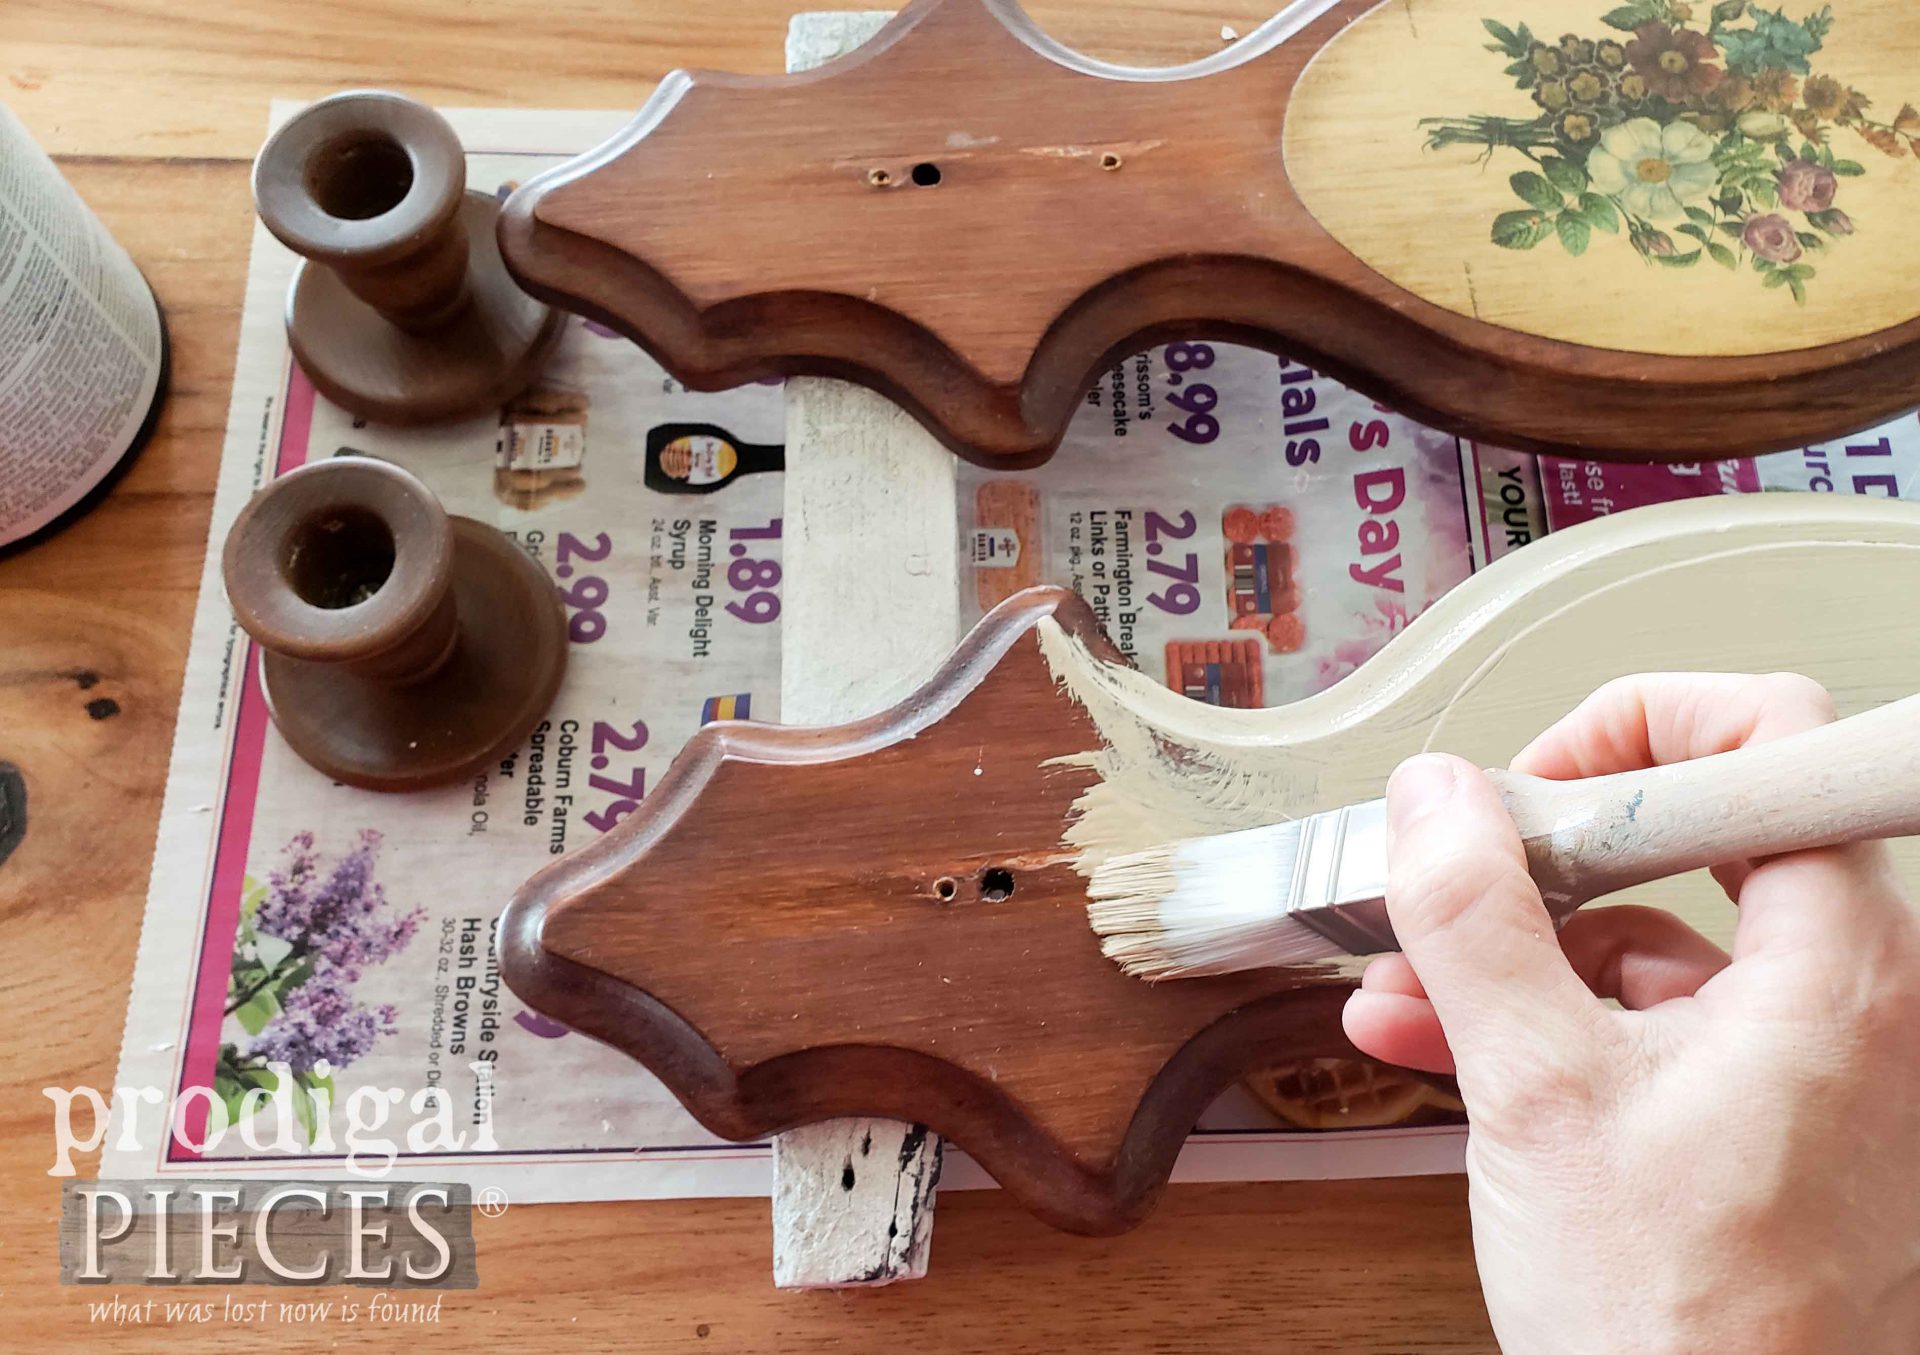
I take apart the vintage candle sconces so I can work with each part separately. Then, I grab and add a coat of base paint.
NEXT STEPS
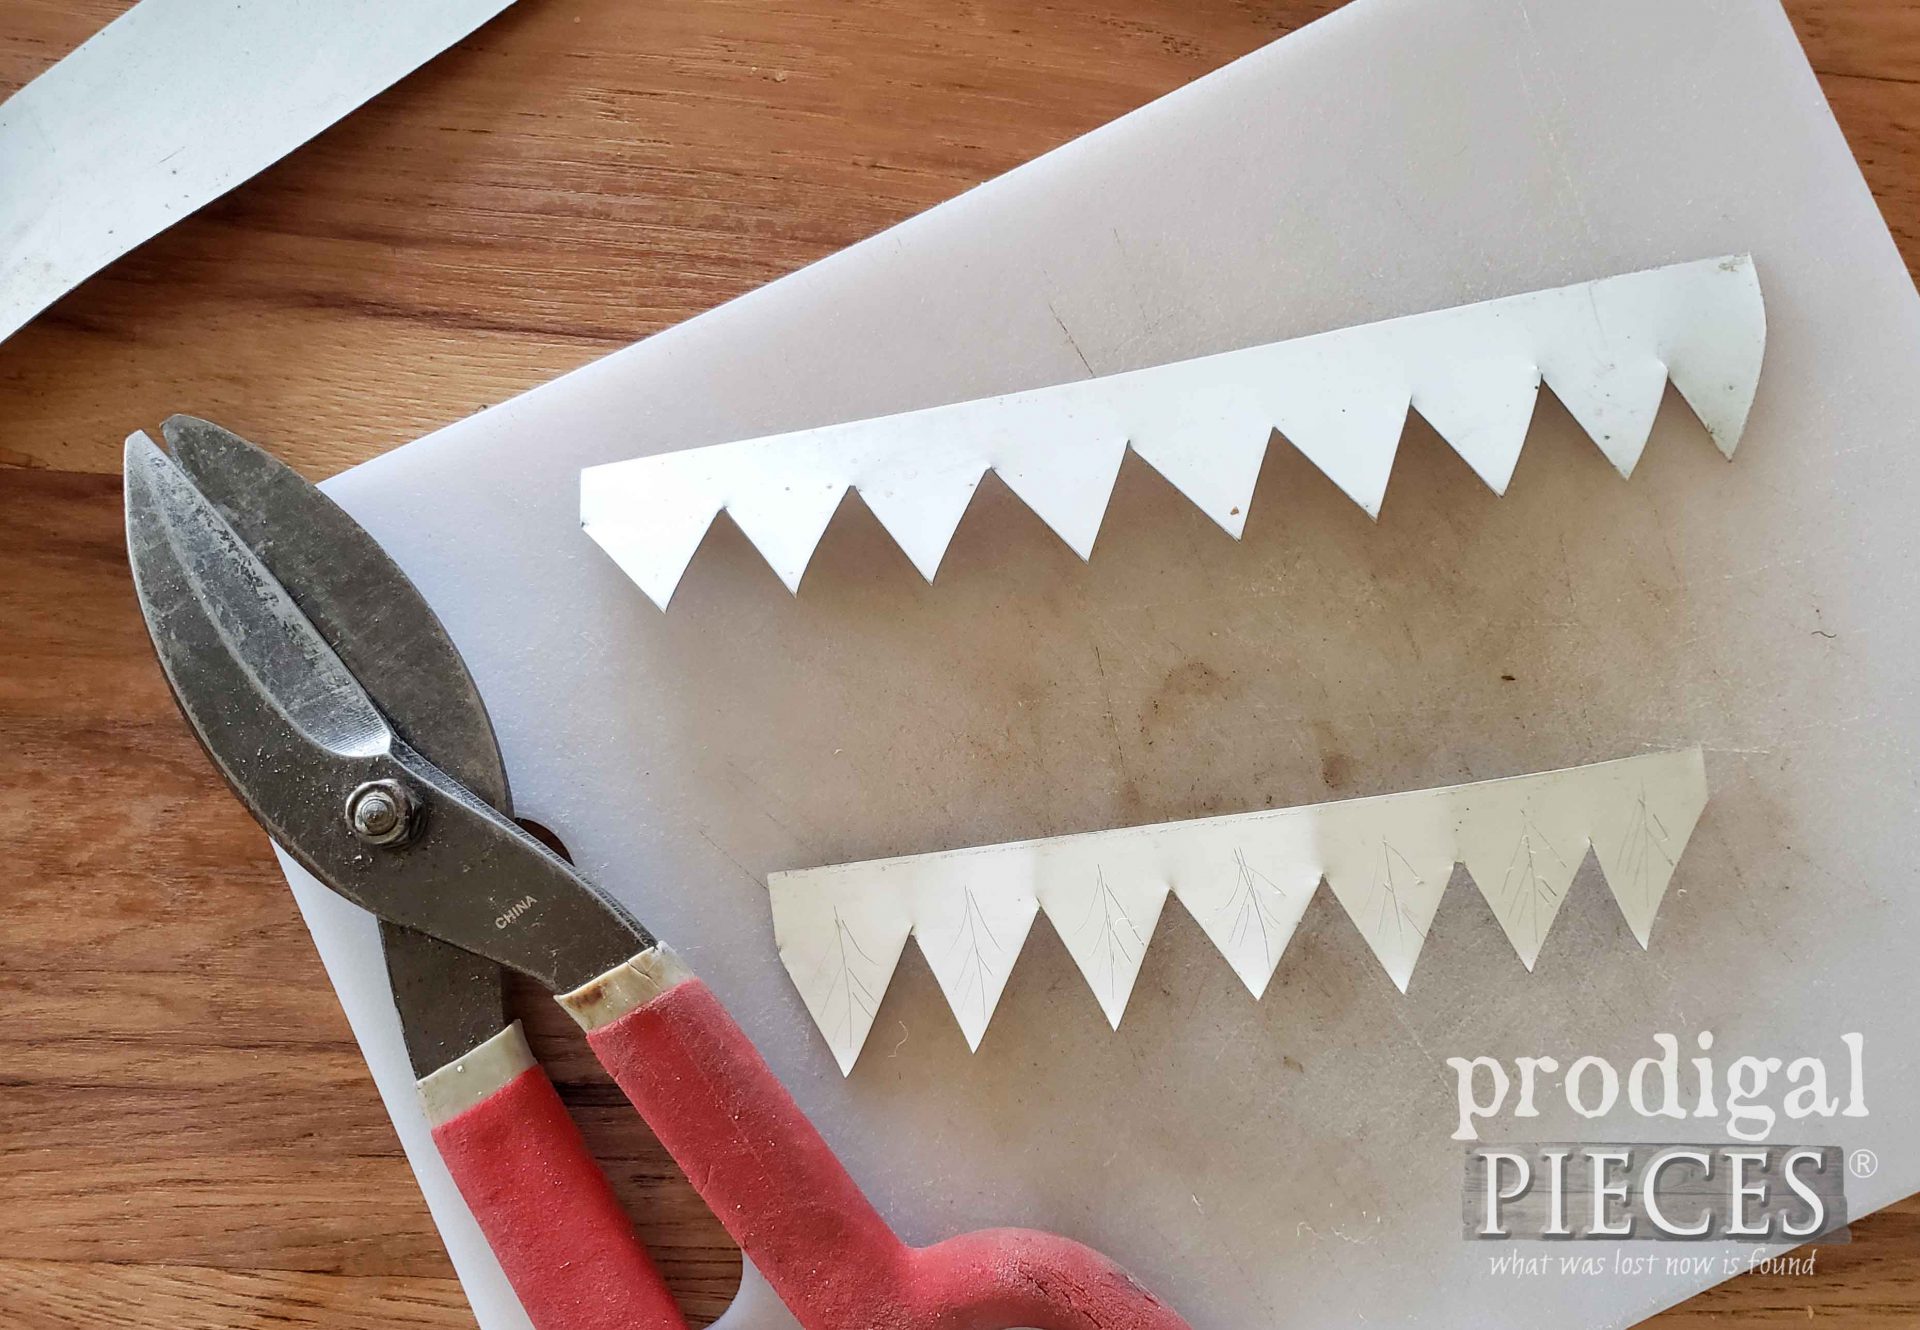
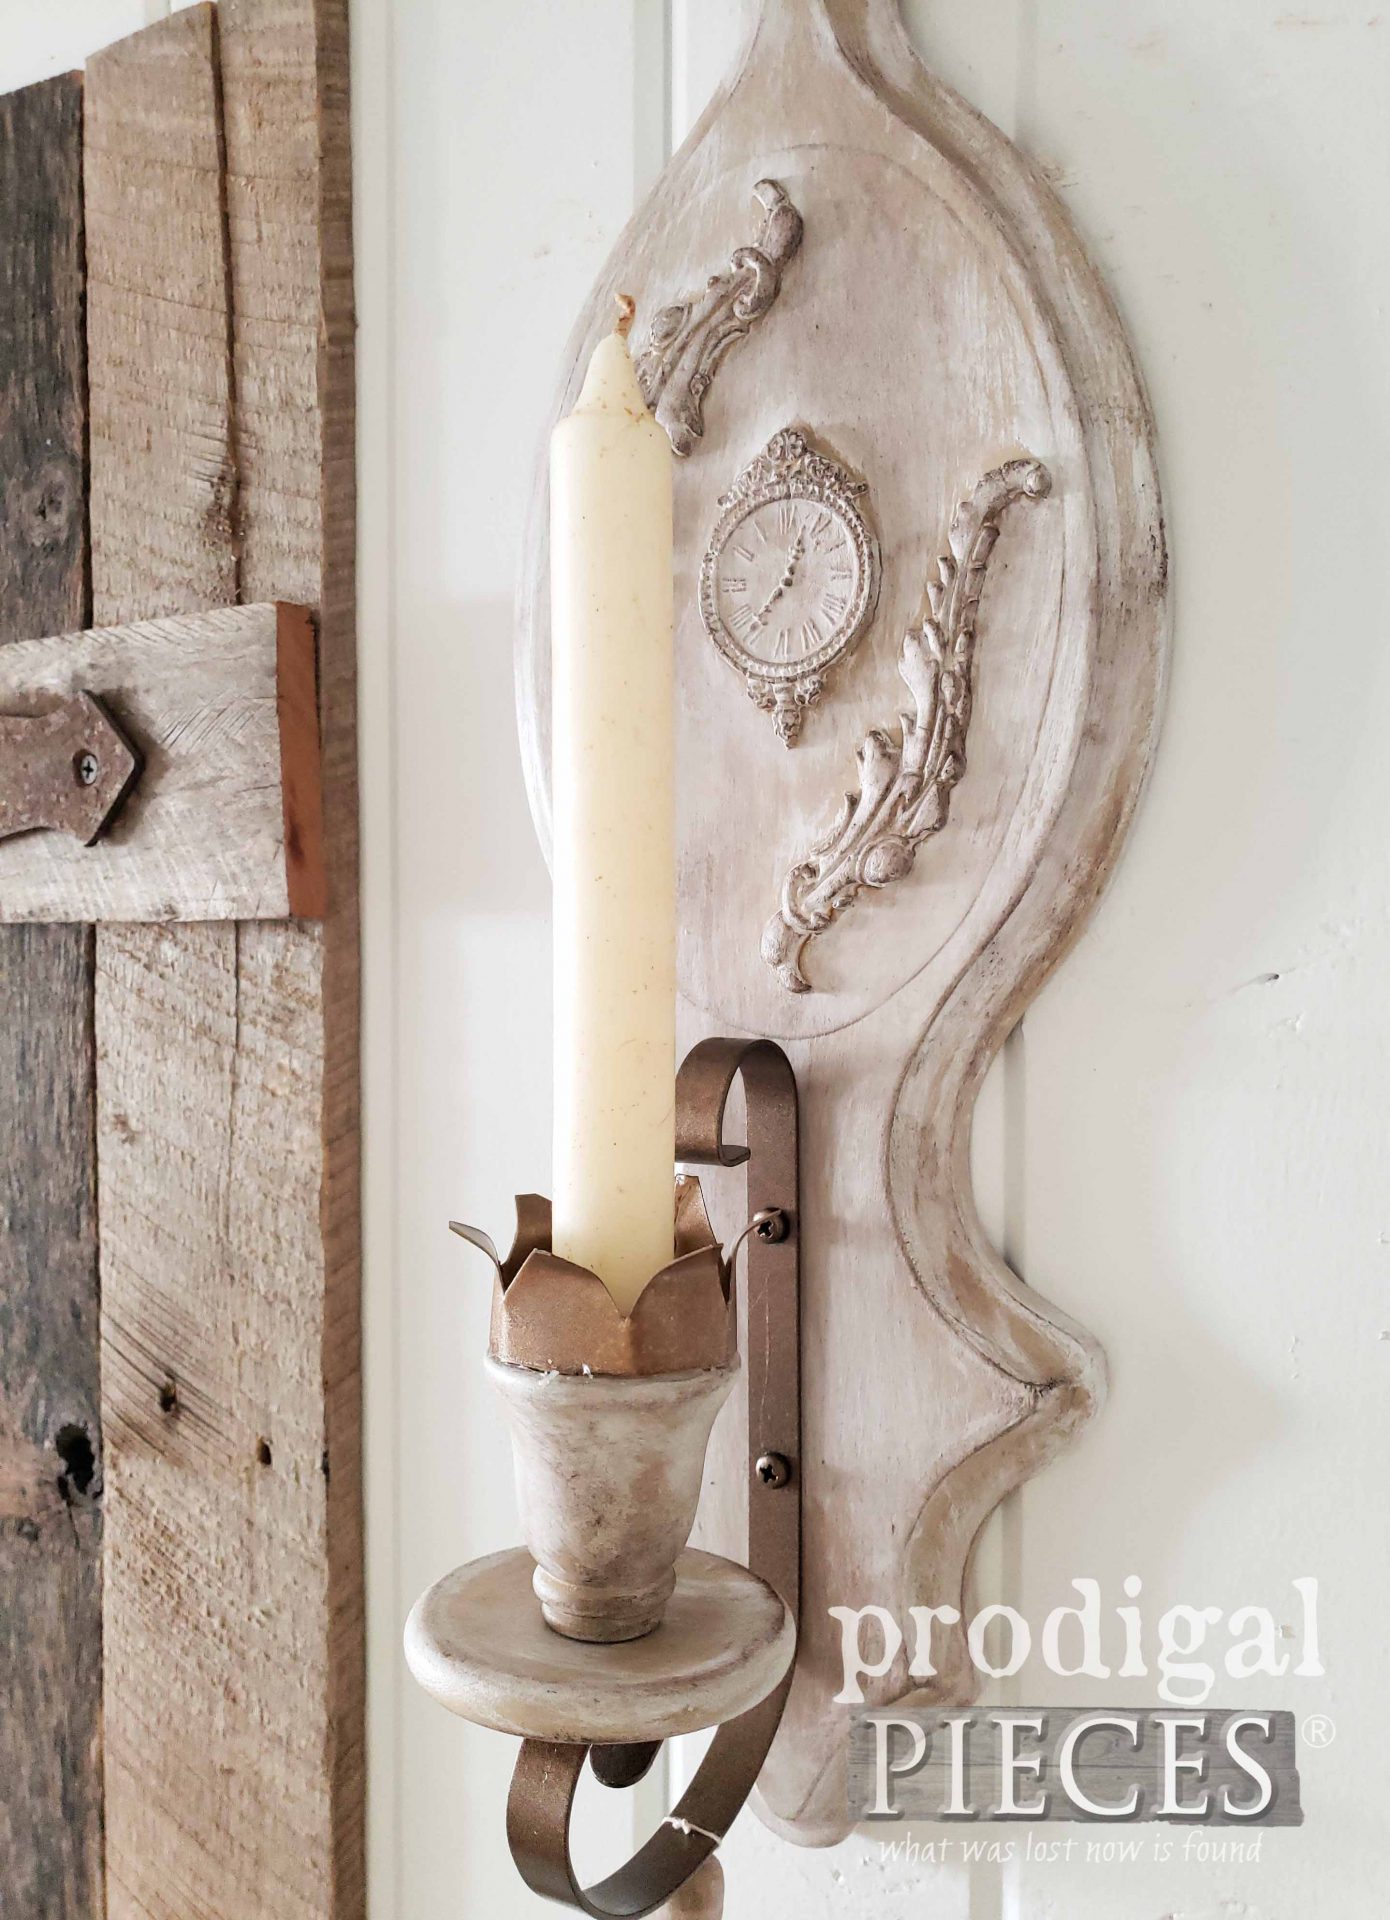
While the clay and paint cure, I spray paint the hardware with a pretty antique bronze metallic paint. Also, I make a couple of beaded tassels from some thrifted cotton crochet thread and something with my old salvaged gutter metal. I’ve also used it on my rustic birdhouses. See if you can notice it in the end result in a minute.
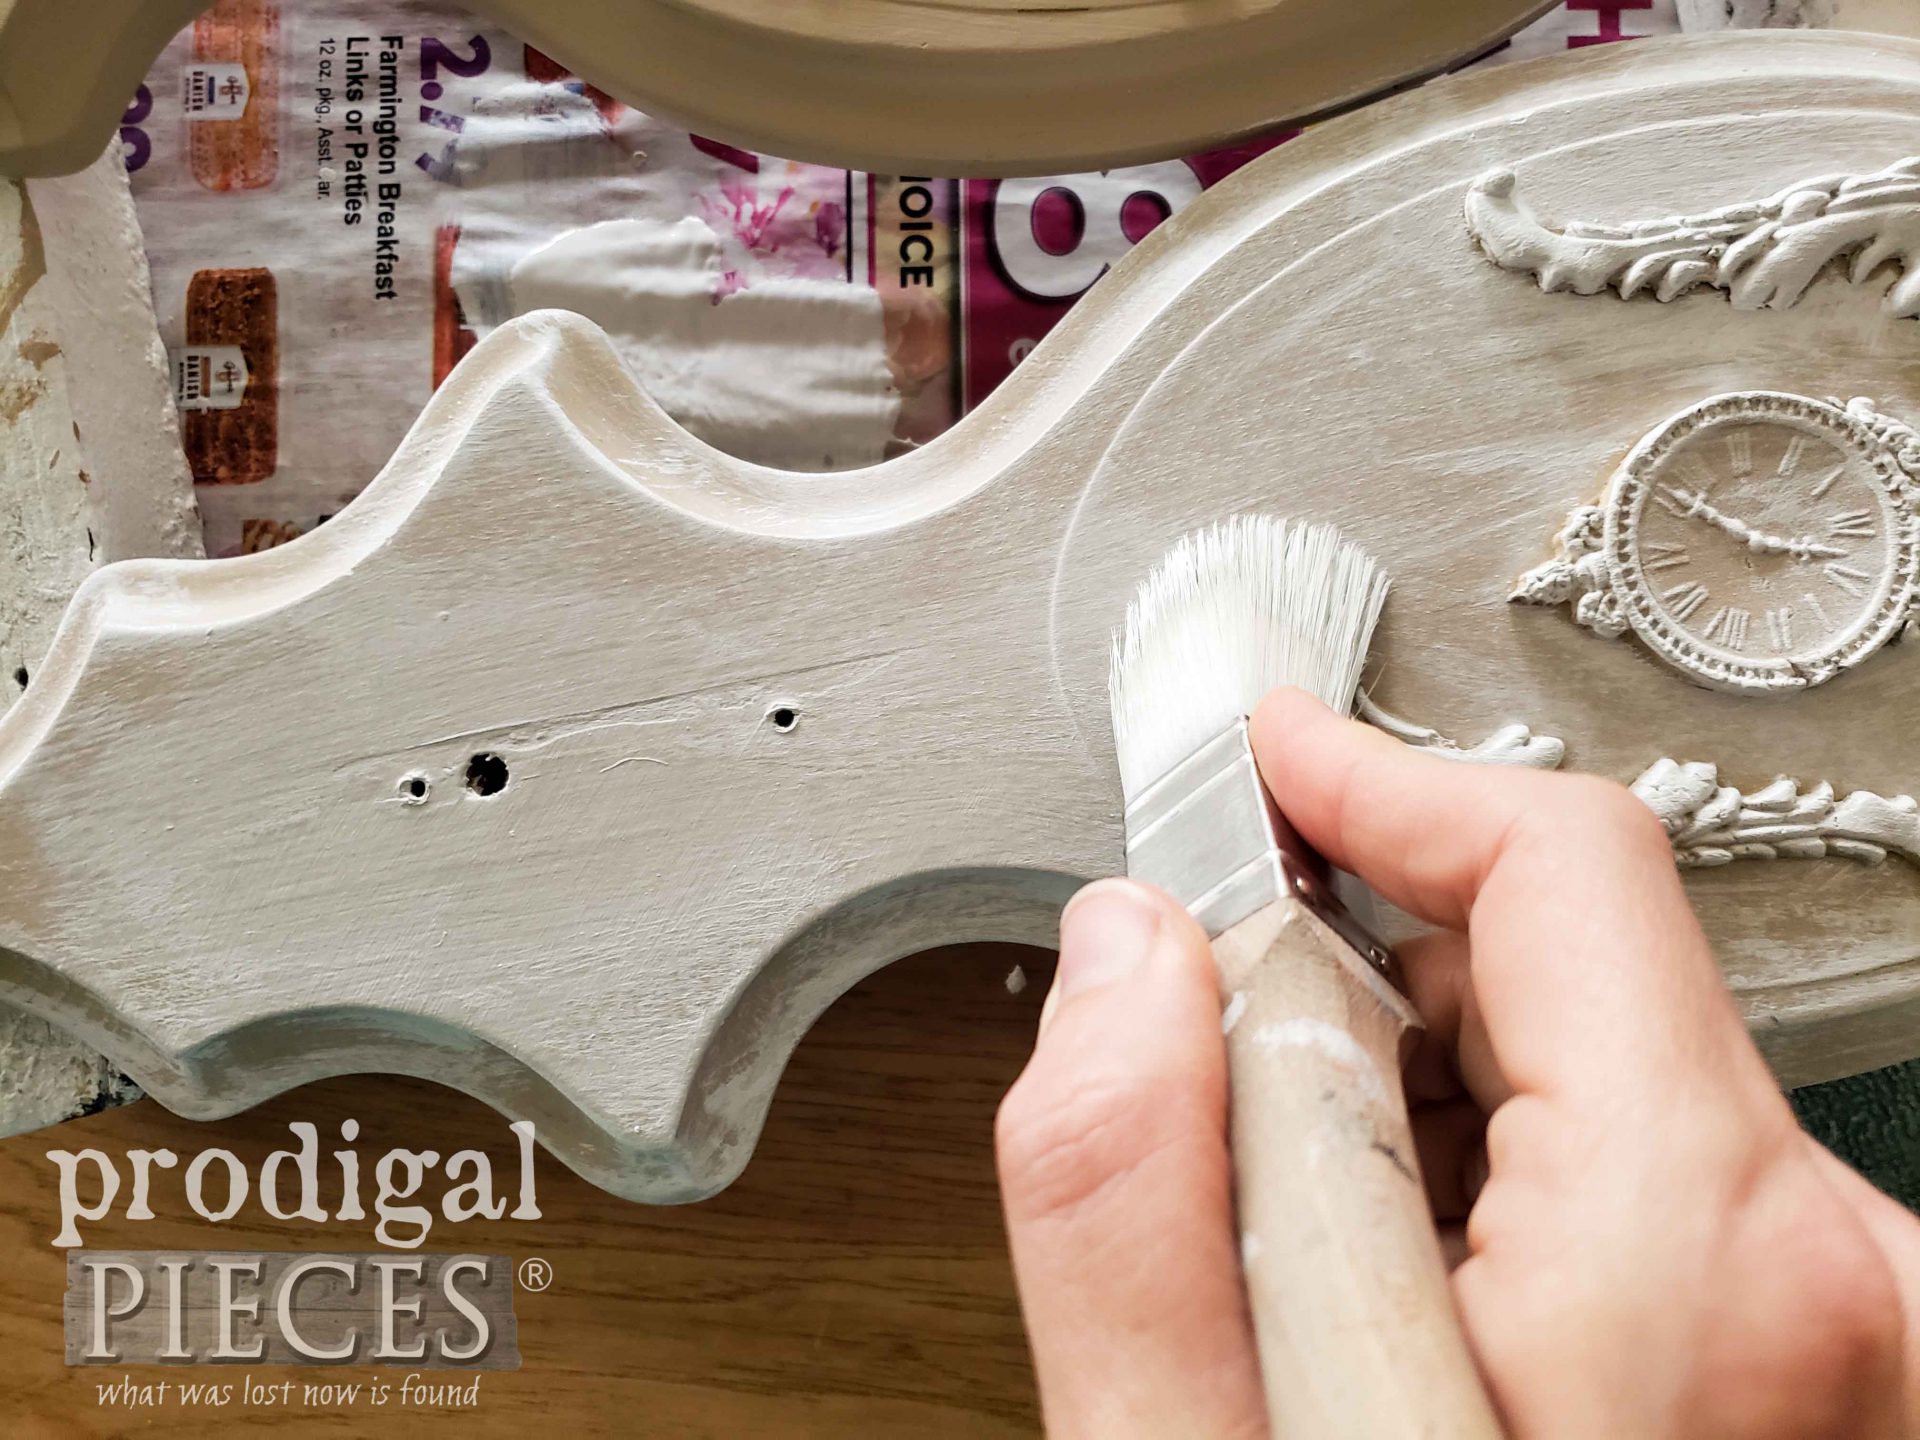
Last, I add a whitewash to the sconces, followed by a bit of distressing and dark wax to add depth.
THE REVEAL
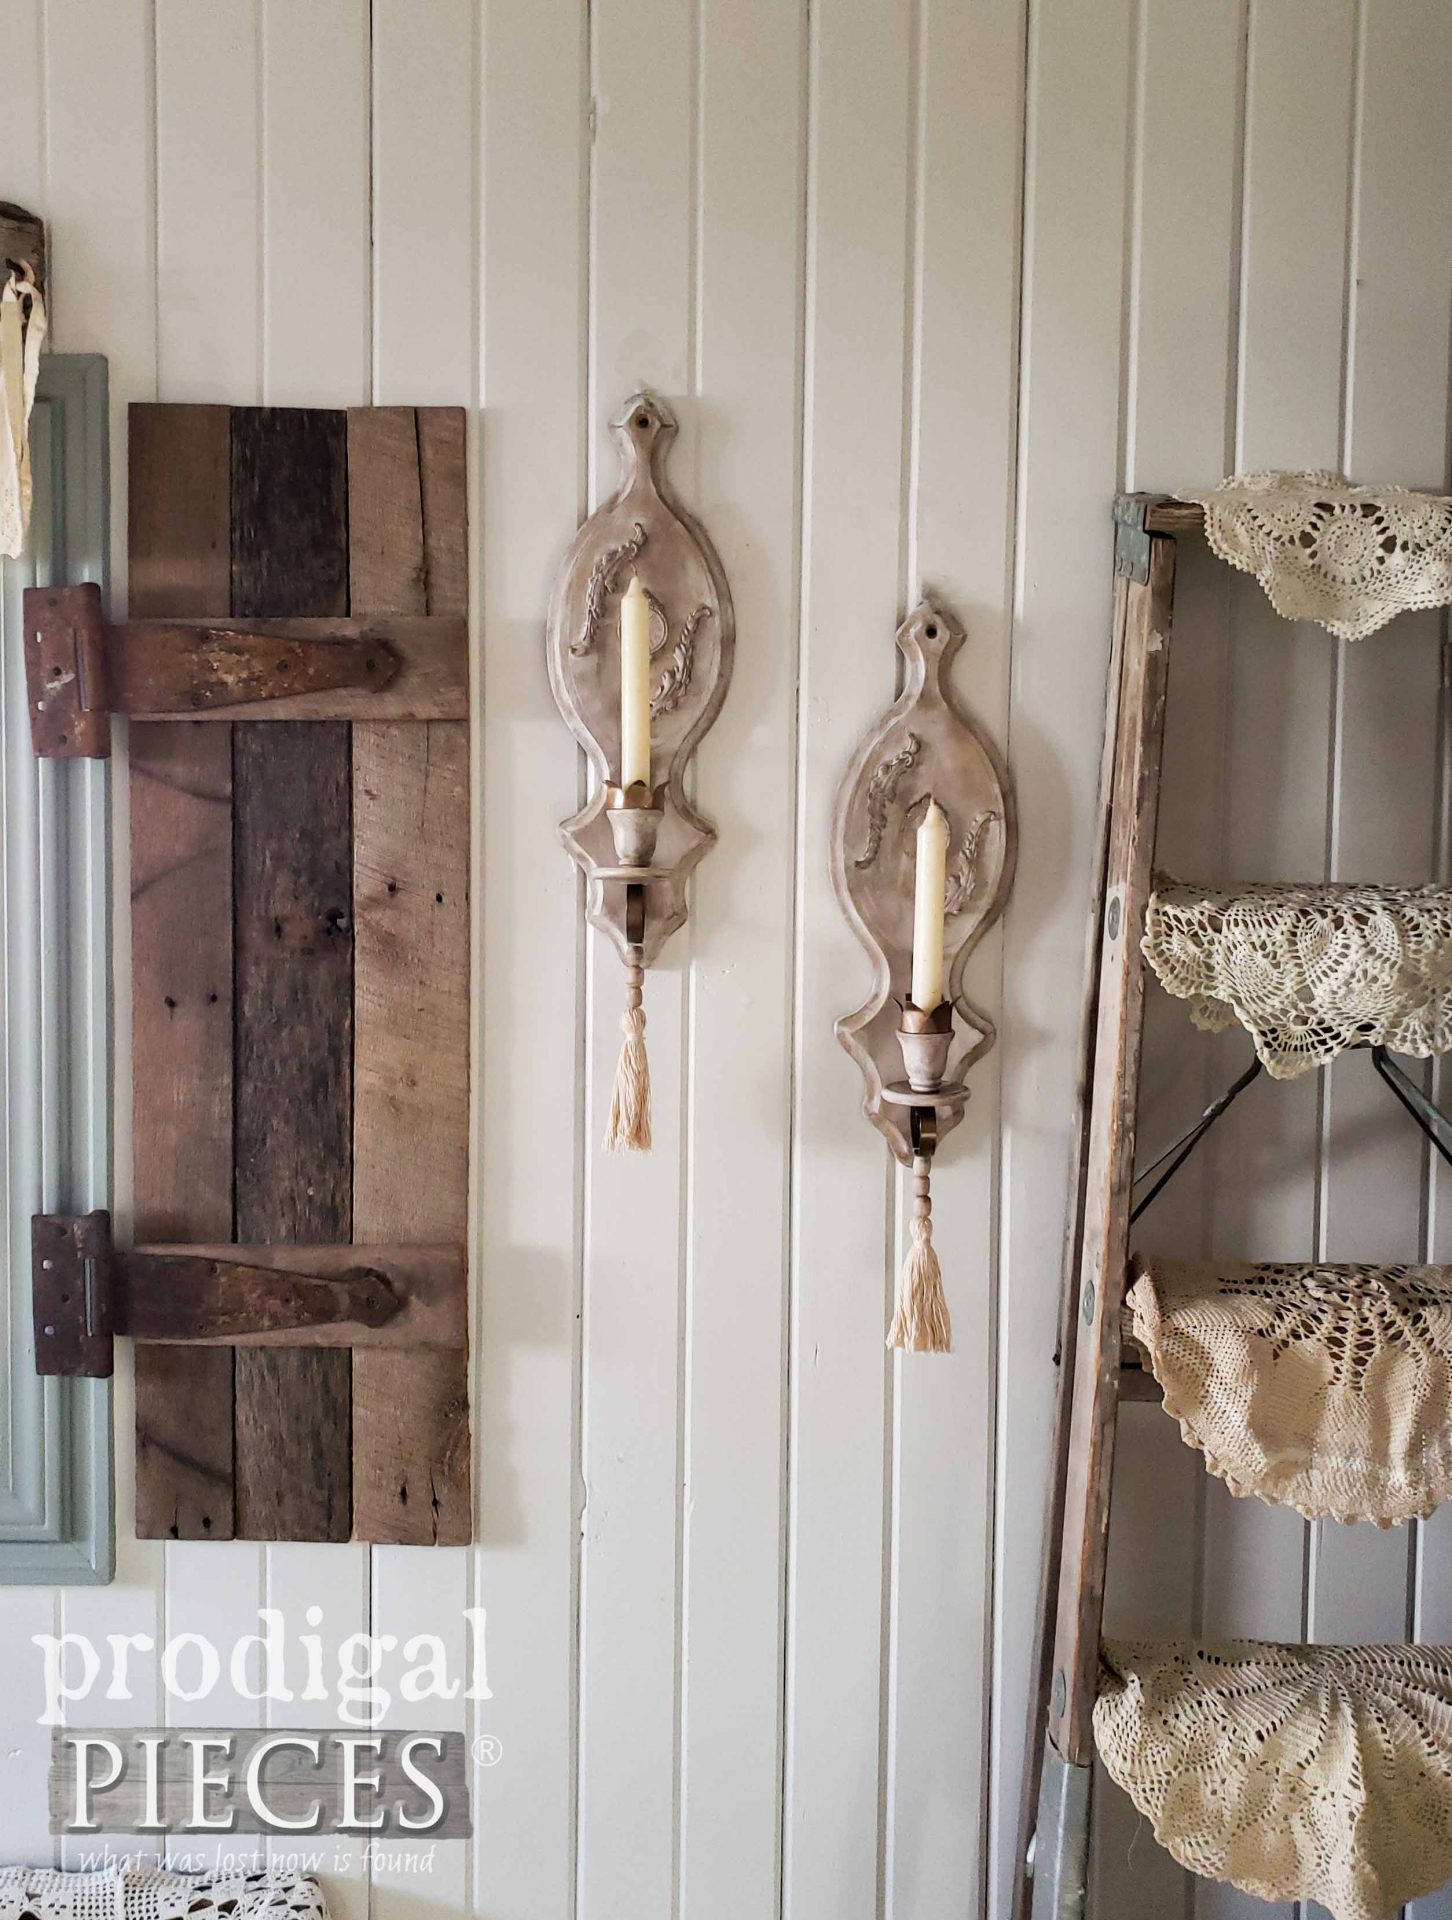
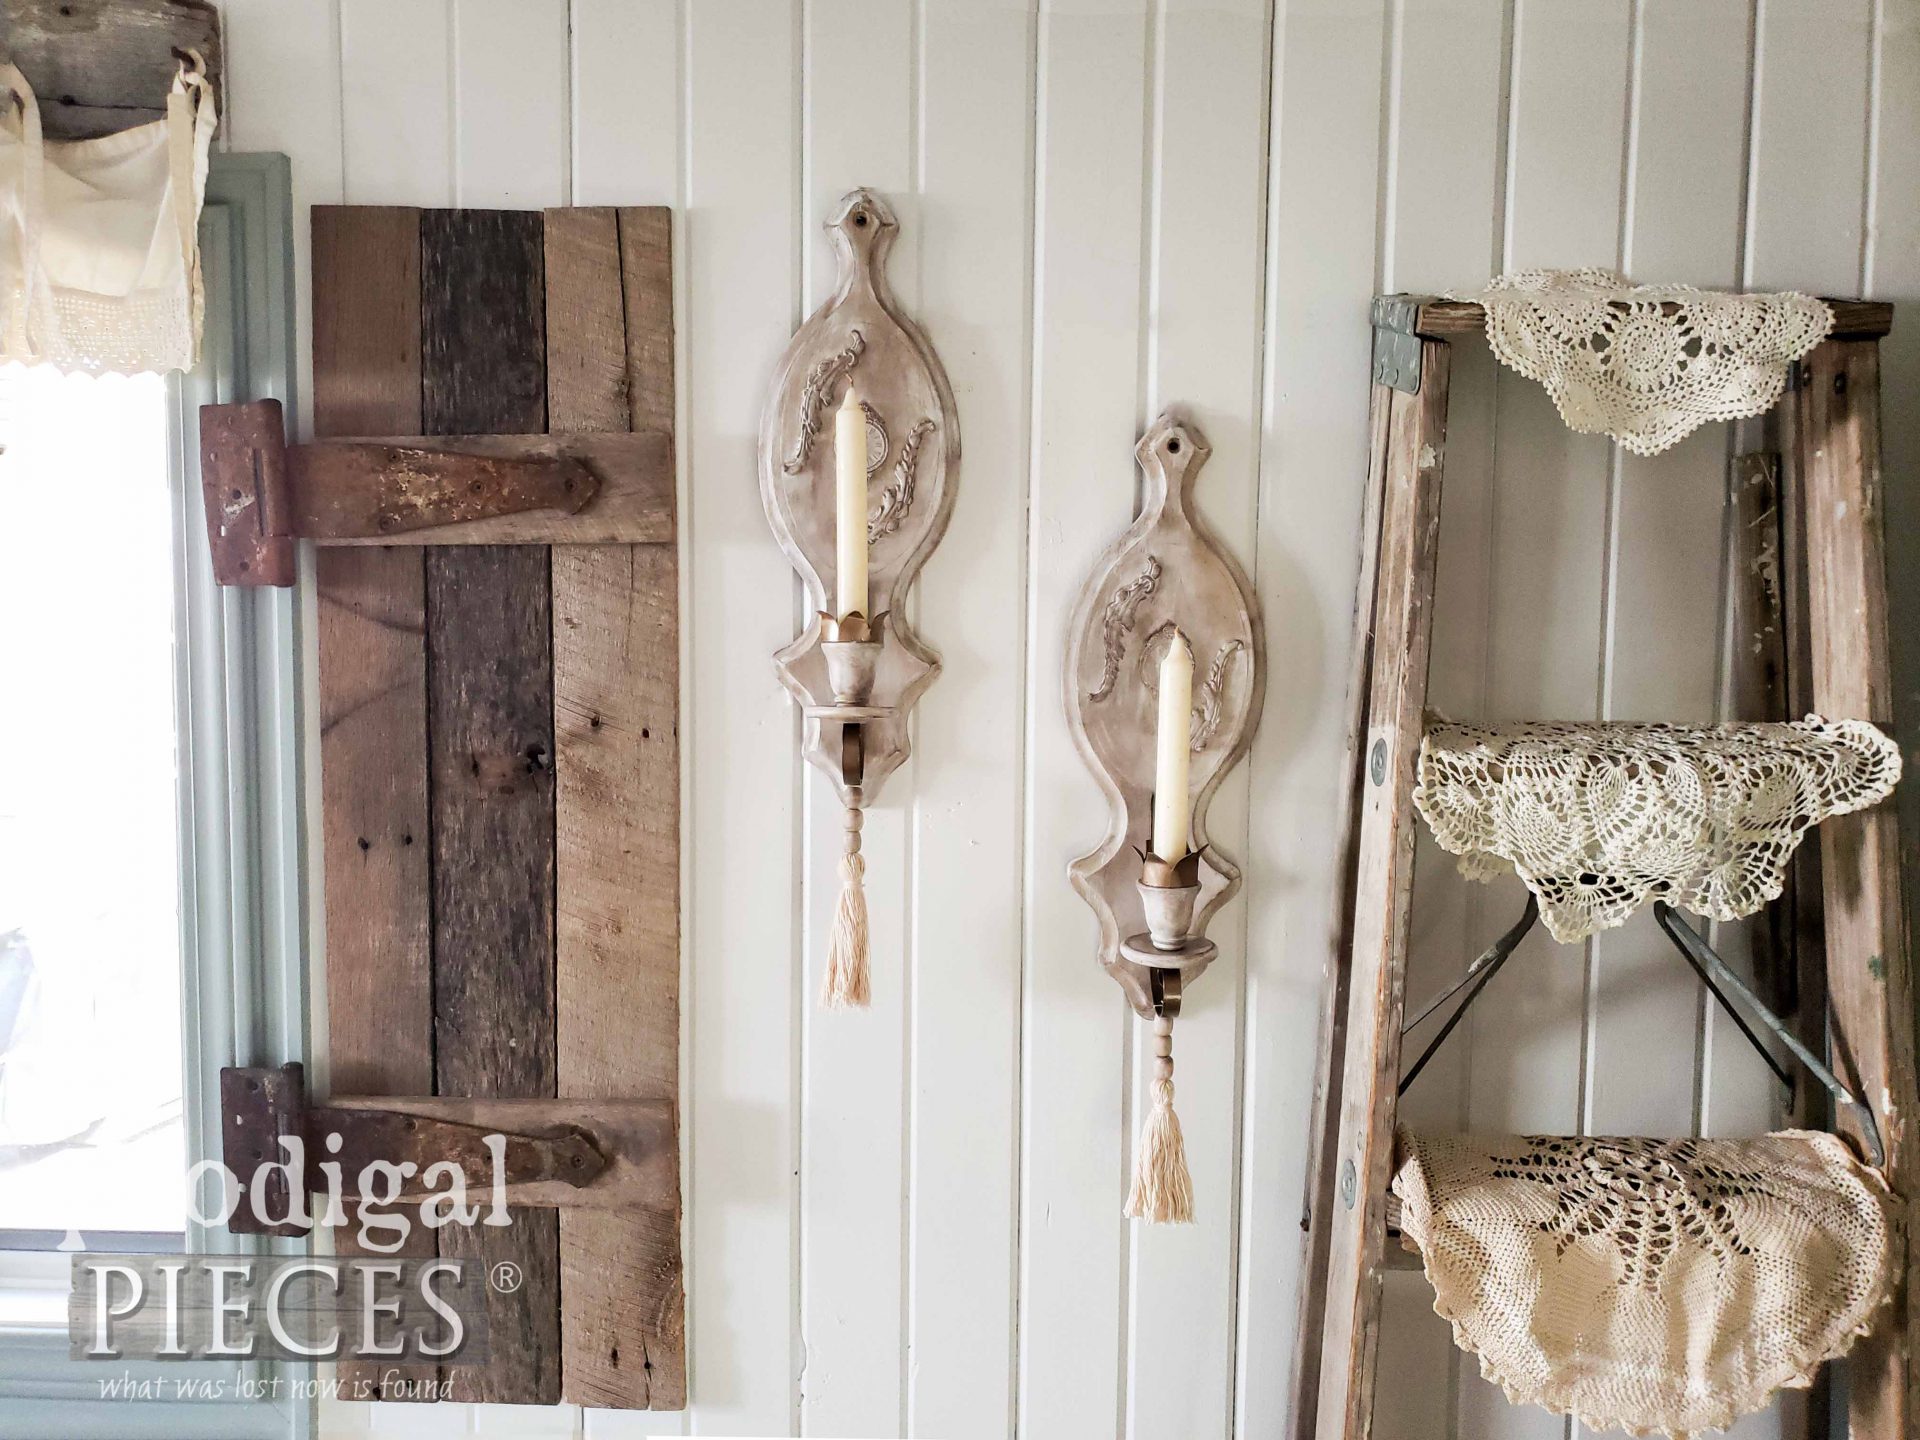
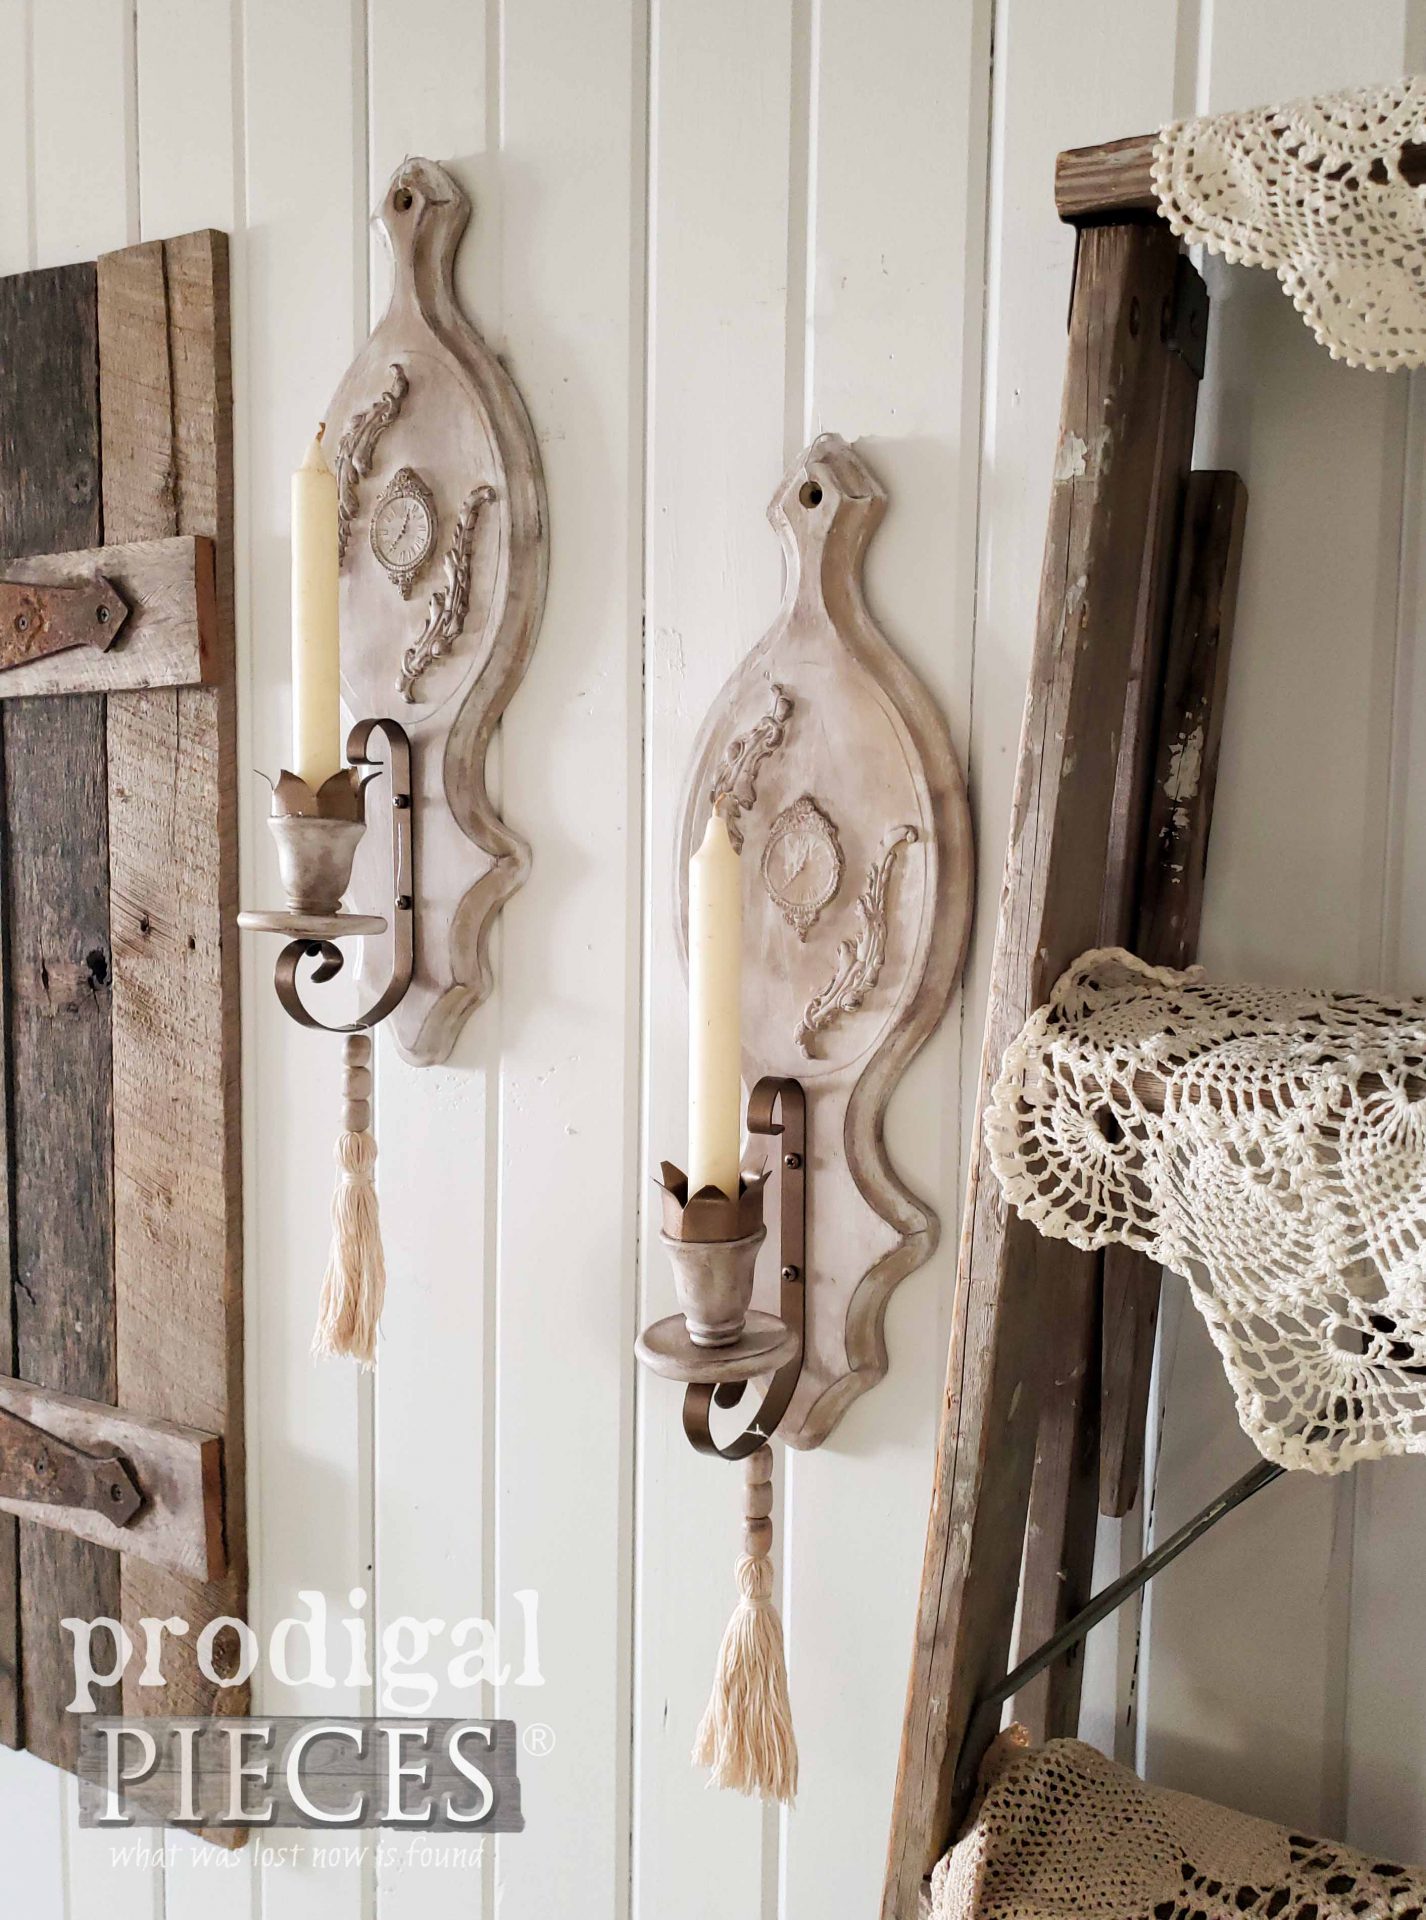
Here is my set of vintage candle sconces made new. Aren’t they fun now?
These were so fun for me to do. I hope you enjoyed what I did to make them new too.
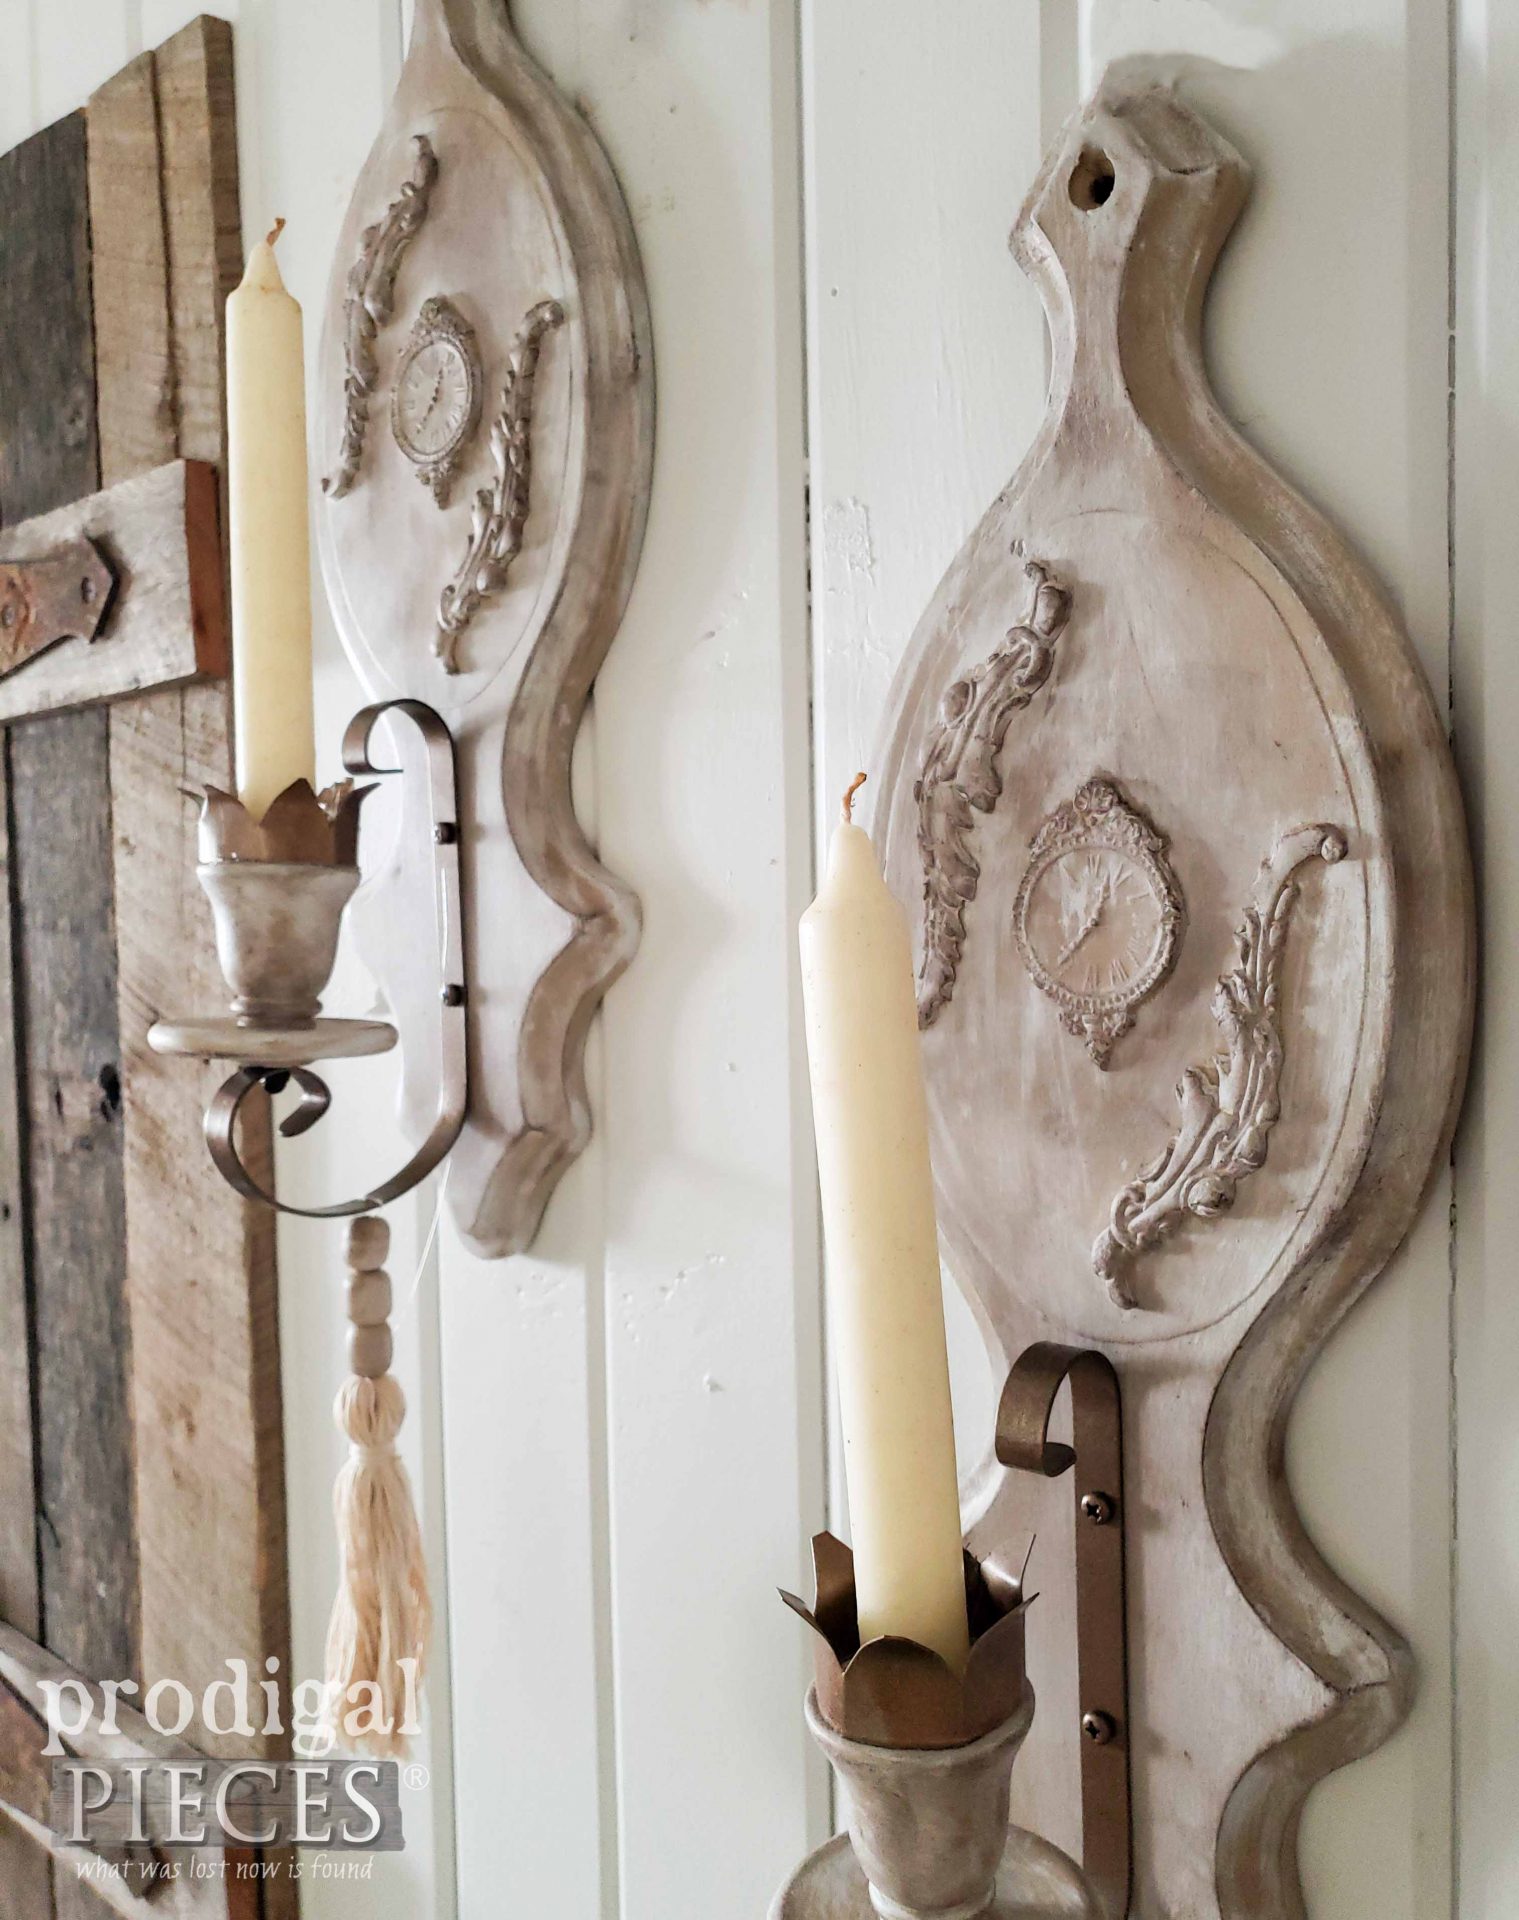
The rustic vintage vibe is gone and hello to rustic chic. The appliques really helped take it to a new level. Then, the finish gives it texture, while the beaded garland softens it a bit.
If you would like to own this set as your own, you can find them available in my online shop.
Also, do pin and share this DIY fun to inspire others too.
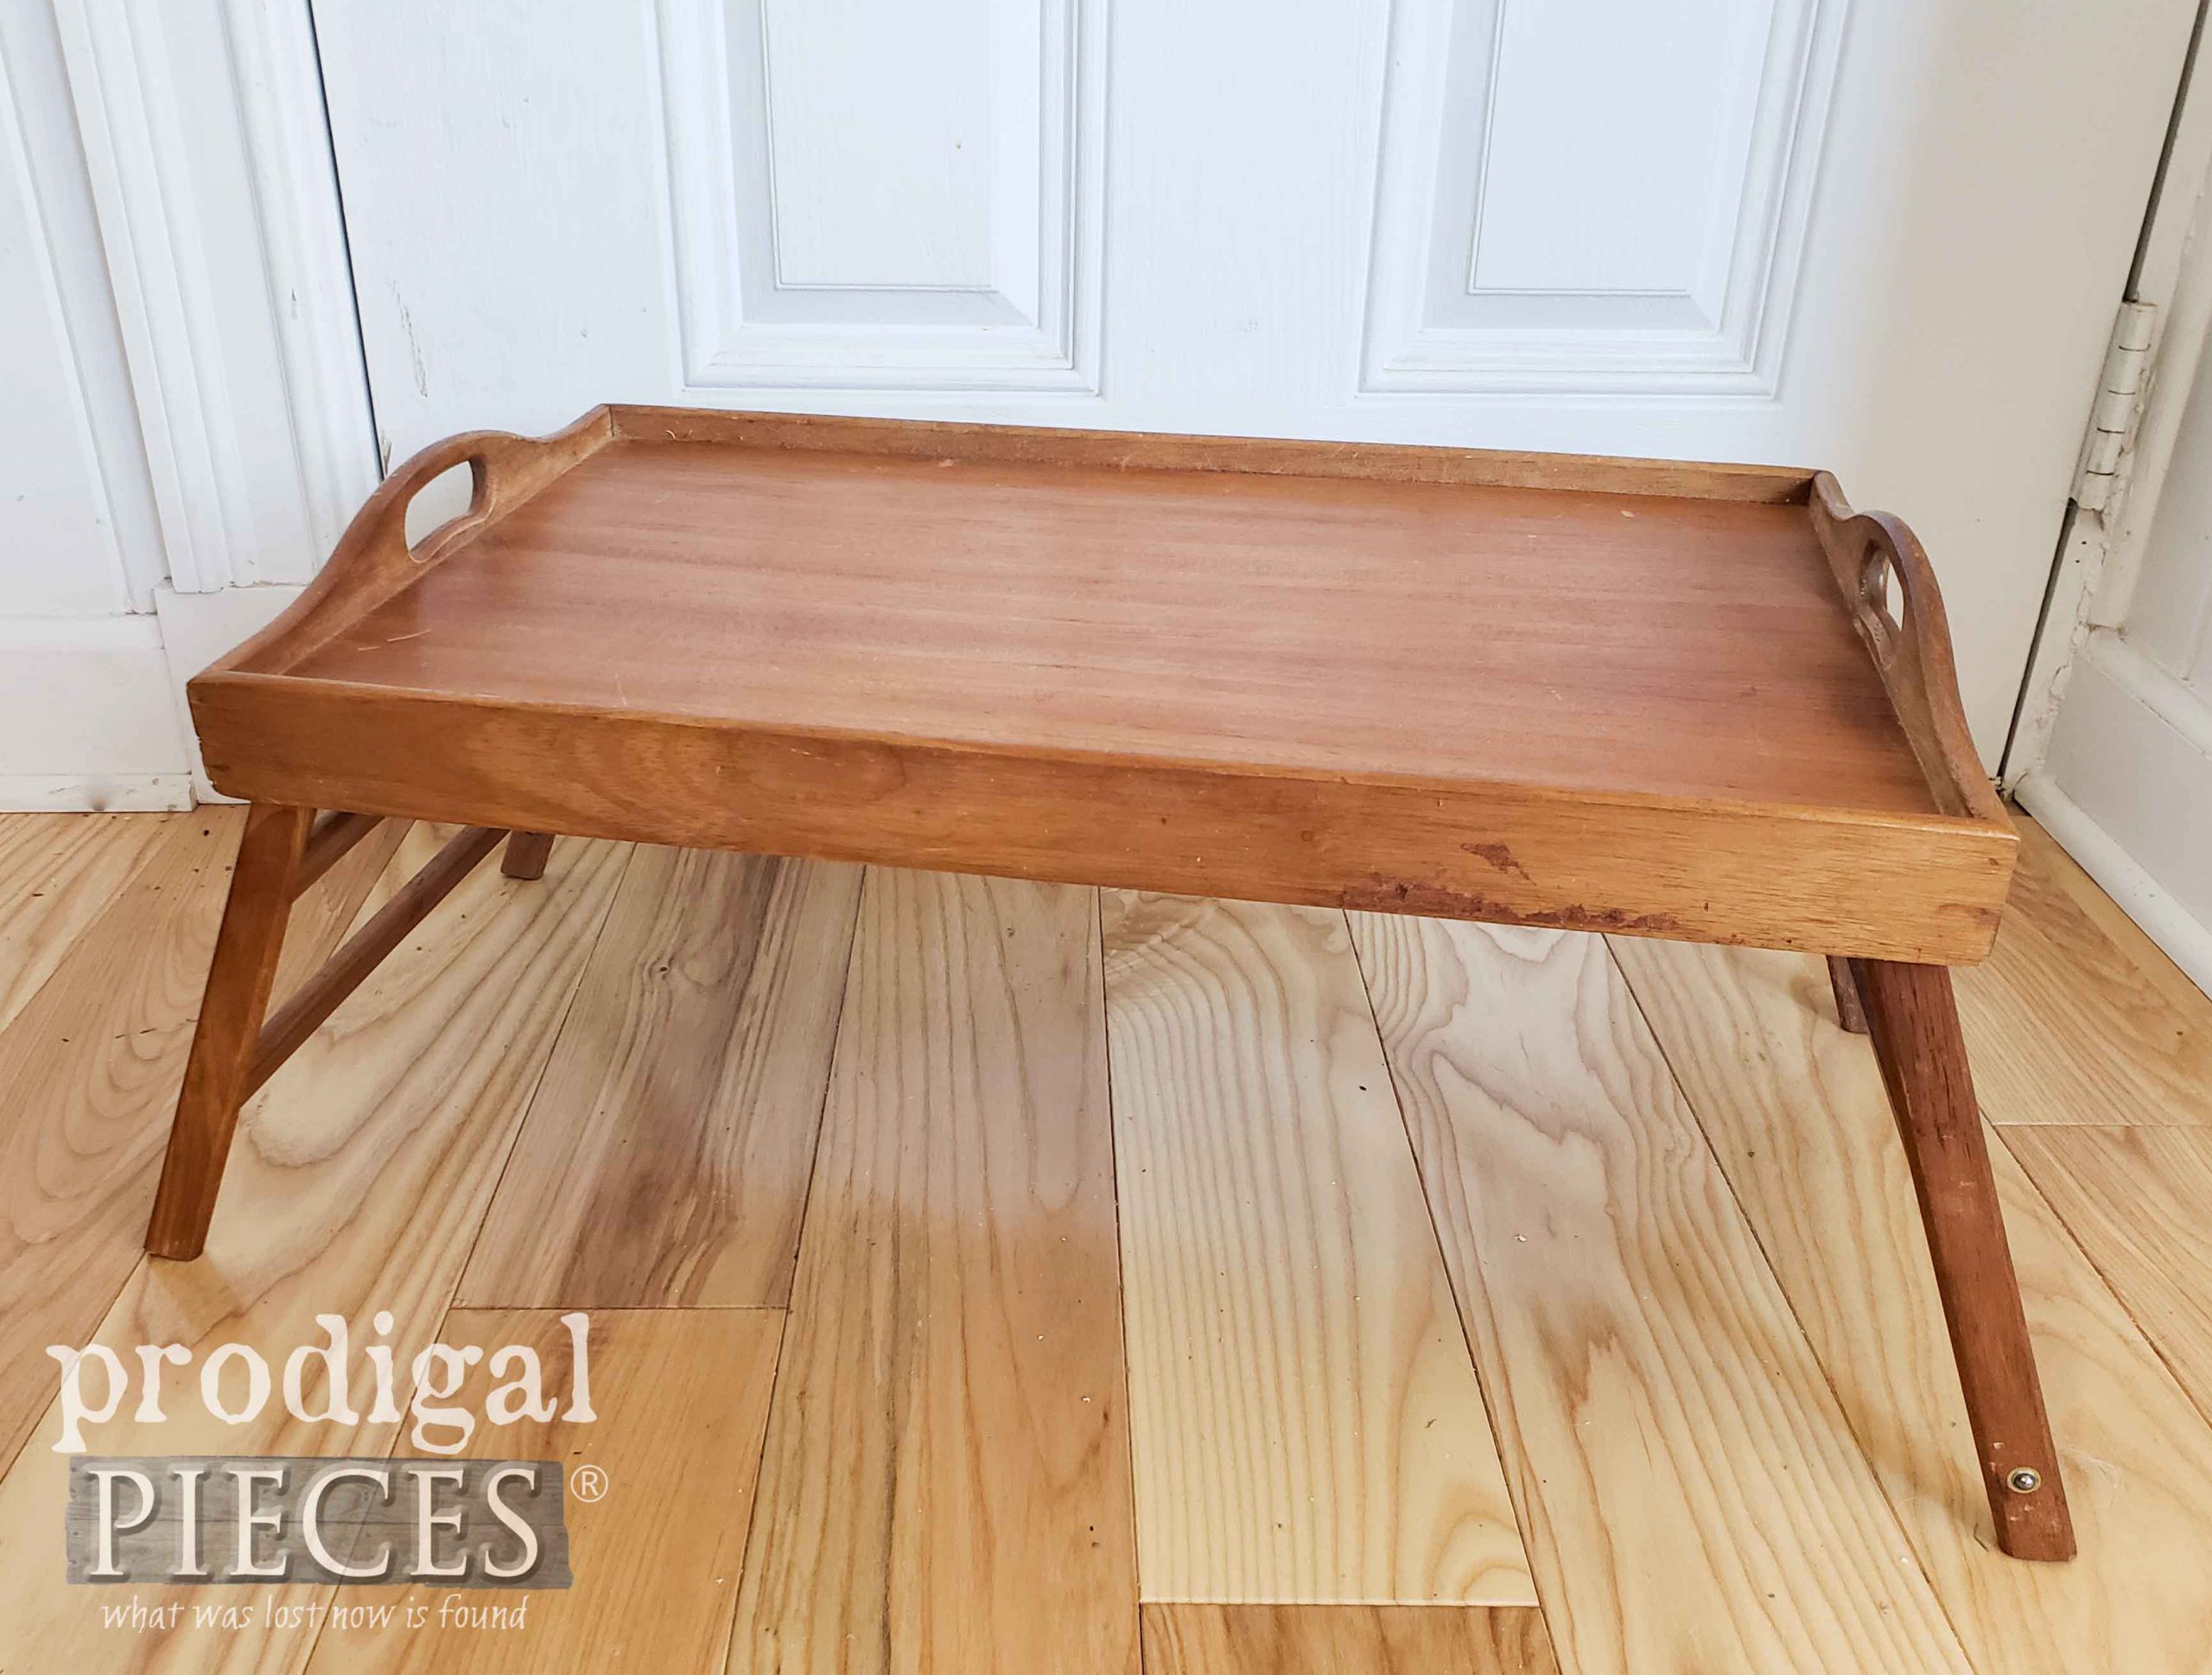
Up next, it’s Trash to Treasure Tuesday! I’ll be giving this thrifted tray a brand new look. See the video tutorial HERE.
To get these DIY tips & tricks in your inbox, be sure to sign up for my newsletter. PLUS, you will get your FREE Furniture Buying Checklist and special discount to my shop. Until next time!




Larissa, you have the most creative mind that I have seen. I wish I did. What an awesome makeover.
Cheryl, you sure know how to make a gal smile. 😀 Thank you for that!
These sconces are so romantic! They are “improved vintage” because they look like they could have come from long ago, but they are better. Thanks for sharing!
Sweet! That sounds like the perfect description, Paula.
Very nice! And I love the metal at the base of the candle, it adds that perfect romantic touch!
Thanks! I felt like it needed a little something to add oomph. 😉
Well done and very very attractive.
I’m delighted to hear you think so, Mary. These were fun!
Those are beautiful! It’s funny, I currently have a candle thing… a sconce? I’m not sure. It has 2 candle holding spots coming out of one single thing that hangs on a wall. I’m not really up on the titles of these things, haha! I thought it was pretty but dated, and I am planning to paint it and put solar lights on it where the candles were and hang it in my garden!
That is a perfect idea, Abby. Have fun!