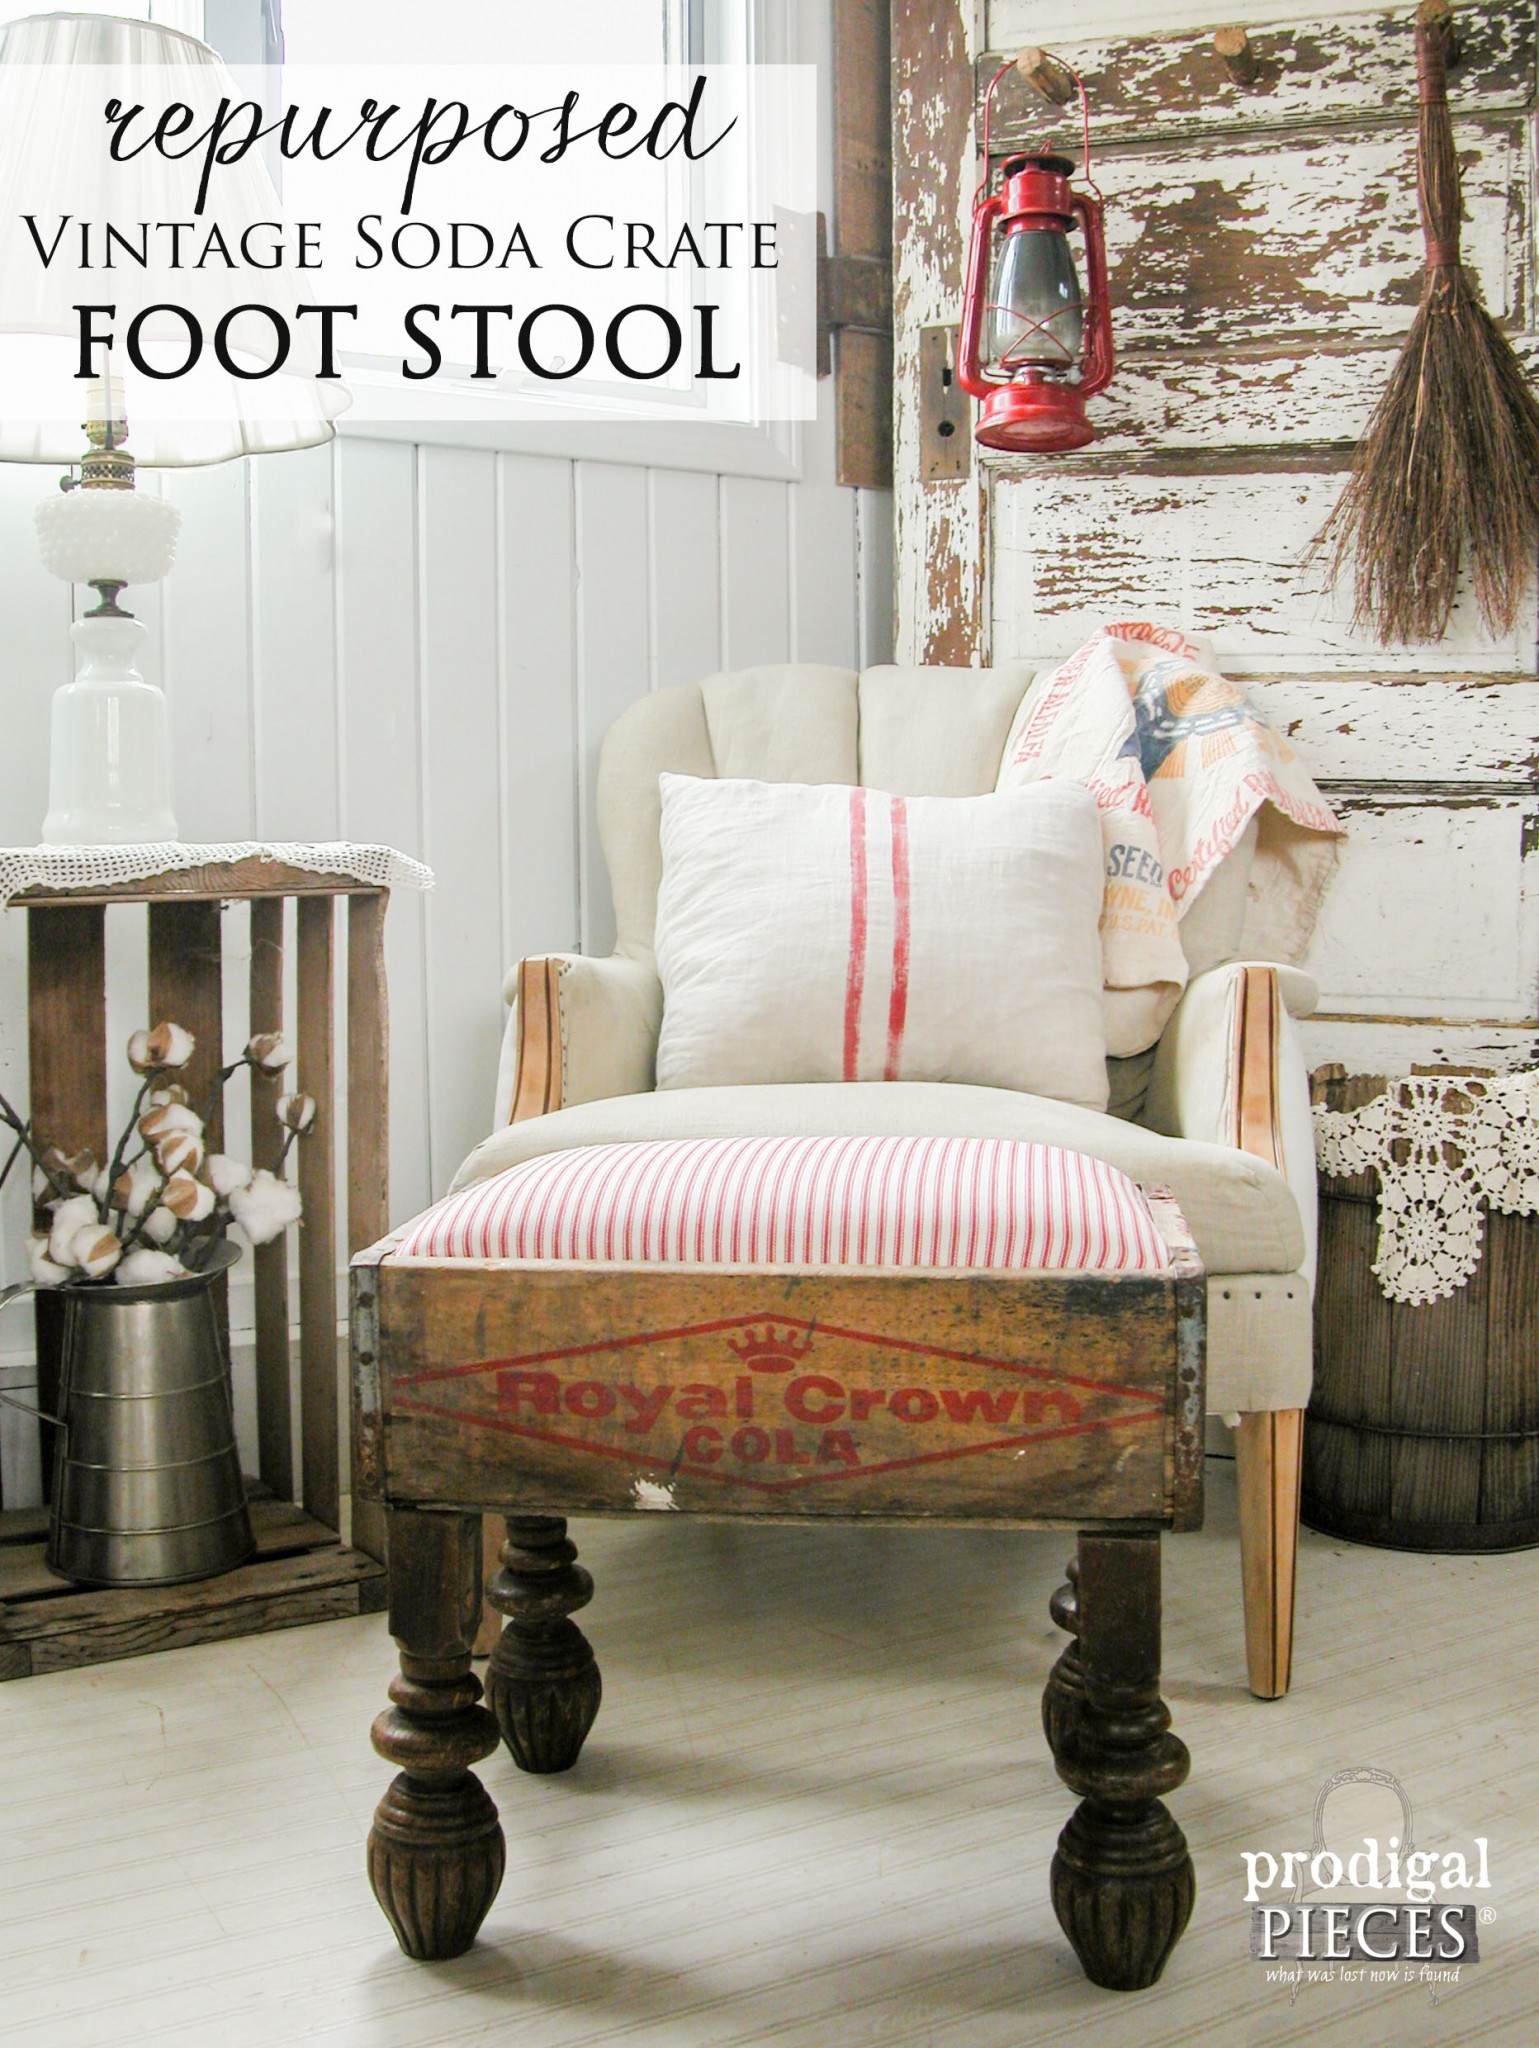
Are you form-over-function or function-over-form? I am the latter for sure, which is why I have fun creating my functional pieces from repurposed finds. Earlier this week, I showed you how I took several flea market finds and created farmhouse decor, but I also promised to show you what I would do with that vintage soda crate in those finds. Check it out…
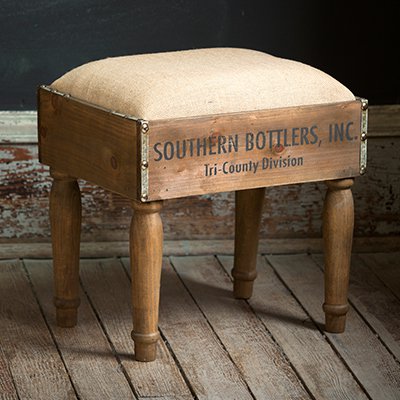
Certainly, that vintage soda crate has potential just as-is. You could use it mounted to the wall as a rustic shelf, you could fill it with your collections on a tabletop for a vintage display, or even as a planter. But, when over the last few months, I was inspired by a replica of a vintage soda crate foot stool by Decor Steals.
I thought to myself, “Certainly, I could make that”. tsk.
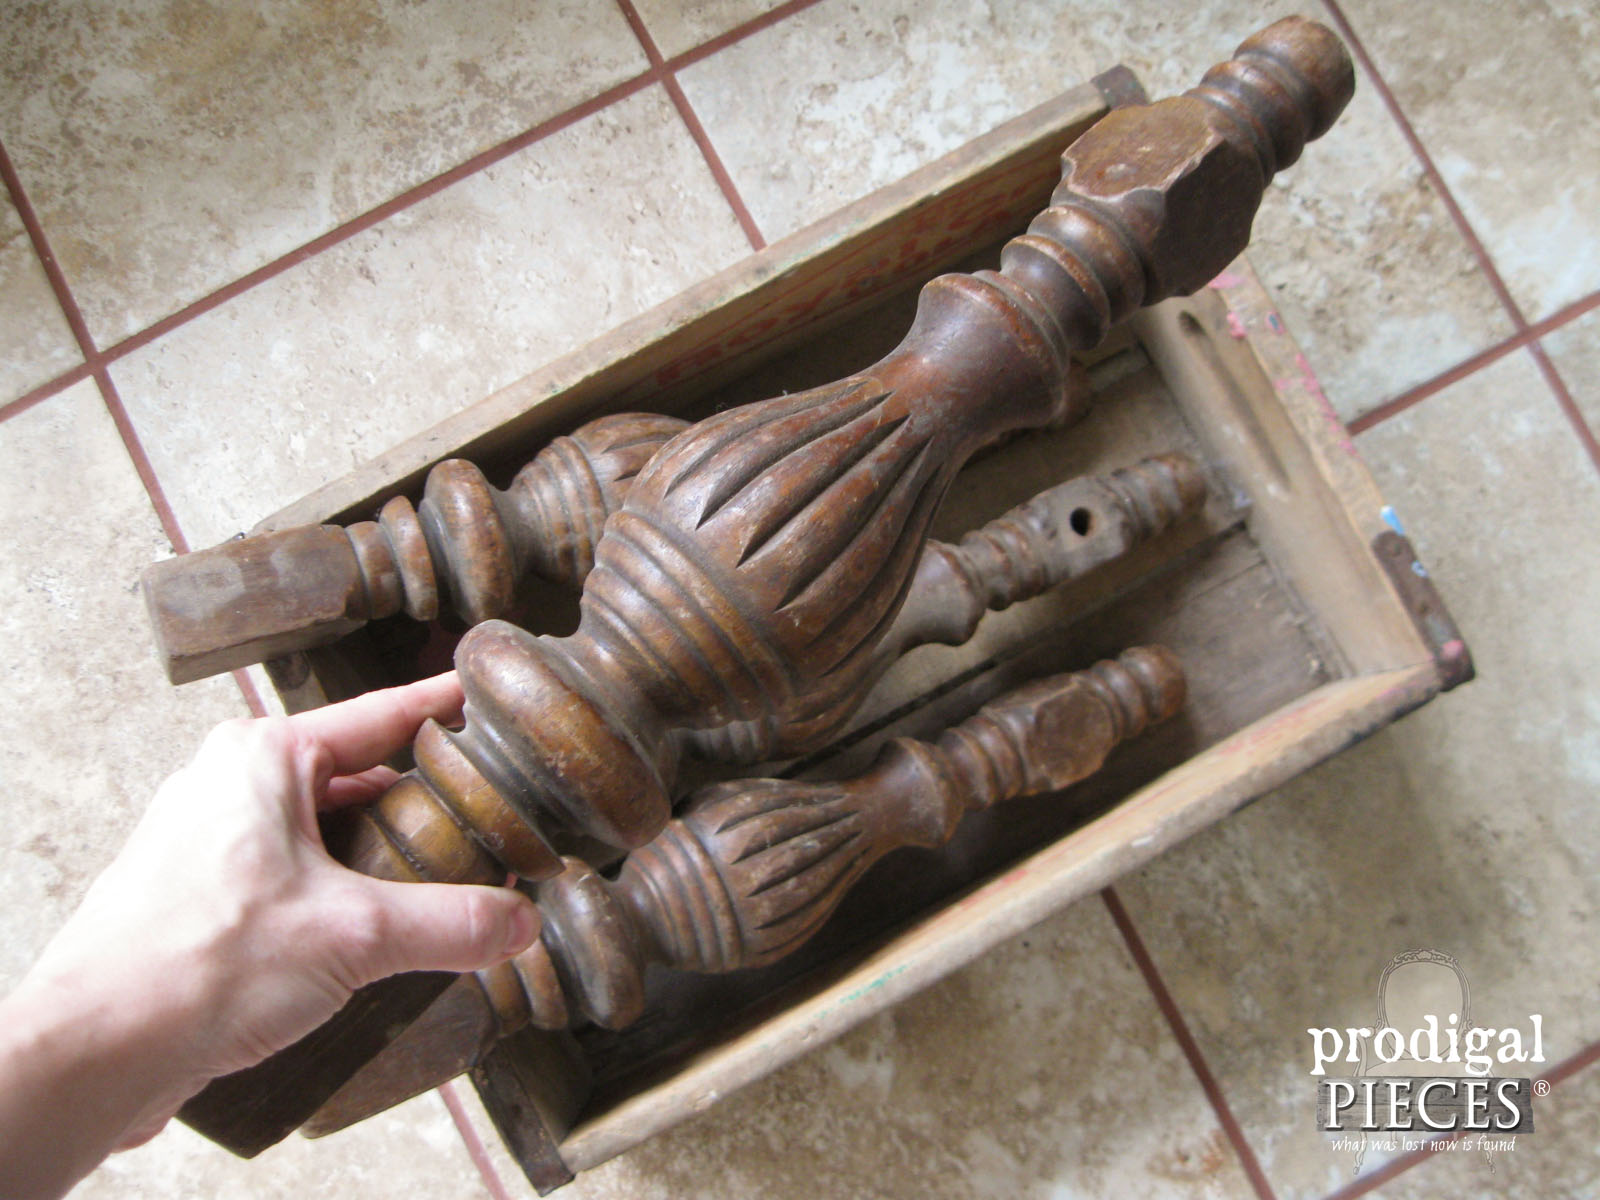
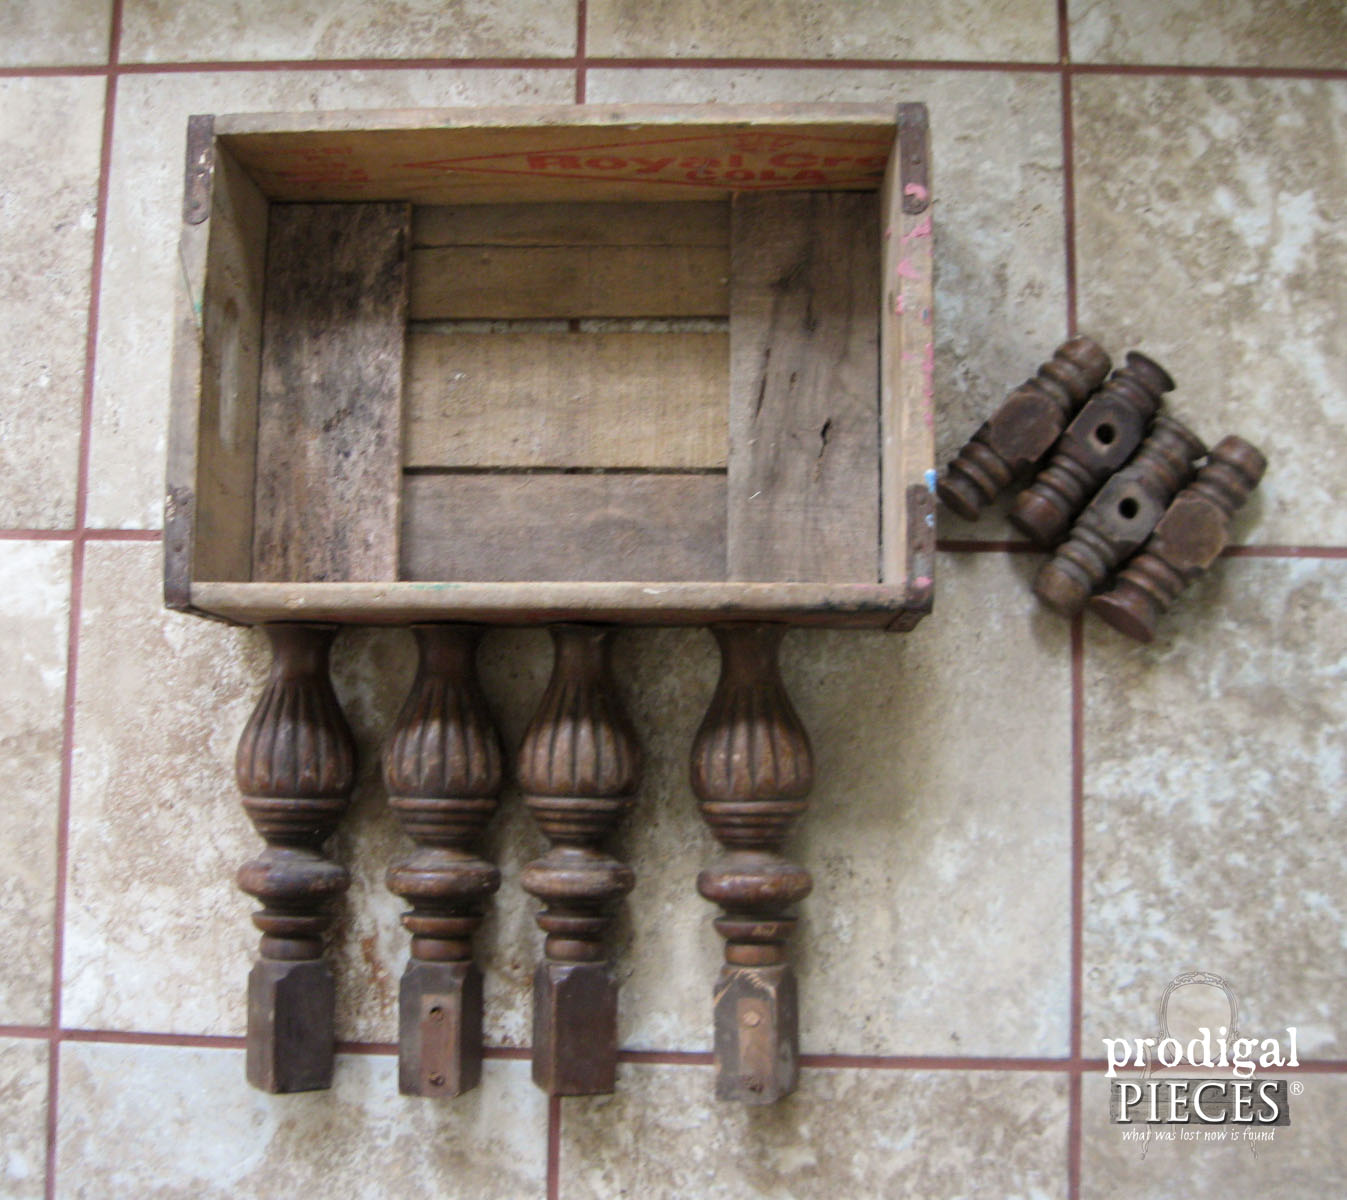
So, off to my stash of gorgeous legs I went to find me a set, (no made in China stuff here!) and here is what I pulled out.
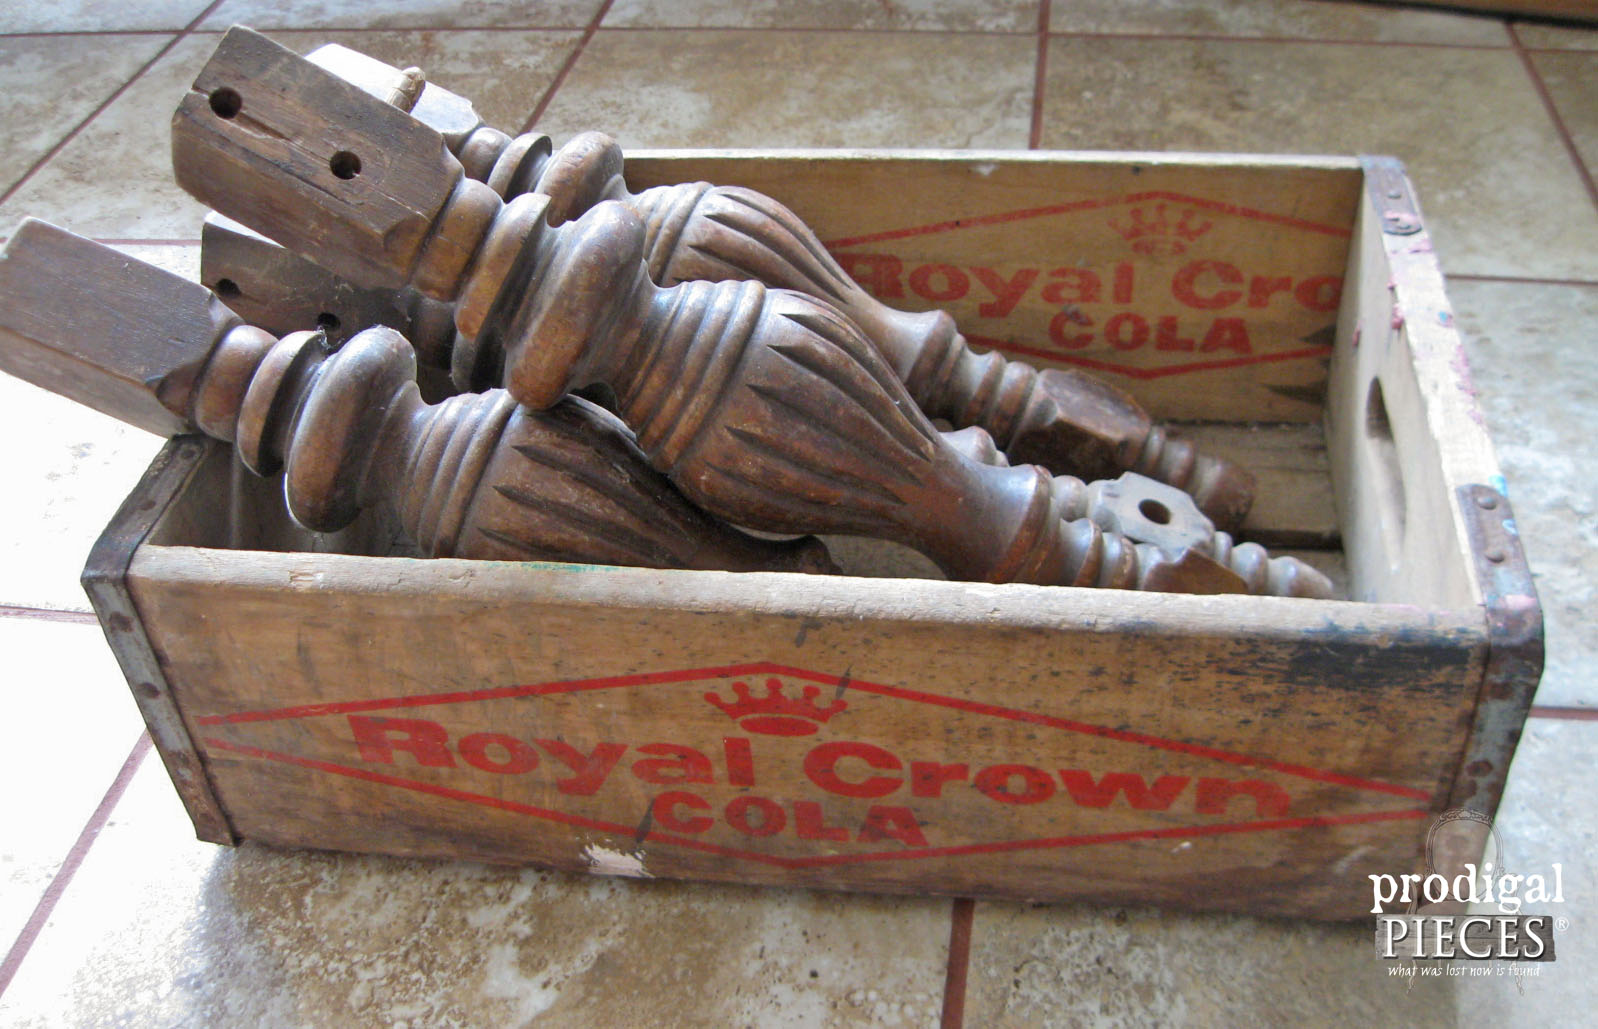
Aren’t those hand-carved details gorgeous? Those antique chair legs will make a great addition to my vintage soda crate turned foot stool…eep!
DIY TIME
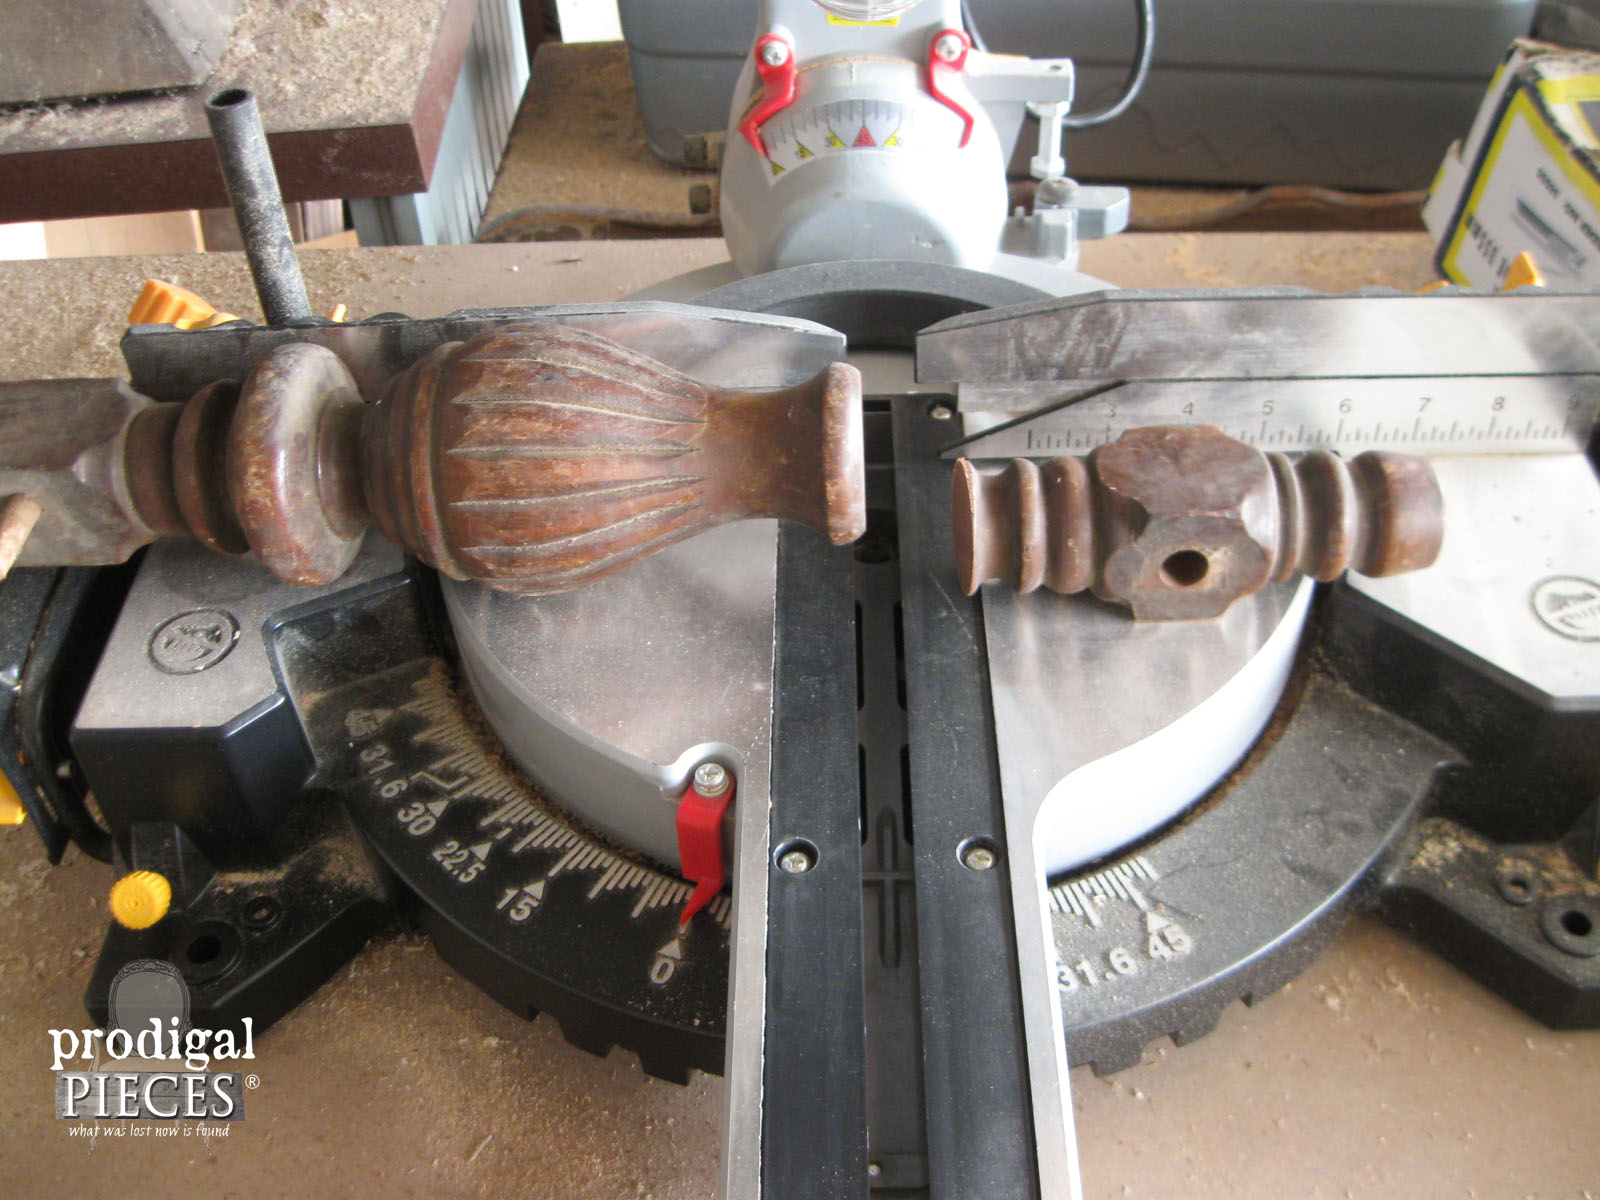
The legs were a bit too long for what I needed, so I headed out to miter saw and shortened them up. Can I just say that I love my new saw! Wow was I missing out for YEARS. It has made my life so much easier.
Here is what I ended up with after I also used my saw to cut some pallet wood to reinforce the interior of the crate. Don’t worry, I’ll make use of those leftover leg pieces. Waste not, want not, right?
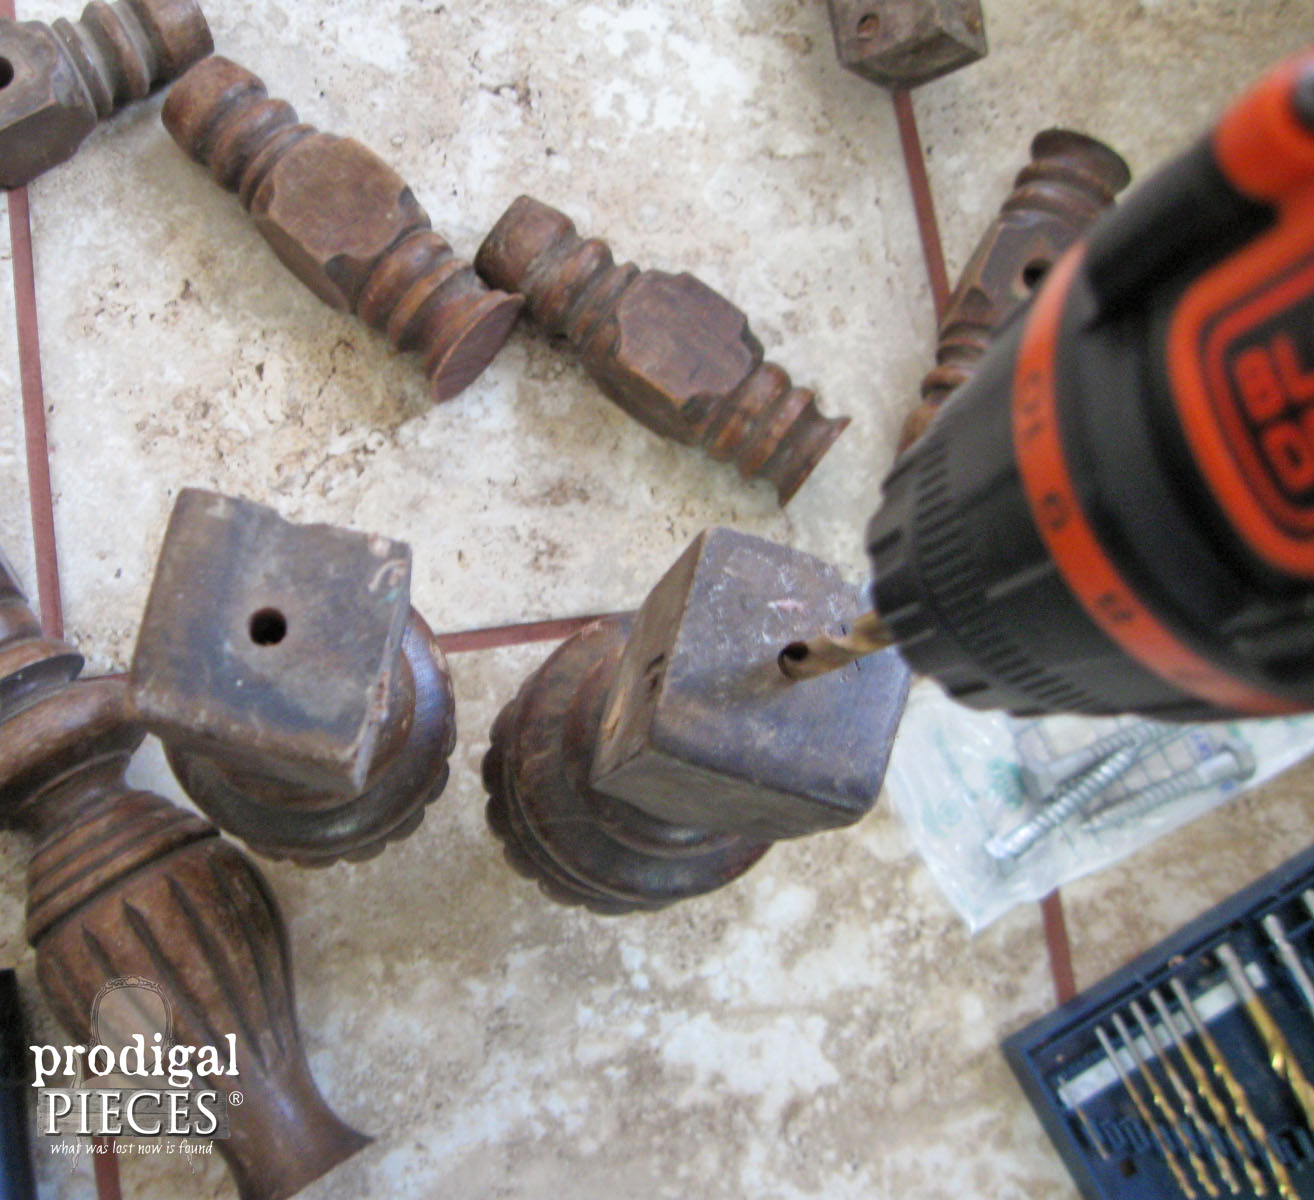
I did end up shortening the legs a bit more to make it suitable for foot height, but you get the idea. Now to add them to the vintage soda crate, I pre-drilled holes using my cordless drill, and then attached.
It wasn’t easy getting those legs on, but now this baby is sturdy and ready for a new home. Yup, it’s now available in my shop.
THE REVEAL
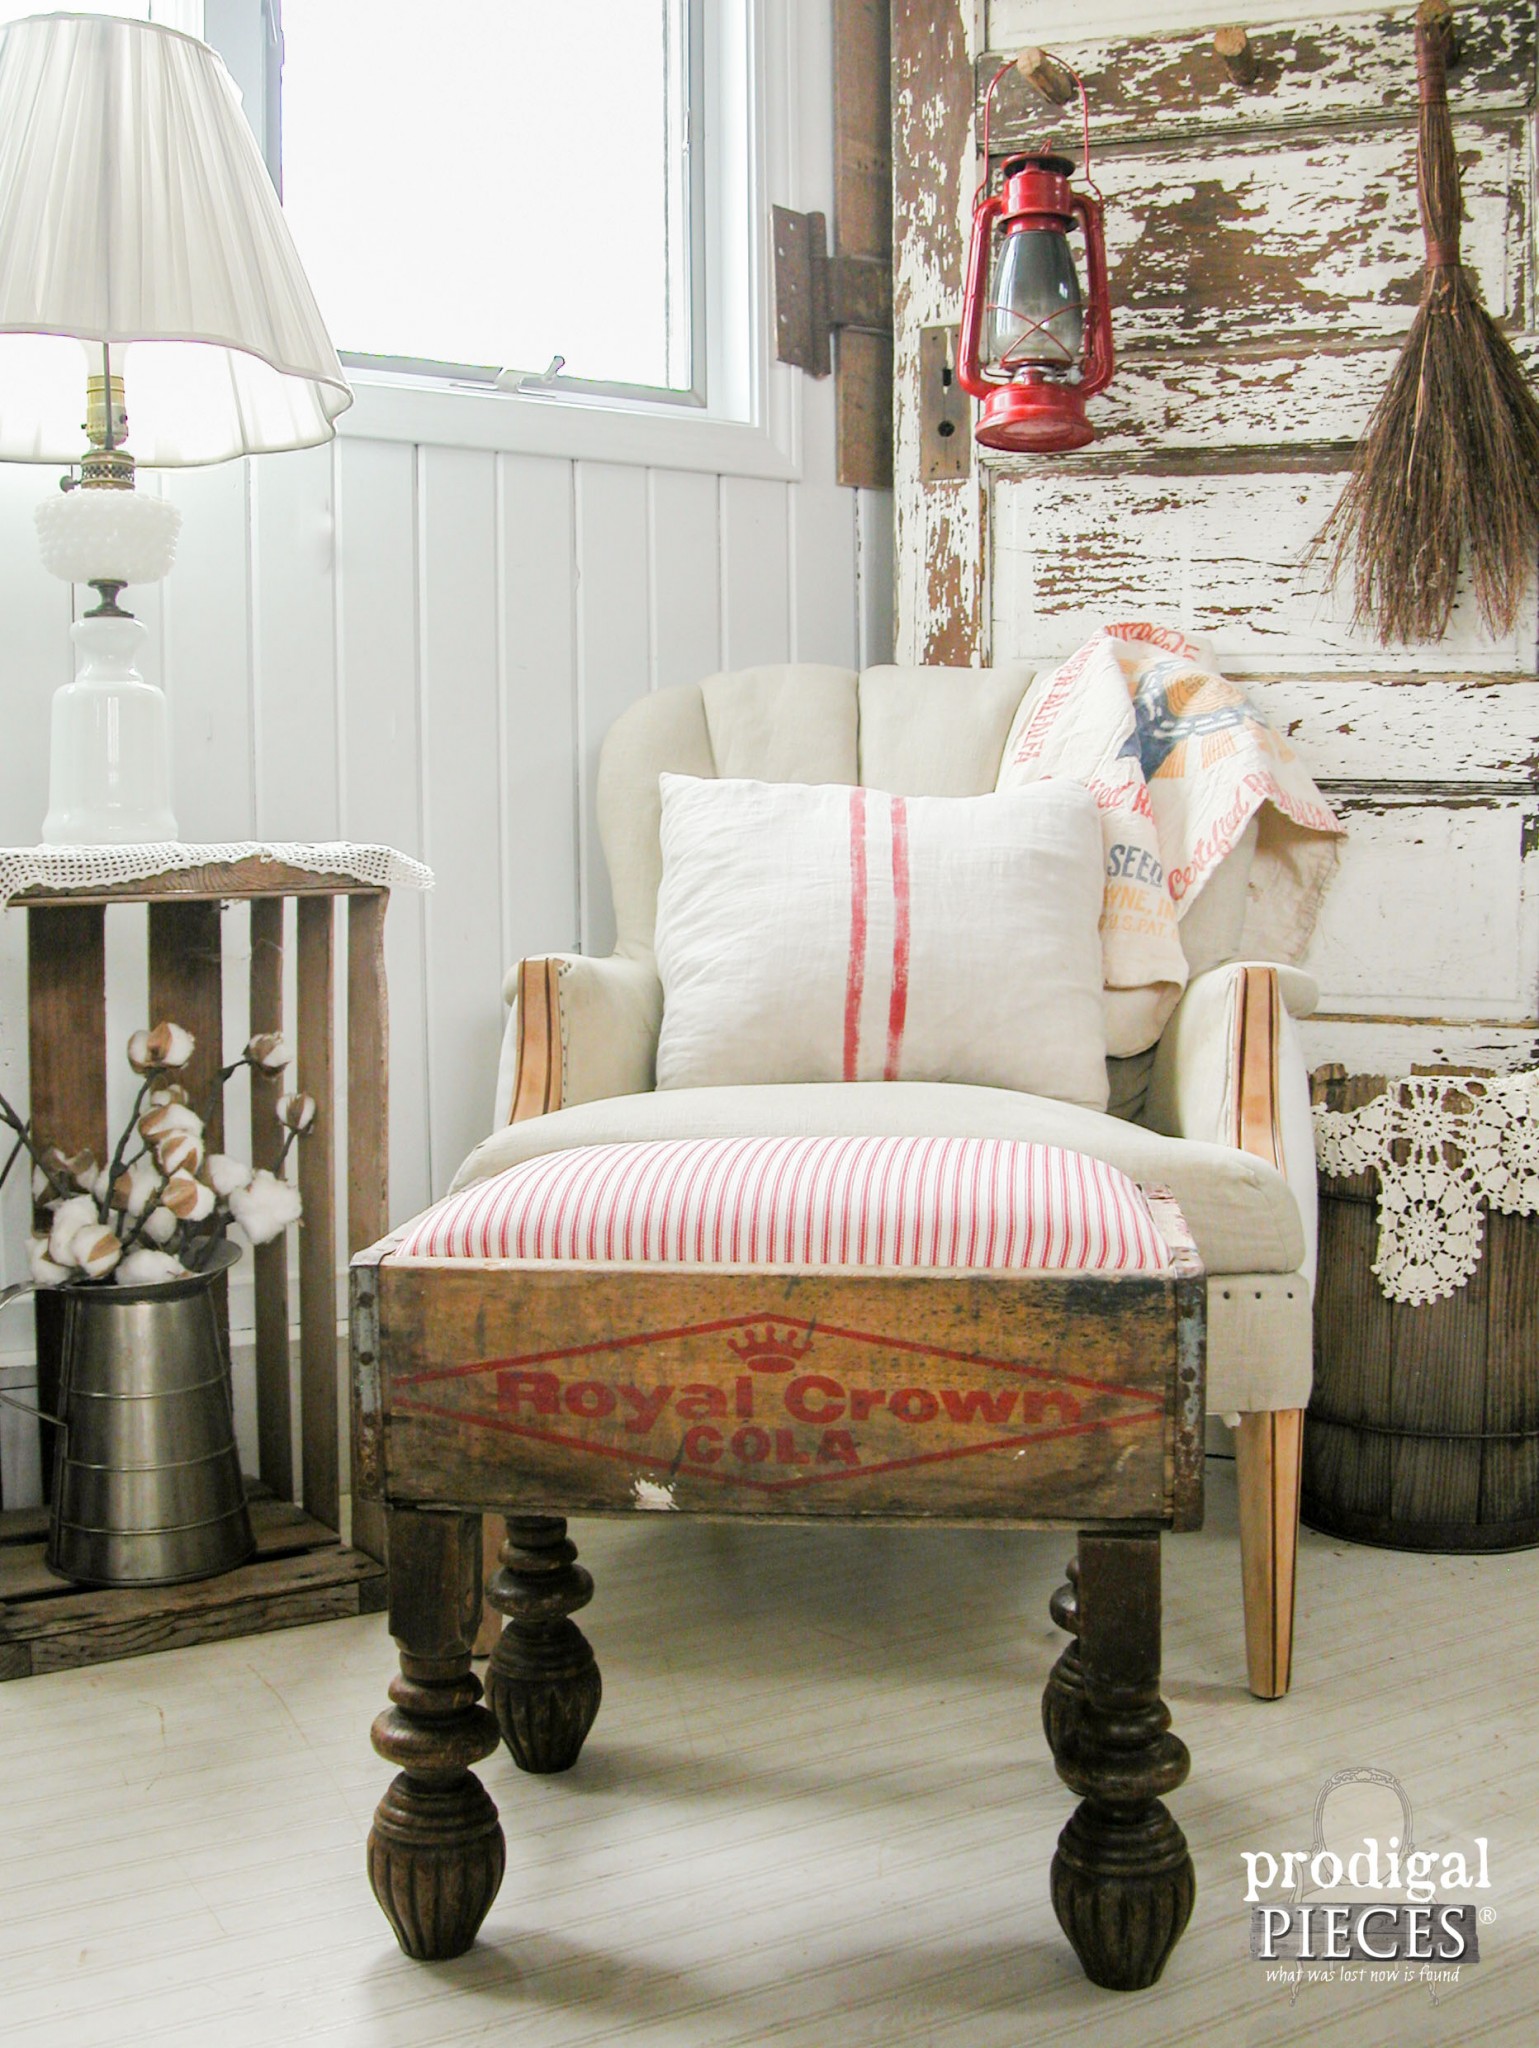
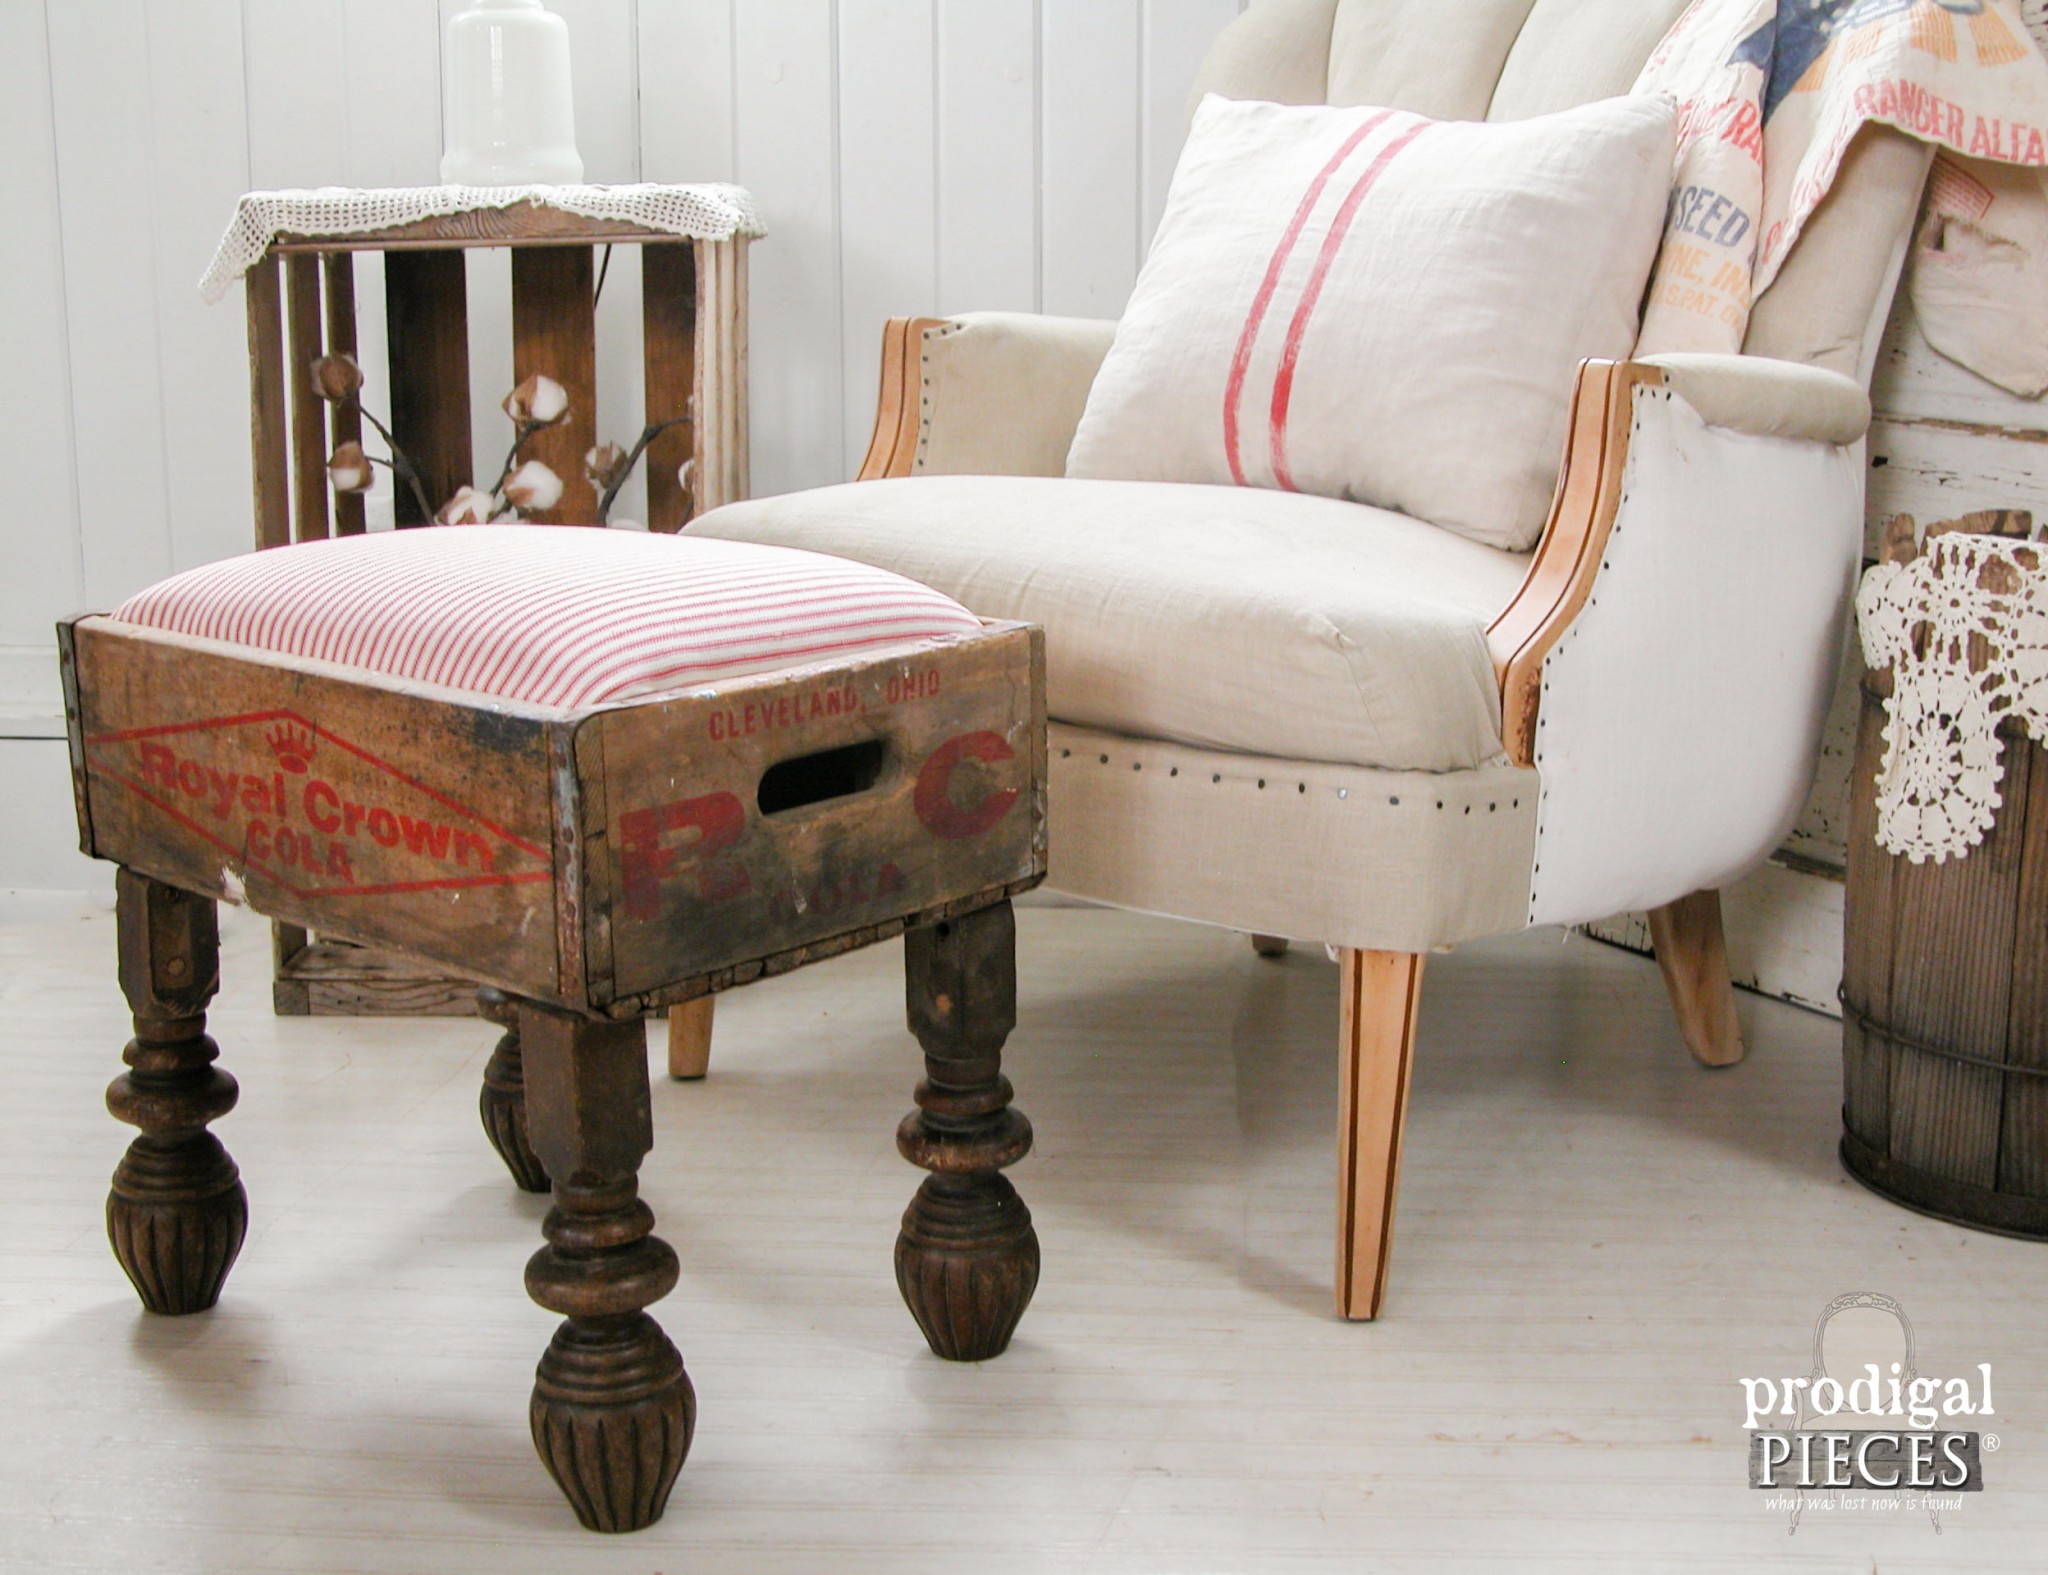
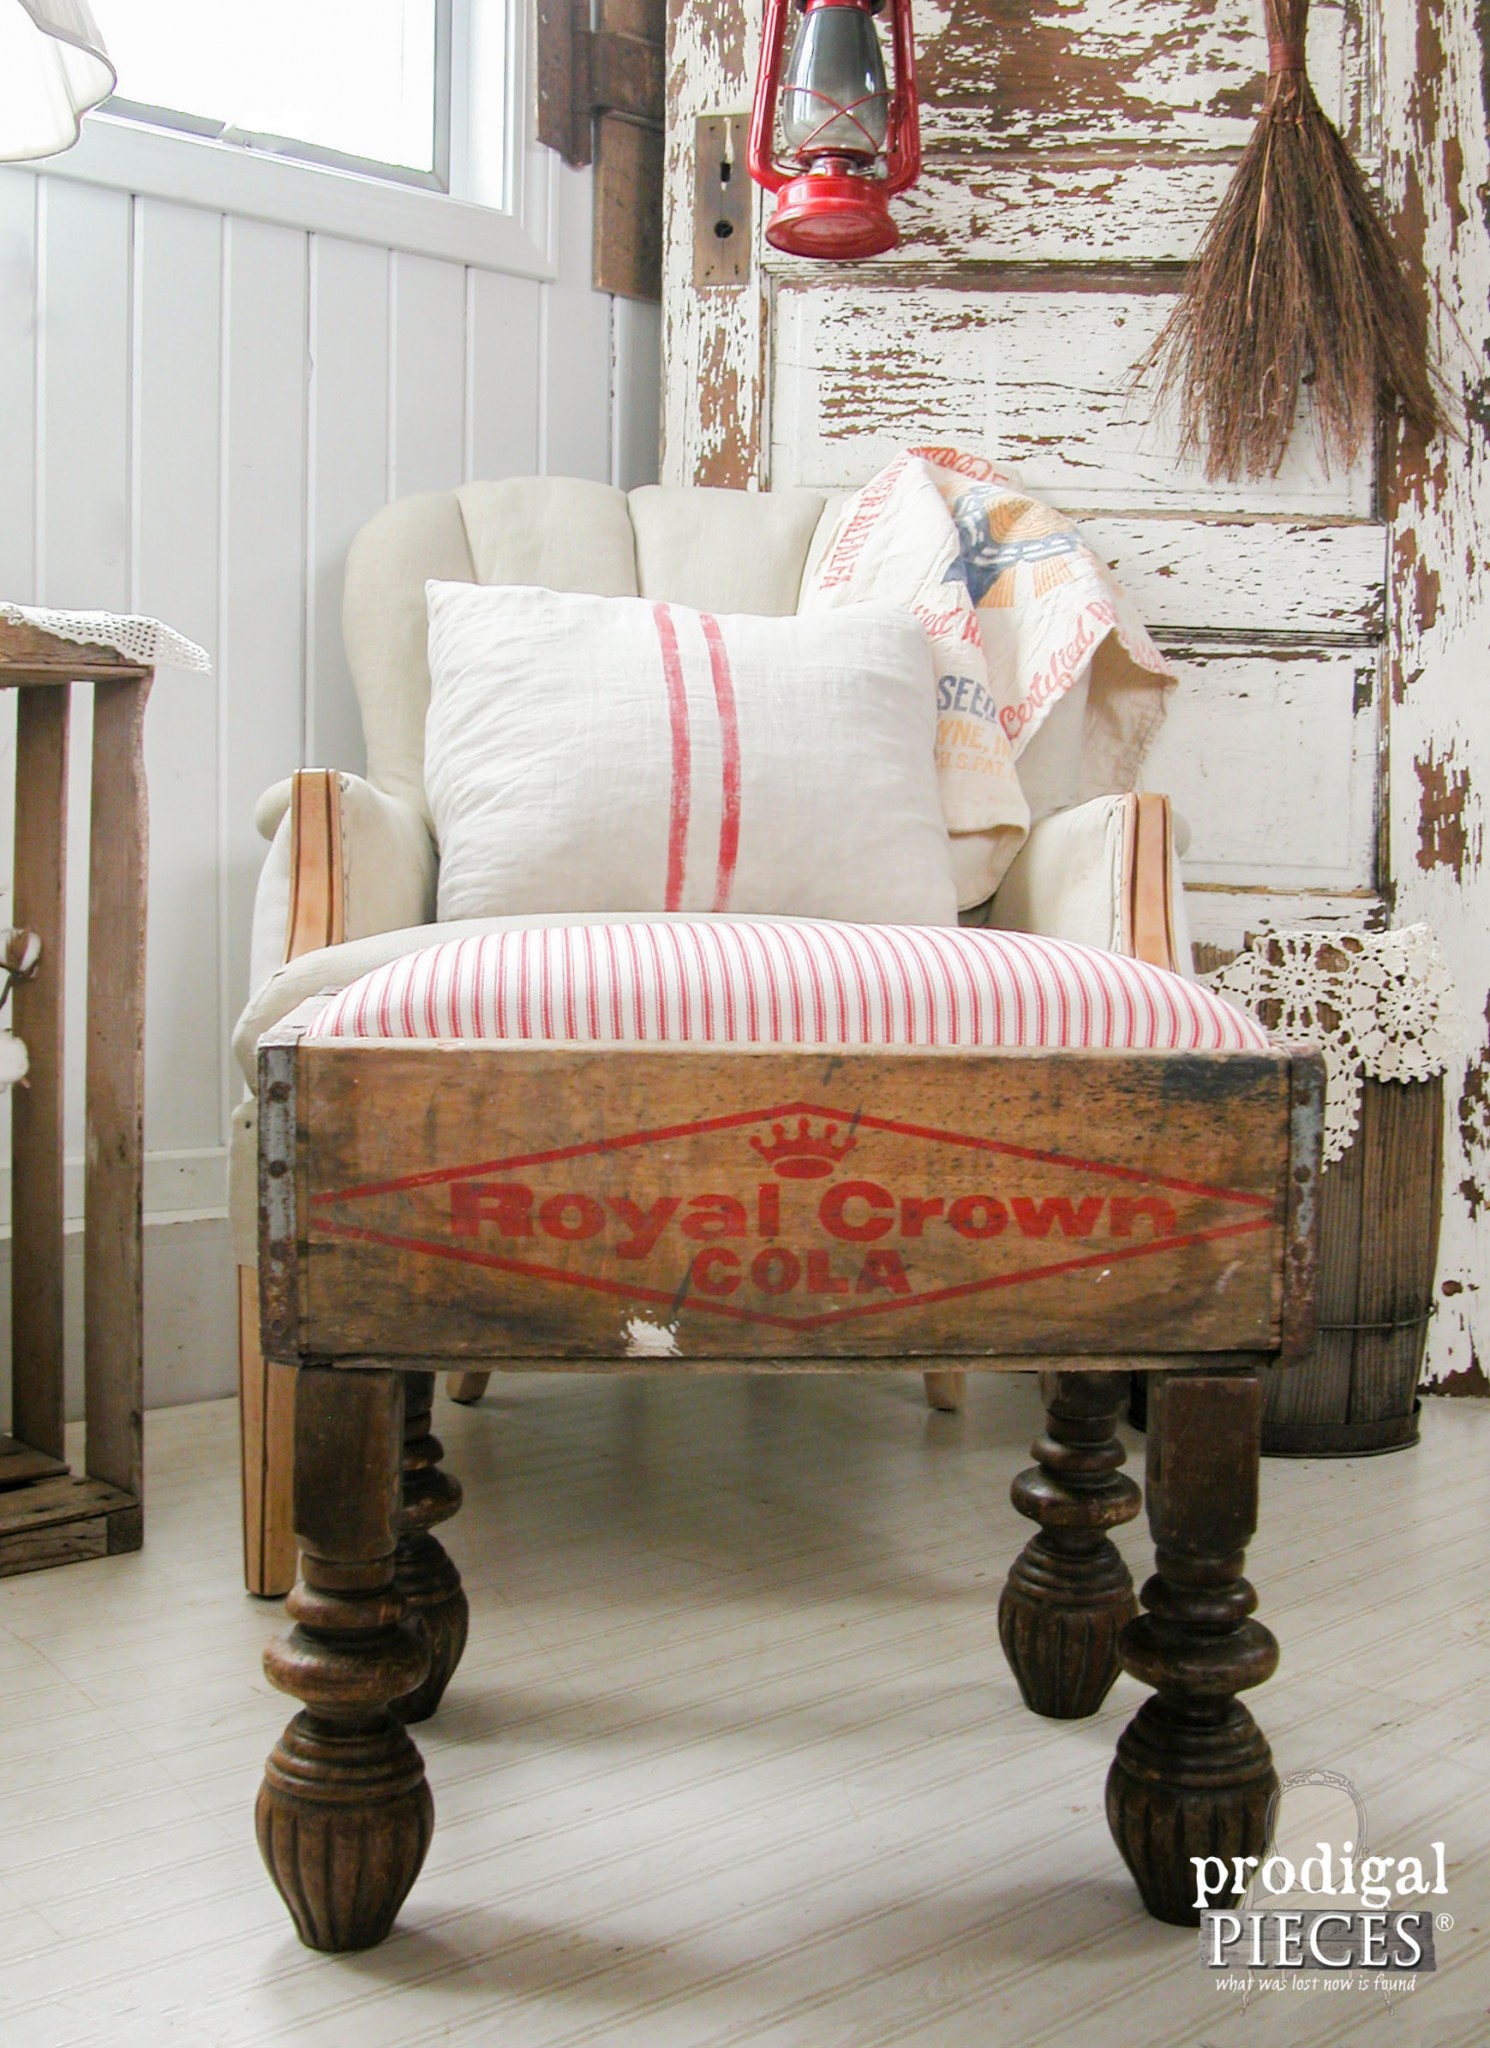
Get a load of those legs…and that patina! sigh…
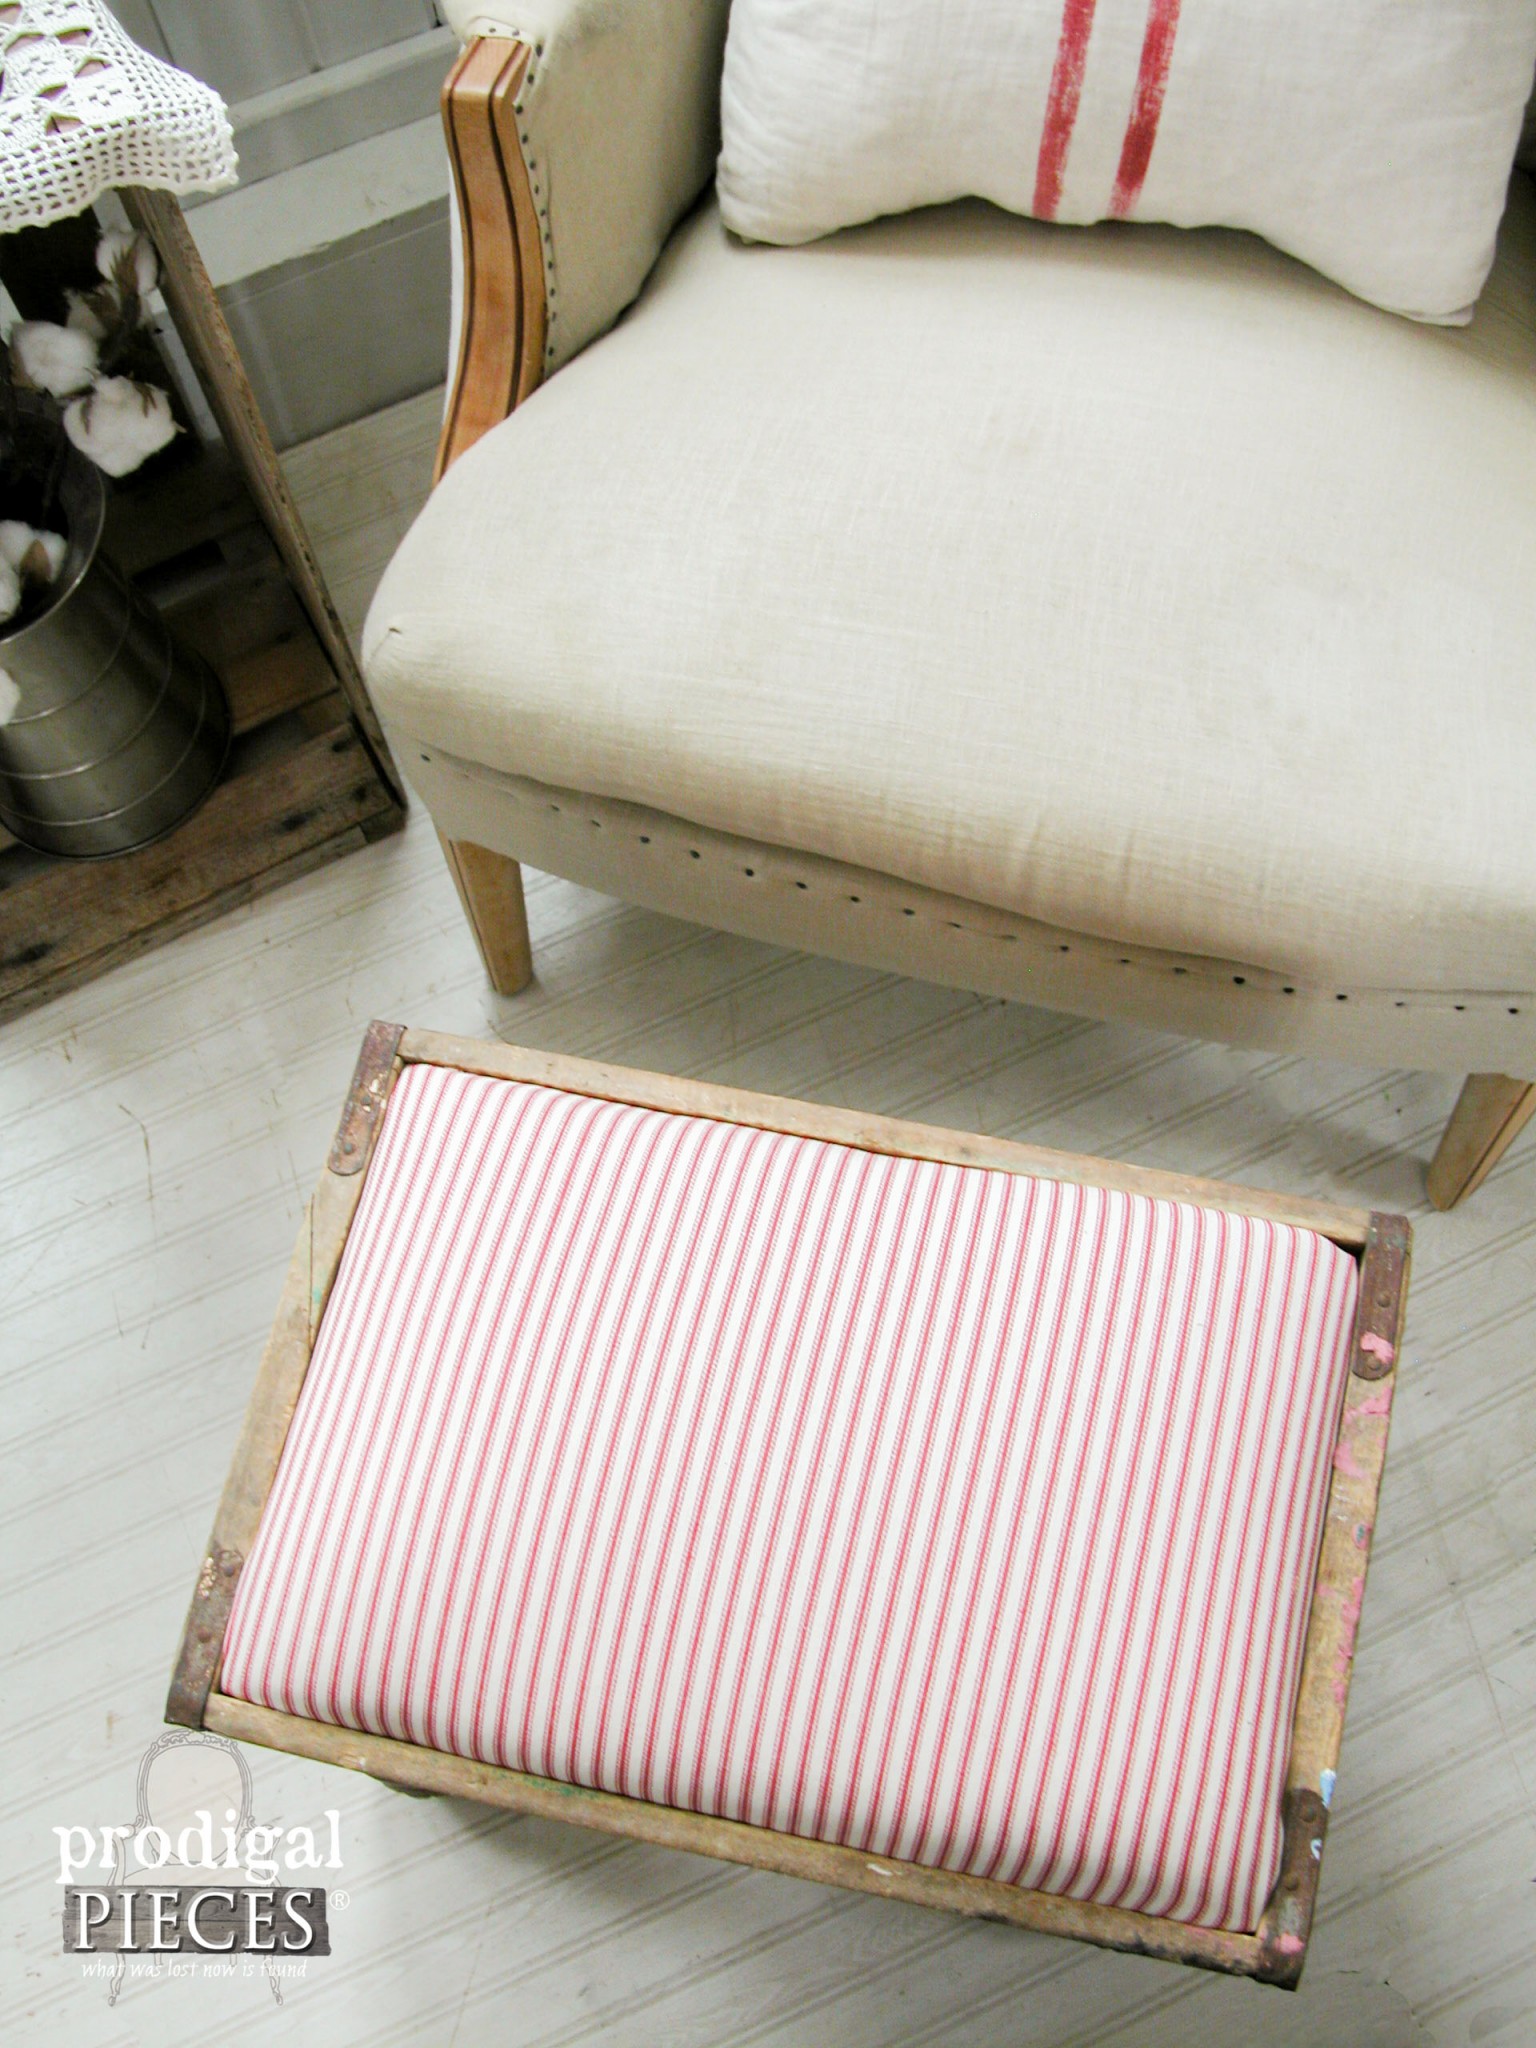
You know I had to go with a classic red ticking for the upholstery. It brings that vintage soda crate label right out. Gotta love the RC Royal Crown Cola!
My favorite part is that you can pick this up and move it wherever you want with those cut-out handles. So fun!
Likewise, I hope you’ve enjoyed this funky makeover and like to see what it’s like to be inside my brain. (pretty scary, huh?) I truly hope to inspire you to think outside the soda crate and get your DIY on.
Additionally, pin and share to inspire others too! ♥
Before you go, be sure to sign up for my newsletter. Until next time!



The stool turned out so cute. I don’t know how you can part with the things you create, they all look so good.
Just imagine your home filled with all I create and then you’ll know why…hahahaha…not enough room! 😀 I have to pick and choose wisely for sure. Thank you for the love, Debra!
Love the foot stool Larissa… I have one question. How do you cut the round legs with the miter saw? I tried a few times and it throws the leg across the room! So scary!
Hahaha…well, I use the built-in clamp to hold the one end, and wedge a piece under the outside end to keep it level. Good firm grip works well too, and make sure your blade is sharp. Be careful! 😀
Hi Larissa,
I was getting ready to mention how I wish I knew how to use power tools and the info you just included is so, so useful. Women WANT to know how to do these things and when you add this info, you provide not only additonal information, but you remind us that these projects DO require skills and knowledge (that can, of course, be learned), BUT it is so helpful to know that everyones’ first attempts will not be an easy, piece of cake.
The times have changed and we can learn anything we choose. I should sign up for a class somewhere because I love old things and finding a new use for them.
That is wonderful to hear that you not only feel encouraged to try new things, but that you know that sometimes it takes the try, try again, attitude. Thanks for sending the love! 🙂
So cute AND functional! Do you think it would work to use a pillow? That way, you could swap out the pillow case as the seasons change and to clean it. This just may be my first attempt at making a piece of furniture. Thx for the inspiration!
Thanks, Kathy! Actually, my surface is removable and you can easily swap out the fabric. I think you need the built-in platform and plywood for durability and stability.
If you use a plywood base and apply the padding and a plain fabric to it,then you can just thumbtack the decorative material to it .That way you can easily remove it to wash or change it for the seasons/decor.
Love this idea – I know what one of my 2016 projects will be!!!! Thanks for the inspiration!
That’s awesome! Thank you, Anne. 🙂
Excellent soda crate repurpose idea Larissa! Pinning to share
Thank for all the love, Marie!
I love it!! What did you use to create the cushion? Thanks!
Thanks! I created a built-in platform, then added a plywood surface and upholstered.
How did you attach the legs? Did you use a dowel screw? I love the way your mind works!
Normally, I would have cut into the bottom of the crate and used the corners to attach the legs and reinforce, but this time I added pallet wood to the bottom to add strength and bolted through. Thanks!
What did you use as fill for the foot stool. I know a pillow wouldn’t be sturdy enuff?
I created a built-in platform and added a plywood top and covered it in padding and batting.
thanx so much I have 3 of these what awesome prezzies for me to give family– thanx again
That will be sweet!
Thats sooooo cooooool. I love reading about your diy projects. Keep up the good work. Thanks for the inspiration Larissa!
That’s so awesome to hear, Jay! Thank you and love that you’re inspired. 🙂
it’s adorable and has great legs! peace to you!
Thanks so much, Michele! Yes, those legs are crazy cool and I have oh, so many left in my stash. My brain is a wheelin’. 😀
Oh, I just love how this stool turned out! I would die to have those legs!! I have had an old, old wooden beer crate with the side handles for a few years and keep wondering what to do with it. Now I know — make a stool. Just have to find some really great looking legs. Wish me luck!
Thanks so much for sharing.
Thanks for the compliments…oh…you mean the stool. ahem. 😉 I’m happy to hear you are inspired and hope you score some awesome legs!
I love your sweet little stool! Pinned it.
Thank you so much, Virginia!
What a fabulous use of an old crate! I LOVE the legs you created – it’s vintage perfection!
Thank you, Jenny!
Fantastic use for your crate, I wonder how it might have gone with a hinged lid as a coffee table or a piano stool with the inside for storage. Do you always imagine your finished project when you find your treasures or do you wait for inspiration?? I love reading your blogs and the imaginative repurposing for all your projects. Thanks for the inspiration Larissa!
It has endless possibilities, Annette. 🙂 I typically purchase with intent in mind, sometimes though I like something but it take awhile to speak to me. Thank you for the love!
Stunning! What was the finished cut height of the legs?
Thanks! The stool reached the height of 18″.
Gorgeous! Did you consider routing out 1/4 or 1/2 (lengthwise in a 90°) into the top part of the legs (the part you cut off) so they would fit against the corner of the crate, like a piece of trim? The rest of the leg piece would’ve sat partly under the corner? I think that little piece of trim would’ve looked awesome in the corners.
Because of the stability of the crate, I couldn’t take it apart any more than I did. I sketched out many ideas and had to go with the one that kept it safe to use.