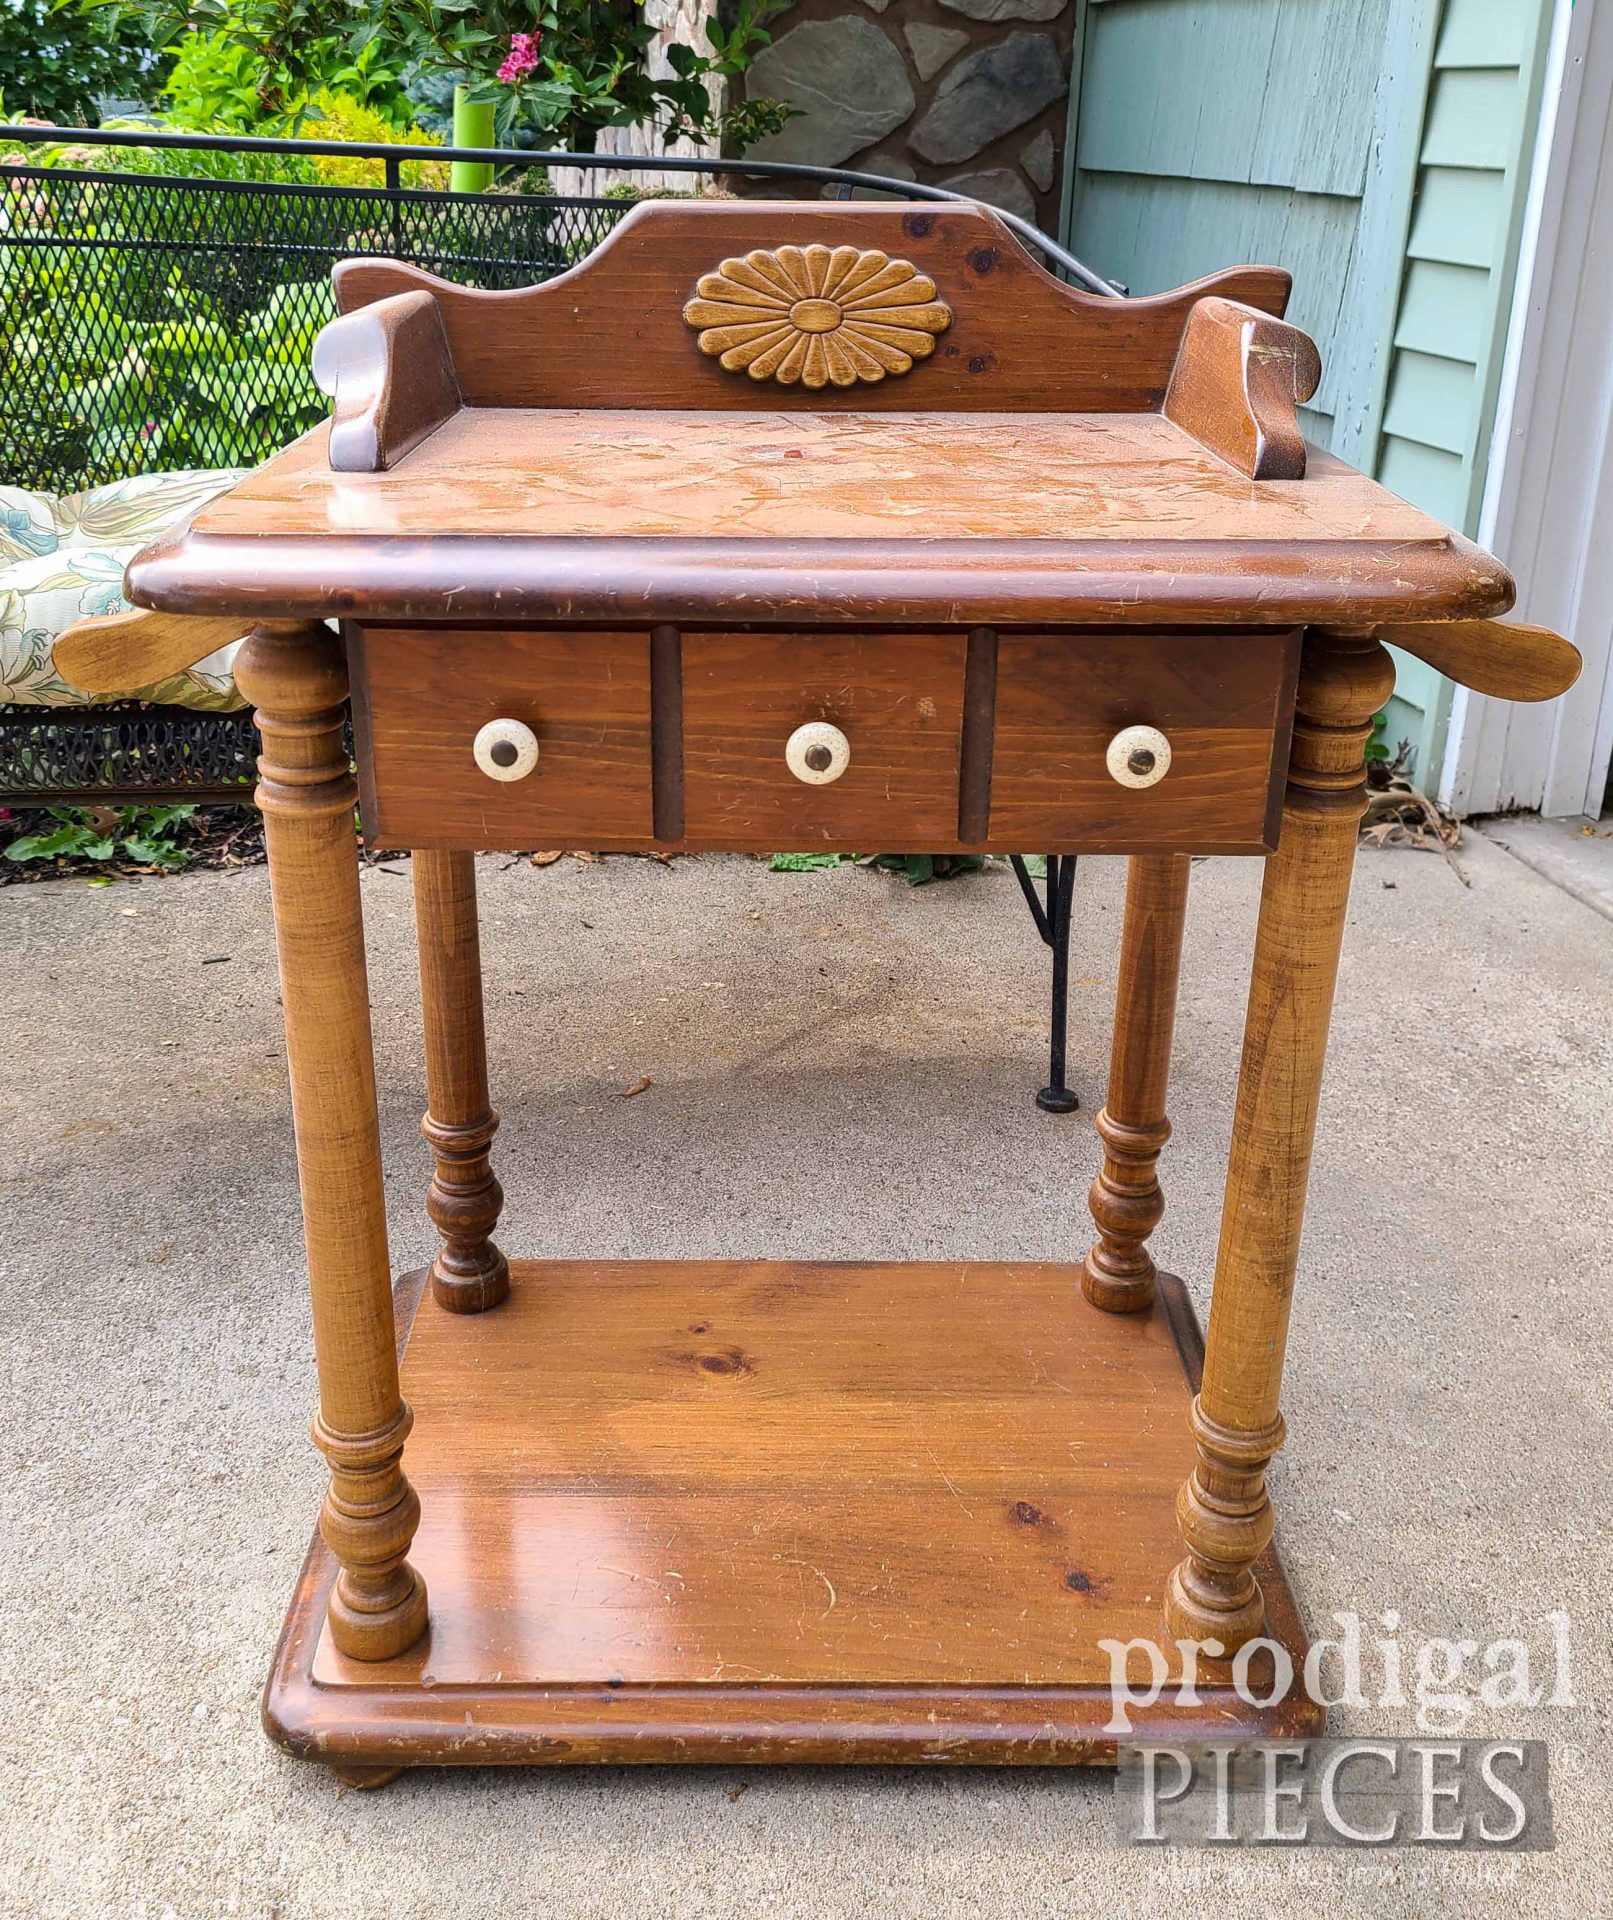
Okay, so I’m a sucker for the smalls. The projects that finish relatively quickly, but they make great impact when they have a makeover. Take for instance this vintage wash stand. It definitely has that 80’s vibe going on and is in need of a bit of tweaking, don’t you think? Let’s have a mini makeover session! {{fist pump}}
The stand is pine and is definitely not that old, as in, not old enough to have use as a literal wash stand with basin and pitcher. However, it’s meant to be more of a decorative accent. So, with that I’m going to give a new “old” look to make it look the part. You can see another actual antique wash stand I refinished in this past post.
DIY TIME
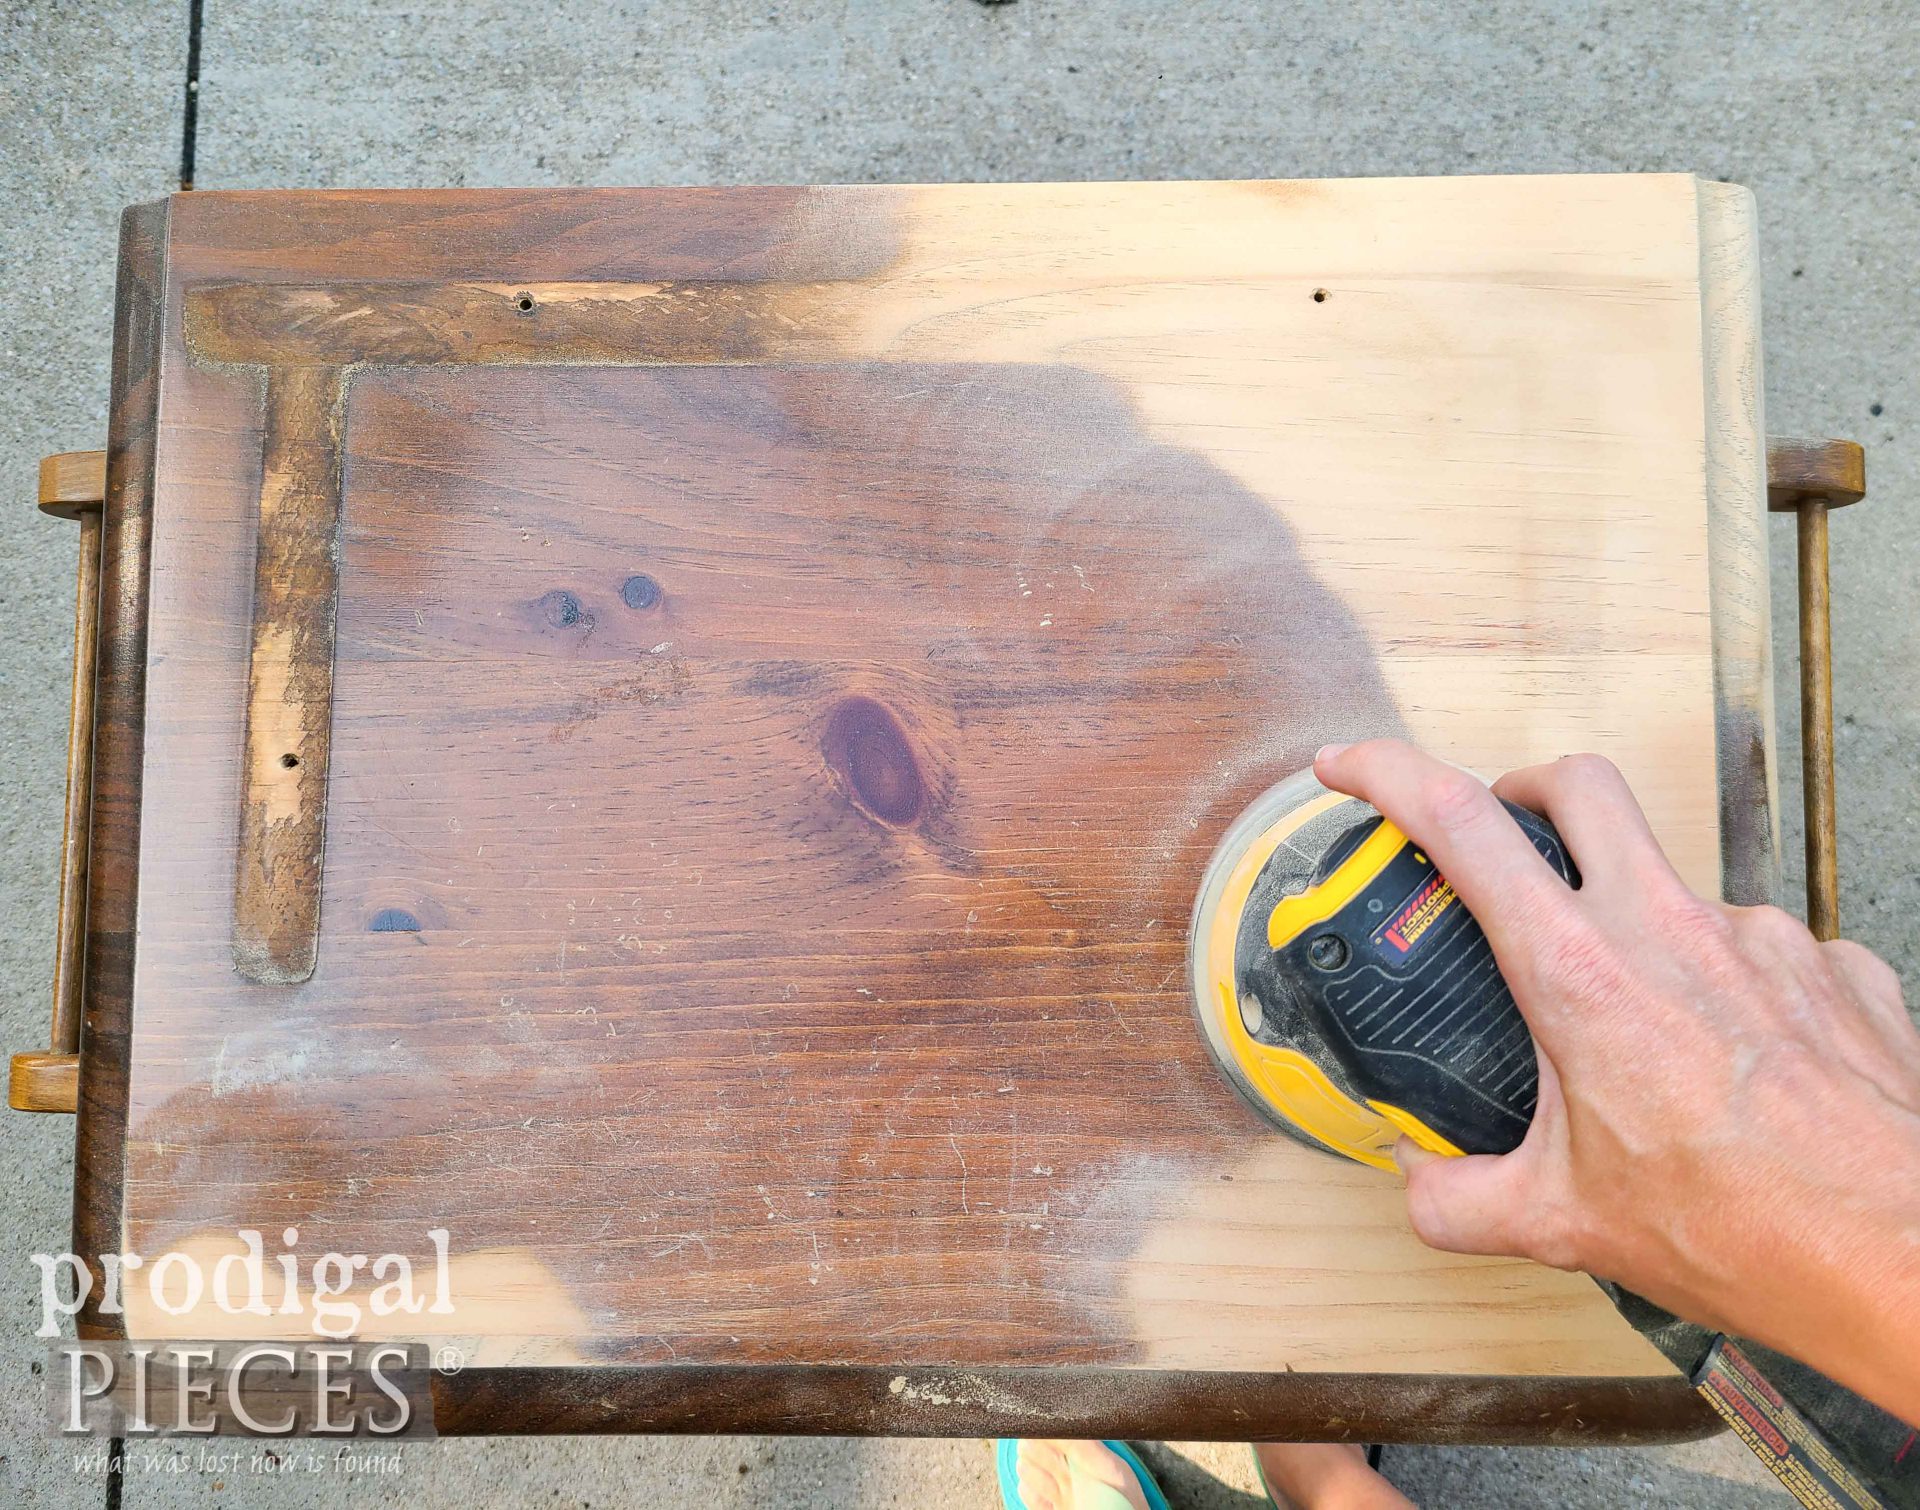
First, I start by removing the top skirt, the hardware, and pull out the drawer. My goal is to dress up the top with my sander doing the handiwork. Here’s the before look at the top.
It’s just basic pine, nothing fancy, but it’s at least solid wood. No MDF here! {{happy dance}} I seriously can’t stand manufactured wood…it’s not wood. ahem. Once sanding is done, I have a blank slate to work with.
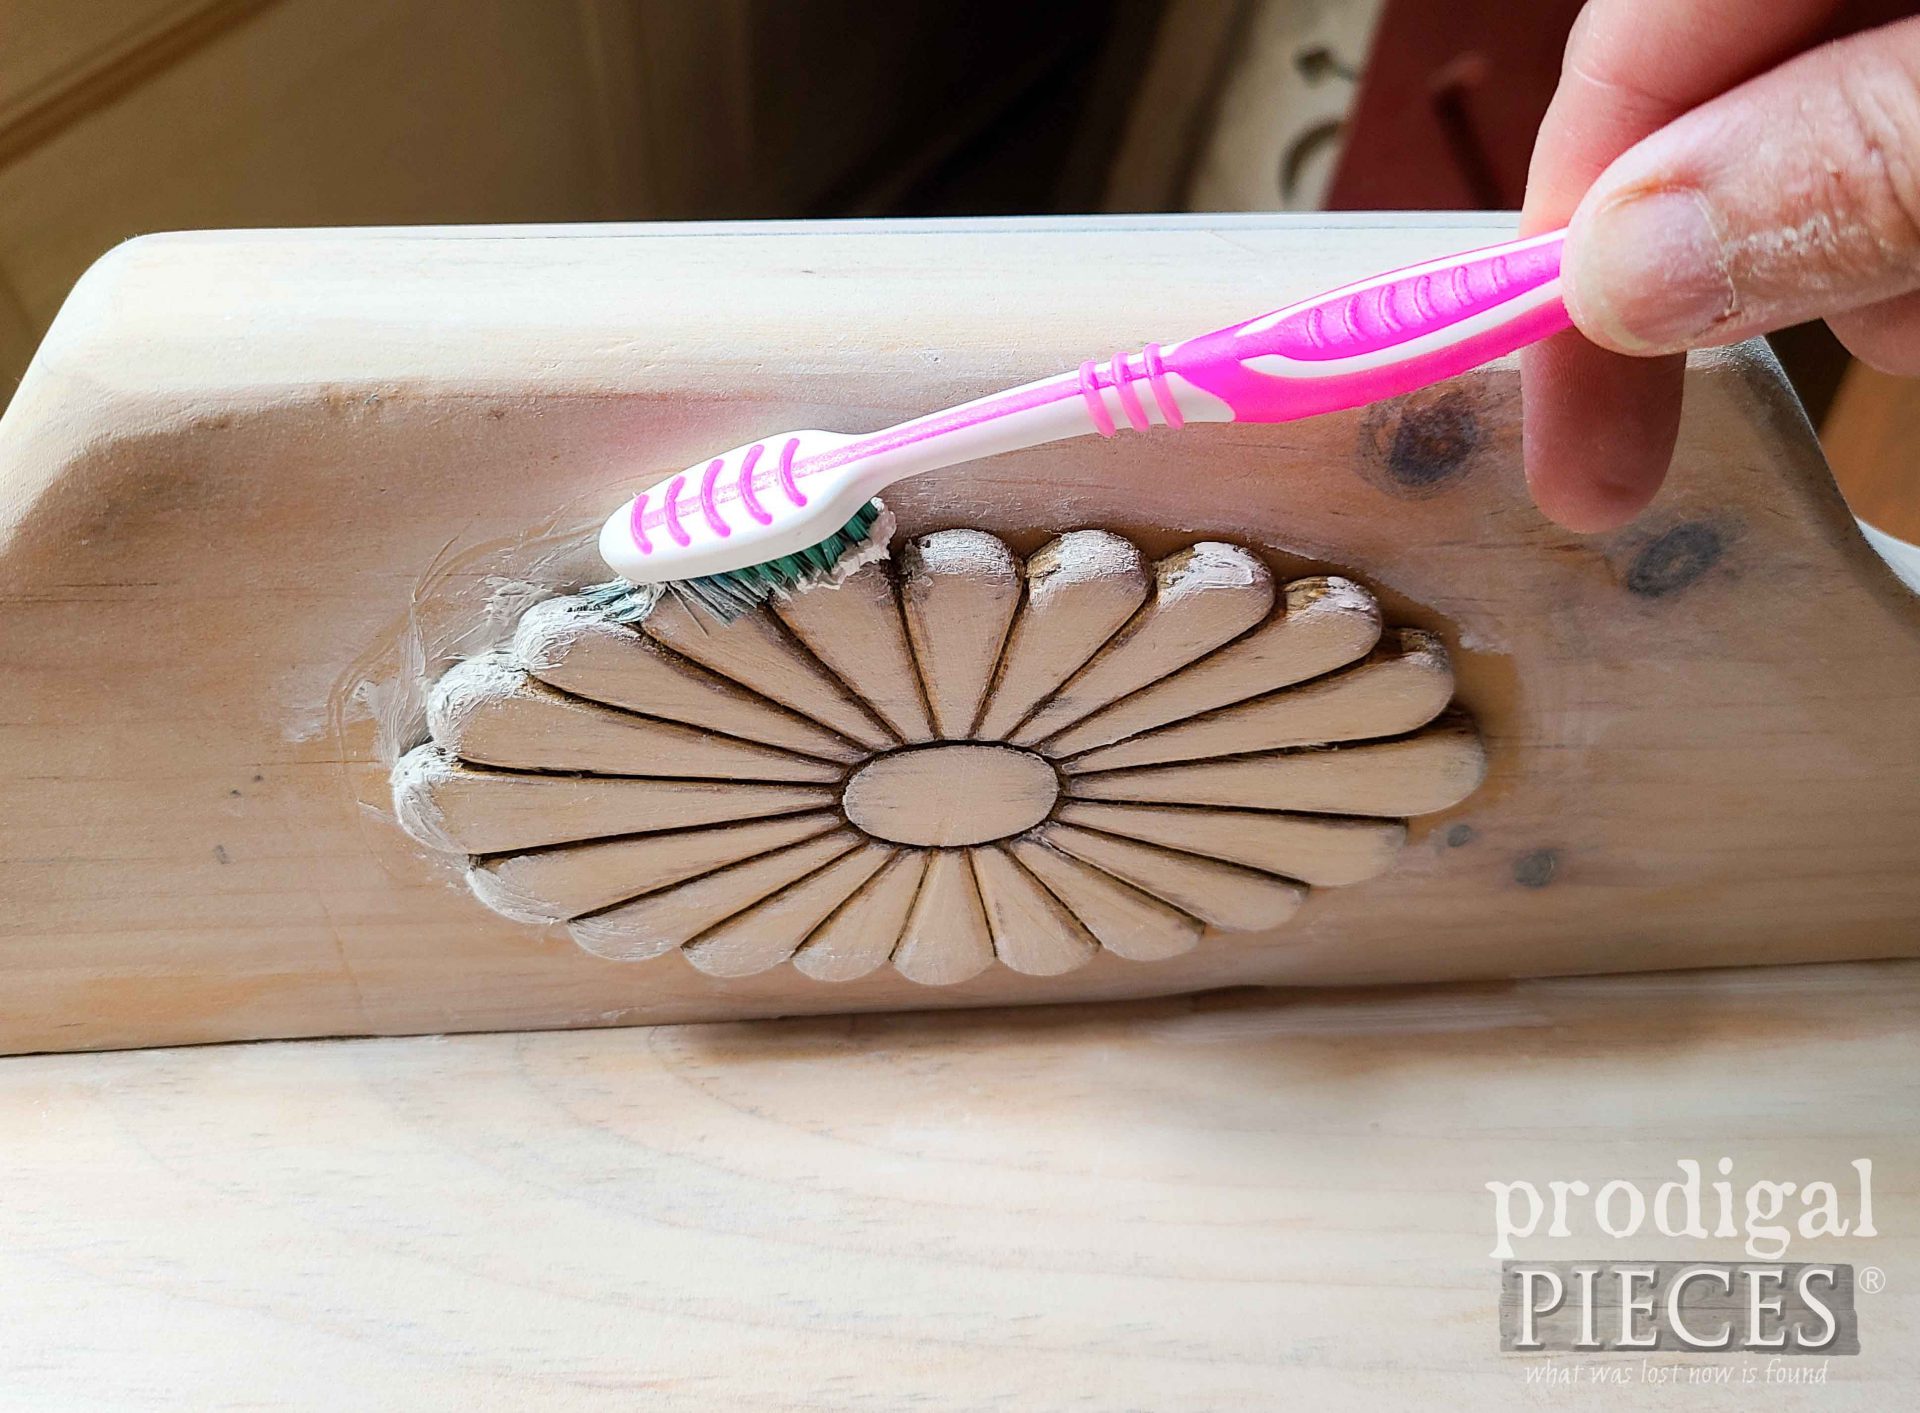
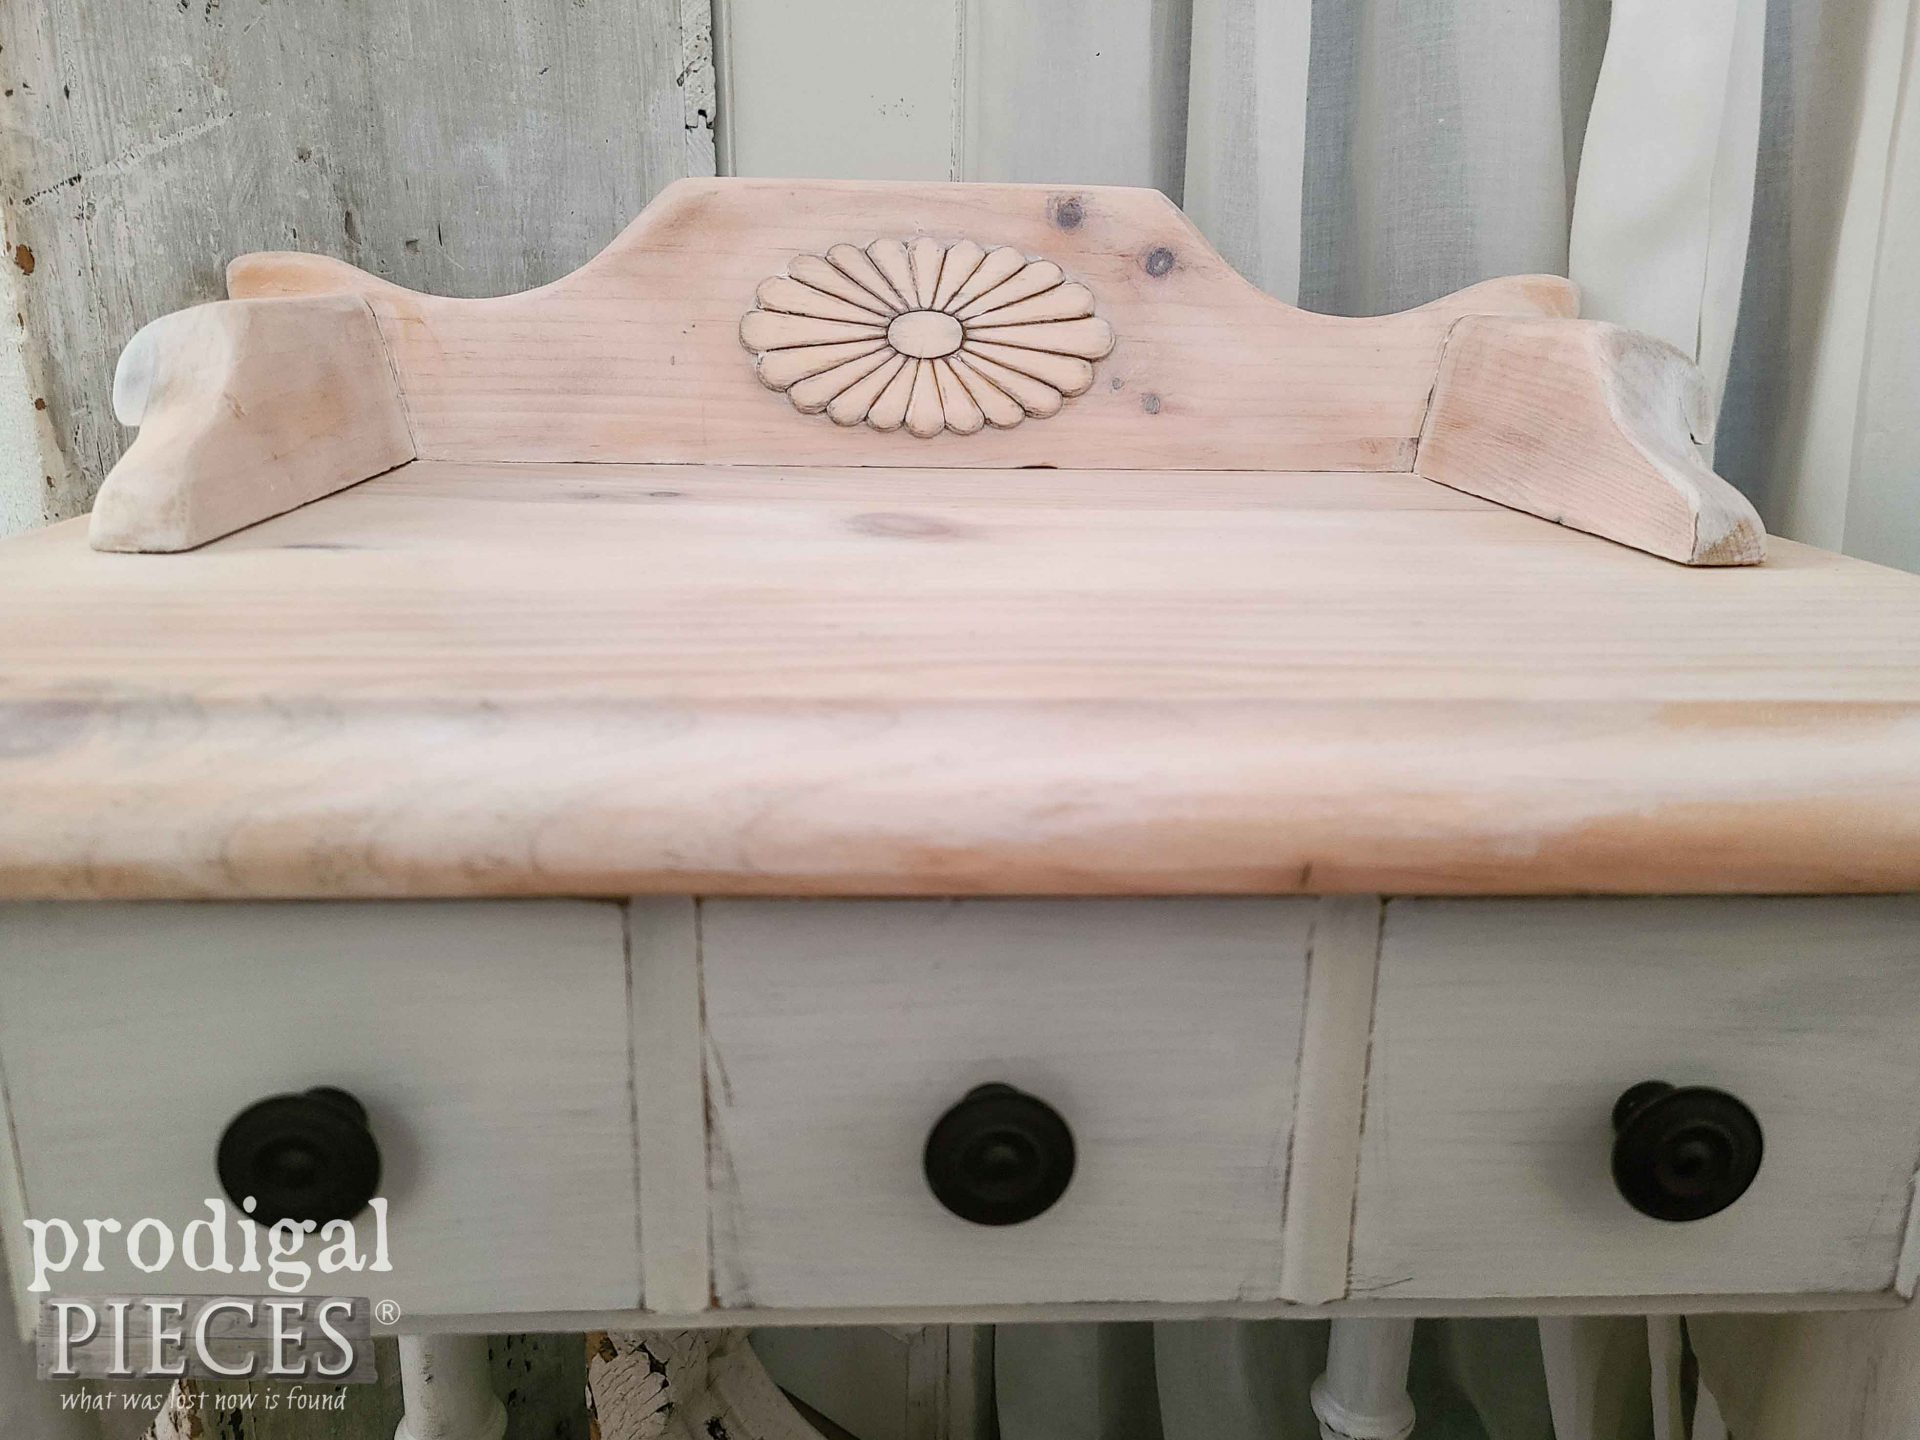
Then, after the dirty job is done, it’s time to begin the finish work. First, I use white wax to finish the raw wood on top. TIP: when it comes to hard-to-reach areas, I like to use an old stiff toothbrush to get the was into all the joints and carved spots.
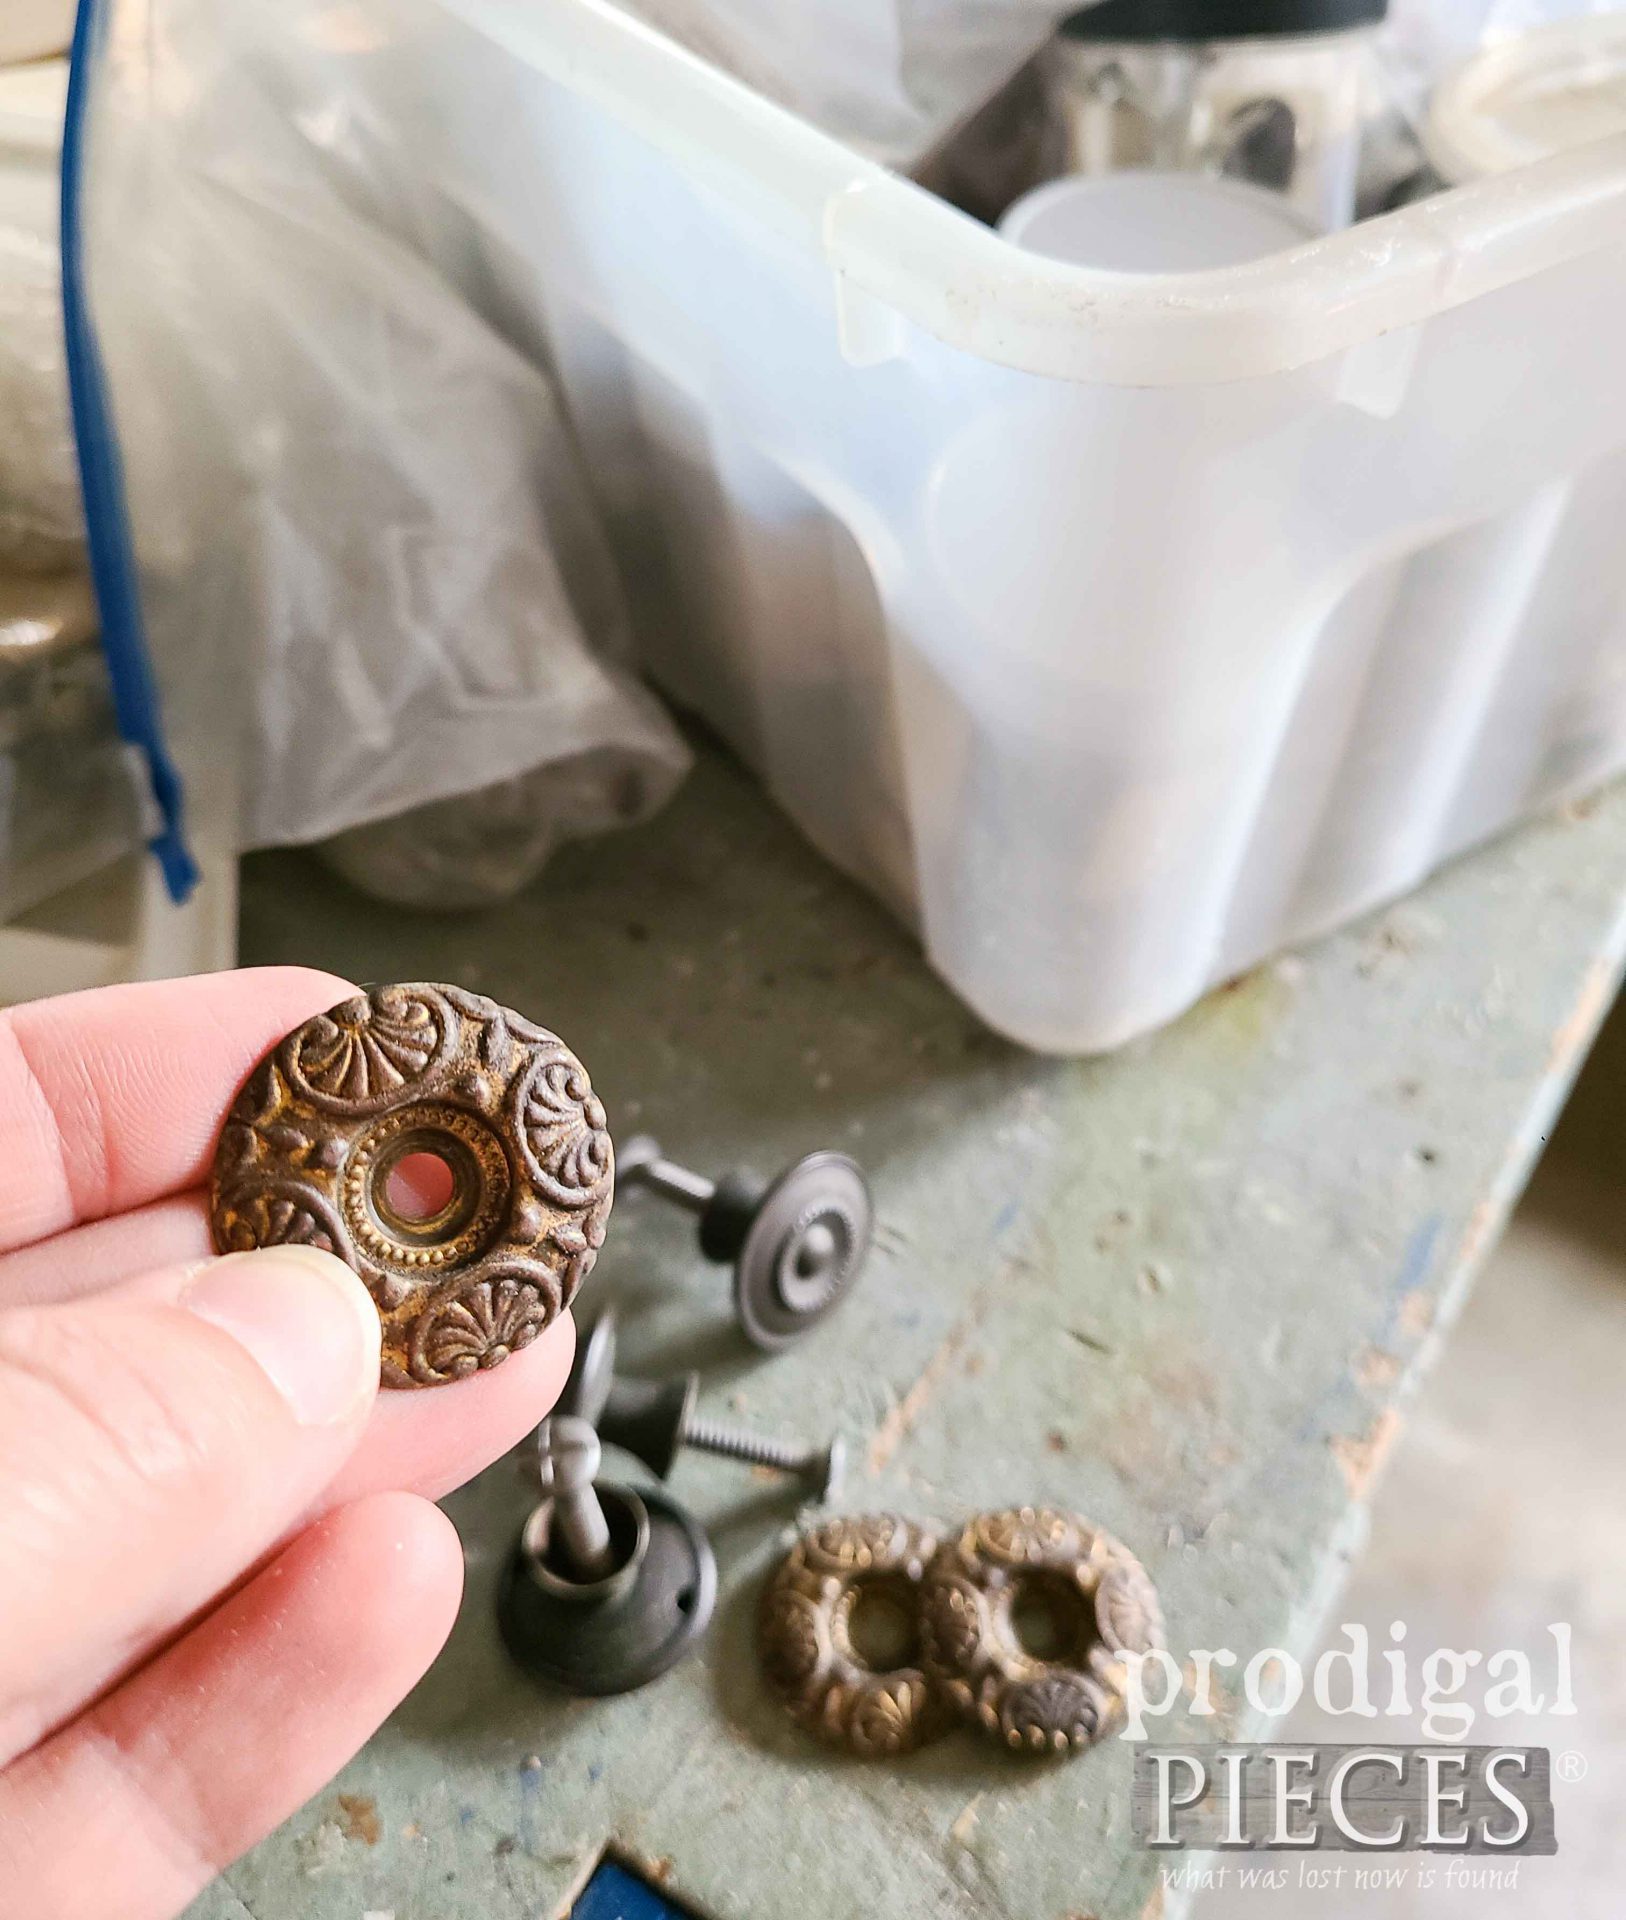
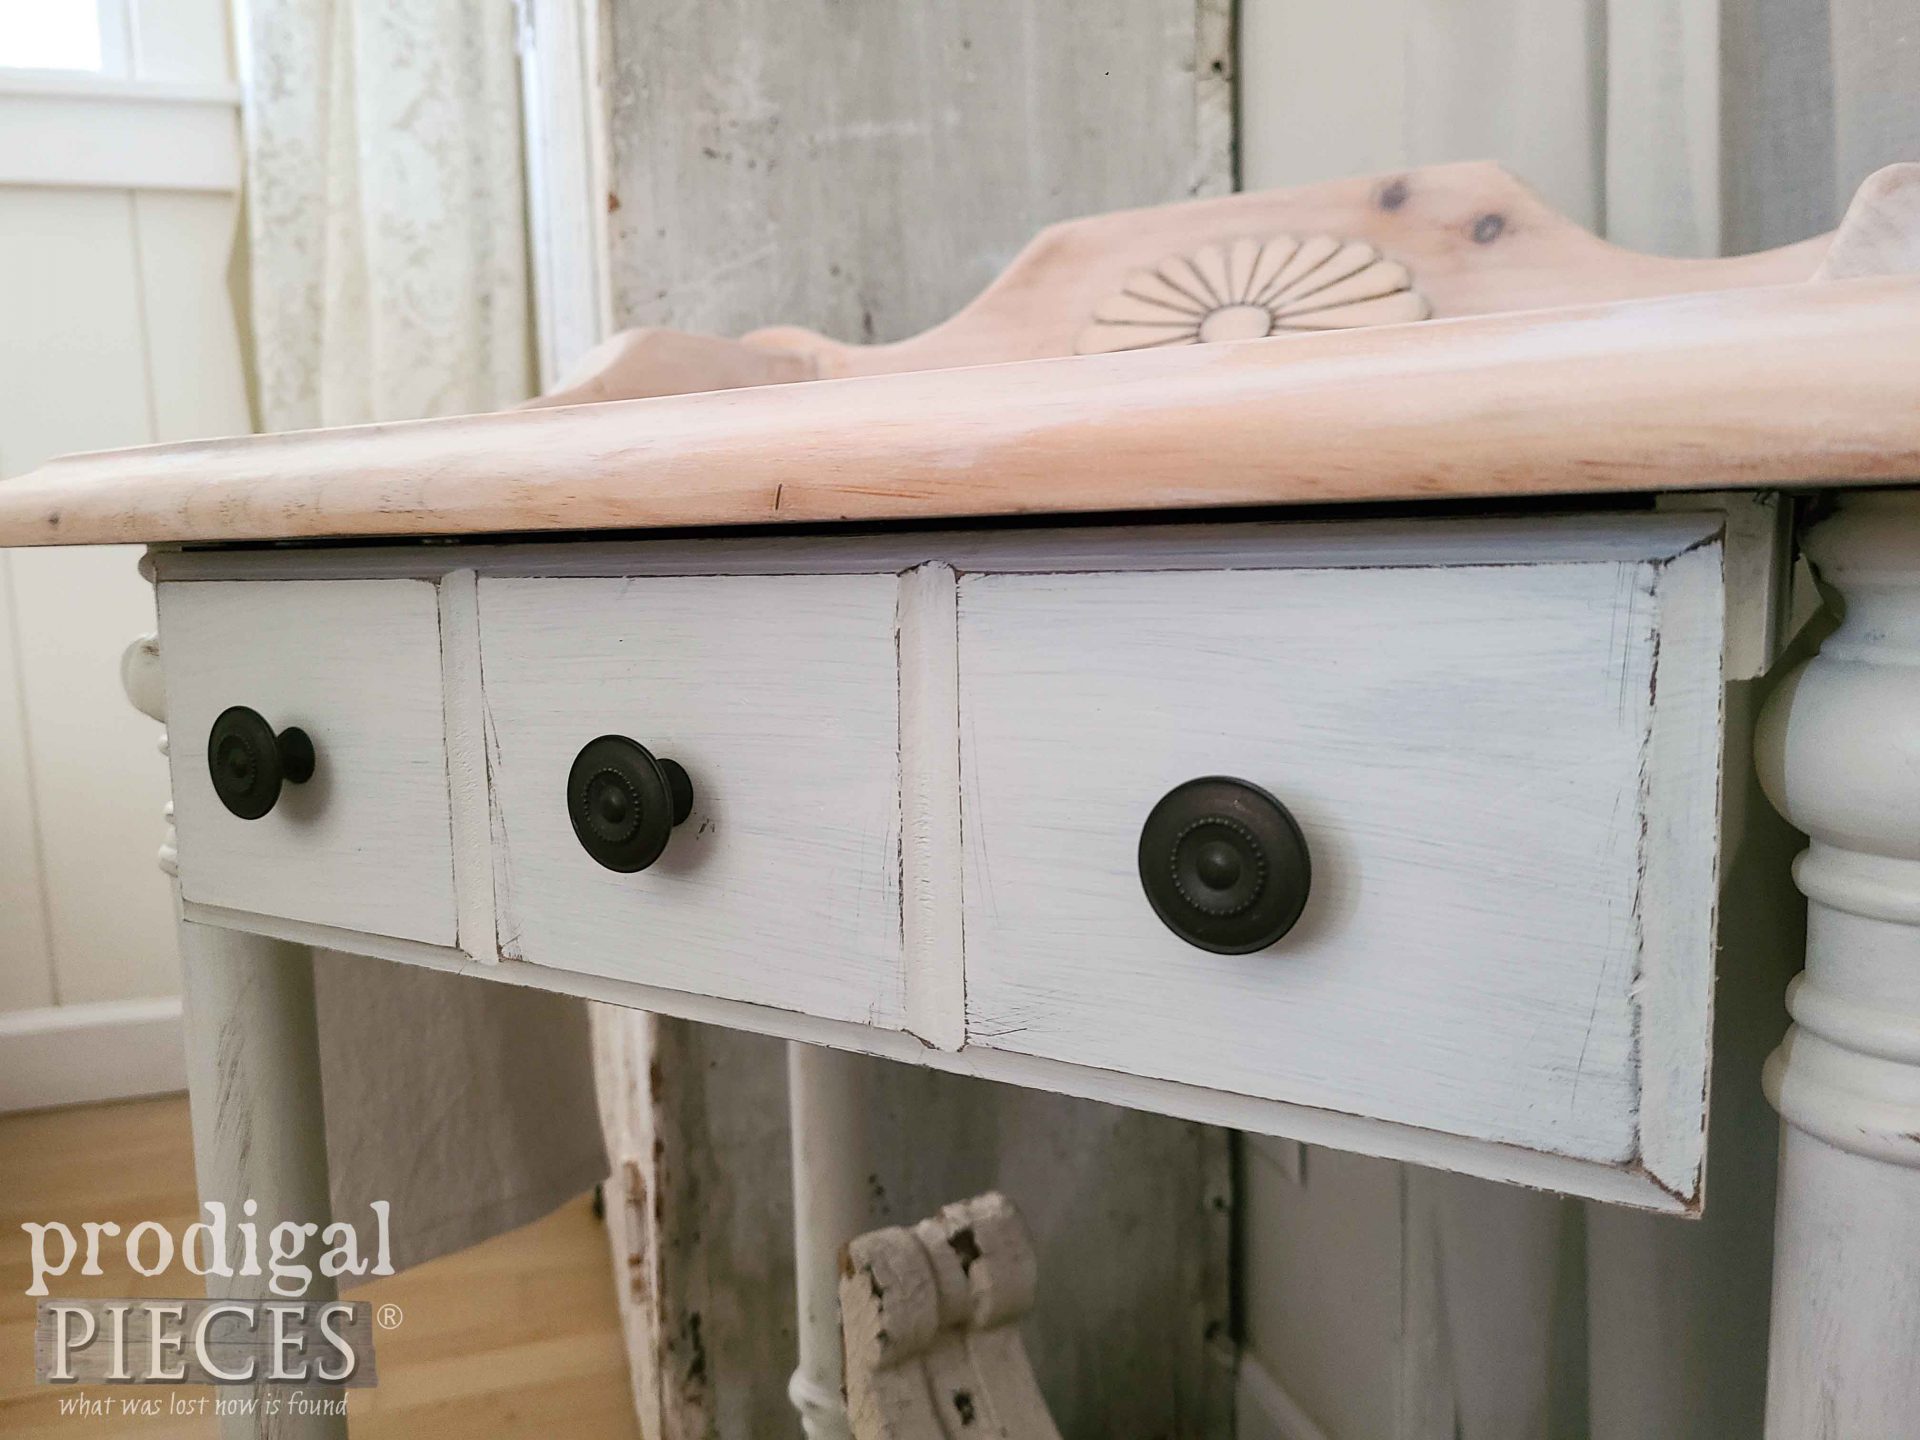
Last, while the wax is curing on the top, I begin painting the base of the vintage wash stand. No special paint, but just a basic latex paint from a local hardware store. Two coats and my stand is good to go with one last addition. In addition, I dig into my hardware stash to find some replacement knobs to dress it up proper-like.
THE REVEAL
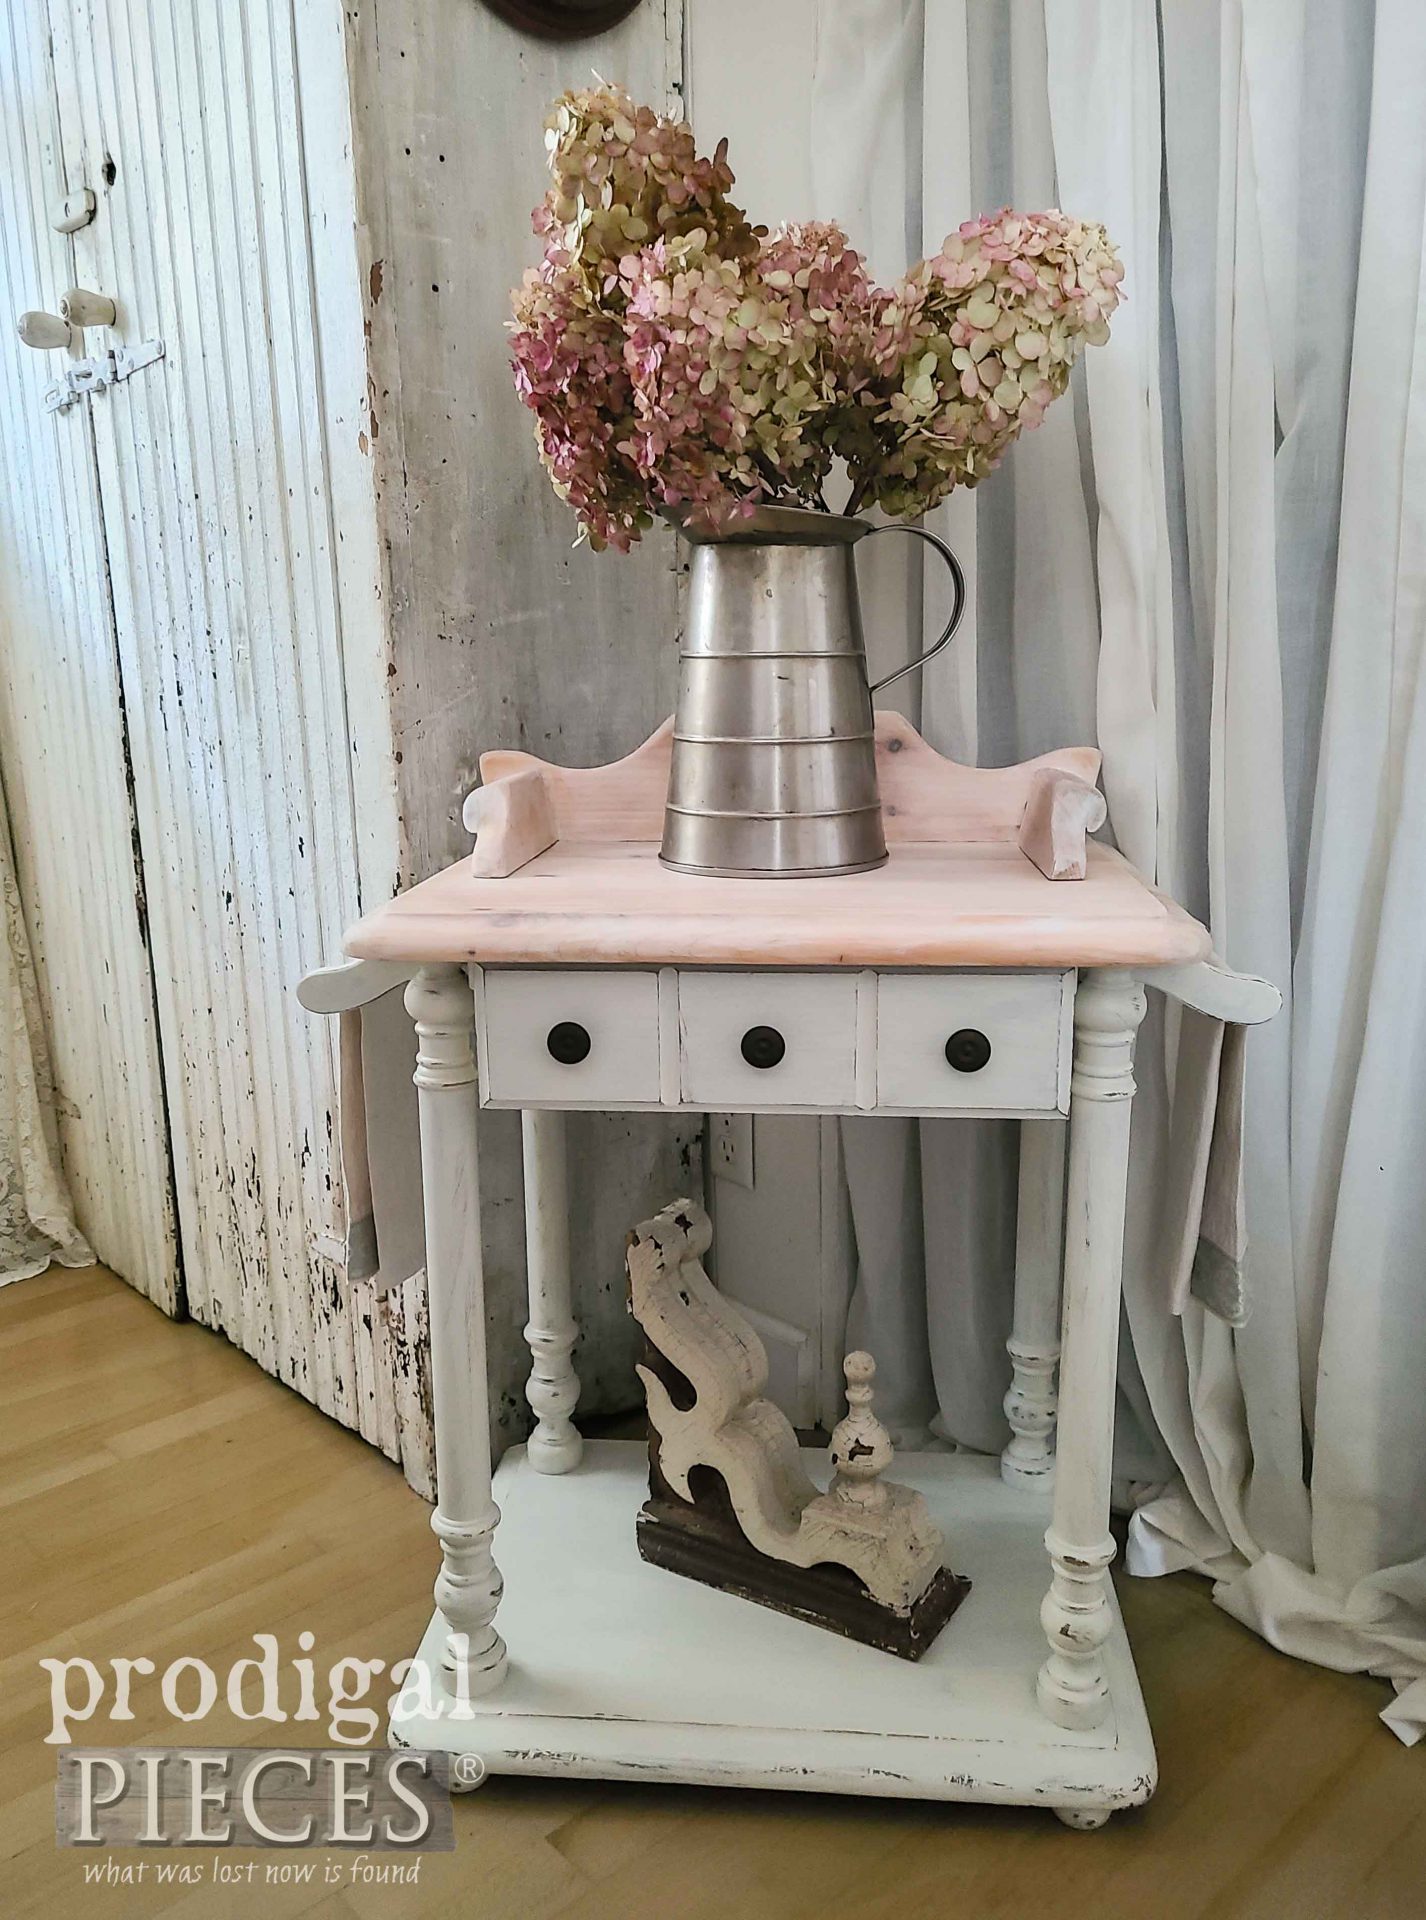
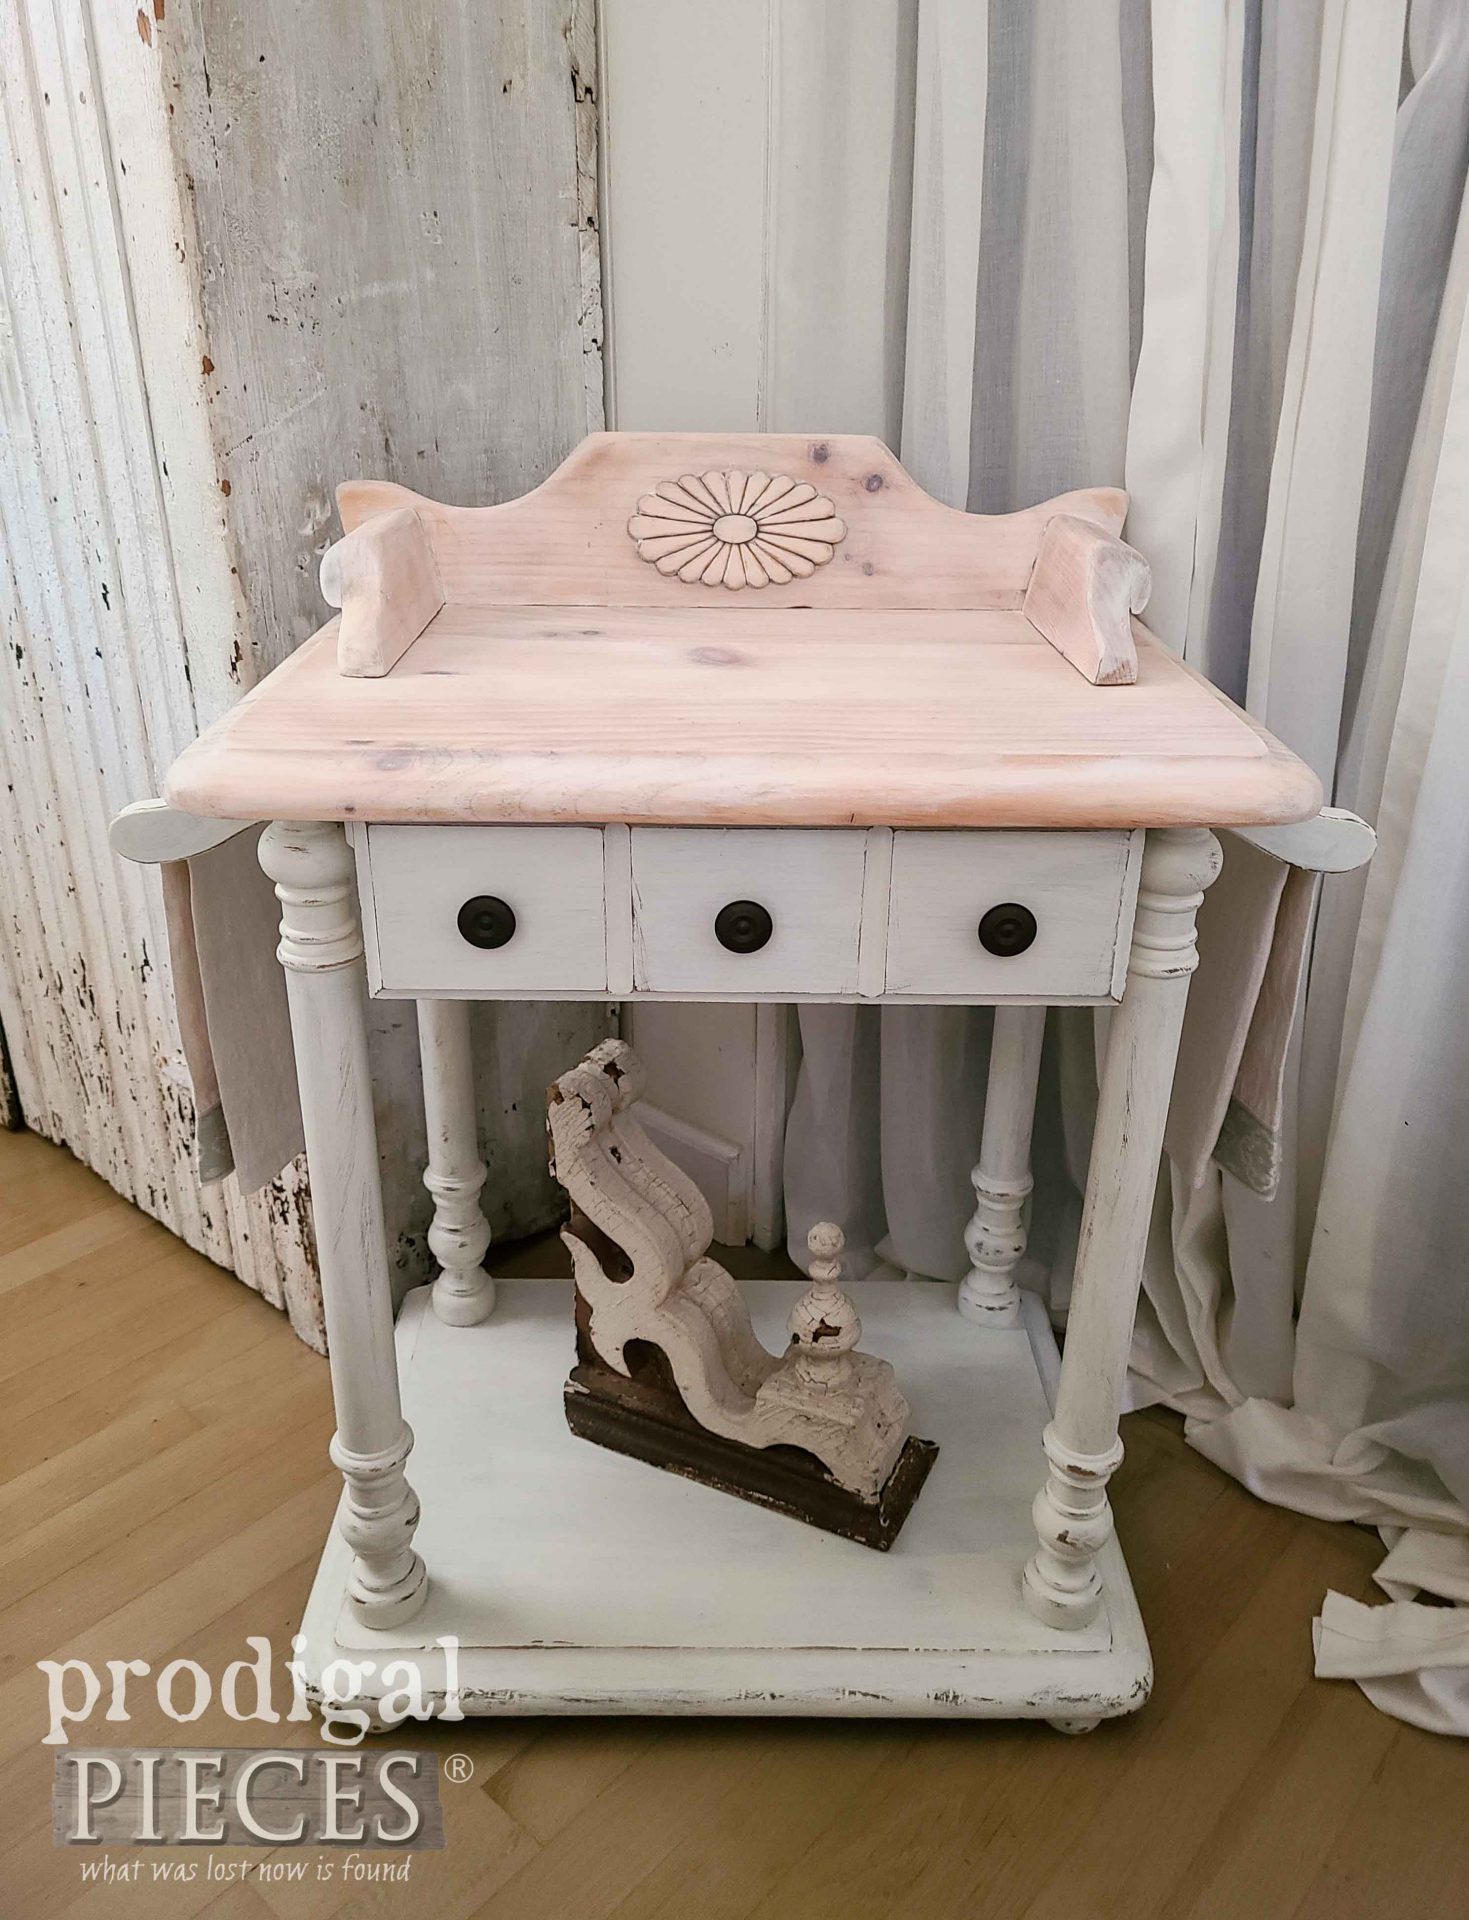
Here’s my vintage wash stand all dressed up for a simple, yet softly rustic appeal. It’s like a breath of fresh air compared to the “before”, right?
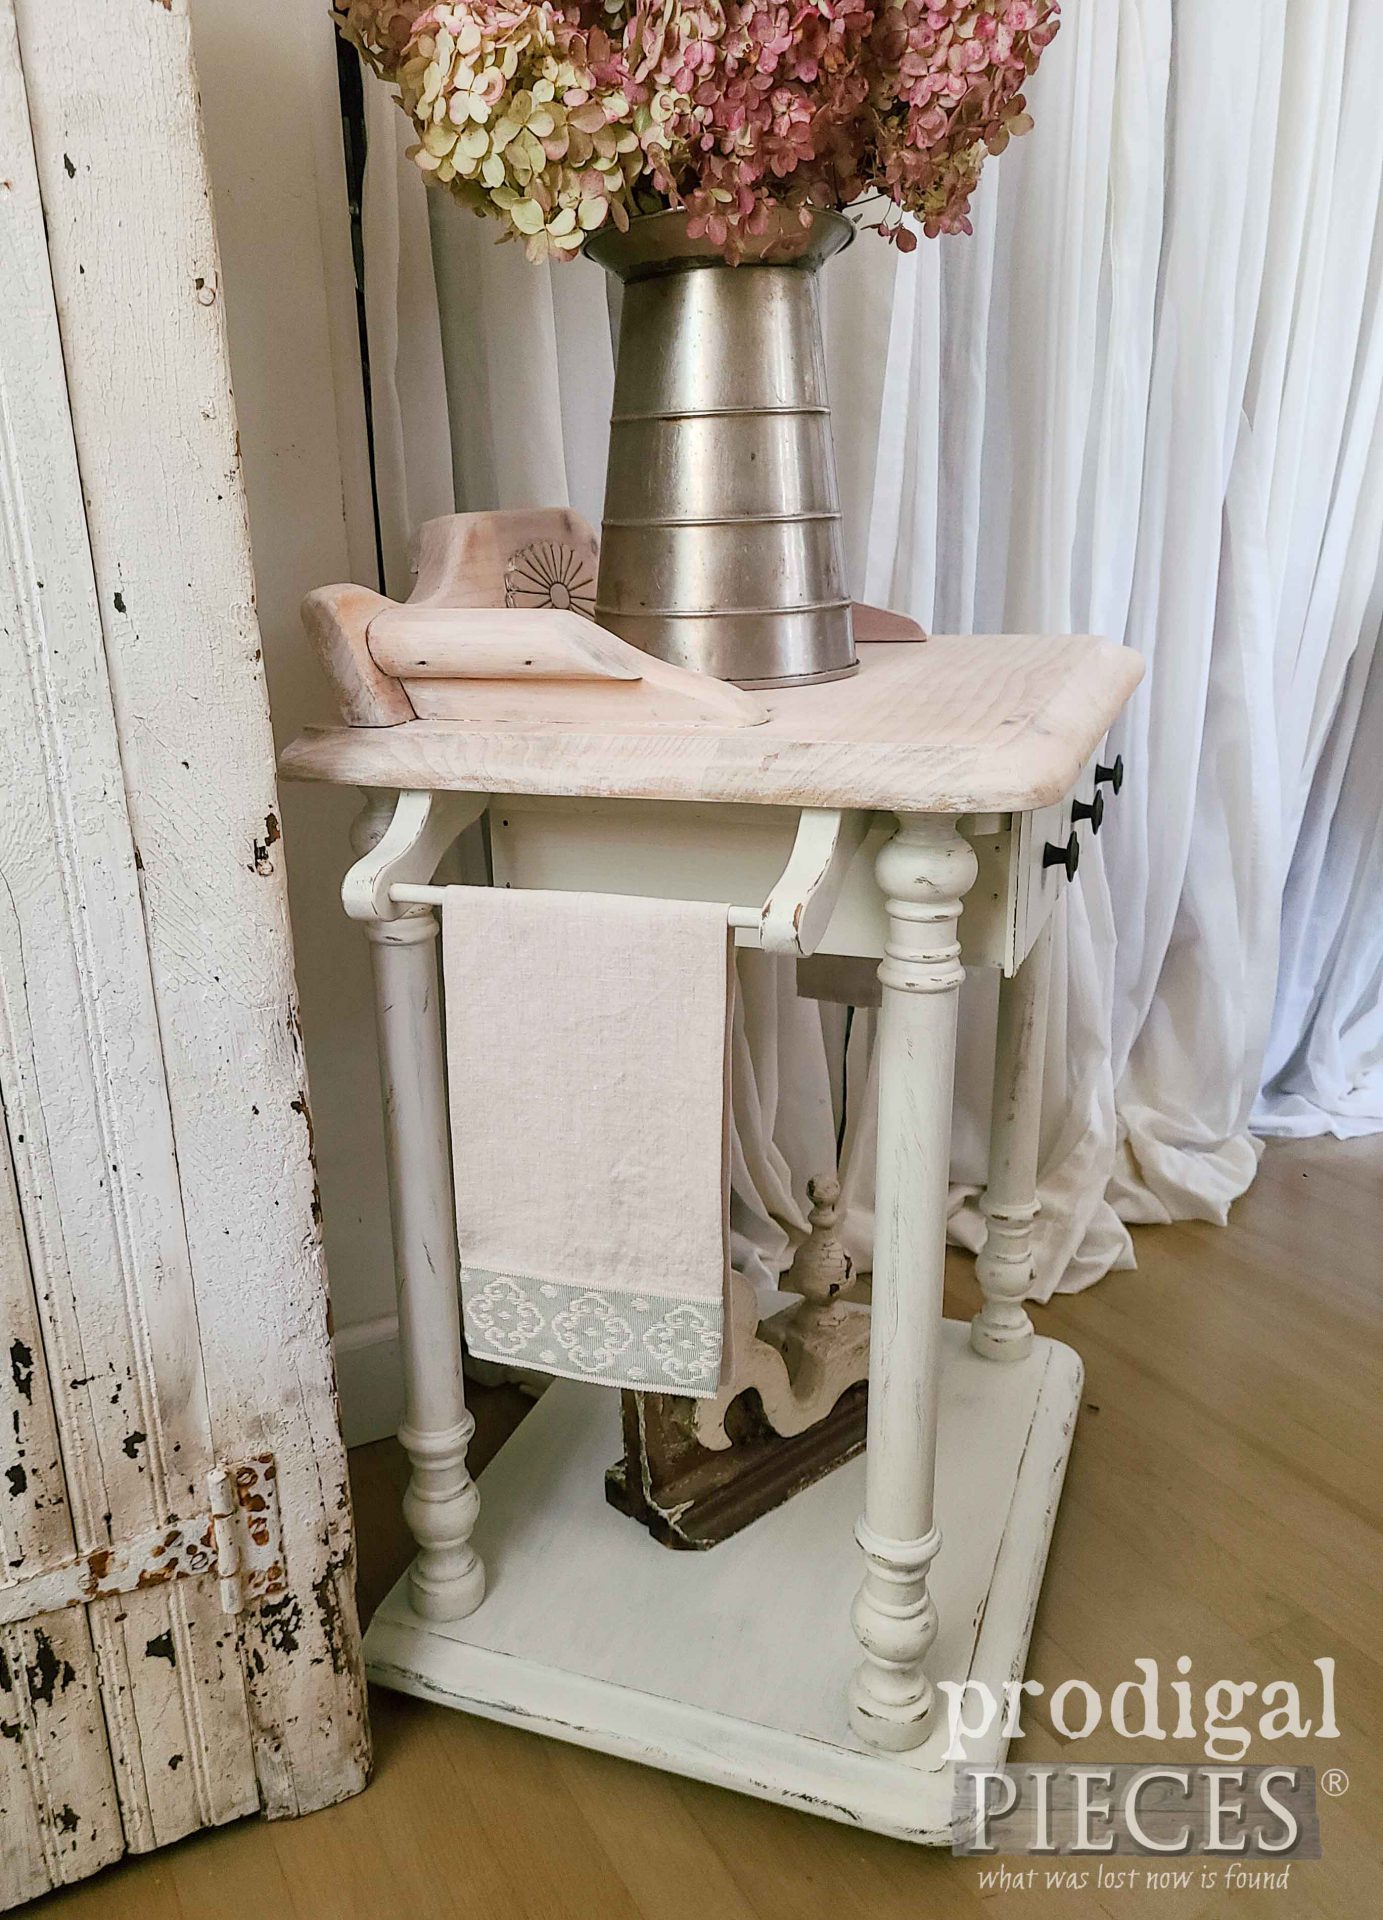
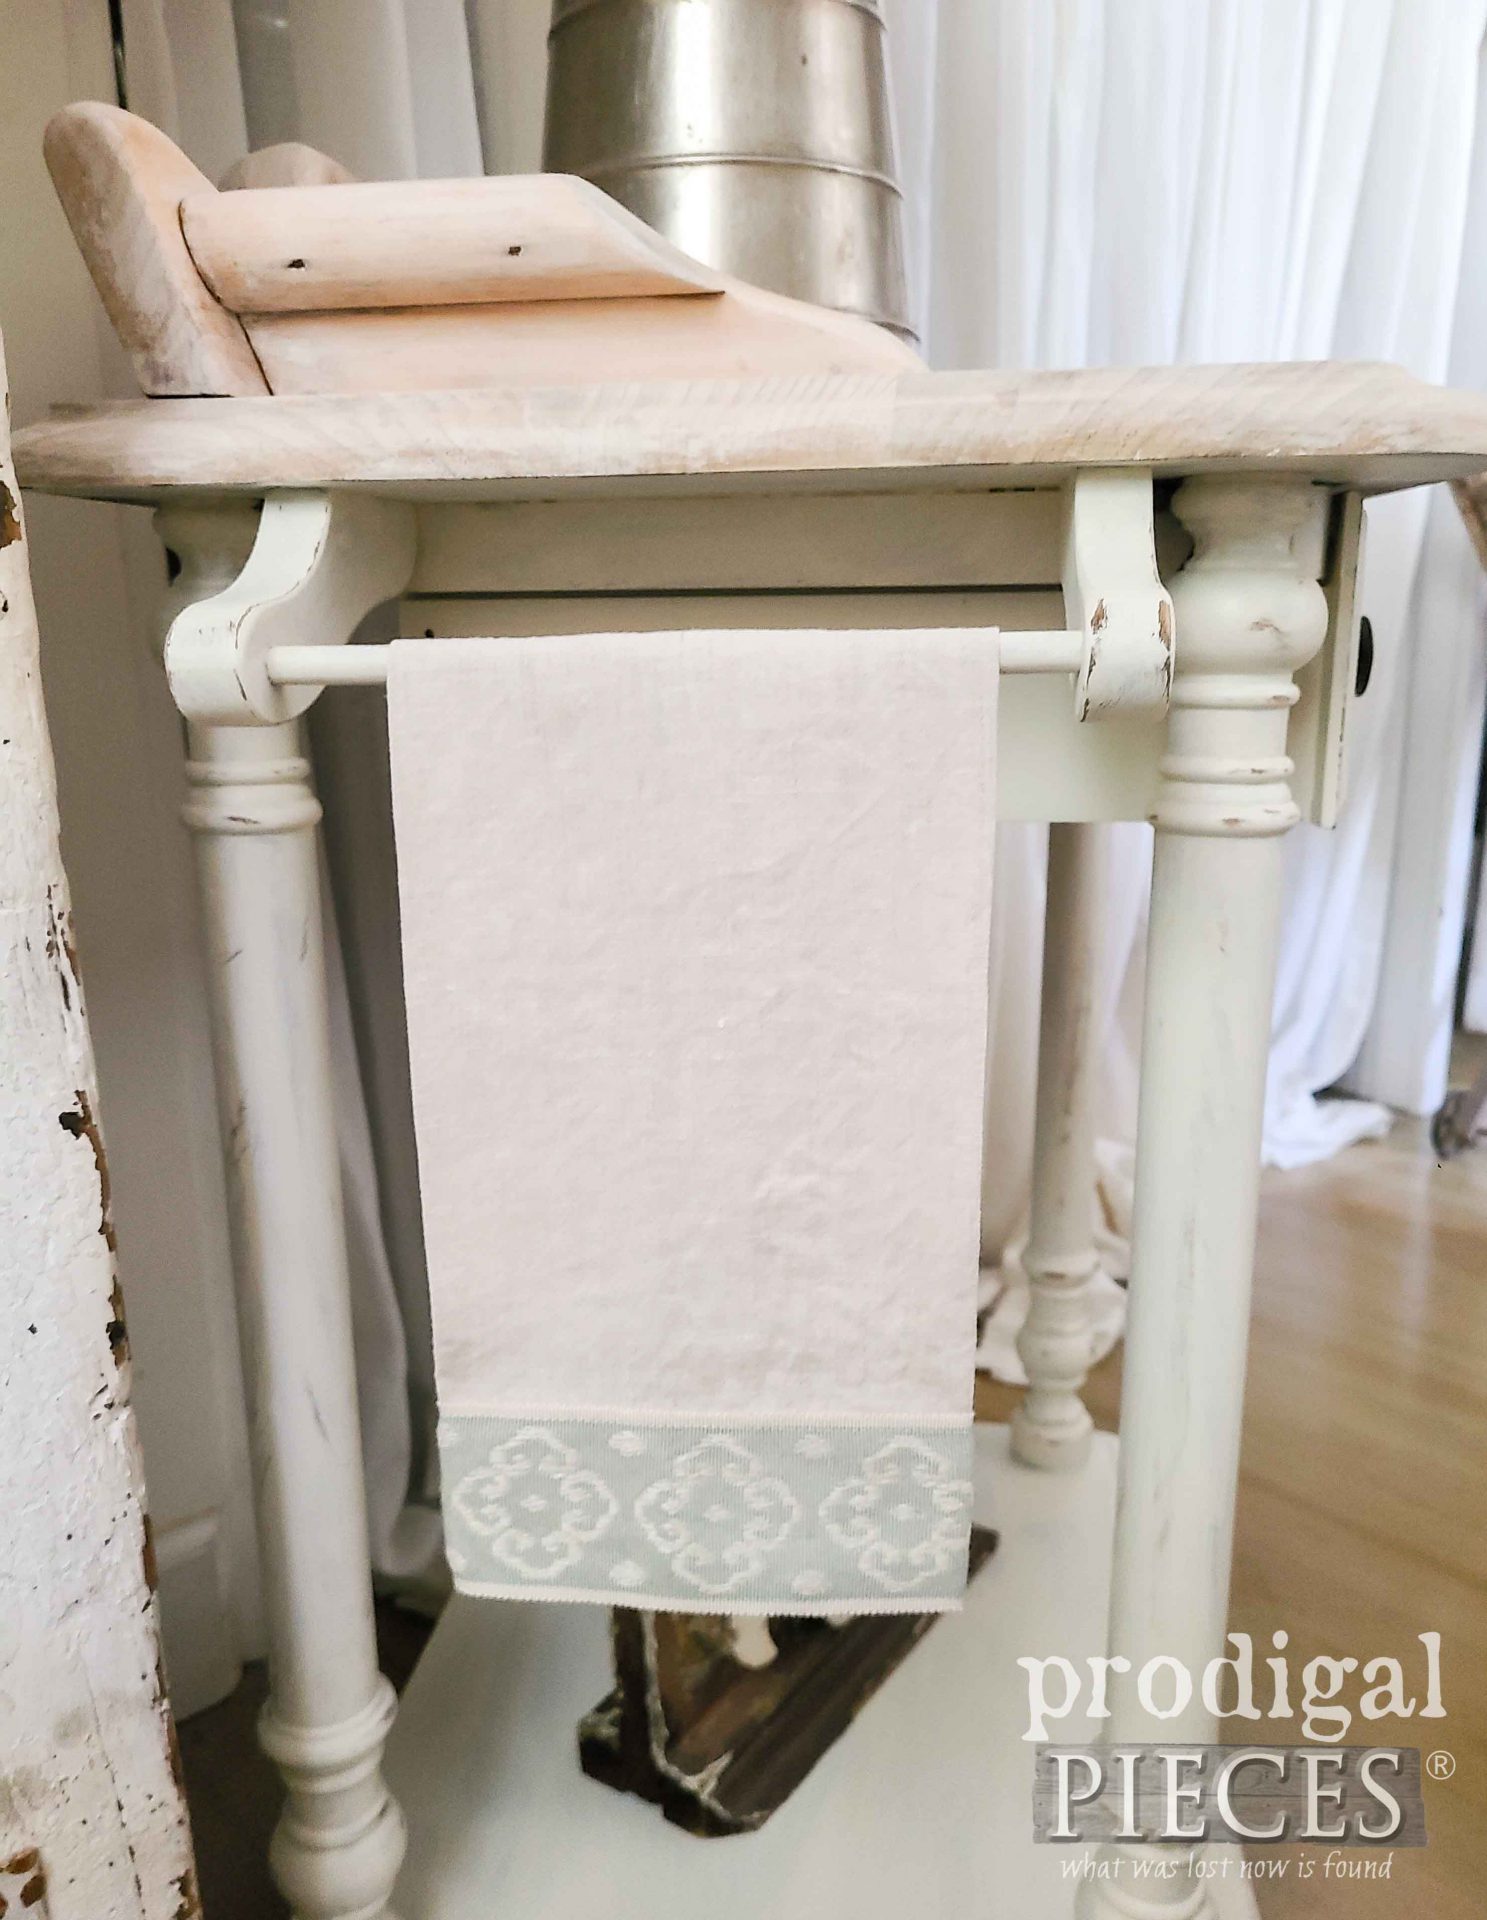
Of course, I had to have a little fun on the inside. hee hee. Also, I made these linen towels with some scraps I had in my fabric stash as well.
Now for the cherry on top…literally. The yellow pine needed a whitewash to tone down the wood. I think the wash showcases the wood grain while updating it.
If you’d like to add this to your home story, you can find it and more available in my online shop. It’s perfect for most any room in your home.
It’s exciting to share these types of mini makeovers with you because you can totally do this yourself. Plus, pin and share to inspire others too!
To get these DIY tips & tricks in your inbox, be sure to sign up for my newsletter. Until next time!





Gorgeous!! Who knew?? Only you!! ??
Girlfriend, you sure know how to make my day start with a smile. 😀 Thank you!
Totally awesome.
happy dance!! Thank you so much, Denise.
? Love it! Well done!
Thanks so much, Holly. It’s a sweet little piece.
It’s beautiful now! Love it!! One question: Am I understanding correctly, that you white-washed over the white wax?
Thanks!
Thanks so much, Ann. The white wax is the whitewash.
Trash to treasure upcycle there my friend! What a difference paint and white wax made to this piece. Pinned 🙂
That pumpkin style finish had to go. tee hee. Thanks, Marie. You are a sweet friend to me.