Already it’s the last Tuesday of the month (mindblowing!) and that means it’s Reduce, Reuse, REFASHION time. On this day I get to share with you something of the textile nature, instead of wood, metal, or people’s #trashure. I’m not only excited to share with you a super-simple tutorial, but also a little bit about my wavy girl hair adventure. Yes…I said hair. This 45-year-old mama to six kiddos has had a revelation!
Prepare yourself for a journey of hair with oodles of twists and turns (did ya check the pun there…haha). Plus, I have a tutorial for a hair plopping towel, as well as two recipes for flax seed gel and rice water. Can you tell I’m excited?
THE BACKSTORY
There’s no better place to start than at the beginning. All my life I’ve believed that I was born with straight hair. Though, as a child, I would get ringlets in my pigtails or always have a slight wave. Somehow, I attributed it to wearing my hair a certain way, sleeping on it, etc. Even as an 80’s child, I would get a perm and the hairdresser would always say it was amazing how well my hair took to it. The hairdresser would say, “You have a ton of thin hair”.
What’s odd is that I knew something was different, but no one validated it for me. I could wash my hair, scrunch with gel or mousse and look like I had somewhat of a perm. I only did that a few times in my life, but each time others would ask…”where did you get your hair done?”. Or if I would sleep in foam rollers and come out looking like Shirley Temple.
Fast-forward to my college days, I would trust another hairdresser to cut my hair and, as always, a failure of my vision ensues. After the last paid haircut, I went home and re-cut my hair myself and promised that was the last time I would spend money on a beautician. So, for the last twenty years, I’ve cut my own hair, or had my husband or daughter’s do it for me. Apparently, as I’ve learned, that beauticians are not trained to work with wavy or curly hair. Instead, they are taught to straighten or use a blow-out for styling.
PRESENT DAY
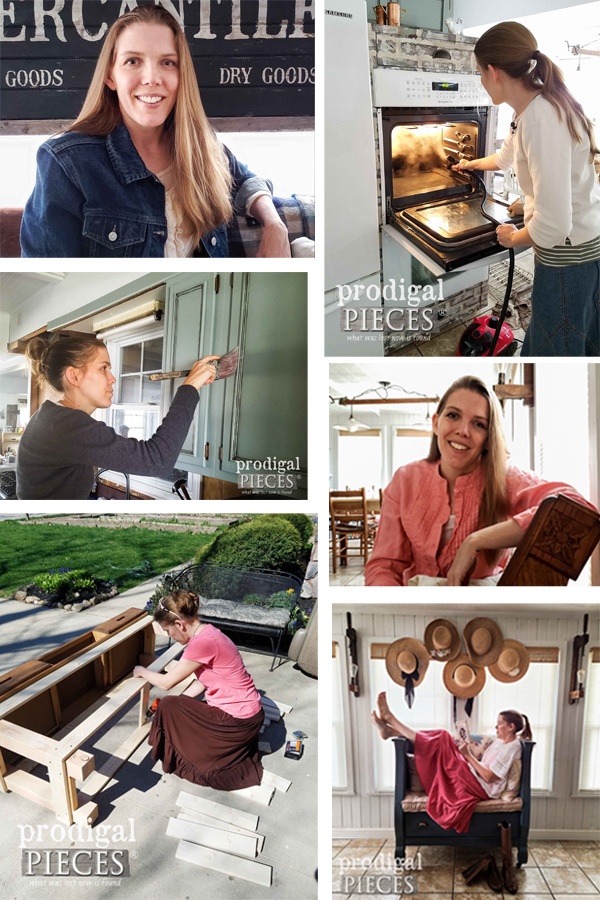
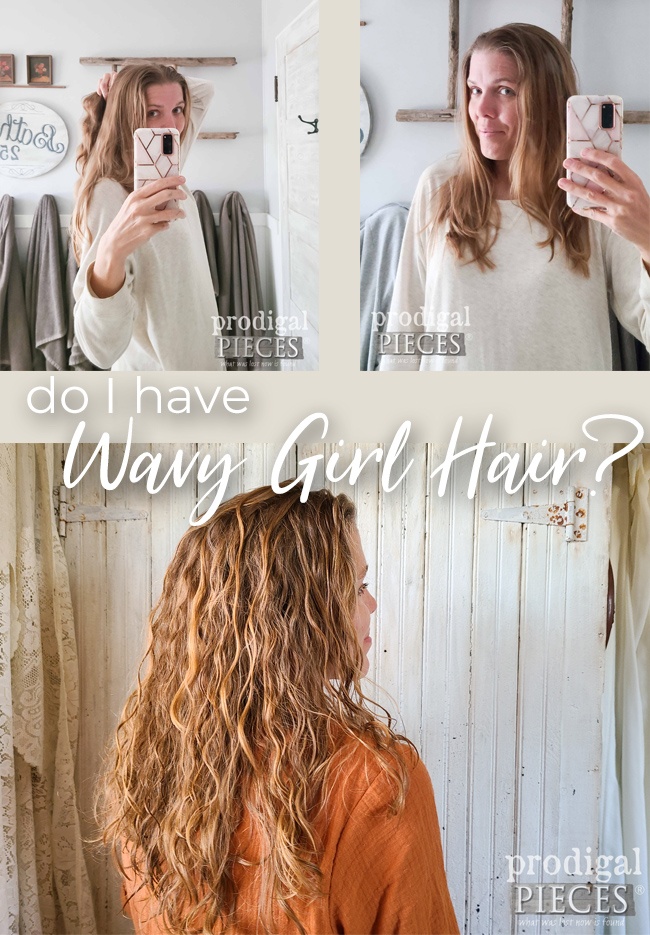
While I’m not a fussy gal, I do love to be creative with my hair, much like anything else in my life. It’s frustrating because for YEARS I’ve worn my hair either half-up, full up, or formed in some other fashion. I never wear it down except for photos. My hair typically looks a hot mess with a mix of textures. Not only that, but it also would tangle into a nightmare if worn down at all. Here’s a few photos of me over the length of my blog…see a trend?
Next, fast-forward to current day. I have been looking into hair texture for my second daughter. She’s been frustrated with her own hair. At the same time, I have been noticing my younger brother’s hair getting some awesome waves. Additionally, I layered my daughter’s hair to give it some body, and then did the same to my own. When I did that, I had to use tension to pull my hair to cut it. That opened my eyes! Not only did the cut lighten the weight of my hair, but also allowed it to “wave” up. MIND BLOWN!
That sent me on a journey for us both to finally figure out our hair. Enter in The Curly Girl Method. Lorrain Massey designed a protocol after years of experience that helps any wavy or curly gal find their true style. The focus is on nourishing hair while allowing it to be natural in every fashion. I’ve read books, blogs, reviews, and watched oodles of videos. (links to refrences below) All during this time, my daughter and I are learning how to transition our hair. Talk about crazy!
SO PROUD
As an aside and a tribute to my daughter, Miss S, I just want to say how very proud I am of her. Not only is she finishing home school a couple years early, she also has moved mountains. She deals with an autoimmune disease called Cold Uticaria – an allergy to cold. On top of that, her and I have battled her serious gut issues and have come out on top. Additionally, because of her allergy, she wanted to run track, but in Ohio that makes it nearly impossible as a spring sport (aka. freezing, snow). I encouraged her to try the local tennis camp at the age of 13 since tennis is a fall sport.
Having never picked up a racquet before that, she impressed the coaches. Turns out, she went from learning the game to playing second singles on varsity within 3 years. She even made it to districts!! WOW! Plus, she has managed to run circles in track as well thanks to understanding coaches. We are so blessed.
ALL ABOUT THE WAVE
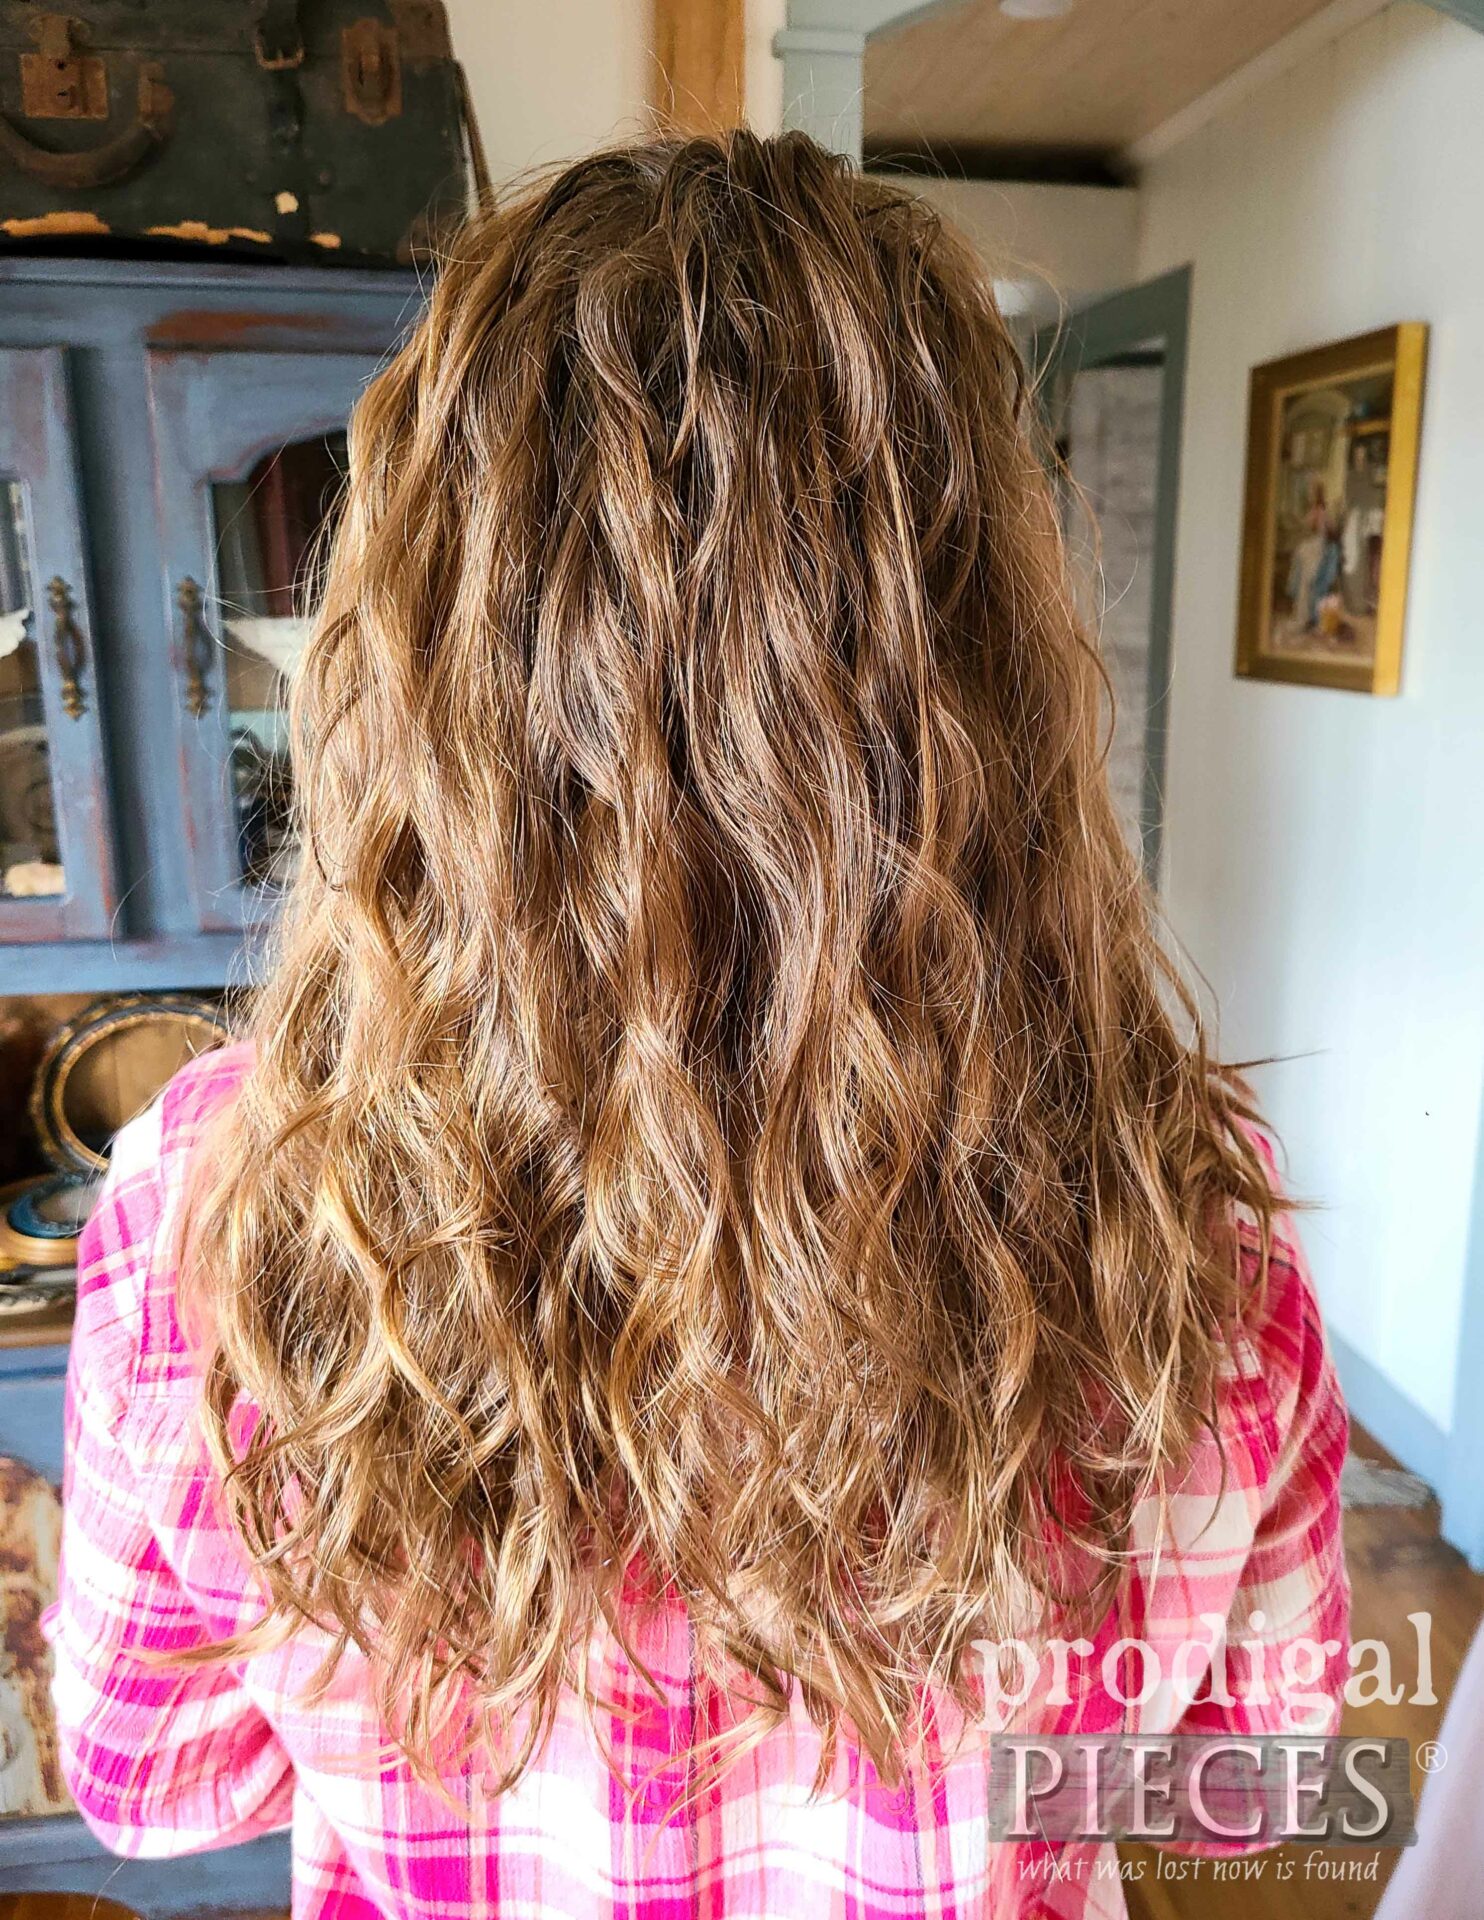
Okay, back to the hair. While on our wavy hair girl journey, Miss S and I have both decoded our hair:
- My hair: low porosity, medium density, fine hair, 2b with 2c waves mixed in
- Miss S: low porosity, medium to thick density, medium hair, mostly 2b waves
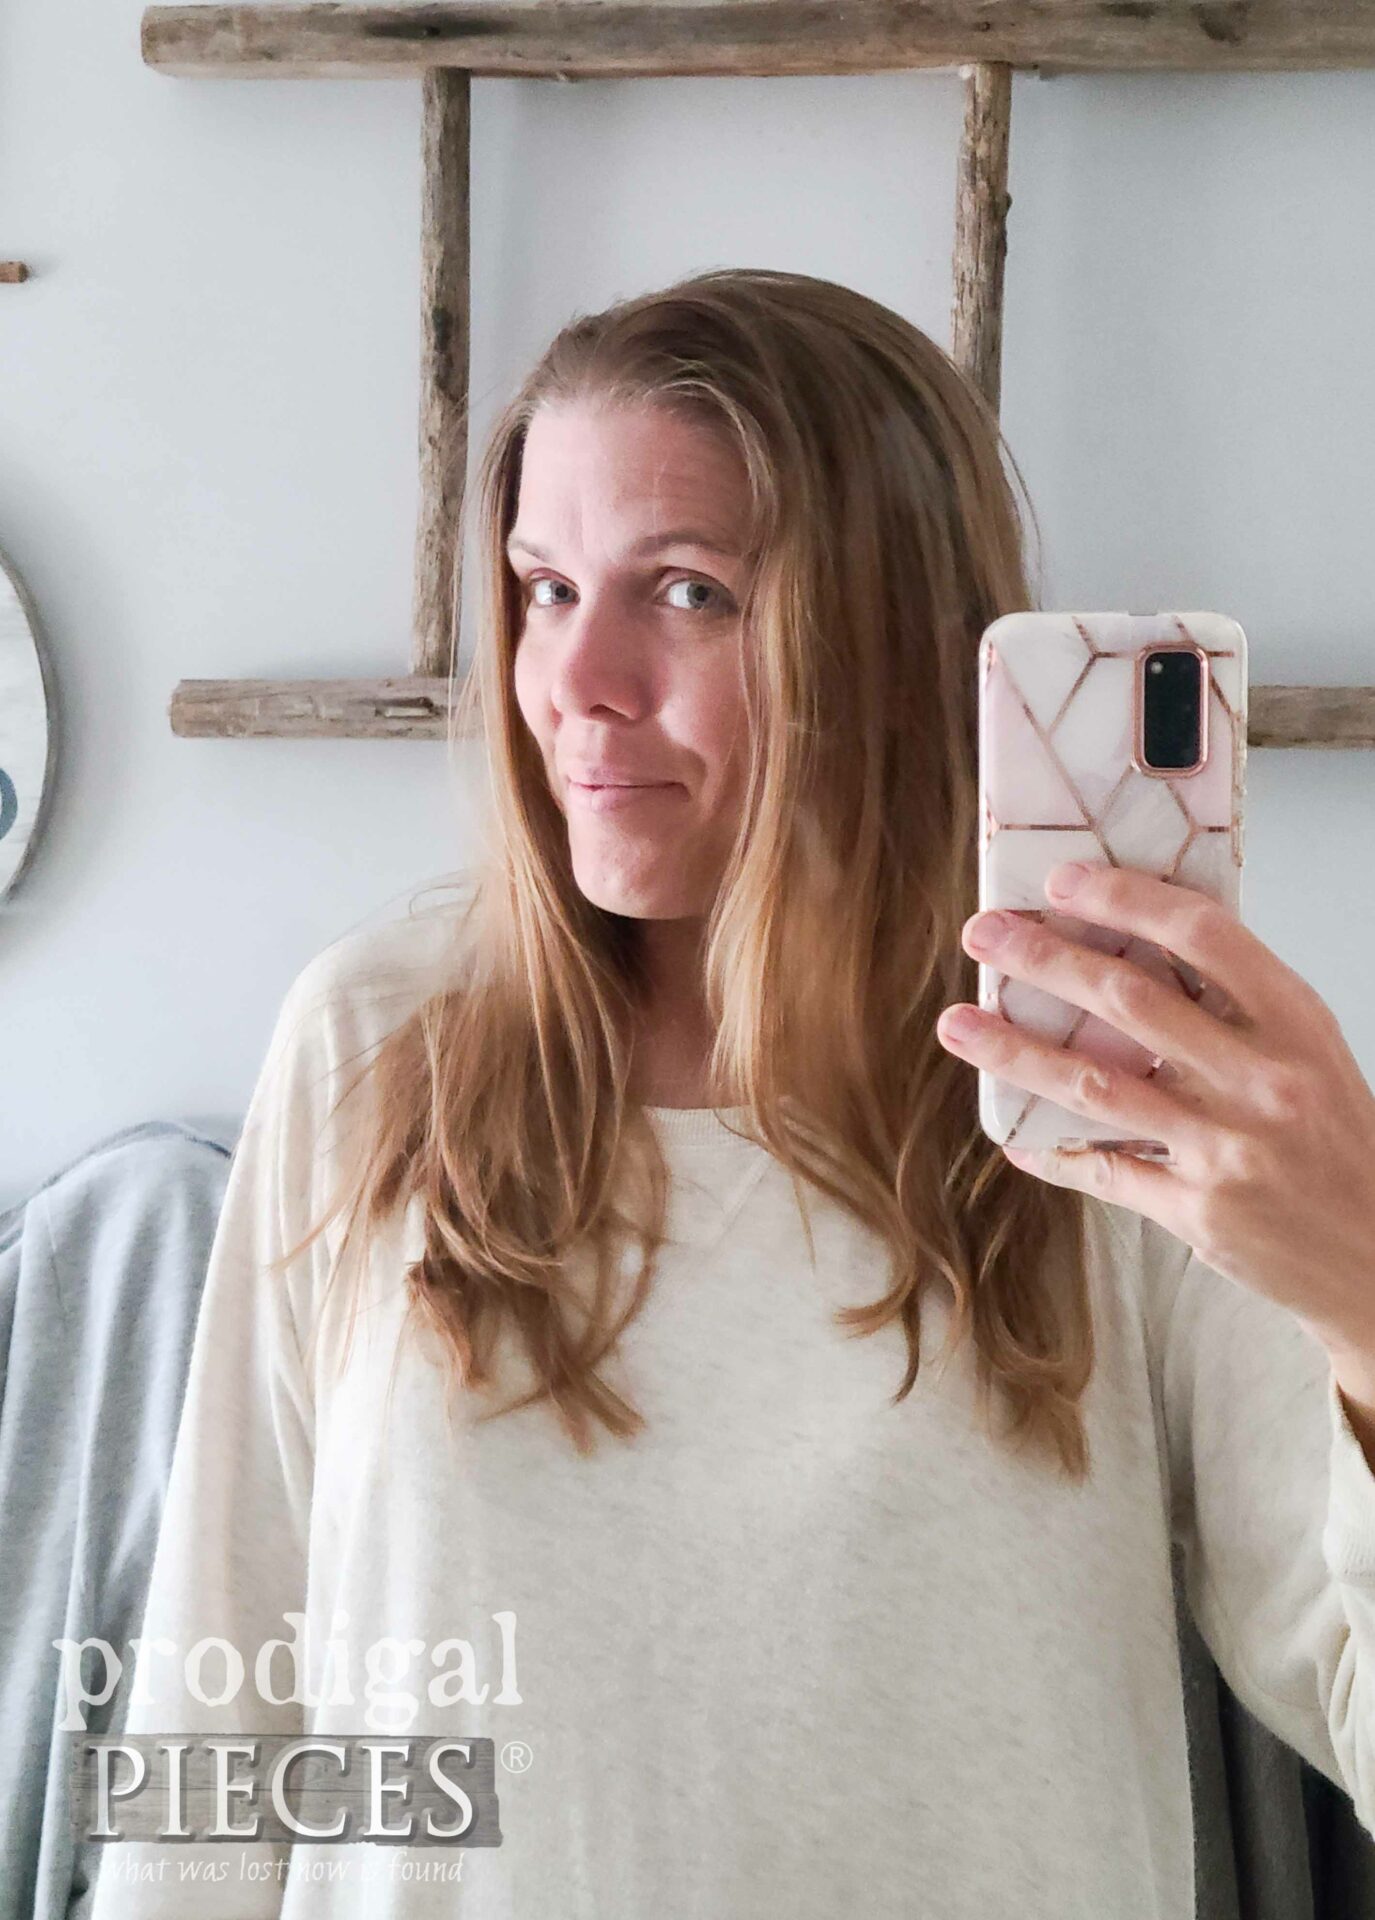
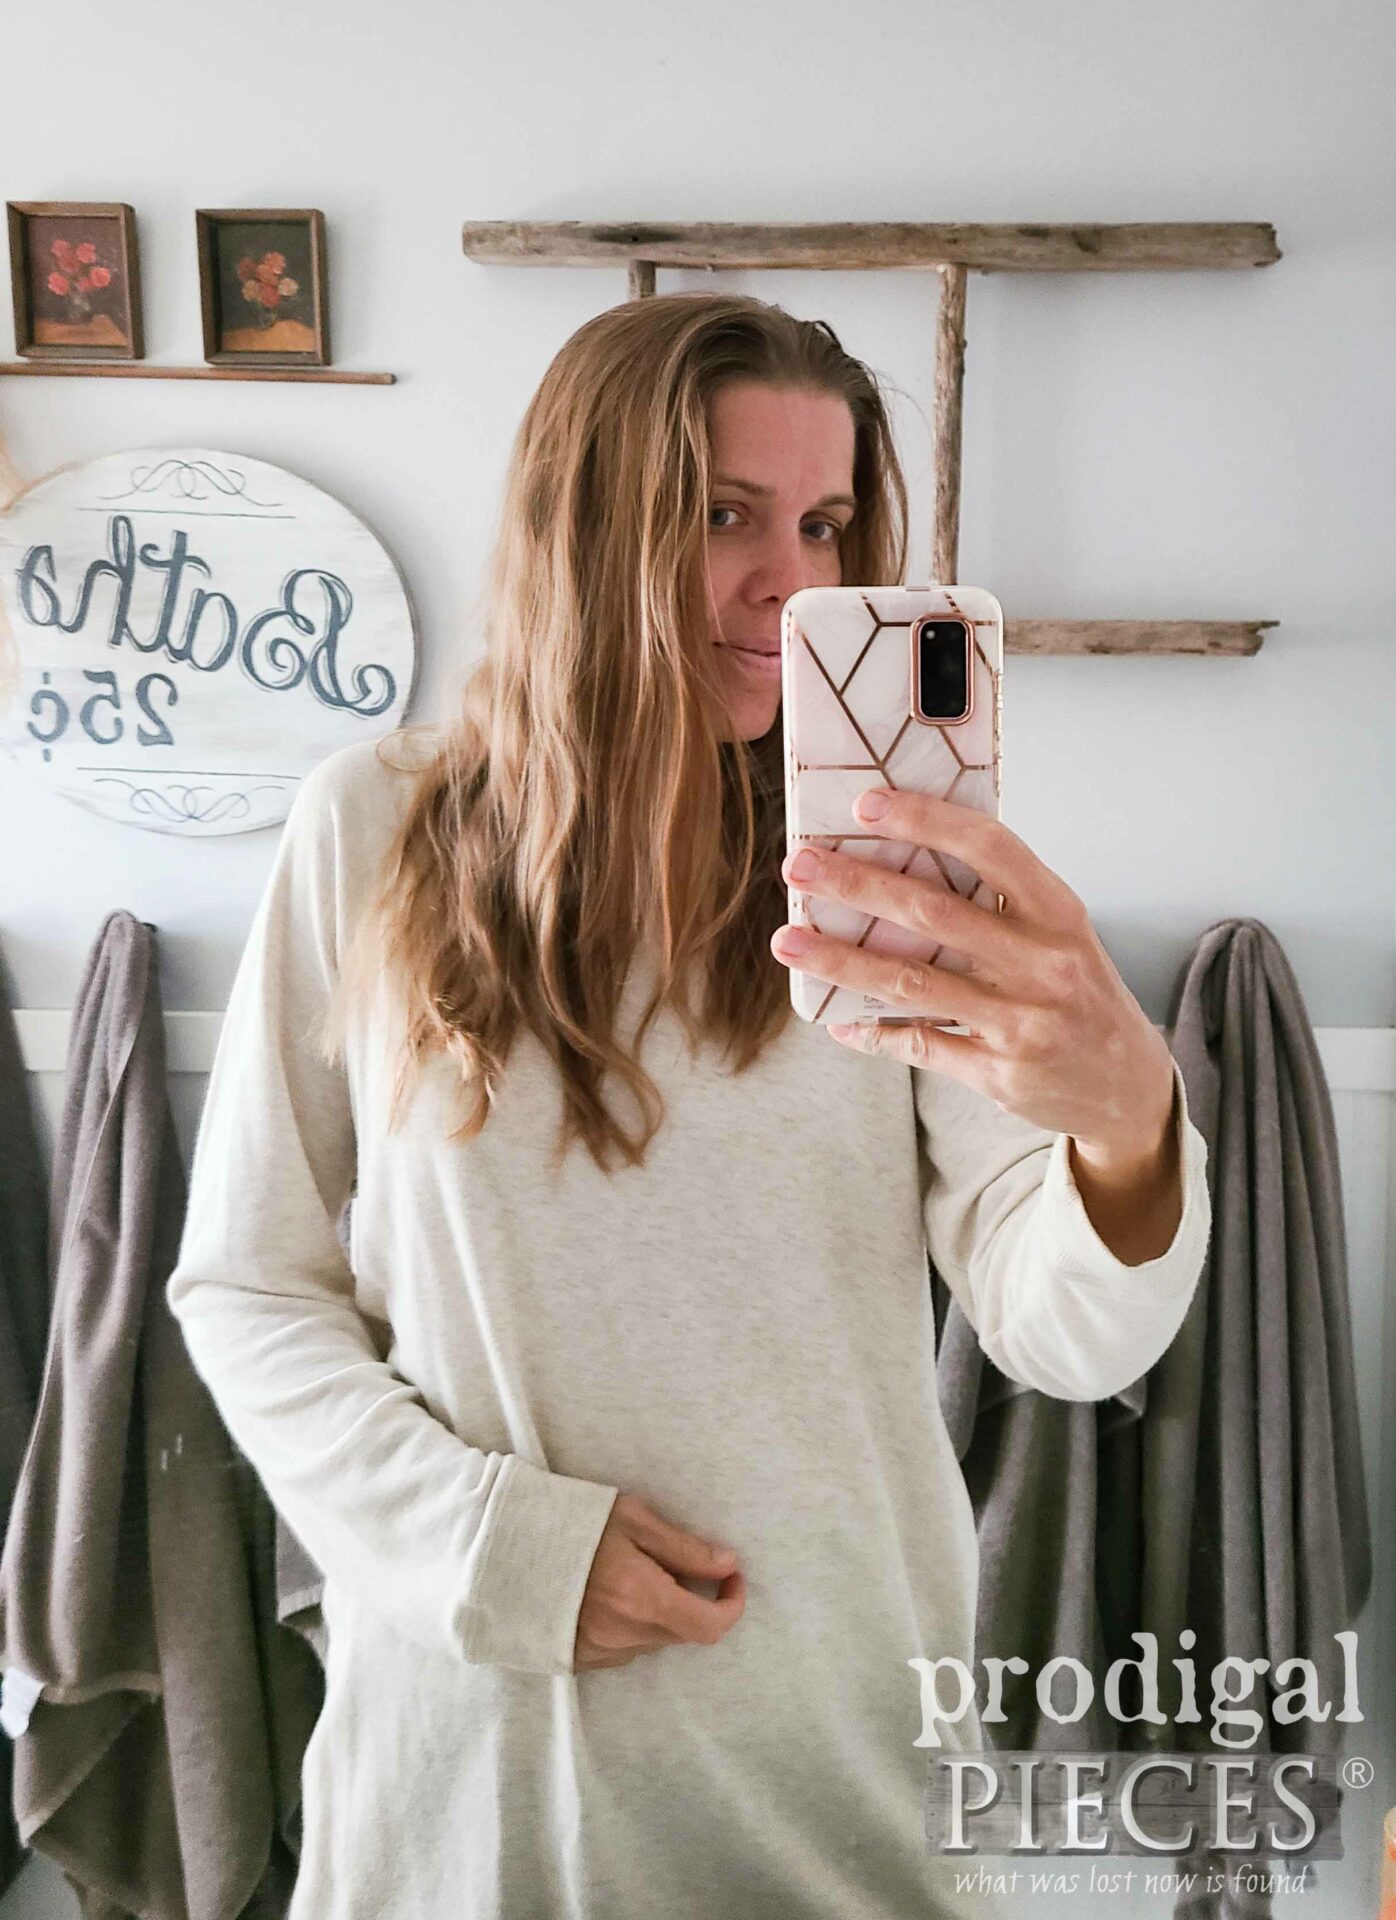
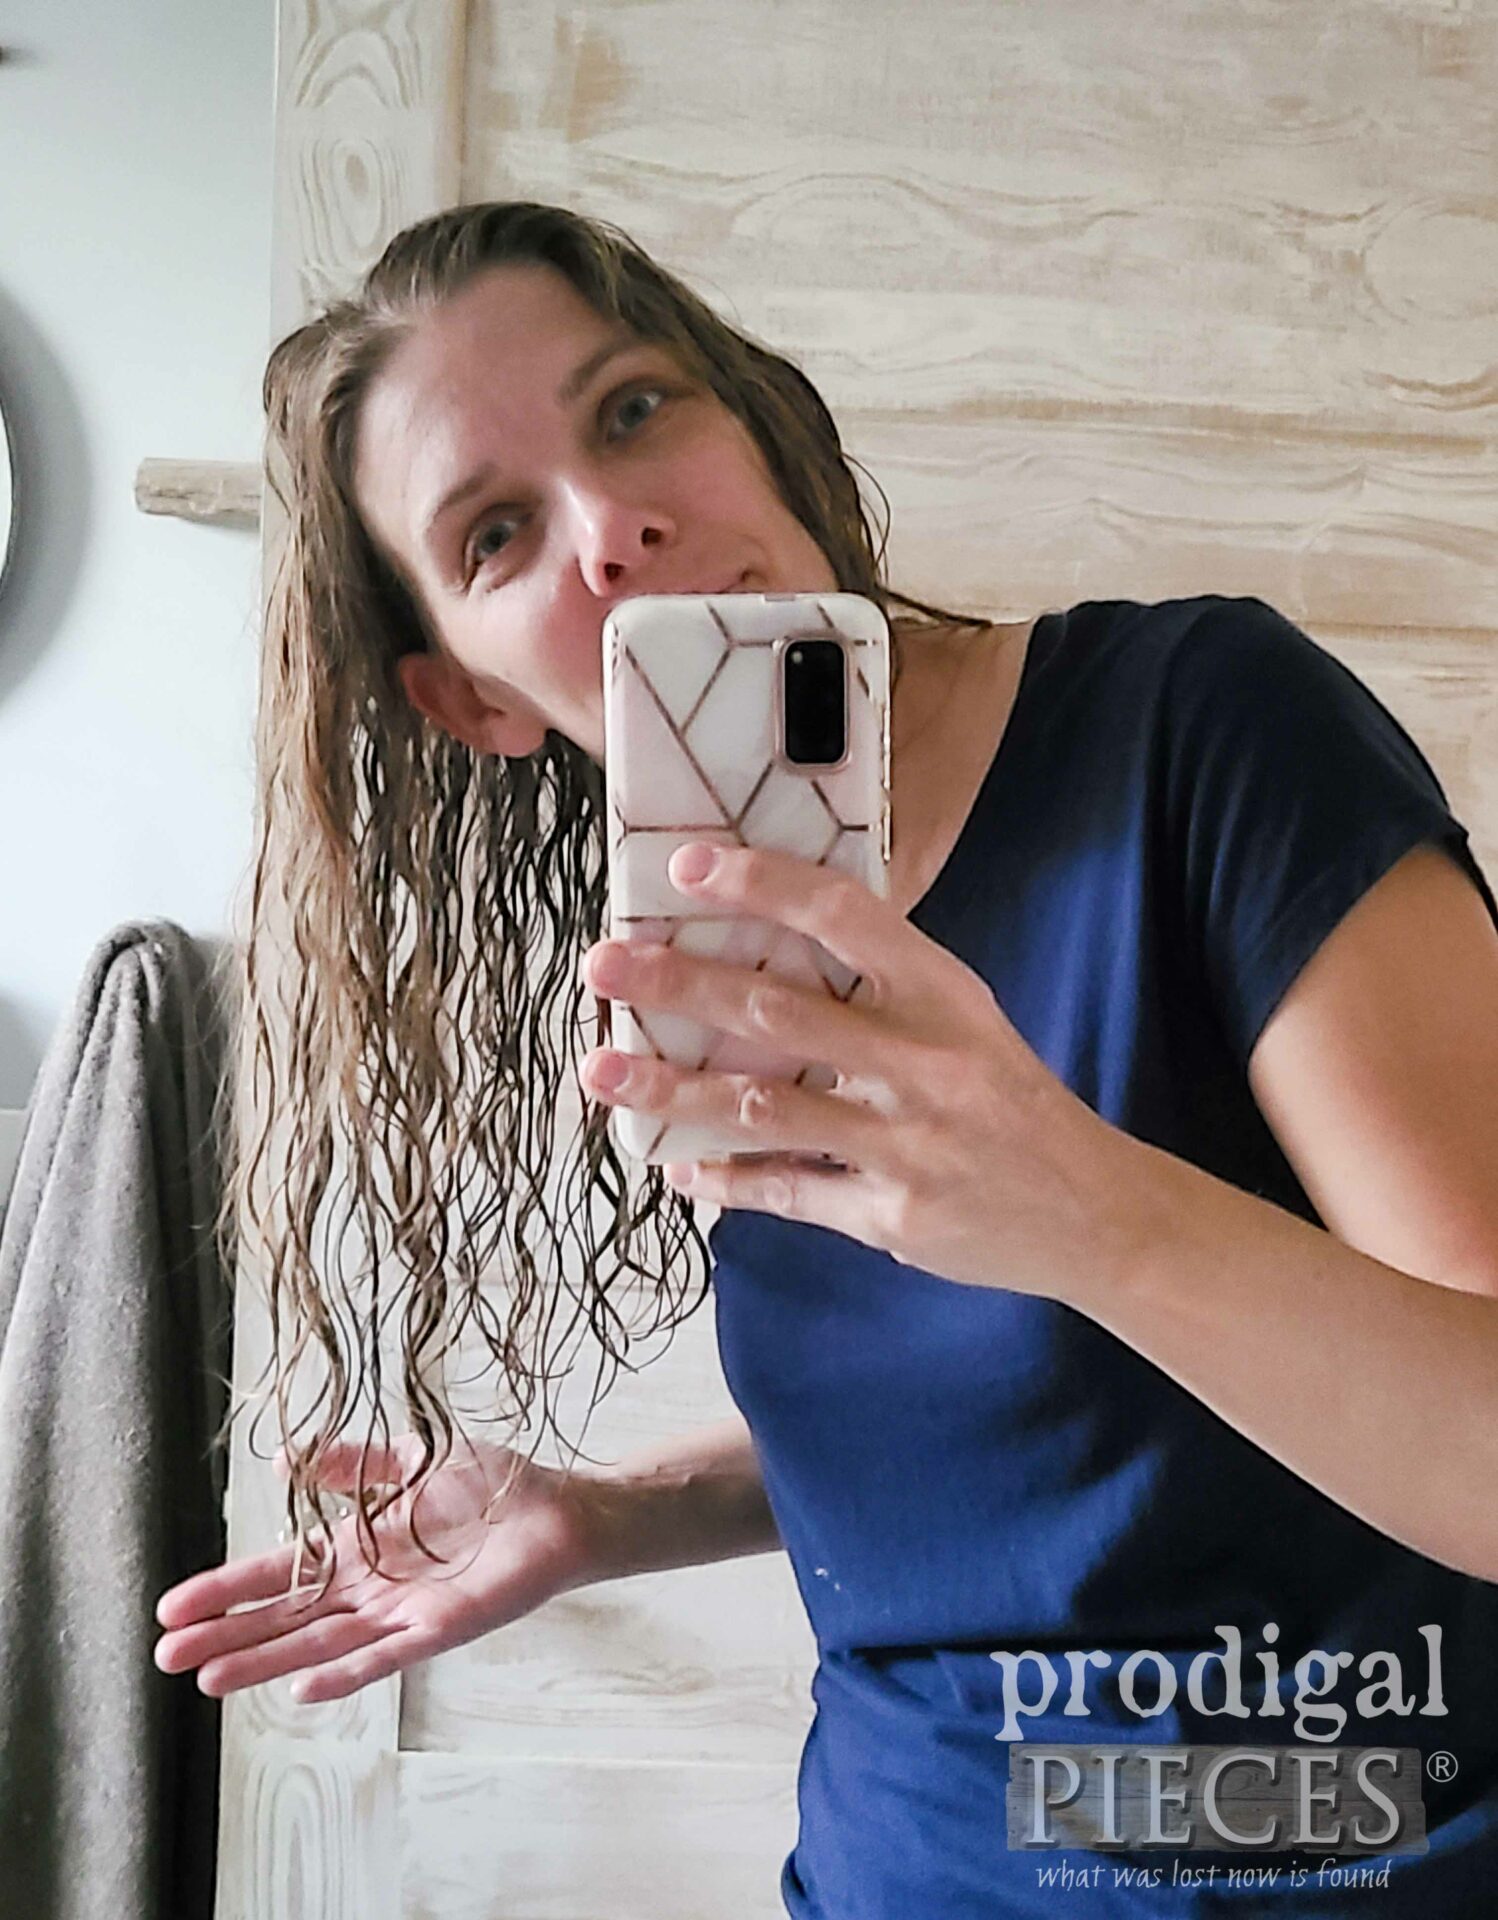
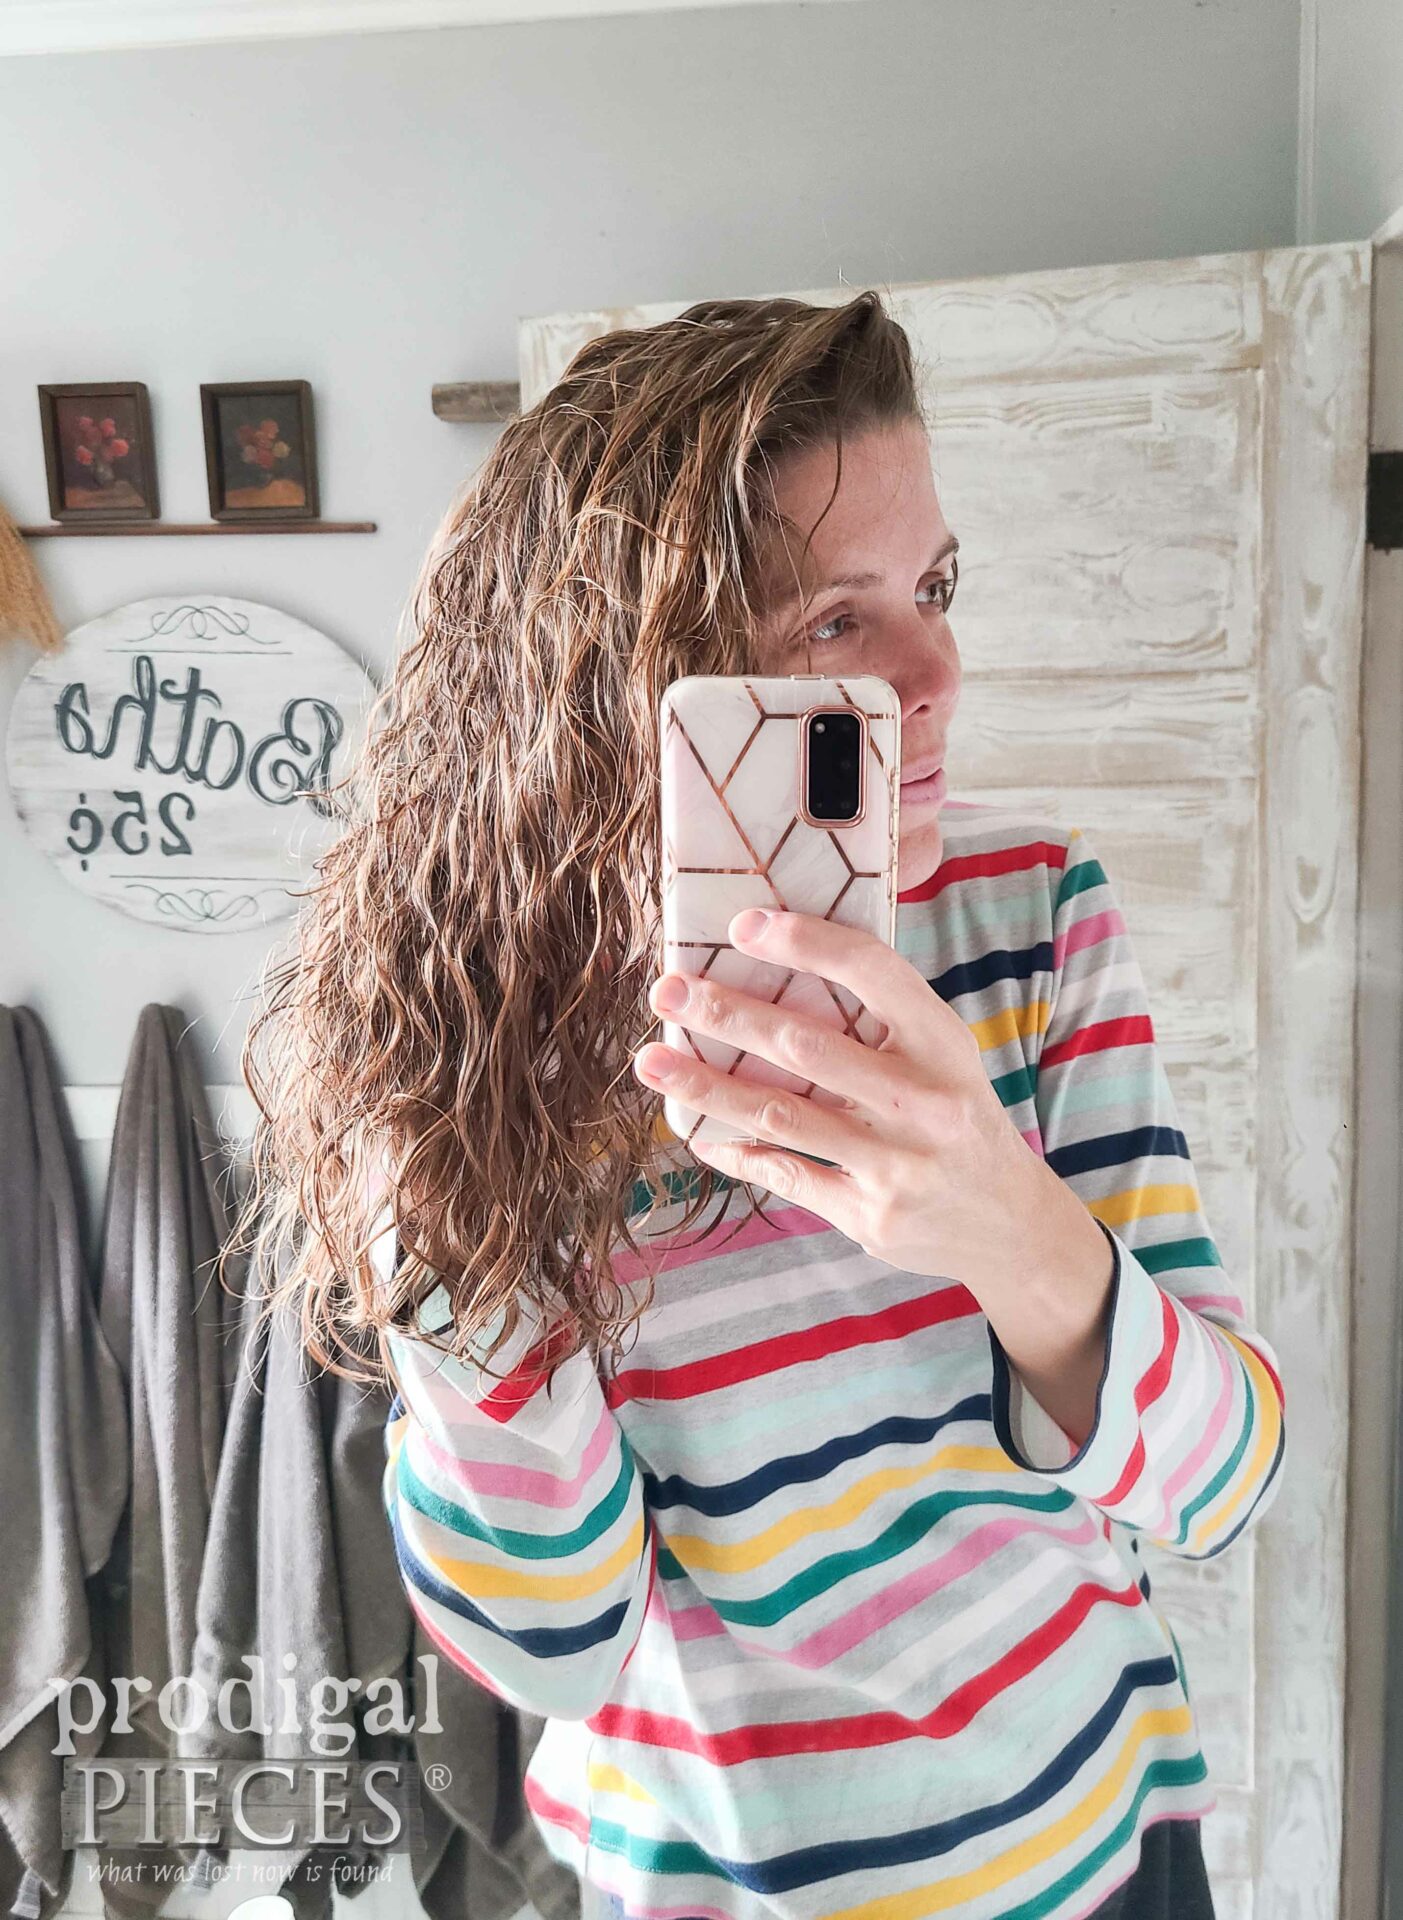
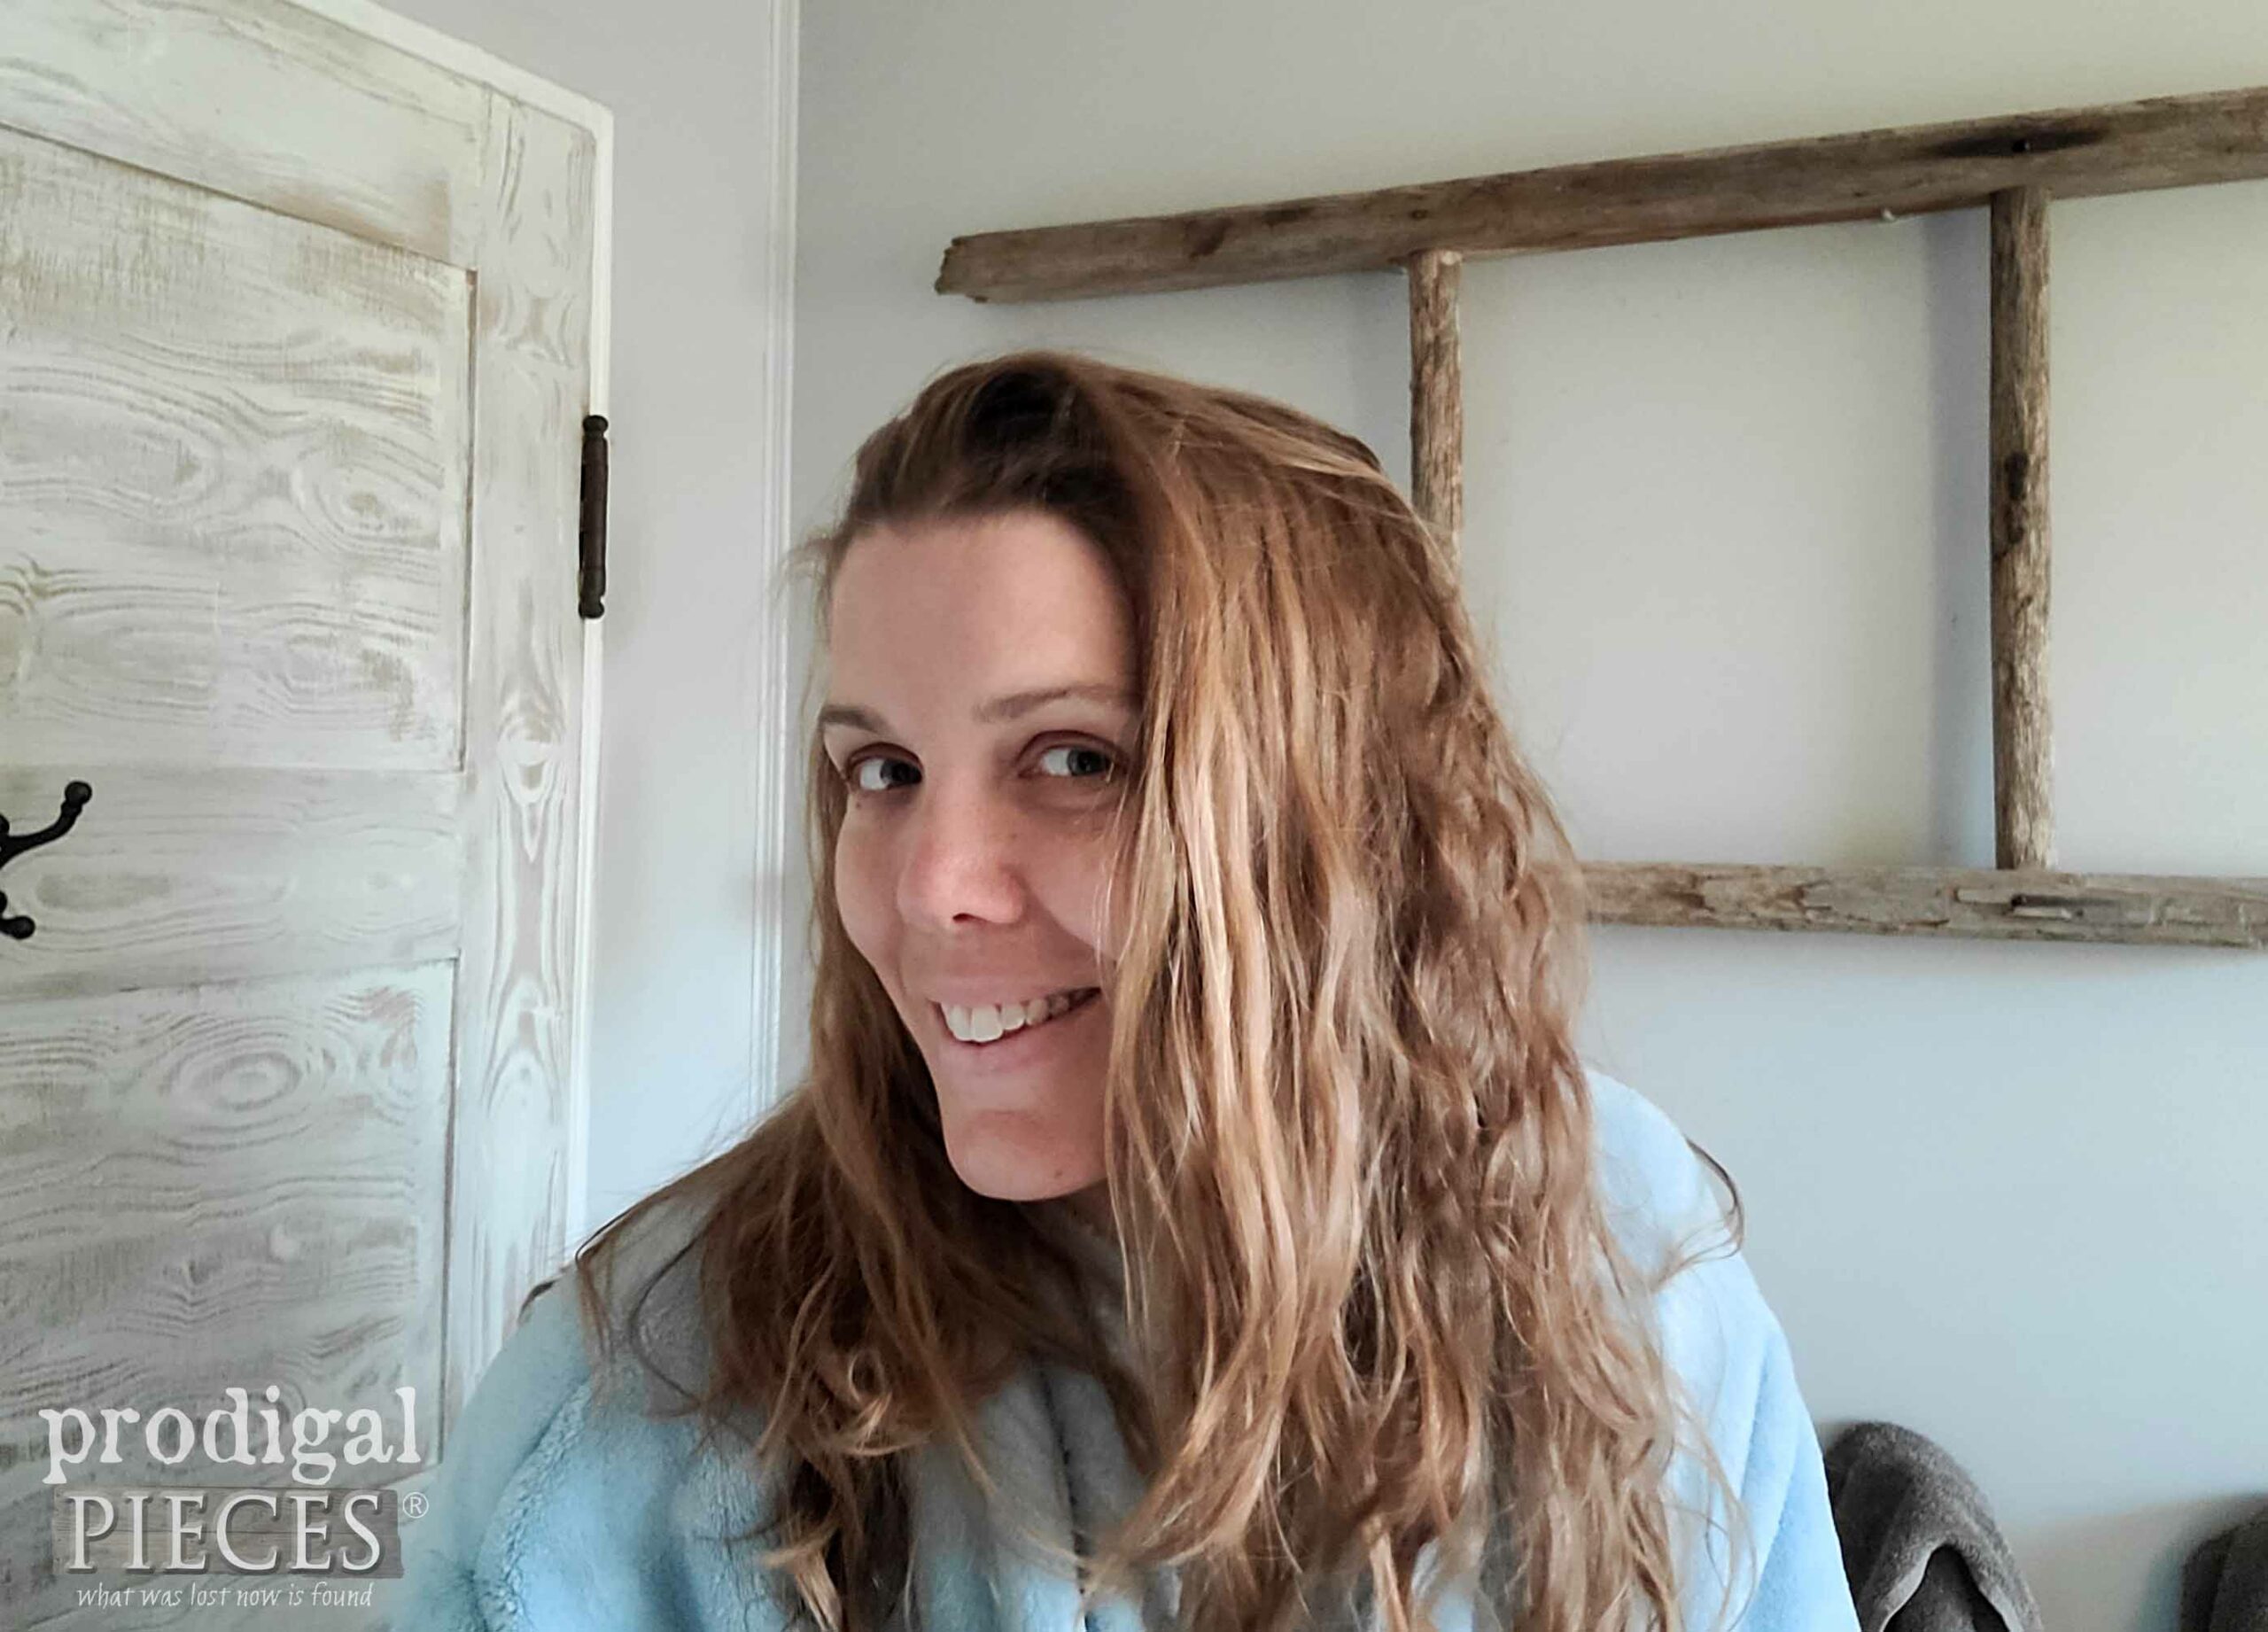
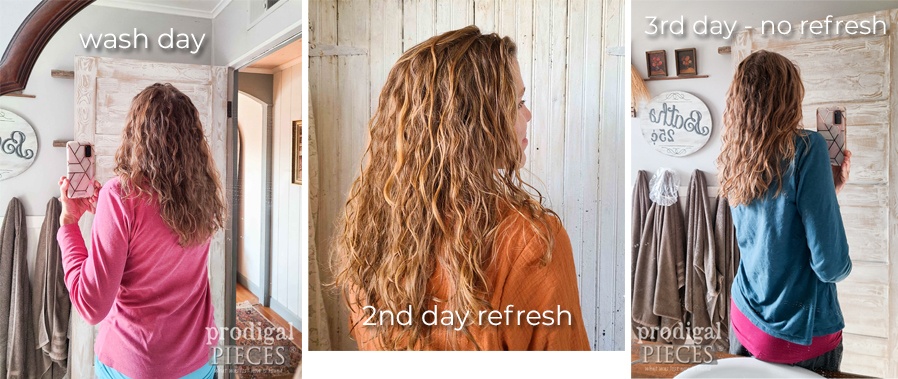
If you have no idea what that means, don’t worry. Neither did I. Talk about a learning curve! I’ve spent weeks trying this and that to see what in the world my hair needs. First, let’s take a look at my lil’ ol’ self on my typical wash day (it’s time to wash up). At this point, I have already cut a about 3-4″ off my hair in layers.
My hair is, for the most part, straight. However, in the back, I have my bacon hair. Yep. What I call bacon hair because it looks like…well…bacon.
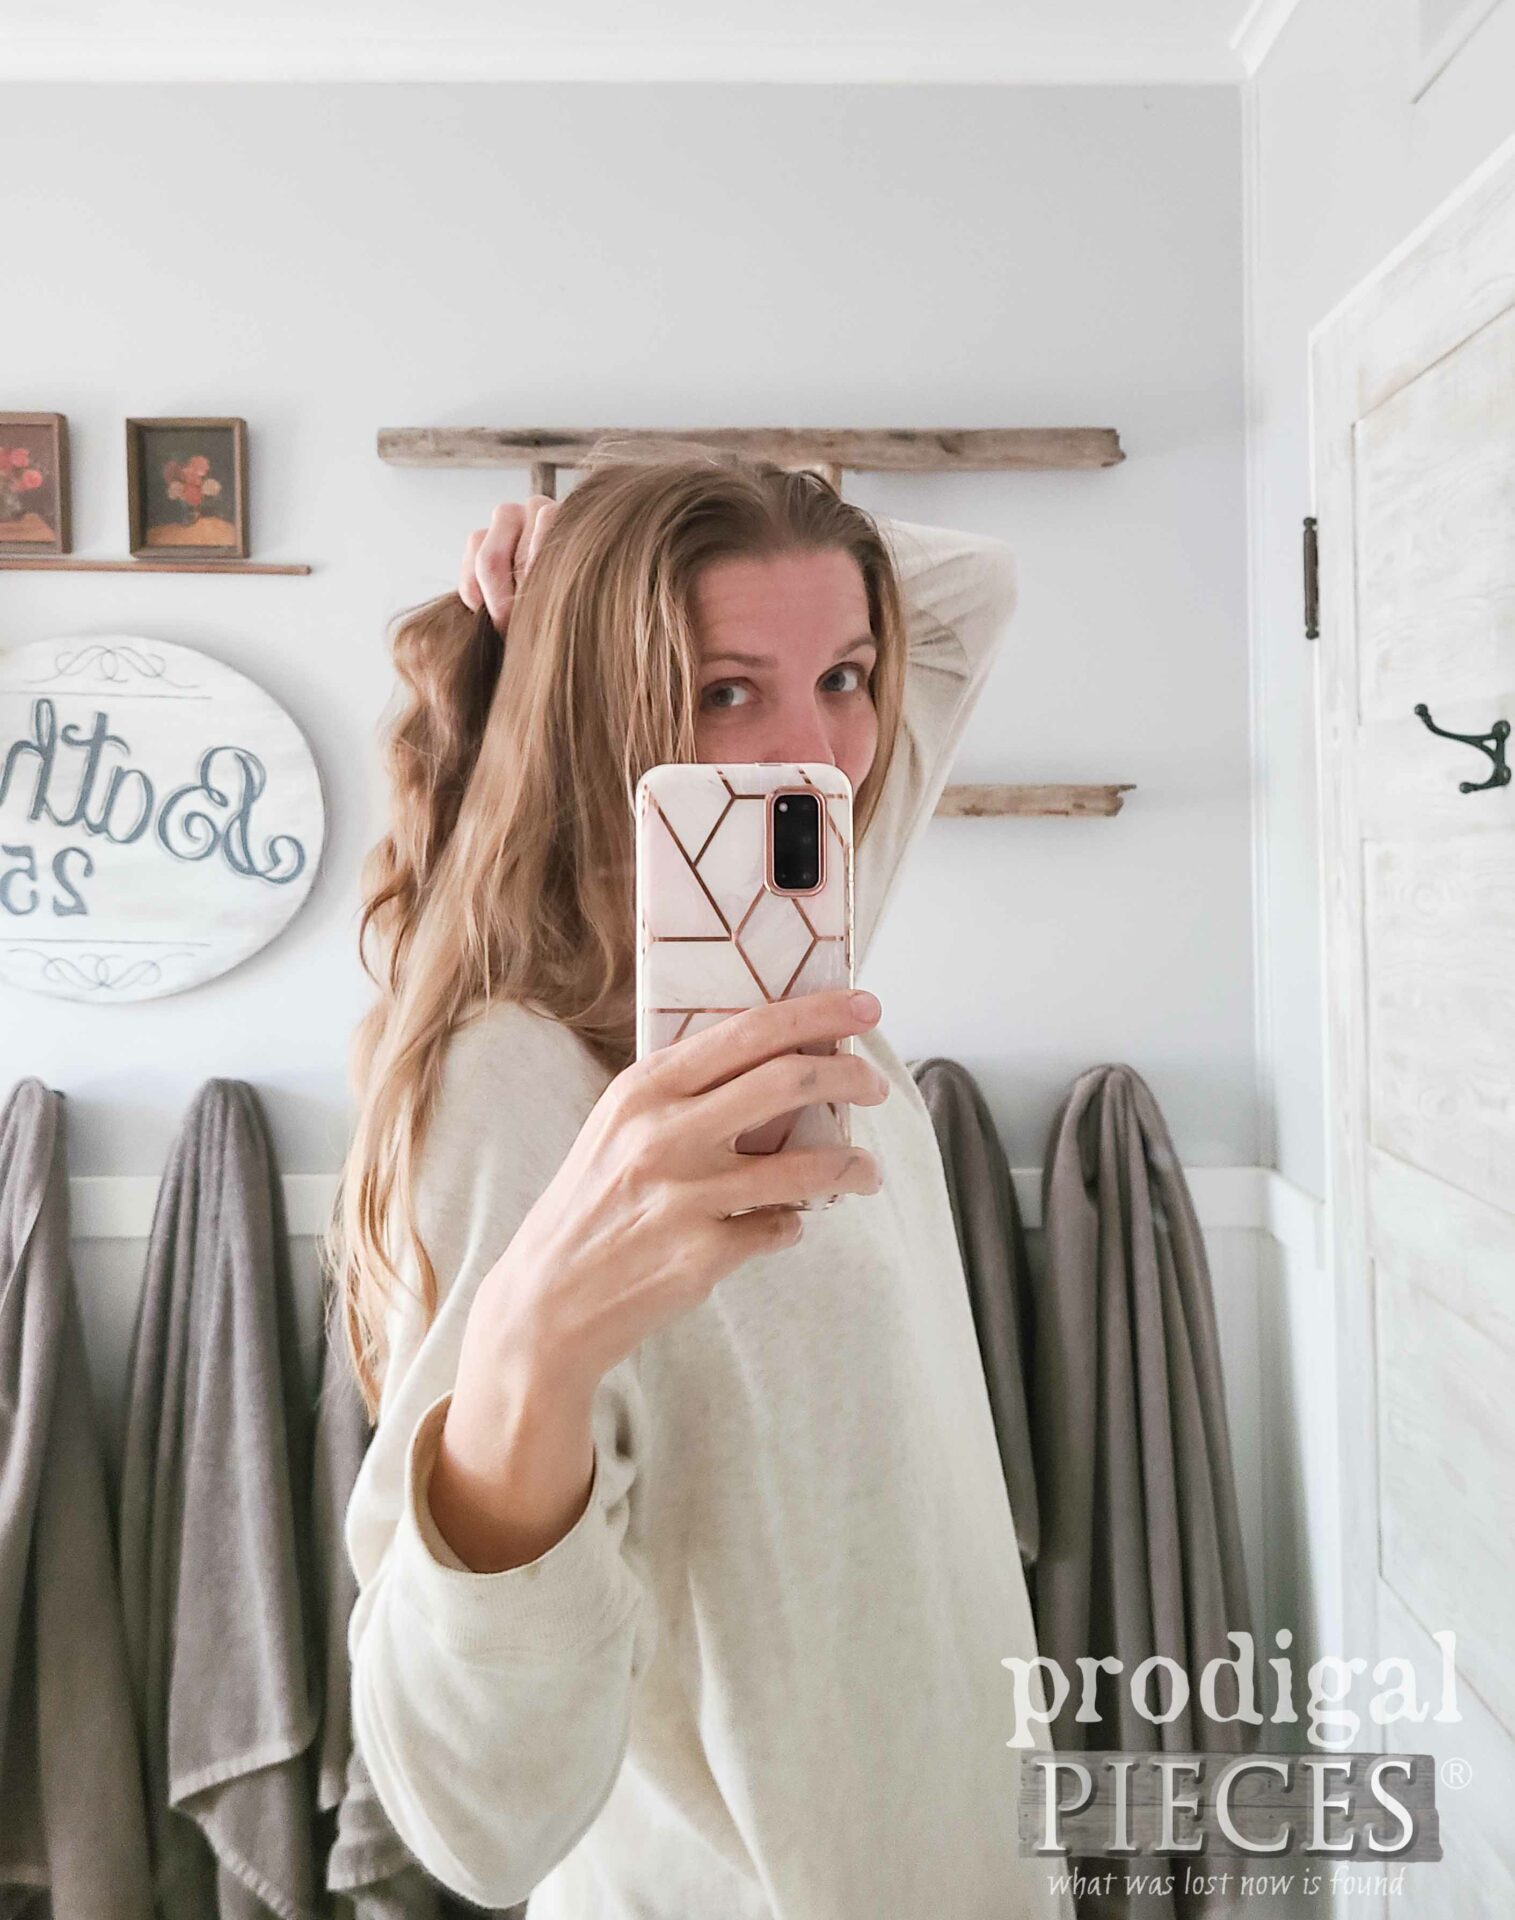
Since on most workdays I have my hair up in a twist, I just assume that the wave is because of that. However, I always saw waves when my hair was wet, but never really did anything about it.
OUT COMES WAVES
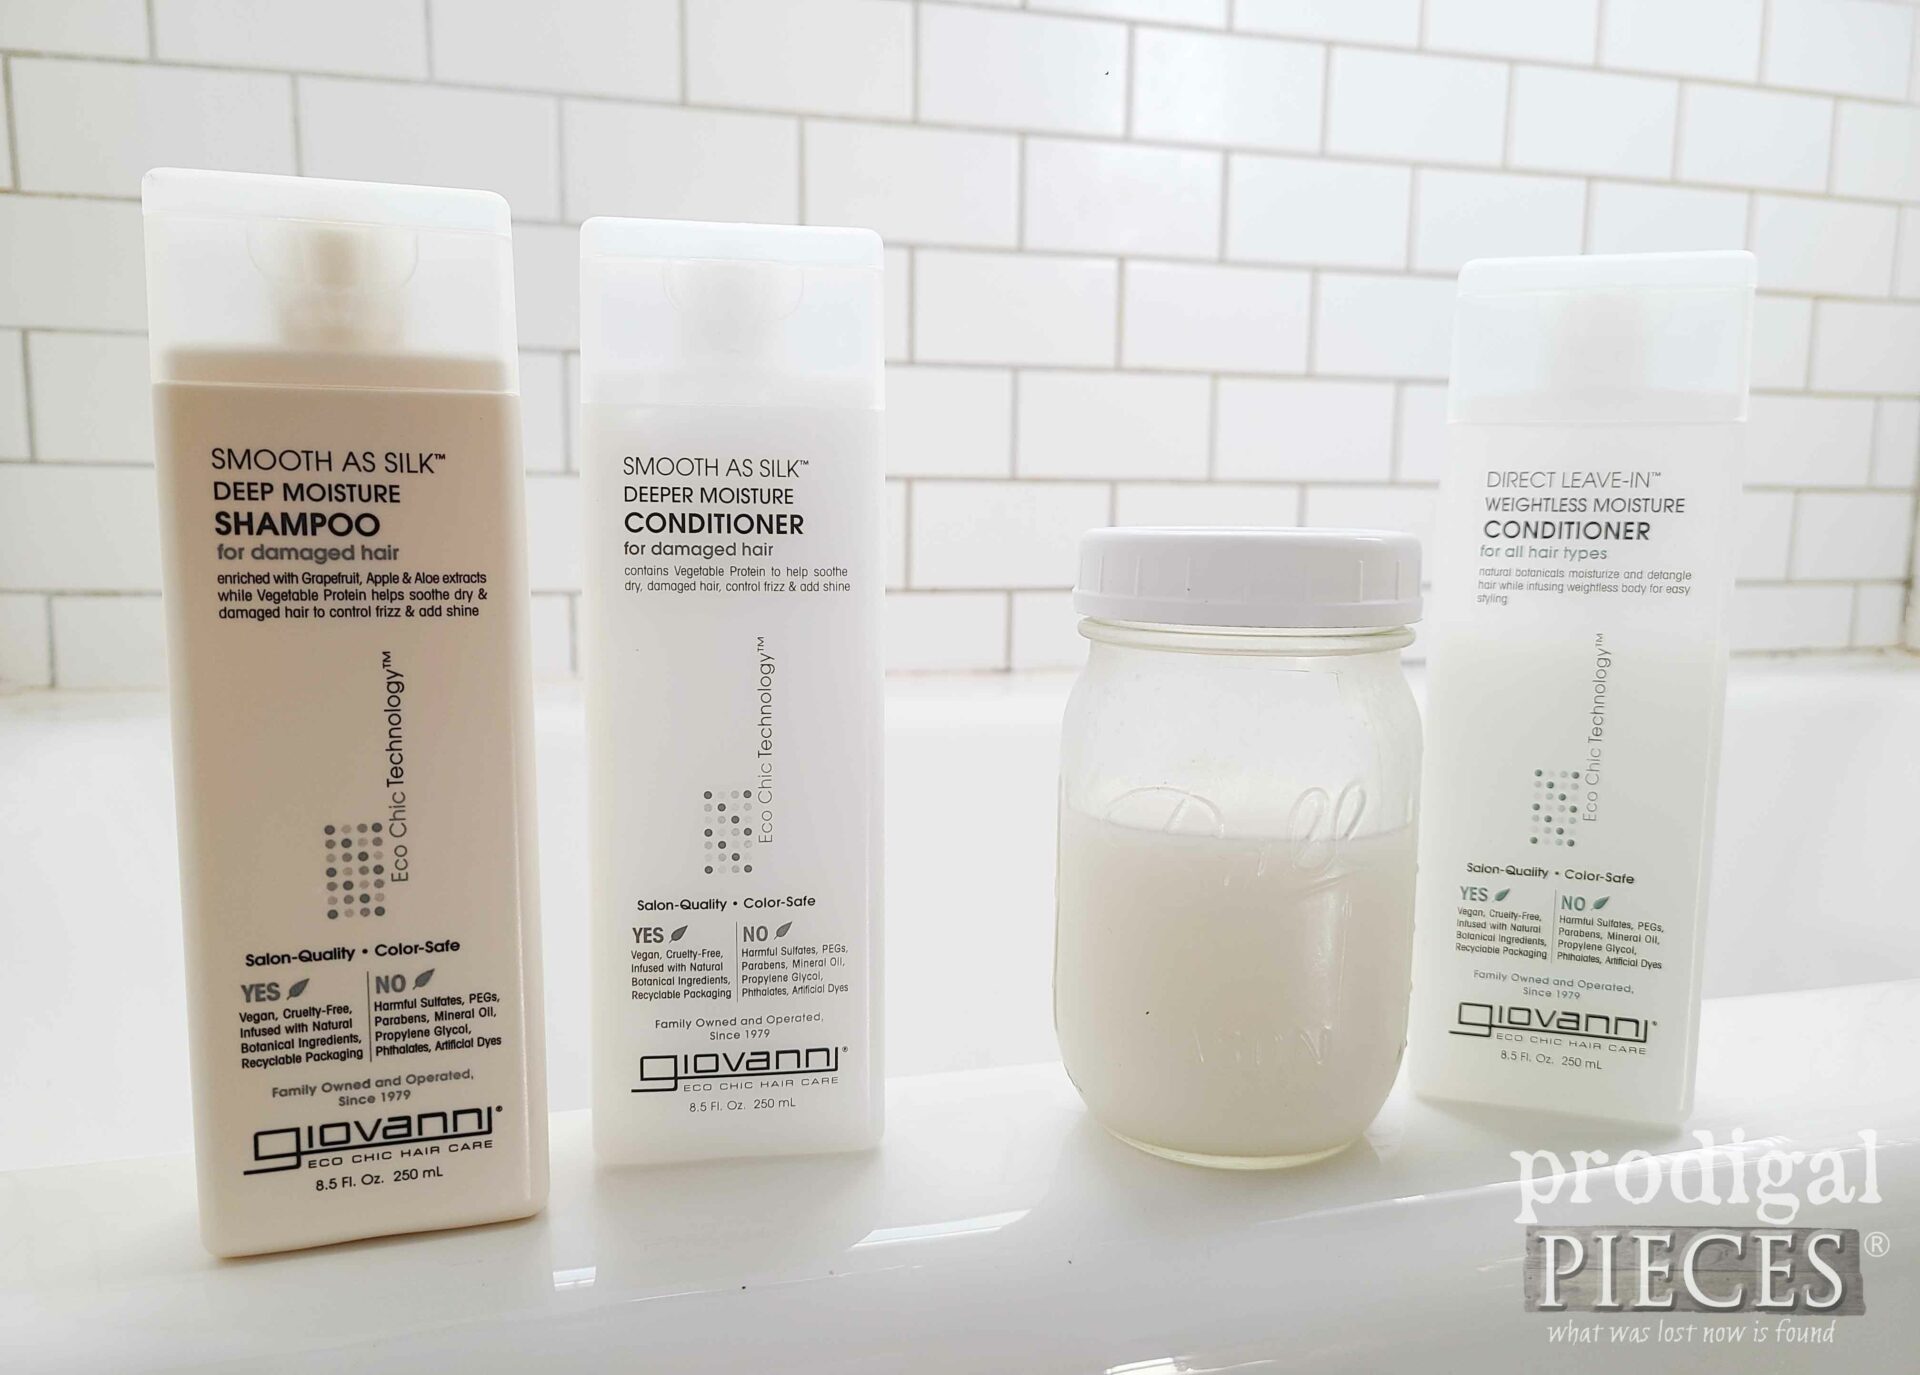
If you’re still reading, hang on and I’ll try to make this quick. Okay, so by beginning with The Curly Girl Method, I found that the products I already use are perfect. How did I know that? Well, you can plug your shampoo, conditioners, gels, mousses into Curlsbot and it will tell you if it’s free of sulphates, silicones, and other unwanted ingredients. You see, my hair has always been super picky and I’m anal about using non-toxic products. About 12 years ago and after research, I found that Giovanni Hair Care Smooth as Silk suited me perfectly. Thankfully, they are still doing wonders with wavy girl hair. The difference is that I now wash and style differently. (video demo below)
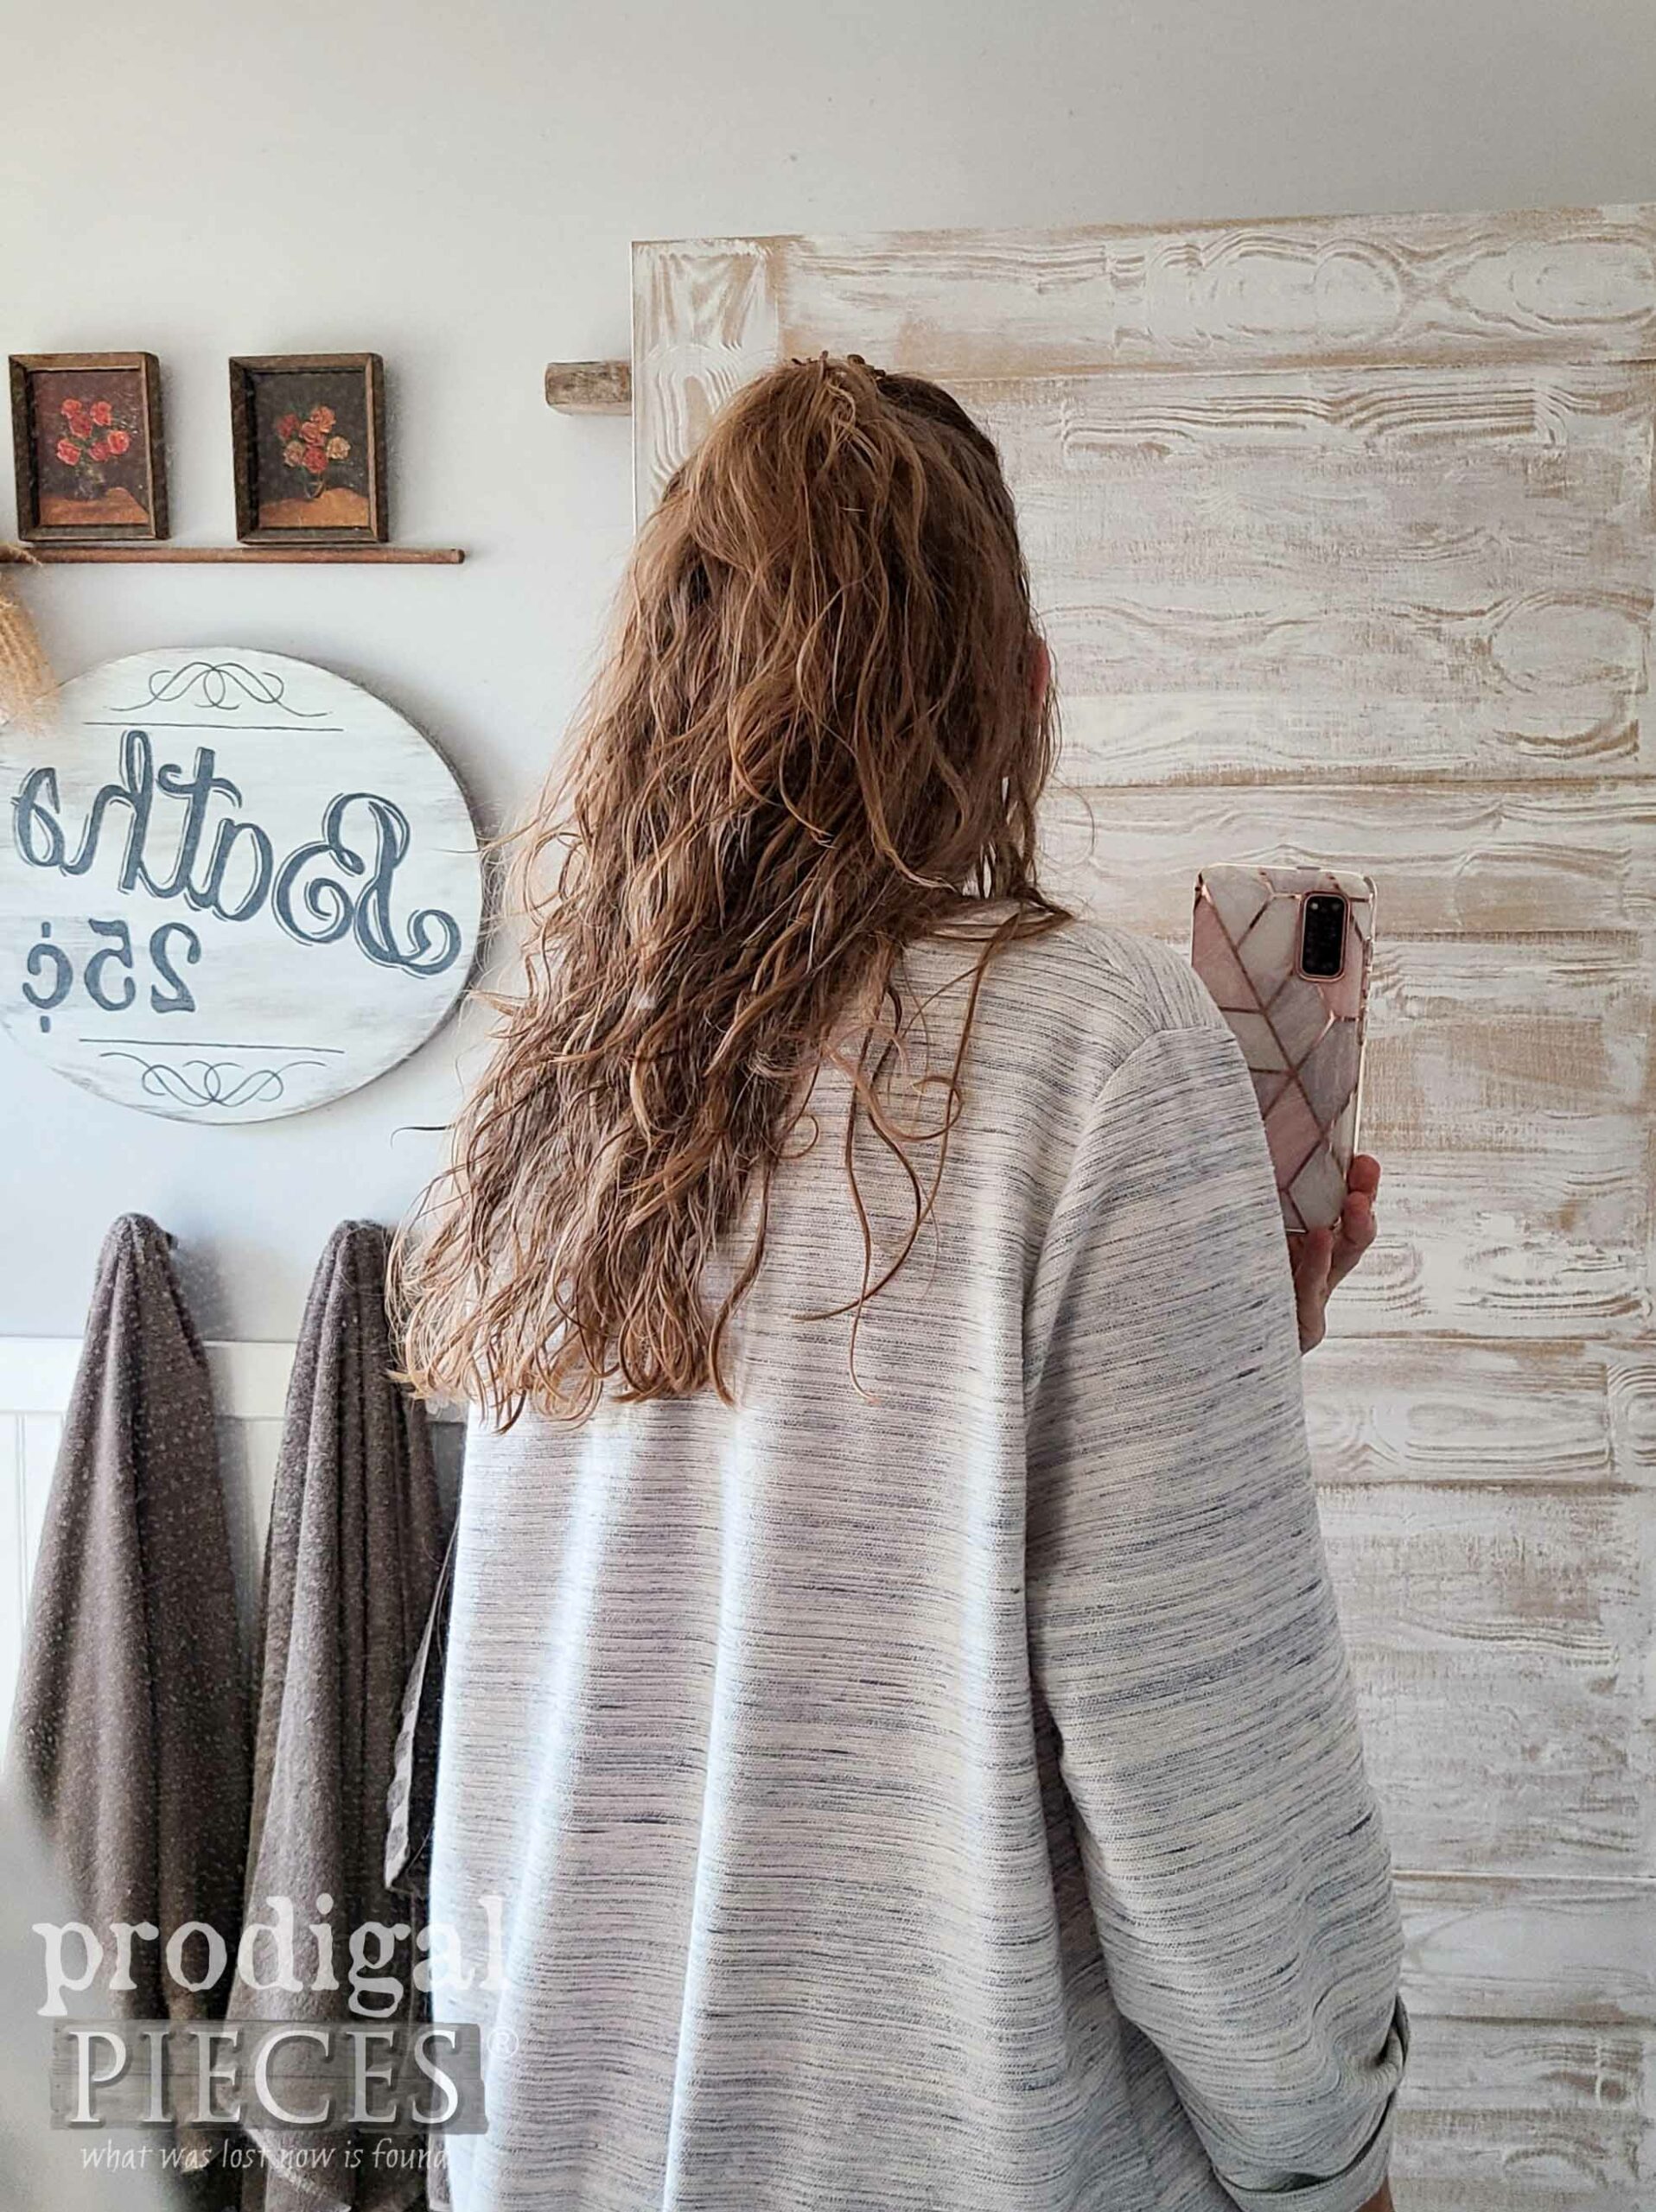
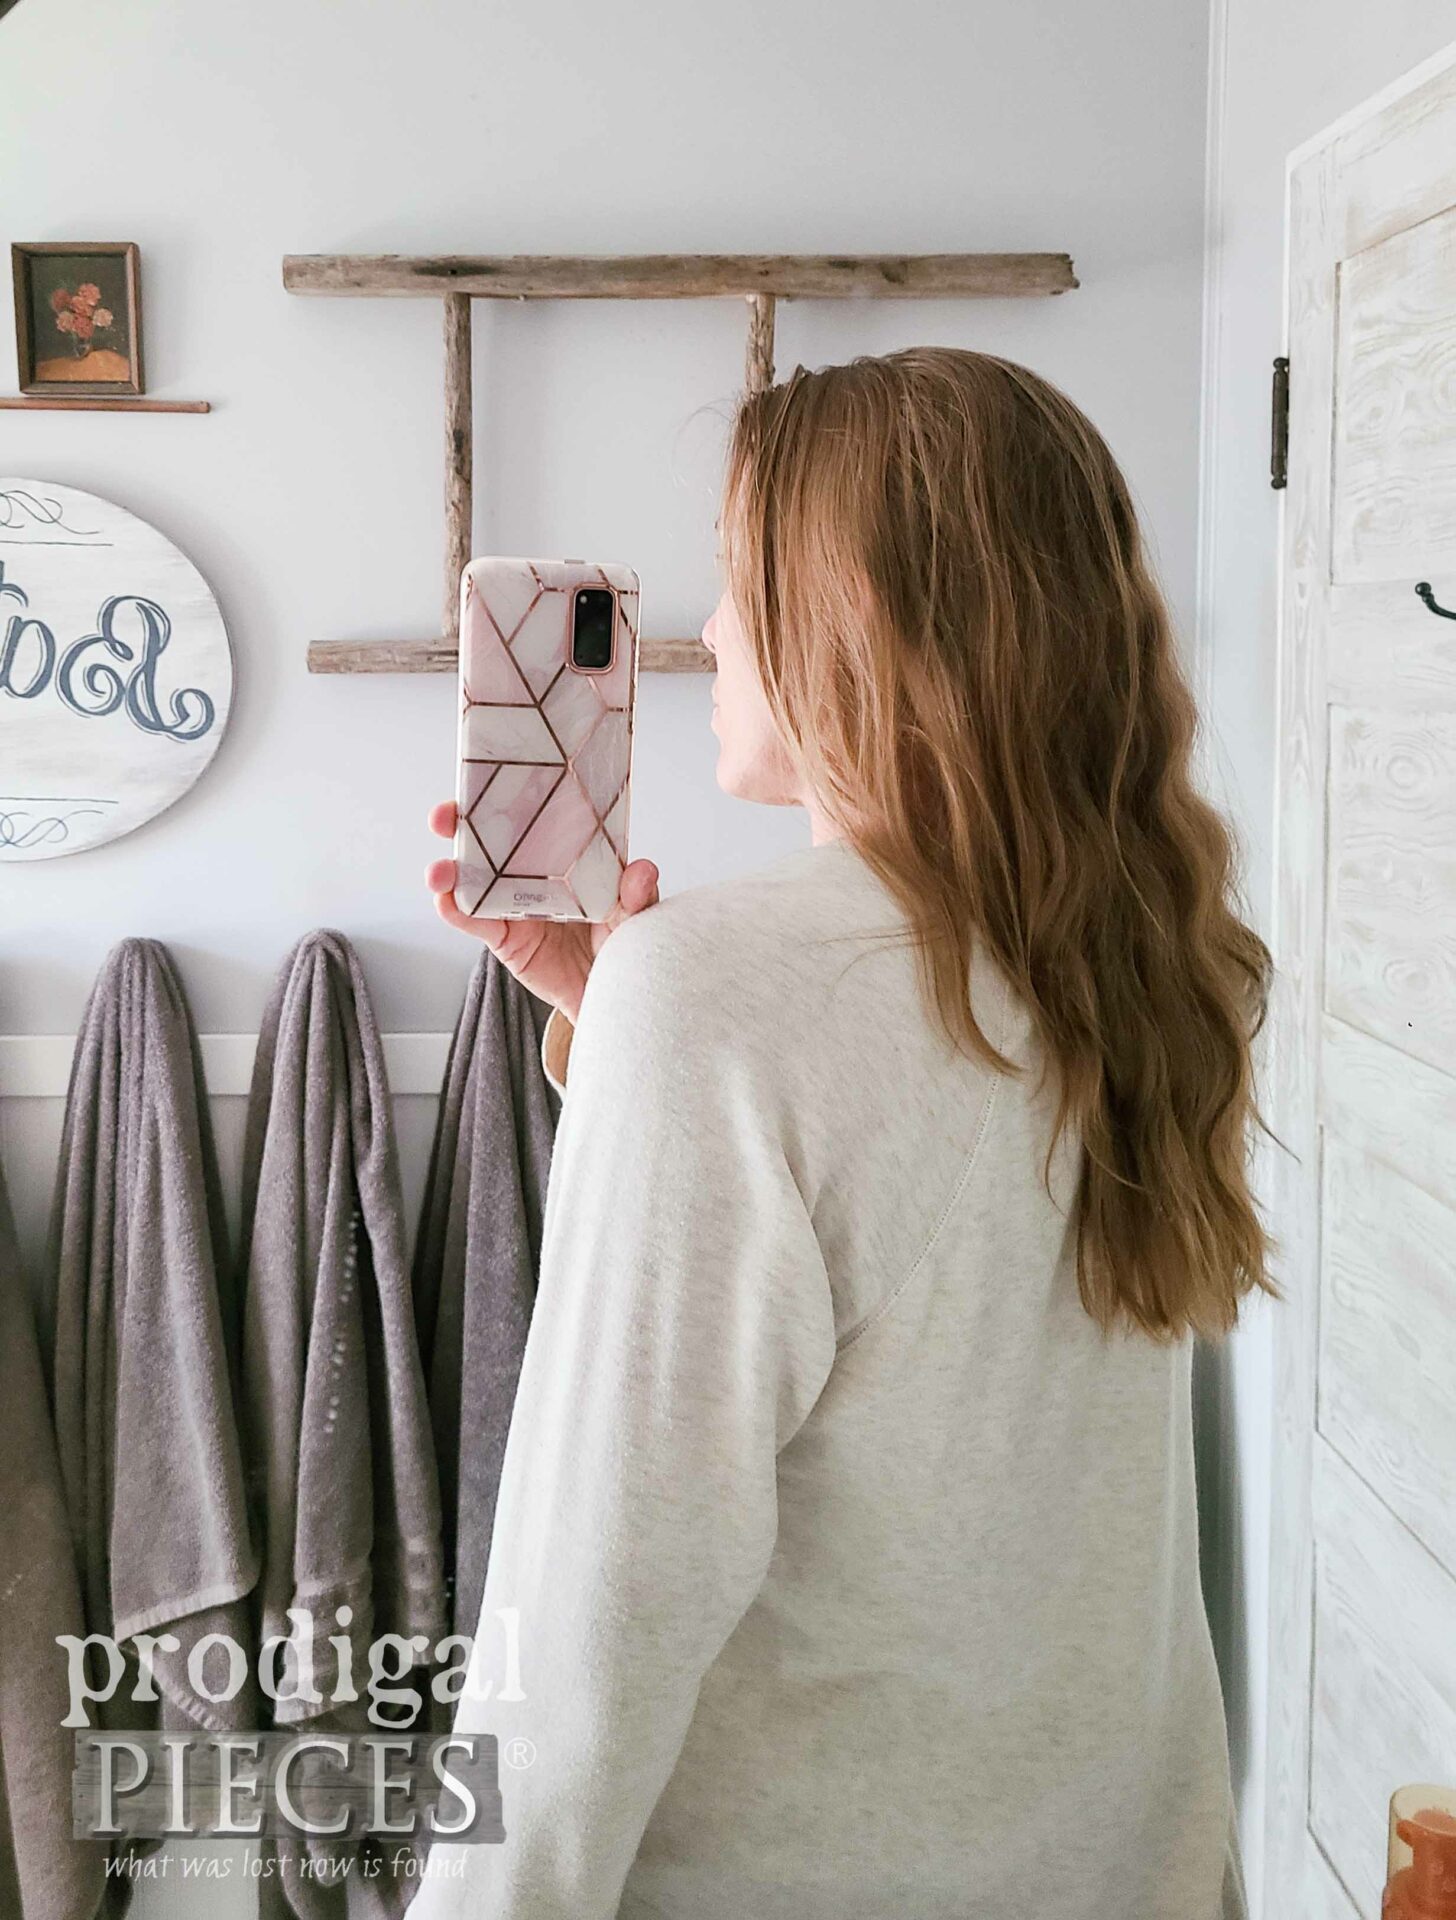
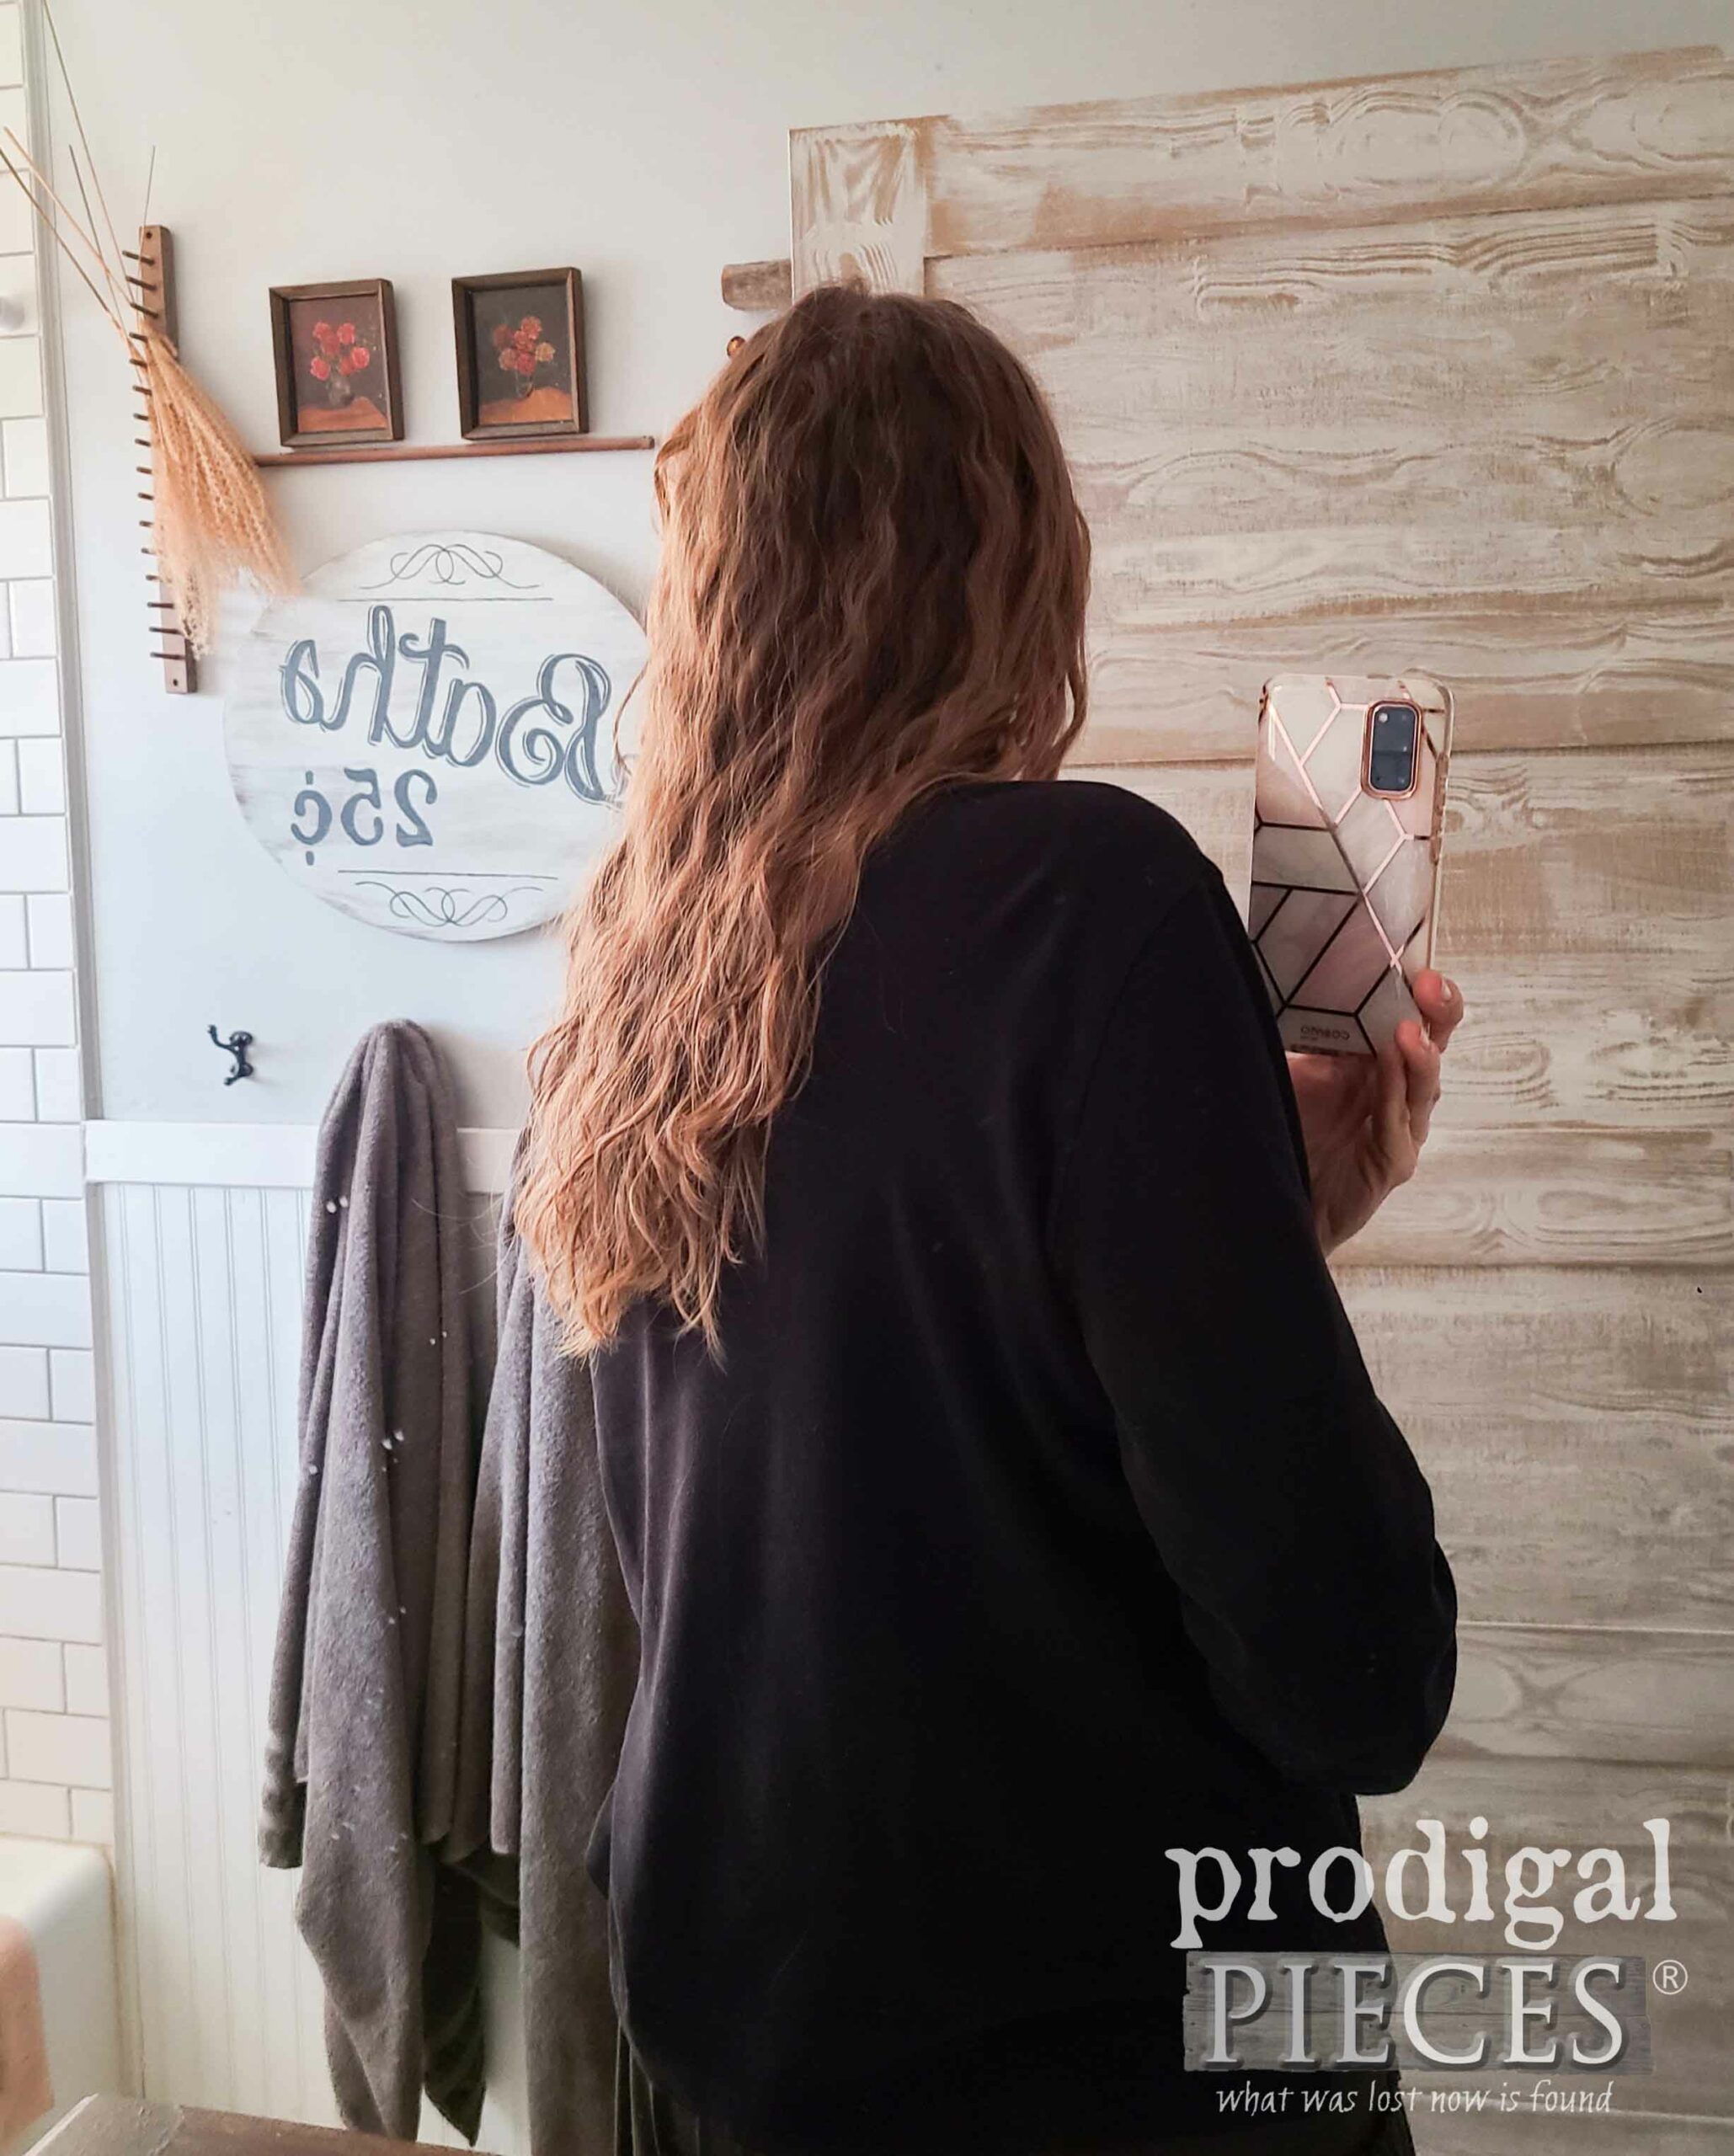
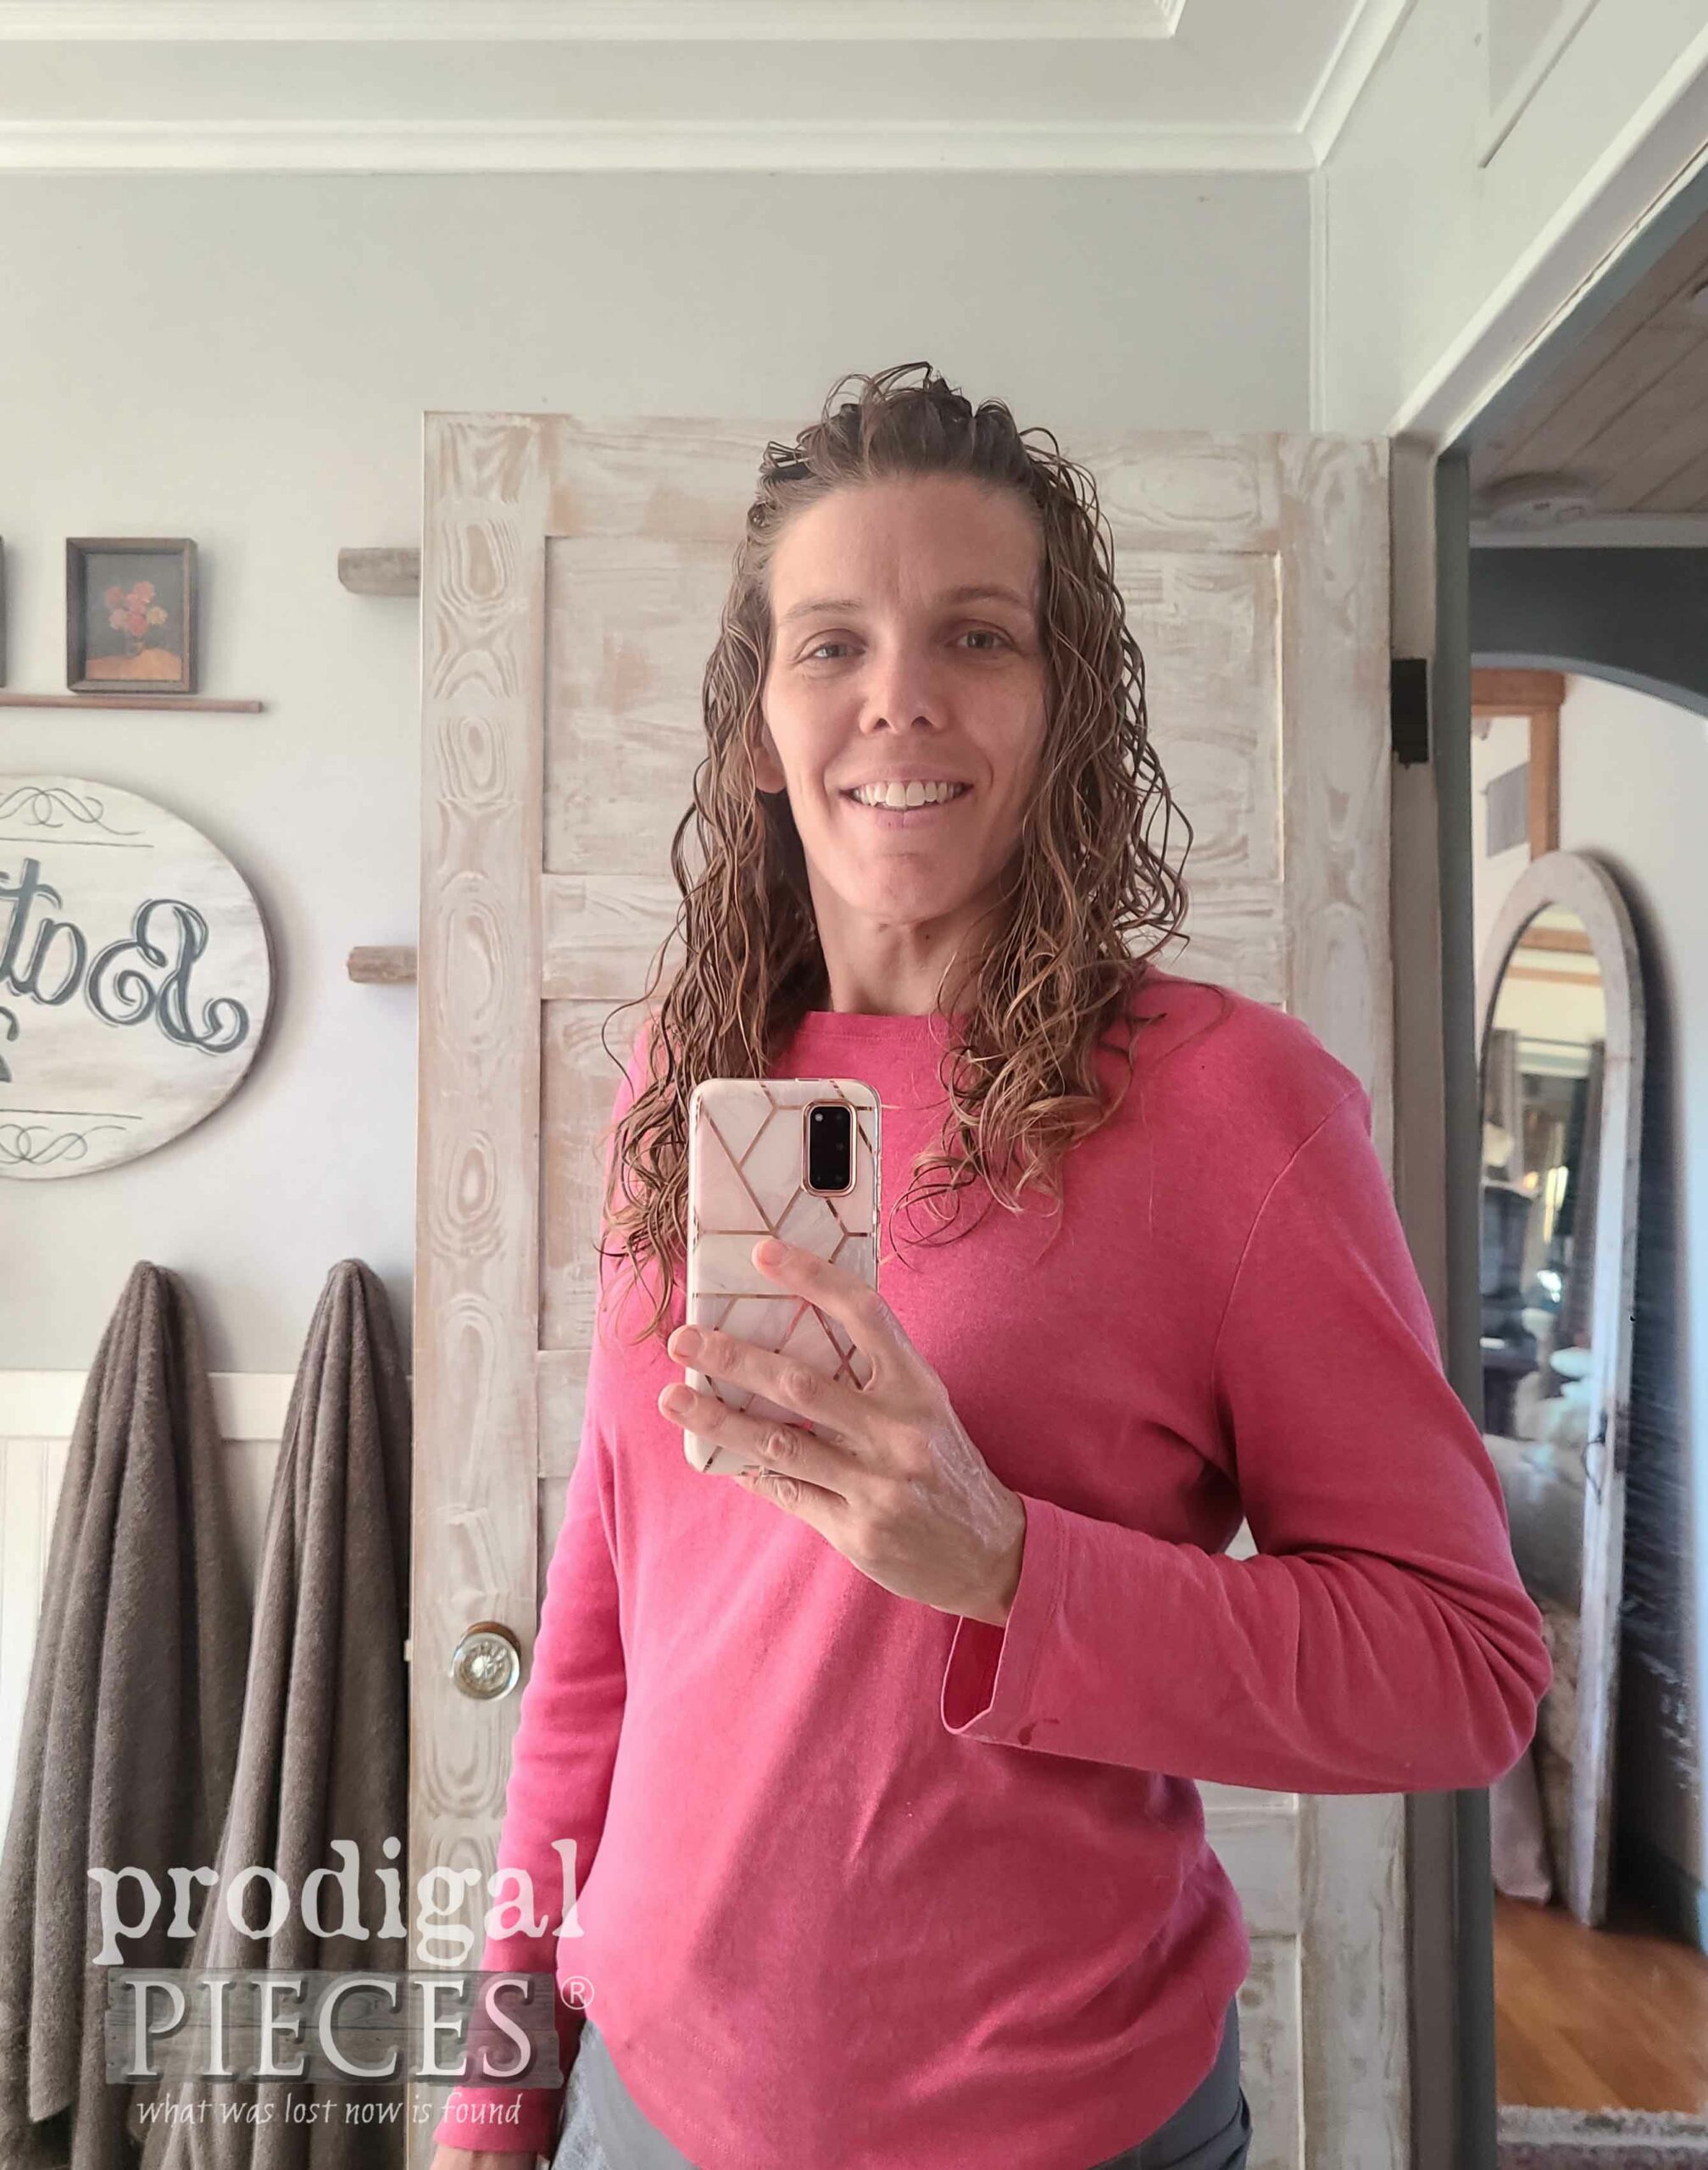
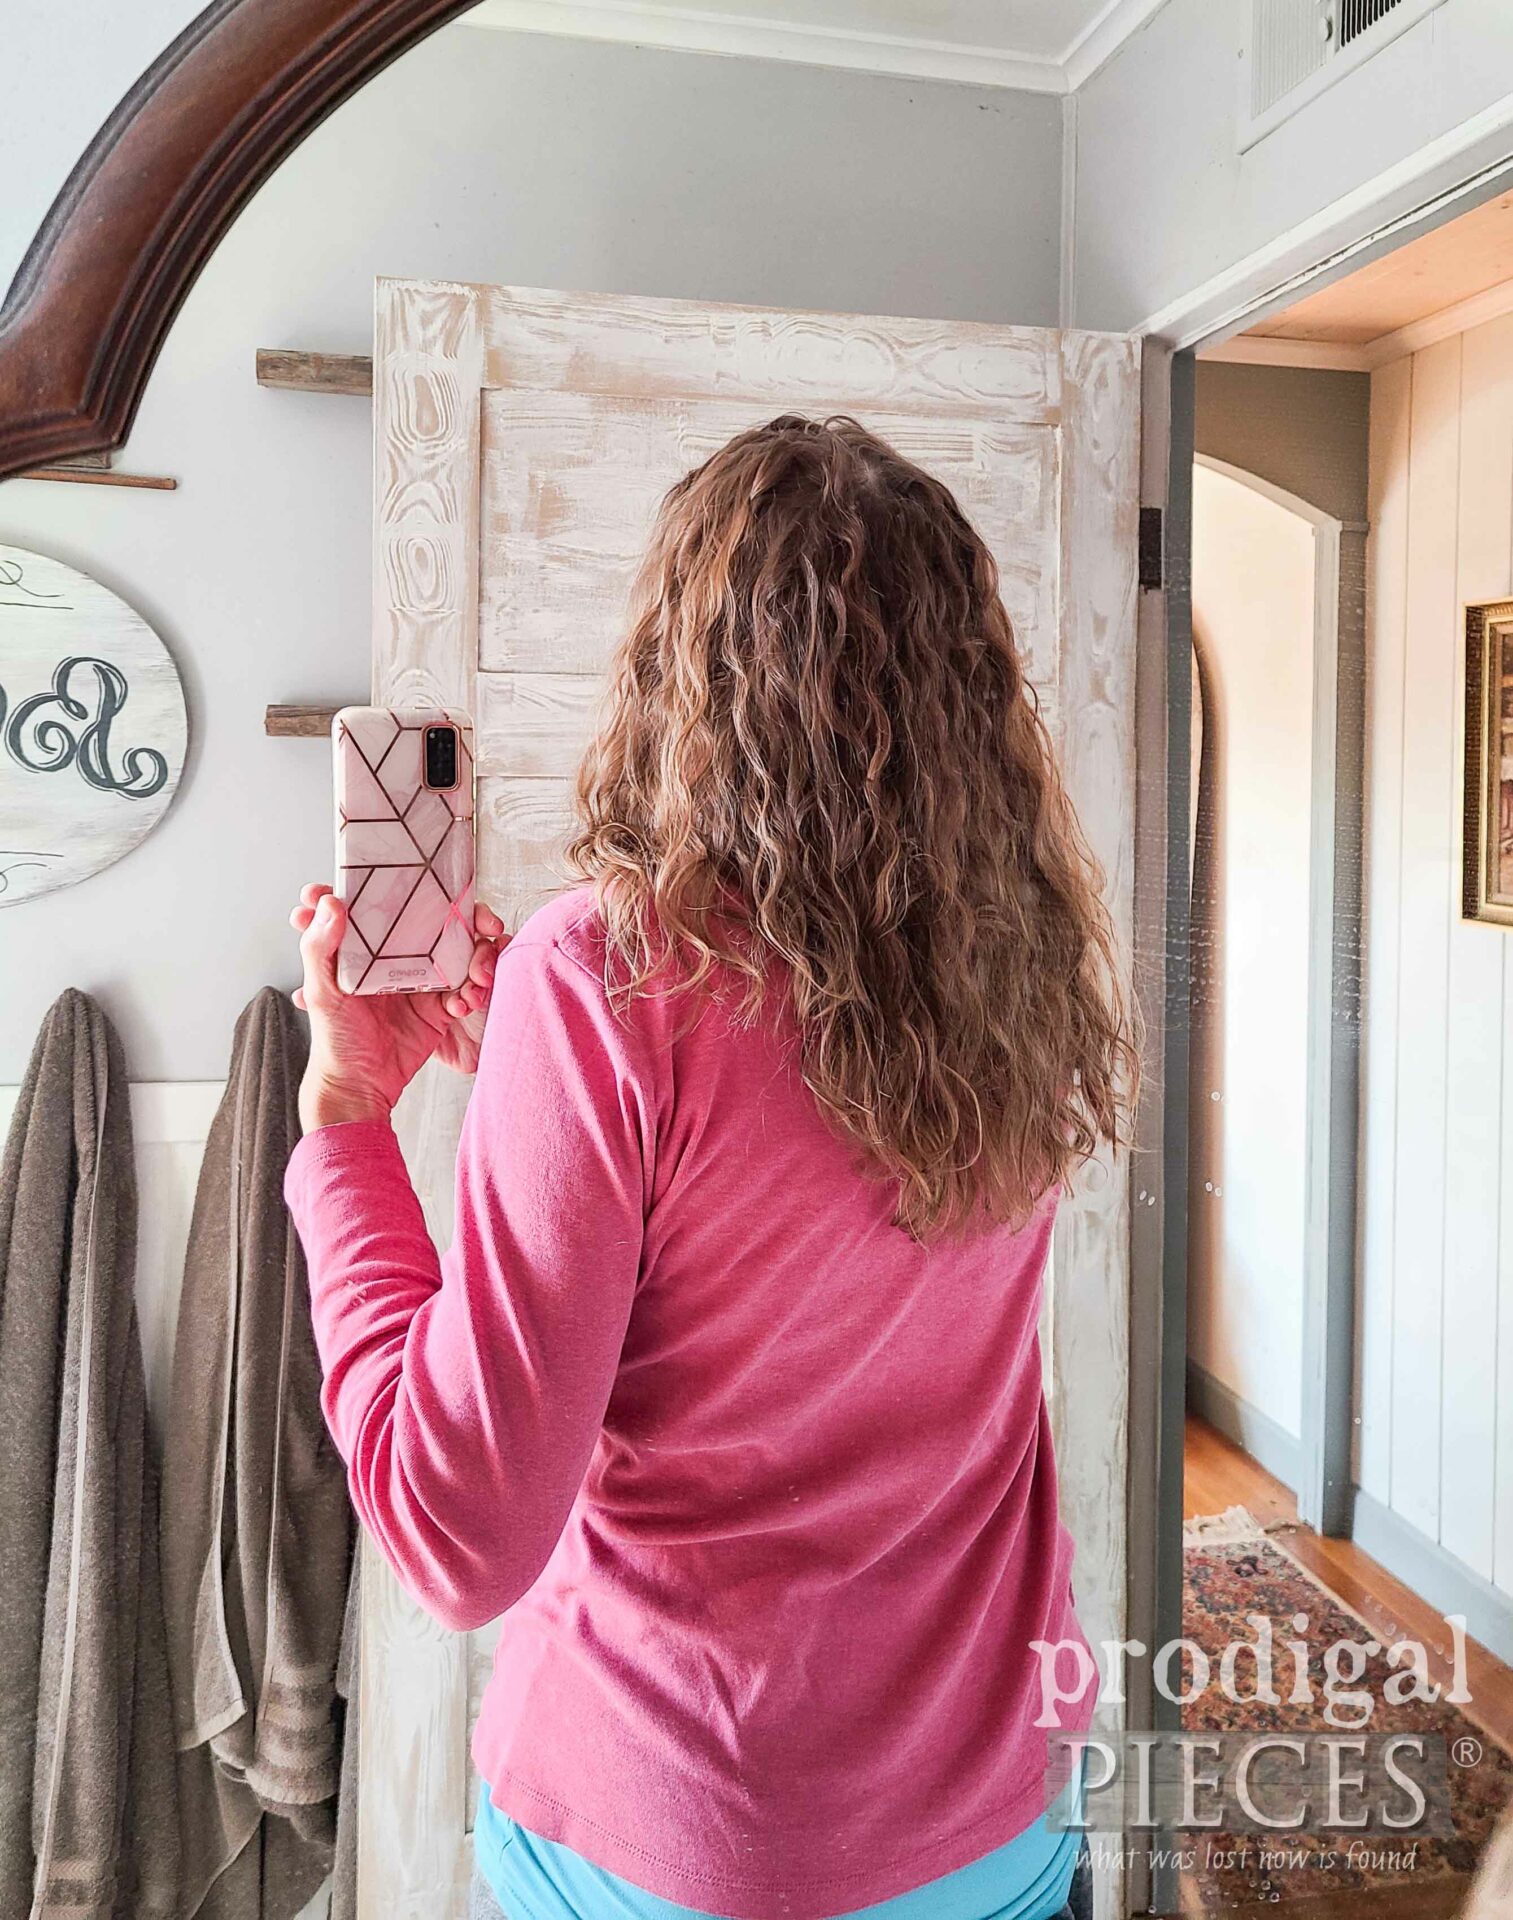
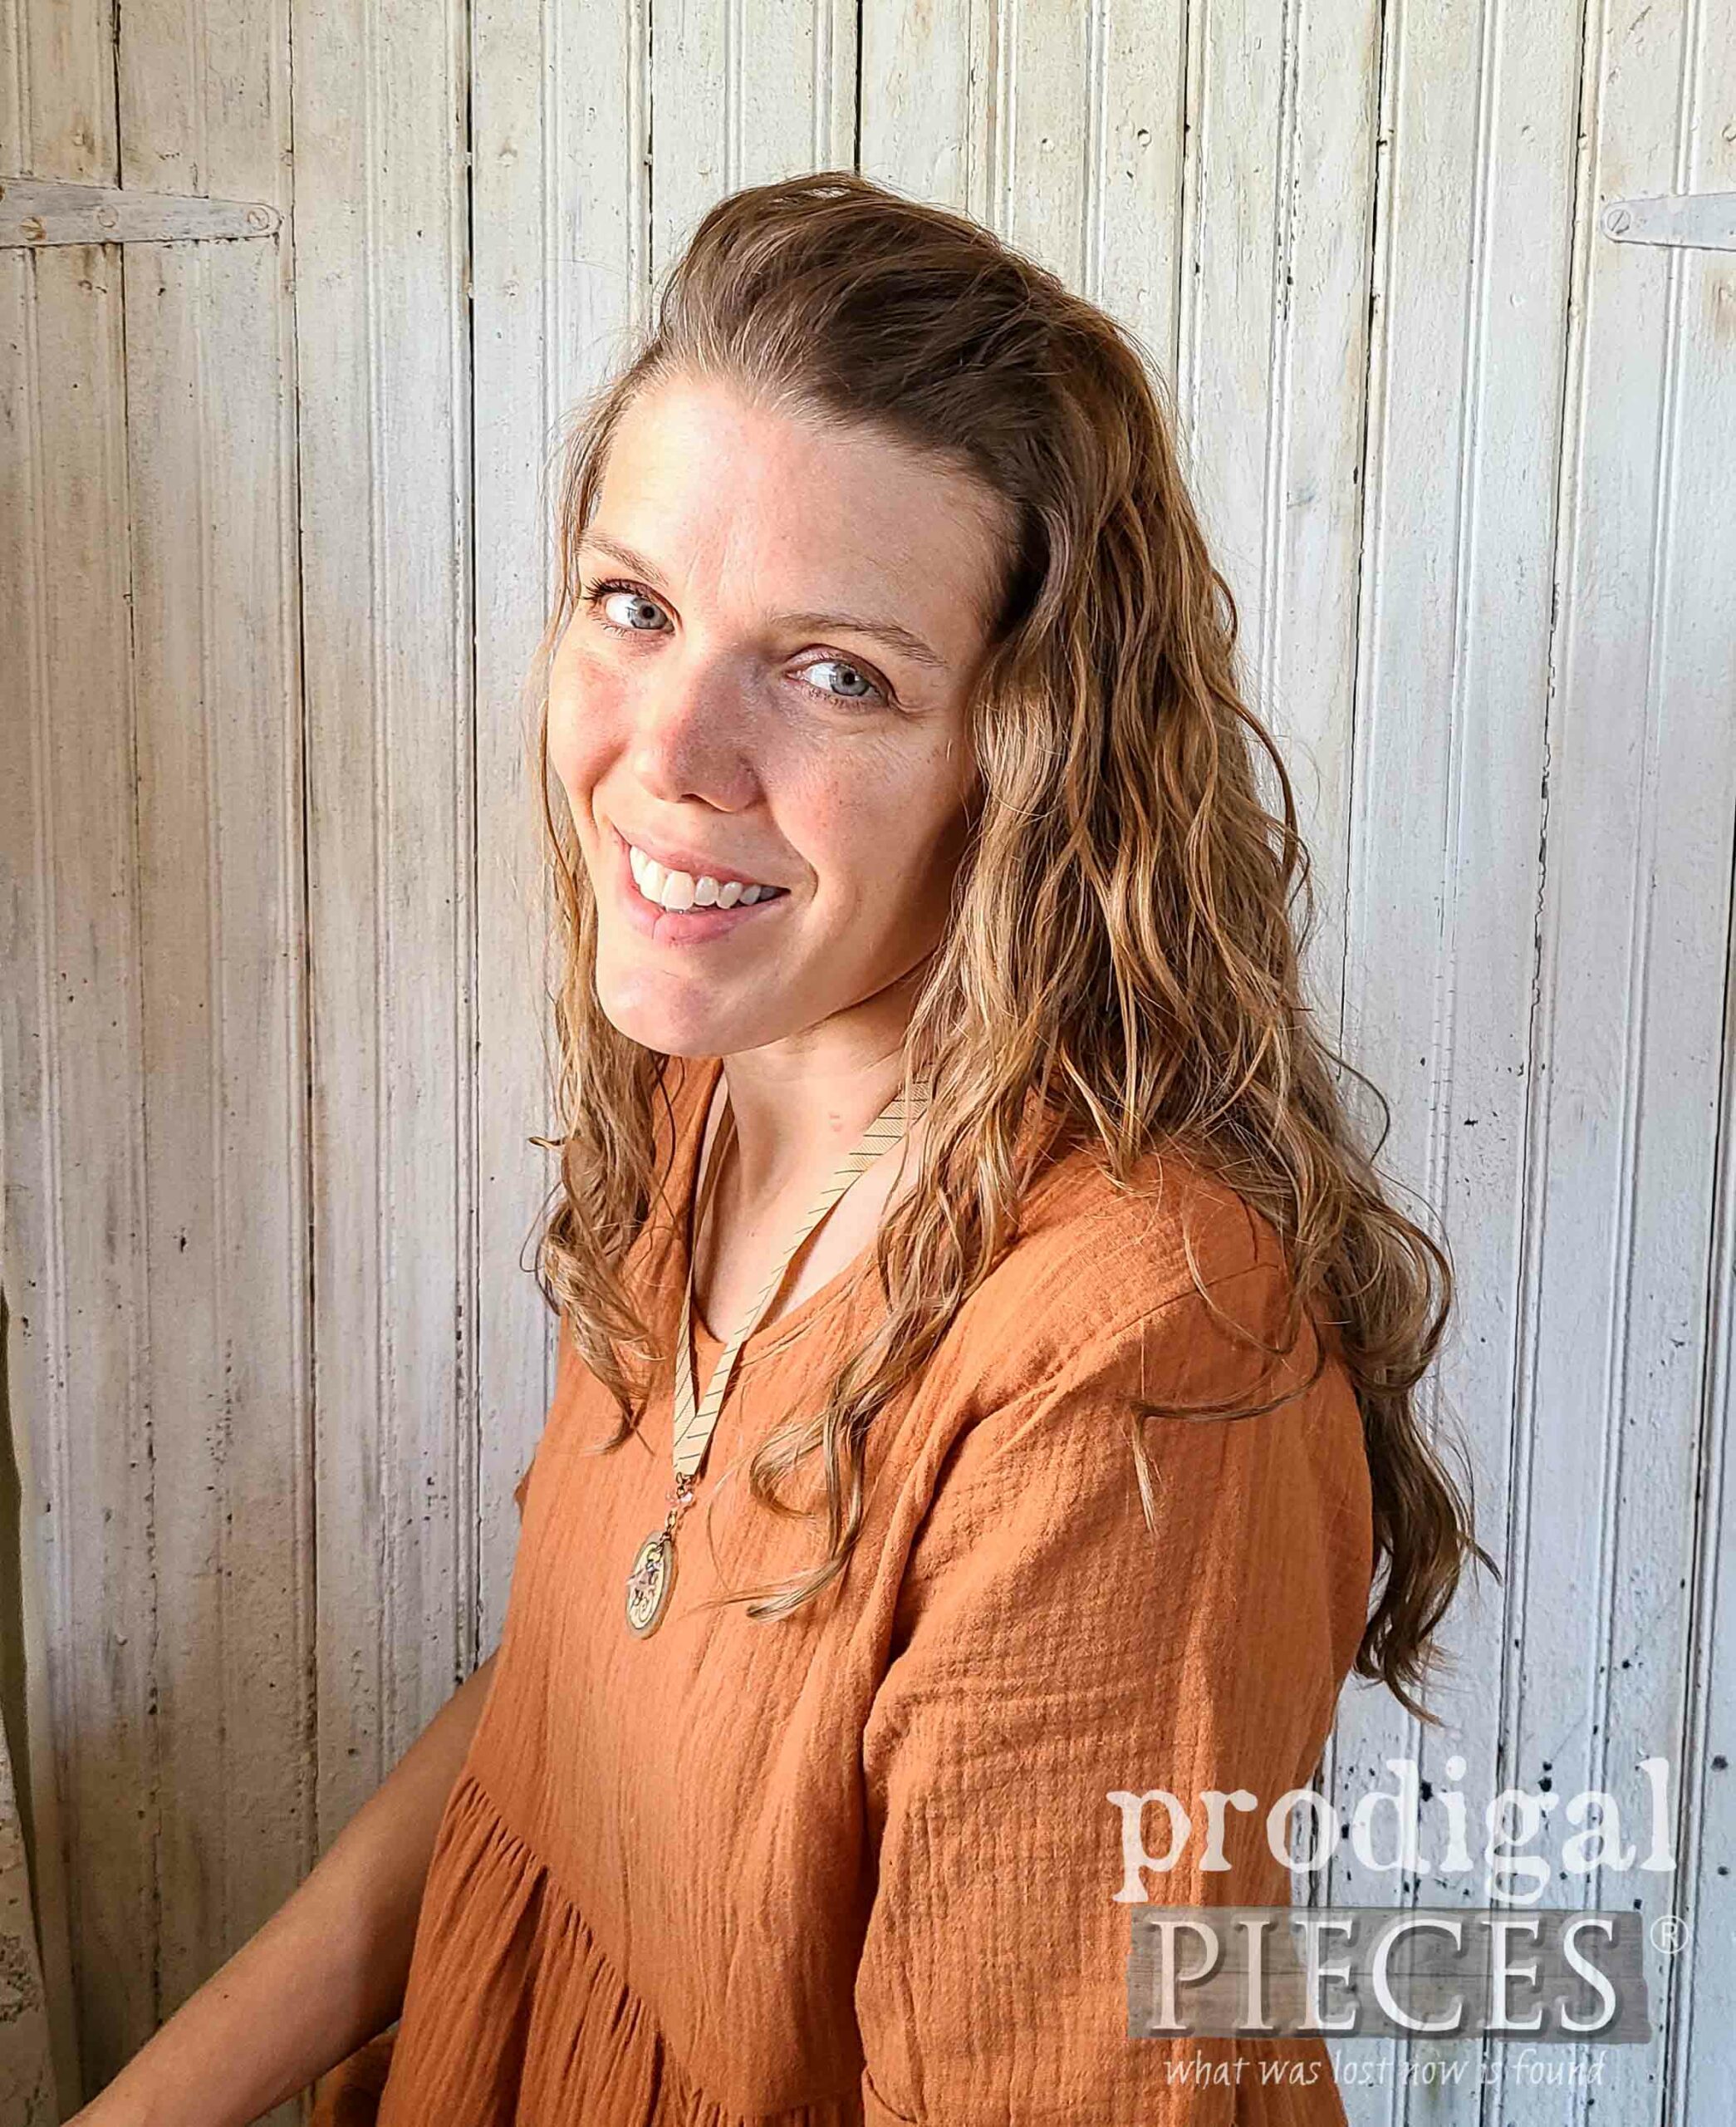
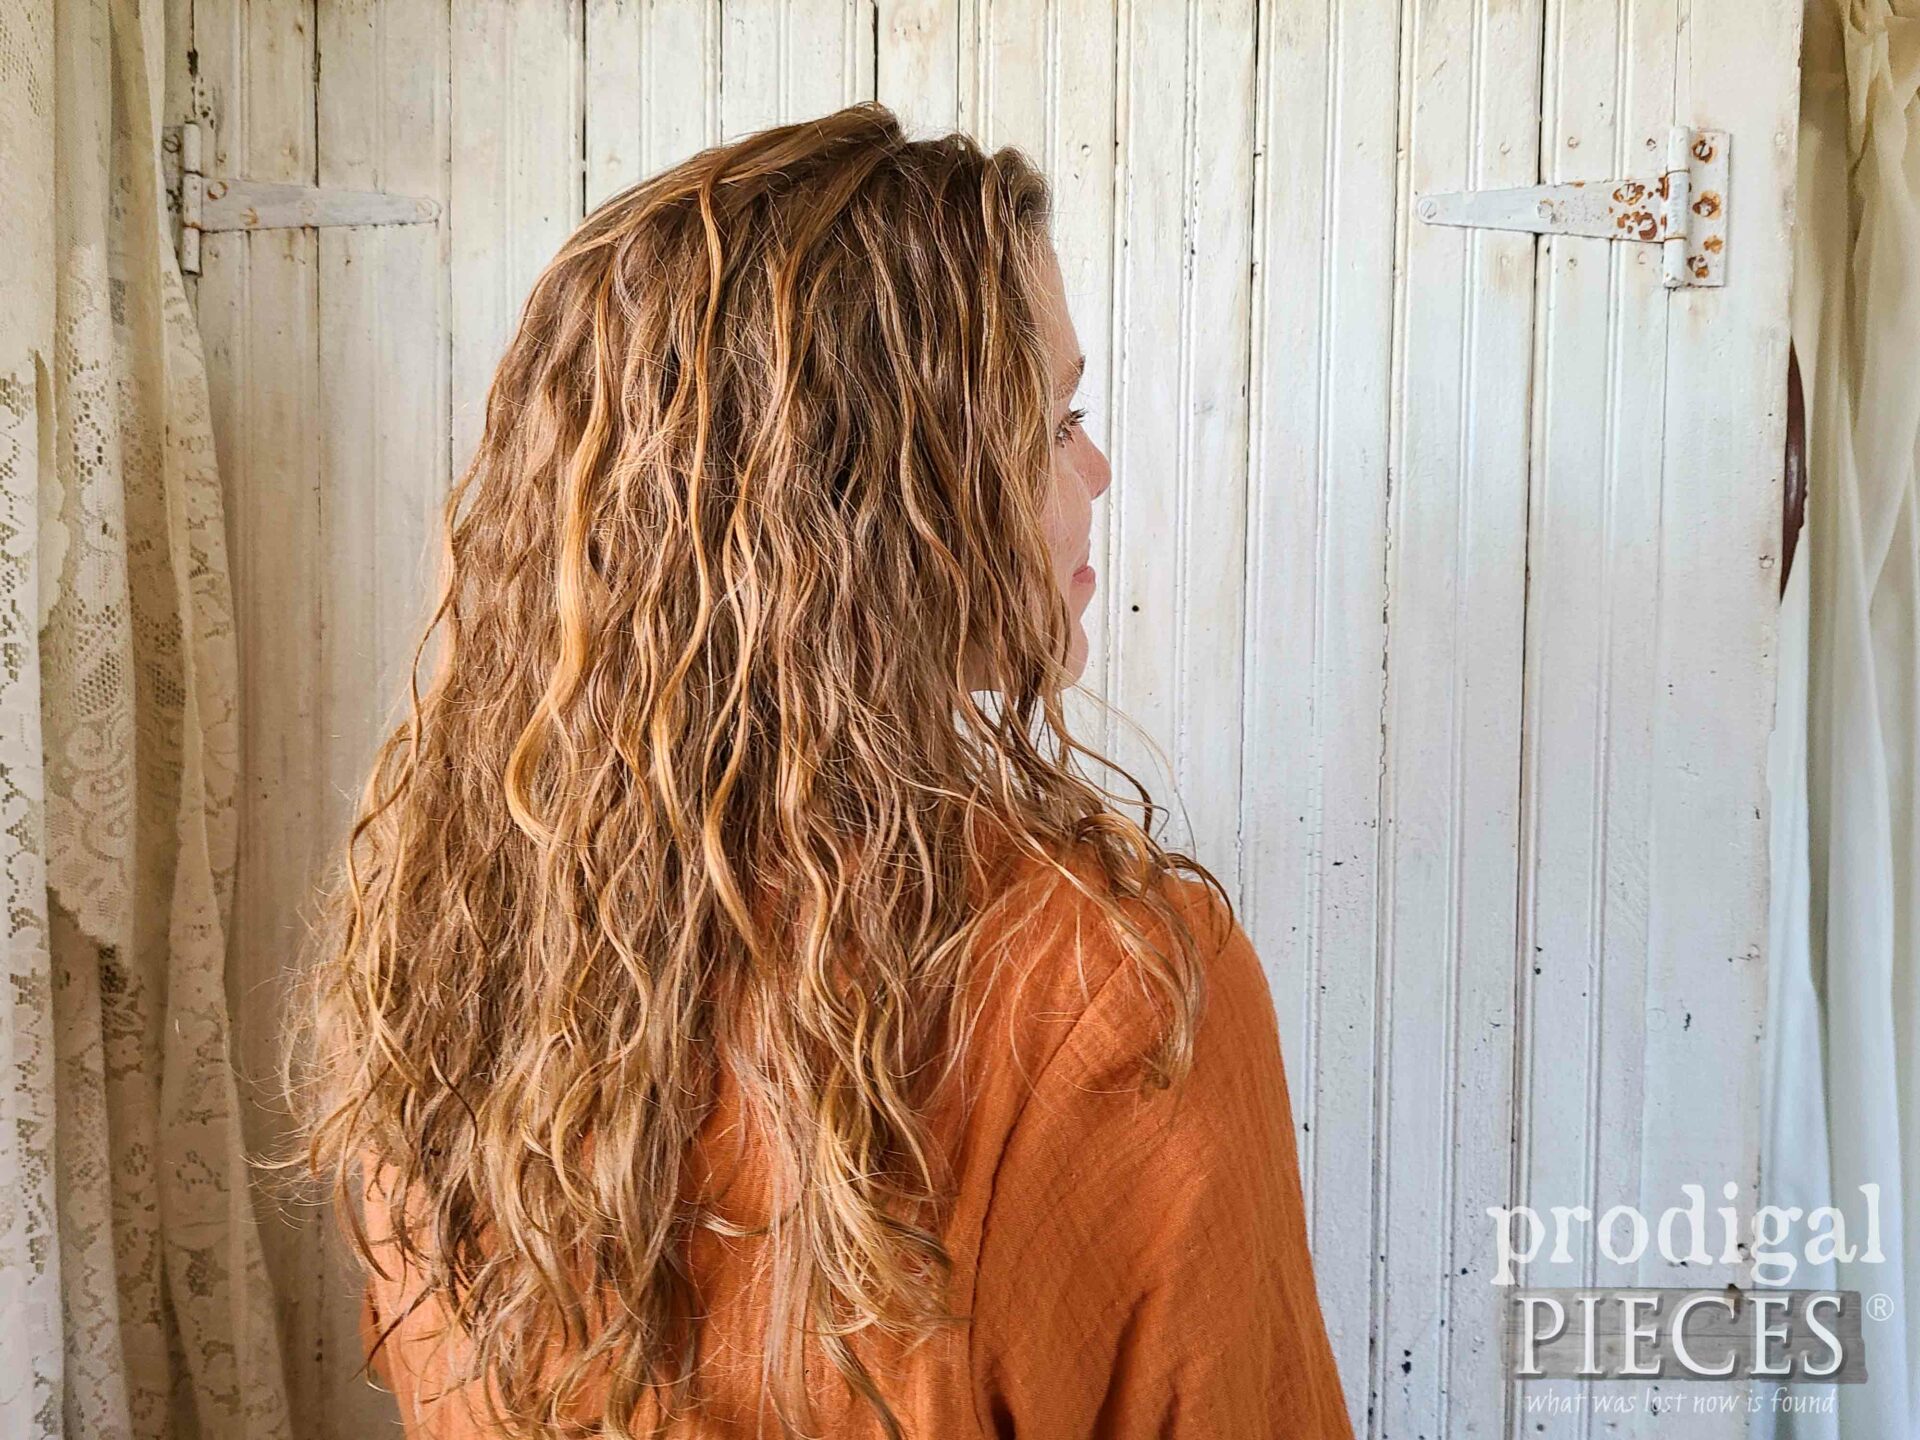
First time out with wavy hair running errands. I got compliments!! Though it’s totally an 80’s vibe goin’ on. meh.
Originally, I would shampoo and condition my hair, then, brush it wet and let air dry. What I didn’t know was that by doing that, I was styling my hair straight. Most of the day I would have my hair up or braided, then brush before bed and again in the morning. Brushing is now a thing of the past for my hair. That is, except in the shower with conditioner applied and using a wet brush. More on my fave tools in the video below.
MY ROUTINE
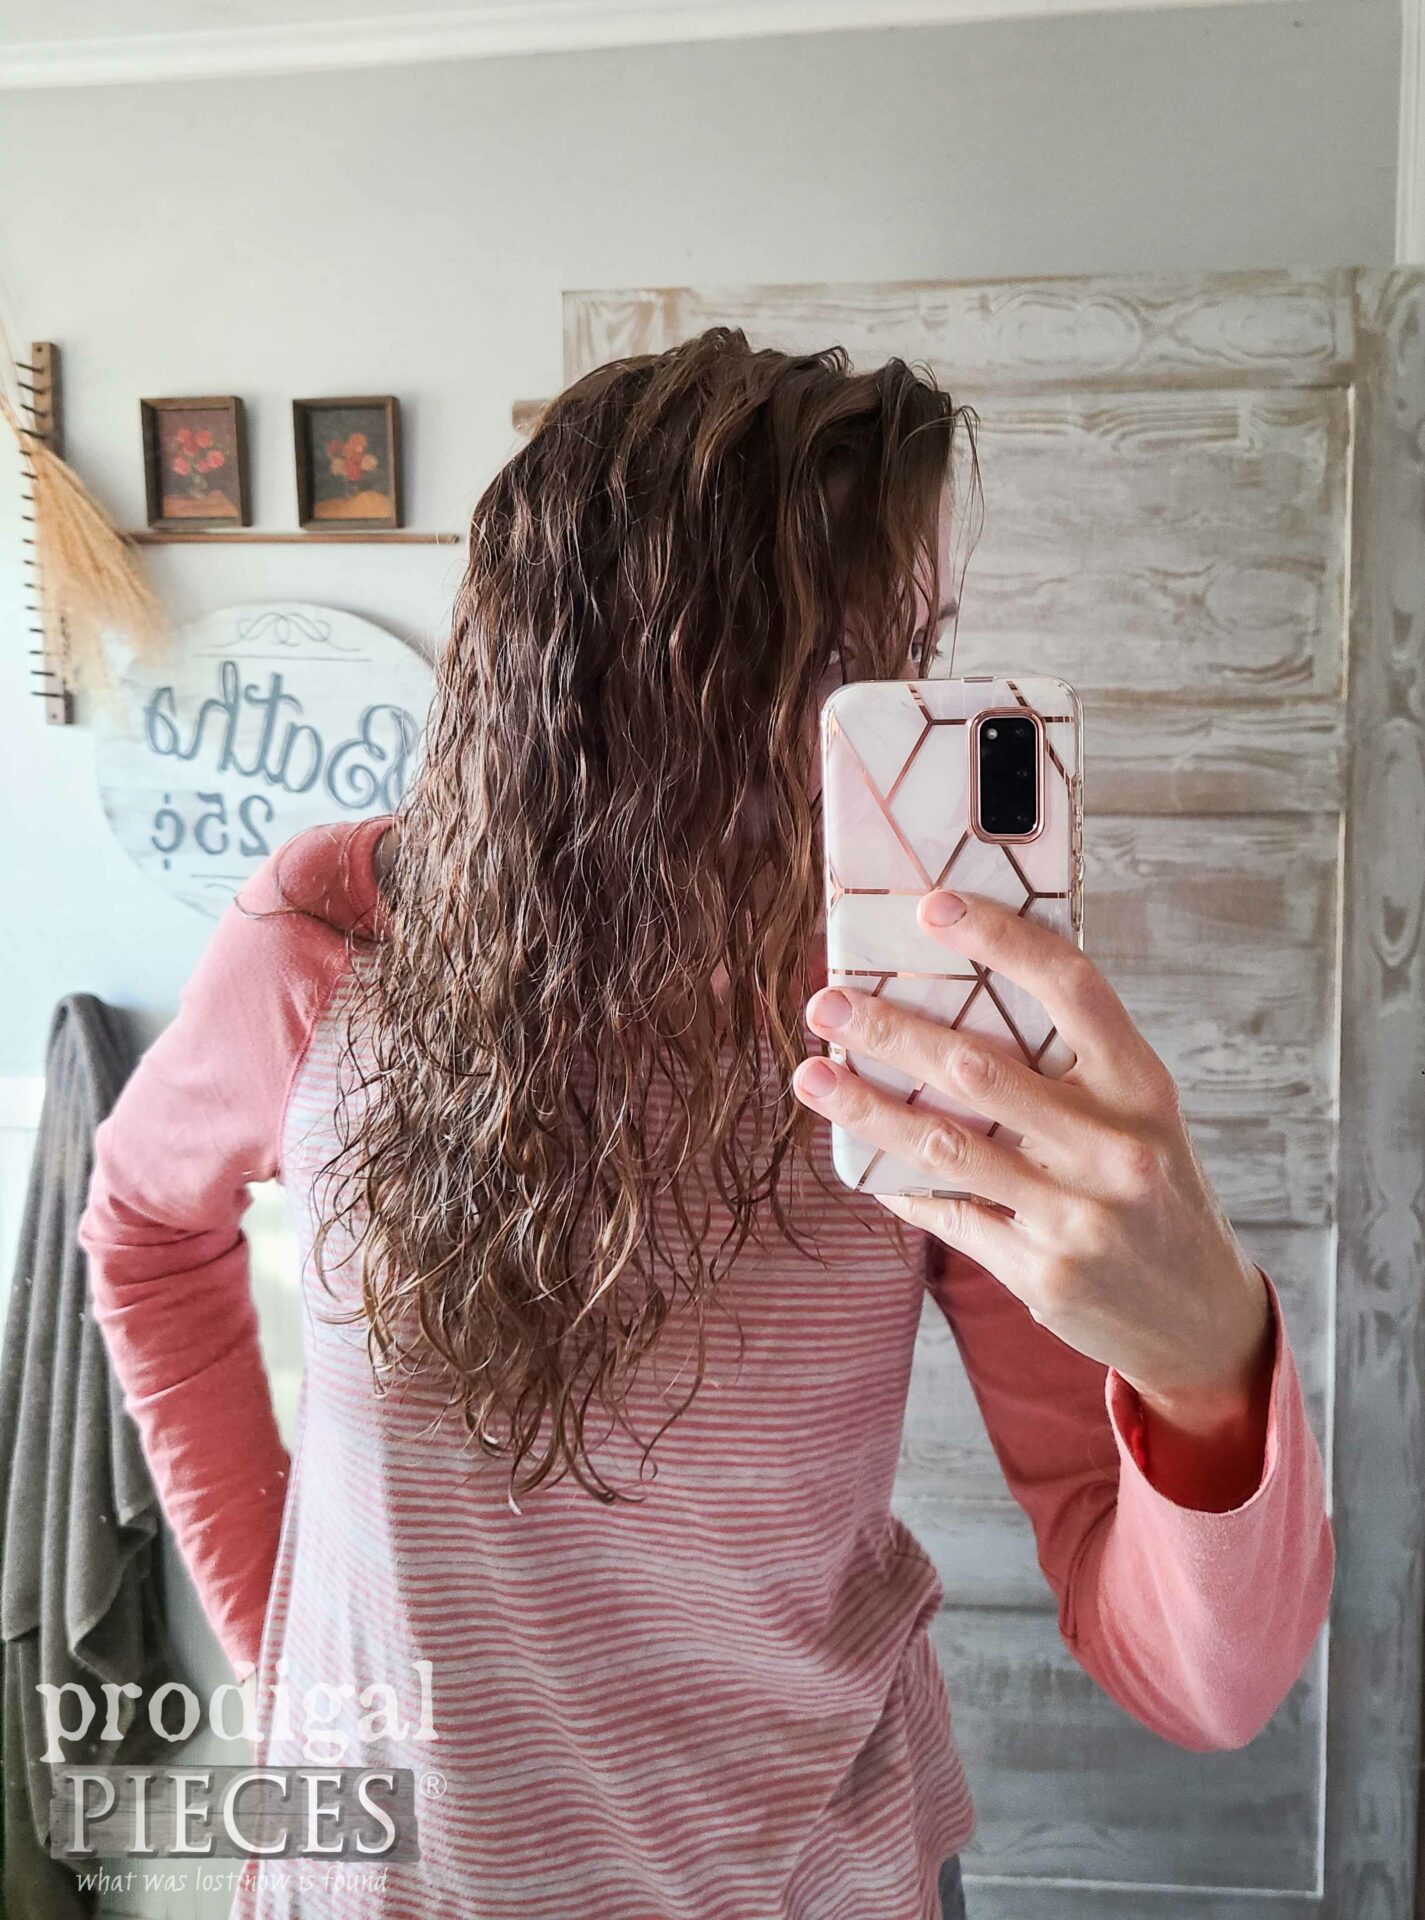
Next, I will say that after about 10 weeks of trying co-washing in isolation, I found that I need to use my shampoo at least one of two washes each week. Why? Well, since my wavy girl hair is low porosity, it hangs onto moisture more and doesn’t allow much in either. That also means I tend to need more protein than moisture. Here is an example of when I noticed stringy, loose pattern hair. At this point, I’m beyond frustrated and looking for answers. Figuring out moisture vs. protein in your hair is a struggle, but time and experimentation will tell you what your hair needs.
My solution: I use rice water treatment on a clarifying day. My clarifying day means I use the shampoo only on my scalp. However, each month, I also use apple cider vinegar rinse to remove build-up. (1 Tablespoon of vinegar to 1 Cup of water)
Rice Water Rinse for Protein
- Rinse 1 cup rice and place into pot
- Add 2 cups water to pot. You can add essential oils, if you prefer, as well
- Cook until rice is soft on medium heat, but stop before all water is absorbed, approx. 15-20 min.
- Strain water into glass jar. Refrigerate until ready to use. Keeps for about 7 days.
- Pour onto hair, either upright or upside down, and let rest for 3-5 minutes. Rinse with cool water. Condition as normal.
One thing to remember, rice water is not hydrolyzed so it will sit on the hair shaft rather than penetrate. That means it will wash off in your next wash day. However, you can use a gelatin mask for a deep protein treatment. I use this once a month, as well. Notice I’m mostly using what God has put within our reach in nature.
FLAX IS WHERE IT’S AT
Finally, I want to just share one more thing that had me hearing angels singing. tee hee. Because all of the Giovanni products were curly girl approved, I had also read rave reviews about their LA Hold Hair Gel. In the past, I never liked gel because of the weight it adds to my hair but prefer to use mousse instead. With the mindset of trying any and everything, I try the gel straight outta the tube. It was too heavy. Then, I tried thinning it with distilled water and putting it in a continuous spray bottle. That worked better but still seemed too heavy. After that, I try the mousse I had on hand from the Giovanni line, but that didn’t hold well. ugh.
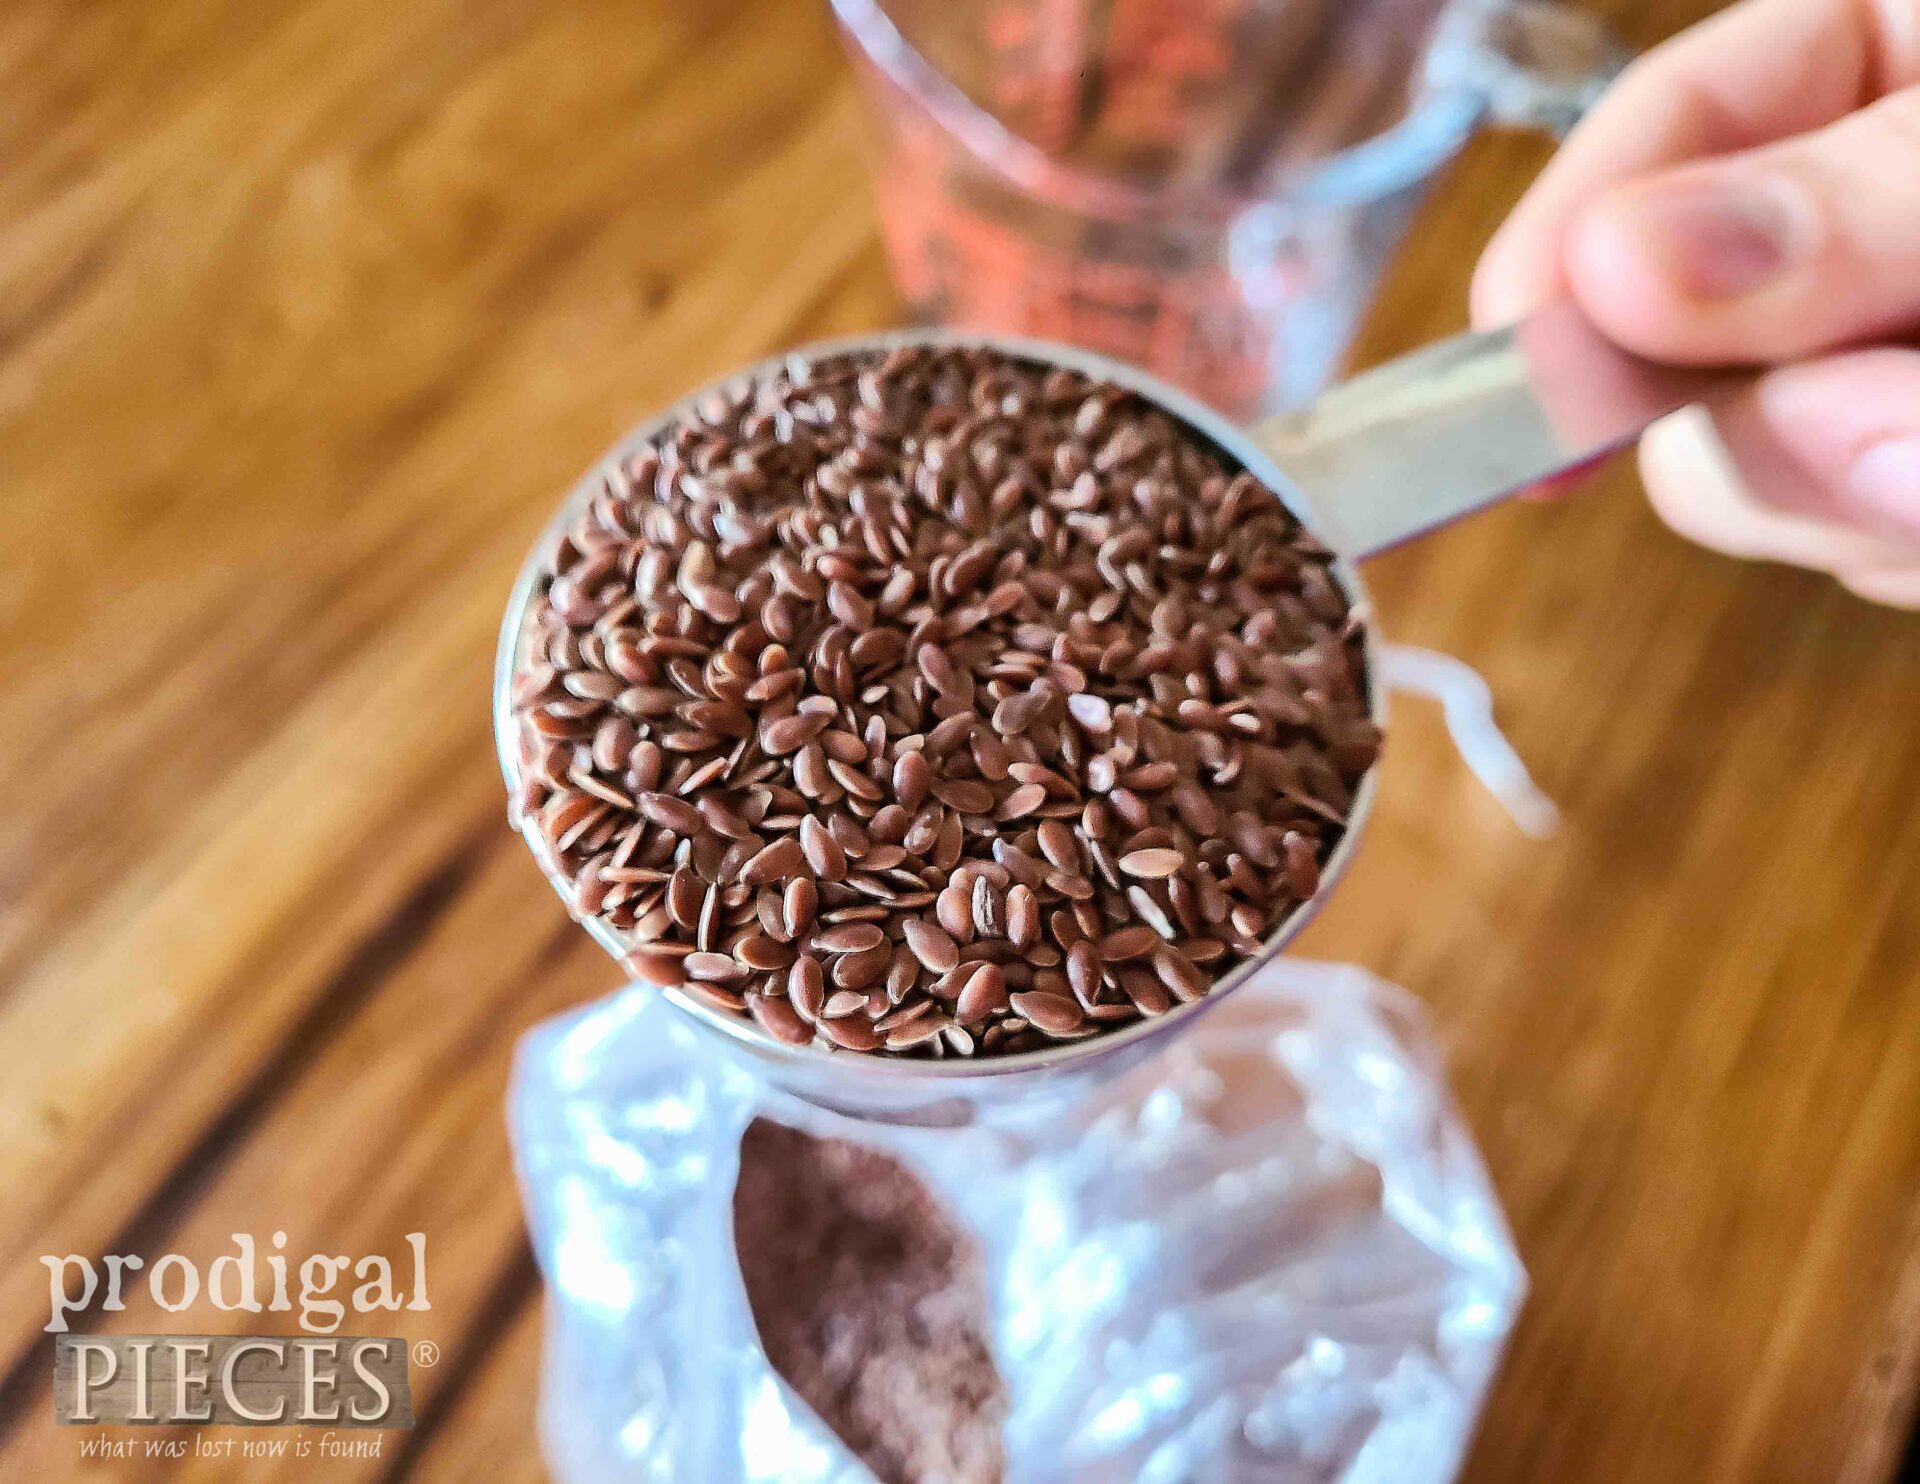
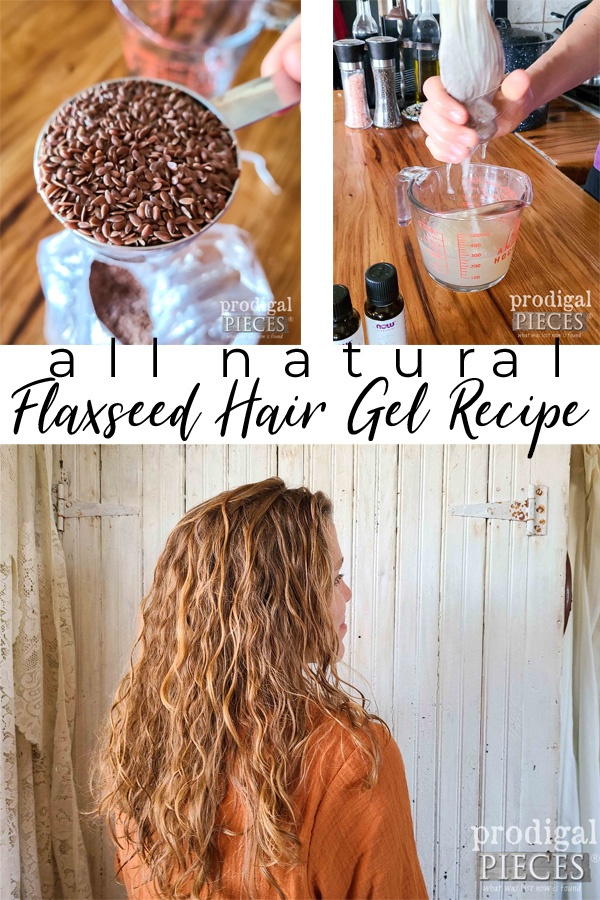
I had read about flax seed gel, so I gave it a try. BINGO!! (see video below for demo)
Not only does it create a wondrous cast, but it also casts again in the next days of refresh! amazing!! Bonus, I paid $3 for the bag of seed and it’s made 3 batches with more than half a bag left. CHA-CHING!
DRYING & SLEEP
With that in mind, how do I finish all this wavy girl hair off? Well, for decades, I only had my mom’s hand-me-down hairdryer and only used it on winter days to warm myself while I got dressed in the morning. yep. I never used a hairdryer on my hair unless I was freezing. Now, I use one with diffuser while pixie diffusing and hover diffusing – it’s a process, but worth every minute as I actually do less with my hair than before.
As for bedtime, I put my hair in a buff. Also, you can use a silk pillowcase, silk scarf, silk cap, or just tuck it in a silk scrunchie with pineapple (pile of hair) on top. This not only helps with curl training, but makes for less tangles, and easier refresh (aka. less work).
Likewise, I want to share my video of my processes and recipe as well as a bit more to wrap up our wavy girl adventure. In the video I demonstrate a wash day, a refresh, and give more details to my process and preferred tools.
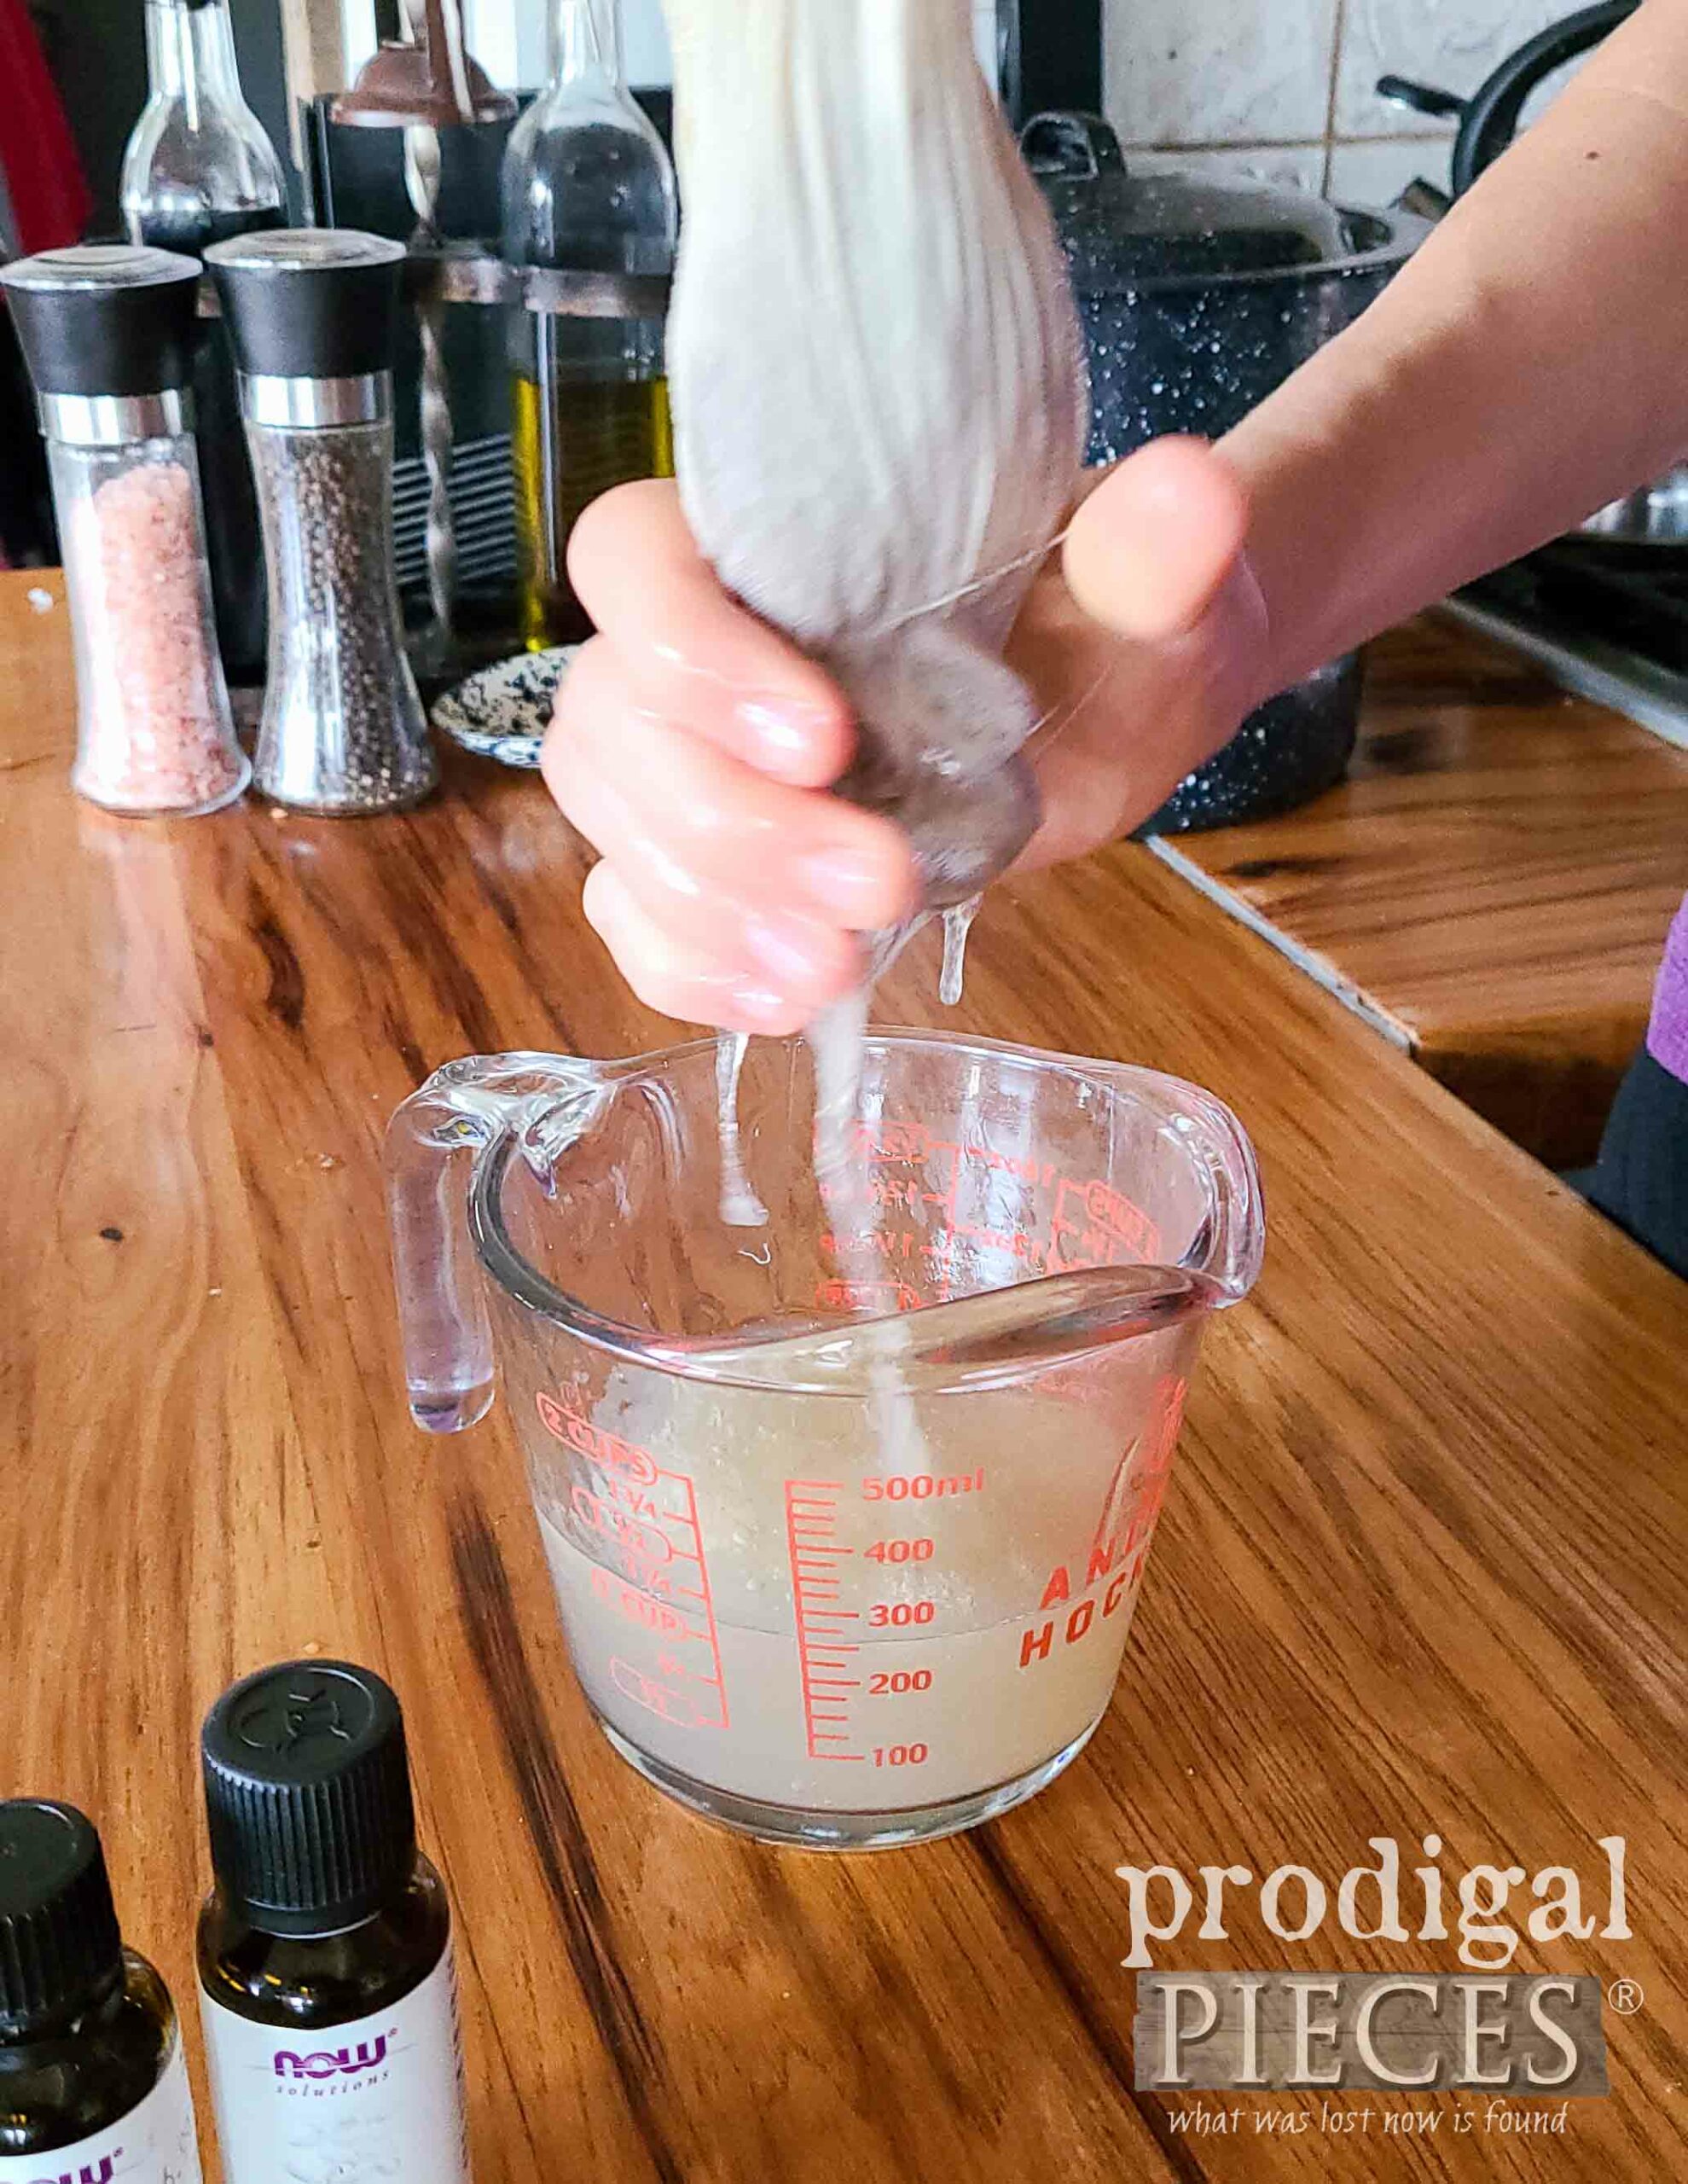
DIY Flaxseed Hair Gel Recipe: (see video for demo)
- add 1/3 Cup flaxseed to small pot
- pour 2 Cups water over flaxseed in pot
- heat on medium-high heat until boiling
- let boil for 8 minutes while using whisk to stir intermittently
- remove from heat and let cool until manageable to touch
- once cooled, put into cheesecloth over a container. Squish out the gel from the seed.
- optional: add 8-10 drops essential oil (lavender, jasmine, citrus, bergamot, etc.)
- store gel in airtight container for 1-2 weeks. Will smell like yeast when soured.
NOTE: This is great for egg substitute (without essential oils added) and will make you gag as it resembles a loogie. bwahahaha!
PLOPPING
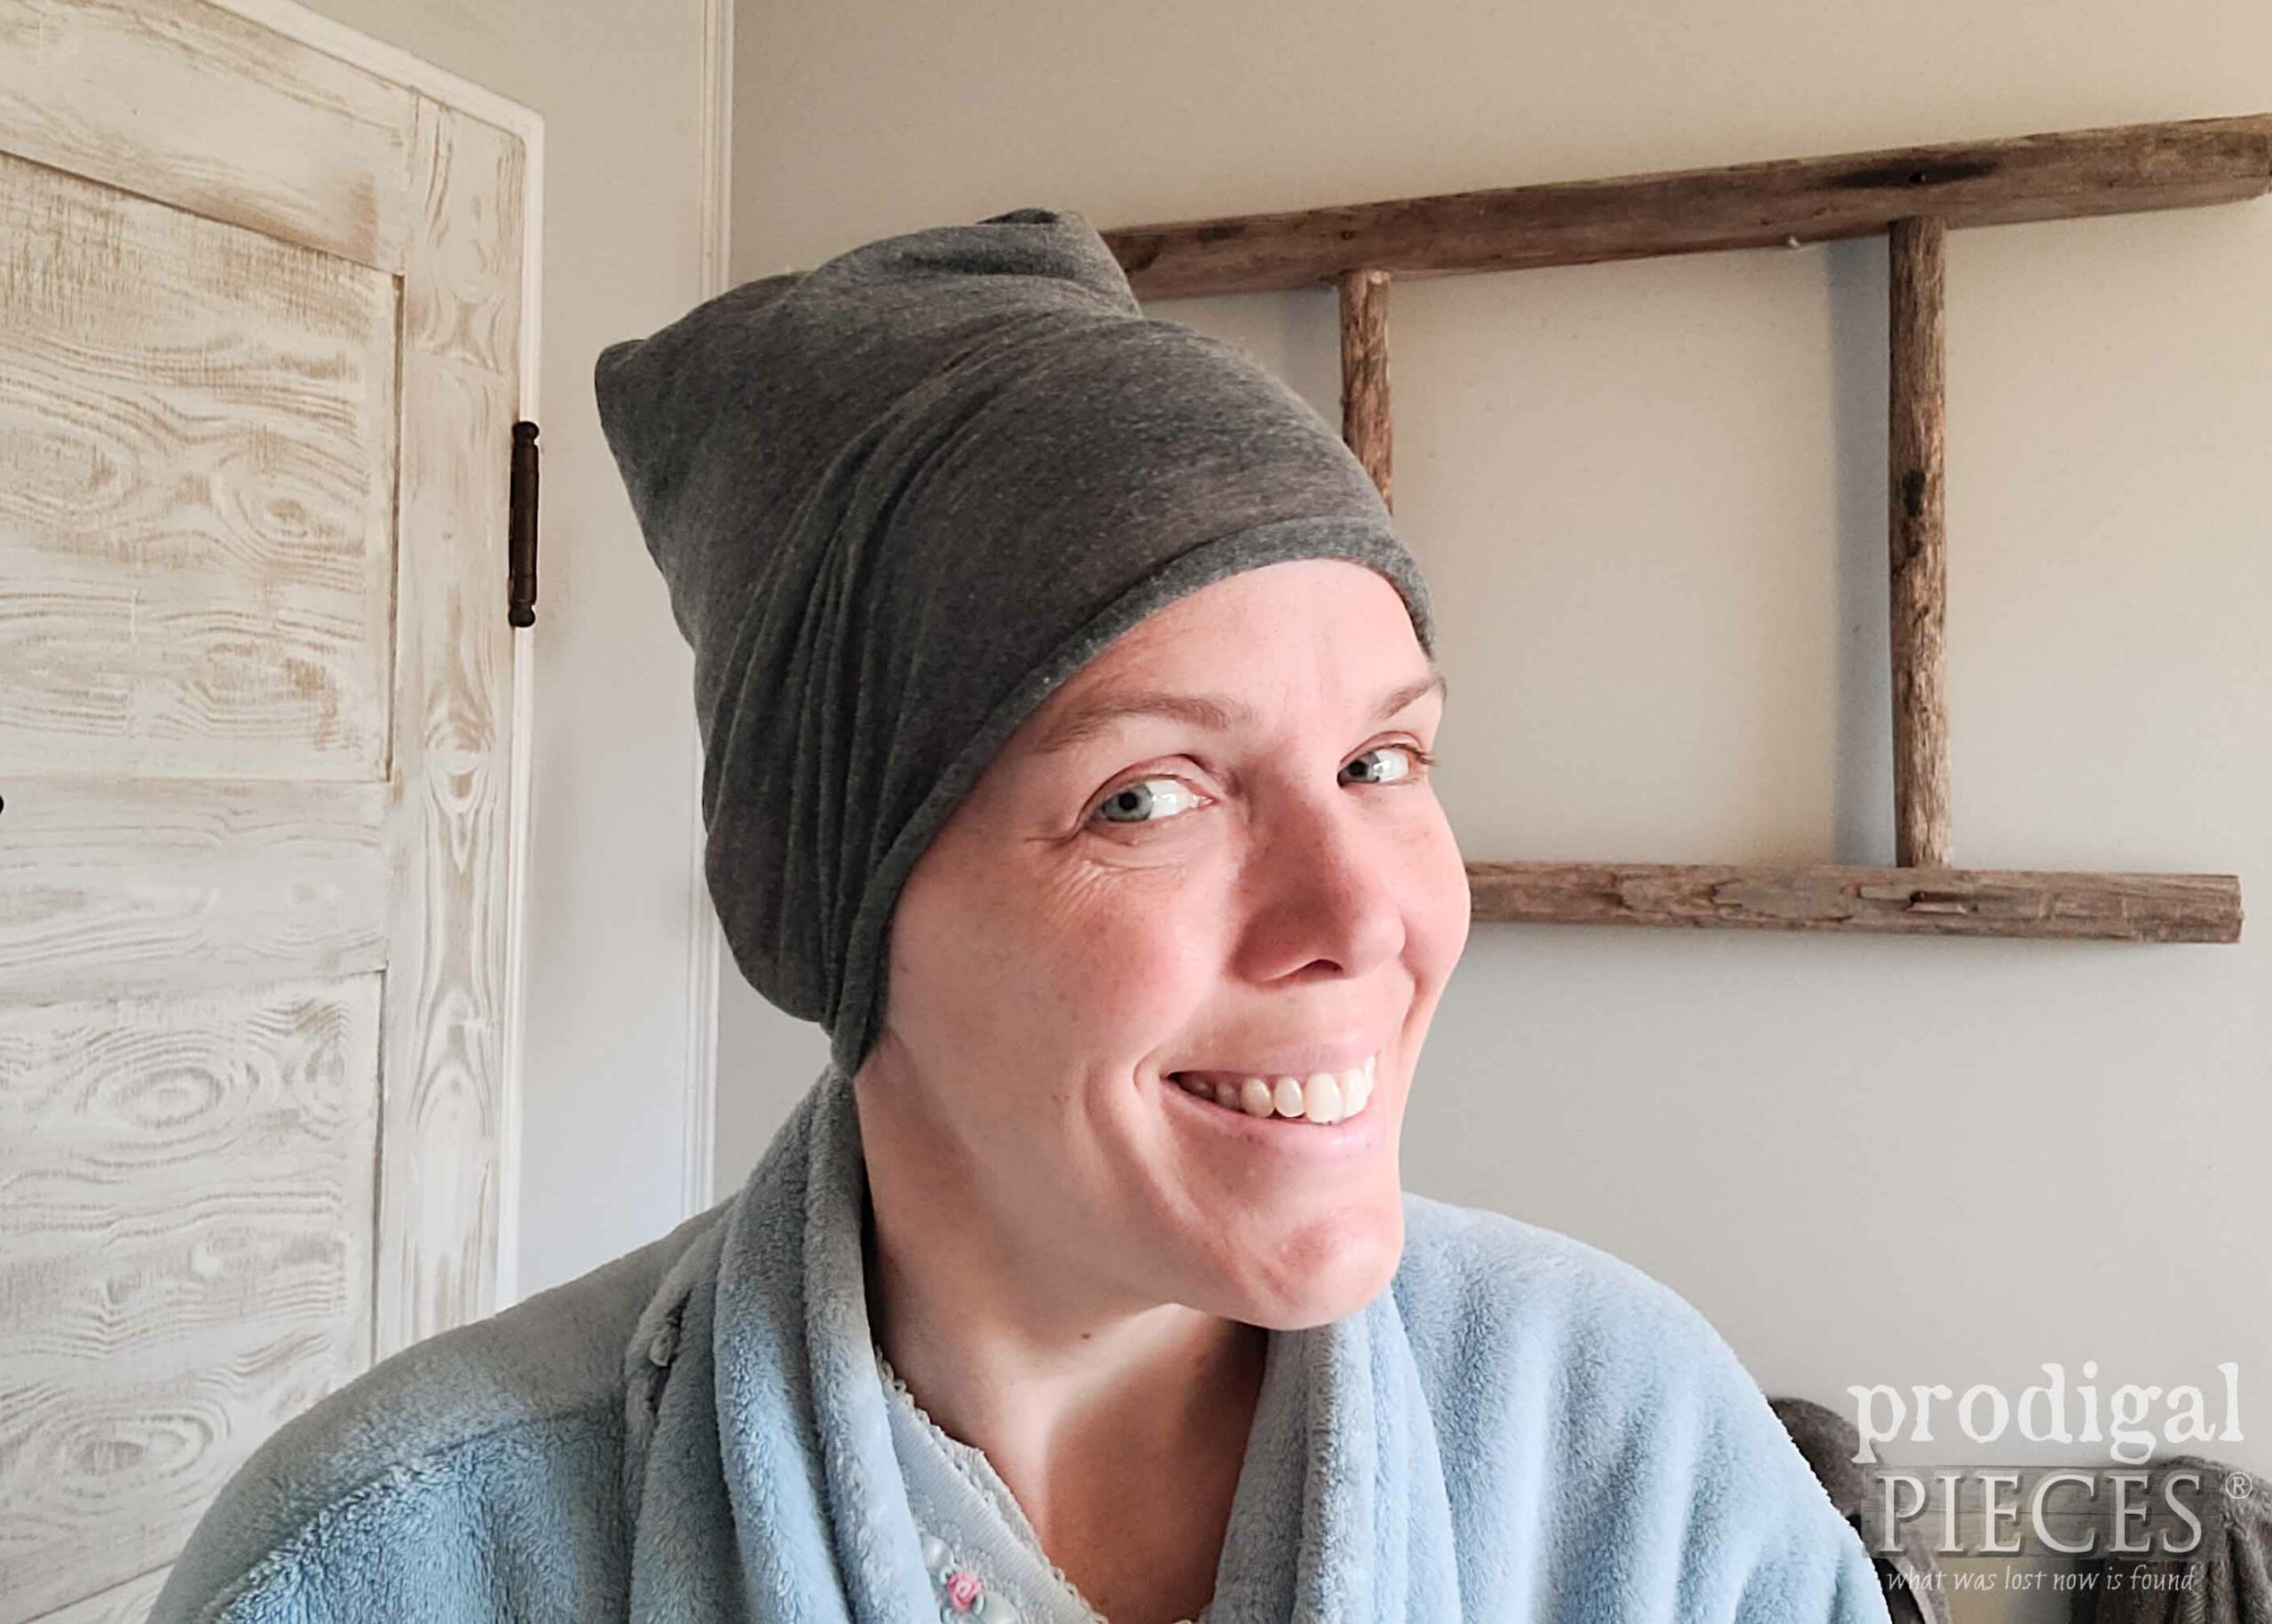
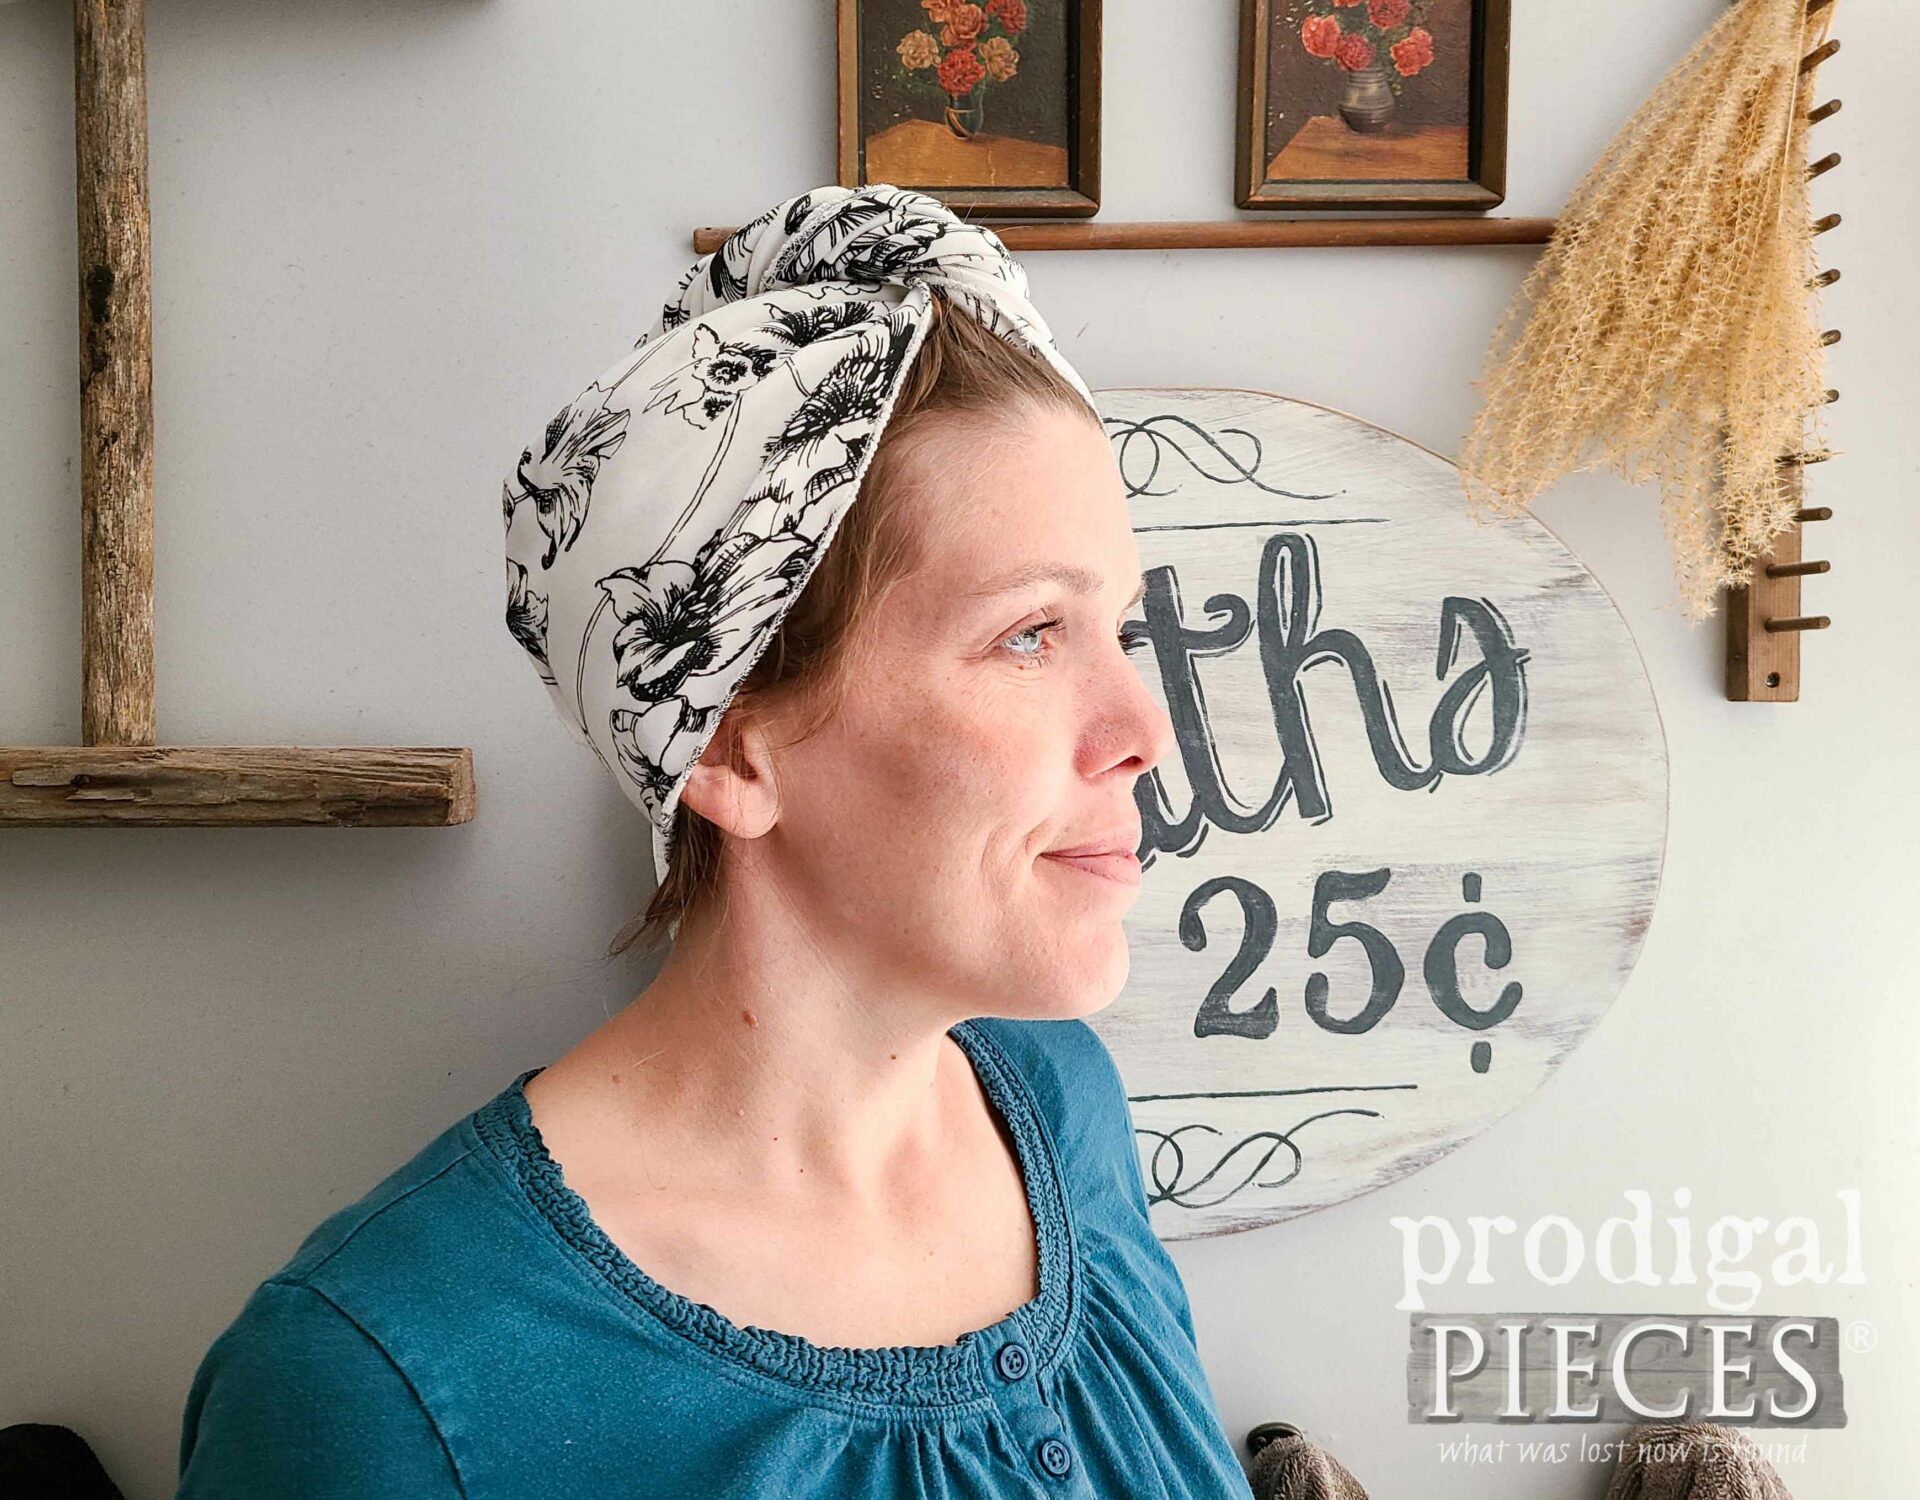
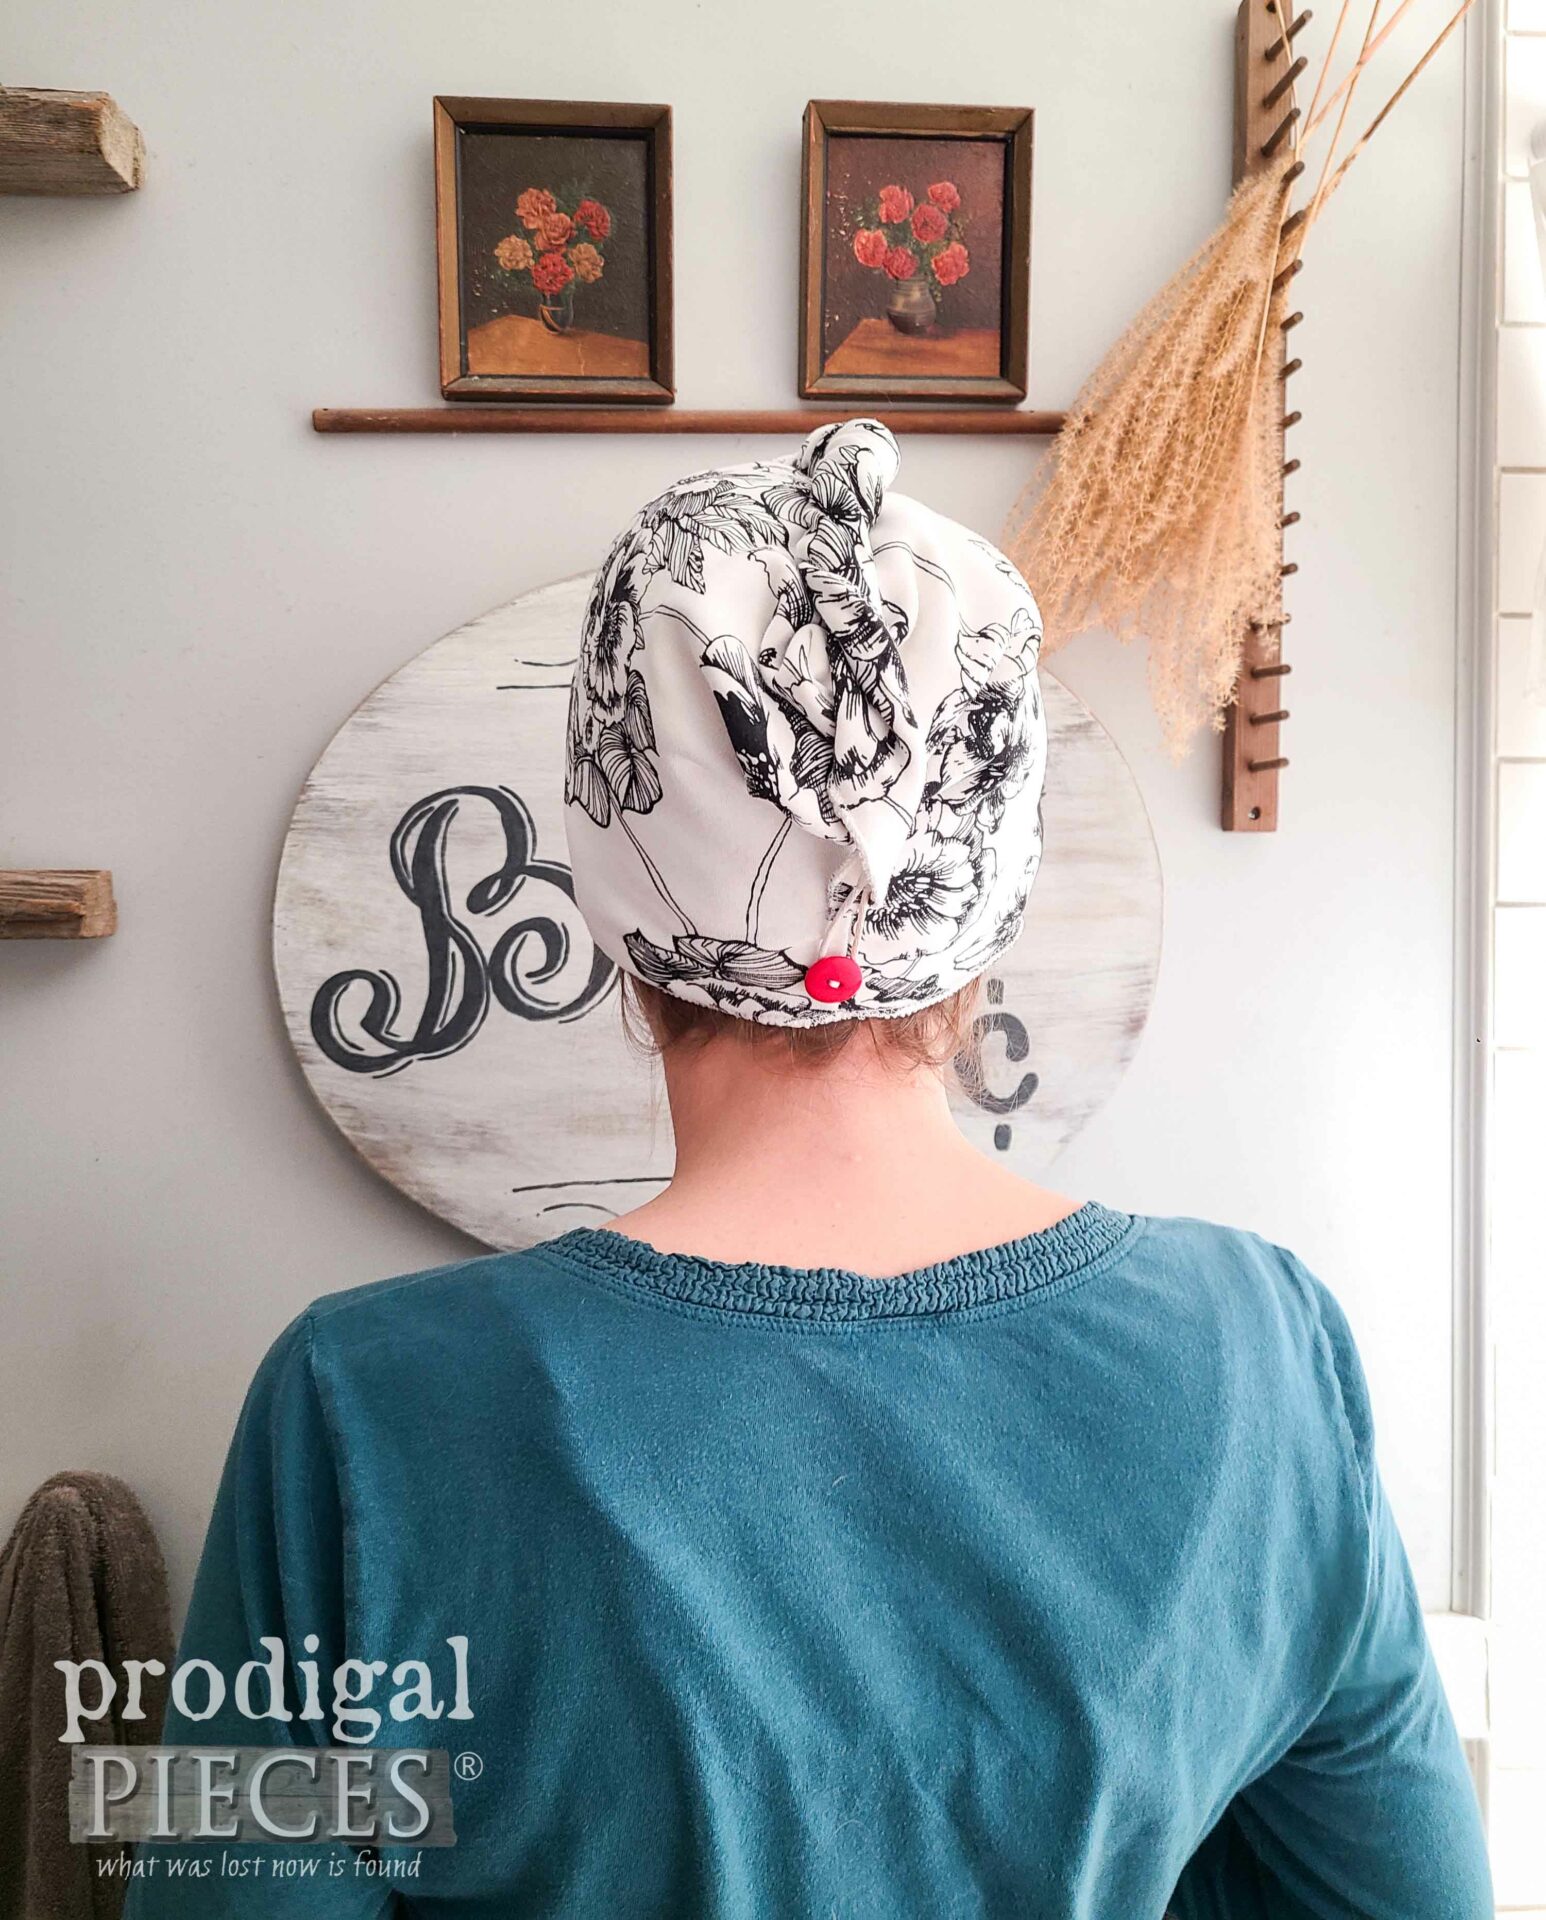
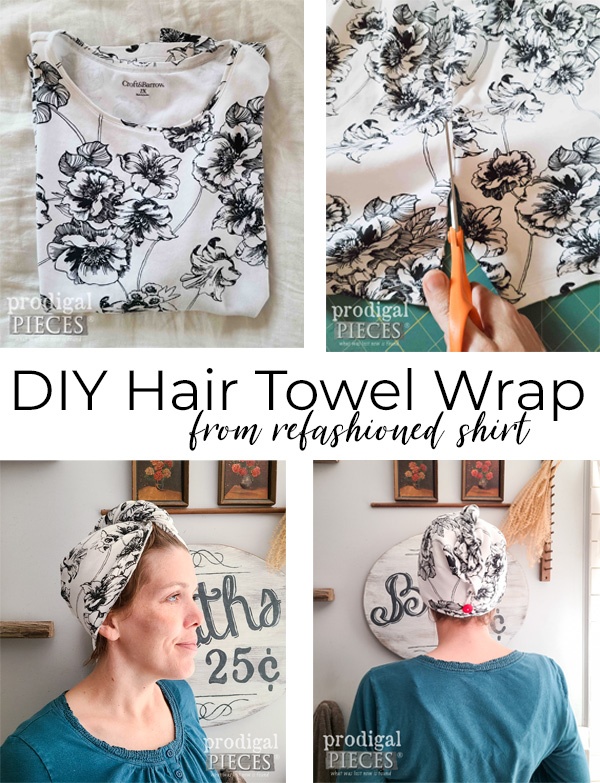
Last, but not least, the focus turns to one more necessity, a hair plopping towel. What in the world is plopping?!? You see, after I wash my hair and add gel, I plop my hair. Initially, I would use a 100% cotton t-shirt to drop my hair onto, then tie up on my head in an awful-looking turban-thing. That wasn’t going to fly with me for style, oh no. For this month’s refashion fun, I am sharing the pattern for the hair towel with option for a matching scrunch towel.
I demonstrate how I use this in my video above and creating one is even simpler. They make great gifts for any hair type – curly or not. Perfect as stocking stuffers, new moms, a self-care gift for someone healing…you get the idea.
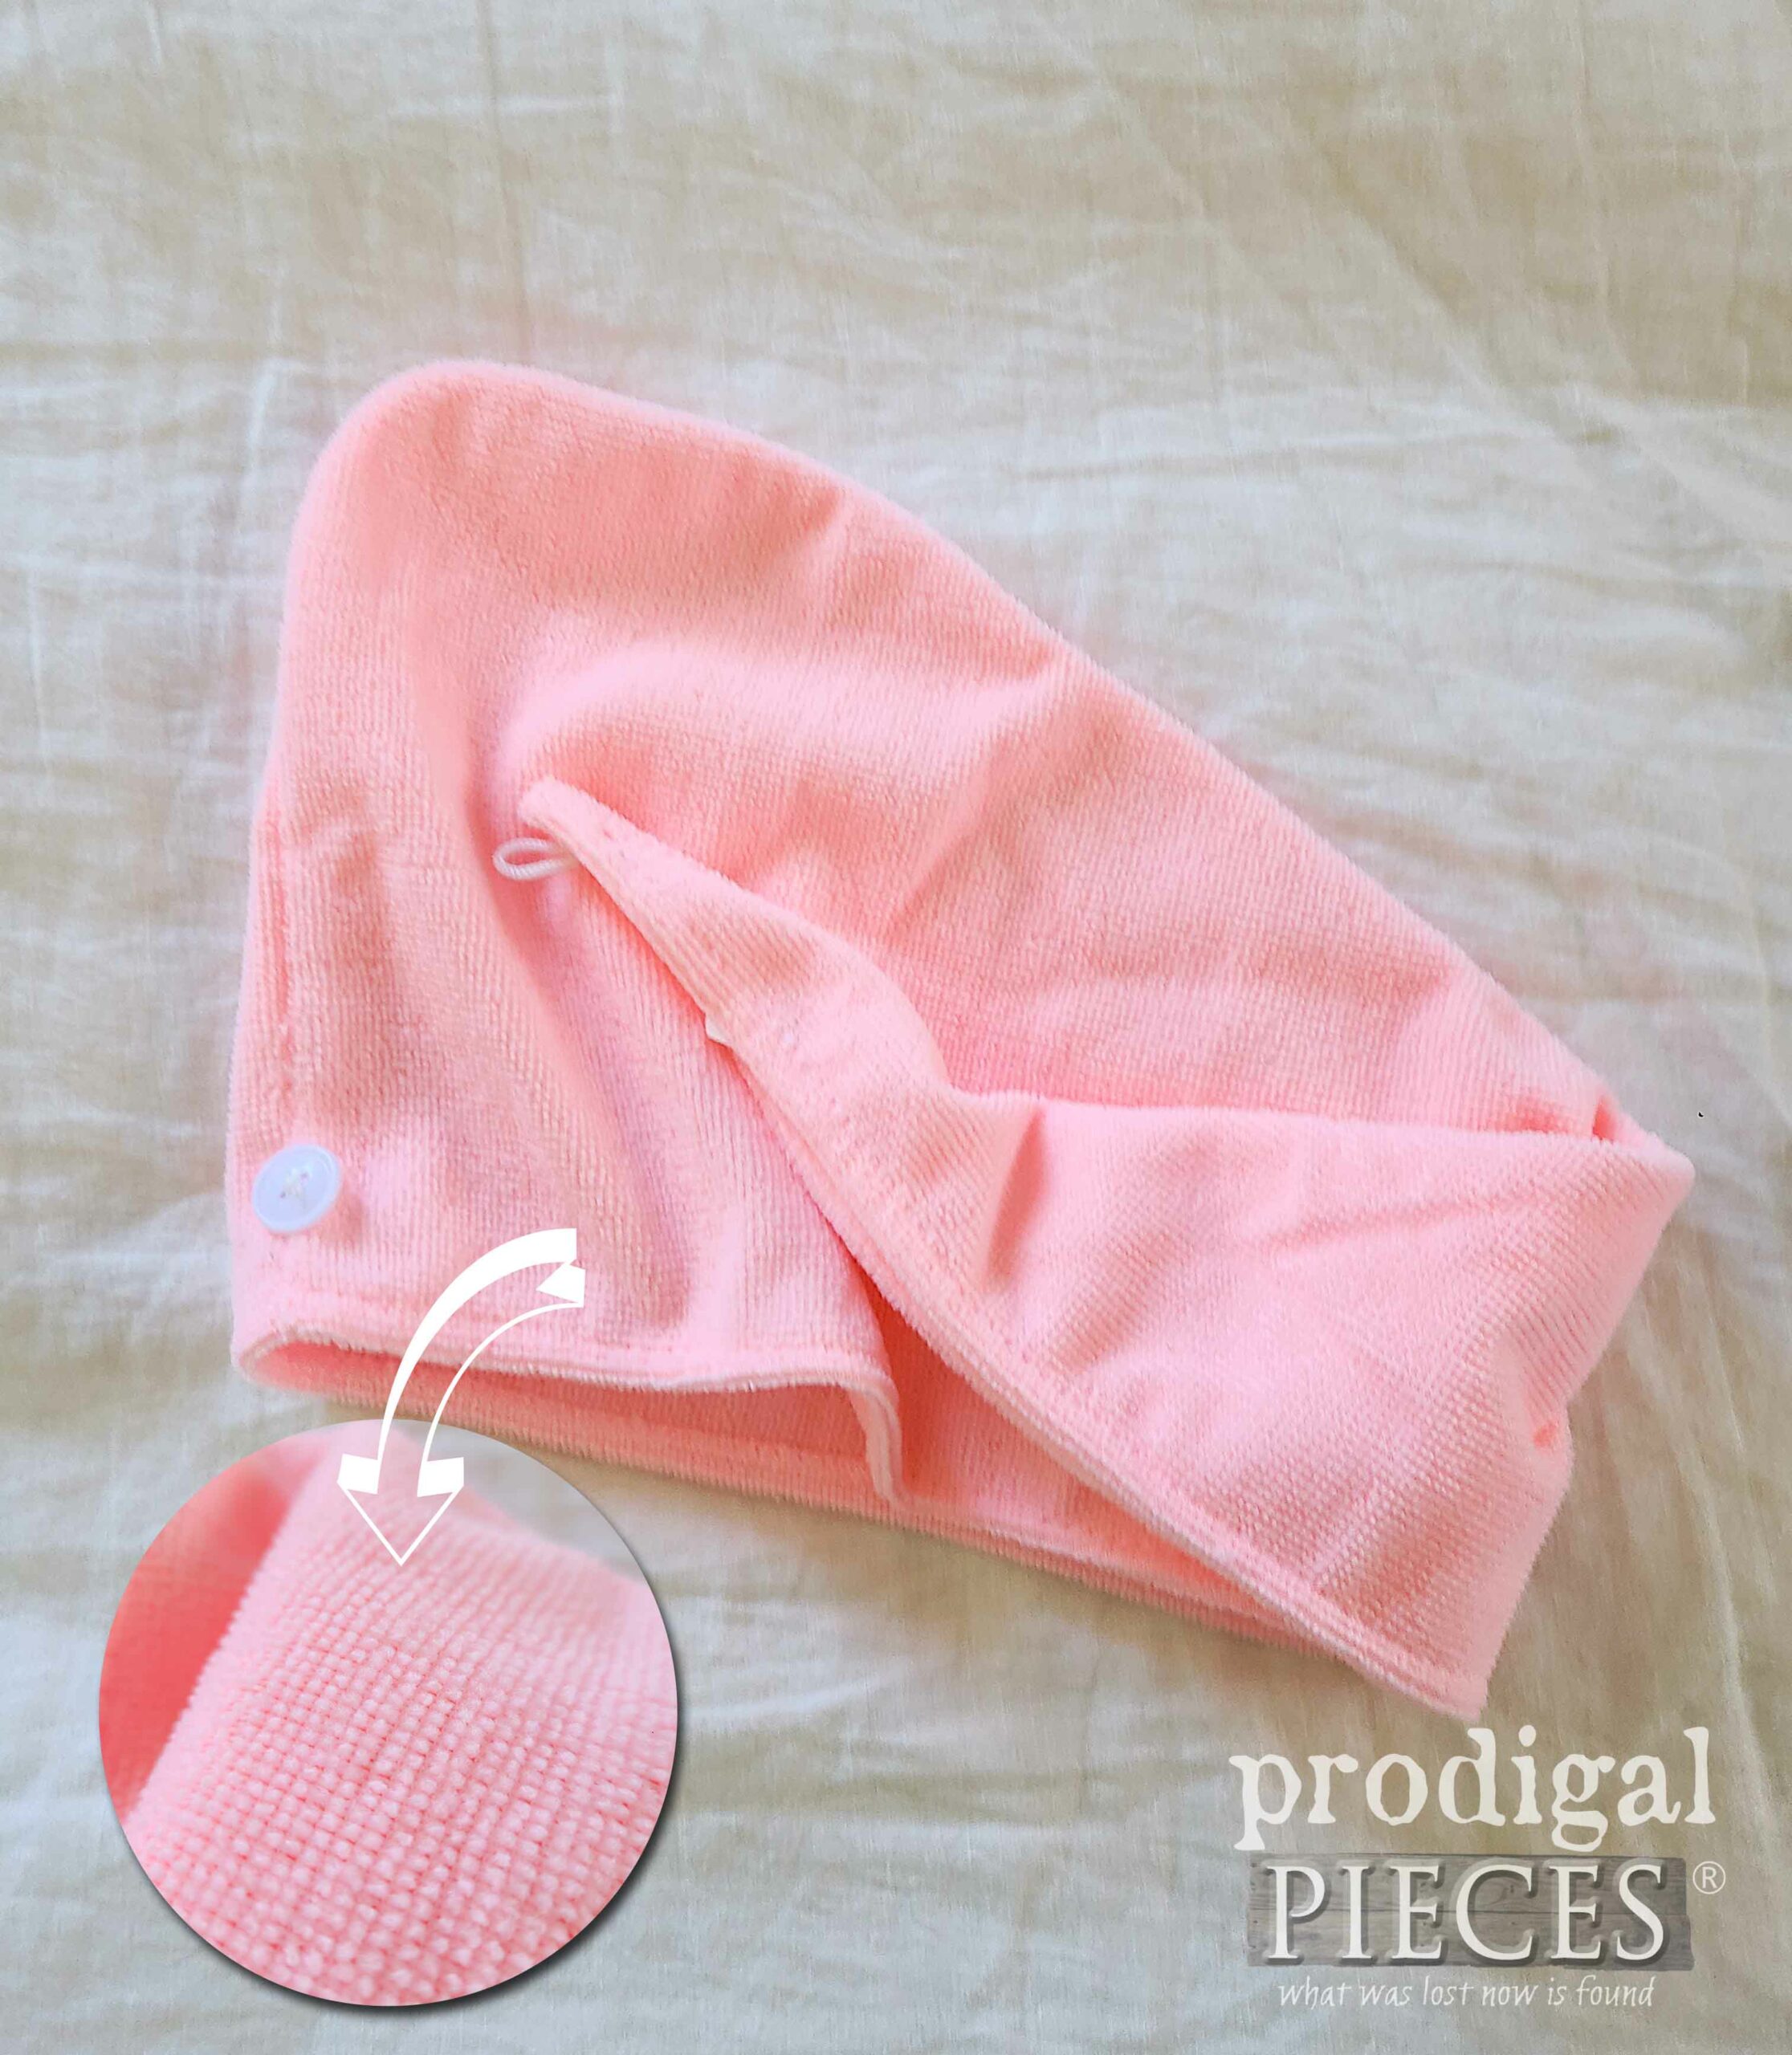
I’ve tried the microfiber towels that many rave about, but I found it still caused frizz in my fine wavy girl hair because of the pile it has similar to terry cloth.
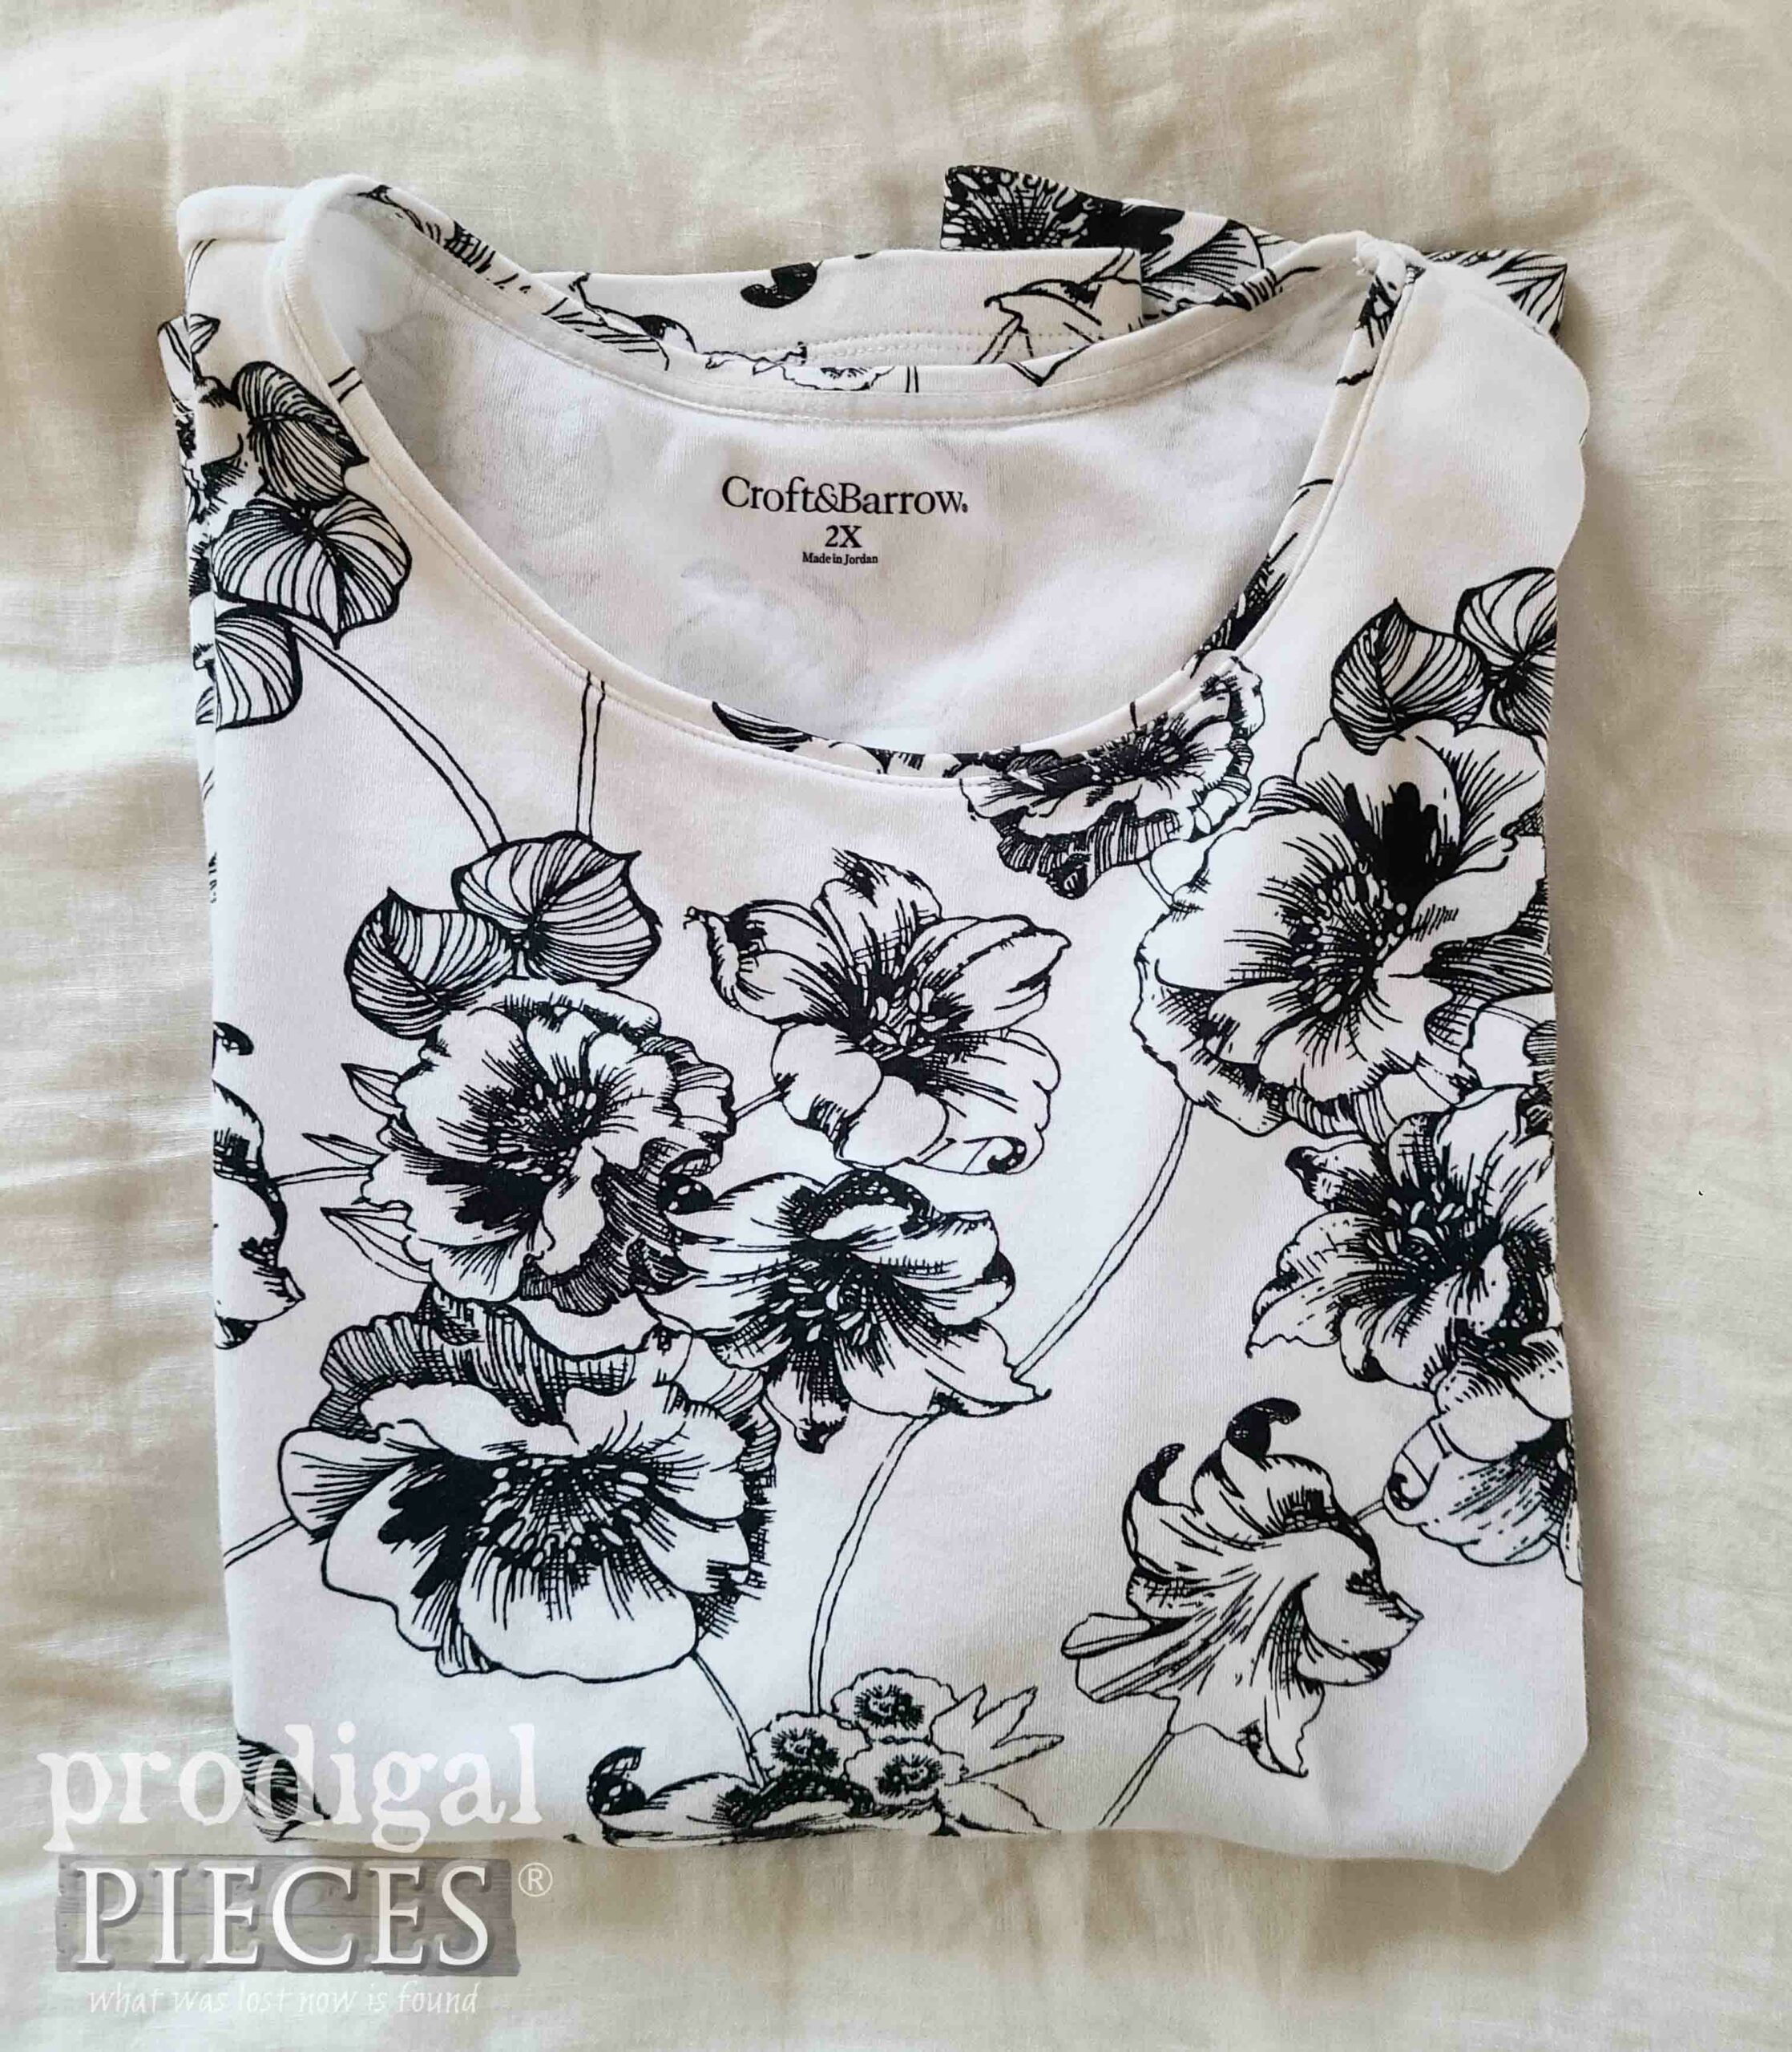
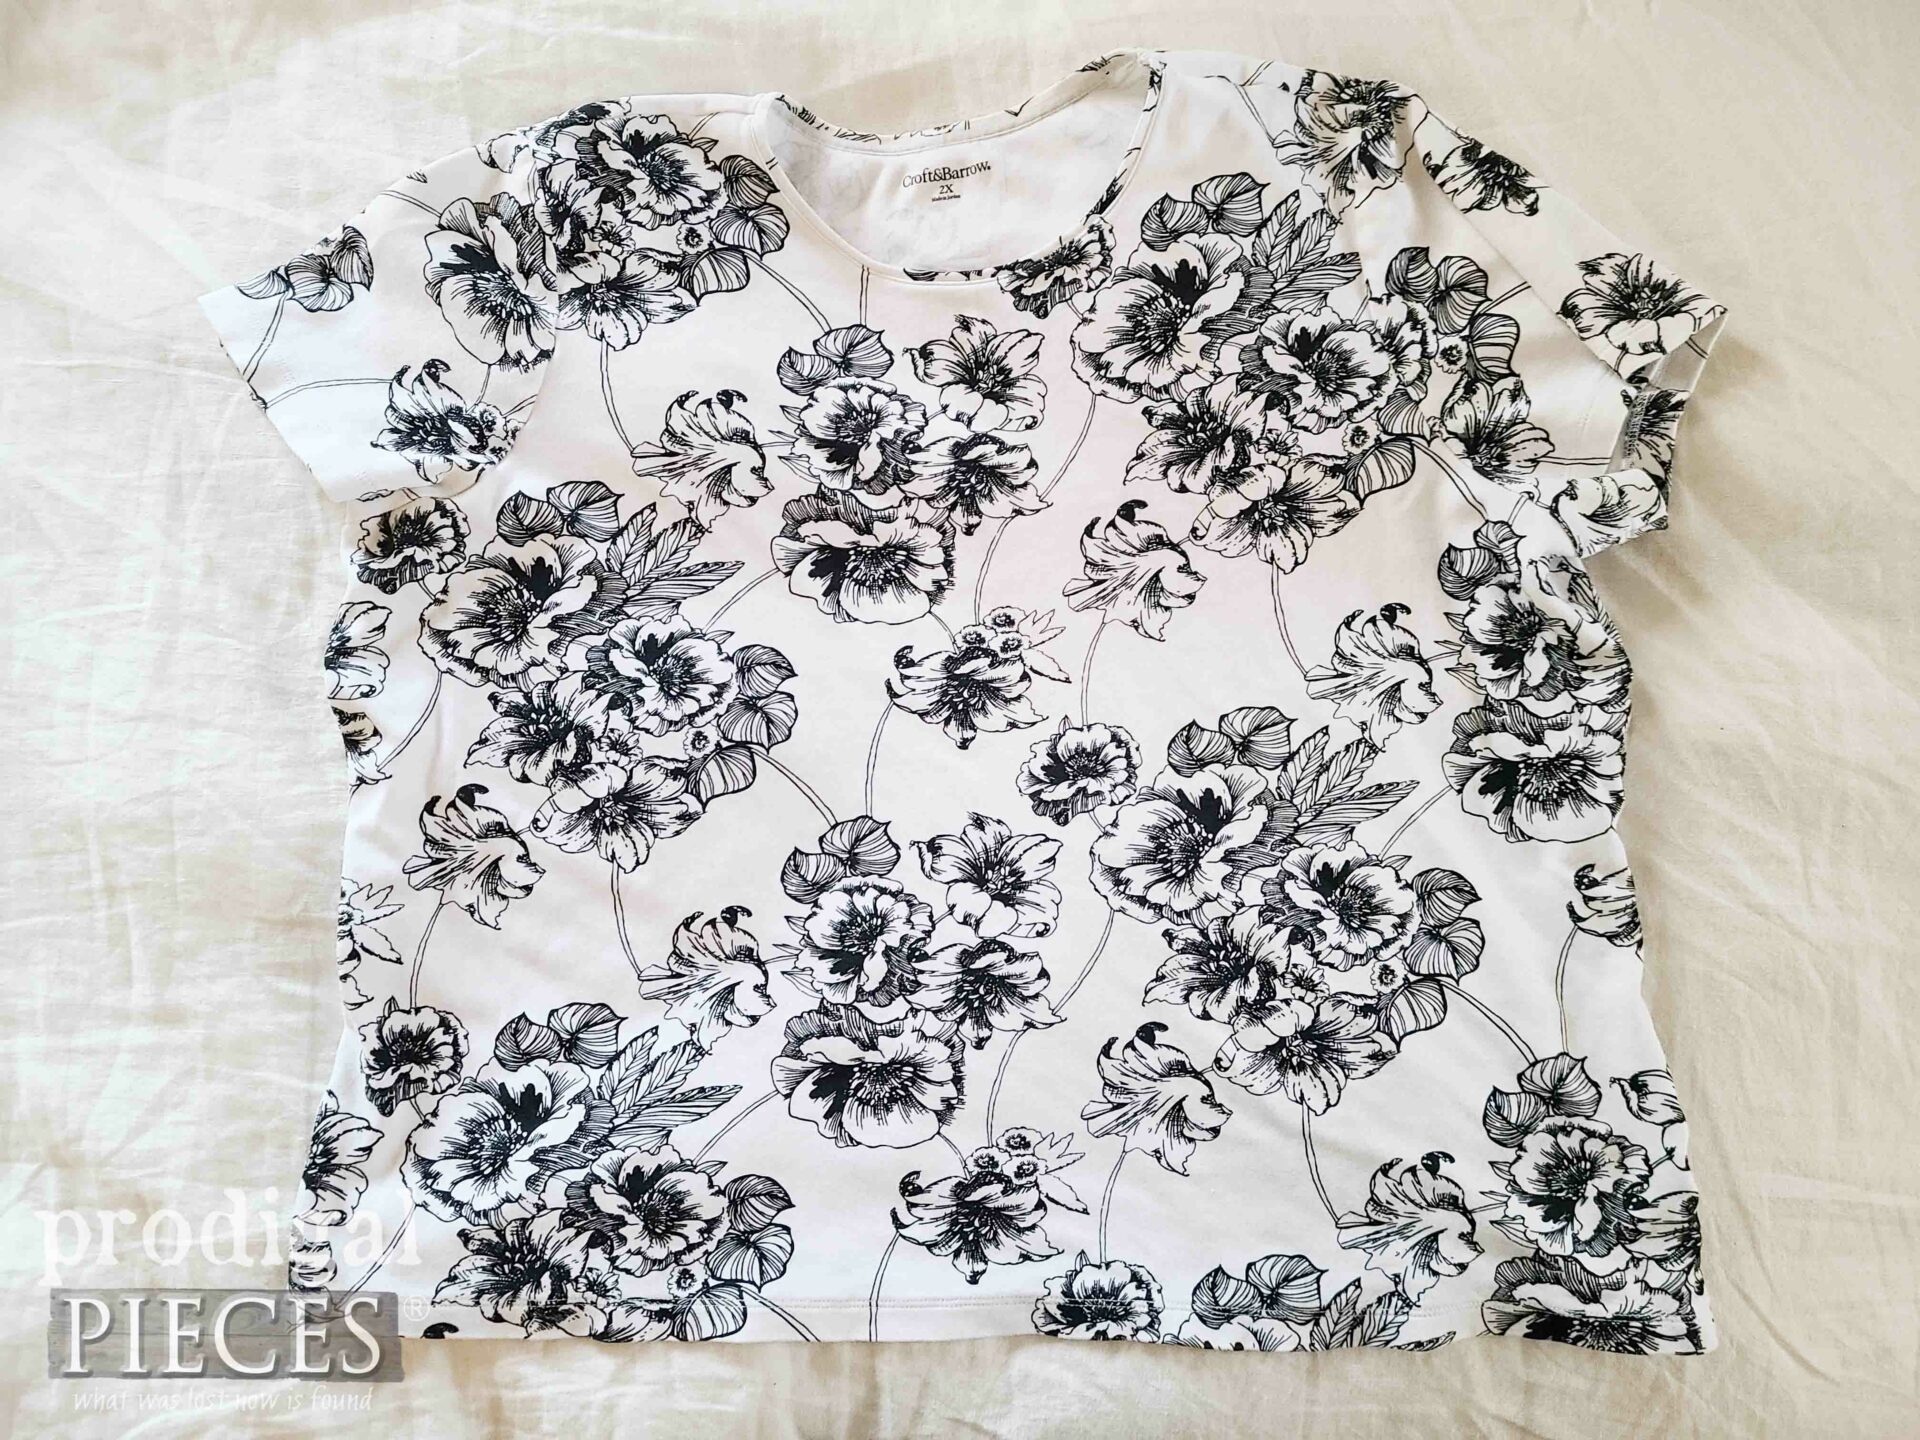
However, I found that 100% knit cotton jersey works best. While I made my set from jersey sheets I had on hand, you can make yours from baby blankets, t-shirts, skirts…whatever you have or find. Today, I’m using this 2x lady’s shirt that is 100% cotton in like-new condition.
There’s very little sewing involved that can be done by hand or by machine. All you need is fabric, a button, a loop tie, and this FREE PRINTABLE PATTERN PAGES BELOW:
STEP 1
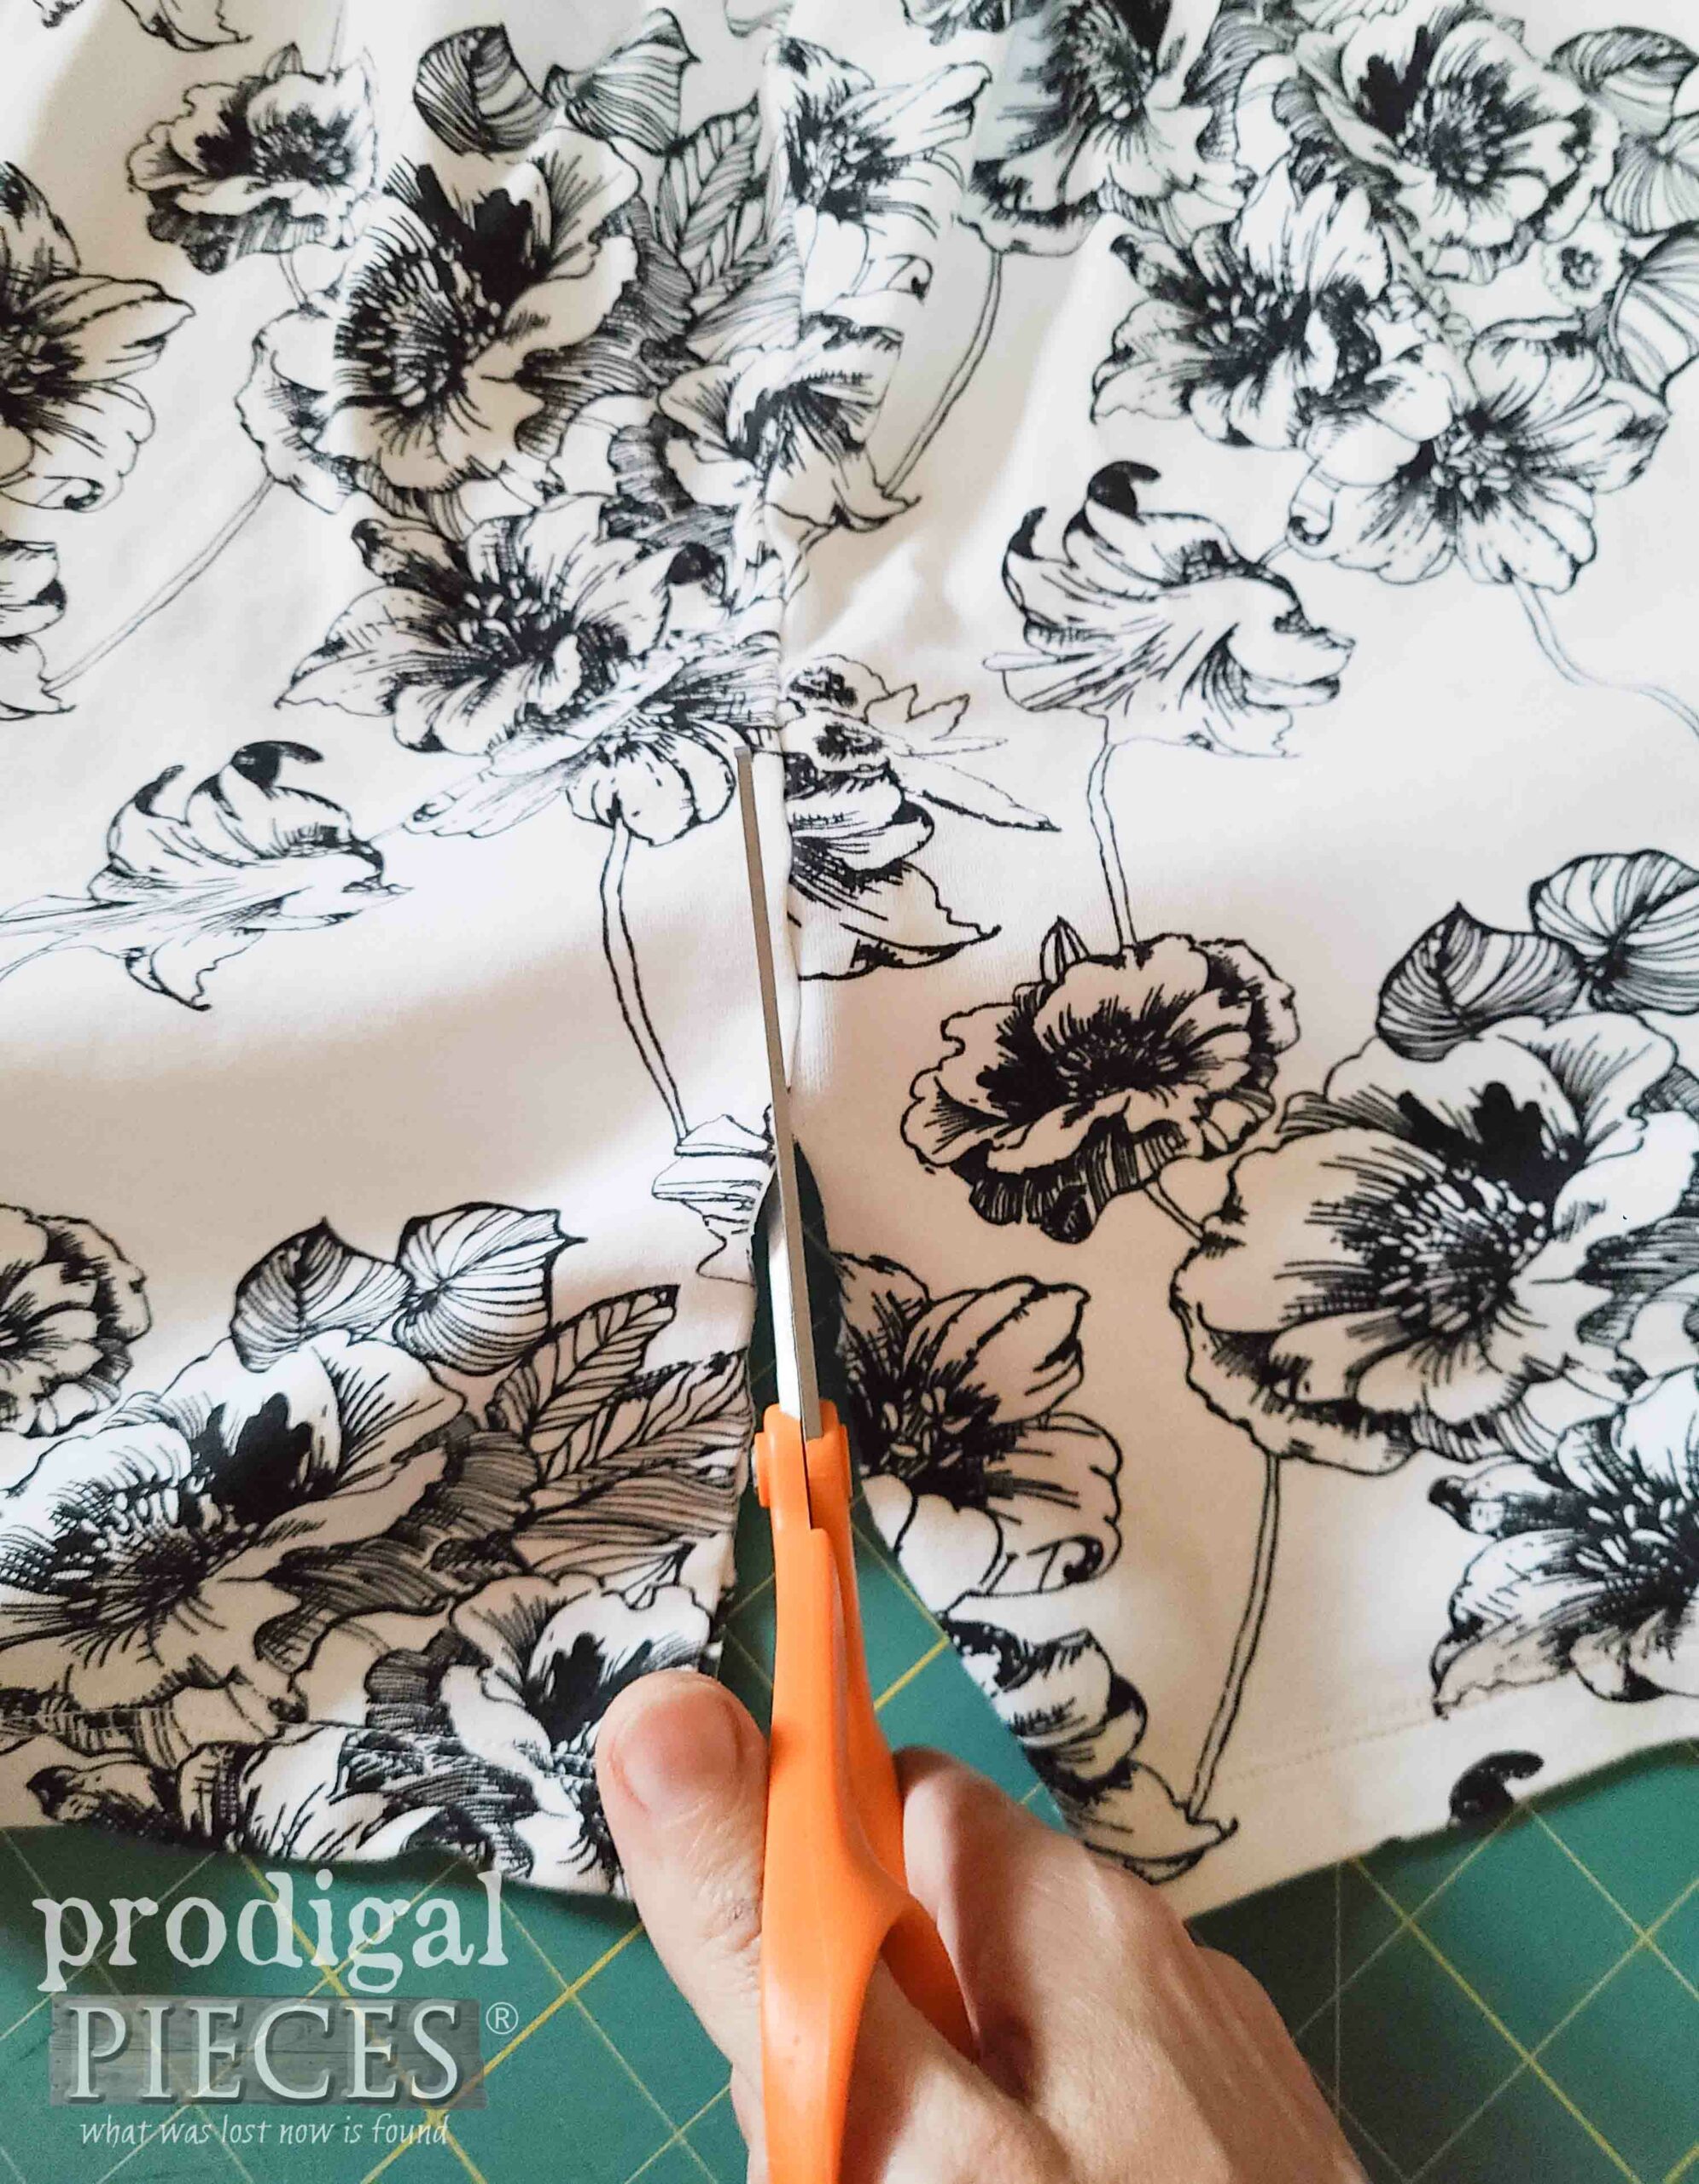
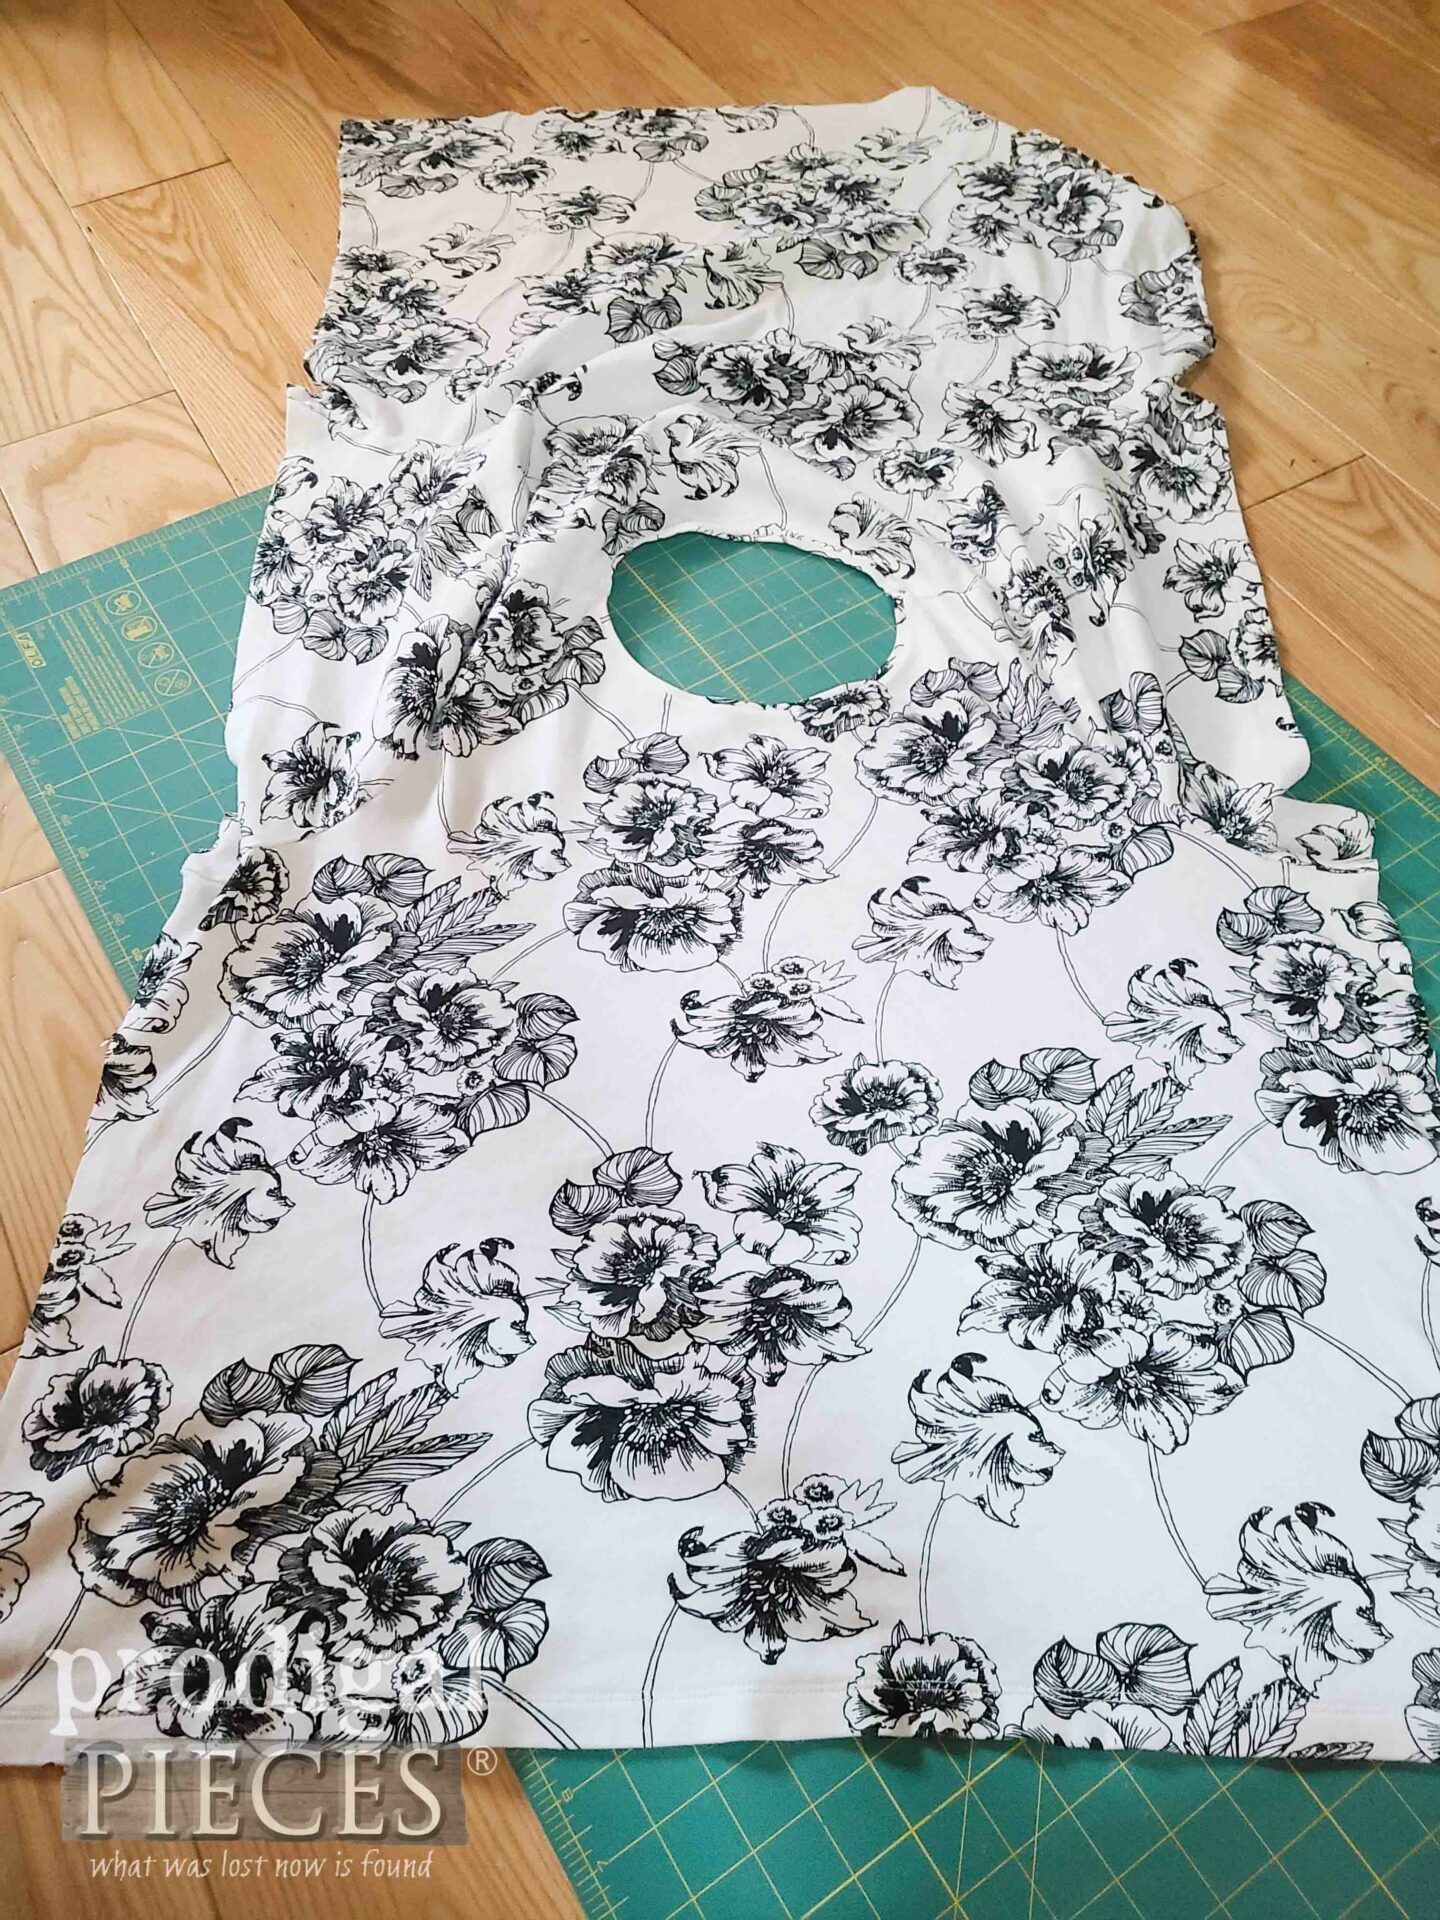
First, take your shirt and cut up the side seams with sewing scissors.
STEP 2
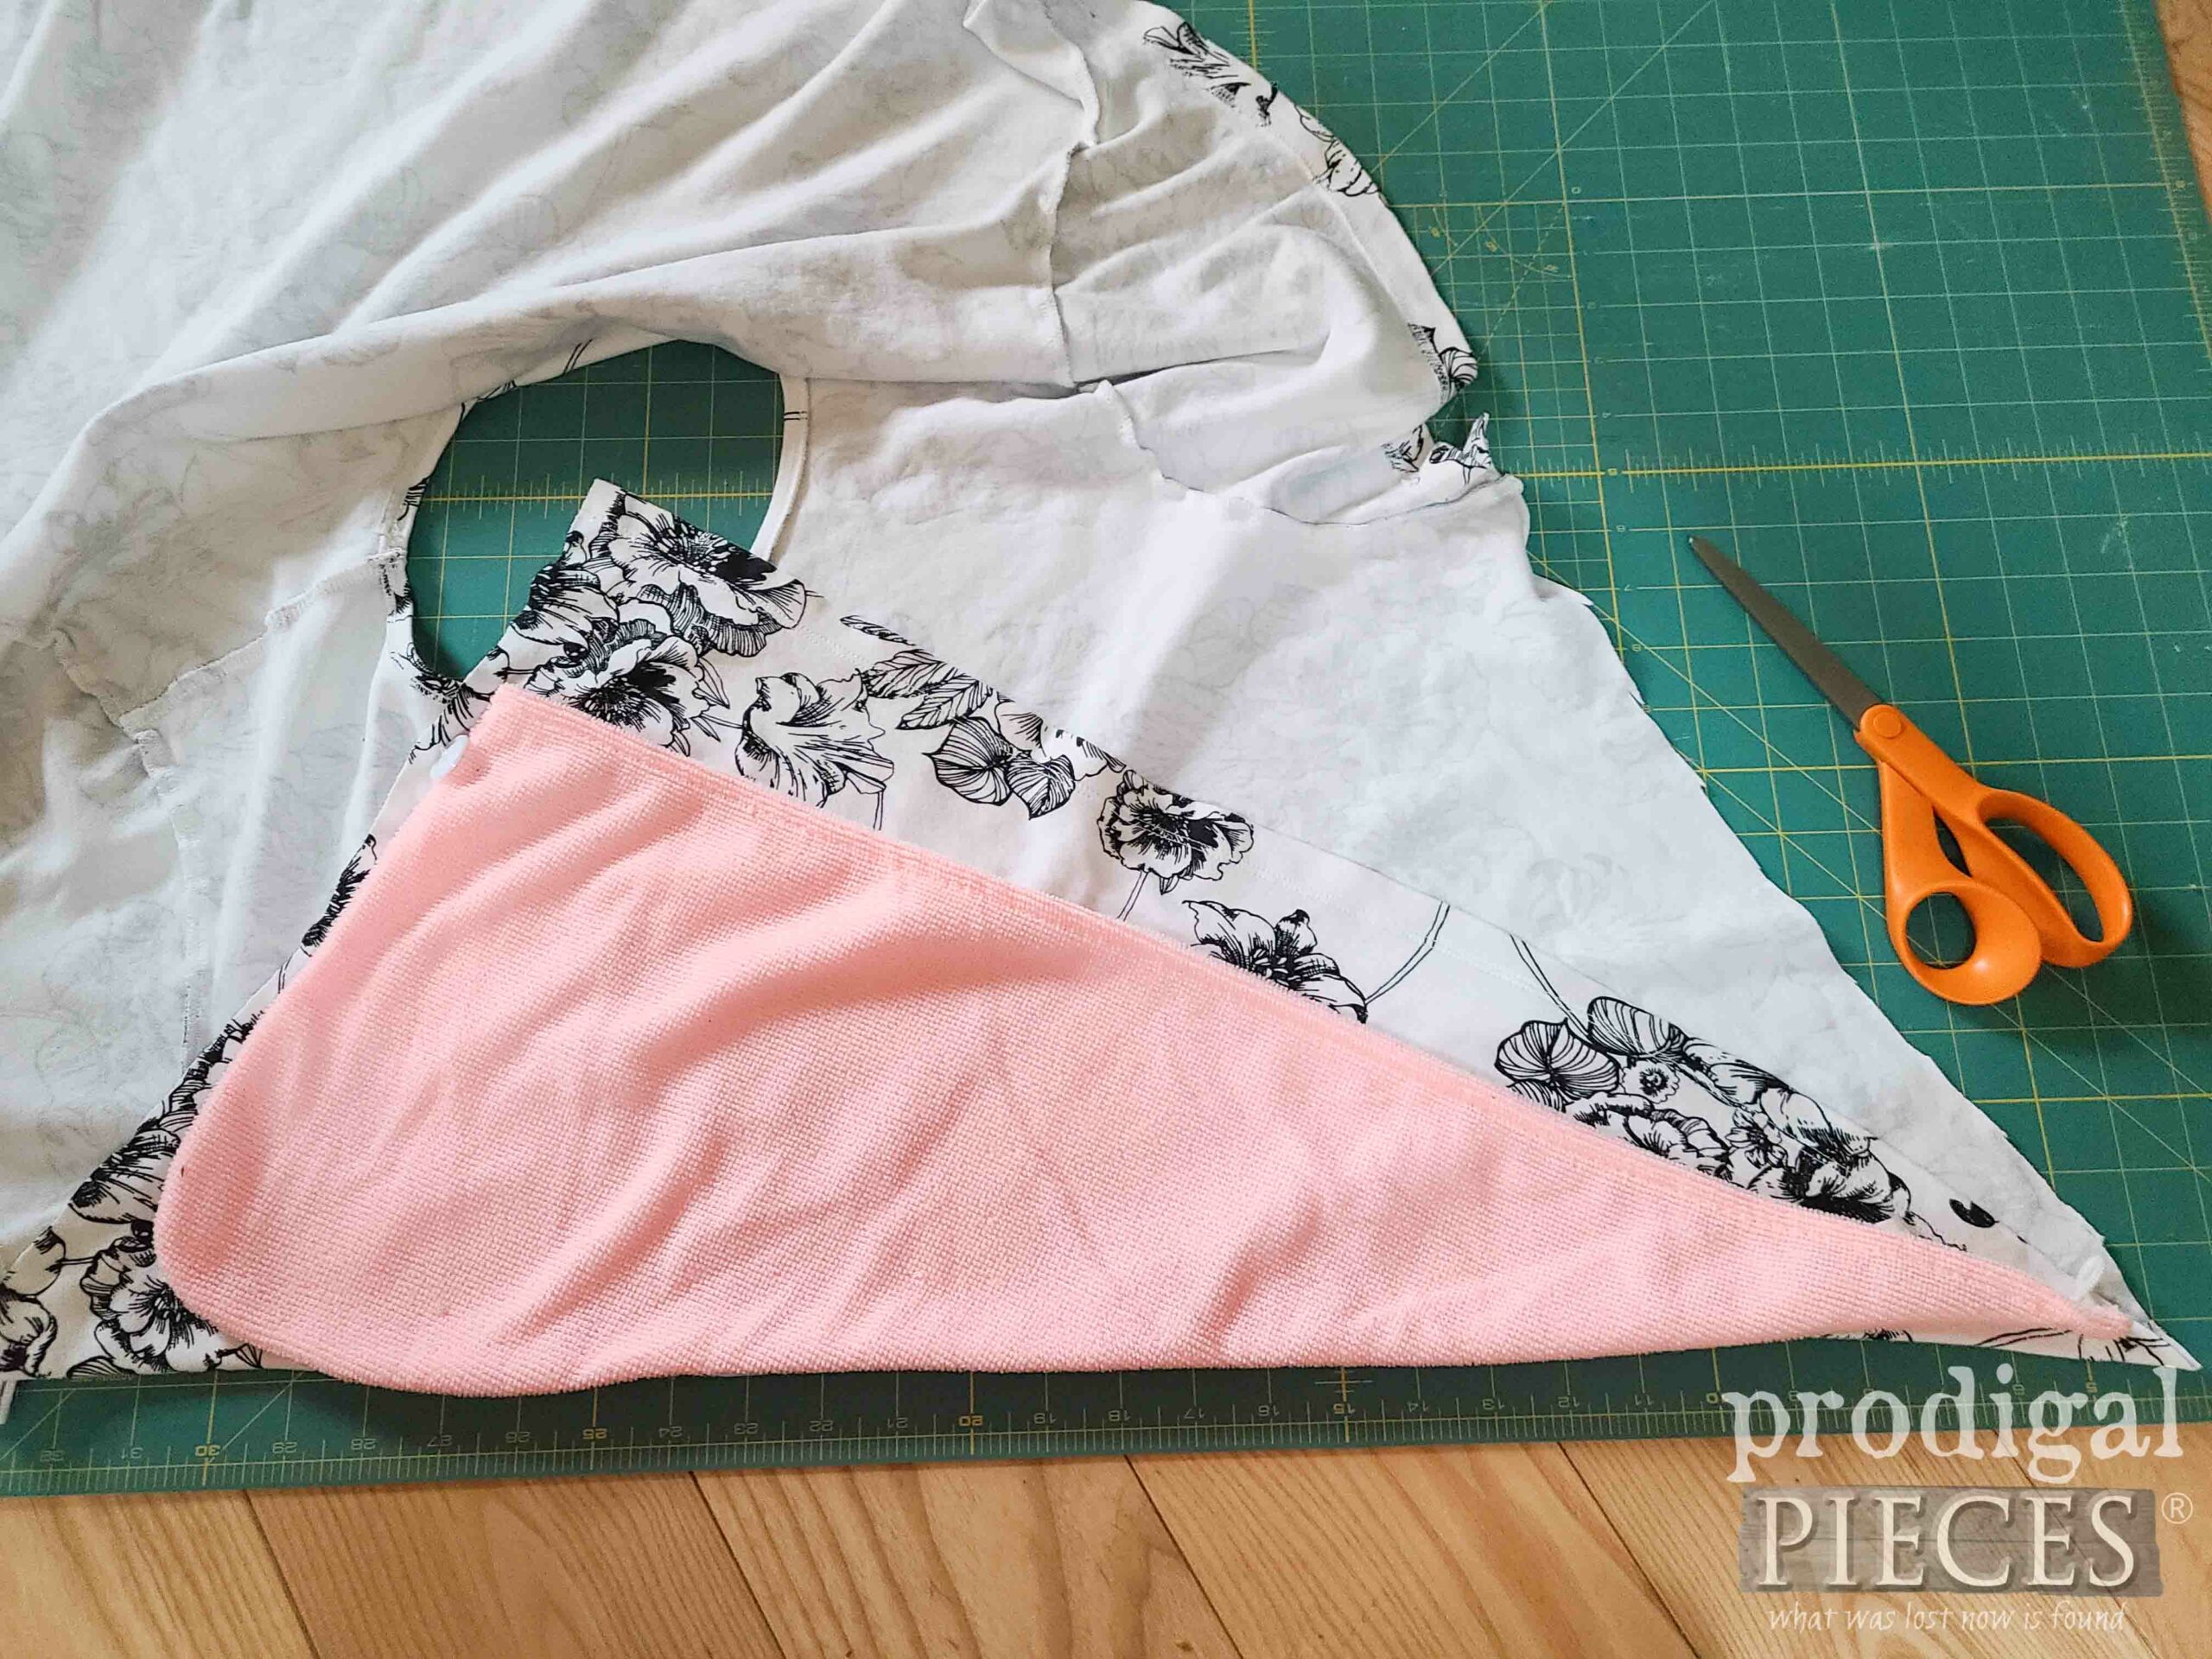
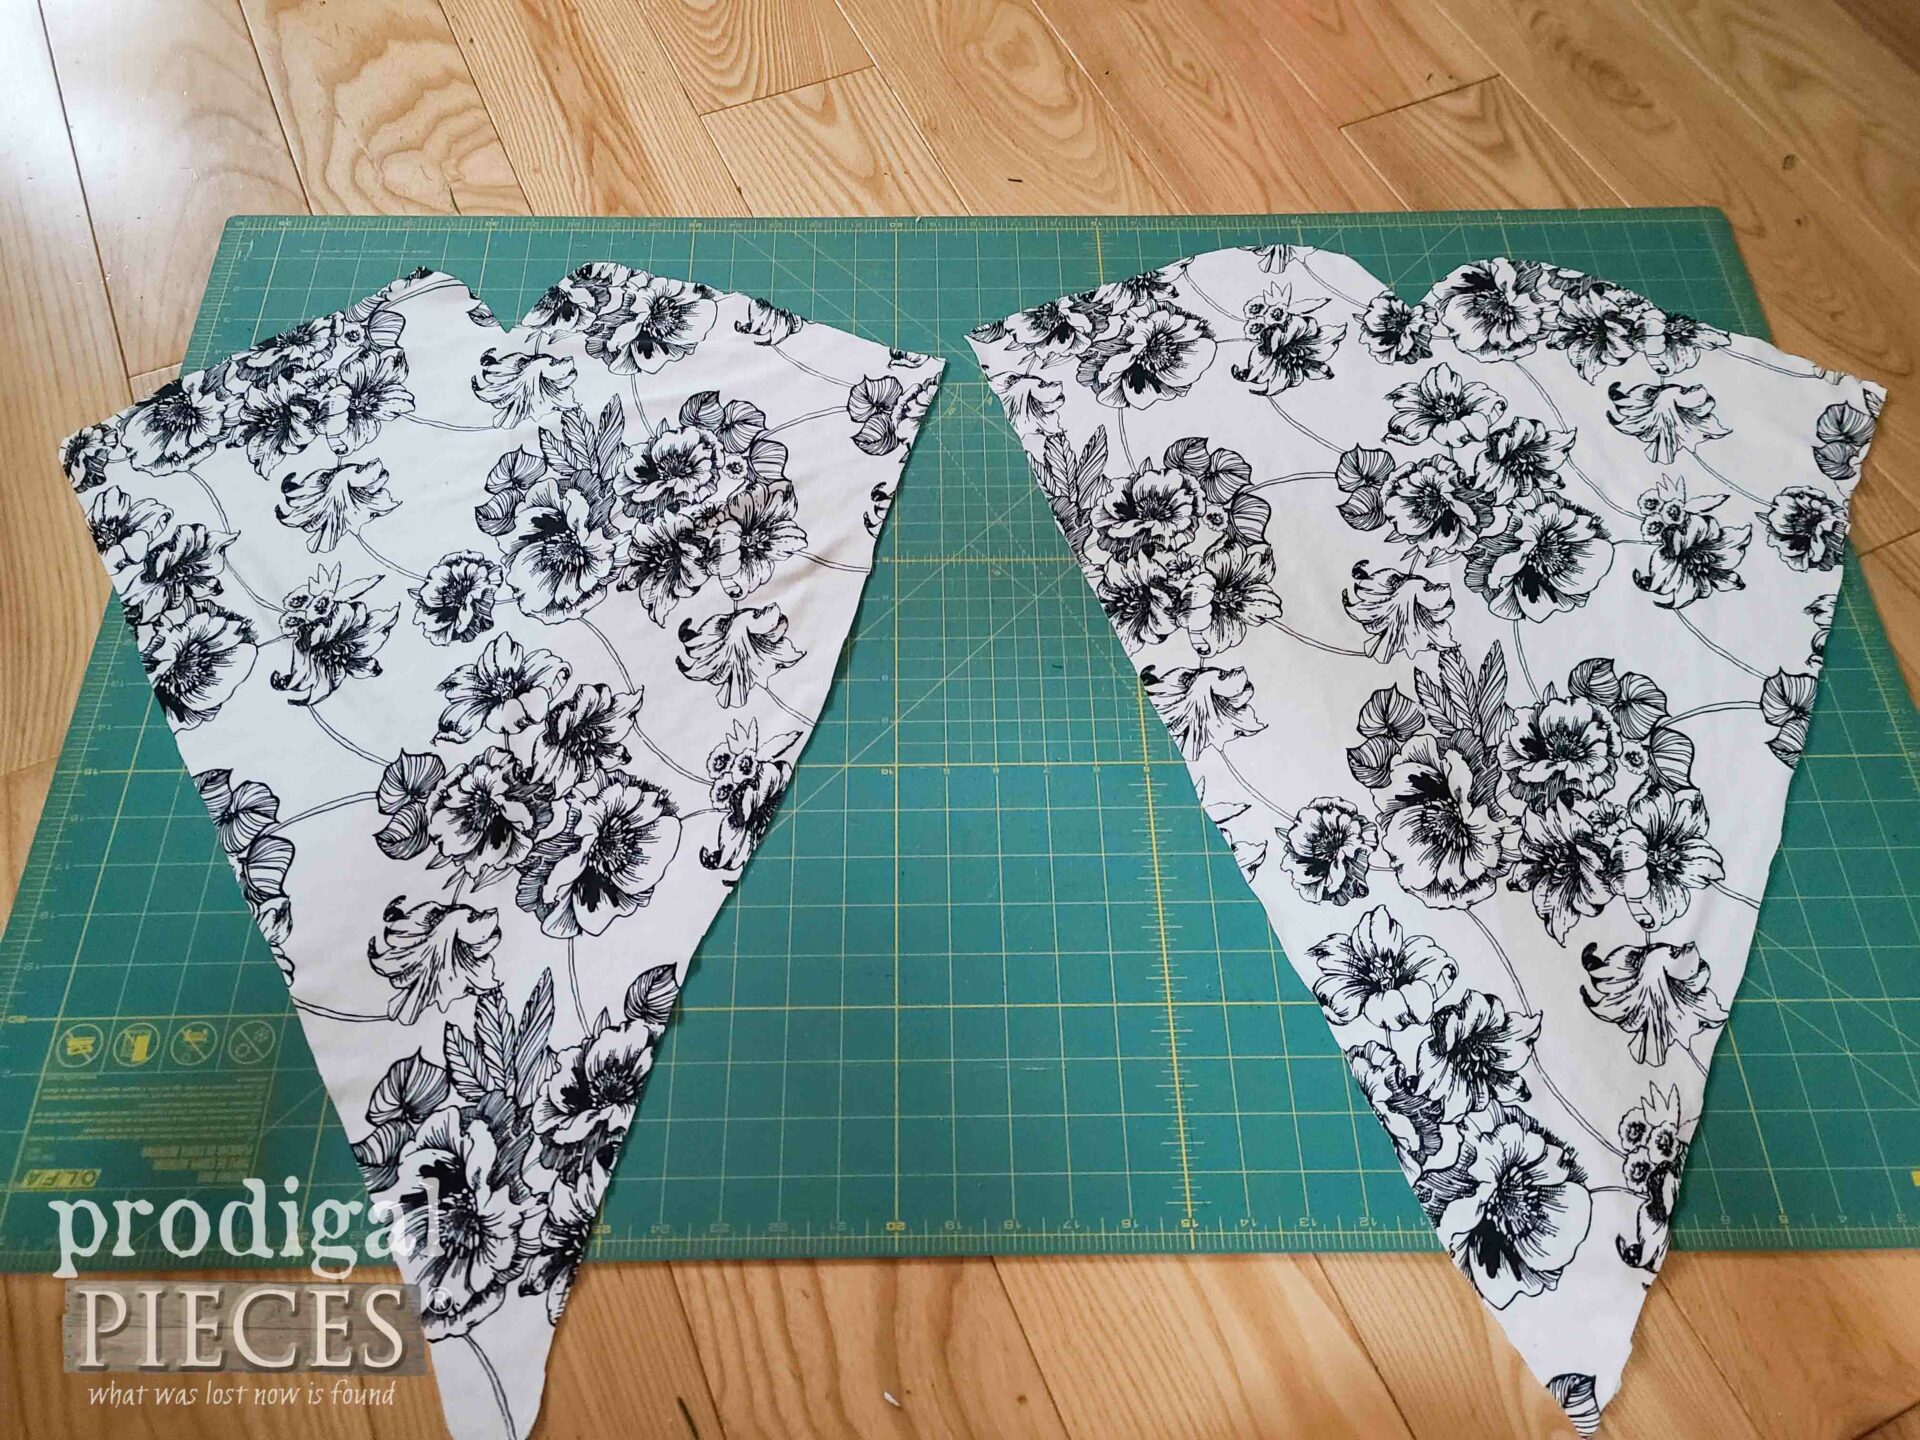
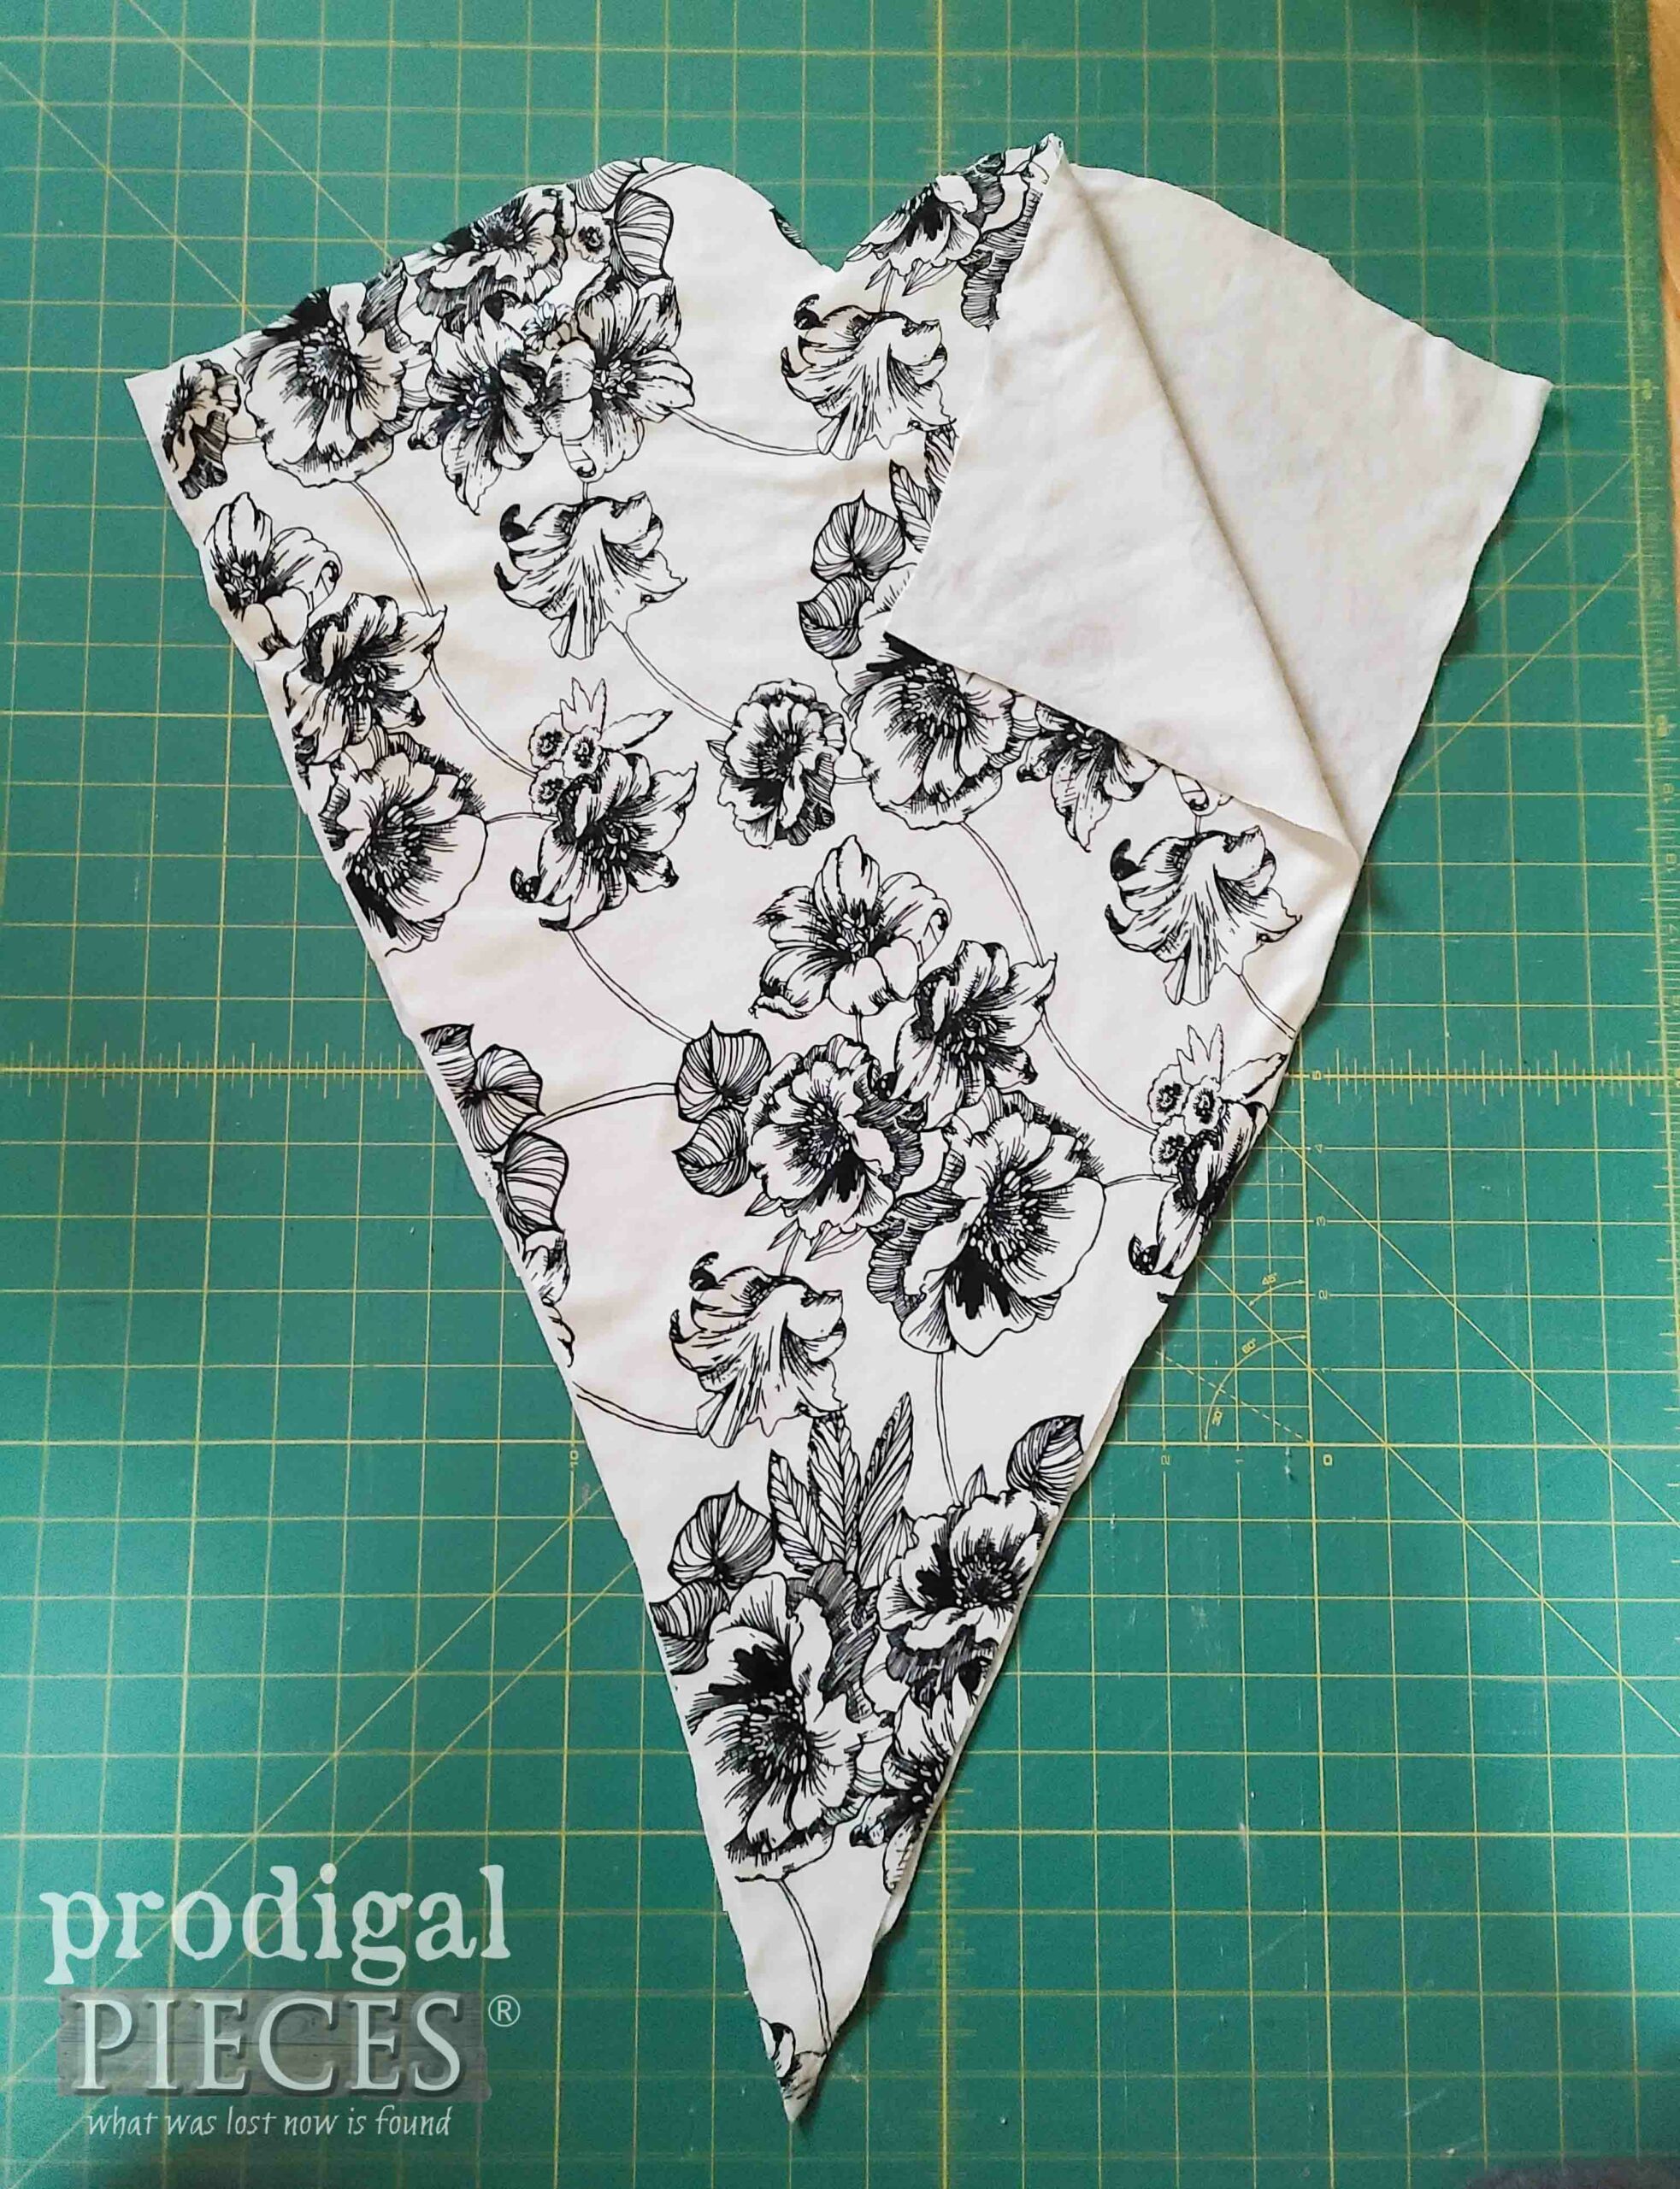
Next, turn fabric right side down and fold up the bottom edge. Place pattern on shirt folded edge as show. Cut allowing a small seam allowance. Repeat to make a second on the folded edge of the other side of the shirt.
STEP 3
Then, place fabric right sides facing out and pin on the long sides.
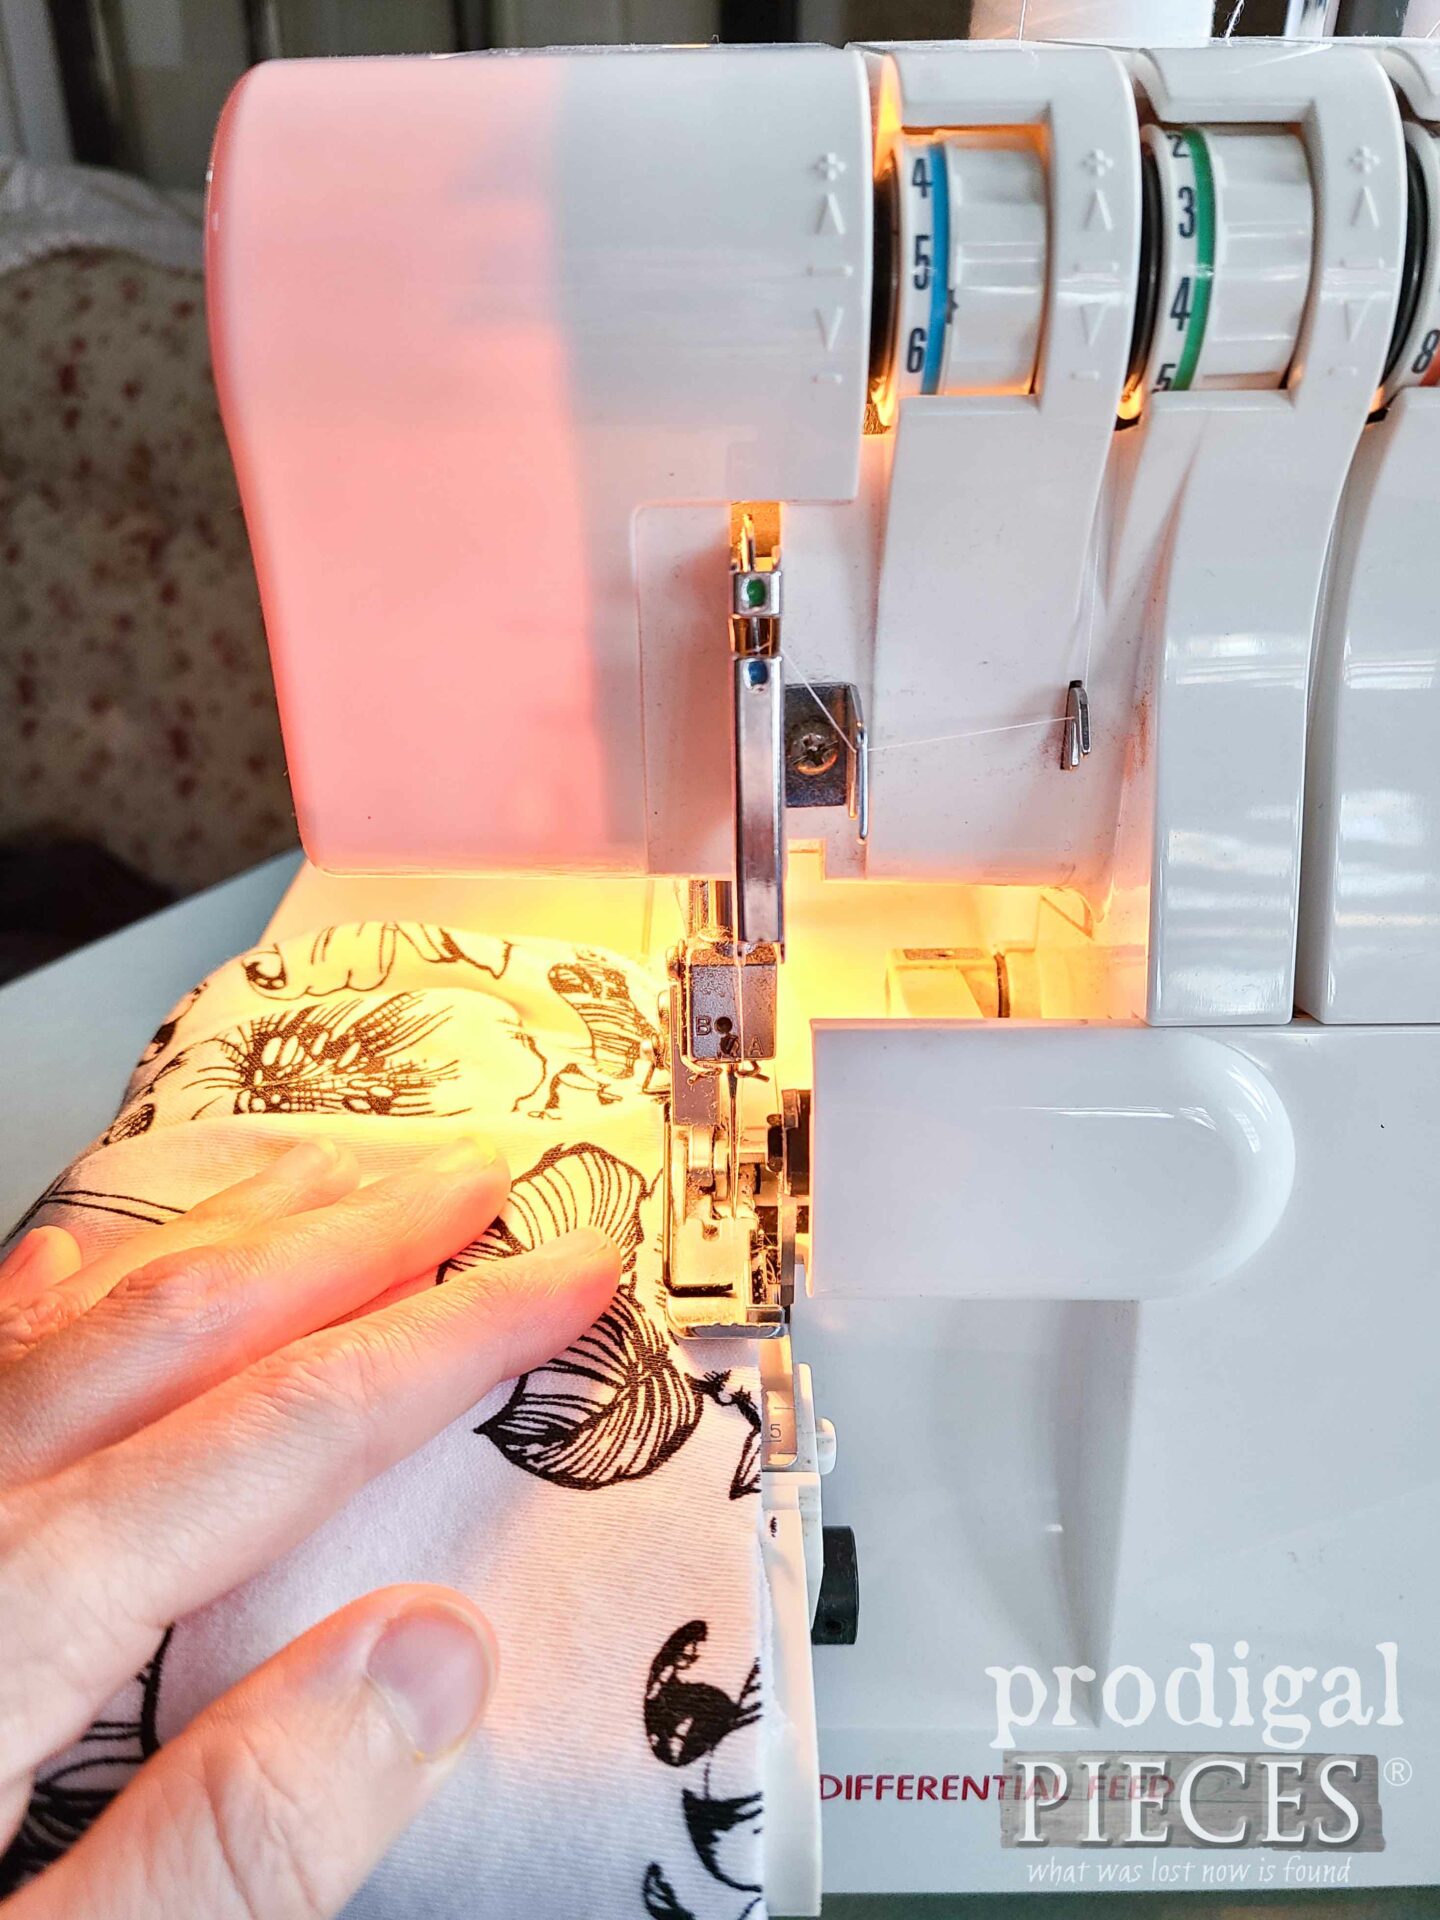
After that, fold down the center and pin the curved edges together. Sew the curved edge on the side of the fabric you want to be the interior lining (usually it doesn’t matter which one). I use my serger, but you can use a blanket stitch by hand, or a zig-zag stitch on your sewing machine. Jersey knit is very forgiving.
STEP 4
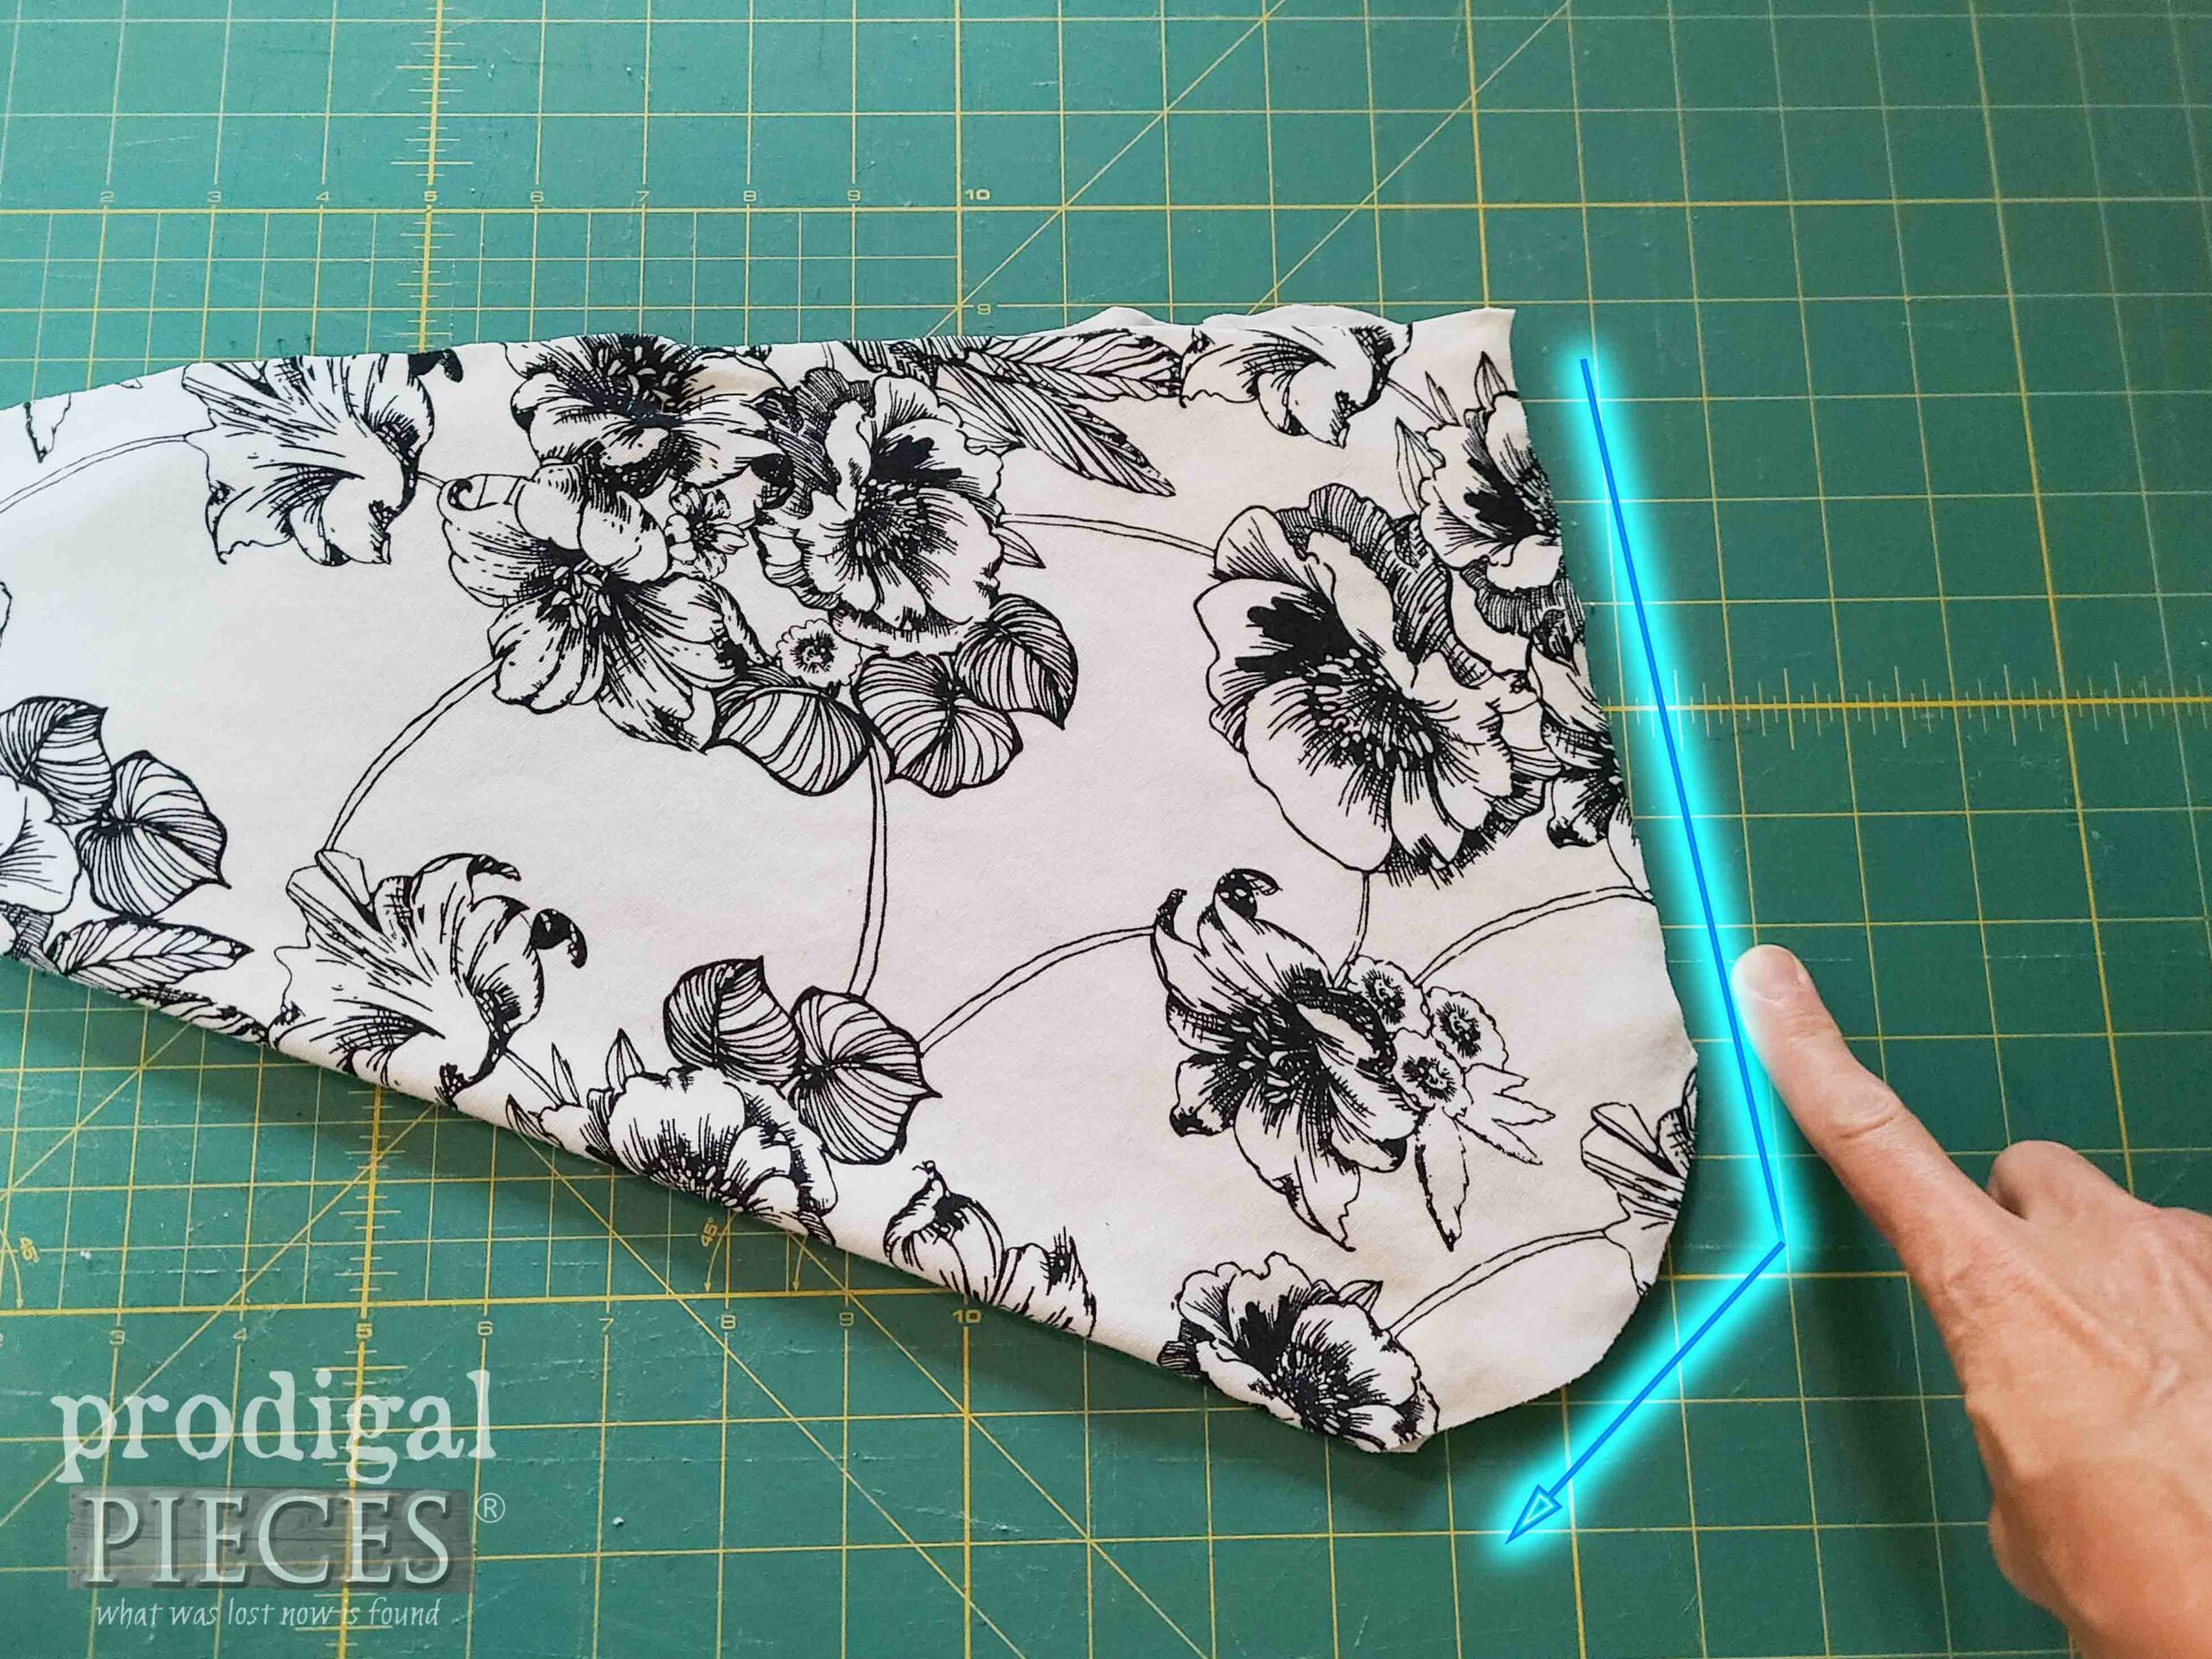
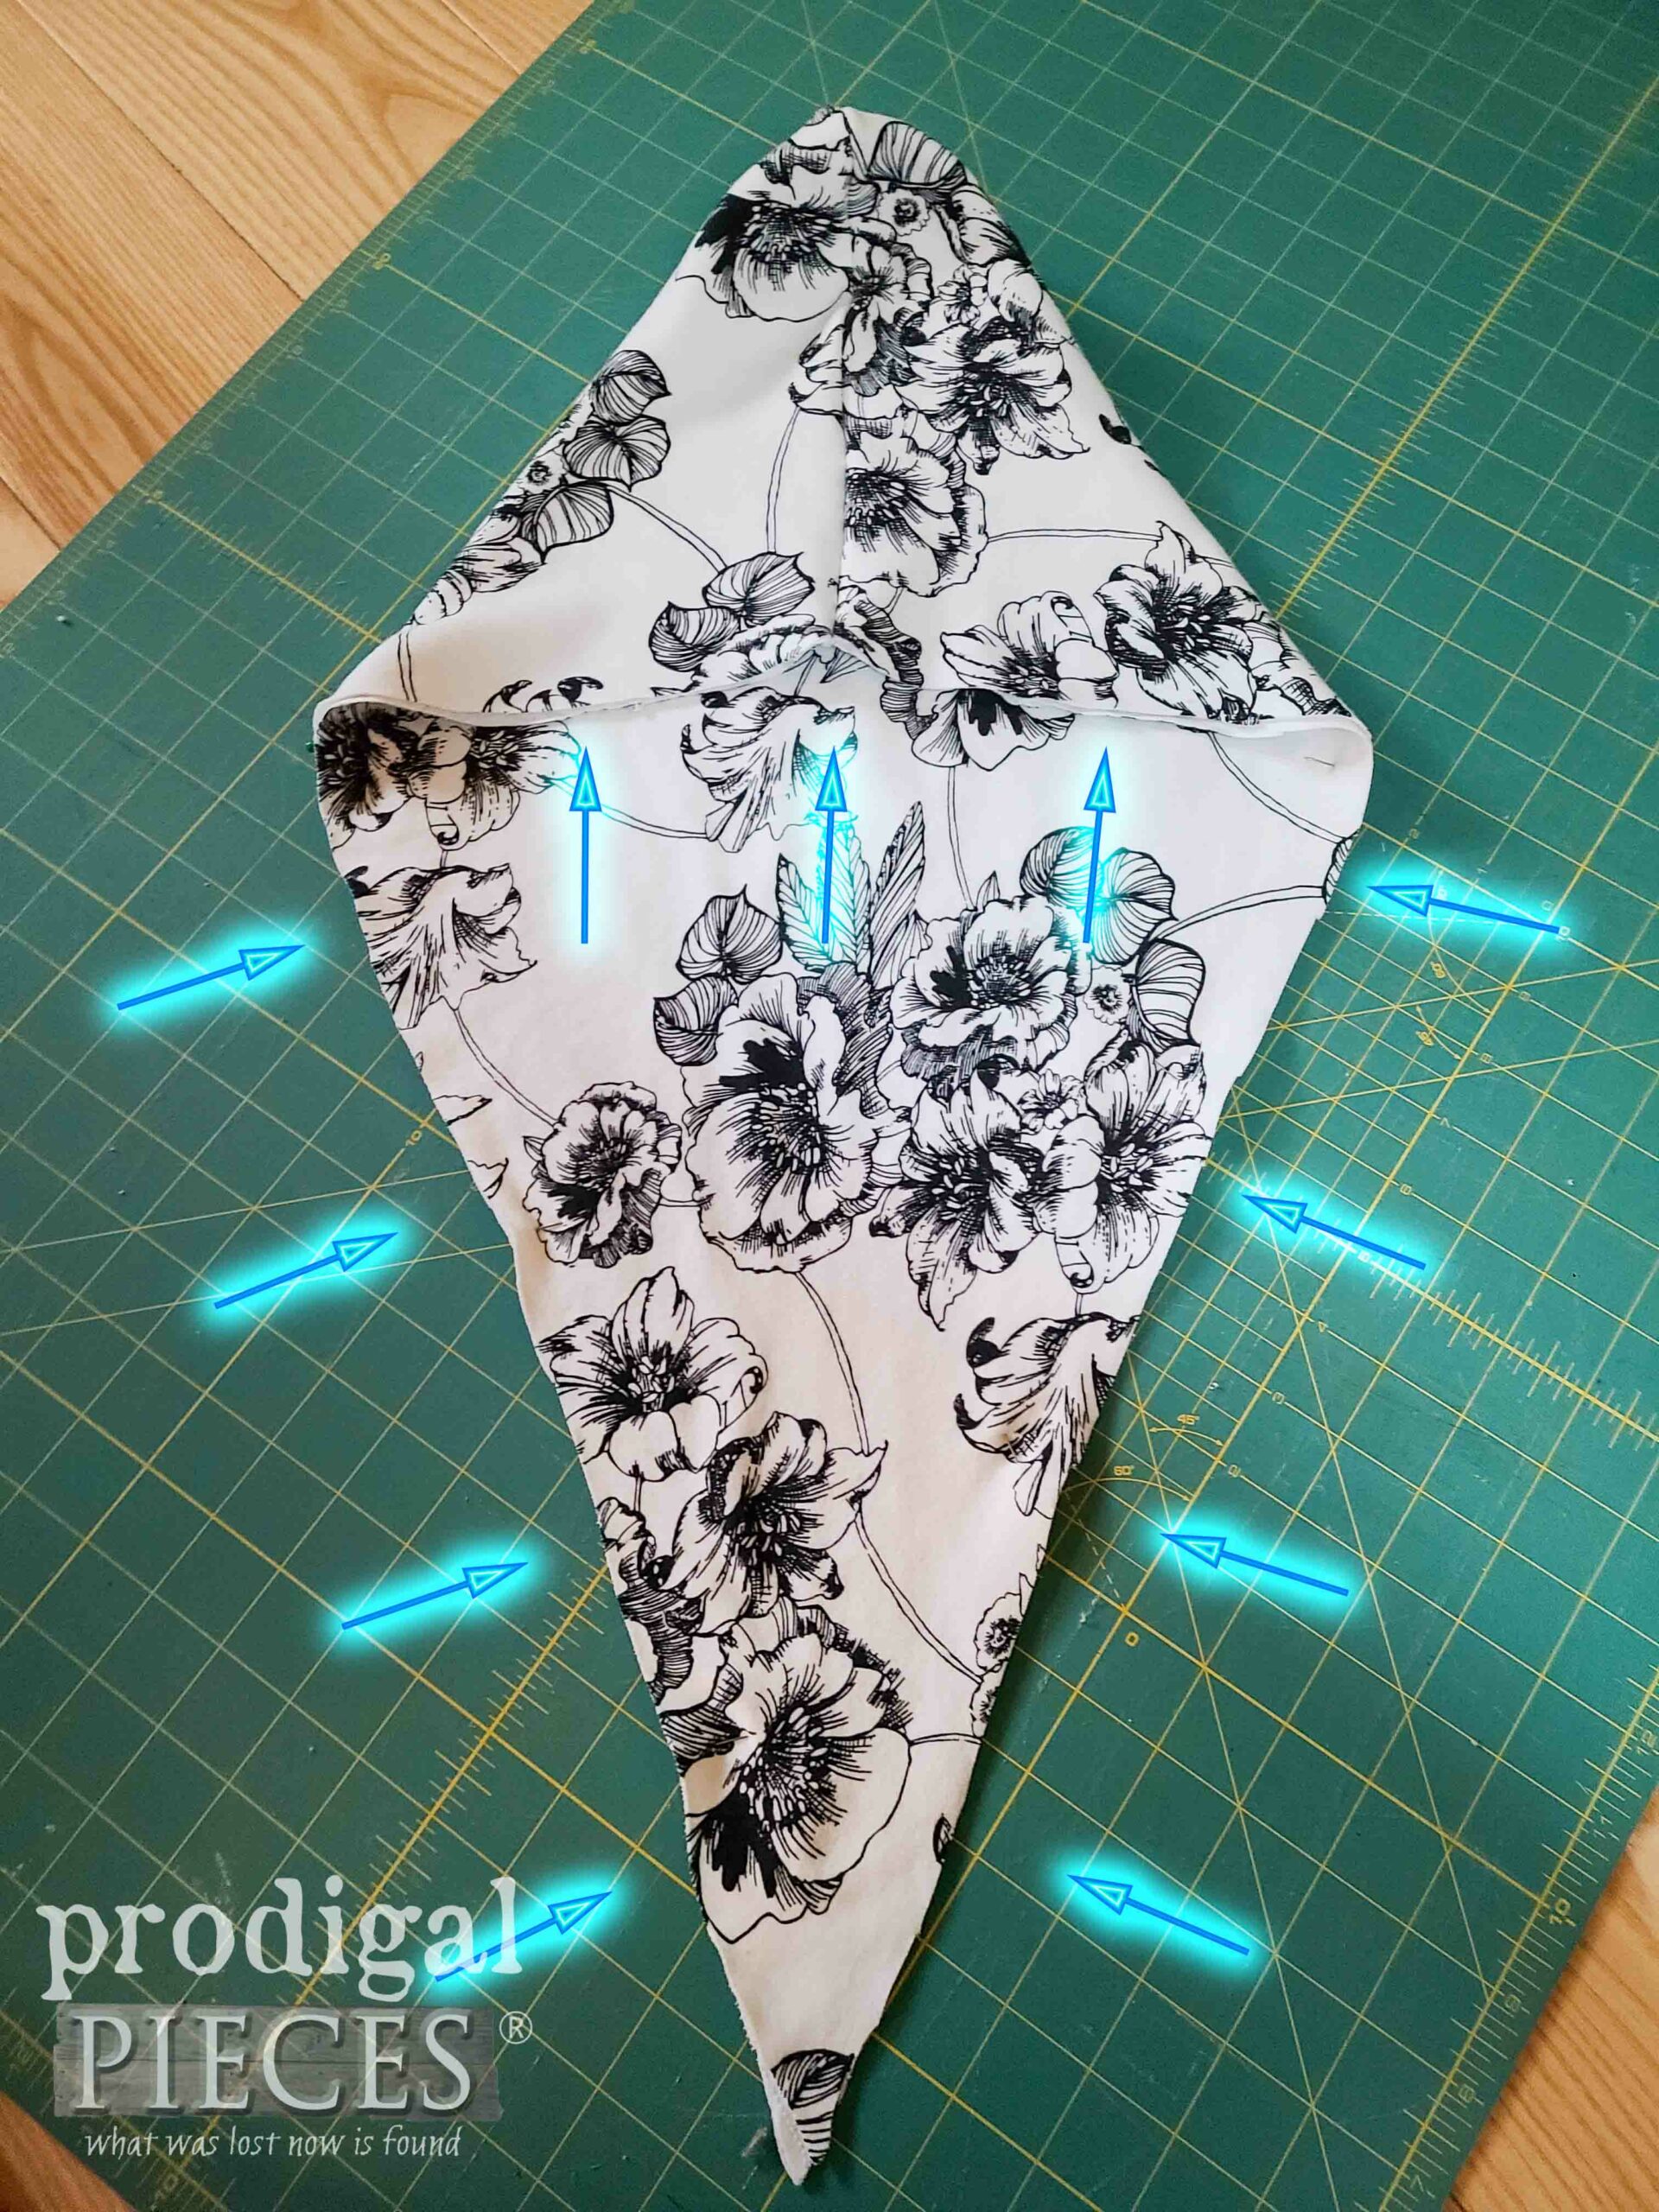
Last, once you have the curve stitched, sew together the edges as shown in the diagram below.
STEP 5
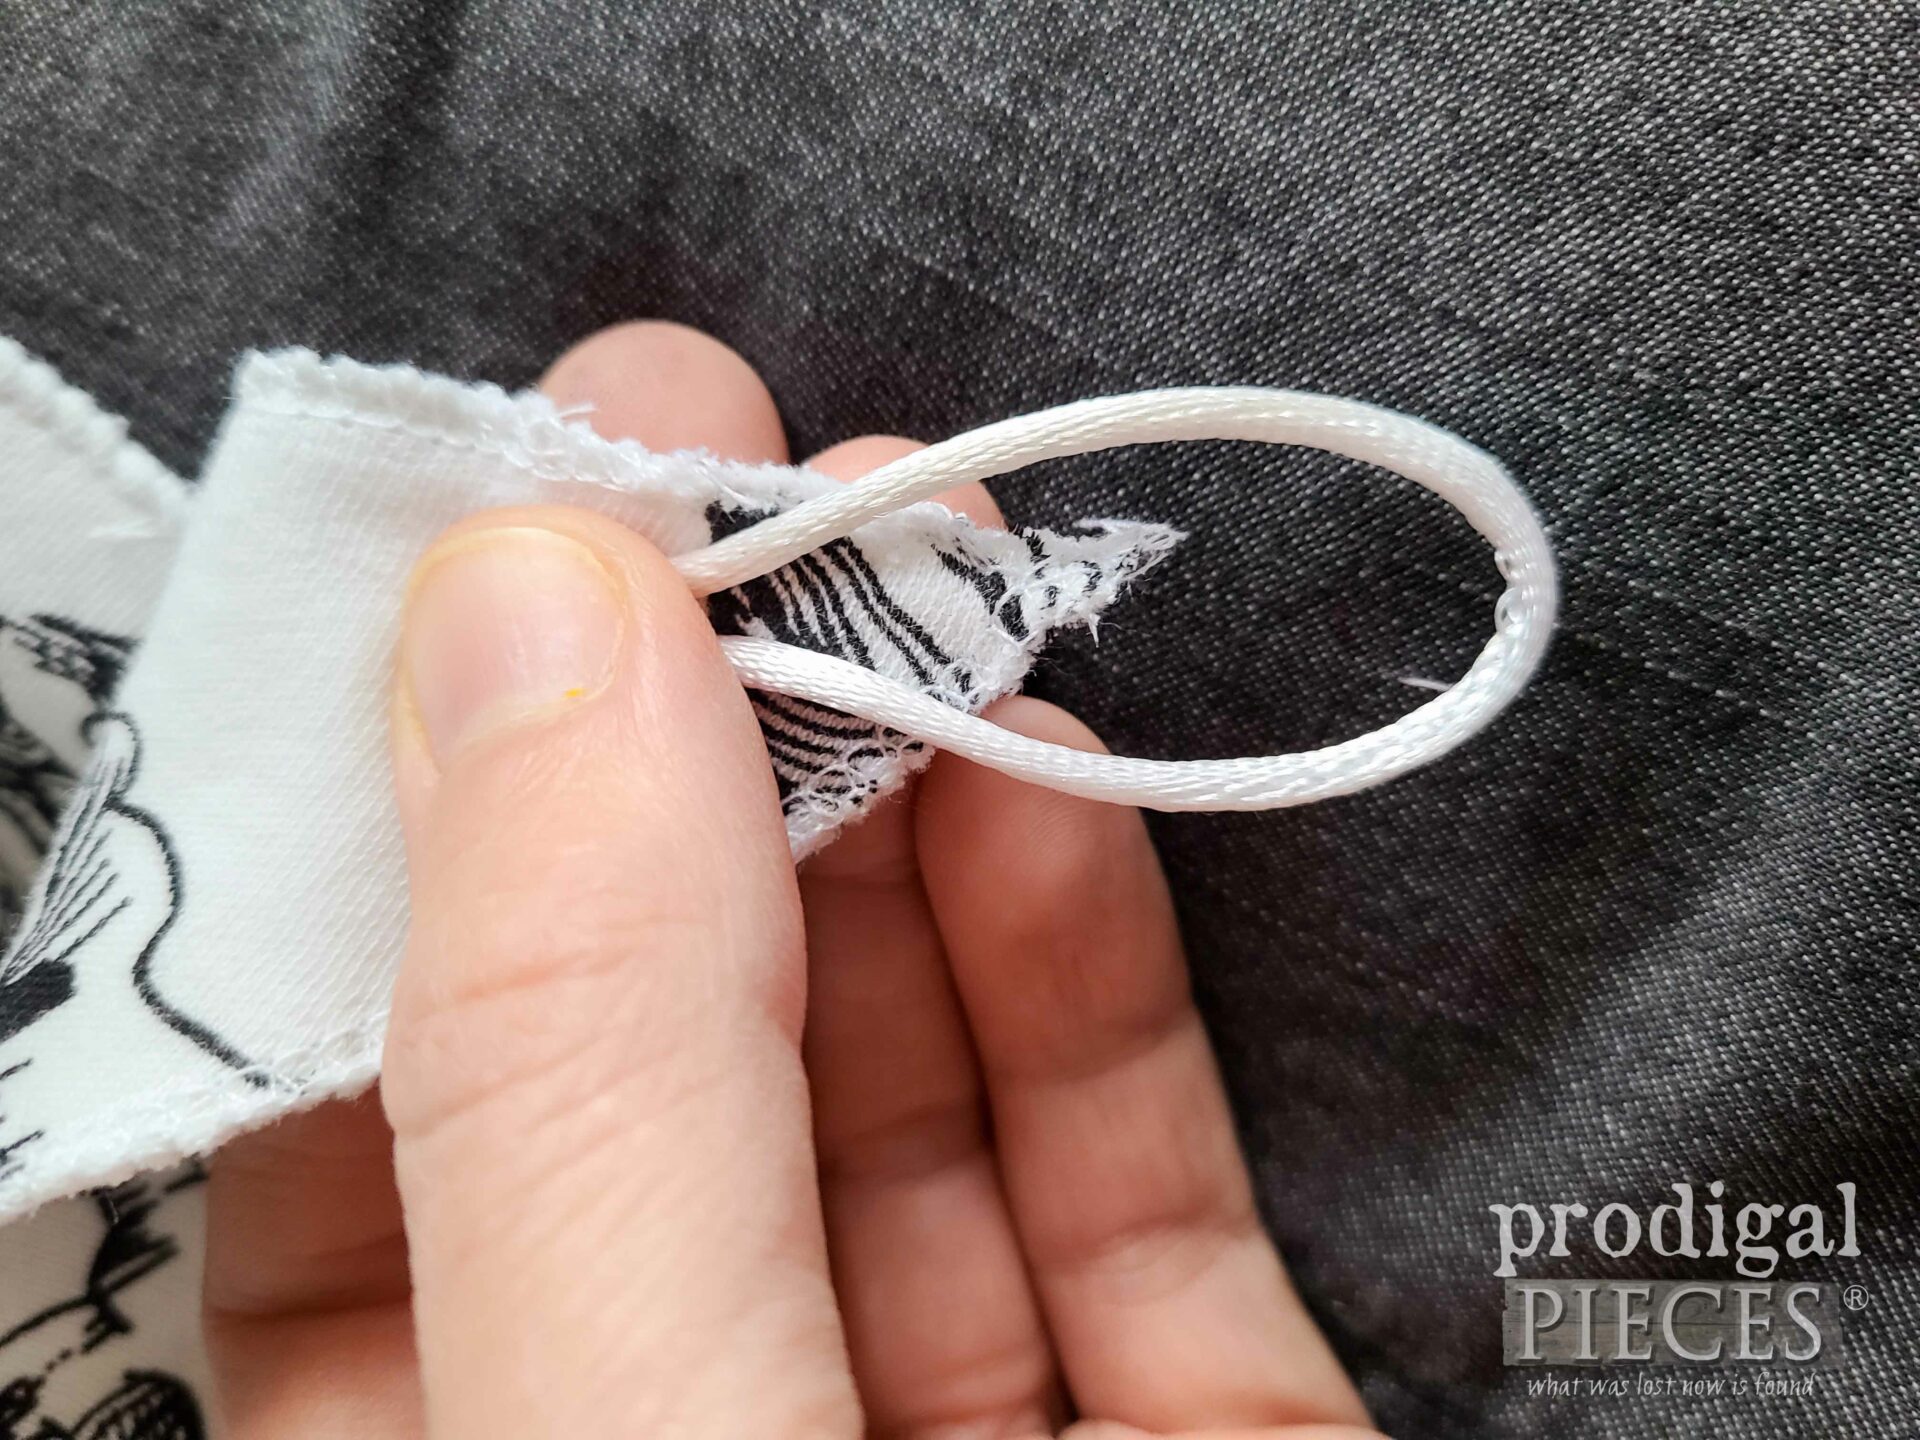
Finally, it’s time to add your cord (or elastic, or strapping) to the tip of your towel. Sew down with a zig-zag stitch on the lining side (underside) of the towel.
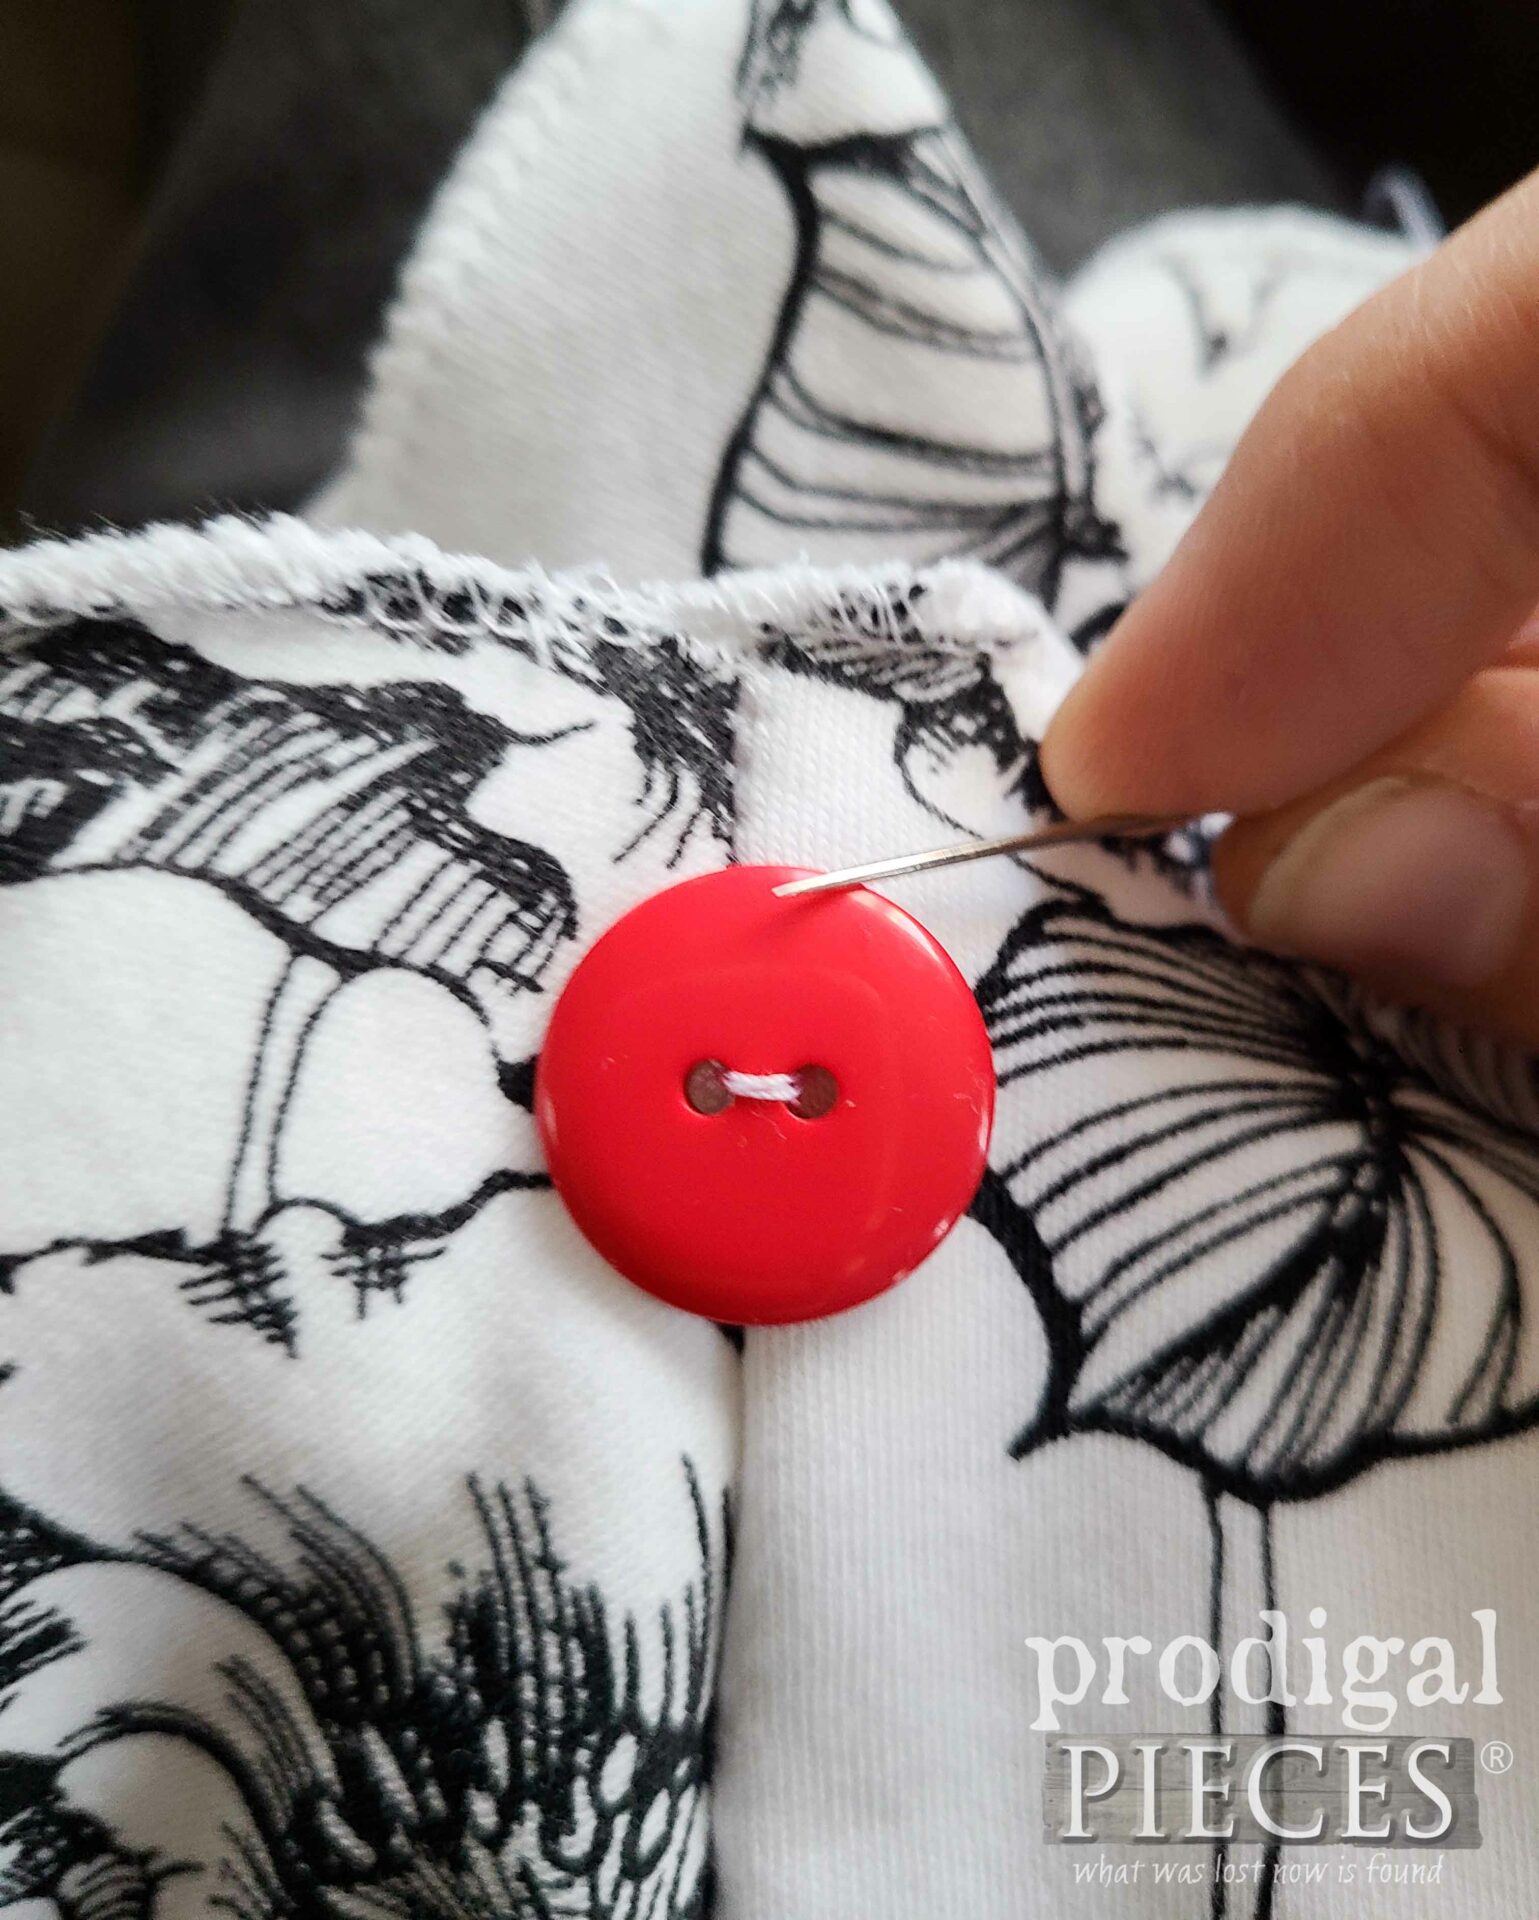
Also, sew on a button to the back seam about 1″ in from the finished edge. Make it vintage or color contrast for fun like I did. woot!
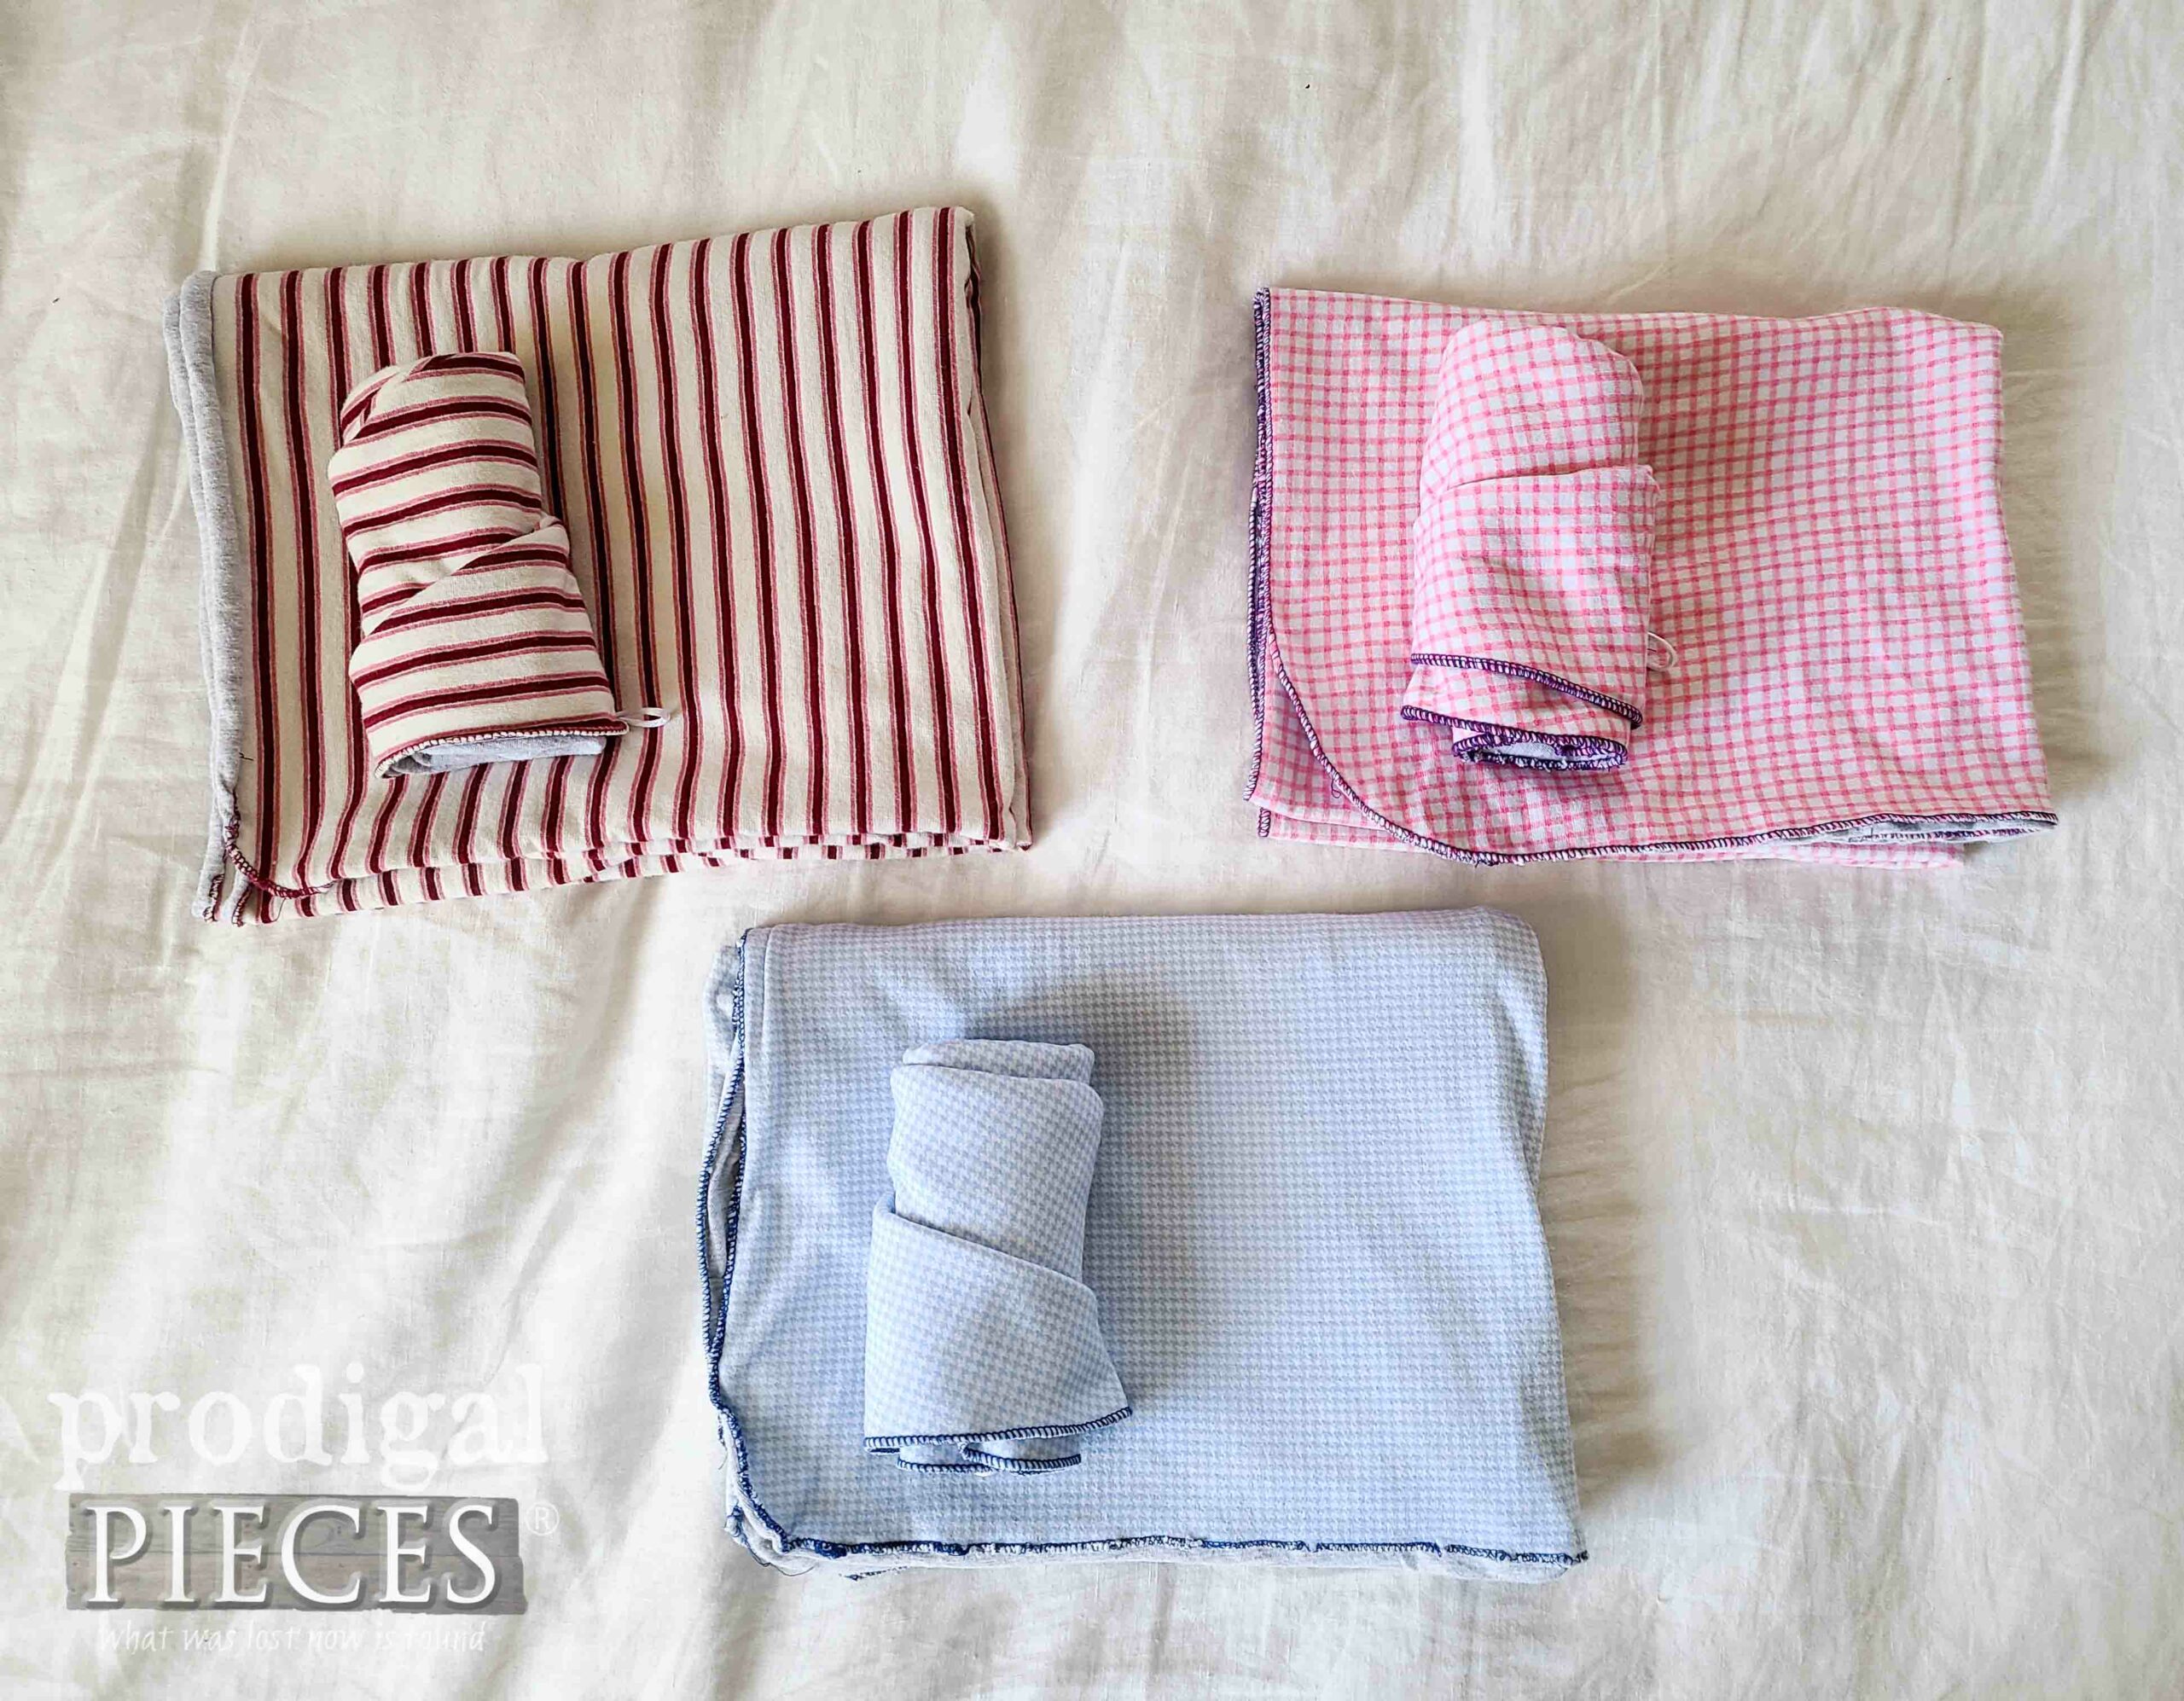
As shown in my video, I’ve made a coordinating towel that is perfect for scrunching and keeping my shoulders from getting soaked. It’s the same idea – two layers sandwiched with a finished edge. My scrunching side is made from the 100% cotton jersey knit bedsheet, while the outside is a cotton blend jersey from new fabric remnants I found at a thrift store. I even made sets for my curlfriend wavy hair girl daughters! They love them.
SHARE
I’m outta breath (or typing energy), so I’m going to wrap this wavy girl hair fun up by saying I’m excited to share my journey with you. My transitioning will take up to a year as my hair grows out and relearns the clumping and wave pattern. I’m excited to see where this takes me! I have more to share, but I’ve dumped on you enough for now. What kind of information would you like me to share? Or better yet, what’s your hair story?
UPDATE: I did a big CHOP!! See the story and video over HERE. eep!
As always, my goal is to inspire and encourage you in your own DIY adventures, whether it’s decor, diet, or hair. Before you go, leave me some comment love. Got questions…ask! In addition, I’ve created several pin-worthy images for you to share so you can find what you’re looking for and inspire others too.
REFRENCES, RESOURCES, AND TOOLS
- The Curly Girl Method by Lorrain Massey – check local library
- Curl Revolution by Michelle Breyer – check local library
- NaturallyCurly.com
- Cutting Long Layers at Home
- My Wavy Girl Pin Board
- Pros and Cons of 2B Wavy Hair
- WavyHairCare.com
- Tools: Tangle Teezer, Clips for Root Clipping, Scalp Massager, Buff, Shower Cap
WAIT! You’ll want to sign up for my FREE newsletter to see what becomes of this vintage school desk. Come join me HERE to see.
Until next time!




This is so interesting to me as it sounds like my hair is very similar to yours. I have a lot of fine, wavy/straight hair. I also would perm mine back in the 80s and 90s and it took very well. Now adays I wear it down or up and wash 2-3 times a week. I also never liked gel but prefer mousse. My hair will curl but won’t hold it. When I go to get it cut (and highlighted) I always ask them not to blow it out as it takes any body right out and makes it a stick, straight mess. Anyway, I am interested in looking into this more. Thanks for sharing.
It does sound like we’re very similar. It’s crazy to have found what was there for me all along. If you want me to field any questions, I’ll try to help! Just email. 🙂 larissa at prodigalpieces.com
Hey Larissa, What a great post! Very very interesting and I gleaned some great information that I hope will help me in my struggles with my hair. I, too, permed in the 80s and 90s and only needed a perm once a year, maybe once every 9 months or so. And loved that I could just wash my hair and let it air dry and away I went! I have lots of hair but it is fine. I’ve been going to a guy who razor cuts it and that really helps me deal with the flips and “cowlicks” I’ve developed as I’ve aged. But! I miss my longer hair. I’ve never worn my hair short before and its been really difficult to recognize myself in the mirror or in photos now that I am older, white-haired AND short hair. You have given me hope and lots of options! I too have been doing it wrong; I’ve actually been using clarifying shampoo e/o time and don’t use conditioner because it weighs my hair down (I’m trying to grow it out now) but that results in “straw” frizzy hair that I have to use a conditioner on. Thanks a bunch for all the tips and resources! Your hair looks Amazing! And you do too! ❤️
Thank you. It took me hours to compile it all and months of research and I’m still learning. oy! 😀 I totally understand about having short hair. I’ve done that with the hairdresser as I mentioned back in college and never again. I love my long locks and plan to keep them even when I get my gray reward. Life sure is an adventure!
P.S. Love the hair wrap pattern and DIY too! So cute! When I was growing up, mom sometimes put our hair up in scarf or large handkerchief wrapped similarly if we were doing chores that would get our hair dirty…called it a “babushka” 🙂 For special occasions, she wrapped our hair around her fingers for “Shirley Temple” curls 🙂
My Polish family call it a babushka too. It brings back so many memories. I love hearing your stories too. Hugs!
I love your new look, Larissa! It looks so beautiful, natural, and weightless. I’m sure it will be a joy this summer as you are working so hard to provide us with wonderful ideas and projects! I’m so sorry there are people who are so disrespectful of your choices. I always say an extra prayer for these people.
Awesome to hear! Thank you, Lisa, for the love as well as lifting others up. It’s the least we can do!
Shoot! Im 47 and Still have yet to figure my hair out. lol. Loving all these tips
xoxo
haha!! I feel ya! I’m forever on a learning curve. You can see my updated cut over here (I love it!!) https://prodigalpieces.com/diy-layered-wavy-haircut/