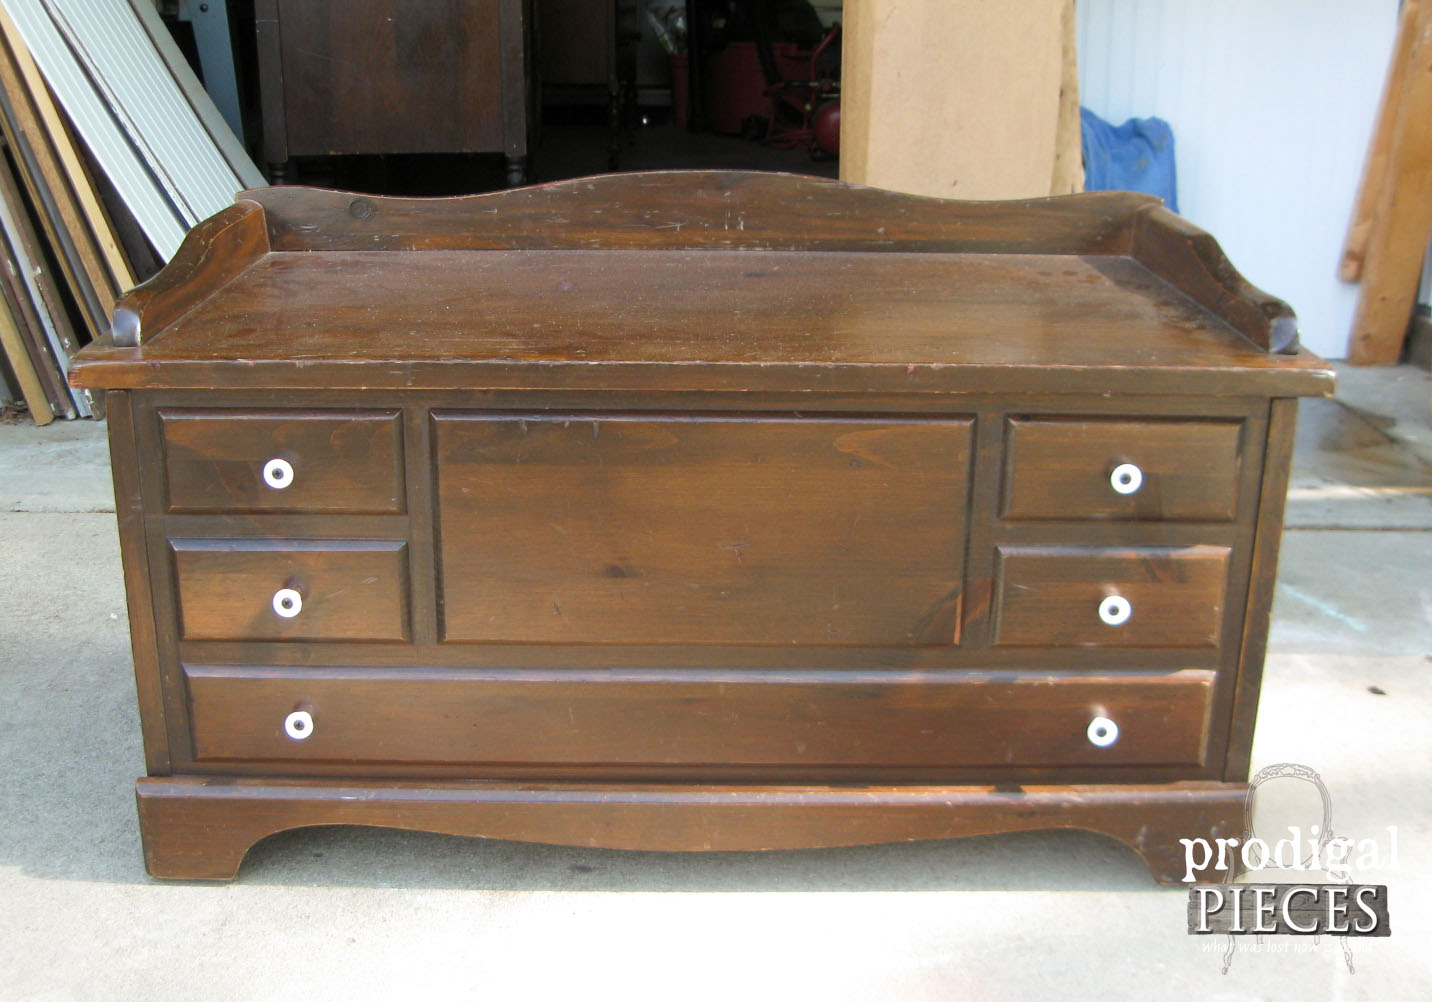
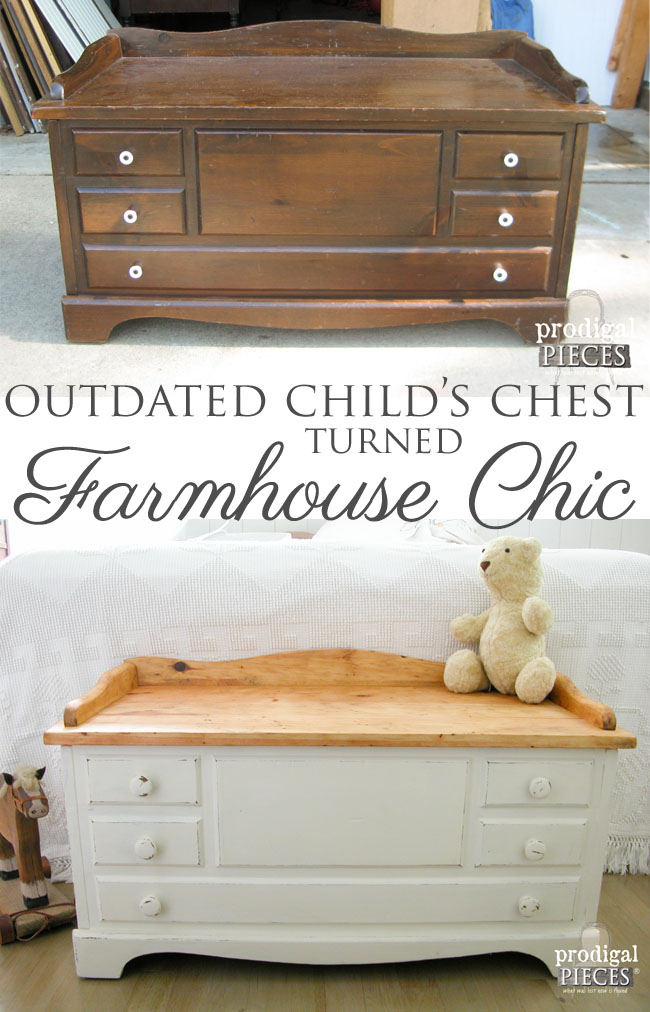
My thrifting adventures can surprise me sometimes and that’s what keeps me hungry for the hunt. Does that happen to you? Eventually, I was out looking for one thing and then found this child’s DIY wooden chest stuffed in the back. ot only is it totally sporting the 1980’s vibe, but also begging me to bring it home to revive it back to beauty.
The faux front was cute, but those awful plastic knobs were killing me. Overall, it was in really great shape and even had the inside bottom replaced at one time. Oh, and I know that this is a previous secret weapons retreat as inside is written, “Rex and Tim. Don’t touch. Weapons here.” Rex and Tim better watch out!
DIY TIME
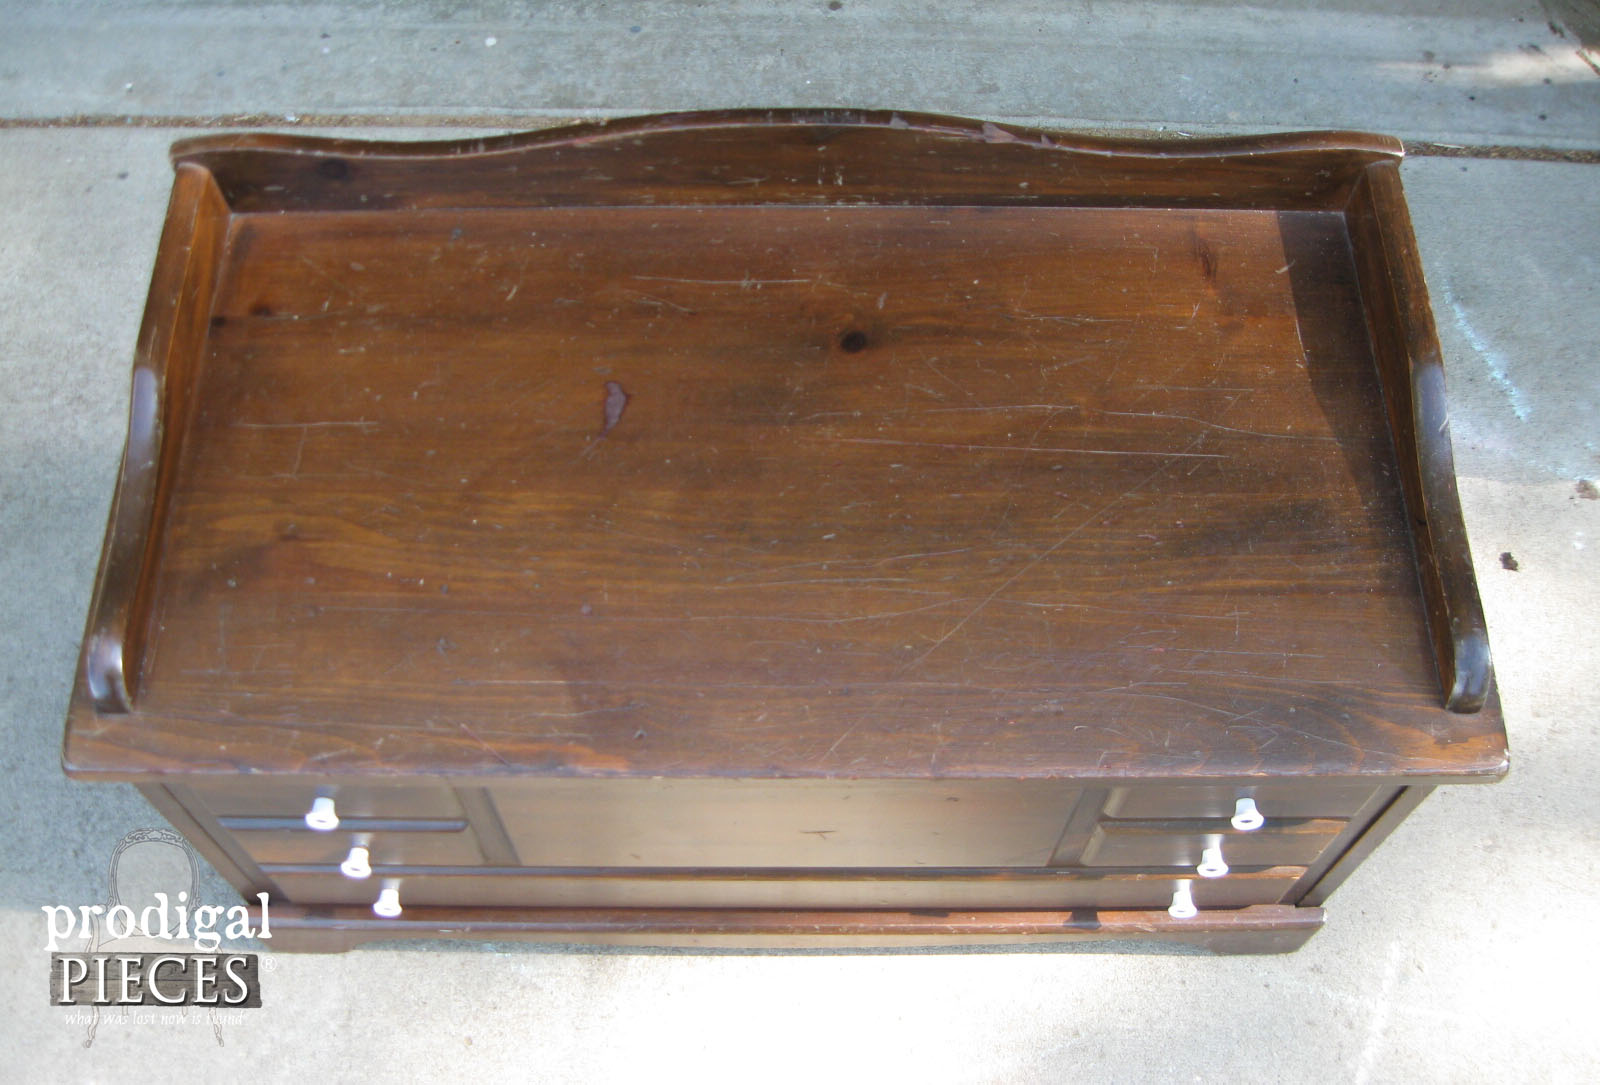
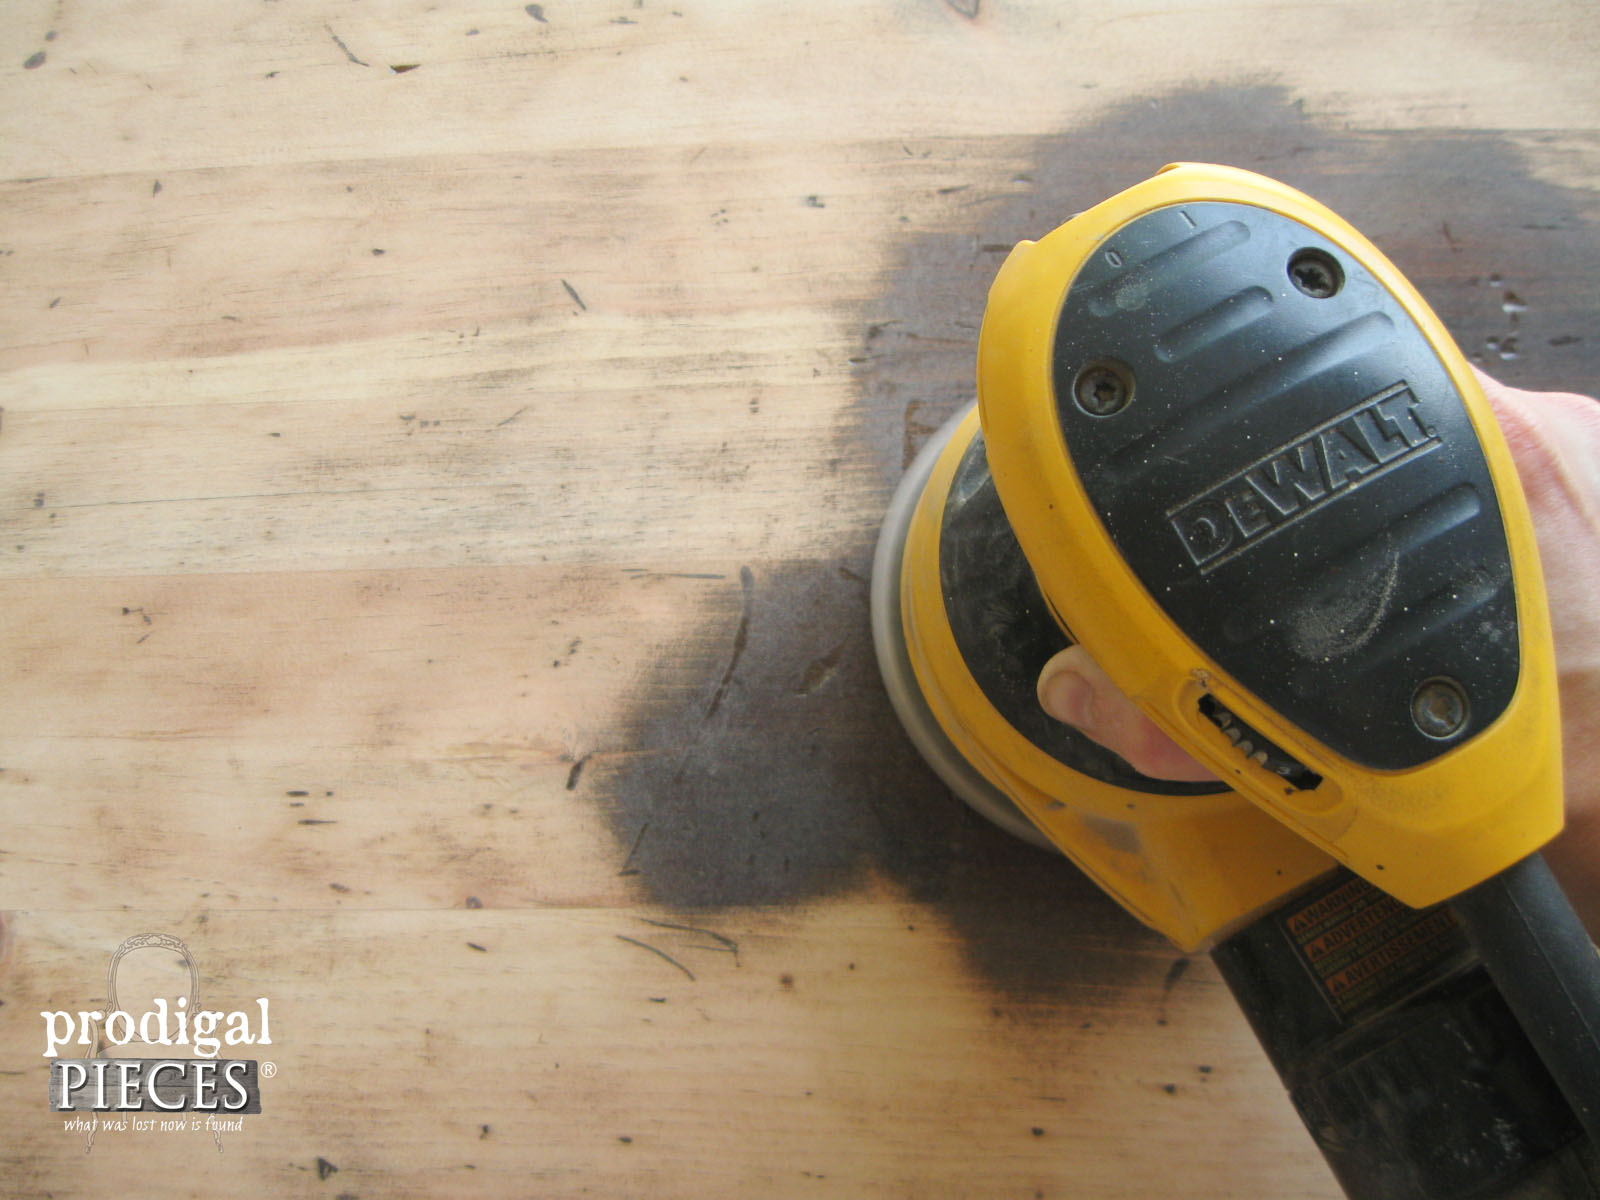
Since the top was made of mostly pine, it had oodles of wear and tear. And, since it’s a soft wood, just like the cabinet I recently refinished, I wanted to draw out those imperfections. First, I started by using my sander to take off the original finish and stain.
See all the dents and dings starting to pop out? (a delightful giggle emerges…tee hee hee) Yes, I am easy to entertain. ahem.
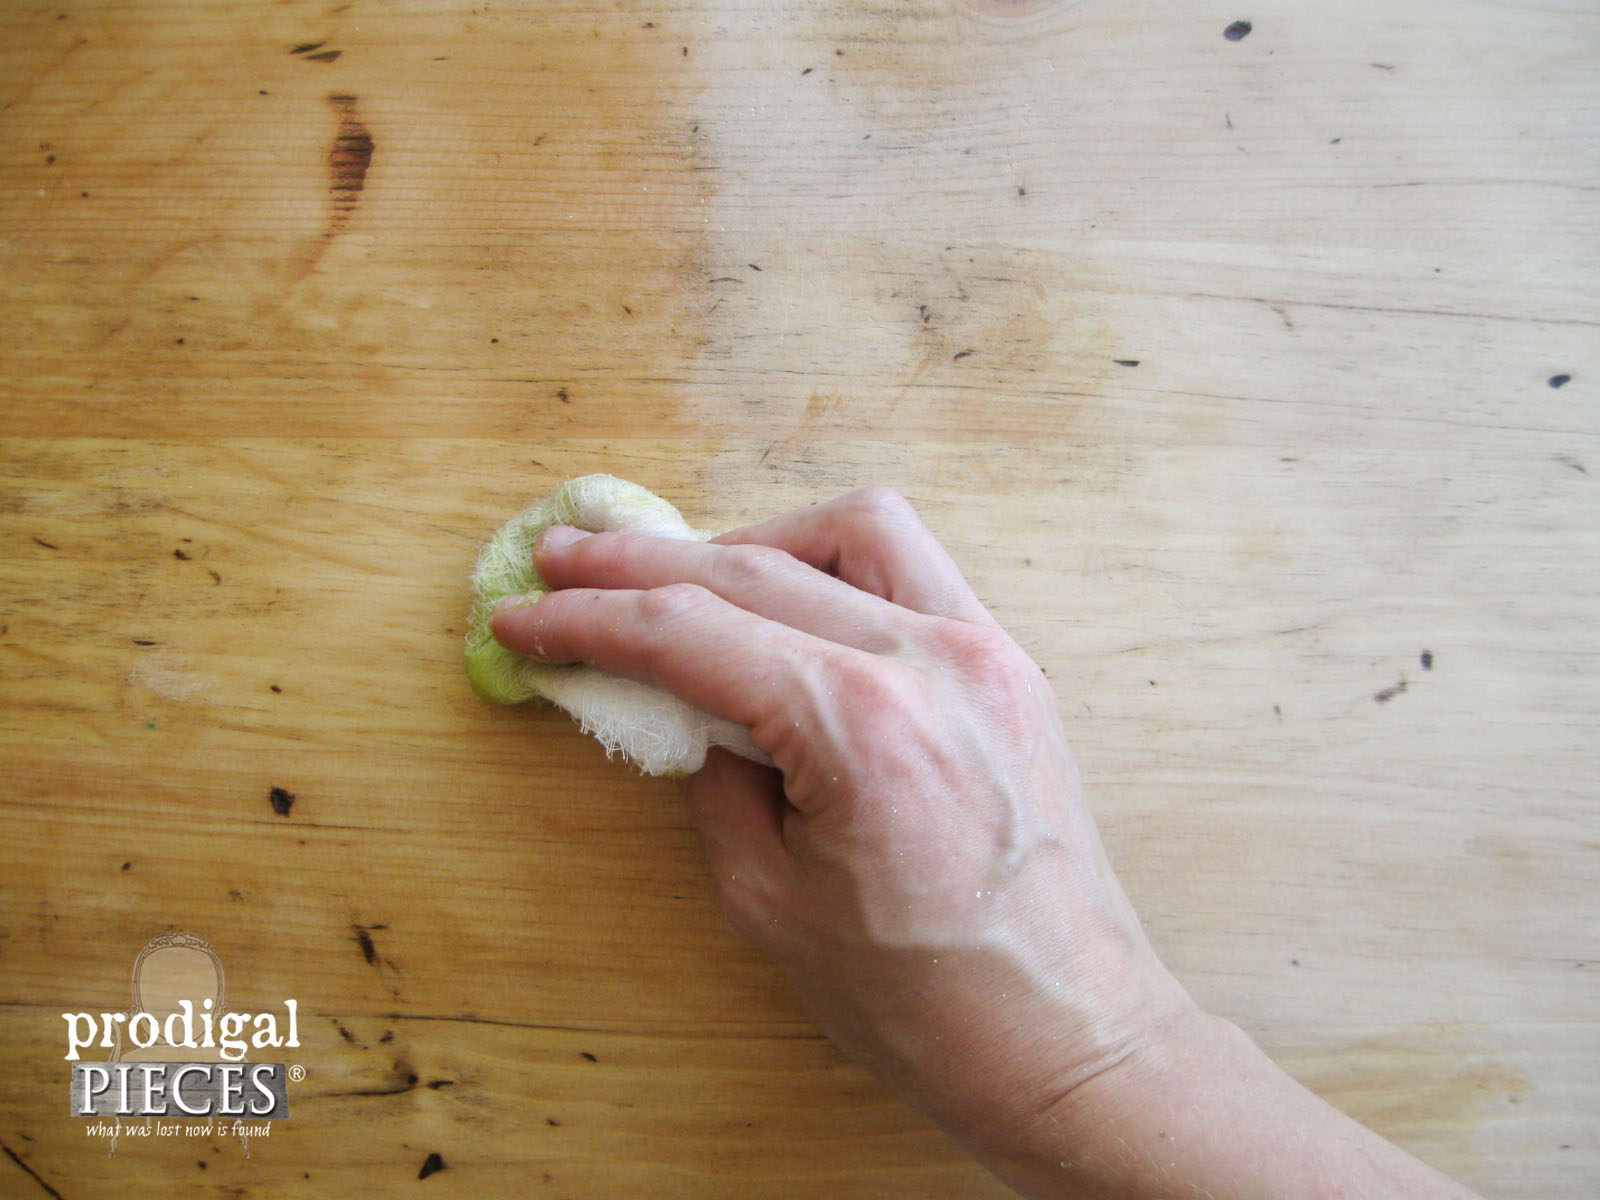
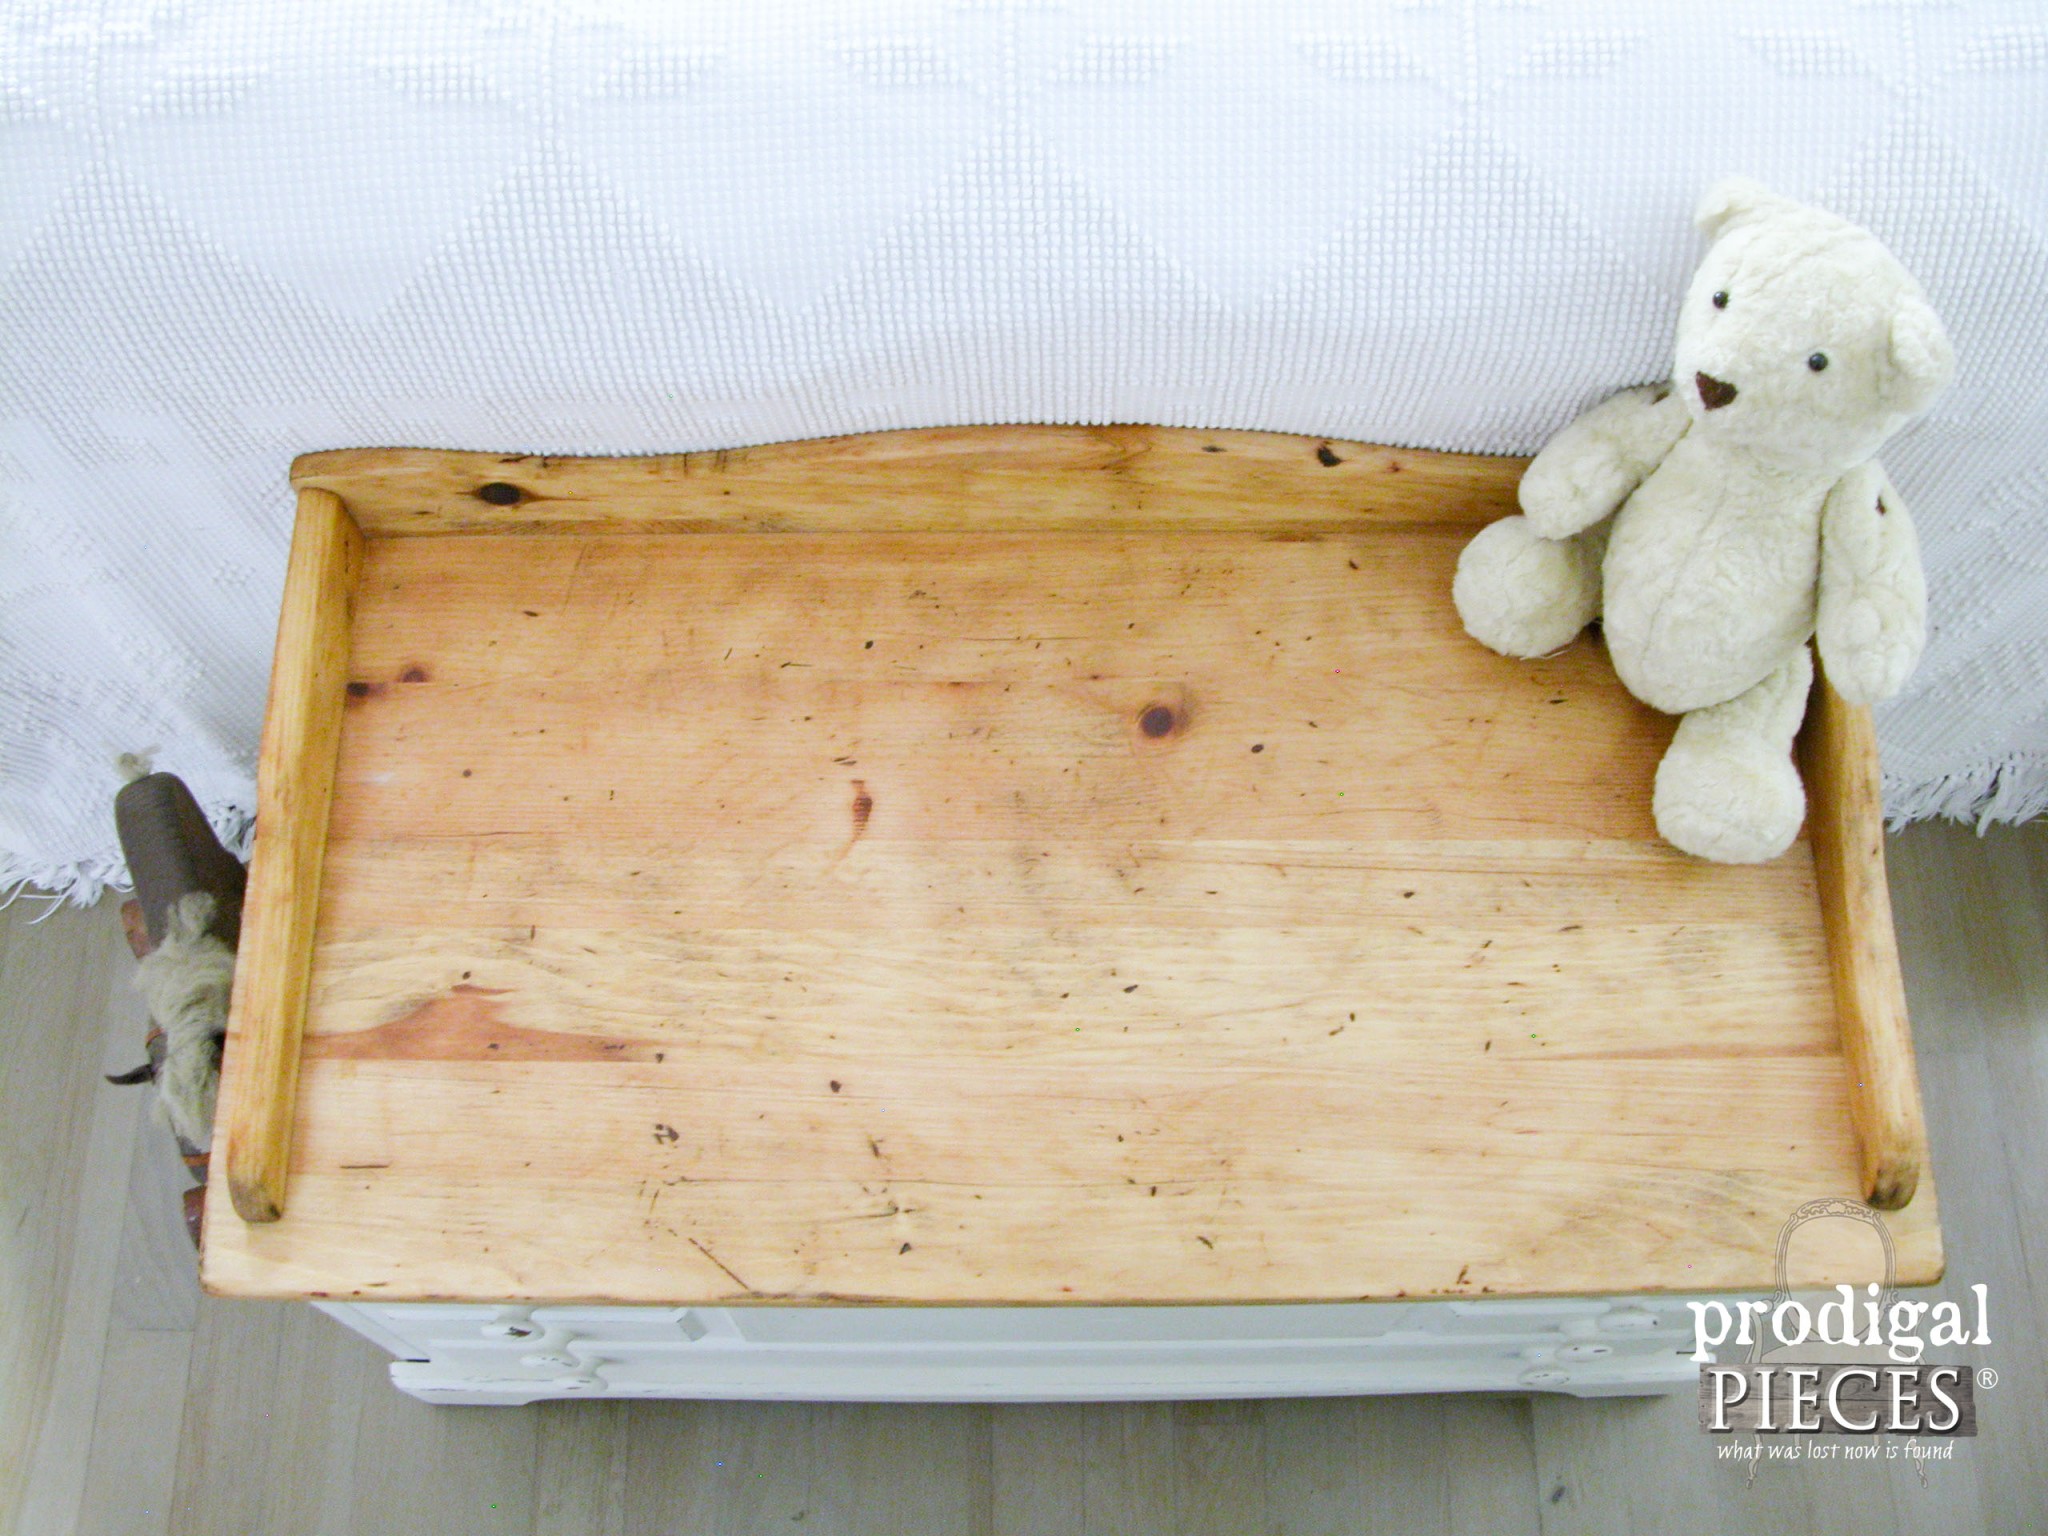
Next, once I got that finish off using a dozen or so sanding pads, (it seriously took more to get that wood revealed than my last two projects combined!) I was able to have it in the raw. Likewise, nothing needed but to give it a coat of my own furniture wax. See how it is warming up?
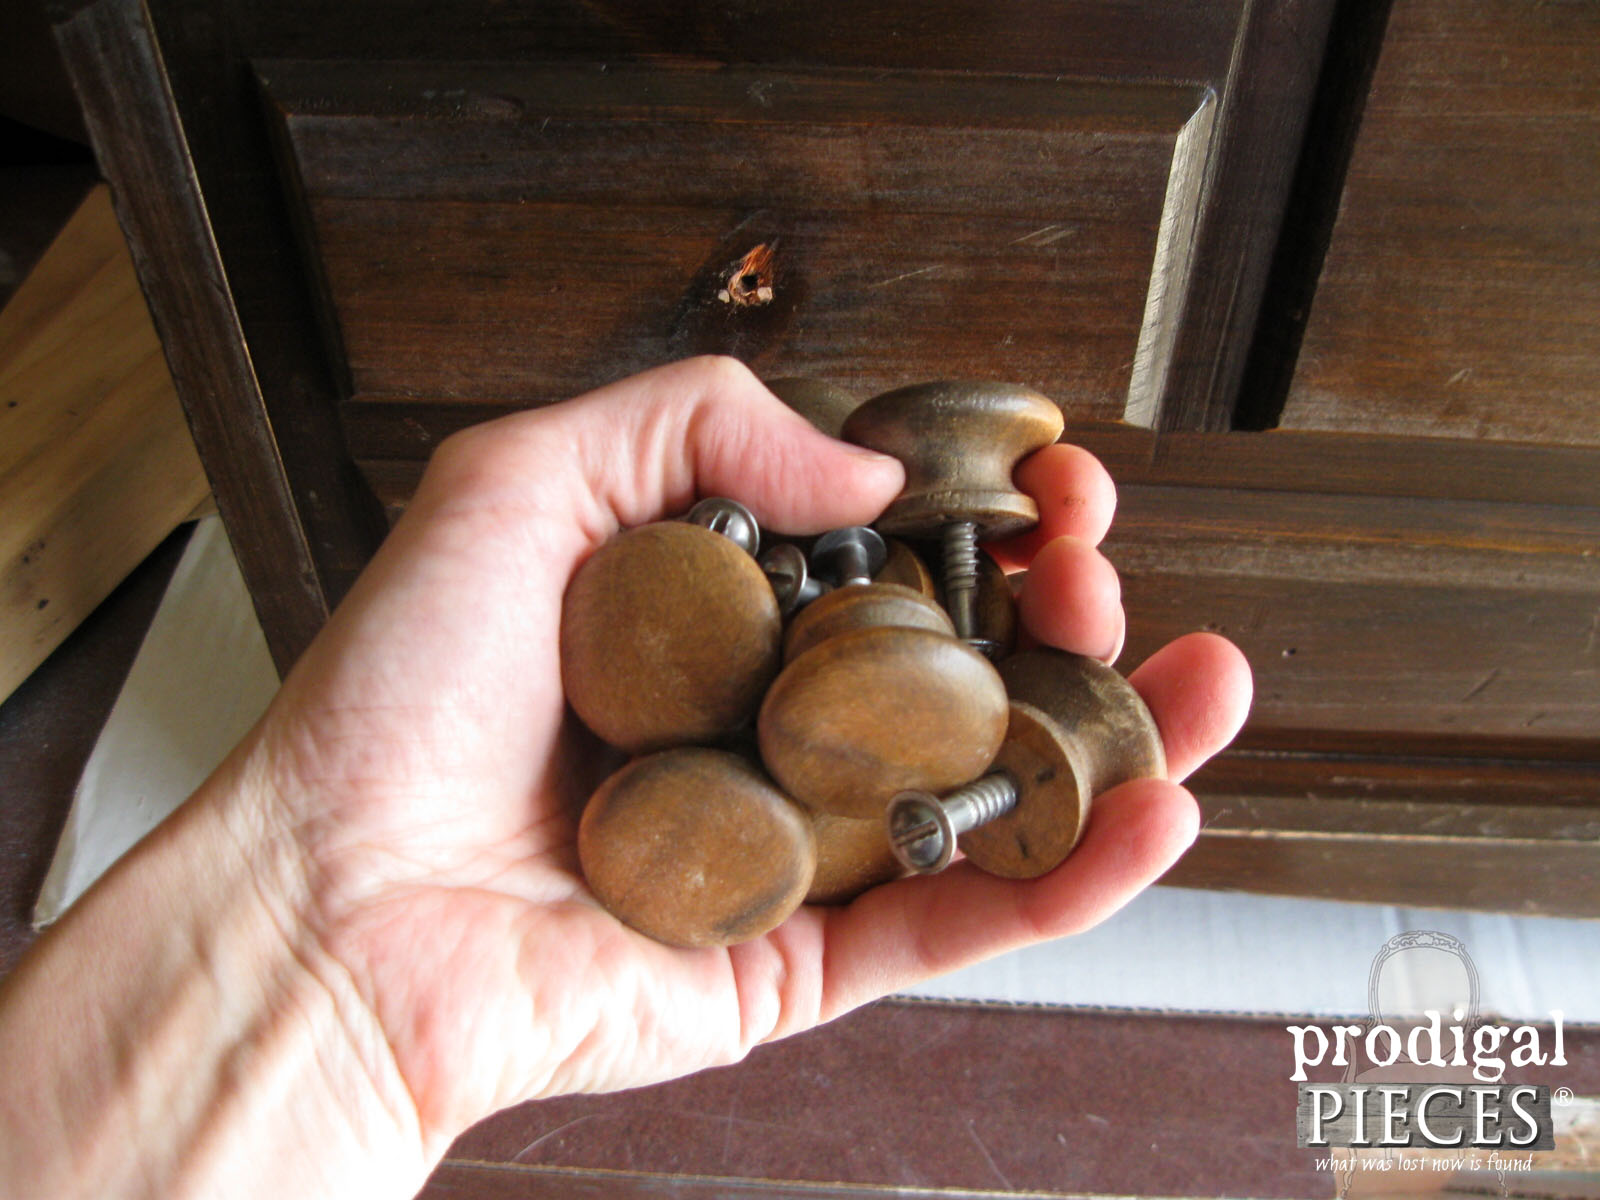
Afterward. it’s time for the base. To begin, I remove those hideous plastic knobs and decided to replace them with some vintage wooden ones from my stash.
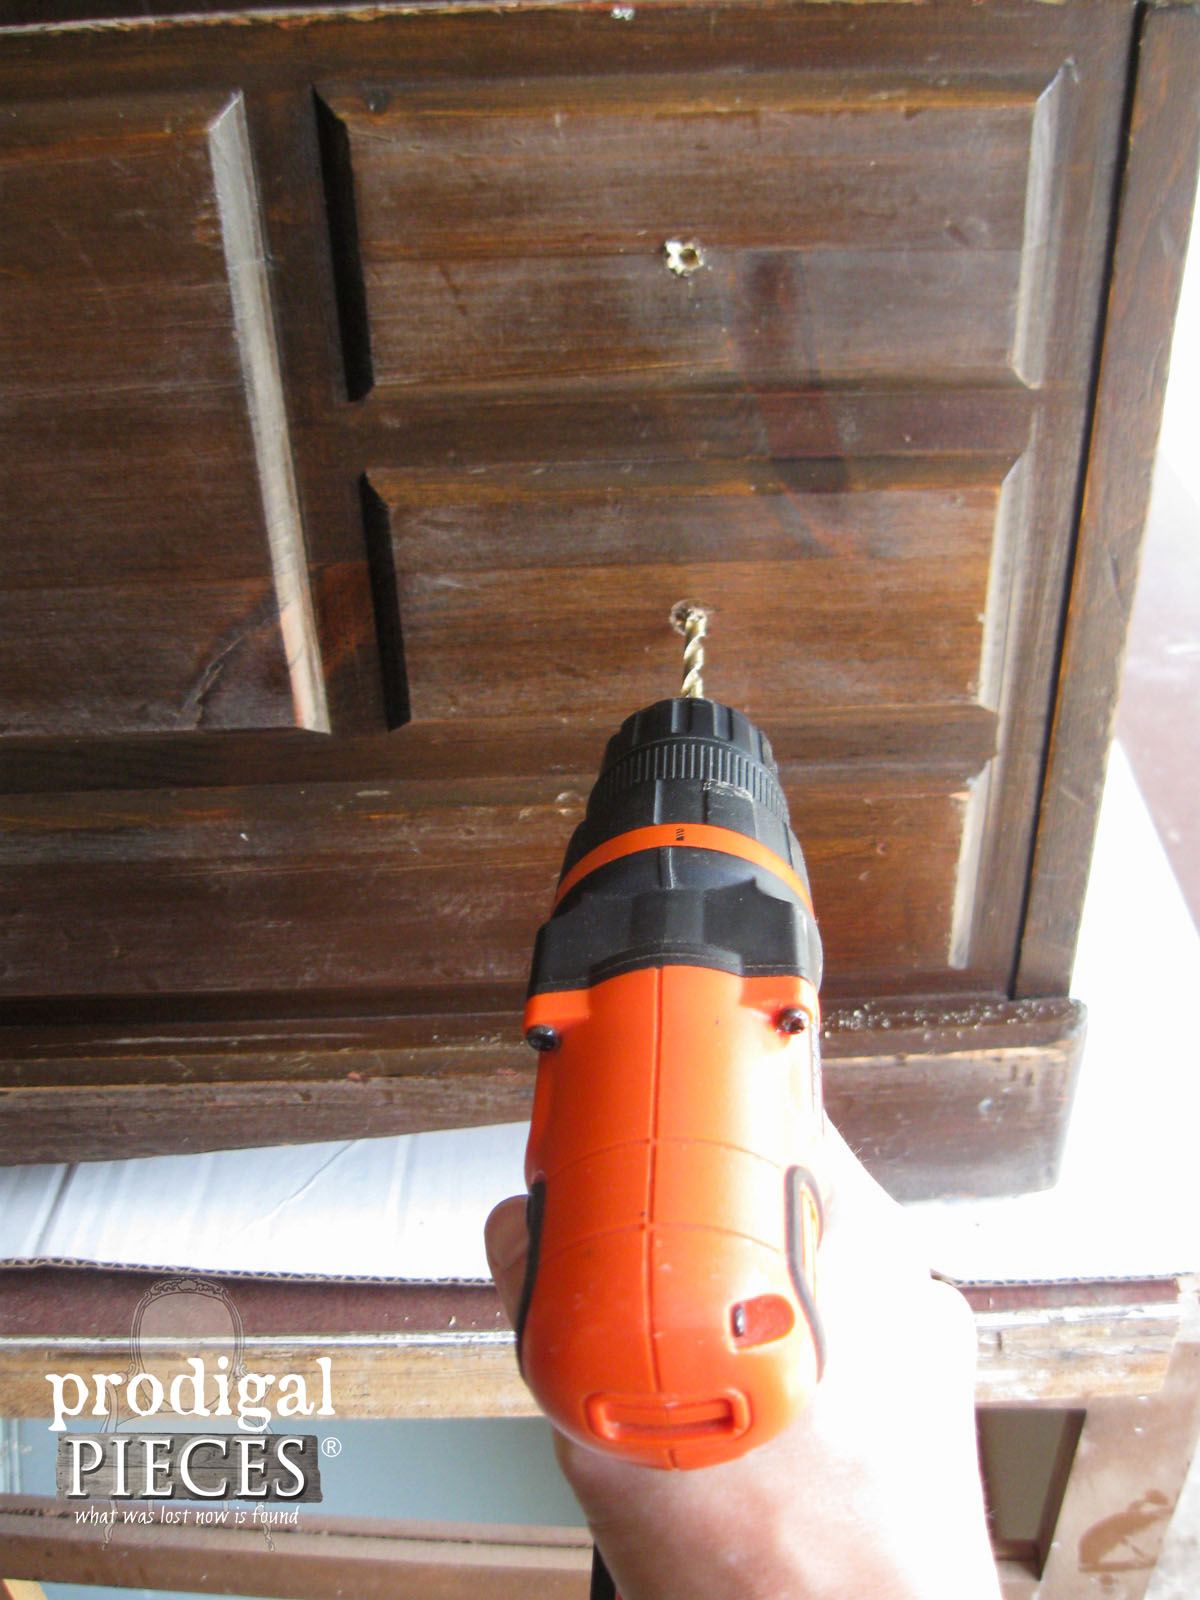
Further, all I needed to do was make the holes a tad larger with my drill and stick them on.
PAINTING
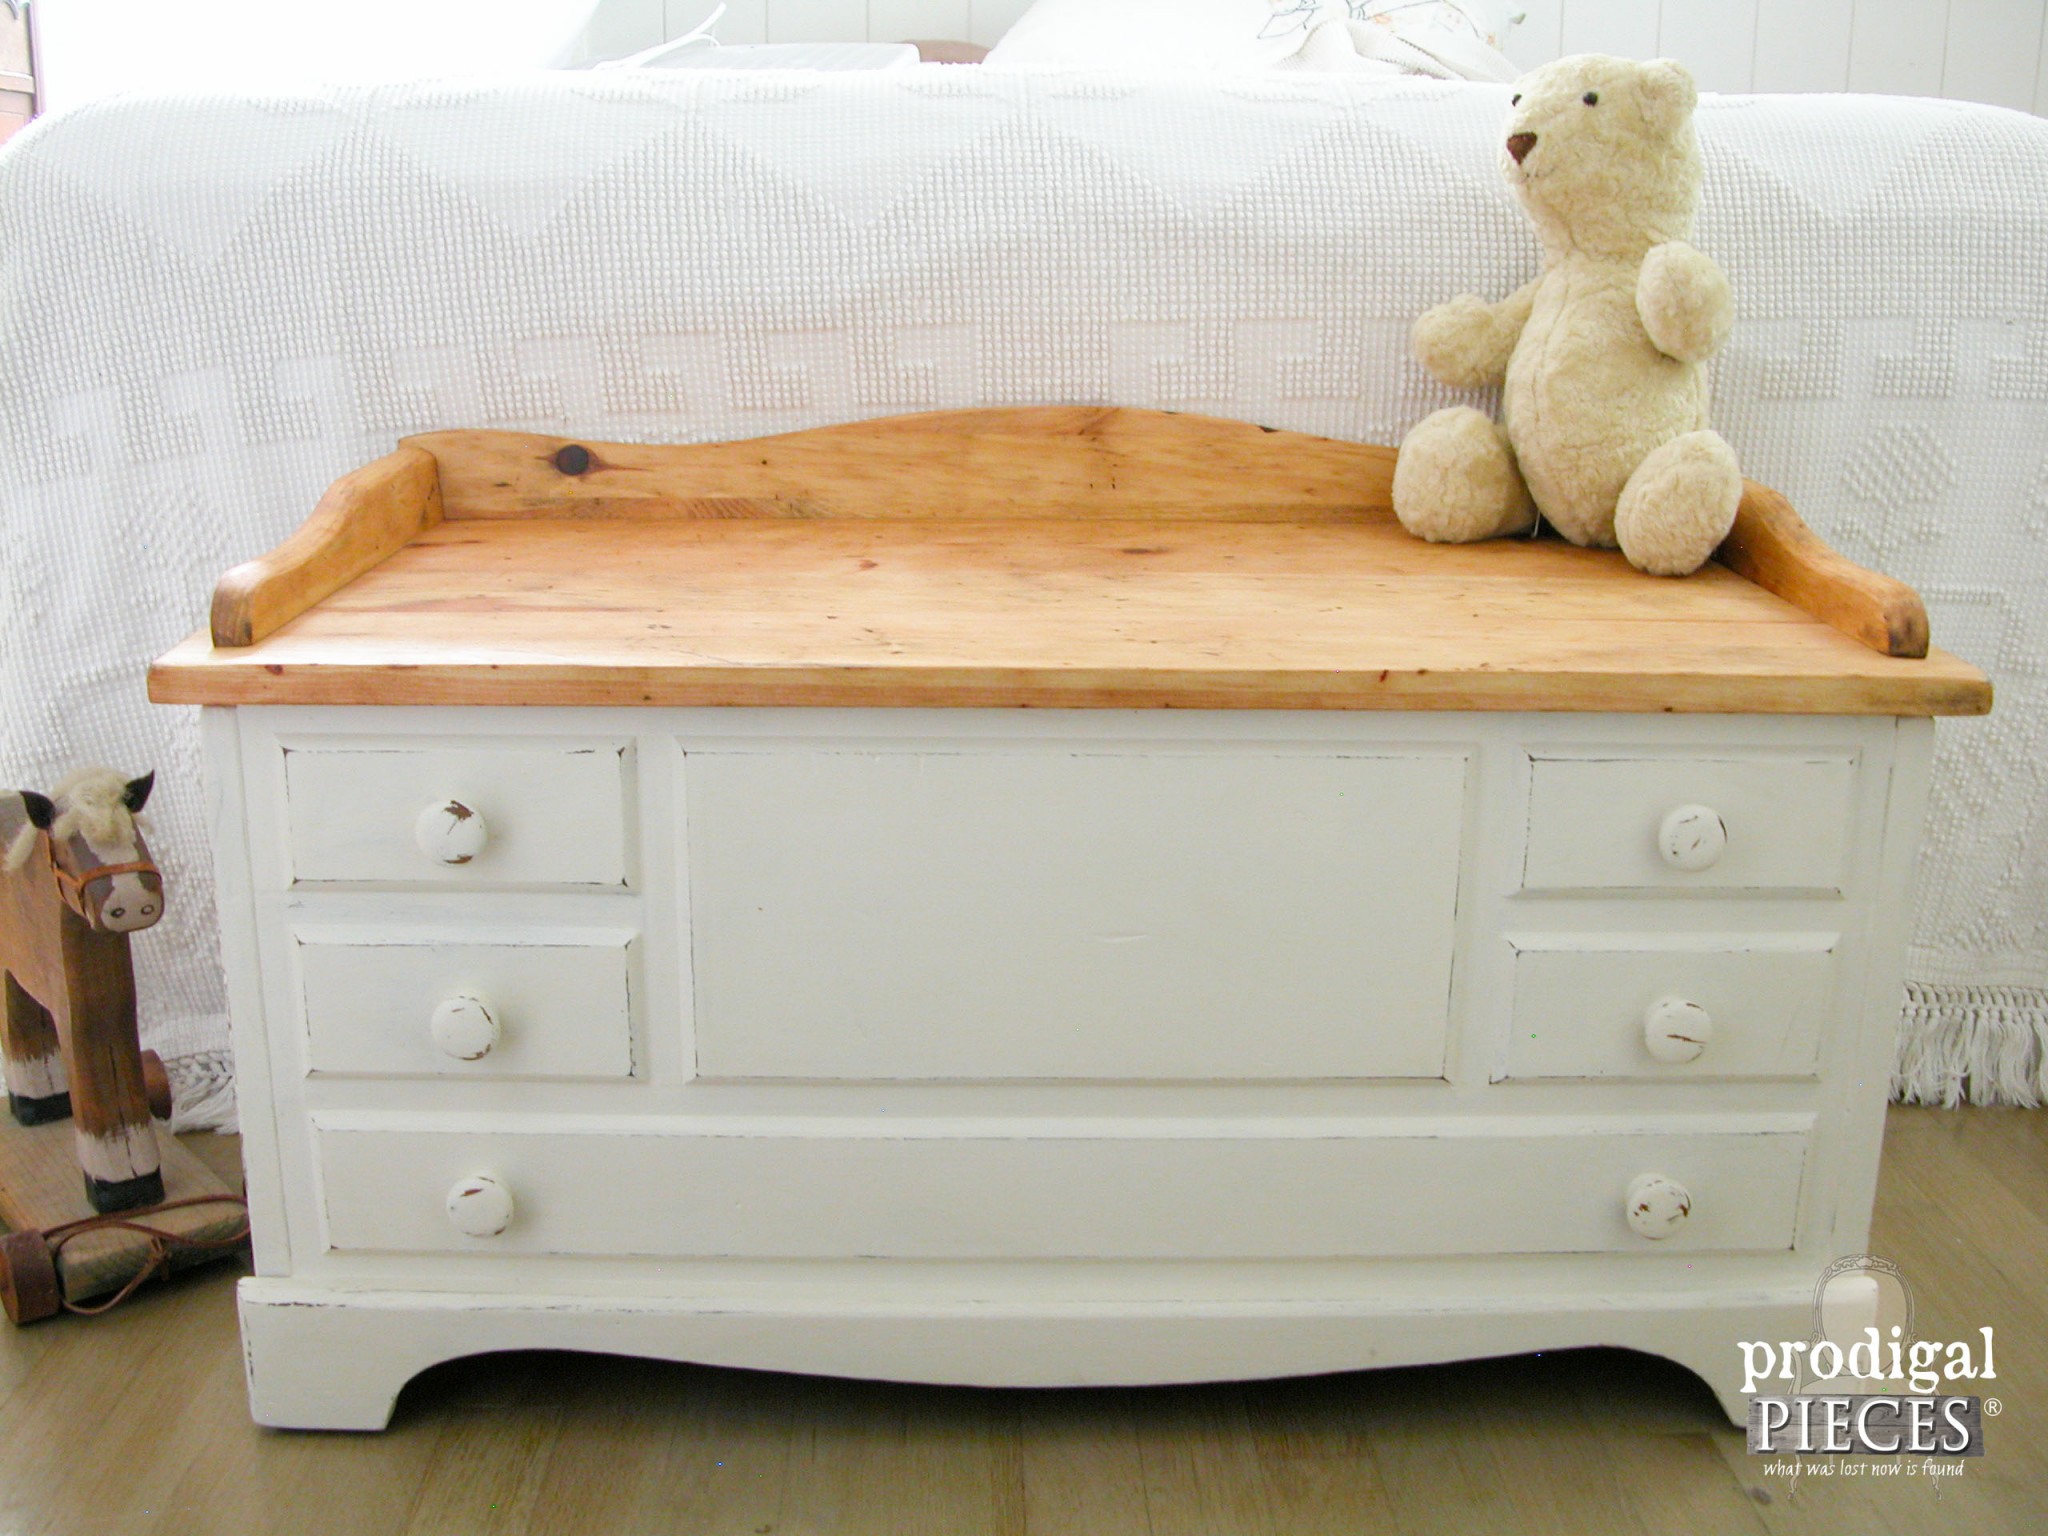
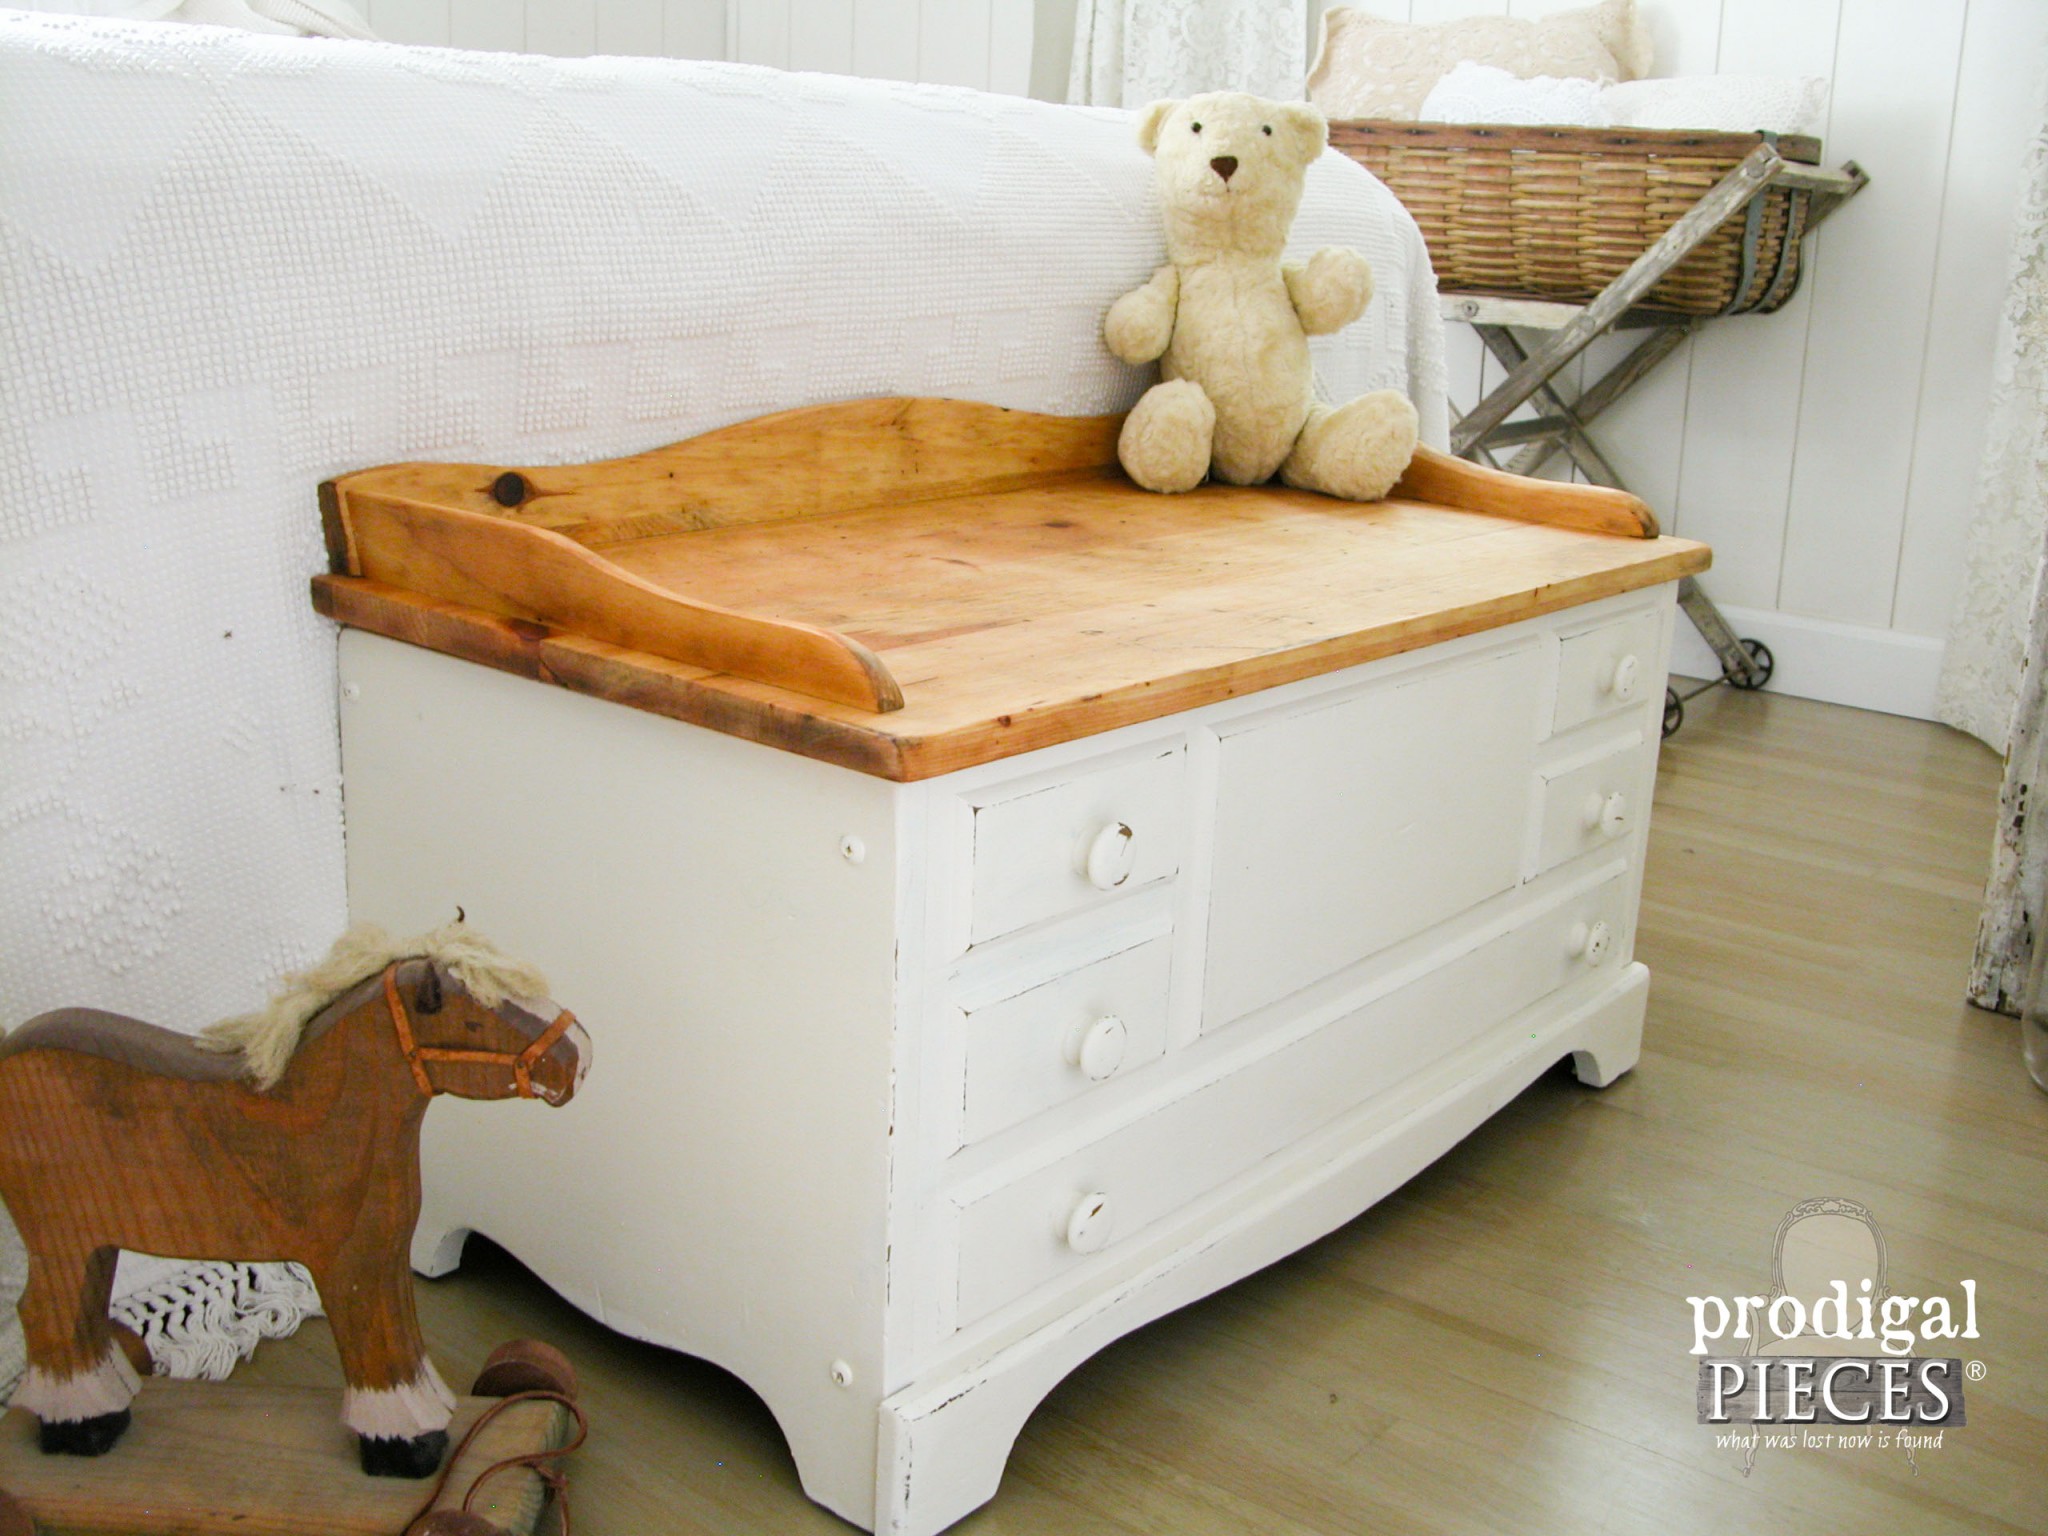
Then, after giving it all a light sanding to help the paint have tooth, I used one of my favorite paints, Antique White. I’ve used it numerous times, like on my feed sack chair or this curbside vanity. Also, note there is no priming, just straight out of the can and painted the knobs while on as well. To finish it off, I gave it a distressed feel and topcoat of my furniture wax as well.
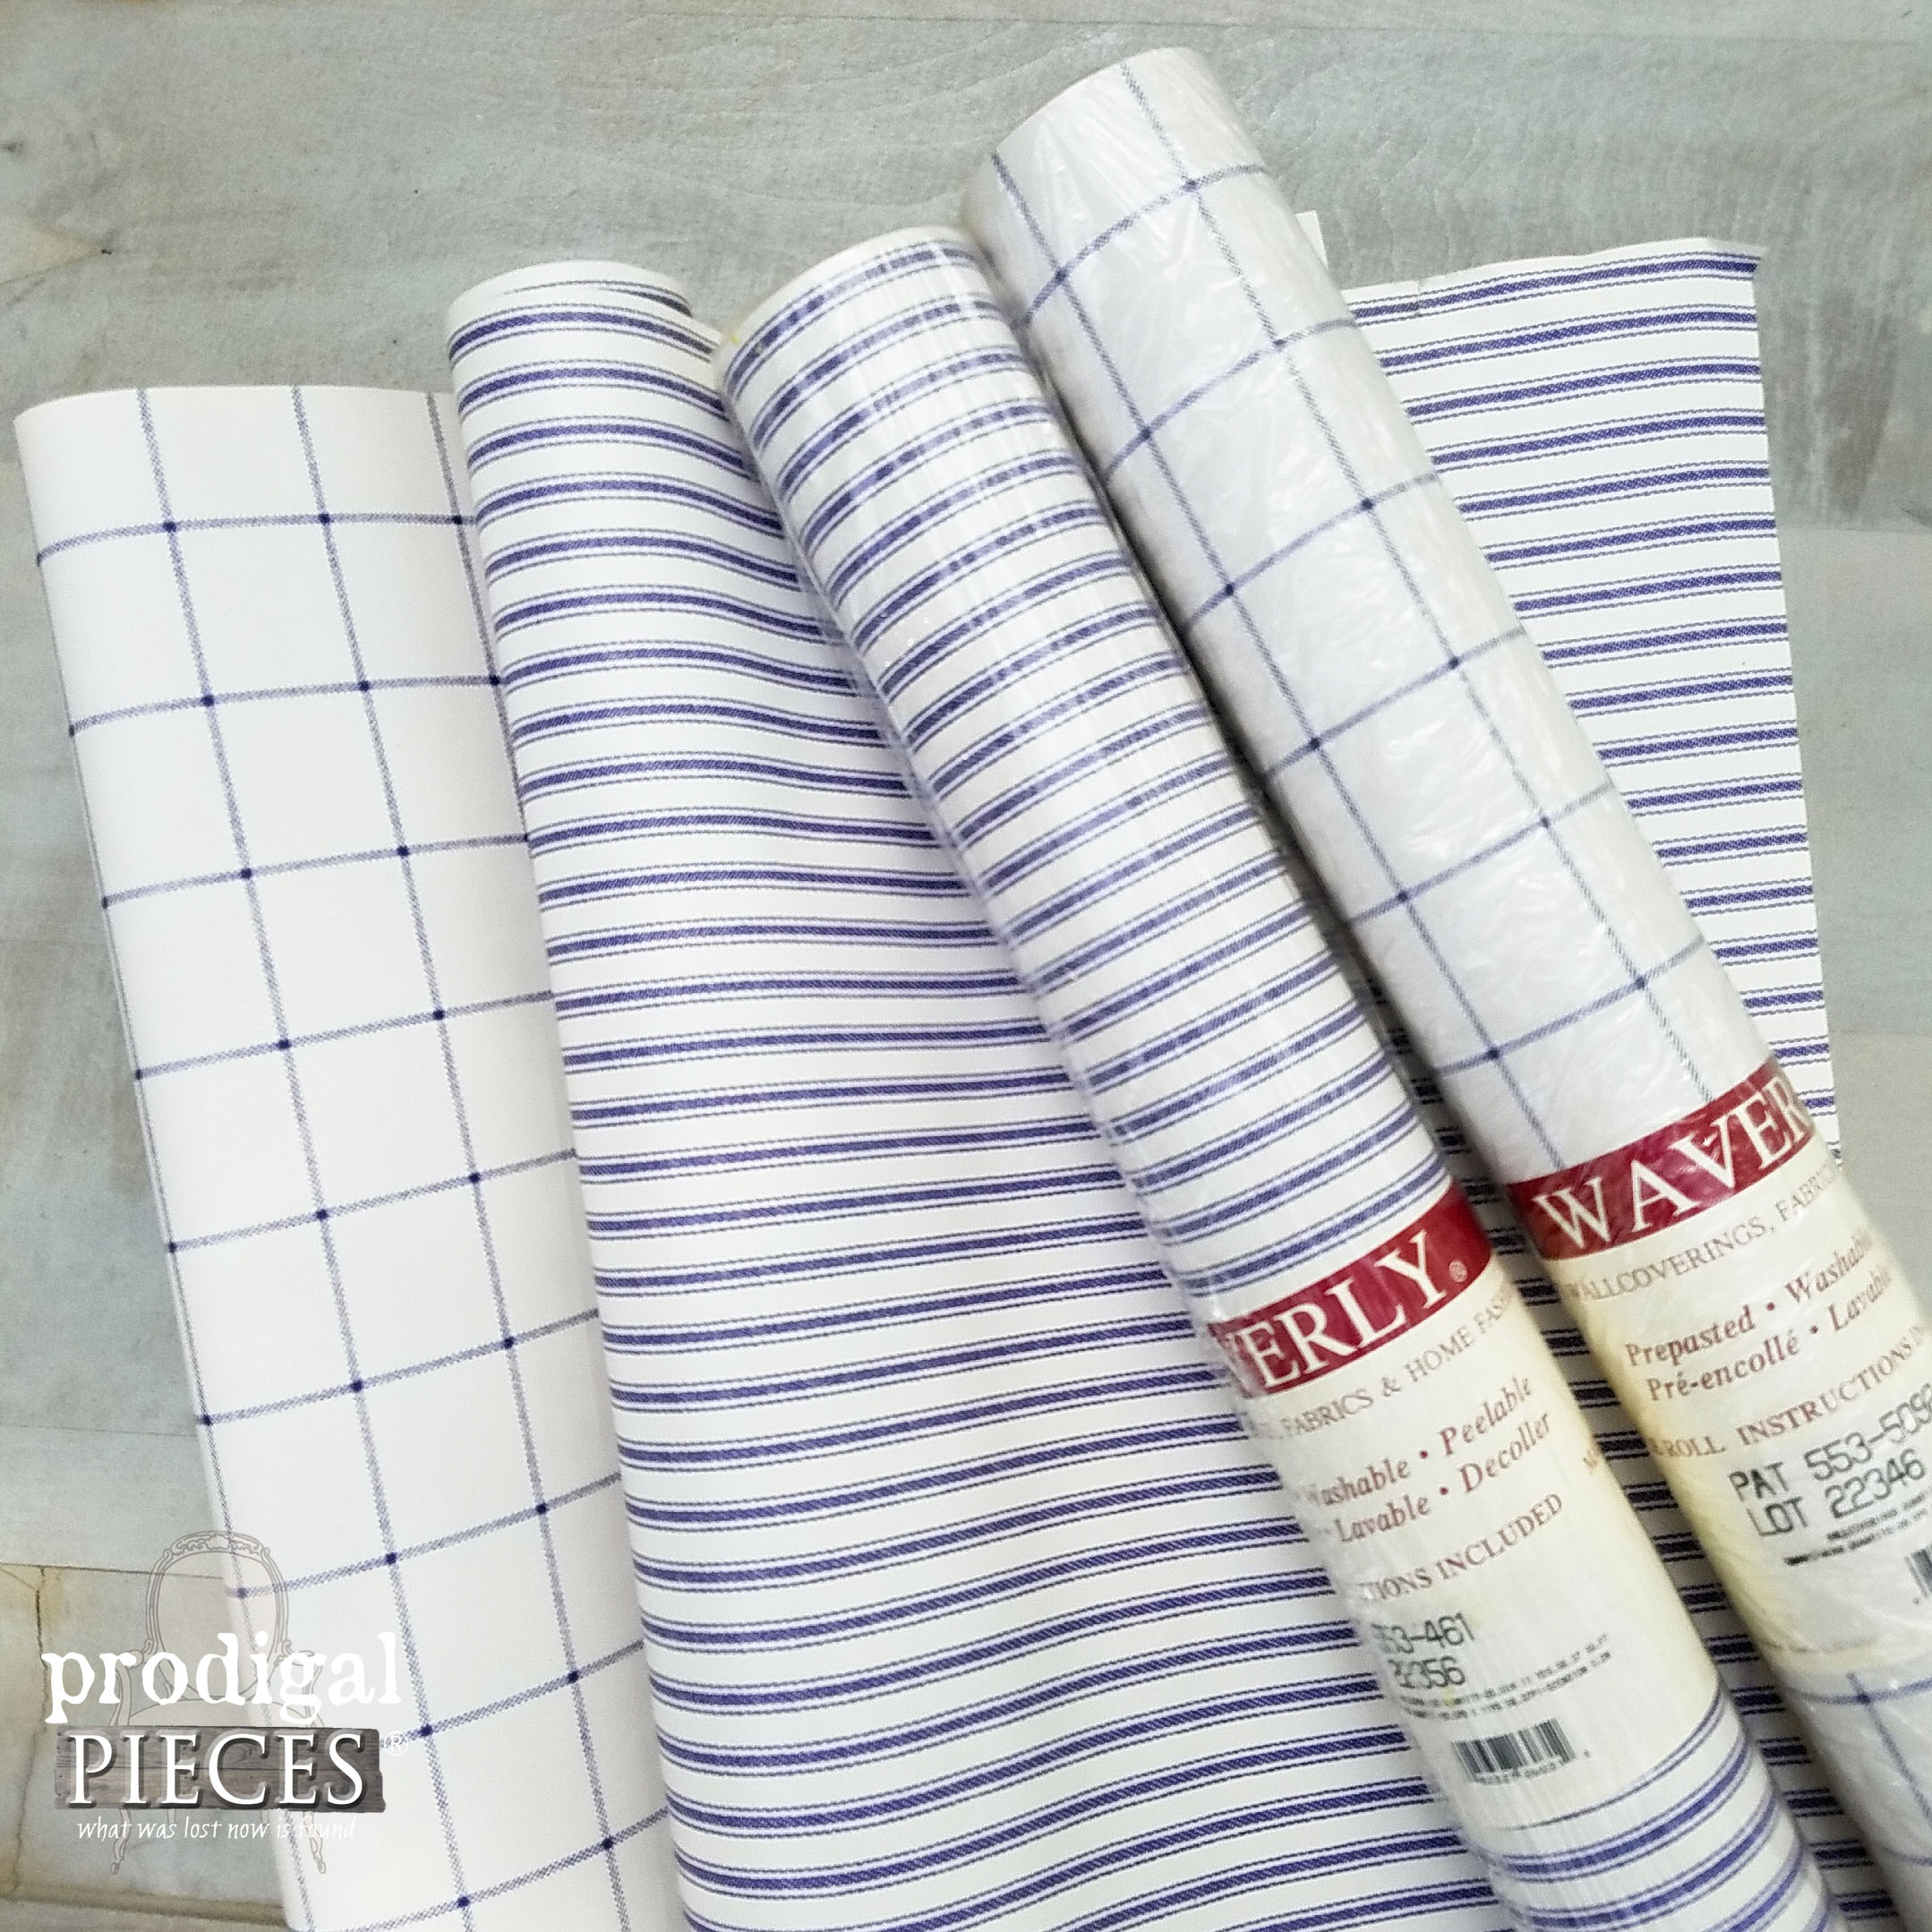
However, while working on this wooden chest, I stopped at a garage sale and came upon a box of wallpaper with about a dozen rolls in it for $1, including this…
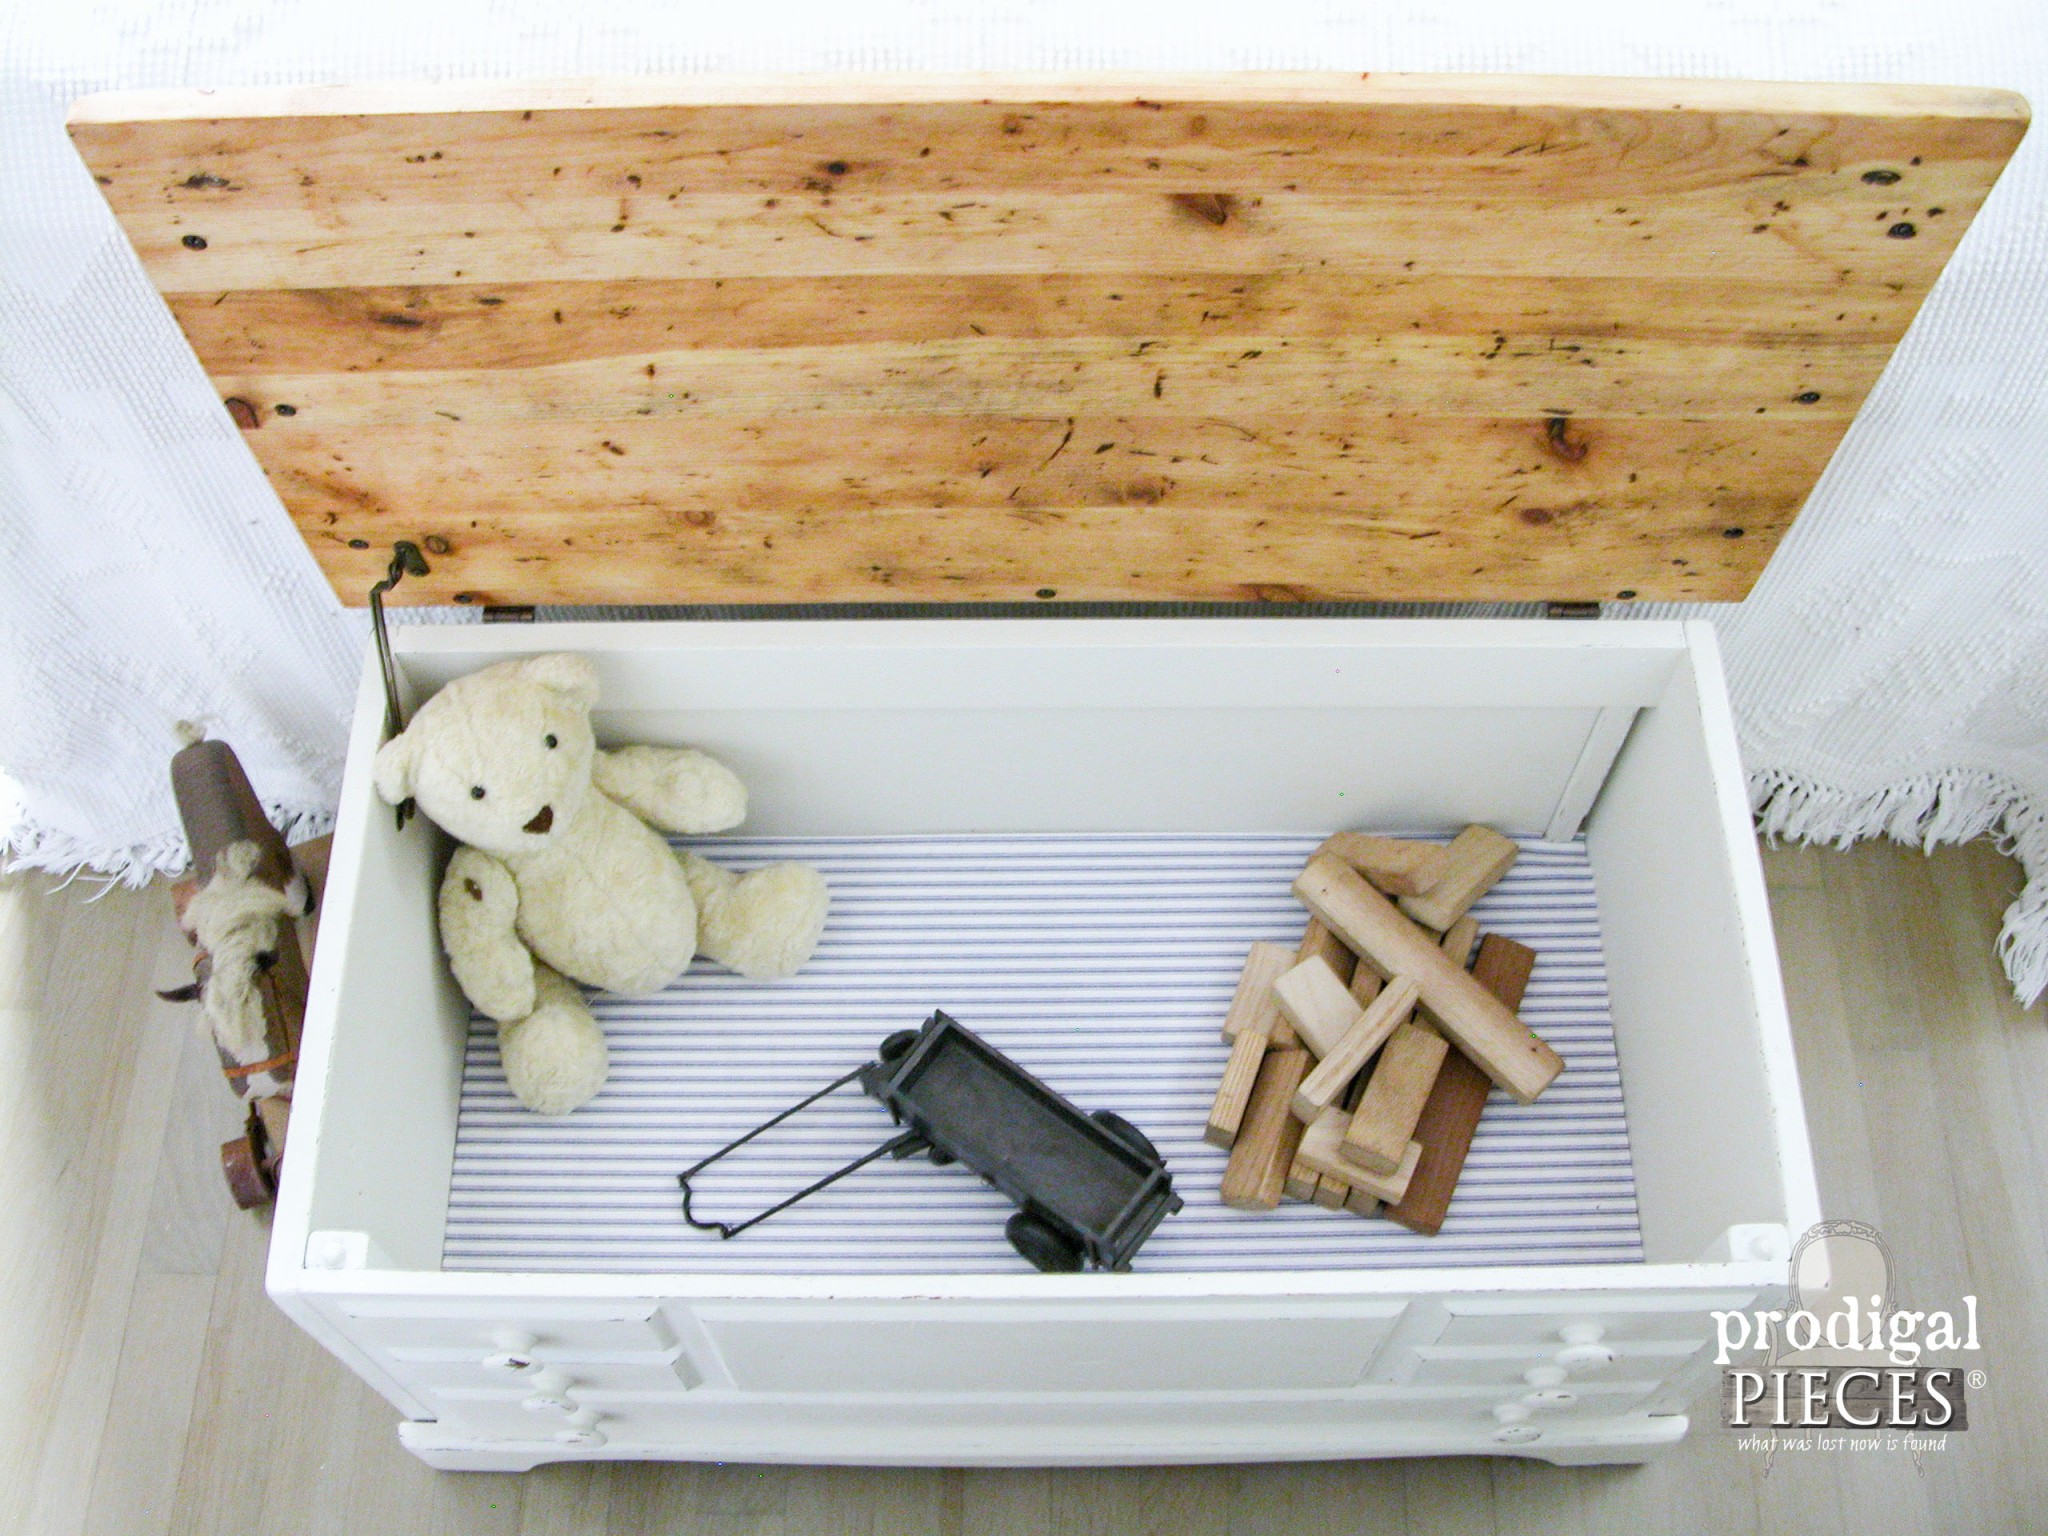
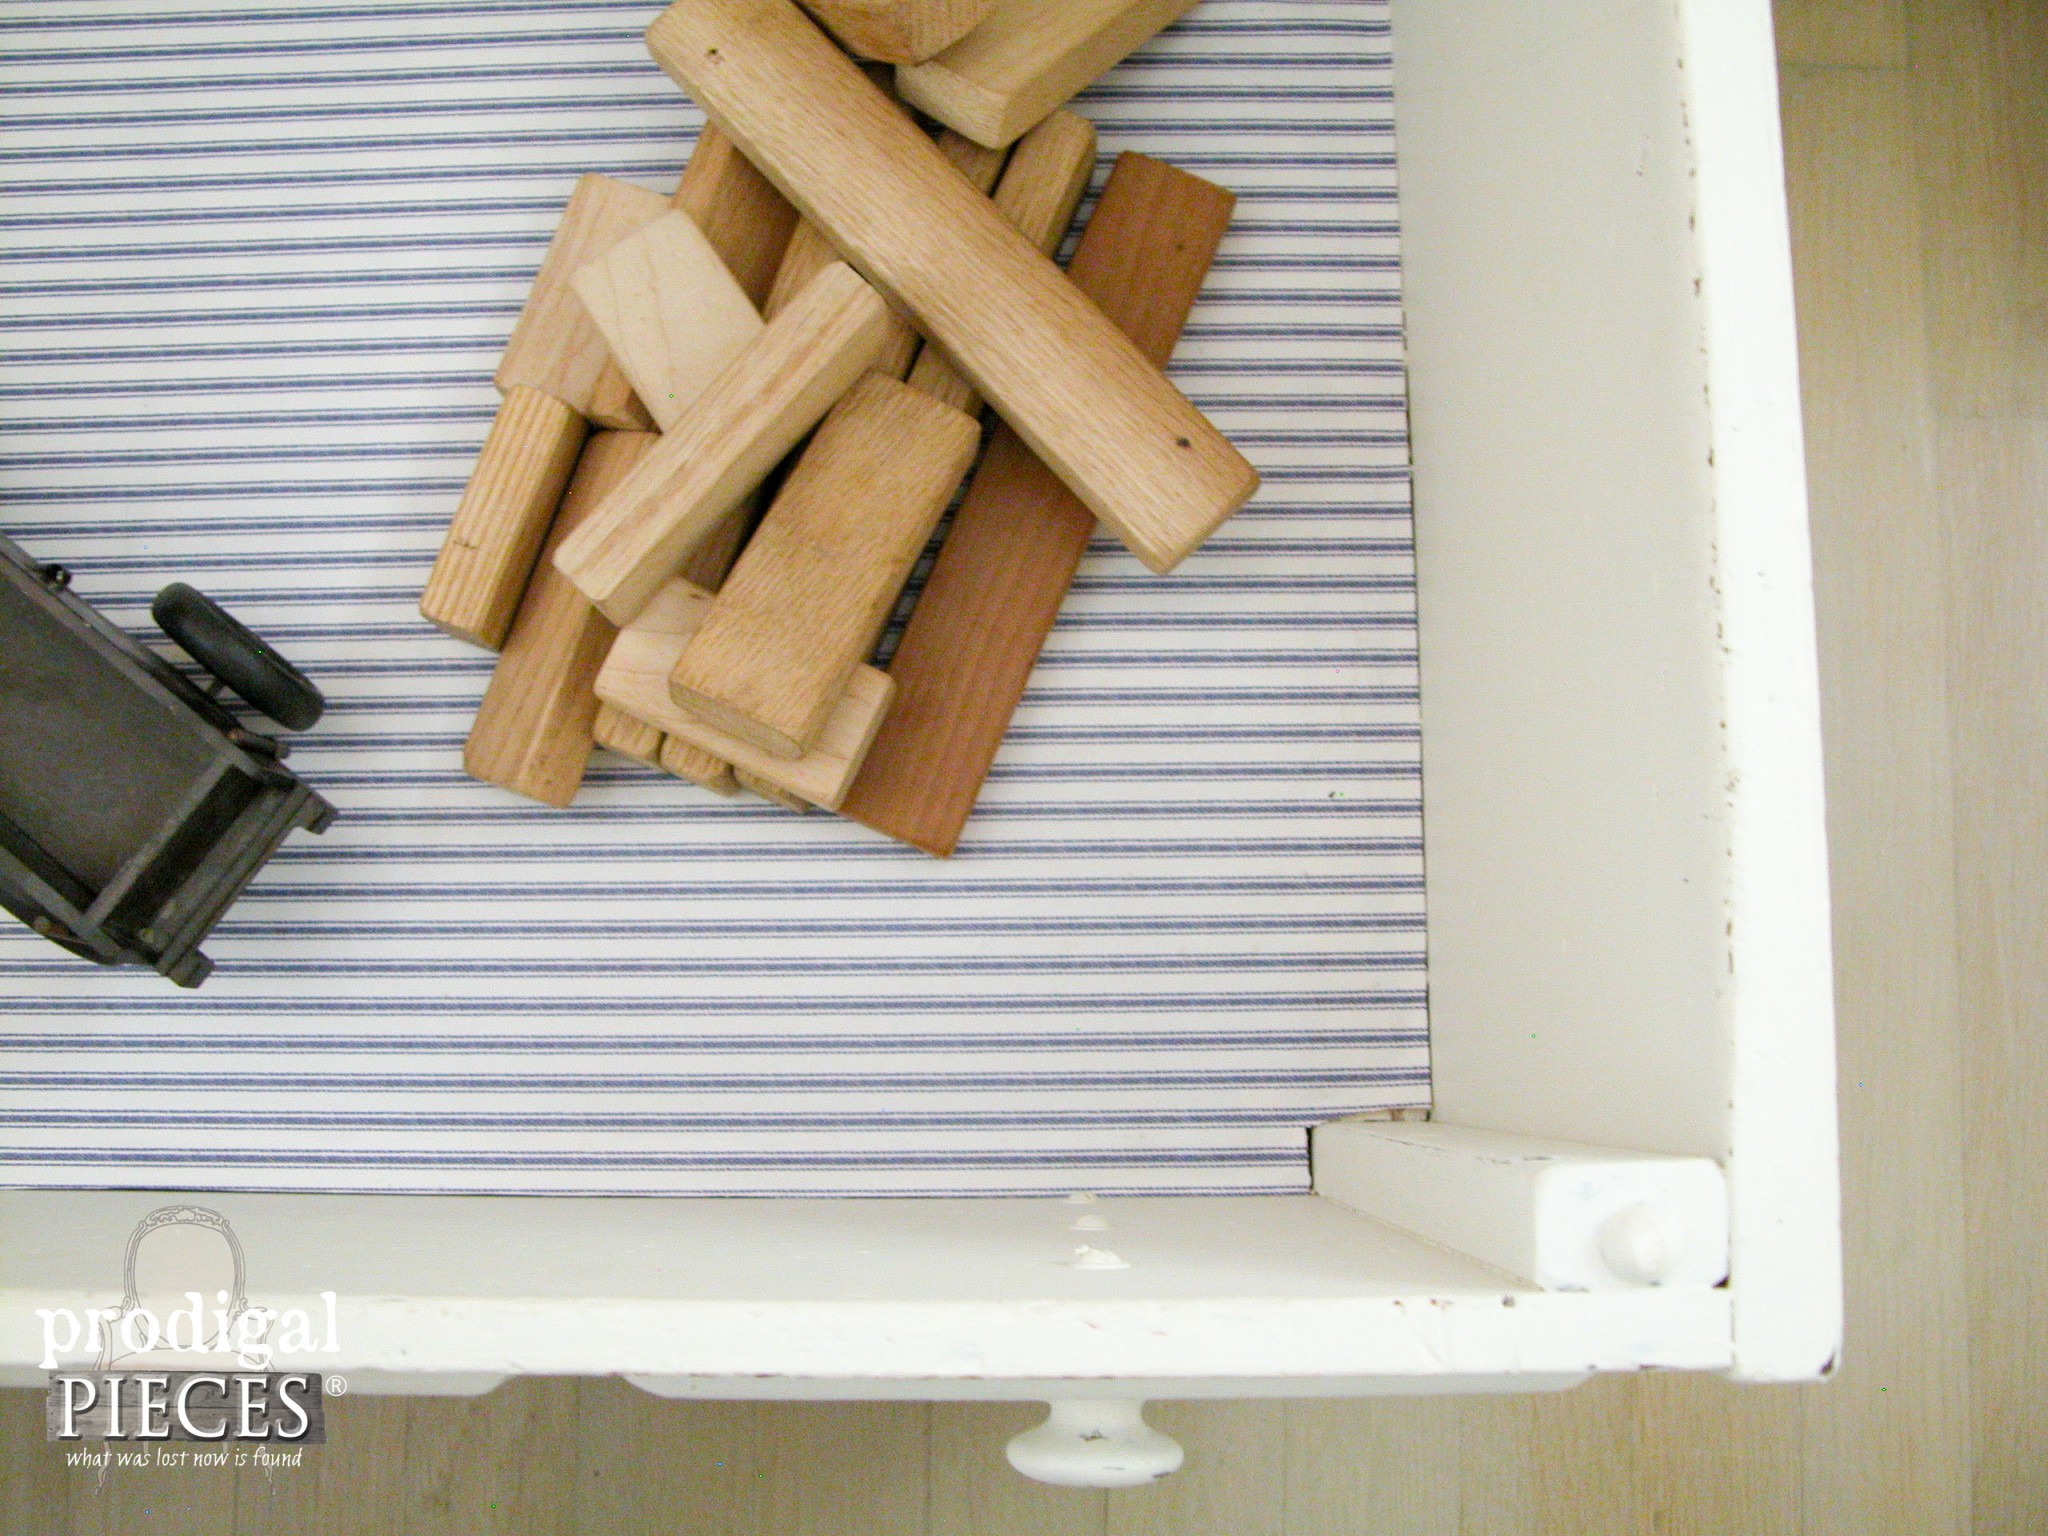
I gasped and grabbed the box and ran. Okay, maybe I didn’t run, but I forked over my dollar bill straight away. What a score, right?? Of course, I decided to line the chest with the paper.
THE REVEAL
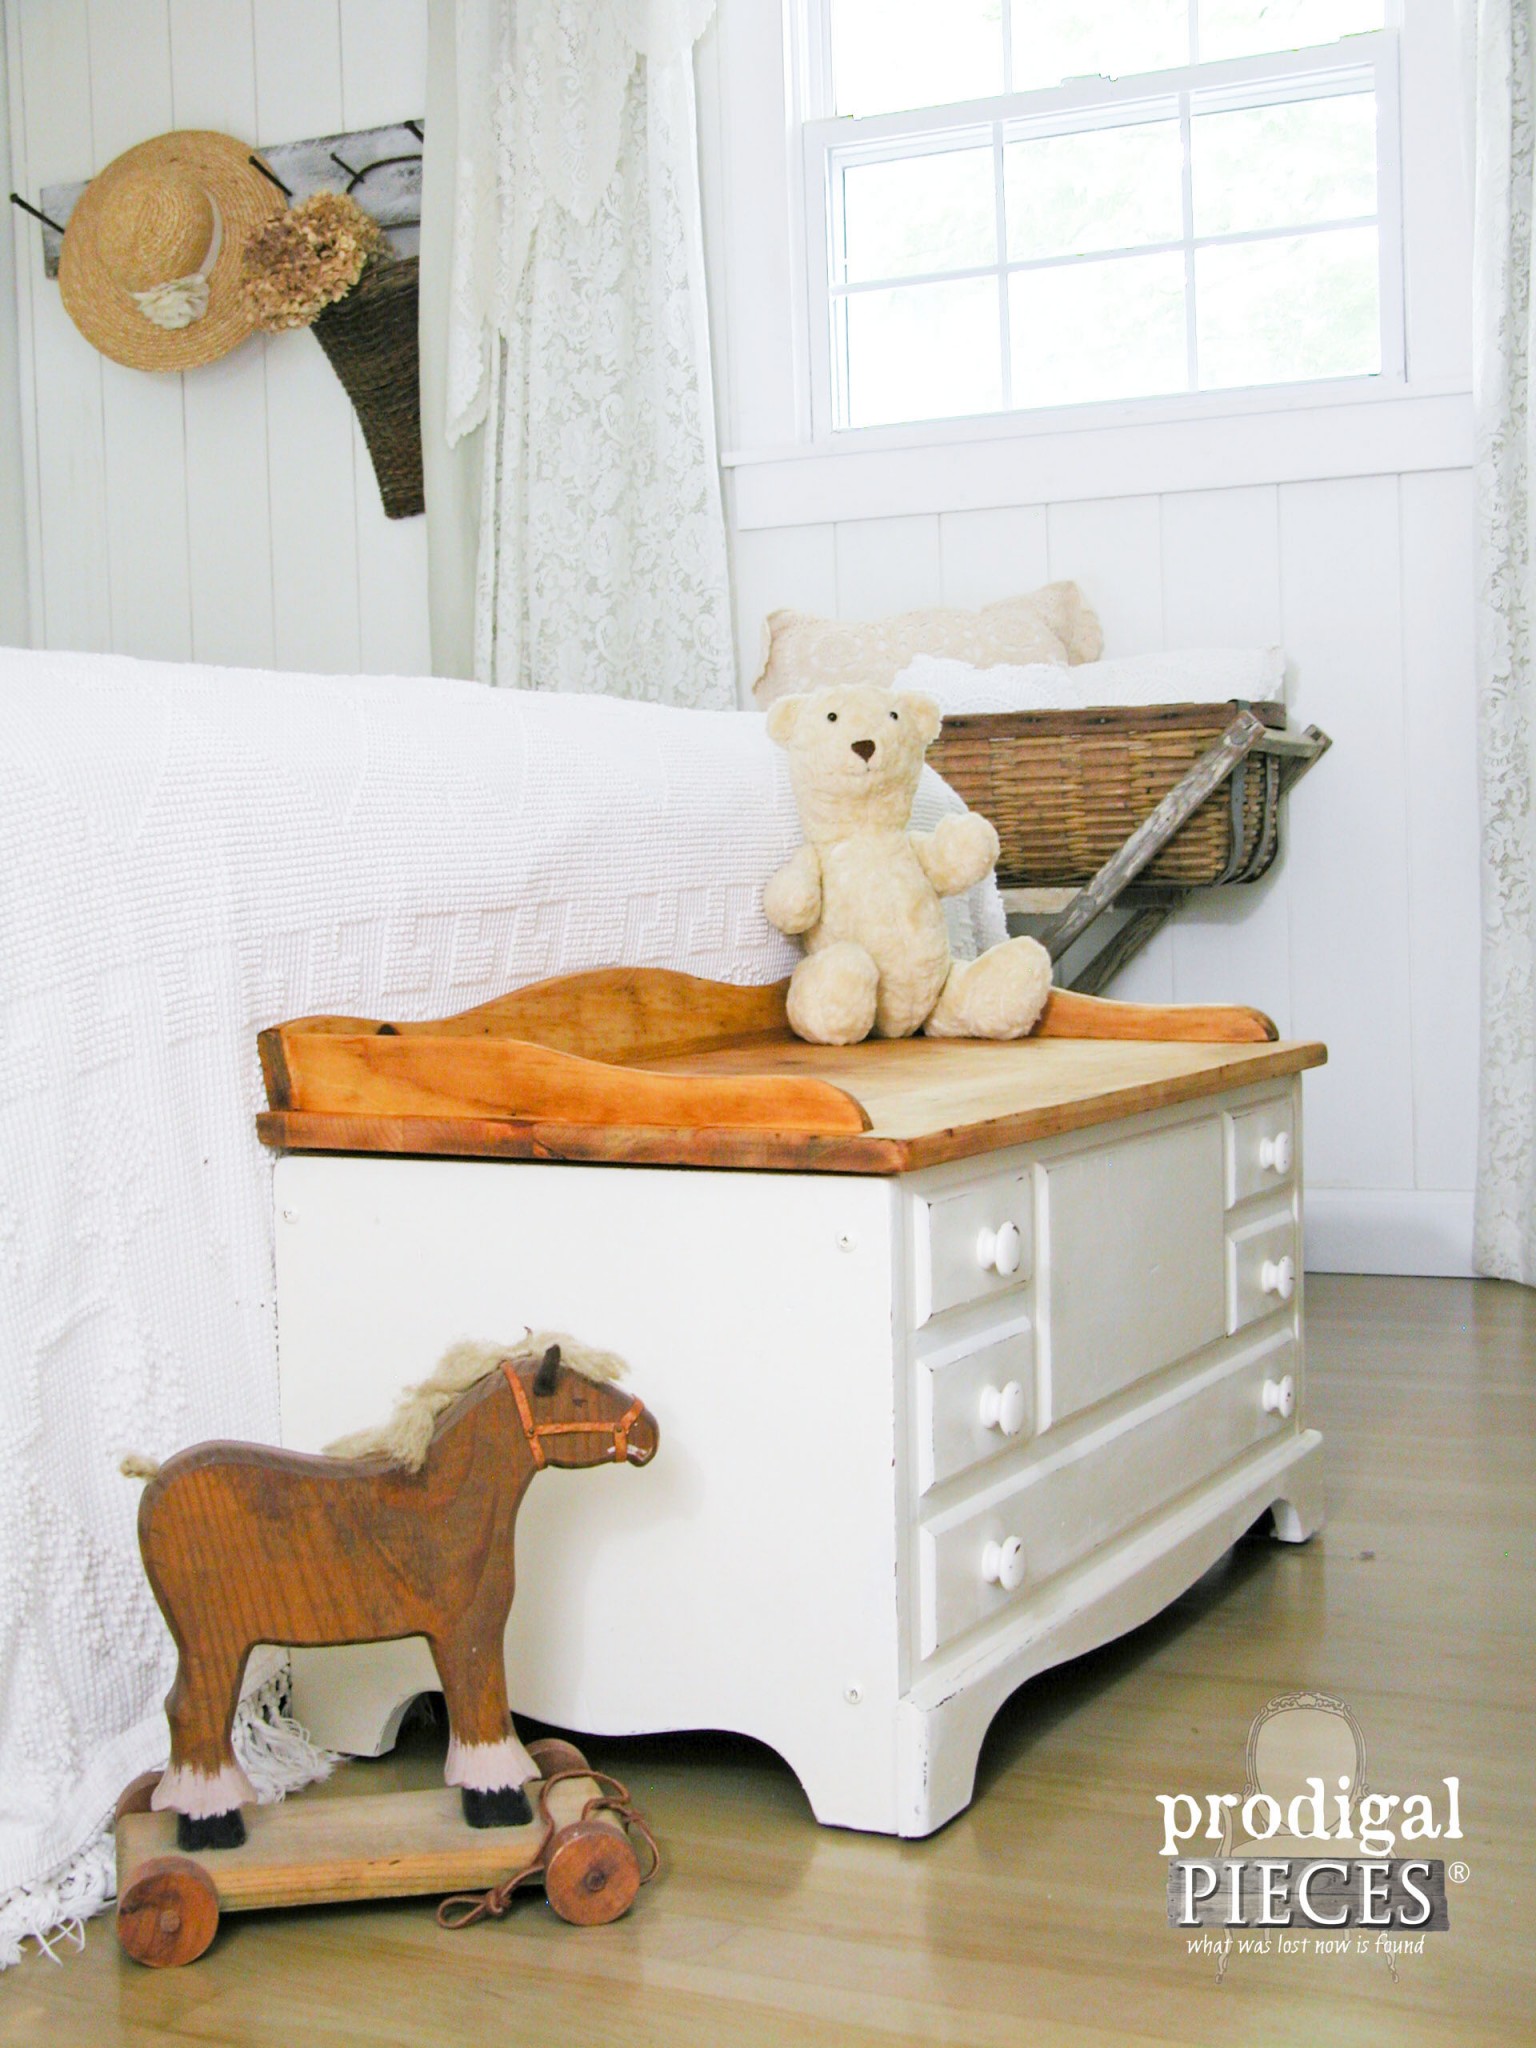
Last, here’s the after…whatcha think?
Additionally, the top is rustic anew and the faux drawer pulls make more sense to me.
My favorite part is the ticking lining hiding that quirky text inside. God knew I would need it to make it this piece perfect.
In addition, like most of my projects, this child’s wooden chest is available in my online shop. What a sweet gift this will made.
With that in mind, my purpose is to share my ideas as well as inspire, so won’t you help me encourage others by pinning and sharing my DIY wooden chest makeover?
Finally, you asked and I delivered. Up next, I am sharing one of my family’s favorite recipes. In the same fashion, I’m making use of some garden goodness that is kid-pleasing and so good for your body. Head here!



Everything project you do is amazing! Love this! I voted again – surely hope you win – you truly deserve to!
Thank you, Jamie! I’m so thankful for your support.
My calendar is set to remind me each day to vote. Come on folks mark your calendars Larissa deserves to win.
Your projects but more than that your commitment to Christ and values keep me coming back day after day to your blog, thank you for being true to yourself and the source of your talent.
Thank you for the love, Jo. I truly appreciate it and your kind words. 🙂
That blue and white windowpane wallpaper is what I used to have in my kitchen! So it’s from about 1989! Love the chest!
Woot! I was so excited to find it! Great minds think alike, eh?
Love this chest! Anyone could use it for blankets too! Great score on the wallpapers!
Thanks, Gwen! Yes, these storage units are great anywhere. Love a garage sale. 😉
I love how the wood just shines through. It looks like day and night Larissa.
I was giddy when I started sanding…I love when that happens! Thanks so much, Mary.
Larissa the child’s chest transformation is amazing! I love your work…thanks, you inspire me to keep painting?
That’s wonderful to hear, Kelly. Thank you!
Oh my Larissa, you have done it again, hit that ball right out of the park. Love this little chest so much, absolutely adorable. It makes me wish I had a little girl so I could buy this for her room (not) haha.
I do have a huge old cedar chest that I have been wanting to do something with and this is it. I will paint the outside but I will leave the inside natural, the cedar is just to good to paint and I store wool blankets and throws in there that need protecting, but I will sand the top and finish it the way you did yours. Thanks so much for the inspiration. I try to vote every day, you so deserve to win!!
hahaha…you are too funny, Patty! Thank you for lovin’ on my work and I hope you get yours done so you can enjoy. Show me when you do!
It’s beautiful, Larissa. The waxed natural wood was so worth the effort – it’s beautiful paired with the white. Talk about a great wallpaper score – gorgeous waverly patterns and color and that sweet price! Pinned to share?
The dents and dings made it so worth the effort. My hands, elbows, and wrists are sore! Thank you, girl. 🙂
fantastic makeover – I love the new look! I’m beginning to feel like that’s all I ever comment on your blog. Hmmm must come up with some more original comments. 🙂
hahaha…you’re too sweet, Anne. Thank you!
Another fantastic makeover! You know, I can’t scroll past one of your Facebook posts without clicking to see what you’ve done.
You inspire… And you also make me feel as if I’m not alone (or crazy!) for taking on some of the projects I do.
That just made my day, Elaine. Thank you so much!