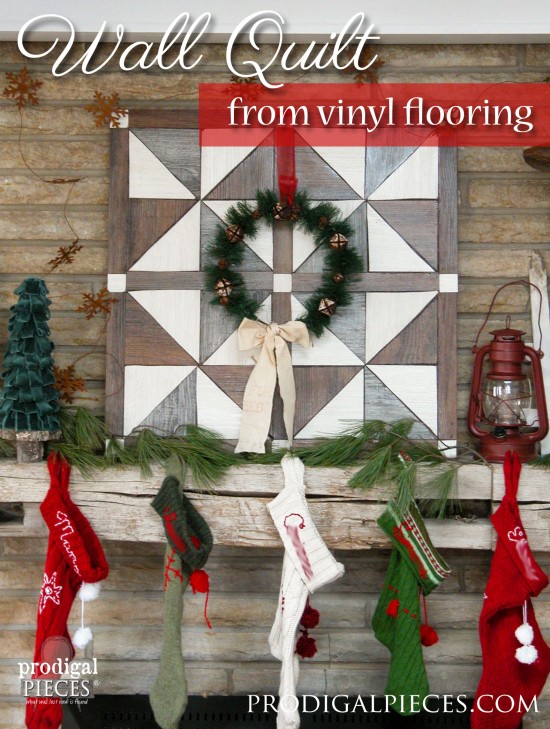
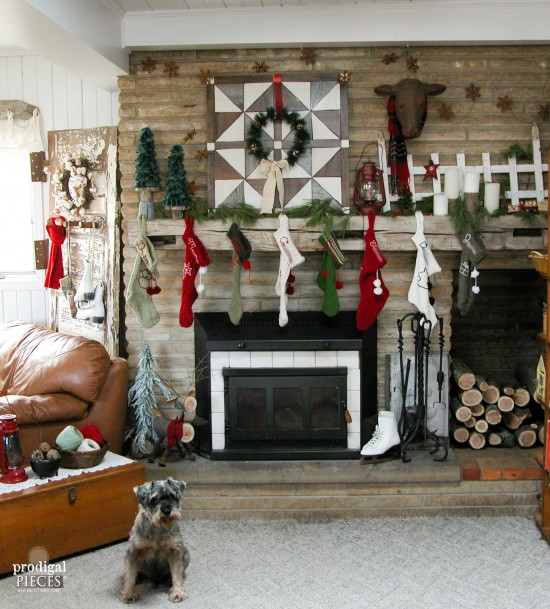
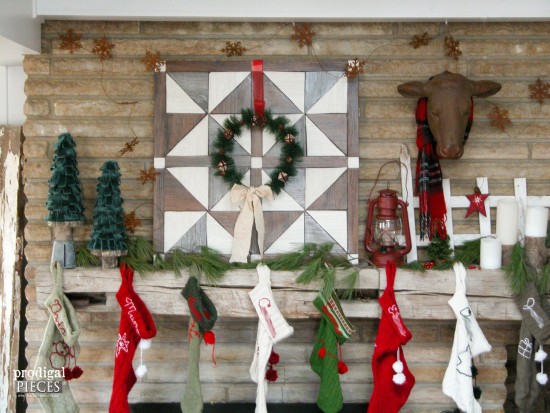
Are you into the Christmas spirit yet? Hard not to be with all sorts of wonderful holiday ideas floating around Blogland. Earlier this week I showed you our rustic Christmas mantel. The centerpiece of my design was my DIY barn wood wall quilt.
Can you guess what I made it out of? Vinyl flooring. Yep! Pick you jaw up off the floor and let’s get to the details of how to create this wonderful faux barn wood wall quilt piece of art yourself.
Have you ever wanted to create something from reclaimed barn wood, but lack the barn? Today, I’m going to show you how you can take vinyl flooring that is engineered to look like old wood, and make it into a fantastic piece of art.
DIY TIME
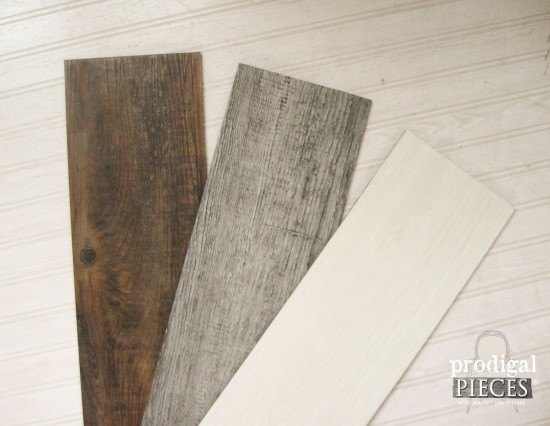
This wall quilt was part of my rustic mantel I created for my decor. For my project, I choose three different faux wood vinyl planks that have a wood grain, but are in varied colors.
Here are the materials you will need:
-
- 3 vinyl planks from 3 different styles (9 boards total) – you can do it with about 7, but it’s nice to have the extra in case of mistakes or decide to change the color pattern.
- table saw or jigsaw
- utility knife
- builder’s square
- tape measure
- white colored pencil or other light-colored marking tool
- safety goggles
- dust mask
- ½” plywood
- brown acrylic paint
- brown acrylic latex caulk
- Heavy-Duty Liquid Nails
- caulk gun
*as with any project using power tools, please use caution and common sense to stay safe.
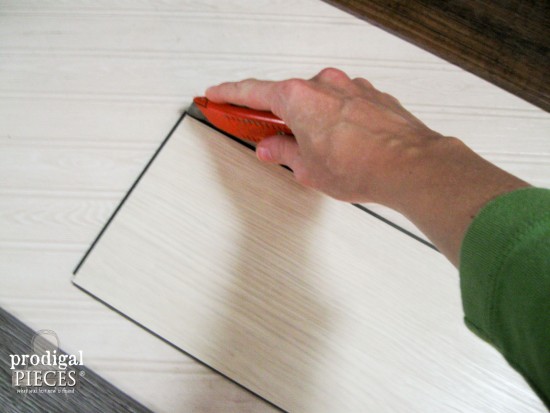
When preparing for this project, I had boards of varying widths and I needed to make them all the same size. Before I did that, I took a utility knife and cut off three of the edges on each board. That way I would have a smooth edge to work with. You will only need to cut all four edges off of the narrowest plank because you will be cutting down the wider planks on a saw anyway.
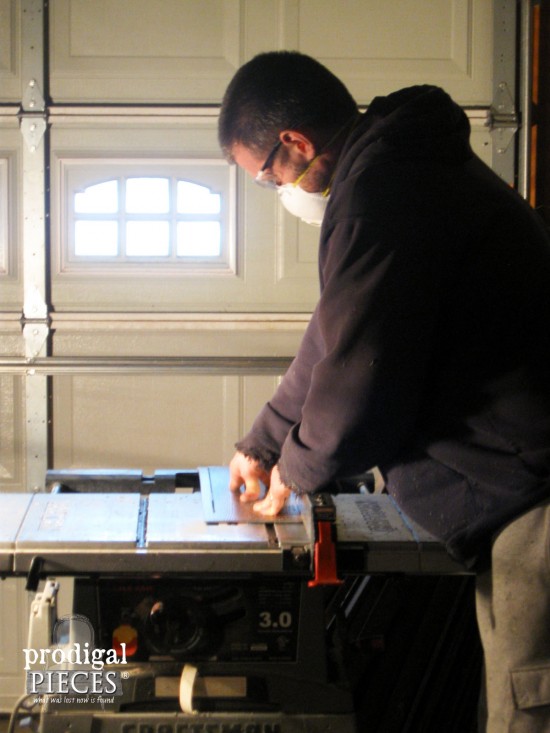
The narrowest board was 5 5/8″, so we ripped the others on our table saw to be the same.
NEXT STEPS
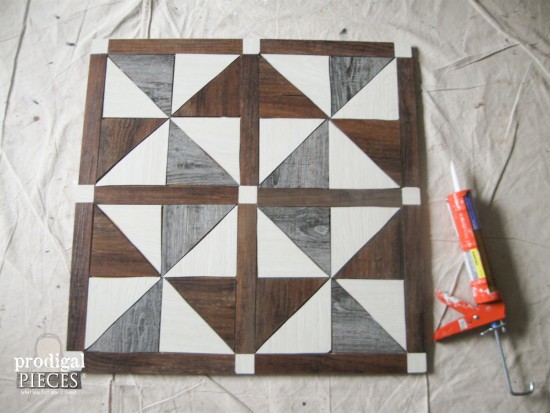
The fun part of this project is that you can choose any colors you want and change-up the color scheme however you feel. For those of you who want a little more structure, here is a basic layout of cuts after they’ve been made the same 5 5/8″width:
- 12 – 12″ x 1.5″ brown (Wagon Wheel)
- 9 – 1.5″ x 1.5″ white (Linen)
- 16 – 5 5/8″ triangles in white (Linen)
- 8 – 5/58″ triangles in brown (Wagon Wheel)
- 8 – 5 5/8″ triangles in grey (Smoke)
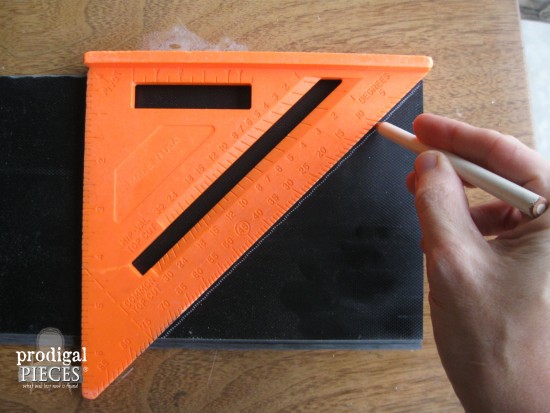
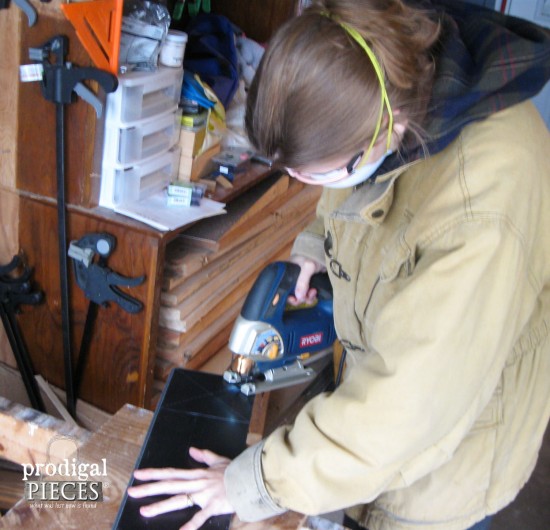
We could have cut all of the planks using the table saw (this is the better method for straight cuts), but I thought I would also show you how to do it using a jigsaw. You will need your builder’s square and a light-colored pencil. Since your square is, well, square, all you have to do it line it up with the corner of your board and draw on the diagonal.
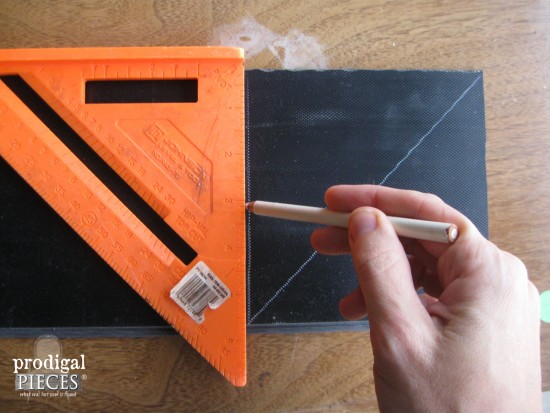
Then, turn the square and make a straight edge forming a square shape with two triangles.
Grab a blade suitable for cutting metal with tight run of small teeth and cut out your pieces. Be sure to wear safety goggles and a dust mask.
Since your boards may be a different width, you’ll need to do a little figuring yourself. I wanted a square backing to attach the pieces to and my measurements led me to a 28 ½” x 28 ½” piece of ½” thick plywood.
ASSEMBLY
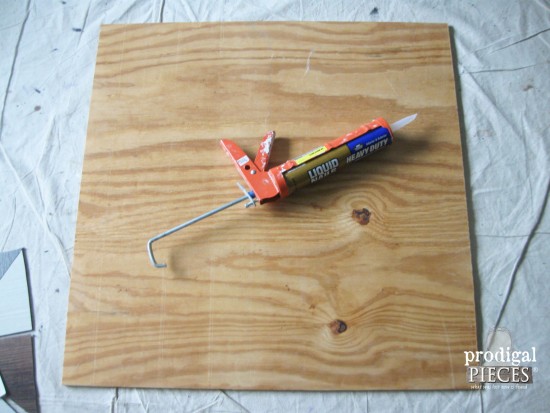
It is always best to do a dry fit to make sure all your pieces are as you would like them. When you’re ready, you will need your liquid nails to adhere the pieces to the board.
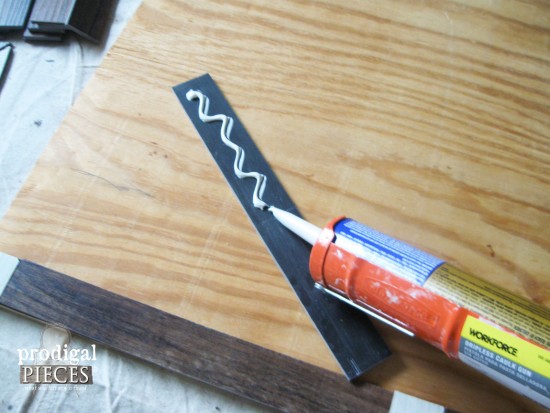
Beginning with the border pieces, apply a ¼” bead down the back and then place in the pattern desired.
Once you have your pieces adhered, you will need to let them cure before moving onto the next step. The duration that it will take depends on your humidity levels, etc. but roughly an hour or so should do it.
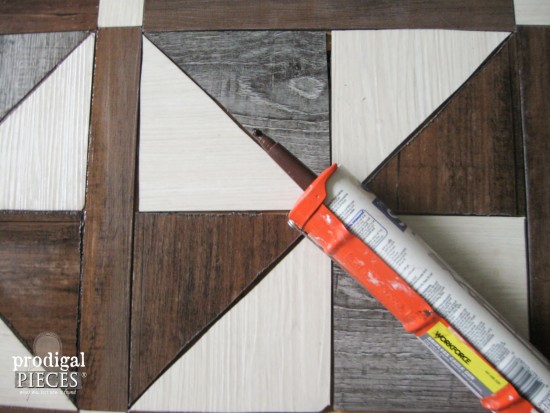
Now, if you’re like me and used the jigsaw, you may find your piece to not be 100% perfectly fit. To make up for those errors, I used a brown caulk to hide those flaws. (caulk can hide a multitude of imperfections, I tell ya.)
Let the caulk cure and then if you’d like, you can add a finished edge to hide the edge of the plywood board. I used a small brush and painted on a coordinating color – I chose a chocolate-brown paint.
THE REVEAL
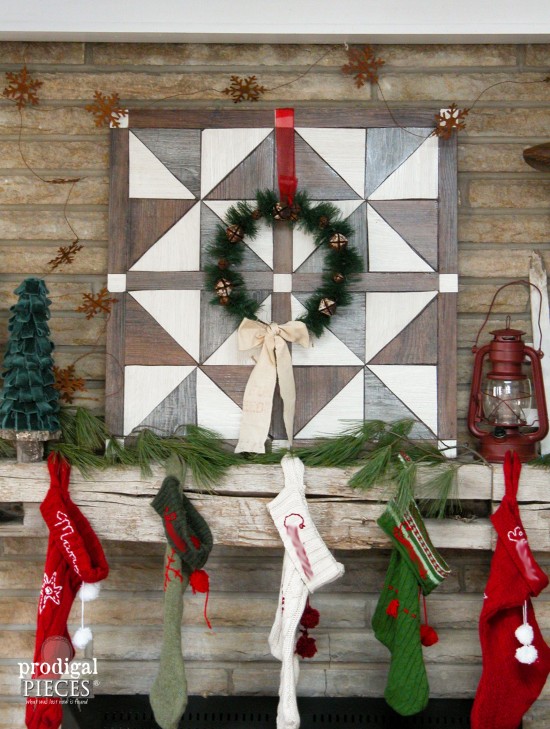
Now your faux barn wood wall quilt is done! Yay!
You can mount it to a hanger to hang on the wall, or lean it like I did on our mantel. No need to save this for a Christmas project like I did. This barn wood wall quilt is a piece of art that is perfect for all year round.
pssst!! …this makes a great gift for a friend or family. Plus, it’s easily done in a day.
In addition, pin and share to inspire others! ♥
Until next time!
To get these DIY tips & tricks in your inbox, be sure to sign up for my newsletter. PLUS, you will get your FREE Furniture Buying Checklist and special discount to my shop. Until next time!


What an awesome idea!! so glad to hear even you have trouble with perfect lines using a jig saw. HAHA have a wonderful day and congratulations again on winning the Zibra paint brush competition.
You never cease to amaze me! What a great idea and project! An old contractor I knew about 35 years ago pronounced “caulk” as “cork”. For some reason your post made me think about him. He would just say “don’t worry about it we can cork anything”!!
Awesome to hear, Caroline. Thanks! Ya know, I think that’s because they use to use a different product, or so I remember my dad telling me. Cool!